Nacho Z
-
Posts
2,933 -
Joined
-
Last visited
Content Type
Profiles
Forums
Events
Gallery
Everything posted by Nacho Z
-
That is a fantastic looking Ford! You did one heckuva job on it!
-
Just saw this one and I’m glad that I did! Great looking ’57, Mike. I’m glad you posted a picture of the interior, it looks great.
-
I wish all of my “screw ups” came out like this! If they did, I would screw up a lot more…lol. Seriously, that is an outstanding piece. The awesome photography just highlights the beautiful model. You always do nice work. Thanks for sharing this one.
-
Very nice! That is a great color.
-

1967 Freight Shaker
Nacho Z replied to J.B. Customs's topic in Model Trucks: Big Rigs and Heavy Equipment
What a great memory to have and what a great story to tell! Yes, Sir, you did it justice. A very fitting tribute! -
Fujimi Fina McLaren F1 GTR Long Tail
Nacho Z replied to Nacho Z's topic in WIP: Other Racing: Road Racing, Land Speed Racers
Thanks, Bruce! On this car, I used the kit supplied masks. For kits that I have to make masks for, I use Tamiya tape. I burnish it down with a tightly wrapped Q-tip, like Tamiya sells. I will also use a toothpick to really get it down into the corners. For cutting, I bought a box of surgical scalpels from Amazon. They are the disposable, plastic handle kind. I work in a hospital and I can tell you that it is the same quality as they use in a healthcare setting. I only use my scalpels for cutting masking and BMF. Hope this helps. -
Nova Salt Flat Racer
Nacho Z replied to Pierre Rivard's topic in WIP: Other Racing: Road Racing, Land Speed Racers
She is coming along quite nicely, Pierre! Always a pleasure watching your work. -
Wow!, Simo, that looks great in that color. Very nice, indeed!
-
Sauber Mercedes C9
Nacho Z replied to kensar's topic in WIP: Other Racing: Road Racing, Land Speed Racers
Just getting caught up on this one, Ken. You are doing a great job on this! I really appreciate you showing us what you have added and how you’ve done it. Looking forward to seeing your progress on this. -
Thank you, Marc! I had previously picked up Gravity Colors’ paint for this. After seeing yours, I’m really itching to start mine.
-
Revell 1971 Olds 442 W-30 done in Sienna Brown Metallic.
Nacho Z replied to Dragonhawk1066's topic in Model Cars
Doggone, Craig, you sure do build some fantastic models! Another beauty from your bench! -
I thought it was just my laptop, but it appears that maybe it wasn't. I've had two separate instances where I tried to update my WIP thread (Other Racing) and I got the same error. It said page can't be found. I posted from my phone without any problems.
-
Fujimi Fina McLaren F1 GTR Long Tail
Nacho Z replied to Nacho Z's topic in WIP: Other Racing: Road Racing, Land Speed Racers
Ok, it looks like it worked. I will finish the post that I couldn't get to post last night. I don't know about you guys, but I hate masking. The Fujimi kit came with window masks and those are the ones that I used. I did buy an aftermarket set, but did not need them. I will say that careful masking does pay off. I have been steadily working on this model. I will update again when I have something meaningful to share. As always, I appreciate you checking in!
-
Fujimi Fina McLaren F1 GTR Long Tail
Nacho Z replied to Nacho Z's topic in WIP: Other Racing: Road Racing, Land Speed Racers
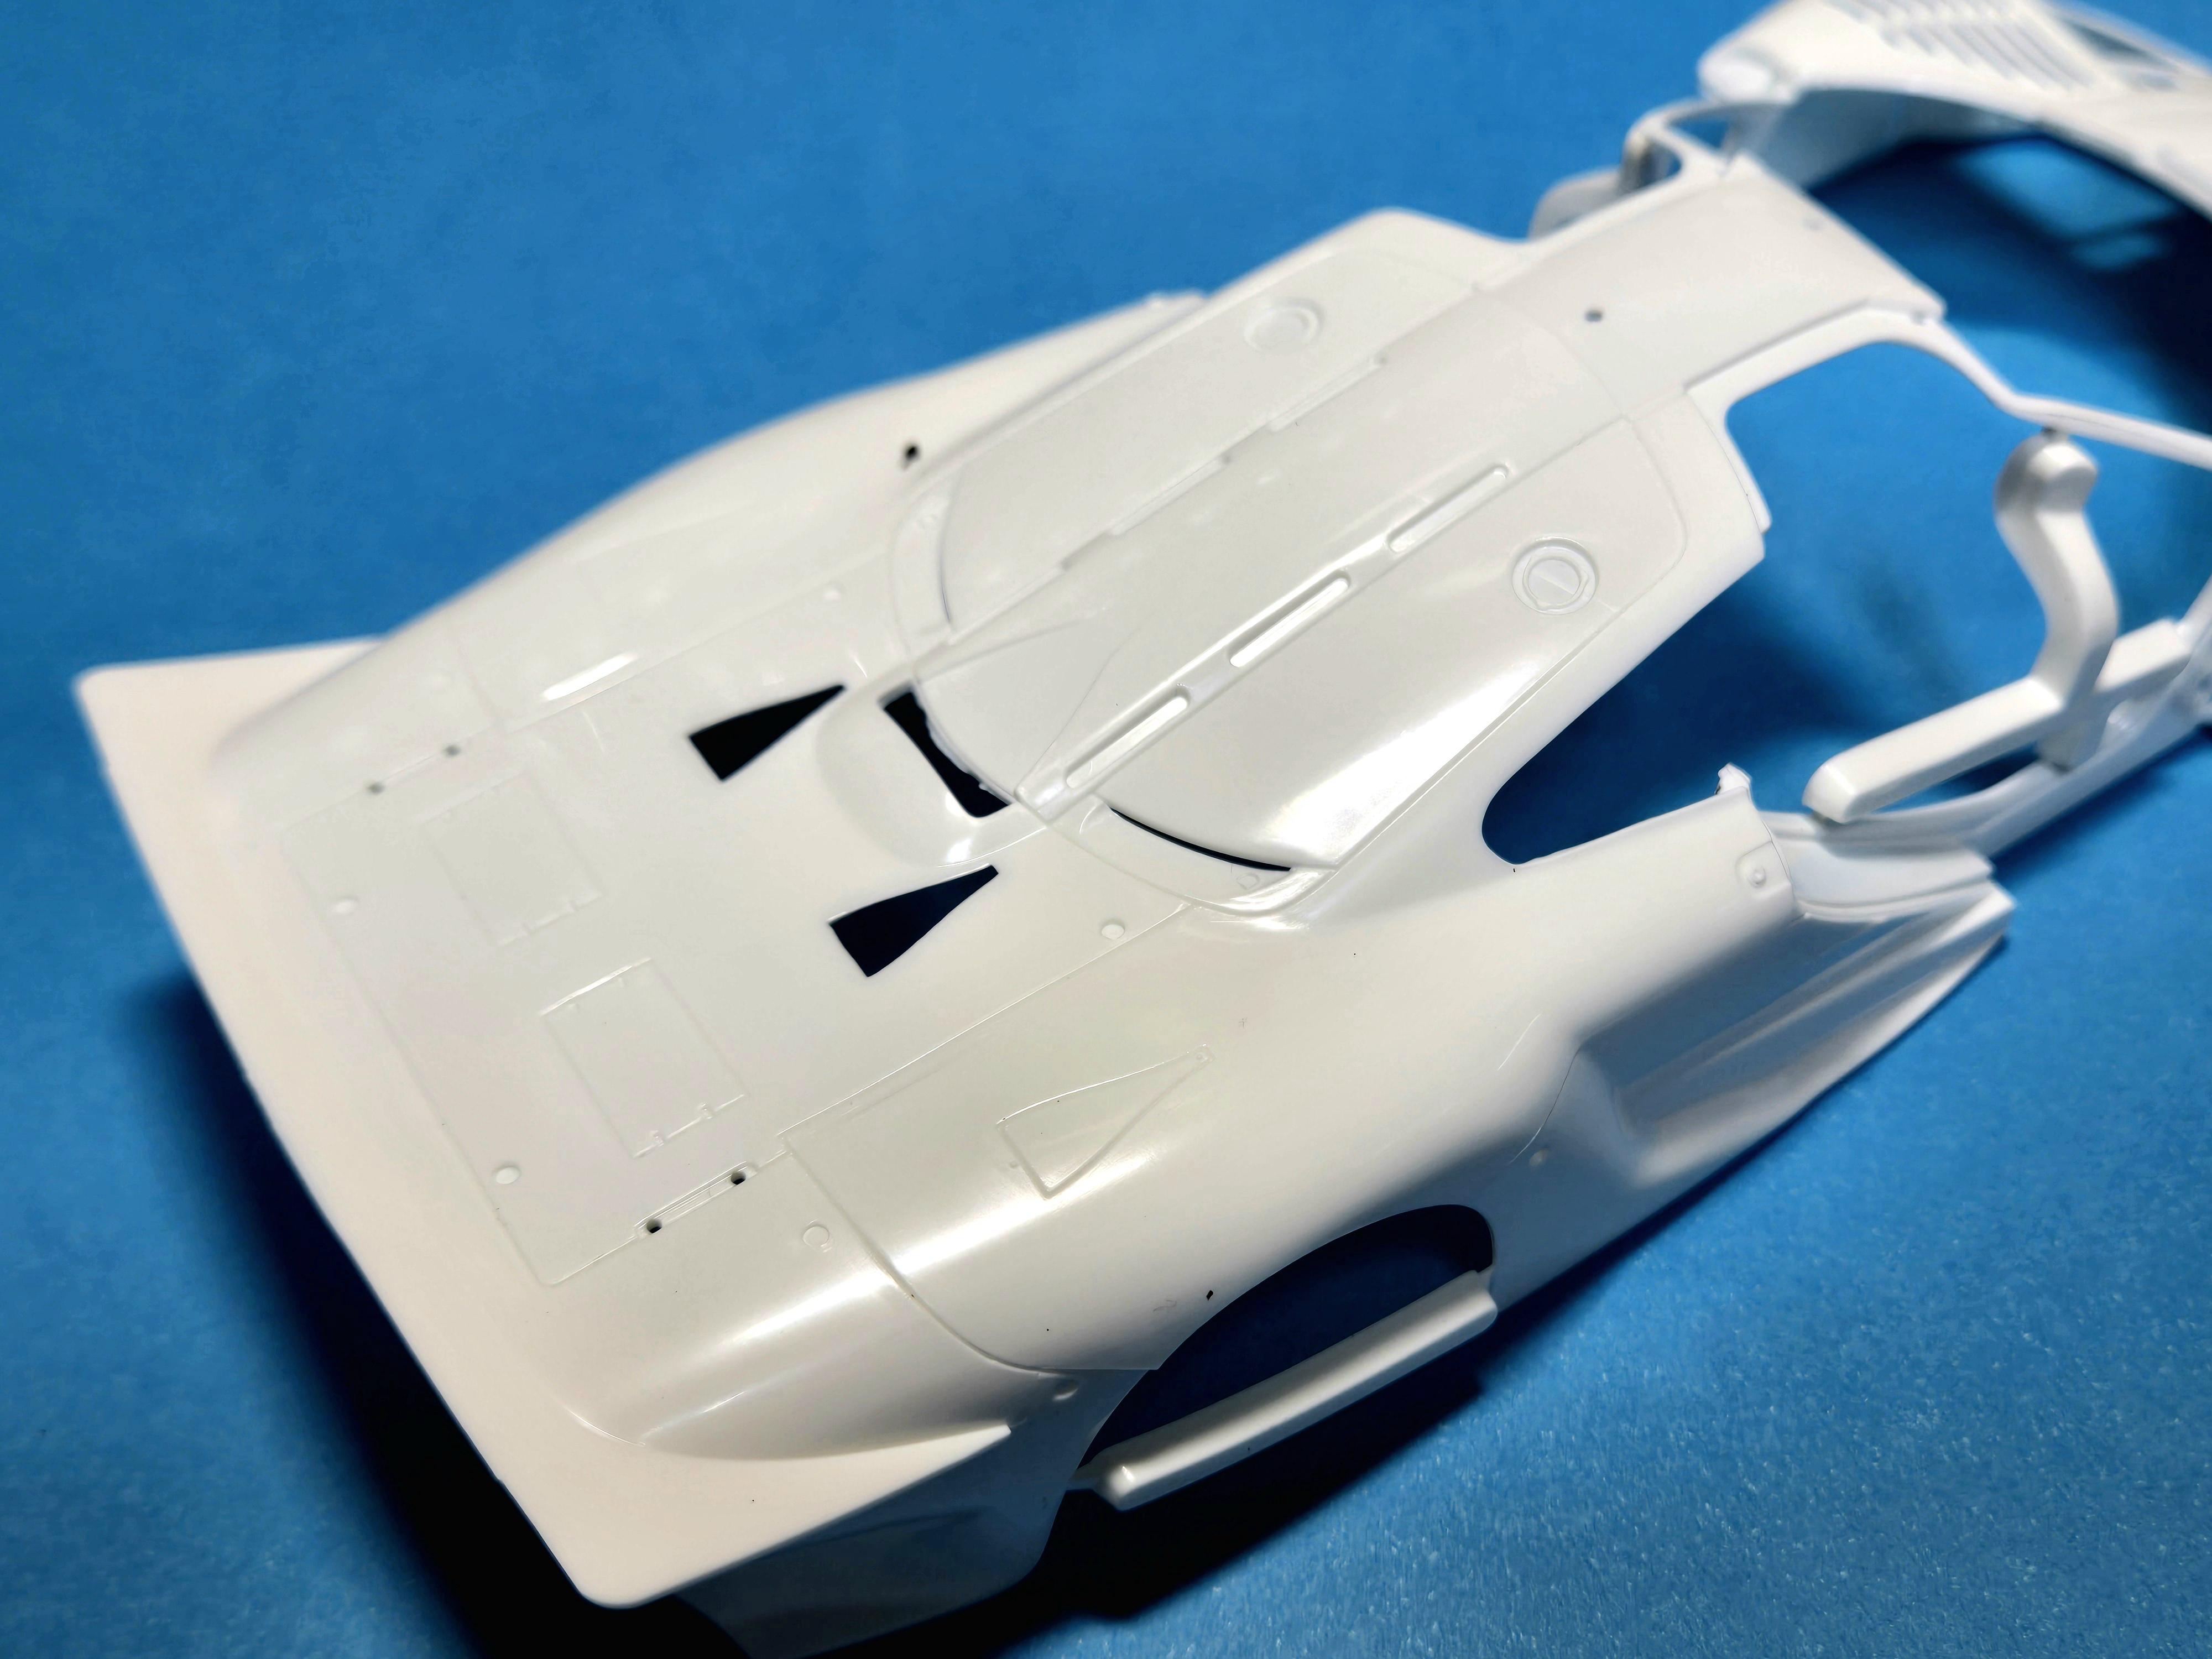
Test #2. I am having issues with posting from my laptop. Going to give posting from my phone a try. I have to say that I am impressed with Fujimi and the job they did on this body. They have done a great job on the molding. The next three pictures are of the untouched body. This is how it came straight out of the box.
-
Fujimi Fina McLaren F1 GTR Long Tail
Nacho Z replied to Nacho Z's topic in WIP: Other Racing: Road Racing, Land Speed Racers
Test -
Alfa Romeo 158/59
Nacho Z replied to Chris Smith's topic in WIP: Other Racing: Road Racing, Land Speed Racers
Simply gorgeous! -
To Bill’s original question, I would have to say yes. I have a Model Factory Hiro 1:12 Eagle Gurney-Weslake that I got from a friend who admitted that he was never going to build it. I believe this is one of those “I’m in over my head” kits. I also have two Alpha Model Formula One kits that I’m a bit intimidated by. I’m not sure if it is truly an “I’m in over my head” thing, or if it is “these are expensive and relatively rare kits and I don’t want to screw them up” thing. I believe that I possess the skills to build them, but I, by nature, always second guess myself. I am past the “I’ll build it when my skills are better” stage. I just need to dive in head first and get these kits built.
-
Jordan Peugeot 197
Nacho Z replied to bbowser's topic in Other Racing: Road Racing, Salt Flat Racers
Very nice, Bruce! Such a great livery. I built this one years ago and it is still one of my favorites. -
I love these cigar cars! The Lotus is iconic! What a beautiful model of a beautiful car. Very well done!
-
What a great looking Charger!
-
1962 Corvette street/strip build (replica)
Nacho Z replied to keviiin86's topic in WIP: Drag Racing Models
I just read through this thread for the first time. You are doing a fantastic job on this! I have really enjoyed reading through this thread. Glad I found it! -
Fujimi Fina McLaren F1 GTR Long Tail
Nacho Z replied to Nacho Z's topic in WIP: Other Racing: Road Racing, Land Speed Racers
Thanks for checking in, guys. Yeah, so I'm not the brightest bulb on the tree and I'm probably a bit passive-agressive...lol. I did not reach out to Hiroboy. I was dumbfounded that they would send the HD detail up set, which is packaged in an envelope, in a bubble mailer. The best I could have hoped for was maybe an apology and a discount on my next order. At any rate, I have posted the evidence of their quality shipping methods in several places and they will probably not get any more of my business. I believe that I can straighten out most of the damage, but there are some items that I can't get the kink completely out of. -
Nova Salt Flat Racer
Nacho Z replied to Pierre Rivard's topic in WIP: Other Racing: Road Racing, Land Speed Racers
I don't get to spend as much time on MCM as I would like to, so I am always a little behind on being able to go through all of the posts. I just now got to look through this thread. If there is a Pierre Rivard fan club, I want to be the president of it! I love the concept and I am really loving the finish on the body of the Nova! I appreciate all of the updates and the captions / explanations of what you have done. Keep it up and I'm looking forward to your next updates. -
Fujimi Fina McLaren F1 GTR Long Tail
Nacho Z replied to Nacho Z's topic in WIP: Other Racing: Road Racing, Land Speed Racers
Thanks, Bruce! I had one heckuva time getting this to post. I cleared everything, restarted the laptop and started over and it took. I added a few pics to the original post. -
Here is what is next up on the bench. The Fujimi Fina liveried McLaren F1 GTR Long Tail. I know the Aoshima kit is a better kit but Fujimi has the Fina livery. Here is the kit and the kit contents. You may have noticed the Hobby Design detail up set and an aftermarket masking set in with the kit contents. These items were purchased through Hiroboy. Someone at Hiroboy thought it would be a good idea to send this fragile PE set from England to the USA in a bubble mailer. I was not impressed. The PE sheets were badly bent up. It makes me question buying anything from Hiroboy in the future. The Hobby Design set is very nice. Lastly, two pictures of the real thing. I think she is beautiful!!