Funkychiken
-
Posts
2,662 -
Joined
-
Last visited
Content Type
Profiles
Forums
Events
Gallery
Everything posted by Funkychiken
-
My '66 Surburban
Funkychiken replied to Lizard Racing's topic in Model Trucks: Pickups, Vans, SUVs, Light Commercial
Well if garish was what you were after, I think you are nearly there! Nice build -
Gonna be another great one!
-
Love the colour
-
Great build!
-
Looks good from.here!
-
For a recall kit, it turned out great!
-
Sweet ride!
-
Great build!
-
Looks great!
-
Really wanted this kit too, looks great, but may have been painful to get there... Excellent finish!
-
Nice and clean build!
-
Really nice finish on the paint, did you create and cut the flame mask yourself?
-
Fully detailed Pagani Huayra..Under Glass
Funkychiken replied to Dann Tier's topic in WIP: Model Cars
That's fine Dann, I'm just mind blown at how small they are! Thanks... -
Amazing builds for such a short time...
-
2018 Le Mans 24 hours build (Porsche 962C)
Funkychiken replied to The Creative Explorer's topic in WIP: Model Cars
Fantastic, and so quick... -
Fully detailed Pagani Huayra..Under Glass
Funkychiken replied to Dann Tier's topic in WIP: Model Cars
I'm still amazed at those door catches, I can't understand how you made them out of plastistruct... Good progress! -
Excellent build and great videos, they work well as tutes for me in the future! That paint finish is lovely, and you have a lot more patience than me! Touching up and re spraying where you burned through...
-
Top build, that colour looks great in the photos, probably even better in the sun!
-
those wheels really set it off, I like the hood too...
-
sweet ride & my favourite colour….
-
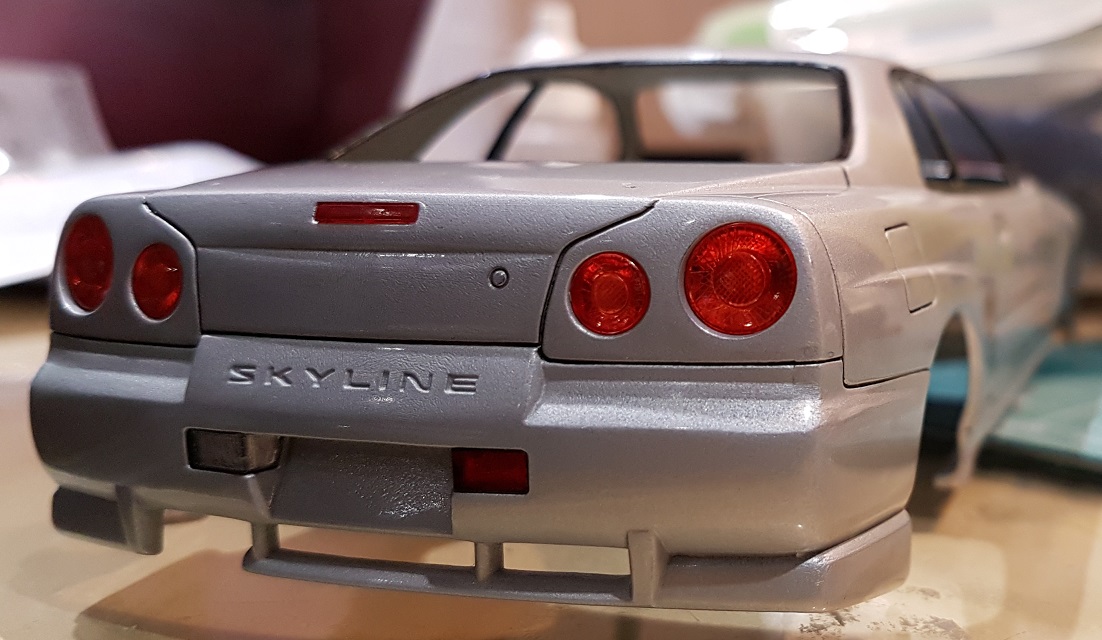
Fujimi Nissan Skyline R34 25GT Turbo 1:24
Funkychiken replied to Funkychiken's topic in WIP: Model Cars
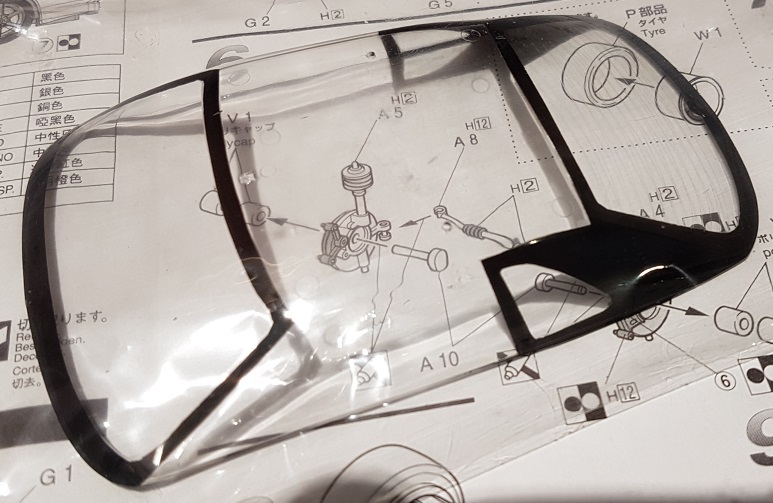
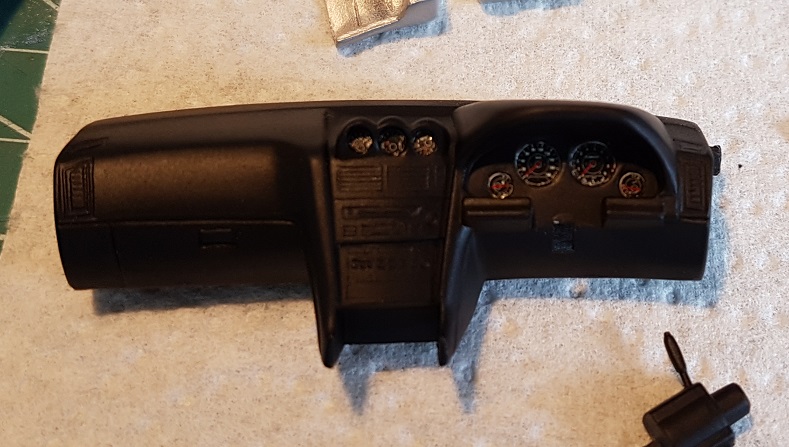
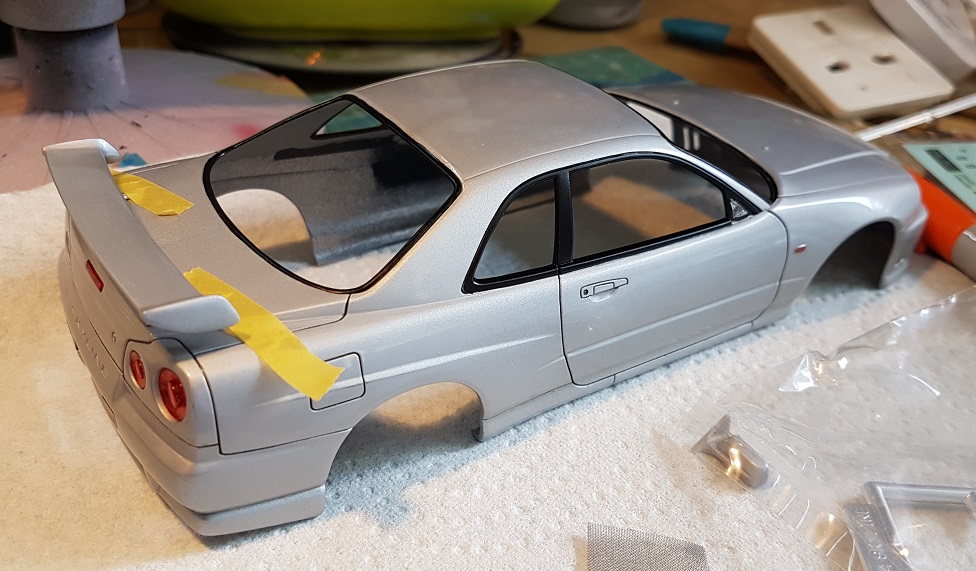
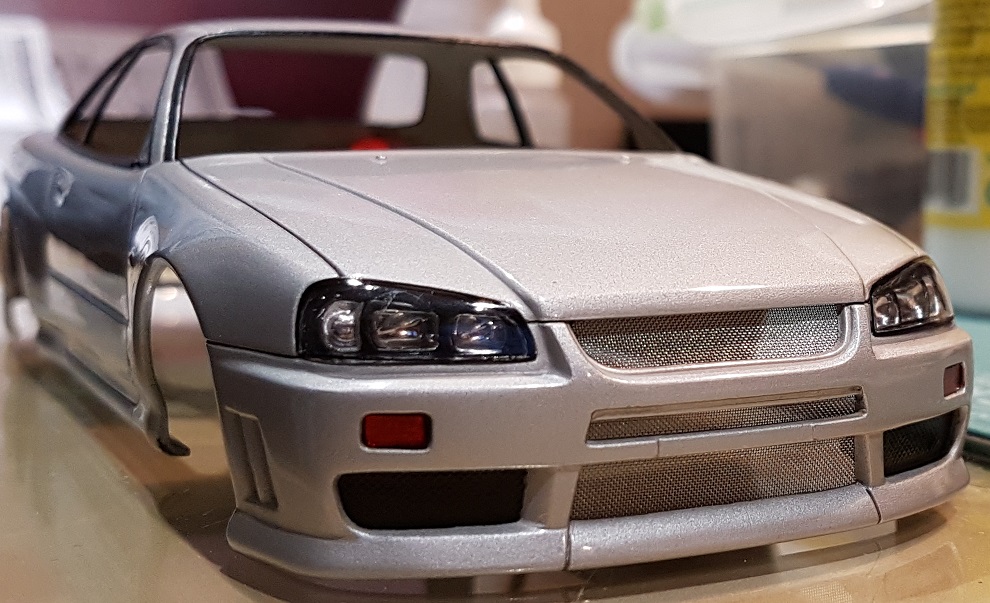
Thanks Dann! progress! Finally, making some advances on this build, it's starting to come together I used the pencil & Tamiya masking technique for the black edging of the windows - never done it before, and it isn't a great result, but probably the best I've had on a build the Dash is basic, but you will not see much of it in the build, decals in (the recessed holes were a struggle) but I'm calling it done! the rubber strip seals / edges have been completed, it was a combination of hand painting Tamiya X-18 (front & back), and masking and air-brushing them (sides). The front end is done, I guess the grille it would have looked better in black, but I'm not chainging it now, but the mash was included in the kit & kooks like a great scale fit. The ftont headlamps were detailed using hand painted X-18, and a molotow chrome pen, the red & amber were done with Sharpies - which unfortunately ended up with thumb prints in them when I took them off the sprue and filed down the excess.... On the home straight...
-
Great build and impressive 3d printing! And that picture of the engine bay wow, jam packed!
-
Exquisite work!
-
Painting red over grey primer is risky, but your paint colour does pop, looks great...
-
Fully detailed Pagani Huayra..Under Glass
Funkychiken replied to Dann Tier's topic in WIP: Model Cars