gotnitro?
-
Posts
4,500 -
Joined
-
Last visited
Content Type
Profiles
Forums
Events
Gallery
Everything posted by gotnitro?
-
Thanks , I tried to keep the lines tight but see a few wiggles lol I just received my chrome hilborn stacks from Detail Master and rumor is the exterior paints almost here horray ! Decided to plug the 2nd hole in heads for double mag layout..seems ridiculous now .
-
Beautiful car , love the color
-
 Looks awesome ? the colors are perfect w your metal dump body These Autocar kits really allow for kitbashing , the cabs just look " right " on anything
 -
LOL !!! Yeah today was a steady bench day . Wife was binge watching some TV show I cant stand, and daughter found out there as a hidden toy stash upstairs in the closest in the model room. We tried to swap a bunch of toys she didnt play with, and stash them in closest..till a donation trip could be made.
-
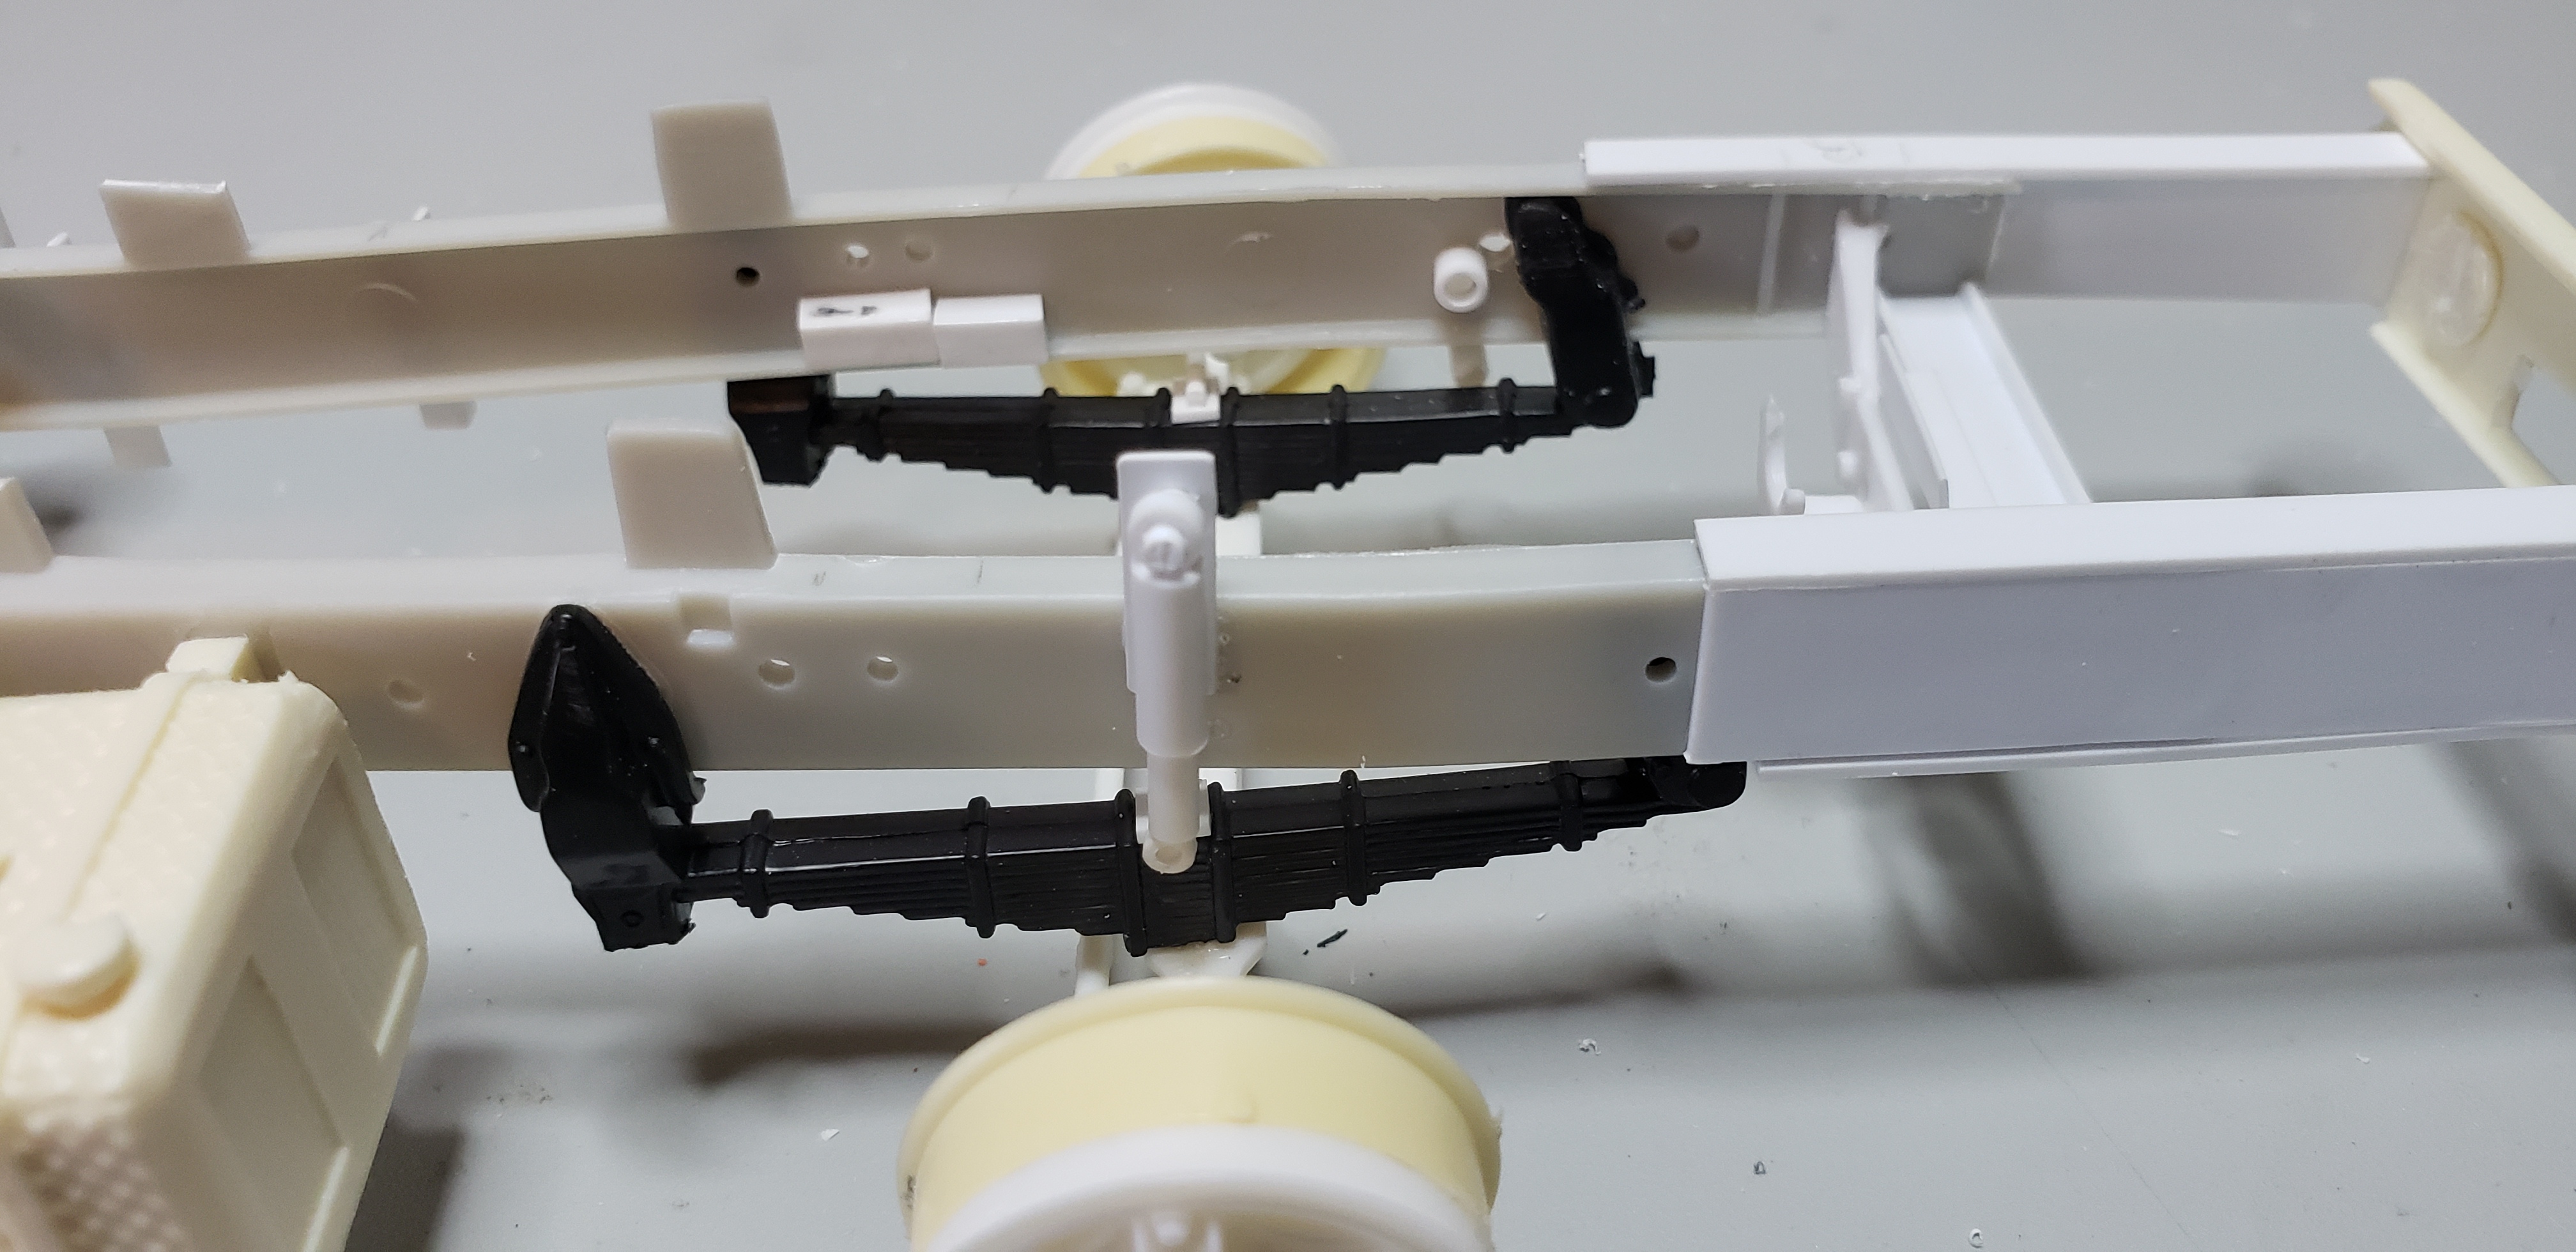
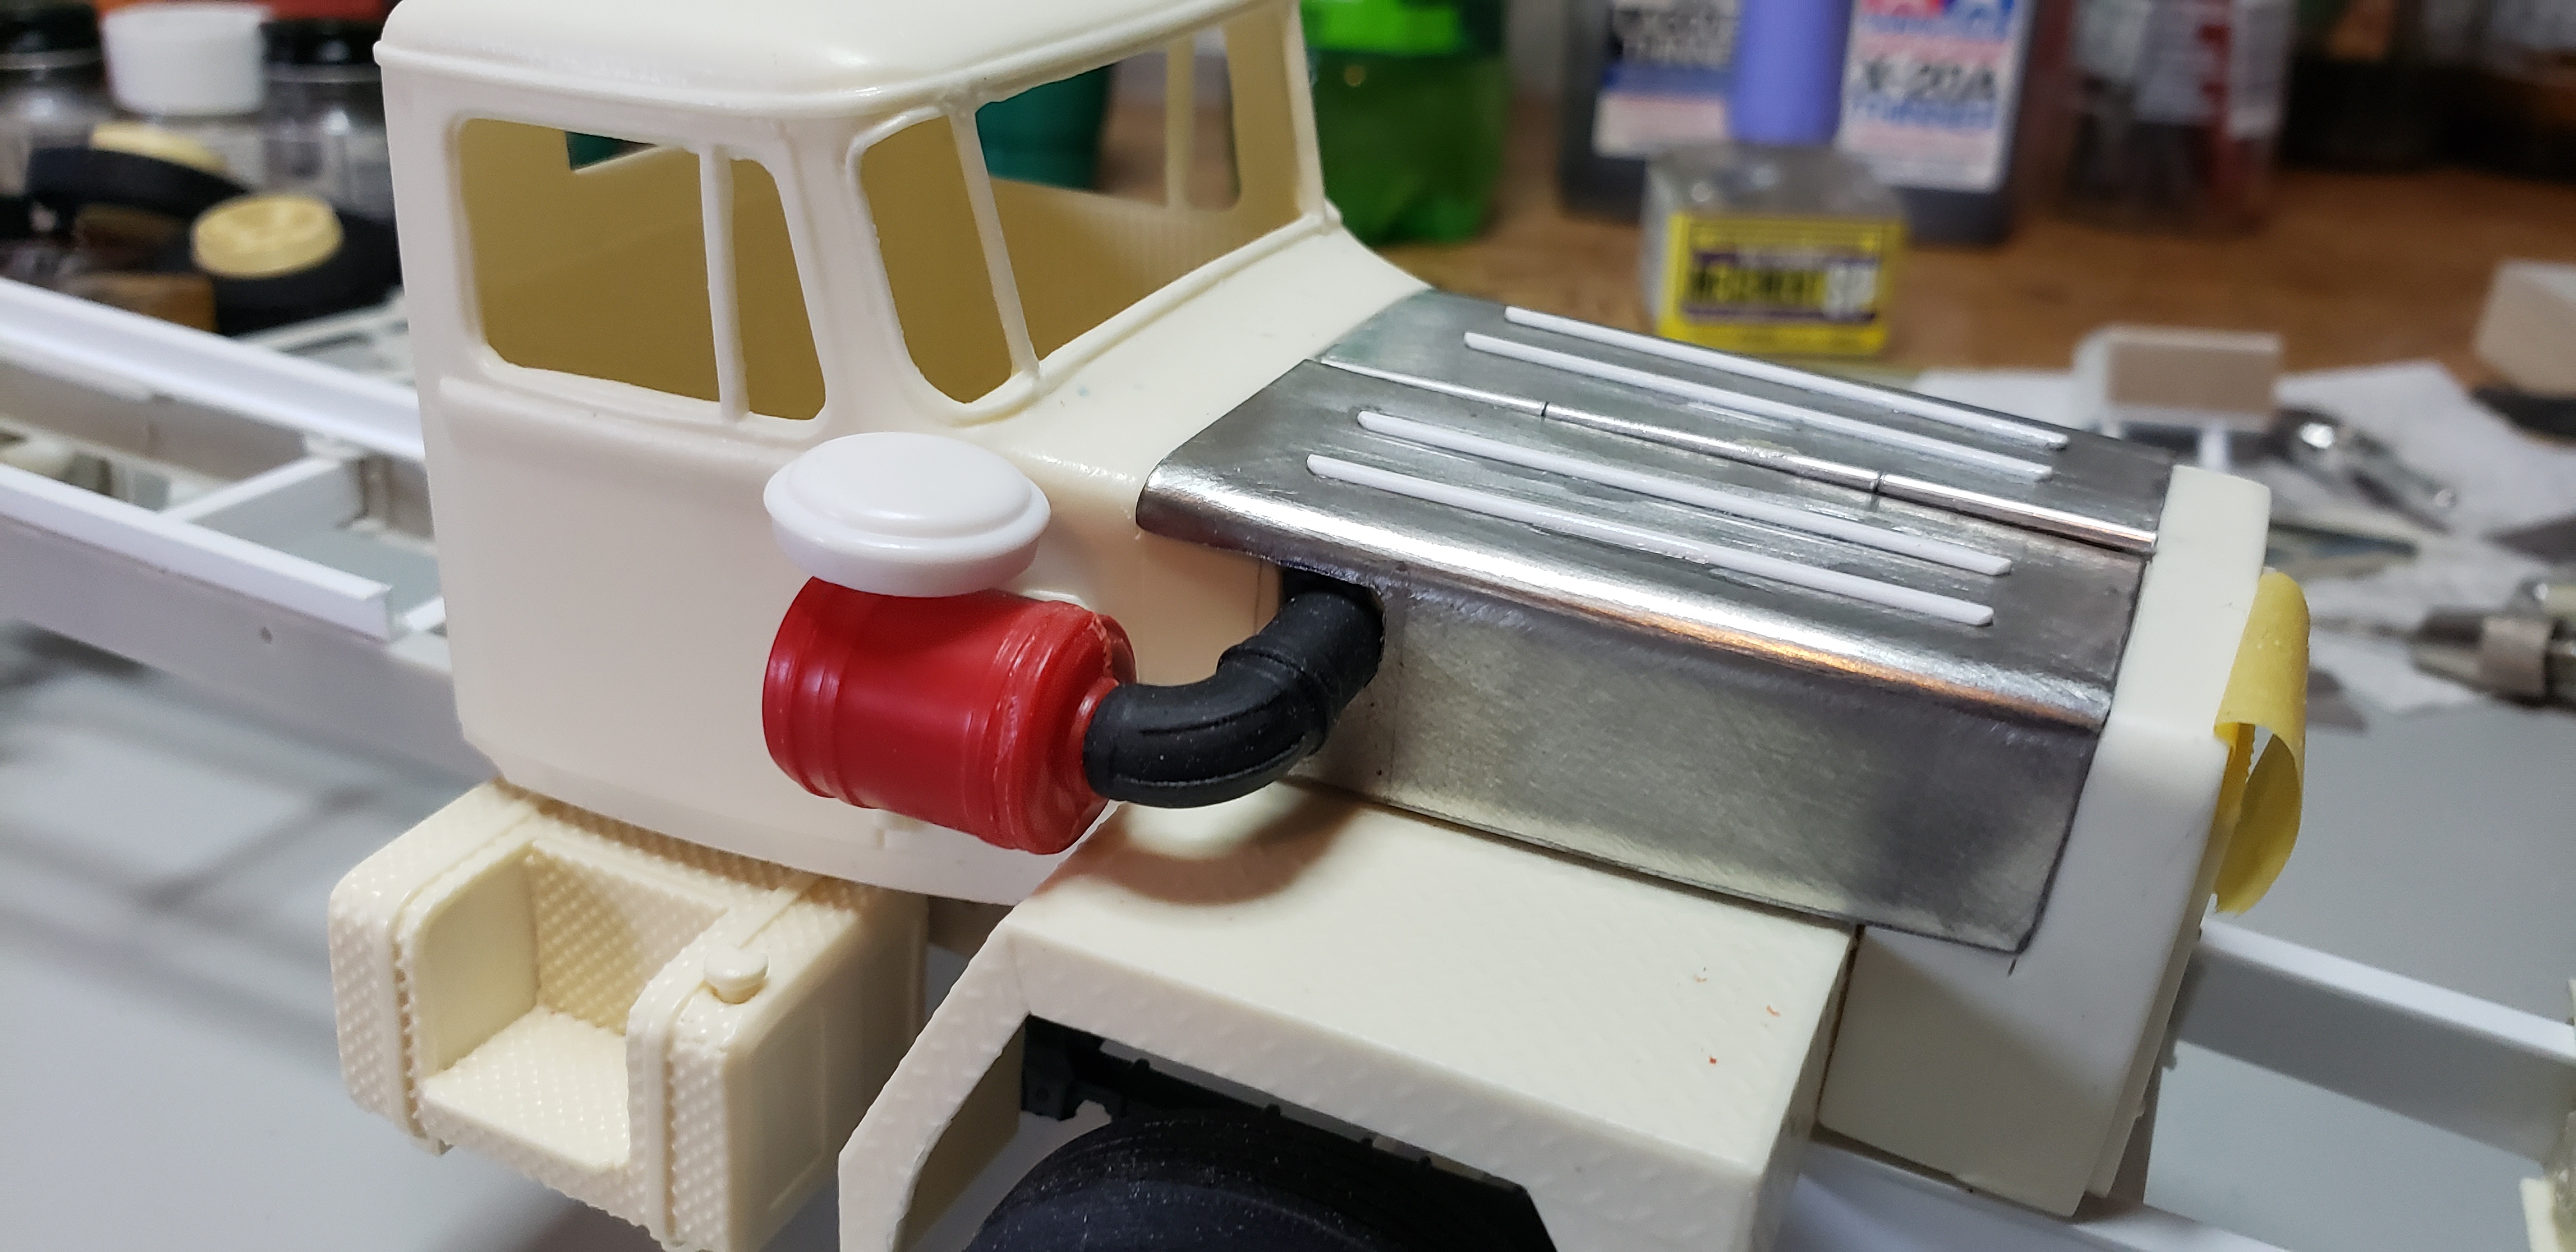
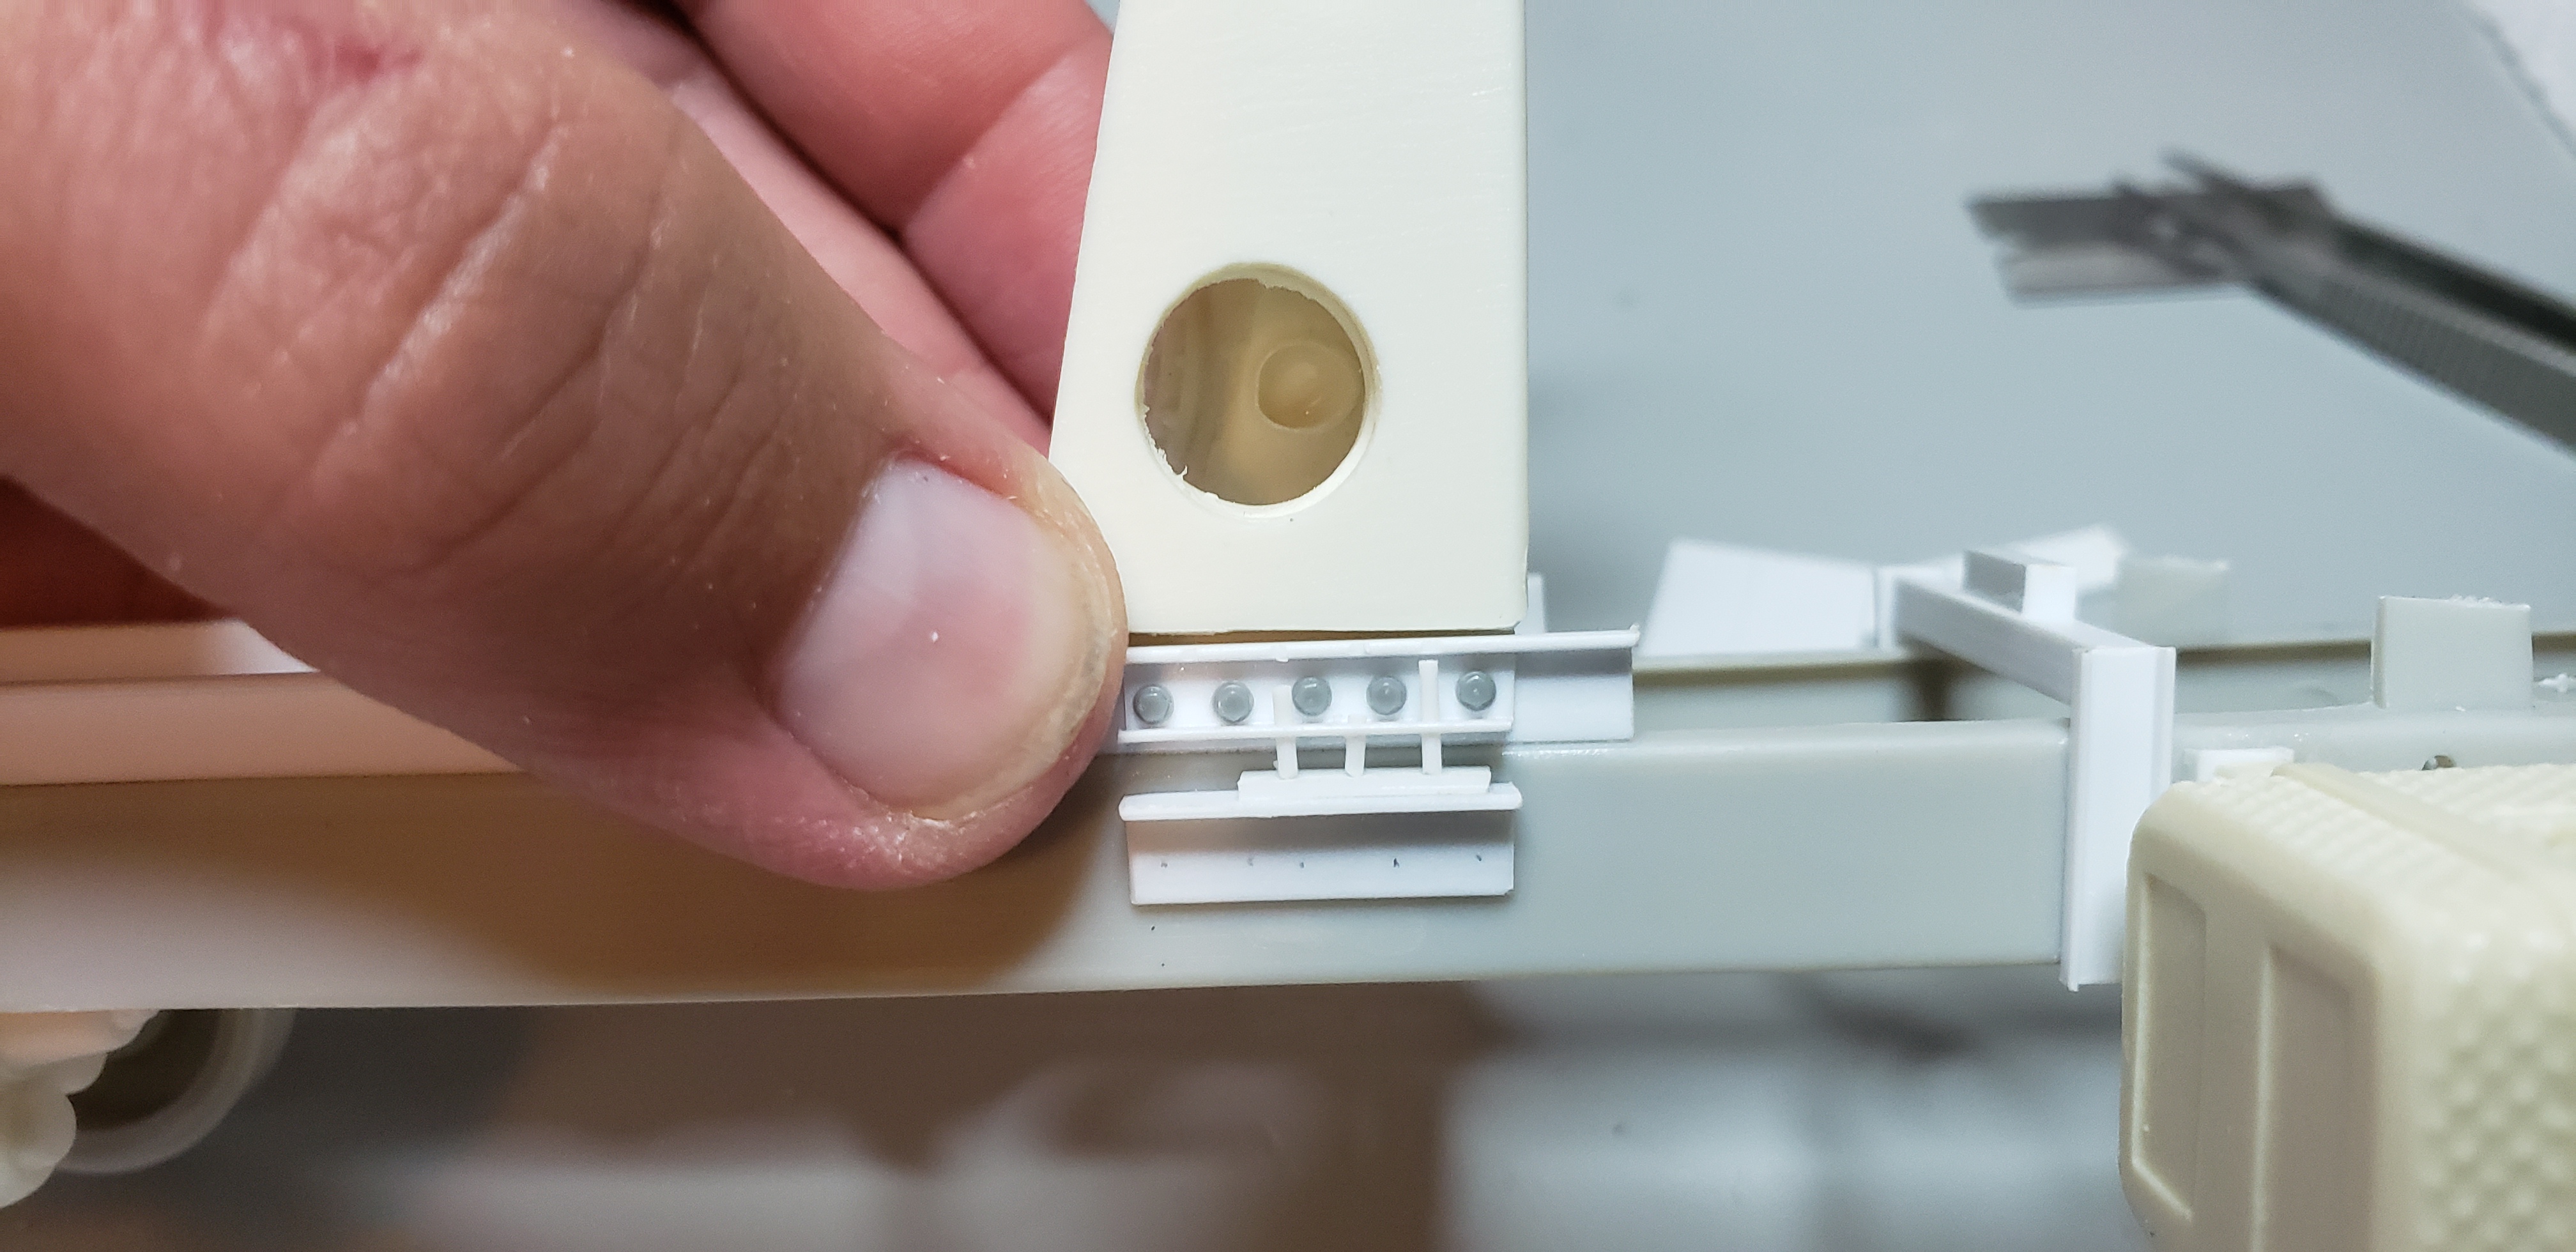
Small update for Friday !!! One part I neglected to build on my 1st Barney truck was the prominent front shocks . I hadn't finished the pitman arm anyway, so off I went . Couple sections of hollow tube, some hacked eyelets and quick mounts and their done ! I mentioned earlier making a new air cleaner body..ill drop them here ! You can see the hood cut out I added for the rubber plumbing. The red plastic is a dead give away to where I stole the parts lol One other glaring bare spot I kept noticing , the shim support blocks below the front pedestal mount . A few bits of angle, strip and rod gave a satisfactory part Here's the part I attempted ..those small hooks are too interesting to leave off , thats next on the list I'll detail them out w more meng hardware, check that off list Jeff

-
XM523E2 & XM524E2
gotnitro? replied to nathanyel's topic in WIP: Model Trucks: Big Rigs and Heavy Equipment
Nice build ! -
Thanks Dan ! I had to shuffle things around slightly making room for the radiator. sigh of relief when it didn't throw the cab mounts off, all the side details are based of them ! That's the only tricky part about working with resin..normal glue will let go. CA will let go, but then wont stick to itself...sand the offending spot away. I've learned to tack the parts on 1st, then backfill once I'm satisfied. I went back and forth about which air cleaner this truck would have. The cab comes with the Farr square dry filter, but plenty of photos showed a round canister type w a domed intake top. Scrounging thru my depleted parts box yielded some MacK dm 800 parts I fashioned into a round filter. the intake piping wanted to run into the hood, so an access cut was made . Next up is the exhaust pipes, then move onto the mixer portion again !!! hooray progress Guess I've been cleared to return to work Tuesday..just when I was getting rolling on this again . This runny nose cold that's going rampant around here is getting ridiculous..doesn't anyone just get allergies anymore
-
The yellow / black combo really look good! Your really busting thses builds out lately, ya ever sleep lol. I've been burning the midnight oil lately, working on these builds after daughter heads to bed . Somehow it's very ealry morning before realizing the time
-
Found a few hours of bench time before the humidity/heat make it too hot for working upstairs this morning. We've had several days of 90 degree temps w high humidity , something we're not accustomed to. I fashioned a new battery box / step for the drivers side . Stealing a scrap box , then adding a diamond plate cover fit the bill. I widened the box w strip , then covered w the diamond plate . The fab shop made a step from scrap metal , so I copied it . Trying to replicate these unique changes really make builds fun The step was a scrap piece of wire form screen I kept from the snowblower build . A few meng bolts add detail to the battery box mounts , but sadly will be hidden after install..oh well. Now the fun part...fitting the cab, radiator and engine . Cutting the hood apart really weakened the casting. I spotted braces on the real trucks , so since the hoods open..why not . 1/16 rod glued under the cowl and grill shell tied it together in theory! I better check the fit of everything again, there's been so much work done in this area...whew looks properly cramped in there ... I'll add a few items along the exposed fire wall later after the plumbing gets installed Thanks for following
-
BRBO 2021 - 1938 GMC Car hauler
gotnitro? replied to landman's topic in WIP: Model Trucks: Big Rigs and Heavy Equipment
really nice work Pat ! -
Looks good ! I agree w Warren..its screaming for a tag axle ..sorry for ganging up on ya lol The yeller paint will be flying soon !!
-
1969 Camaro Z28, vintage racing inspired
gotnitro? replied to Mattilacken's topic in WIP: Model Cars
Nice Camaro !!! Its gonna turn out being a track beast, love the aggressive stance and wheel combo . As far as the grill gap, just a thin strip of plastic along the top to fill, something like. 015 " aka plastic for sale signs would work there -
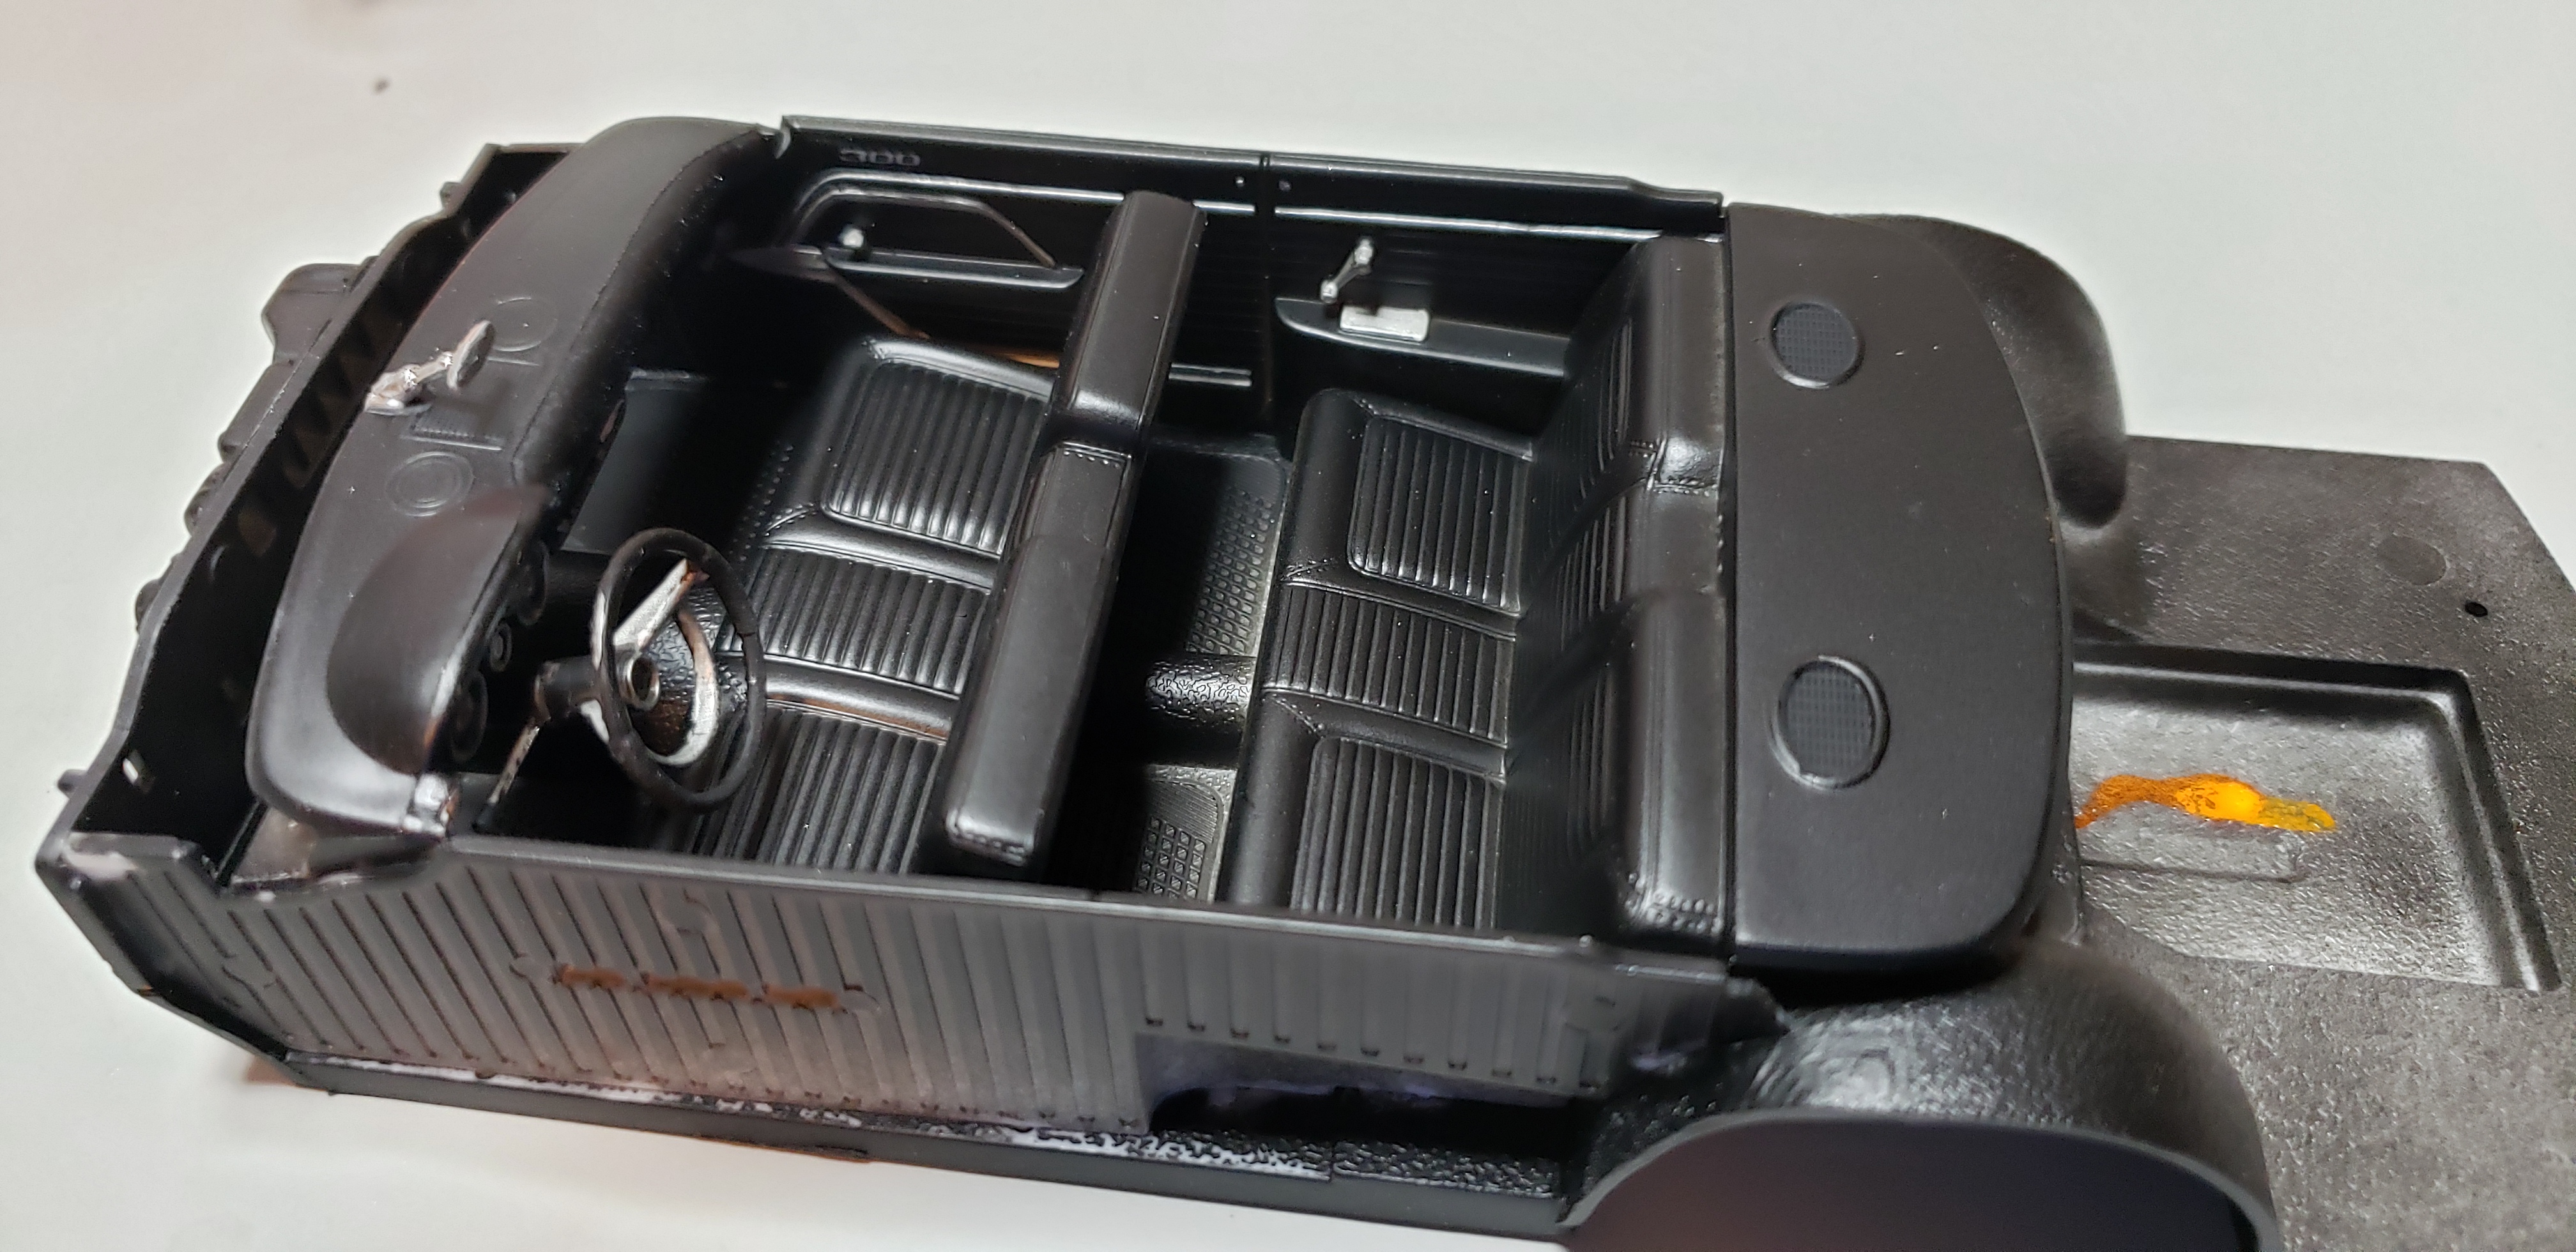
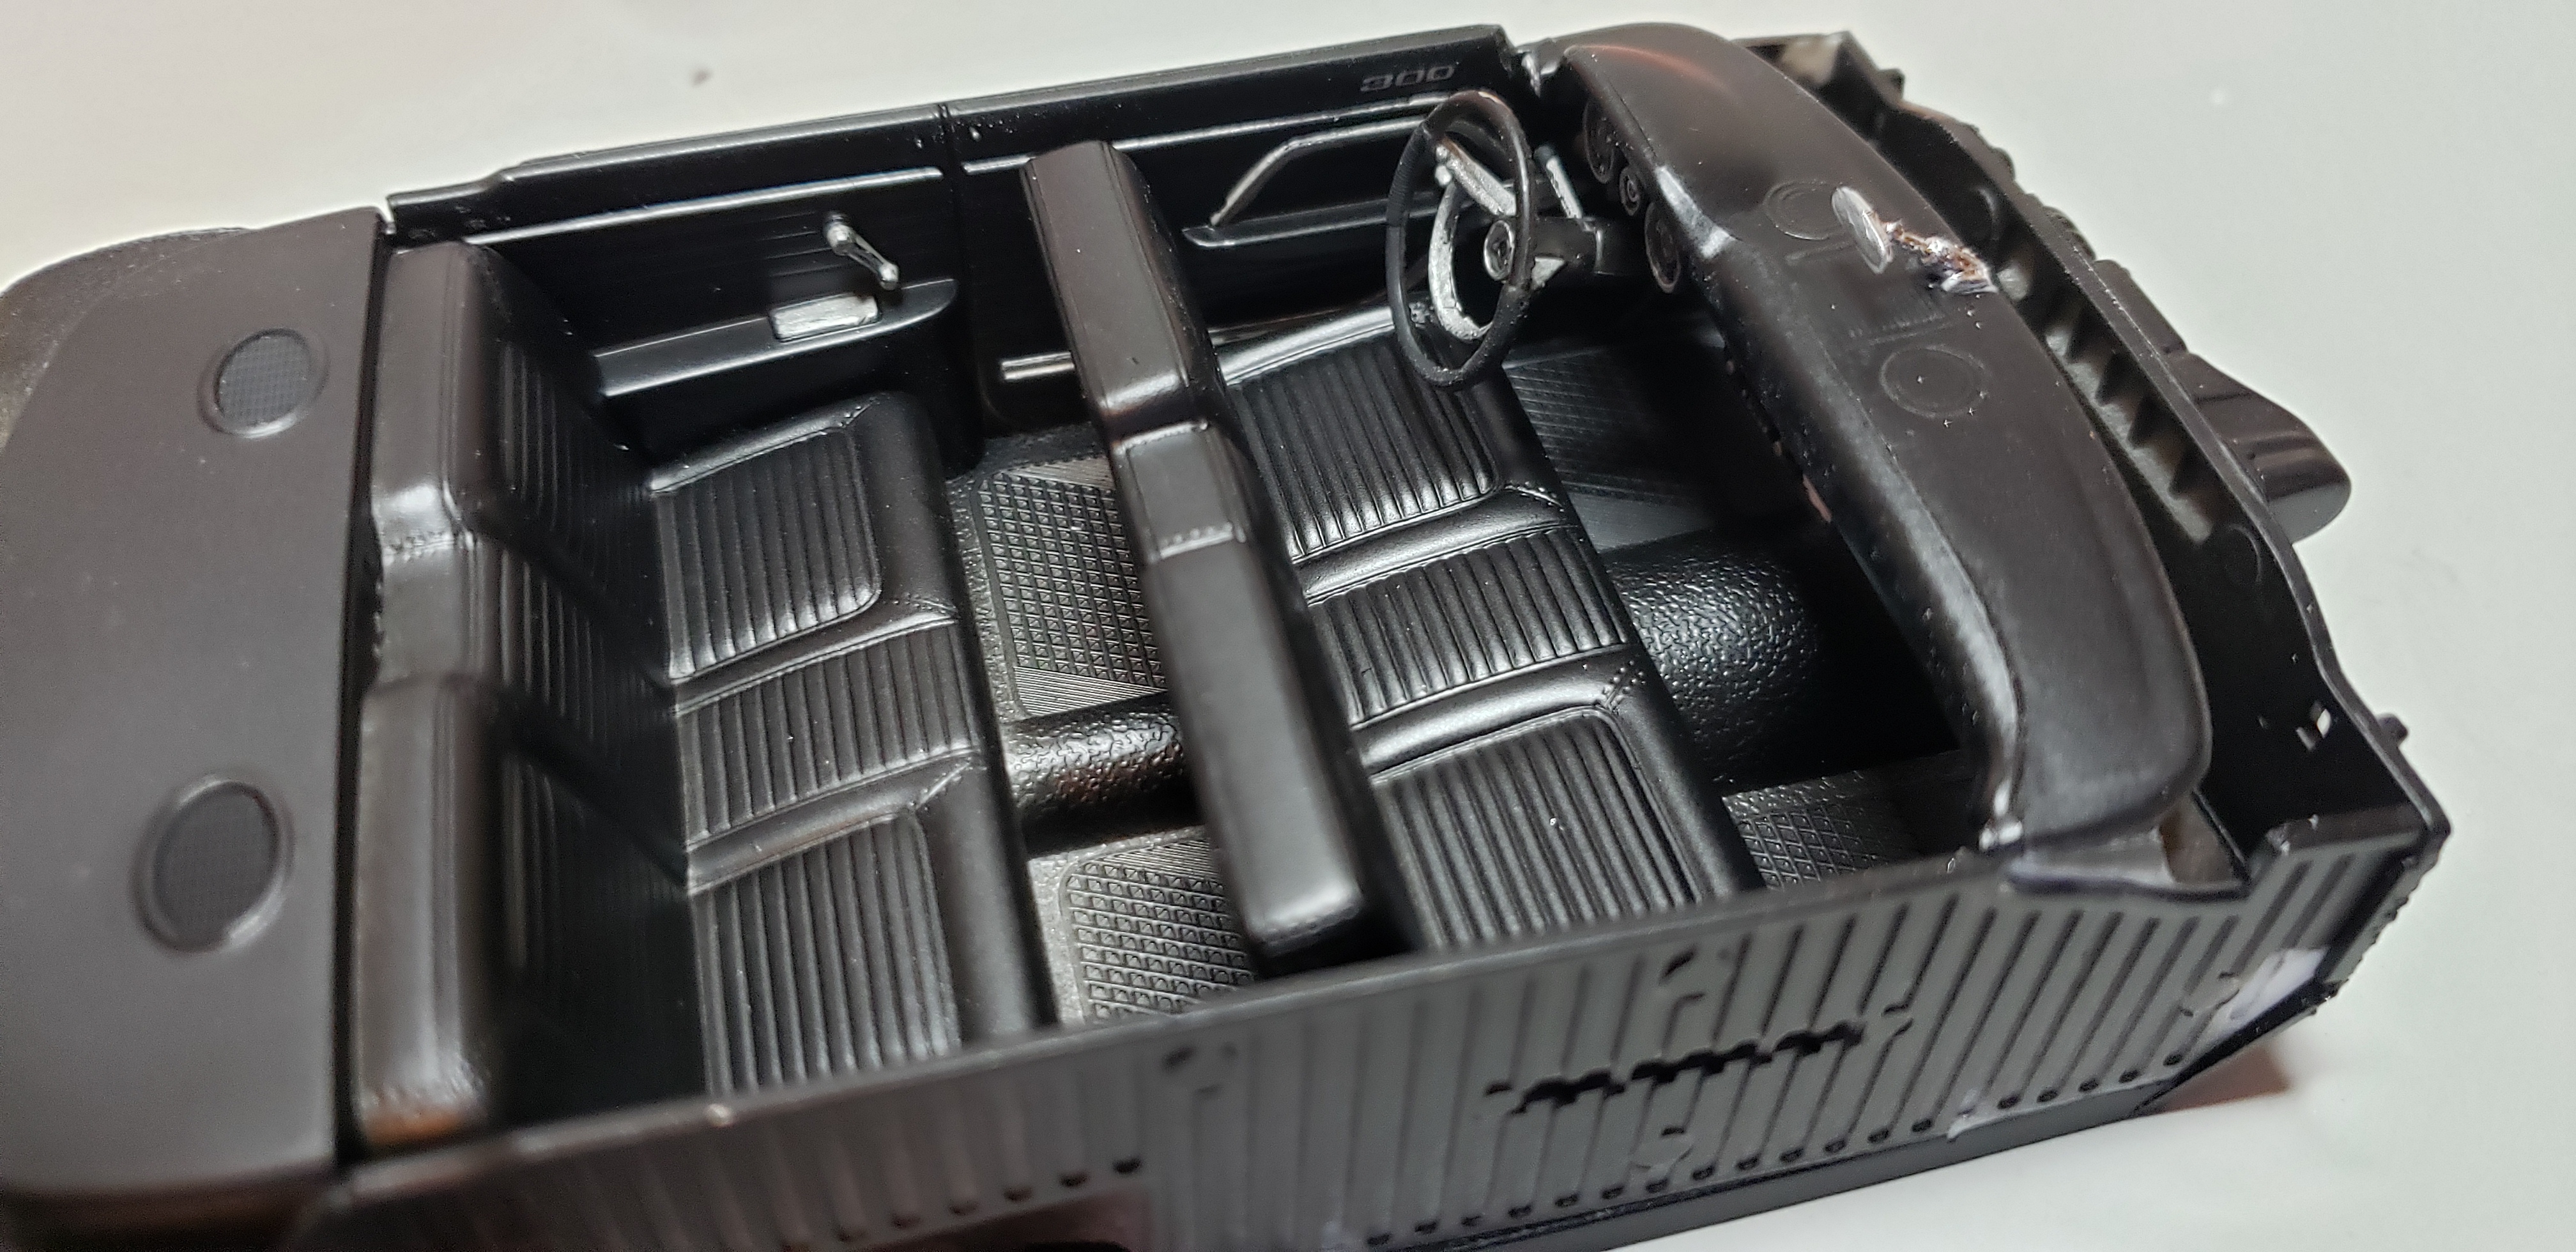
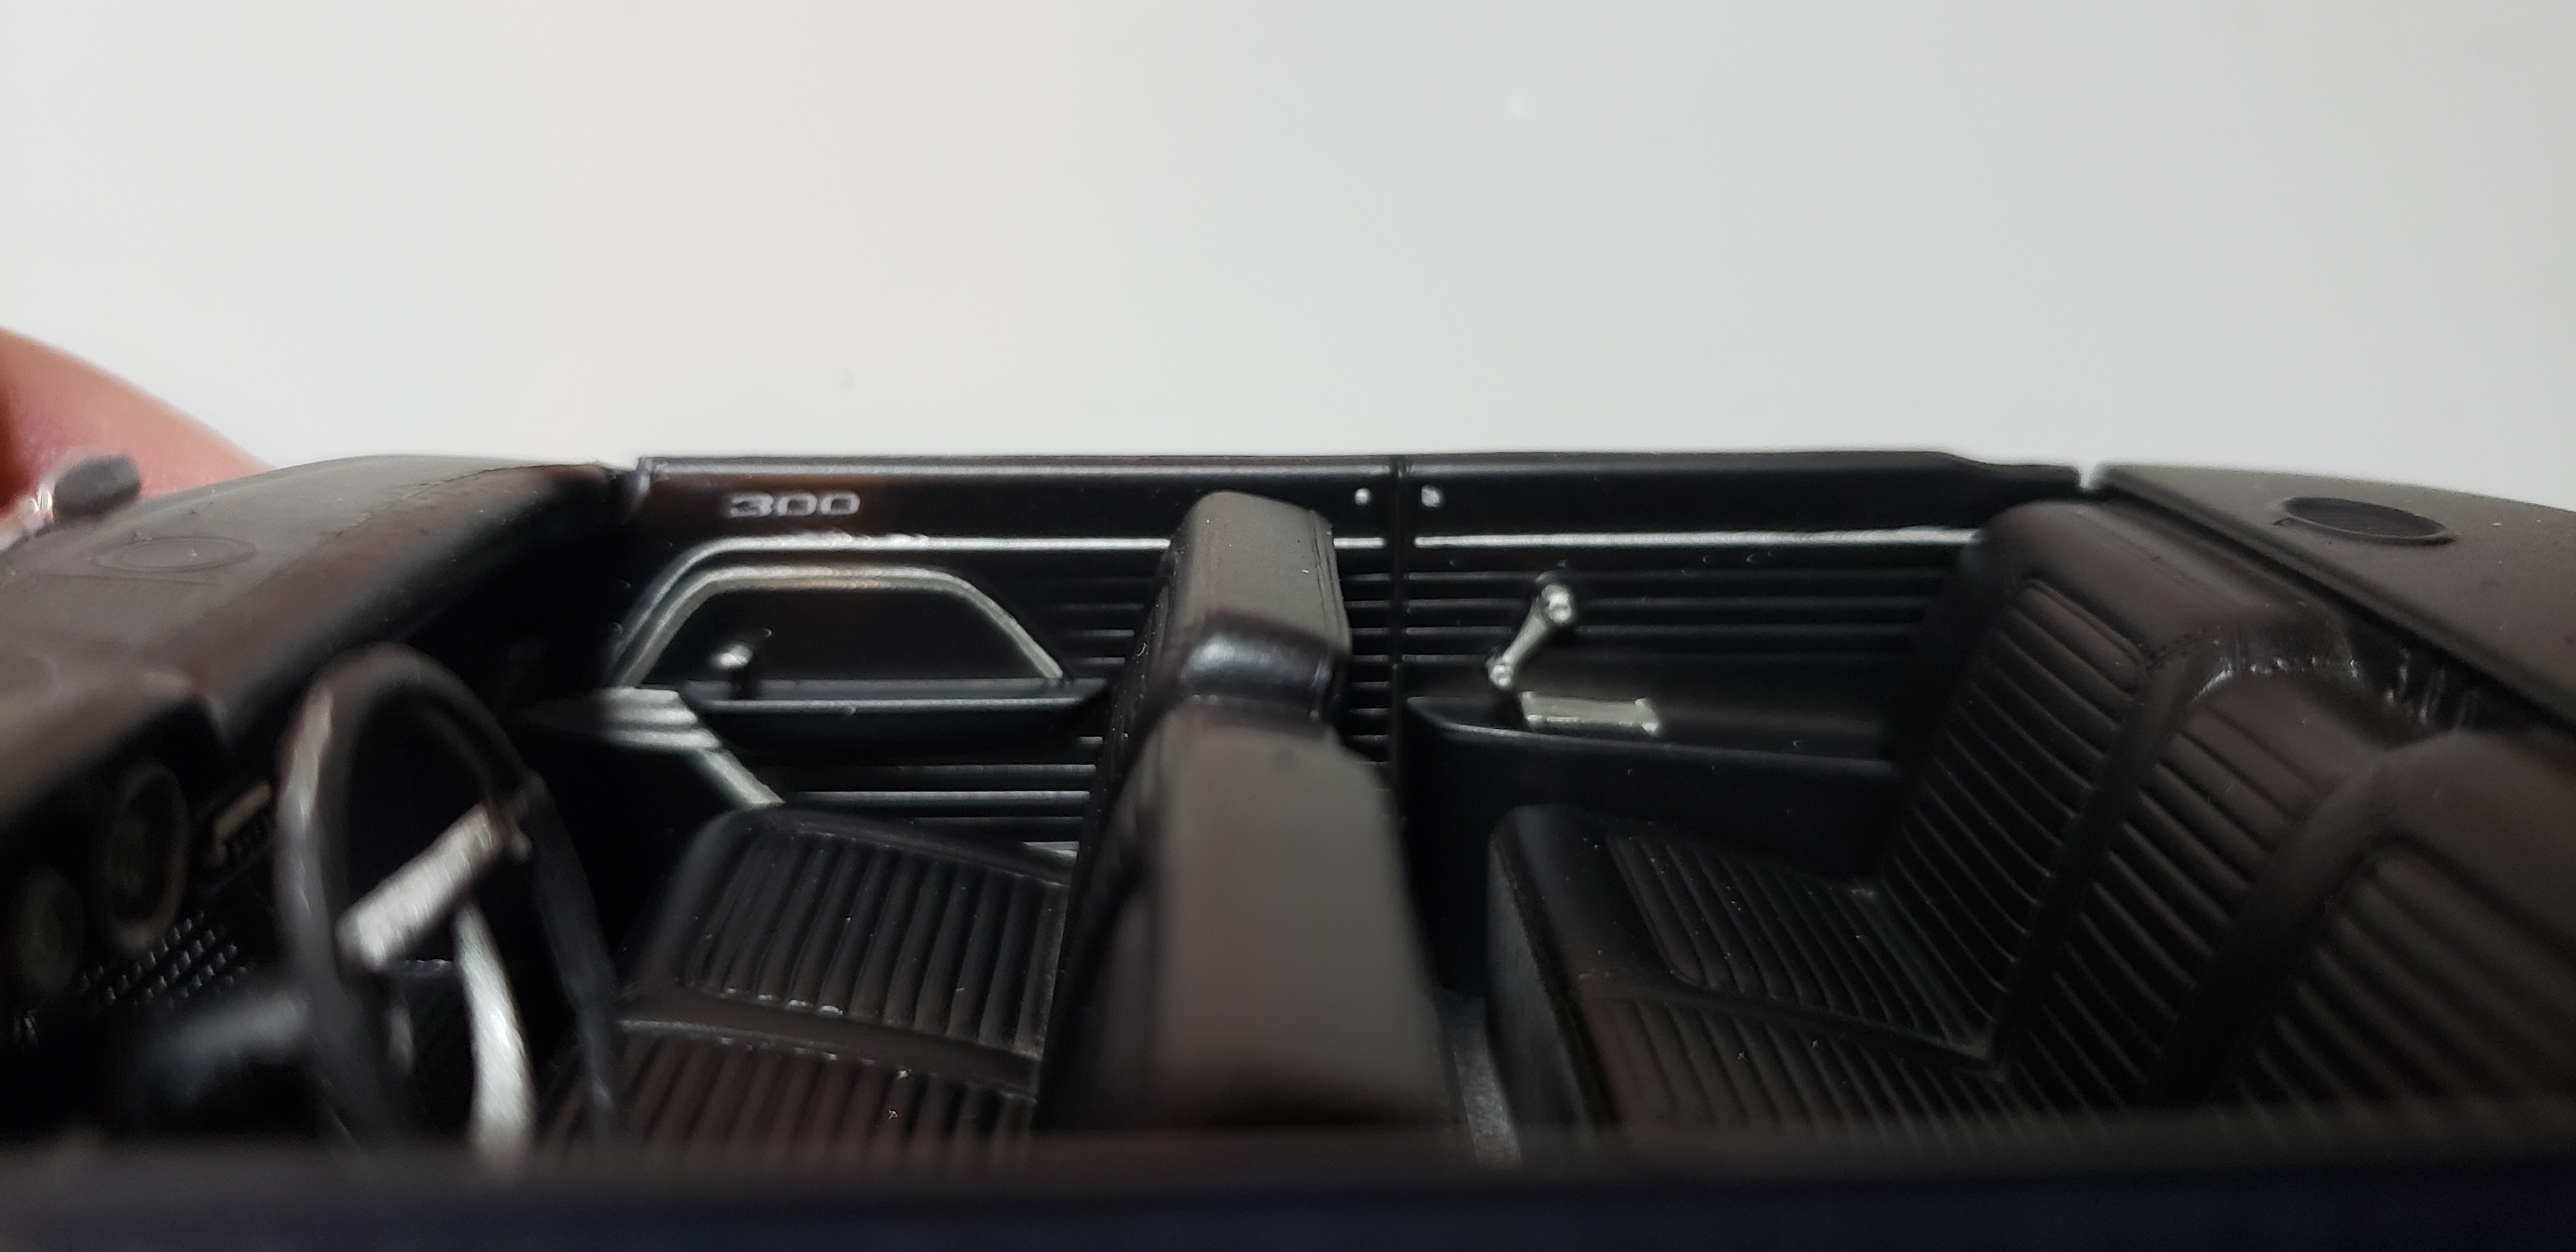
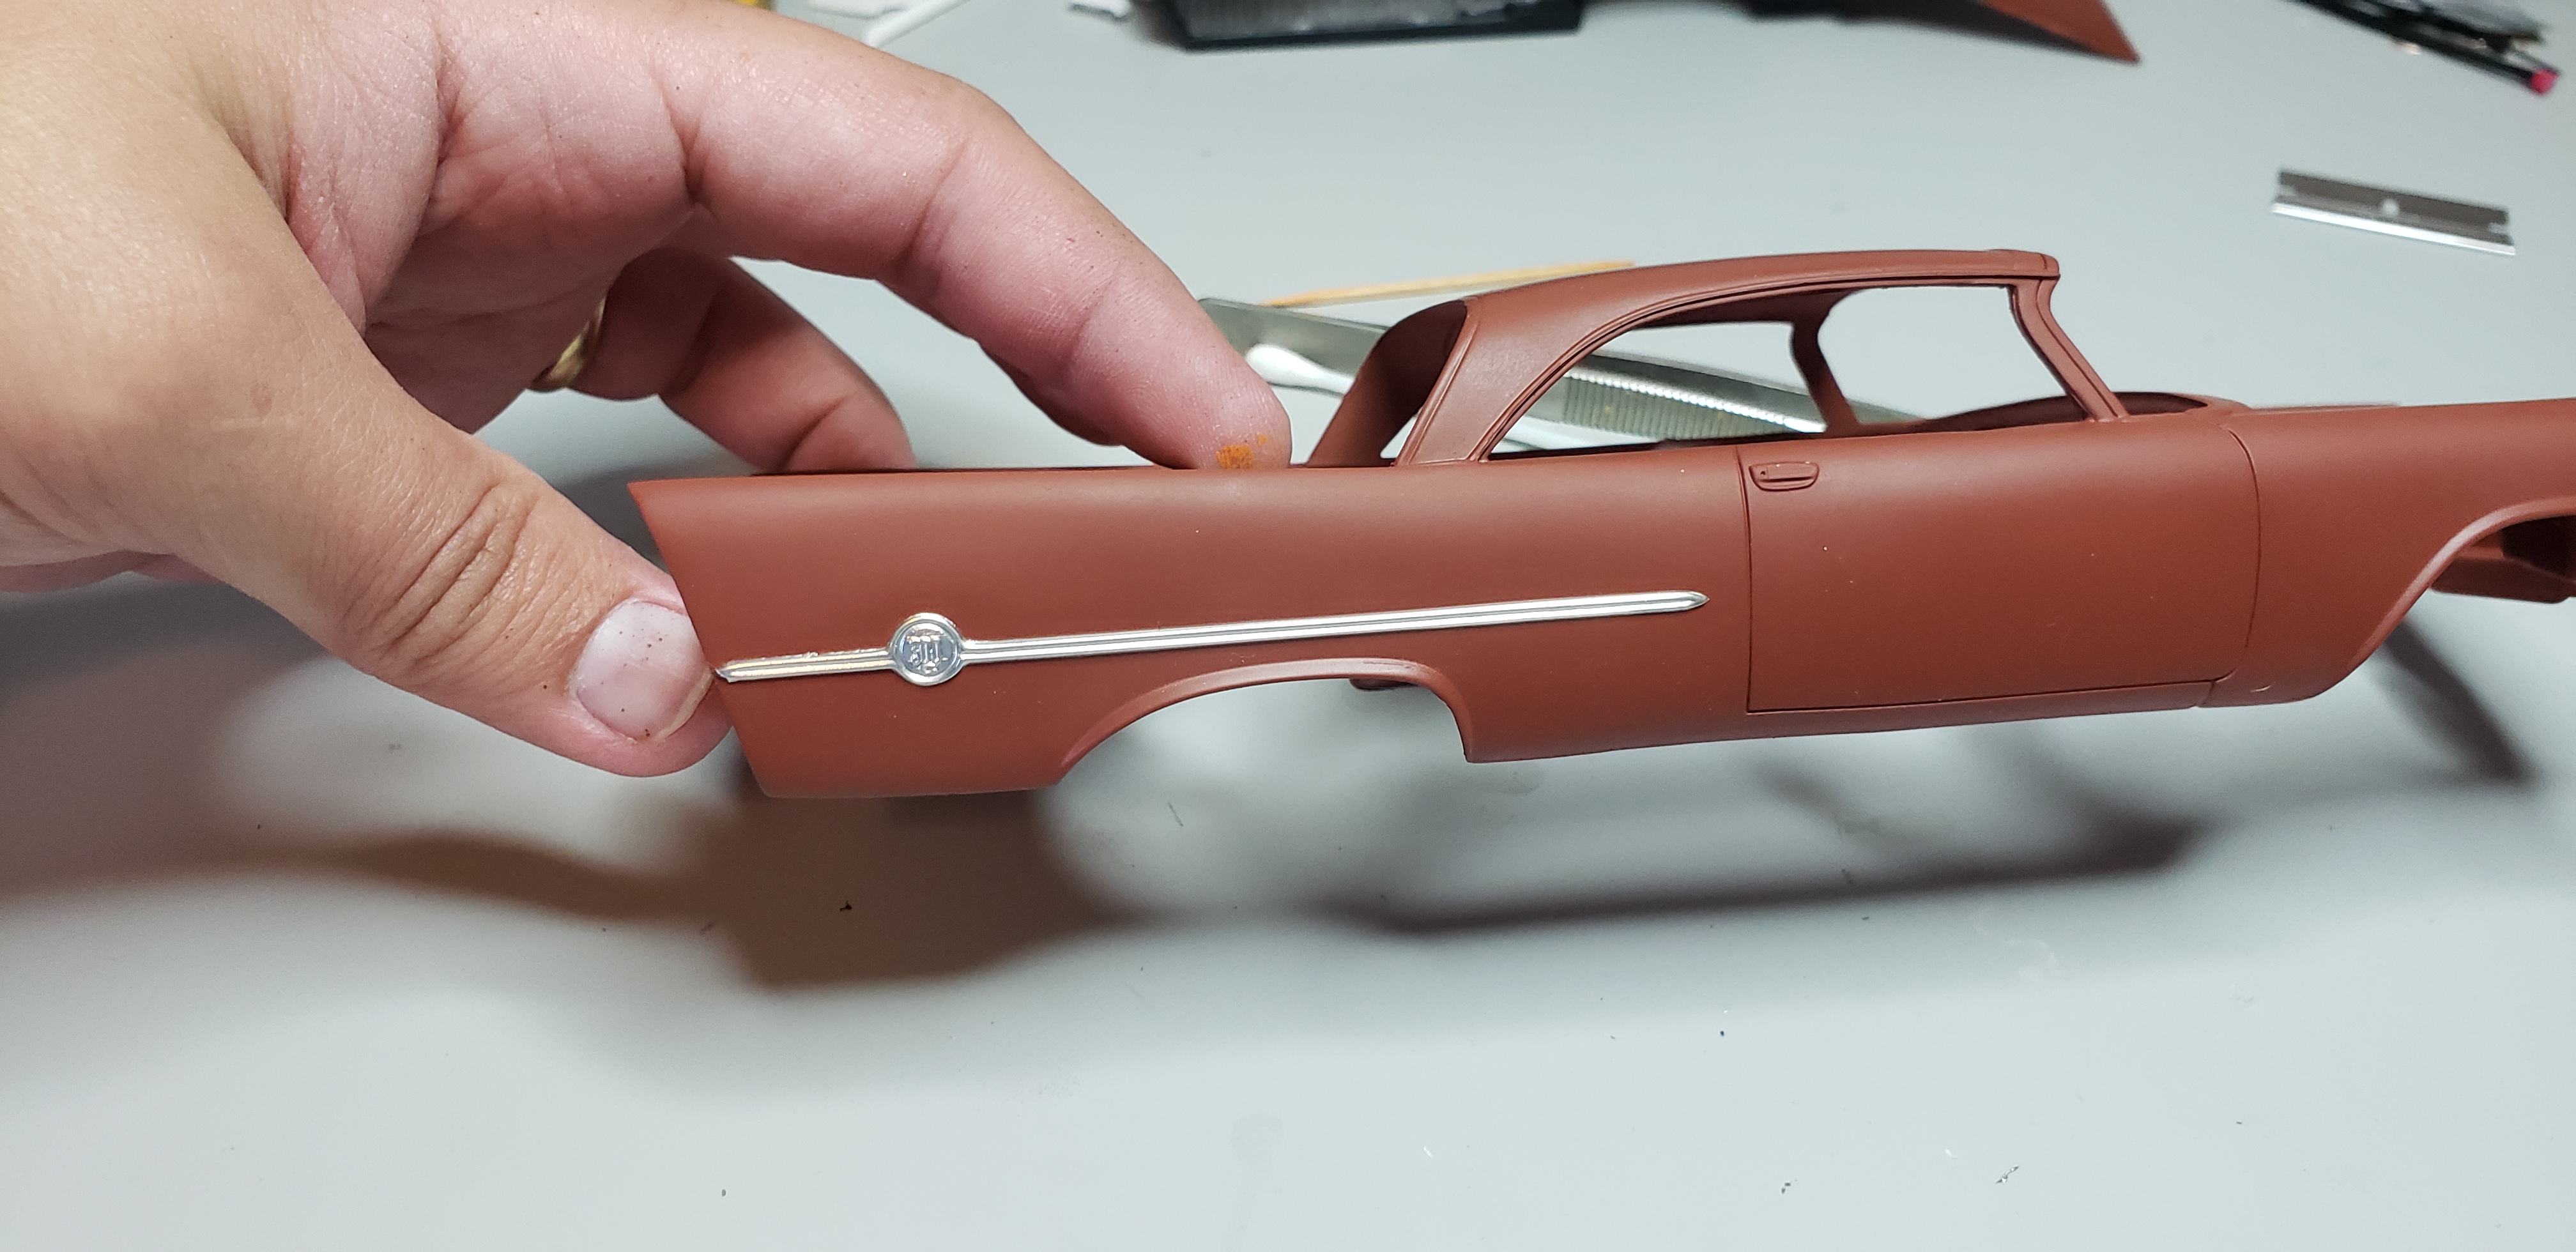
Thanks everyone! I ended up removing the bmf along the sidetrim, and will reapply it after paint . Steves mention of it appearing like paint was creeping up sides made the decision easy. I worked on the interior yesterday, simple semi gloss interior w selected parts chromed w pen . Photos showed these interiors were pretty basis , like today's cars lol. The paint used was tamiyas sg black, after drying gives a very scale vinyl appearance I really like . The seats have beautiful stitching thats this paint still shows too I painted the leather wrapped area of the steering wheel w flat black for subtle contrast, since the exterior will be dark gray I lightly sanded the 300 emblem , just to make it pop . Wow the camera really shows my crooked paint lines oops Looks like my gunmetal paint is being shipped soon, so I'll be able to lay down some color hopefully this wknd . Thanks for any feedback or comments
-
wow, your black paint is looking fantastic ! My dad used to paint cars for years, always talking about the older lacquer paint jobs using this exact technique
-
Steve - not at all glad ya chimed in with your advice ! I didn't consider the depressed areas causing grief sanding. Worked out as good practice anyway lol Once the paint arrives ill get some color on the body
-
Thanks everyone! I usually build big trucks so tinkering w cars is a fun change . Really glad this build goes together well, and the fit is really positive Steve - thanks ill pull the bmf and reserve that for smaller parts lol
-
Tough looking A- car ! Hacking the Heil box down really helps the look especially behind the smallish cab on the a - car ! You sticking w stock rubber on this one or going for something a bit heavier
-
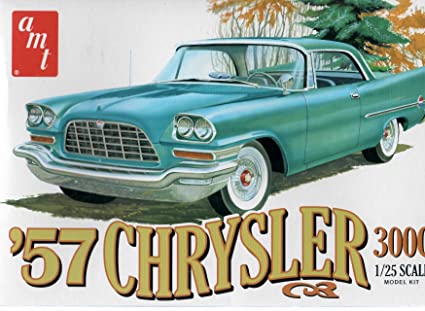
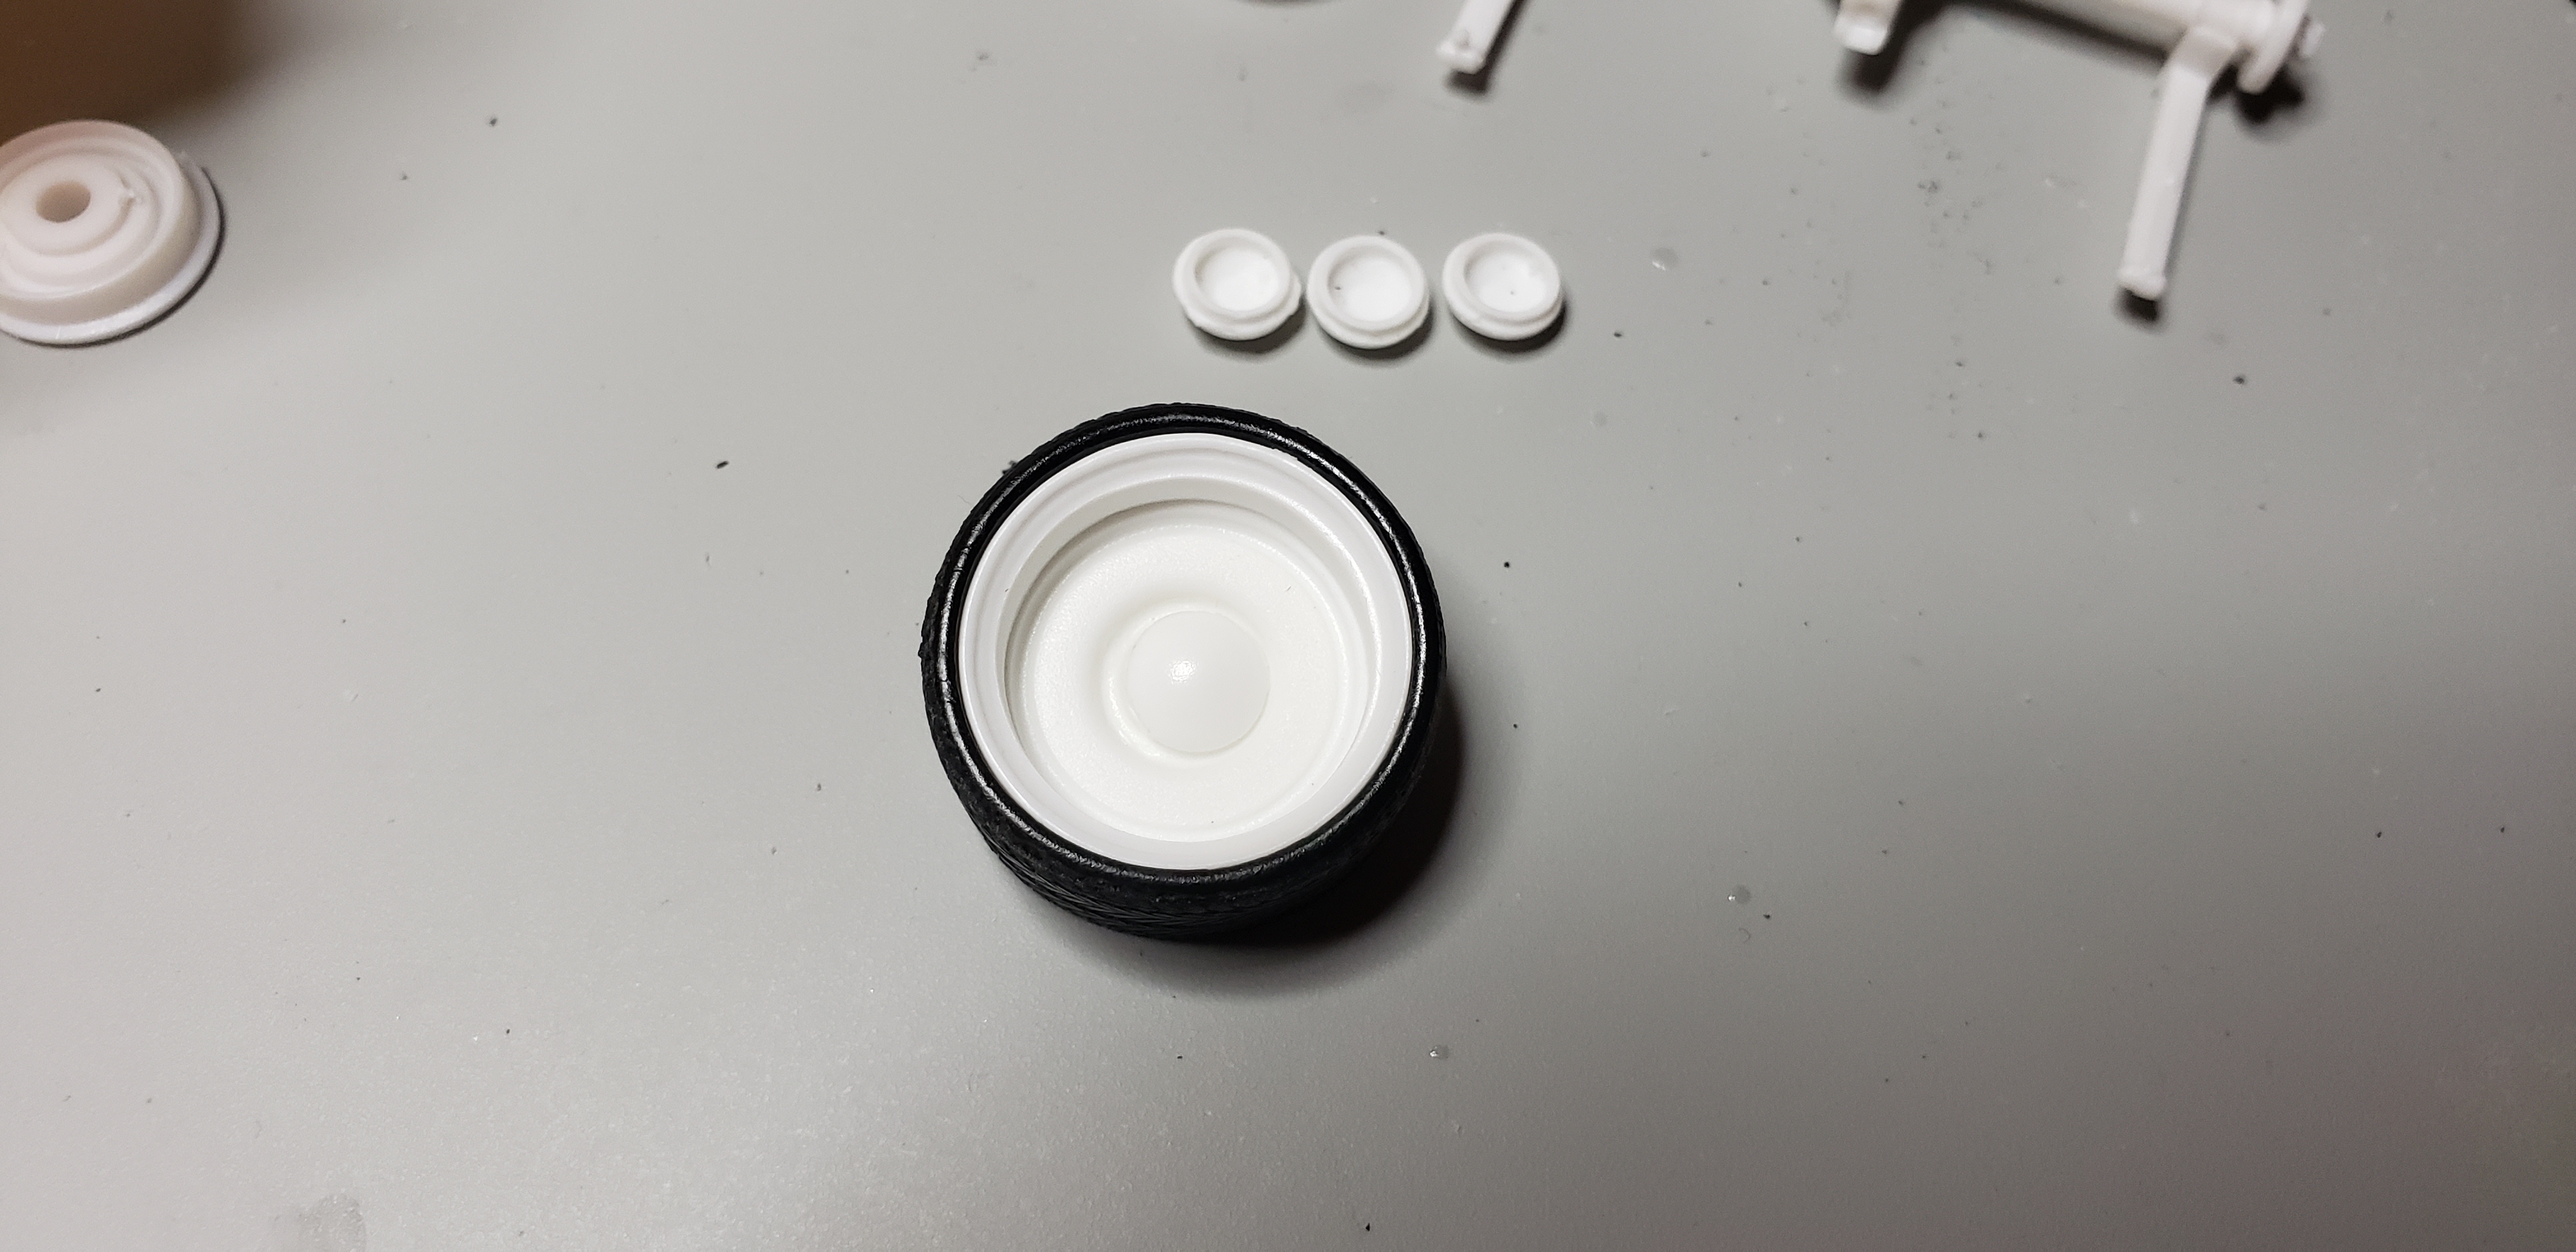
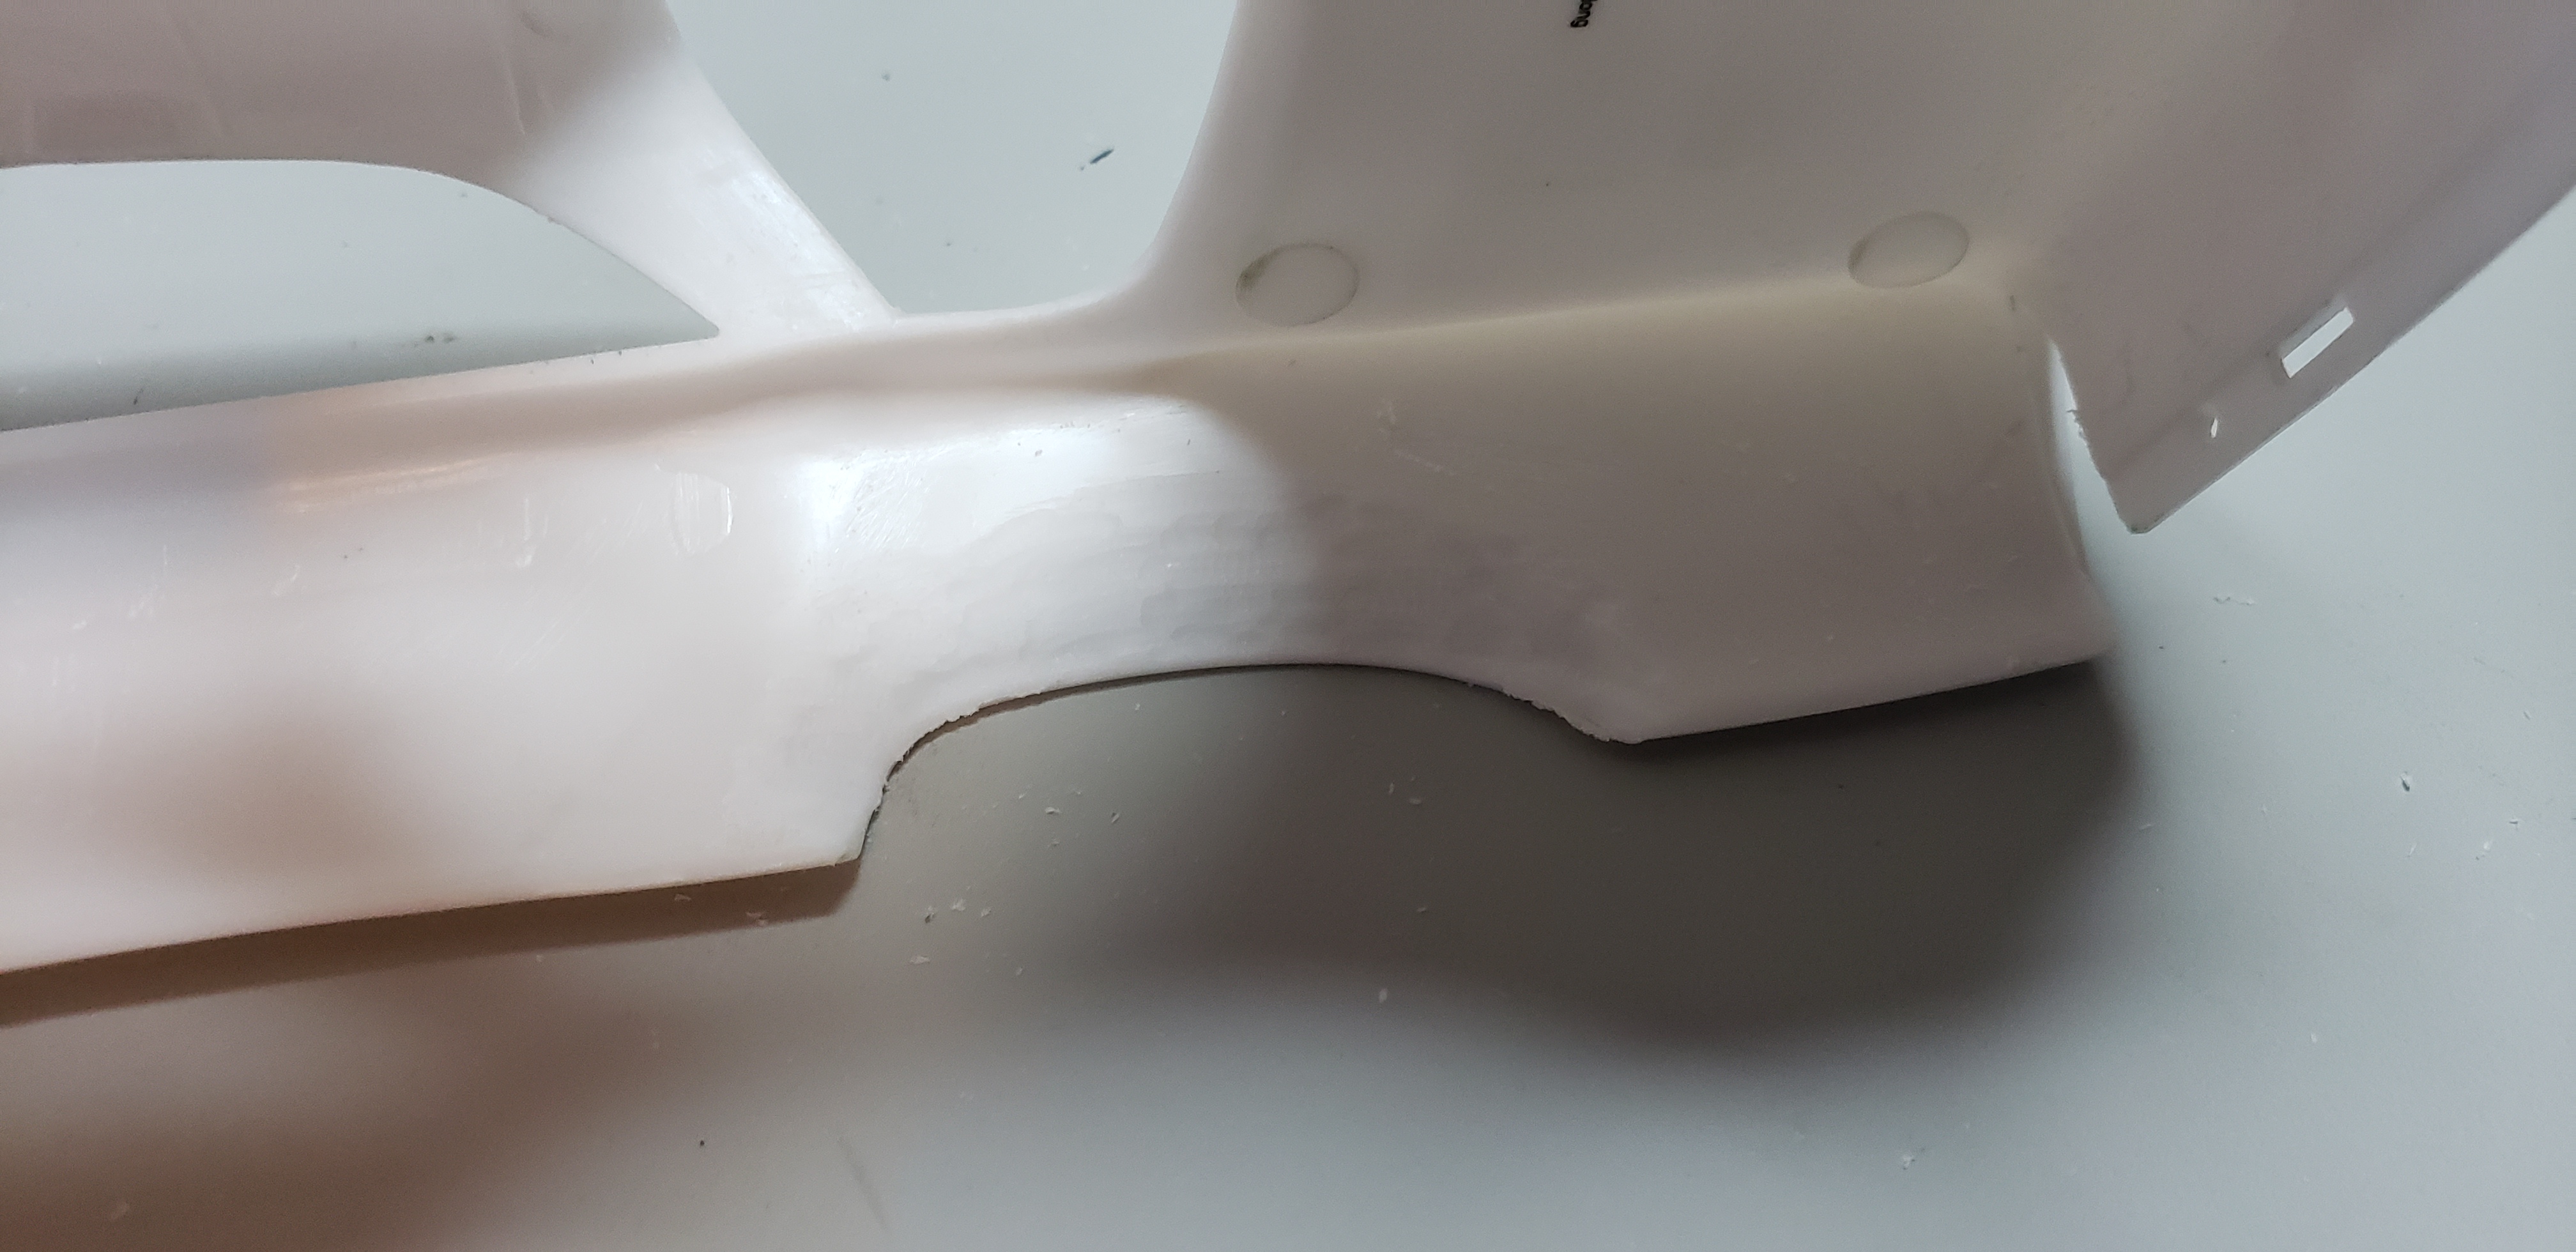
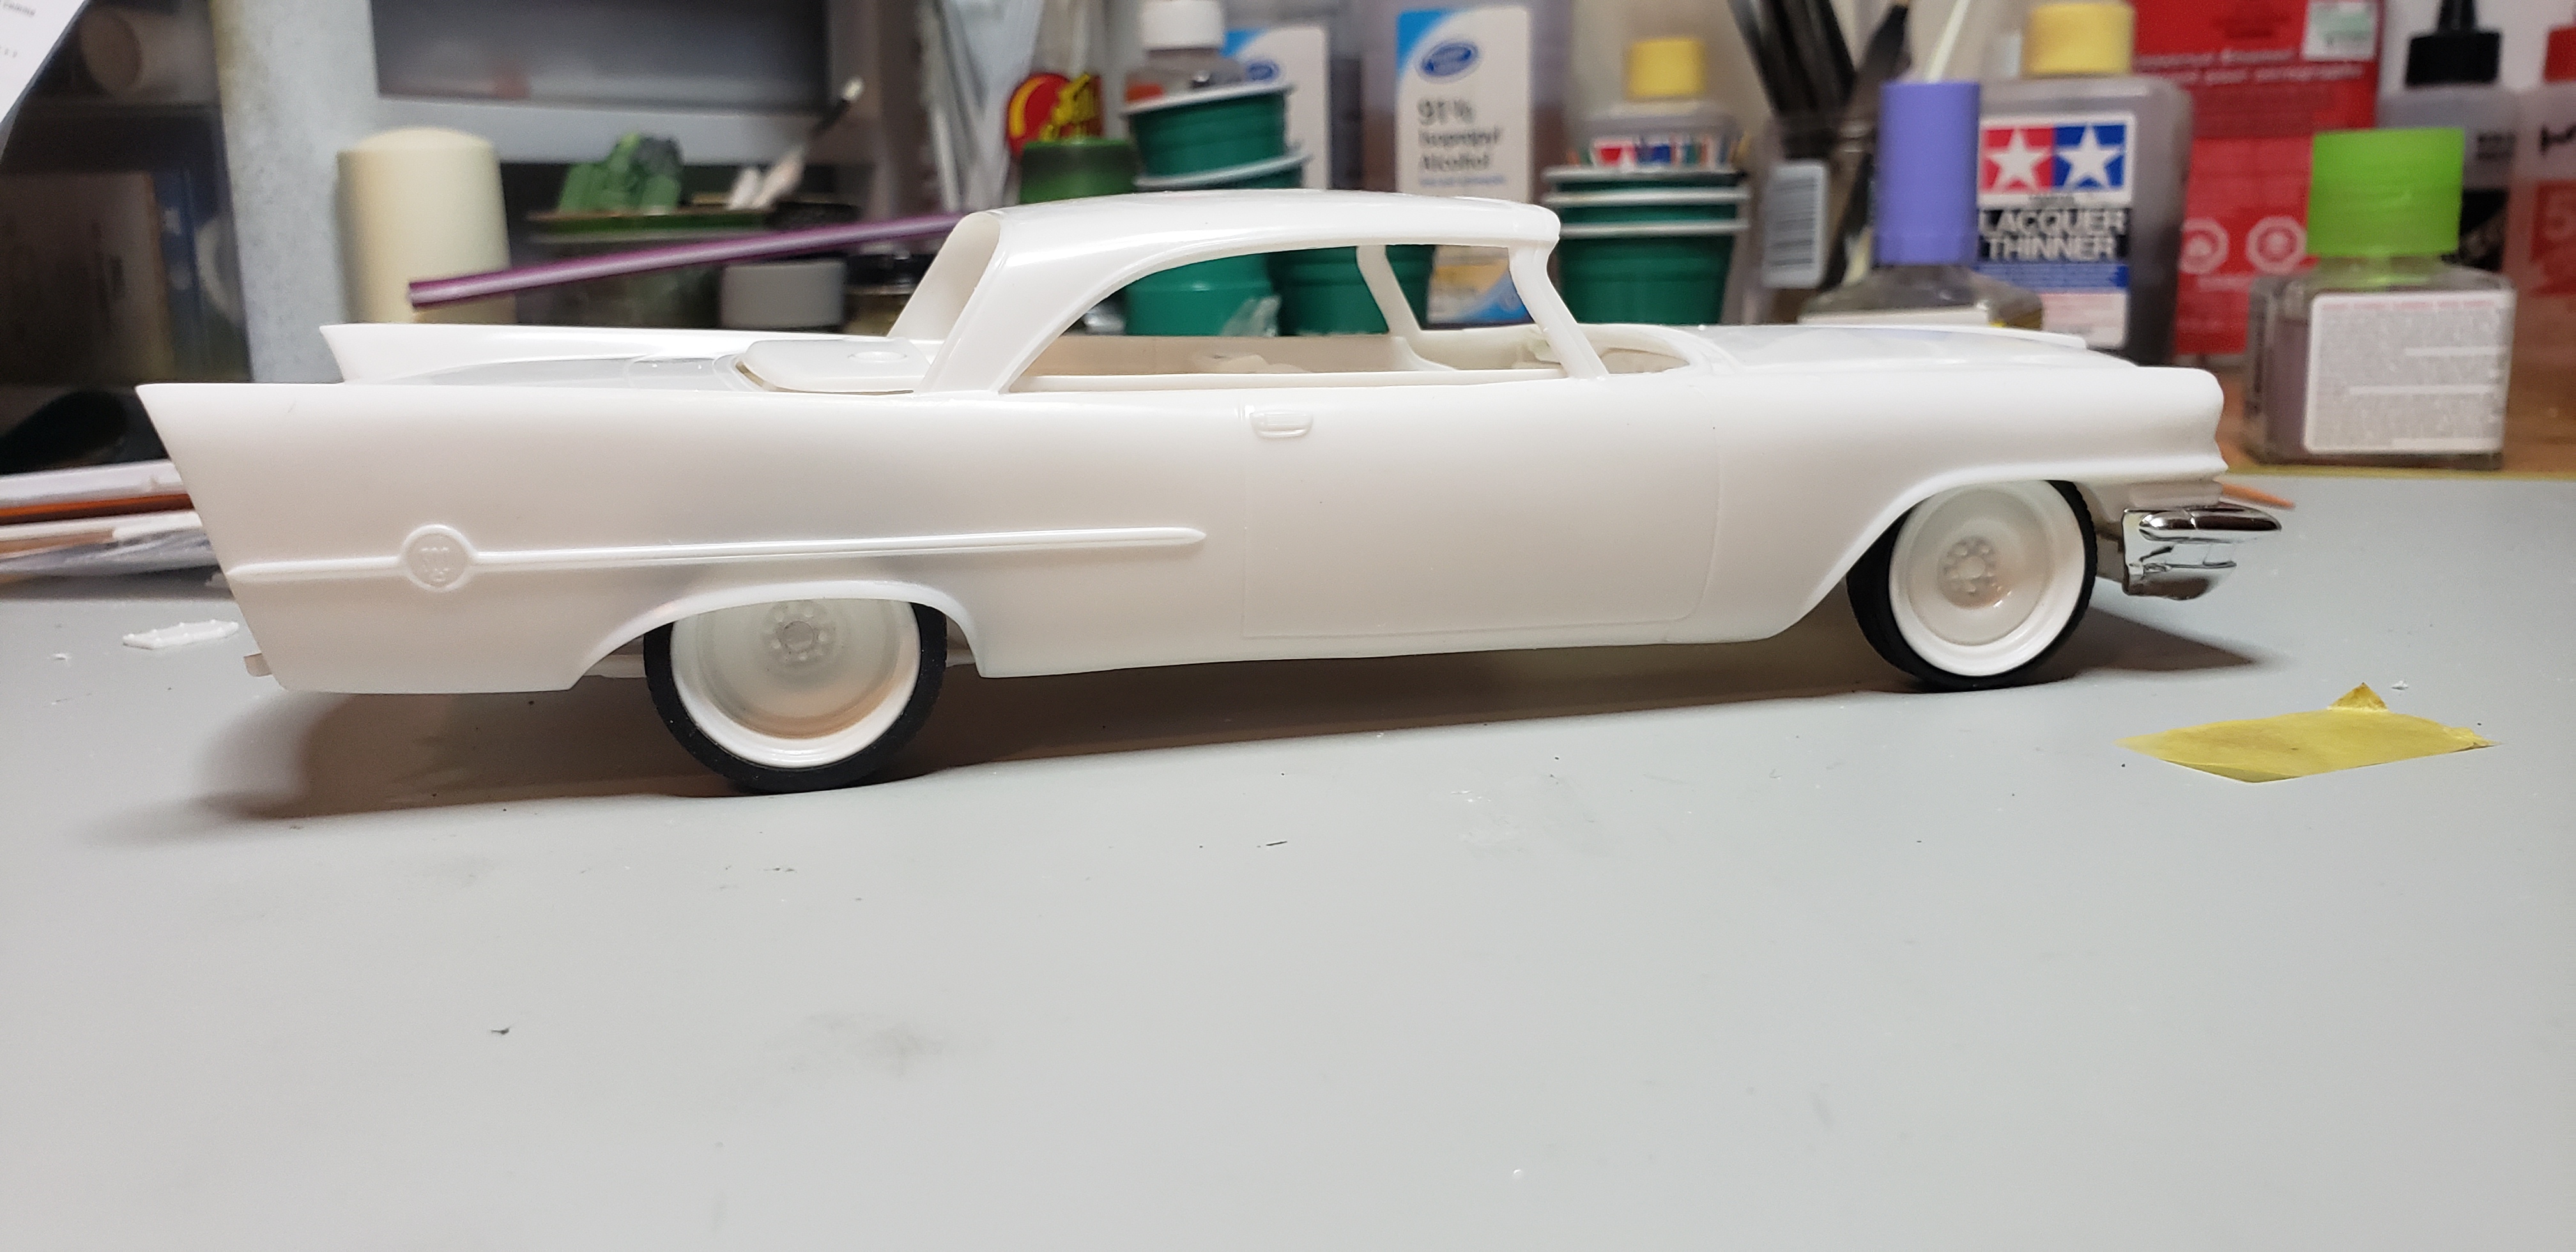
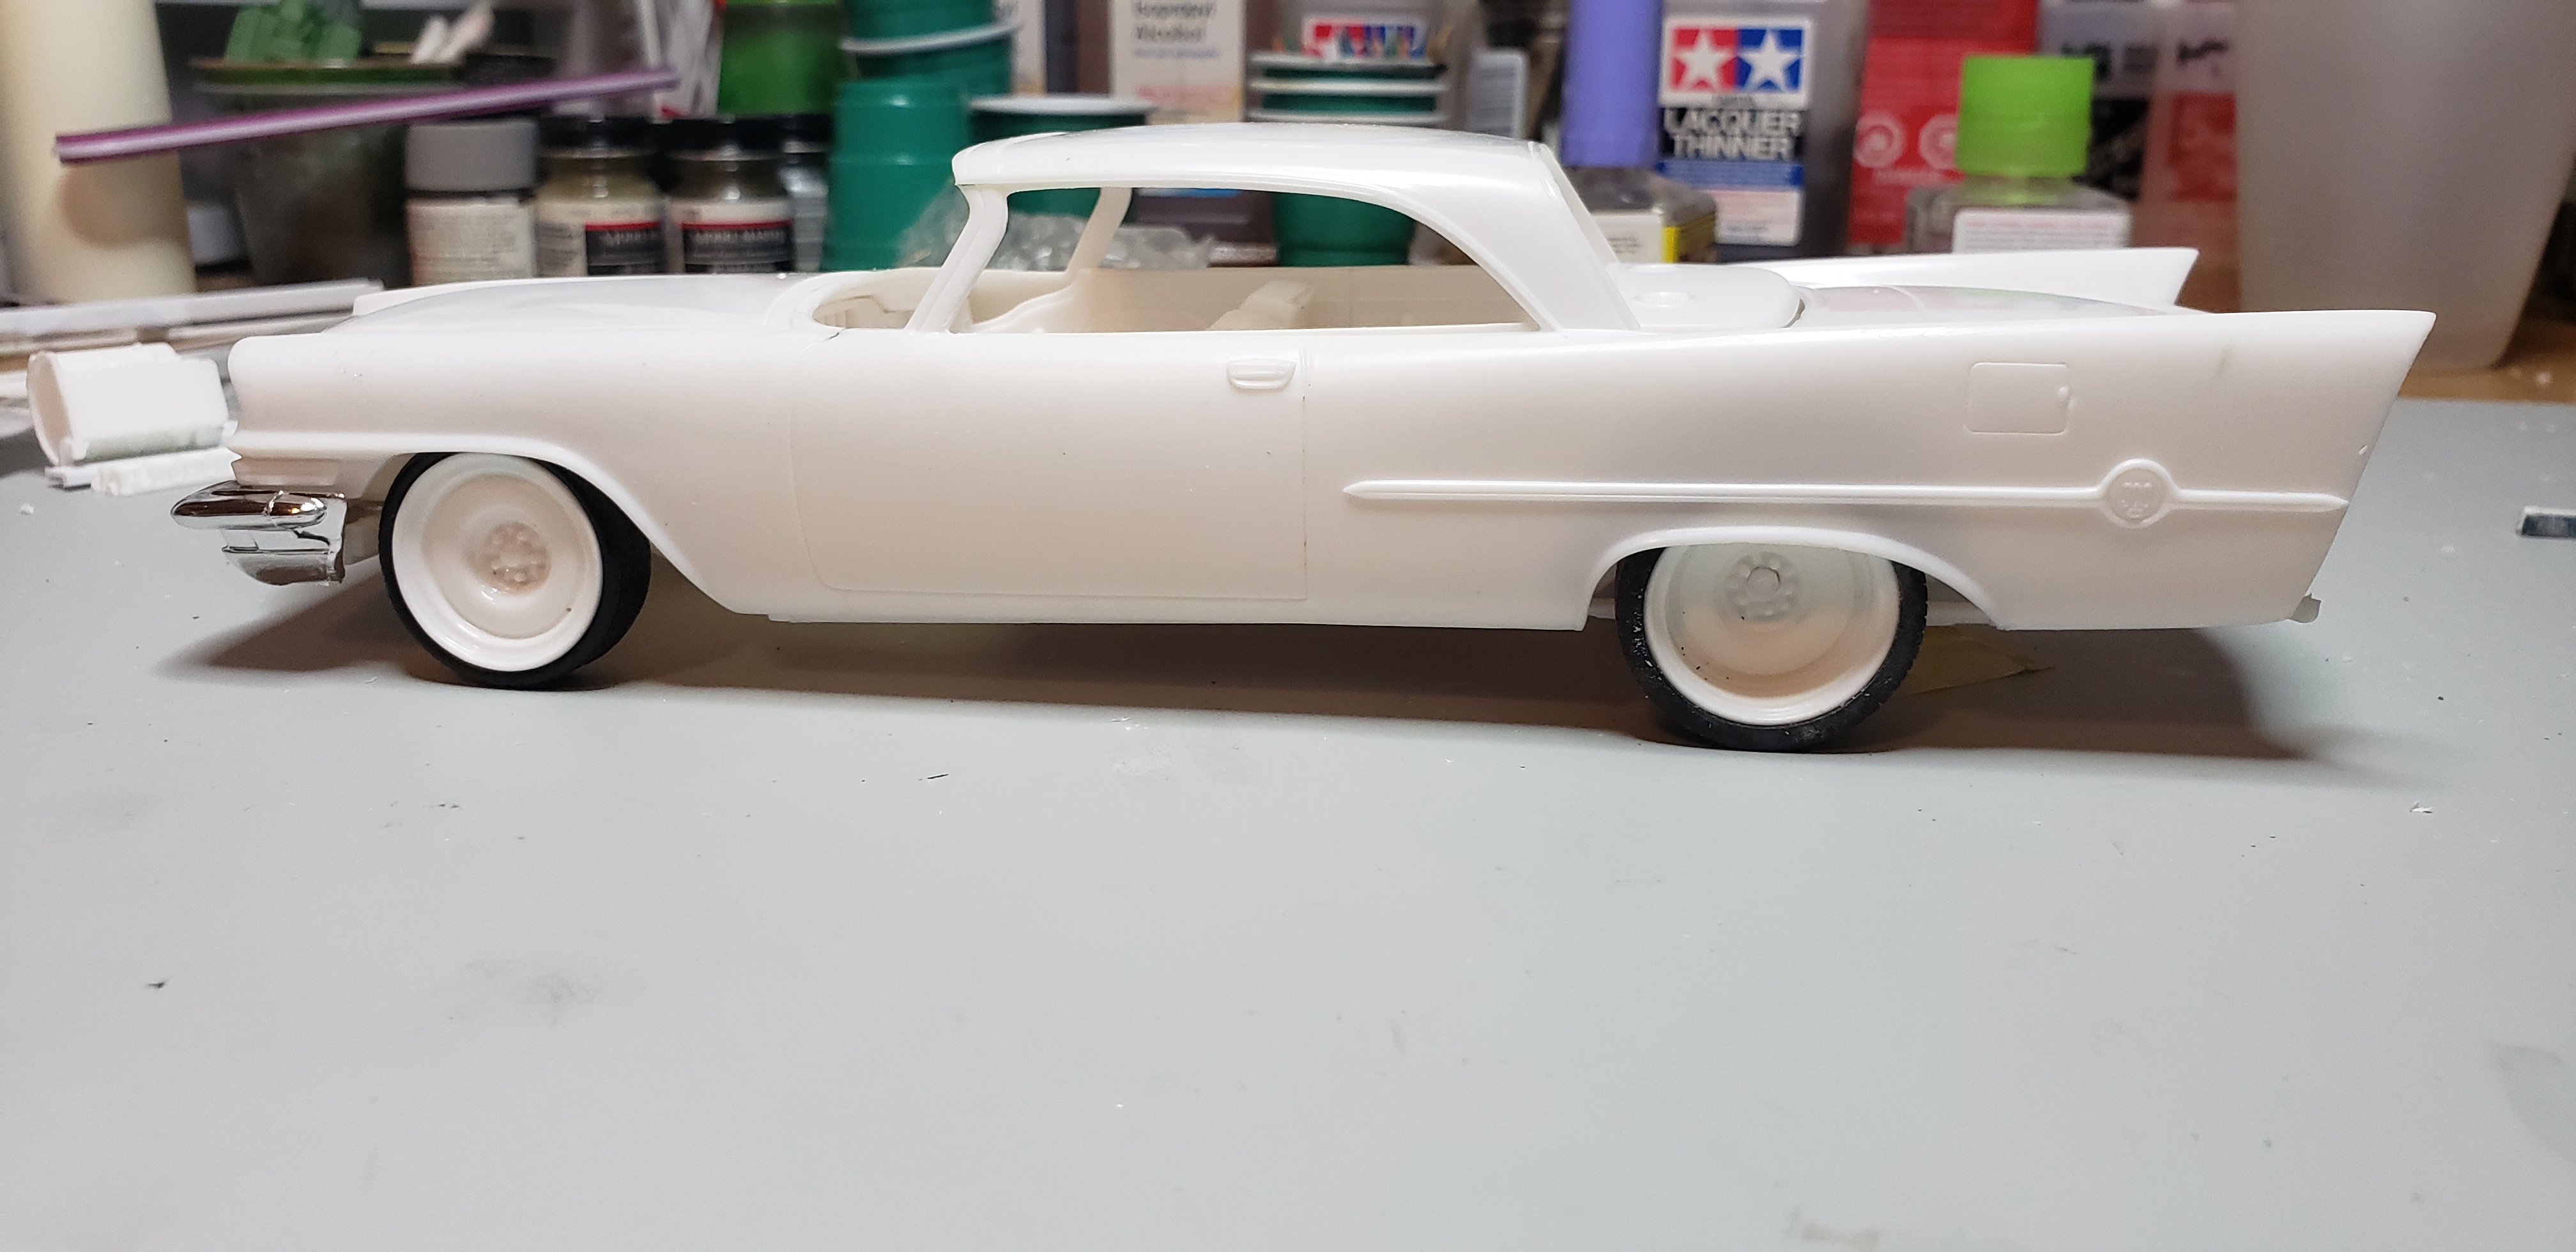
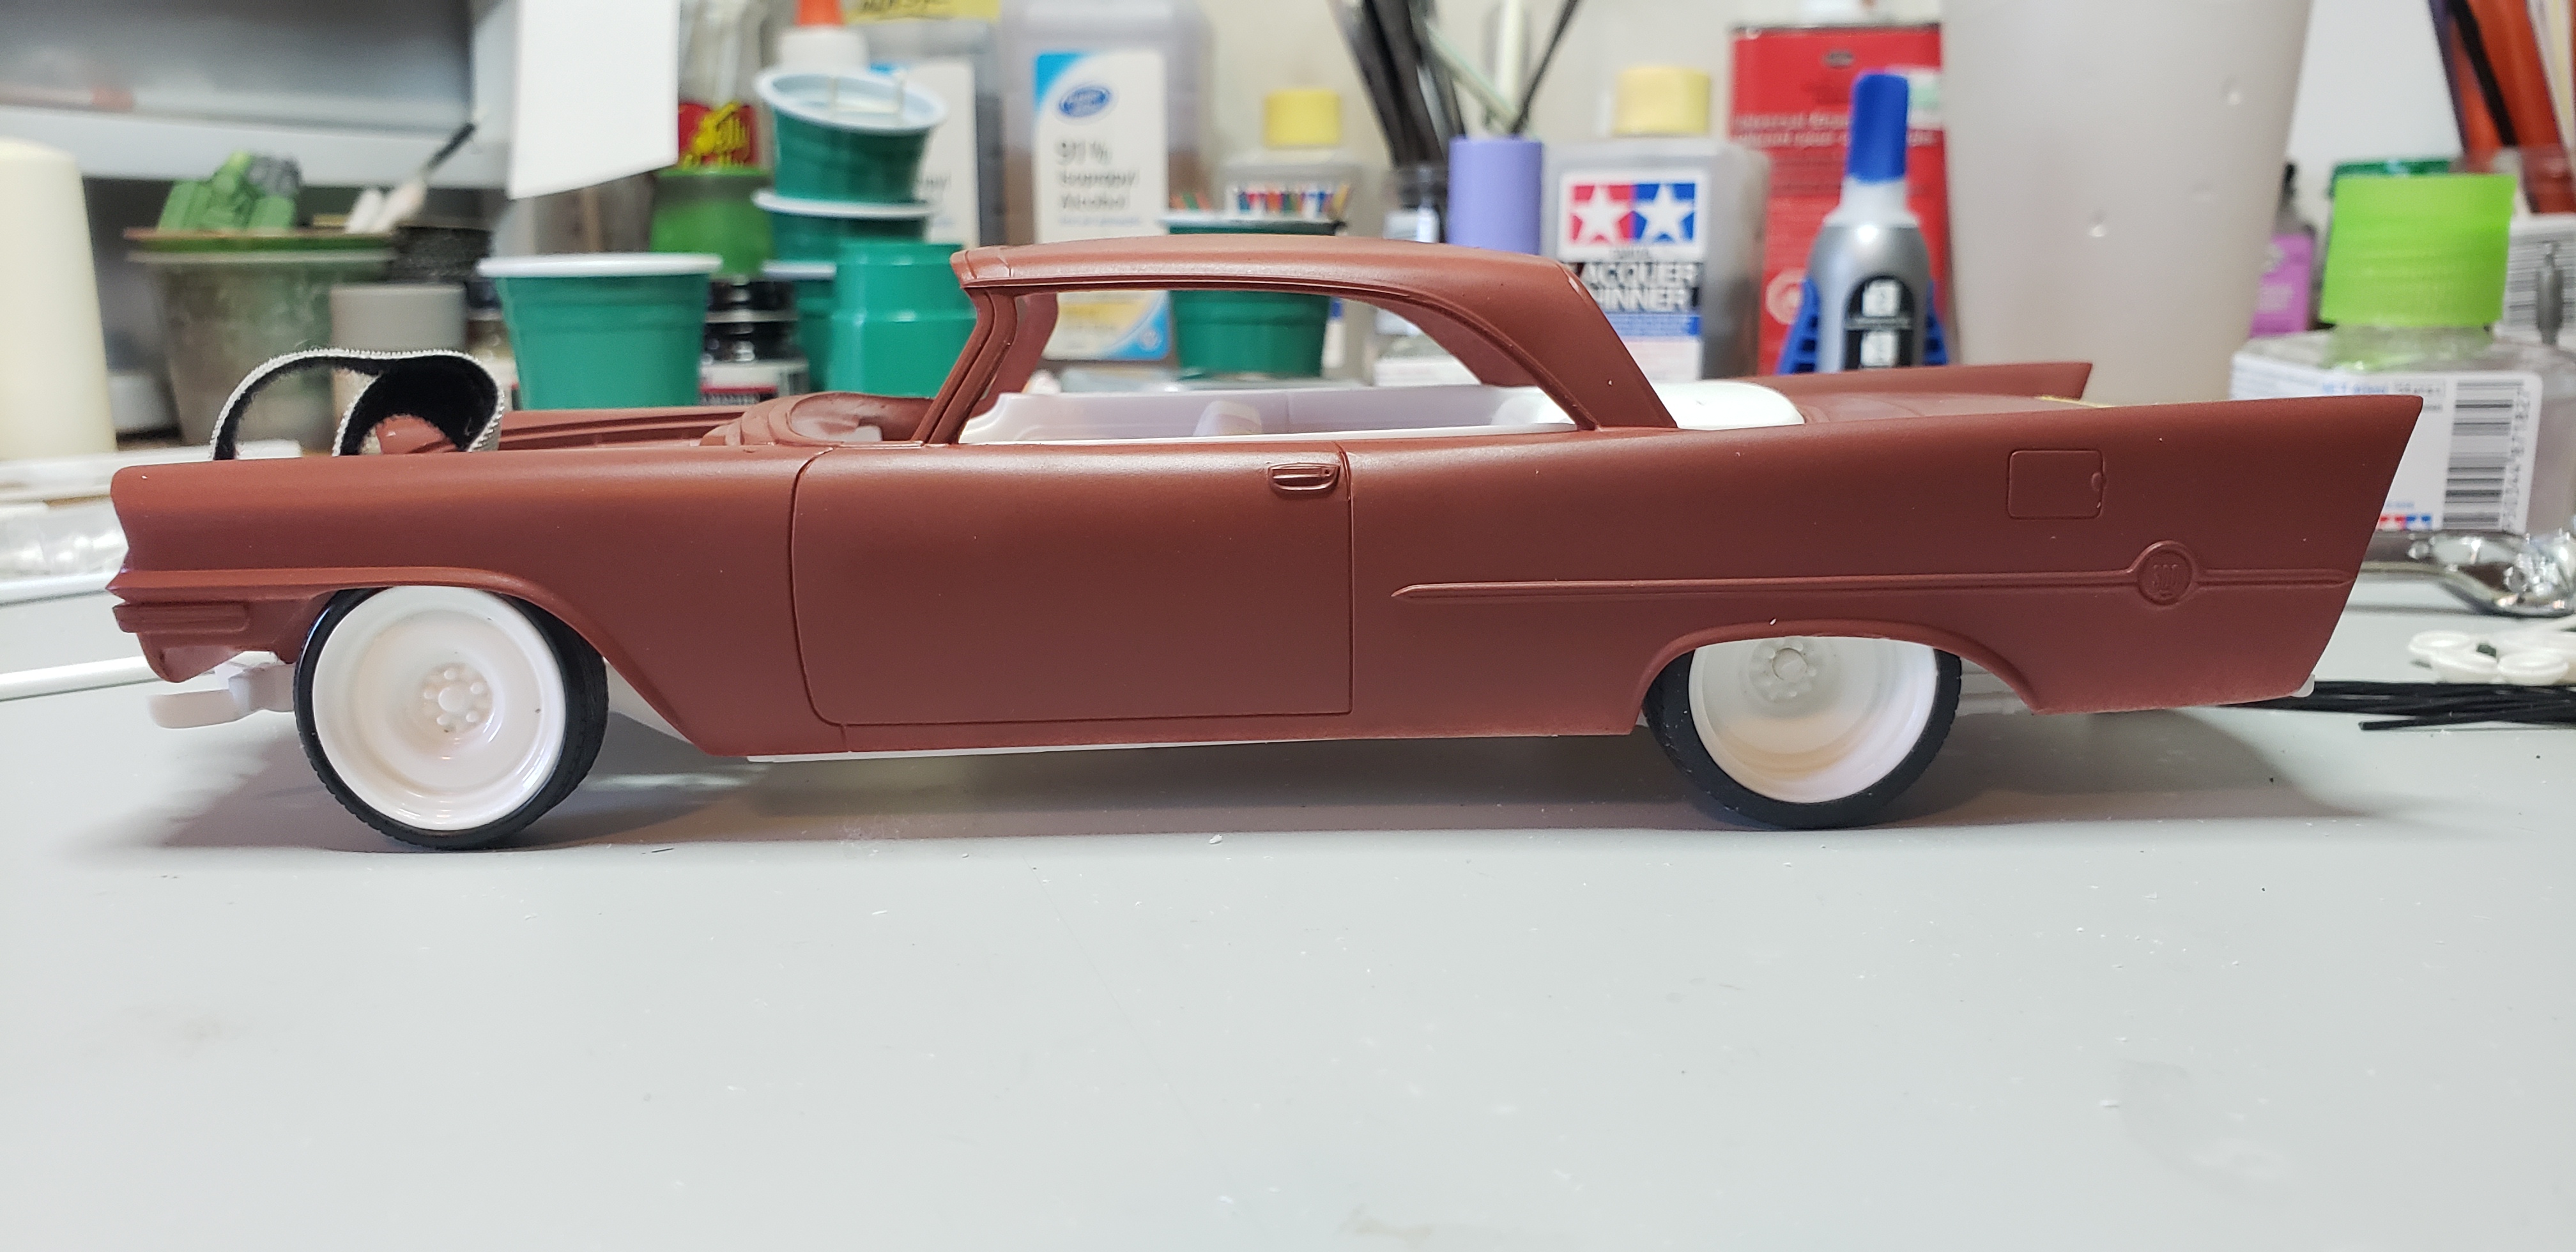
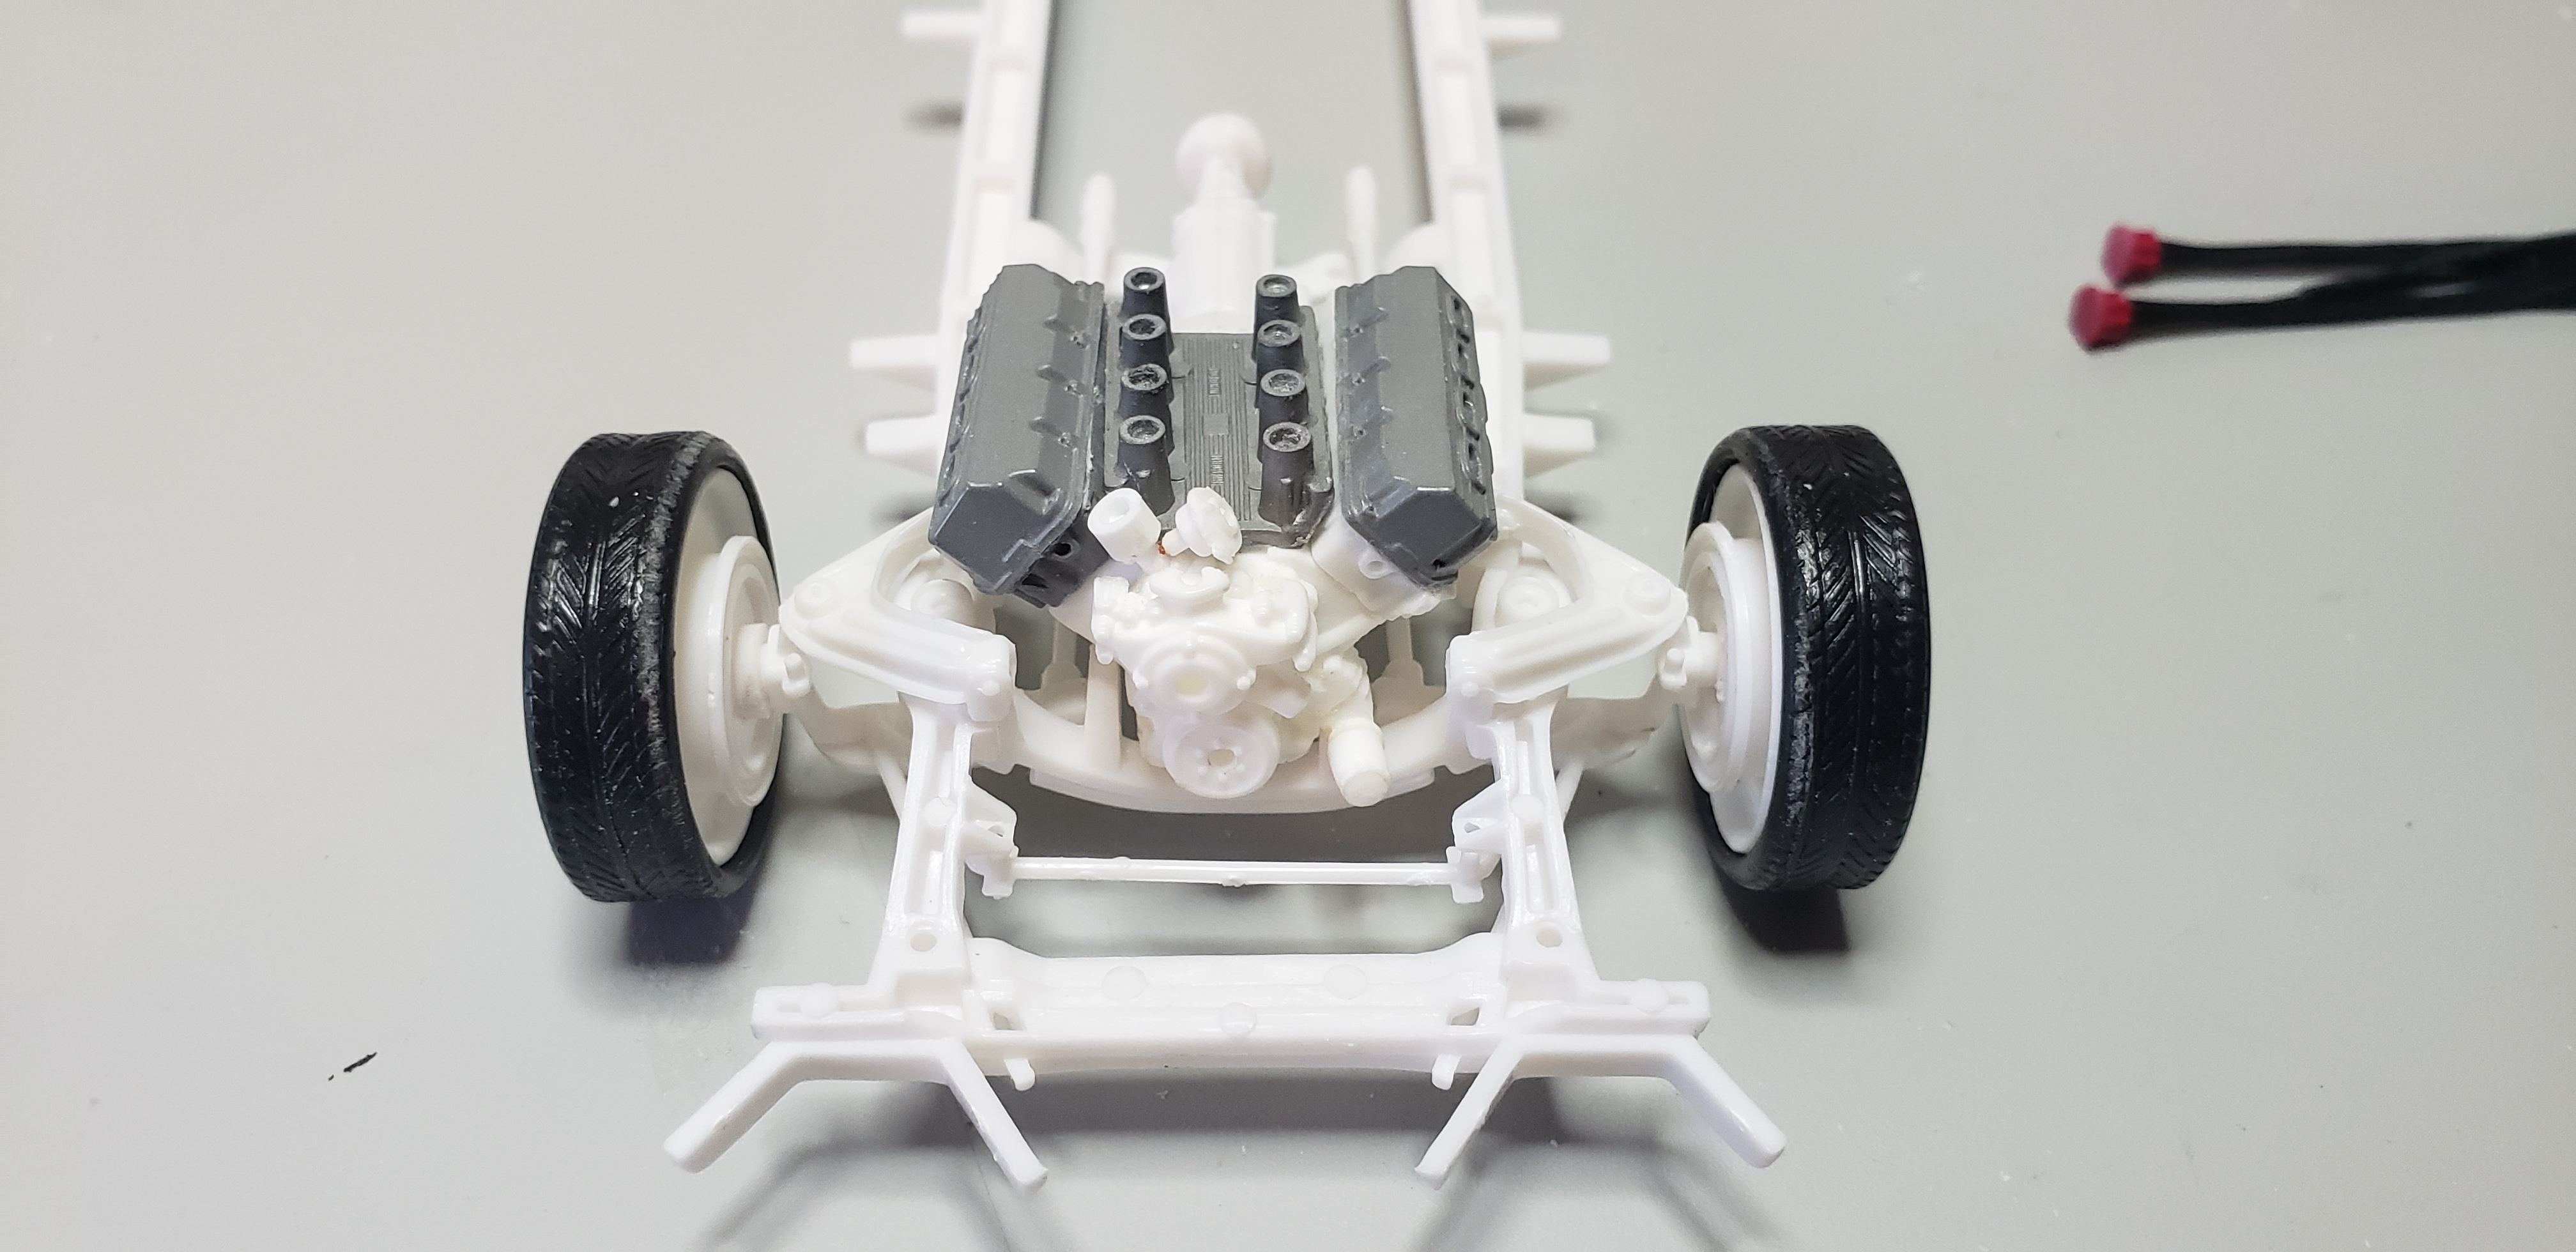
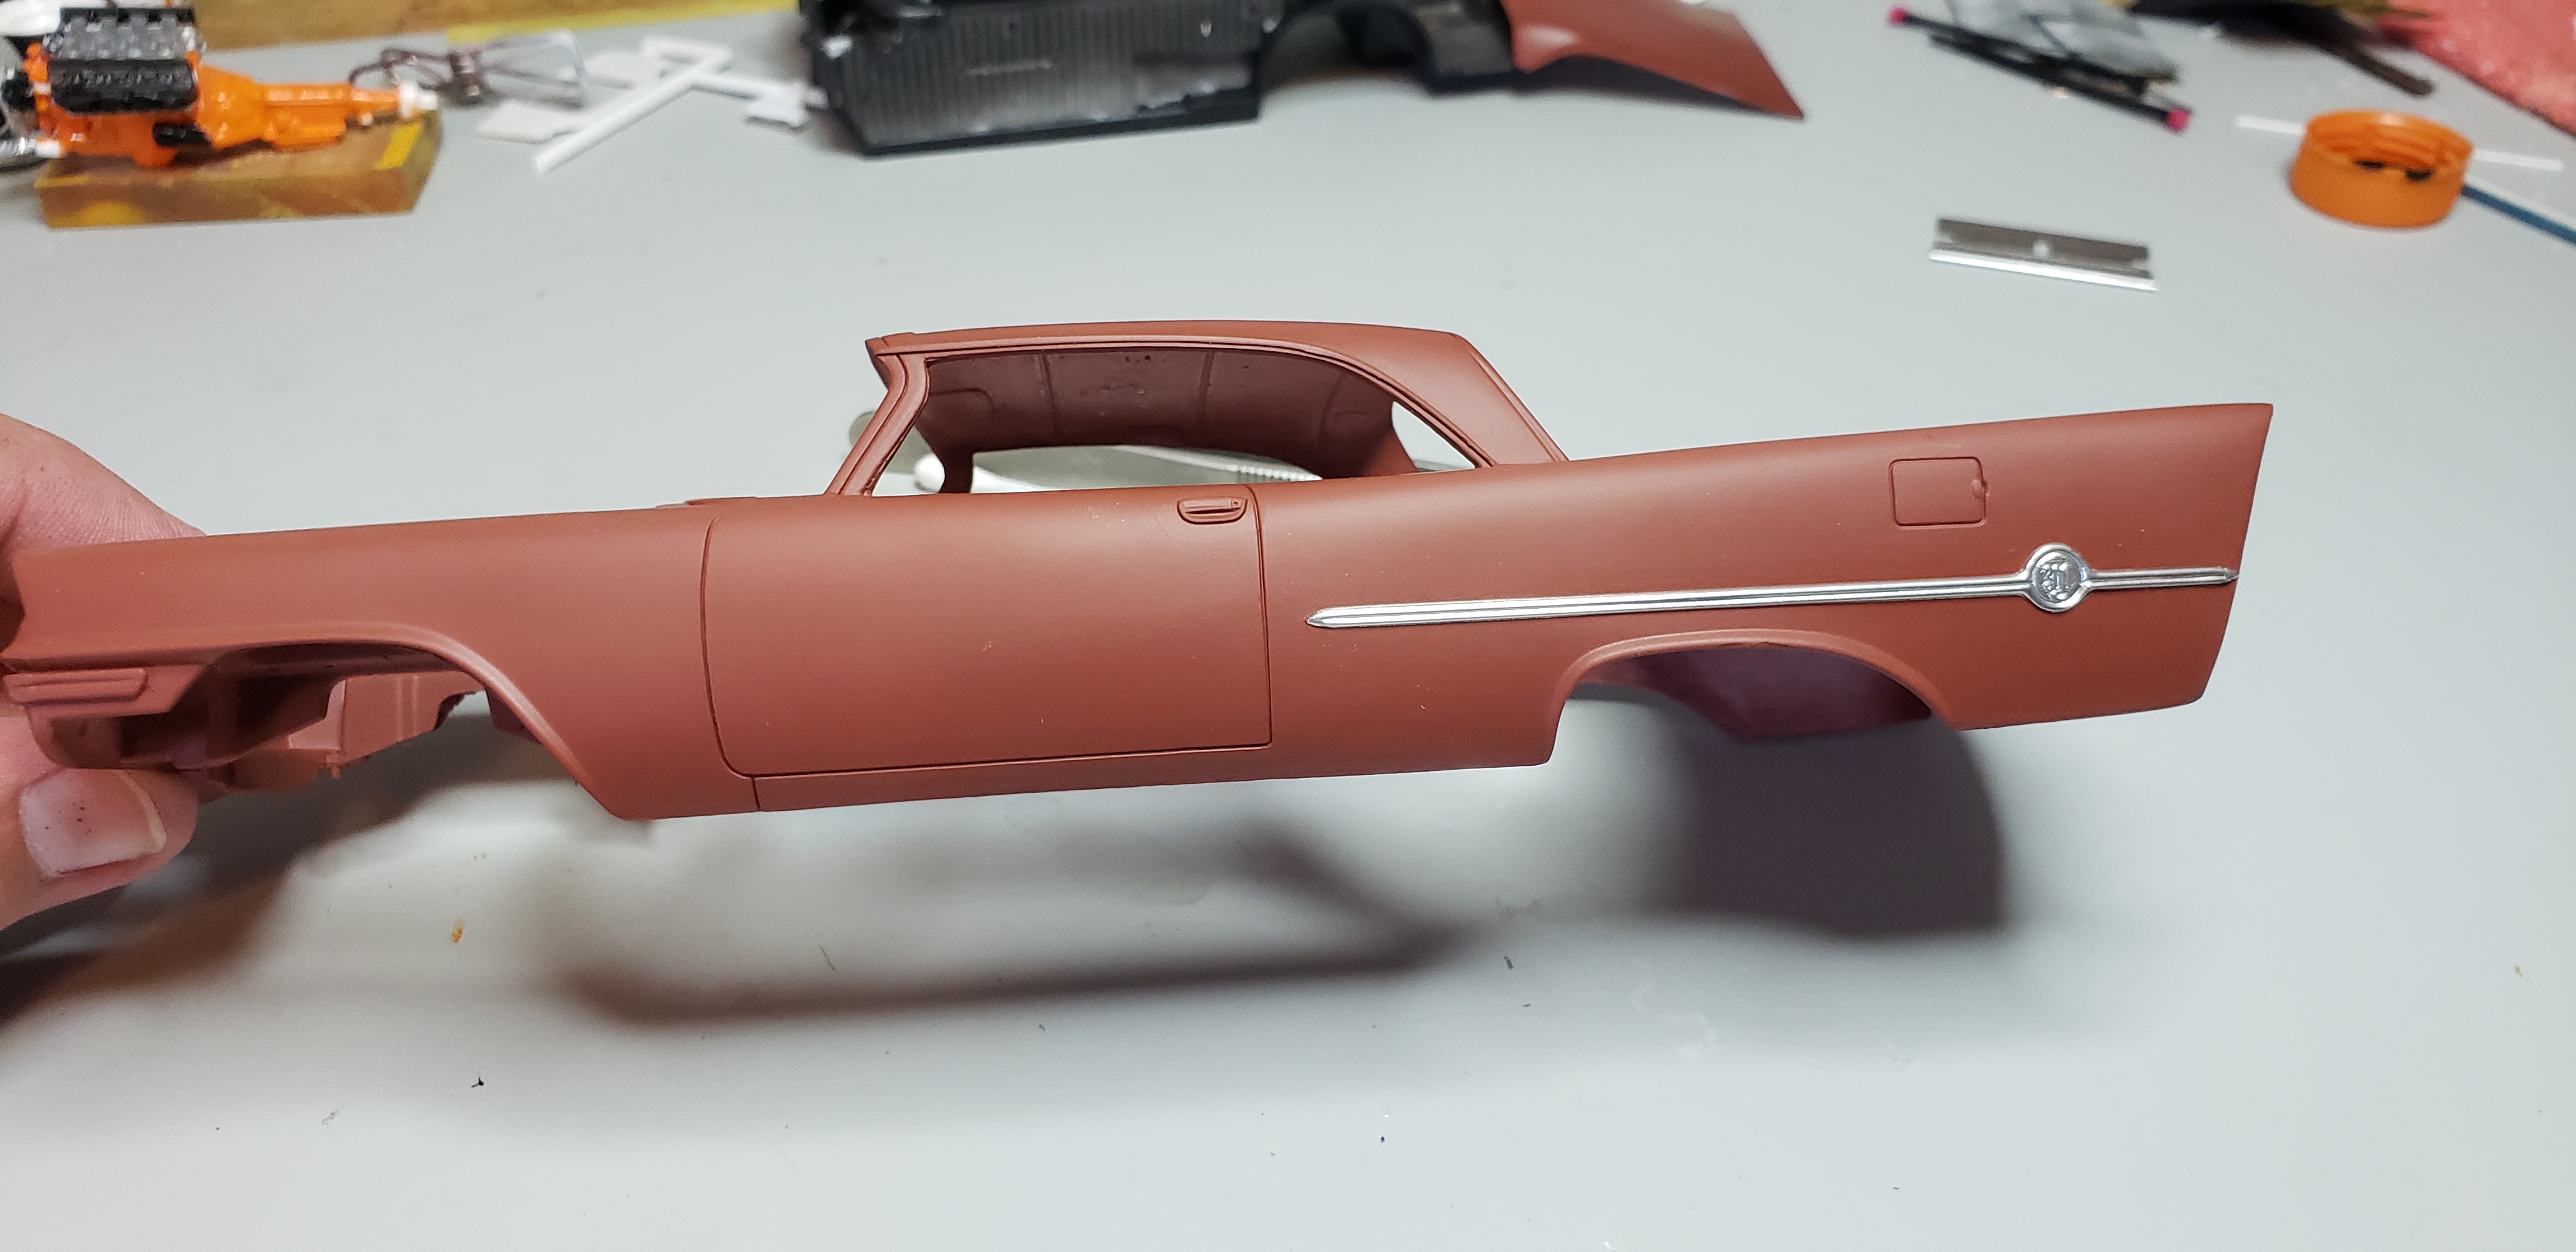
I'm currently serving a mandatory 14 day lock down, so decided to build something different. I spotted the build, an AMT 57 Chrysler 300C . I recently found an interest in the big fin cars...caddy, impala, and this was another one that seemed to fit the bill. My plan was a serious bump up in HP(not an LS ) bigger tires all around, and dropping the stance without major surgery. I already had purchased a base Hemi engine w Hilborn injection from Action Modeler , and had chrome shorty stacks from Detail Master ordered . The steel smoothie wheels w dog dish caps are from ebay. The color was very important on this build, I finally settled on Tamiya gunmetal. I wanted the mobster vibe, but knew my painting skills weren't ready for a glossy black finish yet . The build The wheels going on would require the normal grinding excess plastic from the wheel wells, quick work w a dremel round burr . The wheels I'm using for this Mopar A quick mock up showed the ride height wasn't gonna cut it..not dragging frame low , but dropped . adding a mm lift block to the rear springs and adjusting the front control arms had it sitting low like I envisioned. a quick squirt of primer after sanding away the mold lines had this build moving forward quick ! Turning to the front , the Hemi actually dropped right into the stock mounts. I was disappointed when opening the bottle of hemi orange to find it had dried out..so I mixed up some orange color and painted the block. Valve covers were done in semi gloss black . I still have to wire the mags , and touch up a few items . I've only dabbled w bmf, and wanted to try a technique I read on here . Applying the foil before paint , then sanding off the paint to reveal the chrome underneath. I applied bmf to the large side trim and trimmed away the excess Jeff
-
Gorgeous work! The paint looks perfect
-
International F- 2674 dump truck
gotnitro? replied to Mopar - D's topic in WIP: Model Trucks: Big Rigs and Heavy Equipment
nailed the look ! The floats front tires really give the dump truck a heavier appearance, then putting the montone body on= fantastic! Id be soooo tempted to add a plow hitch frame to the front, some reason this truck screams plow / dump truck to me. Thats just me, I tend to do dumb stuff hahaha -
wow ! nice work on the stinger !! These trucks sure had to be built heavy for the enormous loads they carried, and sub par travel routes..we wont call roads, wouldve torn a normal truck apart
-
thanks, ive really been busy this summer and havent taken time to work on models. I just found out I have a few days off work per covid rules, so no excuses now ! quick test later cleared me, but was in contact w a positive case.. Really looking forward to tinkering again, better restock up on supplies while locked down..someone left the glue bottles loosely sealed oops Glad I had chance to take more shots of truck, noticed more home brew details I'd to include on this build.
-
Nice update ! HVAC work is so much work, I thought about applying for apprenticeship at work a few times . Looks like a killer stereo in your GP hope your neighbors are friendly
-
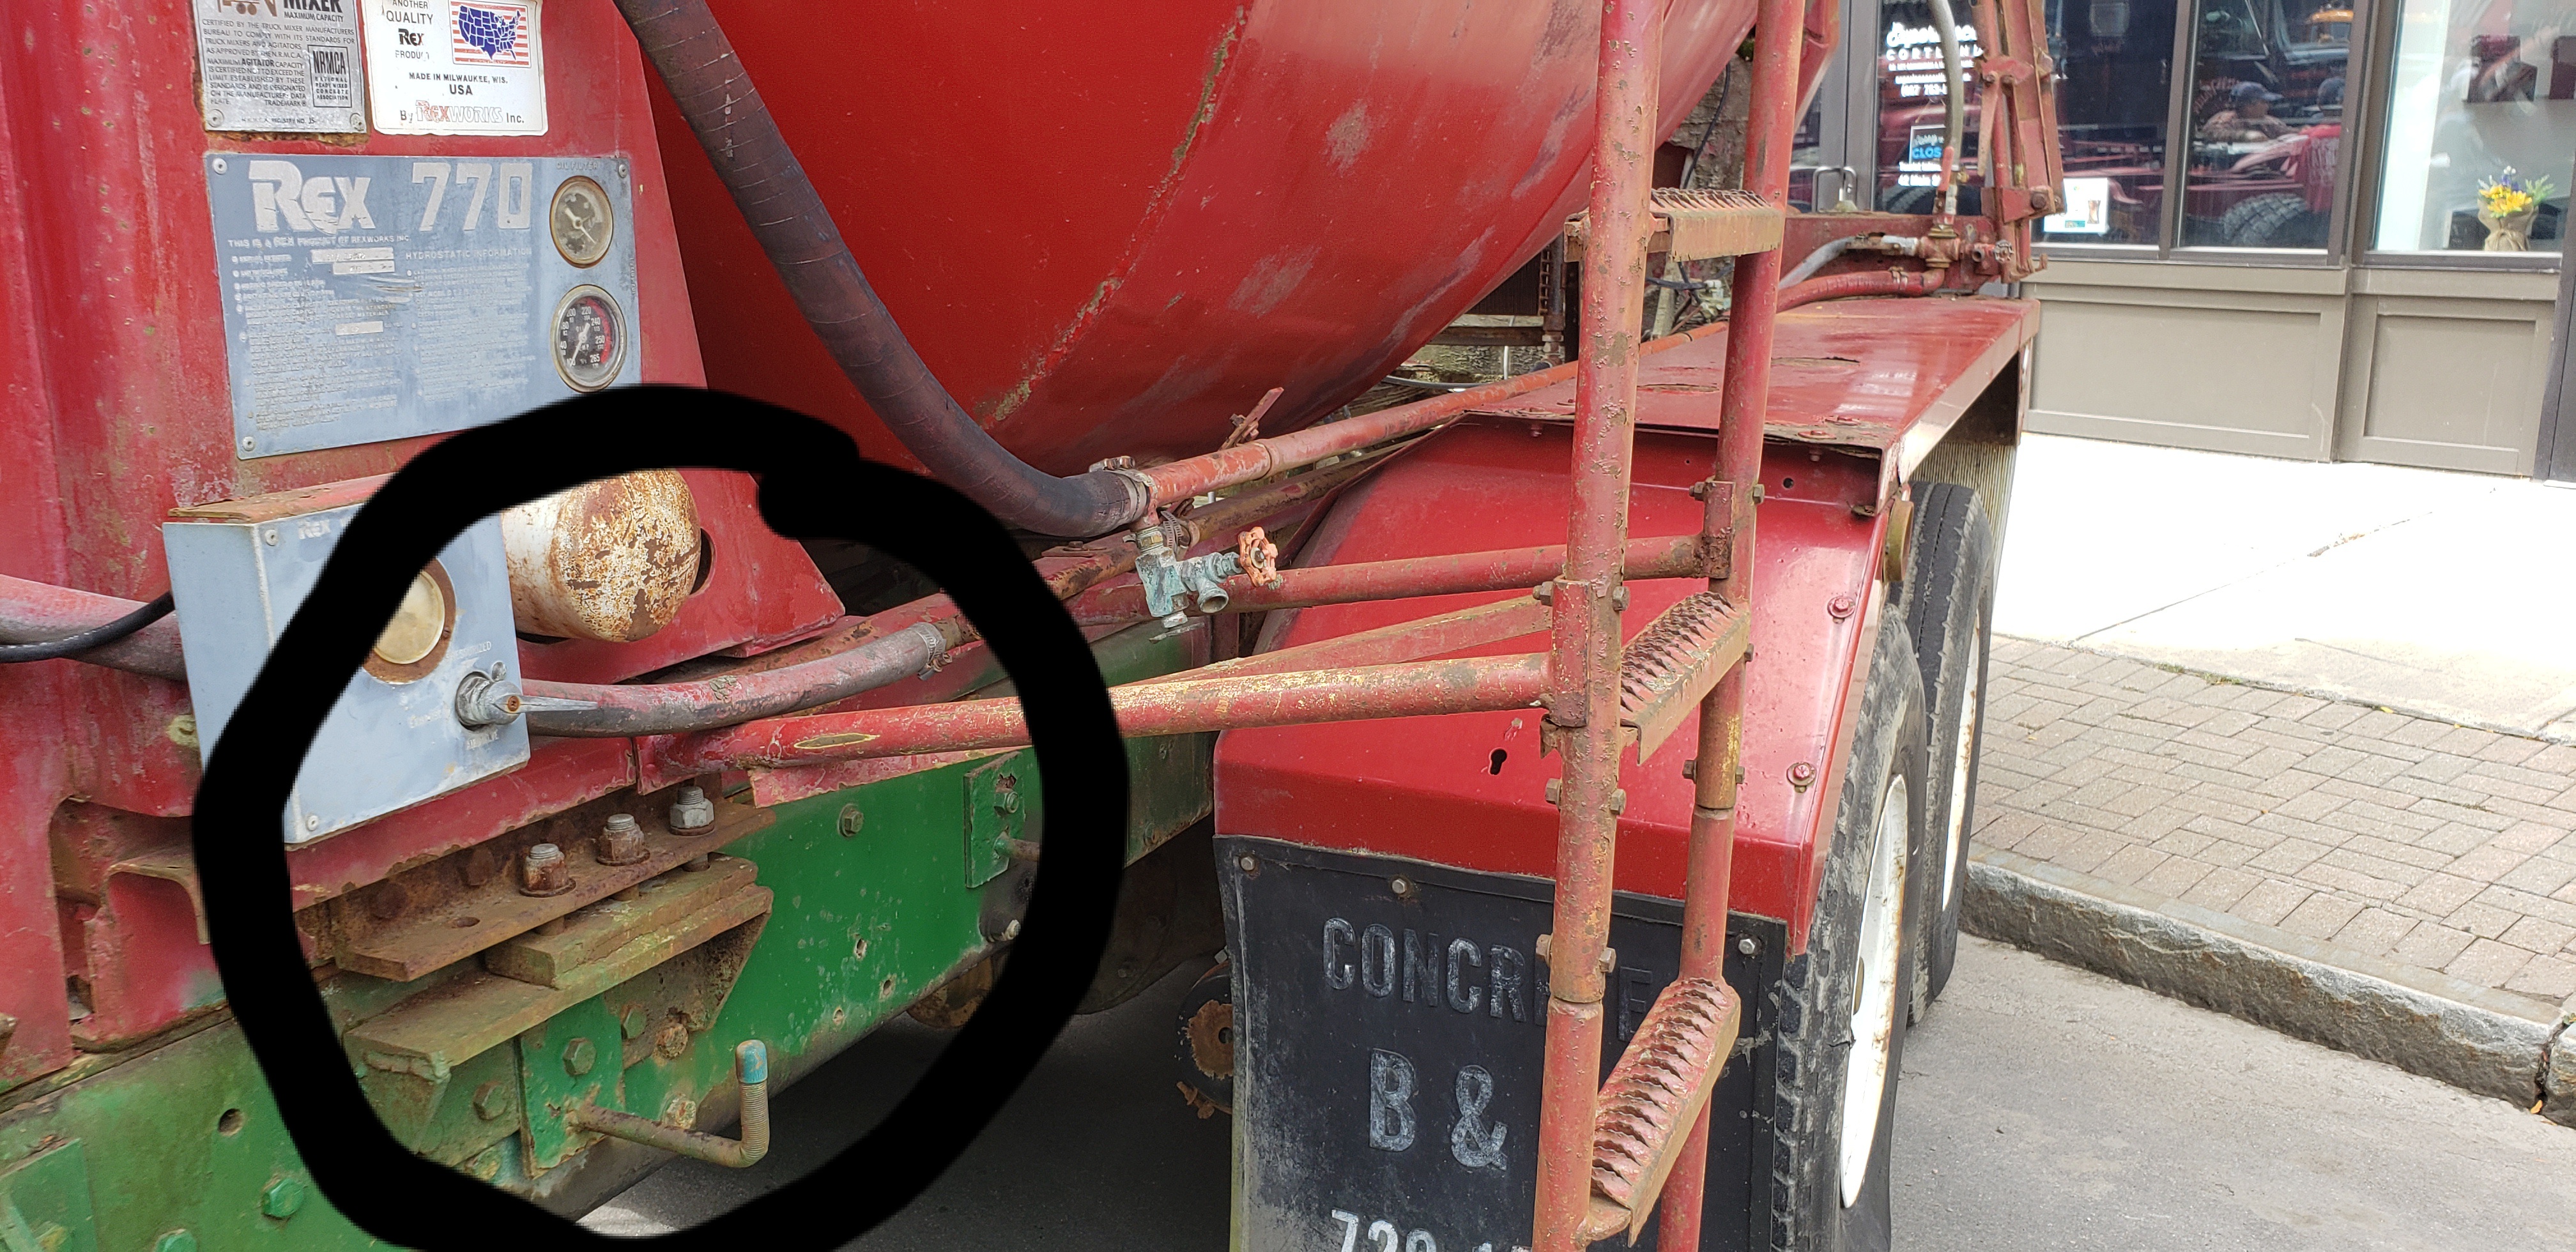
Its been months away from the bench w life pulling in different directions. I had the unexpected opportunity to snap a few more detail photos of the BD mixer when one of the few surviving trucks from their retired fleet attended the annual Brockway homecoming in Cortland. I heard over 80 trucks attended this yrs show . A truck enthusiast was able to purchase a roadworthy truck to pay homage to the companies history, and surprising many people it attended this years show . This wknds gonna kick start this build again after wandering around the real dog .
-
Transtar CO-4070A
gotnitro? replied to Mopar - D's topic in WIP: Model Trucks: Big Rigs and Heavy Equipment
Really looking sharp ! I can't believe JT hasn't been along yet..this has his favorite color vibe going lol