gotnitro?
-
Posts
4,500 -
Joined
-
Last visited
Content Type
Profiles
Forums
Events
Gallery
Everything posted by gotnitro?
-

BRBO 2021 - 1938 GMC Car hauler
gotnitro? replied to landman's topic in WIP: Model Trucks: Big Rigs and Heavy Equipment
This is really starting to take shape now well done Interesting how well the cab and curved sides on the ramp flow together -
Thanks Dan ! I dabble w cars a little ..I have a few cars planned along w random specialty trucks .
-
Thanks ! I'm really pleased it blended .
-
Cabover White
gotnitro? replied to BIGTRUCK's topic in WIP: Model Trucks: Big Rigs and Heavy Equipment
Really like your plan, this old White looks perfect as a flatbed -
BRBO2021
gotnitro? replied to JerseeJerry55's topic in WIP: Model Trucks: Big Rigs and Heavy Equipment
Were all heading into the last few months of the BRBO, and starting to see more builds restart ! Let's make this another record year for complete builds if possible Thanks again for everyone's participation -
XM523E2 & XM524E2
gotnitro? replied to nathanyel's topic in WIP: Model Trucks: Big Rigs and Heavy Equipment
The squarish angular cab really shows the trend of the day, reminds me of the snow fighters of Oshkosh , Walter etc all beautiful trucks over built for heavy work. Your winch is a tiny work of art ! One of those models that would really be special to look at left in raw plastic with only a clear protective coating applied . -
Beautiful work Fantastic color
-
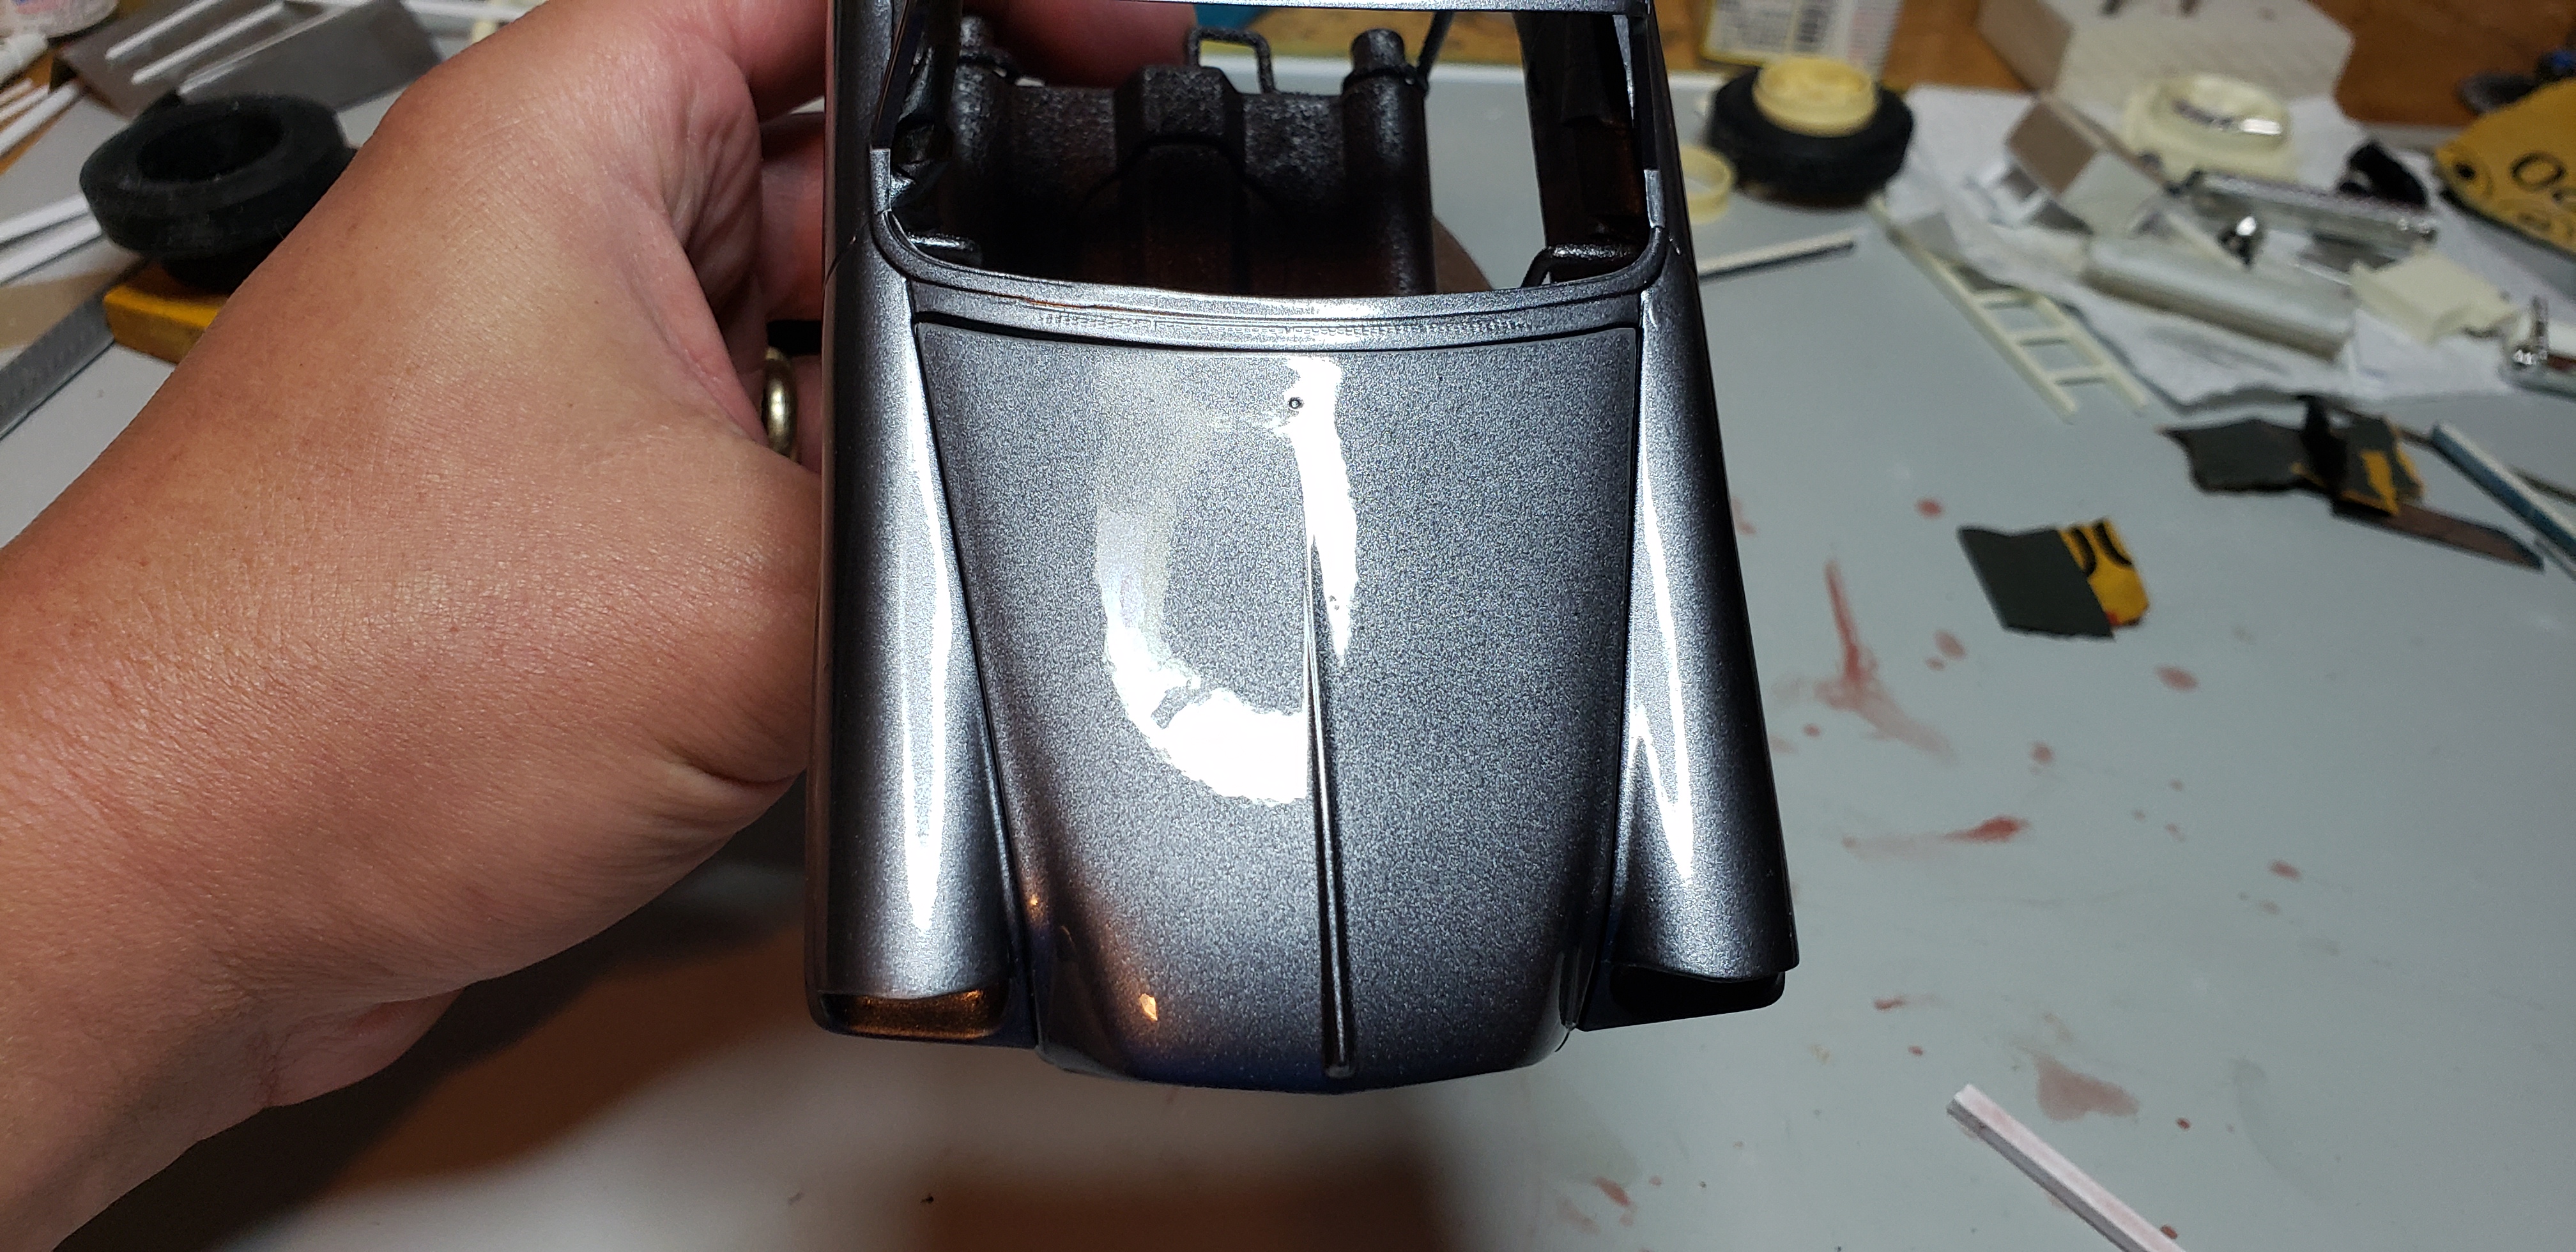
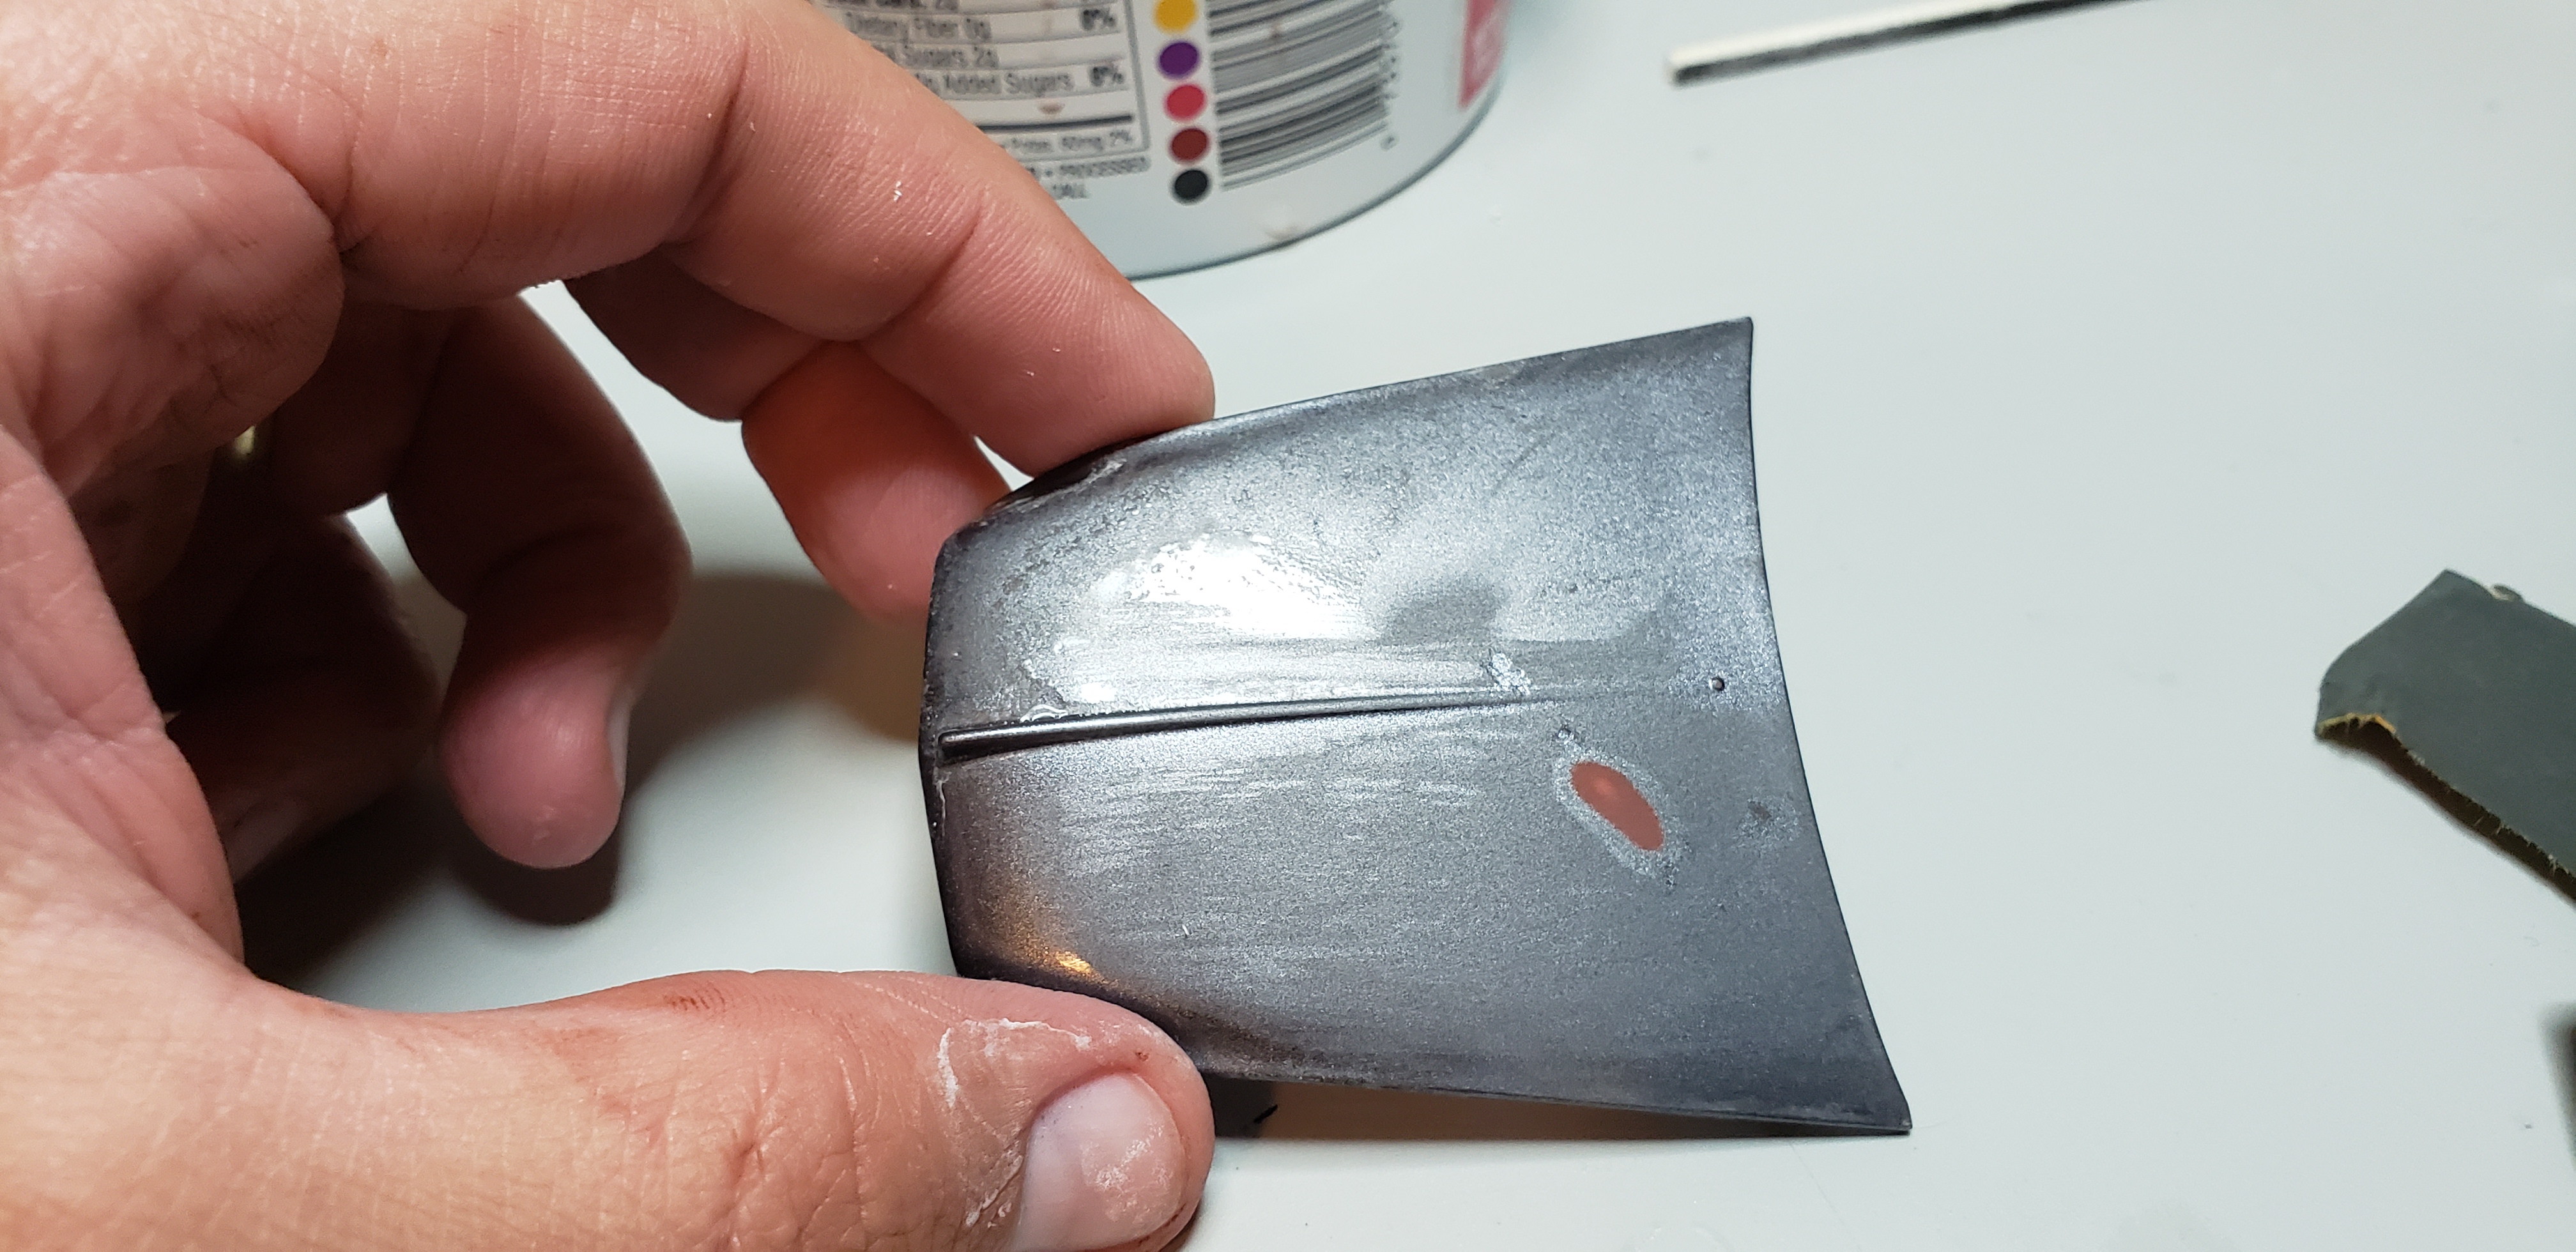
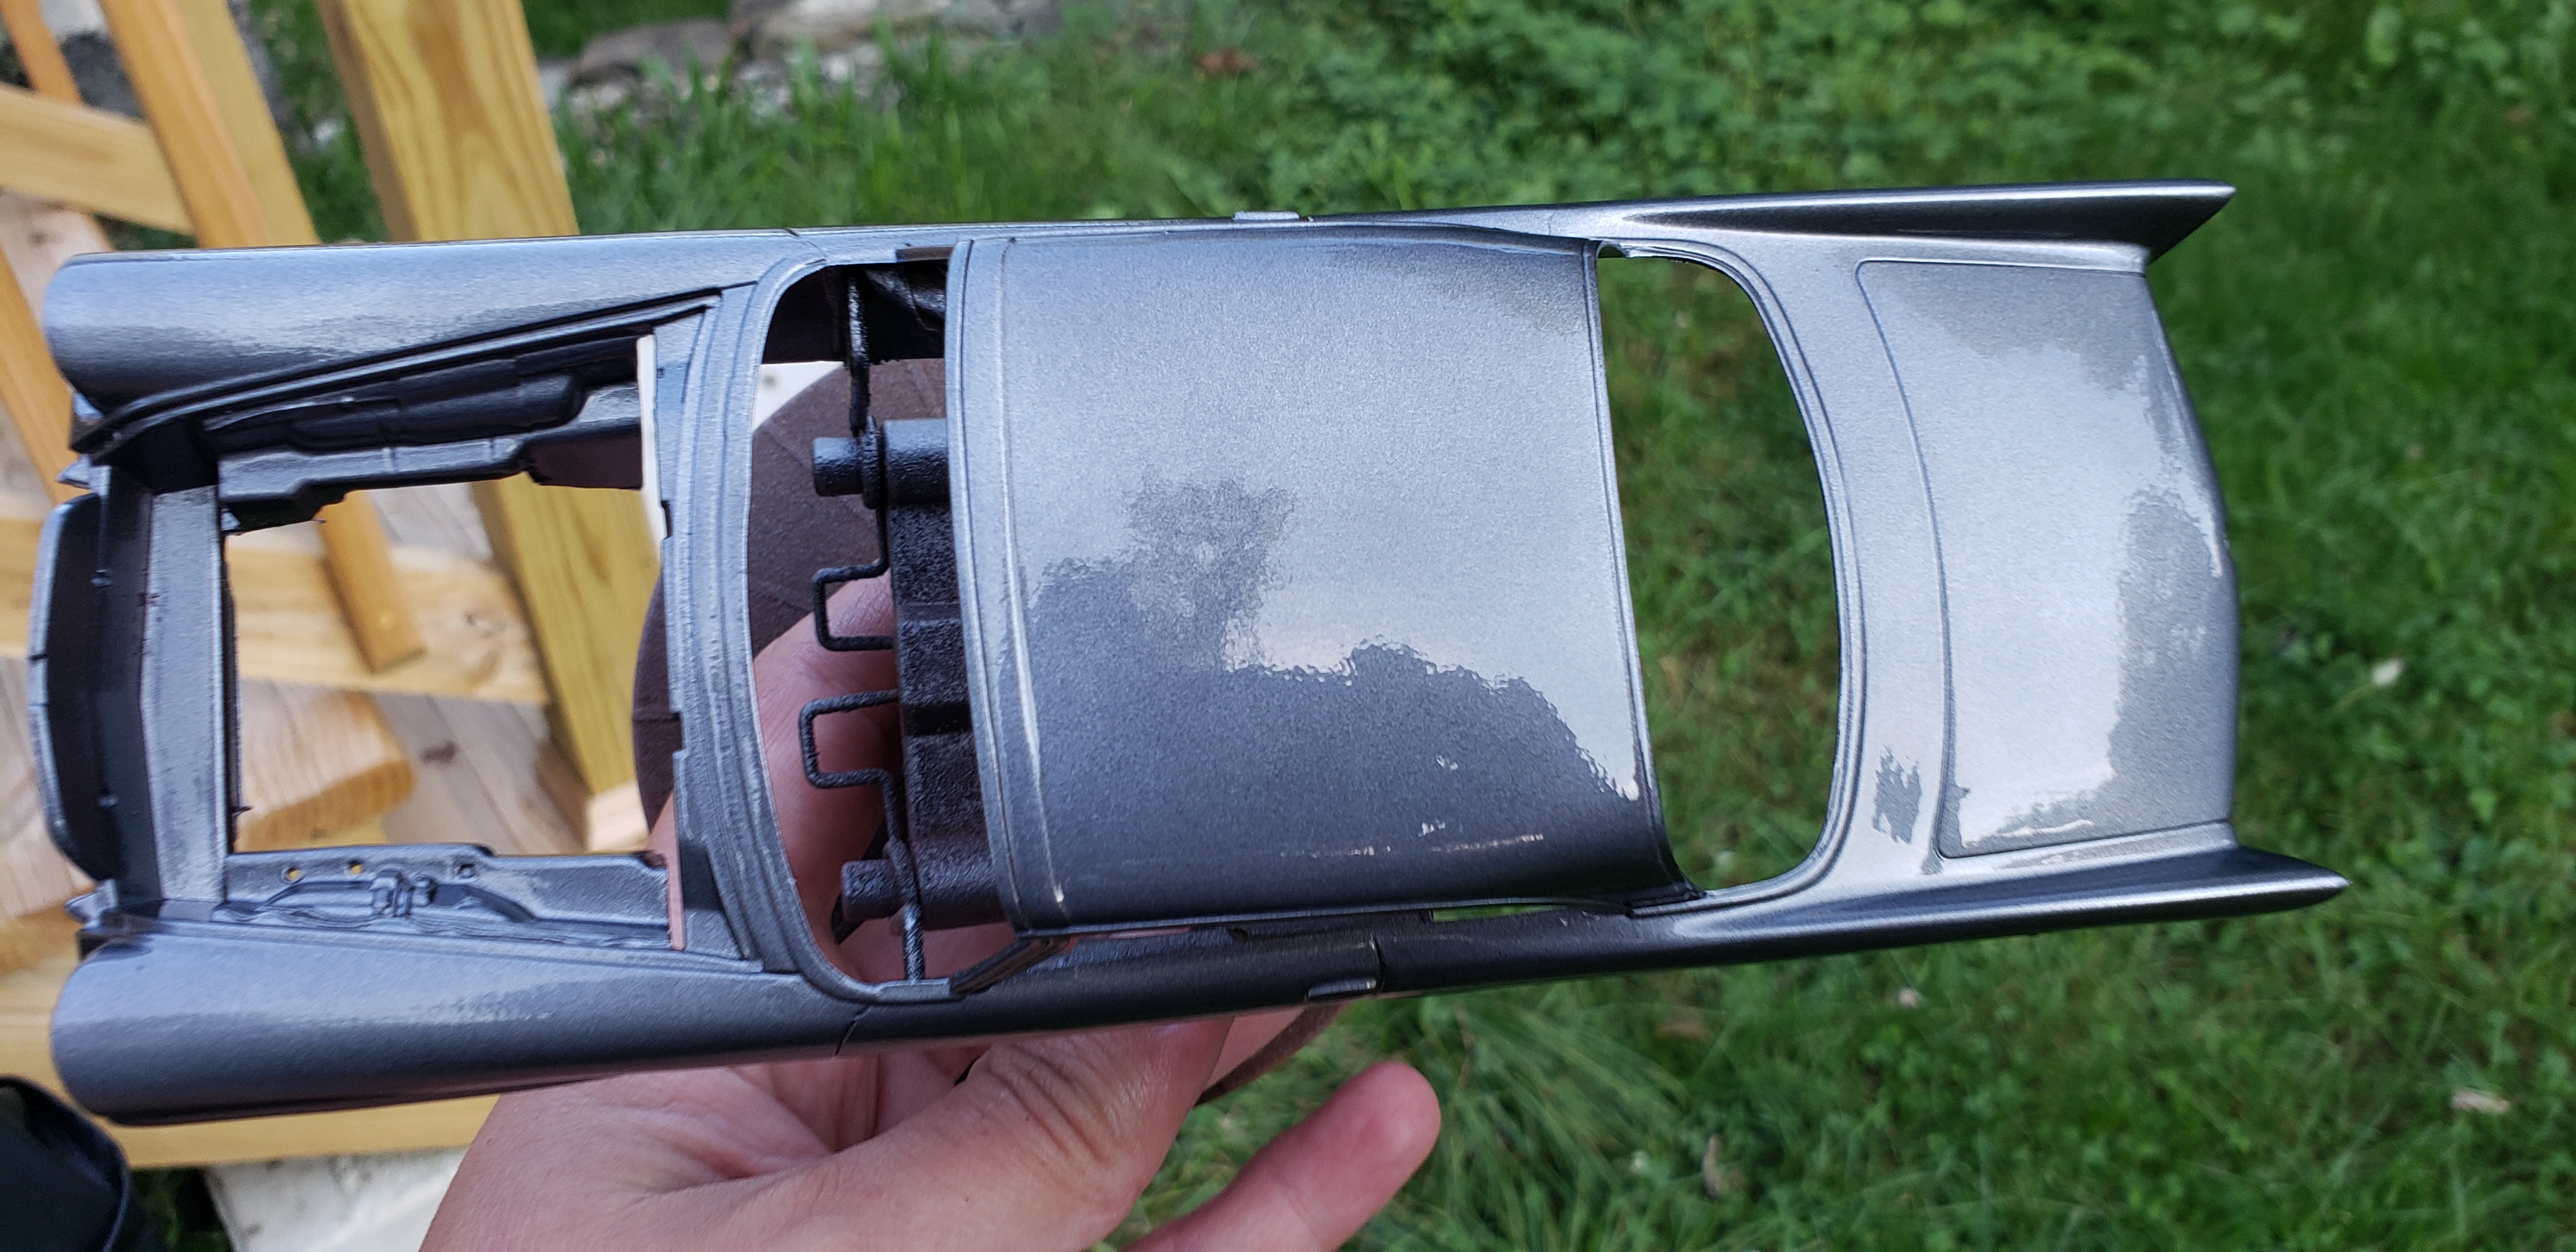
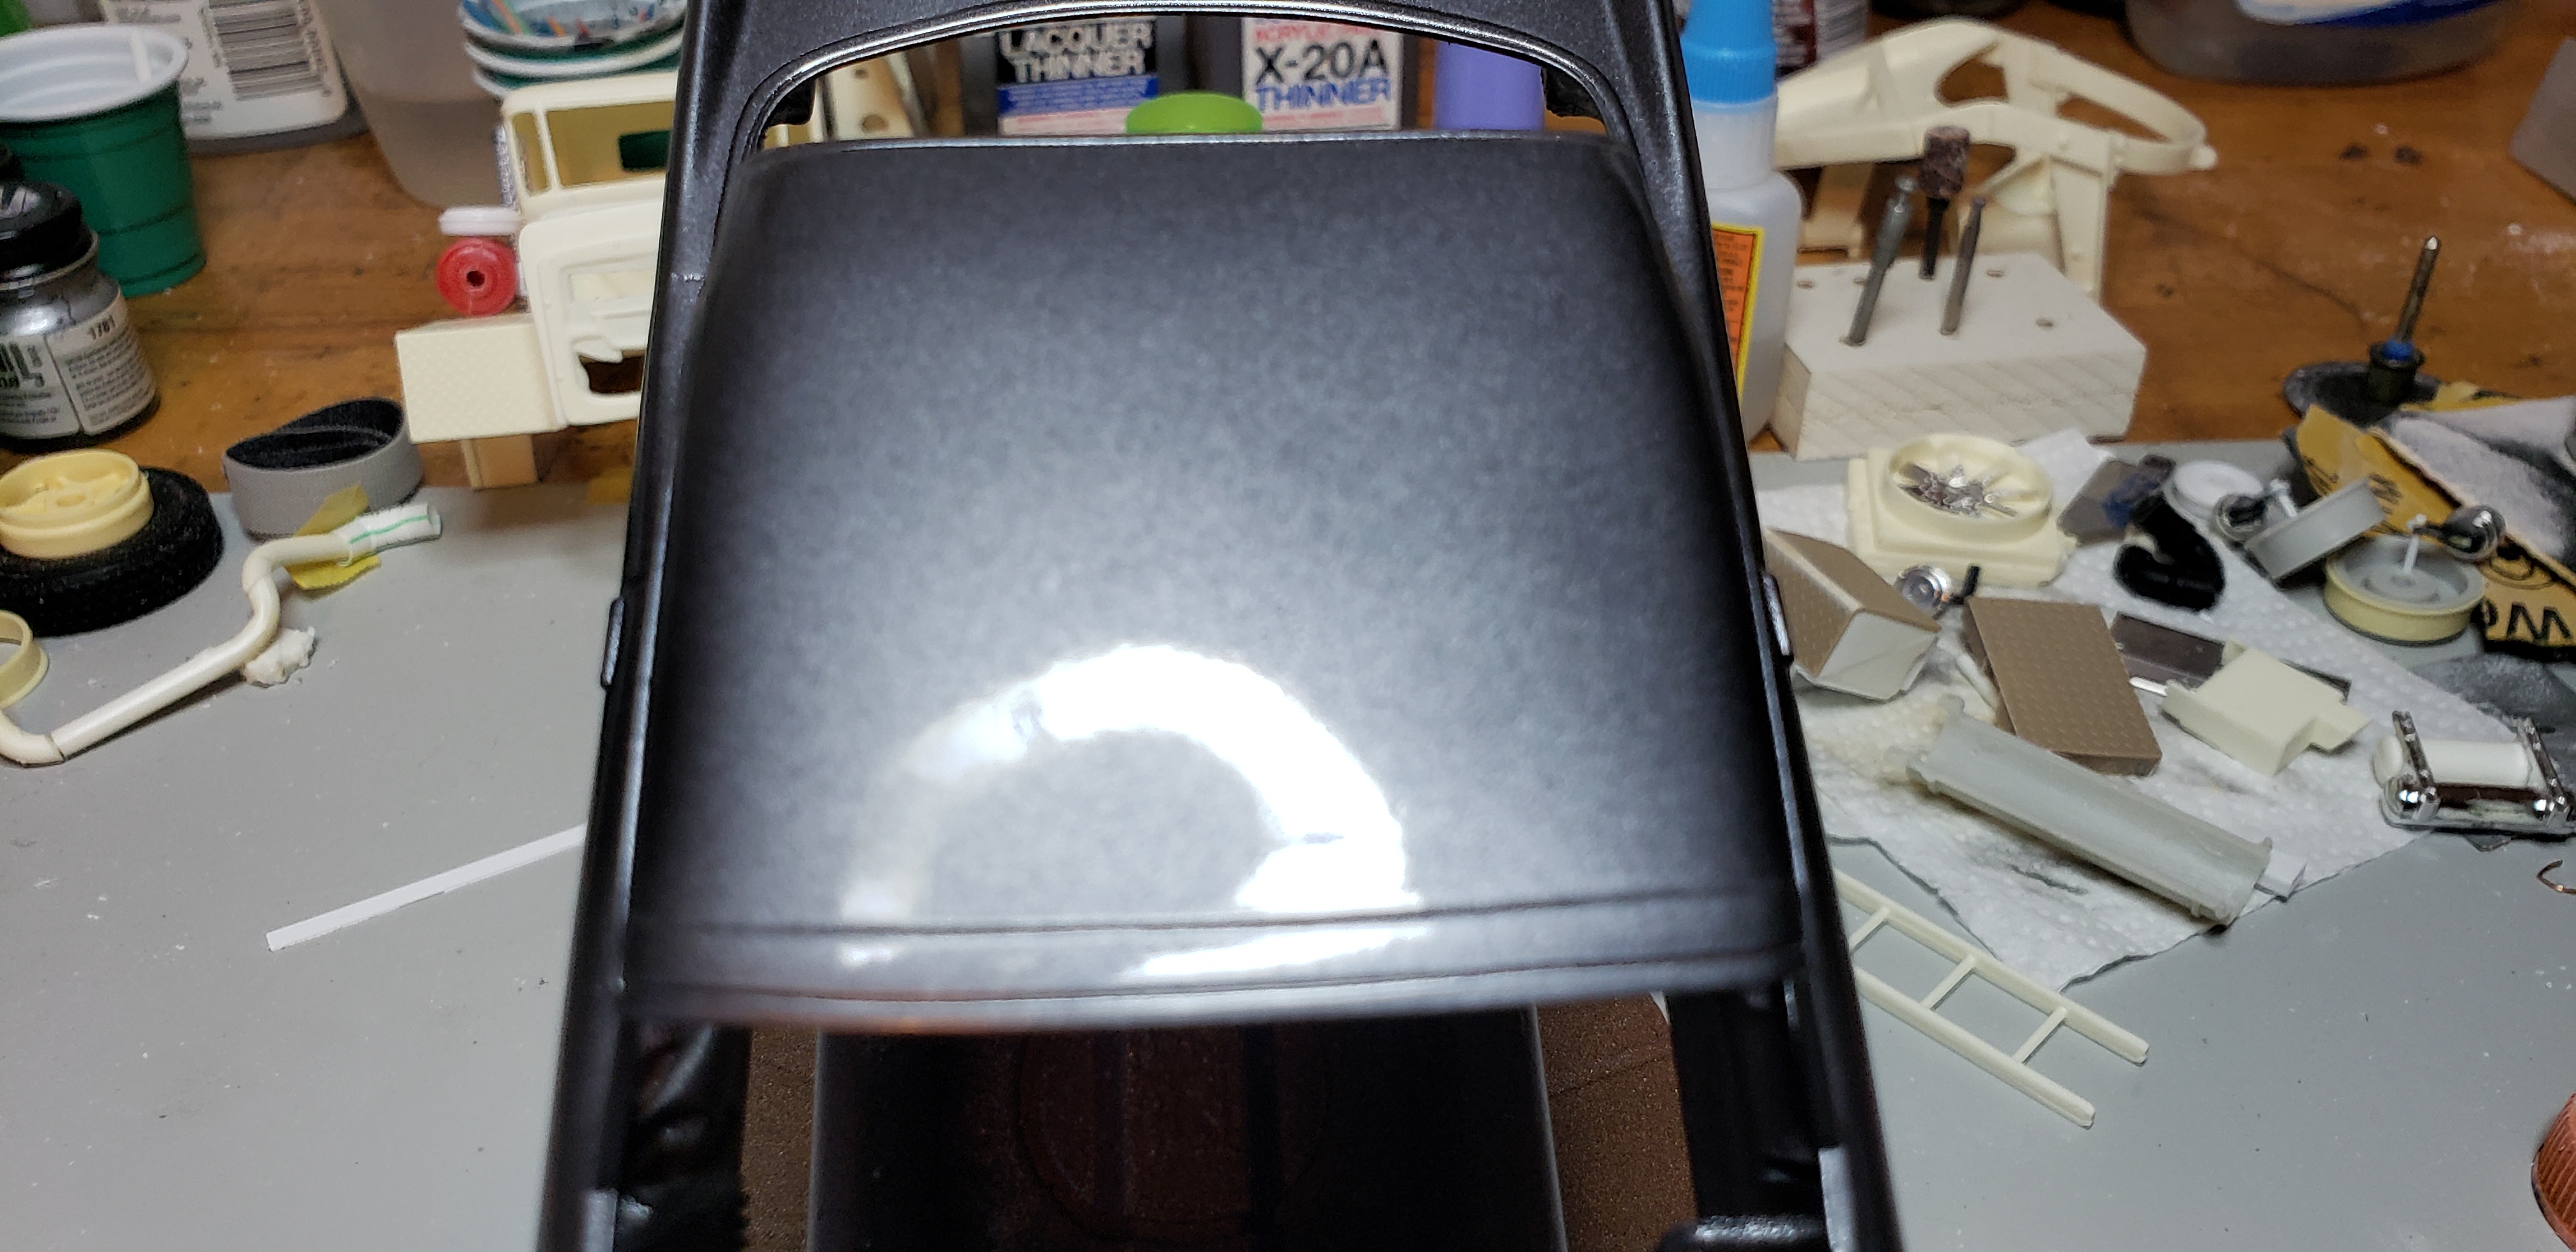
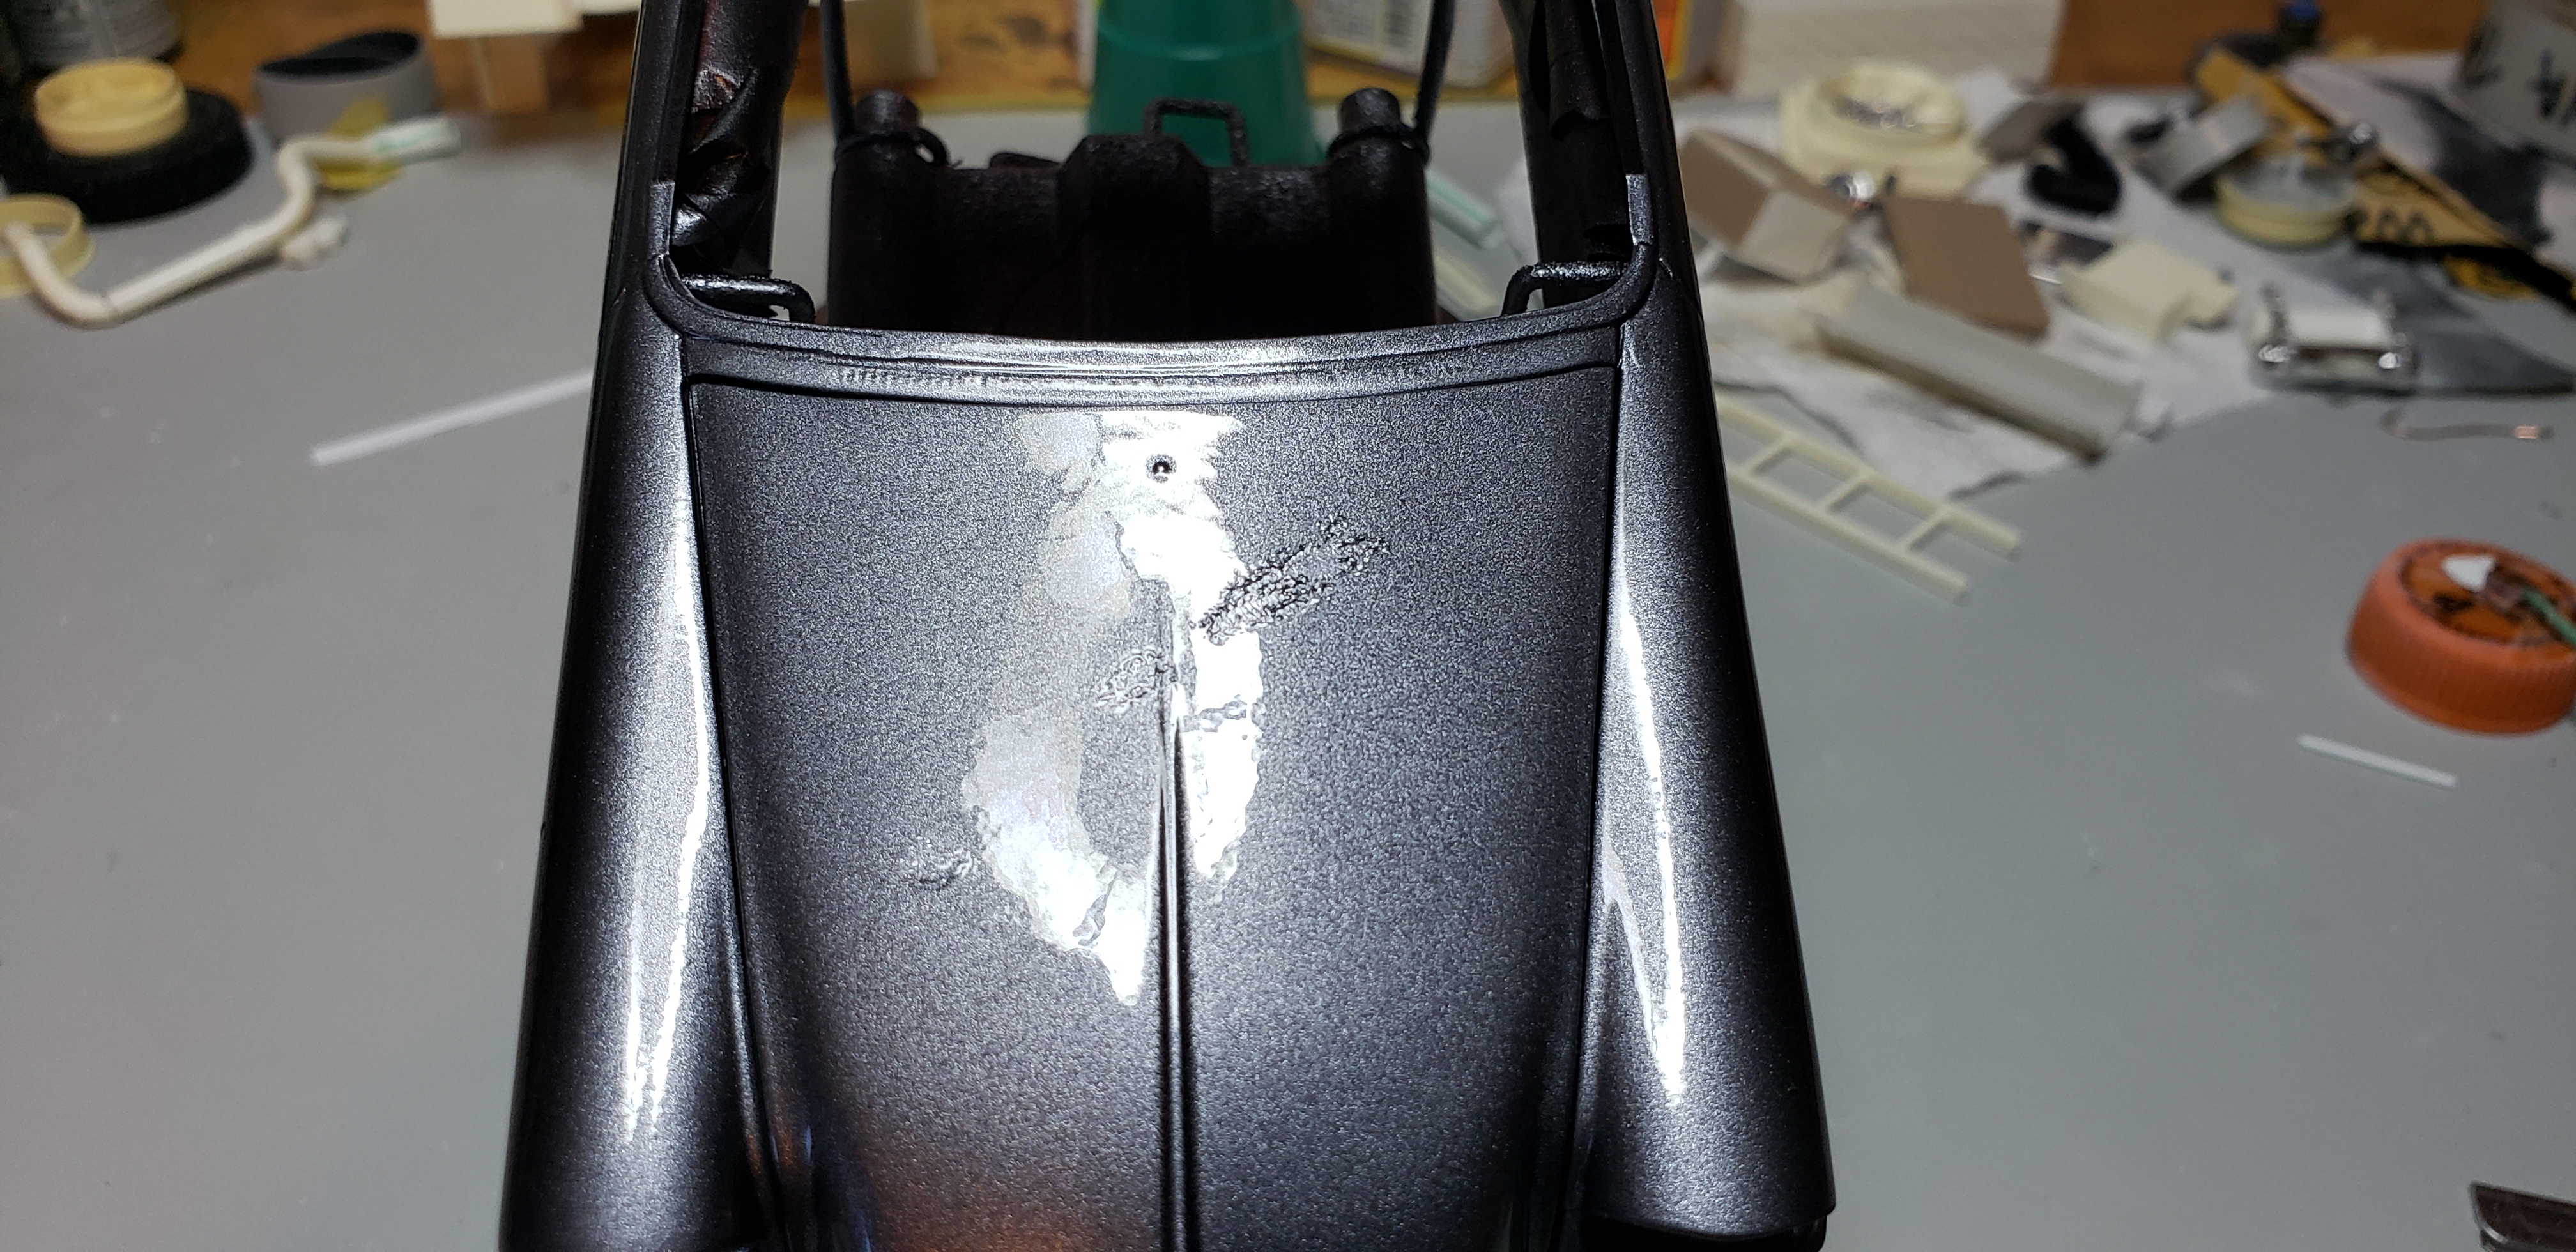
Well, im actually very surprised. I ended up sanding hood down to bare plastic after spotting faint ghosting in my new primer coat . Knowing this could be highly visible under the clear, and likely to annoy me more . A quick spray of tamiya fine red , then 2 even coats of gunmetal resulted in a sigh of relief. Checking the color against the car body showed I was there , and could clear it . My biggest concern was the metal flakes laying down the same. 2 coats of wet look clear had everything blending , and satisfied I could polish away any orange peel . ! I'll give the hood a solid few days to cure then start assembly! Thanks for all the feedback assuring me this could work

-
1956 Great Dane Reefer
gotnitro? replied to KJ790's topic in WIP: Model Trucks: Big Rigs and Heavy Equipment
Outstanding fab work ! -
New Dodge build
gotnitro? replied to Repstock's topic in WIP: Model Trucks: Big Rigs and Heavy Equipment
Beautiful old truck ! showed my dad your Dodge , and he was speechless. Reminded him of an old wrecker his shop had -
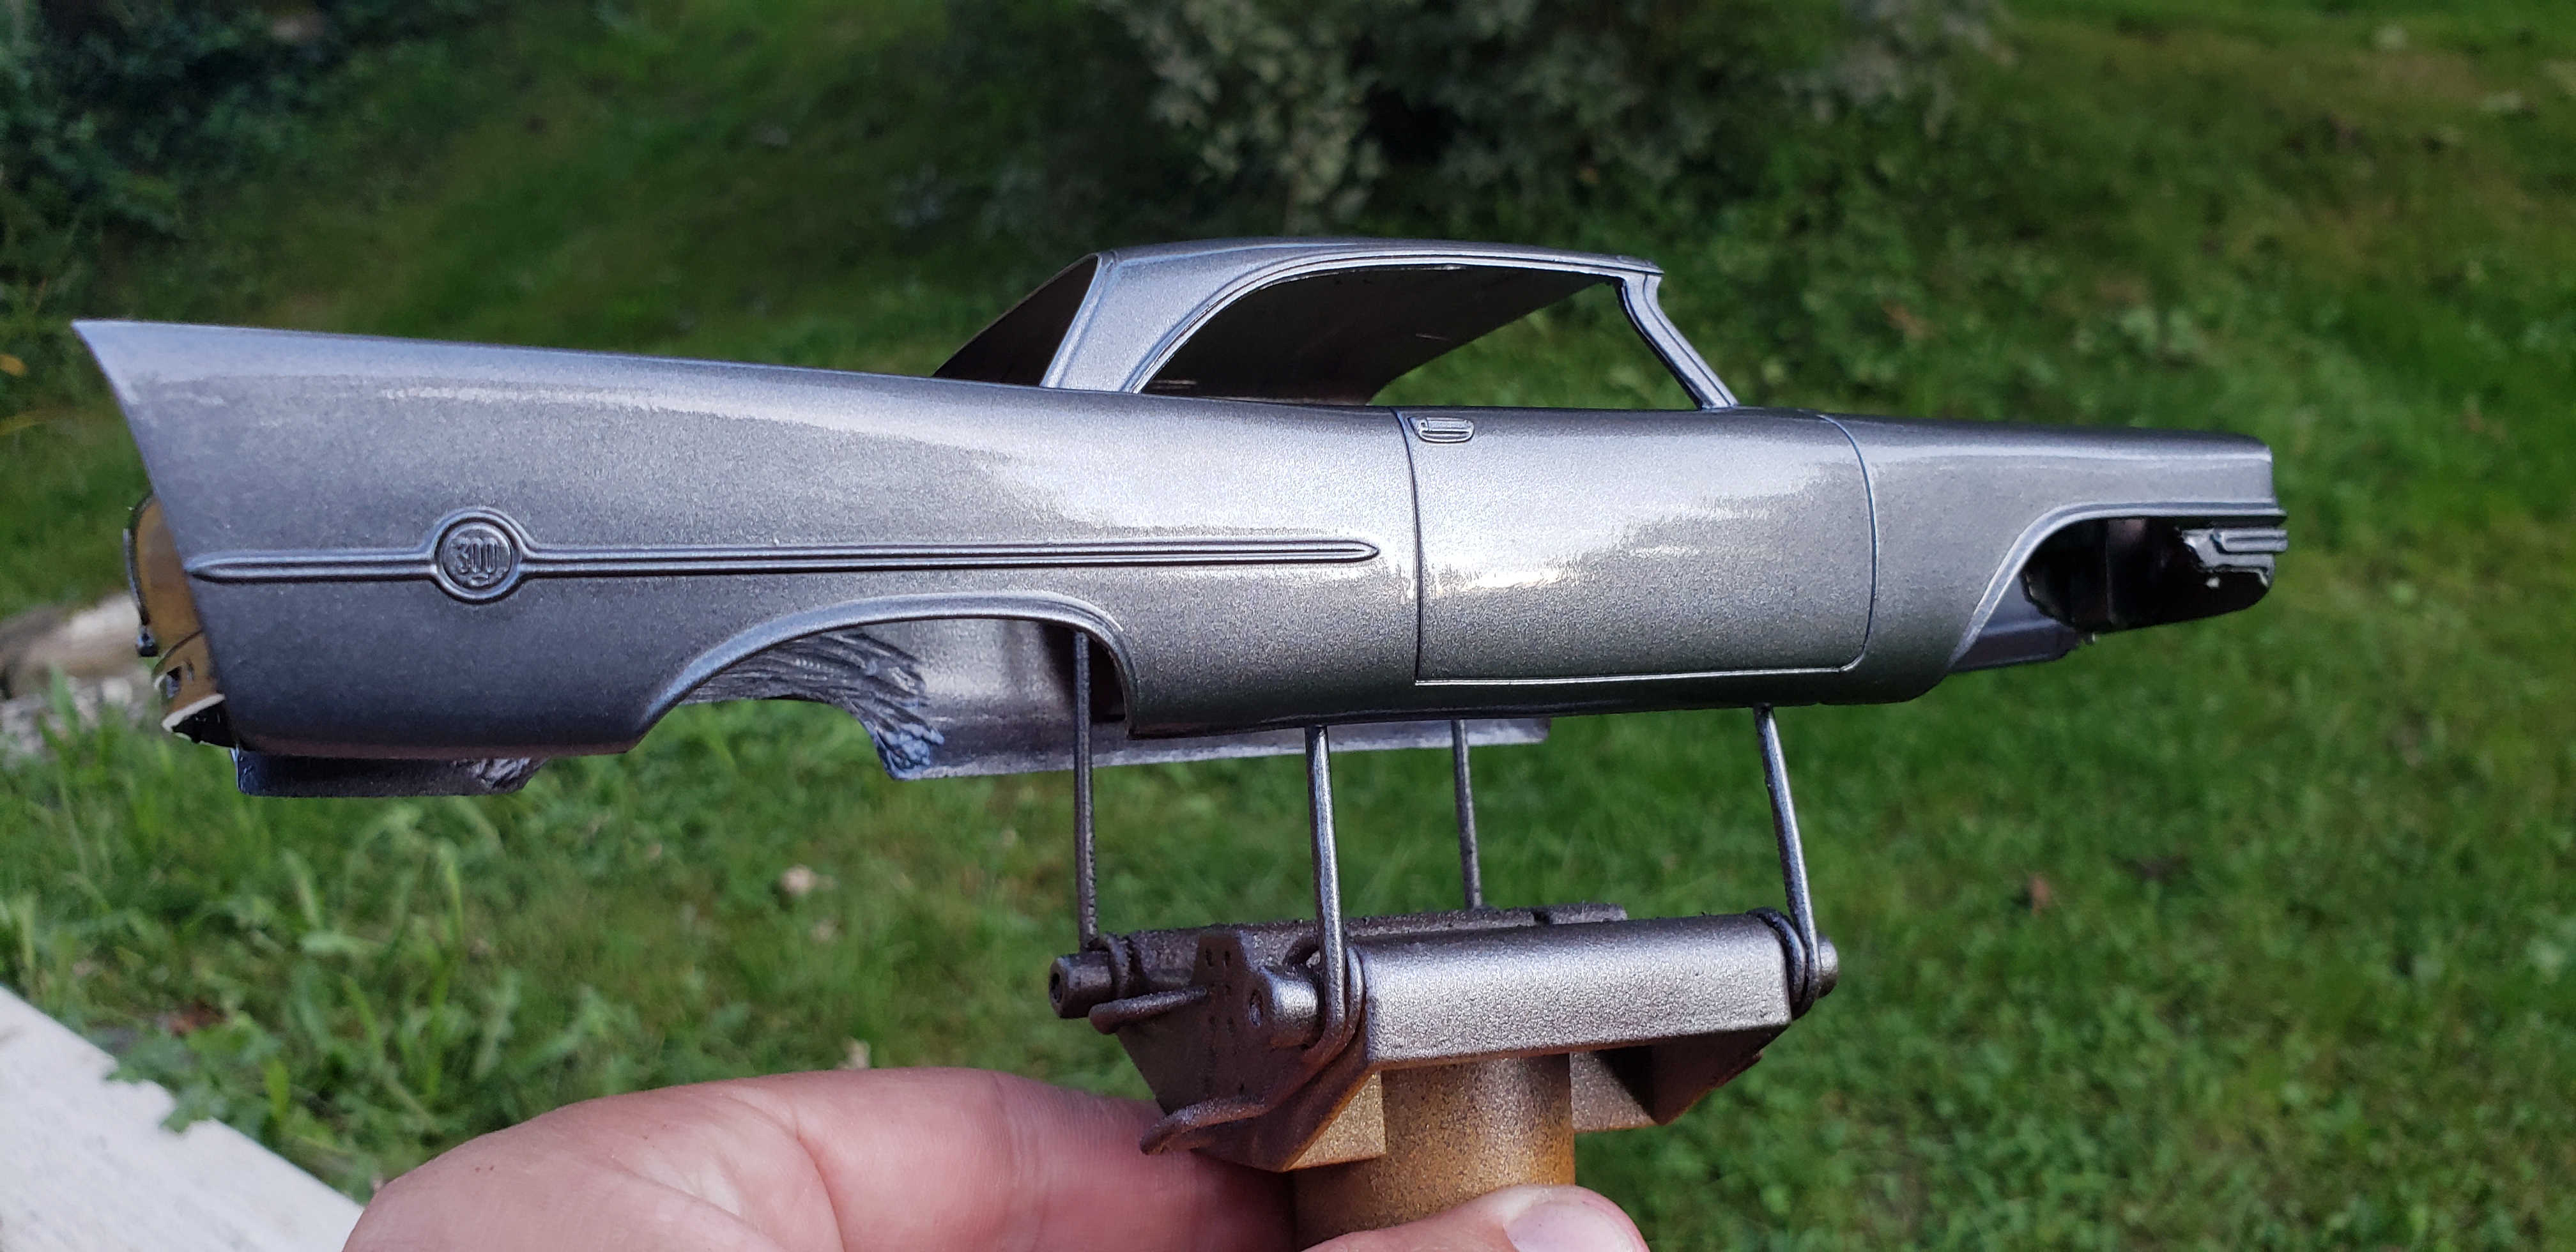
Love the color ! Another gorgeous car for your collection
-
Beautiful interior details and the gold color really brings the seat details to life .
-
Very impressive work and gorgeous fleet of trucks
-
Hope your eye is getting better, looking forward to more amazing work
-
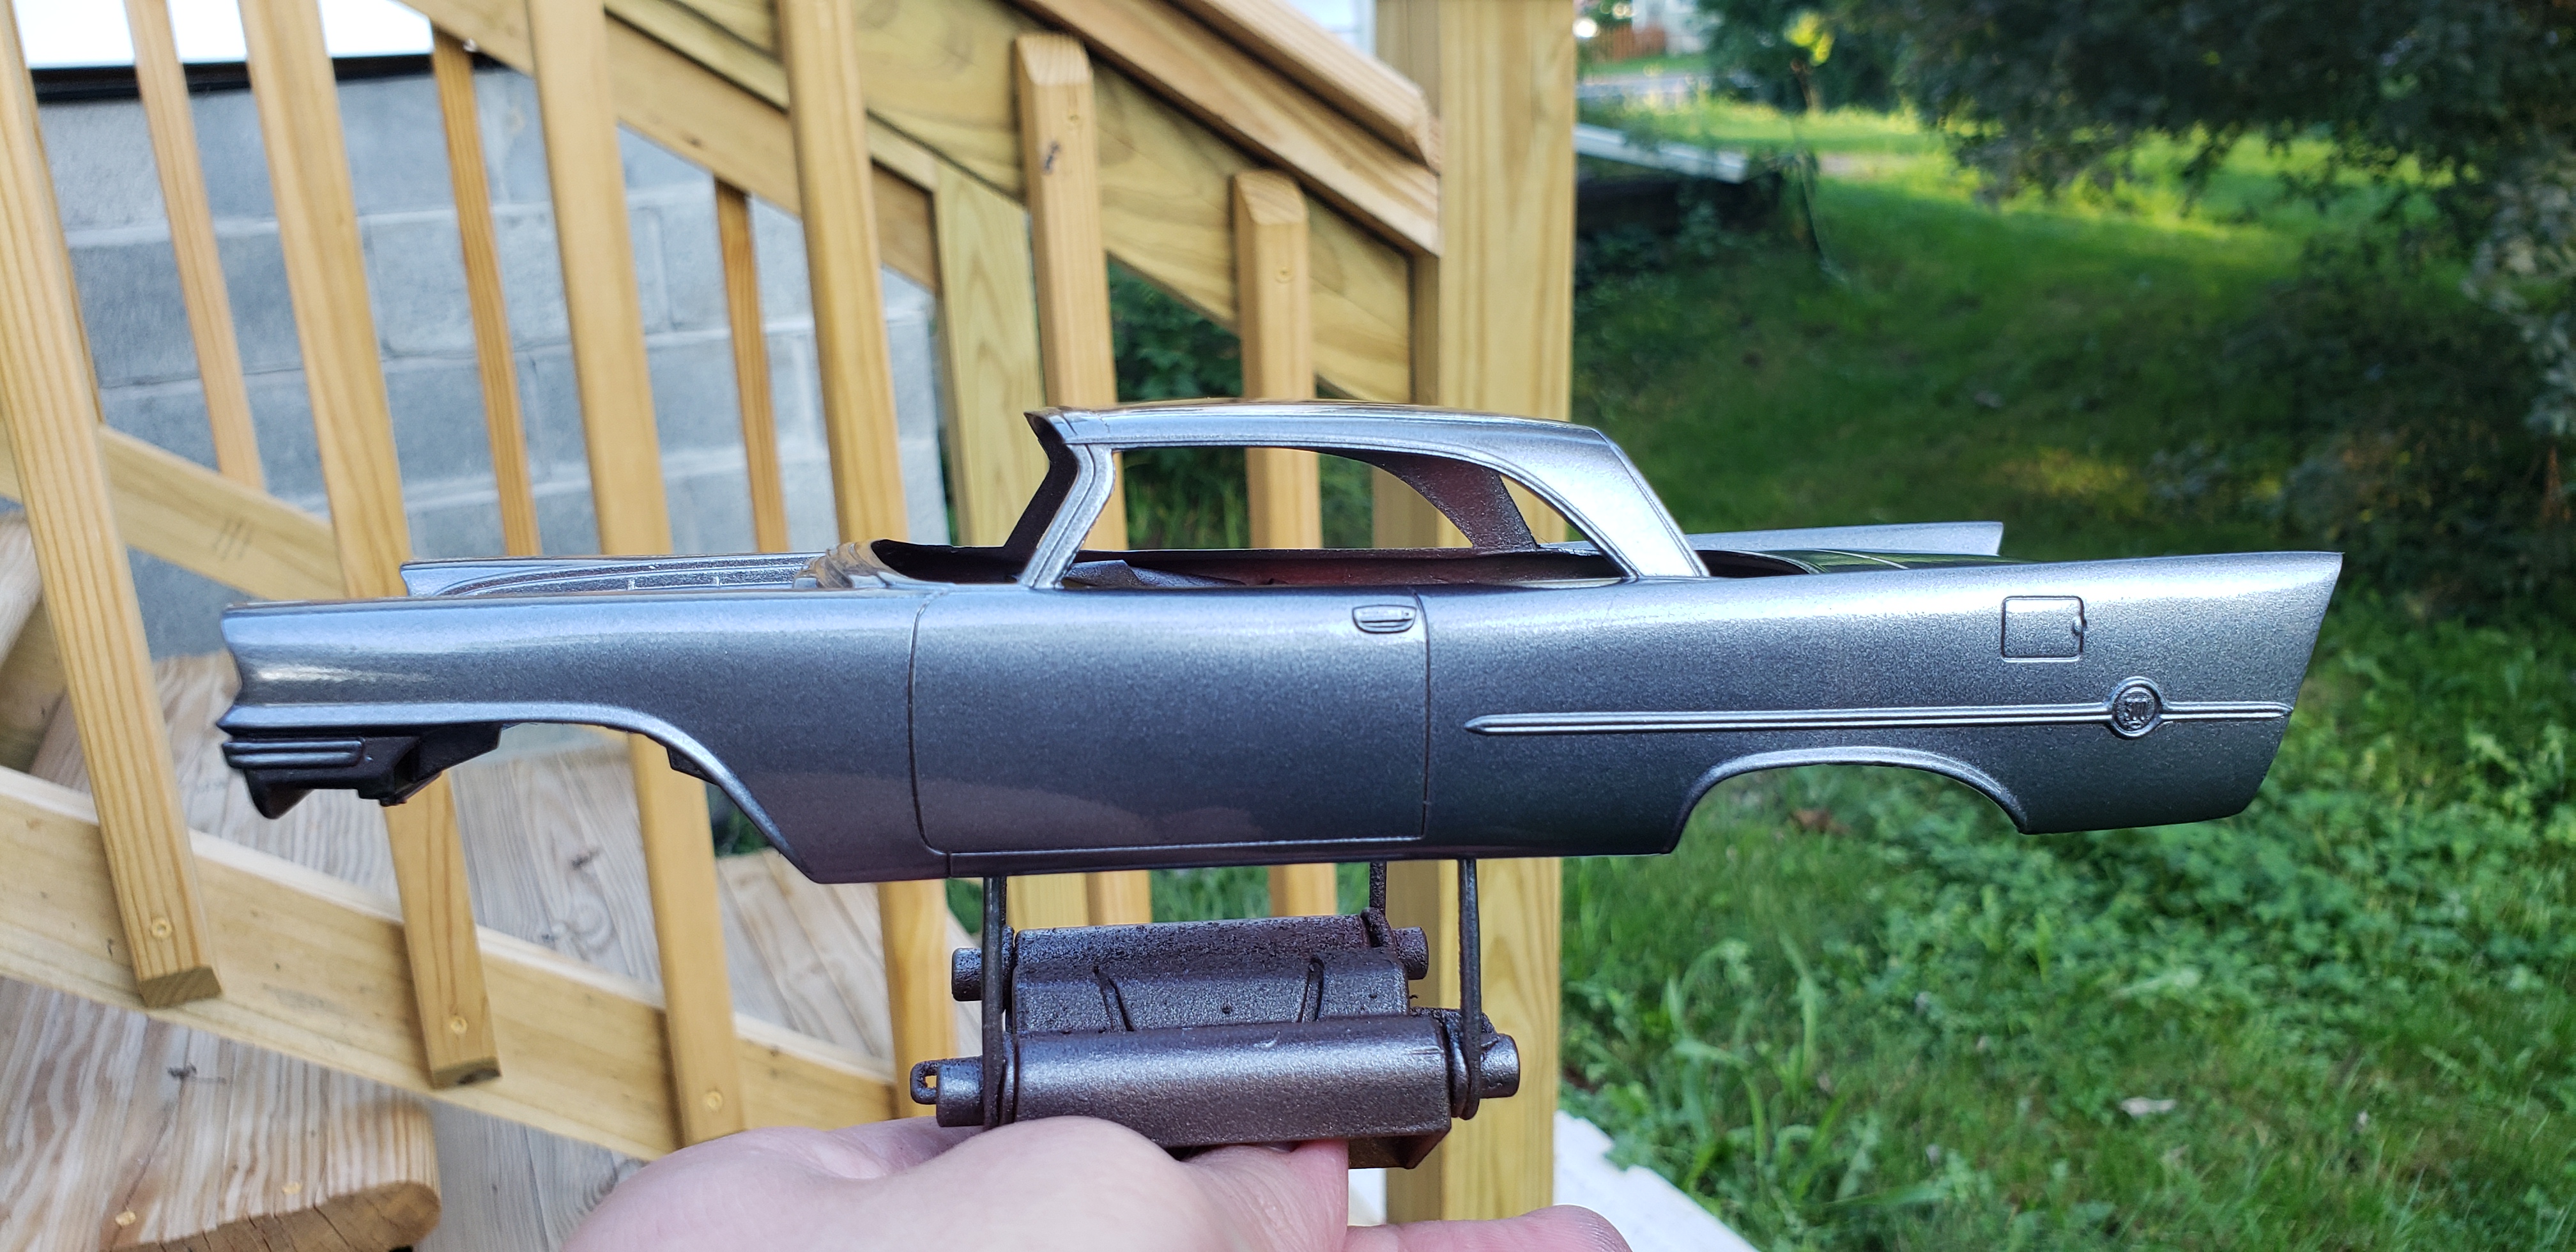
Very nice work ! Excellent job fitting the roof panel in with a nearly seamless fit Love the color plan, gray is the new hot color
-
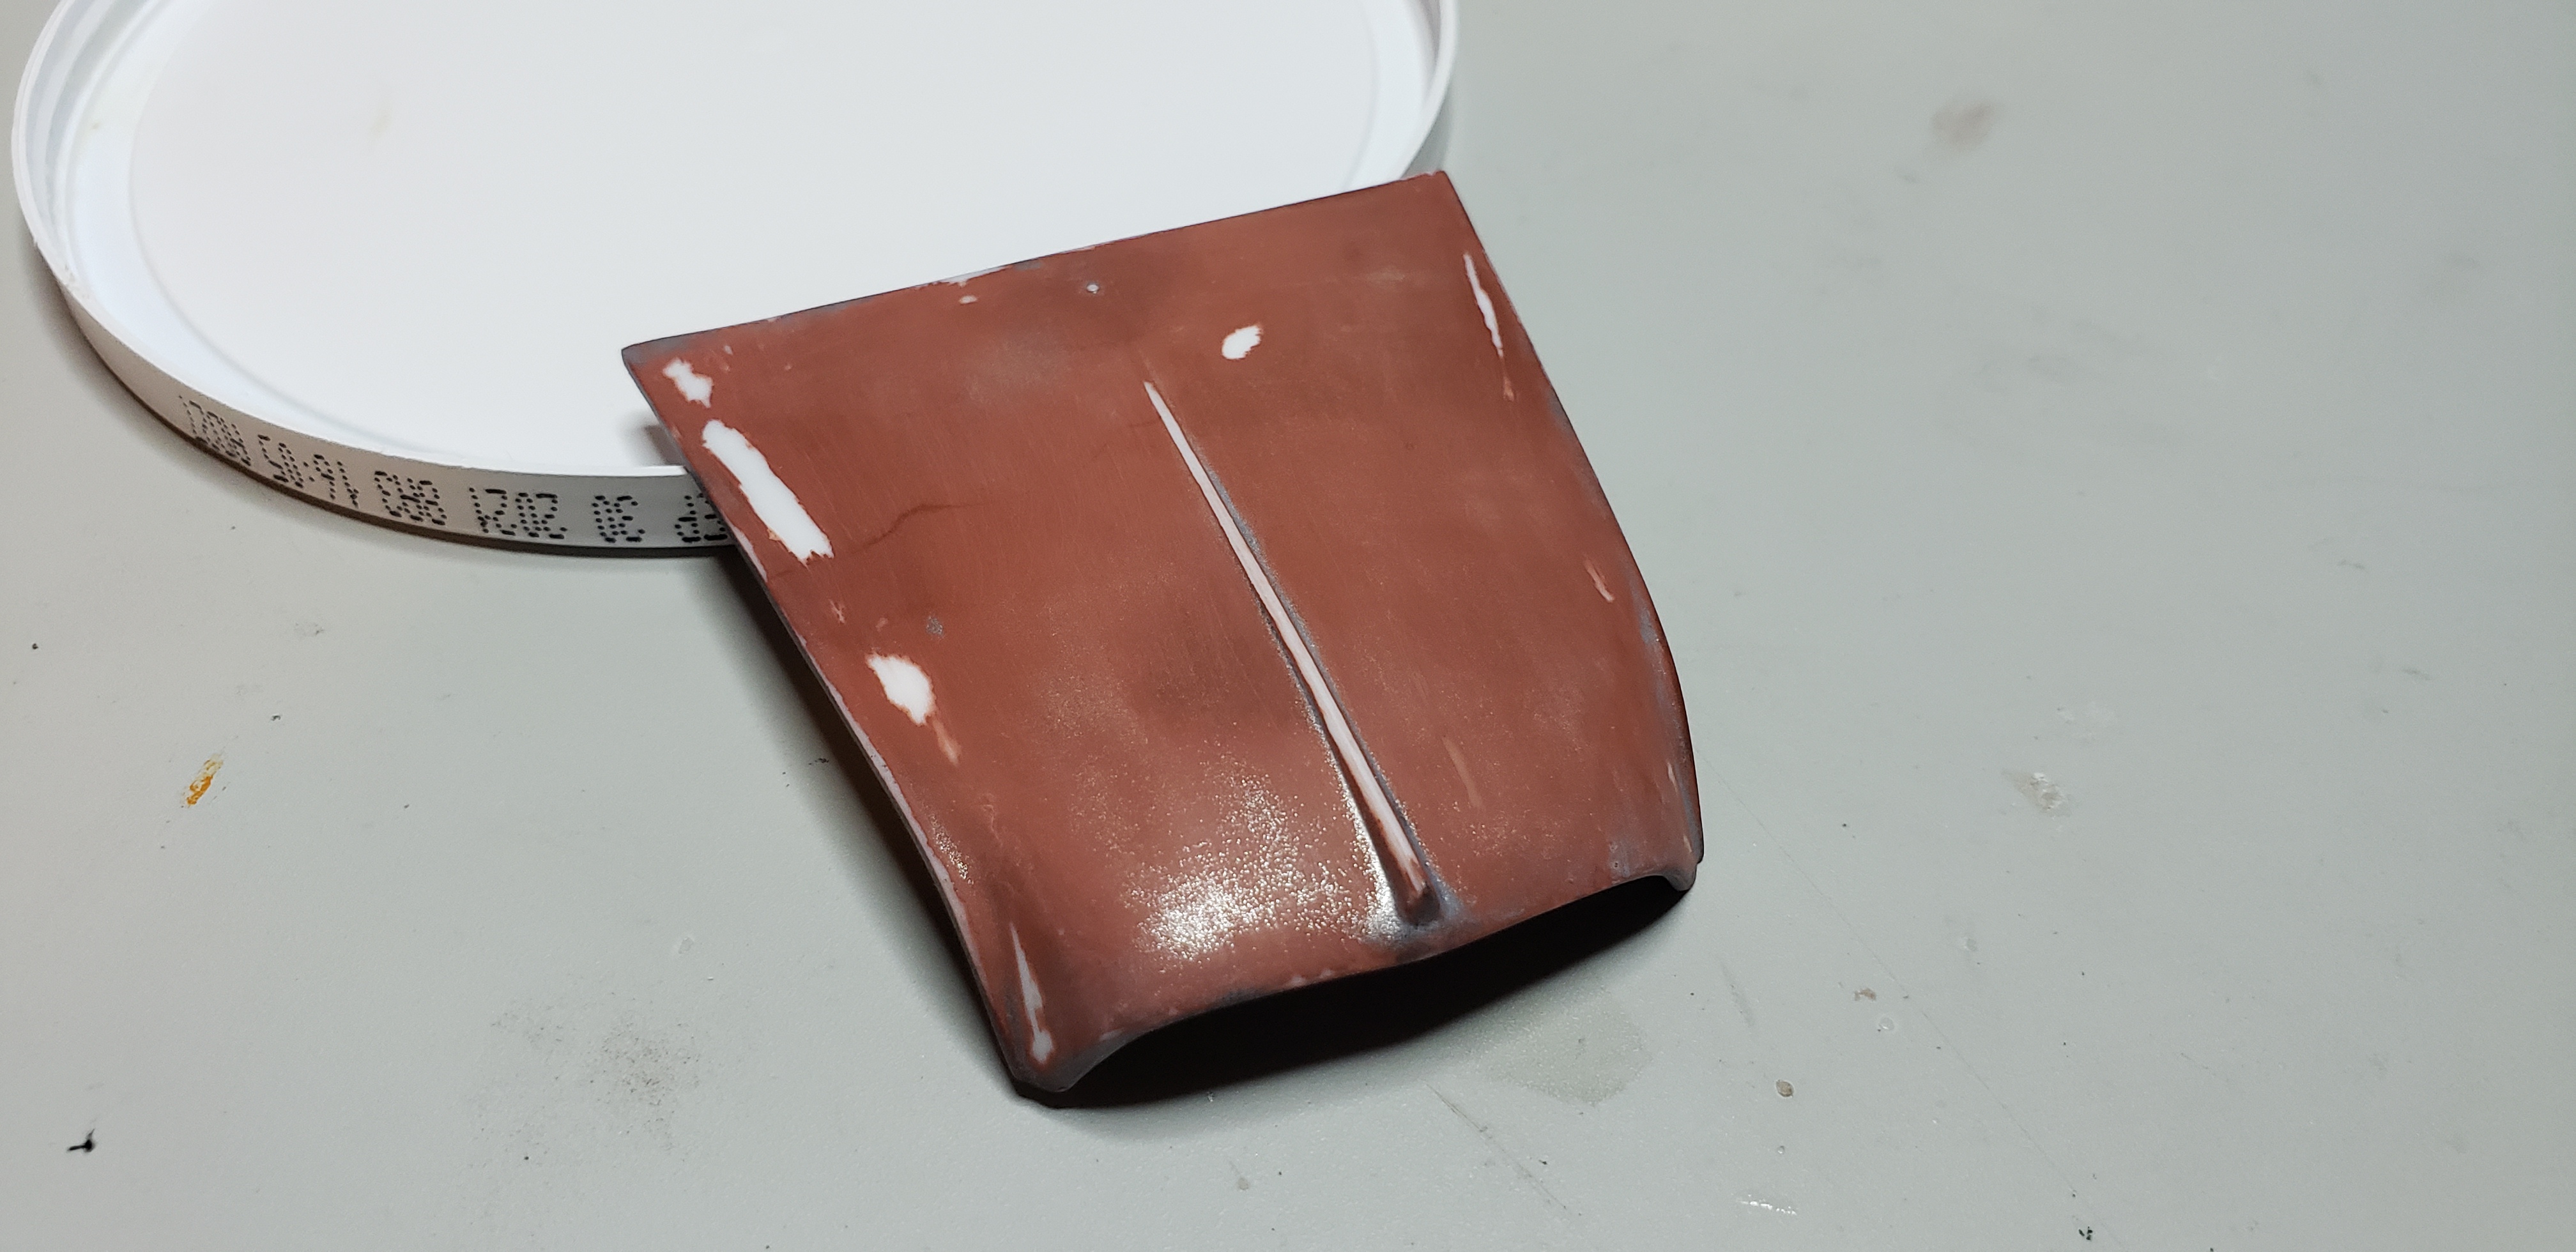
I actually stripped the hood last night down to primer and plan to reapply it tomorrow. I'll watch the coats closely to hopefully avoid having a noticeable color difference. Really excited to see this together, the color combo should look good
-
IH Transtar Cabover
gotnitro? replied to James Maynard's topic in WIP: Model Trucks: Big Rigs and Heavy Equipment
Wow really like the new color scheme w the white ! -
AMT '67 Mustang Fastback-Now in Under Glass Section
gotnitro? replied to mustang1989's topic in WIP: Model Cars
Wow nice work adding all the smaller details ! -
US Navy Chevy 8400 Fuel Tanker
gotnitro? replied to Matt Simpson's topic in WIP: Model Trucks: Big Rigs and Heavy Equipment
Very cool idea -
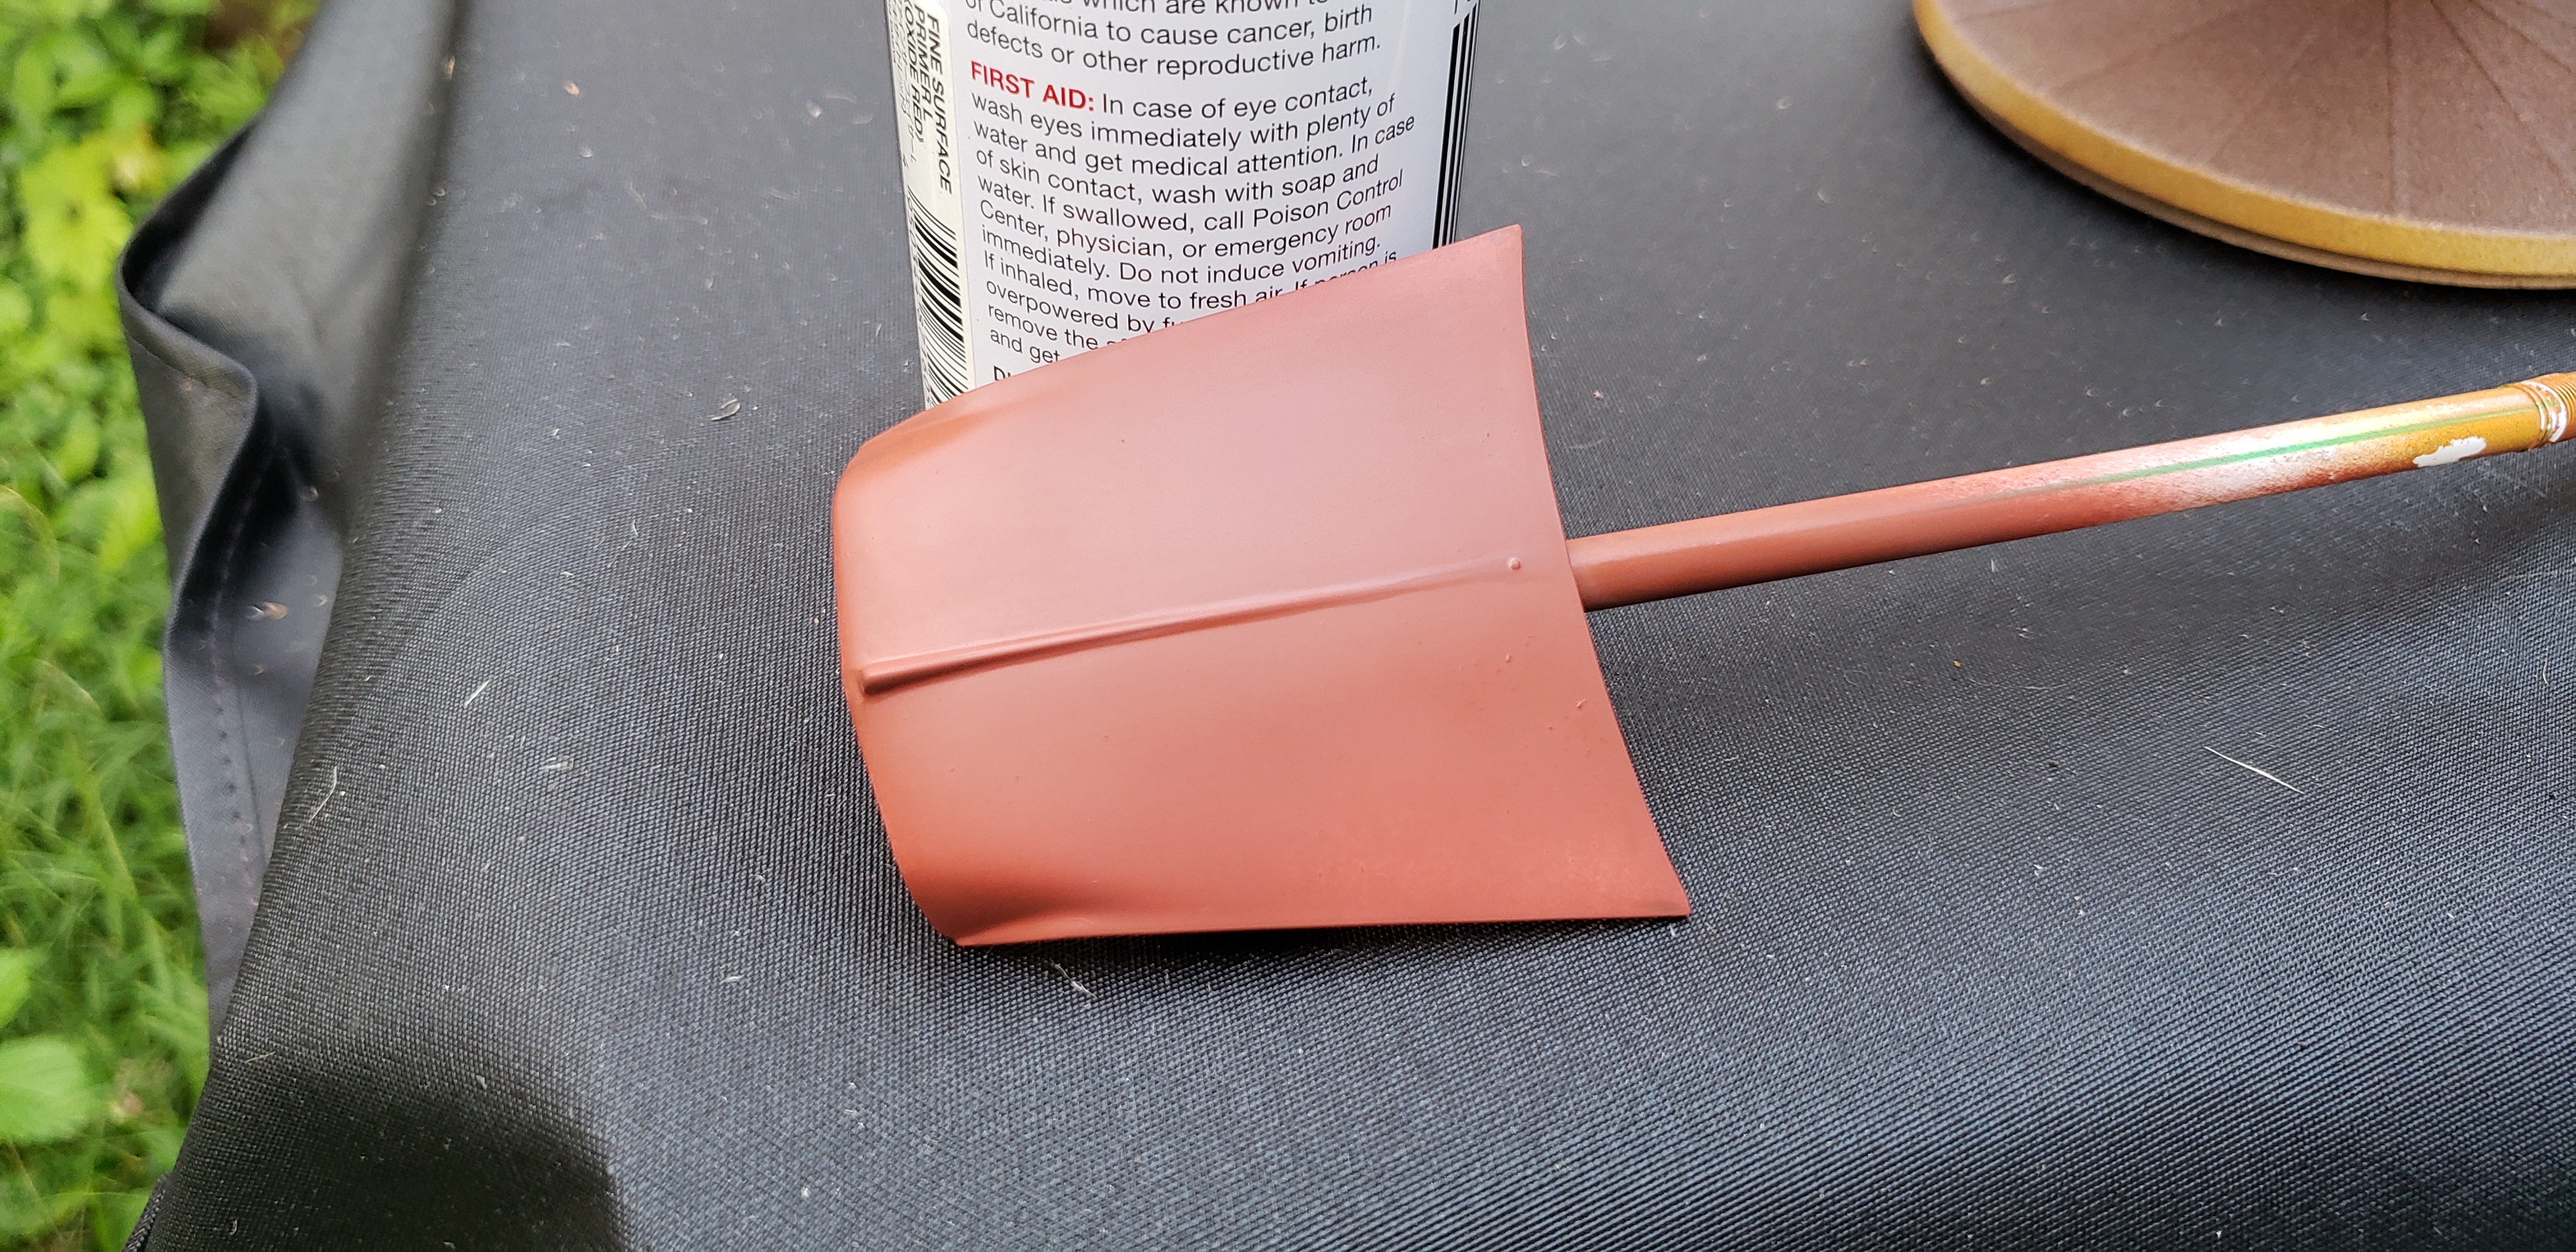
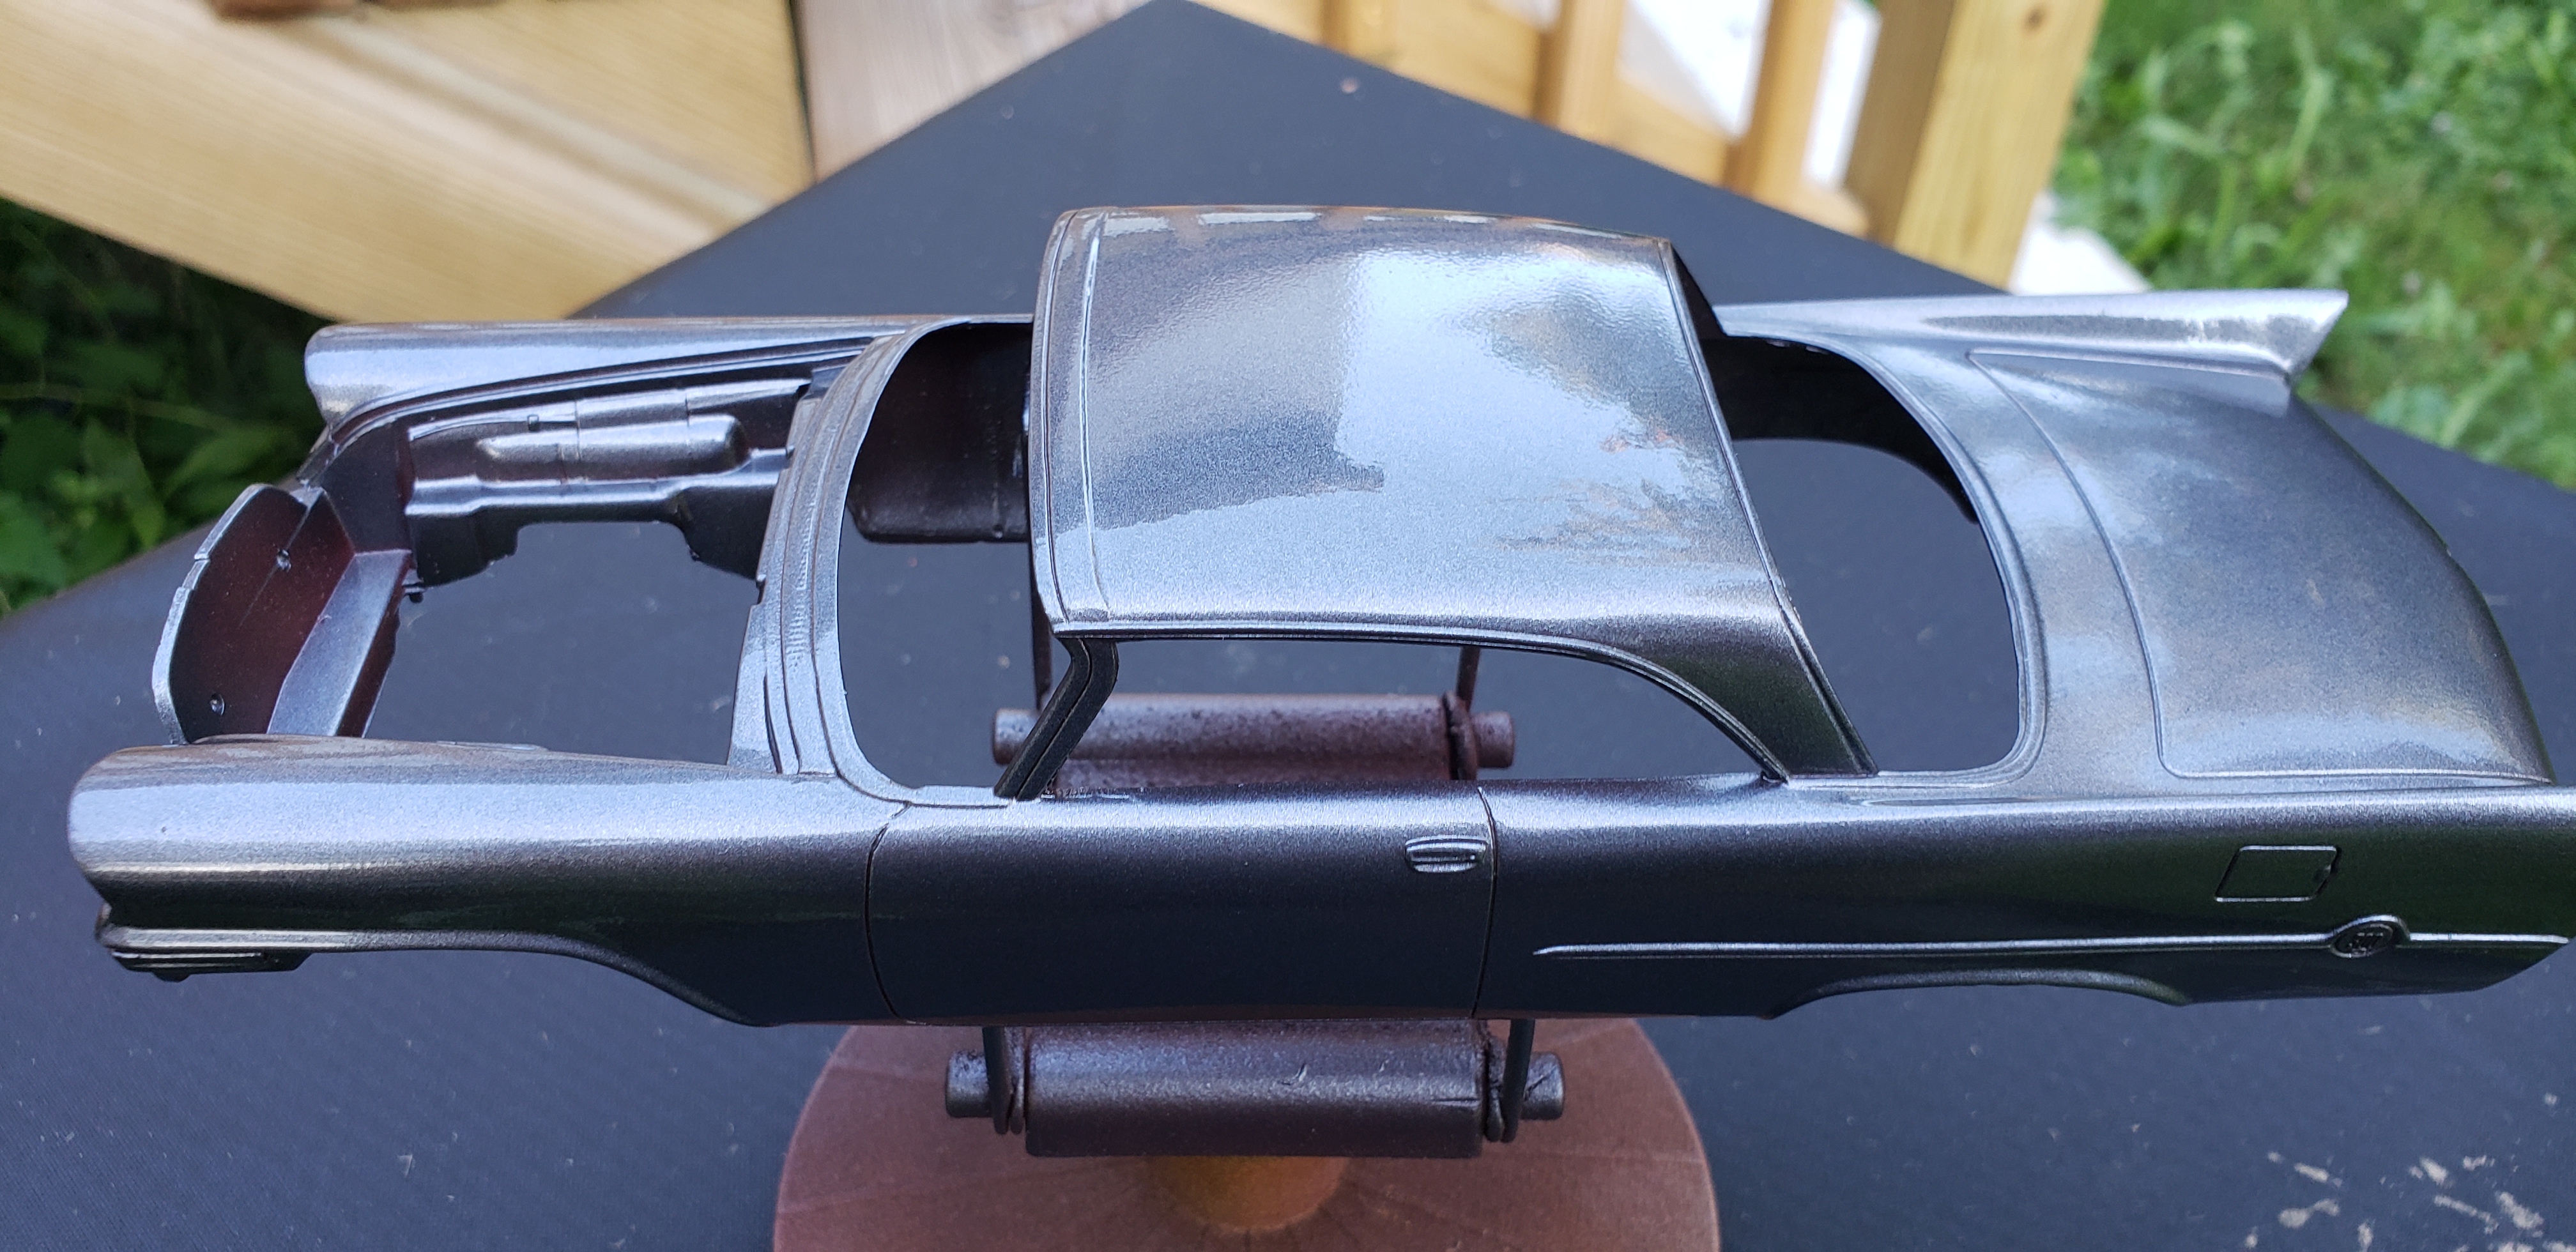
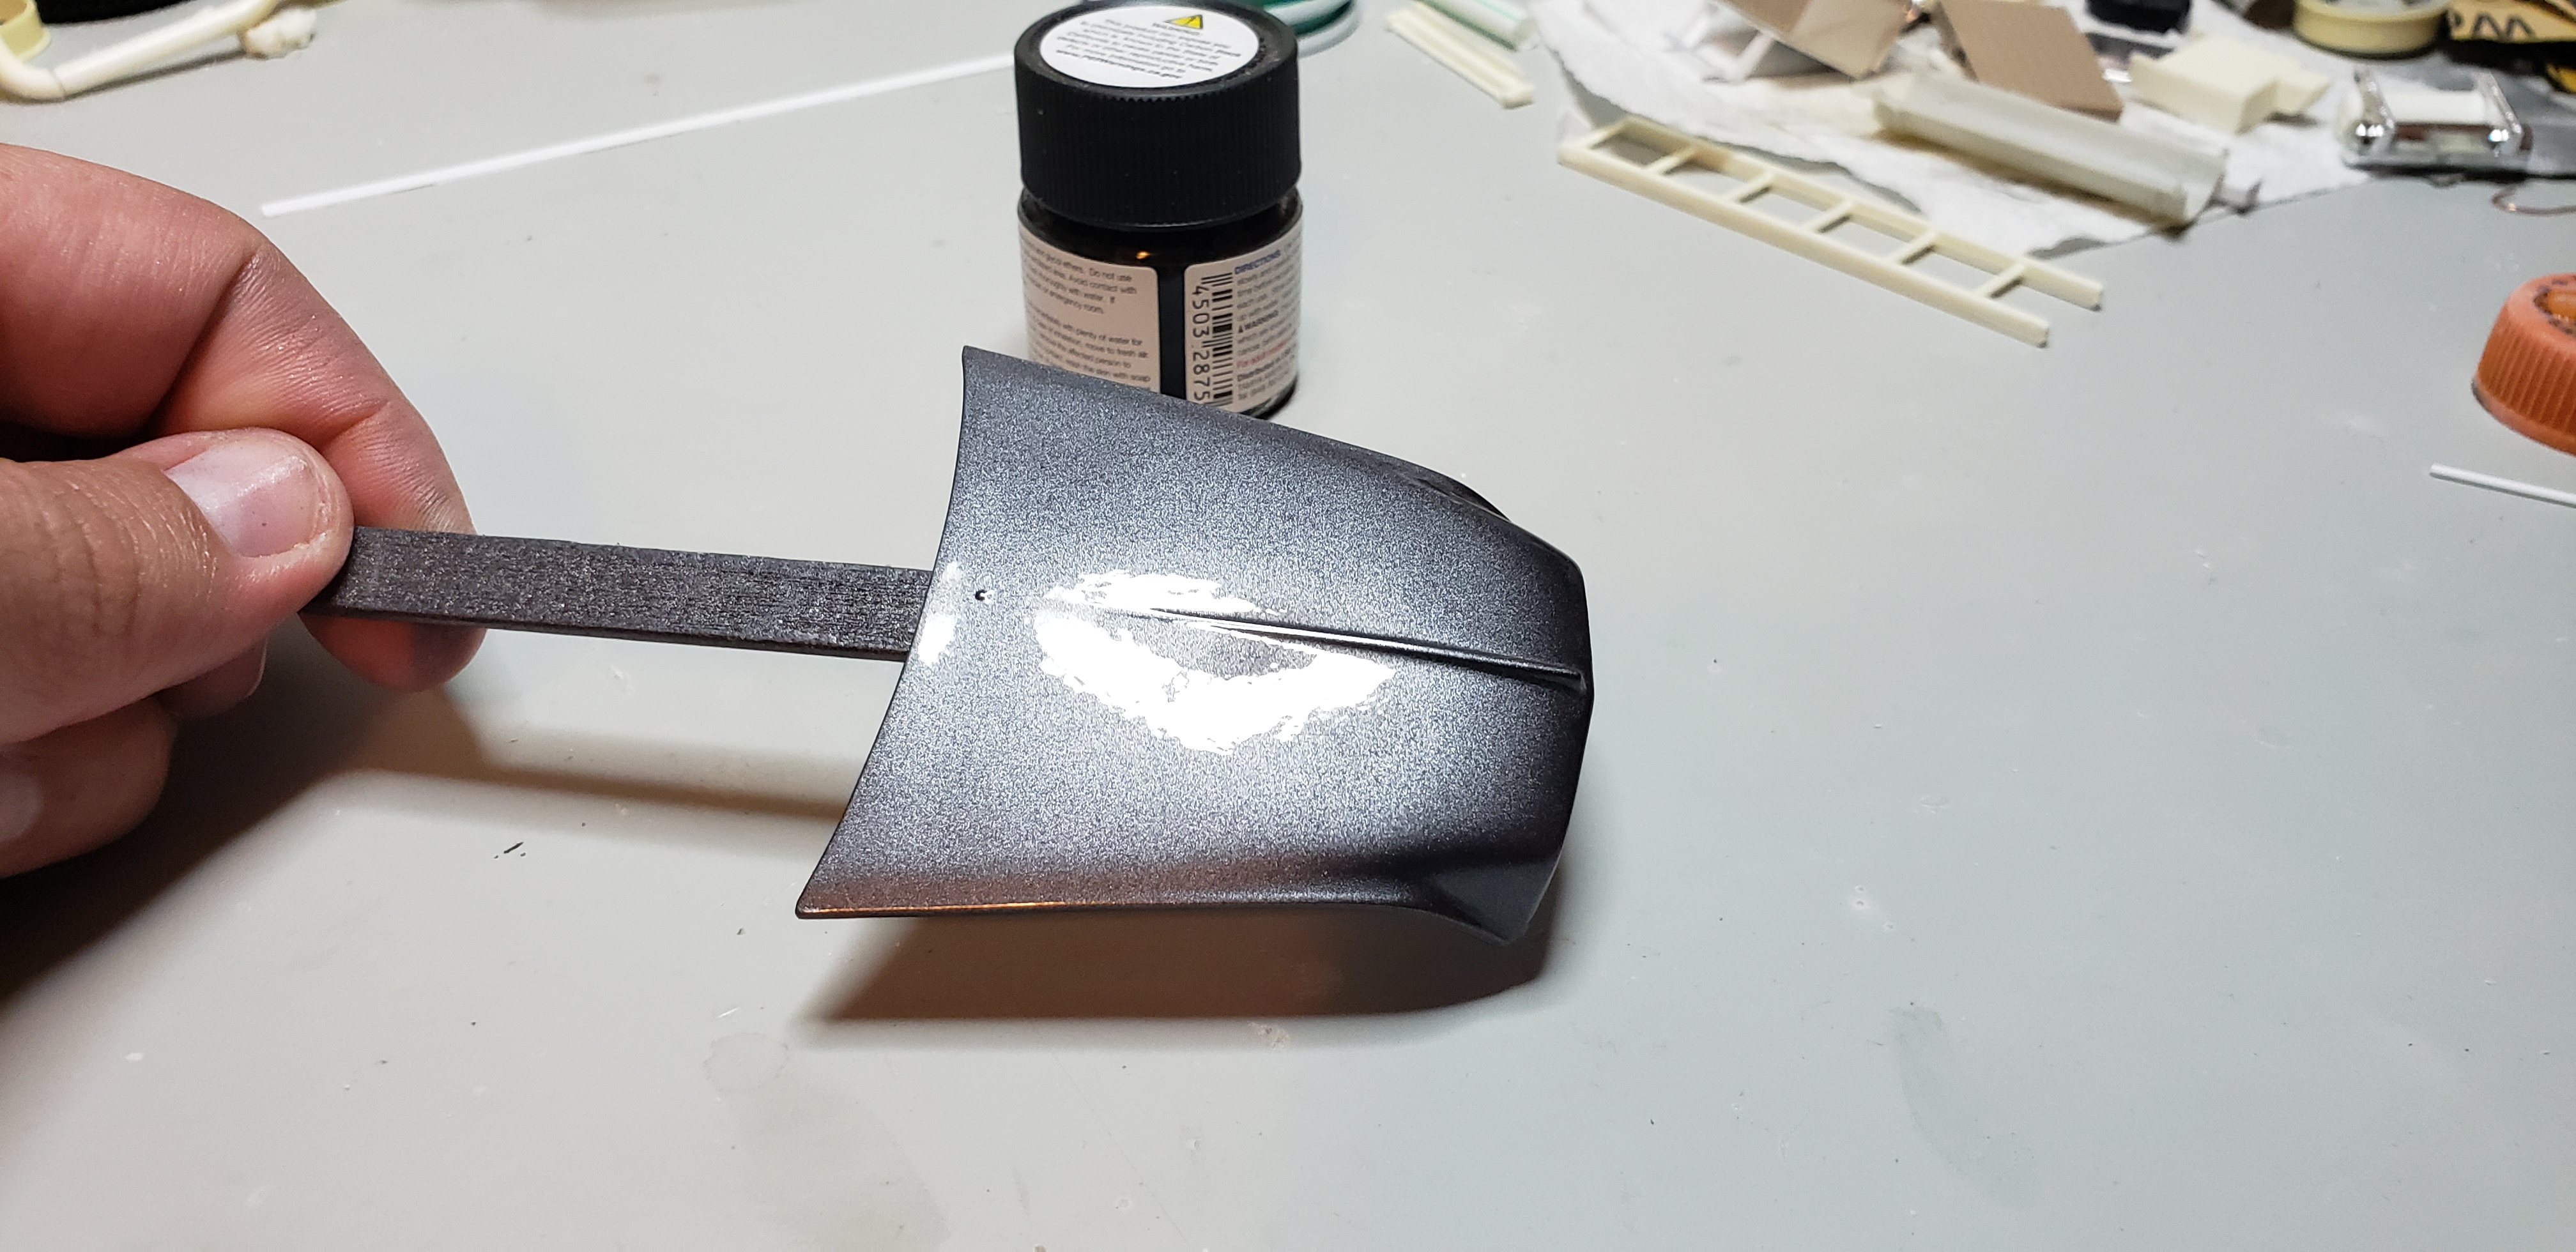
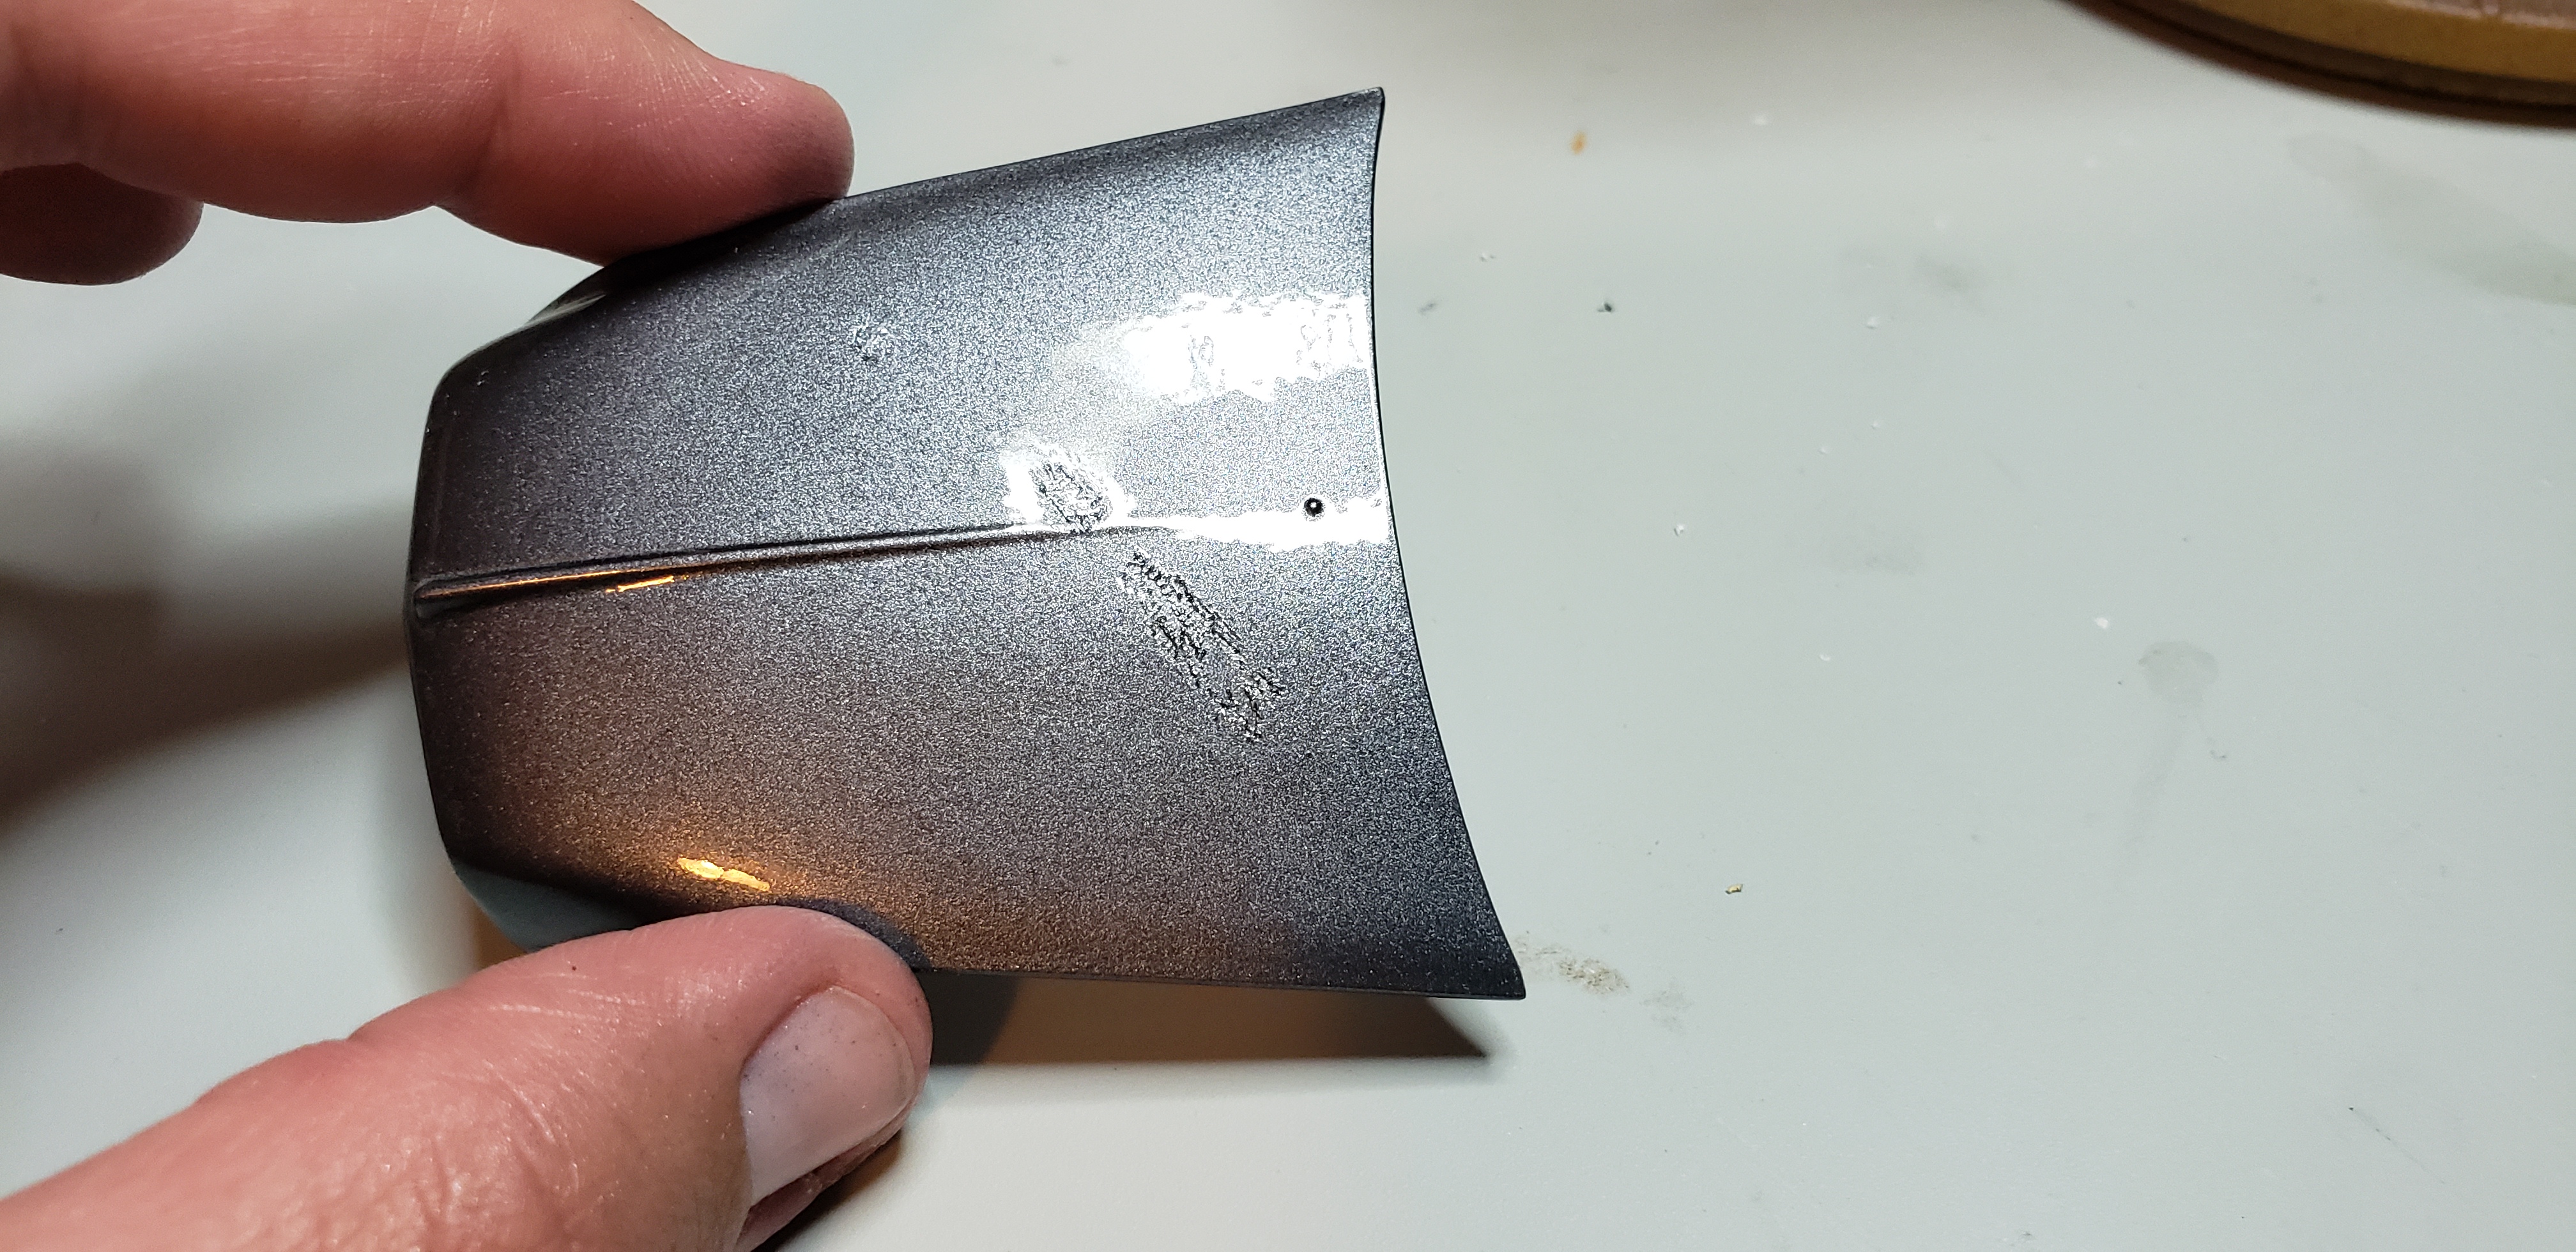
My paint order arrived today and couldn't wait to apply some color . I'm using tamiya TS-38 gunmetal , w testors wet look clear . Normally I'd sprayed in the booth, but temps outside was perfect for painting . 3 coats later I had a even color and was ready for clear . I pre soaked the cans in a bath of very hot water to achieve a smoother finish Moving everything back inside to cure , I snapped a few inside photos ..when the accident happened. I was so happy w the color. , I was moving the body and separate hood onto my drying shelf when I hit elbow and the hood flipped in the air ...I caught it upside down and left a finger print in the tacky finish..hopefully after curing I'll ba able to wet sand it back and buff away Thanks for looking
-
1956 Great Dane Reefer
gotnitro? replied to KJ790's topic in WIP: Model Trucks: Big Rigs and Heavy Equipment
Gorgeous work KJ !!! Whew , I can't imagine laying all those rivets down. Adding the half round really makes the ribs believable Looking forward to your updates -
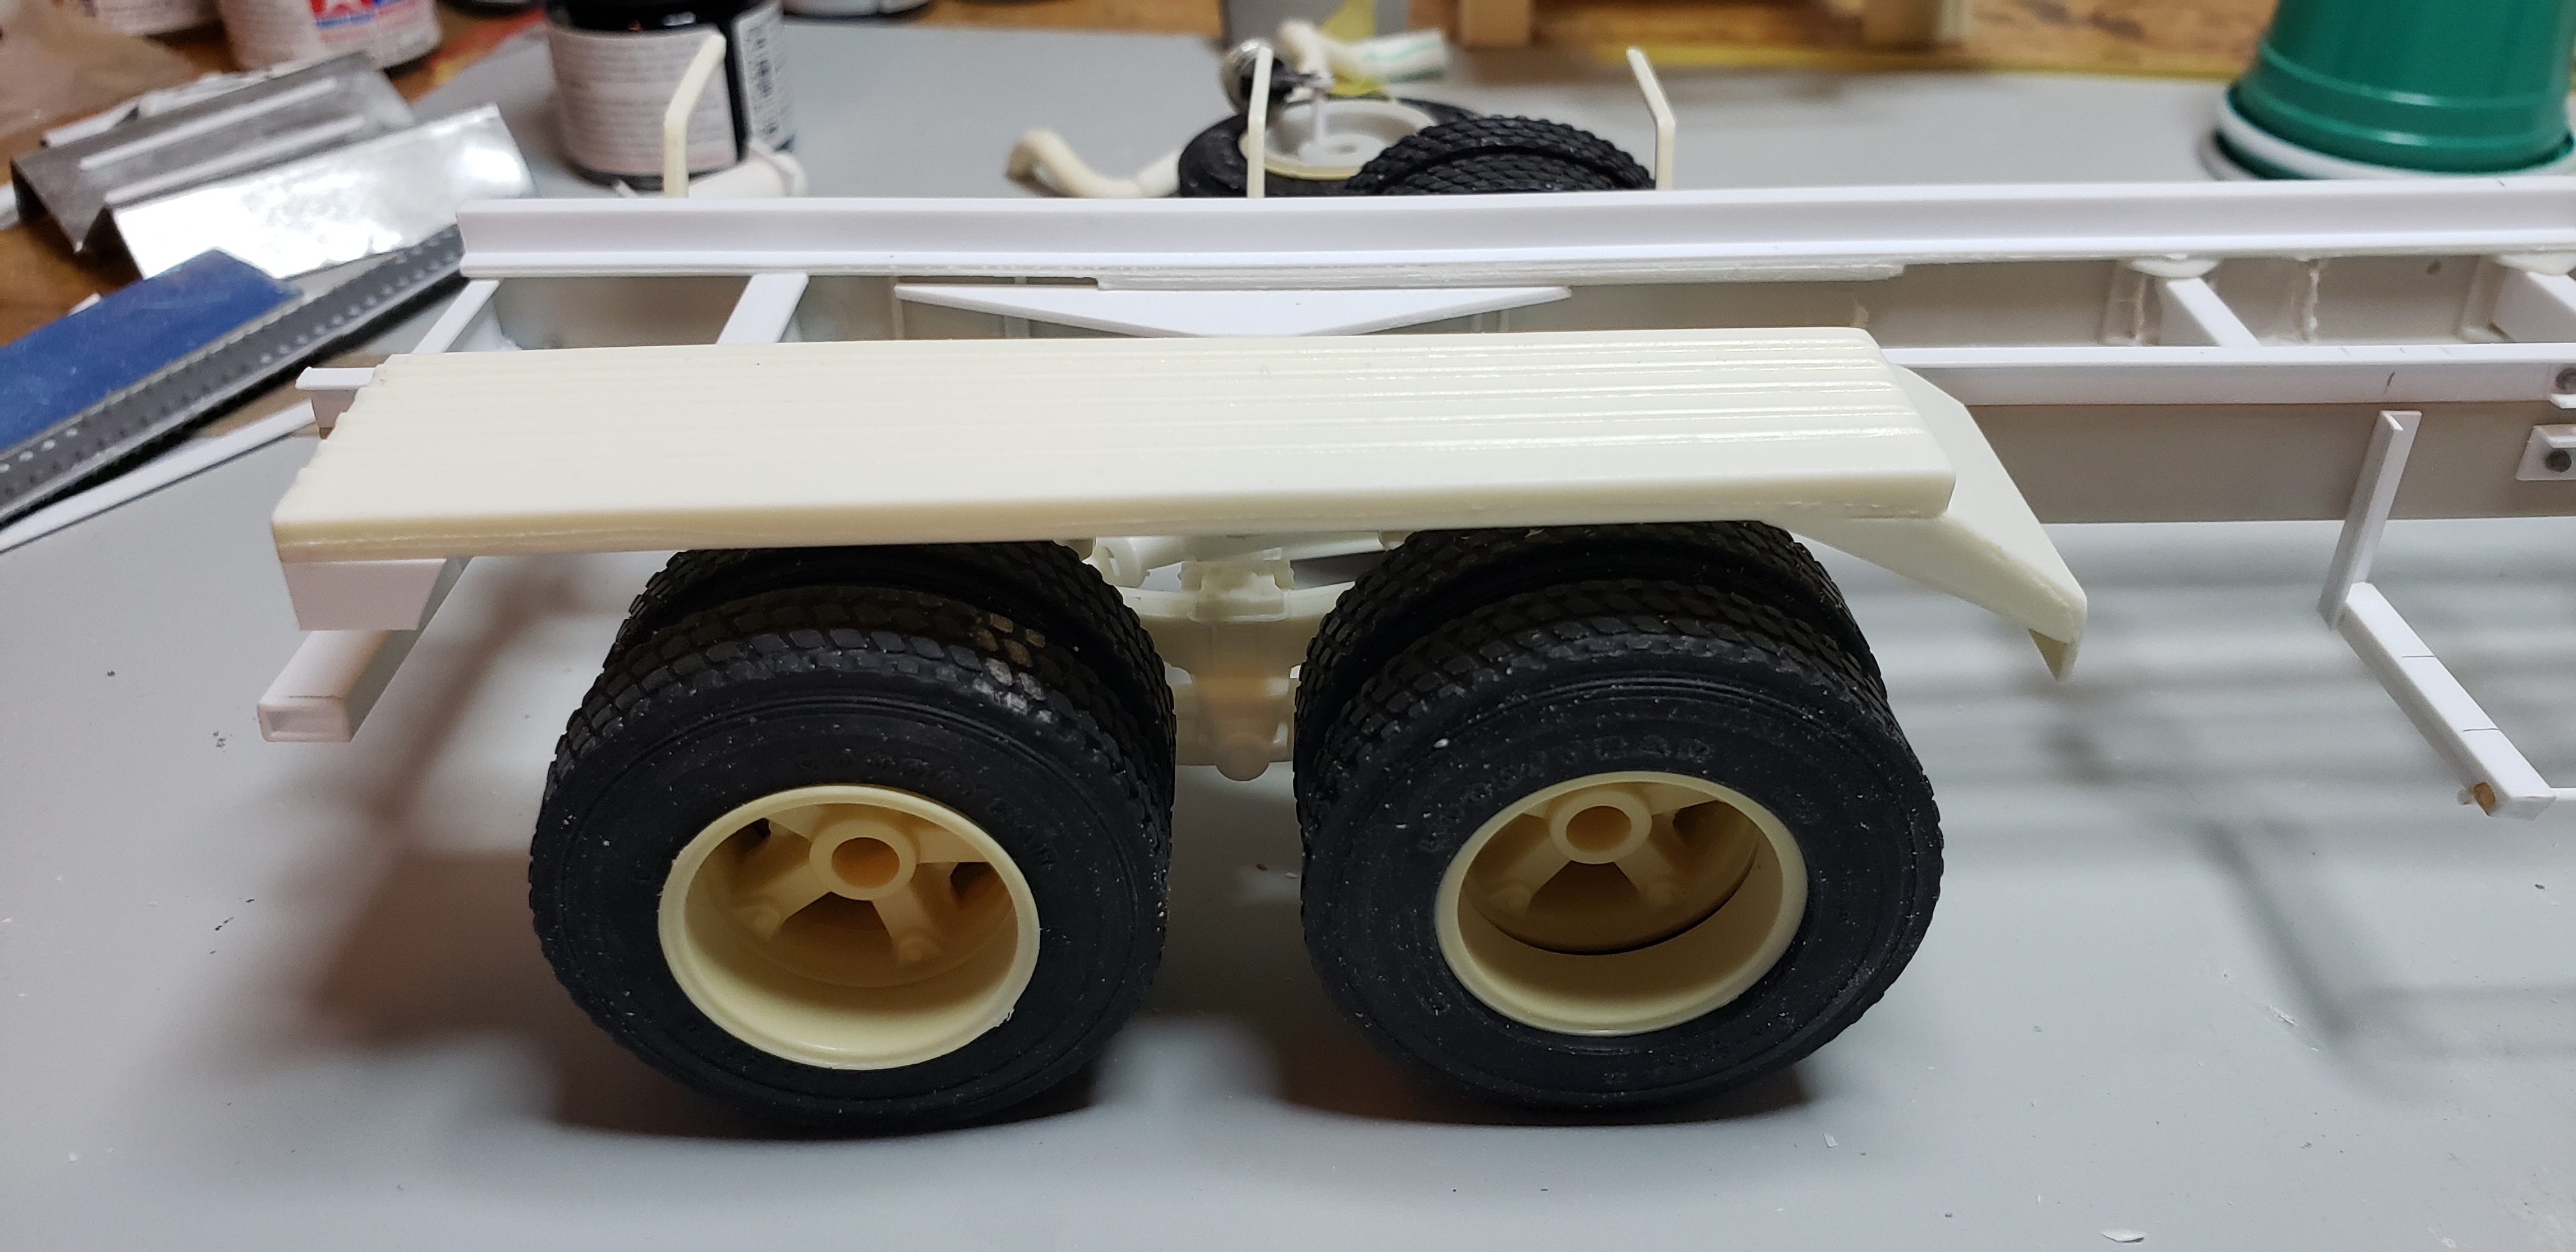
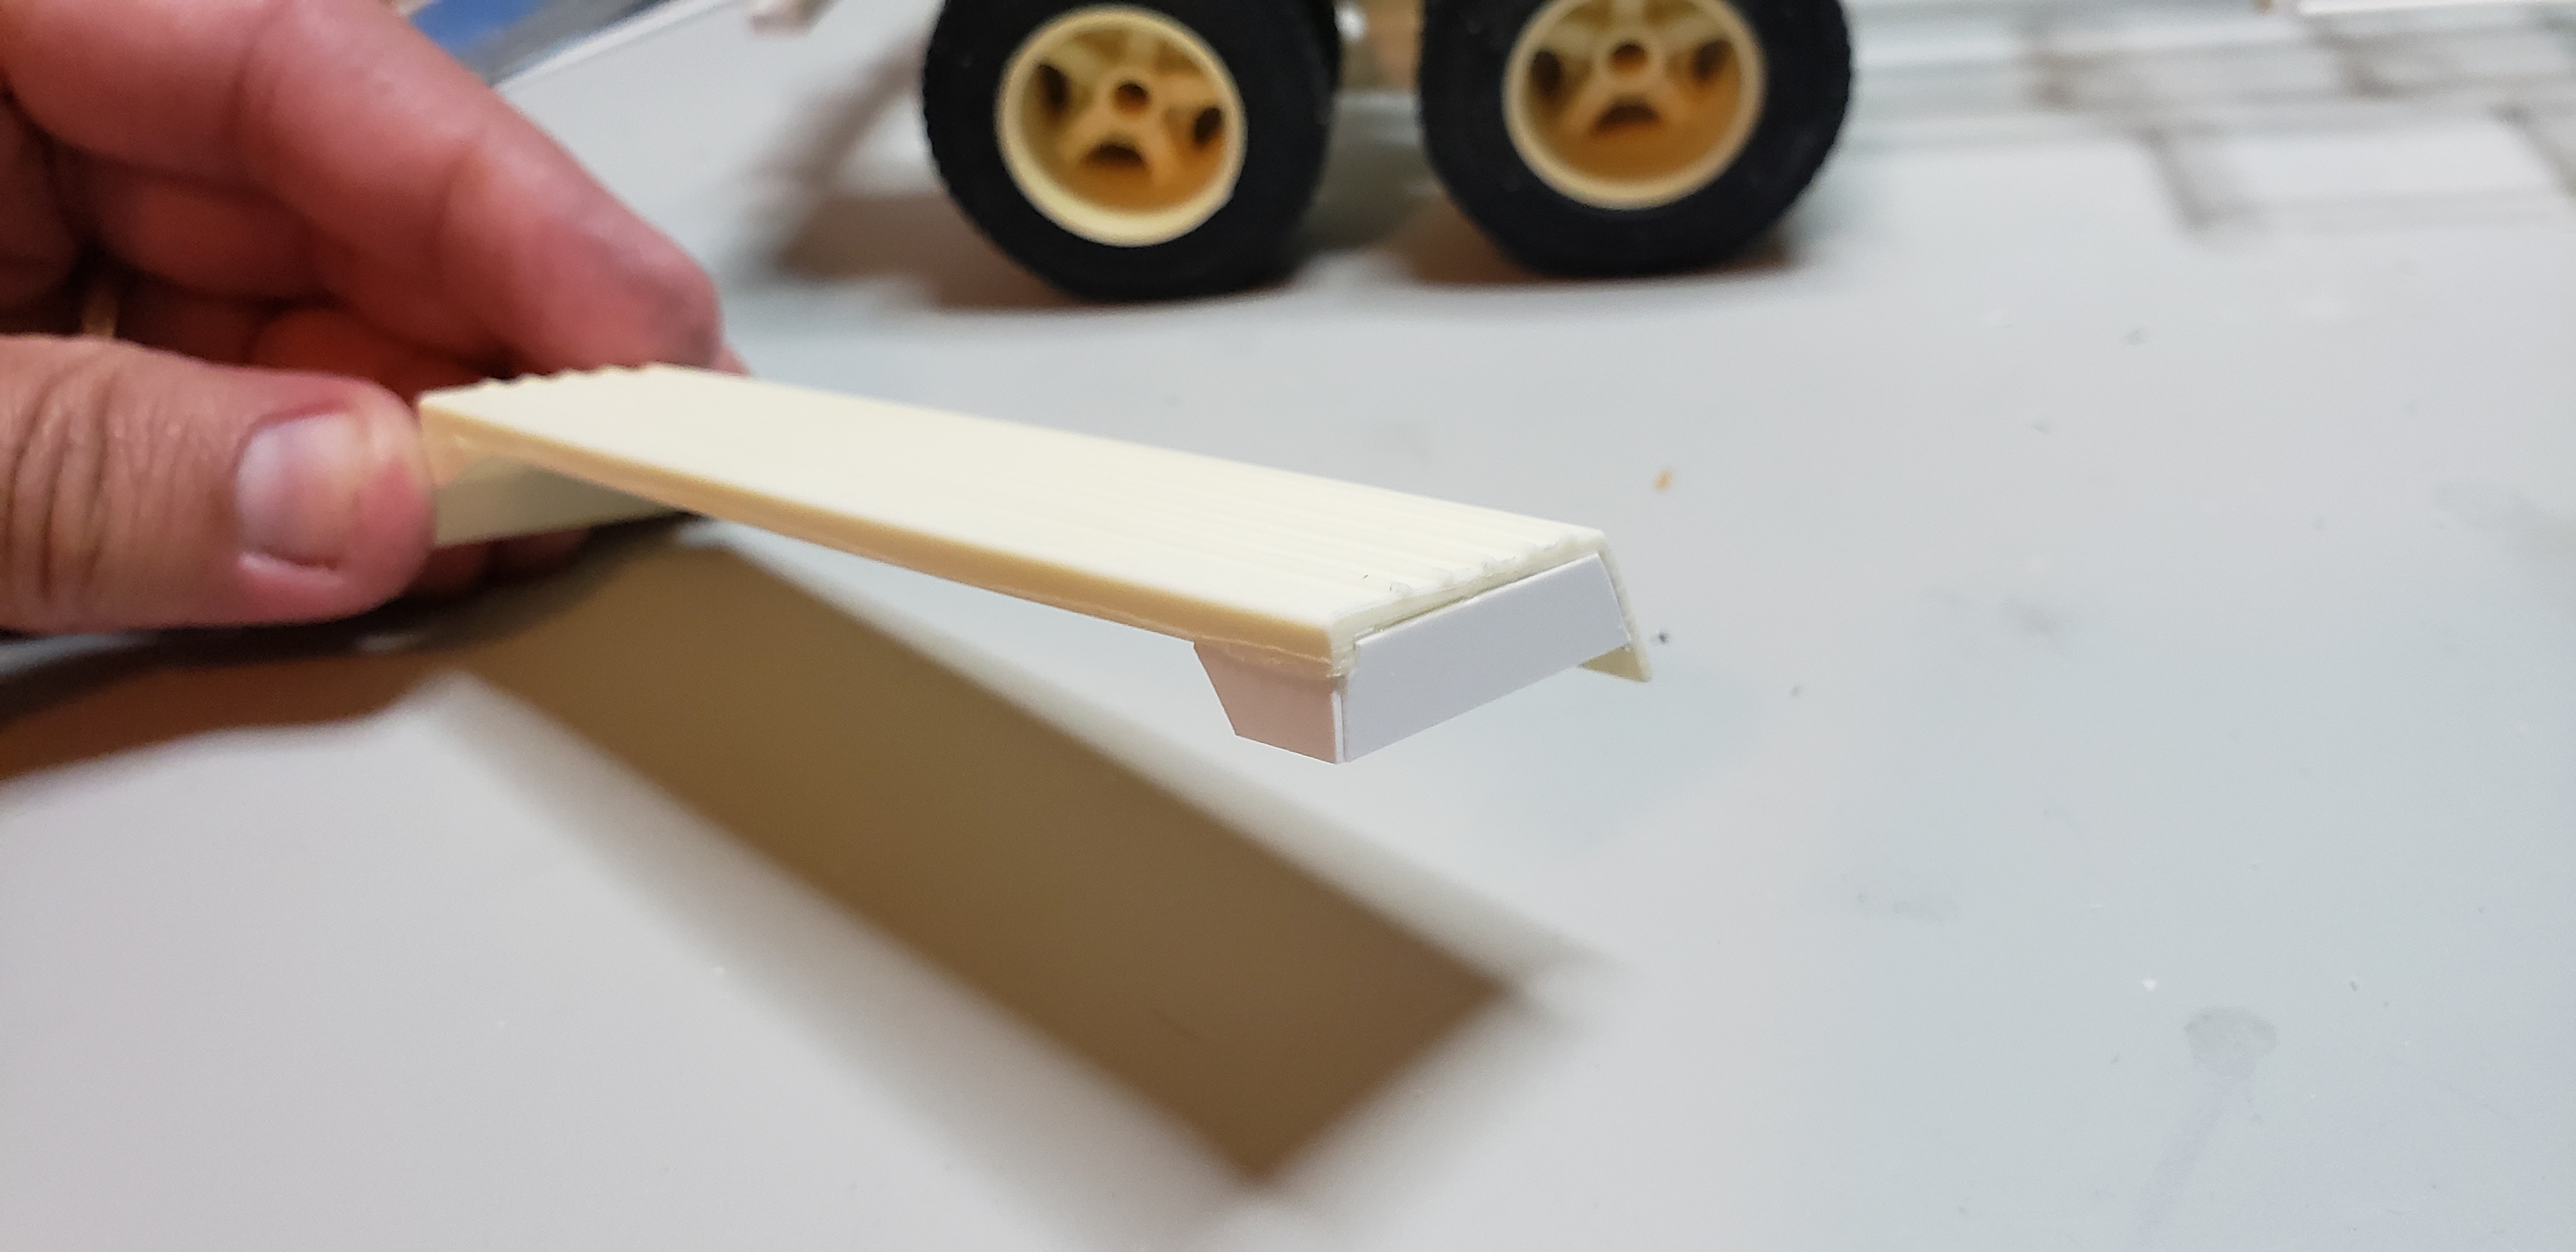
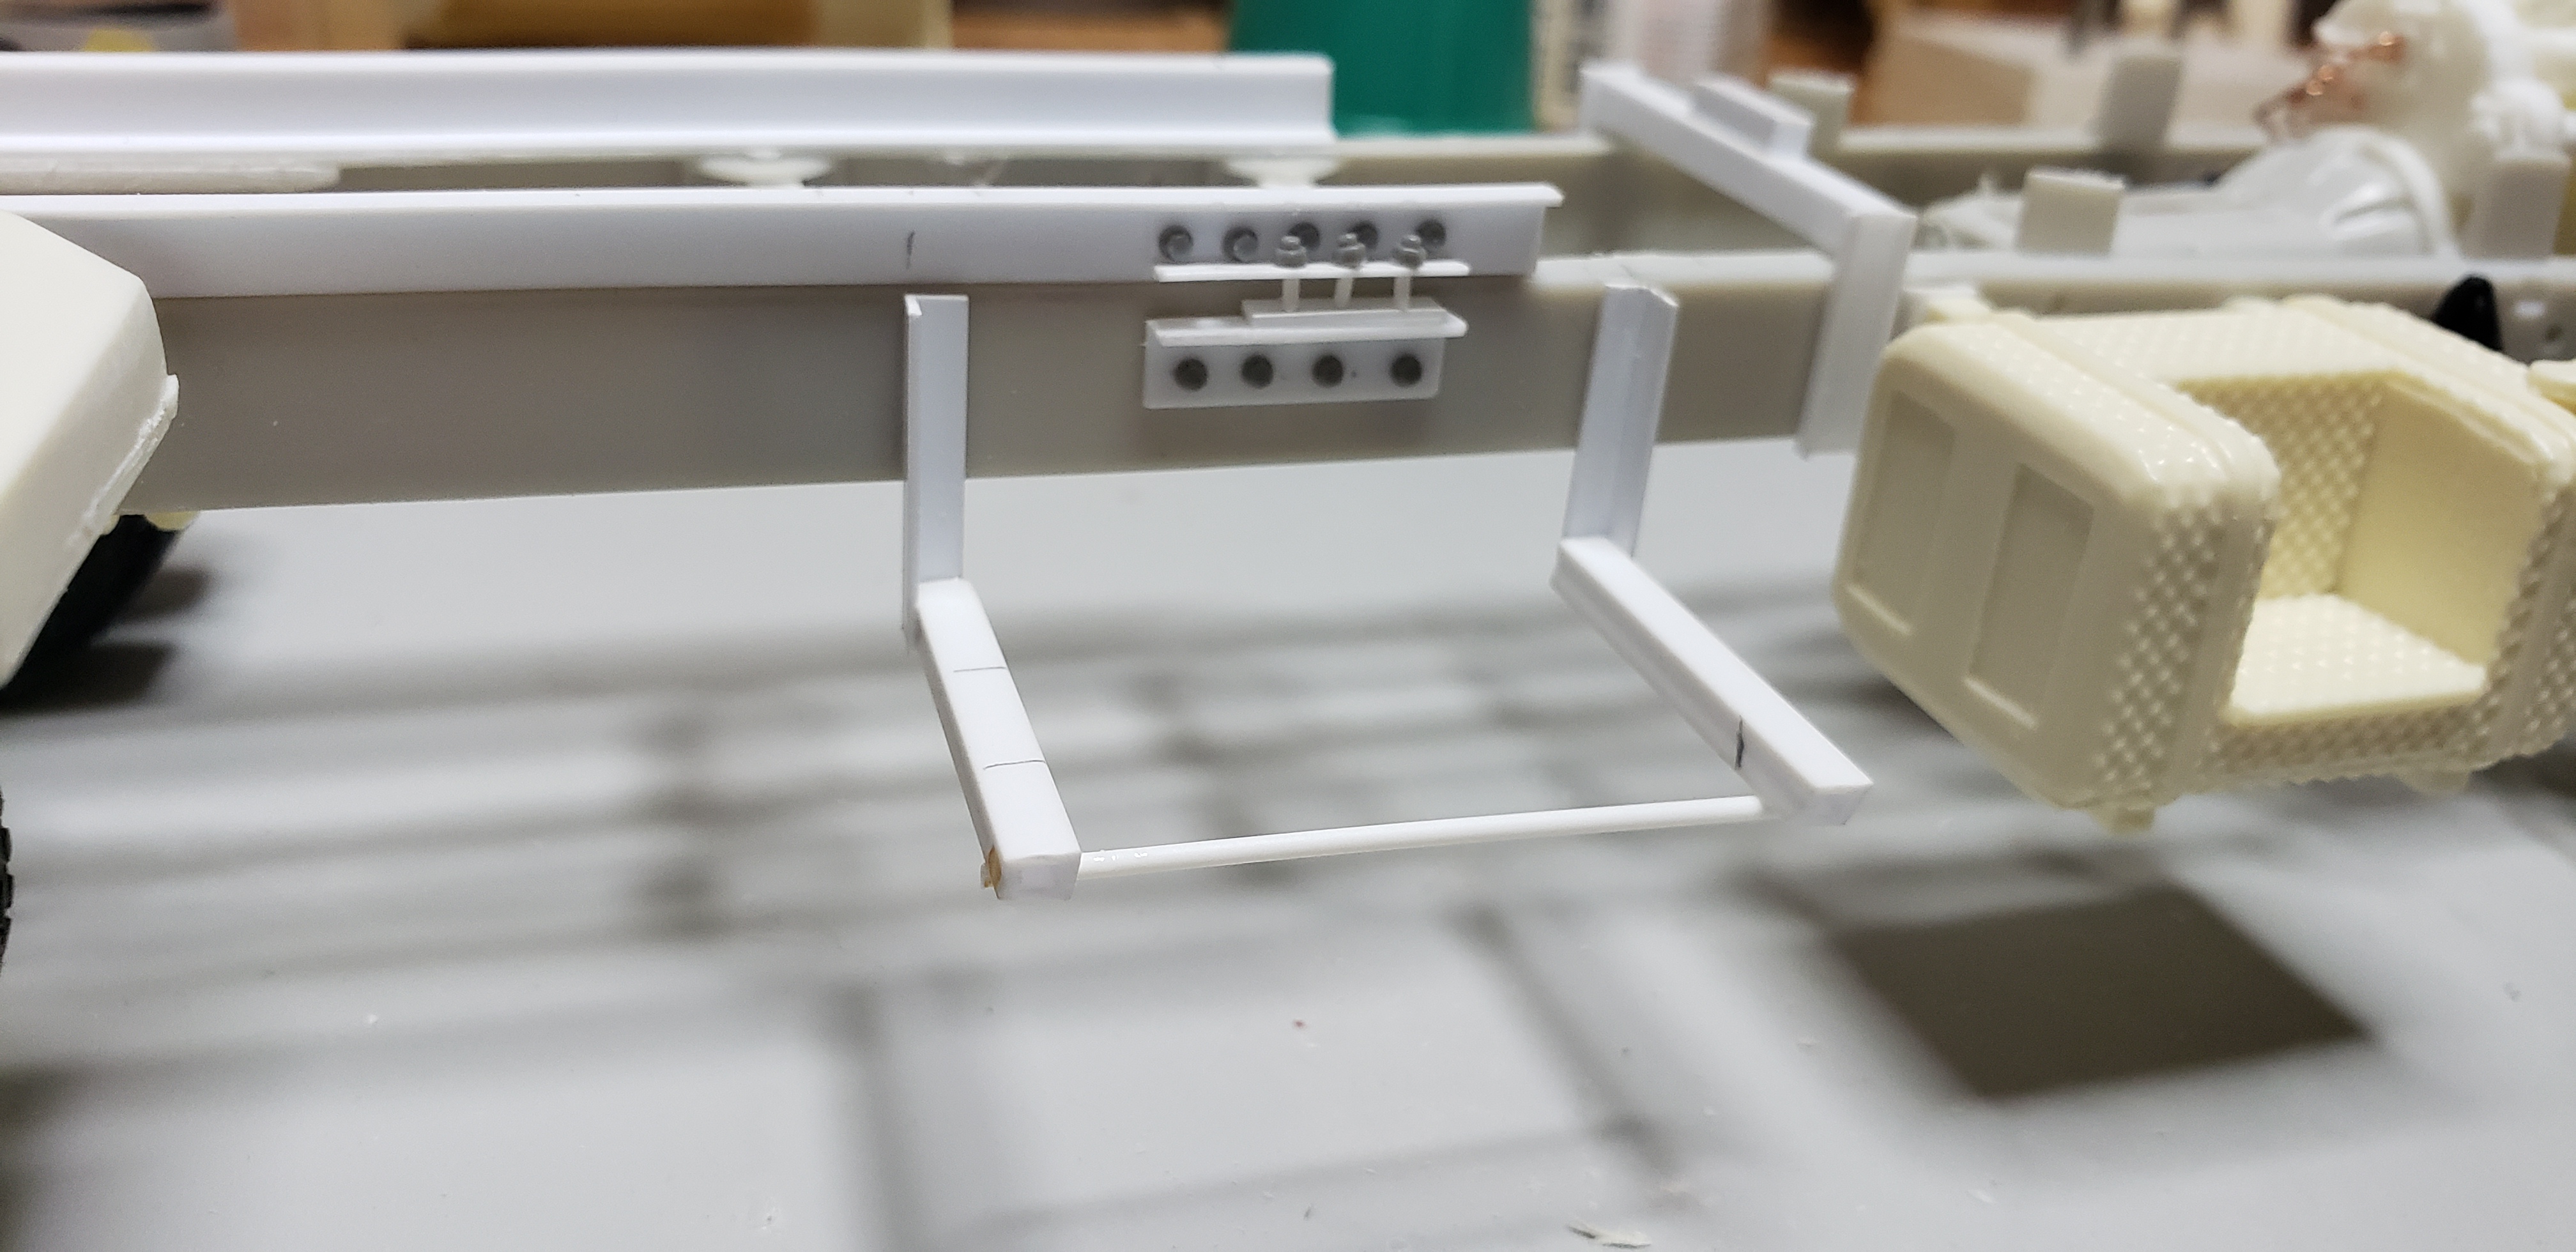
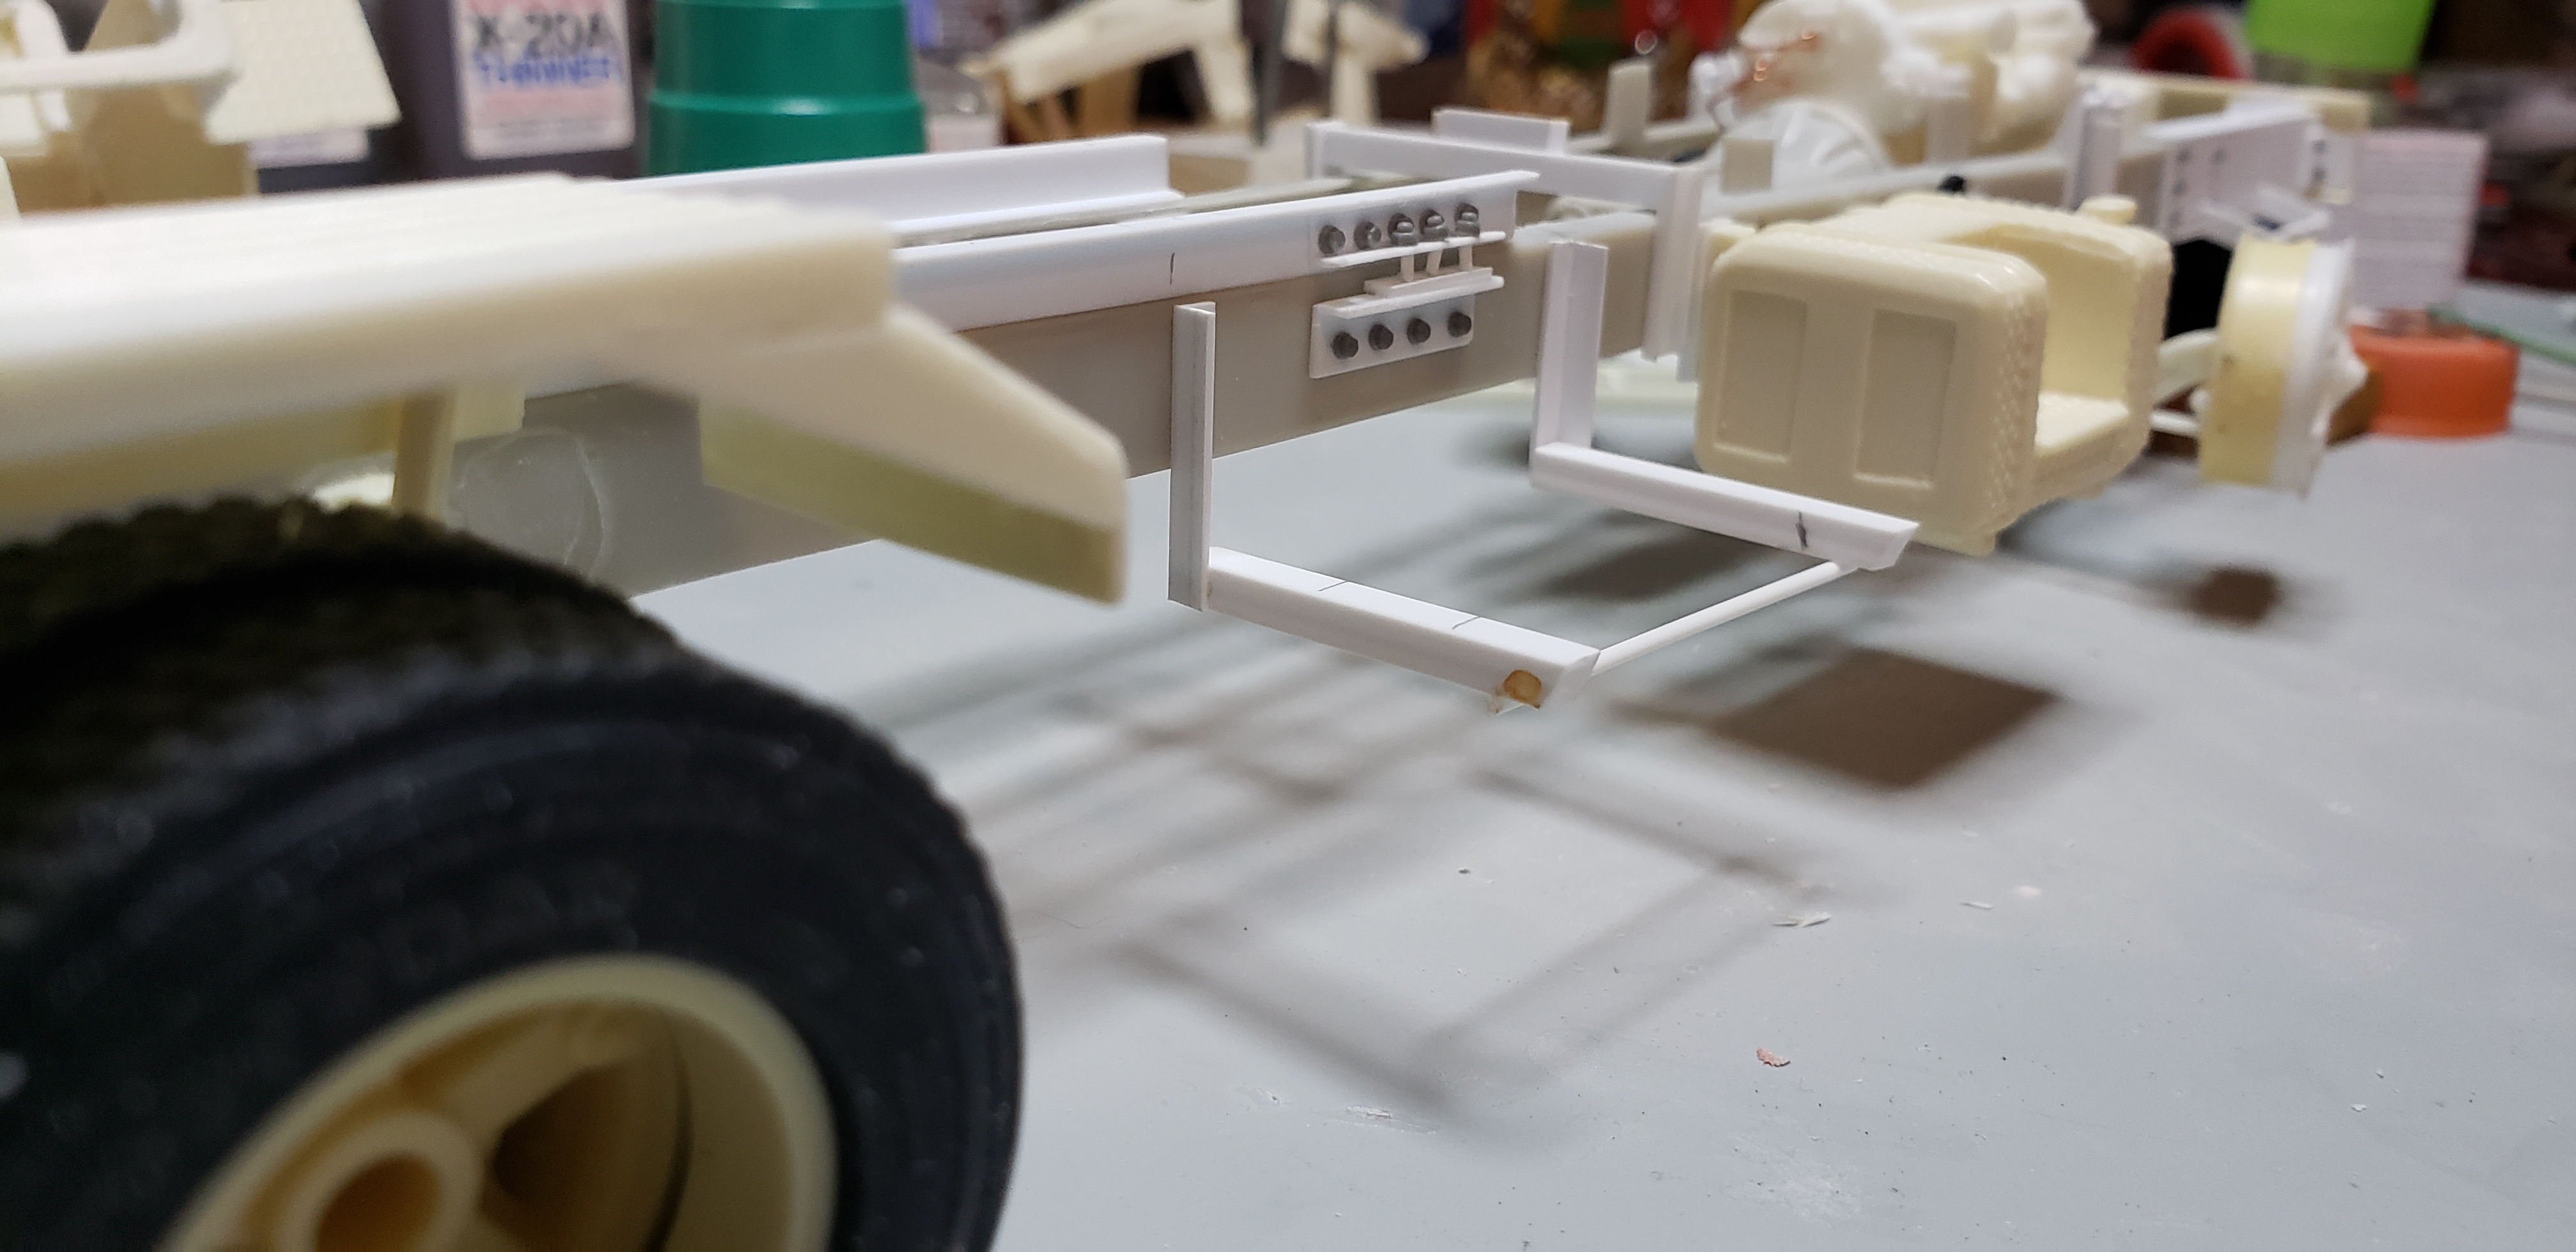
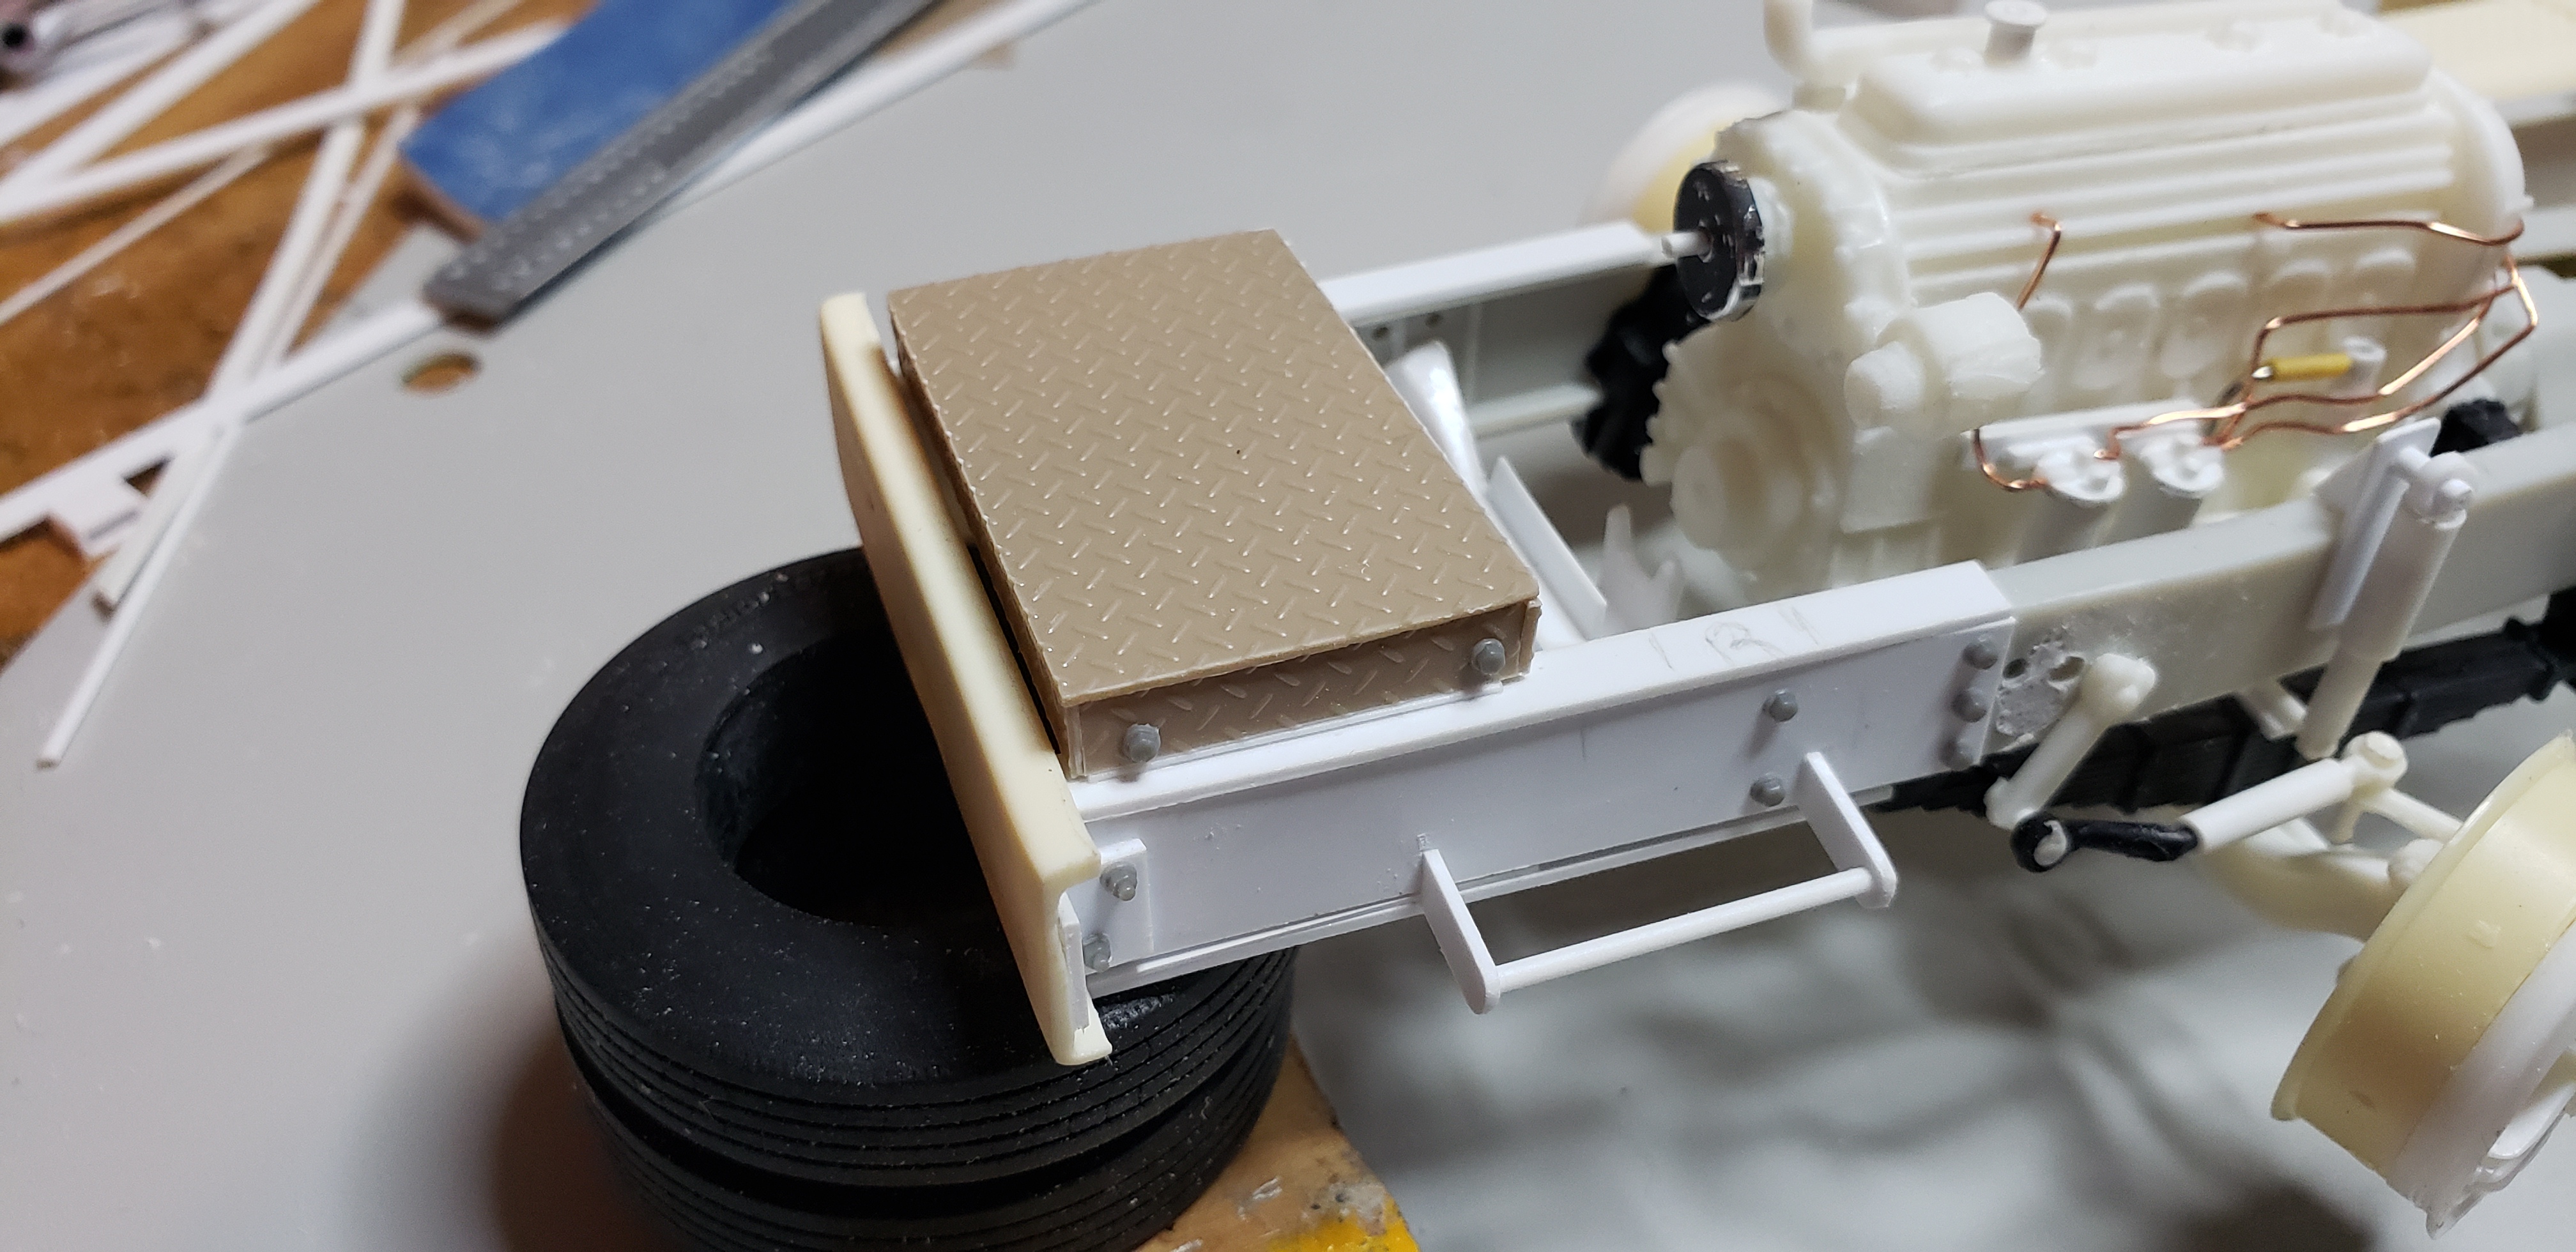
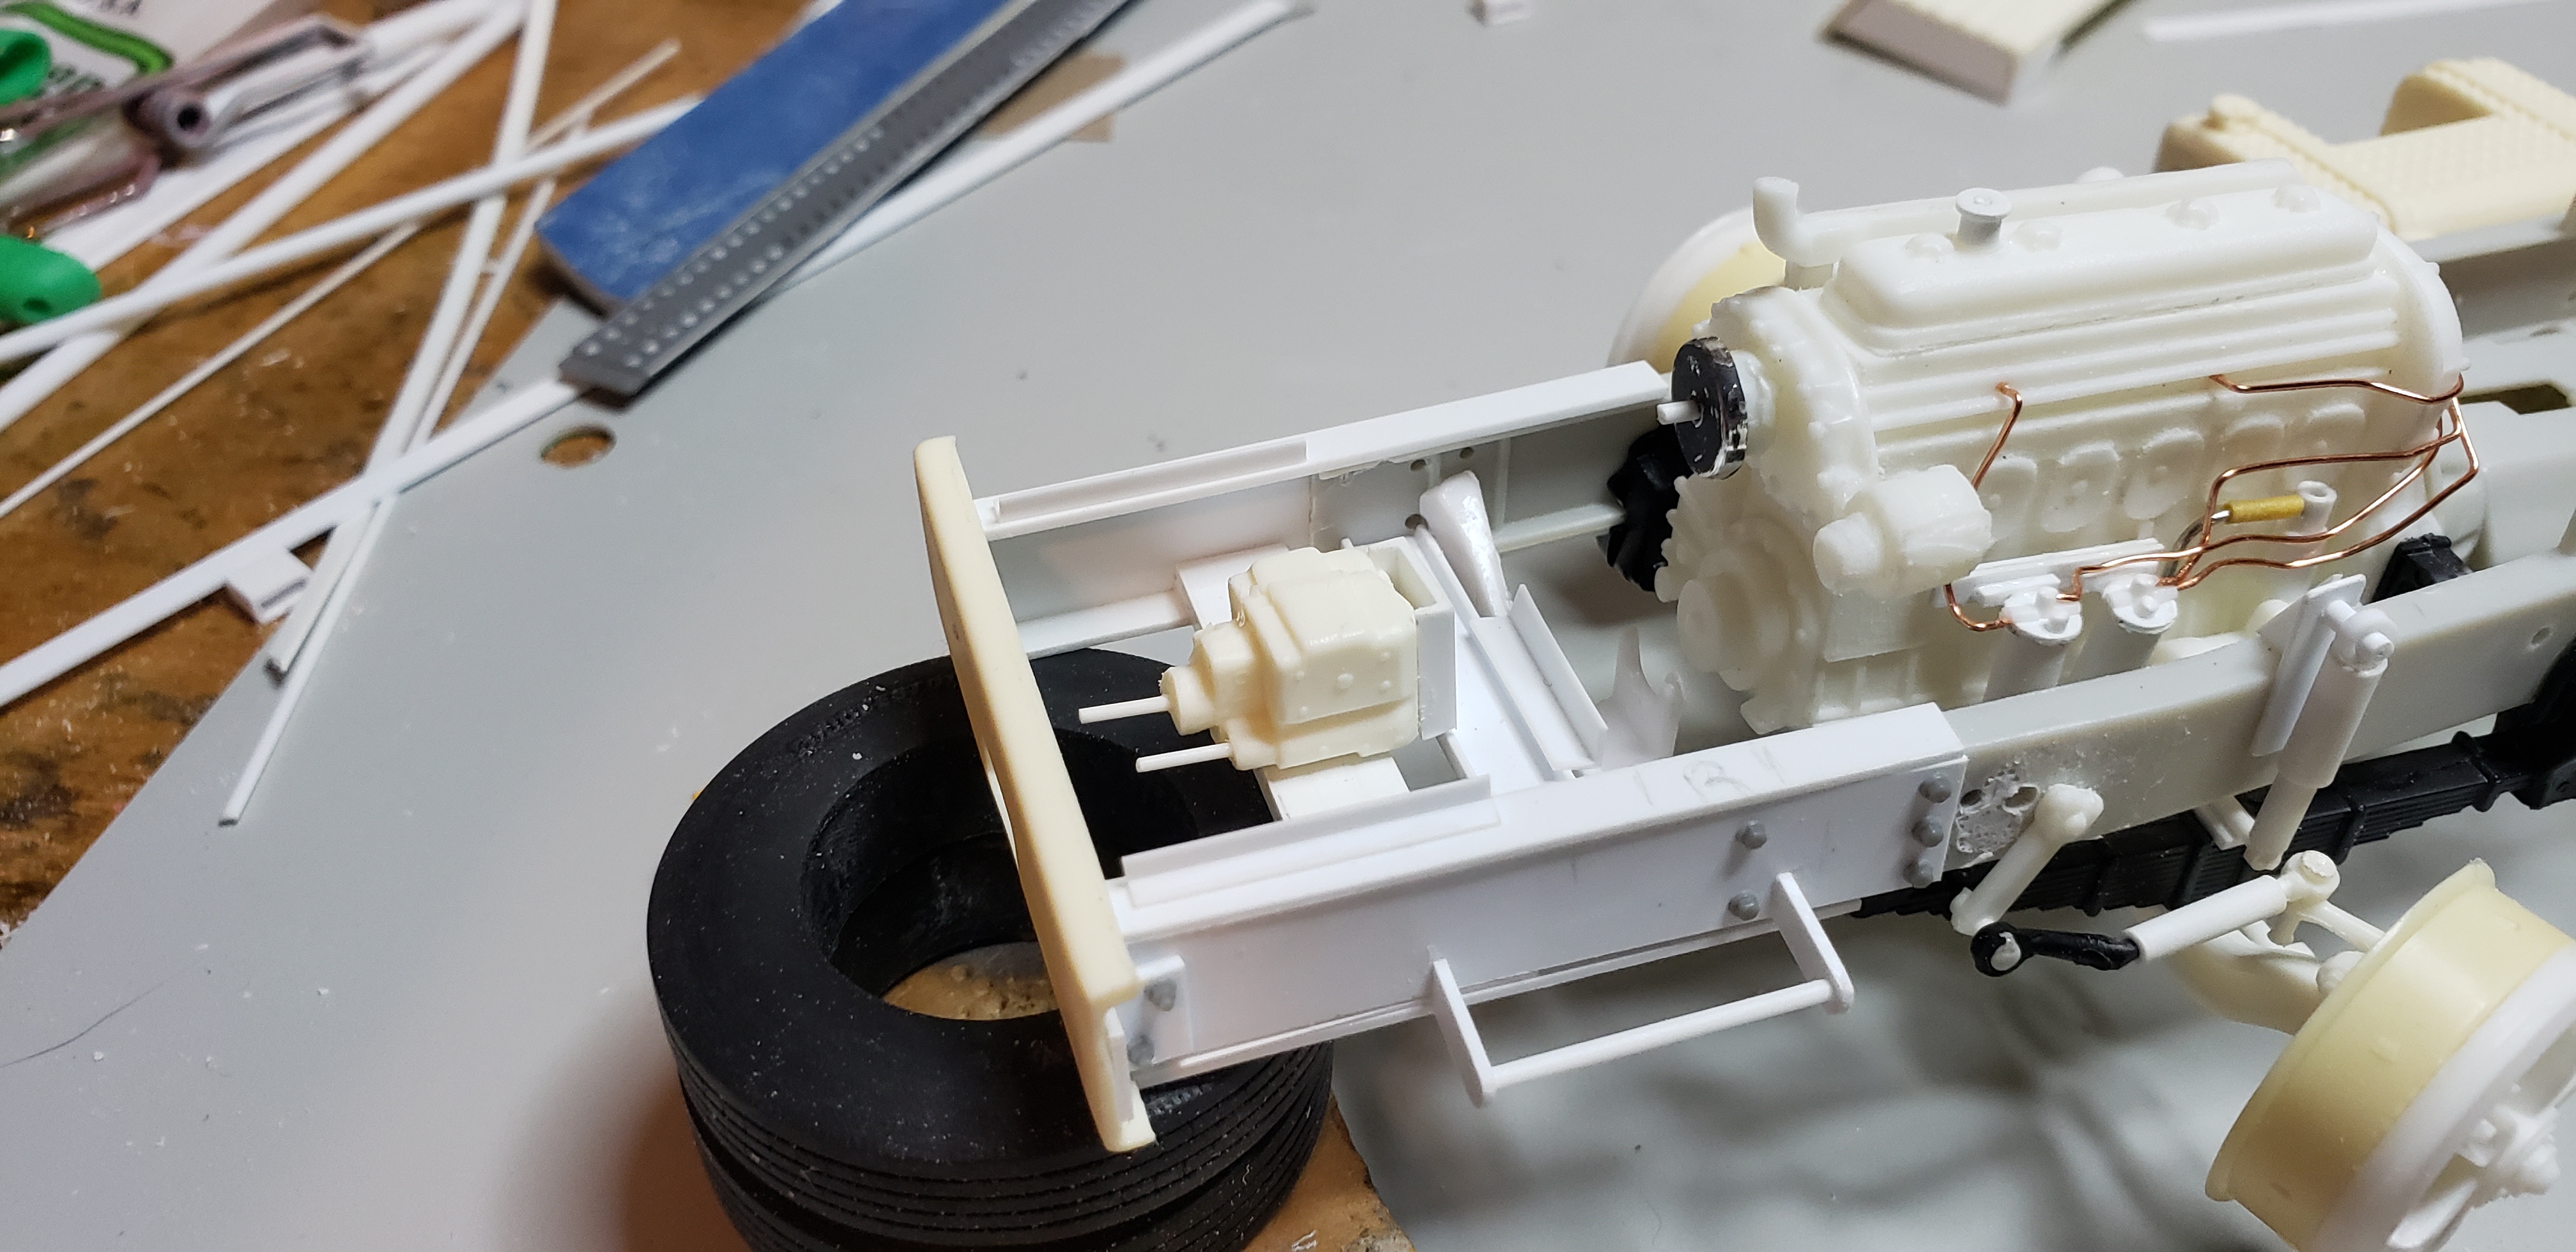
Another update for manic Monday! I wanted to deal with another issue I recall from the last build . The stock rear fenders are extra long , allowing for tag axles or tri axle set ups..but will need shortened for a tandem. I installed the supplied hangers , mocked up the fenders and eyeballed the desired length. Barney trucks ran their fenders backwards, so after cutting around 3/4" inch of them, I just replaced the tail light panel and side marker light plate . Ref photos showed a cool shop crafted chute rack. A few pieces of angle and square tube later I had a rack . I need to add the cleats still for the individual chutes. Lastly they commonly had a fabricated cover over their front mounted pto pump. I actually built 2 covers , unable to chose between plastruct diamond plate / flat stock..the diamond plate cover won out .Visible is the frame mounted grab bars too...another BD shop modification. Just before painting the trademark tow chain hanging under the bumper extension will get added too I'm planning to start primer / paint this week..stay tuned !!!!
-
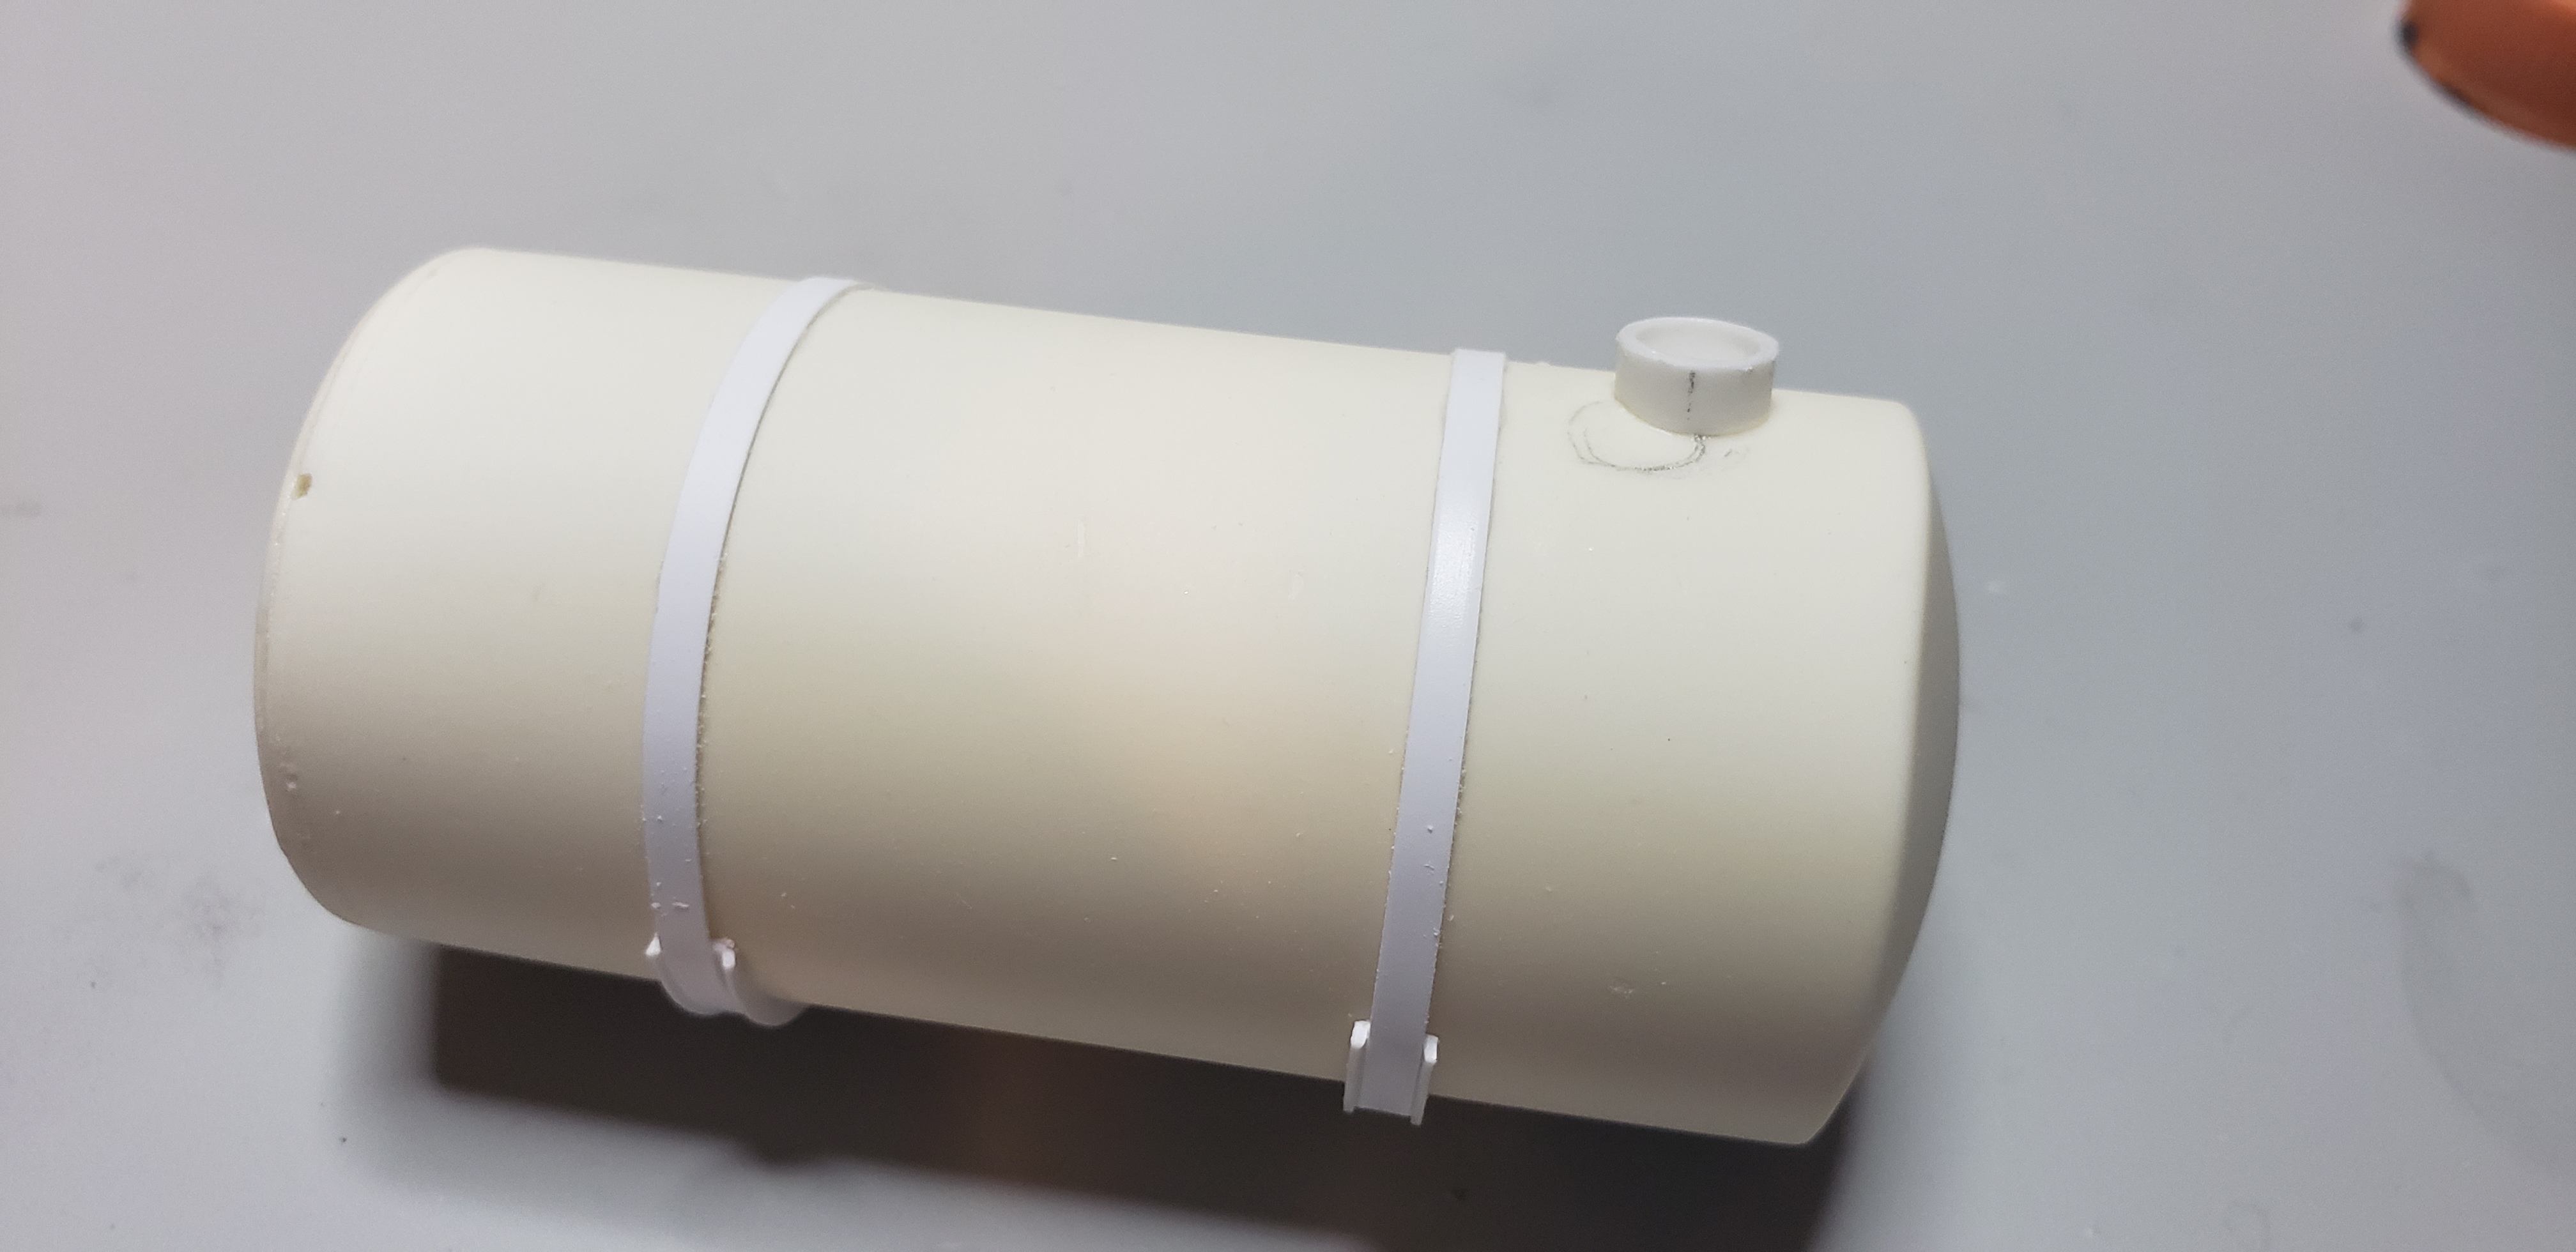
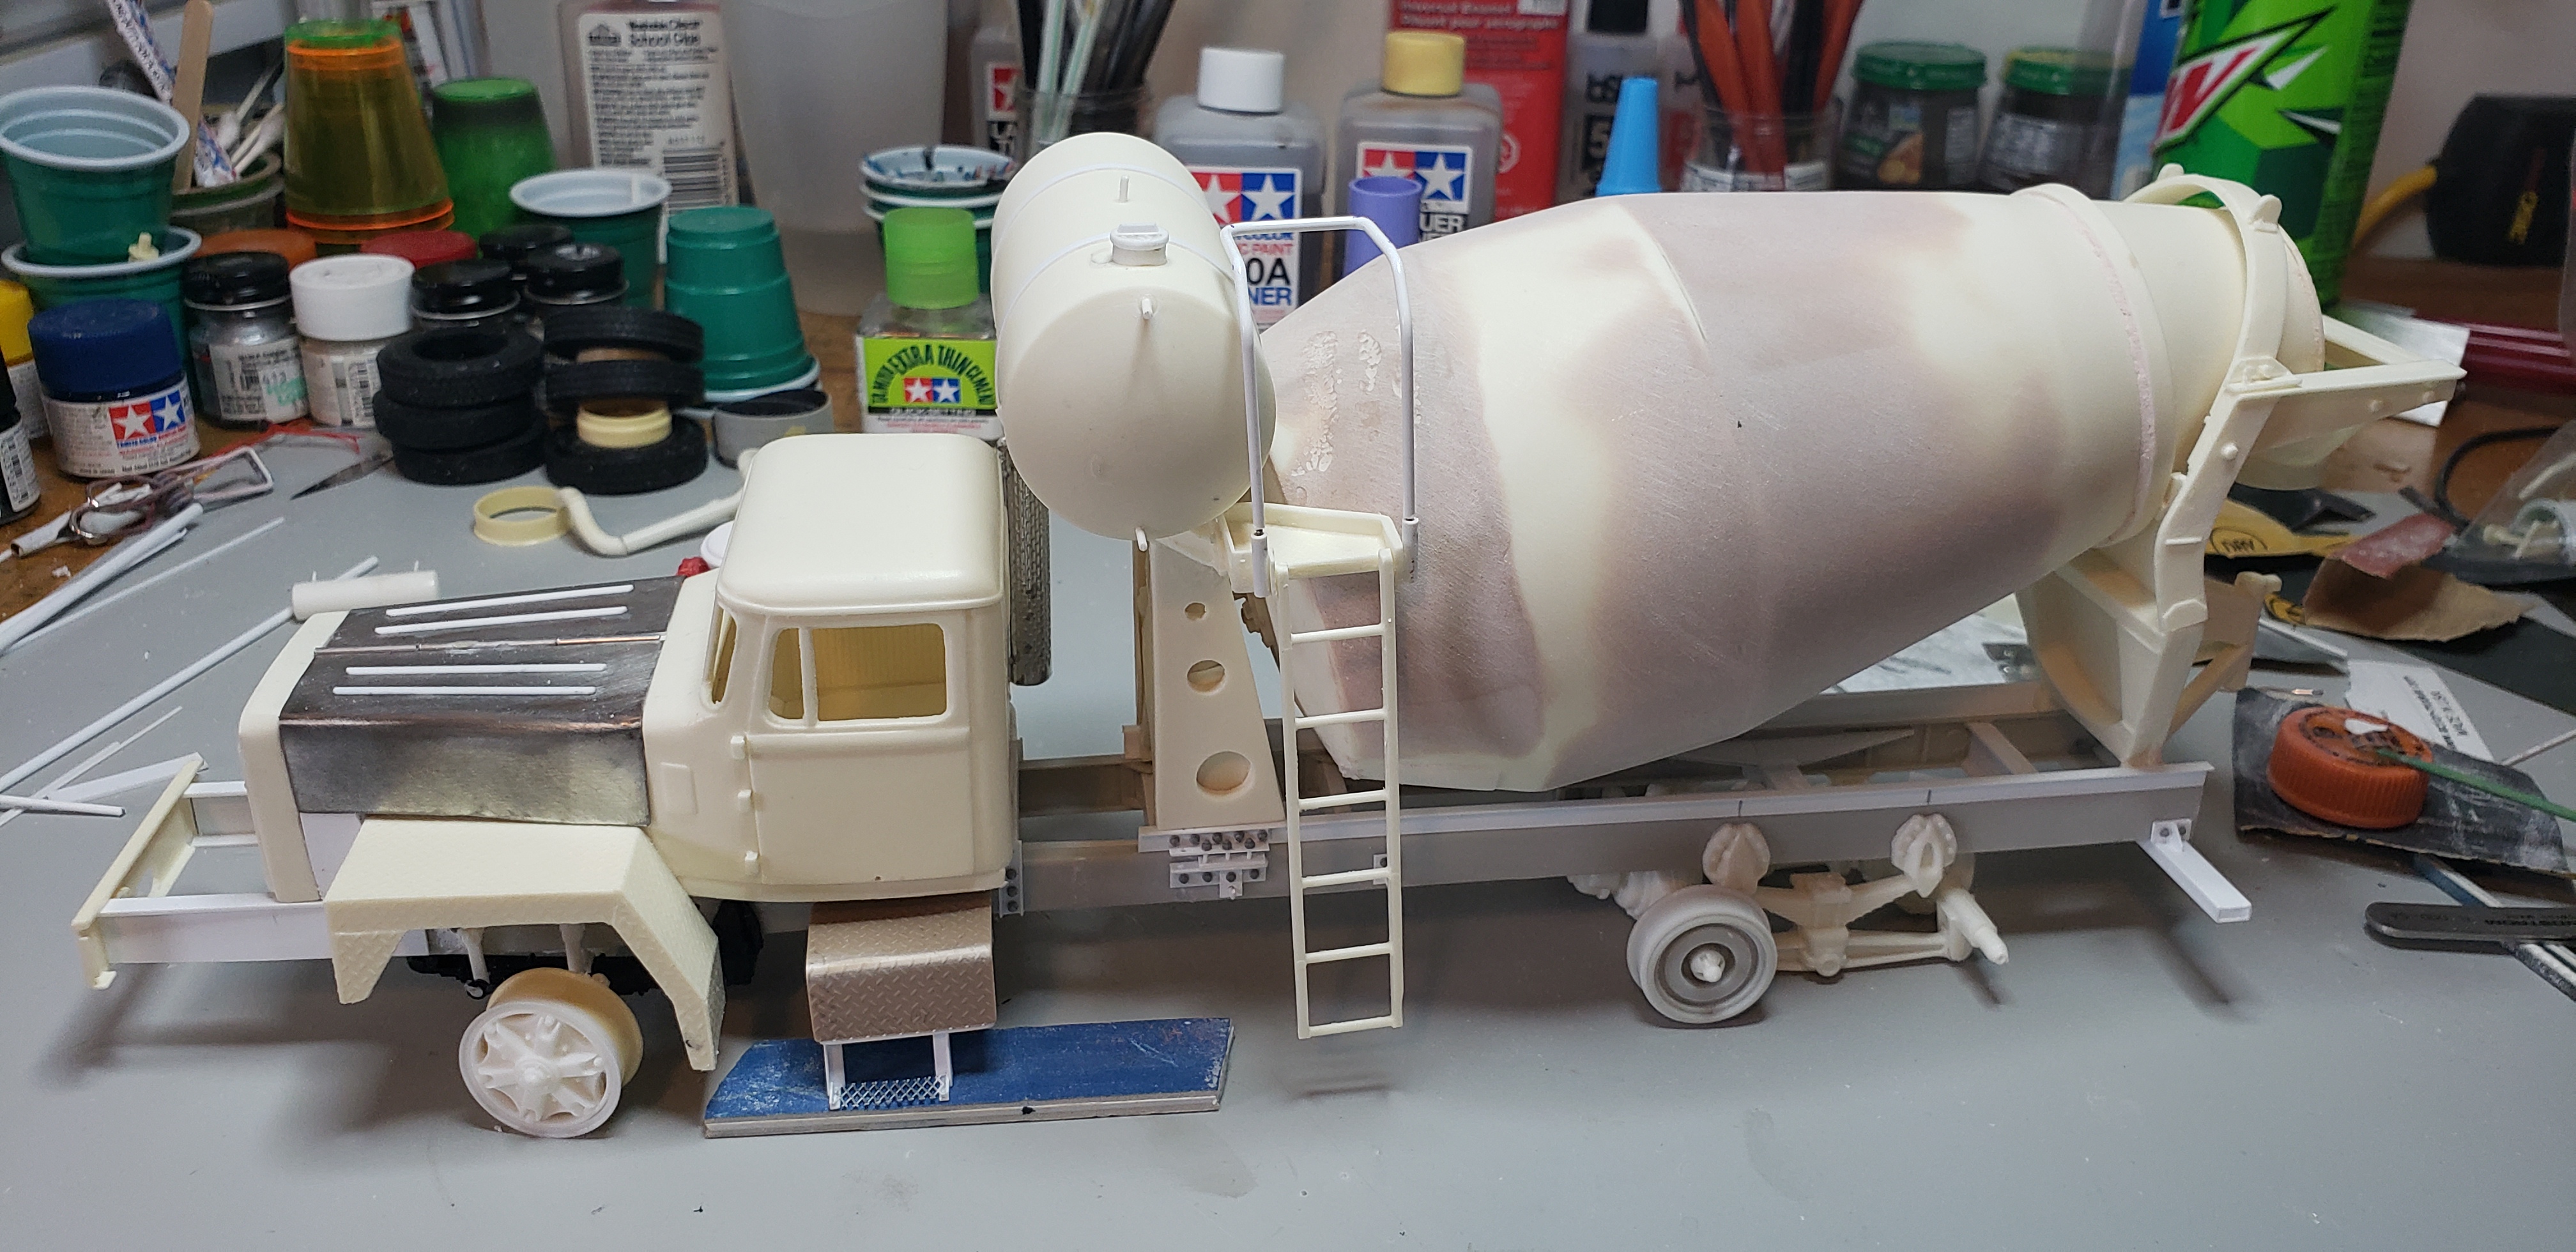
Mock up day ! I started detailing out the water tank, and bent up the guard rail using my favorite butyl covered wire . Now to finish the body work on the drum and get some primer on The water tank was a giant focal point hanging on top..studying photos showed straps , water fill port, water drains plus all the associated air fittings to pressurize the tank . Starting with C channel for the rubber pads..then wrapped .015 strap around the tank . The fill port is some rou d tube w a cap . Later meng bolts will liven it up Mock up Monday!! The truck really starts to look enormous now ..better recheck the air in the tires
-
Very nice work ! They build up easy and really turn into a sharp truck. I agree though the wheelbase always looks short behind the large sleeper .
-
XM523E2 & XM524E2
gotnitro? replied to nathanyel's topic in WIP: Model Trucks: Big Rigs and Heavy Equipment
Awesome craftsmanship ! The details just keep going so much to see