Straightliner59
-
Posts
5,818 -
Joined
-
Last visited
Content Type
Profiles
Forums
Events
Gallery
Everything posted by Straightliner59
-
 I've been using Krylon's clears. I've had good results with their products, generally. For brush paints, I will use anything that's a color I need or like. I don't see any point to limiting oneself to a single product.
 -
I got a spool of 36 ga. nichrome wire, to use for spokes for some wire wheels for my dragster project. Now, if that 3/4" diameter brass bar would get here from Colorado Springs. It was in town, the next day. It sat. Two days later, it was in Carson, CA. It sits. I mean, really?!
-
electrical wire
Straightliner59 replied to gary jackson's topic in Model Building Questions and Answers
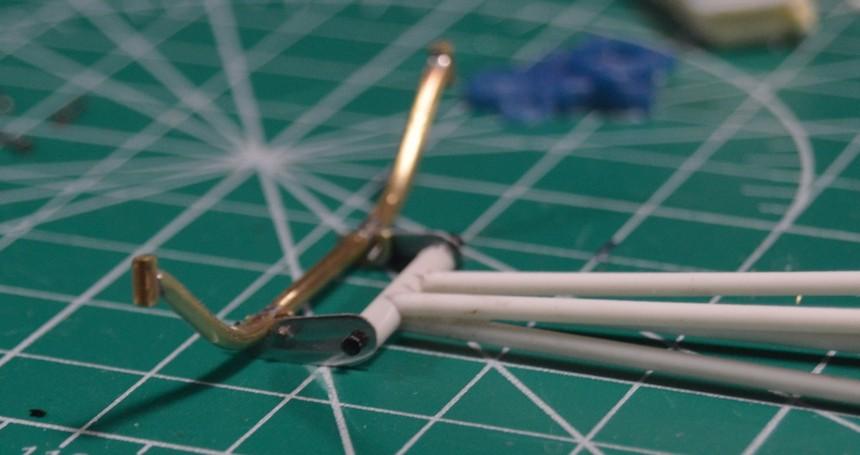
Detail Master has .008" detailing wire in several colors. It's about as good as anything, if a tad large. .004"-.005" would be closer. I have some old armatures around here that have pretty close to that. I've used it, before, but paint doesn't really like to stick to it, and, once you've added that extra thickness, you may as well be using the Detail Master stuff!? Attached is a photo of the DM wire, used as a mag kill wire. I guess it's not an issue, since the coil wire is disconnected!
-
AMT '70s Short Body R.E. Dragster (05/22/2022)
Straightliner59 replied to Straightliner59's topic in WIP: Drag Racing Models
You could say that!? -
AMT '70s Short Body R.E. Dragster (05/22/2022)
Straightliner59 replied to Straightliner59's topic in WIP: Drag Racing Models
Back on the board, checking alignment of axles, etc. again...
-
Favorite Obscure or Discovered Music Album
Straightliner59 replied to afx's topic in The Off-Topic Lounge
Great record! Also, one of my favorite album covers, of all time! -
64 Dodge D100 Pickup Pro Street
Straightliner59 replied to AmericanMuscleFan's topic in WIP: Drag Racing Models
Sorry to hear of your uncle's passing, Francis. Unfortunately, life is so fleeting, that it can be frightening, at times. My condolences, my friend. -
Man, those clamps look killer! Noice!
-
AMT '70s Short Body R.E. Dragster (05/22/2022)
Straightliner59 replied to Straightliner59's topic in WIP: Drag Racing Models
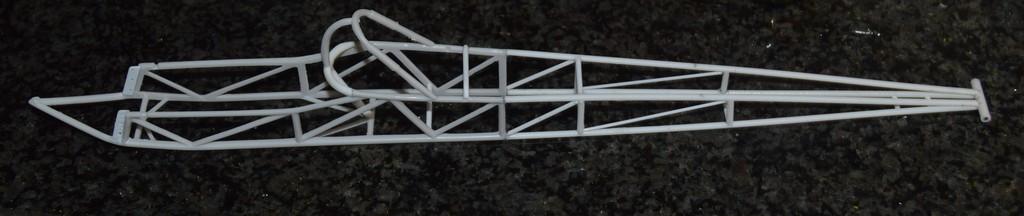
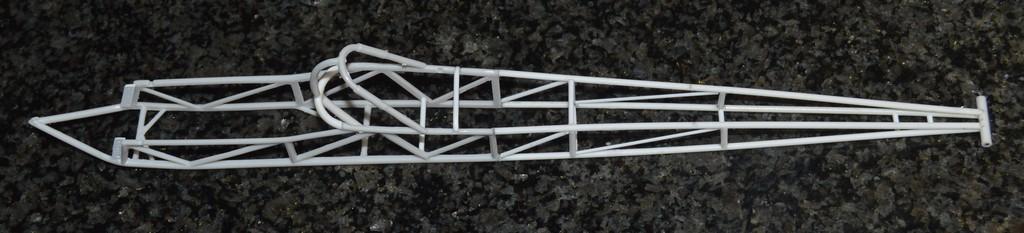
I'm a sucker for dragster chassis, too! I have four or five around here, that I've scratchbuilt, over the years. Three of them are brass. Anyway...dragster chassis look great, just on their own, for sure! -
AMT '70s Short Body R.E. Dragster (05/22/2022)
Straightliner59 replied to Straightliner59's topic in WIP: Drag Racing Models
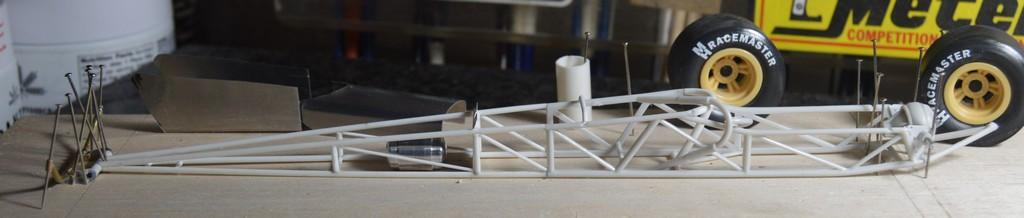
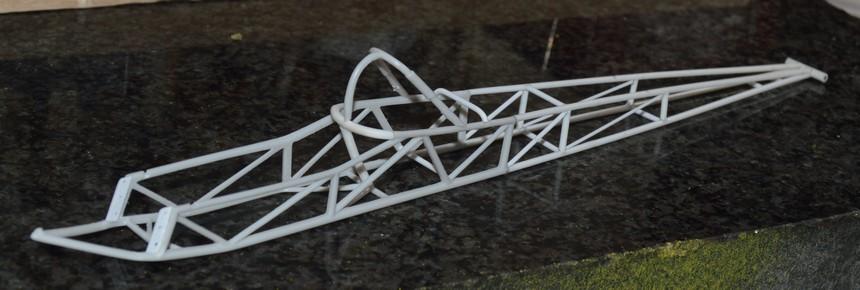
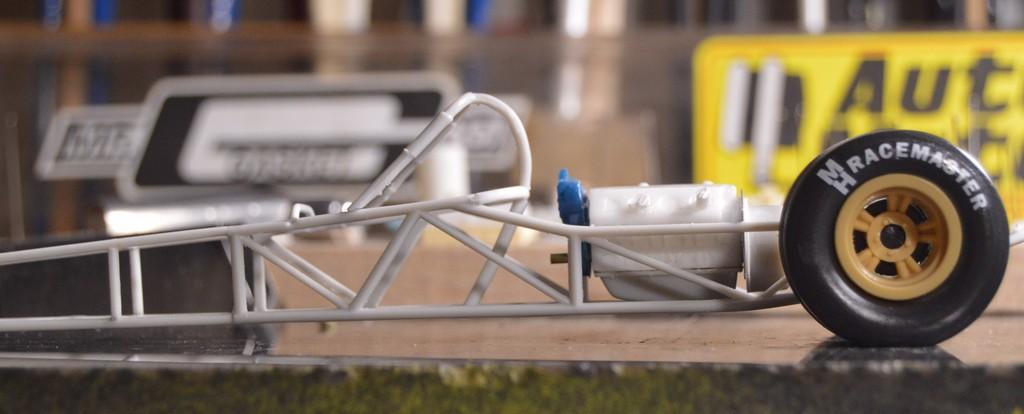
It's starting to look more like a dragster chassis! I added some more cross-braces between the bottom rails, along with some diagonals, around the "box" area. I also added a bottom seat support tube. There are still a few various pieces to add, and more cleanup, to do (I should have just scratchbuilt the dadgum thing!?). Anyhoo...Thanks for looking! Comments, questions and critiques are always welcome.
-
AMT '70s Short Body R.E. Dragster (05/22/2022)
Straightliner59 replied to Straightliner59's topic in WIP: Drag Racing Models
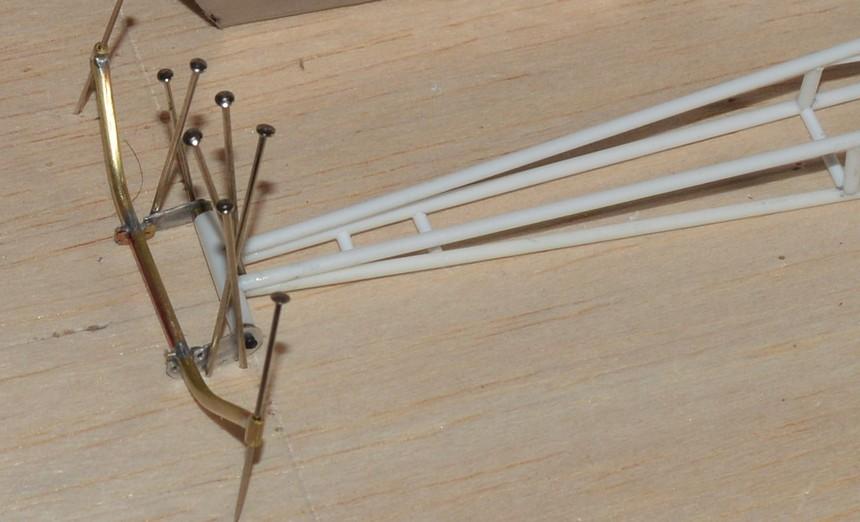
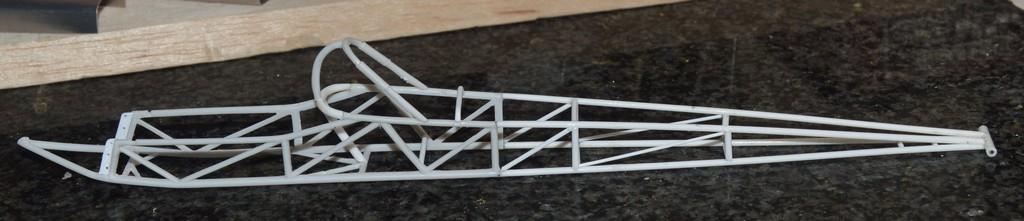
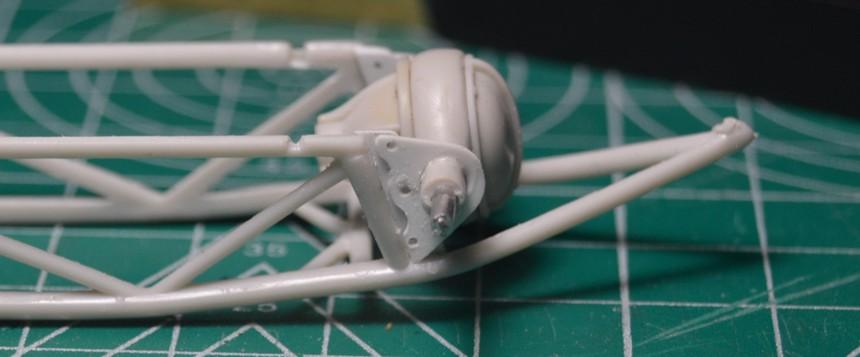
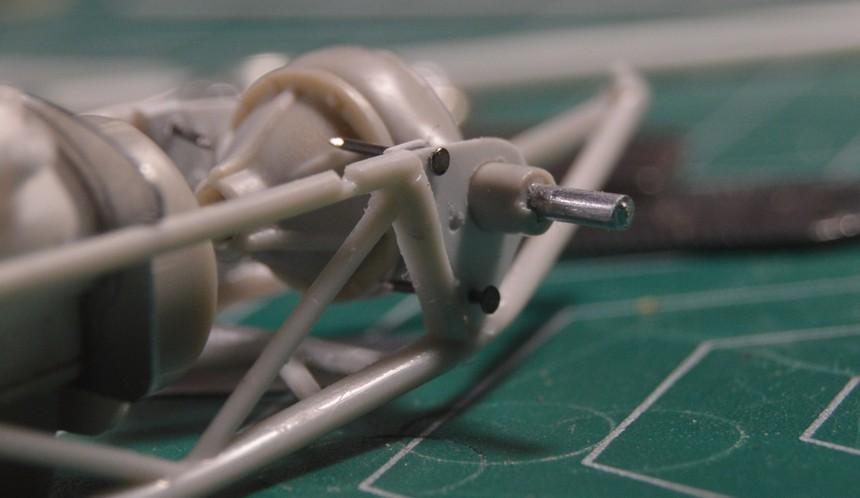
Thanks, David! I got everything made to hang the front axle, once I've done a little tweaking of some parts--nothing major, just some clearance issues. I added some "detail" to the third-member brackets. I'll get the spindles figured out, next. Thanks for looking!
-
AMT '70s Short Body R.E. Dragster (05/22/2022)
Straightliner59 replied to Straightliner59's topic in WIP: Drag Racing Models
Thanks, Ken. Appreciate it! Thanks, Pete. Yeah! They worked out, pretty nicely! -
AMT '70s Short Body R.E. Dragster (05/22/2022)
Straightliner59 replied to Straightliner59's topic in WIP: Drag Racing Models
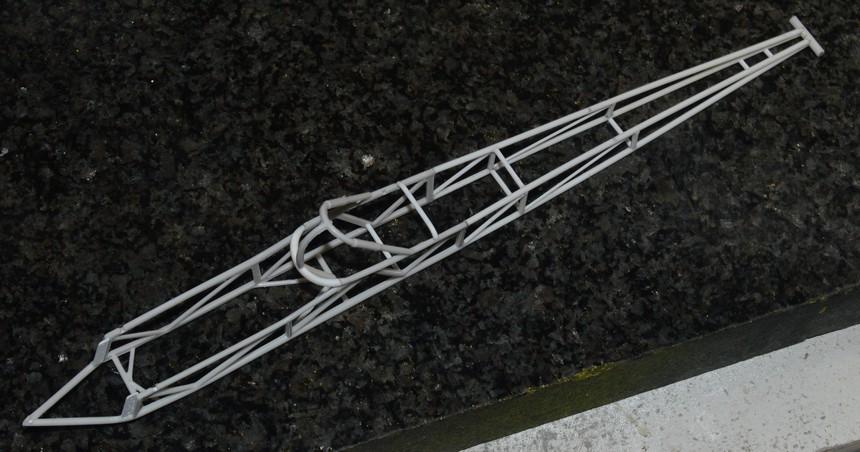
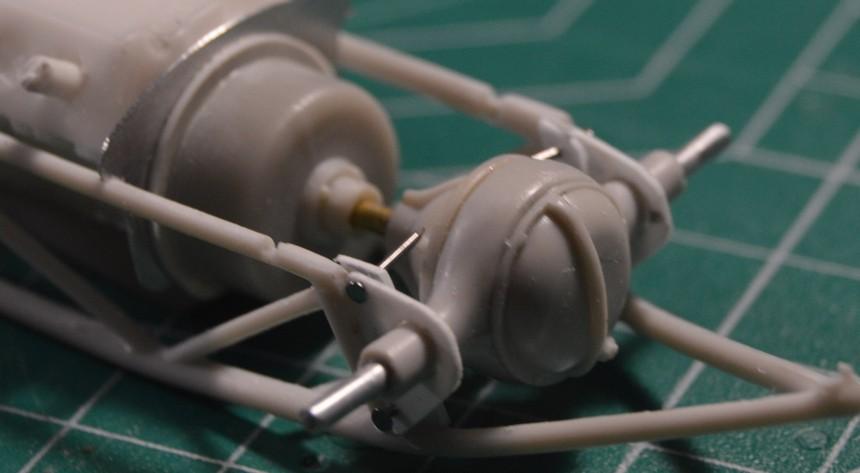
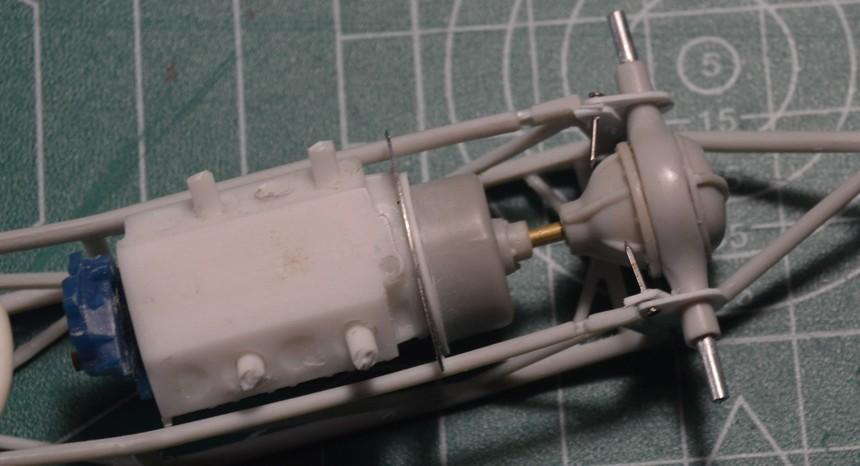
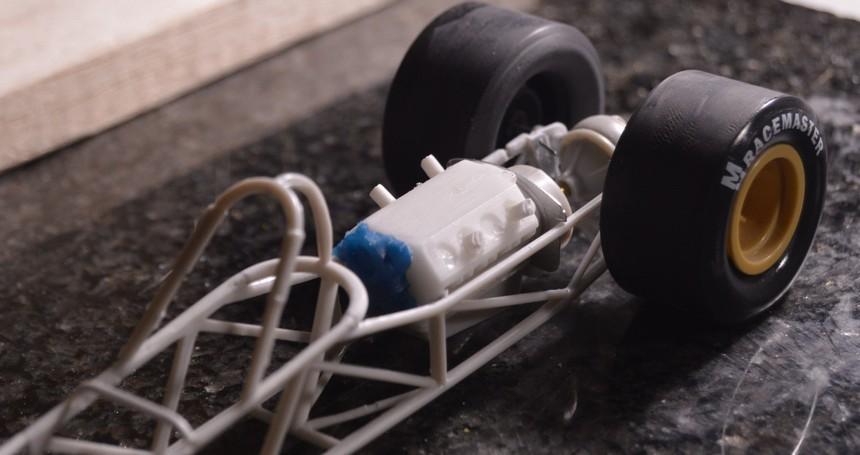
I removed the molded-on tabs for the rear axle, and made something a bit more realistic-looking. I will do a bit more shaping of them, but, they are ready to be cemented to the axle, while pinned in place. When building anything with a rigid drivetrain (dragster, FC, altered, etc.), this assembly is critical. A single shaft must mount everything, at its center, from the crank snout, into the differential. Once that's accomplished, you can slide everything along the length of the shaft, until the engine is in position, in the chassis--also known as how far "out" the engine sits. Everything looks good, in this regard. Also visible are the new rear seat loop and upright. Both of these parts are molded to the outside of the seat, in the kit. I simply replaced them with .100" plastic rod. I will likely make the seat from aluminum flashing, so I will only use that for a form. I ordered a length of 3/4" round brass bar, and some fine nichrome wire, in hopes of making front wheels. I also need to clean up and anneal another sheet of flashing, to make a new body. All of that will be a story for another time. In the mean, questions, critiques and comments are always welcomed and appreciated. Thanks for looking!
-
AMT '70s Short Body R.E. Dragster (05/22/2022)
Straightliner59 replied to Straightliner59's topic in WIP: Drag Racing Models
That's cool, Jose! Looks like a fun project! -
Indeed, it did! That looks great, JC!
-
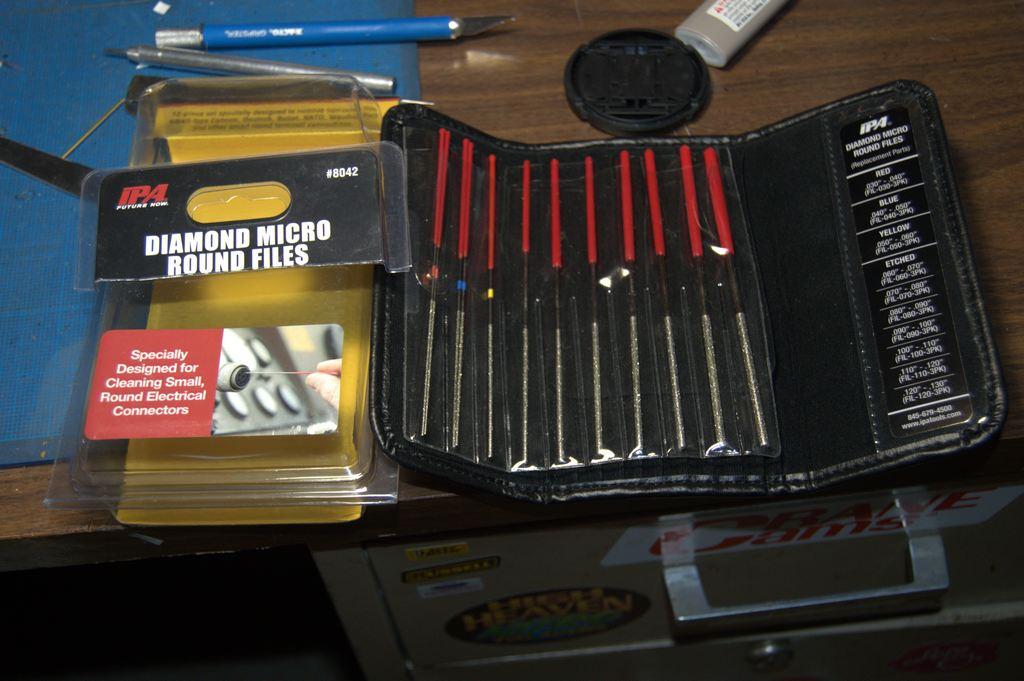
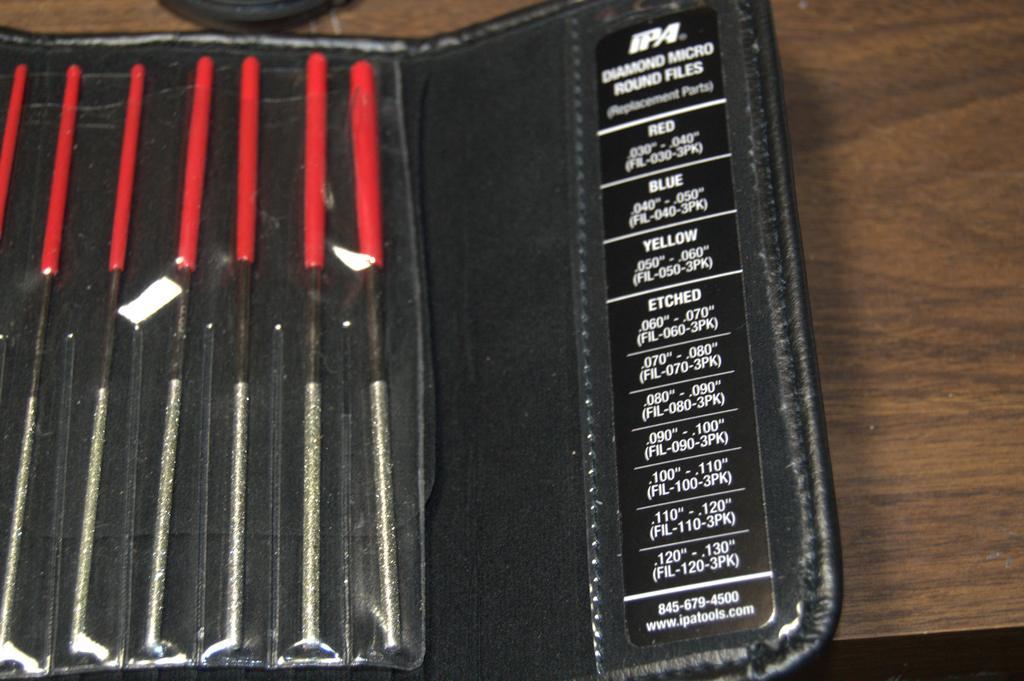
A while back, I bought this set of files. I wanted something better, for fish-mouthing rod and tubing when building chassis. They weren't cheap (the set cost about $40), but they have proven a worthy investment. I use them virtually daily, and have barely touched my old round files, since! I highly recommend getting a set of these; especially if you're a scratchbuilder.
-
AMT '70s Short Body R.E. Dragster (05/22/2022)
Straightliner59 replied to Straightliner59's topic in WIP: Drag Racing Models
Thank you, so much, for your kind words, Tim. They're meaningful, to me--something of a validation, maybe. Anyway, thanks! That really is a nice little engine! I've always been partial to Miss Deal's (it's my go-to '92), but, there's no loss, going with the Piranha engine. I'll try to keep this informative, and hope to have you along for the ride! -
Issue 213
Straightliner59 replied to Dave Ambrose's topic in Model Cars Magazine News and Discussions
These do look pretty cool! I've often thought about creating little backdrop modules for my display case, but, I don't think I want to cover the vintage stickers and stuff I have stuck on the back of it! At some point, though, I plan to build a shadowbox type display for one of my cars, that will hang on the wall. I have no idea which car, yet. Since that will determine the background, and any diorama type items, I have no idea, about that yet, either!? I'm considering my junior fueler in front of the Lions stands, since that was the epicenter of junior fuel racing. -
AMT '70s Short Body R.E. Dragster (05/22/2022)
Straightliner59 replied to Straightliner59's topic in WIP: Drag Racing Models
I appreciate that, David! -
AMT '70s Short Body R.E. Dragster (05/22/2022)
Straightliner59 replied to Straightliner59's topic in WIP: Drag Racing Models
Thank you, Jim. I appreciate it! I just figured "What the heck?", and dumped in some powder. It worked out, pretty well! -
AMT '70s Short Body R.E. Dragster (05/22/2022)
Straightliner59 replied to Straightliner59's topic in WIP: Drag Racing Models
Yes, Francis--as you know, it's a fine thing to be afflicted with! Those details were what drew me to your work, as well, my friend! -
AMT '70s Short Body R.E. Dragster (05/22/2022)
Straightliner59 replied to Straightliner59's topic in WIP: Drag Racing Models
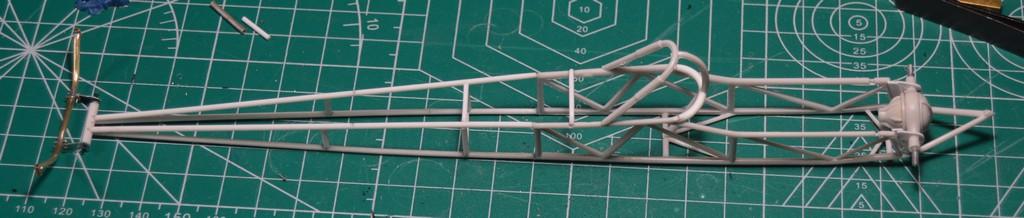
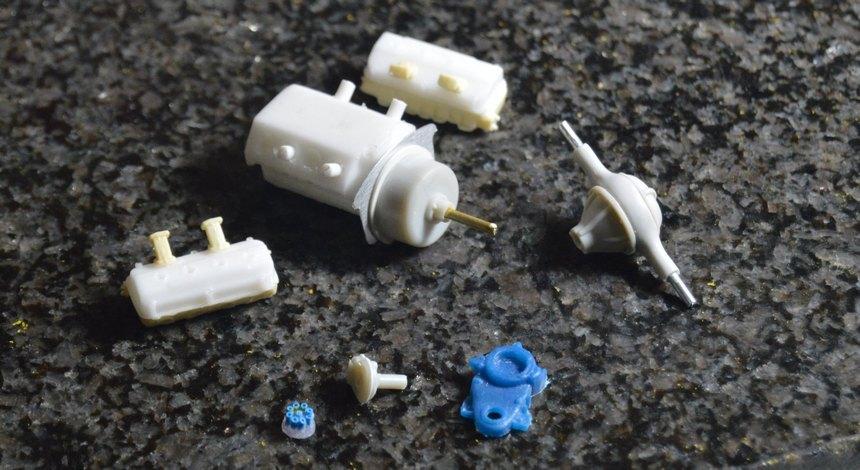
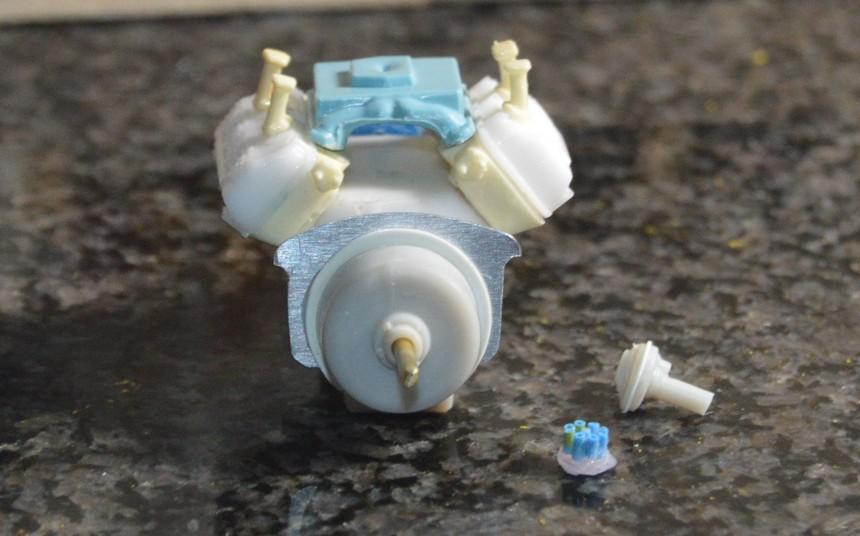
As I continue to compile parts for the engine, I discovered a couple of things that caused me to slap myself in the head, in one of those "I could have had a V-8!" moments. I'm not sure how I never noticed that the Piranha has a nice "Frankenstein" mag. Miss Deal's timing cover appears to be a Donovan unit. If it's not--it's very close! Here are a few better shots of the pegs I installed to help align the heads, and keep them in place, once they're permanently installed. I did an initial, quick test of the spoke lacing jig. It's a game-changer, perhaps. Thanks to Mike Woellner for that handy tip.
-
AMT '70s Short Body R.E. Dragster (05/22/2022)
Straightliner59 replied to Straightliner59's topic in WIP: Drag Racing Models
Thanks, kindly, David! I find myself casting something, with every project, anymore, it seems. Somehow, this thing's gone off the "rails of simplicity". Weird. That never happens!? -
Very cool! I find this to be more impressive than large-scale stuff. Nice work!
-
Mini Carbide Drill Bits
Straightliner59 replied to bluestringer's topic in Tips, Tricks, and Tutorials
That's what I like best about them! In the lathe, I can bore a .020" hole on a .030" rod. I don't have any center drills that would start a hole, that small in a rod, that small!