Straightliner59
-
Posts
5,809 -
Joined
-
Last visited
Content Type
Profiles
Forums
Events
Gallery
Everything posted by Straightliner59
-
 I just bought some strip stock from them. I had it, in three days. Given your experience, I will definitely buy from them, again!
 -
Glad to see you posting some stuff here, bud! This is still, easily the best Orange Crate I've ever seen.
-
I dig the color! No reason all Porsches need to be red, silver, yellow or black. I did Monogram's old snapper 911 RSR in bright pearl pink! I've heard a few choice comments, over the years, for that. ?
-
Thanks, JC! It's a pretty cool looking setup, I think. Assembled, like that, it should make for a pretty foolproof mount, too!
-
After posting the update on the Model A coupe, I made new shocks for it and got started on the steering box. Next up will be mounting hardware for the springs, so I can re-assemble the suspension, and locate the shocks.
-
I took this apart to rectify some issues I hadn't yet addressed, and thought I'd post a photo of some of the sub-assemblies. I soldered the flange to the header, and inserted pegs into the intake manifold. Now, the manifold and header fit together! As always, questions critiques and comments are welcome! Thanks for looking!

-
Let Guy post! He is truly one of the best modelers around!
-
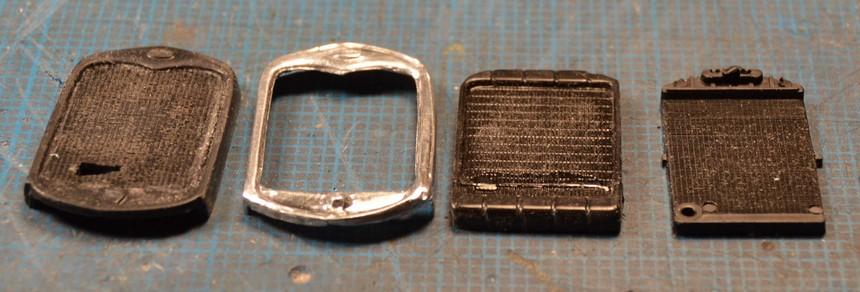
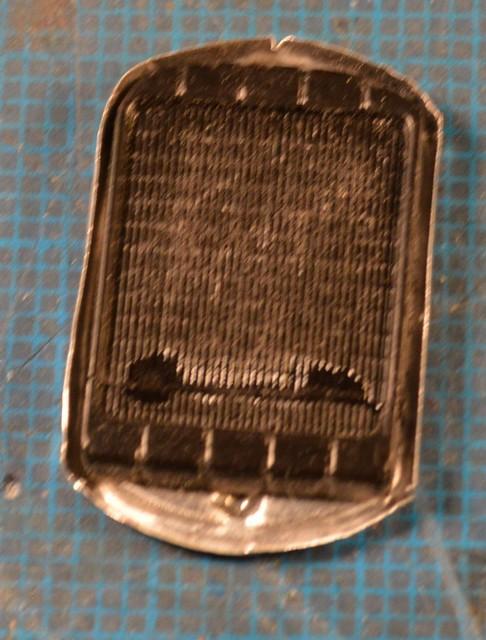
I did some more burnishing of the aluminum radiator shell for the Model A, and sectioned a radiator to fill it with. Still work to do, but, it's progress! This assembly leaves plenty of room for the pulleys and fan. I wasn't too confident, before! ?
-
"Bring Out Your Dead" Completion Build--ROUND 2 Is On!
Straightliner59 replied to Snake45's topic in WIP: Model Cars
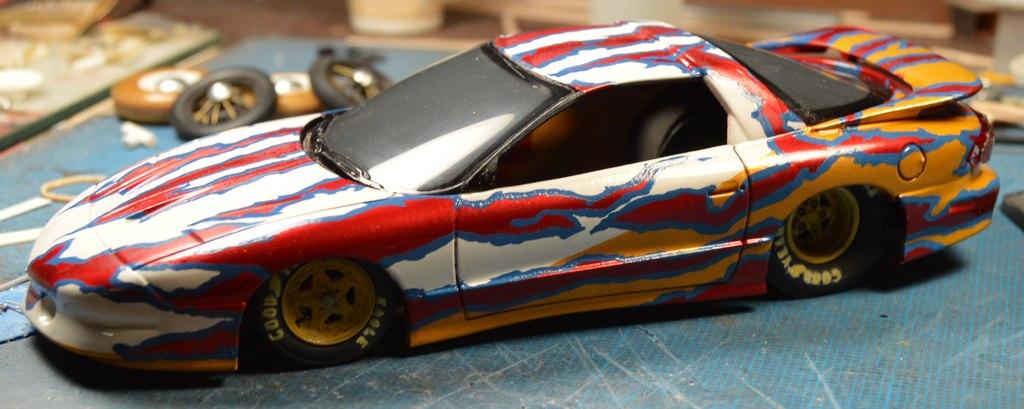
I got the chipped out area smoothed out, and got some color on it, before I ran out of paint. Time to call it good! I also went over all the stripes with good ol' One Shot. Now, I'll let that cure for a couple of weeks, and there's a nice day, and I'll shoot clear on it, again--a bit more carefully, this time!
-
Losing model parts
Straightliner59 replied to slusher's topic in General Automotive Talk (Trucks and Cars)
Thankfully, I have never had this problem! ? -
What WILL be accomplished, today, is the primer that's filling the chipped-out paint on the Firebird's wing will be wet-sanded, and, (I hope) will get some color shot back over it. Gotta' get 'er done. Right, Snake? ?
-
Fine craftsmanship is such a beautiful thing to observe.
-
Thank you, Mark. Your kind words are appreciated! I like the metal, for the radiator shell, too. The aluminum looks more like nickel plating than kit chrome does, I think. I have an idea that might help to clean up its form a bit. It's still going to be a squeeze, between the fan and the radiator. Thanks for your comments.
-
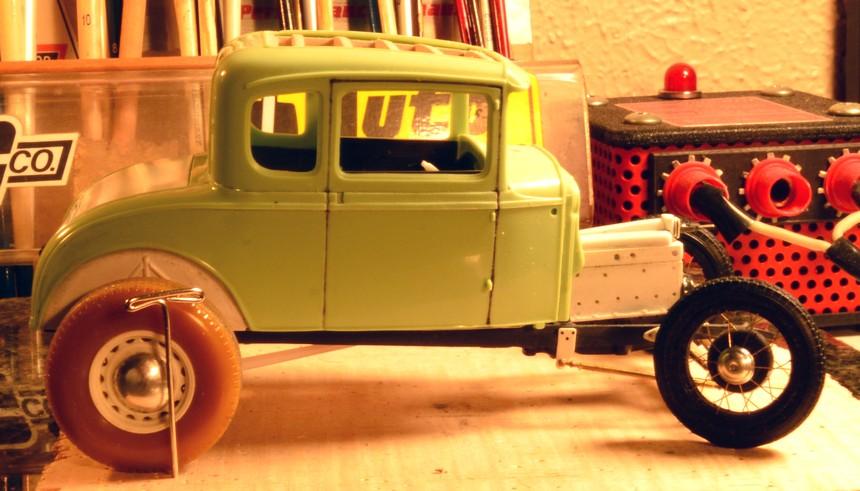
I got the fine-tuning on the roof a bit farther along. I thinned the plastic around the opening quite a fair amount. I will keep working at the interface between the body and the framework until the wood pretty much just snuggles into place (it doesn't, yet). I spent some time with a steel plate, some magnets and a blow dryer, and flattened the floor "plate". It was fairly humped, in the middle. Once that was done, I replaced the wood floorboards, inserted the interior door panels and dash, and set the assemblies together, and placed them on the chassis, to get a look at what I have, so far. I also tacky-glued the pressed aluminum grille shell to the chassis. I like where it's heading! Questions, comments and critiques always welcome! Thanks for checking it out!
-
Thank you, Robert! I am working on the roof, itself, now. I don't expect to get it down to scale thinness, but, it already looks tons better, with what I have already removed (not begun, in these photos).
-
Here's the new wooden roof framing. I evened out the spacing on the front three cross braces. Also notched them, and flushed them up with the frame. Next, I need to set up the Dremel to grind the roof thinner. Could be a little tricky! Wish me luck!
-
Looks awesome, JC. The stance is perfect!
-
I want to leave it open. I have been considering a roll-back canvas tonneau thingie for it. I also still need to notch the cross-pieces, so they will fit flush with the side rails. I need to thin the roof plastic, too. I needed to get it assembled, to see how it fit the body, though. Thank you, David! I appreciate your comment!
-
64 Dodge D100 Pickup Pro Street
Straightliner59 replied to AmericanMuscleFan's topic in WIP: Drag Racing Models
I am so envious of you guys who can build a body from scratch. This thing is fantastic! Hell, I can't even see half the stuff that others see wrong with kit bodies, until somebody specifically points it out, much less could I build a proper body. Excellent work! -
Exactly why I said it isn't prototypically correct. The framing here is flush, because the sheet metal is thinner than the the plastic. I'll eliminate some of that thickness. I wanted to get it put together, because it was impossible to check the fit, without it assembled. Now, I can get to the fine-tuning! Thanks for your comments and observation, sir! ?
-
I got it a bit further along. Still need to do some straightening-up. It's not prototypically correct, at this point, but, it's almost "fudgeable".
-
I got some work done on the wood for the roof, tonight. I cut some little pockets for the ribs to sit in. It all fits together, pretty nicely! I'm stymied, trying to figure out how to temporarily assemble it, to check its fit in the roof of the real world, not just as numbers. Thanks for looking! Questions, comments, critiques always welcome!
-
Great book! So is his "Water Horse".
-
The best book on the history of drag racing is "High Performance" by Dr. Robert Post, hands-down!
-
Thank you, David! Your kind words are much appreciated. Indeed, they are. I had a bunch of different ones around that I bought for stirring stuff, so, I decided to use them on this project. I figured they've had plenty of time to dry out, so that they would remain straight, if they were straight, when I cut and shaped them. Thank you for checking in!