Straightliner59
-
Posts
5,809 -
Joined
-
Last visited
Content Type
Profiles
Forums
Events
Gallery
Everything posted by Straightliner59
-

Early Funny Car Reference
Straightliner59 replied to afx's topic in Model Building Questions and Answers
It is, indeed, a Logghe. The article is easily the best single source reference for funny cars of that era, and likely any era. Glad I could help! -
Early Funny Car Reference
Straightliner59 replied to afx's topic in Model Building Questions and Answers
Thanks, Steve. I am always happy to help out, when I can! -
Early Funny Car Reference
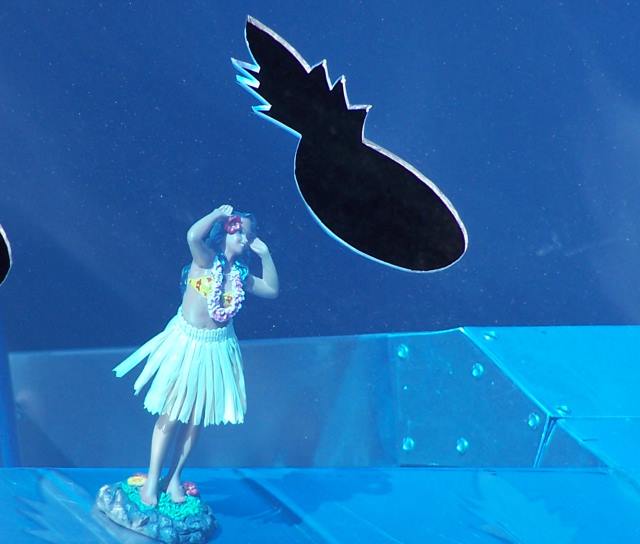
Straightliner59 replied to afx's topic in Model Building Questions and Answers
Here are photos I took in the shop, during the Hawaiian's restoration. Interesting story as to how these came about. I threw in the hula girl in Gregg's honor!
-
Early Funny Car Reference
Straightliner59 replied to afx's topic in Model Building Questions and Answers
It works on my end. Enjoy! -
Early Funny Car Reference
Straightliner59 replied to afx's topic in Model Building Questions and Answers
Let's see if this works: http://www.modelcarsmag.com/forums/applications/core/interface/file/attachment.php?id=146407 -
Wow! A virgin is a rare find, indeed. Nice!
-
"Bring Out Your Dead" Completion Build--ROUND 2 Is On!
Straightliner59 replied to Snake45's topic in WIP: Model Cars
Ain't no doubt about that! -
Thanks for the heads-up! I have a set on the way!
-
Early Funny Car Reference
Straightliner59 replied to afx's topic in Model Building Questions and Answers
I have the entire Unraveling The Snake Pit article, along with a fair amount of other photos of the restored Hawaiian. I'll use them, if I ever resurrect the StraightLineModeler website. The article files are pretty large, but, I am happy to post them, if there's interest. -
"Bring Out Your Dead" Completion Build--ROUND 2 Is On!
Straightliner59 replied to Snake45's topic in WIP: Model Cars
Thanks, Vince and Bob! It is much appreciated. As Snake says: I gotta "GITTER DONE!" I'm beginning to have a little hope, myself. Was hoping to get some done, this morning, but, heavy snow (Yeah, on May 20-21!) took out the power while I was at work, and it wasn't on, until I got up at 2:30, this afternoon. I really could have used the therapy, this morning! -
The drawings are very cool! If I drew all that in AutoCAD (I say ACAD, because that's what I have available), I'm afraid, I would call that a model, and be done with it! I've never used printed parts. How much time do you spend cleaning up the layer lines? Looking forward to watching this beauty come together!
-
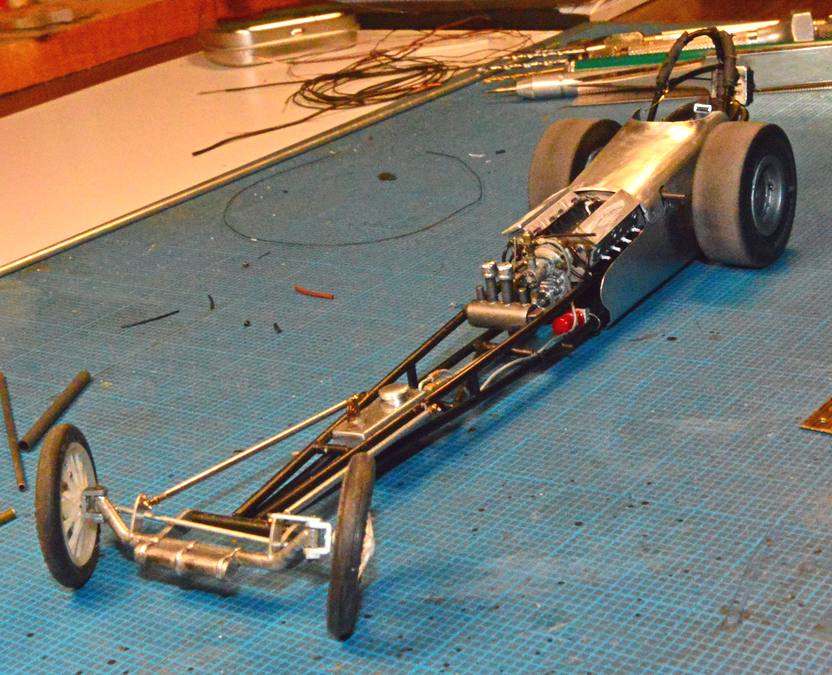
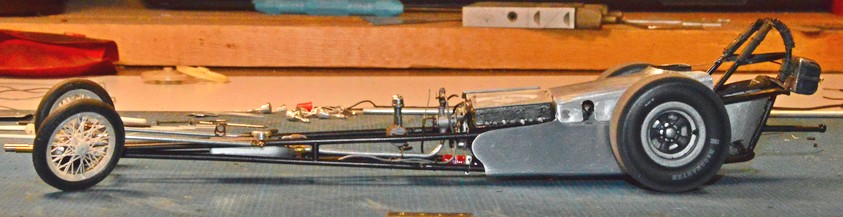
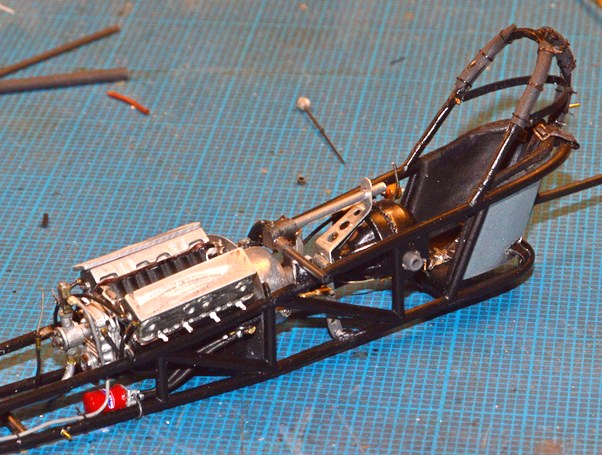
I have finally begun to work toward getting the body mounted! Still a couple of little things to do in the cockpit--mostly touchup. With any luck, I can get it up on the wheels, next weekend. As always, questions, comments and critiques are welcome!
-
"Bring Out Your Dead" Completion Build--ROUND 2 Is On!
Straightliner59 replied to Snake45's topic in WIP: Model Cars
A little fanfare, please? I have begun working on getting the body mounted! That's a BIG step!
-
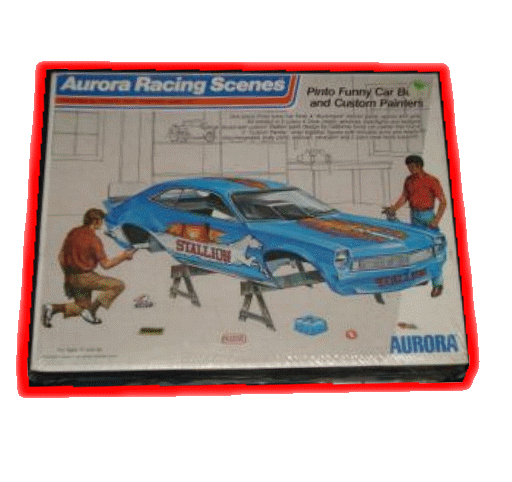
I have all kinds of stuff on the way, now! Moebius Dyno Don Comet, I won an auction for a Johan Pinto Funny Car (under $50, shipping included!), carbon gouging rods (for a resistance soldering probe I am going to build), and a right angle mounting base for my Sherline rotary table.
-
Ever have a jinxed model?
Straightliner59 replied to Bill J's topic in General Automotive Talk (Trucks and Cars)
Like me, you probably have projects without photos that go back even farther than that! I know I don't have anything that goes that far back, except an old engine from a Badman I built in '74 or '75. It has fishing line for plug wires, because I didn't like the fuzz, on thread. -
Bantam Fuel Altered - New pics 1-7
Straightliner59 replied to Codi's topic in WIP: Drag Racing Models
Simply amazing workmanship, Tim! It makes me want to work that much harder. Thank you, sir! -
Ever have a jinxed model?
Straightliner59 replied to Bill J's topic in General Automotive Talk (Trucks and Cars)
I'm sure there have been others, but, the one I am working on, now doesn't seem to want to be finished. Earliest photos I have of it are time stamped 12/31/01. It's fought me almost every step of the way! -
These guys:
-
You'd be fine with the electric pump. Mazmanian ran one in either the Austin or Willys, for sure. I remember seeing it in an old HRM or PHR article. Sorry that's all the help I can be!
-
Resistance Soldering Questions
Straightliner59 replied to Straightliner59's topic in Model Building Questions and Answers
Good idea! Makes perfect sense. -
Resistance Soldering Questions
Straightliner59 replied to Straightliner59's topic in Model Building Questions and Answers
Thanks, Tim and Pete. I have both Wingrove books and Foran's book, so, I am good, there. I agree with you, both, that I may want to upgrade to a unit with more wattage, later. I first wanted to get my feet wet, and, for that, this cobbled-together system will definitely work. I'll check out AB's site for probes. Thanks for your input! -
Resistance Soldering Questions
Straightliner59 replied to Straightliner59's topic in Model Building Questions and Answers
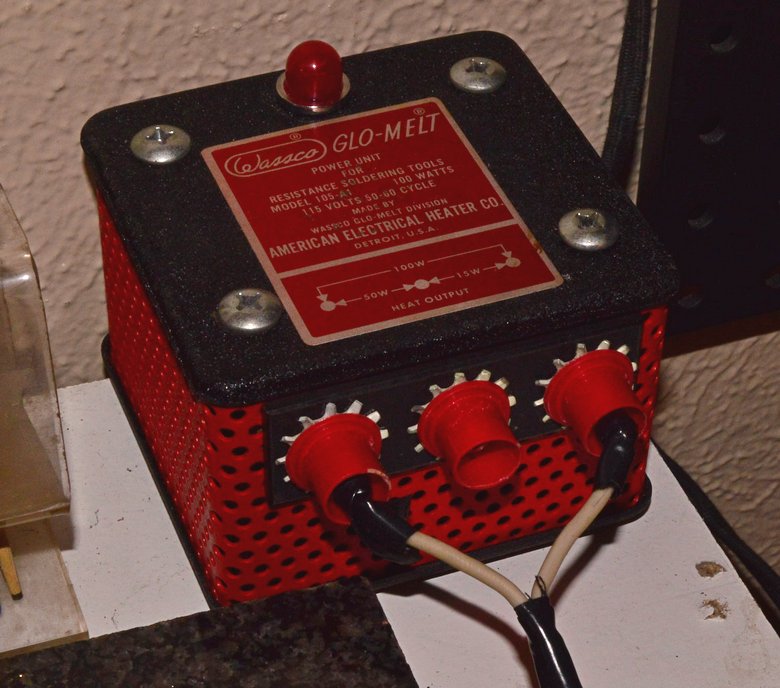
Here is what I have, so far. It works well, and it's pretty quick to heat a joint. I acquired the power unit, the tweezers and the foot switch, in separate transactions, for about $90. I used some 3/8" brass rod, to taper the plugs 2 degrees. The larger ends were then bored to create a solder cup, in each, for the cords. I will repeat that process, when I build the single electrode/probe, and the ground cord and clamp. I'll be replacing the electrical tape with heat shrink, as soon as I pick some up, in the right size. I found this site to have the most comprehensive, user-friendly, information, in regards to building your own system. They're the guidelines I'll use, building the aforementioned probe: https://technitoys.com/diy-resistance-soldering-outfit/
-
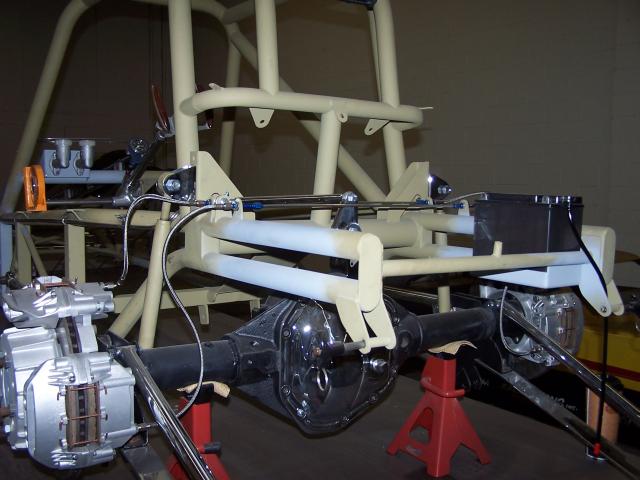
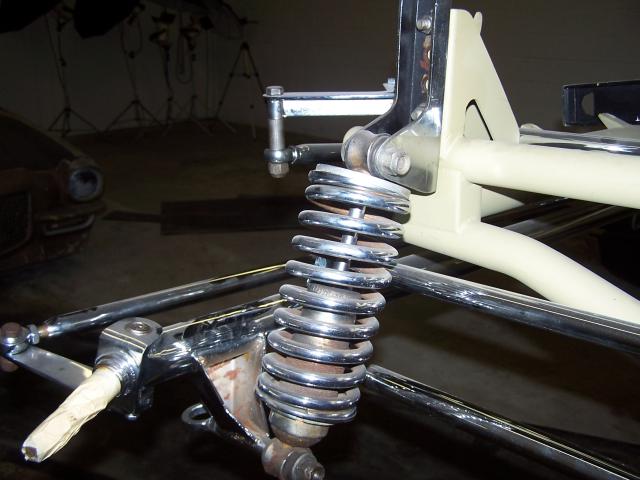
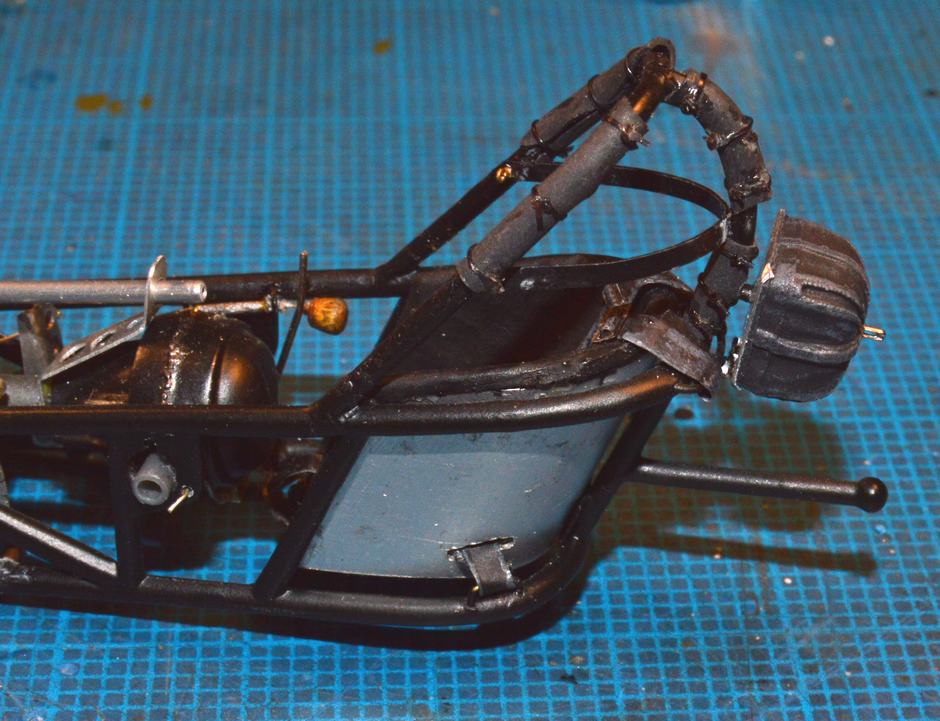
I have fixed the padding on the roll cage, and replaced the zip ties. Also mounted the 'chute. Installed the spark plugs--not that they'll be too visible--but, they create visual interest. I hd forgotten the pinion support, and have now made that. With the body on, and all the other "business" going on in the cockpit, it will be barely noticeable, but, it needs to be there! As always, questions and comments/critiques welcome
-
"Bring Out Your Dead" Completion Build--ROUND 2 Is On!
Straightliner59 replied to Snake45's topic in WIP: Model Cars
Okay! I got the cage padding fixed, along with replacing the melted zip ties. Got the 'chute mounted, as well. Soldiering on...
-
"Bring Out Your Dead" Completion Build--ROUND 2 Is On!
Straightliner59 replied to Snake45's topic in WIP: Model Cars
I hope to have pictures before morning. Just a quick update: I almost have the rollcage padding finally done/fixed. Installed spark plugs, yesterday. I think I am finally getting close to mounting the body...I think! It seems to be one step forward and one or two back, lately. I did take a couple of days off, from this project while I was installing the duct work for my spray booth (at long last!) and getting my resistance soldering unit up and running. Back on the dragster, now.