RancheroSteve
-
Posts
1,708 -
Joined
-
Last visited
Content Type
Profiles
Forums
Events
Gallery
Everything posted by RancheroSteve
-
Kurtis Sports Car (Update 1/27/17)
RancheroSteve replied to RancheroSteve's topic in WIP: Model Cars
Still inching towards completion. The engine is installed. Getting closer! -
Back to the Mooneyes dragster for a moment - for those that aren't aware, there are two of them - the original and the re-creation. If you're into the fine details, there are a few differences. https://www.drivingline.com/articles/the-mooneyes-dragster-cloning-our-heros-3-of-3/
-
"So does anyone notice what's wrong with this pic?" 1960 Falcons didn't have floor shifters?
-
Looking great so far!
-
Yes, that news & reviews thread has a lot of good info and Chris' video gives you a good sense of what you'll get with an out of the box build. Now that I'm building the kit, a few impressions: it's a well done kit for its era, generally accurate for building a scale Piranha dragster (depending on your proclivities there are a few things that can be corrected), and has ample opportunities for adding detail if that's your thing (there's lots of reference available online and in the nice booklet that comes with the kit). Note that the kit chassis represents the second iteration of the Piranha with the added roll bars - I'm building mine as the earlier version as depicted on the box photo. As I said in the thread, I'm really glad to see the original inspiring box art back and the new decal sheet is great. On the con side, the tooling is showing its age - there's a fair amount of flash to clean up, some mold misalignment here and there, and the chassis can be prone to warpage, so it takes a little finesse to get it together properly. The plastic tires might be a turn-off for some, but properly painted they'll look fine. All said, I dig this unique vehicle, glad to have the model back with the right wheels and decals. It looks like they're going cheap out there - if it floats your boat, pick one up. I'll be putting up a WIP thread soon when I get just a little further along with my build.
-
Alright, I'll give you a run-down of my impressions in a day or so when I get a moment.
-
Are you asking about the drag racer or the street version? I'm working on the dragster now (also built one about 50 years ago), so I can address that, but I've never built the street version.
-
Well done, Scott!
-
1963 Corvette Grand Sport (update 8/16/16)
RancheroSteve replied to RancheroSteve's topic in WIP: Model Cars
It is a little flattering, actually. I probably would have been okay with it if he had asked permission or given me credit, but I guess some people feel that anything on the internet is fair game these days. I'm not too put out by it really, but it's also not the first time something like this has happened to me - a few years ago I caught a real estate agent using an aerial photo of our neighborhood I had taken in an advertisement. She acted almost offended when I told her to stop using it! -
1963 Corvette Grand Sport (update 8/16/16)
RancheroSteve replied to RancheroSteve's topic in WIP: Model Cars
I was cruising around eBay a couple of days ago checking on the going prices for the A/M kits when I came upon this auction: Corvette Grand Sport Chassis See my initial post in this thread. The seller claims the images of the finished chassis are "stock photos". I guess my check is in the mail? -
A great piece of history and beautiful build, Phil!
-
Yep - most builders are unlikely to complain about having more time to finish their builds.
-
"El Ponchomino" from a Jimmy Flintstone body: And a "Thunderchero" (my own creation):
-
Good fit so far!
-
Good start, Jim - I'll be watching. I haven't tried it myself, but I recall reading that you can get the engine in after the frame is built.
-
Not a problem really - from the photos I've seen, the Revell decal only appeared on the Mooneyes dragster occasionally.
-
Target Reynard
RancheroSteve replied to bbowser's topic in Other Racing: Road Racing, Salt Flat Racers
Very nice - good to see some of these getting built! I built one (the AAR version) and still have a couple with aftermarket decals in the pile. -
Nice work so far! I've built most of the Roth stuff over the years, here's my Surfite: And Surf Fink: and the the rest of my Roth builds to date: https://public.fotki.com/Roullier/model_cars-1/ed_roth_cars__monsters/ Big Daddy was an icon of my youth! I got to see him many years later at a couple of car shows and at the Kustom Kulture Show in '93. I couldn't bring myself to have much of a conversation with him, but he signed my catalog.
-
Hope to see you there, Bill!
-
I don't believe it was ever released as a separate kit - just the double kit and the parts pack. Which came first? I was able to score a builder double kit a few years back and by grabbing a few parts from the Attempt 1 and Tony Nancy dragster was able to build a decent replica, but glad to see this coming finally coming out again. It's one of the all-time iconic dragsters in my book.
-
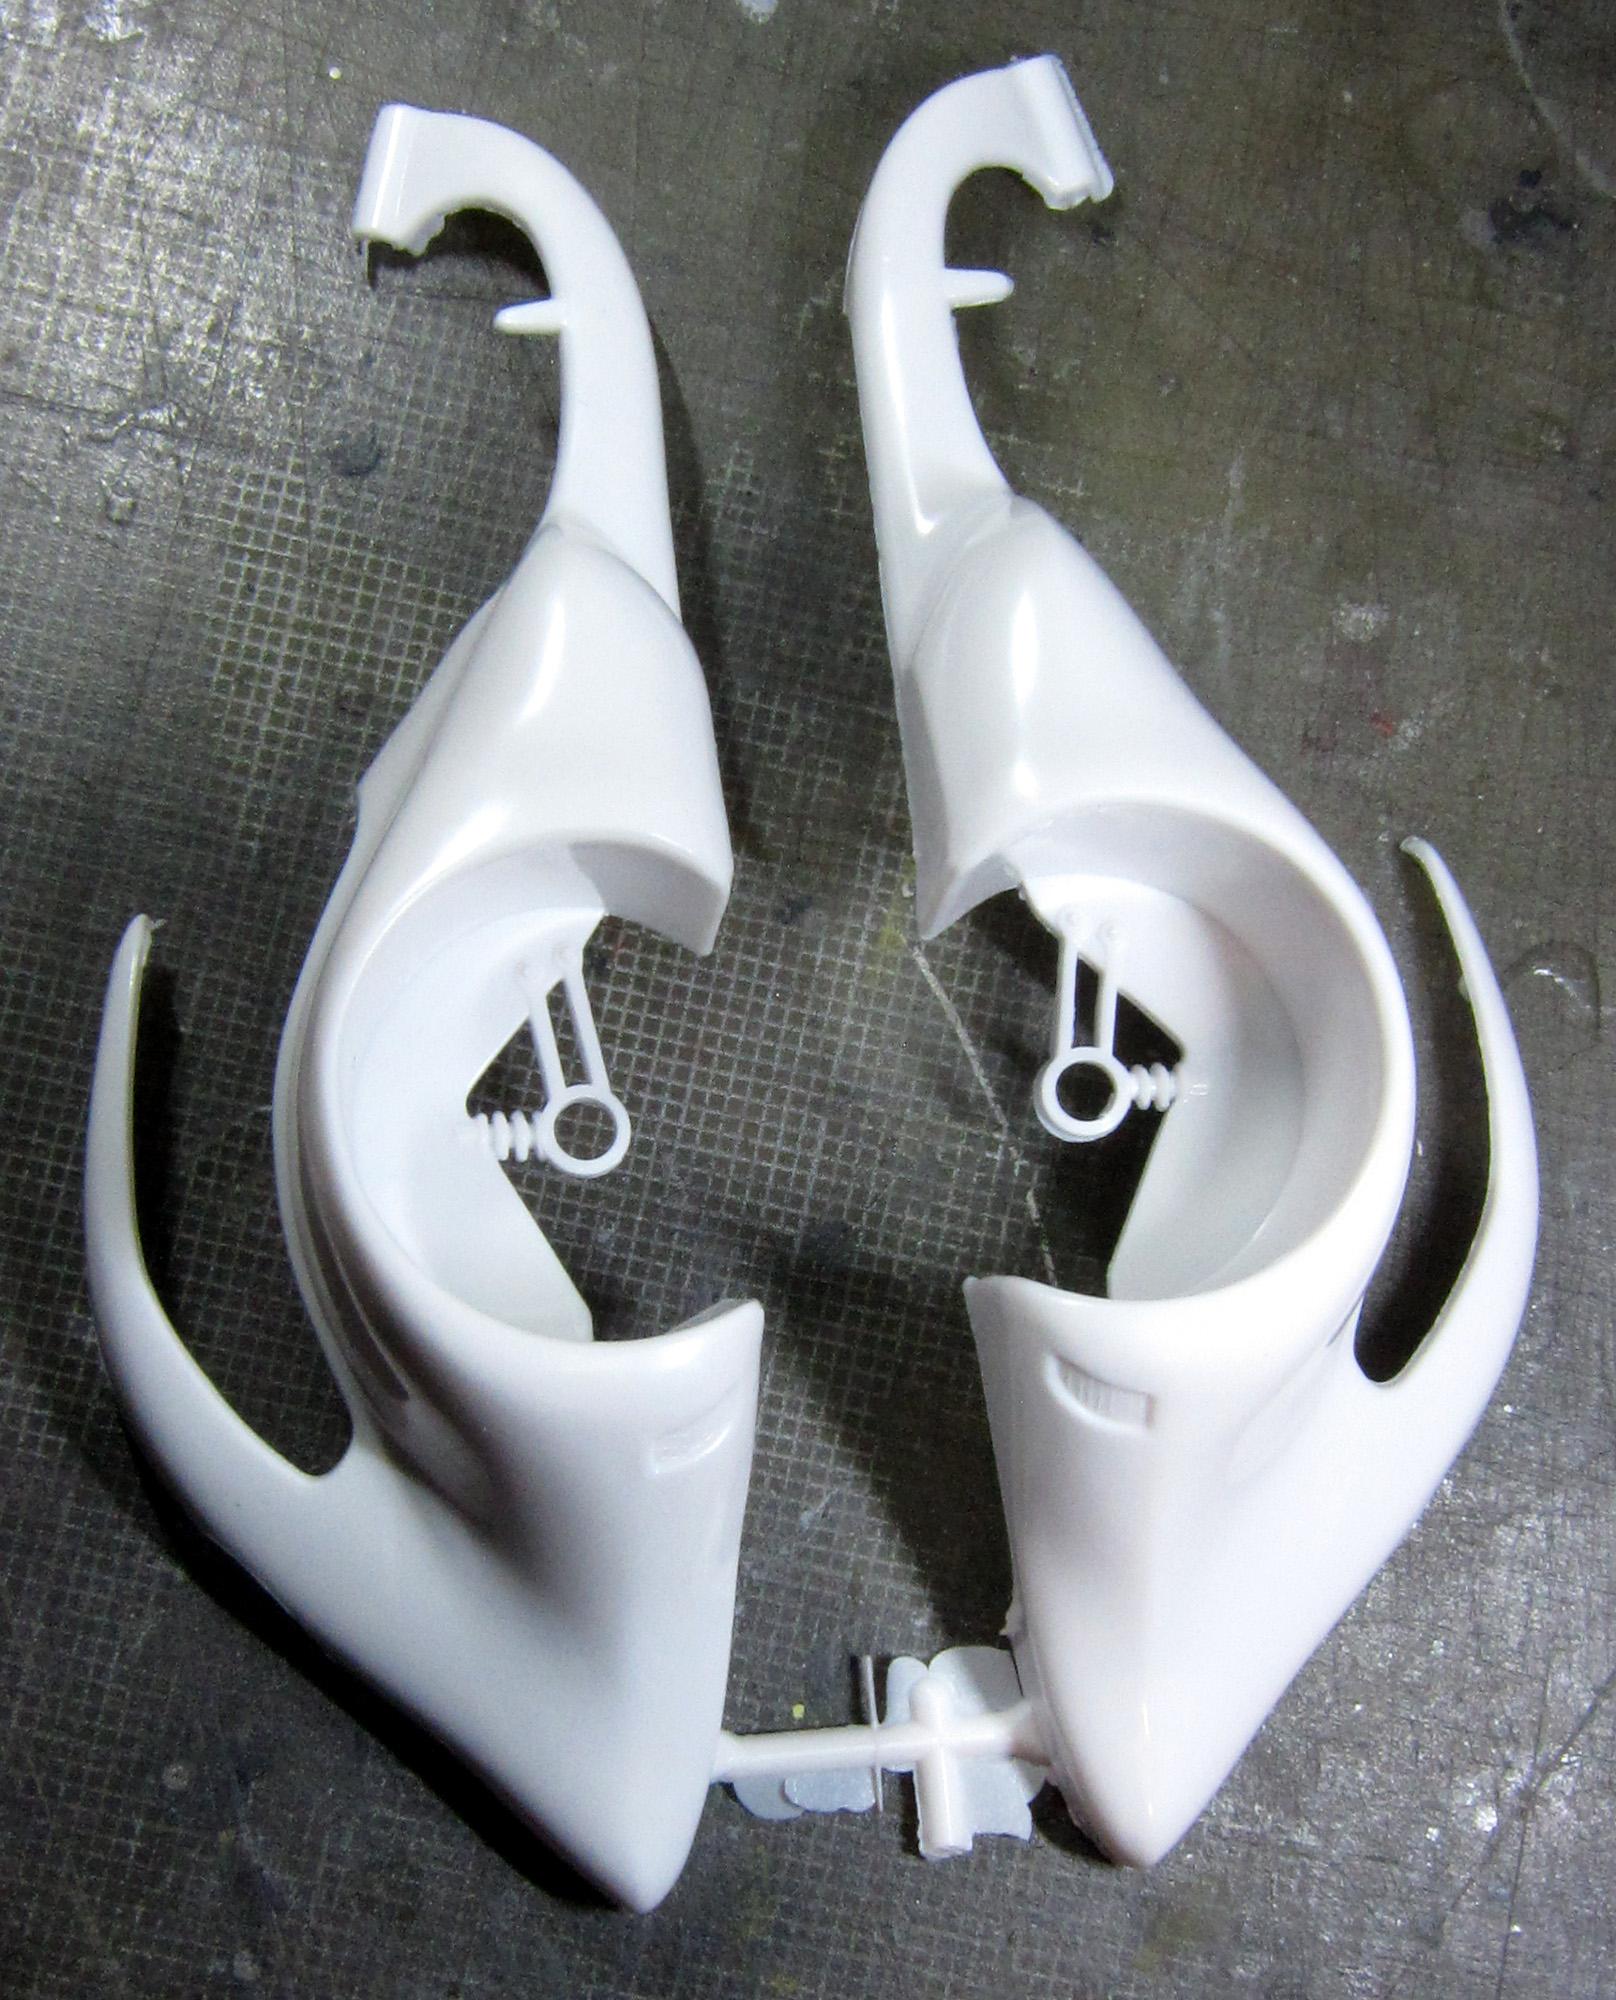
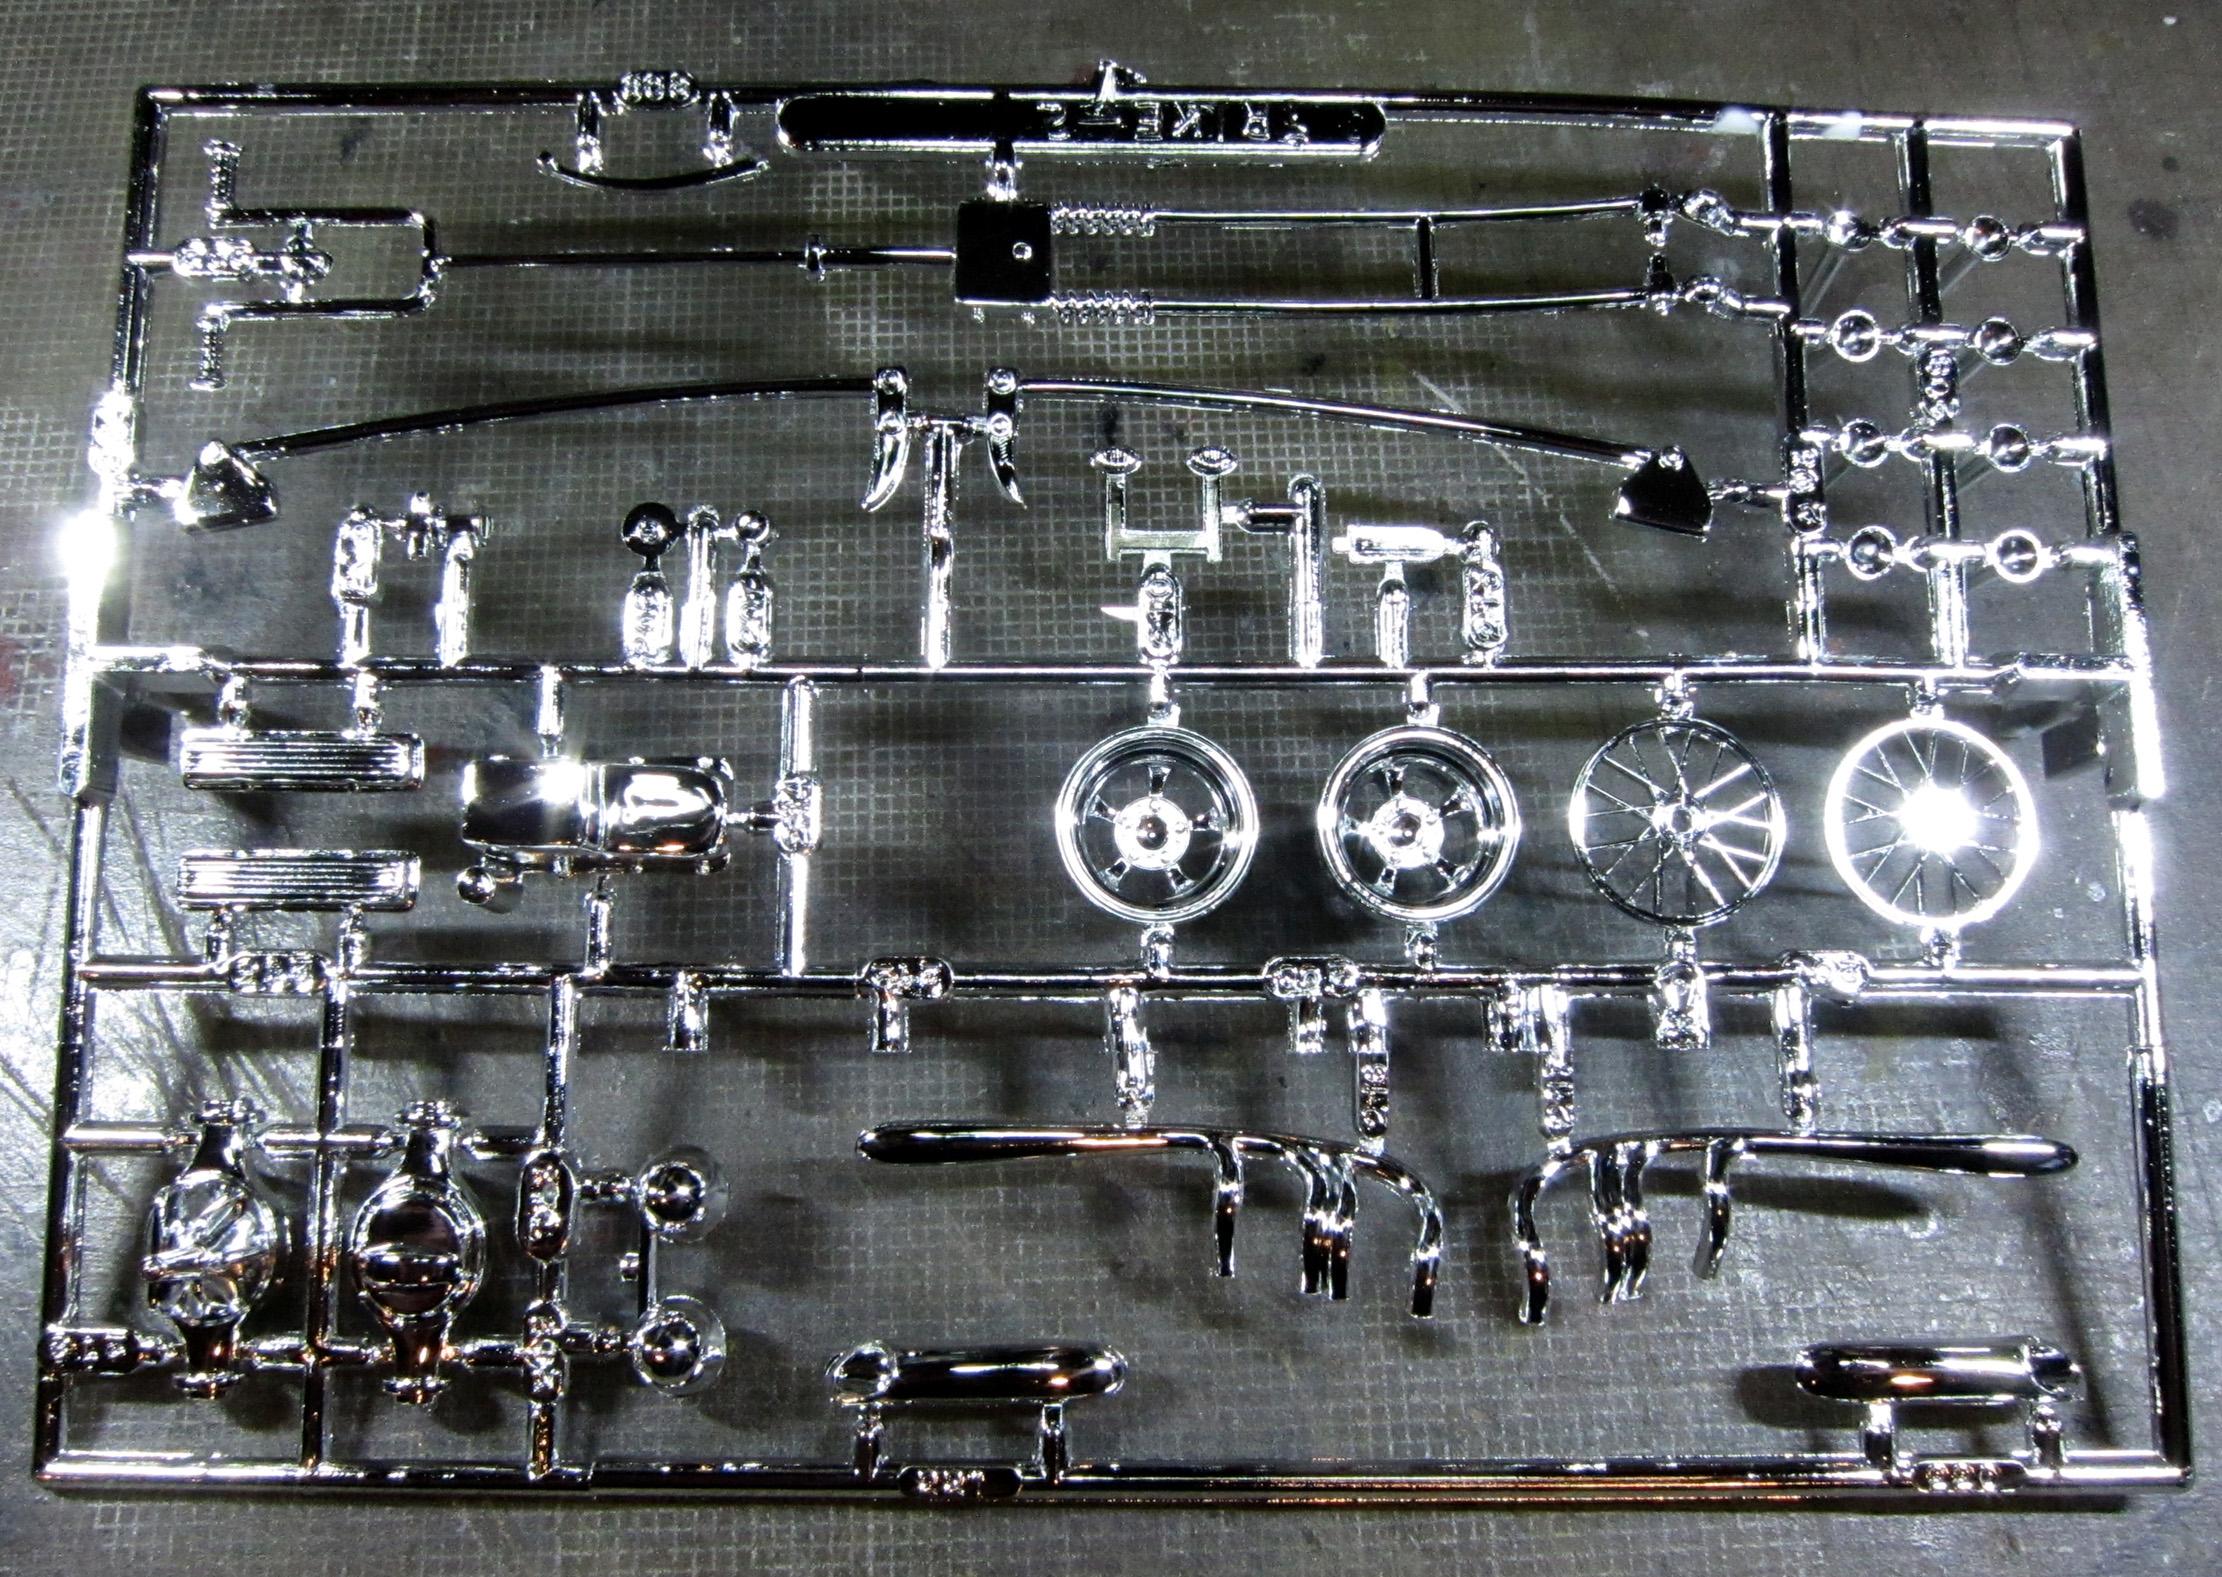
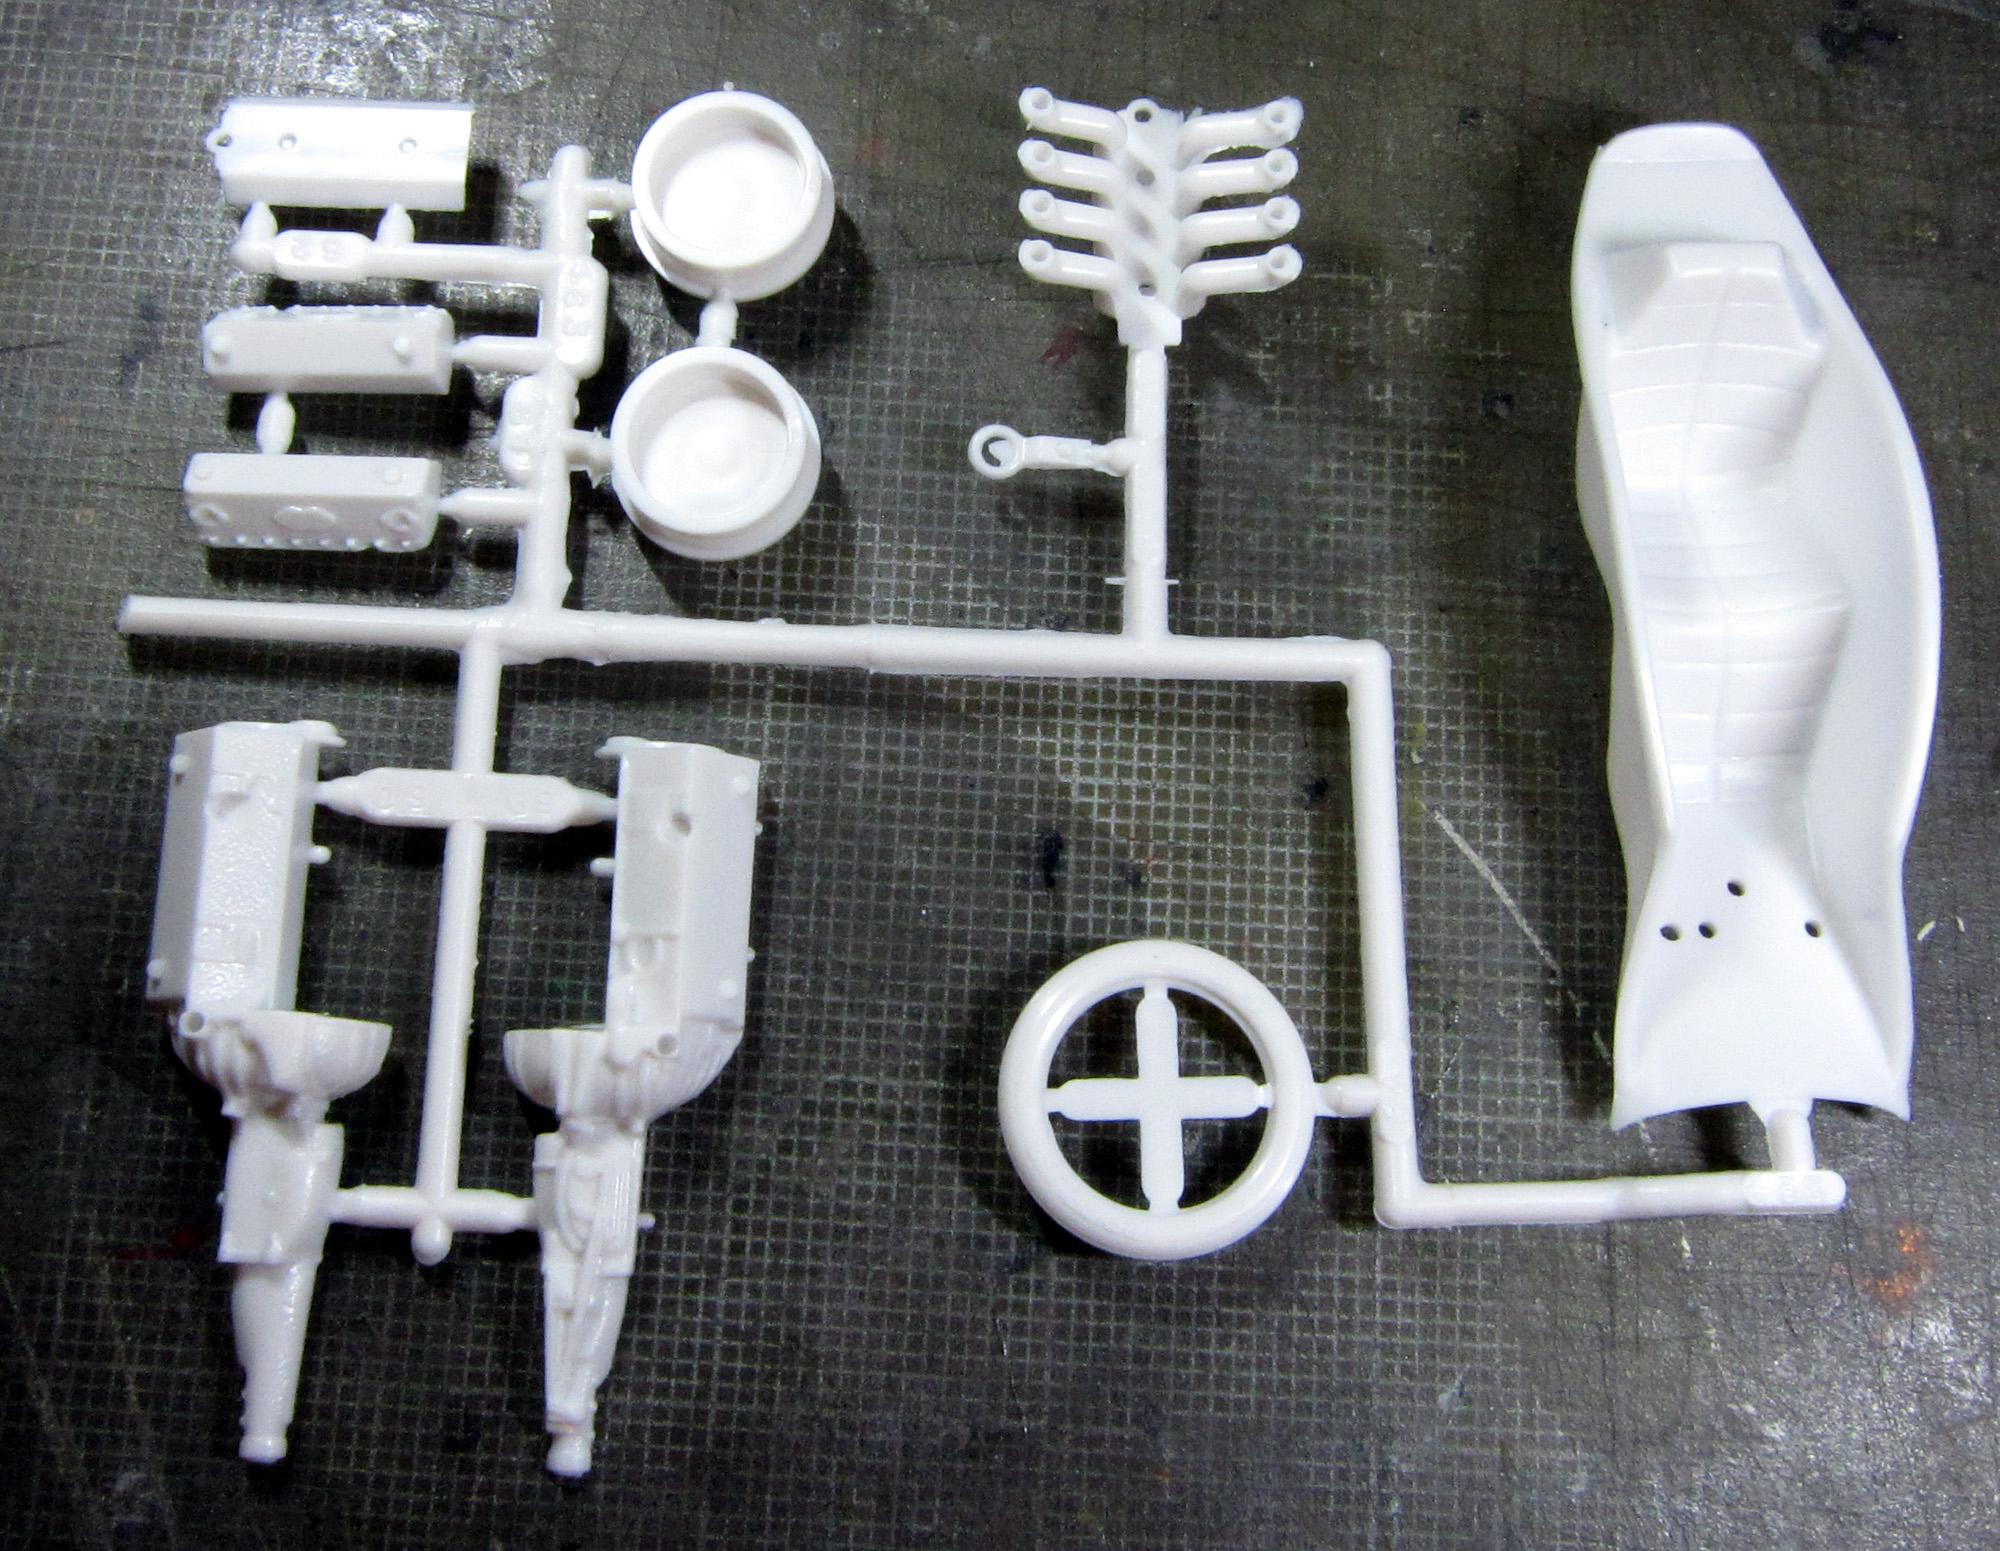
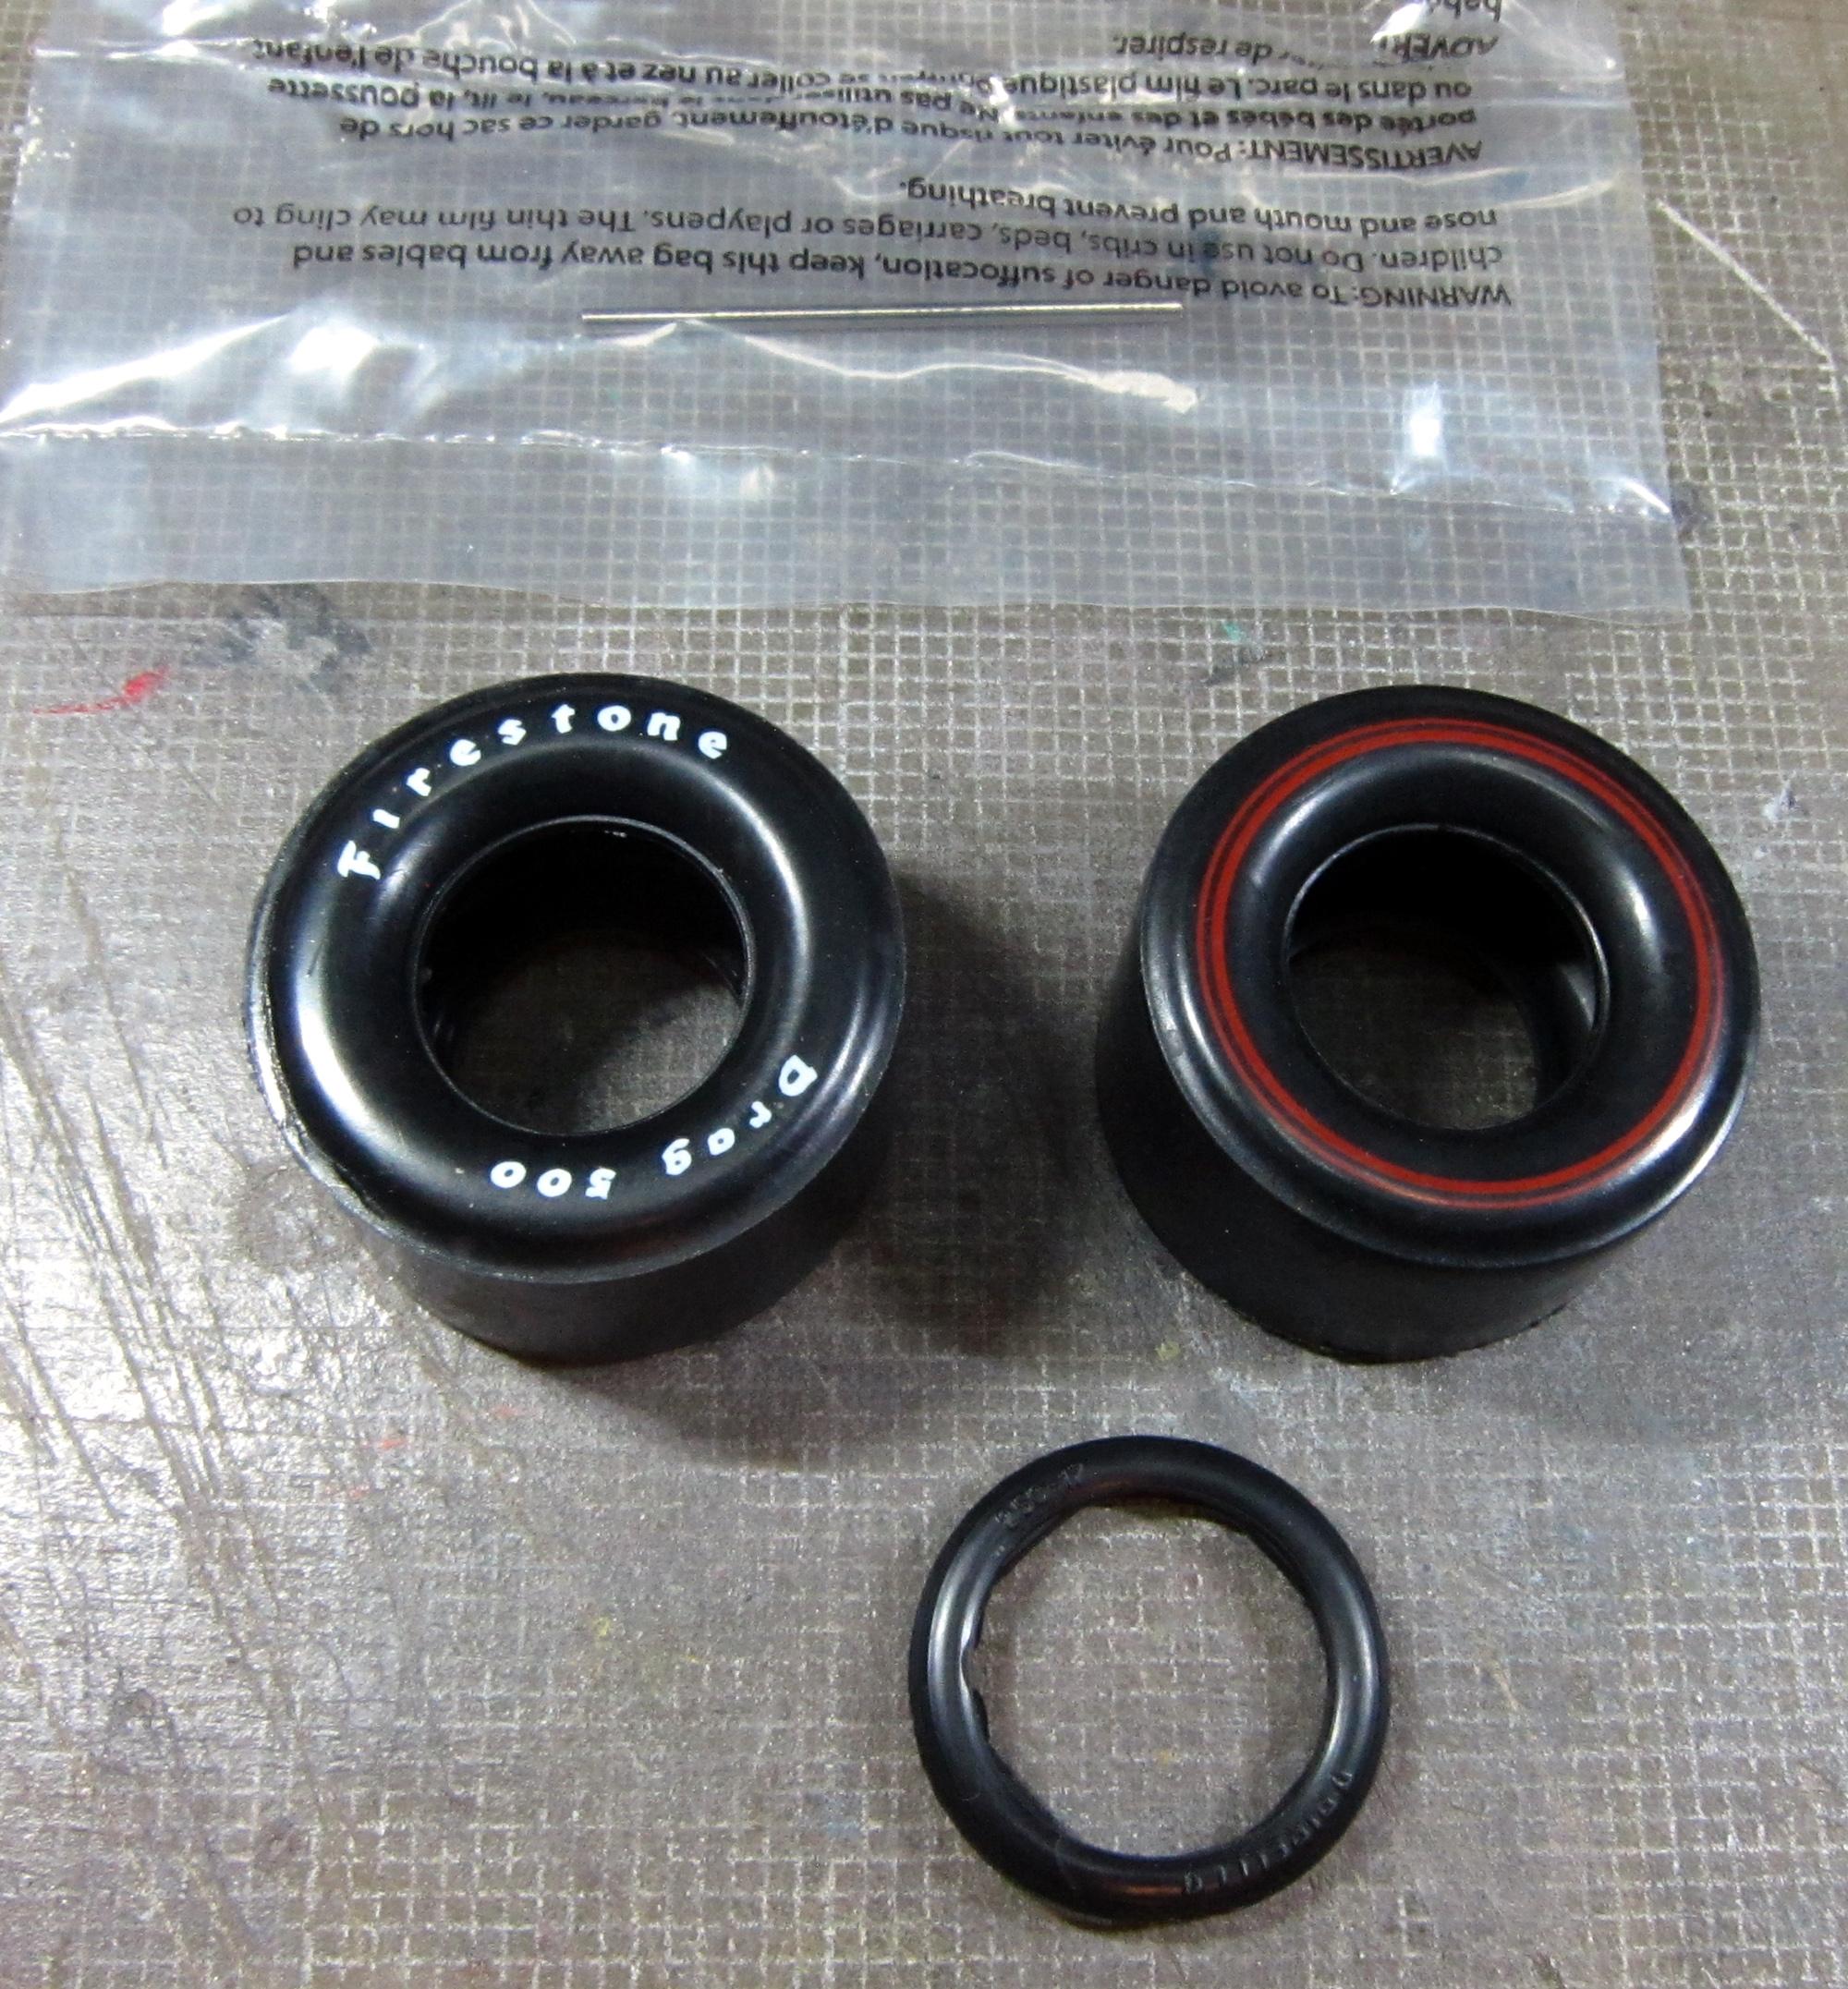
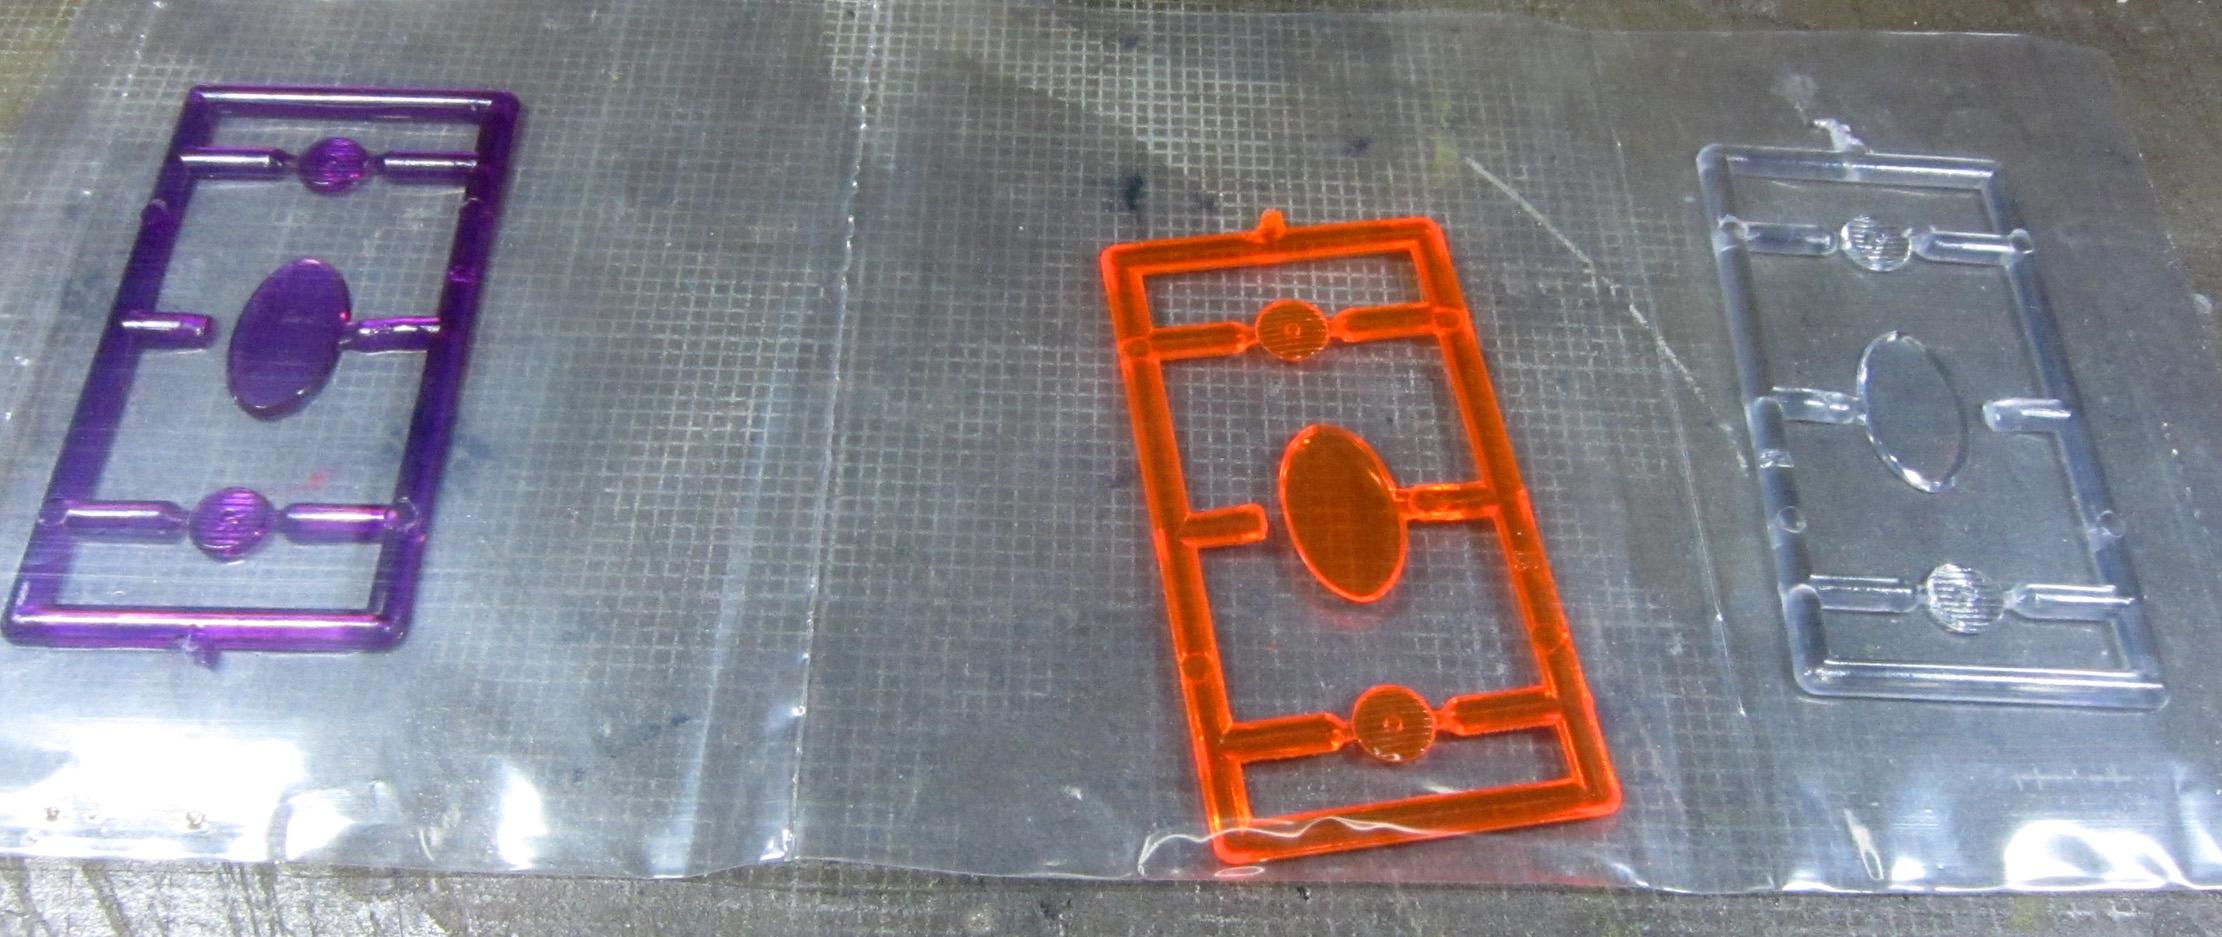
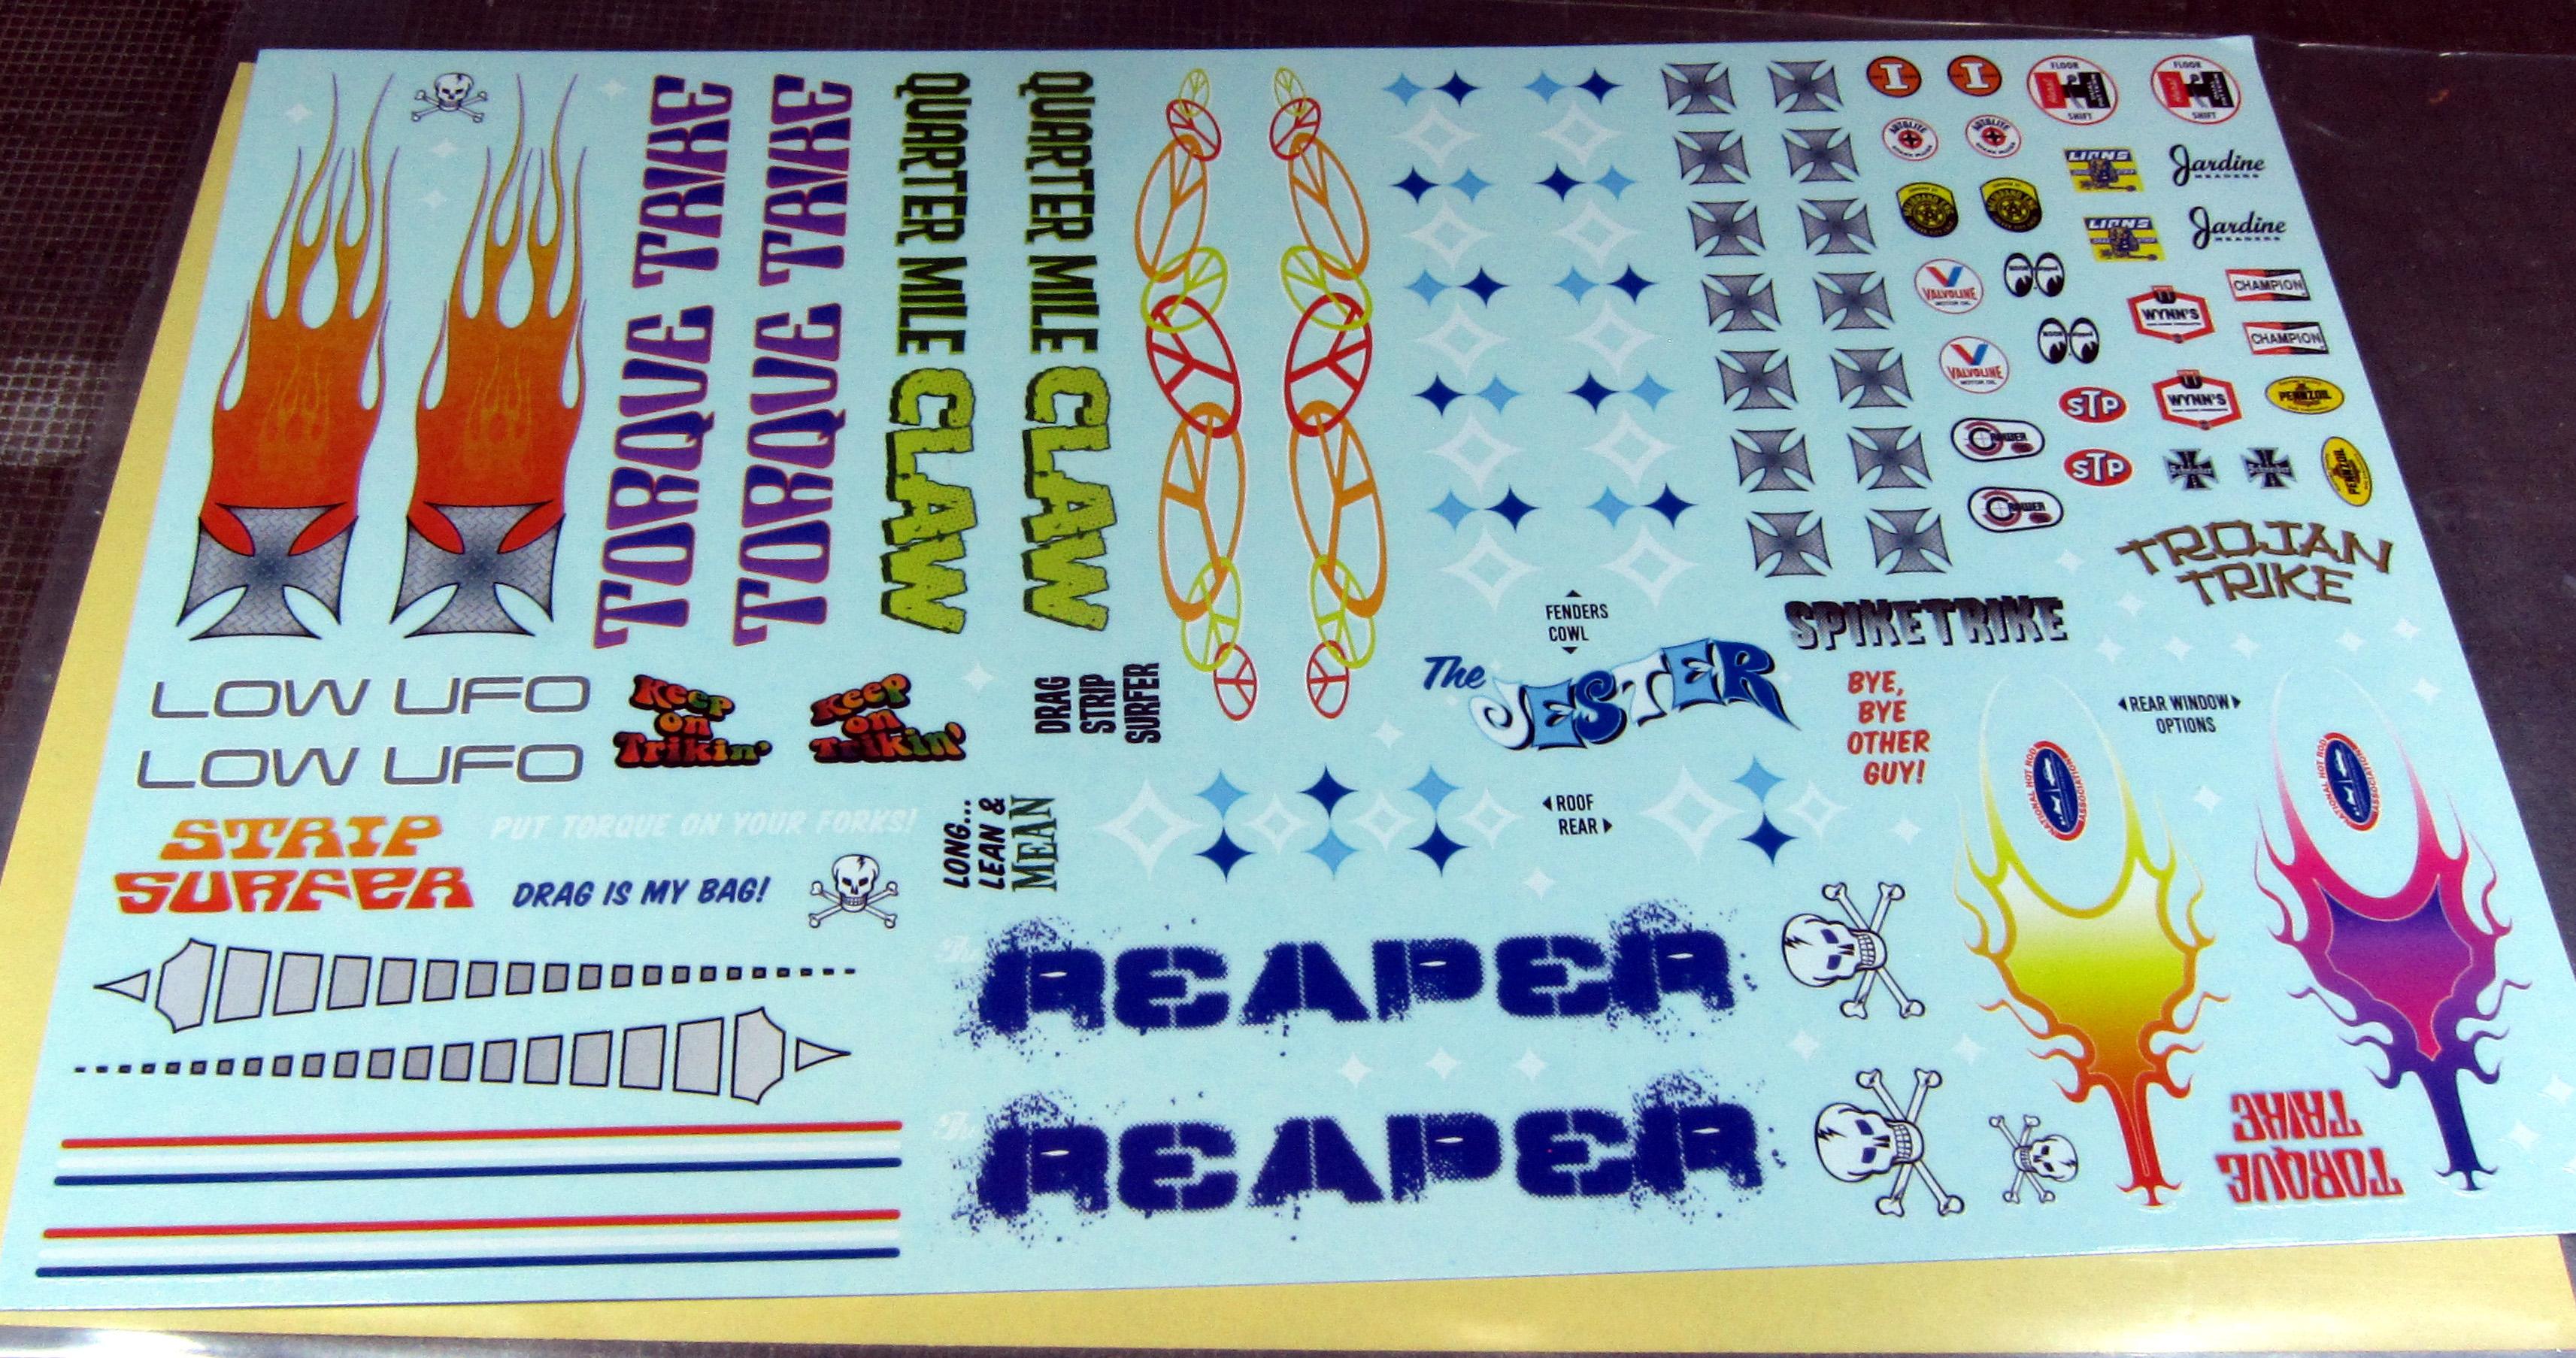
Torque Trike is out! I went over to my LHS today to pick up some supplies and was pleasantly surprised to find them on the shelf. Cracking it open now. A quick look inside the box: Body halves: Chrome tree: Another tree: Tires: Multiple glass options: Extensive decal sheet: I'm looking forward to getting started on this one, but only once I finish something off first.

-
Lotus Indy car or Offy Indy car reissue possibility?
RancheroSteve replied to Amtronic's topic in Car Kit News & Reviews
That's the one I remember, but there was also a 1/32 scale version: https://www.scalemates.com/kits/amt-indy-500-winner--1163054 -
Interesting idea! I think I'd be more inclined to try to build it as a fictional road racing sports car, but that's just me. I'm working on a drag Piranha currently, by the way.
-
60 Ranchero
RancheroSteve replied to 2doors3pedals's topic in Model Trucks: Pickups, Vans, SUVs, Light Commercial
Wow, nice job! Your extra work really paid off here - unibody looks about right. I really like seeing one done as a stock 6 cylinder. For what it's worth, the gas tank on the Ranchero is actually hung by straps under the bed - it doesn't recess up as much as yours does, but most people won't know that. -
FSM - The Automotive Content Thread
RancheroSteve replied to vincen47's topic in General Automotive Talk (Trucks and Cars)
Thanks, Tim! One thing I have to take issue with in the article is the statement "Another kit highlight was Heller’s F1 tires." They're fairly awful in my book - I replaced them with better ones from MFH.