James2
-
Posts
4,190 -
Joined
-
Last visited
Content Type
Profiles
Forums
Events
Gallery
Everything posted by James2
-
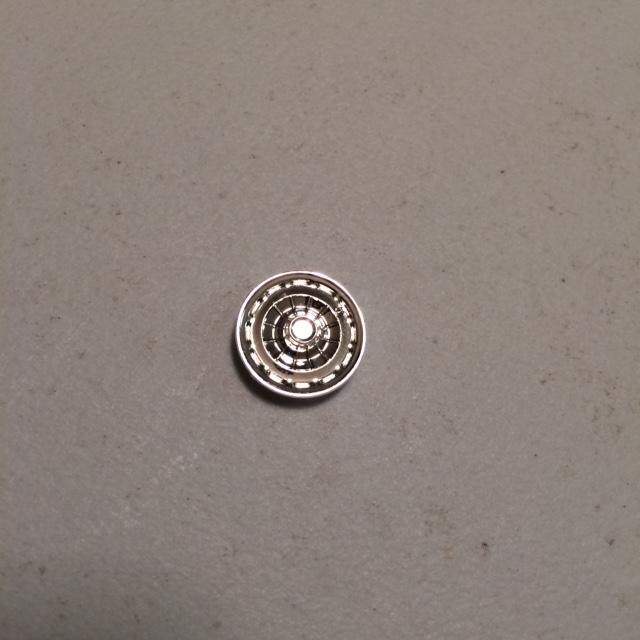
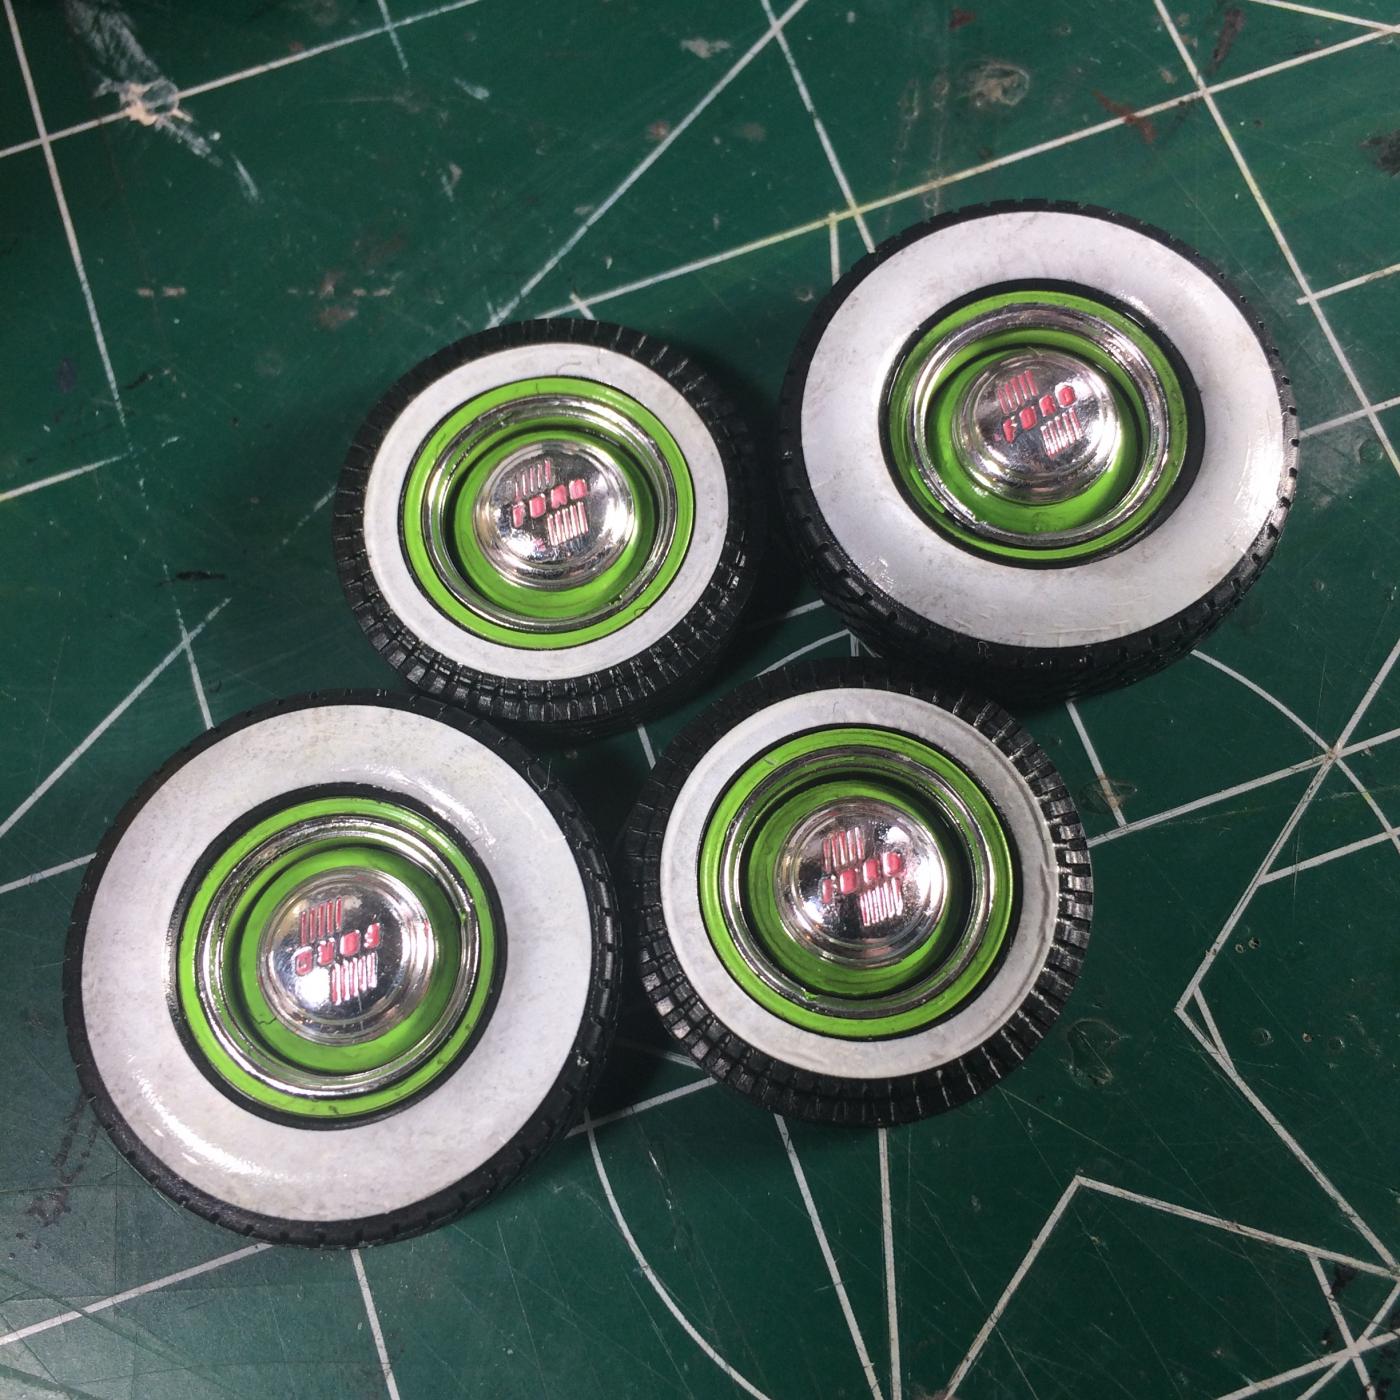
Here are some pics of the hubcaps I'm using. You may be right about the Chevy but I think a decal may have gone in the center. I might check when I get home this weekend.

-
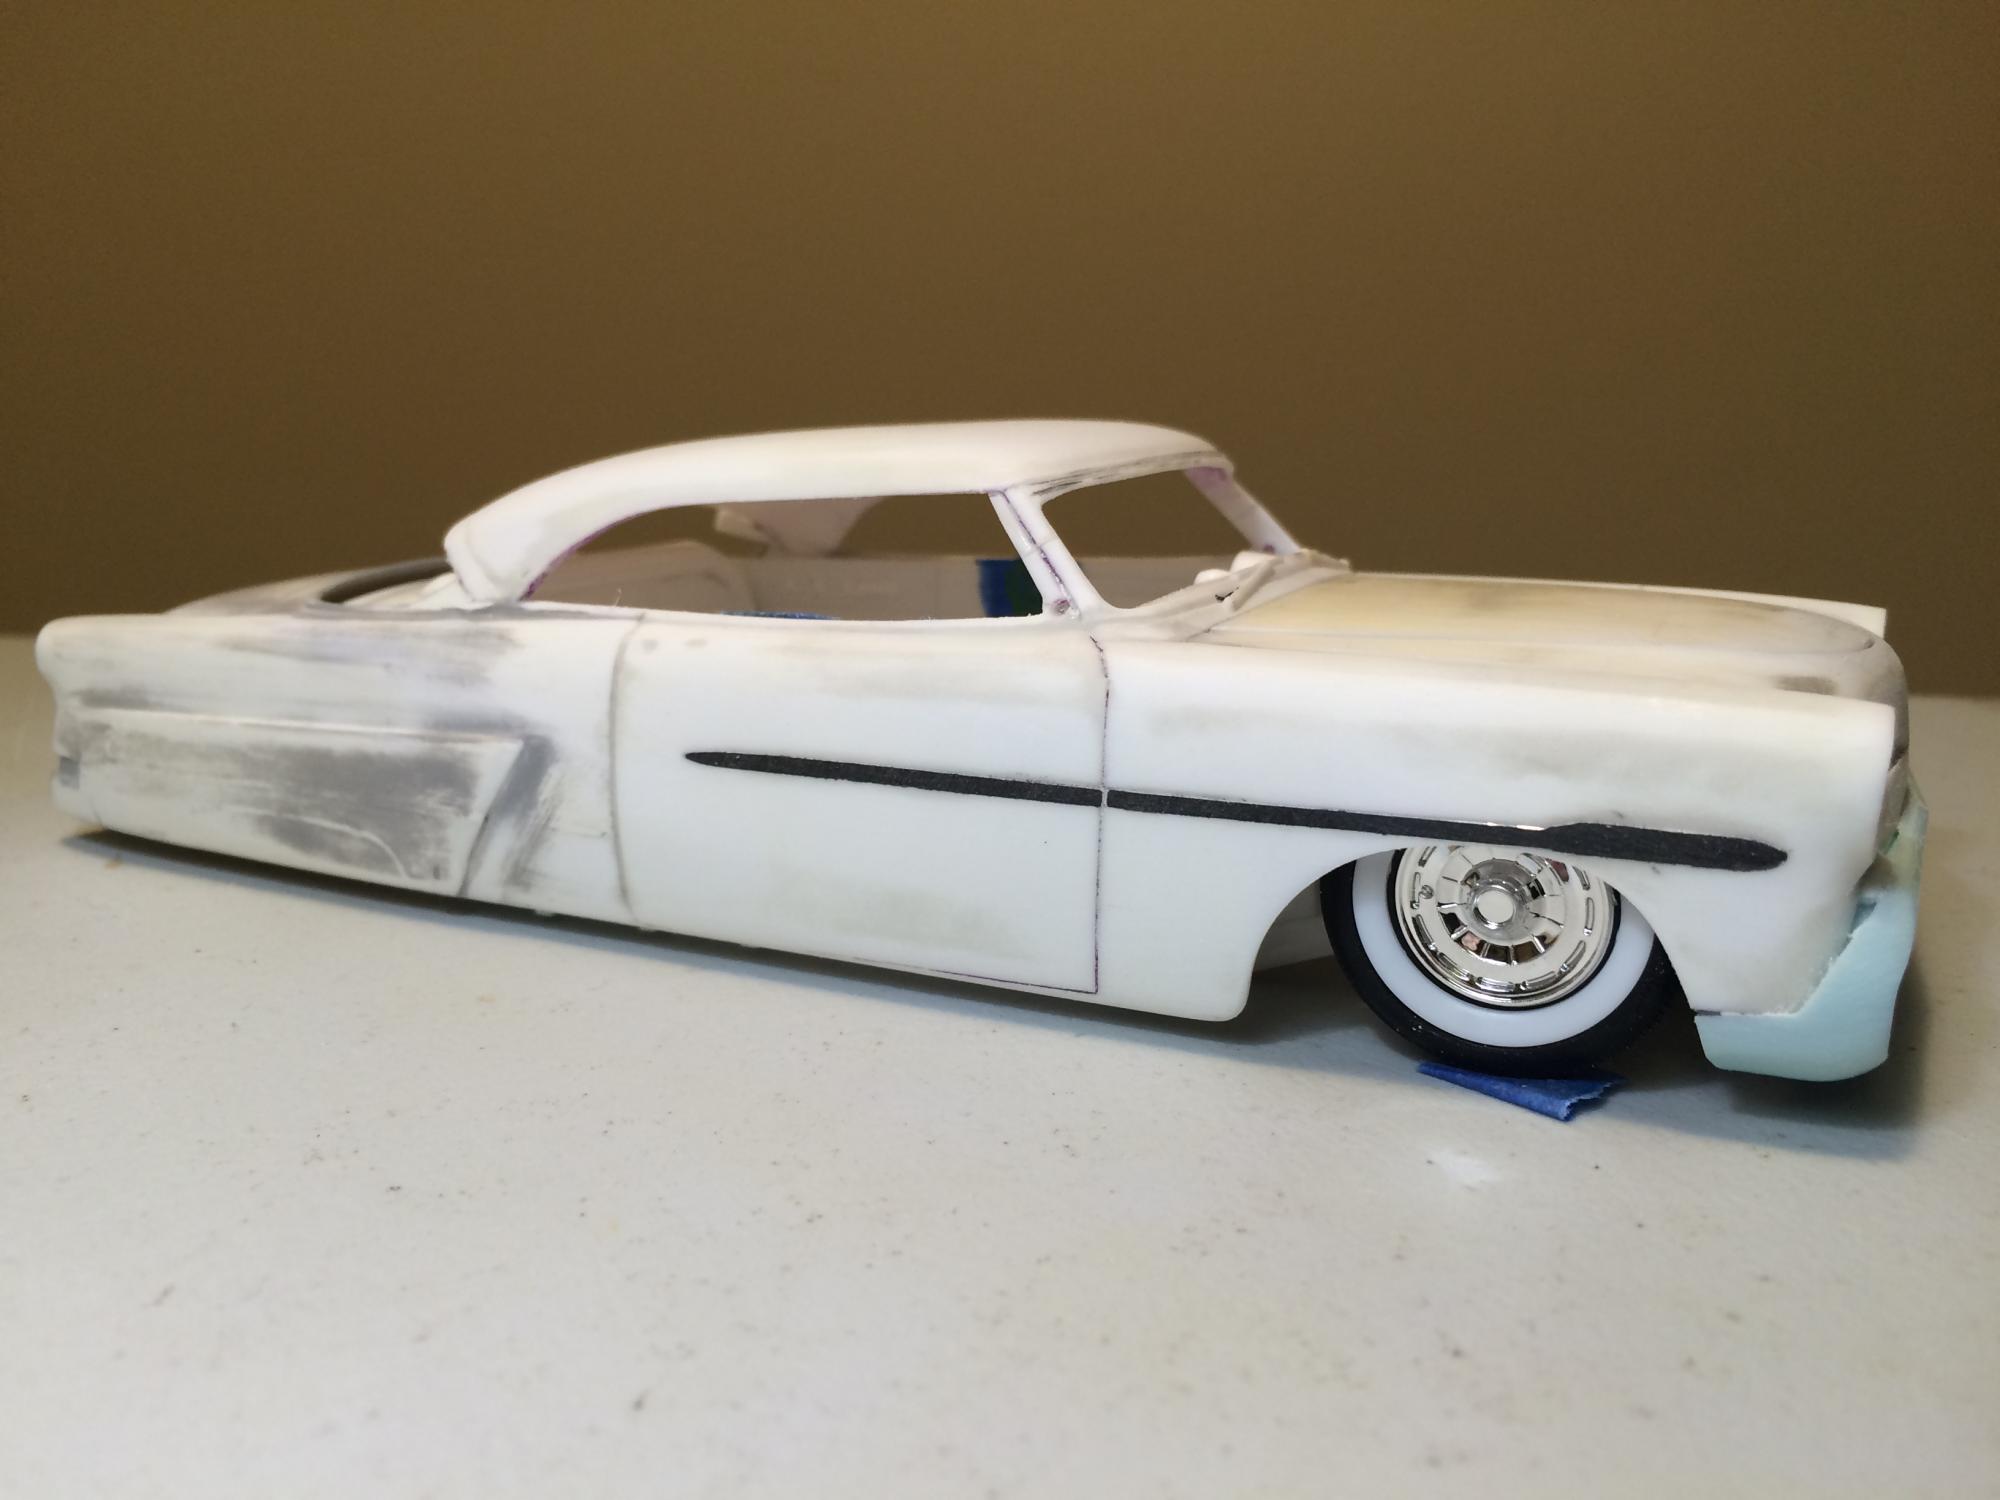
Making things low an't easy sometimes... I have no idea, they are from my parts box, they do have metal axle mounts.
-
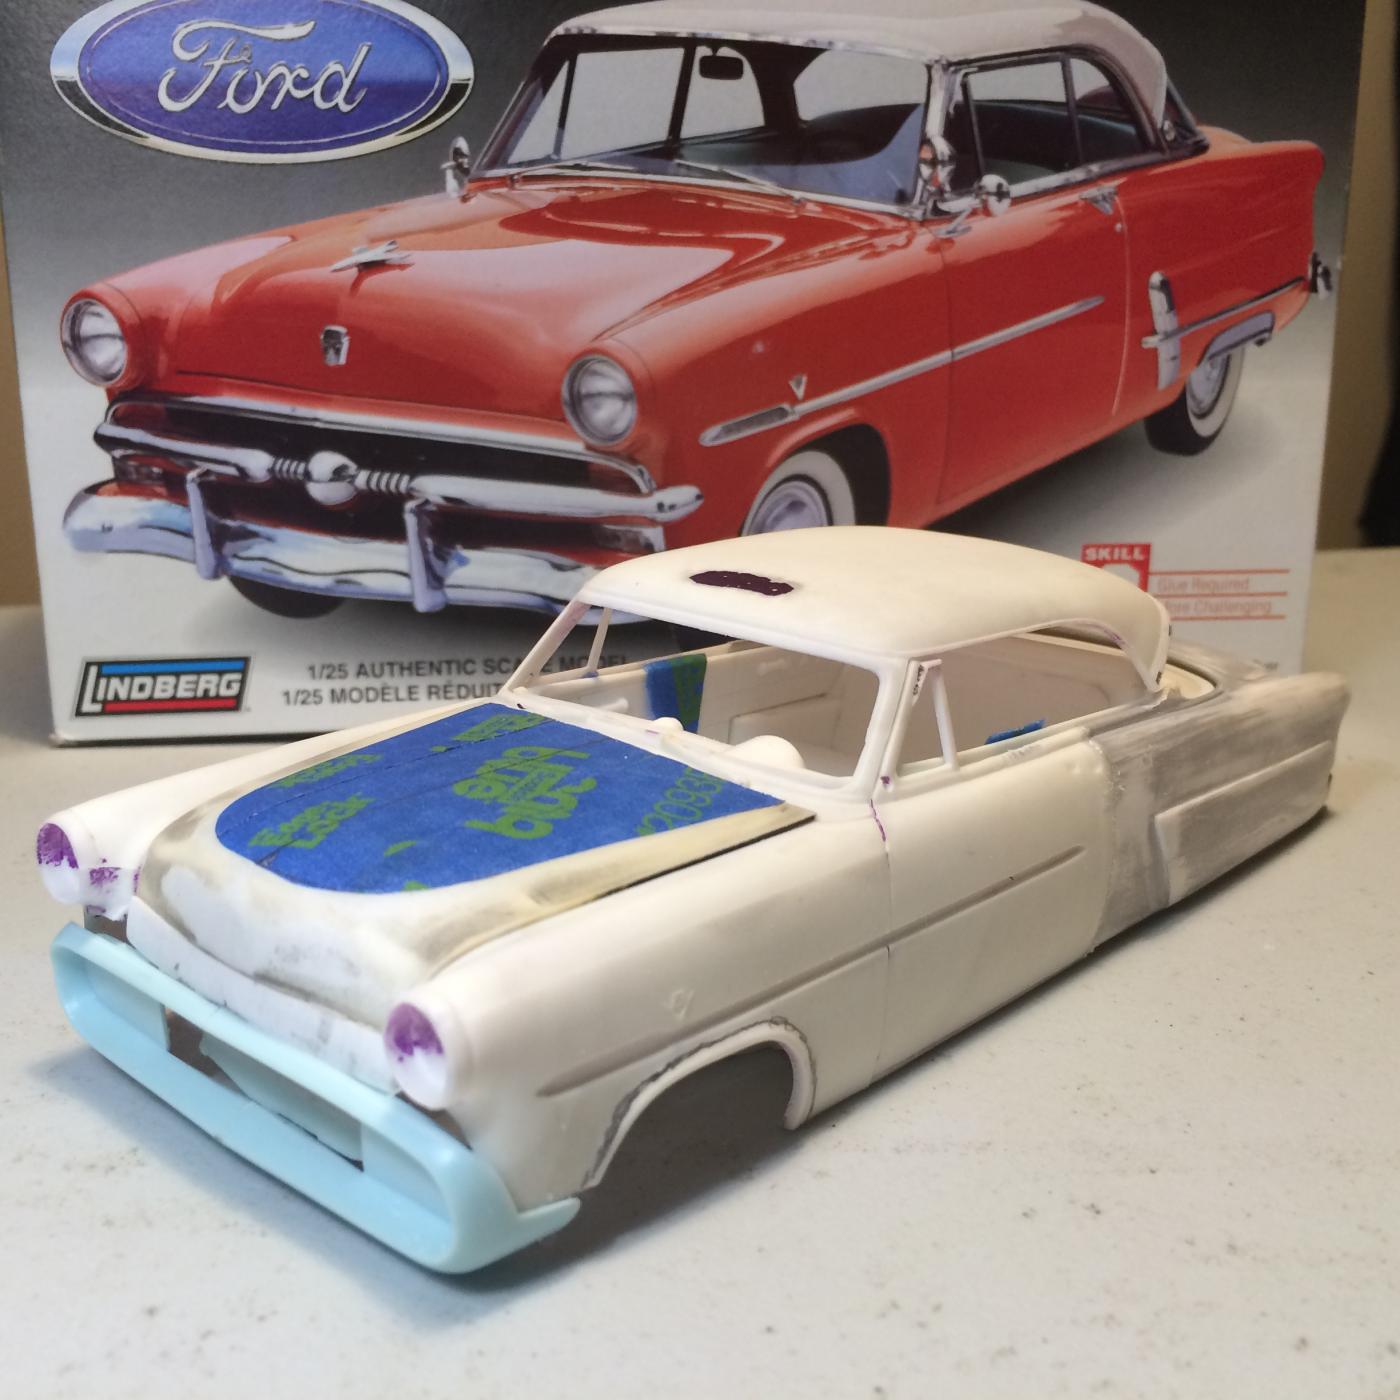
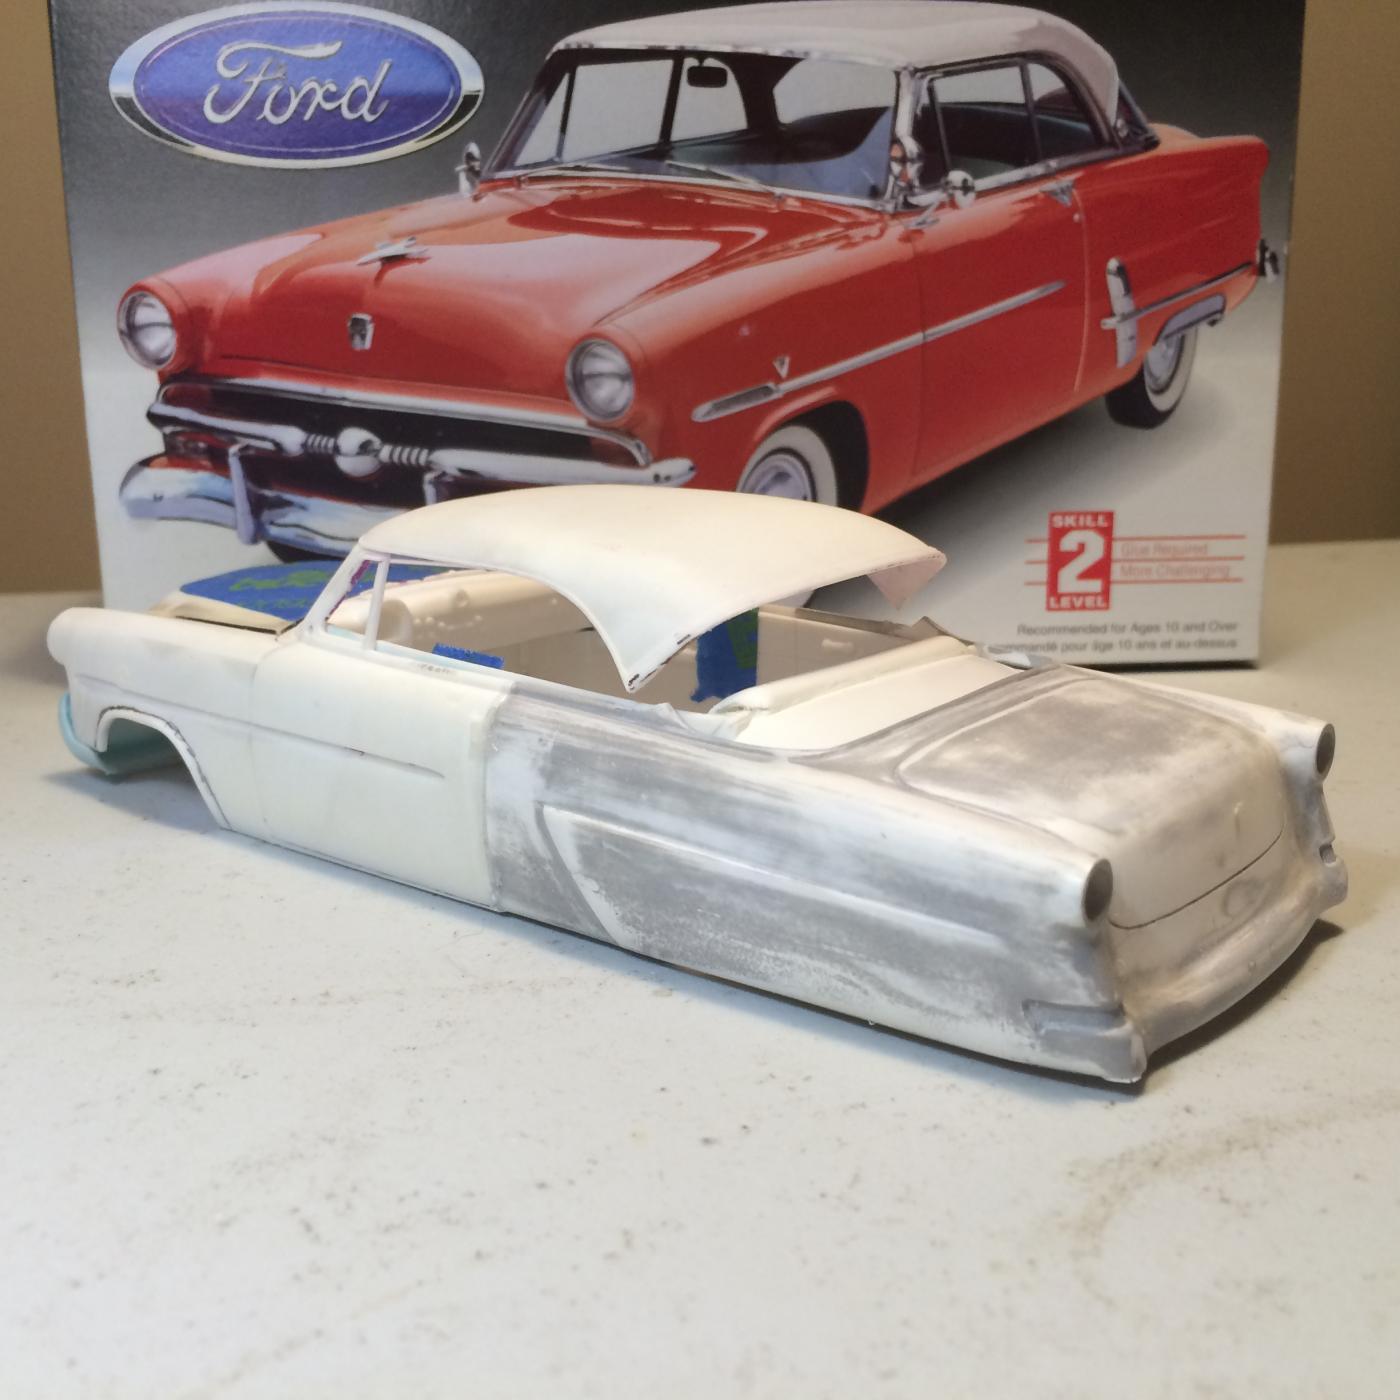
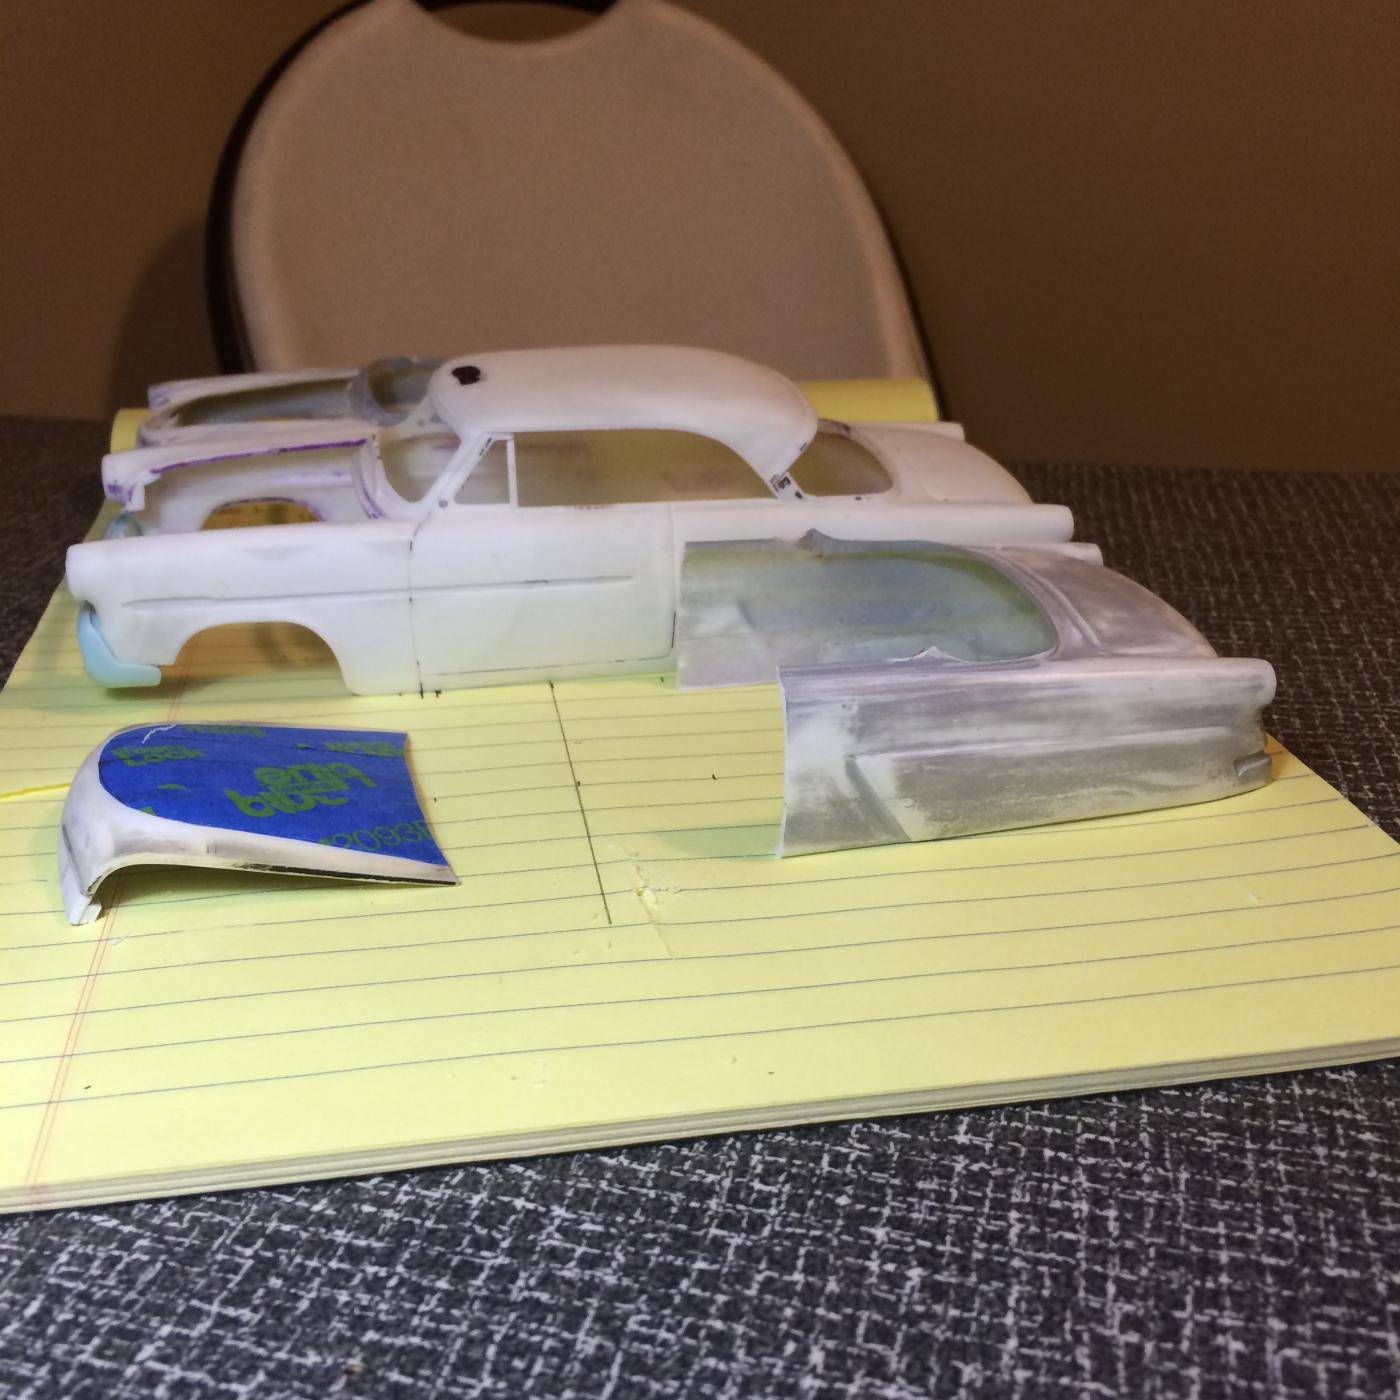
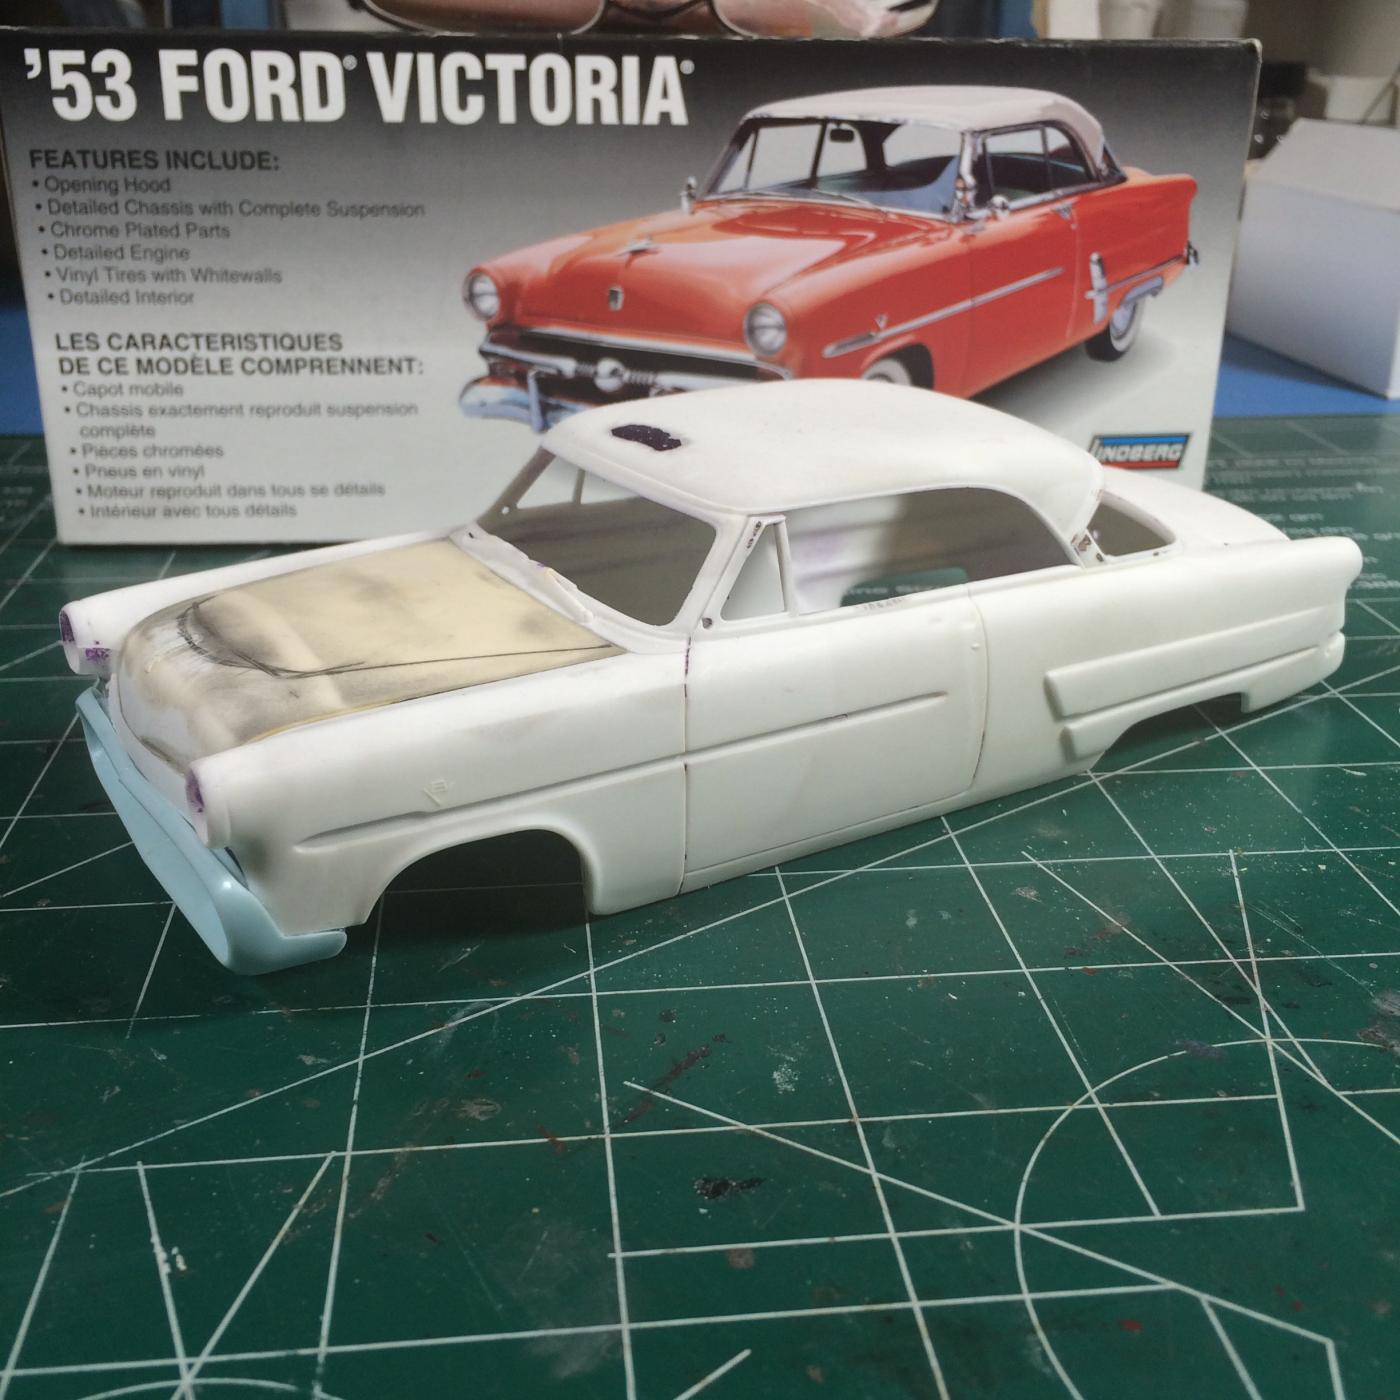
Pancake anyone? Last time I really got the hood out of shape. But I'm happy with this one. I also used the chrome trim to fill the fenders and door area. I glued them in place and then sanded smooth. I'm reshaping the roof some too, making it less bulky. Gonna keep shaping before applying filler, then sand, sand, sand.
-
Fitting, fastening and shaping back on an away game. Slowly getting back to where it was but with a few changes. For the better I think!
-
Coming along nicely Eric. Will you extend the trunk area also or leave it?
-
My Home Game, working on the stance and cleaning up some parts. Keeping it Box Stock!
-
Impressive undertaking I'm liking the shape and style. I would like a little more slope in the roof if it were mine though. I'll be following your progress as I have this kit on my short list...
-
Looking very nice.
-
Well that part went easy enough! Measure twice cut once, and glue. Reinforced with spur on the inside and the interior tub will help hold it too!
-
I used the door line as a guide and the first roof as a guide for that attachment.
-
Now that I'm working out of town this 53 has become my away game. I started at the grill and then the hood. But while I've been comparing bodies I believe I discovered a way to save some time and aggravation. Since I need to chop the top again I figure I could use the first tail section. What'a think?
-
Impressive Wagon.
-
Its ok Dennis, these are Yokohama tires.
-
Here is I shot right before I applied the flat clear. After the decals and the black wash were dry, I removed the HC and covered the wheels with dimes, tapped the combo to a piece of cardboard and then spayed them with Testors Flat Clear. After they dried I used floor polish to keep the HC and rings in place.
-
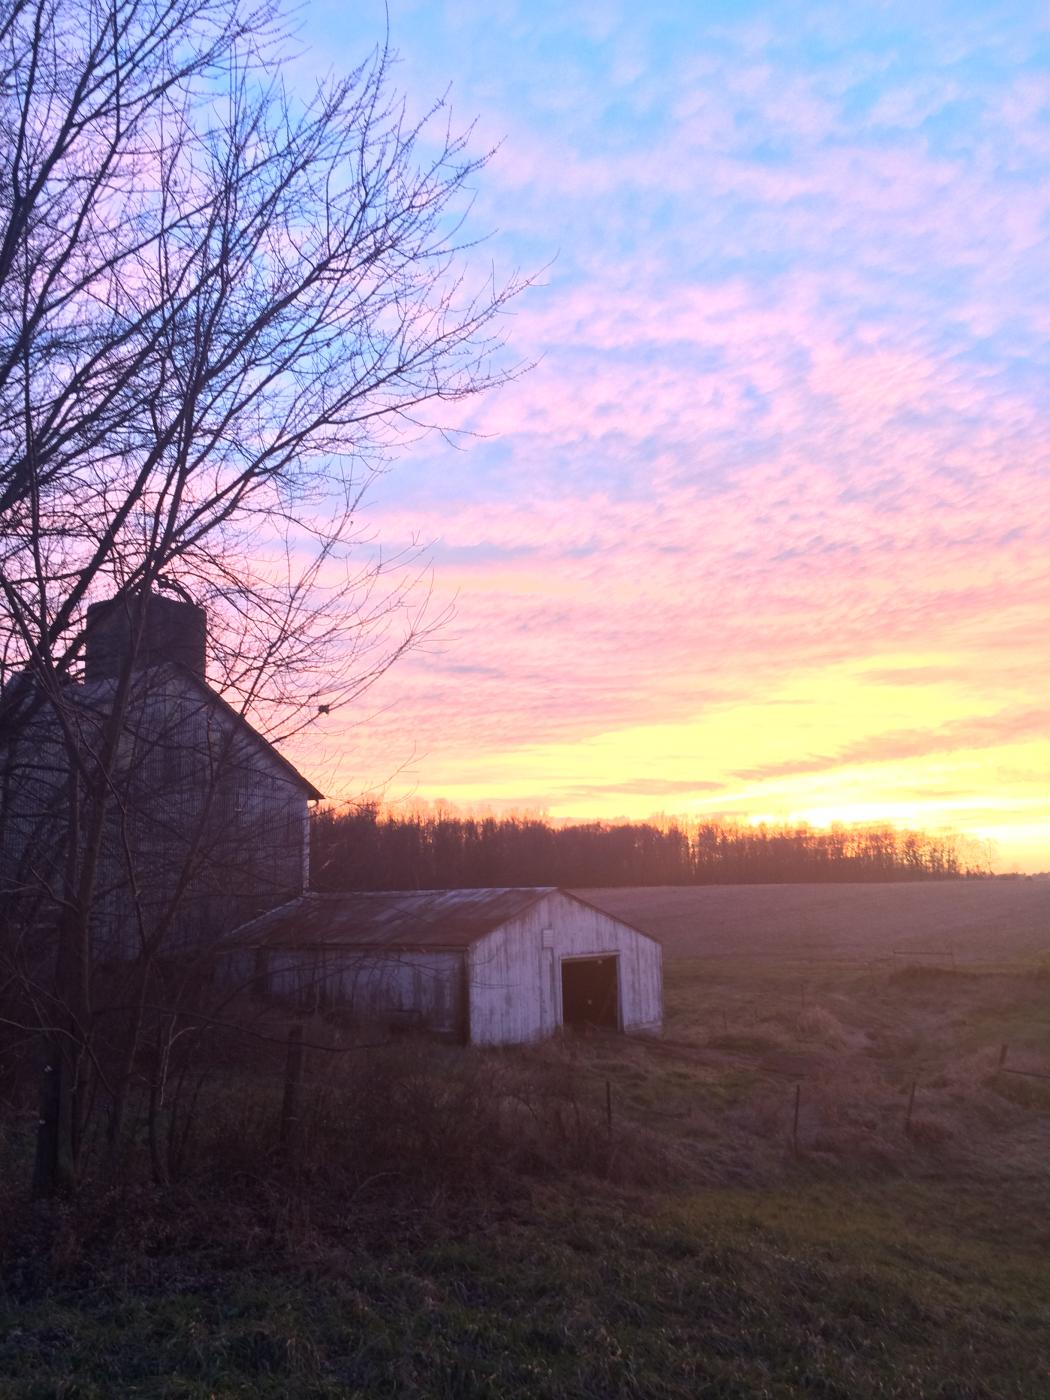
A little Sunset from the backyard, never gets old.
-
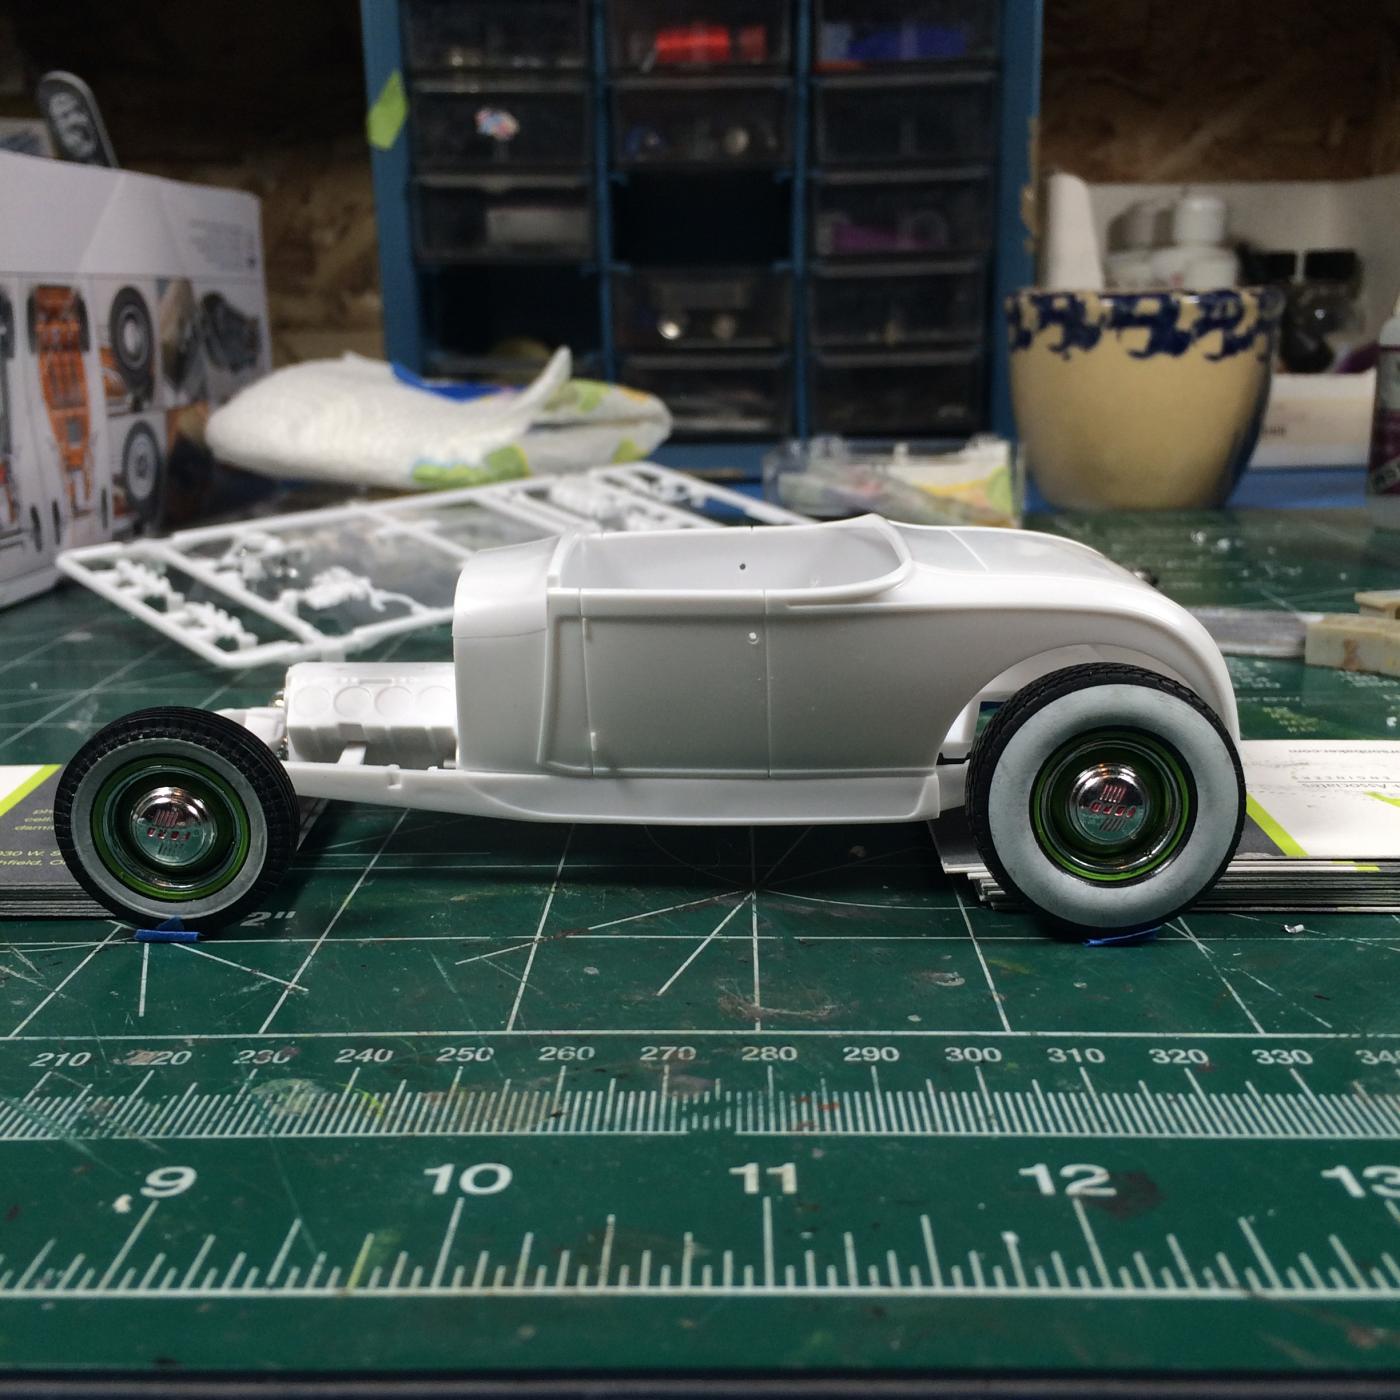
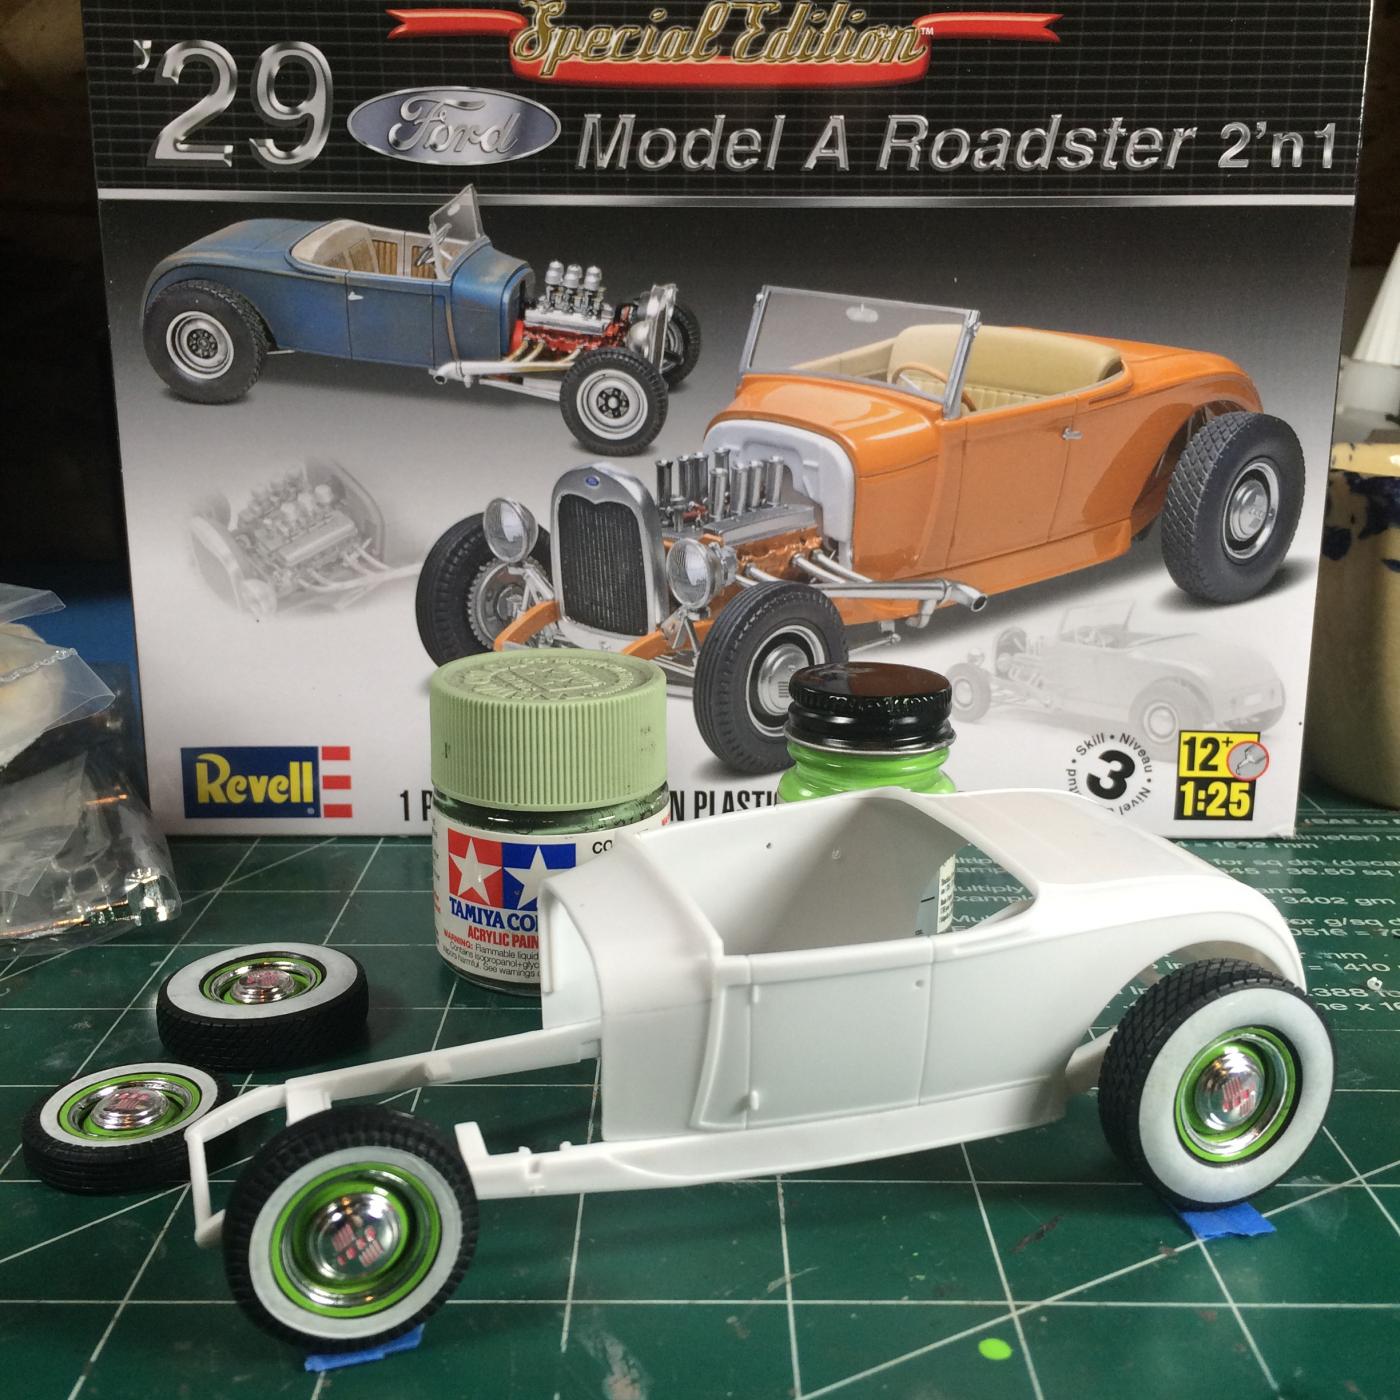
Because of the amount of kits I have in progress and the fact I'll be working out of town for awhile, I have been resisting the start of one of two 29's I have in my head. But with the amount of talented builders working on this great kit and the knowledge being shared. I believe it's important to strike while the iron is hot. This being the first build will be box stock, adding nothing but the allowable paint. It will be a "Highboy" and should be a good way to gain insight for the next 29, which won't be a Highboy! I decided to do the wheels and tires first. Model Master Sublime Green for accent, Tamiya Cockpit Green is the main color. I would like to take a moment to thank everyone who is building this kit right now. Your knowledge and skills are the best in the hobby. Thanks...
-

Revell Channelled '29 Ford Roadster - Update 04-16-17
James2 replied to Bernard Kron's topic in WIP: Model Cars
I always enjoy your snip and tuck technics. -
Gonna go about this a little different this time...
-
I was given a donor body by a good friend and will be posting new pix soon, woohooo!
-
Stunning build Eric, the fit and finish is only out done by the detail. Nicely done...
-
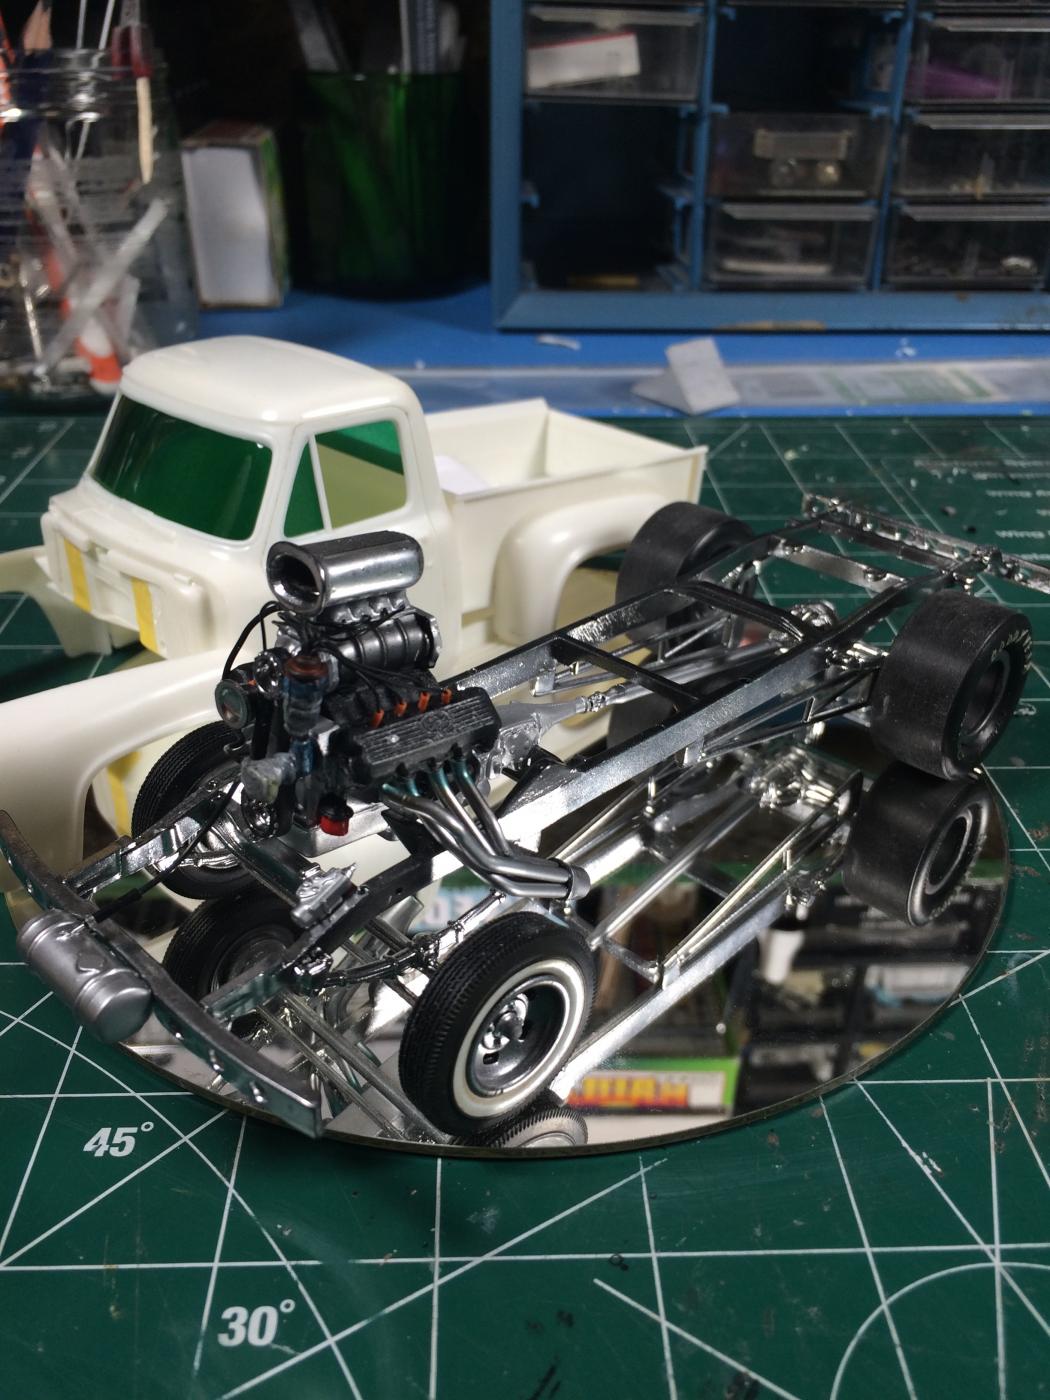
Chassis almost finished...
-
Group 29 - the thread for everyone's '29 Ford Roadster builds
James2 replied to Phildaupho's topic in Model Cars
Bump, please continue this thread... -
NEW Build of Revell's '29A Roadster - a more appealing Channeled version...
James2 replied to tim boyd's topic in Model Cars
Very nice Tim, any pix of the chassis? -
Great looking BM maro.
-
That's a clean looking stock car right there.