Snake45
-
Posts
22,539 -
Joined
-
Last visited
Content Type
Profiles
Forums
Events
Gallery
Everything posted by Snake45
-
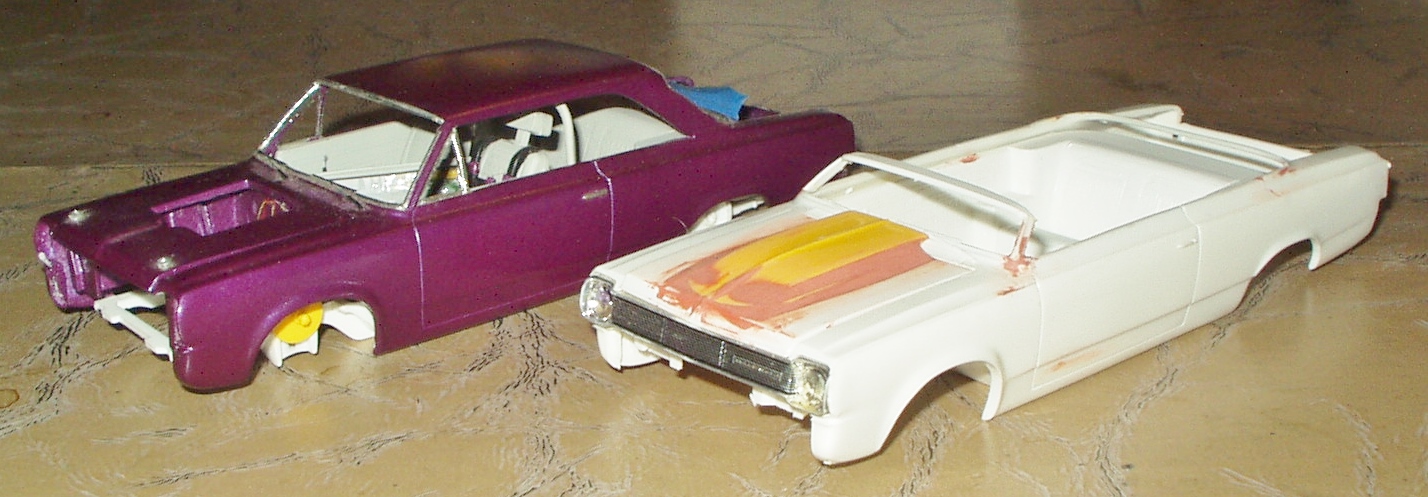
So yesterday I got in the mood to strip the purple paint off this JoHan Rambler American and maybe slot it into my To-Build rotation for this year. The paint looked thick-ish and solid, so I tried (last year) to see if it would polish out and could just be "rescued." It wasn't having any. Test-polishing on the roof just produced some very shiny orange peel. Oh well that's what Easy-Off is for. But first I had to spend an hour scraping off the wrinkly, crinkly gum-wrapper-like foil from the window trim. I bet the same OB did this who did that Revell '68 Dart I rescued last year. The purple also turned out to be pretty tough. First E-O treatment yesterday only took off very minor patches of the stuff, but I've learned that if the first treatment takes ANY of it off, it will eventually take ALL of it off, so I gave it a second go today. Second treatment took off about 60% of the purple, and underneath was an interesting pearly lavender/lilac purple that was so even and smooth that I thought it was the kit plastic. Third treatment took off most of the rest of the purple, but to my utter amazement, the pearly lavender started coming off in sheets! Underneath that was smooth, solid white, so now I thought THAT was the kit plastic. But wait, there's more! The fourth treatment started taking some of the white off, revealing a medium gray, which I NOW thought was the kit plastic, except some of THAT came off too, revealing a lighter gray color which seems to REALLY be the kit plastic color. But at this point, who knows? Maybe the entire body is a repop made ENTIRELY of paint!

-

What non-auto model did you get today?
Snake45 replied to chunkypeanutbutter's topic in The Off-Topic Lounge
DANGER, Will Robinson! The 2019 equivalent: "The man in the mom-jeans is correct." (Let's see who gets that.) -
I WISH I could take credit for that. I learned the trick right here in the diecast ghetto from Madhorseman. Credit where due, and all that.
-
Yeah, since two of us quoted it. It's out there For All Time, now.
-
It looks bigger because it IS bigger. Although it previewed C2/Sting Ray styling, the Mako Shark was built on a C1 chassis, which had a longer wheelbase.
-
-
Uhhh, Casey, aren't those the "recall wheels" on the left? If they're not, what are they? And it looks like the white stripes are on the decal sheet too, right under the black ones. You can just make out the white stripe on the right side of the lower one. Pretty sure I have this kit in the stash so I can doublecheck in 3D if you insist, but your photos seem to show all the "missing" stuff. ETA: Can I get a AY-MEN from the choir?
-
Glue Bomb Projects--EMPI Imp and '65 Falcon AWB
Snake45 replied to Snake45's topic in WIP: Model Cars
Yah, I thought I remembered seeing something like that somewhere along the line, so I left it. It doesn't look any weirder than the super-long traction bars in the Mustang, anyway. I'm not modeling any particular car at this point, so "anything goes," kinda. Thanks for the pic! -
Yes, and with the body lower sides pre-airbrushed in silver. I'm gonna take that off and re-do it in white, after polishing the nice dark blue metallic plastic out.
-
Magnificent!
-
Looks like you could get right in it and drive away. Well done and model on!
-
I have that one, and an AMT '59, and the "new" Revell '59, and the MPC '60. I'm planning to build them all and play "Who Wore It Better?" with them.
-
Very very cool! I remember seeing the Mako Shark at a beach shop that sold high-end collectibles about 20 years ago, only time I've ever seen one in the flesh. I have the AMT snapper kit to build, that's as close as I'll ever get to it. Congrats on a great addition to your collection!
-
Very, VERY sharp--you really captured the flavor of these things. Is it a model of a real car? Well done and model on!
-
That's looking pretty good, for what it is! Drive on! BTW, I have that exact same kit in my stash. Bought it in the late '70s and was DARN glad to find it at the time!
-
What's the latest Revell North America News
Snake45 replied to Phildaupho's topic in Car Kit News & Reviews
Yup. None ever showed up near me and by the time I got serious about trying to find one, they were GONE! Oh well, I got plenty other stuff to build. -
Glue Bomb Projects--EMPI Imp and '65 Falcon AWB
Snake45 replied to Snake45's topic in WIP: Model Cars
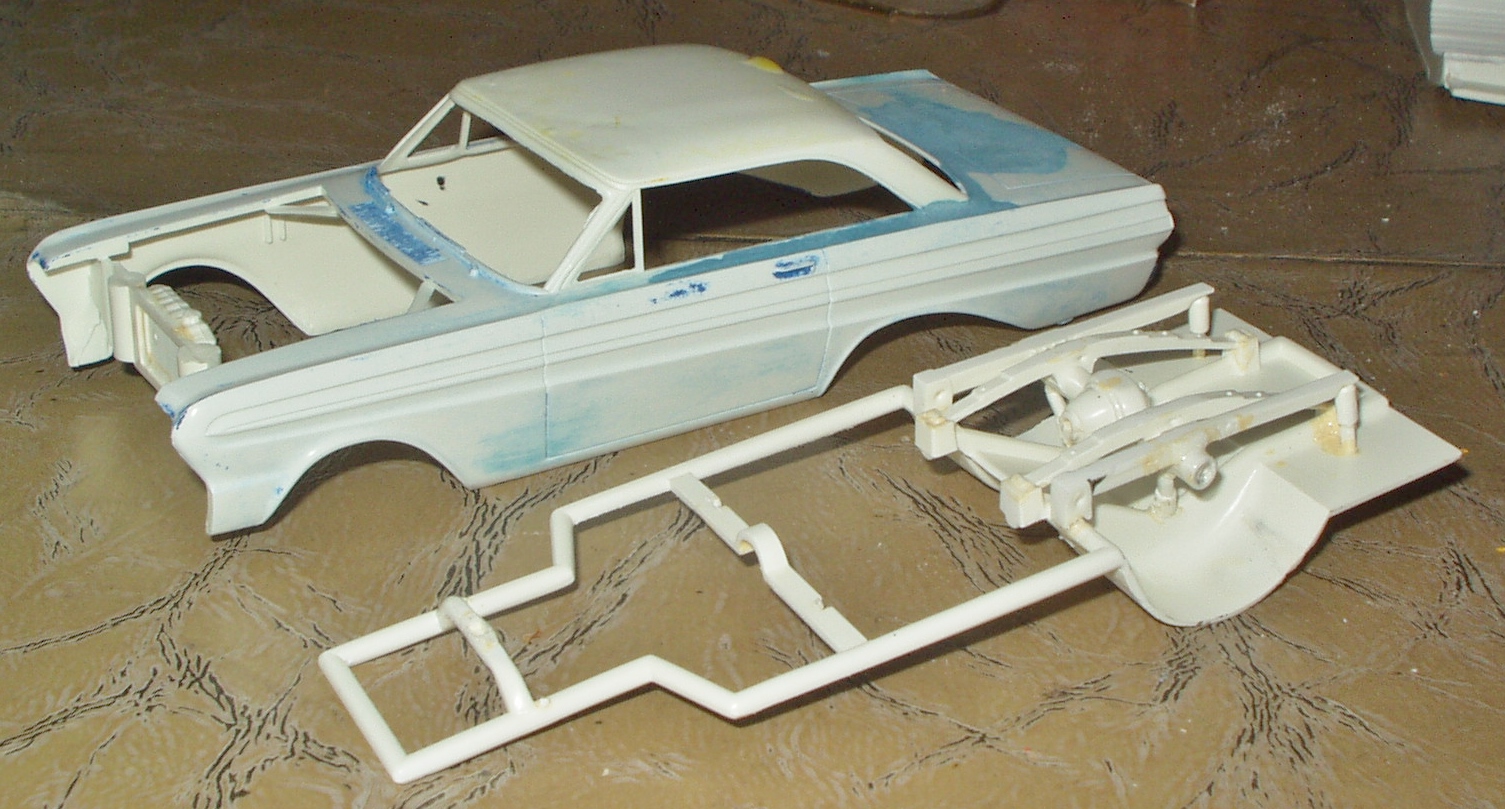
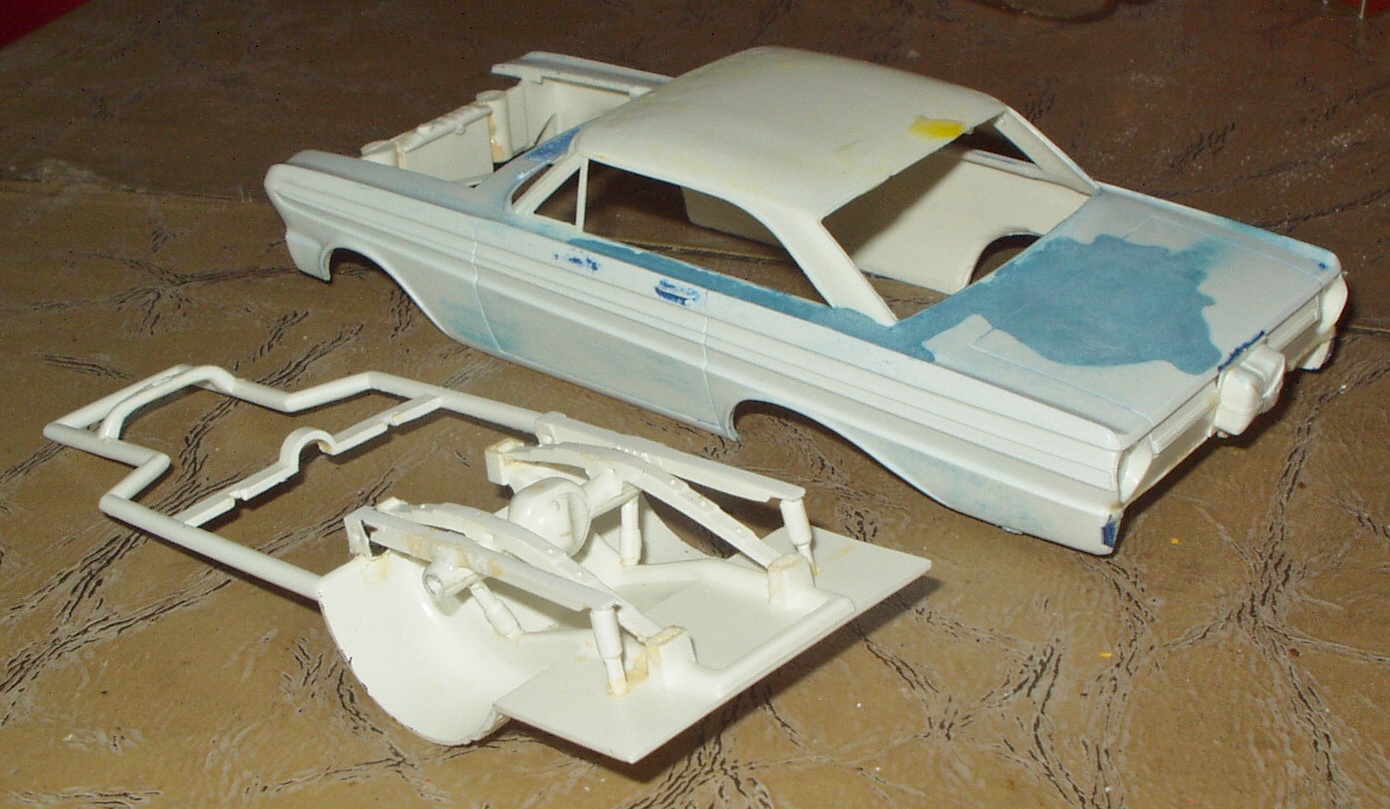
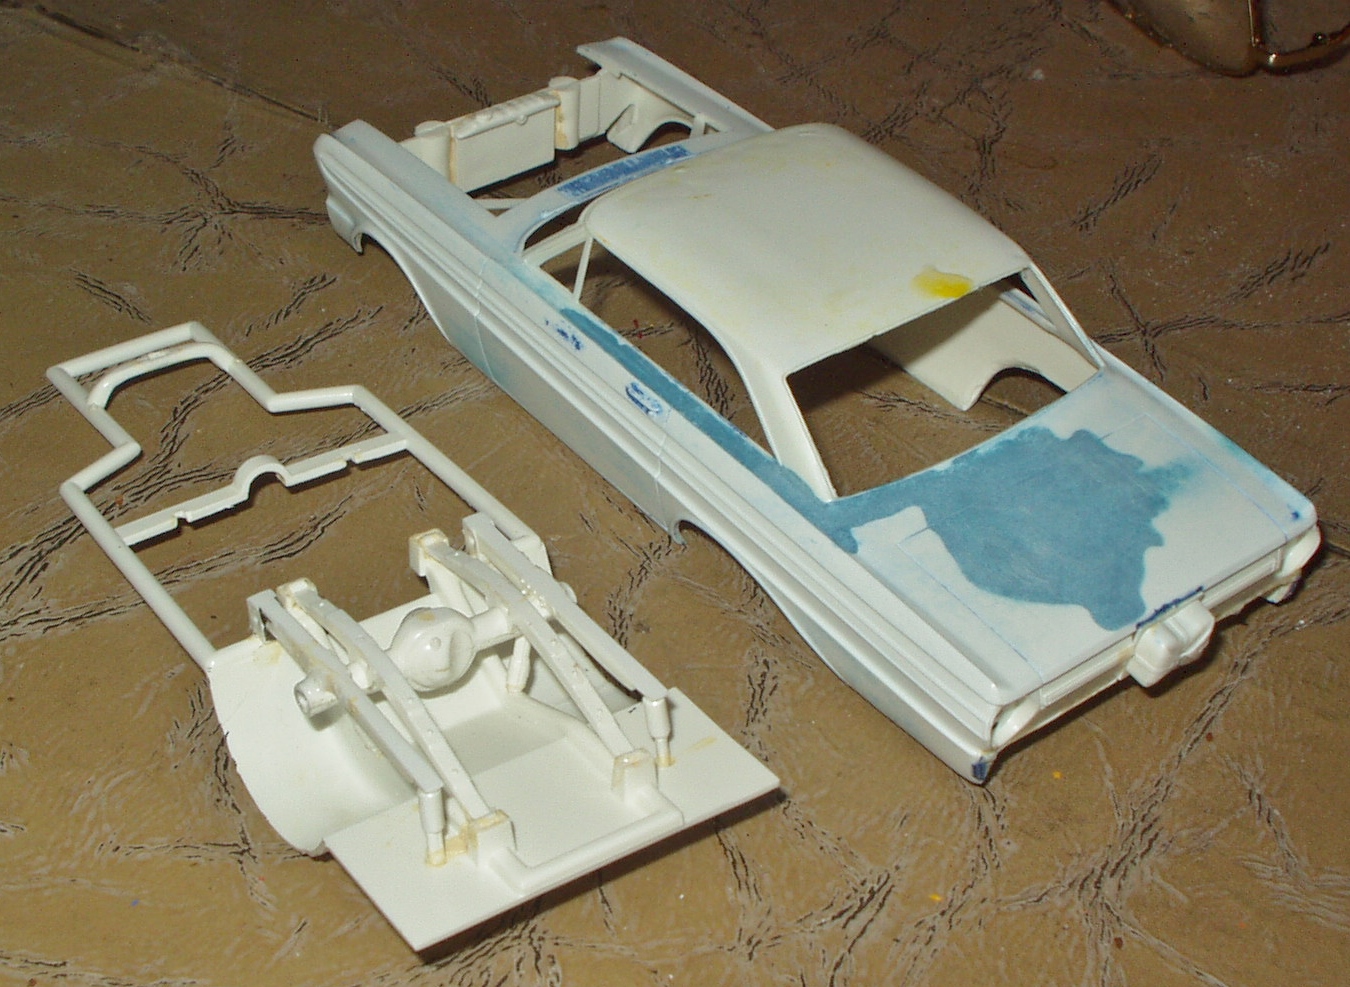
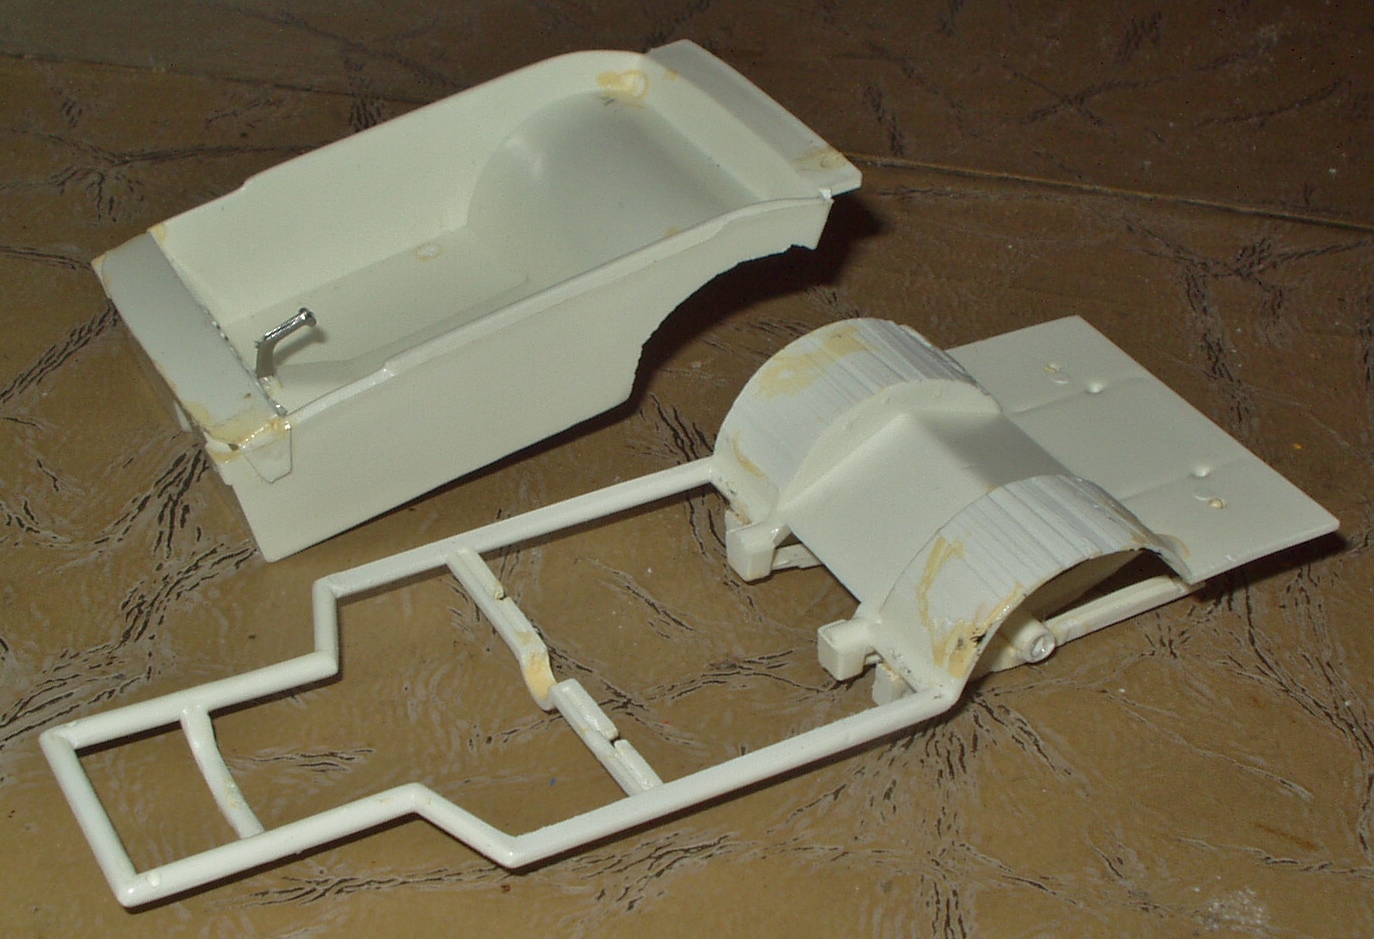
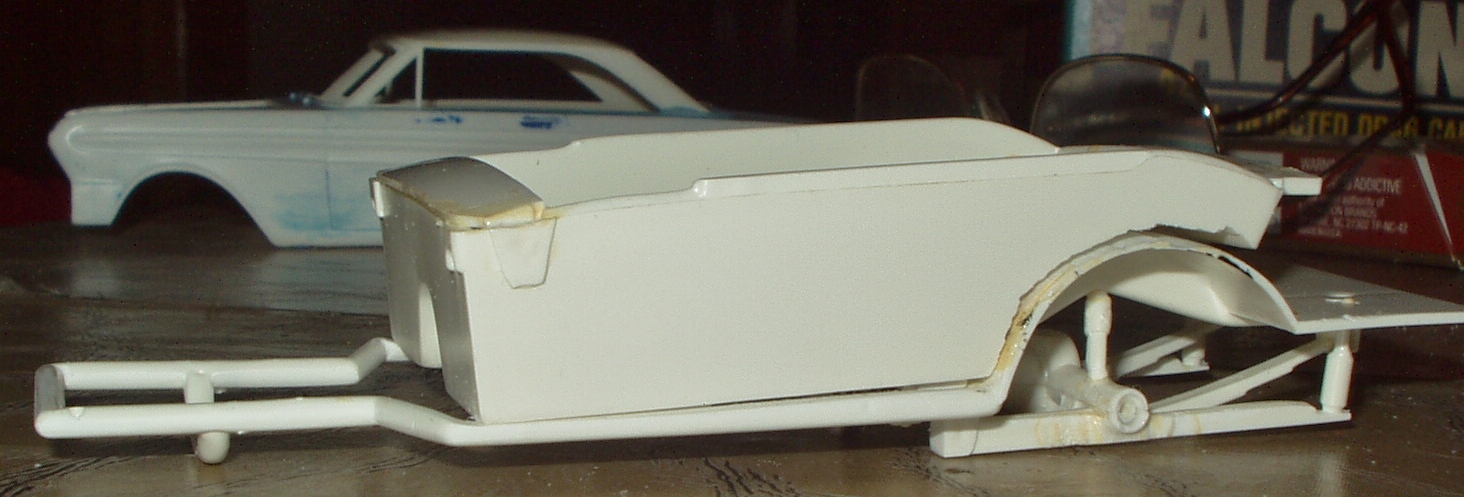
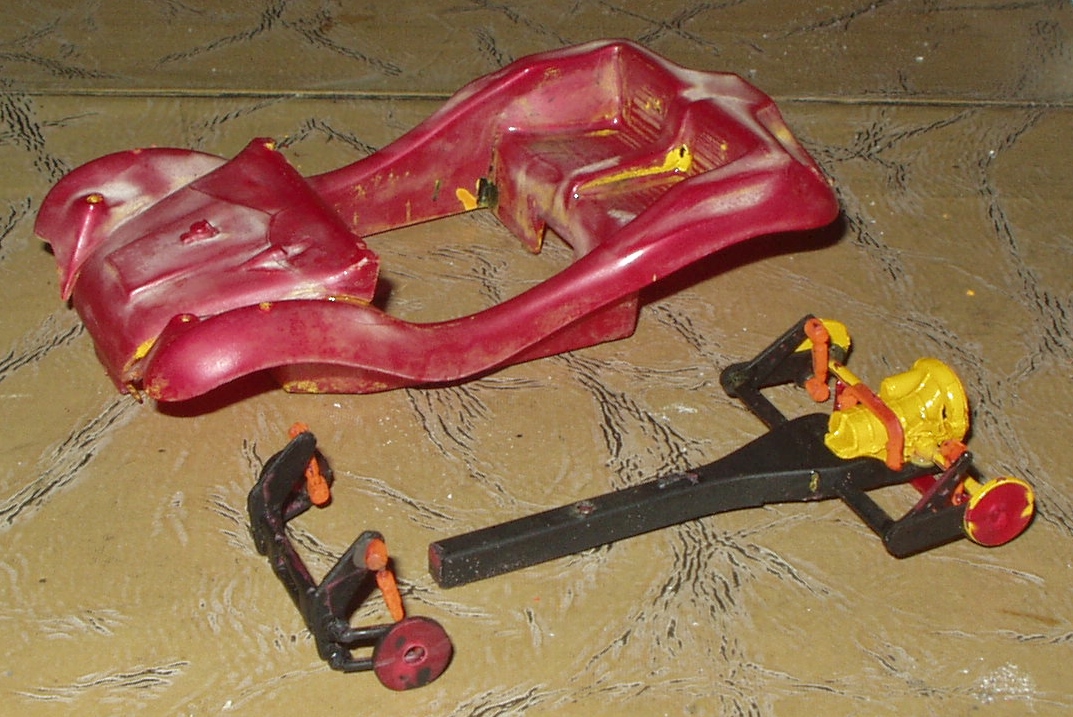
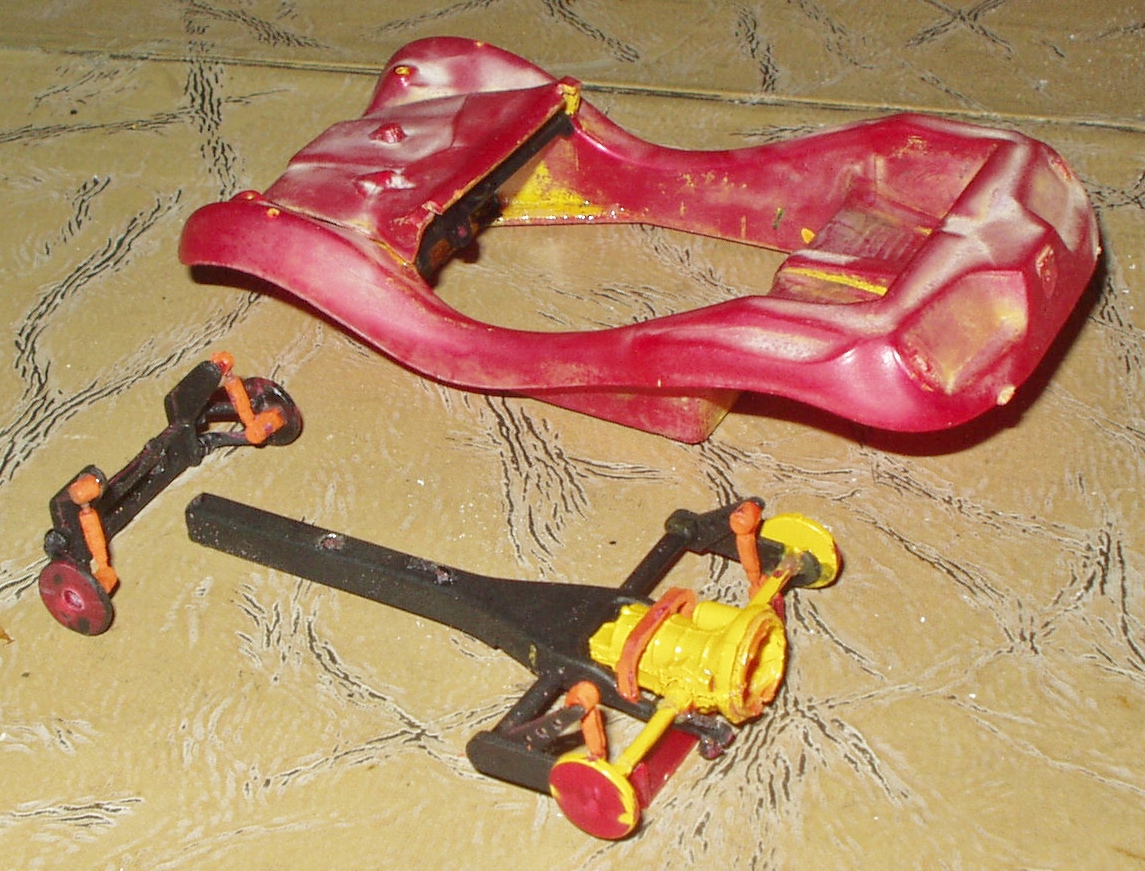
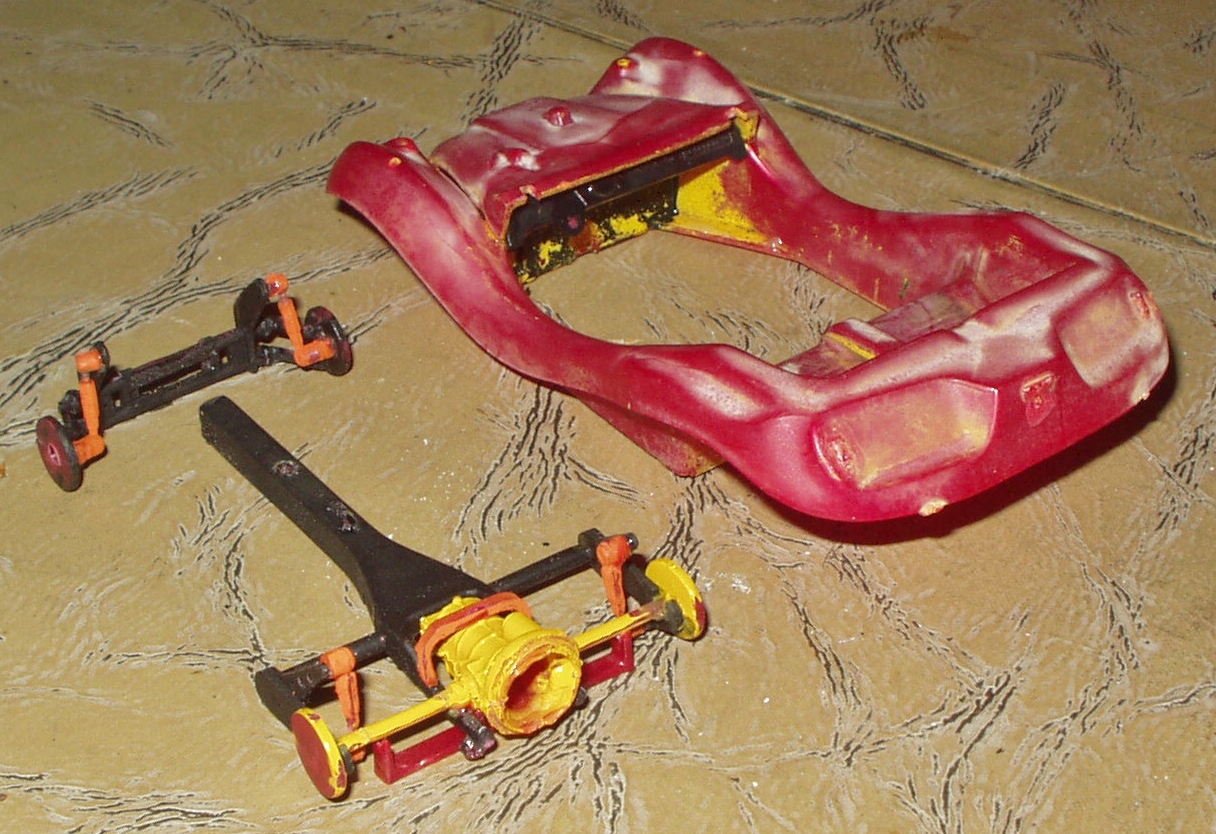
Some progress on the Falcon. Got all the paint off the body that will come off. There was another shade of blue hiding under the other blue. Easy-Off won't touch it but shouldn't be too much trouble to sand off. Carefully removed the front axle radius rod, and then discovered that the other one wasn't in the box—long gone. Both ends of the front axle were broken off and not in the box, either. I could scratchbuild all this, but at this point I'm just gonna lazy out and “borrow” the whole front suspension from an AMT AWB Mustang. Removed the wheelie bars with a razor saw. Might add them back on later, but probably not. I filed or scraped all the molding lines I could see and get to off the rear suspension pieces, then drilled out the differential to accept either a wire or plastic rod axle. Here's what it looks like before it all gets painted semigloss black. IIRC these things want to sit nose-high and I'd rather have it sit level or very slightly raked, so I'm filing a taper in the tops of the frame rails where the interior tub hits it, and filing corresponding reliefs the the tub itself. I might be able to get the nose down as much as 1/8” by doing this—we'll see what happens. Also making progress on the EMPI Imp. Got the body paint stripped, the pearly red plastic is interesting but too many swirls and dark streaks (and too translucent) to polish it, so I'll proceed with Plan A and paint it metalflake blue. Took me two whole afternoons to repair the front and rear suspensions, what a bunch of fiddly, fragile little pieces! The front suspension was in two pieces when I started (left arms broken off), but in working it, the right arms broke off too, as did both shocks, so I ended up having to reassemble five pieces. The transaxle and rear suspension were in nine pieces, only a couple of them designed as such by Revell (see the "before" pic in the original post). I had to carefully cut away globs of tube glue, figure out what went where (I couldn't find any instructons), then hold tiny pieces in place with tweezers and “weld” them together quickly with "hot" liquid cement. This worked surprisingly well. All these fiddly joints will be reinforced with thin beads of Loctite Superglue Gel. I now feel qualified to reassemble a T-Rex skeleton, and don't think it would be much more difficult. I've discovered that I'm missing the exhaust system, oh well. Plan A is to see if I can piece something together out of AMT '69 Corvair spare pieces, and Plan B will be to just replace the whole VW engine with an AMT Parts Packs Corvair engine, which I have a couple of. Again, we'll see what happens. I consider the suspension repair the “hard part,” the most dread-worthy and daunting part of this whole rebuild, and with that out of the way, most everything else SHOULD be fairly smooth sailing. My goal is to get both these chassis completed, painted semigloss black, and sitting on wheels in the next few weeks, and then when some halfway decent weather returns, I can paint the bodies and kick 'em both through the goalposts.
-
Circa early 1990's "save" of an original AMT Trophy Series '34 Ford Pckup
Snake45 replied to tim boyd's topic in Model Cars
Again, just HELLA COOL! -
1/25 Revell '63 Corvette Sting Ray Coupe SnapTite
Snake45 replied to Casey's topic in Car Kit News & Reviews
If it's Silver Sharpie, it will come right off with rubbing alcohol. Take it off and do what you want to with the thing. -
What's the latest Revell North America News
Snake45 replied to Phildaupho's topic in Car Kit News & Reviews
Also, the Model A coupe. To this day I've never seen one, not a first issue, not a reissue. -
OSSA Dirt Bike Story.....Miracle???
Snake45 replied to DPNM's topic in General Automotive Talk (Trucks and Cars)
That's about as cool a motorcycle story as anything I've heard/seen on American Pickers. -
1/25 Revell '63 Corvette Sting Ray Coupe SnapTite
Snake45 replied to Casey's topic in Car Kit News & Reviews
AFAIK the only kit ever had it was the MPC '66 annual. The AMT '66 Vetter roadster had a hood that seems to be "inspired by" but not an accurate replica. Modelhaus offered repops of the MPC '66 hood (which fits the AMT body almost perfectly) but of course they're gone now. I don't know if anyone else is making them in resin yet. -
1/25 Revell '63 Corvette Sting Ray Coupe SnapTite
Snake45 replied to Casey's topic in Car Kit News & Reviews
I think the hood is pretty much required when a BB is under the hood. Pretty much why that hood exists. (Same is true for the SS or CI hoods on '67-'69 Camaros.) -
I like it! I've been wanting to build something along these lines for a long time now.
-
Very clean build! 3rd pic almost looks like a Chrysler of some kind. Well done and model on!