peteski
-
Posts
9,227 -
Joined
-
Last visited
Content Type
Profiles
Forums
Events
Gallery
Everything posted by peteski
-
That looks like an unusual version of a car that is familiar to me.
-
As long as they don't dry up and crack, or melt after few years, I don't care if they smell.
-

*Making Headlights Look Better*
peteski replied to Zippi's topic in Model Building Questions and Answers
Some additional ideas were discussed iin -
I have that chopper and on thicker styrene, the blade will not cut square. It will curve one way so the end will need to be sanded to be truly square. With wood (softer then styrene) it likely cuts nice and square.
-
Yes, the rusty models of 1:1 cars with plastic car bodies are pretty funny. But on a serious note, the rusting technique presented here is pretty good (it can even rust plastic!).
-
Thanks Michael. Yes, tags. Most of us forget that they are even there. And even if we remember later, the threads/posts are locked so they can't be added. Thanks for willing to discuss the index post/thread. That would not require tags (although they could still be used), and would get rid of most stickies here. The other problem with tags is that the person who is creating a tag, and person searching for it, would need to be of the same main set to use the same keywords for the search to be successful. And how many keywords do we use in the tag? IMO, the sticky index would be much easier to use (successful).
-
It has a flammable solvent. That likely means that it can craze/soften/melt styrene. Might not be desired in all the cases. Packaging shows that it works on metal, wood, rubber. Plastic is not mentioned, possibly for the reason I mentioned.
-
I always had that problem too. None of the so-called demagnetizers (like the green one you have) worked for me. I finally bought (on eBay) an old Akai bulk magnetic (reel-to-reel) tape eraser. It is a Degauser (basically a hefty iron-core coil powered by the 120V AC) The AC part is what does the work (it flips the magnetic field 60 times per second). I no longer have any magnetic tools when I don't want them to be magnetized. And they stay that way! That thing is so powerful that i can put a dozen of small steel tools into a plastic tray, and pass them through the magnetic field to be demagnetized all at one. Problem solved!
-
Fixing sun yellowed clear plastic?
peteski replied to 57peppershaker's topic in Model Building Questions and Answers
If the yellowing is only on the surface then the abrasive/polishing method will remove it. But if the entire material is yellowed, I don't think there is anything that can be used to make it clear again (other than maybe using the yellowed part as a buck to vacu-from a new windshield from clear plastic). -
Not another sticky! There are too many already. But what would make sens is to un-stick all the stickies, then create a single-post thread with an index to all those useful tutorials in this section of the forum Index would simply be a single post with bunch of titles of the tutorials along with a link to each one. But just a URL link, not embedded thread (that would take up too much space). Since only moderators can update posts past the time they get locked, they would have to do the updates. That thread should also be locked (and just the singe-post index updated as new tutorials get posted to the forum. That would make finding all the tutorials easy, and it would only have to be a single sticky. Yes this would create extra work for the mods, but not all that much. After all, there aren't that many tutorials being posted often to the forum.
-
Very helpful pictorial instructions - thanks!
-
Ignoring all the plumbing and wiring problems (I'm not GT40 expert), to me the 1:12 version looks "toyish". Looking at the build threads on this forum, and comparing the model to photos of 1:1, the model just doesn't look right. The kit's parts just seem not to have the look of 1:1 parts. For example, the front suspension looks too clunky, and the ribs/fins on the transmission case seem to have sharp edges, where the 1:1 castings have smoother, more rounded edges. The sharp edges, and clunkiness are also present on other parts of the model. They look like poorly rendered 3D model of the real car. It lacks the "finesse" of the real GT40. I also suspect that the 1:24 version will be based on the 1:12 version, and it will have the same issues as the 1:12 model.
-
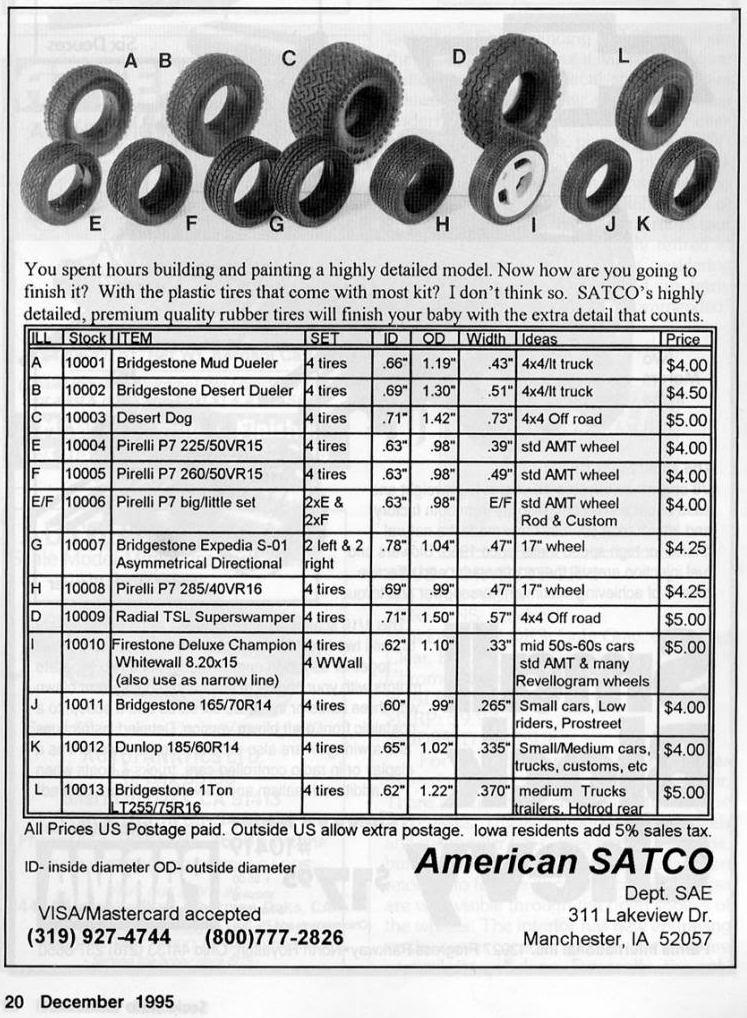
If for a vintage project, American SATCO made excellent wide-whitewall tire set (I) Those show up on eBay from time to time.

-
We are unanimous on this.
-
Most non-candy paints are quite opaque, but even if the top coat is translucent enough to show some of the underlying color, it will be hard to produce even color over the entire model (because paint seldom goes on in an even thickens over the entire model). The thicker areas of the top color will allow less of the underlying color to show through. Every paint is different, but if you want to achieve certain color, one sure way to do this is to mix those two different color paints (in a liquid form) together, to get the shade you want. Of course both paints have to be compatible to be mixed.
-
Micro Pin Vice Bits.
peteski replied to StevenGuthmiller's topic in Model Building Questions and Answers
Most of the stuff we are rehashing here (PCB carbide bits, good quality HSS twist drill bits, and poor quality bits) has been mentioned in the thread I pointed to earlier). It would probably even make sense to even merge those two threads. -
Micro Pin Vice Bits.
peteski replied to StevenGuthmiller's topic in Model Building Questions and Answers
Yes, those are the PCB drill bits I use. I usually get mine either from eBay, or from https://drillcity.stores.yahoo.net/ , as I prefer to select specific sizes. -
Micro Pin Vice Bits.
peteski replied to StevenGuthmiller's topic in Model Building Questions and Answers
Steven, you should find the thread below useful. Whenever possible, I prefer to use the PC-board (PCB) Tungsten-Carbide (TC) drill bits. They are super hard, super sharp (split-point sharpened), and have 1/8" shanks (easily held in any pin vise). But they are very brittle, so the smaller sizes require very steady hand and gentle touch. -
I'm surprised that nobody yet mentioned the tweezers-style sprue cutter. I have couple pairs and they give you much cleaner flush cut (and closer to the part) than any of the other plier-style cutters. I own both kinds and for most small parts attached to the runner with small gates the tweezers-type cutter works really well. For the larger parts where the gates are thicker, I use the plier-style cutter.
-
I'll repeat: try spraying the clear over bare plastic spoon to see what the "real" sheen is. X-22 will not be as glossy as Testors Wet Look clear, but it shoudl be pretty glossy. You migth not be spraying it on wet enough (after few lighter coats). In my experience (with any paint) you can't get shine from light coats. Also, as your photos show, Ceramcoat appears to be a flat paint. Paint is flat because its surface has microscopic roughens. The clear coat has to fill that roughness, and the clear itself has to levell-off to produce smooth glossy finish. As far as the bottle being mislabeled - that is easy to verify. Just look through the jar's bottom. If the paint is water-clear, it is glossy. Satin or flat paints have flattening agent in them, which makes the paint in the jar look milky, and the flattening agent also settles on the bottom.
-
Those photos look very good.
-
I don't use craft paints, and the info you posted still doesn't show whether the finish is gloss, satin, or matte. But I have used X-22 and it has a glossy finish. Maybe not as glossy as Testors Wet-Look clear, or those 2K lacquers, but is is glossy. I would still be curious if X-22 applied to some smooth surface (like plastic spoon) would dry glossy or have the same sheen as it has on your model.
-
Also I think elevating the lights few inches from the surface might make it even better, but even as-is, the photos look decent.
-
X-22 is supposed to be glossy clear. What surface finish did the underlying paint have? Maybe you need to apply another layer of X-22? Try applying X-22 directly onto a plastic spoon to see what it will look like.
-
There was another recent thread where I proposed using acrylic powder instead of baking soda or microballons with CA glue (as a filler). Someone tried it but they said that acrylic-powder/CA resulted in a very hard filler (too hard to be useful.