-
Posts
1,065 -
Joined
-
Last visited
Content Type
Profiles
Forums
Events
Gallery
Everything posted by Impalow
-
thanks guys! So last night i tried my hand at the stitching. First up was the .0075 Detail Master Detail Wire... although it worked... it was sort of big and clunky. Didn't look quite where I wanted. So then i remembered i had some .0050 rigging wire that the aircraft guys use.... this seems better and more like what I imagined... The only issue was my first try I used to short of a piece of wire! so i had to strip it and I plan on re-doing it tonight. Its time consuming but hopefully will pay off.
-
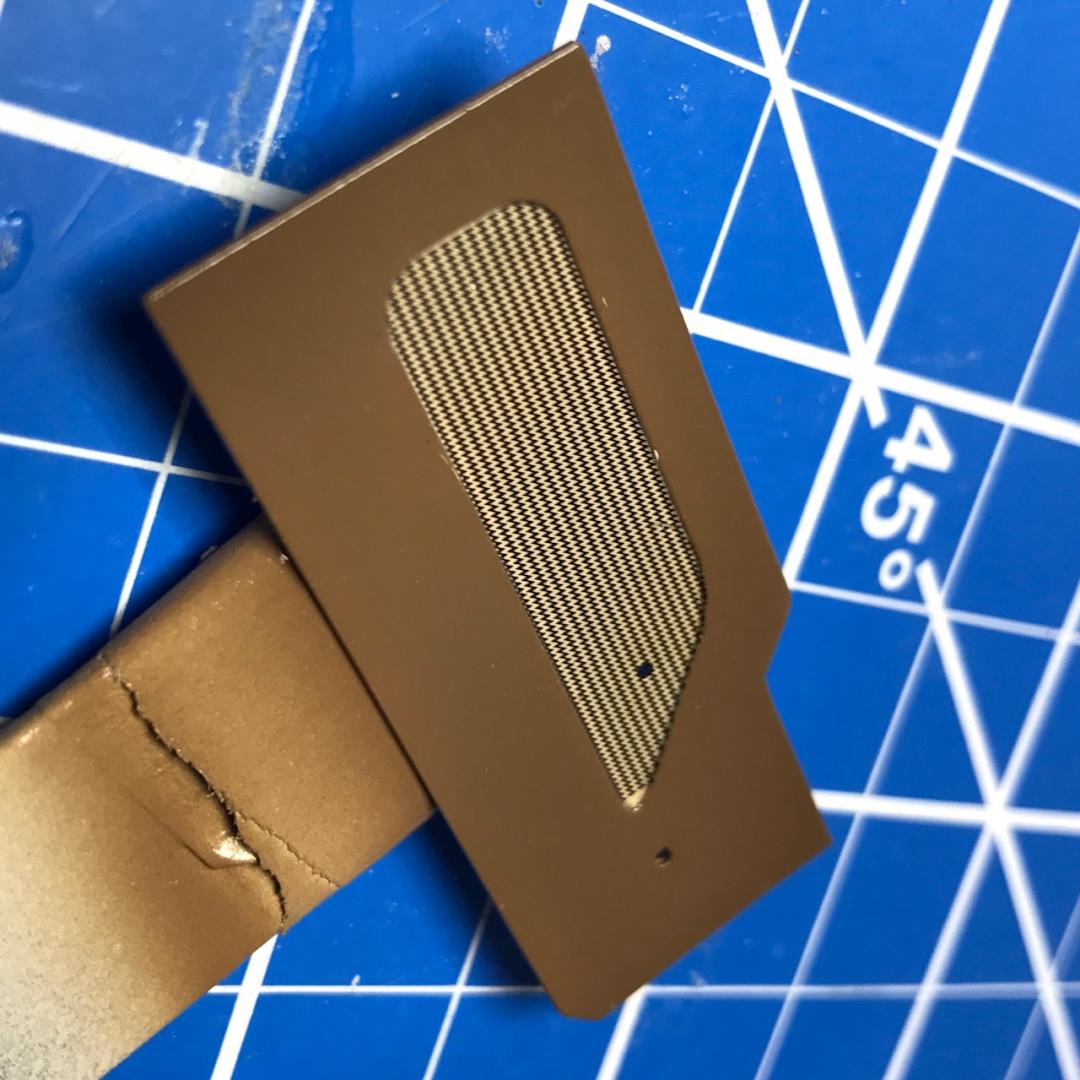
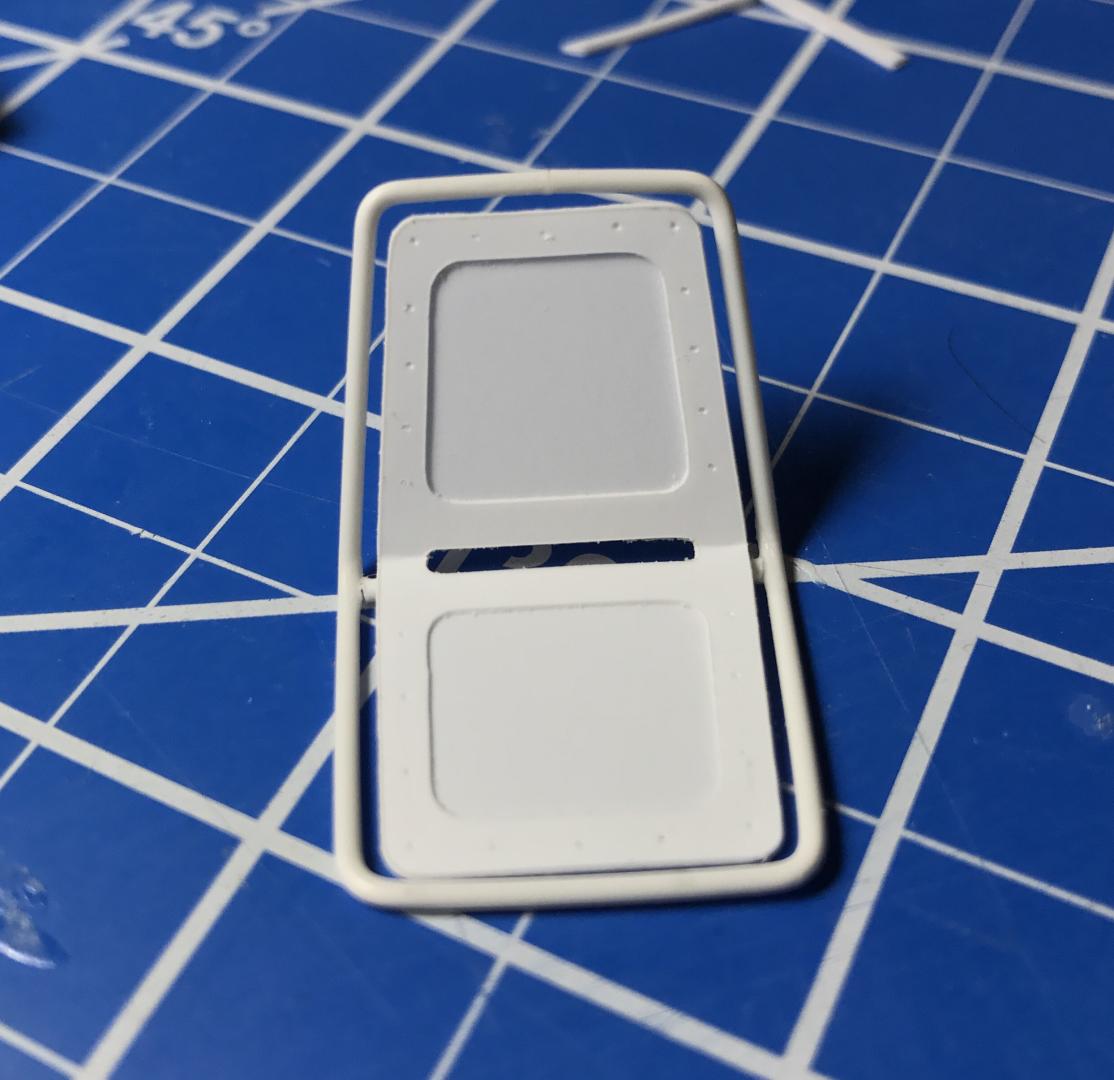
Hey guys! I do have an update! Sometimes when I'm struggling to get over the hump and get motivated on a model, I need to paint something to get back in the groove. Since I was excited about the seats, and they are basically stand alone pieces, I chose to go ahead and finish them up. First thing was to finish up the seat tracks. I painted the panels in two tones, and added the kit upholstery decals to the inserts. ( i went back in and patched the tip back onto the door panels, the back seat decal I used was just a tiny bit short for the door panel insert.) Then I alclad chromed the frames: Last up was to add the grommets into the leather seats.... im going to try and get the parts married and laced up tonight with .0075 wire... Wish me luck, Im a little scared on this one!
-
Doooouuuuudddeeee.... It so cool to see you getting color on parts! That magneto and those calipers are just over the top! Great work as usual Tim!
-
Very nice job Jim! All the proportions work soooooo much better than the original kit. Outstanding!
-
hahaha.. as an industrial designer working with marketing departments this hits home big time... Client-"We need the product to appeal to men and women equally" Me- "So it needs to appeal to everyone?" Client- "no not everyone, just men and women" Me- (slams face into desk) In my 14 years.. this or something similar happens at least once a month.
-
I dig that color! Nice clean job!
-
Nice work Tom! Cant wait to see it in person!
-
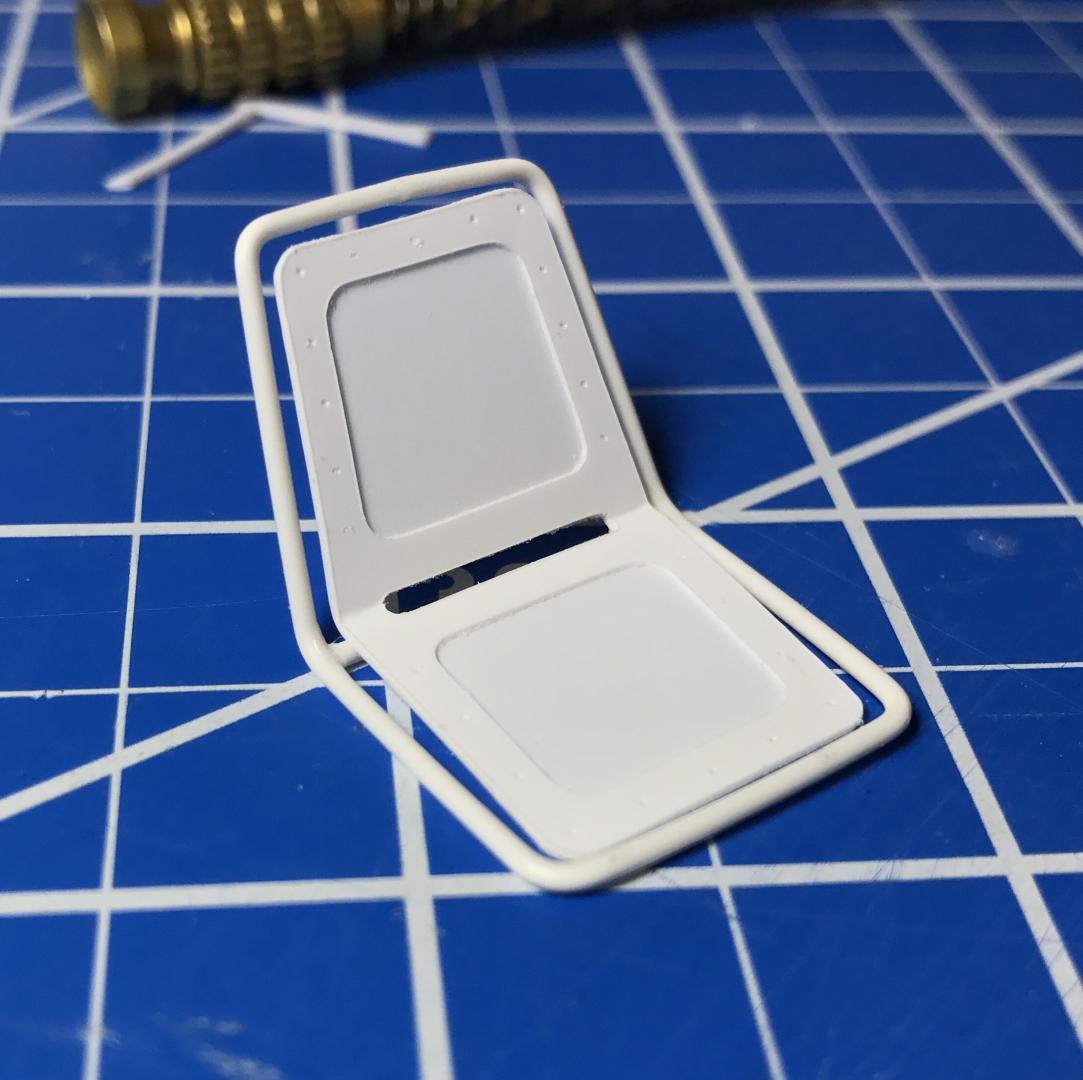
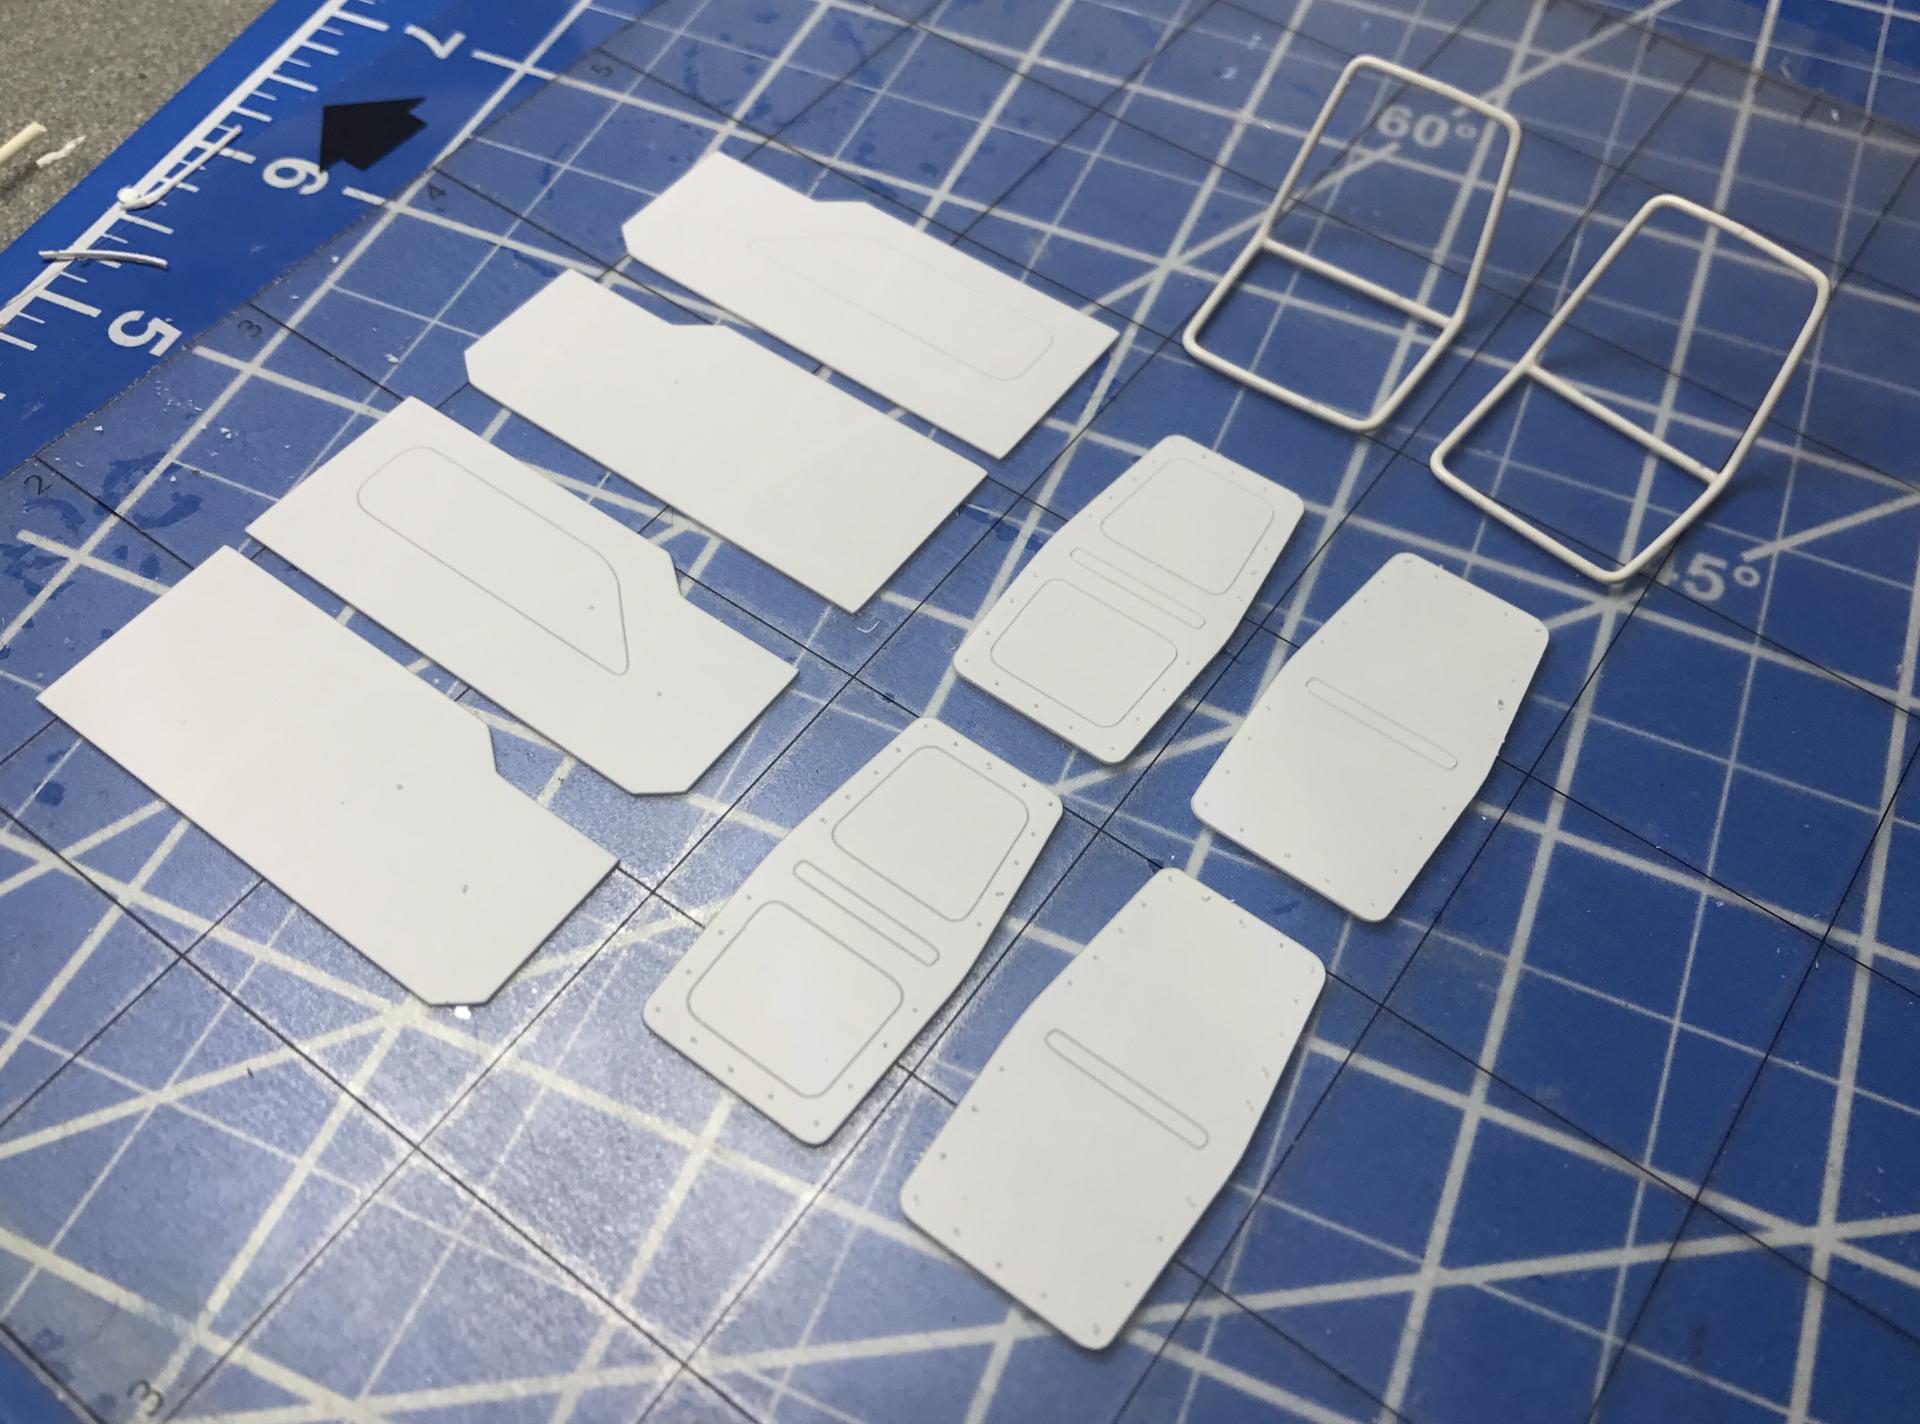
Thanks guys! I managed to get some time in on the seats and door panels last night. I remade the seat frames in a smaller diameter "tube" then designed the inserts and sent them to the cutter on .010 styrene. Then I layered the pieces together and bent them to shape, once the glue is dried completely im going to cleanup the edges and drill the holes around the outside. Plan is to have these a light natural leather color, with a darker flannel inset. I've been struggling big time with the colors on this build, but I think im finally settling in on a factory looking color option, the 1972 Ford winter green with a 2 tone tan/beige interior and maybe some gold accents. I'm going to get some paint mixed up and start getting color on some of the pieces.
-
K&R Kustoms+Rods "barn find" dry lakes belly tanker
Impalow replied to Rocking Rodney Rat's topic in Model Cars
this is outstanding! Nice clean weathering work! And outstanding scratch-building! -
Thanks bob! Its been awhile since Ive updated... but mainly Ive been working on body cleanup, and fiddly little things that are time consuming but aren't very exciting. I managed to skin the entire inside of the "bed" area with 2 pieces of .010 styrene, the first one was solid and the second had some structure elements in it for interest. Once this was installed i had to modify/remove the air tank mounts on the frame, things just got too tight back there. I'm going to make some new brackets that bring them inboard a bit more. Then I played around with dashboards until i stumbled on this one from the old parts box... anyone know what this is from? its molded in a metallic gold... needs some cleanup and repair, but should be pretty cool Finally I started on my skeletal tubular seat design.. the plan here is to have a "leather" piece with a plaid insert suspended in middle of this by thin wire woven around the outside.... hard to explain.. but hopefully it will work.
-
Curiosity Question... Is striping the chrome, sanding mold lines and then using alclad chrome allowed? Ive been dared to build something box stock, which will be a struggle for me... but once its done, I will want to take it to some contests. This has become my process for everything else, but Ive never heard if this is "legal" for the box stock classes.
-
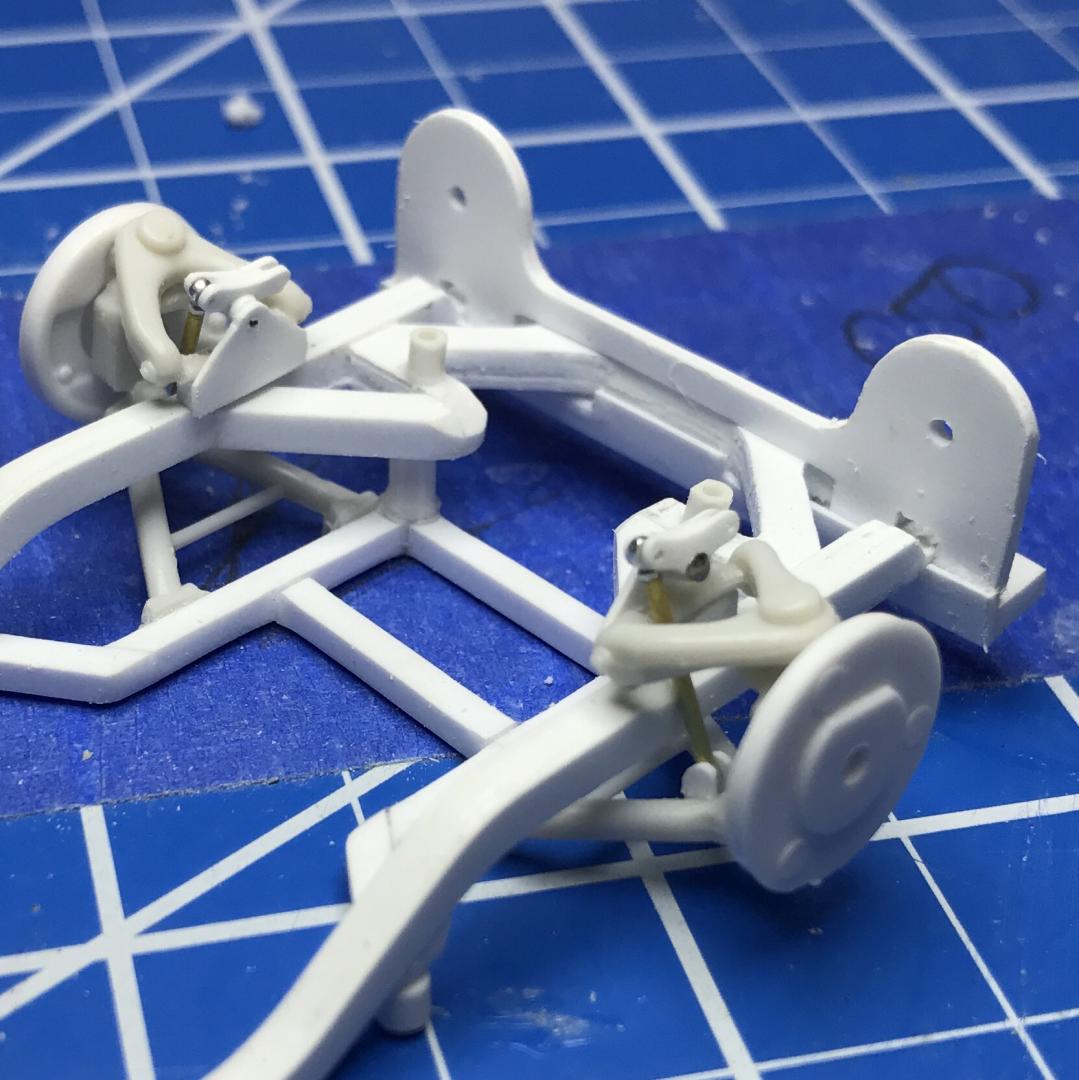
Thanks for all the comments and encouragement guys!!! It really means a lot! I made some progress on the push-rod front suspension this weekend... Hopefully I can get the front links and airbags mounted tonight. Then I started on the rack and pinion, still need to add the pinion part.. but its stacked tubing, RBMotion rod ends, and some mini orings from Banggood.
-
Looks awesome Martin! Always a fan of a movie car build!
-
that is awesome! nice work!
-
Photos Fixed! Yeah! they are the FAB Resin Carbs.... the new Fireball ones are way nicer, but they weren't available at the time.... even still these are pretty good.
-
I will second this! Especially for a pure black wash.. the "detailer" tends to get a purple-ish tone on chrome... the vallejo stuff is fantastic, and i have started using it on almost everything to get the detail to pop. They also have 3 shades of gray to pure black for different levels of contrast.
-
Thank you guys! this is a fun one for sure! Made some progress on the rear suspension links, and back half of the chassis. Scratchbuilt pretty much everything...The air-tanks are a bit small in diameter, so I ordered some larger tubing to bulk them up a bit... basically just need shocks back there and the rear suspension will be done.
-
Thanks JC and Joe! Joe its actually going to be powered by a hopped up flathead! and the bike is going have the flathead 4cyl from a model A.... Trying to keep it all ford, but quirky enough to be interesting. Progress in the workshop has been slow... but its moving along. I added the supports to the rear suspension, and then began the rear links/airbag setup. The links are made from sandwiching a piece of .060 square between two pieces of cut .020... then sanded and drilled. The airbags are (2) 5/16" OD orings around a custom aluminum piece I turned on the lathe. The 5/16" OD works out pretty close to scale of a firestone 2600lb bag which is 8" diameter. At this point I need to create the lower angled links, pivot points and shocks then the rear will be done.
-
More frame work.... got the rear-end and front suspension somewhat sorted. The rear end is from the bronco kit, the brake drums and backs are from the 29' Roadster and the wheels and tires from the custom 48 ford kit. In the front its AMT viper control arms and spindles, then the same brake parts from the 29...the rest is all scratch-built... Its a bit odd for me to still have drum brakes all around... I know this... but the finned ones look so stinking cool. It was fun trying to get camber angles correct and believable at full "aired-out" position while keeping the track width in check... but it seemed to all work out okay. Next up is making all the rear links and arms. Its a shame they don't just make kits you can paint and put together........
-
Thanks Ray! The bike will be built! Some minor adjustments from that inspiration, but it will have a very similar look to it. I actually received the 1:24th scale diecast motorcycle that I'm robbing the tires from last night. Everything is coming together so I can start on that soon. Still working on frame cleanup and suspension, but knocked out the body and motor mounts last night...All in all it fits pretty nice, and should work.
-
Indeed! Im brainstorming roofs to graft onto it.... and maybe some taillight options.. backdate the custom look a bit
-
Thank you all!!! Thanks David! That's super interesting info for sure! I appreciate you doing some research and sharing. Thank you Chris! No huge secret really.... I just scuff everything and then use the Tamyia Ultra Thin Glue... then clamp the snot out of it and let it sit overnight. That's pretty much it, I have had some warping, but i can usually get it back to shape by using bar stock for cross-members and supports. Hopefully ill have an update soon... im working out the rear suspension geometry
-
Thanks Dave! ... lots of great bits and pieces there... Cant wait to get my hands on a few of these.


.thumb.jpg.9b12e71315e942e7c7cf35bc101f8841.jpg)
.thumb.jpg.398bd7c0c7c0fb064964beac3dd91f08.jpg)
.thumb.jpg.d7b5ebee4ce46300b2bb298651f80962.jpg)
