DRIPTROIT 71
-
Posts
7,190 -
Joined
-
Last visited
Content Type
Profiles
Forums
Events
Gallery
Everything posted by DRIPTROIT 71
-
 Thanks! I didn’t take any pictures during the process. It probably isn’t the best way, but this is how I did it. First: I sanded of the passenger side headlight mount and filled in the recessed area. Using reference pictures of the real truck and the passenger front lower vent for a reference point on both the real truck and the model. I drew the circle for where the headlight was to be. When I was satisfied with where the headlight would be, I drilled the center. I then measured the location of the center in reference to the grille location and the bottom of the cab. Using that measurement, I drilled the other side to match. I then cut two very short sections of 3/8” styrene pipe (Evergreen #232) for headlight buckets. I then drilled the passenger side out slowly, one bit size at a time, so that the pipe would fit recessed on the grille side slightly. I then sanded and filled the driver’s side and drilled it as well. I then glued the pipe in from the back slightly recessing the grille side of the buckets. I have some bezels from the parts box that fit nicely into the buckets made from the pipe. I pretty happy with how it turned out. I used super glue and styrene as filler.
 -
Your work never ceases to amaze me!
-
Autocar reborn
DRIPTROIT 71 replied to gotnitro?'s topic in WIP: Model Trucks: Big Rigs and Heavy Equipment
Looks great! I like the chains! -
Wow! That really looks good! The color is perfect! It just looks so vintage, it is perfect! Excellent work! I like it!!
-
Propane powered truck.
-
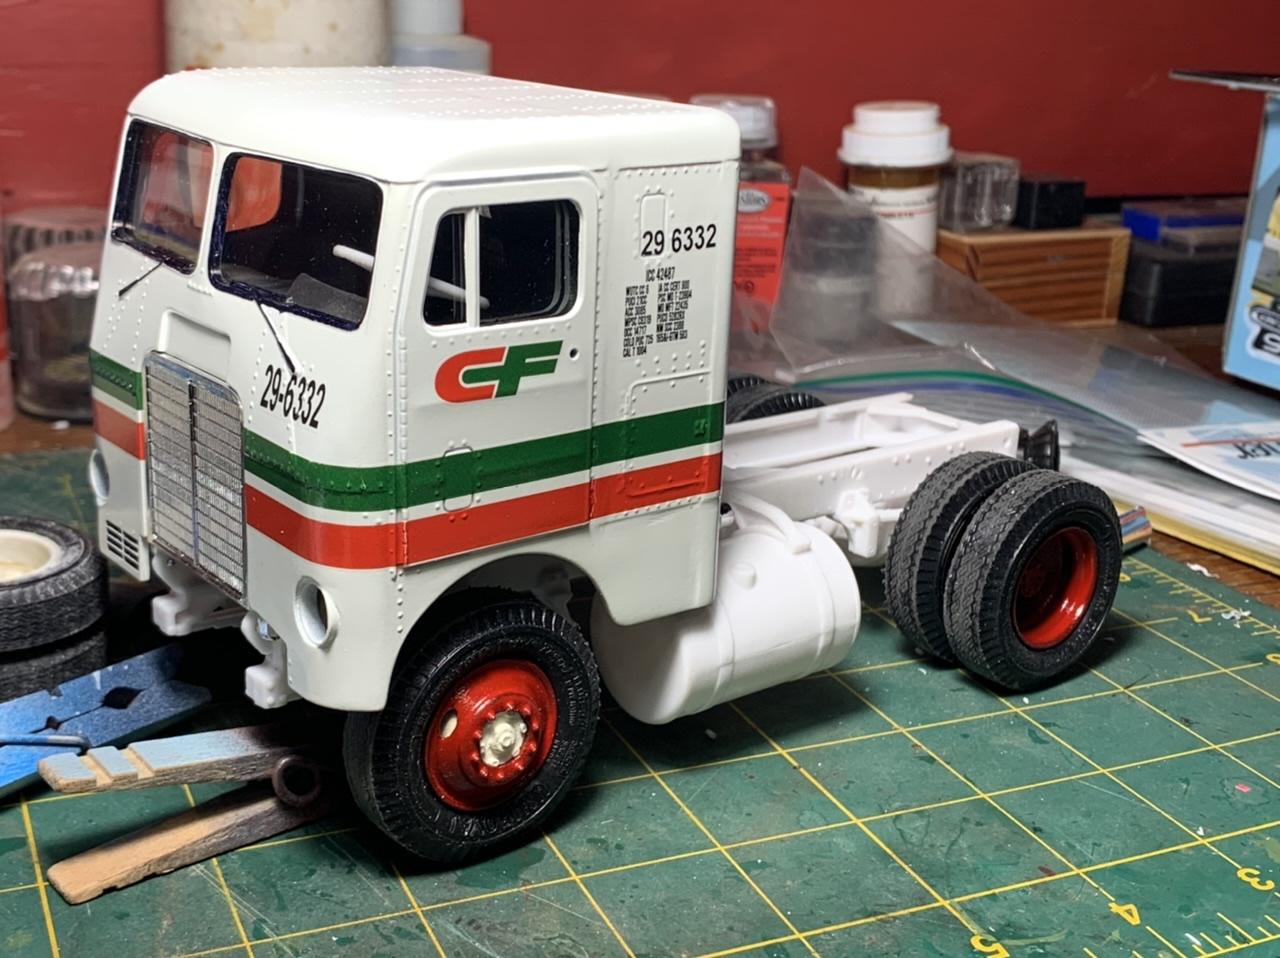
Thanks Carl. These trucks were used by CF to help push trucks over Donner pass in the snow. I’m not sure how well they worked, but Roadway and other companies had them as well.
-
Thanks Tommy, I didn’t catch that detail until I went to put the front numbers on. Also, the earlier cab, at least the one in reference, is a low mount cab and doesn’t have the right front vent, and less metal under the headlights l. Since this was a Johnny Cash type truck anyway, and I wanted to make sure that I had room for the 903, I left it a high cab. Hopefully it will make a decent representation when it is finished though.
-
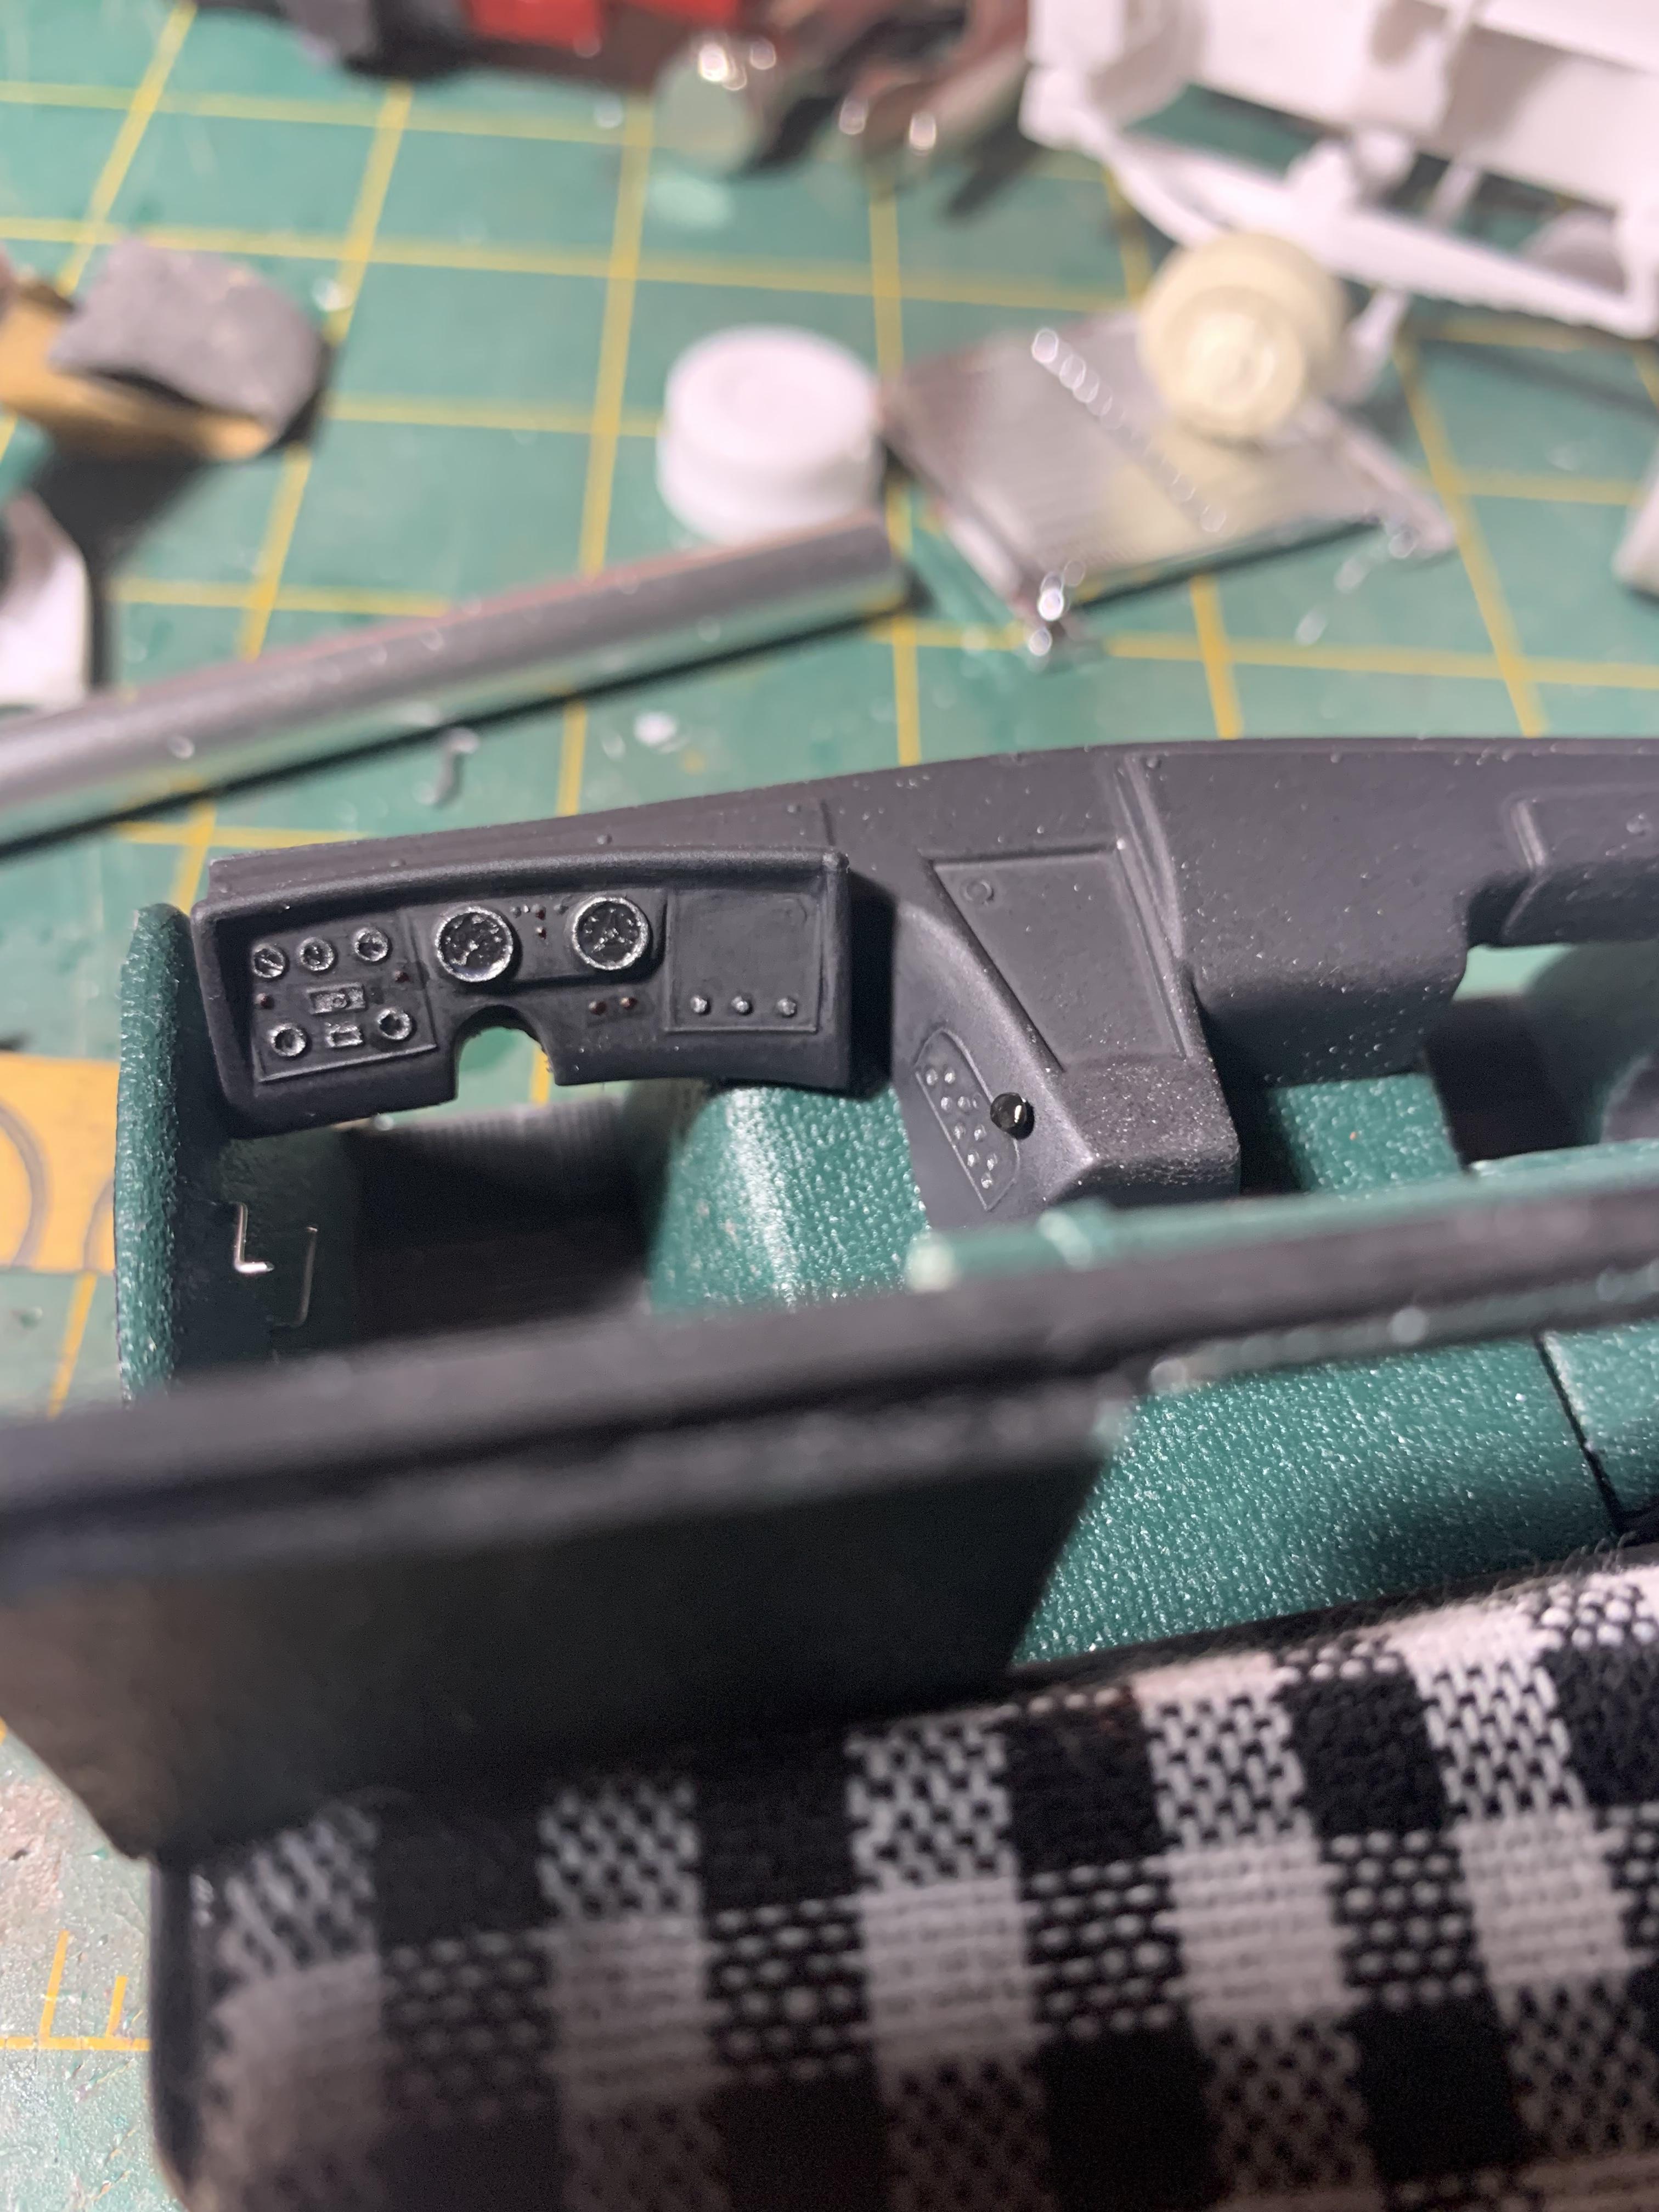
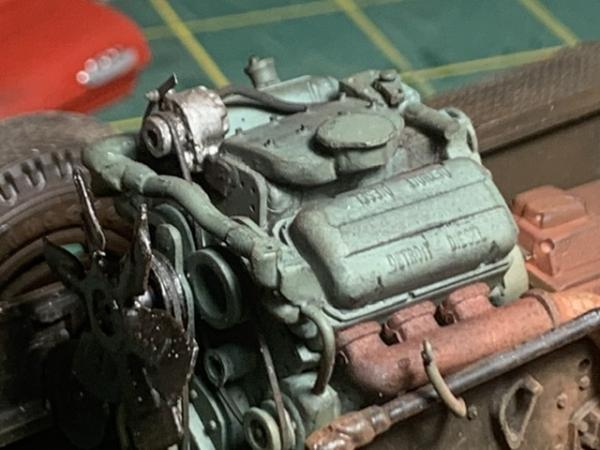
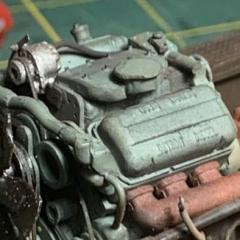
It is not perfect by no means, but it is coming along. With very limited reference pictures, I can’t make an exact replica of the reference truck, so I am attempting to create a truck that CF could have had. This truck will have a different number. I tried to make the interior as base looking as possible, I removed most of the gauges. It took every stick of butter that we had, but I was able to squeeze in a VT 903 Cummins (which I understand that CF liked) backed by a 5 speed Spicer.

-
Schneider CO-4070A
DRIPTROIT 71 replied to k100's topic in WIP: Model Trucks: Big Rigs and Heavy Equipment
Looks awesome! -
AMT Sunoco tanker
DRIPTROIT 71 replied to Doug 1061's topic in Model Trucks: Big Rigs and Heavy Equipment
Beautiful tanker! Excellent work! -
Better and better!!
-
BRBO 2022. GMC Astro Cabover
DRIPTROIT 71 replied to doorsovdoon's topic in WIP: Model Trucks: Big Rigs and Heavy Equipment
Great improvement on the wipers! -
Thanks Tom! Thanks! I was on the fence about the fifth wheel. Thanks!! Thanks Tommy! Thanks Don! Thanks Ken!
-
IH Paystar 5000 4x4
DRIPTROIT 71 replied to DRIPTROIT 71's topic in Model Trucks: Big Rigs and Heavy Equipment
Thanks Ken! -
1940's Dodge school bus
DRIPTROIT 71 replied to ChrisR's topic in Model Trucks: Big Rigs and Heavy Equipment
Came out very nice! Looks great! It might have fought you, but you definitely won! Excellent work! I like it! -
Autocar dumptruck
DRIPTROIT 71 replied to PierreR89's topic in Model Trucks: Big Rigs and Heavy Equipment
Nice looking dump truck! I like the colors! Nice work! -
Kenworth challenge mixer
DRIPTROIT 71 replied to PierreR89's topic in Model Trucks: Big Rigs and Heavy Equipment
Looks great! Very nice work! -
Büssing 8000 s13
DRIPTROIT 71 replied to PierreR89's topic in Model Trucks: Big Rigs and Heavy Equipment
Very nice, very clean build, looks great! Nice work! -
Those are definitely overload or helper springs. I have seen a ton of them over the years. Probably from somewhere like JC Whitney. I have seen these on plenty of big cars, four doors and wagons, but it is also possible that they were used for traction as well.
-
Made me laugh anyway.
-
BJ and the Bear 1/25
DRIPTROIT 71 replied to CharlieBravo's topic in WIP: Model Trucks: Big Rigs and Heavy Equipment
Excellent work and scratch building for sure! The inside of your trailer looks much better than I usually get the outside!? I am really looking forward to seeing this one finished! I am glad that you are working on it again! Thank you for posting your progress! It is looking awesome! -
Thanks Jeff, that is one of the reasons that I like lacquer. I thought that it may melt the clear decal material under the rivets though.
-
This looks better every time I see it! The weathering looks great!
-
24 hour build, KW snapper
DRIPTROIT 71 replied to tbill's topic in WIP: Model Trucks: Big Rigs and Heavy Equipment
Beautiful build! Hard to believe you pulled it off so fast. Very nice work! -
That just looks awesome!