Dann Tier
-
Posts
8,151 -
Joined
-
Last visited
Content Type
Profiles
Forums
Events
Gallery
Everything posted by Dann Tier
-
Thanks, Scott, and JC!!….much appreciated!! -I was originally gonna save the body for last, but I was fooling around with it one day, and here it is now! lol
-
I'm sure it will!...its already looking KILLER!!!!
-
I got your back, bud!!…..have you given any thought on how you're gonna "deal" with the front grill?
-
….except their Lamborghini Countach kits -HORRIBLE.
-
NICE!!!, I bet you're getting excited!!…...I know I cant wait to see it finished!!!.....looking GREAT, bud!!!!!
-
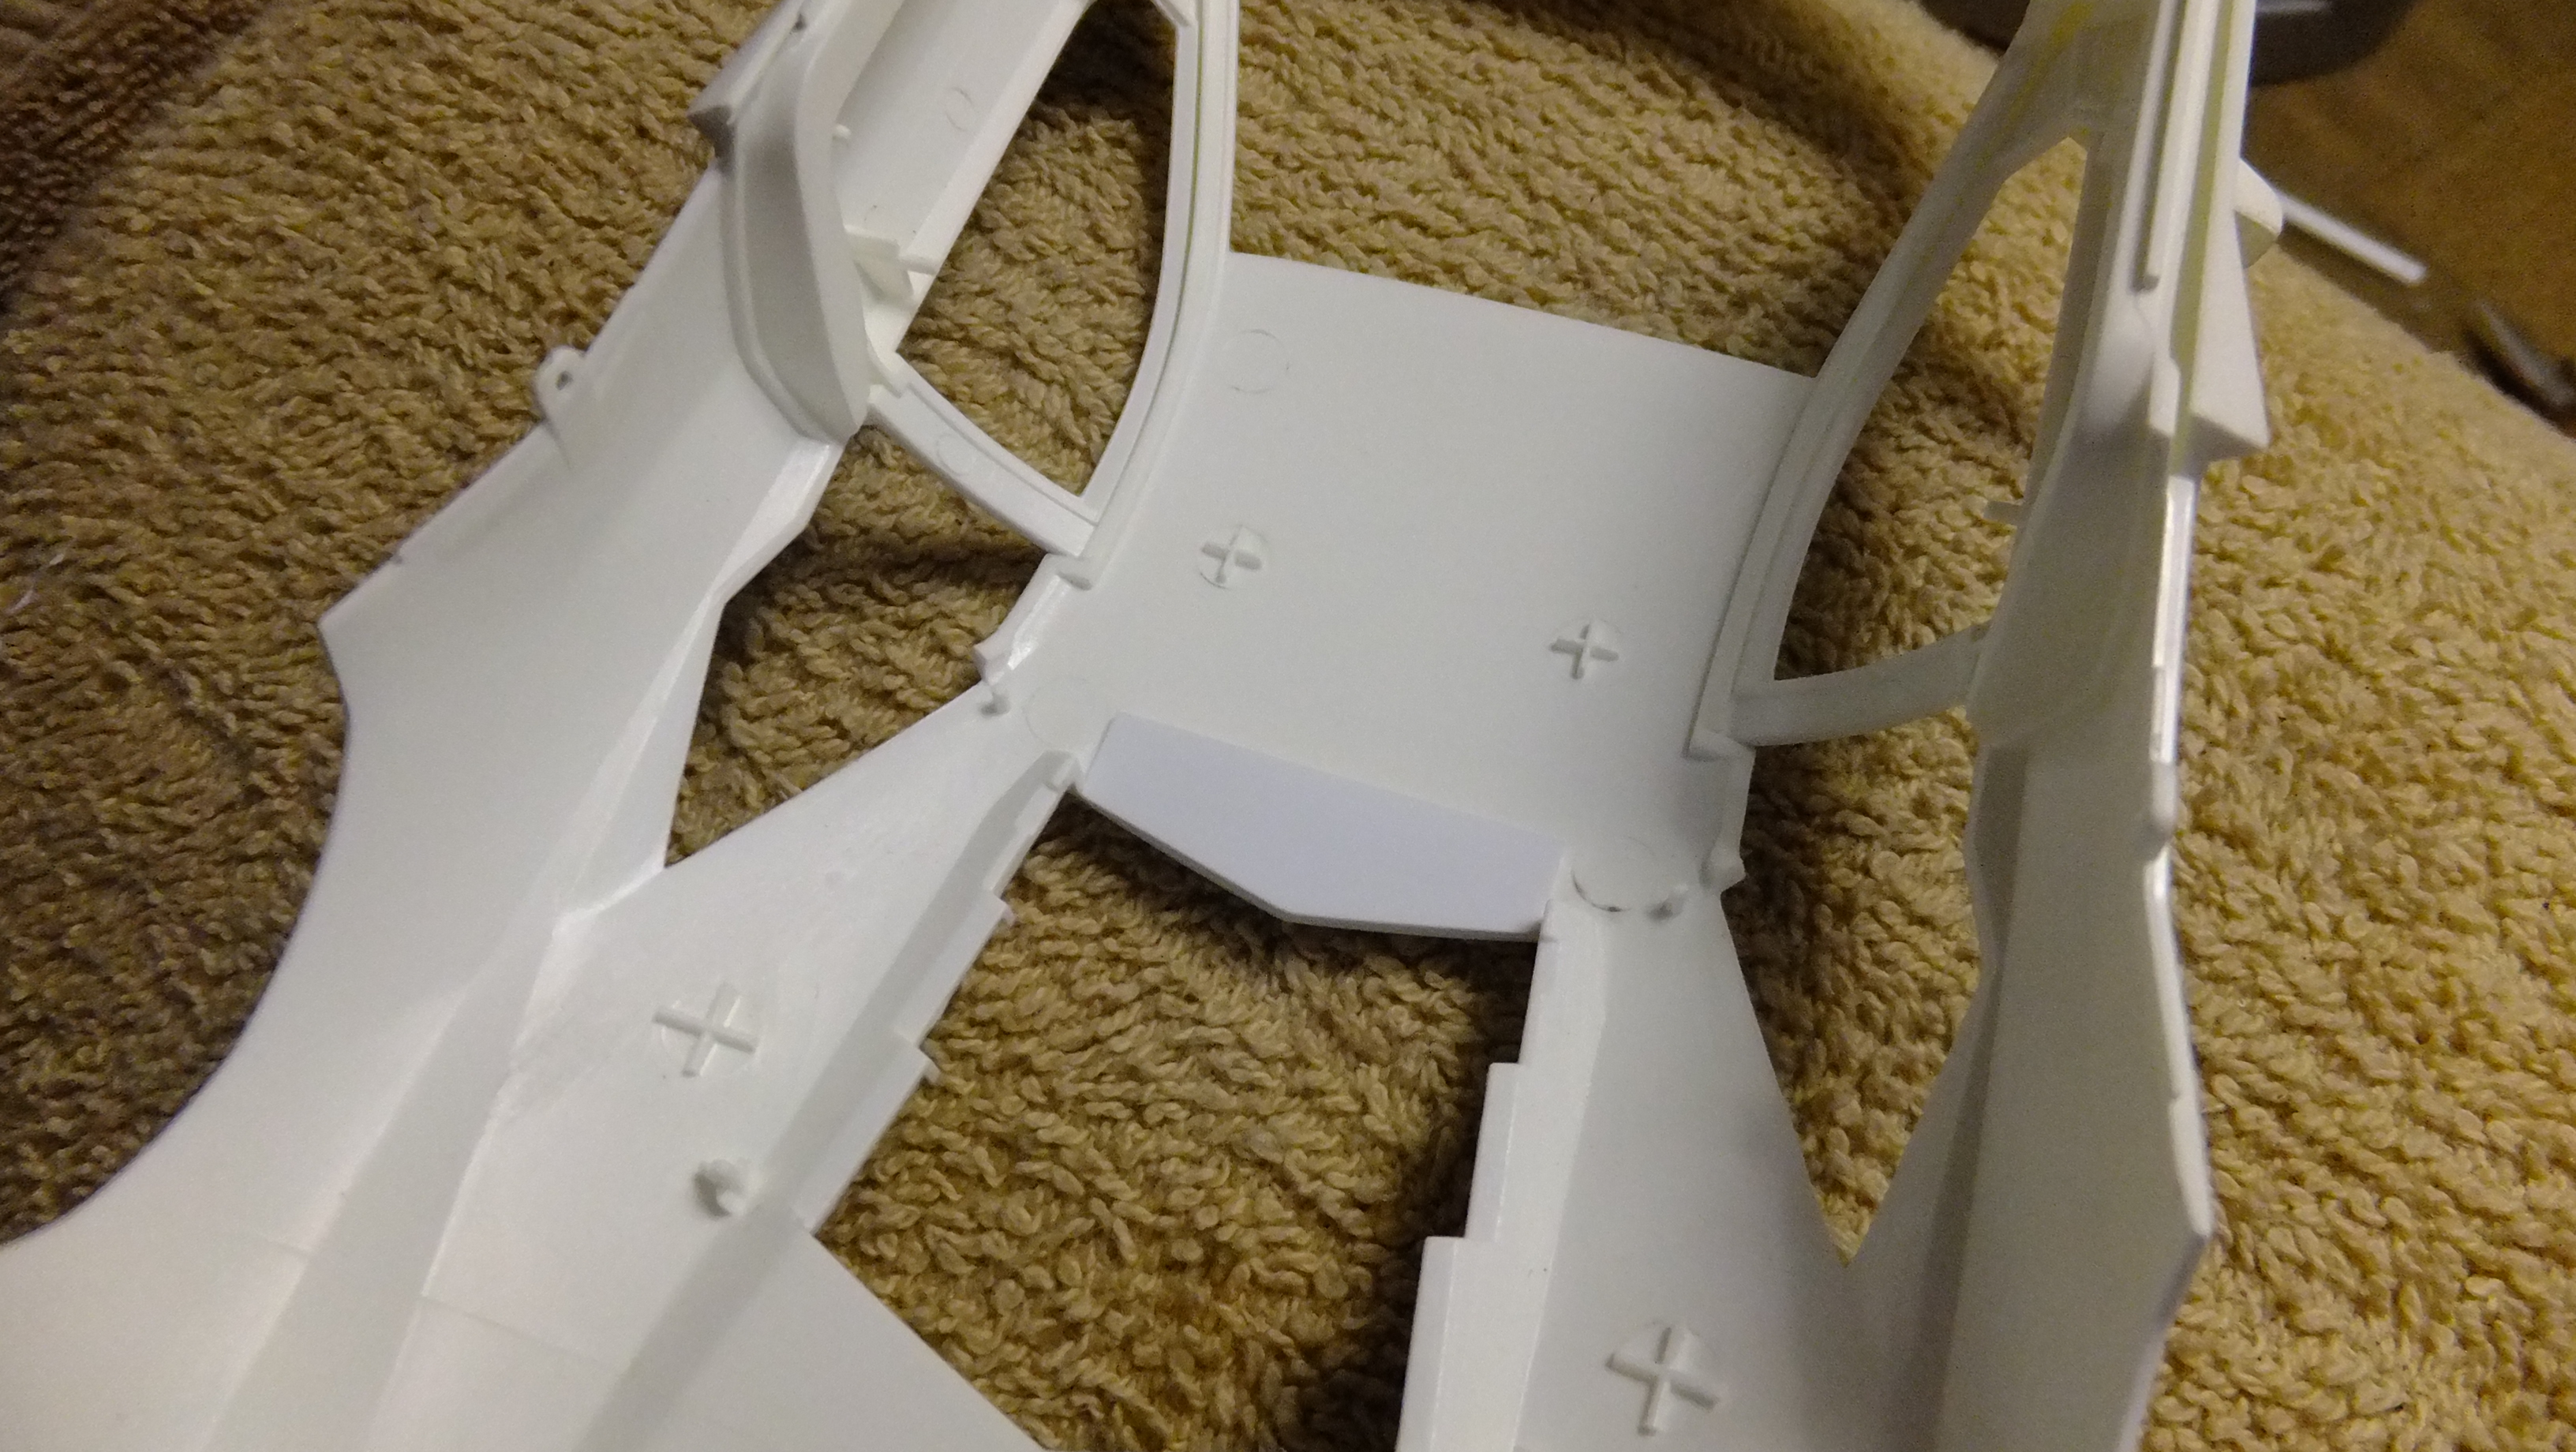
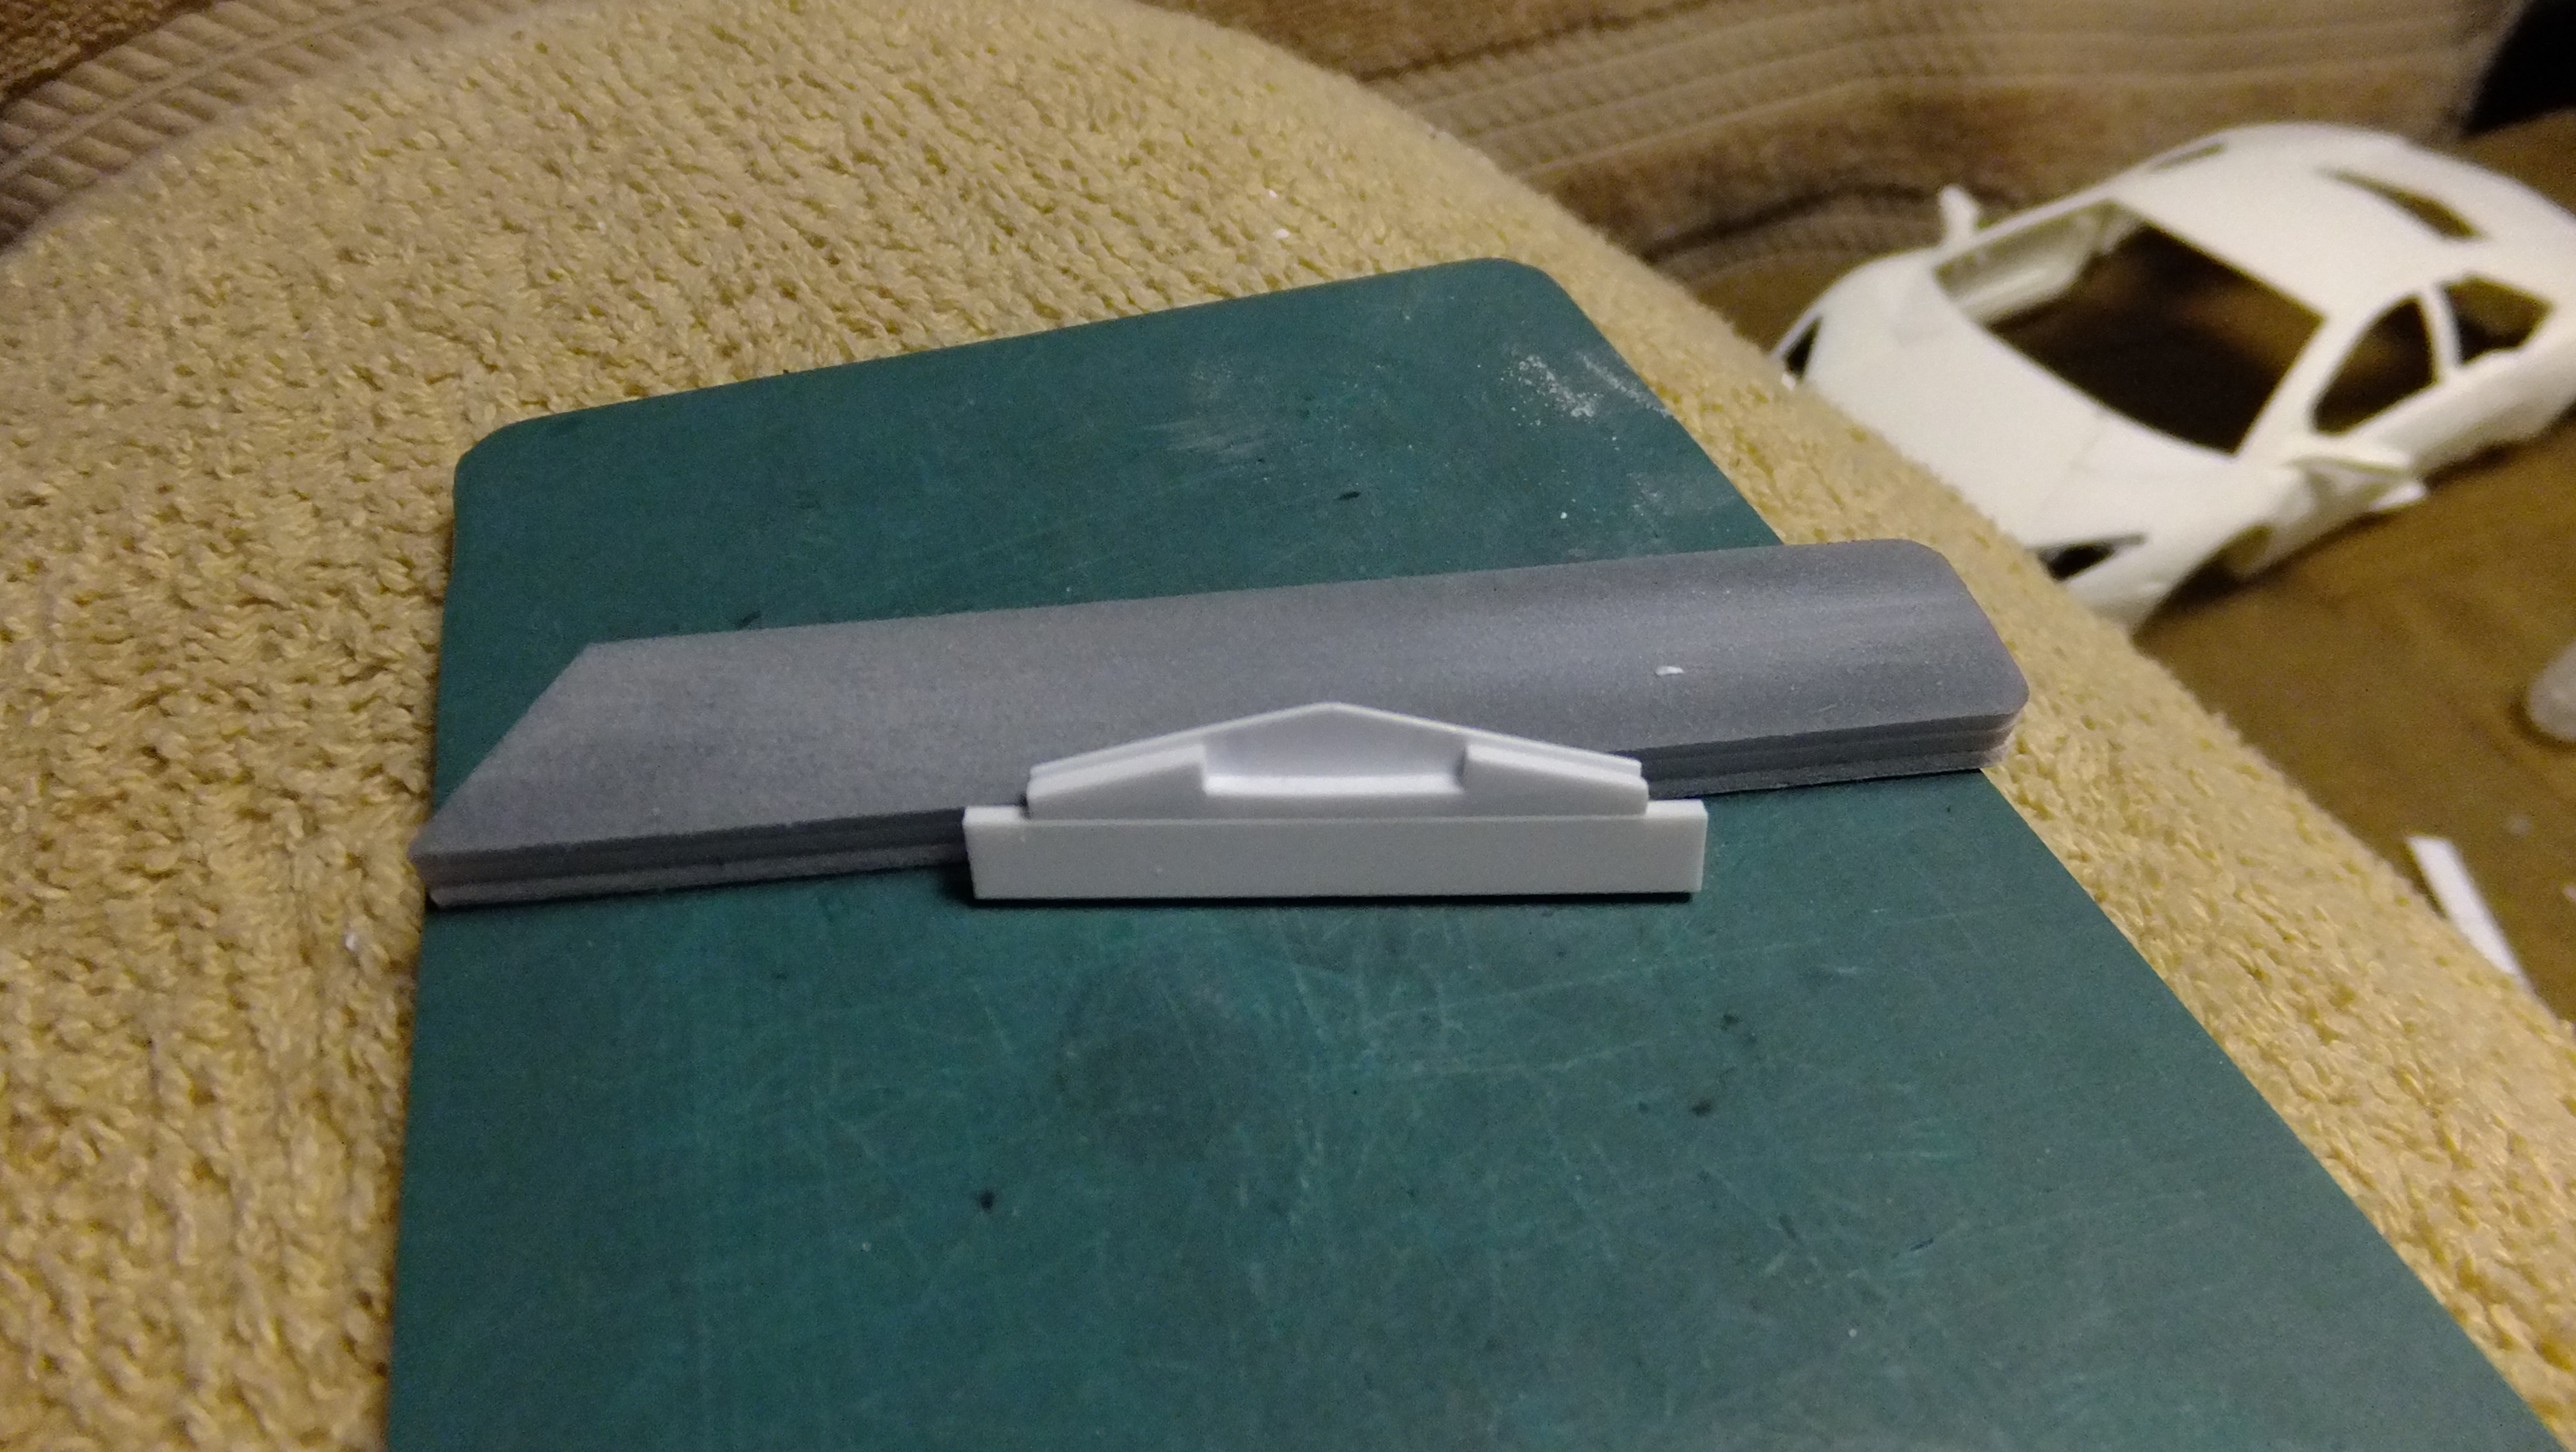
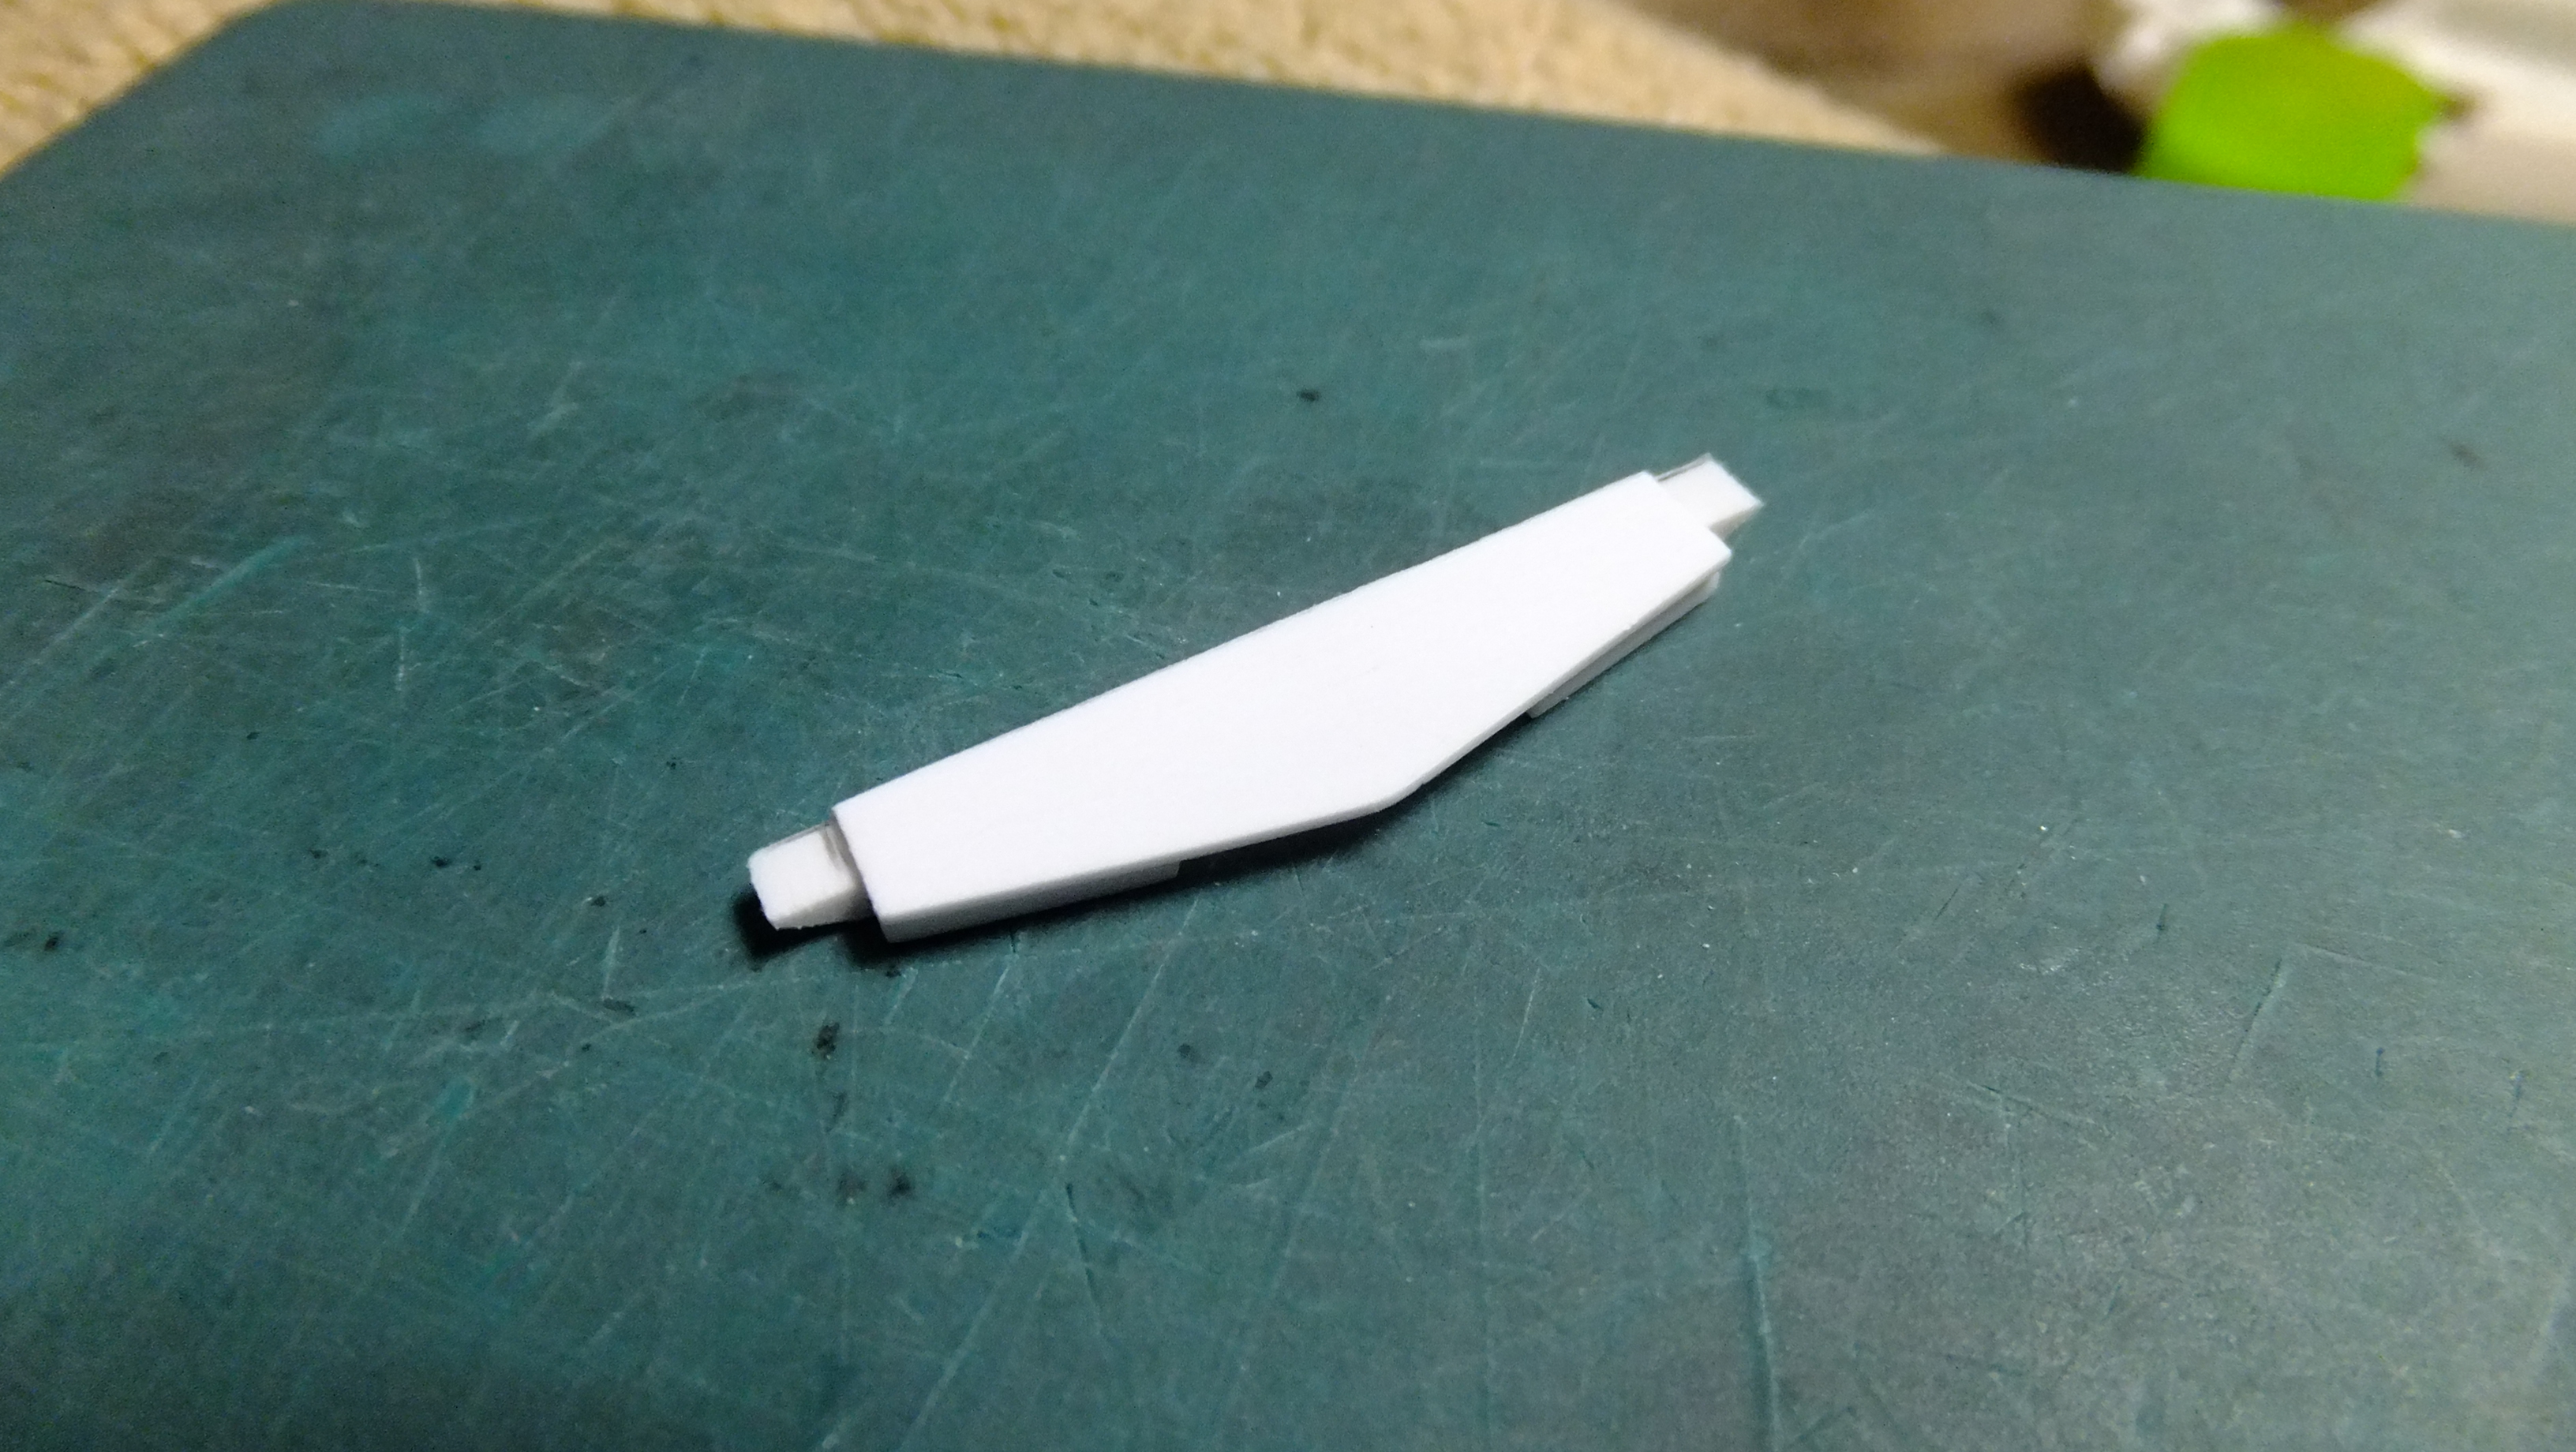
I've got the third brake light assembly SB, and it went just as planned!...next, I will see if I have a light that will fit from my spare parts bin....maybe the one I didn't use on my Pagani will work!....if not, no sweat -i'll just make one made to measure. -Photo 1; Not only was this important detail to the body not made as a separate part, it wasn't even molded in. -Photo 3; I started off by making a stencil for my part. First finding the width, then, while holding it in place, I traced the roof edge and was able to make this starting piece from sheet styrene. -Photo 4; I found styrene strip that matched the height I needed for the light itself, and after carefully setting the two parts together, sealed the deal with a couple touches of Tamiya's Extra Thin Quick-setting Cement. I purposely made this second piece just a tad bit longer, so that during the building process, they would act as quick...consistant locators. -Photo 5; It was now time to make the notched-out bit for the light. Notice the very slight lip I left. I could have made this part with the second piece, but oh-well, I thought of it too late...lol. -Photo 6; Next step was to make sure that the firewall would fit okay with it......it didn't, so I traced the edge of it on my light assembly.....drew a new line compensating for the thickness of the firewall, then snipped and sanded it to fit. -Photo 7-9; The bottom edge needed to be flat, but the top edge needed a bit of contouring to fit the roofs shaping. -Photo 10; Here you can see two things....1)the firewall fit perfectly against my new part, but 2) a rather annoying, and confusing issue. There was NO rear window opening in this firewall, so I had to make one. Normally I would catch this before I painted the part....not this time, I guess. The interior tub HAS the window opening, but be prepared to cut open the firewall, AND make your own clear window....it doesn't exist as a part!.....?????!!!!! -Photo 11&12; These last two photos show how well it all turned out....problems......confusing problems...all fixed! Next up, will be the two air boxes up front!

-
Thank you so much, bud!!, i'm glad you are enjoying it!!…...thank YOU for following!!…..I should have more SB photos up later today!
-
Much appreciated, Bud!!
-
Sounds good...that's exactly what i'd do, and have done before on my two D-Type Jags.
-
Is it just the name you're after?, and what size?, because i'm the Lambo guy.....and I have more parts than the factory!...lol
-
Thanks, bud!!….very much appreciated!!
-
Thanks, Mike!!
-
Thanks, bud!!, it was actually easier than I expected.
-
Thanks, Brian!!, i'm pretty happy with it....it'll look even better when its all kleaned up!
-
You are really improving this kit!!!....keep up the great work!!, I look forward to it!!
-
BEAUTIFUL job on this sweet little racer!!!
-
I think you can do it too, bud!! ifit were me, i'd use masking tape for a guide at the peak. do one side, then the other, moving the tape......but you probably know this already..lol
-
MASTERPIECE.
-
Agreed!!…..roll-on, Ray!!!
-

Re-engineering Monograms Lotus Esprit...new update!
Dann Tier replied to Dann Tier's topic in WIP: Model Cars
LOL!!! thanks, funny guy!!! -
Super klean work, bud!!!....I love building these simpler kits! it puts the fun back into building!!
-
Lamborghini Huracan Performante, Aoshima, 1/24
Dann Tier replied to Matt Bacon's topic in WIP: Model Cars
Love all the added details!!! -
This is looking GREAT!!!
-
Definitely looking tough!!
-
Don't know how I missed this one, bud!!, but like everybody says; I cant believe how nice this kit really is!!!...and those spokes ARE very nice!!...I woulda used them too!! Just opening those vents alone is a daunting task by itself!! I agree with how you plan to deal with the body seam, and I too use tape to protect surrounding details as well....just did it for my Reventon recently. Keep up the outstanding work, bud!!!