Dann Tier
-
Posts
8,151 -
Joined
-
Last visited
Content Type
Profiles
Forums
Events
Gallery
Everything posted by Dann Tier
-
Absolutely STUNNING!!!
-
Extremely cool build!!…...GREAT job!!!
-
Thanks, Kenneth!!
-
Thanks, Kurt!...….it'd still be cool if you built one!!
-
Hey, JC, wouldn't waxing the inside of the glass hide the defroster lines.....if you really were bothered by them?
-
If you do have this kit No.9, Kurt, then you don't have to worry about it, because it secretly comes with a substantial size PE fret, that includes replacements for all the vents......I just prefer plastic over PE whenever I can.
-
LOL!!…….thanks, Tommy!!
-
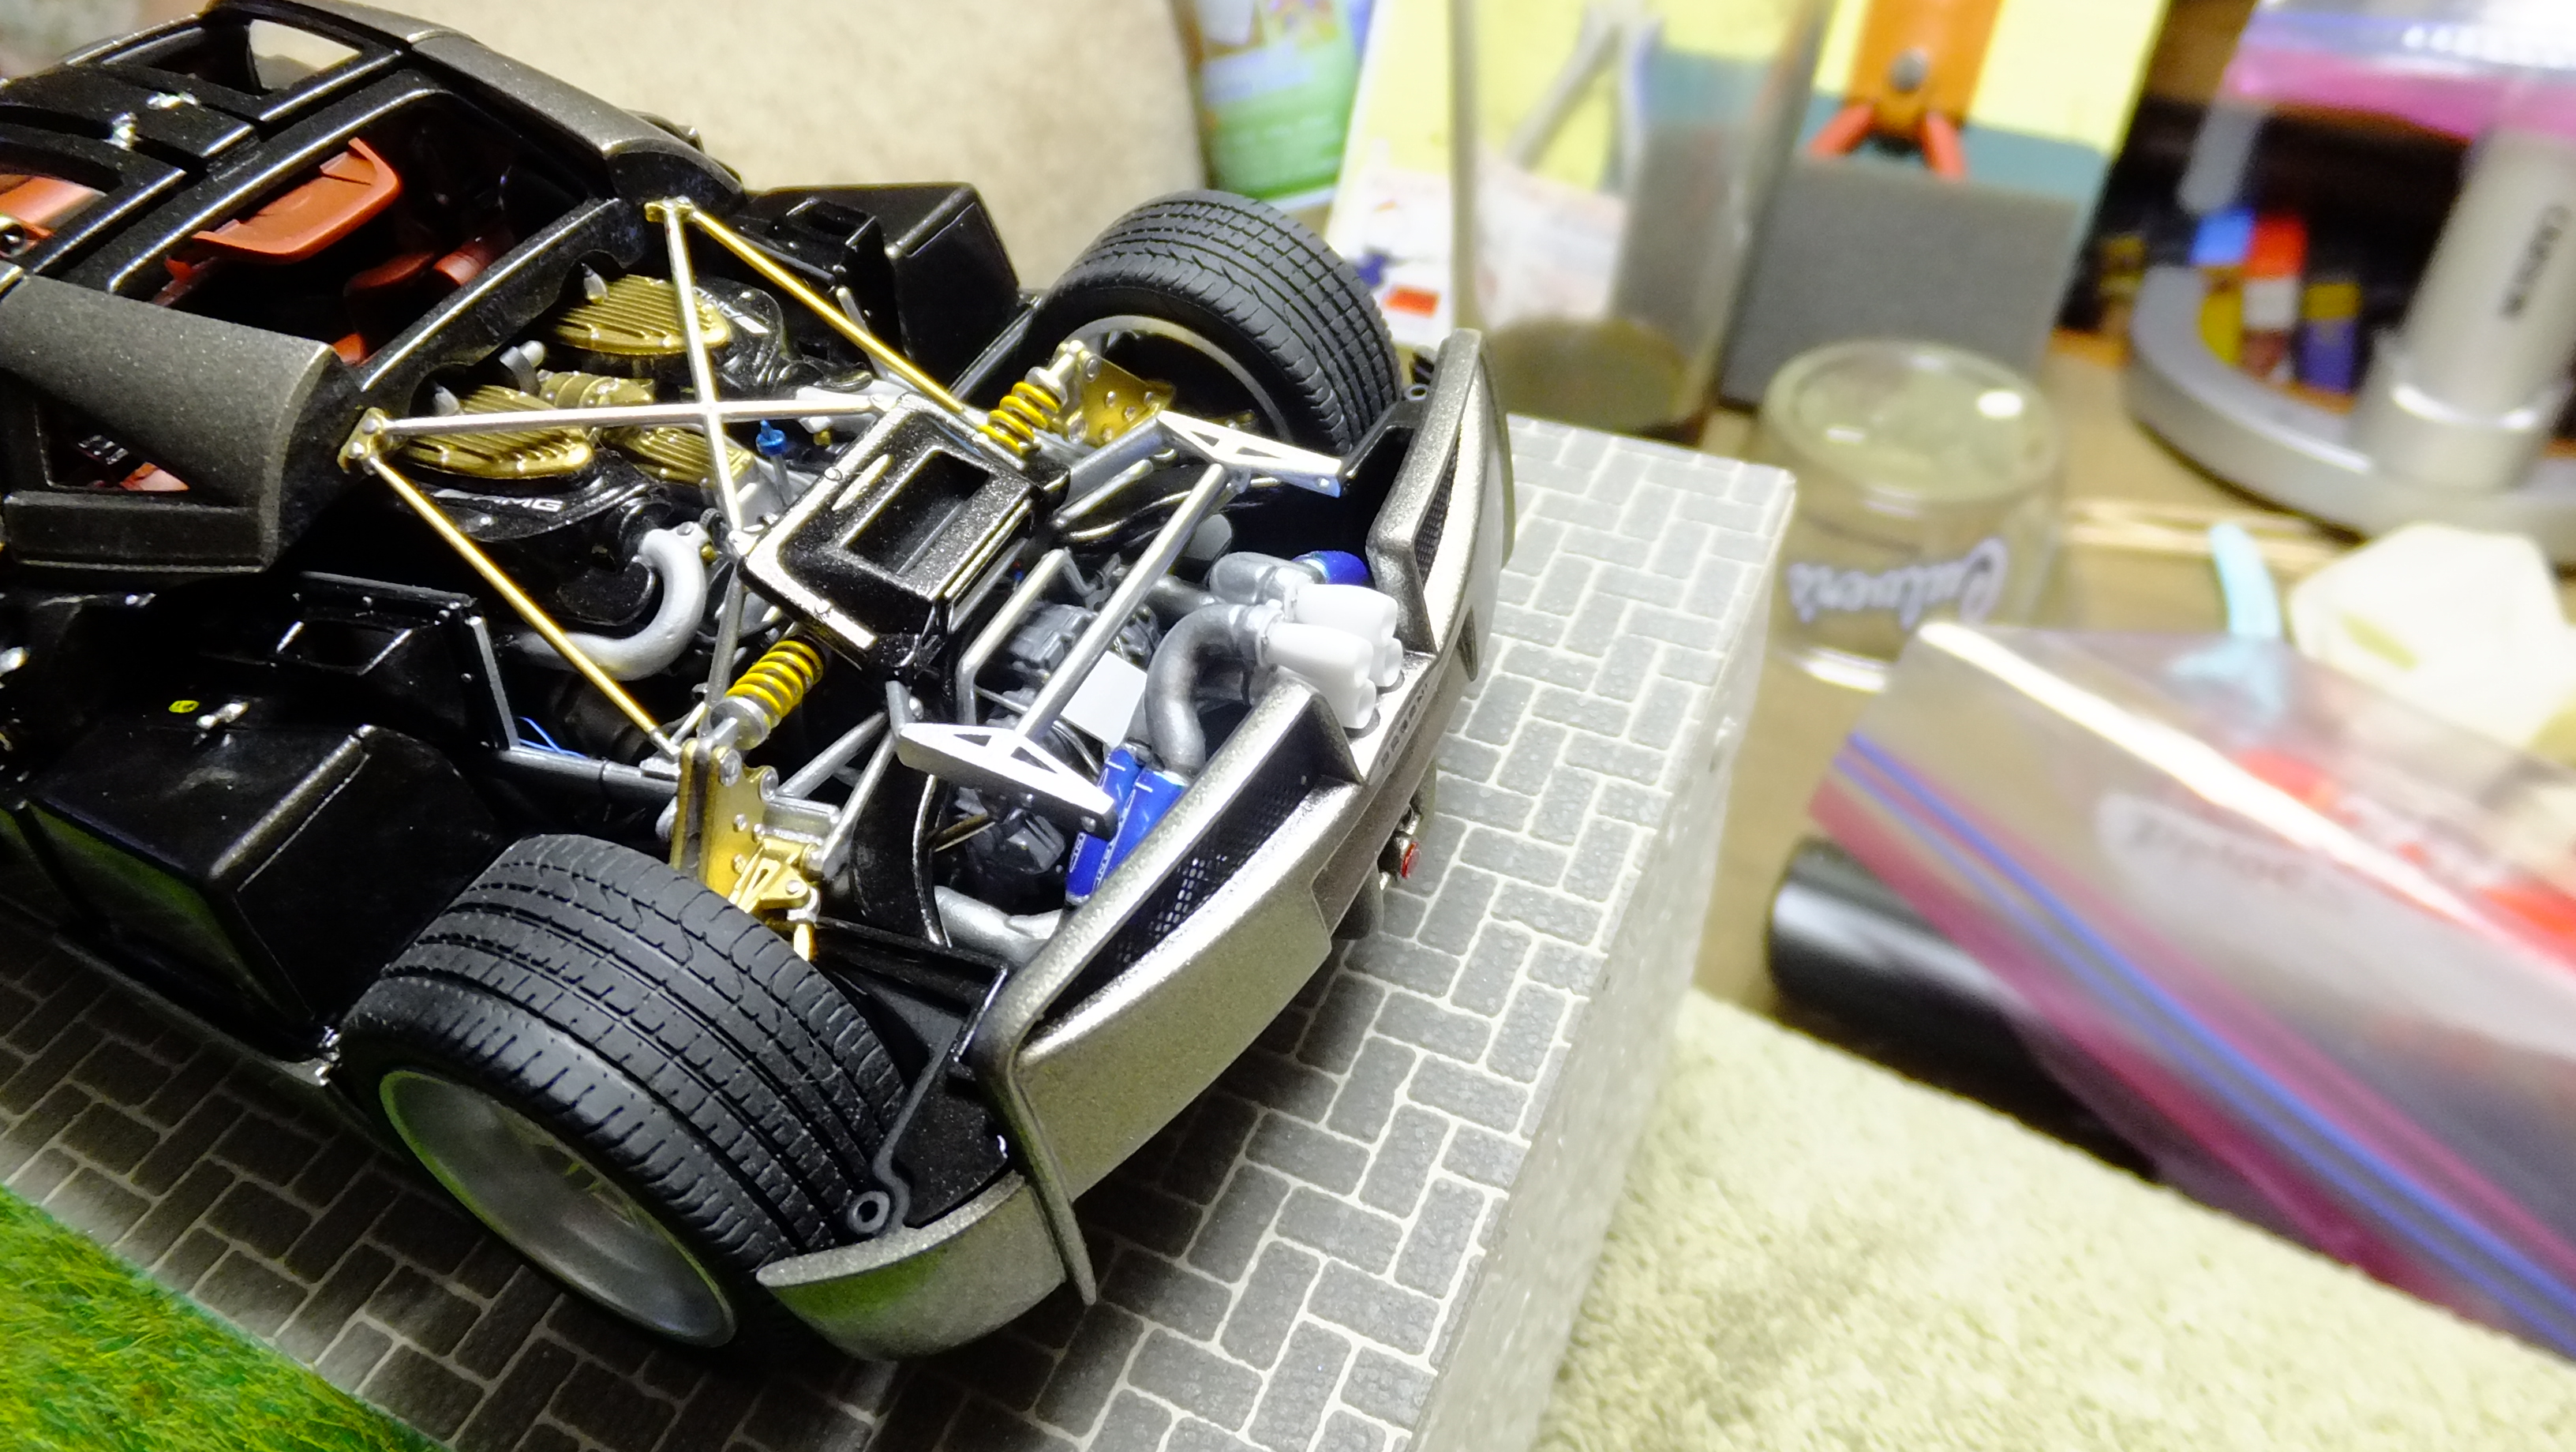
Managed to get a bit more done, even though life has been chaotic lately. The exhaust tips are ready for paint! -Photo 3; I mounted the tips onto toothpicks with my favorite canopy glue, to make it way easier to sand, then I smoothed everything out ready for the PE bolts. -Photo 4; Its pretty hard to see right now, because of my pencil markings, and the tininess of the bolts, but each tip has three. I will paint them with gloss black, and then top that off with Spaz Stix mirror chrome. -Photo 5; As you can see, they look great, and spot on! I will now fill the slight gap between the pipes, and the collector, with super glue, then paint, and detail it when dry. -Photo 6; Here you can see that they fit great with everything around them, BUT, I need to raise them up ever so slightly when I finally glue them in, so that they are centered, and not resting on the fascia anymore. -Photo 7; Along with the redo of the door catch, I needed to redo the door alignment pins as well....the others were too big. These new ones will be snipped-down, and sanded smooth......then installed. -Photo 8; This is the finished rear cowl wire harness. Next step for this, will be to attach it to the upper frame rail on the passenger side.

-
Agreed!!…..100%!!
-
My favorite Camaro!.....you are doing GREAT!!
-
Buckle up, Alex!.....I do ALOT of that!!...lol
-
Pretty darn realistic, Pat!!…..VERY cool!!!
-
This is looking like a BEAST, bud!!!.....love those exhaust tips too!!
-
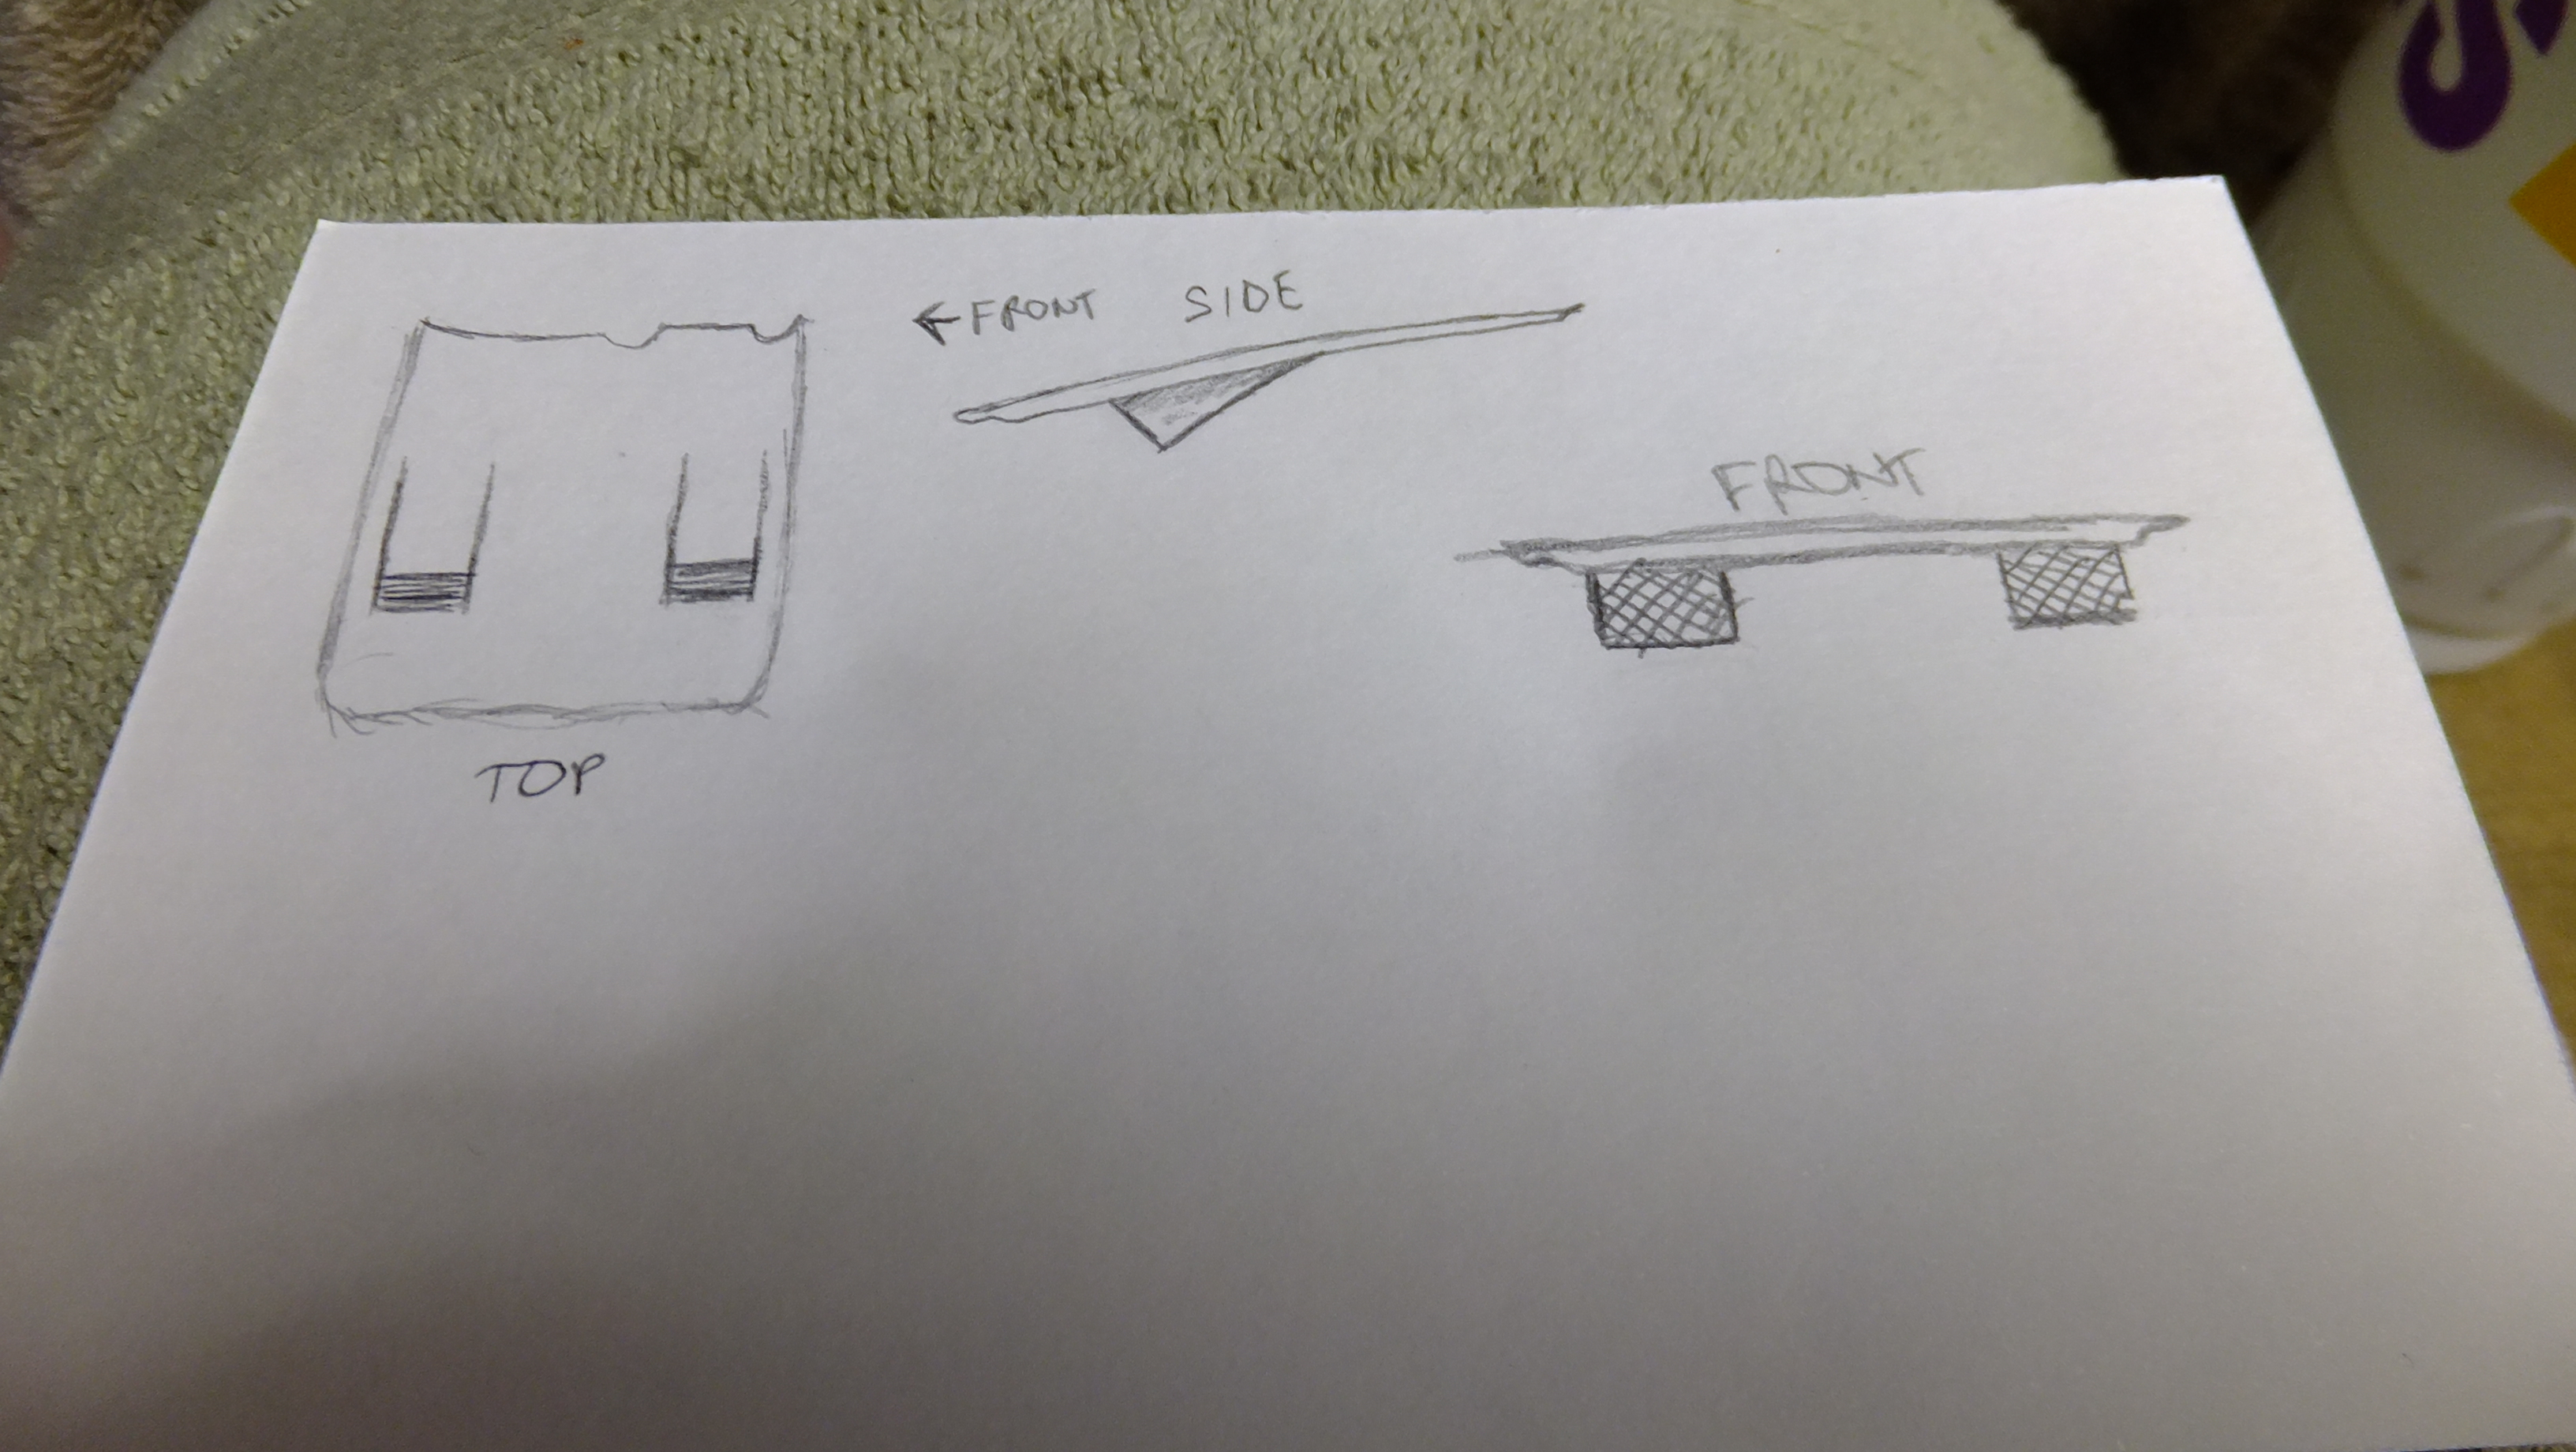
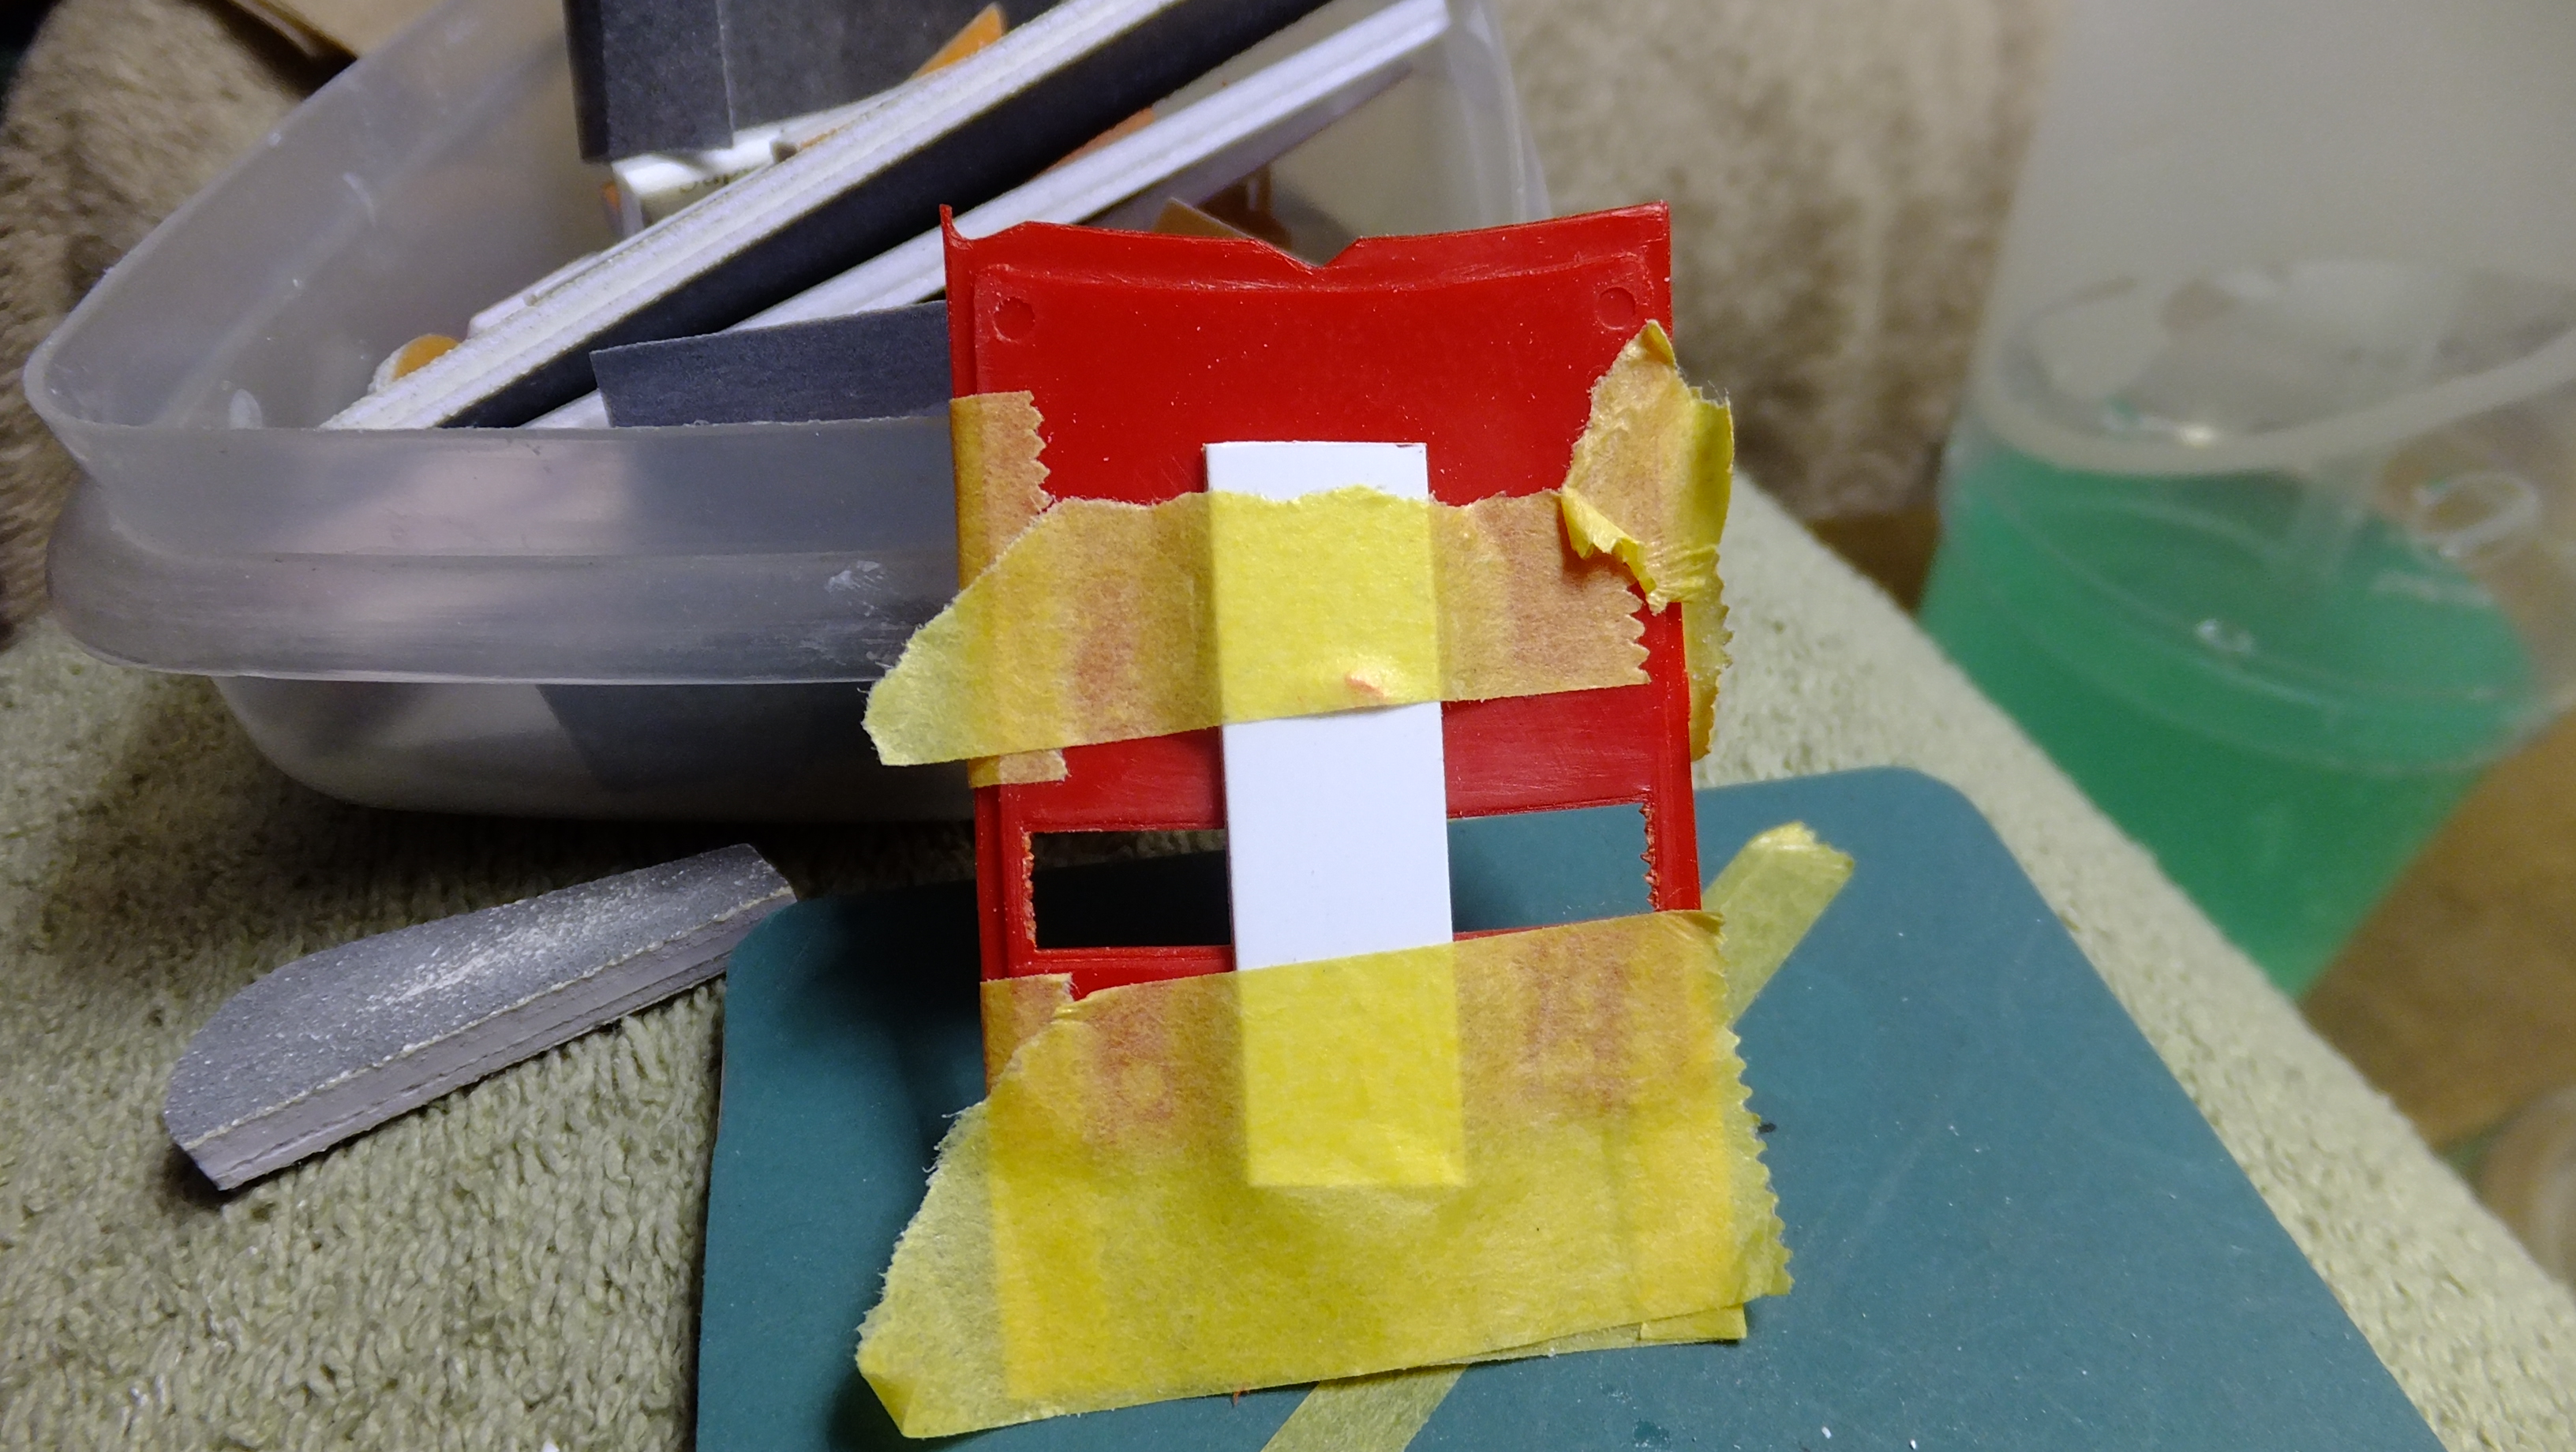
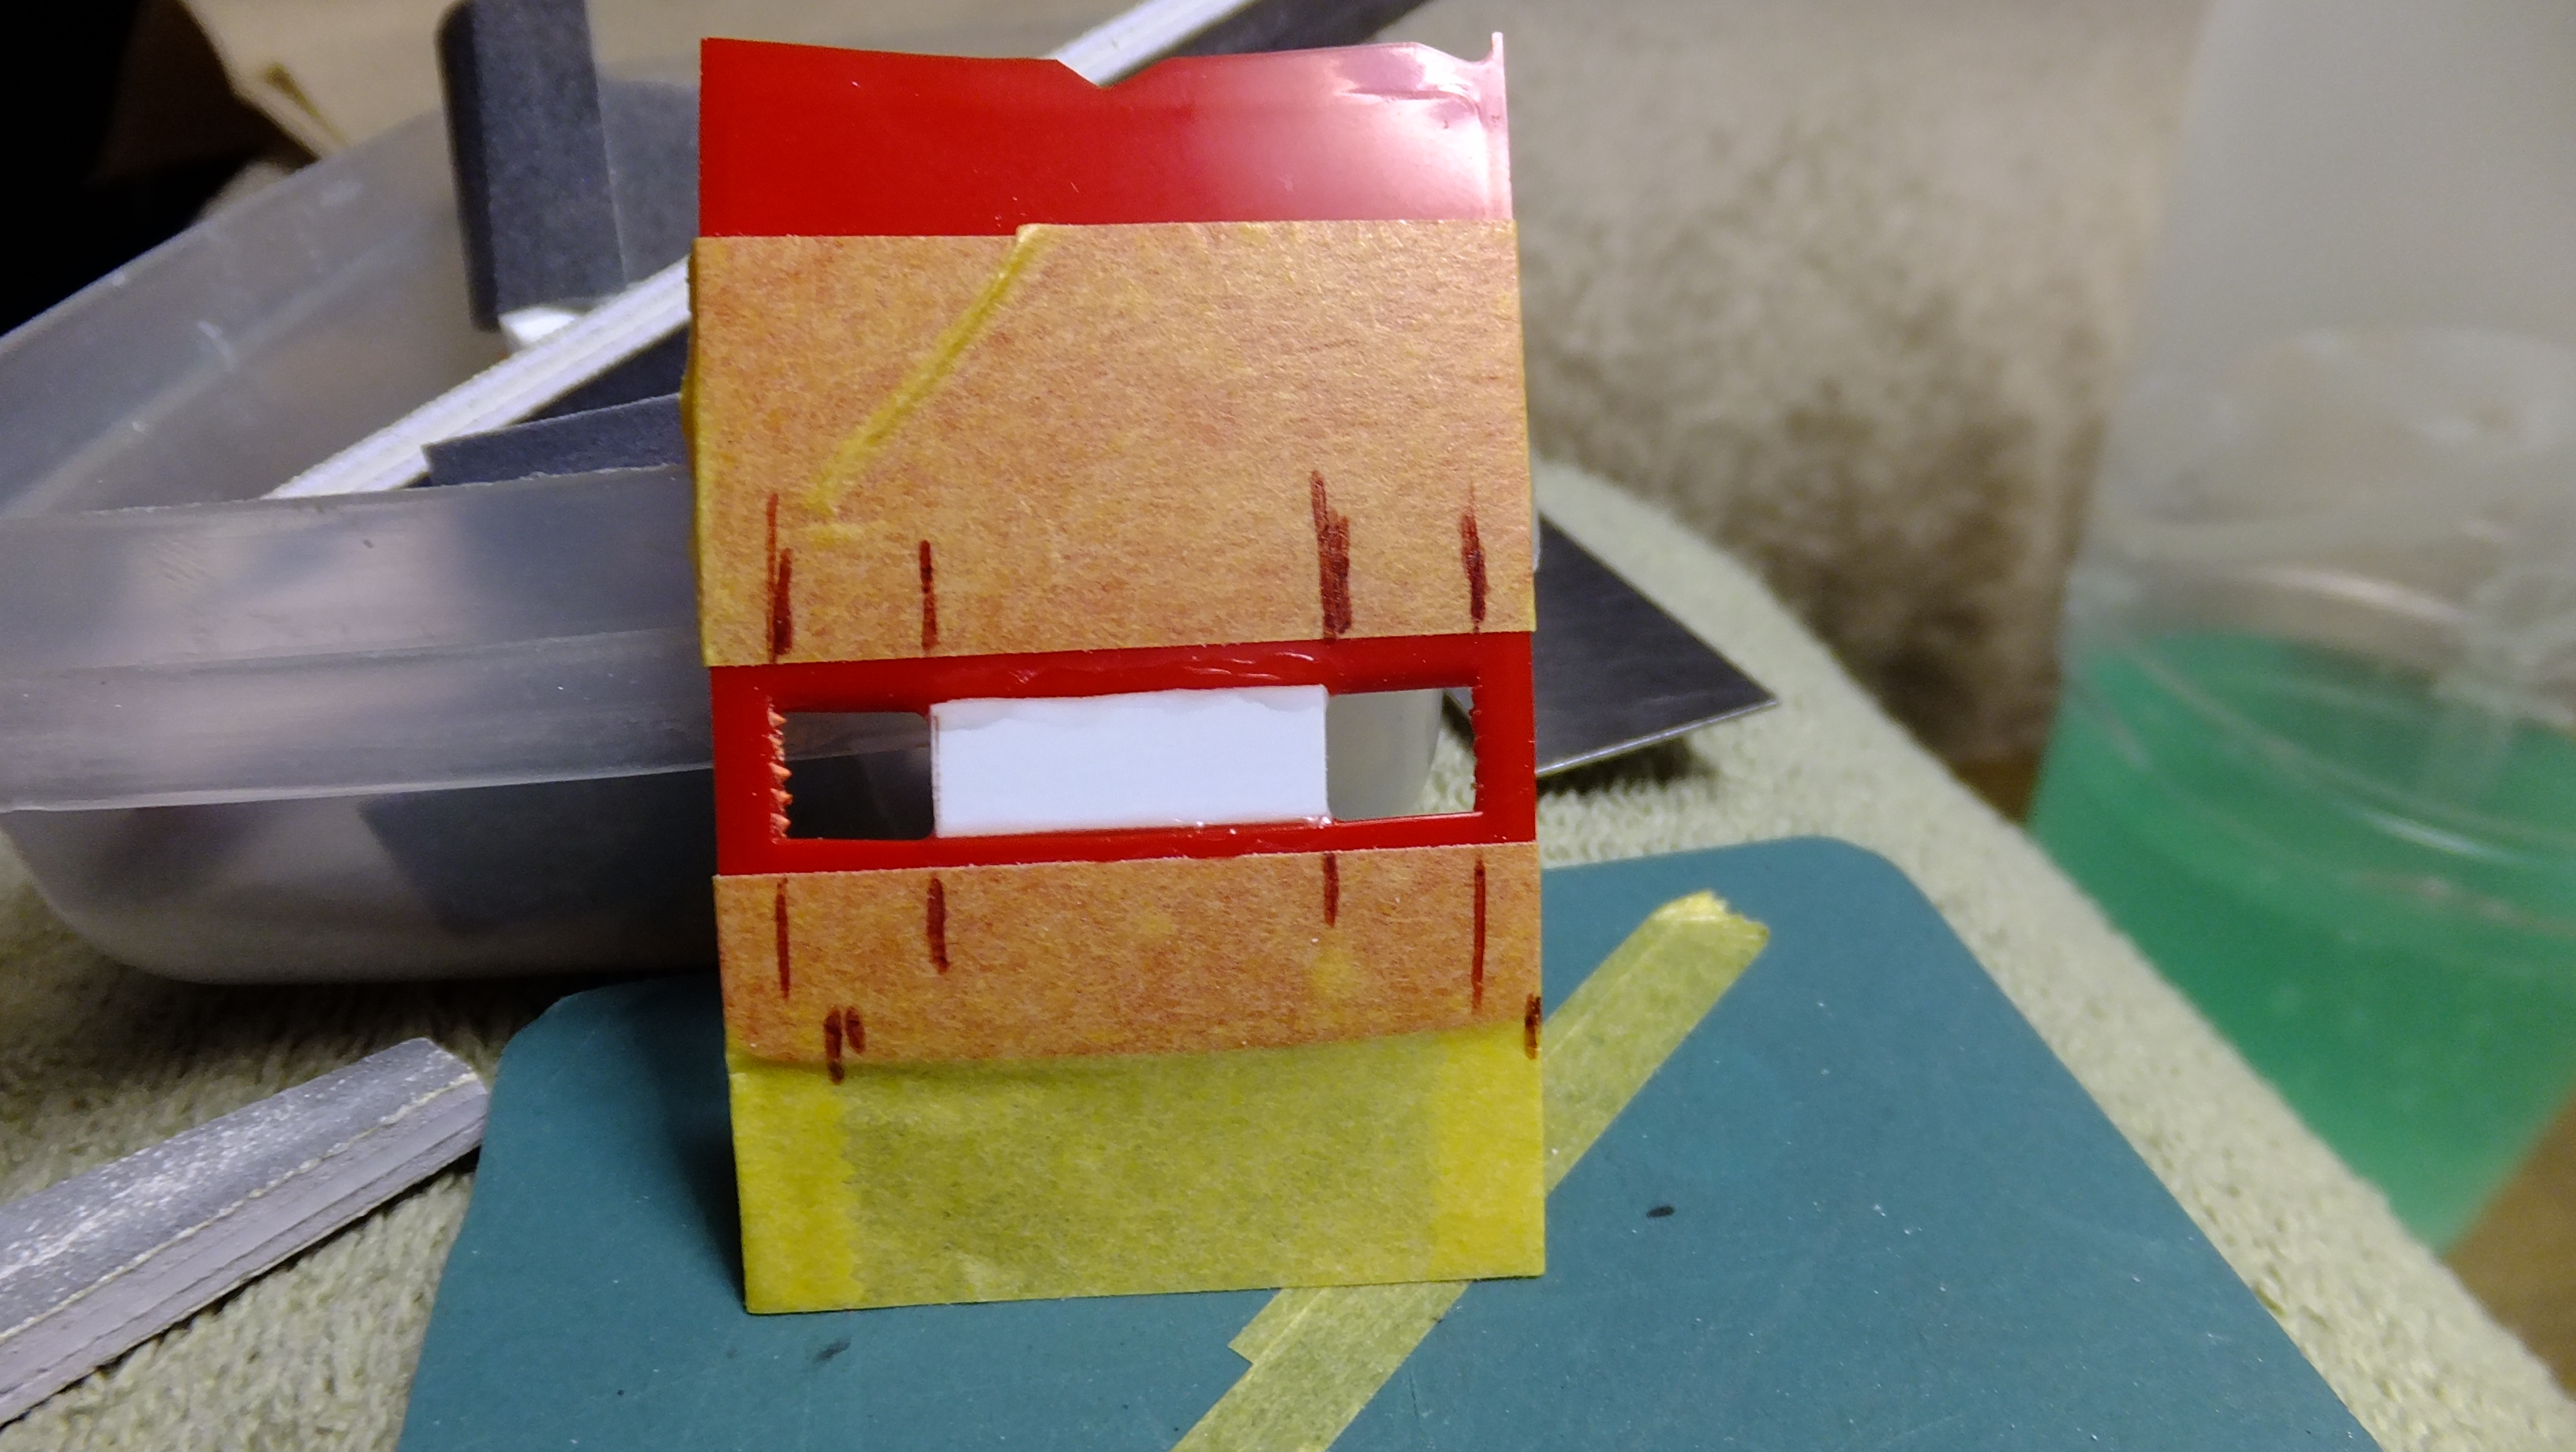
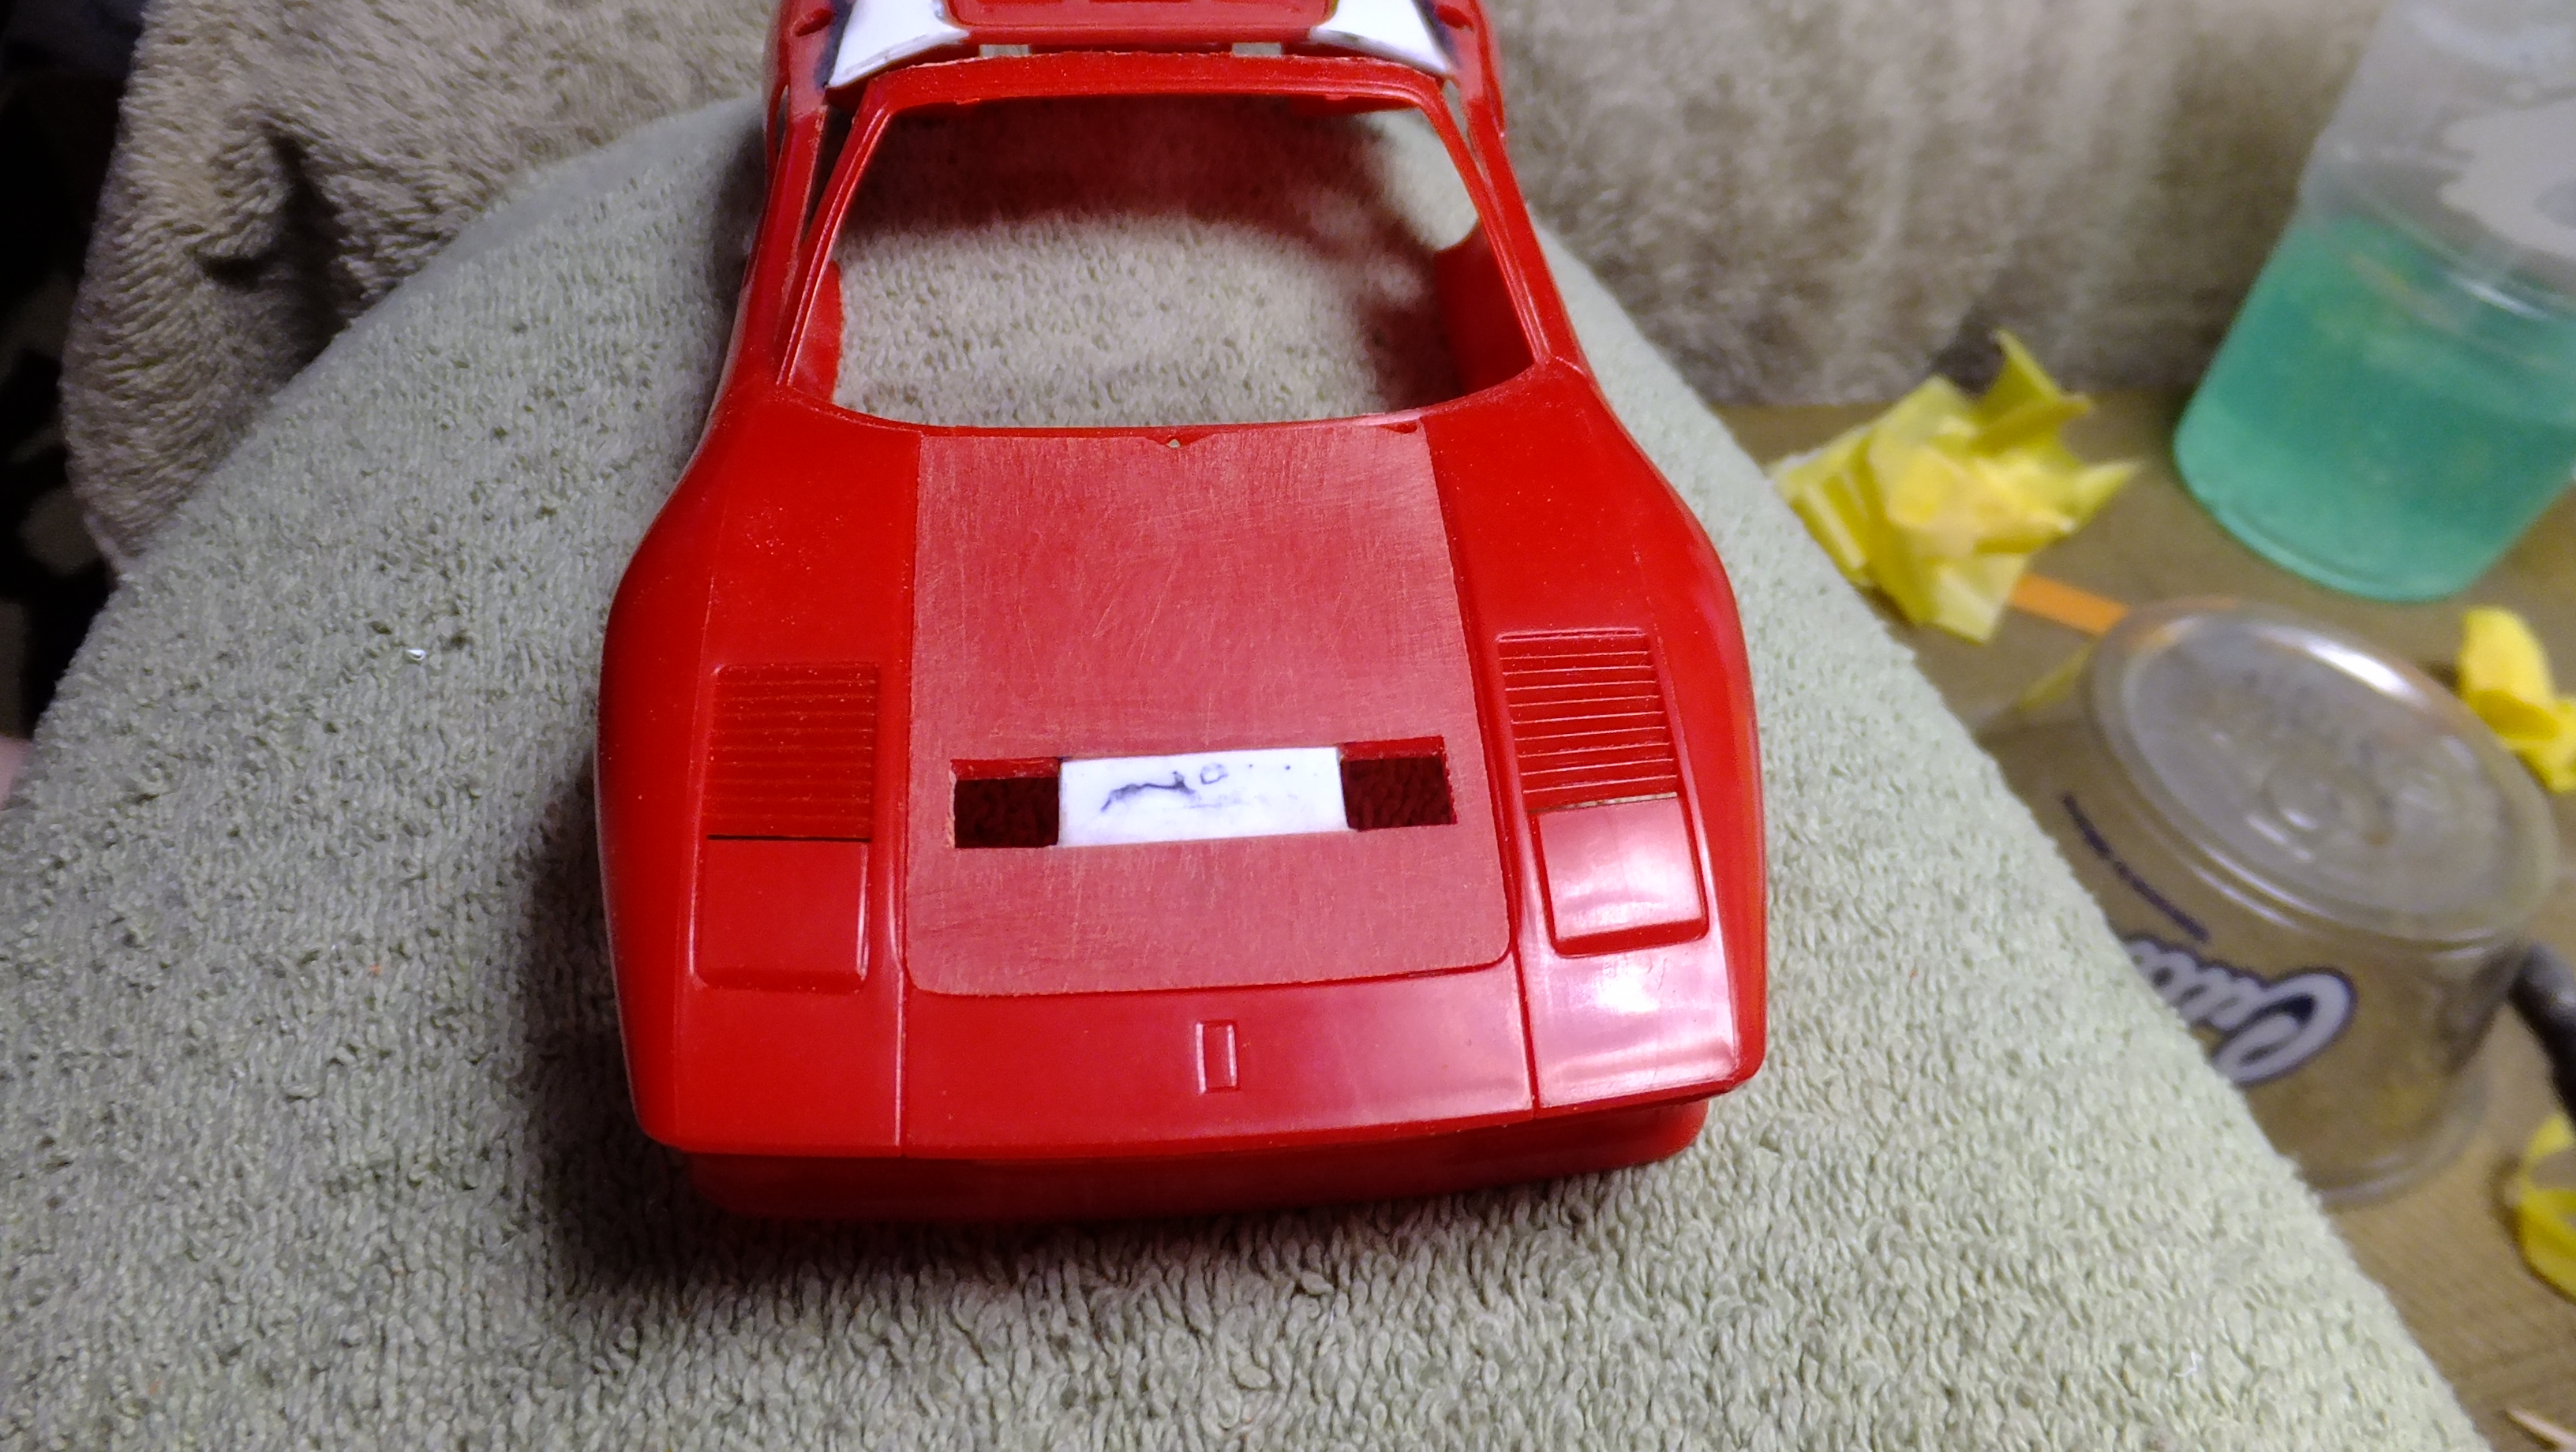
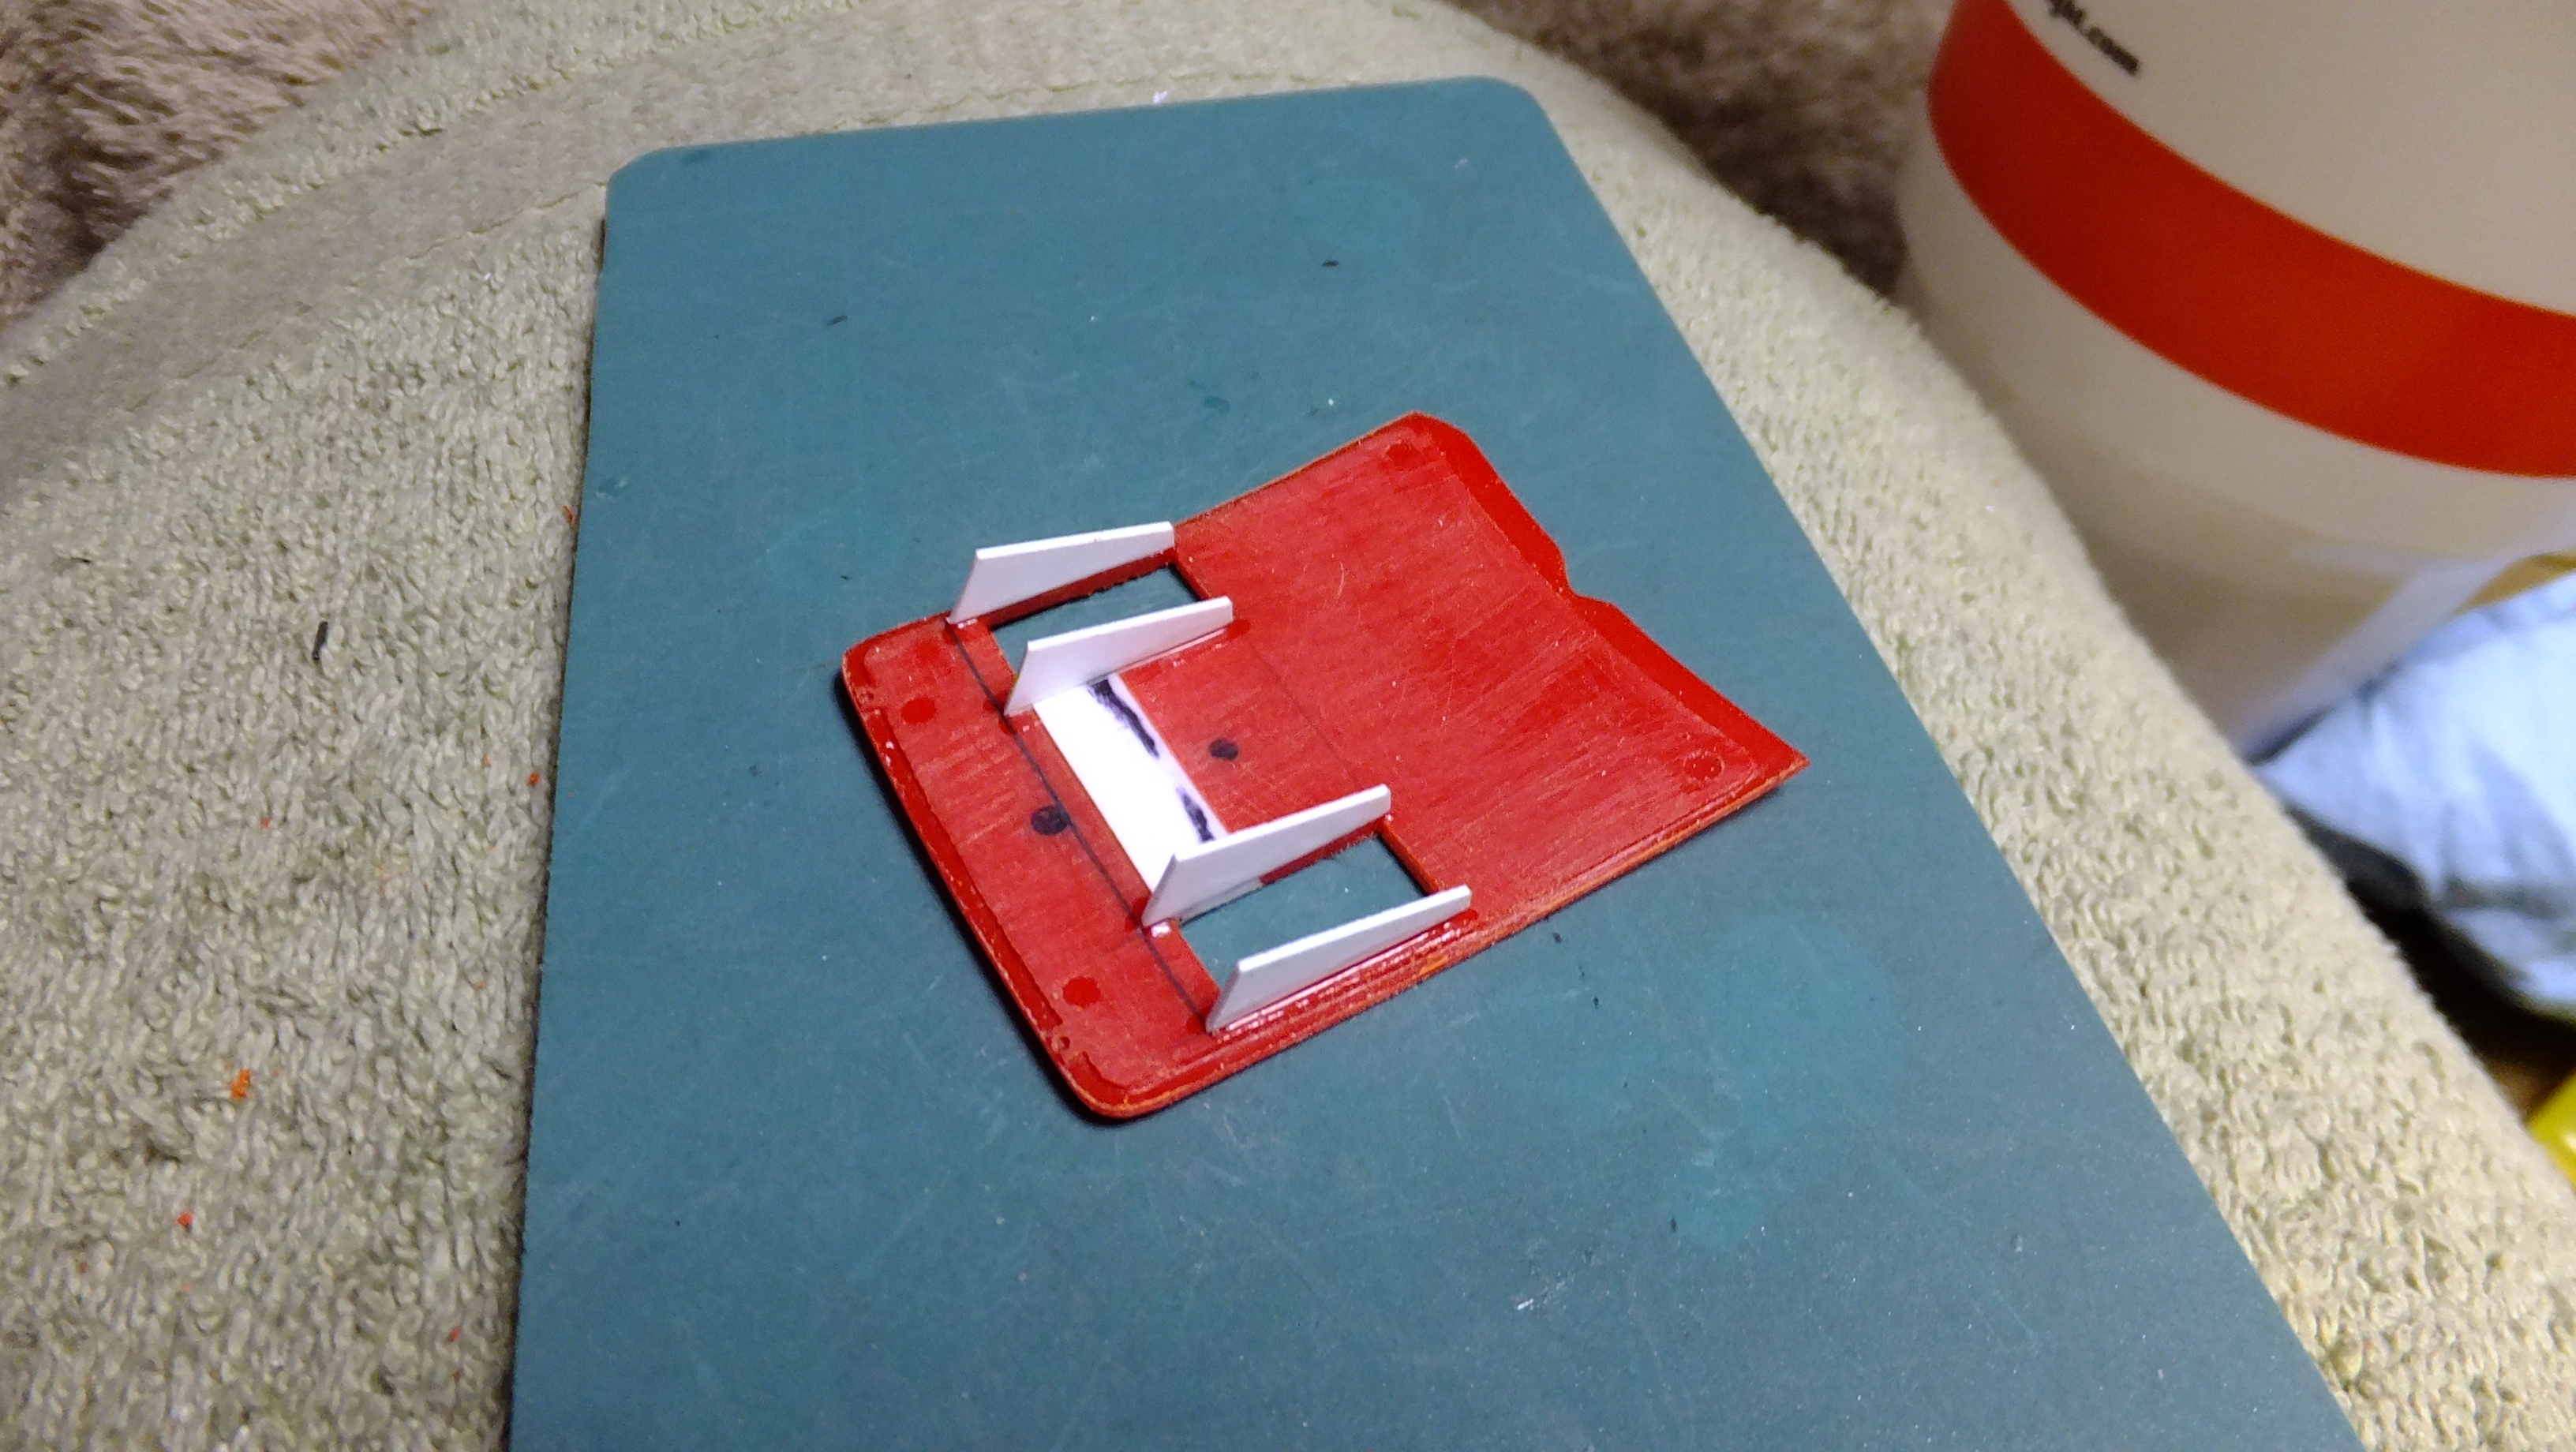
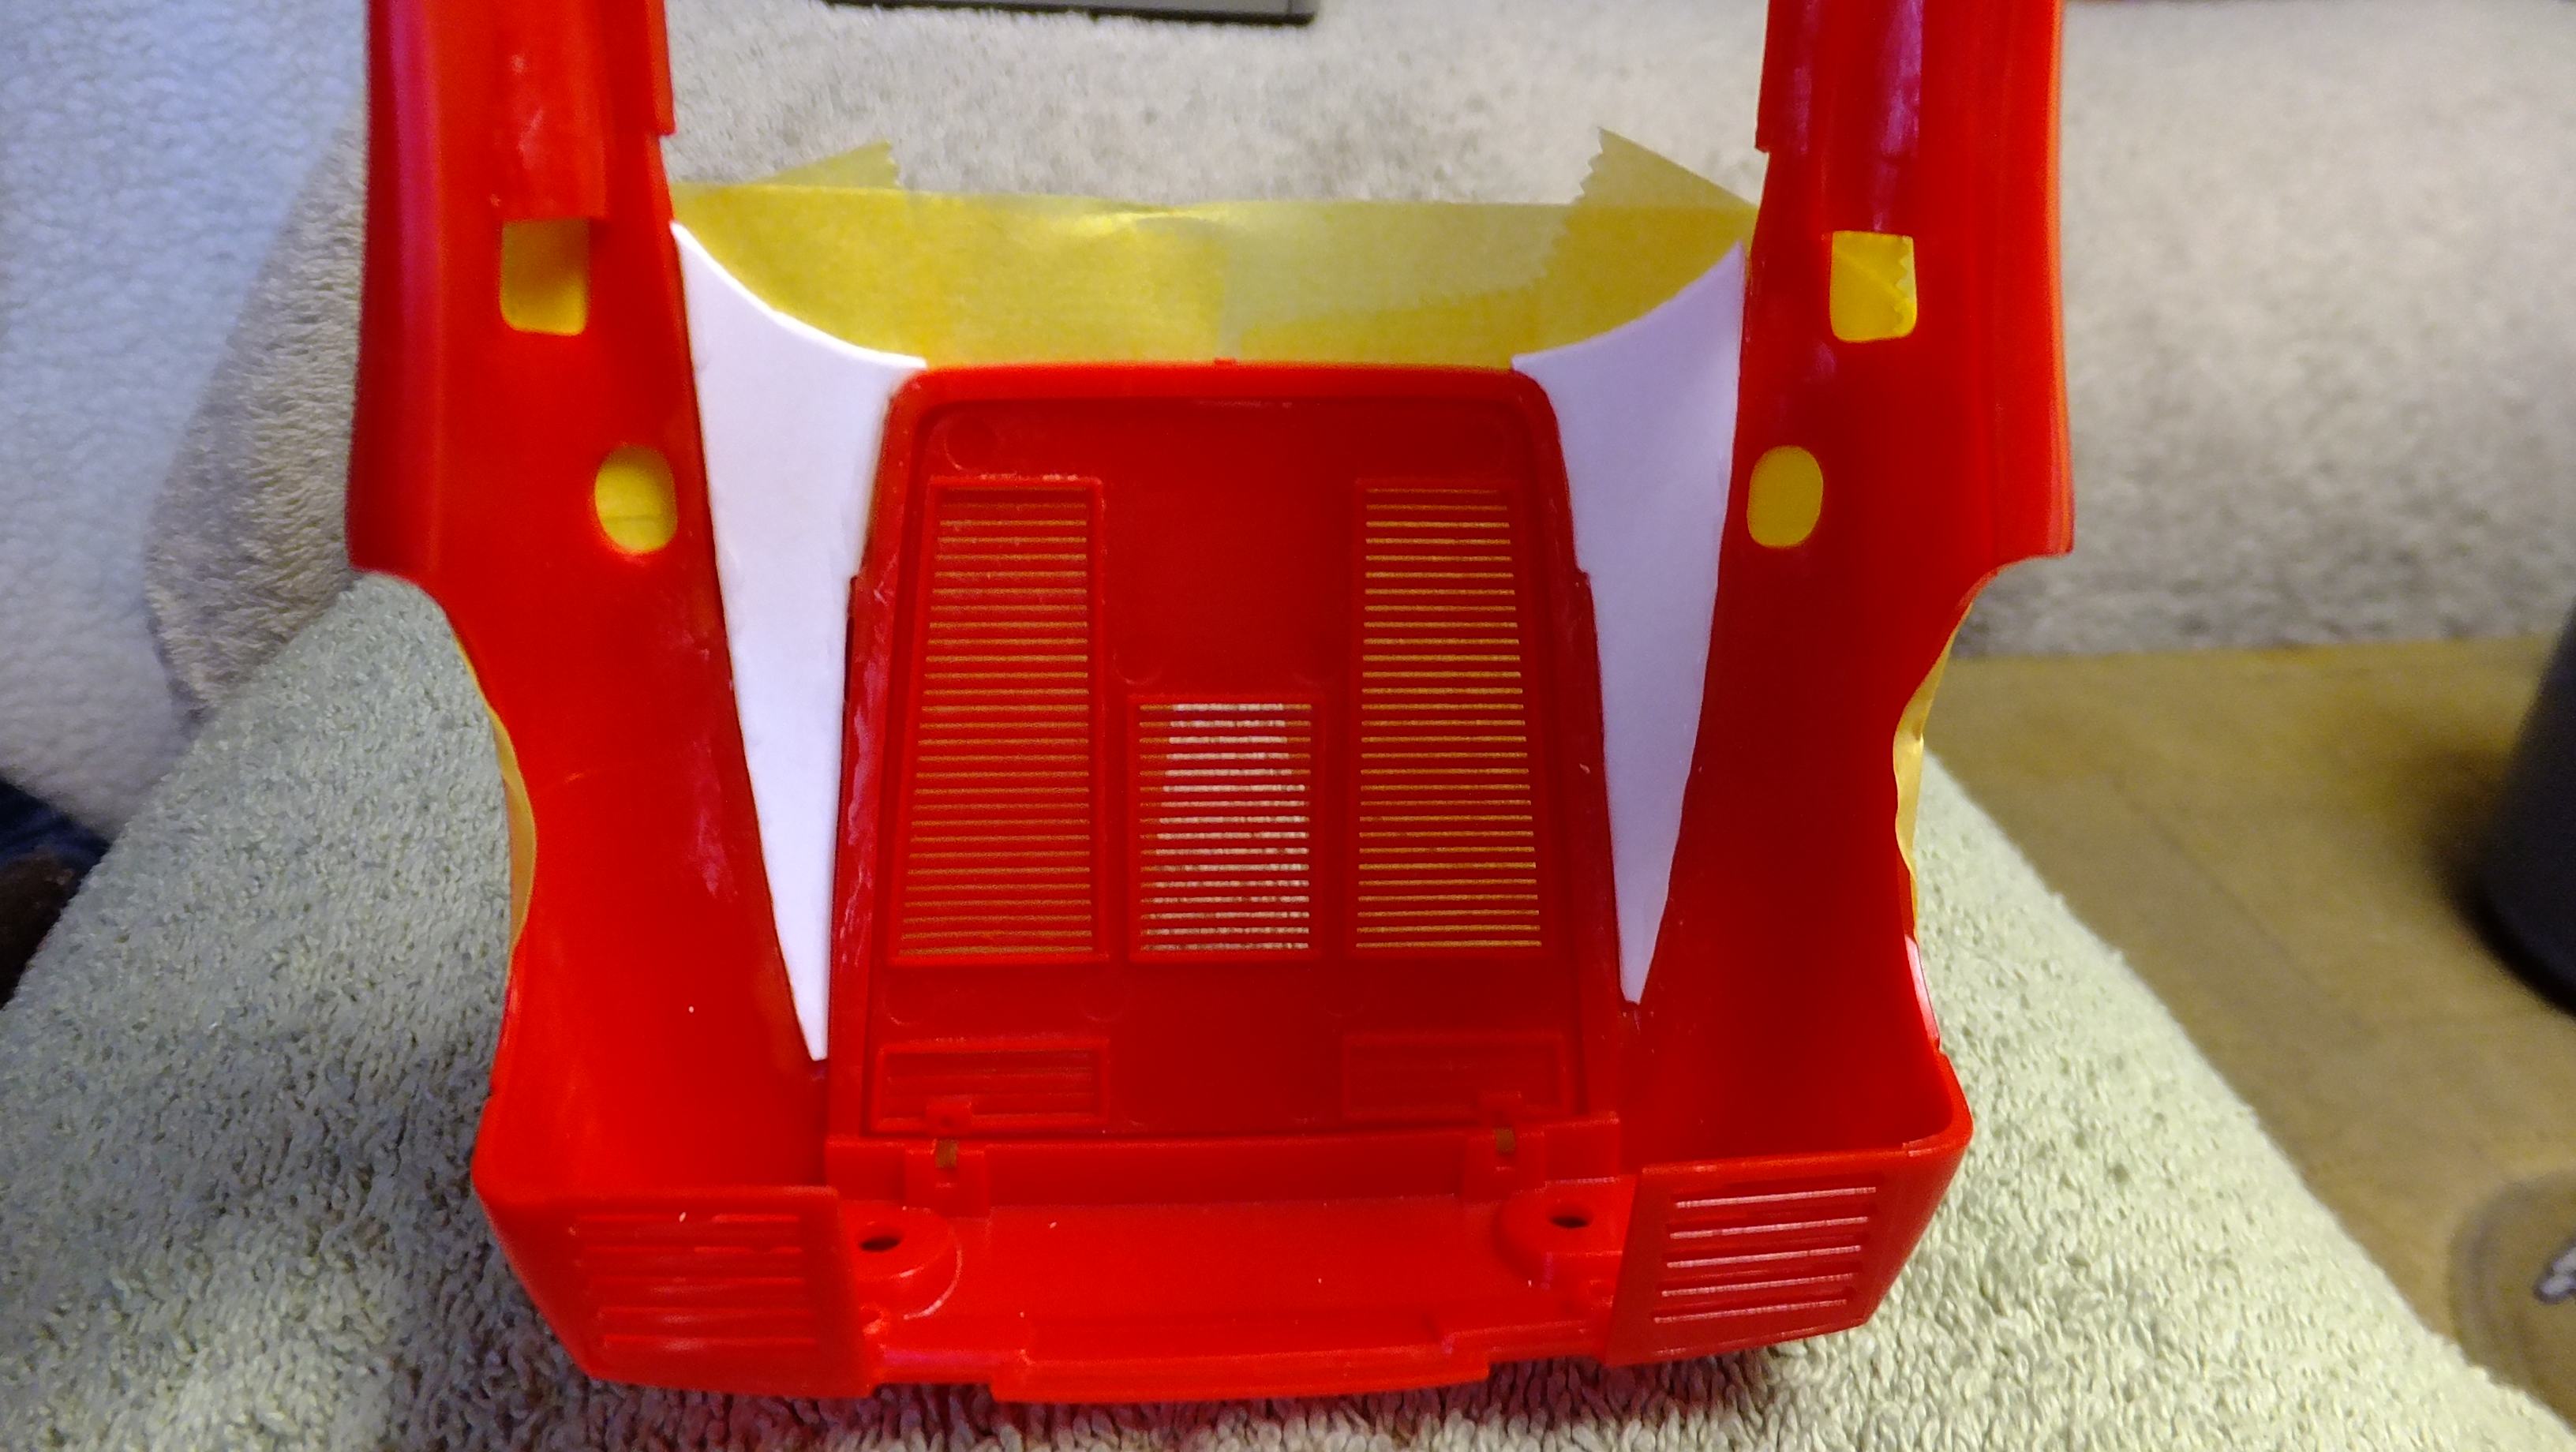
Quite a few cars that have been made into Spyders, Roadsters, or convertables, tend to have slightly different looks to them than the original versions. Since the vent was all warped, and broke when I tried to fix it, I decided to customize it with two individual vents. -Photo 2; I'm using a scrap piece of styrene to help assure that the center section gets lined up properly. -Photo 4; The center section fit in perfectly. -Photo 5; I needed to add another thin piece of styrene to fill in the low spot.
-
 NICE!!, this is a great kit!!
 -
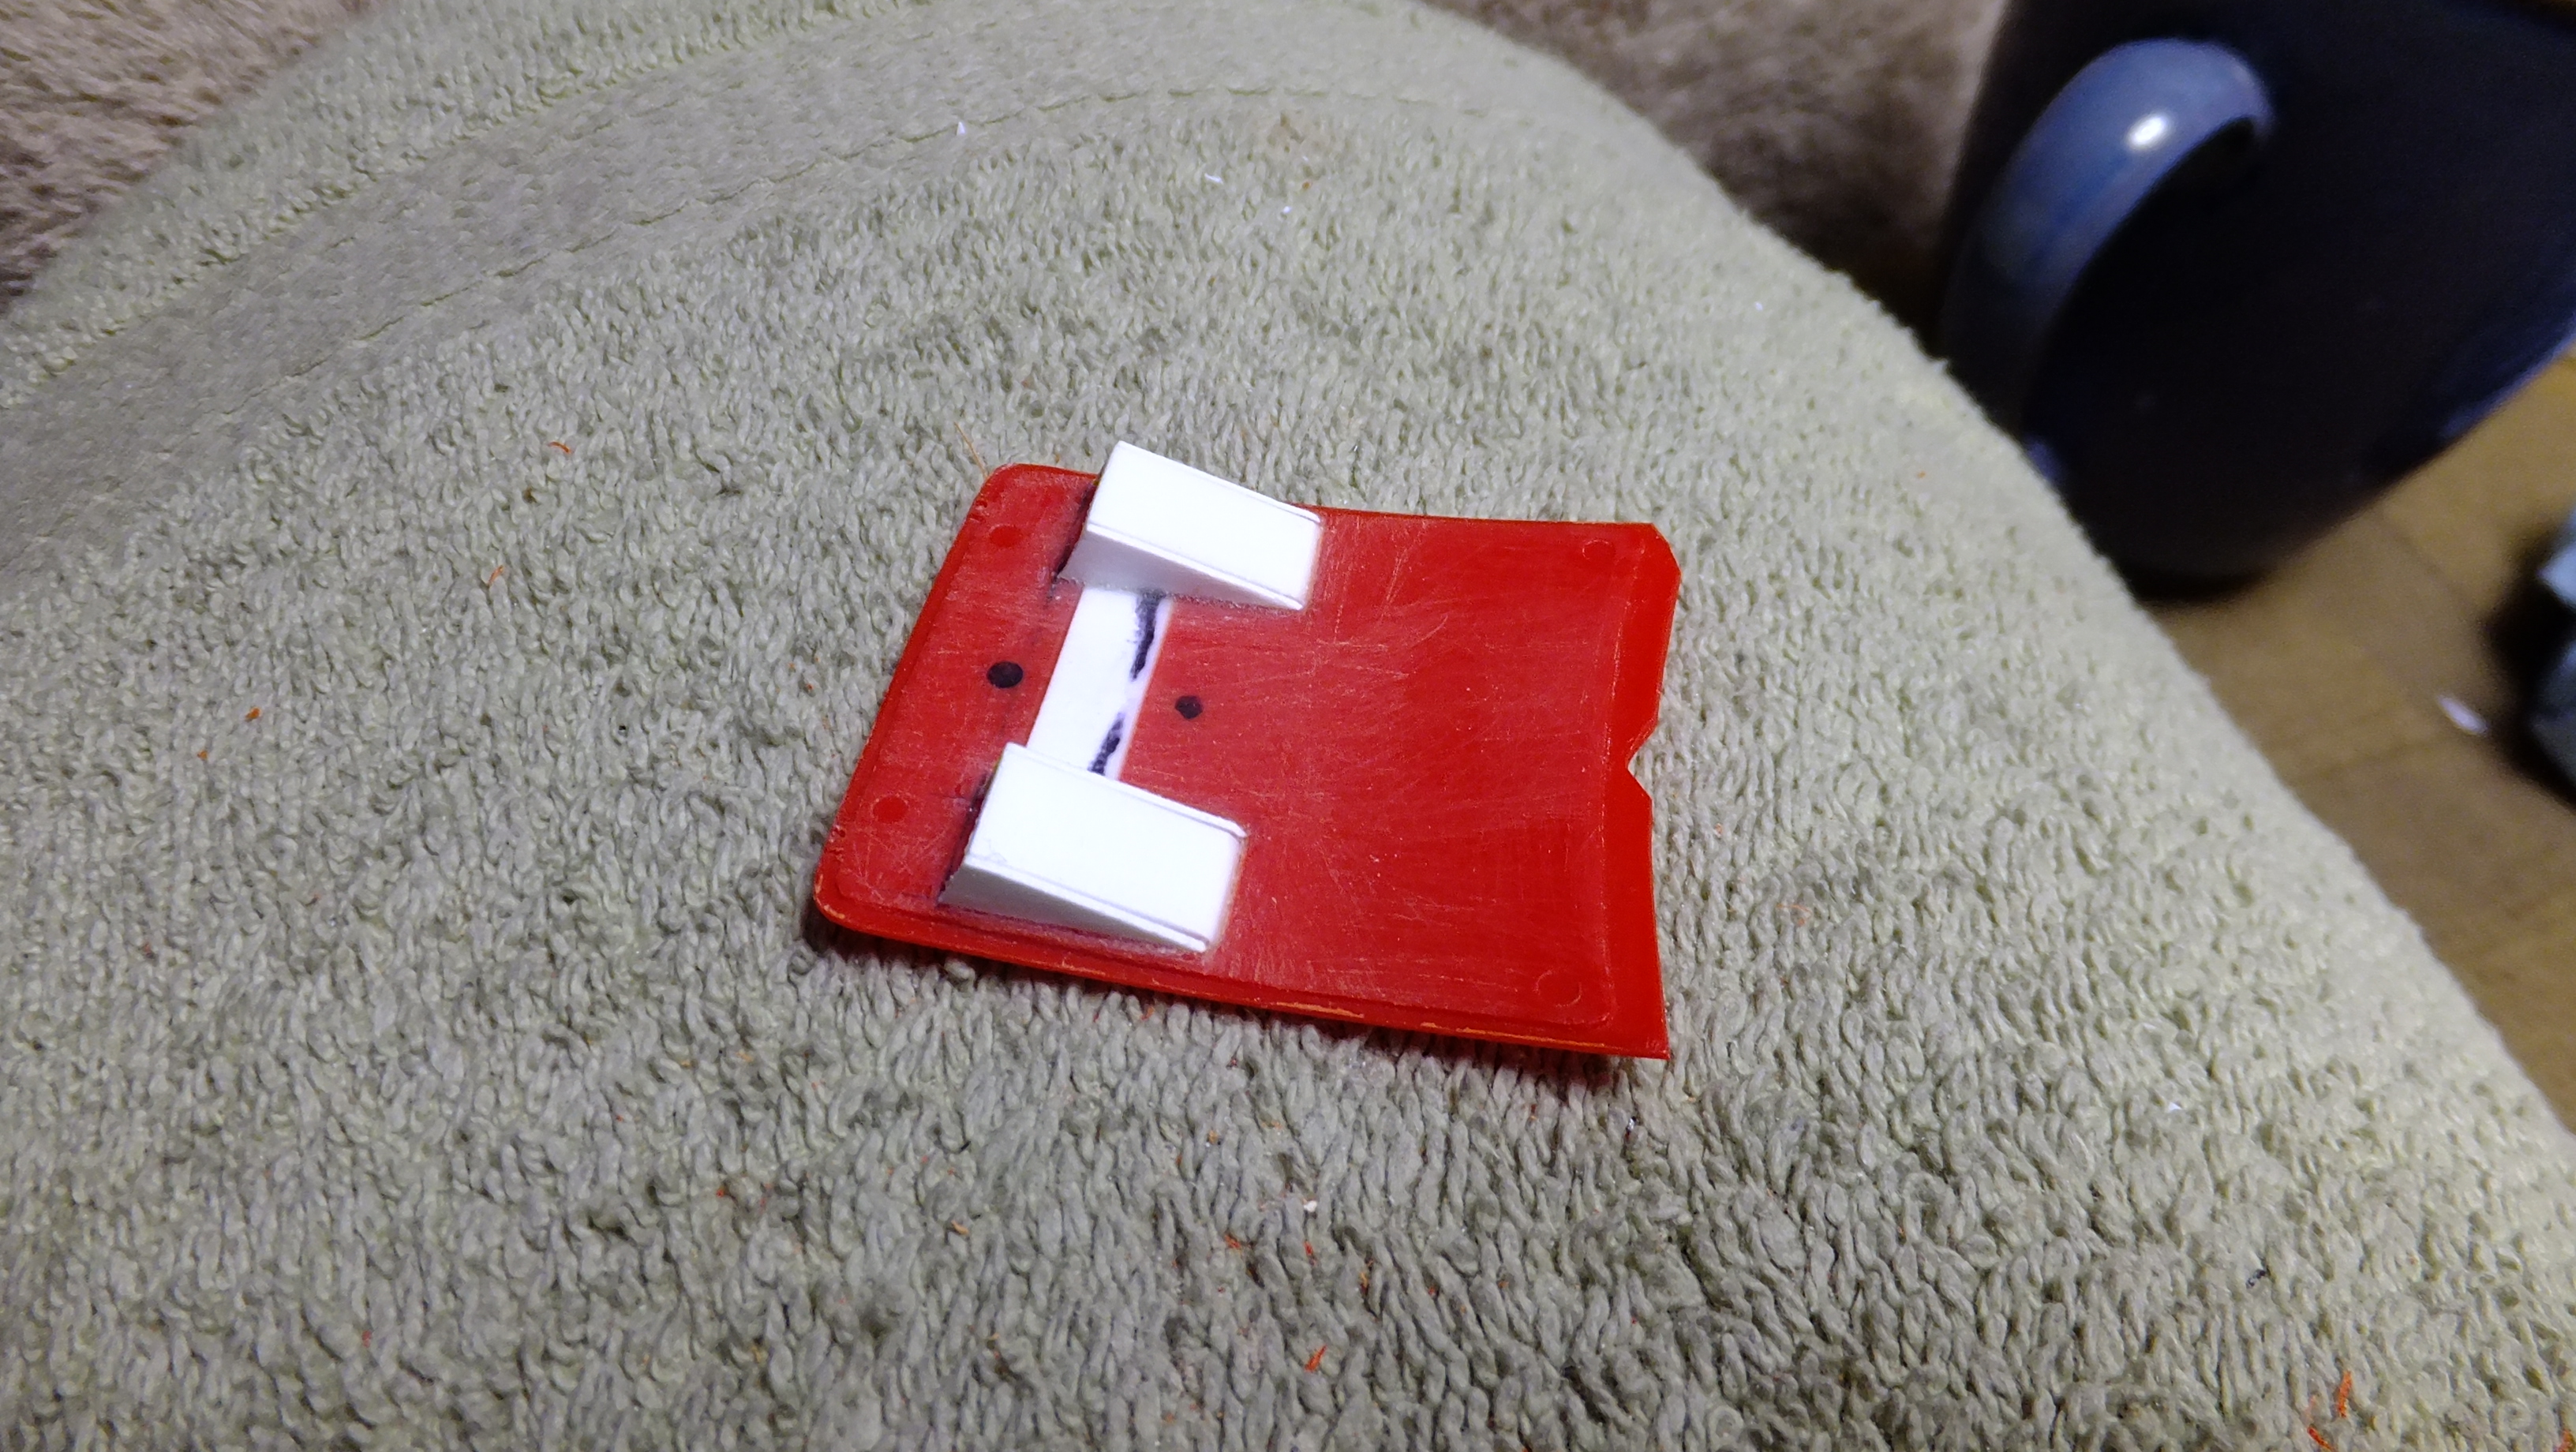
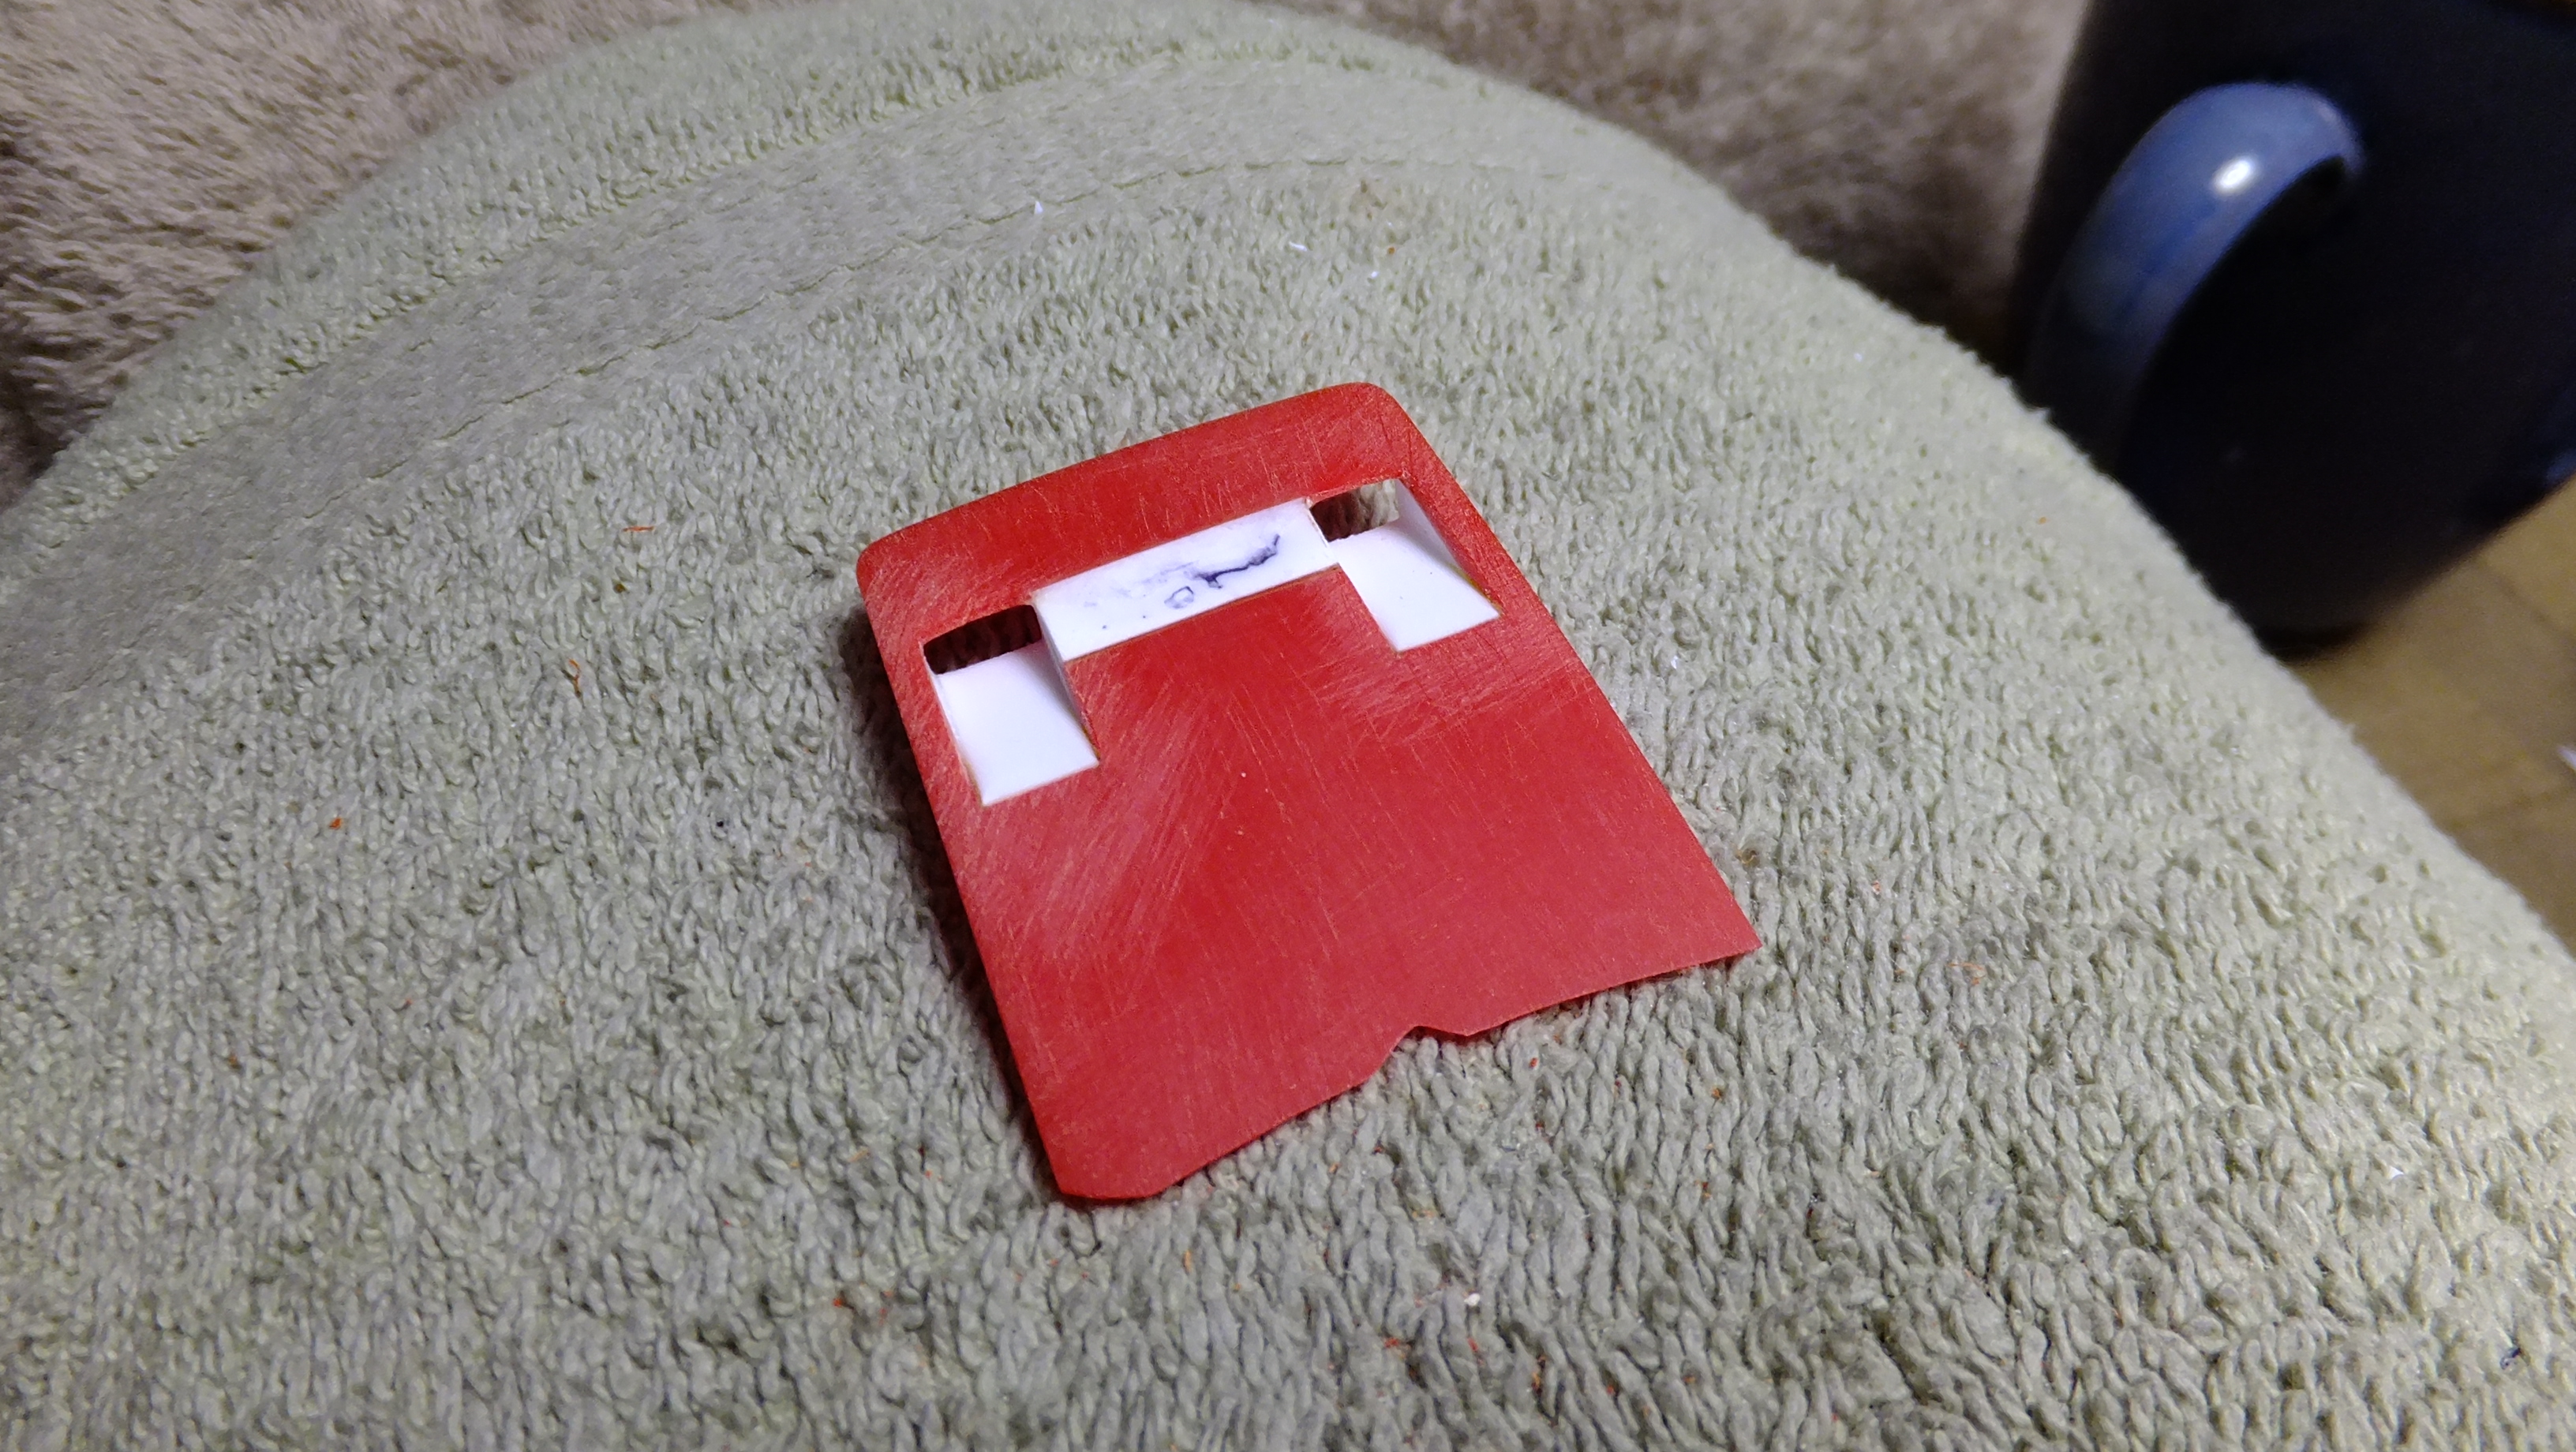
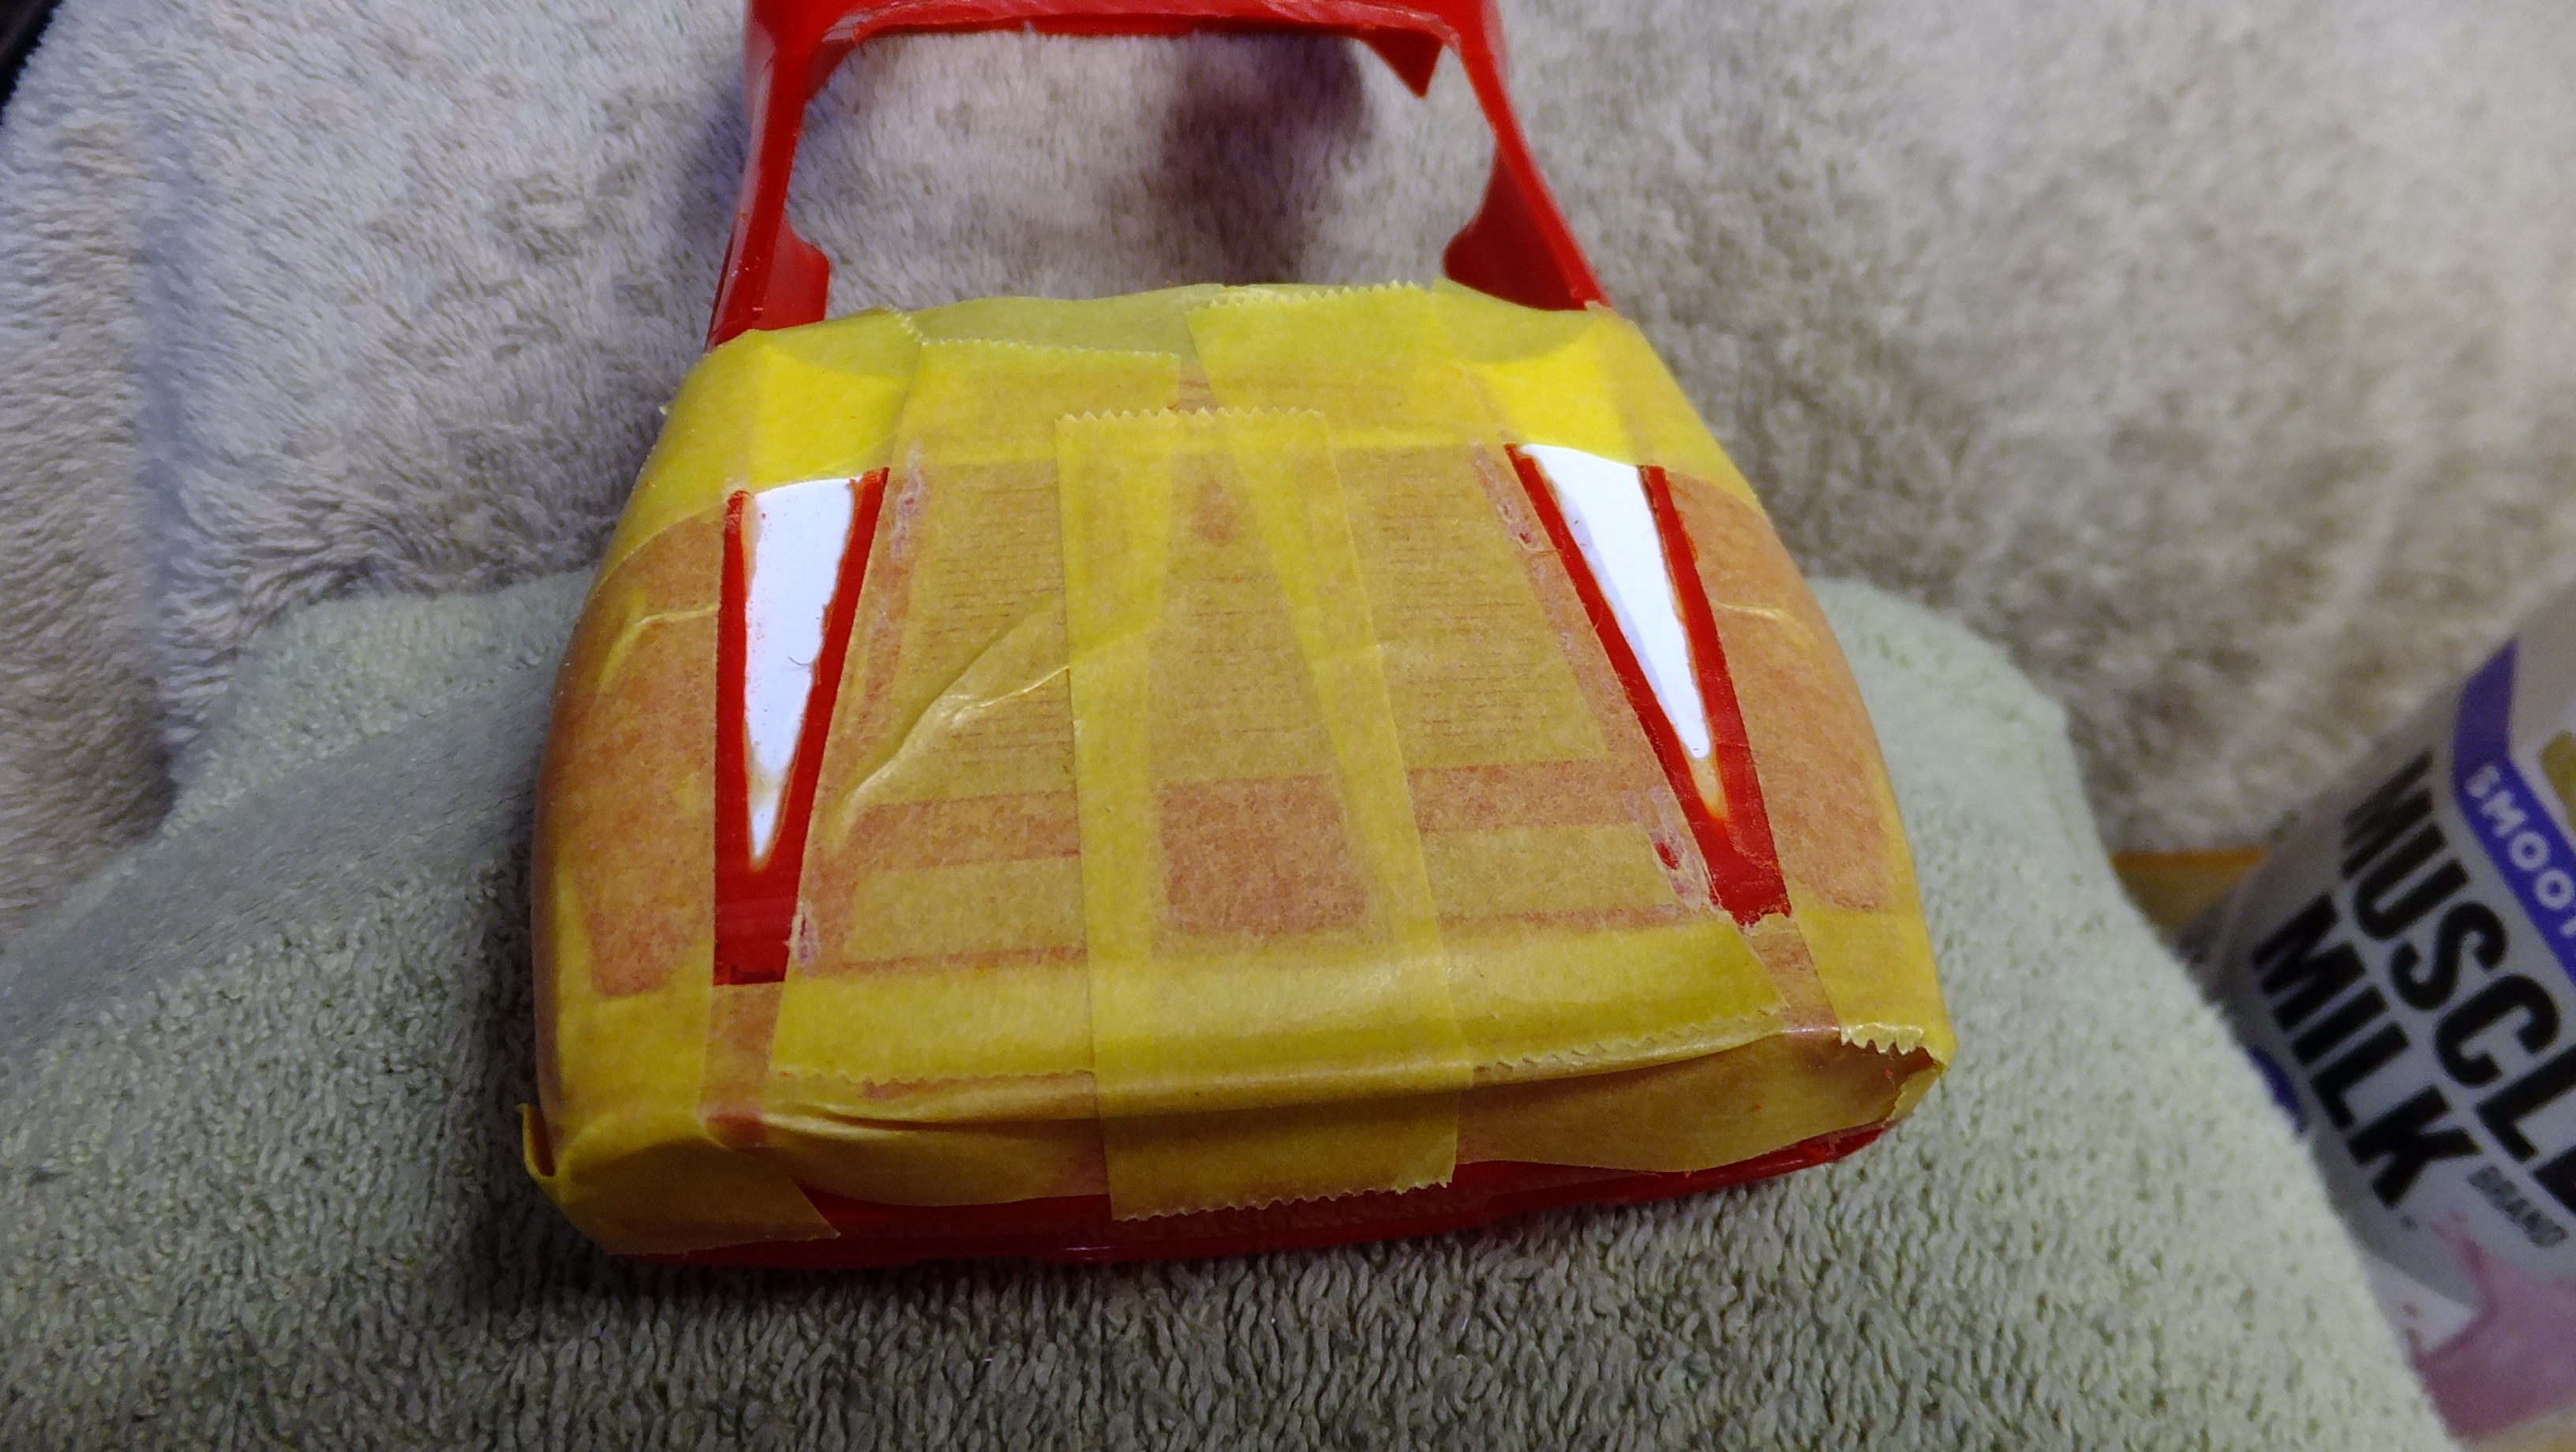
I decided to add another thin sheet of styrene to both sides, so that it would contour better as I sand it all. I coulda used filler, but I prefer styrene, and super glue for this stage.
-
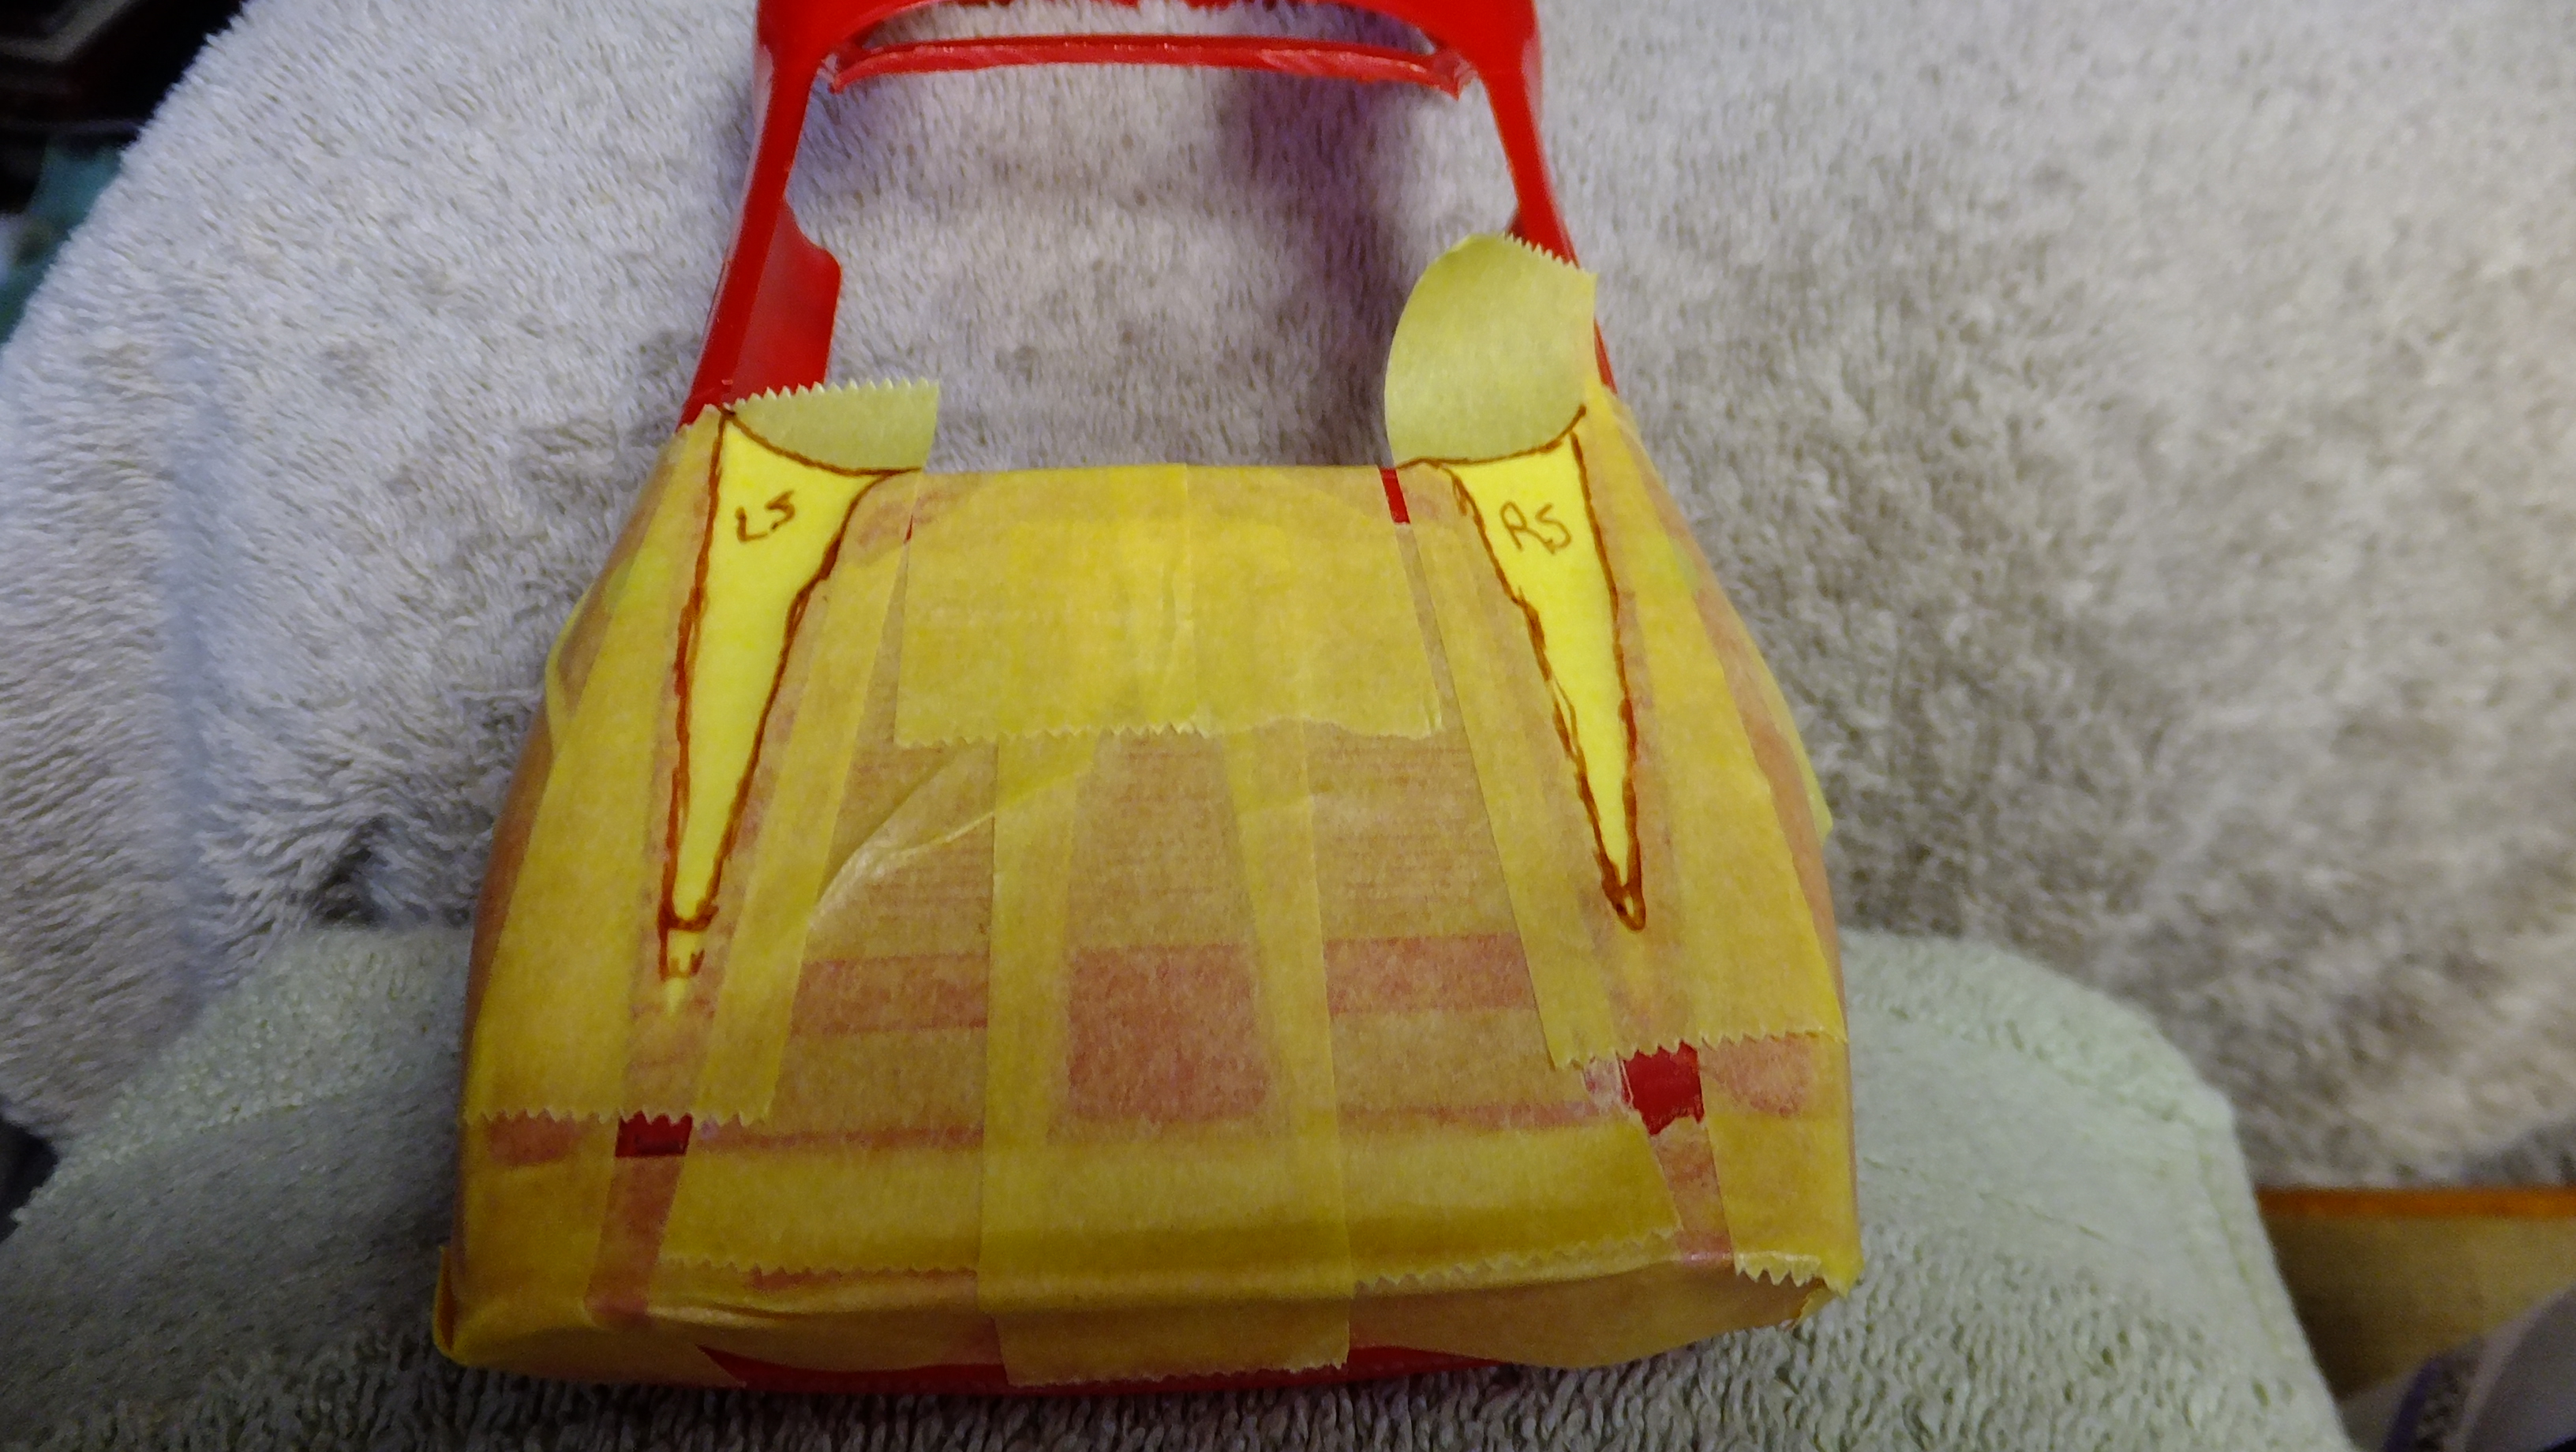
….next, I cut pieces of styrene to super glue in the spaces. I just put tape over the openings, and traced a stencil....worked a treat!
-
That's pretty funny, David!!
-
Thanks, JC!!
-
First step.....remove the roof. I like to use tape on surrounding details to protect, as well as let me know I've gotten down far enough without going too far, and causing unnecessary filling.
-
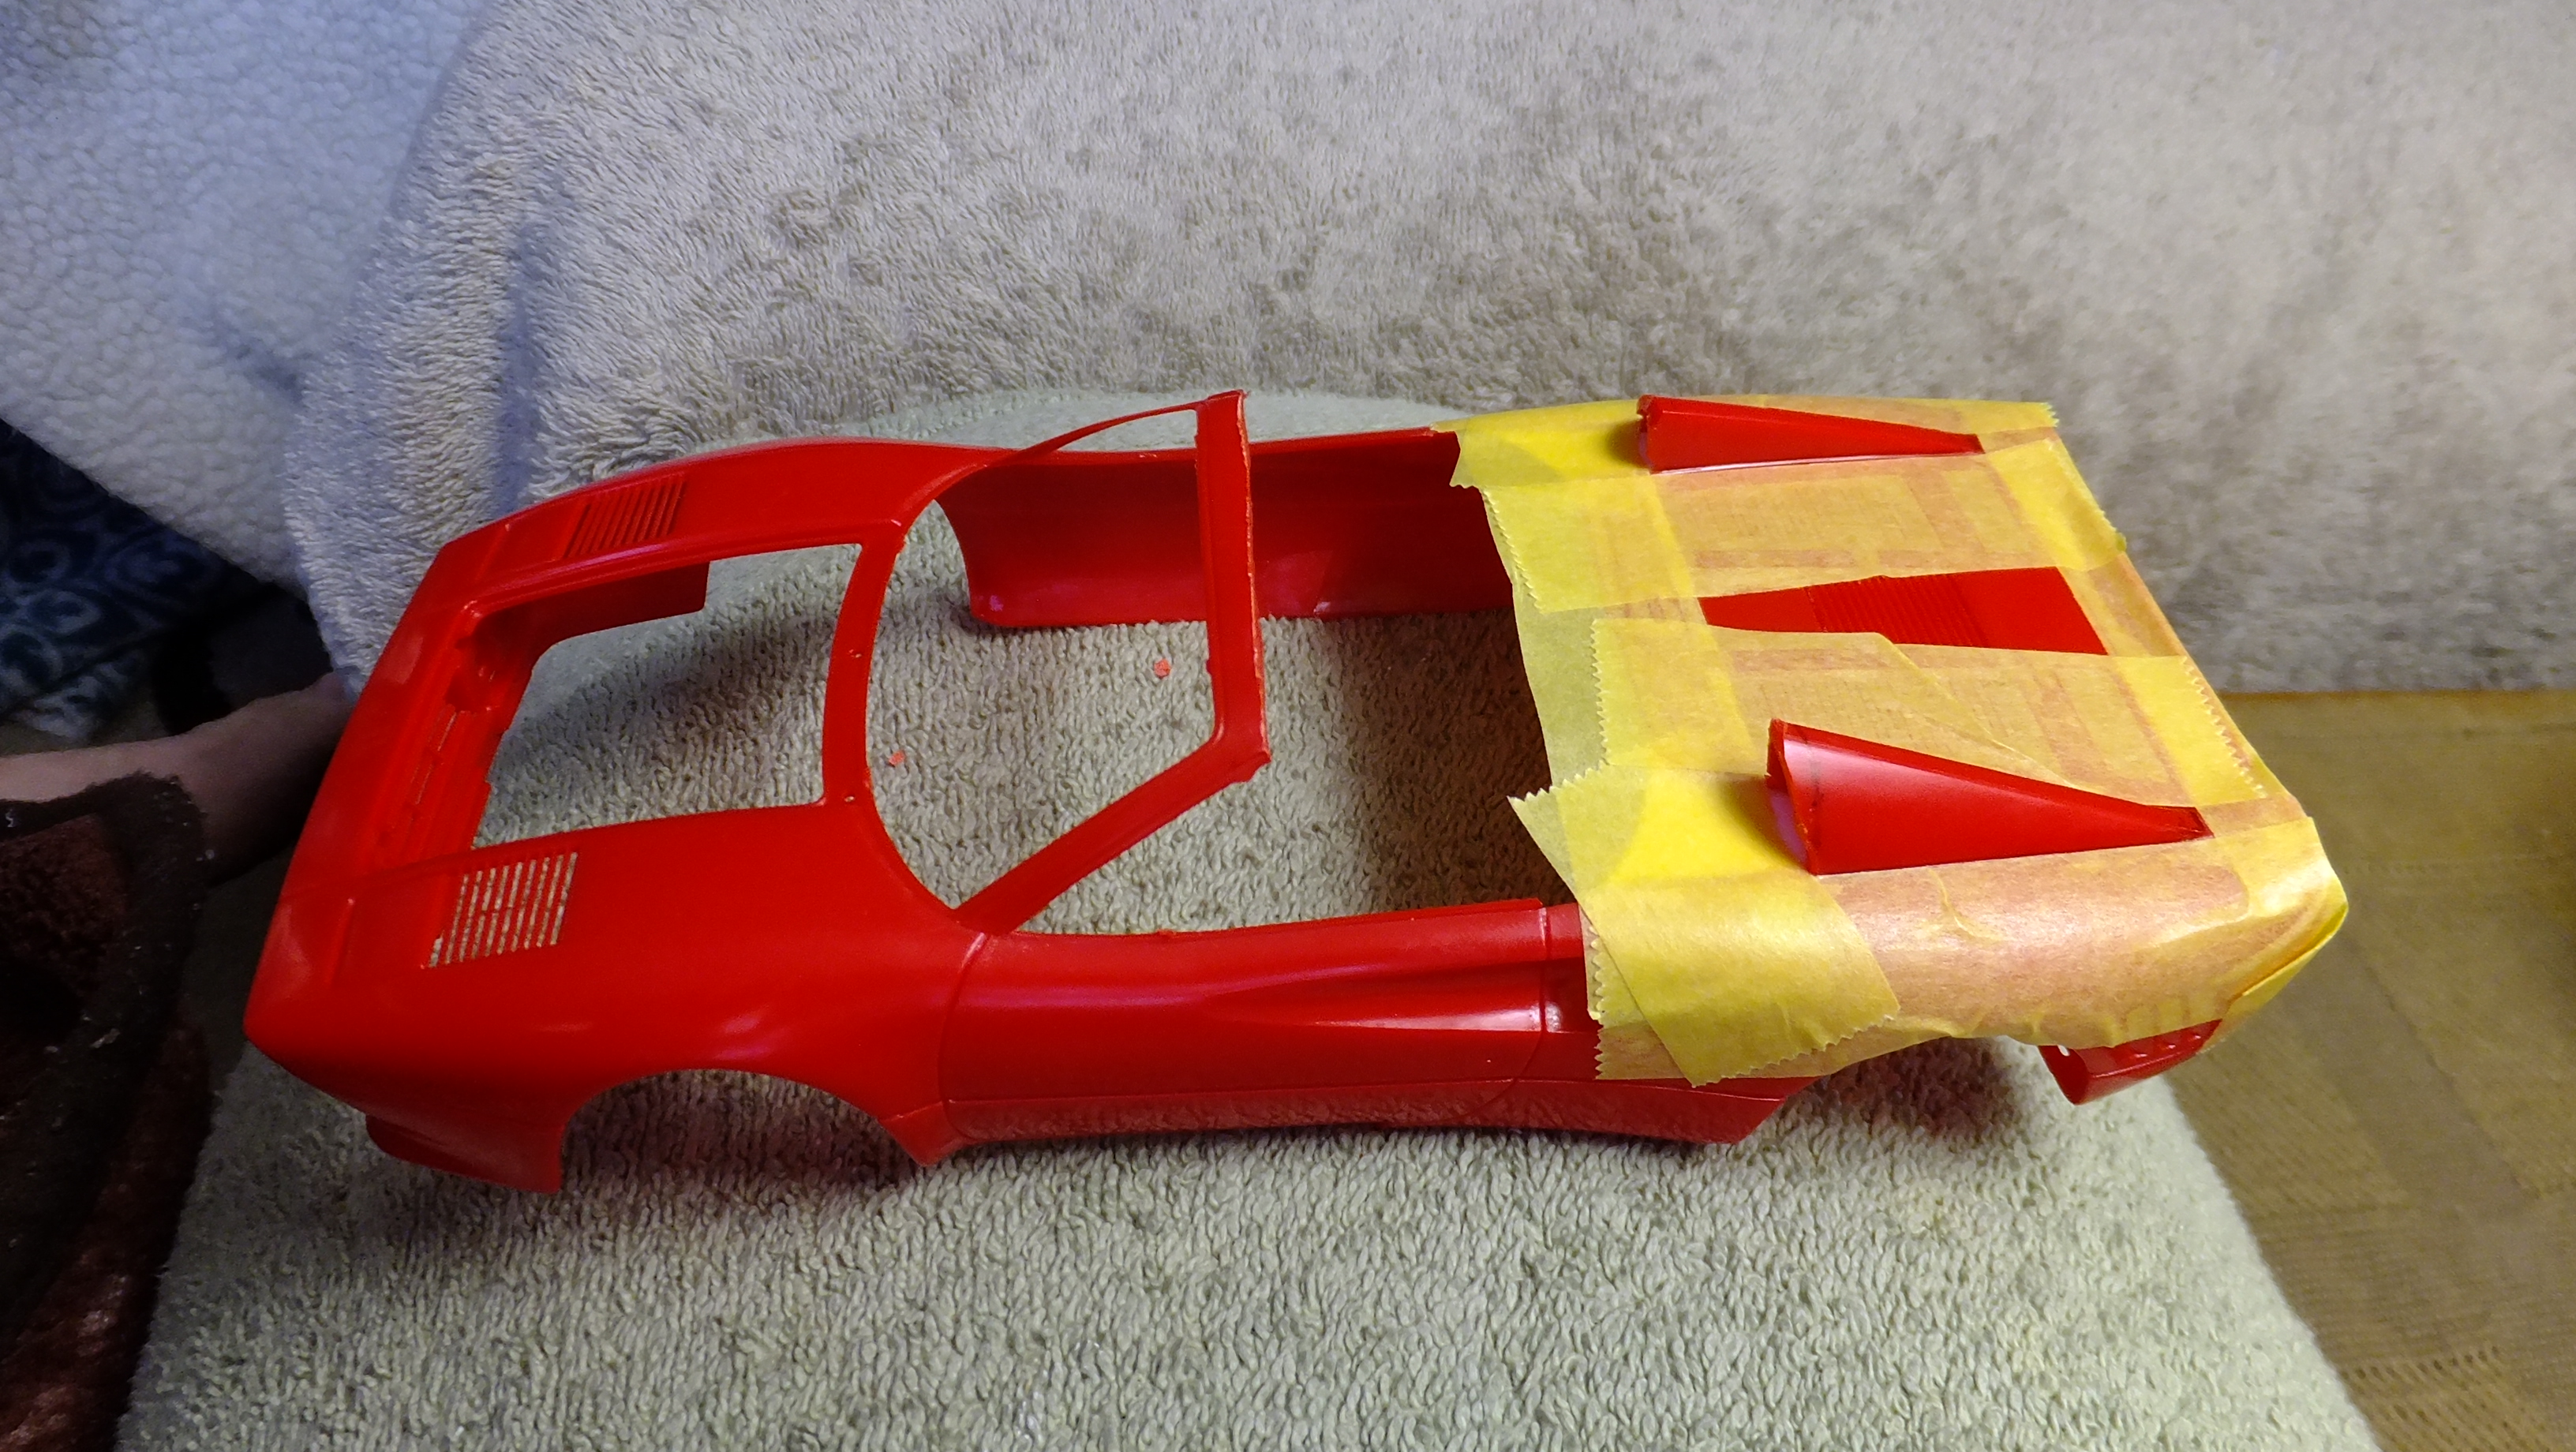
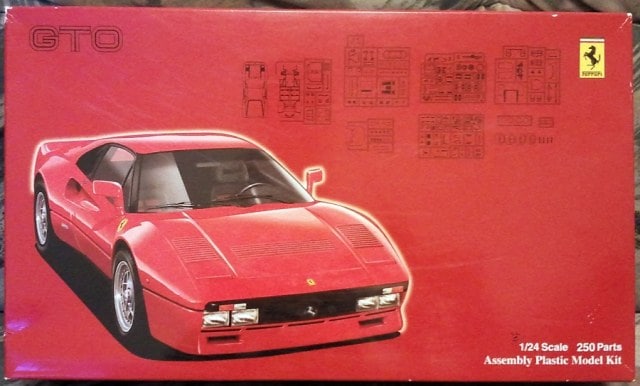
While waiting for things to dry on my Pagani build, I was thinking about how cool a 288 Roadster would look. Since my special kit No.9 had a screwed-up bonnet vent, I decided to use it as my test model. I discovered that all the kits I've had molded in the red plastic ALL had the same warped bonnet vents, so I decided to try the white plastic kit No.105, since a friend told me his was fine.....so I ordered two white ones, and they were both fine! What I learned here, is that if you don't want to use the PE vents.....which I don't, then you want NOTHING to do with the kits molded in red. Anyway, I will be playing around with this here and there in between builds.
-
Thanks, Alex!! I've tried to build box-stock before, but haven't really been able to do it, lol. There is ALWAYS something I cant stand, that has to be changed. My idea of taking a break from super detail, is a nicely detailed curb-side build, That's why I have the Reventon, and the Miura going. Any time I get close to finishing a car, the others stop until I get the one finished. This 8 car build-thing I tried is great, but I forgot about the fact that I don't finish ANY cars very soon, so after this lot, I will be doing no more than 4 at a time.
-
Thanks, Tommy!!, haven't had any real time to do much on it these last few days, but i'm getting ready to paint the exhaust tips once I test fit them. I modified them to be just like the real car. Tomorrow I should have quite a bit of time to get stuff done on it!!
-
Tamiya 1/24 Mazda Savanna RX-7 - 1st Generation Rotary Rocket
Dann Tier replied to Italianhorses's topic in WIP: Model Cars
It looks great!, but the only problem I see, is the cut edge being a frayed white line.....that would drive me nuts...lol -
Fully detailed Airfix James Bond Aston Martin DB-5
Dann Tier replied to Dann Tier's topic in WIP: Model Cars
Thanks, Adam!!….I should be getting back to this one once my Pagani is done!