Chariots of Fire
-
Posts
2,802 -
Joined
-
Last visited
Content Type
Profiles
Forums
Events
Gallery
Everything posted by Chariots of Fire
-
 Are you sure that won't start up on its own? Wonderful detail work!!
 -
FDNY Wrecker
Chariots of Fire replied to Scott Eriksen's topic in WIP: Model Trucks: Big Rigs and Heavy Equipment
I'm familiar with apparatus so I thought that might be the case but was not sure. Thanks for verifying! -
FDNY Wrecker
Chariots of Fire replied to Scott Eriksen's topic in WIP: Model Trucks: Big Rigs and Heavy Equipment
Scott: How is the wrecker hooked to the back of the engine? It looks like everything is above the rear step. -
It is, Steve. There are photos of the build in progress in the WIP section.
-
Making Tracks
Chariots of Fire replied to Chariots of Fire's topic in WIP: Model Trucks: Big Rigs and Heavy Equipment
And here's a look at just some of the parts that came in 5 boxes; two shoebox size and 3 smaller boxes. The Cat 4 cylinder diesel engine has been removed from the buildup lattice as well as the pony motor next to it. Great detailing in each piece.
-
Making Tracks
Chariots of Fire replied to Chariots of Fire's topic in WIP: Model Trucks: Big Rigs and Heavy Equipment
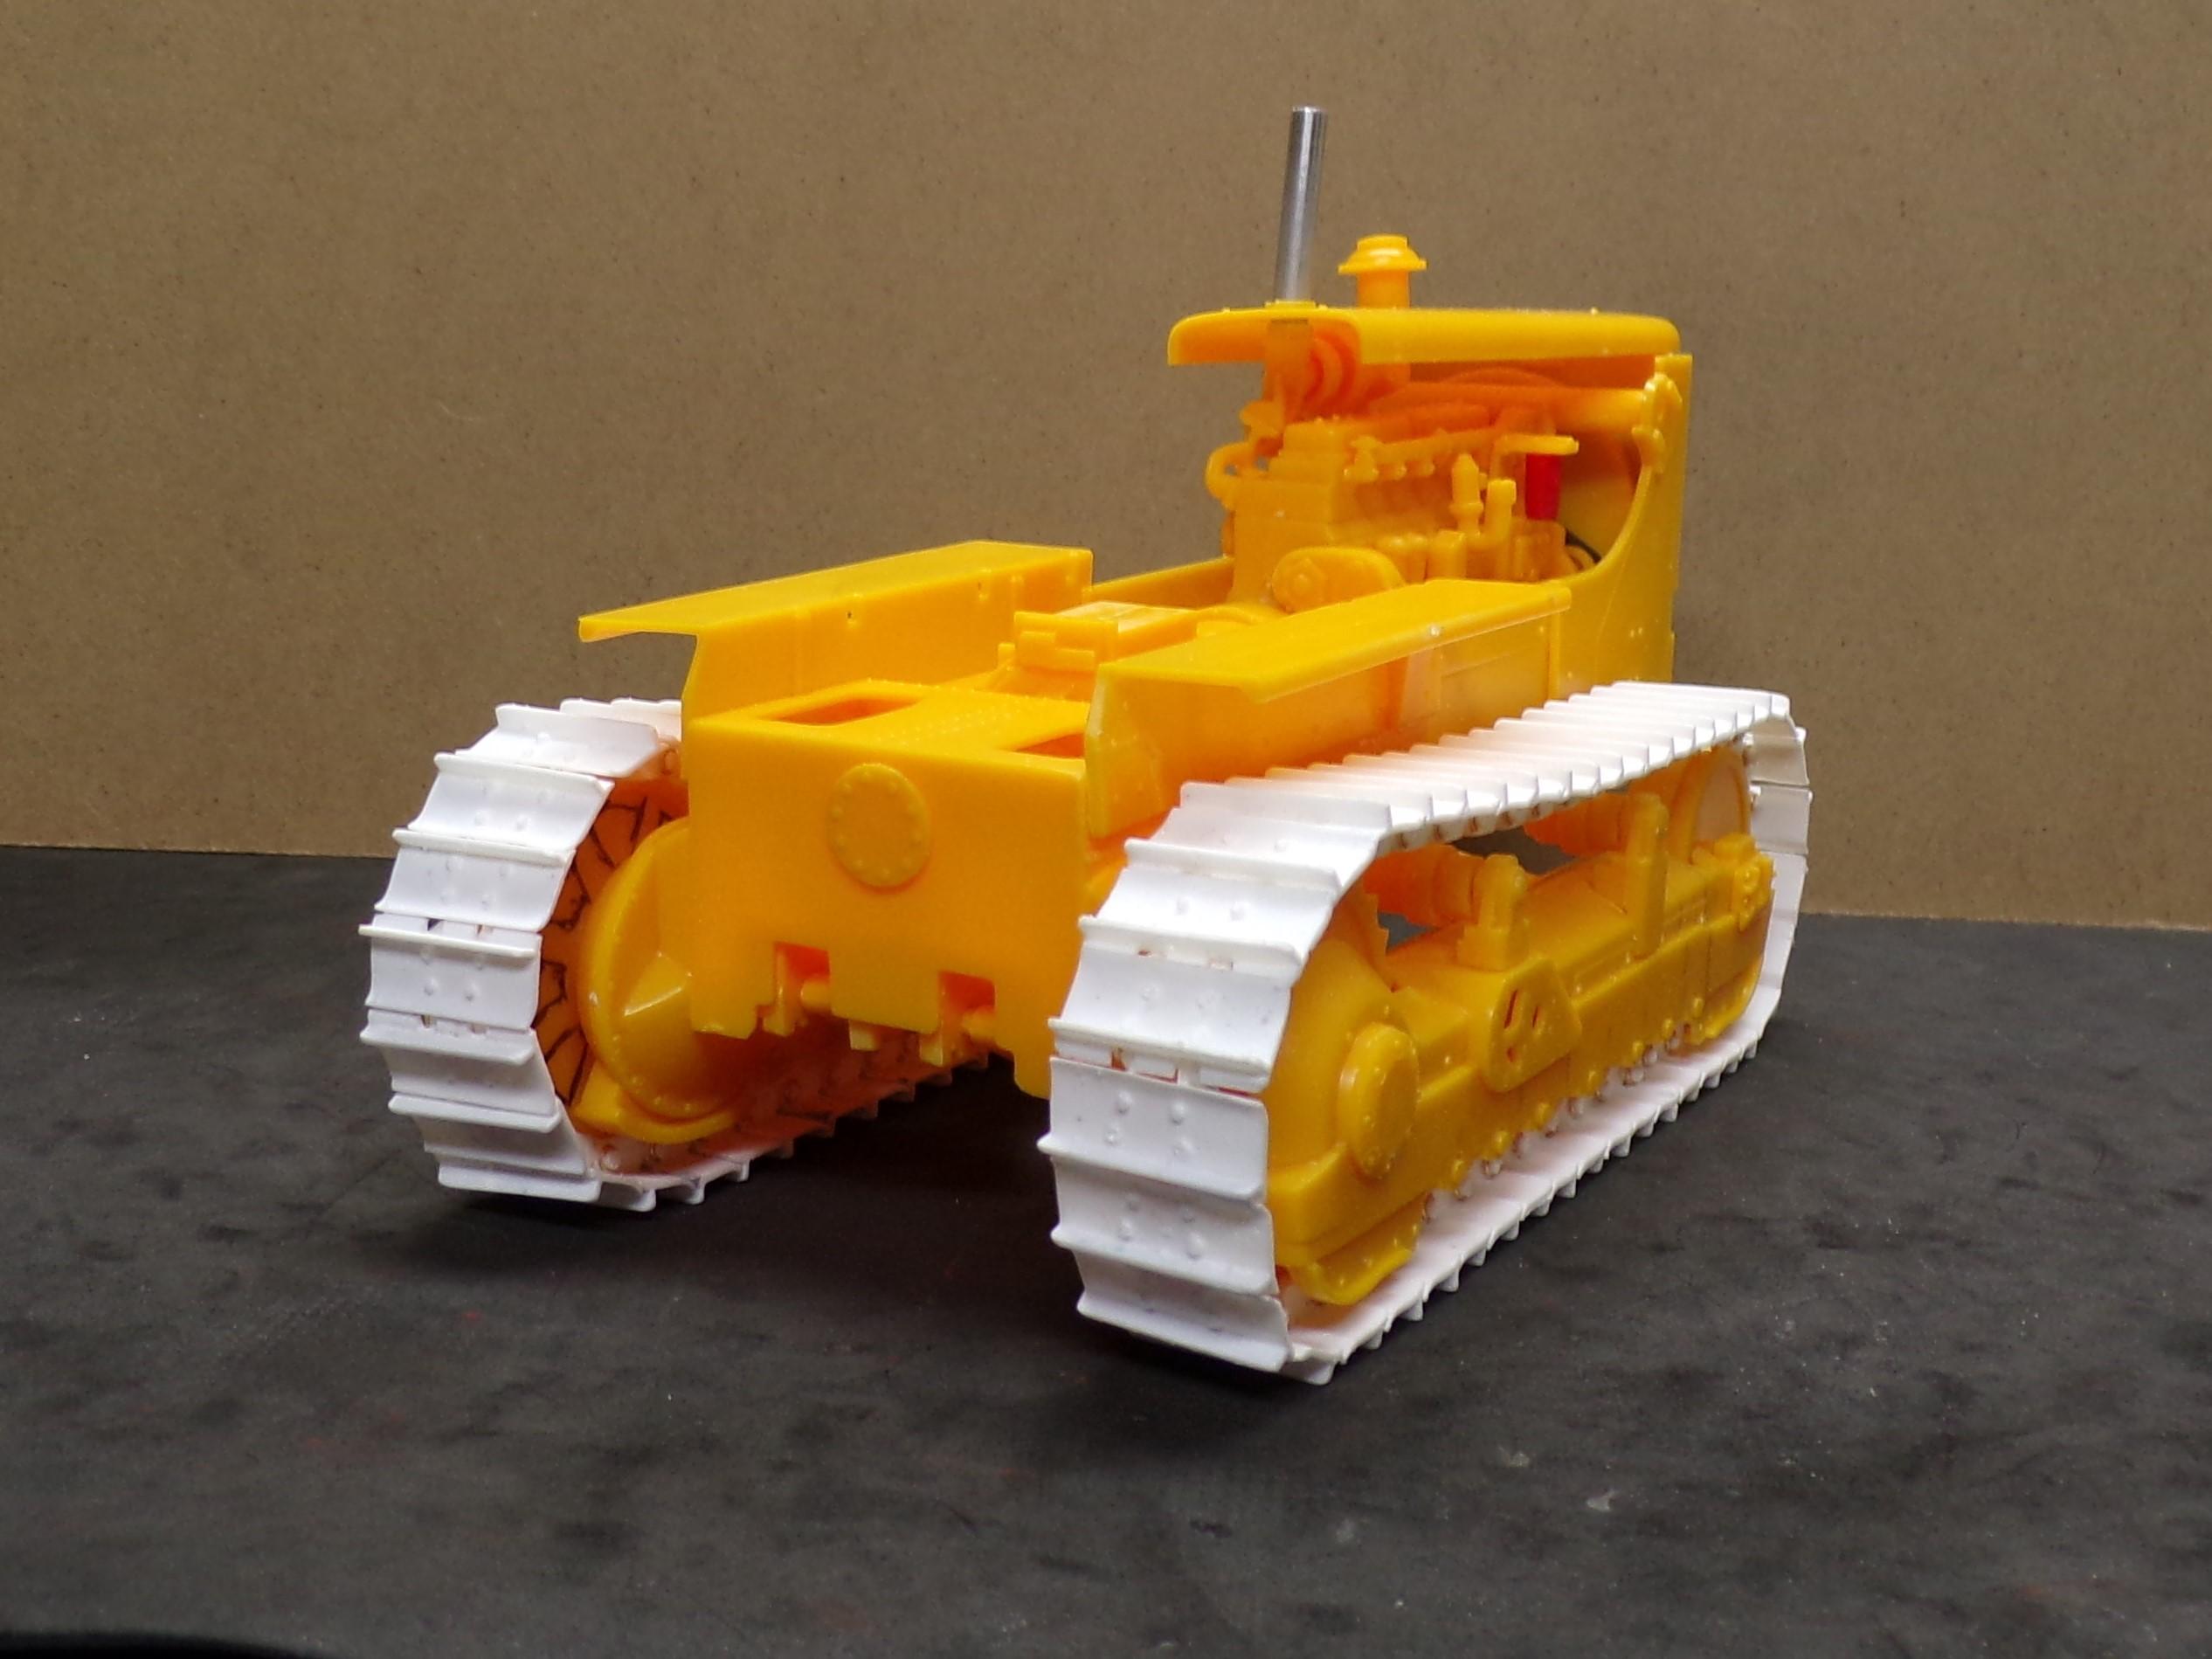
Got two things going now. One is to finish the Cat D-8 with the new track setup. And the second is to build a D-7 from the 1940's from a Scale Collectibles 3D printed kit. Here are some pics of each. This is the AMT D-8. I painted the track and side rails with brown primer and then highlighted the tracks using a Tamiya weathering kit that has silver and gunmetal. Also some Doc O-Brian's weathering powders to simulate some light brown sand. I added some wire connectors to the fuel injectors. The exhaust is a section of aluminum tubing with a brass cover on the top that can be opened. Still a ways to go. The D-7 is a much smaller piece of equipment as proven by the comparison of the size and length of the tracks. Track plates are nearly identical but the number of links is less and the curvature is less. The tracks in the foreground of the next photo came from the 3D printed kit. They come in 4 sections, two end pieces, a flat section for the bottom and a top section that droops a bit. I added the temporary pins to hold them together. And here is what the kit looks like. It has some amazing stuff in it and a more amazing amount of latticework that is used to print the parts out by 3D. What you are looking at below is the dozer blade and the frame that attaches to the side rails and the center of the blade. There is also a radiator included in this printing. The tracks were similarly printed before the latticework was removed. Here's a look at the assembled kit. Very well done and very smooth. No visible layerng of any of the parts which I will post shortly.
-
Give it a whirl,Paul! Let's see what you come up with.
-
It's not wrong to suggest a 10 wheeler but the question to ask (IMHO!!) is what is its function. Most rigs of this type are built to service a certain thing. Some are built to service over the road big rigs. Others are built to service contractors who have trucks or other vehicles that do a specific thing and the service vehicle has to be built to support them. Most service vehicles I have seen are 6 wheelers and have a good variety of equipment for a particular mission. What to do? Ask what the mission will be, set some standards, and then build to fulfill the mission. ?
-
Darker black for homemade decals?
Chariots of Fire replied to BK9300's topic in Tips, Tricks, and Tutorials
Actually the resolution is not adversely affected. In fact, as you reduce the size of the decal the imagery stays the same. That is one reason if I am making decals I start with something much larger and shrink it down by percentage. The only thing that has to be adjusted somewhat is line width. If you start with a thick line, when the image is reduced, the line thickness has to be reduced by hand to keep it in perspective. Not nearly as difficult as it may sound. For example If I am making a set of letters for the doors of a truck and the letters have an outline of a different color starting out with a thick outline while the letters are large I have to reduce the line width of the outline otherwise it overwhelms everything else. In the example above all of the lettering was done on the ALPS. Note the black outline on "MASHPEE". It is relatively thick but goes well with the size of the decal. If I shrunk it down to the size of the letters on the door, the outline black would have to be dropped down to a thin line width as you see on the "FIRE" and "RESCUE" letters. Incidentally the town seal on the door was directly imported from an on-line image and printed directly. One of those cases when the direct image was recognized by the Micrographx program. The resolution stayed perfectly clear.
-
Darker black for homemade decals?
Chariots of Fire replied to BK9300's topic in Tips, Tricks, and Tutorials
I'm glad I still have an ALPS printer that works. I always print on clear decal paper. Get mine from Sunnyscopa. Not that it matters but I've had great results with this material. ALPS always needs a solid undercoat of white in order for the colors to be solid as well. Otherwise when you print without the undercoat the decal all but disappears on the model. That's because the image is simply a series of small "x" that get blended together from the four print cartridges. But the end result looks solid enough and is very crisp. I've made some very small decals for 1/87 scale vehicles and they are very clear and readable. I've also copied images from internet files into my graphics program for use in emergency vehicle decals. Sometimes the images are such that I can print them directly and with very exceptional results. Other times, the image includes a background that cannot be deleted so the image has to be redrawn separately for printing. Just my experiences over the years with an old ALPS MD1300 and a Micrographx vector based drawing program that has to be more than 20 years old by now. They both still work with my old Windows XP computer. Micrographx was bought out by Corel, I believe several years ago. -
FDNY Wrecker
Chariots of Fire replied to Scott Eriksen's topic in WIP: Model Trucks: Big Rigs and Heavy Equipment
Ditto!! -
FDNY Wrecker
Chariots of Fire replied to Scott Eriksen's topic in WIP: Model Trucks: Big Rigs and Heavy Equipment
Ya gotcha work cut out for ya!!?? -
KFS Michigan Loader
Chariots of Fire replied to Warren D's topic in WIP: Model Trucks: Big Rigs and Heavy Equipment
Nice job on the console! Nice bright yellow, too! -
KFS Michigan Loader
Chariots of Fire replied to Warren D's topic in WIP: Model Trucks: Big Rigs and Heavy Equipment
Thanks, Warren. Having a little difficulty getting the right color for my Cat D-8. -
KFS Michigan Loader
Chariots of Fire replied to Warren D's topic in WIP: Model Trucks: Big Rigs and Heavy Equipment
What did you use for the color coat? -
Making Tracks
Chariots of Fire replied to Chariots of Fire's topic in WIP: Model Trucks: Big Rigs and Heavy Equipment
Not so much I think. The M-20 was designed to haul tanks so I don't know that the D-7 (not the D-8) will be any heavier. The D-7 kit has arrived in the US. Just waiting for it to clear NYC. -
Making Tracks
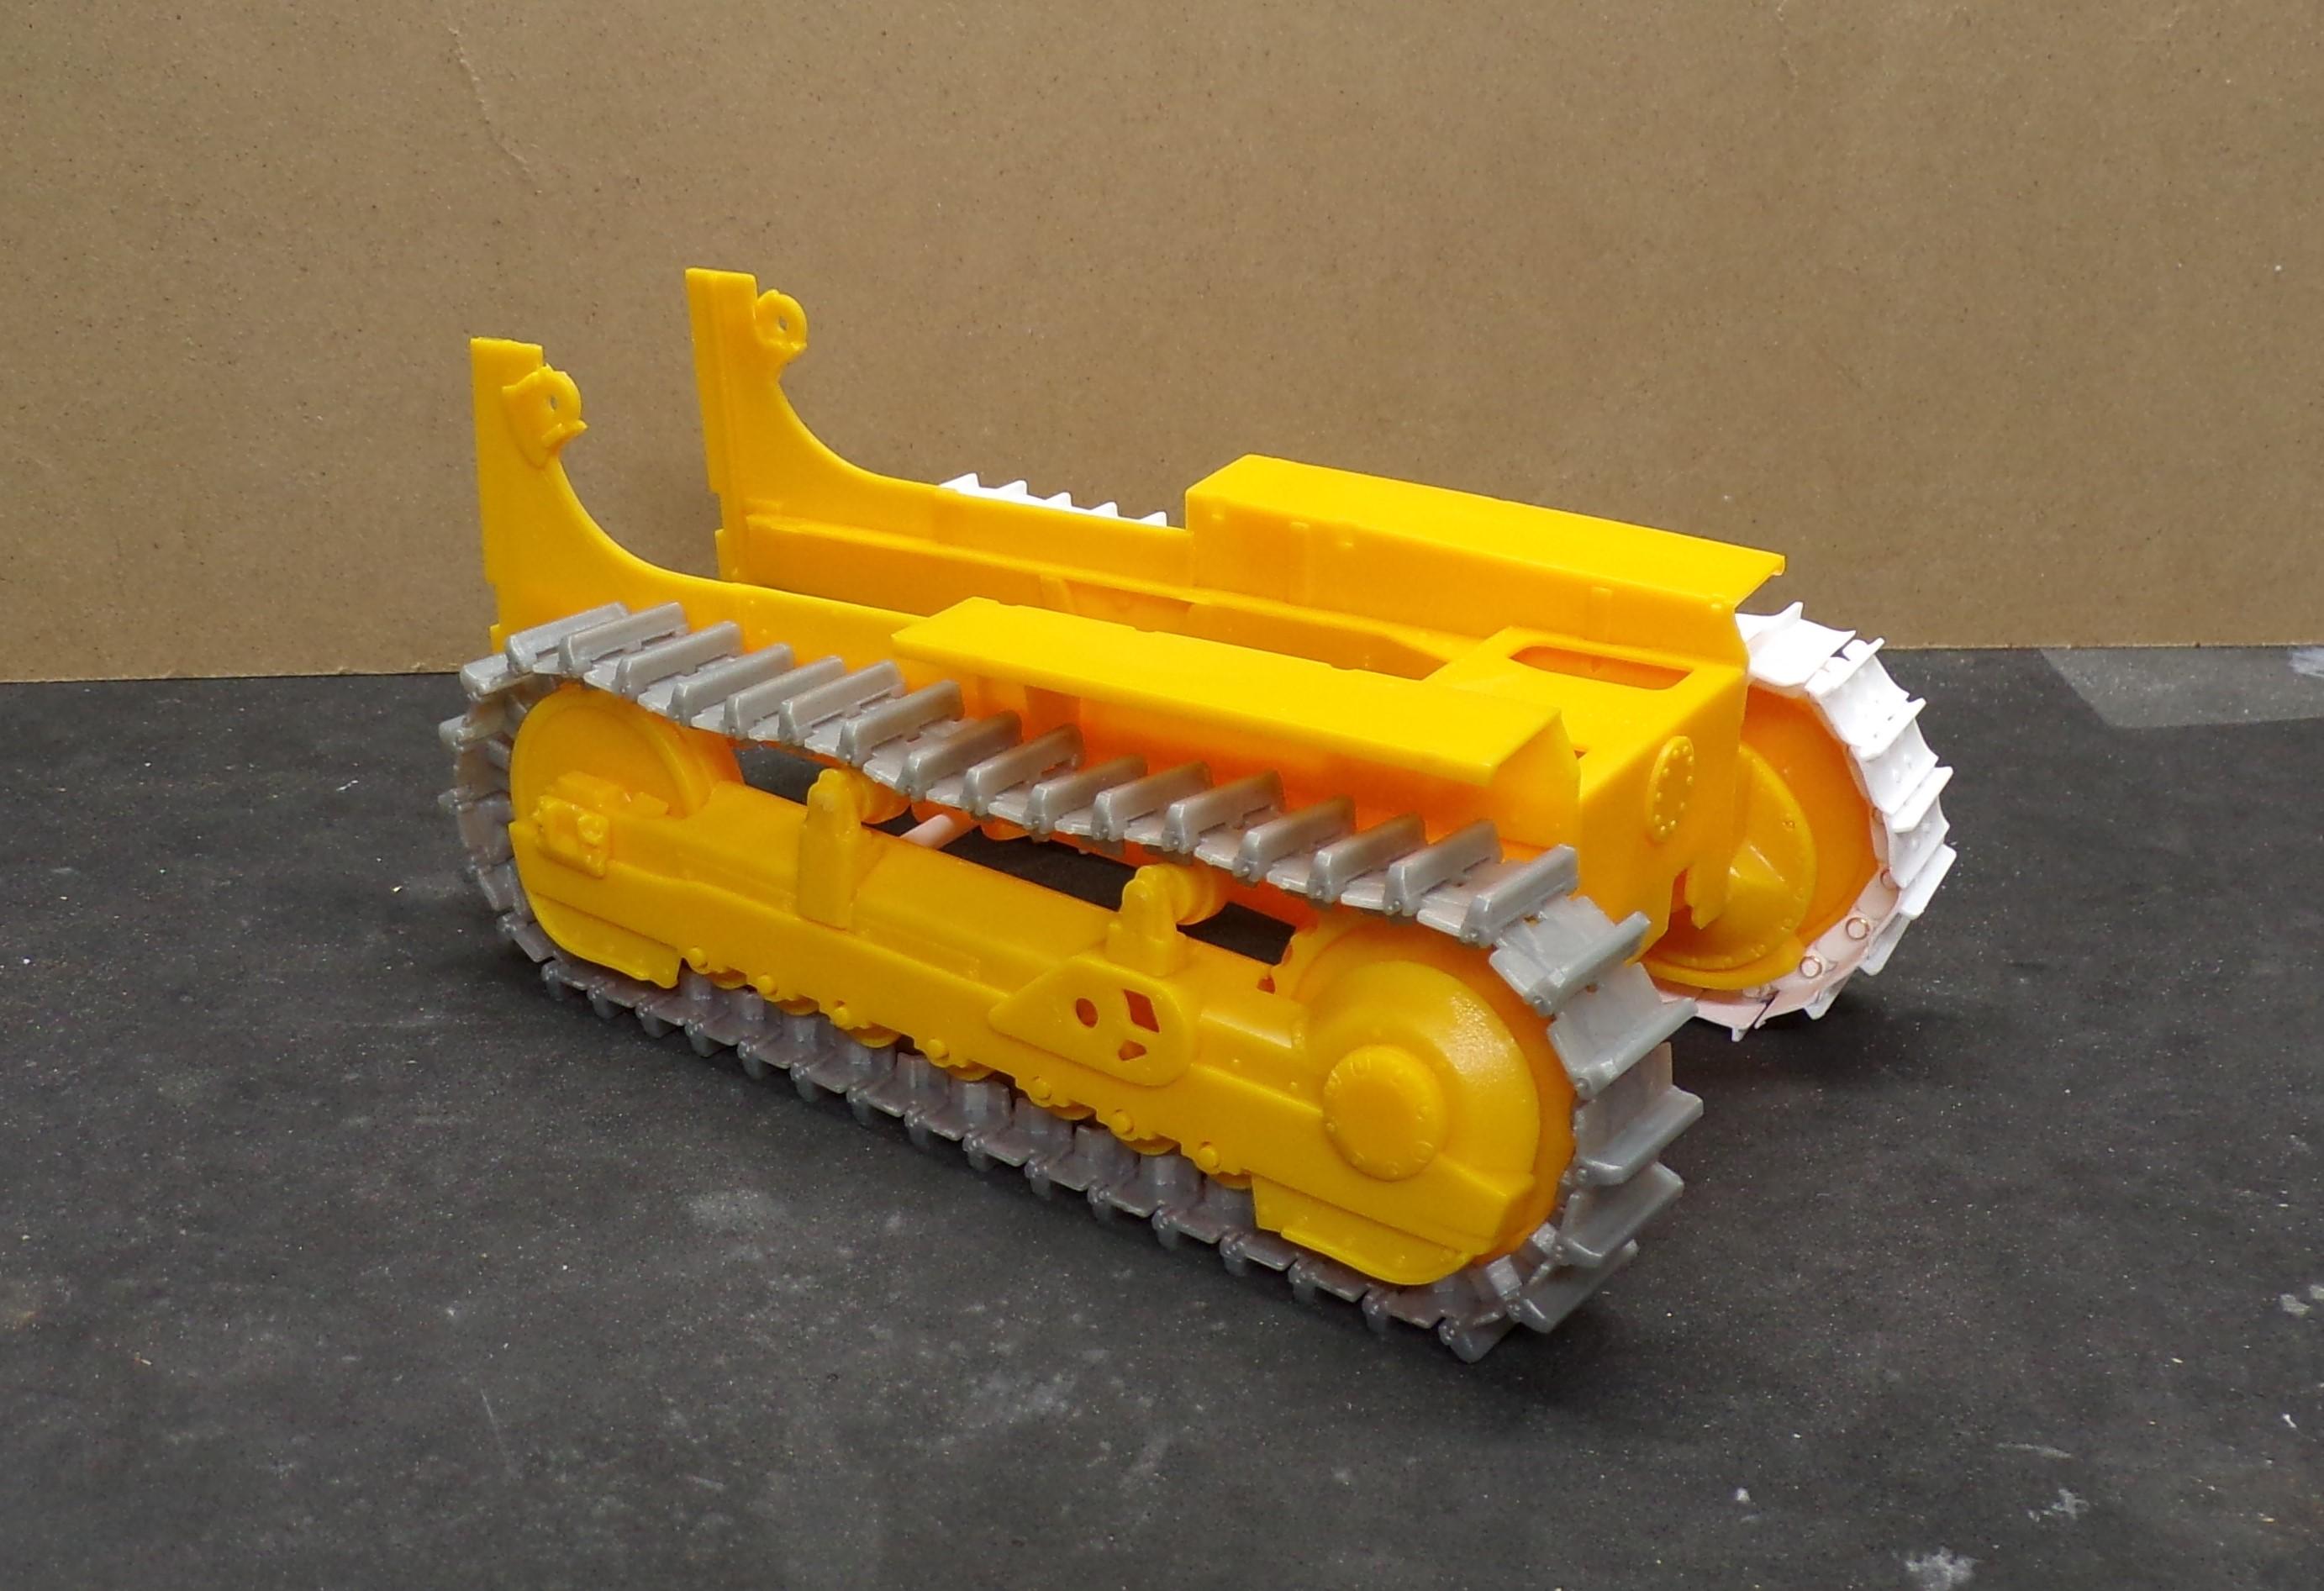
Chariots of Fire replied to Chariots of Fire's topic in WIP: Model Trucks: Big Rigs and Heavy Equipment
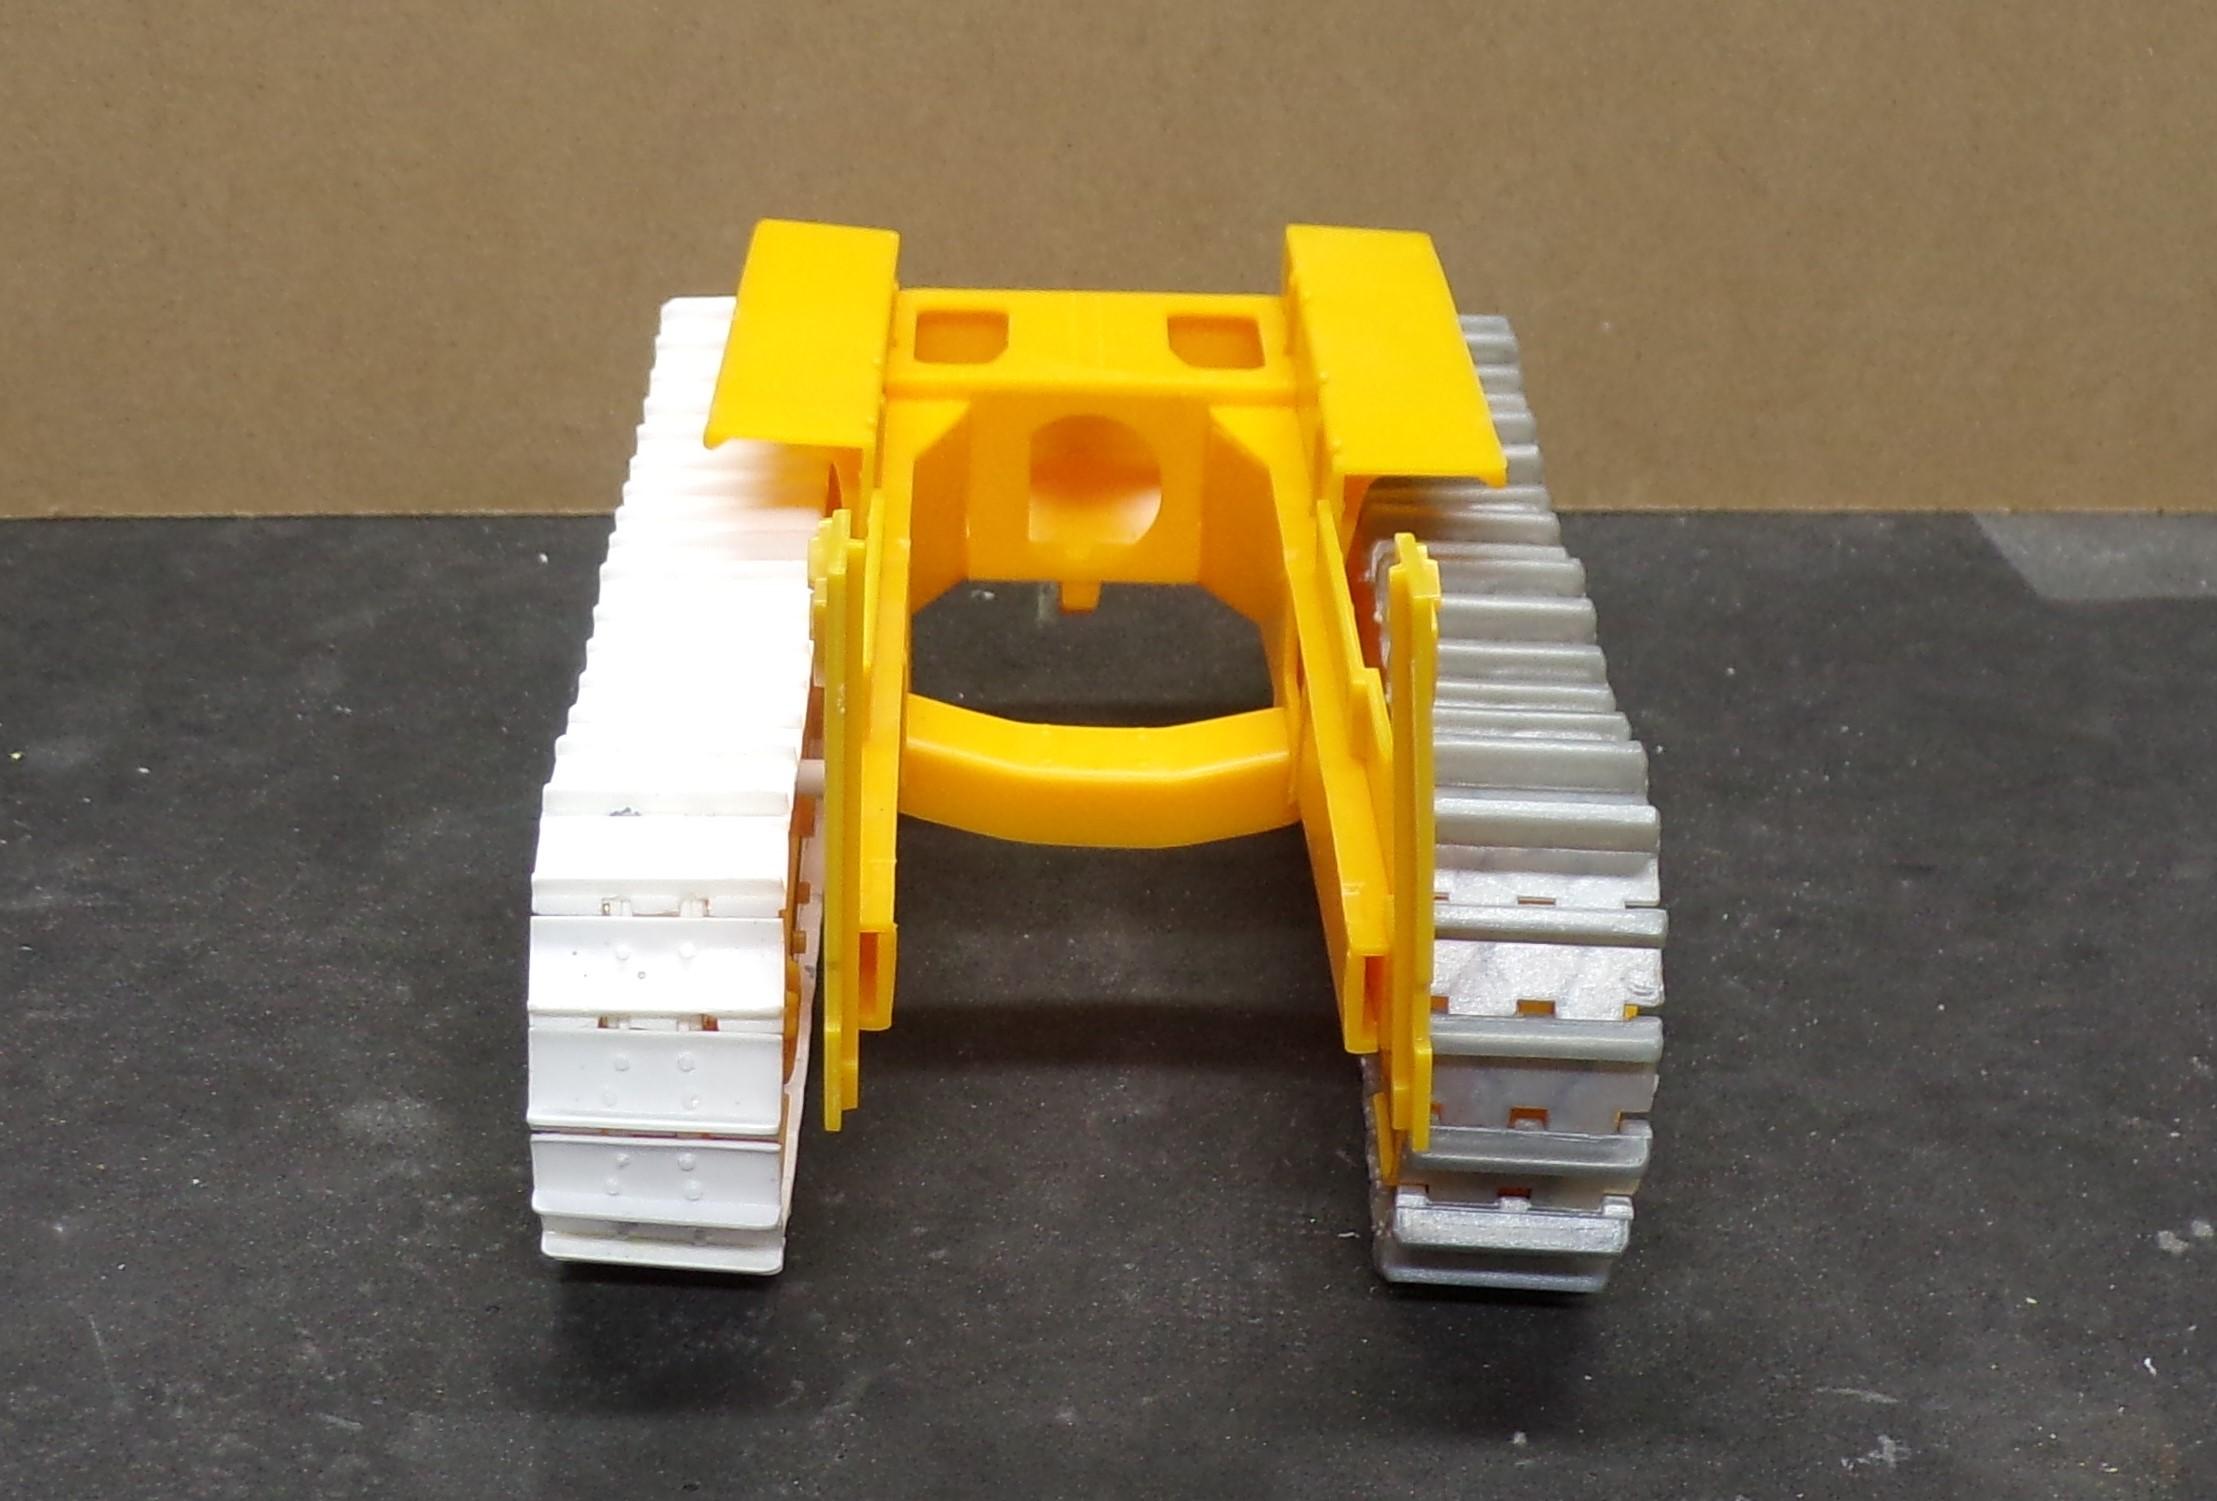
FINALLY! The other side is done. I don't know what happened during the casting process, whether one side of the AMT kit is shorter than the other or not but the second set of tracks has one less plate in it than the original side. If I put the additional plate in, the tracks are way too loose. So if nobody counts, they won't know the difference (except that I have now told you all). ? So here's what they look like on a partially built up AMT D-8. The kit was one I bought at a show and some of the parts were already together so rather than pull out another kit I decided to do up this one with some additional scratch building along the way.
-
AMT Fruehauf Tank Trailer
Chariots of Fire replied to OldTrucker's topic in Model Trucks: Big Rigs and Heavy Equipment
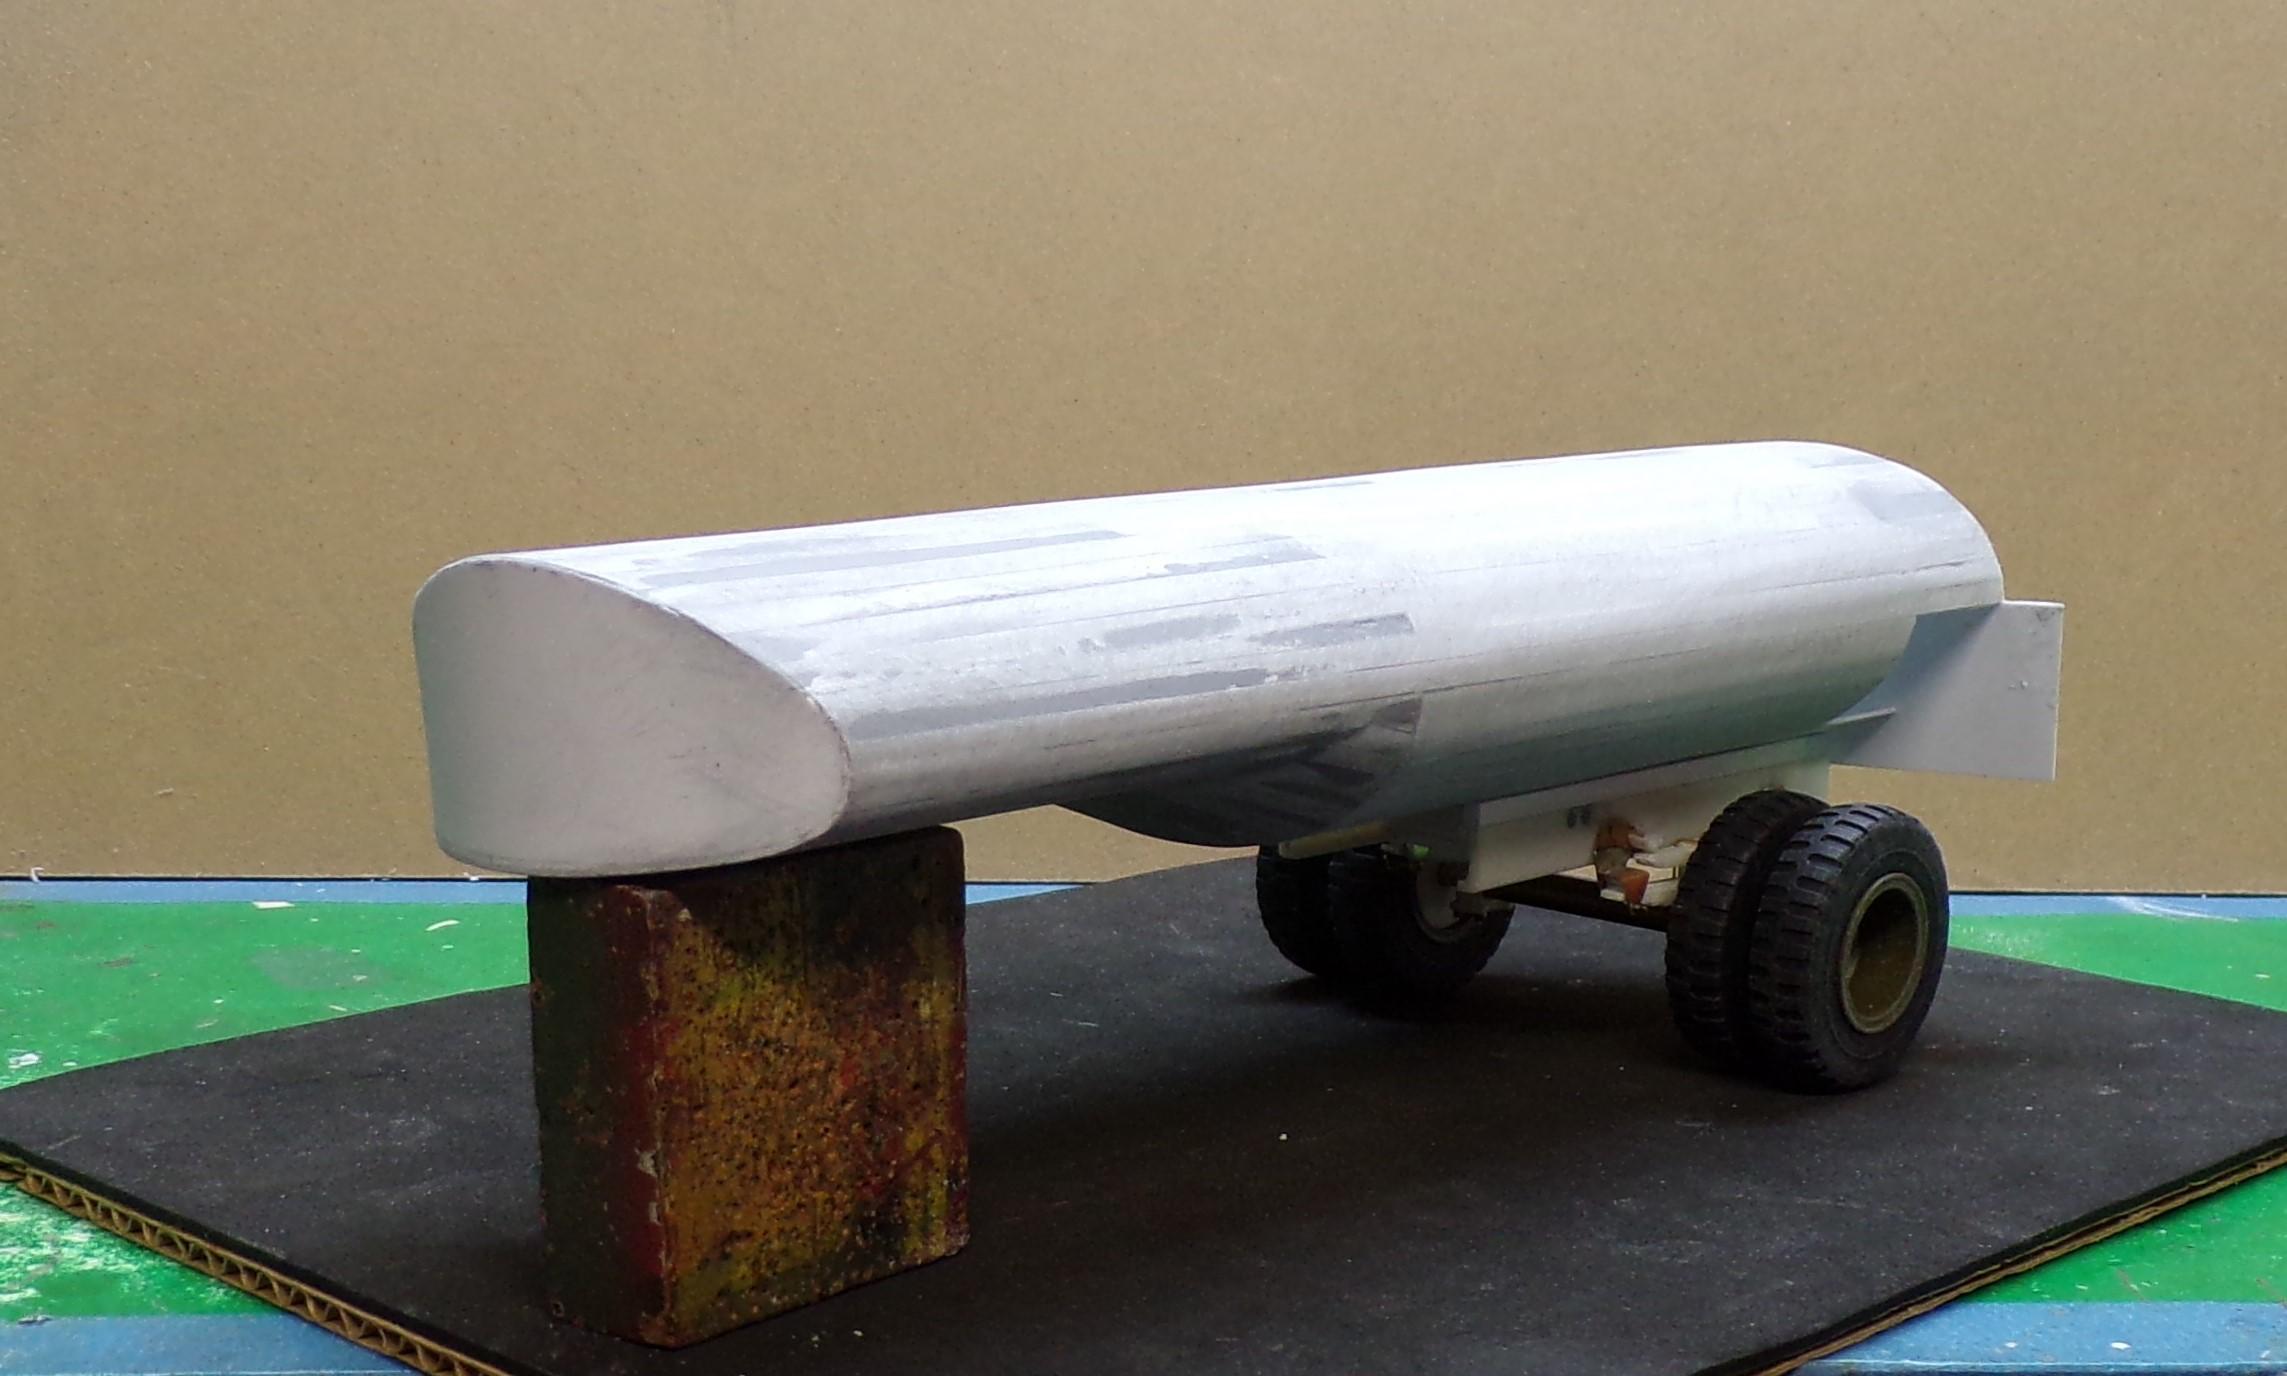
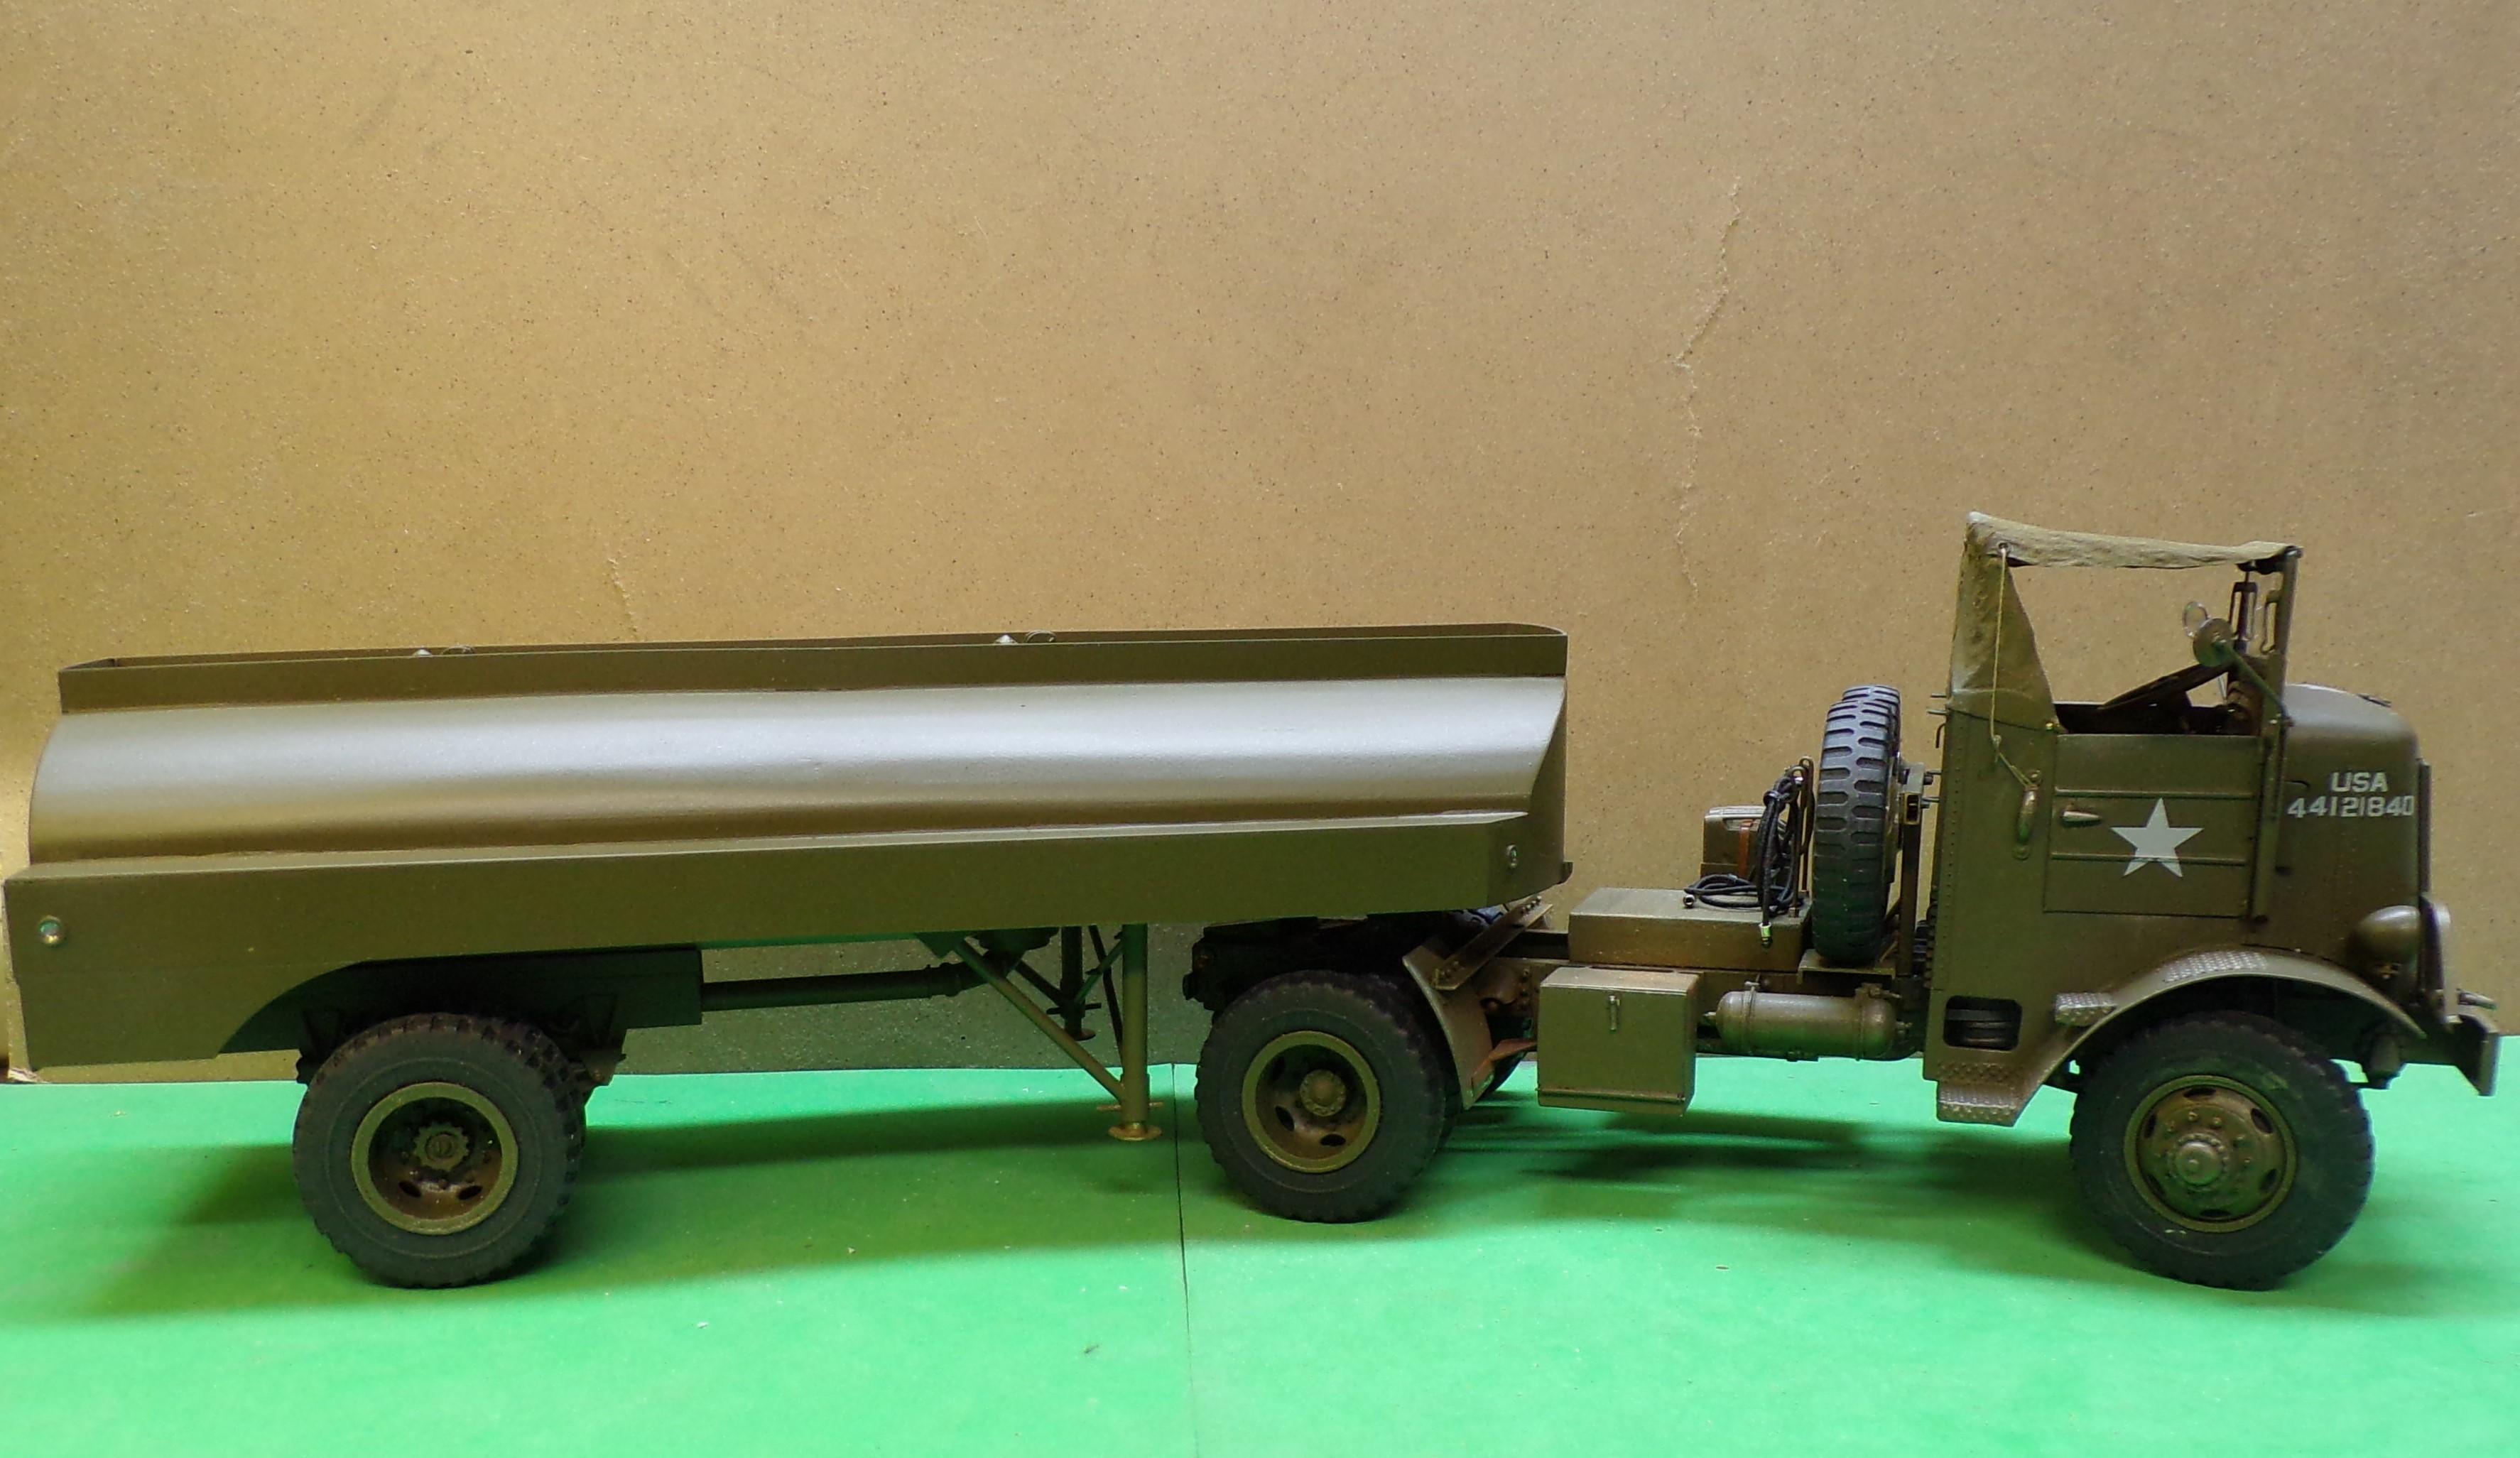
Those tanks are so much bigger than the one I built. In a way I'm glad I didn't have to deal with parting lines and joints where the two halves come together. However, I'll bet the same technique could be used to scratch build one of the larger ones as well.
-
Making Tracks
Chariots of Fire replied to Chariots of Fire's topic in WIP: Model Trucks: Big Rigs and Heavy Equipment
You got that right, Steve! A very slooowww process indeed! I will put them away for a rainy day project!? -
Making Tracks
Chariots of Fire replied to Chariots of Fire's topic in WIP: Model Trucks: Big Rigs and Heavy Equipment
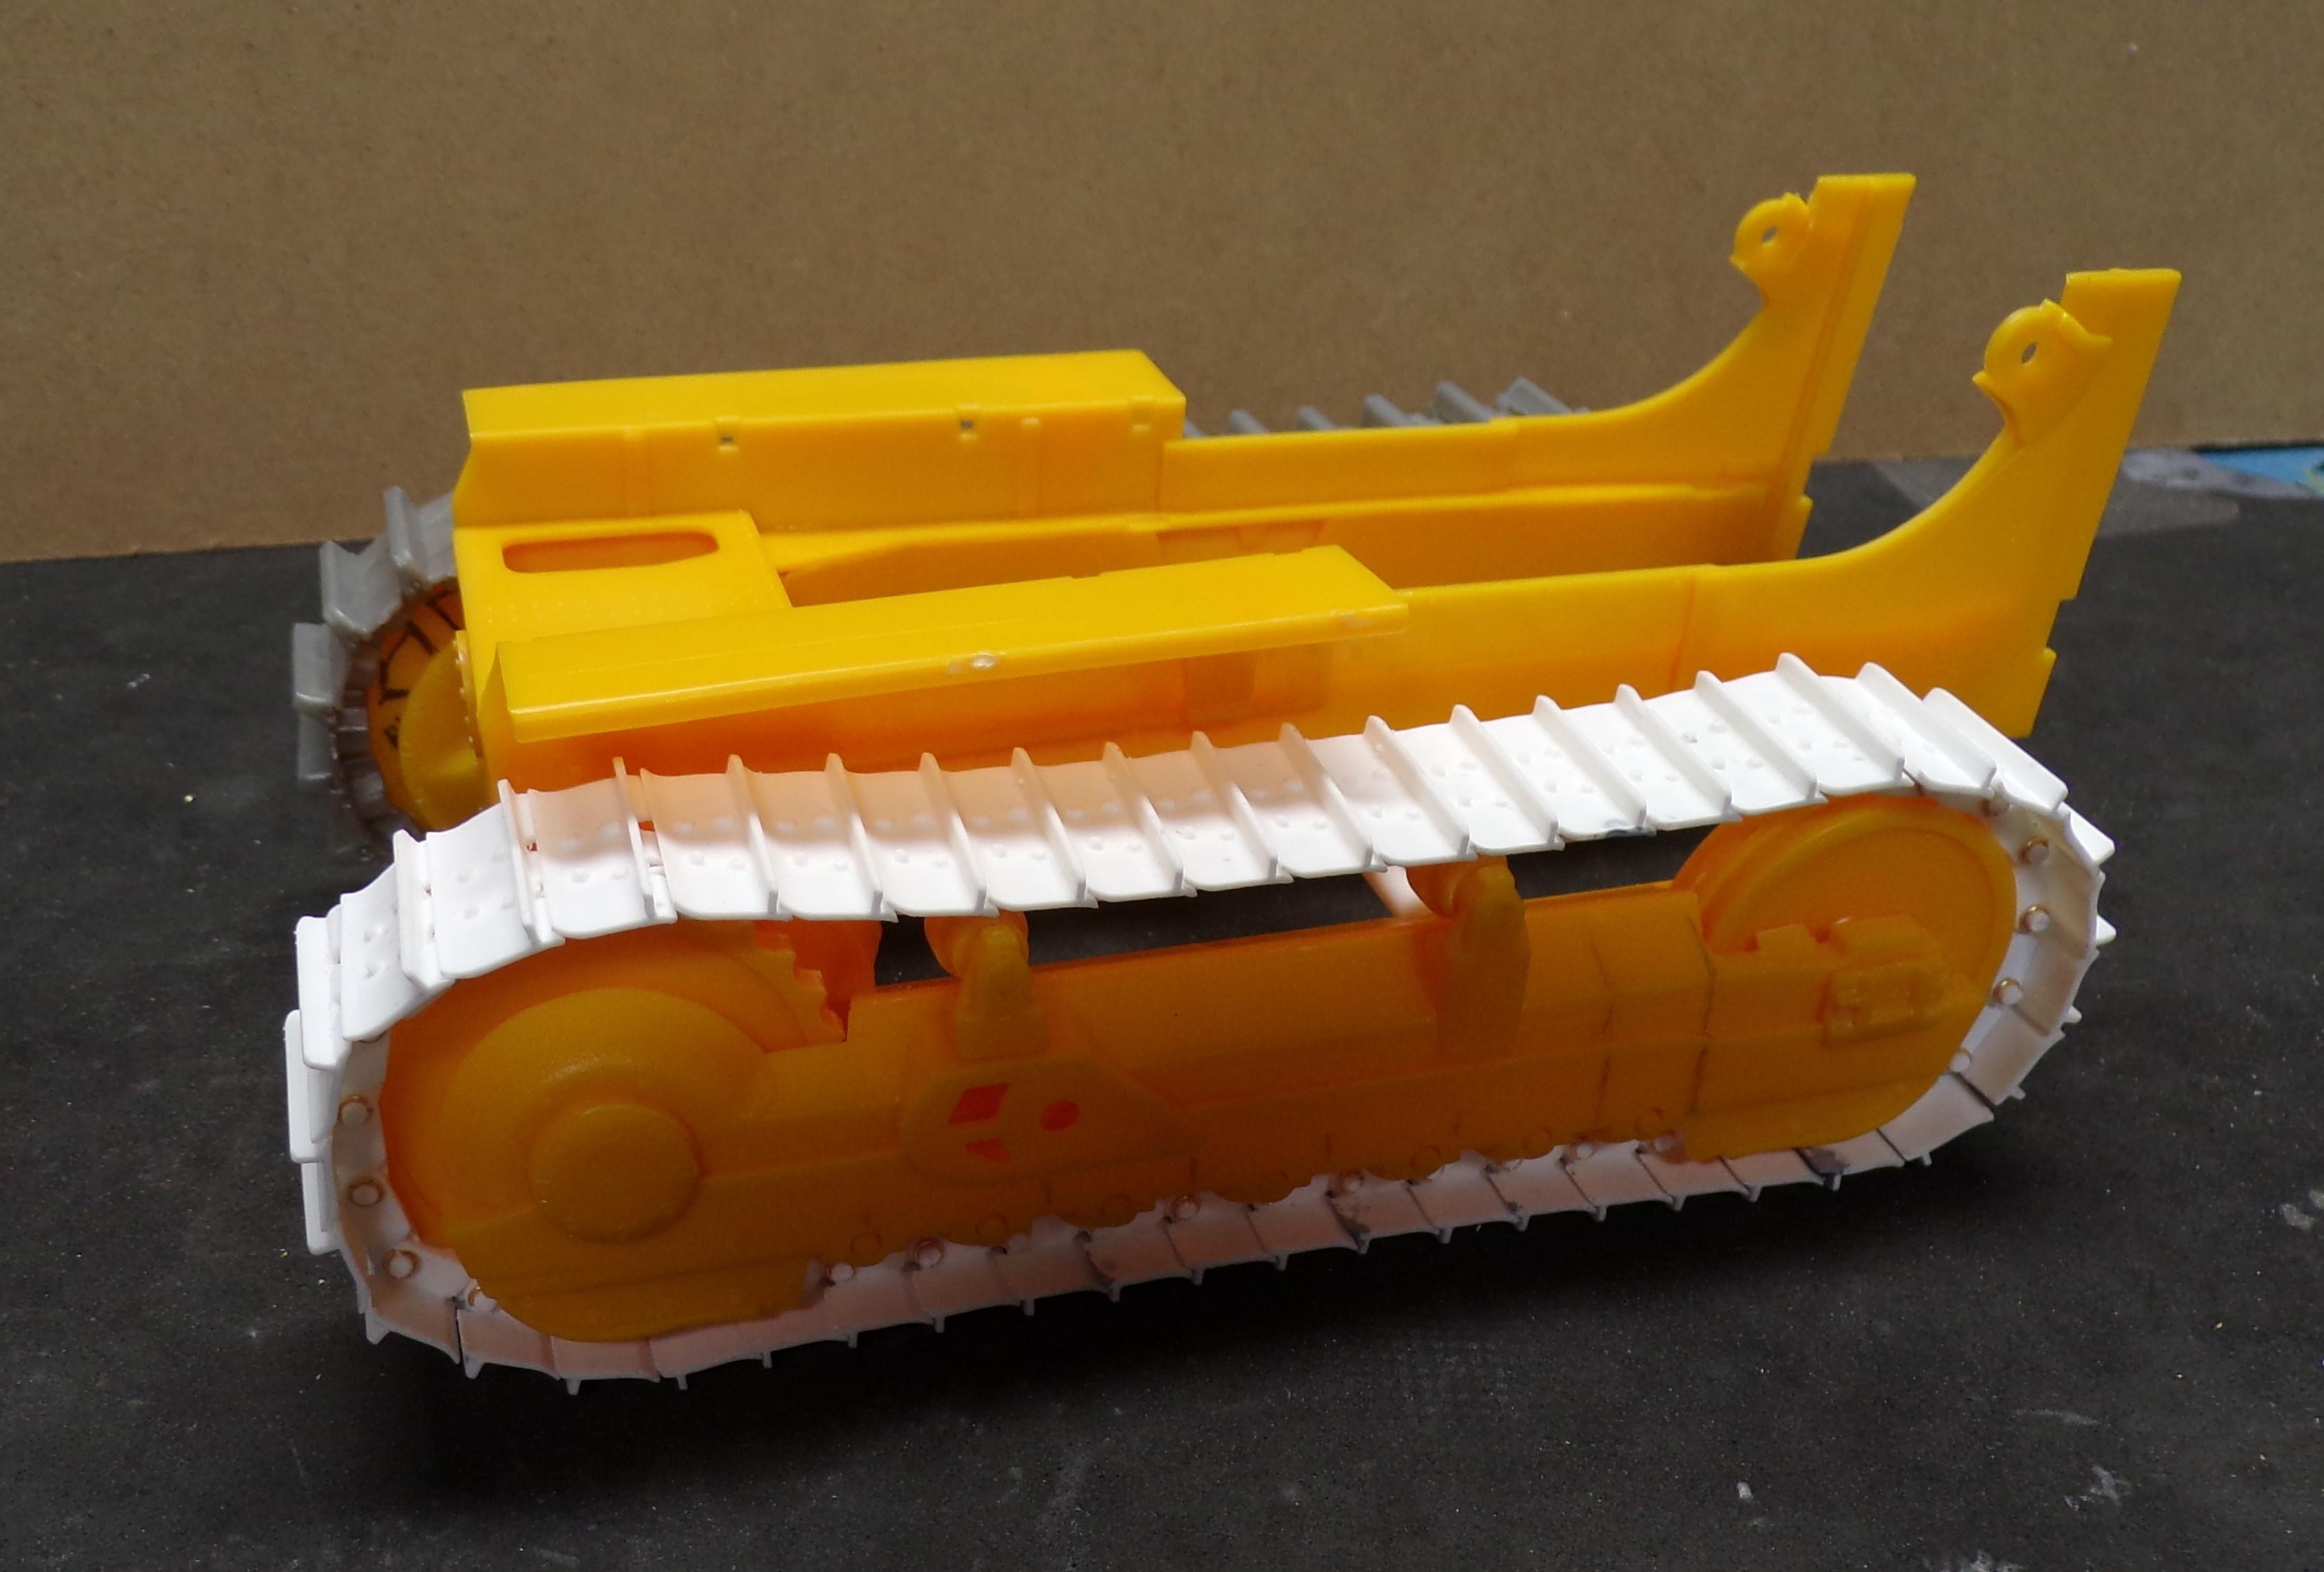
Got one side completed! There are 44 separate pads and links on just the one side with 45 connecting pins. They fit the D-8 sprockets quite well. I ground down the drive sprocket just a bit so that the pins fit into the notches better. Not to get the other side done!!? Silver tracks are from the AMT kit. White ones are mine. I'm happy with the results.
-
AMT Fruehauf Tank Trailer
Chariots of Fire replied to OldTrucker's topic in WIP: Model Trucks: Big Rigs and Heavy Equipment
I like it! Nice color combo! -
KFS Michigan Loader
Chariots of Fire replied to Warren D's topic in WIP: Model Trucks: Big Rigs and Heavy Equipment
That is BIG!! Nice work going on there, Warren! -
Making Tracks
Chariots of Fire replied to Chariots of Fire's topic in WIP: Model Trucks: Big Rigs and Heavy Equipment
Thanks for the info, Paul. I will keep it for reference. Just made a new piece of the sprocket for the final drive. Will cast it up in several pieces to get the right thickness. I'm finding more and more about the D-8 that is nowhere near like the D-7! -
Hey, Brian. I have been accused in times past of having a shrink ray machine. However the truth is I have gnomes who work for me under the table!?
-
M-20 Prime Mover
Chariots of Fire replied to Chariots of Fire's topic in WIP: Model Trucks: Big Rigs and Heavy Equipment
Renshape comes in various grades. I use 440 grade (7000 now I believe). It is the least expensive yet retains sufficient strength and durability for working. You can find references to it on line. Not cheap BTW. But they do make samples that are reasonable enough.