jaymcminn
-
Posts
1,762 -
Joined
-
Last visited
Content Type
Profiles
Forums
Events
Gallery
Everything posted by jaymcminn
-
Thanks, Jeremy. I just kept an eye out for the right case for my purposes. Something else to think of when you start running low on space is to go vertical. I found acrylic display risers online that let me set up that high-level display space and gave me a lot of extra room. Good idea using those media shelves for display... they look great and save space!
-
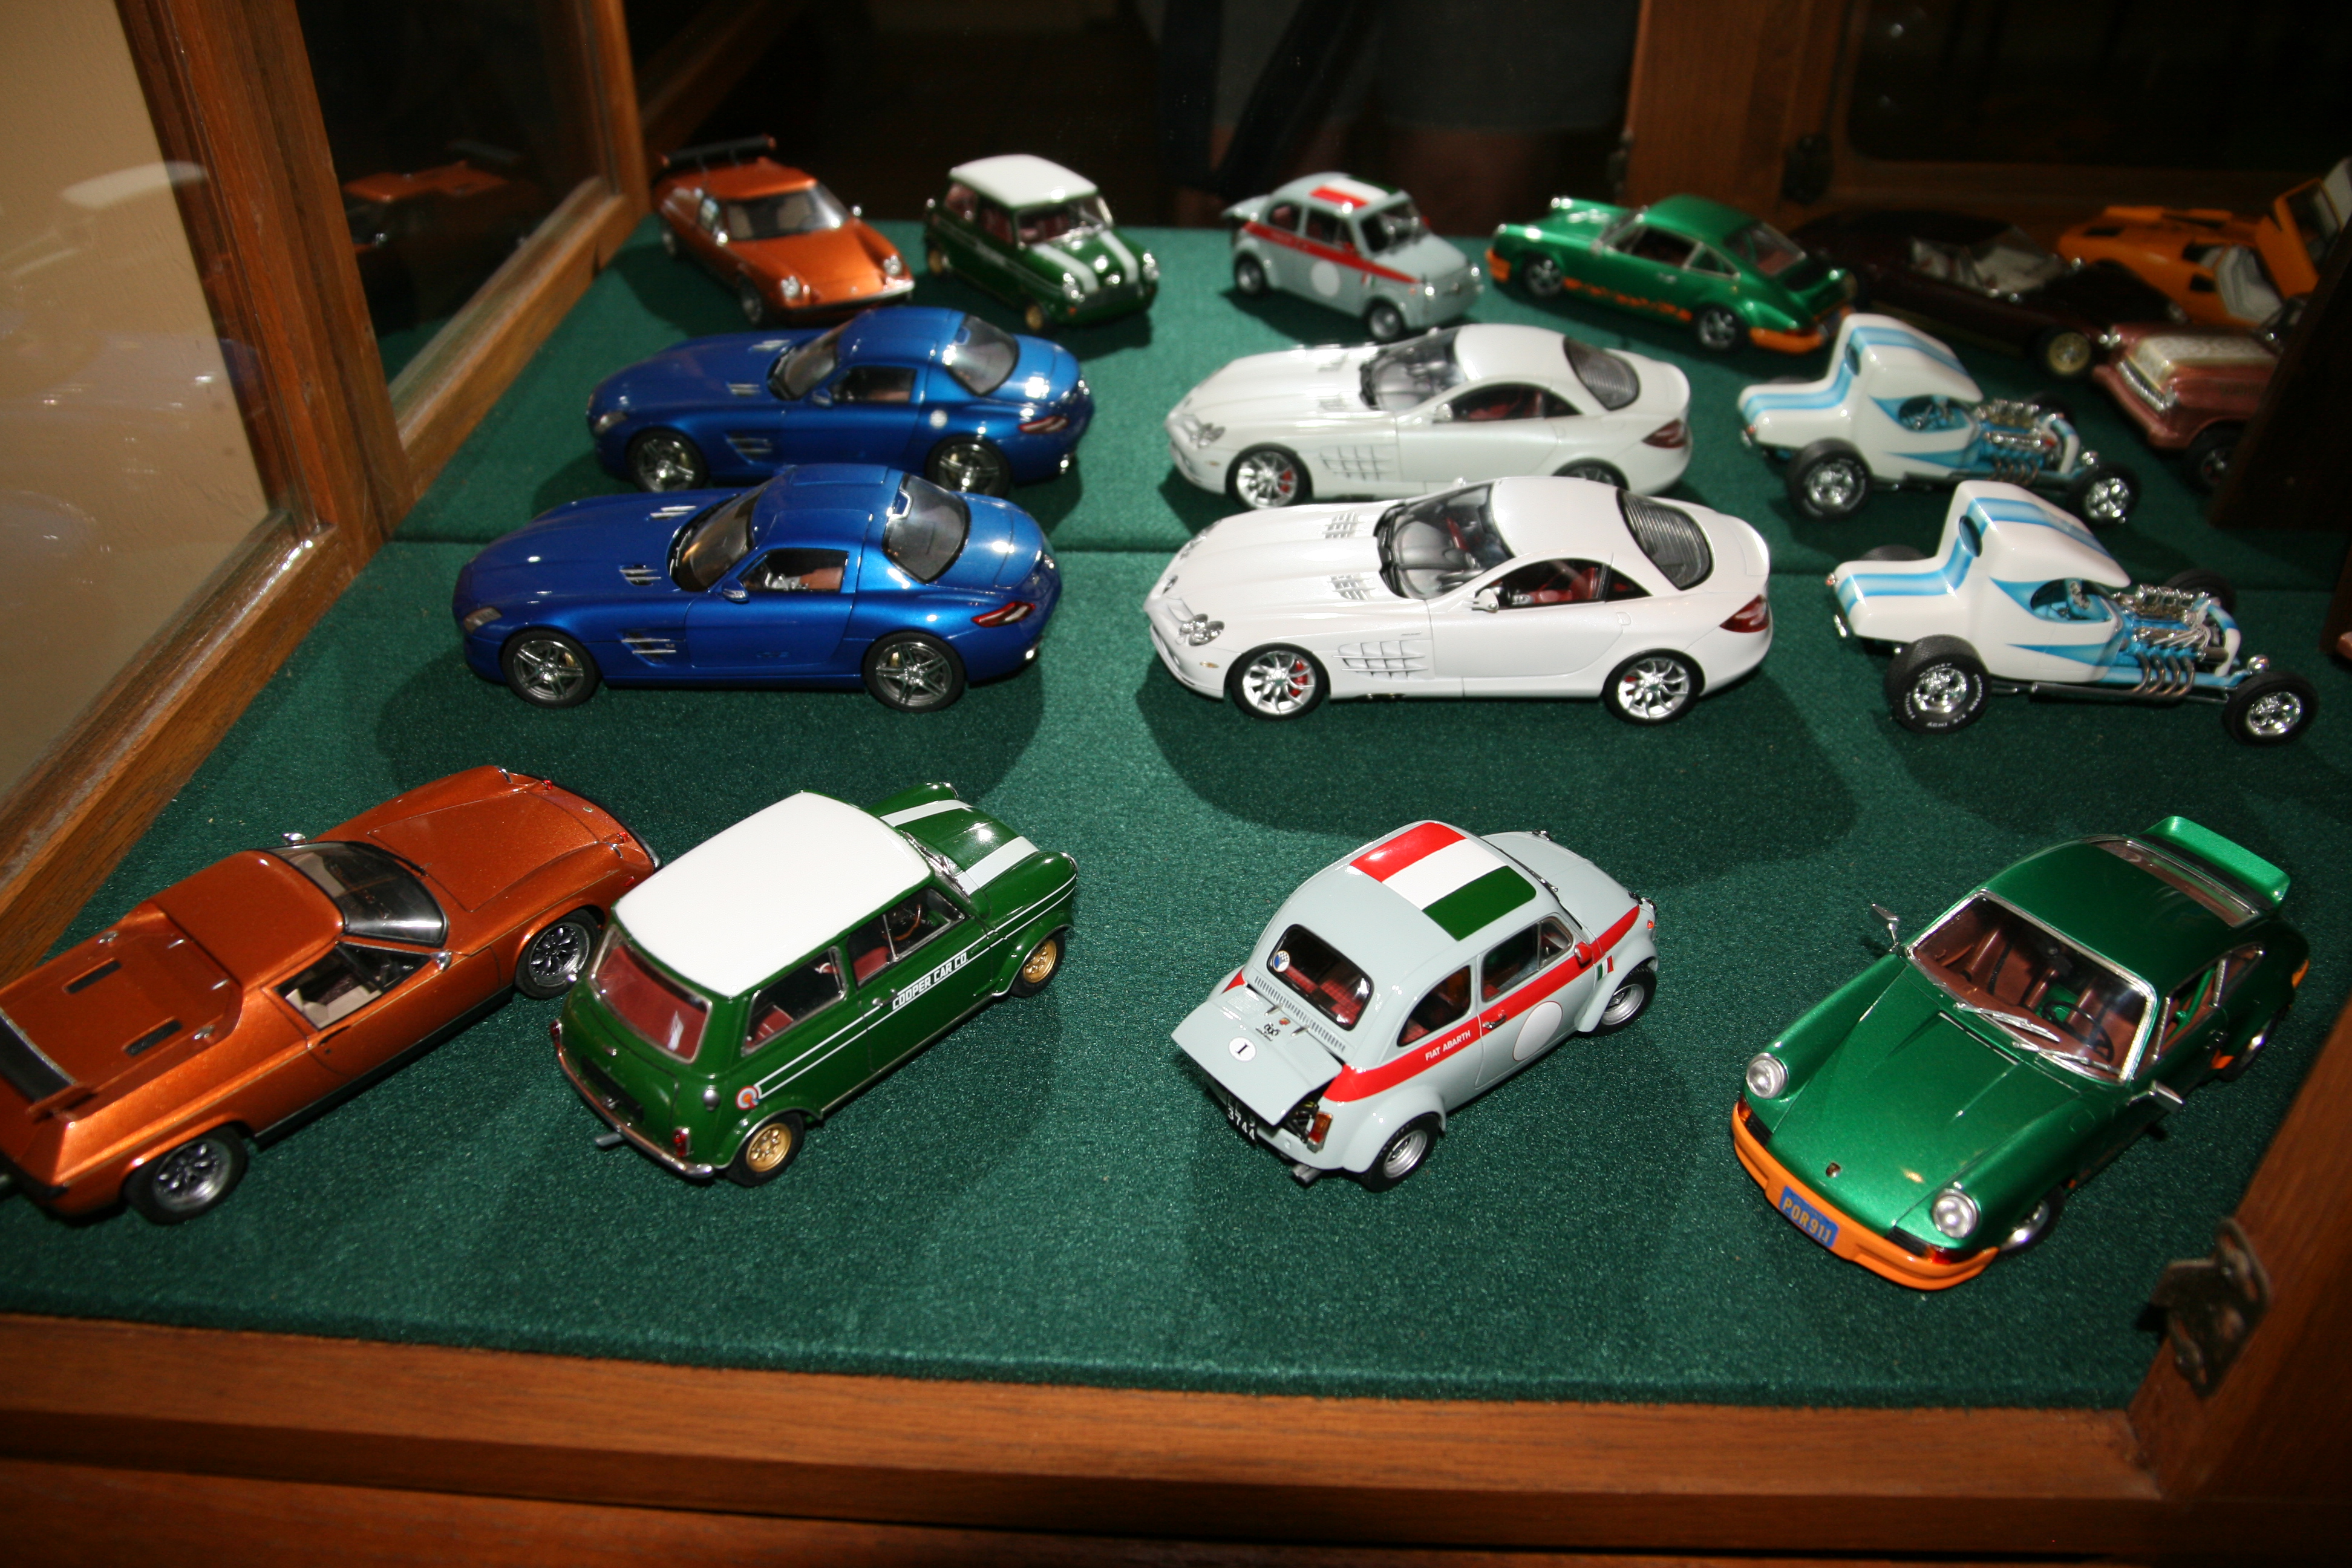
I'll play... I have one big display case and a smaller Ikea one that will house large-scale models as I build them. The big case is a flea-market find that looks good with the rest of my funky mid-century furniture. It cost more for the refinishing supplies than the case!

-
Oh, yeah. I'm down for this one!
-

Detailing over a clear coat body shell
jaymcminn replied to Funkychiken's topic in Model Building Questions and Answers
Honestly, I would be very careful about scuffing the area where you're going to paint the trim. It might help to improve the adhesion though. If you decide to go this route I would carefully mask the paint around the trim to avoid damaging the finish. Are you brushing or airbrushing the black trim? If airbrushing, you might be better off decanting and spraying Tamiya TS29 semi-gloss black lacquer. It looks really good and wears like iron. I've found that the Tamiya acrylics are more prone to wearing off than the Testors Model Master acrylics, so you might want to try Testors if you need to use acrylics. -
Unseen detail. But I know it's there
jaymcminn replied to Greg Myers's topic in General Automotive Talk (Trucks and Cars)
One thing to remember is that sometimes that unseen detail can cause real headaches when it comes to assembly... one example is the old Accurate Miniatures McLaren M8 kits, where they actually tell you to eliminate a lot of the plumbing detail if you want to display the model with the panels closed. I test-fit and modify the kit parts as necessary to get everything to play nice, but I have no problem leaving some bits off if the result is a better-looking finished model. -
Signs of getting old...... at modeling
jaymcminn replied to rel14's topic in General Automotive Talk (Trucks and Cars)
47 here... I can't drink coffee before applying Bare Metal Foil anymore... -
Wheeler Dealer Escort RS Cosworth
jaymcminn replied to afx's topic in General Automotive Talk (Trucks and Cars)
You know, I swore I'd quit watching after Edd left, especially with the rumors that they were going to be spending less time in the workshop. I was pleasantly surprised that the workshop time seems to be undiminished and that Ant is an engaging, enthusiastic guy who genuinely seems like he couldn't be happier to be doing what he's doing. As much as I like Edd, and will religiously watch whatever he moves on to, he seemed a little "over" the show last season. -
Very nice work on a classic Tamiya kit. I am planning a "drug lord special" version of this kit...pearl white over red interior with AMG wheels. Straight out of Miami Vice. Unless I'm mistaken, those are BMW Alpina wheels... good-looking and ironic!
-
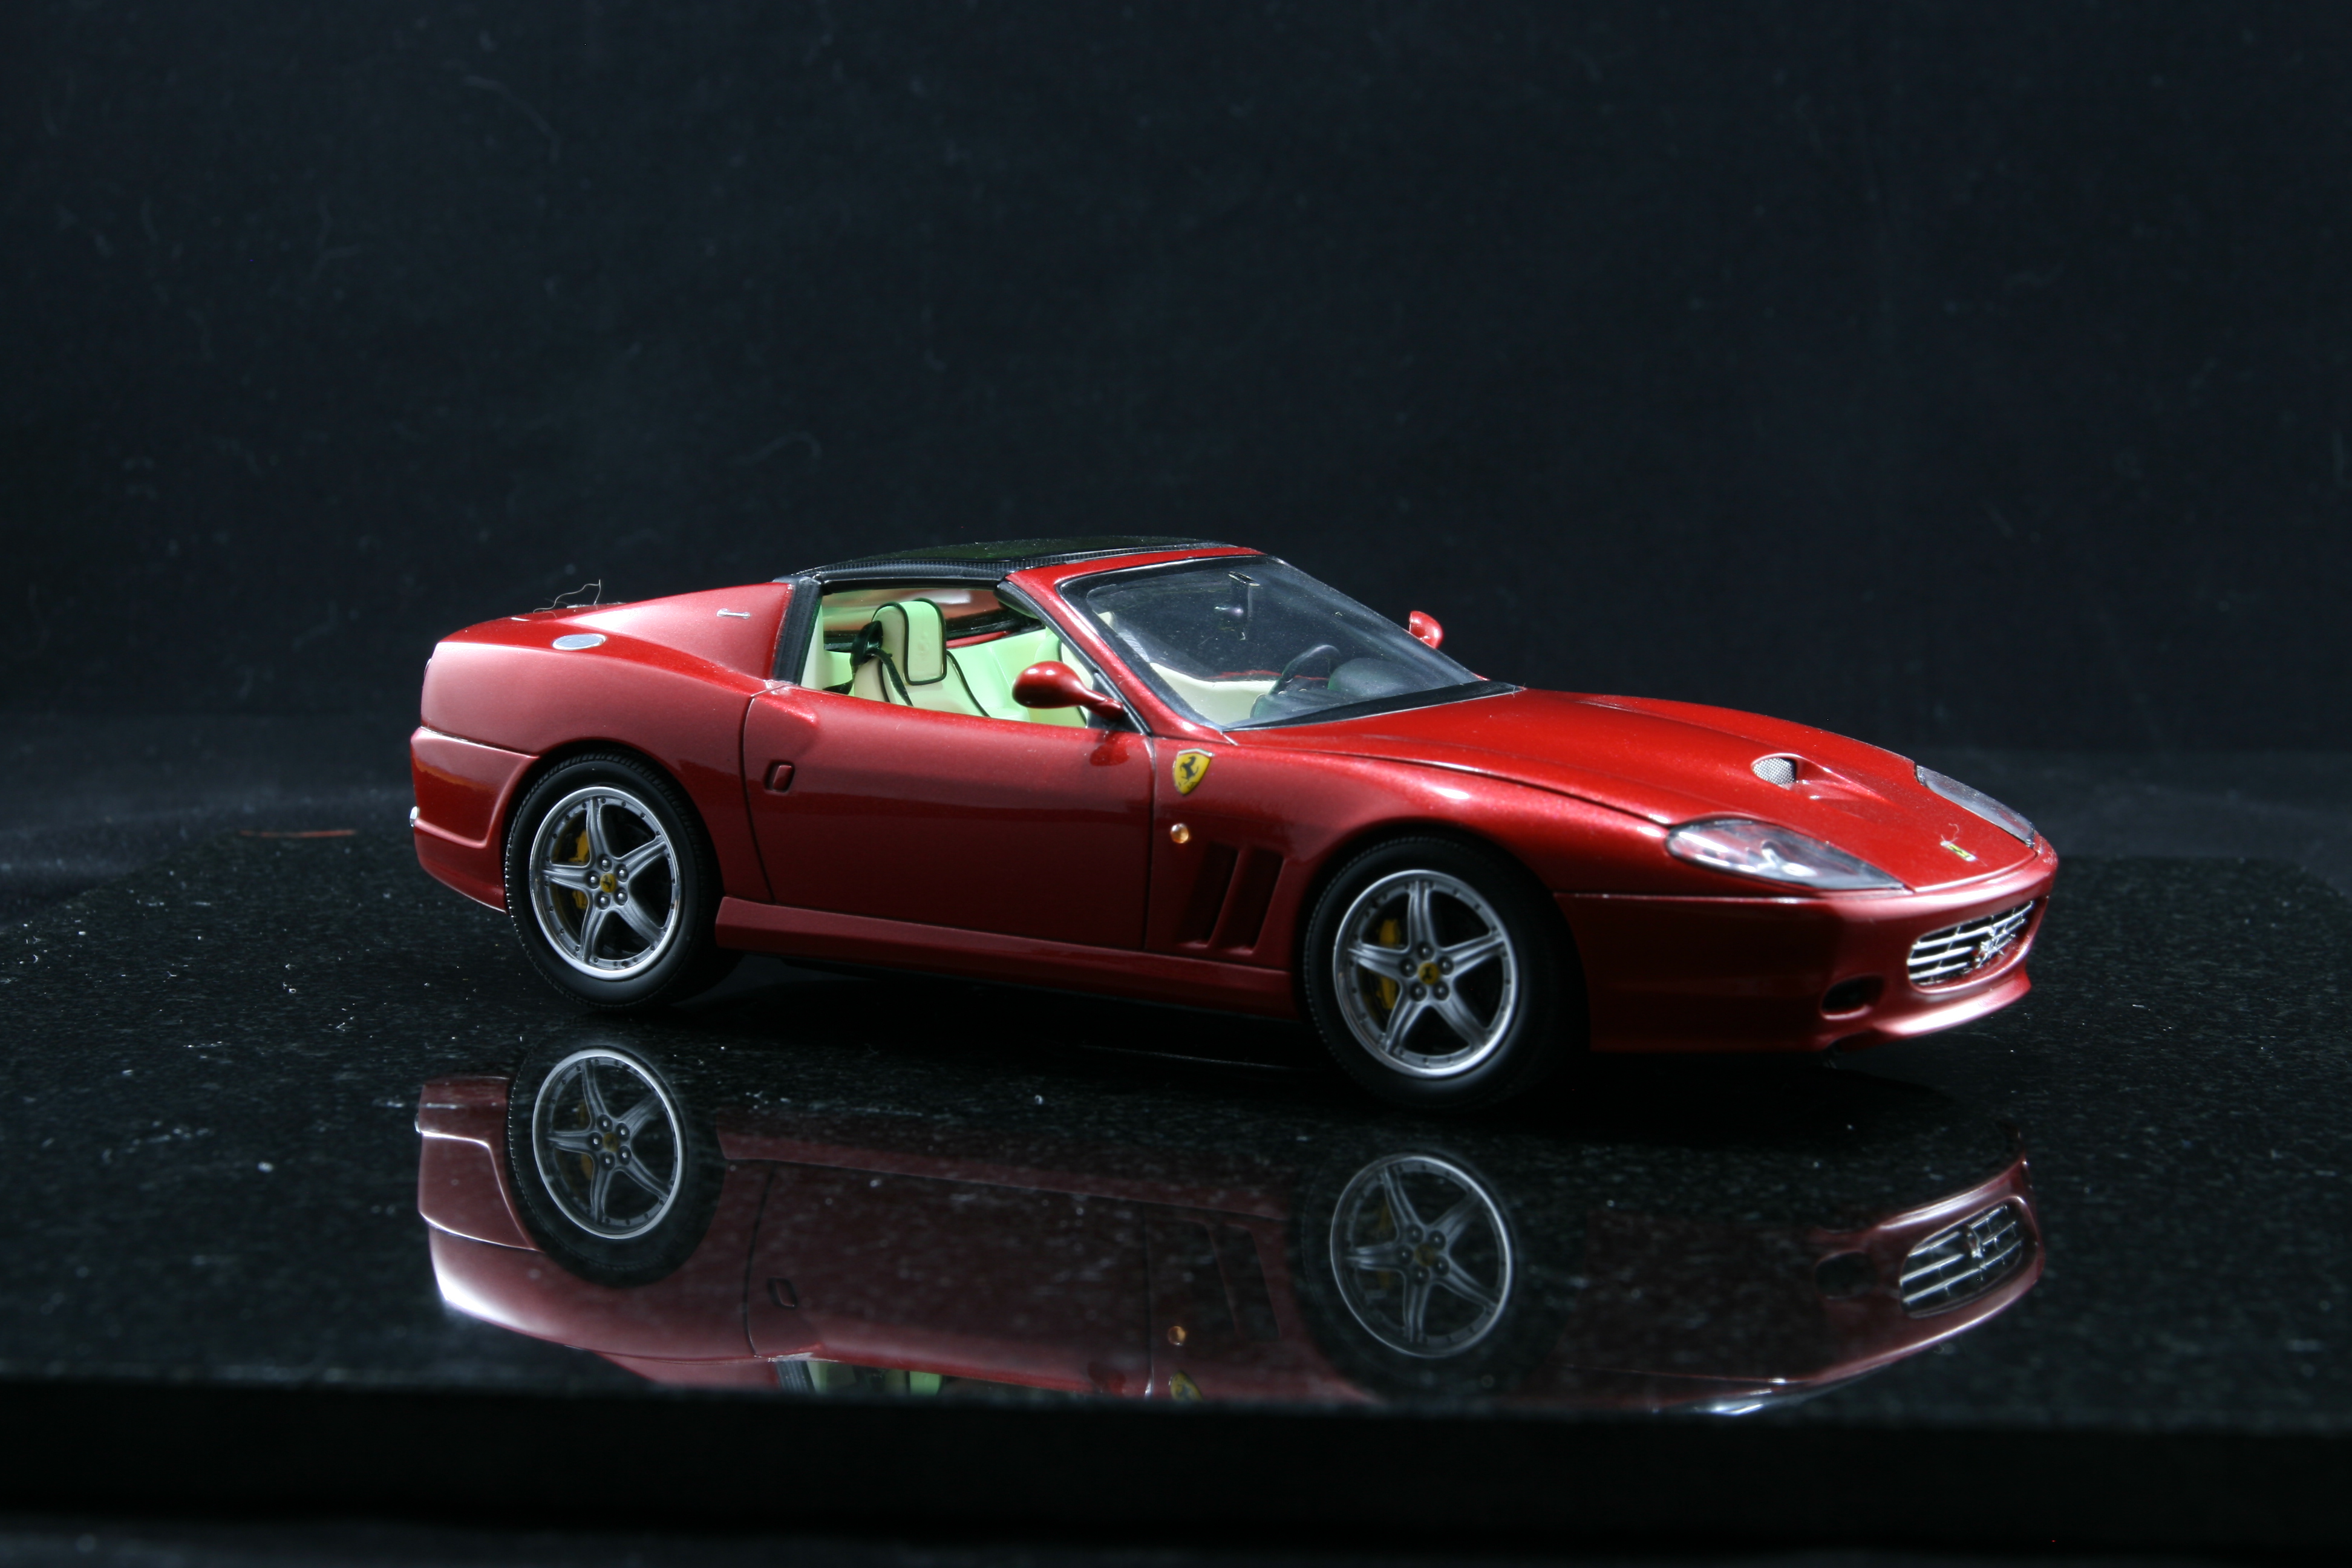
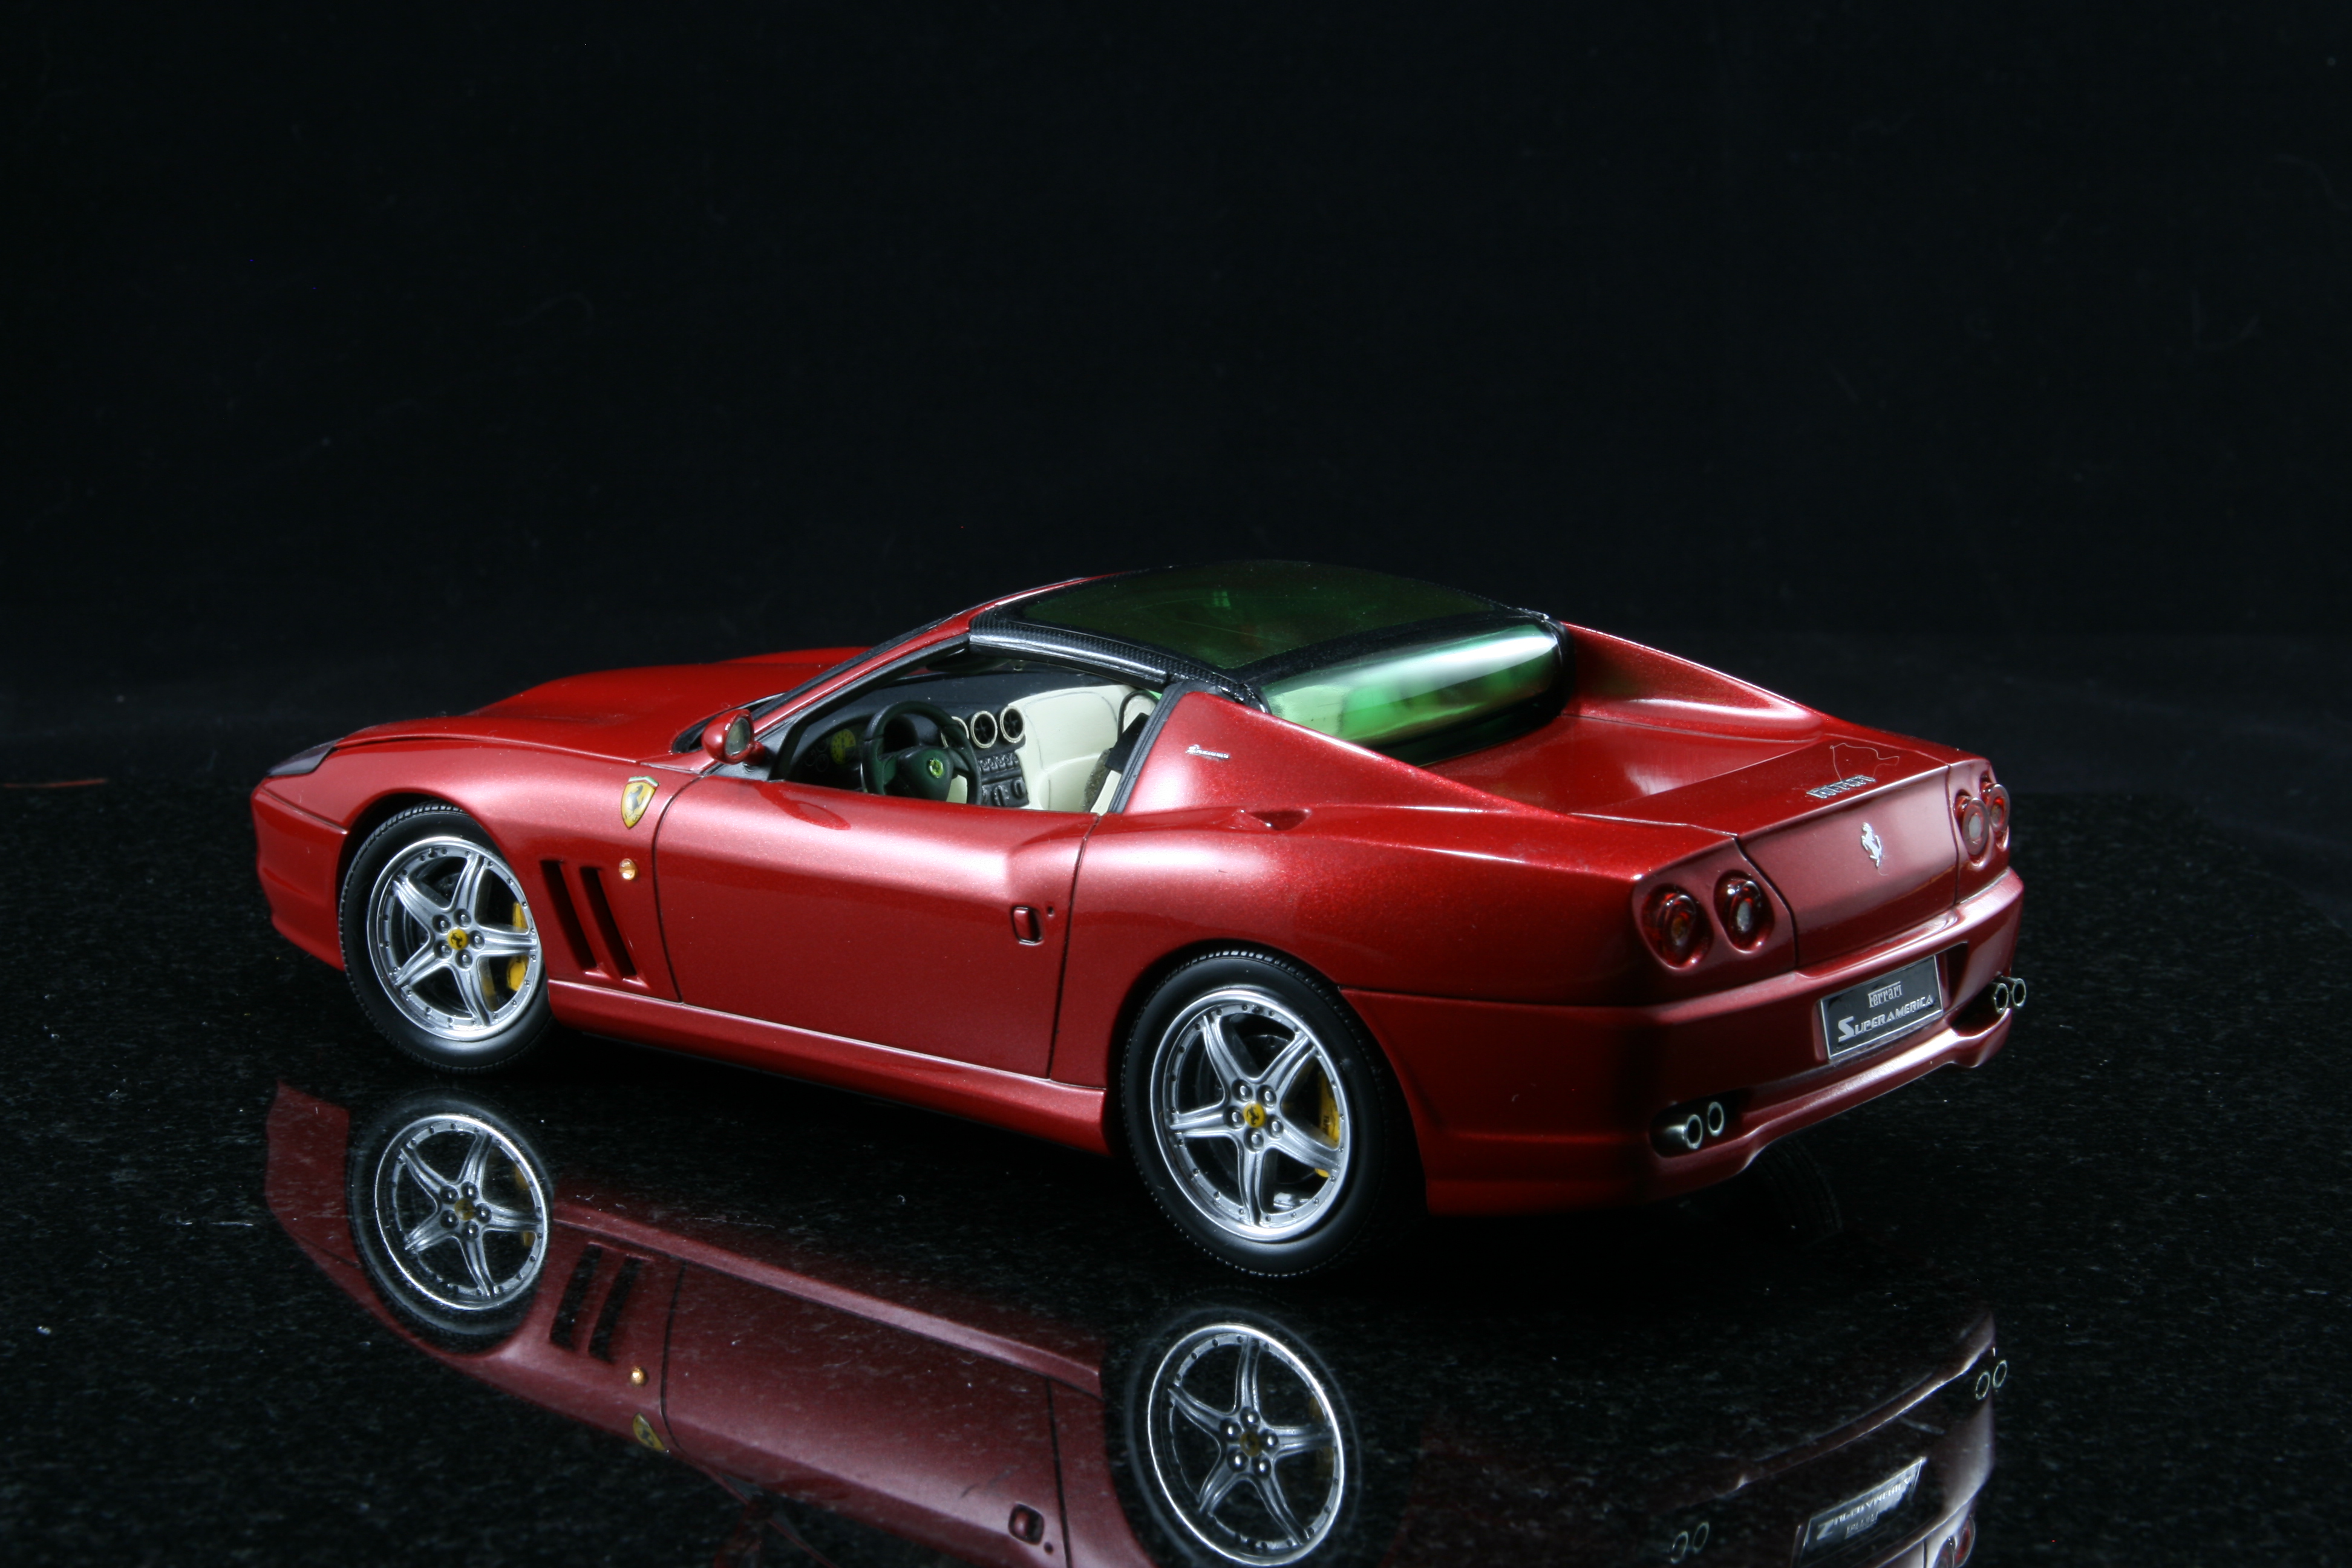
The lights are daylight-balanced, so the colors come through really well. None of these pictures needed any color correction whatsoever. The lights also have yellow and blue filters you can snap on. Thanks!
-
Thanks man. I have a cat (just the one, though) and the black background has already picked up some hairs. I just ran a lint roller over it. I'm keeping the setup in a guest bedroom where the cat generally doesn't go, so hopefully that'll keep the hair level down. This setup uses a fabric backdrop rather than the cardboard.
-
-
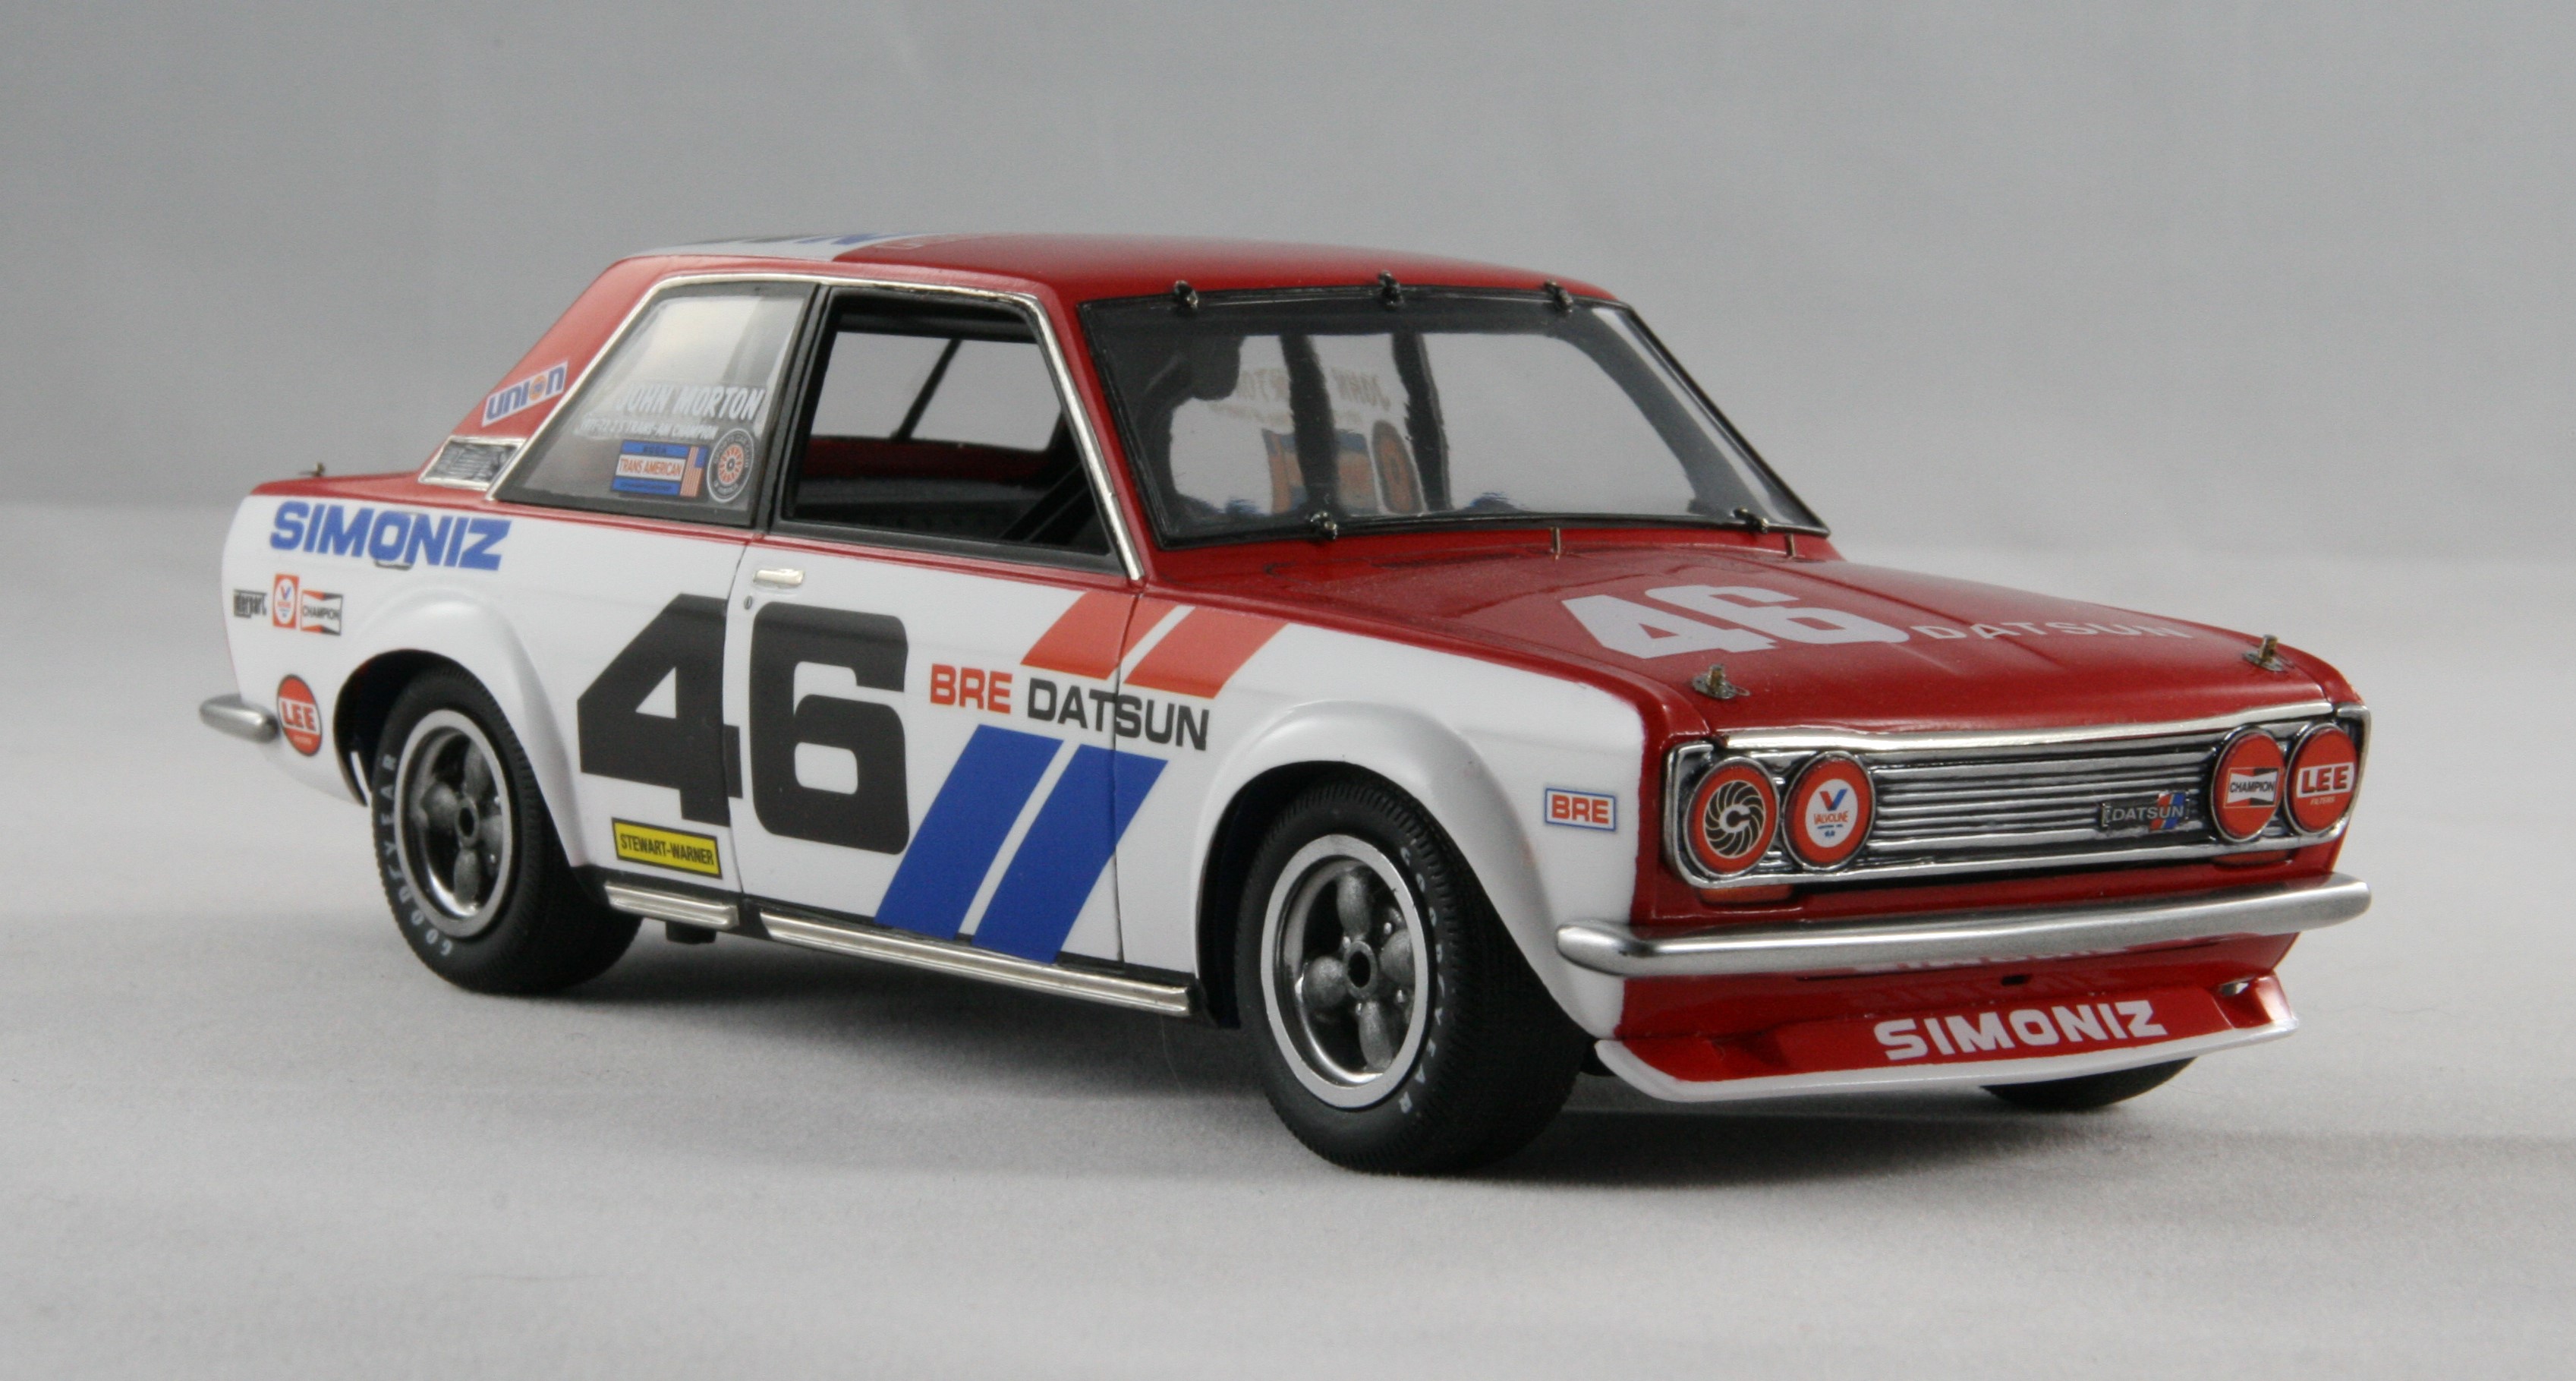
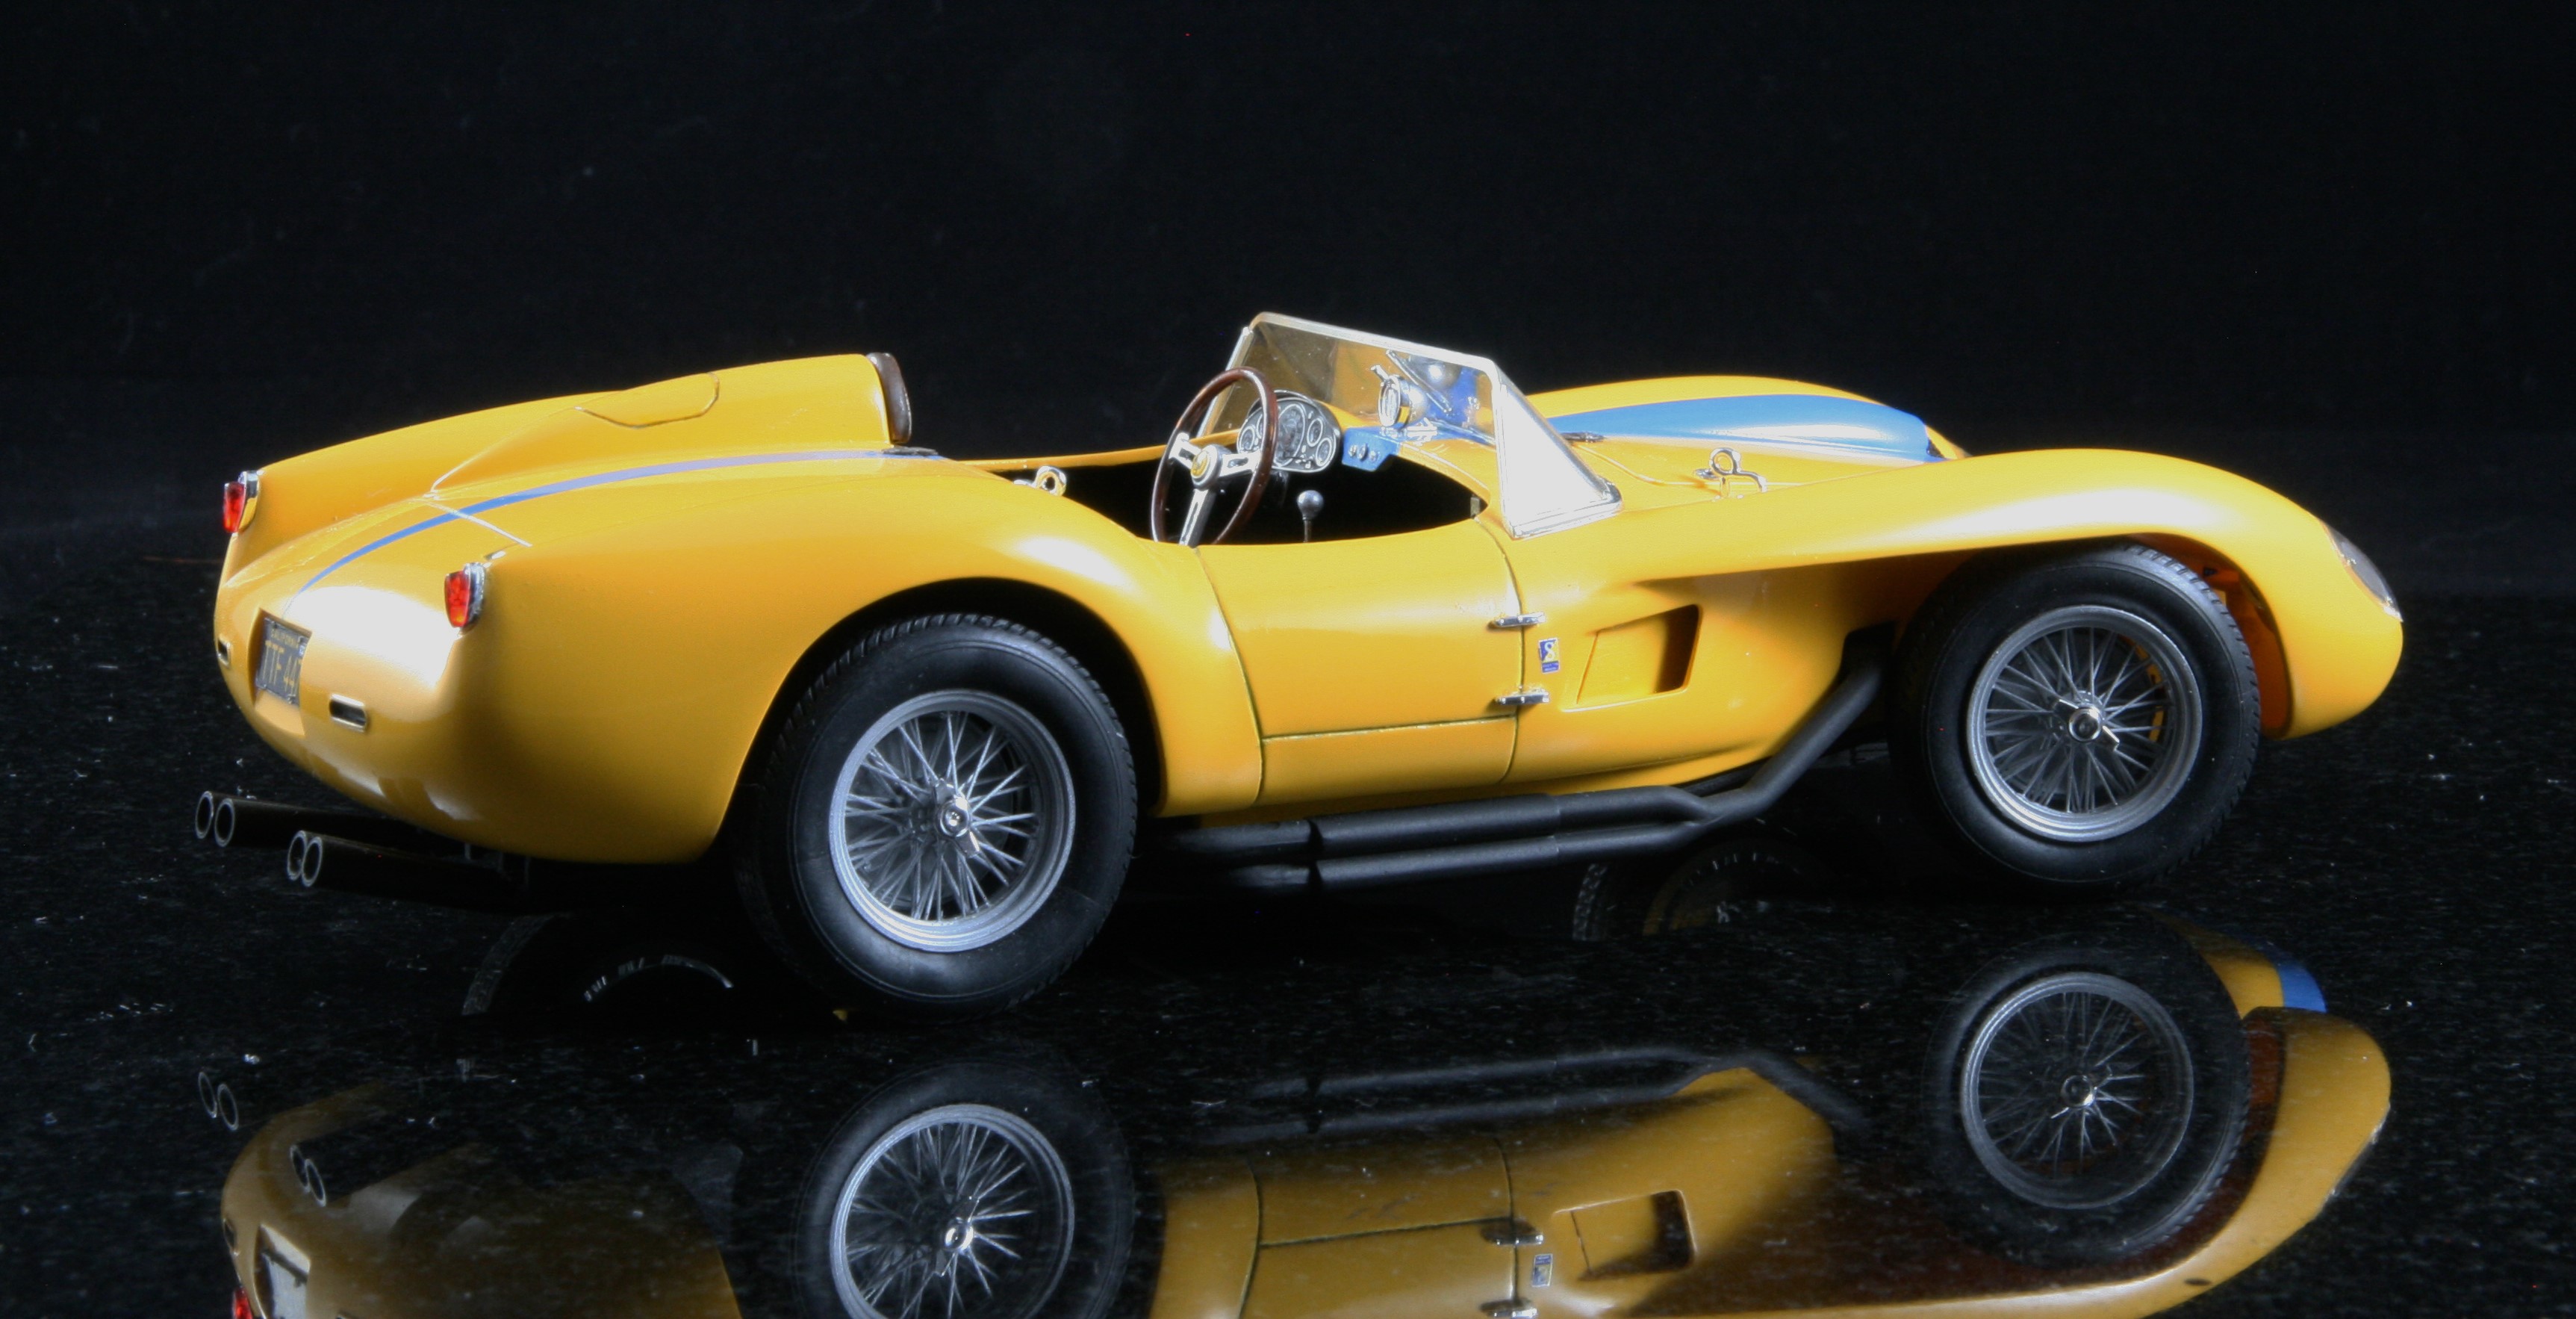
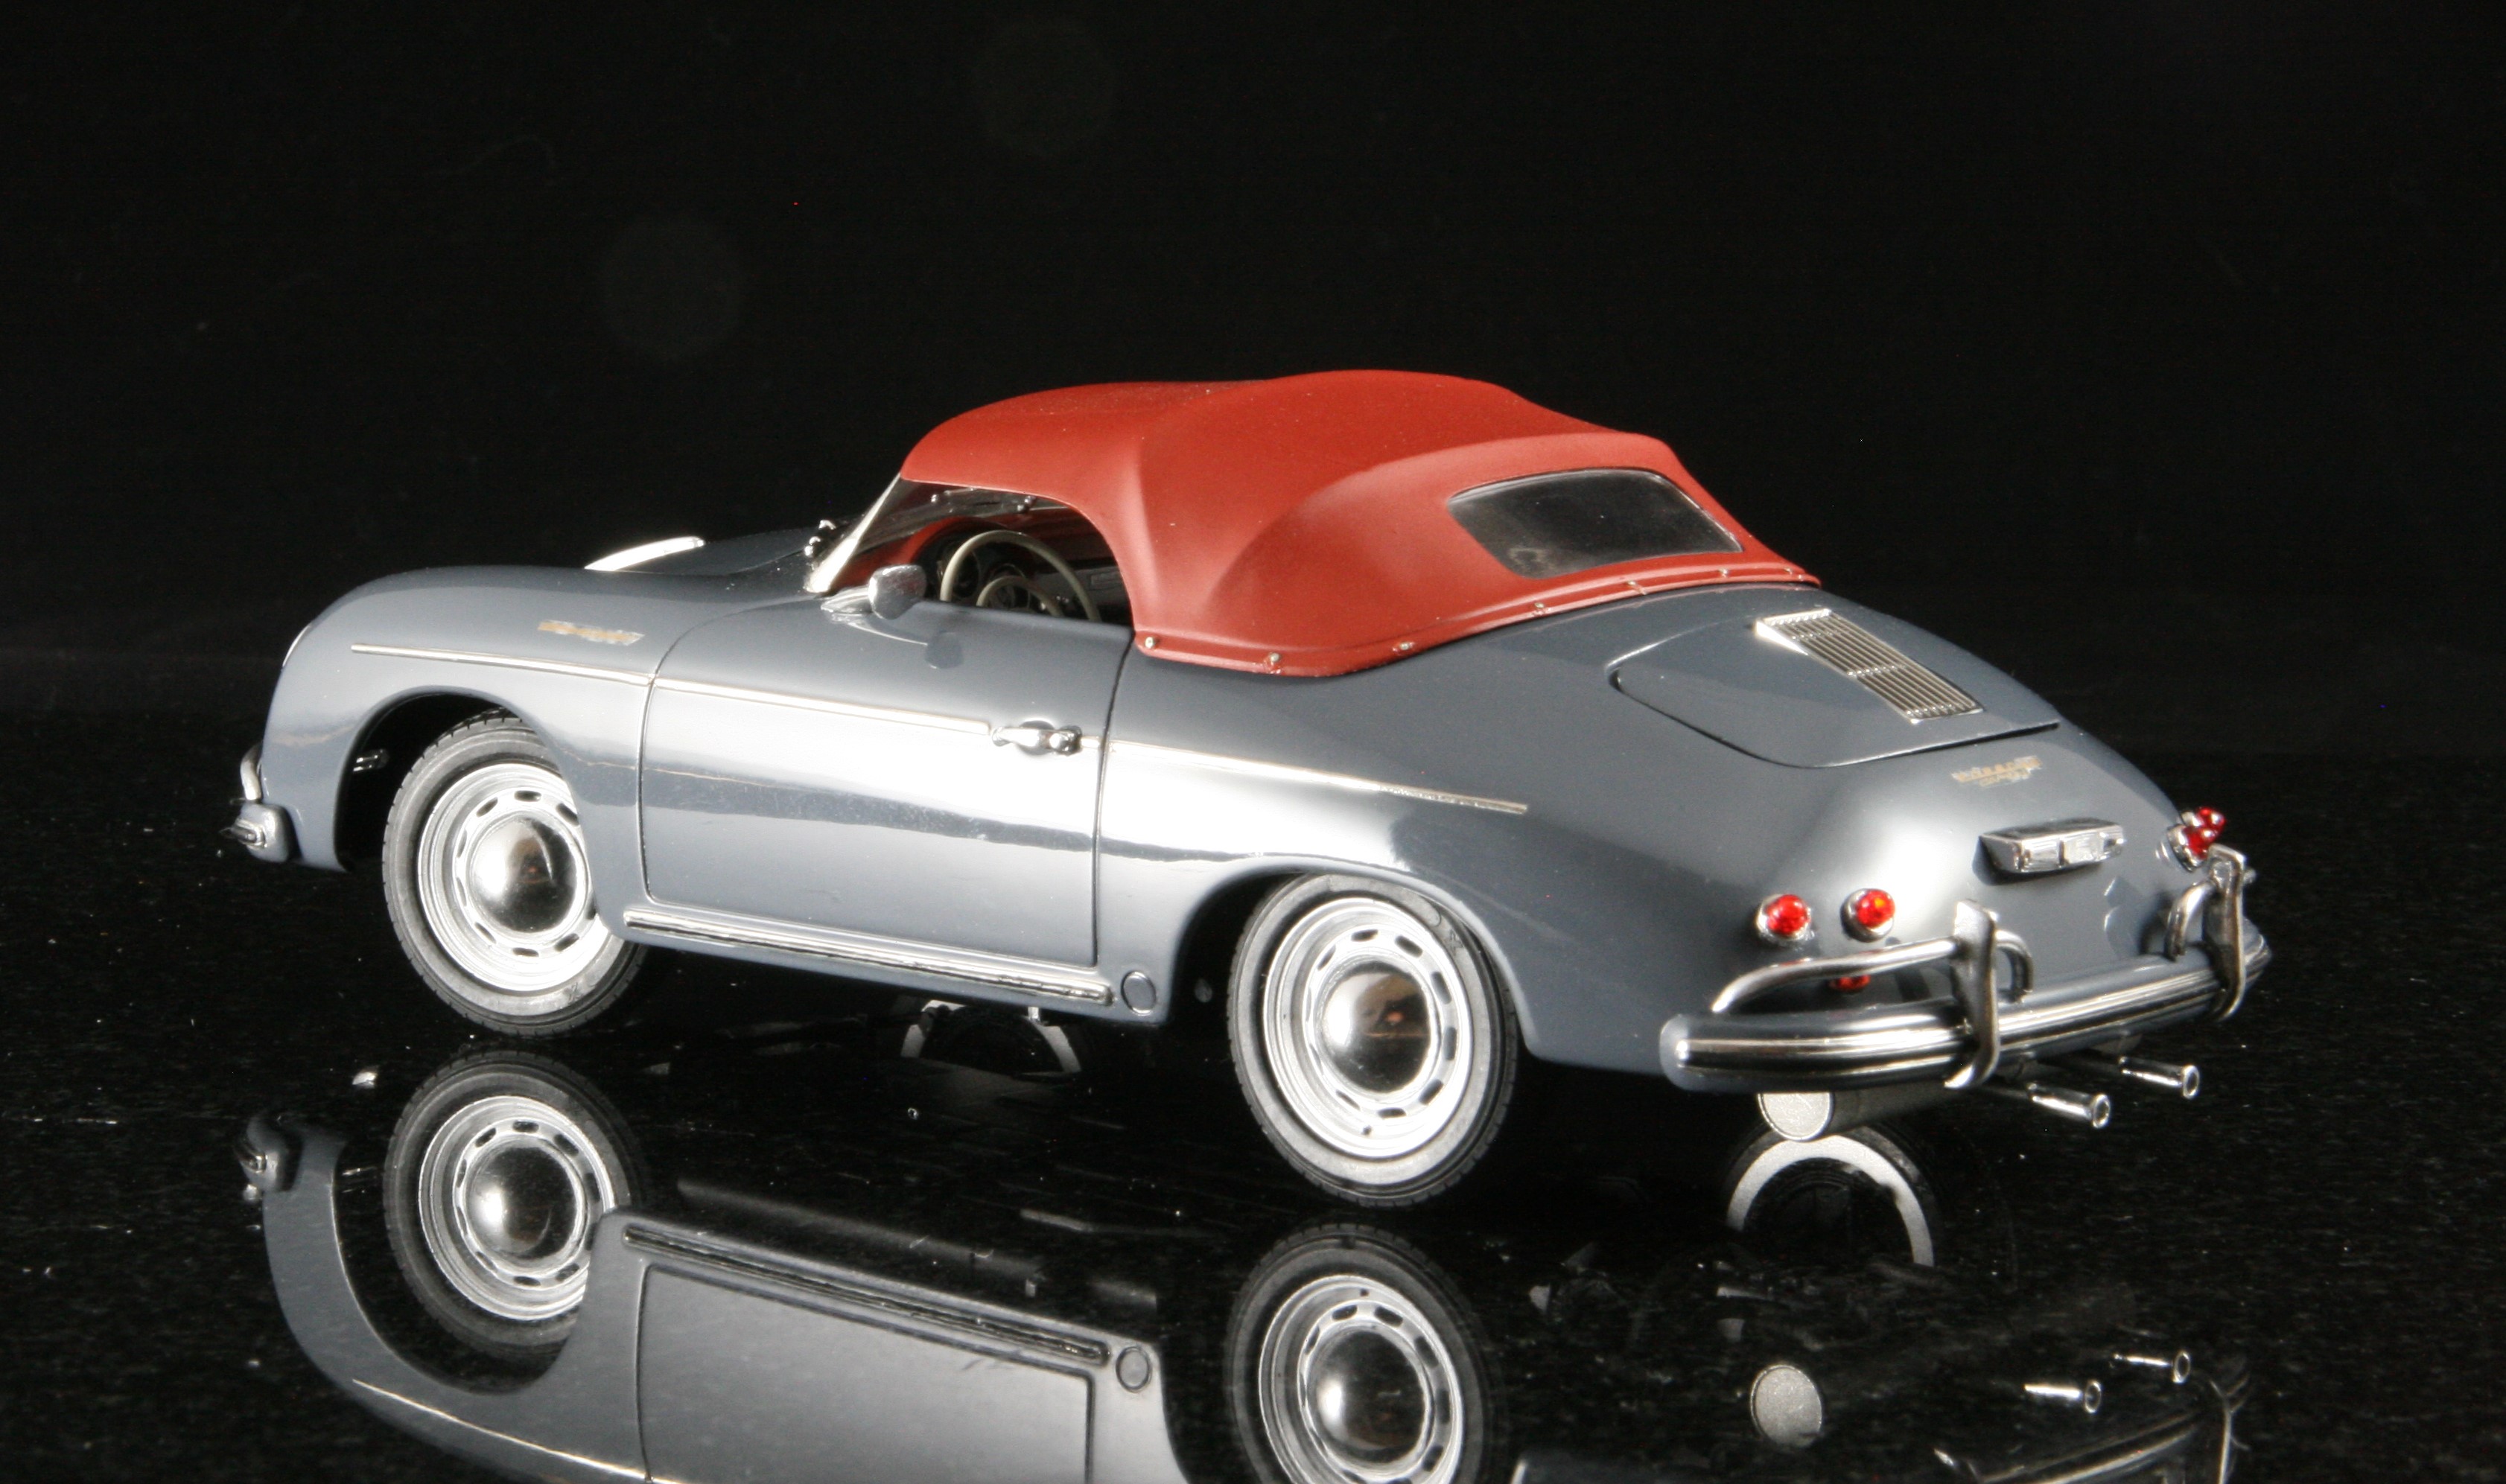
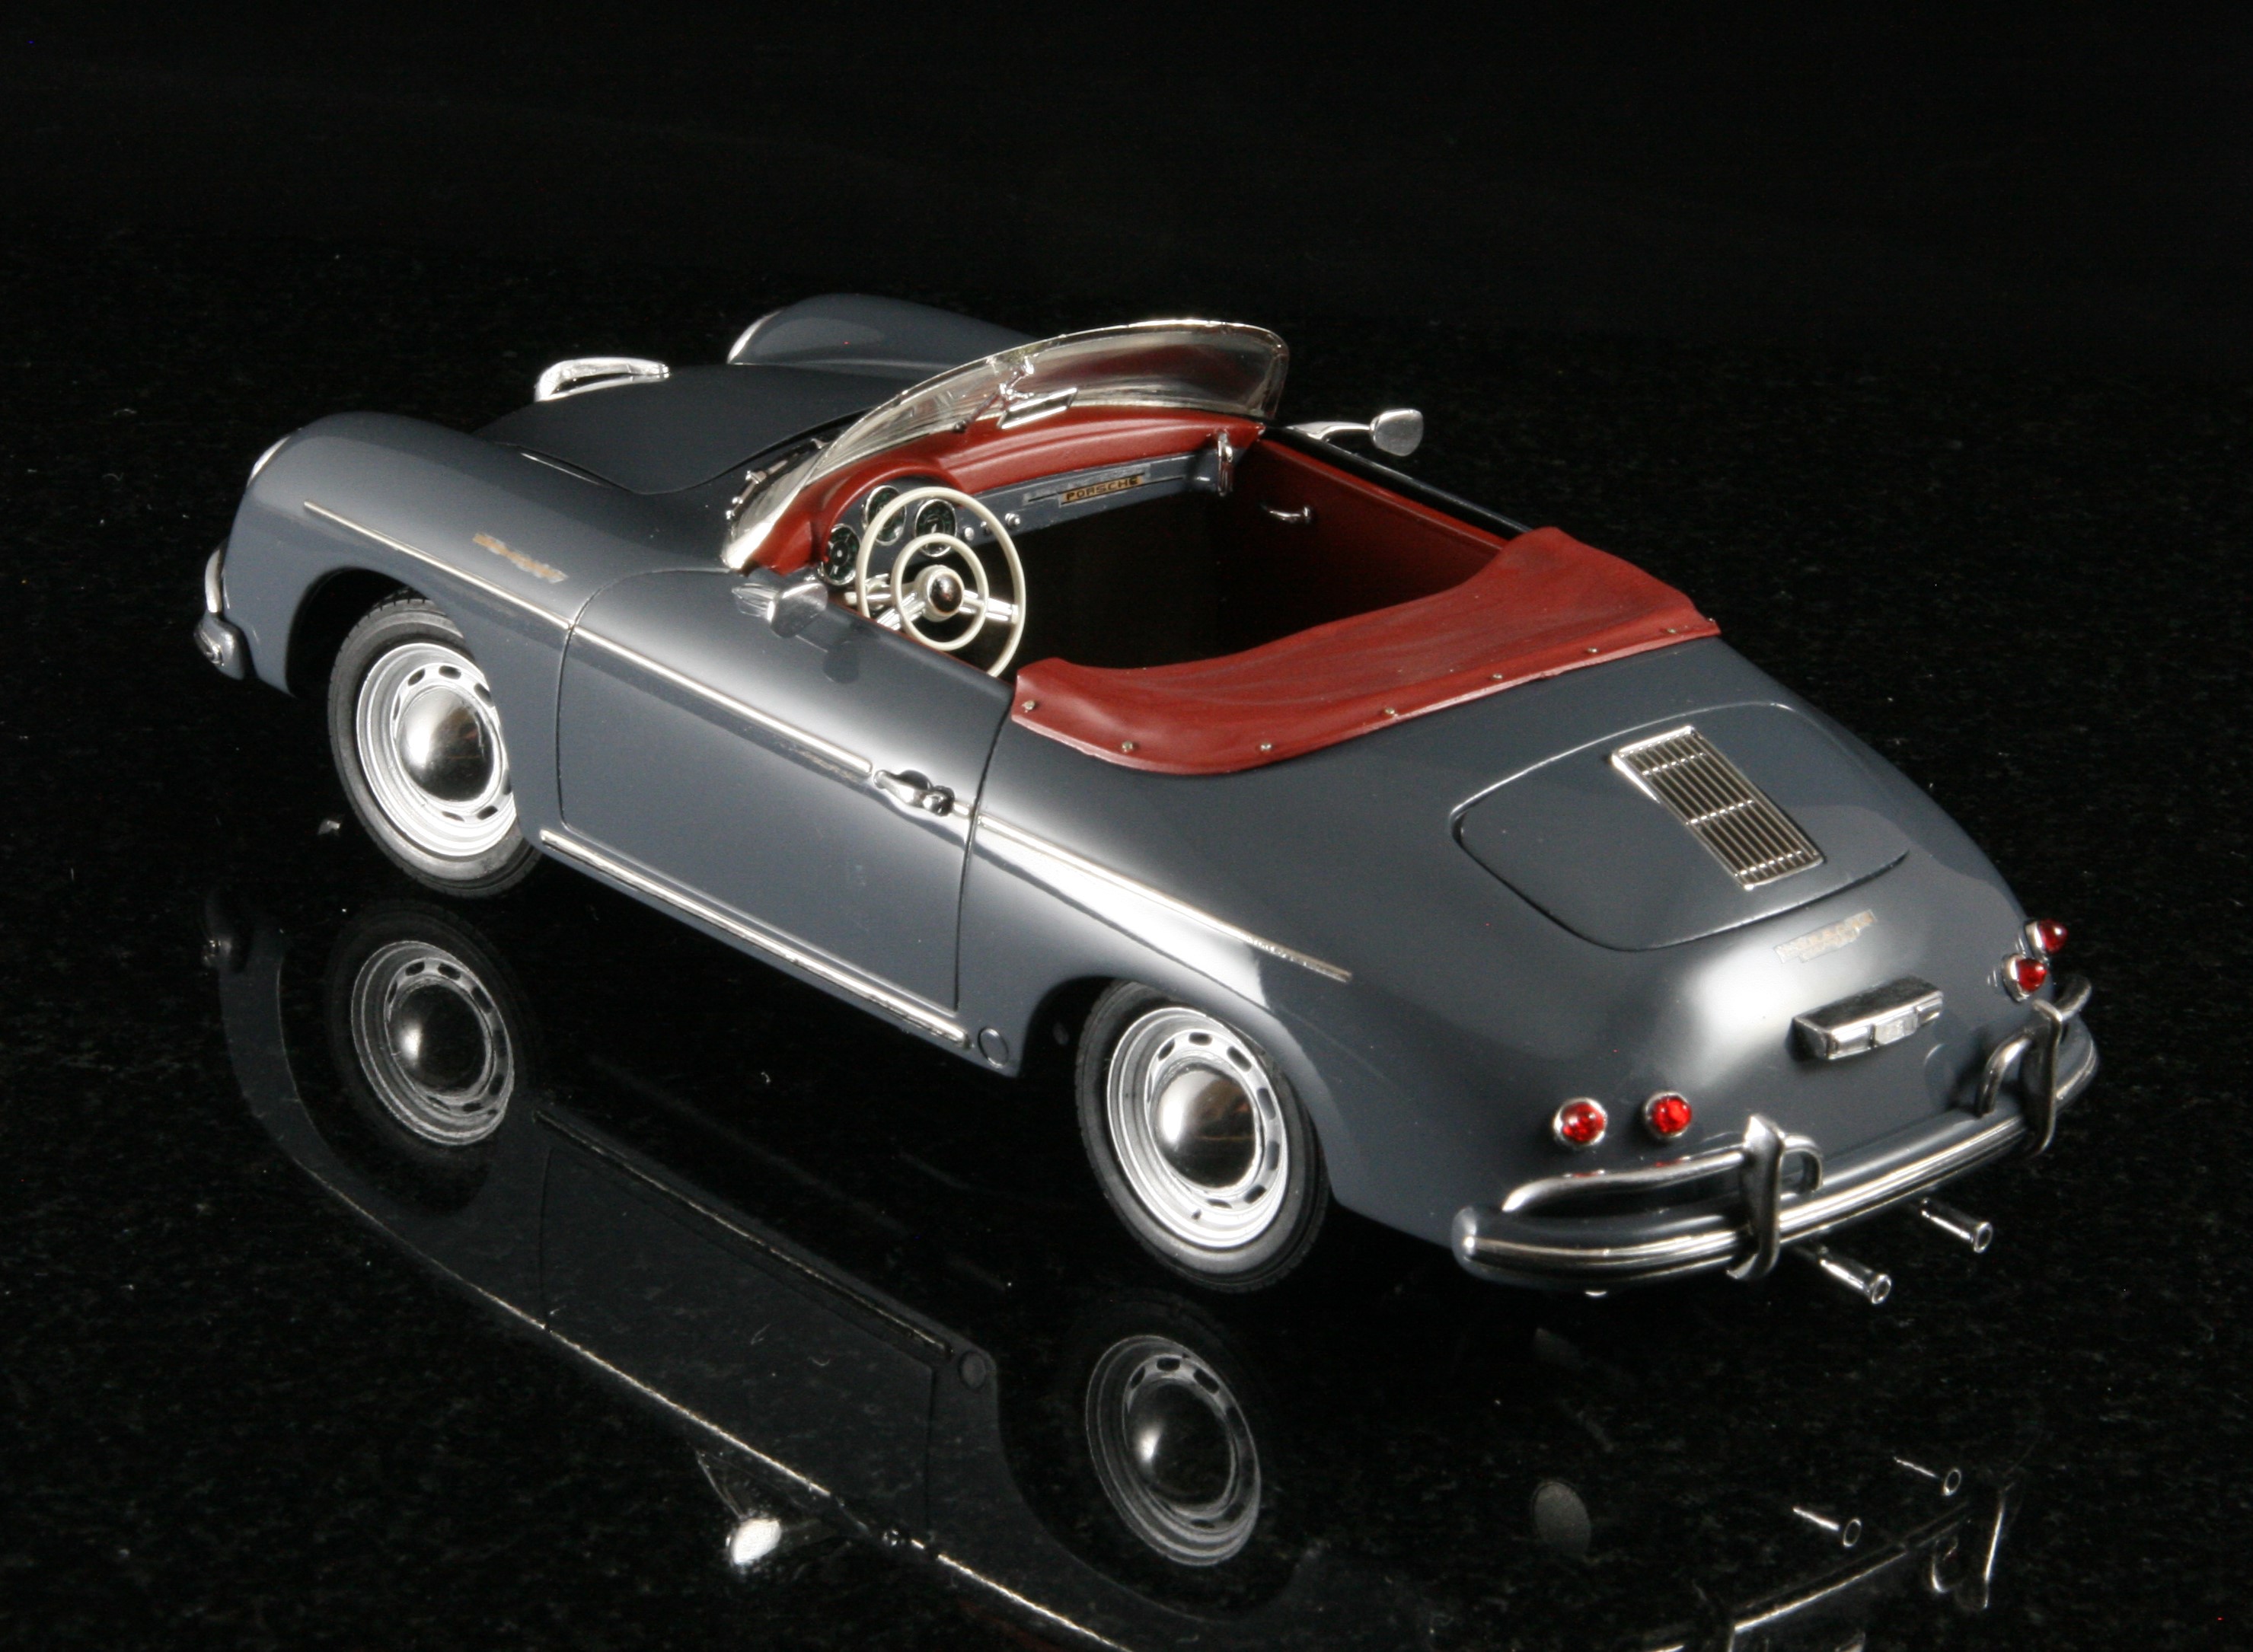
Here are a few against the white backdrop...
-
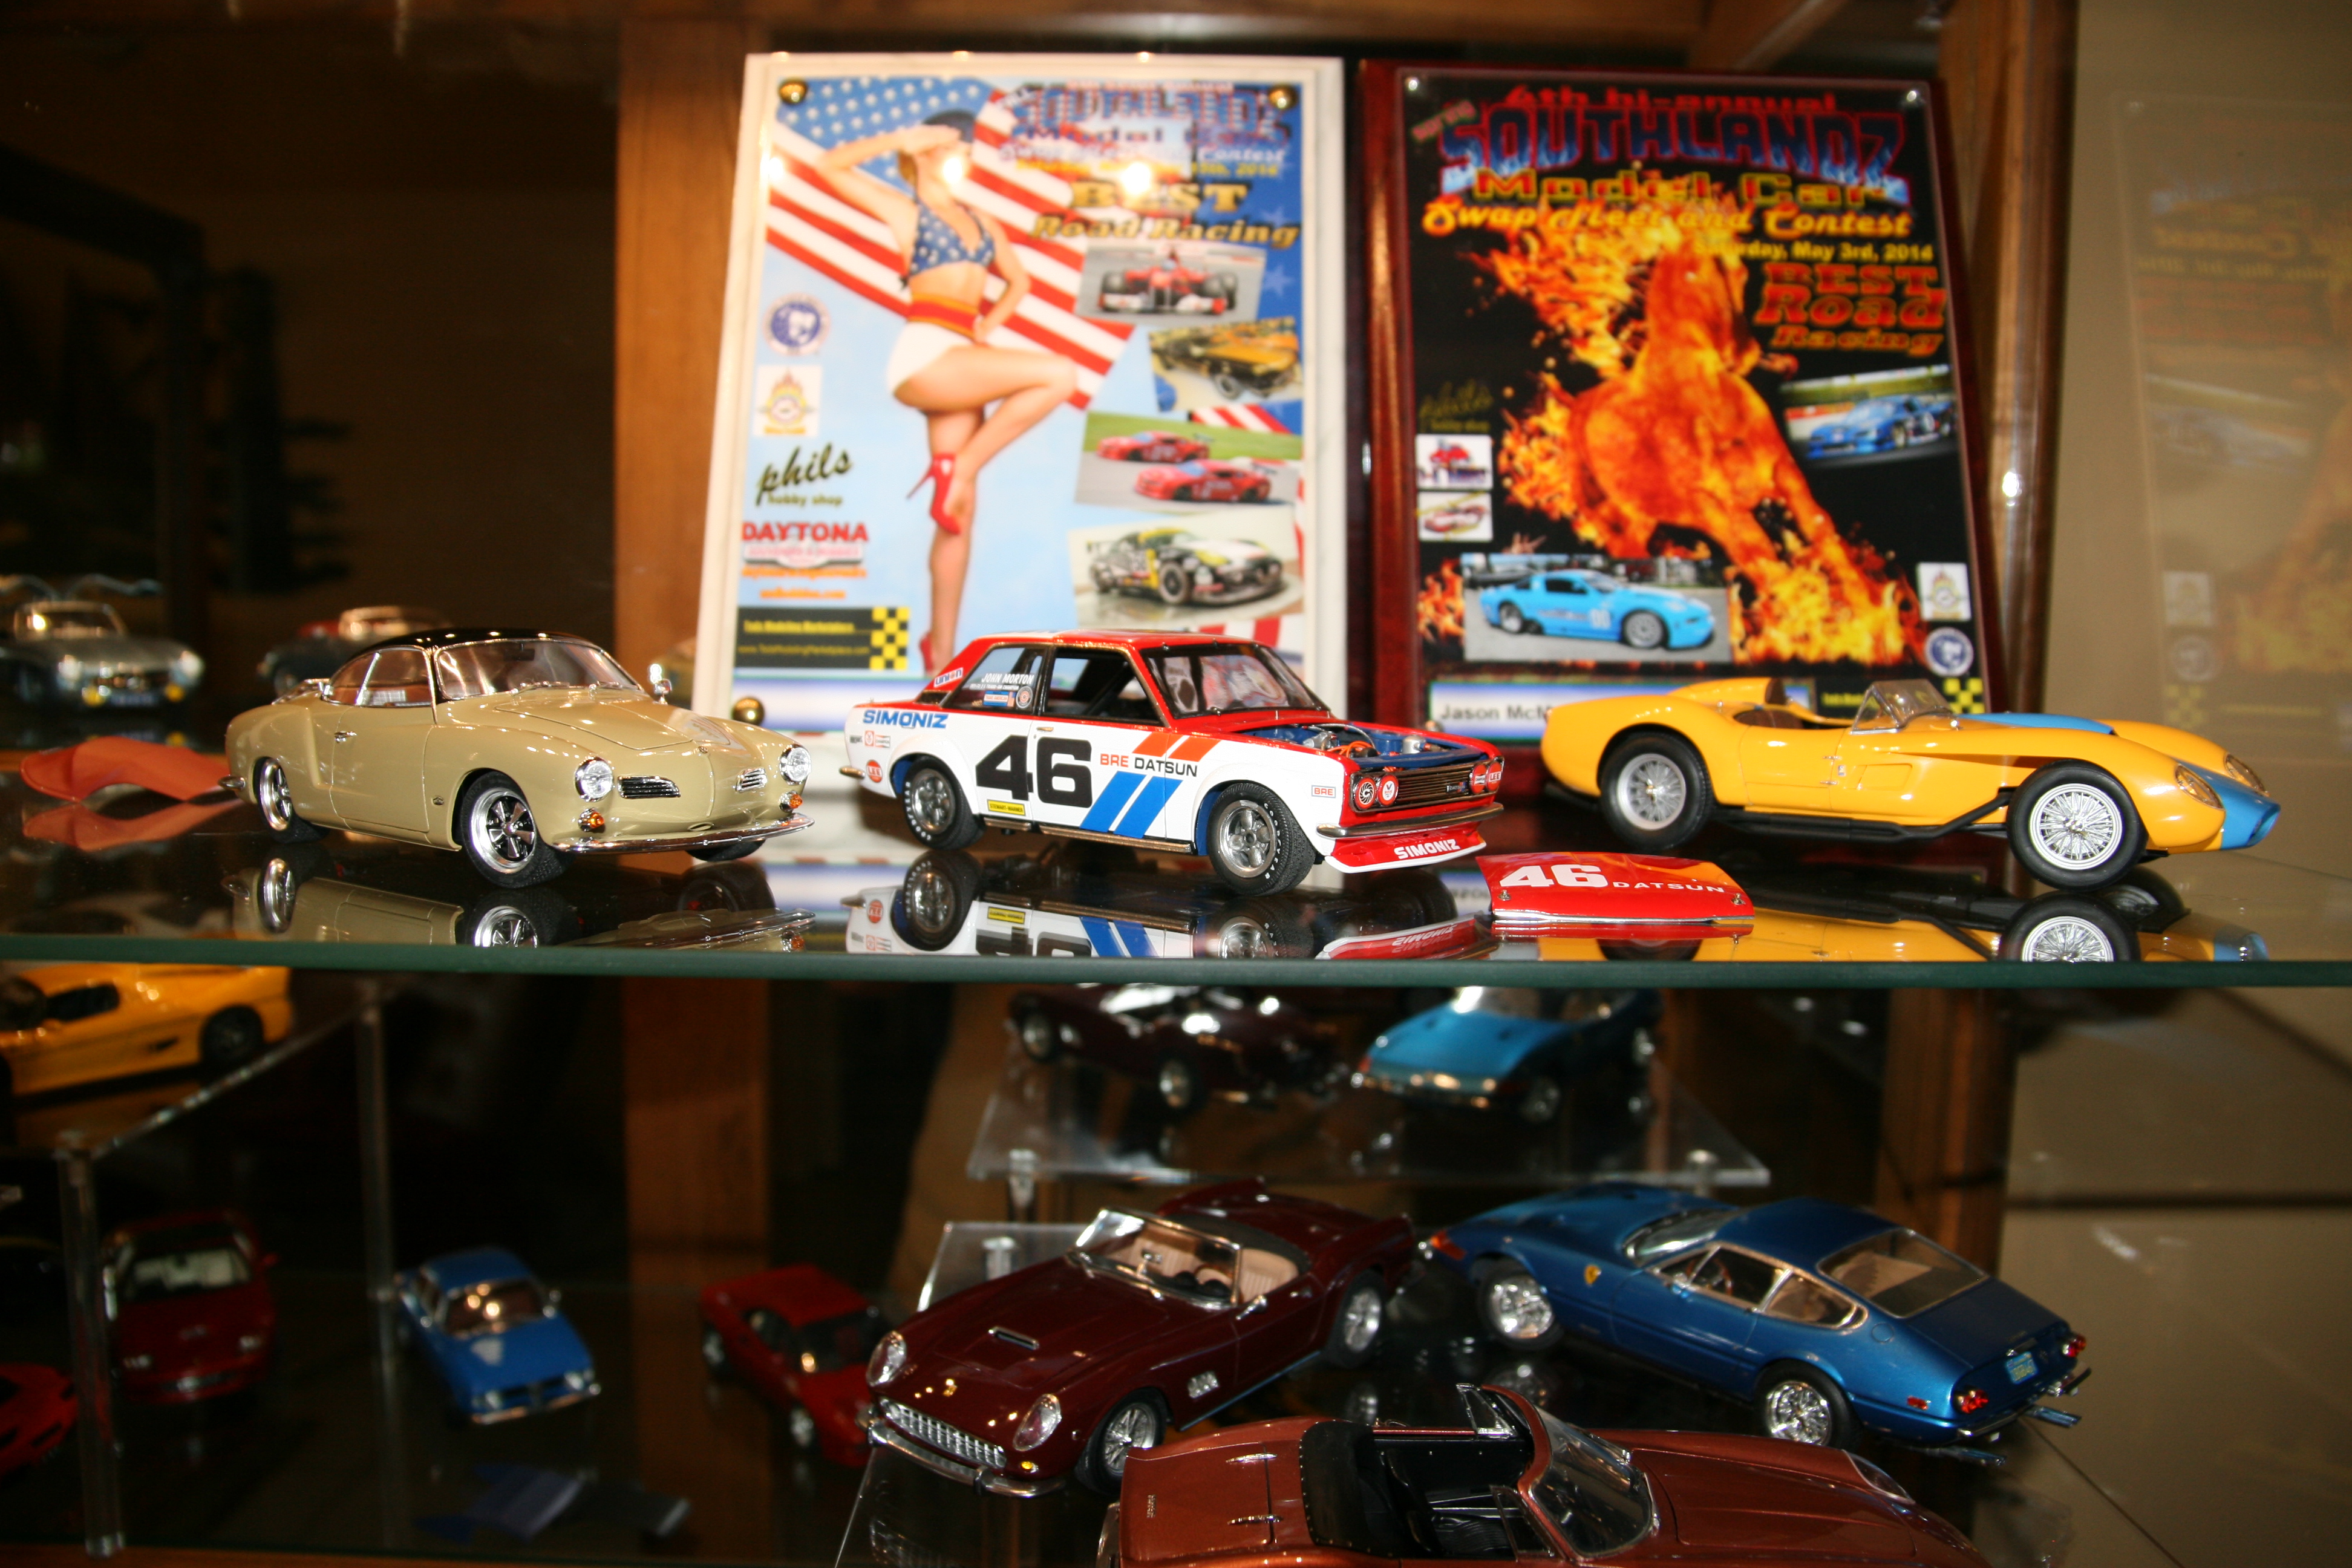
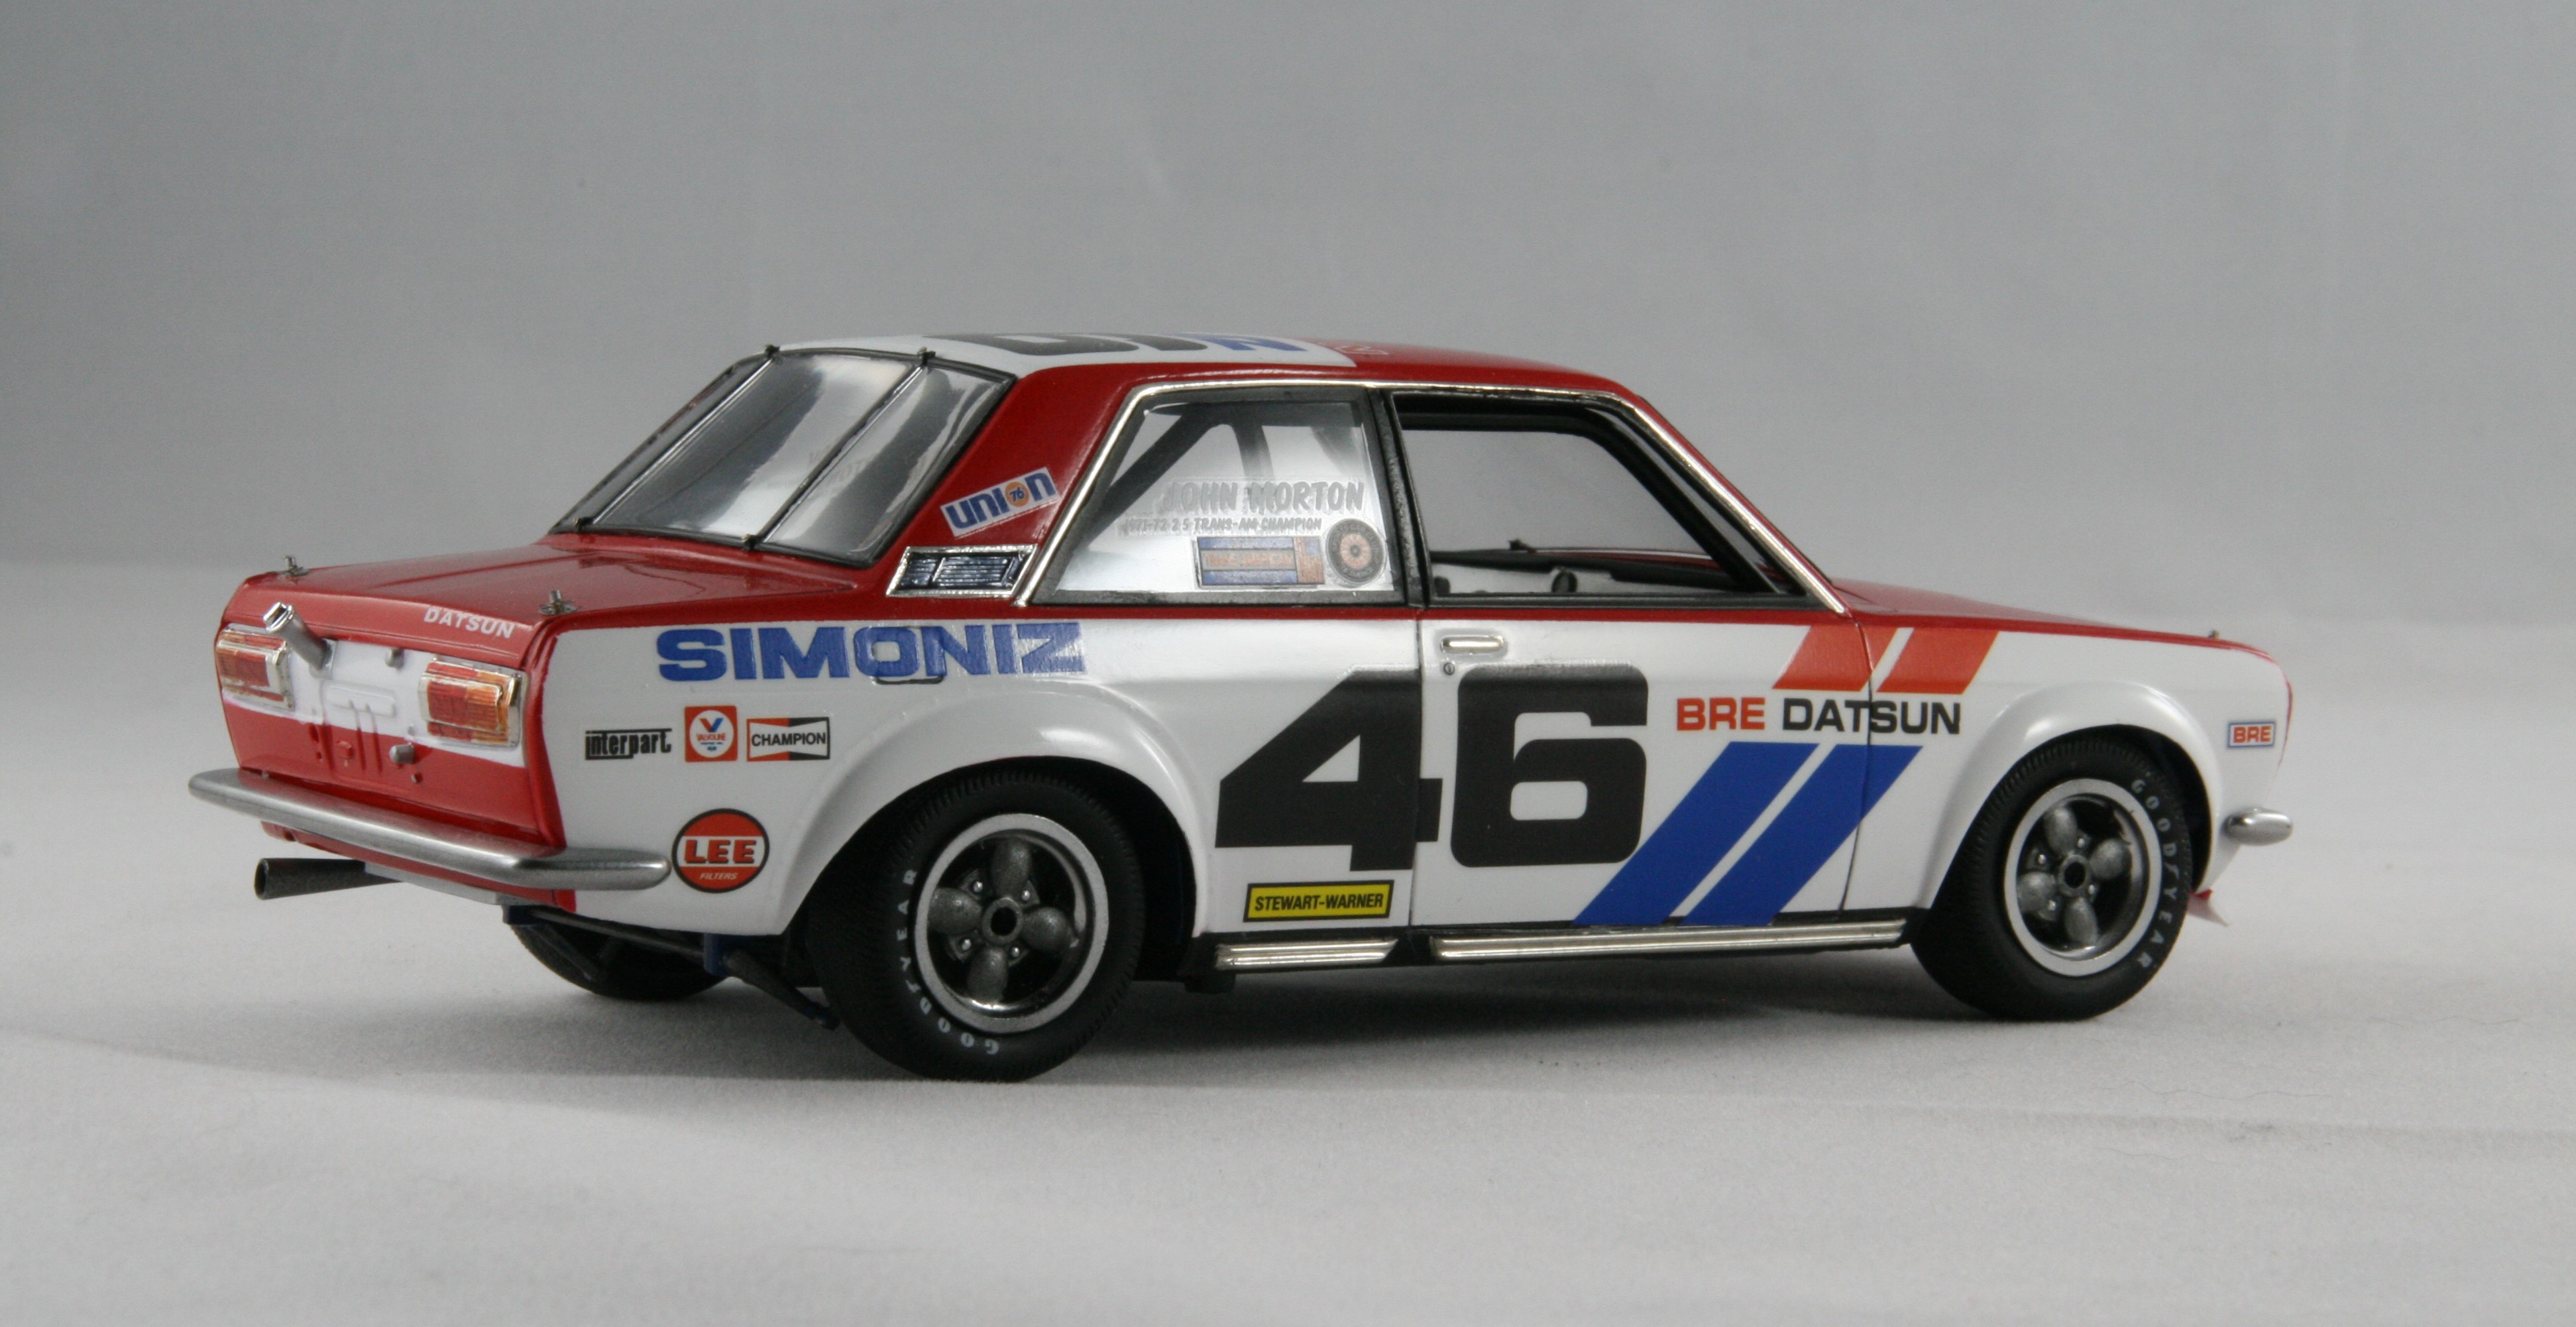
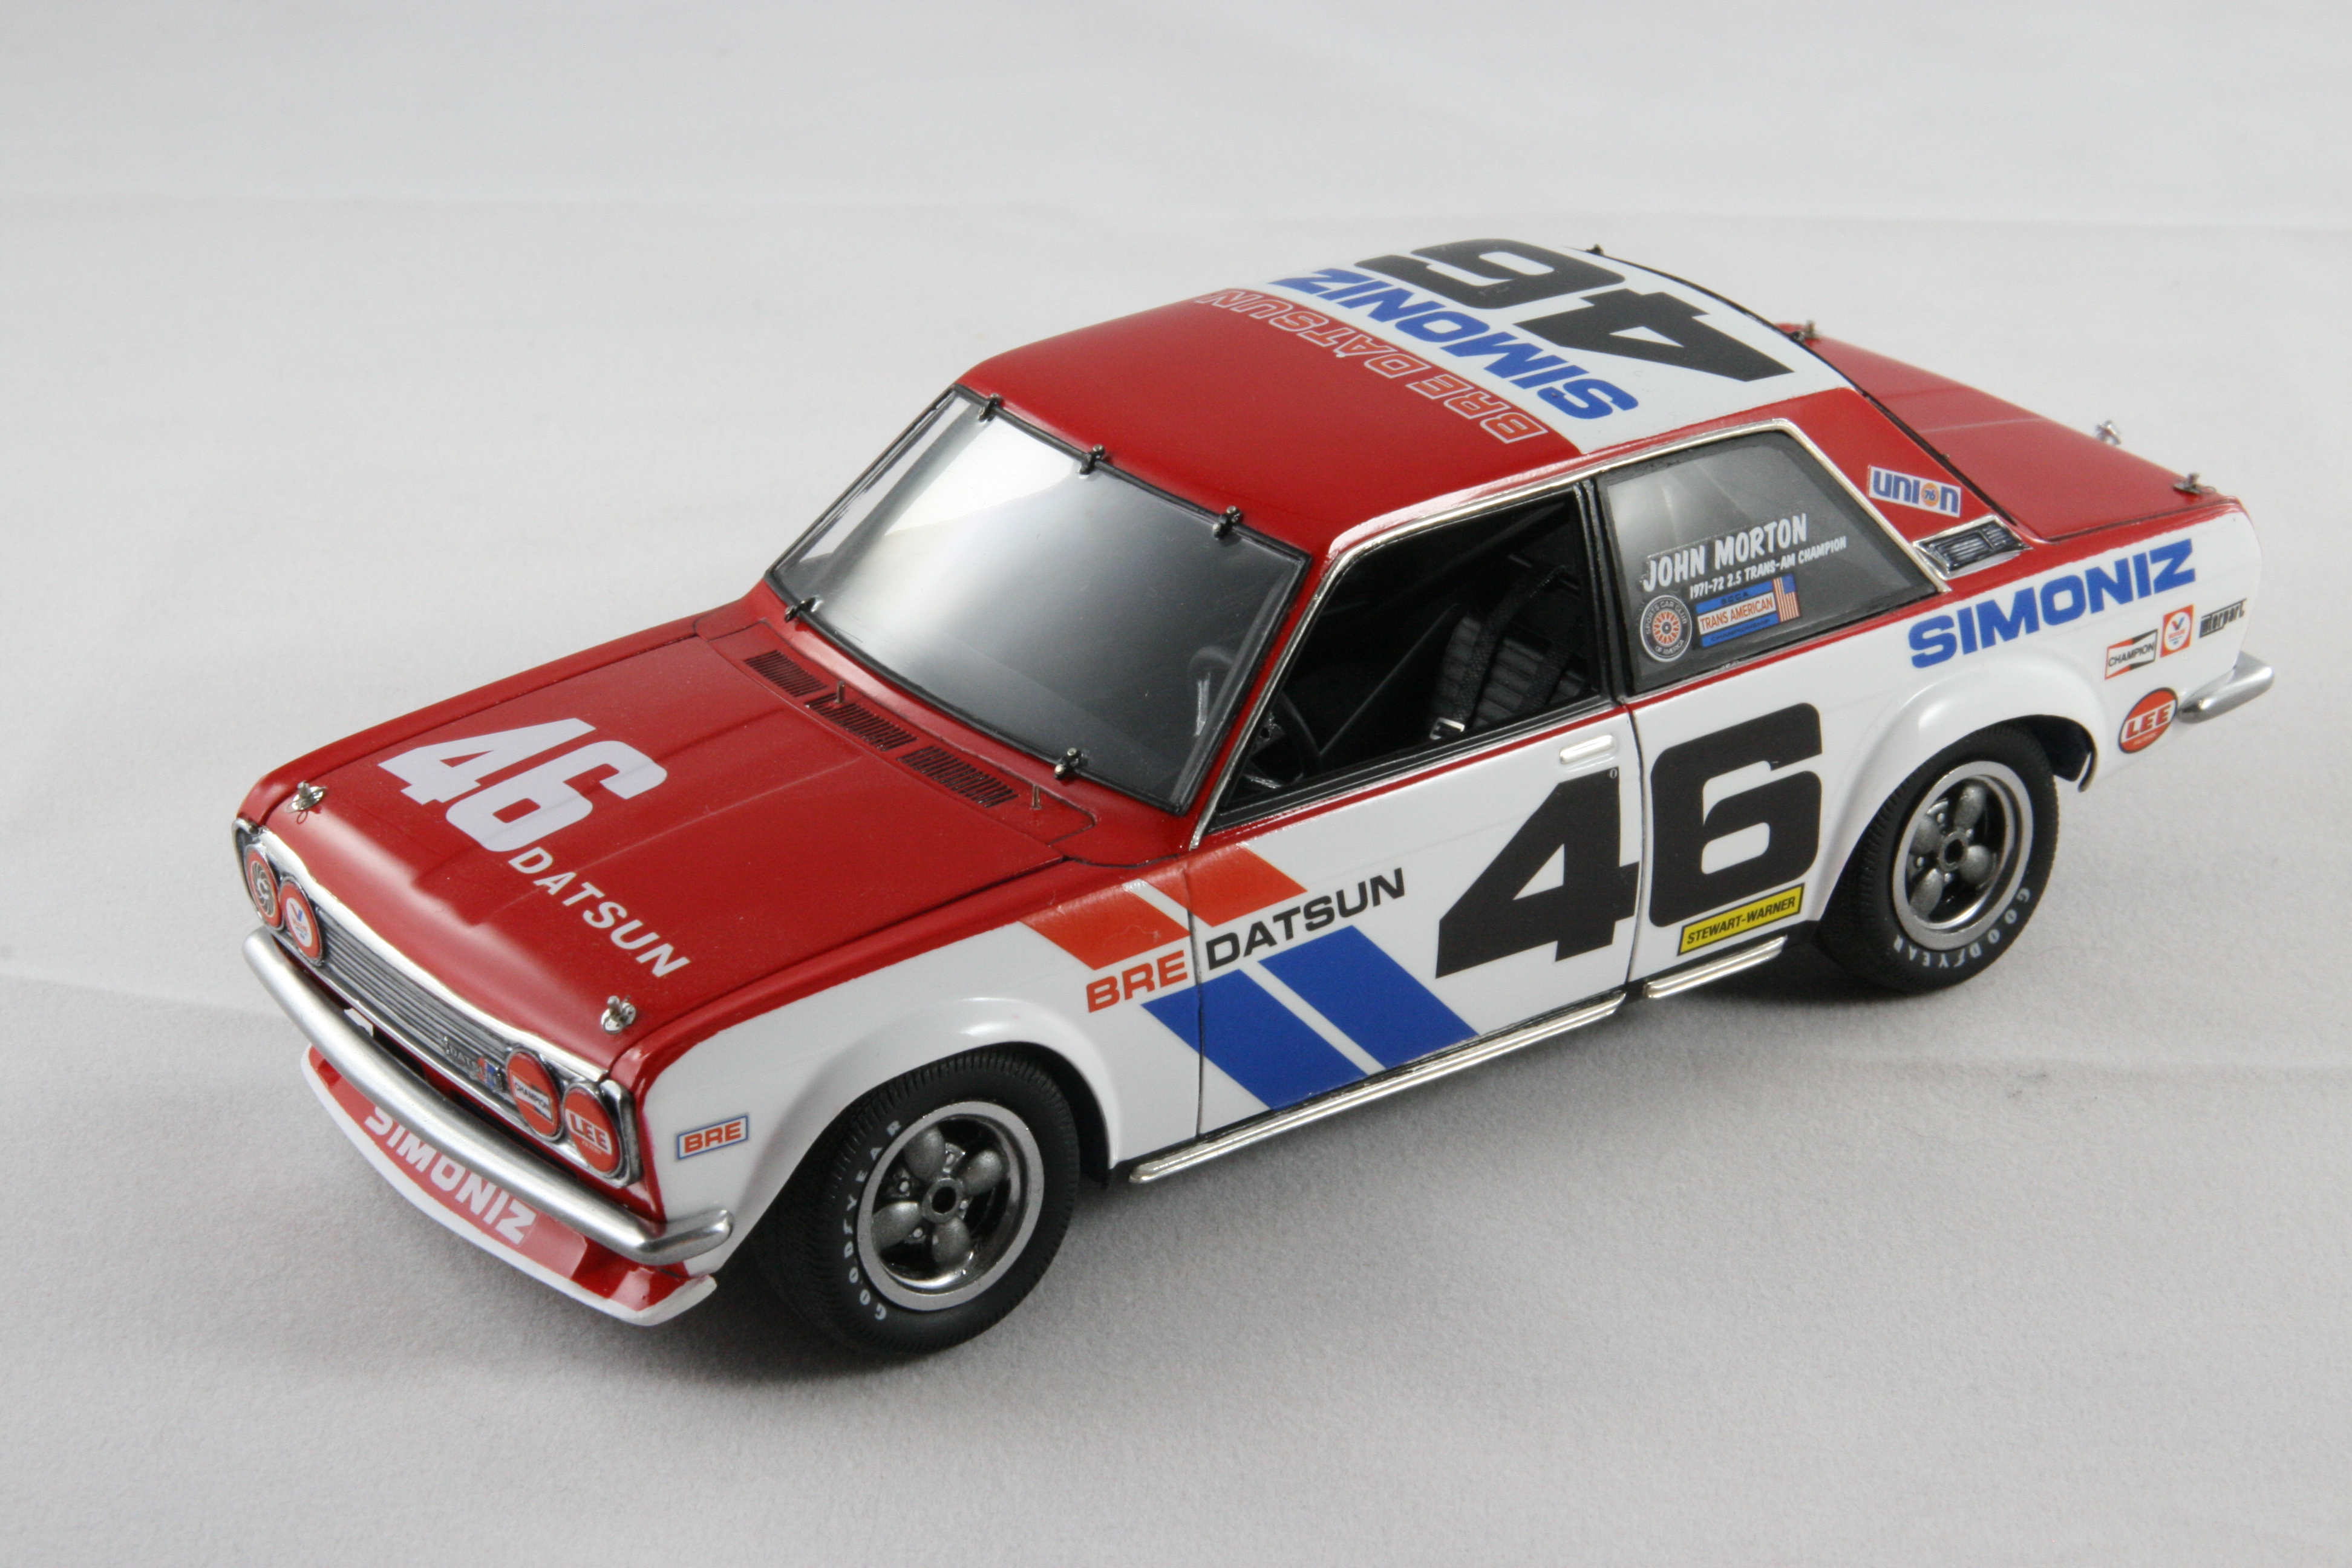
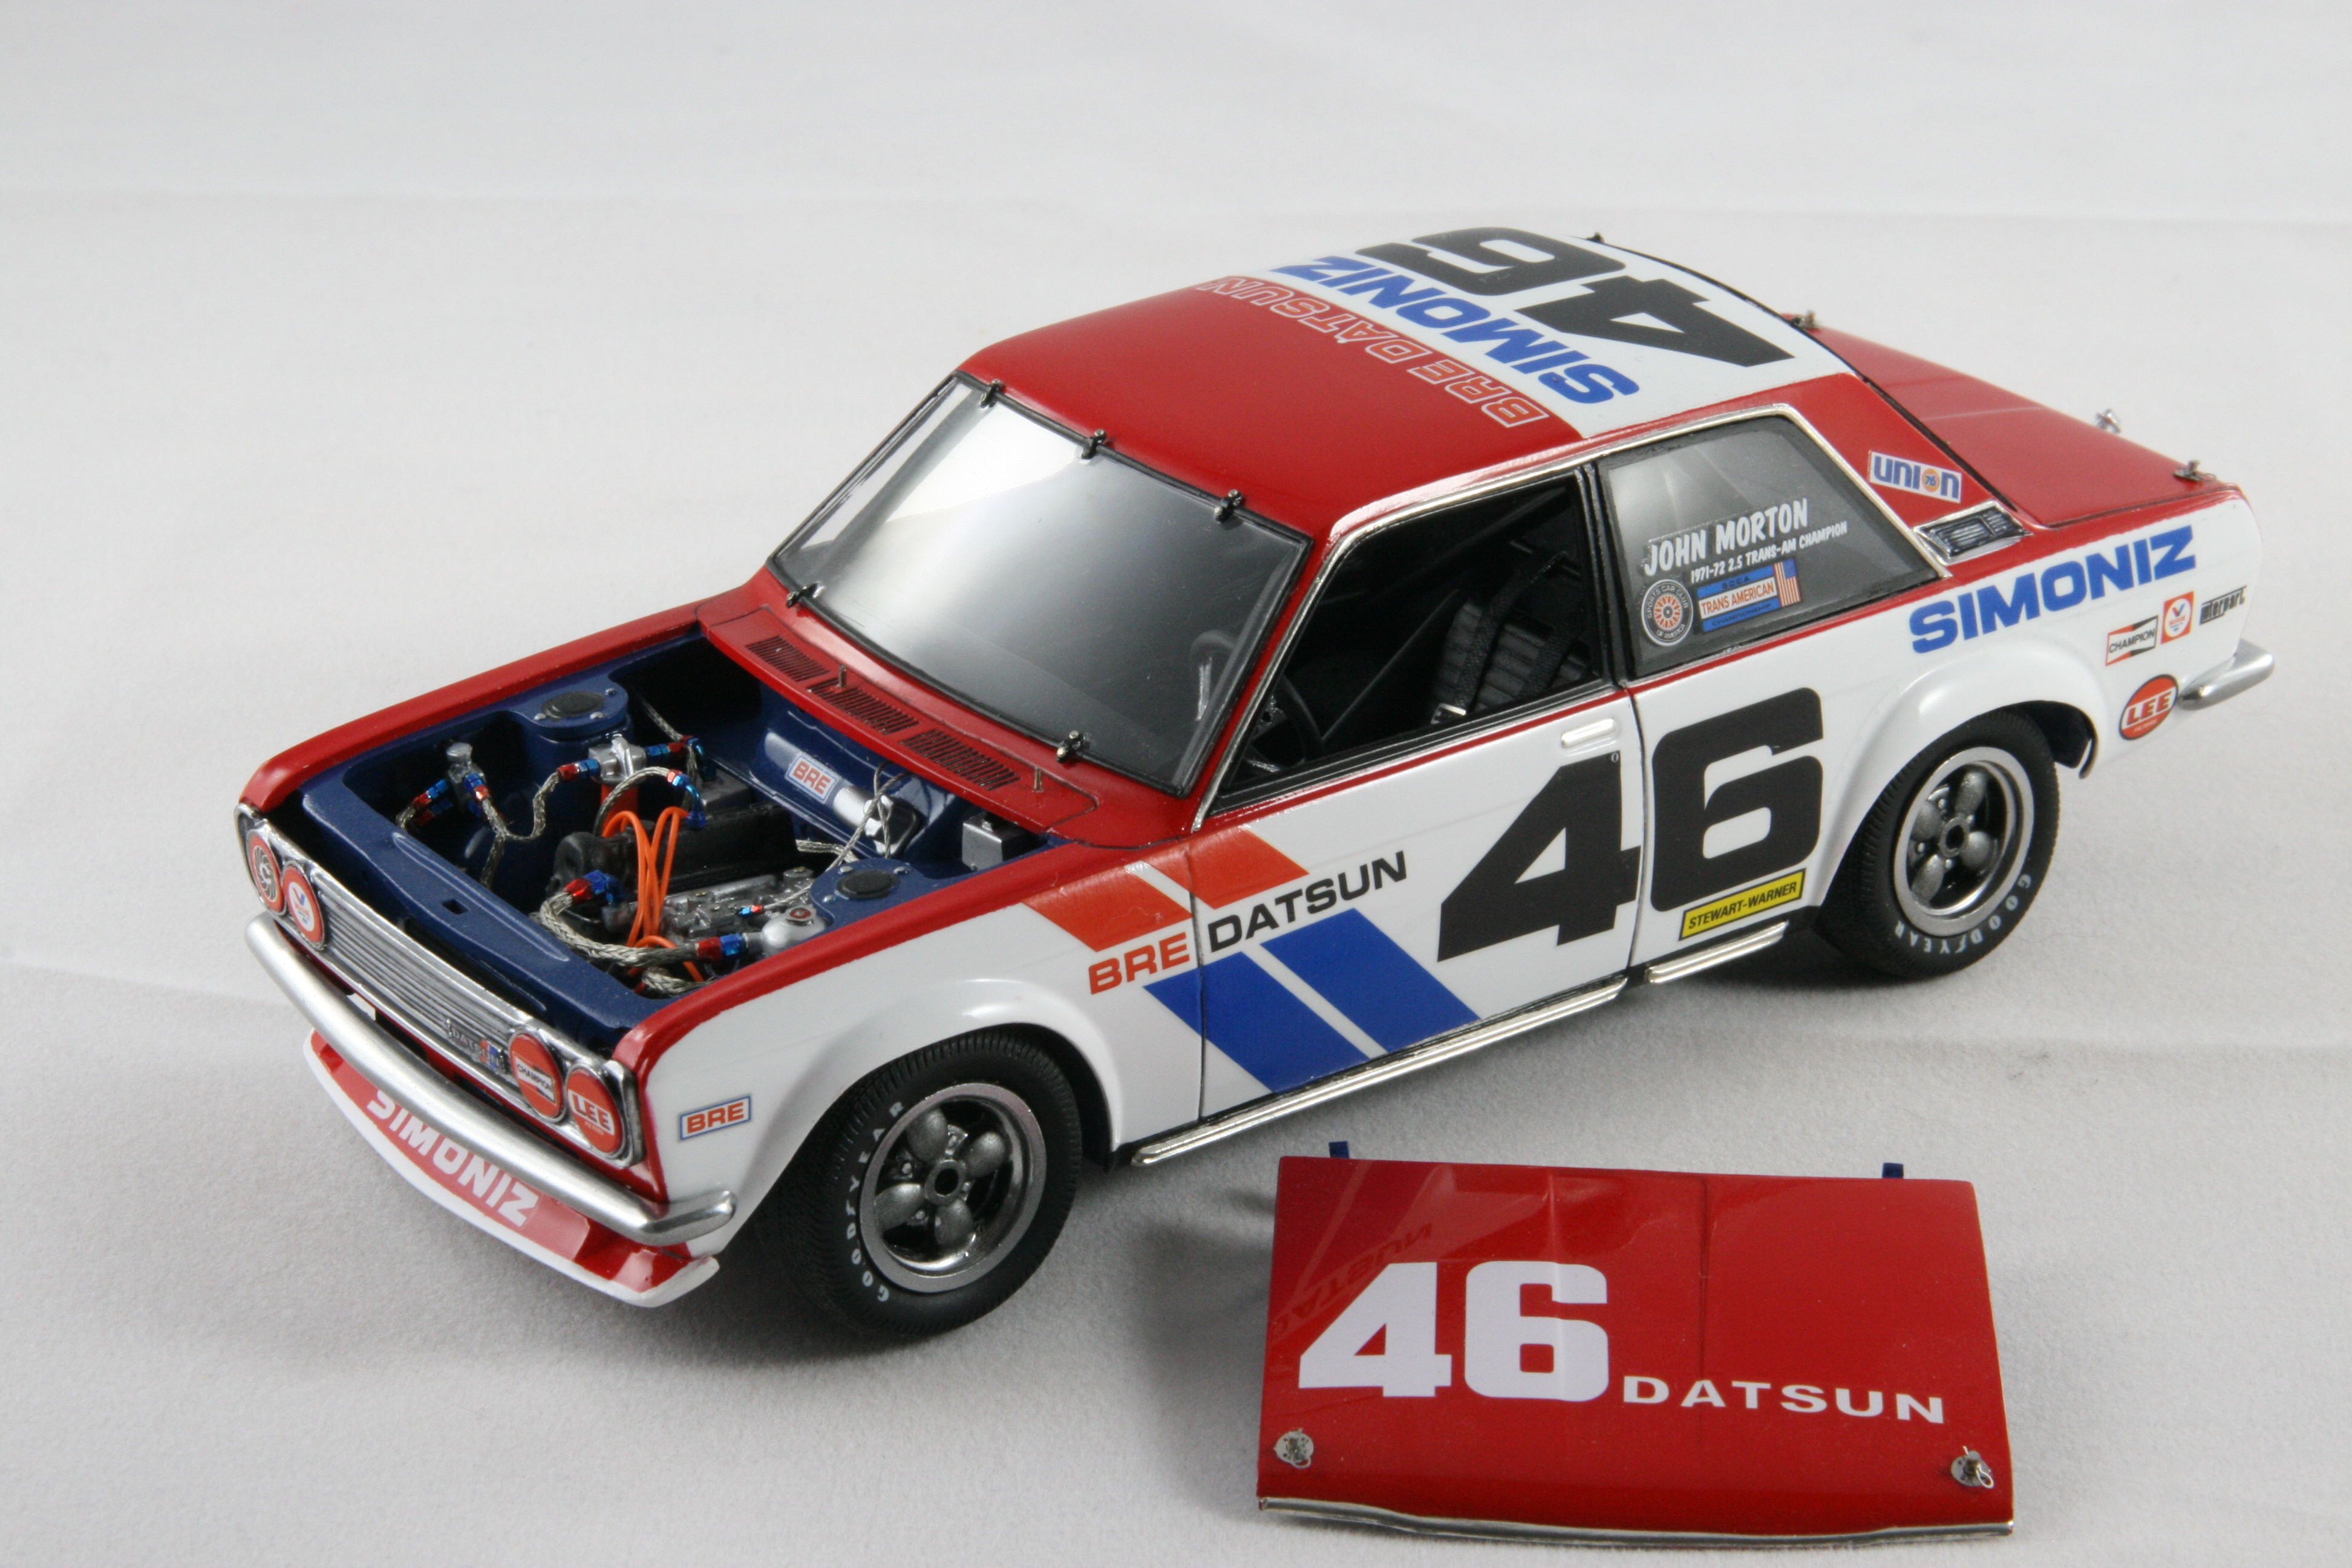
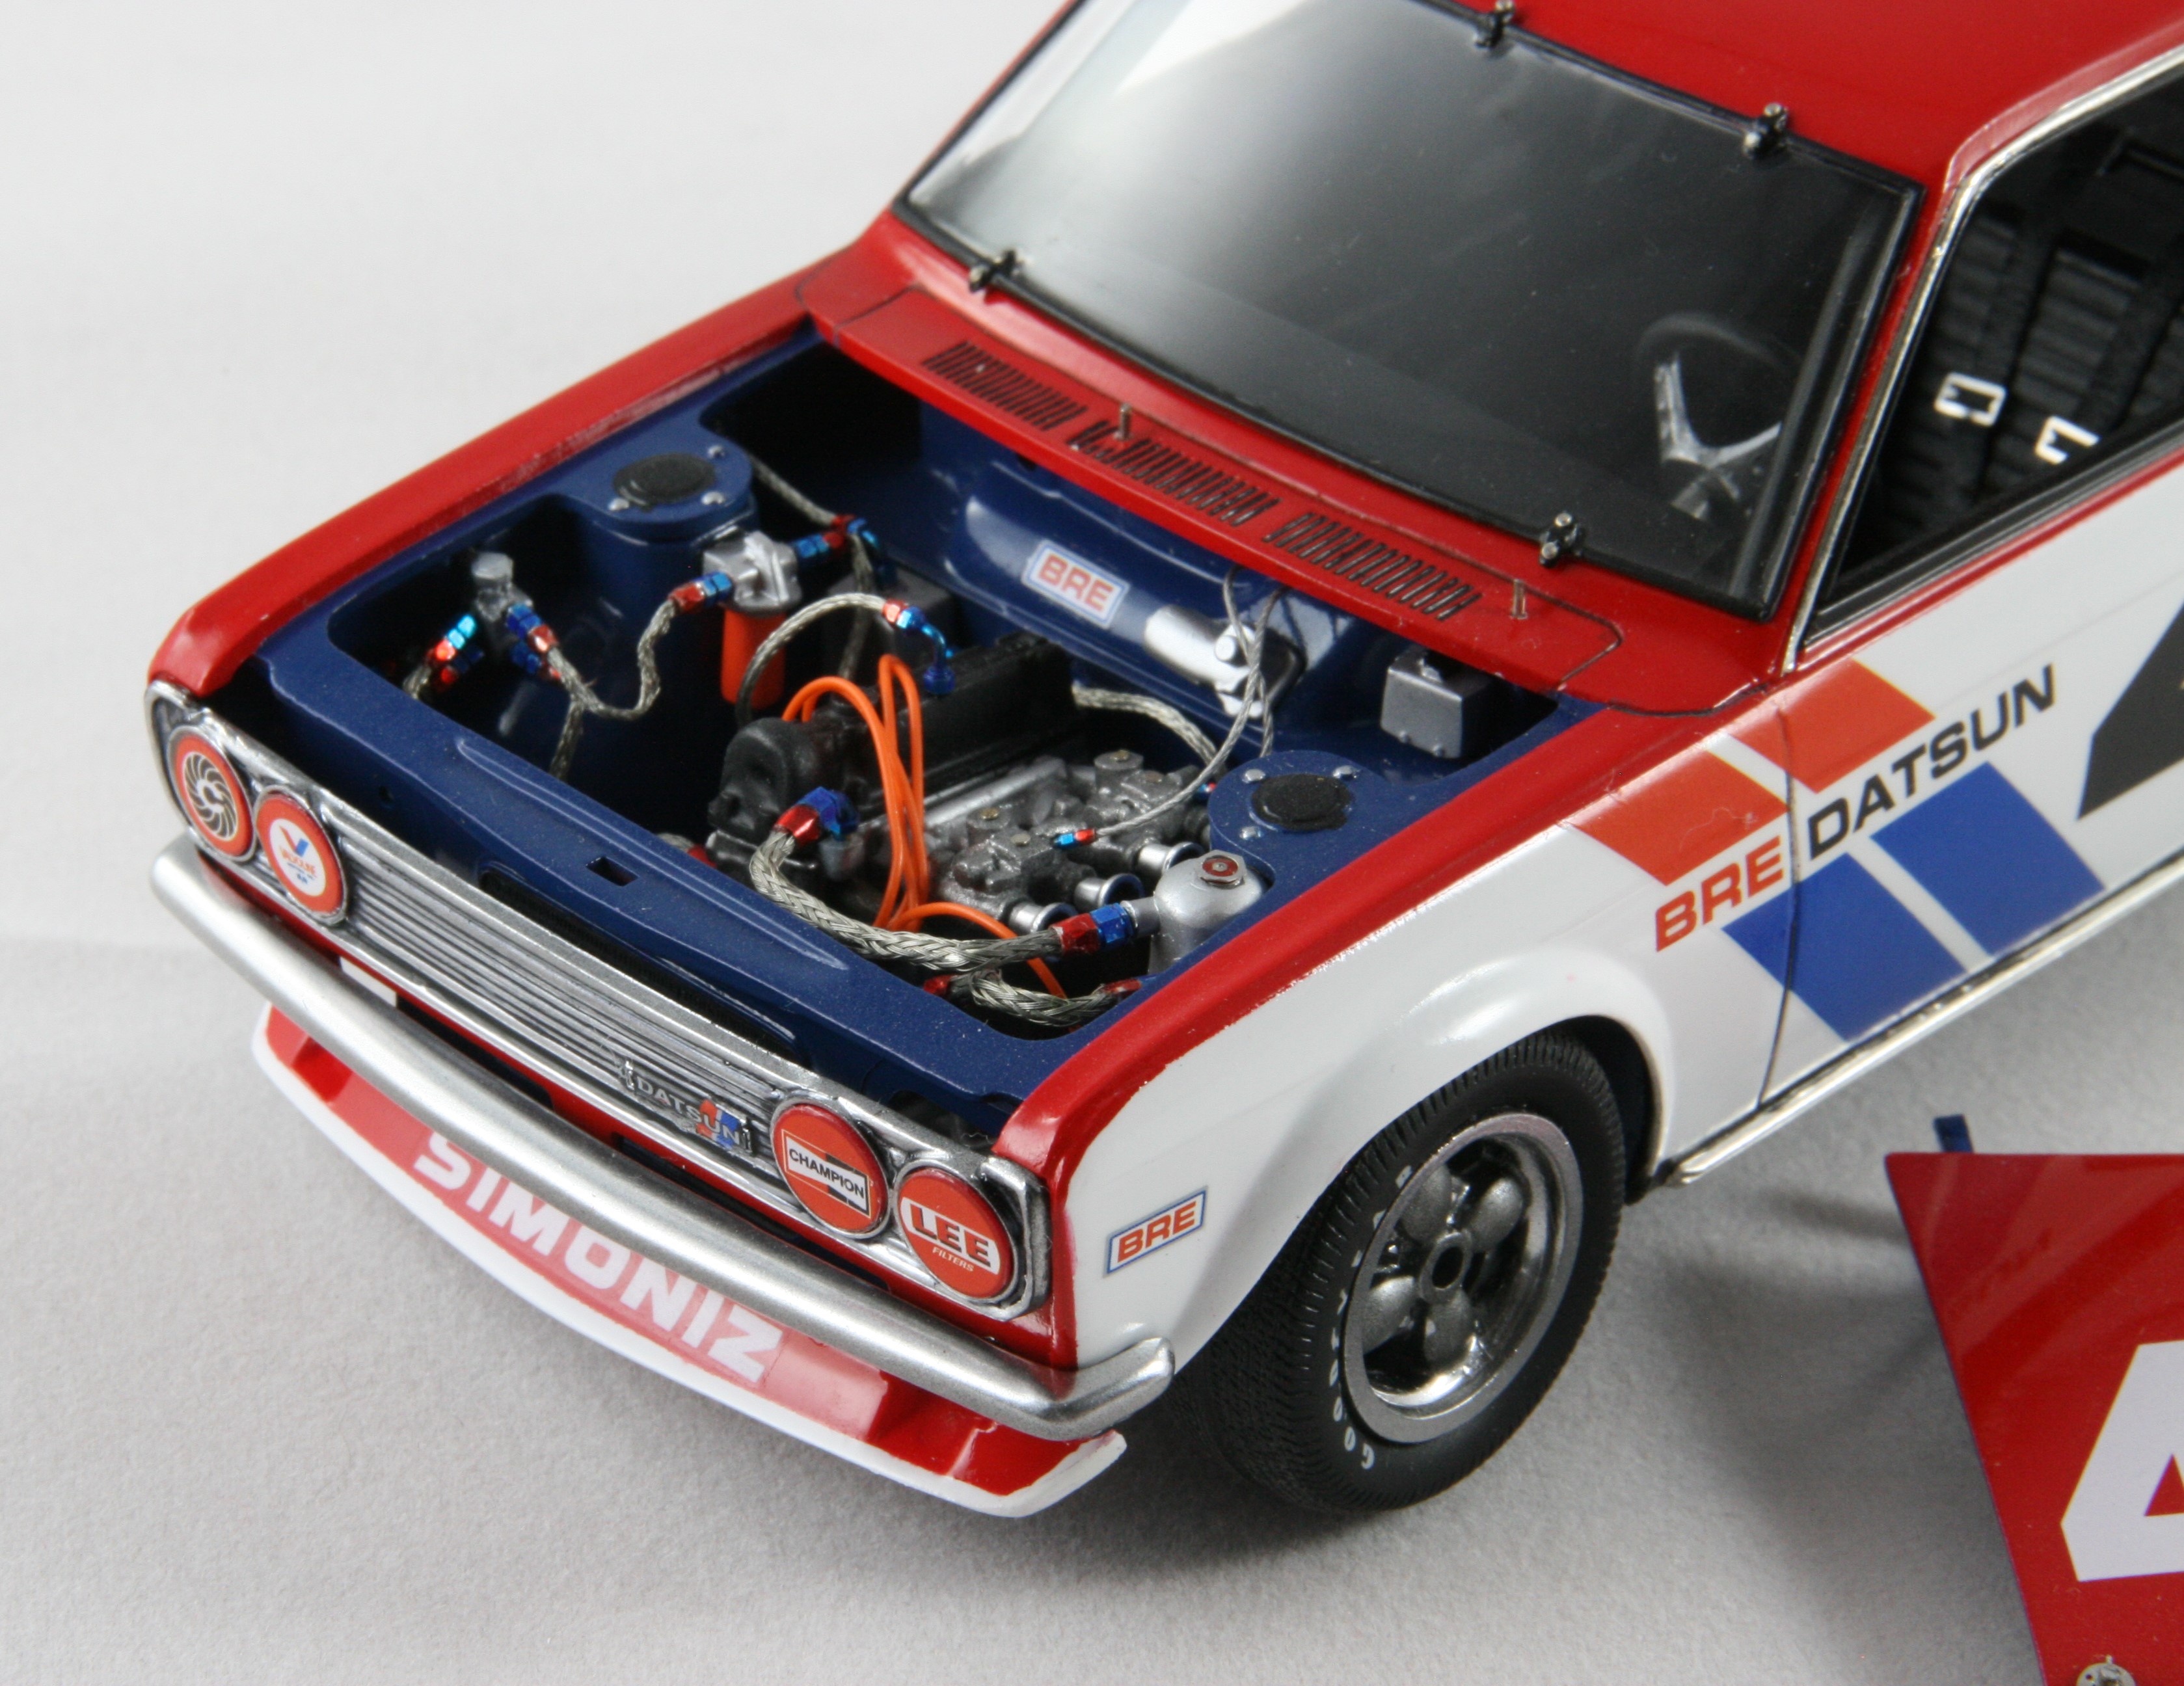
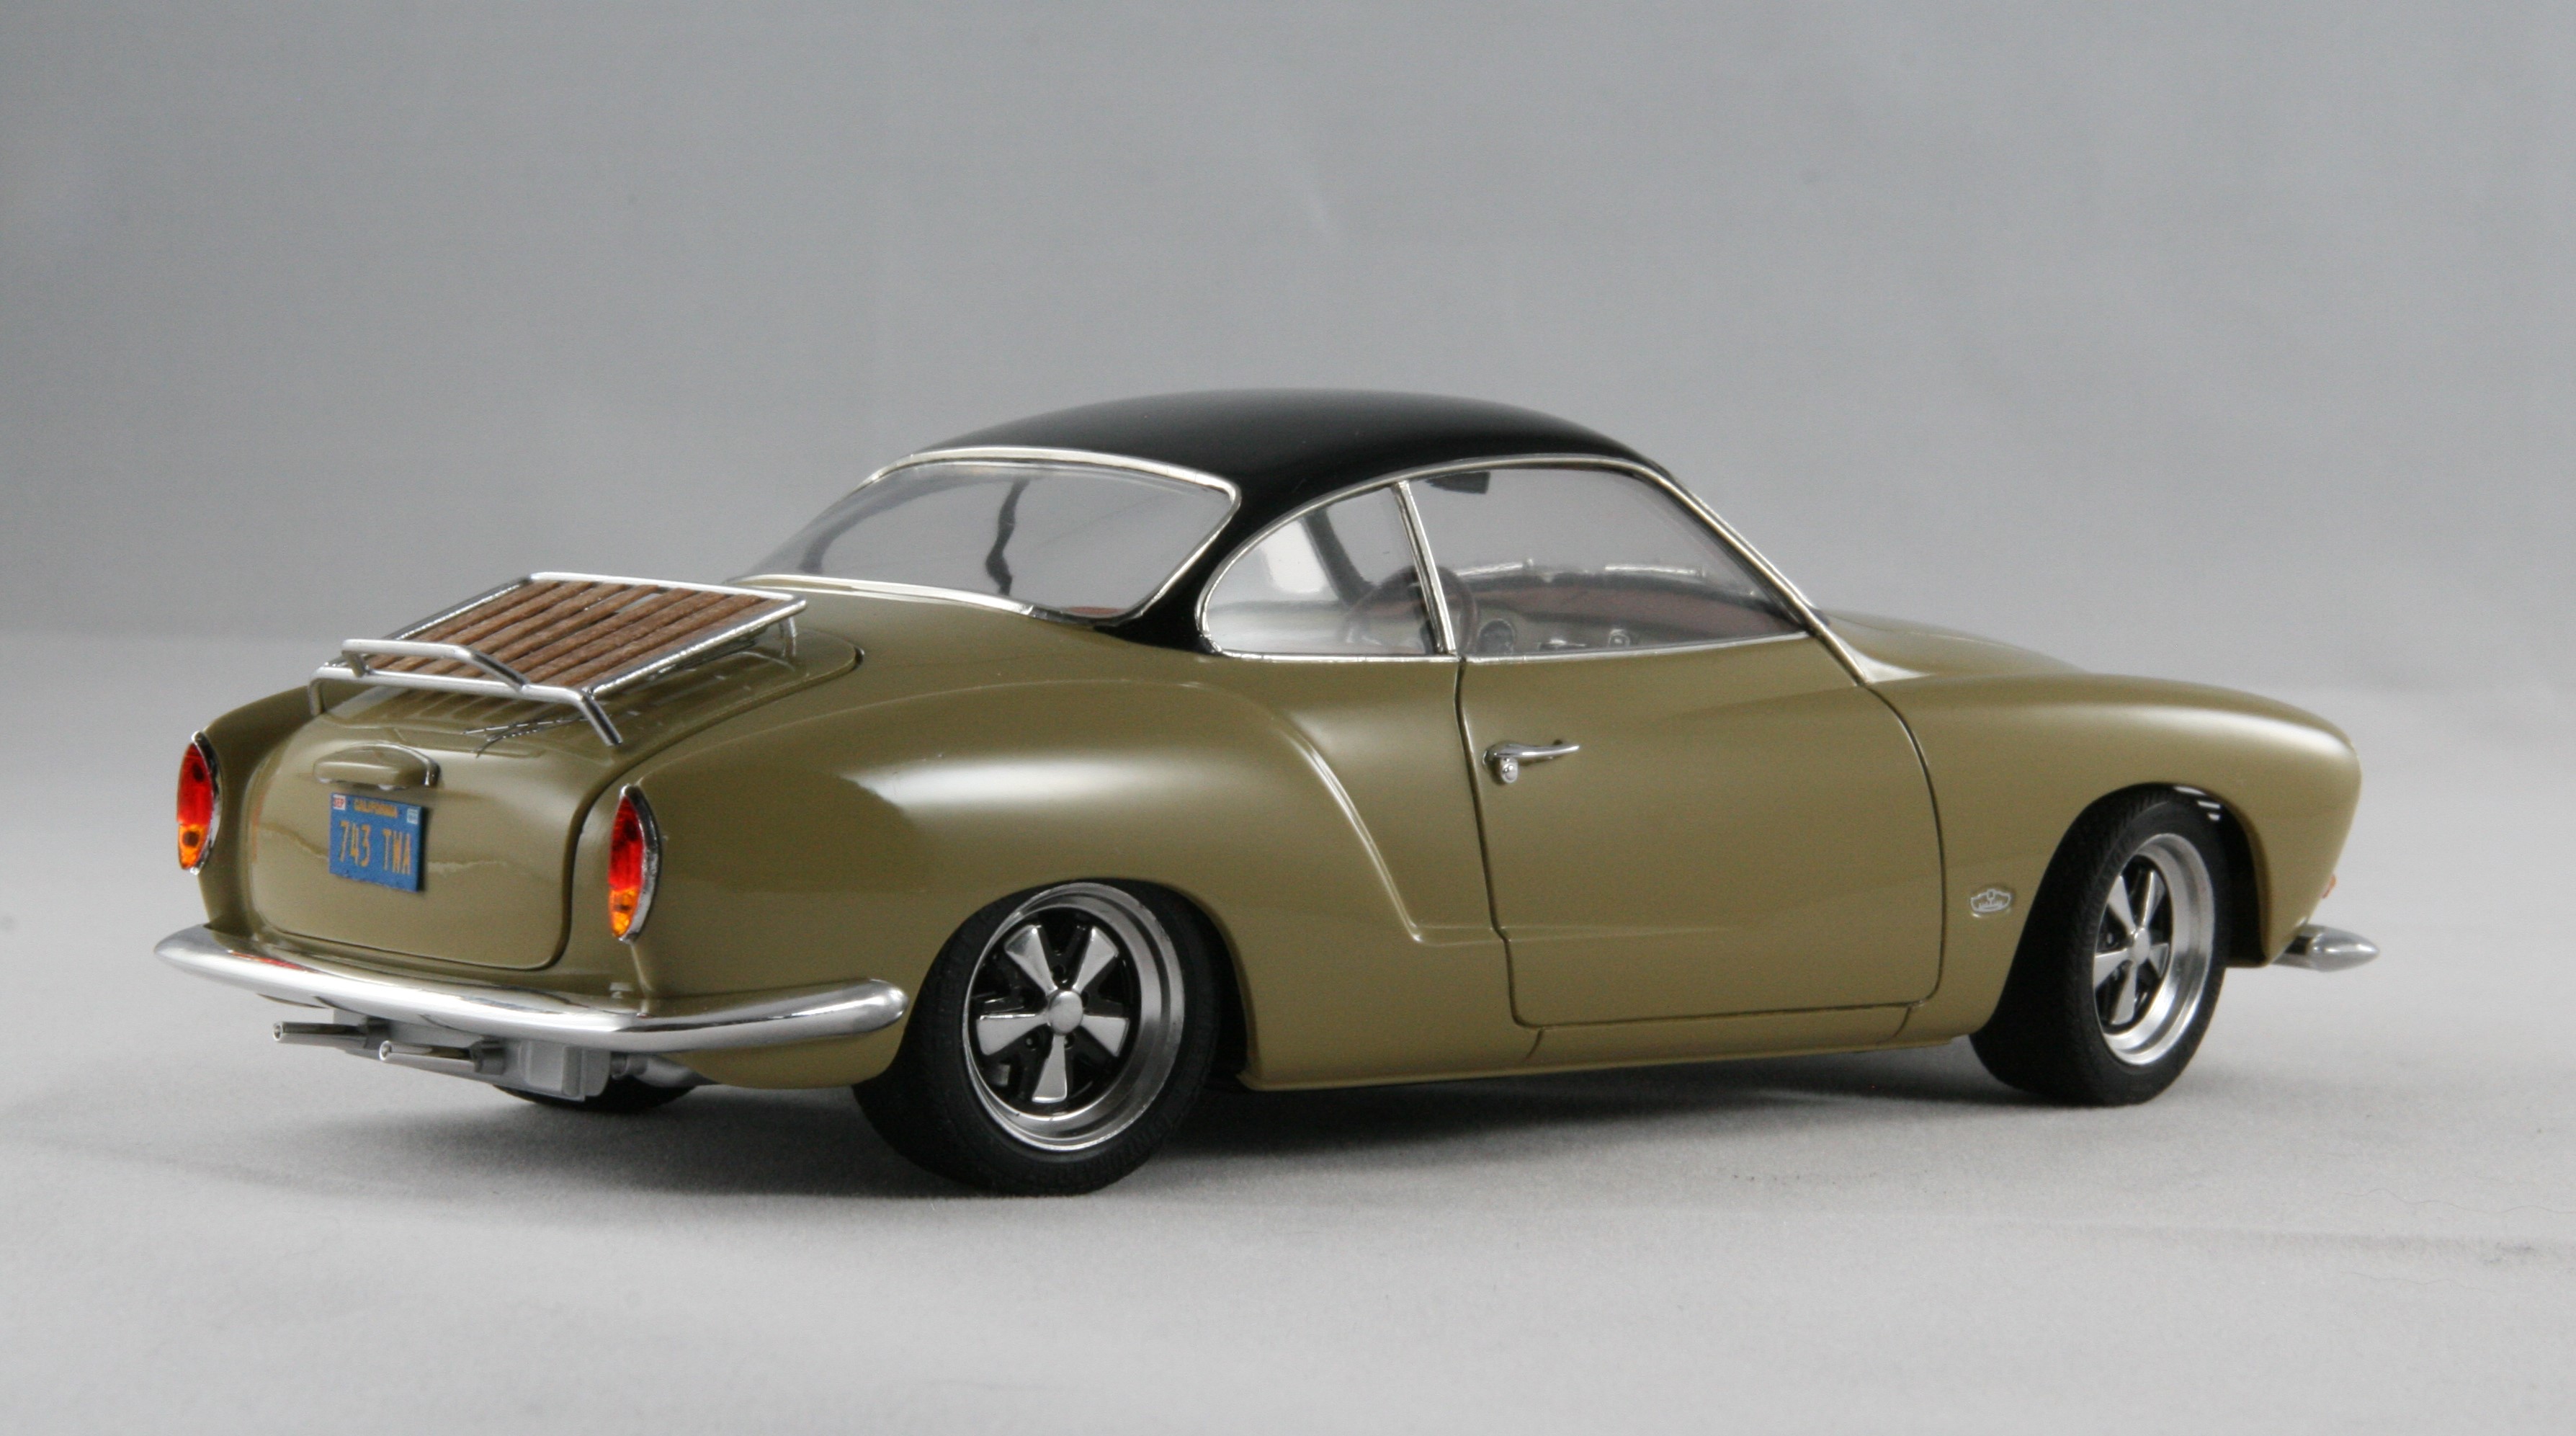
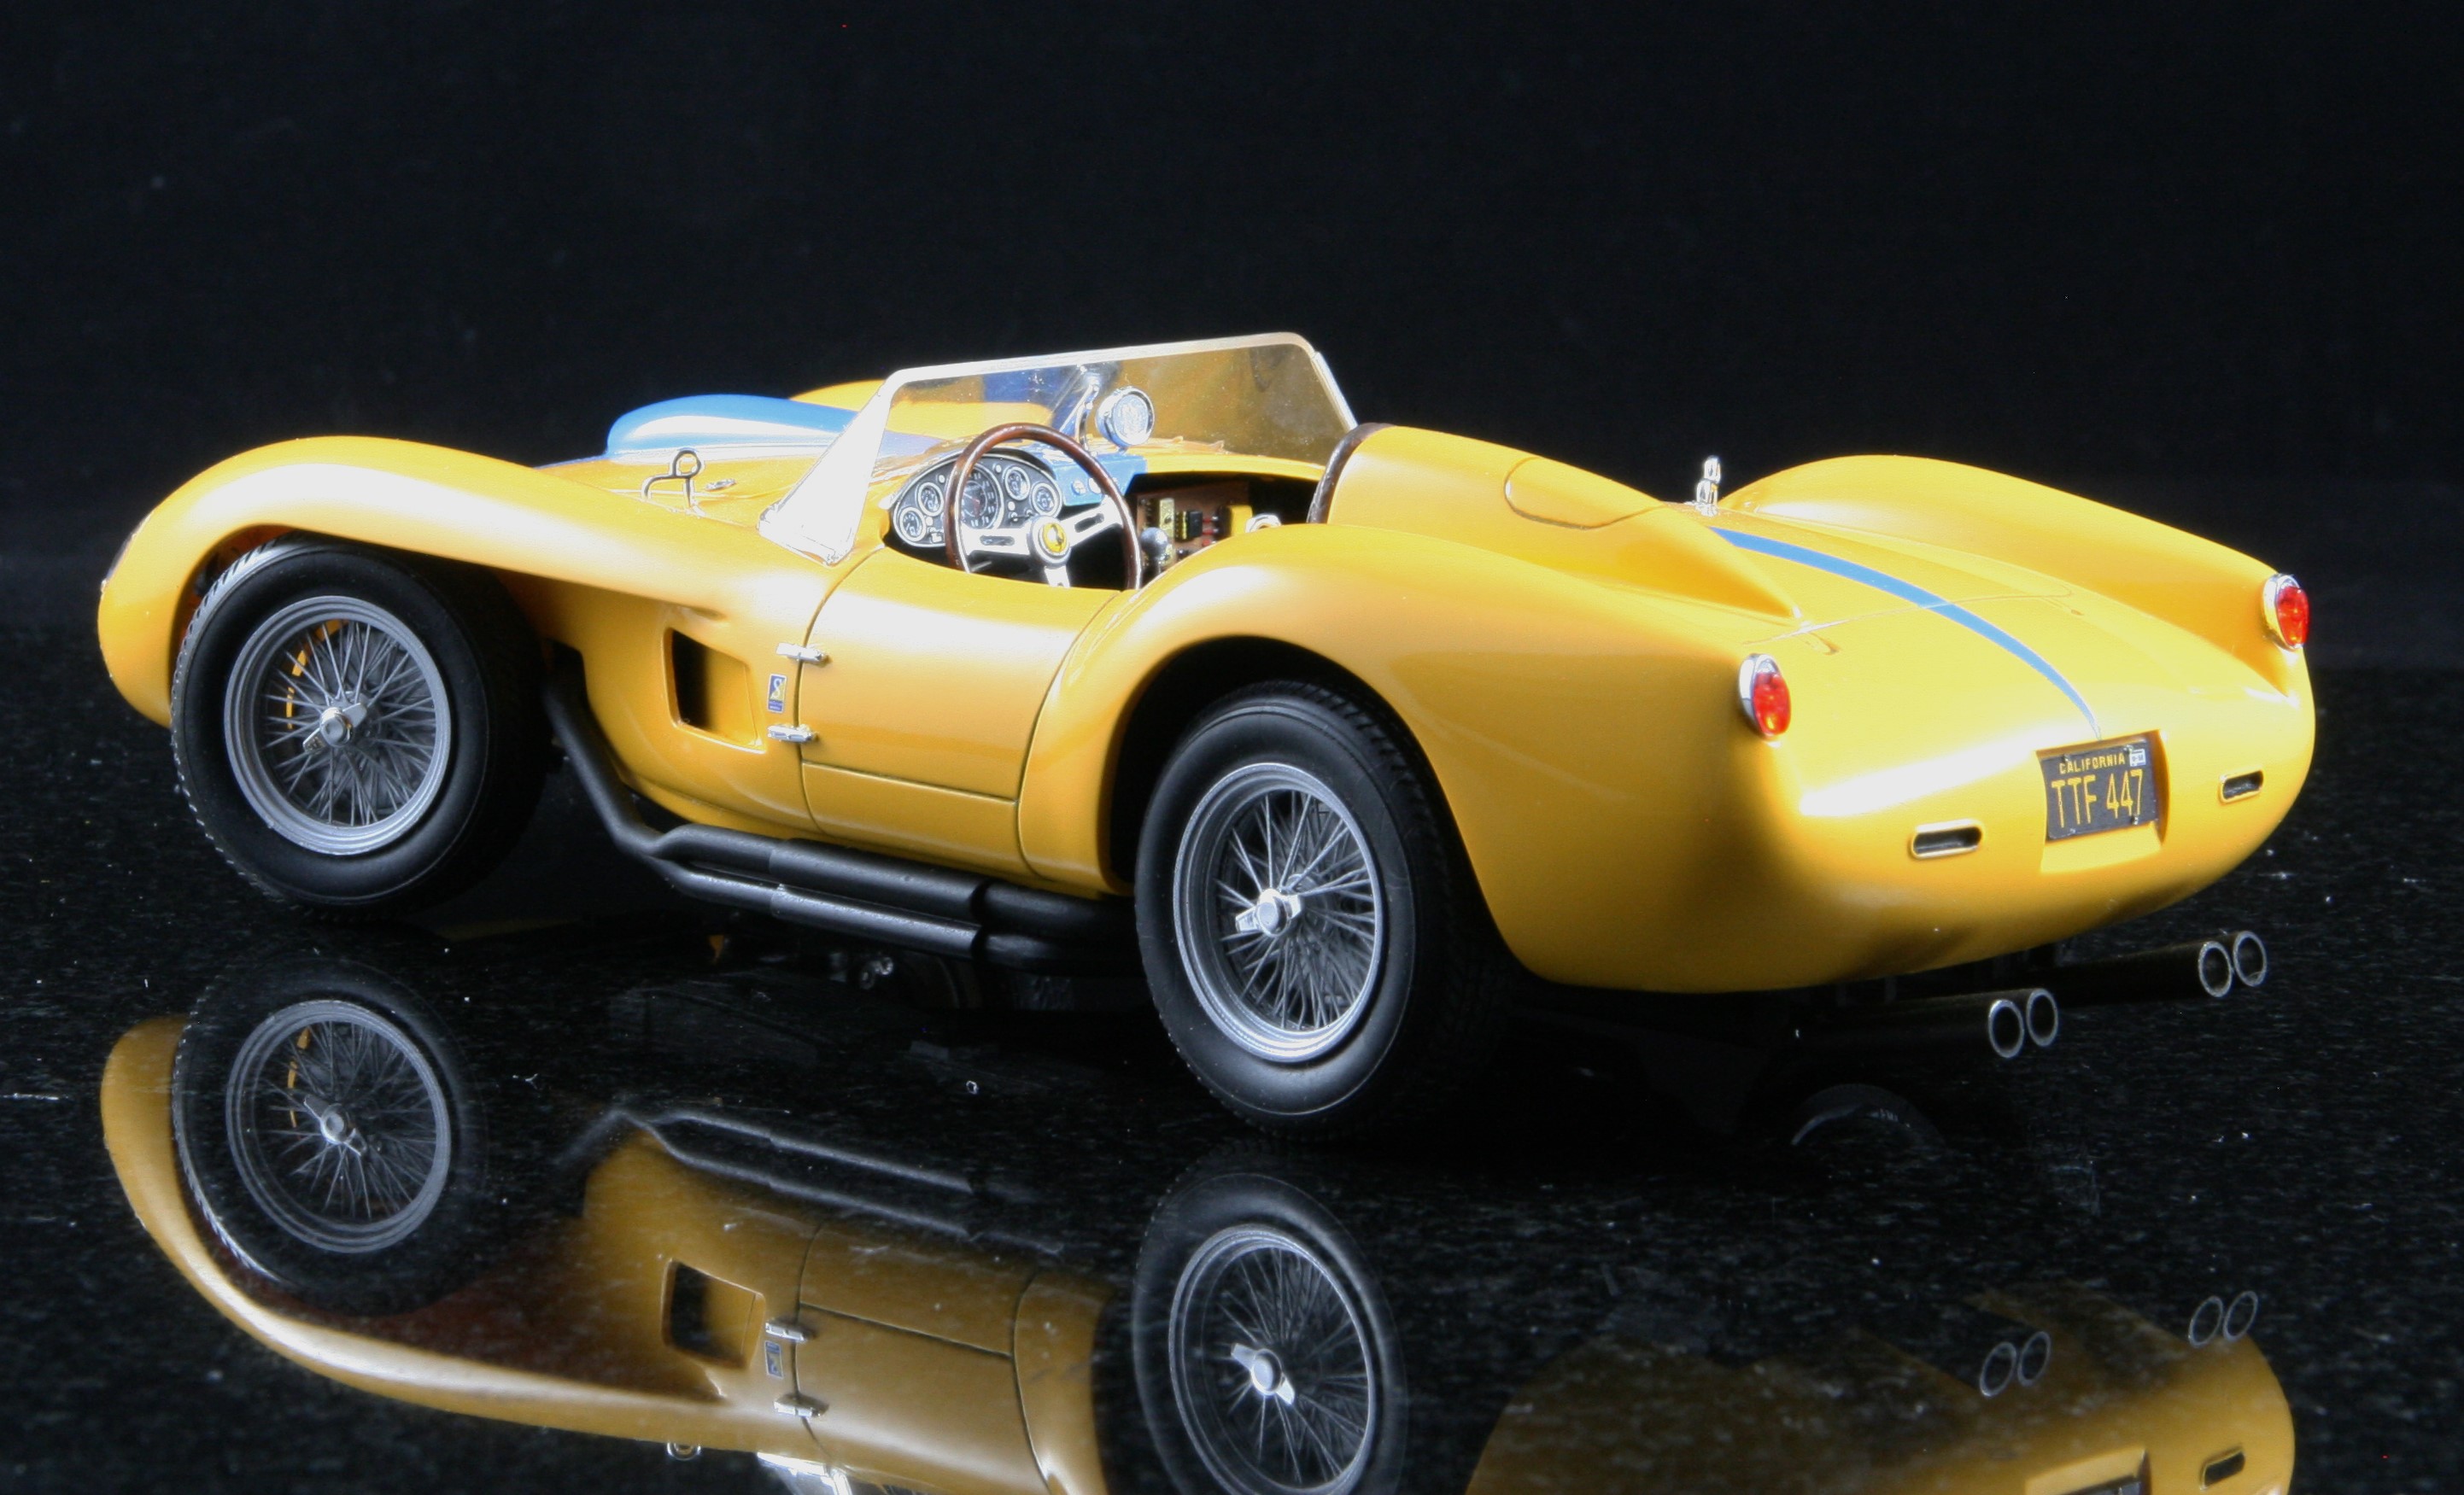
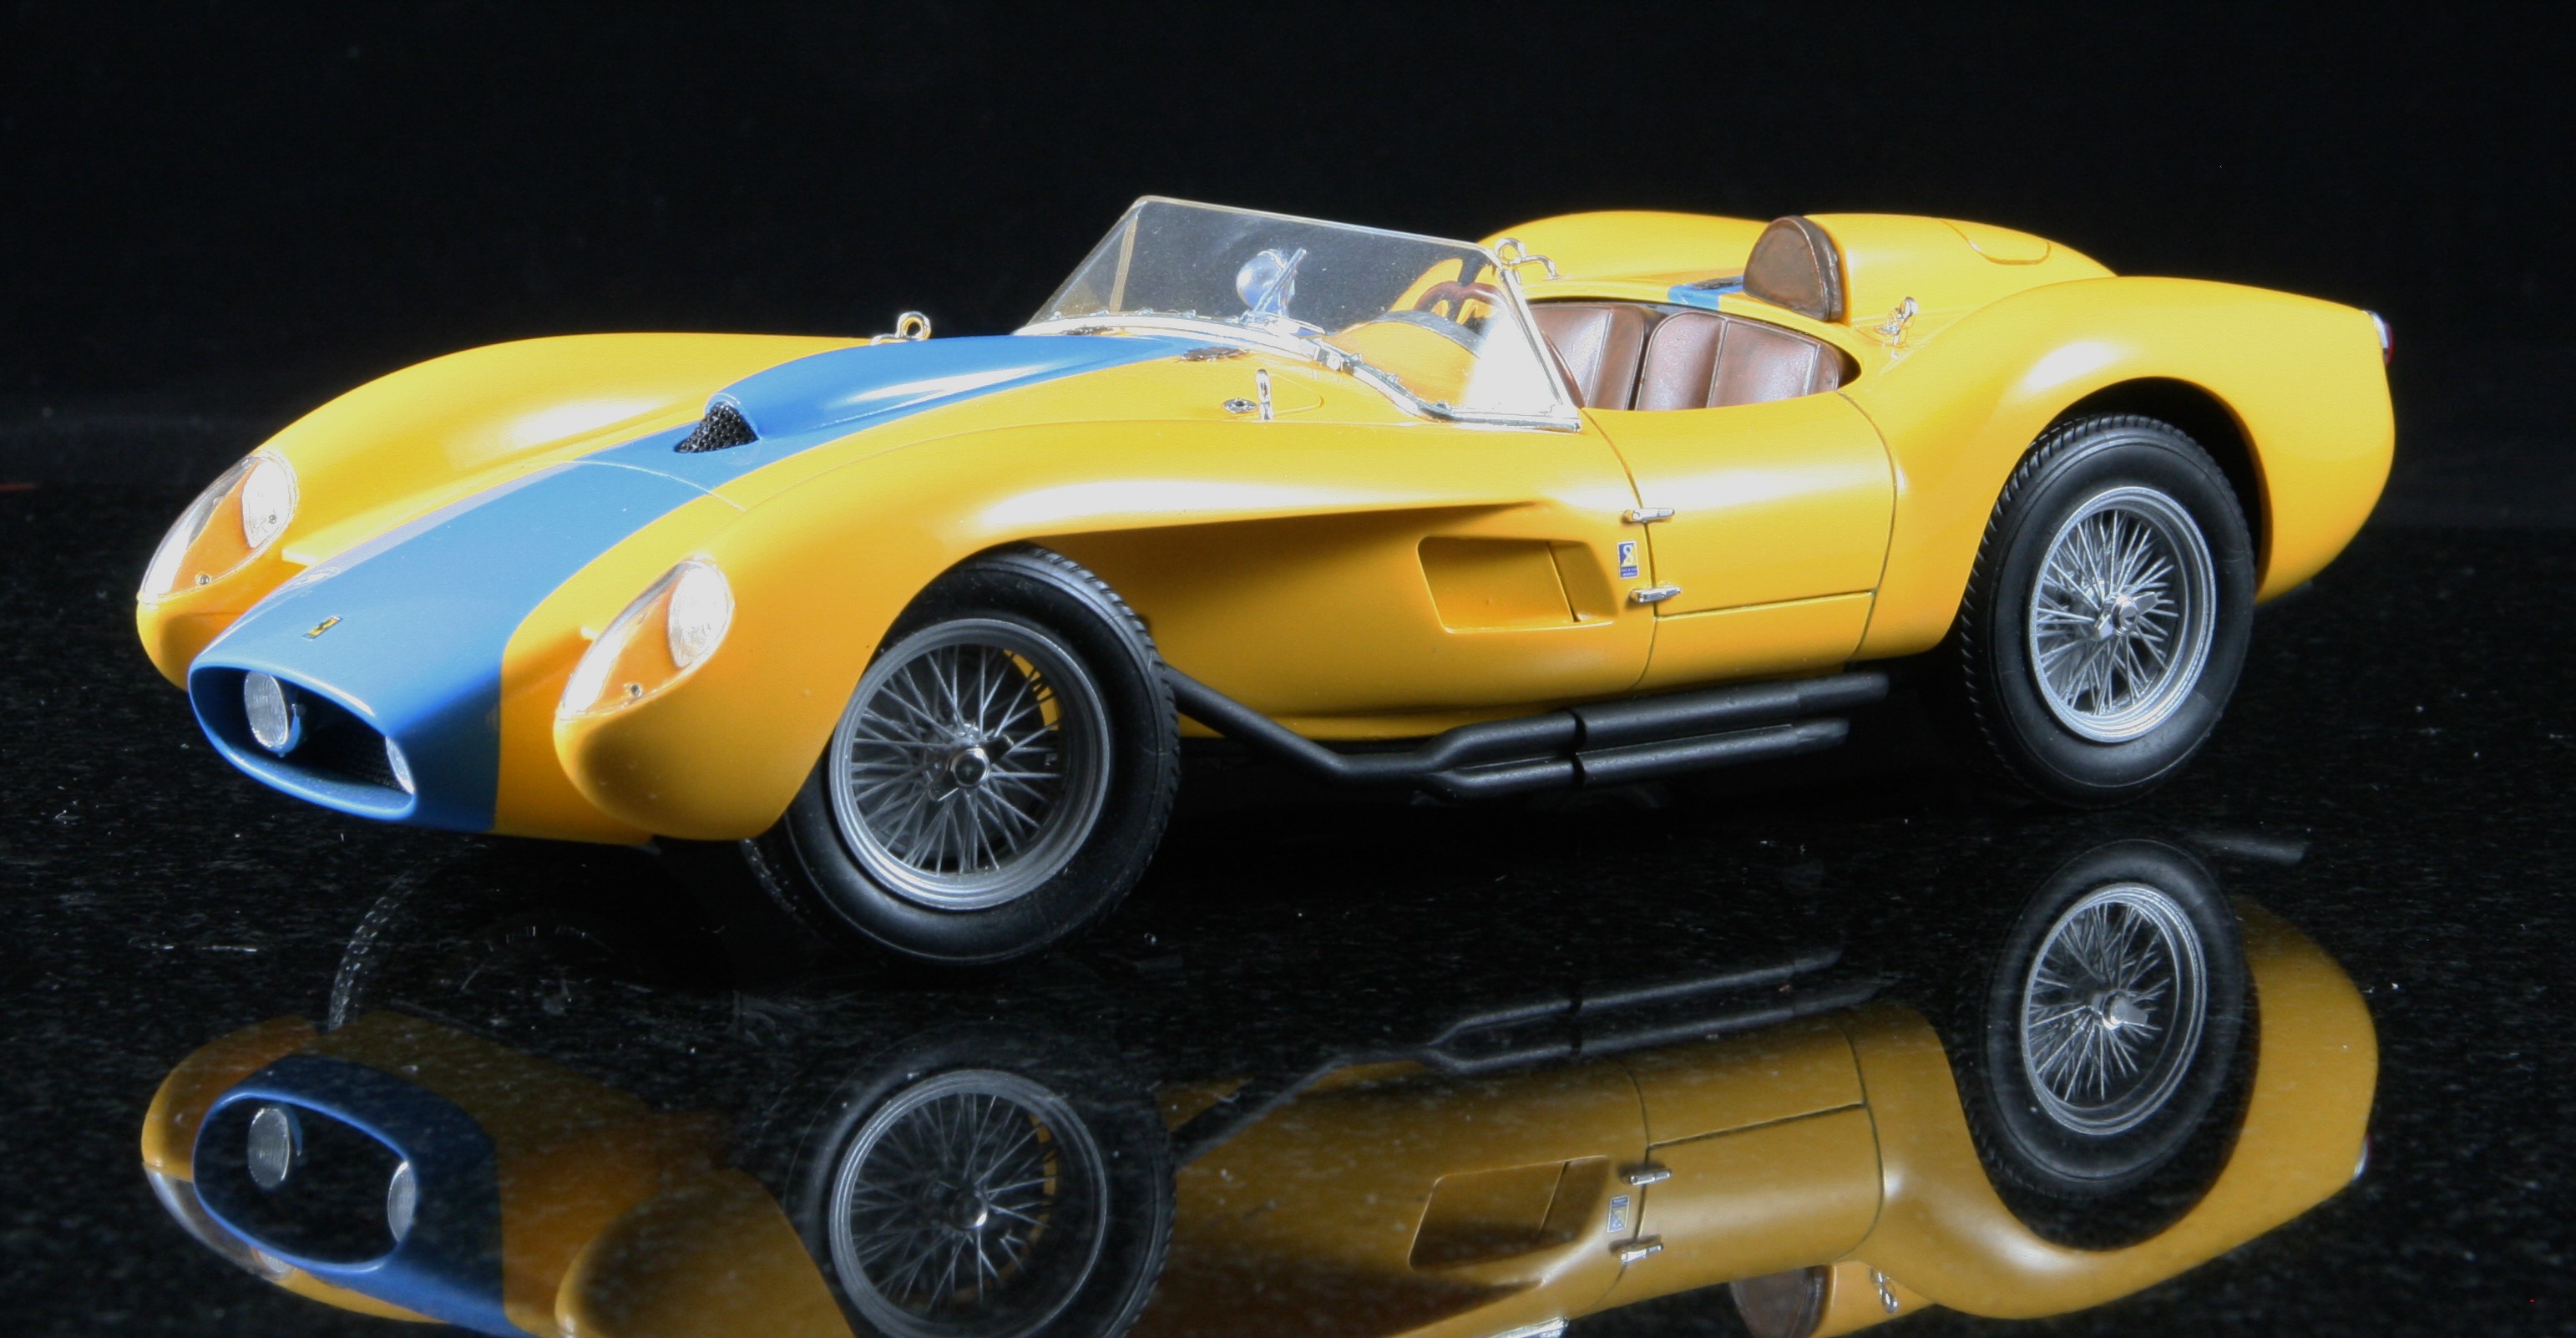
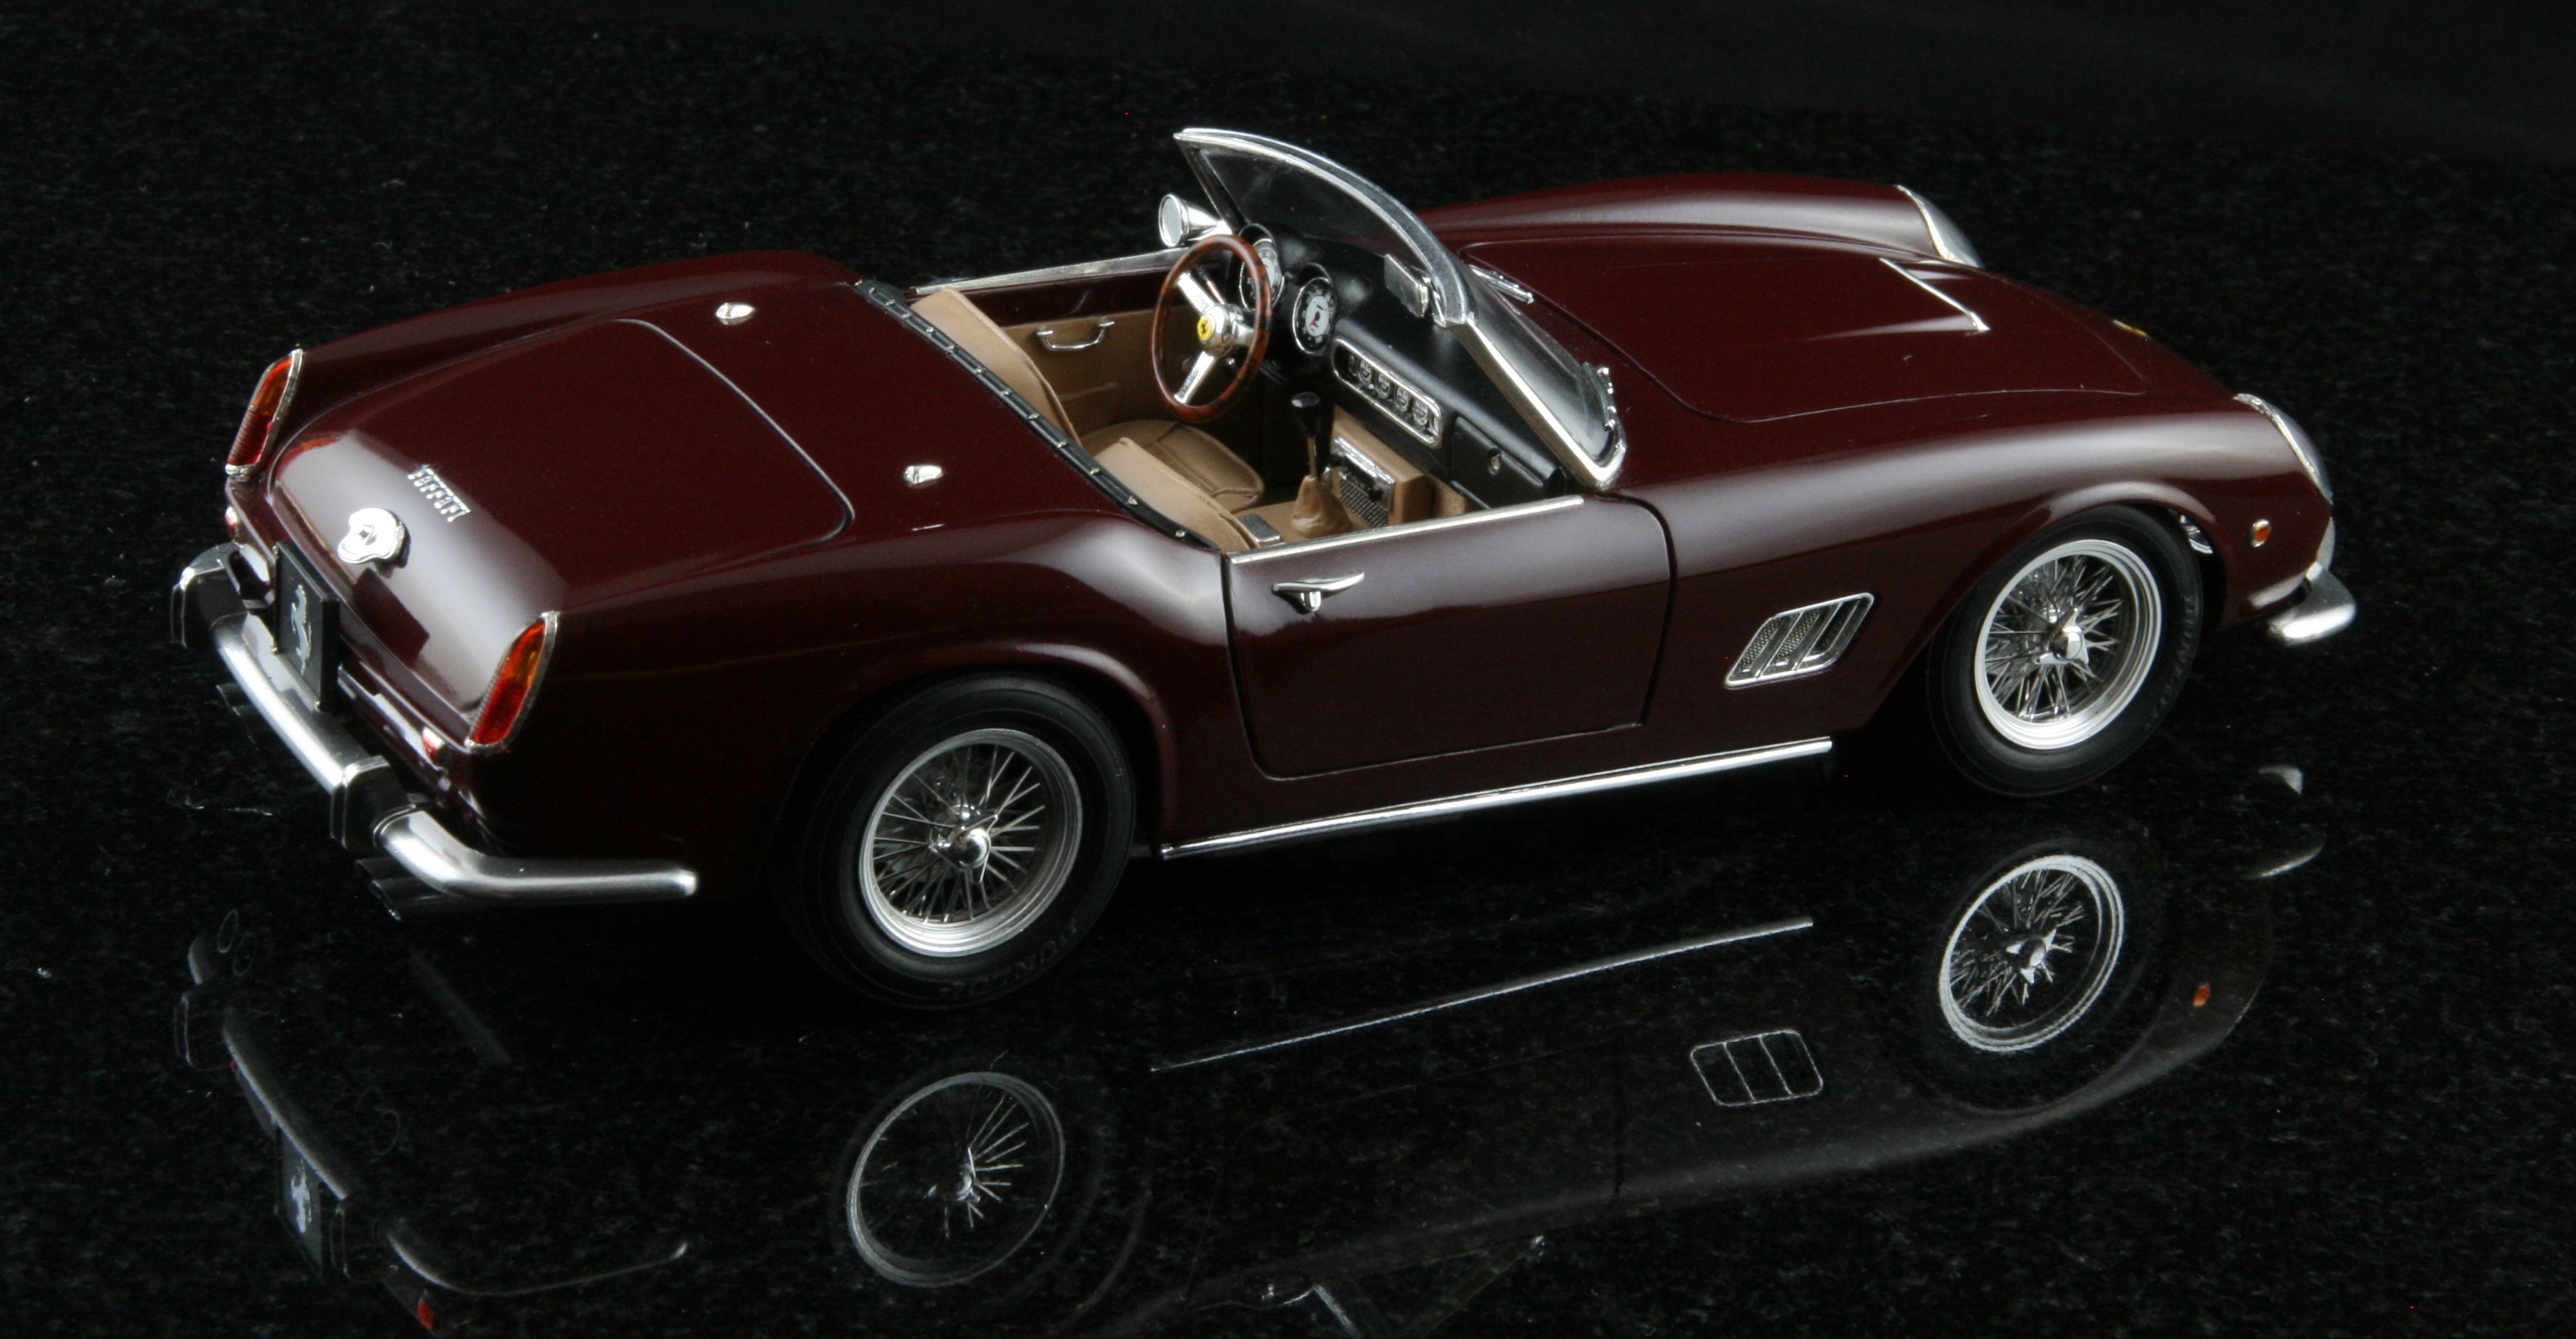
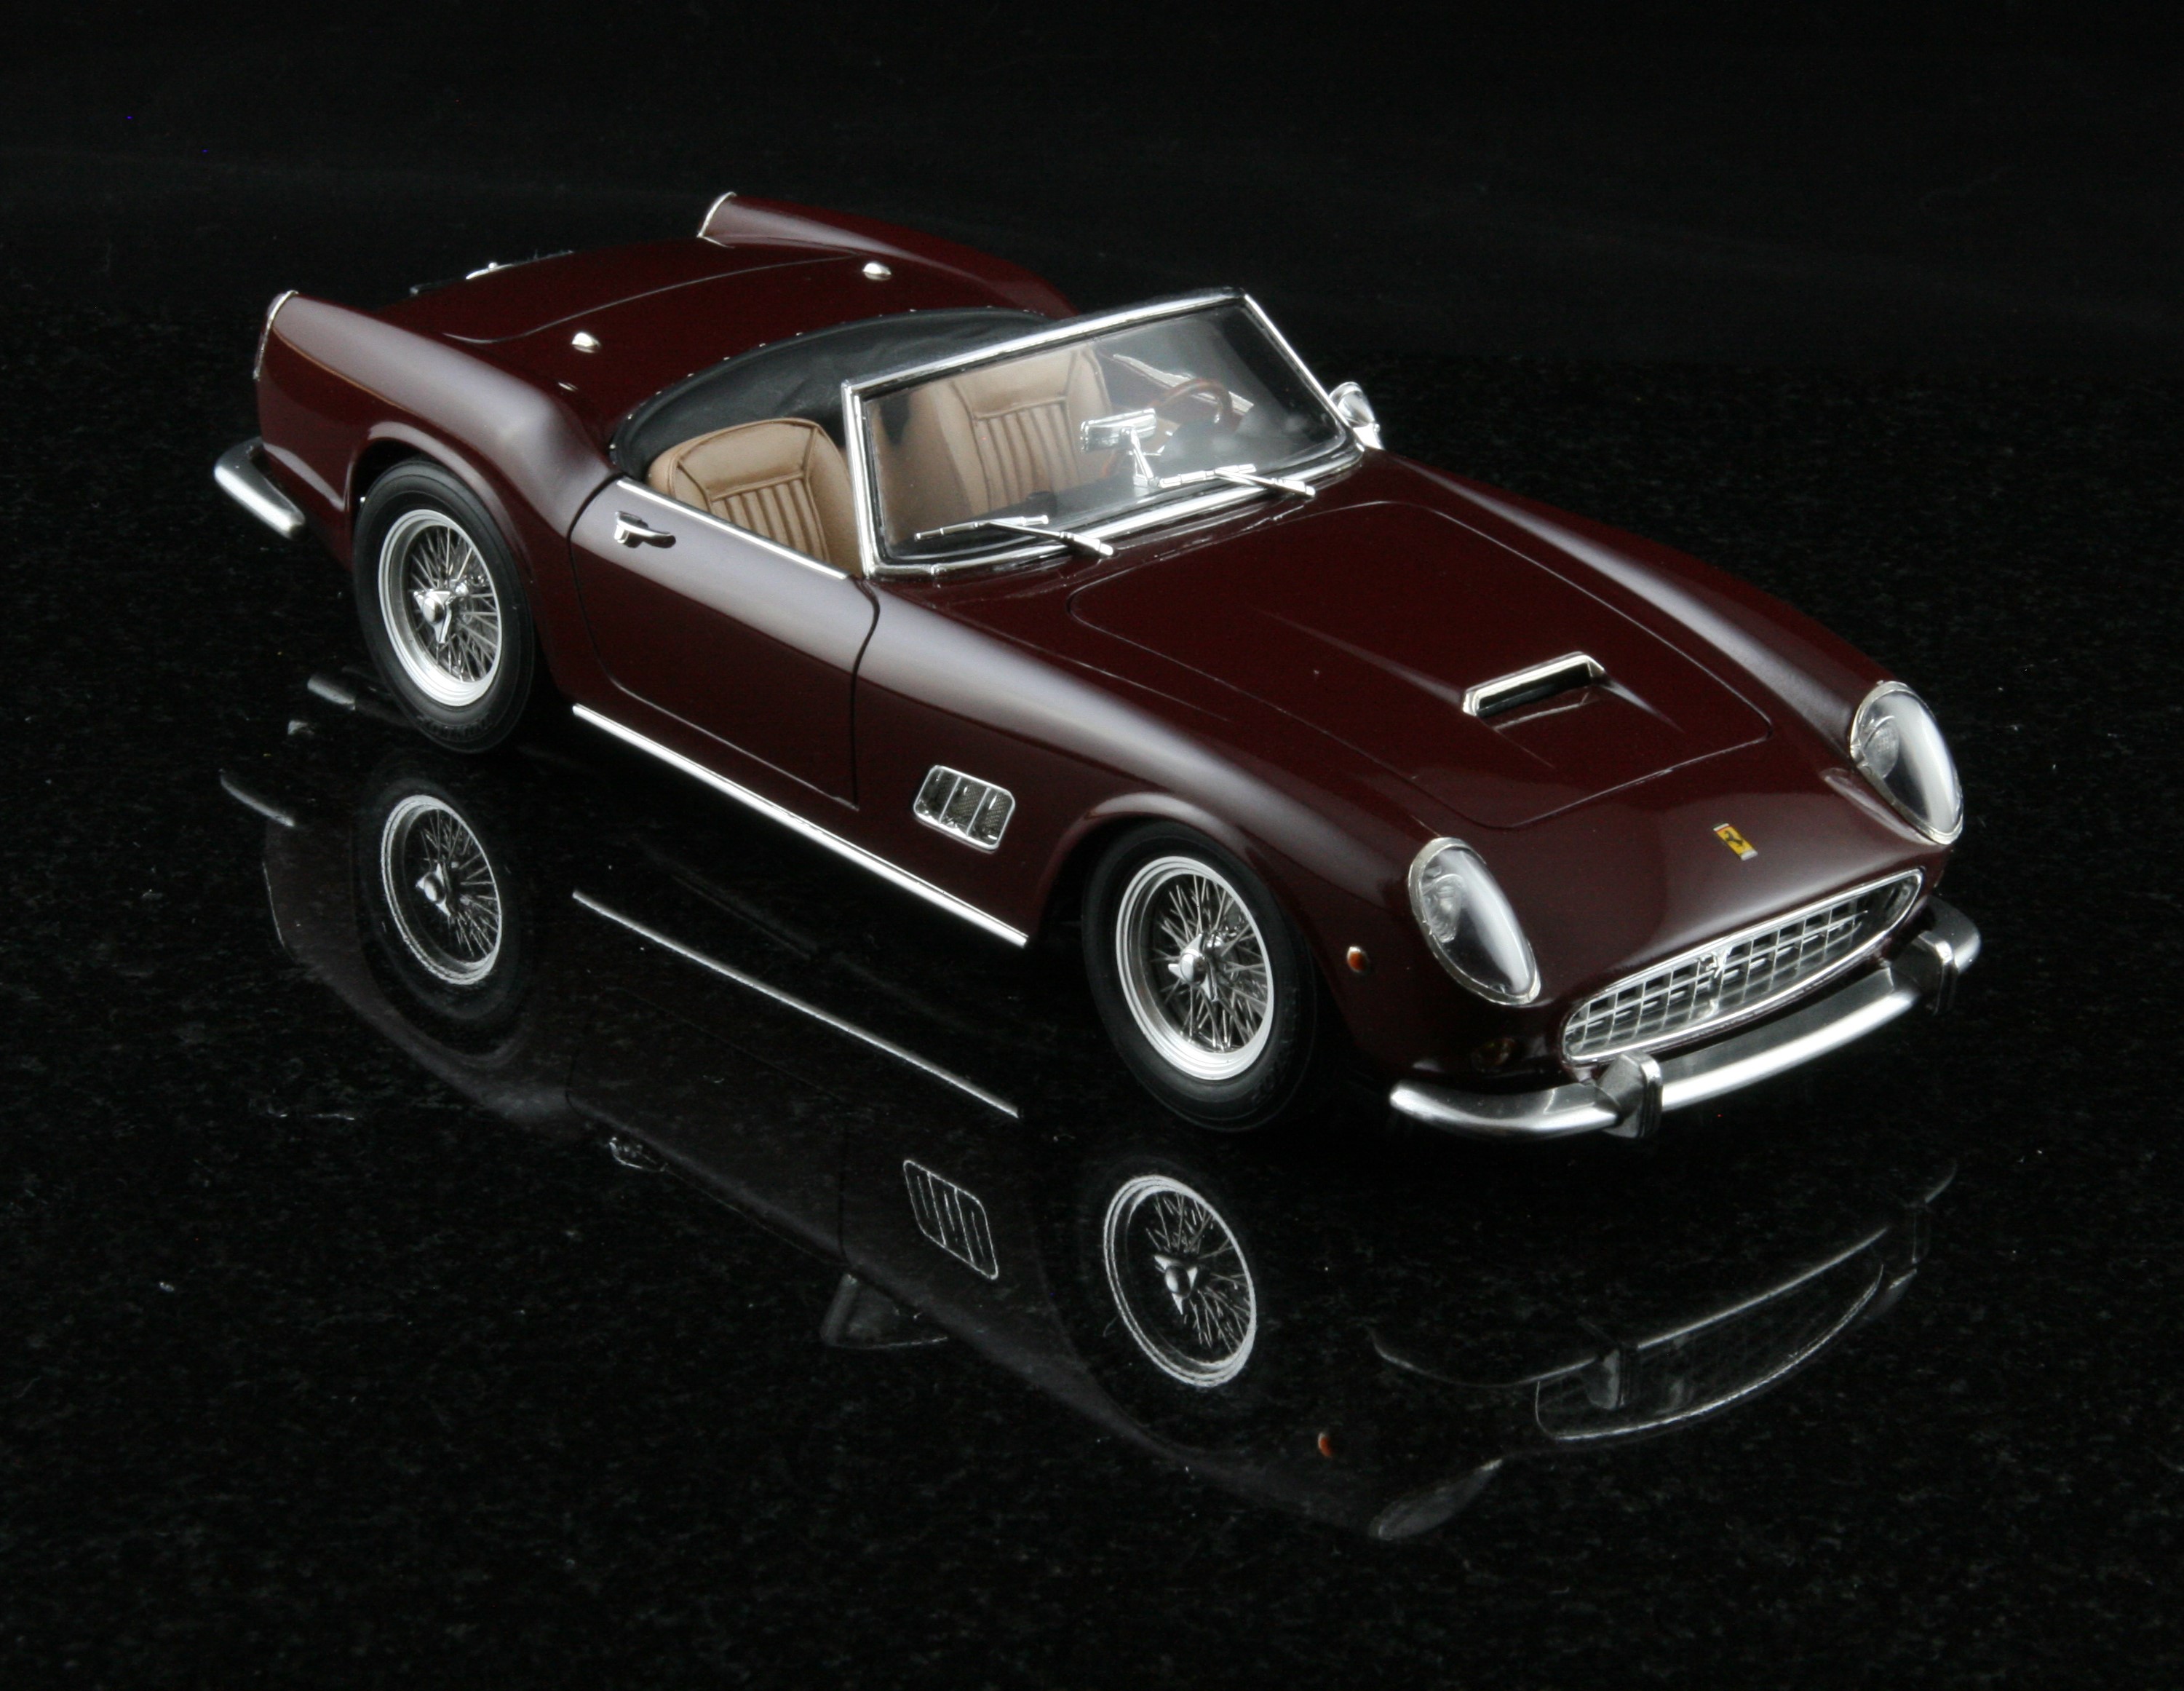
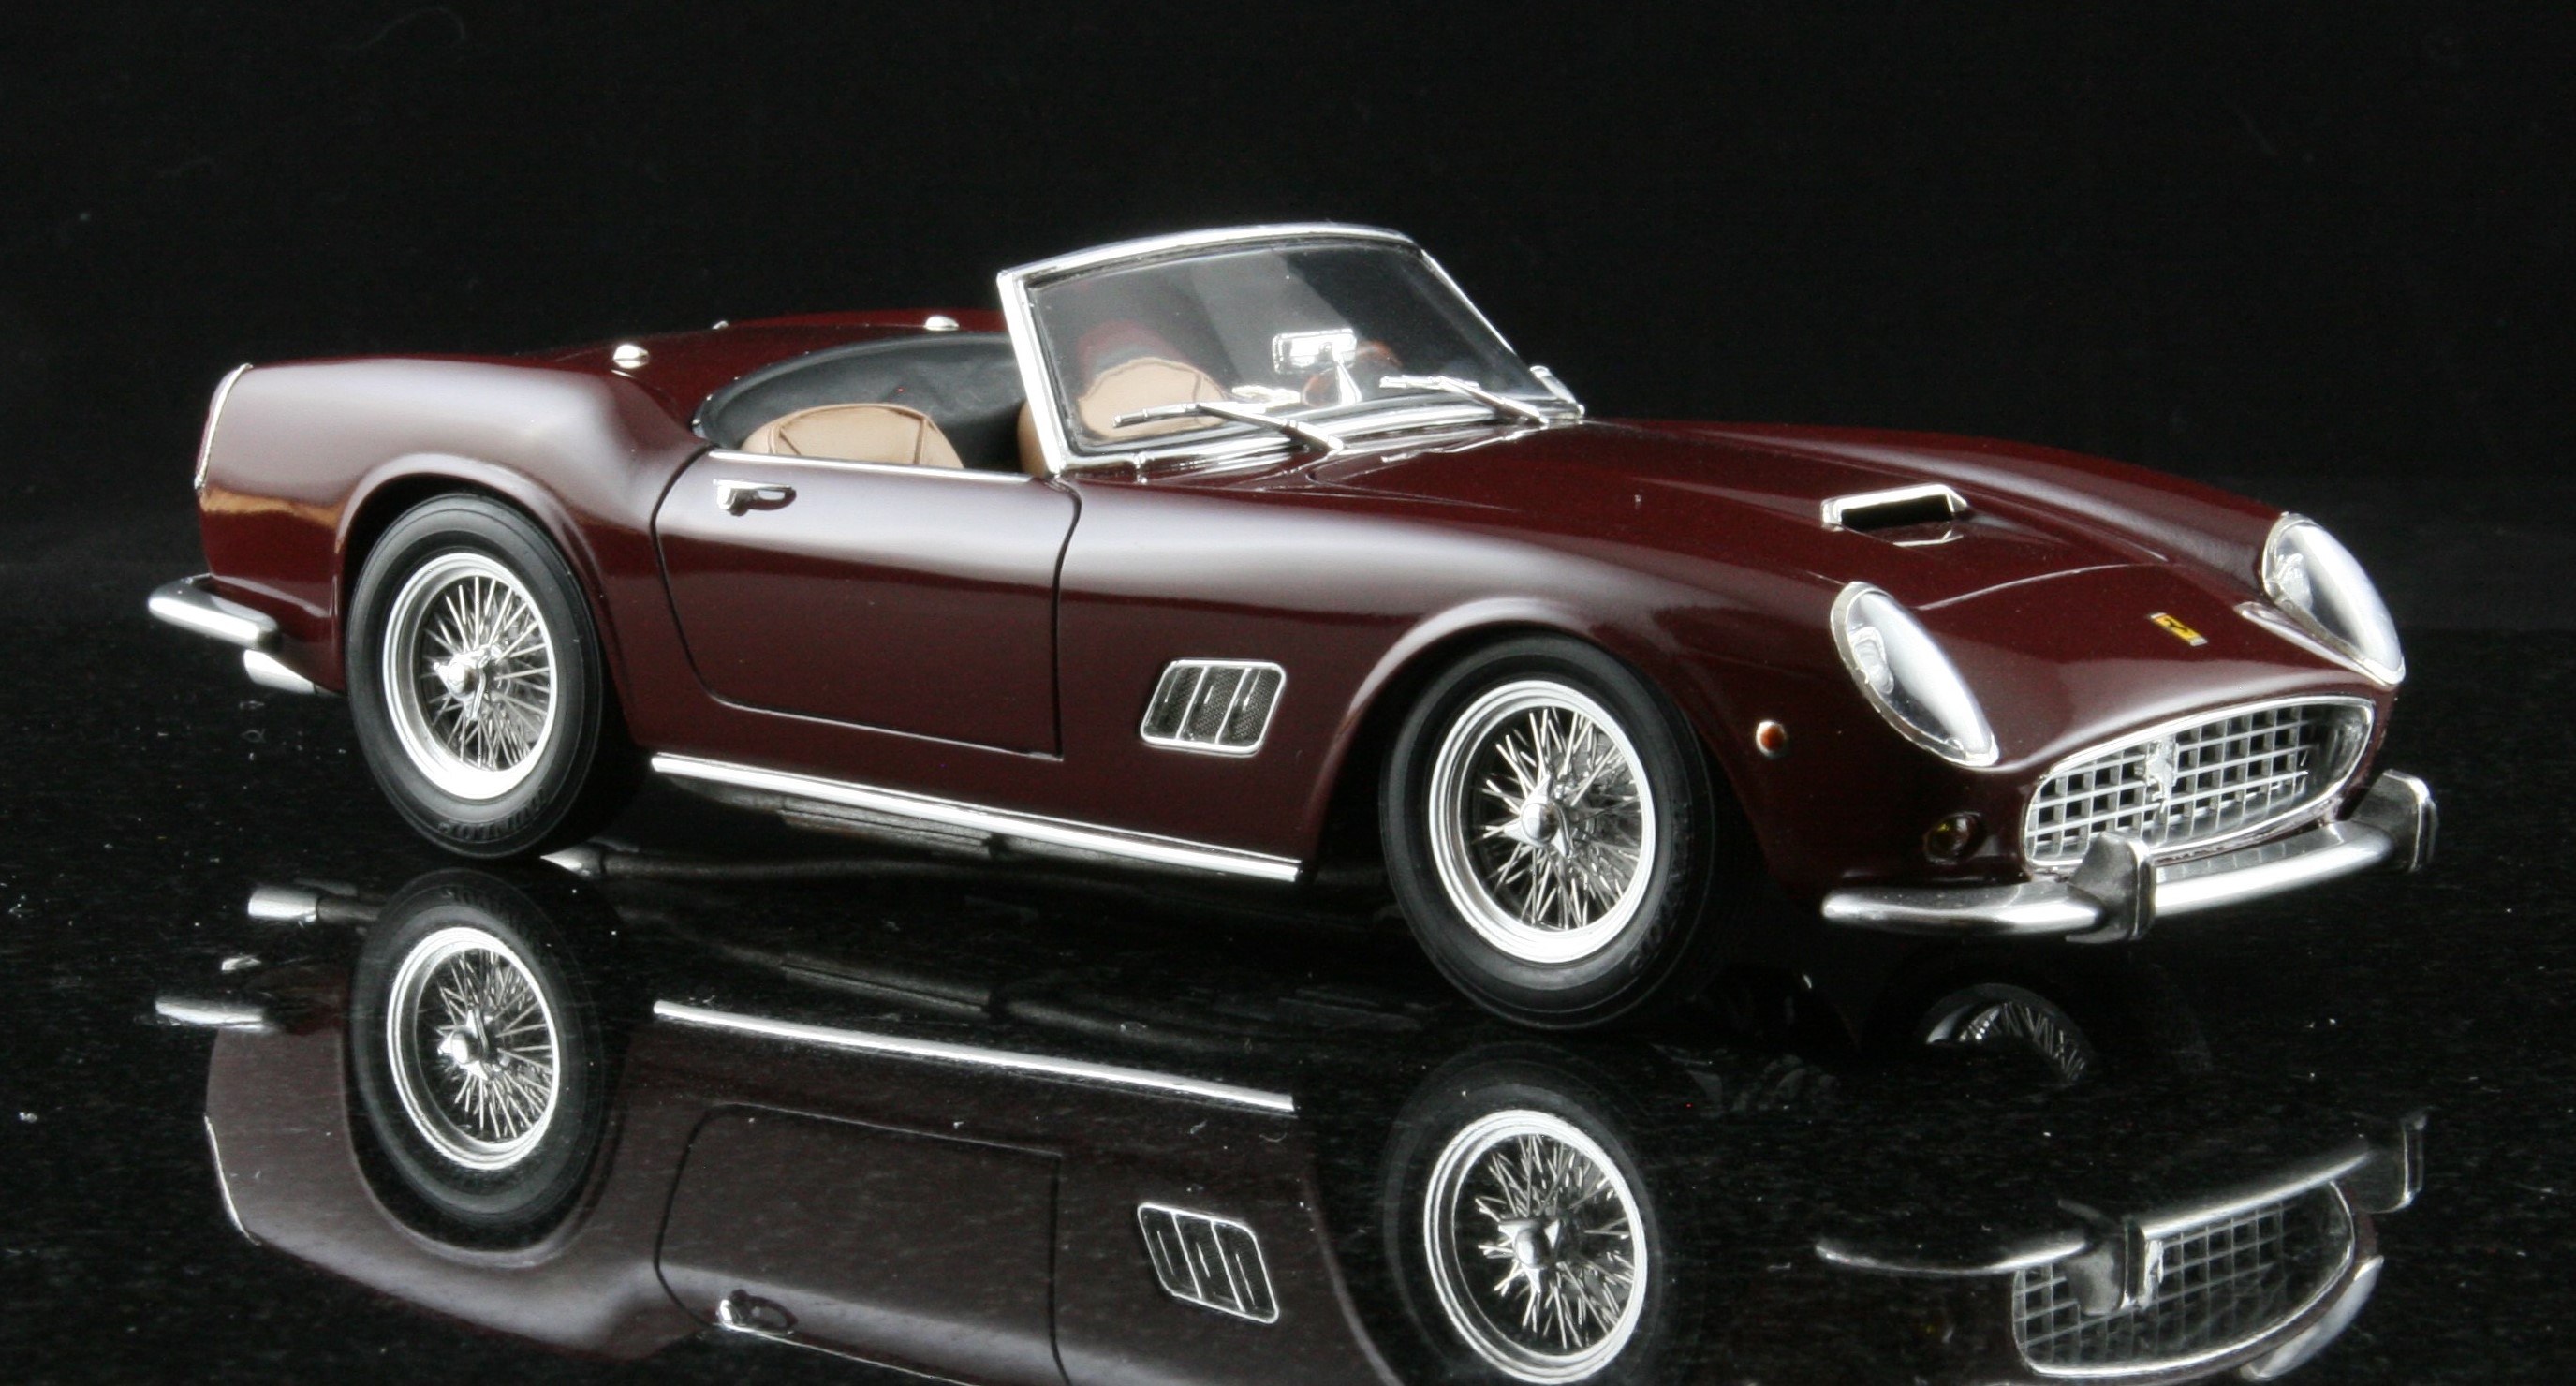
I finally broke down and bought a photo booth from Amazon. The Emart setup I decided on includes a 24X24" light tent, 4 LED tripod lights, a highly-suspect camera stand, and 4 flocked backdrop cloths... all for $59.99! I set it up as soon as I got it and started playing using my Canon Rebel DSLR with macro lens. Here's what I've come up with after a few hours... all pics were shot with the black backdrop with a piece of black granite under the model for that reflection. I have NEVER been able to get shots like this before!
-
Polishing Compound Preferences?
jaymcminn replied to Dodge Driver's topic in Model Building Questions and Answers
Meguiar"s Ultimate Compound followed by Ultimate Polish. Final wax with their #26 Yellow Wax. As a bonus, all these products work great on my 1:1! -
I've gotta ask, and please don't take this the wrong way, but is there any particular reason you're going with the Tamiya water-based paint for the body? If you want to airbrush, you would be much better off using decanted Tamiya lacquers. If you insist on acrylic, Createx paints are more durable and stand up to what you want to do. Either way would be easier than trying to make a square peg fit a round hole. Your work on this project so far has been spectacular, and I'd hate to see that go to waste.
-
Both of these are really beautiful. I love the mix-and-match nature of the Fujimi kits... Kind of like real 911s!
-
Need a deep crimson color
jaymcminn replied to JollySipper's topic in Model Building Questions and Answers
Tamiya Dull Red is a near-perfect match for the oxblood interior you showed. It has a nice leather-like sheen too. -
Just buy and restomod an original P1800. Probably costs less than this monstrosity anyway.
-
Brilliant! Thanks!
-
Not Paying Photo Bucket Post Pictures
jaymcminn replied to Fast Floyd 2's topic in General Automotive Talk (Trucks and Cars)
Oh, they will. They didn't get around to nailing mine until yesterday. The only plan they allow 3rd party hosting on is this ridiculous new $400/year one they've come up with. Don't think that your perception of yourself as a loyal customer will count for anything in the face of the monumental greed, stupidity, and desperation that causes a company to come up with a "business model" as boneheaded as this one. -
Not Paying Photo Bucket Post Pictures
jaymcminn replied to Fast Floyd 2's topic in General Automotive Talk (Trucks and Cars)
I just sent P-bucket a short email expressing my concerns over their new pricing policy. Short, because most of the words I used were four letters. Fortunately most of my pics are saved on an external hard drive and, thanks to Dave and the MCM team, I can repost most of my pics right to the site. Plus as an added bonus I never have to go to their slow, lousy, ad-choked site ever again! -
Thanks for tackling this one Matt! I bought mine a few years ago. Once in a while I take out the box, fiddle with the parts, and put it back. That clamshell is warped on mine too and I'm anxious to see how yours turns out. Can't wait!
-
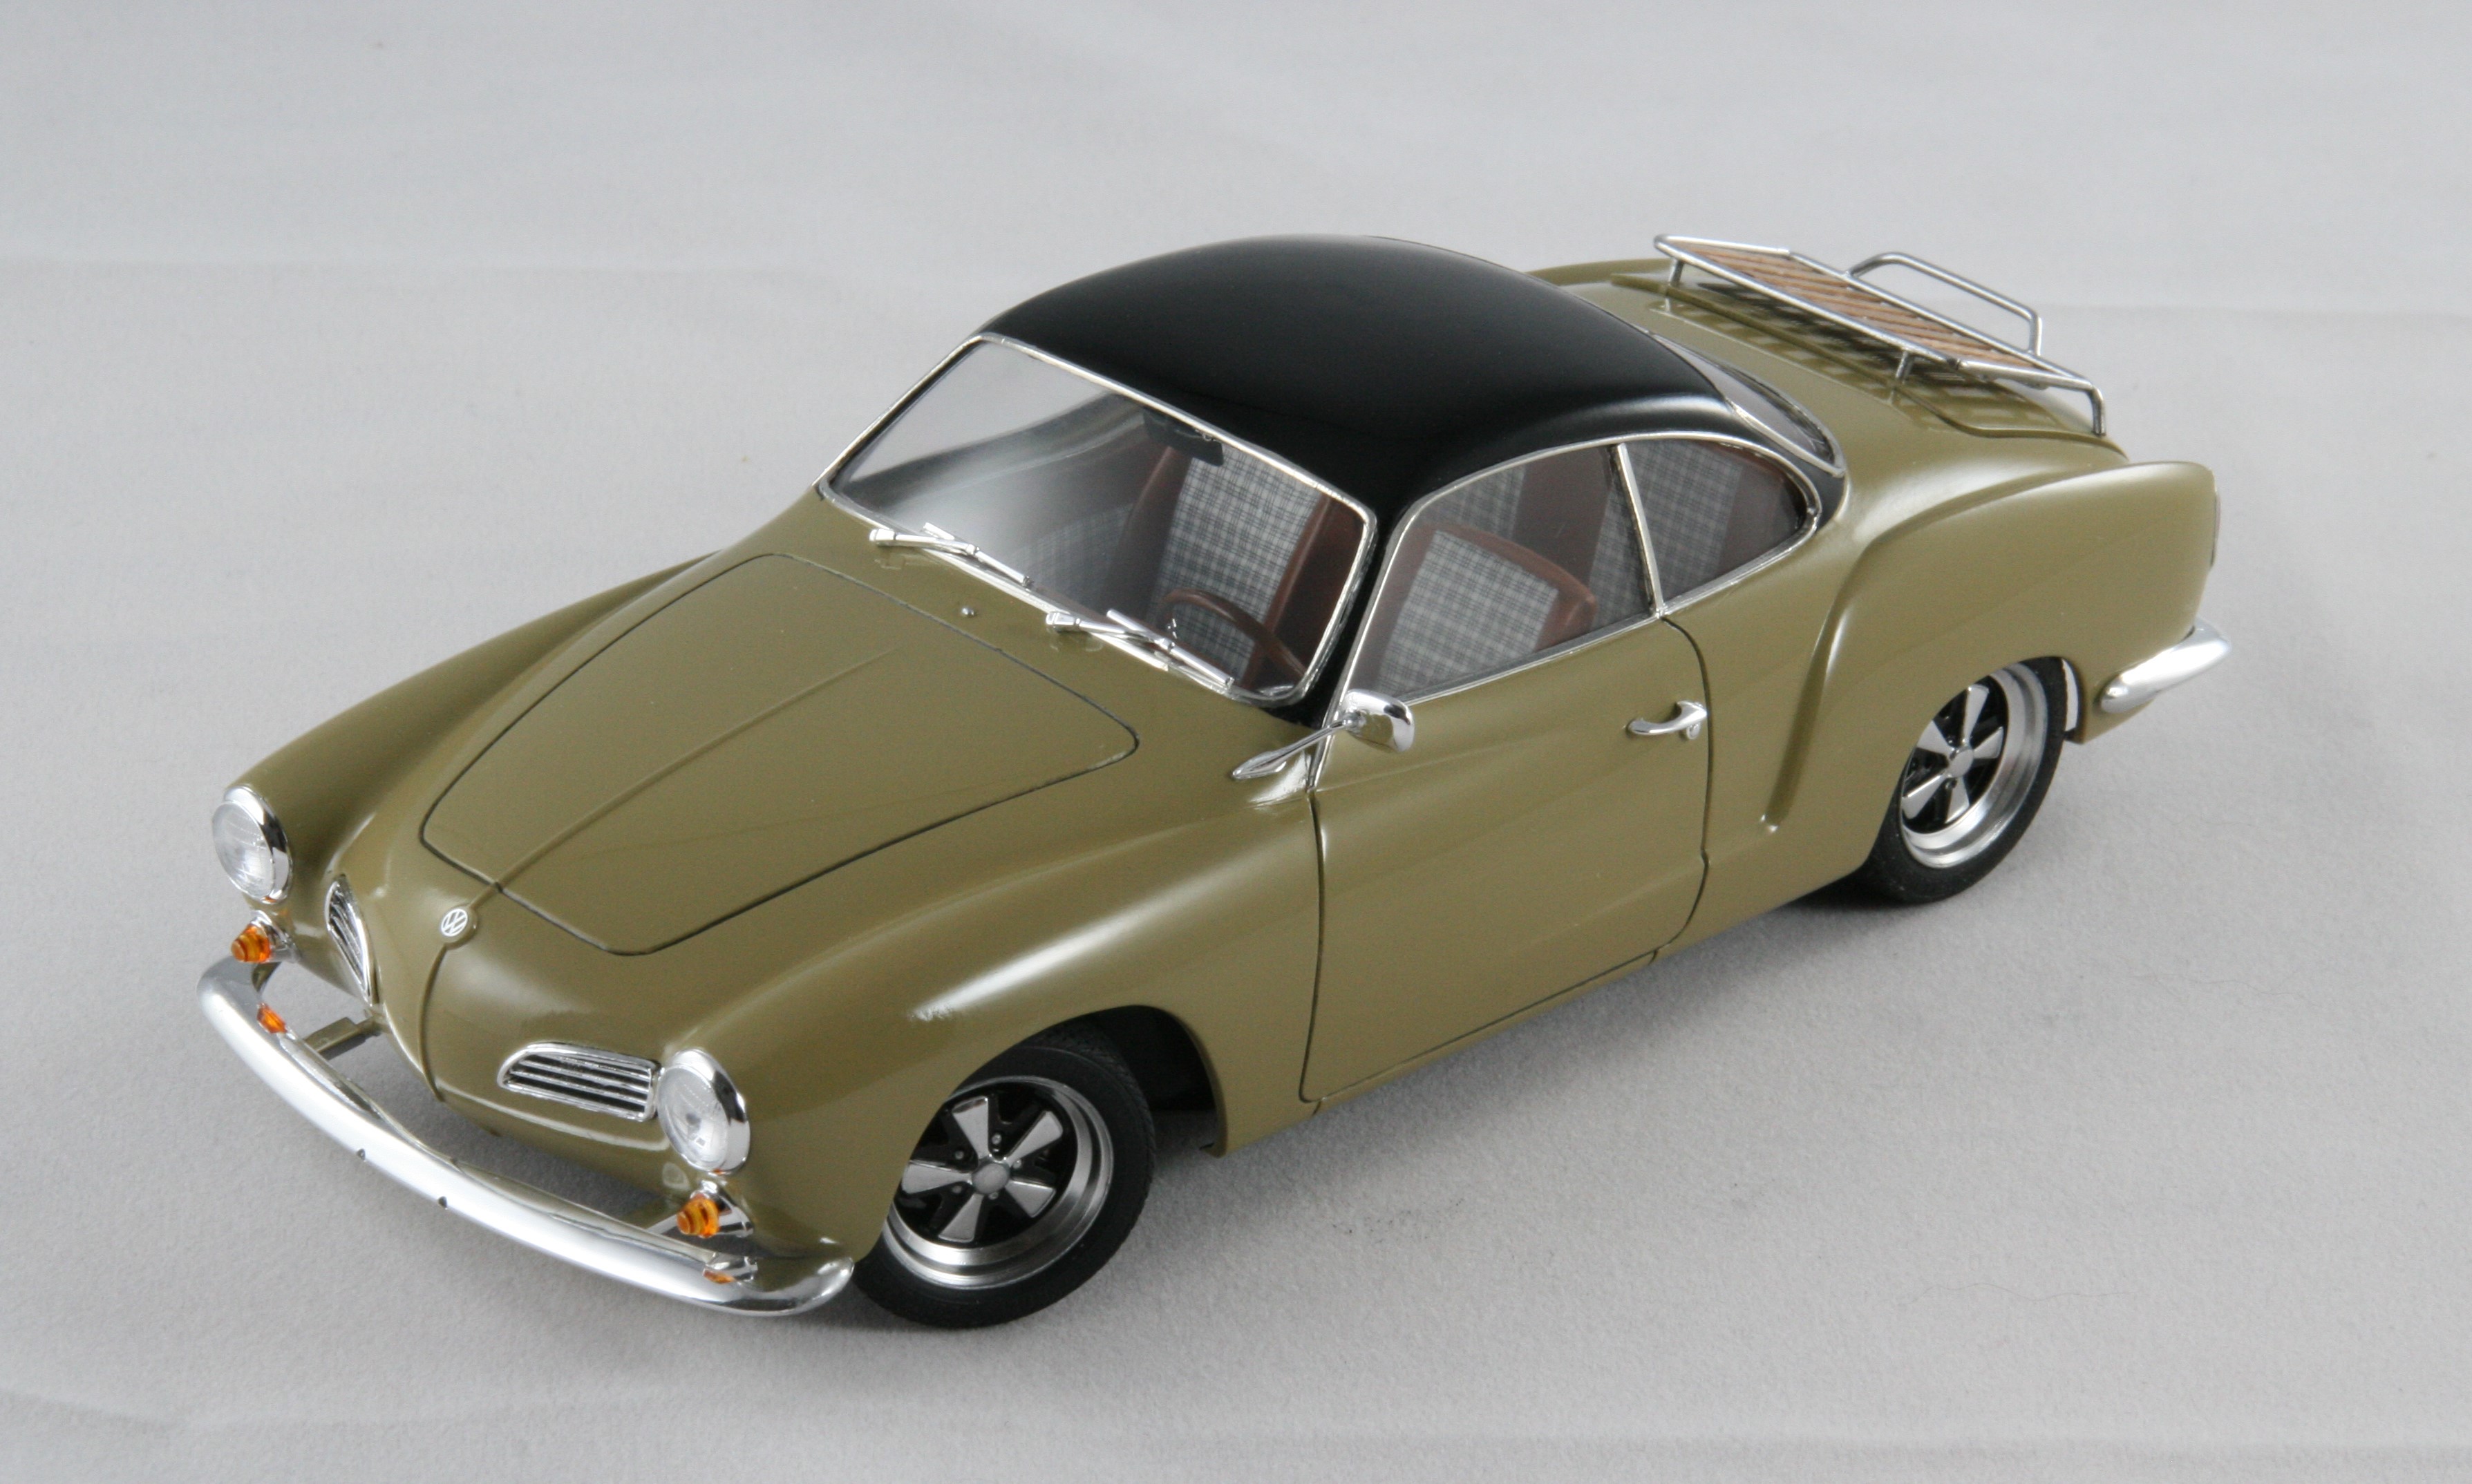
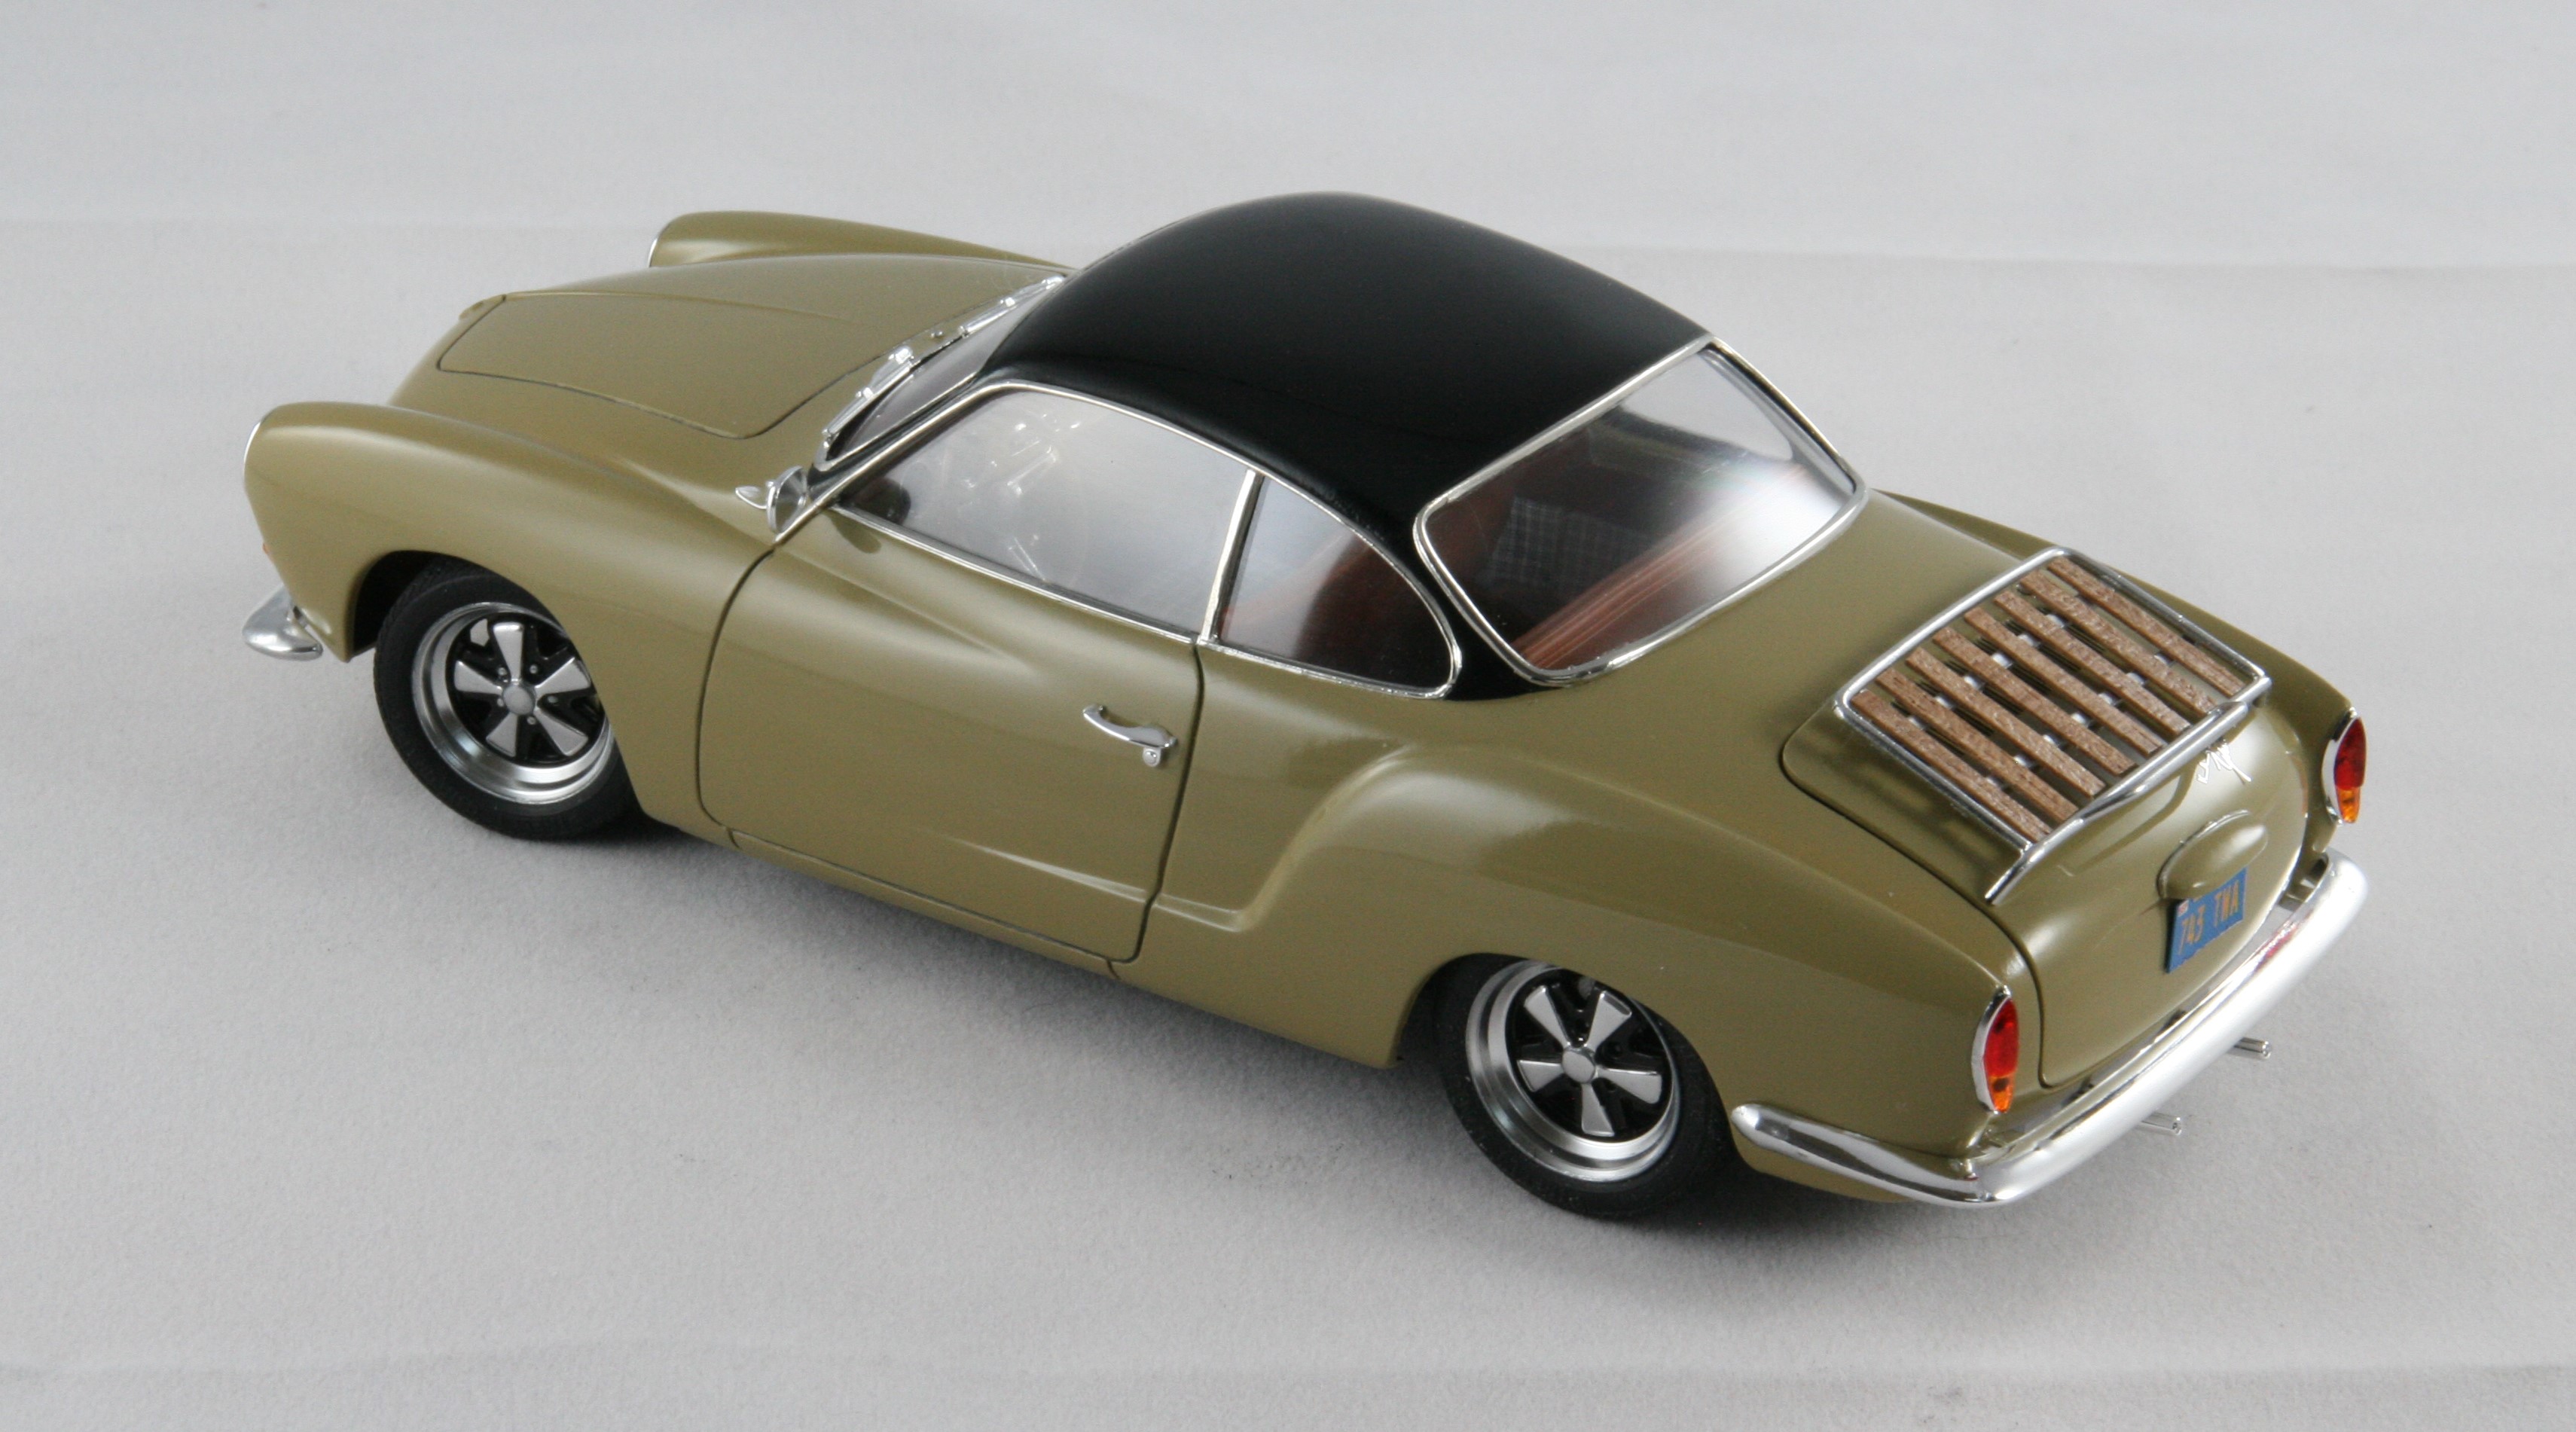
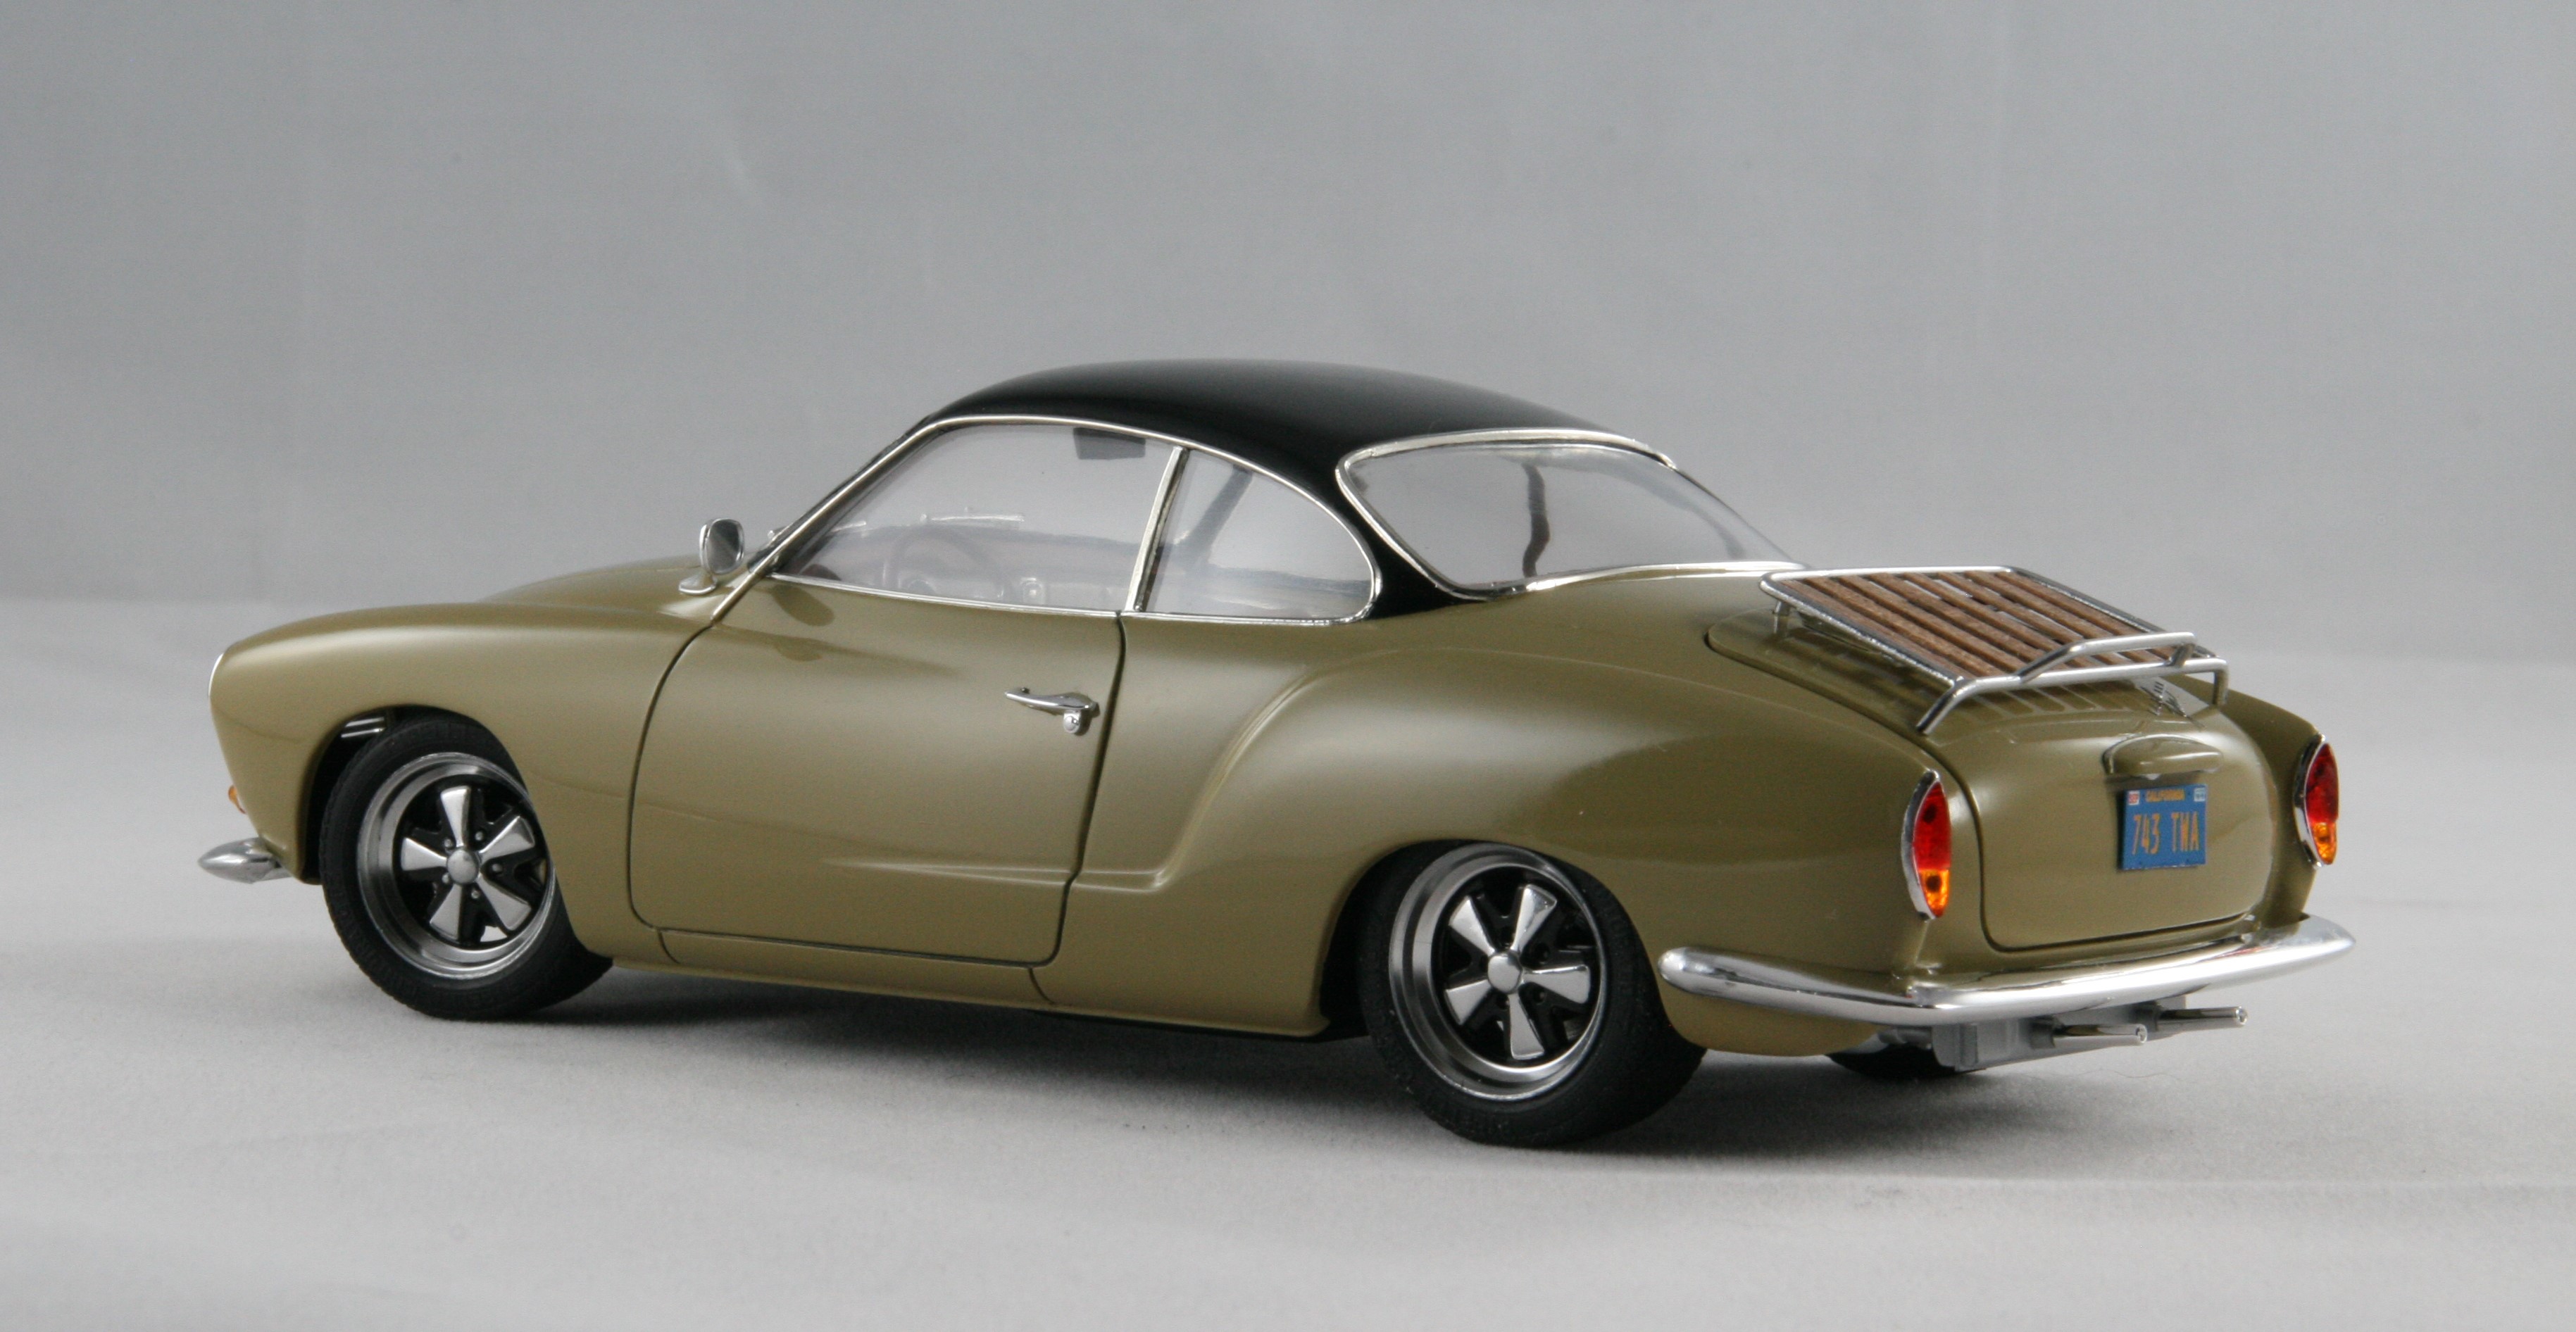
Just wonderful. The weathering is subtle and perfect, the attention to detail is spot-on (dig those plaid seats!) and the build quality is first-rate. While I like the Revell kit a lot, I do believe that the Tamiya kit sits much nicer. This is an excellent, excellent model.
-
It looks pretty good, but has the usual poor adhesive that non-chrome BMF products are known for. I've used it for things like heat shielding.
-
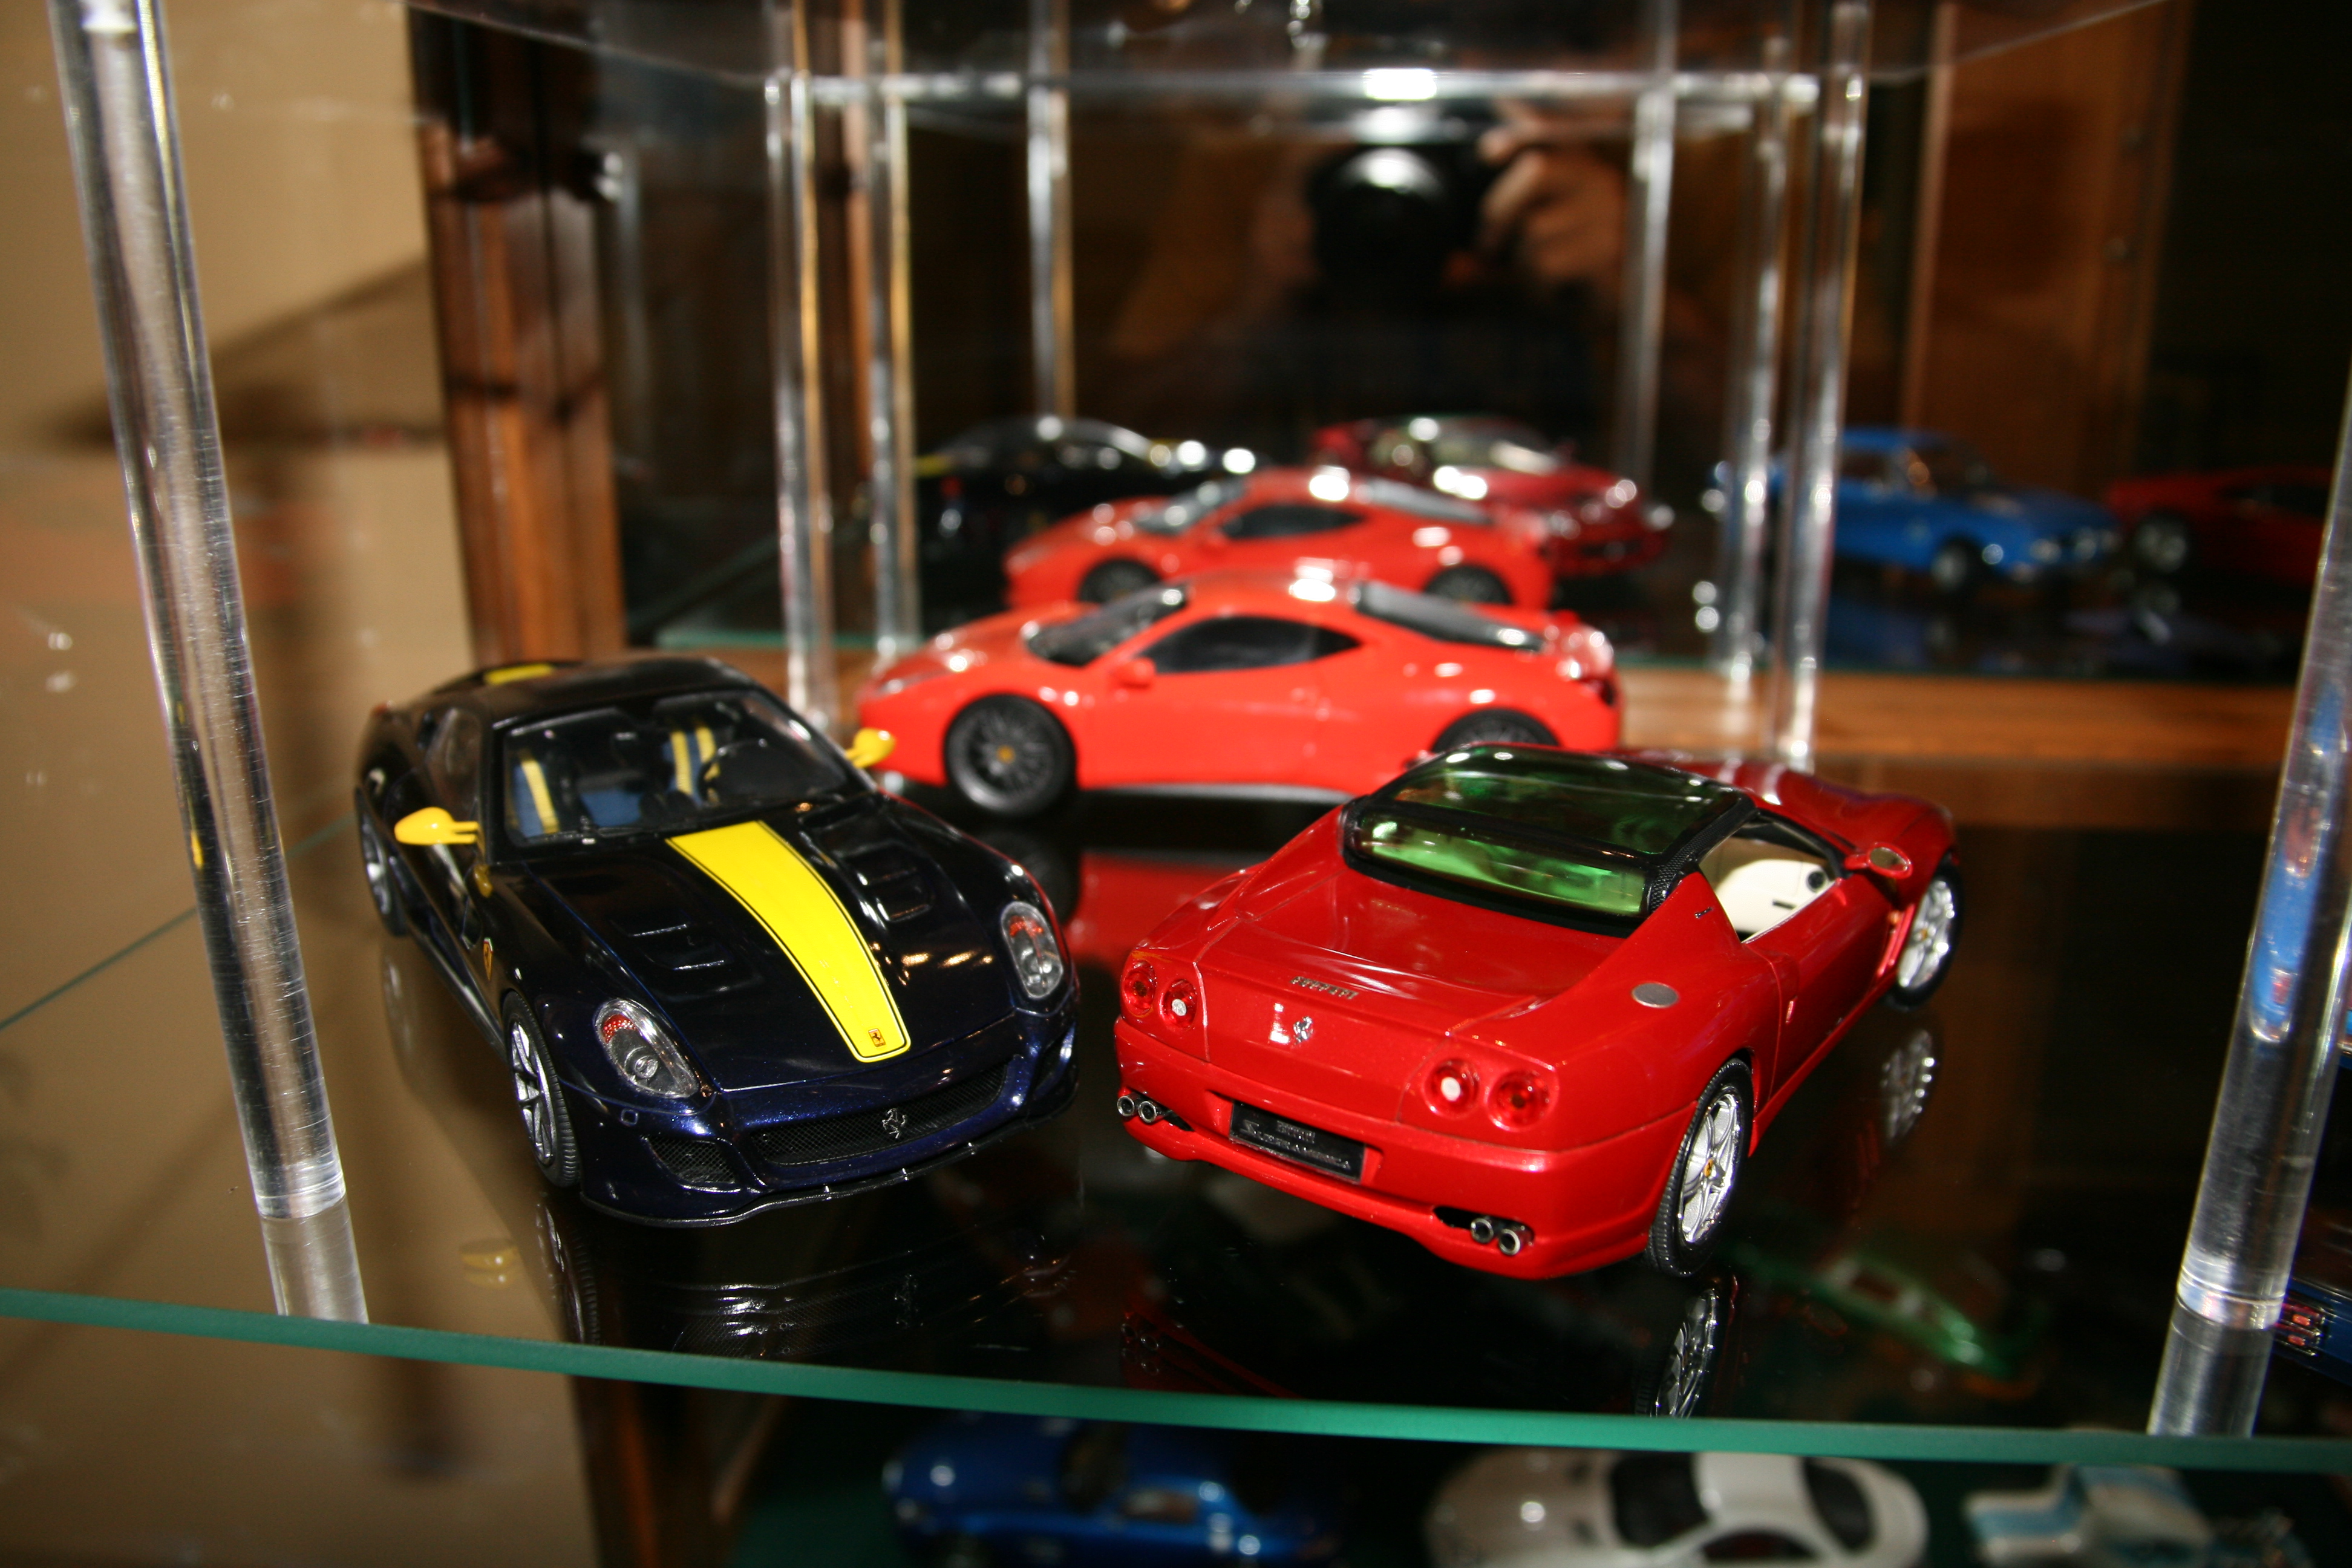
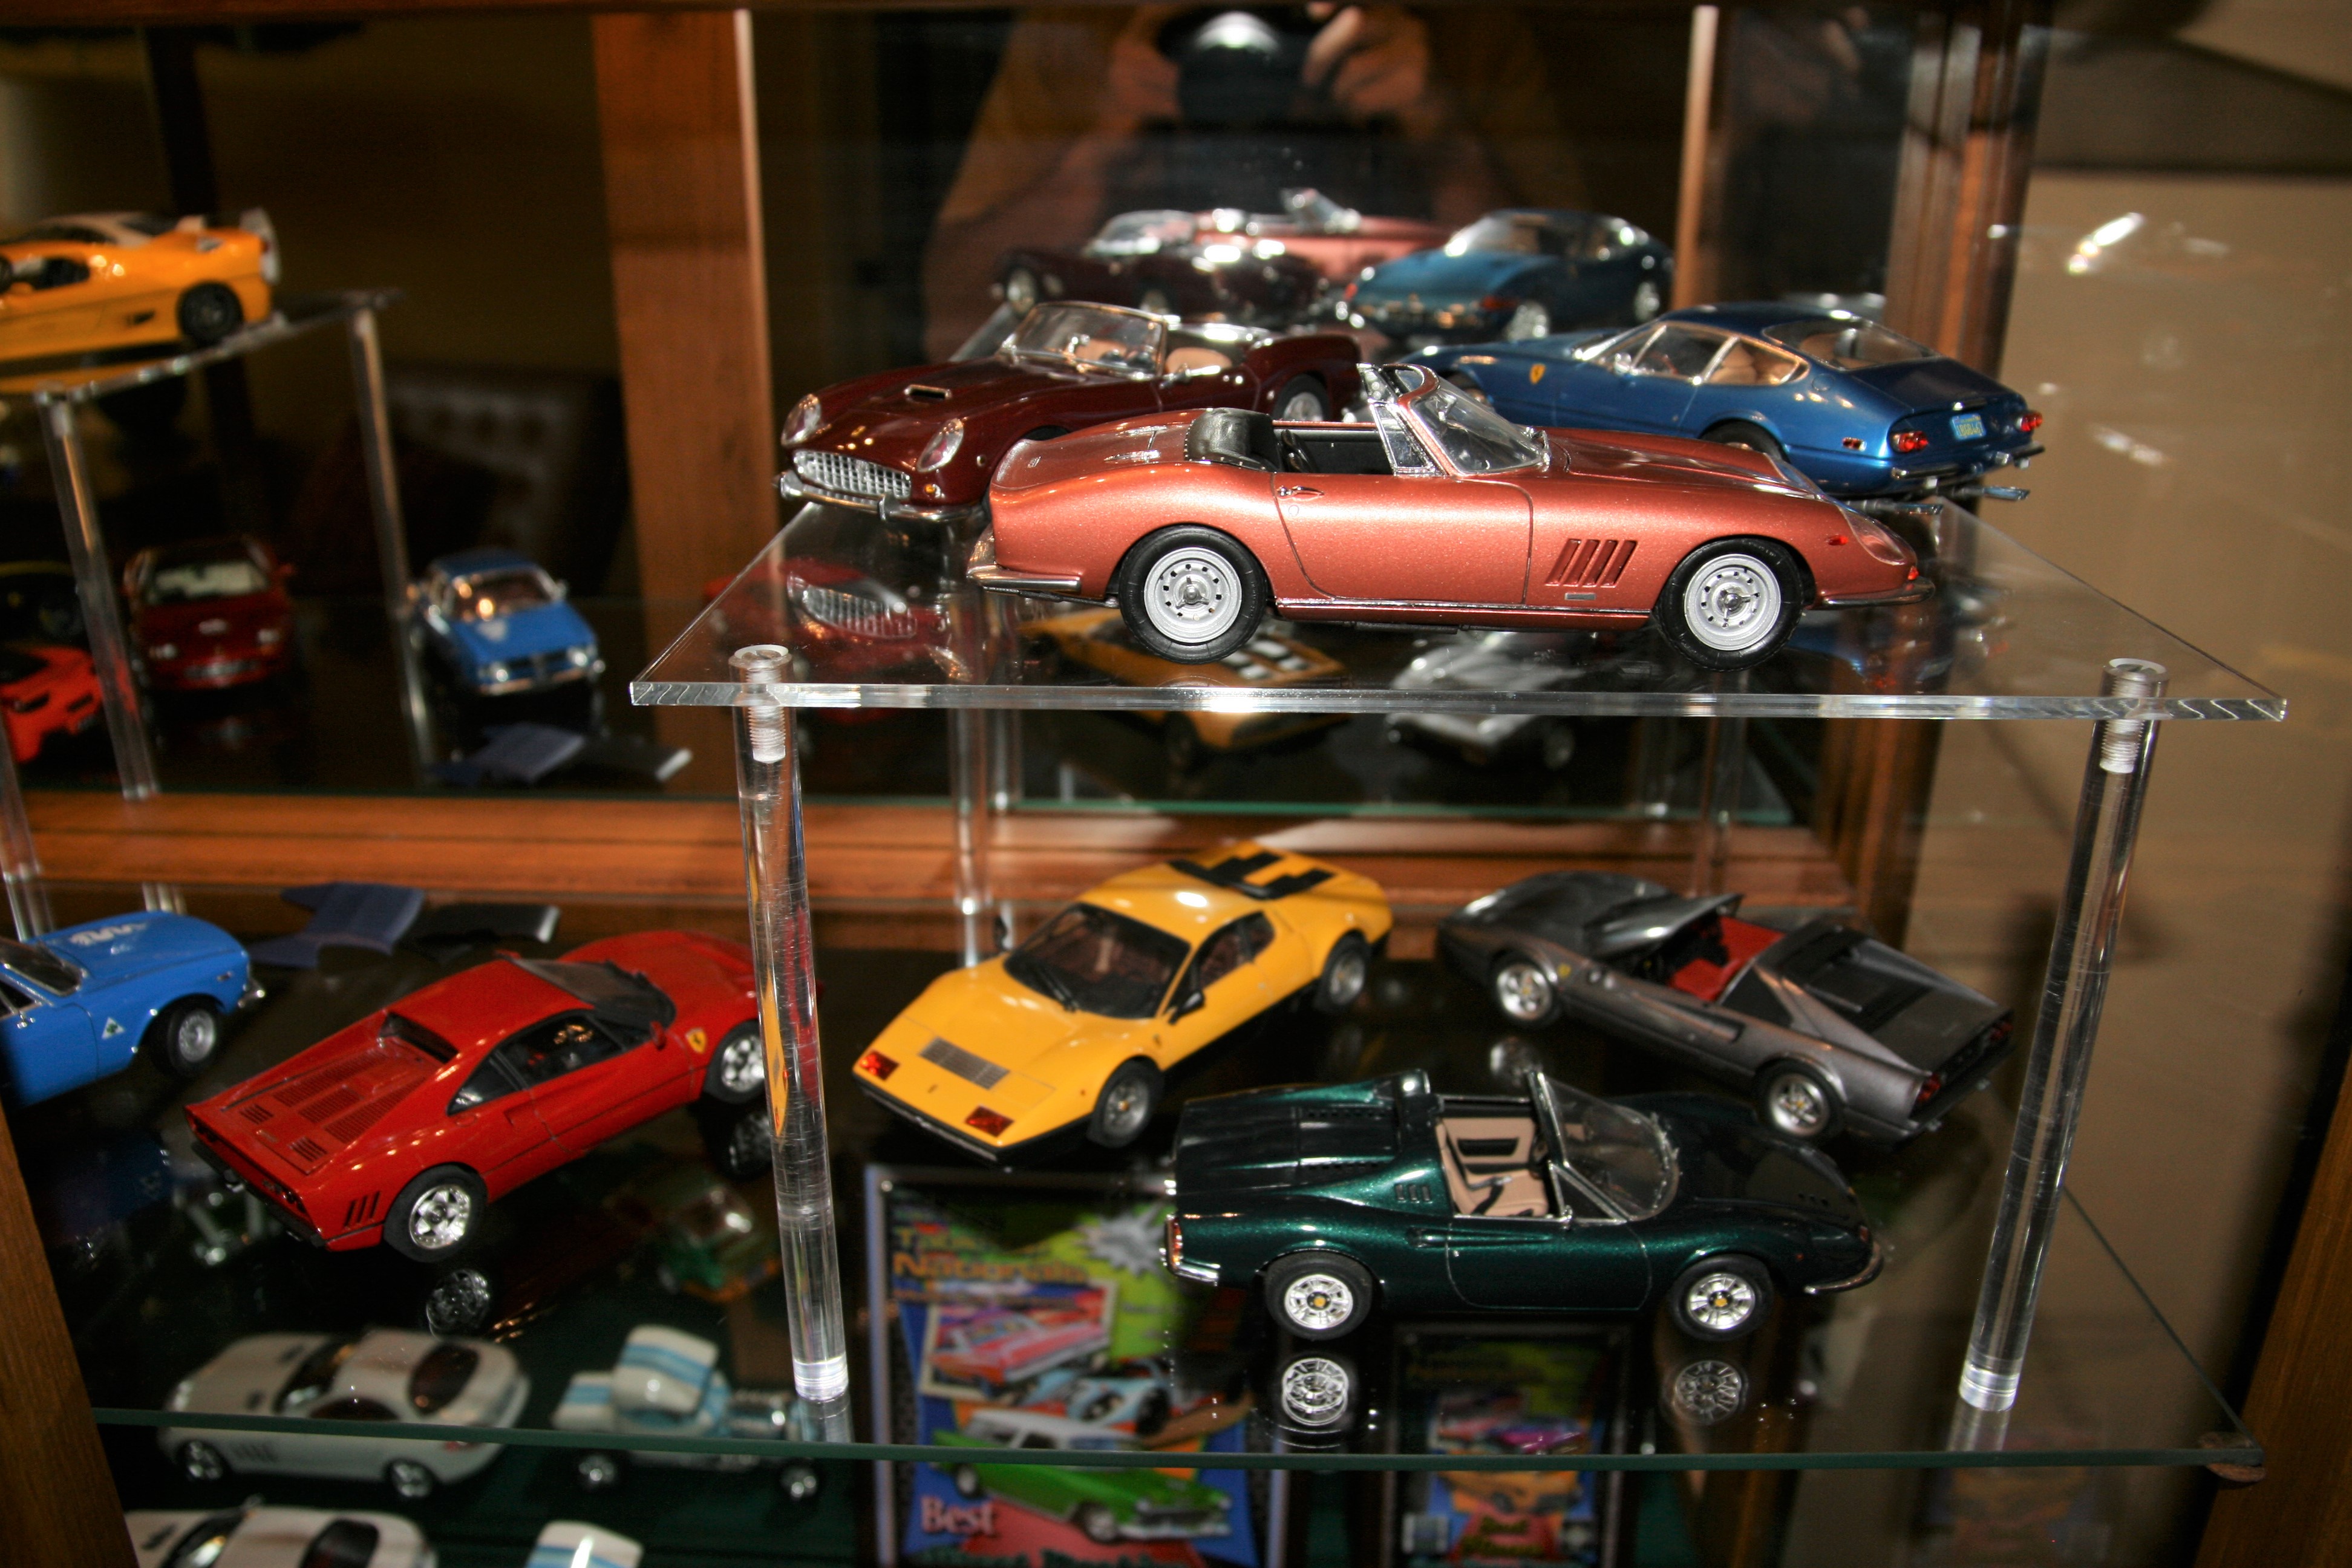
And a few pics with its ancestor... Talk about "model bloat"... that SLS is a monster compared with the original! Thanks for looking, and as always questions and comments are welcome!