Warren D
-
Posts
1,839 -
Joined
-
Last visited
Content Type
Profiles
Forums
Events
Gallery
Everything posted by Warren D
-
Thanks Thanks Thanks Thanks Thanks, yes an update would be welcome.
-
ROPS from Jamie, Grille is Czech Trucks (CTS), might have been from STS. Tracks were off the internet, I won't mention the vendor as they aren't pleasant to deal with. Their website says ships in 7 days. 10 weeks later, nothing. They don't respond to e-mails. Maybe 6 months later you'll get your order.
-
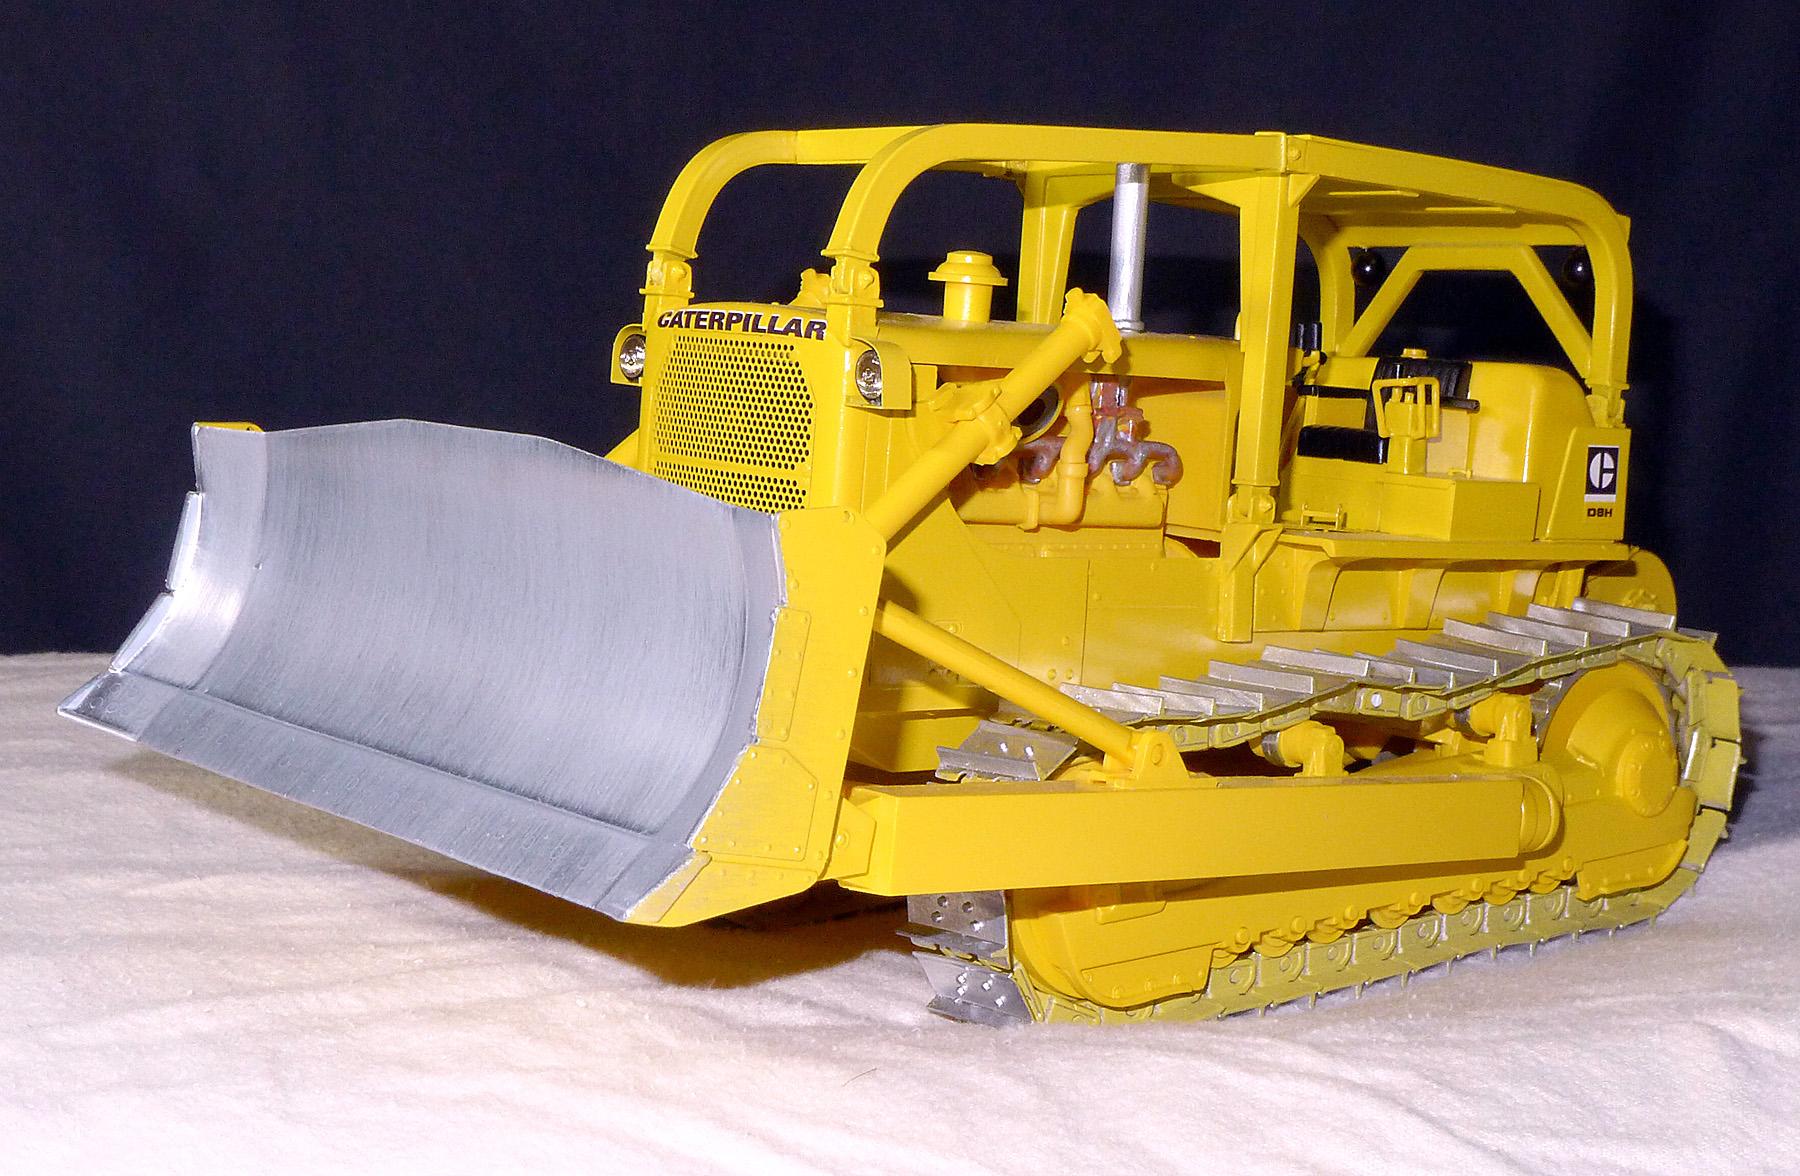
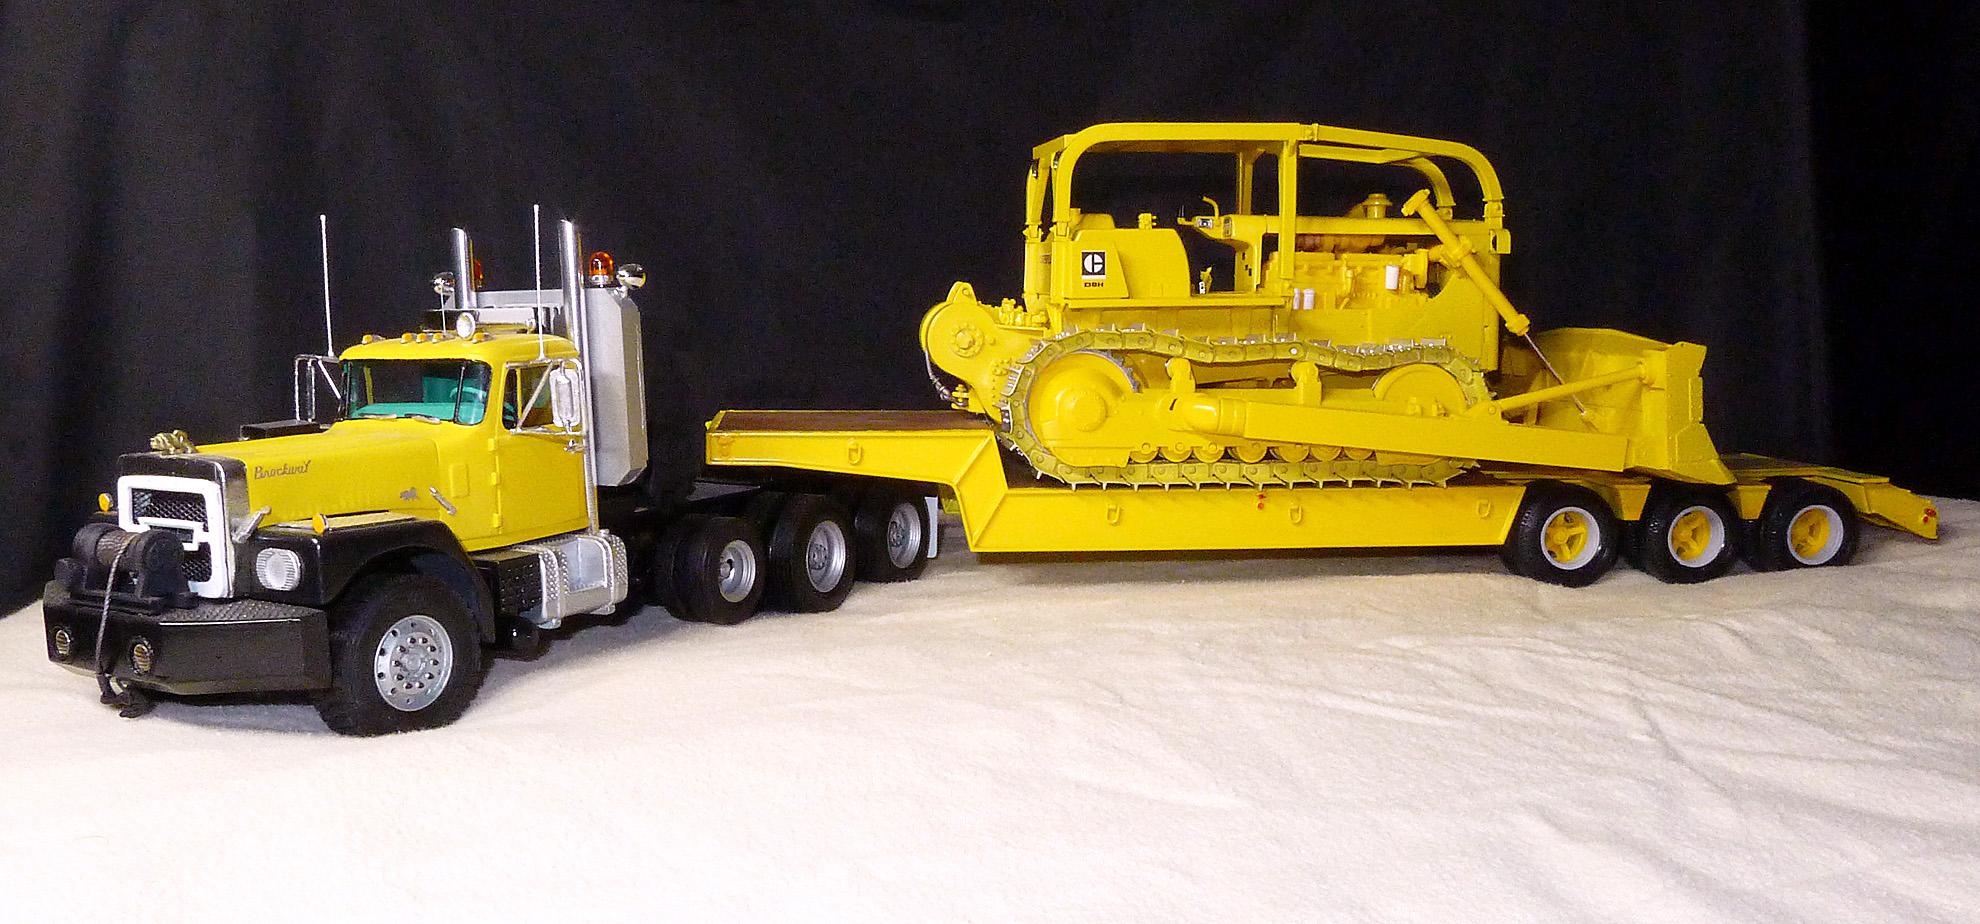
Cat D8H Dozer
Warren D replied to Warren D's topic in WIP: Model Trucks: Big Rigs and Heavy Equipment
Winch is in, cleaned, painted and installed. Calling it done: -
Calling this one done. Last parts finally came in so I got 'er done. CTS PE grille set and interior, lights. Winch and ROPS from Jamie. Aftermarket tracks. Paint is Pollyscale, color custom mixed. For some reason, there is now a slight green tint in the pics. Color is supposed to be yellow, has a touch of orange if anything.

-
R model Mack garbage truck Finished
Warren D replied to gotnitro?'s topic in WIP: Model Trucks: Big Rigs and Heavy Equipment
Excellent work! -
GMC General
Warren D replied to Gary Chastain's topic in WIP: Model Trucks: Big Rigs and Heavy Equipment
Looking good. Probably too late but I've seen big rollers at the back of flatbeds used to deliver lumber. Might be unique.....can't say I've seen one modelled. -
AMT western star and gravel trailer
Warren D replied to tbill's topic in Model Trucks: Big Rigs and Heavy Equipment
Nice build, I agree completely about the trailer, I've never seen a triple axle on a trailer that short, at least not around the area I live in. -
Thanks
-
GMC Topkick Rollback with 64 GMC 1 ton
Warren D replied to DRIPTROIT 71's topic in Model Trucks: Big Rigs and Heavy Equipment
Great job! That cab doesn't look like resin, love that color. -
GMC General Wrecker
Warren D replied to Warren D's topic in Model Trucks: Big Rigs and Heavy Equipment
Thanks Thanks, I prefer 22" wheels, the 20's just look too small to me. Thanks Thank you Thanks Thanks Thanks Thank you -
GMC General Wrecker
Warren D replied to Warren D's topic in Model Trucks: Big Rigs and Heavy Equipment
Thanks Thanks, never took the rigging apart so no issues! Thanks Thanks, I tweaked the red as it was a little too bright out of the bottle. Trick is to make sure the base coat (aka primer) is the same for all the parts. Thanks, I can do better with the photos. I usually just grab some shots and plan on doing a good set-up later but later never seems to happen. Thanks -
Thanks, it brings back memories for me too. I had the 26" frame (largest they made) and it fit me like a glove. It was too large for others in the neighborhood so no one wanted to borrow it!
-
1/48 BF-109 G6
Warren D replied to doubleyoung2003's topic in All The Rest: Motorcycles, Aviation, Military, Sci-Fi, Figures
Excellent work, only missing some holes from a P-51's 50 cals! -
Saw this kit for sale and it reminded me of the Schwinn Varsity I bought many years ago. I put several thousand miles on that bike in the 3 years before I bought my first car. The MPC kit was ok, there are some errors in the instructions regarding how the shift and brake cables are run. The biggest is that the rear brake is on the right handle, reverse of what the instructions call for. I painted mine Sunset Orange which was what I had.
-
GMC Topkick Rollback
Warren D replied to DRIPTROIT 71's topic in WIP: Model Trucks: Big Rigs and Heavy Equipment
Looks good so far, interesting subject. What did you use for the chassis? -
R model Mack garbage truck Finished
Warren D replied to gotnitro?'s topic in WIP: Model Trucks: Big Rigs and Heavy Equipment
Looks amazing! -
Another kind of Leach Garbage truck
Warren D replied to GLMFAA1's topic in Model Trucks: Big Rigs and Heavy Equipment
Looks good! -
Iron Butterfly
Warren D replied to Terry Jessee's topic in Model Trucks: Big Rigs and Heavy Equipment
Great job on an interesting subject! -
Ford LT9000 Dump Papco
Warren D replied to DRIPTROIT 71's topic in Model Trucks: Big Rigs and Heavy Equipment
Well done! -
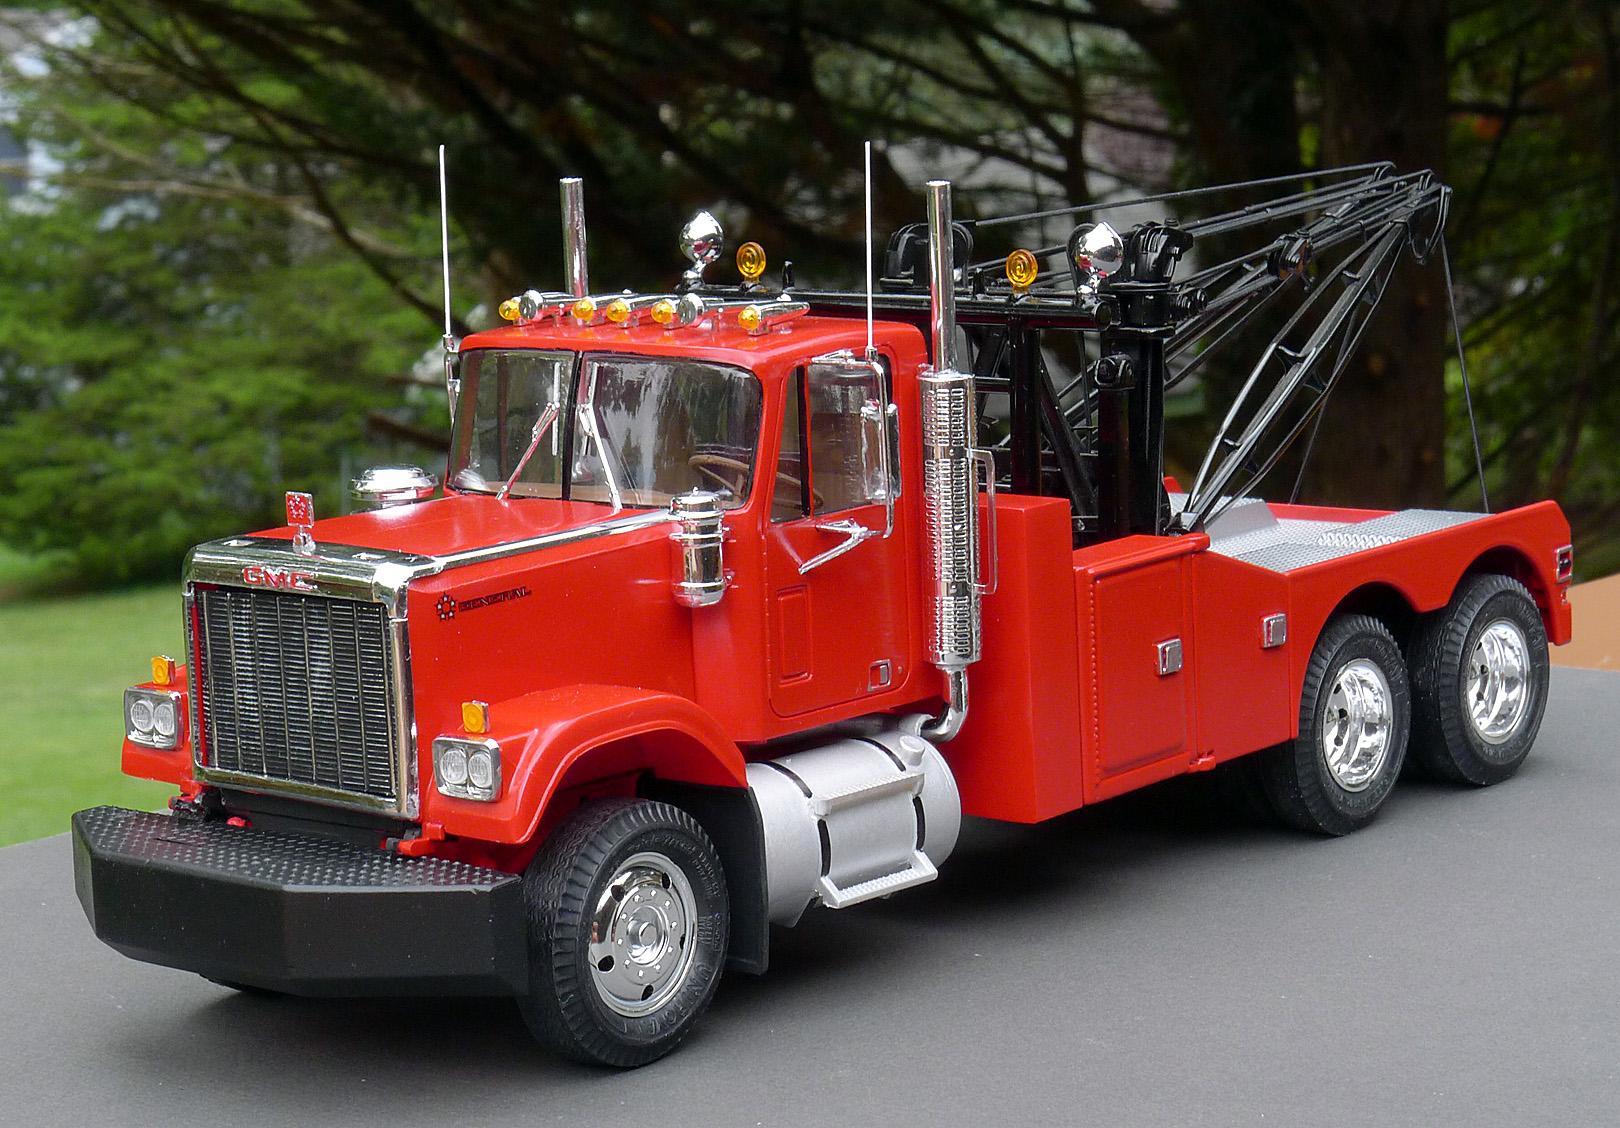
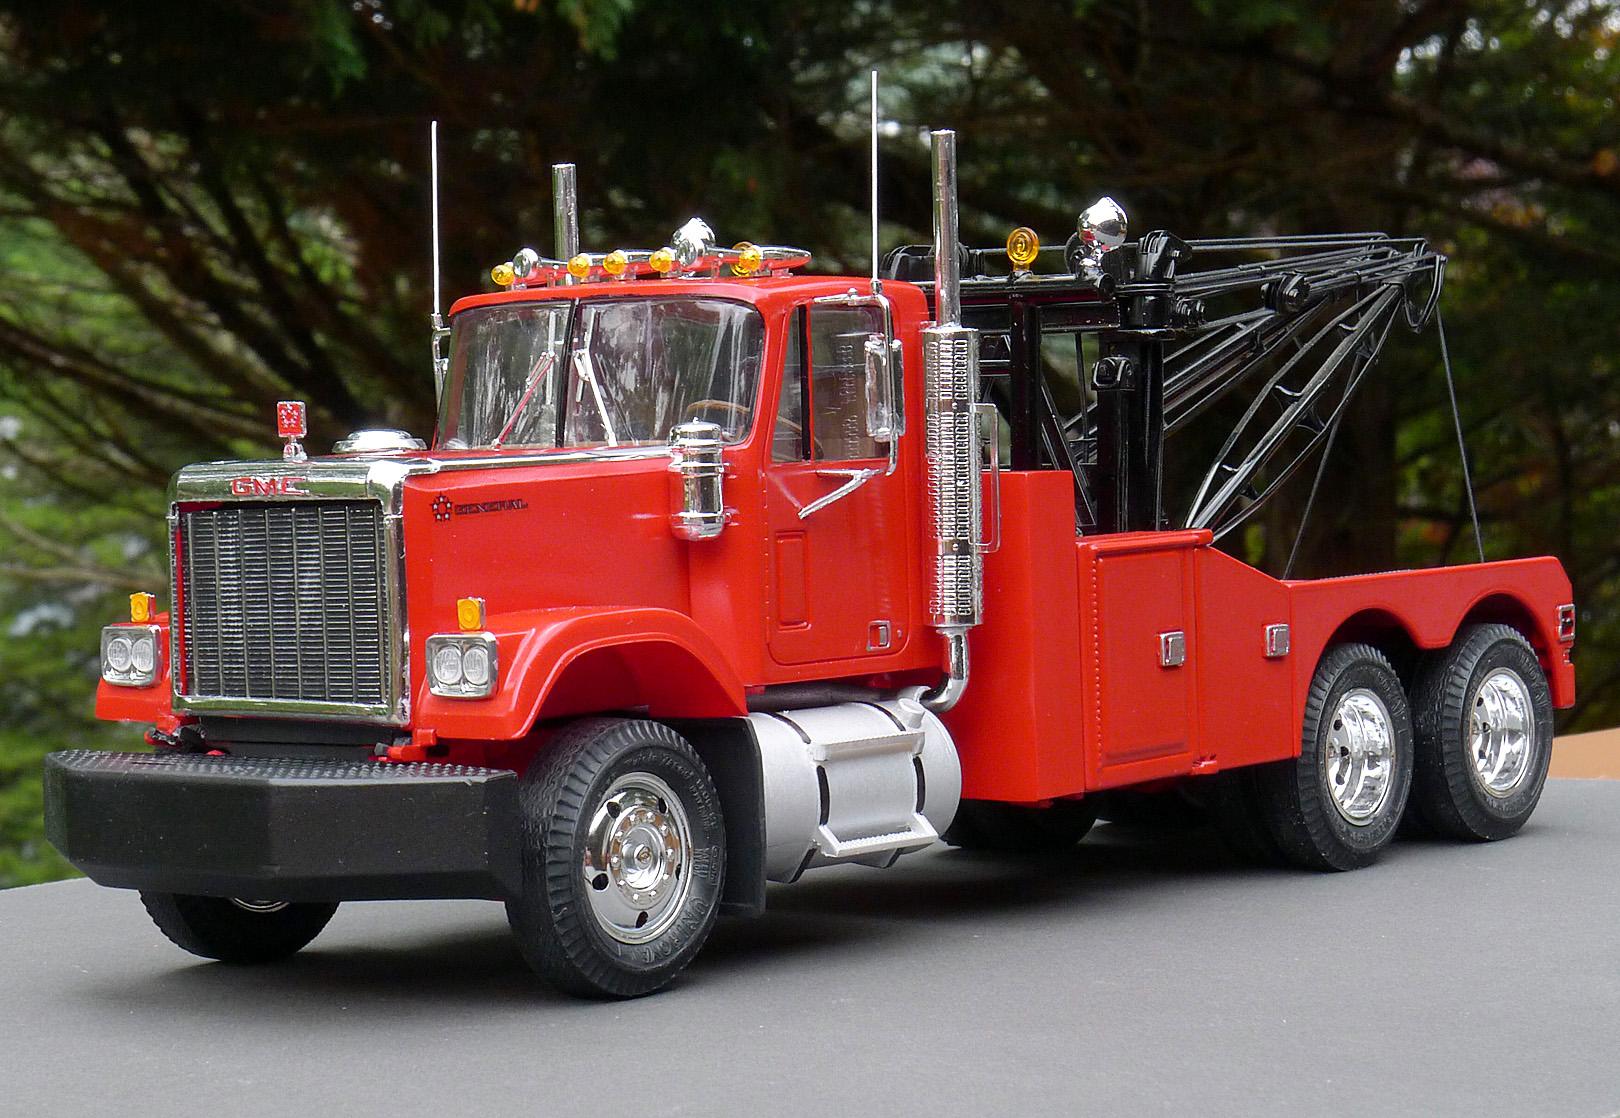
GMC General Wrecker
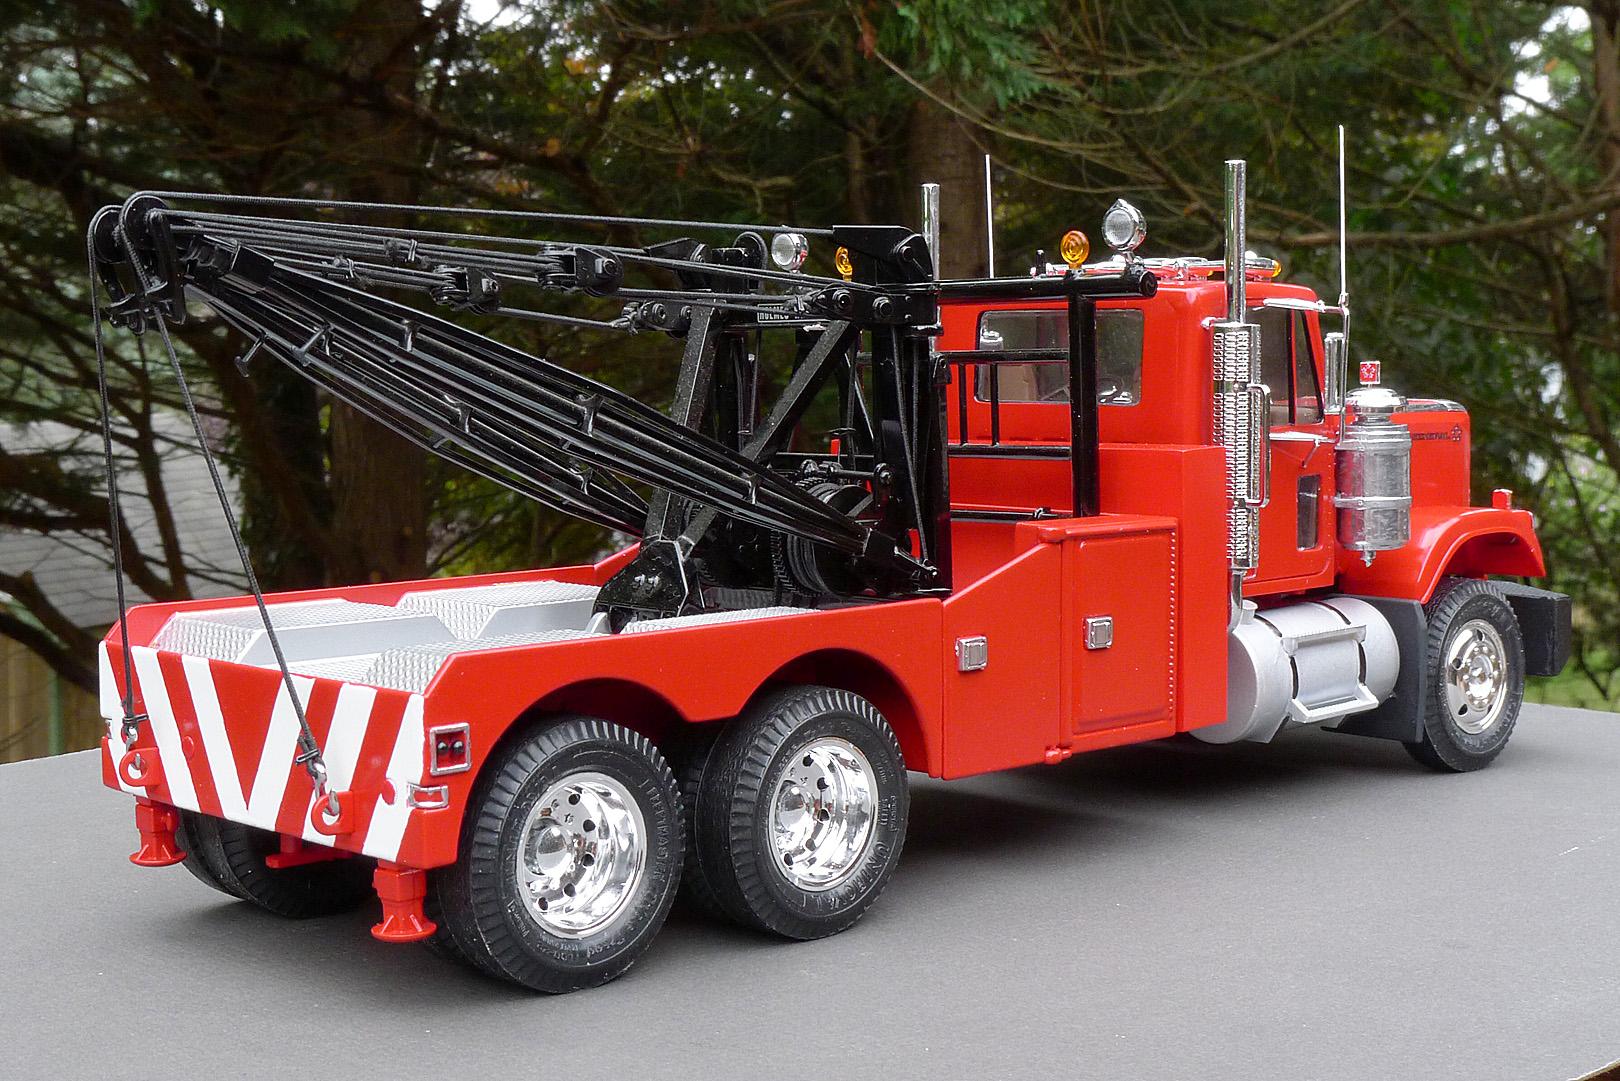
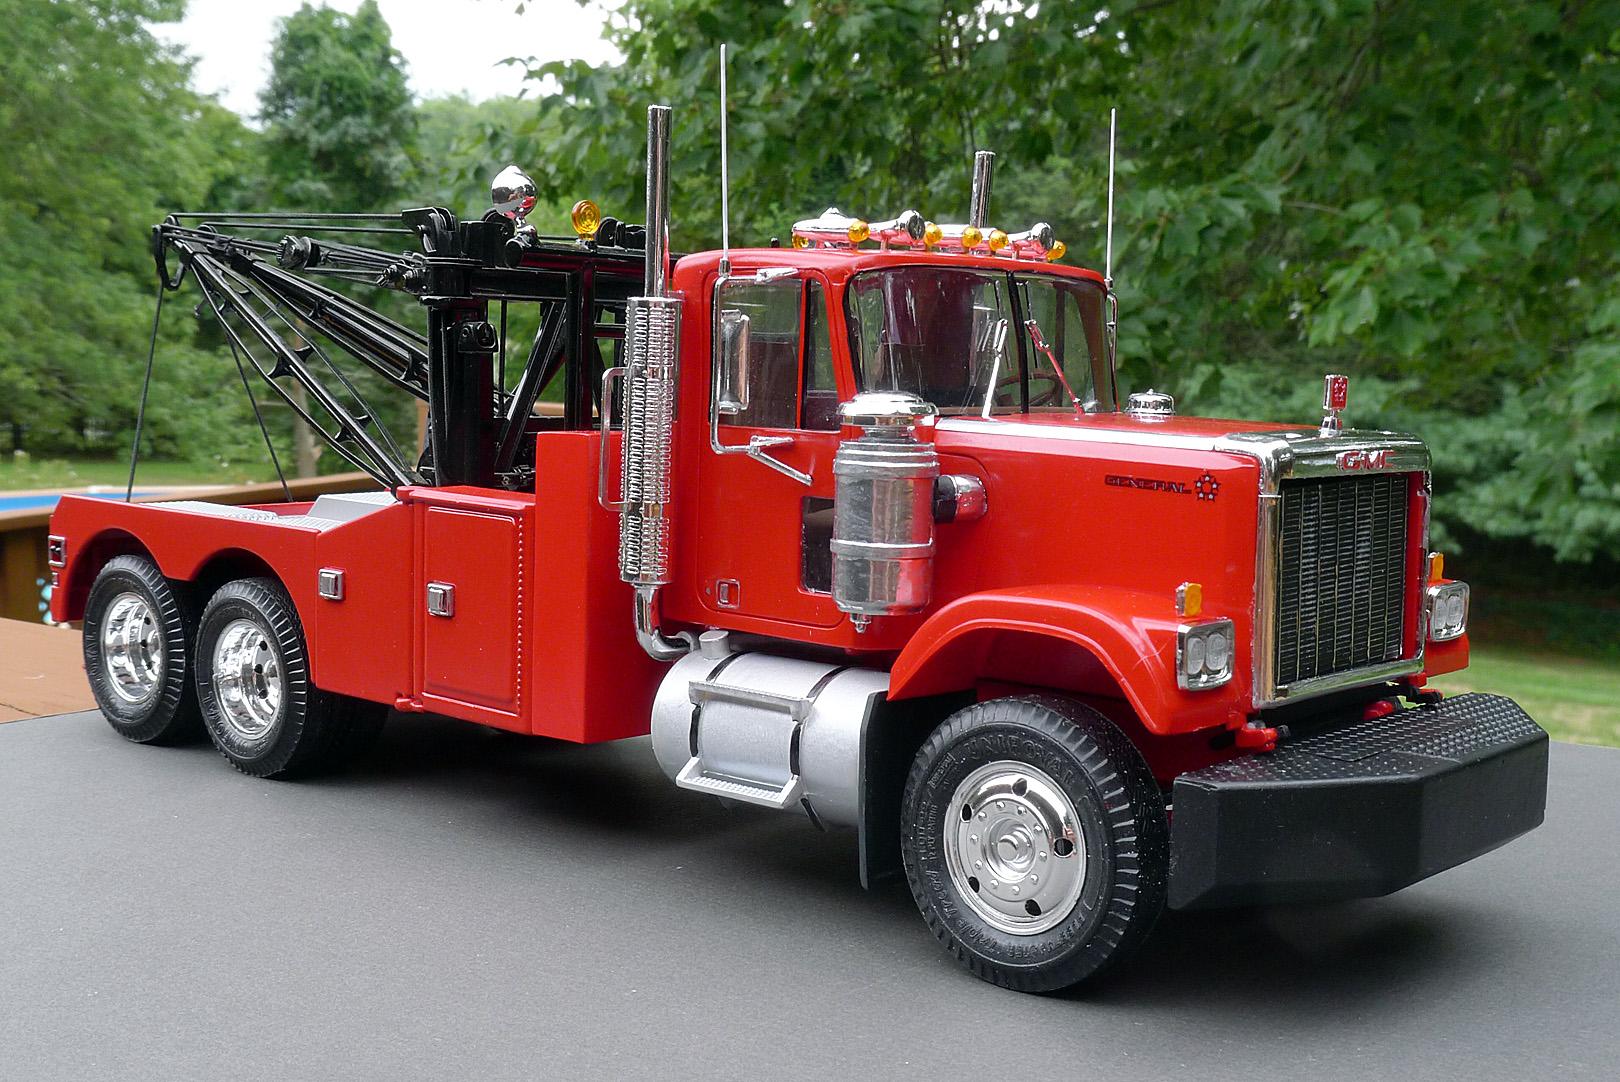
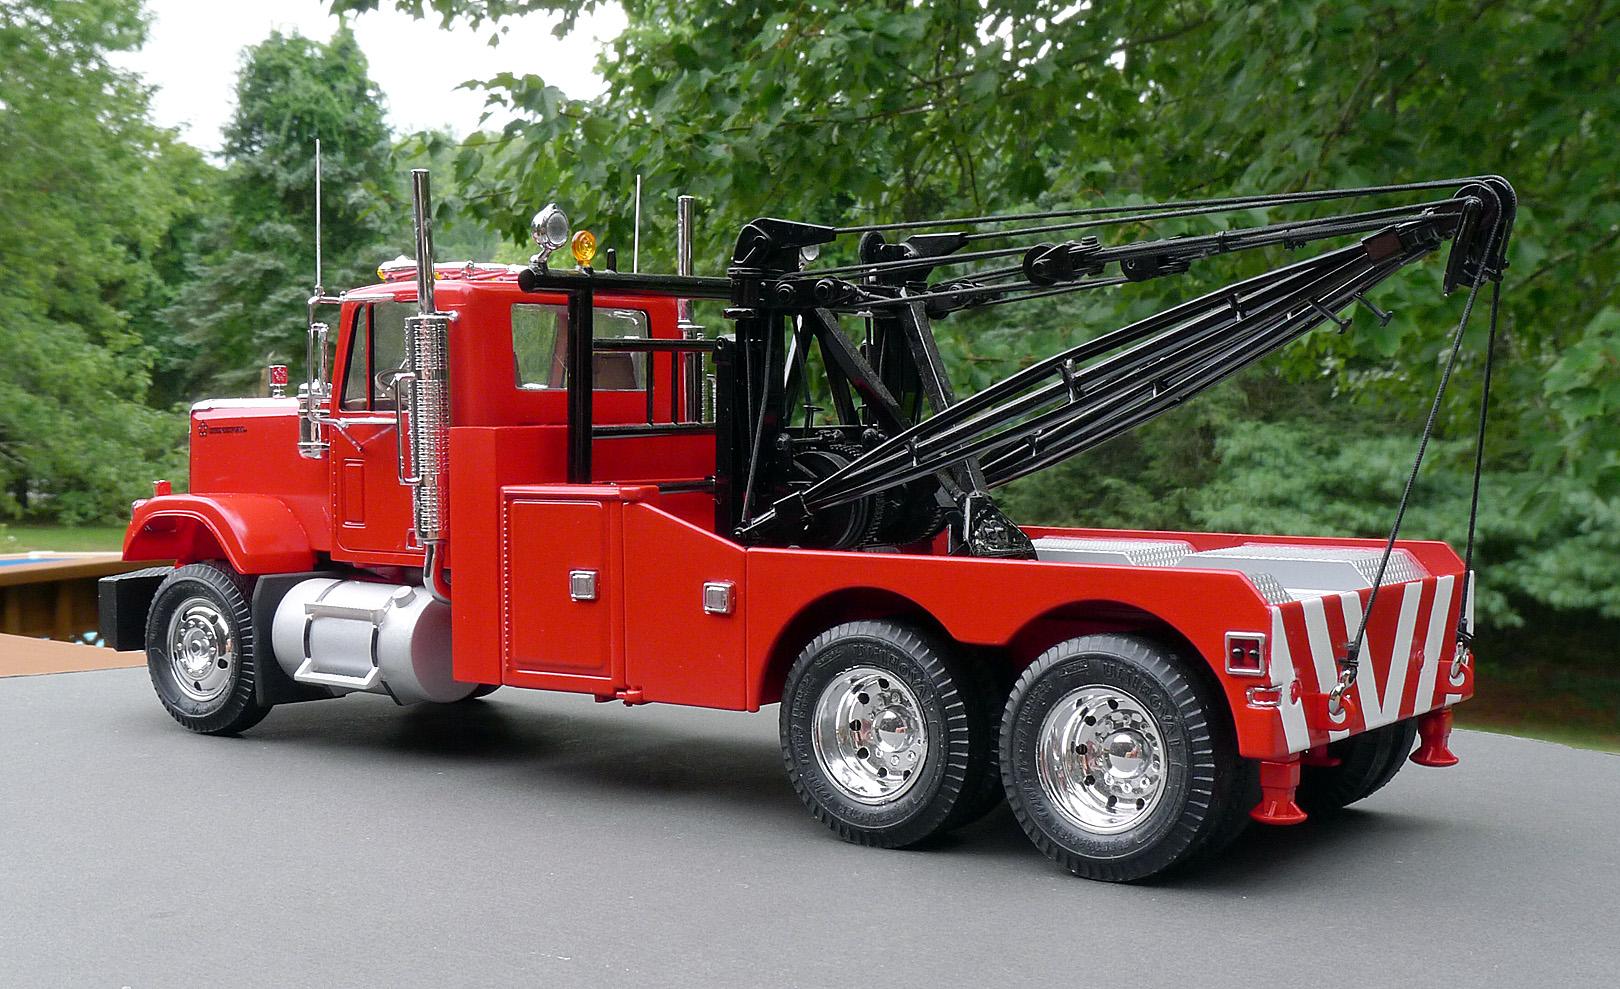
Warren D replied to Warren D's topic in WIP: Model Trucks: Big Rigs and Heavy Equipment
Calling this one done: -
Inspired by the Jamie Davis GMC wrecker, this is my take. It has a Holmes 750 where Jamie's had a 1801. AMT General kit, frame is about as long as they come so it worked well, just had to trim a bit off the back. Wrecker body from First Gear, bumper from AITM (now Keystone).
-
Ford LT9000 Dump
Warren D replied to DRIPTROIT 71's topic in WIP: Model Trucks: Big Rigs and Heavy Equipment
The cab is metal and the hood is fiberglas so there you go! Seriously, I've found resin and styrene react differently to paint. I've found a primer that seems to sit the same on anything but as you can guess, they don't make it anymore! I was banging my head over the paint issue and stripped and re-painted many times. I think the resin is a bit more porous. You'd think several coats would even things out but seems to bite me in the butt more often than not. -
AMT Autocar DC 9964 B Dump Truck
Warren D replied to SpikeSchumacher's topic in Model Trucks: Big Rigs and Heavy Equipment
Very nice OOB build! Clean! -
GMC General Wrecker
Warren D replied to Warren D's topic in WIP: Model Trucks: Big Rigs and Heavy Equipment
Progress shot, wrecker body back together after re-paint. Cab and hood being test fit for final adjustments.
-
R model Mack garbage truck Finished
Warren D replied to gotnitro?'s topic in WIP: Model Trucks: Big Rigs and Heavy Equipment
Great scratchbuilding!