Anglia105E
-
Posts
3,487 -
Joined
-
Last visited
Content Type
Profiles
Forums
Events
Gallery
Everything posted by Anglia105E
-
Good result Pat, and looks like one happy and smiling 1:1 Dodge owner ! David
-
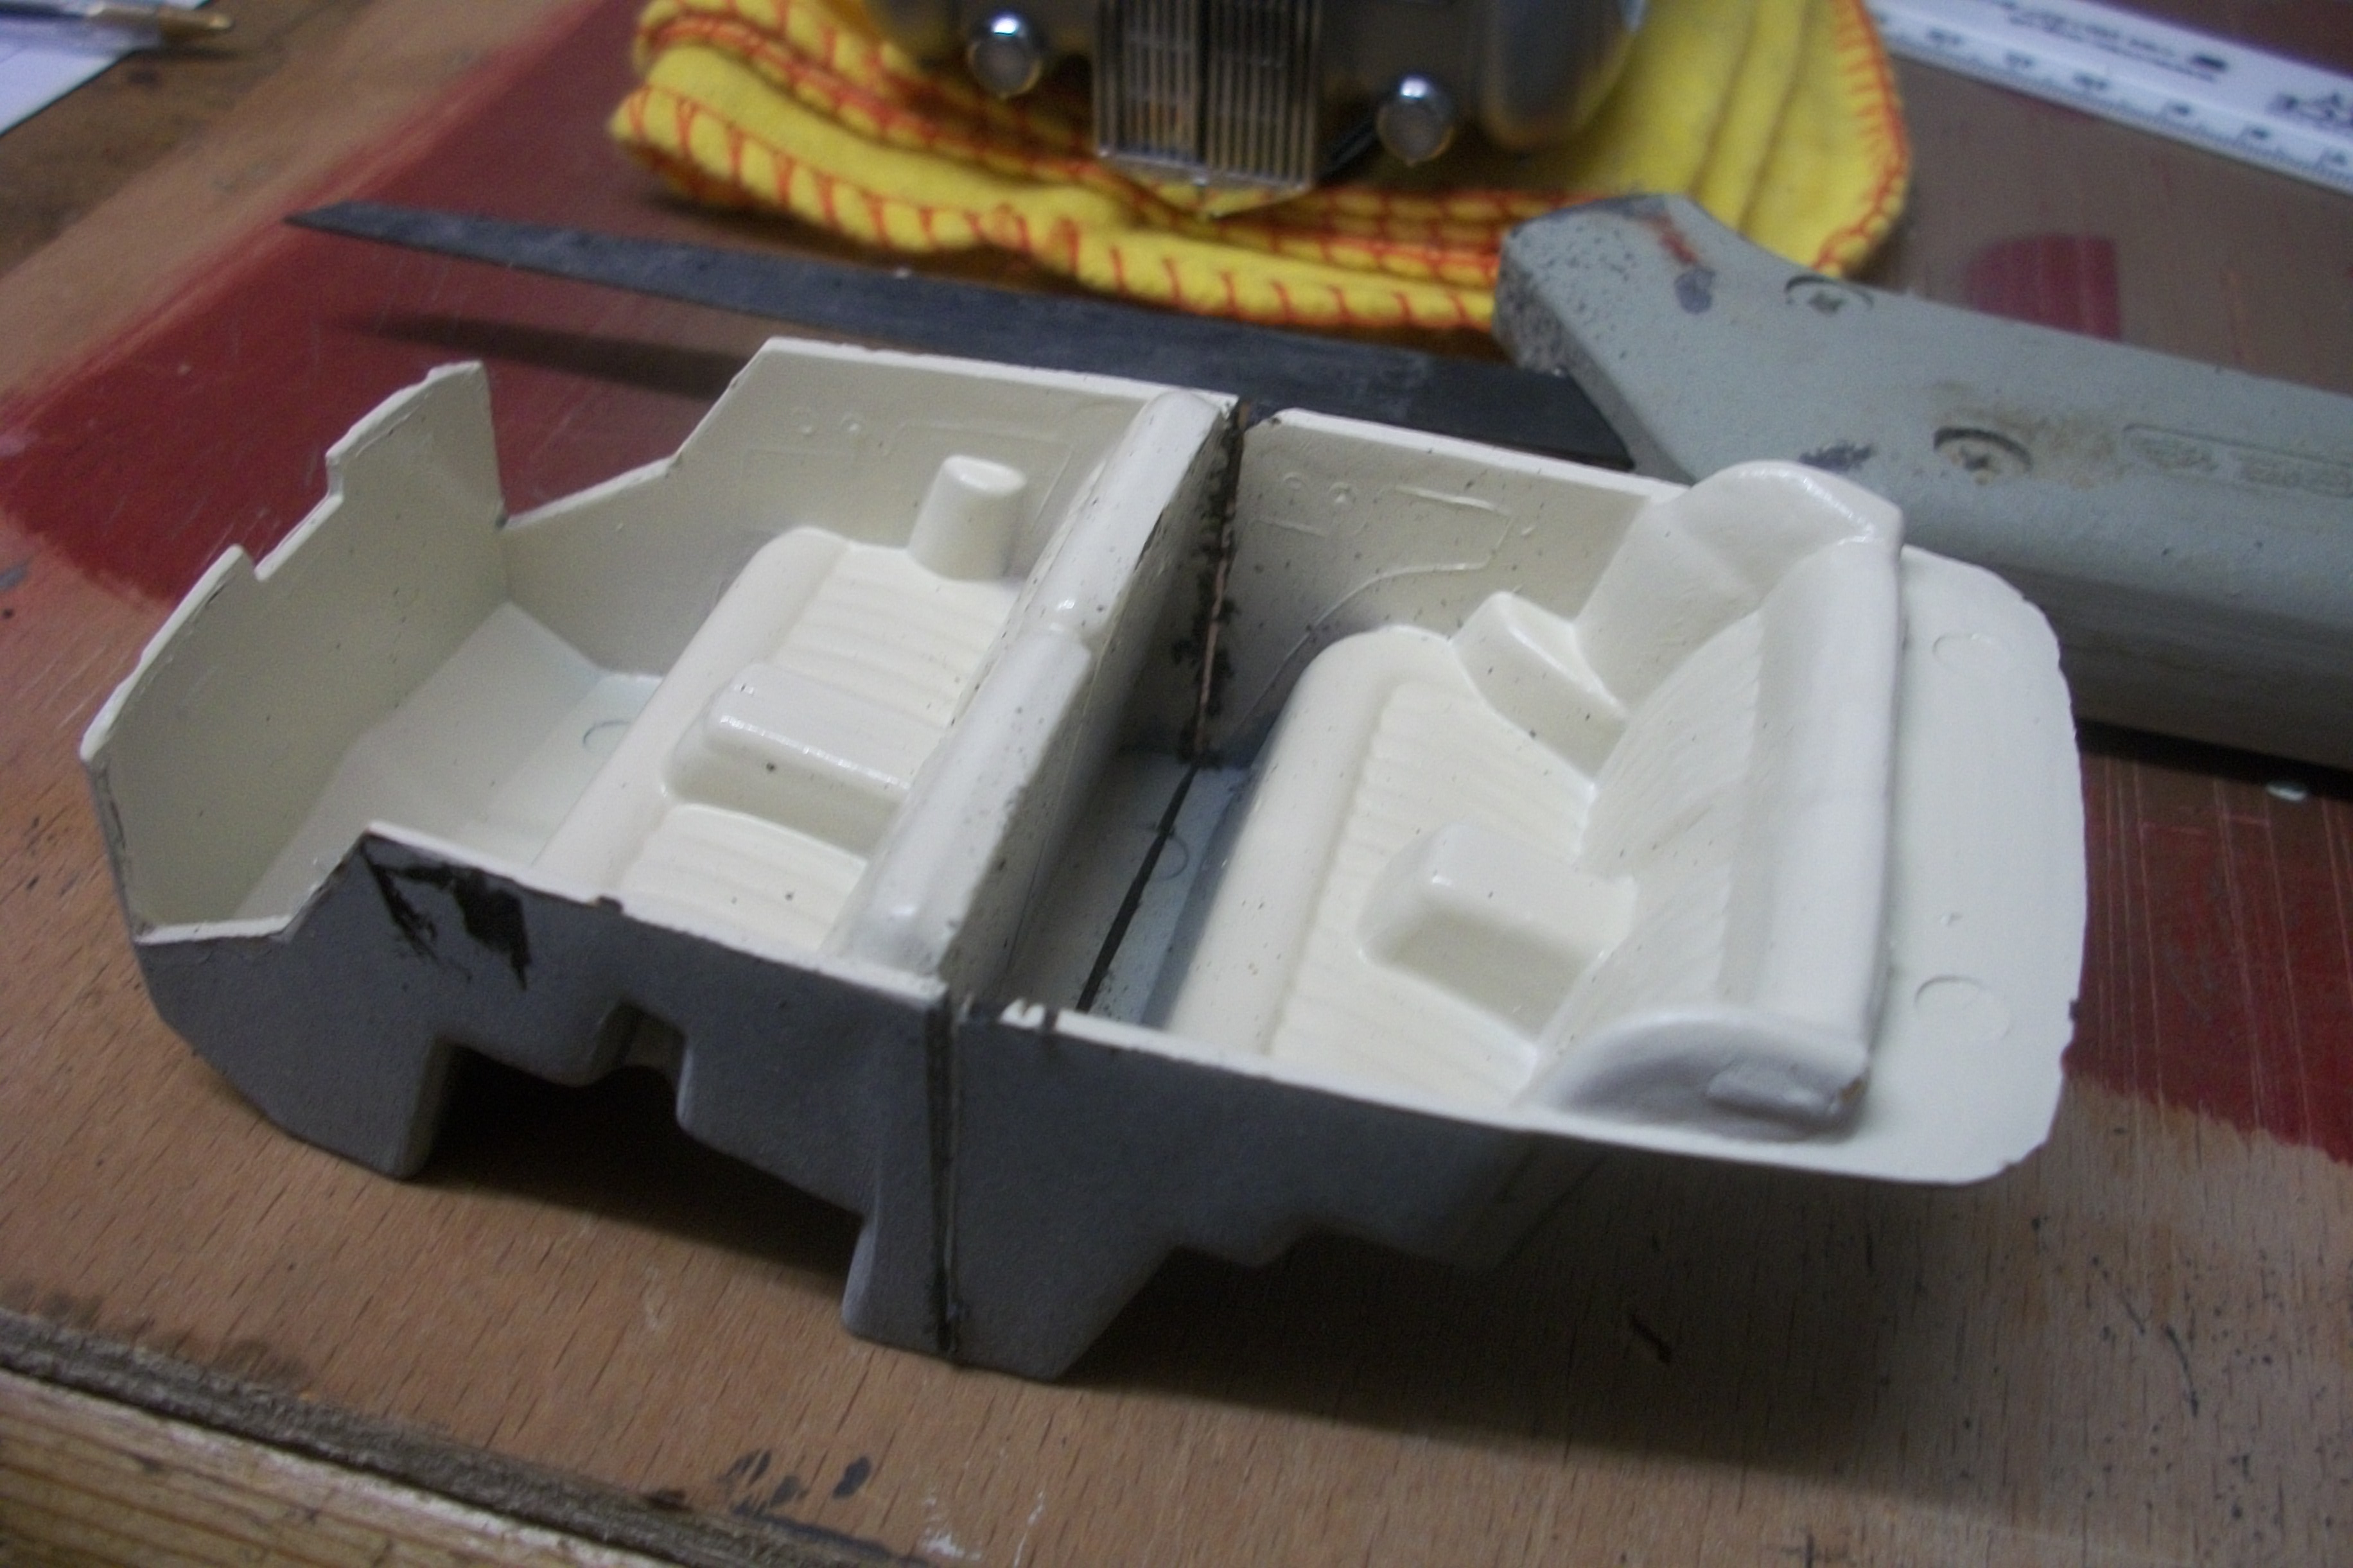
Having cut the interior seating tub in half, I am now cutting away the sides of each half tub, to leave only the actual seats themselves. From the photos that follow, you may be able to see the rear door hinge vertical parts that are getting in the way of the front seats. Still needs some clever tweaking to get the right fit. The boot floor needs to be made from sheet polystyrene, with a carpet material added, then there is the roof aerial to make from fuse wire and solder, also the Spirit of Ecstasy bonnet ( hood ) mascot and both front and rear number plates ( license plates ) to do. Detailed painting of the hub caps on the wheels has to be done, and two front fog lamps have to be fitted from the Minicraft donor kit. David

-
For my Rolls-Royce scale model cars I use Meguiars Deep Crystal Carnauba Wax...... and it is beautiful !!!! Only use the polish 5 days after the paint has finished drying. David
-
Very nice build, William..... and interesting paint colour too David
-
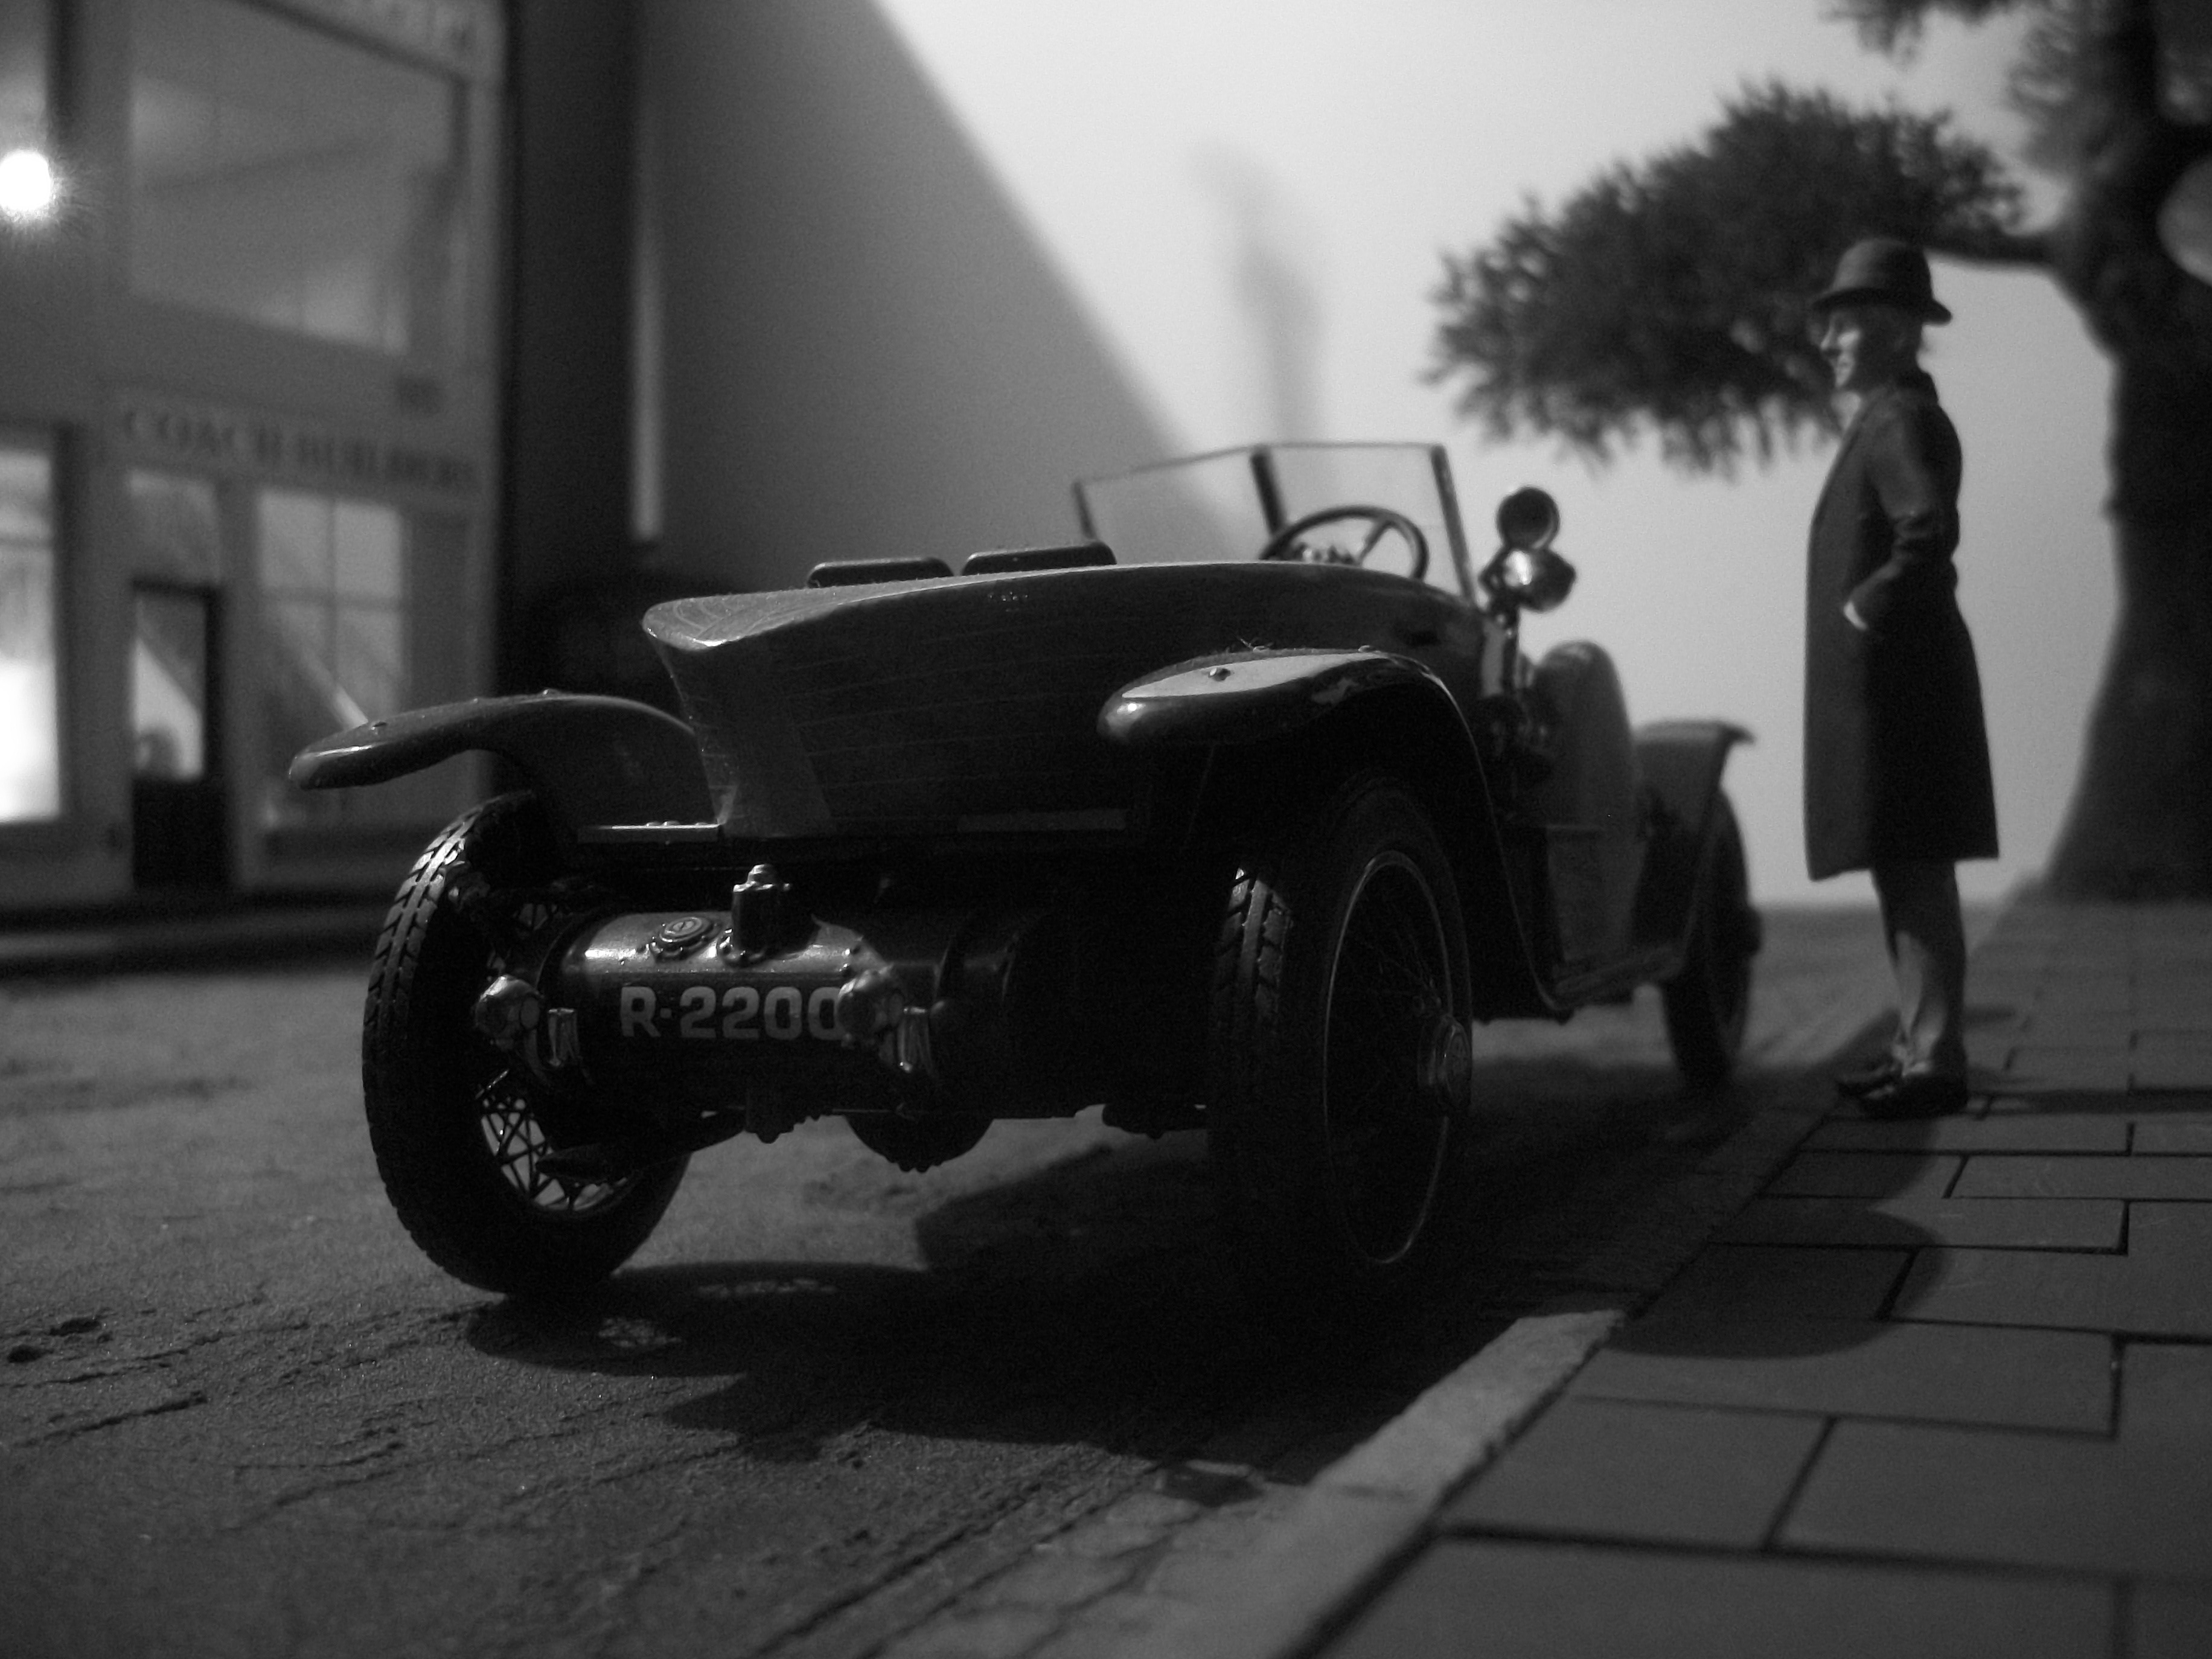
Thanks very much Anders....... and I find that black and white photography really suits the 1950's period. David
-
Absolutely realistic Marcos...... externally, underside and engine..... brilliant build and I like the colour too. David
-
You have no need to worry Gary, the Emhar Bedford kit is really nice to build, also it is of excellent quality. You get a choice of two different end panels for the tank and a choice of decals too. My box had quite a few extra parts that seemed to belong to the tipper truck version of the kit. As well as the tanker and the dropside LWB truck, Emhar do the tipper and the recovery breakdown truck. The instruction sheet is laid out in a way that is not similar to other kit manufacturers, but it soon becomes clear what they mean, and these instructions are certainly much easier to understand than those of Heller for example. The Bedford Tanker took me one month to build, as compared with the Revell London Routemaster Bus, which took me two months, mainly because the bus has almost 400 parts. You might find the wheels a bit tricky, but as long as you are careful and take your time they are okay. David
-
Work continues with the fitting of the seats and improving the fit of the chassis to the body. The exhaust system does look better now and the front bumper has been fitted. The engine is installed but needs further detailing. David
-
 Alex...... I agree with Ray, in that if we are paying that amount of money for a Model Factory Hiro kit then the fit of the parts should be much better than this. I have a friend who runs a model car building business locally, and he is building a MFH McLaren F1 model car in 1:12 scale which cost over £500.00, and even that is needing extensive work to make parts fit. Surely, if Tamiya can do it in 1:24 scale then why not MFH ? Your work so far is fantastic, by the way ! David
 -
Patrick........ I like that shot of the view through the window into the test room, and those two chairs are really good now that you have the brown paint on them. David
-
Thanks David John..... and just as I am constantly learning as I go, it is nice to know that others like yourself can pick up small tips here and there. Only yesterday I suddenly realised why the interior seating tub does not fit...... the interior door panels are part of the sides of the styrene tub, and also the interior door panels are part of the diecast Franklin Mint doors. Stupidly, I am trying to make the interior door panels fit twice !!! Will try cutting away those sides of the interior tub and leave only the two seats. David
-
Thank you for your comments Gary and David, and I wonder if the gentleman bought the motor car? Just about to start the next build for this diorama, which is an Emhar Bedford Dropside Truck ( Lorry ) and this will be the second Bedford for the scene. The other Bedford as you may remember is a petrol tanker, so this dropside lorry will be carrying an assortment of different loads, such as building bricks, lengths of timber or steel, possibly sacks of coal, cable drums, beer barrels or maybe a small motor car. There will be a tarpaulin sheet to cover some of the loads, with roping and sheeting scratch built properly and accurately. David
-
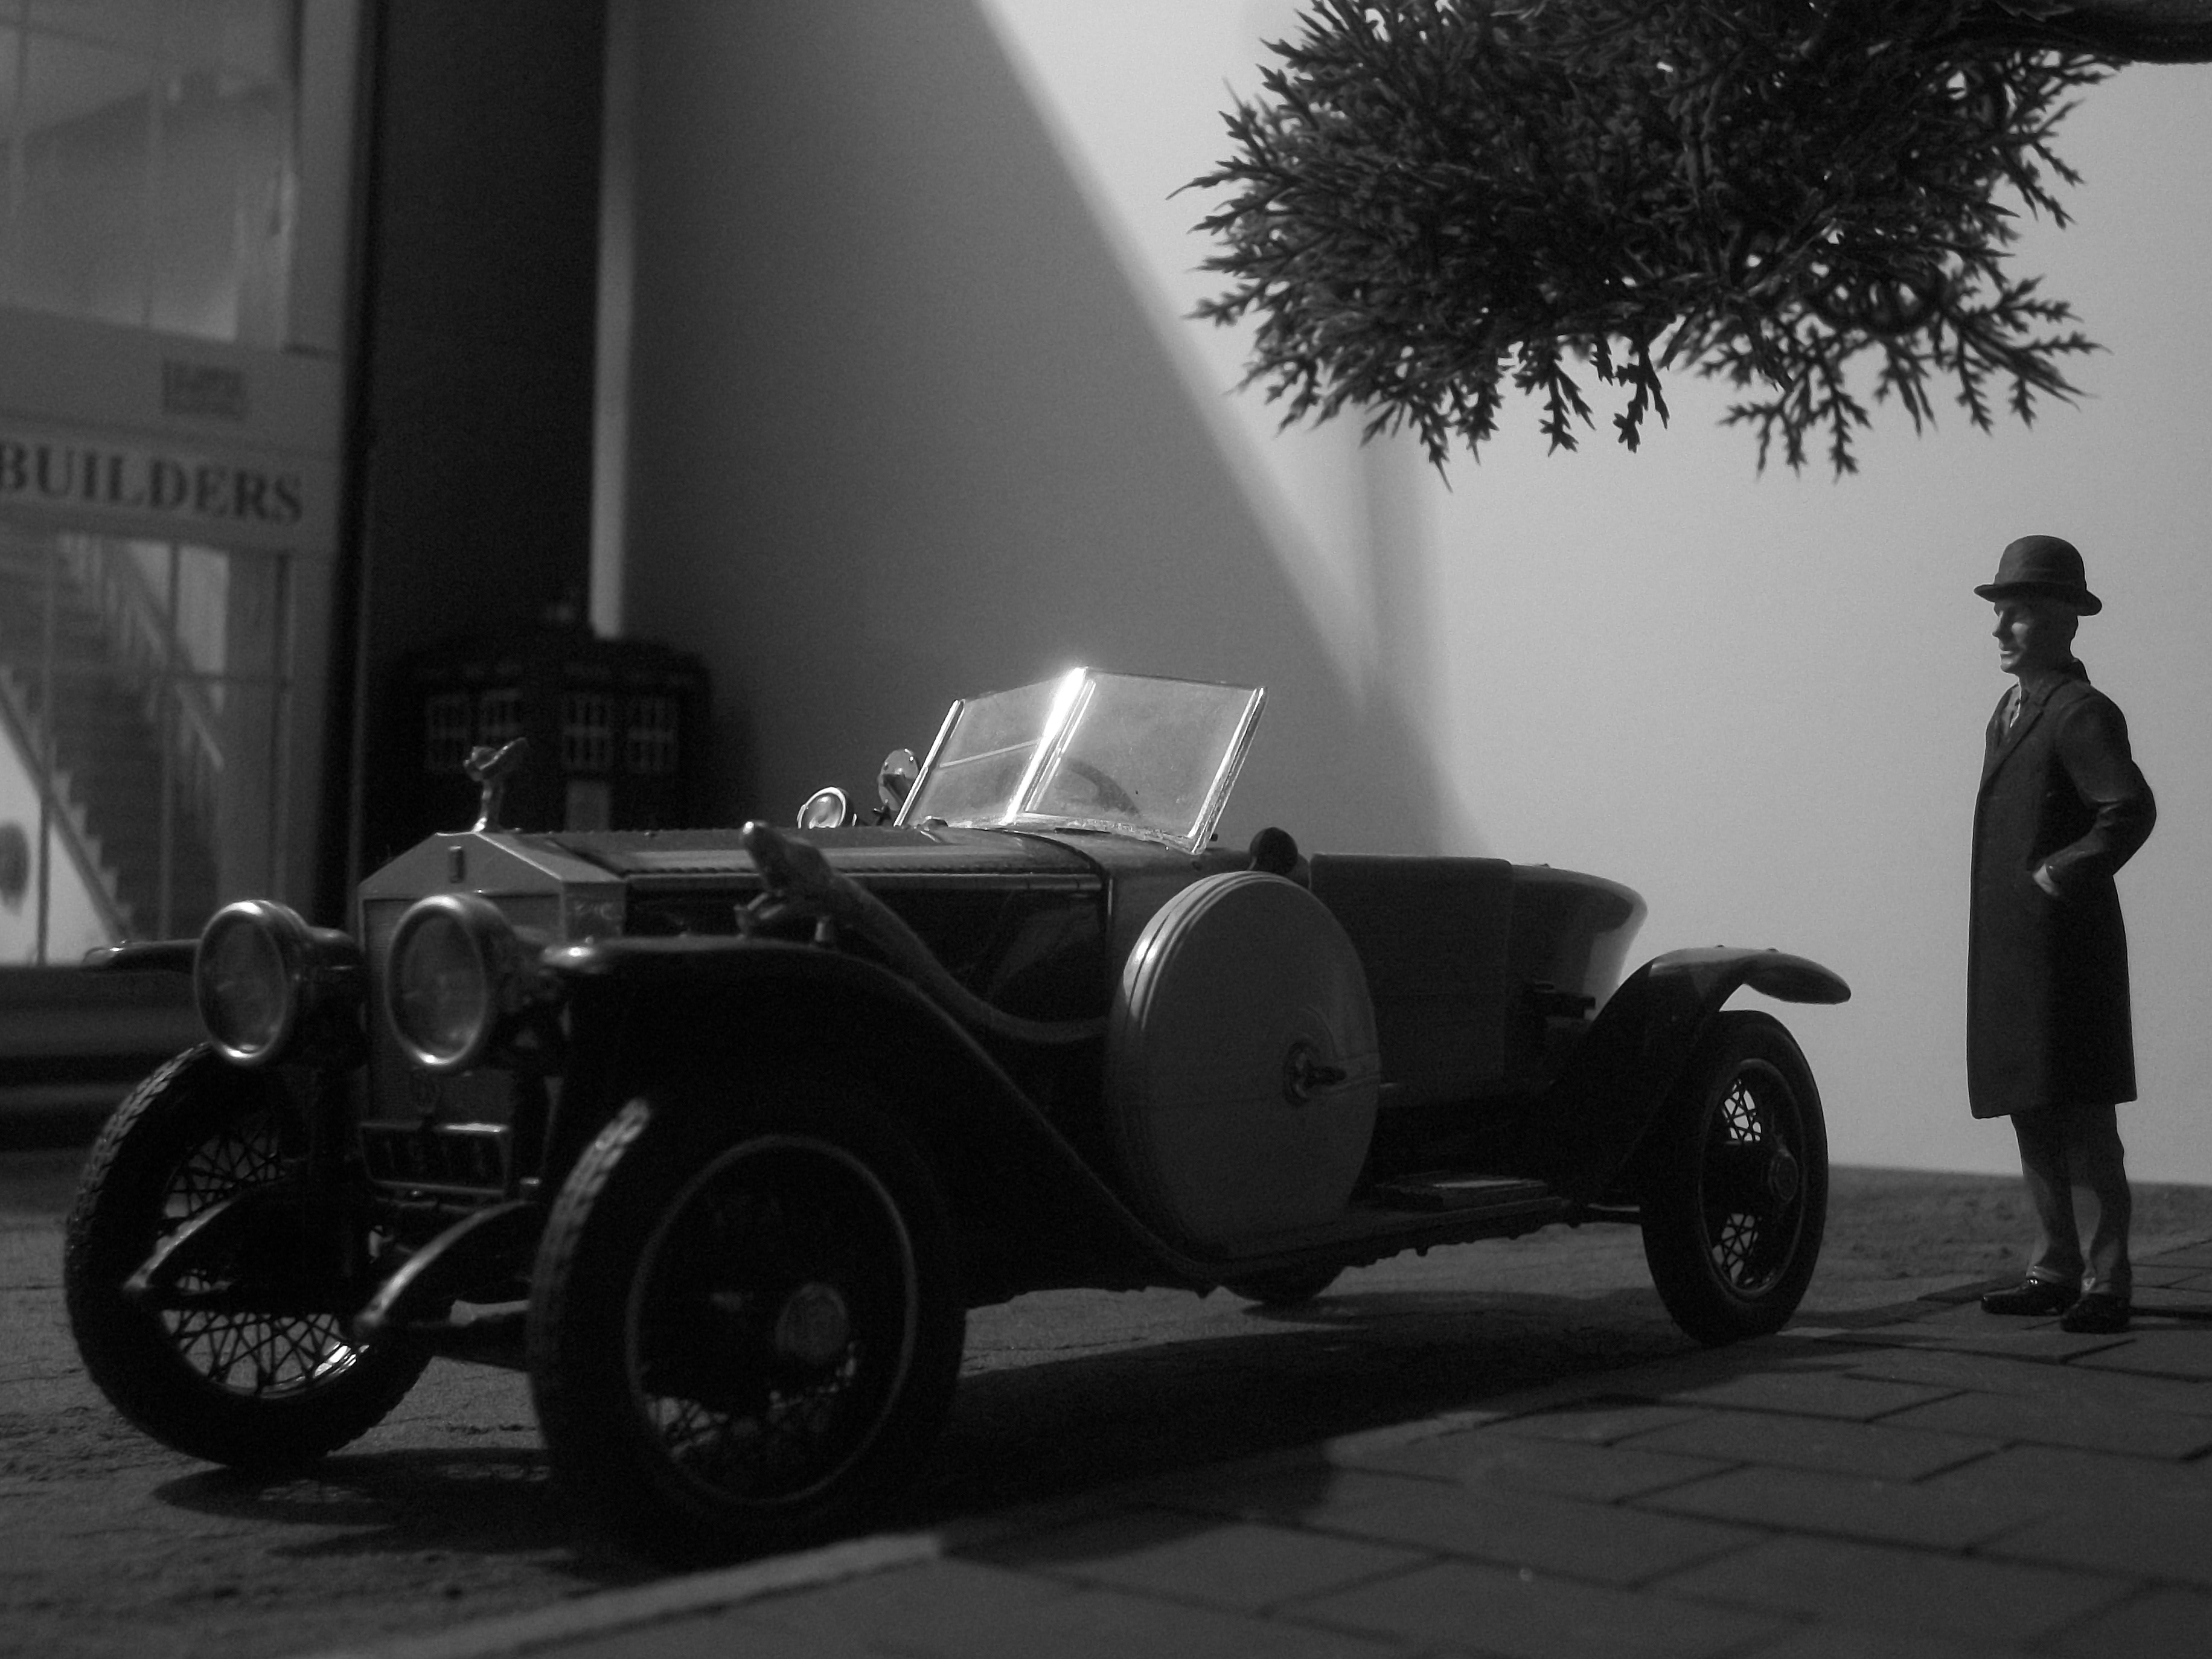
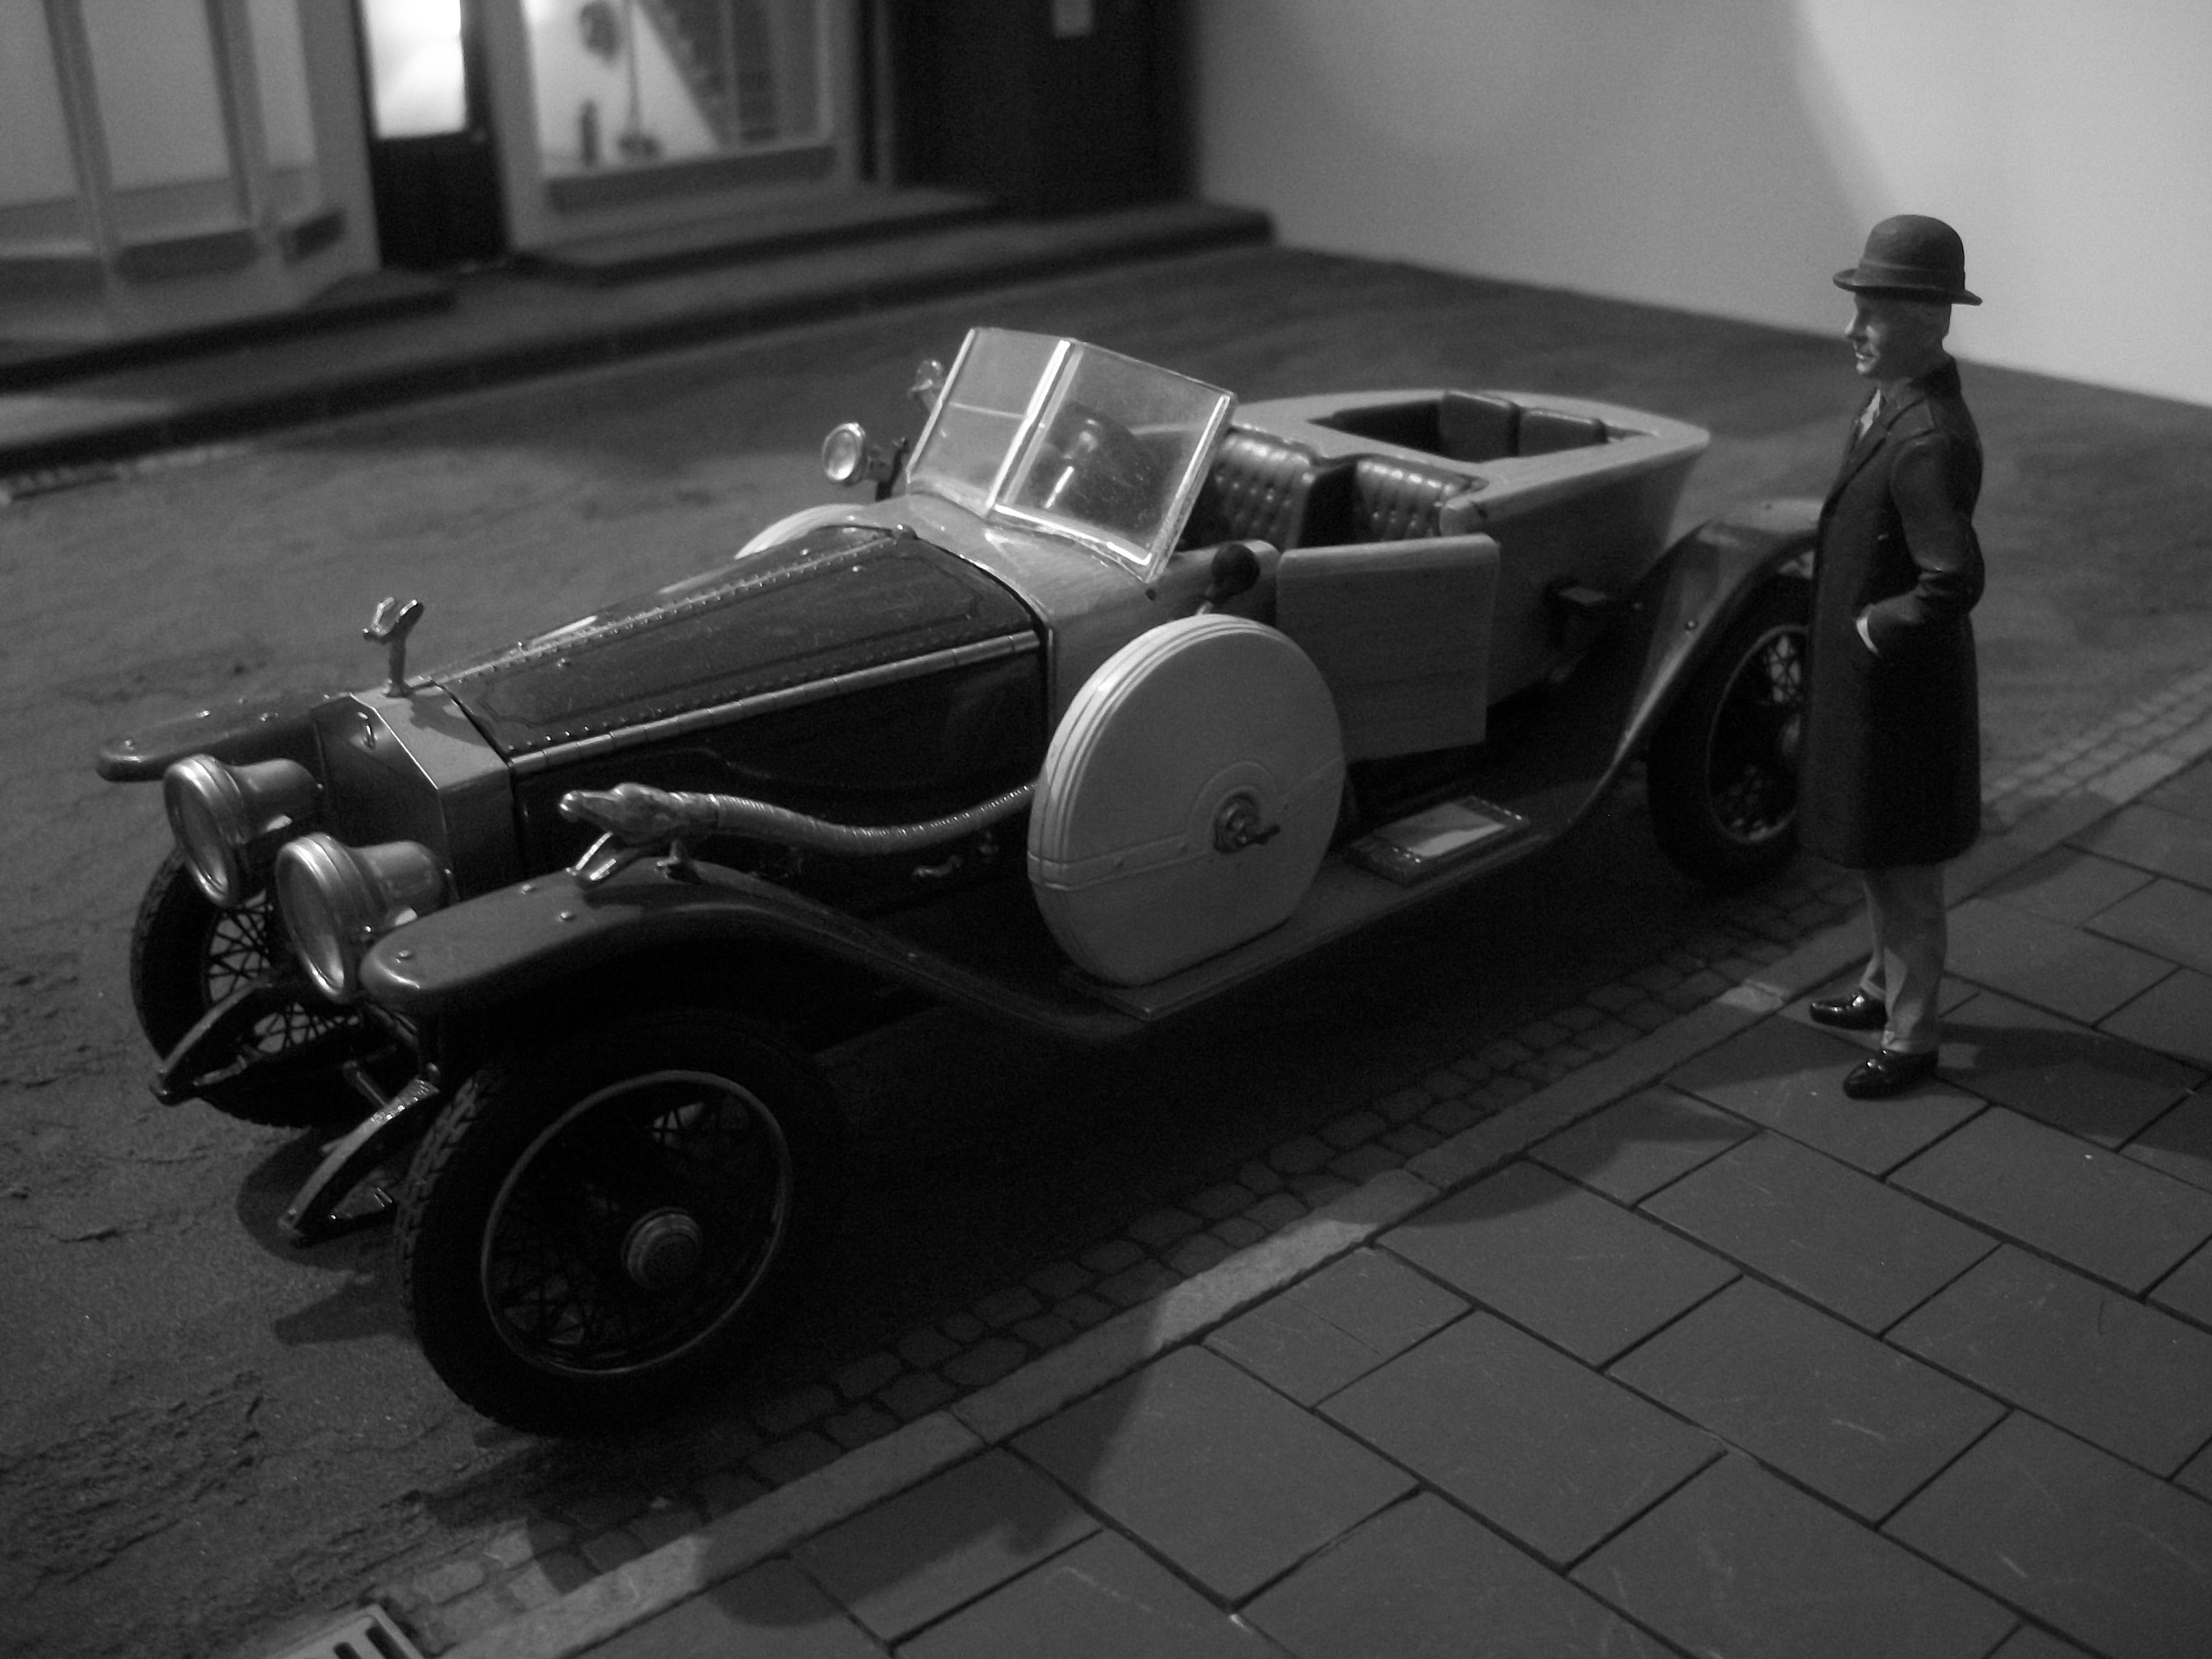
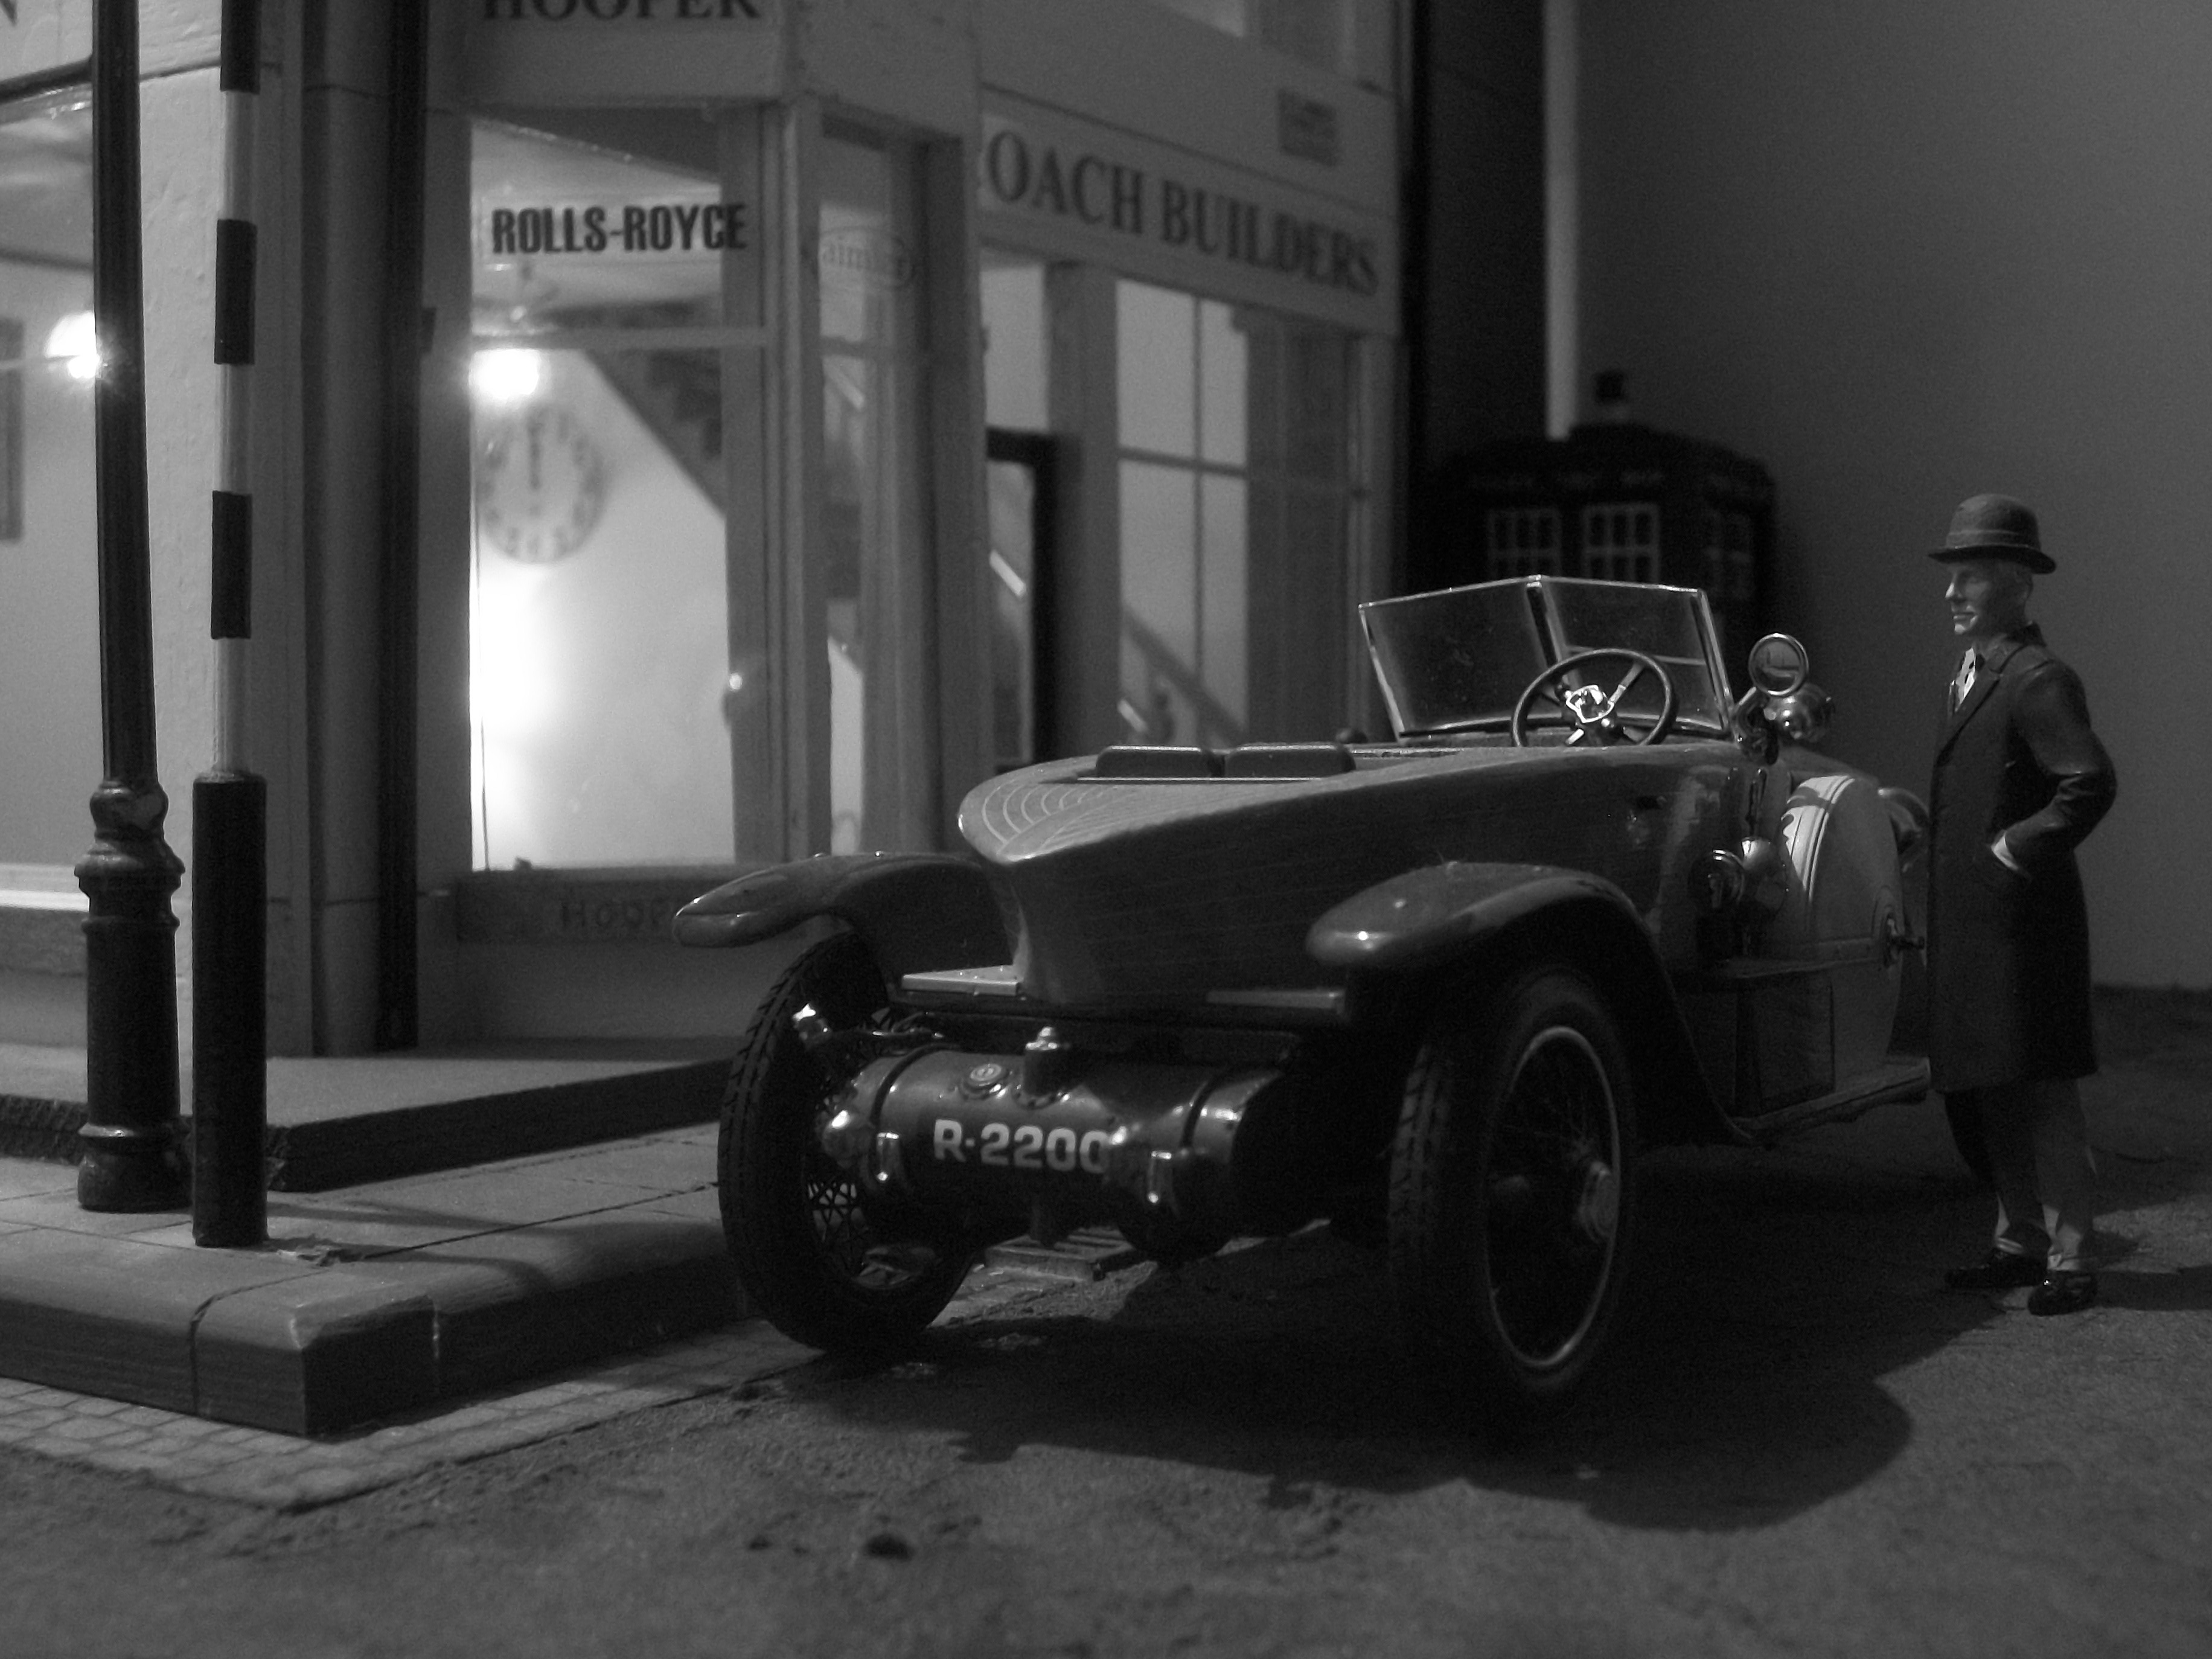
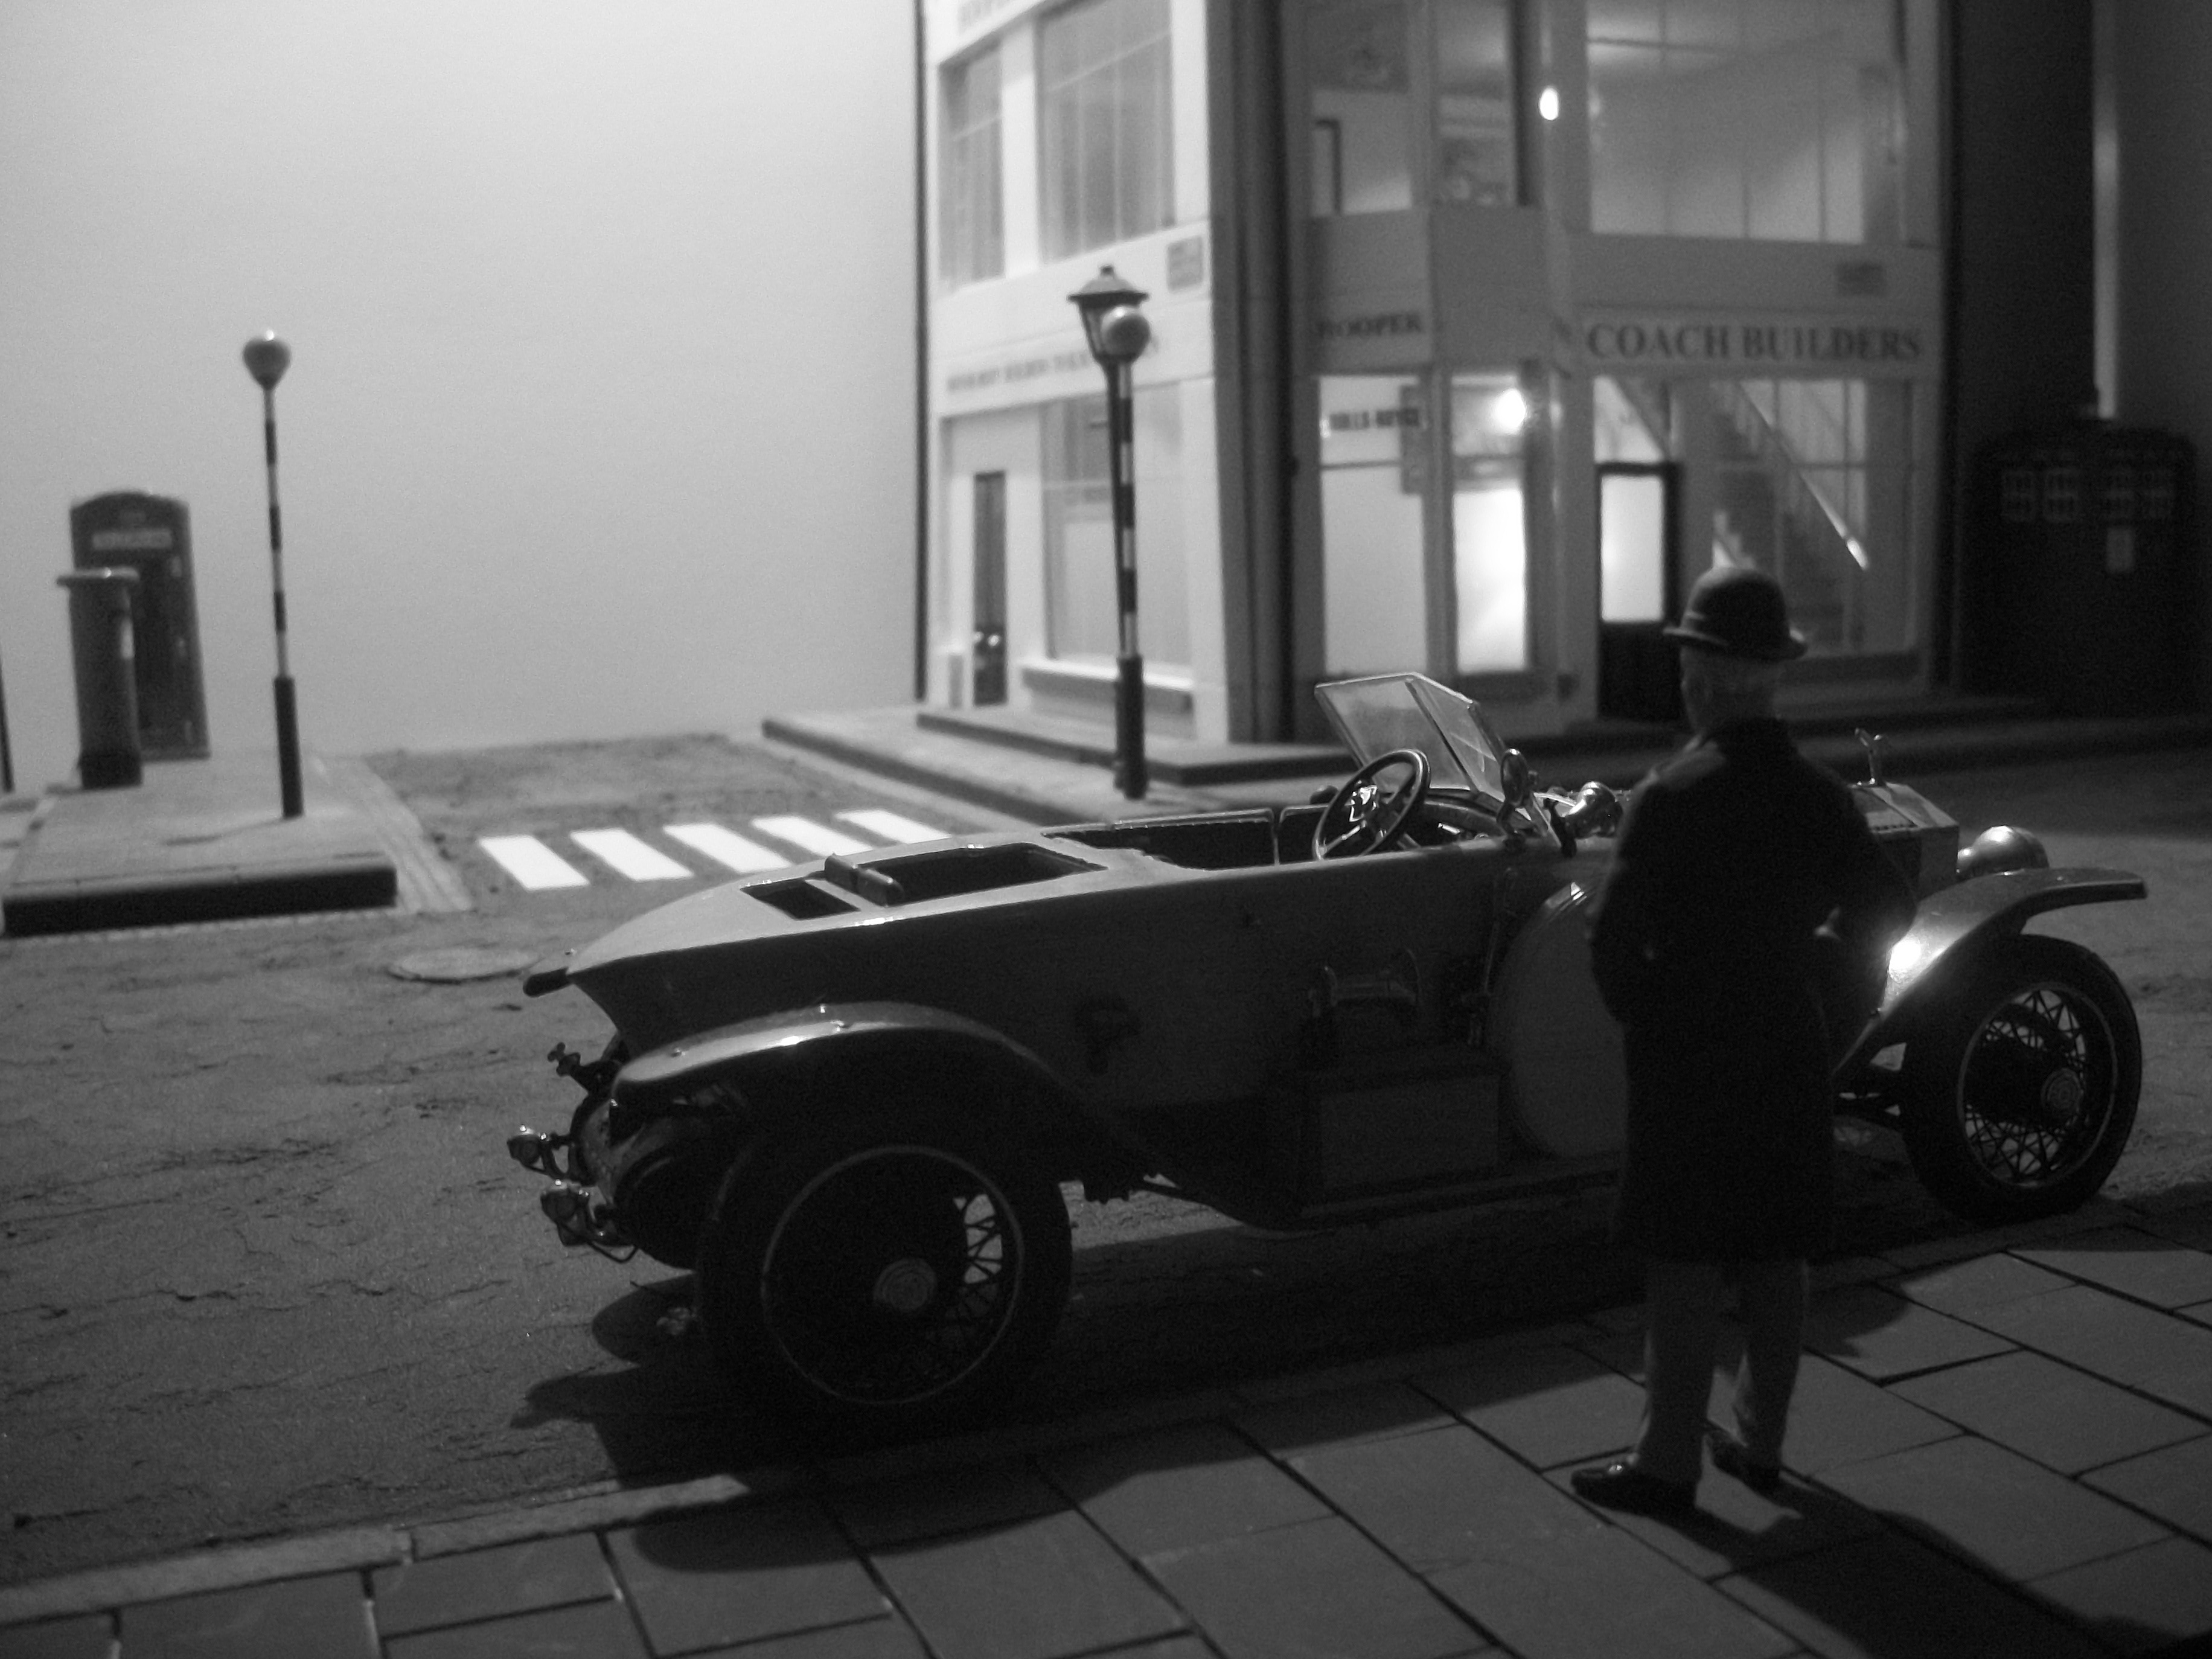
A gentleman has arrived at Hooper & Co in order to view a desirable motor car, which has been parked outside the showroom for his exclusive perusal. There is no sign of a helpful car salesman on this occasion. The customer has asked to view the motor car in a private capacity, which has been kindly arranged by the sales manager. Standing alongside the 1914 Rolls-Royce Silver Ghost, the gentleman admires the wooden boat tail design of the coachwork. He finds the gently rounded lines of the motor car most agreeable. This is a moment of private engagement and there is nothing to spoil the experience. Discreetly, the sales manager might be observing his customer from an upstairs window across the street.
-
Very interesting truck from the 1930's Darryl, and a diorama you can still be proud of, in honor of your grandpa. Don't sell this one! David
-
This Silver Cloud build is generally coming together quite nicely, and these photos show the two saw cuts in the main silencer of the exhaust system having filler applied and the exhaust system getting a coat of Revell aluminium. The chrome tailpipe is in place, and this was a piece of chrome sprue taken from the Minicraft box. The interior seating tub is proving to be difficult and having cut the tub into two halves, front and rear seats, work continues to resolve the fit. Basically, the styrene Minicraft part does not fit the diecast Franklin Mint body shell. Also, I see the ' stance ' of a model car mentioned quite often on these forums and as you may have noticed, the stance of this Rolls-Royce is not yet correct. The car is too high at the front end, and too low at the rear end, so something needs to be done about this. David
-
Picked up not one, but two 1:24 Monogram kits of the 1931 Rolls-Royce Henley Roadster on the friendly Ebay site. One is unbuilt and one is already built. David
-
This is so interesting to follow Pat, and for you this kind of work must be very satisfying. You clearly have a keen eye for each small part that can be used to assemble something totally unrelated to the original object. Thanks for posting your progress so far. David
-
Thanks Eric, and the Silver Ghost is a 1914 wooden boat tail version by Franklin Mint, which had a detached windscreen when I bought the model but that was easy to fix. David
-
Very nicely done Brian, and I like the black paint work with pale blue interior. The design of this Cadillac is quite similar to the 1929 Rolls-Royce Phantom I David
-
Thank you Gary, and it was just an experiment with the Vaseline, but it turned out surprisingly well. I need to point out an error which appears right at the beginning of this topic..... the Franklin Mint Rolls-Royce Silver Cloud is not a 1962 Silver Cloud II, but atually it is a 1955 Silver Cloud I...... must have been getting tired ( it's late ). David
-
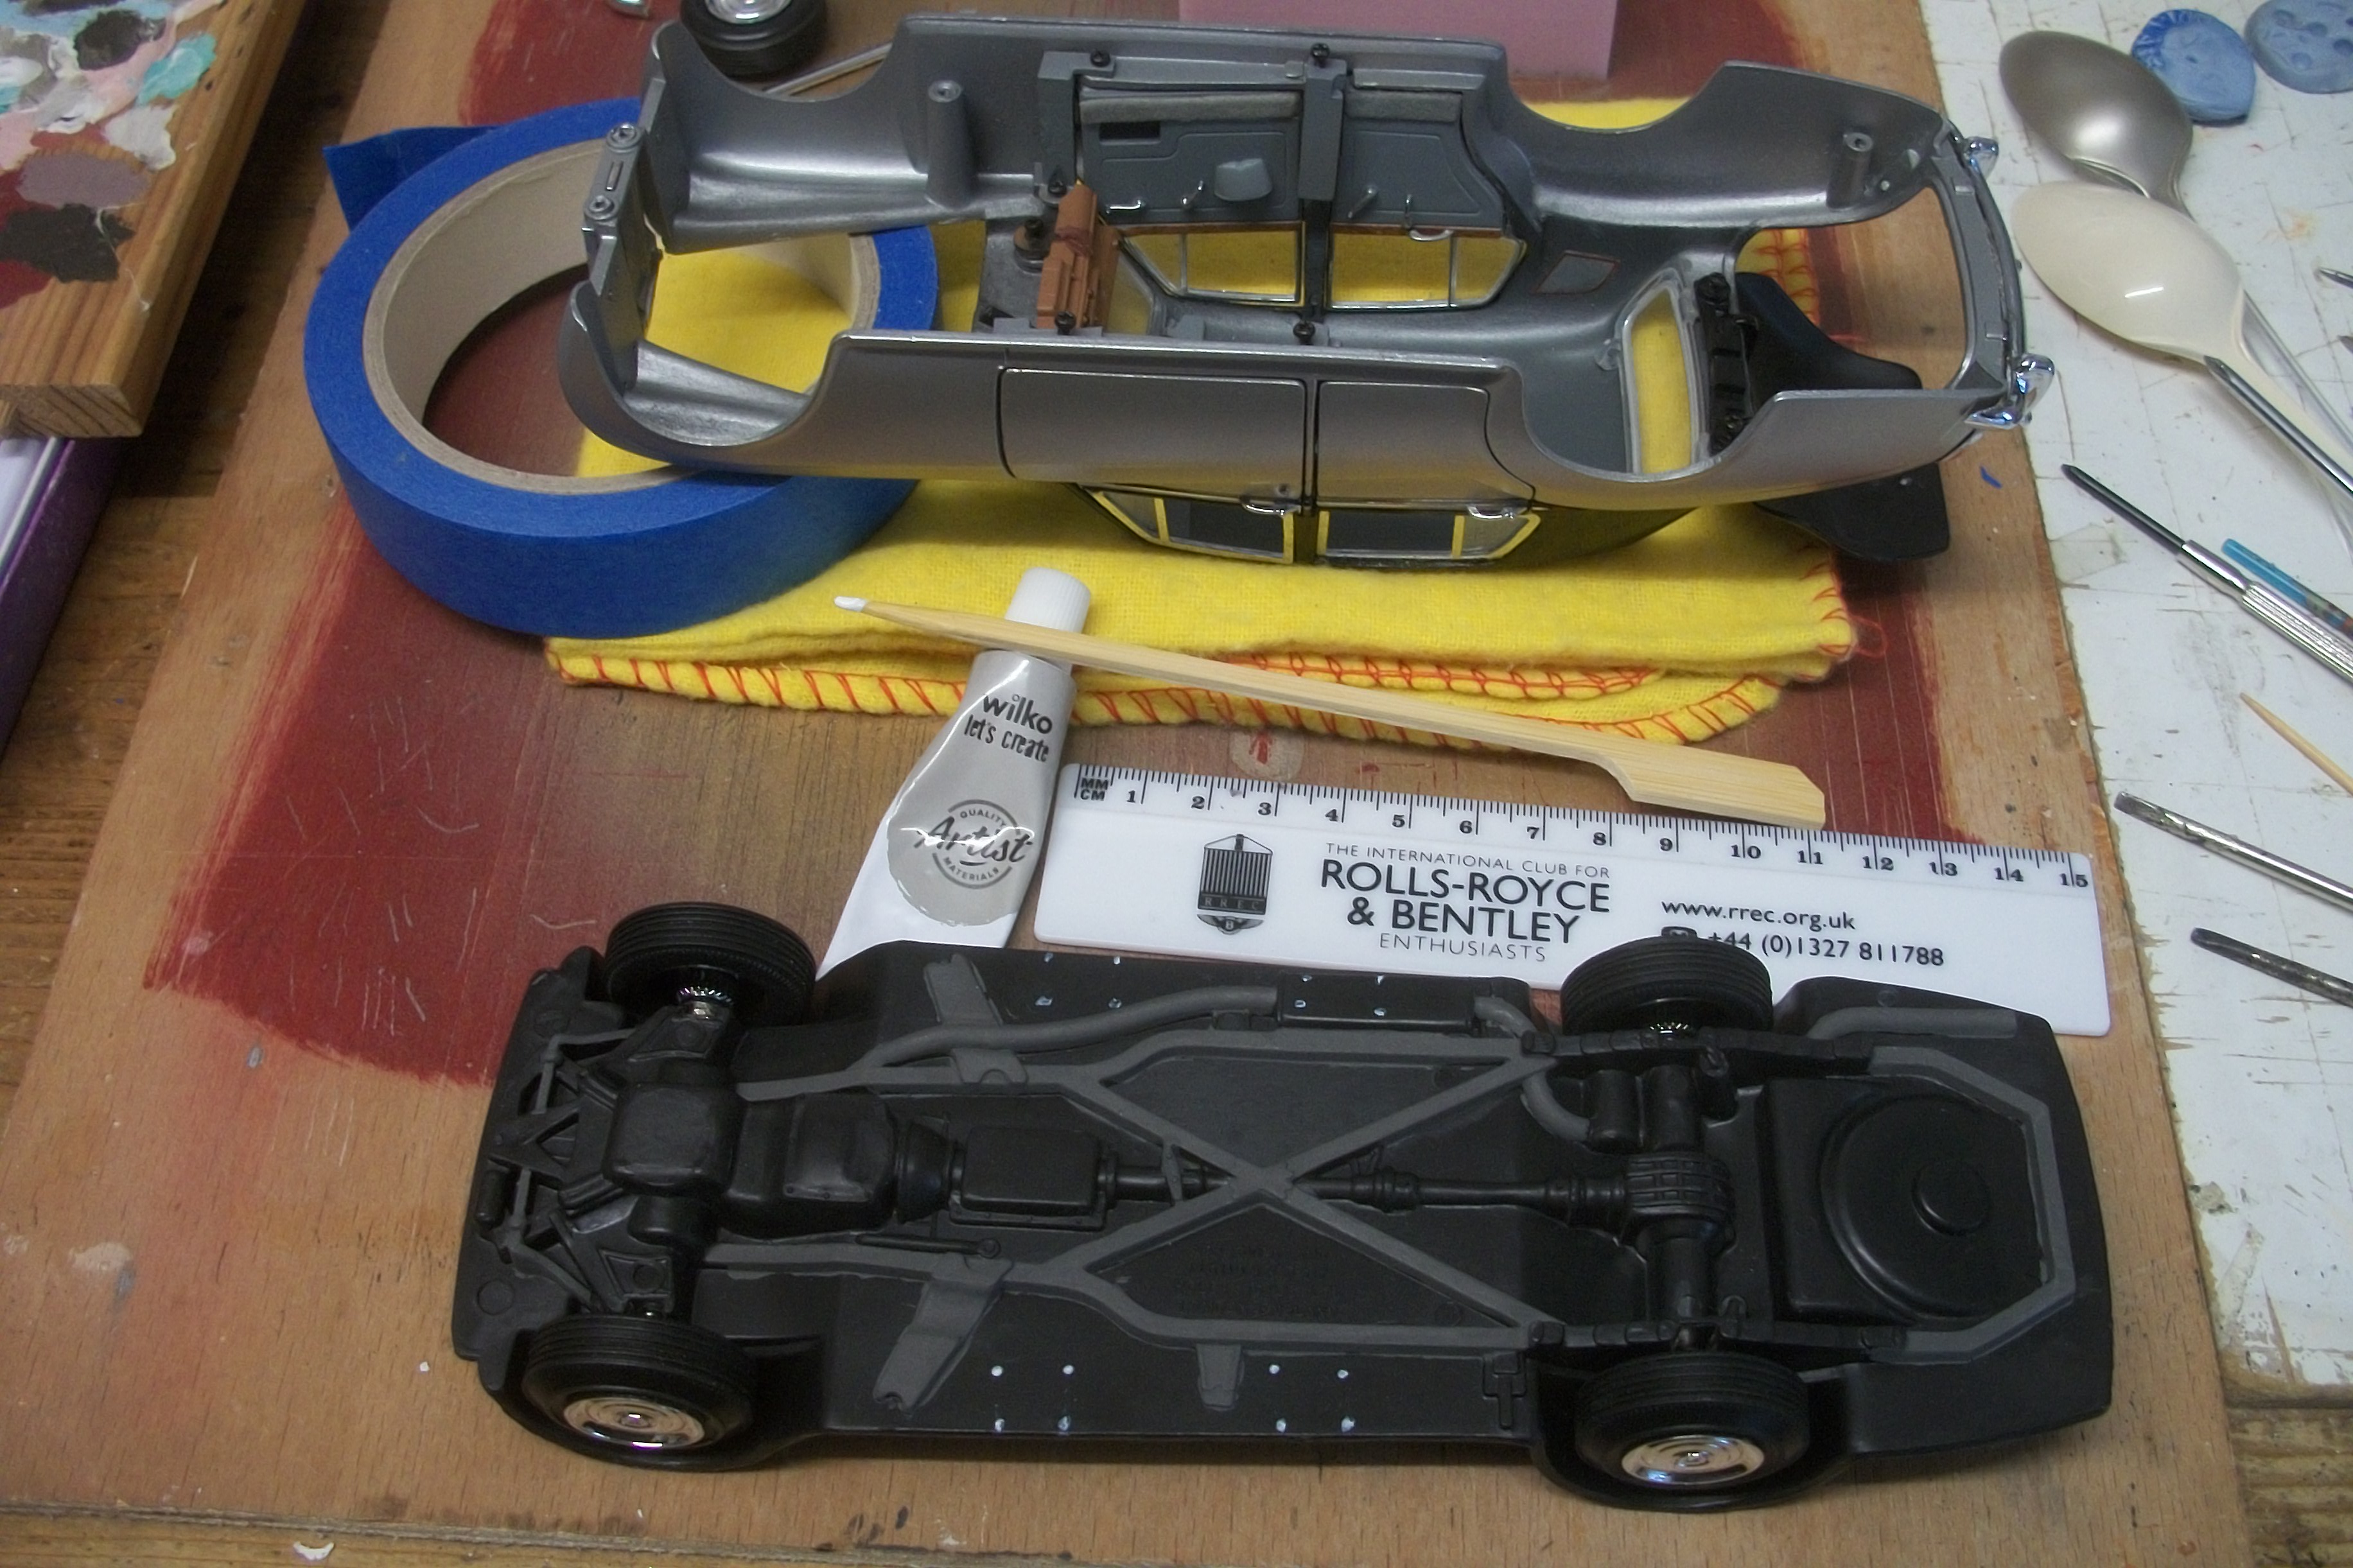
Thanks Mike for the quick reply and I hope you find this topic interesting. Moving on to the chassis..... the Minicraft styrene chassis is a good fit for the Franklin Mint diecast body shell, but I needed to cut out a few small areas to allow the front end of the chassis to fit properly. It is worth mentioning that I had to dismantle a Franklin Mint Rolls-Royce Phantom I - 1929 to provide the correct screws for assembling the door hinges, dashboard and boot lid on this Silver Cloud. You can see that part of the exhaust silencer has been cut away but once modified, this will be replaced and the exhaust sysyem will be painted aluminium, with a chrome tailpipe made from spare plastic kit sprue. Above the spare wheel that sits at the rear of the chassis I shall scratch build the boot floor section and fit the boot floor carpet material. The front bumper and registration number plates for both front and rear of the model will be added later, as will the roof aerial made from fuse wire and solder.
-
There follows a photo of three cars showing the Sand colour of the hybrid at the back, the Oyster Grey colour of the Silver Cloud in the middle, and the Gold colour of the Bentley at the front. All the component parts are gathered together, ready for assembly, including chassis, axles, road wheels and tyres, engine, bumpers, interior seating tub and the radiator grille is already fitted. The rear lamp clusters and headlamps were coated with vaseline rather than masking tape, and the process of scraping off the paint afterwards worked well. My previous builds were the Silver Cloud I which has a 4.9 litre inline 6-cylinder engine while this Silver Cloud II has the 6.2 litre V8 engine. The interior upholstery is cream leather and the steering column has been moved to the right hand drive position on the dashboard.
-
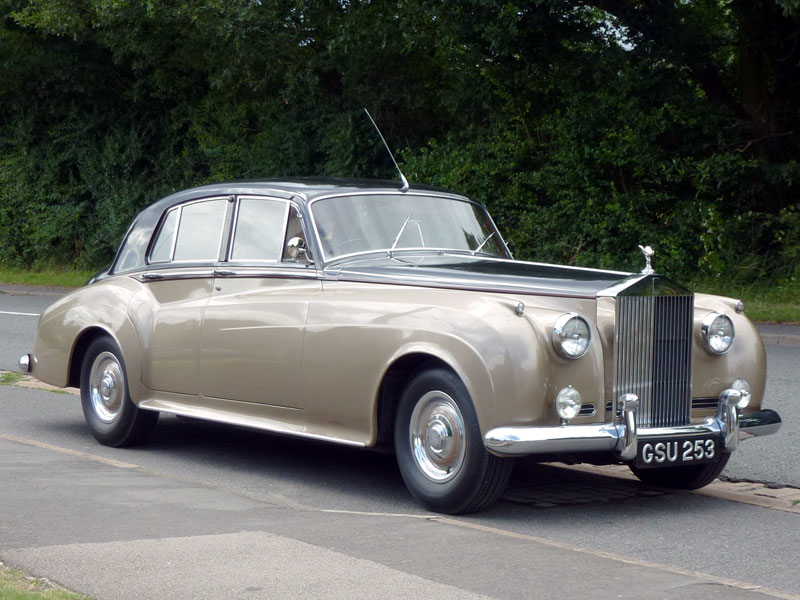
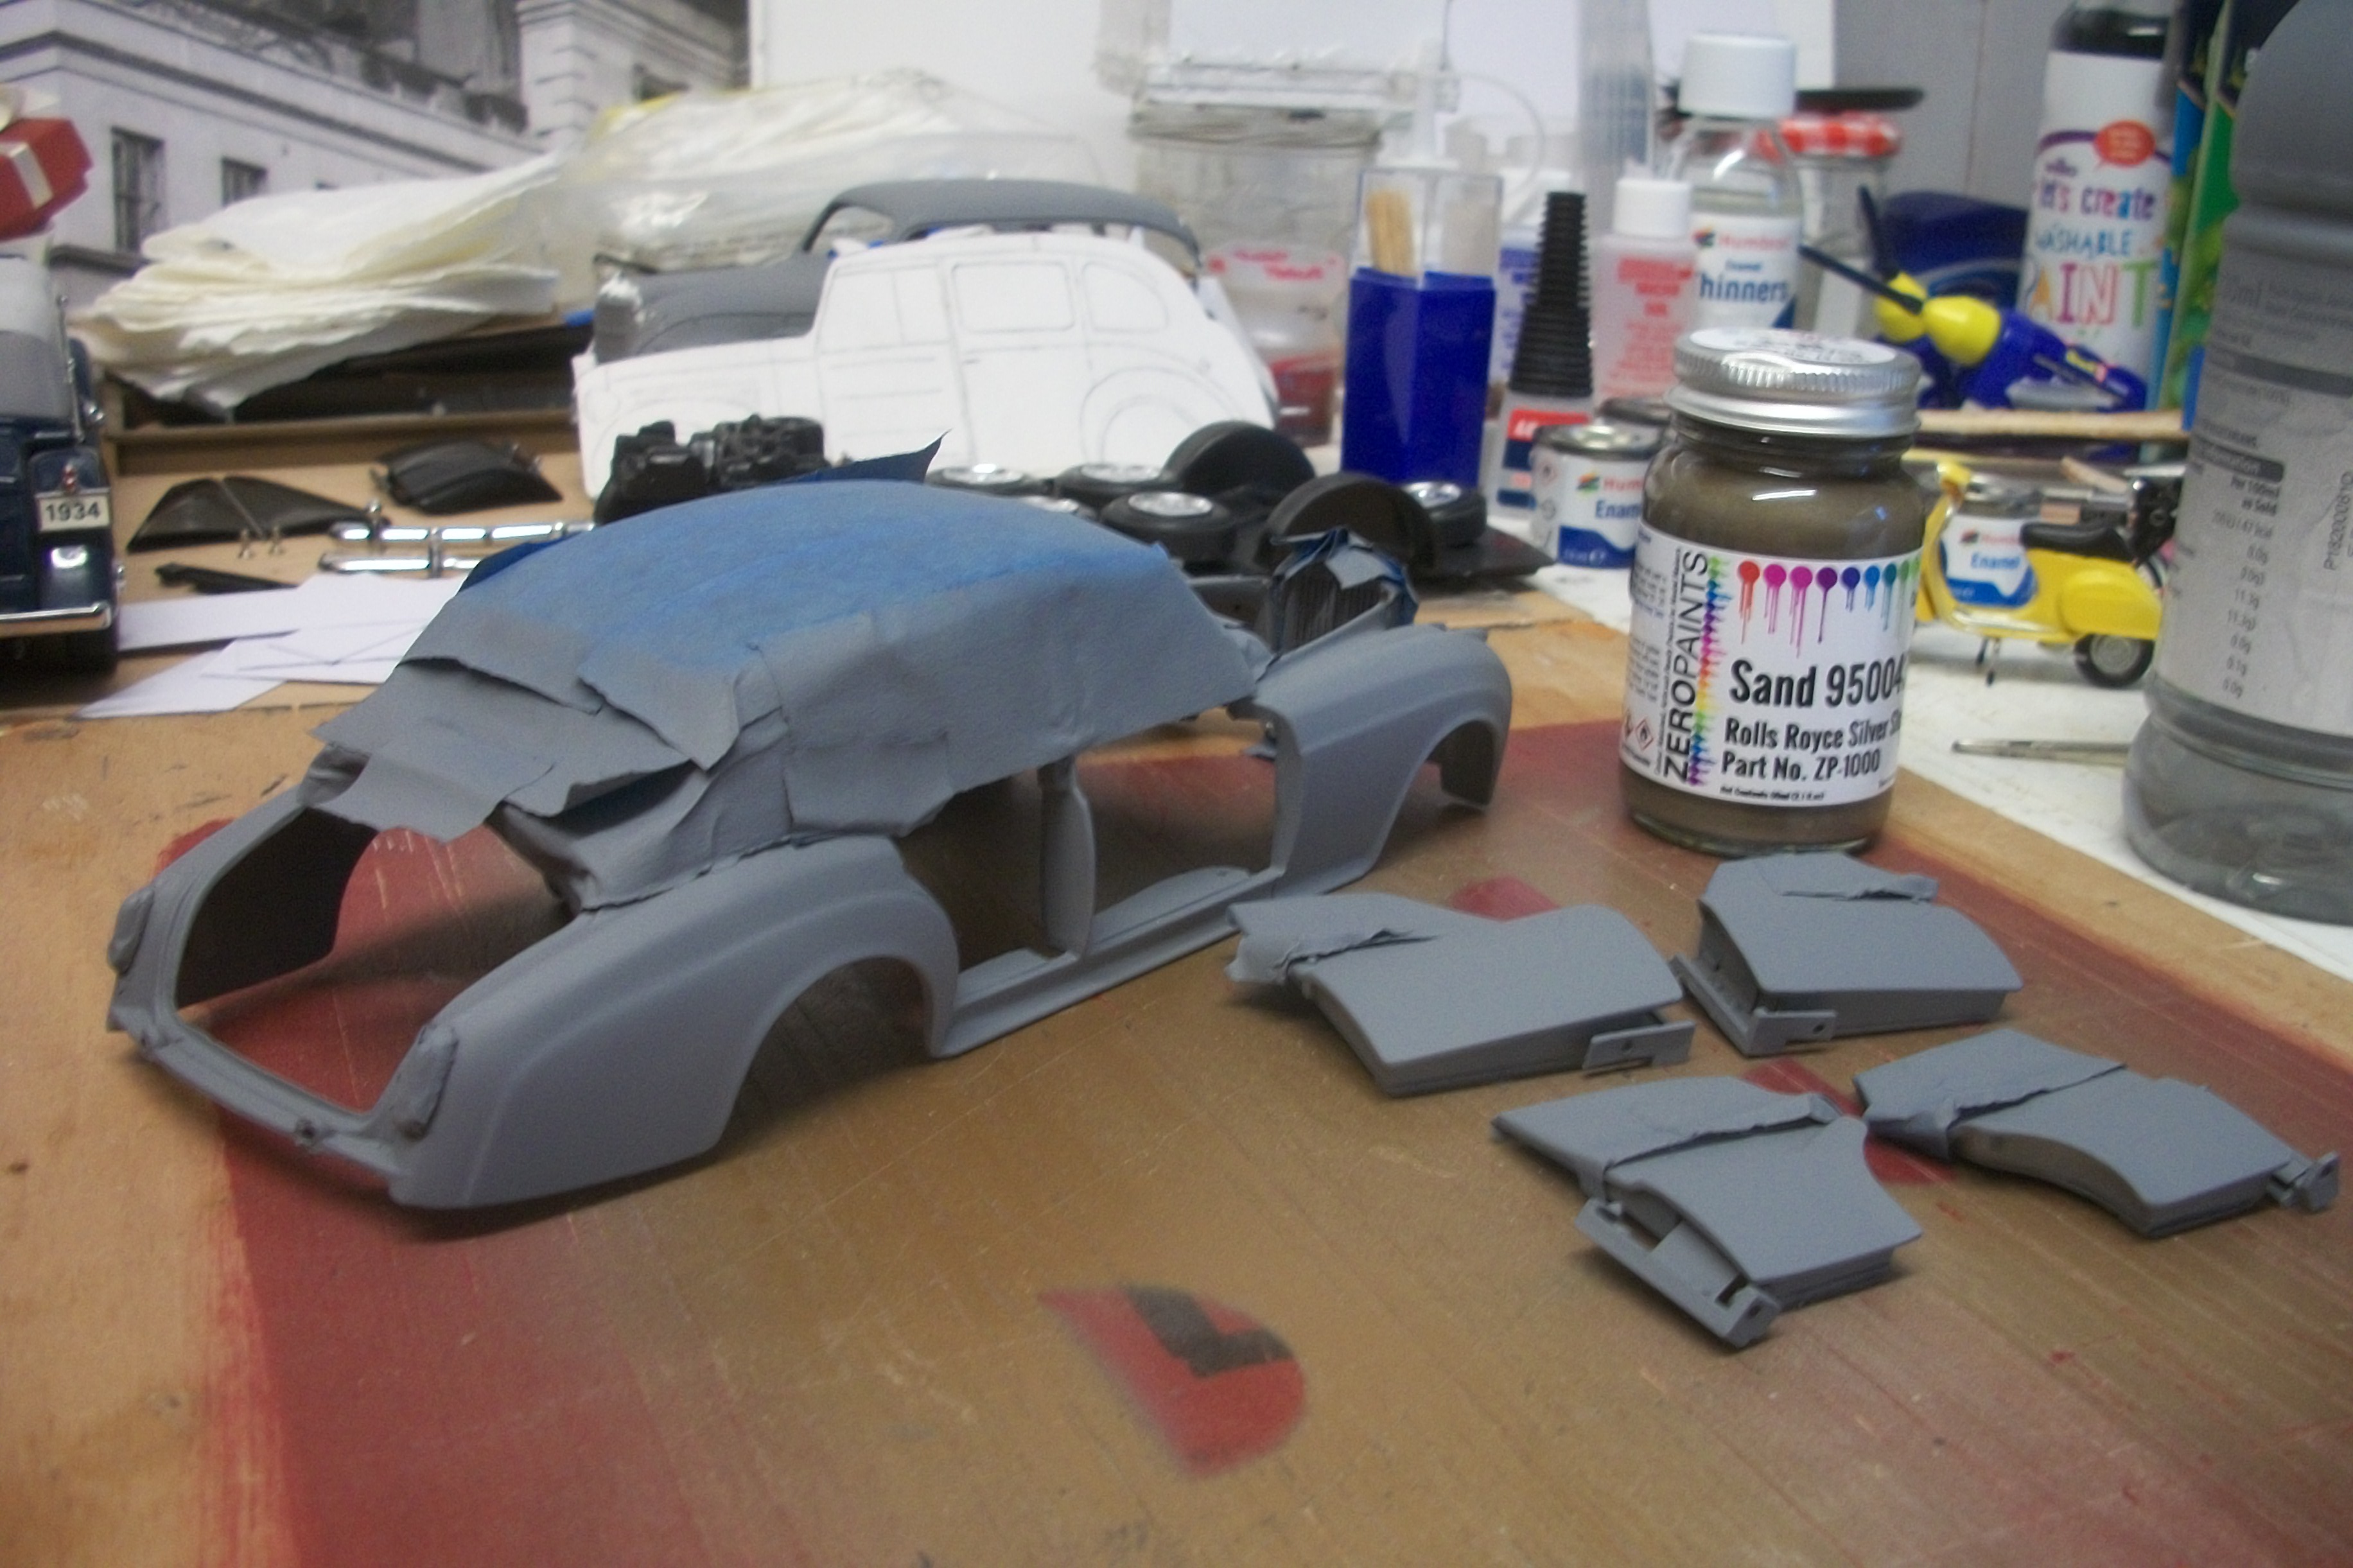
Usually I post to an ongoing topic in the Dioramas section, so this is my first time posting to this section. When I say ' Hybrid ' I am referring to the fact that this is a coming together of diecast and plastic, with 70% of the build using plastic parts and 30% using diecast parts, plus a few scratch built parts also. I have wanted to do this for some time, as all my builds have been styrene or resin. The body parts are from the 1:24 Franklin Mint Rolls-Royce Silver Cloud II - 1962, which include body shell, four doors, bonnet ( hood ) panels, boot lid and dashboard. All the remaining parts are from the 1:24 Minicraft Rolls-Royce Silver Cloud II - 1962 kit. The real car was a 1960 motor car owned by Osmond Rivers in 1963 and while the Franklin Mint model is finished in Masons Black over Oyster Grey, this car has to be Masons Black over Sand, which is a subtle gold colour. I shall try to add text in between the photos to make this topic more interesting. There is one photo of the original 1:1 car and we begin with the body parts before masking with best blue masking tape, then applying Halfords grey primer ( rattle can ) and then Zero Paints Rolls-Royce Sand. This is to cover the lower part of the car, leaving the original Masons Black untouched. David
-
Your 1952 Hudson Hornet build is really interesting Anders, especially the blue and ivory paint and lots of chrome! The early fifties motor cars from USA and also England, France and Italy had plenty of style, and the Hudson is a true classic. Well done with your excellent build. David
-
That is the place to be Patrick.... the log cabin in your back garden..... privacy and doing what you do best. I walked out of a large company at the age of 50, having turned down an offer of redundancy 12 months previously, and went self employed. Leaving the company with no redundancy money and 23 years service was one of the biggest mistakes of my life, but going self employed was something I should have done maybe 10 years earlier. Now 65 and enjoying not only building scale model Rolls-Royce cars but also able to continue fixing computer problems for my loyal clients. I do think it is important to spend time and money on the kits that you want to build and do it now..... not tomorrow, or next week.... or next year. David