Anglia105E
-
Posts
3,487 -
Joined
-
Last visited
Content Type
Profiles
Forums
Events
Gallery
Everything posted by Anglia105E
-
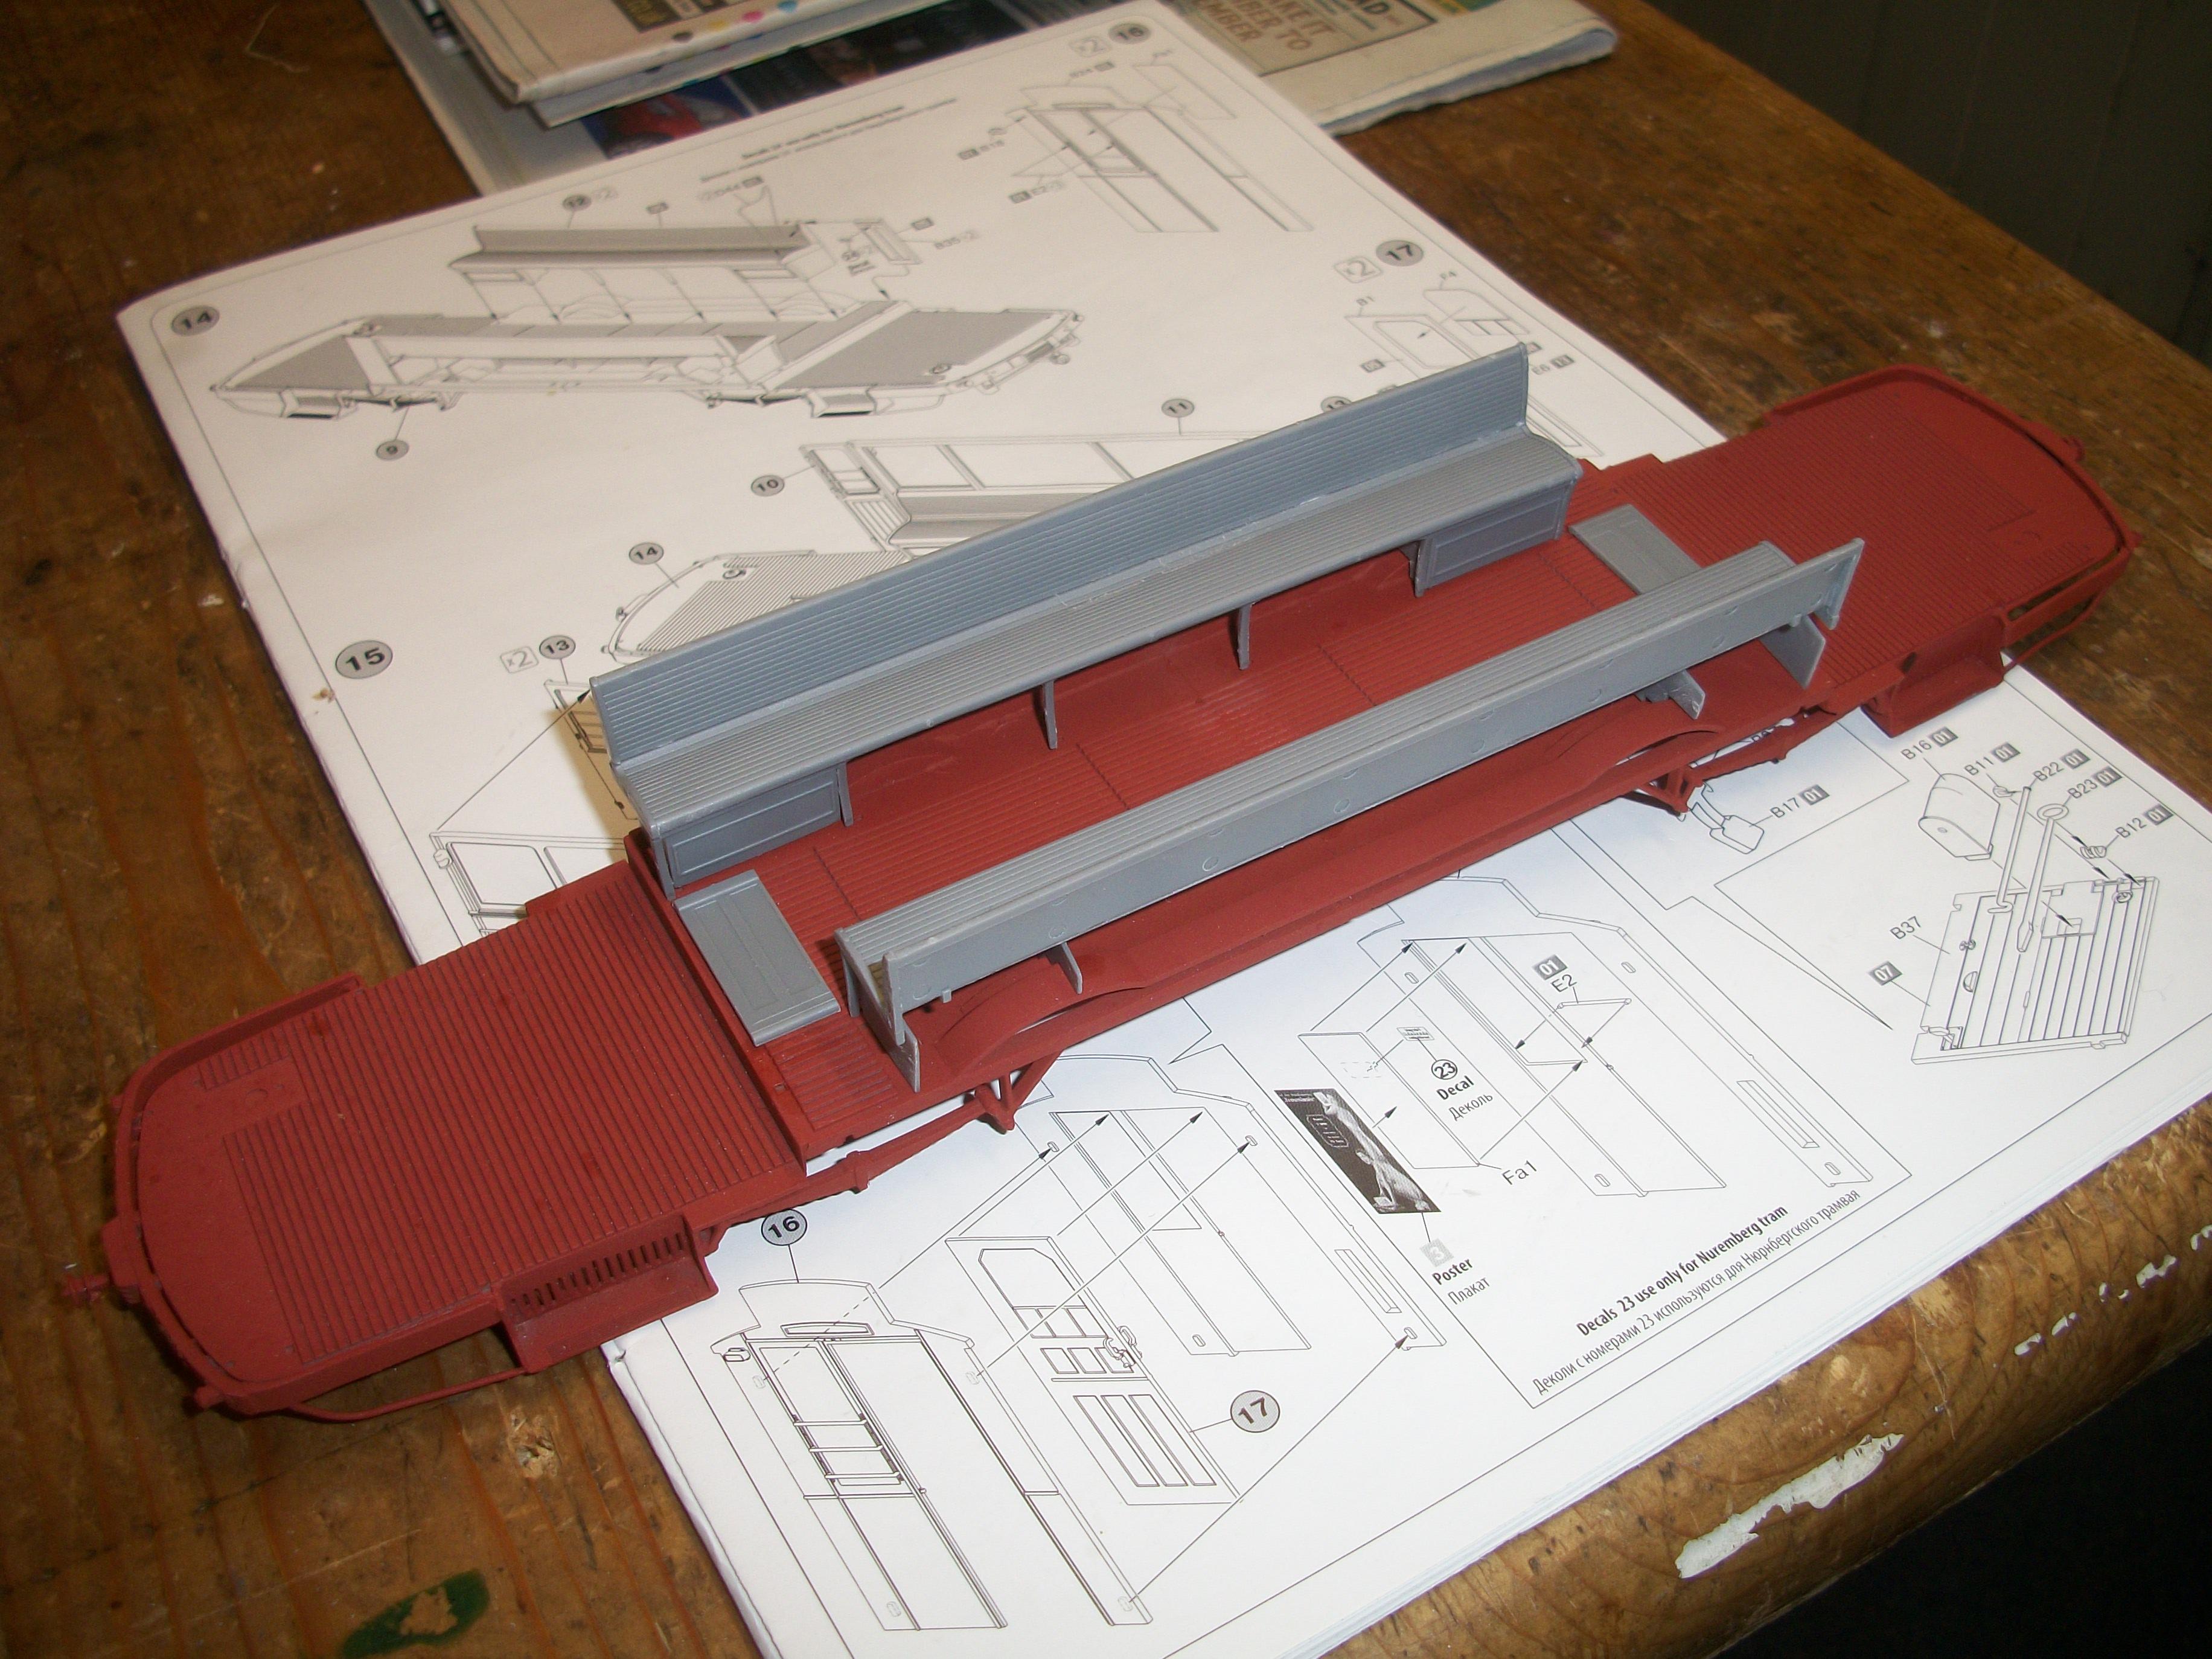
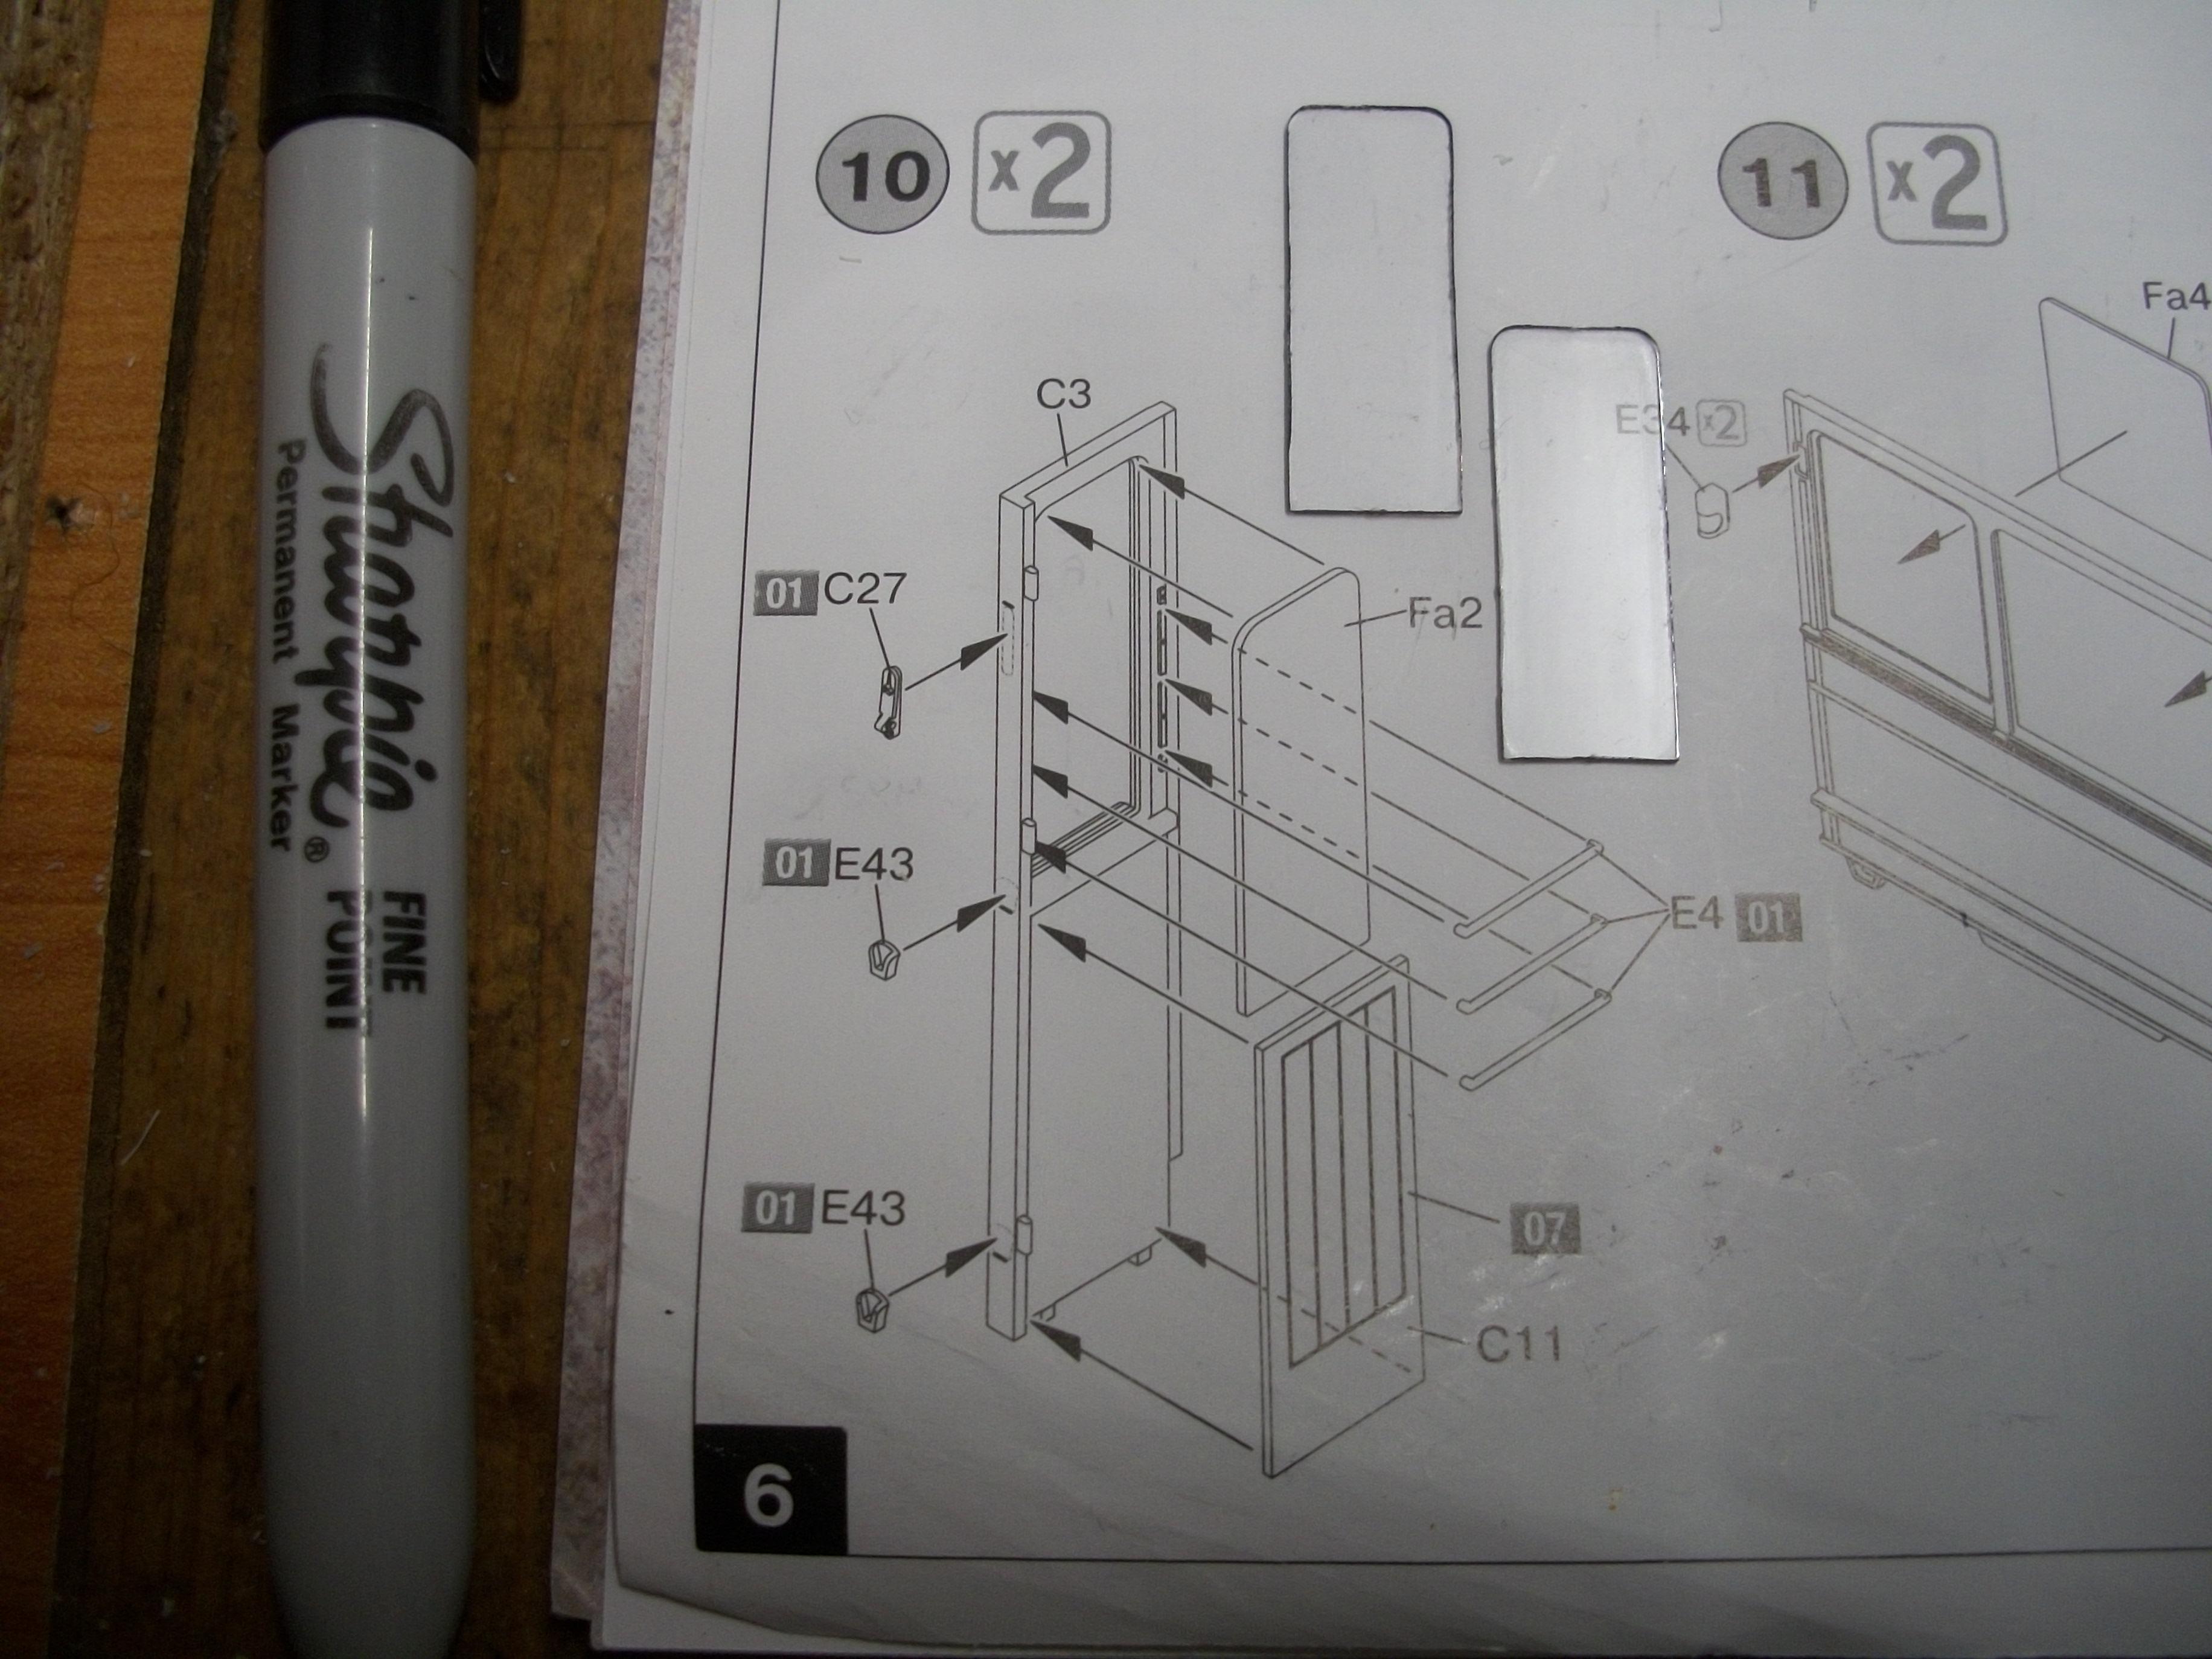
Progress on the tram build has been pretty good over the Christmas period. The windows of the central passenger section are in place, also the bench seating and the large side panels. Working on the two sliding doors for the interior, which have some very small parts such as door handles and protective bars across the windows. These small parts are difficult to remove from the sprues without breaking, and even more challenging is the tidying up of the parts where they were connected to the sprue. Painting the parts as I go along, and using black Sharpie for some parts, including the edges of the glass panes. The parts fit together almost as well as in Tamiya kits and this is a most enjoyable model to build. Lots to do yet, and the bogie wheel assembly that is under the chassis will be quite time consuming and labour intensive. I placed a 1:35 scale MiniArt figure in two of the following photos, to show the realism that can be achieved with this model. David

-
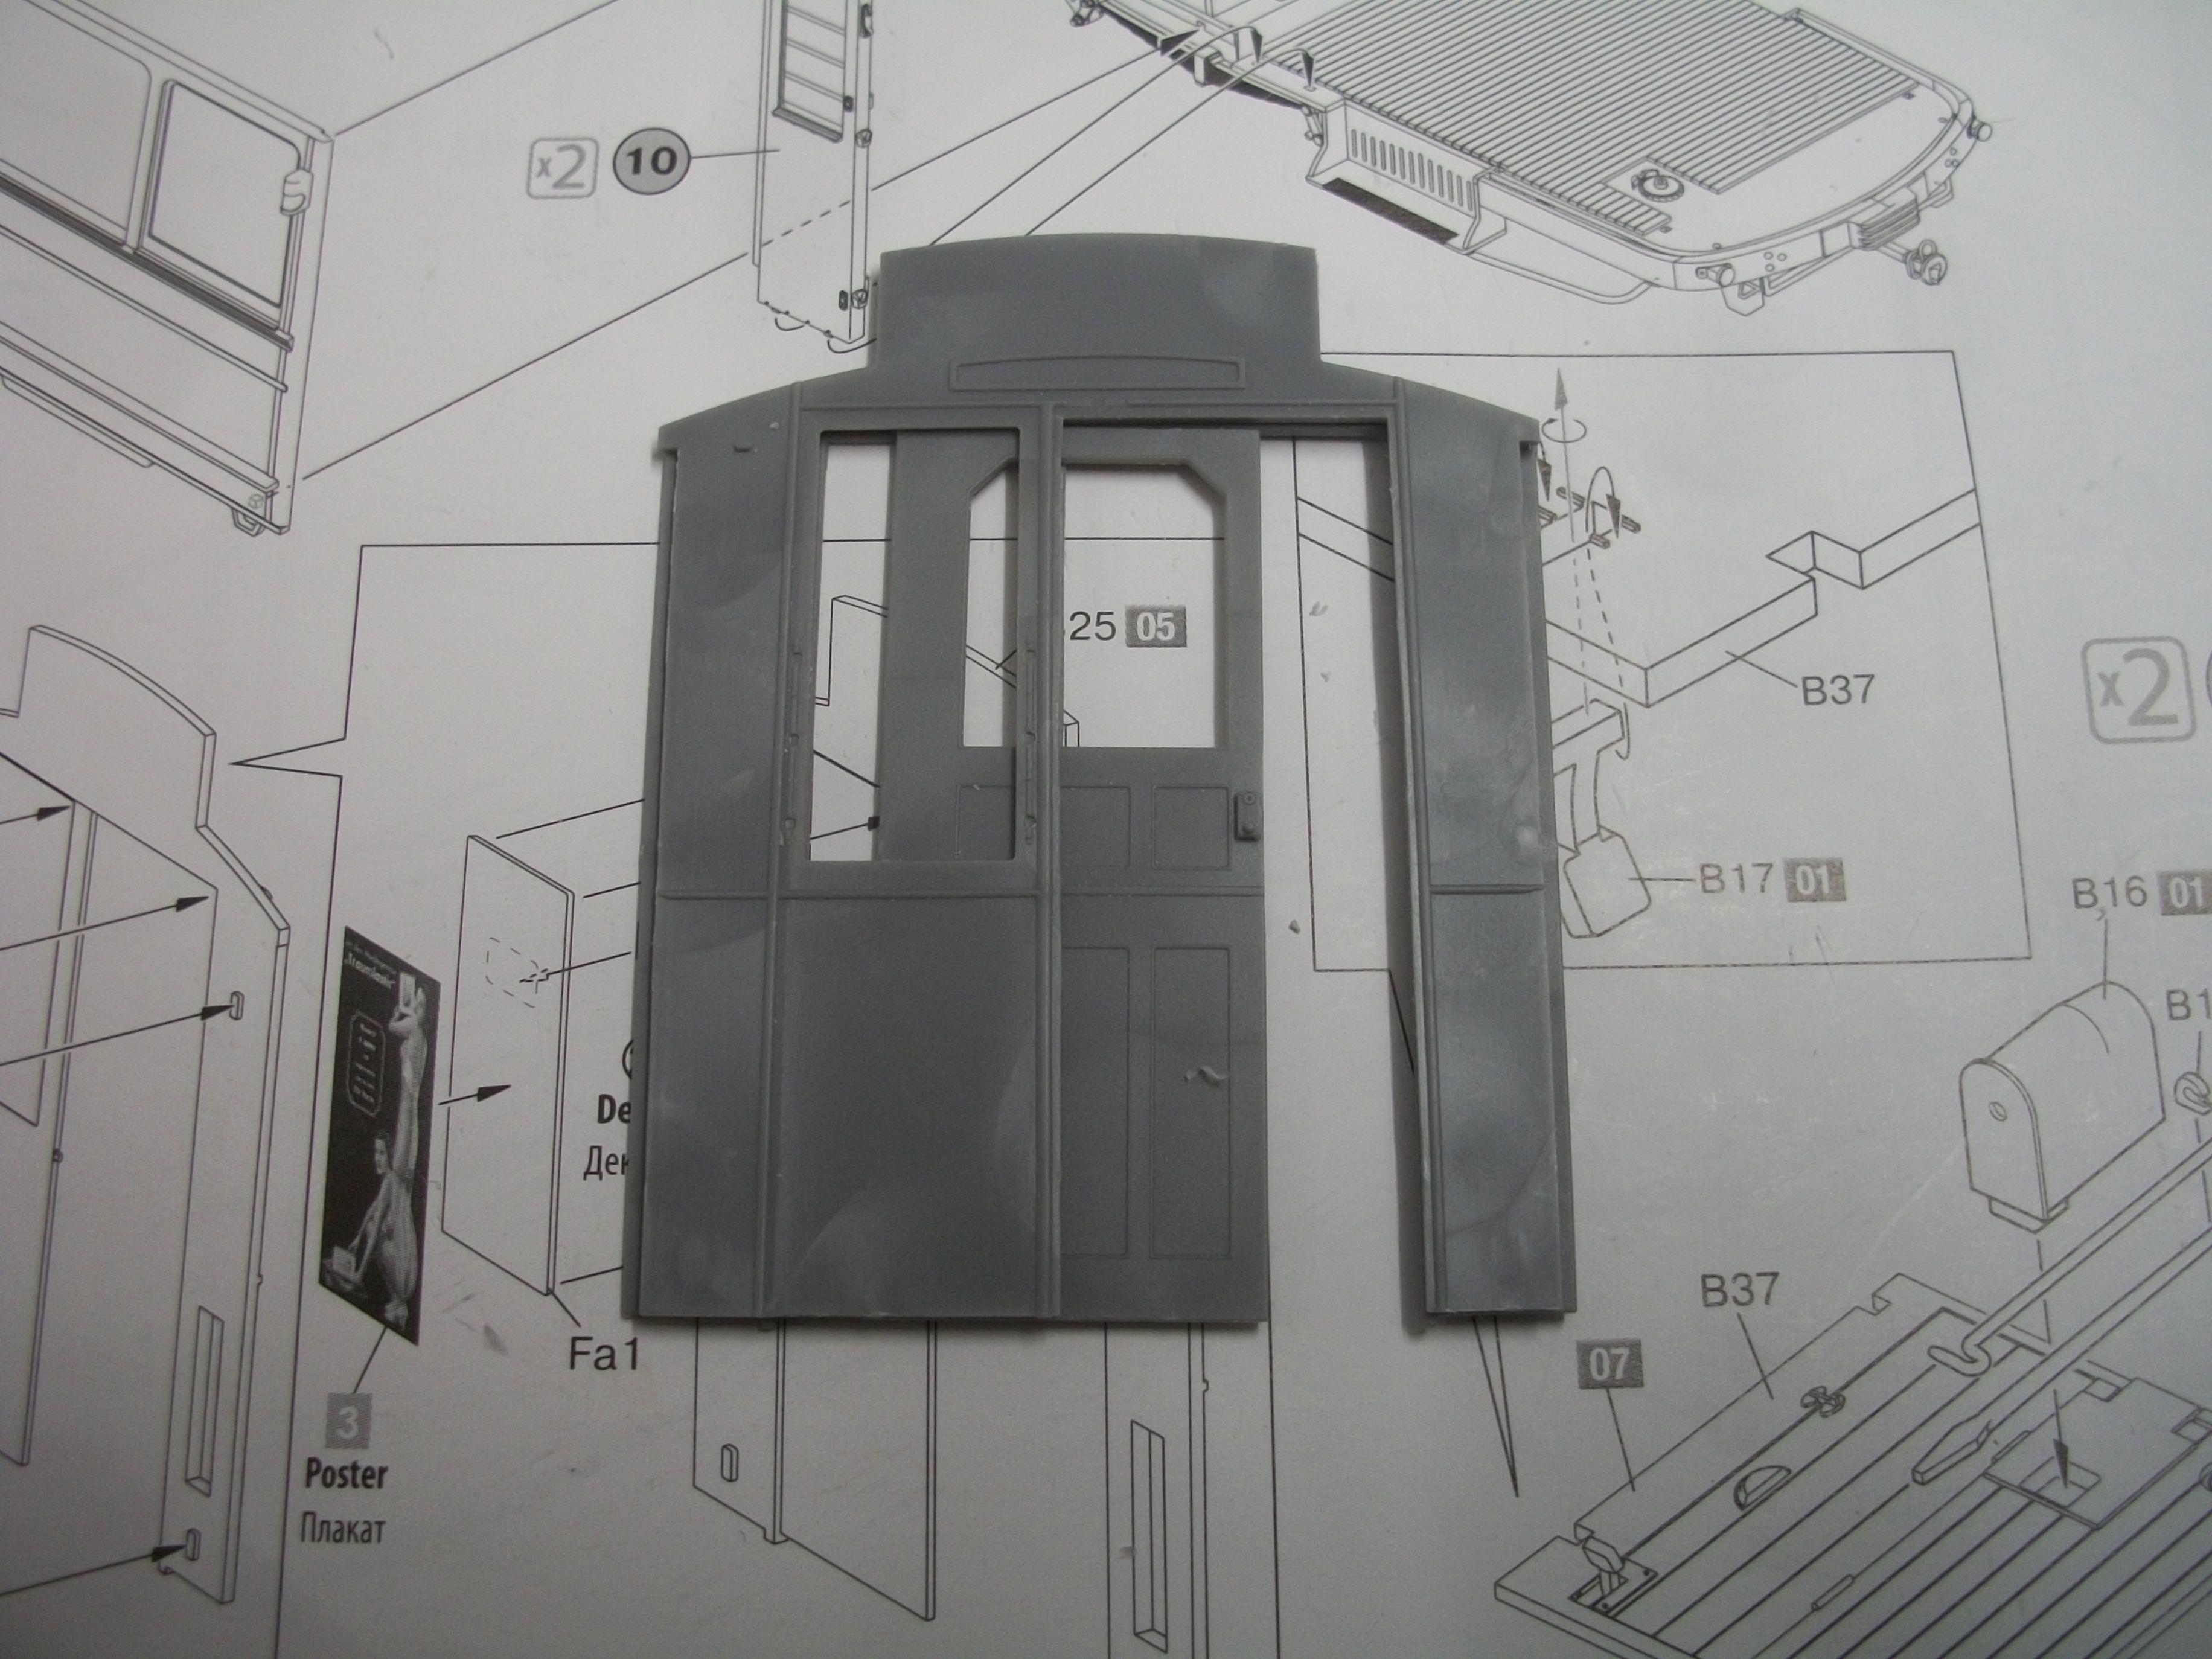
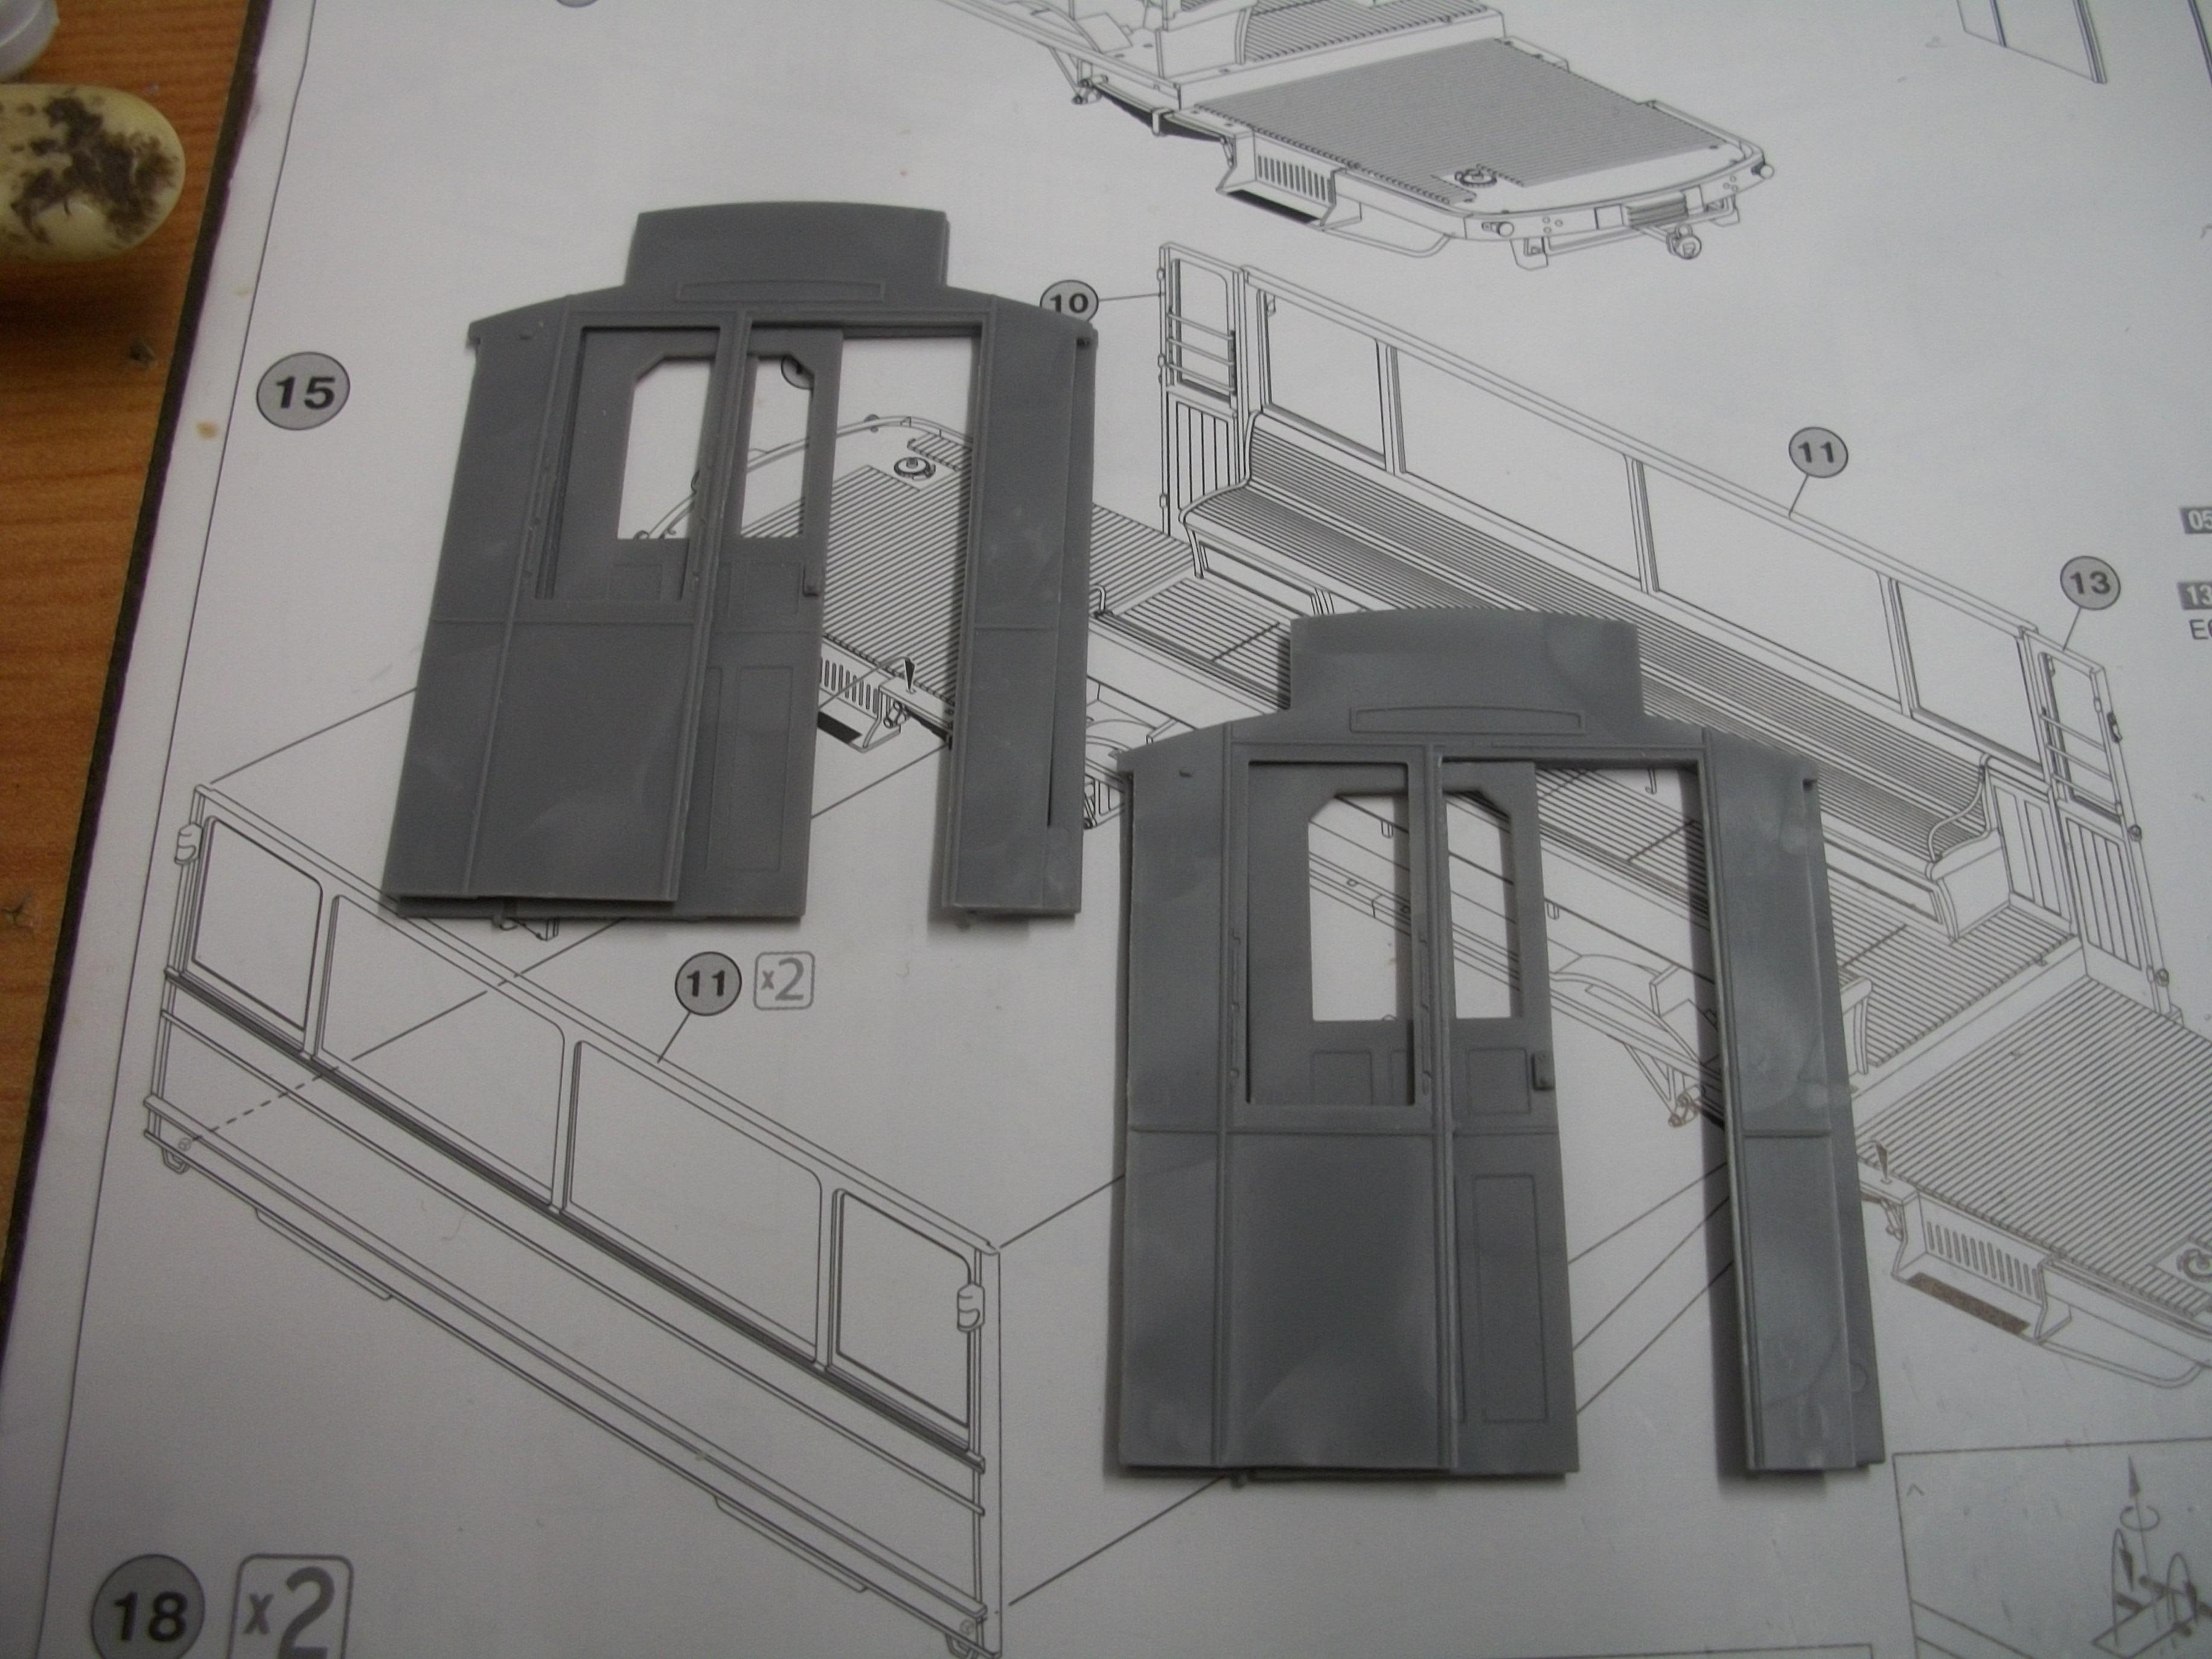
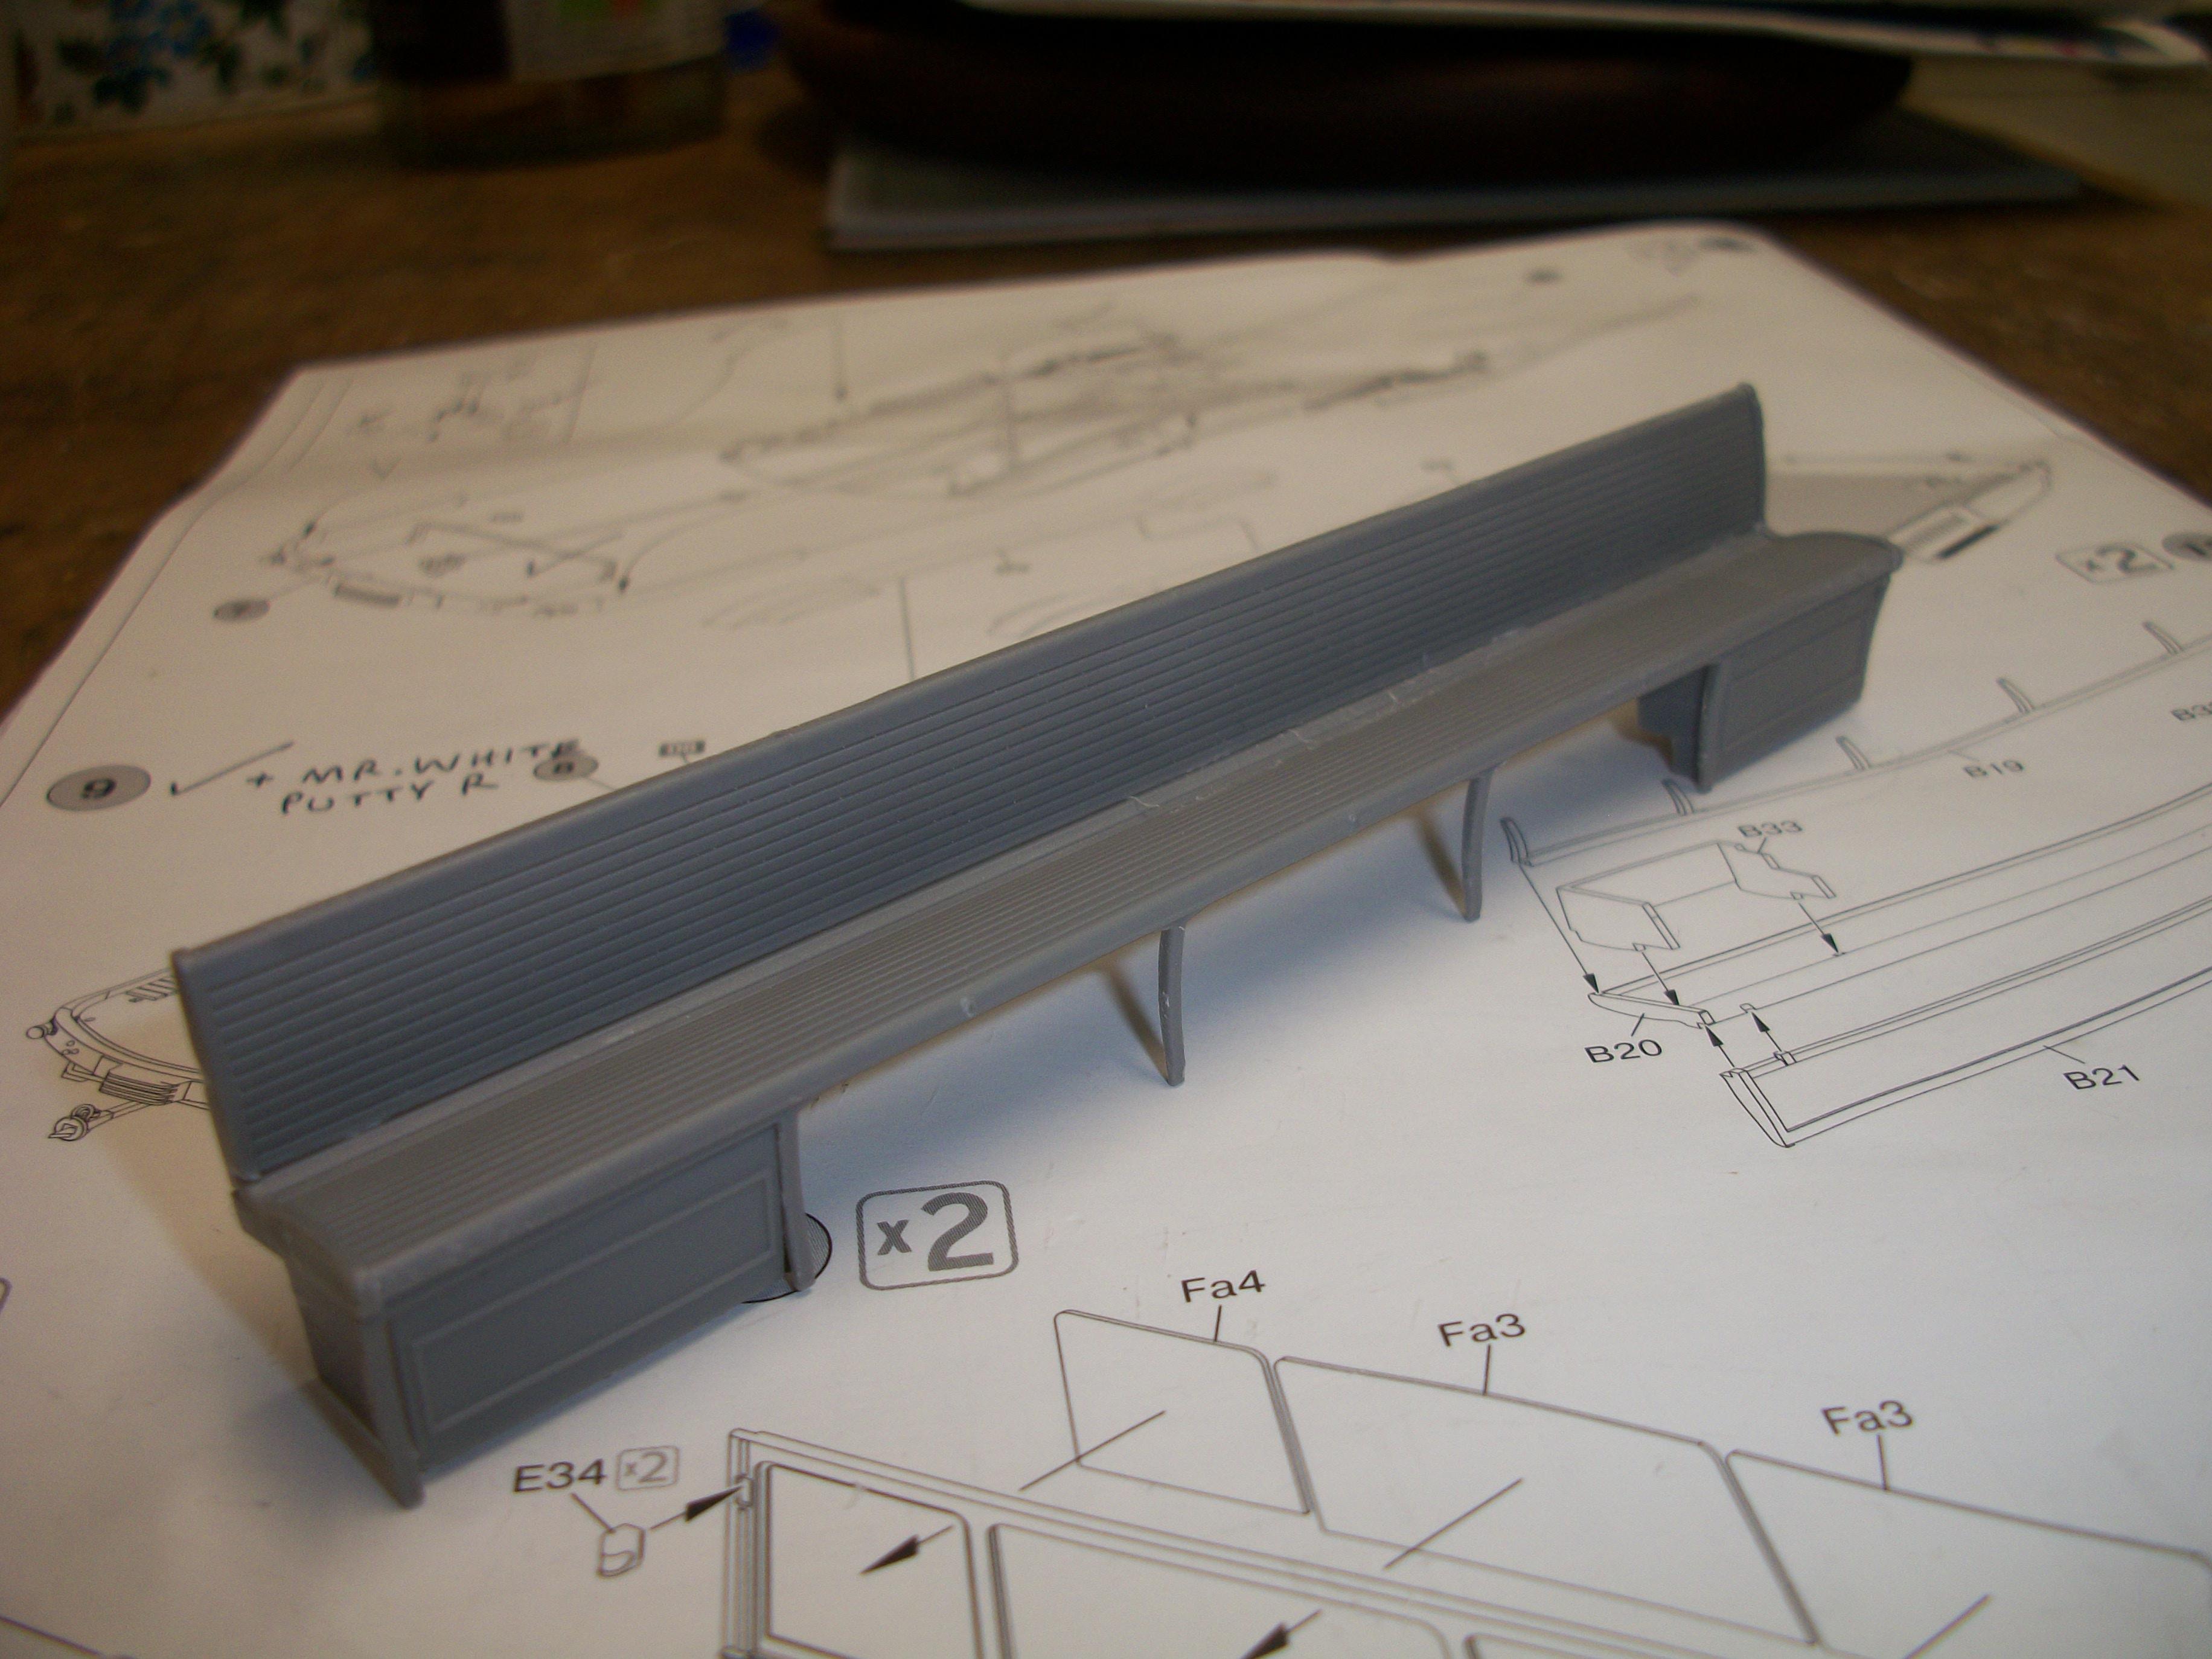
The following photos show the two bench seats painted in a natural wood colour, and placed in their intended positions on the floor section of the tram car. Each of the two sliding door assemblies has three parts, with the door itself sandwiched between the two outer sections, and painted in the same natural wood colour. There will be some glass window panes to fit the sliding doors, as well as door fittings in black cast iron. David
-
Good to see that you are still working on this diorama, Paul and the acquisition of a further 20 acres of real estate is always a good thing ! David
-
Many thanks, Eric. . . . . . and Happy holidays to you and yours ! David
-
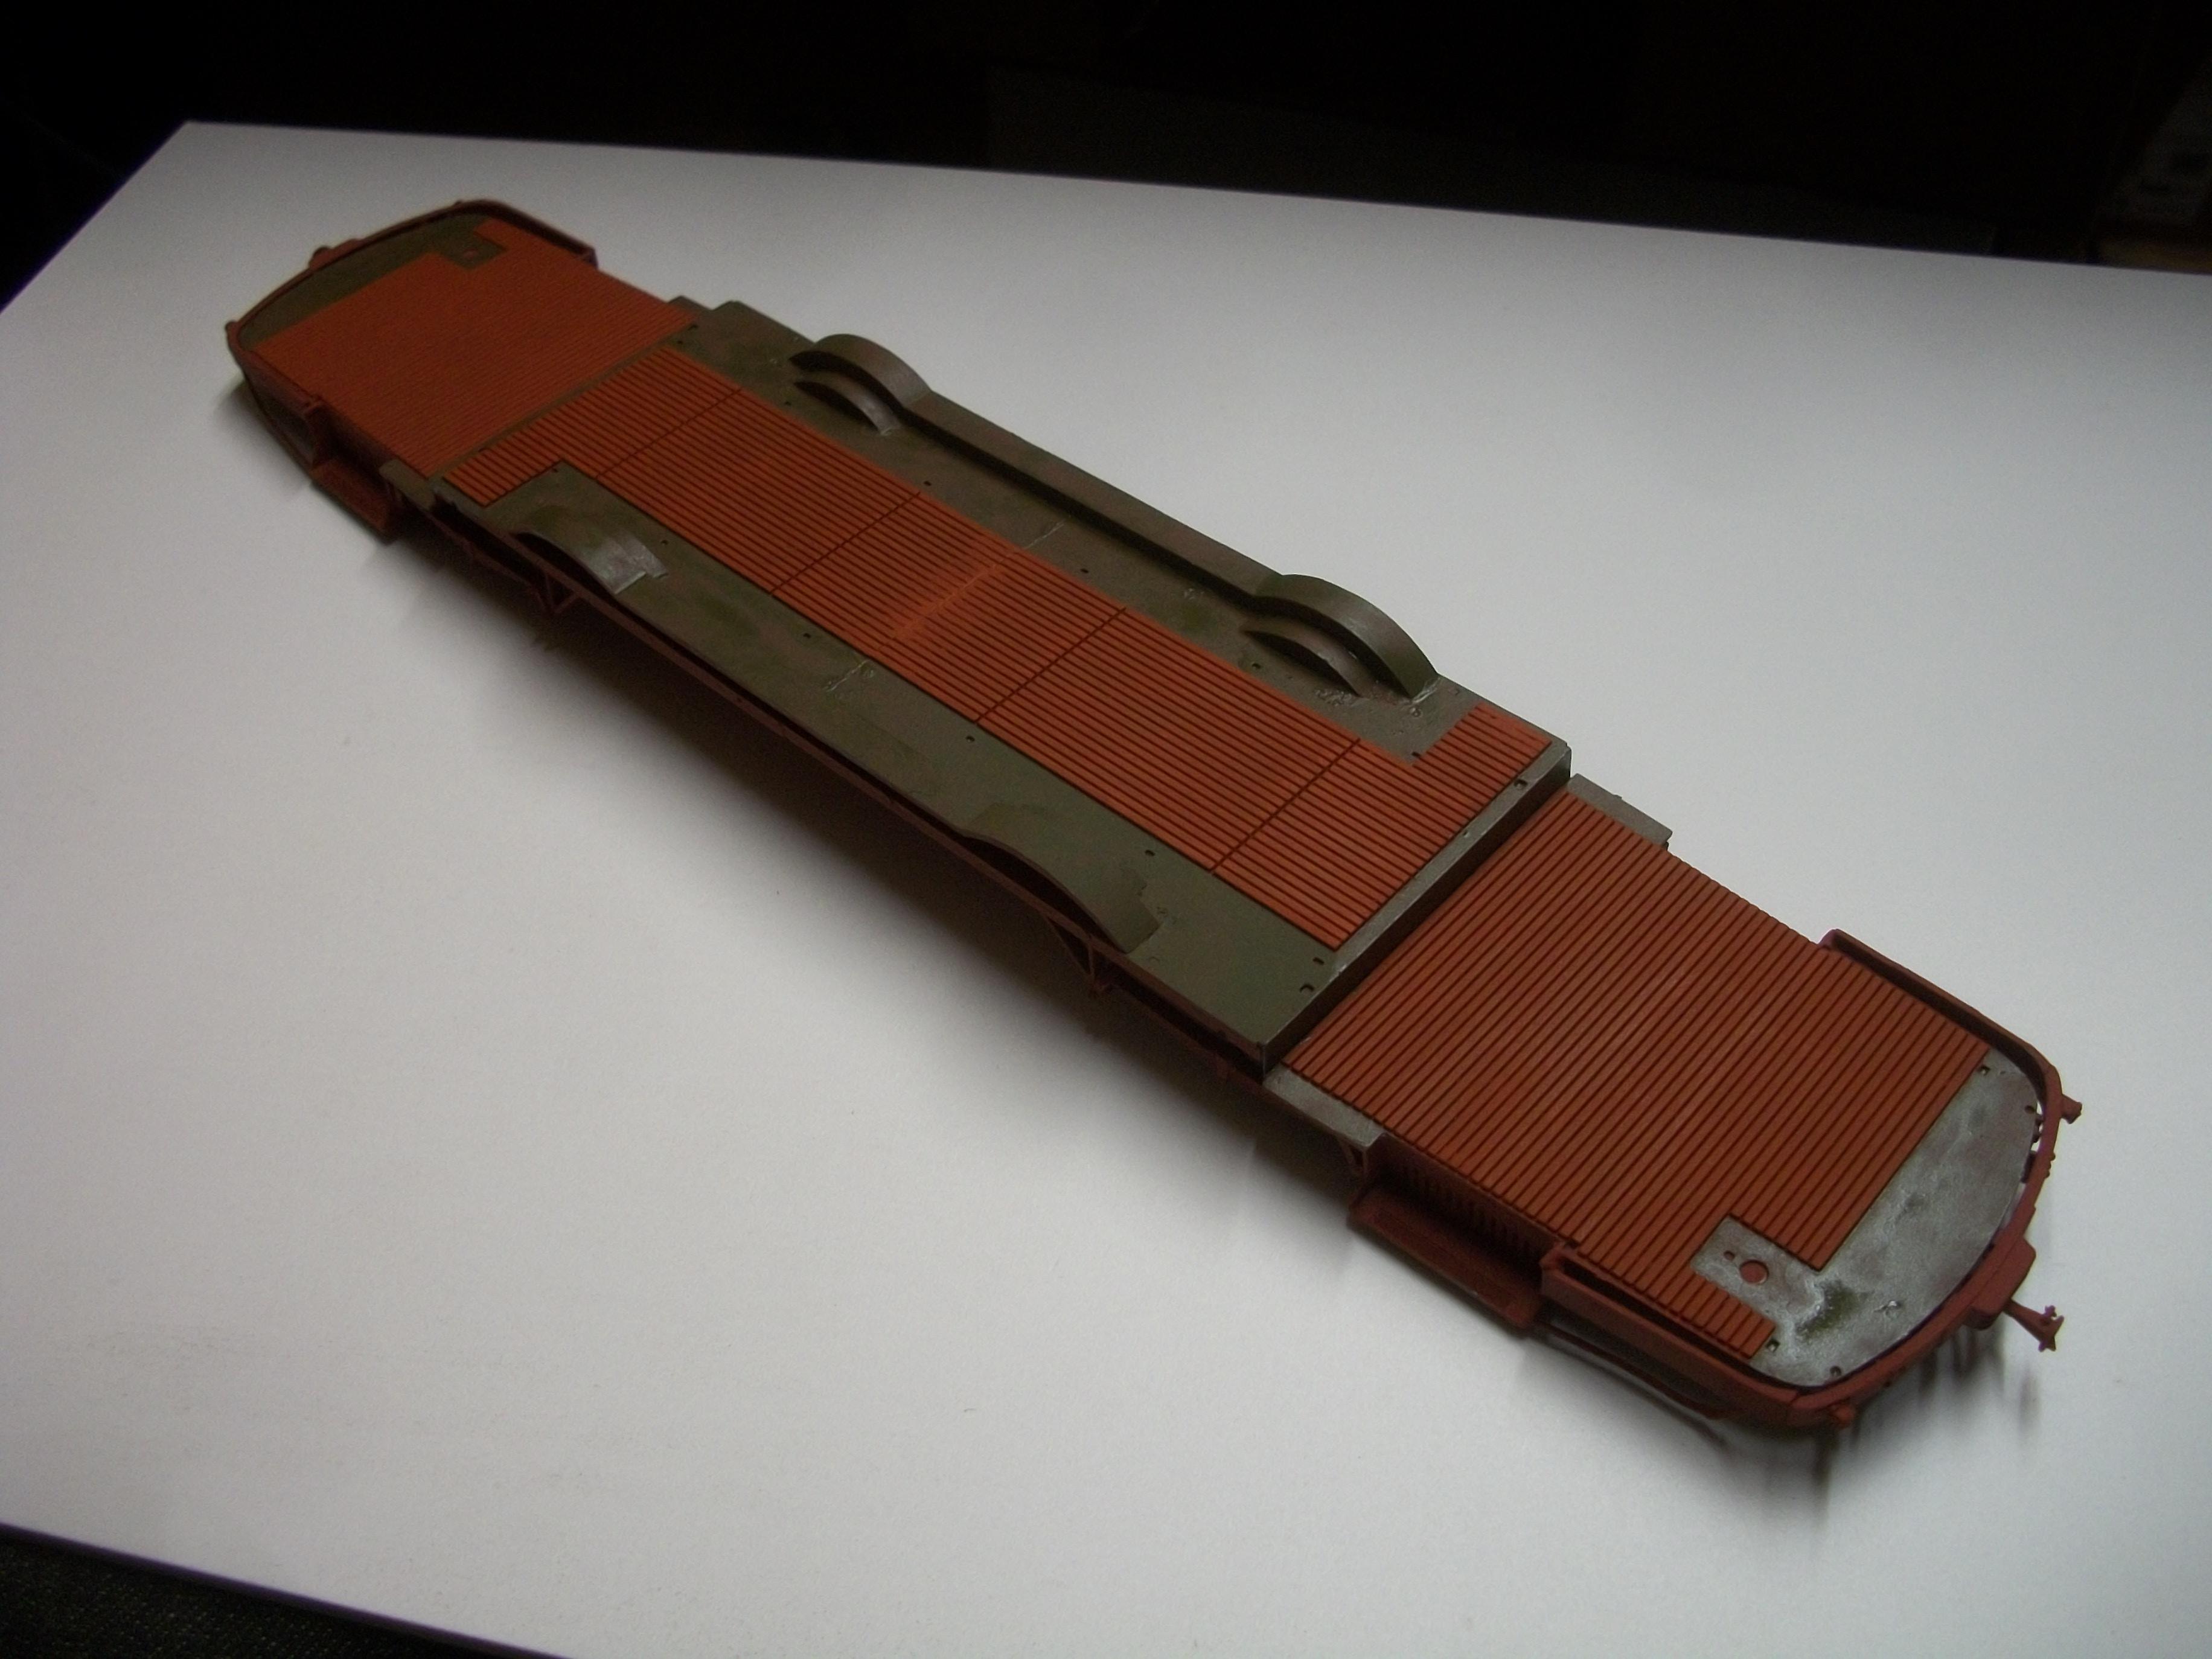
Managed to get some brush painting done on the floor section of the tram car today. The floorboards are Humbrol Red Brown, and the surrounding areas are Humbrol Olive Drab. . . . . . . This Olive Drab colour will most likely be the lower half of the tram car on the outside, with Ochre for the upper half. David
-
Preparing the two sliding door assemblies for the interior of the tram car. Also, inserted the four glass panes for one of the outer side panels. Work on this model is being put on hold for a short while, to make way for the Christmas festivities with my family. Wishing all my fellow MCM members a Merry Christmas, and a Happy New Year !!! David
-
Working on the bench seats of this tram car, and also starting some of the brush painting over the red primer parts. The upper half of the panels on the outside of the tram will be Ochre and the lower half will be Olive Drab. David
-
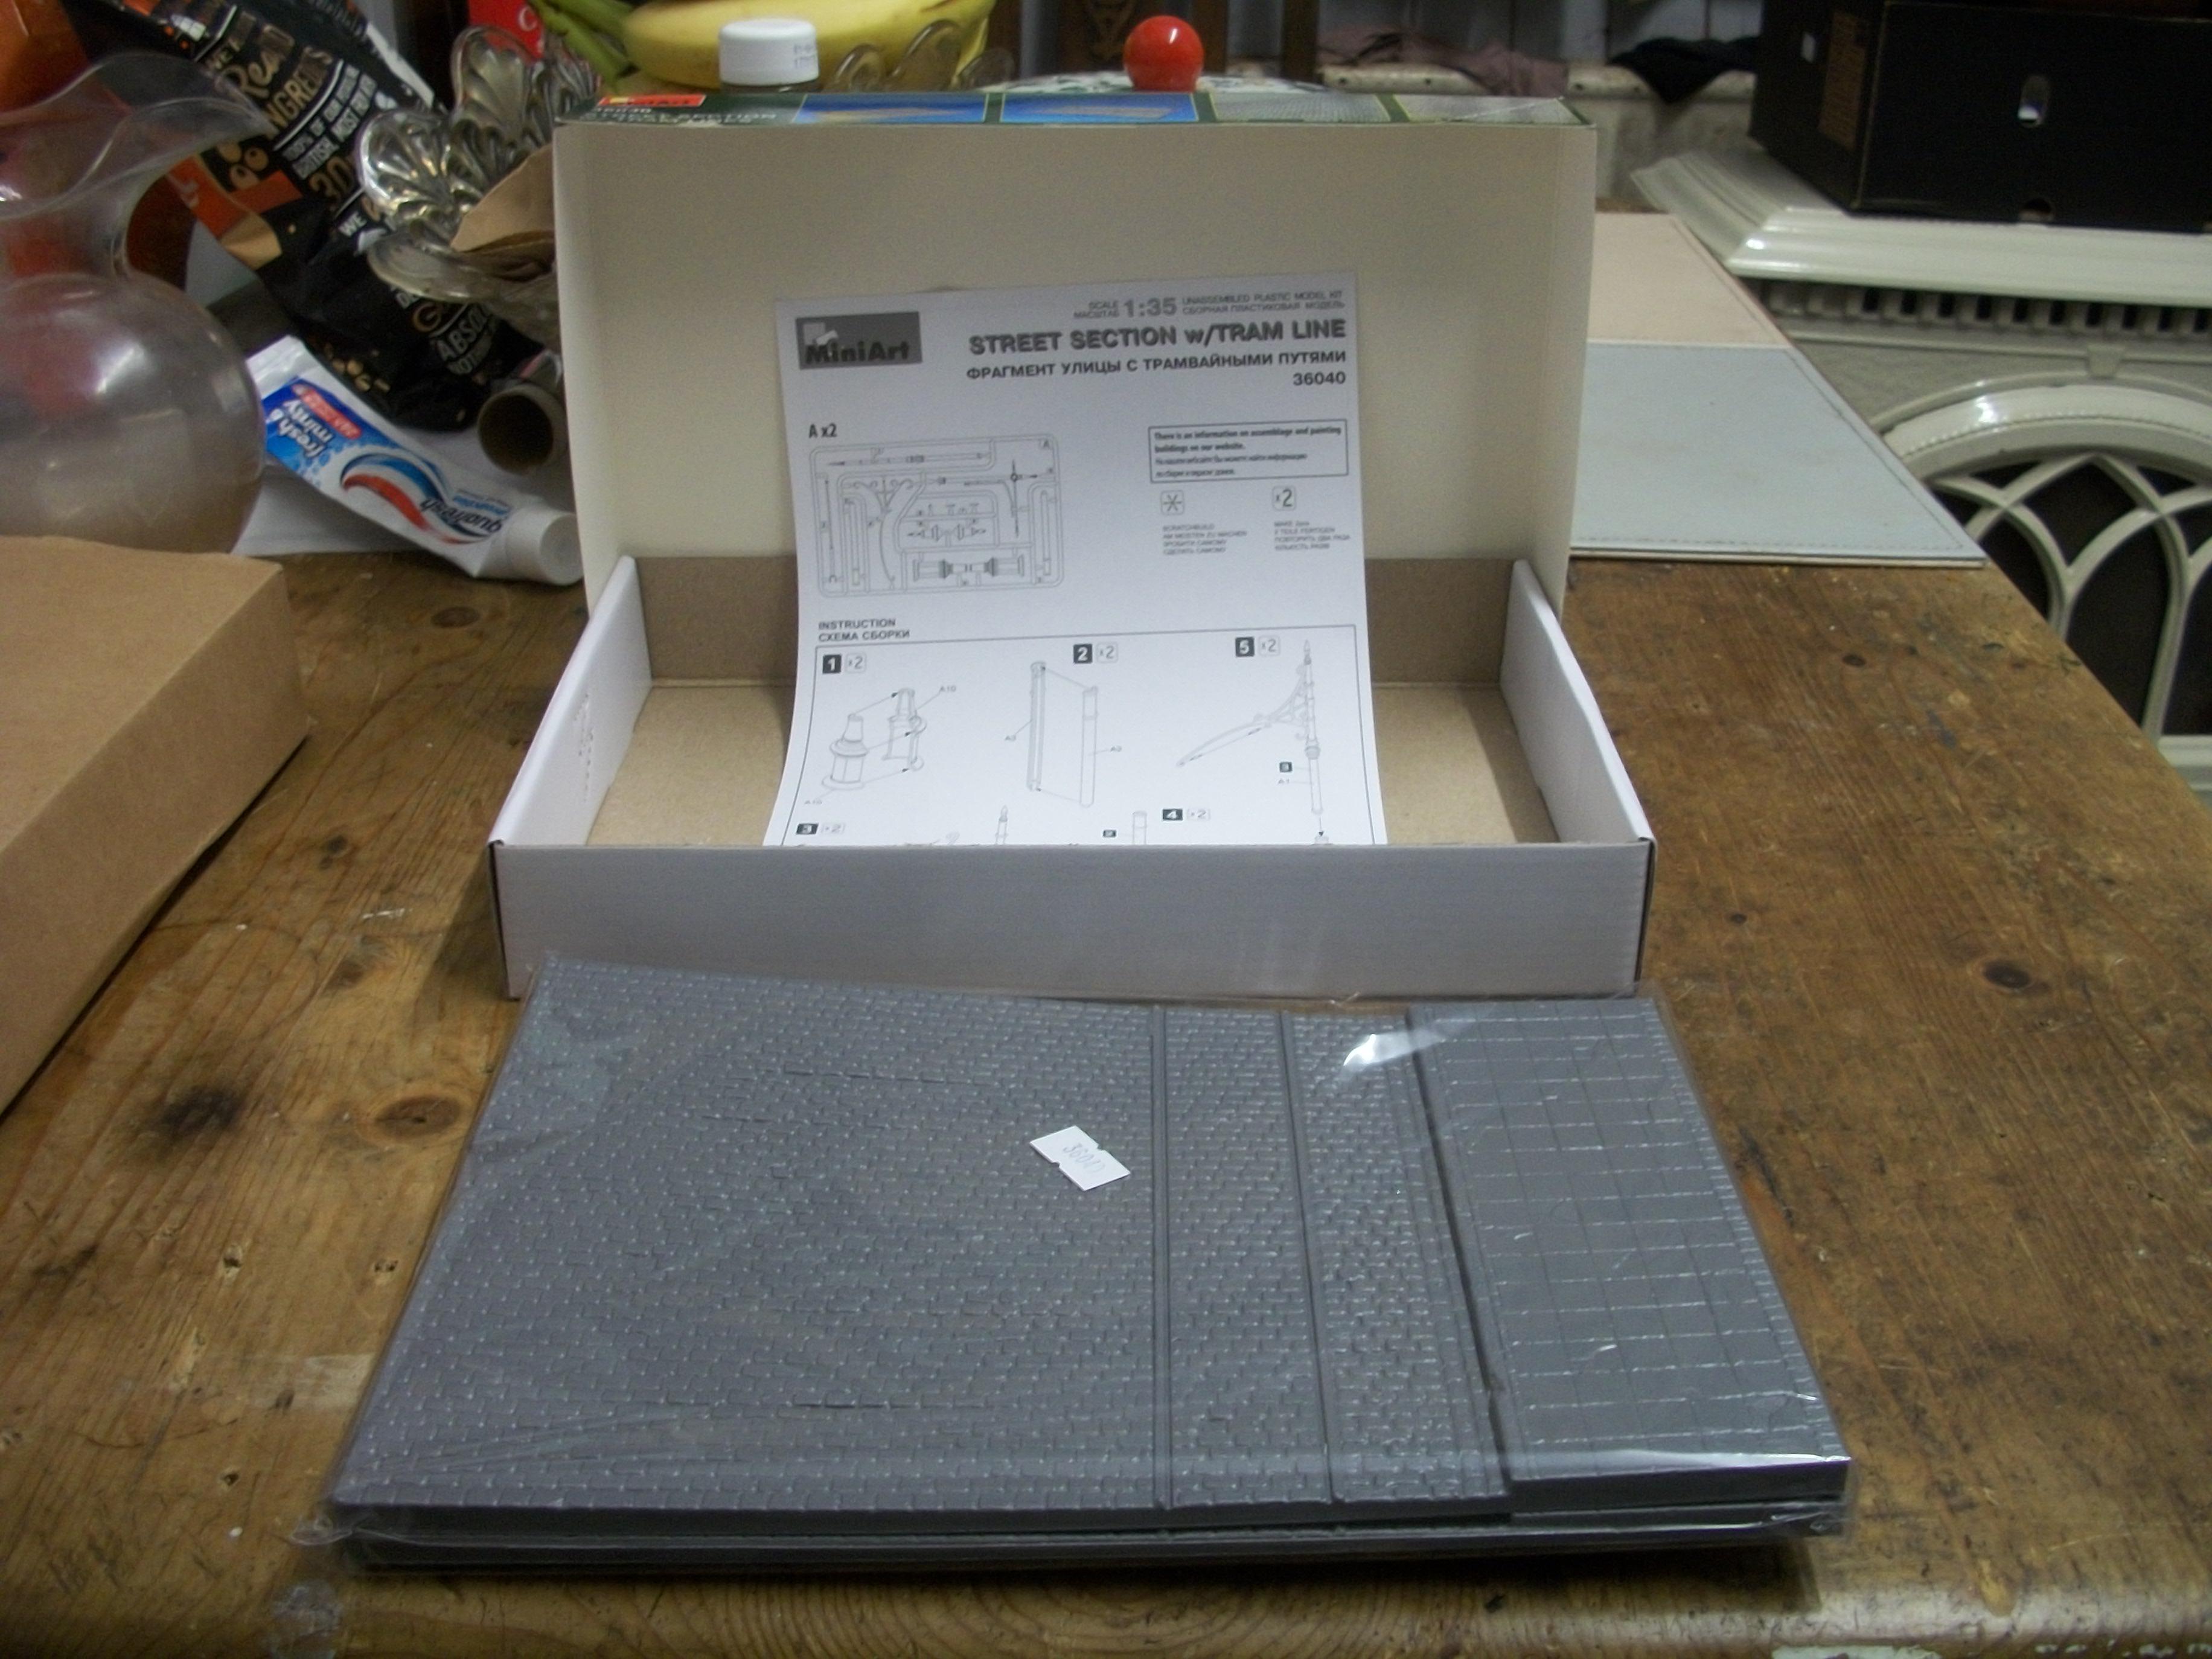
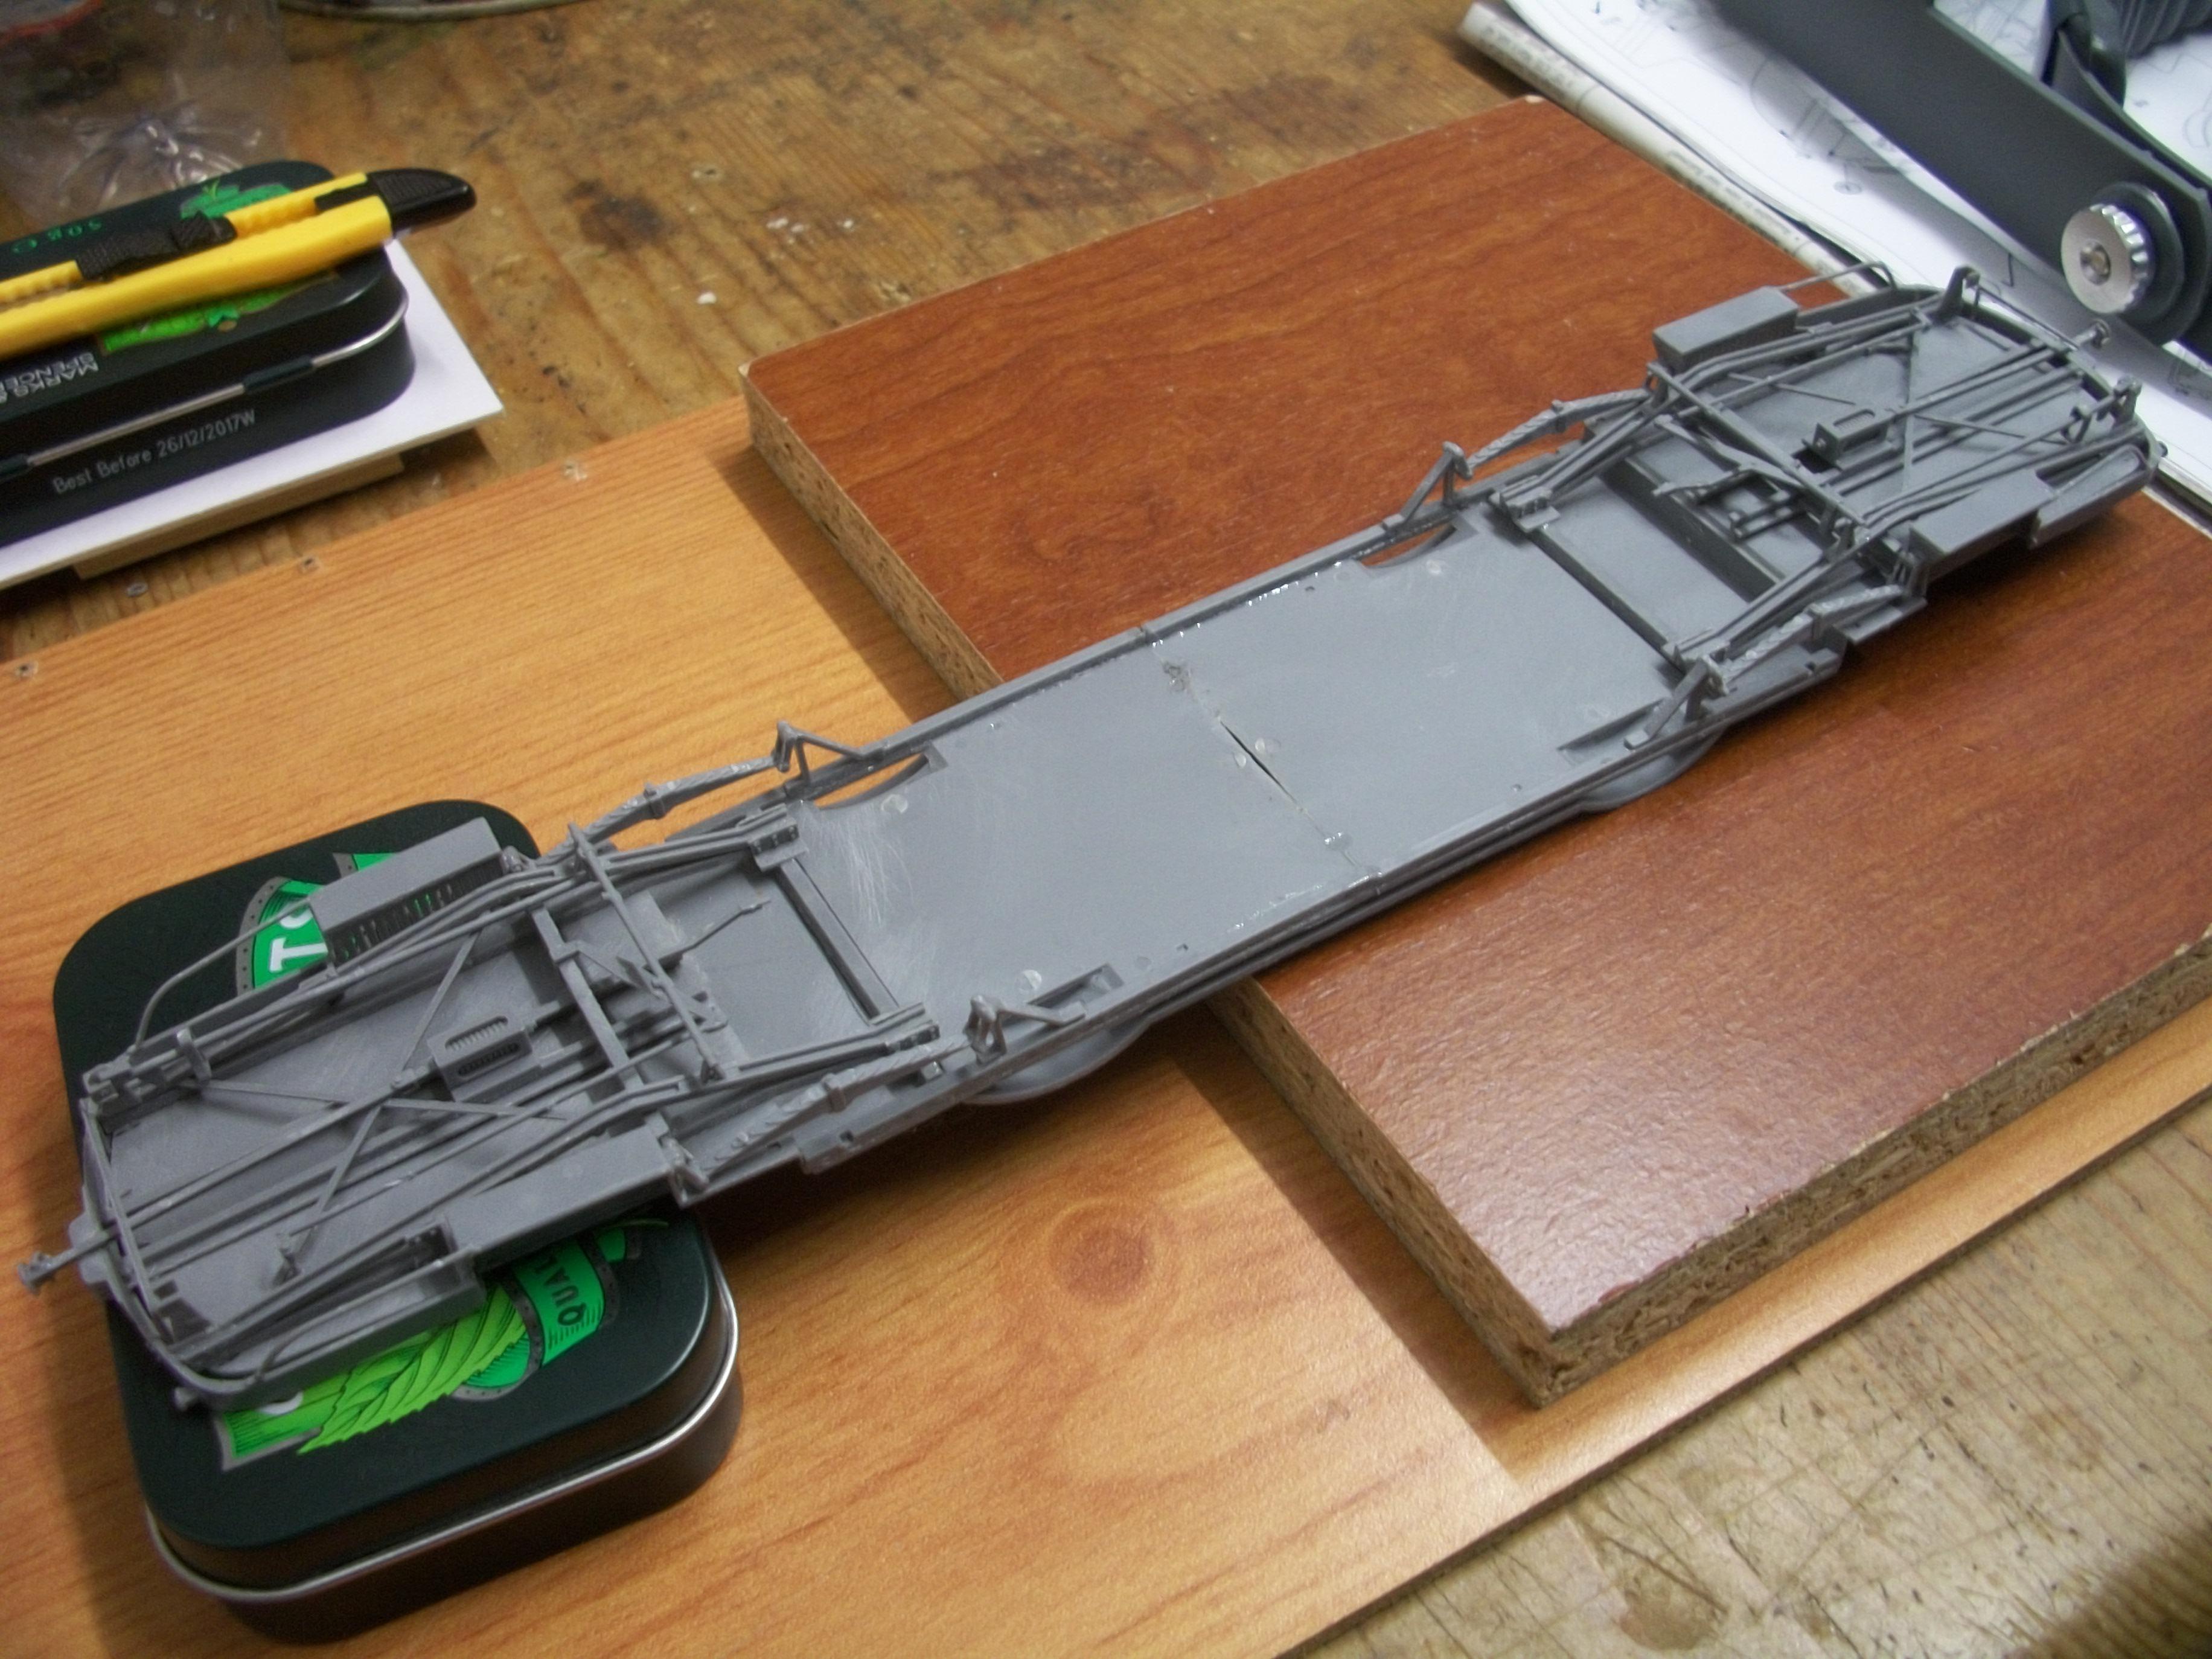
Having ordered the MiniArt kit that contains the two street sections, I assumed from the box art that the tram rails ran along the length of the cobbled street, just like on the street section that is included in the tram kit..... No, the tram rails actually run along the width of the street section, so not the same at all ! This means that I shall have to use both street sections to achieve the full length on the baseboard of this diorama. The two ends of the chassis are now assembled as one piece, and the small gap between the two sections has been filled and sanded down smooth. The chassis is now ready for red primer, and I have applied some black Sharpie along the edges of the door glass parts. So far, I have only completed 10 stages of the assembly instructions, and there are 49 stages in total ! David
-
The European Tramcar build has now started, and during the same weekend we had a fall of snow, as well as sub-zero temperatures. My loft workshop recorded 0°C while I was assembling the first few parts of this model, and the temperature inside the loft only rose to 1.4°C with my portable heater running. The 1:35 scale kit by MiniArt of the Ukraine has 810 parts, and is effectively 5 - kits - in - 1, so extremely good value for money. The quality of the styrene parts and the instruction sheet in the box is excellent. I find the styrene that MiniArt use is quite soft, and nice to work with. I decided that one street section, as supplied with this tramcar kit, is too short at 32 cms, so I have ordered a second street section kit to extend the cobbled road and tram lines to 64 cms in length. There will be two street sections in the second kit anyway. Running just in front of the European house there will be the tramcar, while the Rolls-Royce Phantom I ' Black Diamond ' motor car will be on the other side of the roadway, and in the foreground. For this diorama, I will be using 1:35 scale figures and the tram car in the background, and then using 1:32 scale figures and the Rolls-Royce car in the foreground. Thank you for looking, fellow MCM members, David
-
Okay, Harry...... "Kapaline" boards sounds good. I didn't know there was different content to the materials...... thanks. David
-
Well, what a fantastic project Harald !!!...... You have clearly put a lot of work into this one. The buildings, the figures, the cars and the whole diorama setting is truly wonderful. The foamboard material is quite nice to work with, as you say, but be careful because the foamboard will warp badly in high humidity. My previous exhibition for Rolls-Royce dioramas was having problems with the high humidity inside a marquee ( tent ). Well done, and when I get more time I will look at each one of your photos ! David
-
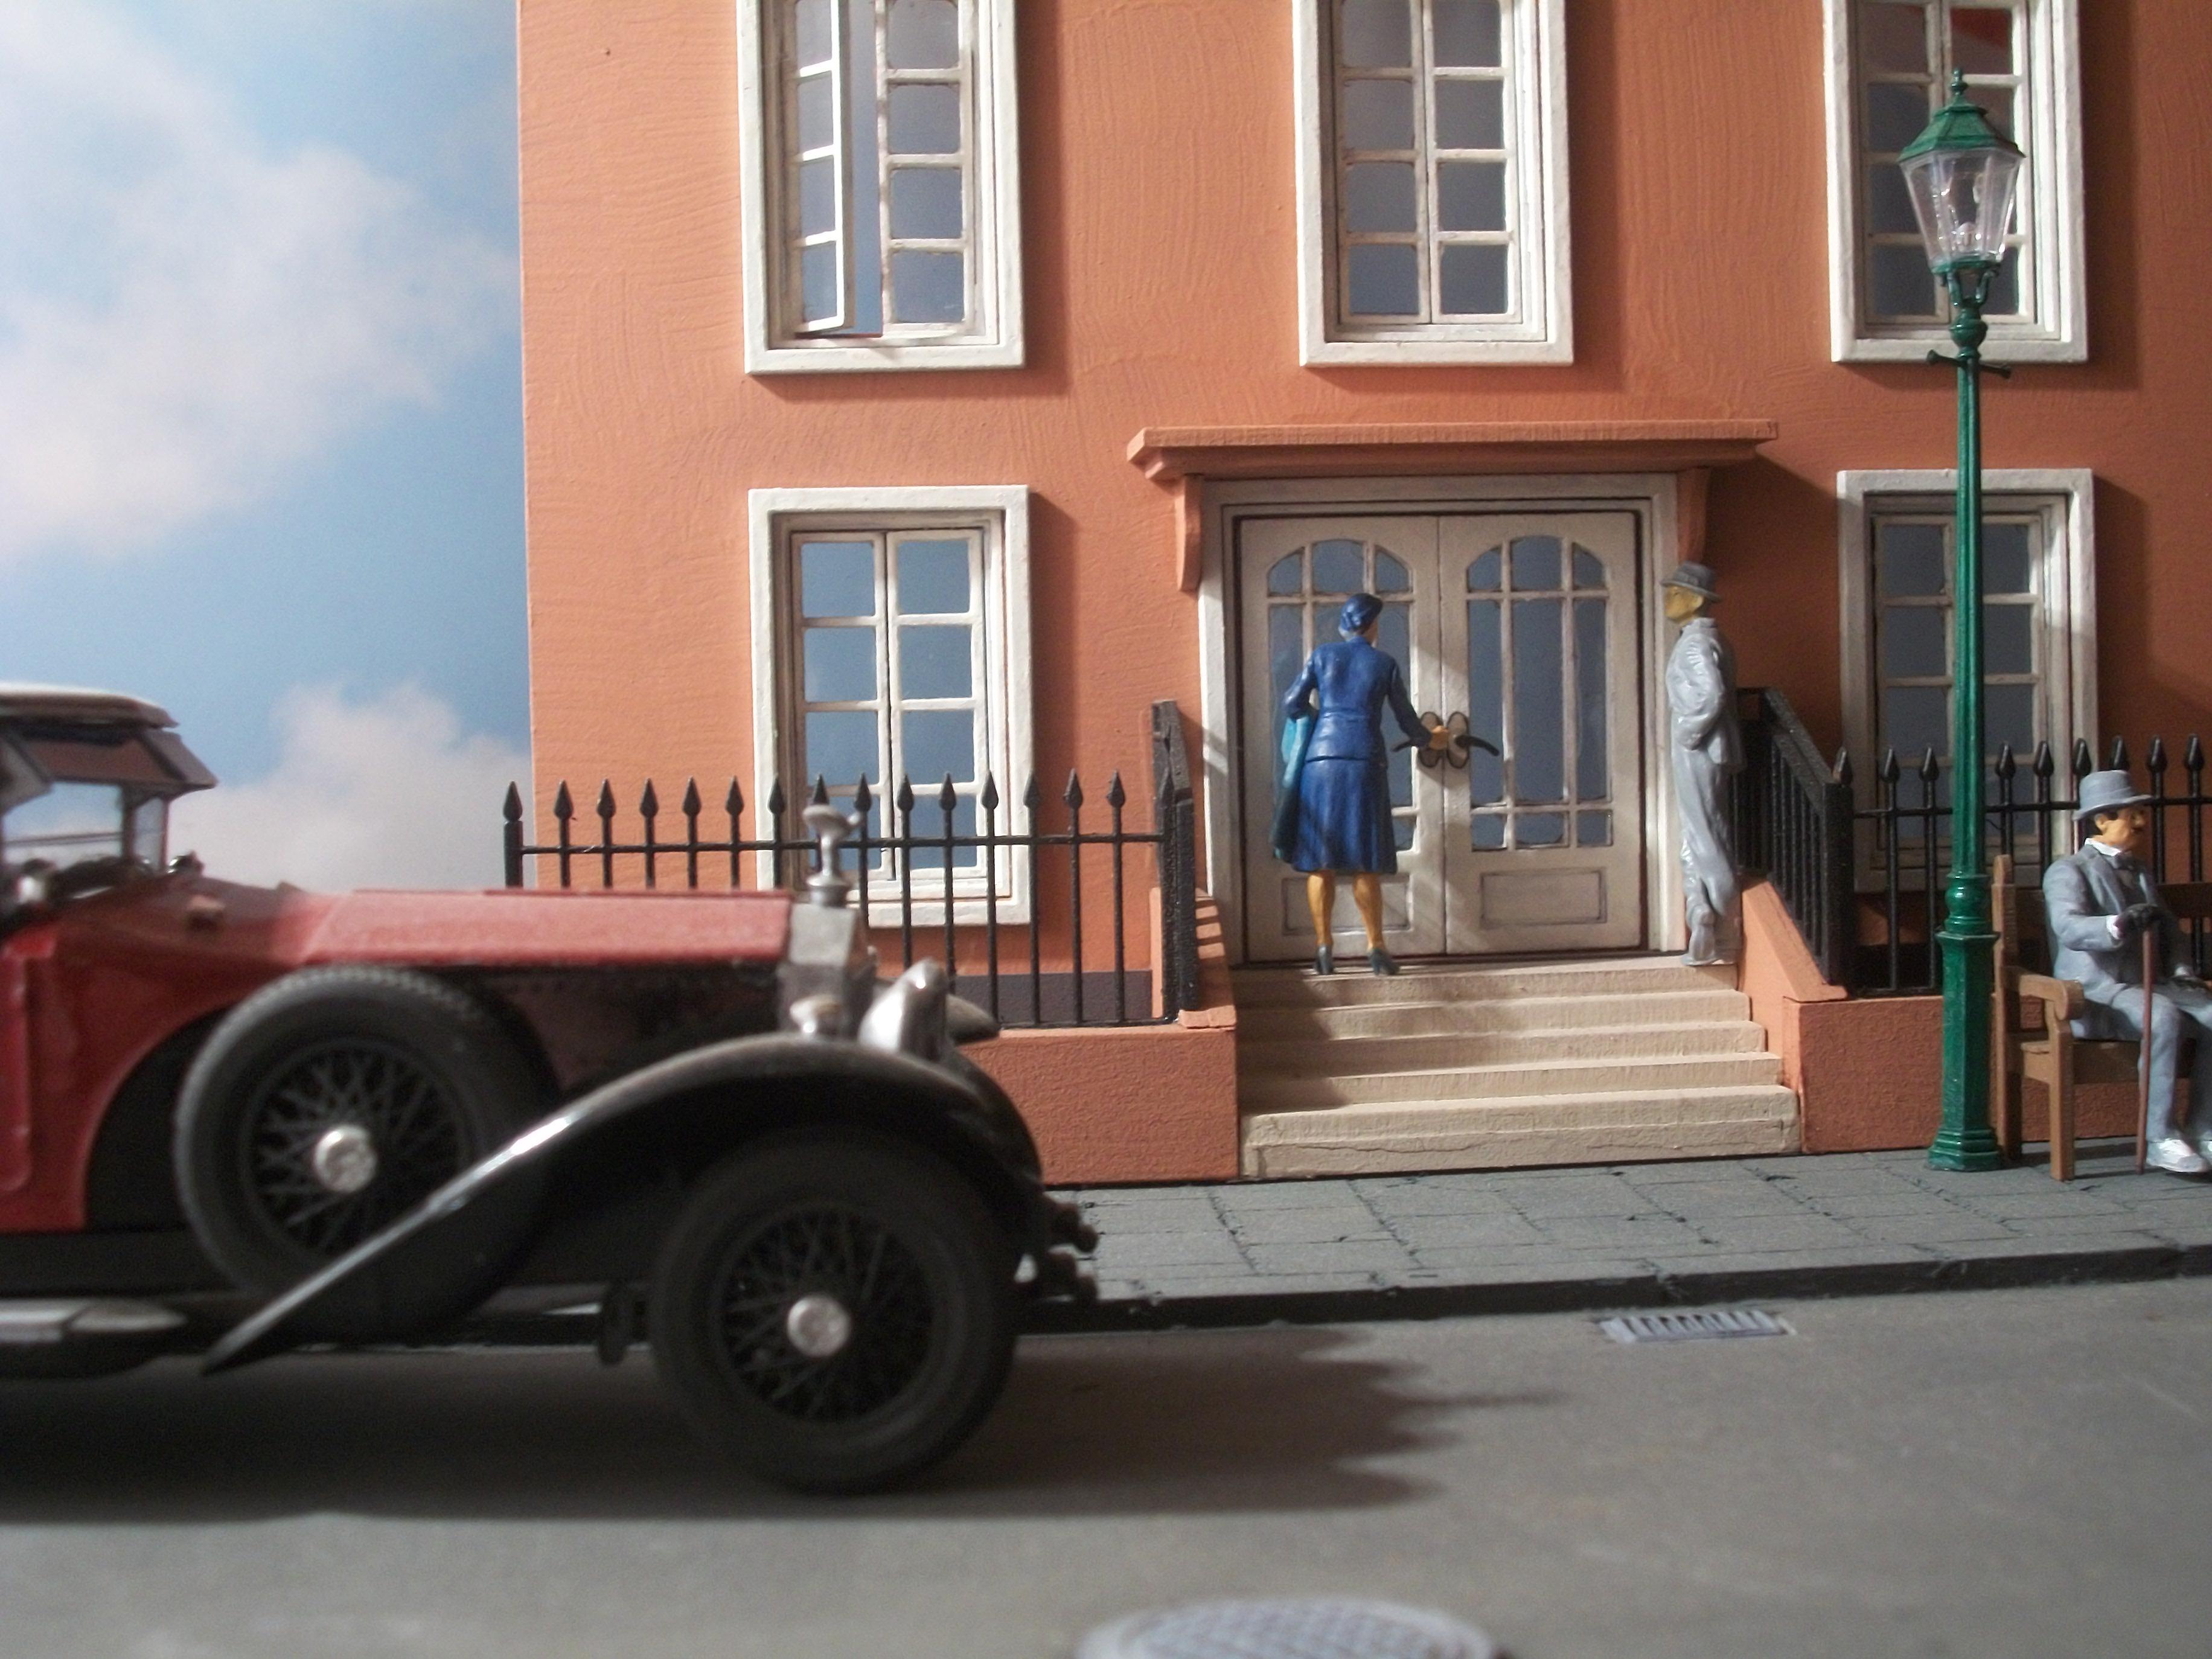
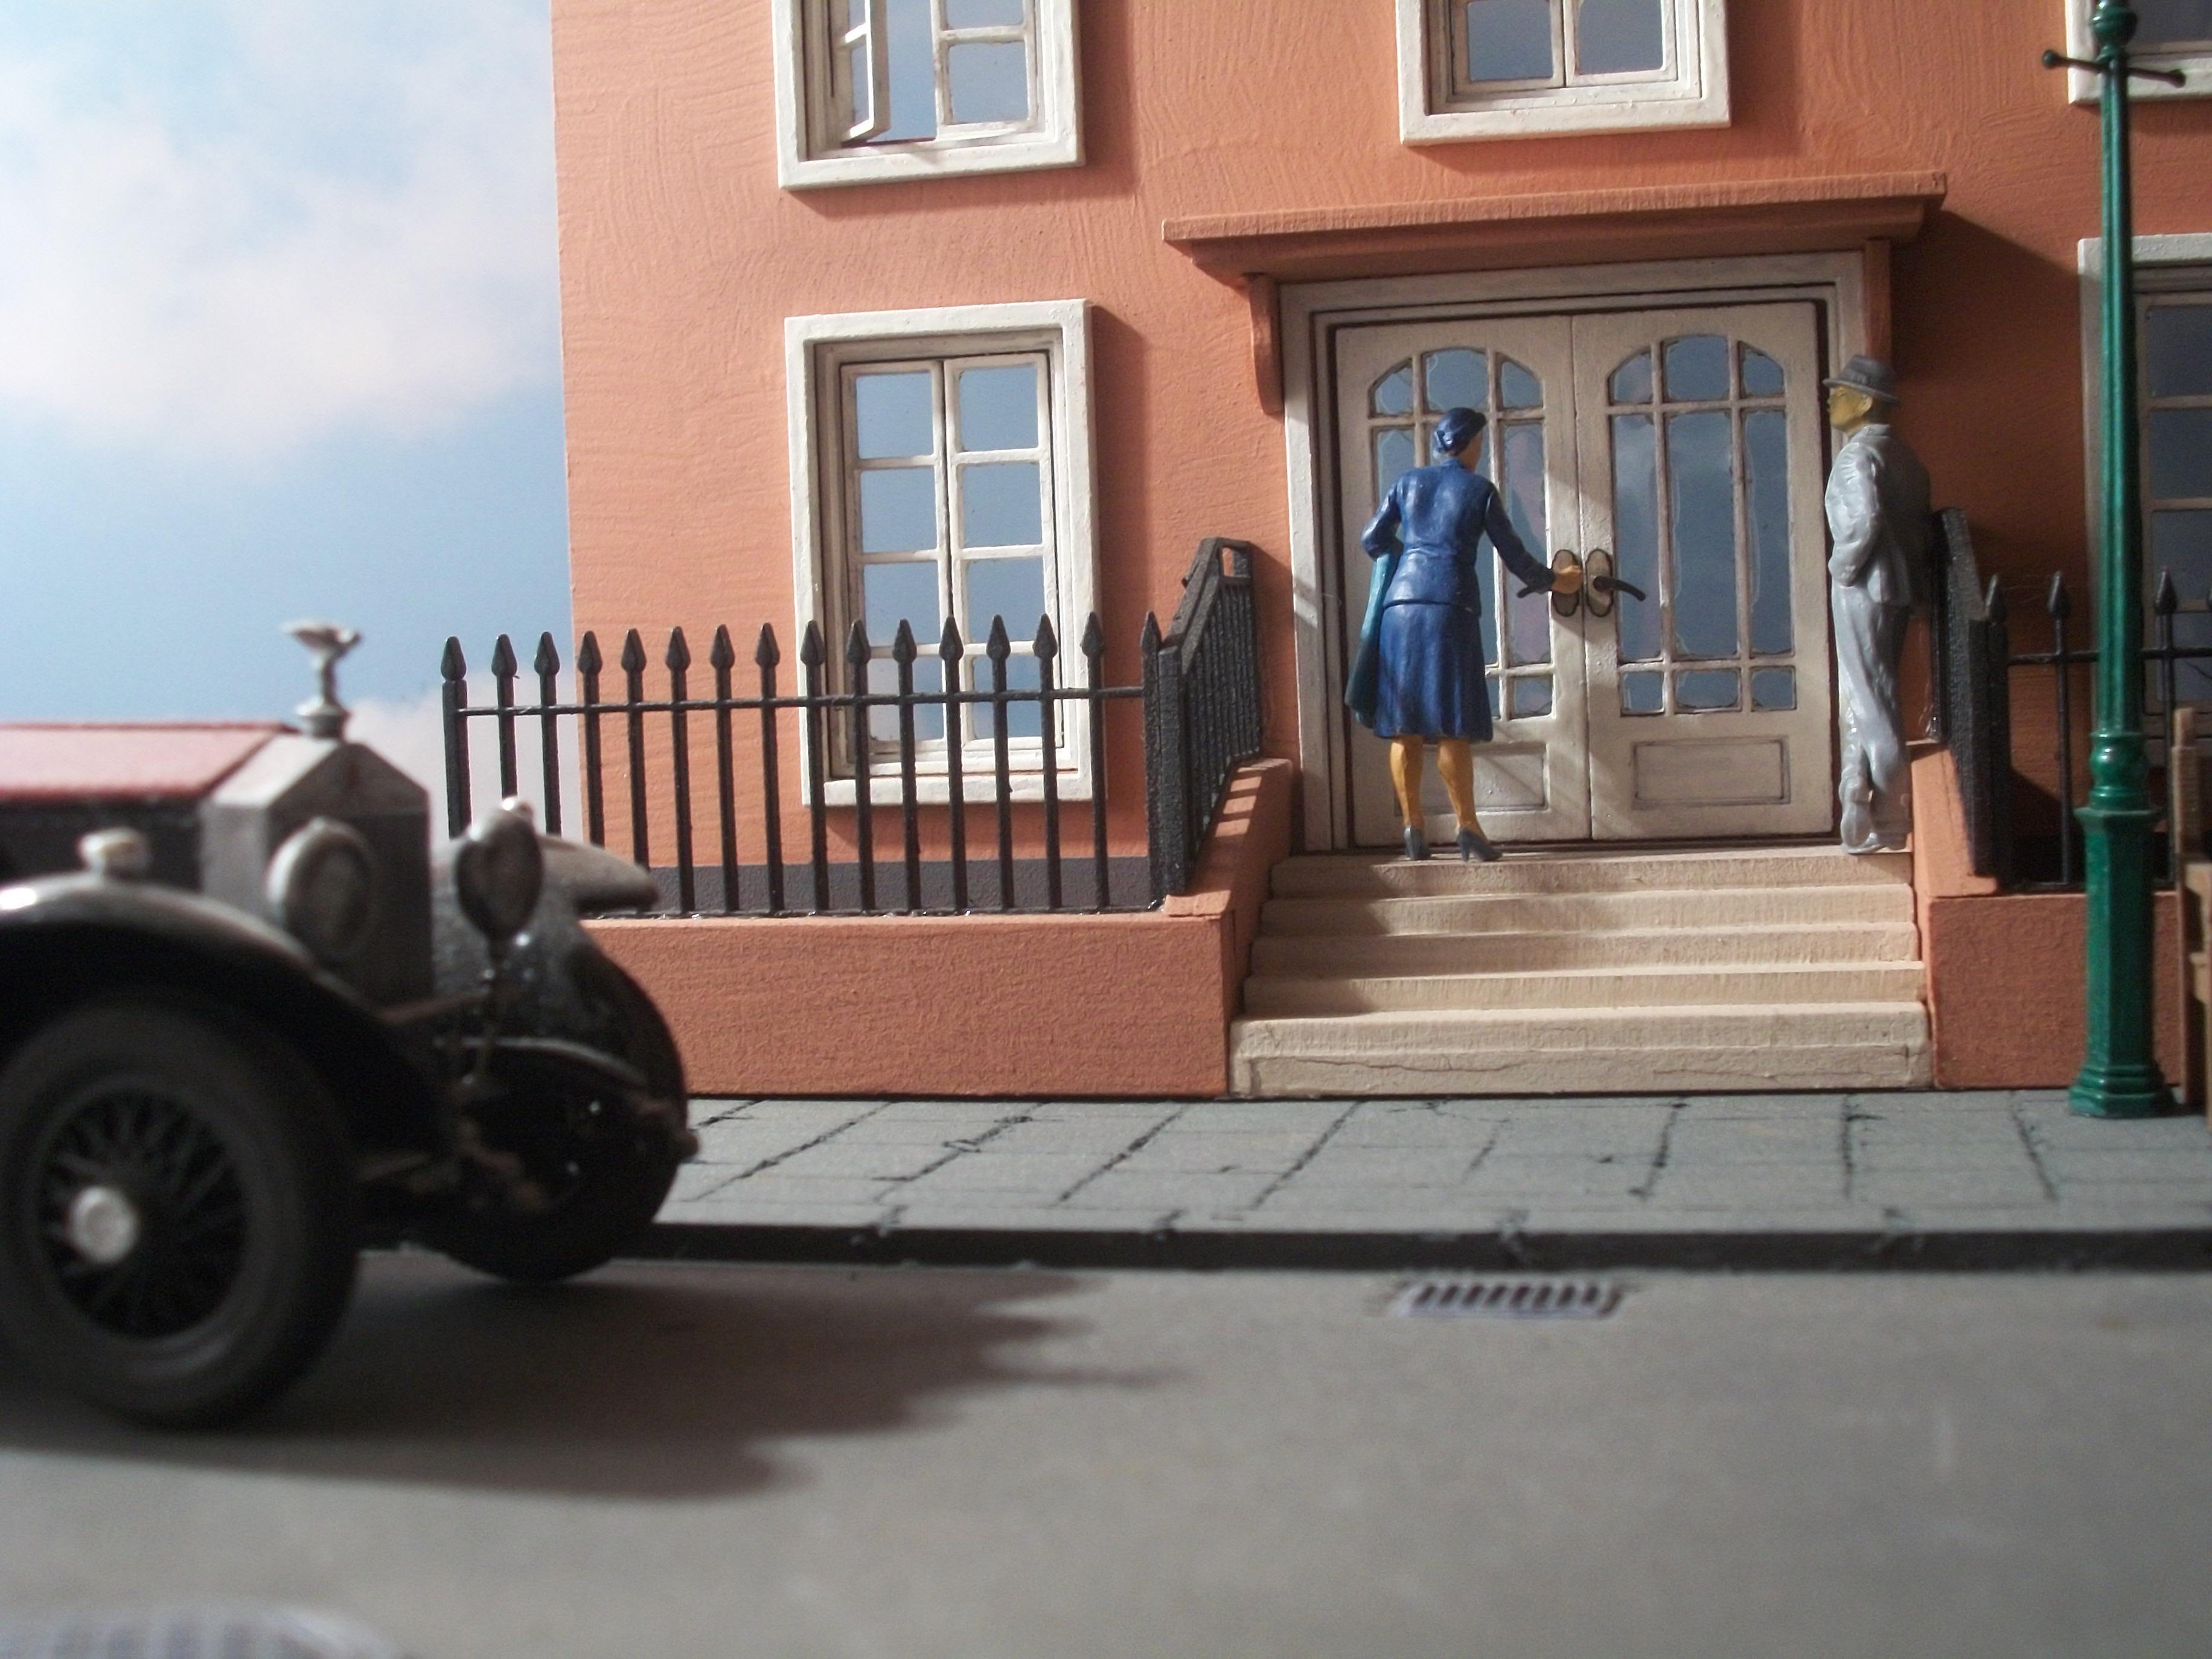
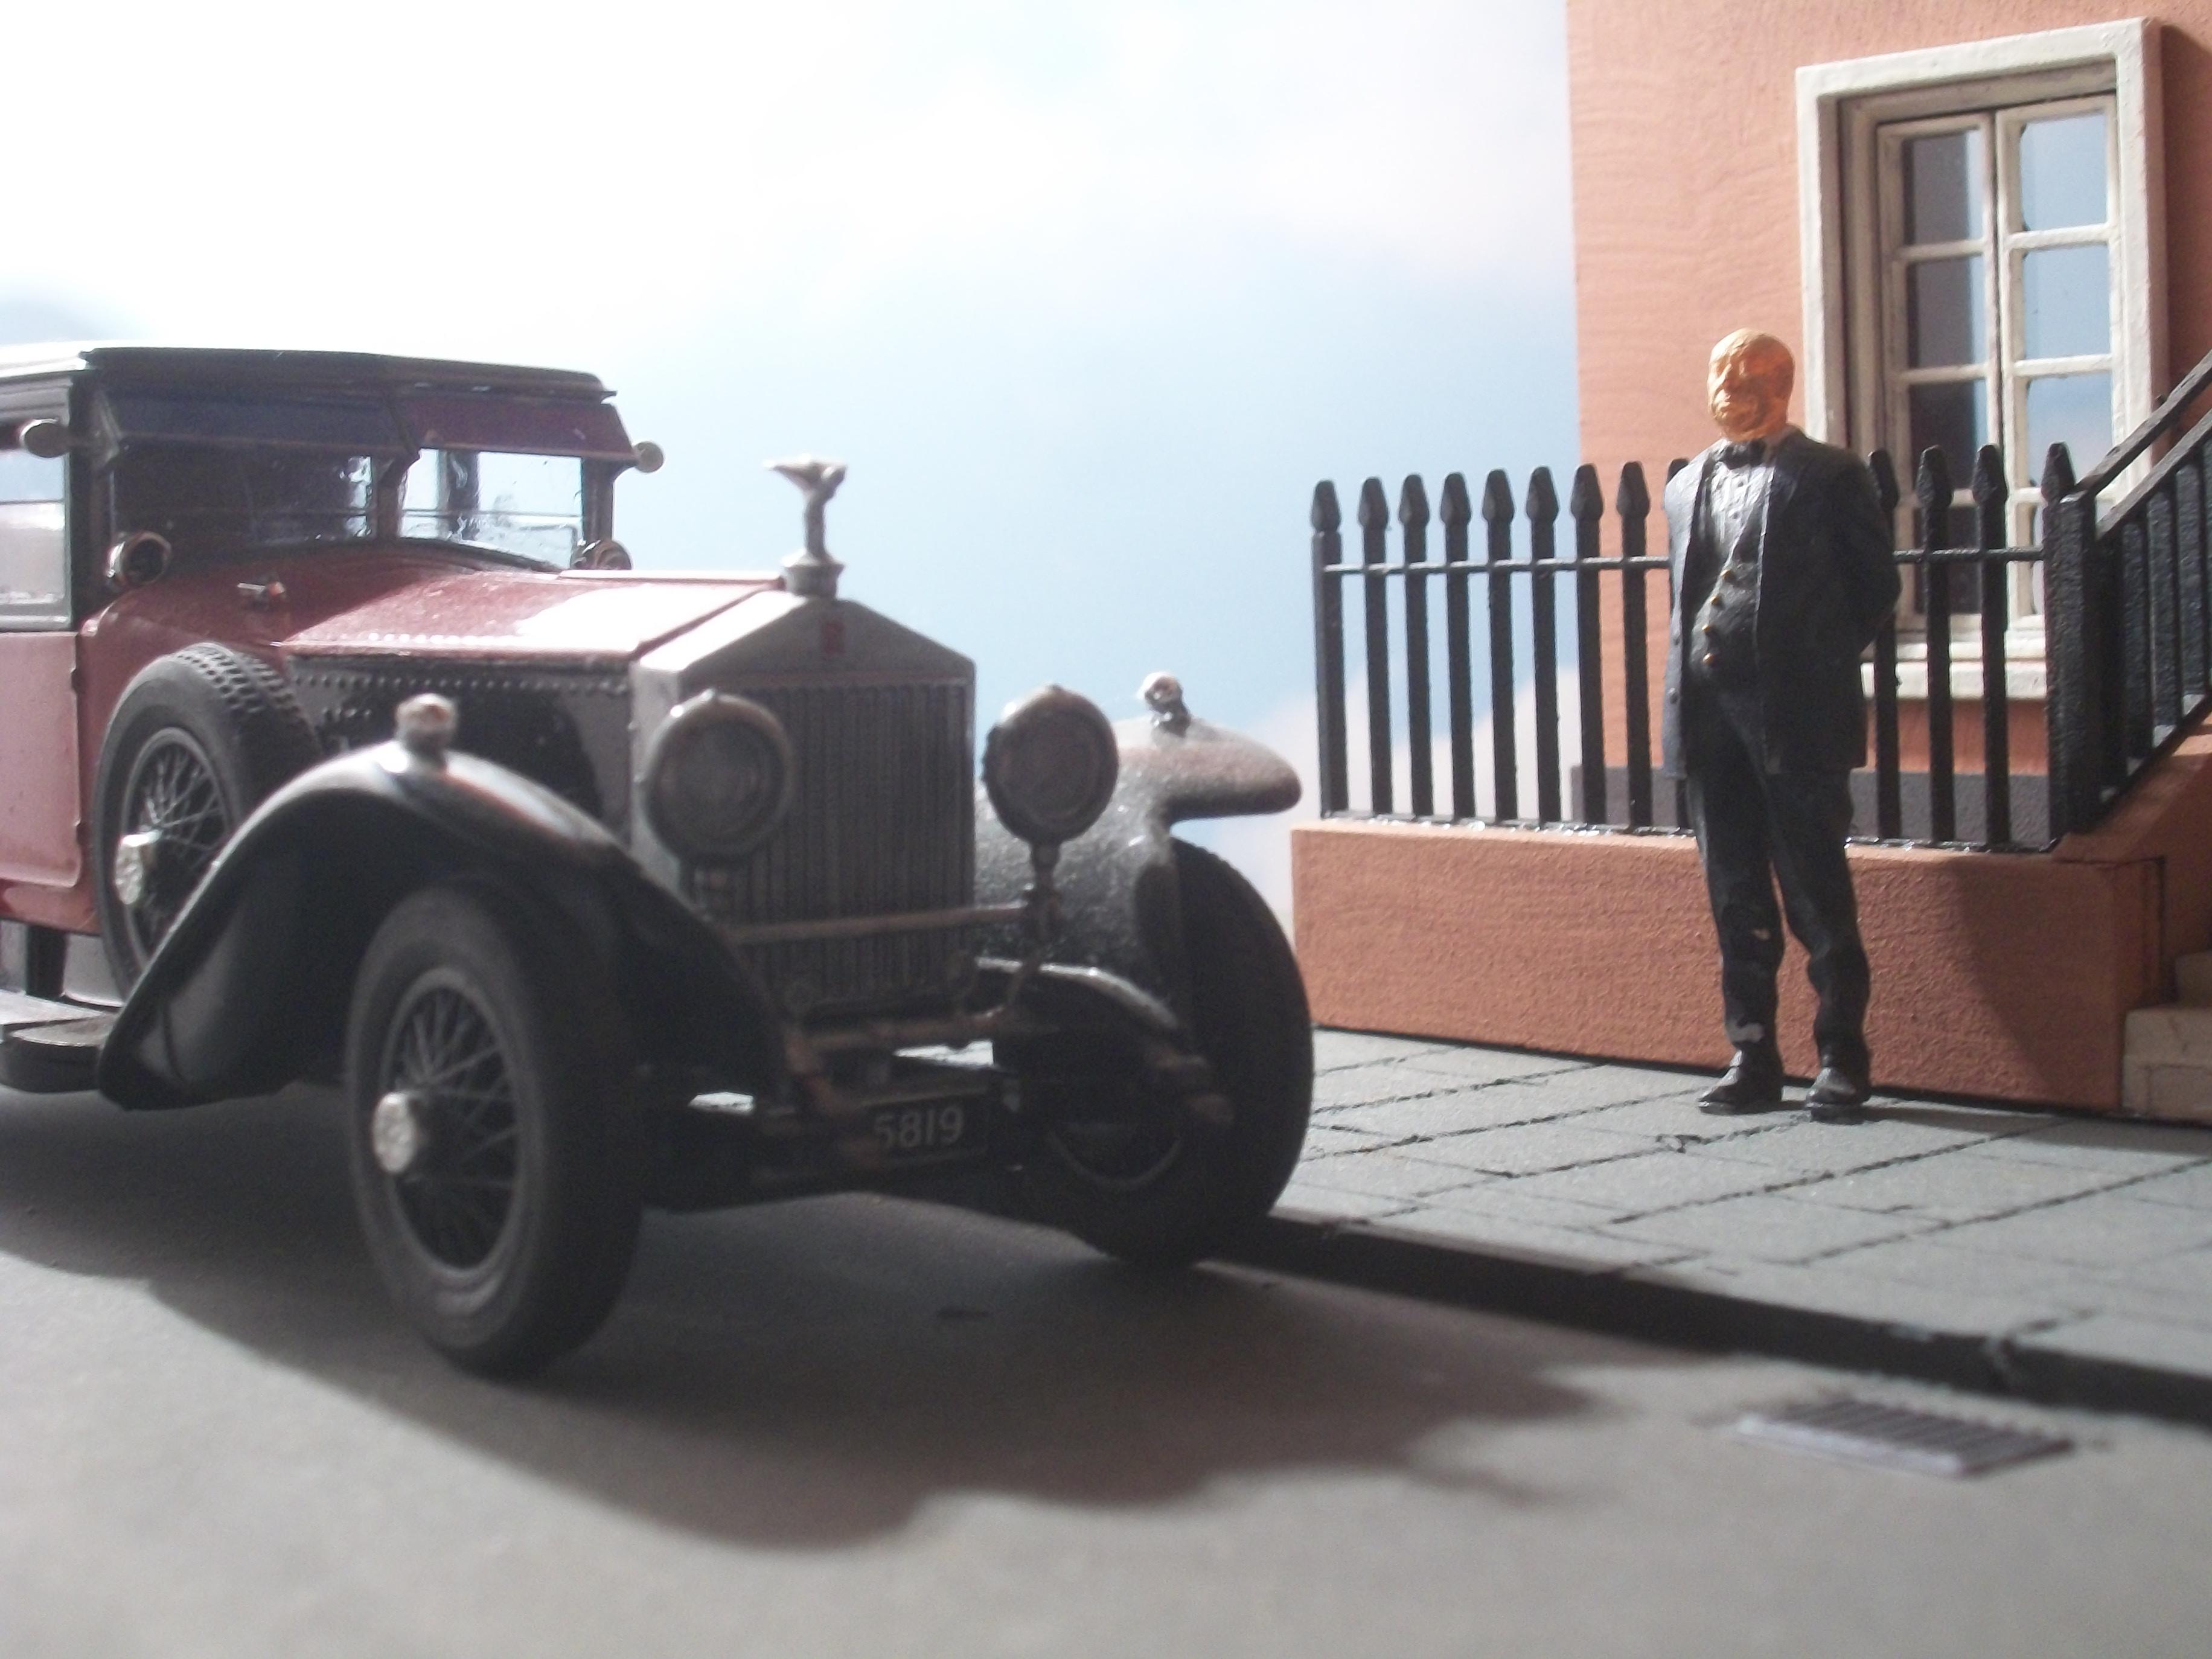
Here are some photos taken of the 1:35 scale ' Black Diamond ' diorama, using a different lighting source. This features the 1928 Rolls-Royce Phantom I, which is actually a 1:32 scale model car. The next build on the workbench will be the 1:35 scale MiniArt European Tram Car from the 1940's, and both the tram rails and the overhead tram wires will be incorporated as part of the European house scene, which is the ' Black Diamond ' diorama setting. There are quite a few interesting 1:35 scale figures included in the tram car kit. David
-
Well, Harry...... When I started to read your post, I didn't think it was going to be interesting...... but the more I looked at the photos of your project, the more I found it really very interesting ! You have put such a lot of thought and work into this, and I like the the fact that from all different angles there is so much to see. The fat man looking in through the hole in the wall, the engine bay of the rusted car..... just brilliant. Well done ! David
-
Nicely done utility power run, Paul........ The diorama gets power just in time for the oncoming Winter ! David
-
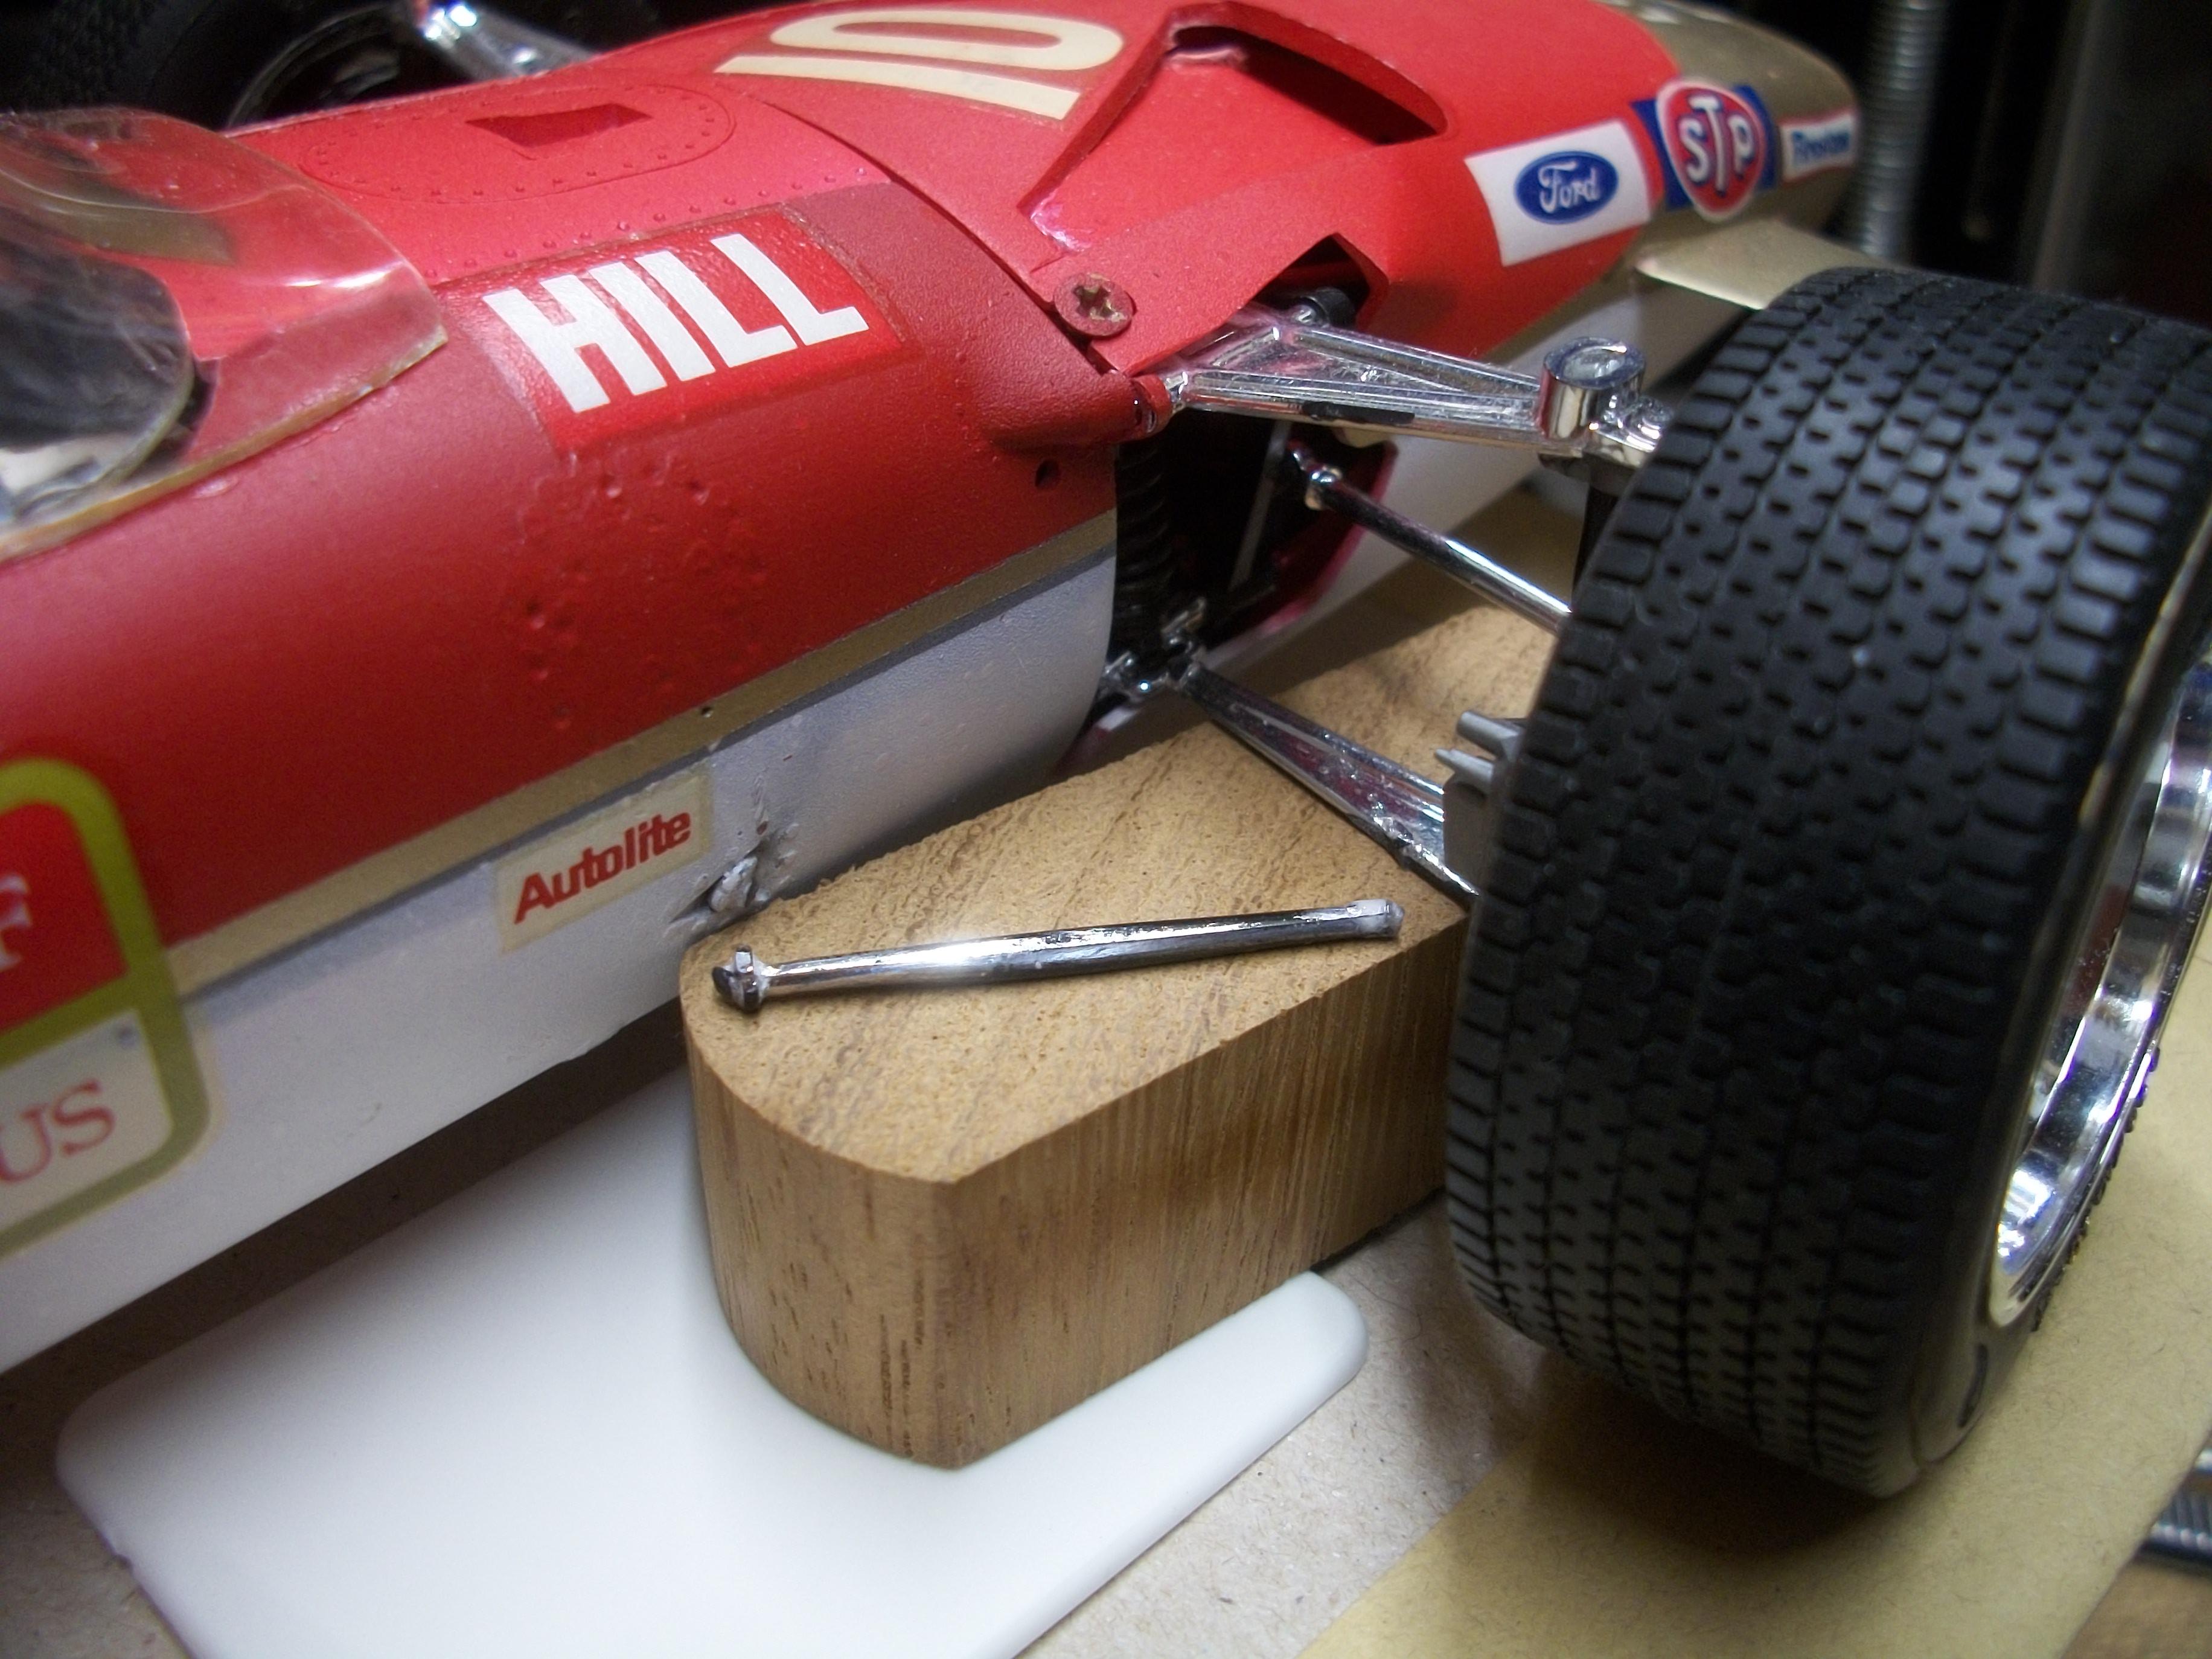
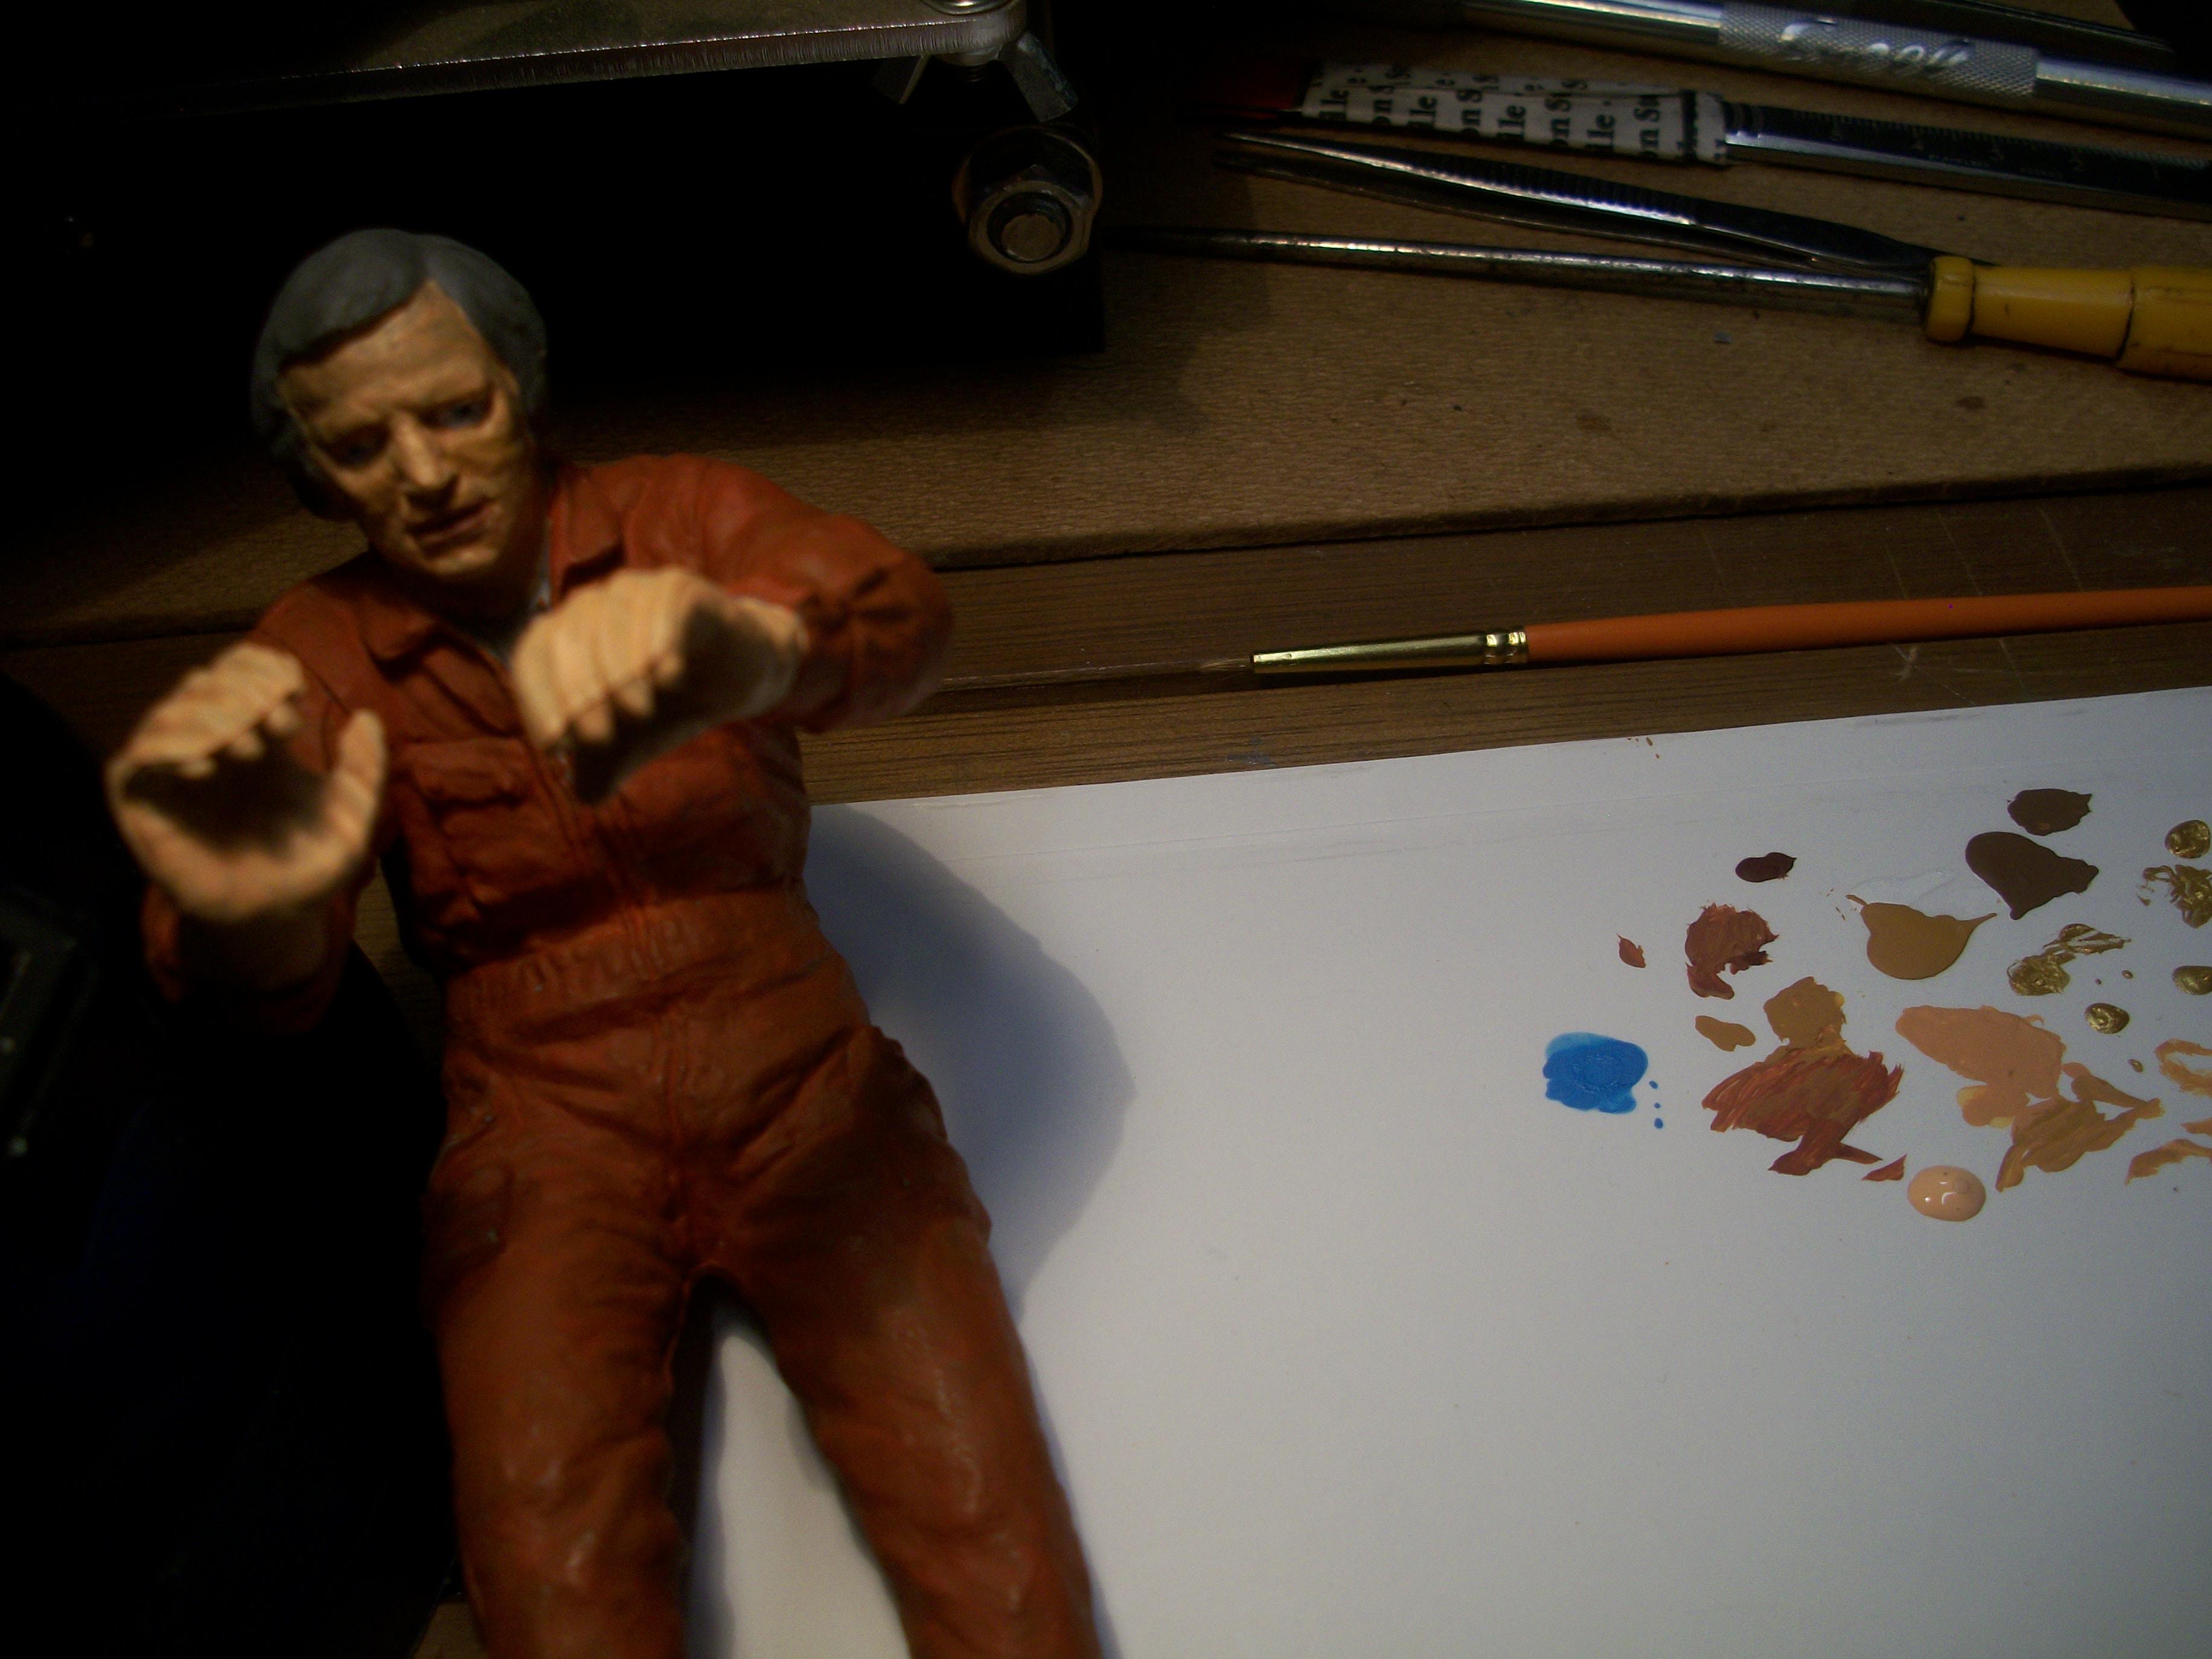
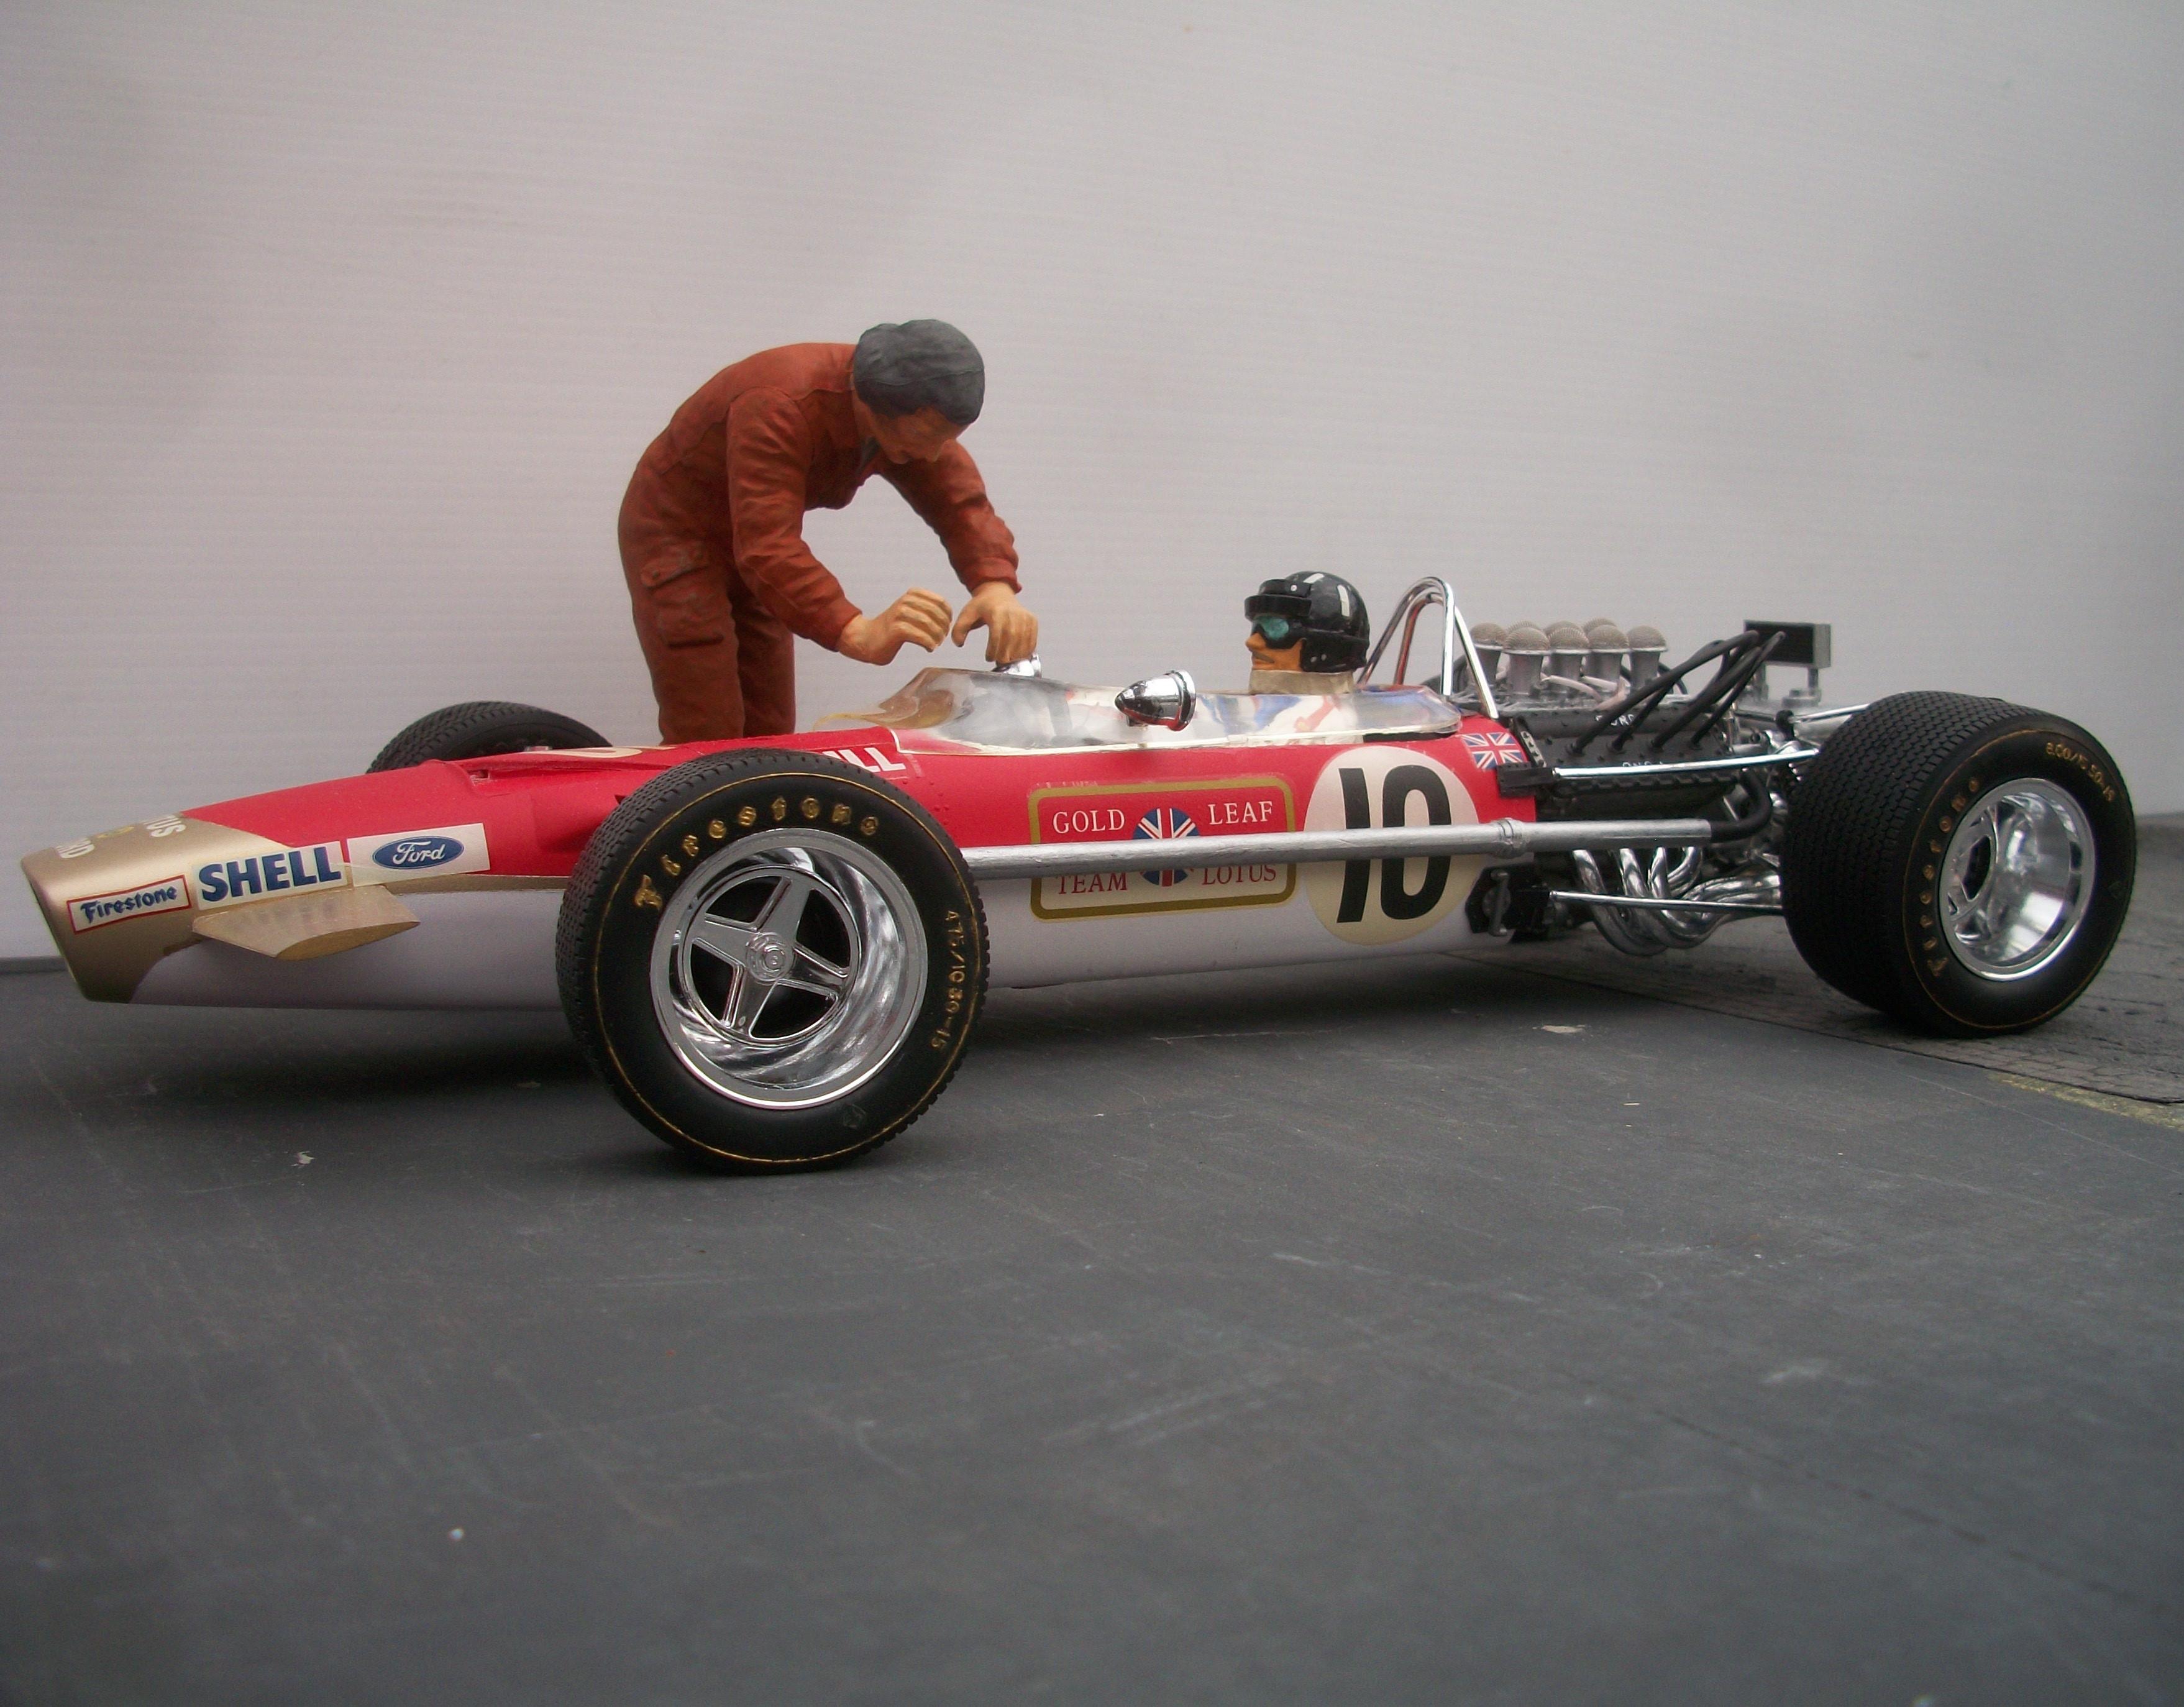
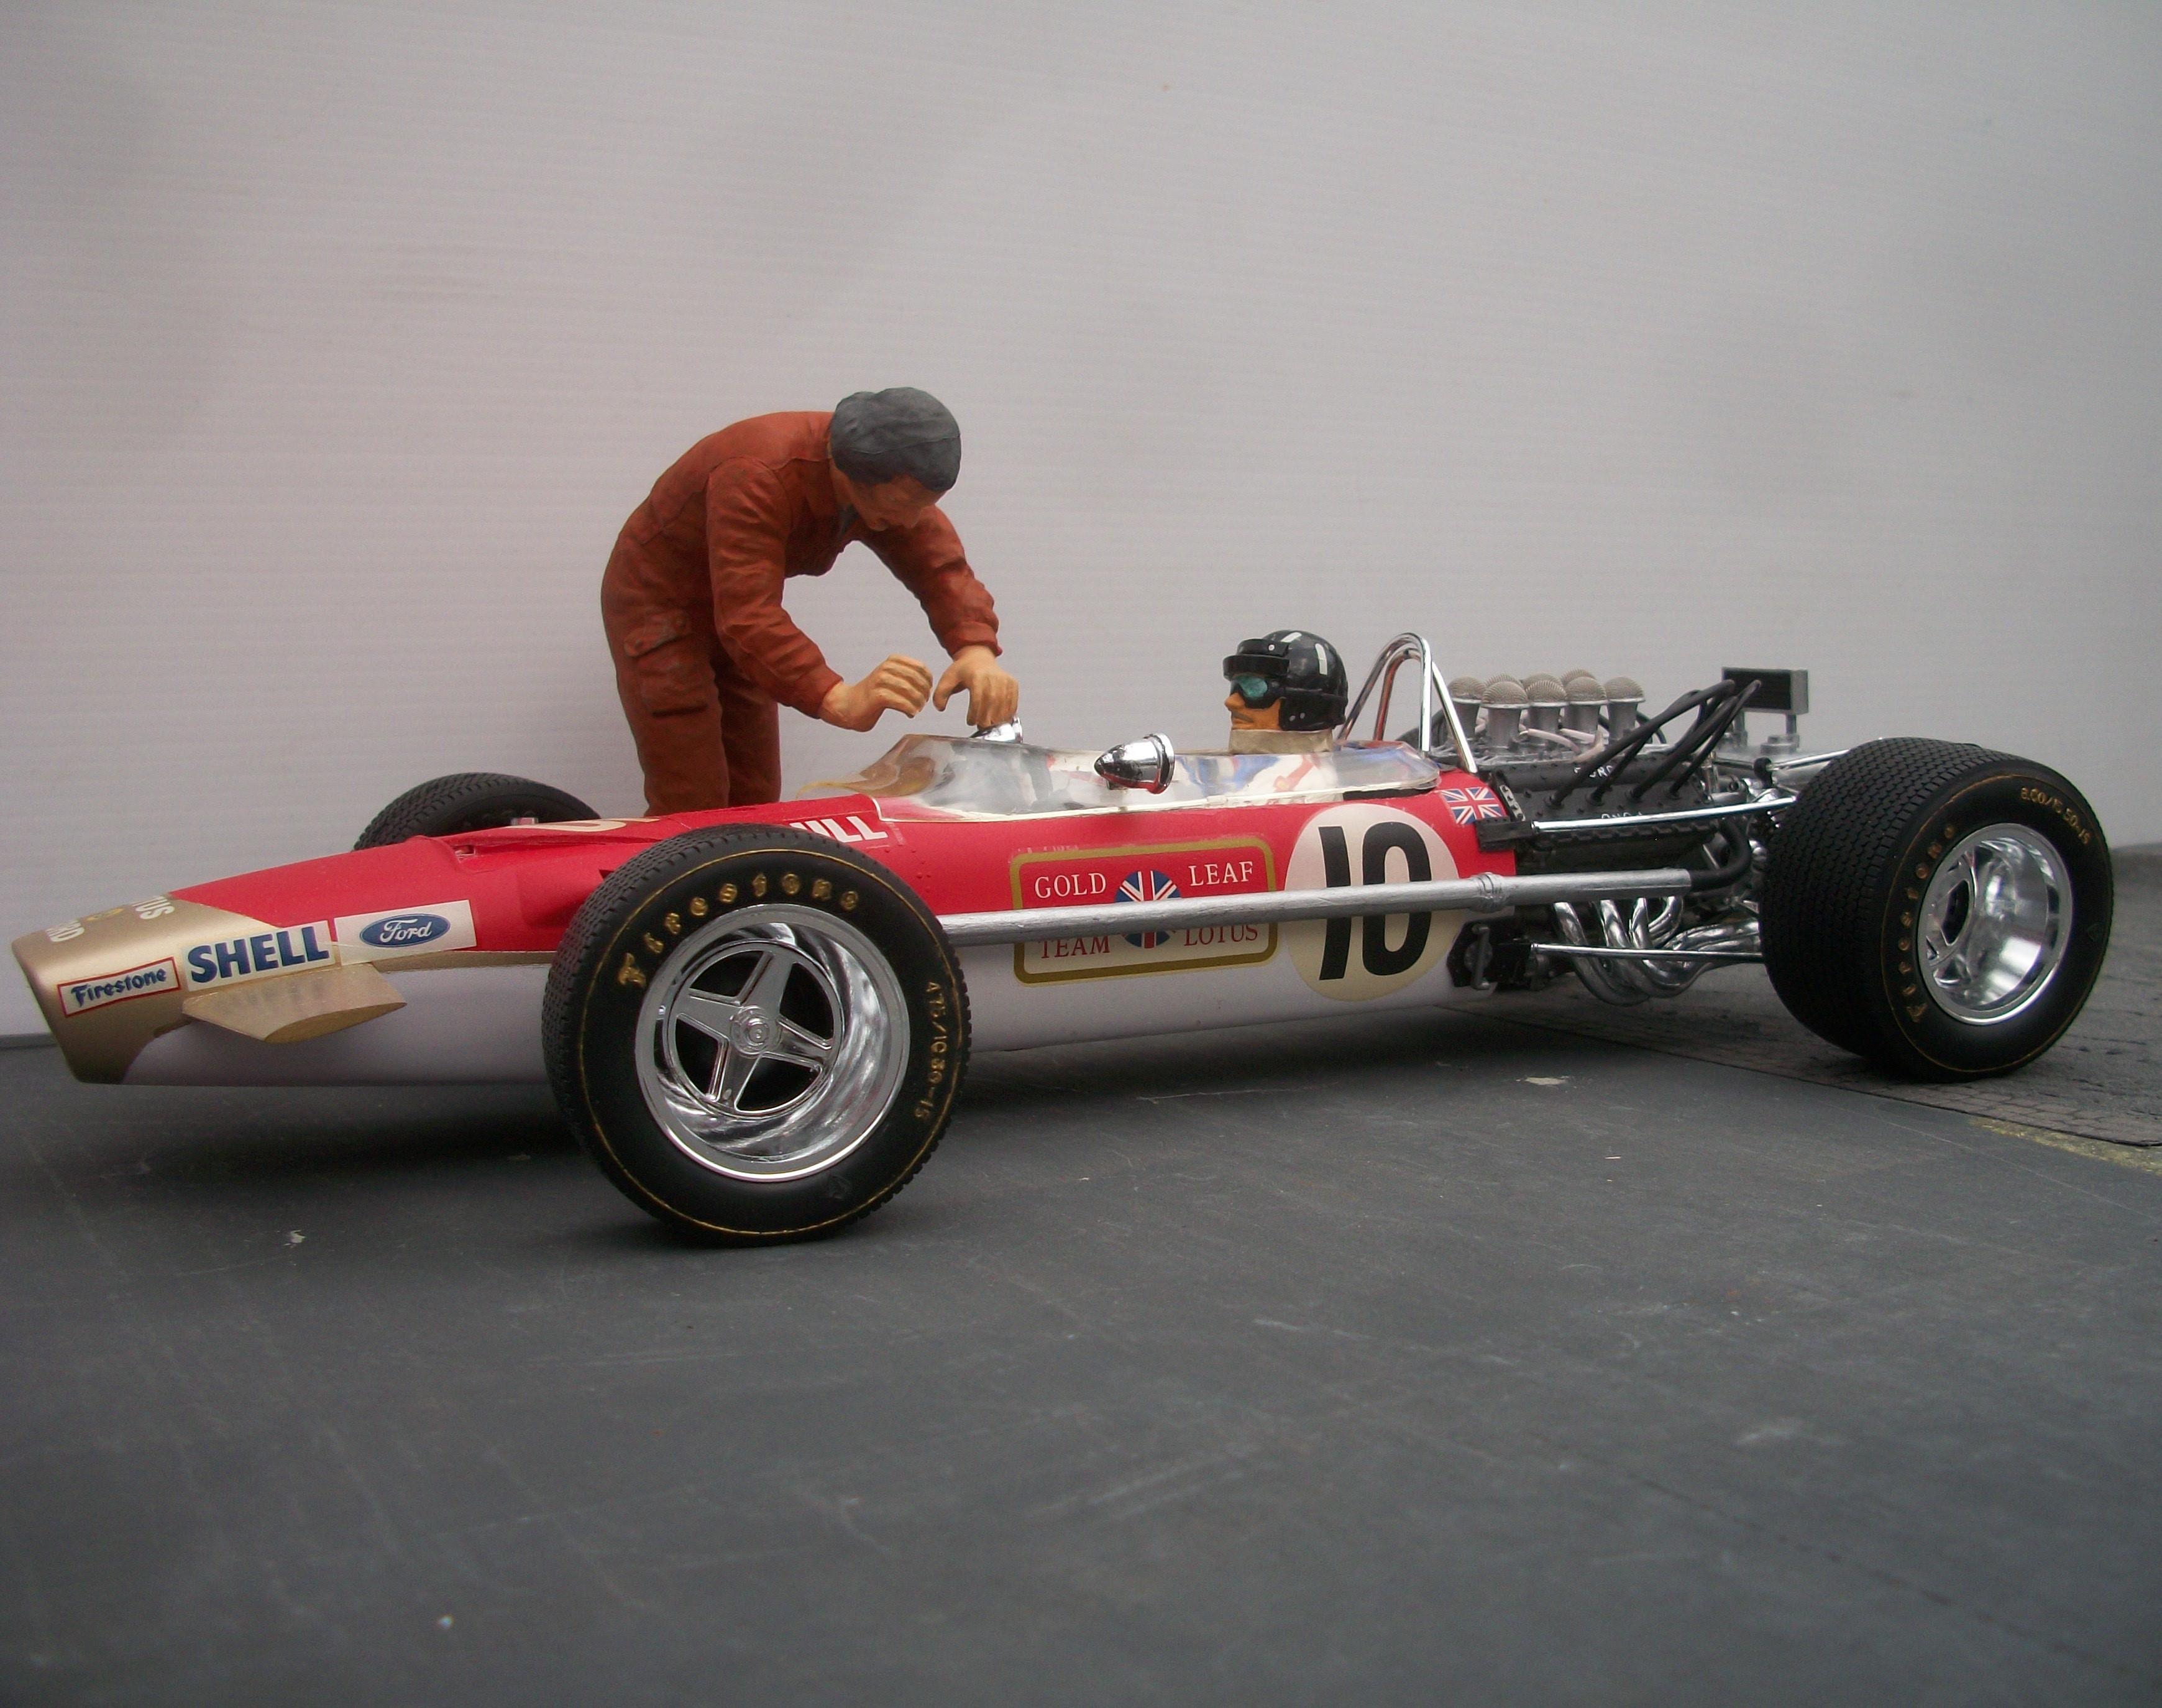
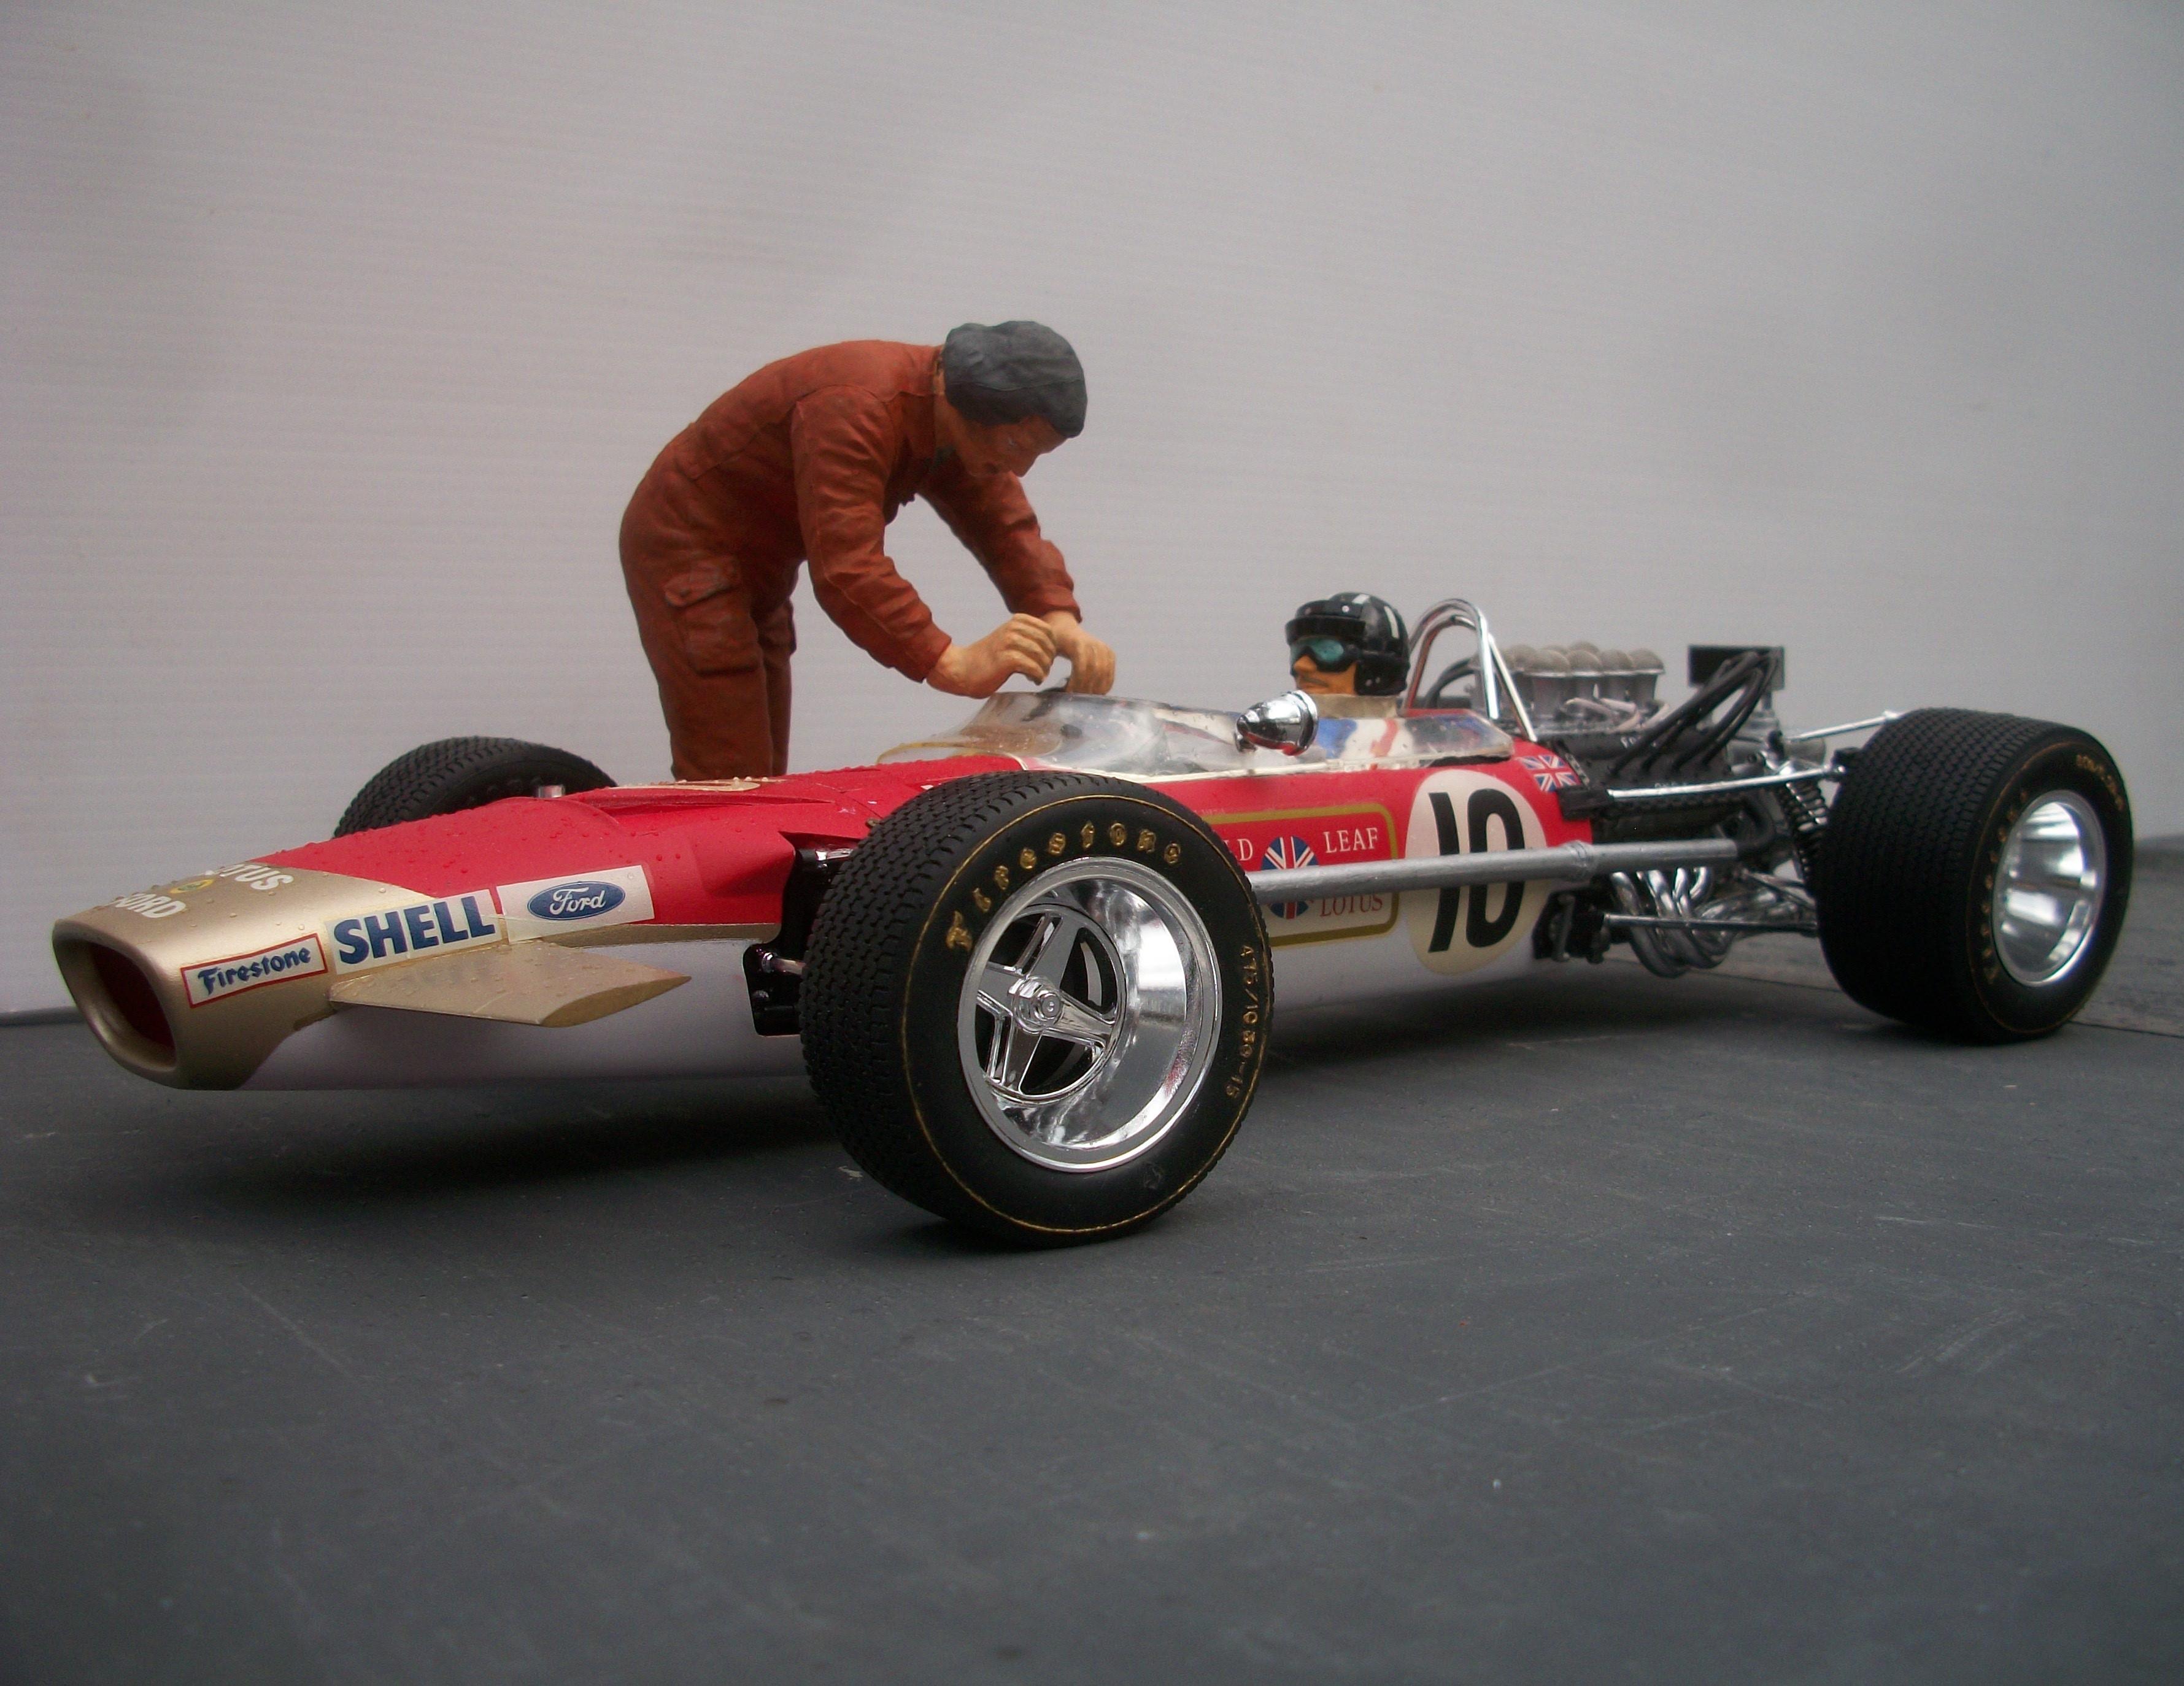
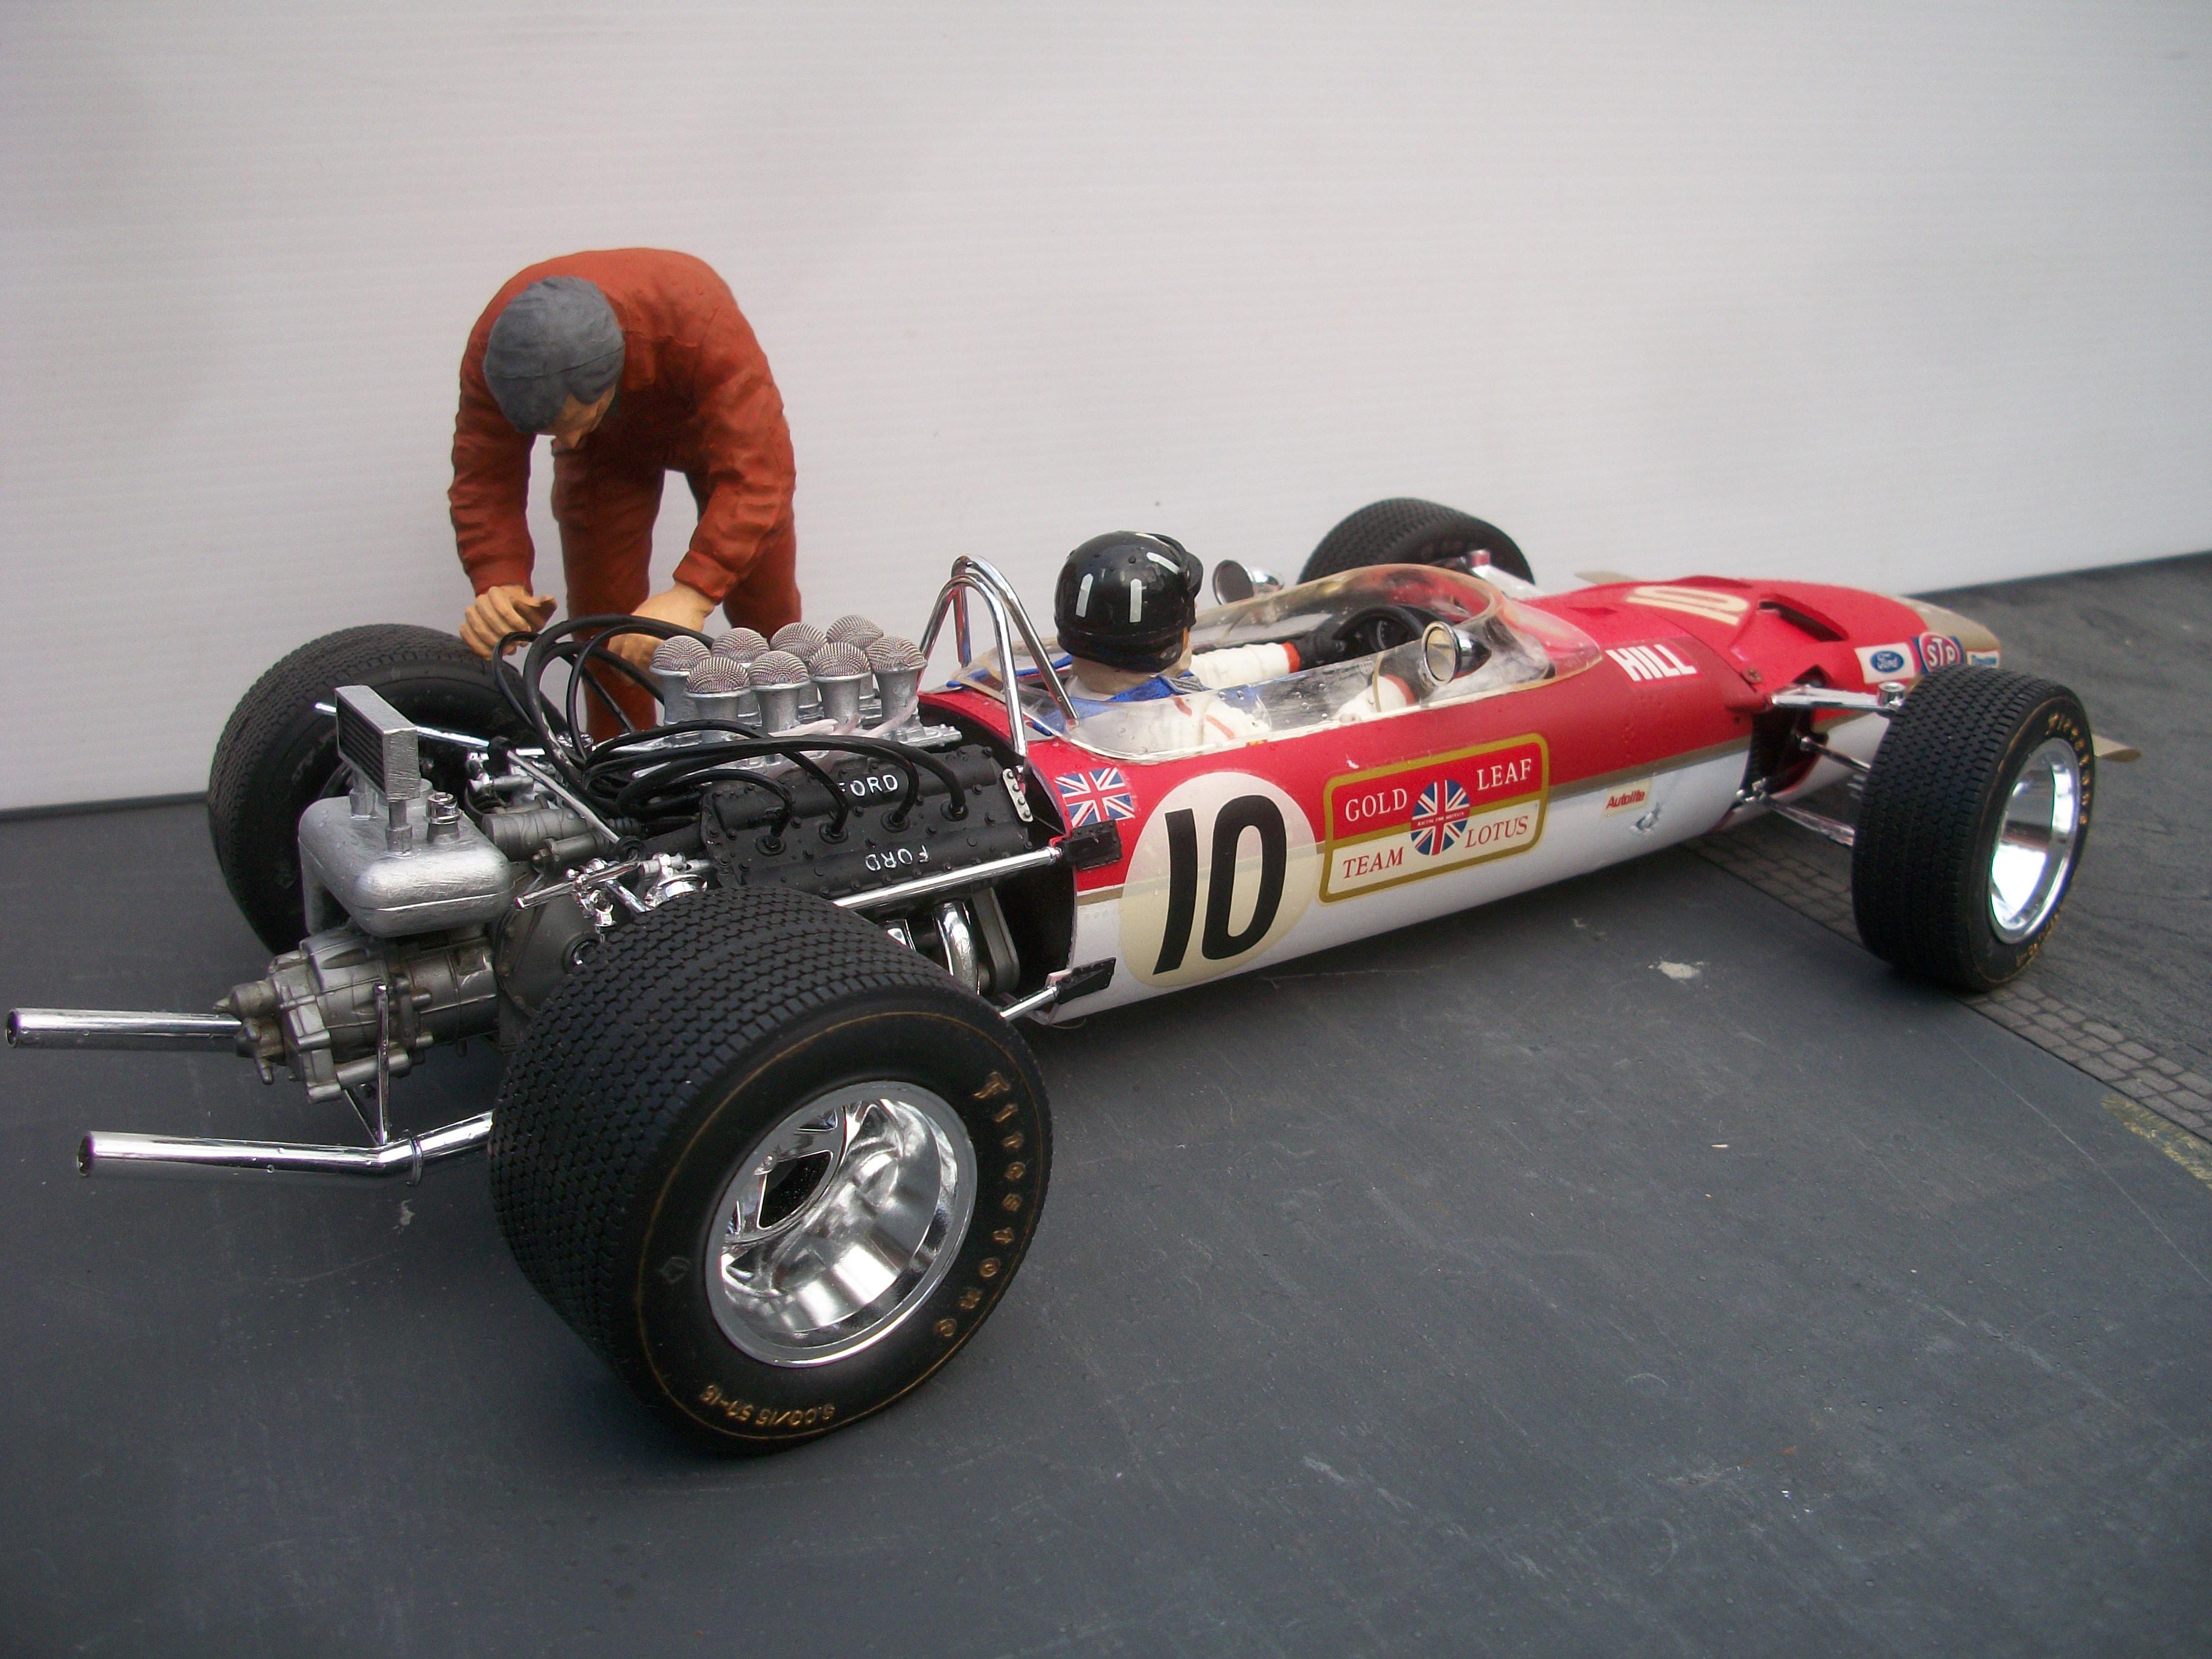
The right front suspension of this Lotus 49B has a bracing strut, which has detached itself, basically because there is very little point of contact at each end of the strut. This has been repaired, by adding a modification, in the form of a mounting plate at the outer end of the bracing strut. My thinking is that this would have been the type of modification that the Team Lotus mechanics might have carried out in between races, using whatever parts came to hand in the pits garage. Also, the mechanic figure is having some skin tone changes, which is my attempt to achieve a realistic appearance to the hands and face. The seams on the hands need to be removed, as they look bad. David
-
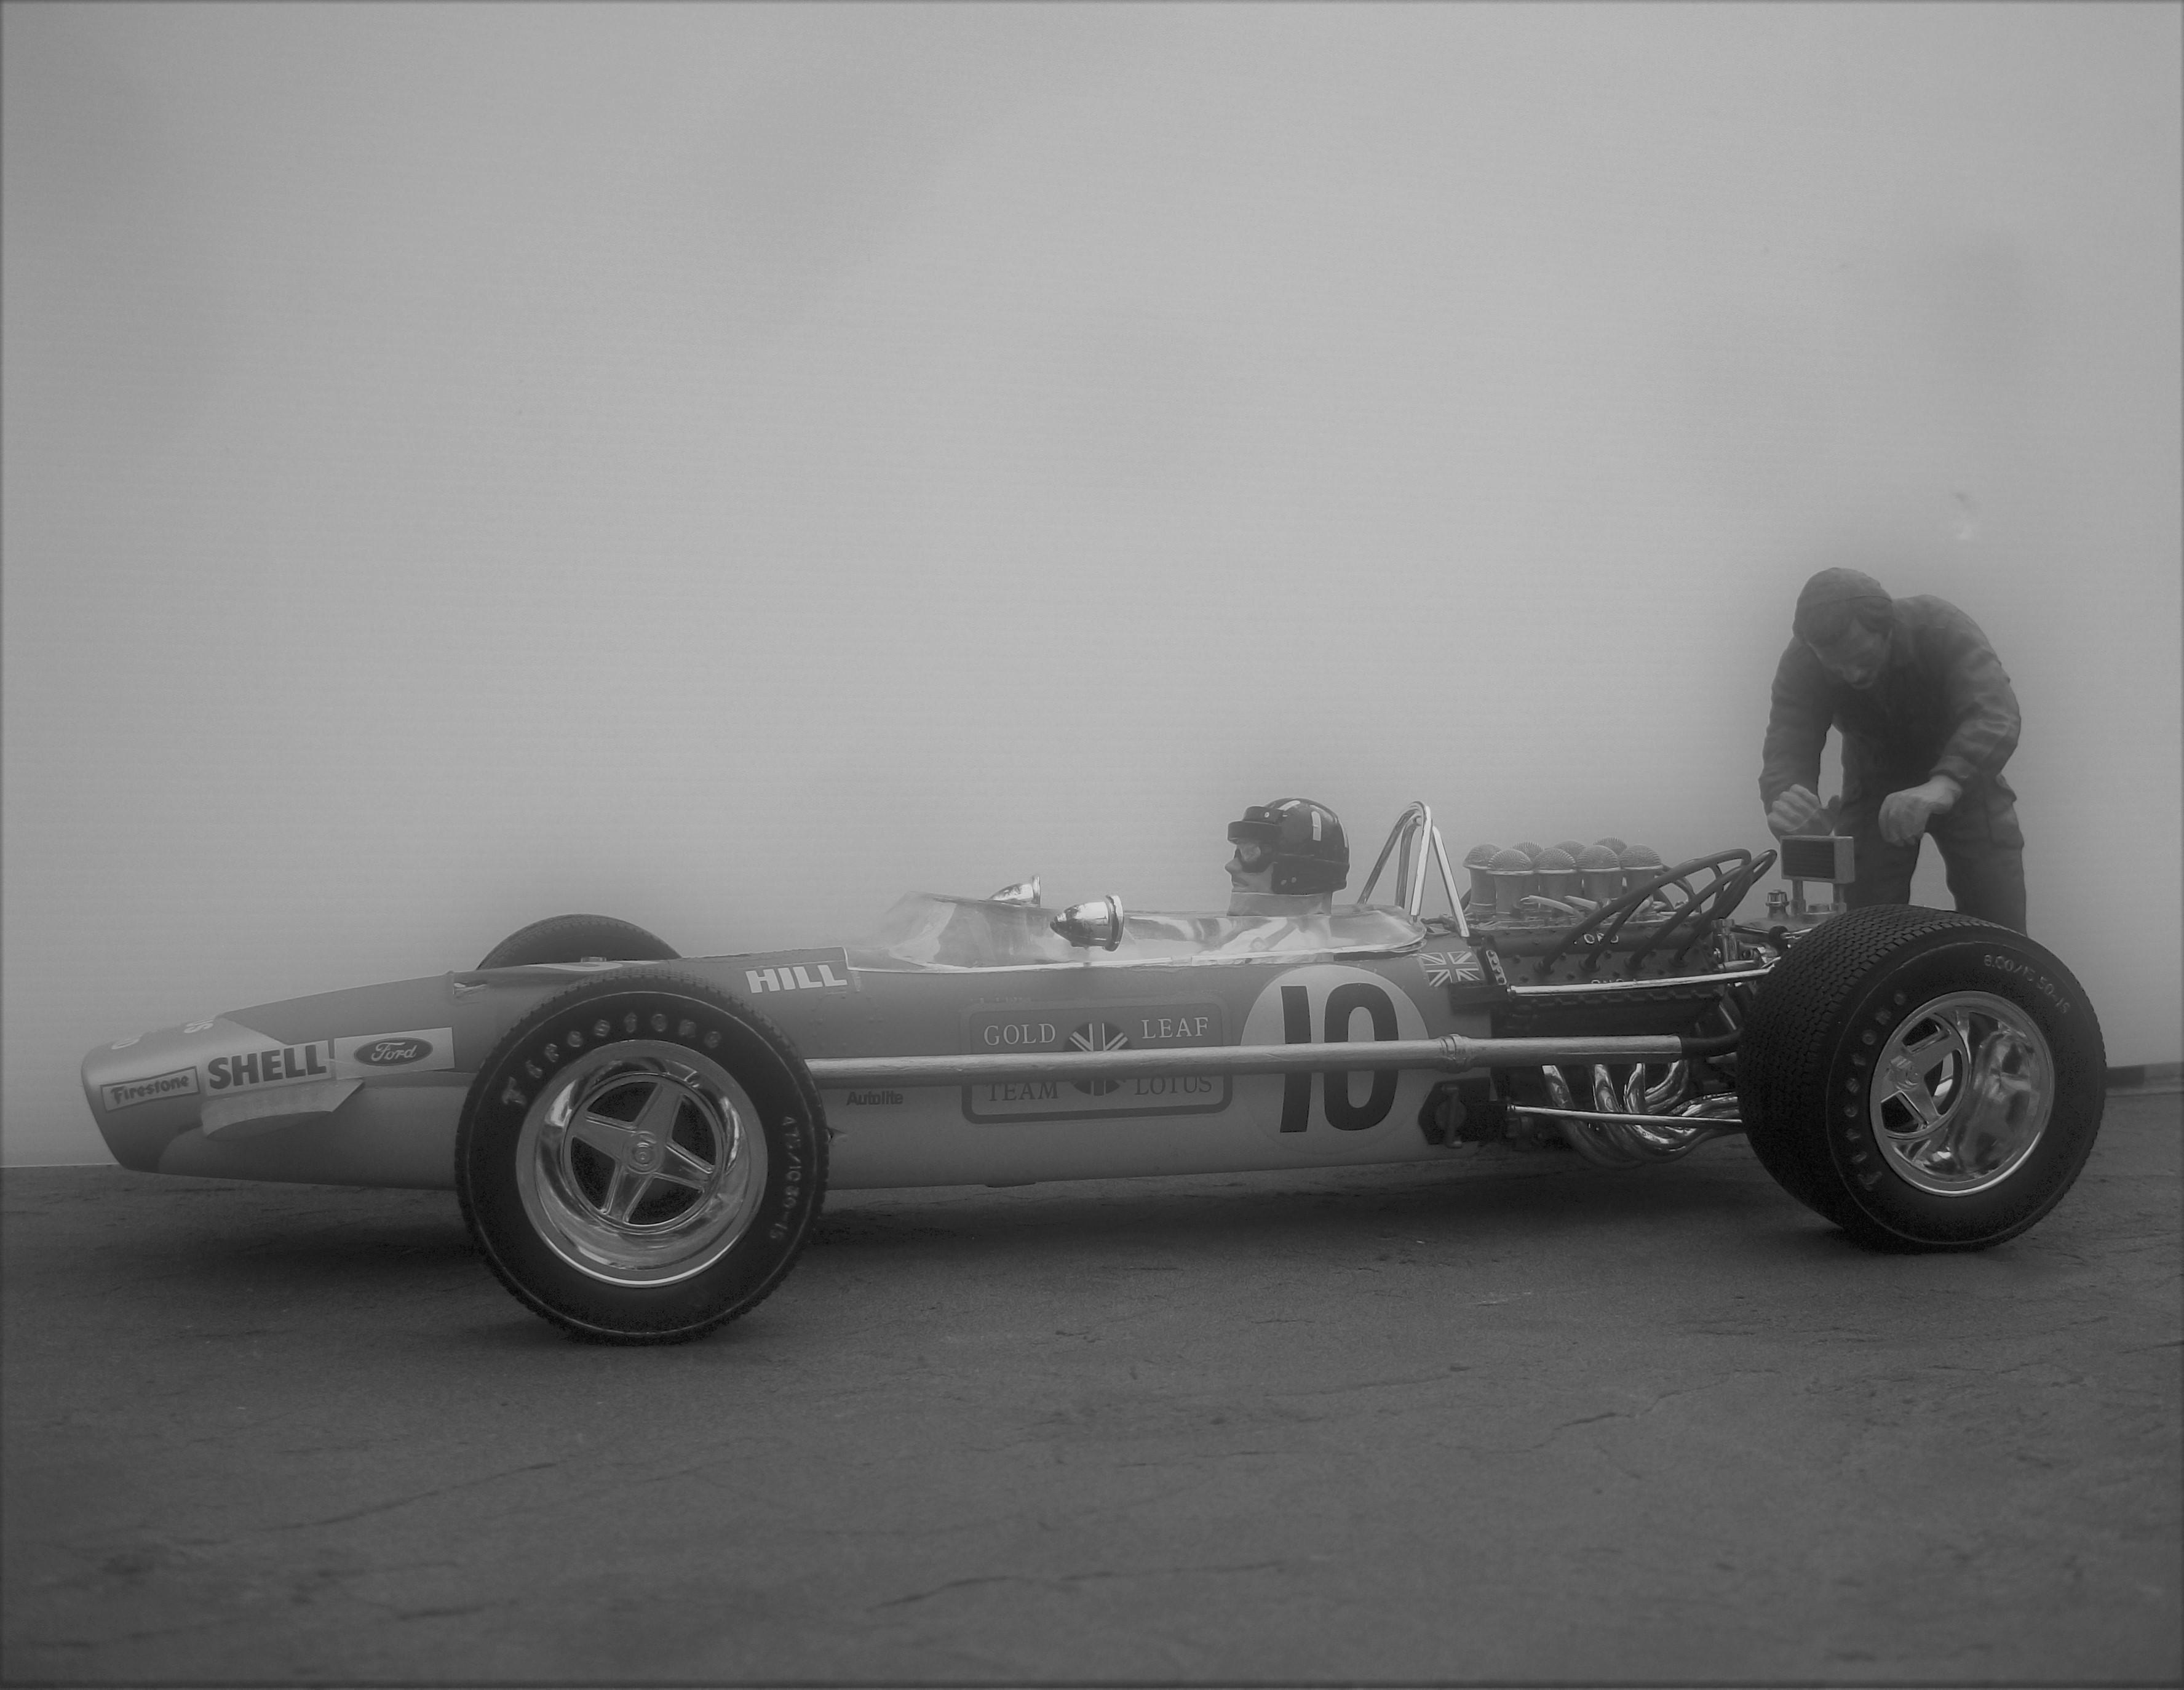
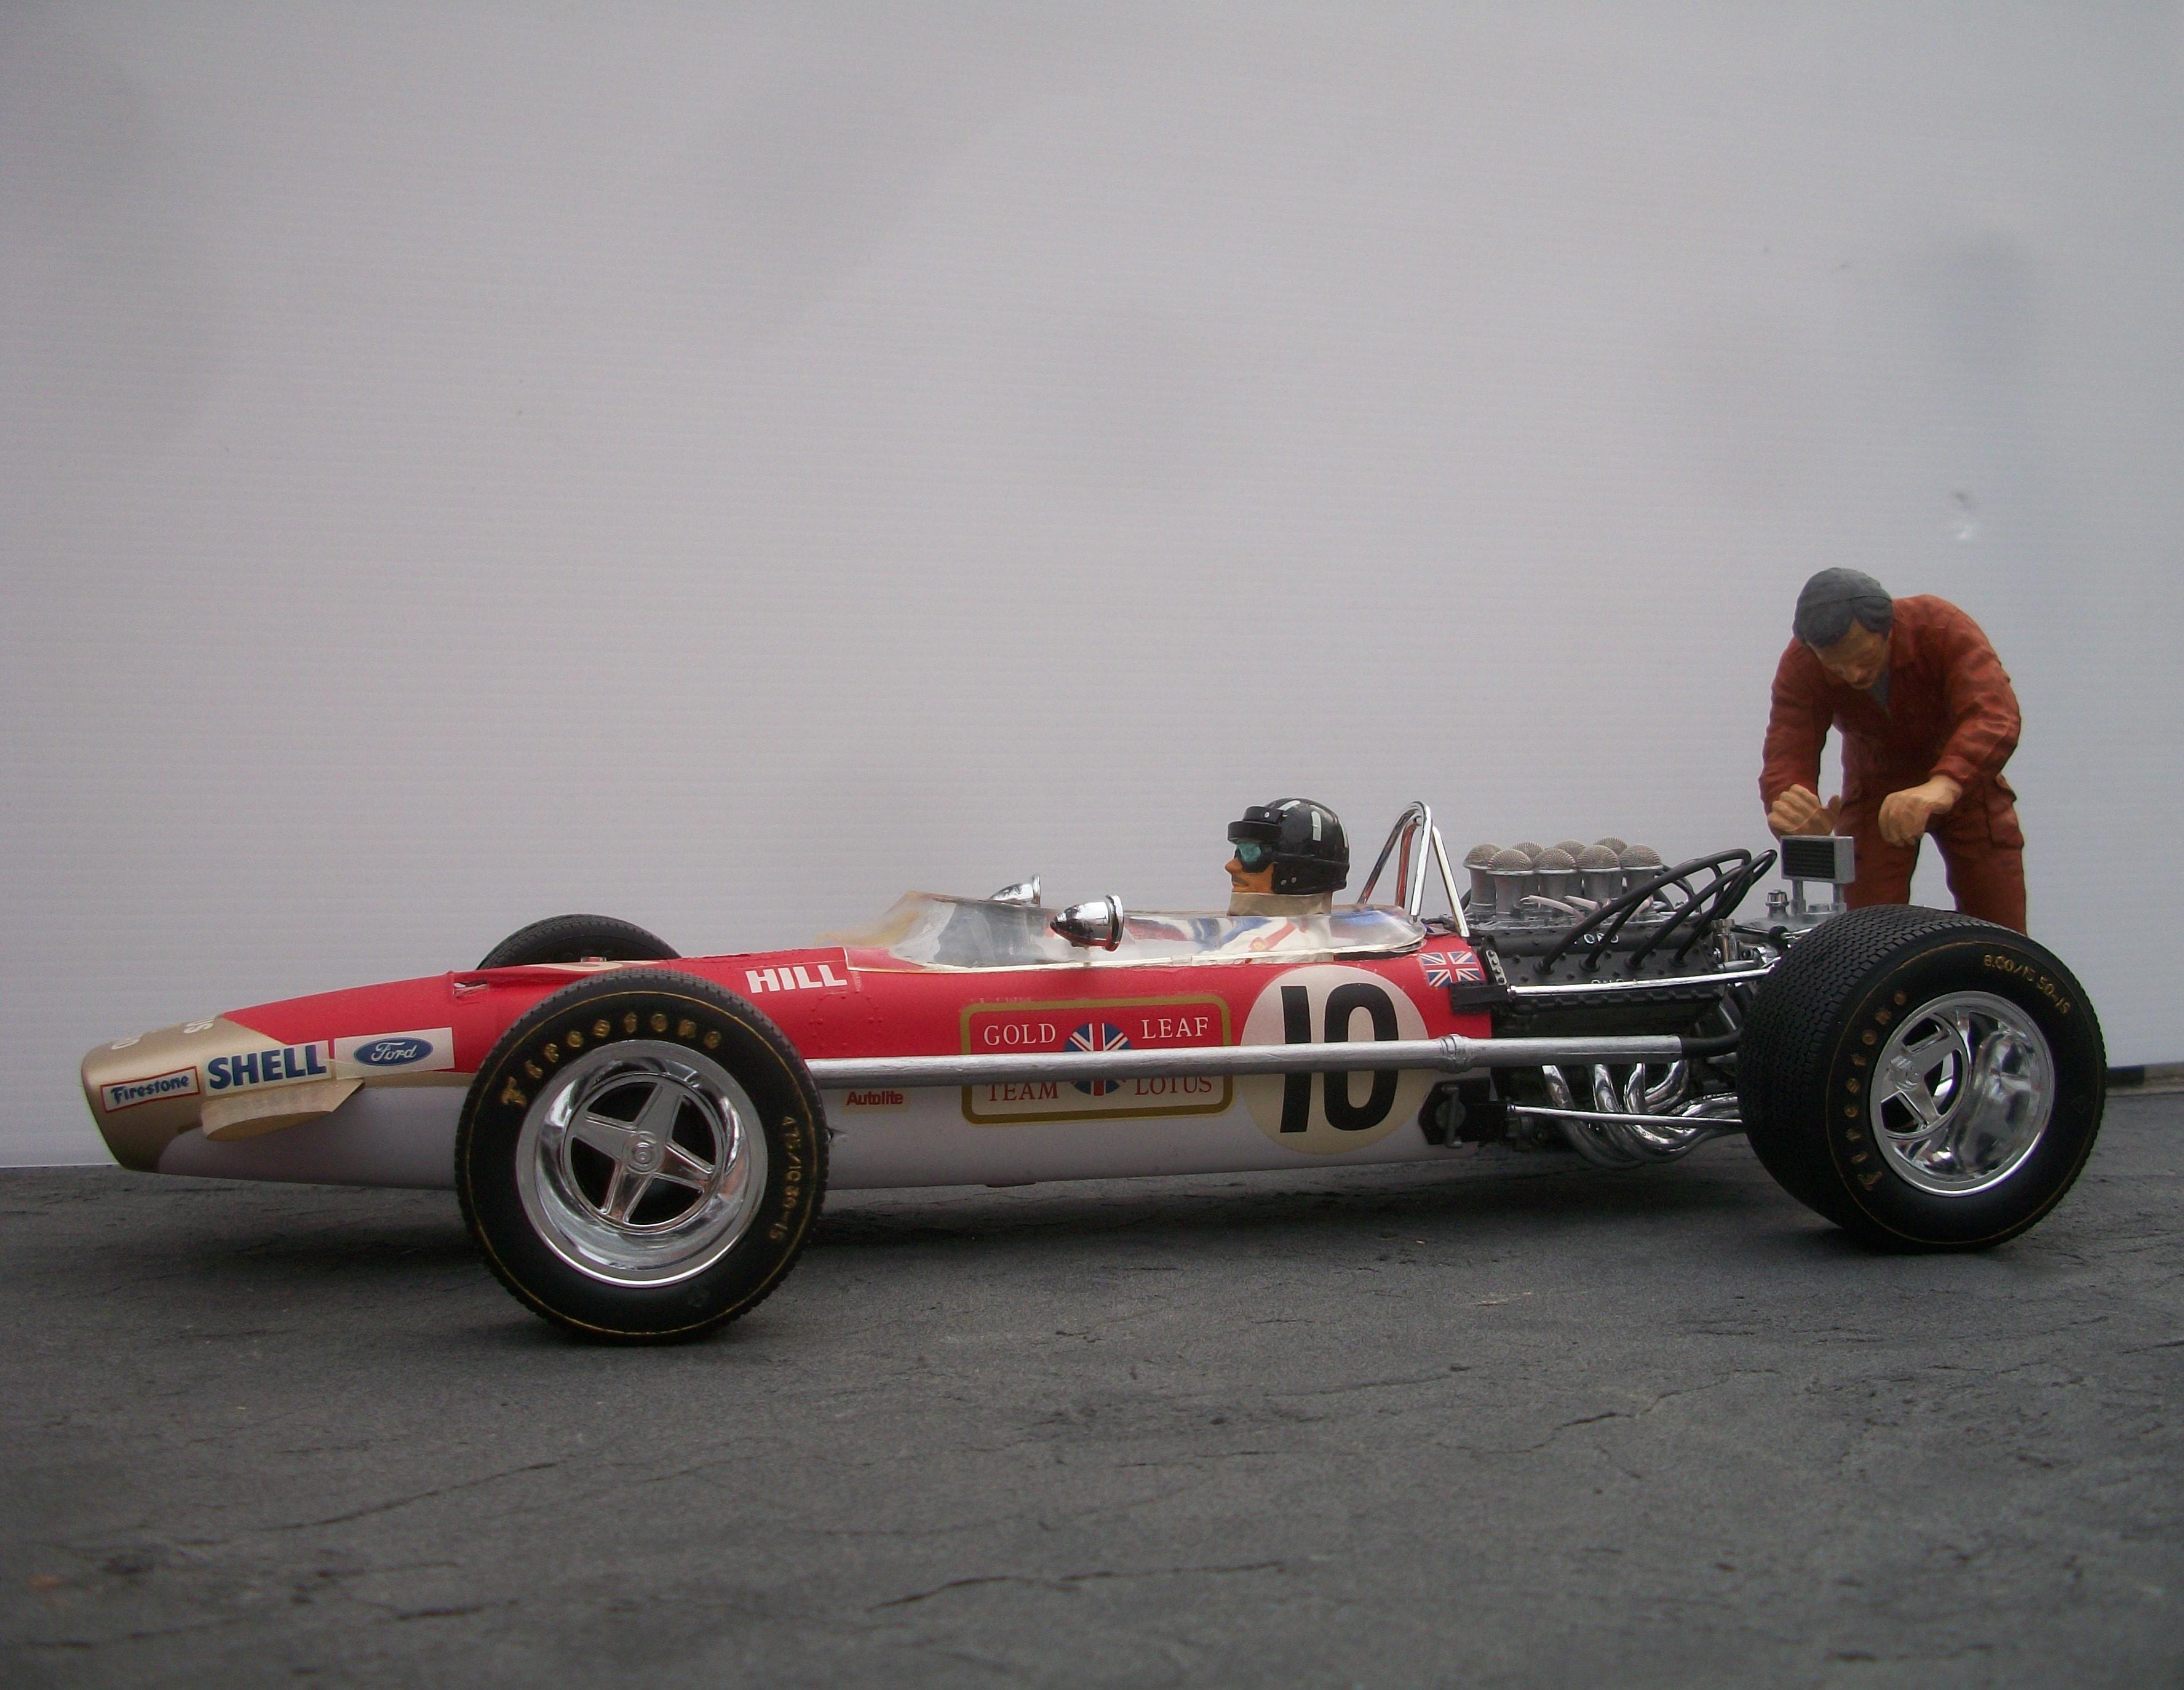
The latest build is now completed, which is a 1:12 scale Tamiya Lotus 49B in Gold Leaf Team Lotus colours. Sitting in the car there is the Tamiya figure of Graham Hill, and also a second figure which is Graham Hill's Chief Mechanic, Bob Dance..... This scene is my idea for a small diorama of the starting grid at the 1968 Mexican Grand Prix, when Graham Hill went on to win not only the race but also the Formula One World Championship. These photos are taken outdoors, and they are really just a set of simple test shots, that were taken very quickly. The rear aerofoil wing of the model Lotus was broken off, when the white board acting as a screen behind the scene, was blown over by a light gust of wind. This will be repaired for the next batch of photographs. David
-
Very observant of you, Eric....... and yes, that is precisely the kind of effect that I was looking for. Those photographs were taken using the 1:43 scale diorama, and at the moment I am also working in 1:12 scale, 1:35 scale and some 1:20 scale....... How are your model building projects going these days? David
-
This whole composition really works, Charles....... The positioning of the figures, and the overall damage..... excellent result ! David
-

What do you do with your built kits?
Anglia105E replied to doorsovdoon's topic in Model Building Questions and Answers
Our small cottage is pretty much full up with ' stuff ', and only two of the seven rooms have permission from she who knows best to store or display scale model cars. Usually a build takes me around one month, or sometimes two months if it is a large or extra detail model. I coild not possibly bring myself to sell or break up for parts, any of my built models...... I do agree that the building is the most satisfying part of our hobby, but once completed each car has a history and a personality, almost. My downstairs middle room, which is not very large, is where the dioramas are on permanent display and many cars are kind of ' parked ' in diorama settings. The loft room is also not large, and that is the workshop. Model cars are lined up on shelves in the loft. Fortunately, I don't have many unbuilt kits in storage, as I tend to purchase a kit, build that kit and finish that kit as I go along. Maybe I should take the advice widely given on this forum, which is to make a build last much longer and put far more detail into each build. Other members have mentioned 6 months to a year for one build..... this could be the way to go..... ? ( or buy a larger house ! ) David -
Liking your Moebius Pontiac Catalina, Mario...... The Moebius kits are really good in my opinion, and I enjoyed building their Hudson Hornet 1953. The quality of Moebius kits is right up there with the best ( e.g. Tamiya ) David
-
That is a nice build you have there, Mario...... This Tamiya kit is a 1936 Toyoda, as the brand name was changed from TOYODA to TOYOTA in 1937. The Toyoda AA was based very closely on the Chrysler Airflow, and almost copied some would say ! I tried to convert a 1:24 Tamiya Toyoda AA into a London Taxi, the FX3 version, but it didn't quite work sadly. Nice paint job, Mario and a build to be proud of too ! David
-
Good point about the hazardous materials charge, Mike, which makes ordering from Hiroboy if you are resident in the US a no, no, for sure. The shipping costs from Canada to UK are so expensive, that we just don't do it. David
-
You are correct.... Les ! David
-
Good advice from John Brolin there, Greg....... I cannot add any further info regarding the suppliers of Zero Paints in the U.S., but here in UK we are lucky to have a marvellous comapny called Hiroboy...... Steve at Hiroboy can supply almost any colour in Zero Paints, particularly specific paints for F1 cars, also Lotus, Ferrari and London Bus for example. They can also custom mix any colour, as long as you can supply the manufacturer's paint code and colour name, year etc. for the 1:1 car. Hiroboy even managed to mix me a paint colour for a 1950's Rolls-Royce that I was building in 1:24 scale. Maybe I have been lucky, but I have not had any crazing effect with any of the Zero Paints colours that I have used, and I have used lots of this paint over the past 5 years. The paint dries with a matt finish, and needs clearcoat afterwards for a gloss finish. They even do the correct Red Bull colours in blue and yellow, which is actually a matt finish on the real cars. Hiroboy are not shipping to Europe recently, due to Brexit and Covid, but maybe they would ship to USA ? David
-
Italeri 1/12 scale Alfa Romeo 8C2300 Roadster
Anglia105E replied to JohnnyK's topic in WIP: Model Cars
That is a very nice model car that you have there John, and with those ' expensive ' wheels that Ron has mentioned. you will have a truly wonderful model when it is finished. David