Anglia105E
-
Posts
3,487 -
Joined
-
Last visited
Content Type
Profiles
Forums
Events
Gallery
Everything posted by Anglia105E
-
 I like your laser cut structure of the Orbit Diner, and both the material and the cutter seem to be well suited to the Art Deco style of architecture. I think it worth persevering with the 3D printing software, because during my early days of learning how to use it, I nearly gave up several times. The layer lines issue is the one aspect of the technology that continues to frustrate me. No amount of tinkering with the software settings seems to get rid of the layer lines, so I have decided to give this Acetone Vapour Smoothing a chance. Apparently, it is more effective with the ABS material filament, than it is with the PLA material filament. This will be an experiment with the technique, using PLA....... Not sure how successful it might be yet ! David
 -
Thanks, Dave..... Will keep you posted. Waiting for delivery of the Pure Acetone at the moment, so no further progress just yet. David
-
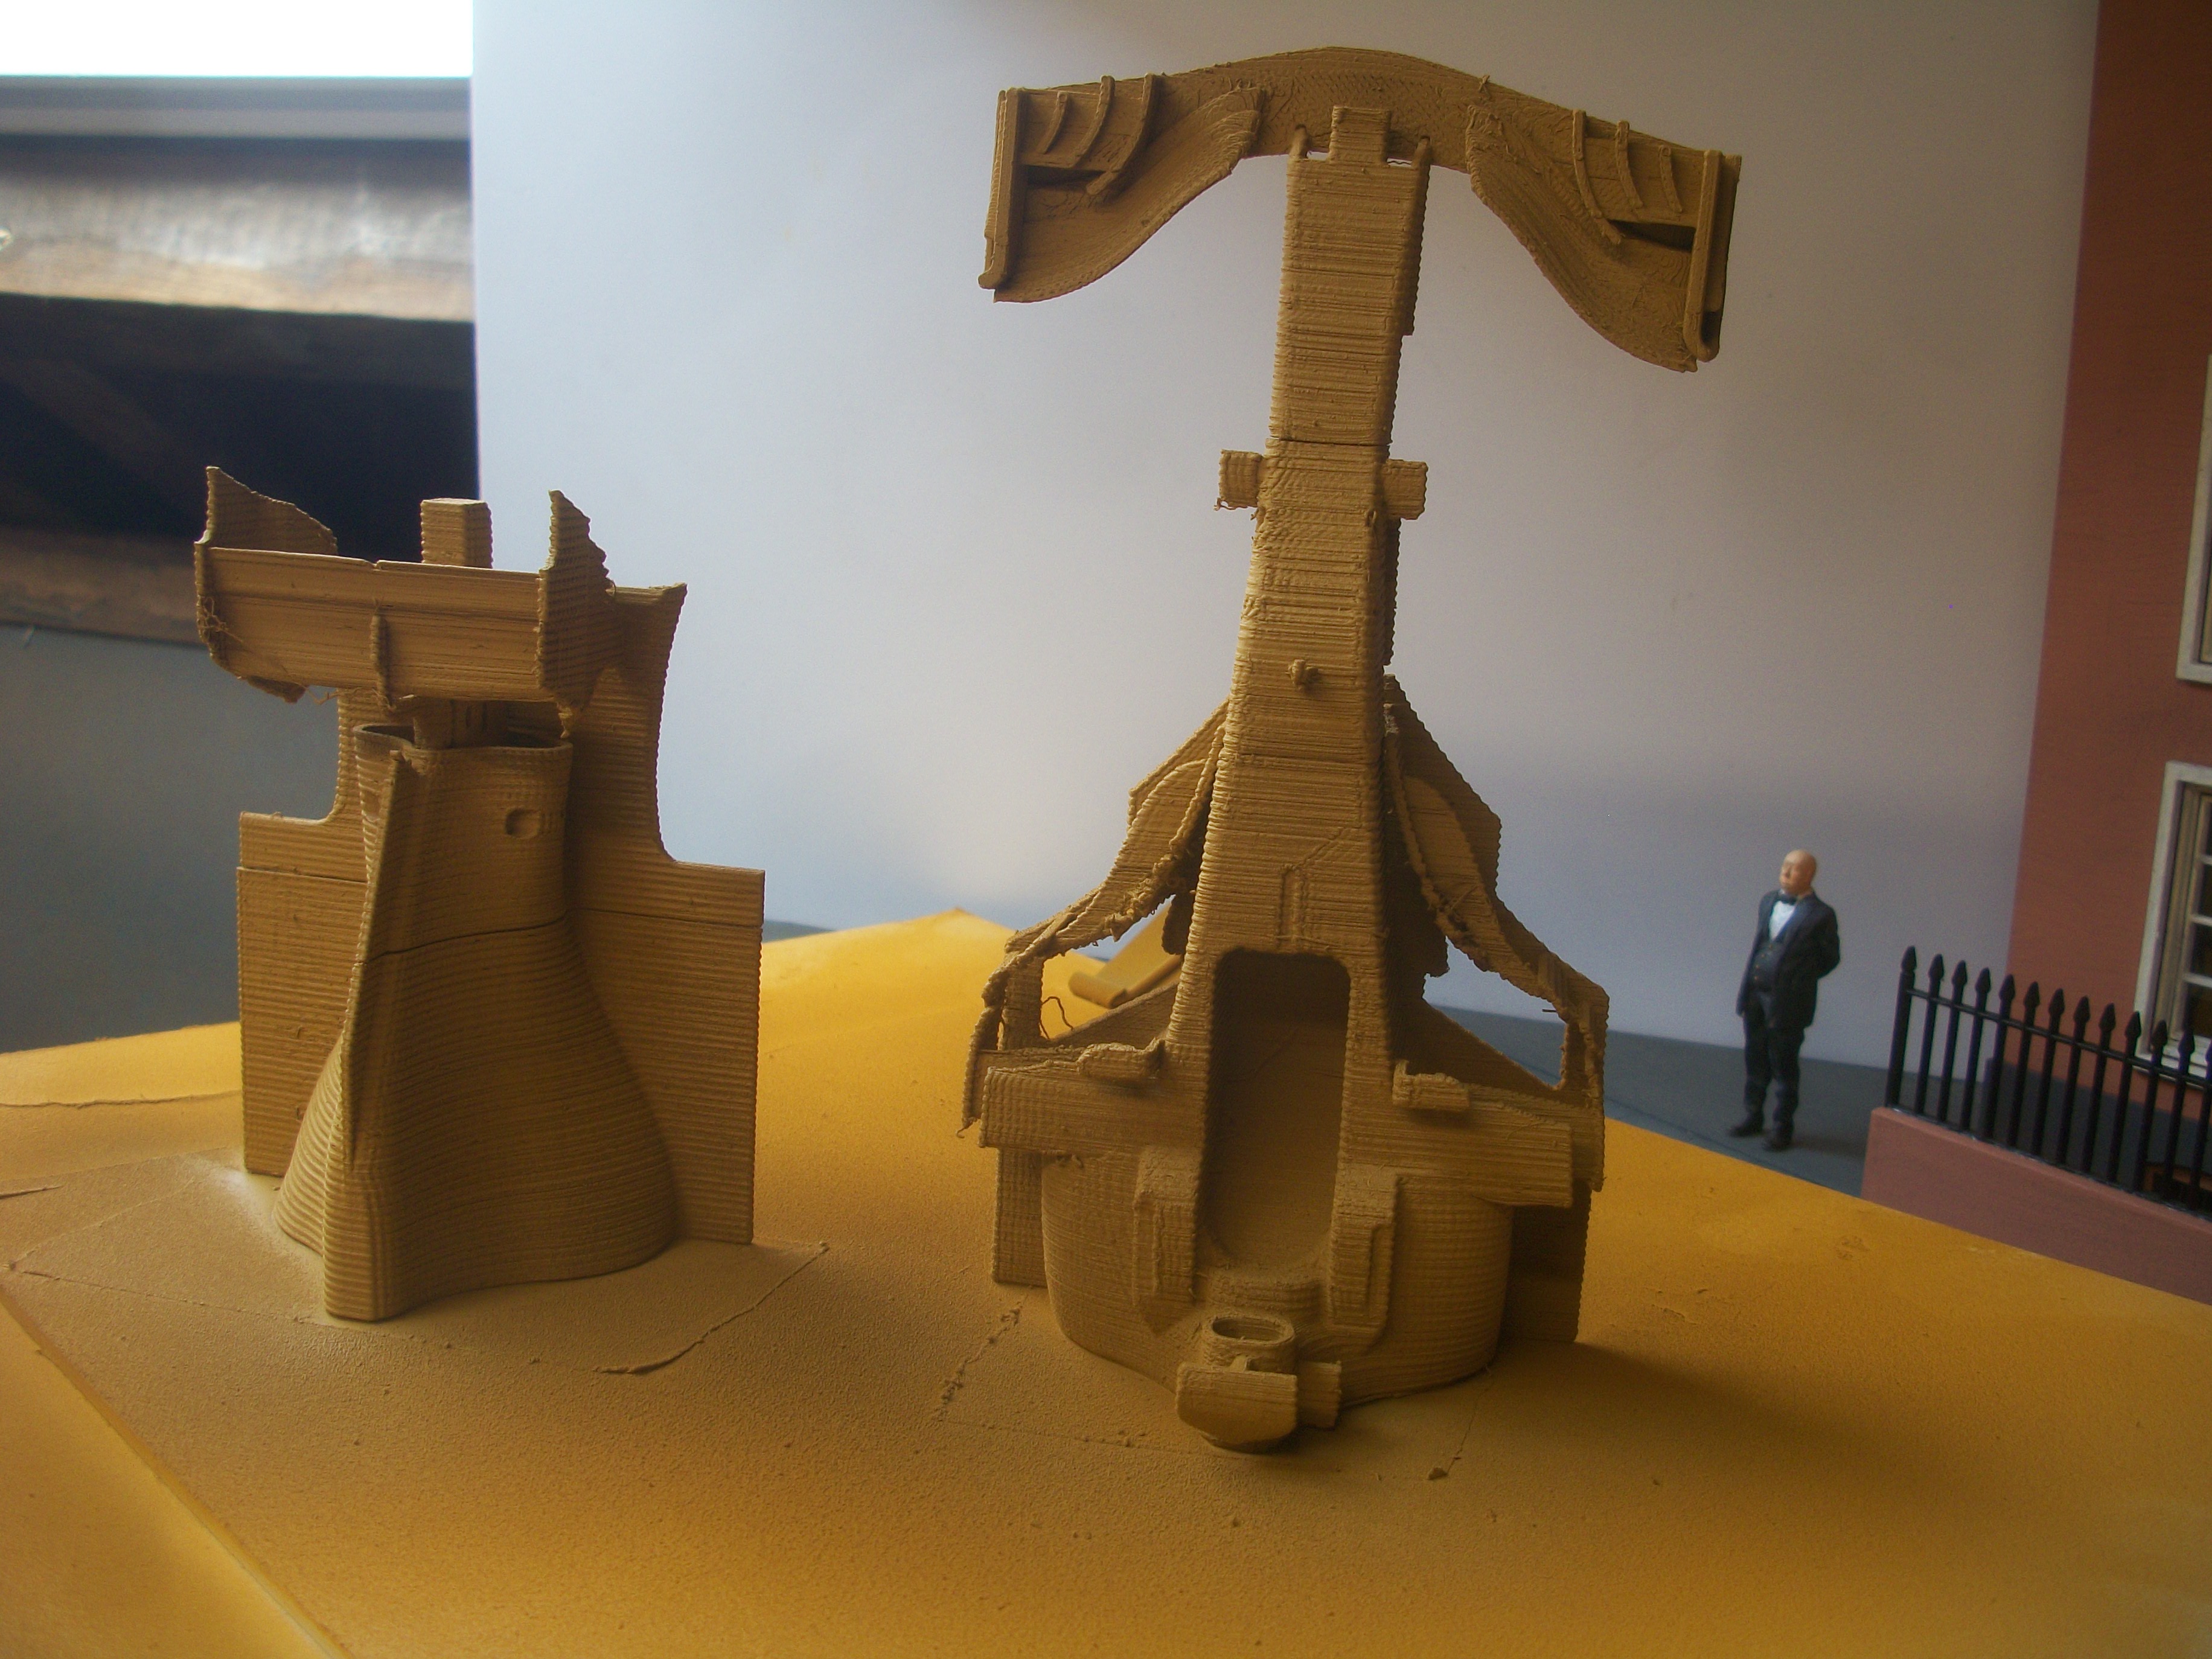
Ha, Ha,..... Good guess, David, but he is actually Alfred Hitchcock and not Sir Winston Churchill.... Very similiar posture, I will grant you that ! David
-
Thank you, Gary...... Just a lttle something different, and we shall see how it goes ! David
-
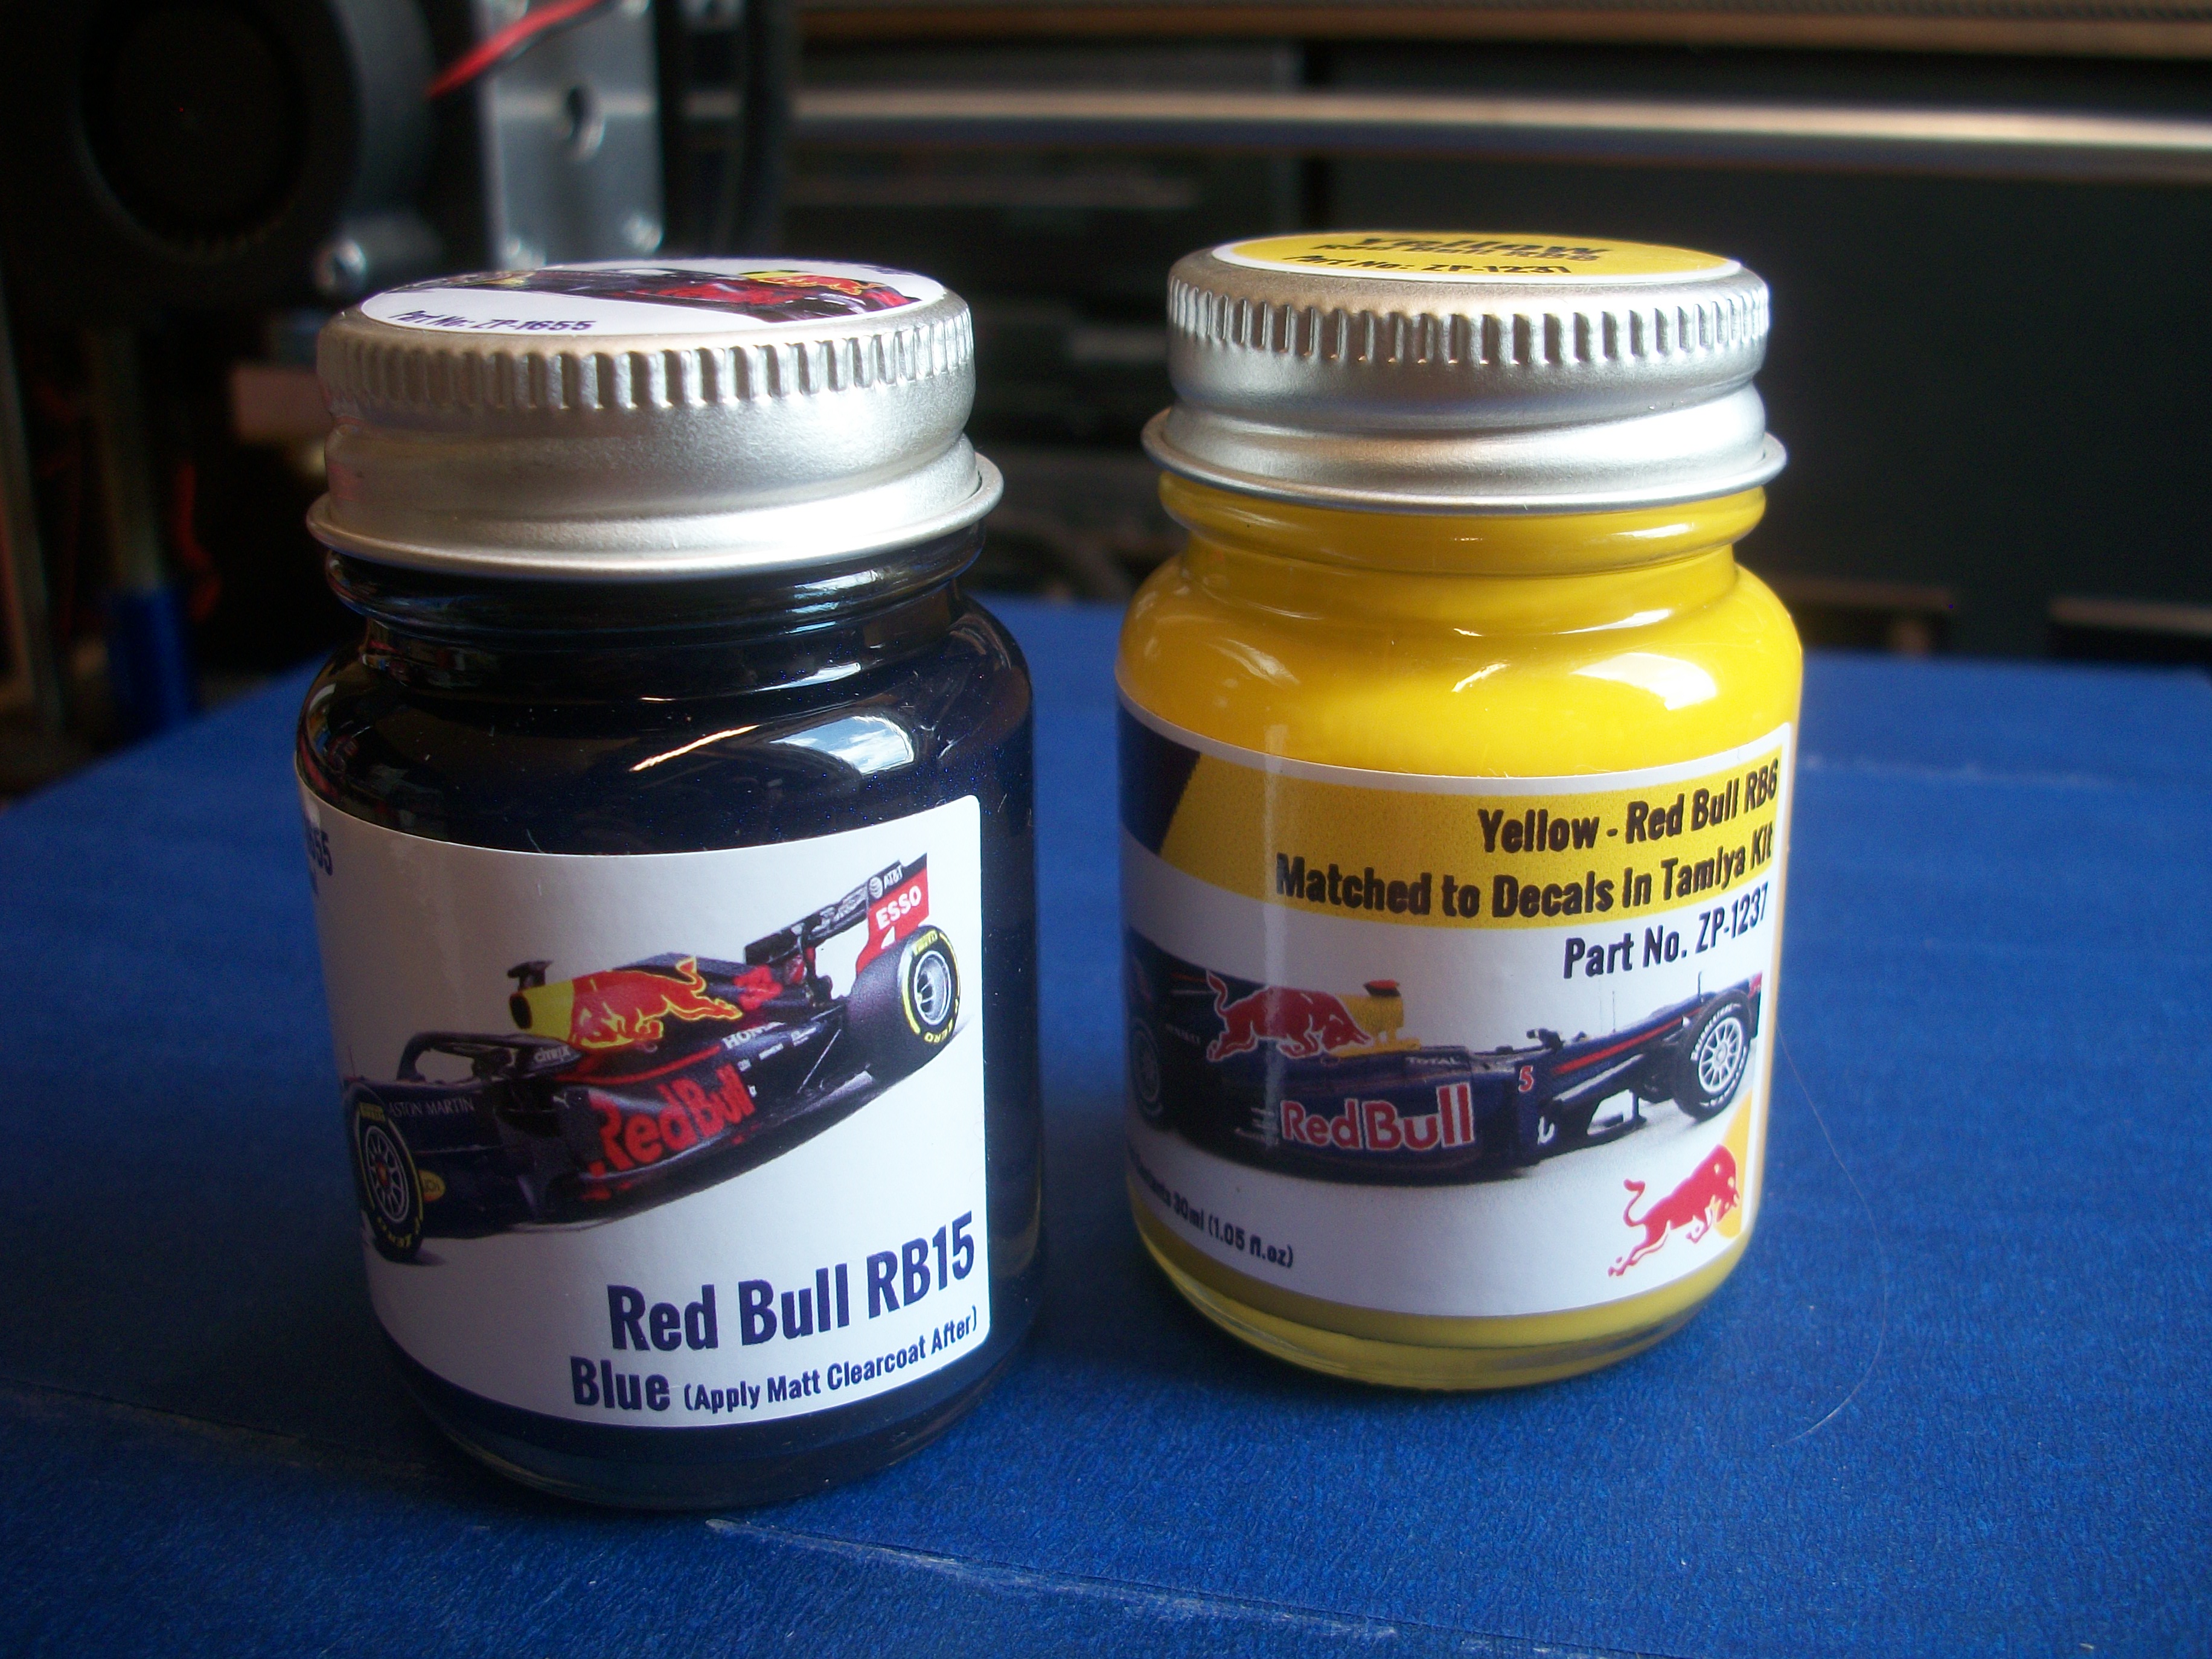
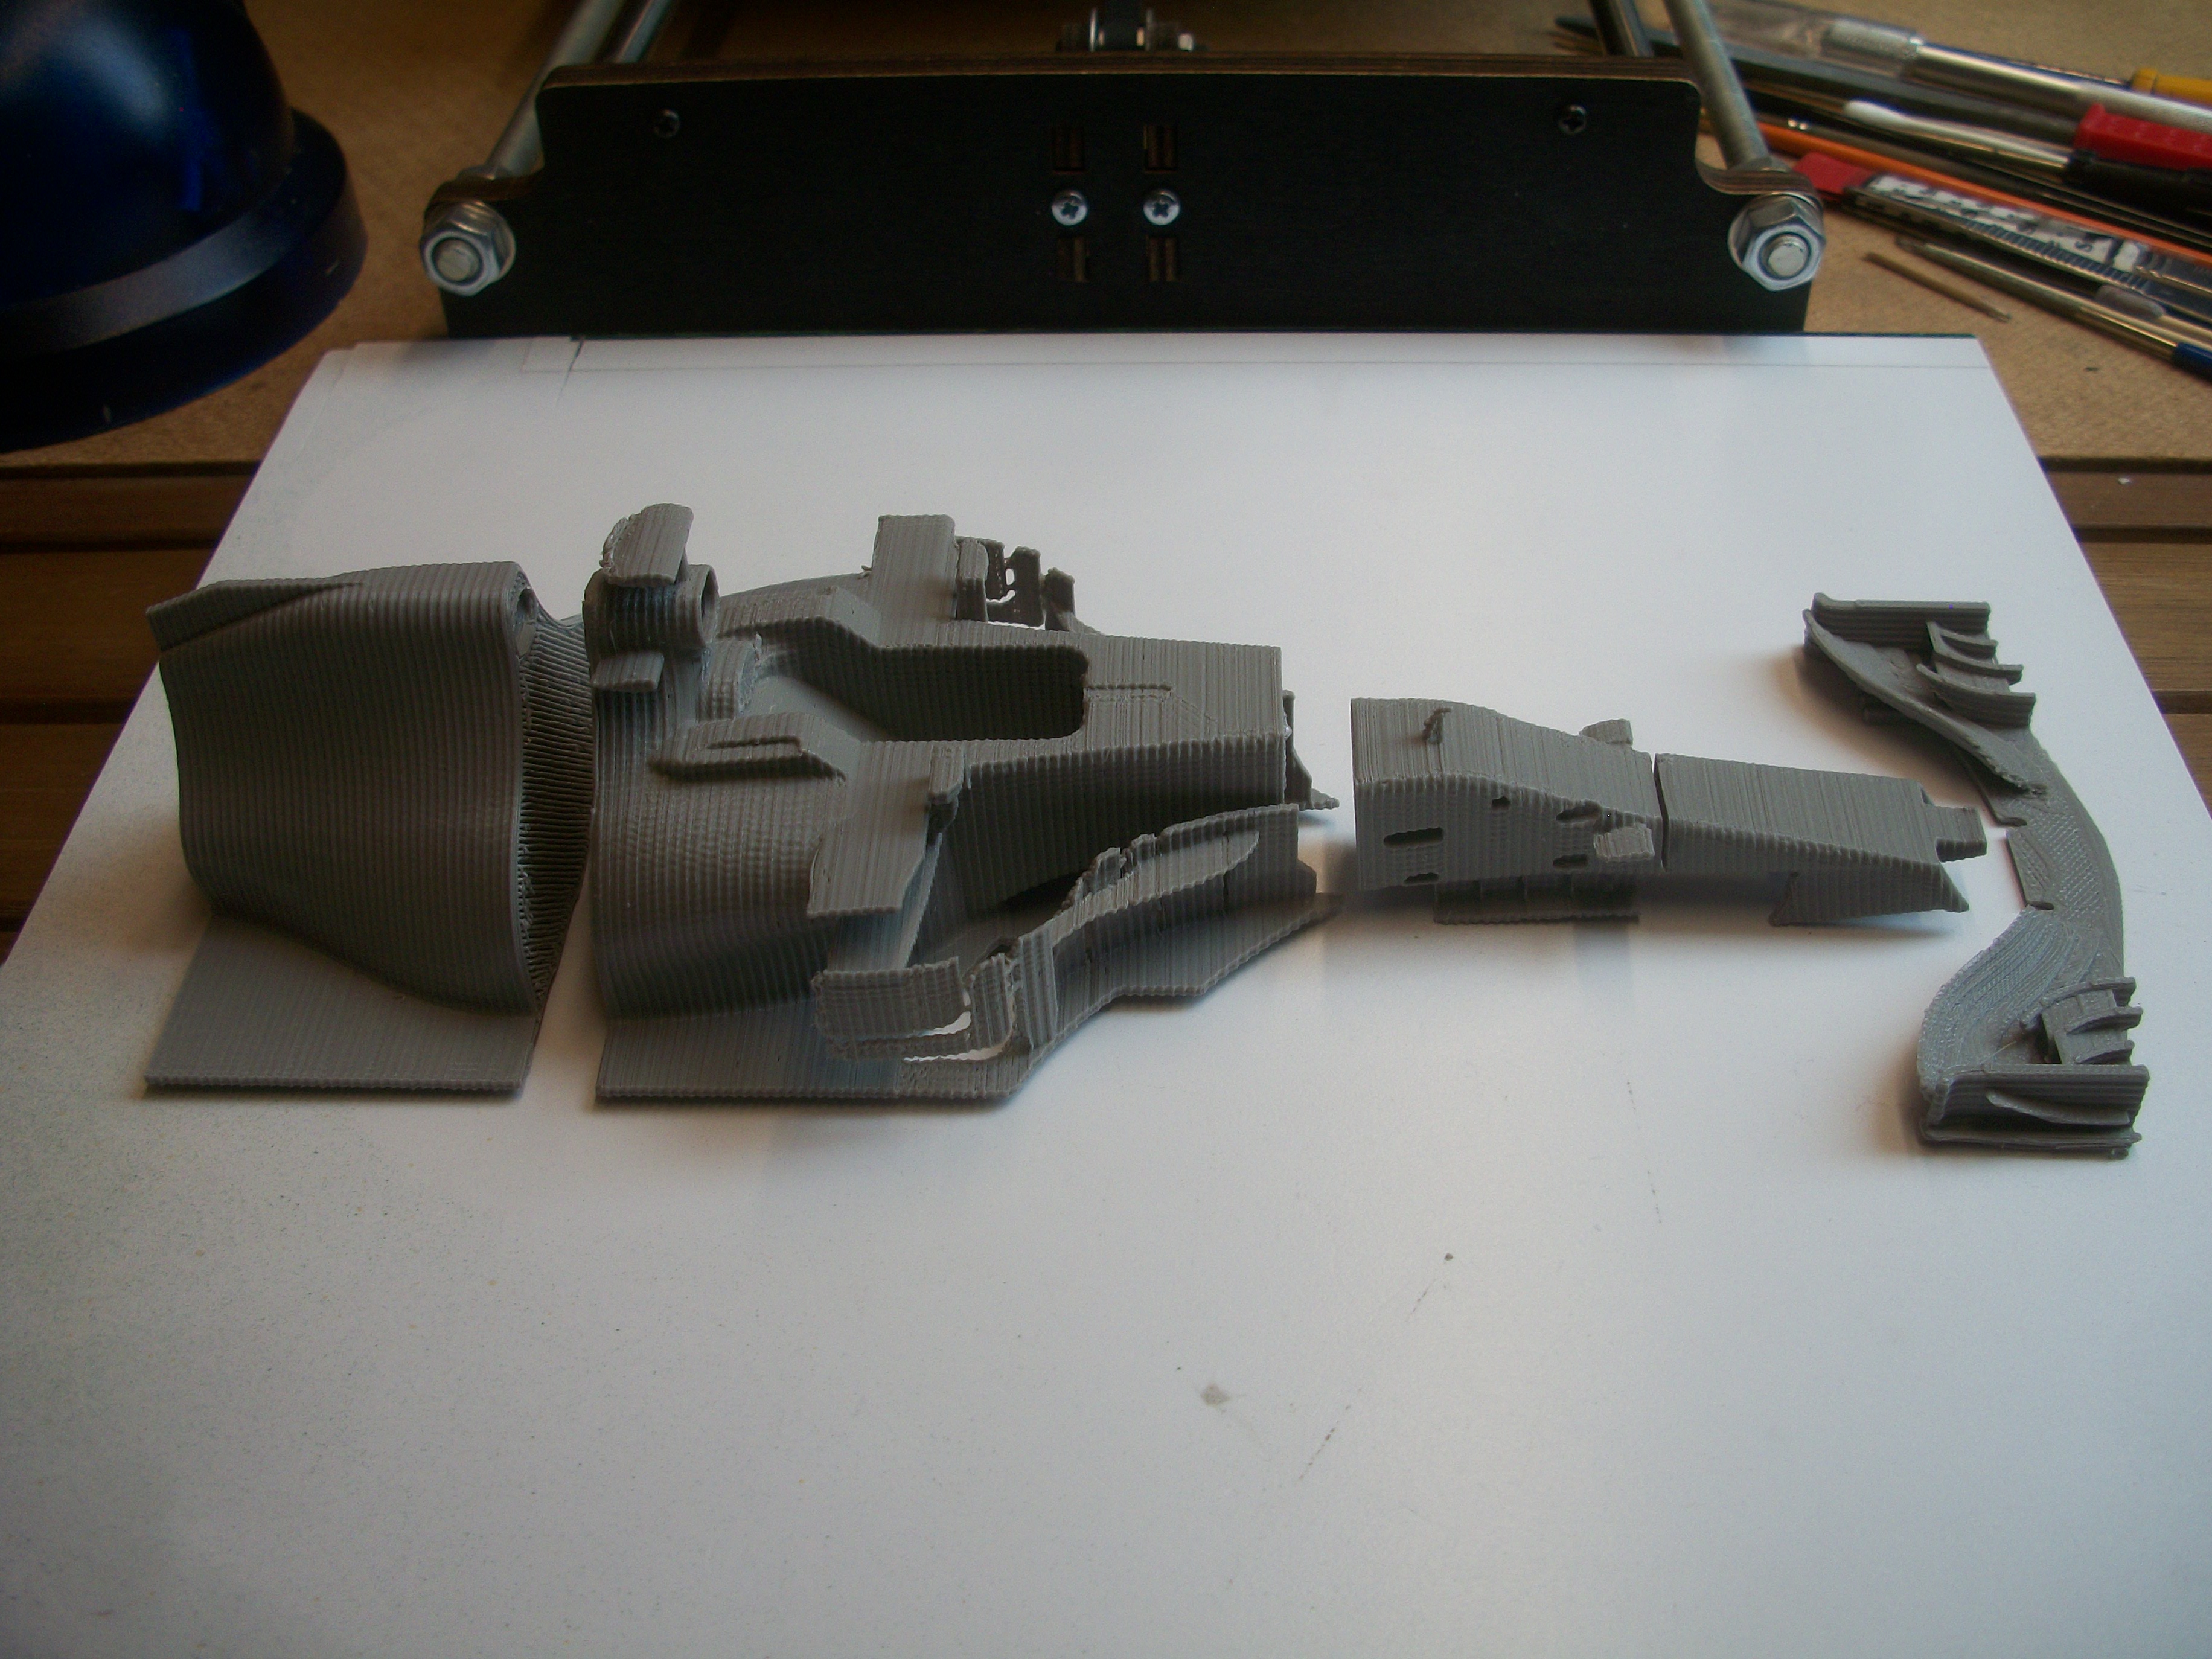
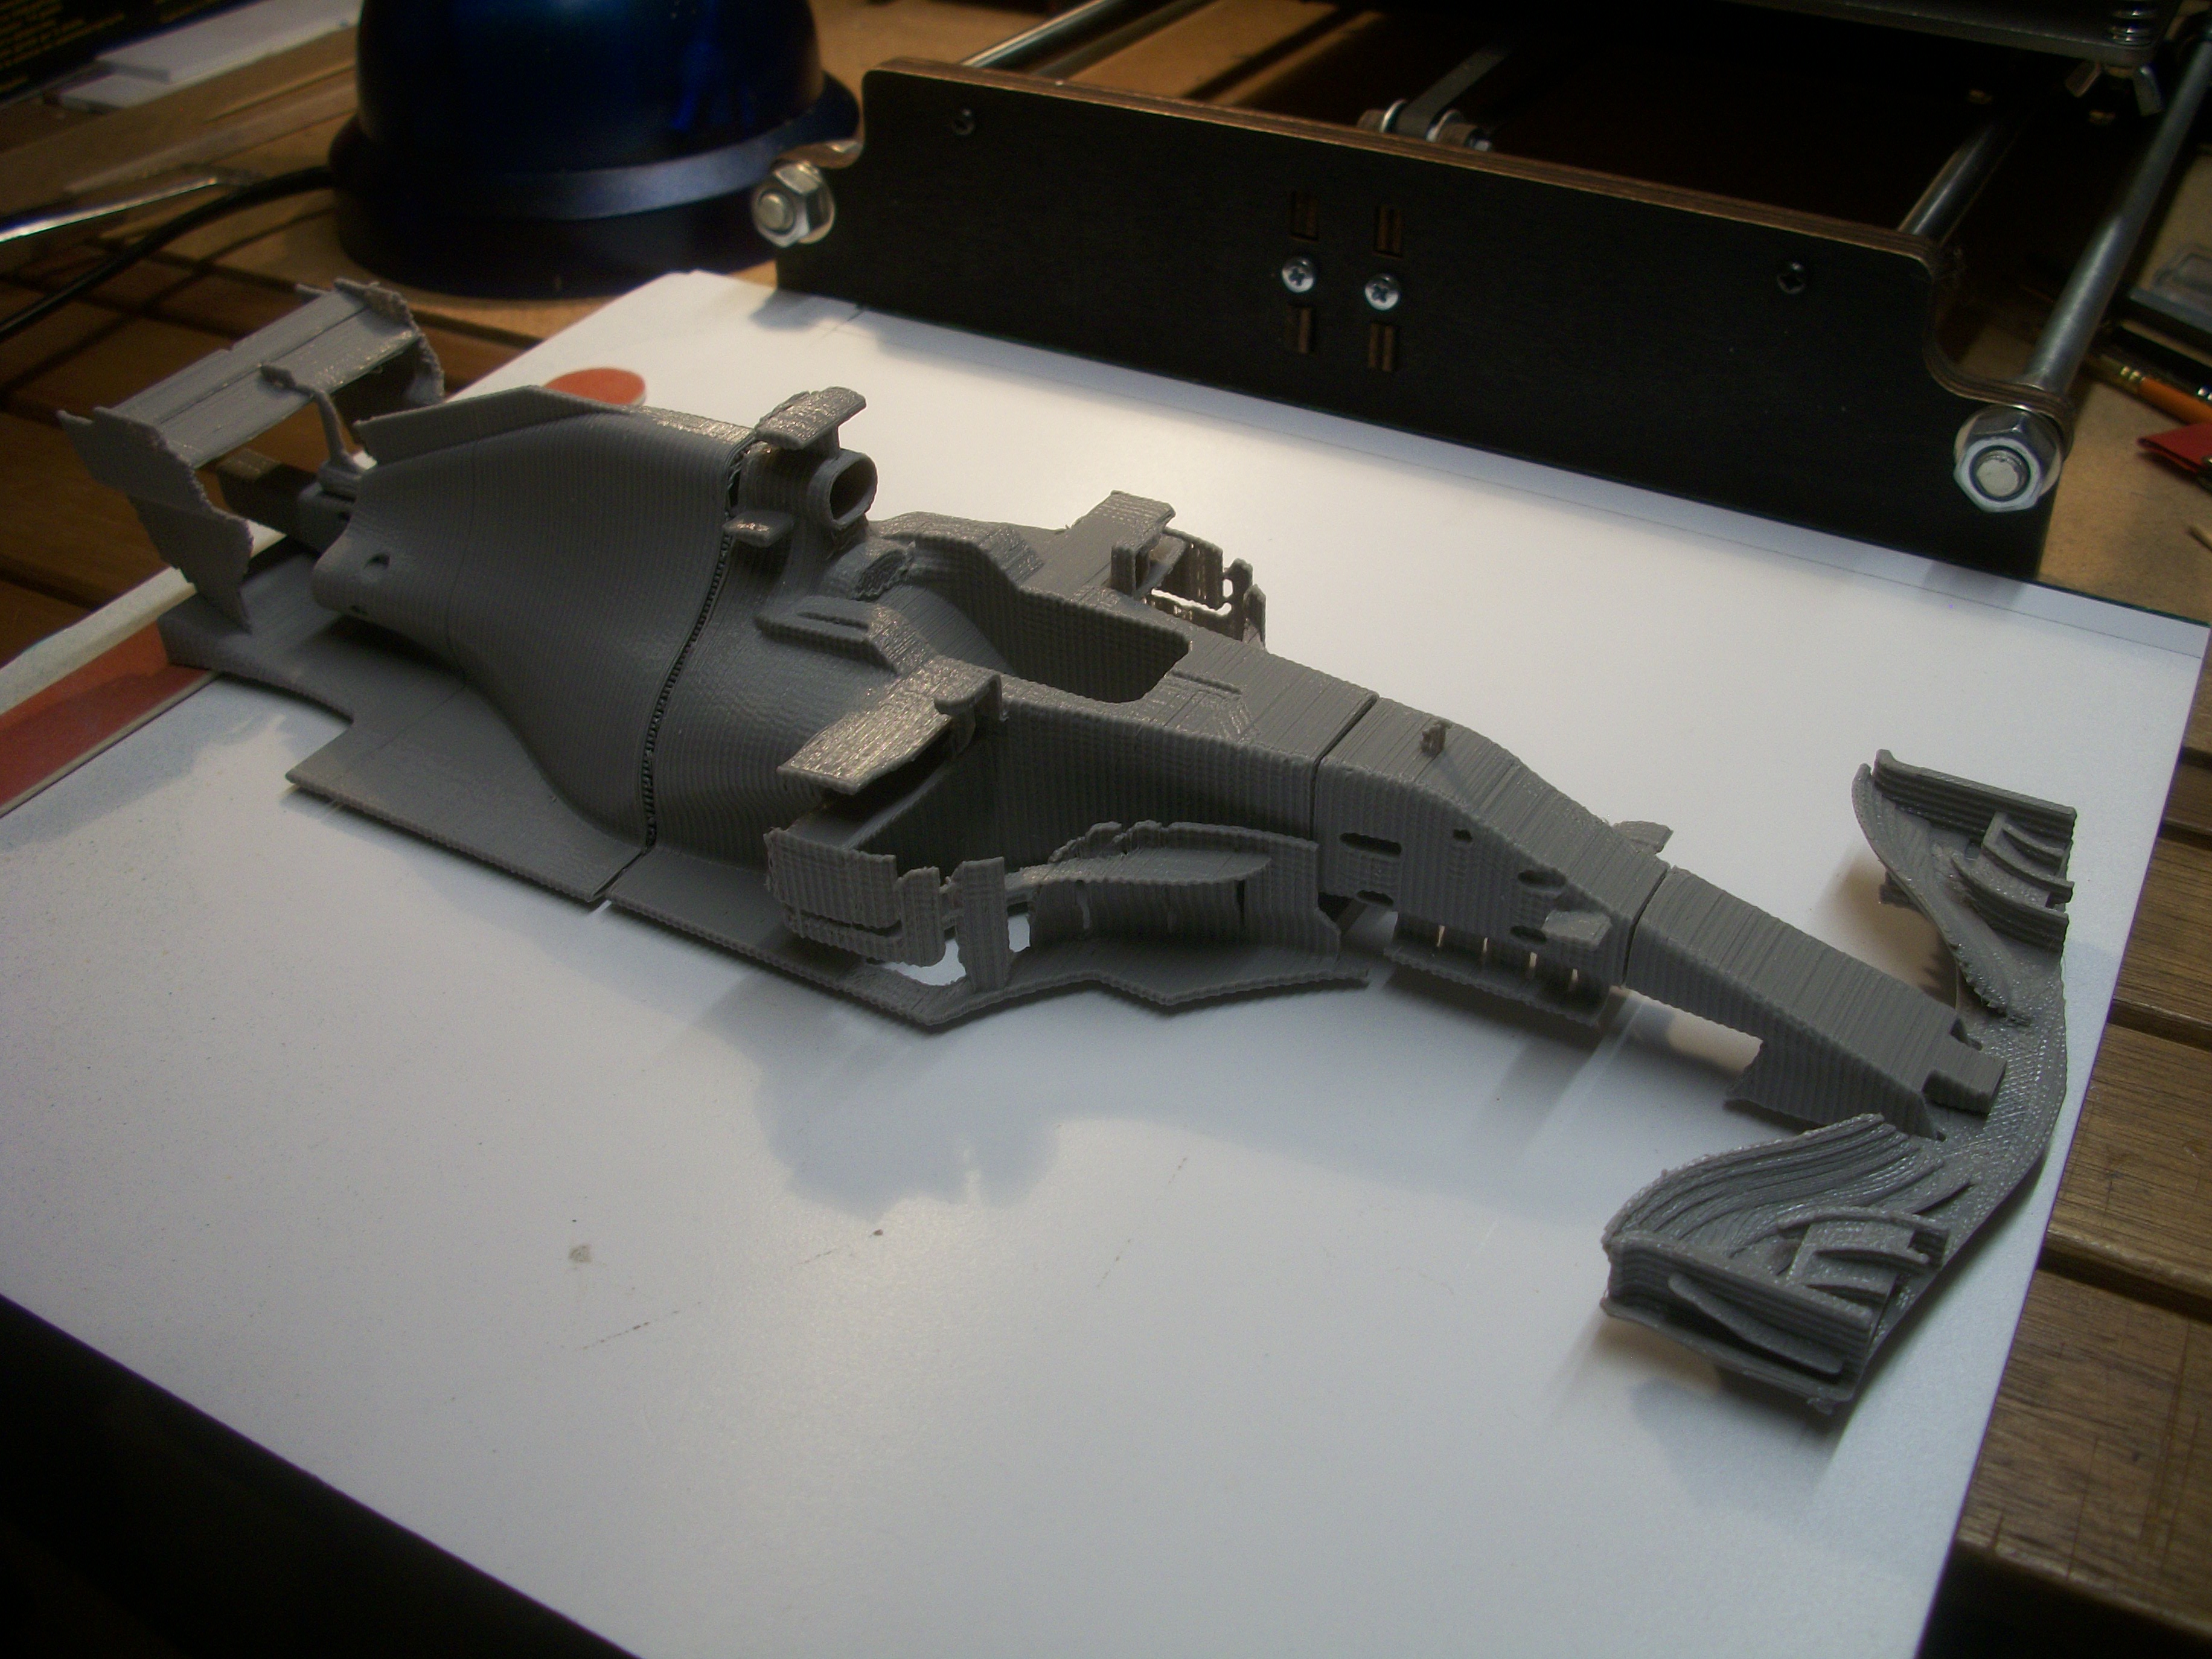
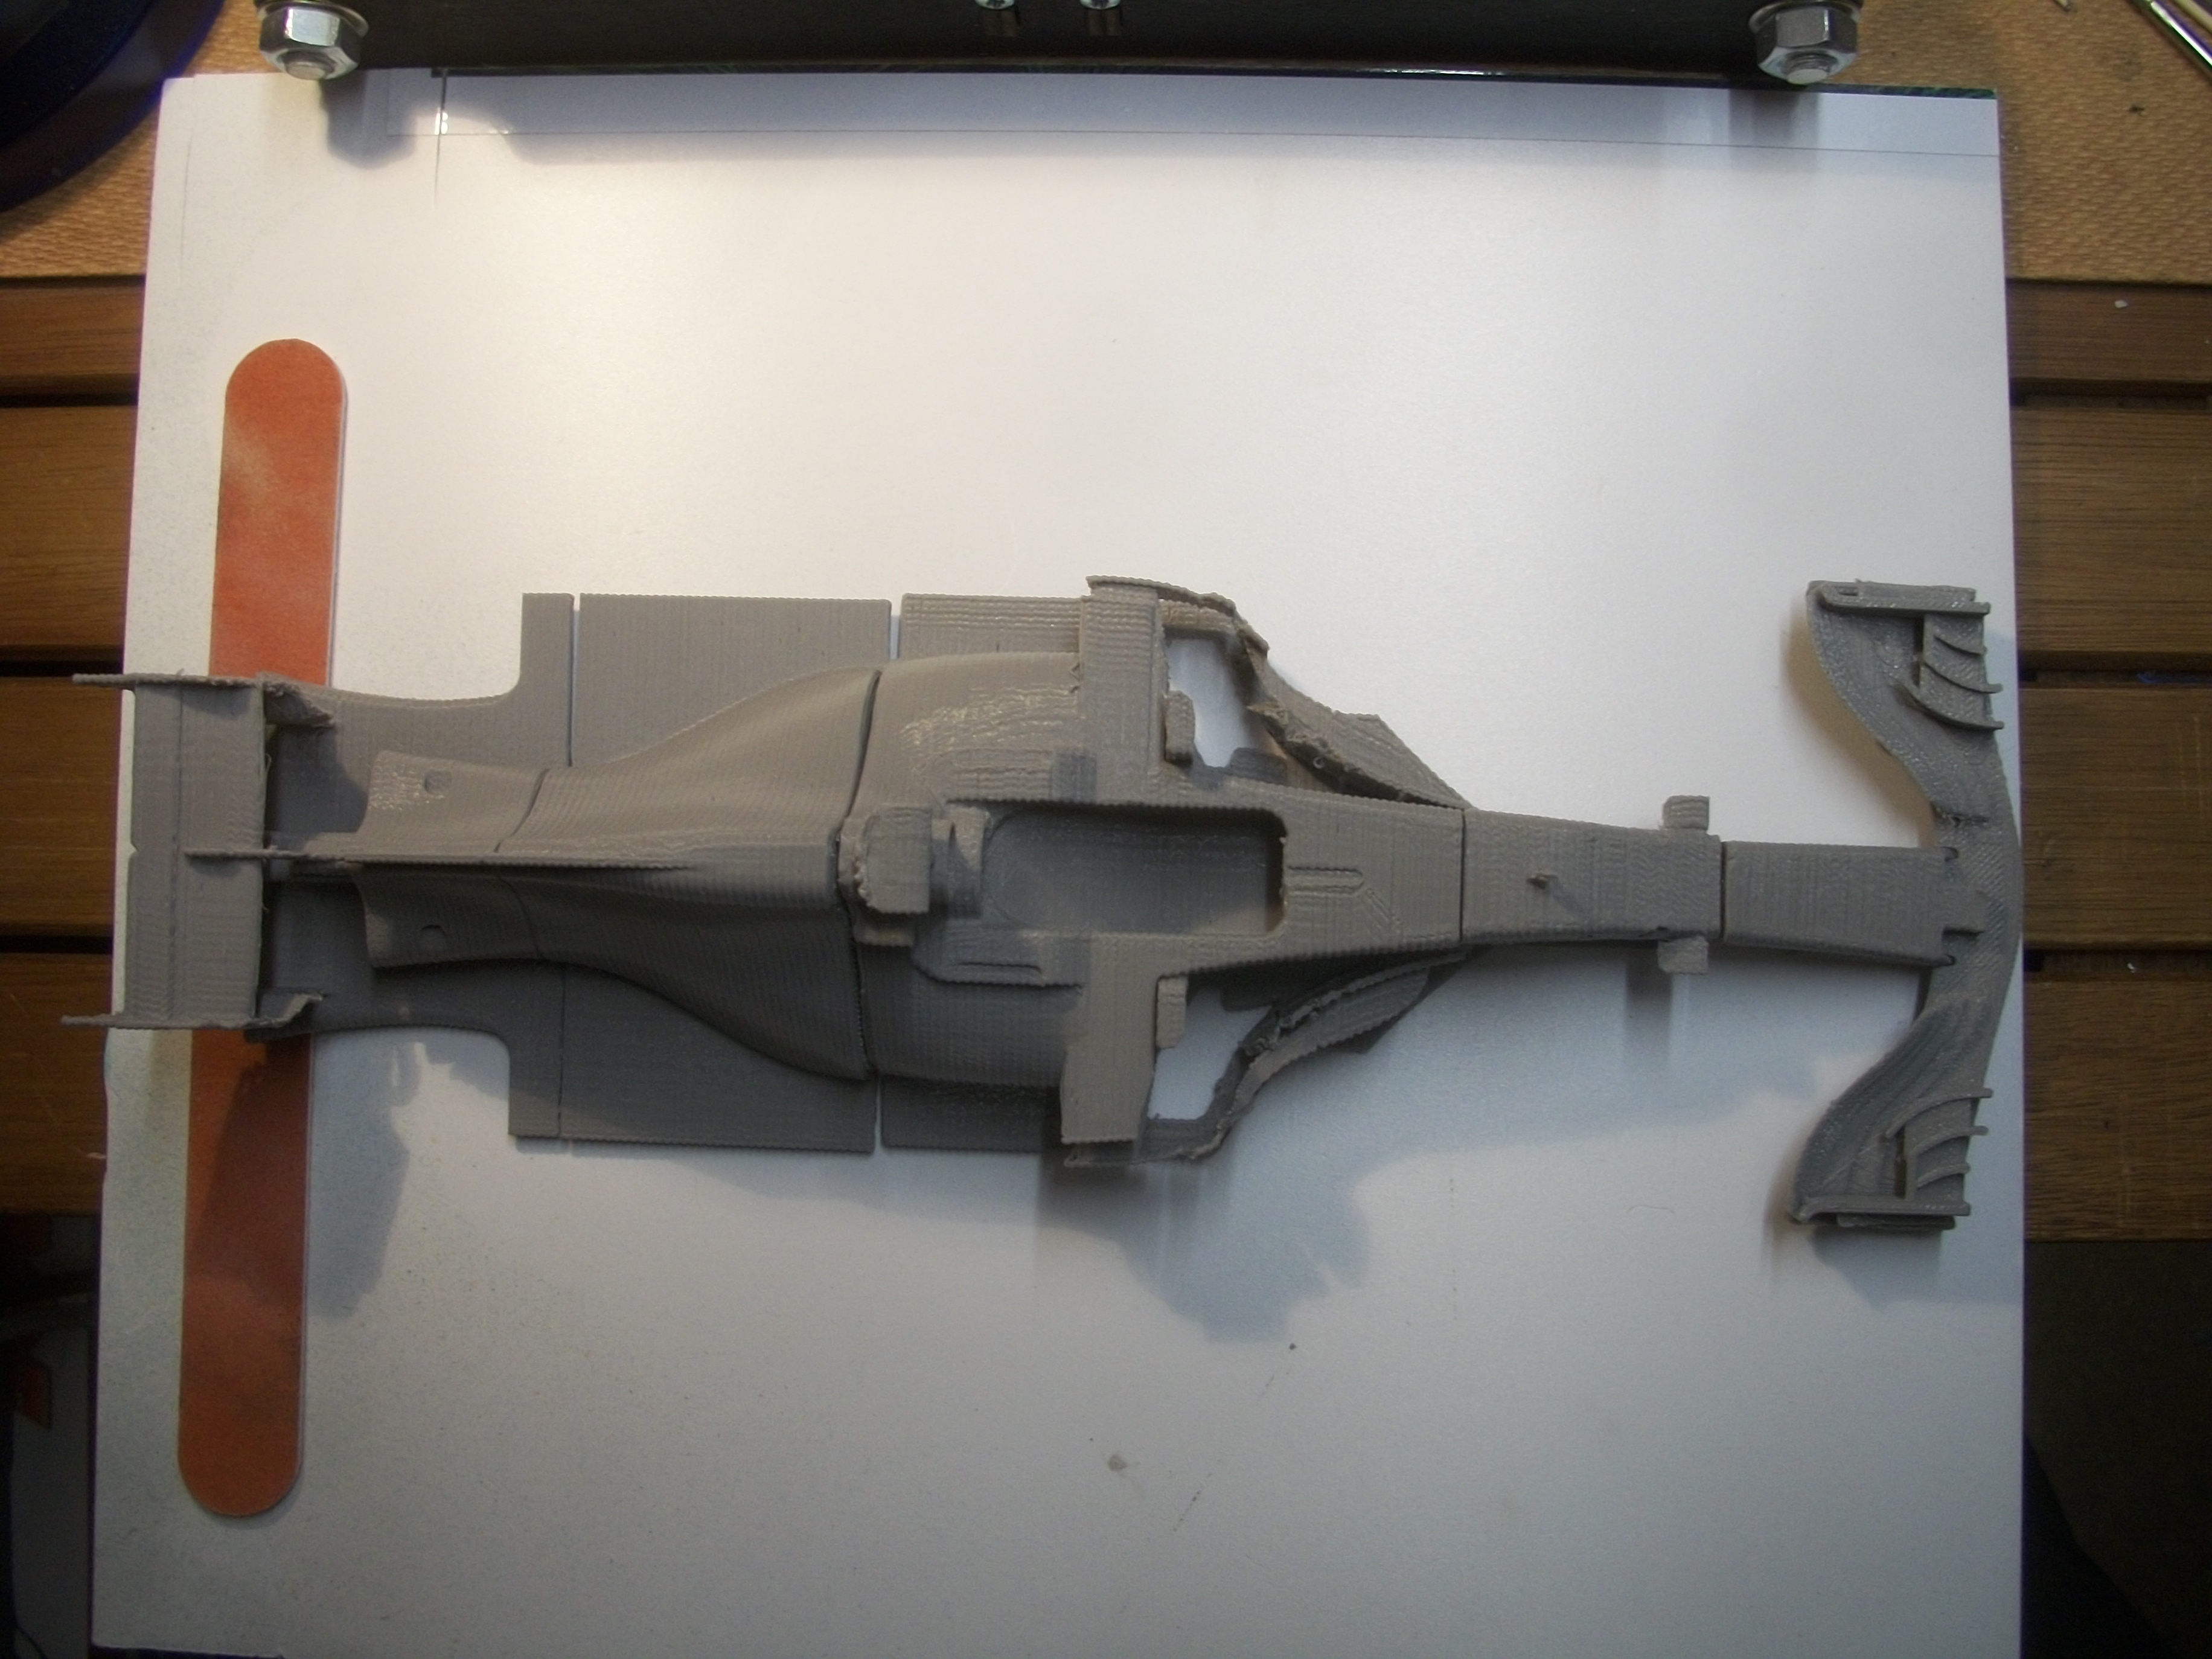
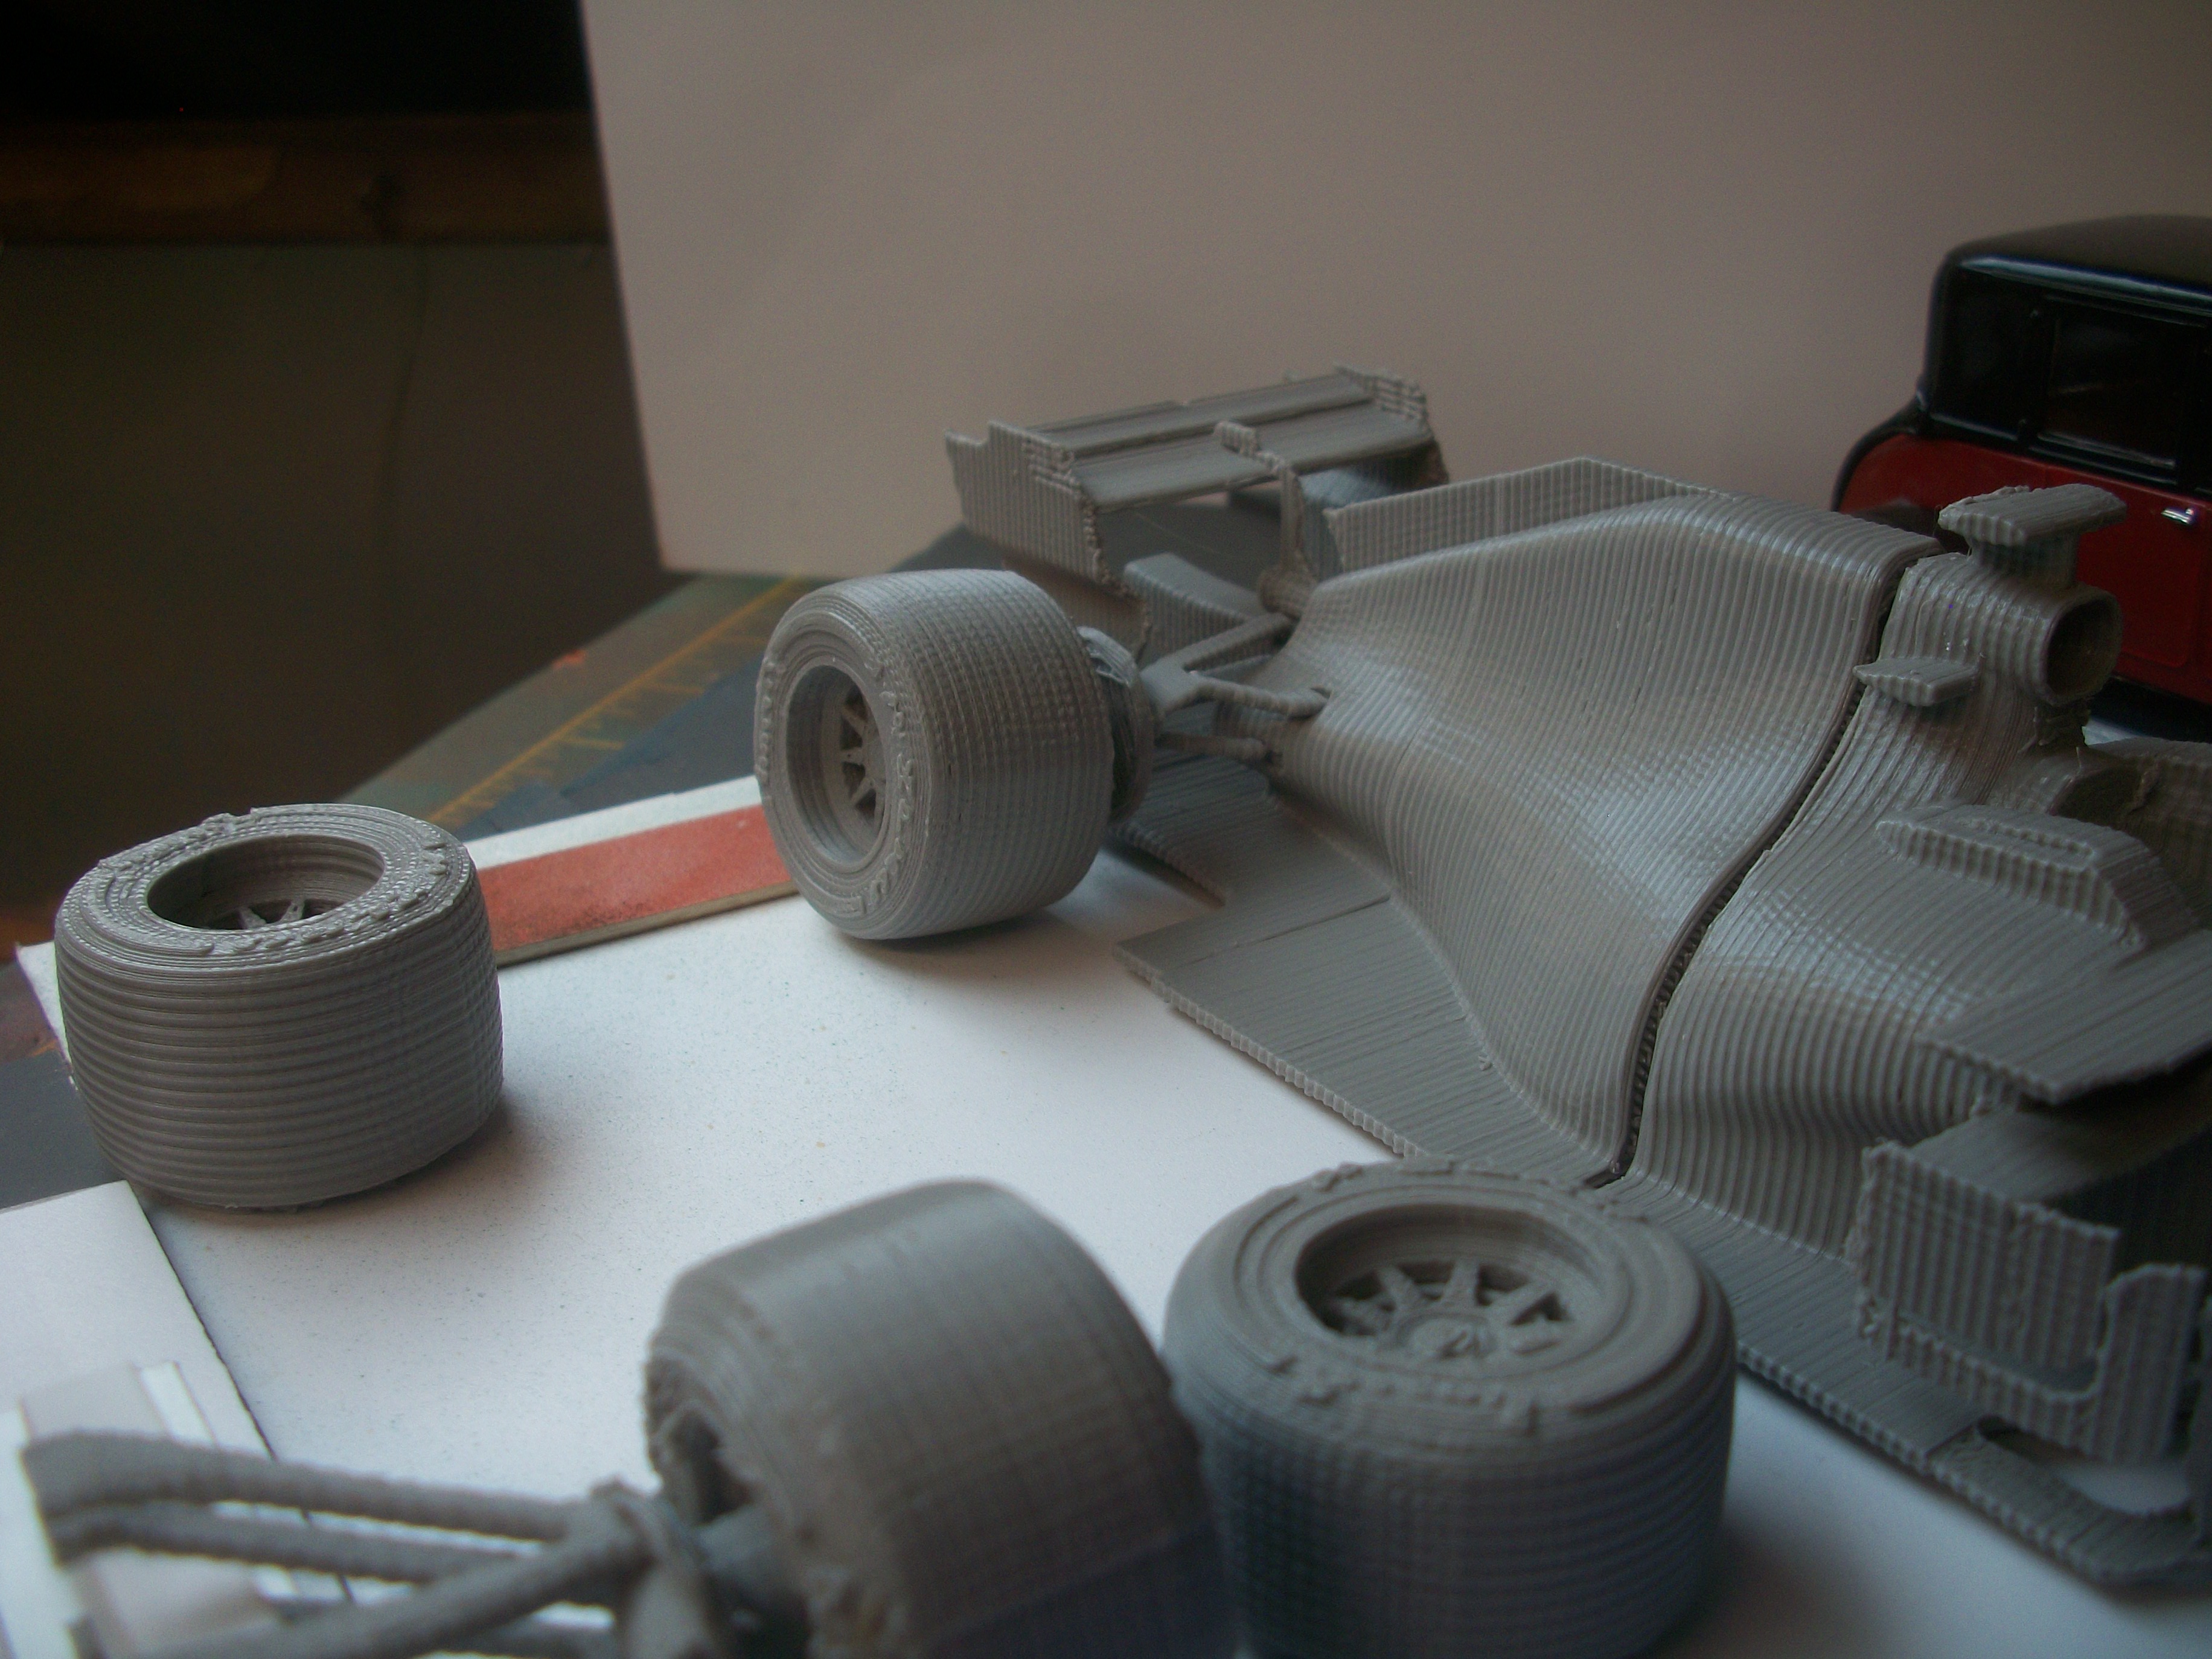
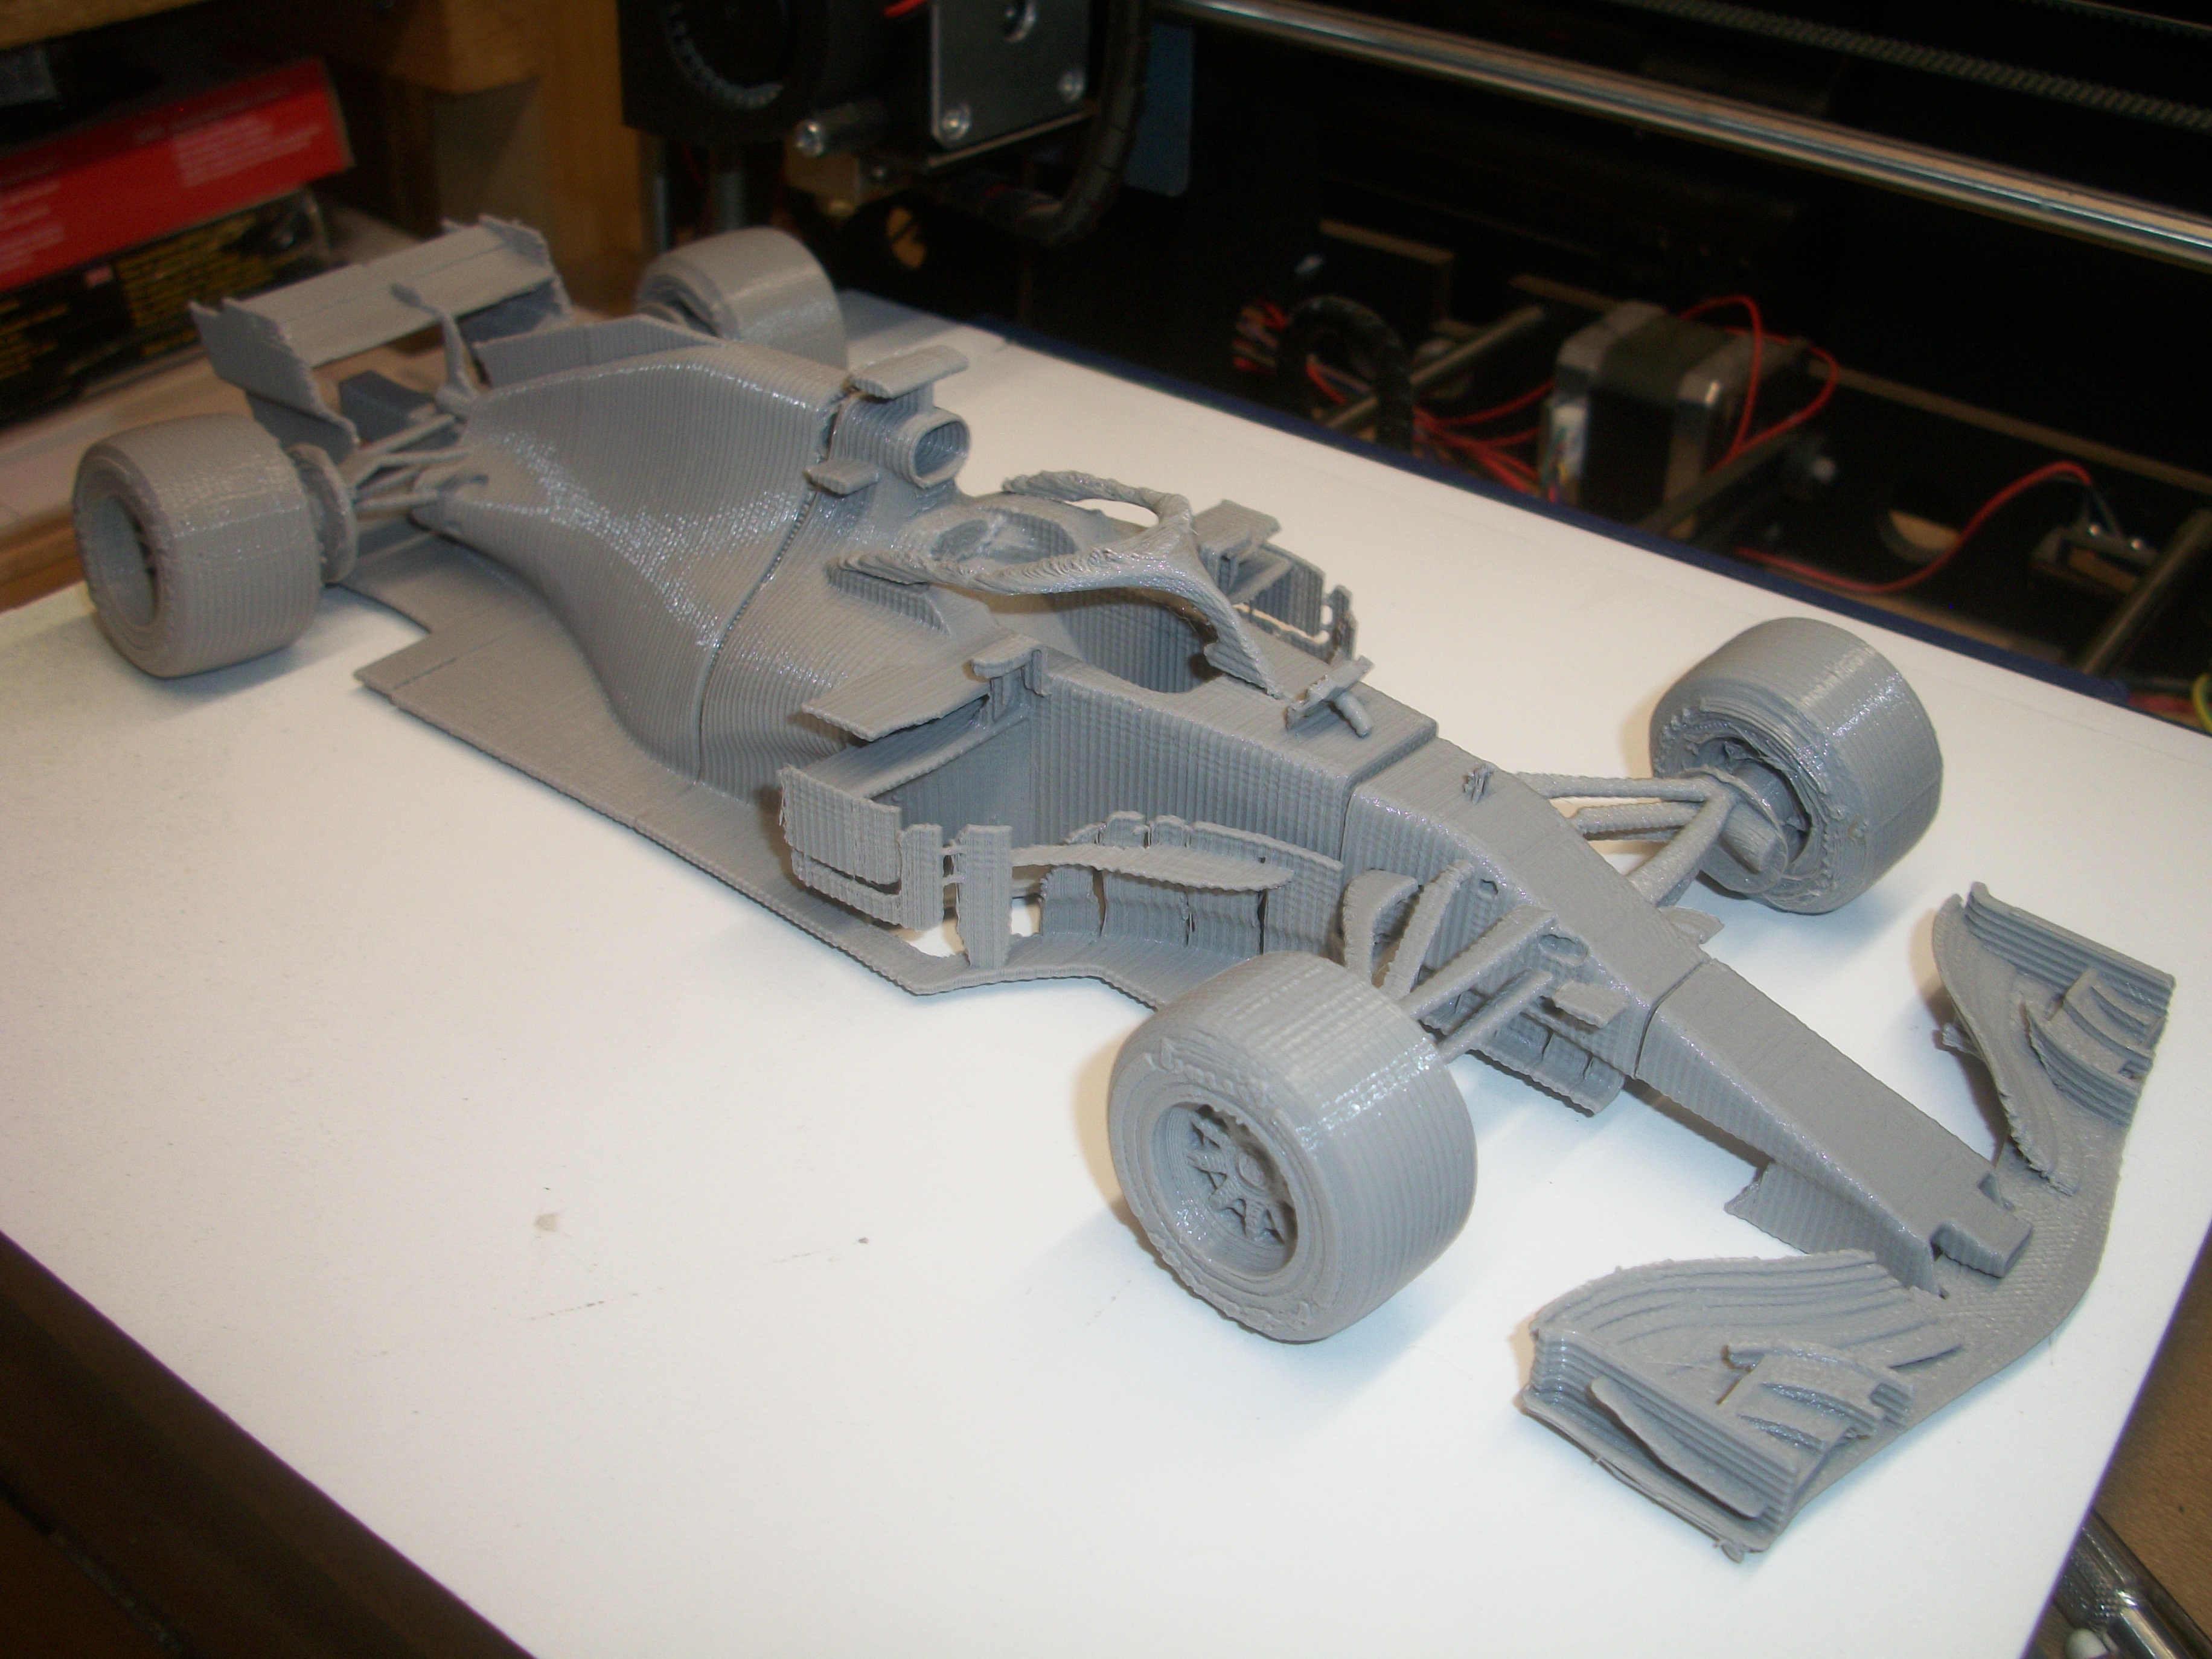
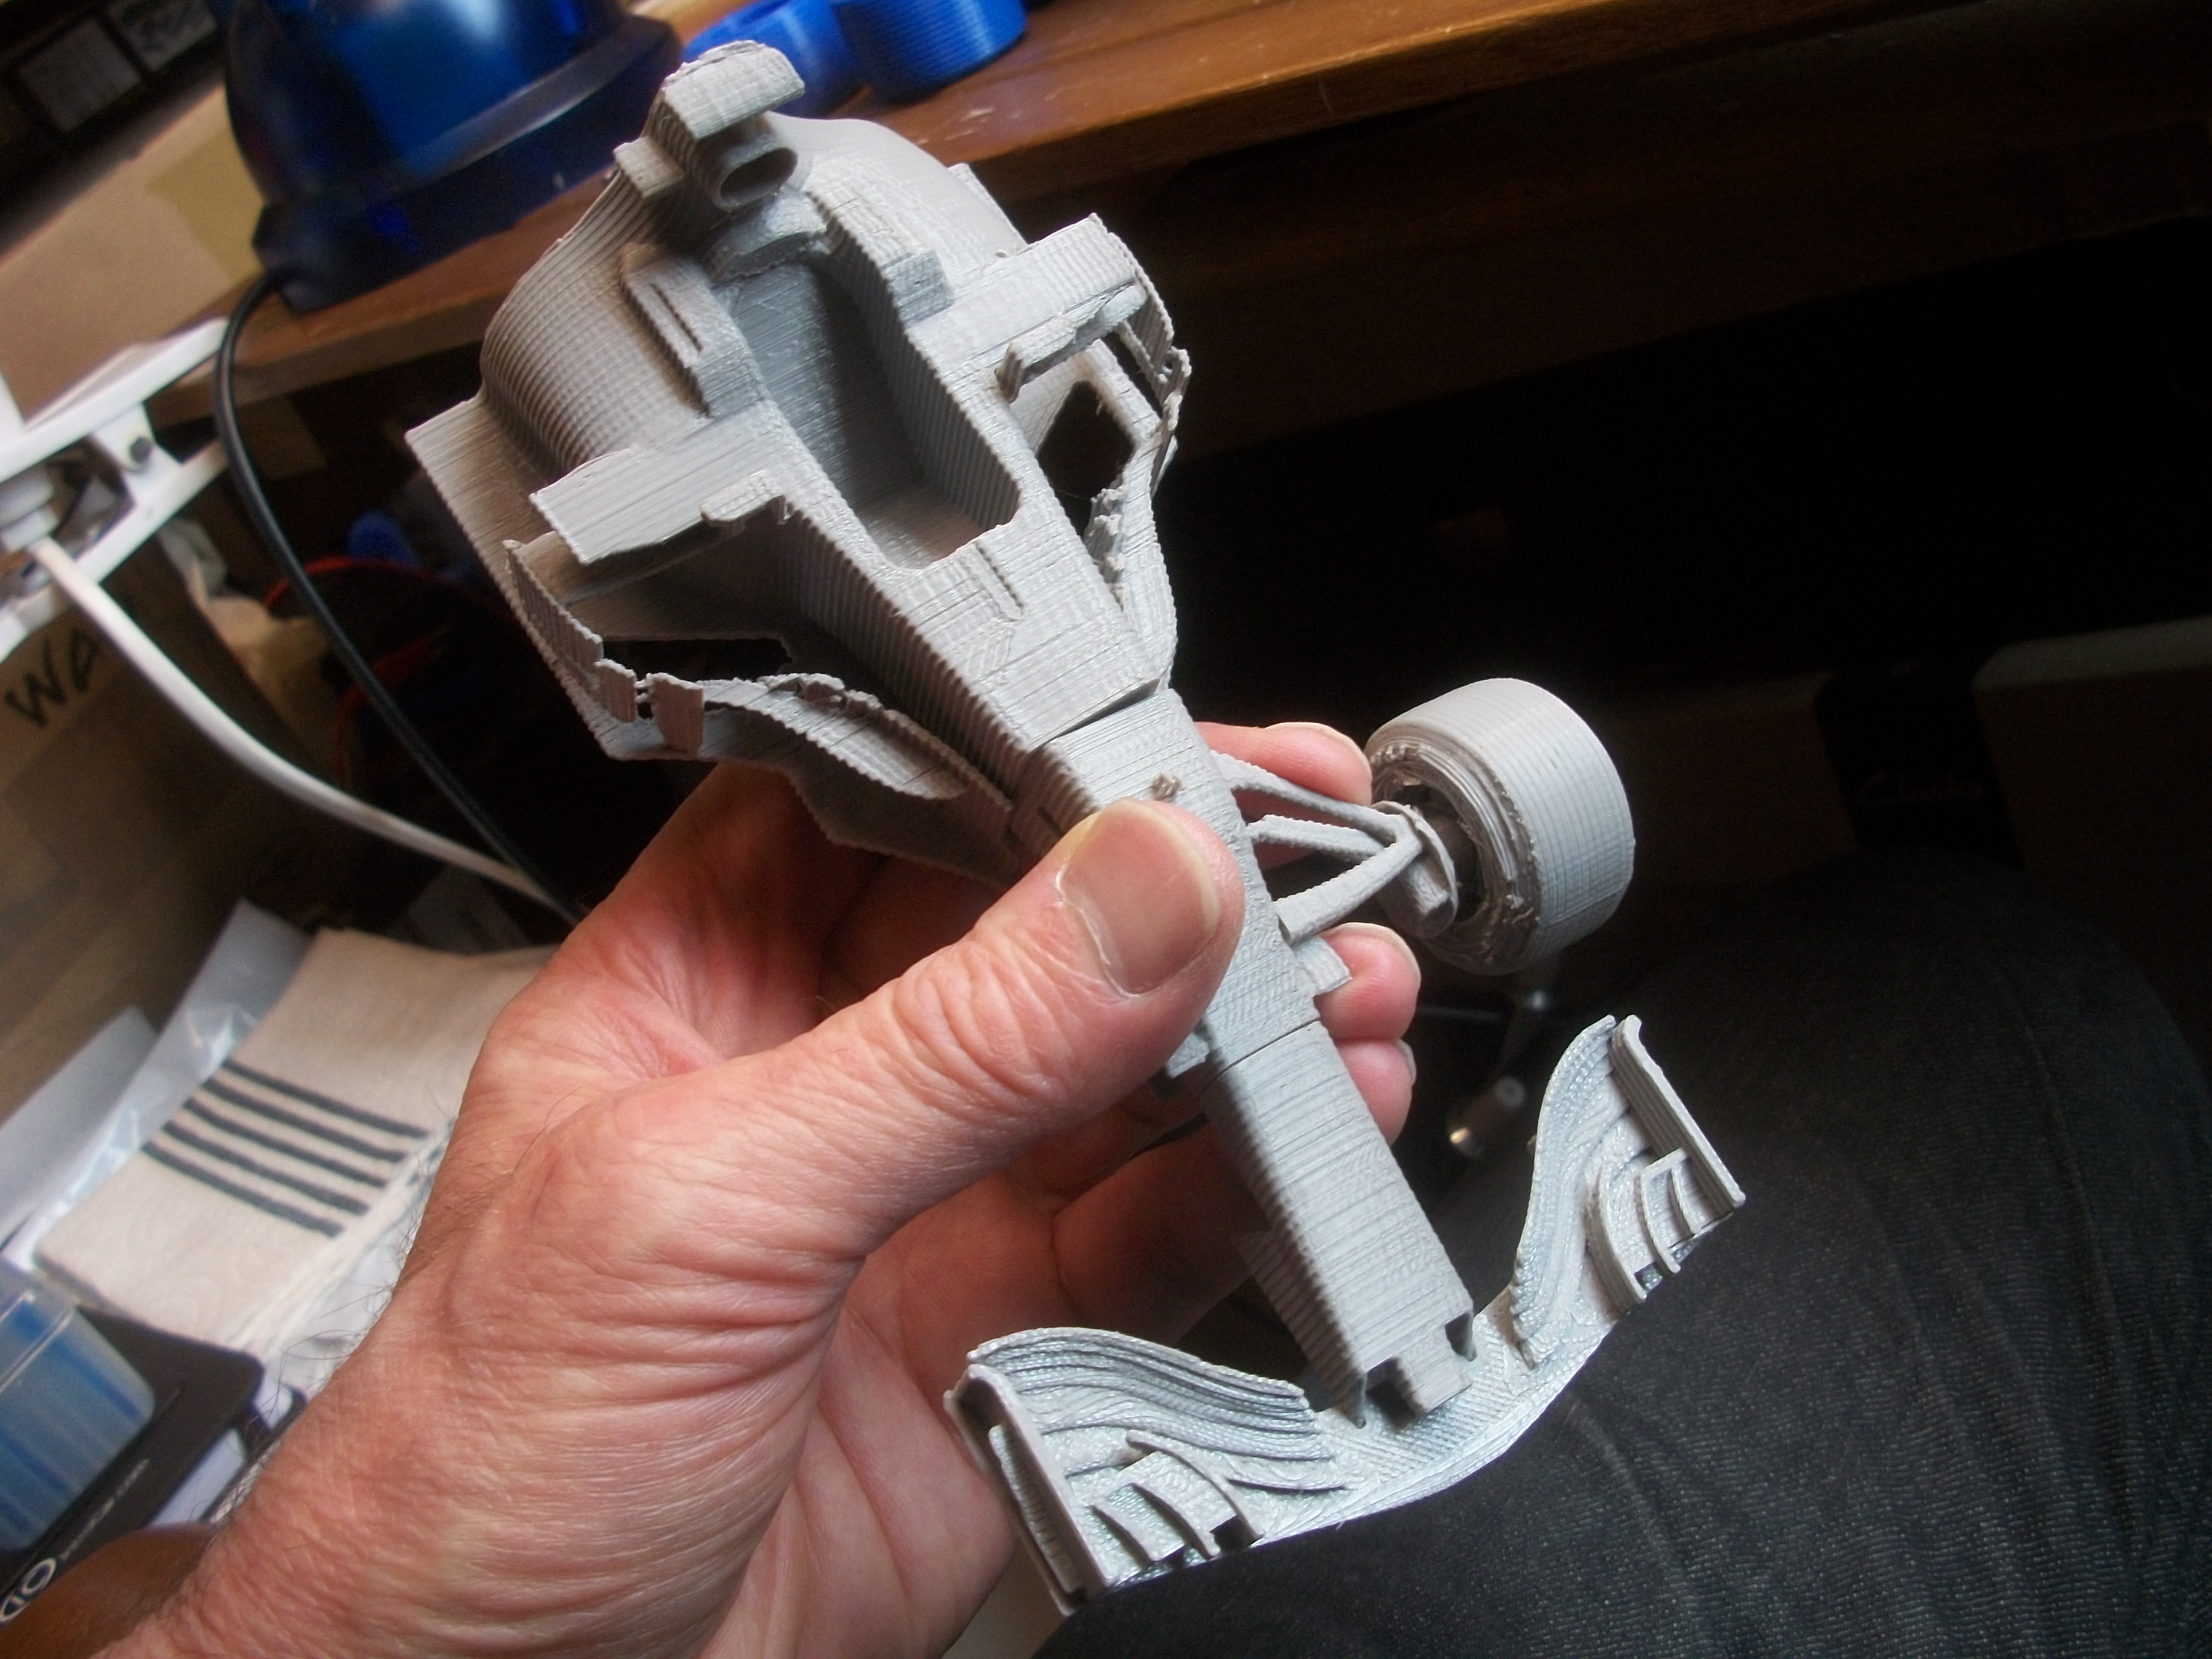
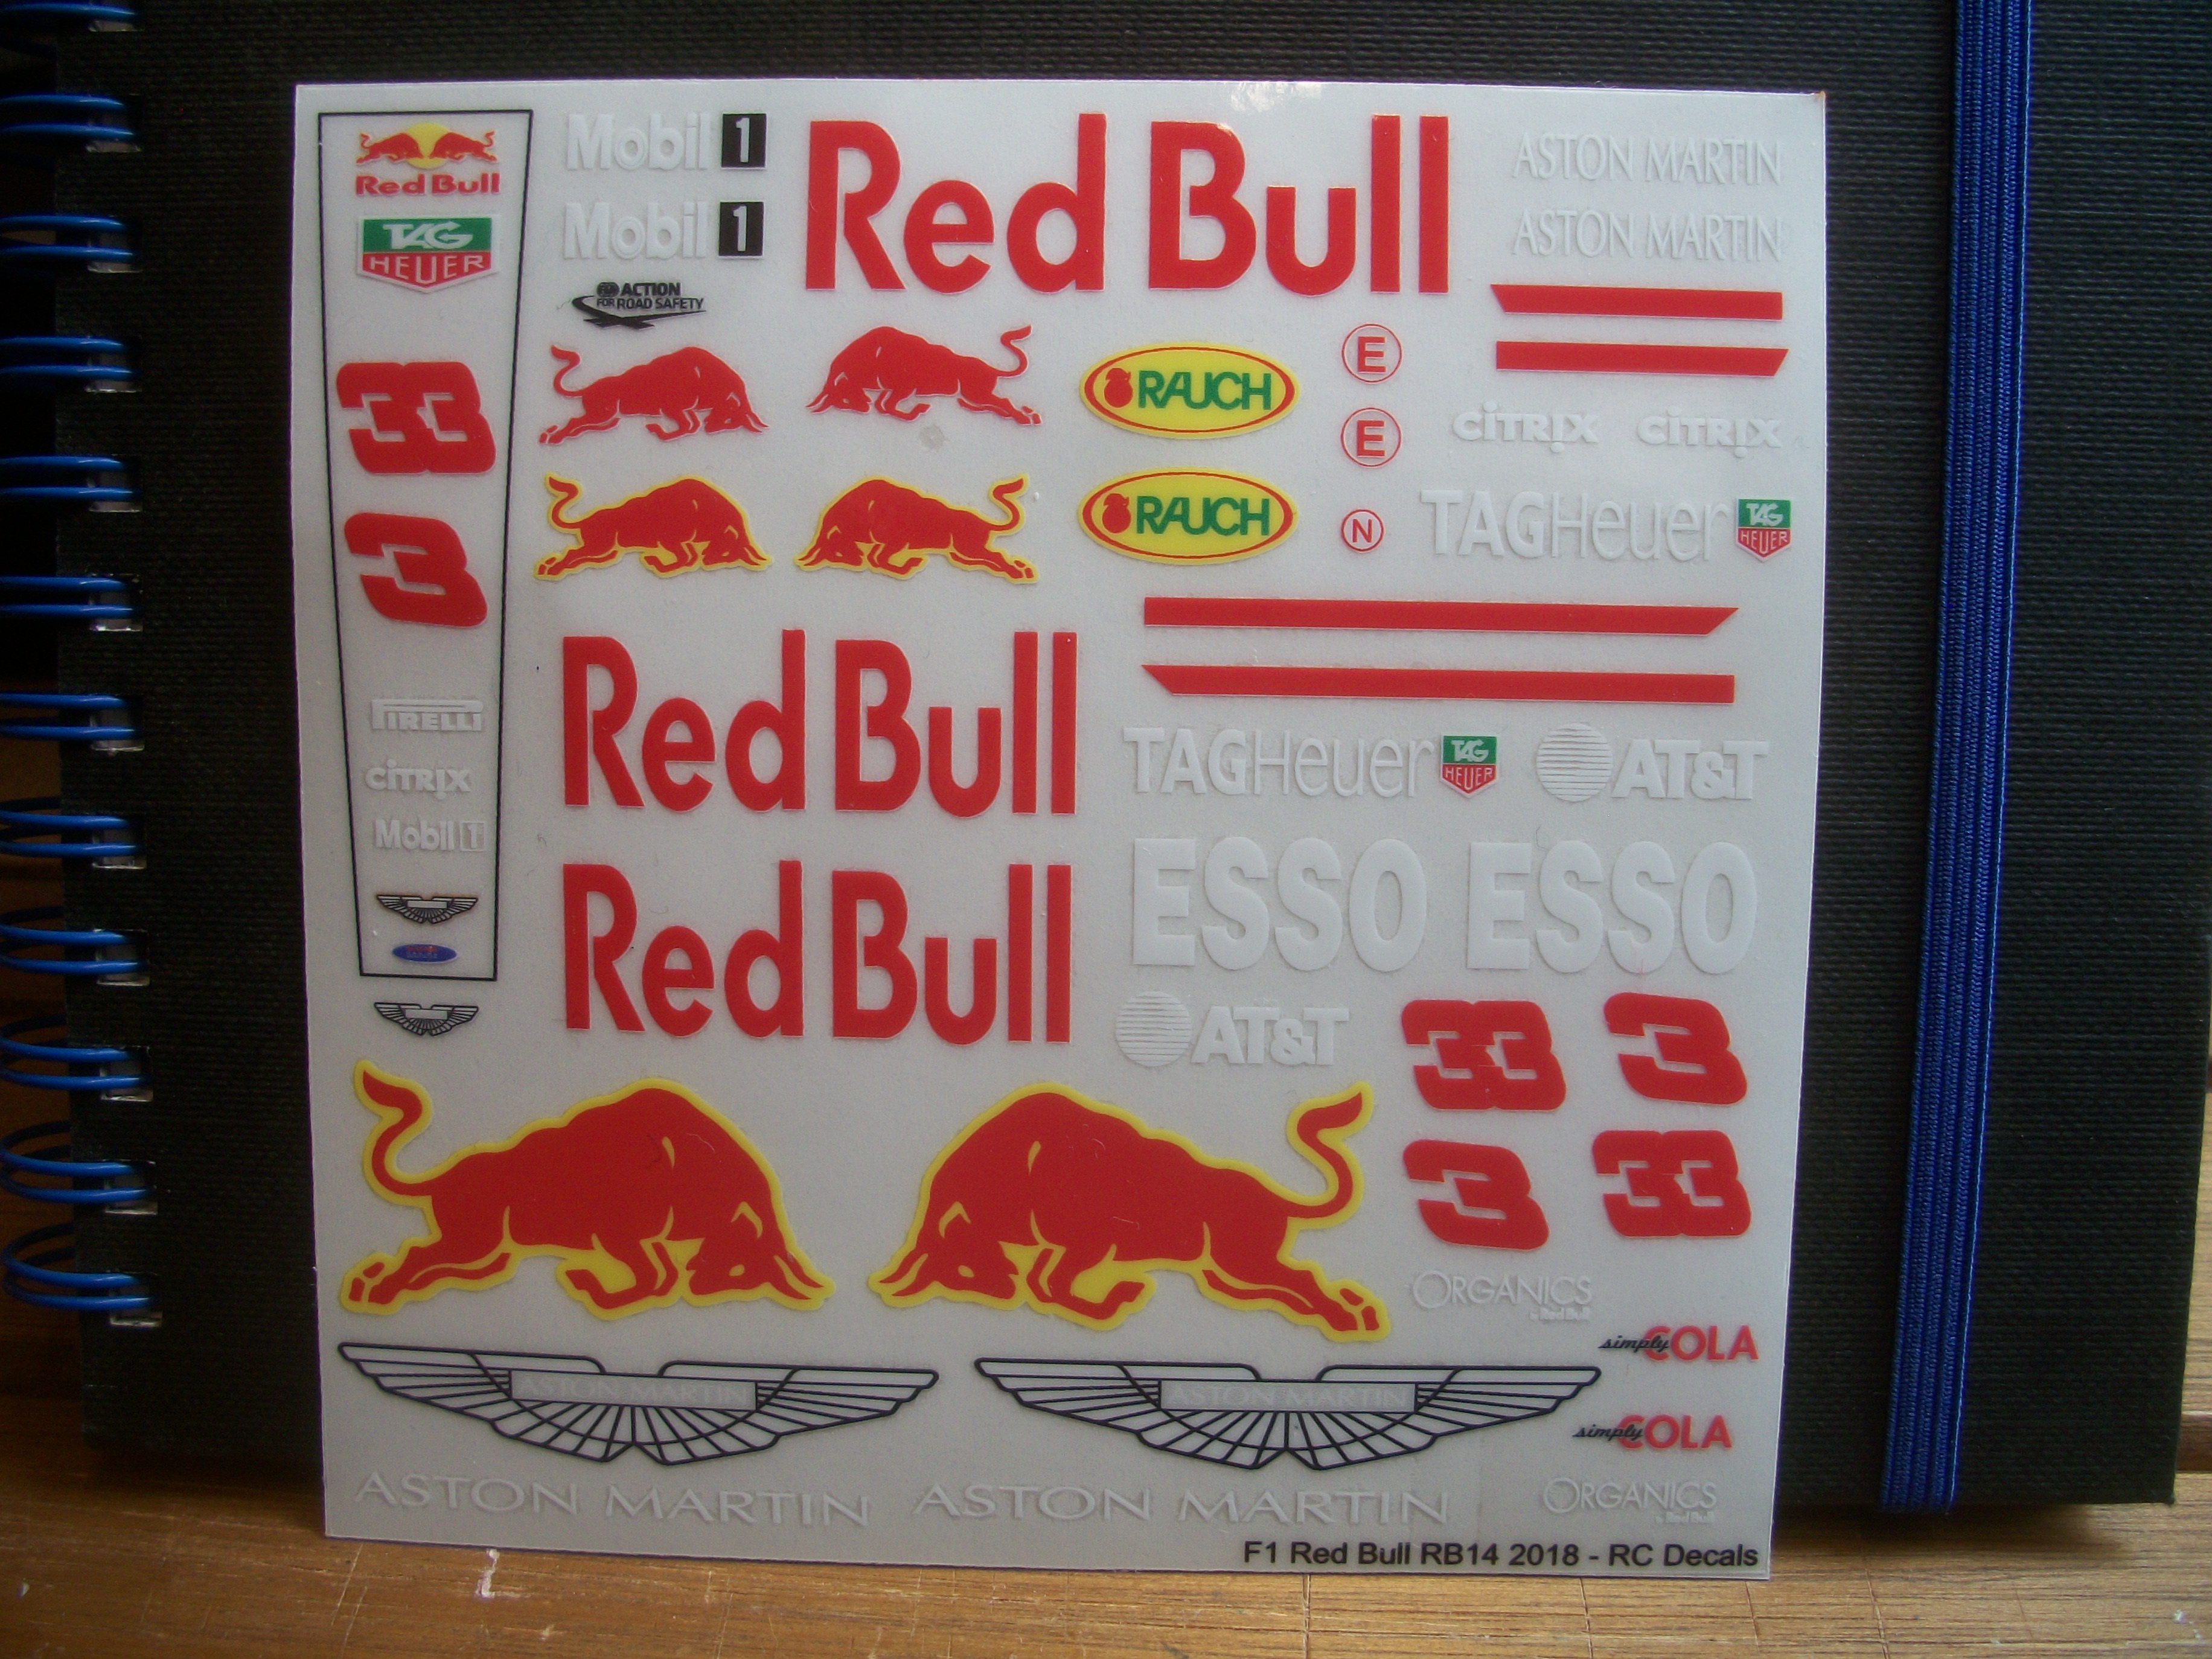
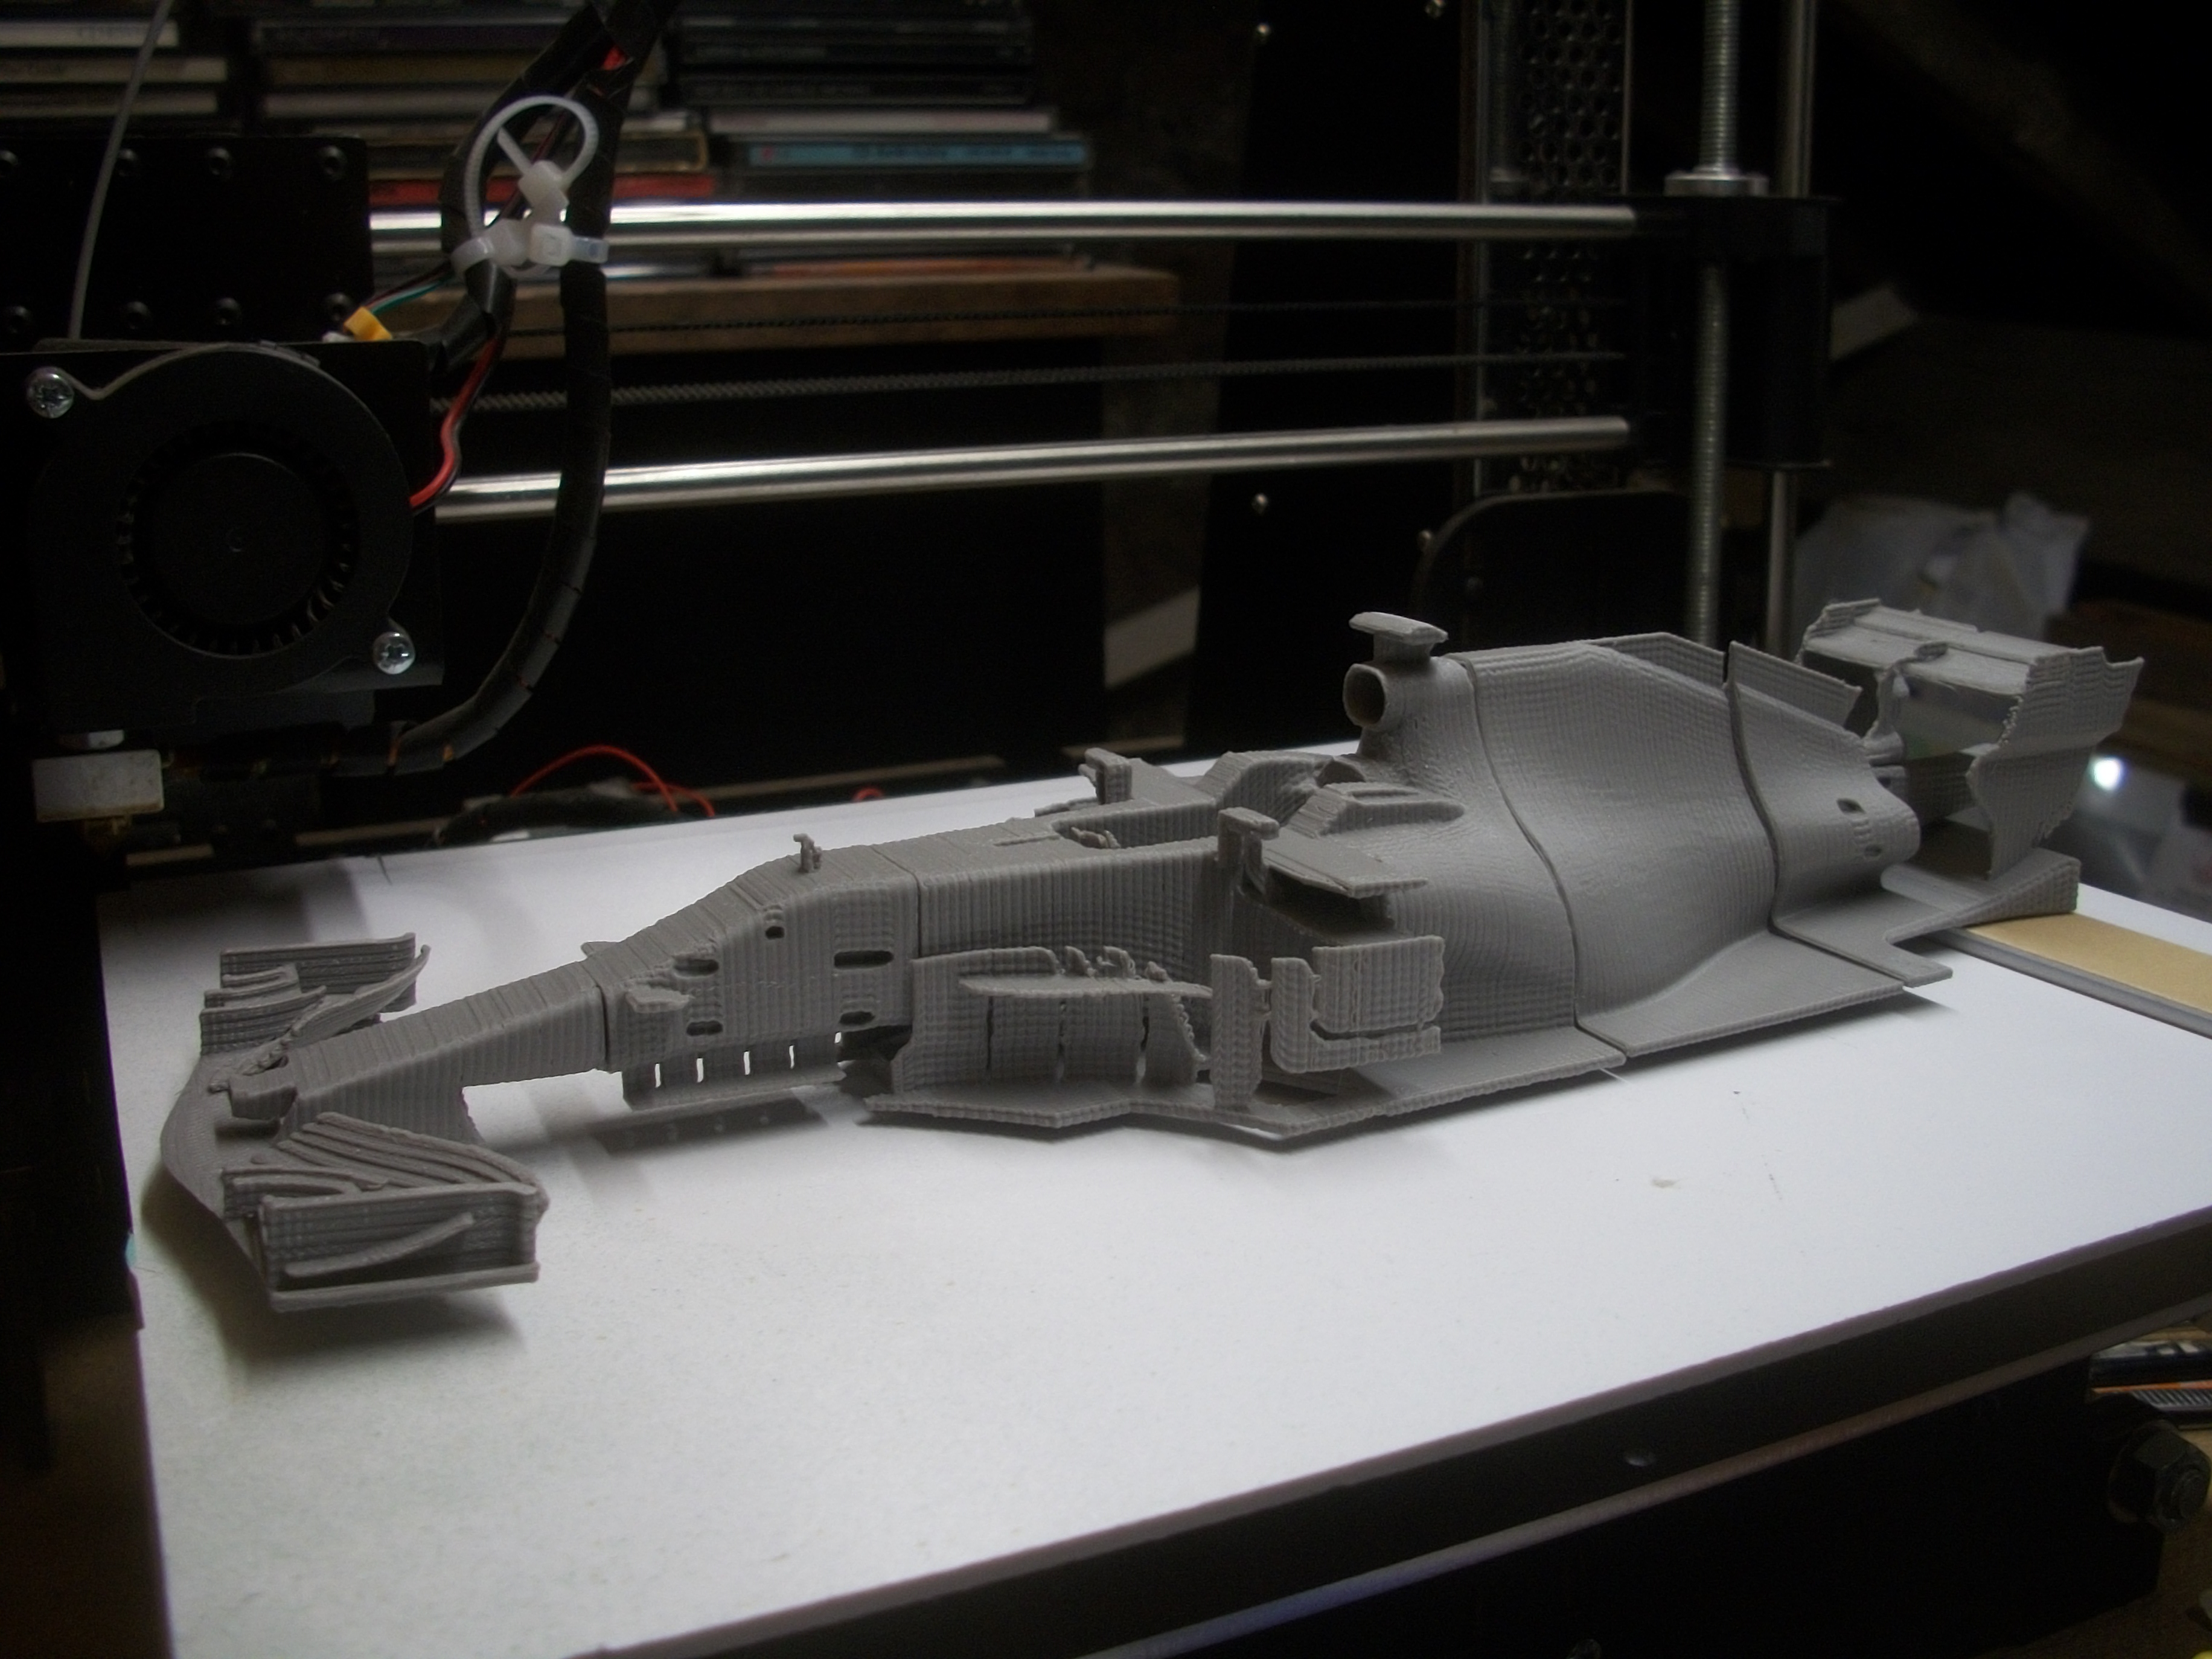
This build is my first Formula One race car, and also my first 1:20 scale model car. I have 3D printed the 16 parts of the model over an 8 day period, from Saturday 24th July to Saturday 31st July, using my Anet A8 printer and grey PLA filament by AMZ3D...... All parts sliced using Ultimaker Cura software. This is the number 33 race car, as driven by Max Verstappen during the 2018 season, so this is the Renault engined car, as opposed to the Honda engined car that was raced from 2019 to 2021. As can be seen from the following photos, the layer lines are very obvious on most of the PLA printed surfaces. During this coming week, I shall be attempting to carry out Acetone Vapour Smoothing to remove these unsightly layer lines, and hopefully to produce a much smoother, glossy surface. The Red Bull blue paint is a matte finish, which will be airbrushed over grey primer later. The only decal sheet that I could find on the Internet was for a 2010 Red Bull RB6, and this was not the set of decals that I wanted. Fortunately, I was able to find a website for RC Decals in UK, and they very kindly scaled down a 1:10 decal sheet to 1:20 scale for me. So far, I have used super glue to assemble the main parts of the RB14, and I shall be detailing some extra parts that were not included in the set of 16 parts. I would really like to place a seated racing driver figure inside the cockpit, but as yet I have not been able to find a suitable figure in 1:20 scale. As always, thanks for looking guys, and I am hoping this one turns out reasonably well ! David

-
There hasn't been any further progress with the Hooper & Co. dioramas over the past two weeks, and this is simply because I have been busy working on a slight deviation from the usual period of model car building. I shall most likely post the details of this ' deviation ' in the WIP Model Cars section, as it has nothing to do with the Hooper or Rolls-Royce theme at all. Having 3D printed 16 parts that go to make up a 1:20 scale 2018 Red Bull RB14 race car ( F1 ), I am now assembling the parts and preparing them for primer and painting. Managed to get a 1:10 scale Red Bull decal sheet scaled down to 1:20 scale, and this has arrived in the post. Also, I have obtained the correct paint colours for the Red Bull car, both the yellow and the blue, as produced by Zero Paints and supplied by Hiroboy. This is my first attempt at printing, building, assembling and painting a Formula One race car, and my first foray into 1:20 scale territory. Here is one photo of the partly assembled model. David
-
I can see that you are getting a great deal of satisfaction from building this car, Tom, and clearly the build has special significance with being your Dad's car. My view with the paint issue, is that fate is saying ' Okay, the top coat went bad...... but hey, the paint finish is now actually closer to that on your Dad's actual car..... so all is good ! I used to own an orange 1960 VW beetle when I was in my early 20's, and it had 6 volt electrics. That was a fun car to drive and I grew to like it very much. Hope you get your build completed on time ! David
-
1/24 [Italeri] 1934 Rolls-Royce Phanthom II
Anglia105E replied to Cuba_13's topic in WIP: Model Cars
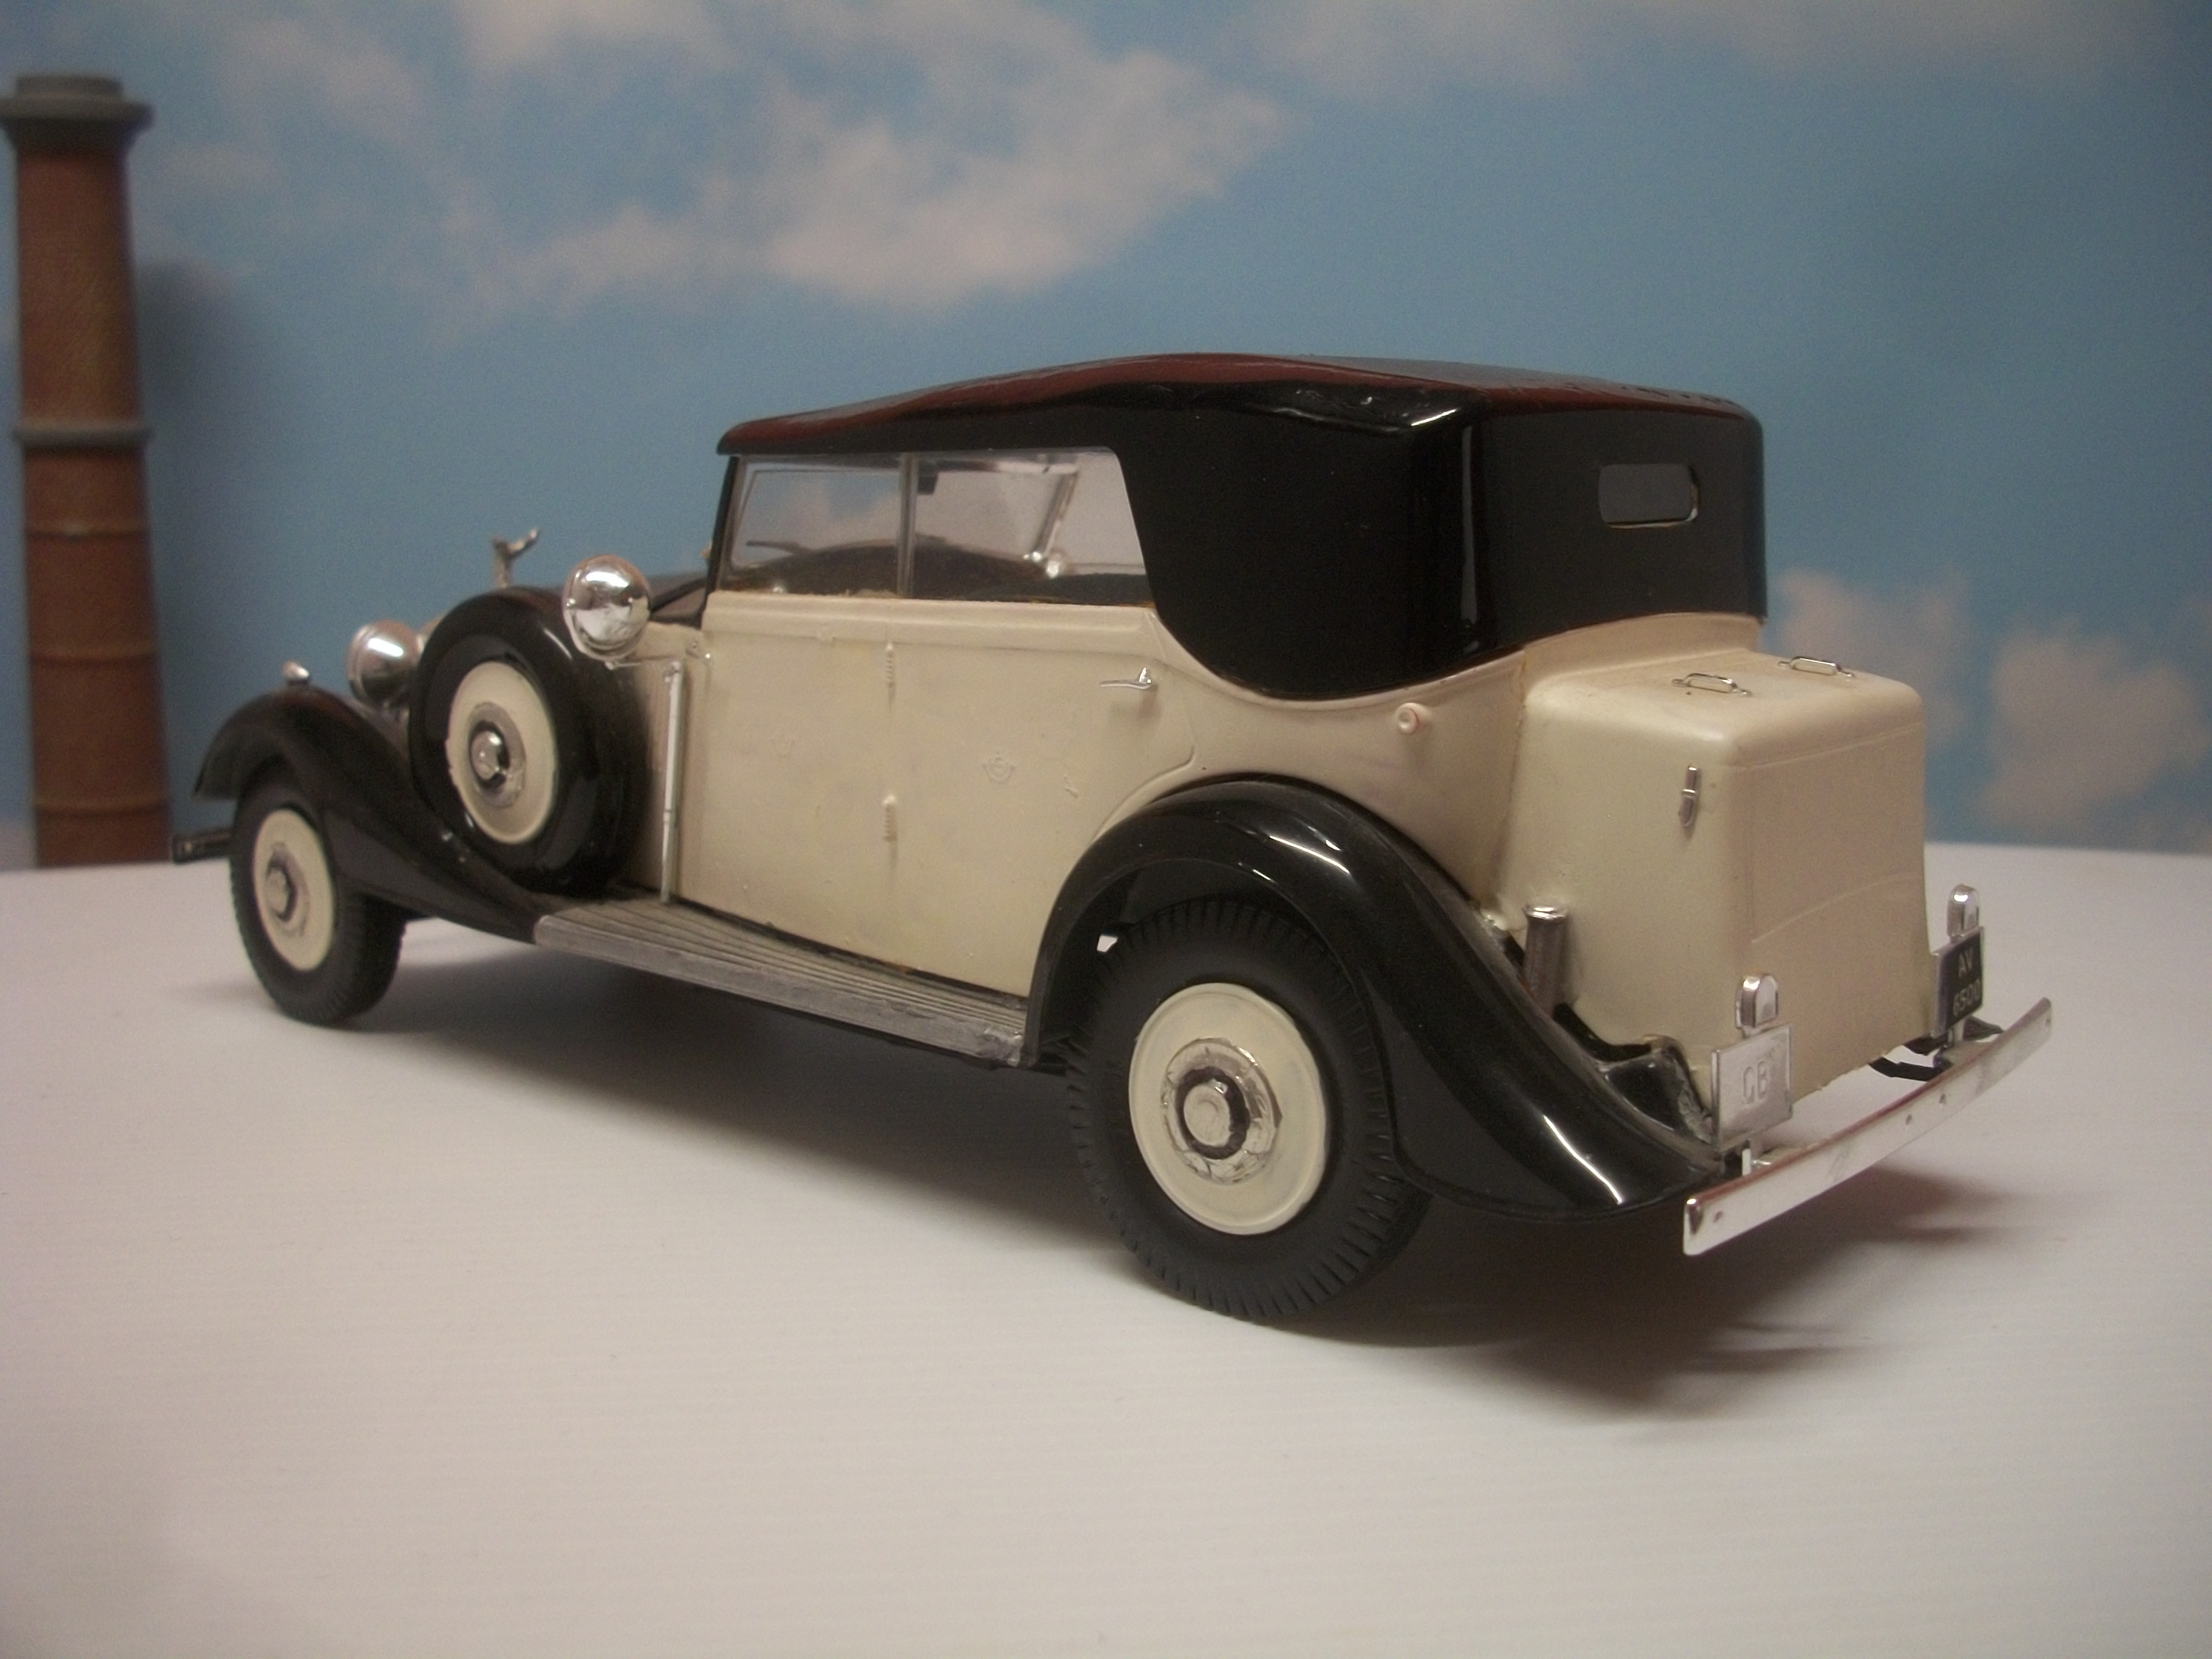
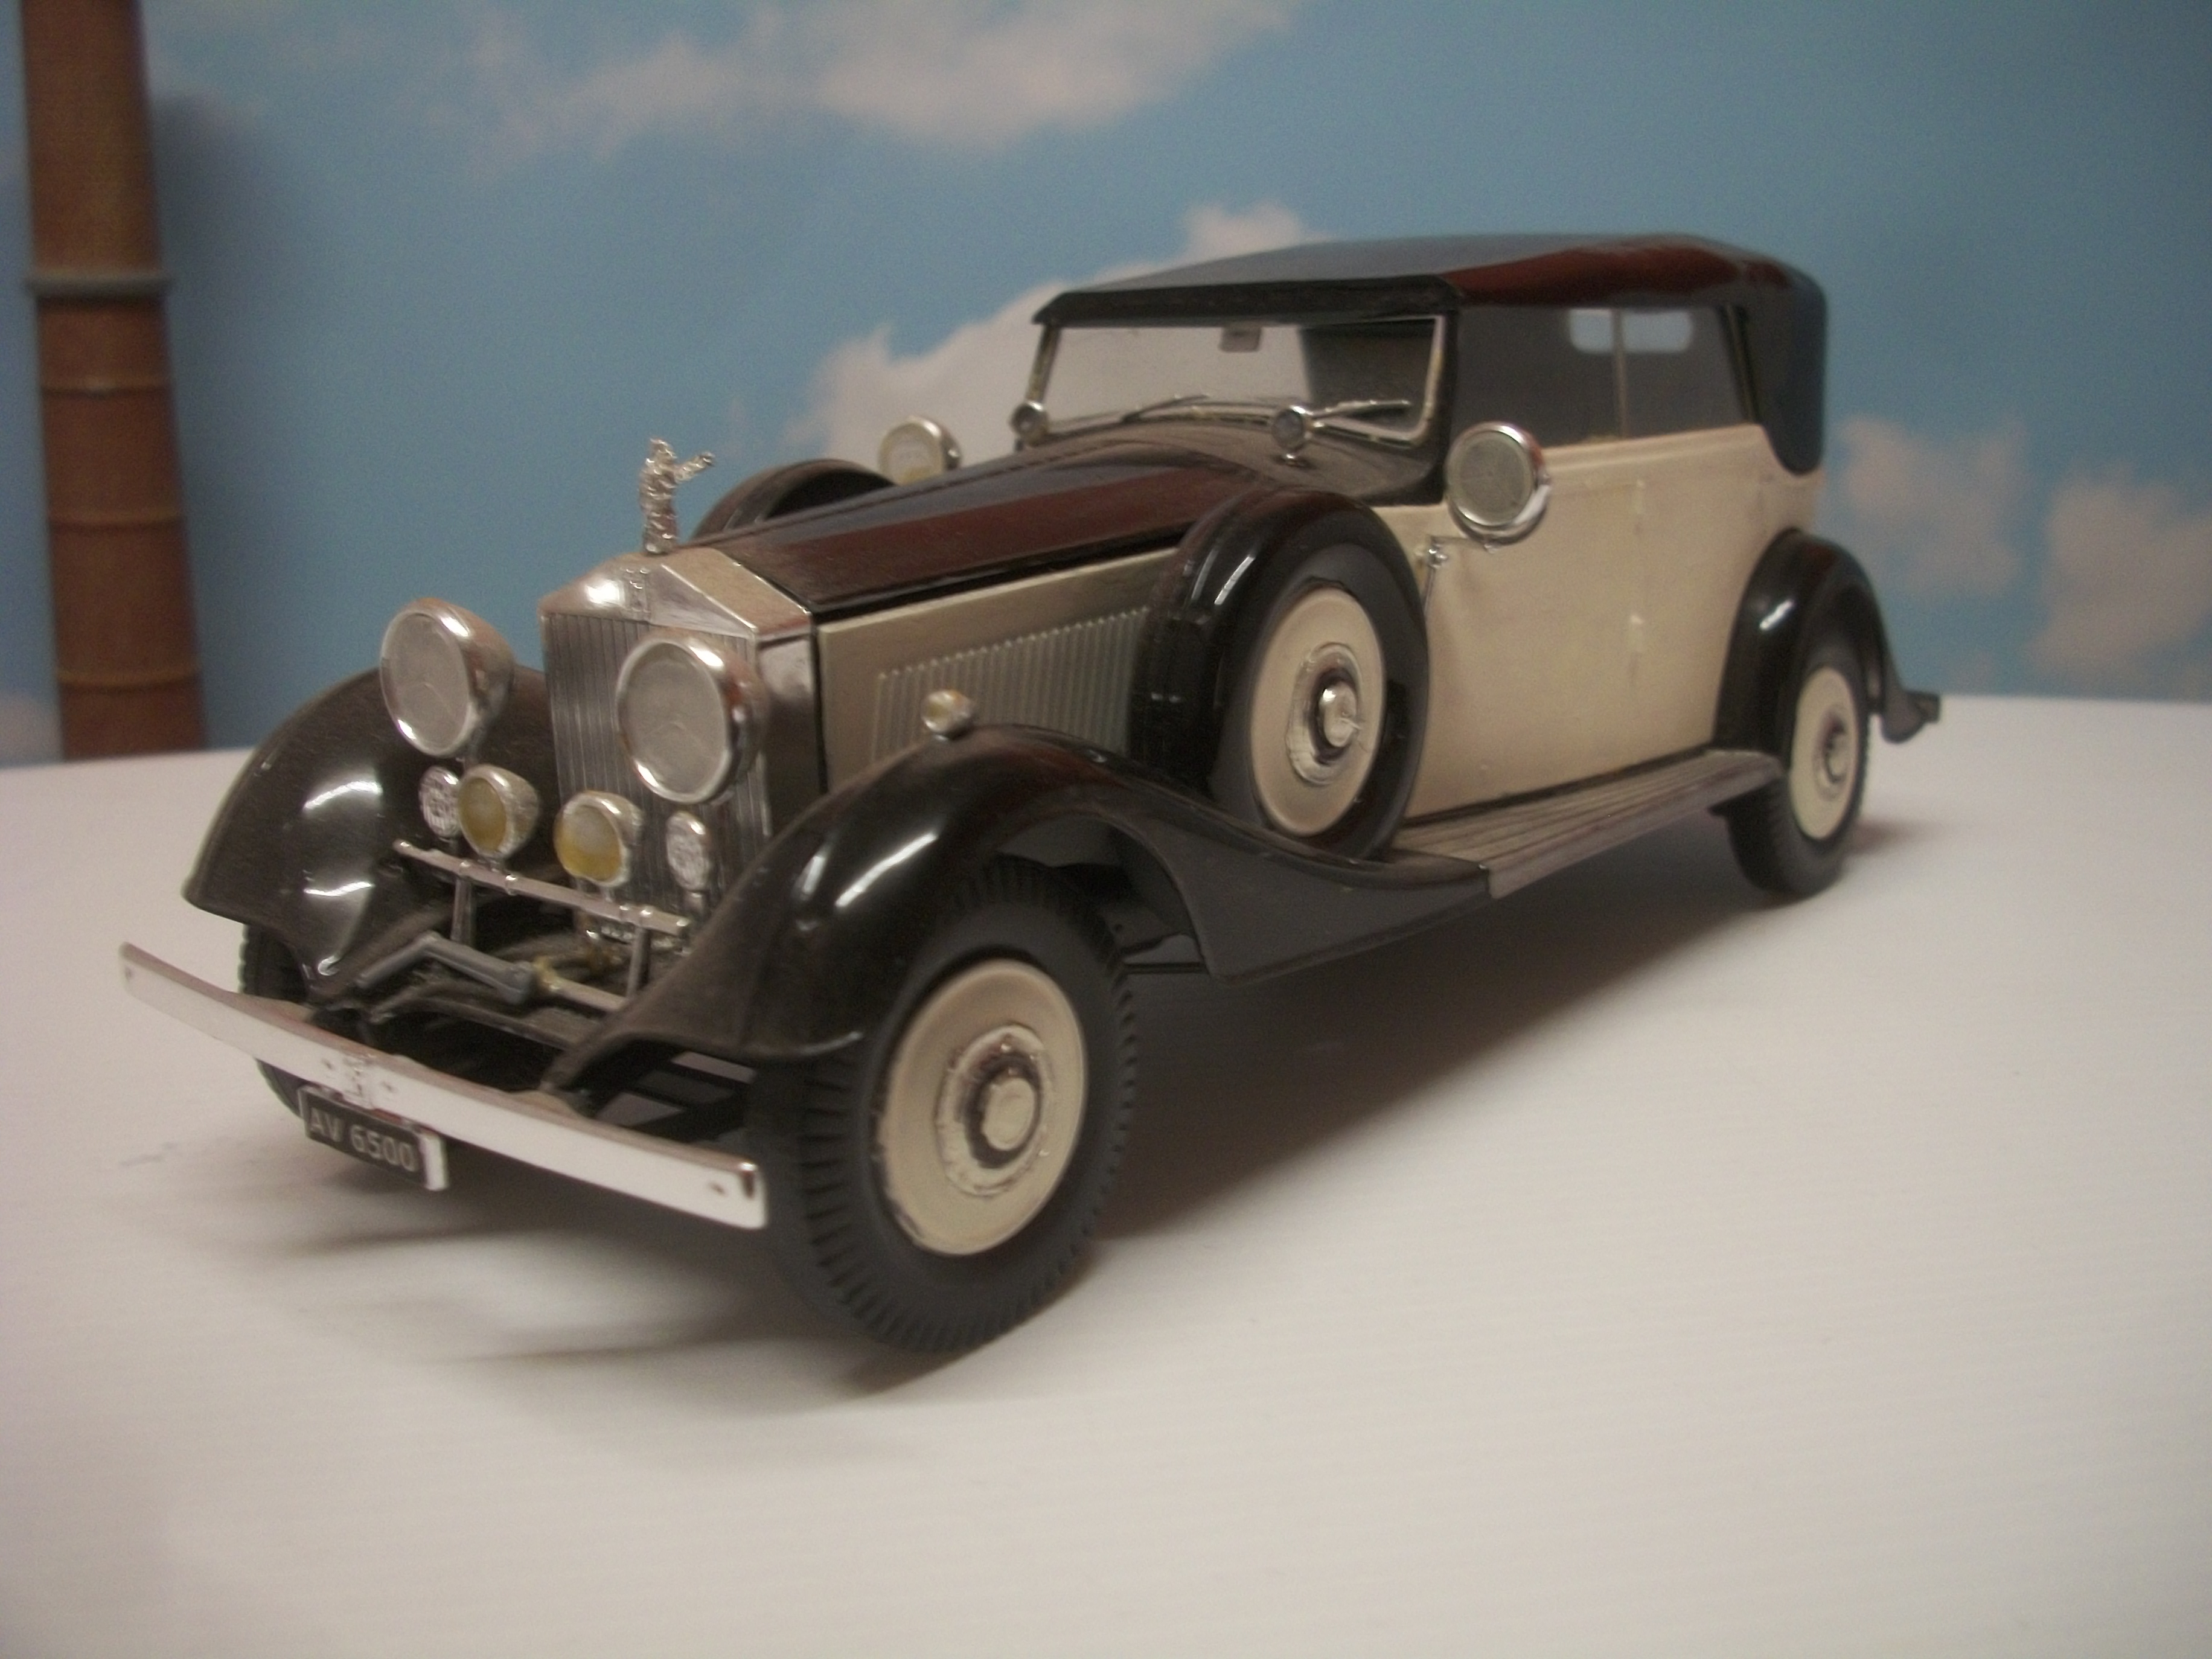
Good luck with this build, Roman........ I have built one of these kits as a 1934 Rolls-Royce Phantom II, and just as you say, I did not like the Star of India colour scheme. Mine is black and magnolia (cream), and I made the soft top into a hard top, which is painted gloss black. The Italeri kit is a nice one to build, and the 6 cylinder inline engine is a good base from which to modify and add parts for more realism. The bonnet panels can be cut and made into the hinged panels for opening if you wish. This is a BIG car in 1:24 scale, and it builds into a nice model. You are off to a good start, Roman. Here are a few photos, and sorry the model car is dusty ! David
-
You are too kind, Sir ! I do enjoy both aspects of this wonderful hobby, and it is most rewarding when the assembled and painted models come to life within a realistic diorama setting. David
-
Sorry, and yes I had already seen the earlier part of your post, and I usually work in 1:24 scale but at the moment working in 1:35. Navy Blue, not black..... got it. Your scratch built Webasto sunroof is excellent, and it is good to see someone working with brass and fabric materials. I had seen the ICM Opel models, but not the Revell versions. Thanks for posting the different stages of your builds, Jouko. David
-
Your two Renault builds are both beautiful, Anders........ My favourite would be the Royal Maroon car. These Heller kits can be quite a challenge to assemble, but usually well worth the effort in my experience. The little Renault car never let them down, driving all over Europe and only 21 HP........ !!! David
-
These are really interesting Opel builds, Jouko........ The sliding / folding sunroof on the black car is so realistic. Four kits being assembled, like a factory production line, but each car is quite different. Now that I have studied your detailed work on these cars, I would like to add some of the Opel kits to my large collection...... Are these 1:35 scale ICM, Jouko ? We can see some Opel kits on Ebay, here in UK, but they are mostly military vehicles and I do not collect military vehicles. David Watson (England)
-
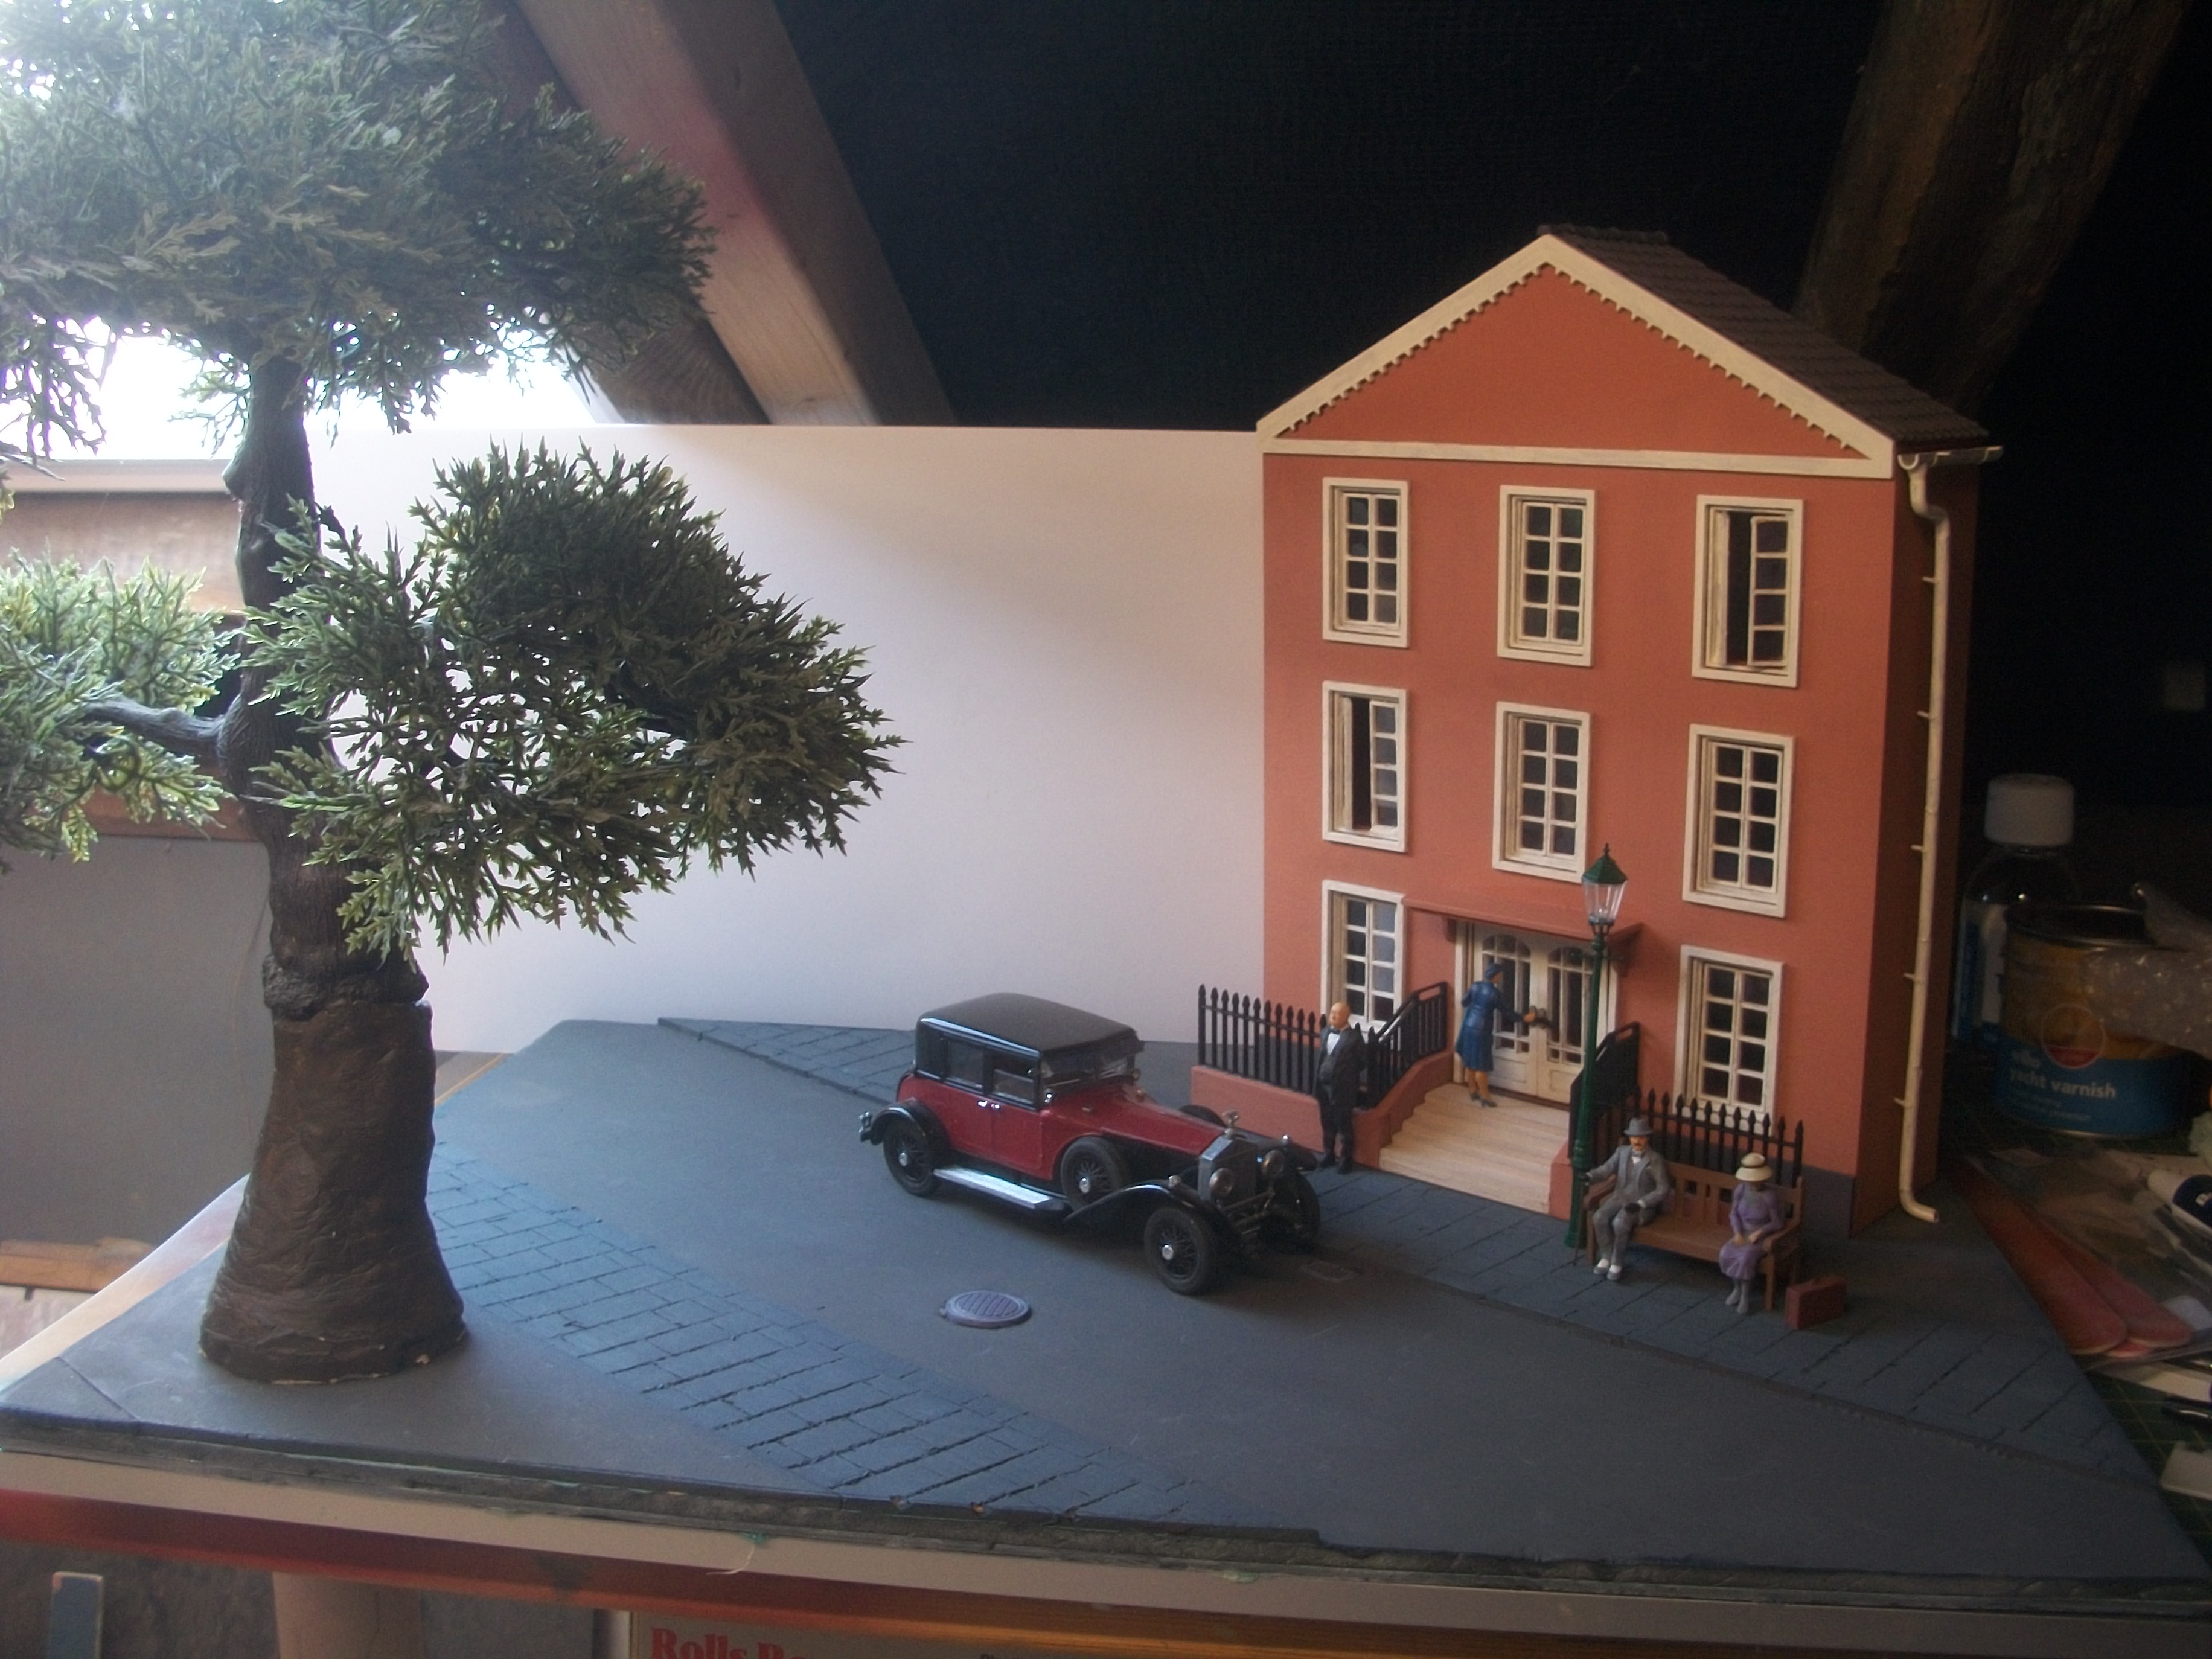
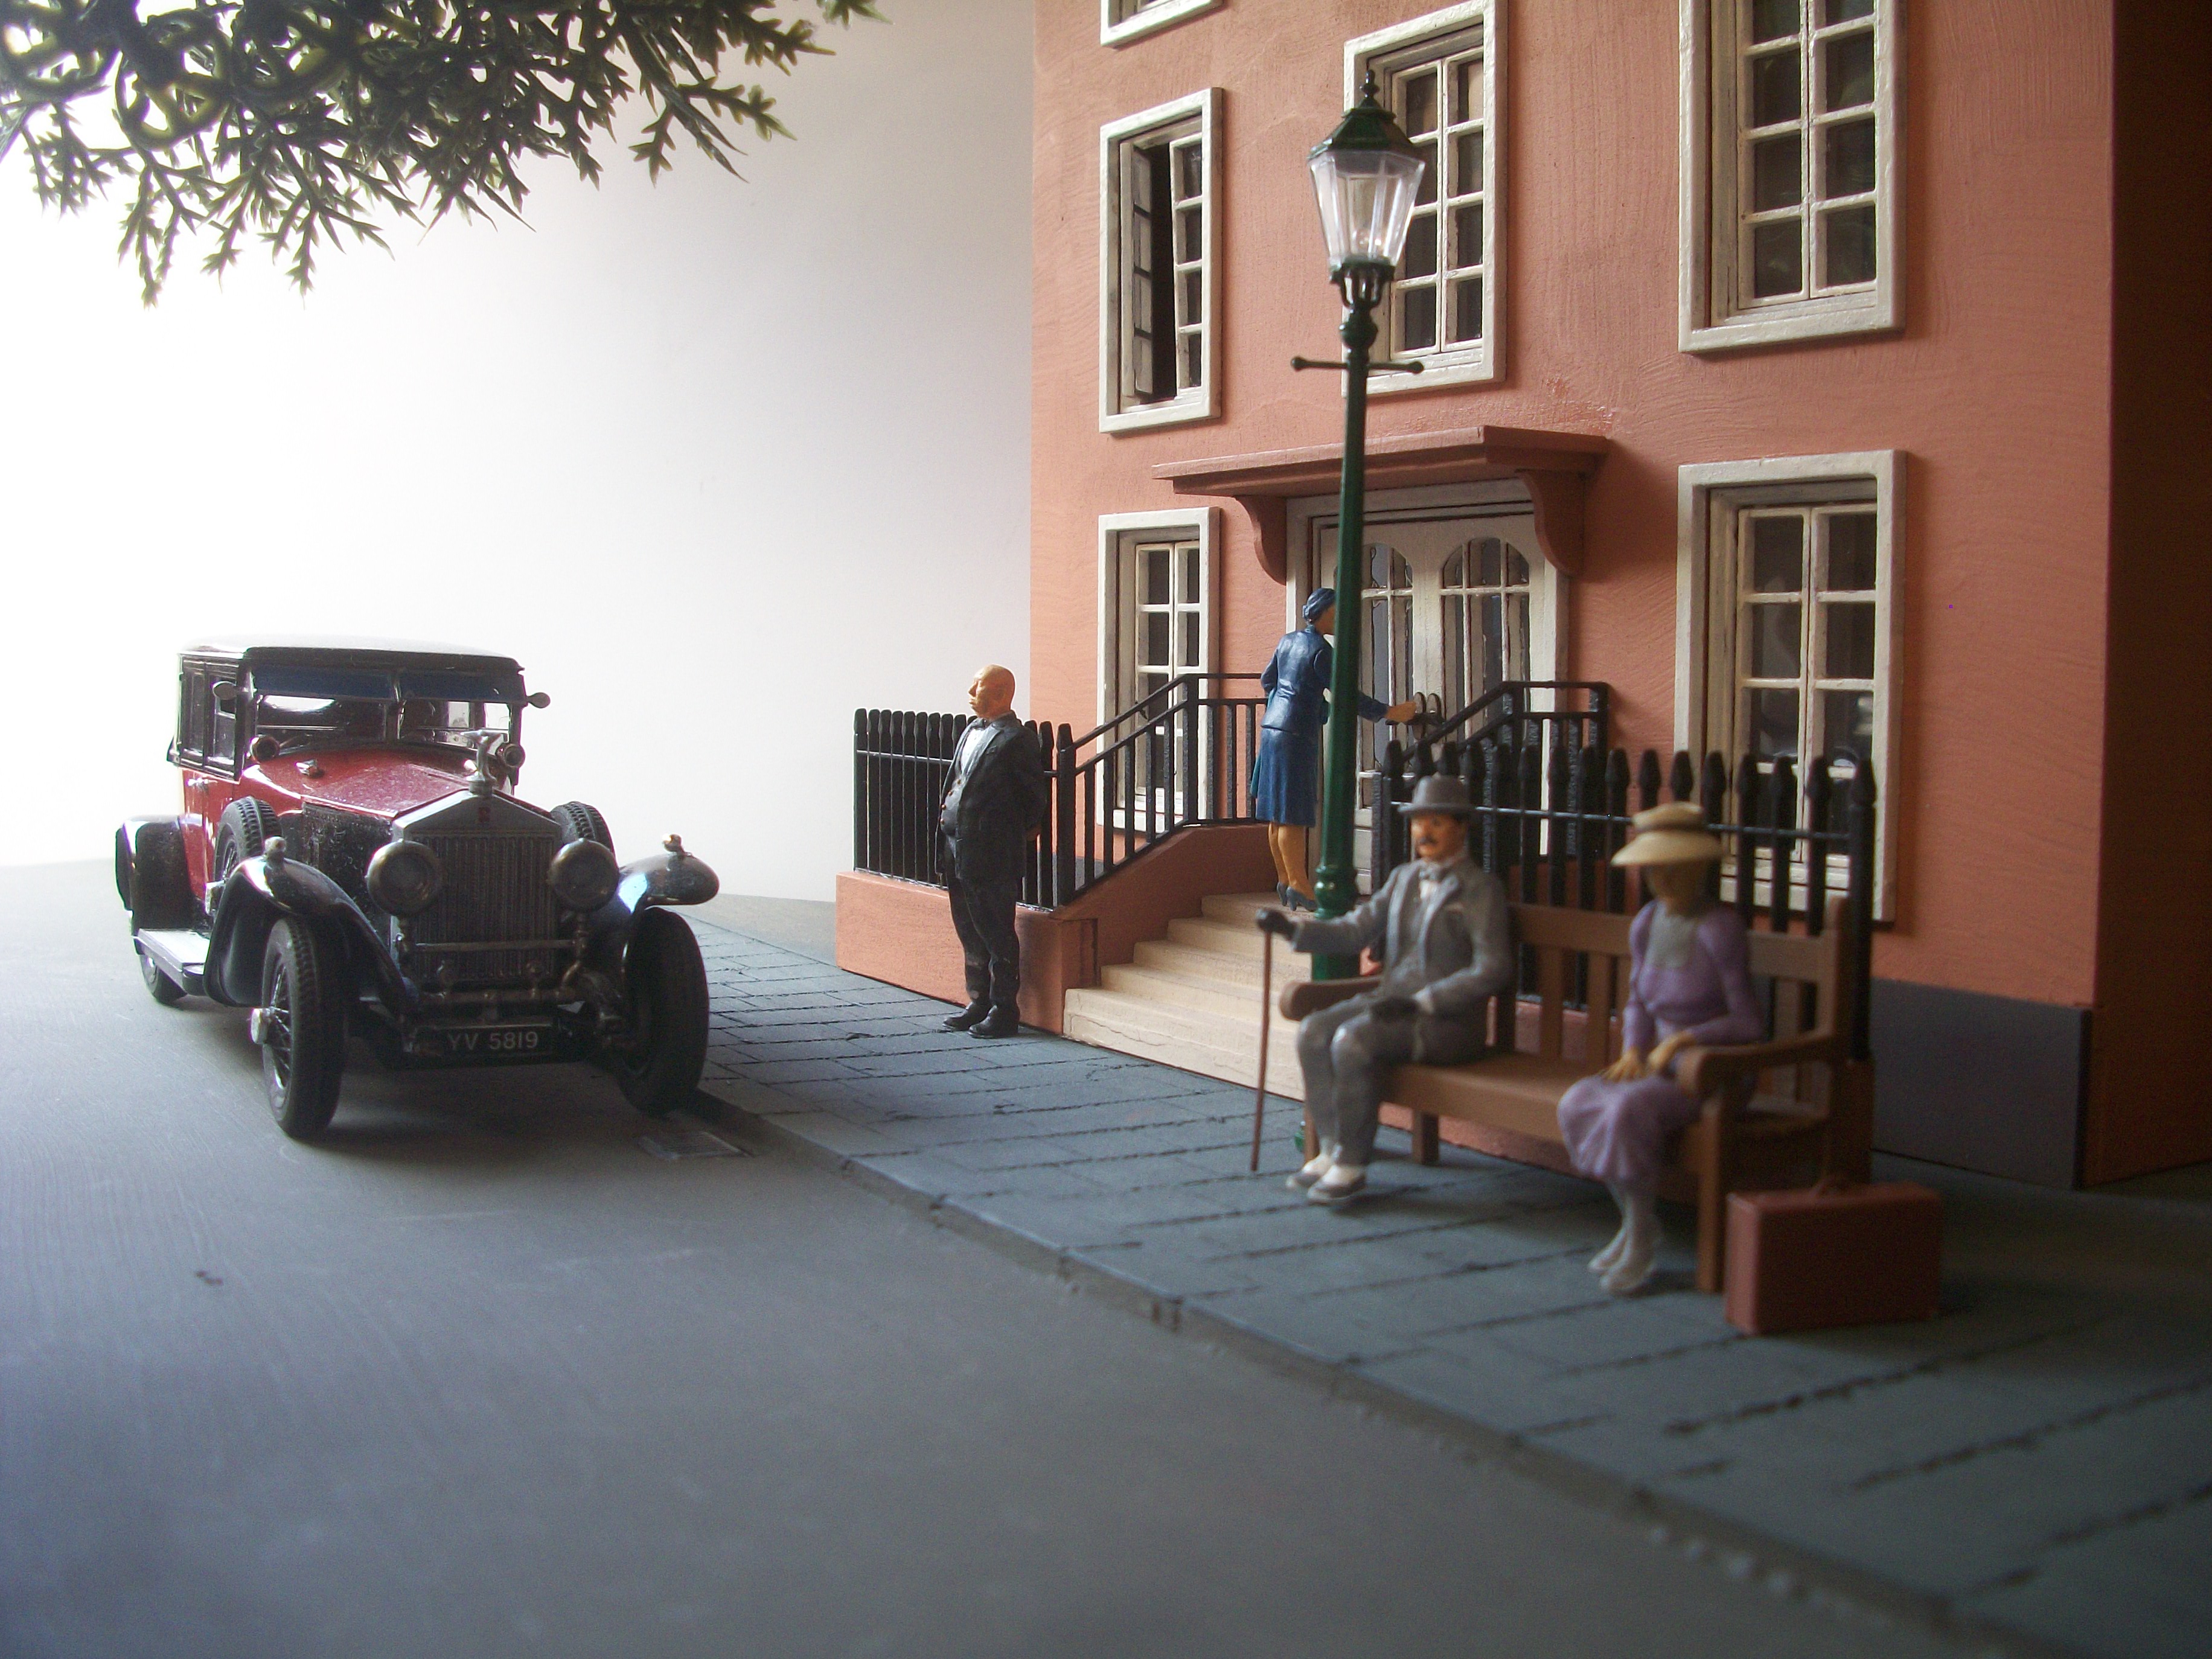
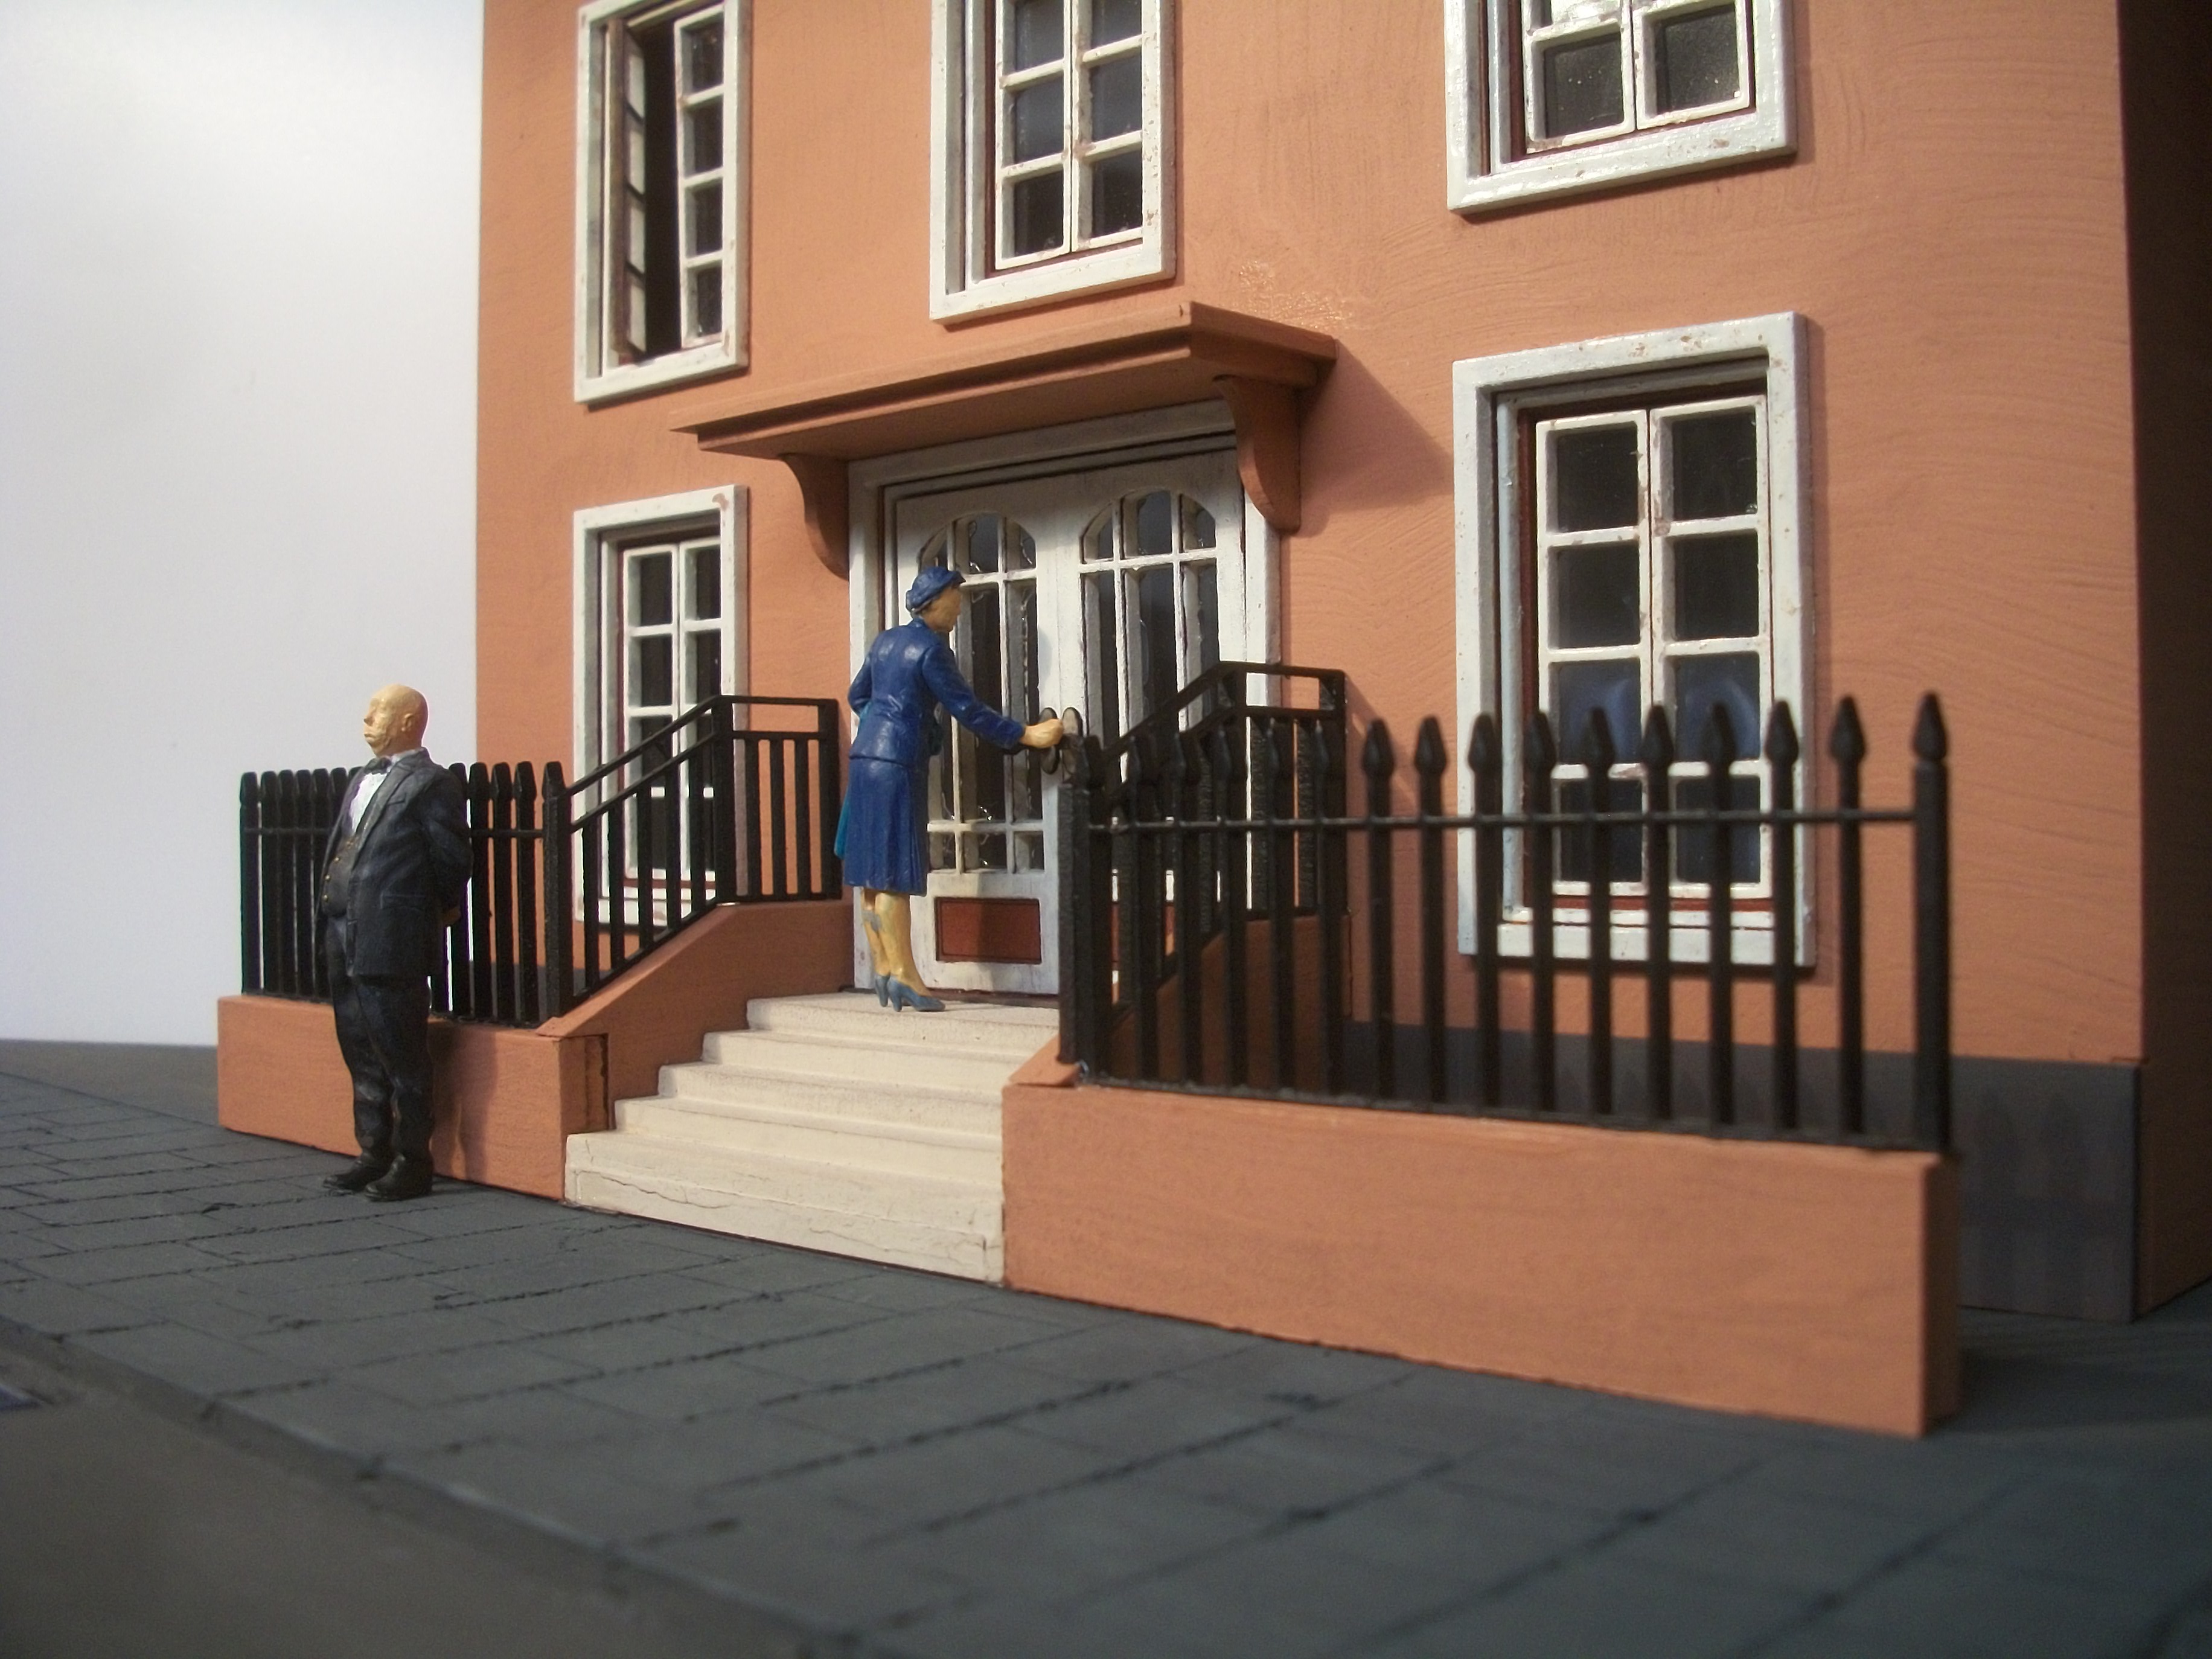
Managed to complete the 1:35 scale laser cut MDF house building a few days ago, and here are a some photos of the ' Black Diamond ' diorama. There will be some further additions to this model, as I photograph the setting, which leads me to new ideas. Thanks for viewing the progress of this one. David
-
Here is a 1:24 scale 3D printed grand piano, and a 1:24 scale ICM figure from the ' American Gasoline Loaders ' set. Three different lighting sources have been used together, and this black & white image has reduced clarity for effect. The photo has the title: " The Maestro Goes To Work ".......... David
-
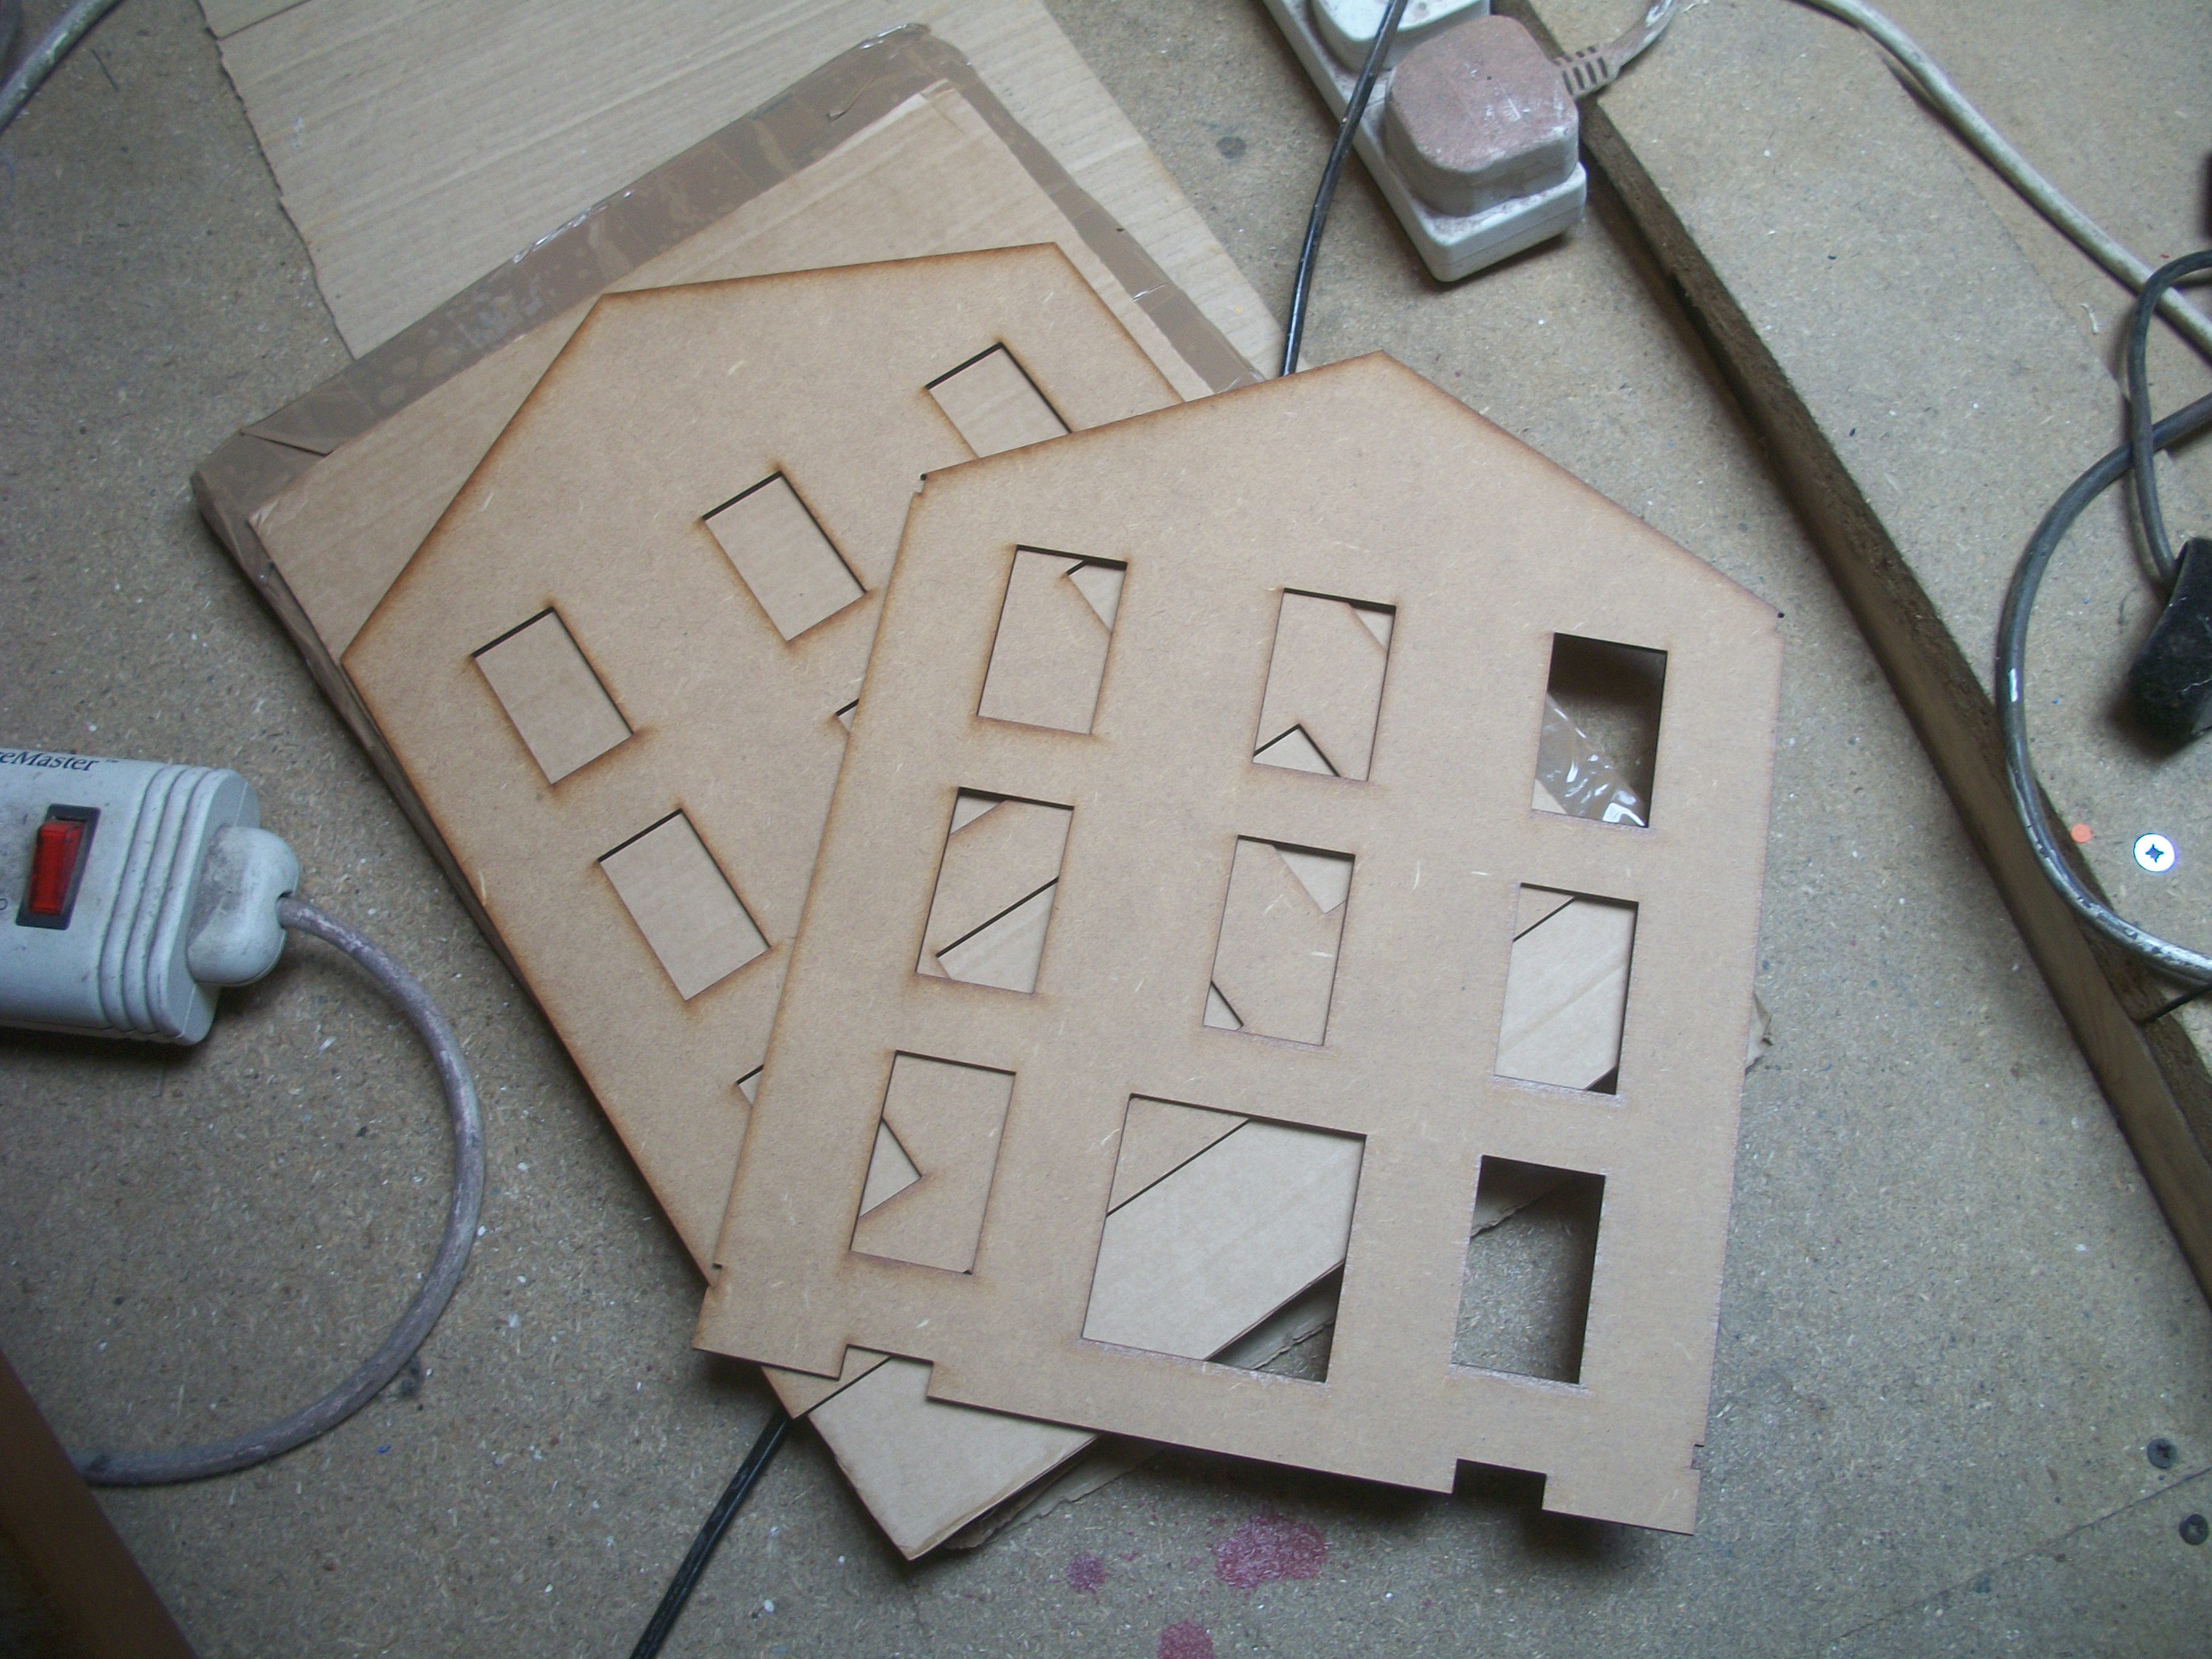
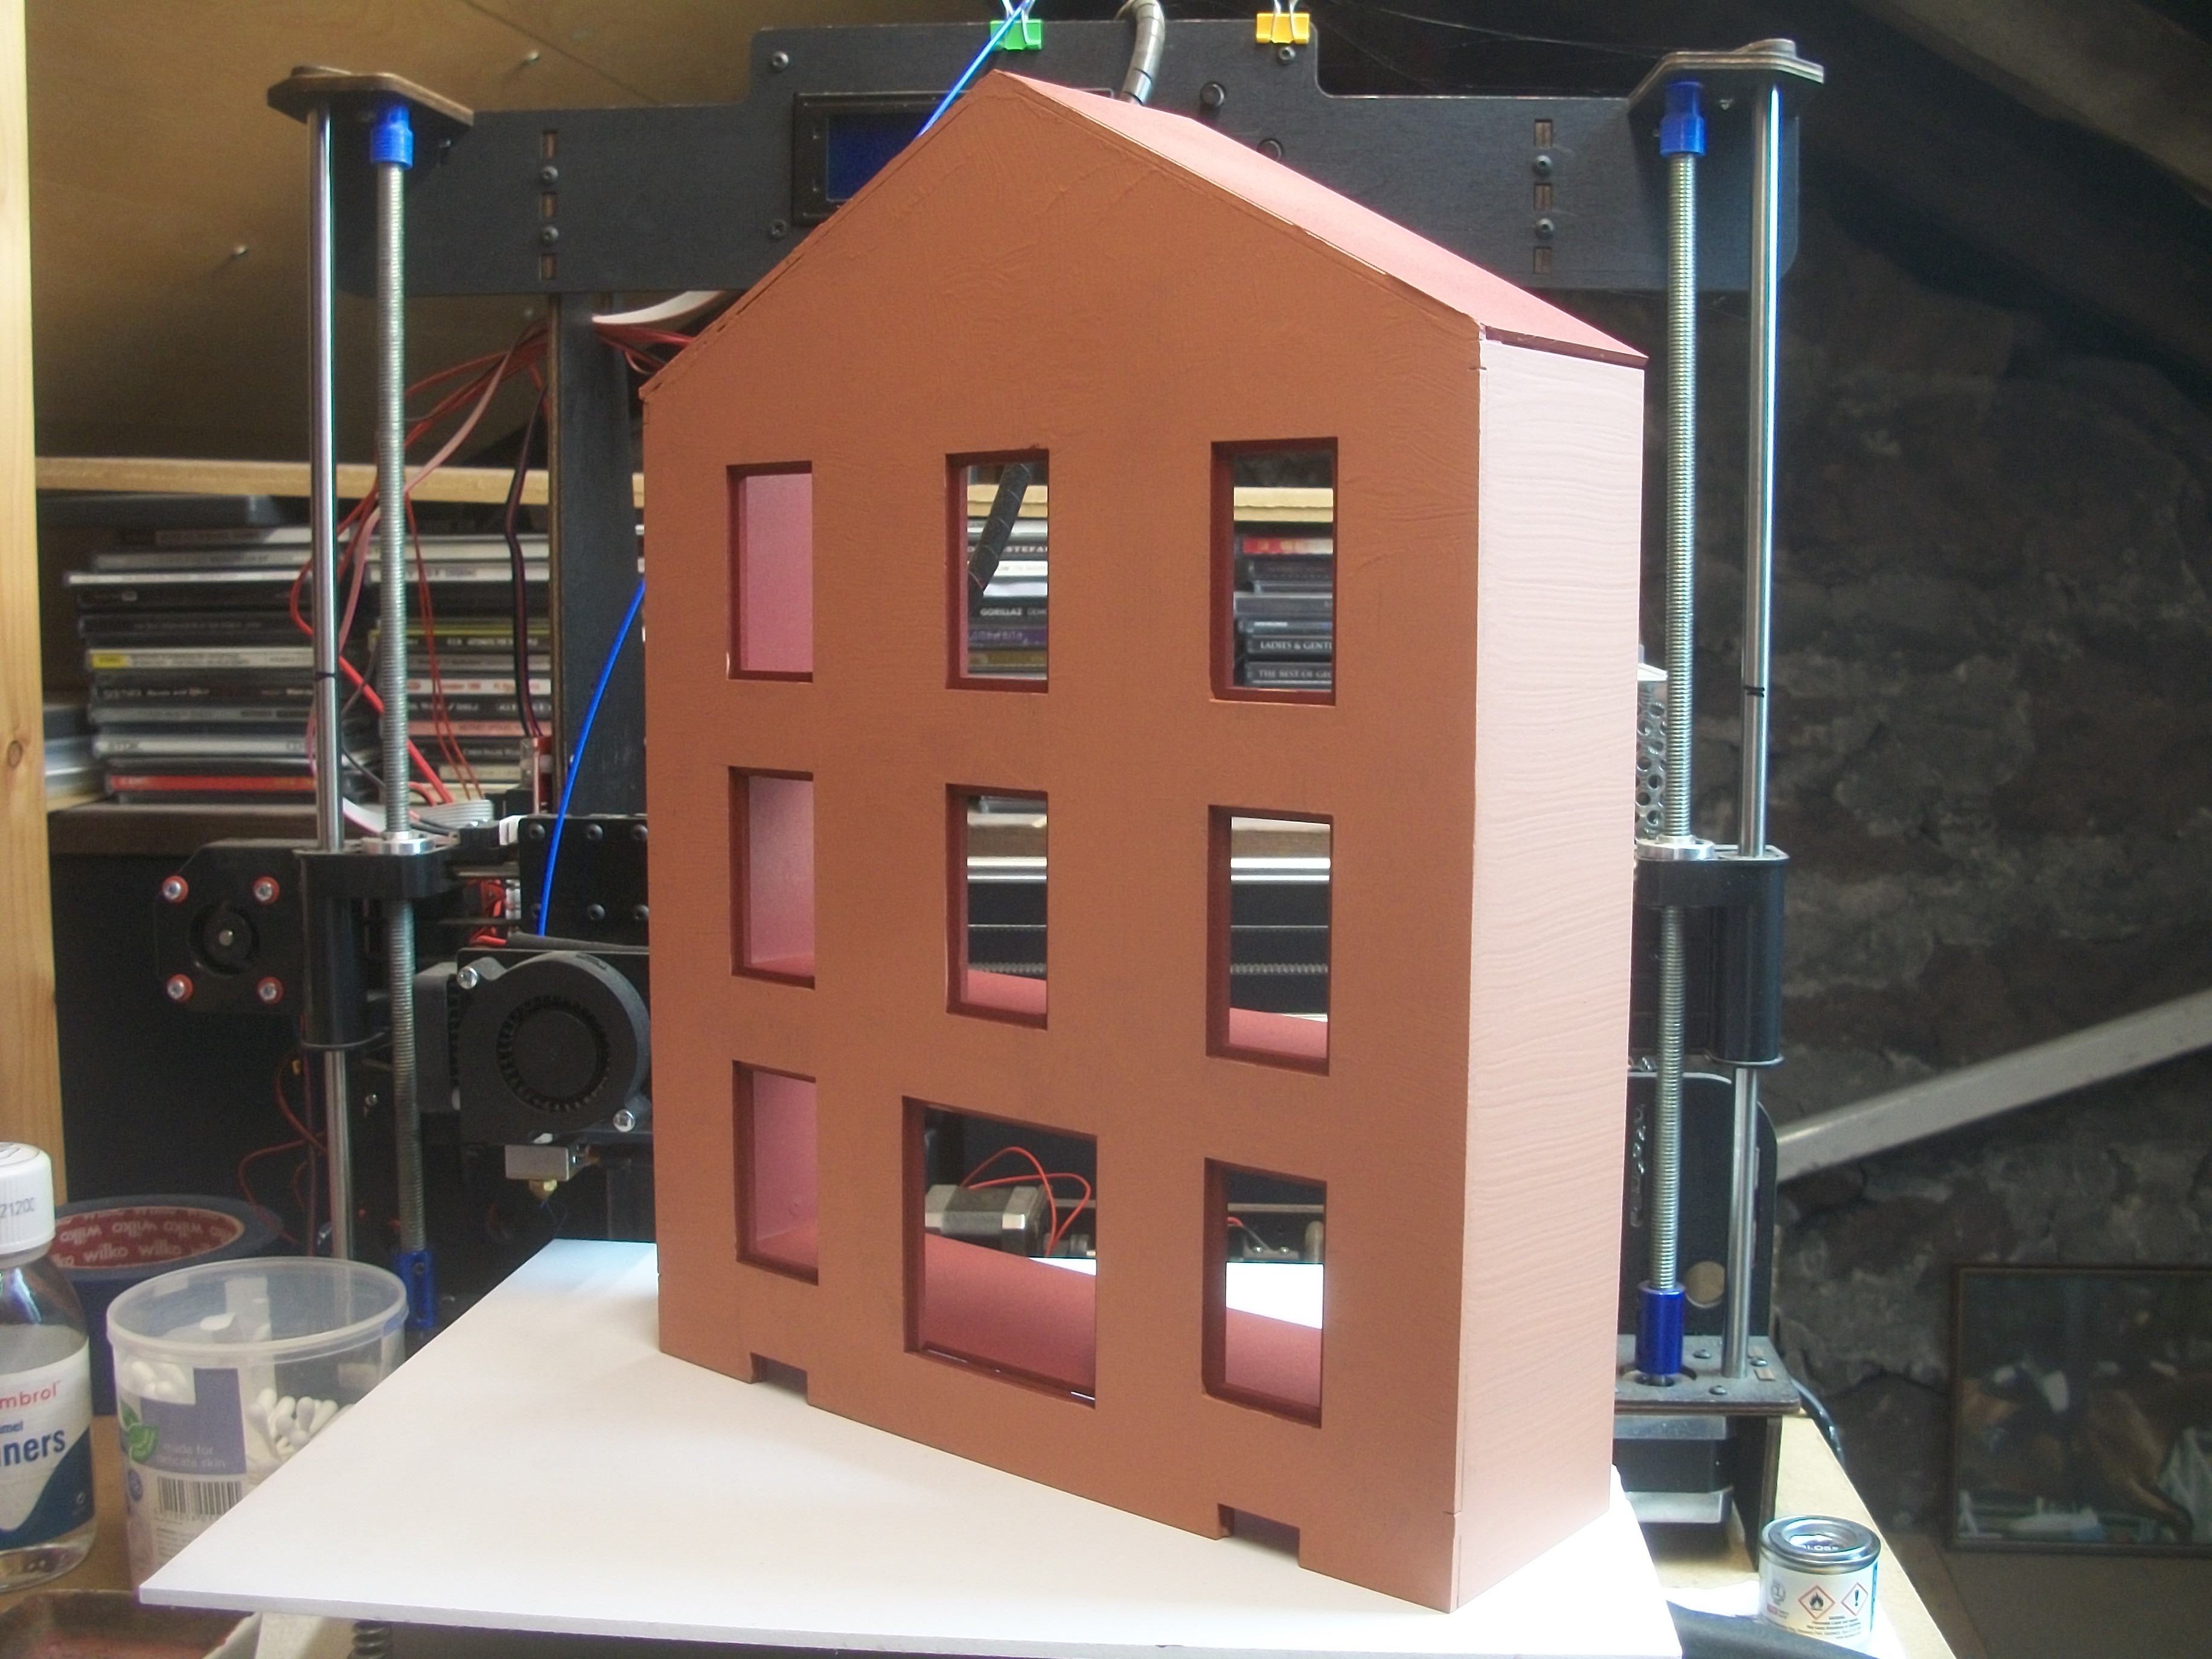
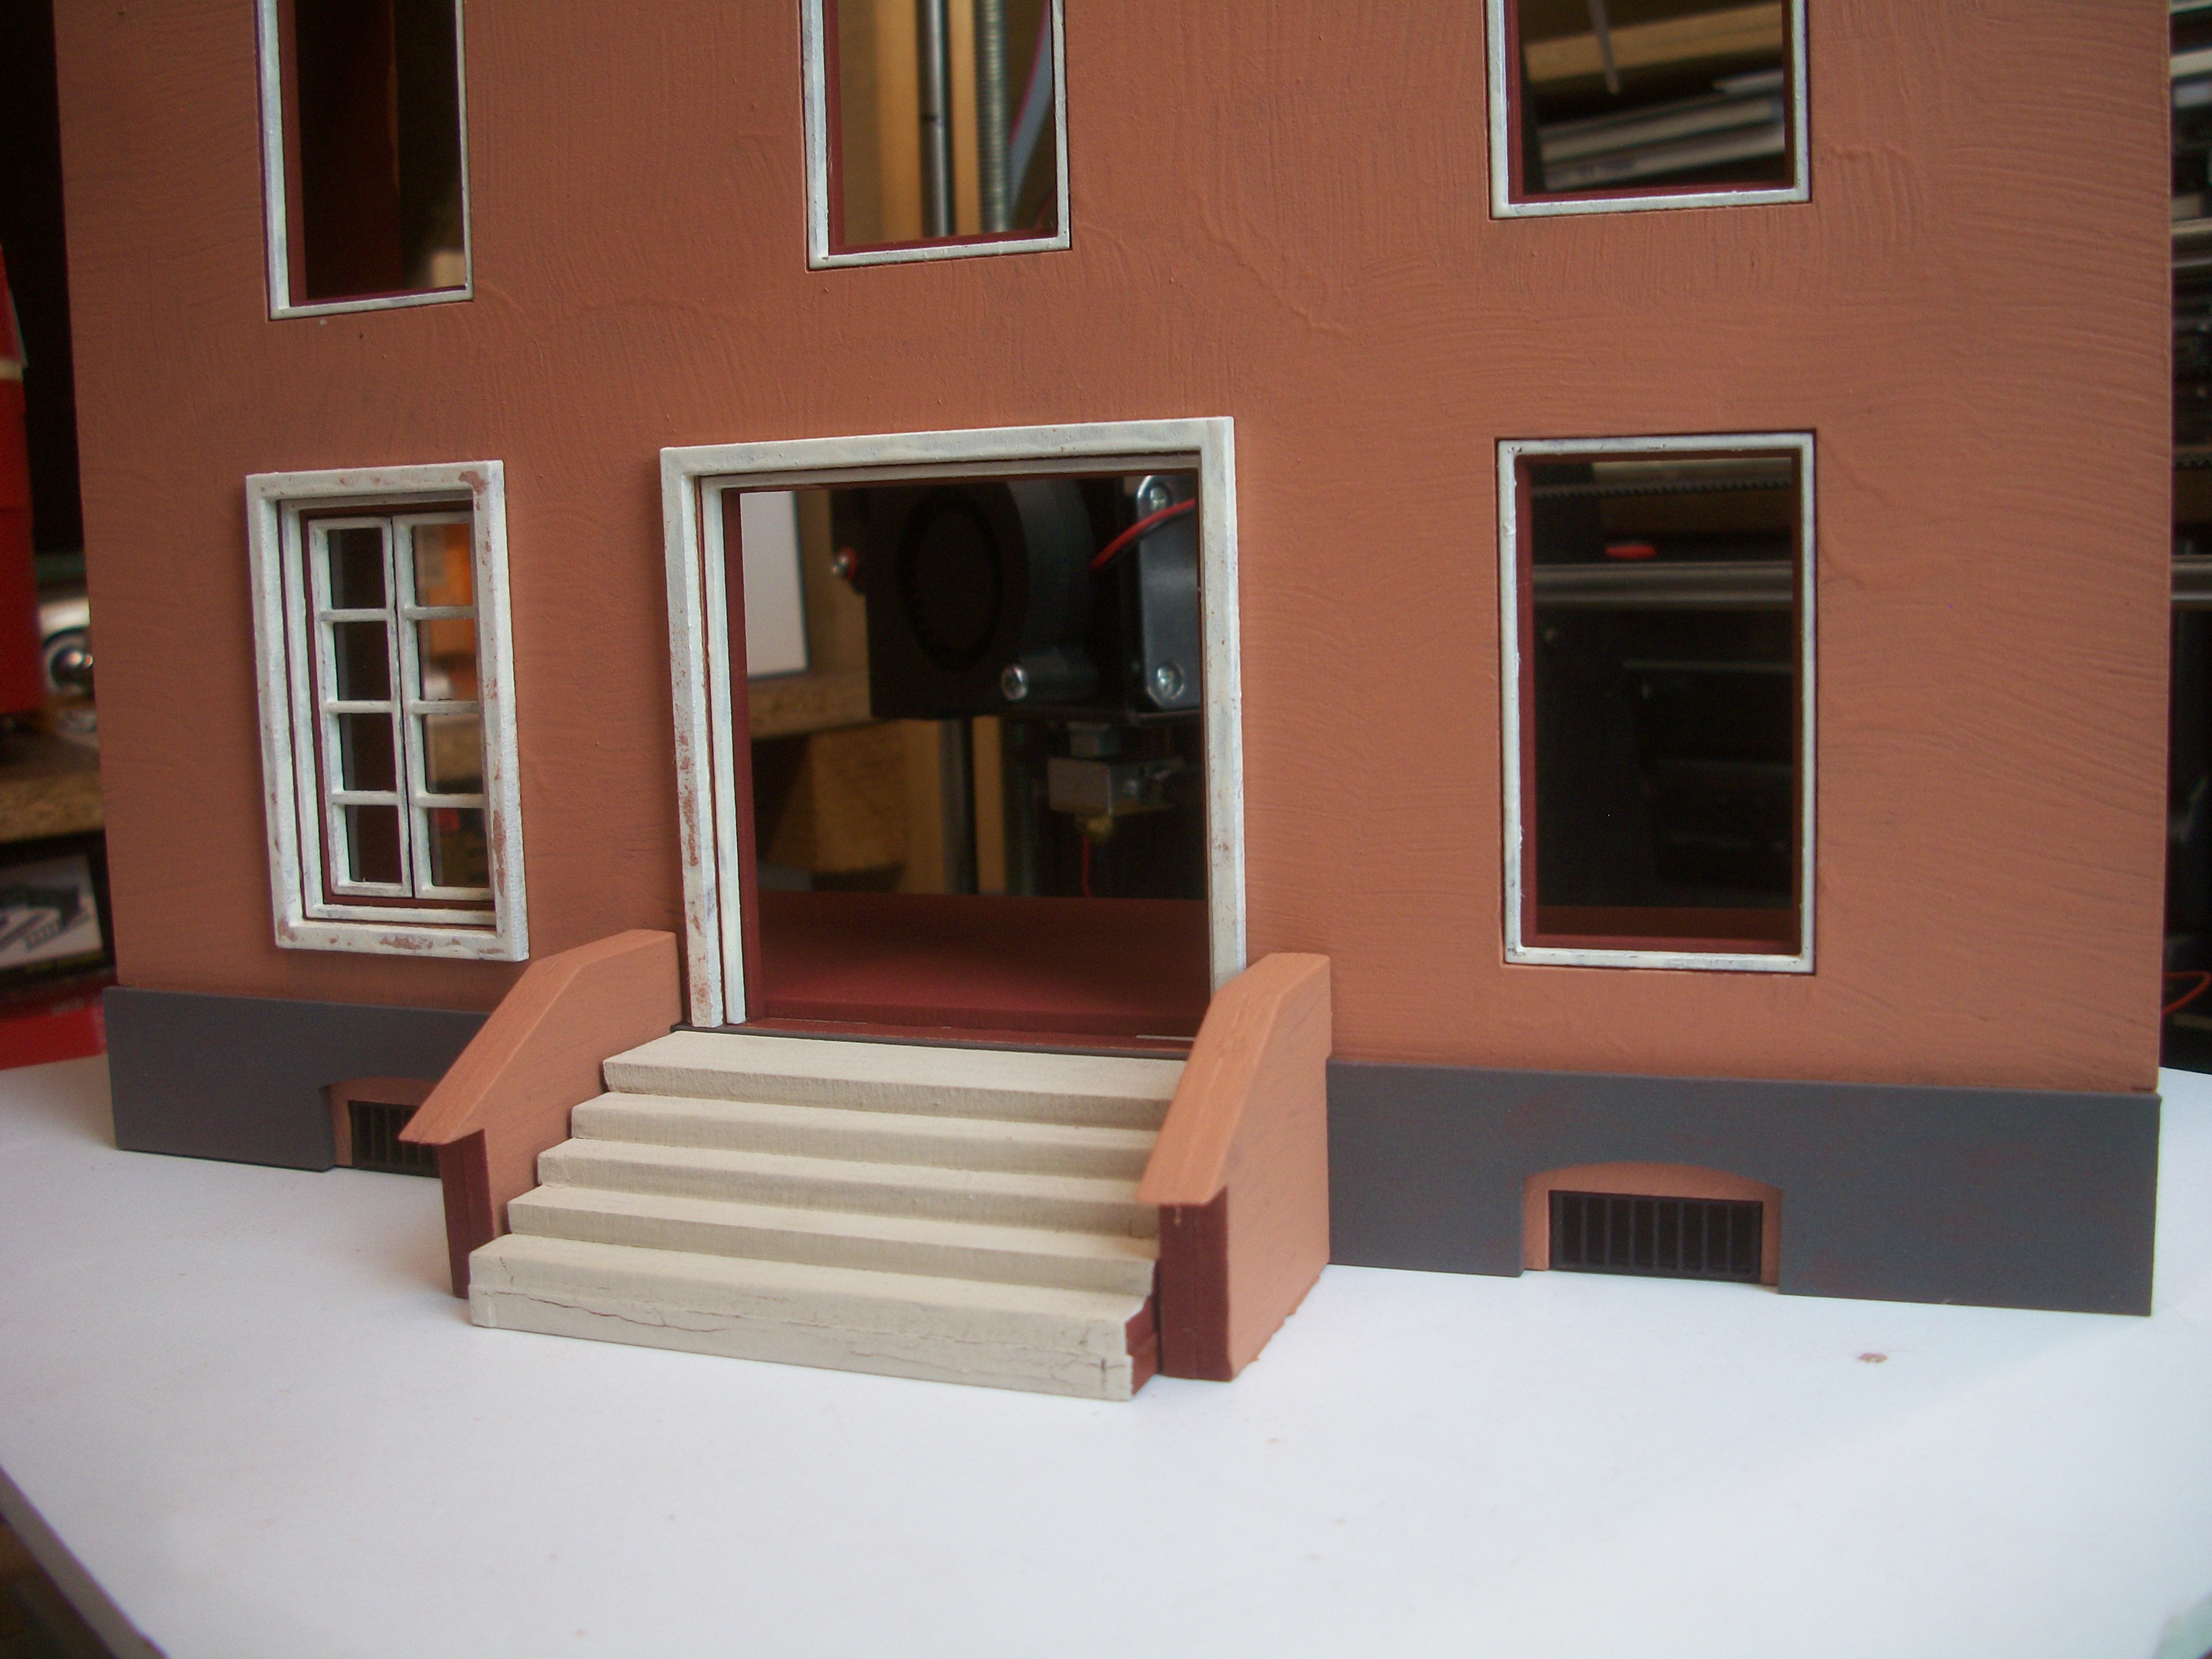
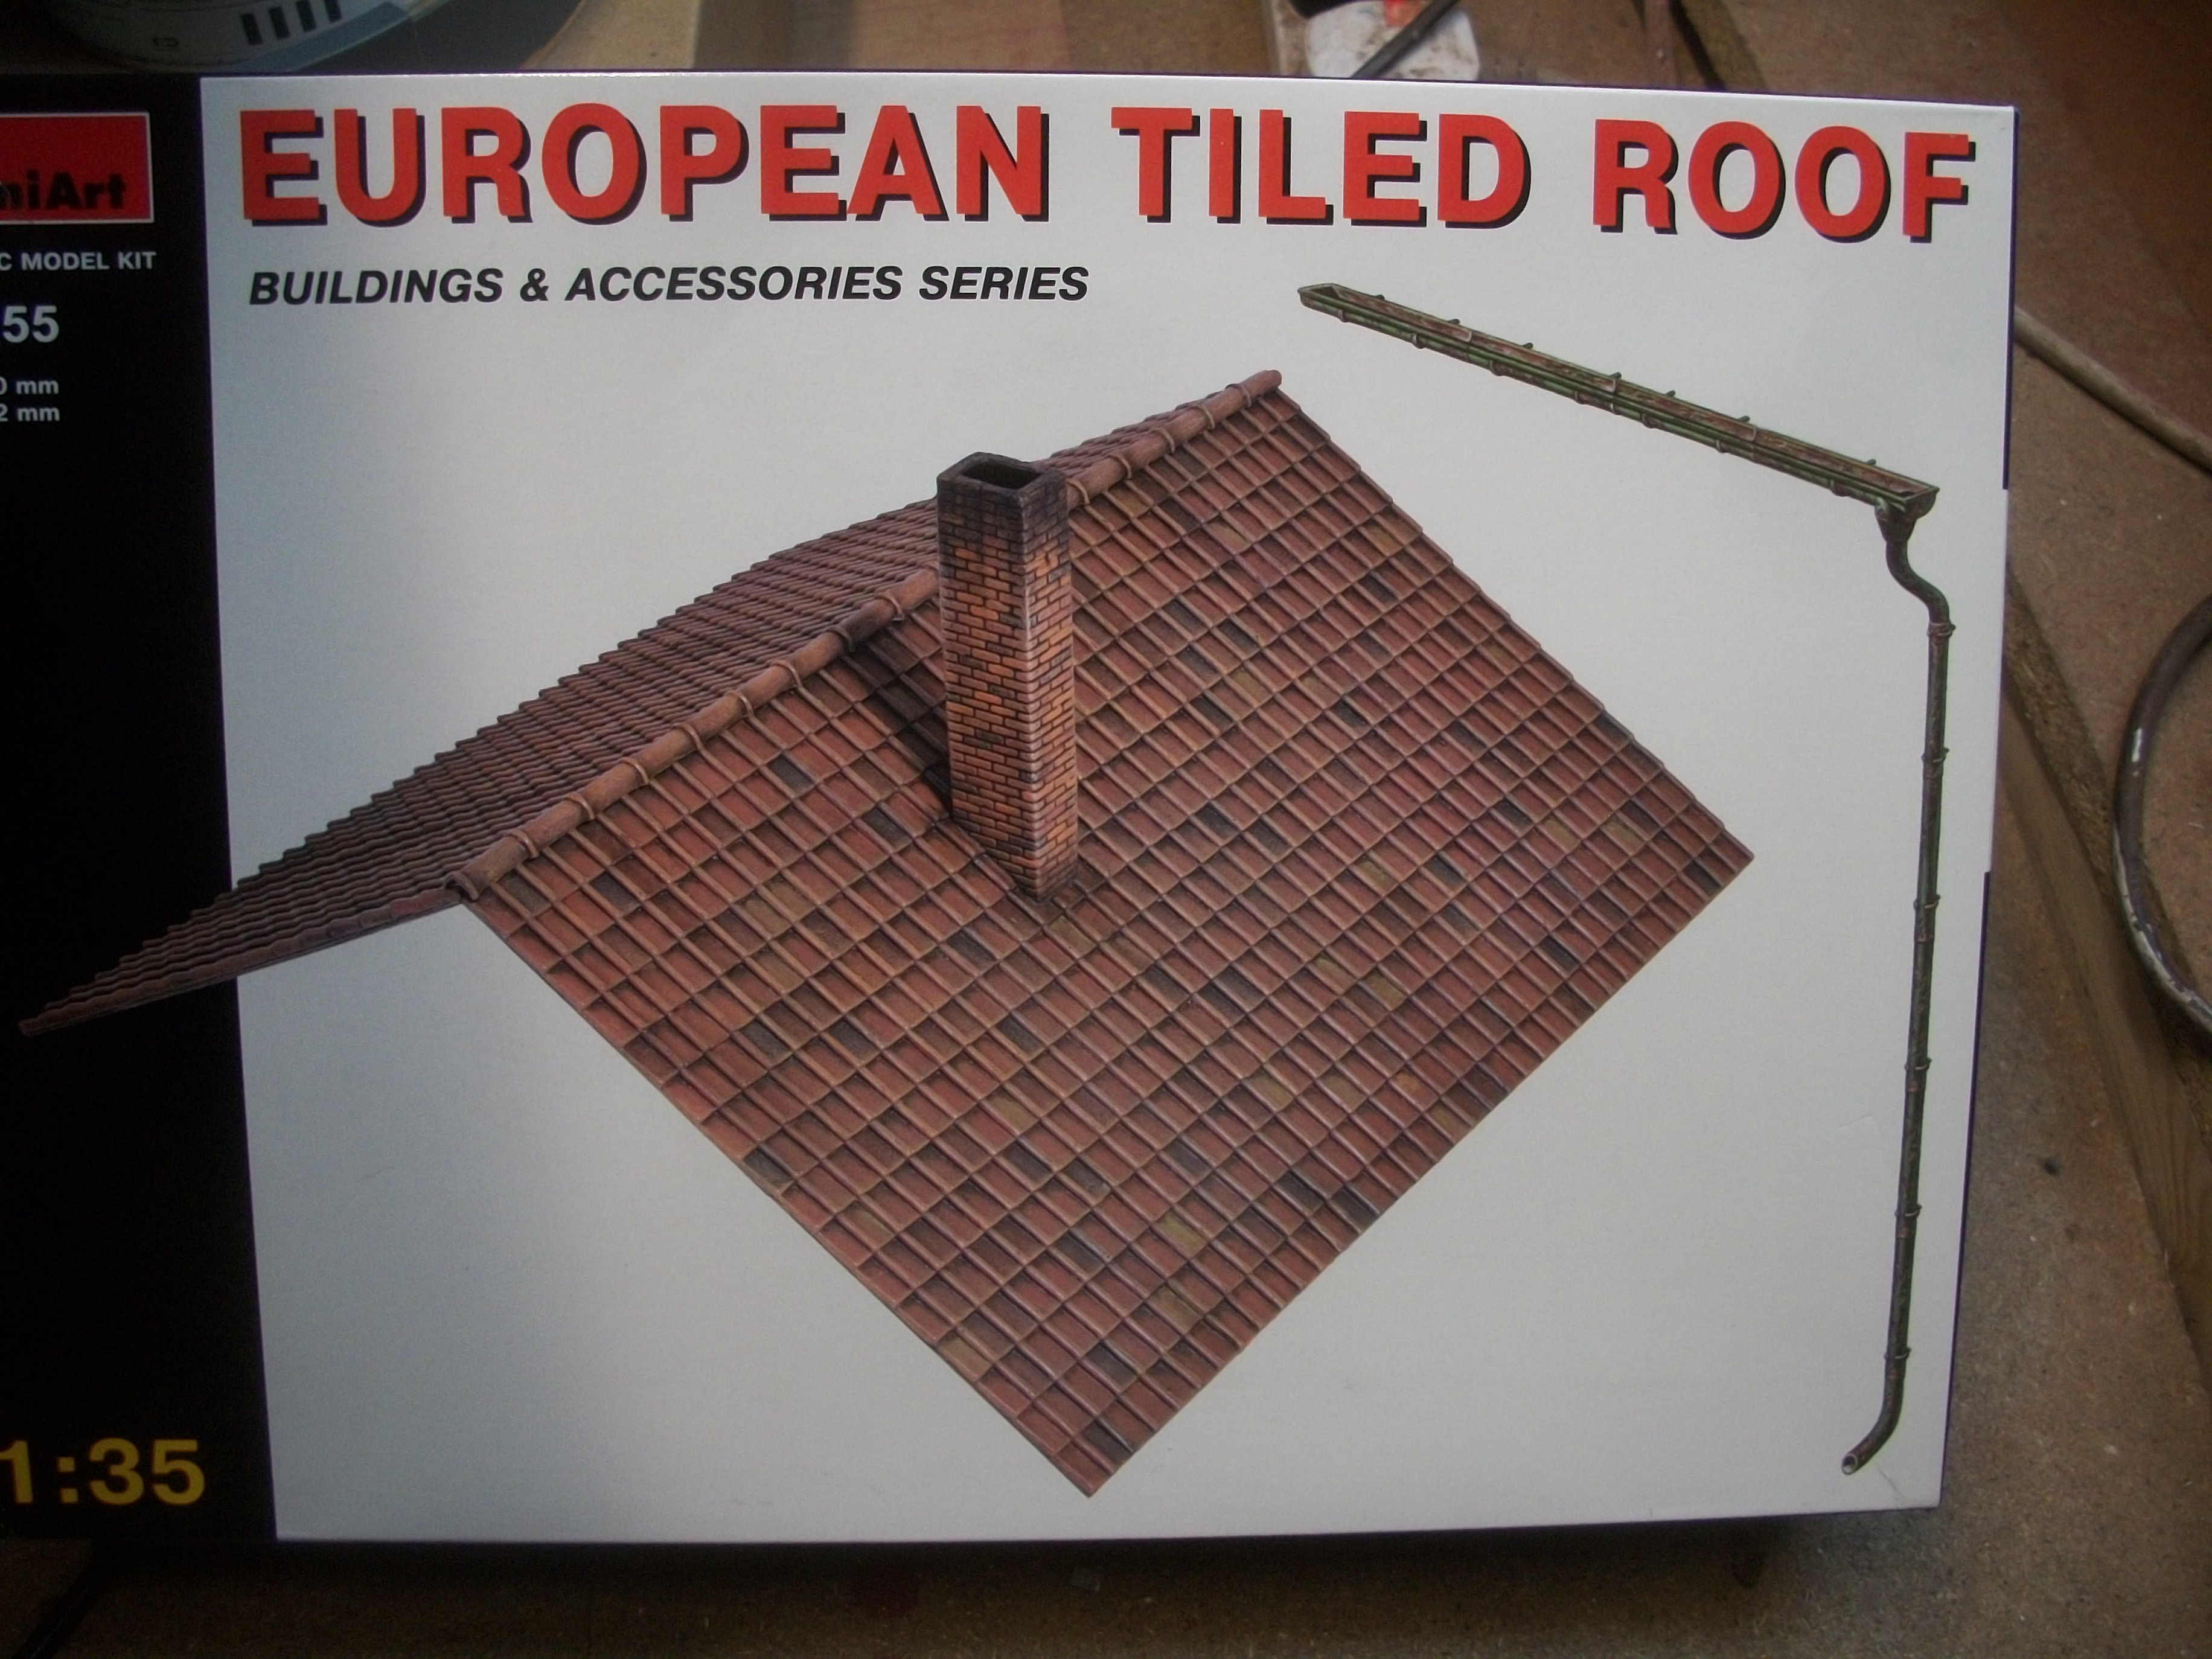
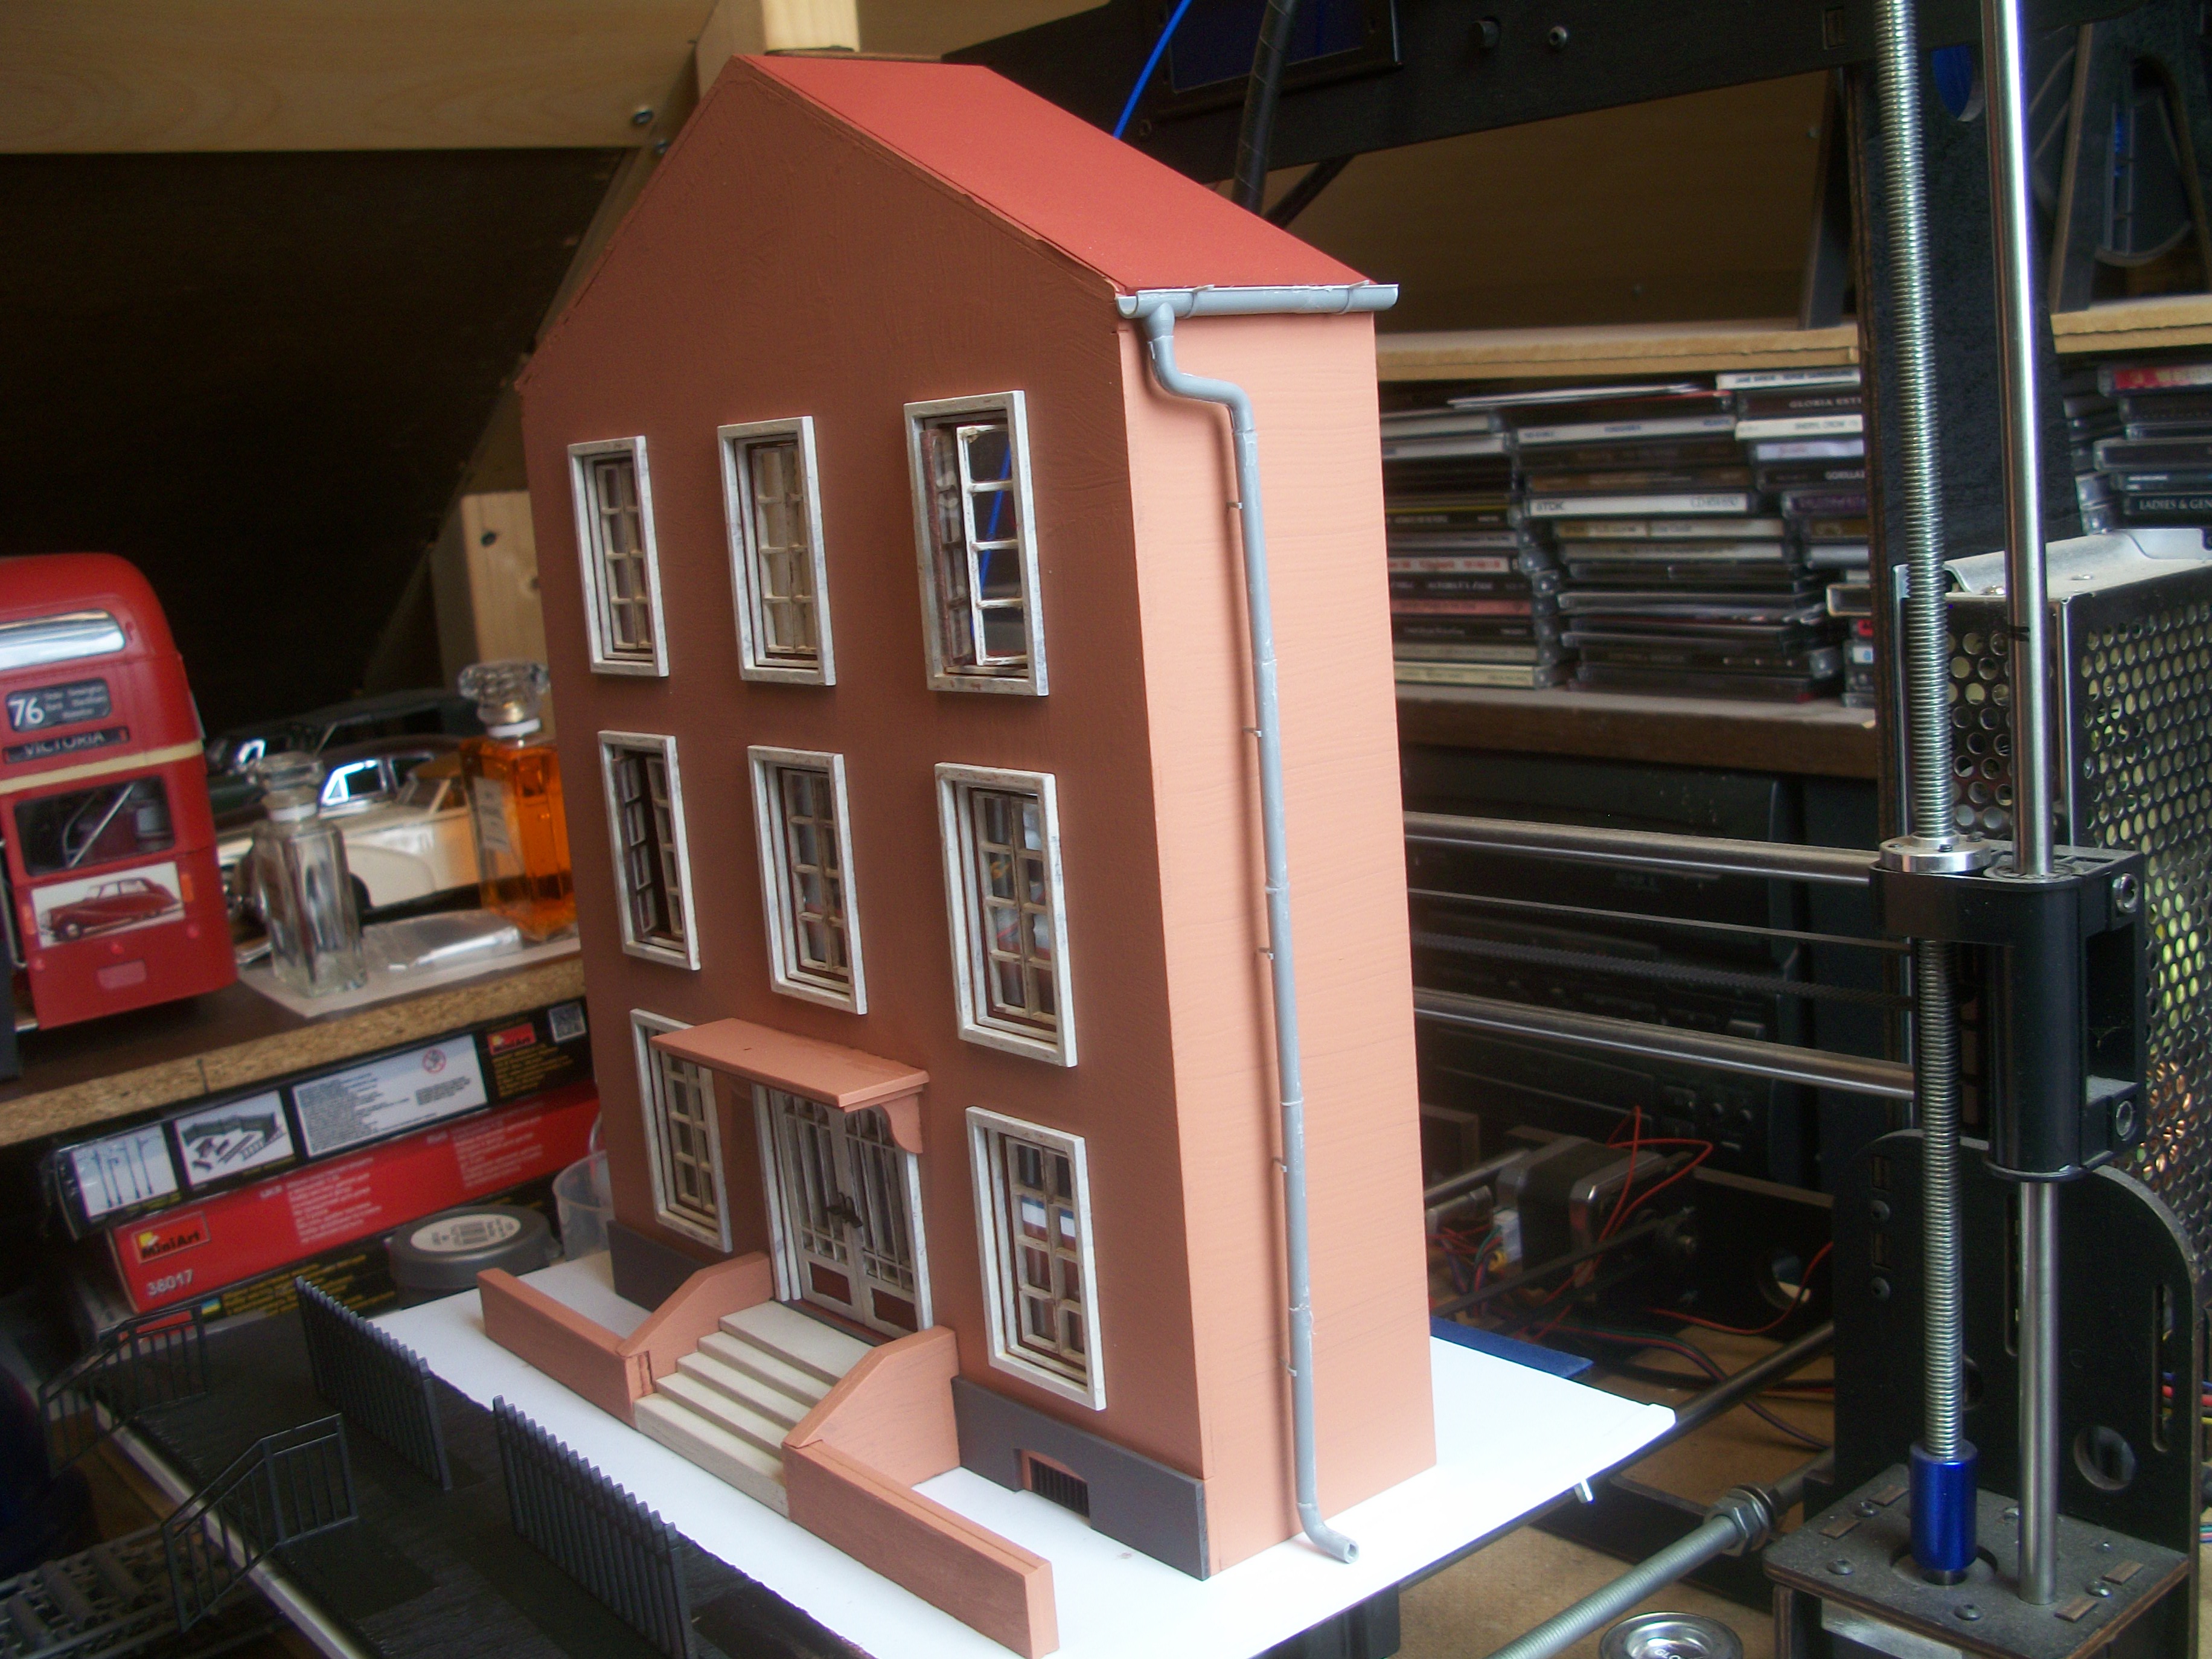
The past couple of weeks have seen the assembly and painting of a 1:35 scale laser cut MDF kit, which is a WW2 European Building..... This kit is very well designed, and also nicely produced, having 123 parts in total. I coated all the parts with red primer enamel, and then decided on Crown Elle Decoration Cushion Craze emulsion for the walls of this house. The doors, windows and all frames are painted with one coat satin Magnolia enamel. There has been a huge amount of painting, especially the windows, which have 8 inner frames, 8 outer frames and 16 panes. The window panes can be glued in the closed position, half open or fully open. In addition to the MDF building kit, I have purchased a 1:35 MiniArt European Tiled Roof kit, from which I wanted to use the guttering and downpipe. Since the kit arrived I have decided to use the chimney and also sections of the roof itself. The house is not quite completed yet, but the bulk of the work is done, including the iron railings along the front walls and the double doors have been fitted, along with door handles. All the doors and windows have clear acetate sheet behind the frames, which I chose to add, as they are not included in the kit. The house model was positioned on the baseboard tonight, so that I could see how this diorama is going to look, and it fits precisely. David
-
Your workshop is looking really busy now, Pat....... The whole scene is just how the real workshop would appear, during the process of putting everything back in place, following a move from one site to another , such as a house move in your case. Your machines, engines, toolboxes and figures are so realistic, and the workshop area of this diorama can easily pass for the real thing in close up photographs. You must be enjoying this opportunity to get the diorama set up fully again. David
-
This is a fascinating project, Jason...... I shall follow this one, for sure. I like your detailed plan drawings and preparation. Also, I like the display cases aspect of these dioramas. Several of my previous scale model dioramas have been quite large, but the one that I am currently working on is only 20 " x 15", so this might fit inside a similar case. David
-
This is a very good kit by Tamiya, Urs...... Interesting that you have chosen yellow for your body paint colour...... I painted my Morgan in Ferrari Giallo Modena Yellow, which was mixed especially for airbrush application. I agree that these chrome wire spoked wheels are the best that you can find. The Tamiya Jaguar Mk 2 also has the same wheels, and they are really good. I enjoyed building this kit, and the Jaguar is even more enjoyable, with both finished models looking very nice indeed. You are doing a fine job, and you are off to a good start with your build. Here is a photo of my completed Morgan. David
-
This is an excellent build of yours, Chang....... I particularly like the technique that you have use for the paint finish on the body exterior. Clear Brown over Chrome Silver, that really works. Also, this is a very nice kit from Ebbro, and I have thought about purchasing one of these before, but they are rather expensive here in England. Your attention to detail is very accurate, and you have produced a top quality result. This model car looks highly realistic and you should be very proud of this build. David
-
I was surprised to find how difficult it was to even source some BMF in the UK, and I ended up ordering some from an Ebay seller in Germany. This seller had supplied me with a couple of Moebius kits previously, and their shipping was cheap and quick. All the usual suppliers of BMF in England are oddly and currently showing ' Out of Stock '. My pack of BMF from Germany has a sticker on it which says ' Chrome '........ Seemed to apply okay, but does not stick down very well. David
-
WIP: Early 1980s campsite with bronco and wheeler
Anglia105E replied to youpey's topic in WIP: Dioramas
There you go...... Damage limitation, and spontaneous recovery ! -
WIP: Early 1980s campsite with bronco and wheeler
Anglia105E replied to youpey's topic in WIP: Dioramas
Well, Miles...... I reckon you should feel very proud of what you have achieved here, especially as this is your first diorama ever ! You encountered some challenges and difficulties along the way, and from these experiences you will have learned a lot. Also, you will have raised the bar as regards your own expectations, so that each further diorama that you build from here on, will be better and more rewarding. This is why I like building scale model dioramas, and scale model cars...... Each project becomes a whole new miniature creation..... and you created everything that went into that scene. Congratulations, David -
WIP: Early 1980s campsite with bronco and wheeler
Anglia105E replied to youpey's topic in WIP: Dioramas
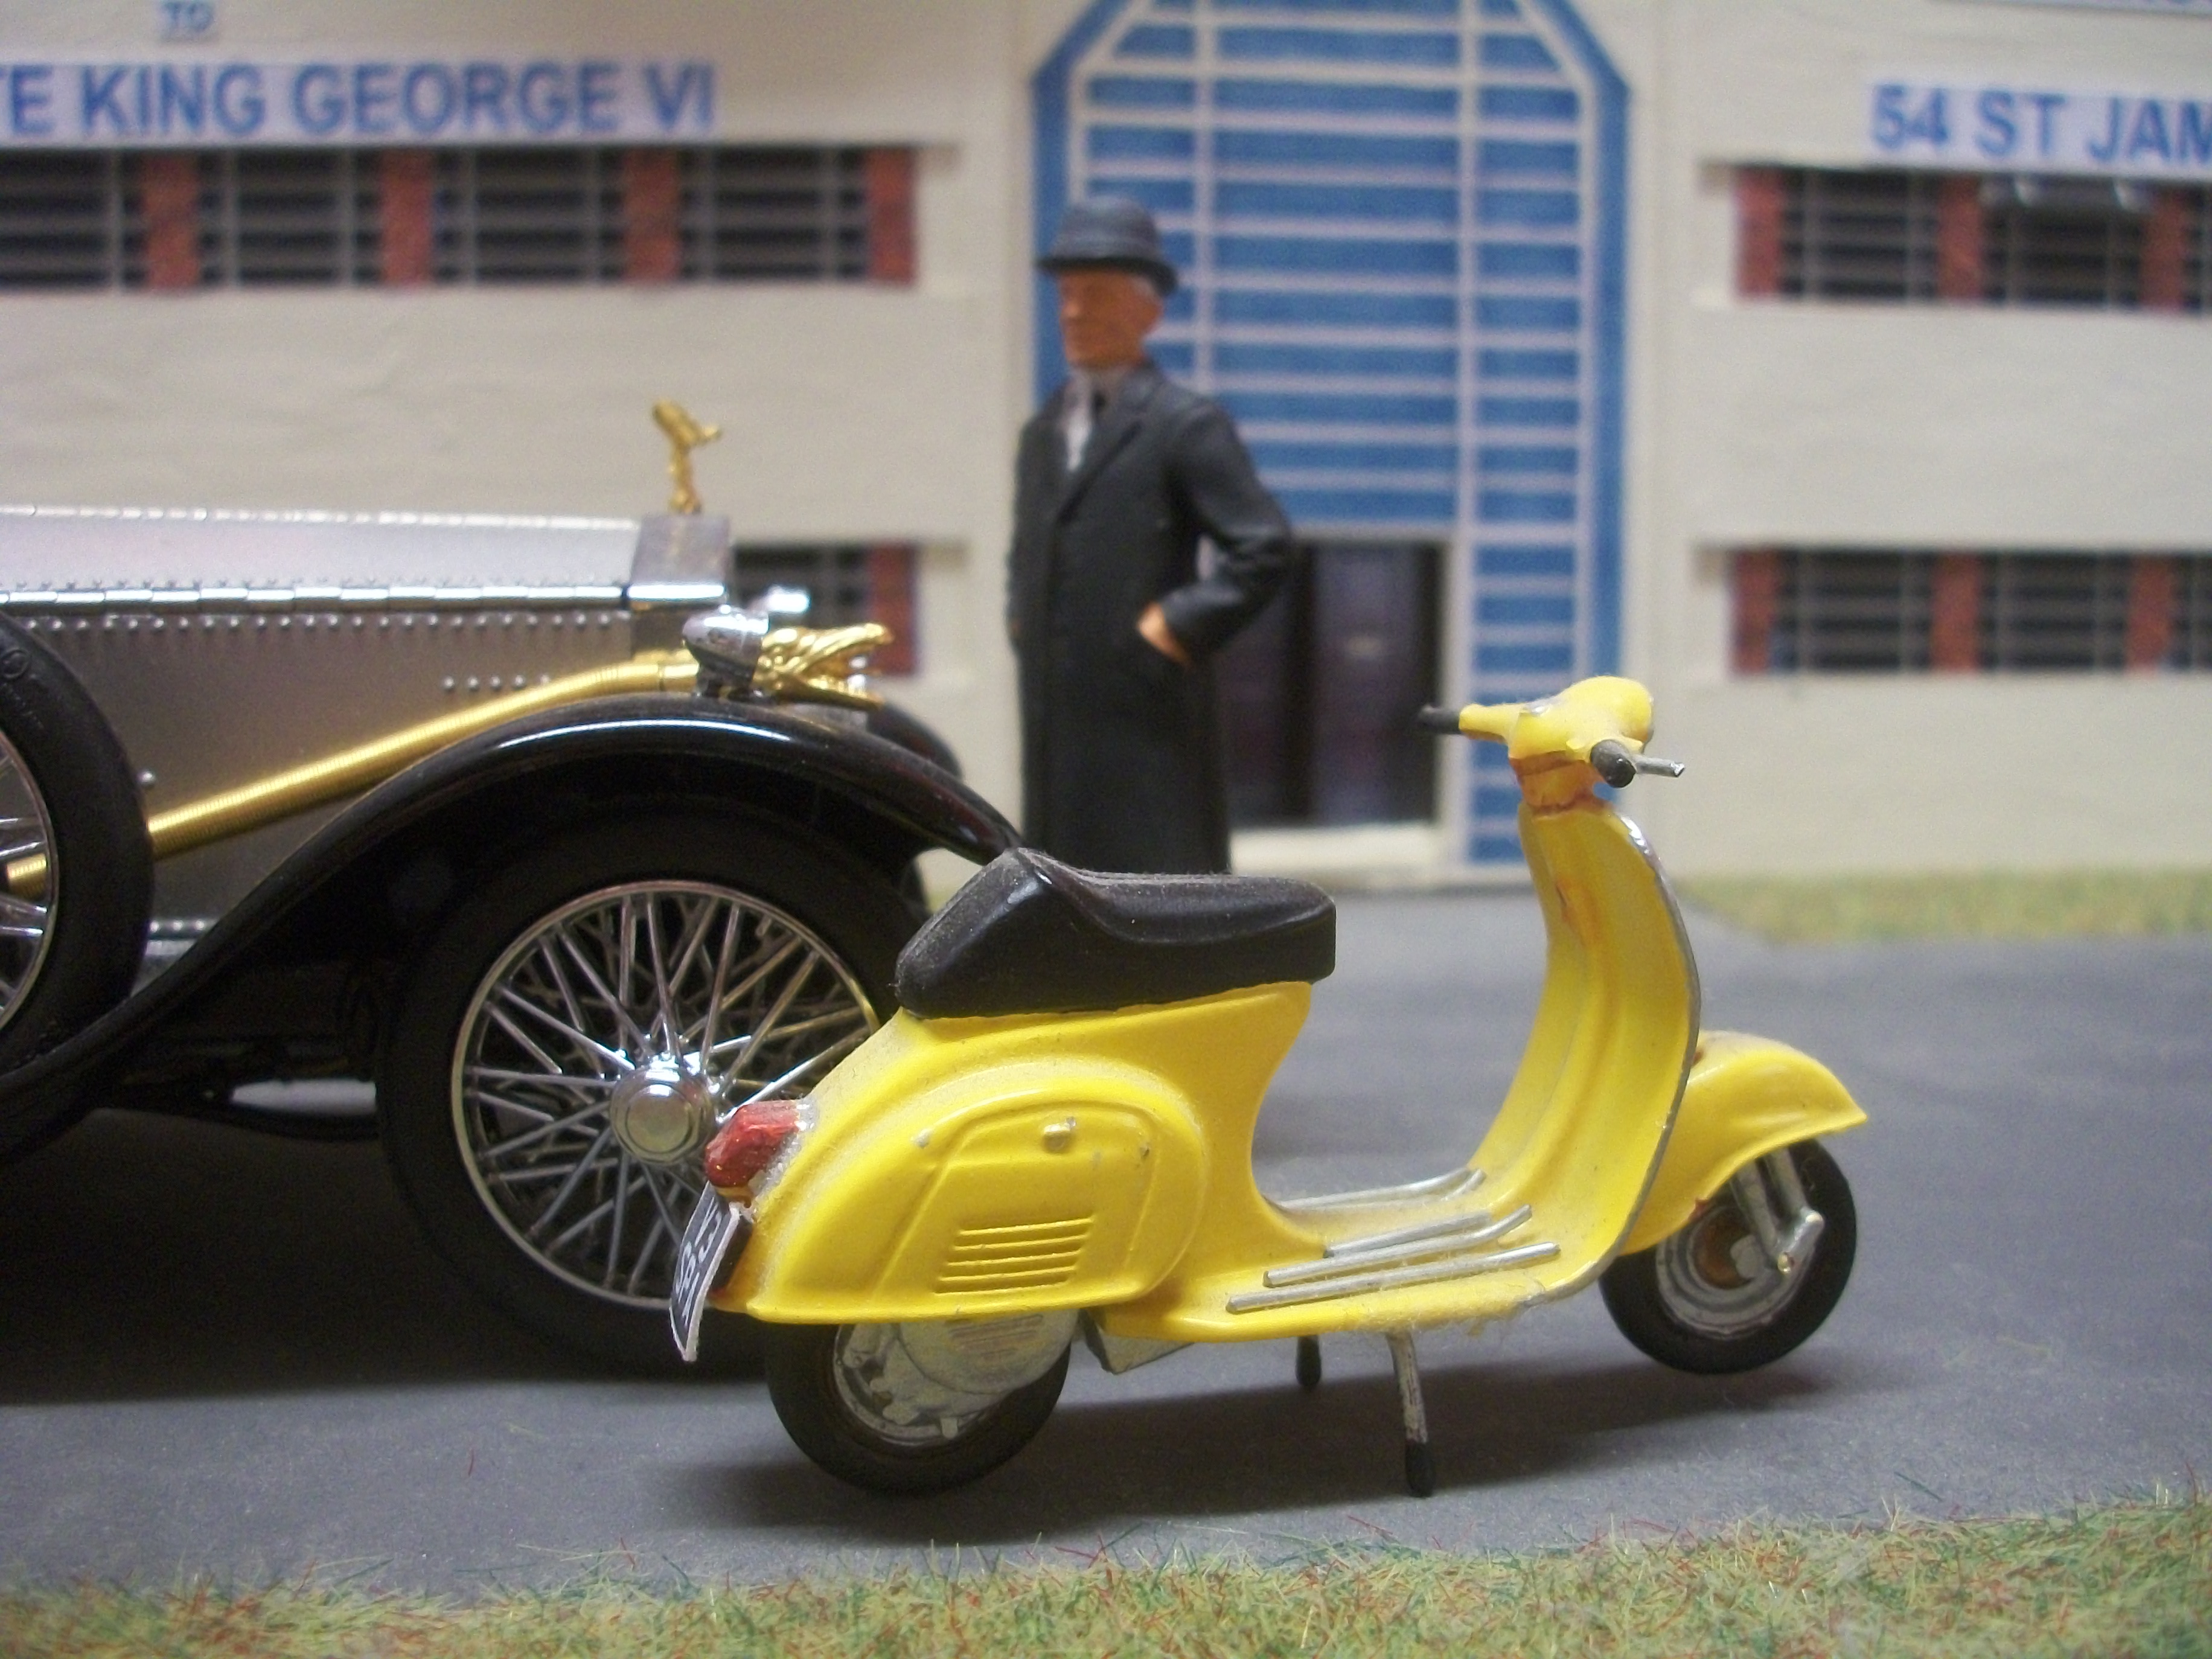
Sounds like you have worked out what you need from this Tamiya Campus Friends set of figures, and I think if I am remembering correctly, the Vespa scooter is one of three scooters in a different Tamiya kit...... I have the kit, which I purchased purely to get the Vespa scooter for my 1:24 diorama. When the scooter is assembled and painted it looks really good. The painting of 1:24 scale figures can be a bit tricky, but at the moment I am trying to paint 1:32 scale figures, which I am finding much harder ! David
-
WIP: Early 1980s campsite with bronco and wheeler
Anglia105E replied to youpey's topic in WIP: Dioramas
The whole layout works, Miles ! From several angles this diorama looks right, and you should be okay with two figures. Nicely done ! David -
Thank you, David and your suggestion is most helpful. Looking at the direction of the warping, then what you say makes perfect sense, because the grain of the balsa does run lengthways, so the two warped corners of the baseboard are at right angles to the grained balsa. David W.