R. Thorne
-
Posts
1,276 -
Joined
-
Last visited
Content Type
Profiles
Forums
Events
Gallery
Everything posted by R. Thorne
-
1969 Camaro A/SA (possibly Thomas Arnett’s)
R. Thorne replied to R. Thorne's topic in WIP: Drag Racing Models
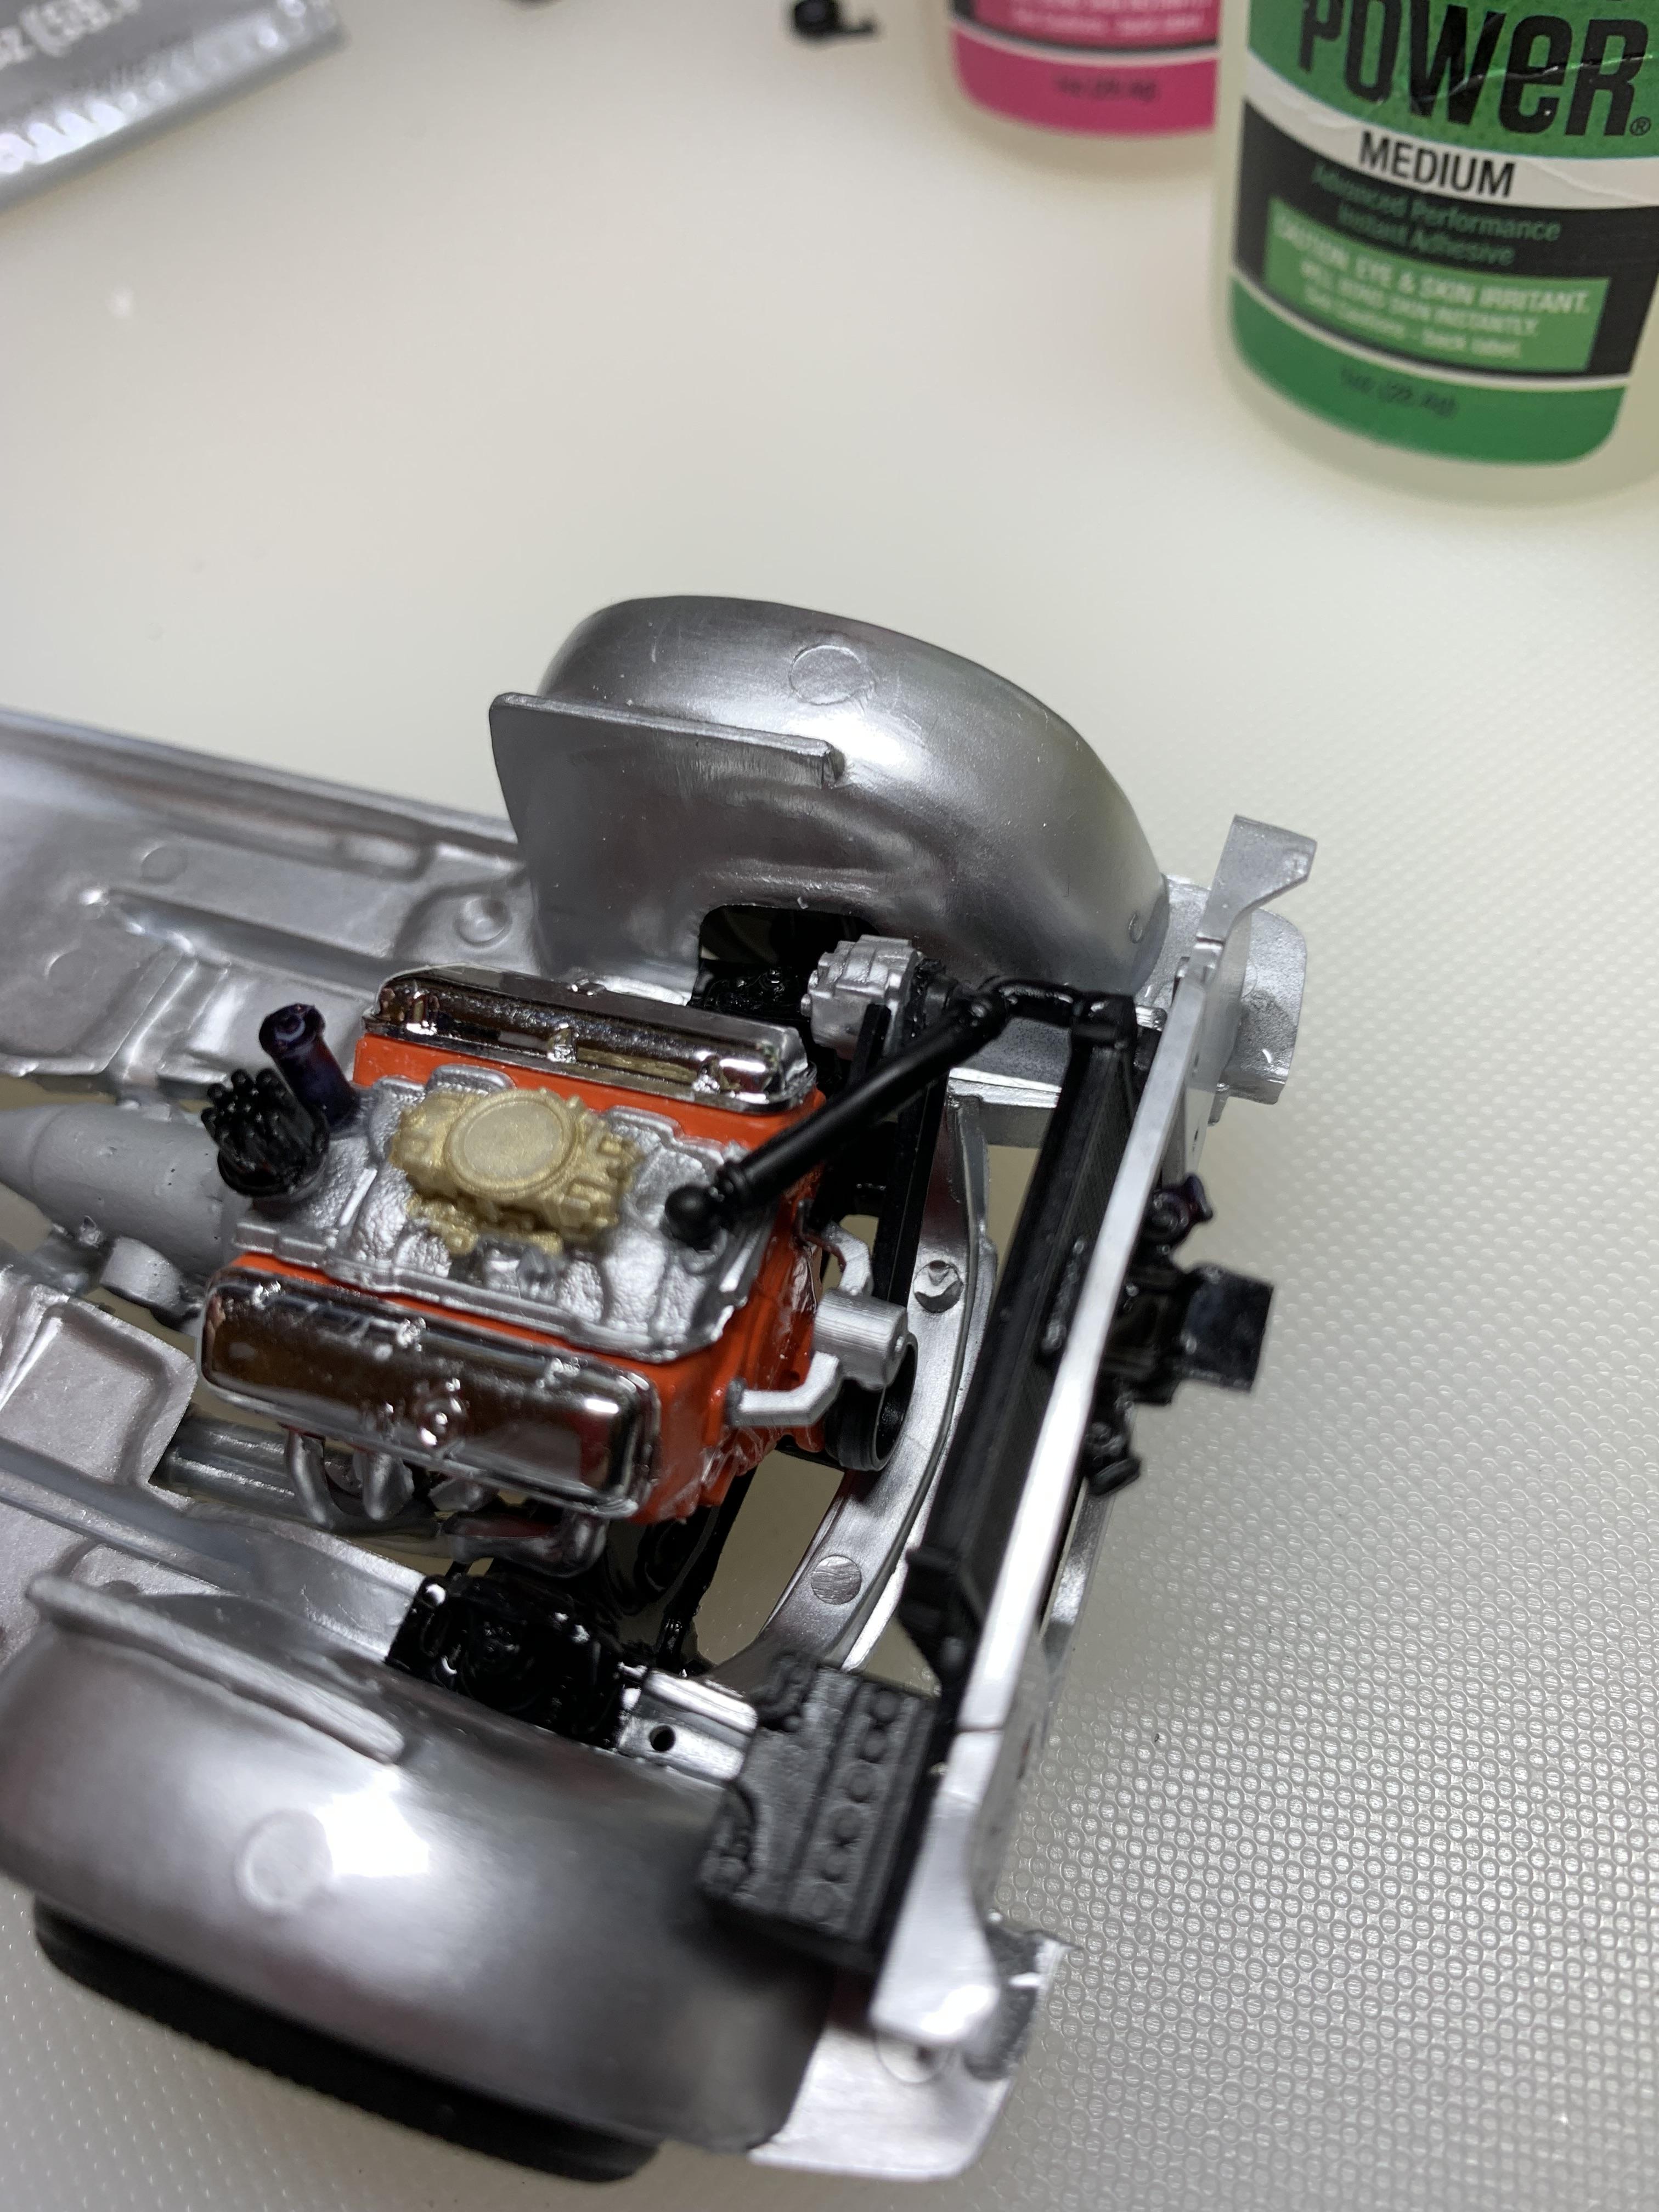
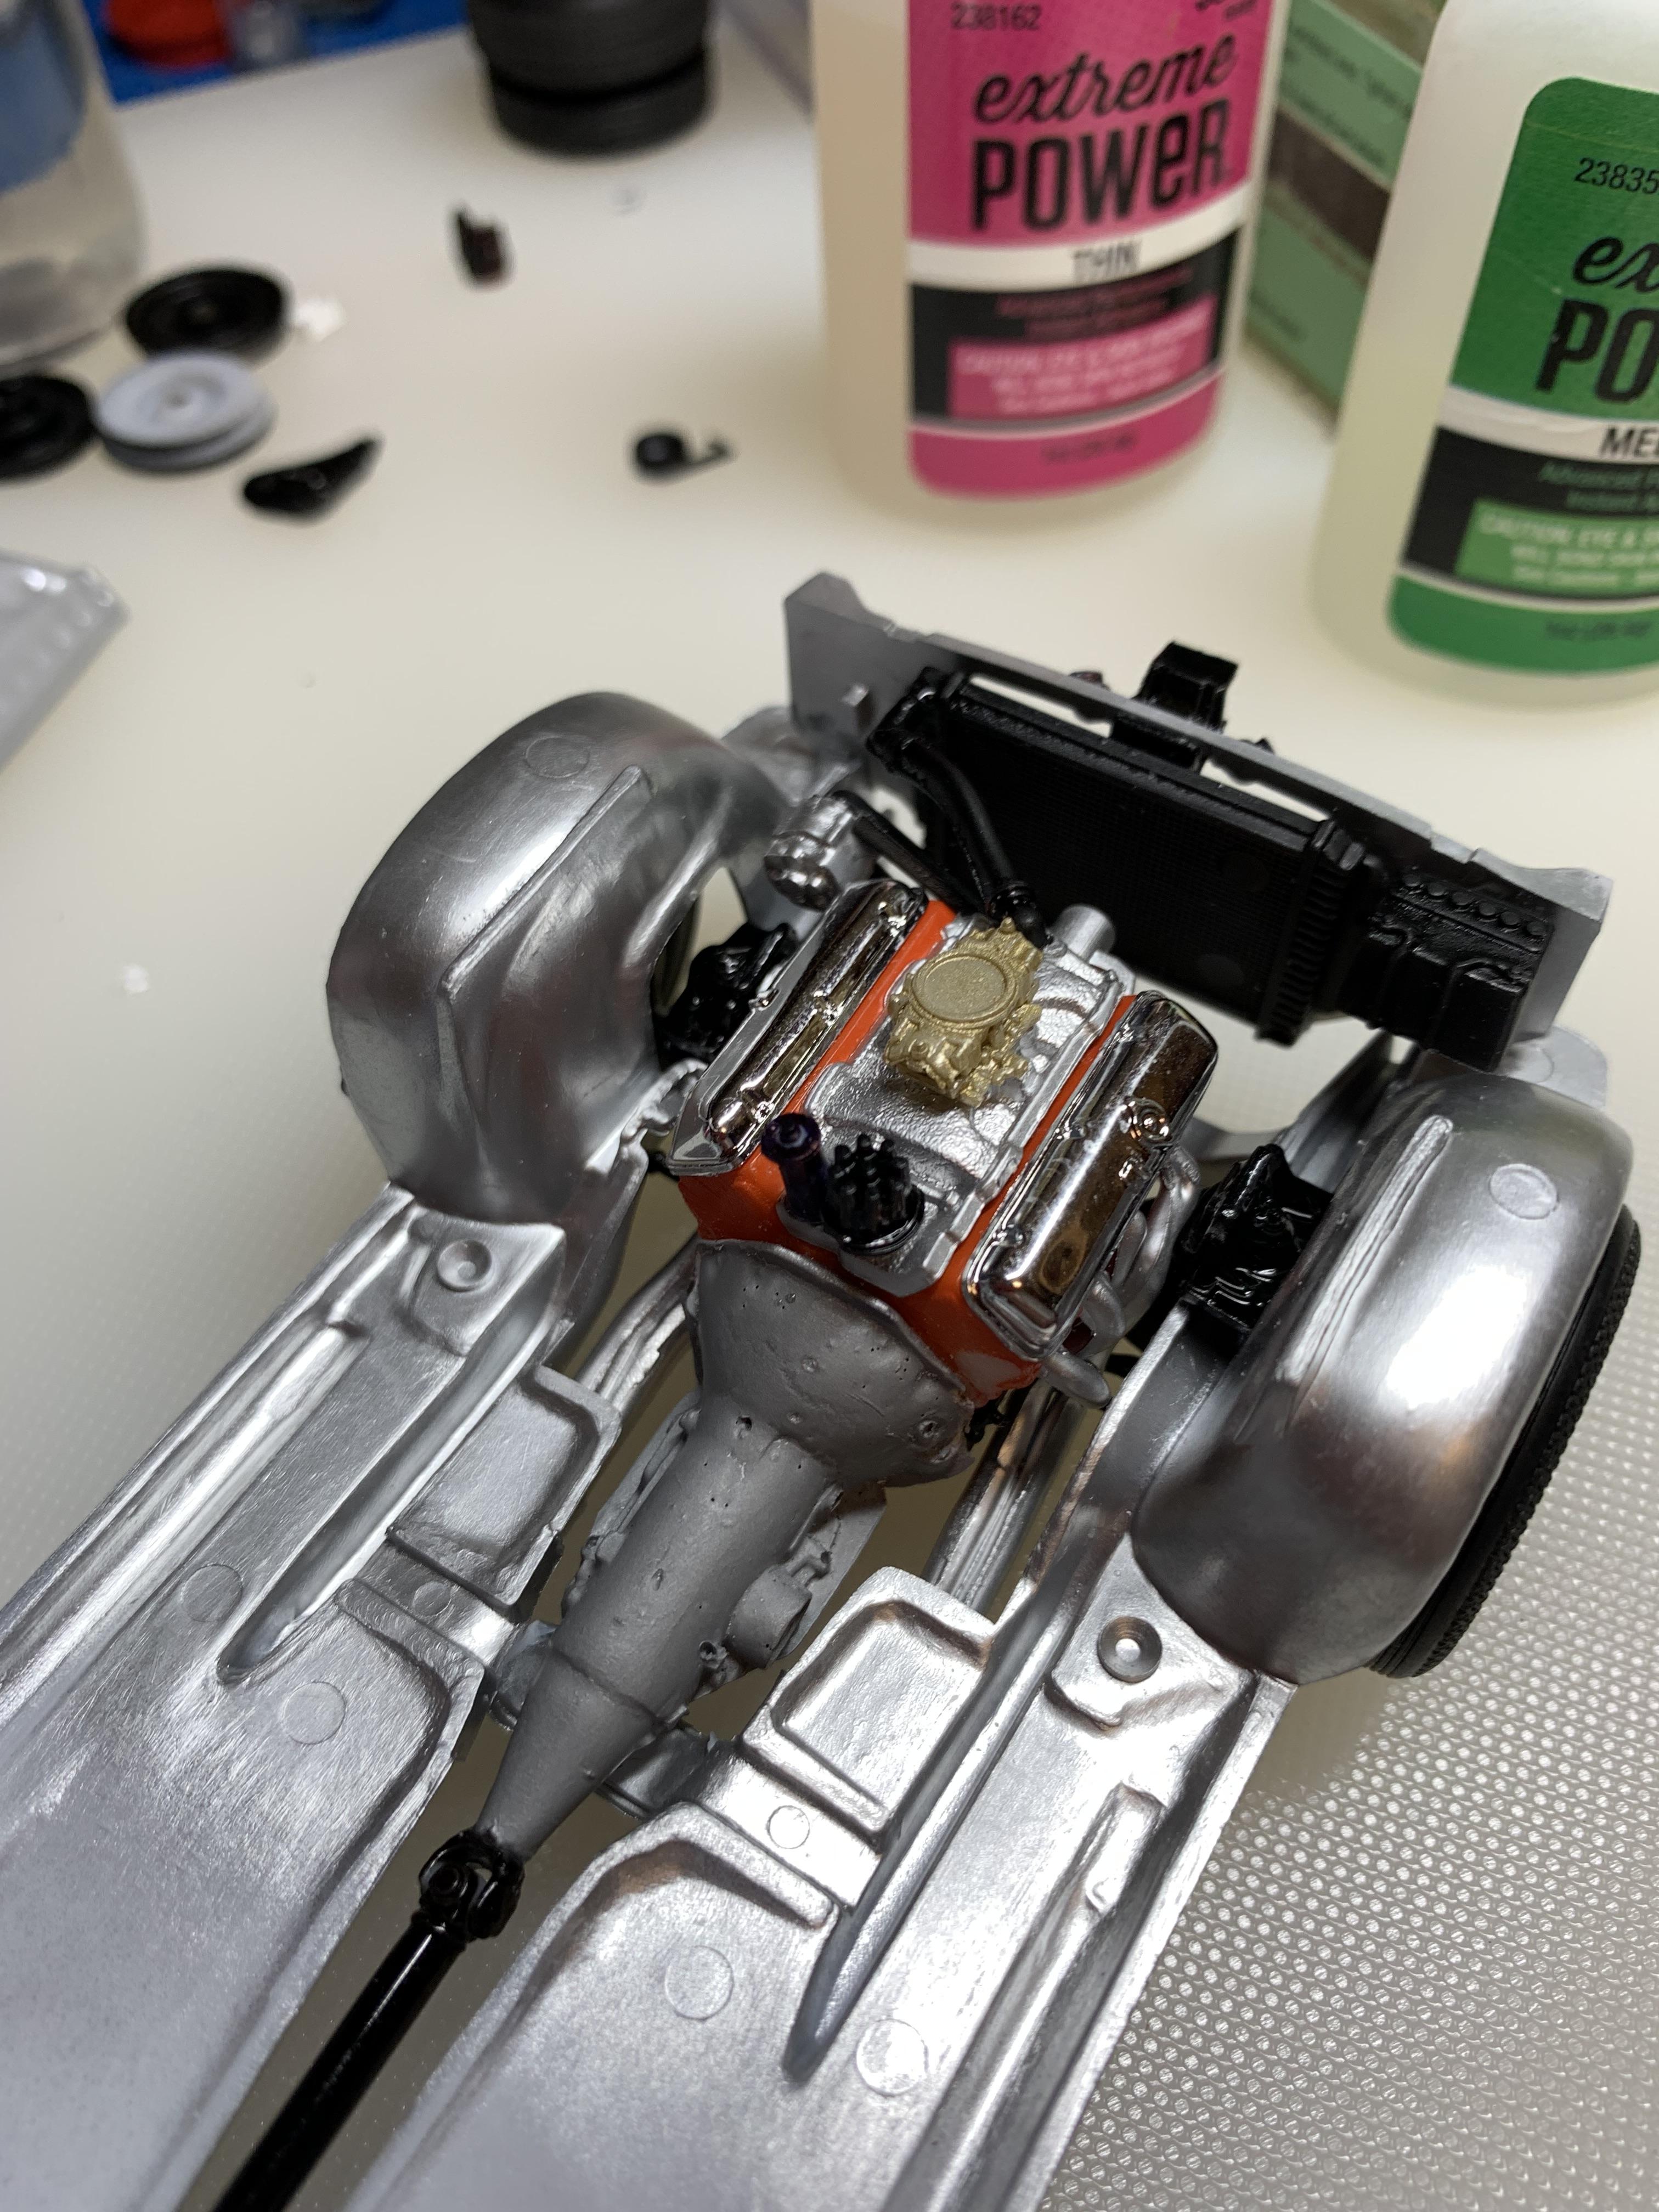
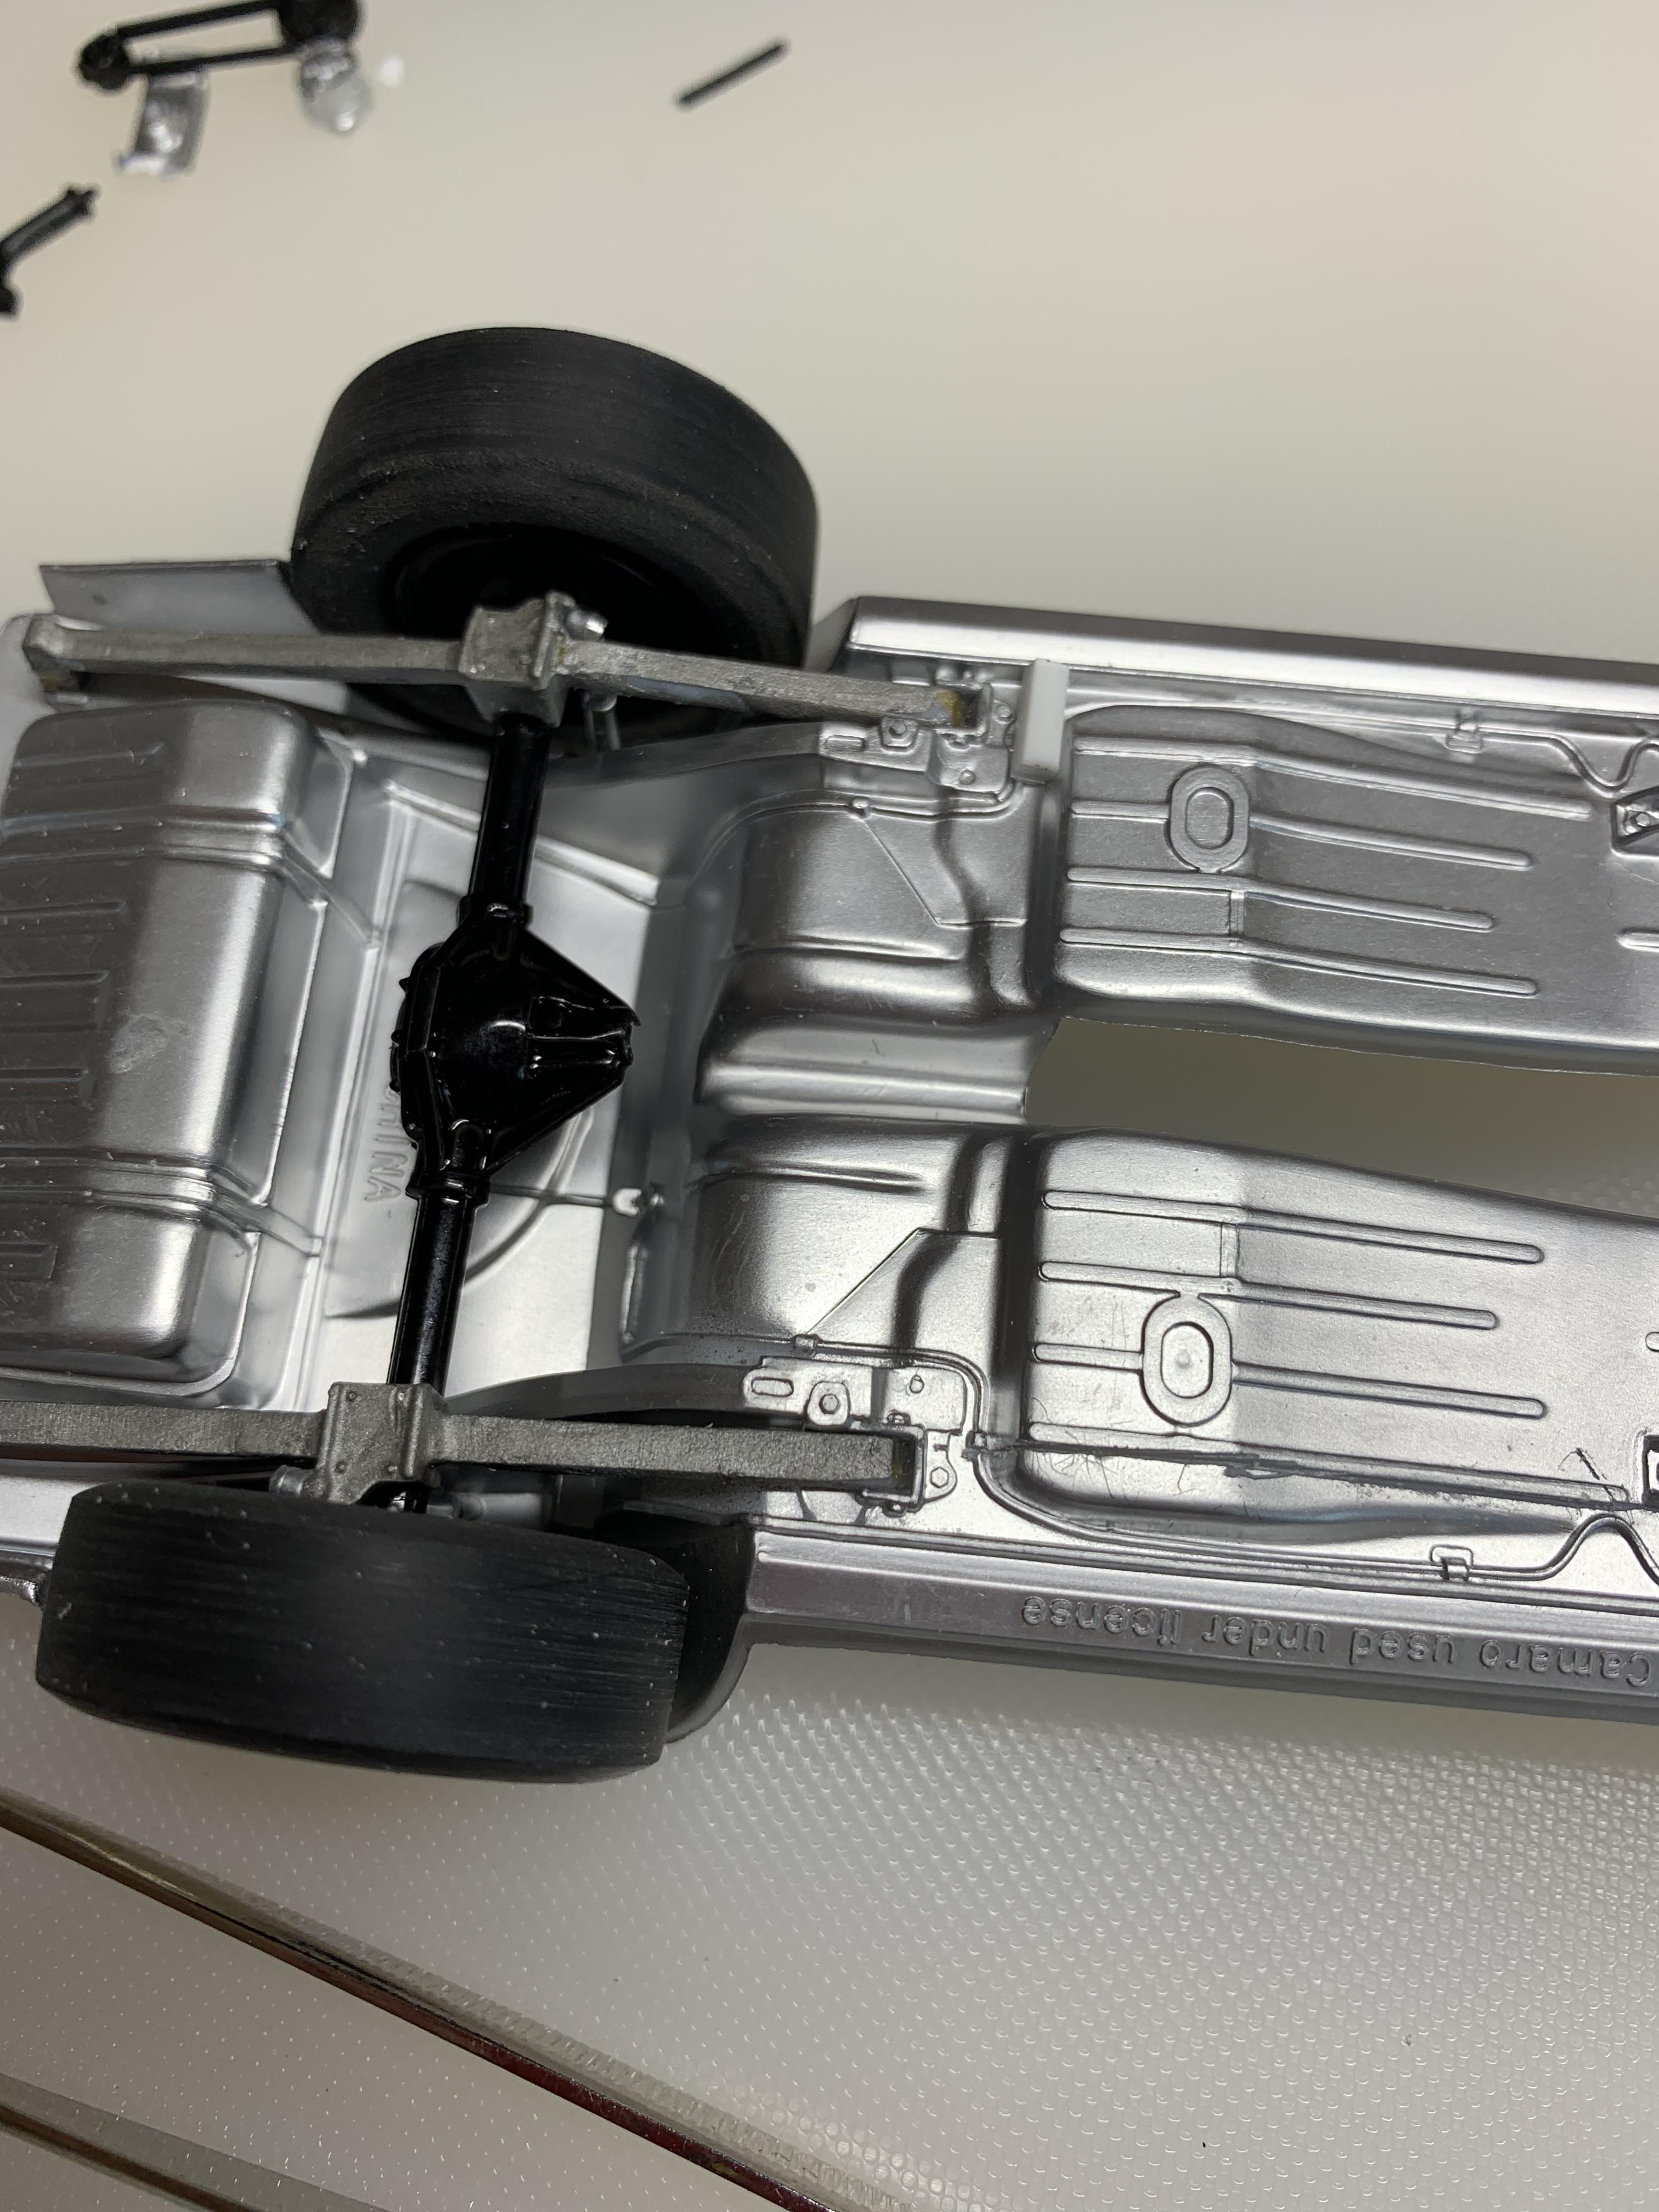
Installed radiator support and hose, then worked on firewall removing heater box and master cylinder backing.
-
1969 Camaro A/SA (possibly Thomas Arnett’s)
R. Thorne replied to R. Thorne's topic in WIP: Drag Racing Models
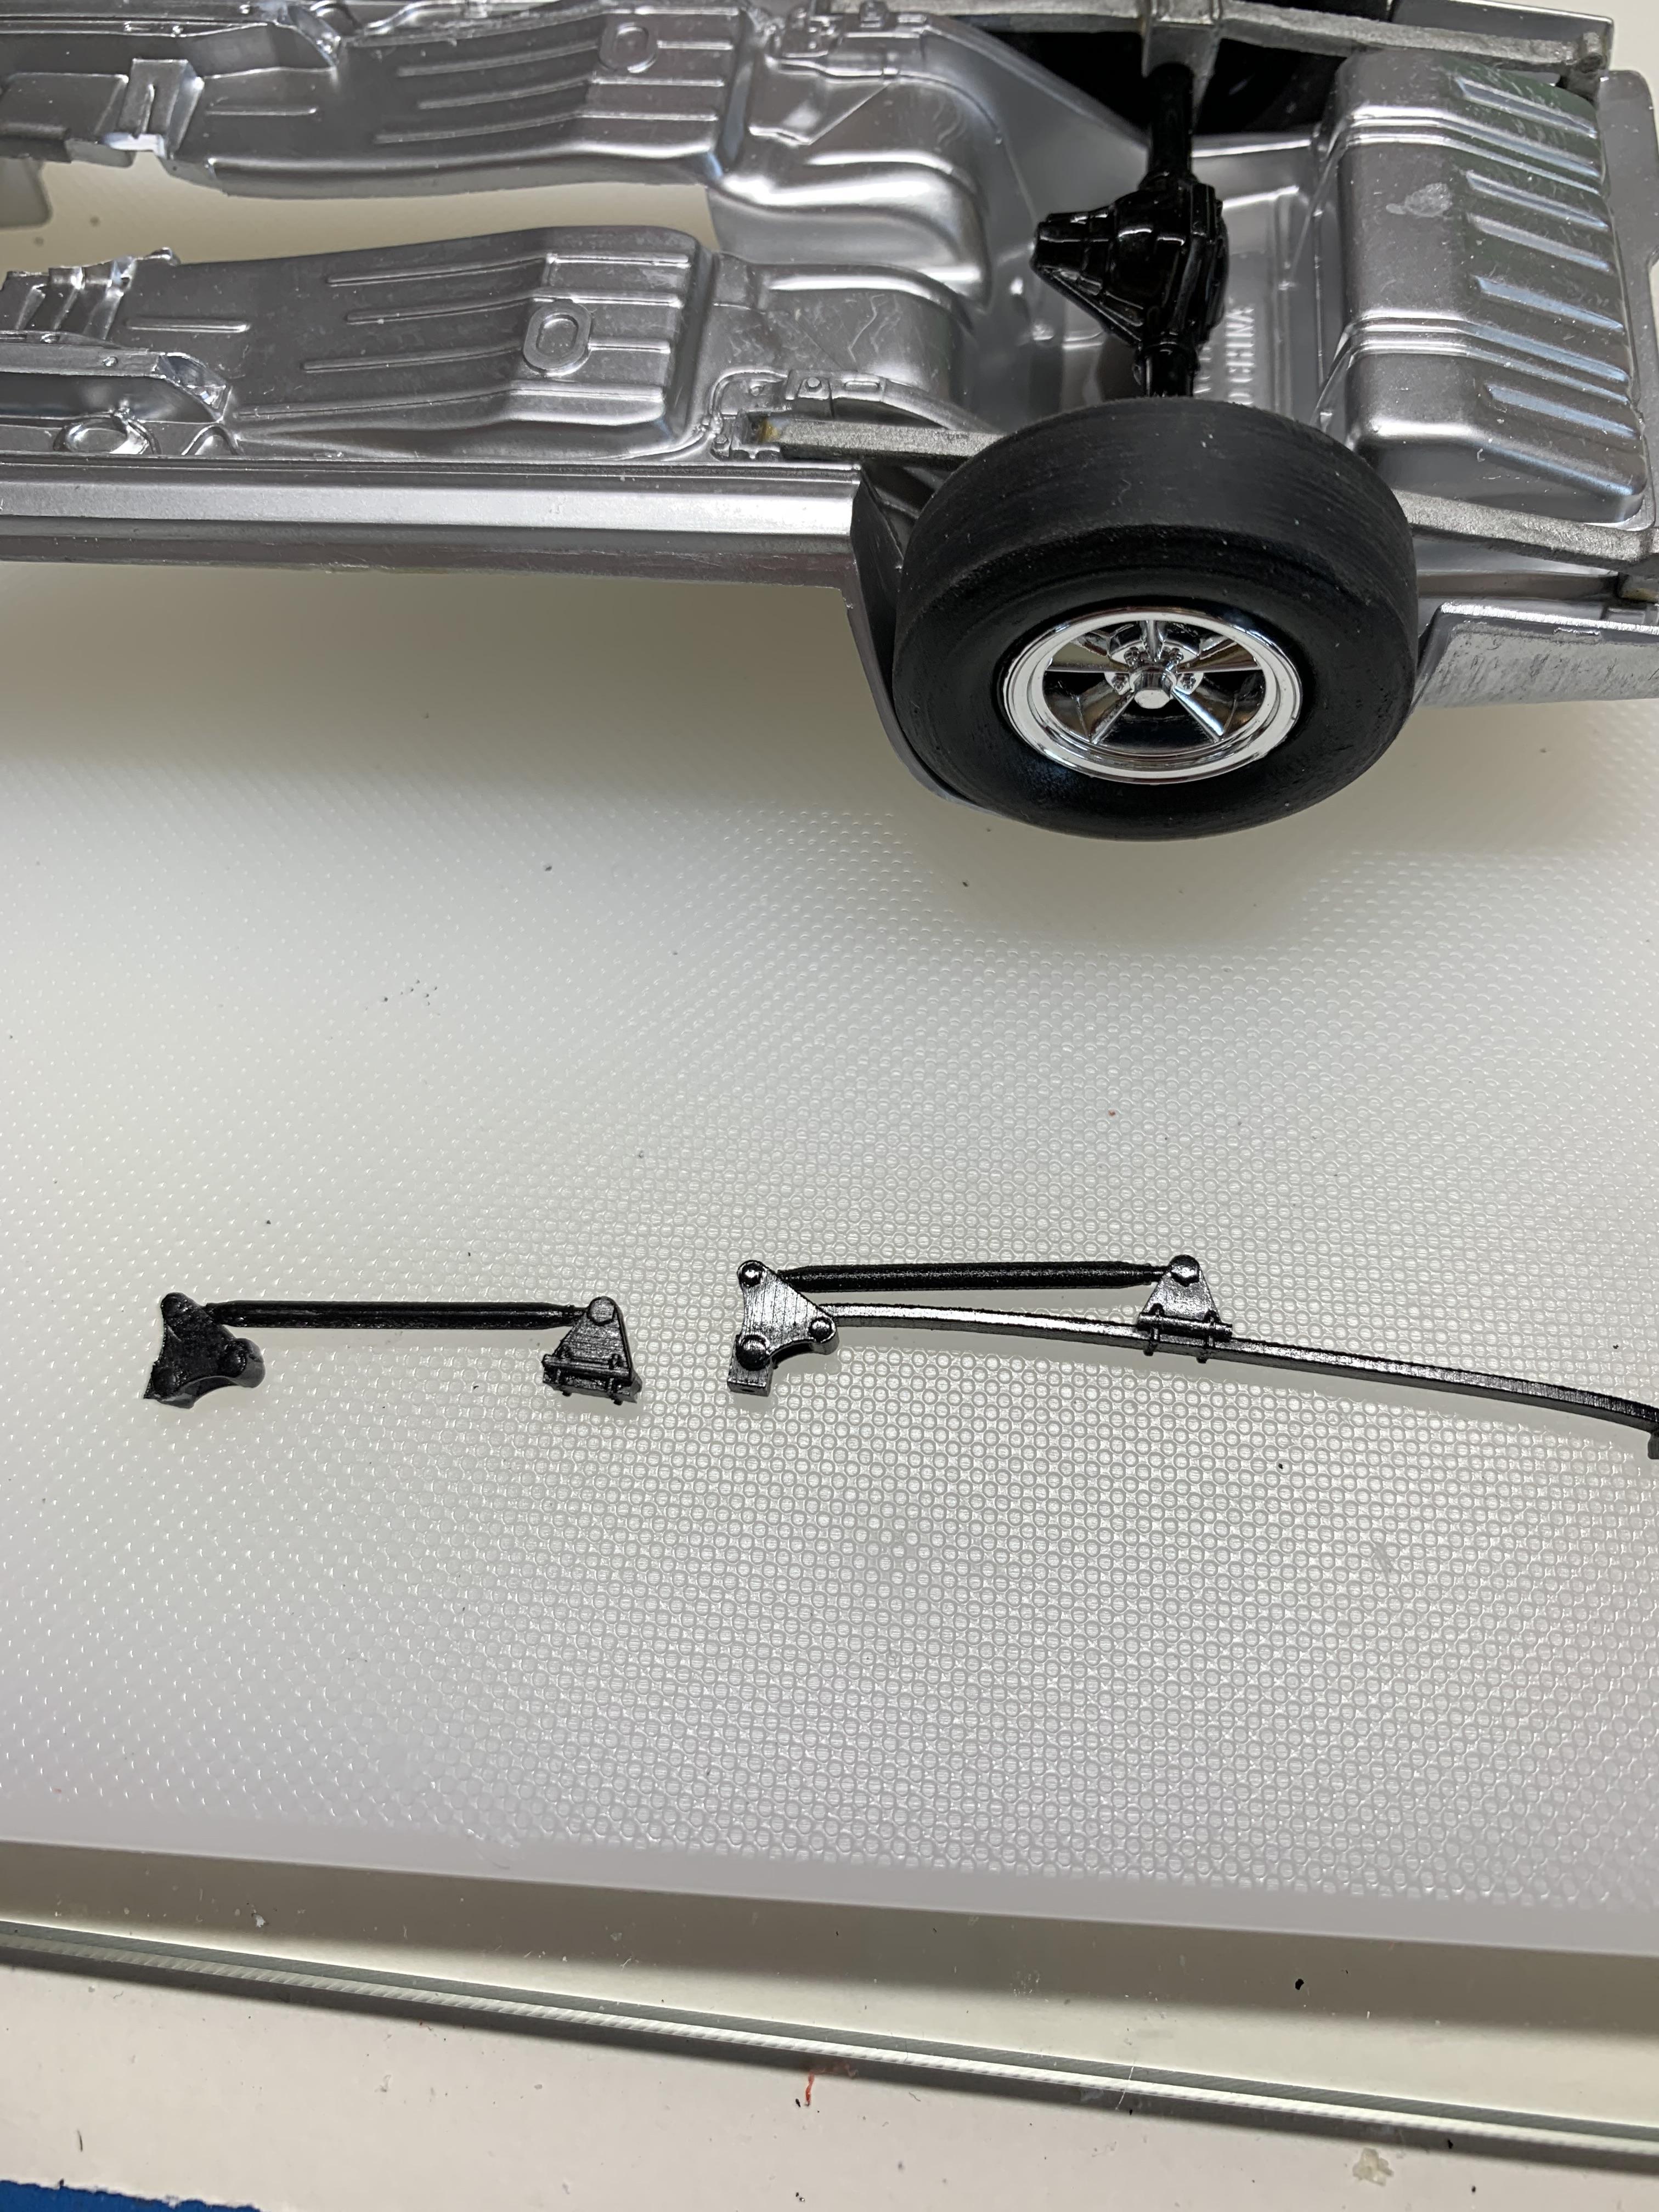
Shapeways. Ron Olson. 3D model specialties. $6.50 per pair in 1/25 scale. -
1969 Camaro A/SA (possibly Thomas Arnett’s)
R. Thorne replied to R. Thorne's topic in WIP: Drag Racing Models
Glued the engine in by the front mounting points, let that dry a bit, then installed the crossmember that I had cut off. Finally, glued on the driveshaft.
-
1969 Camaro A/SA (possibly Thomas Arnett’s)
R. Thorne replied to R. Thorne's topic in WIP: Drag Racing Models
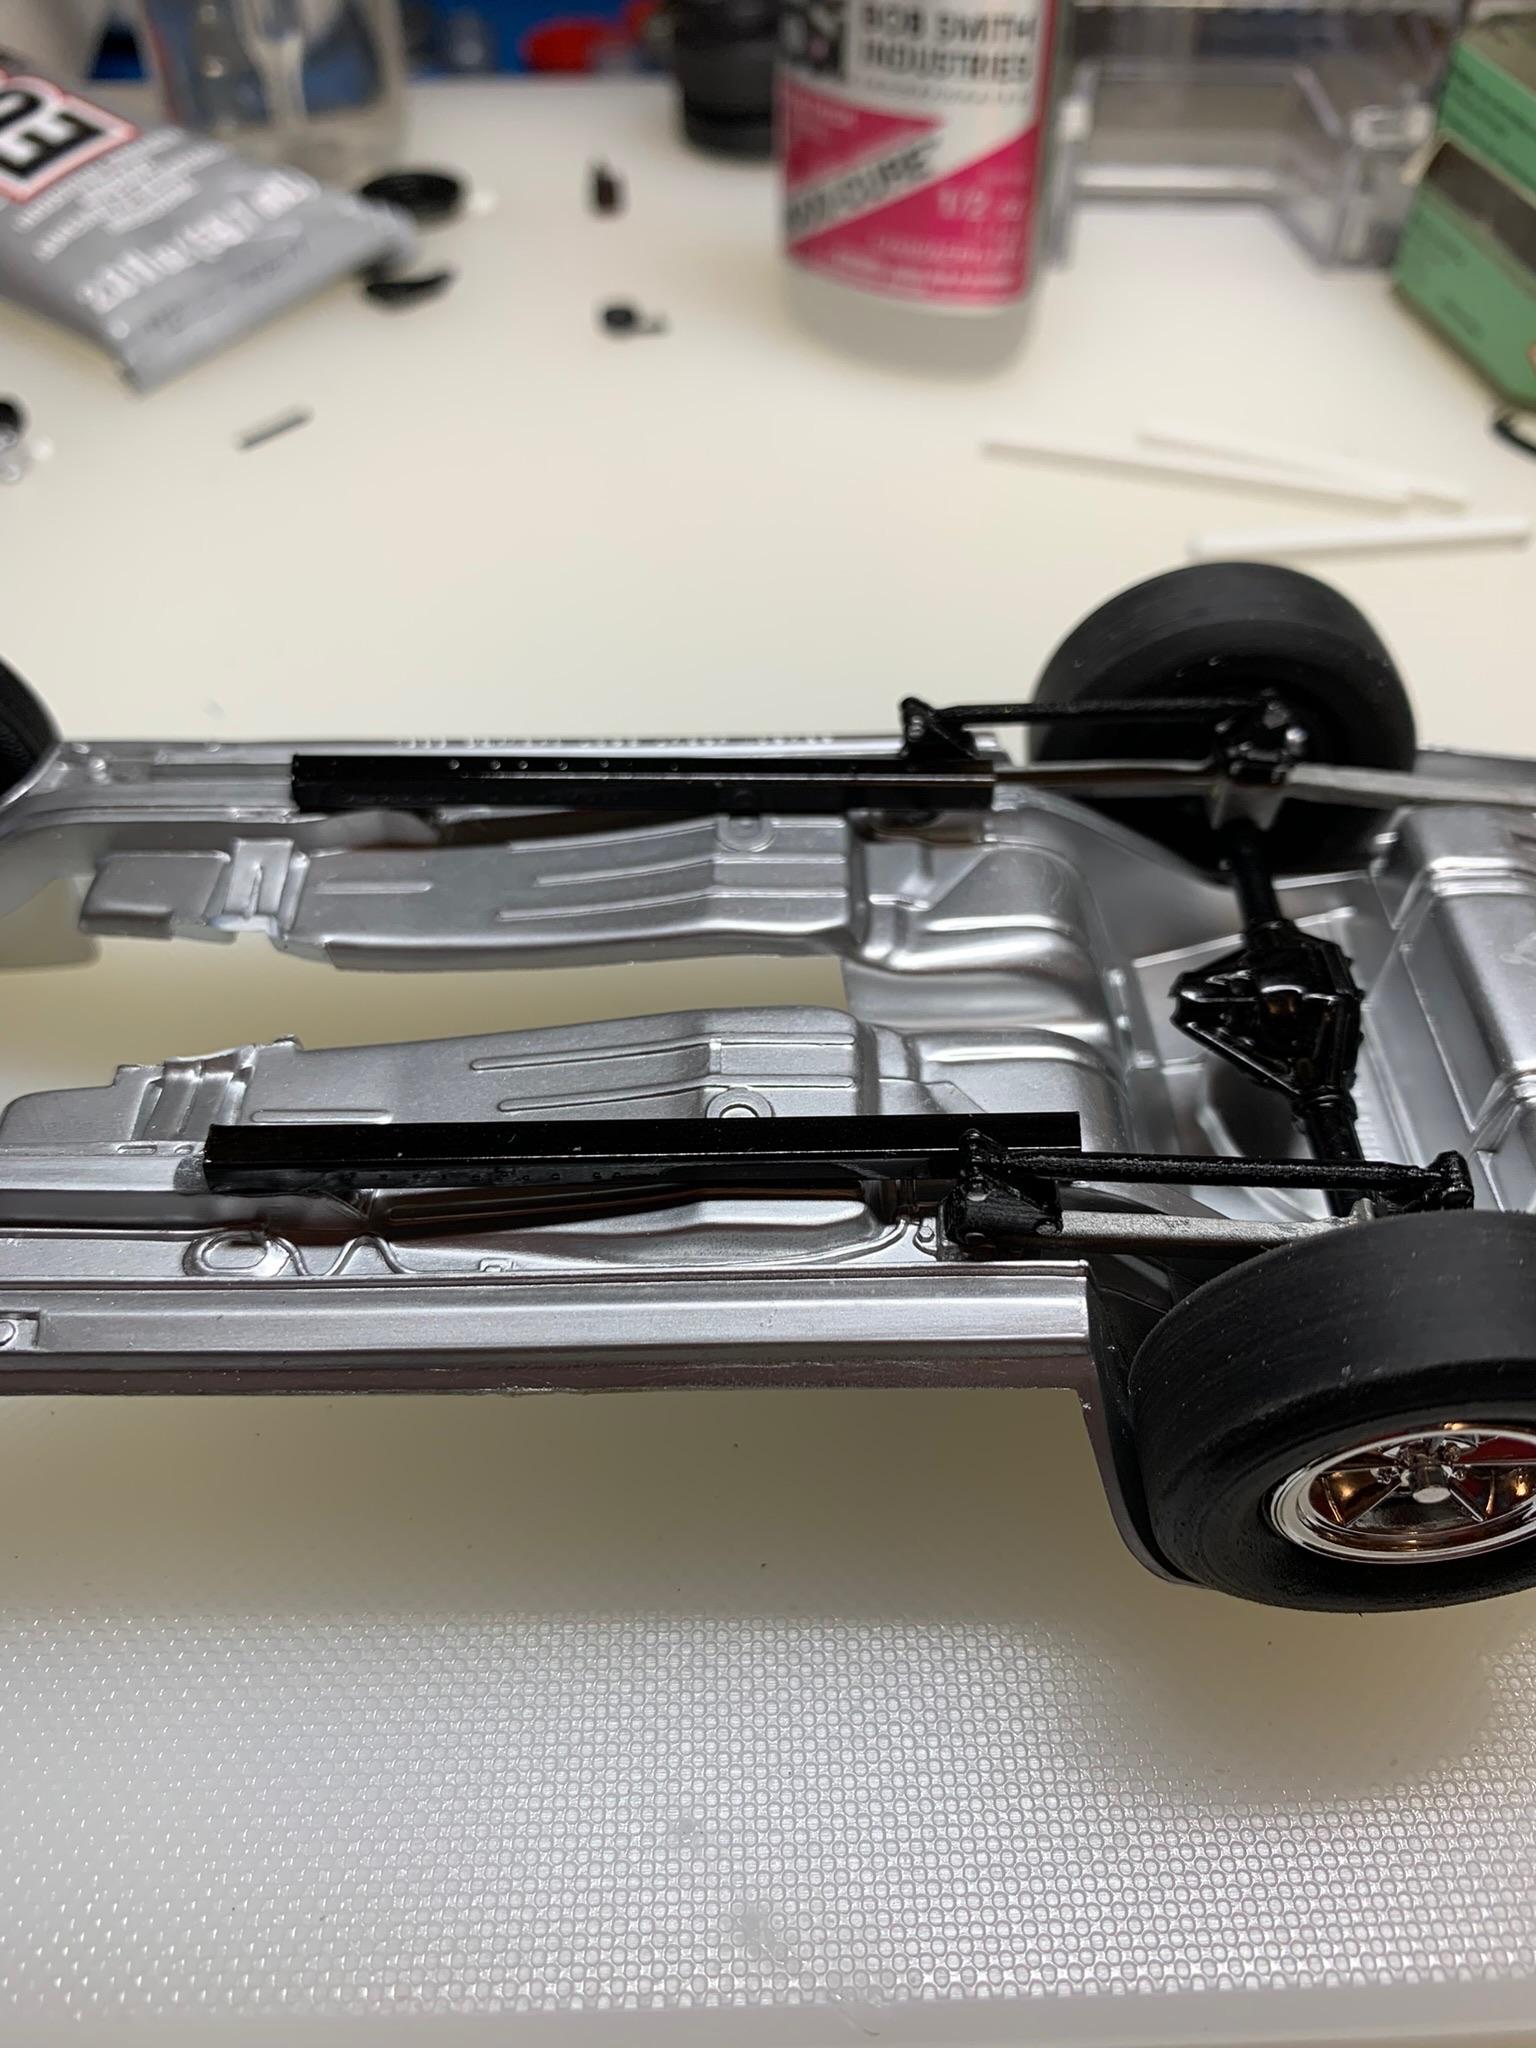
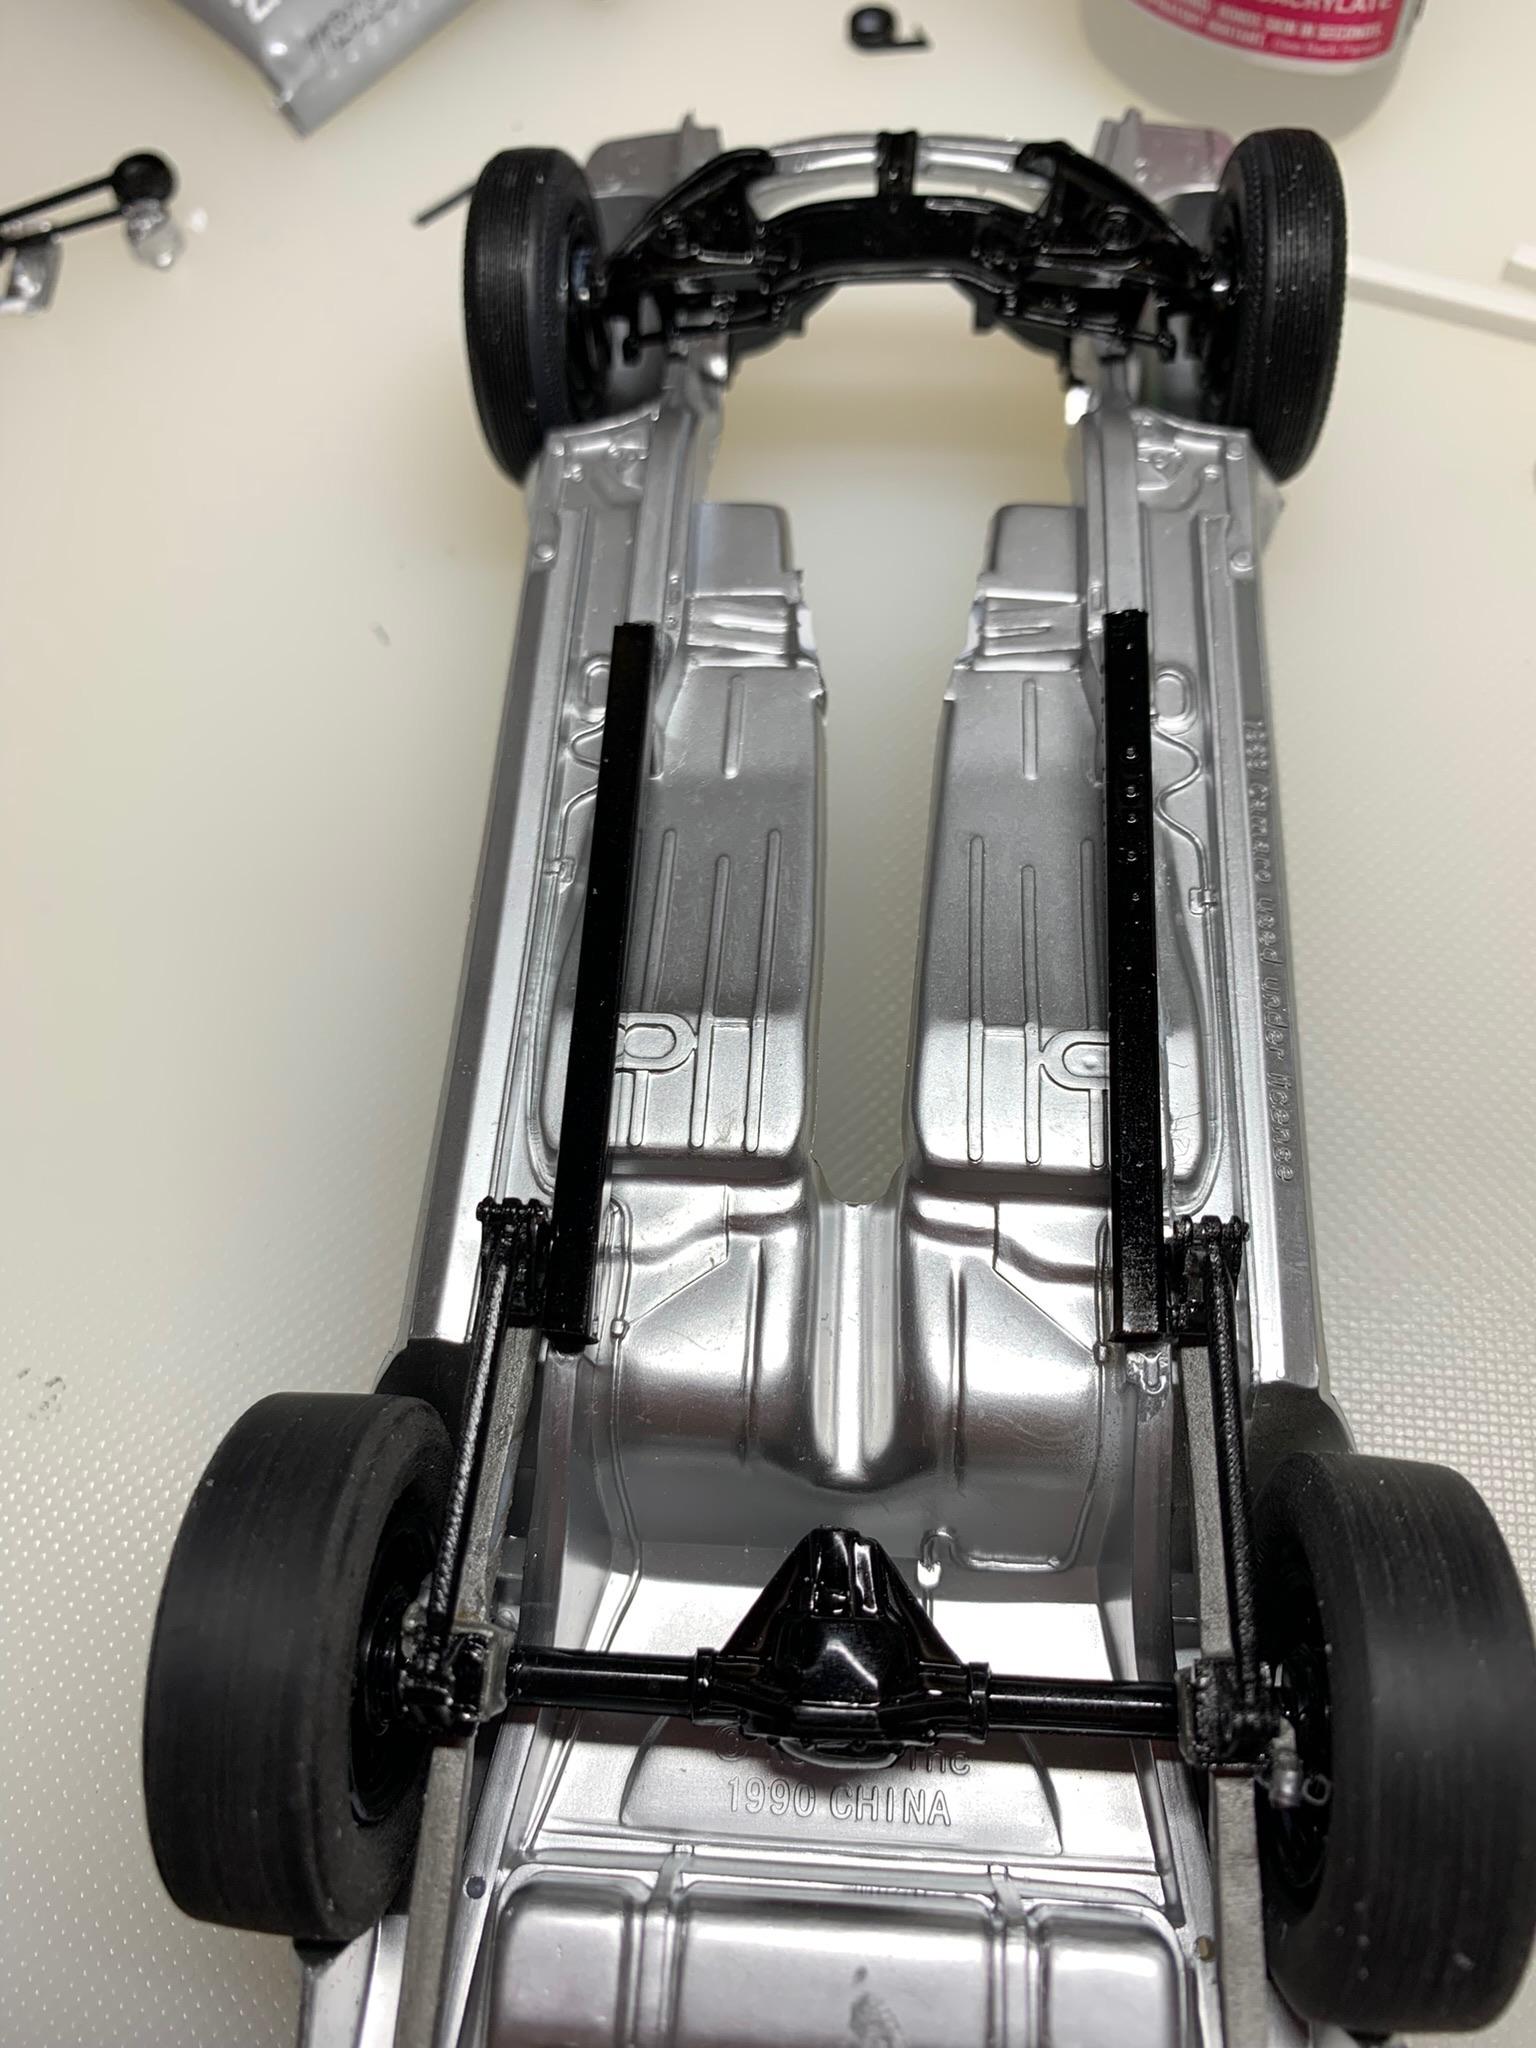
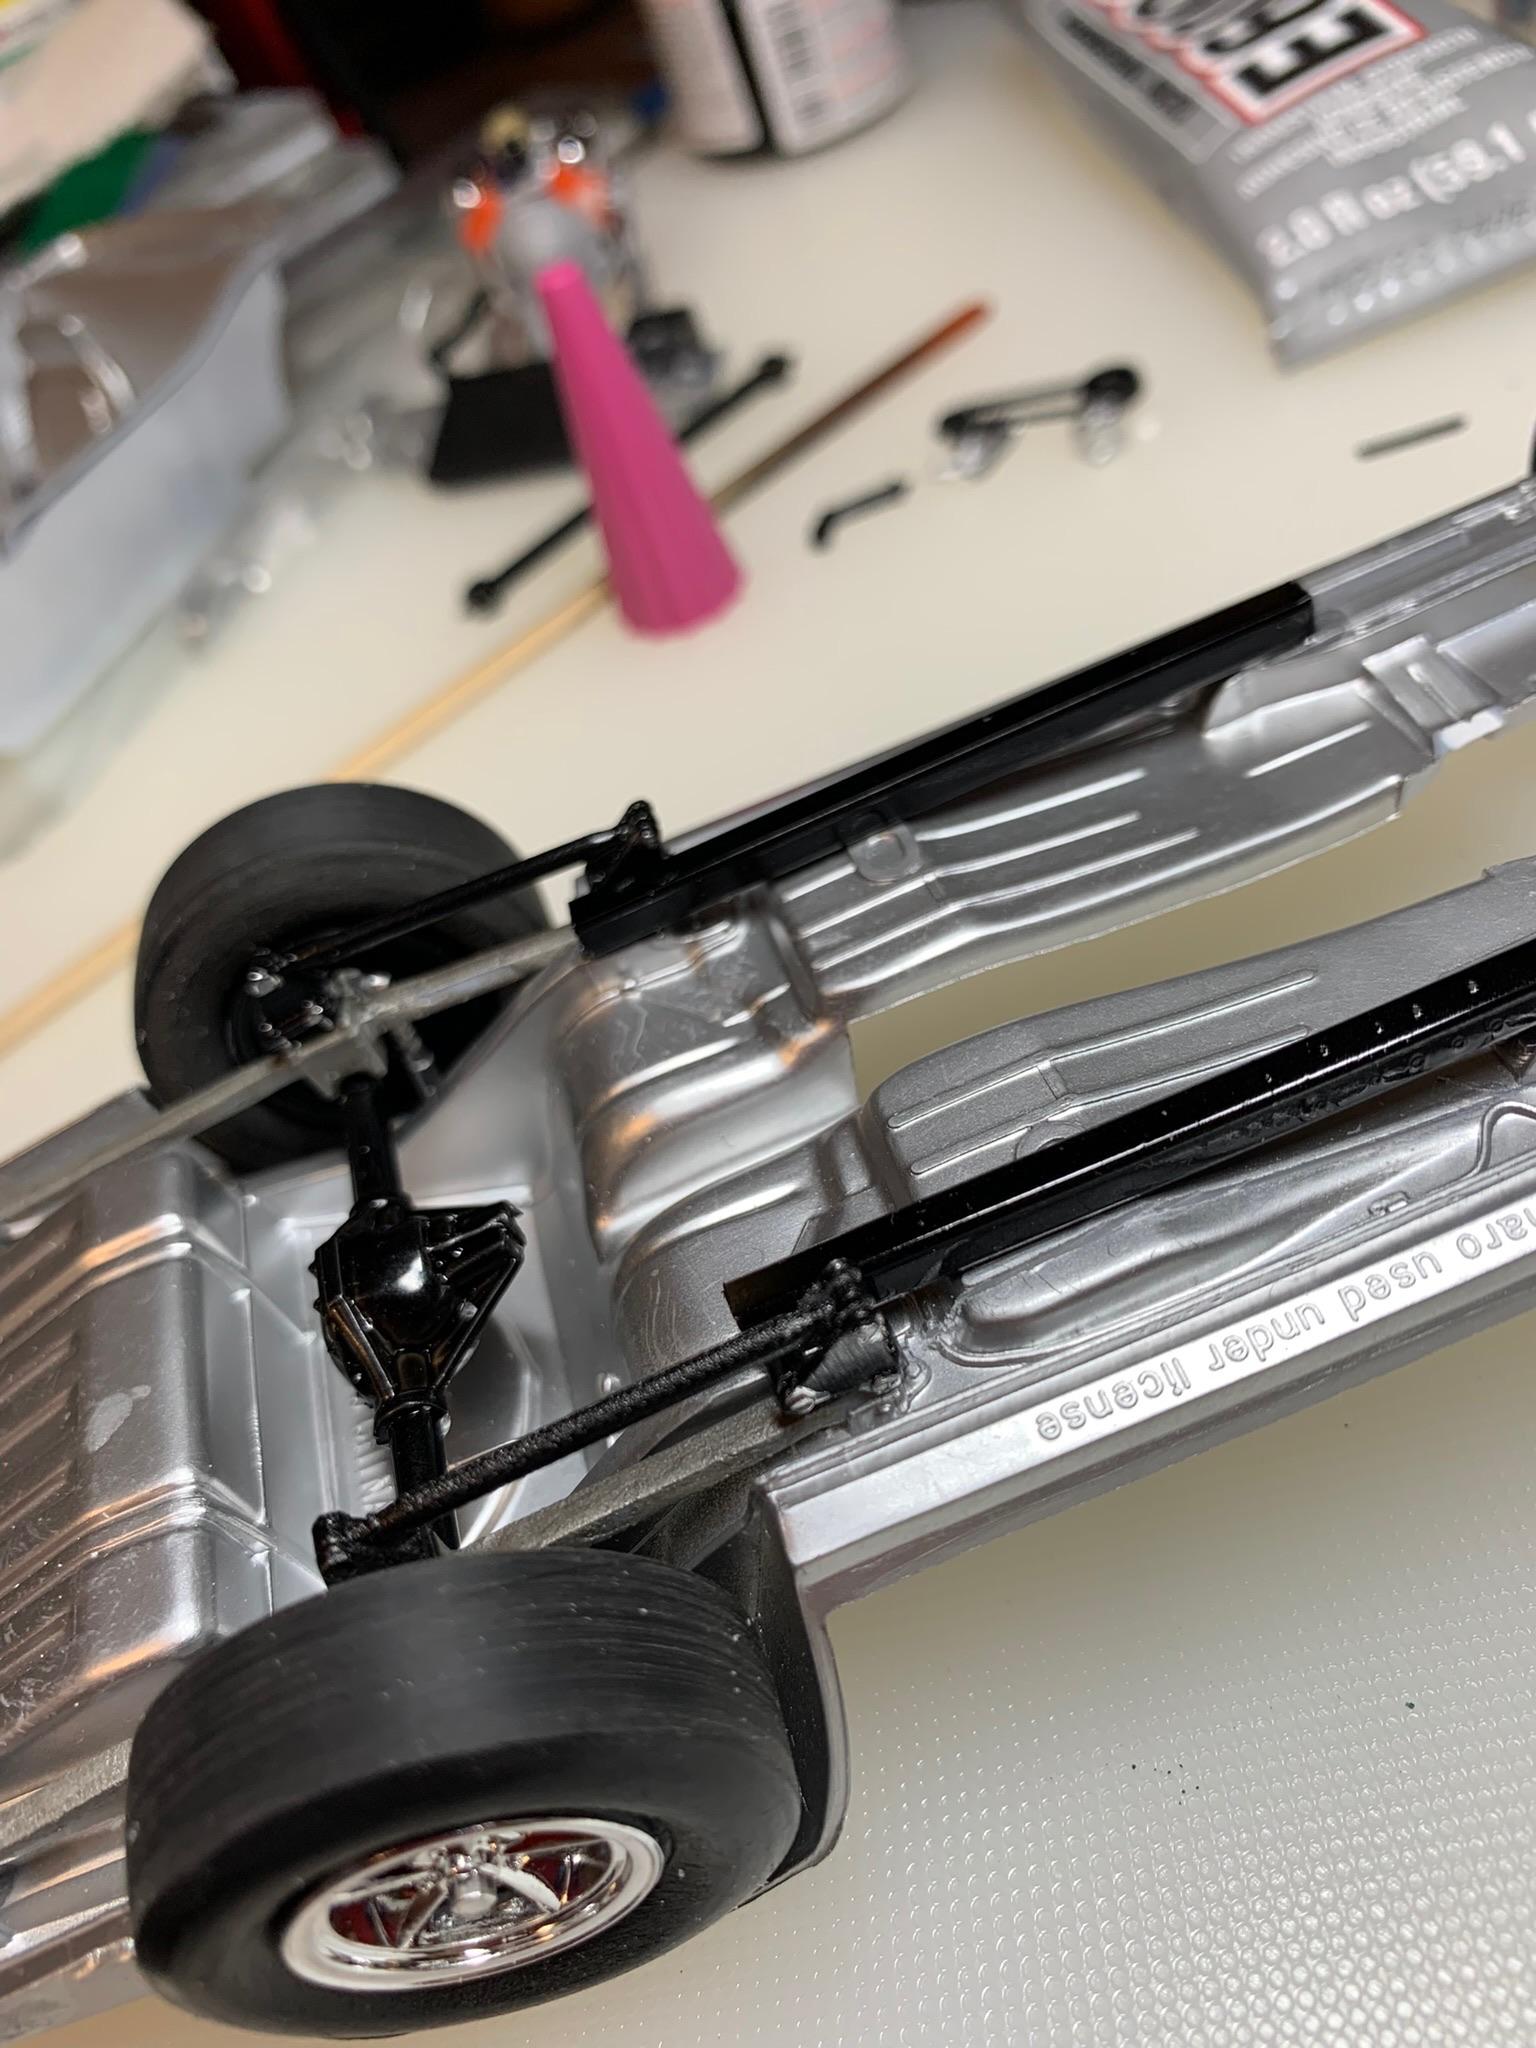
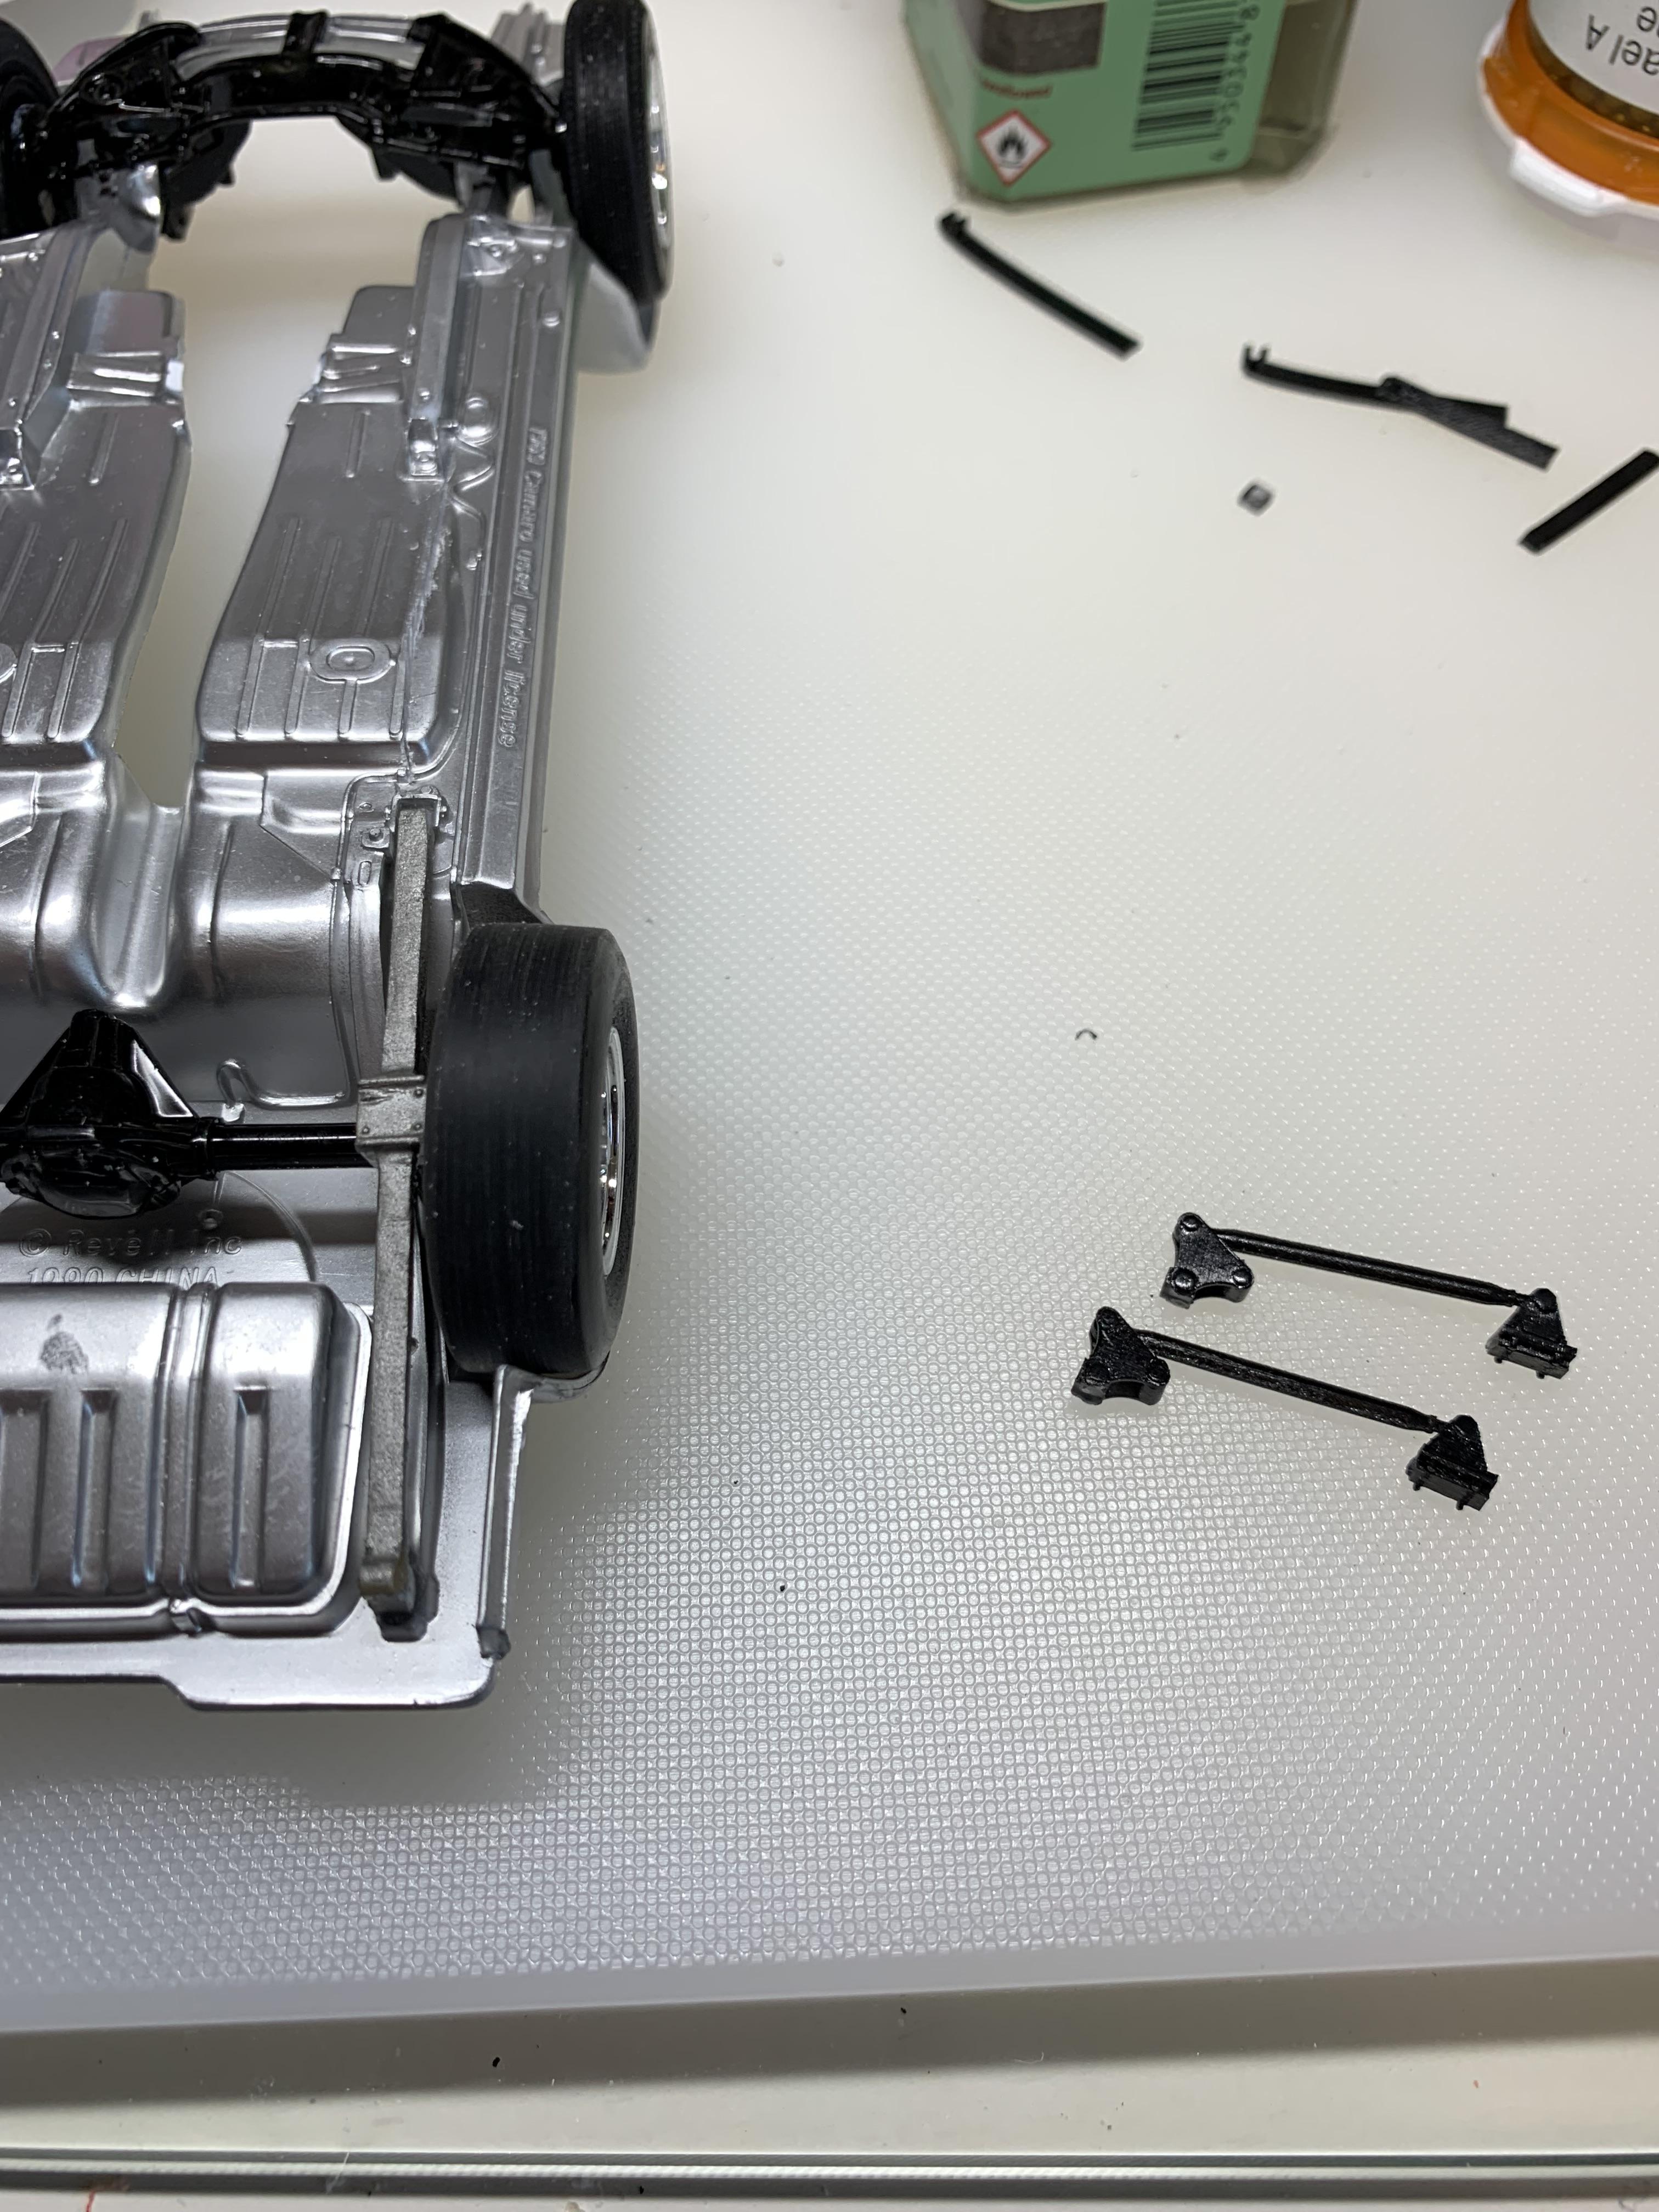
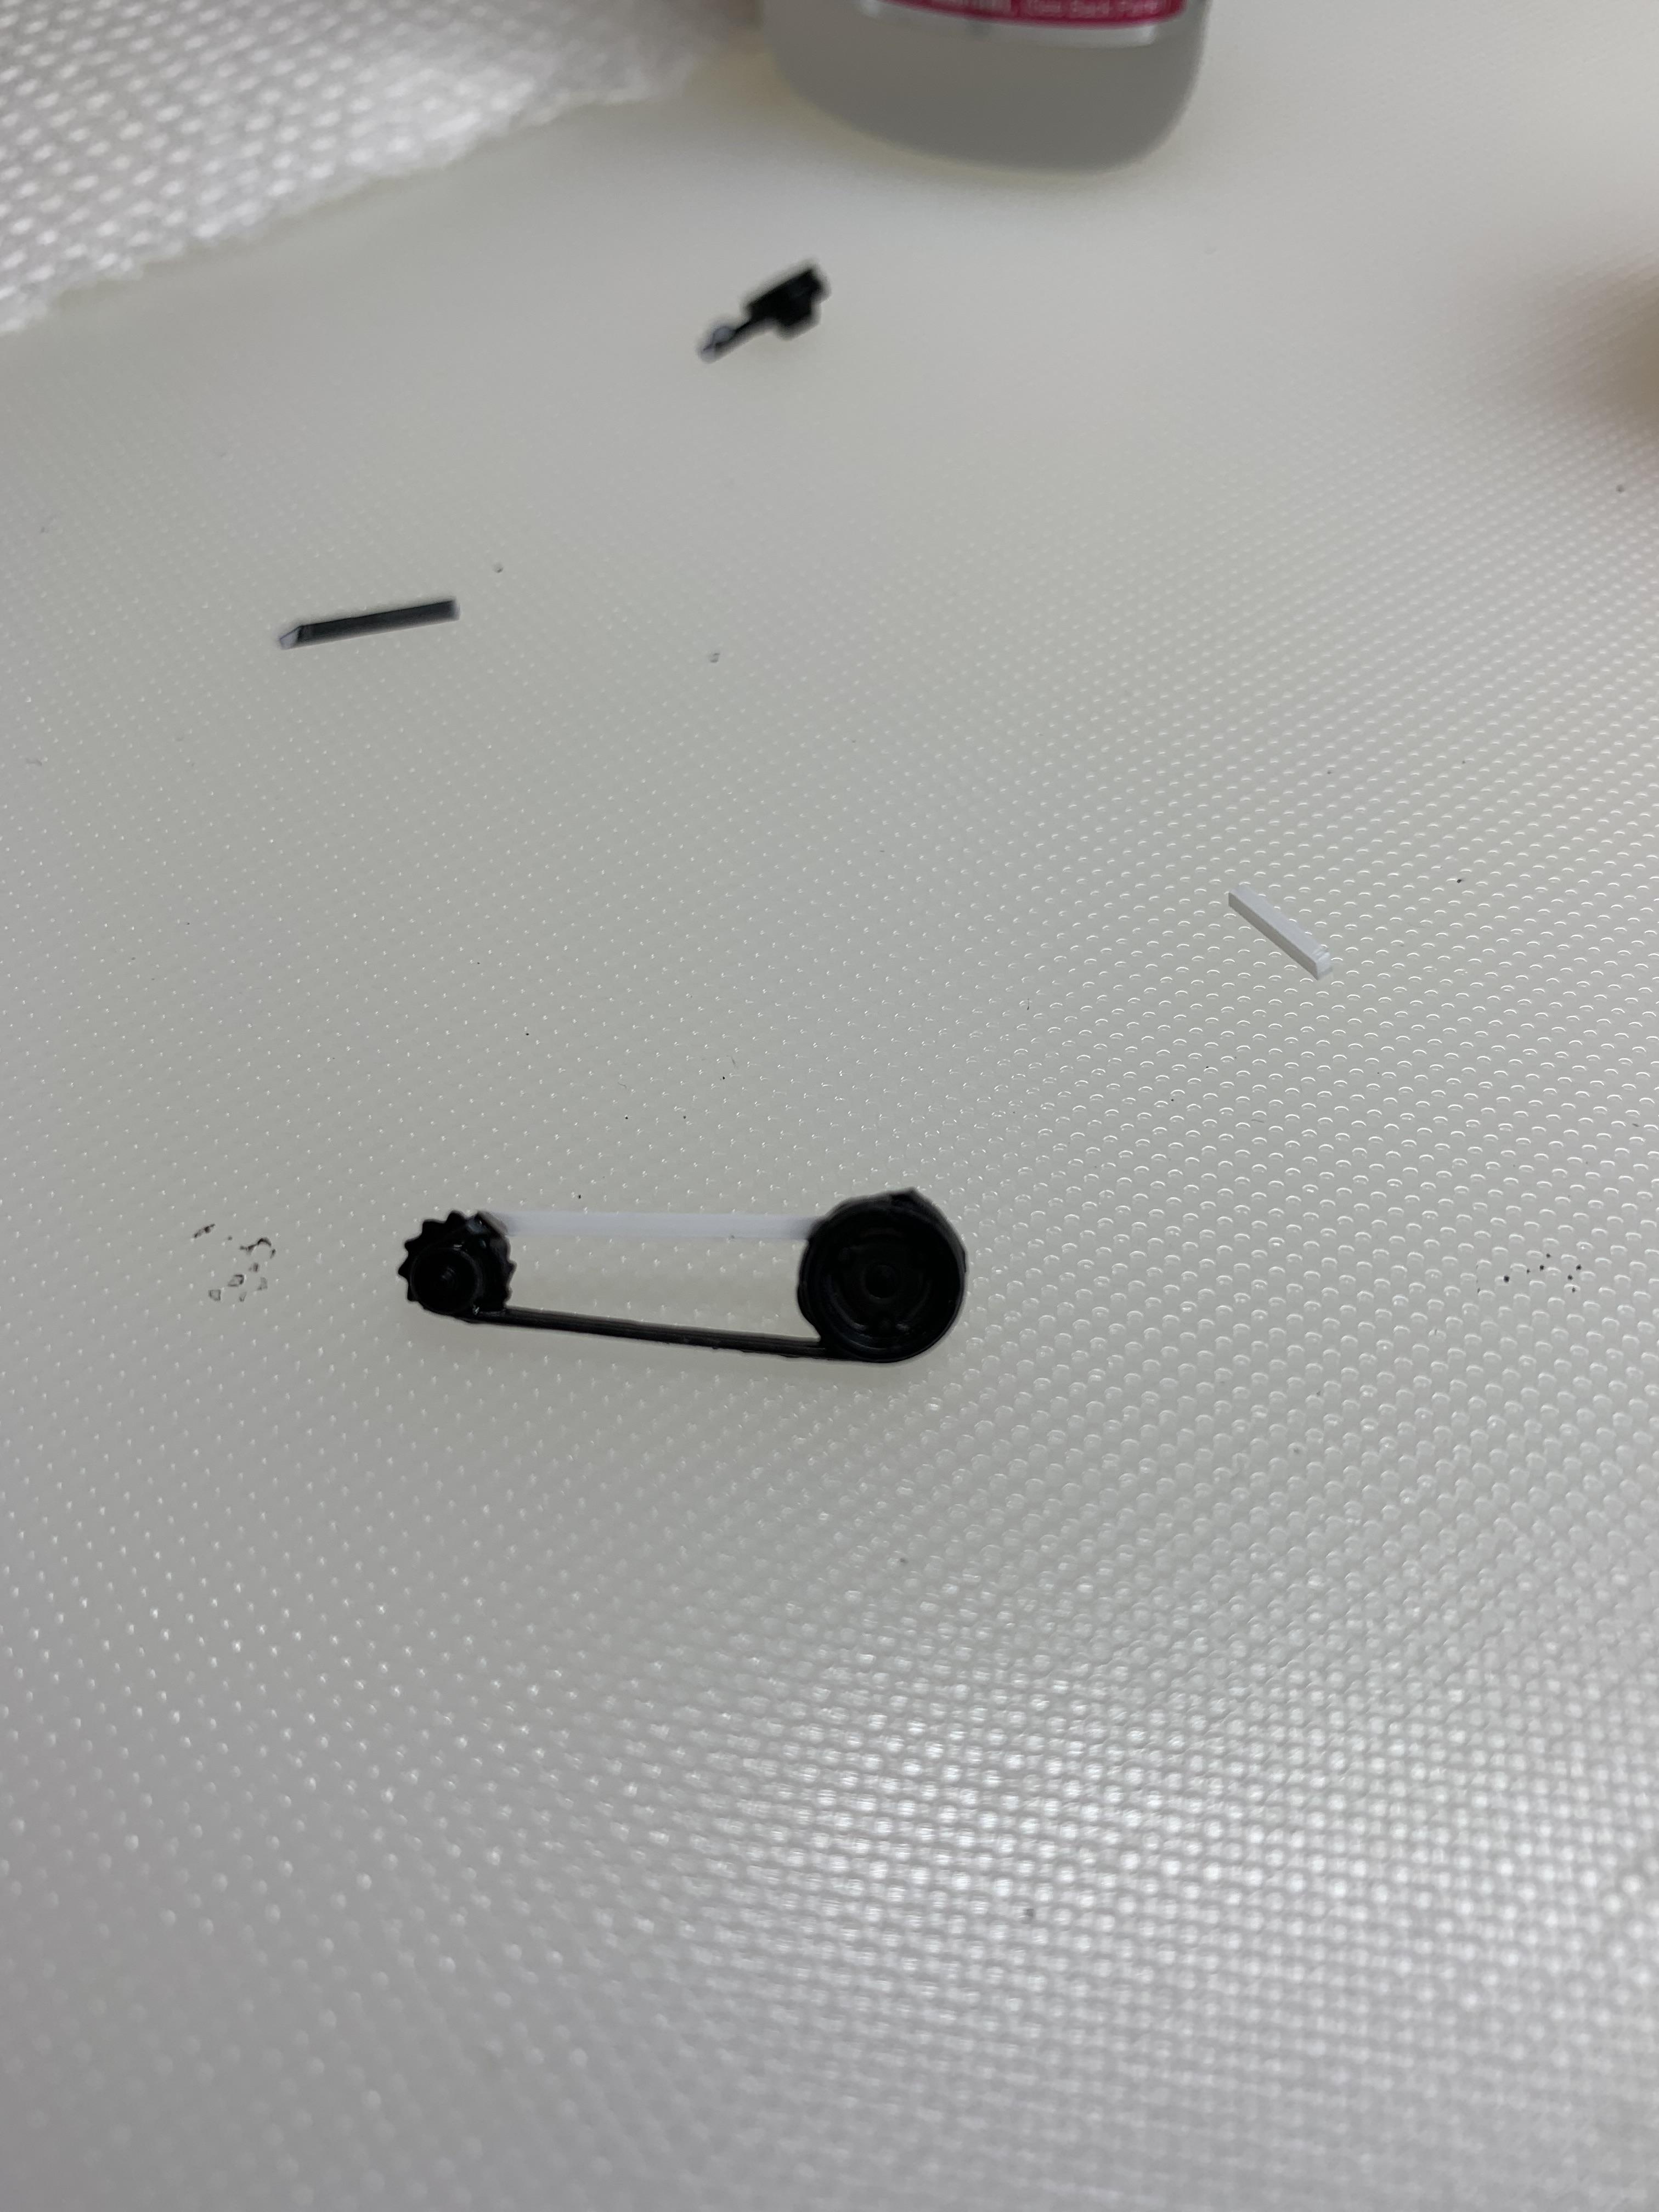
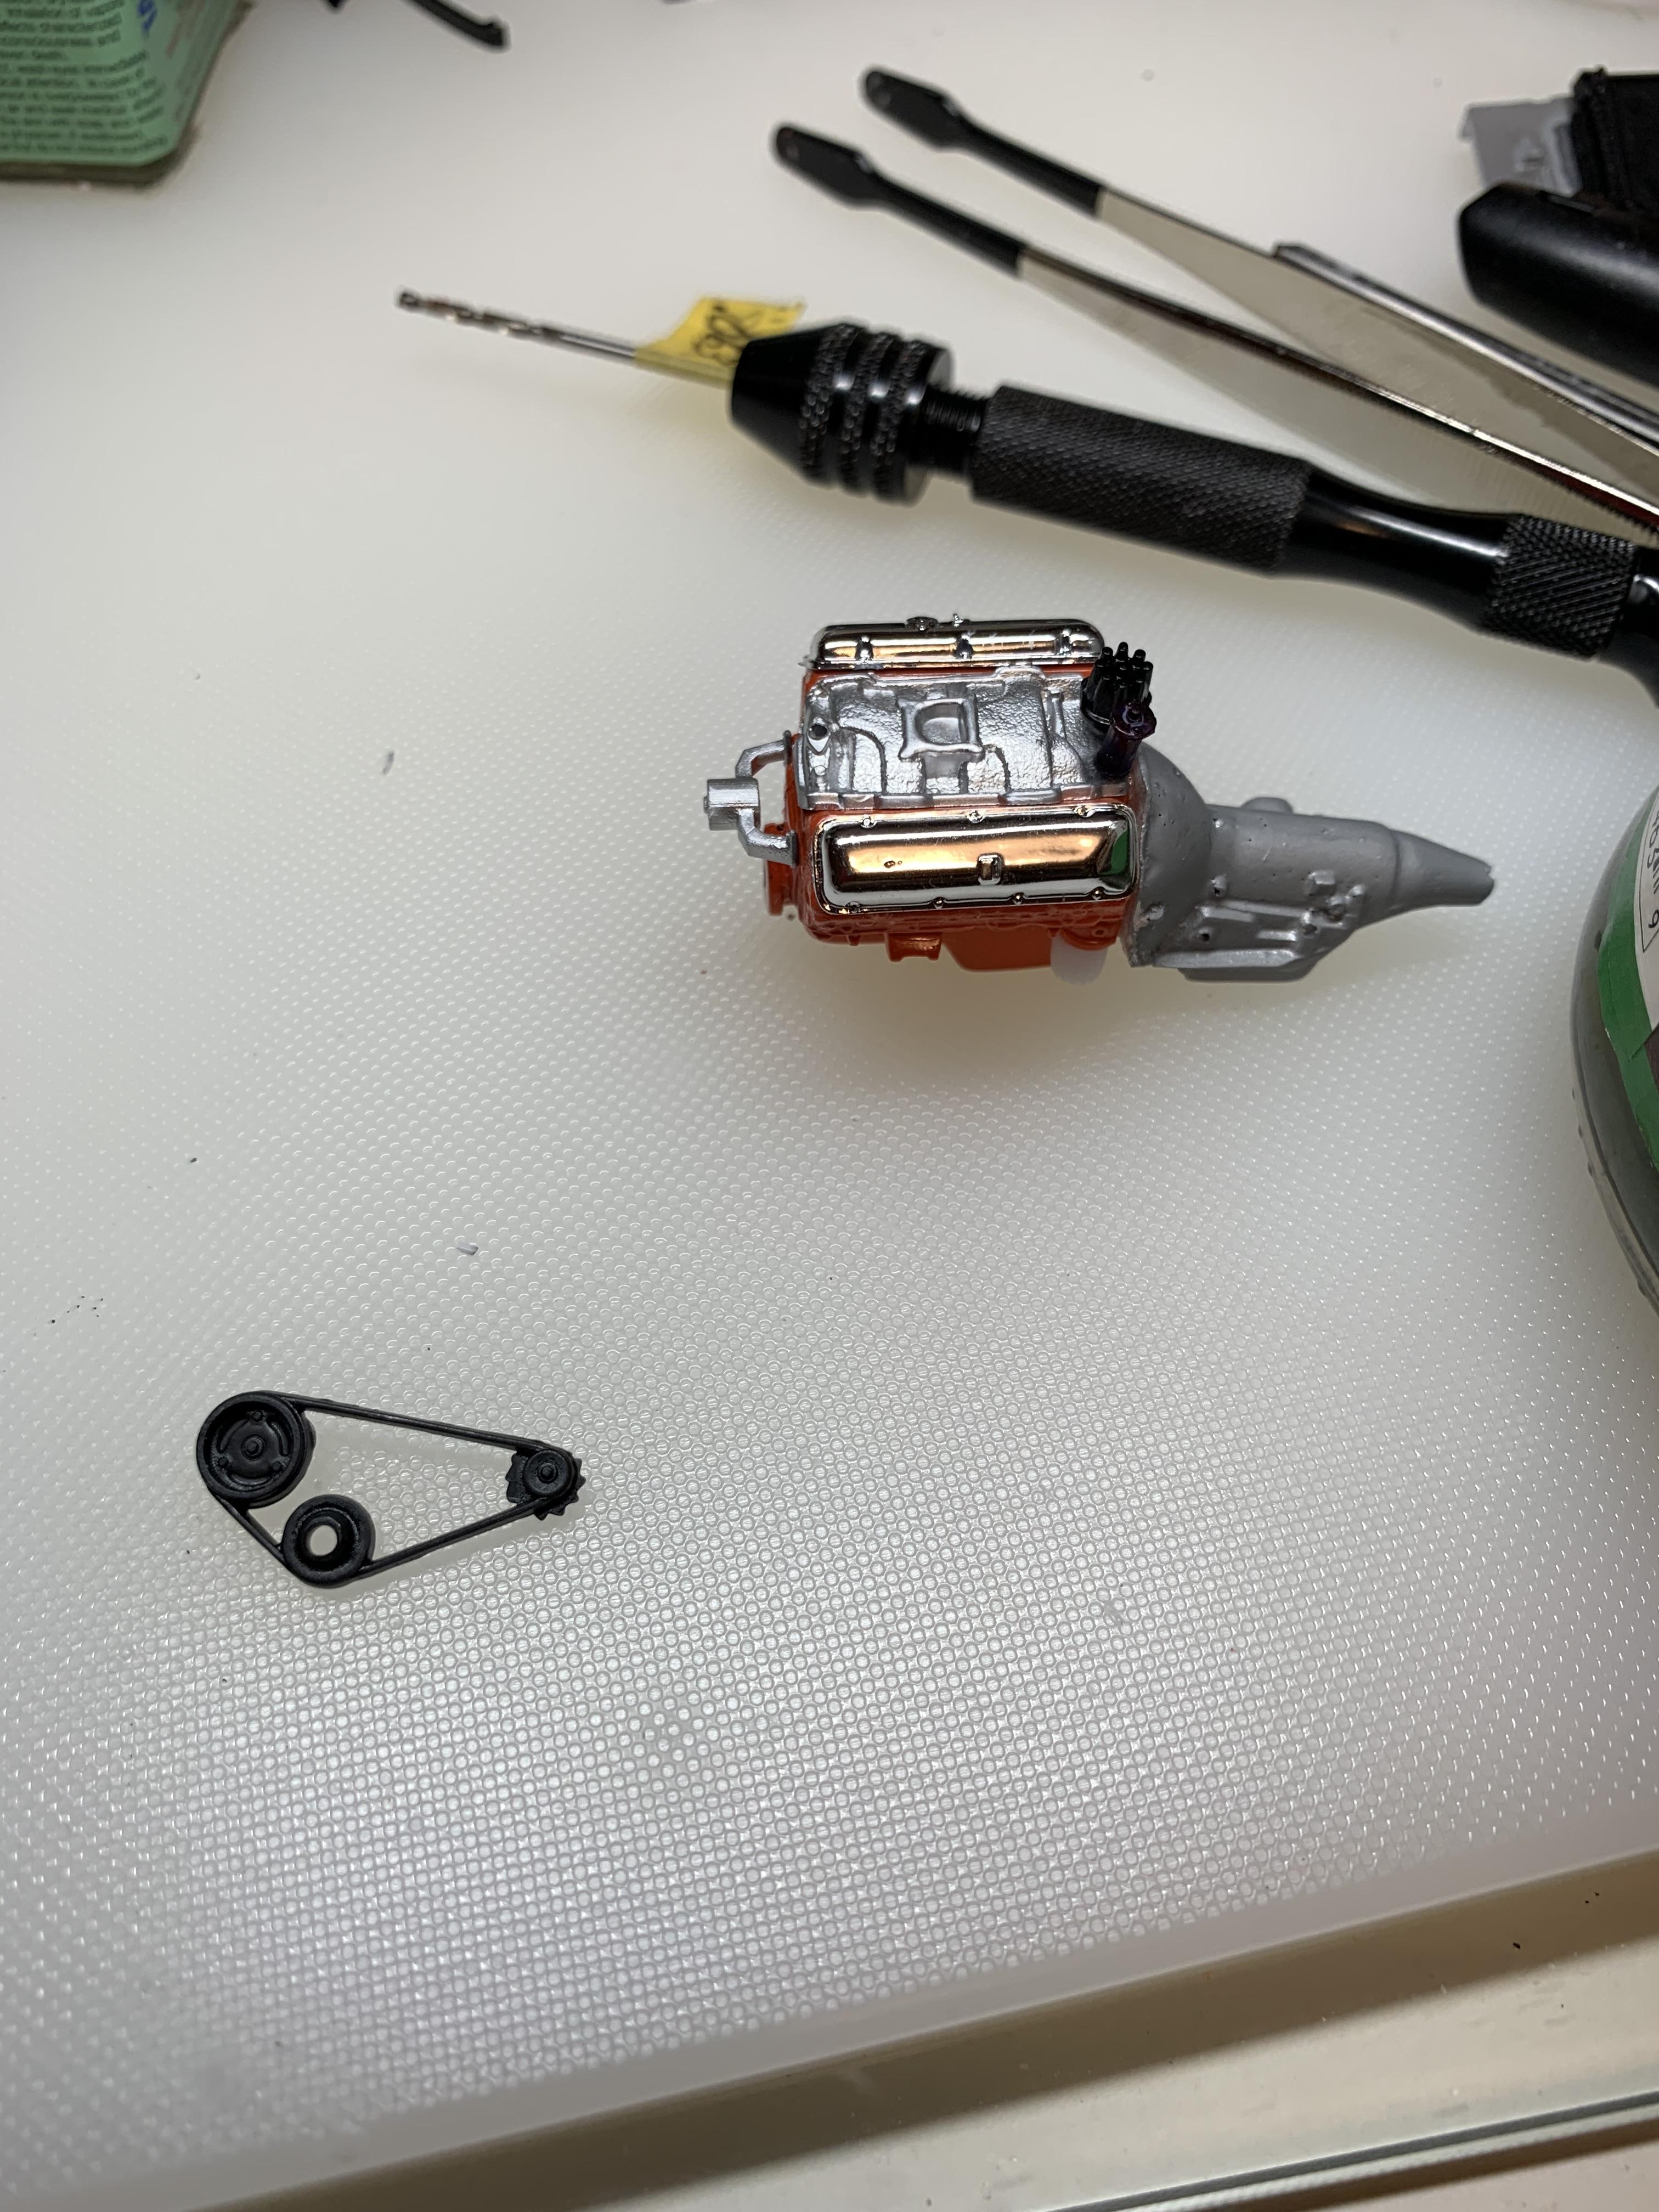
Thanks, guys. Still plugging away. Installed sub frame connectors and CalTracs. Then, alternator and hub pulley. Made a piece of scrap from original belt to use as an alternator bracket. An homage to Harry P. RIP.
-
1969 Camaro A/SA (possibly Thomas Arnett’s)
R. Thorne replied to R. Thorne's topic in WIP: Drag Racing Models
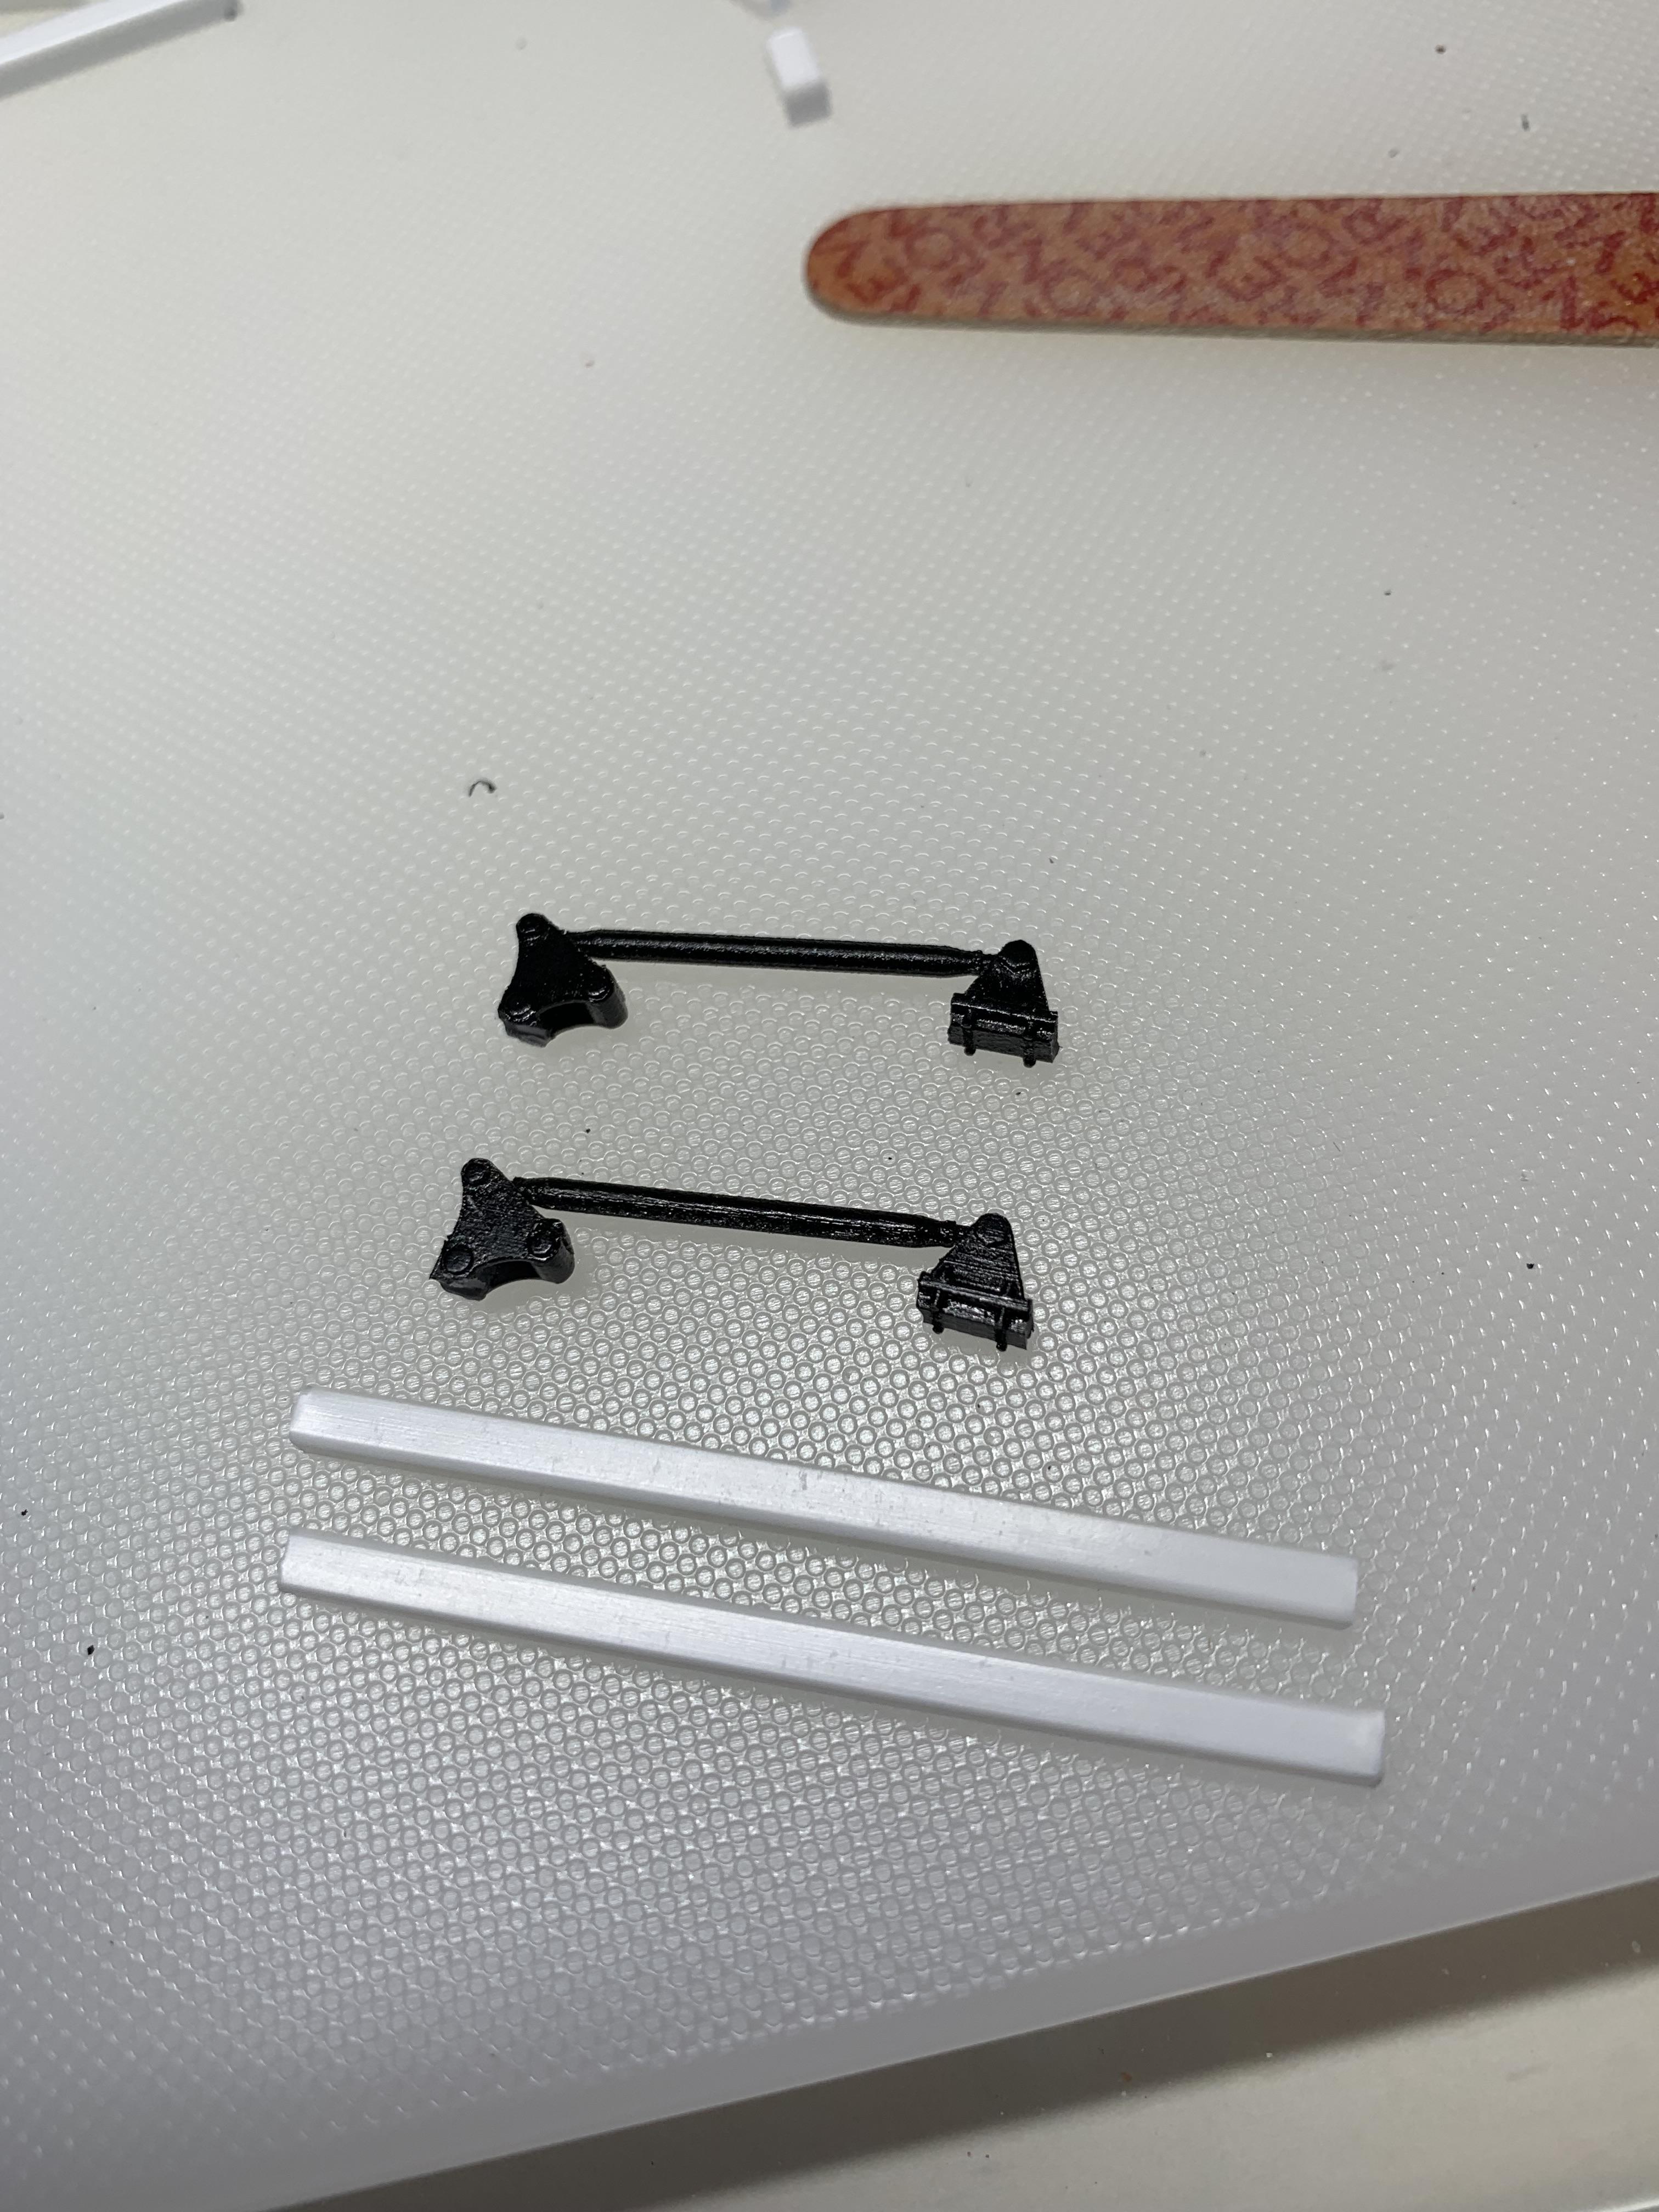
Next, sub frame connectors. Started to cut floor boards out to sink connectors in, but, with other stuff already installed, decided to mount them to existing sub frames. No cutting of floor. Made them from square tubing. Trimmed the “bolt head” from rear sub frame so connectors will “weld on” flush. Will install tomorrow.
-
1969 Camaro A/SA (possibly Thomas Arnett’s)
R. Thorne replied to R. Thorne's topic in WIP: Drag Racing Models
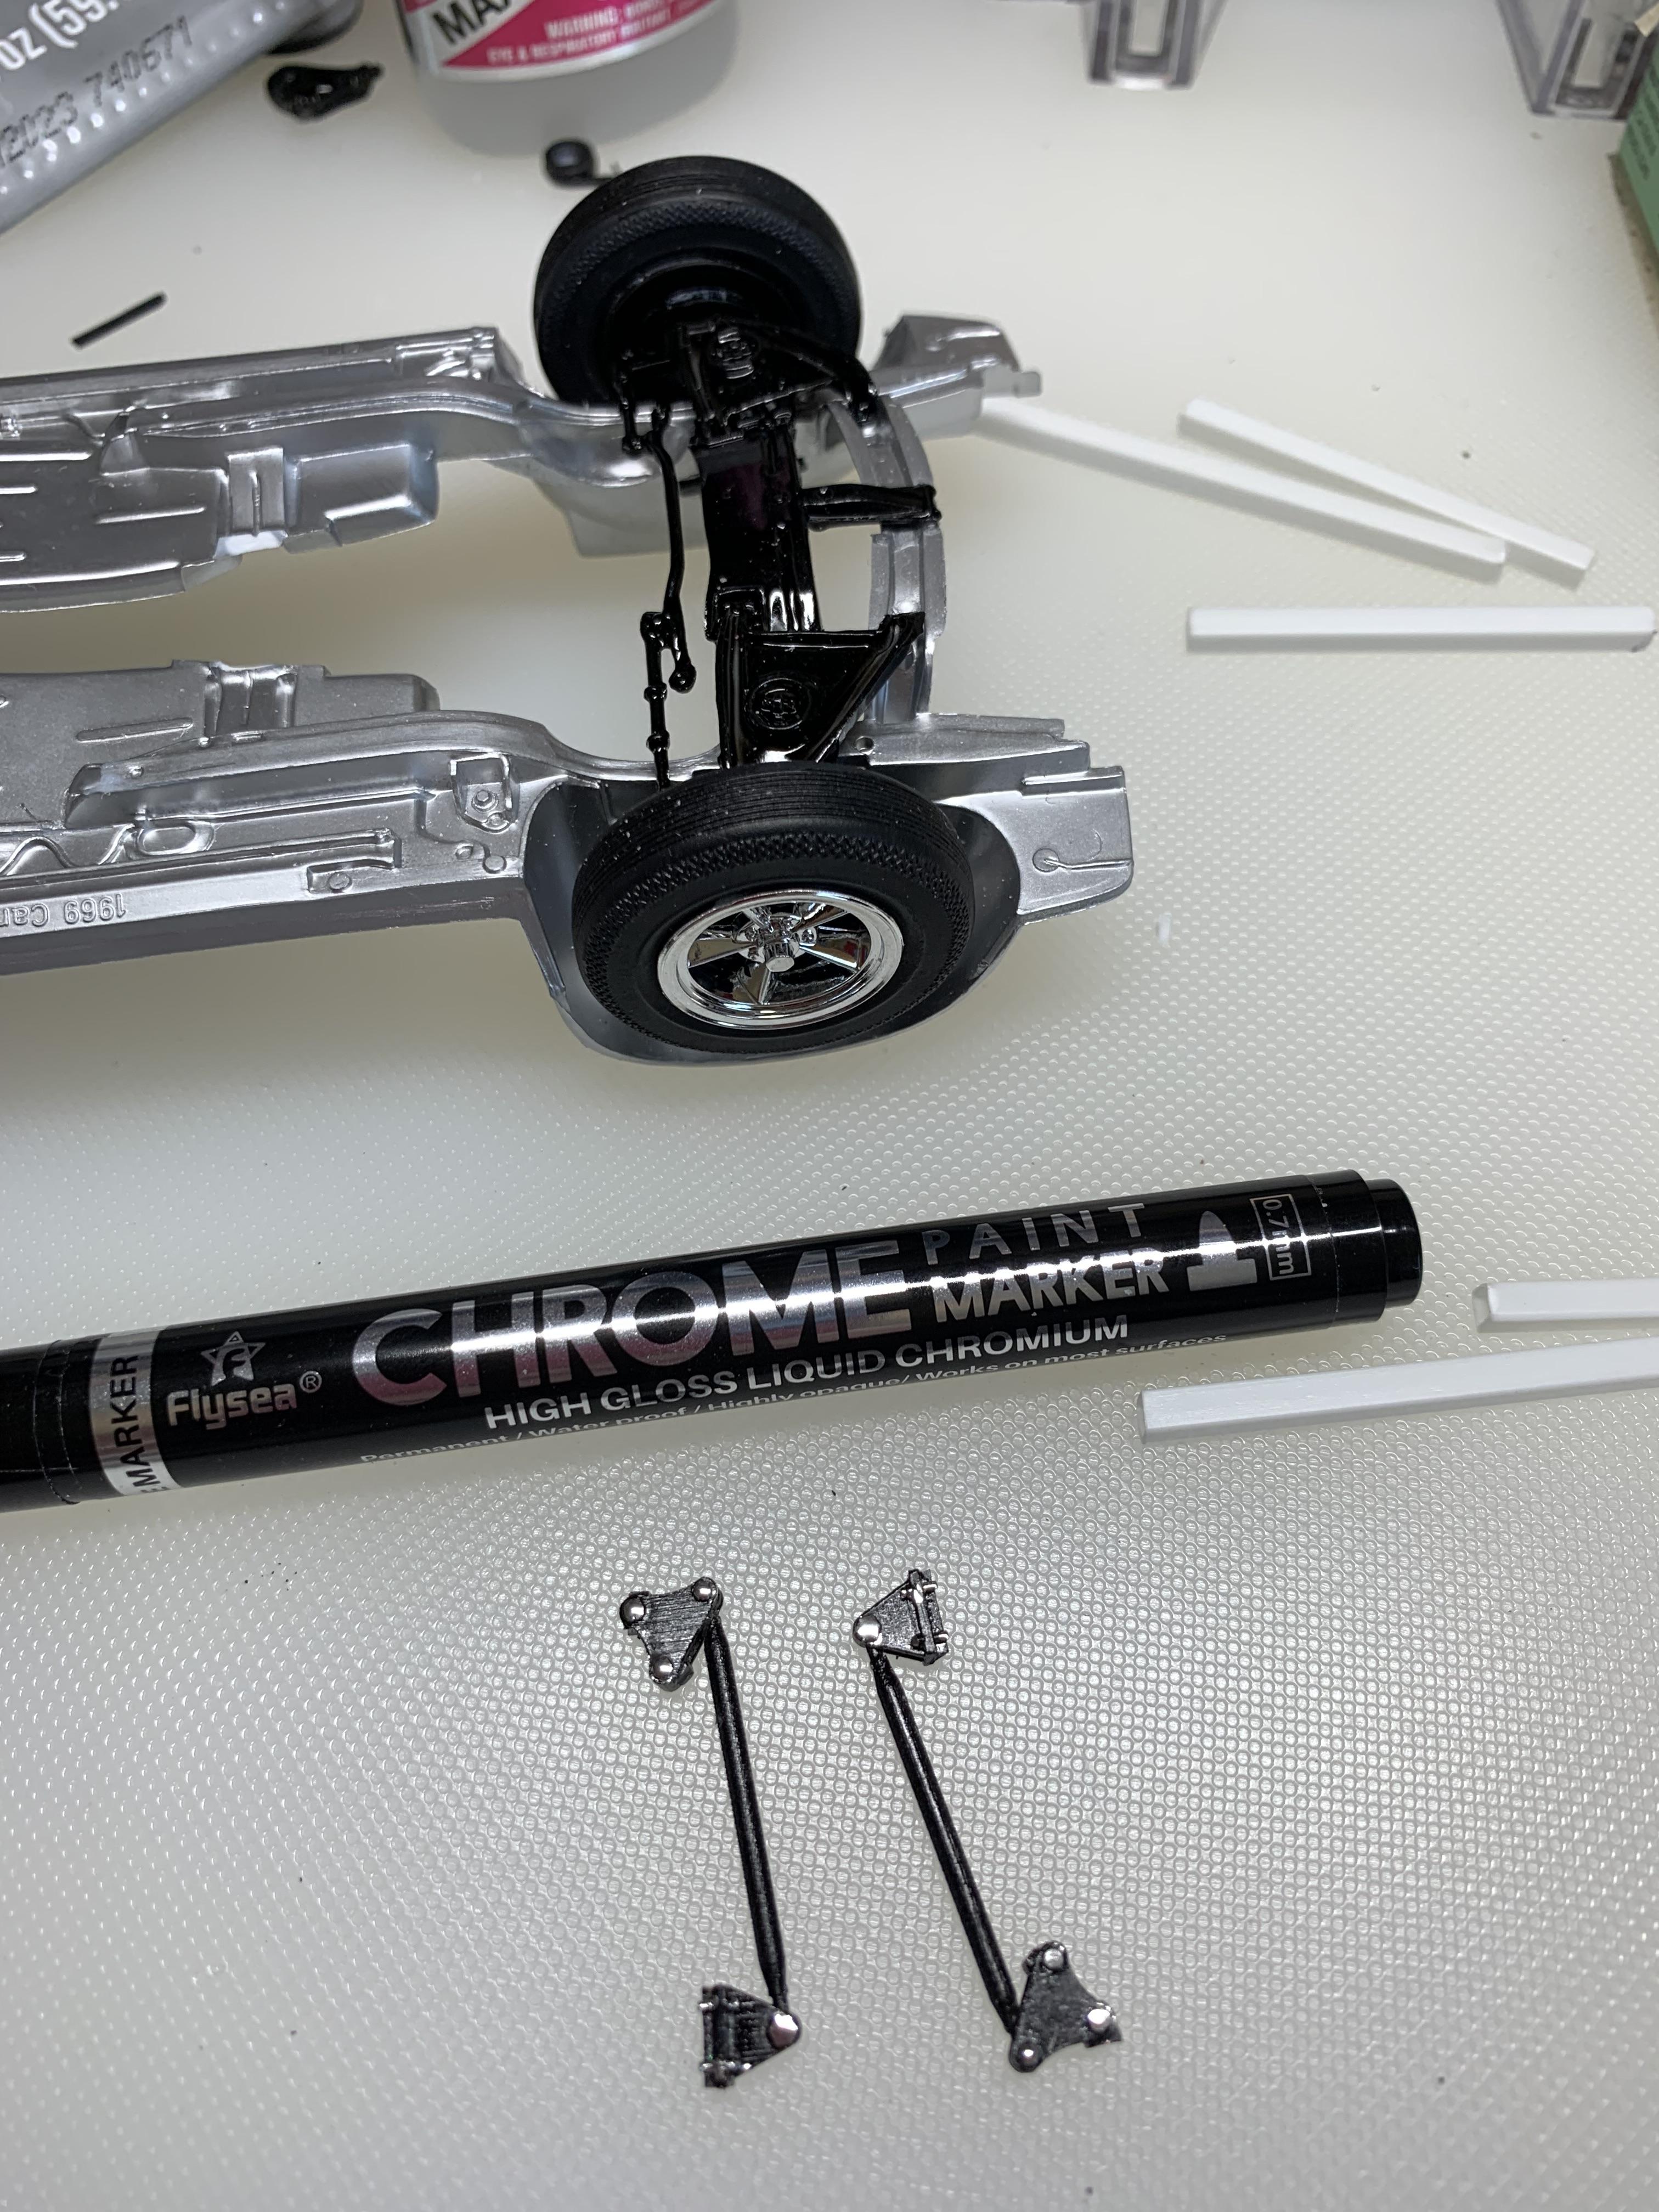
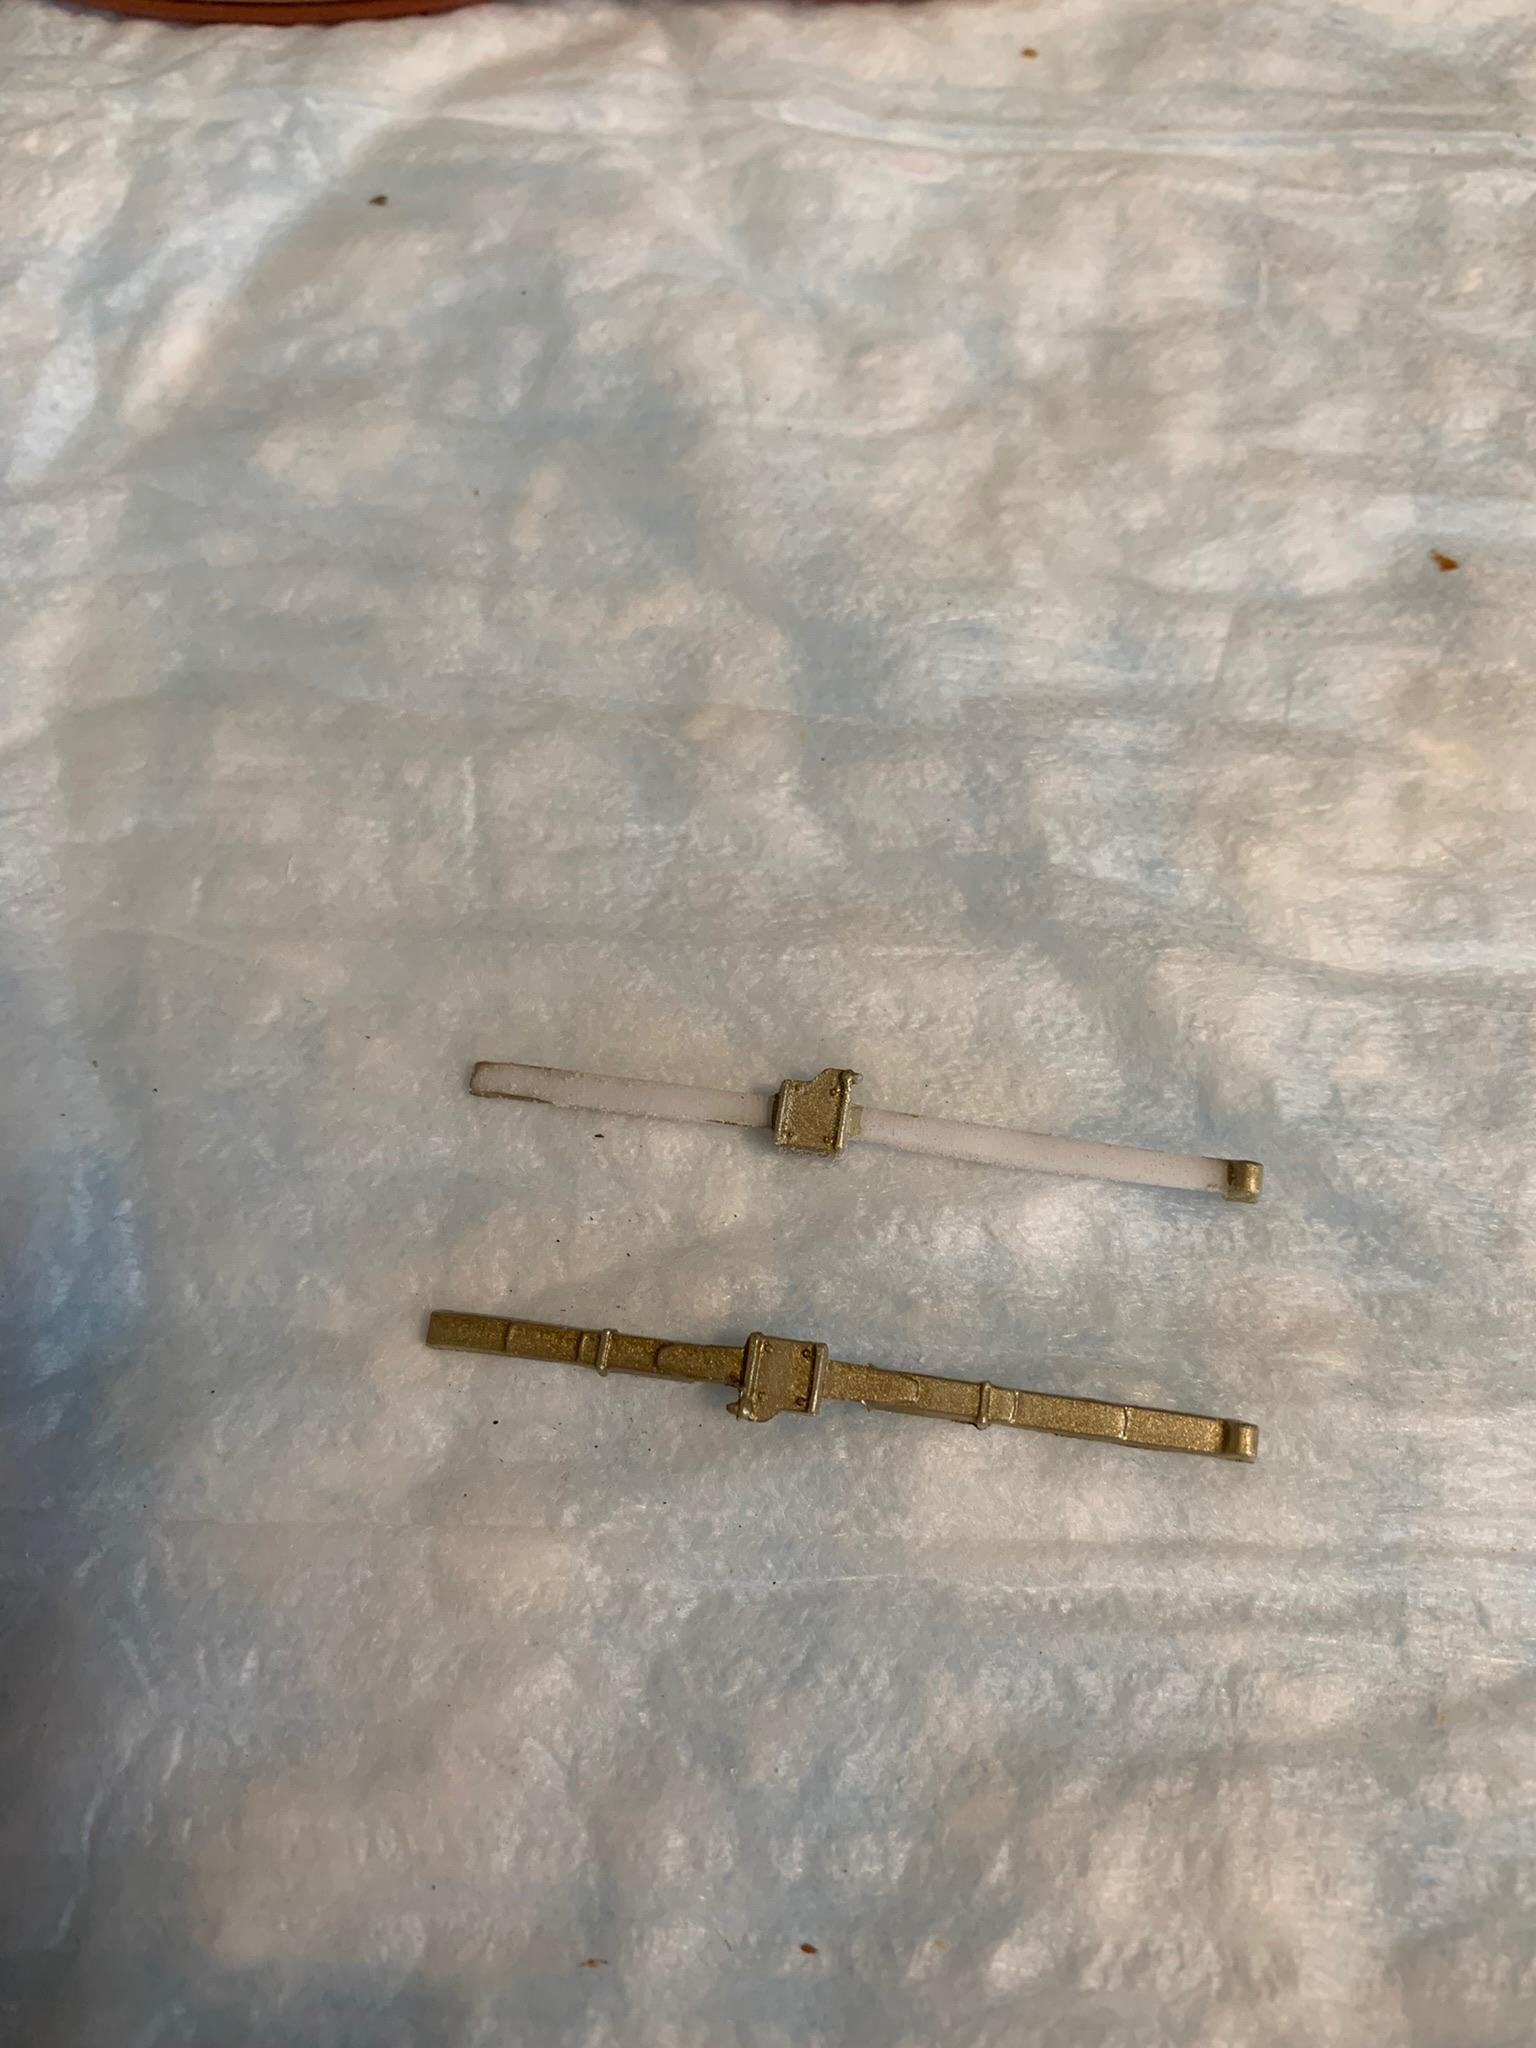
Separated CalTracs from the leaf spring, then marked bolt heads with chrome pen.
-
1969 Camaro A/SA (possibly Thomas Arnett’s)
R. Thorne replied to R. Thorne's topic in WIP: Drag Racing Models
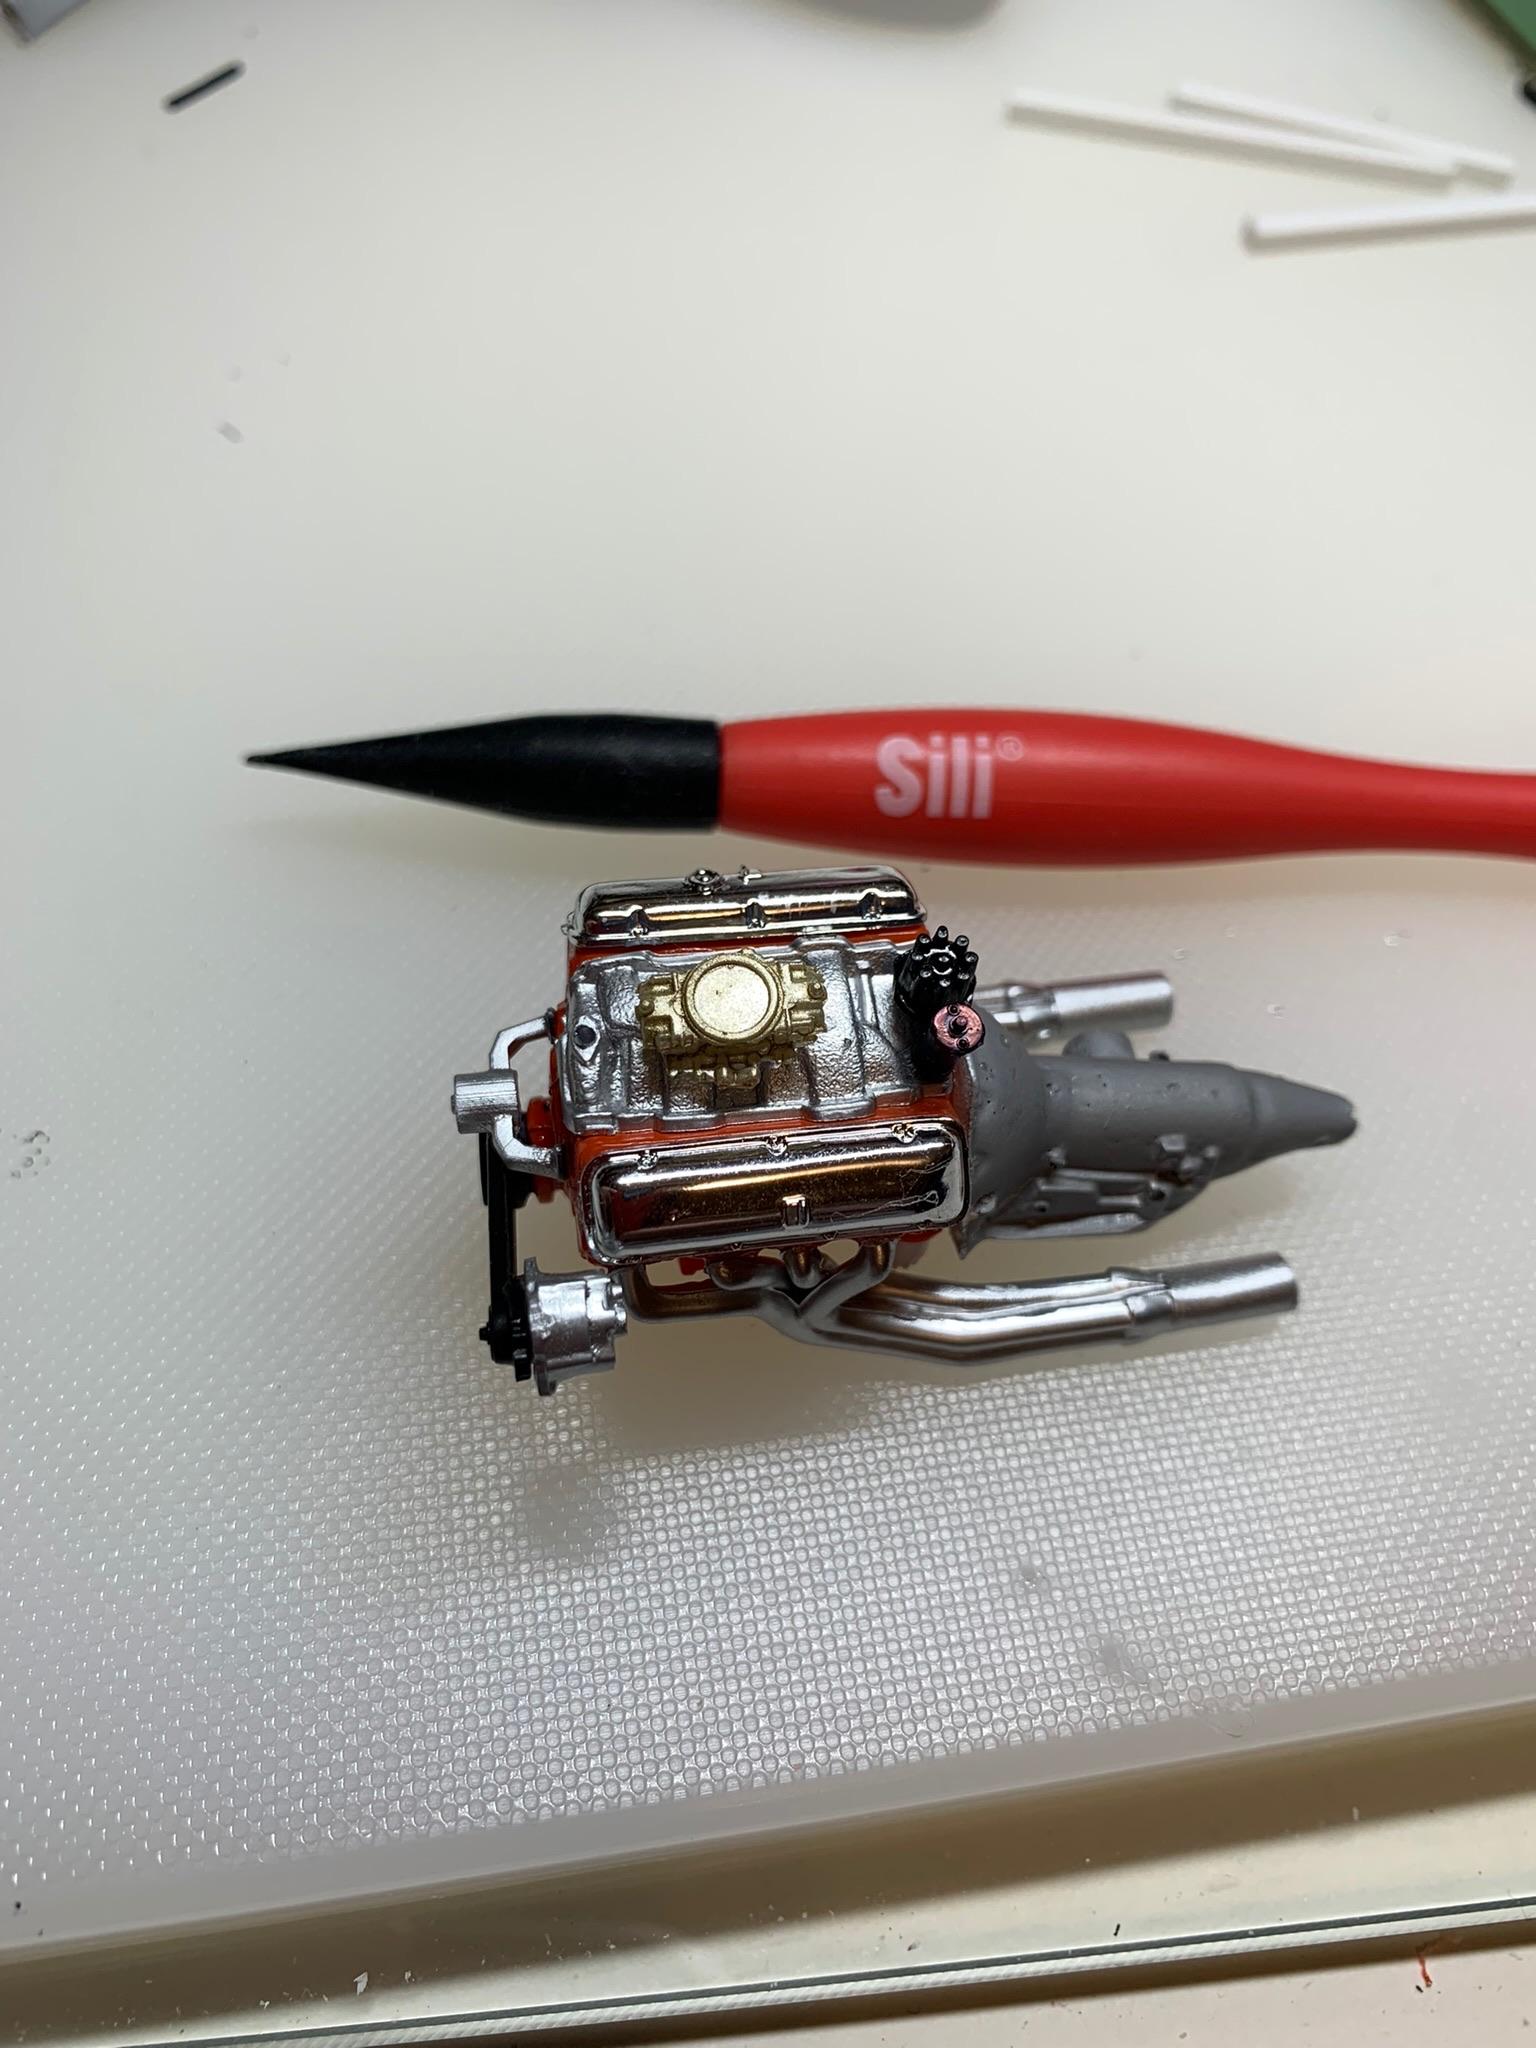
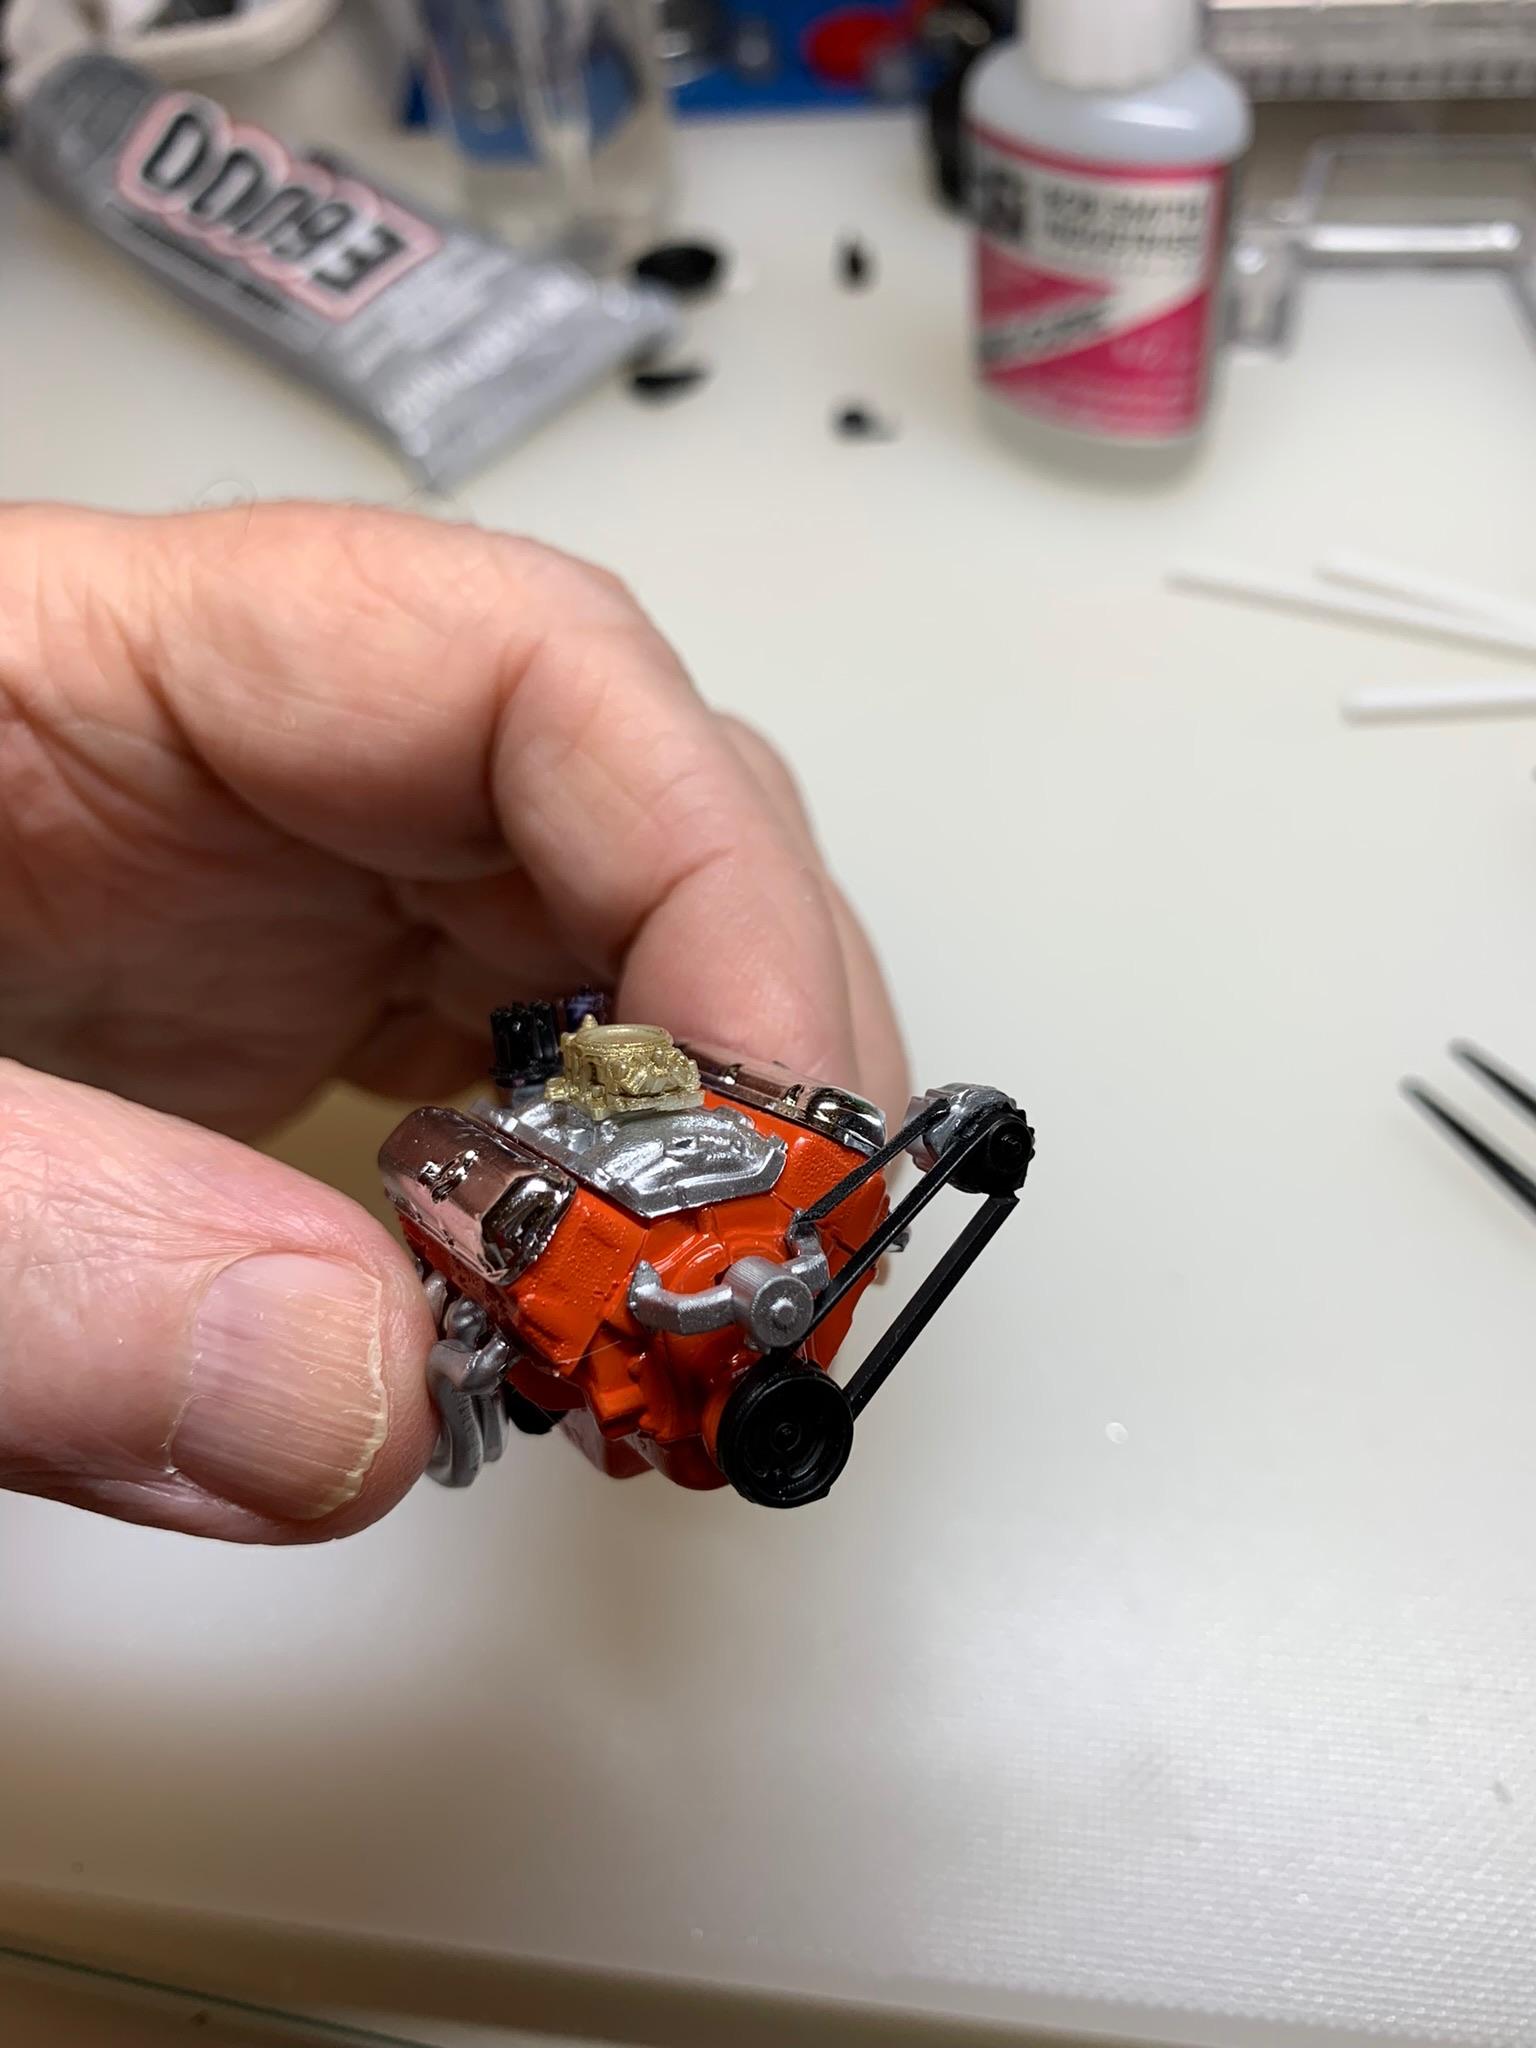
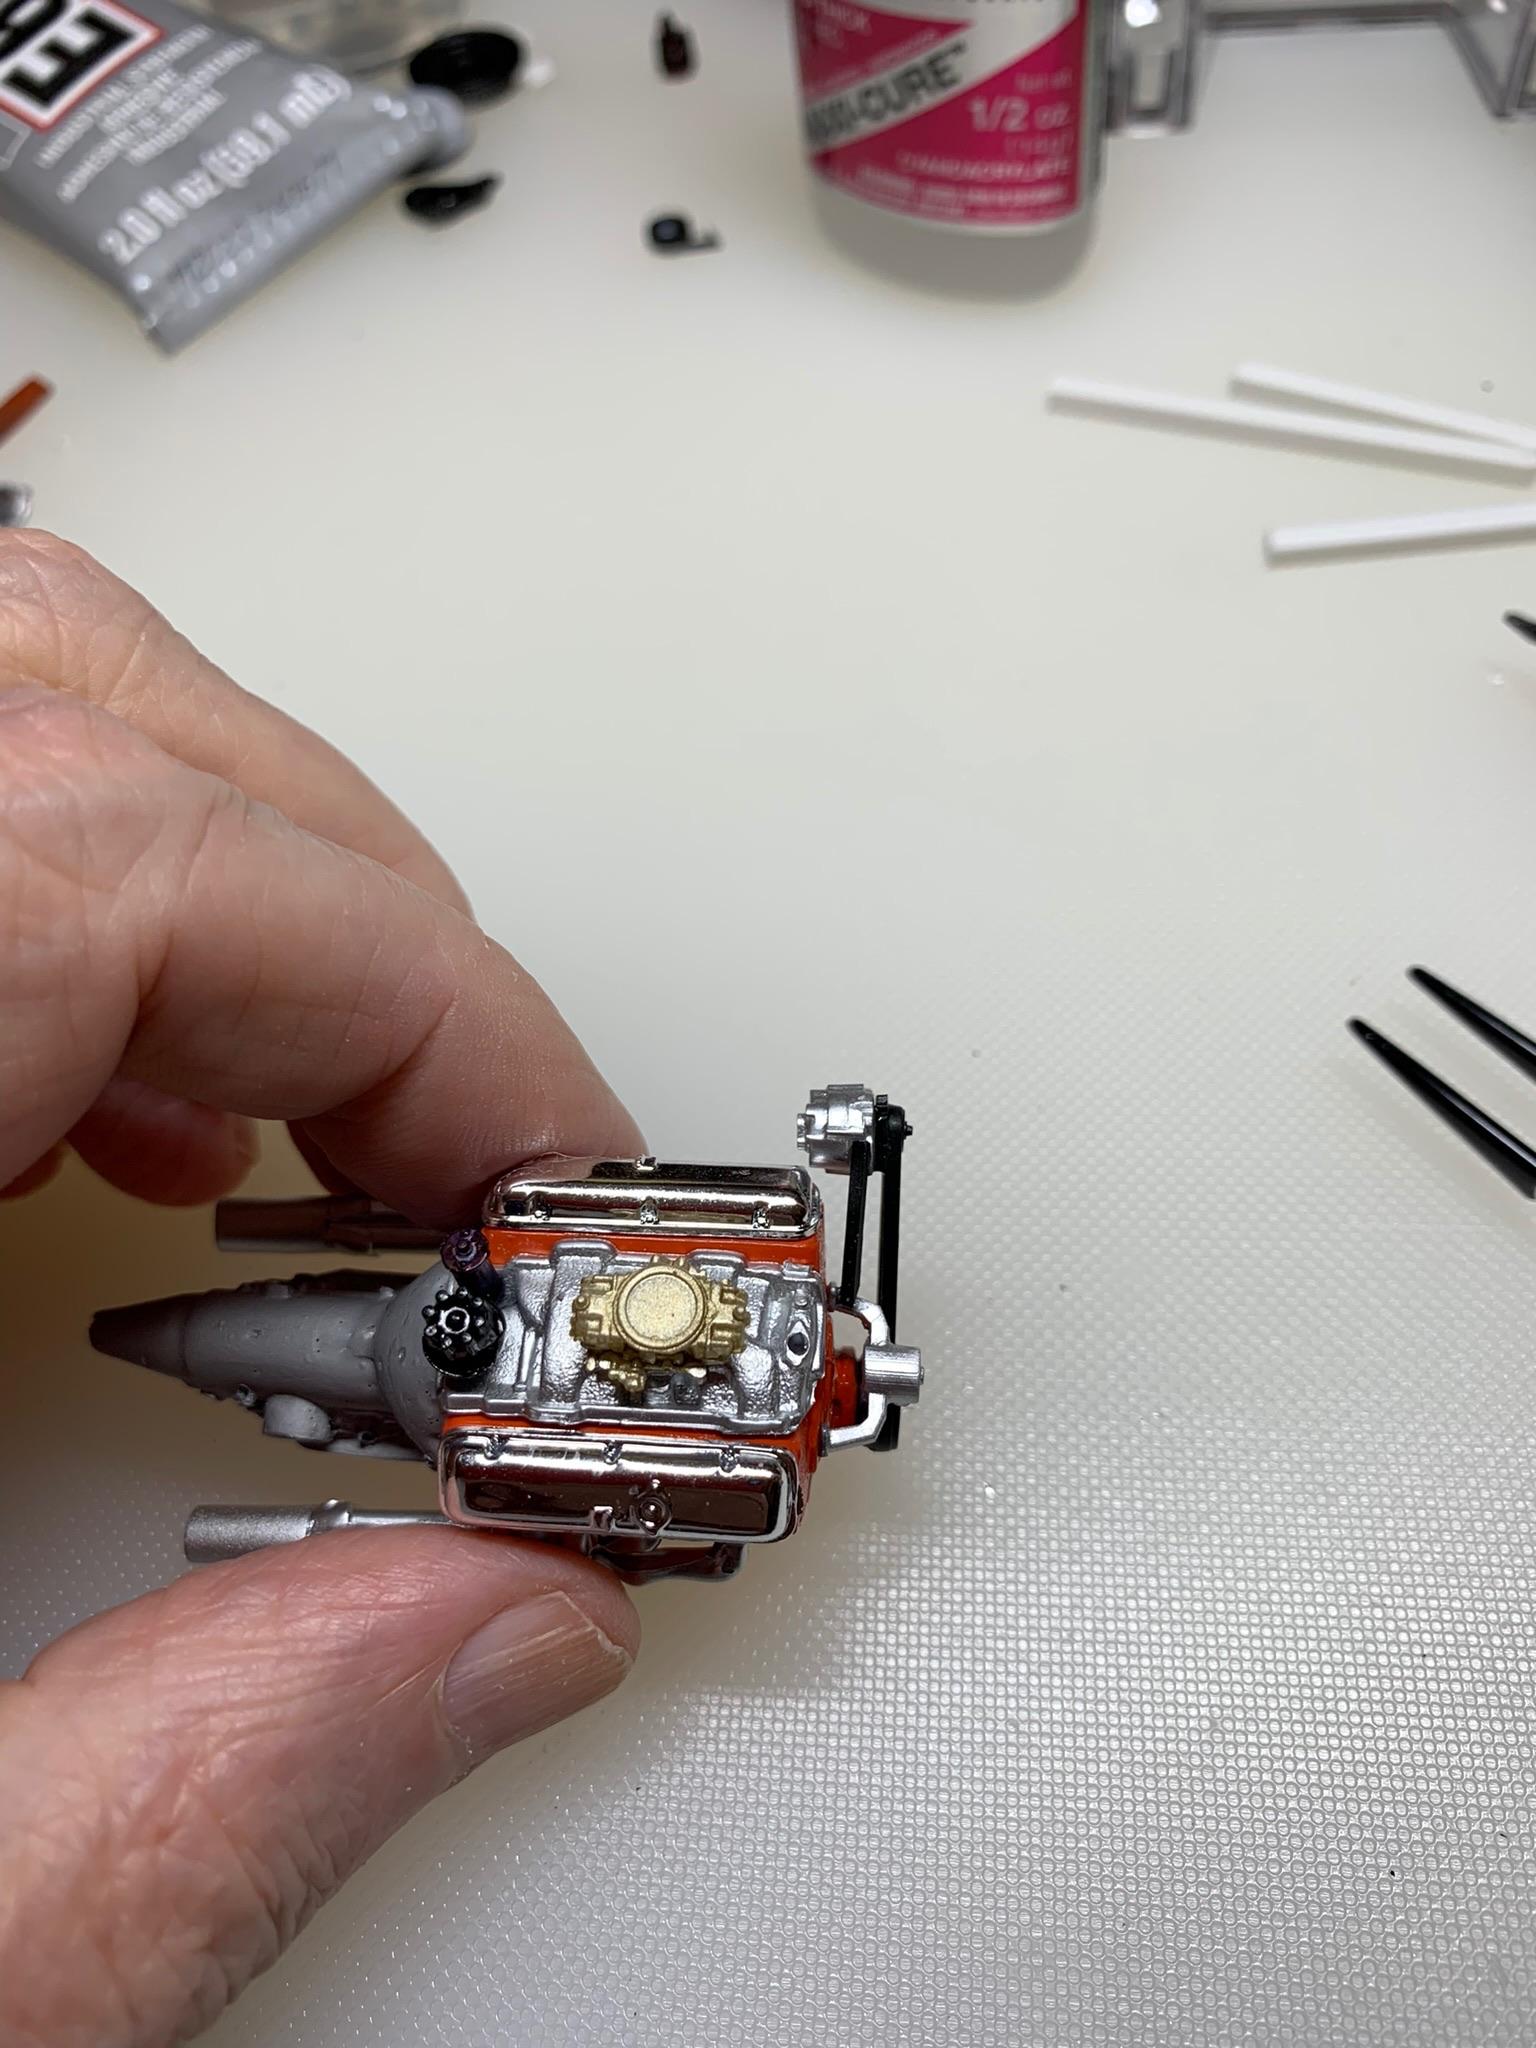
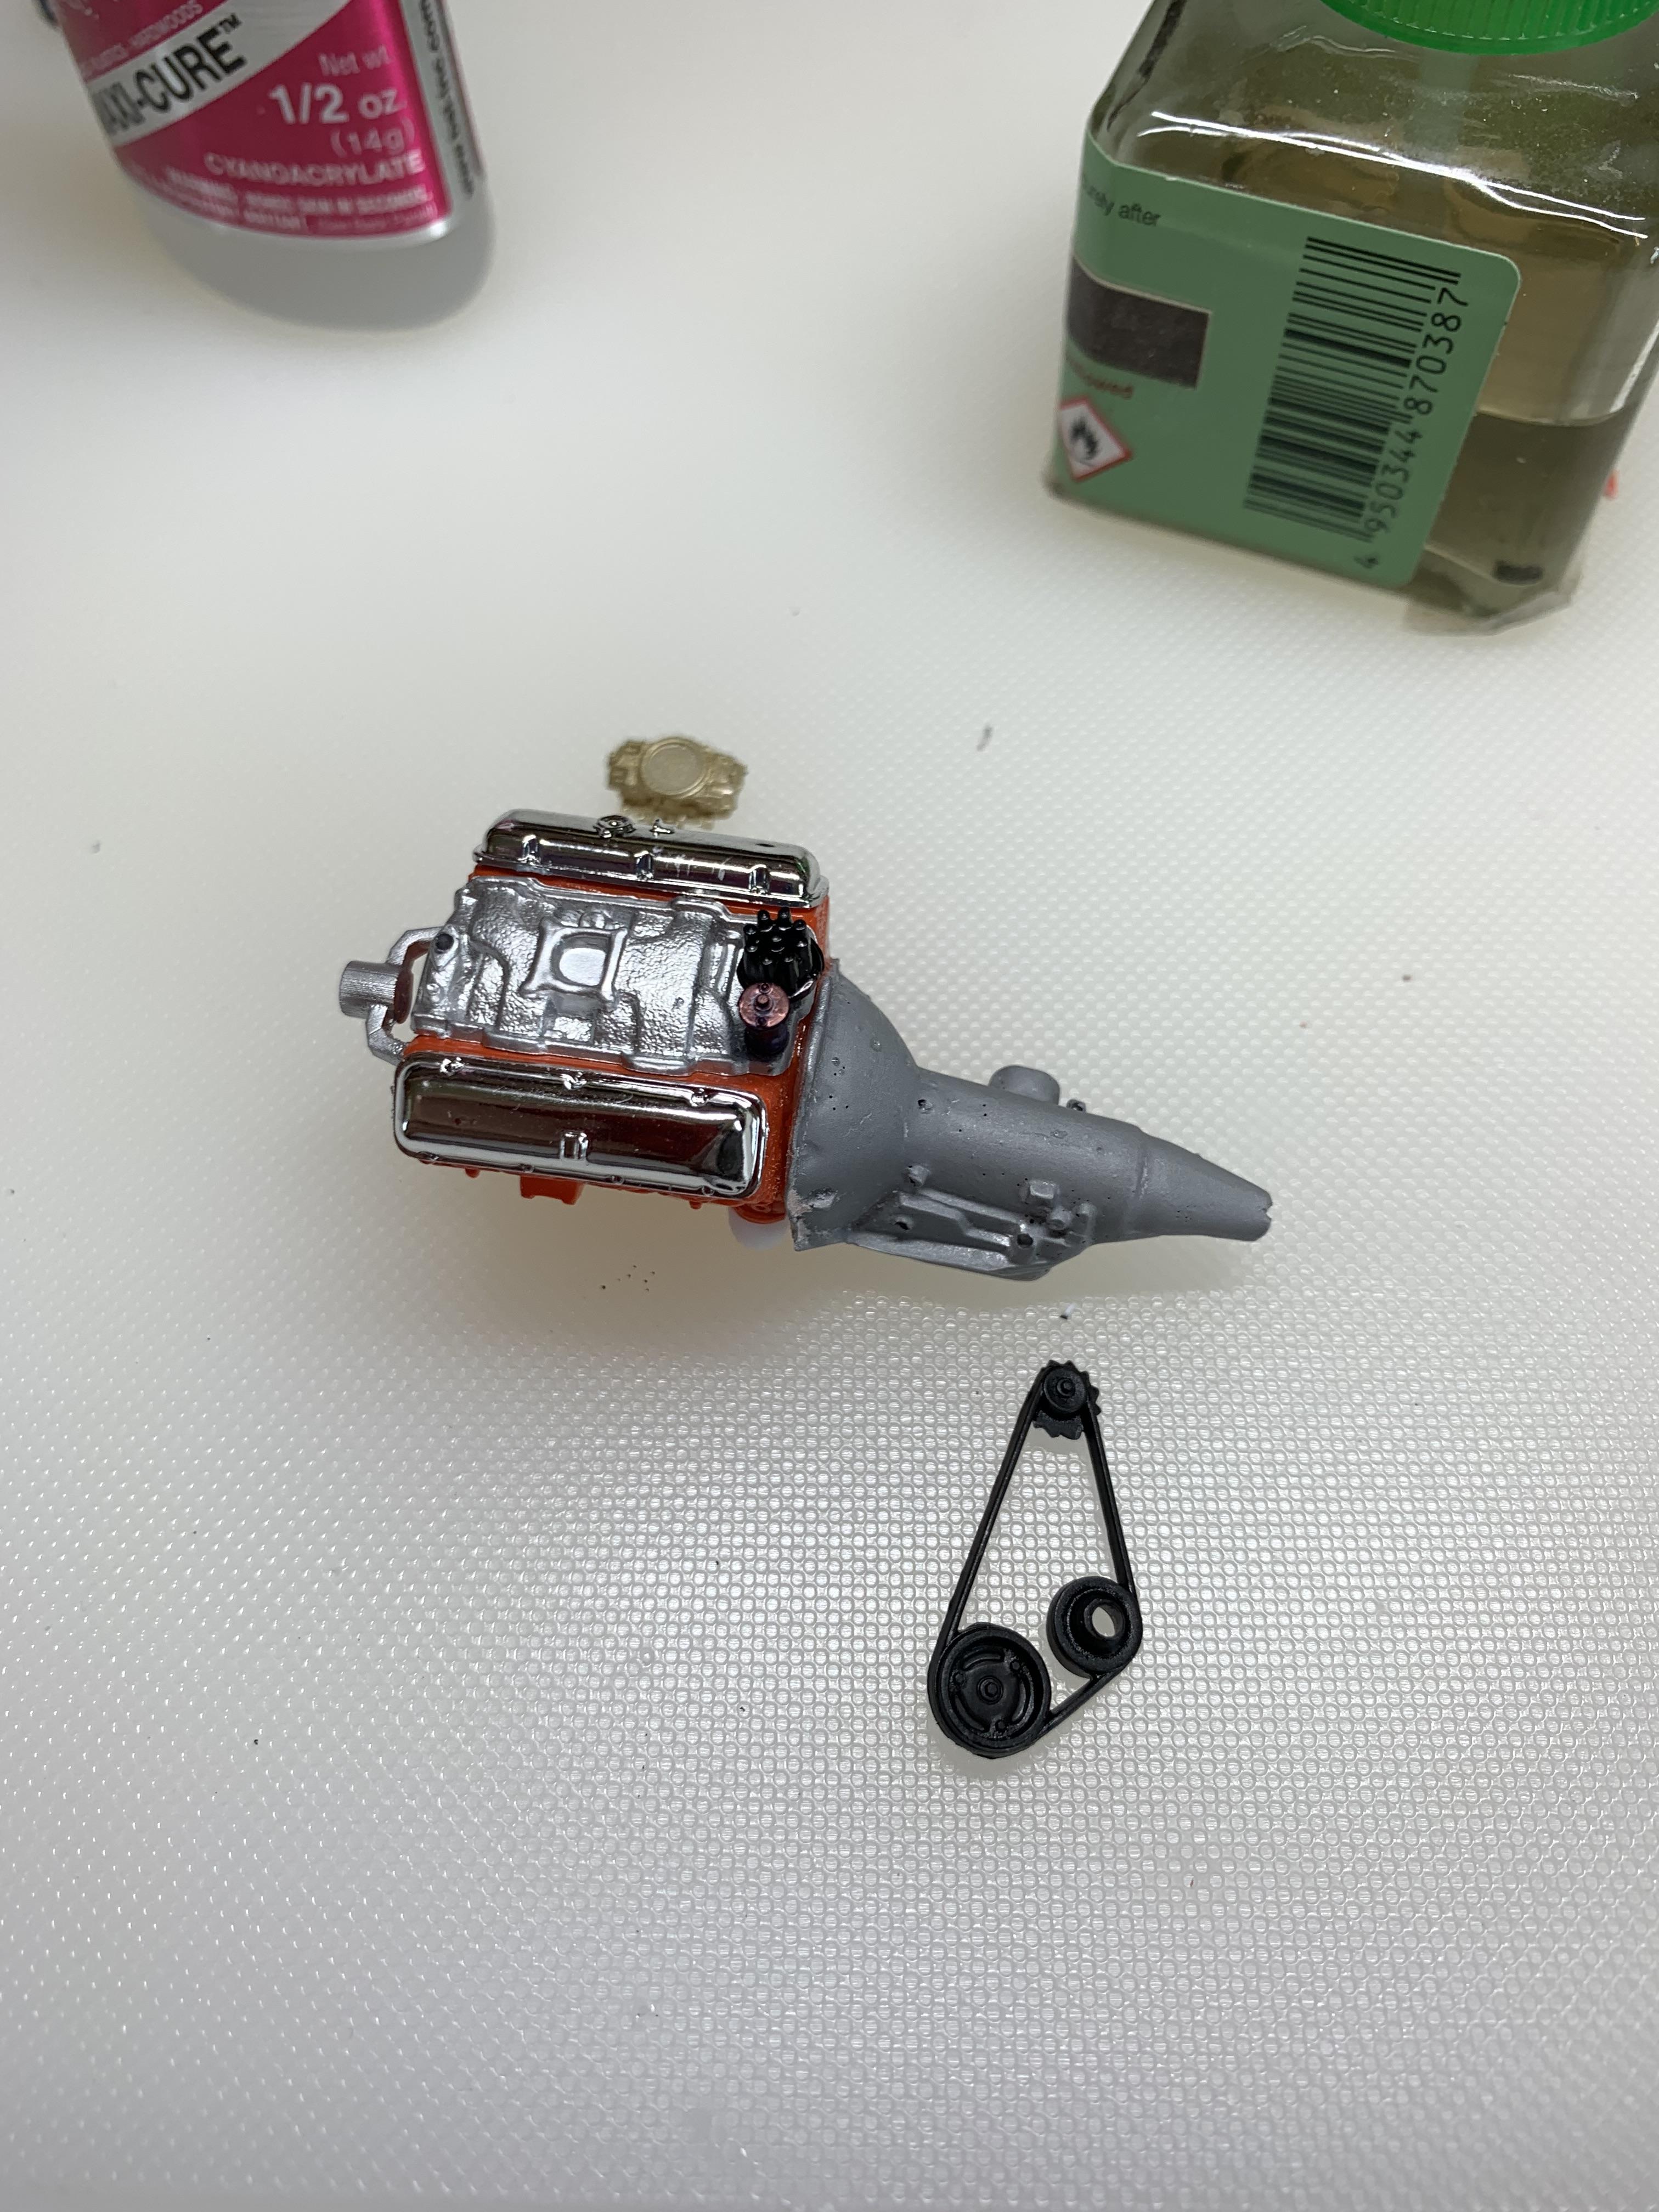
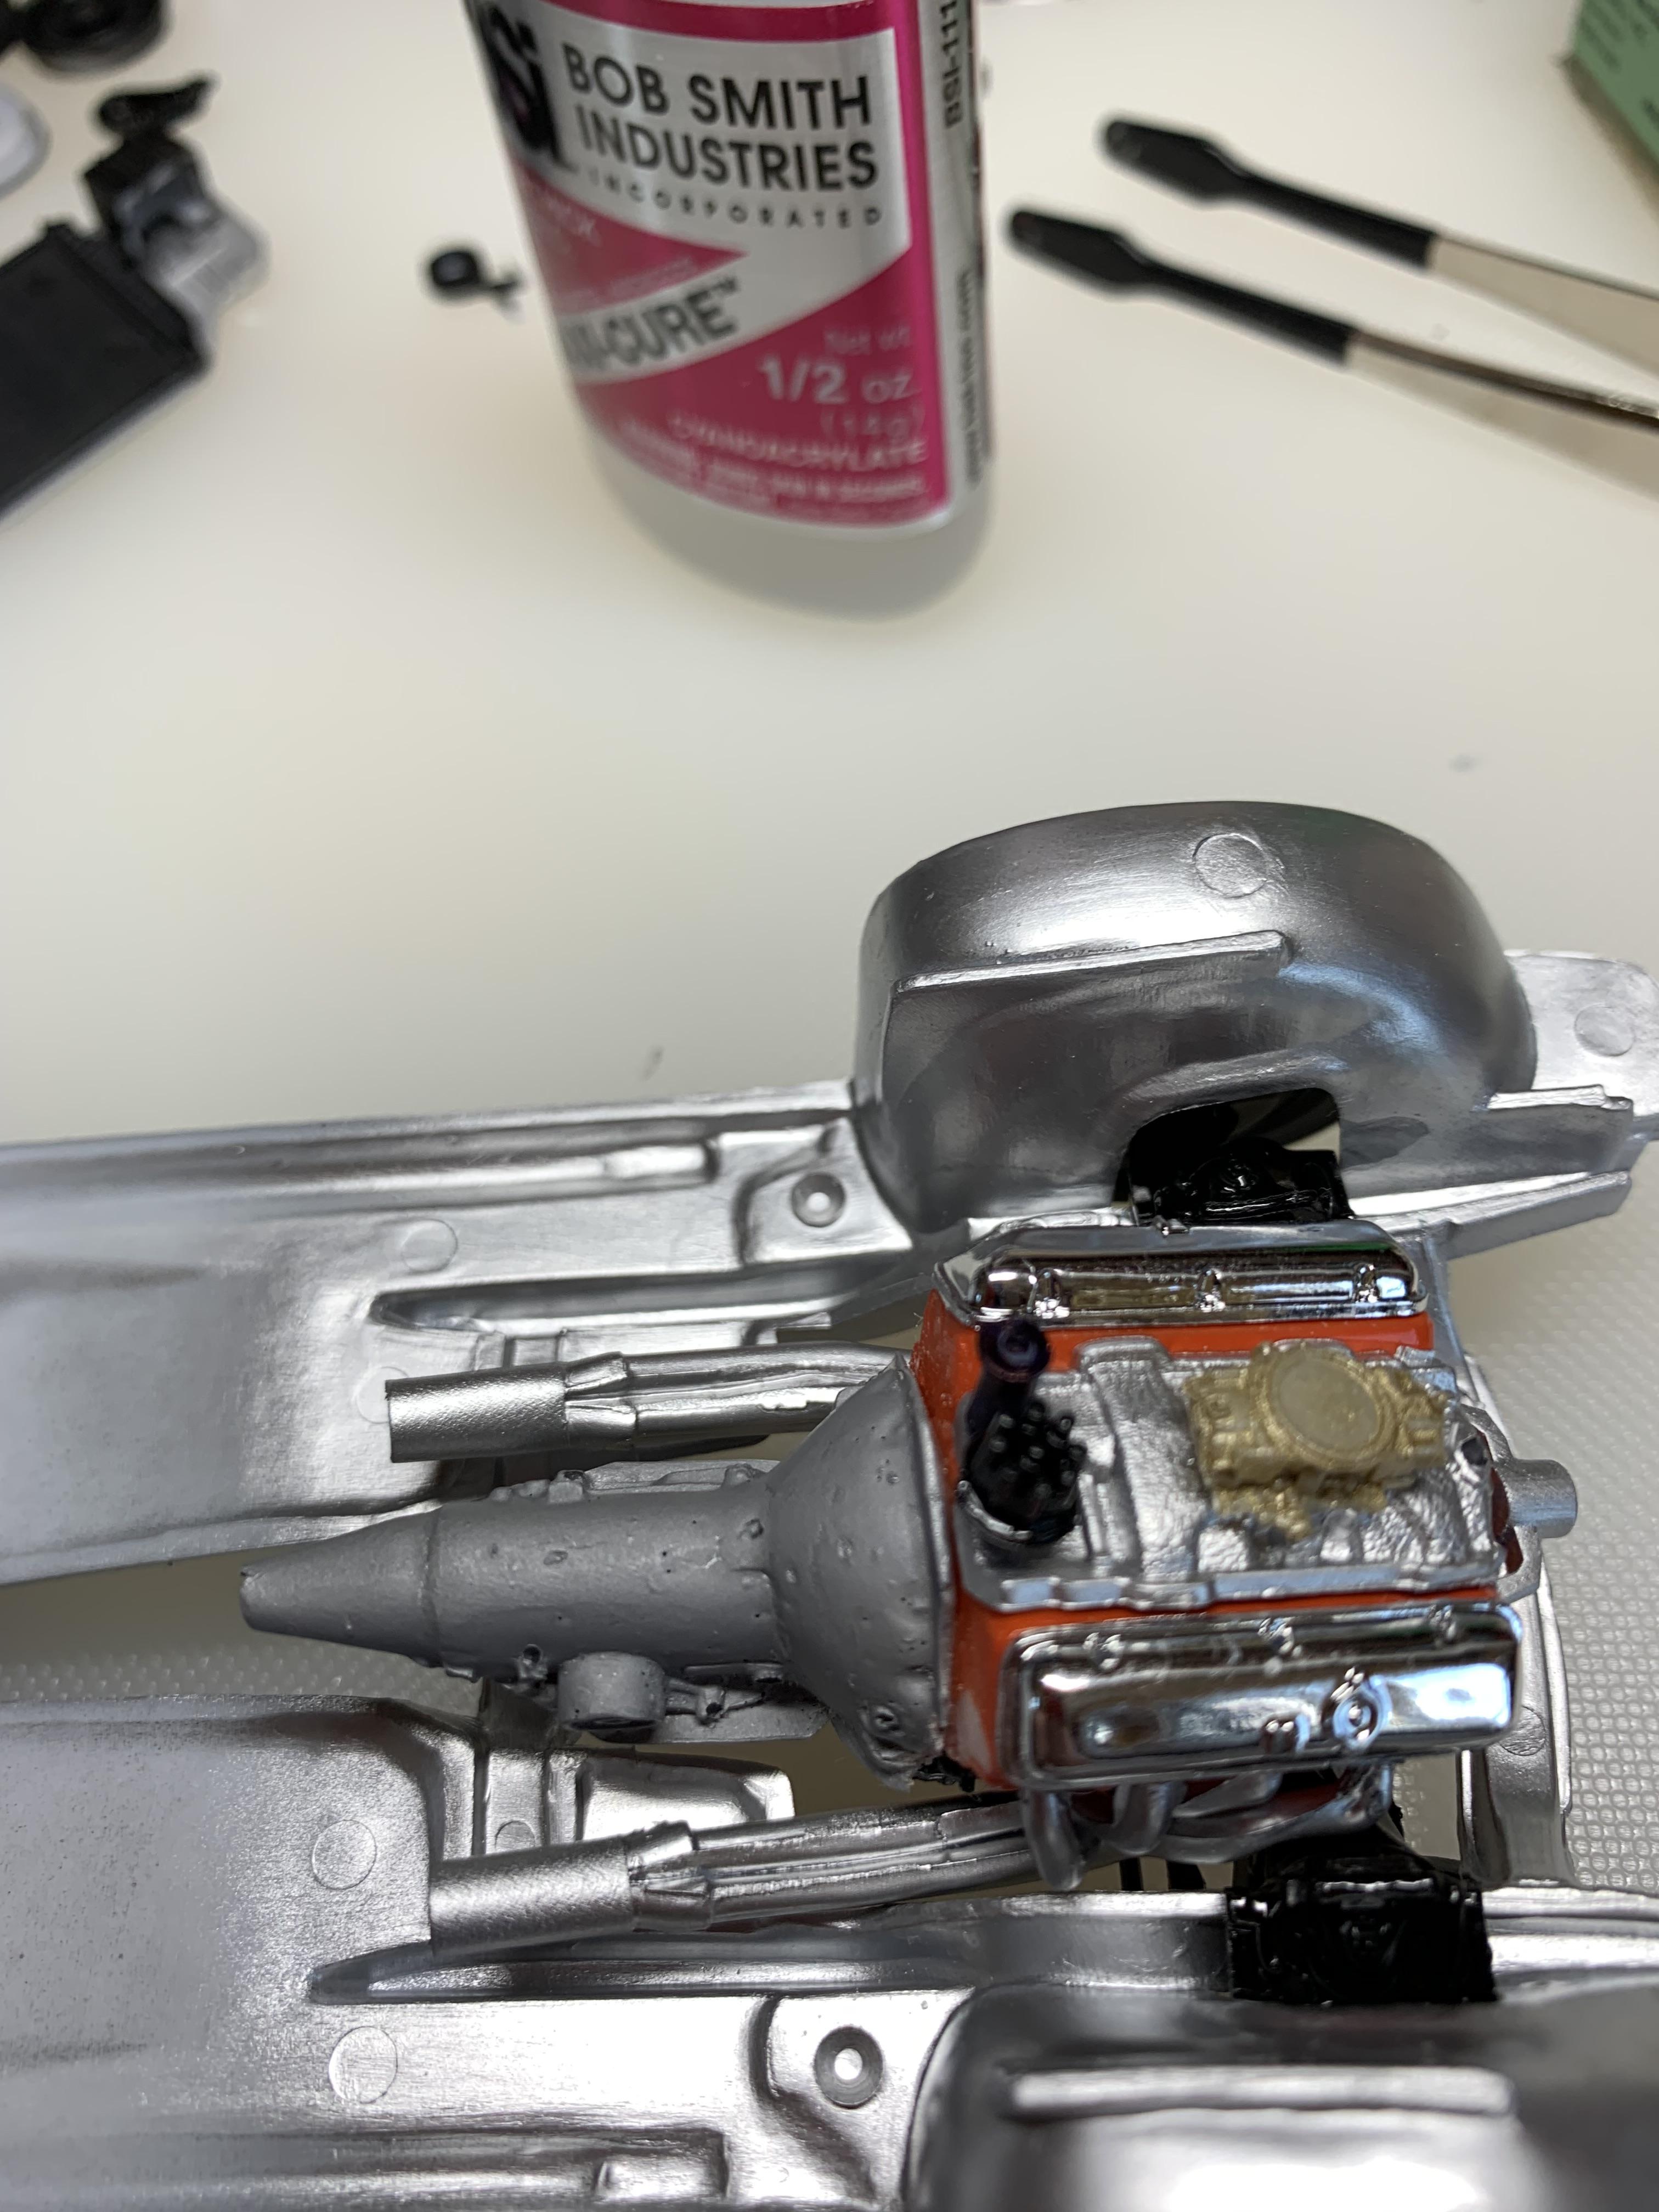
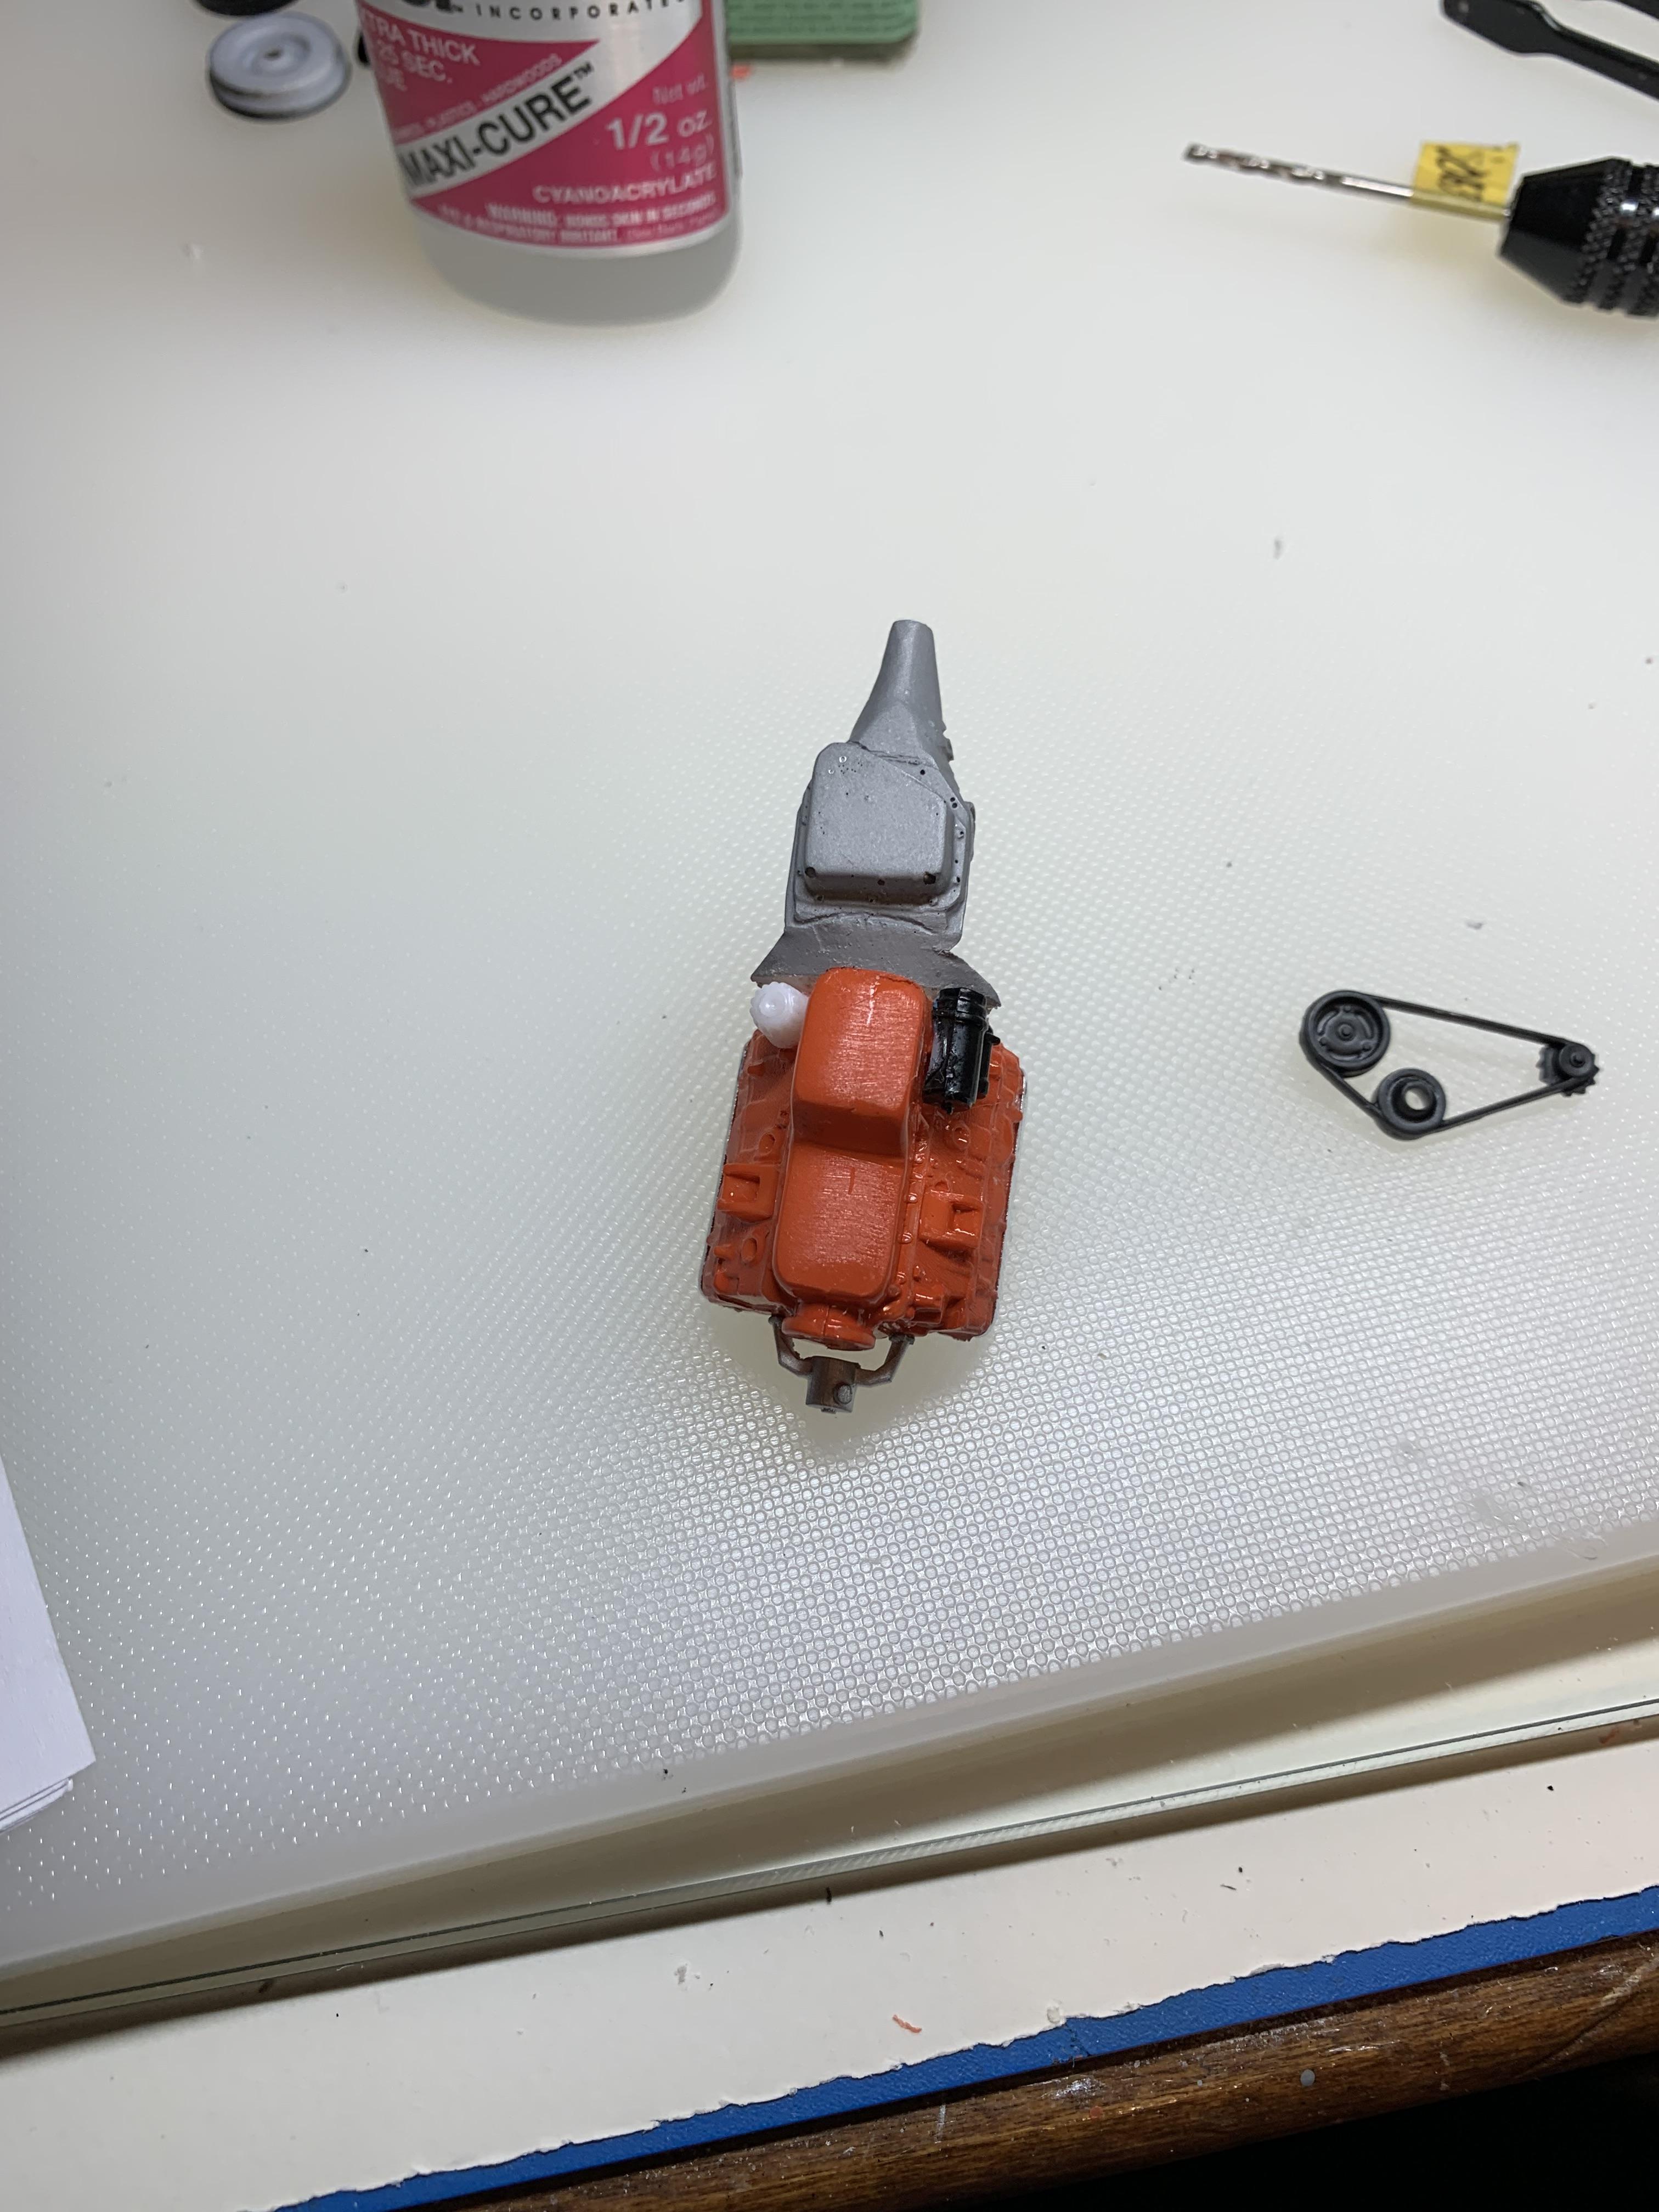
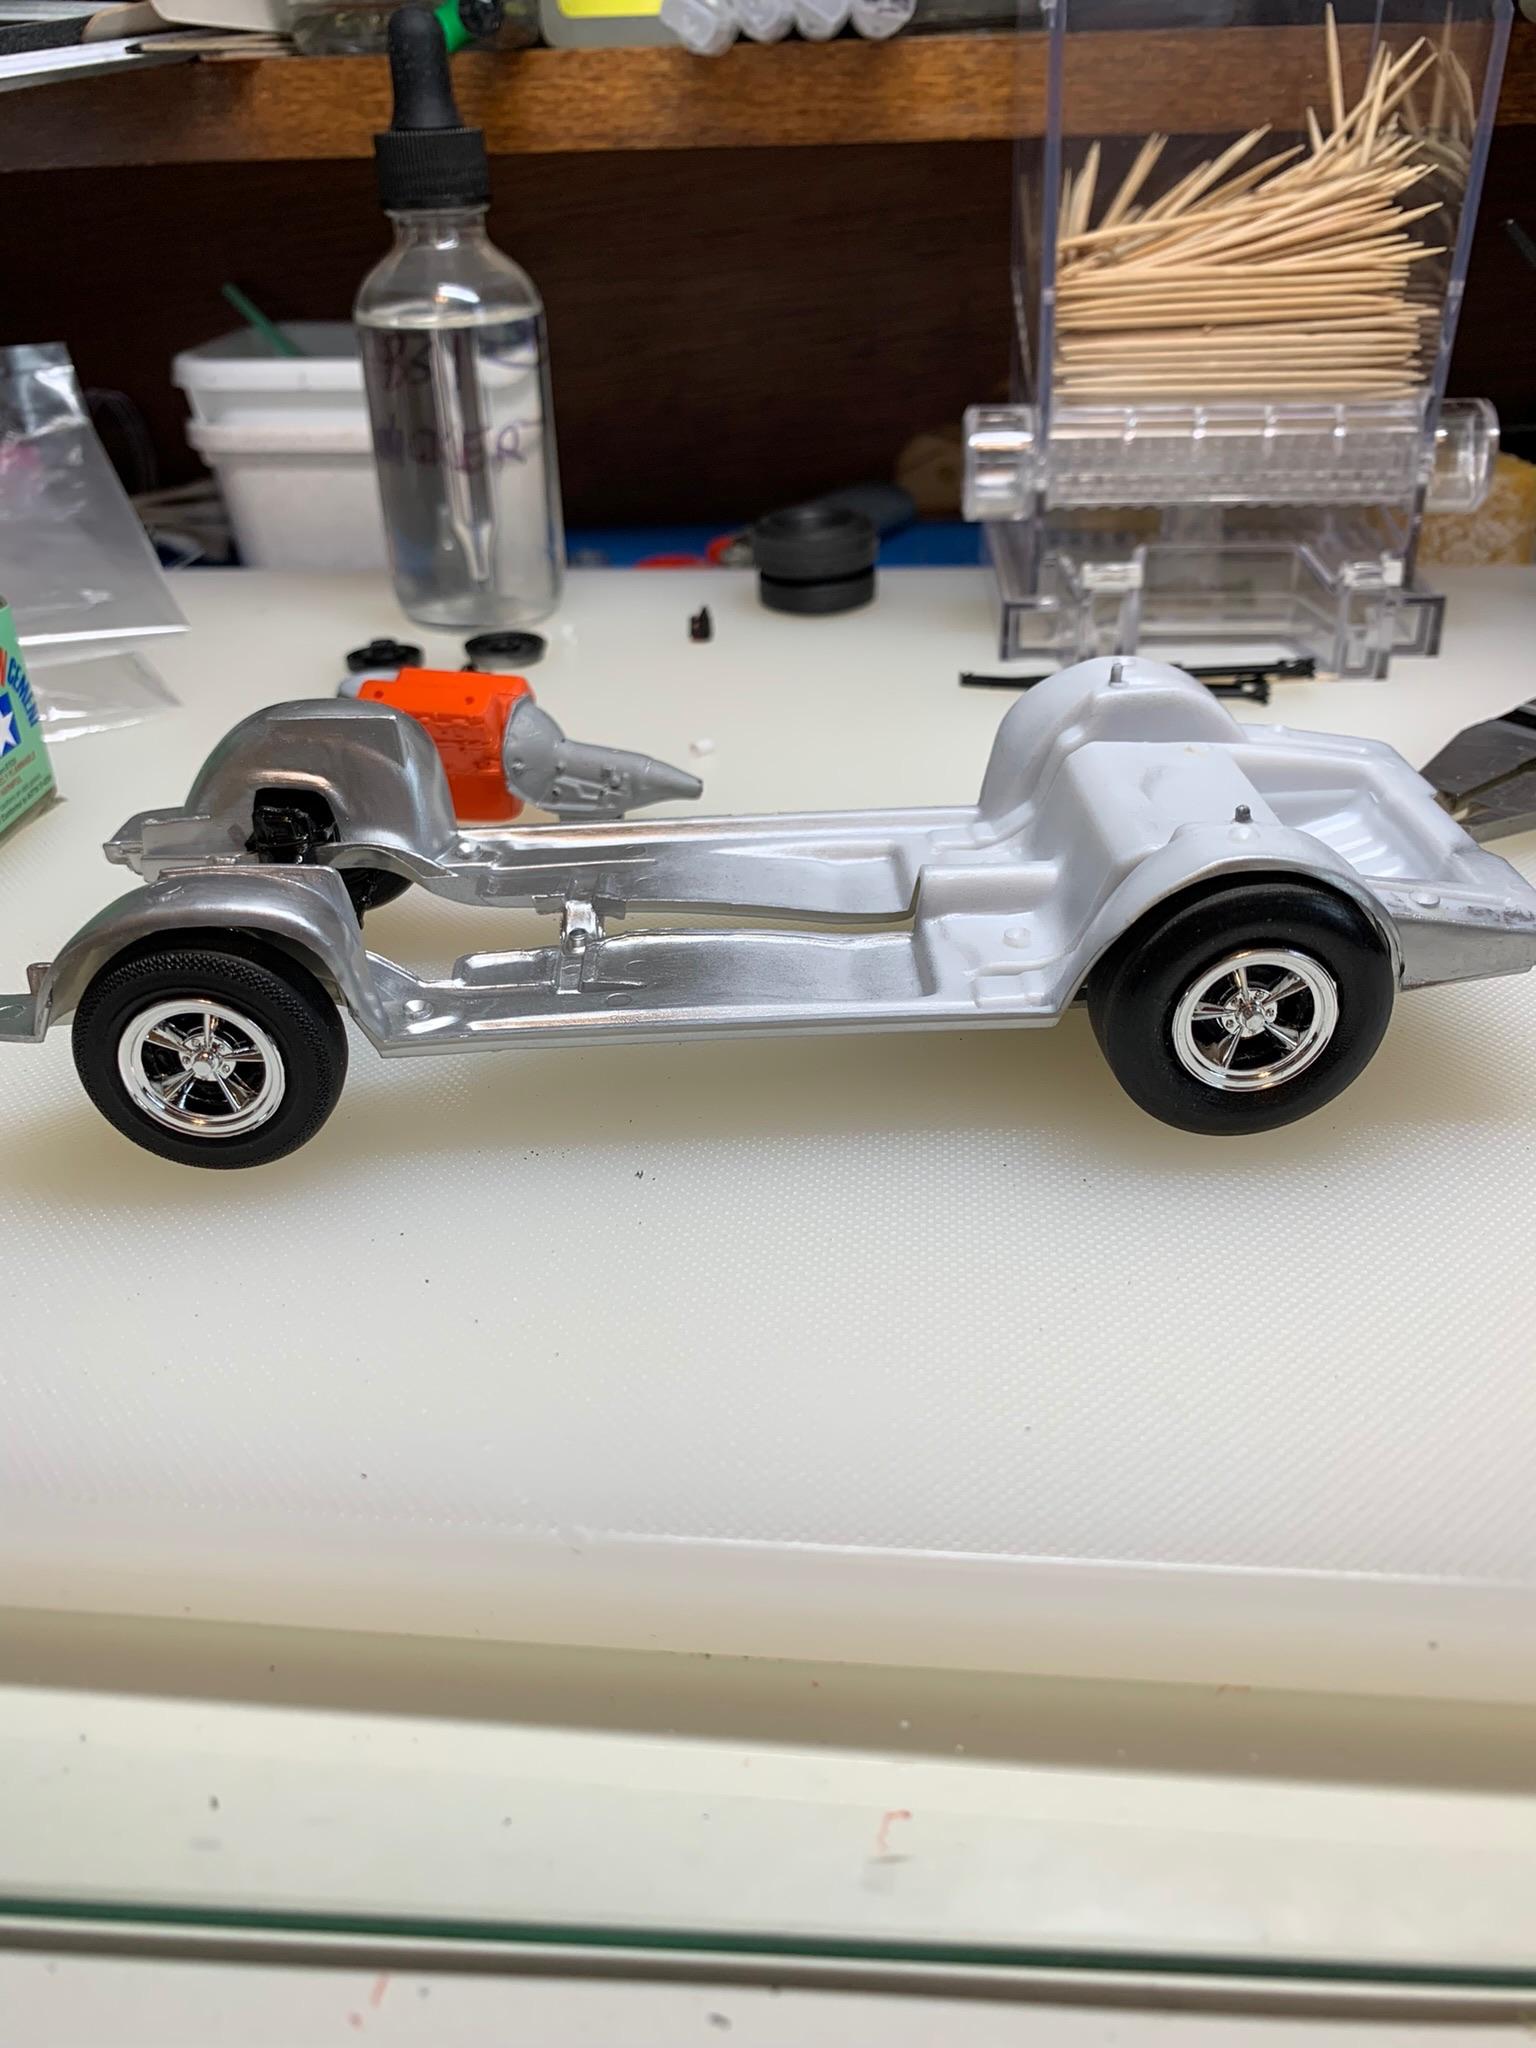
They aren’t Firestones (no markings), but are very similar in tread and diameter, and they fit the wheels. Modified the pulleys and belts to fit the pump, installed headers. Then, of course, the engine wouldn’t fit with headers installed, so, cut trans crossmember off, will reinstall after engine is mounted.
-
1969 Camaro A/SA (possibly Thomas Arnett’s)
R. Thorne replied to R. Thorne's topic in WIP: Drag Racing Models
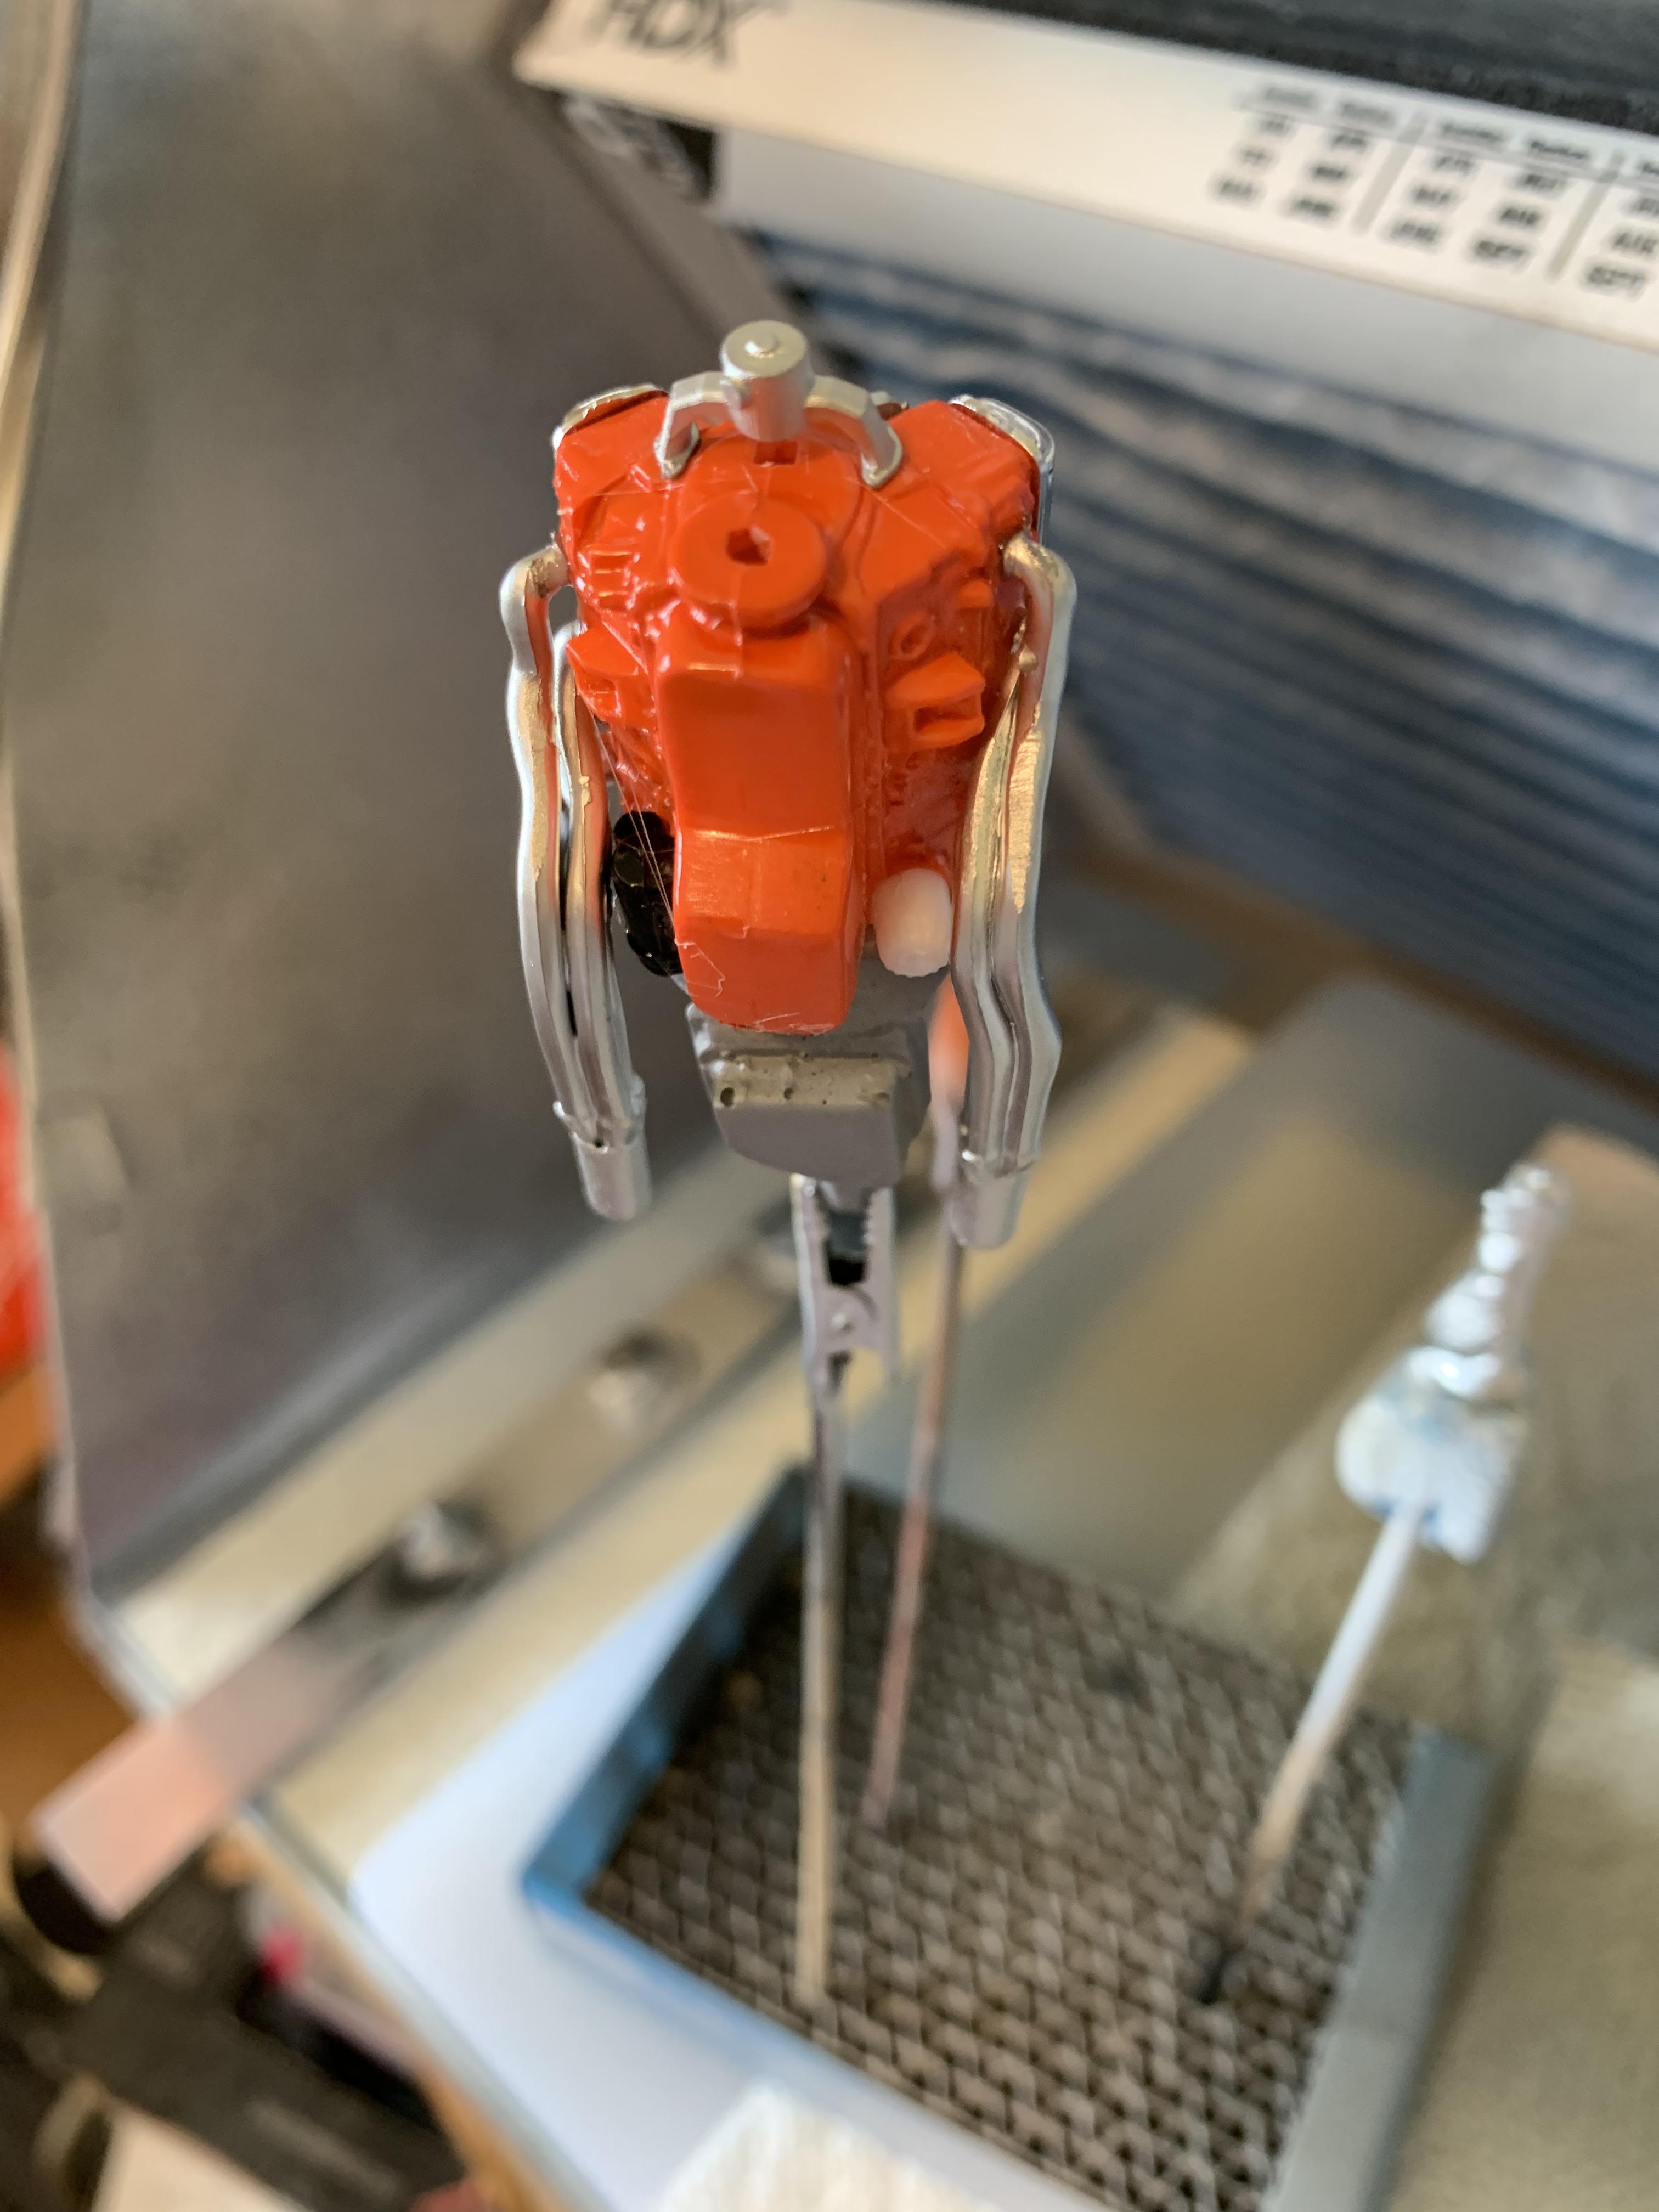
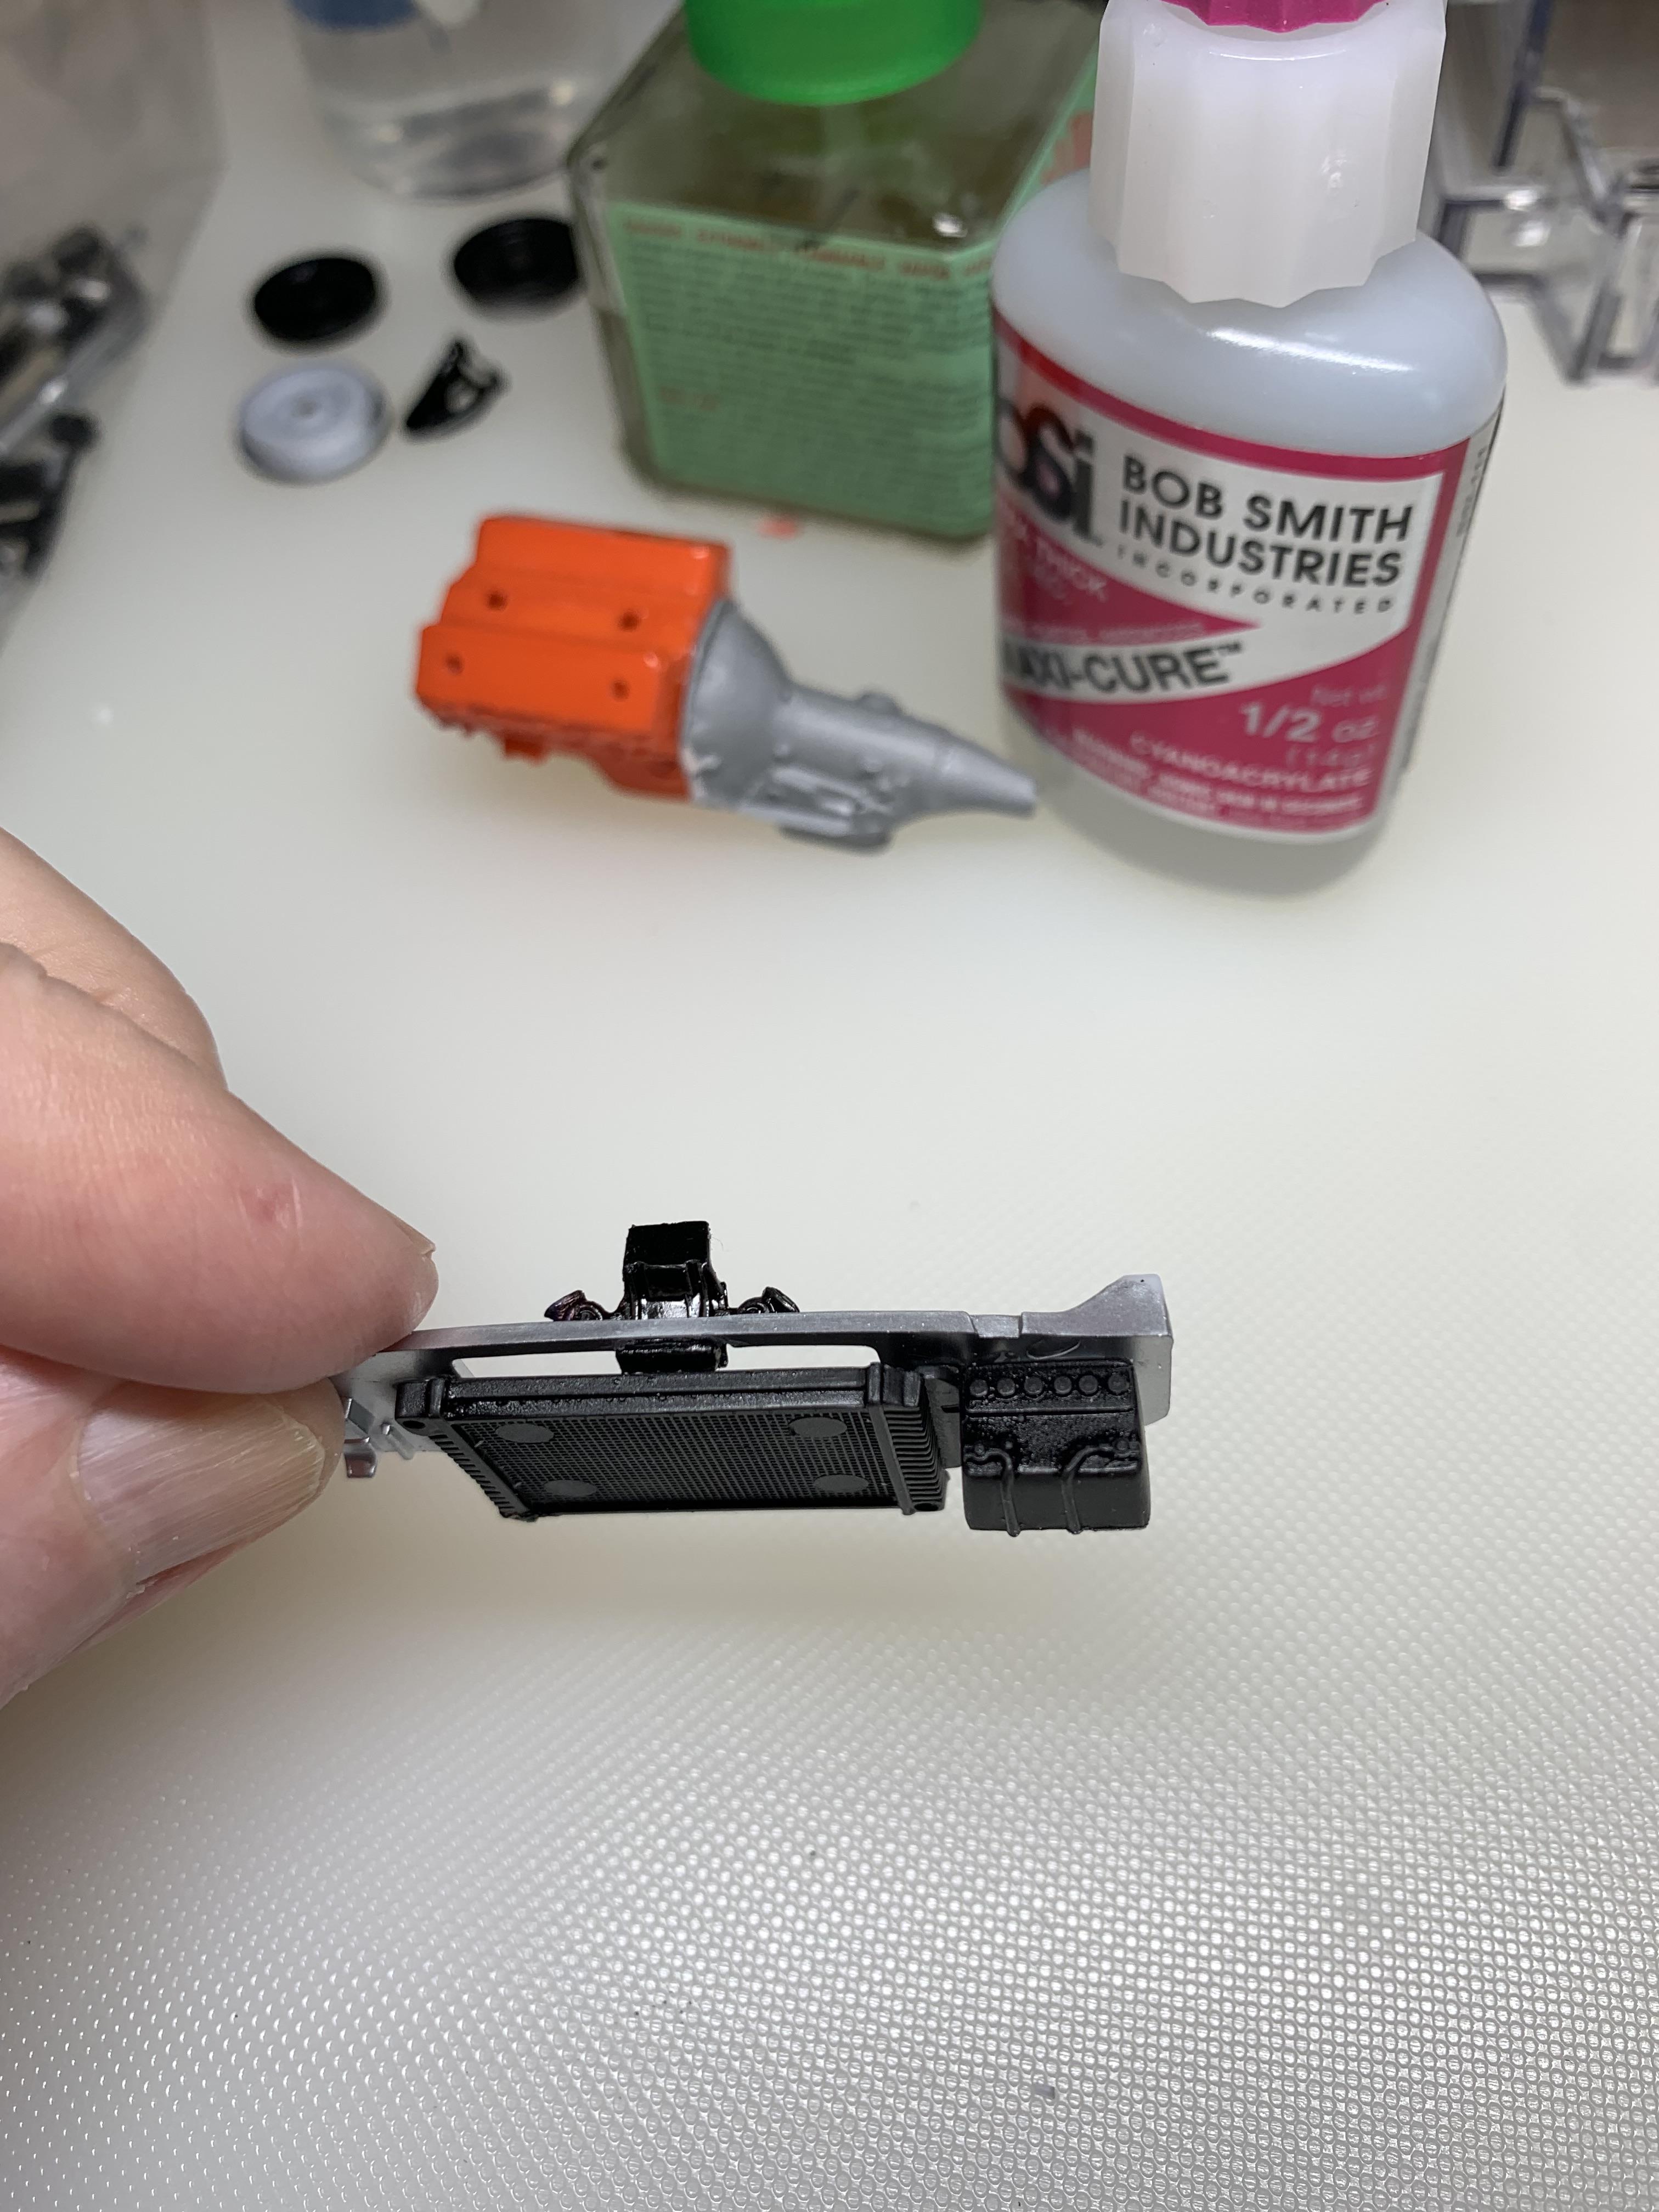
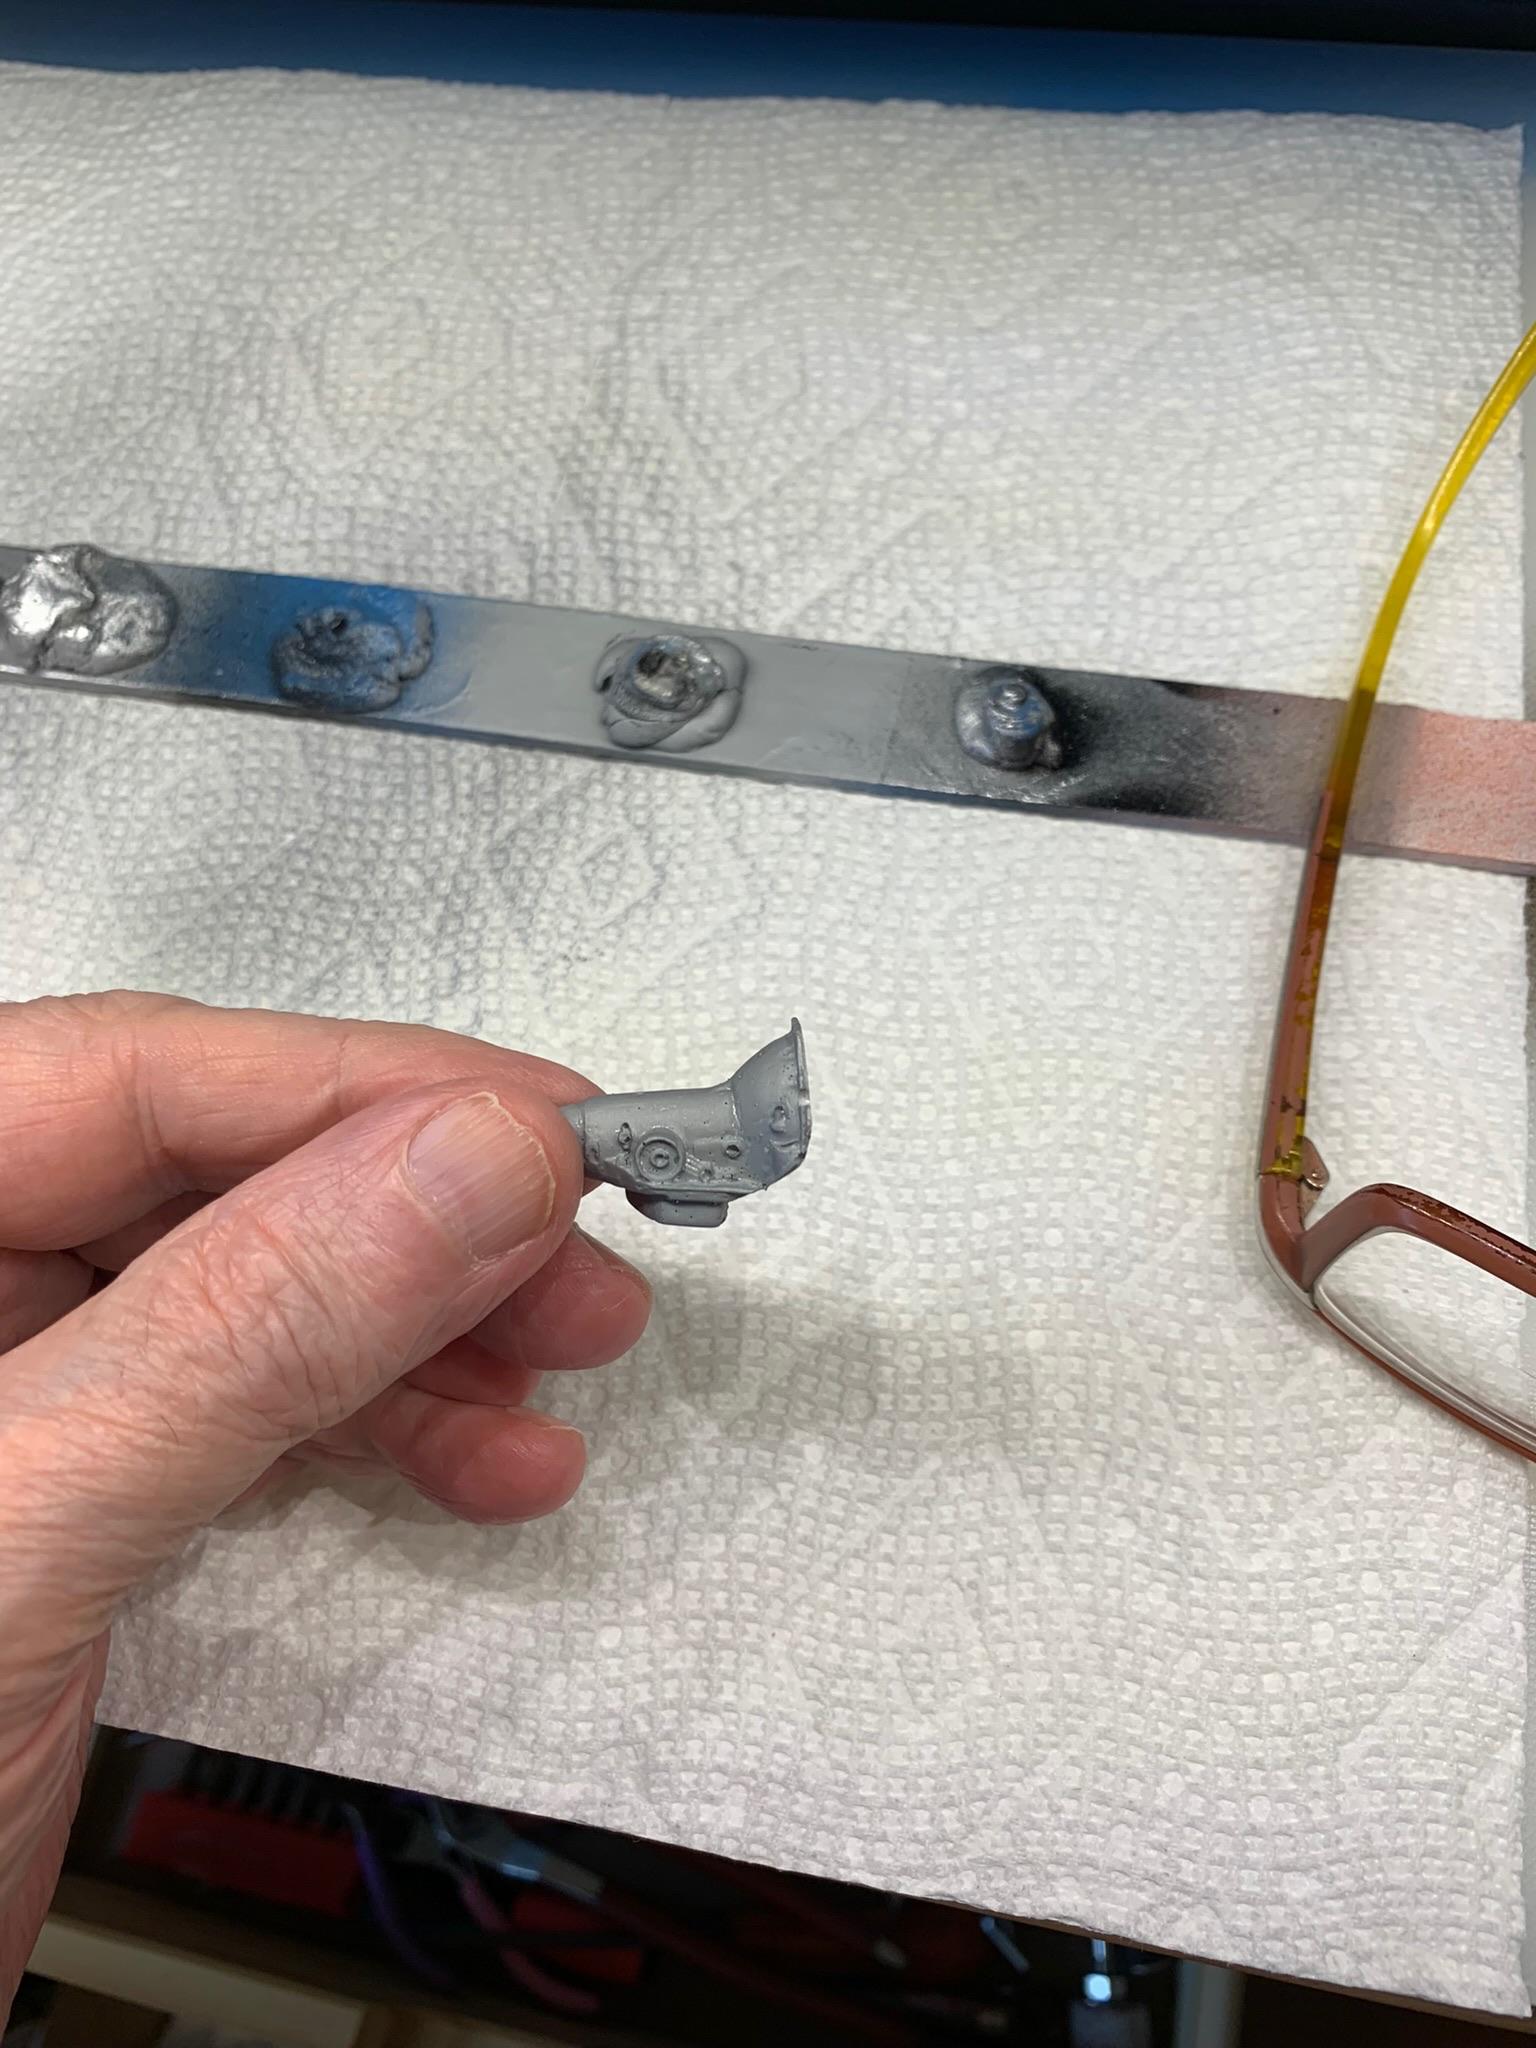
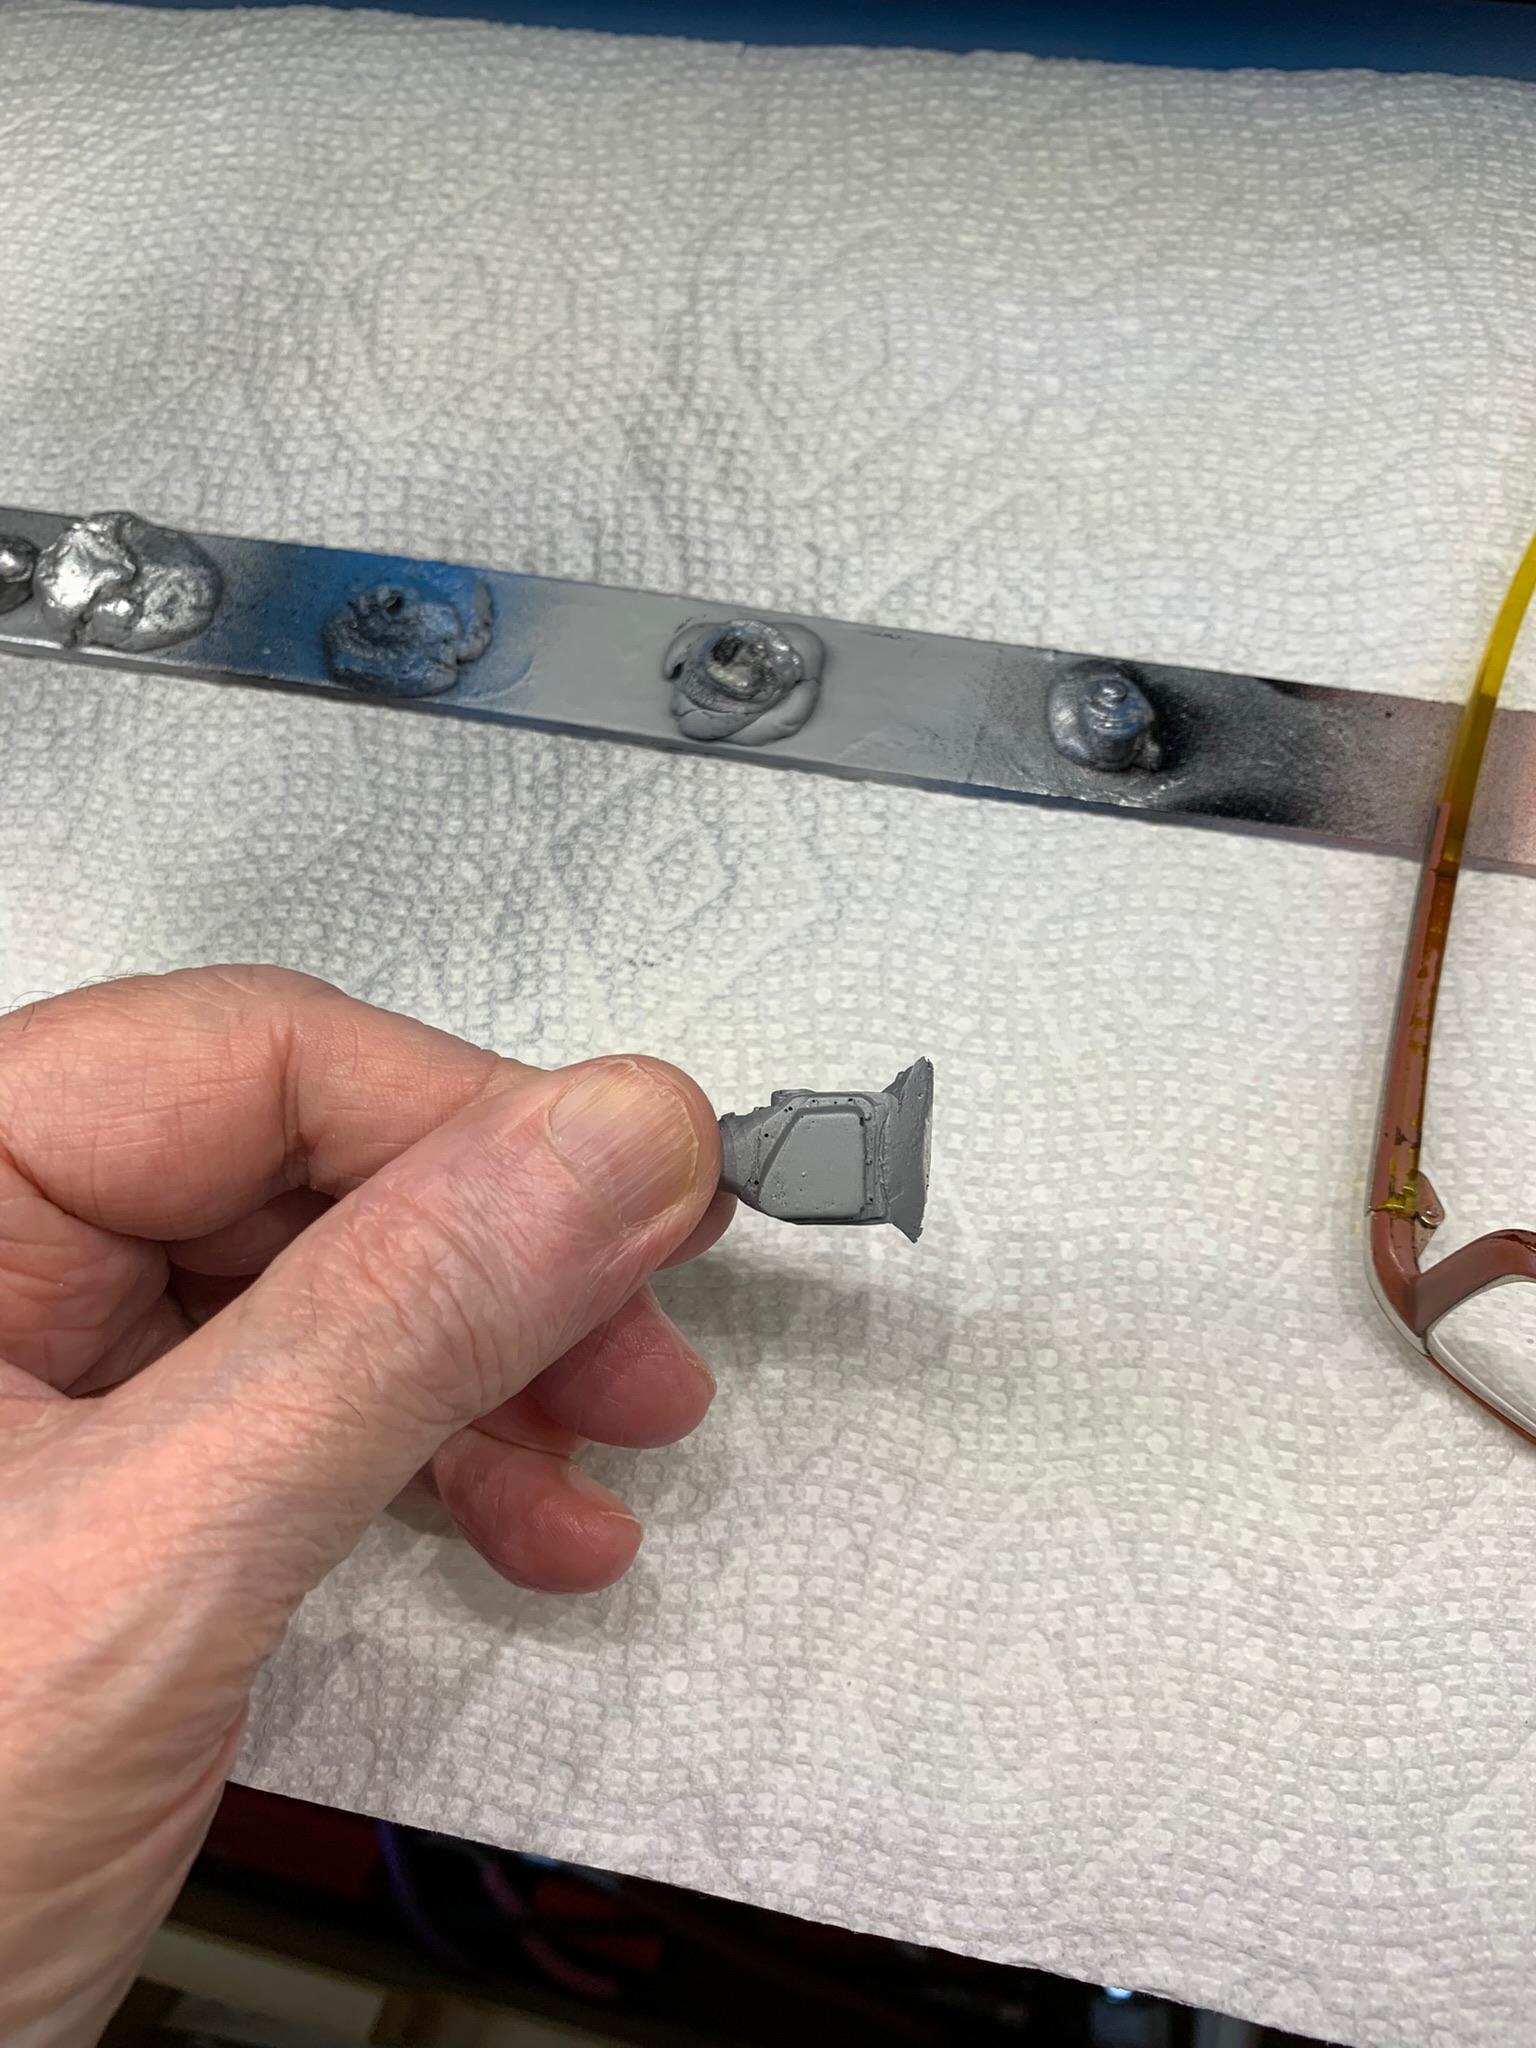
Some assembly work, putting engine and trans together (after some sanding and a couple of couplings that didn’t go right), plus some engine pieces including the electric water pump.
-
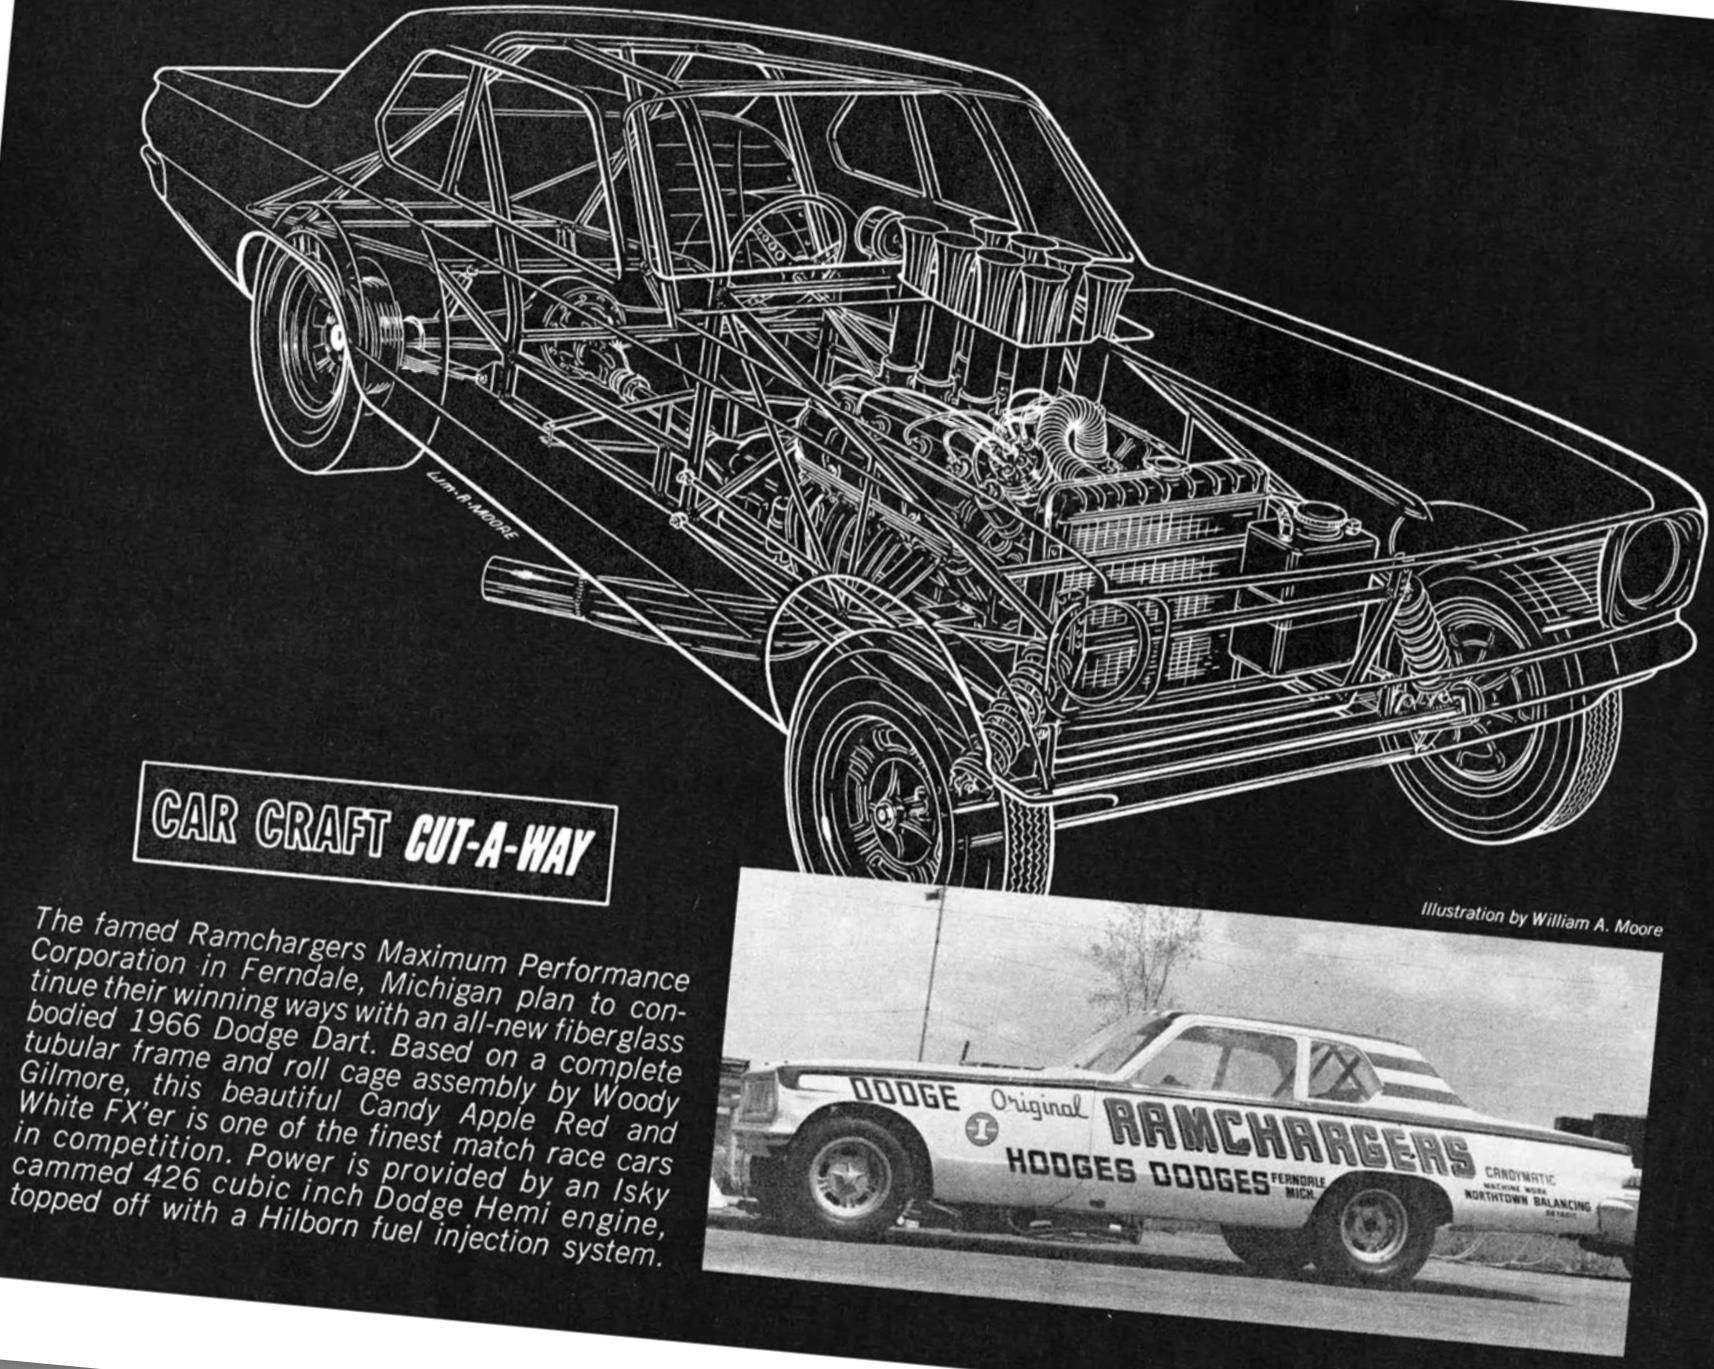
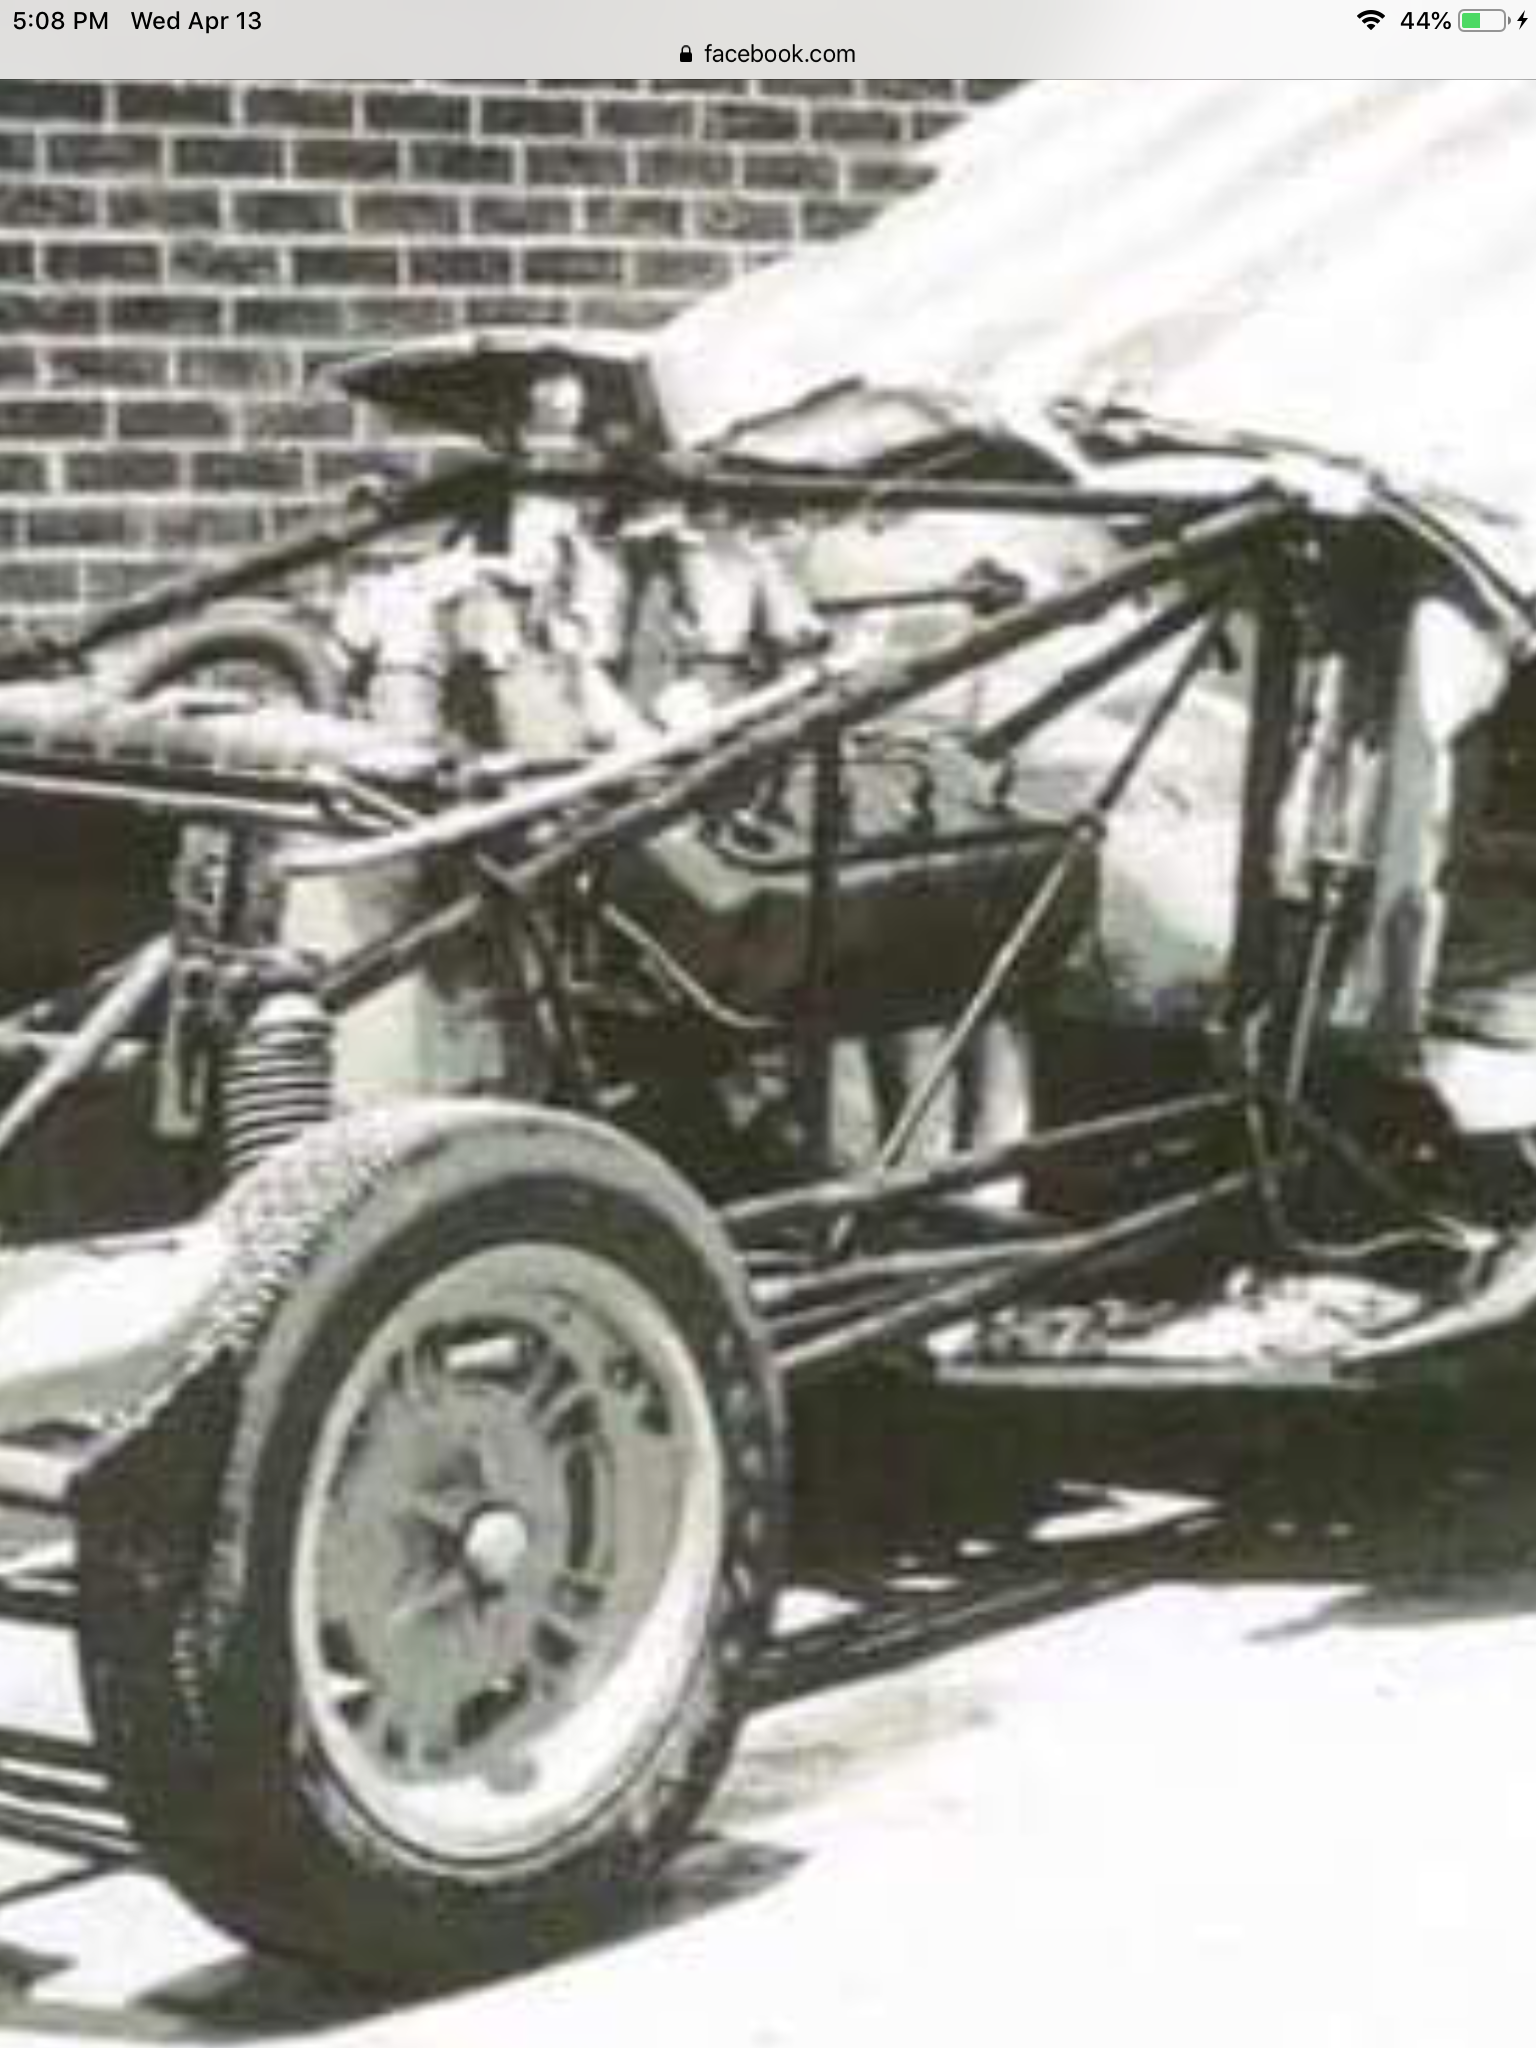
The Ramchargers car, on the other hand, was a full tube chassis.
-
1969 Camaro A/SA (possibly Thomas Arnett’s)
R. Thorne replied to R. Thorne's topic in WIP: Drag Racing Models
Appropriated some front tires from this future Bob Glidden build kit, put some rubber black on the white walls, decided to use these mags and forego my friend Thomas’s replica. I have no wheels to use like his. Put some ts30 on the electric water pump. Glued the wheels on last night. The wheels came in the original Camaro kit.
-
Holloman & McKinney 57 Chevy C/MP circa 1964
R. Thorne replied to R. Thorne's topic in WIP: Drag Racing Models
Thanks, James. Hopefully, get back on this build soon. -
1969 Camaro A/SA (possibly Thomas Arnett’s)
R. Thorne replied to R. Thorne's topic in WIP: Drag Racing Models
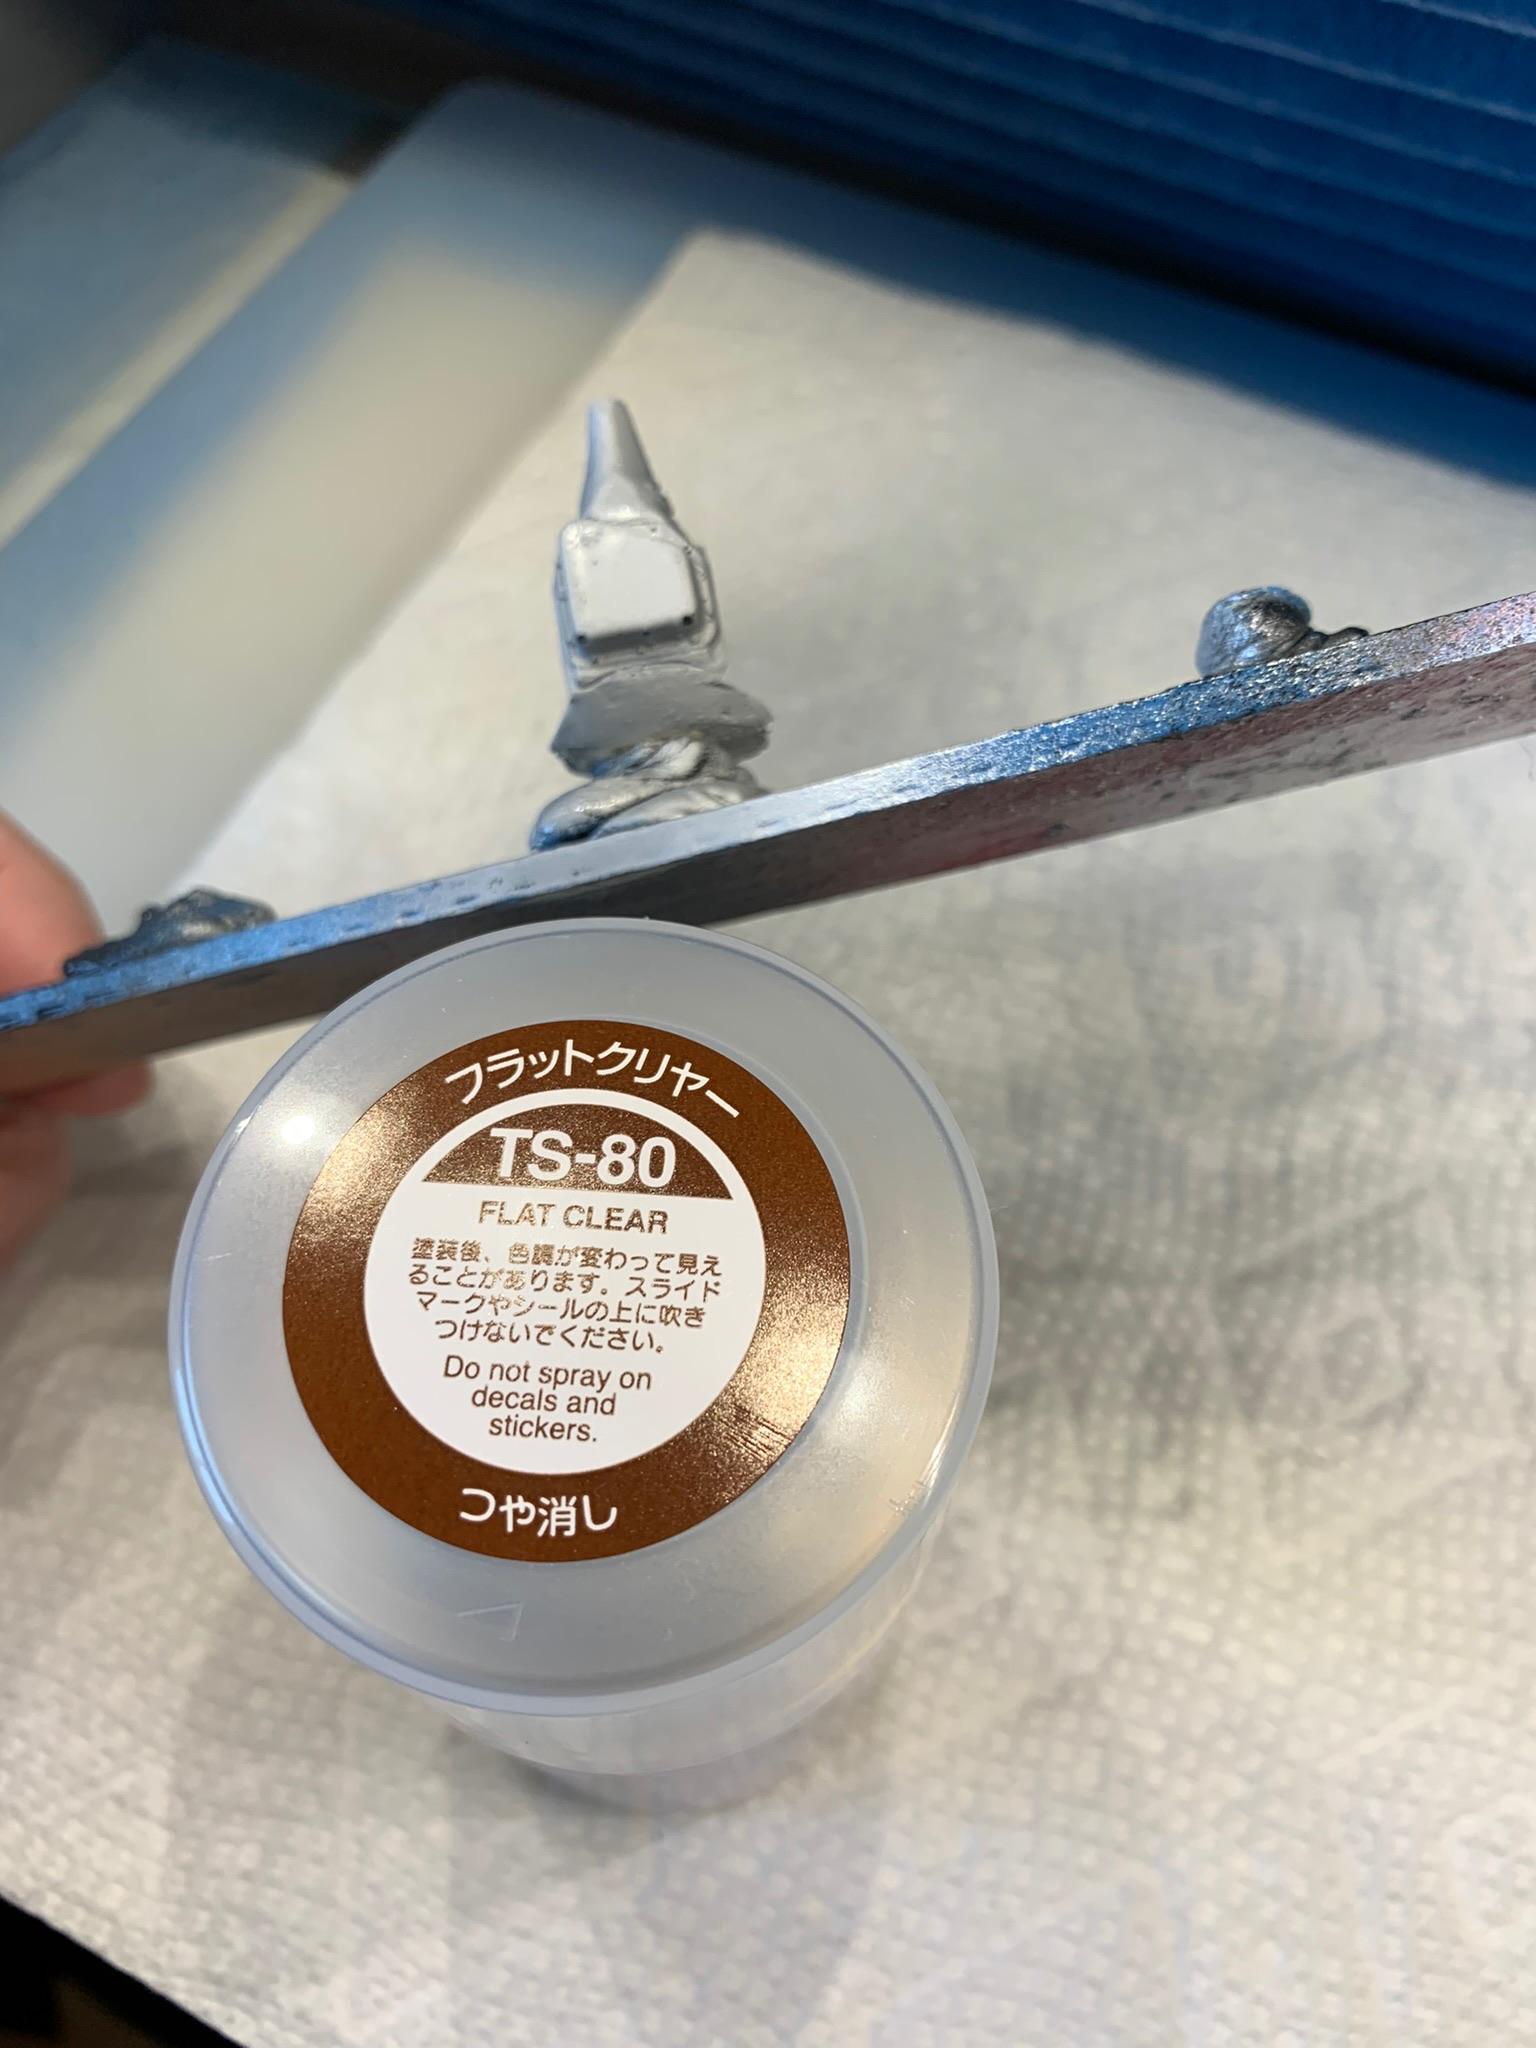
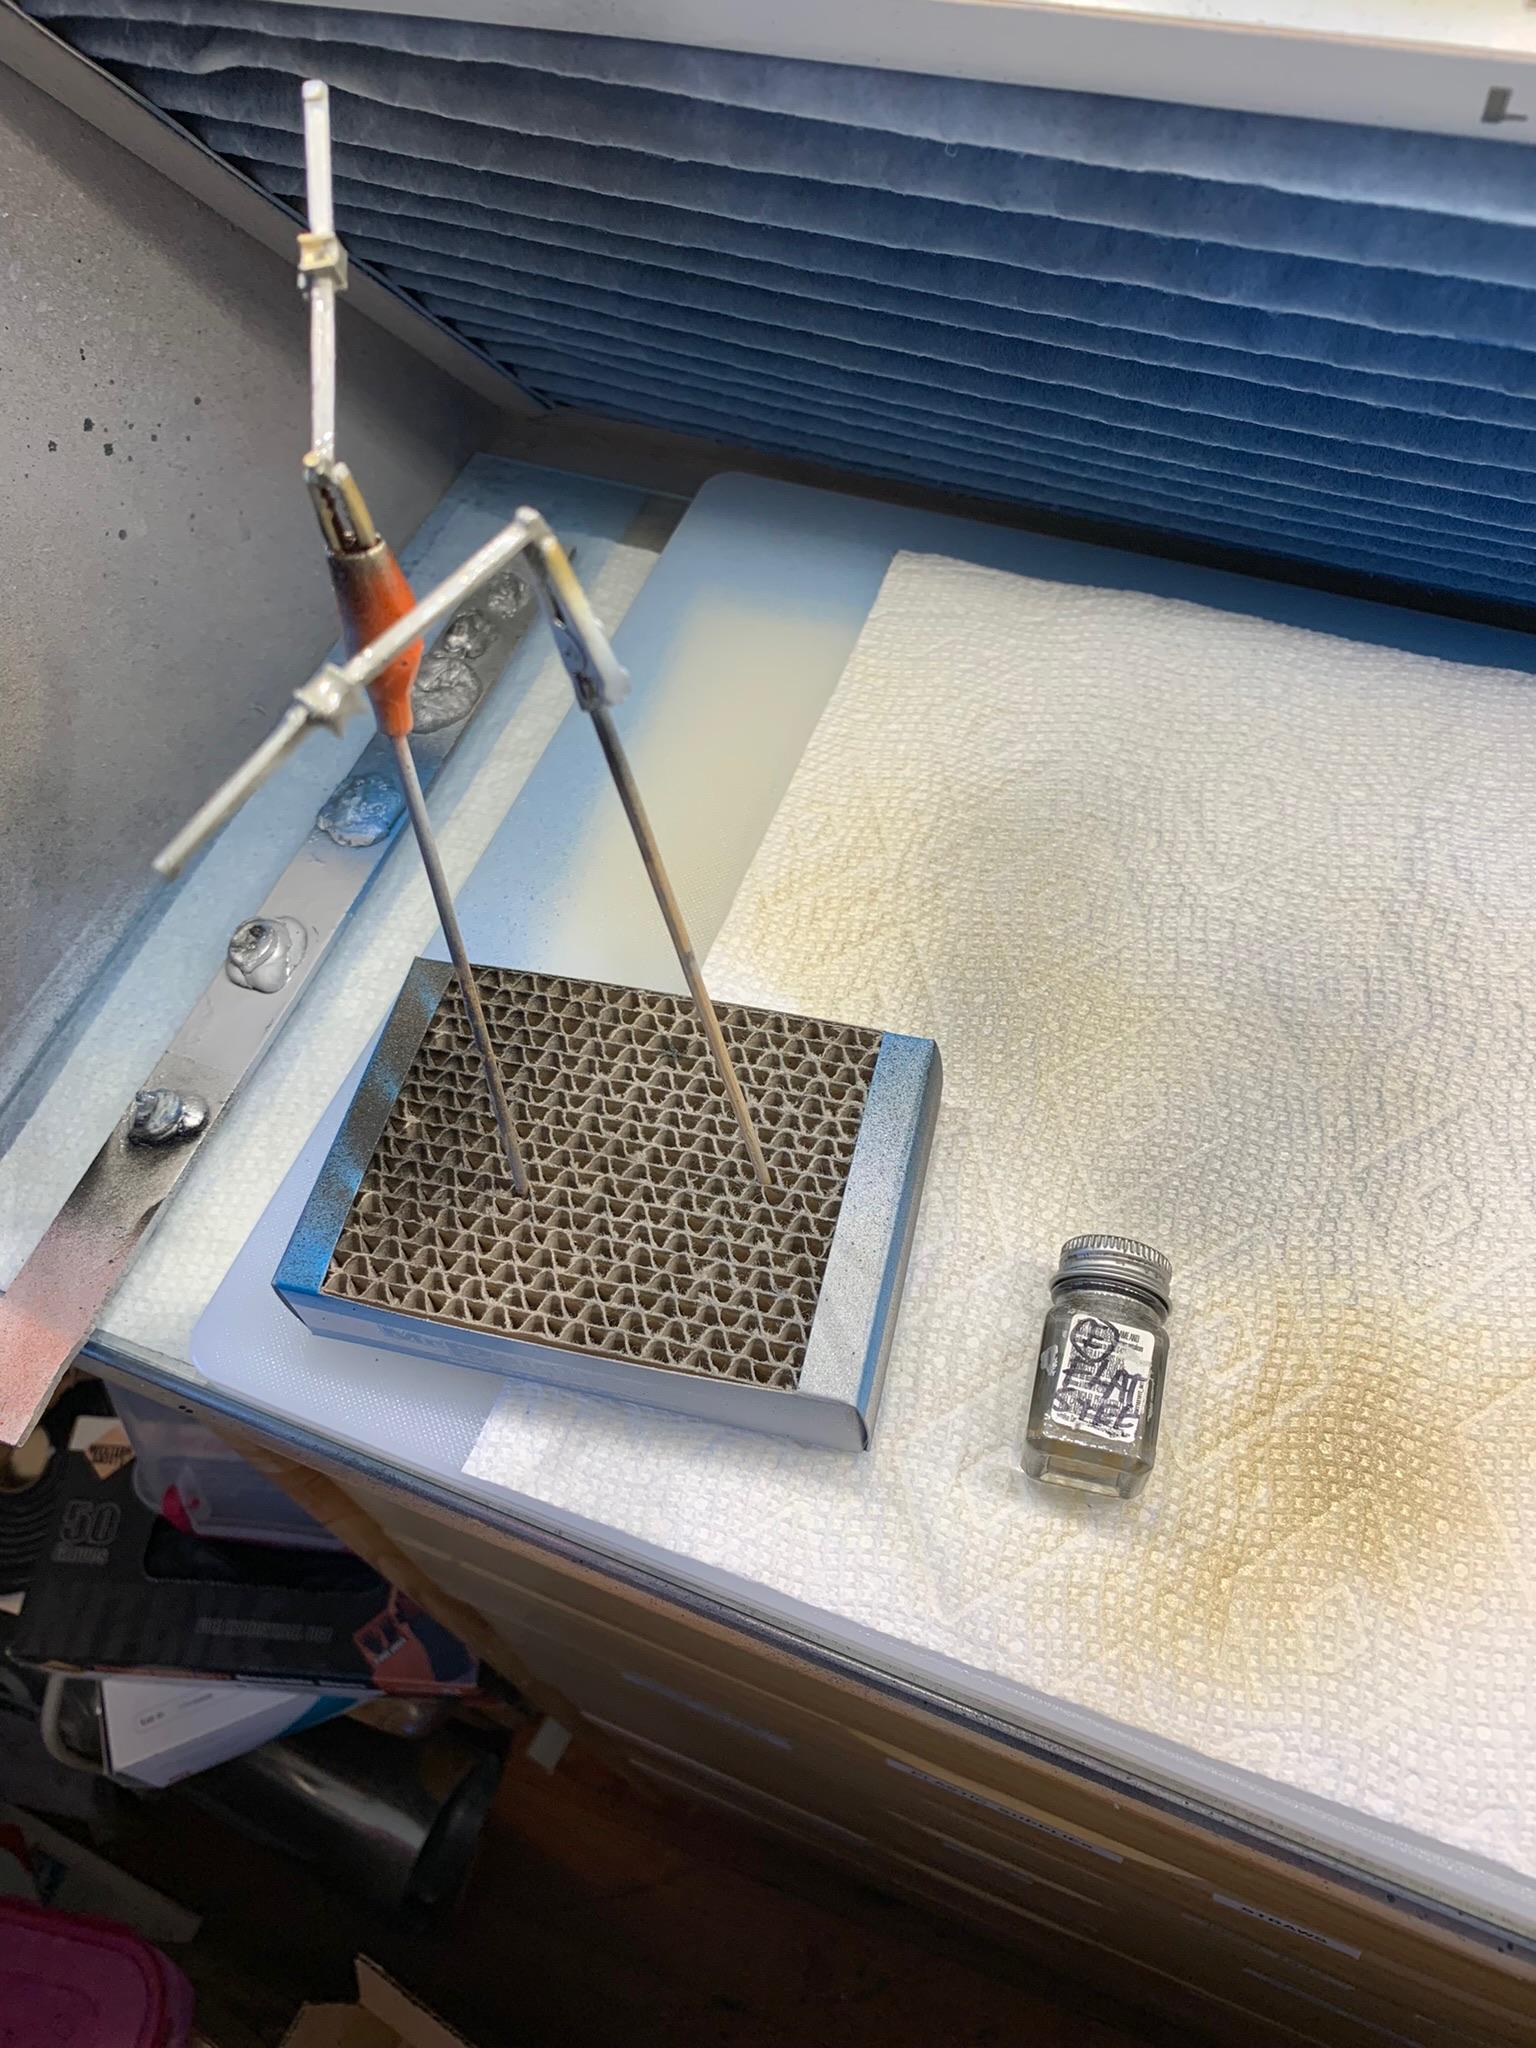
Thanks, James. Some slow progress. Put some flat clear on the trans, made it look like primer again. Was hoping for a flat aluminum look. Sanded leaf springs down to appear like mono or split leaf springs like most guys use. Painted them with some steel enamel.
-
Amazon is one source.
-
I find myself using these rubber tipped ones more and more often.
-
1969 Camaro A/SA (possibly Thomas Arnett’s)
R. Thorne replied to R. Thorne's topic in WIP: Drag Racing Models
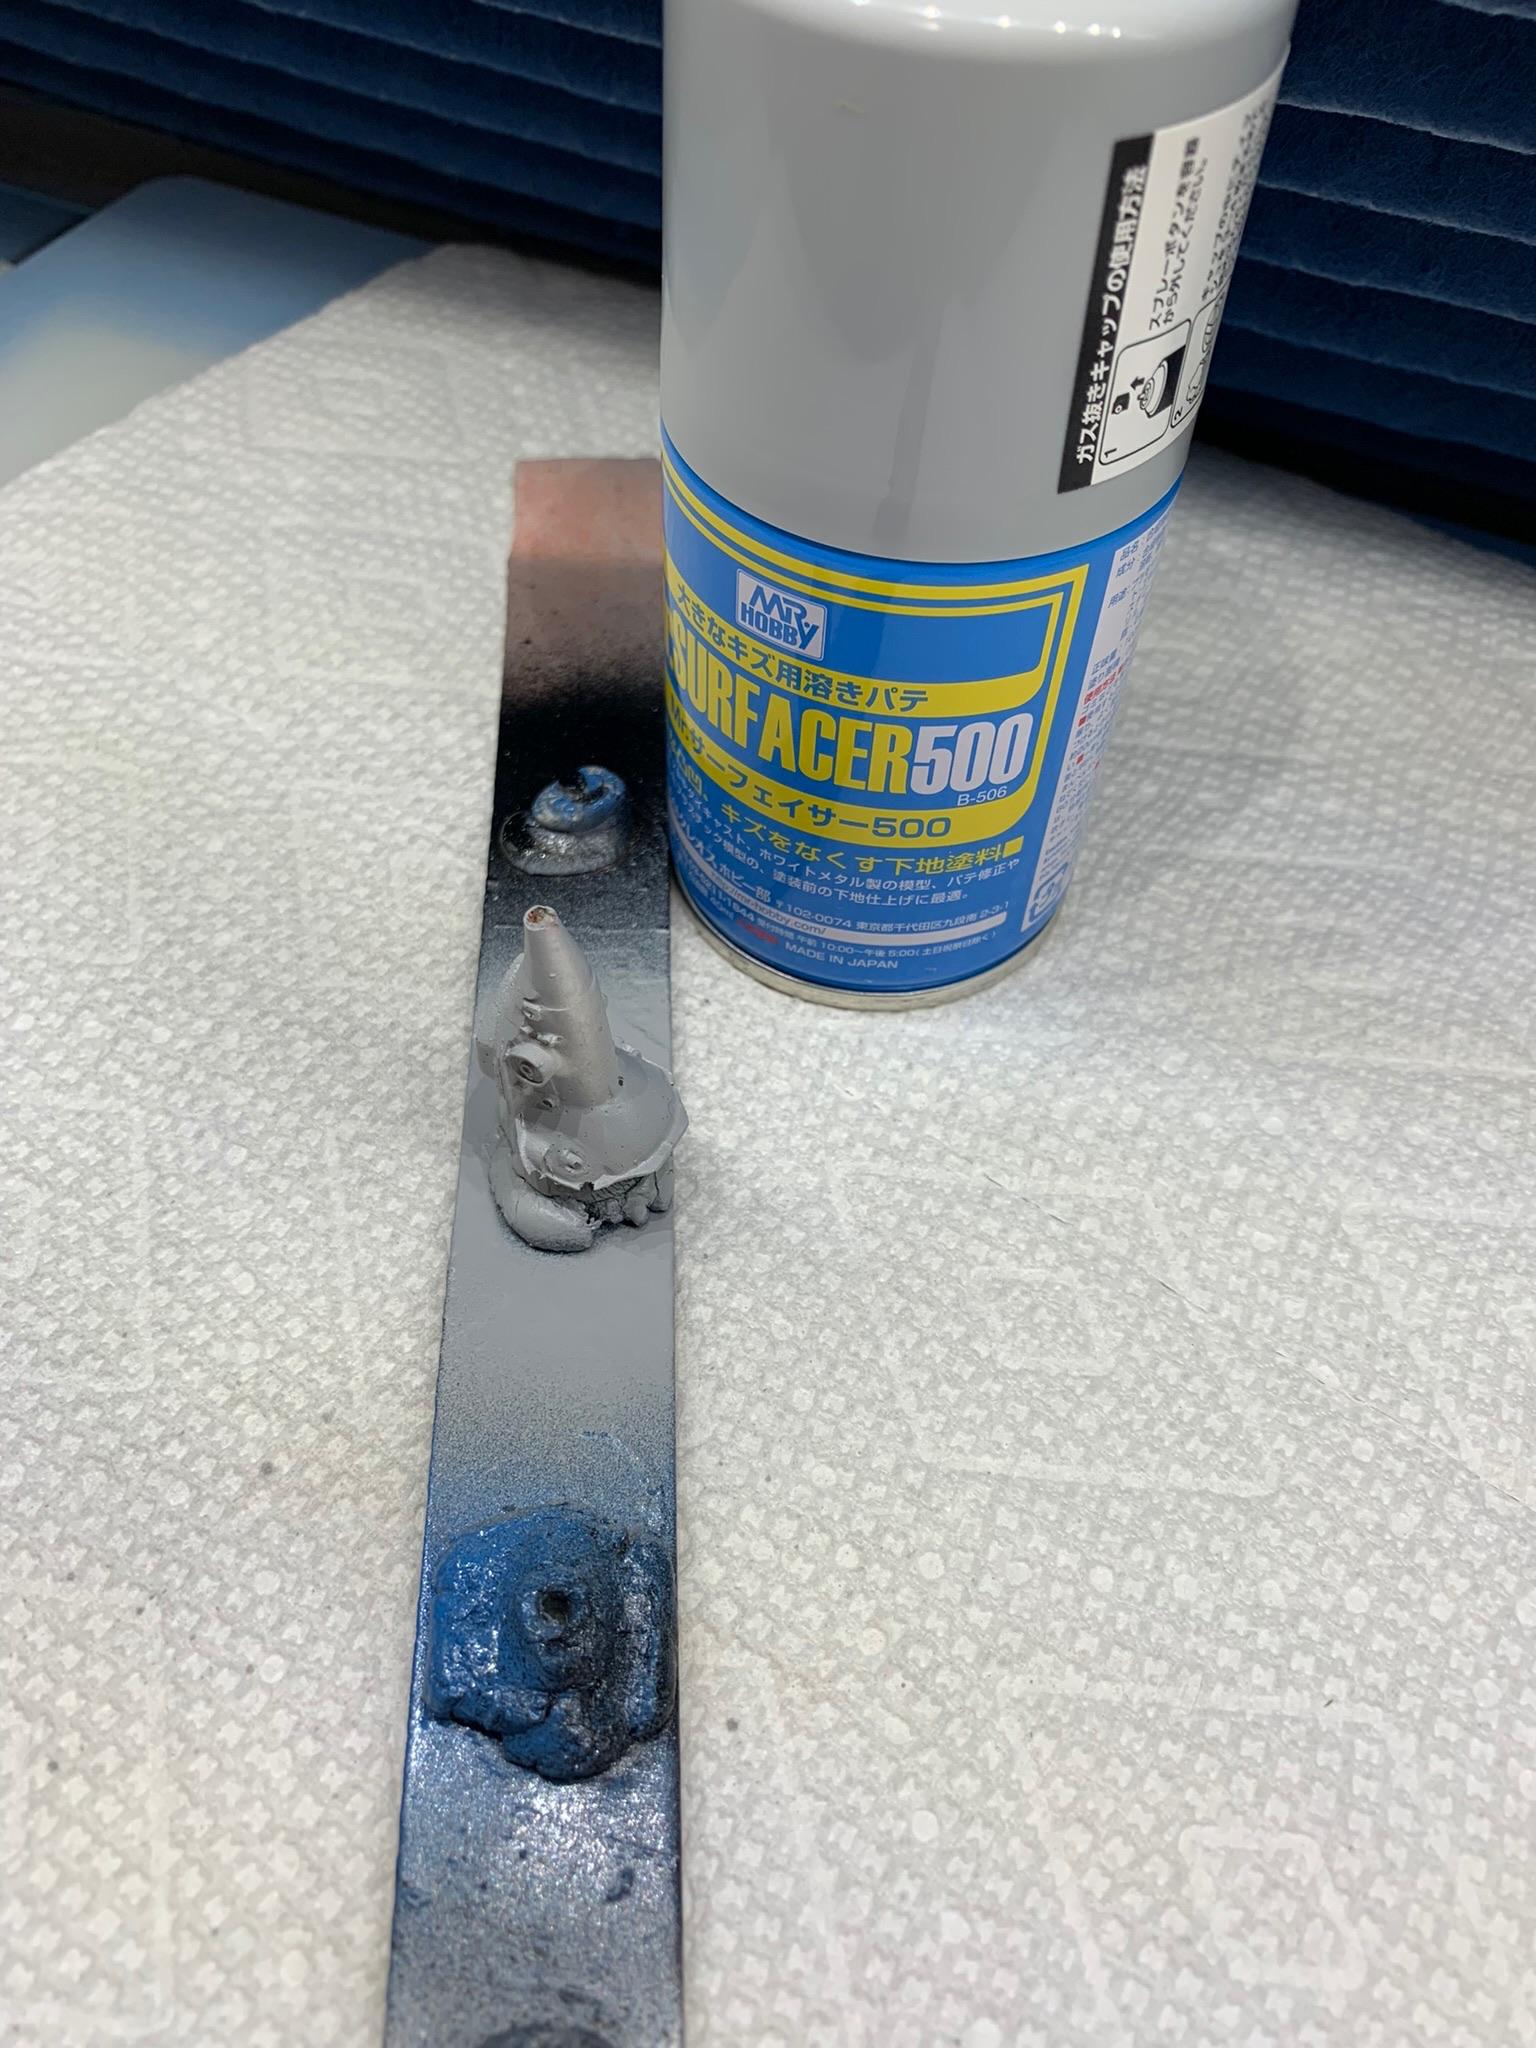
The results of a few pours. Cleaned up one of the transmissions, sprayed some primer, then some ts30 10 minutes later, next is some Tamiya flat clear.
-
Holloman & McKinney 57 Chevy C/MP circa 1964
R. Thorne replied to R. Thorne's topic in WIP: Drag Racing Models
Painted some black under the hood that I missed.
-
1969 Camaro A/SA (possibly Thomas Arnett’s)
R. Thorne replied to R. Thorne's topic in WIP: Drag Racing Models
Finally got around to casting another TH200 trans (along with some other stuff).
-
Holloman & McKinney 57 Chevy C/MP circa 1964
R. Thorne replied to R. Thorne's topic in WIP: Drag Racing Models
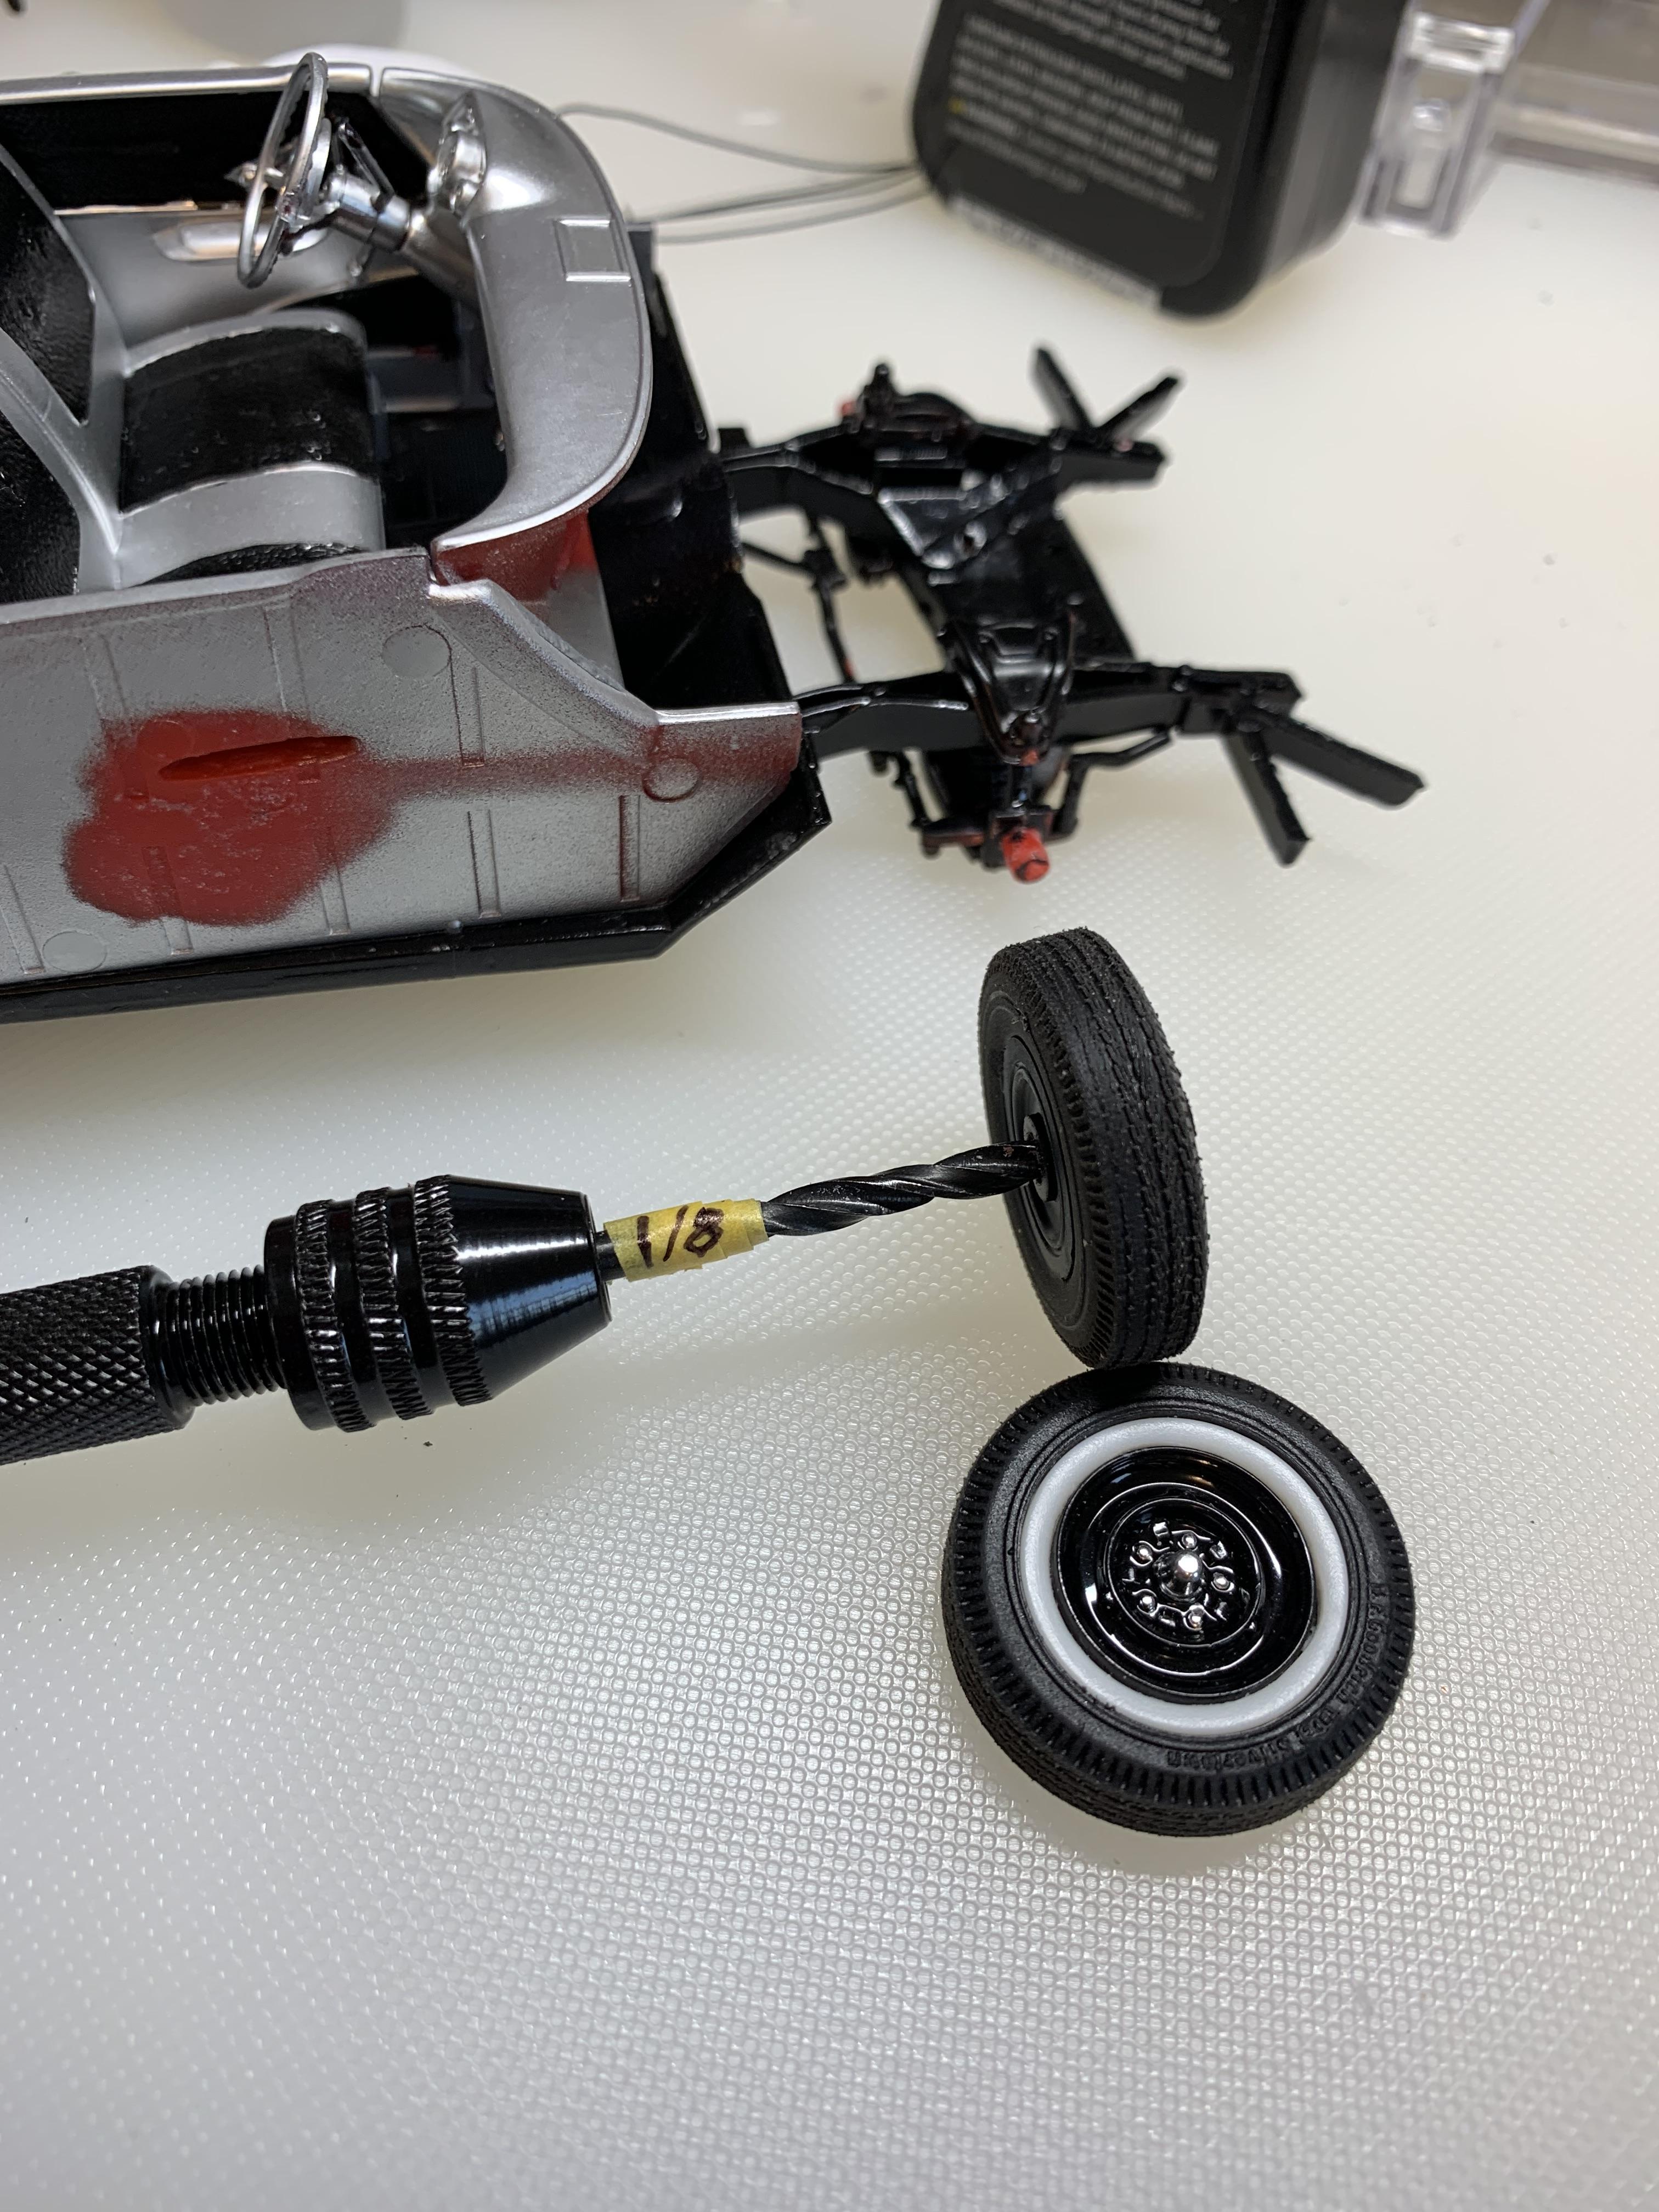
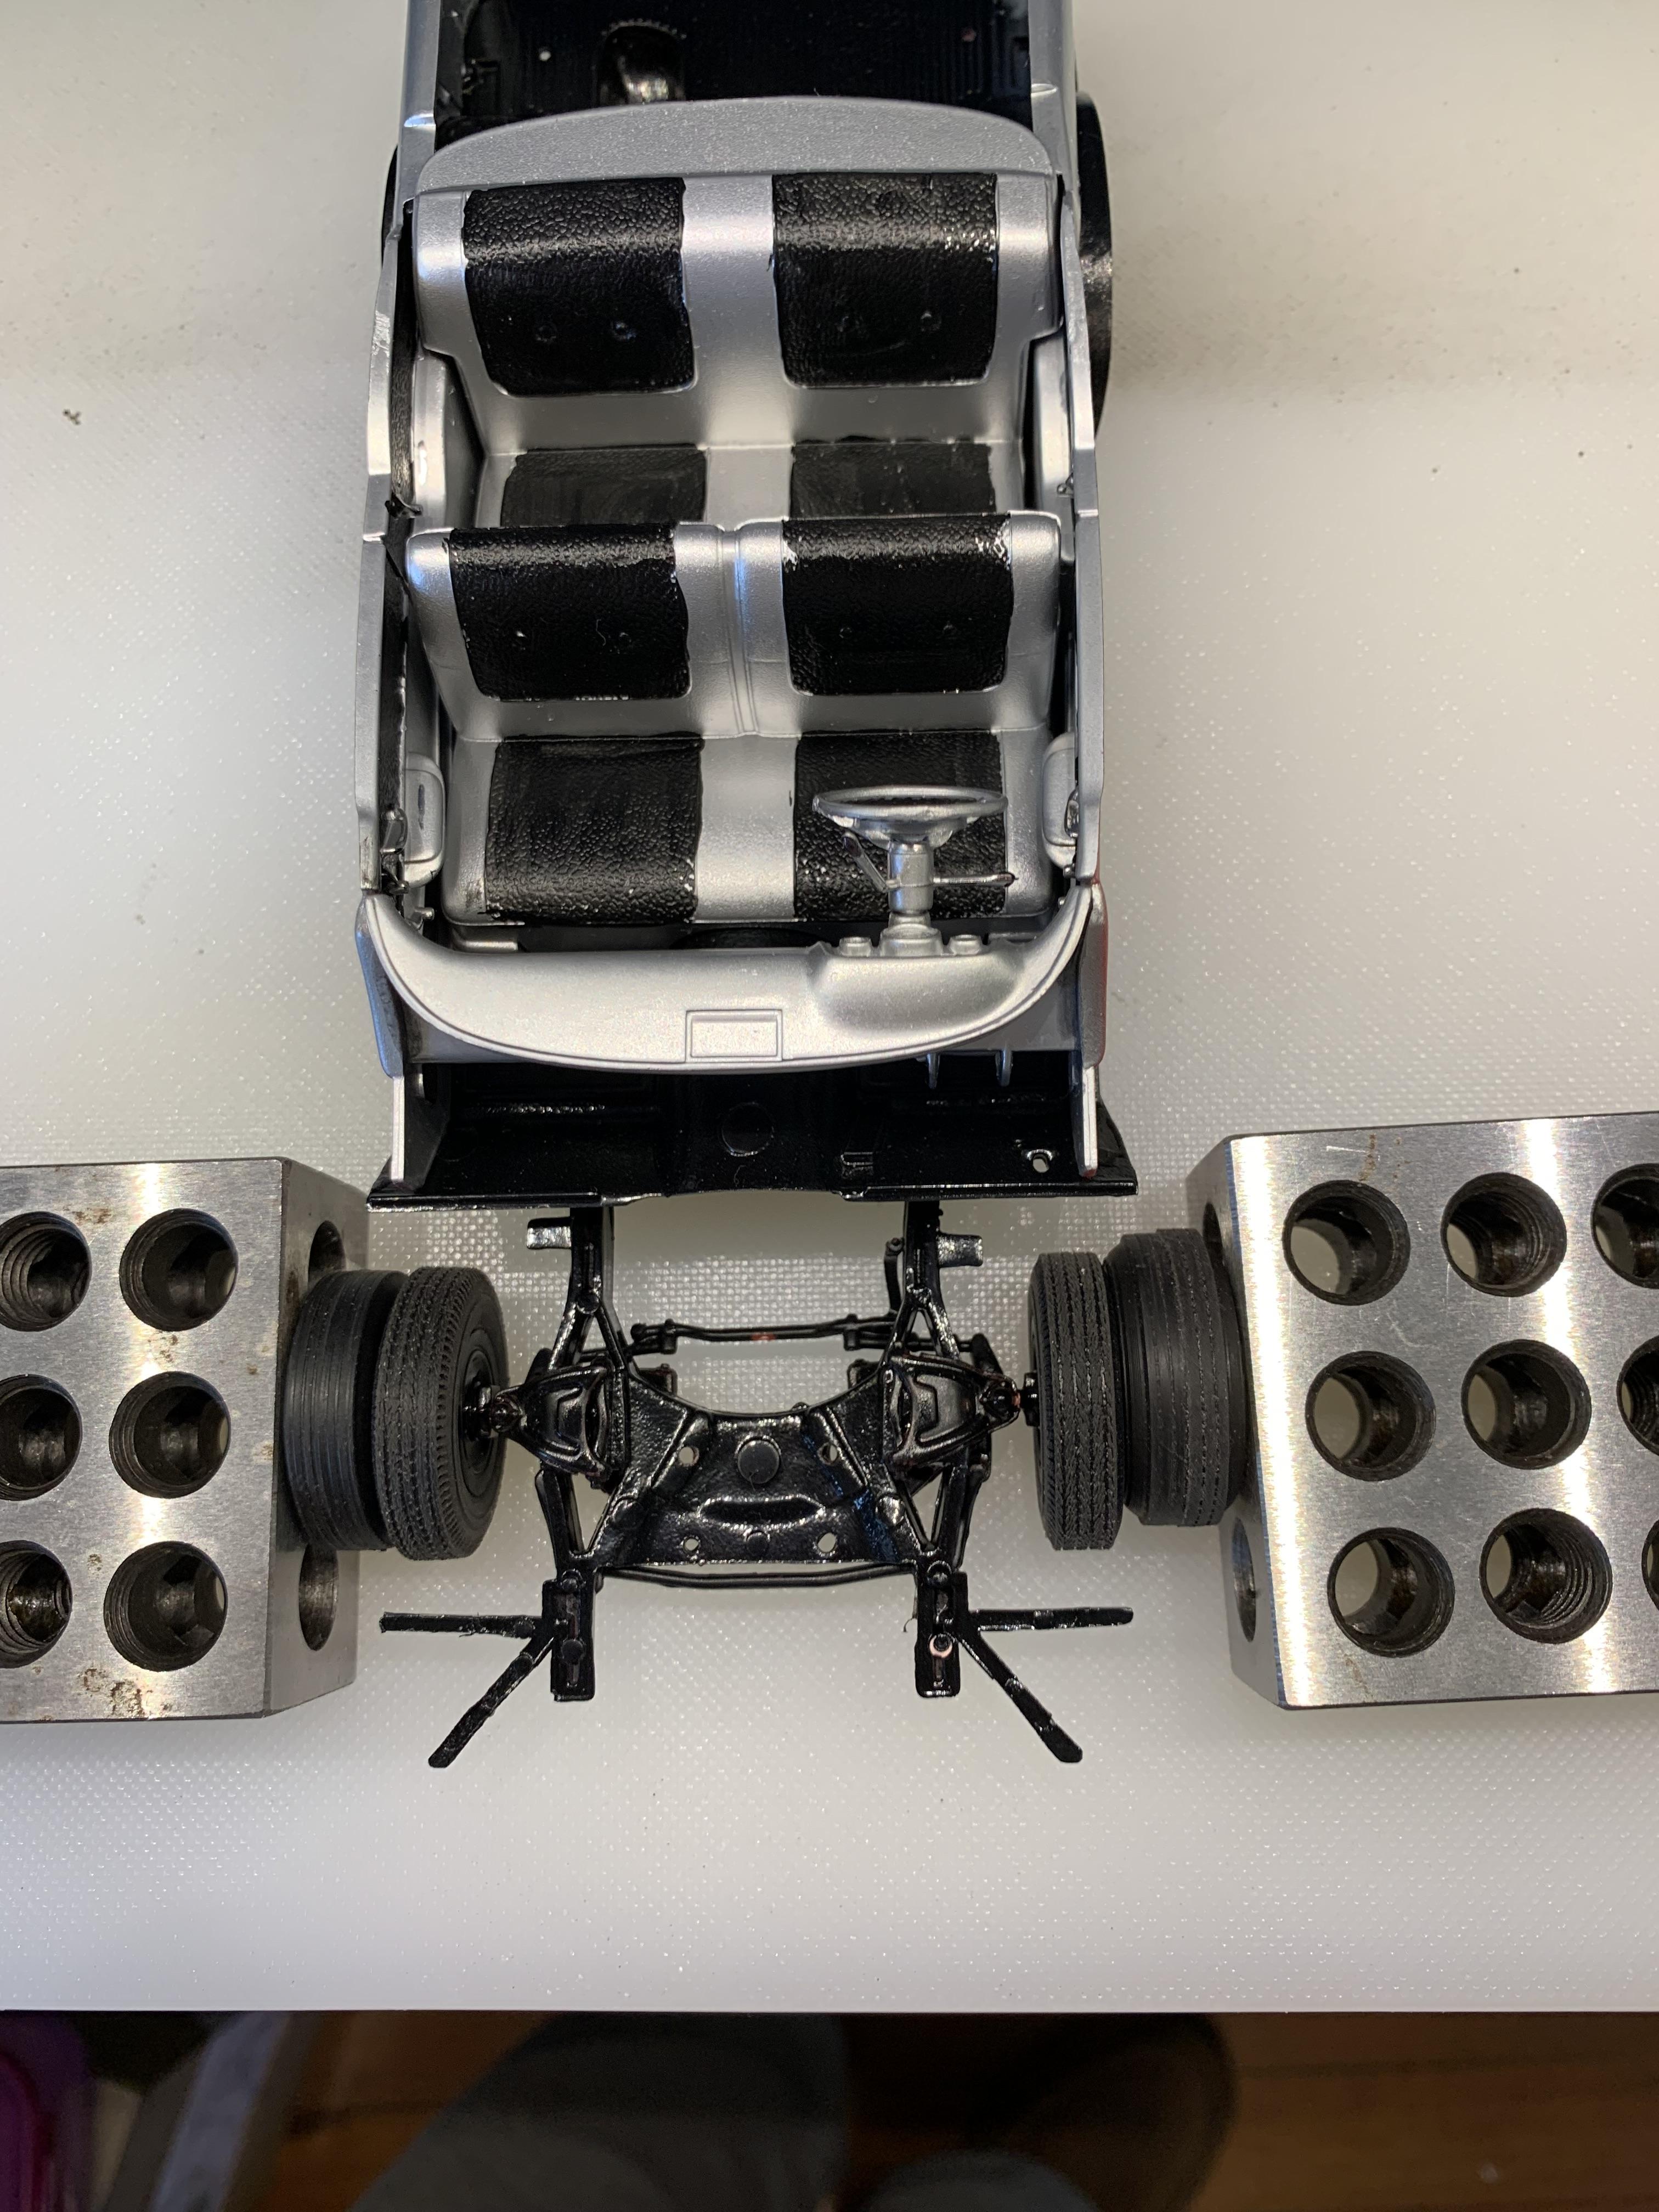
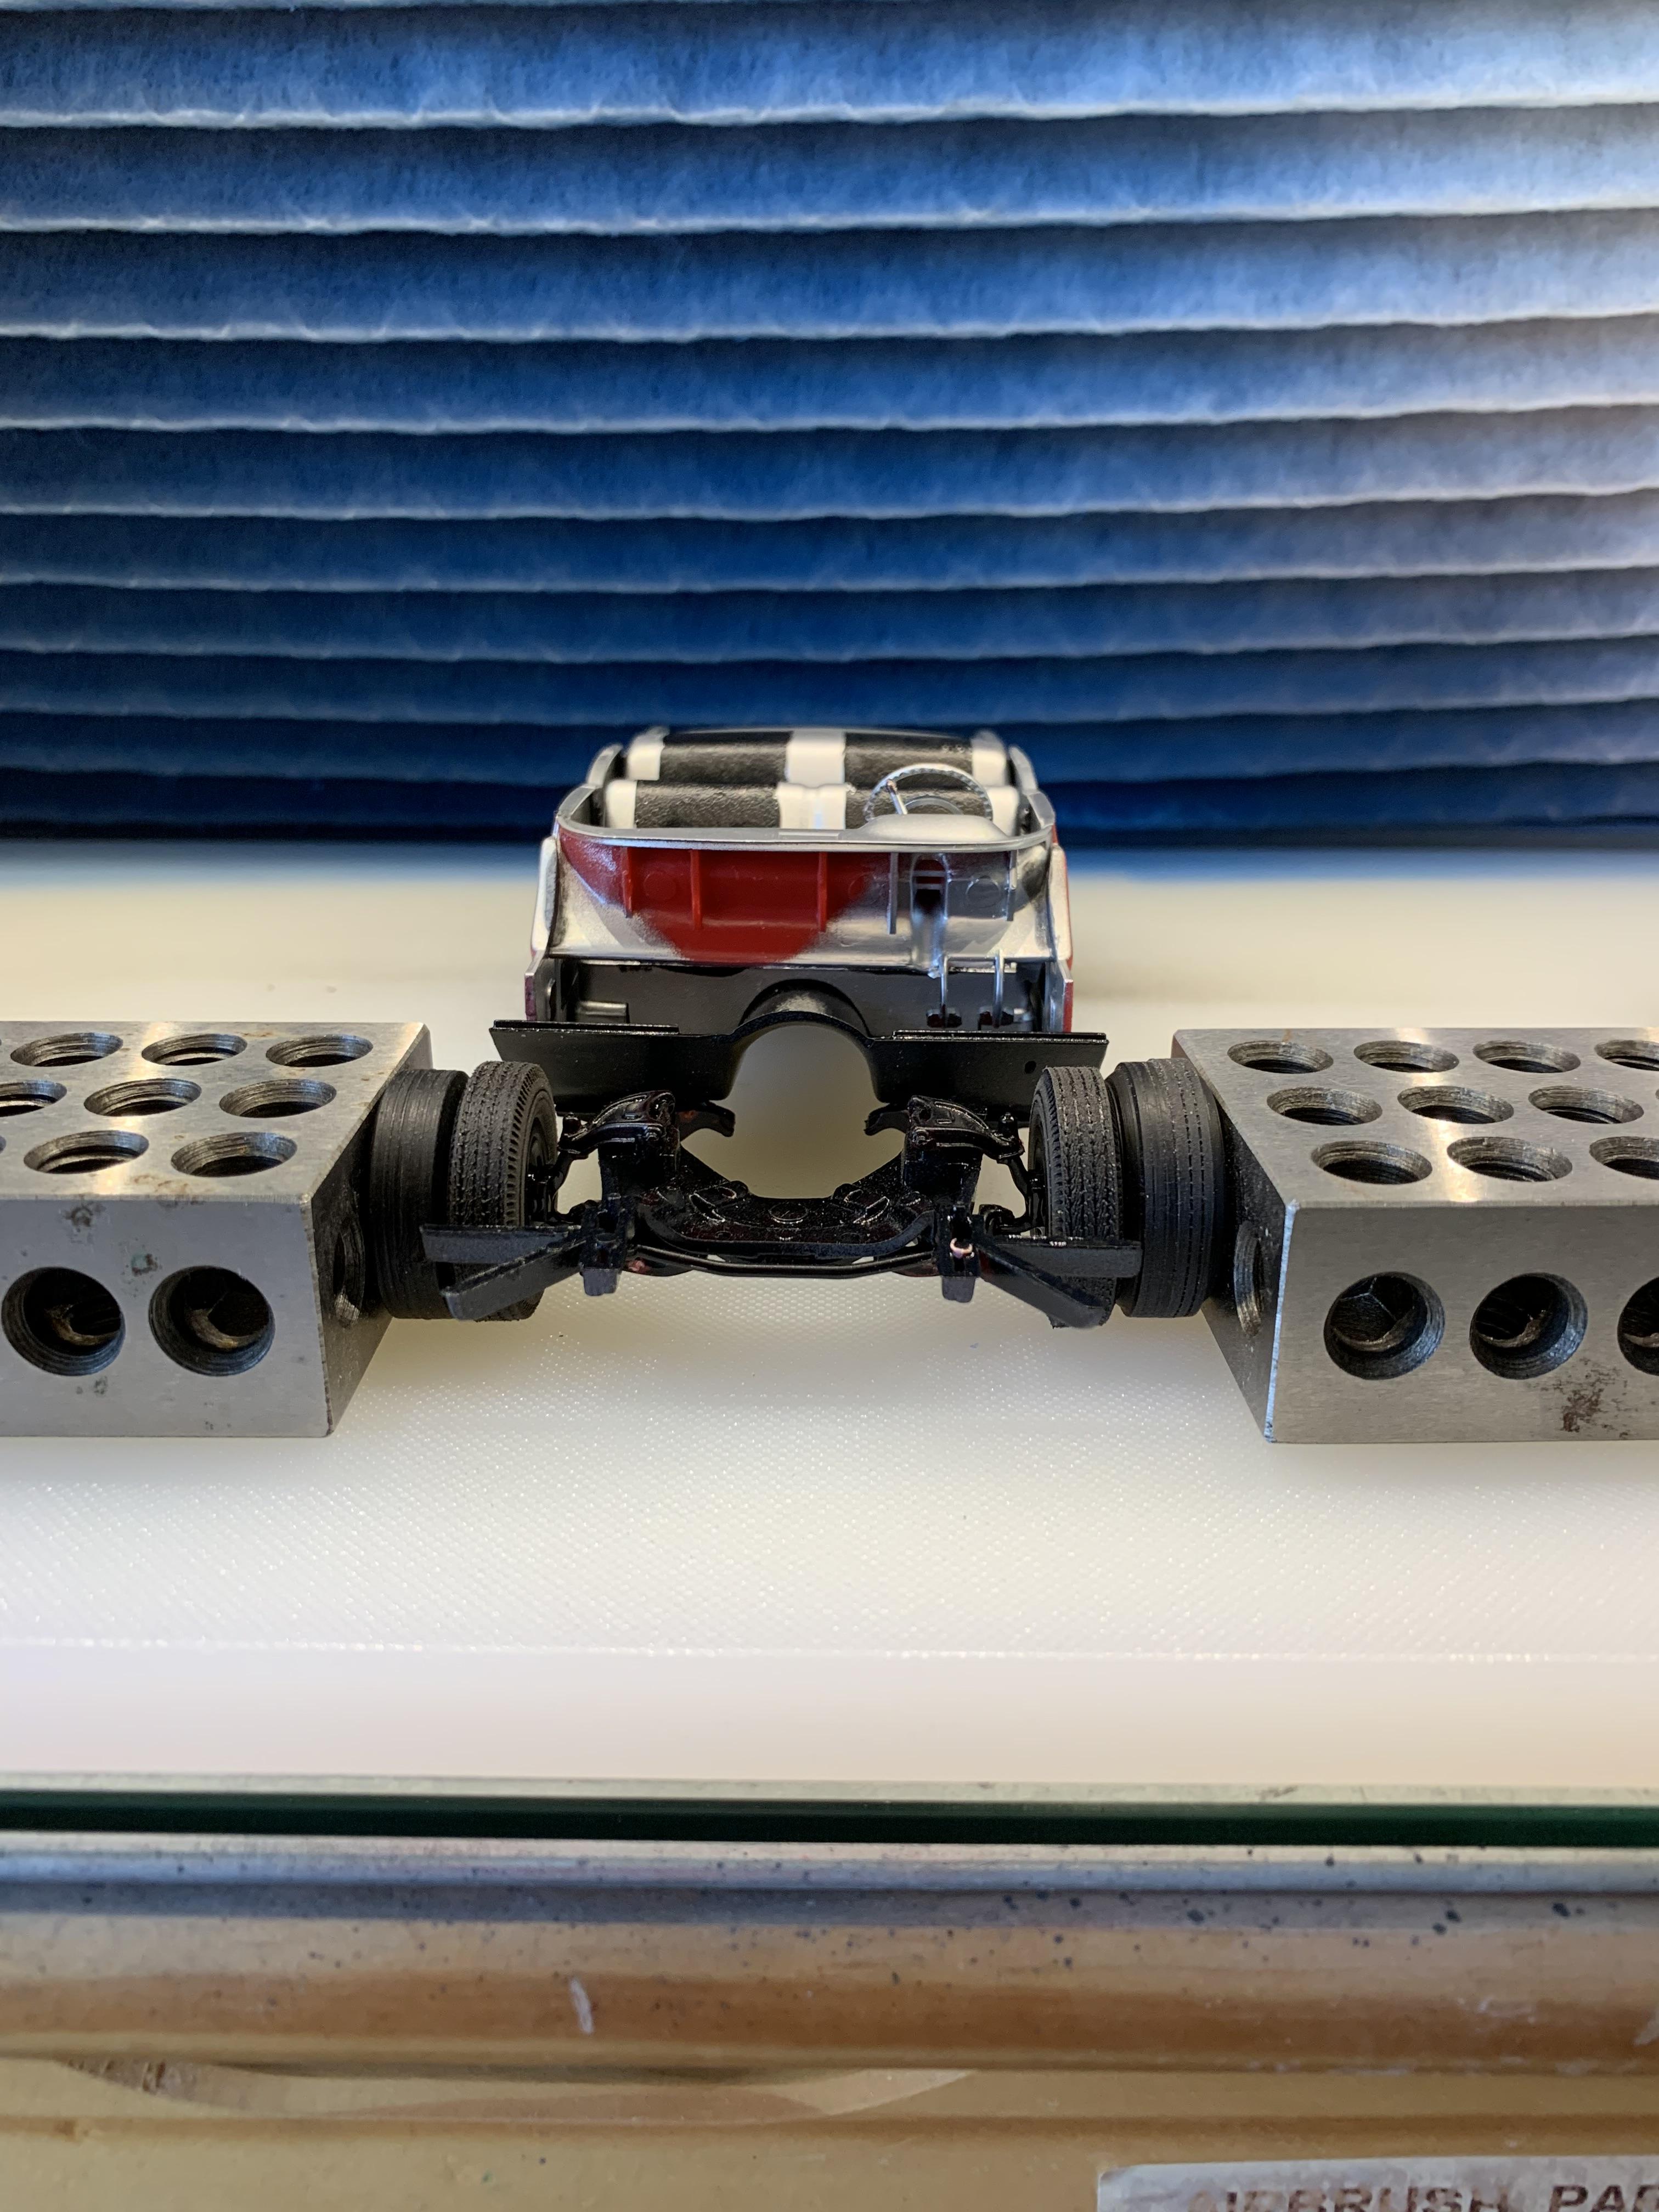
Got stalled on this one. Had some paint issues on the other WIP (69 Camaro). Yes, I work on at least 2 builds at once. Anyway, after some reaming with an 1/8” drill bit and some spare tires because the center hub protrudes beyond the tire face, I glued on the front tires. Really like the cheapo drill chucks instead of changing drill bits all the time.
-
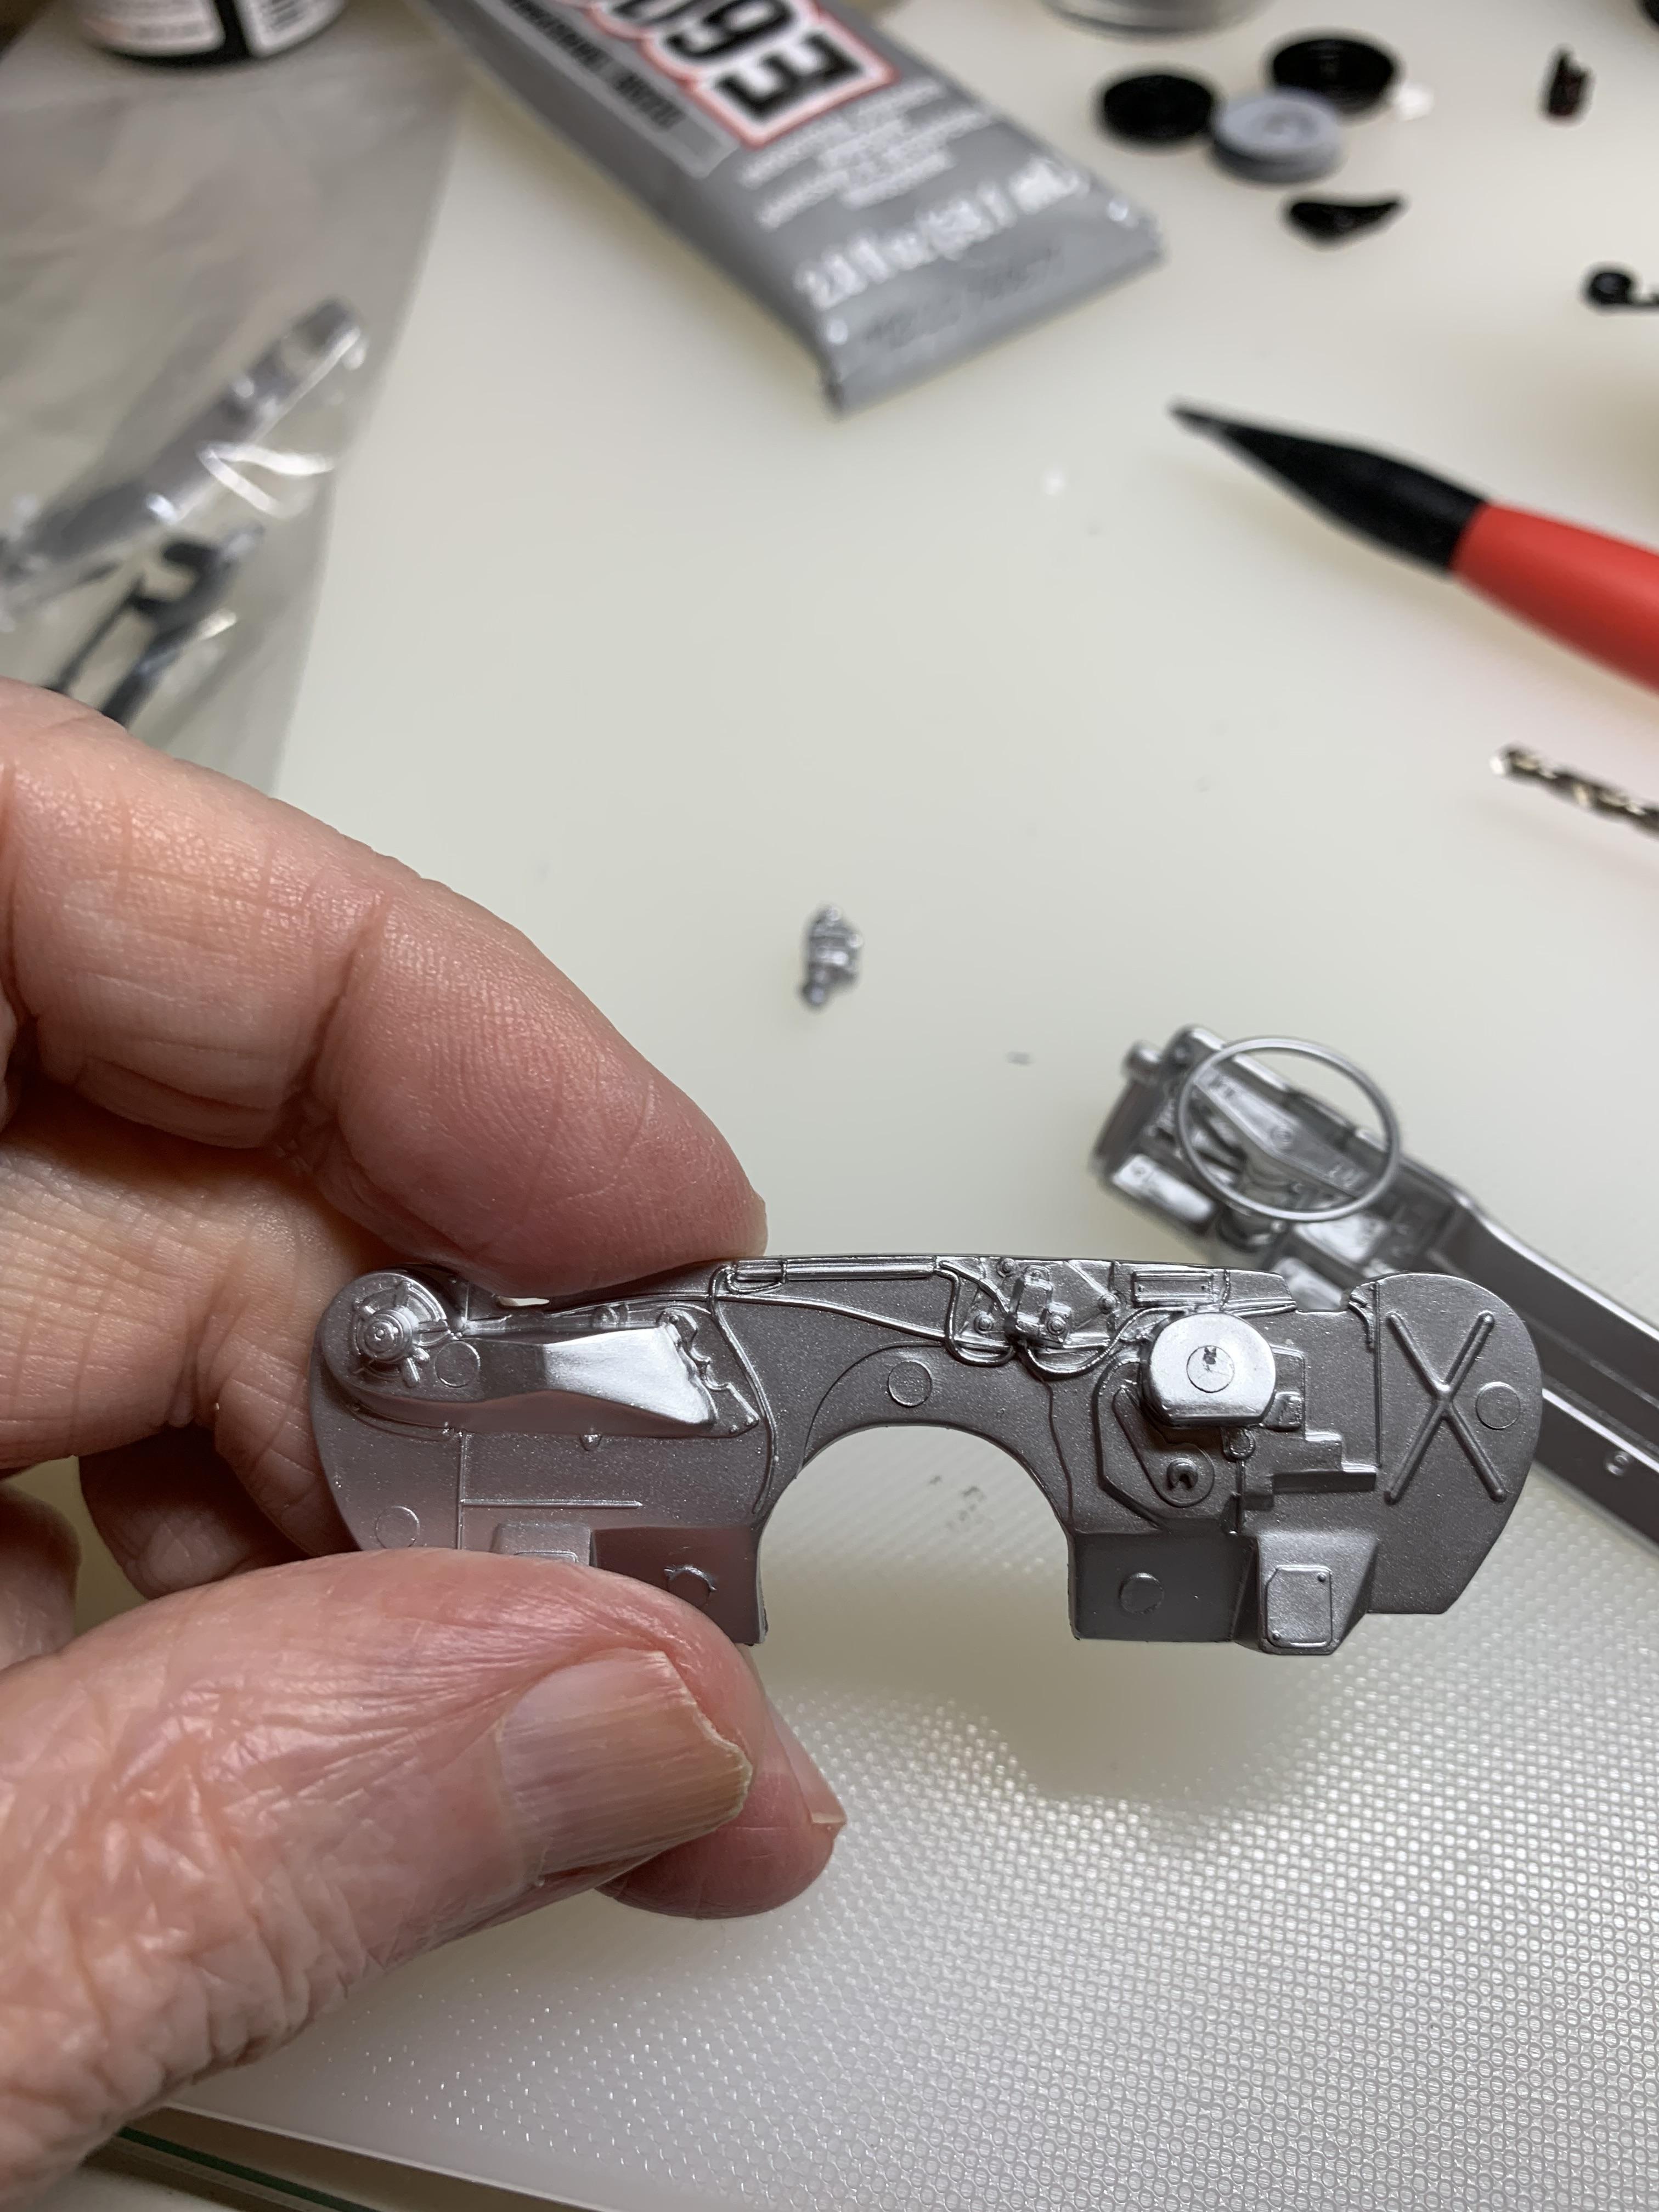
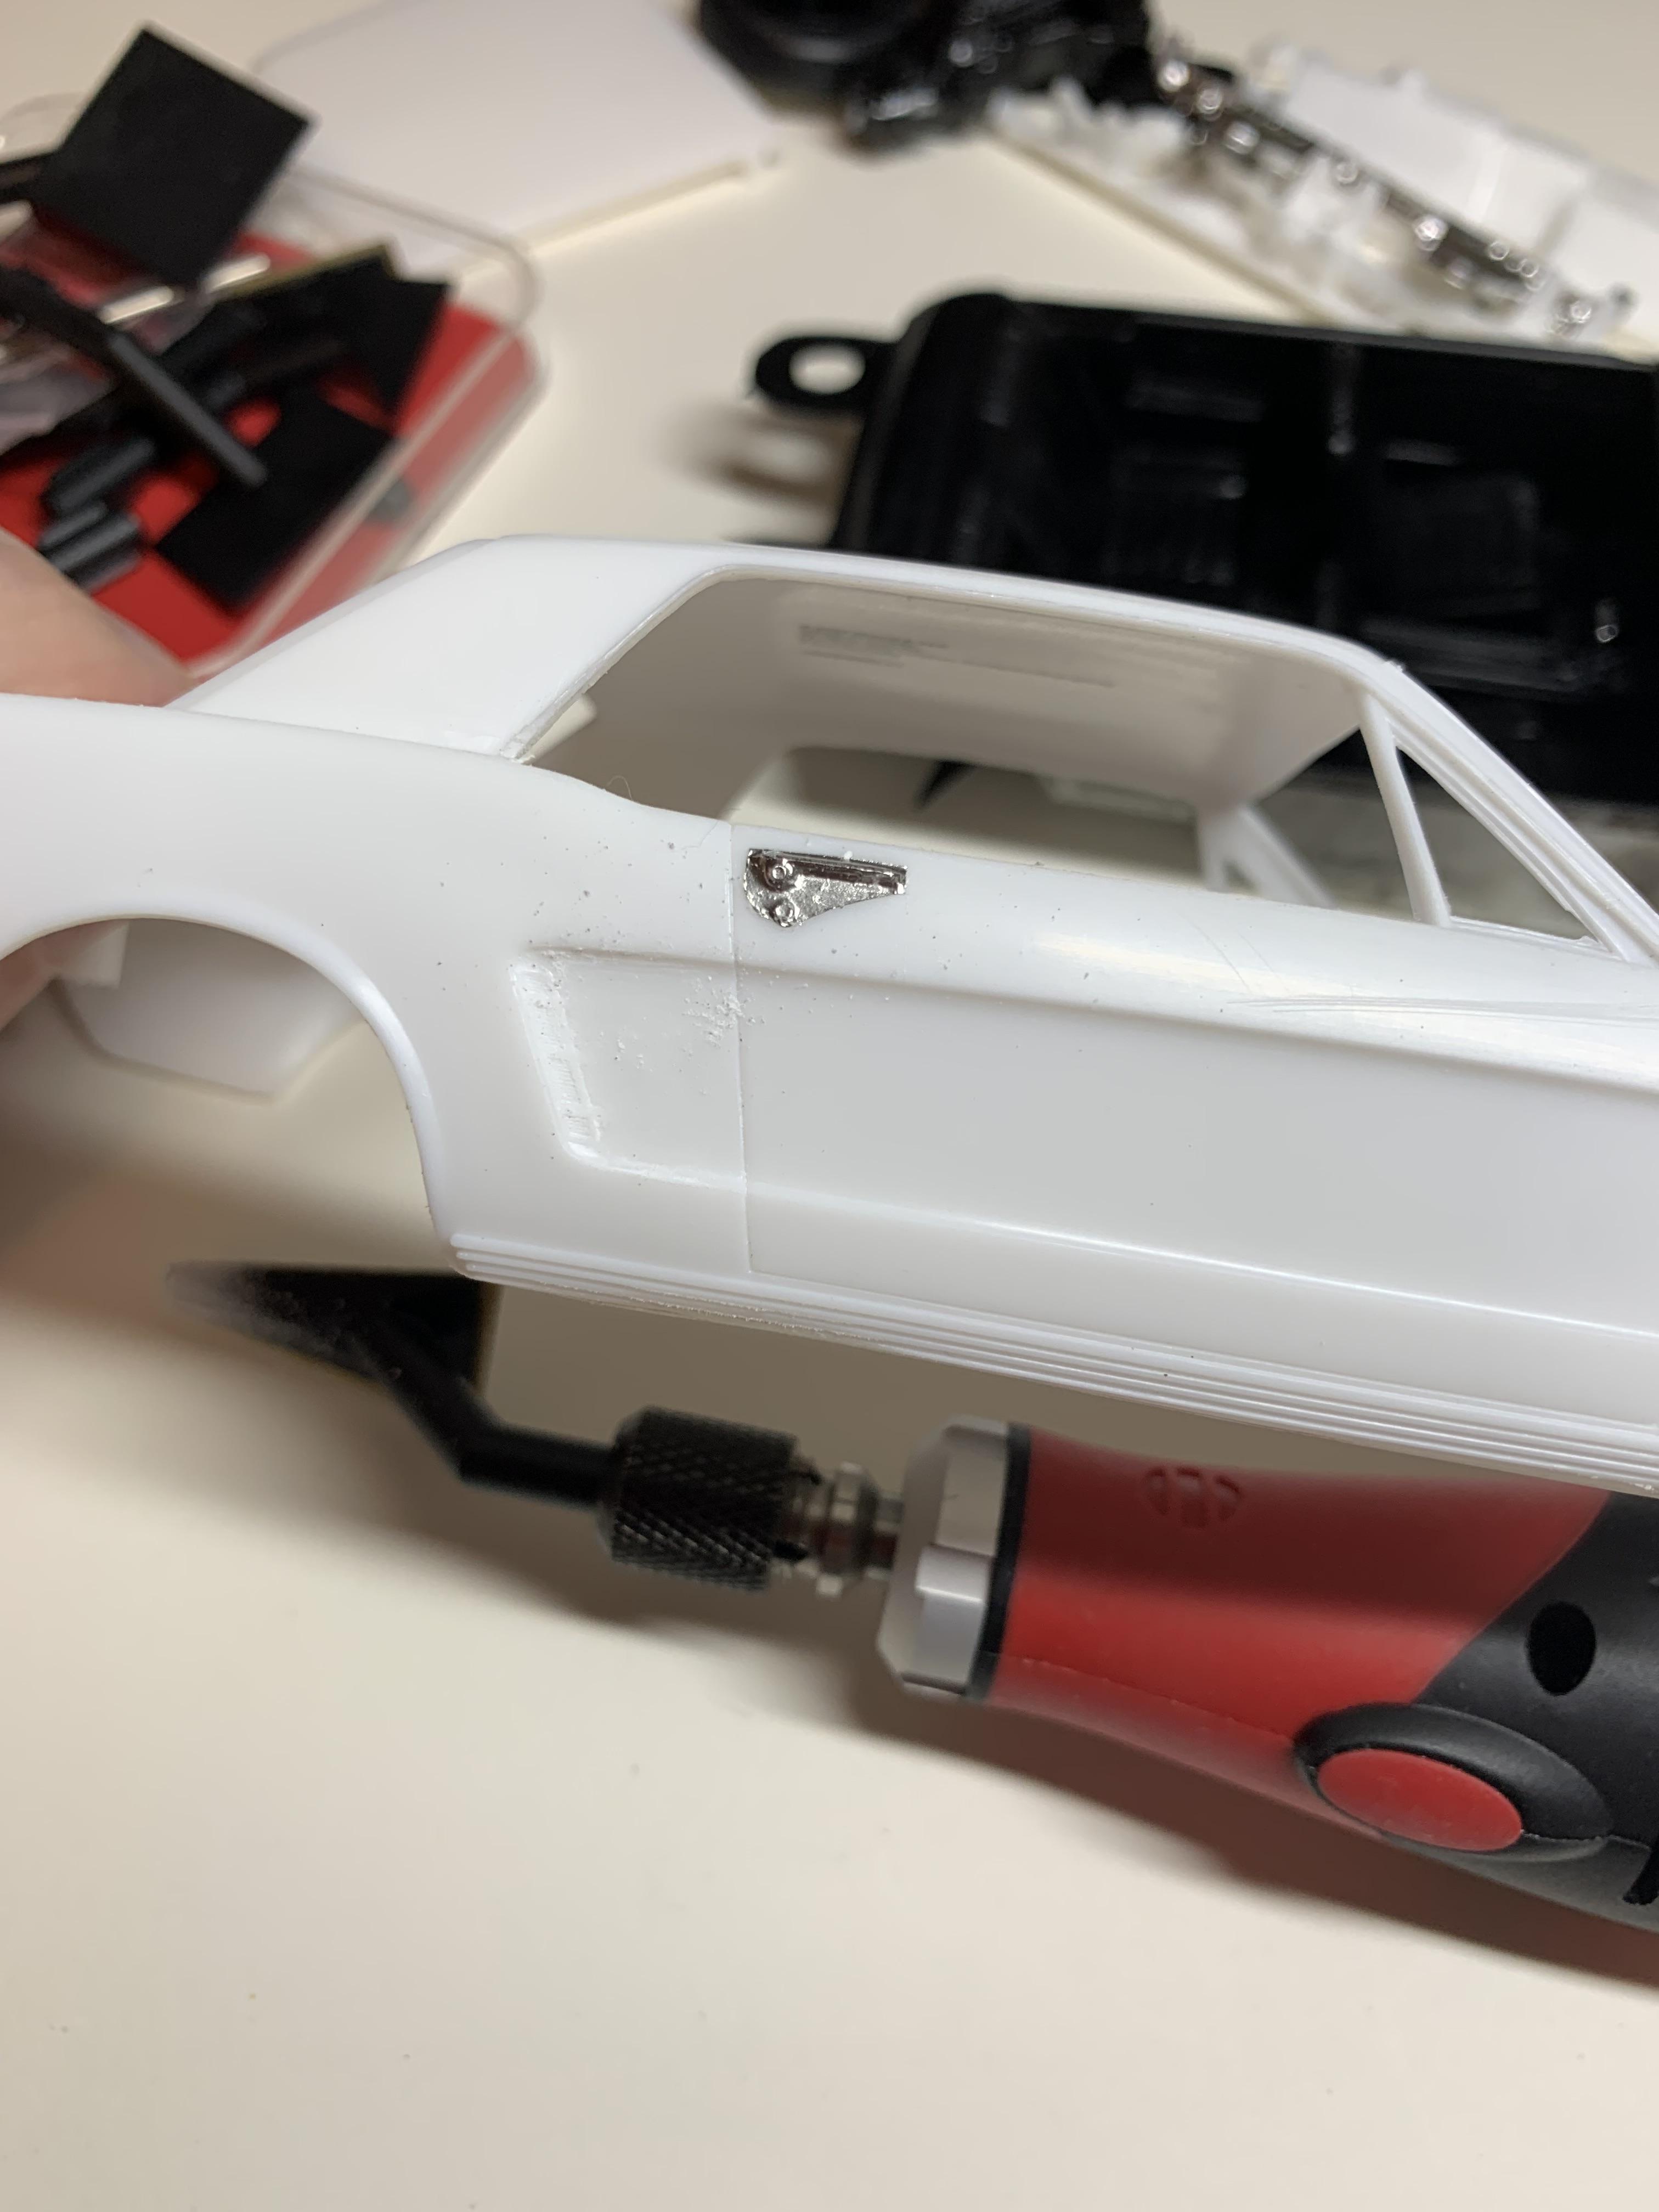
Just a couple of pics that might help and one of the things on the side of the car that I have removed. Of course, Ace is correct about the generator.
-
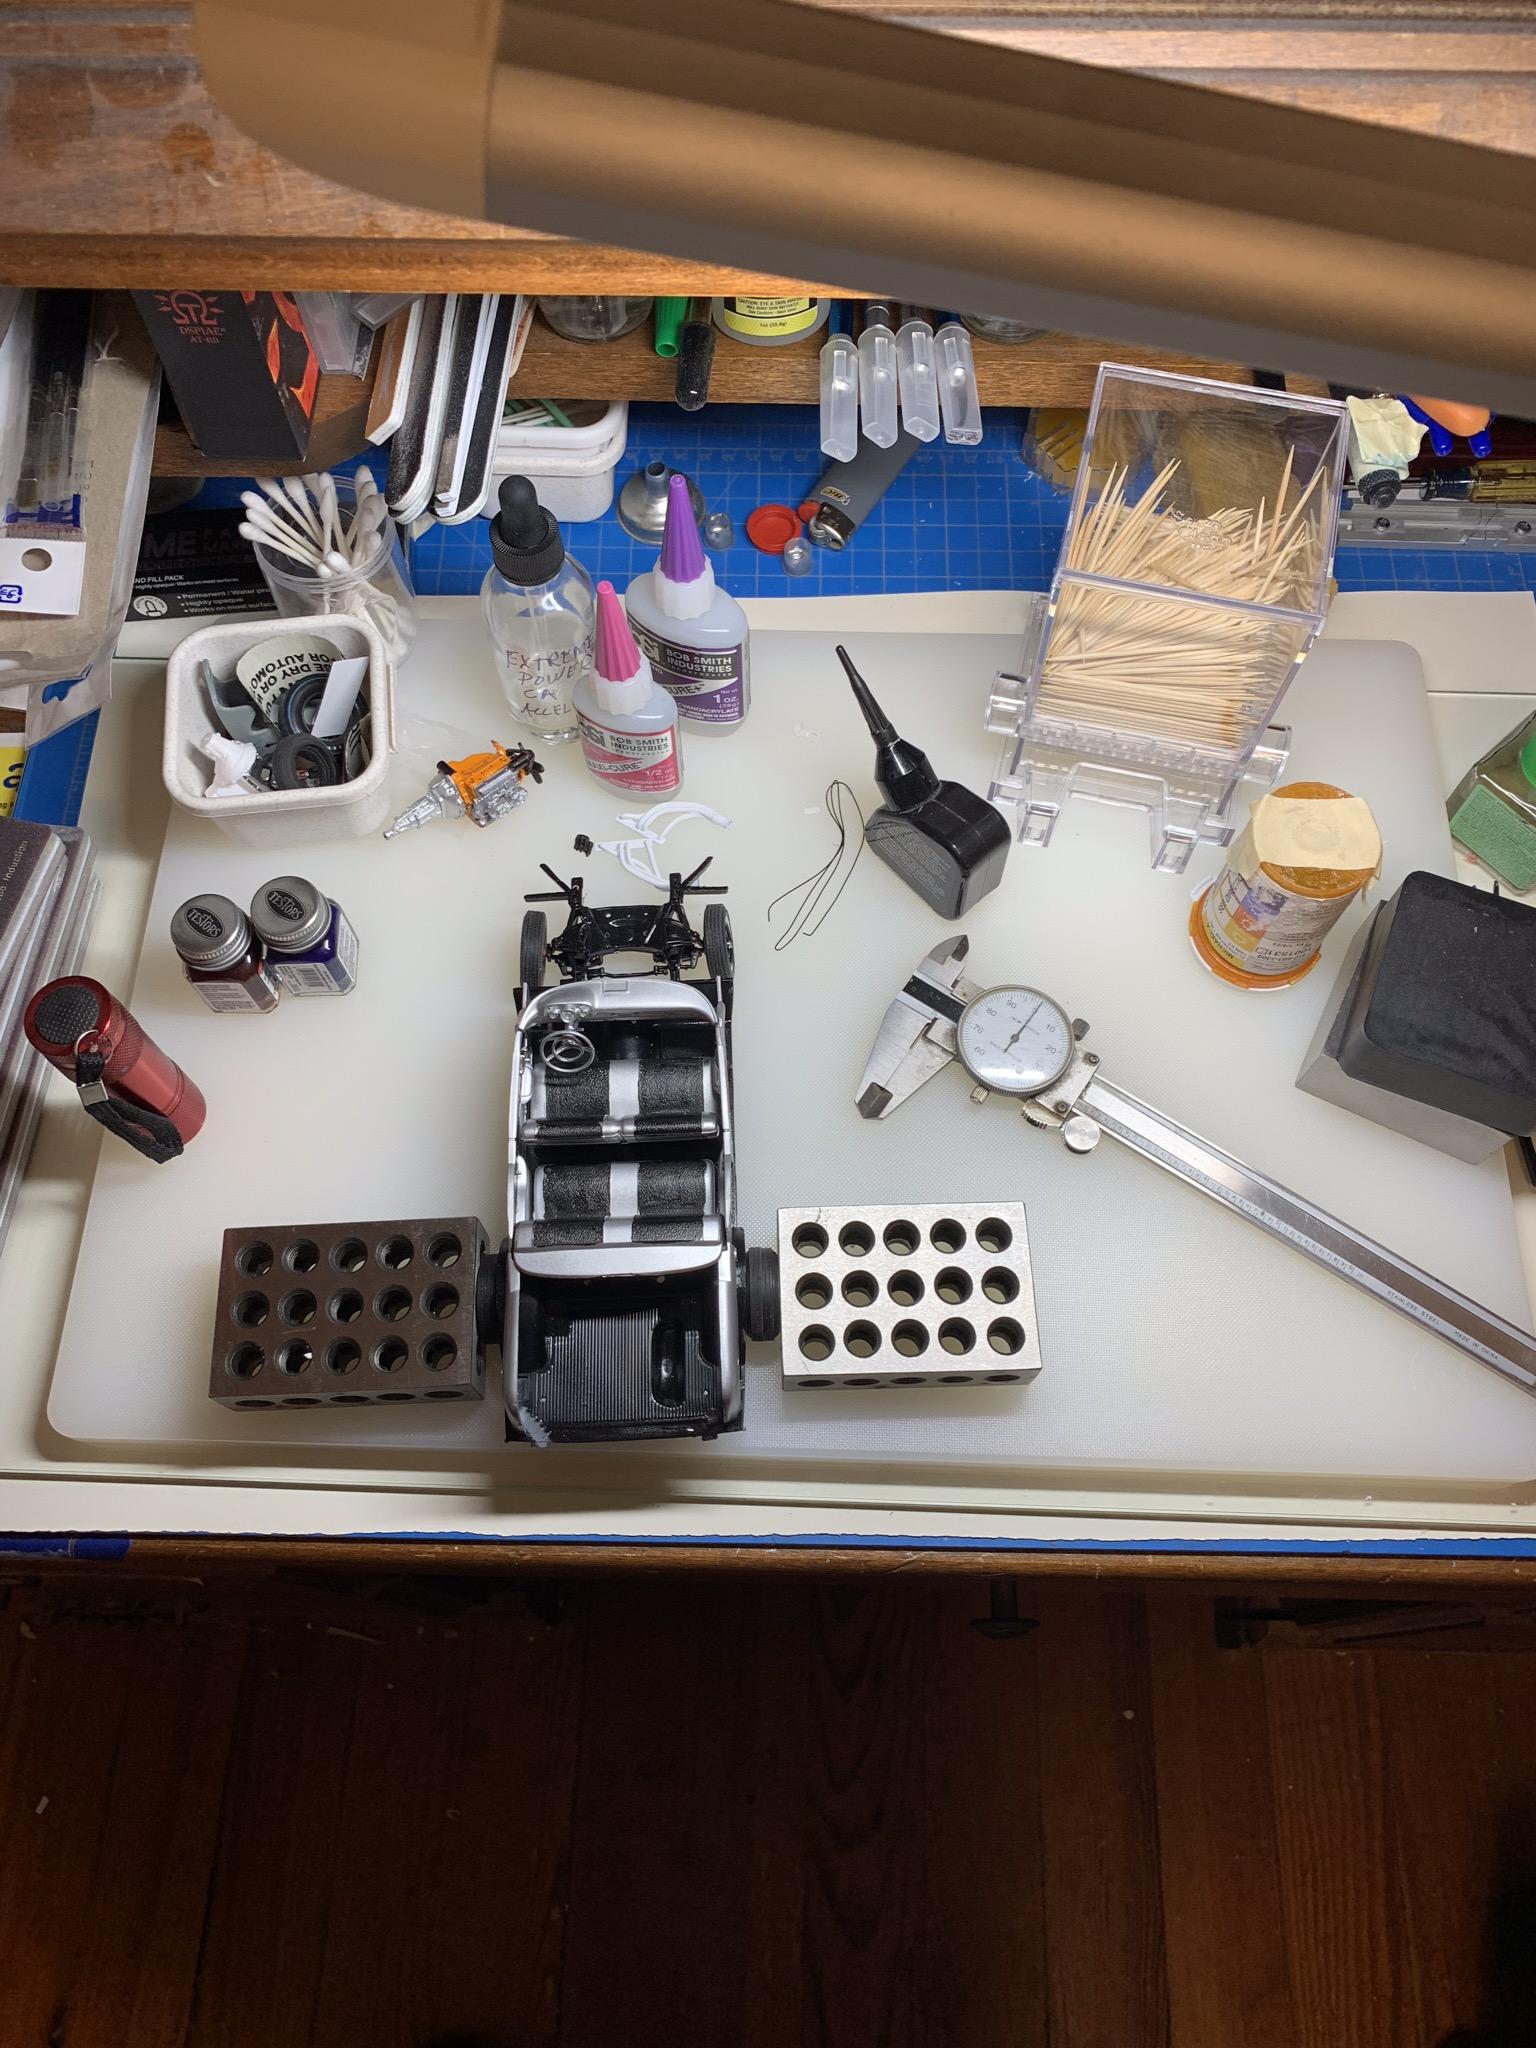
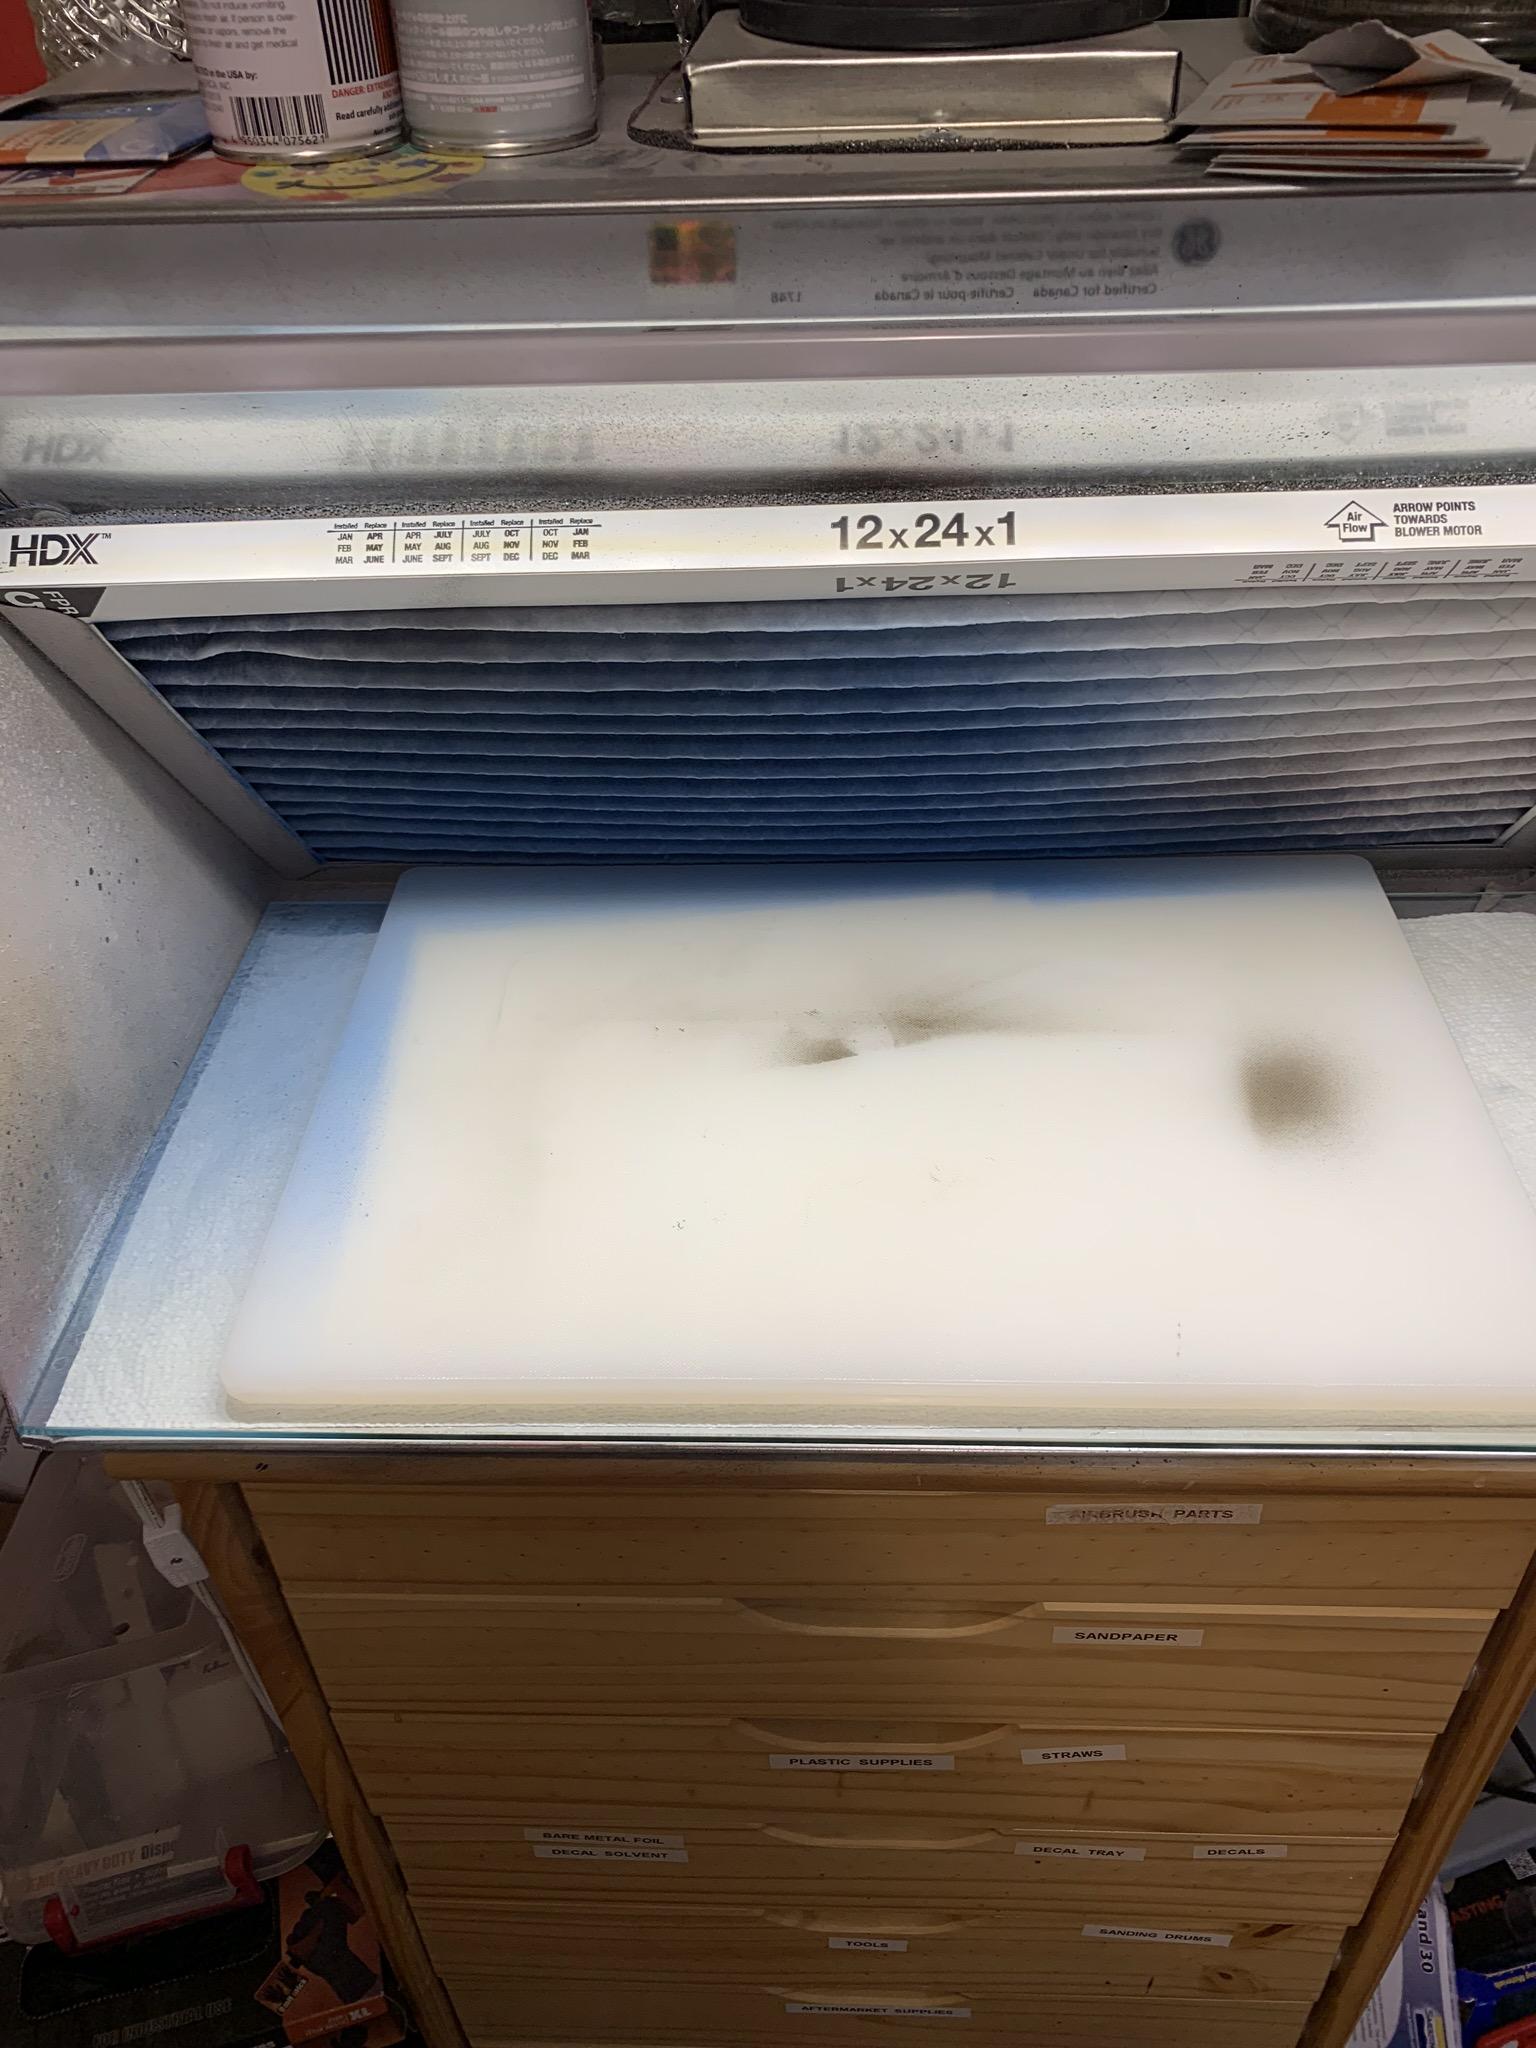
This came about when I noticed how much better I could see details and small pieces when viewing those things on a light background. Heretofore, I had used cutting mats of different colors with varying success usually ending up with magnifying glasses with additional lighting. I initially noticed this when wetting down white paper towels in the spray booth. I could make out details of the paint job better. Anyway, trying it on my work bench about 6 months ago has allowed me to work without any assistance from glasses, just decent lighting. First I used paper towels, then plain white sheet paper. About a month ago, I purchased some 12”x18”x1/2” cutting blocks. Easier to clean up and less trash to throw away. If I need to do some cutting or drilling, I pull out a small cutting mat or piece of 2”x4”. I also use a piece of glass with white paper under it.
-
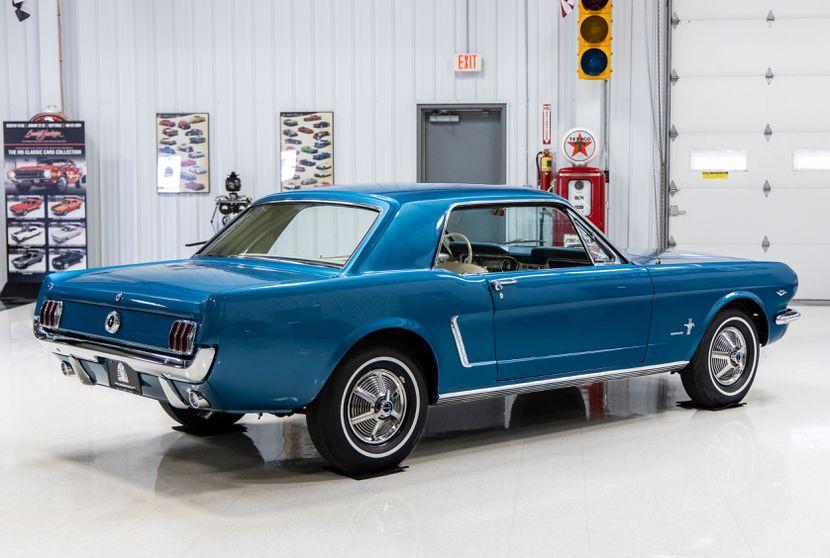
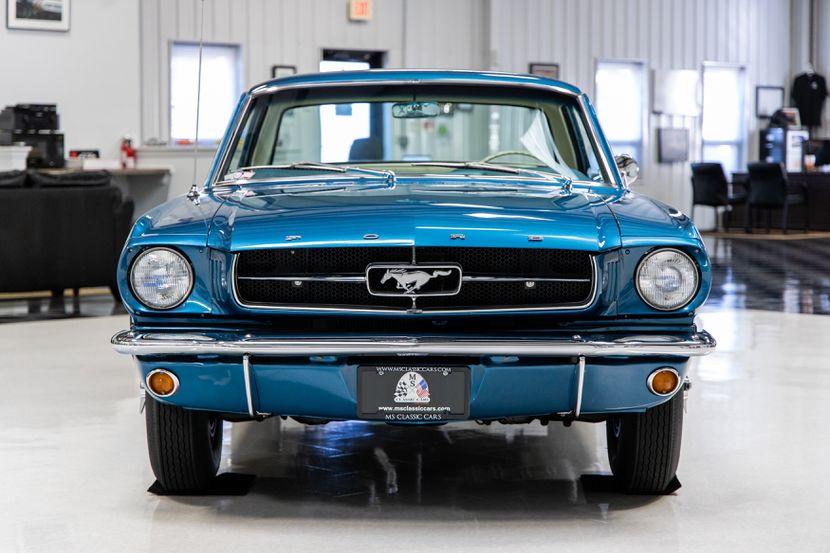
My sister had one of the first 1964.5 Mustangs in our area. Boy, everybody stopped what they were doing to gawk at that car. It is on my list to build and I am using this kit.
-
1969 Camaro A/SA (possibly Thomas Arnett’s)
R. Thorne replied to R. Thorne's topic in WIP: Drag Racing Models
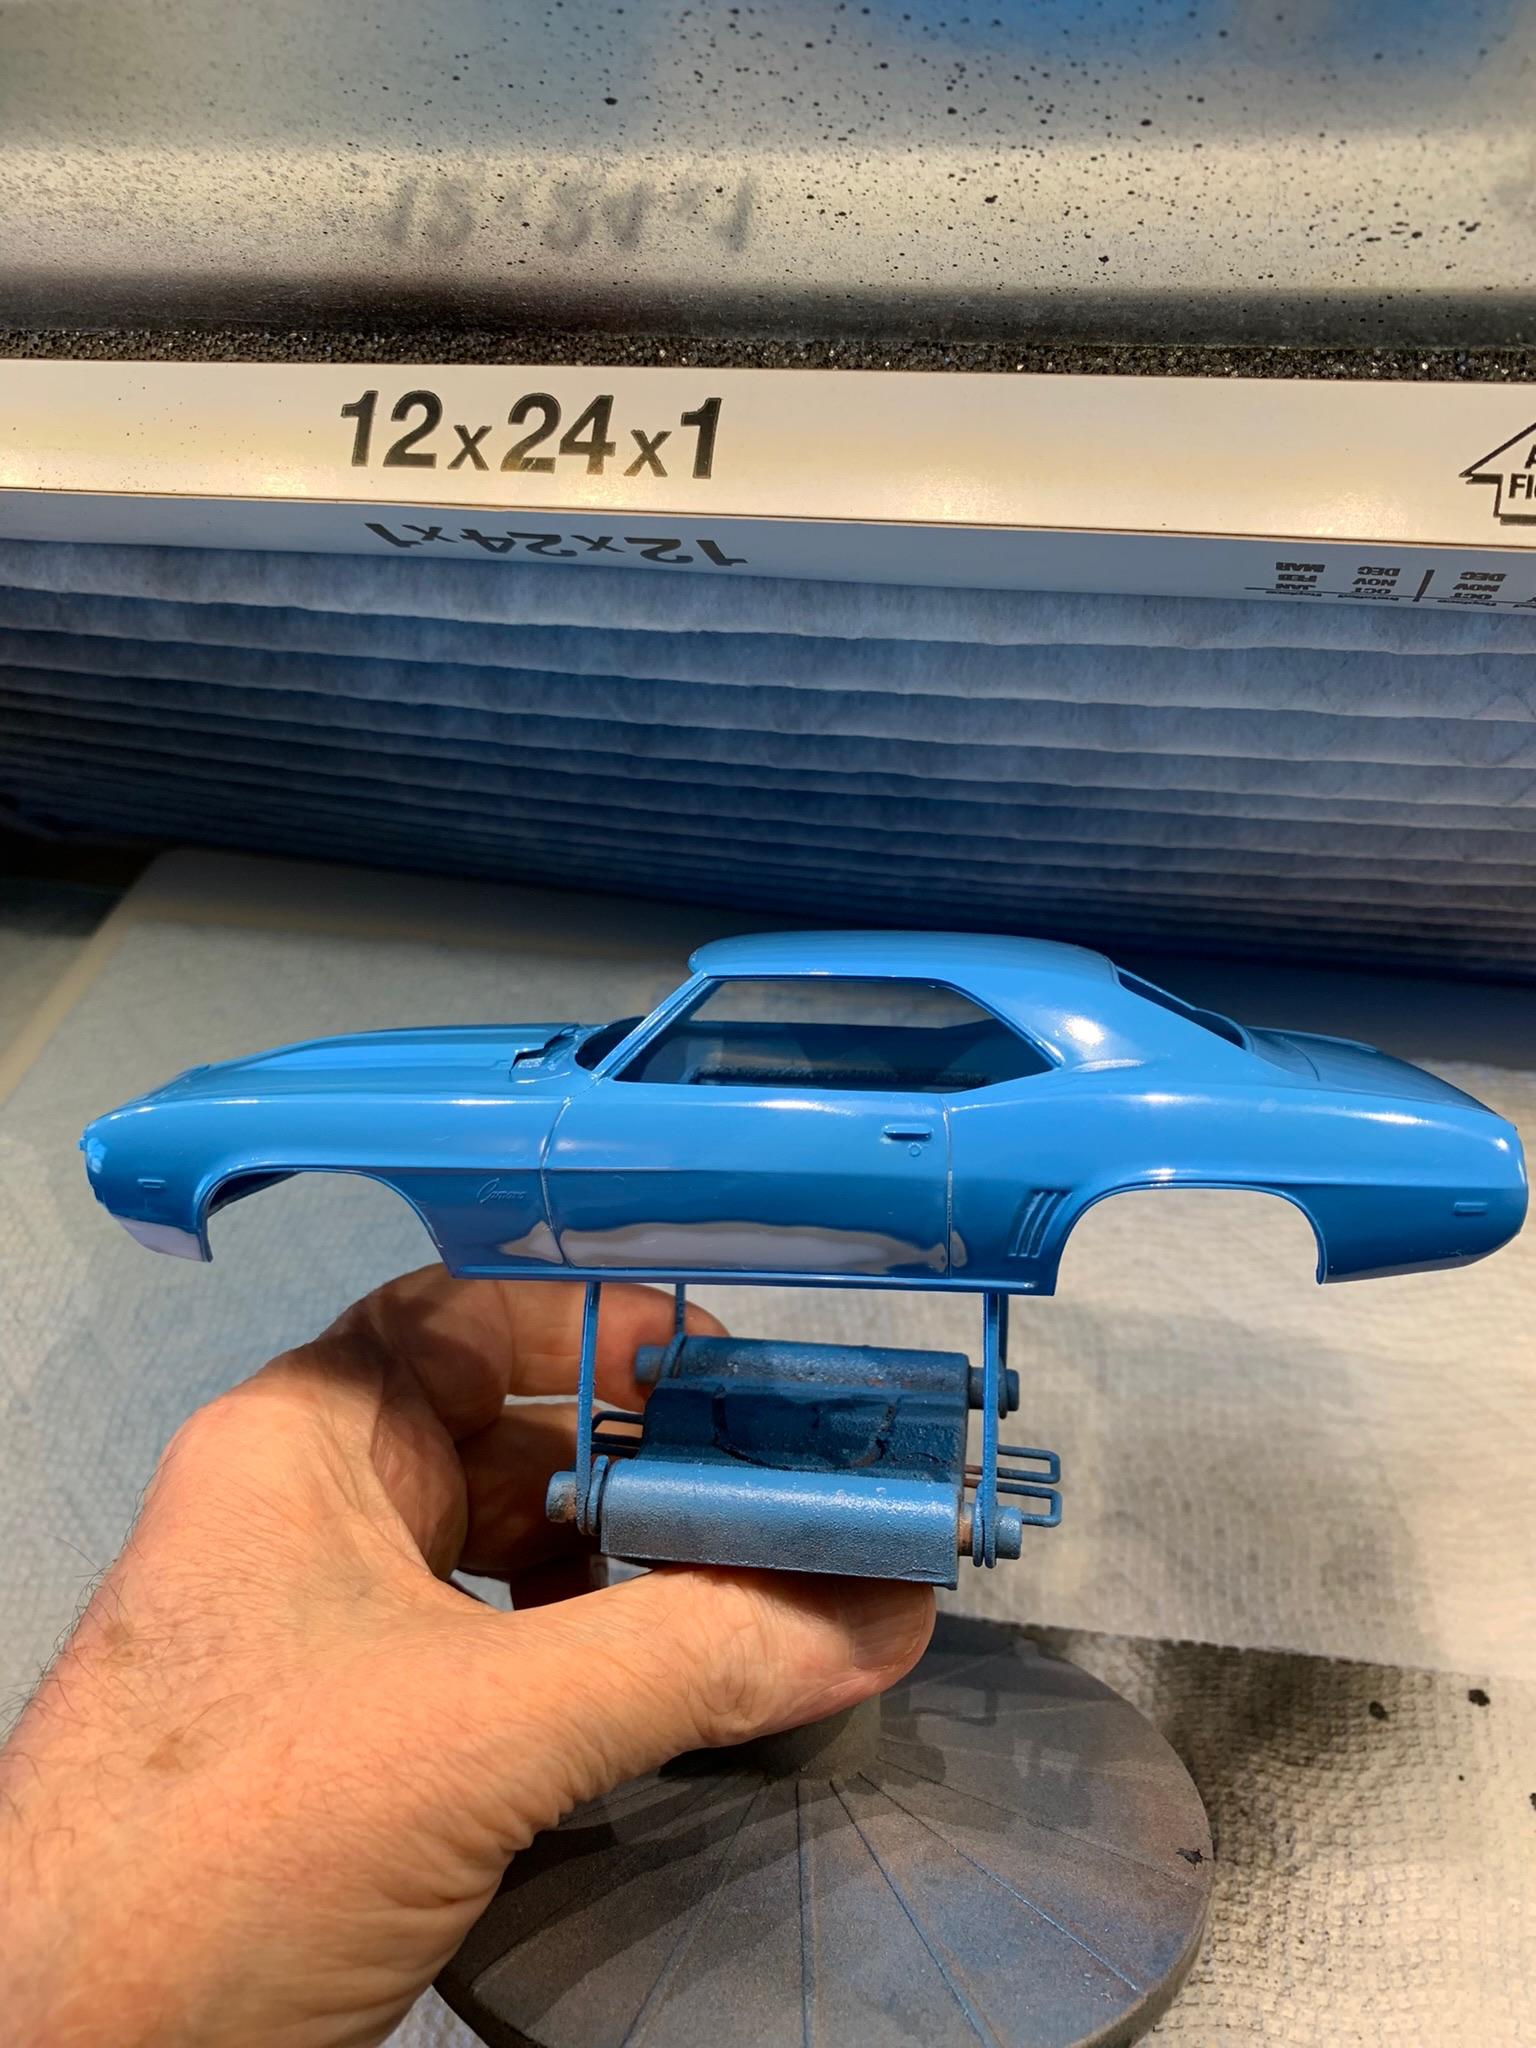
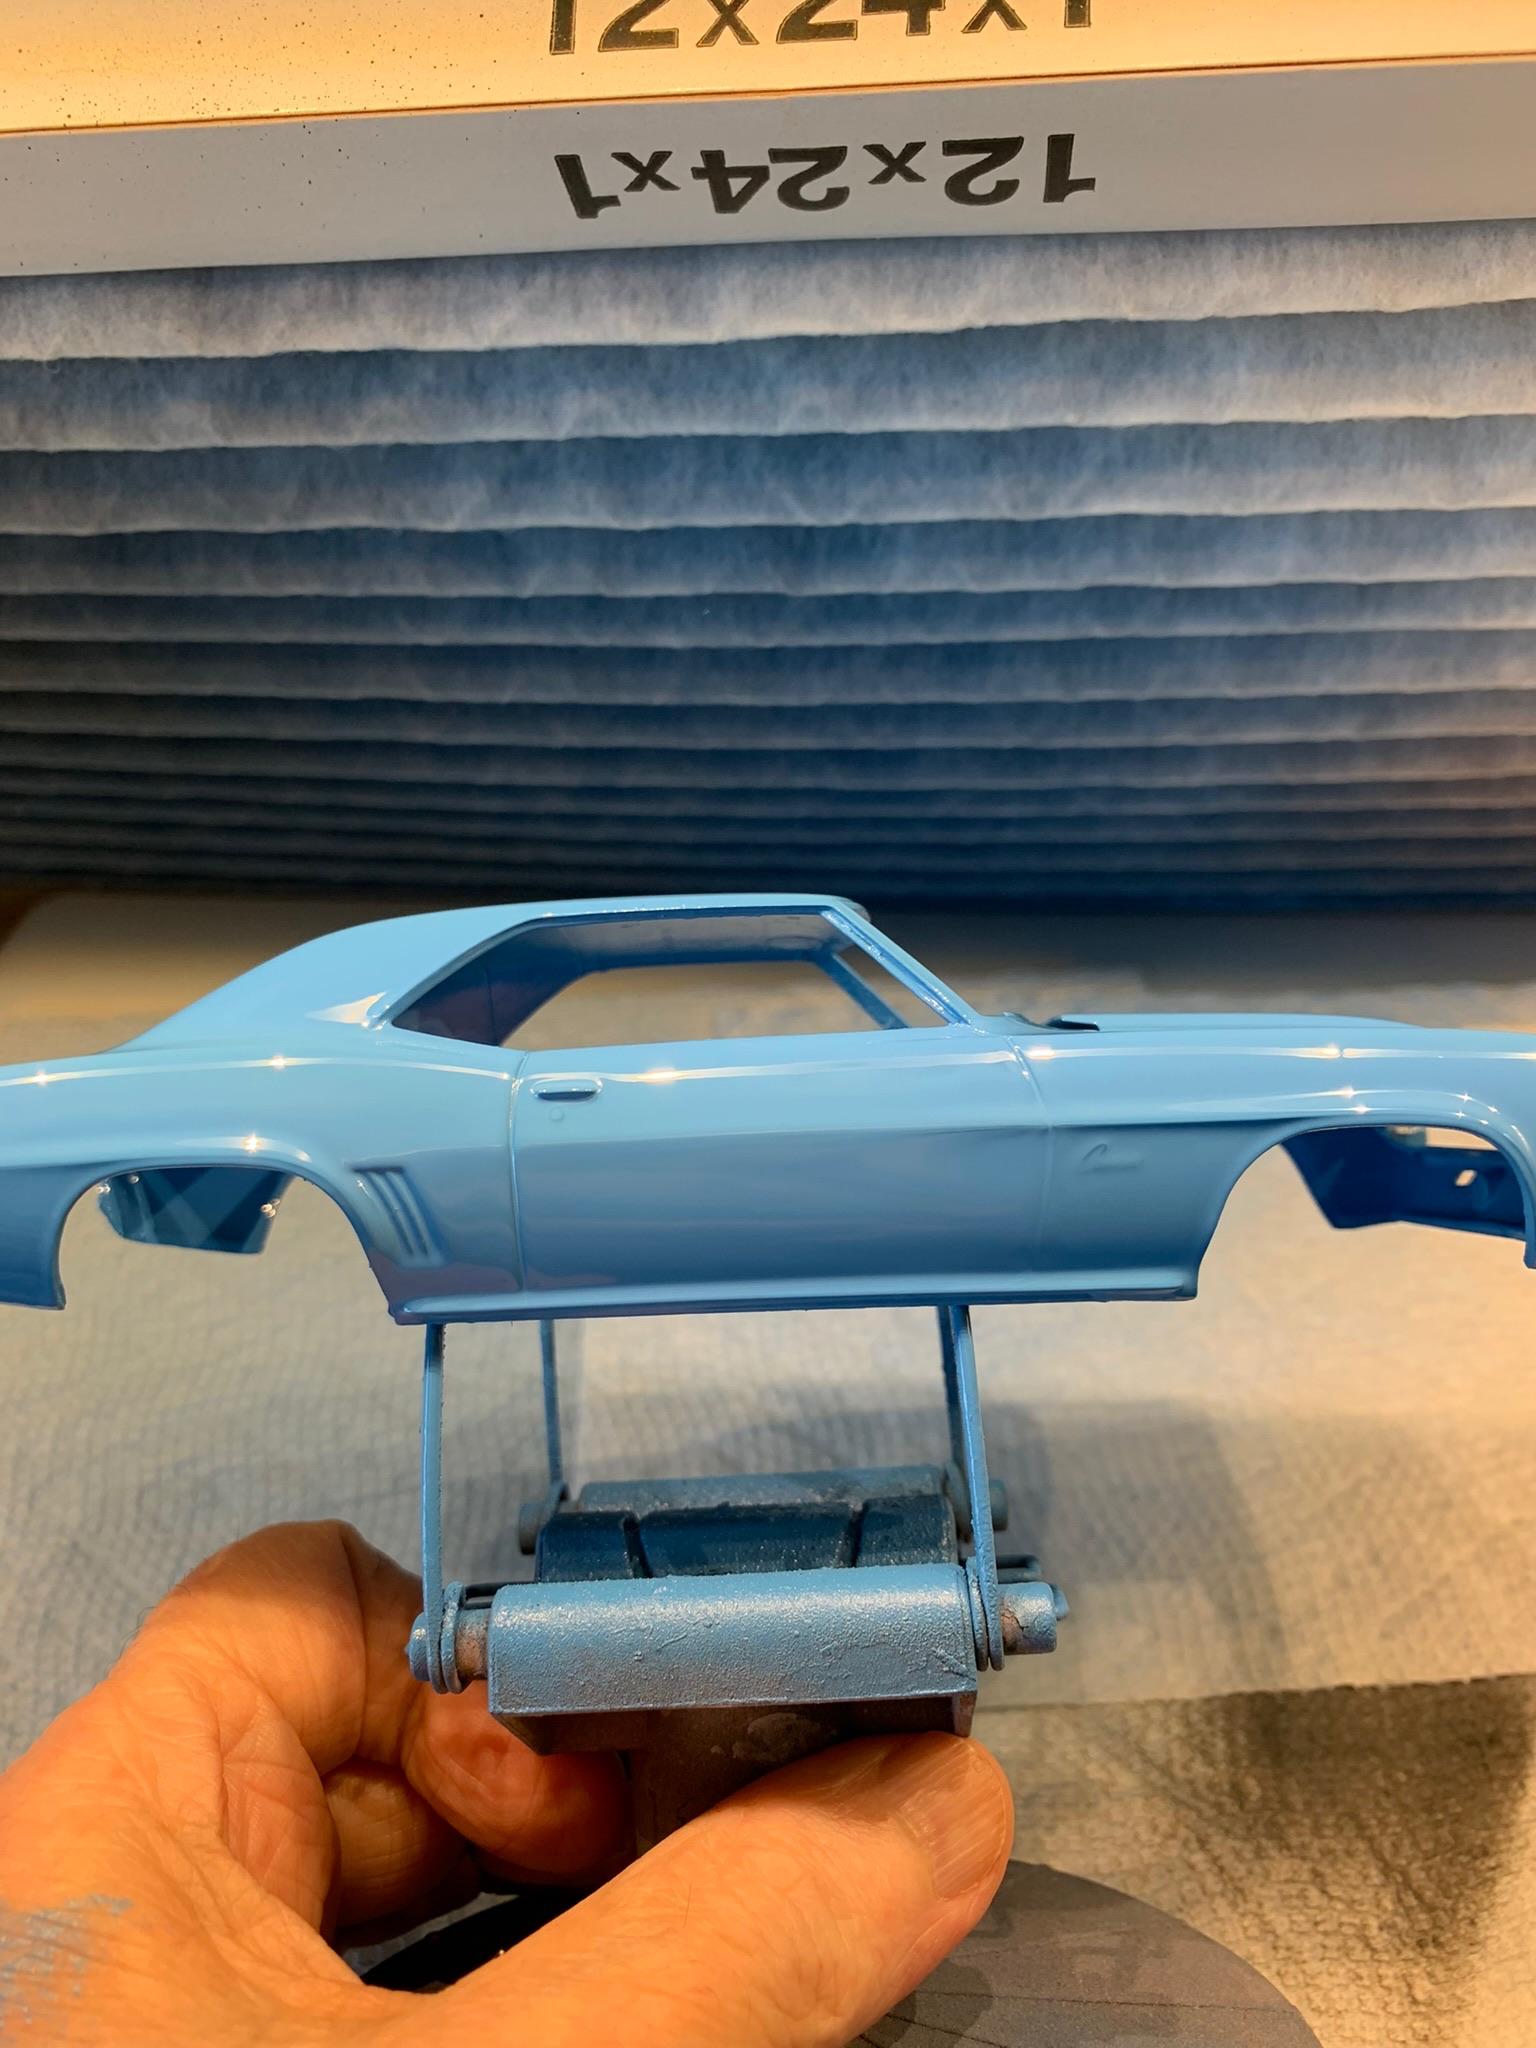
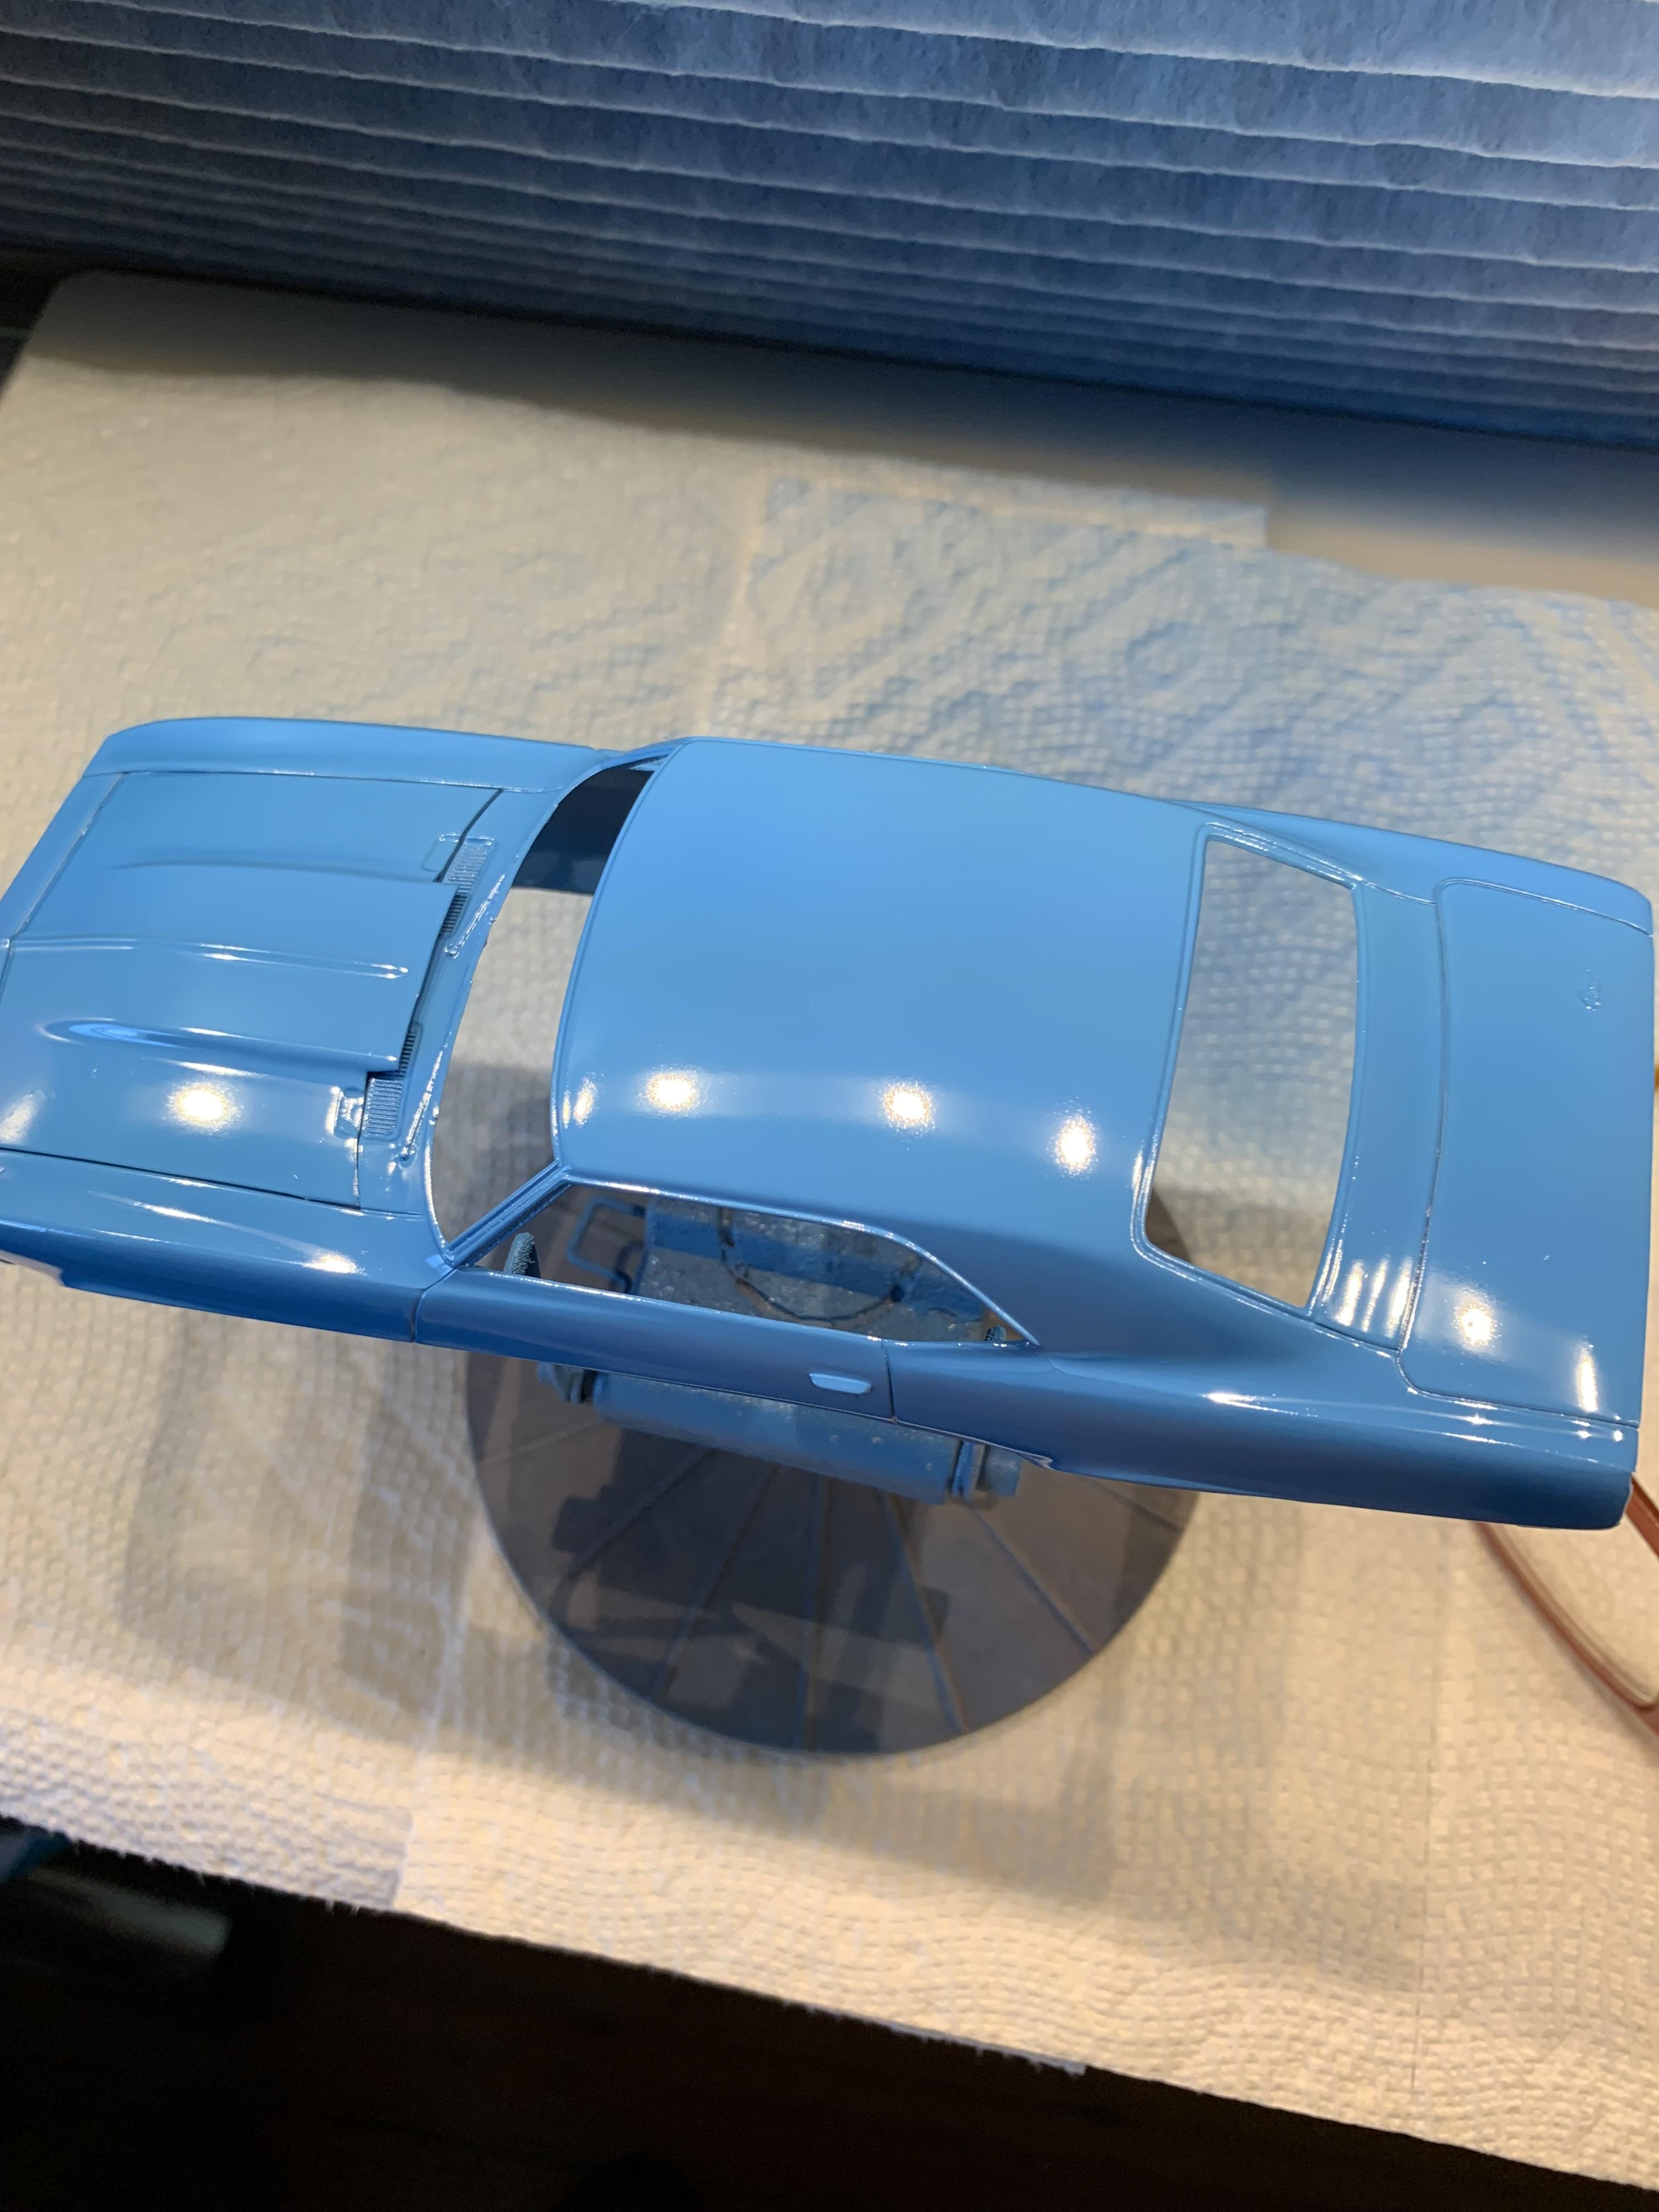
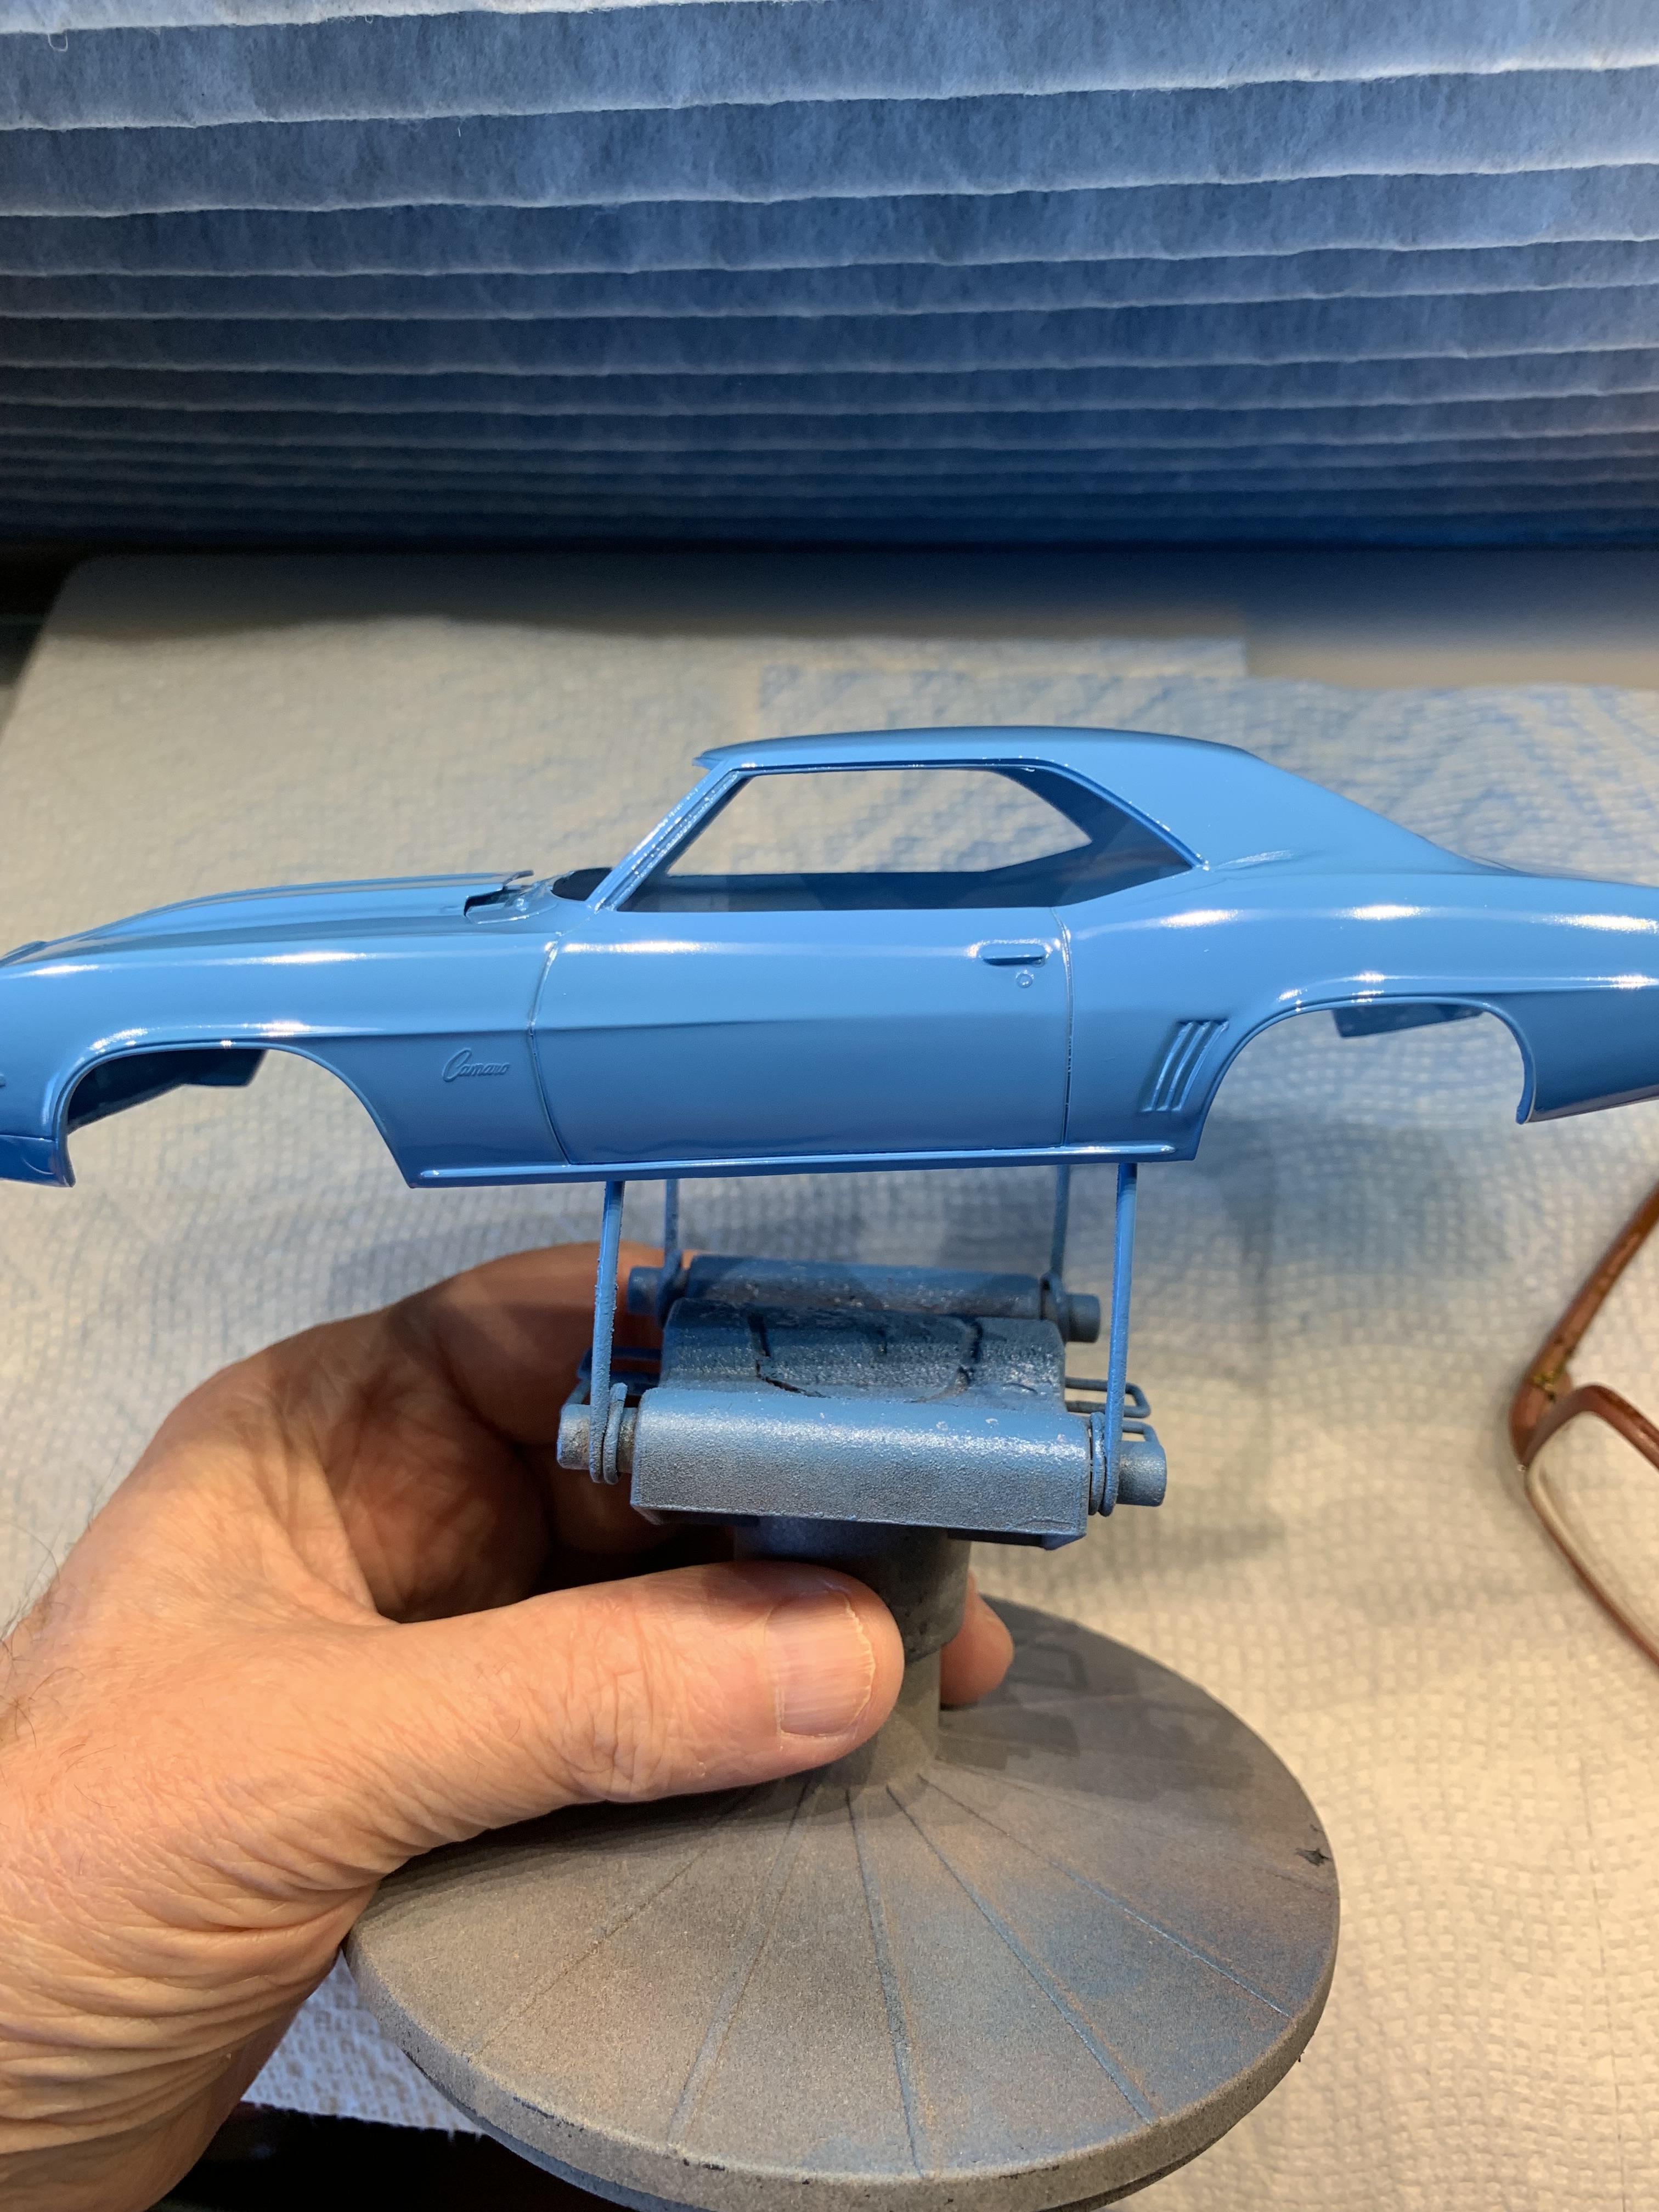
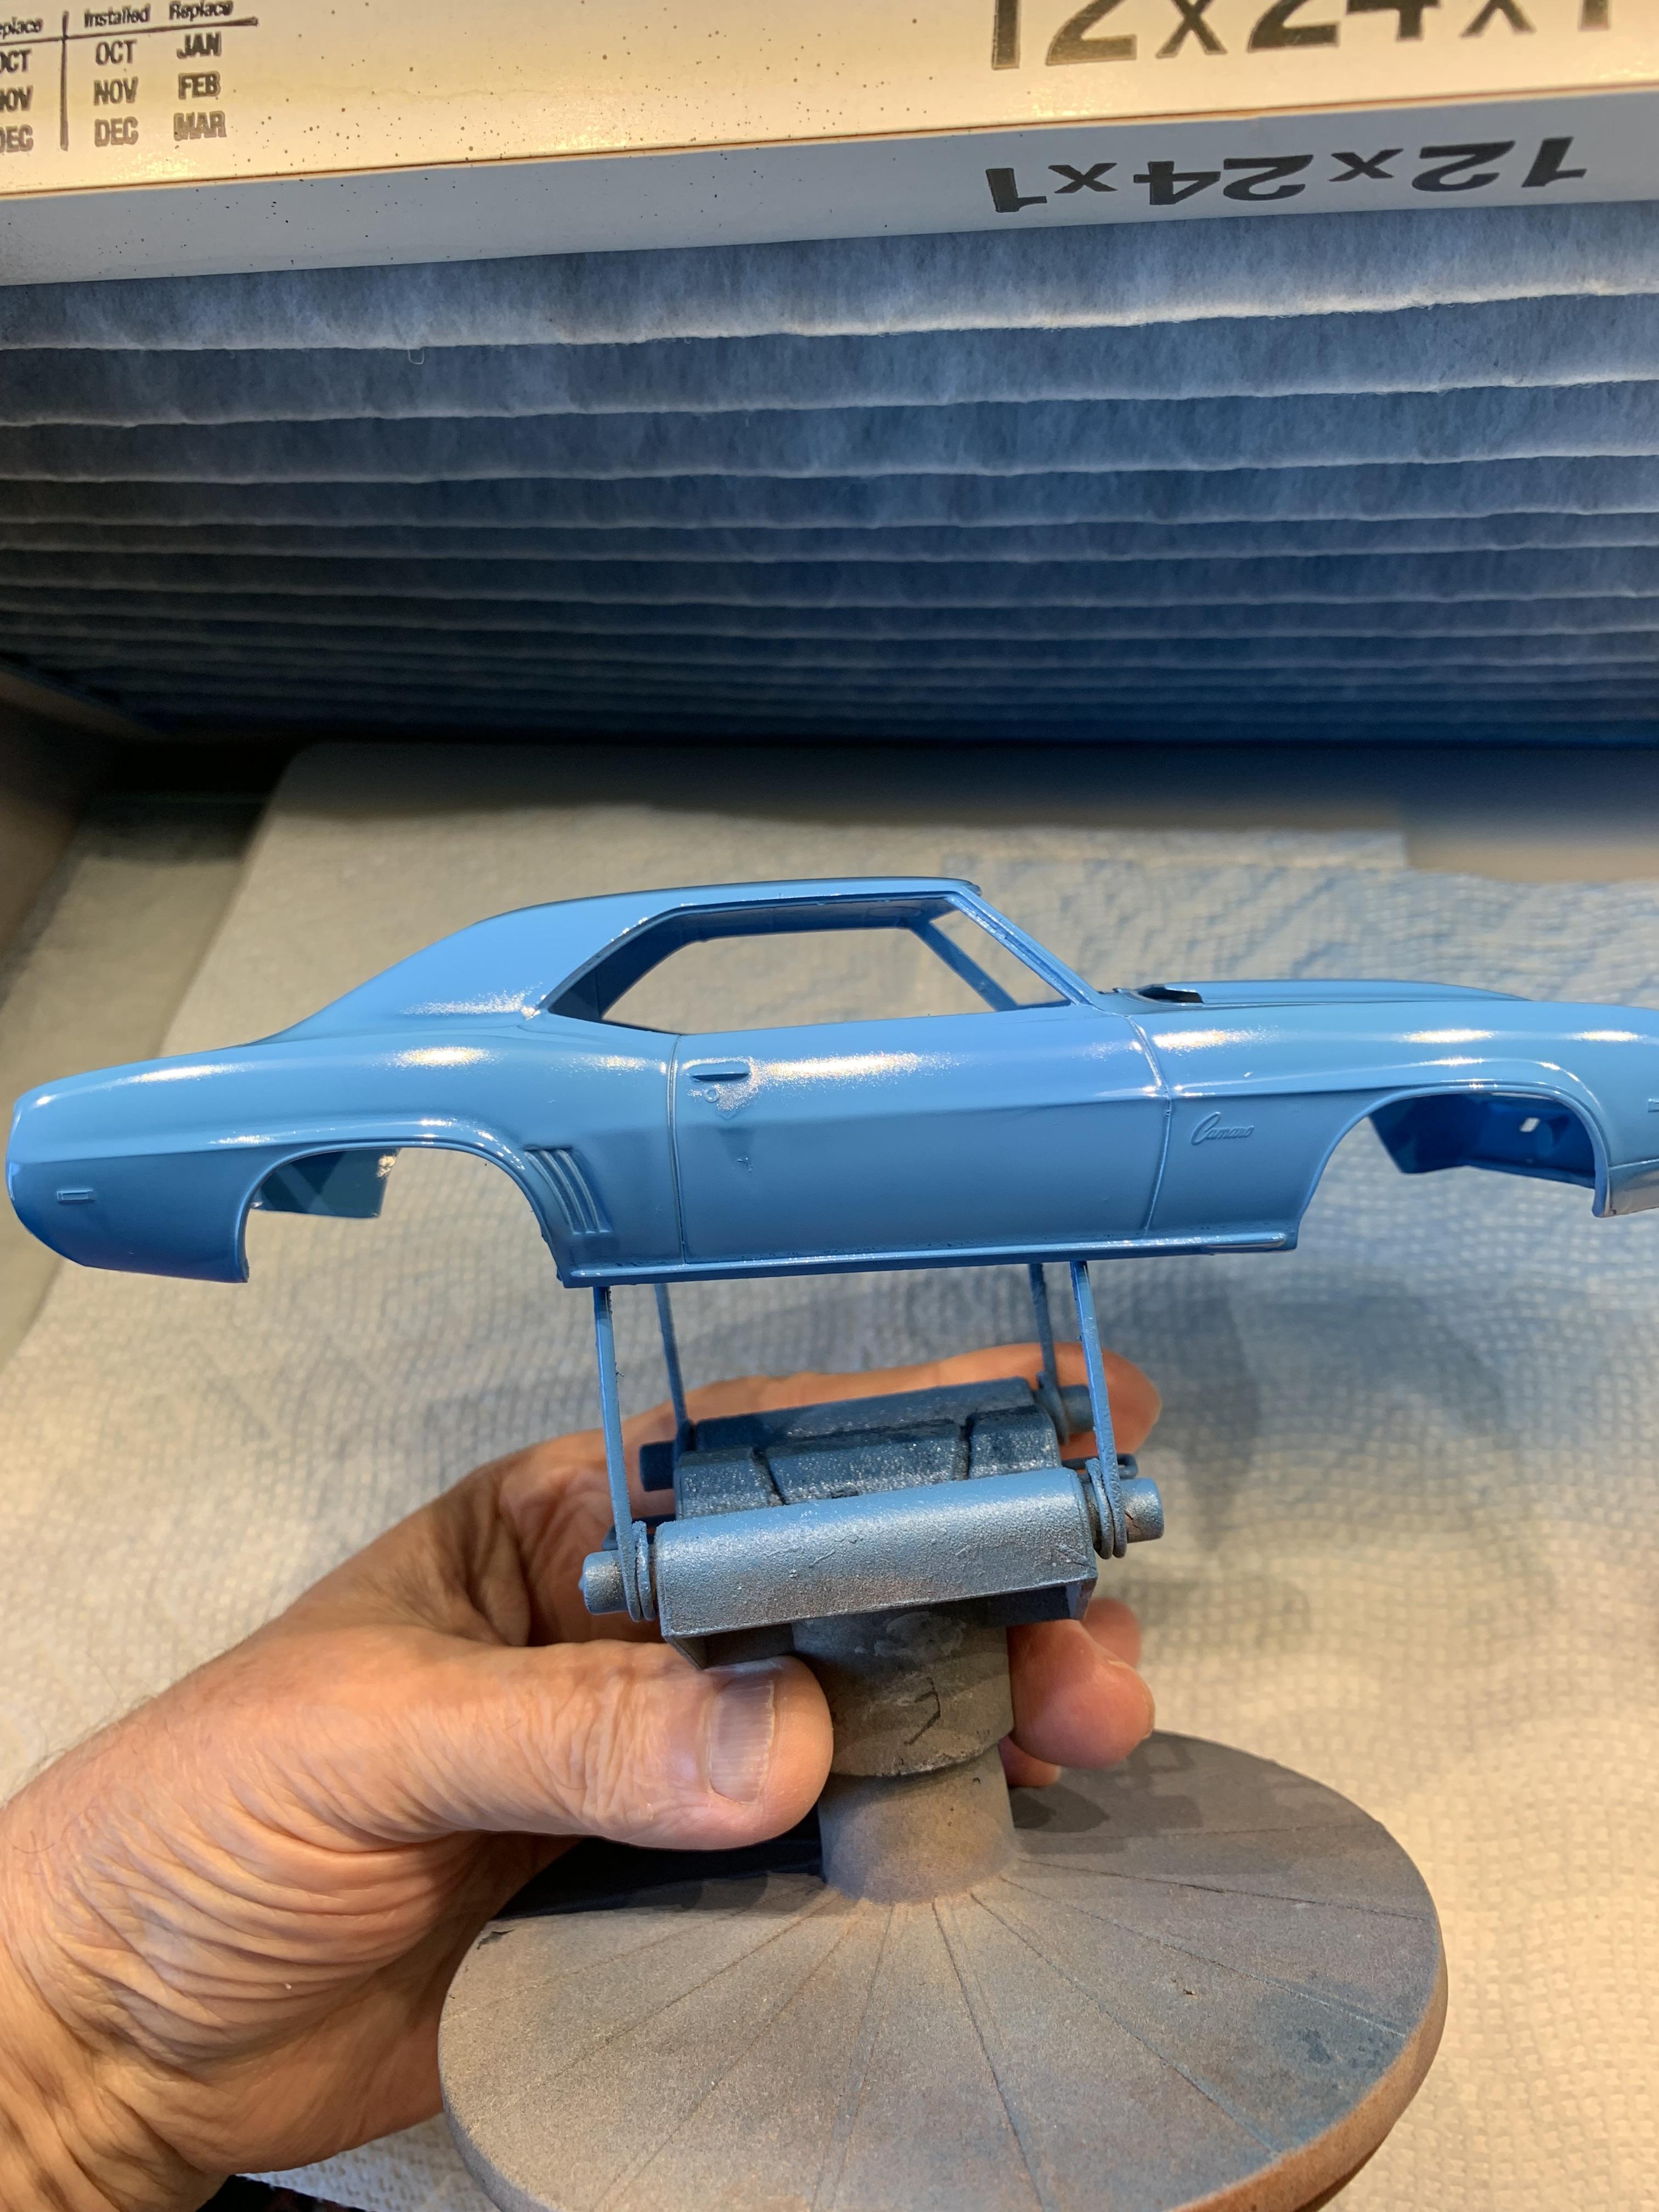
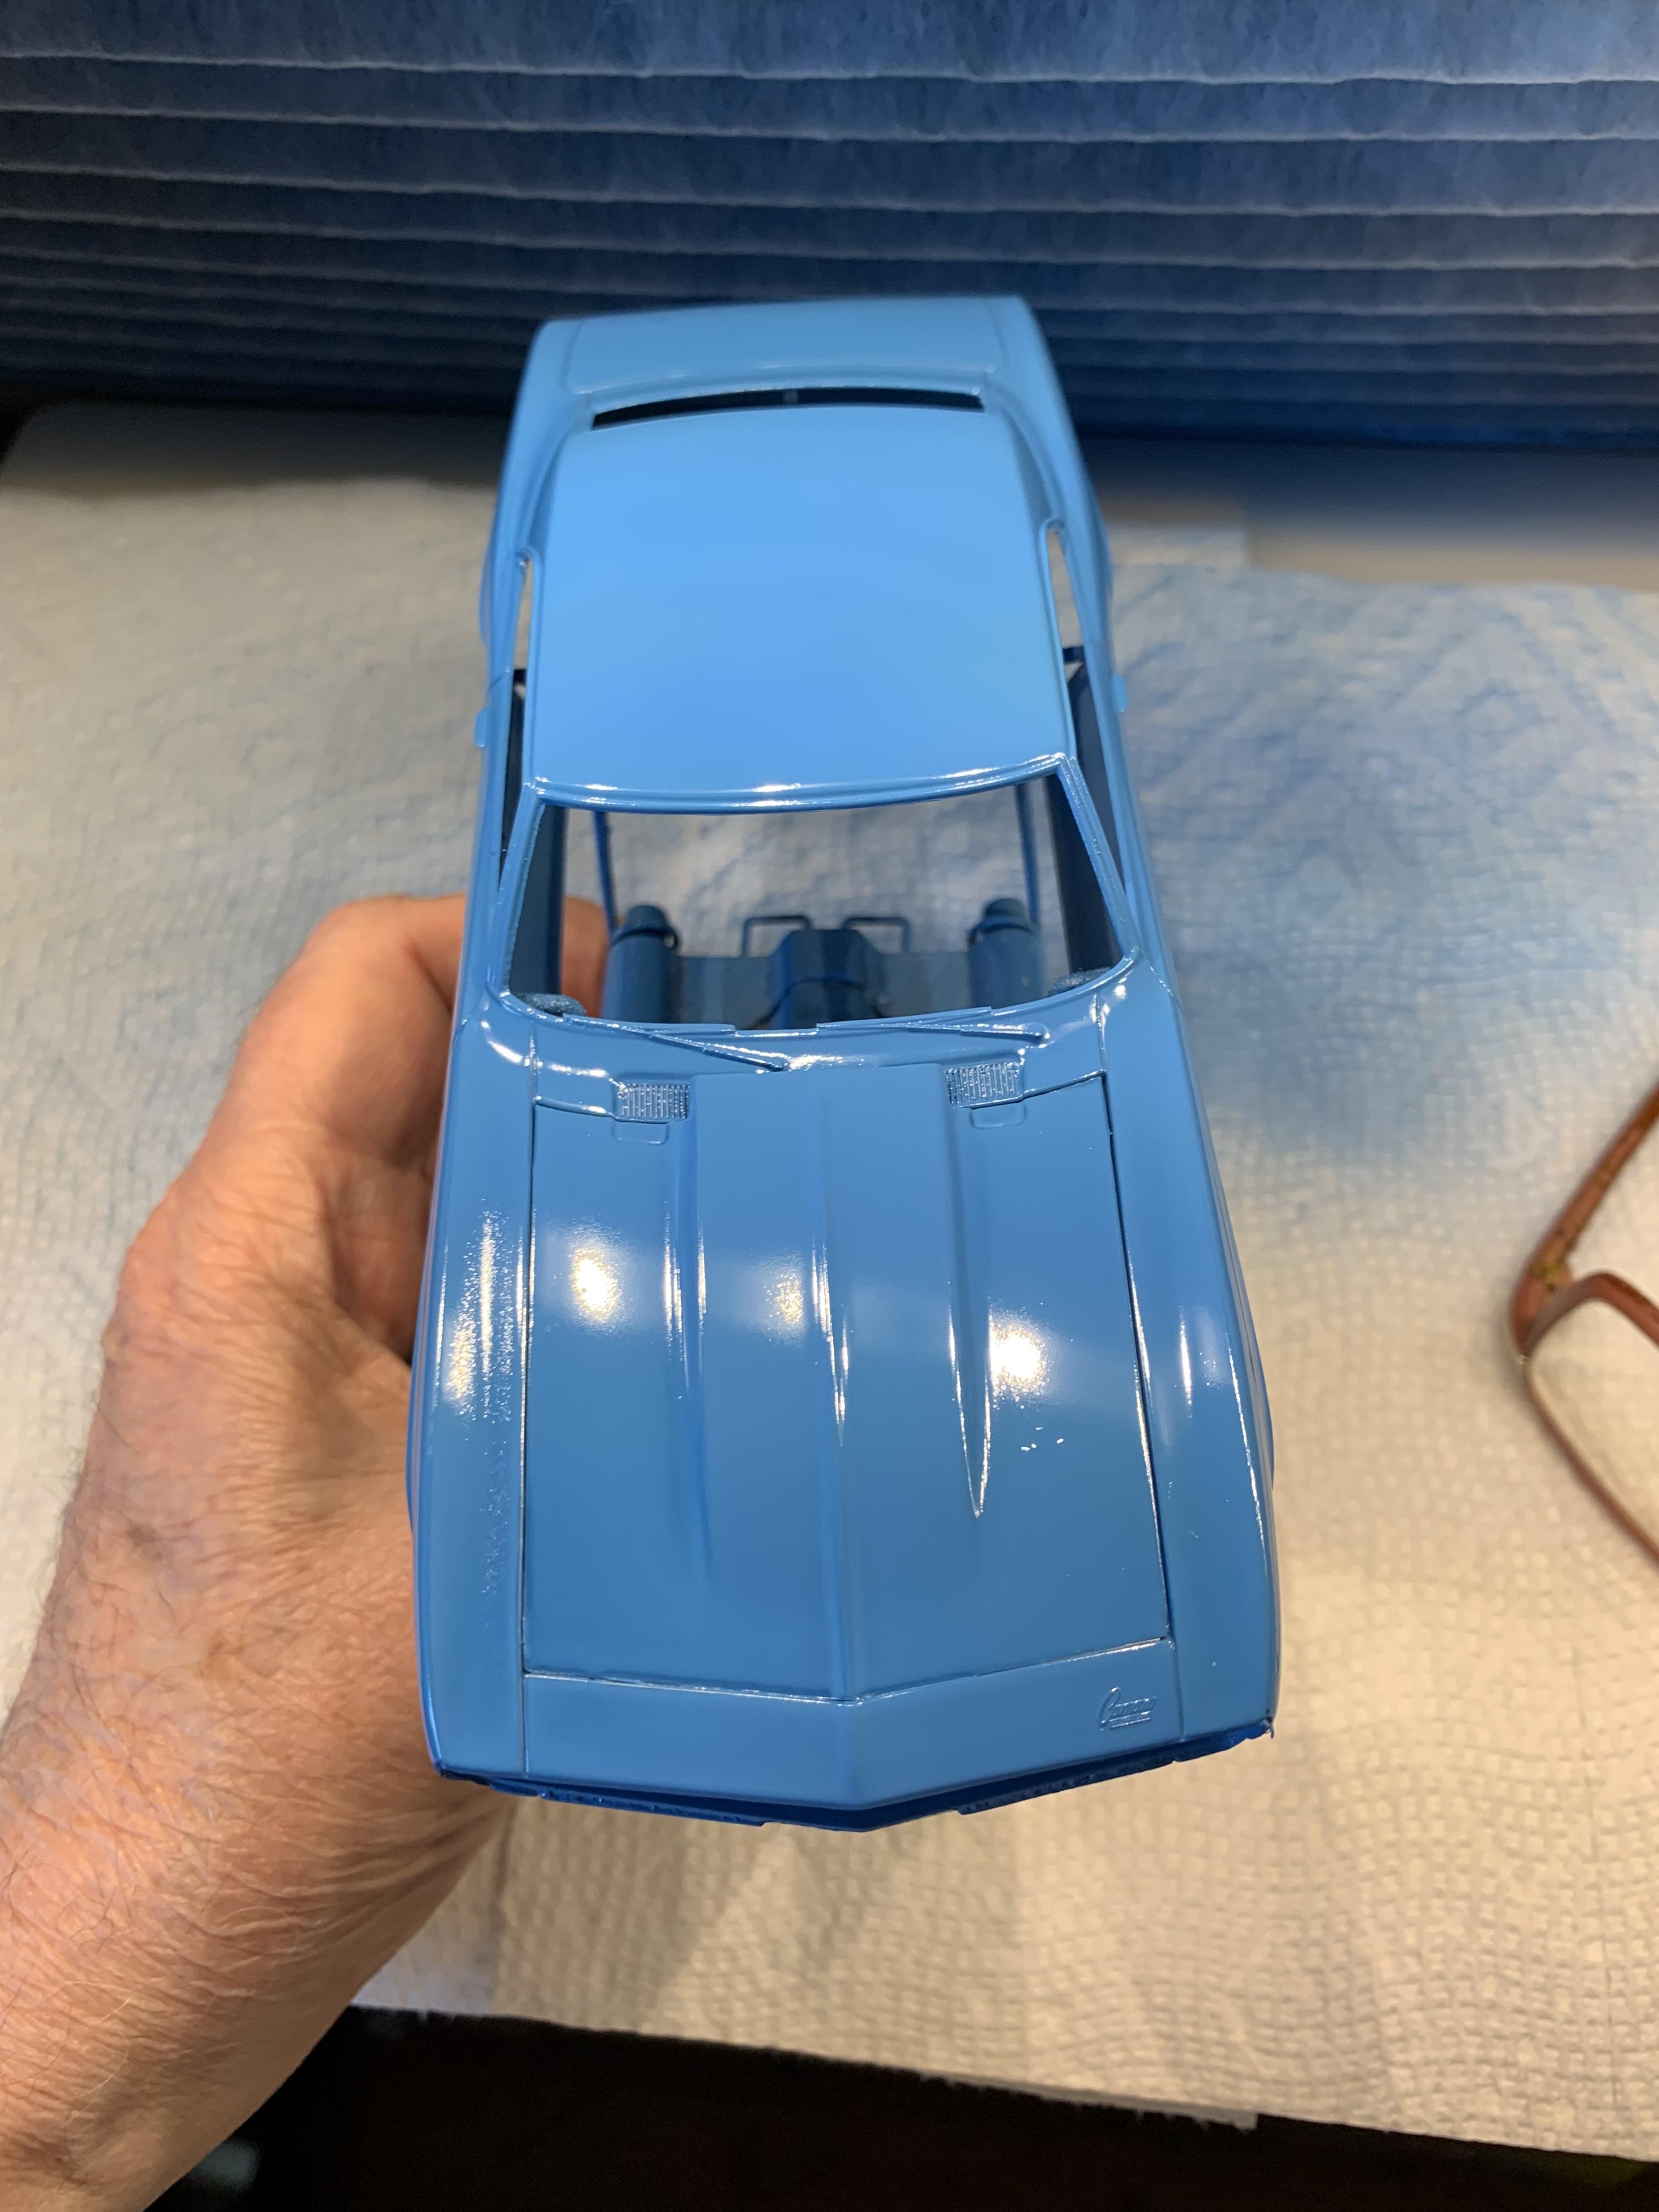
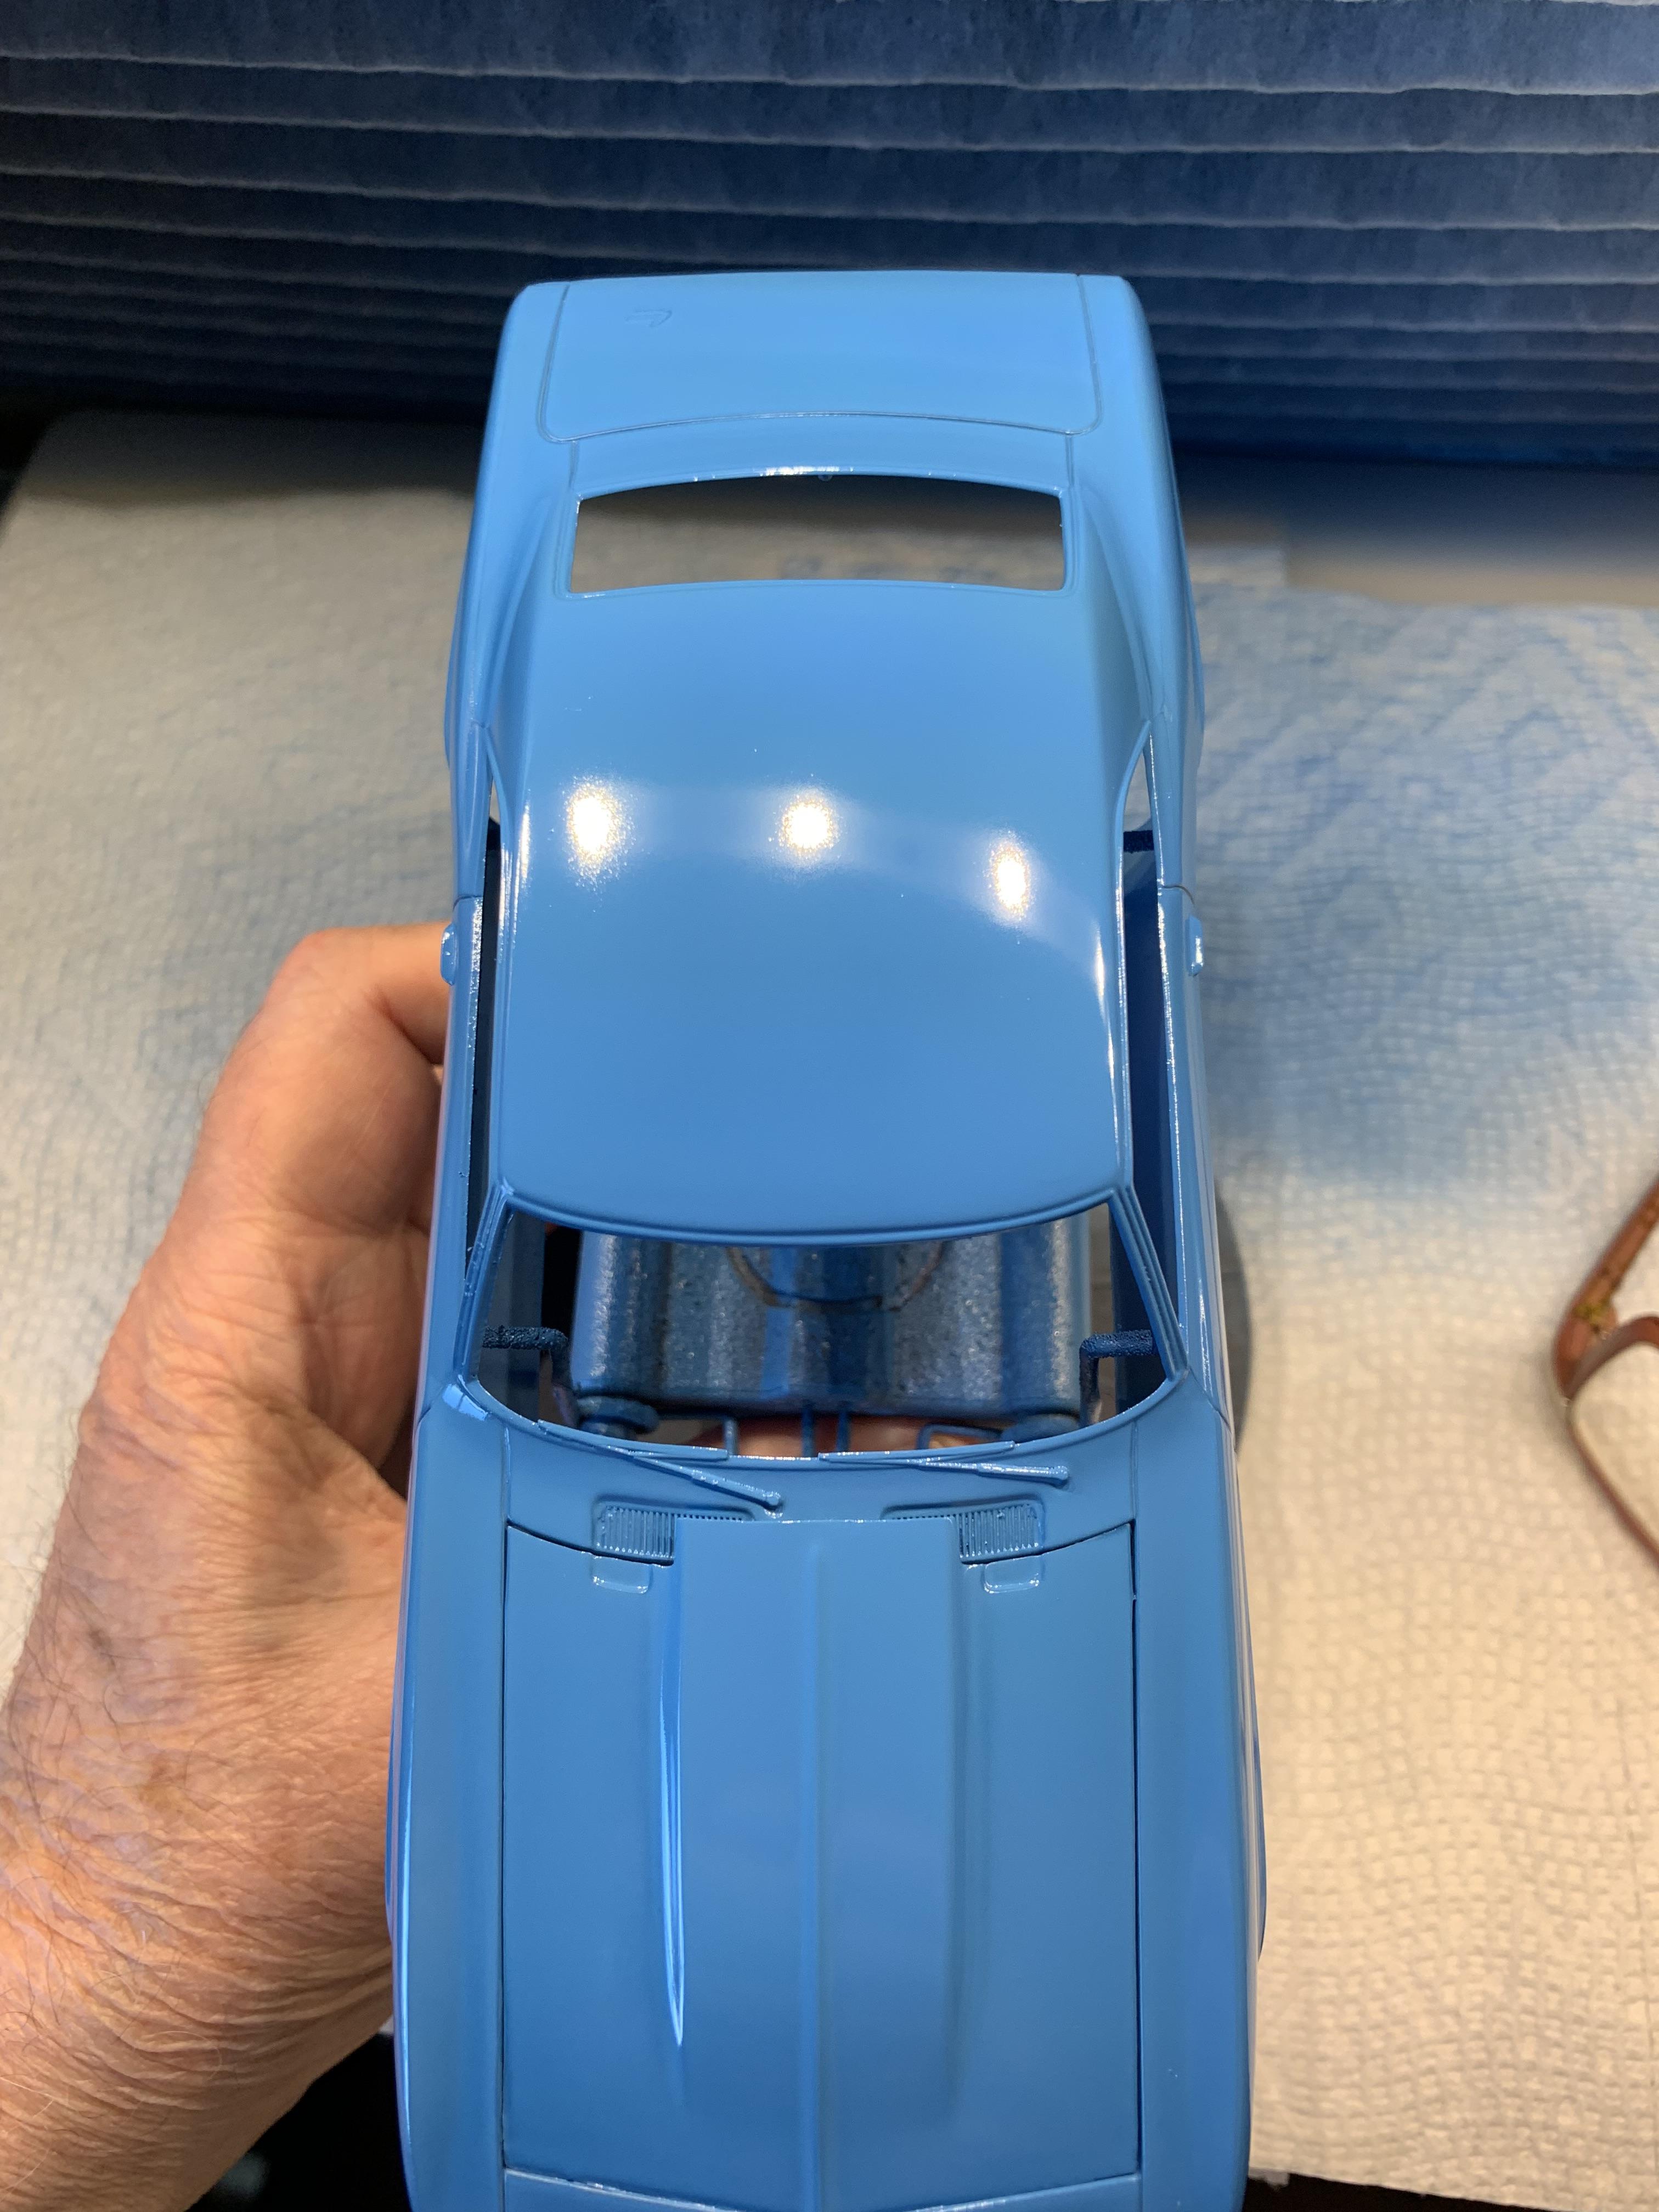
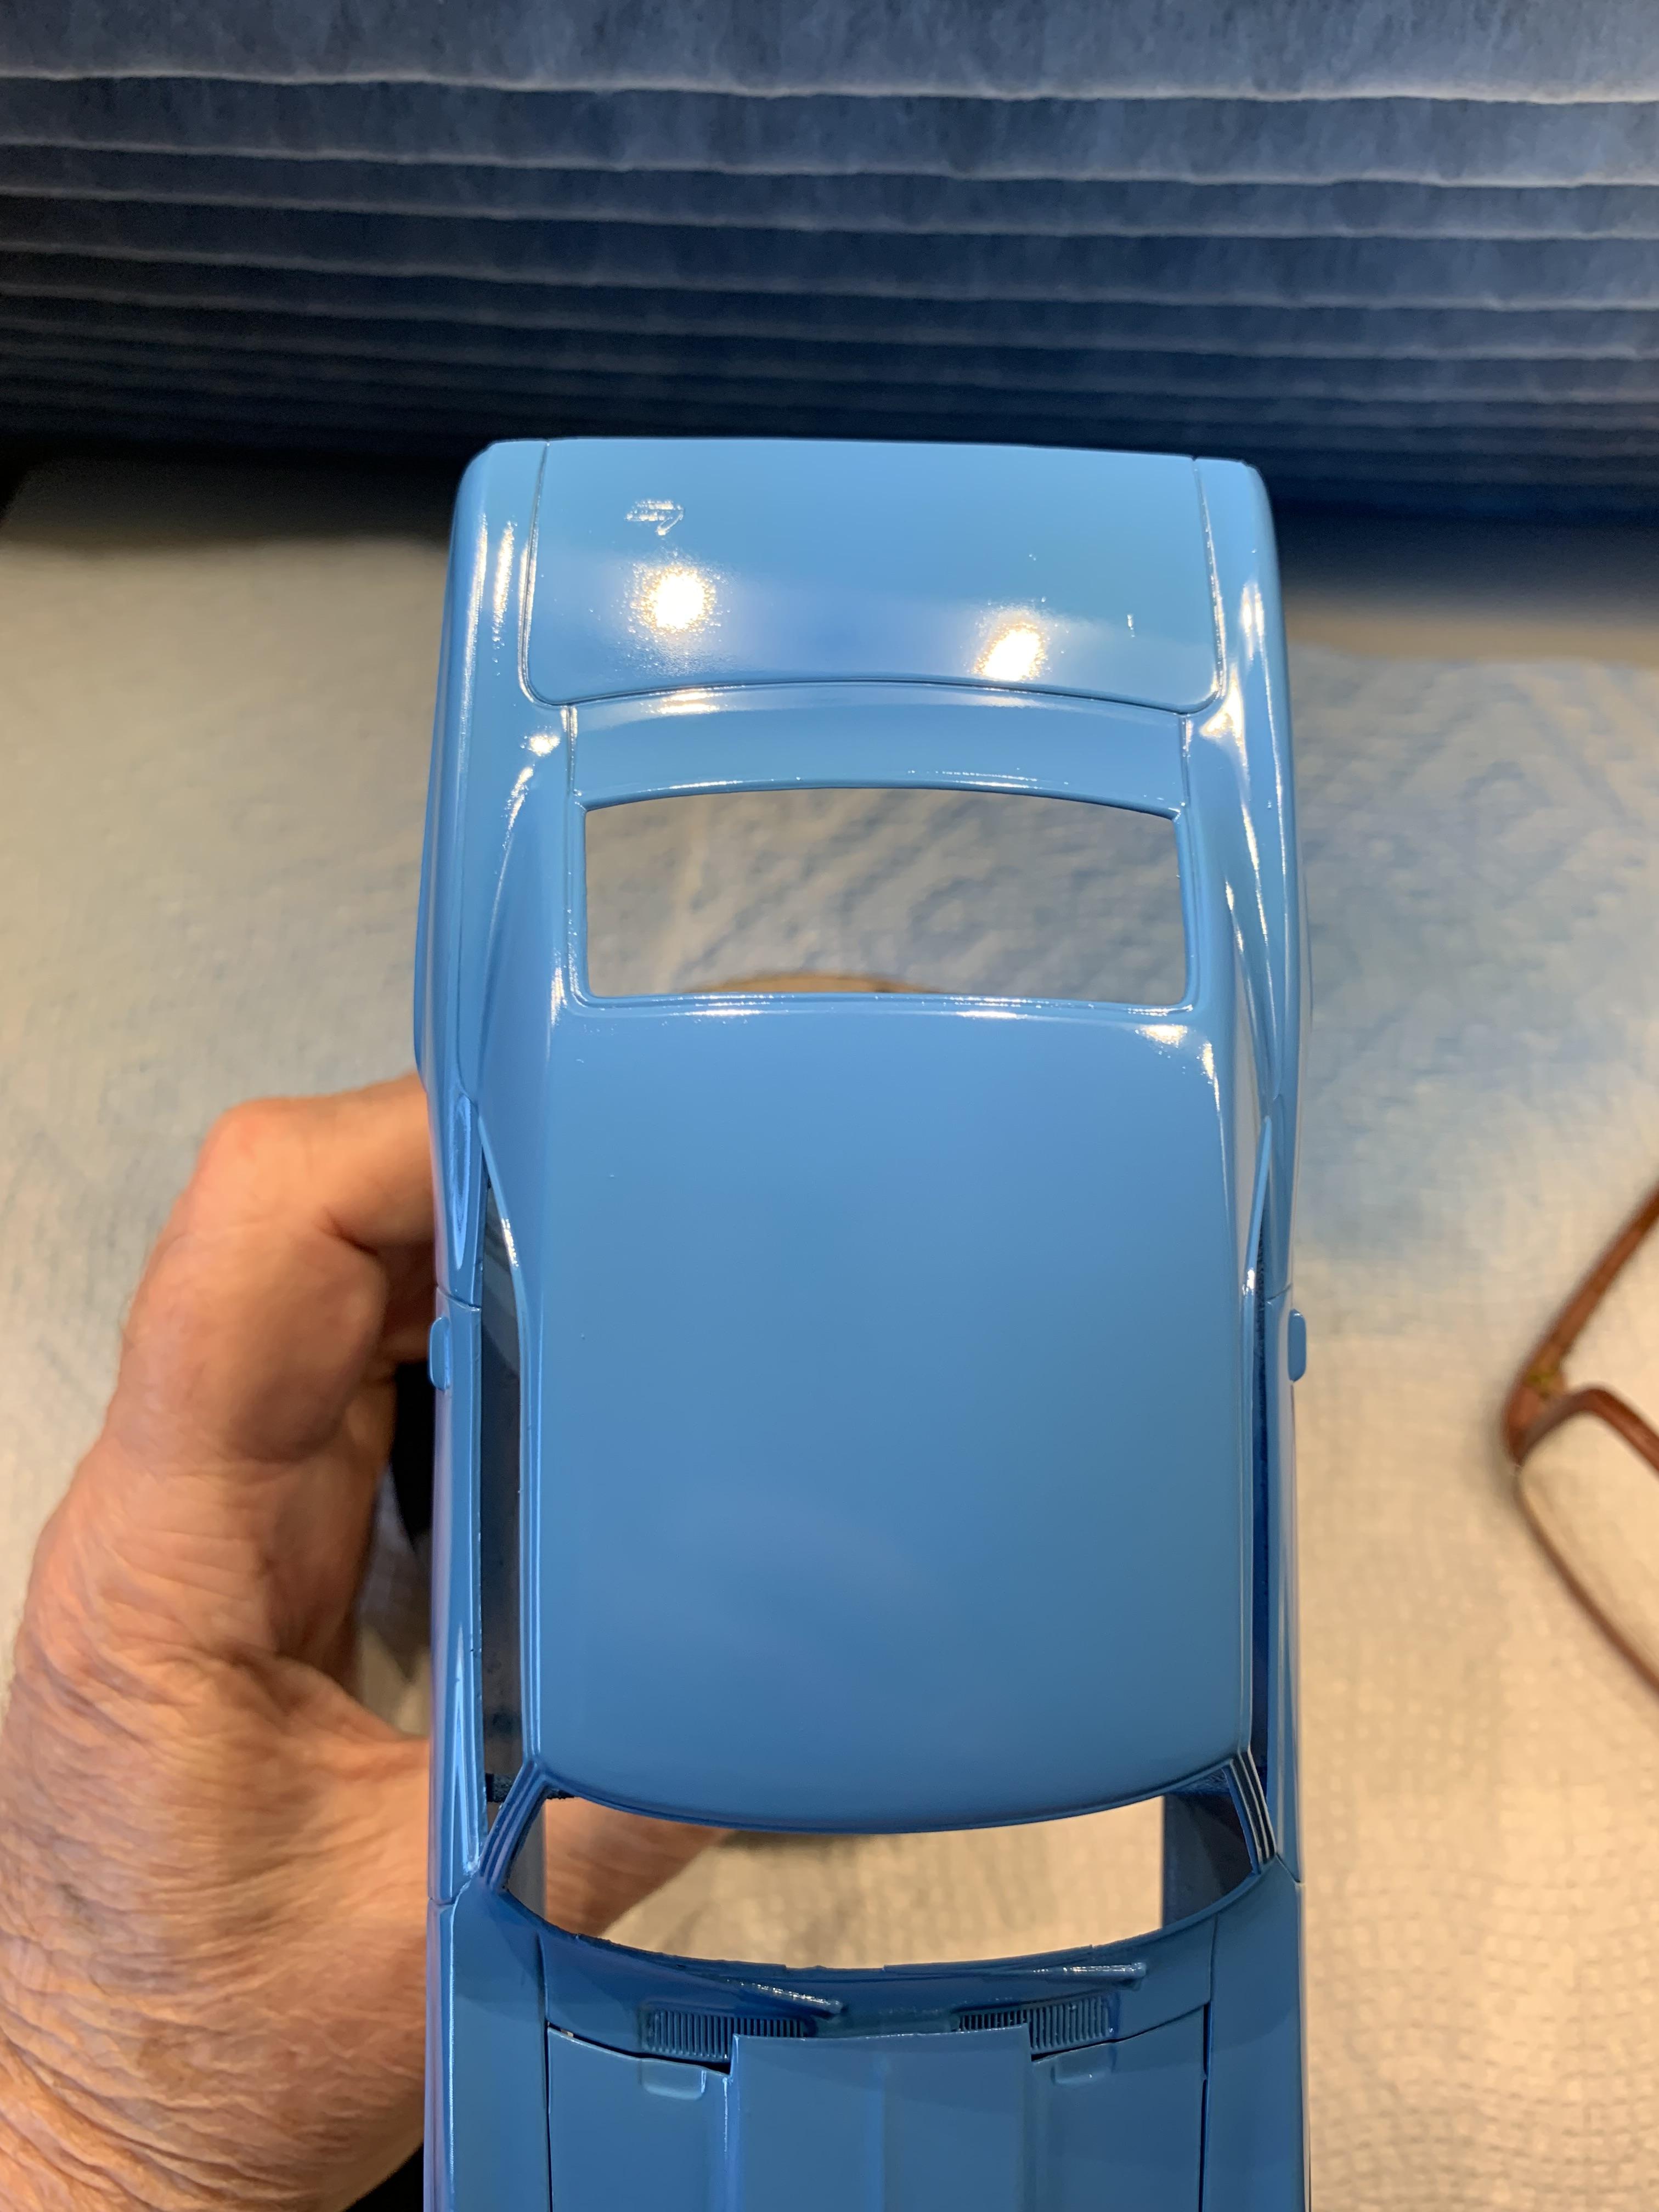
After the first respray, upon checking after 2 hours, noticed I had light coverage on 1 spot, so, i sprayed another reasonably heavy coat all over. Checked it a couple hours later, Looked much better and I am satisfied. By the way, this is still the original spray can.
-
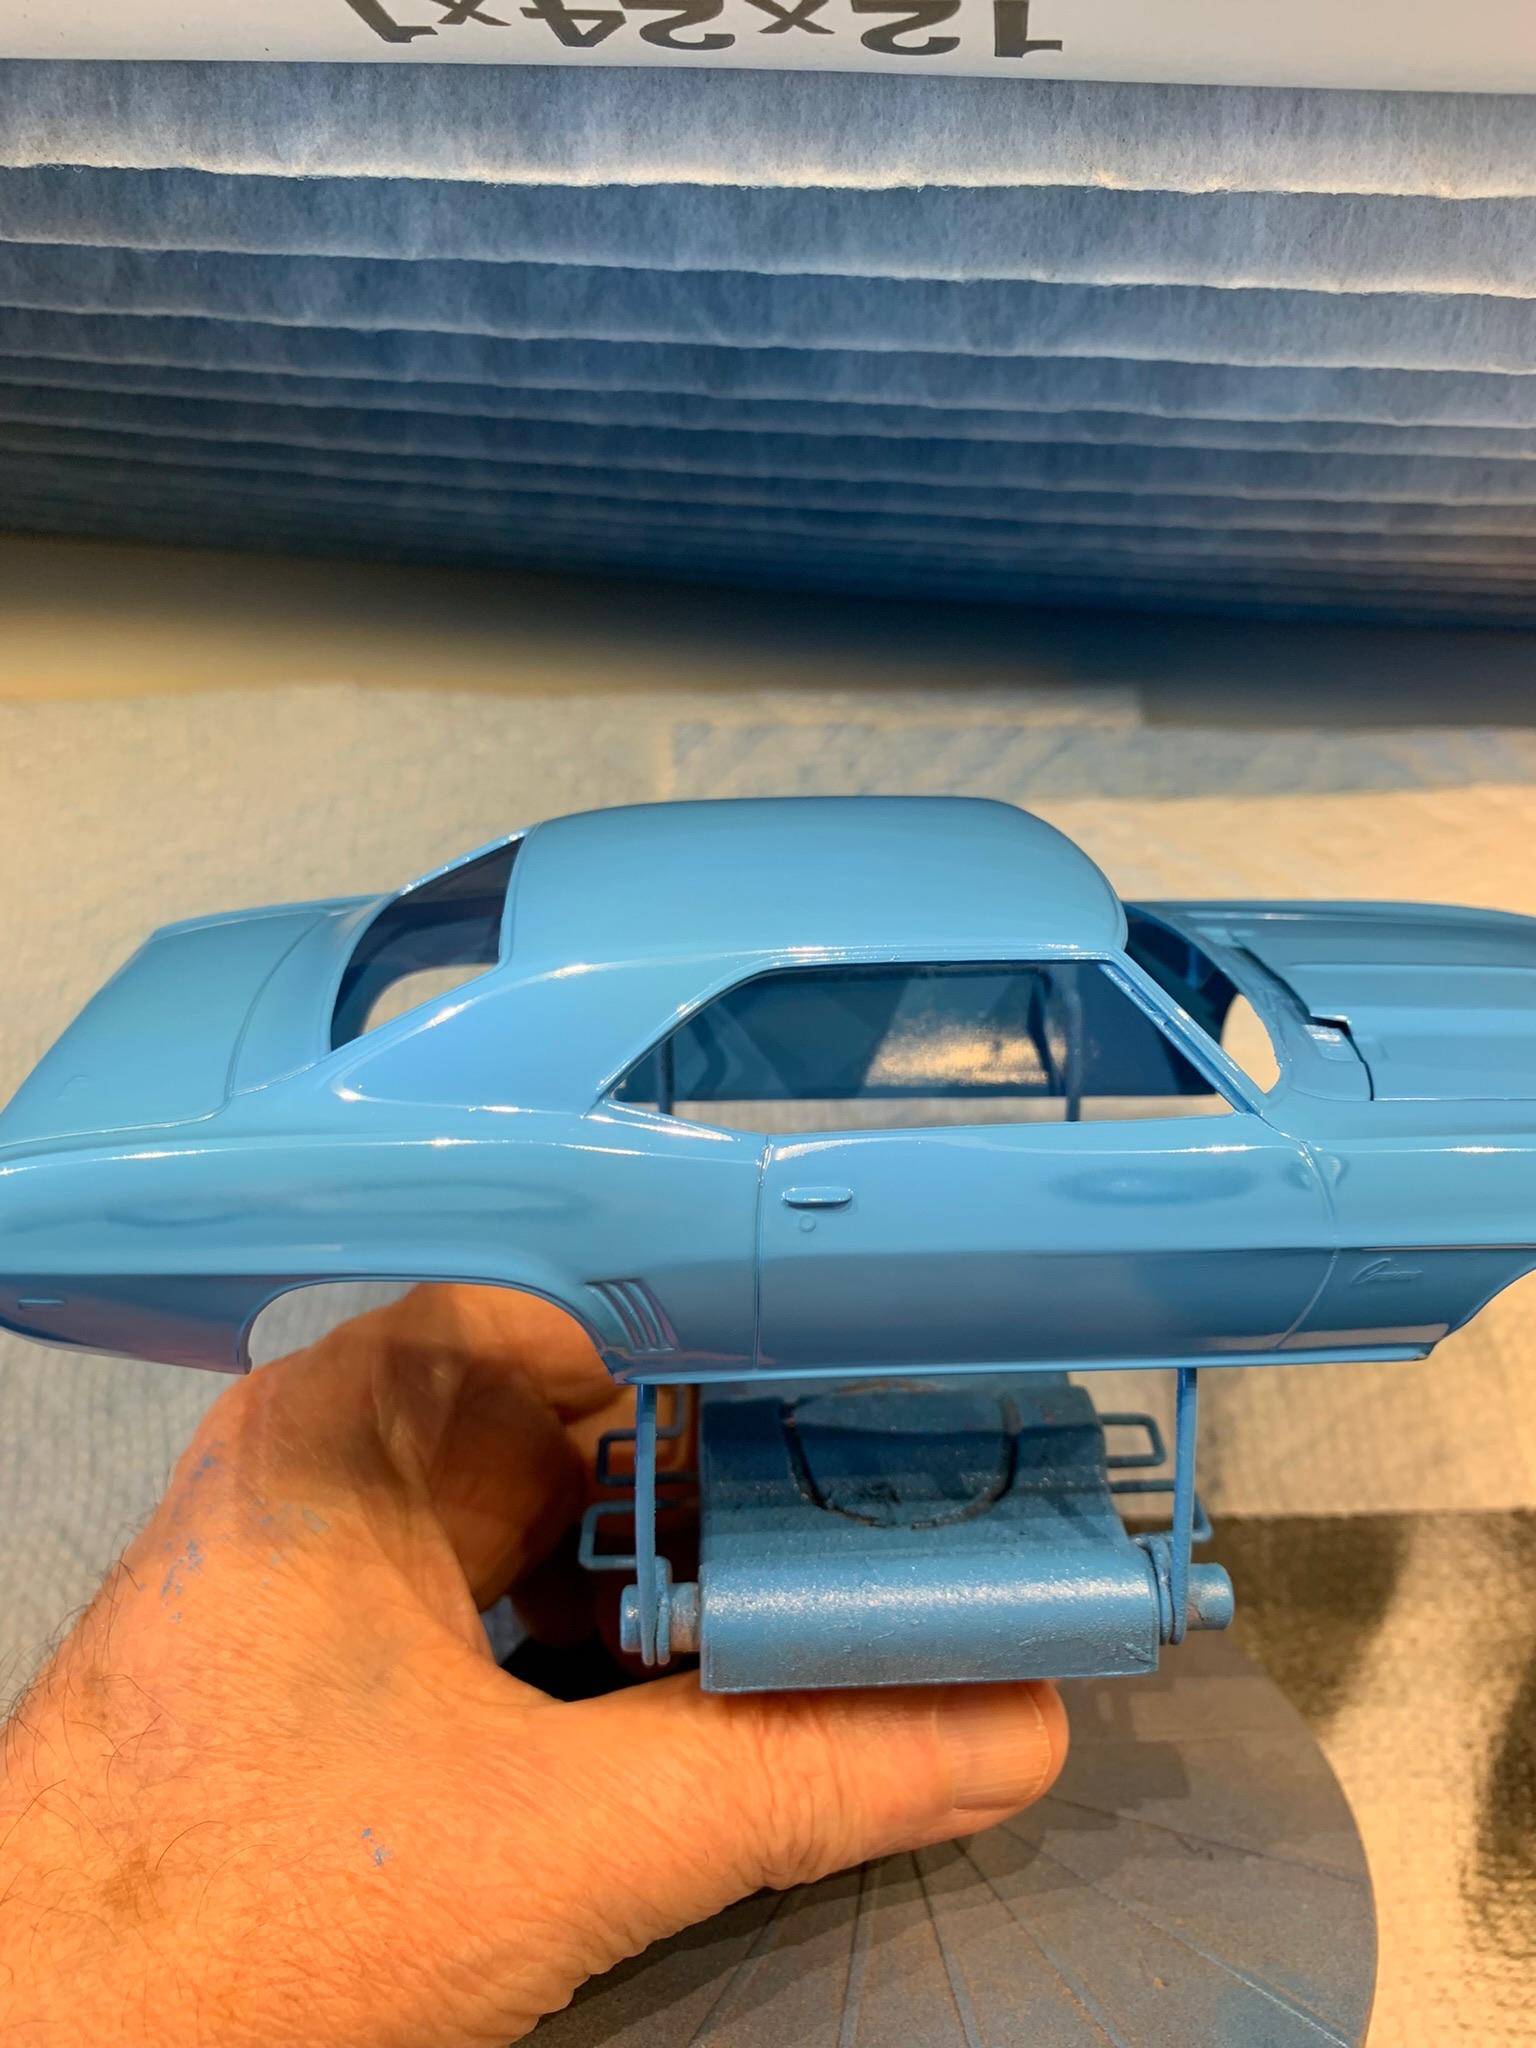
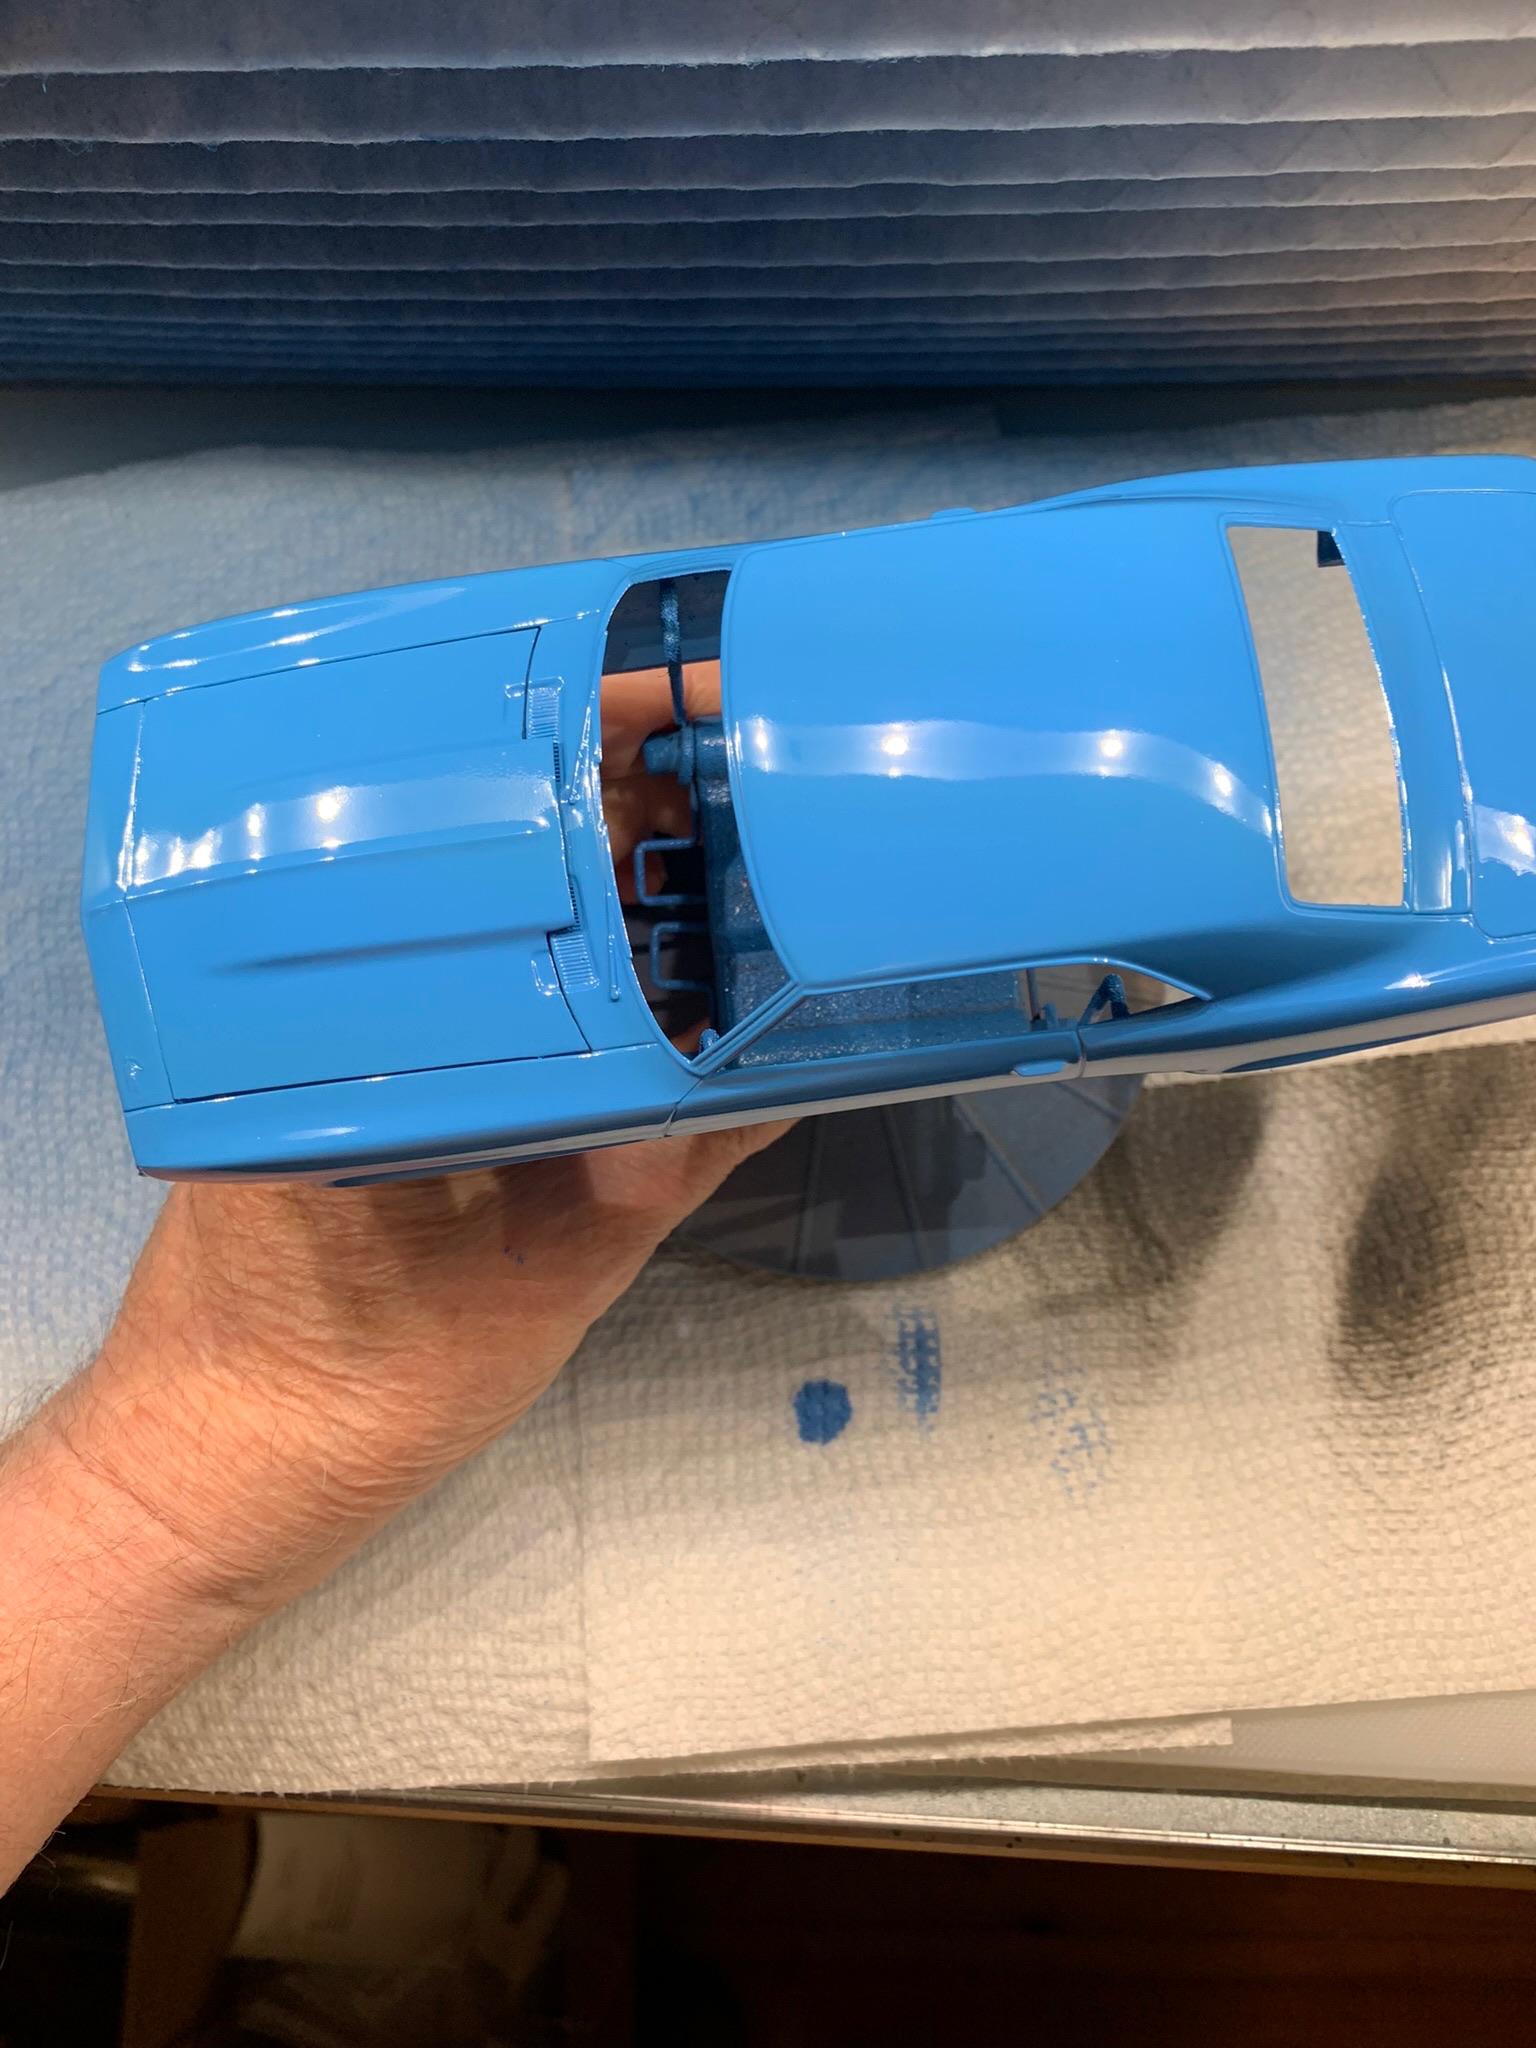
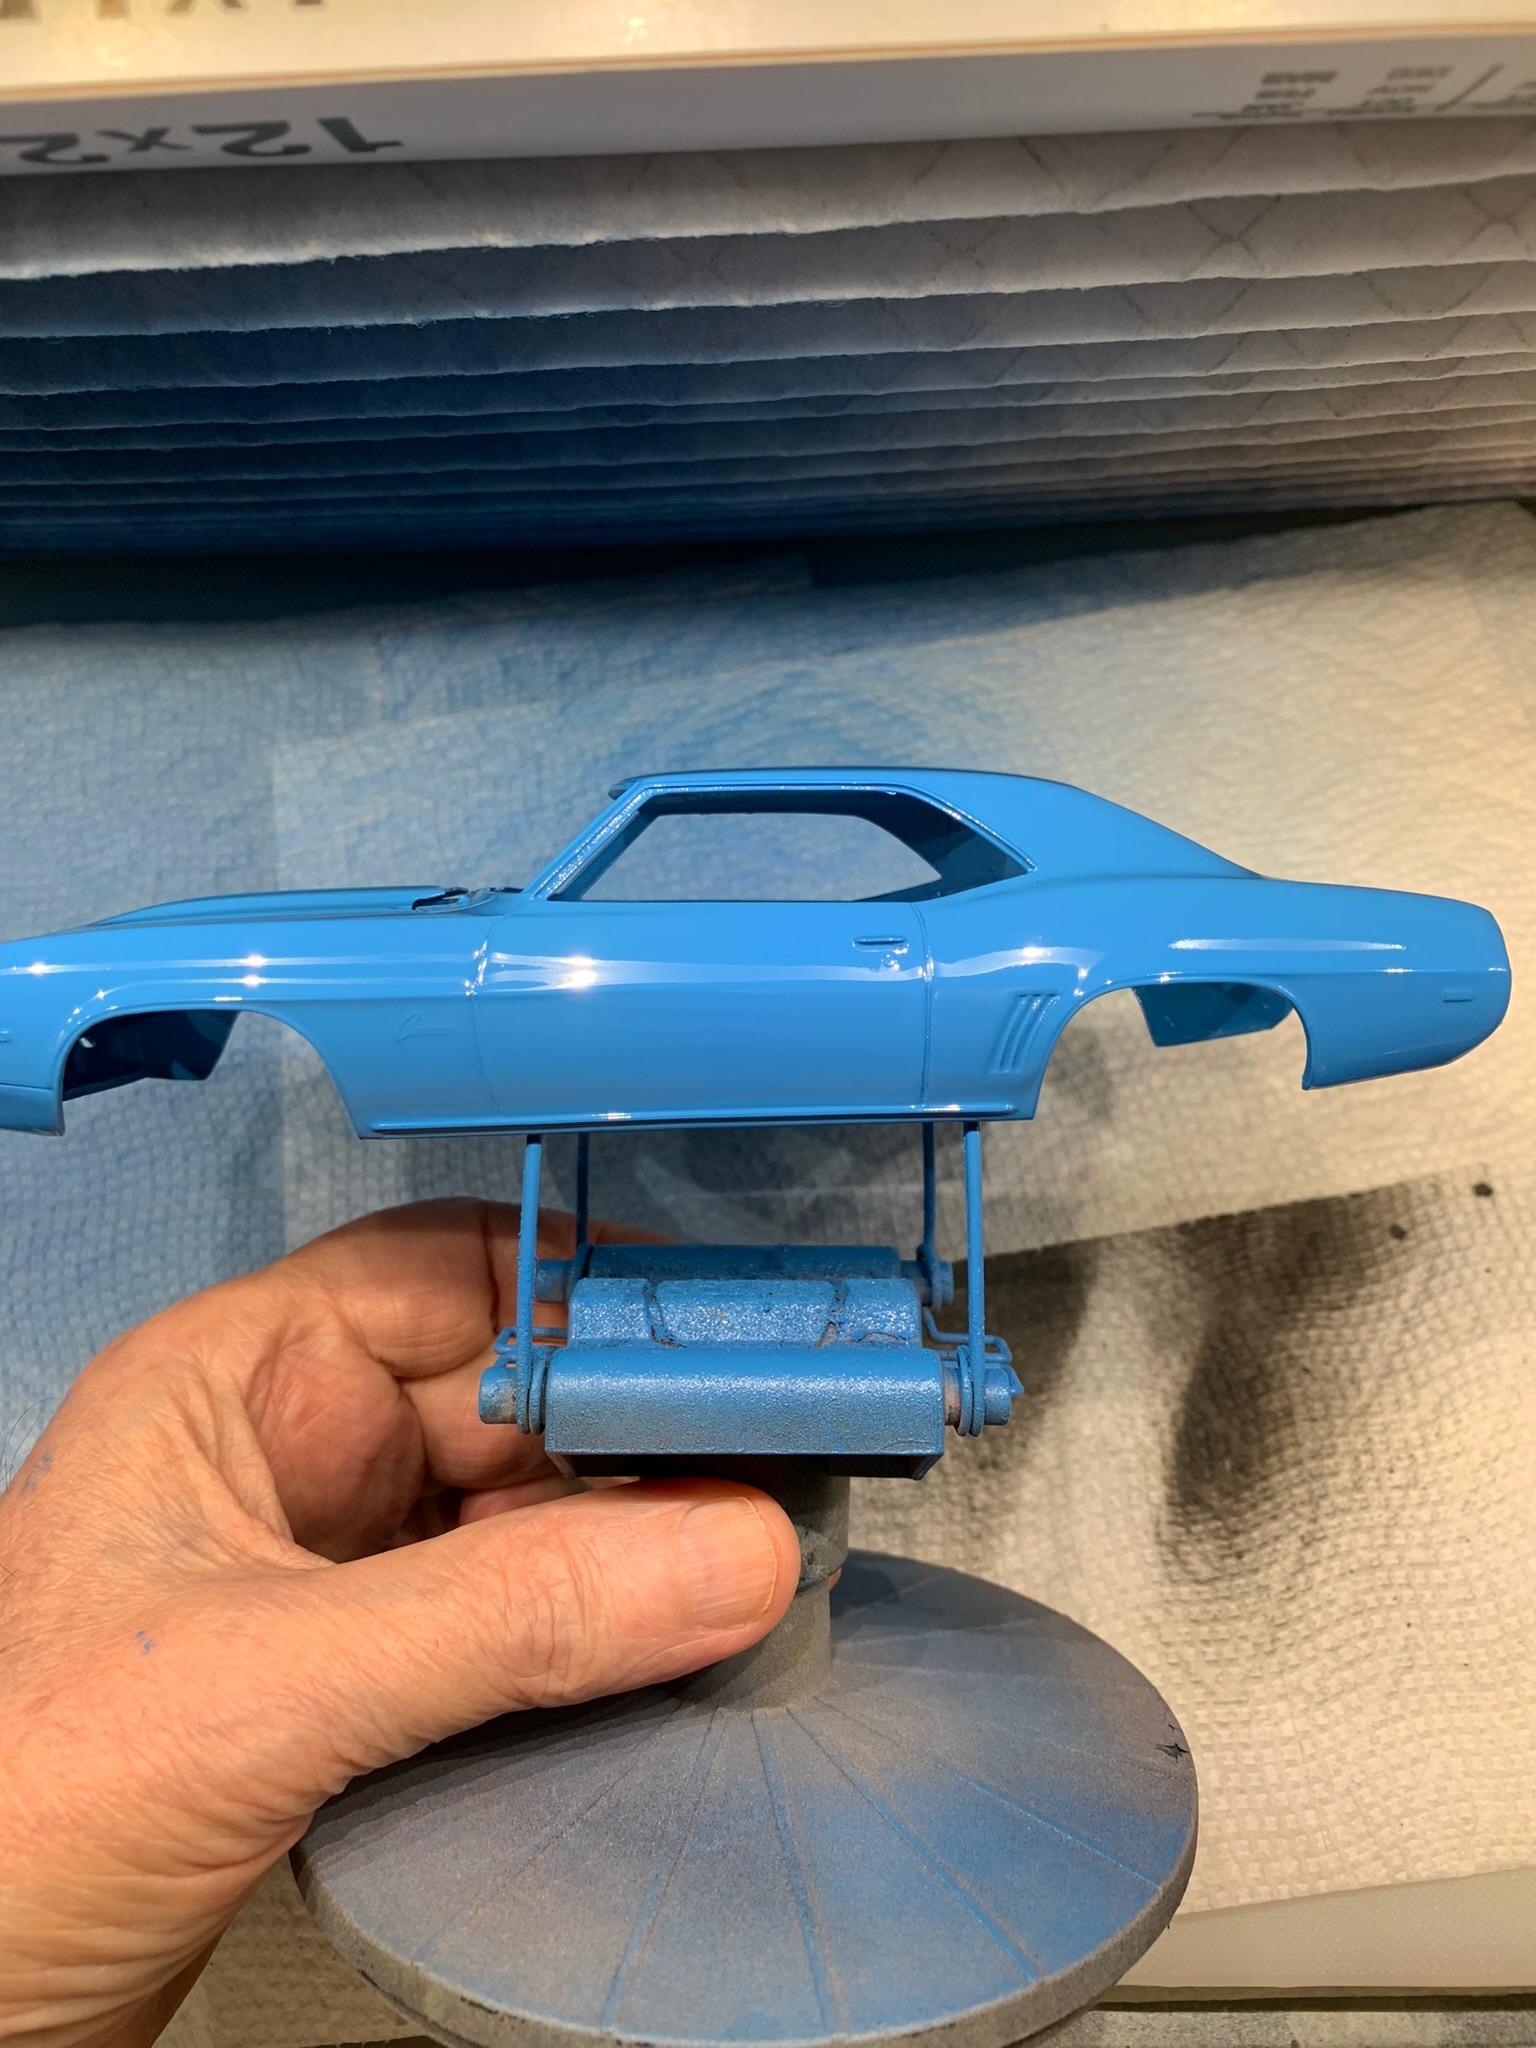
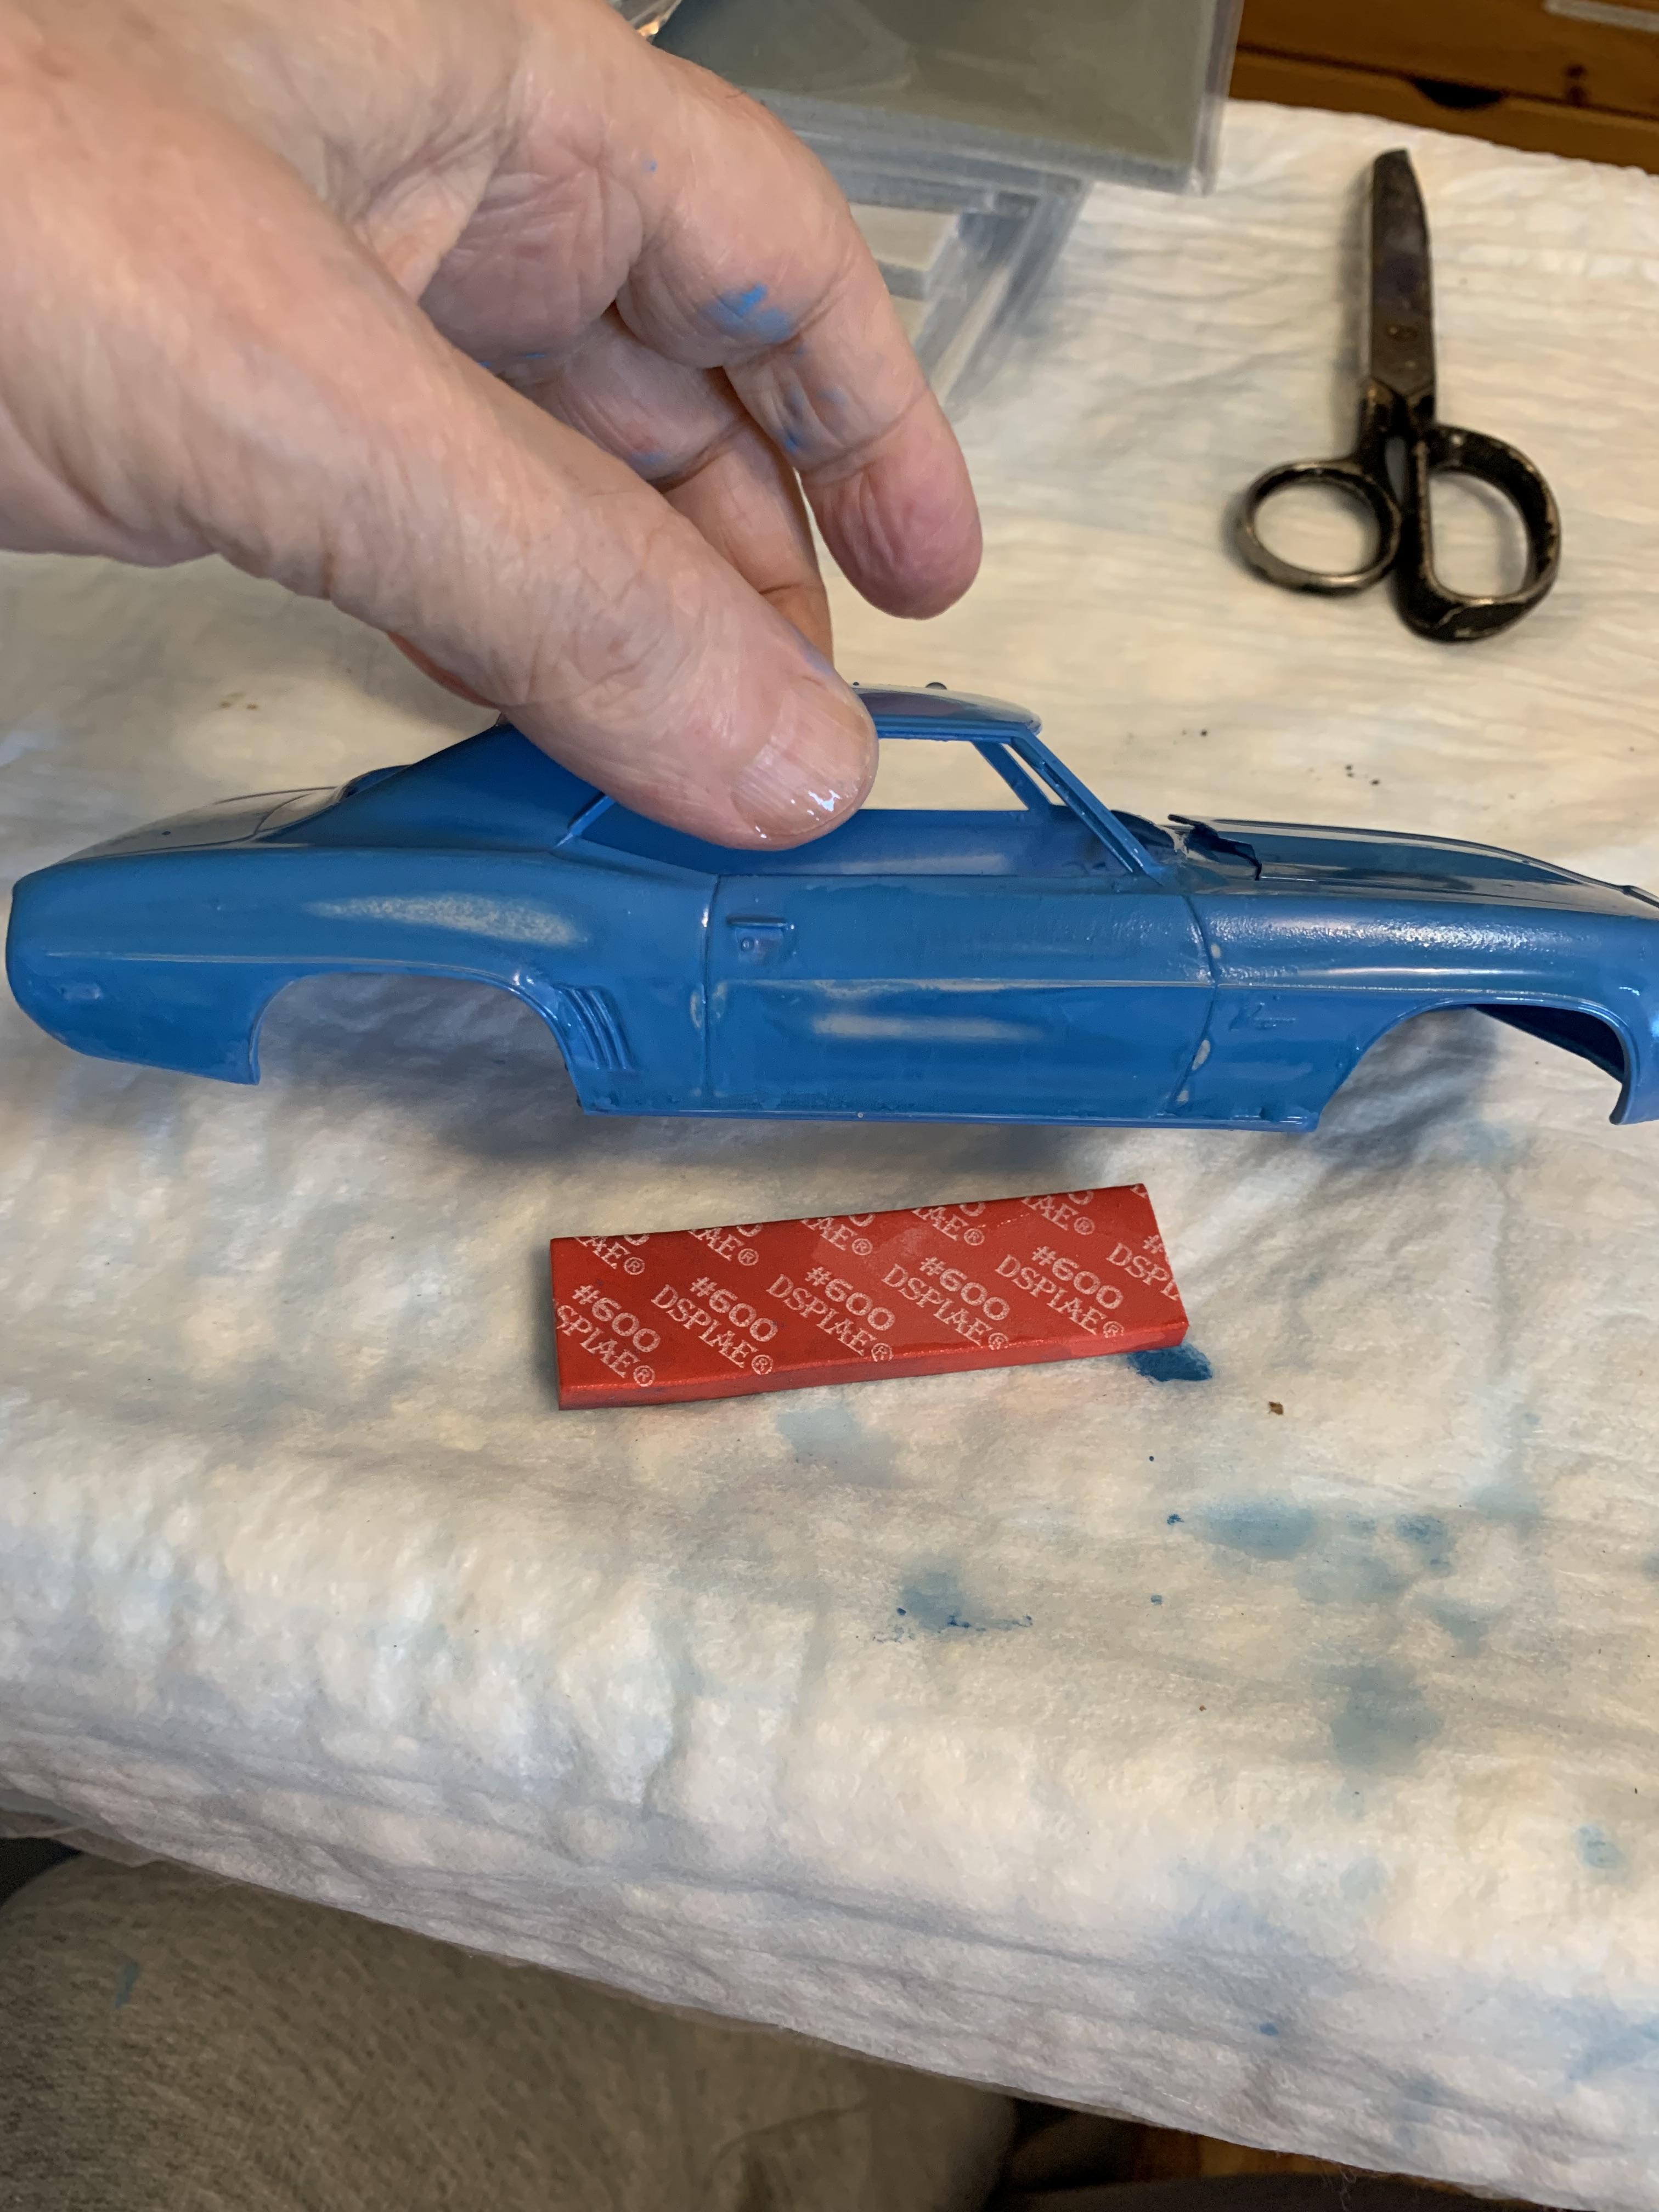
1969 Camaro A/SA (possibly Thomas Arnett’s)
R. Thorne replied to R. Thorne's topic in WIP: Drag Racing Models
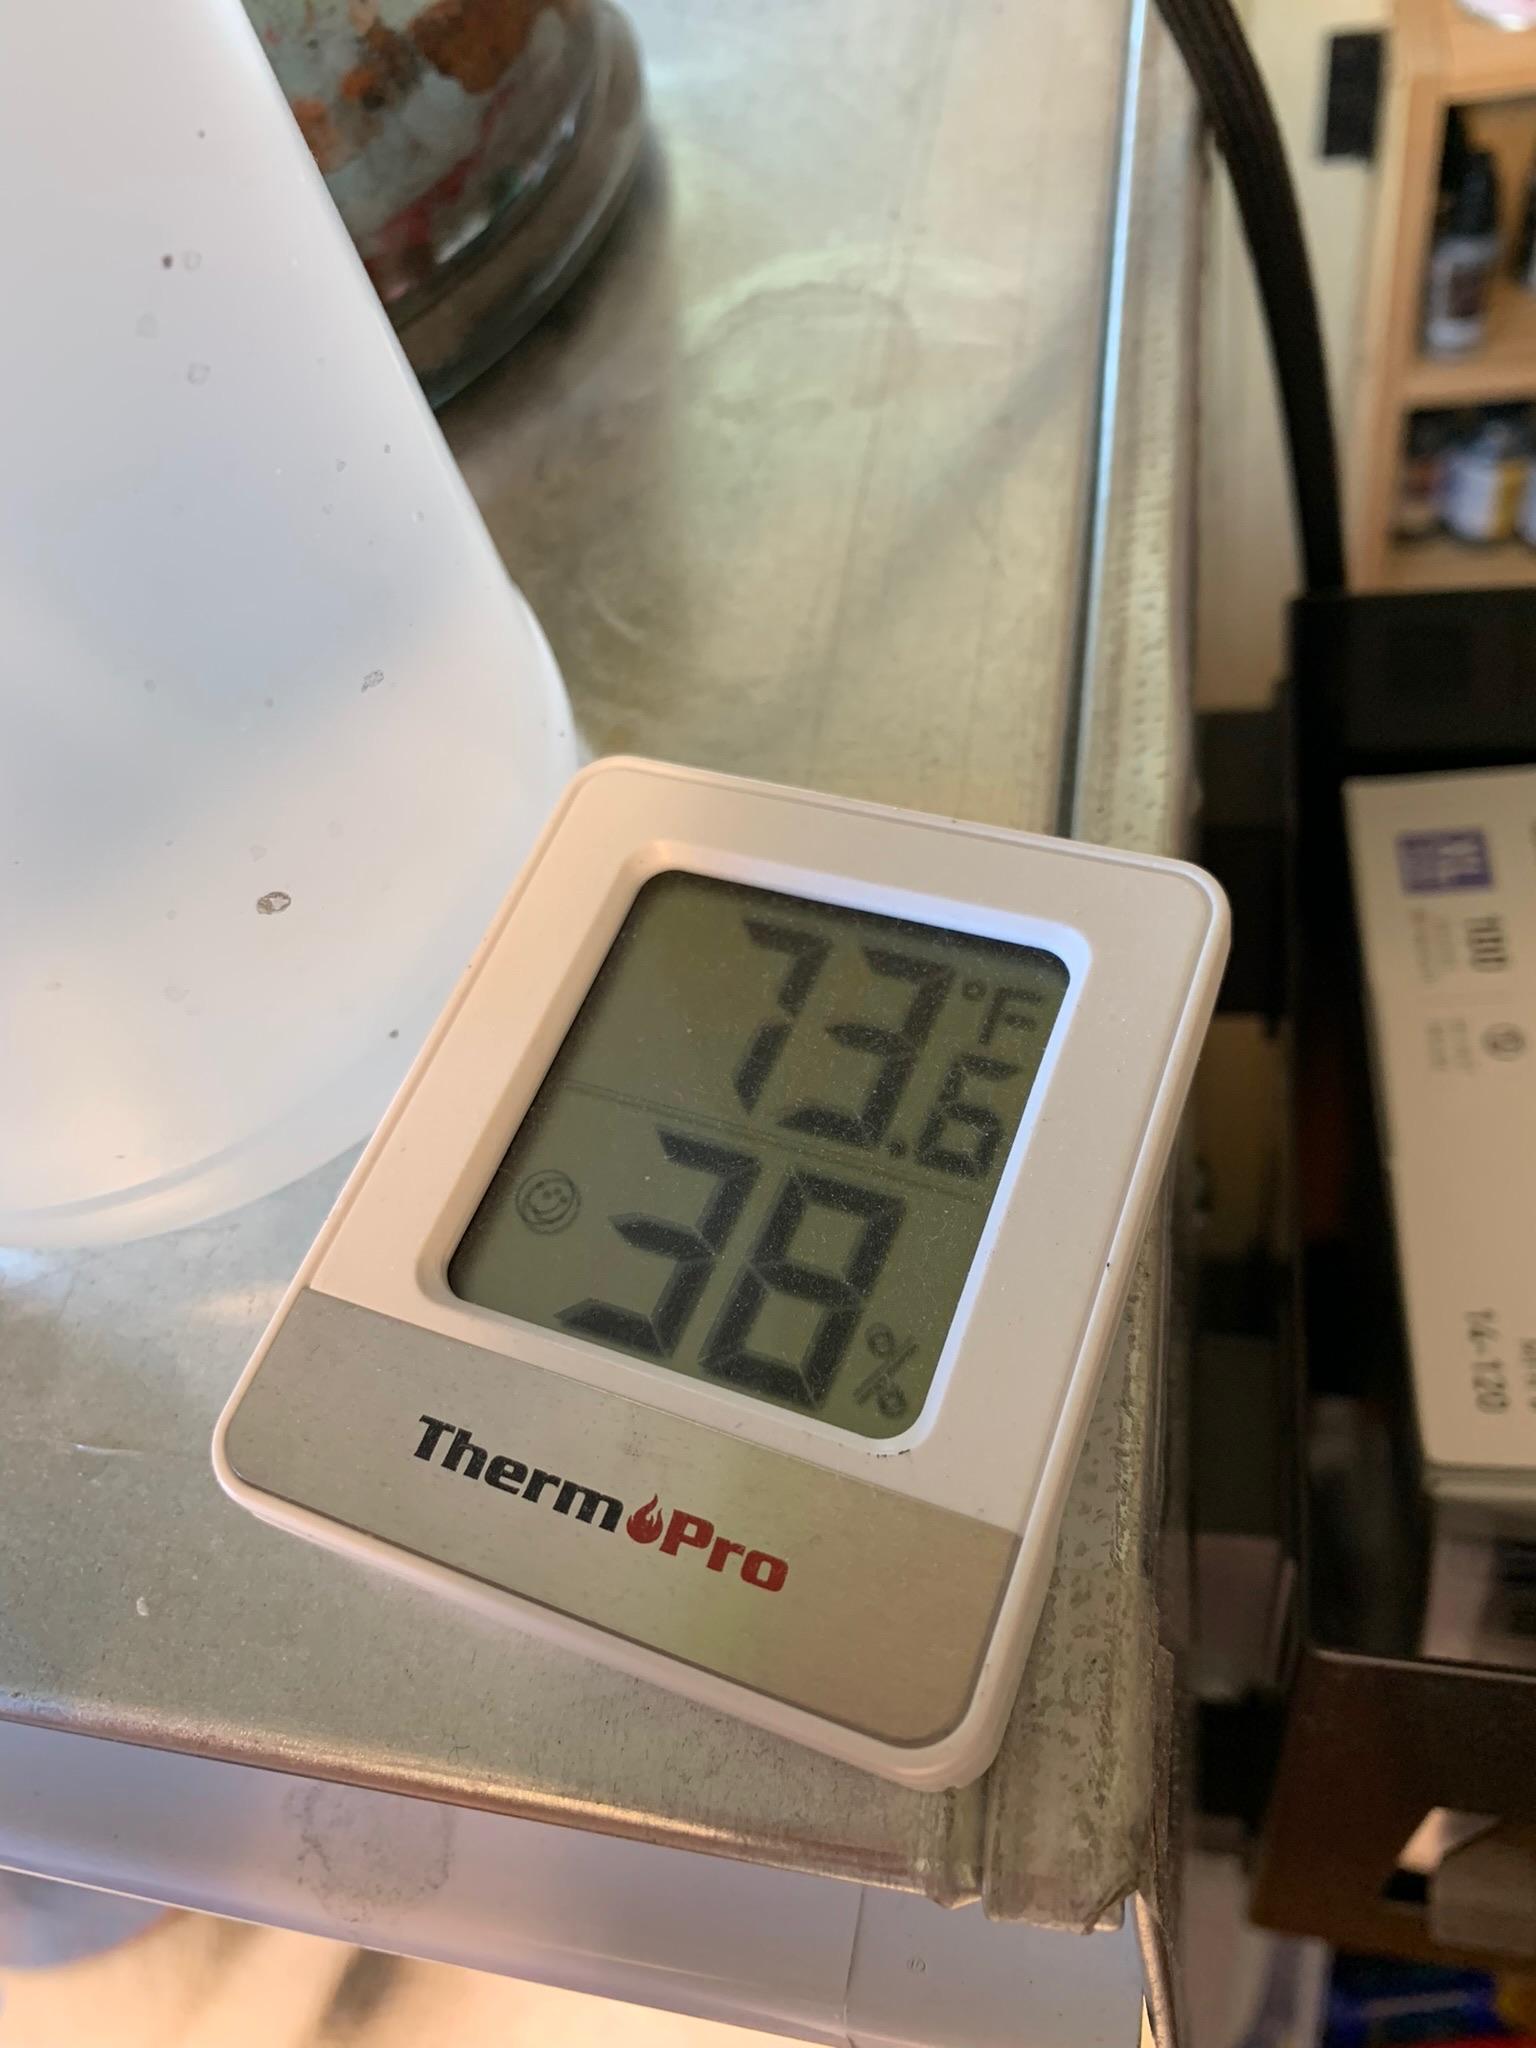
Thanks. Finished with some 1000 and 2500 grit Dspiae pads. Sprayed whole car again today in these weather conditions. Took some pics right after spraying. We will see what it looks like in a few hours.
-
1969 Camaro A/SA (possibly Thomas Arnett’s)
R. Thorne replied to R. Thorne's topic in WIP: Drag Racing Models
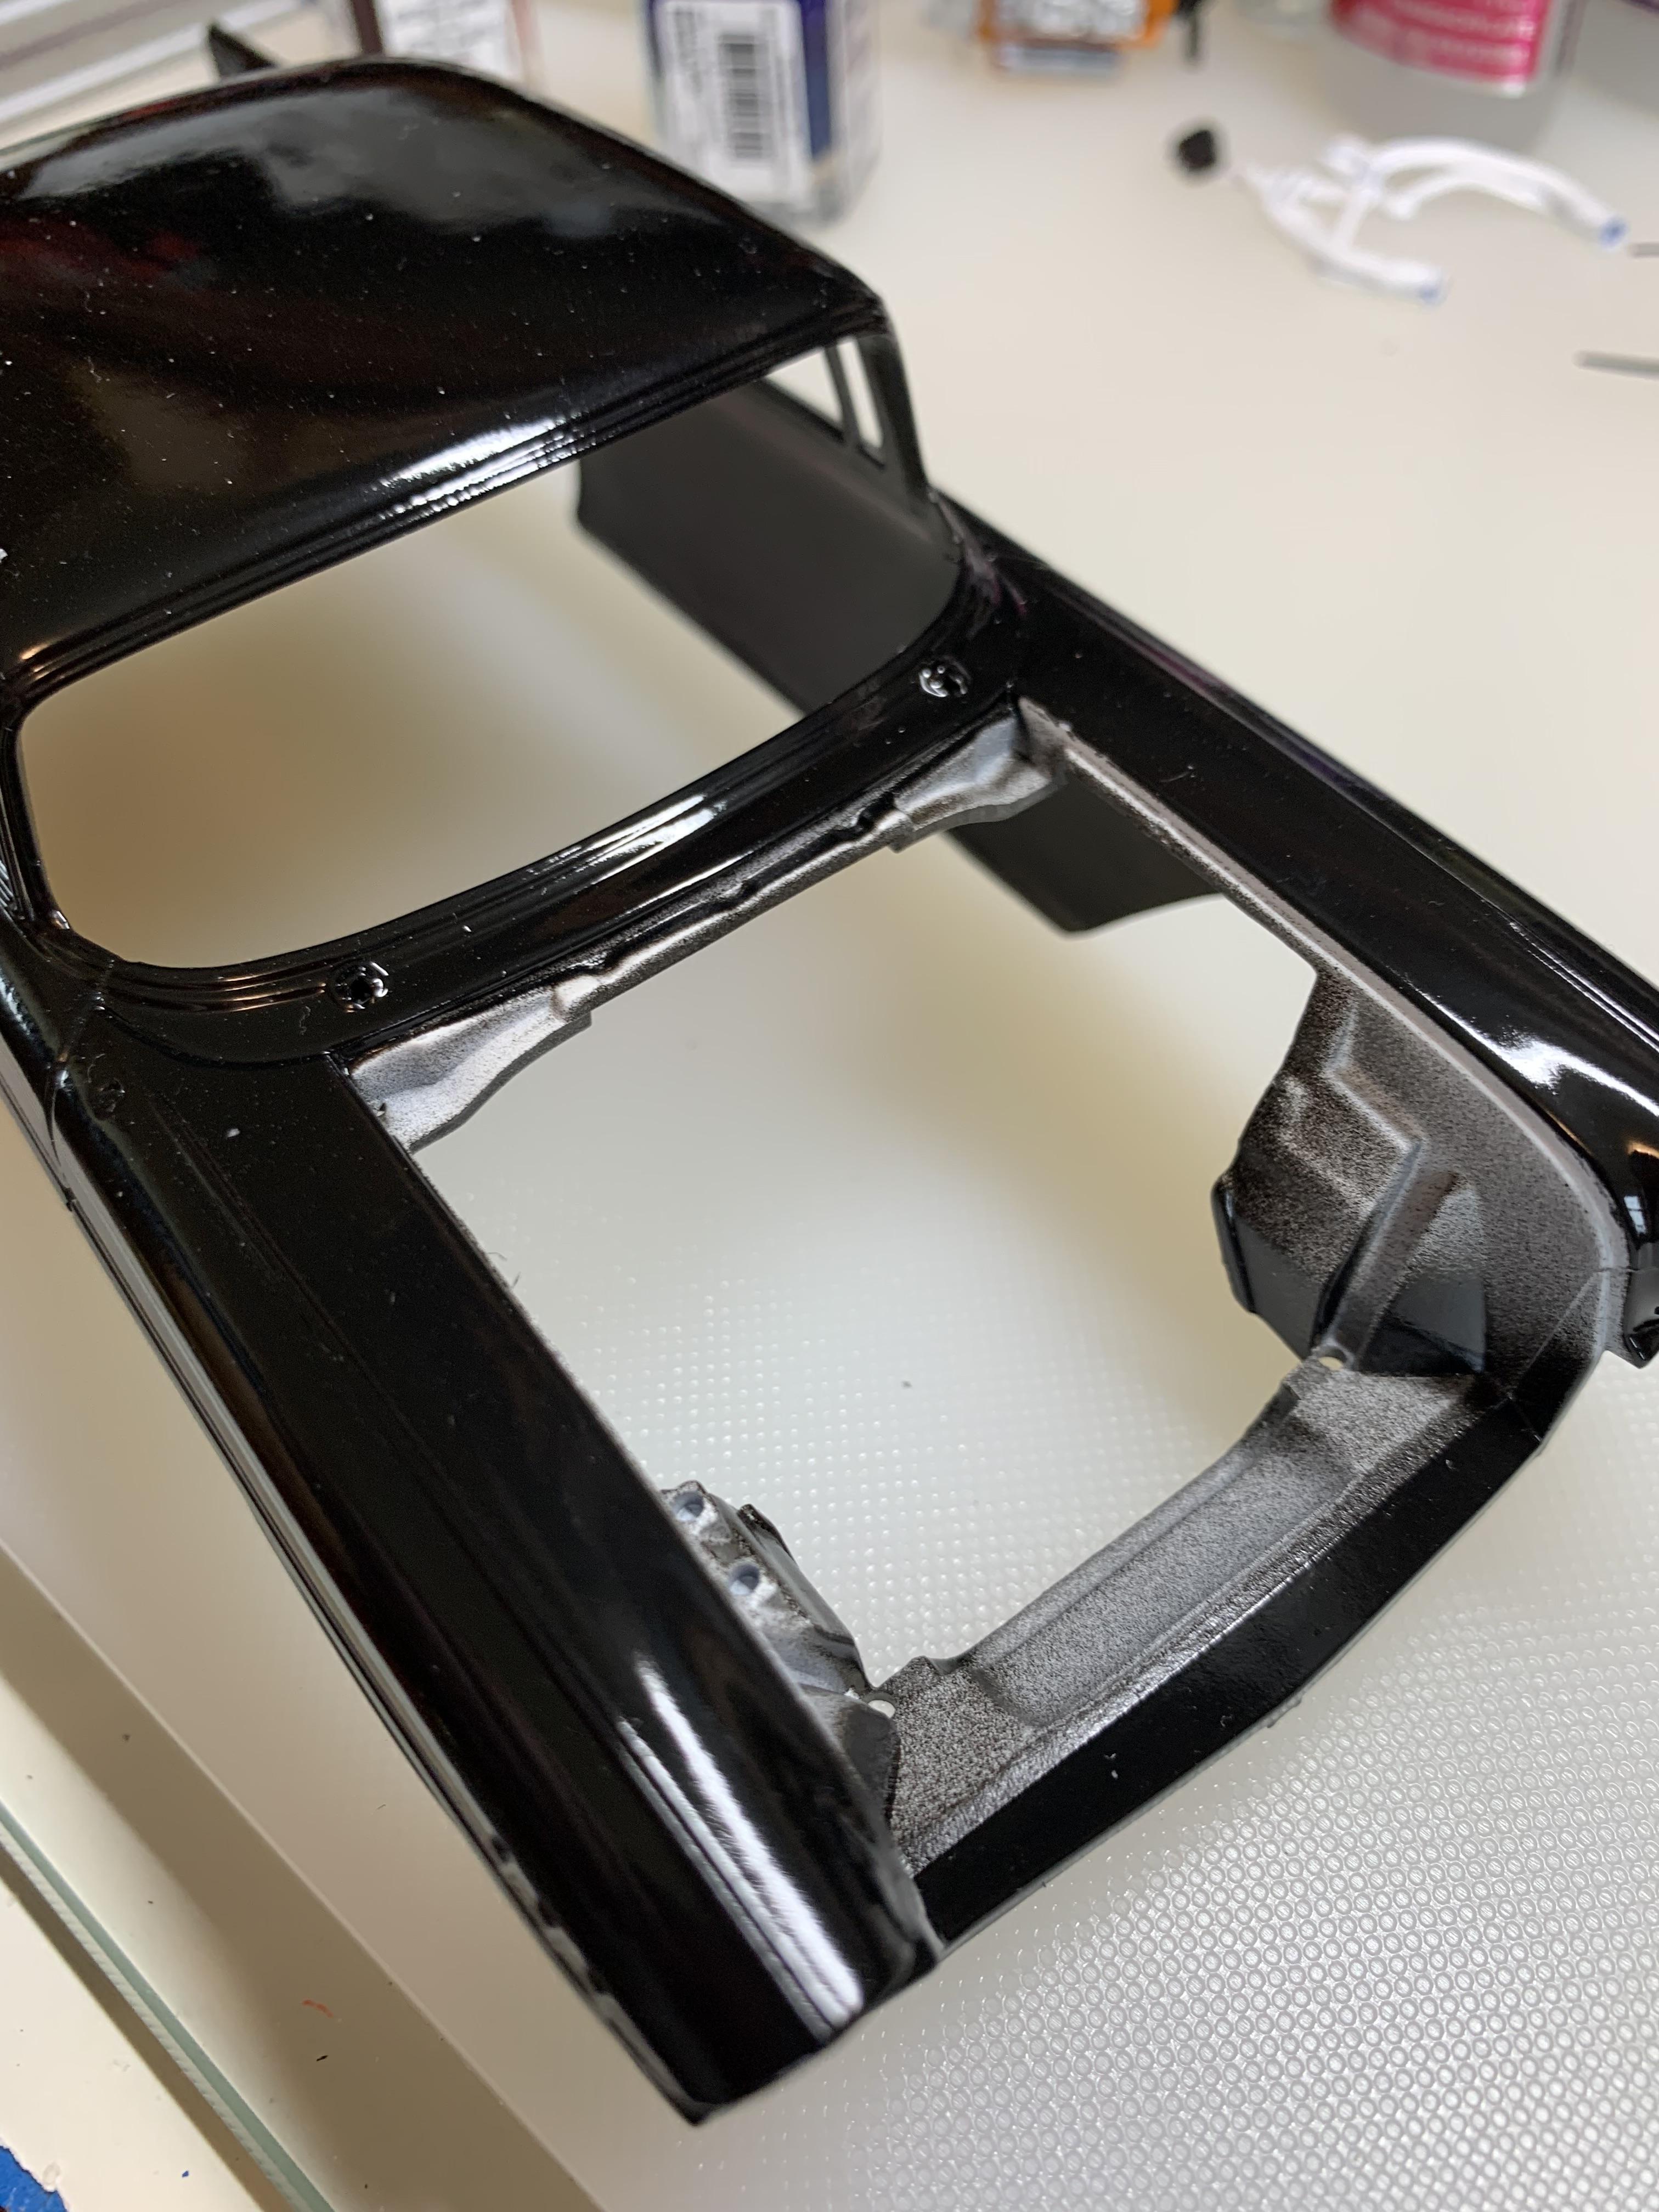
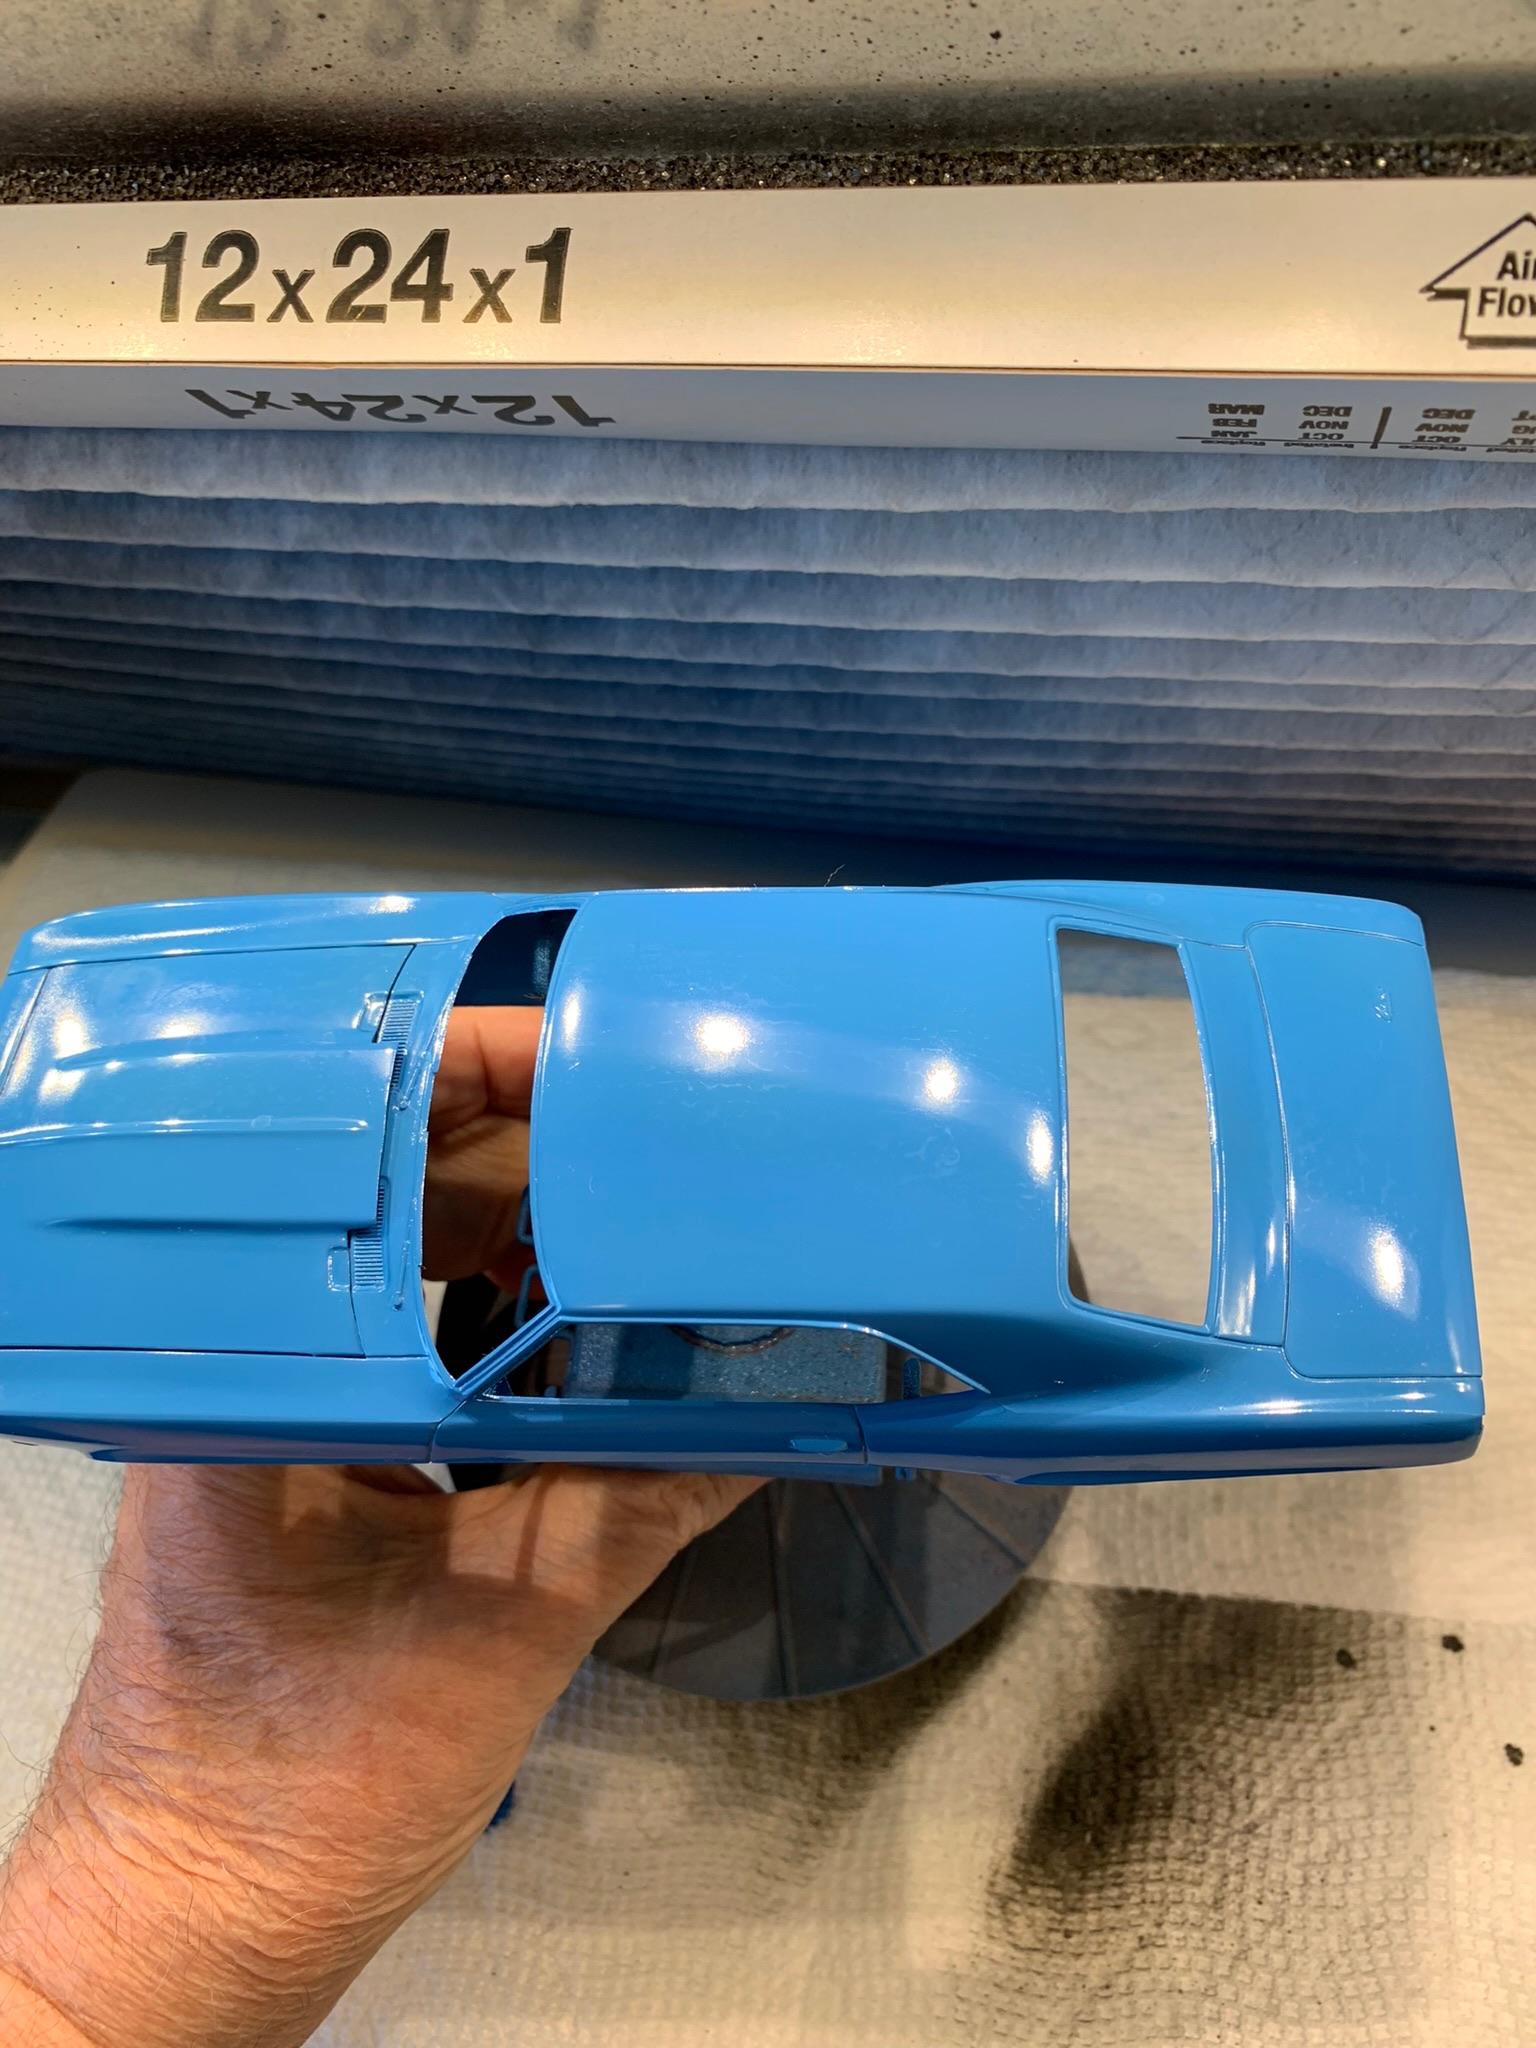
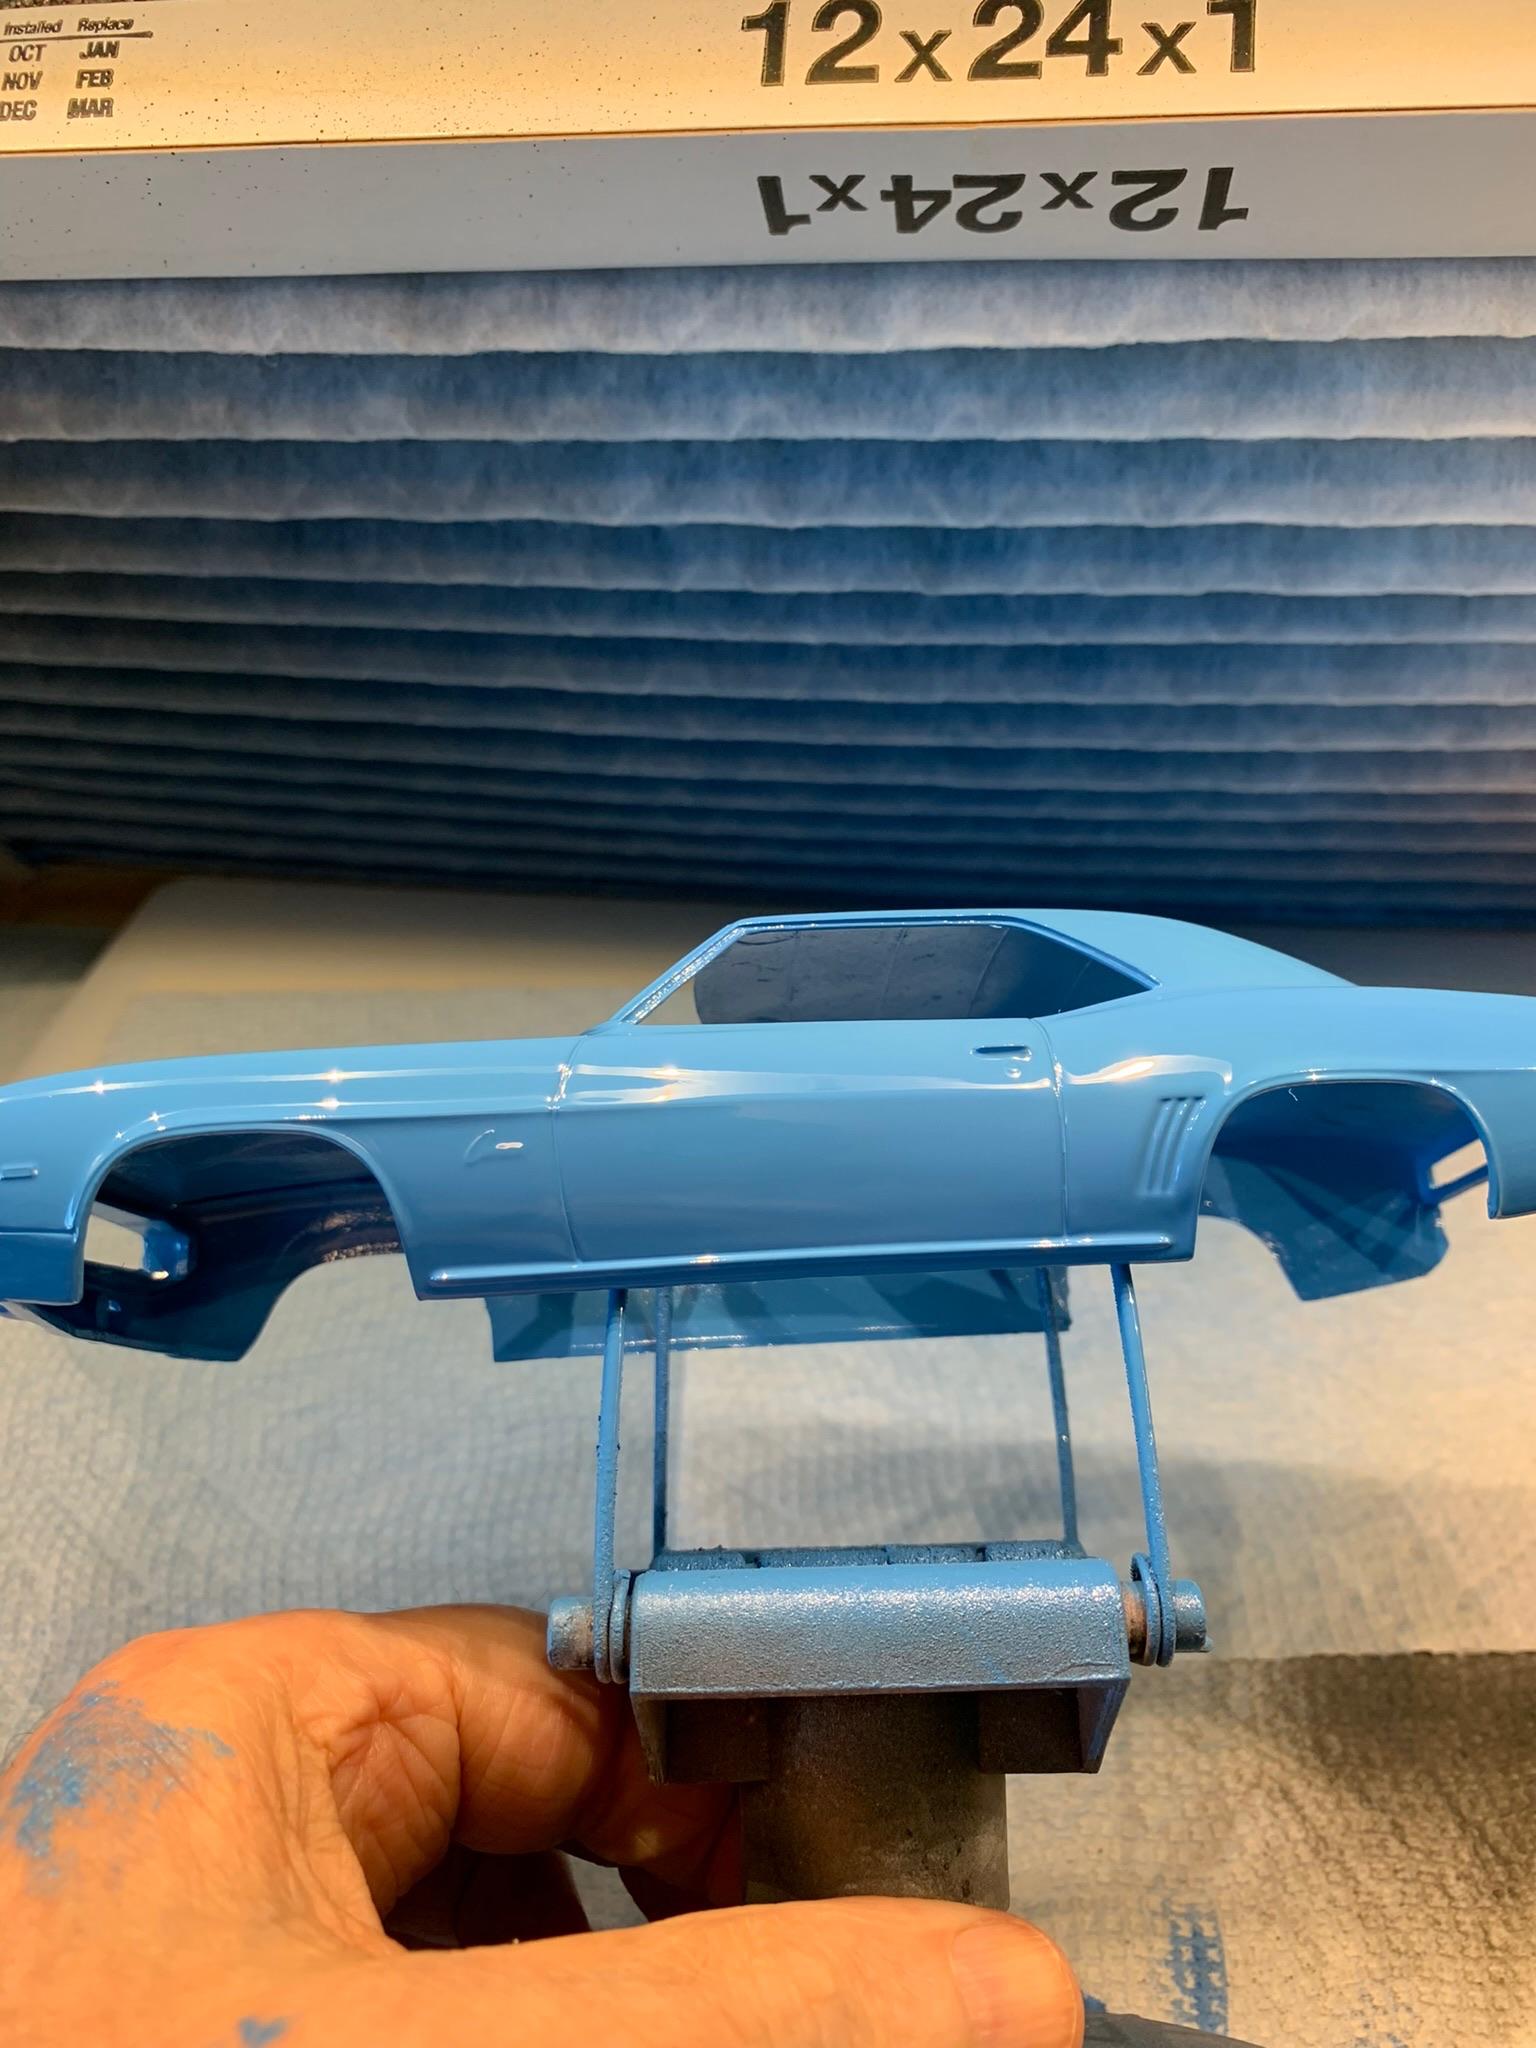
Another day, another paint job, on the same car (or so it seems). Some builds just fight you more than others. I ain’t quitting. Top of car turned out fine, but experienced runs on sides of car. Sanding down sides, mask off top, then another respray.
-
Holloman & McKinney 57 Chevy C/MP circa 1964
R. Thorne replied to R. Thorne's topic in WIP: Drag Racing Models
Thanks, Trevor. Your acknowledgments are always much appreciated. I will keep plugging along and finish this thing soon (famous last words).