Rocking Rodney Rat
-
Posts
1,995 -
Joined
-
Last visited
Content Type
Profiles
Forums
Events
Gallery
Everything posted by Rocking Rodney Rat
-
 yeah, I must have literally dozens of Revell '32 fenders...LOL... -RRR
 -
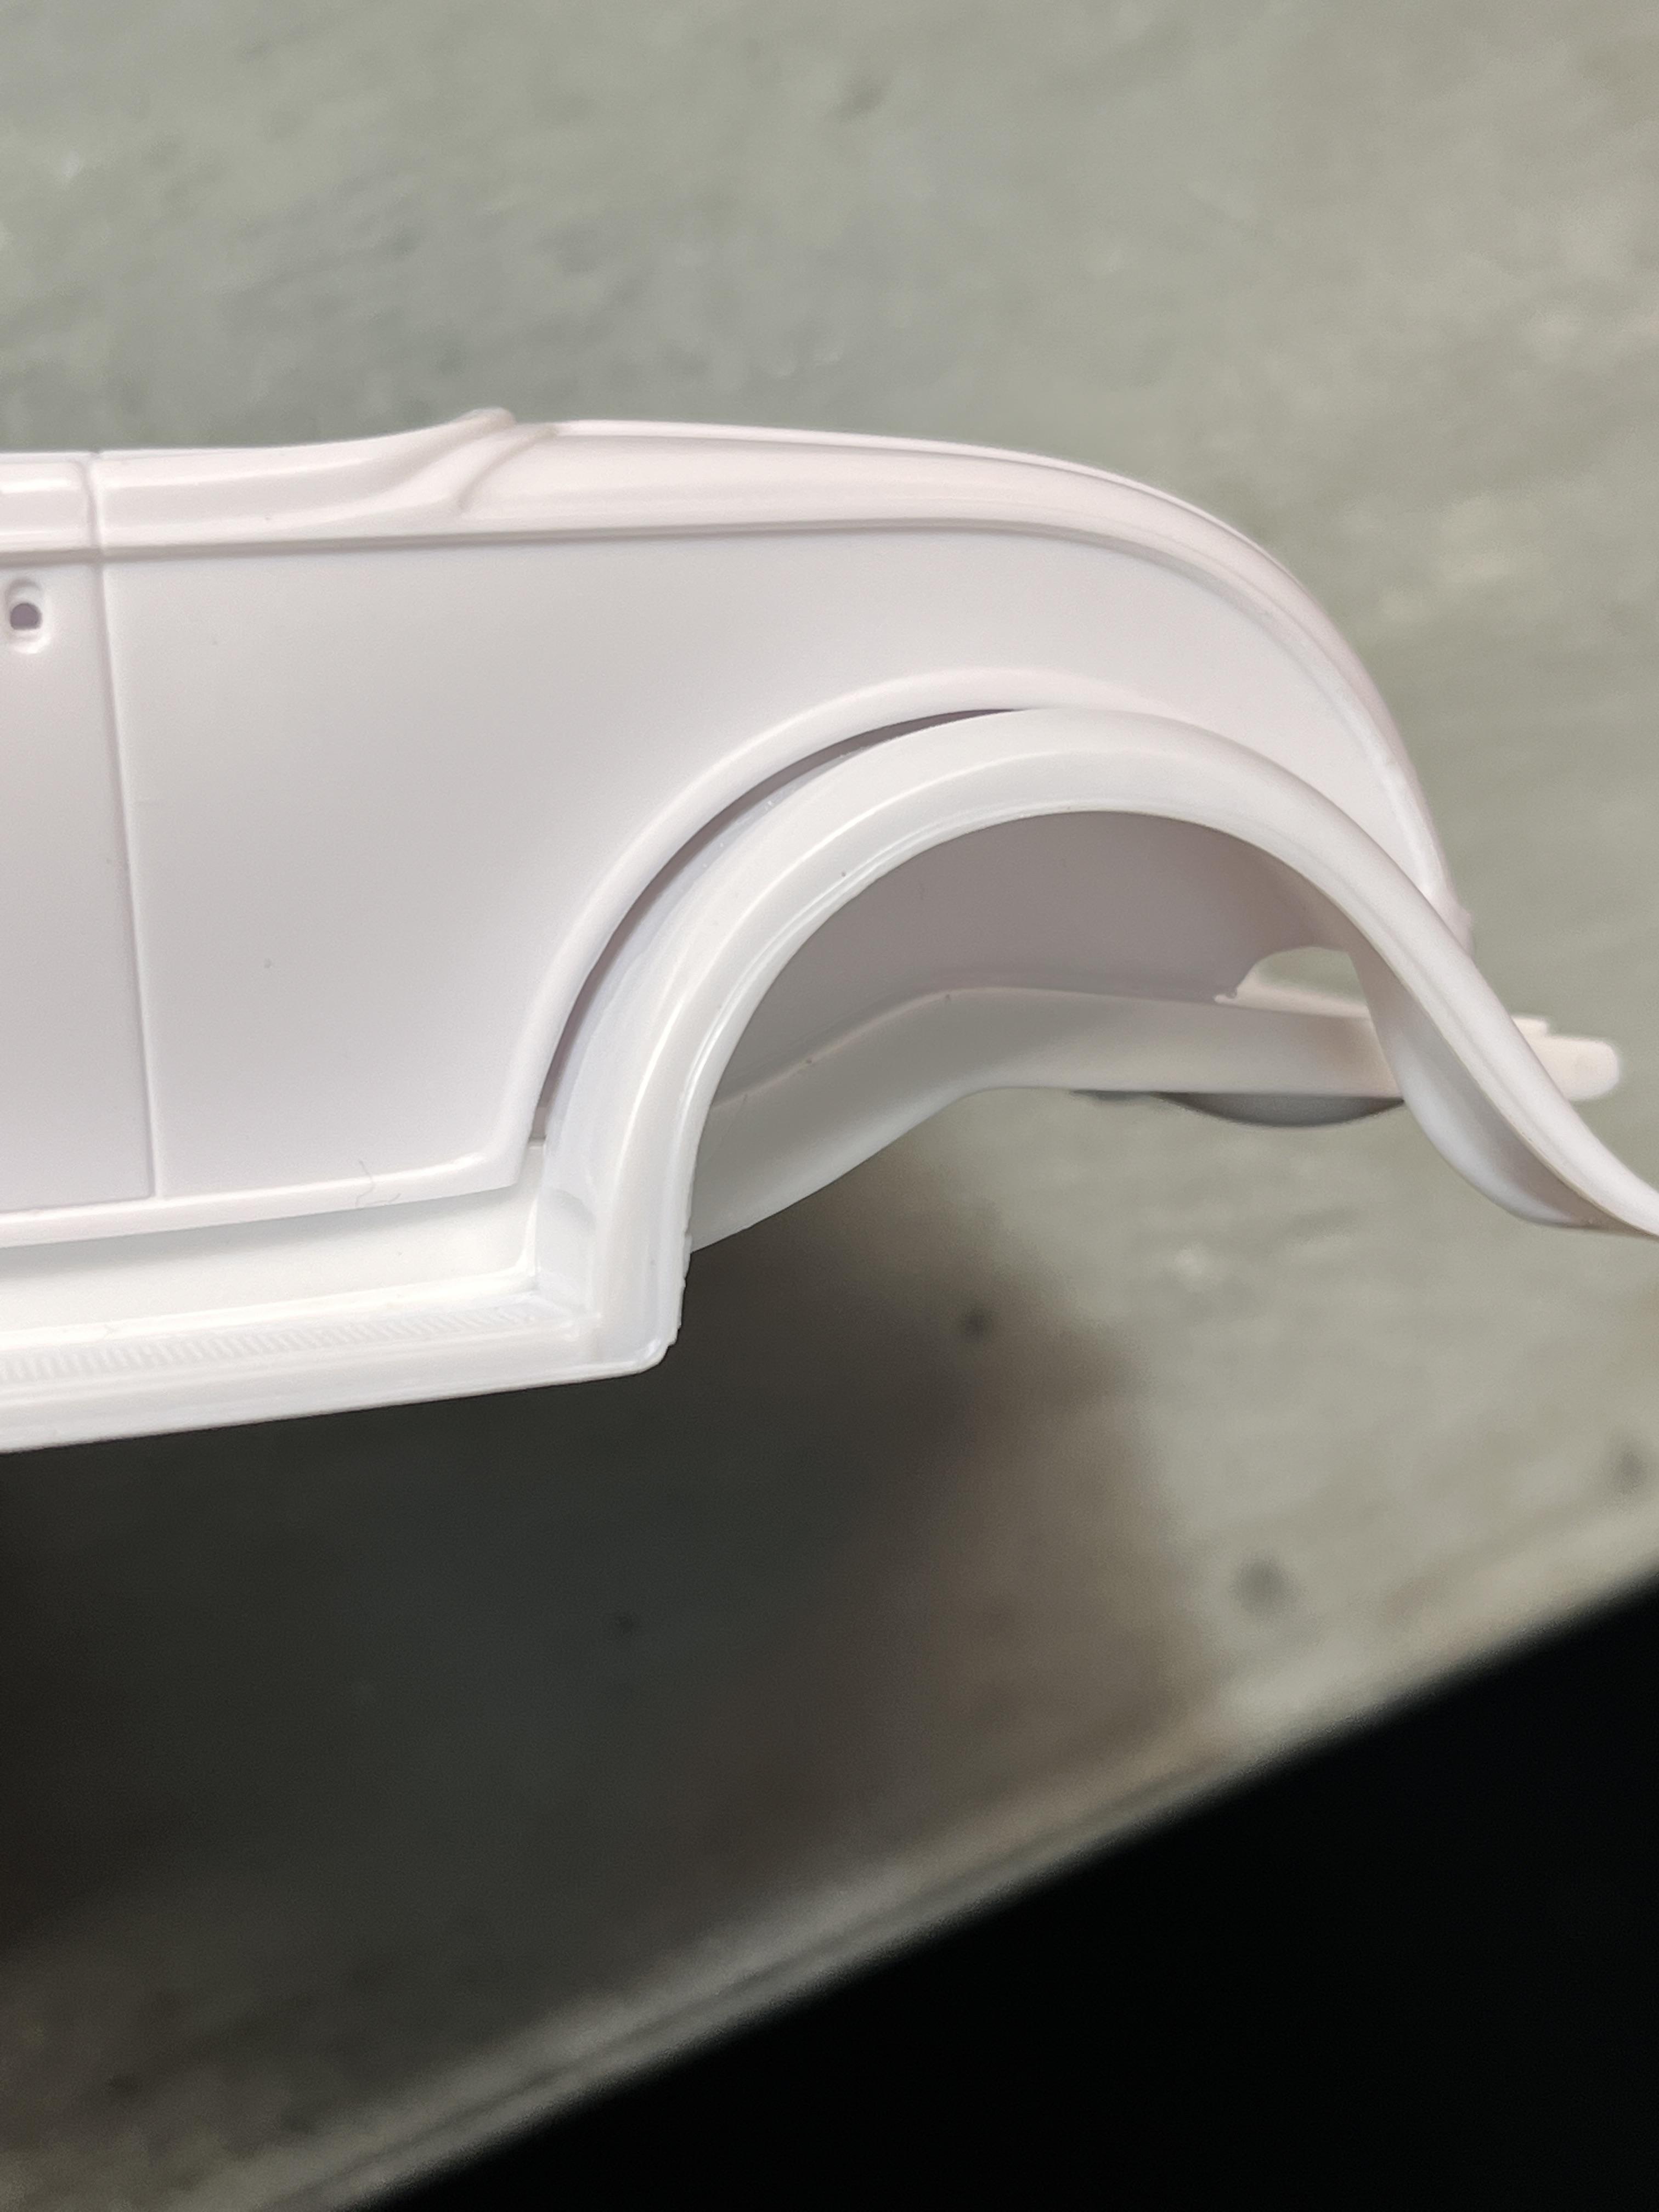
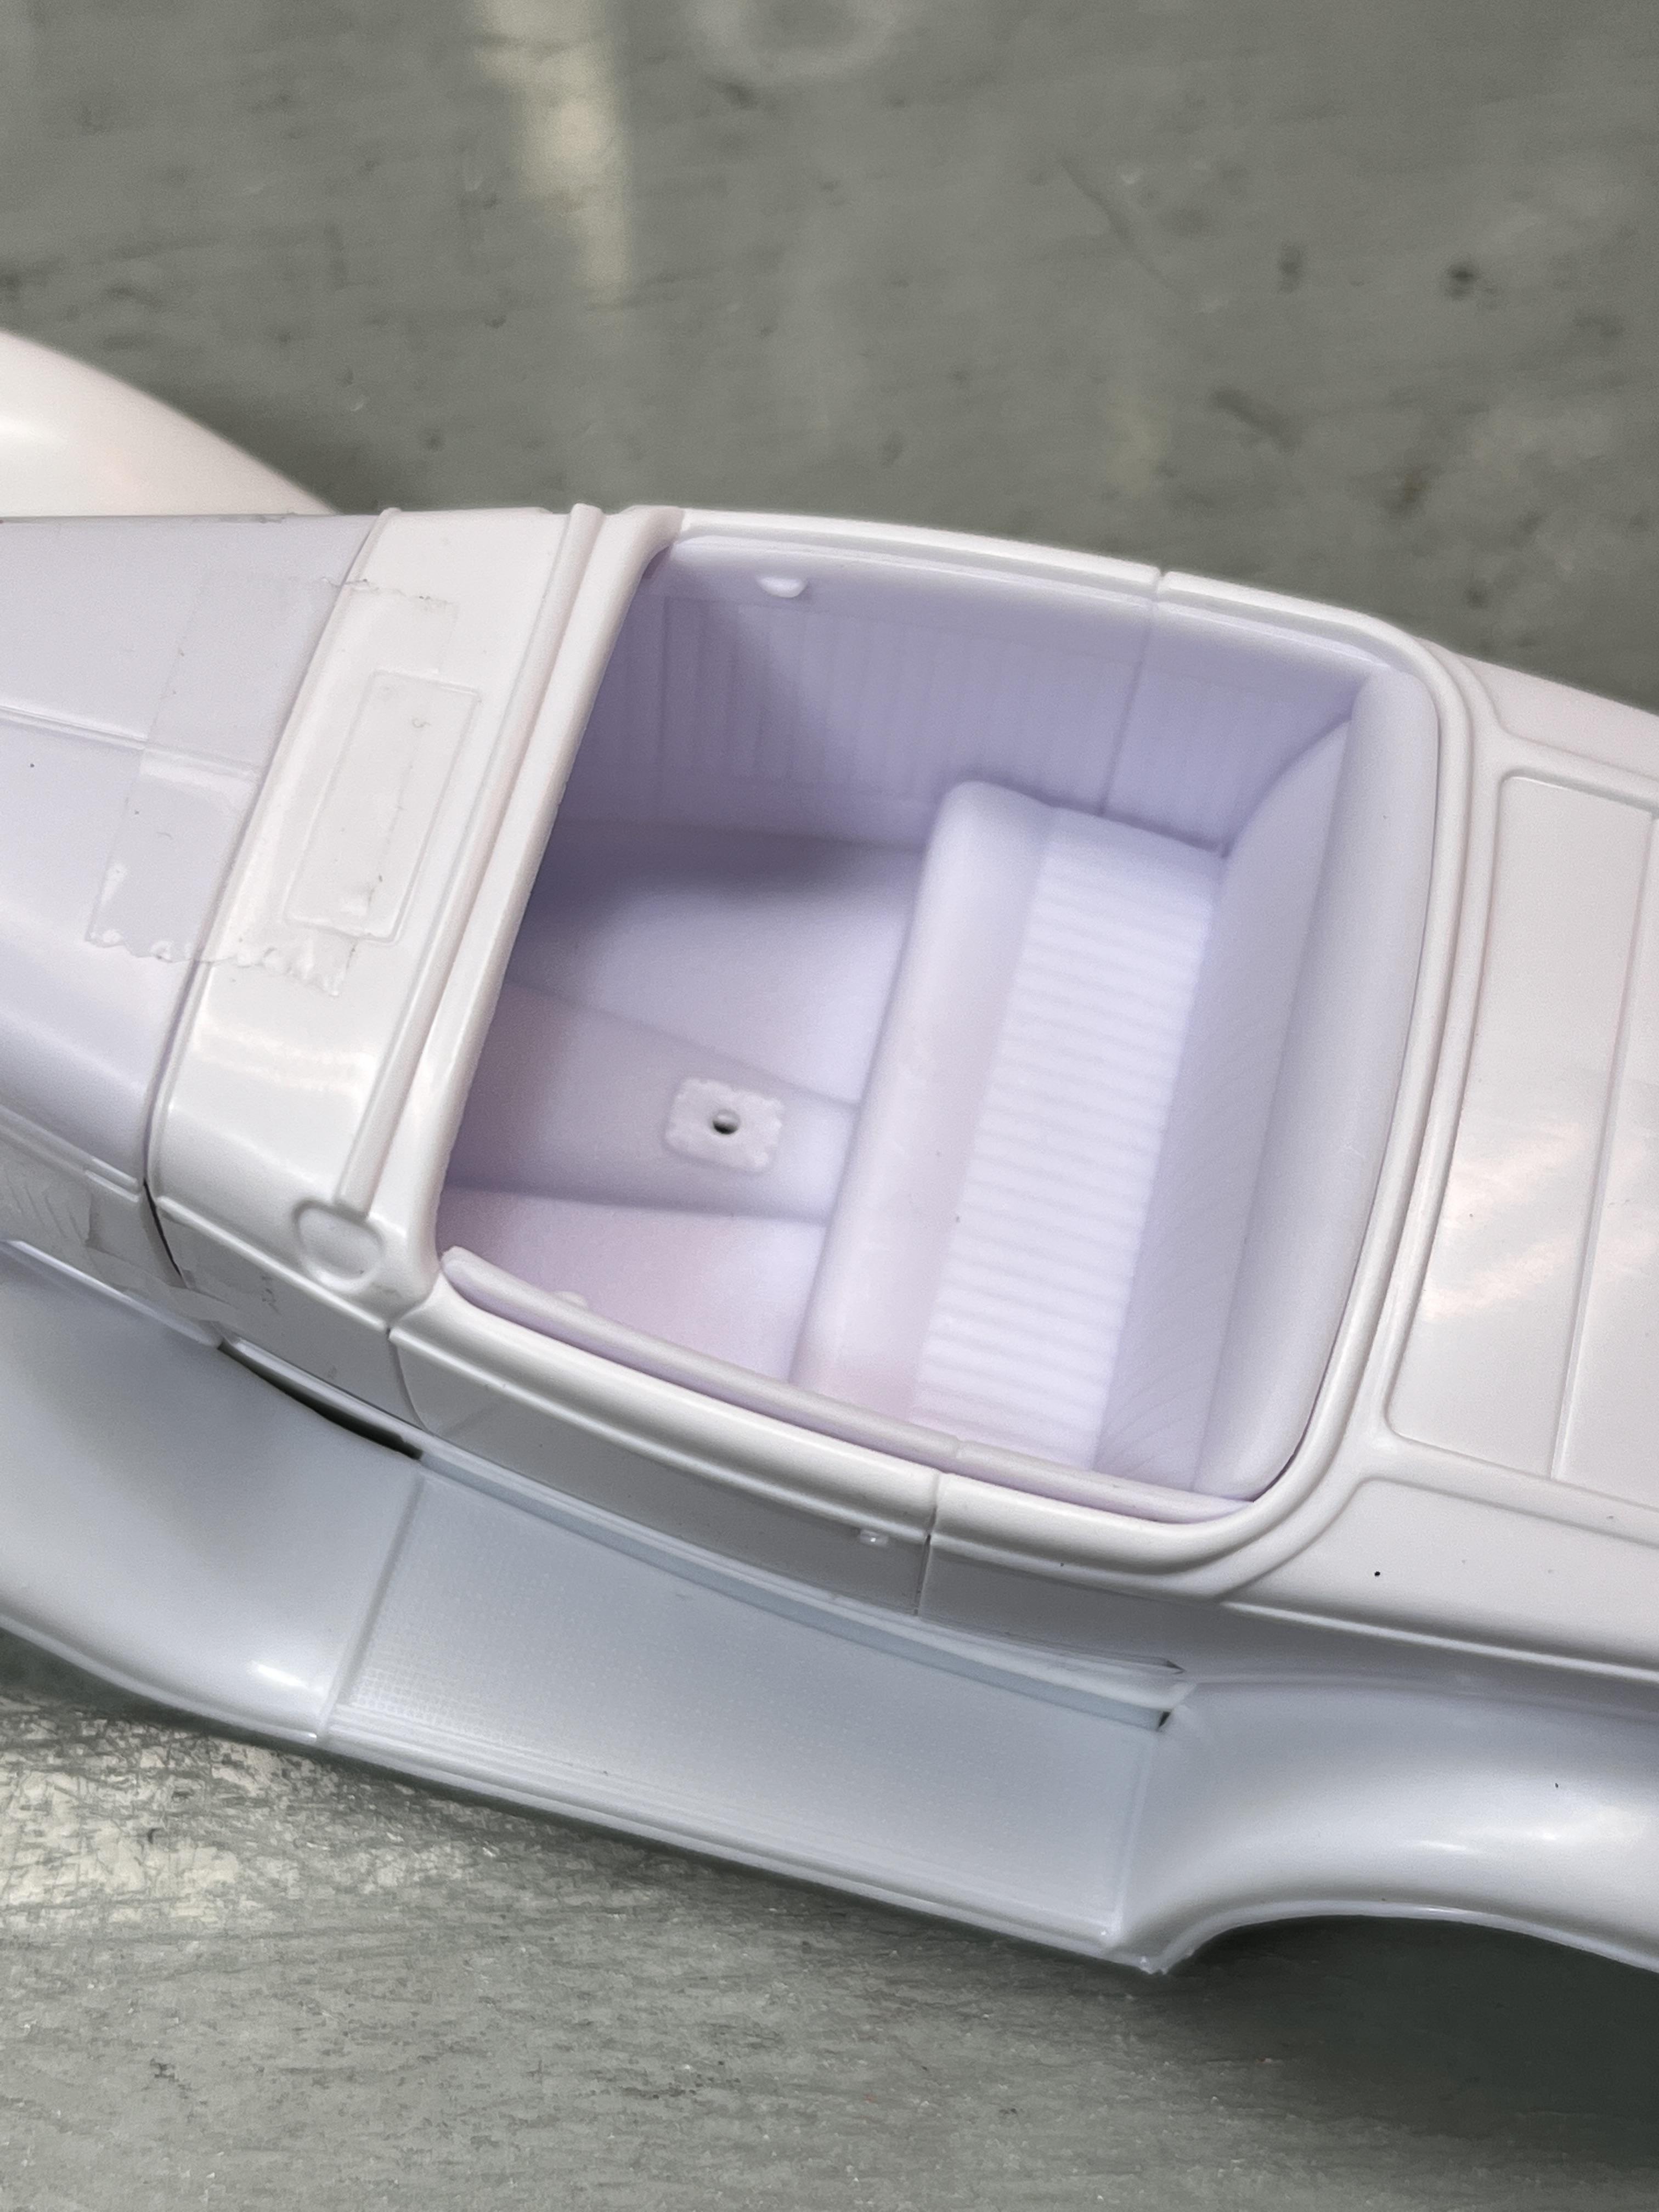
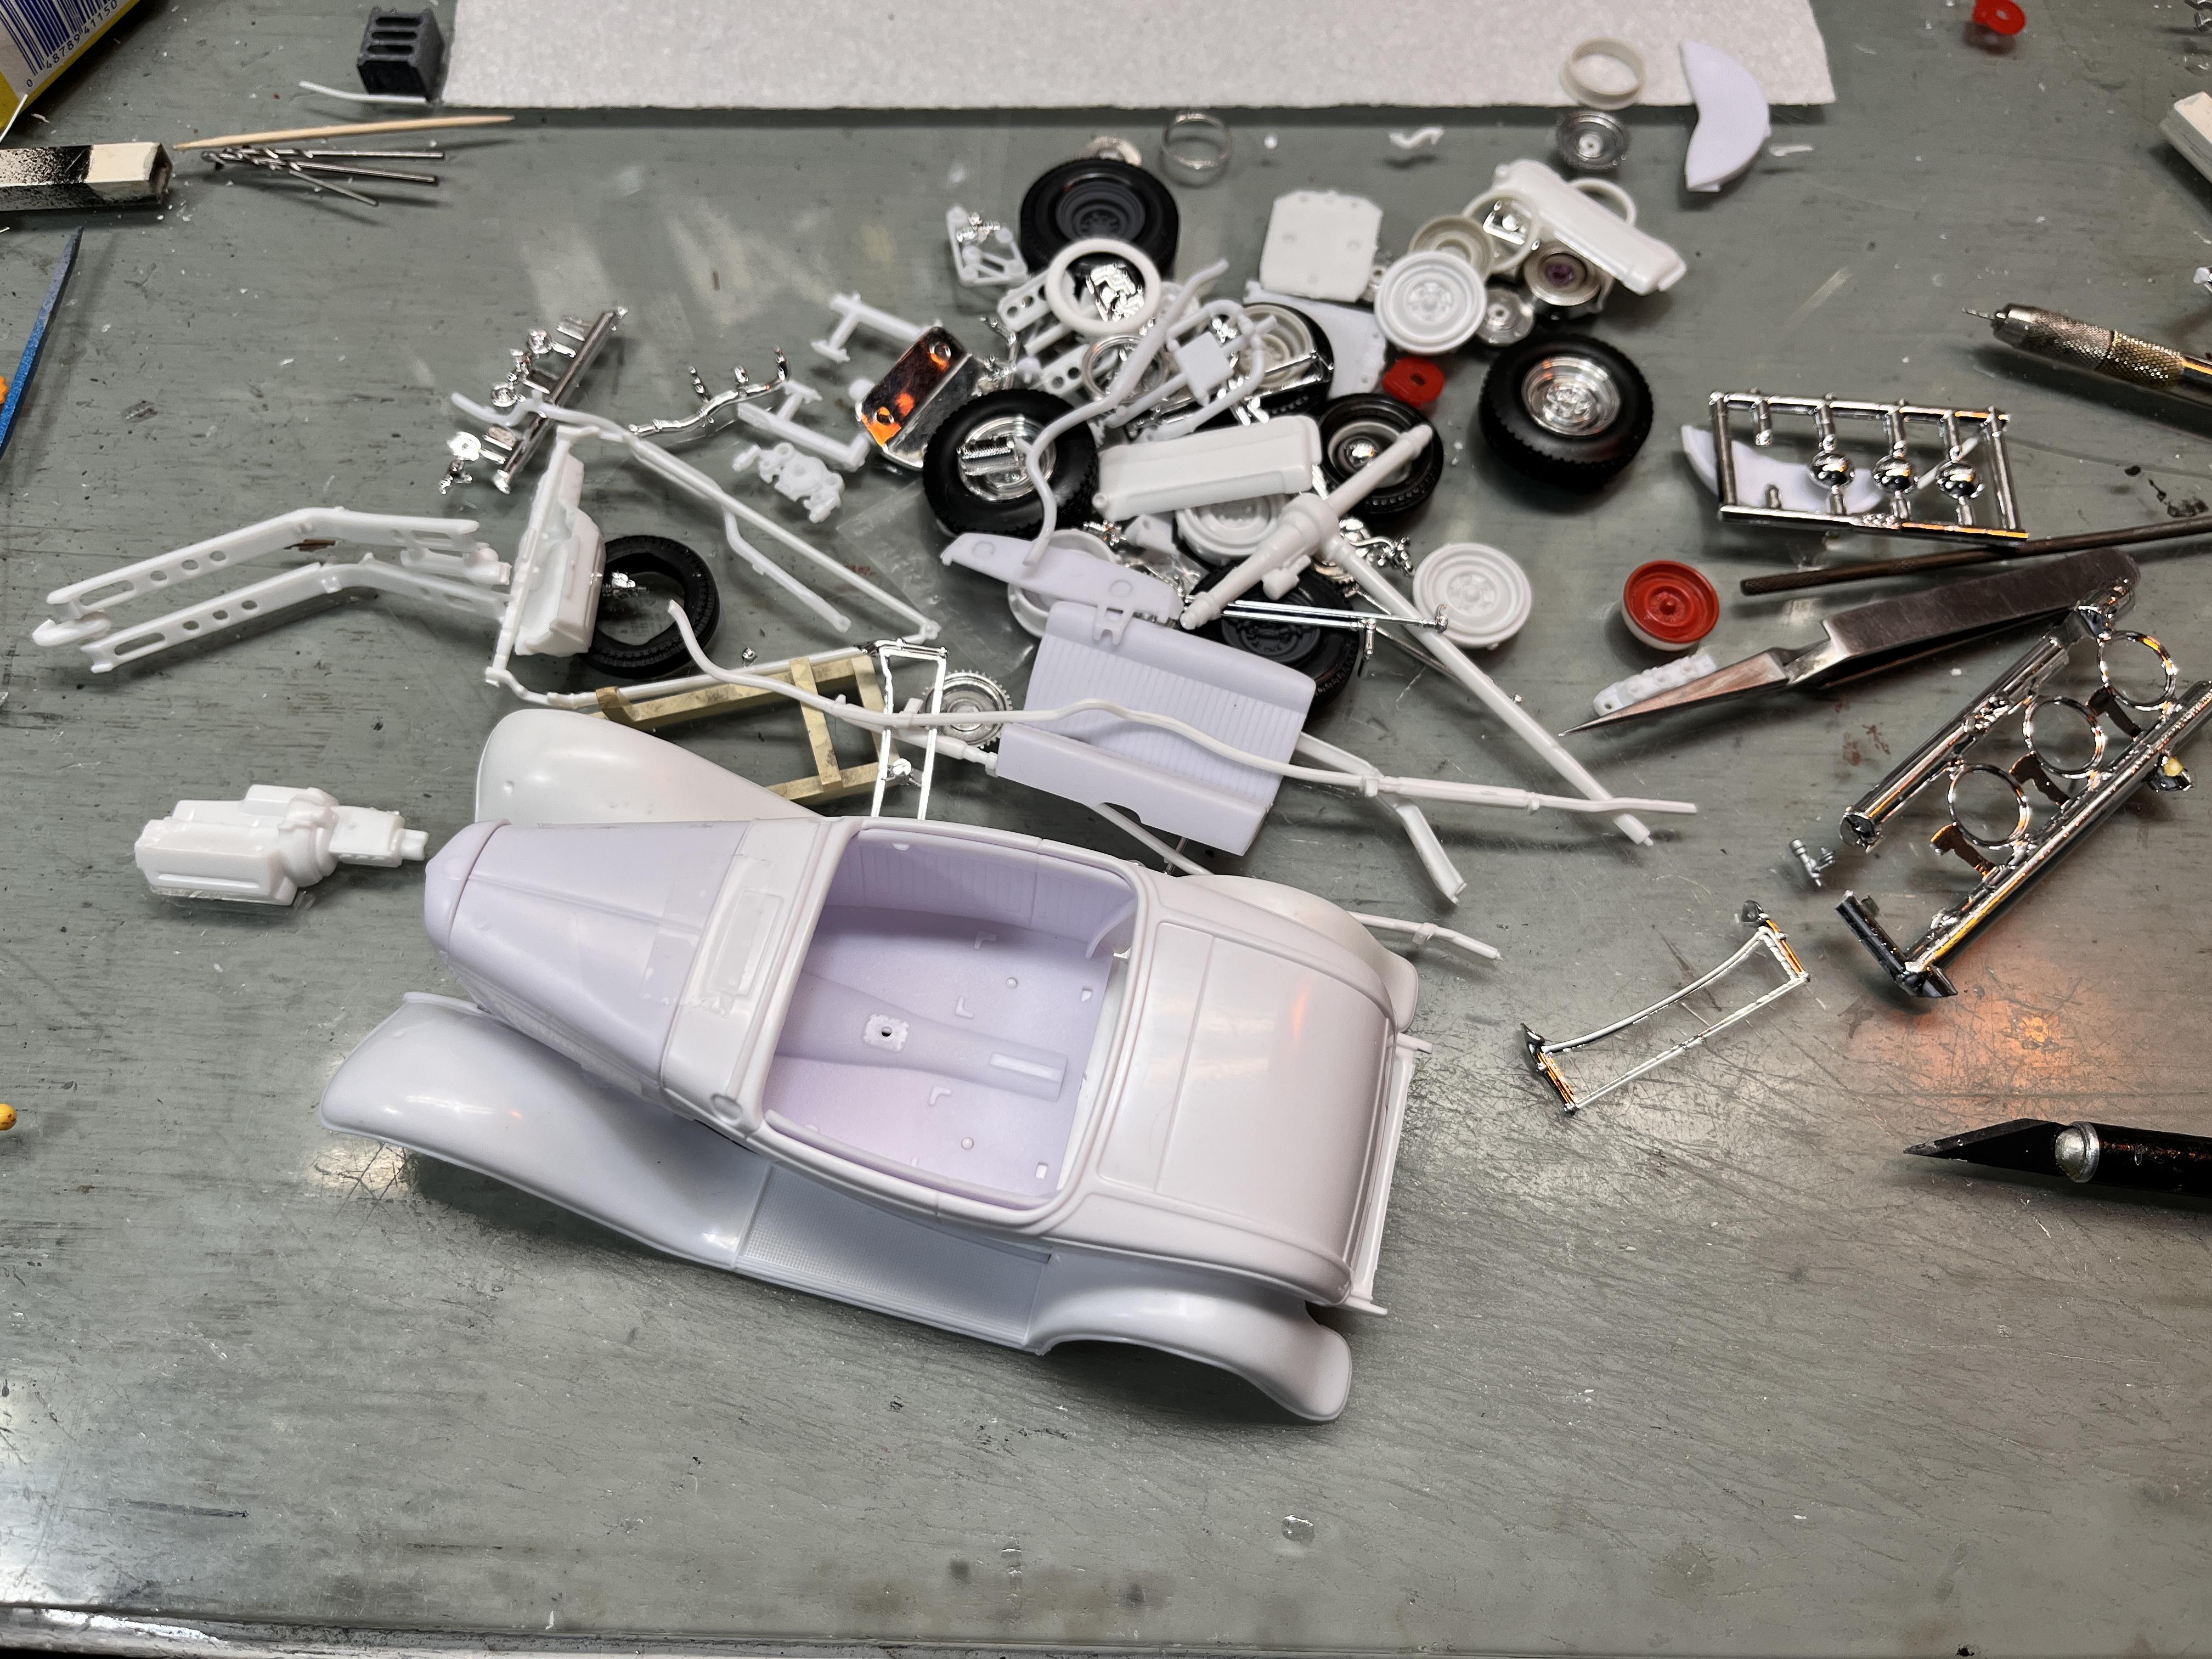
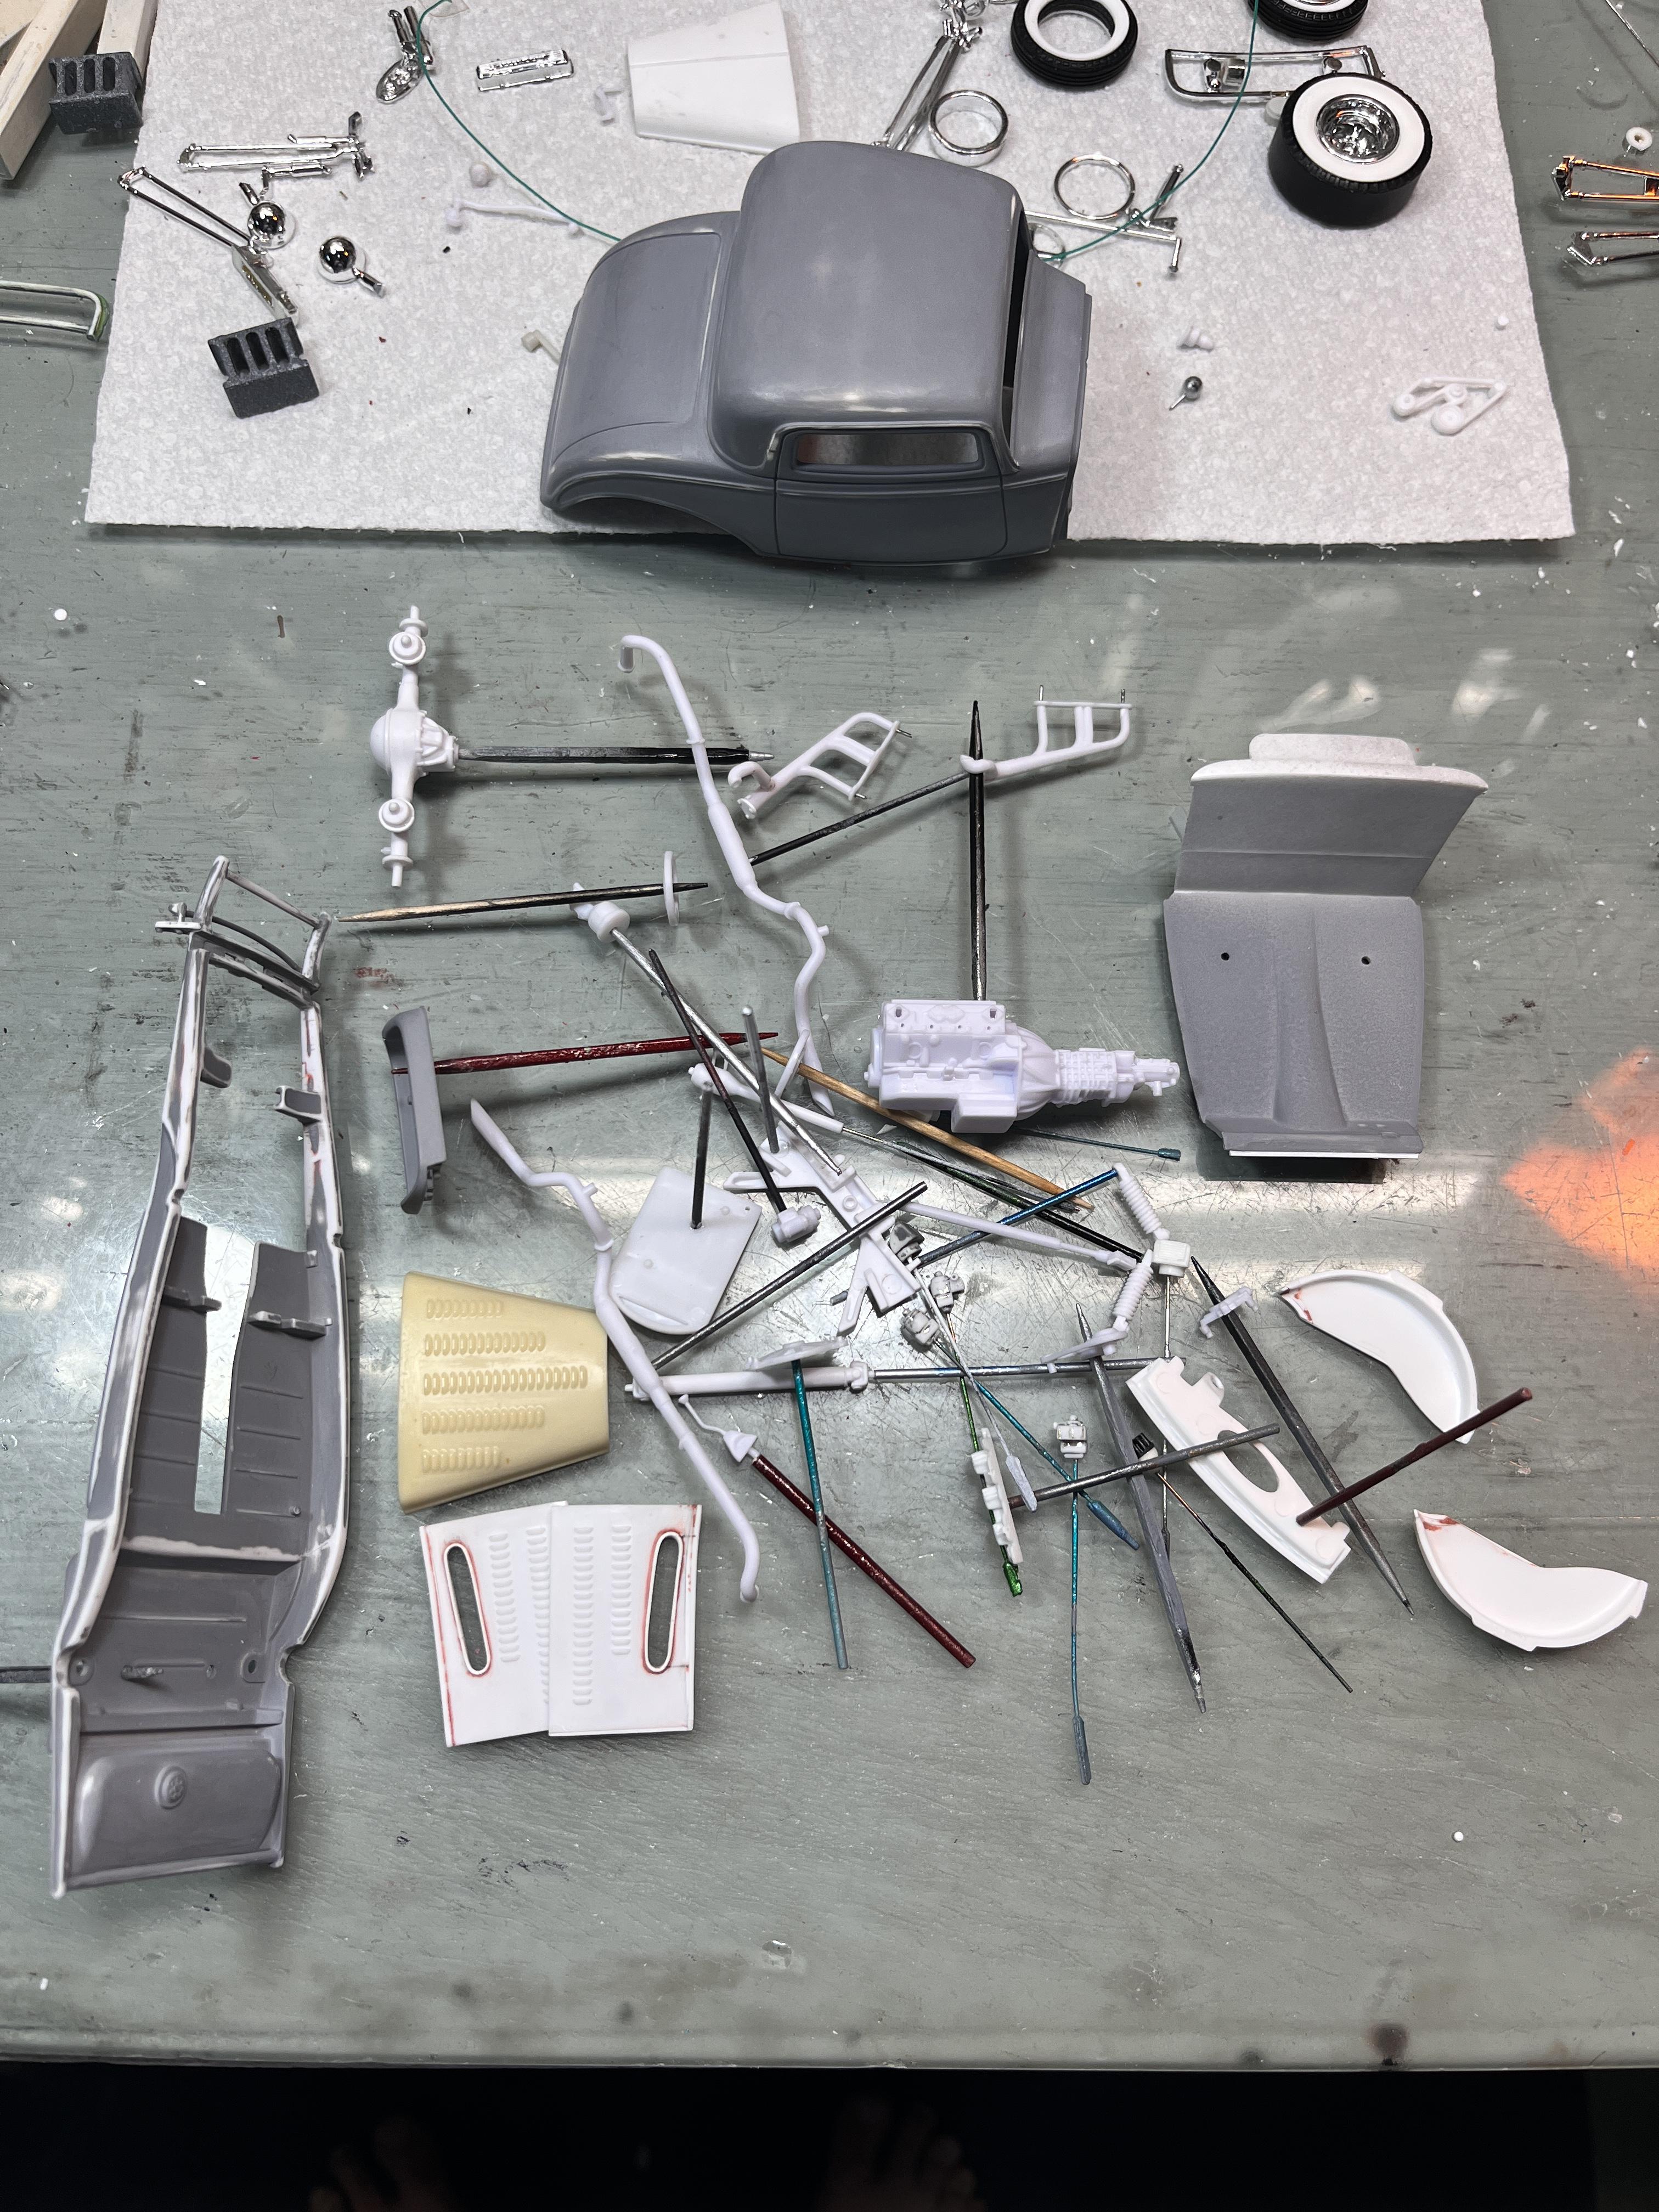
With release of the latest iteration of the Revell '32 roadster, new parts inspire new variations of this venerable series of 1932 Ford kits. I was kicking around some ideas, basically based around the new roadster interior. What could inspire me to build yet another 1932 roadster (I think I've built six or seven already)? I then hit on the idea to build a full fendered version, something I've never done. Once I started mocking up the car, it reminded of the famous Gray Baskerville roadster. All of us hot rod fans know of Gray Baskerville. He was a true character who wrote (and photographed) for Hot Rod and Rod & Custom magazines for decades. Gray's daily transportation was a '32 roadster he owned for many years. It wasn't a fancy car, built from junkyard parts in the mid 50s. The car is red with primer spots, hardly a 'high dollar' build. Gray passed away in 2002 at age 66 and his car is now in the care of Tim Shelton (Our very own Dennis Lacy has worked on this car), preserved as it should be, primer spots and all. Here's a few links to information on the legends (both Gray and his car are legends). https://www.motortrend.com/features/1932-ford-roadster-gray-baskerville-hot-rod-magazine/?wc_mid=4035:23957&wc_rid=4035:885226&_wcsid=F8553672B28F33CFEF97E8EE2C6599DD350AFA4B0348BA9B https://public.fotki.com/LOUD-PEDAL/1932-fords/famous-1932-fords/75-years-of-the-32-ford-/gary-baskervilles-r/ So, I decided I would build a model 'inspired' by this car and it's owner who referred to himself as "Yer old dad". Here's the initial mockup, using (one of?) my last Rat Roaster body. The chrome reverse wheels won't be used.... -------------------------- Fitment of the body to the fenders is pretty good. The wheel well cutout on the RR body is a little wider than the fenders, so that gap will need to be filled in.... -------------------- This interior is sweet!!!.... --------------------- Here's my typical "yard sale" of parts. I'm going to install a flatmotor, the real car has an SBC. Again, not trying to be super accurate to the real car.... -------------------------- I mocked up the flathead and I'm planning to use the crossmember and rear suspension pieces (a Columbia two-speed axle) from the Revell '40 Ford, with some obvious modifications. Thanks for stopping by...more later. -RRR

- 41 replies
-
- 10
-

-
Bring it on! -RRR
-
Thanks! The carbs are from the Revell Model A series and are meant to represent the Rochester 2G. The Flame Arrestor filters are from Reps and Mins of MD, originally used in marine applications, as I understand it.... -RRR
-
I was working on it today, I found a fitment issue on the hood and sides. They are in rework now....
-
Thanks, Craig. Now if I could just get the gumption to put it together.... -RRR
-
Nice work, that blower is sweet!! -RRR
-
Thanks for your compliments on the paint. Yes, the interior is almost certainly from Norm at Reps & Mins of MD, It had been sitting in a box for about 25 (?) years. I bought several of the hoods Jason cast. Very nice items. He is looking at casting a louvered hood for the recently released Revell '32 roadster. The hood on that kit is slightly wider than the other Revell '32 hoods at the cowl. -RRR
-
Show Rod Kits Reference
Rocking Rodney Rat replied to MeatMan's topic in General Automotive Talk (Trucks and Cars)
There's a couple of my builds in there somewhere (not really show rods, but).... -RRR -
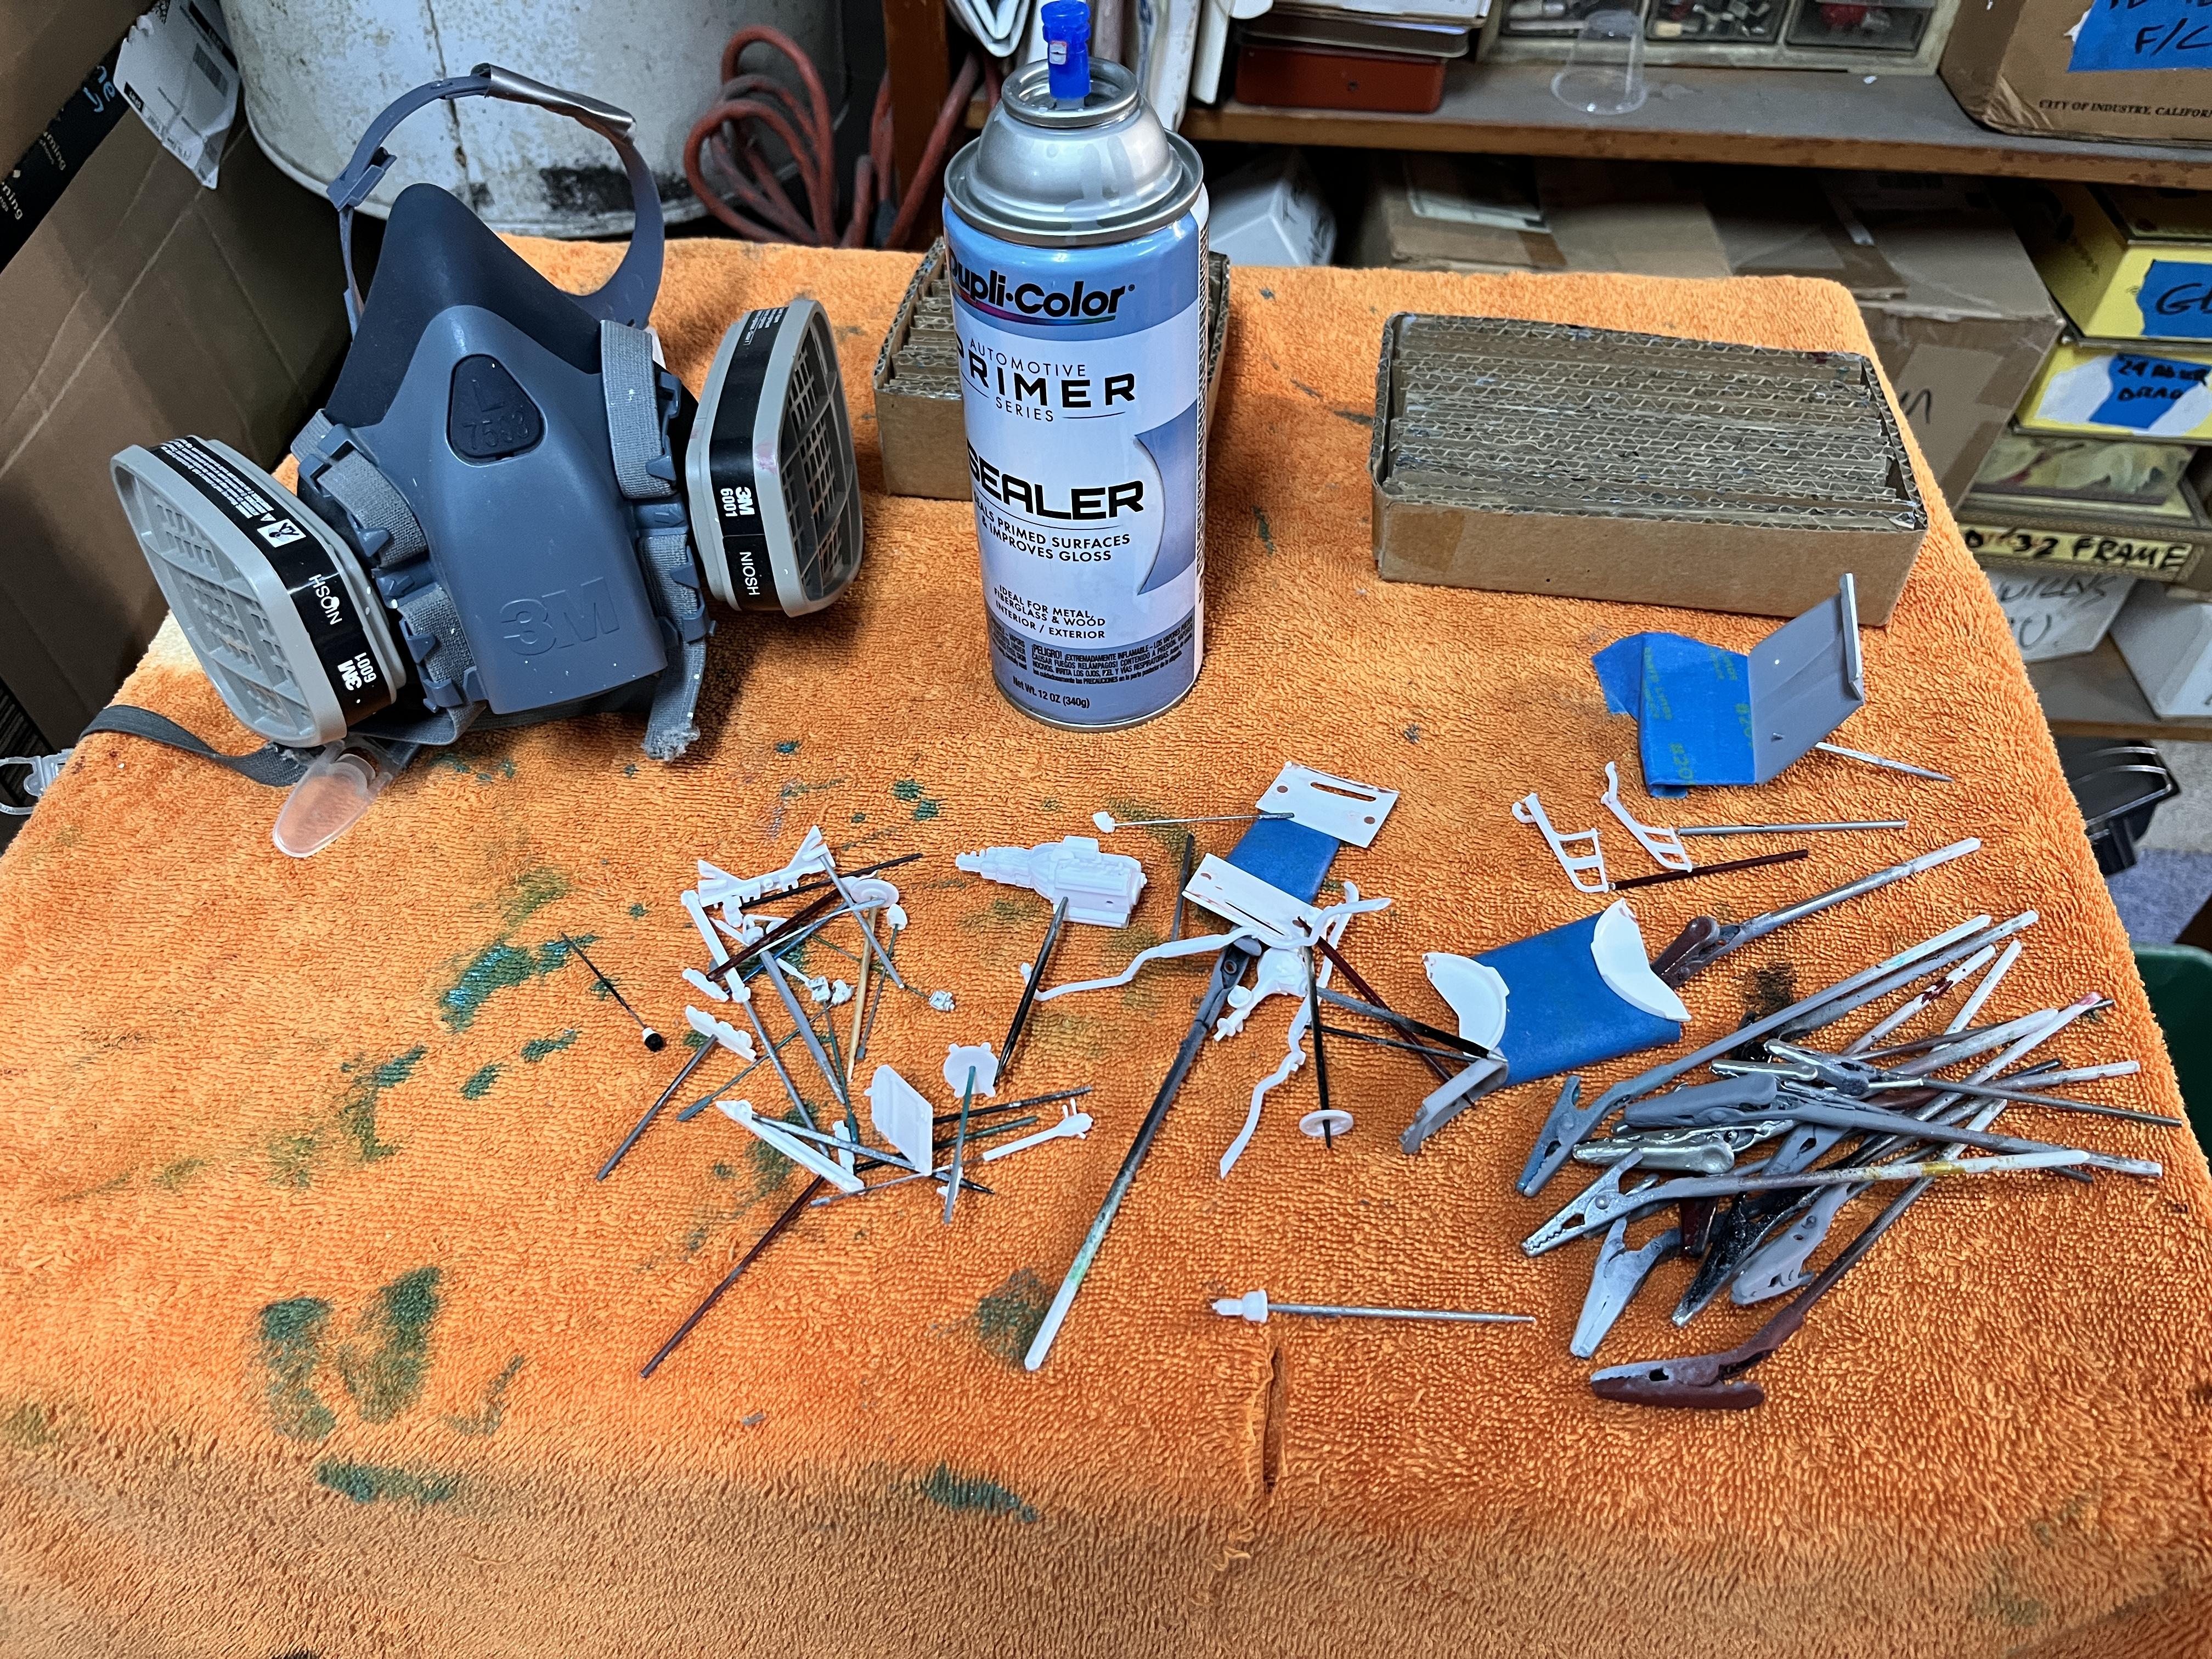
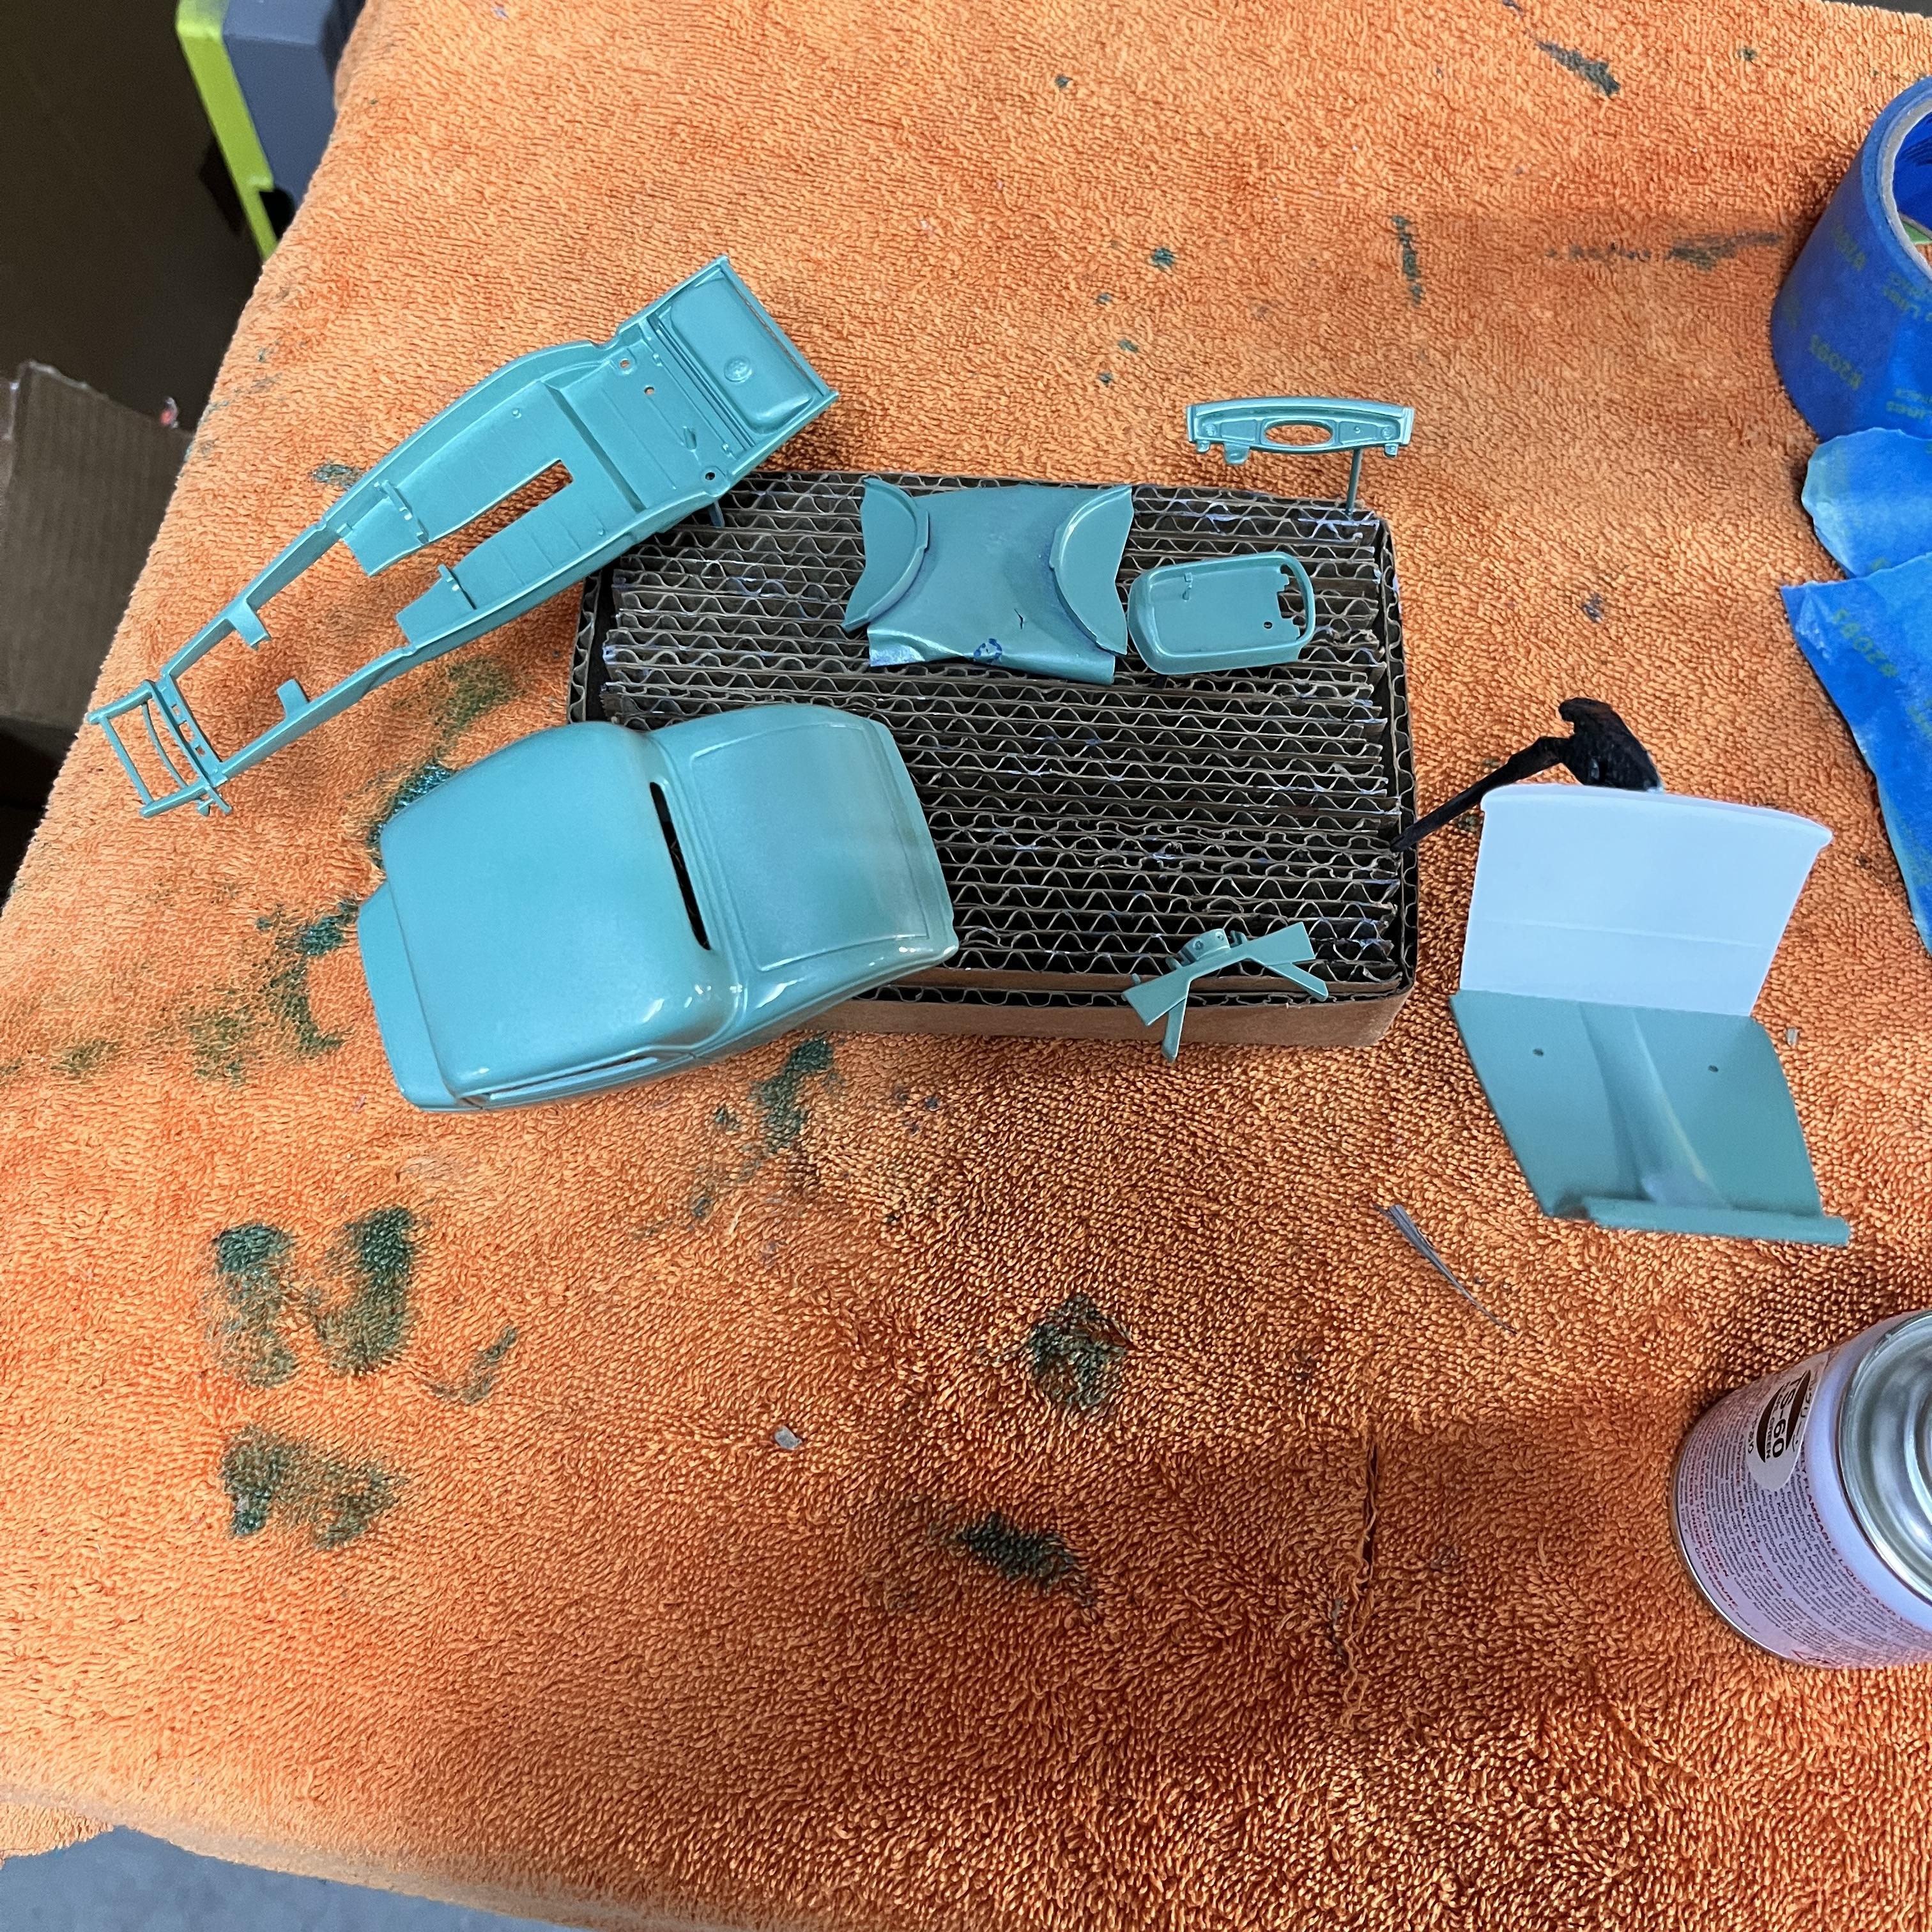
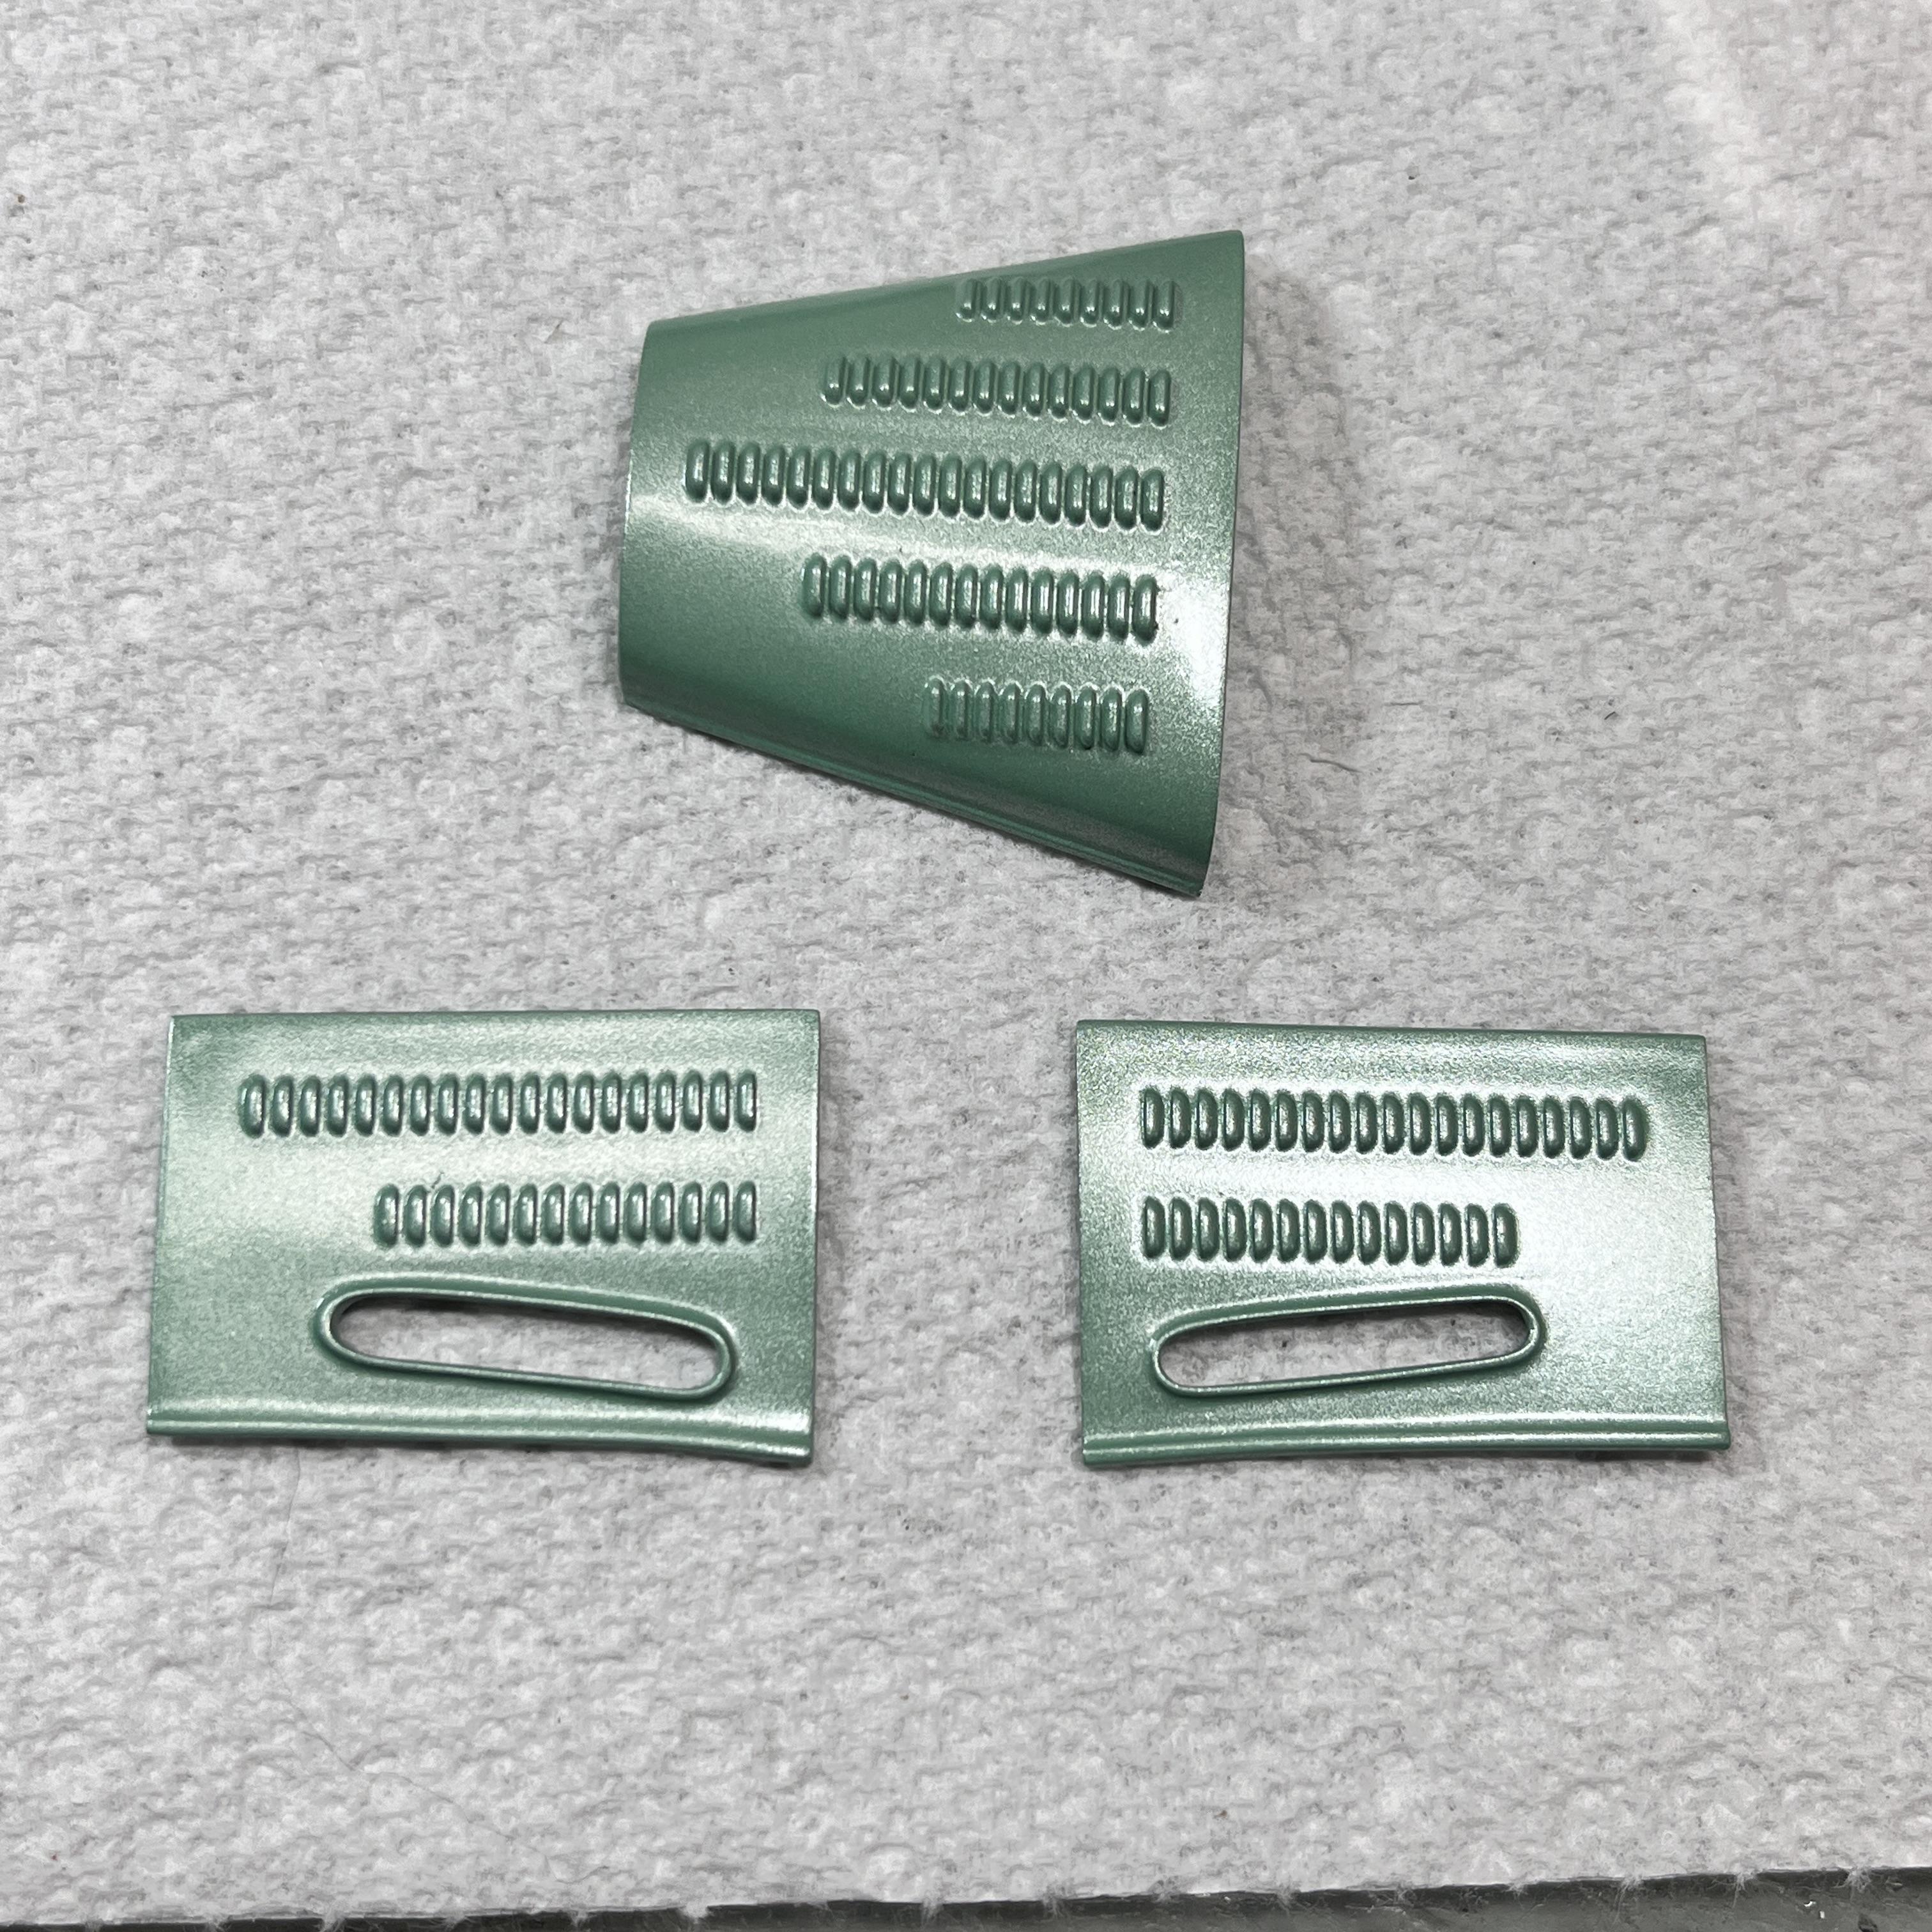
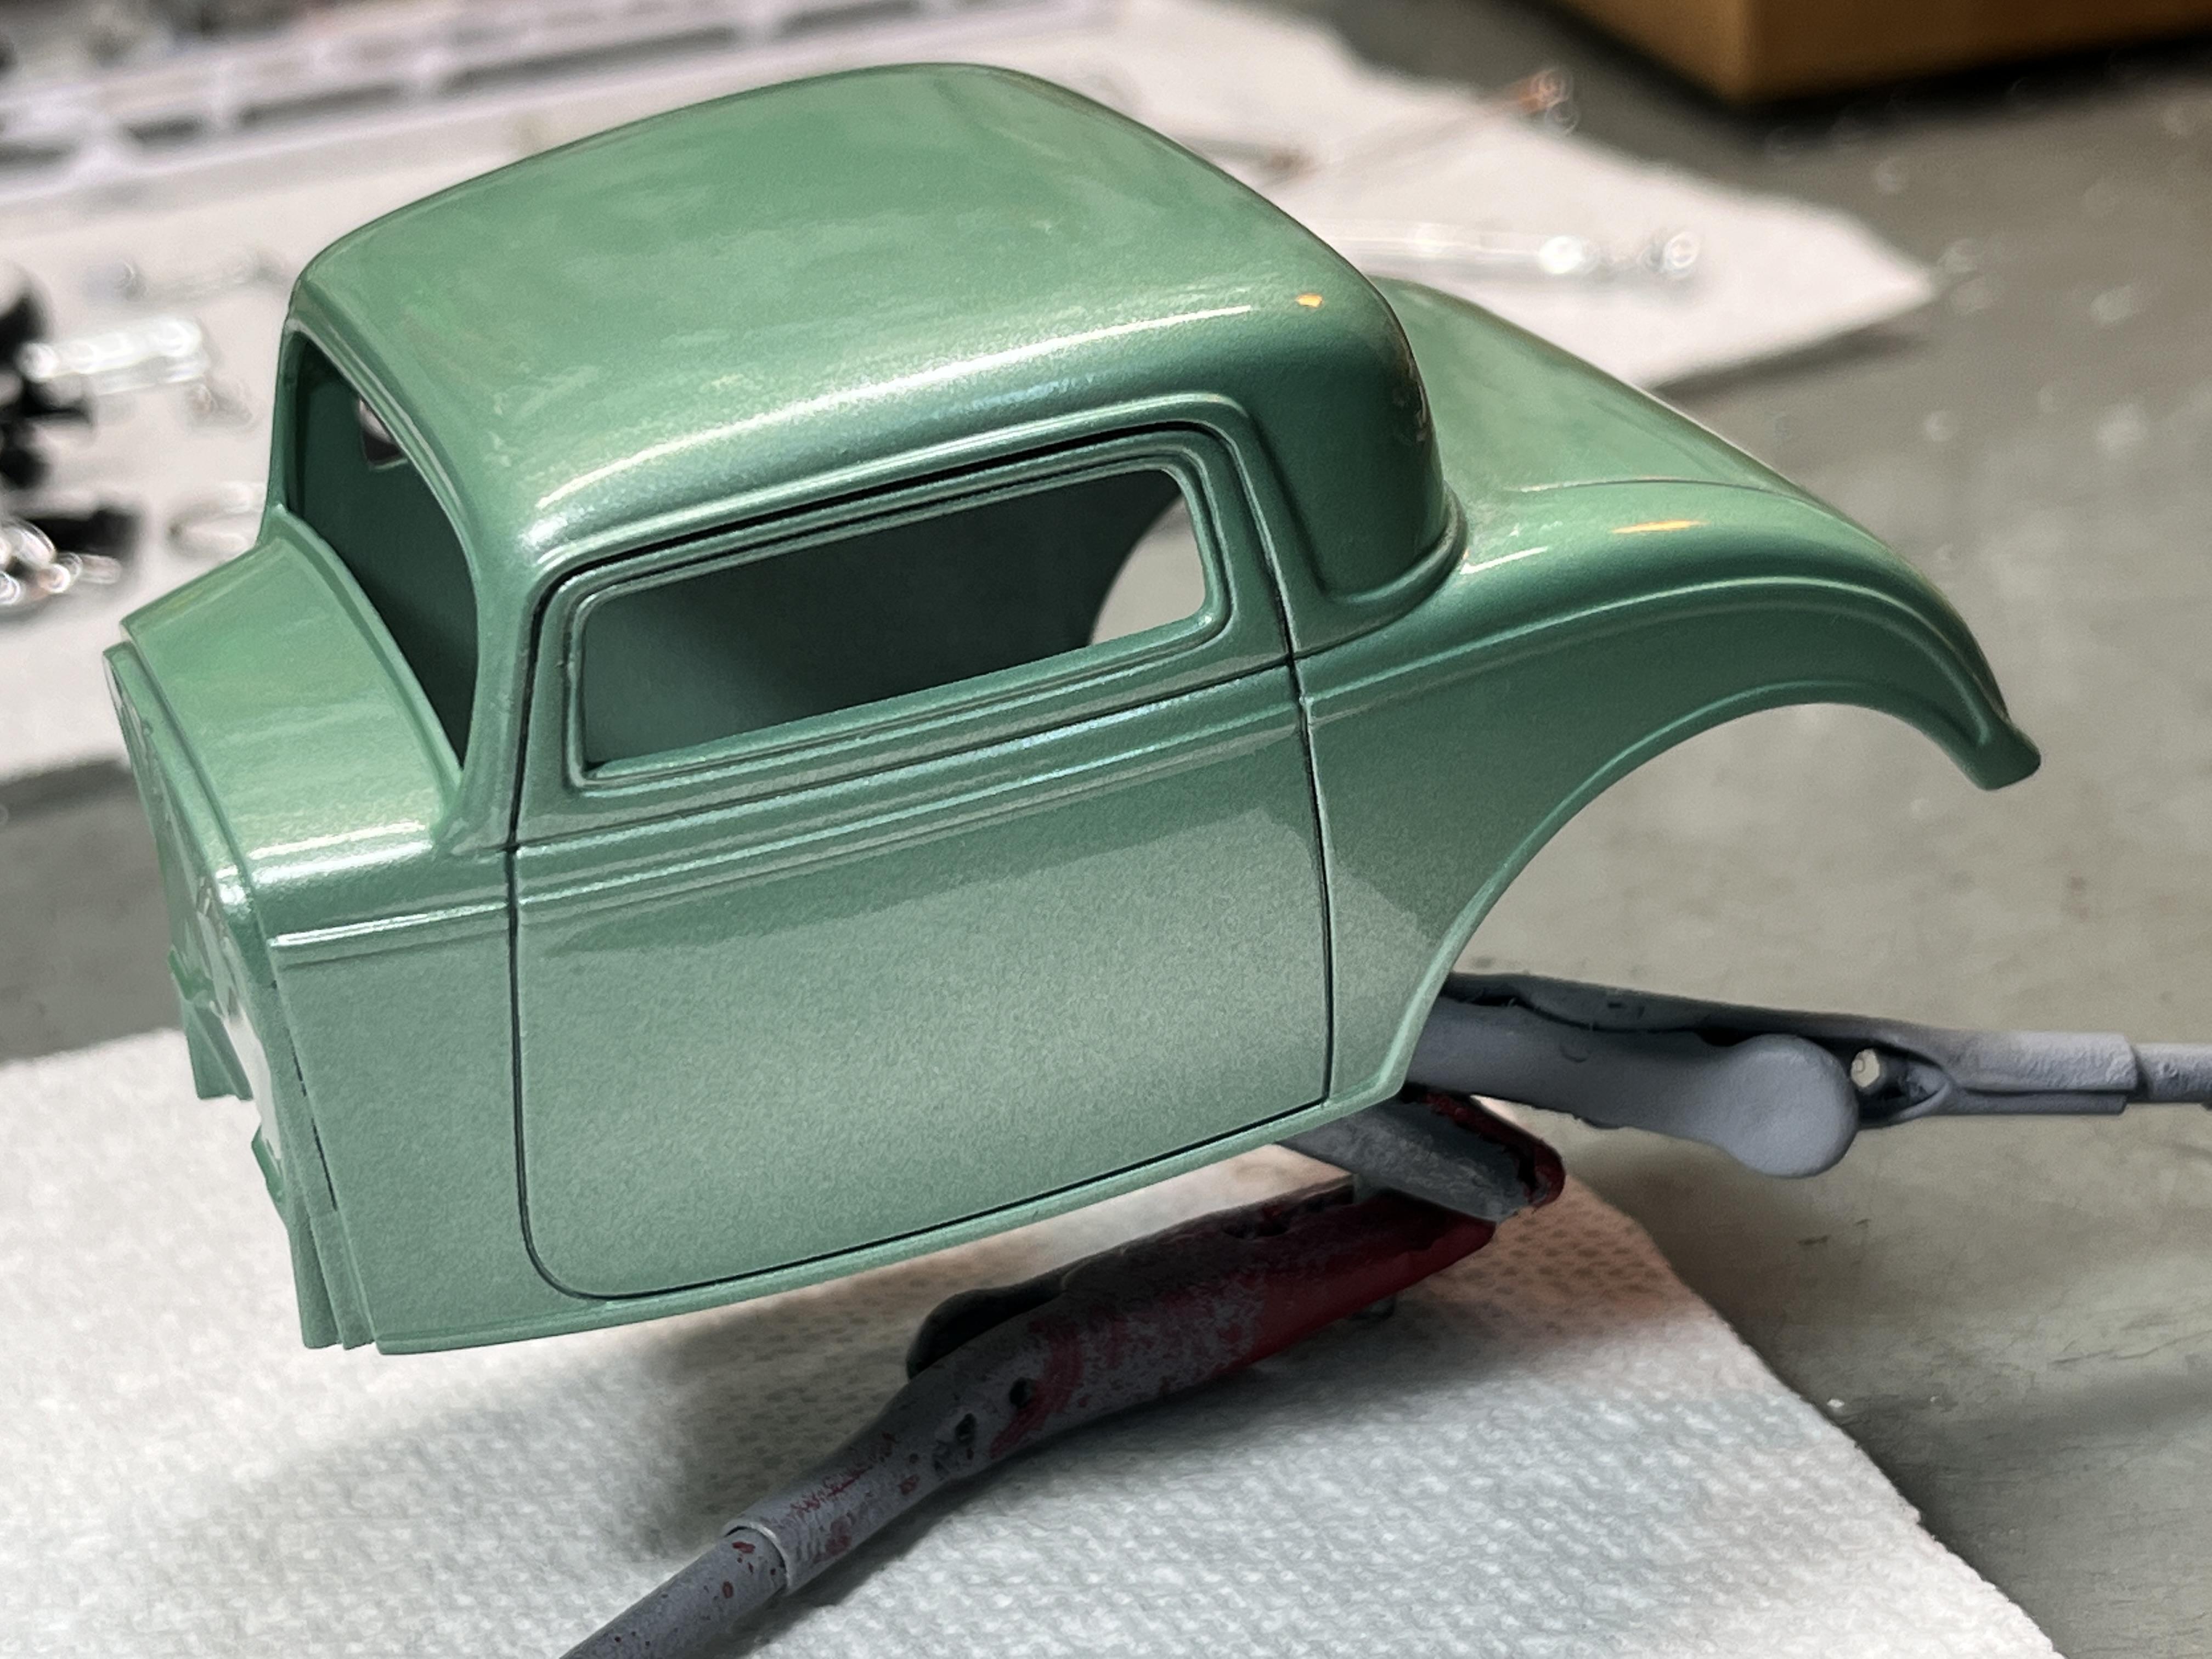
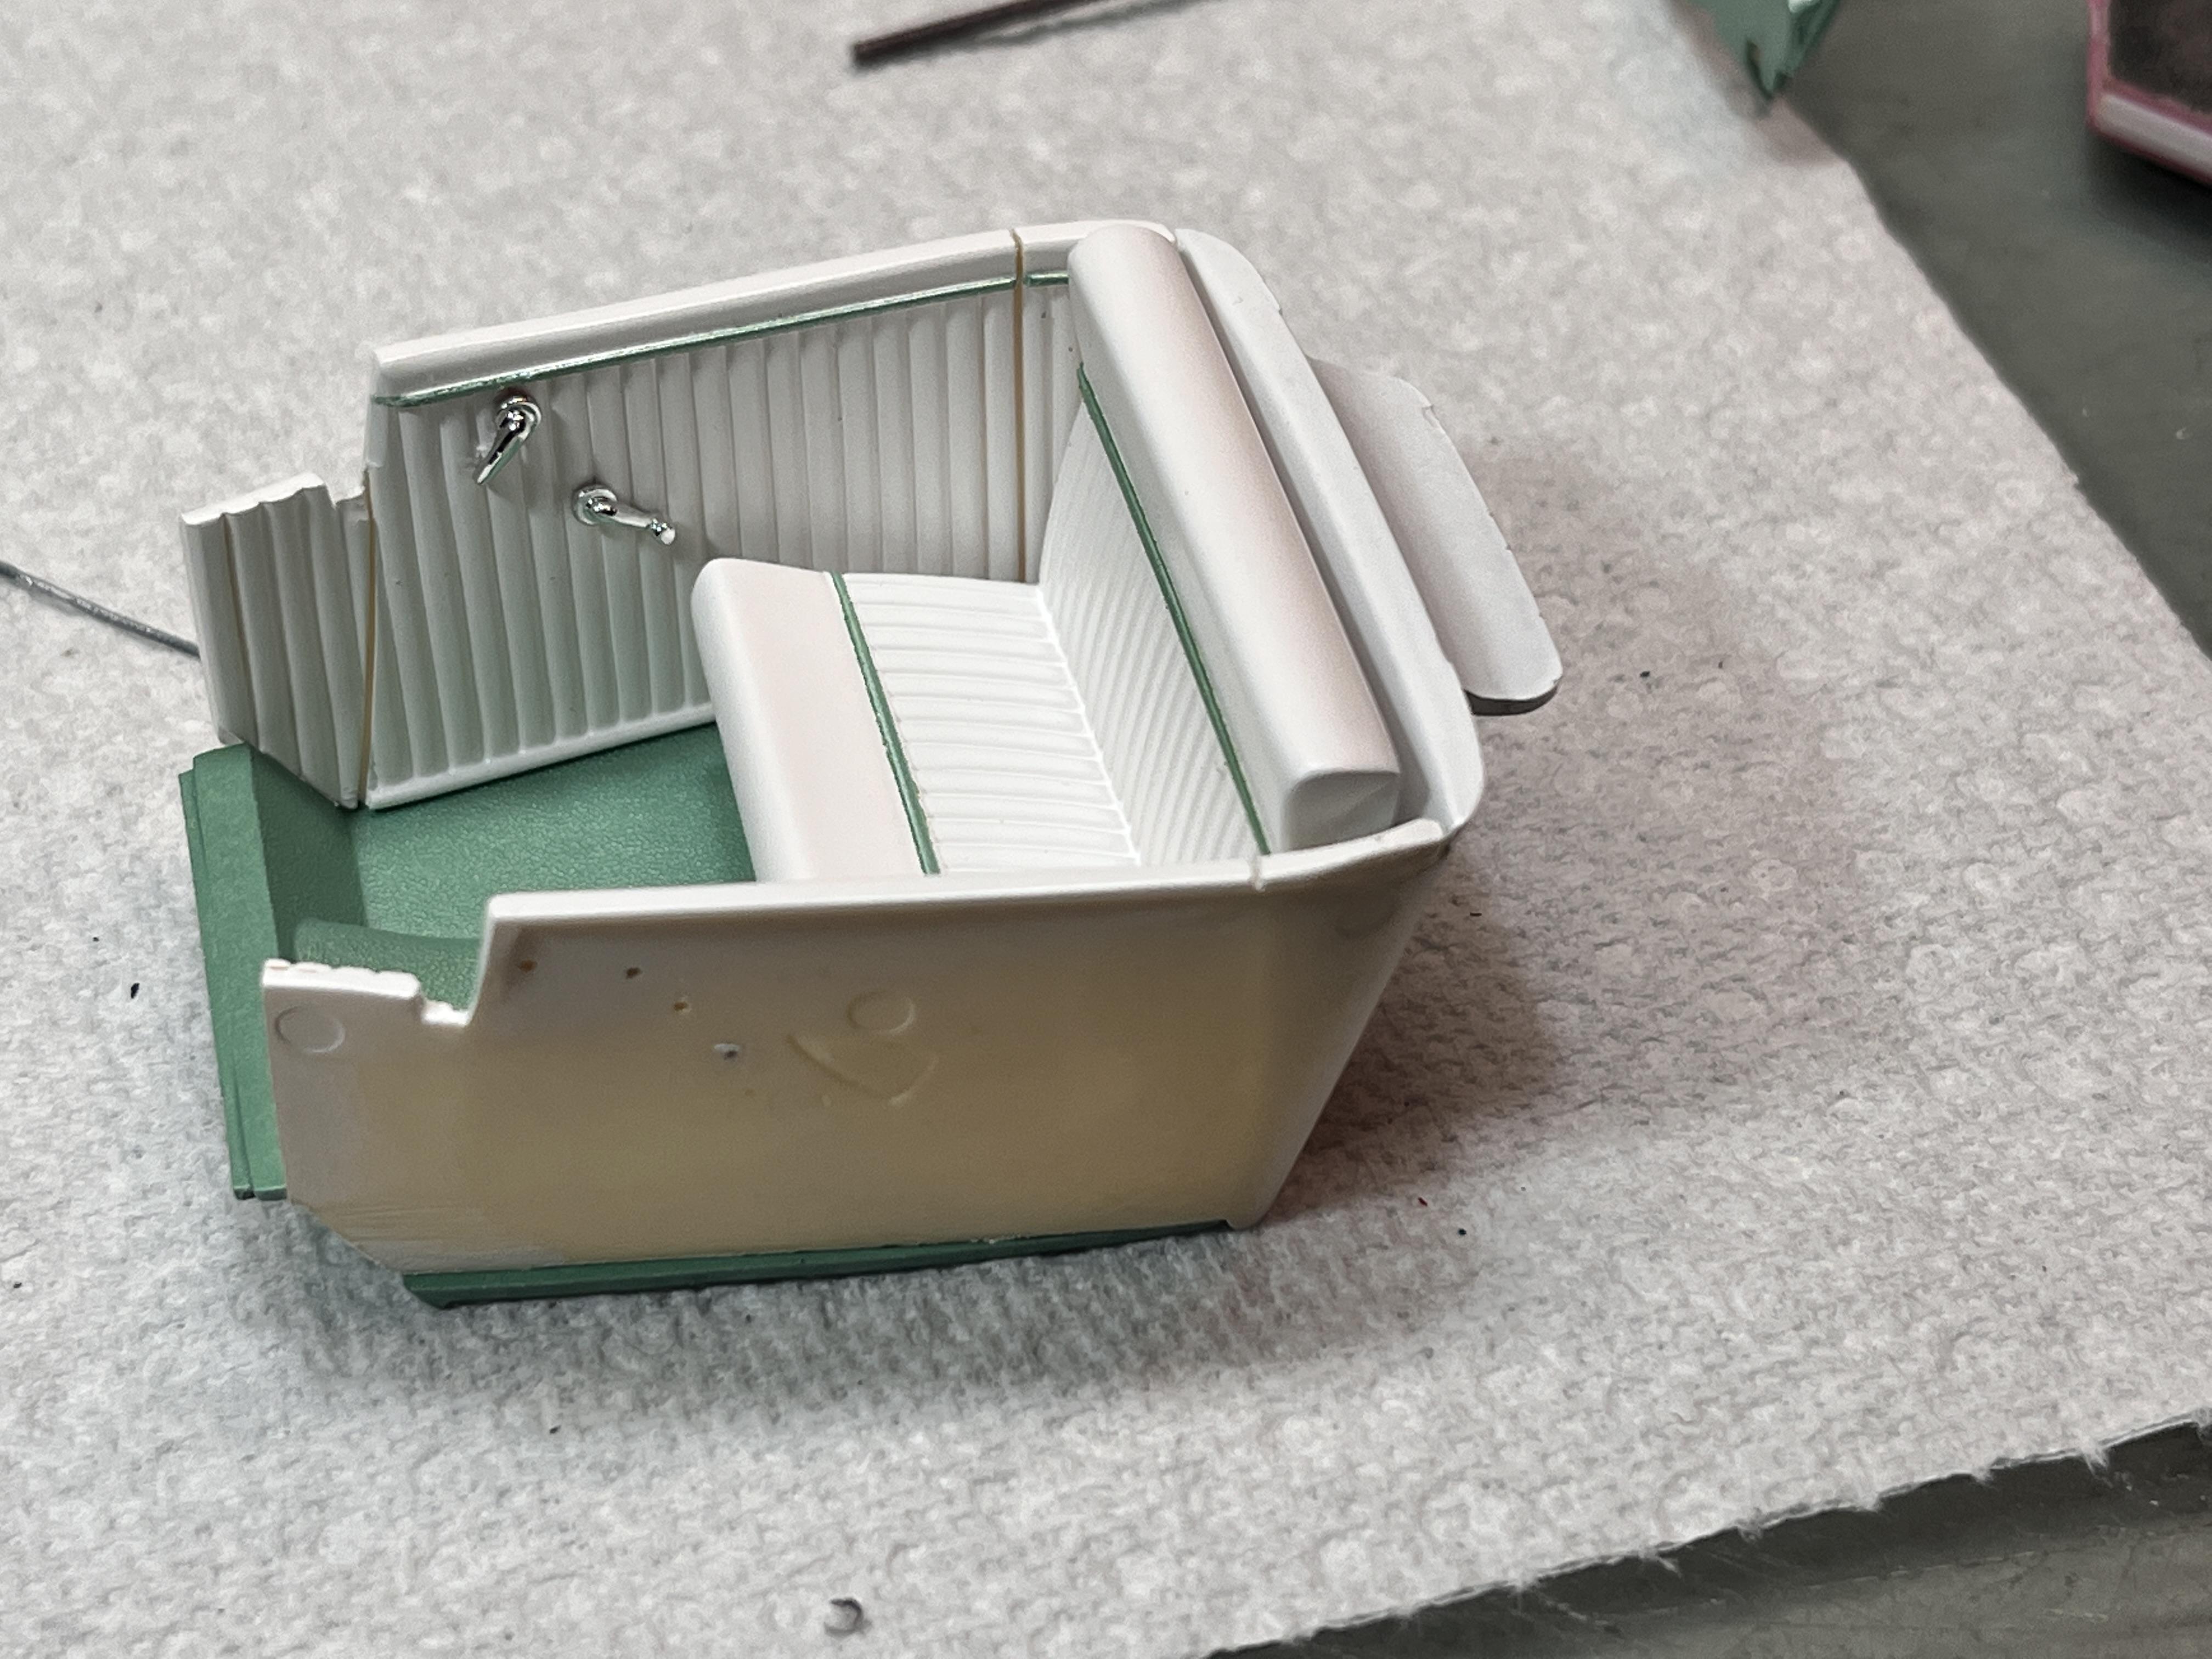
I have been slowly working on the coupe. I'm down to the 'yak shaving' part of the build. AKA: the 'fiddly bits'..... parts have been washed and dried, holding sticks have been attached.... --------------------------- Ready to throw some primer.... ------------------------------- The color is Tamiya TS-60 Pearl Green with one coat of clear. MinWax polyurethane shot through the trusty Paasche.... The louvered hood is a resin item cast by Jason Lookabill. --------------------------------- The interior is a resin set, by RMCM? Origin lost to the ages... Piping taped off and shot body color. Door handles and window cranks were aftermarket chrome plated years ago (most likely by Chrome-Tech).... I'm hoping to get this wrapped up sooner than later.... Next appearance 'under glass'... -RRR
-
Nice clean build of an iconic kit. Looking forward to more! -RRR
-
You're playing my tune!!! -RRR
-
Who doesn't love a mock-up? Let's see yours!
Rocking Rodney Rat replied to Belairconvertable's topic in WIP: Model Cars
-
Current building techniques
Rocking Rodney Rat replied to Bobjernigan3's topic in General Automotive Talk (Trucks and Cars)
Well put. I'm in the same camp now as well... -RRR -
Current building techniques
Rocking Rodney Rat replied to Bobjernigan3's topic in General Automotive Talk (Trucks and Cars)
I just like cuttin' plastic....hand me that Sawzall.....-RRR -
Your biggest blunder
Rocking Rodney Rat replied to LL3 Model Worx's topic in General Automotive Talk (Trucks and Cars)
I let the movers pack up my built models when we moved from the Pac NW to the Southeast. Needless to say they didn't take much (any) care with them, just wrapped in paper shoved into boxes. I wasn't a very good builder then anyways, so pretty much all of them got trashed. I mended some of them, most are still all jumbled up in a box. I rob parts from them once in awhile. Some of them I look at and think "I should put that one back together and put it on the shelf..." That's as far as it gets.... -RRR -
The chop came out great! Just kidding. Nice kitbash... -RRR
-
That's some amazing work going on! I love the hinges. -RRR
- 115 replies
-
- 1
-
-
- bmw 507 cabrio
- elvis presley
- (and 2 more)
-
That's what I was thinking, but the bb/mc does fit, a tight squeeze, though.... -RRR
-
Nice, those pearl paints from Tamiya are nice. That should look stunning.... -RRR
-
Now that I finally got my grubby mitts on one of these, I looked over the parts (and the parts list on the instruction sheet) and it appears there is no master cylinder and brake booster. The tab for mounting one is on the center xmember. Anyone else notice this or am I mistaken? -RRR
-
The perfect solution, indeed, I do believe! -RRR
-
I'm going to run wires from down below the headers.....
-
Yeah. I will fit the headers through the openings once the hoods are on.... -RRR
-
Yeah, that's all TBD..... I guess I could score some lines down both sides of the header openings to make it look like the hood sides are removeable. I will actually install the headers through the openings once the hoods are on... -RRR