Rocking Rodney Rat
-
Posts
1,995 -
Joined
-
Last visited
Content Type
Profiles
Forums
Events
Gallery
Everything posted by Rocking Rodney Rat
-
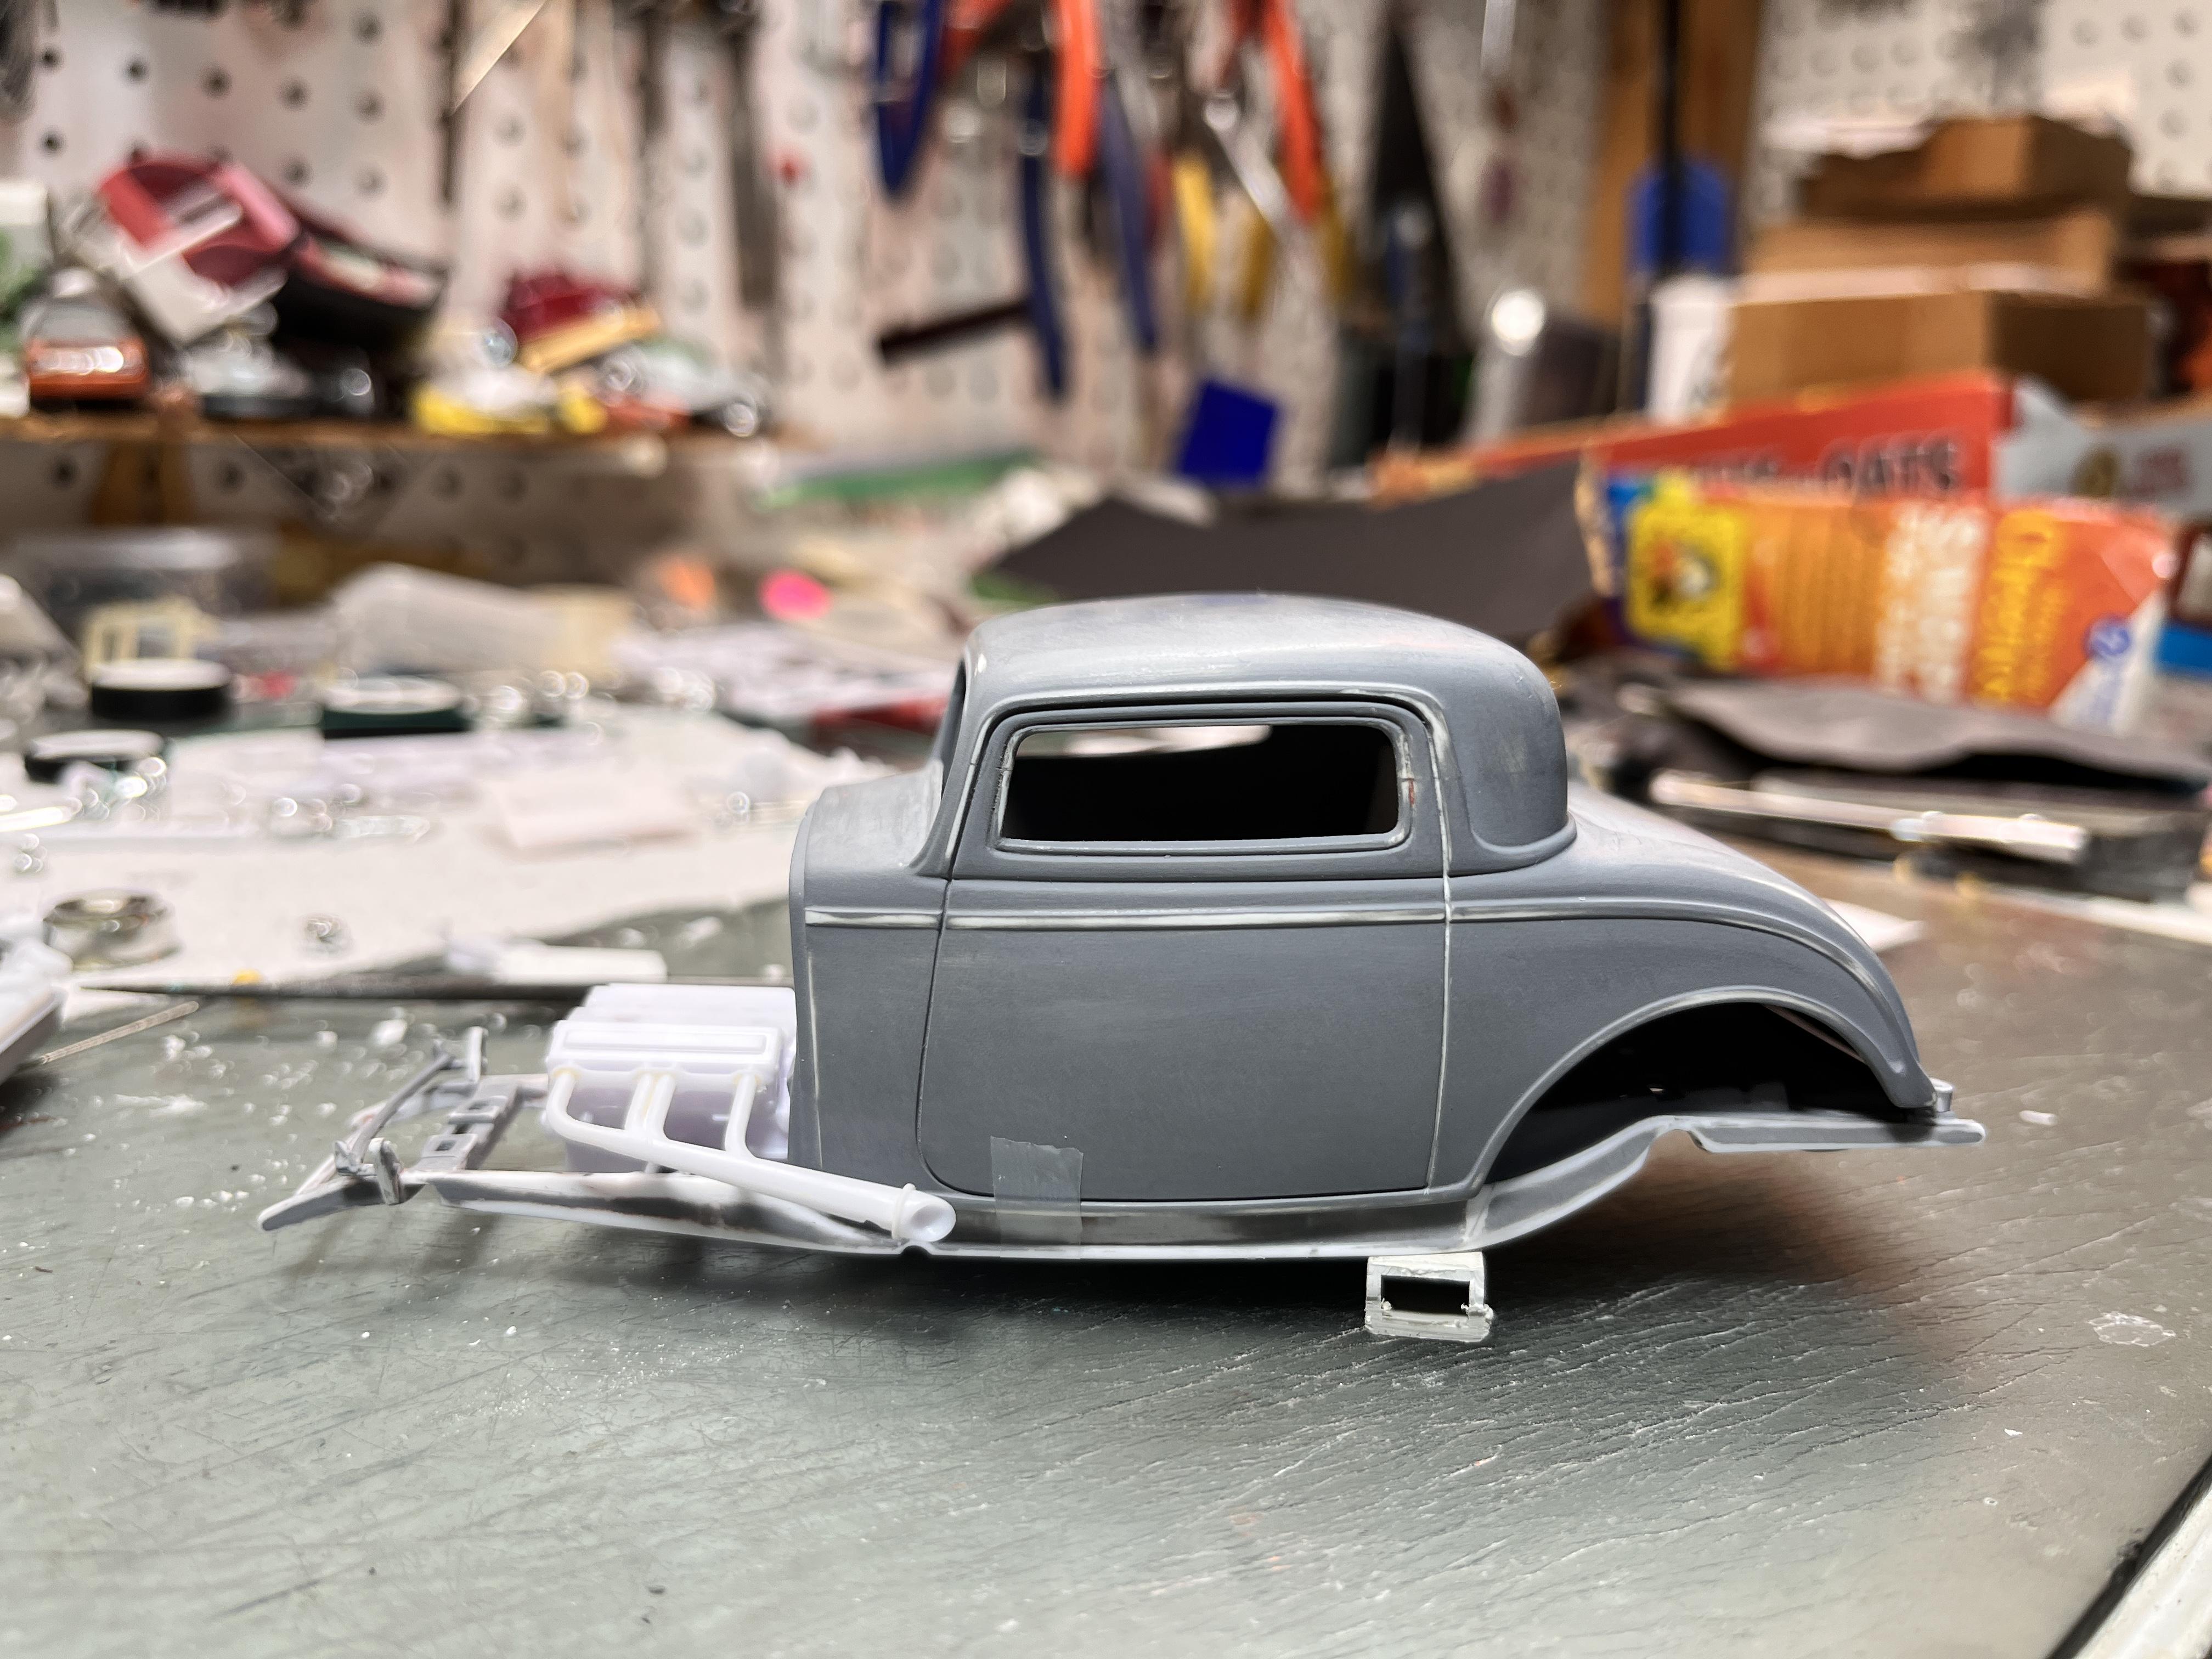
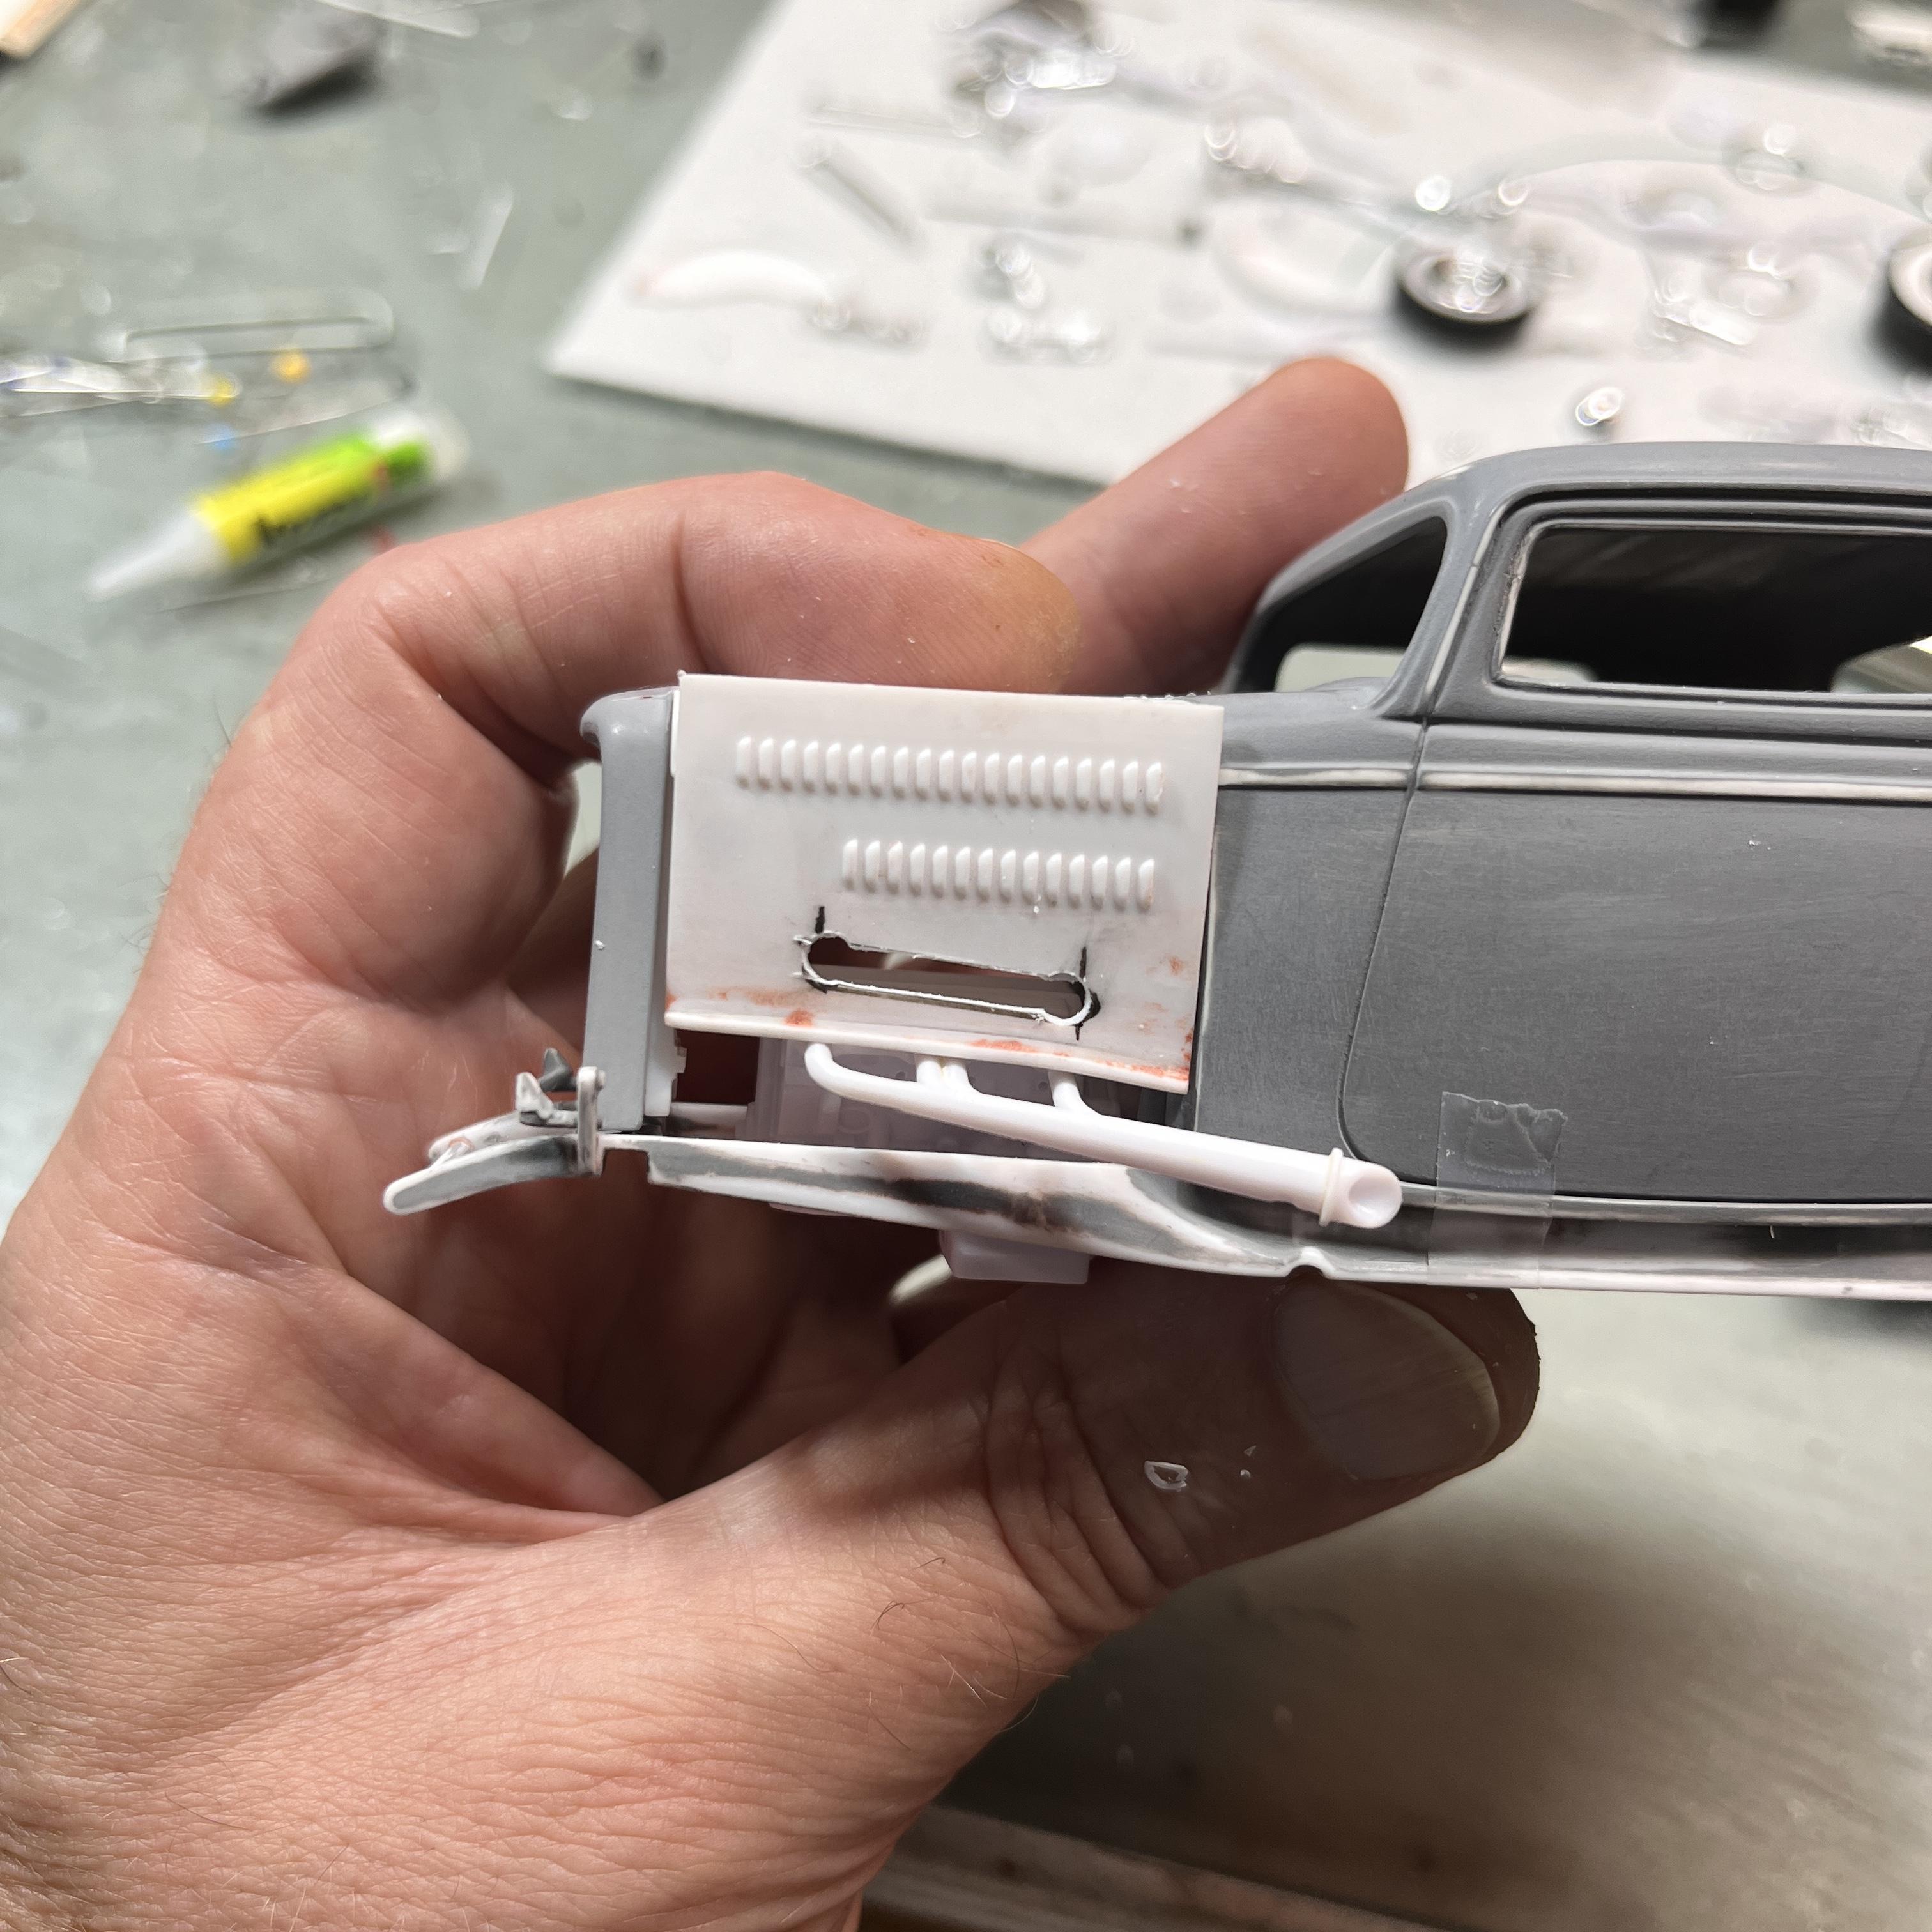
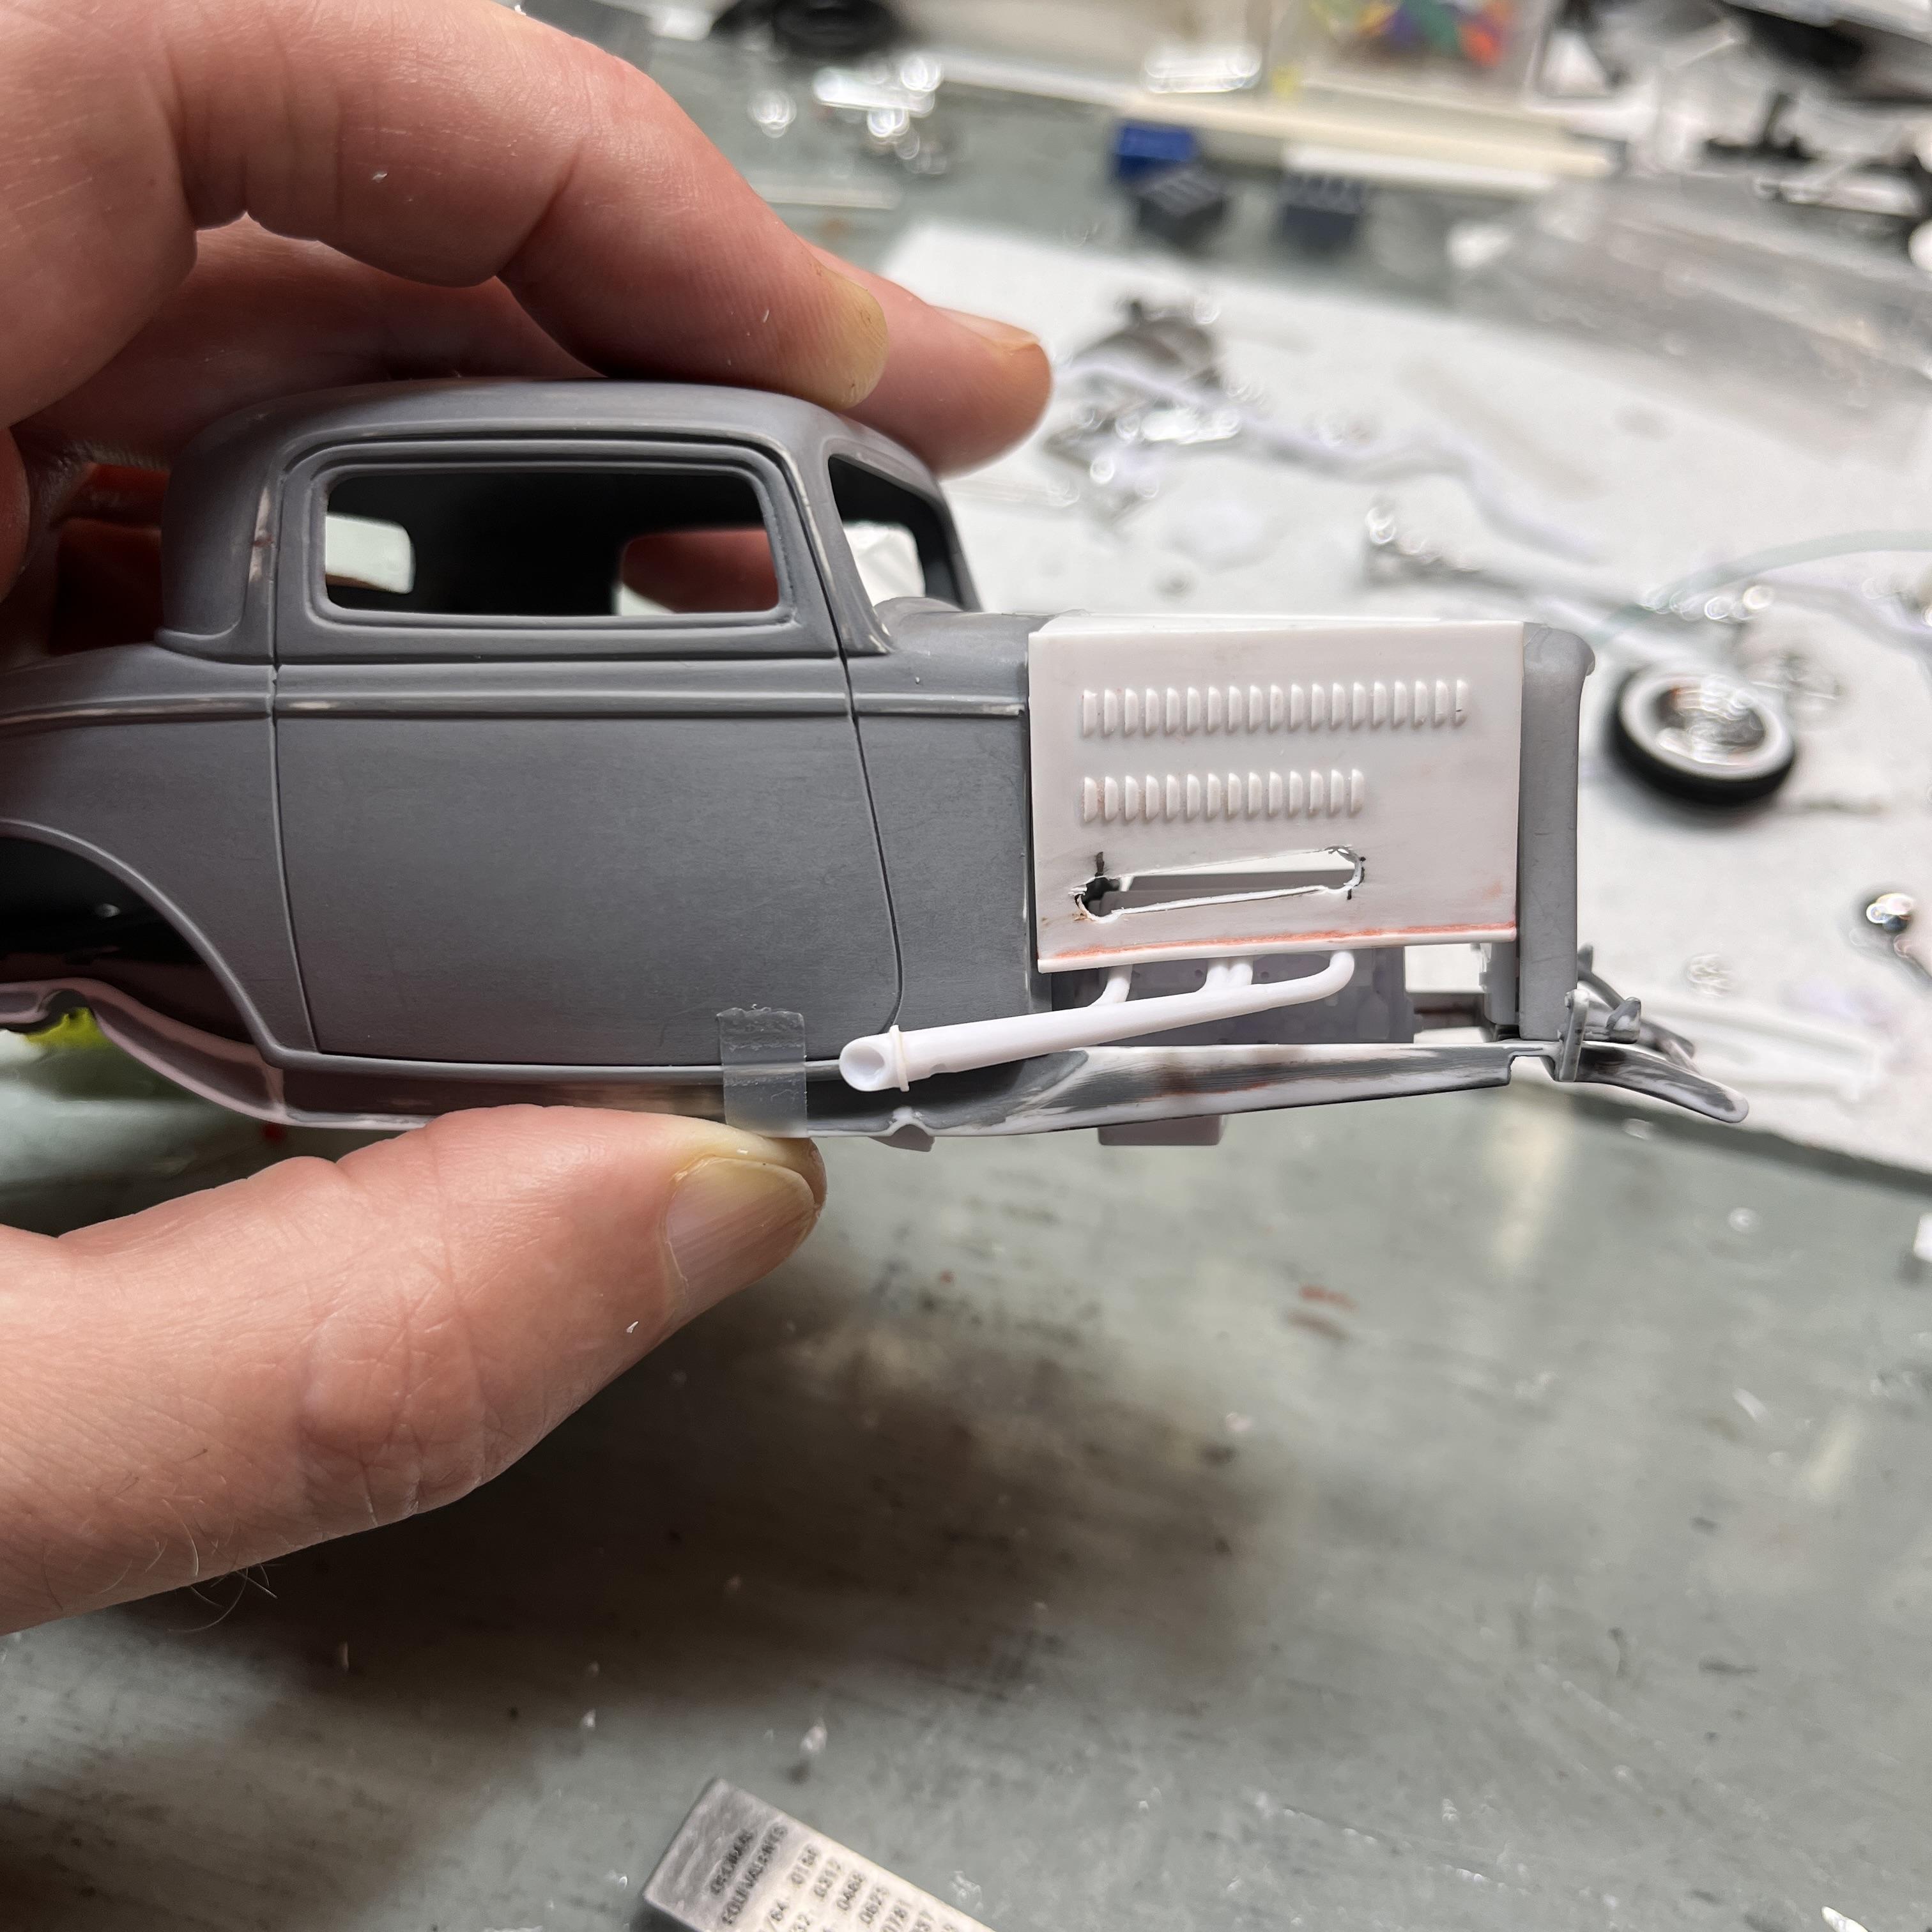
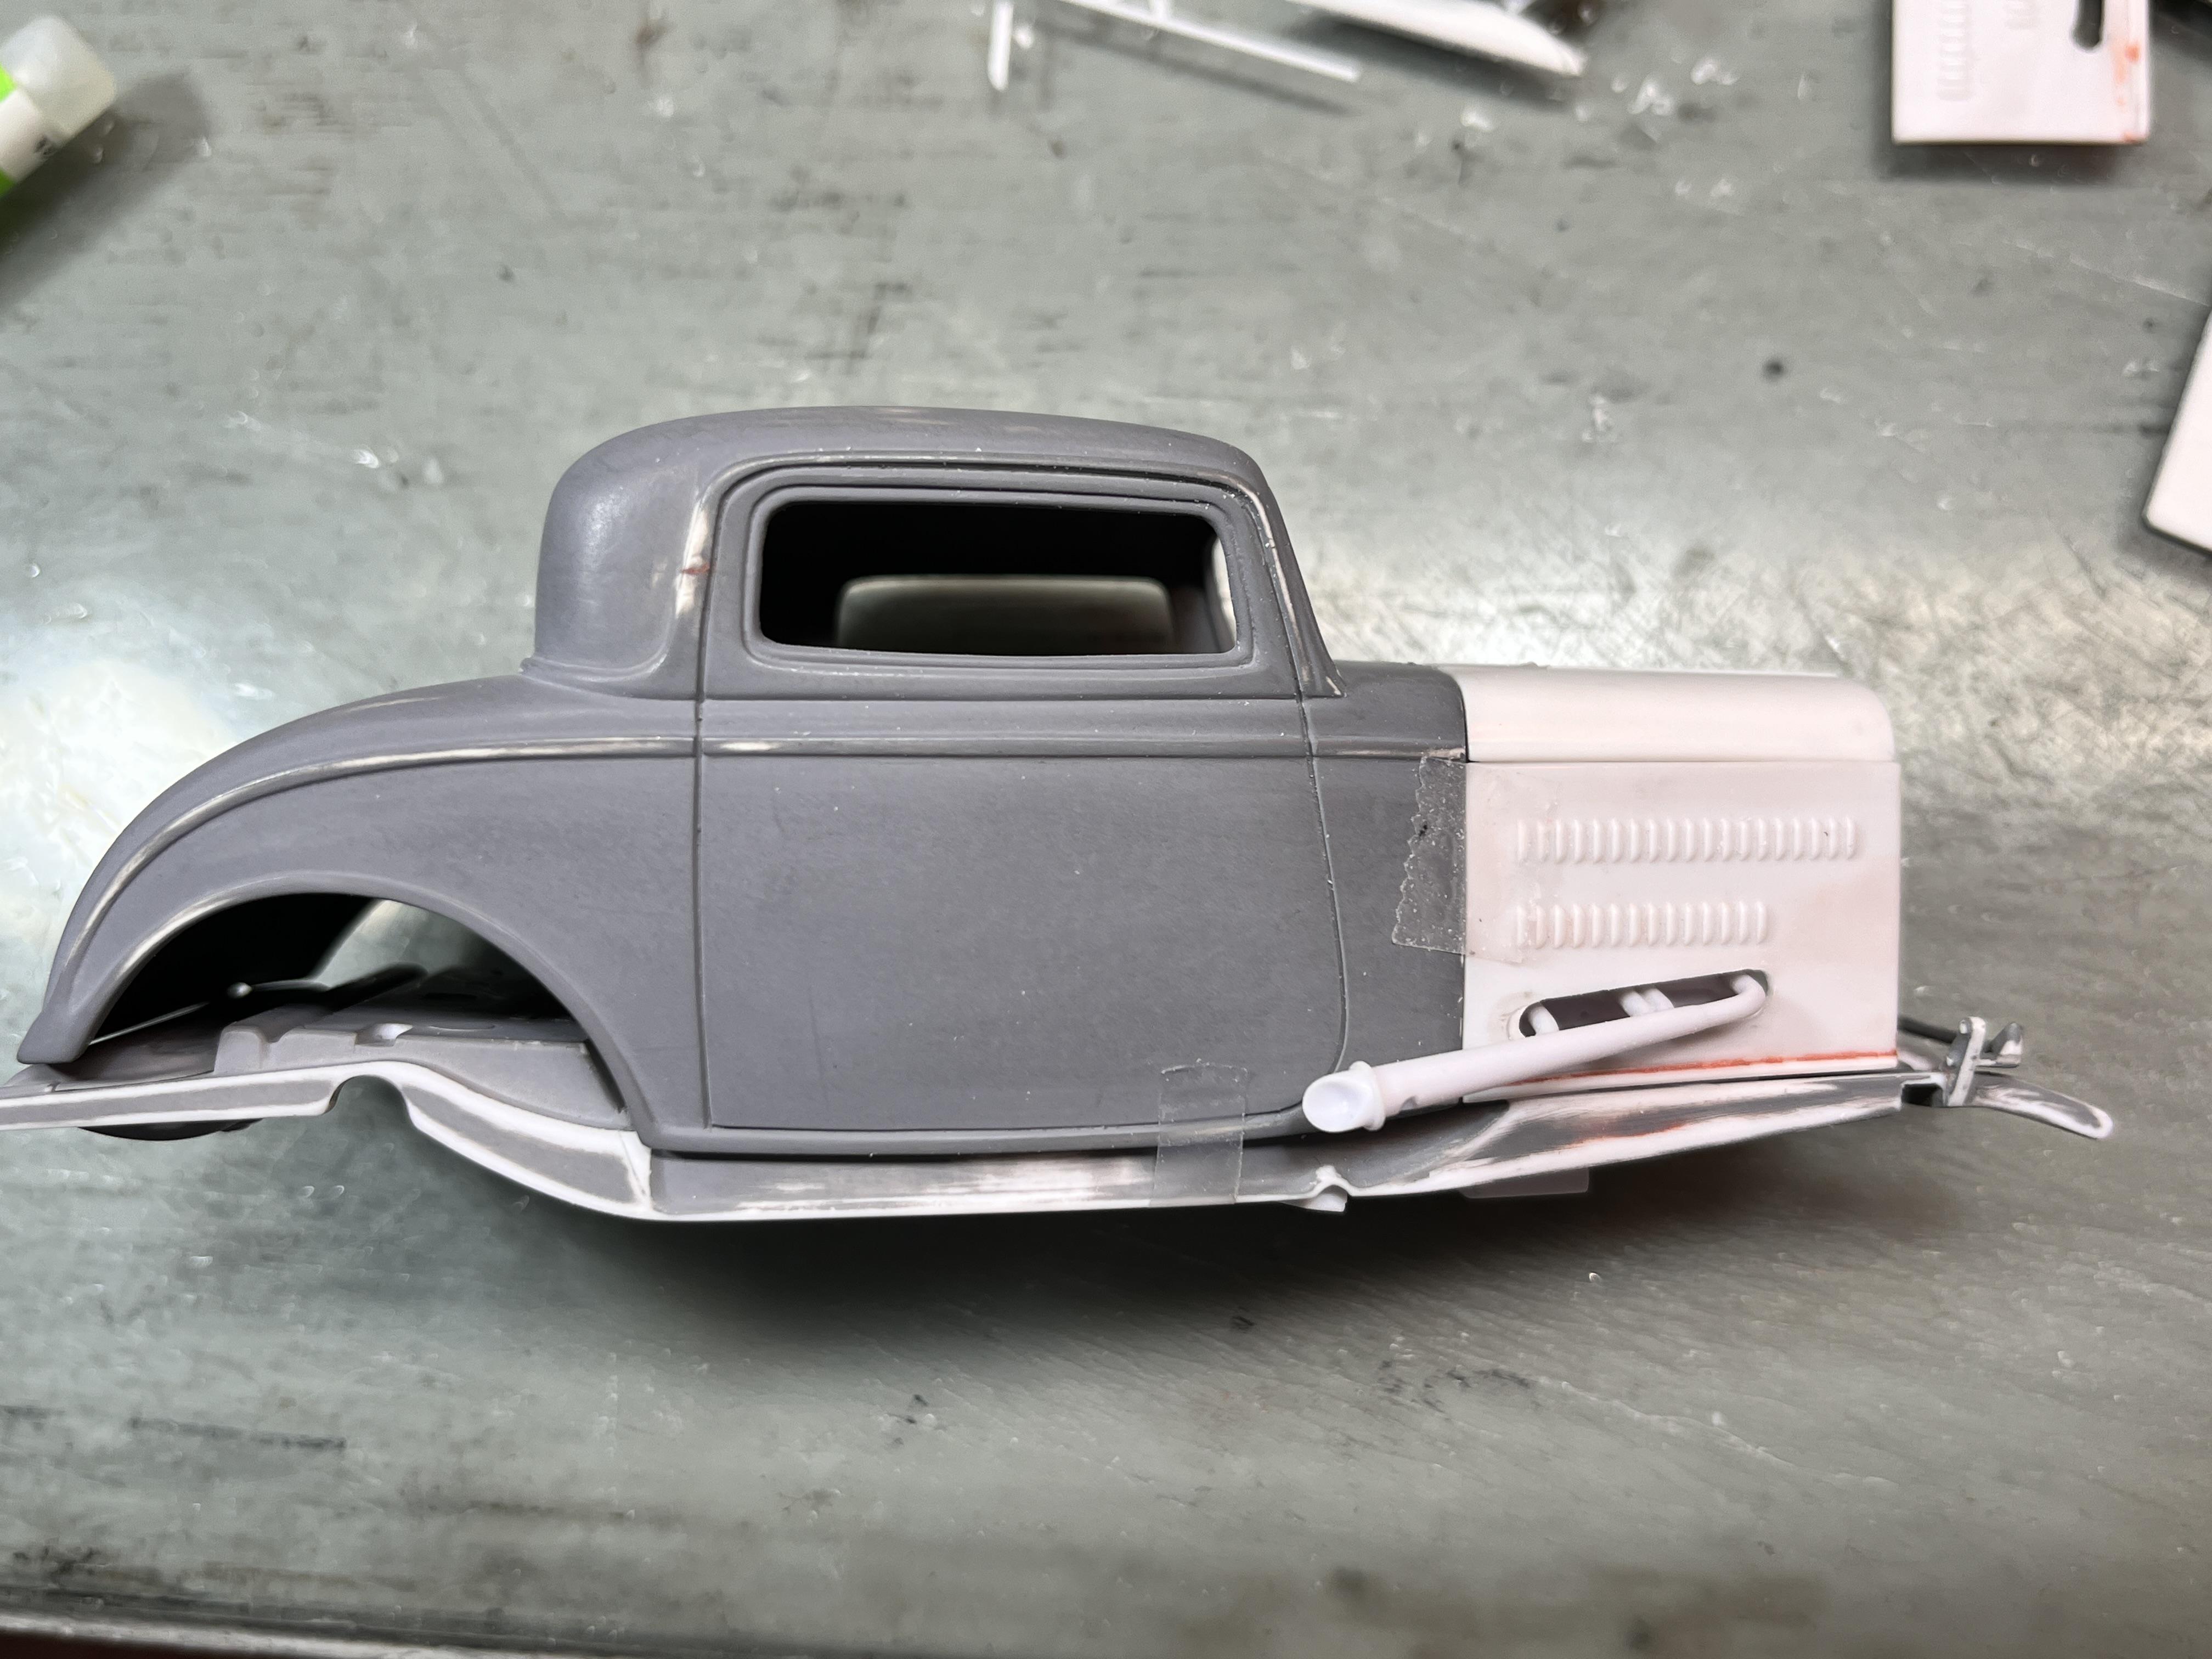
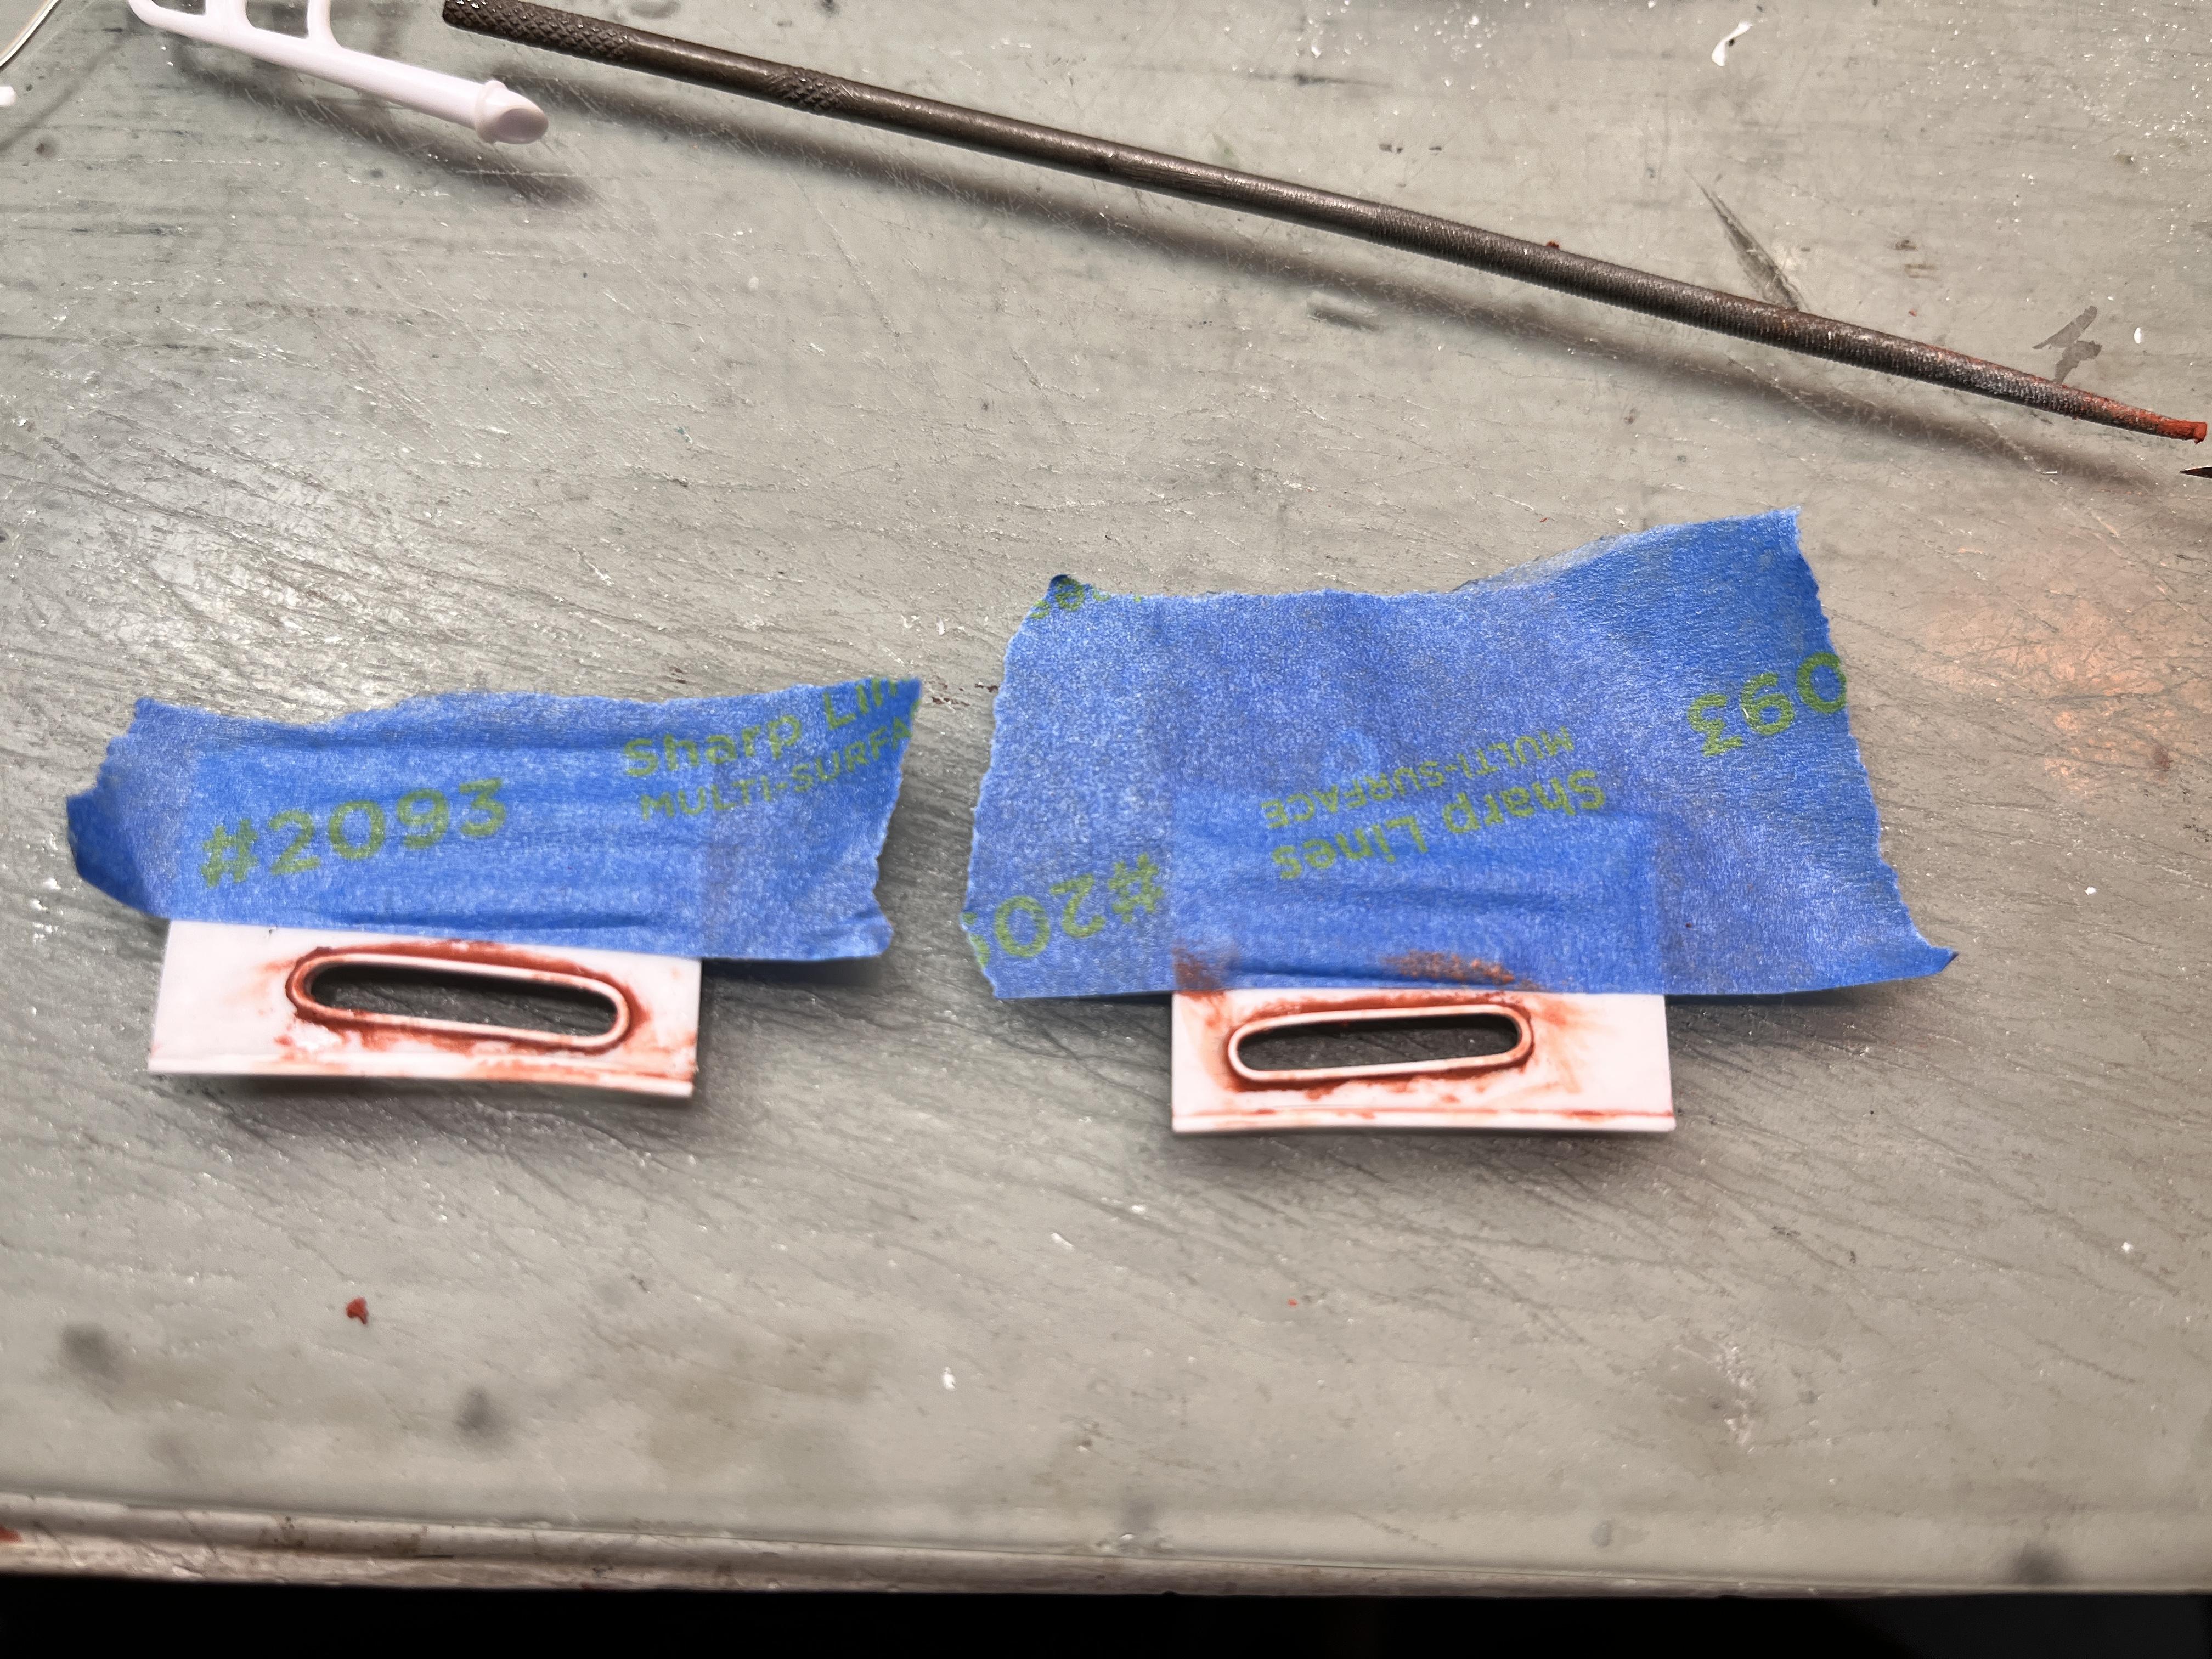
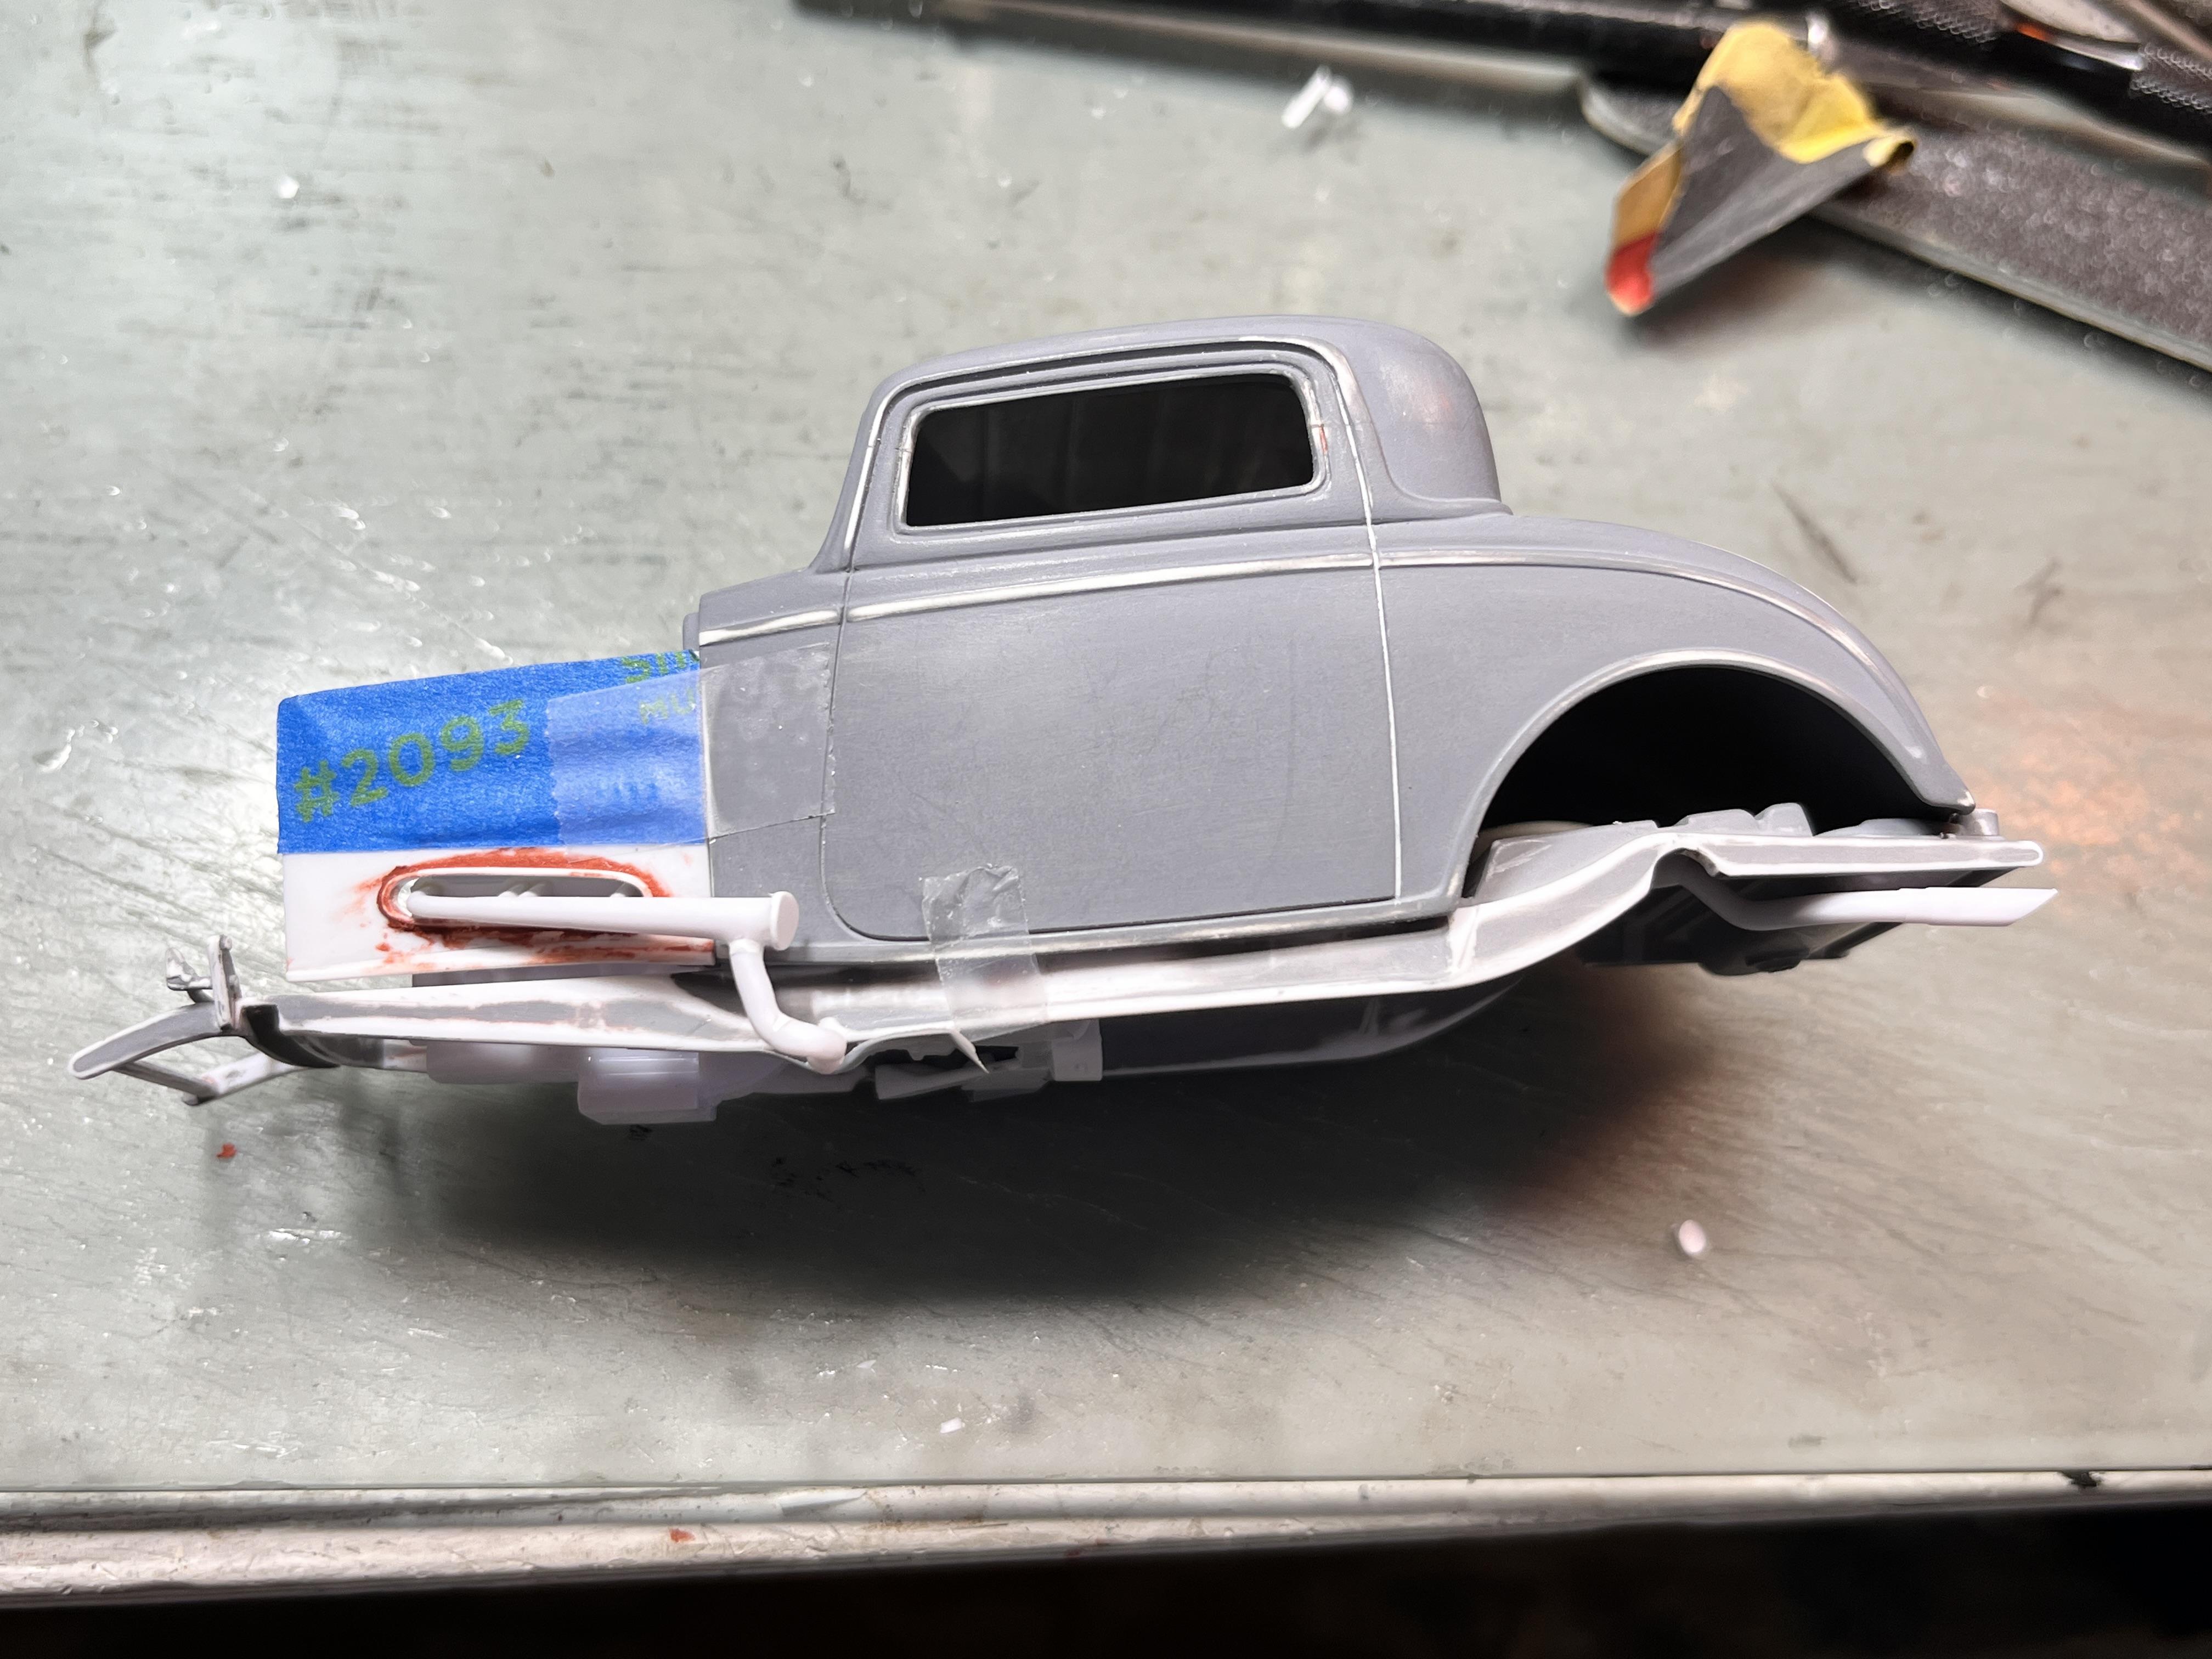
 I finally got my grubby mitts on a couple of the new Revell '32 roadsters, thanks to my pall KK! Much obliged! The missing items I needed to source (engine and related items) are now here and work can progress. The idea for this is to have the new headers poking out through the hood sides. I wasted no time in removing the chrome from the headers. The first step is to temporarily assemble the engine and set it in place.... yes the headers are too long, they will be shortened... ------------------------ Next take some measurements and transfer that to the hood sides... ------------------------------ Take the plunge and make some cuts..... --------------------------------- A LOT of fitting and futzing here.... --------------------- I added a bead around the openings...... ------------------- Both hood sides cut out, bead glued on (Evergreen .020" rectangle), a schmear of putty applied around the openings with some blue masking tape over the louvers to protect them. ------------------- Header has been shortened, cap installed and the piece between the header and the exhaust has been fabricated up. That little piece took a long time to make and get it fitted right. Now I have to do the other side ?..... One interesting thing I realized in the new roadster kit (and presumably on the original "Rat Roaster") is that the master cylinder/brake booster was omitted. The mounting tab is on the transmission crossmember. I scoured the parts list, it's not on there. More later. Thanks for playing along! -RRR
-
1932 Ford 3-Window With 427SOHC From The Newest MCM Issue 216
Rocking Rodney Rat replied to Dennis Lacy's topic in Model Cars
Well done! Certainly deserving of the accolades and the award. Congratulations! -RRR -
you had me at Cabriolet. Nice work, looking forward to more.... -RRR
-
Looks like it's coming along nicely... -RRR
-
I saw one of these kit cars on the road yesterday for the first time. The only reason I knew what it was from this thread. -RRR
-
Thanks, KK!! You're the BEST. I'm waiting for the post.... -RRR
-
Yepper, on top of the 3 x 2 manifold and Rochester 2G carbs from the Revell Model A series....vroom, vroom!!! -RRR
-
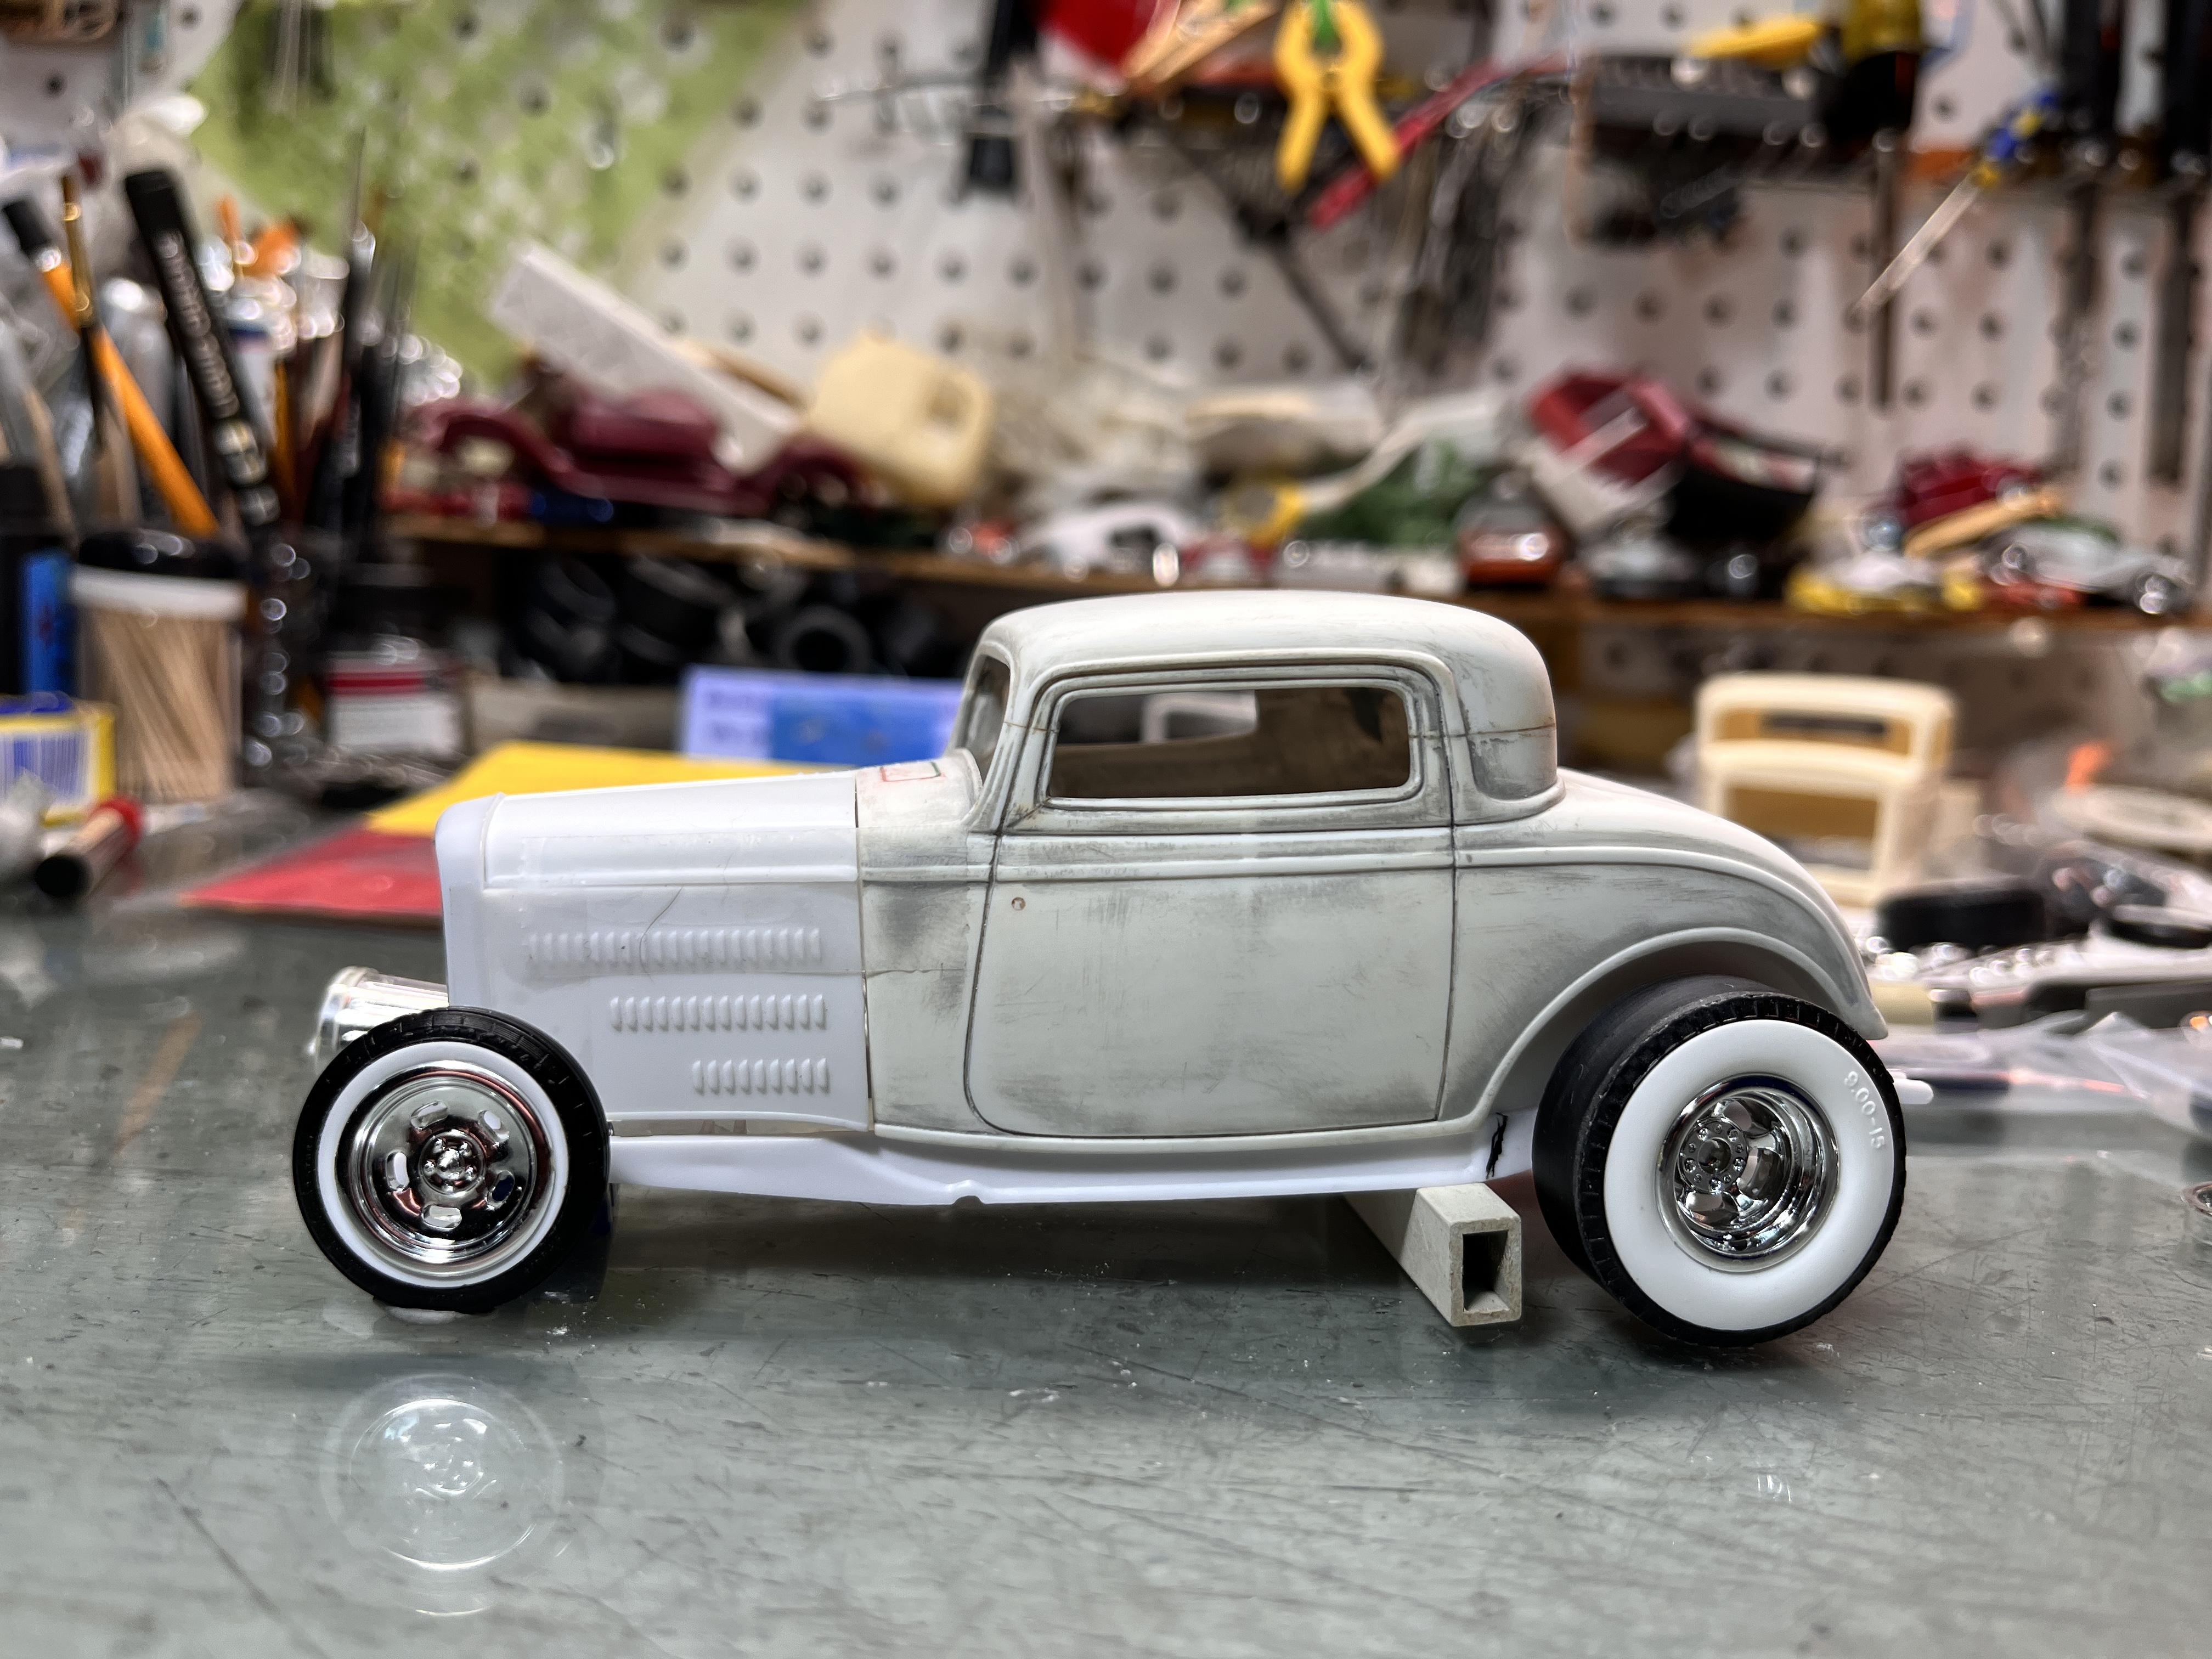
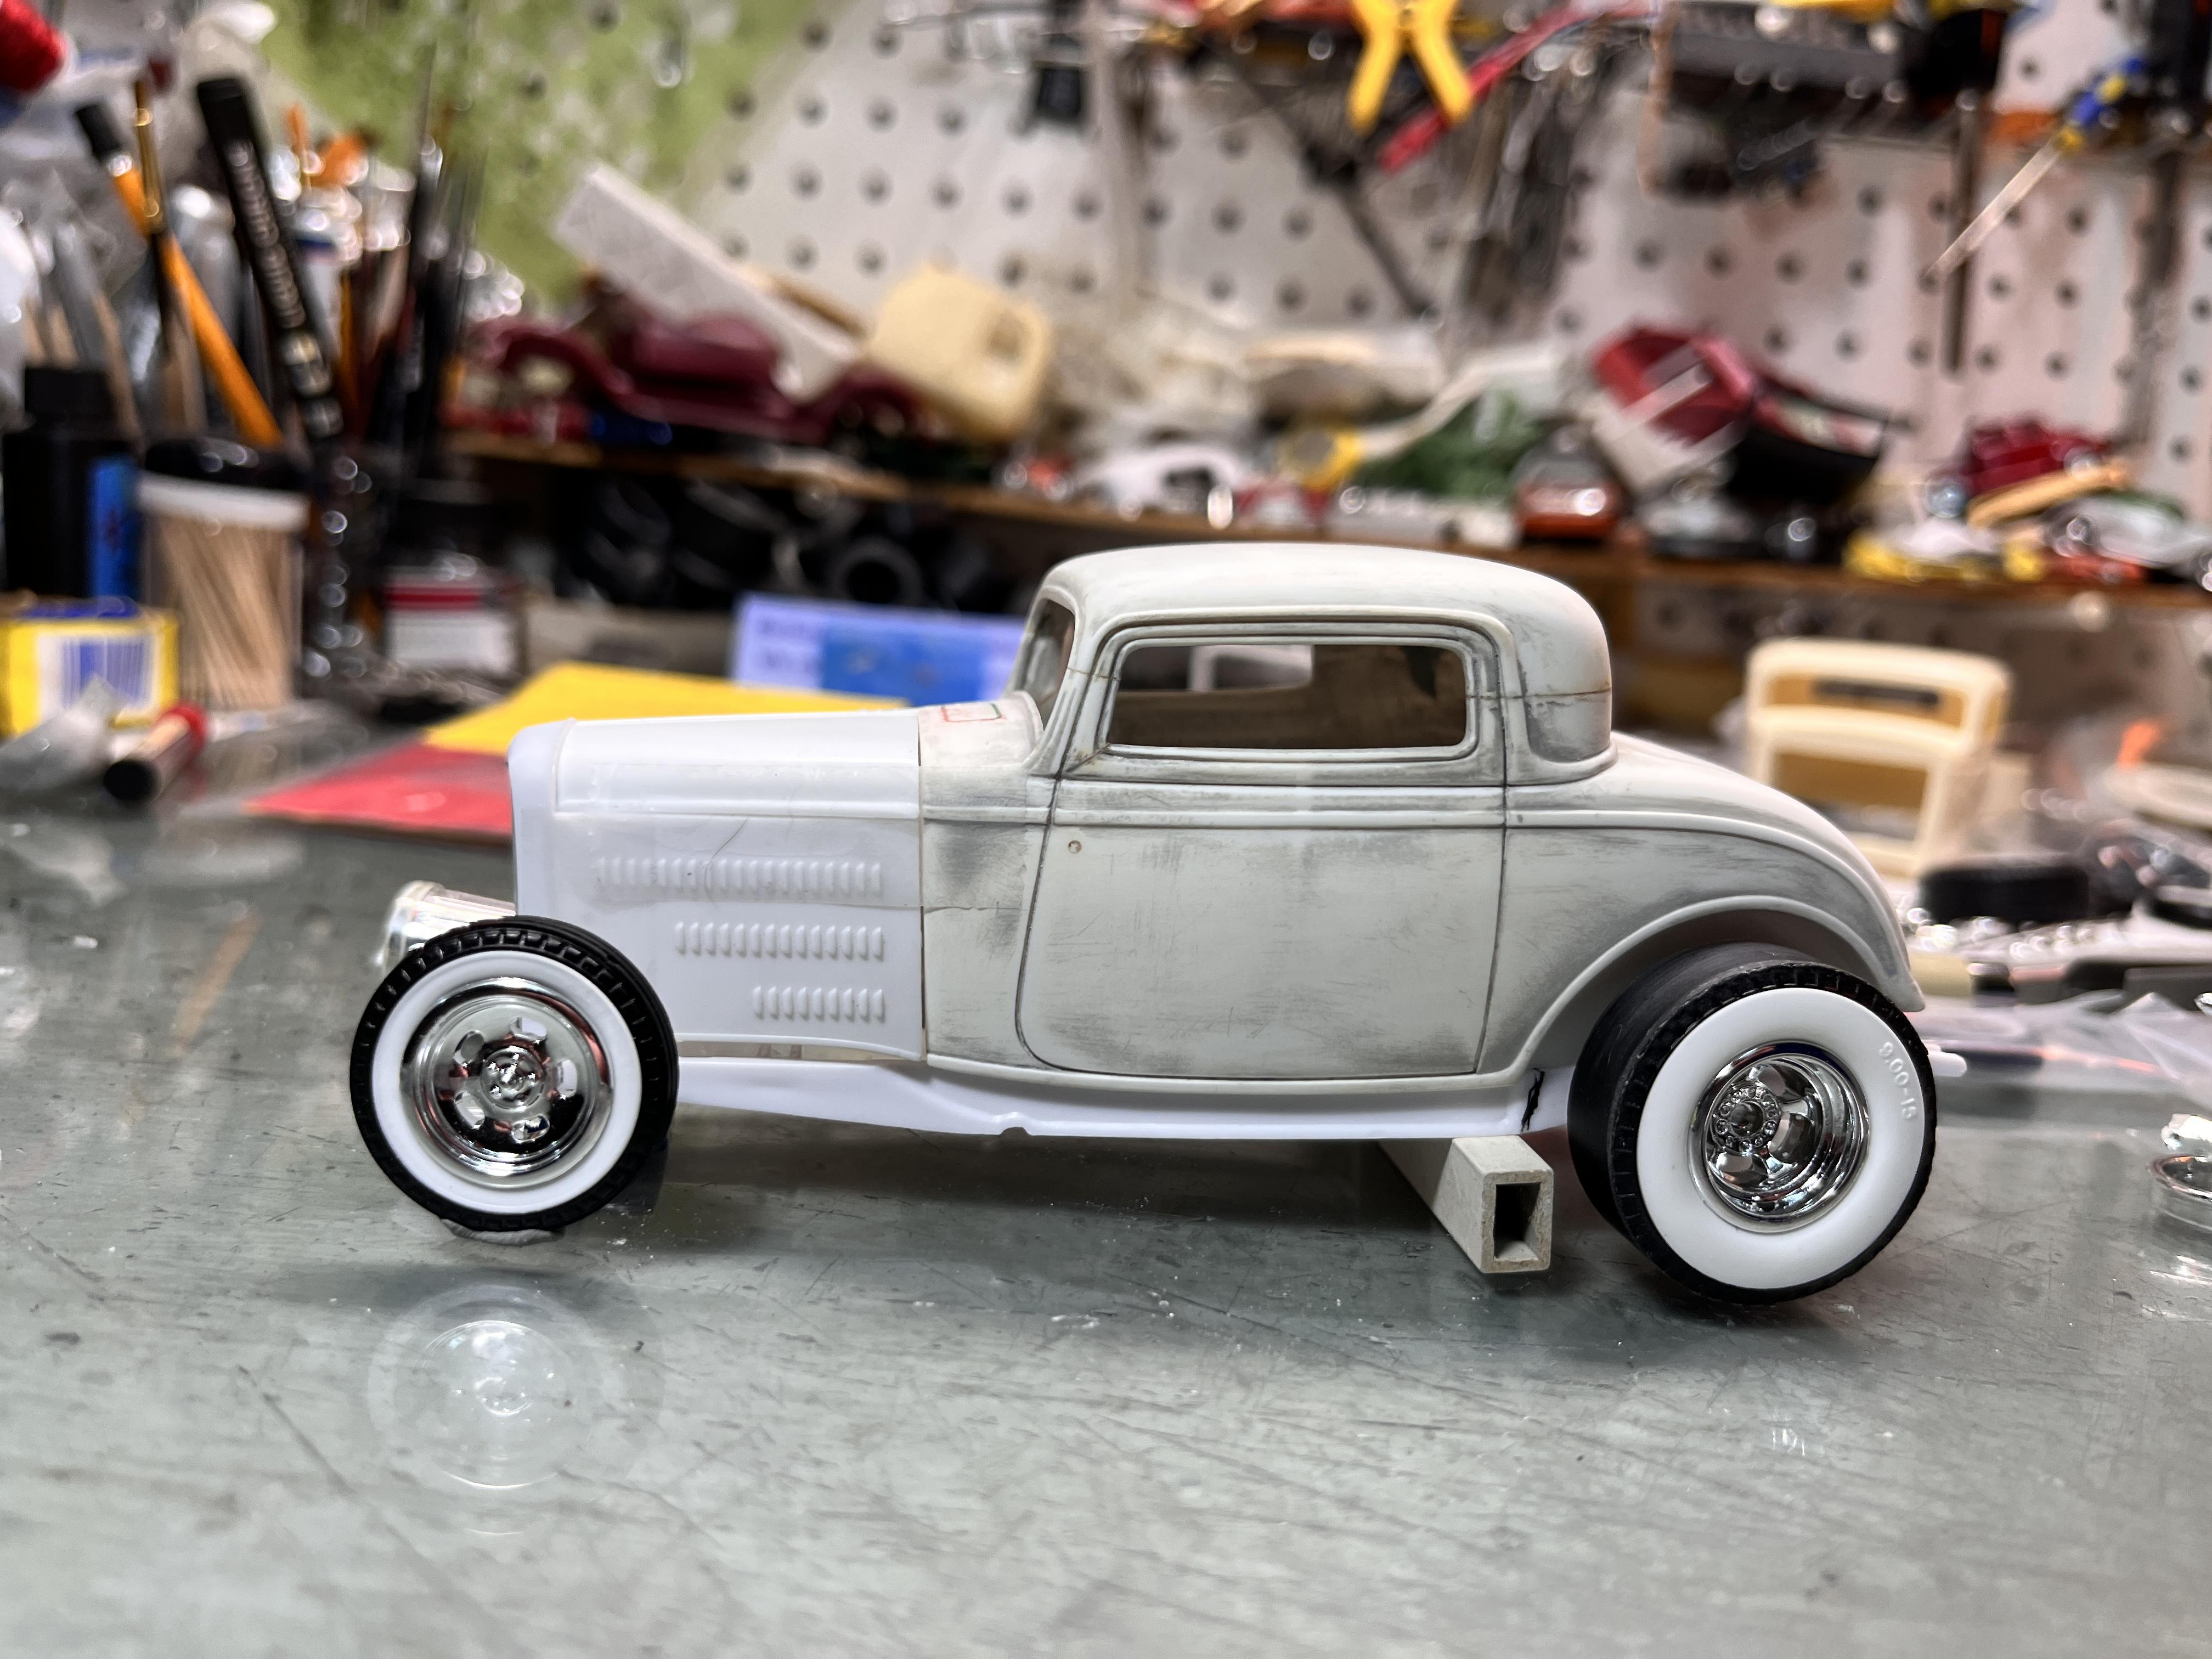
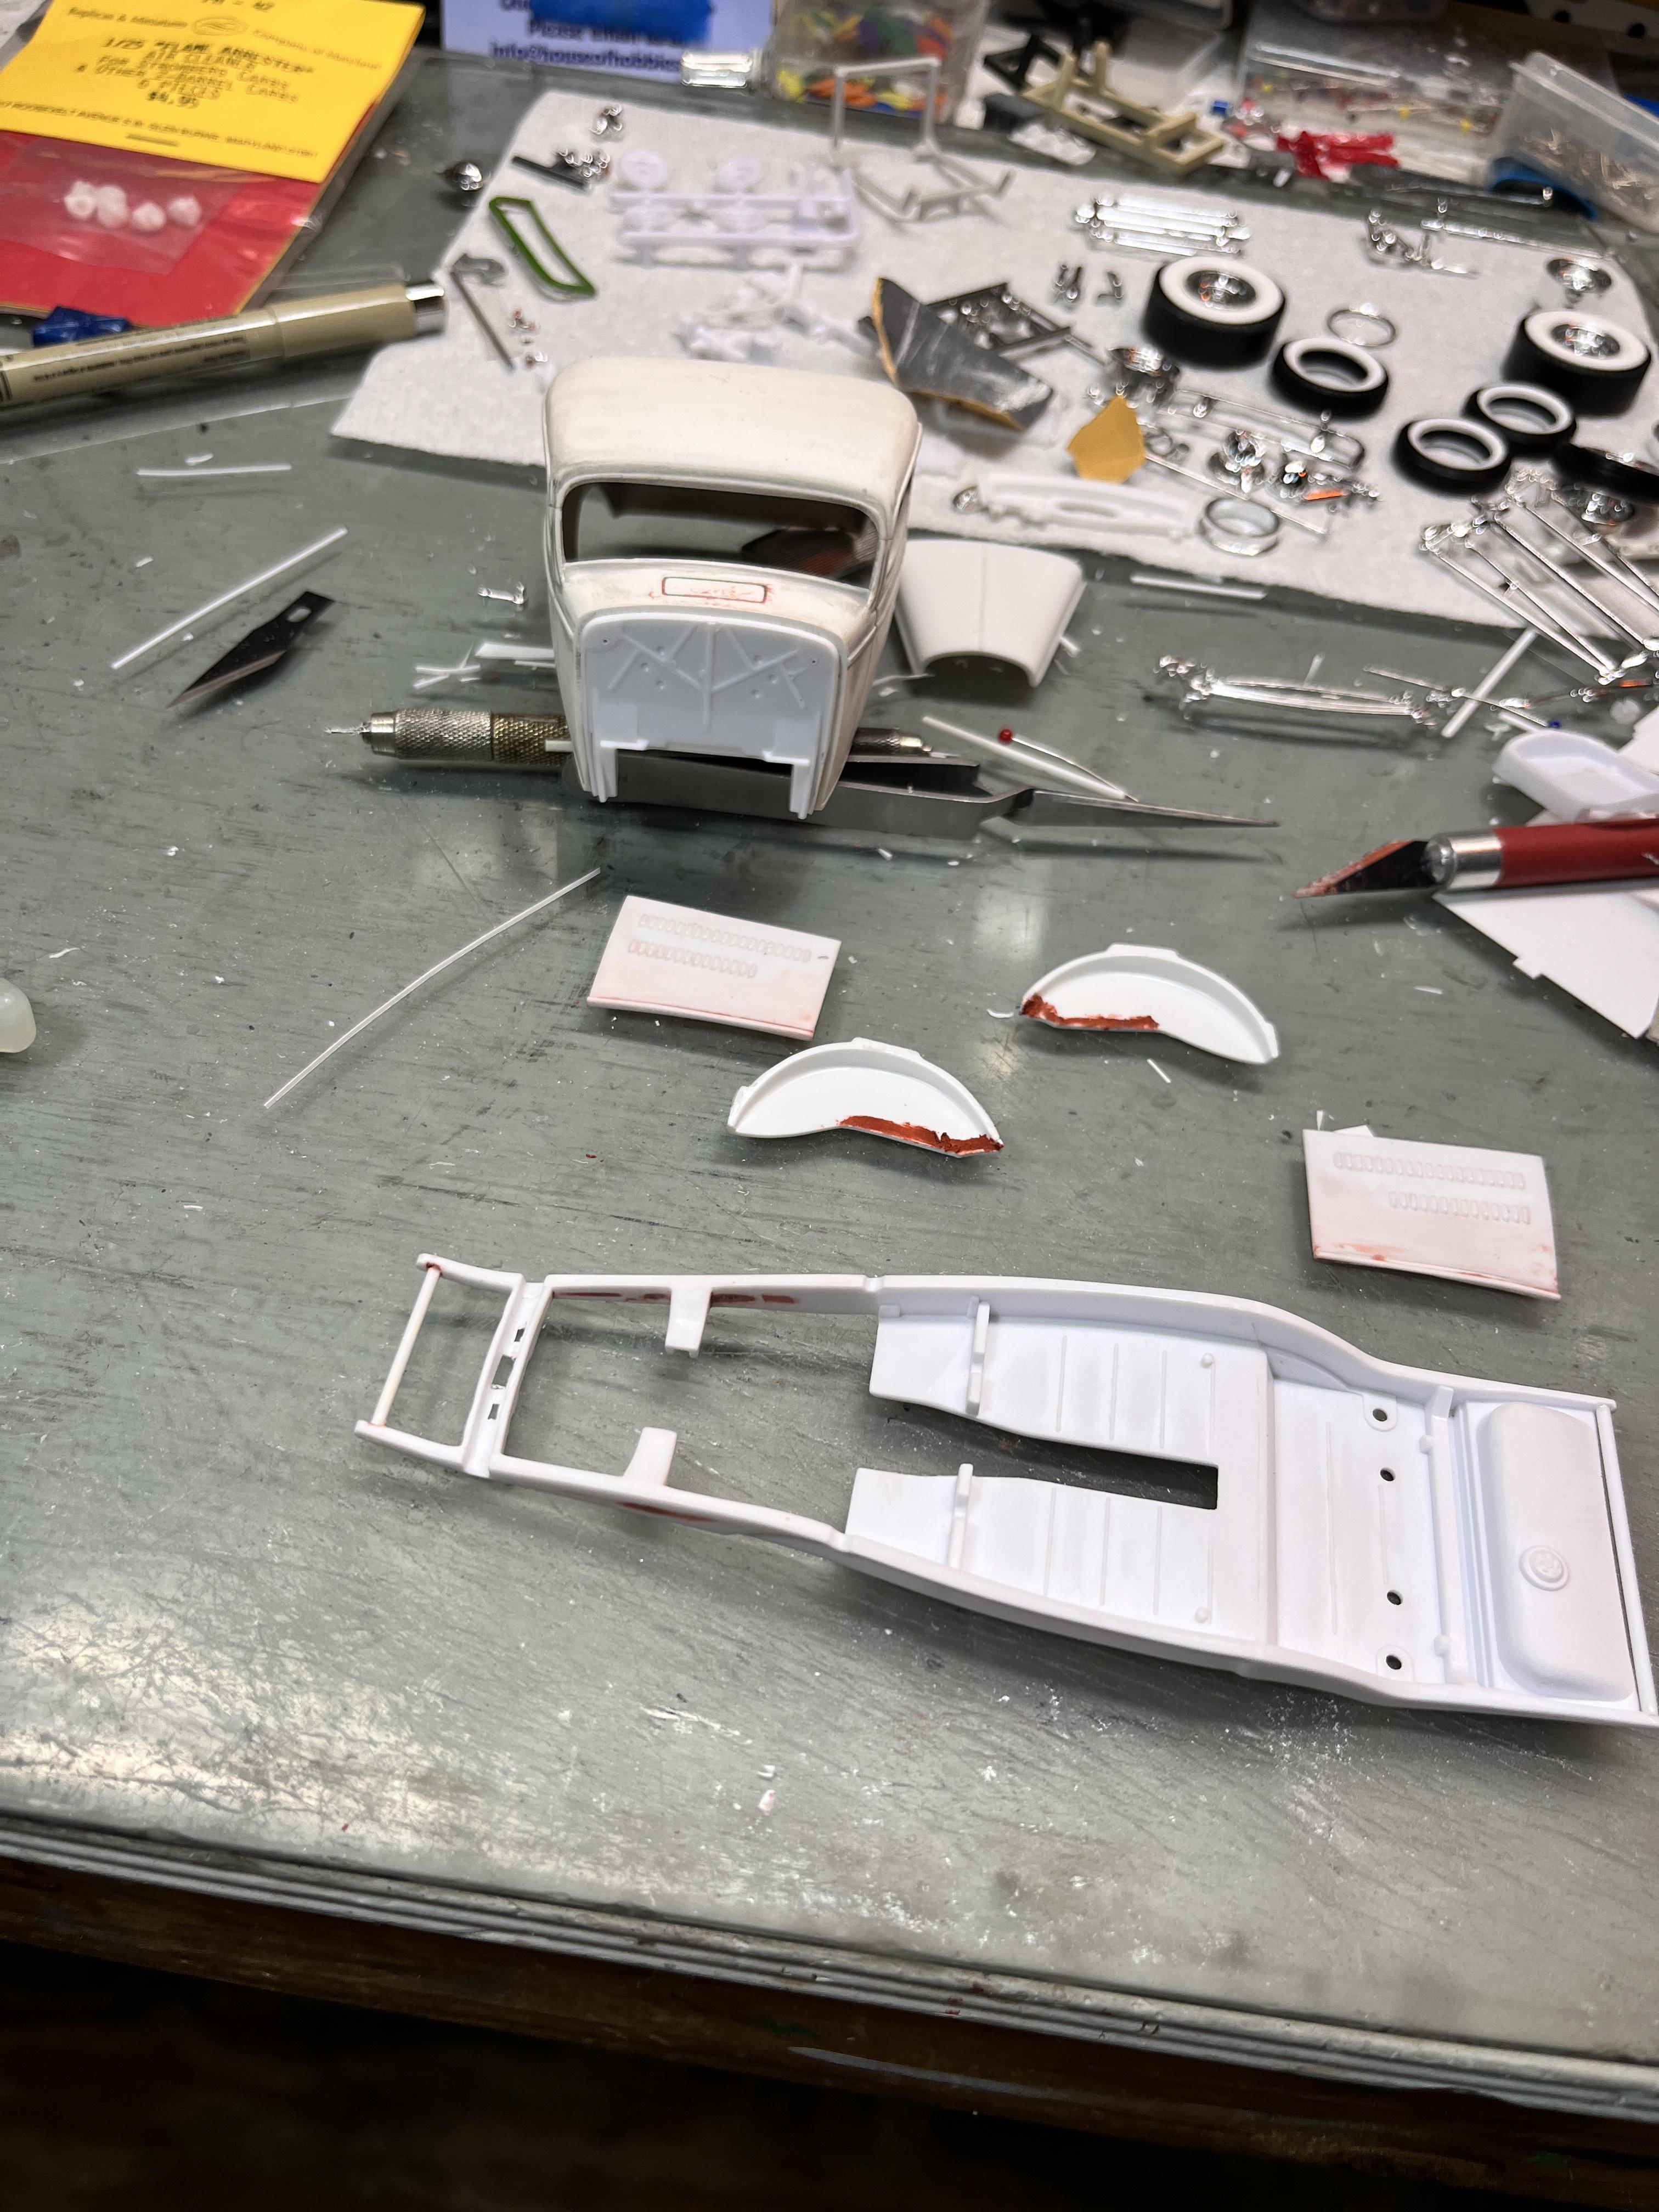
I ordered some front tires from modelhustires.com with super speedy delivery, I ordered them on Wednesday and they arrived on Saturday! These are 100 and 110 sizes, the two smallest street rod tires they make. If you're not familiar with them, great resin tires. They fit AMT/MPC sized wheels, not Revell/Monogram size, if you know what I mean... ---------------- Mockups... with the smaller front tires (rear is their slick, part #140, I believe)... ------------------------ with the slightly lager front tire... ---------------------- I had this tuck n' roll style resin interior panel and seat set languishing in a box, started from another long-dormant build. I stripped the yellowing white paint and will repaint... ---------------------- I installed the firewall, got the inner wheel wells dialed in with a few small pieces added to fill some gaps, putty has since been sanded), I got the frame cleaned up with some putty on some sinks on the rails, c-notched the front crossmember (gotta get that front low)....awaiting arrival for the roadster kit that KK is supposed to be picking up today at the ACME NNL in Atlanta... I'm futzing around with a few small details, deflated the rear airbags, notched the rear frame rails and what not. I might shoot some primer this weekend to see where I'm at on a few parts, mostly the body.... Stay tuned... -RRR
-
REALLY nice job on the tonneau!!! -RRR
-
Thanks, Craig. That's the first thing I thought when I first saw those headers as well. Hideous on a '32 roadster, though! -RRR
-
Thanks, ADL. Looking forward to seeing yours in this section, too. After all, you got me started on this one in the first place! (Notice I did put the Weiand decals on the blower, too.) -RRR
-
Who doesn't love a mock-up? Let's see yours!
Rocking Rodney Rat replied to Belairconvertable's topic in WIP: Model Cars
-
The inner wheel wells are from the 3 window coupe. The RR inner wheel wells have that extra lip to mount the fenders on.... -RRR
-
Thanks, Jim. My good friend Kit Karson has an 'in' with a hobby seller and apparently he's getting them in this week. Strange that my local shop couldn't even find the kit on the database of his distributor. All good things come to those that wait..... -RRR
-
As several of us are, I'm anxiously awaiting the arrival of the Revell '32 roadster based on the Rat Roaster. Perhaps this week, KK? I went to my local hobby shop recently and the proprietor looked up the kit on his distributors' website and it didn't even appear. In any case, I have a few parts from the Rat Roaster, enough pieces to at least get started on my idea. A '32 3 window body using the bulk of the parts from the new roadster kit. I plan to have the limefire headers stick out through a slot cut in the hood sides. I have an old '32 3w build from the original issue in '96 or so with a decent chop. Being lazy, I decided to start with this body by stripping the paint in Easy Off oven cleaner.... ------------------------- Cleaned off, the body looks pretty good and I must say I did a fine job on the chop some 25 years or so ago...I even impressed myself! ----------------- The rat roaster frame fits well, the 3w interior tub attaches to the tabs on the floor pan and all looks pretty good. Once I added the wheel wells, there was a noticeable gap between the rails and the wheel wells. Yup, too much gappage.... ------------------ The solution is a cut across the frame and floor right past the end of the reveal running down the side... -------------------- so, once again, the one person powered sawzall is put into action. Body, interior tub and frame mated back together with a couple of rubber bands and a schmear or two of CA gloo..... I'm using the three row louvered hood sides with the bottom row of louvers sanded off. The black oval is an approximation of where a hole will be cut for the headers. I won't know the exact location until I get the roadster kit. More later as the build progresses... -RRR
-
You had me at the first picture, a '32 Ford with a saw next to it! What could possibly go wrong??? I like what I see so far. If you make a saws width cut on the upper part of the C pillar, you can push that window opening towards the back and the window openings will line up. See the pic below on an old AMT body... -RRR
-
Anyone for T? Yes, sir! Looking good. We can't have too many T-Buckets around here! -RRR
-
1960’s Traditional Blown ‘23 T Bucket UPDATE 10/31/22
Rocking Rodney Rat replied to Dennis Lacy's topic in WIP: Model Cars
I really like that idea! good to see you back on this one! -RRR -
Thanks for all of the positive responses, much appreciated.... -RRR
-
That screams "Badass!!" -RRR
-
Wow, clean builds! Factory racing at it's best. Bravo on your BMF work, you have more patience than I !!! -RRR
-
I haven't been over here for a bit...I missed some great builds! This is so awesome it made me LOL...Love the work on the body, well done!!! -RRR
-
more crunch...
-
Nice color!! -RRR
-
Thanks, Bob. The top was sliced and diced a bit. The three panel rear window is from the ragtop in the Revell Ed Roth Tweedy. There are some pix of the ragtop buildup here: https://public.fotki.com/jferren/a-fad-t/ The horn is from the AMT 'T' kit (many releases and versions of that kit over the years). -RRR