89AKurt
-
Posts
8,429 -
Joined
-
Last visited
Content Type
Profiles
Forums
Events
Gallery
Everything posted by 89AKurt
-
Sharona blinged out
-
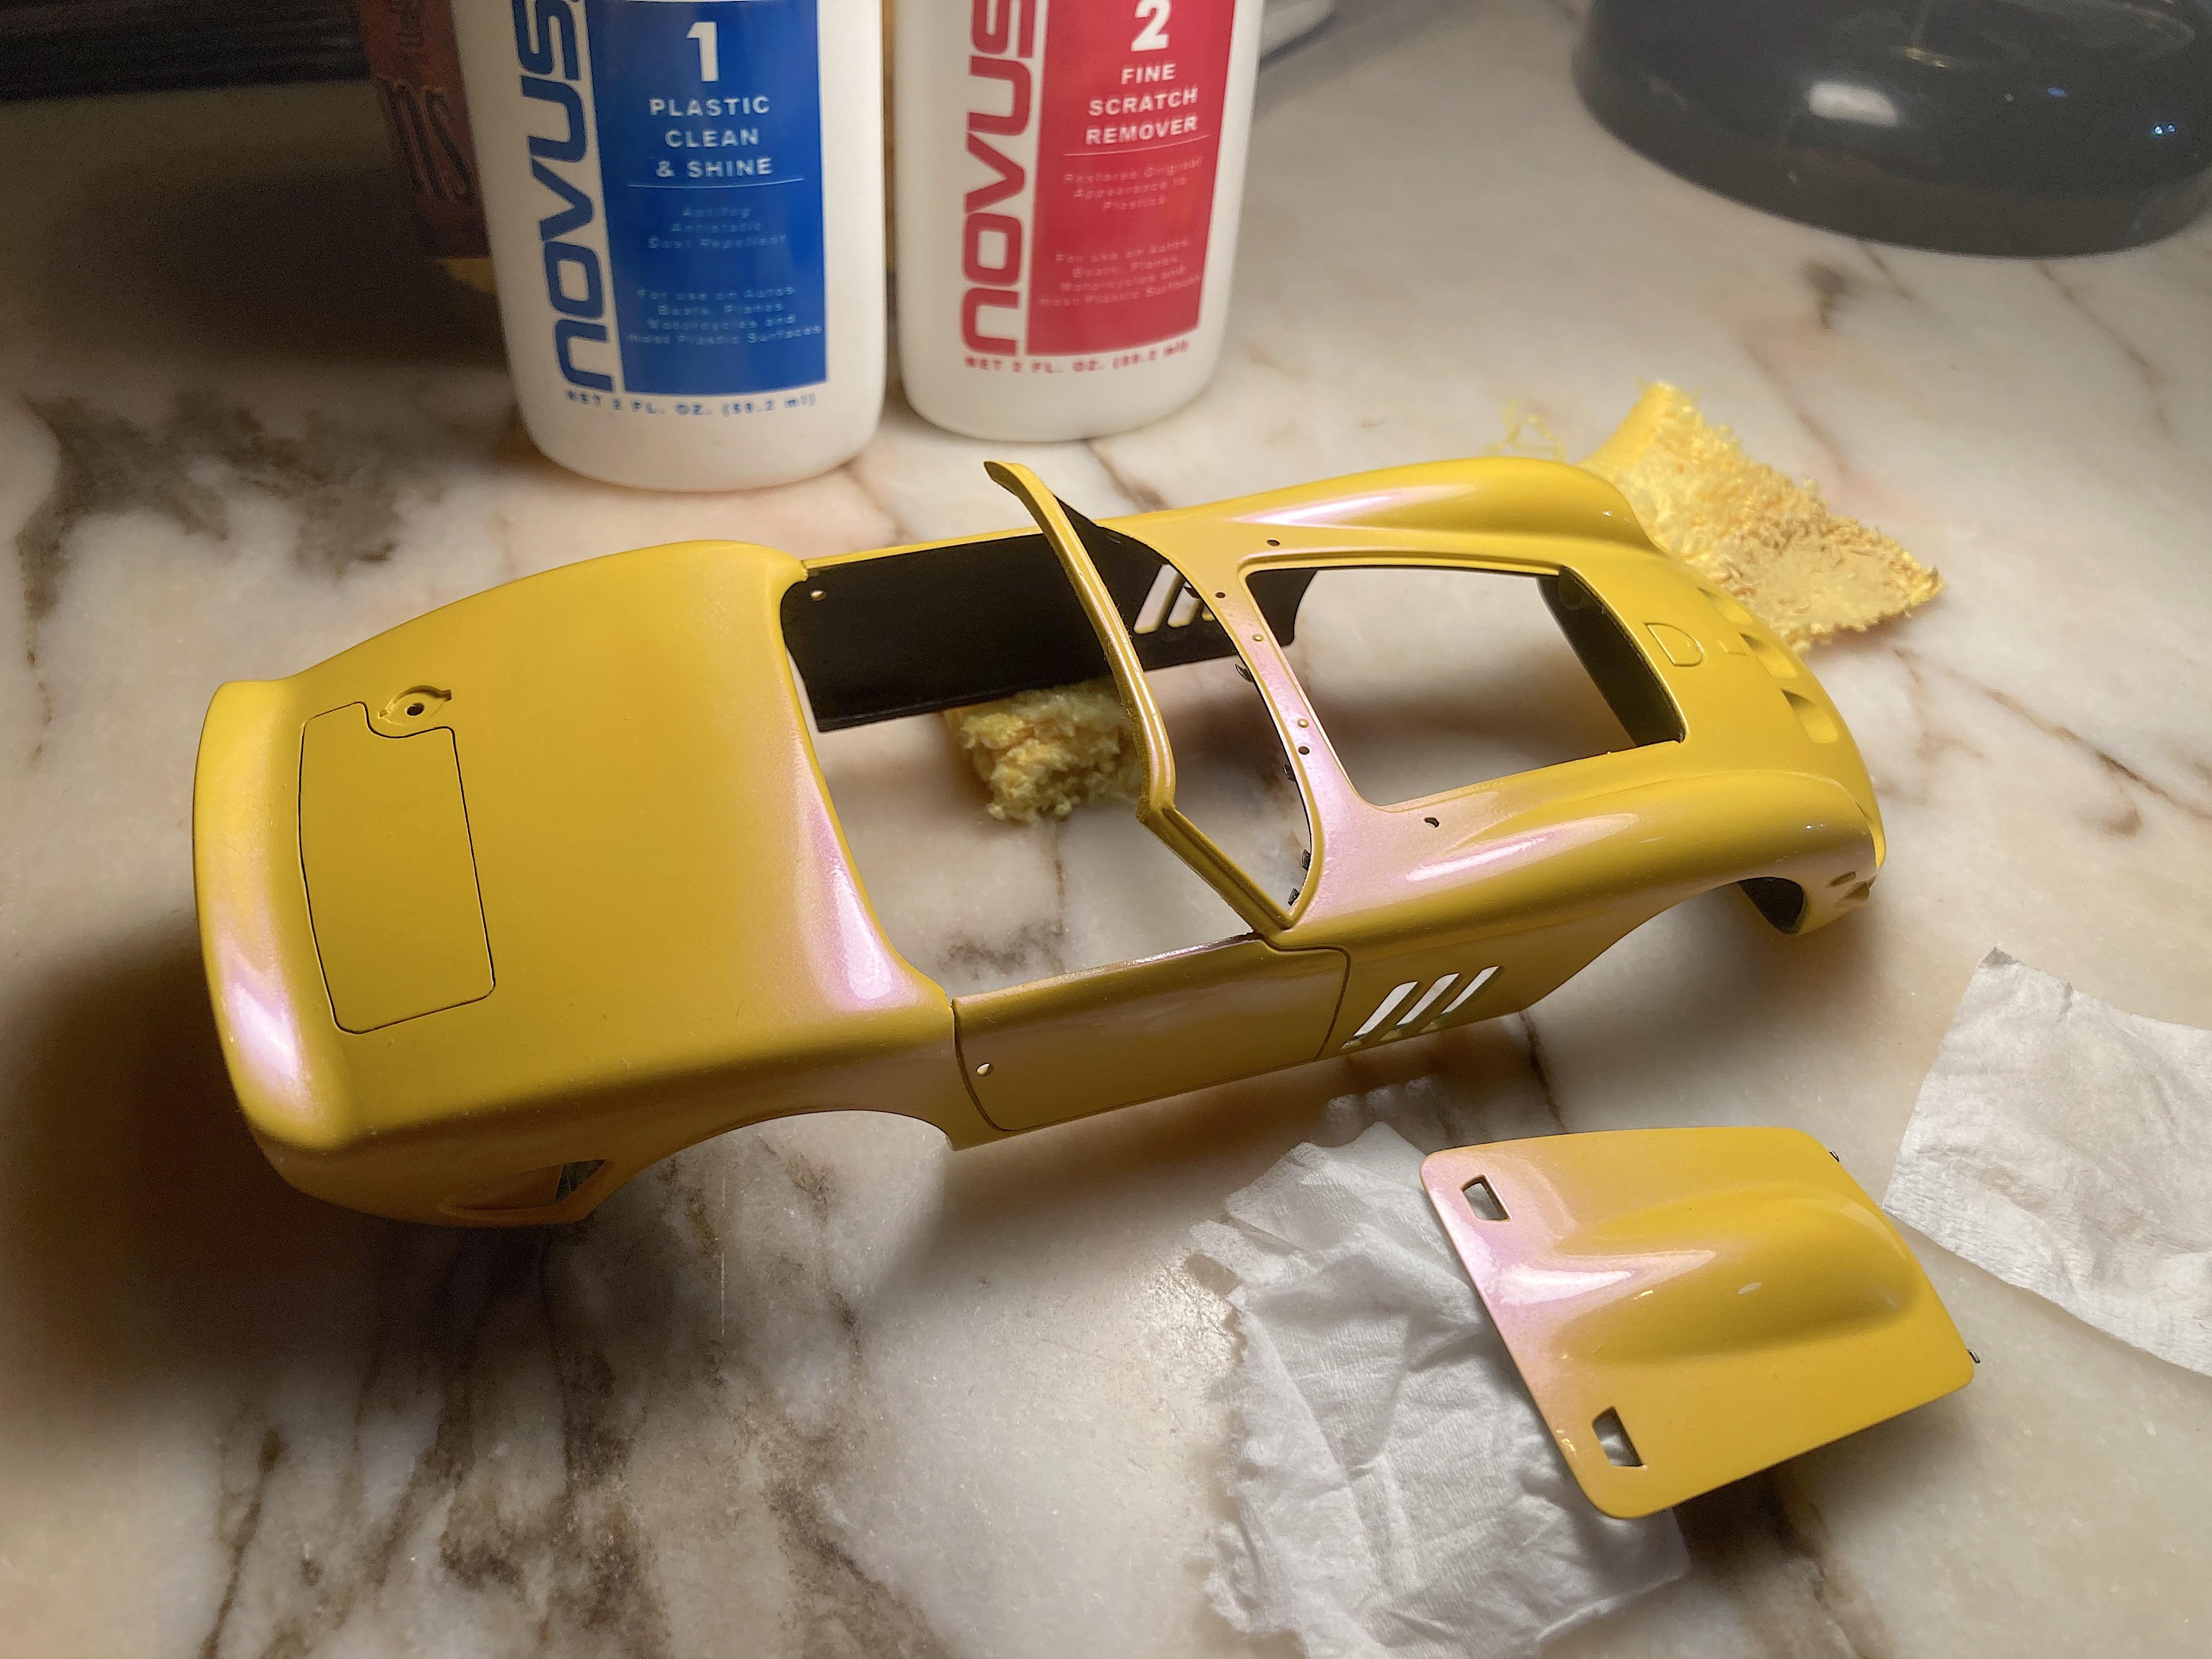
Something I really don't look forward to, but this body is rounded without many creases or ridges (except the spoiler), so not a great chance of screwing up. Detail Master sourced emory cloth polishing "kit", then Novus polish. Got this book, good price, has some good period photos of the cars racing with damage, which is something I want to do someday.

-
Dogs hate it.
-
 It fits through the slots okay?
 -
Ok, I would call that Bakeolite brown. The numbers really help, shows the center top must be for the coil..... which I should make. Thanks Jim!
-
the secret code
-
Thanks for letting me know. Makes a big difference!
-
man's responsibility, find
-
Last century I built a Daytona Spyder, painted Testors yellow, no clear coat, but polished. Always looked like it needed to be waxed. Hobby Lobby is the only thing close to a hobby shop, I've never seen the 'wet look' clear. I think my paint work is subpar, too much orange peel. The original GTOs was hacked together, I know that, the recent sales are of museum works of art. I'm up for the challenge, but I did have a nightmare last night of polishing and immediately getting down the the plastic. ? Don't know why the instructions say brown, all pictures are black.
-
Best way to chrome plate resin wheels?
89AKurt replied to mikemodeler's topic in Model Building Questions and Answers
Last time I used Dale, needed to keep resin separate from styrene. -
how dangerous this
-
Appreciate it! ? Thank you! Eyes are still recovering. ? Installed the belts. Brushed on water to soften up the paper. Getting the mounts glued in was a trick. Used Tacky glue on some belts to get the gravity exists look. Finally realized the valve covers have the wire loom molded on. I'm thinking of doing the wires from distributor to that loom, and not worry about the other ends.
-
energy trying to
-
I searched this forum, nothing came up, if there are no tags things don't show up. I don't have a stack of MCM dead tree editions. I took a bunch of photos, practically each step. Considering I used paper instead of ribbon, my technique might vary from yours? I also made up some things to accomplish the look. I'm also digging the way Venom is showing his Shelby build, want to create the same format. Sometime...... you know how that goes. Anyway, got both sets done for the Ferrari.
-
Back when vinyl
-
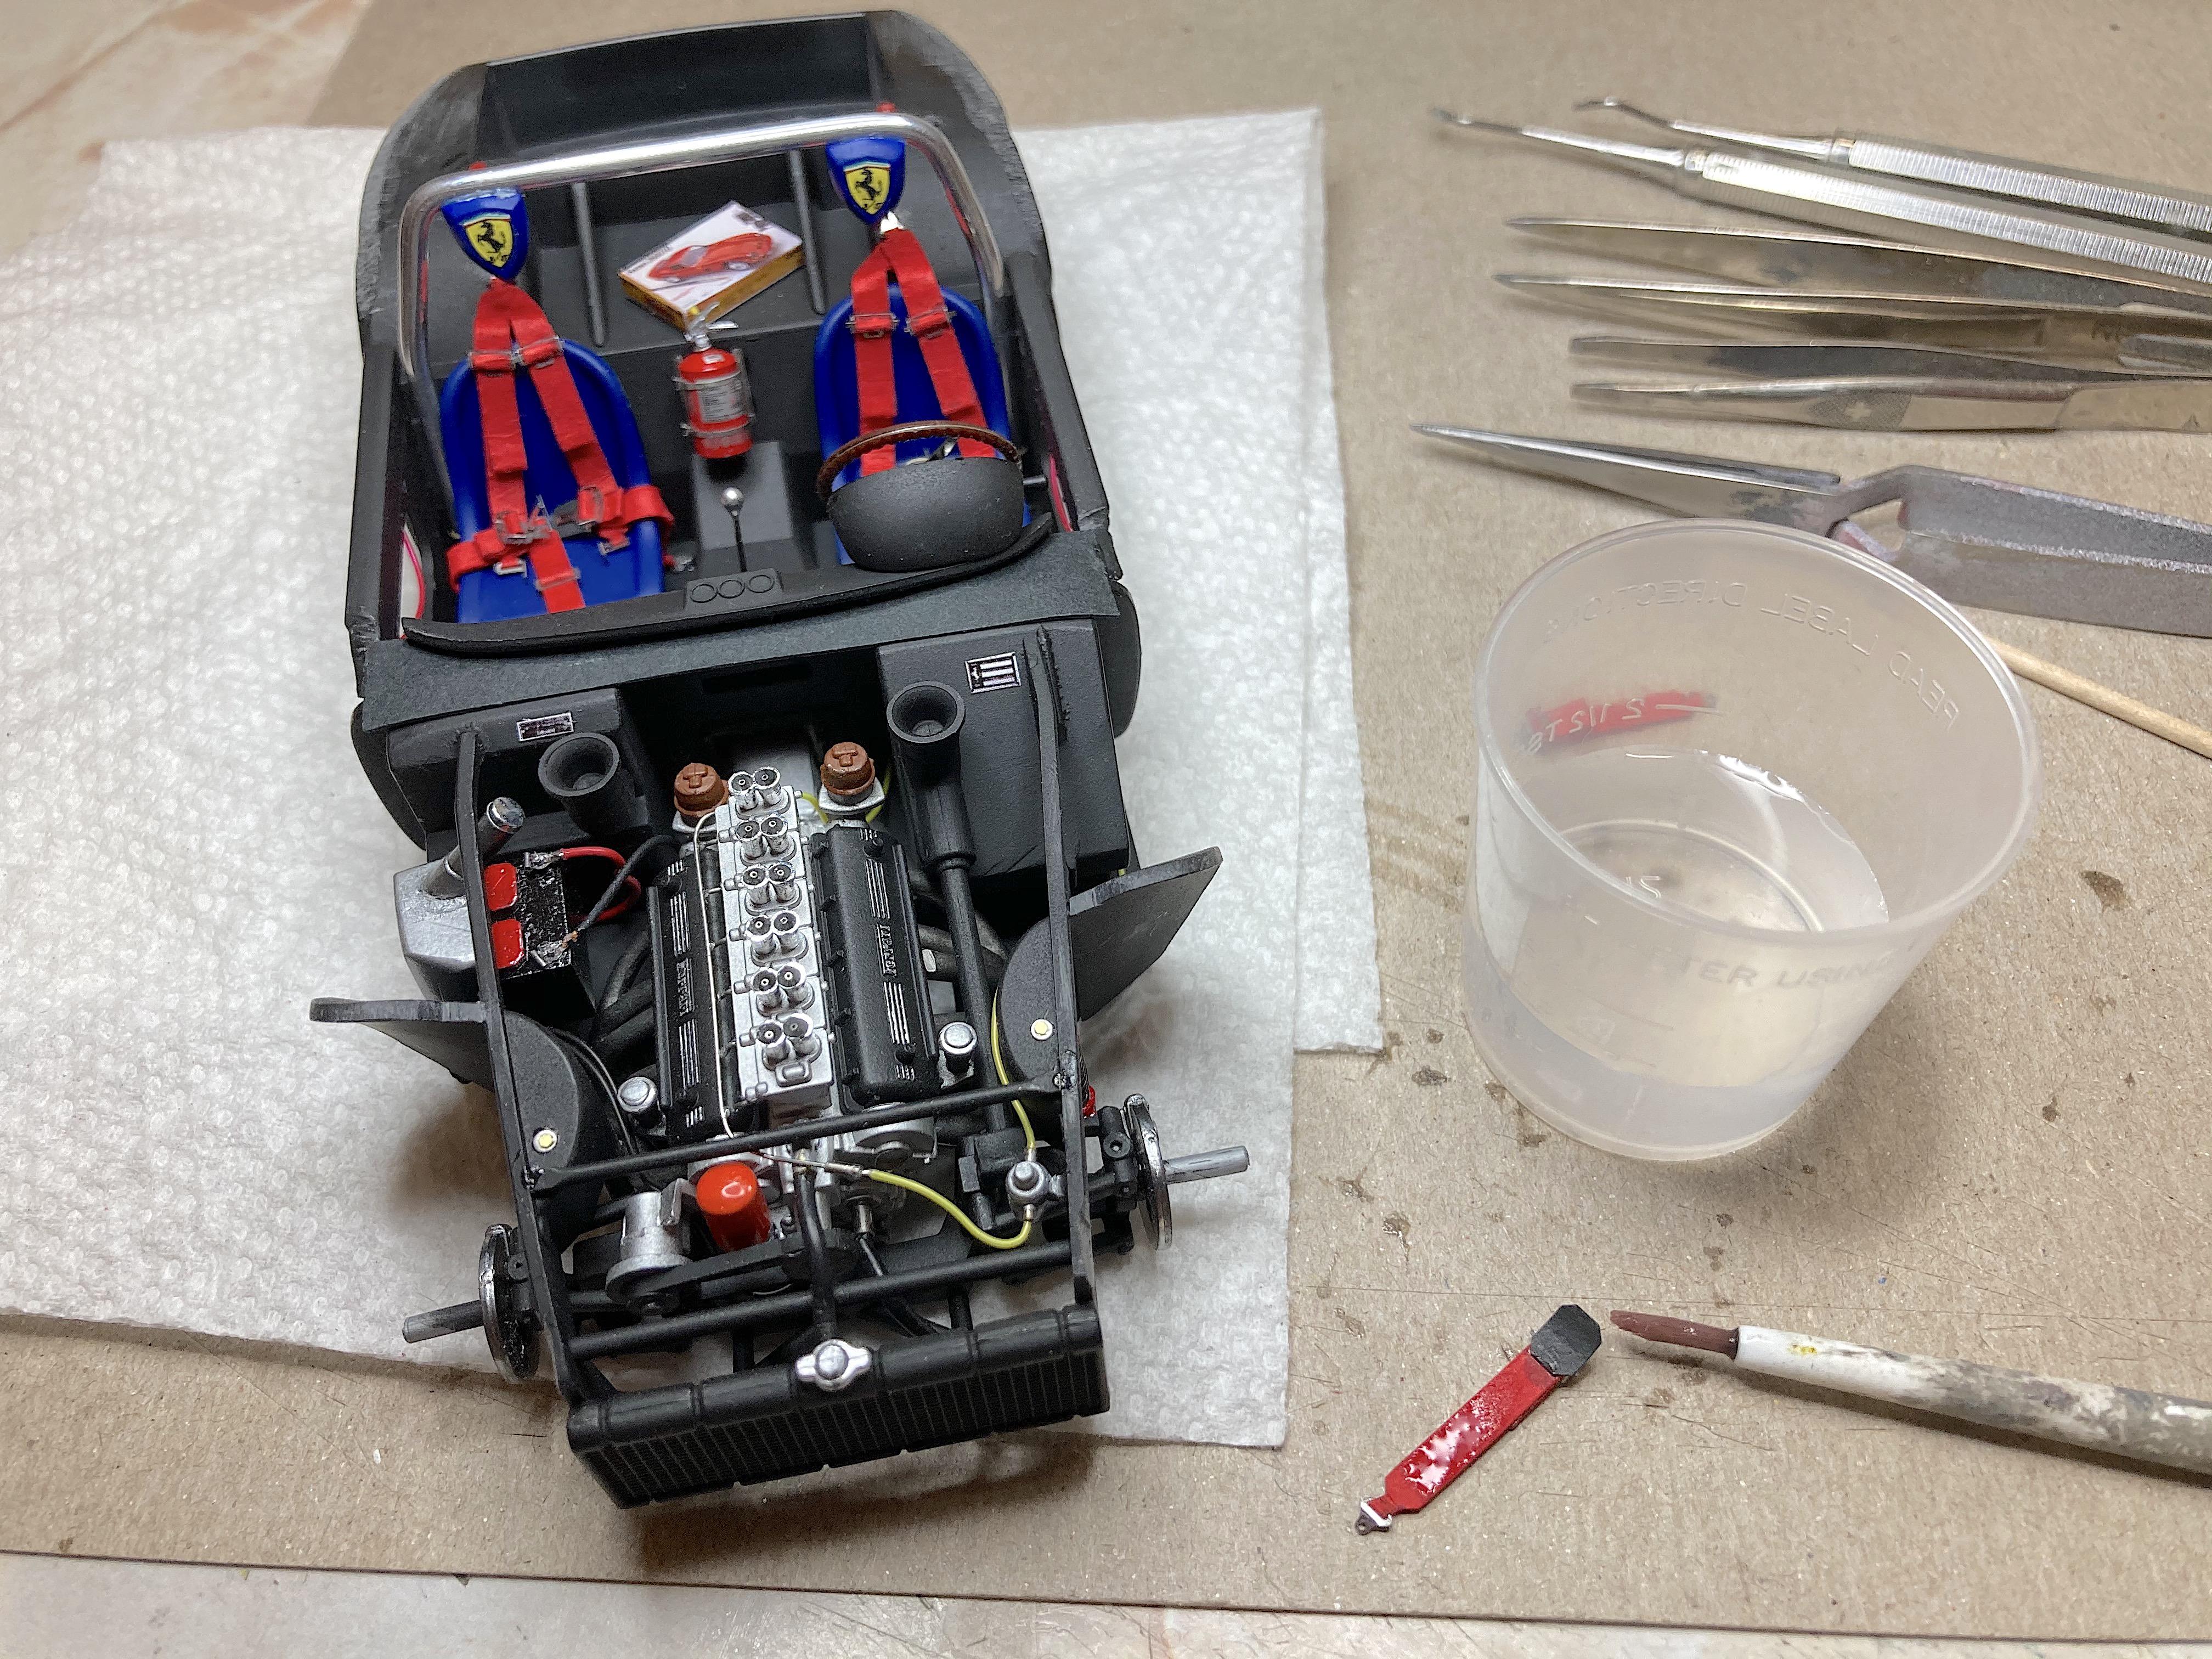
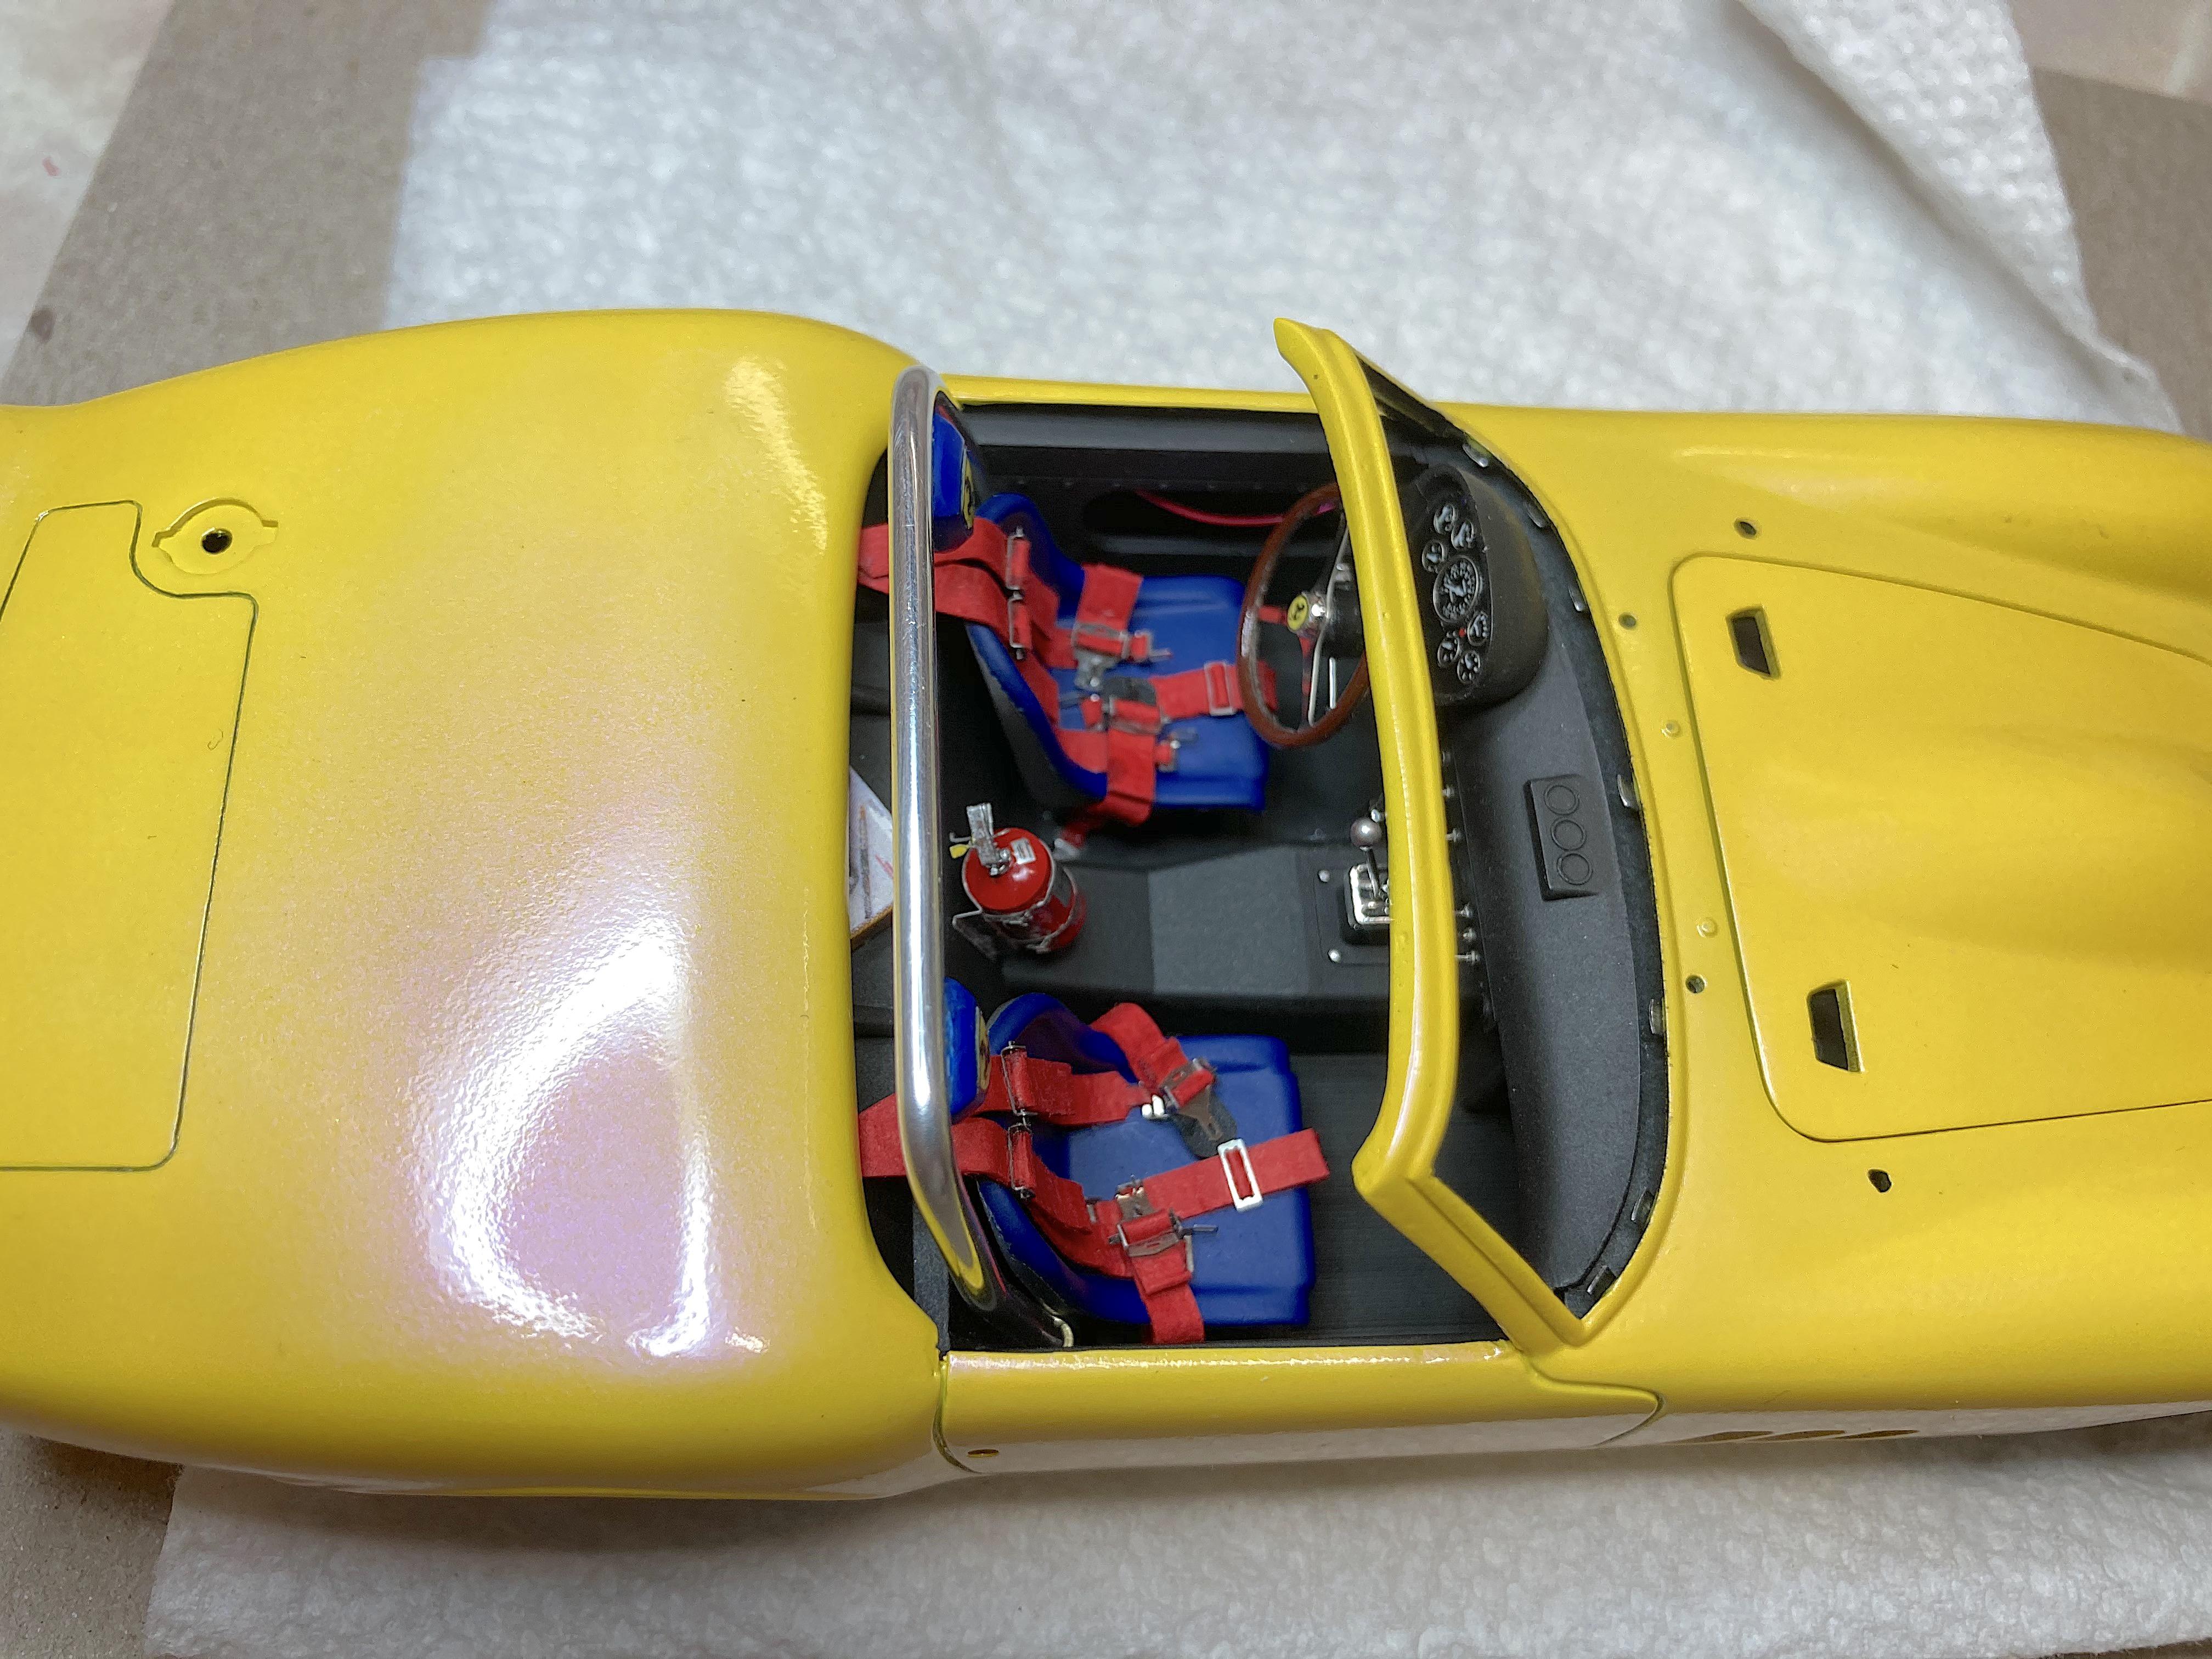
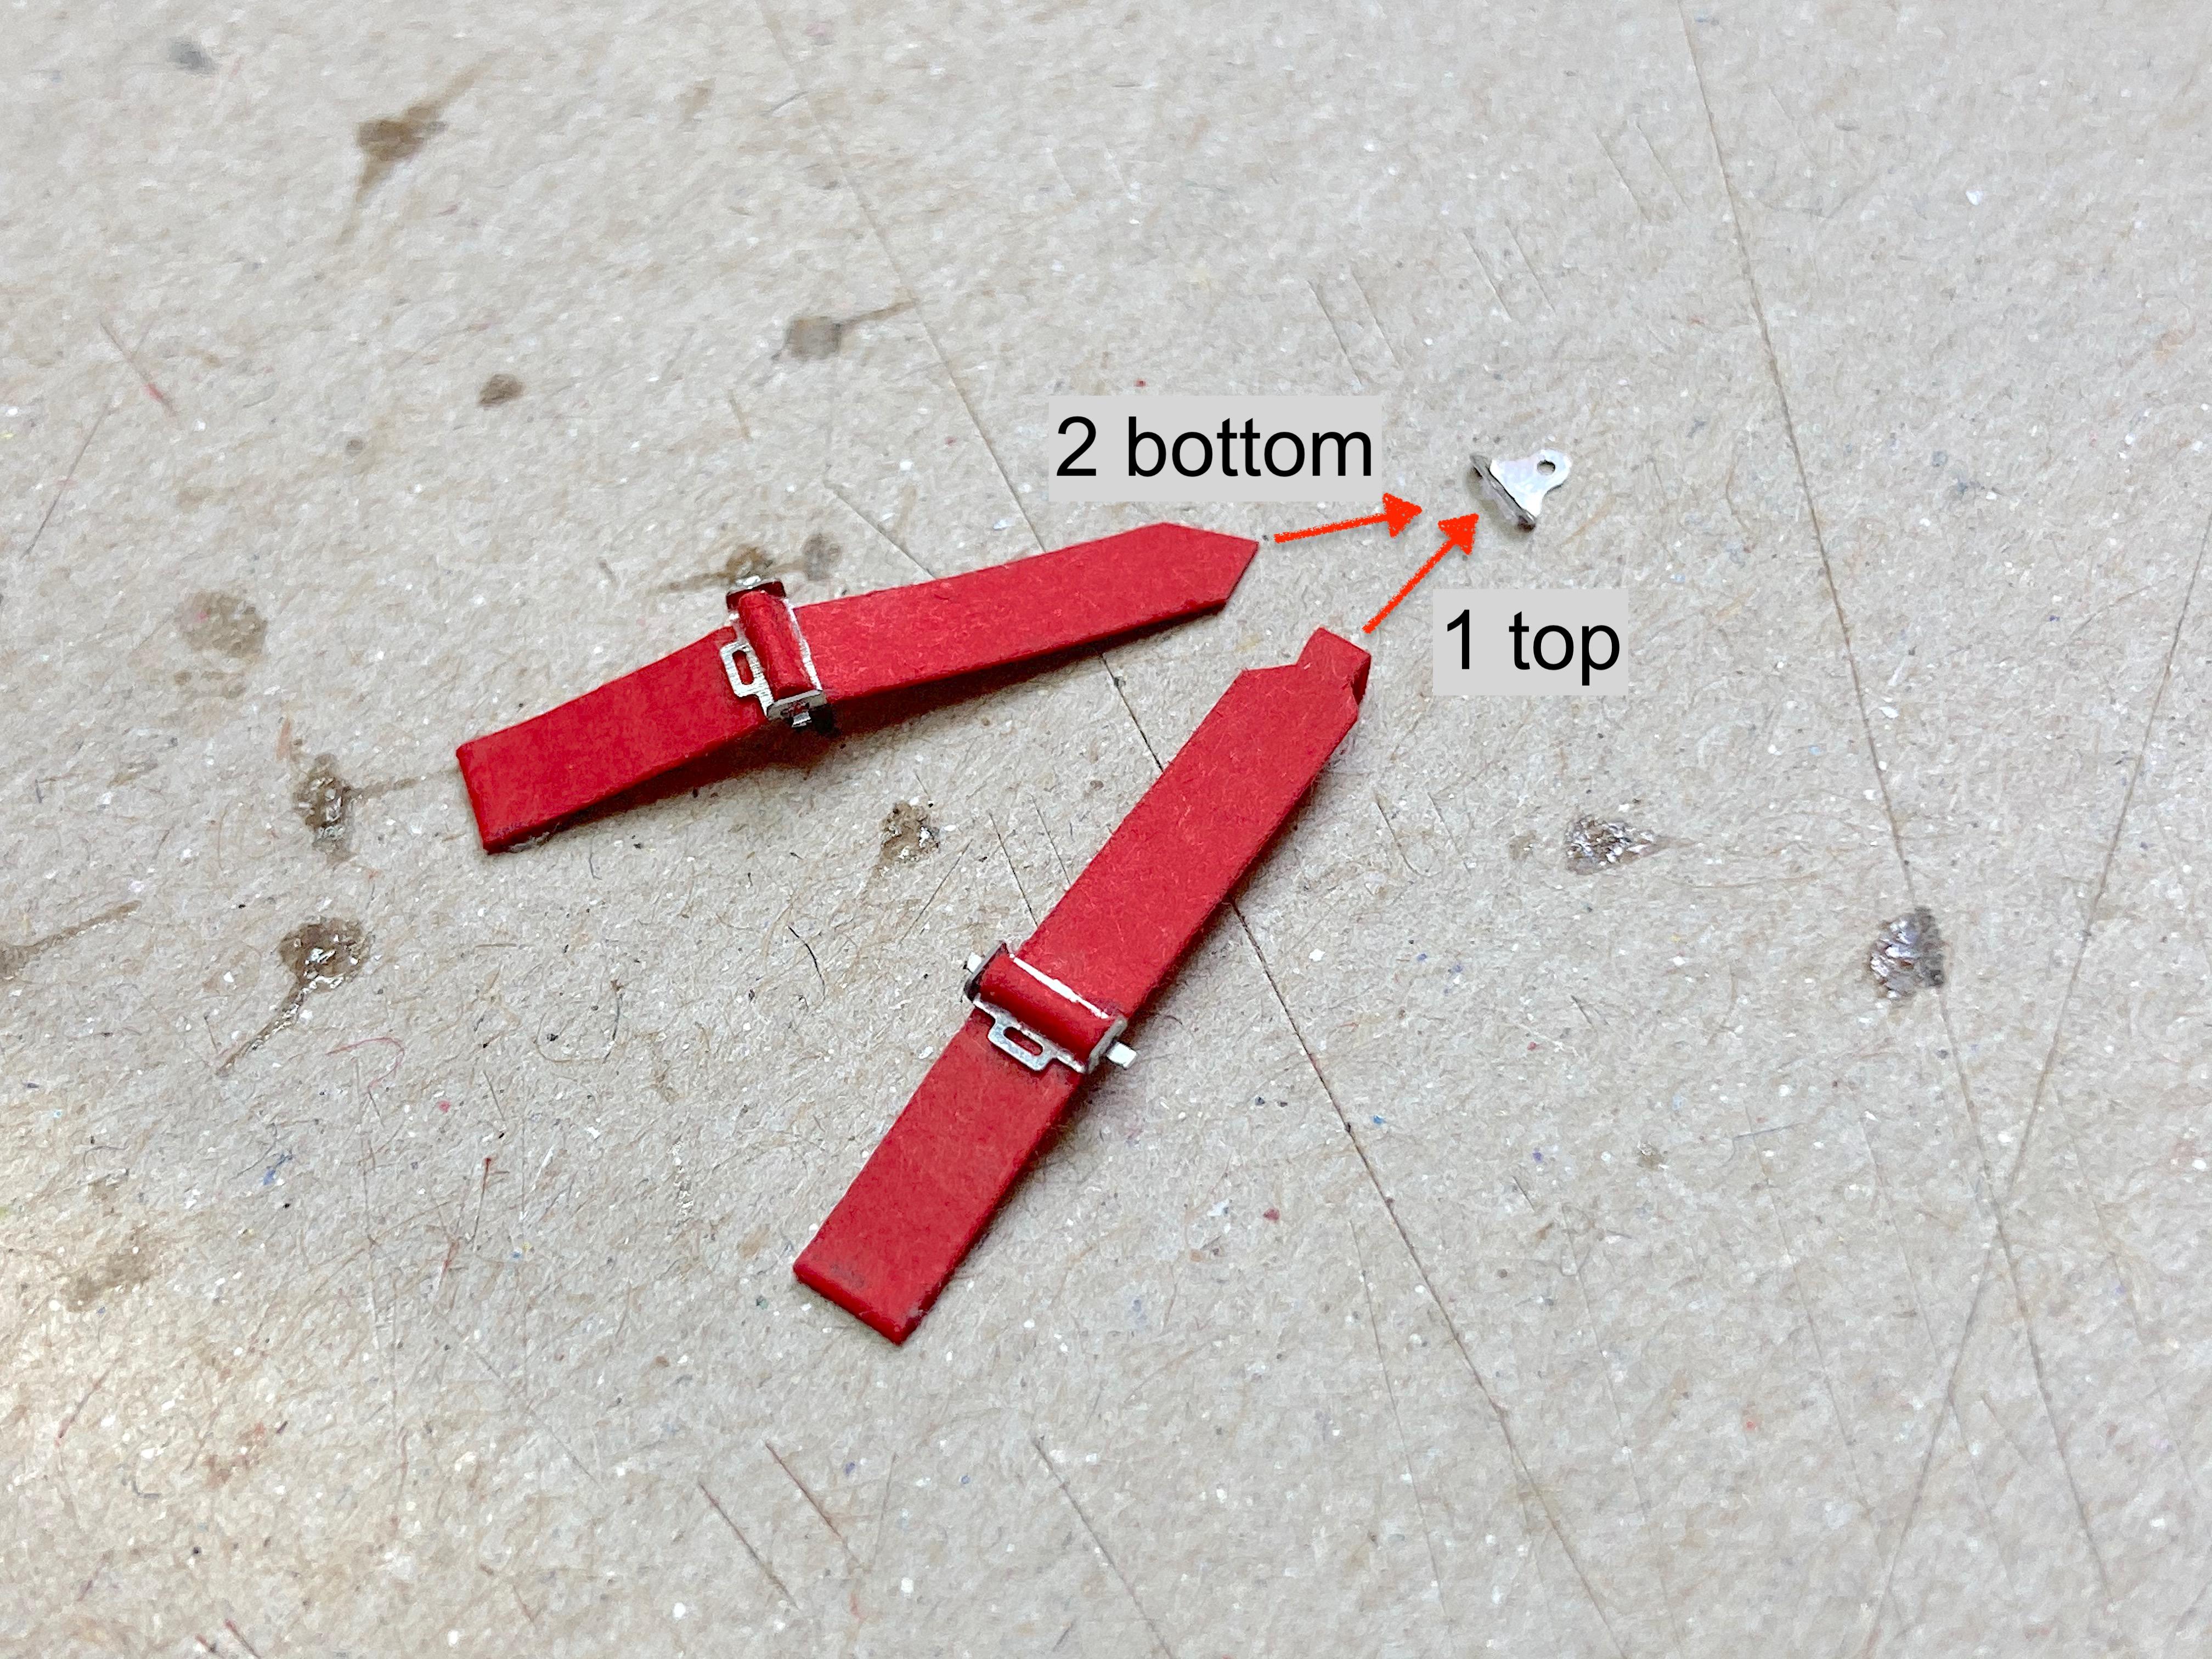
Thank you very much! Funny thing is the timing was perfect! ? Thanks! Started off easy today, fixed the hood hinge. Used guitar string, will always use this from now on! Glued on tabs for holding in the windshield (arrows), cut from steel coffee can lid. Pre-bent a sight angel, will push down when the "glass" is in. Glued in black paper under the dash (arrow), to reduce seeing through that area. I had also discovered the fuel filter was too high interfering with the body, relocated lower, and now you can see the clear bowl! Fabricated a roll bar from K&S aluminum rod, polished first. Made a test fitting template from cardboard. Ended up a little short, so added transistor radio antenna tubing which was a perfect friction fit for adjustability. Headrests made from 0.1" Evergreen styrene. I wanted to use use Ferrari shields, but not in the traditional spot on the fenders, and I also wanted the safety of headrests, those seats look so low, and uncomfortable! I'm skipping ahead, had airbrushed the headrests, which were curing in my drying booth (pickup). Bare Metal Foil on the back, polished that first too. So now this is my car, not an authentic replica of the real car. Stressed my eyeballs ? (can hardly focus while writing this) on the seatbelts. The red paper is slightly thicker than the black paper, so had to adapt construction. It helped to keep track of which side is up, kept the linen texture down, so less mistakes were done. I took a bunch of pictures, so I could do a tutorial on how to make this Detail Master set. Here is one step, no way two layers of paper would go through the slot! First set is done! My beater rust bucket 1968 Chevy pickup (drying booth ?) has racing seat belts, that were given to me years ago. The original seat belts were shot, retractors didn't work, and needed to keep a screwdriver on the dash so I could unlatch the buckle, which didn't have the plastic cover. I have the upholstery and padding to redo my seat, never have done that before, need to transfer my obsessive time consumption to that someday. Similar design, I added the leather pad (black paper). The adjuster buckle is exactly the same. The mount to the cab is ...... look at my signature line. ? Got the second set done tonight! ? Despite making the set yesterday, still needed to write notes on the instructions today. Instructions say 3 hours per set, it's about right. When using the mechanic manual for working on my truck, when it says half an hour, it would take two hours. When guys start doing more than building Box Stock, I would bet the most popular thing is spark plug wires. Even with all the other things I've done, I'm still resistant to do the wires, the NART was a royal pain to do.
-
A favorite subject, knocked out of the ballpark! Did you need to lower at all, stance looks perfect.
-
mimicking rough idle
-
Old Gas Stations and Cars
89AKurt replied to Ramfins59's topic in General Automotive Talk (Trucks and Cars)
That's the book I have! So worth it. -
You did a swell job on that! I like the quirky subject. If (big if) I was ever to do one, would love to make an autocross diorama showing the signature body roll in a corner.
-
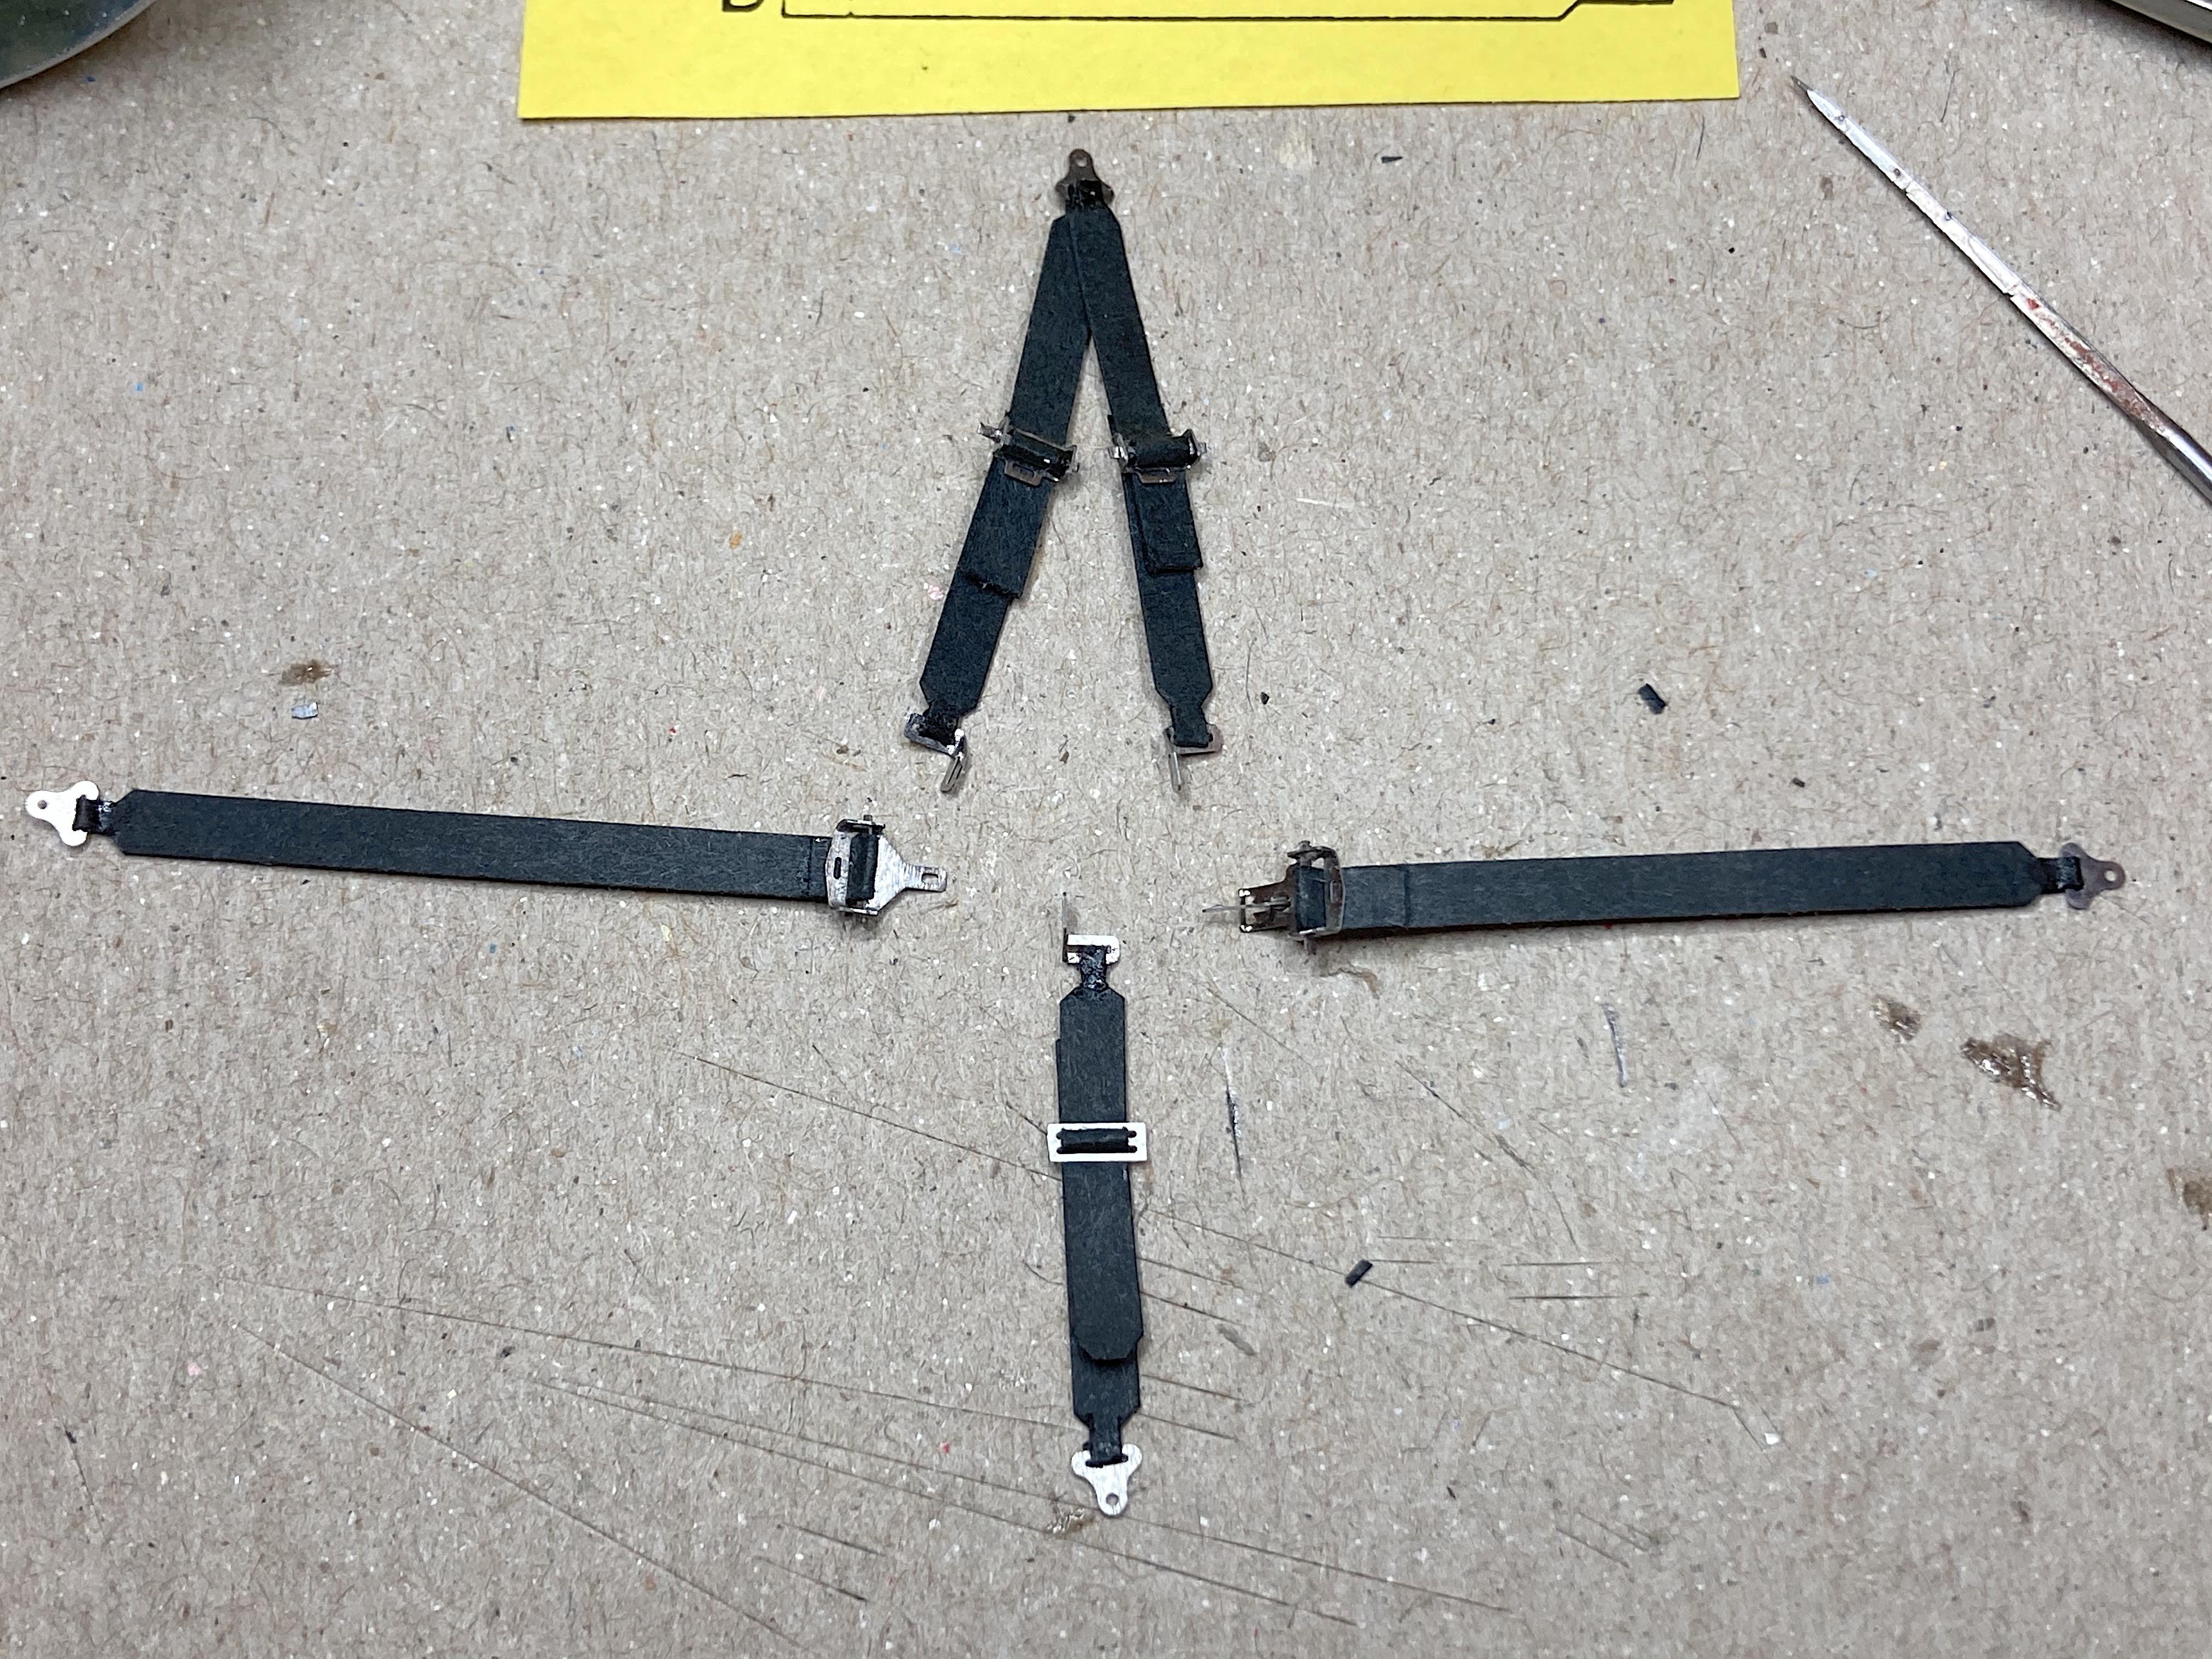
Is there a tutorial on this forum, on how to assemble the Detail Master racing harness? I couldn't find with the search box, also looked from my browser world wide, and on You Tube, no luck. I had to modify from the instructions to get this.
-
Always to blame. ?
-
Old Gas Stations and Cars
89AKurt replied to Ramfins59's topic in General Automotive Talk (Trucks and Cars)
How did I miss this topic? I built this gas station based on a Ken Ebberts painting, not the right car but gives you the basic look. I have a book about gas stations, there are some along Route 66 that I would love to do. Having the space to display is a problem. -
So much for successfully being a hermit today. Picked up this free Detail Master racing harness photo-etch from a club member, he wanted me to make one set for him, so I said his will be the guinea pig. Good thing, the instructions aren't that good, and I couldn't find a tutorial on this forum or You Tube. He got it years ago, when there was thin paper supplied for the belts that supposed to be painted. I see it comes with ribbon now, which I think would be near impossible to use. I used black craft paper for his set, will use red for mine. First step, polish. Found that rubbing my finger over it worked best. Got to use the bending tool, worked like a charm. The instructions were screwed up for the upper shoulder belts (IMHO), they showed the adjuster on the two belts, so I used on the upper half. All the other tools used. There was no way to thread two belts through the adjuster parts, cheated by gluing the underneath one flat. Screenshot from a You Tube video, close enough.
-
screaming bloody murder