absmiami
-
Posts
4,782 -
Joined
-
Last visited
Content Type
Profiles
Forums
Events
Gallery
Everything posted by absmiami
-
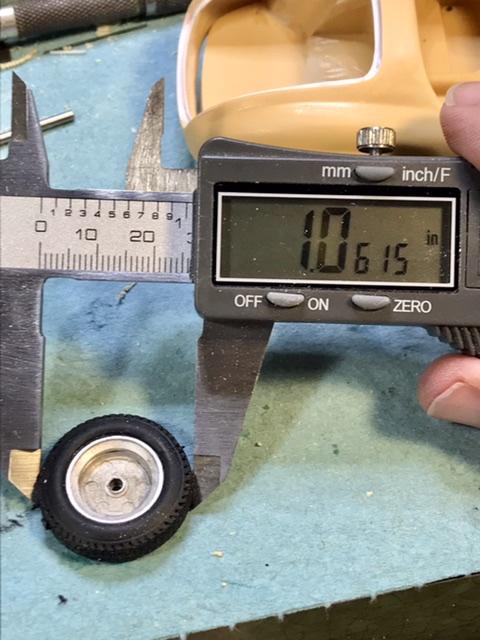
 When stretched over the wheel rim - they appear to have the correct diameter …
-
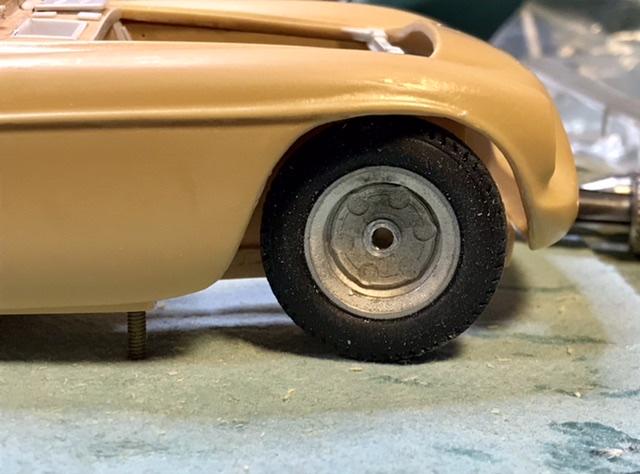
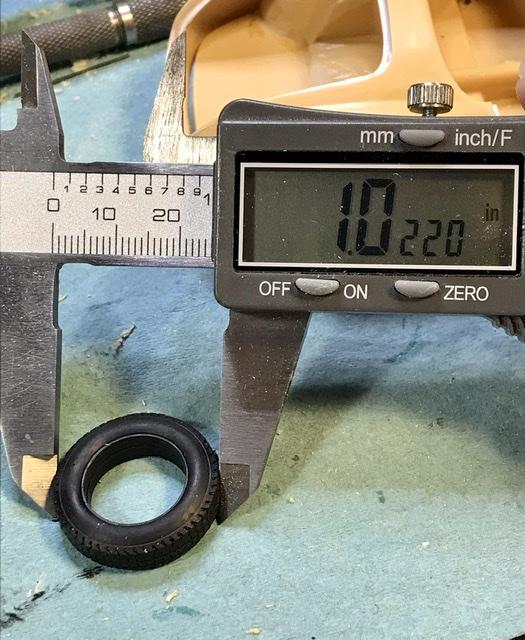
The kit tires are soft rubber - they appear to be be too small - but …
-
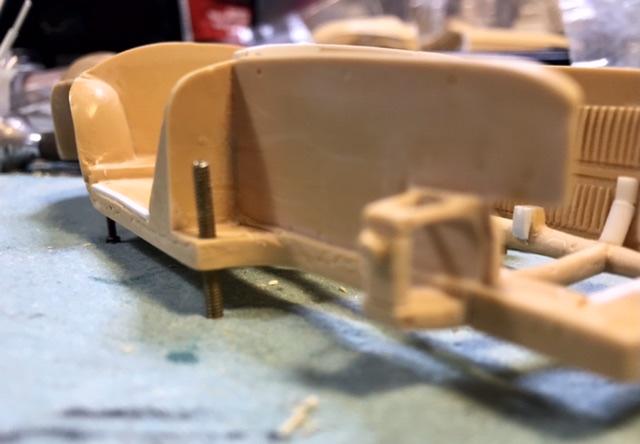
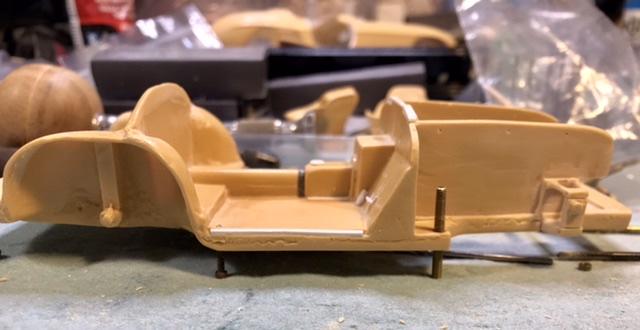
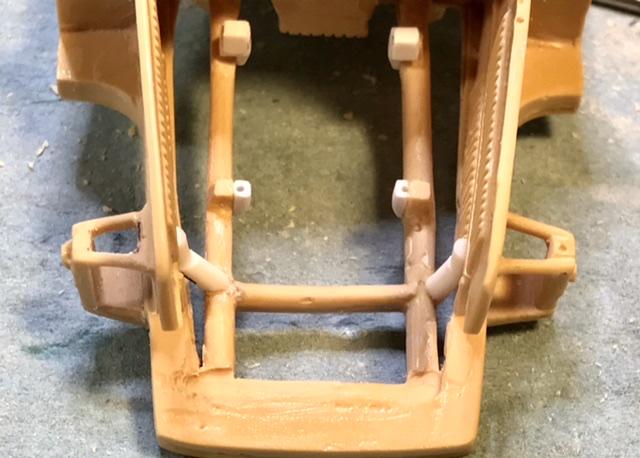
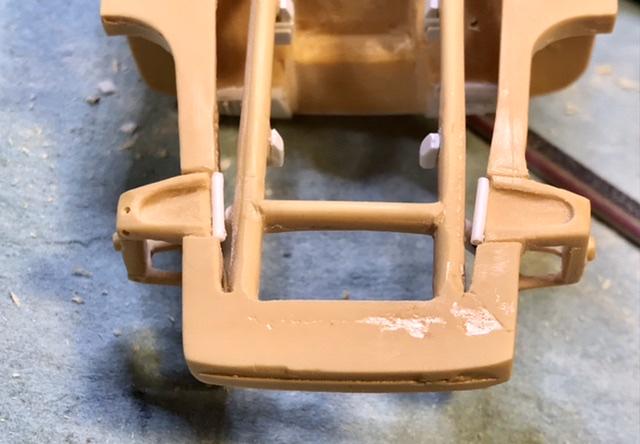
Drilled and tapped four holes on the base plate for screws and set the base to give a bit more than 6 scale inches of ground clearance - and the screws enable me to locate reasonably accurate holes for the axle stubs front and back …
-
So does the wheelbase measure out to 24th scale ?? Not quite - scale would be just about 100 mm - kit whbase is about 93 mm. Not bad - but actually closer to 25th scale - the body appears to be about 25th scale in length also - for the record …
-
Ding ding ding
-
will you be returning to Rev's this summer for the "hoods up" display ?? See you there ....
-
sorry - I'm really good at building other people's models ... seriously, though - what you've done so far makes me think you mite want to find some fusee chain - just sayin" By the way - the chain has a size range - get the "larger" chain for 12th sc - if you can find it I'm going to use you techniques for an unrestored 24th sc pre-war Alfa that is moving steadily up my to-build list looking forward to seeing your technique to finish the engine ...
-
Bingo! Take a close look at the brake lines in the driving compartment - left and right …
-
do you know what fusee chain is ??
-
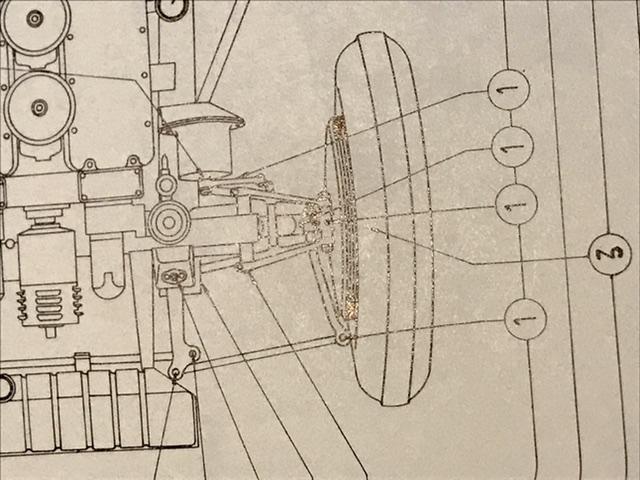
Next. - time to figure out where - how to attach the wheel hubs …
-
Garage 56 Le Mans 2023 Camaro
absmiami replied to Phildaupho's topic in WIP: Other Racing: Road Racing, Land Speed Racers
Its a pricey curbside - but profil24 has finally issued one of the first American cars to enter Lemans - the Cunningham C4r-k. - maybe for next year’s race … -
oh ... boy ...
-
Scale - decals are like the after-party - you’re certain its going to be fun - until you get there …
-
Gracias if i leave the bottom of the plug solid i should keep enough strength in whar remains - thats the plan
- 565 replies
-
- 1
-

-
- quarterman
- fisher
- (and 1 more)
-
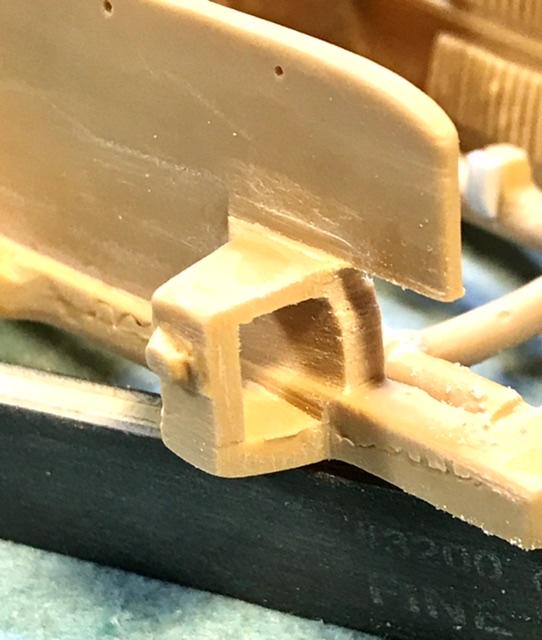
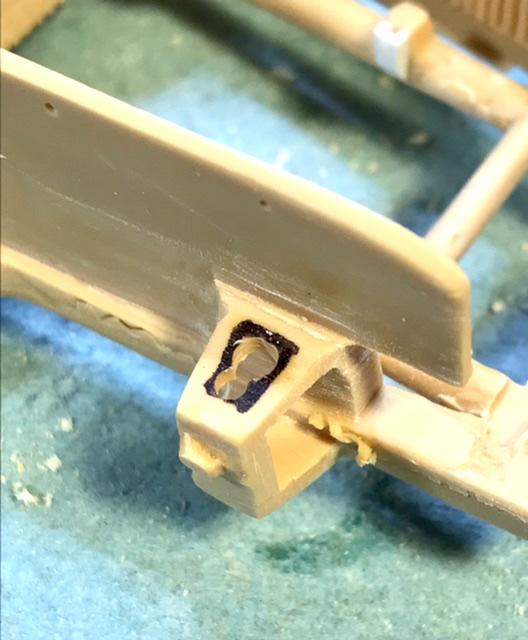
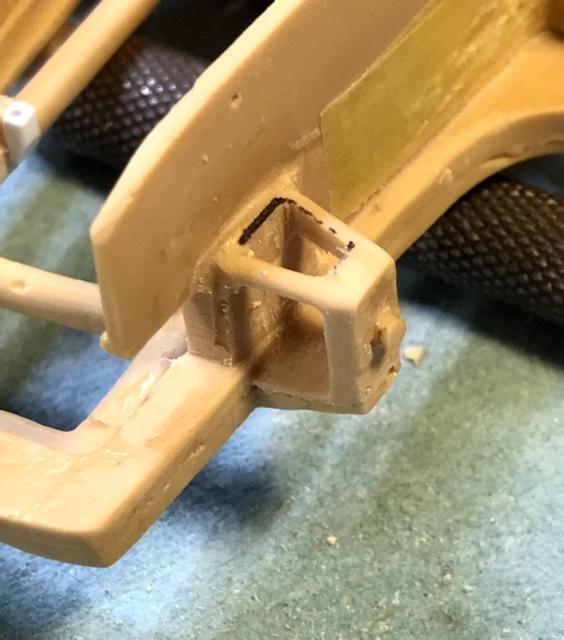
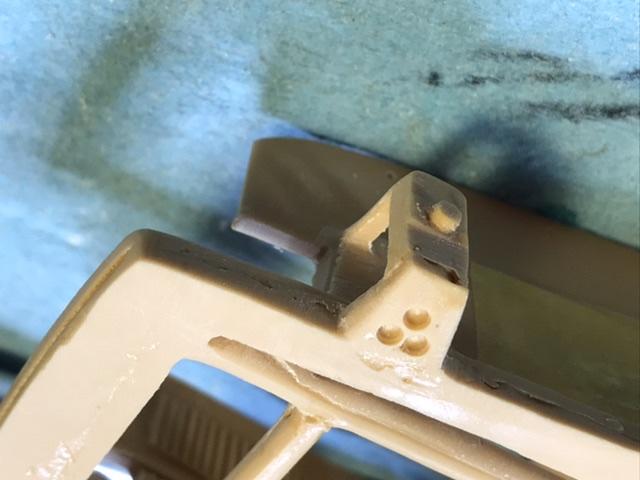
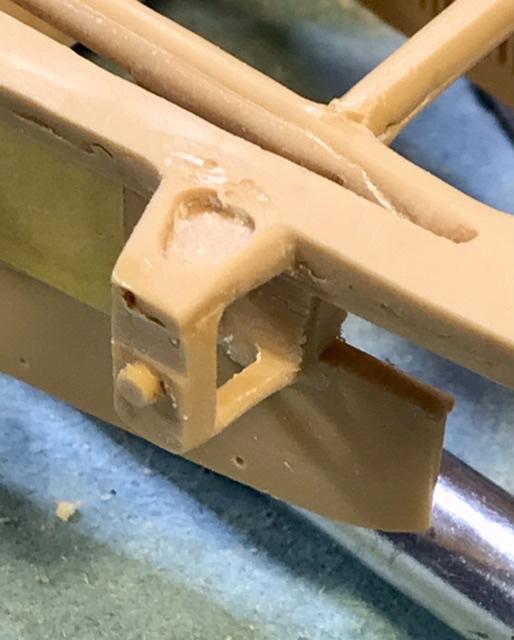
Those left right plugs of resin actual have the correct shape of the A arms that carried the hubs - so what the hel …
-
Every time i looked at those two resin plugs that locate the front wheels - I figured i had to do something with them … the Merritt book on early Ferraris published by John Barnes nearly fifty years ago - it was softbound w a list price of 19.95 - check out the ebay price now …. Has factory drawings and re-pros of owners manuals and parts blow-ups - this is basically what the front susp on the barchetta looked like ..
-
1966* Ford J Car - April Trials
absmiami replied to Gramps46's topic in WIP: Other Racing: Road Racing, Land Speed Racers
Fr Cady decal sheet - nice! all the listers under the age of 40 are asking - who’s fred Cady ?? -
!!! !! …
-
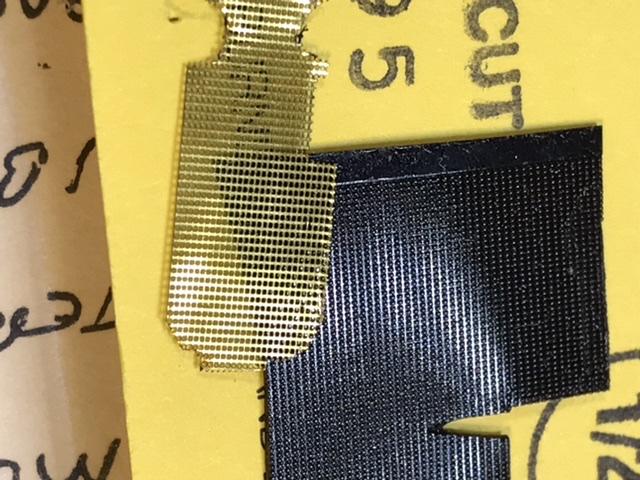
Slim pickens for the photo-etch grill pattern - mite use this - way way back in the day Norman Veber offered a very nice grill package done by the late Fred Holtberg …. Ive used up most of it - but the grill pattern was embossed on to the rubber backing - which i kept because - well you never know …
- 565 replies
-
- 1
-
-
- quarterman
- fisher
- (and 1 more)
-
Speaking of which - not a great picture - someone post a better one pl …
-
Nostalgia Fuel Dragster--Blower Manifold (01/28/23)
absmiami replied to Straightliner59's topic in WIP: Drag Racing Models
Yup -
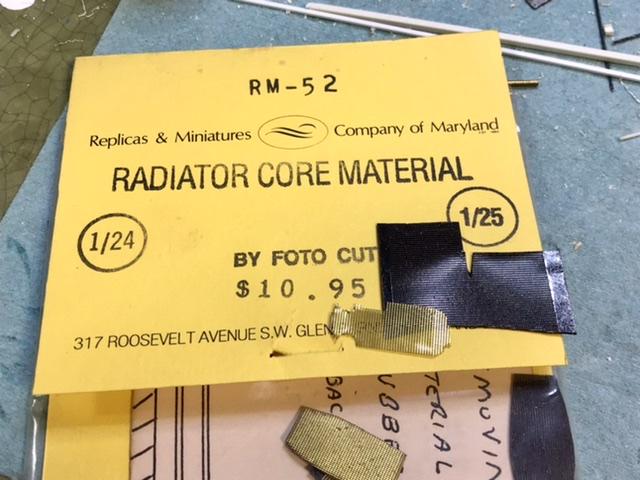
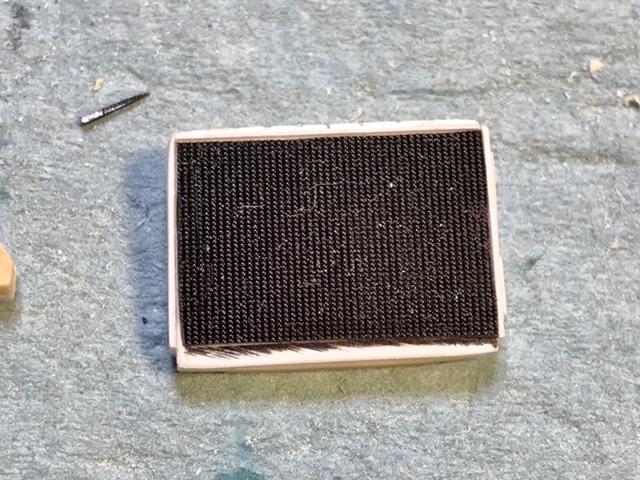
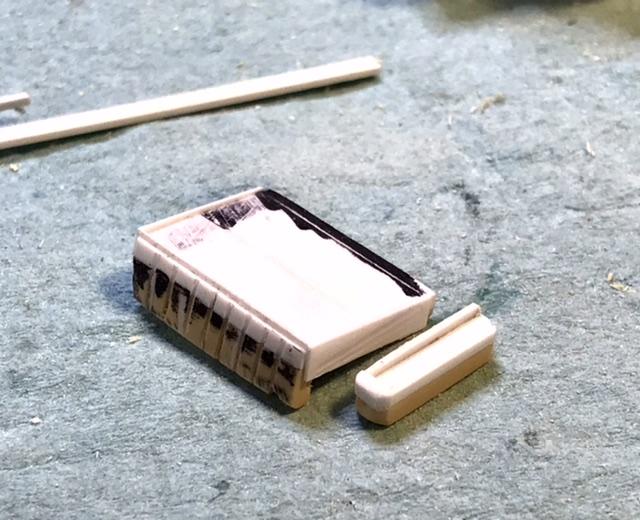
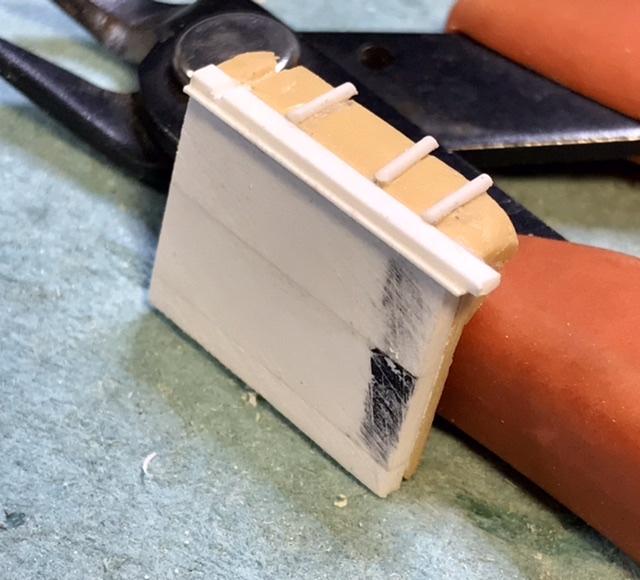
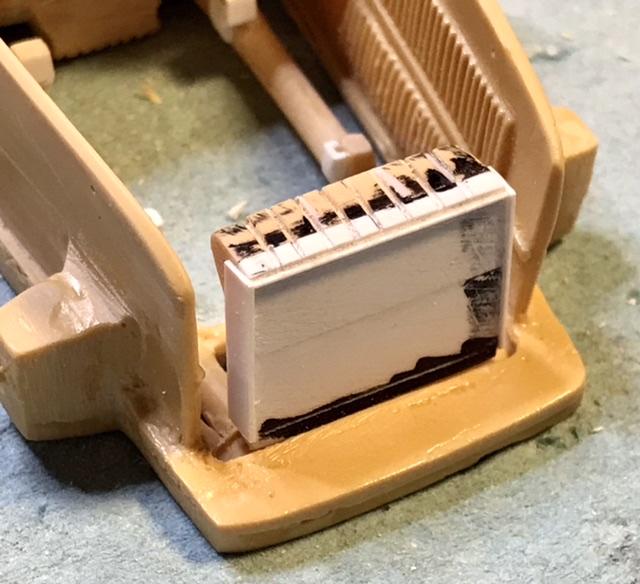
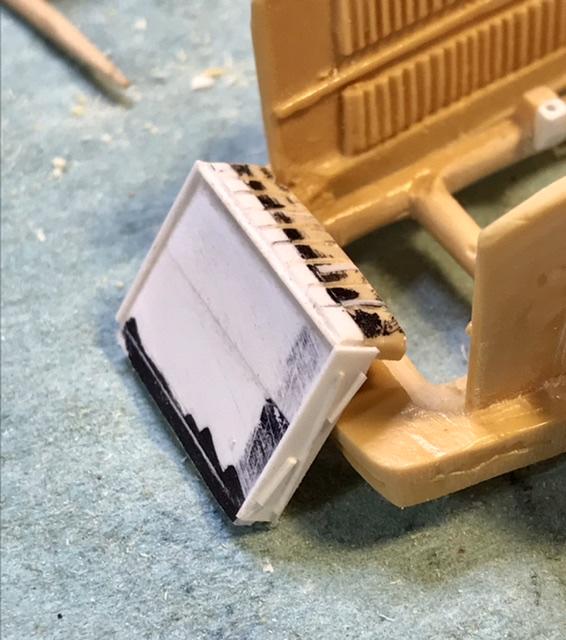
And ive re-scribed the header tank - with added plastic - the result is a radiator thats a bit thicker than 2 scale inches - got some radiator photo-etch screen vibrating somewhere in the back of a parts bin or workbench drawer - putting out an all points for it -
-
The kit radiator is a combined casting for the water and oil - its too skinny - so ive parted the oil cooler and im adding depth with some .060 Evergreen strip -