absmiami
-
Posts
4,781 -
Joined
-
Last visited
Content Type
Profiles
Forums
Events
Gallery
Everything posted by absmiami
-
 Cant believe that you finished this ! See you thurs or fri …
 -
Nostalgia Fuel Dragster--Blower Manifold (01/28/23)
absmiami replied to Straightliner59's topic in WIP: Drag Racing Models
Great stuff -
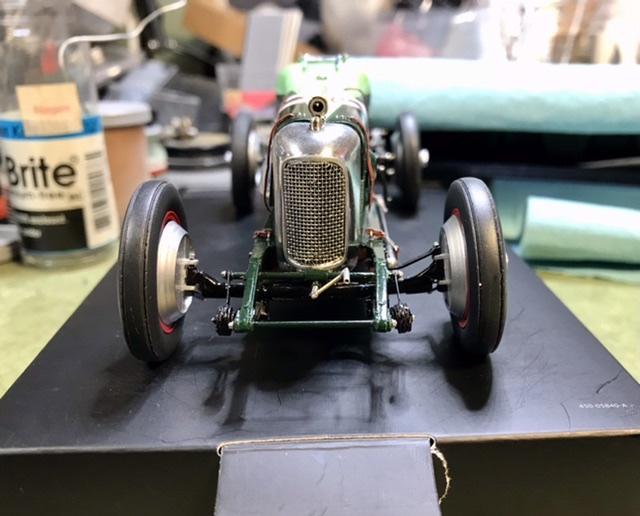
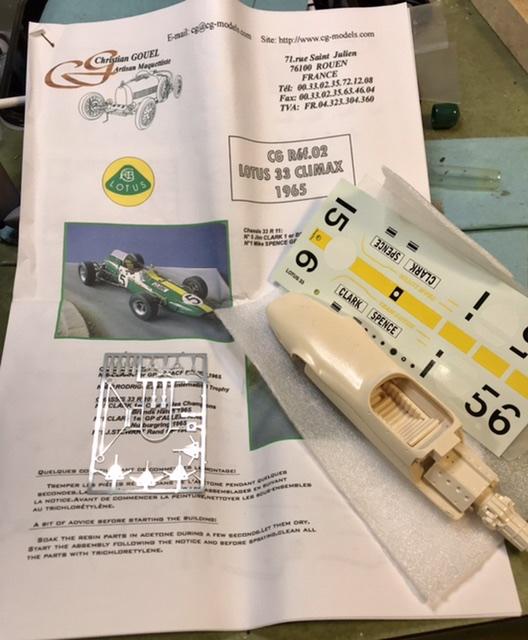
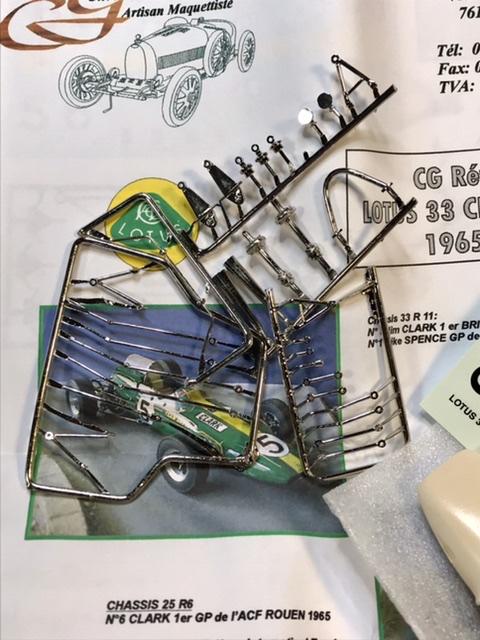
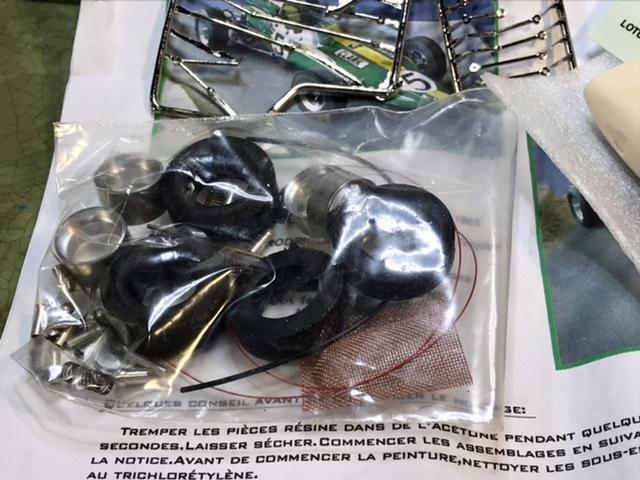
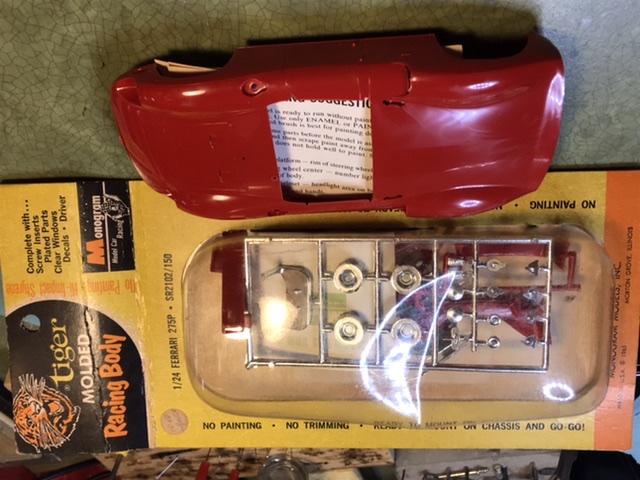
Here’s a rare bird - Christian Gouel is a really good French modeler - last i checked he still had an active website - his large scale builds look great - bout 20 years ago he offered / sold small batches of 24th scale grand prix kits - this is the Lotus 33 - its worth getting if you can find one - that won’t be easy - but be prepared to make some major corrections - example - the shape and size of the cockpit opening on the bodywork is all wrong - i do like the nickel plating on the suspension parts trees - and the photo-etched parts are relief etched for greater detail -and the decal sheet is first rate - i’ve never seen one built on the forum - have i missed that ??

-
Lotus XI, Merit, 1/24
absmiami replied to Matt Bacon's topic in Other Racing: Road Racing, Salt Flat Racers
Mr B: what other Merit unbuilts do you have ? Do you have either Maser? I’m a sucker for Merits … -
Whathesaid - i can never figure out how to make/install those hooks in the buckles …. Note to fellow gawkers - this kit was also sold in a blister pack - so if you see this on a vendor’s pile - you’ll know …
-
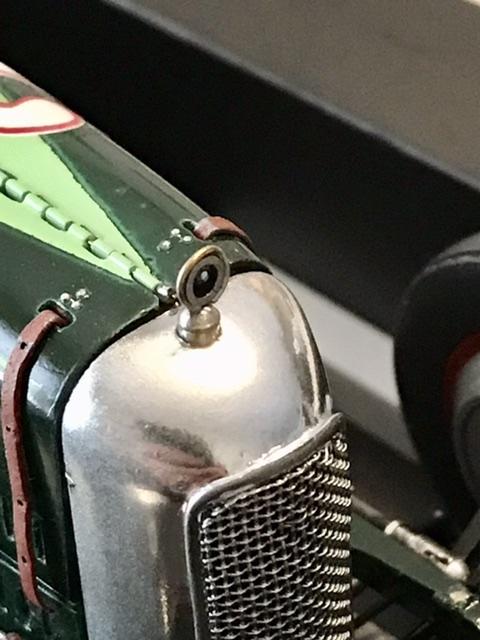
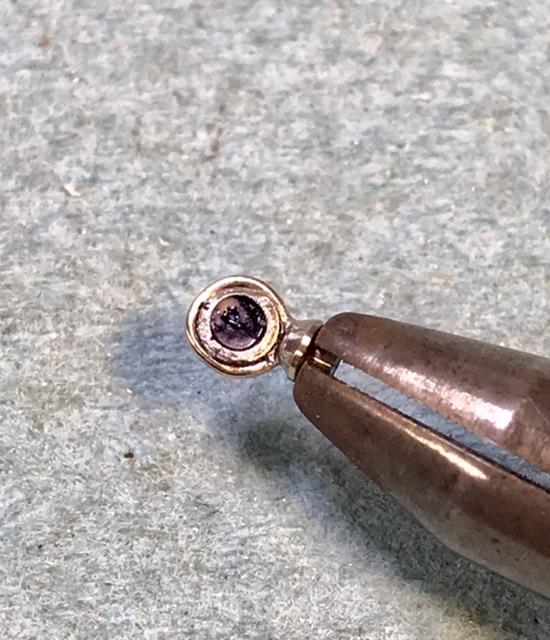
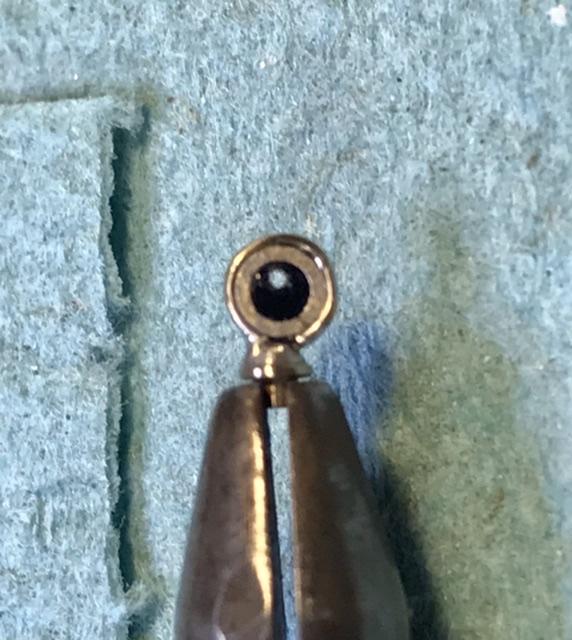
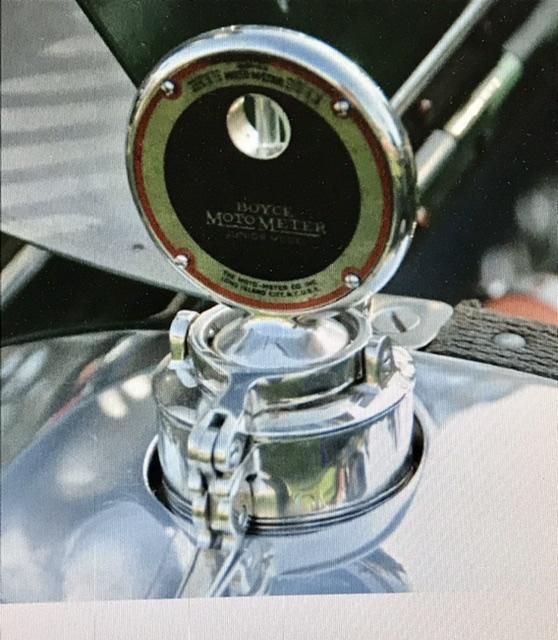
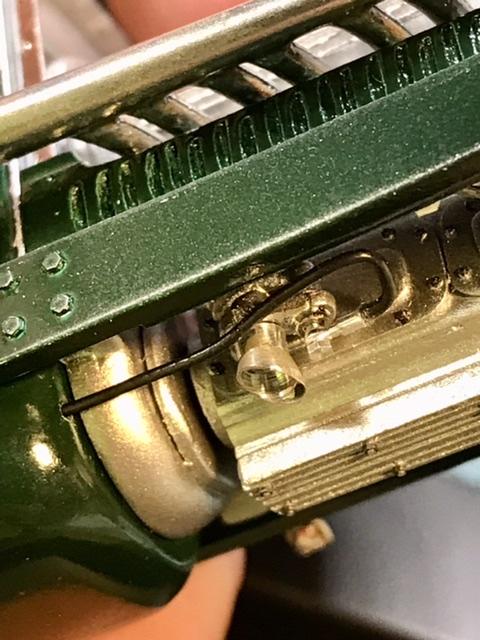
Wait wait wait not done until the radiator gets its filler cap …. Before gauges were reliable - most Millers were raced with meters perched on the caps to warn the drivers of impending engine over-heating - Millers used gauges made by Boyce …
-
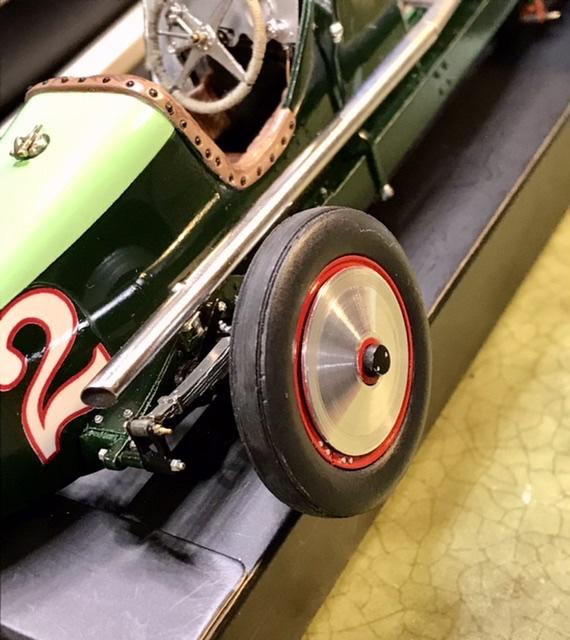
Spats are glued over the wheel spokes before gluing the wheel nuts …
- 406 replies
-
- 3
-

-
- harry miller
- indy
- (and 1 more)
-
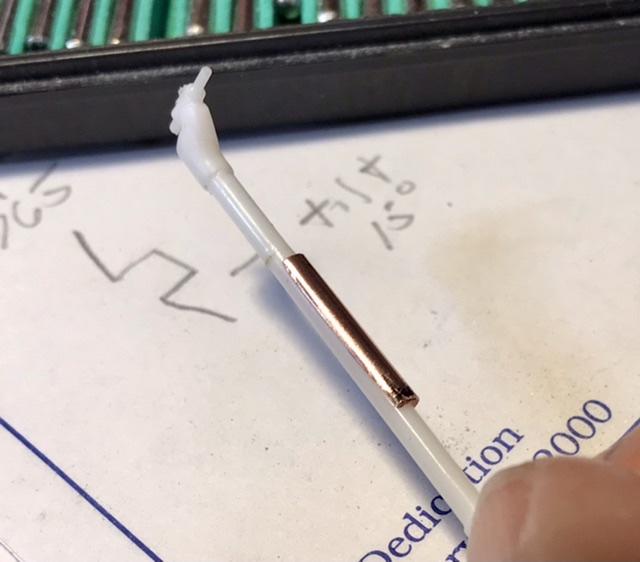
The resin front axle tends to bend / sag with the wheels on - see if i can correct this with a copper sleeve glued to the axle in between the springs - if Harold can do a kit - the axle will have to use an alu, or copper tube in place of the resin …
-
But notice that the turn signal light cutout is still silver - wheels look really good …
-
I MET HIM - once - back in the day - at an MPC sponsored contest held in the New York Auto Show - circa 1972 - ish - he was a little older than me - but not much - appears to have left the hobby decades ago - I’ll ask around at the GSL - you never know … i can tell you this - he was a hellaciously good car modeler - - -
-
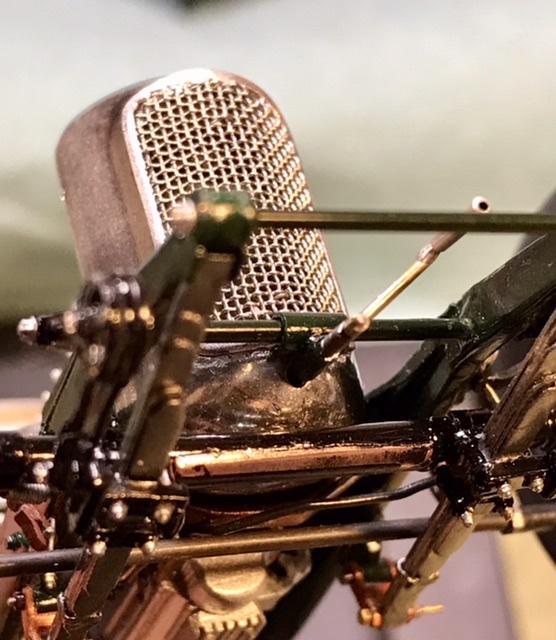
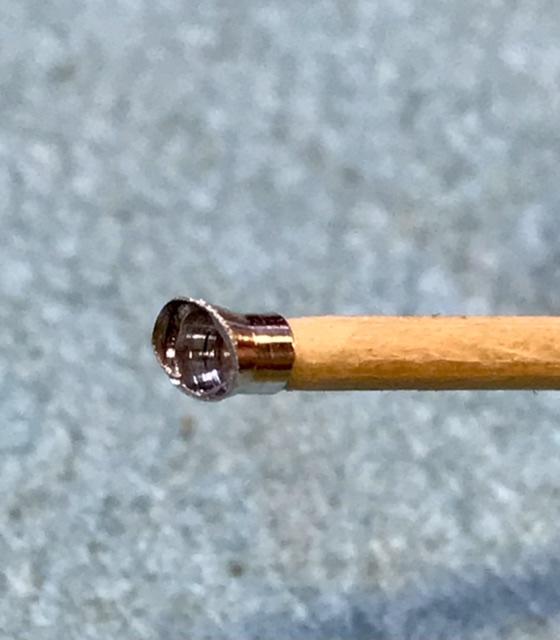
And another last minute detail - ive machined the intake horn for the carb - from aluminum … glued to the bottom of the carbureter - its just visible under the frame …
-
And reinforcements have arrived …
-
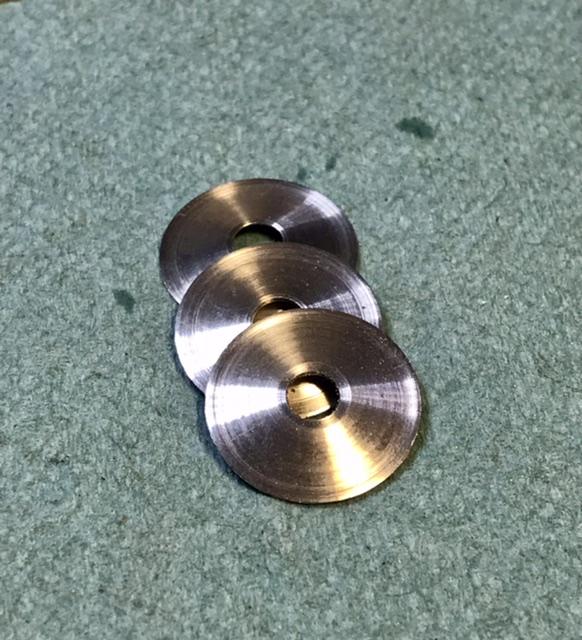
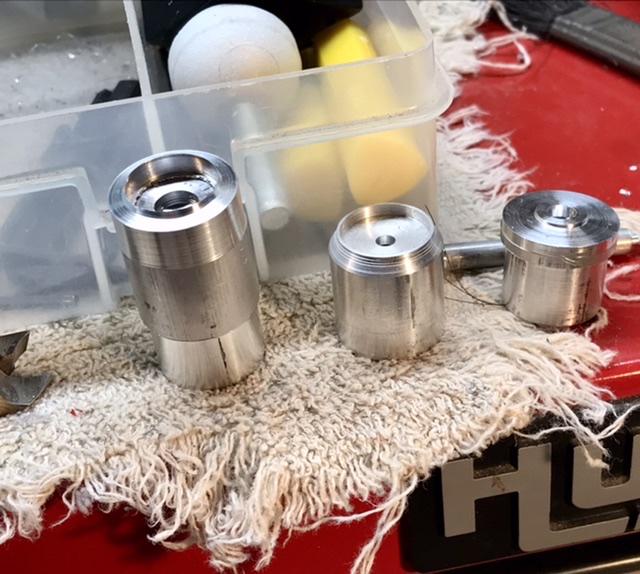
Gracias the third spat is finished …
-
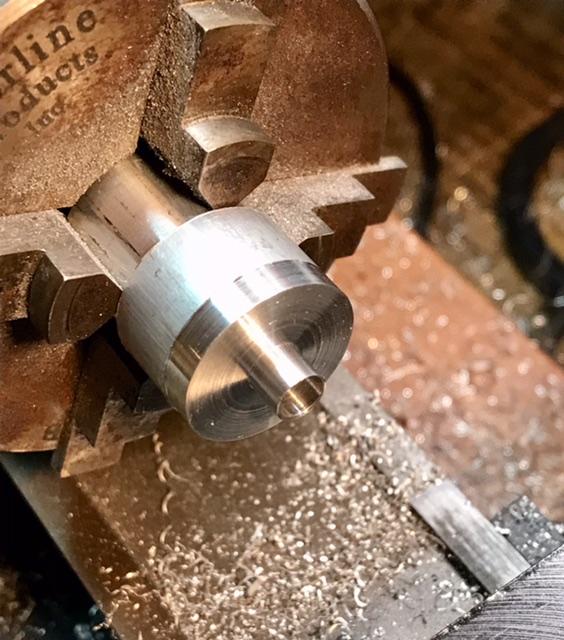
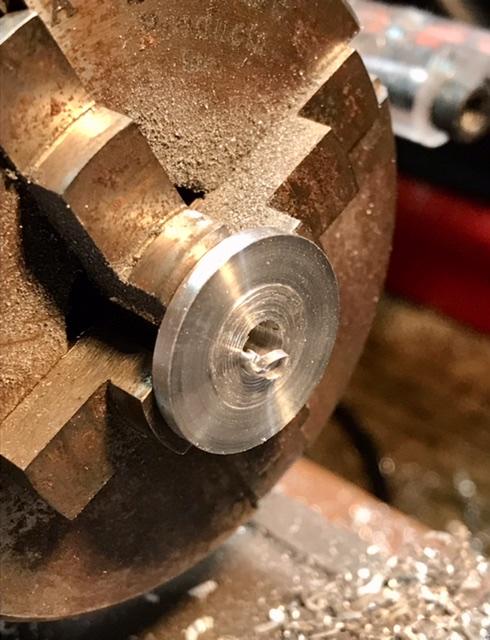
Just to add some drama - ive made two wh spats with the correct radius using my remaining 3/4 inch aluminum stock- and this is all ive got left - i can turn one more - but probably not two - i do have some more on the way - ill make # 3 and then sit by the mailbox …
-
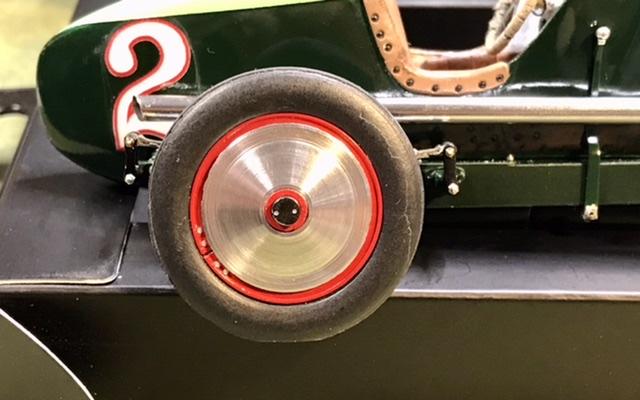
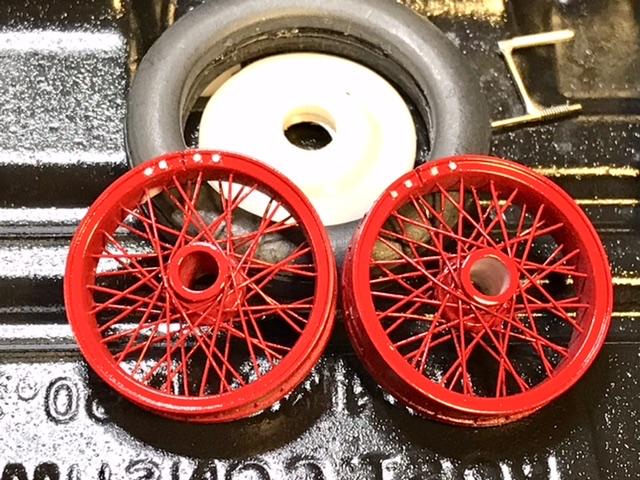
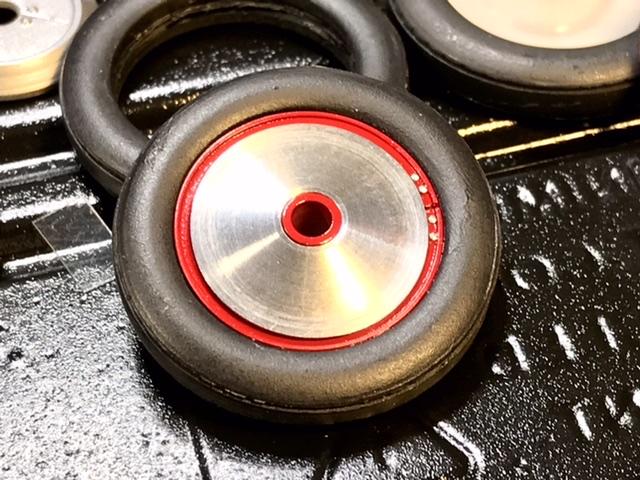
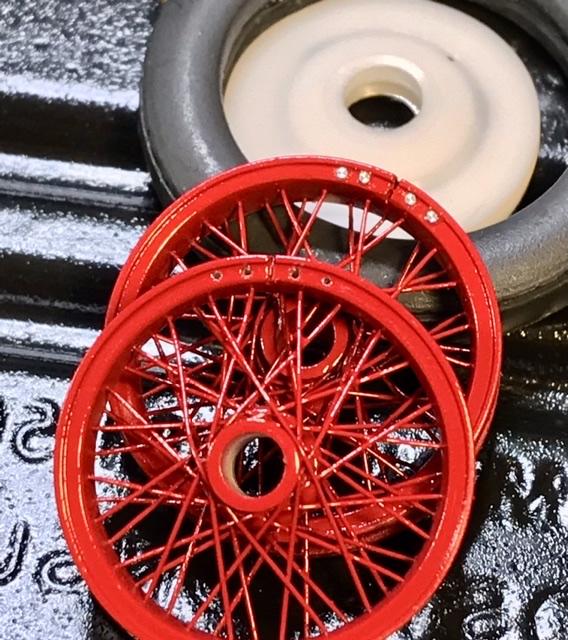
You are correct PHX - Harold casts these wheels and tires for his fr dr Miller 91 kit - im using the wire wheels because the sister car - the Boyle Special - which is part of the Rev’s colllection in Naples - has no spats - and im building that also - but i need to find the time to make true 24th scale wheels and tires - these are 25th sc - and that would definitely be the plan …
-
Thanks pico - These wh spats are so cool …
-
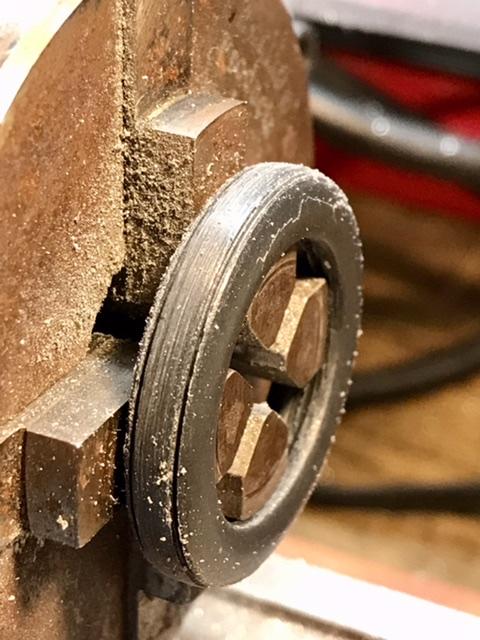
The tires are cast by Harold in a perfect shade of rubber black - he uses these on his Miller fr dr kits - the simple tread pattern is accurate - i just chucked the tires onto the lathe and cleaned up the grooves with a razor saw - the lathe is run at a very low speed and you can hold the saw blade in the groove by hand …
- 406 replies
-
- 3
-
-
- harry miller
- indy
- (and 1 more)
-
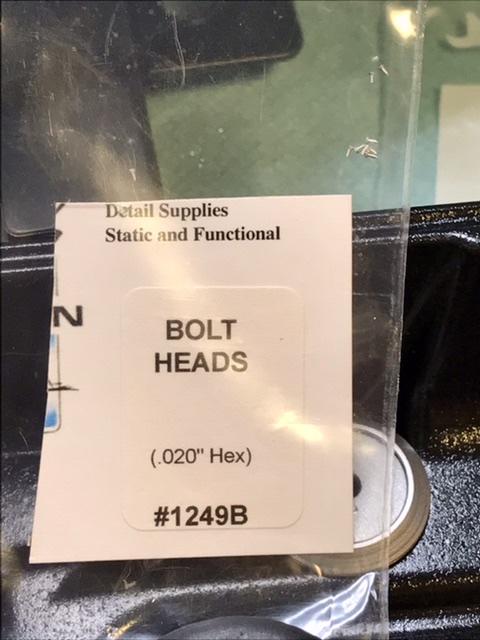
The wheels have split rims and some bolts - the rims are part of the wheel casting - so i sawed a slot on each wheel and added some bolt detail w .020 RB Motion bolts …
-
1966 Ford GT40 MK1 P1038
absmiami replied to Gramps46's topic in Other Racing: Road Racing, Salt Flat Racers
Yup -
1932 ford saltlake car
absmiami replied to charlie libby's topic in WIP: Other Racing: Road Racing, Land Speed Racers
Got a mallet ?? -
Very nice - having trouble finding Jack modeling - would you treat us to their/his site link ?