Dragonhawk1066
-
Posts
3,932 -
Joined
-
Last visited
Content Type
Profiles
Forums
Events
Gallery
Everything posted by Dragonhawk1066
-
Looks awesome, well done!!
-

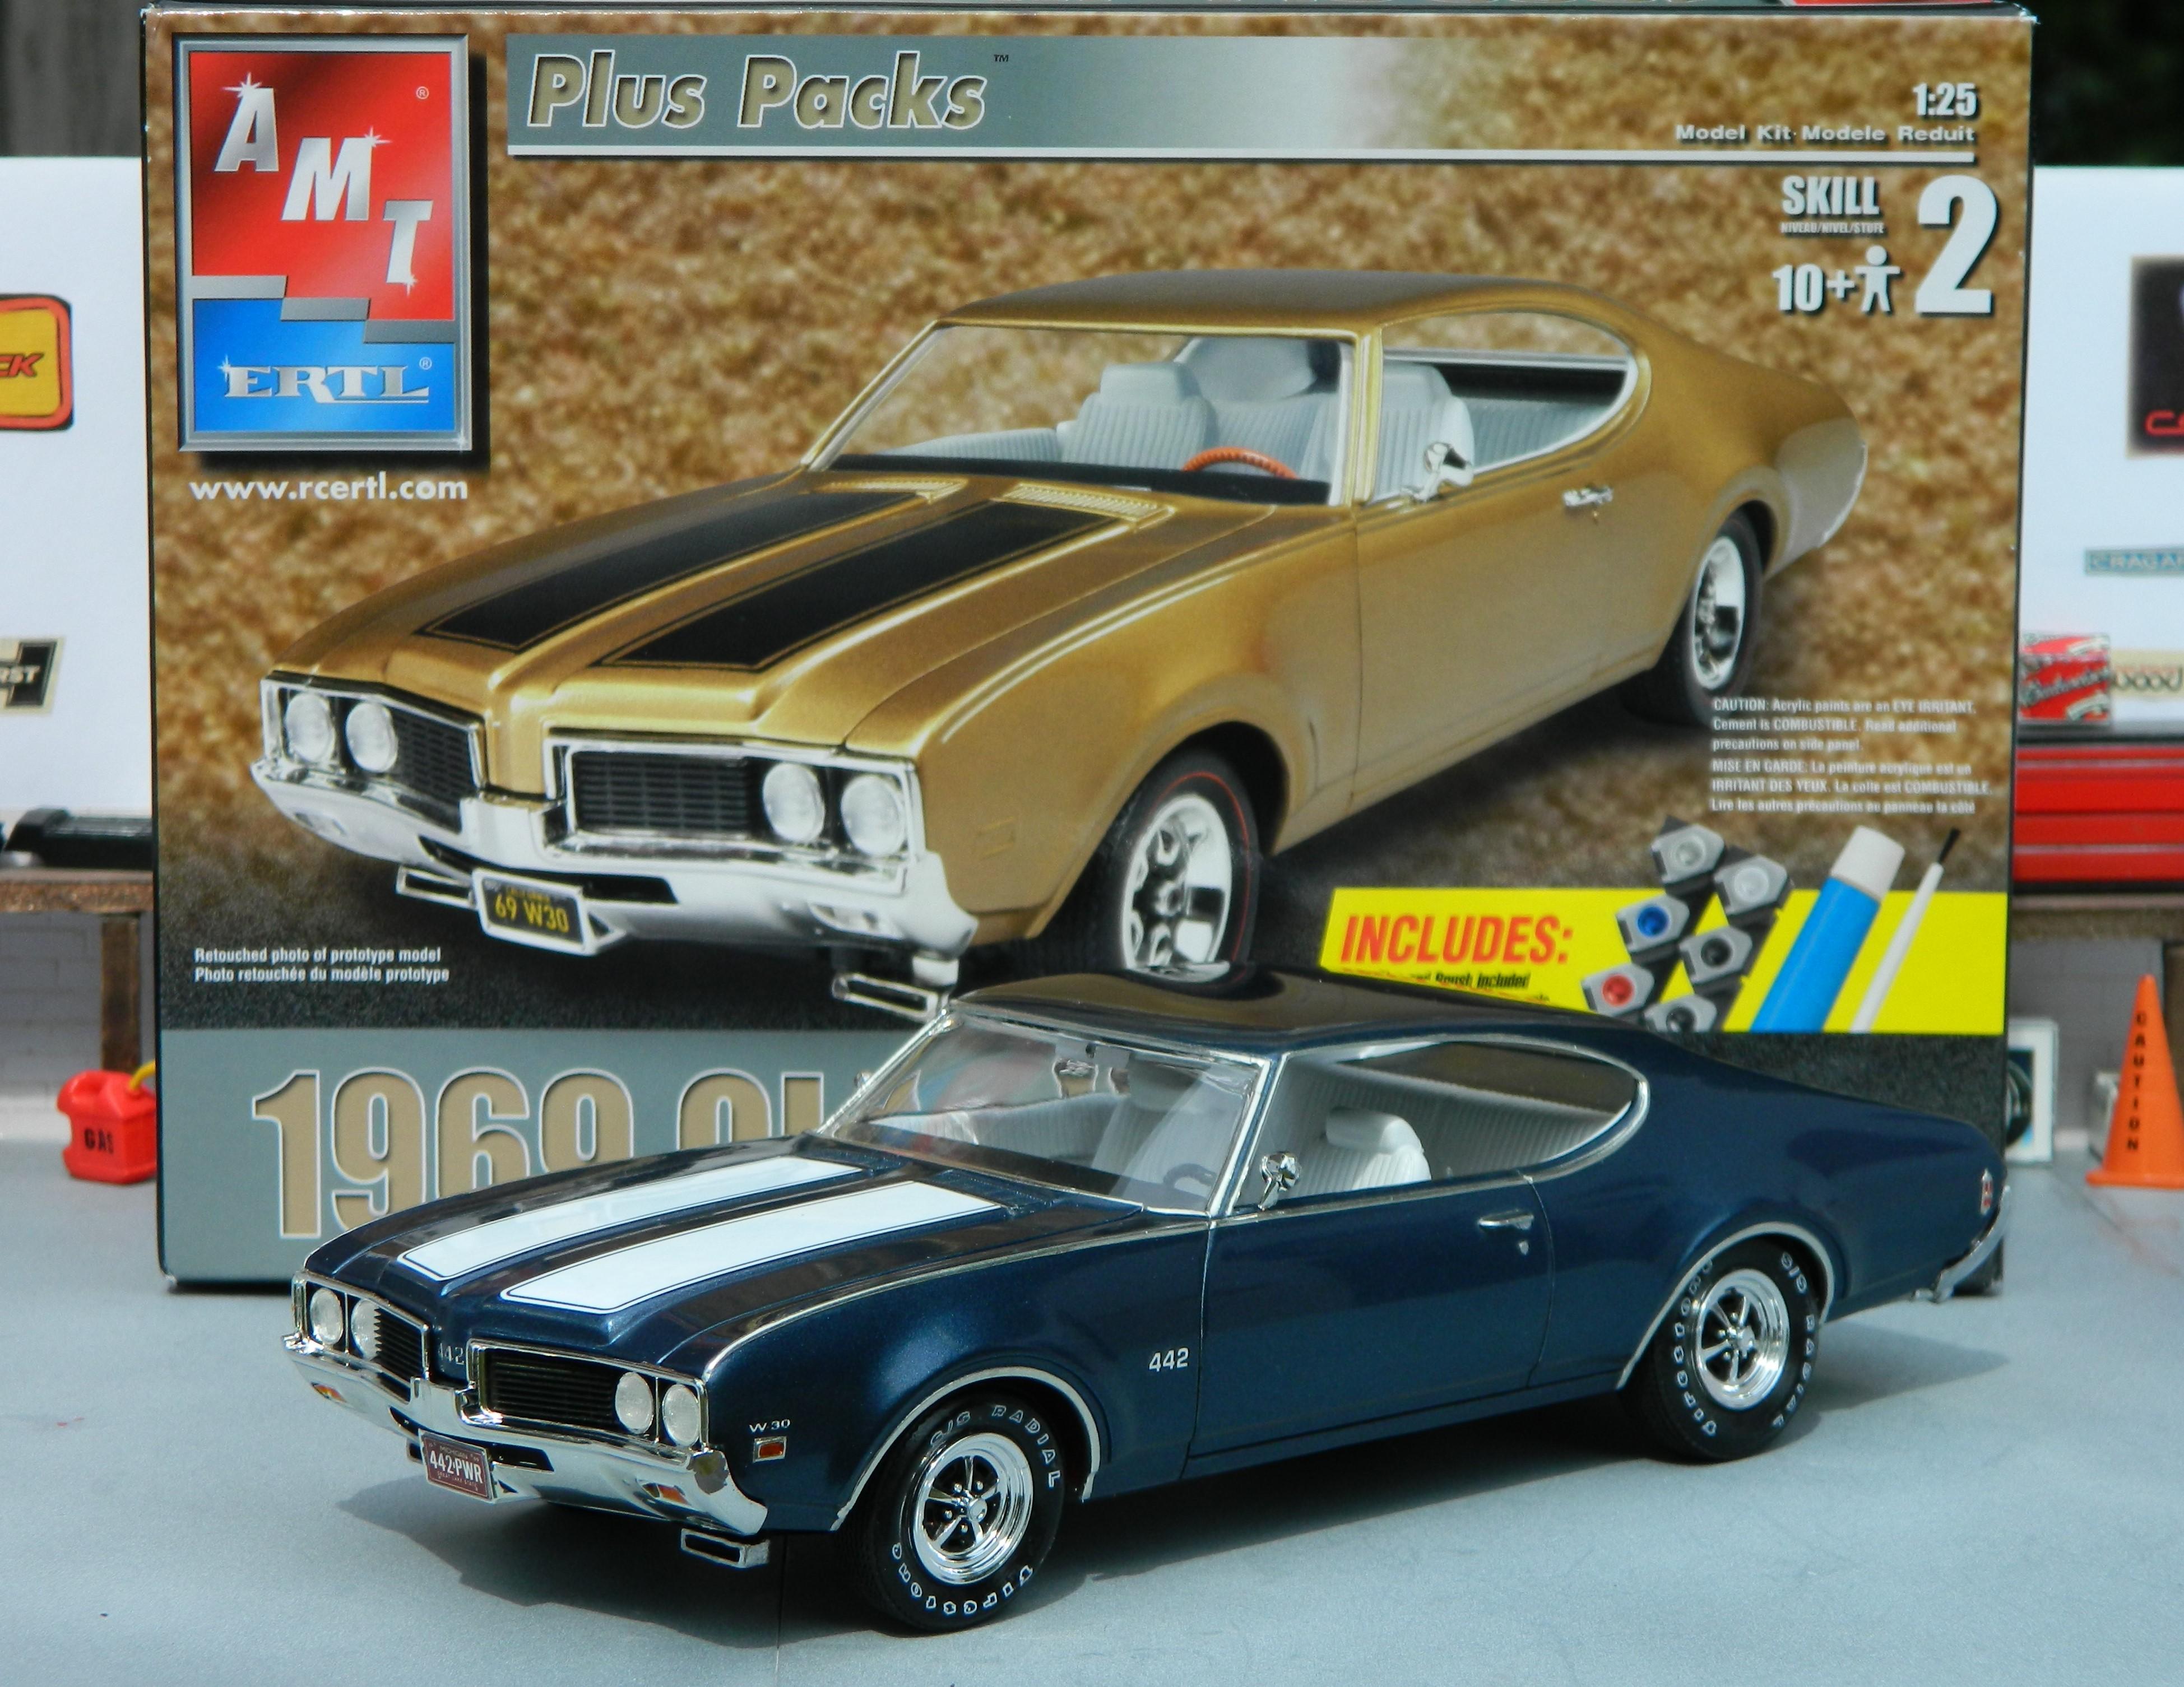
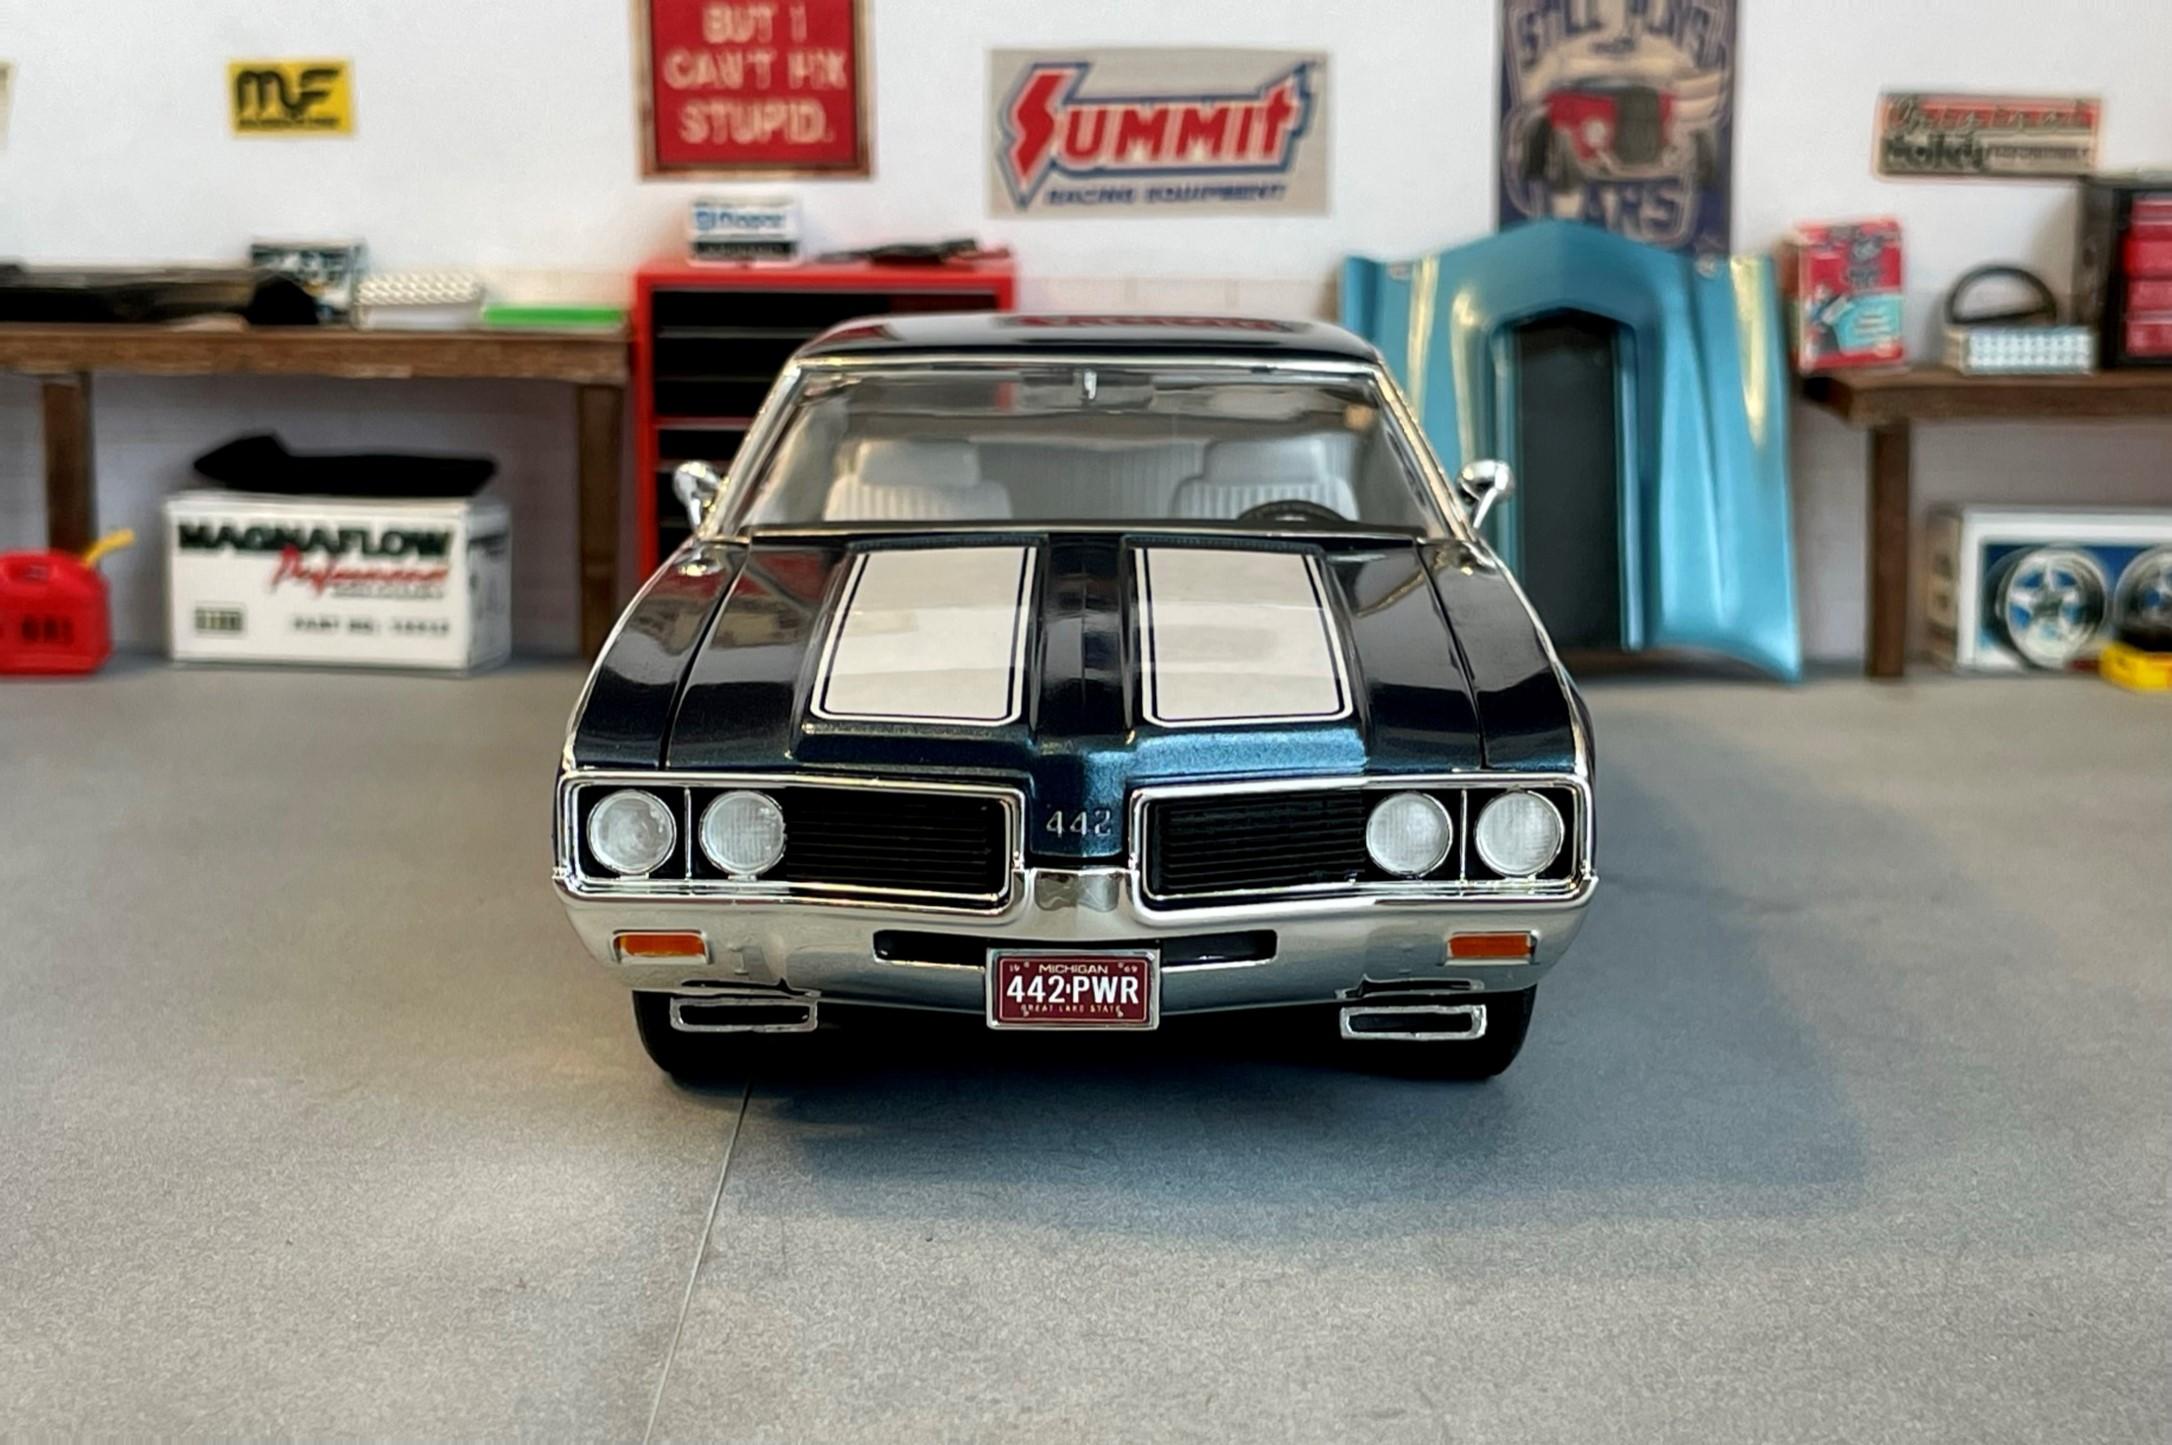
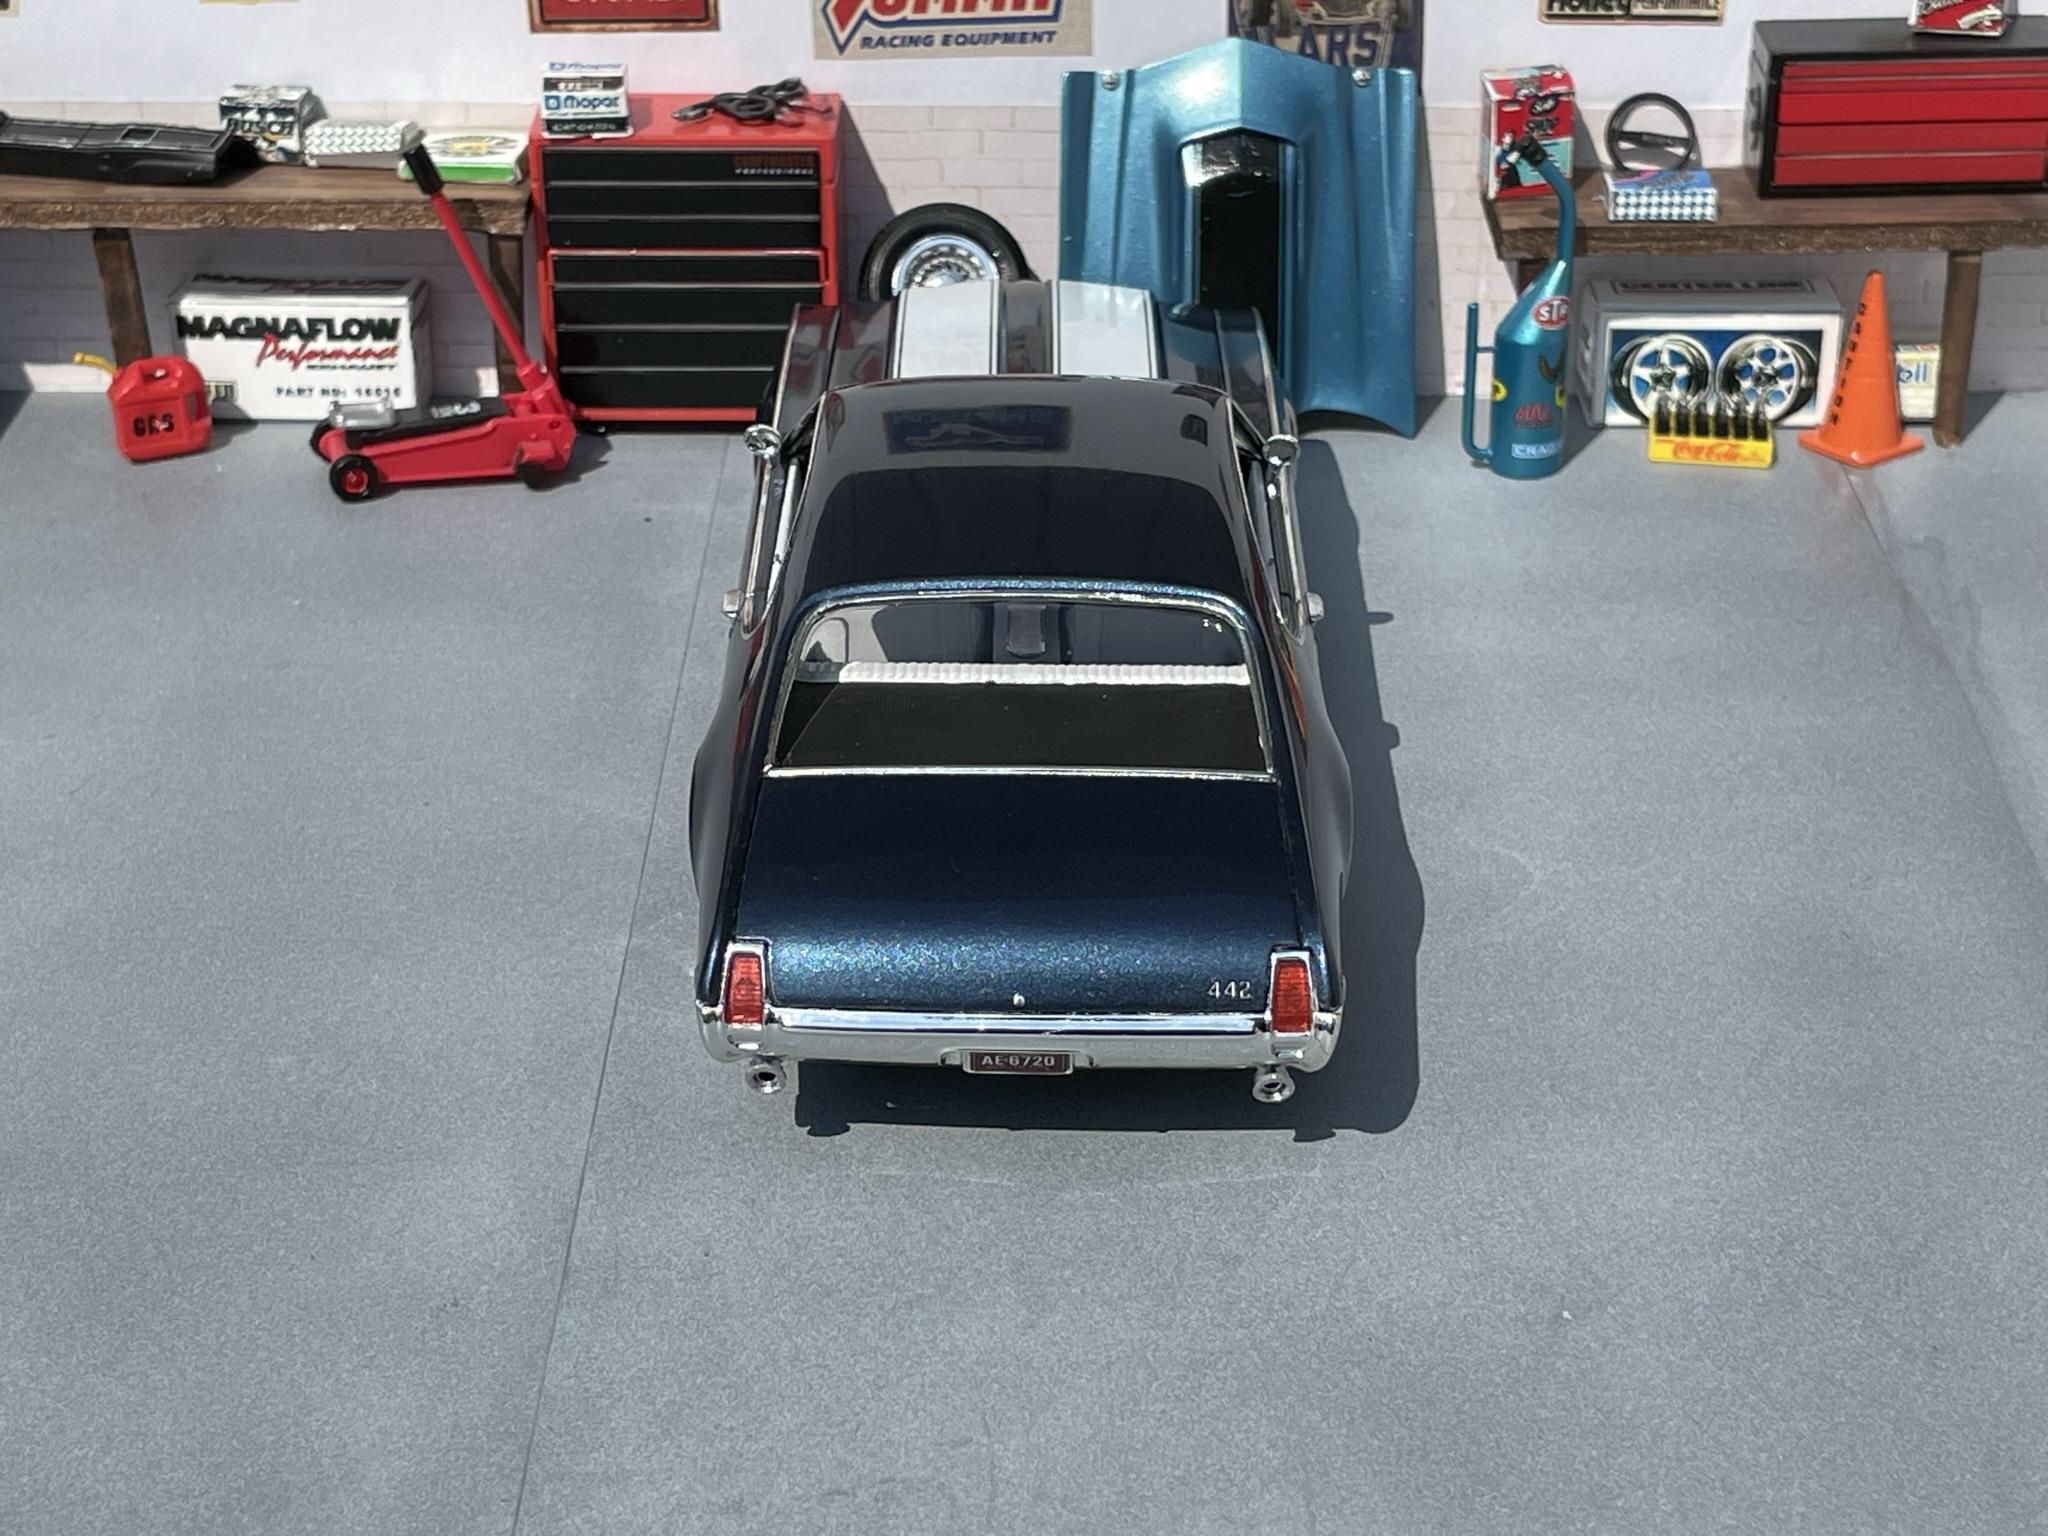
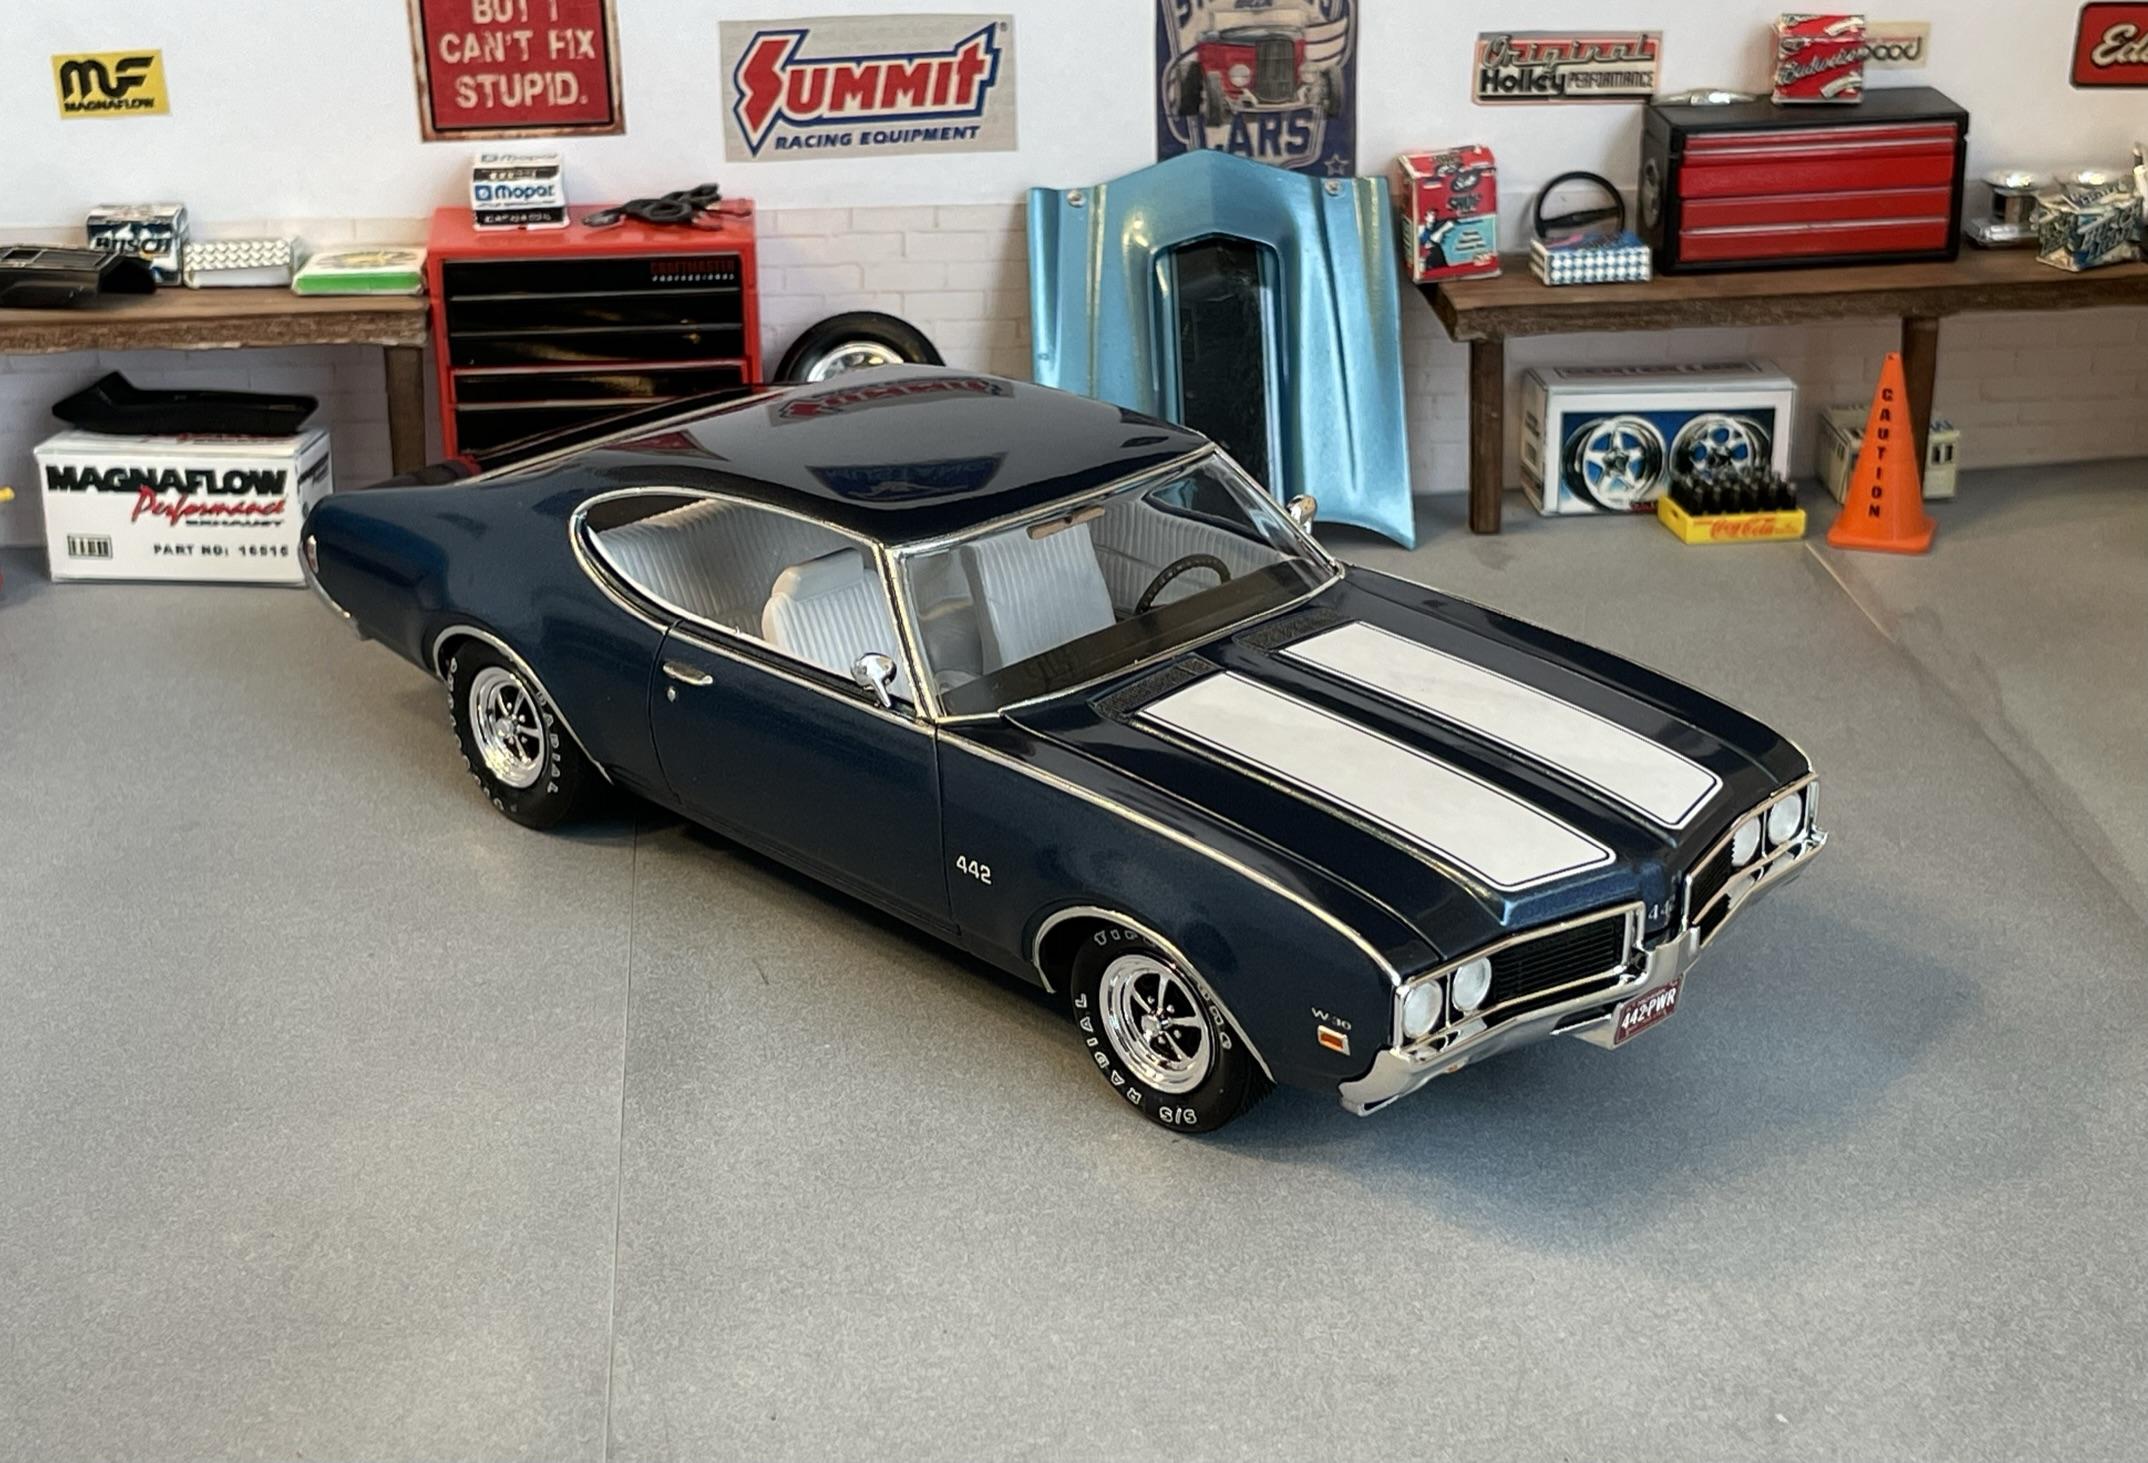
AMT 1/25 Scale 1969 Oldsmobile 442 W-30 Navy Metallic.
Dragonhawk1066 replied to Dragonhawk1066's topic in Model Cars
Thanks Larry. Thanks Thomas, nice job on yours too. Thanks Steven! -
Magnifier 1/12 Ford GT 40 Done !
Dragonhawk1066 replied to cobraman's topic in Other Racing: Road Racing, Salt Flat Racers
Nicely done! -
Looks good!
-
Very cool paint job!
-
Outstanding! Those are two very nice looking Ferrari's, the blue is a real eye-catching color, and the red one looks magnificent!
-
Very cool!
-
Outstanding! Very well done!
-
Thanks! Bill, I got the white letter decals from Fireball Modelworks.
-
AMT 1/25 Scale 1969 Oldsmobile 442 W-30 Navy Metallic.
Dragonhawk1066 replied to Dragonhawk1066's topic in Model Cars
Much appreciated! -
AMT 1/25 Scale 1969 Oldsmobile 442 W-30 Navy Metallic.
Dragonhawk1066 replied to Dragonhawk1066's topic in Model Cars
Thanks guys! -
AMT 1/25 Scale 1969 Oldsmobile 442 W-30 Navy Metallic.
Dragonhawk1066 replied to Dragonhawk1066's topic in Model Cars
Even though it's water based, it's also a polyurethane and is very tough when cured. The Createx website recommendation is to wait 48 hours before wet-sand/polish, I usually wait 72 just for good measure. Thanks, my first car was a 1972 Olds Cutlass Supreme hardtop/notchback, so I too have a big softspot for them! -
AMT 1/25 Scale 1969 Oldsmobile 442 W-30 Navy Metallic.
Dragonhawk1066 replied to Dragonhawk1066's topic in Model Cars
Thanks guys, much appreciated! -
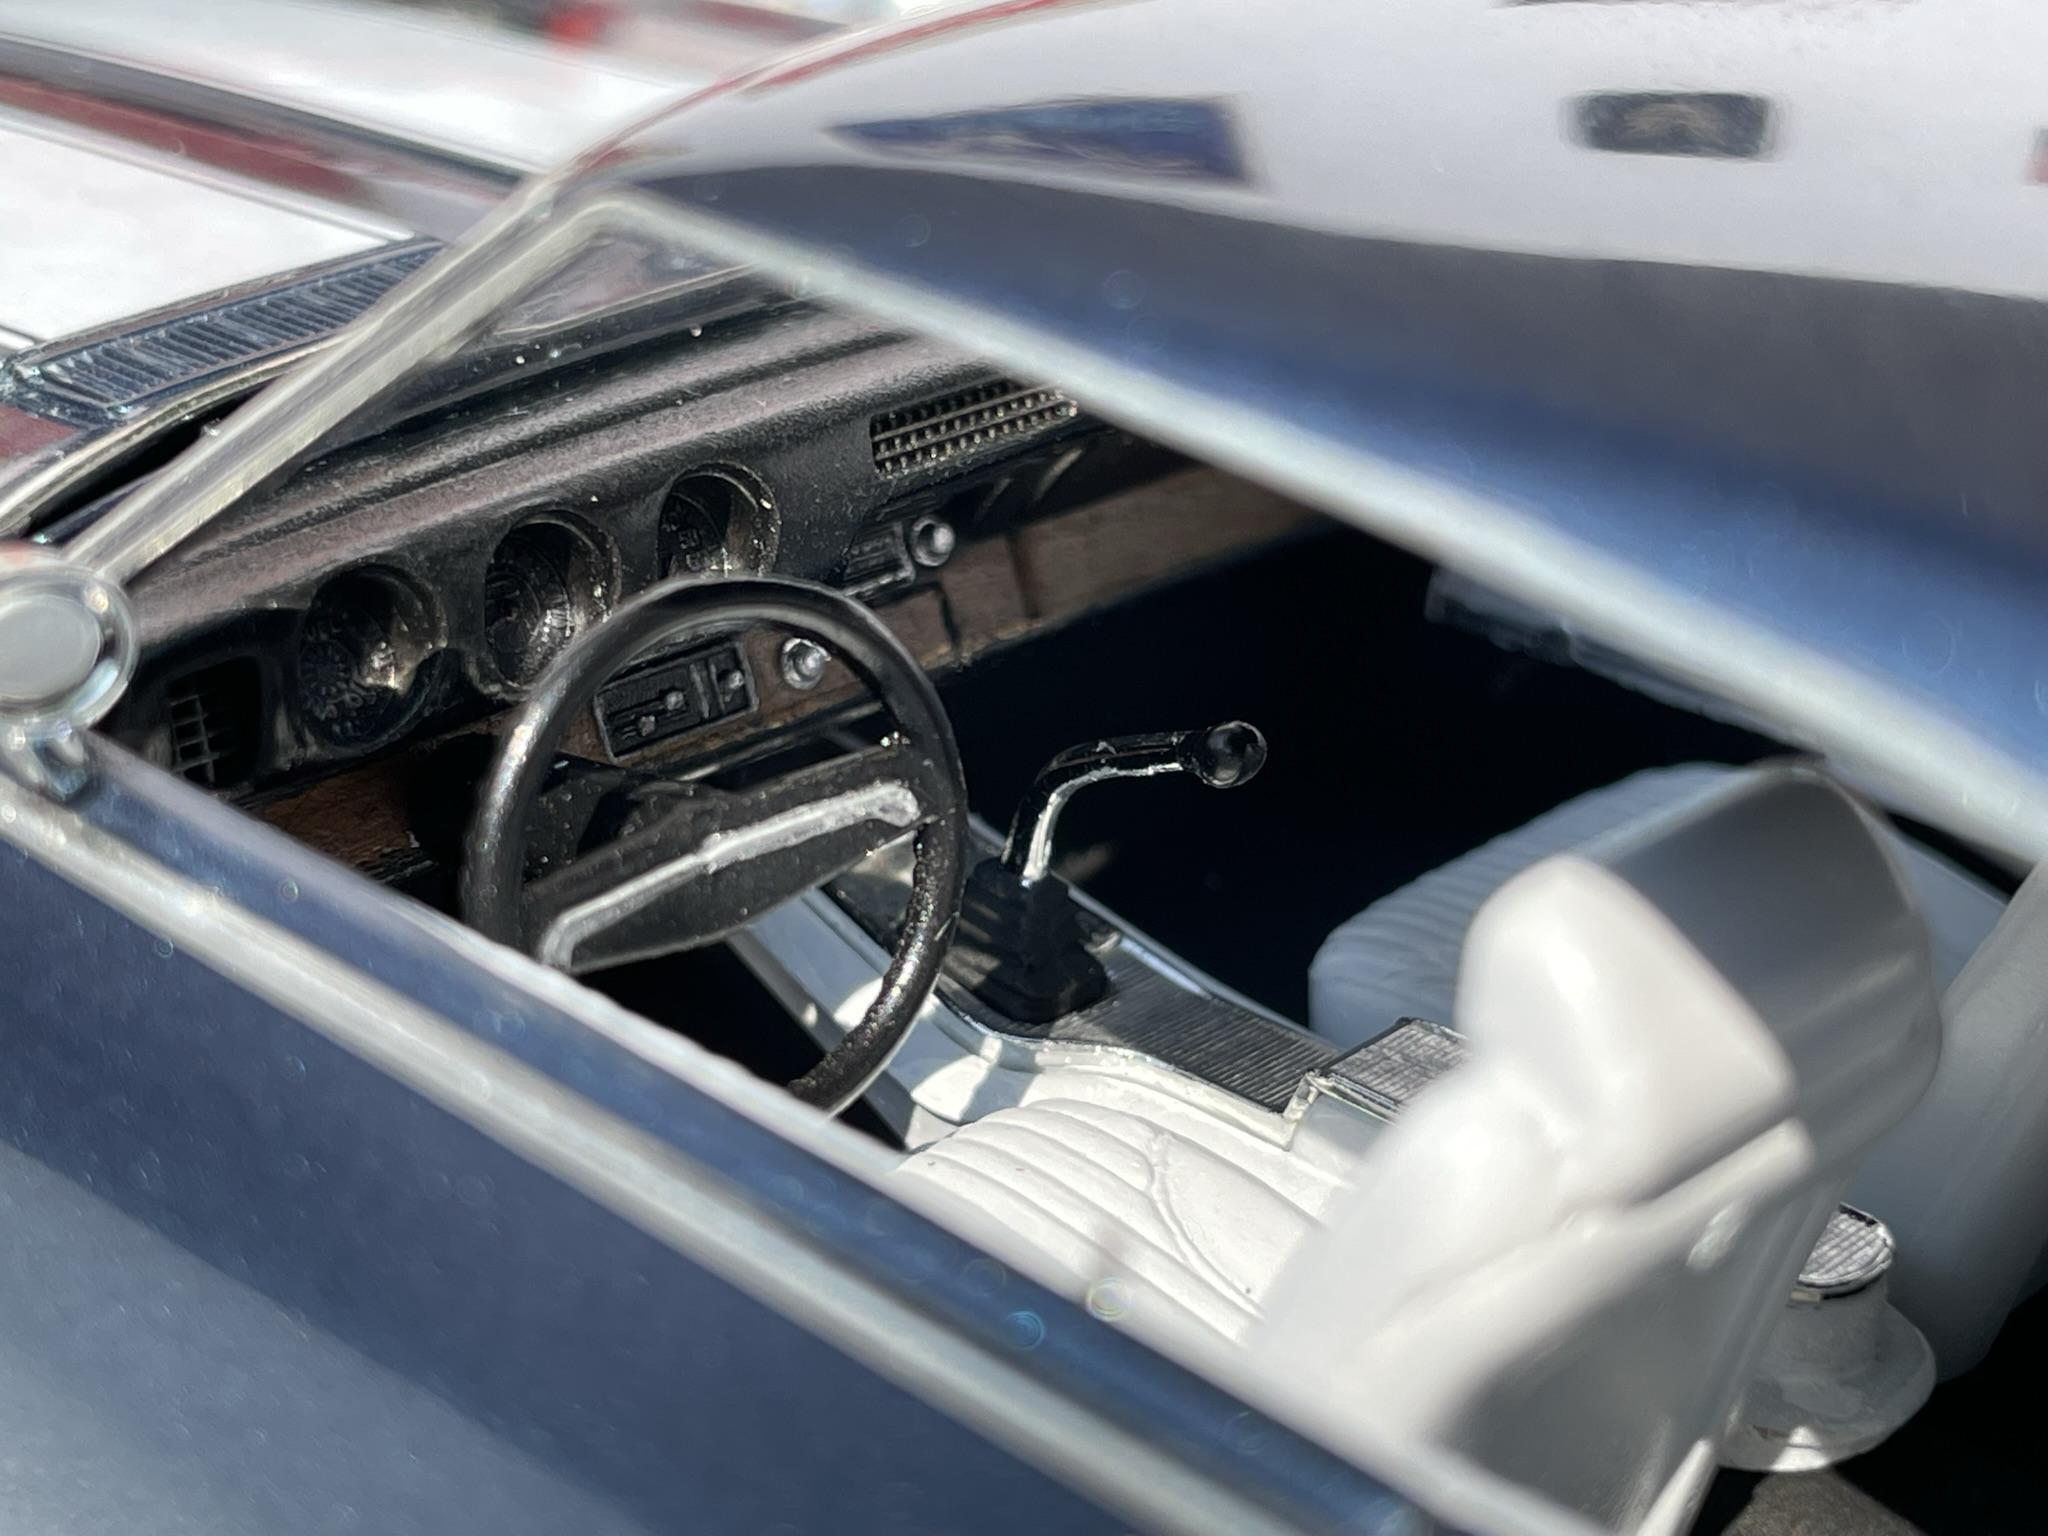
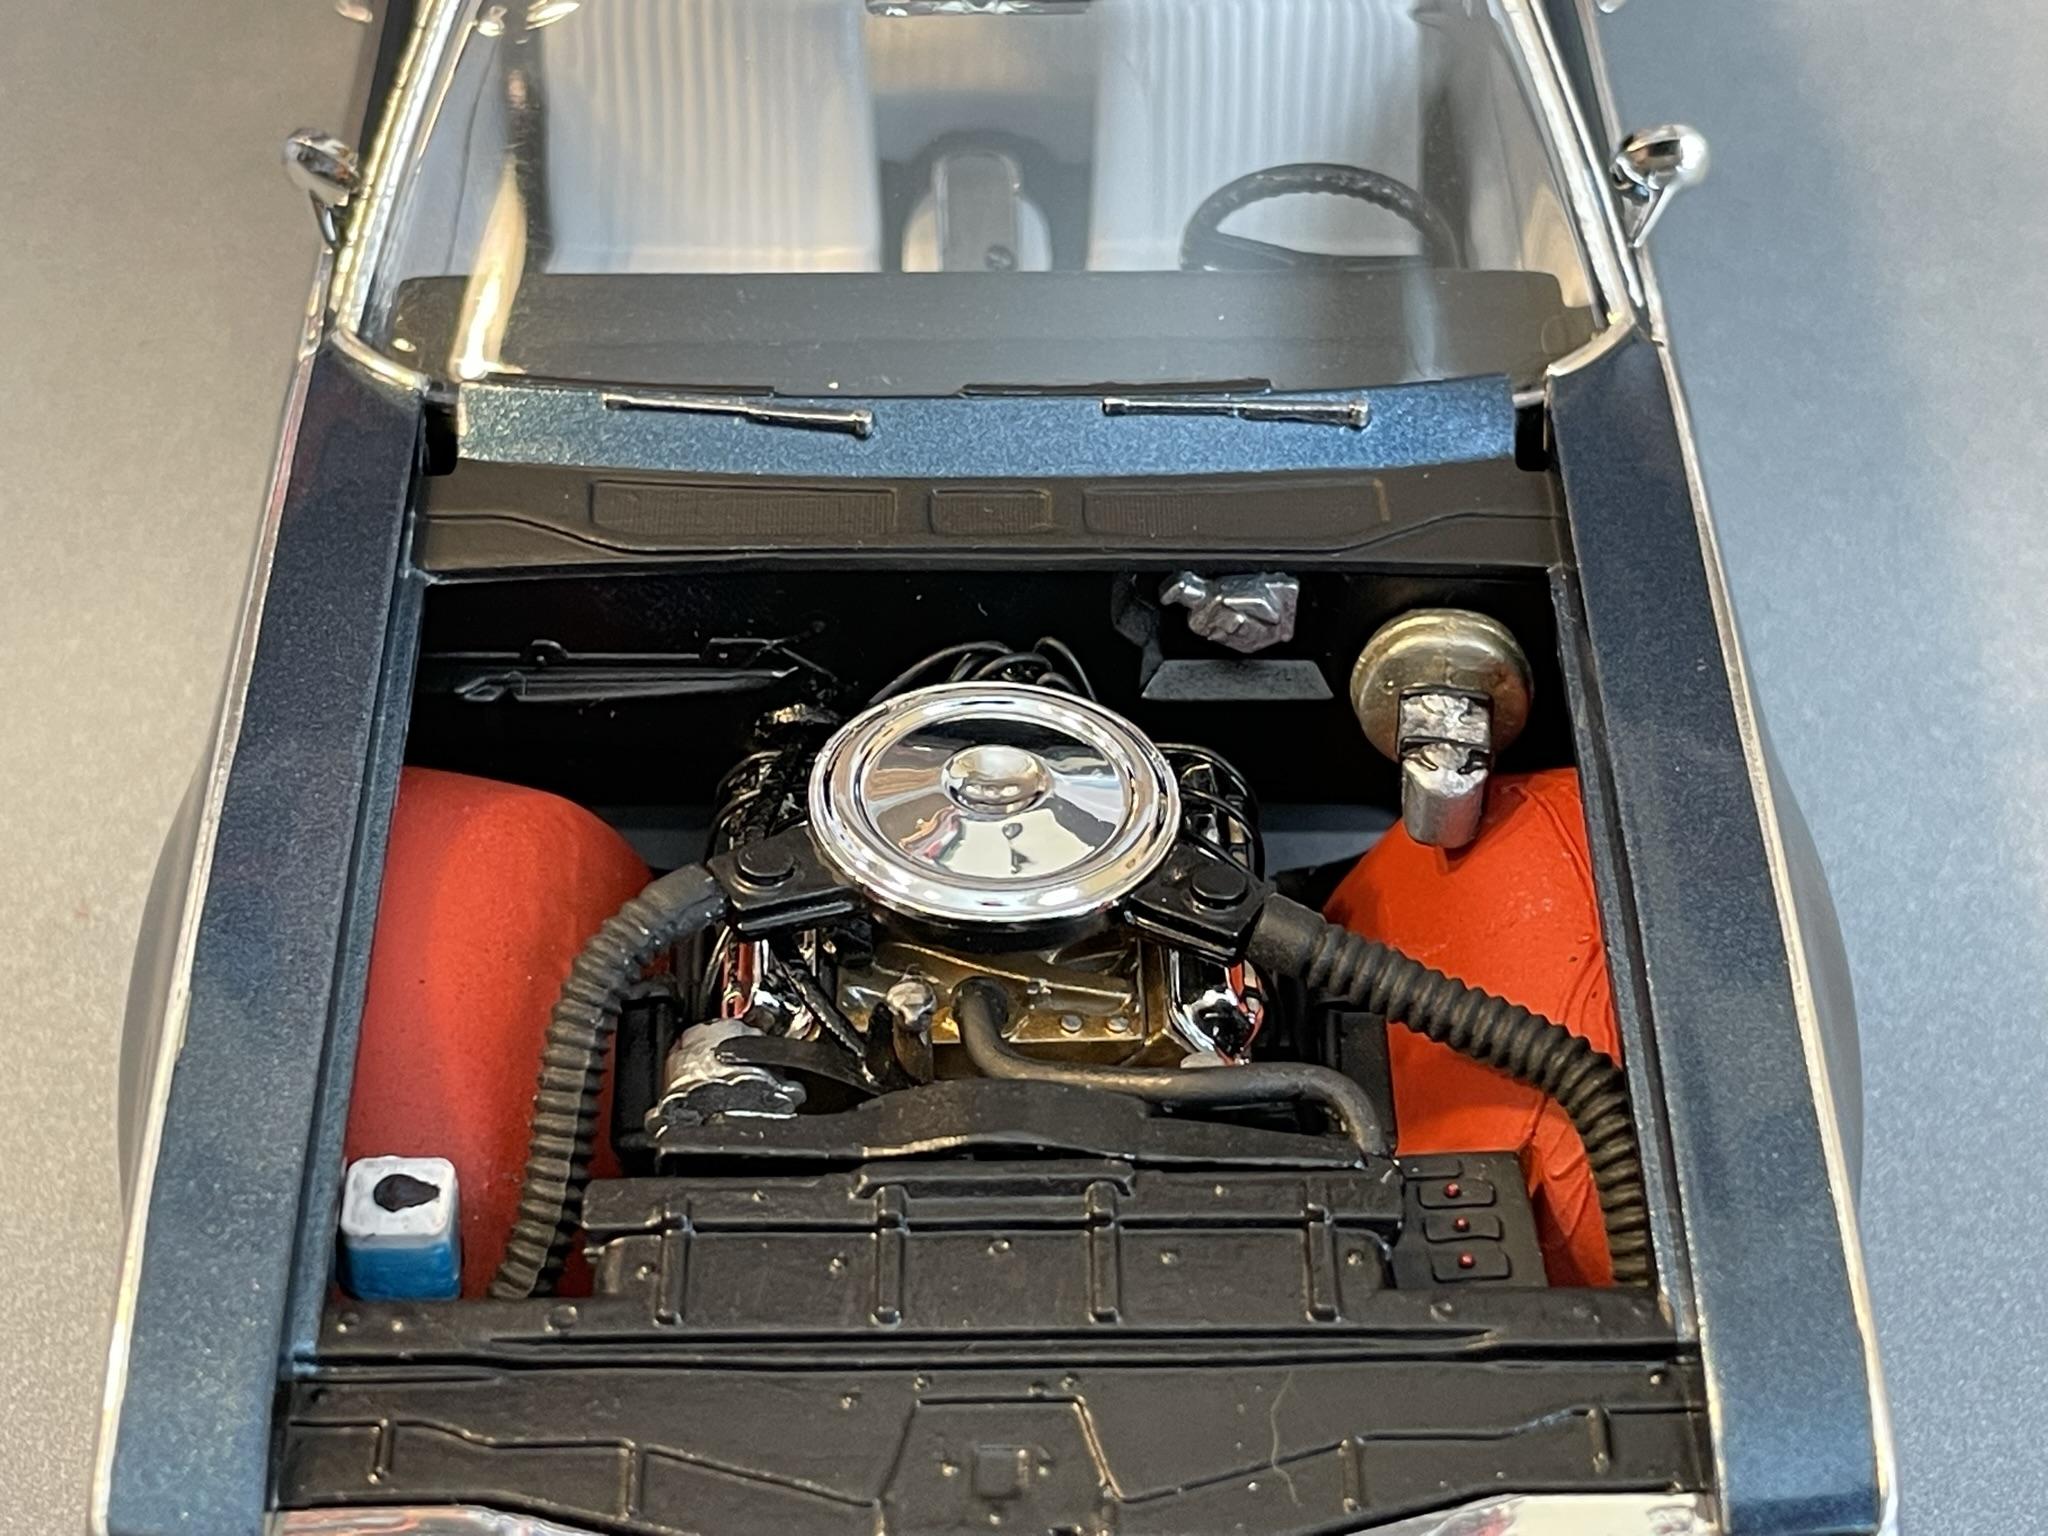
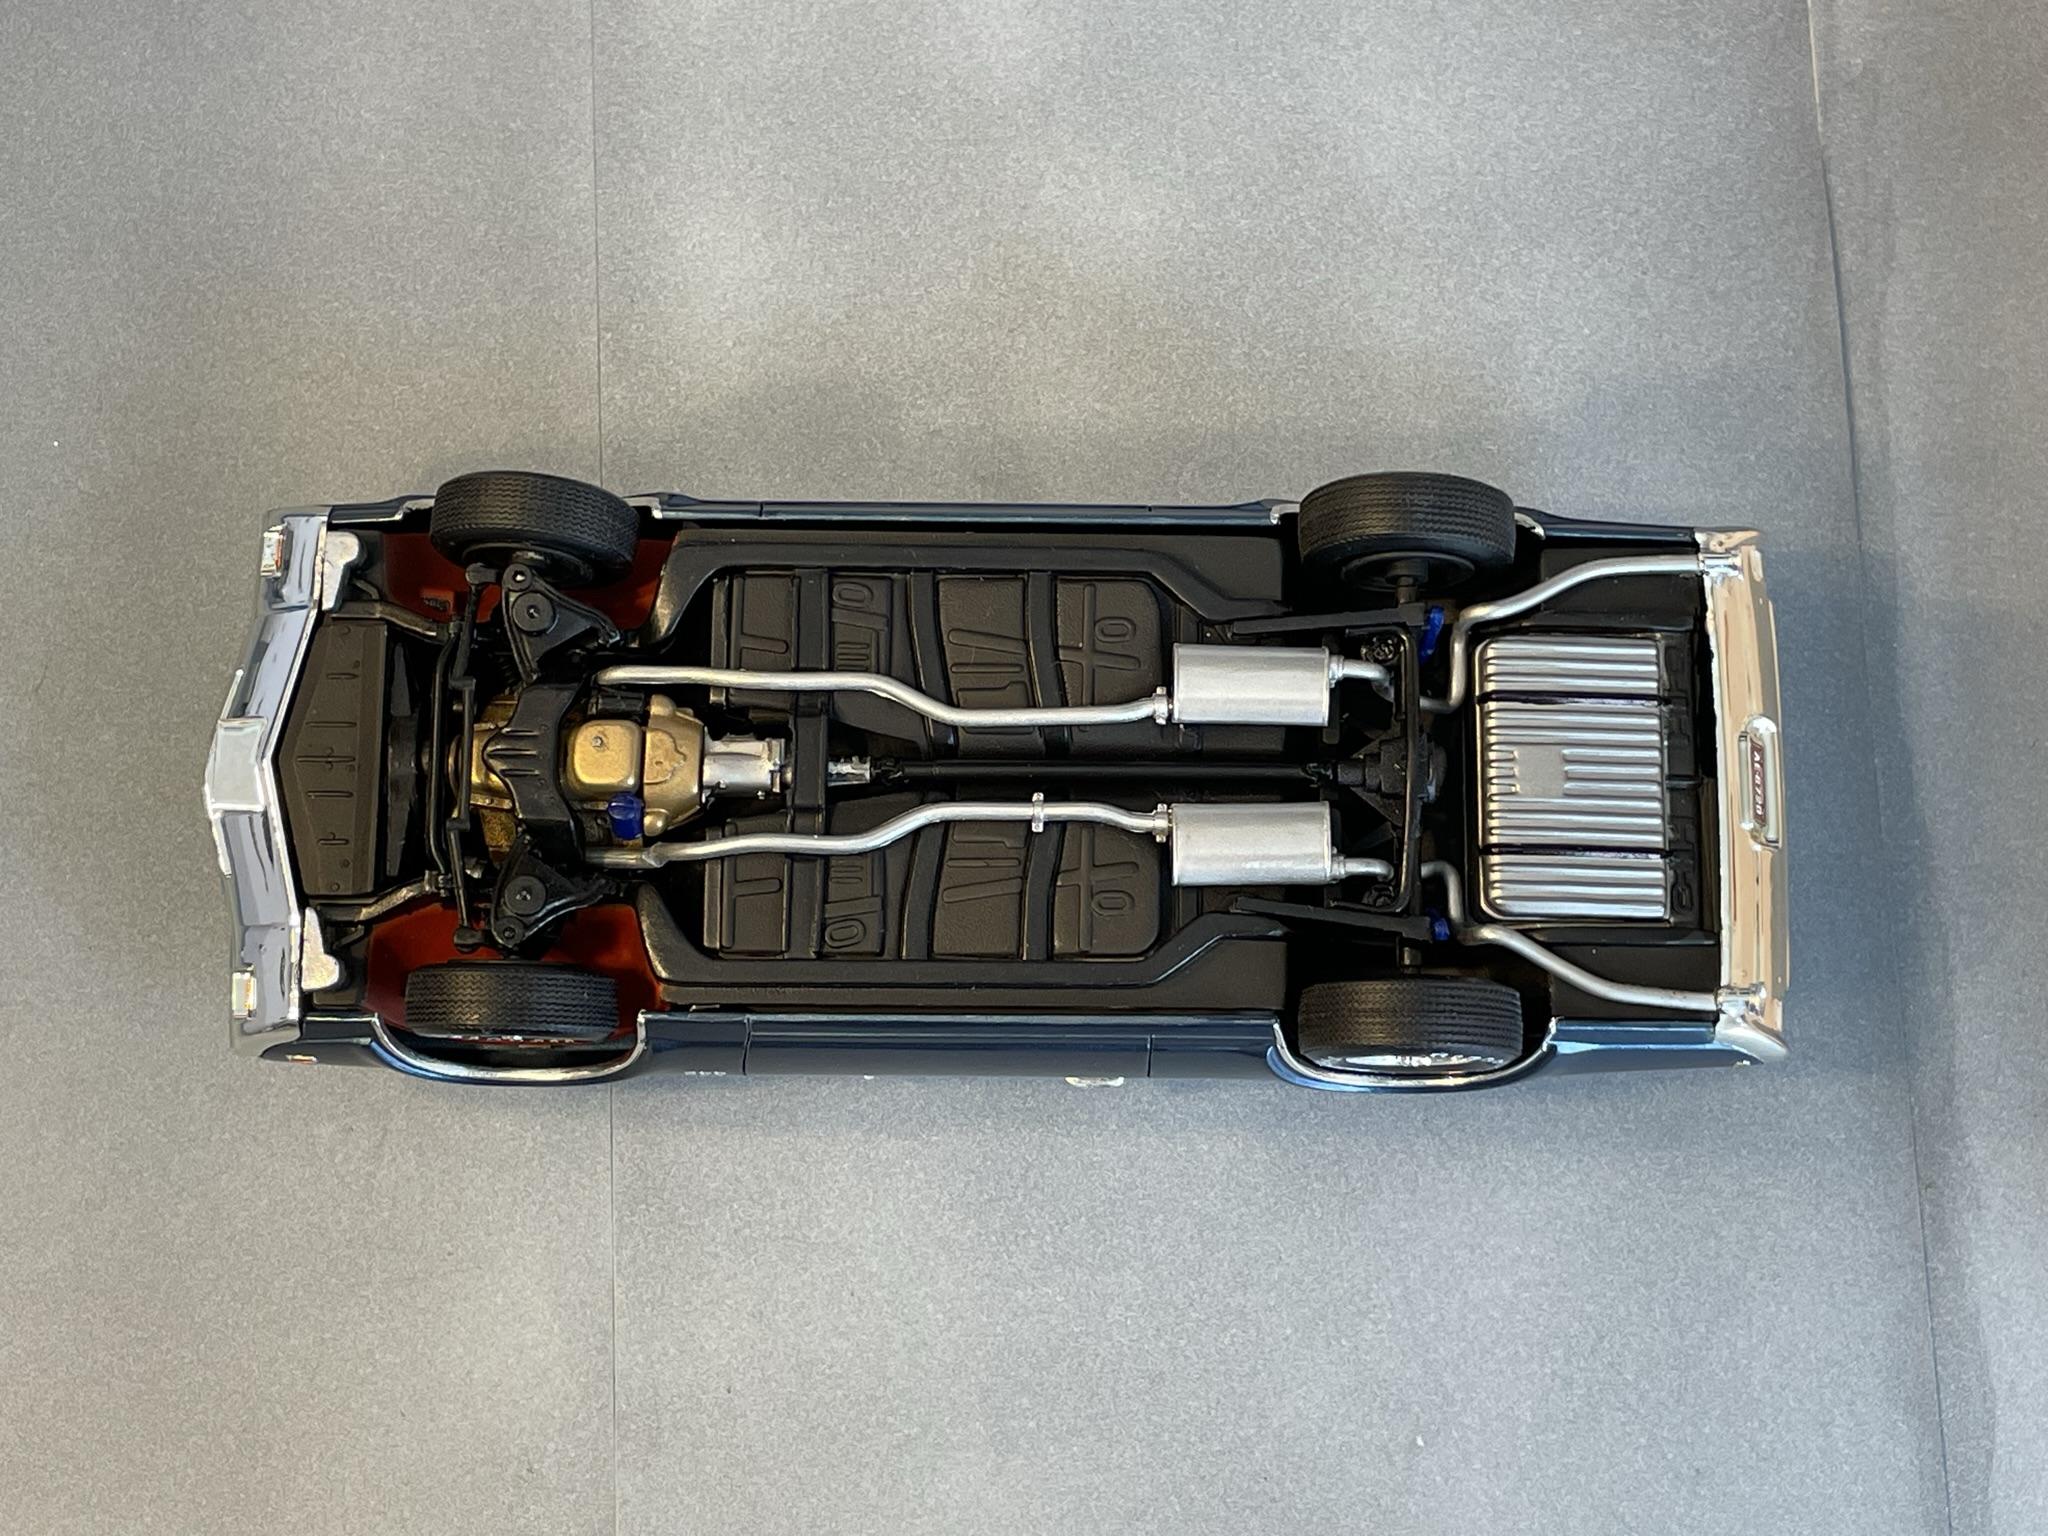
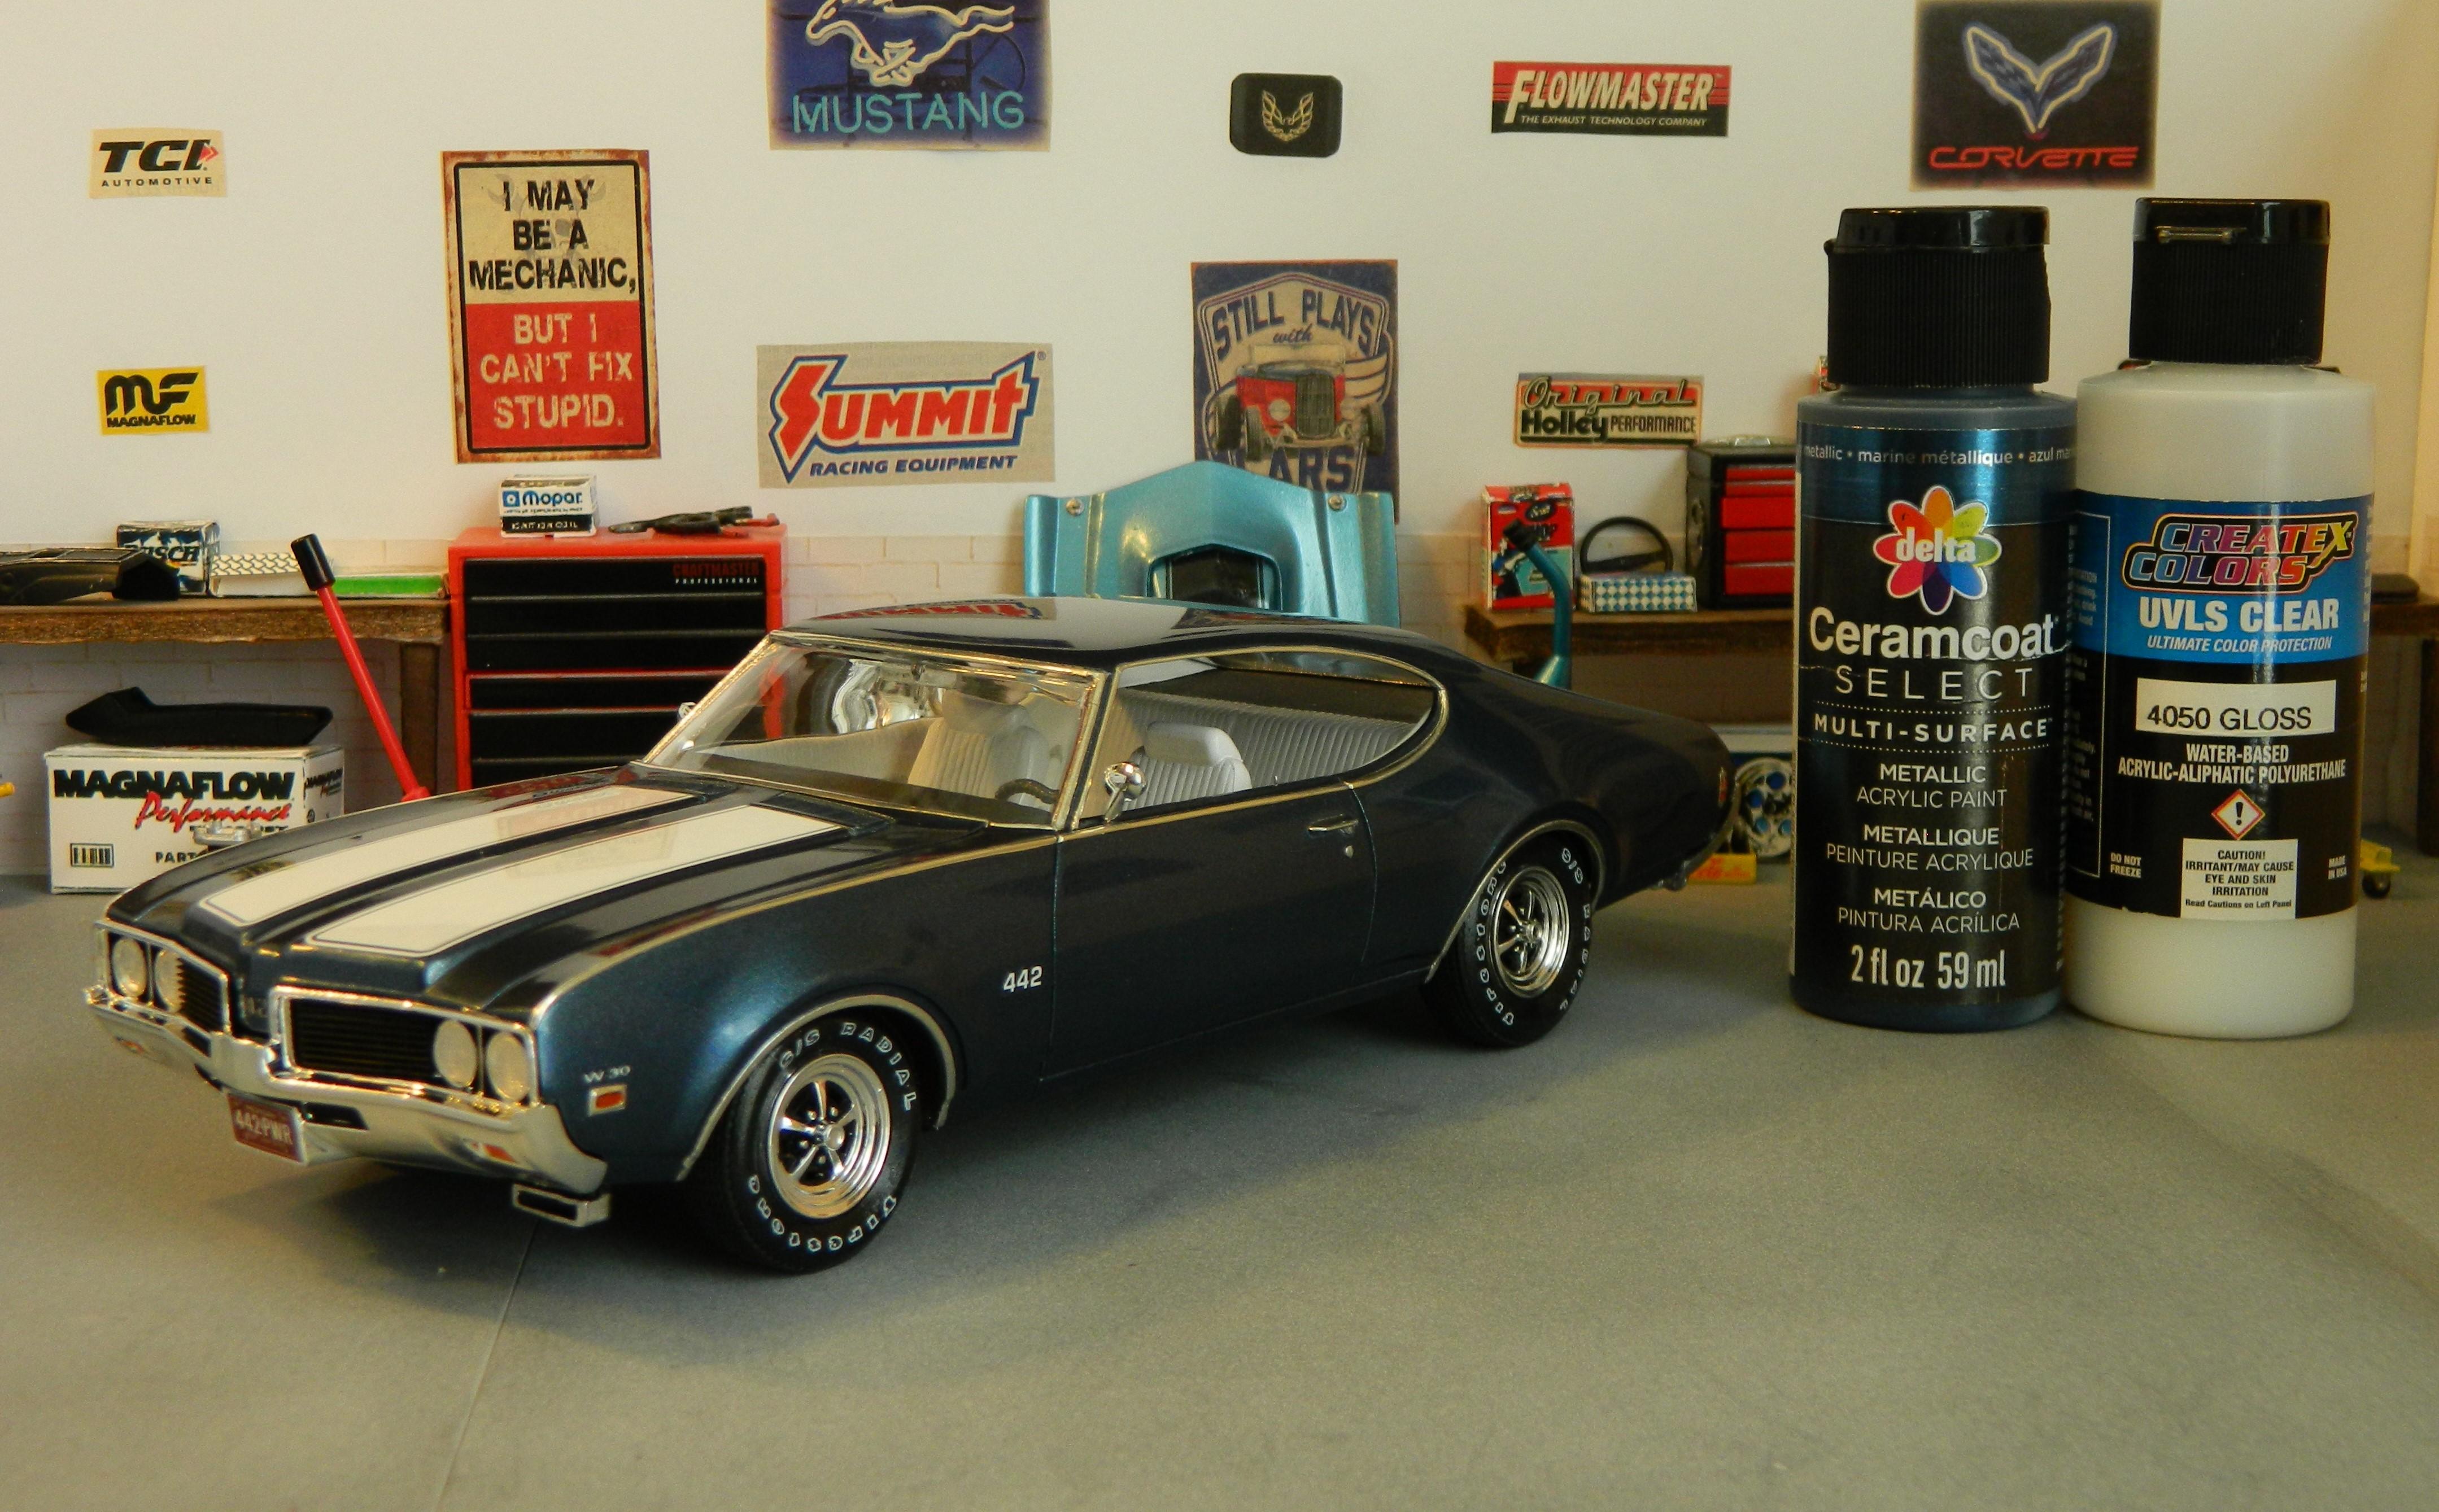
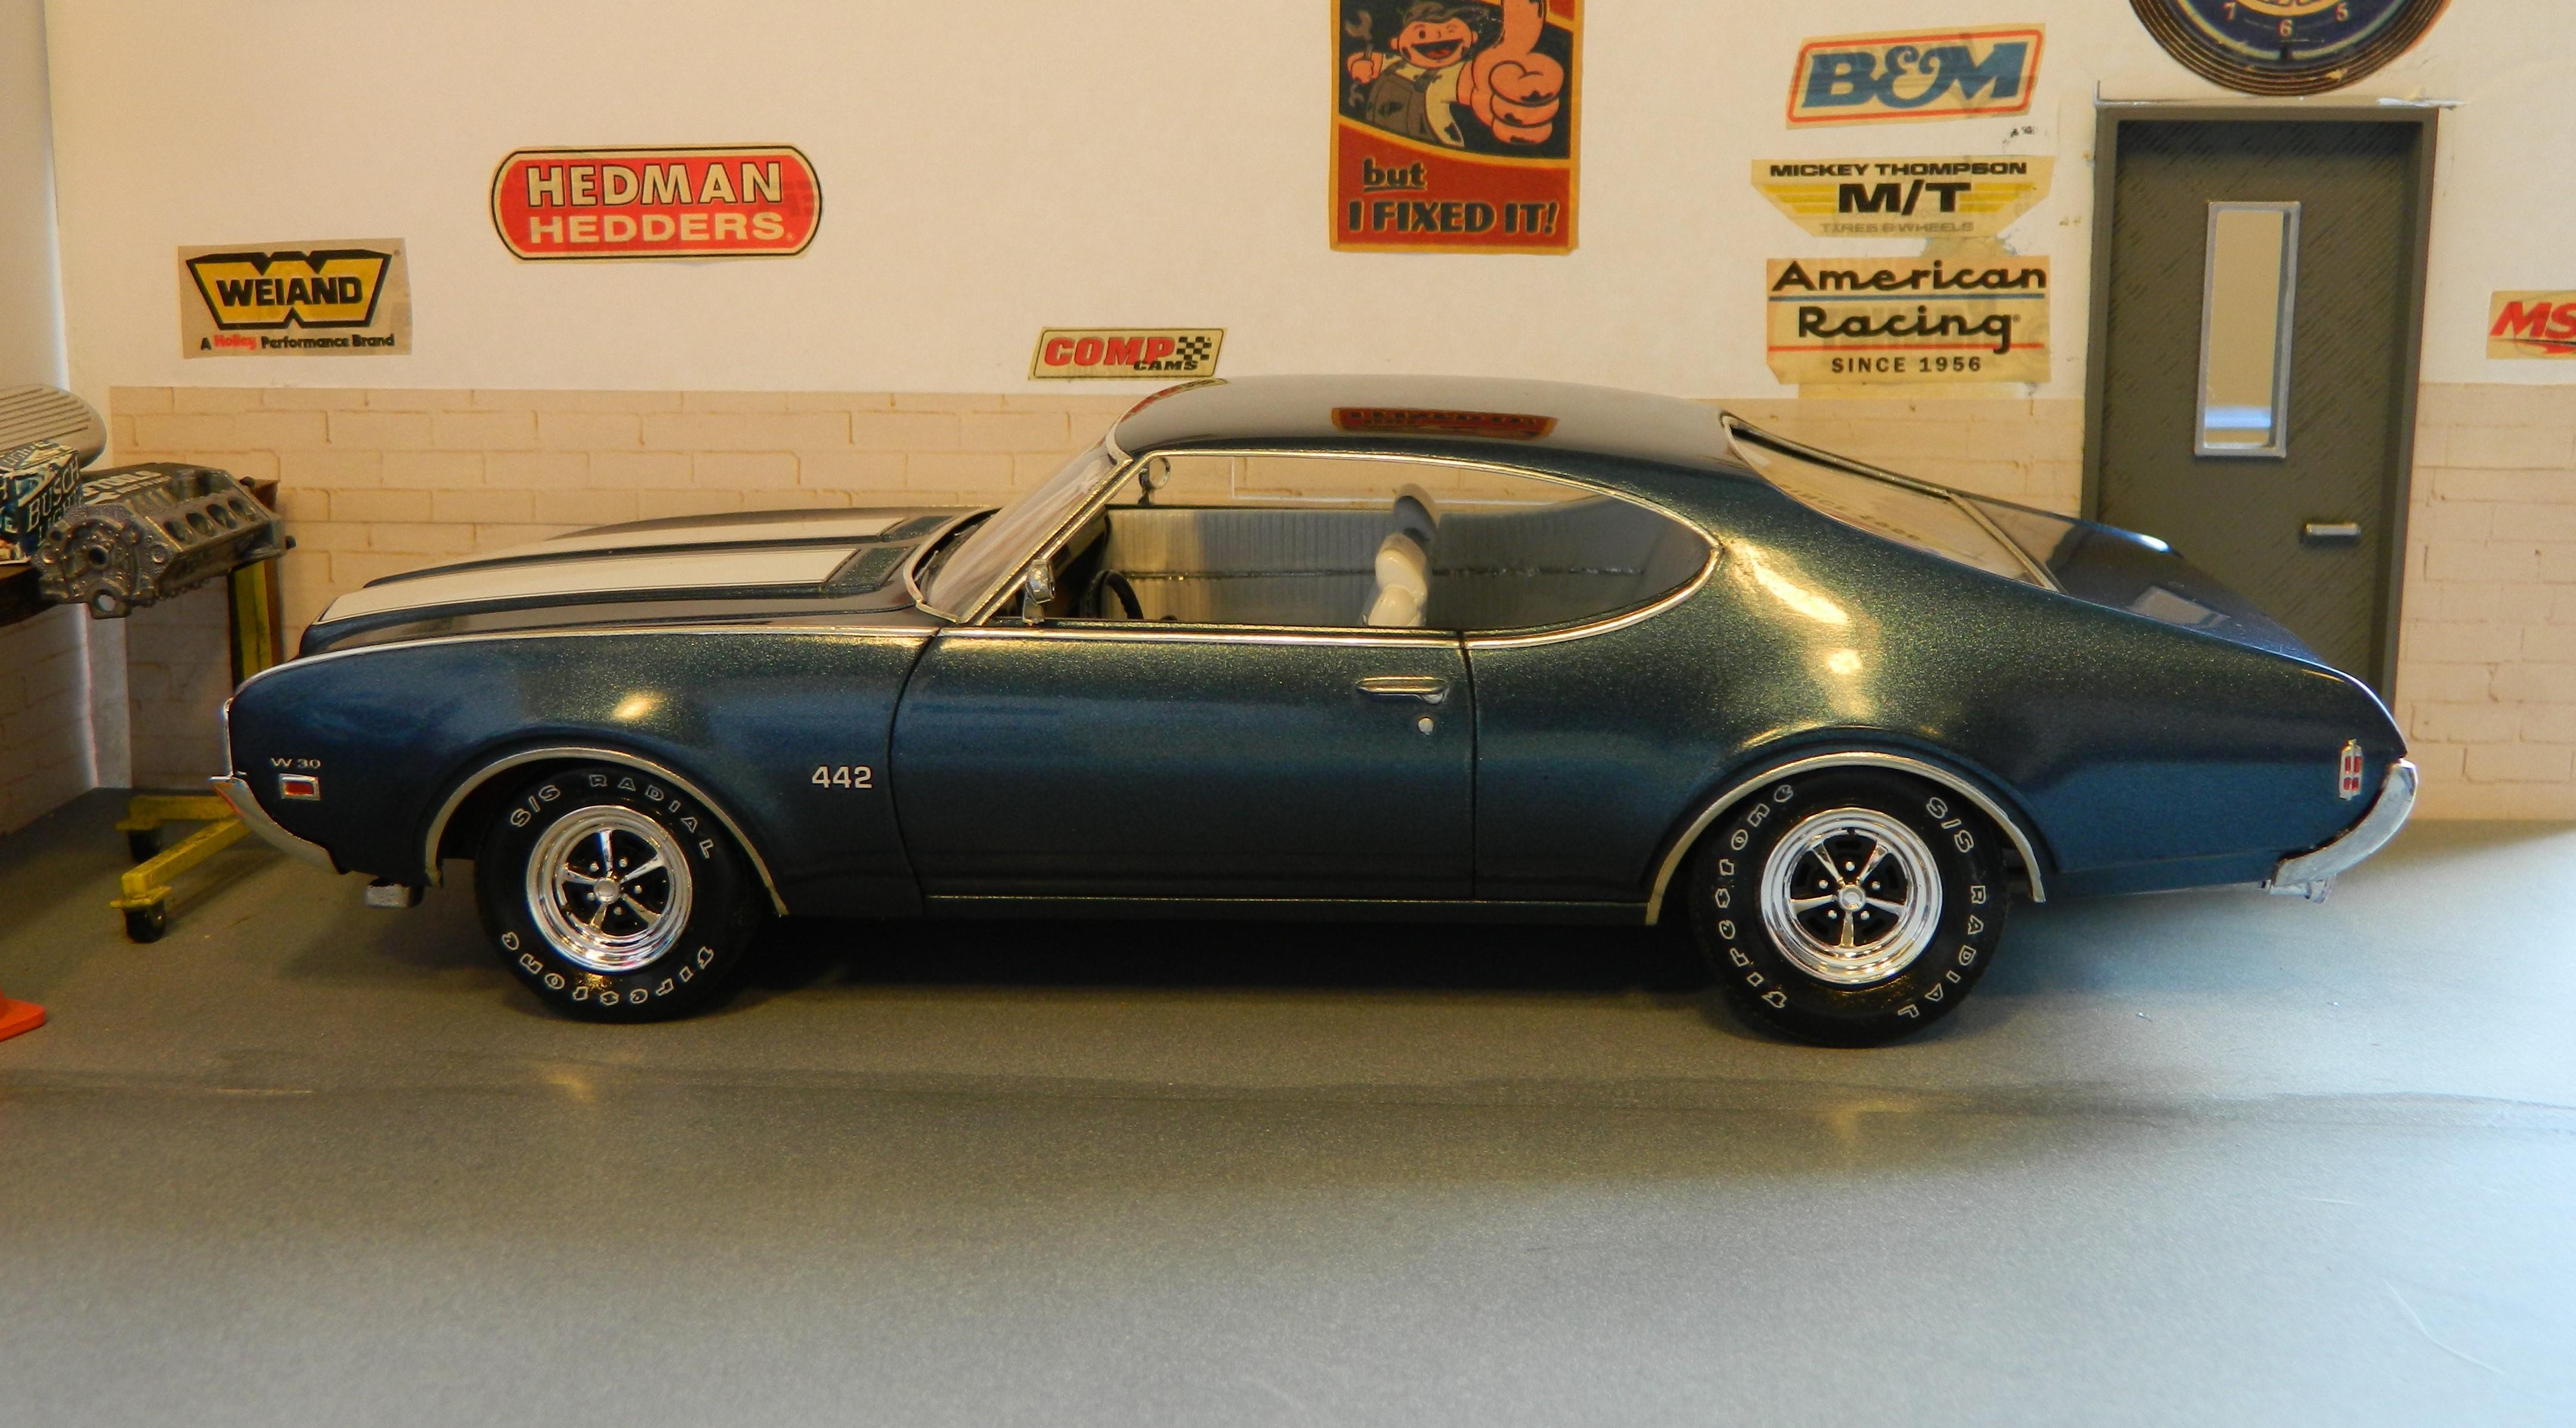
I finished the AMT 1969 Oldsmobile 442 W-30 this weekend. I airbrushed on the Delta Ceramcoat Navy Metallic, and used Createx 4050 UVLS Gloss Clear. It was then wet-sanded with 4000, 6000, 8000, and 12000 grit Micro Mesh polishing pads, polished with Novus #2, and finished off with Meguiar's Cleaner Wax. I went with the Magnum 500's and tires from the parts box, and put on some Fireball Modelworks white letter decals. I used Bare Metal Foil for the trim and added heater hoses, ignition wires, door locks, and valve stems for extra details. The last two pics show my current stable of three '69 Oldsmobile's. Thanks for looking!

-
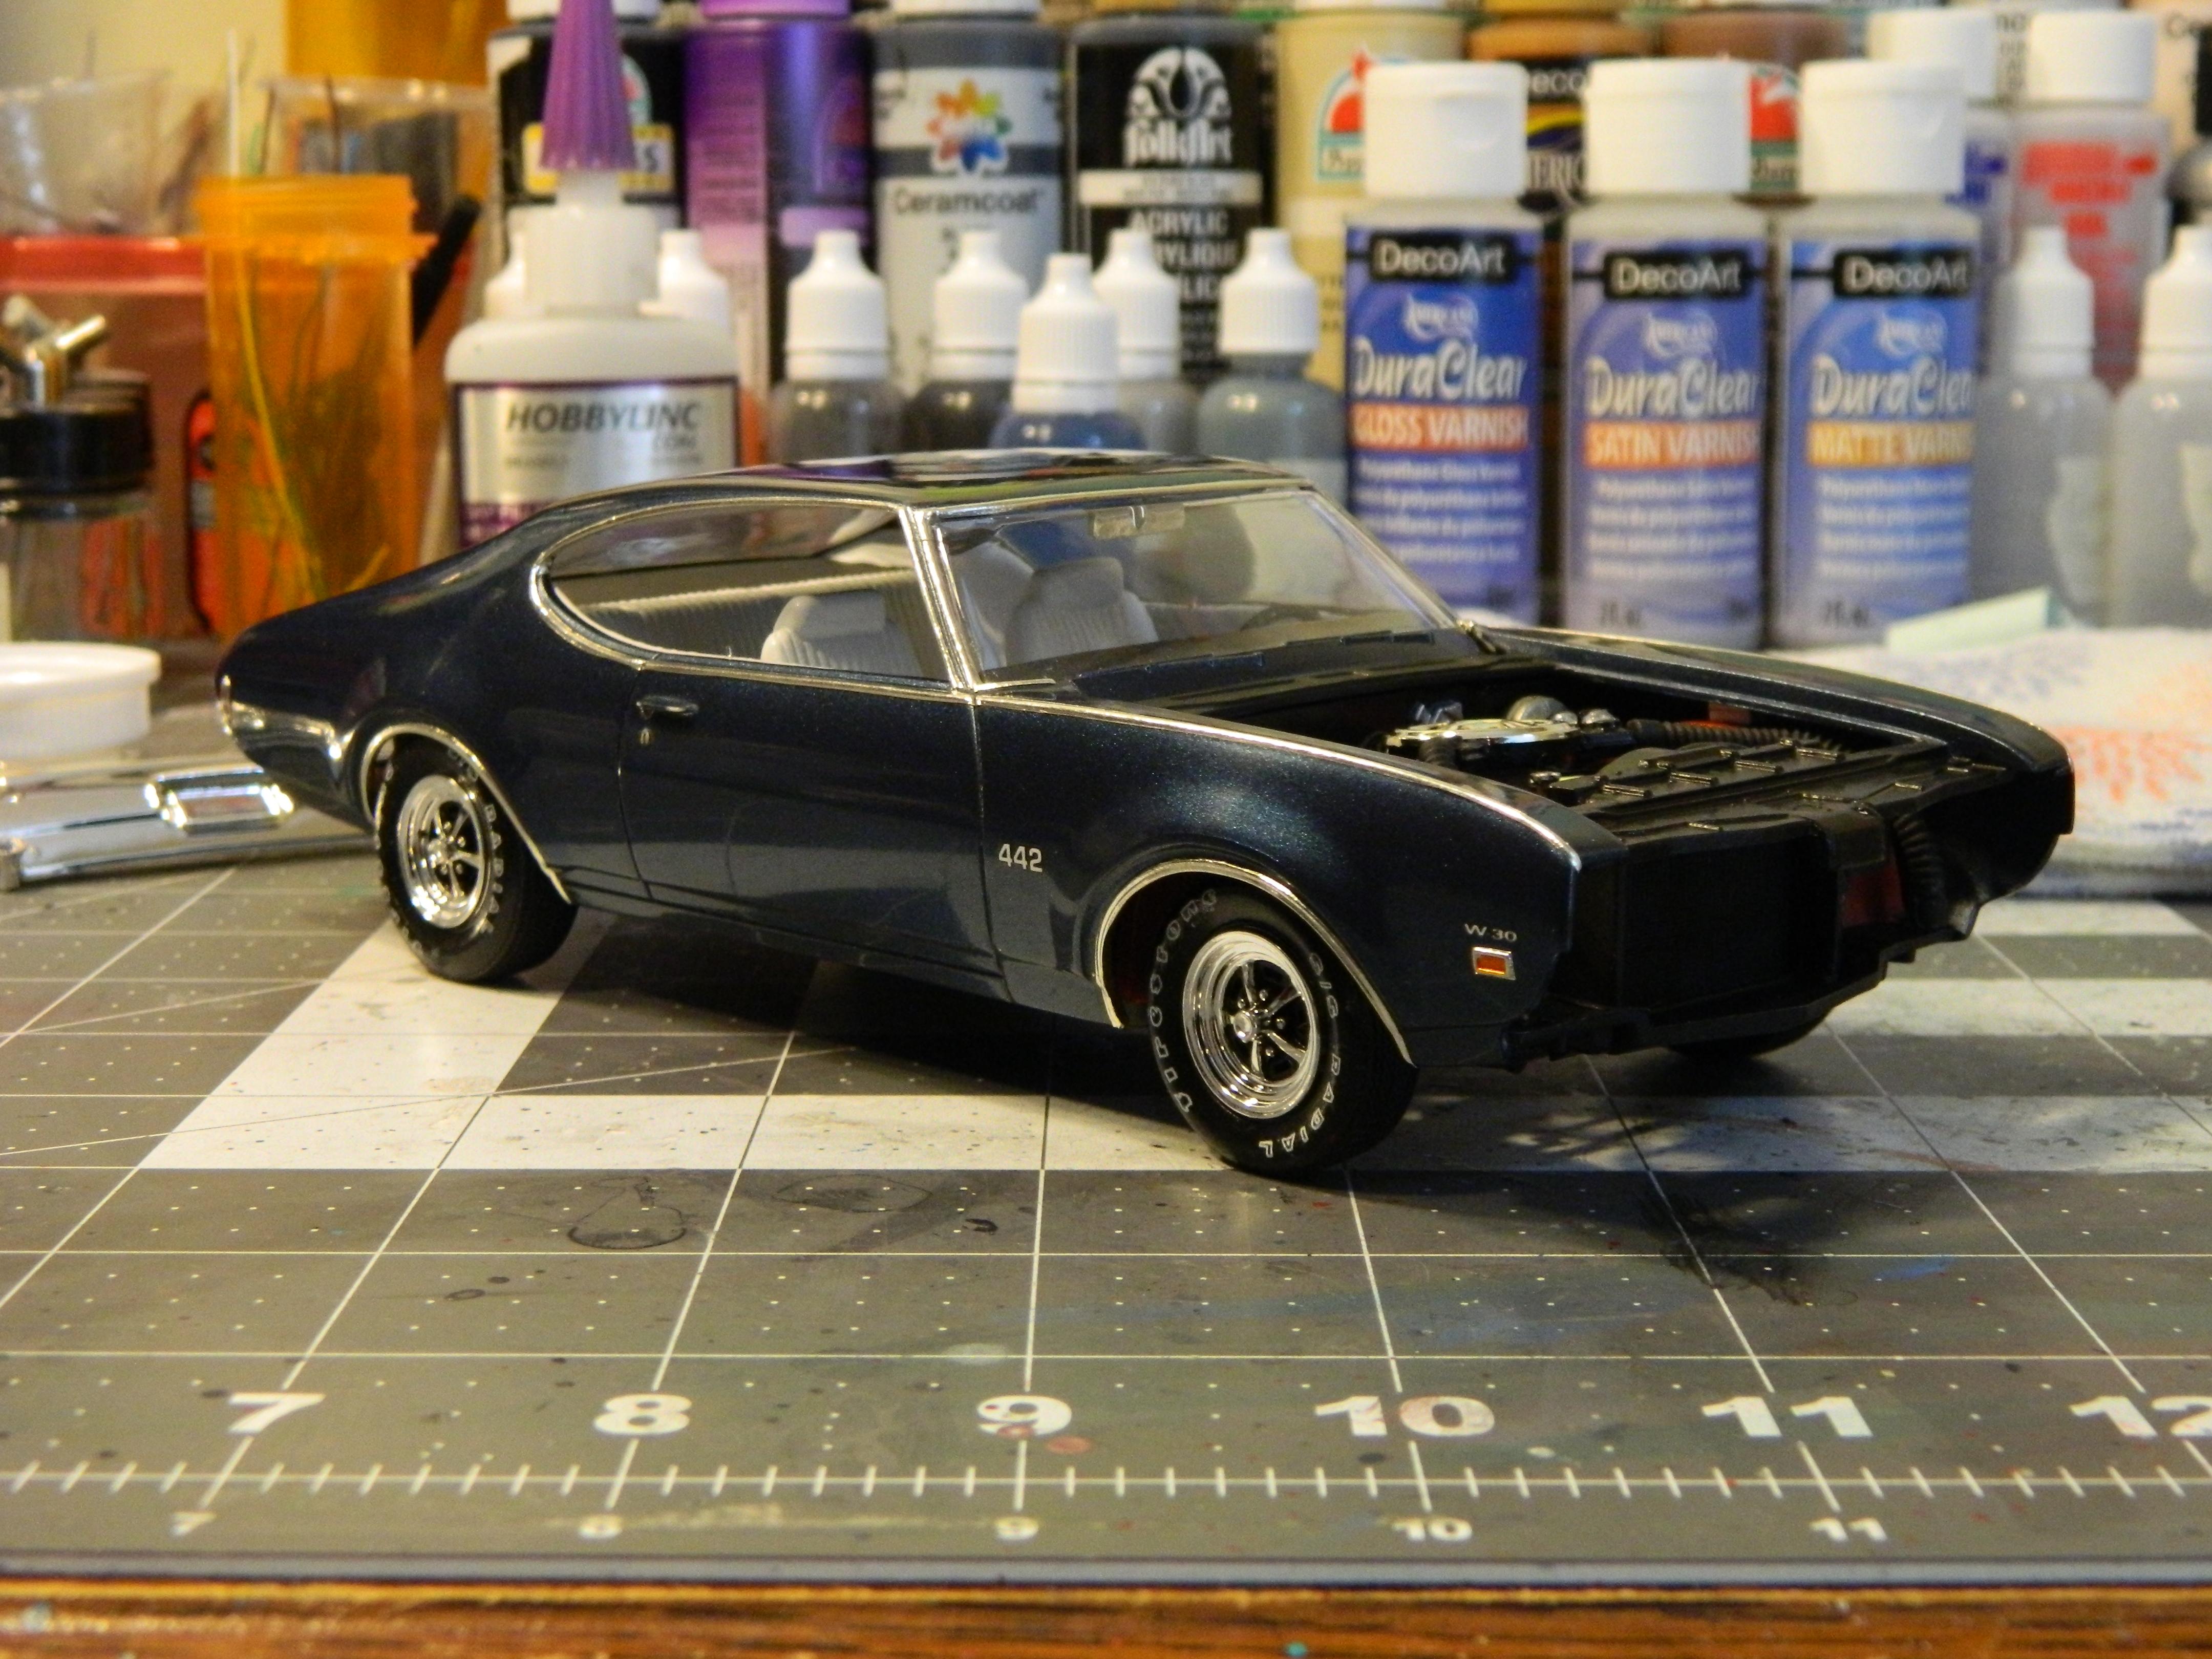
I put the finishing touches on the 442 this morning. I'll get some outdoor pics tomorrow, but for now...
-
The wheelwell foiling went surprisingly smooth this morning. I also managed to detail the front and rear bumpers and get the body, interior, and chassis all together. Just a few more parts to add and a little more detailing and she'll be done.
-
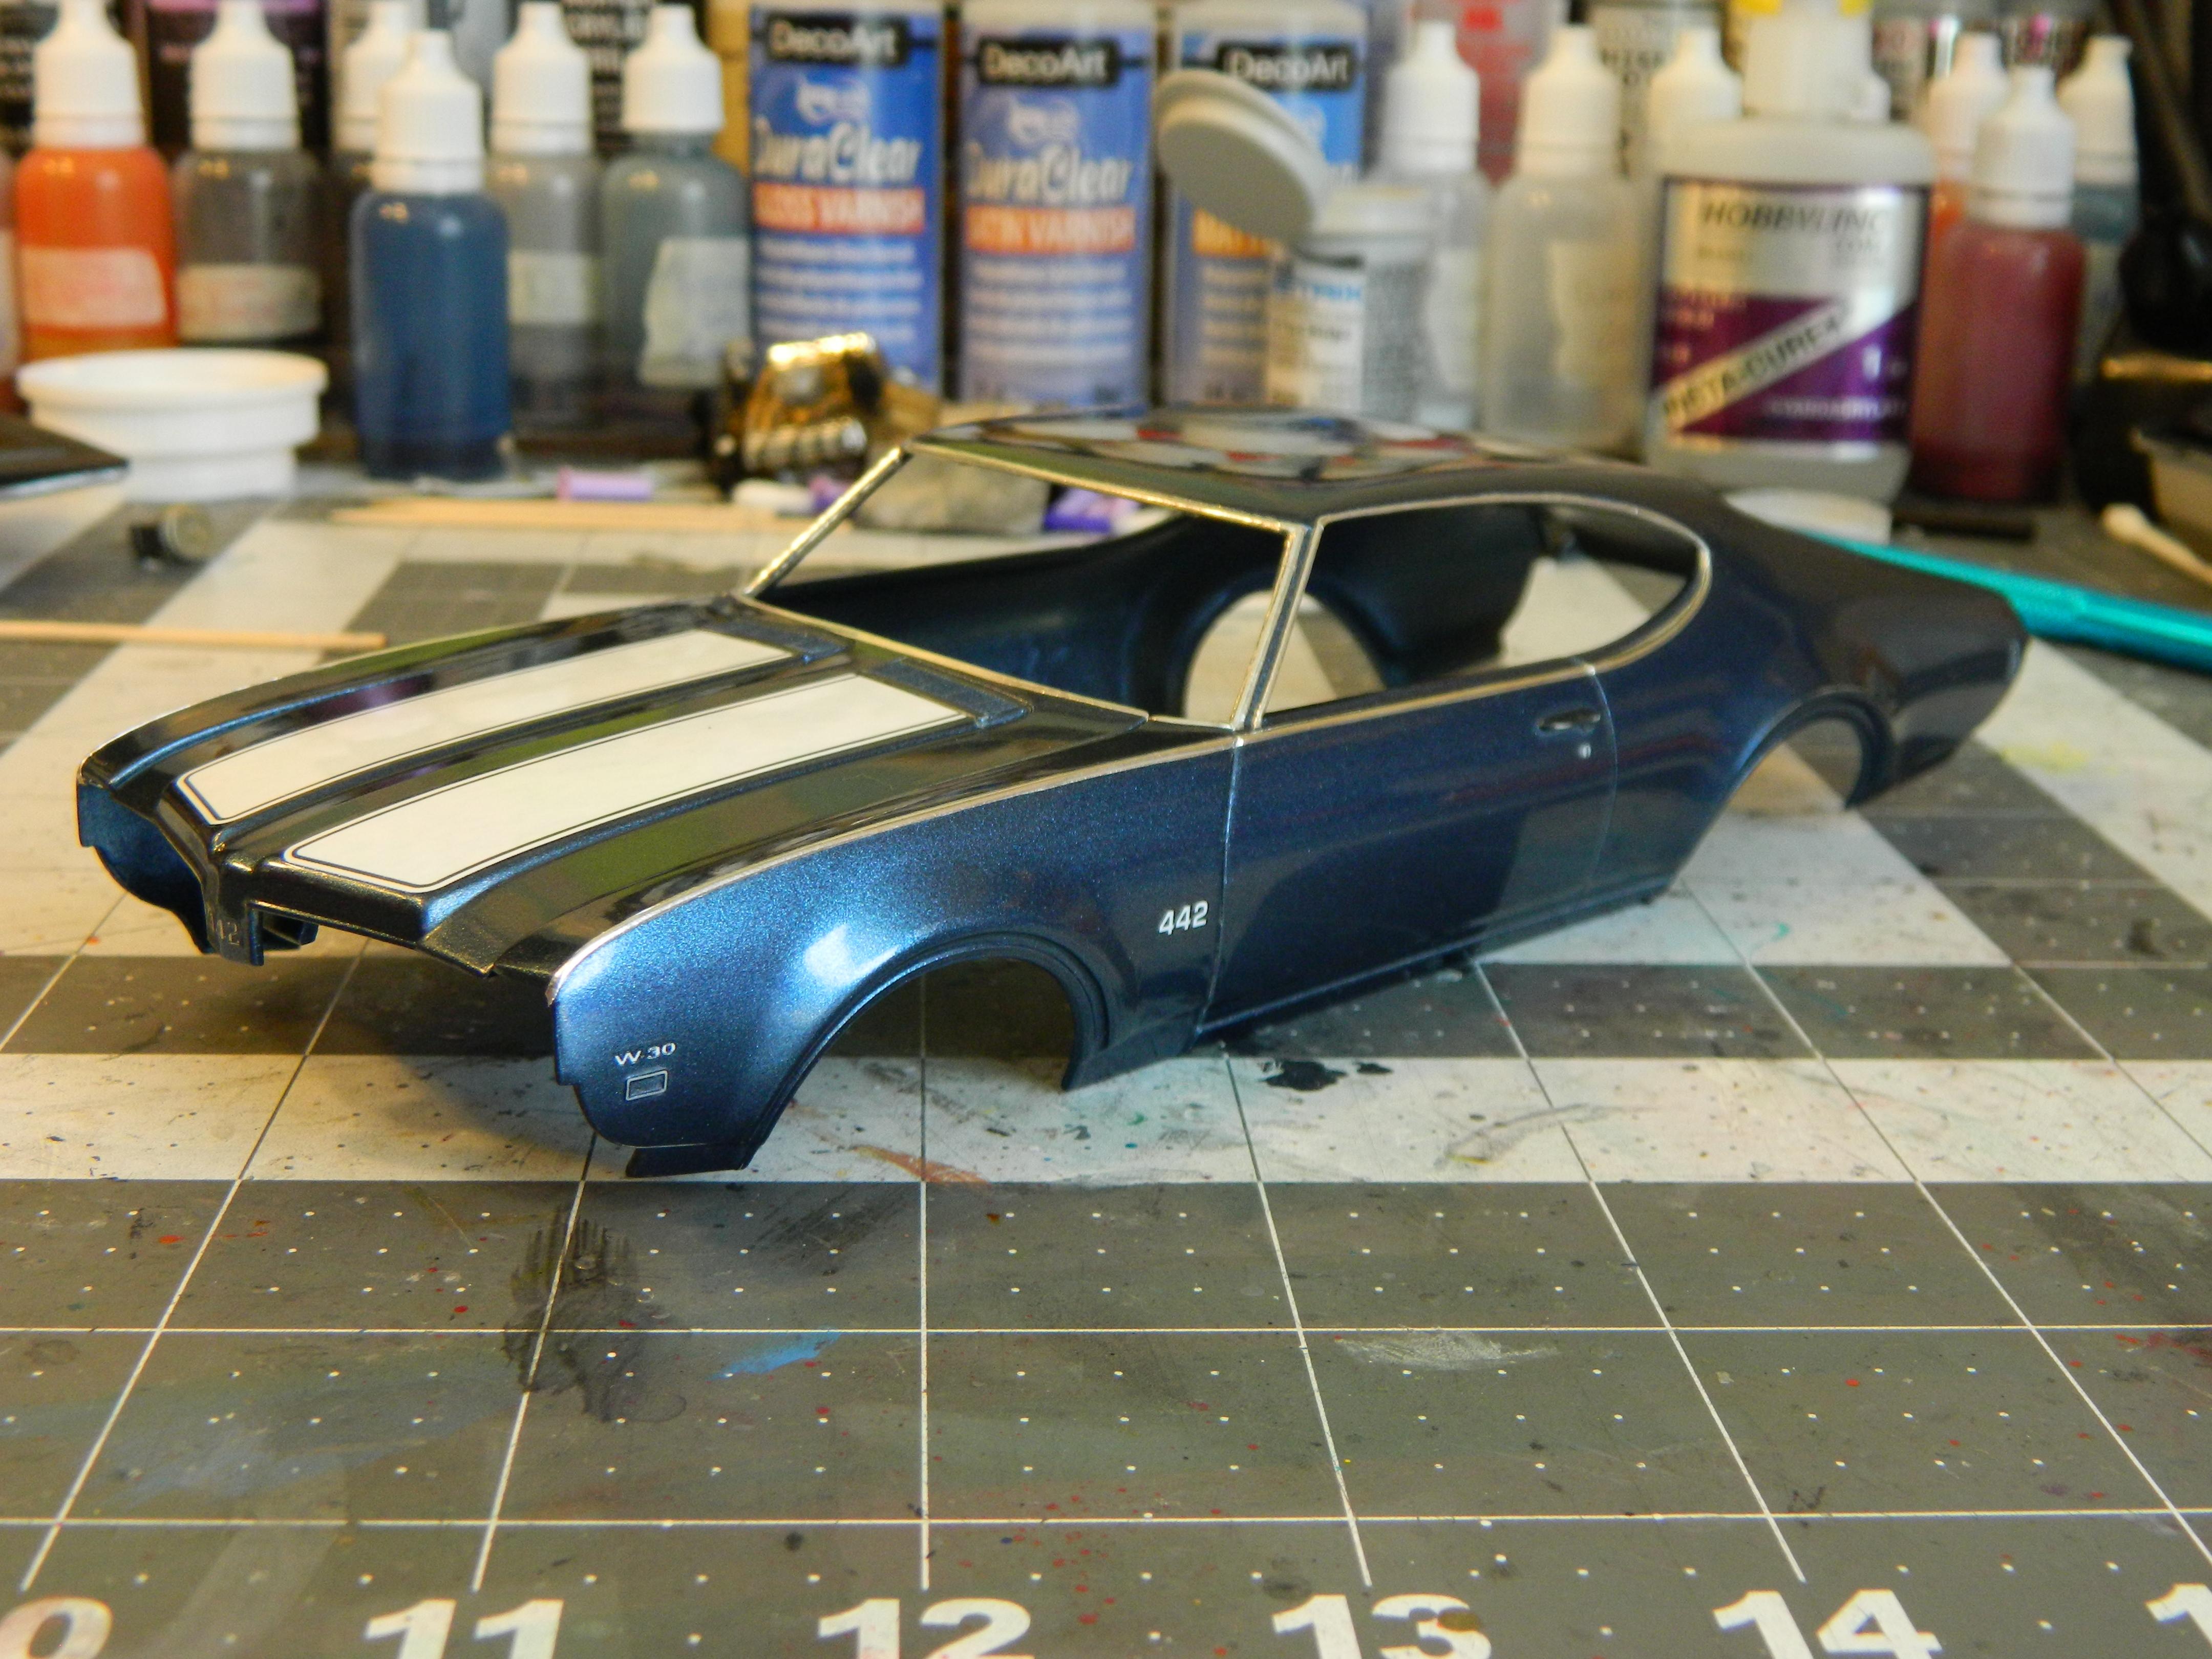
I got most of the car foiled today. I still have to do the wheel well trim, but I'm not sure if I want to foil it or Molotow Chrome it. I'll probably try the foil and see how it goes, then tape off the trim and use the Molotow if the foil doesn't work out. I got the wheels on the chassis, and installed the engine today as well. I dipped the glass in Pledge, let it dry and glued them in place to sit overnight and hopefully hold in place. Barring a catastrophic screw-up, I should be able to finish it this week.
-
Great info Steve, Thanks!!
-
I spent the day wet-sanding, polishing, and waxing the body. I used Micro Mesh Polishing Pads starting with 4000, then 6000, 8000, and 12000. After that I applied the Novus #2 polish, followed by Meguiar's Cleaner Wax. I also finished detailing the wheels and applied the Fireball Modelworks white letter decals. I'll start the Bare Metal Foil tomorrow.
-
Thanks Steve, I really appreciate the info and will mark it down in my notes as I plan on more Olds builds, especially with Revell's upcoming '71 release. In my Google search, it was hard to get a really good indication as to engine color as gold and bronze/copper seemed to be equally represented.
-
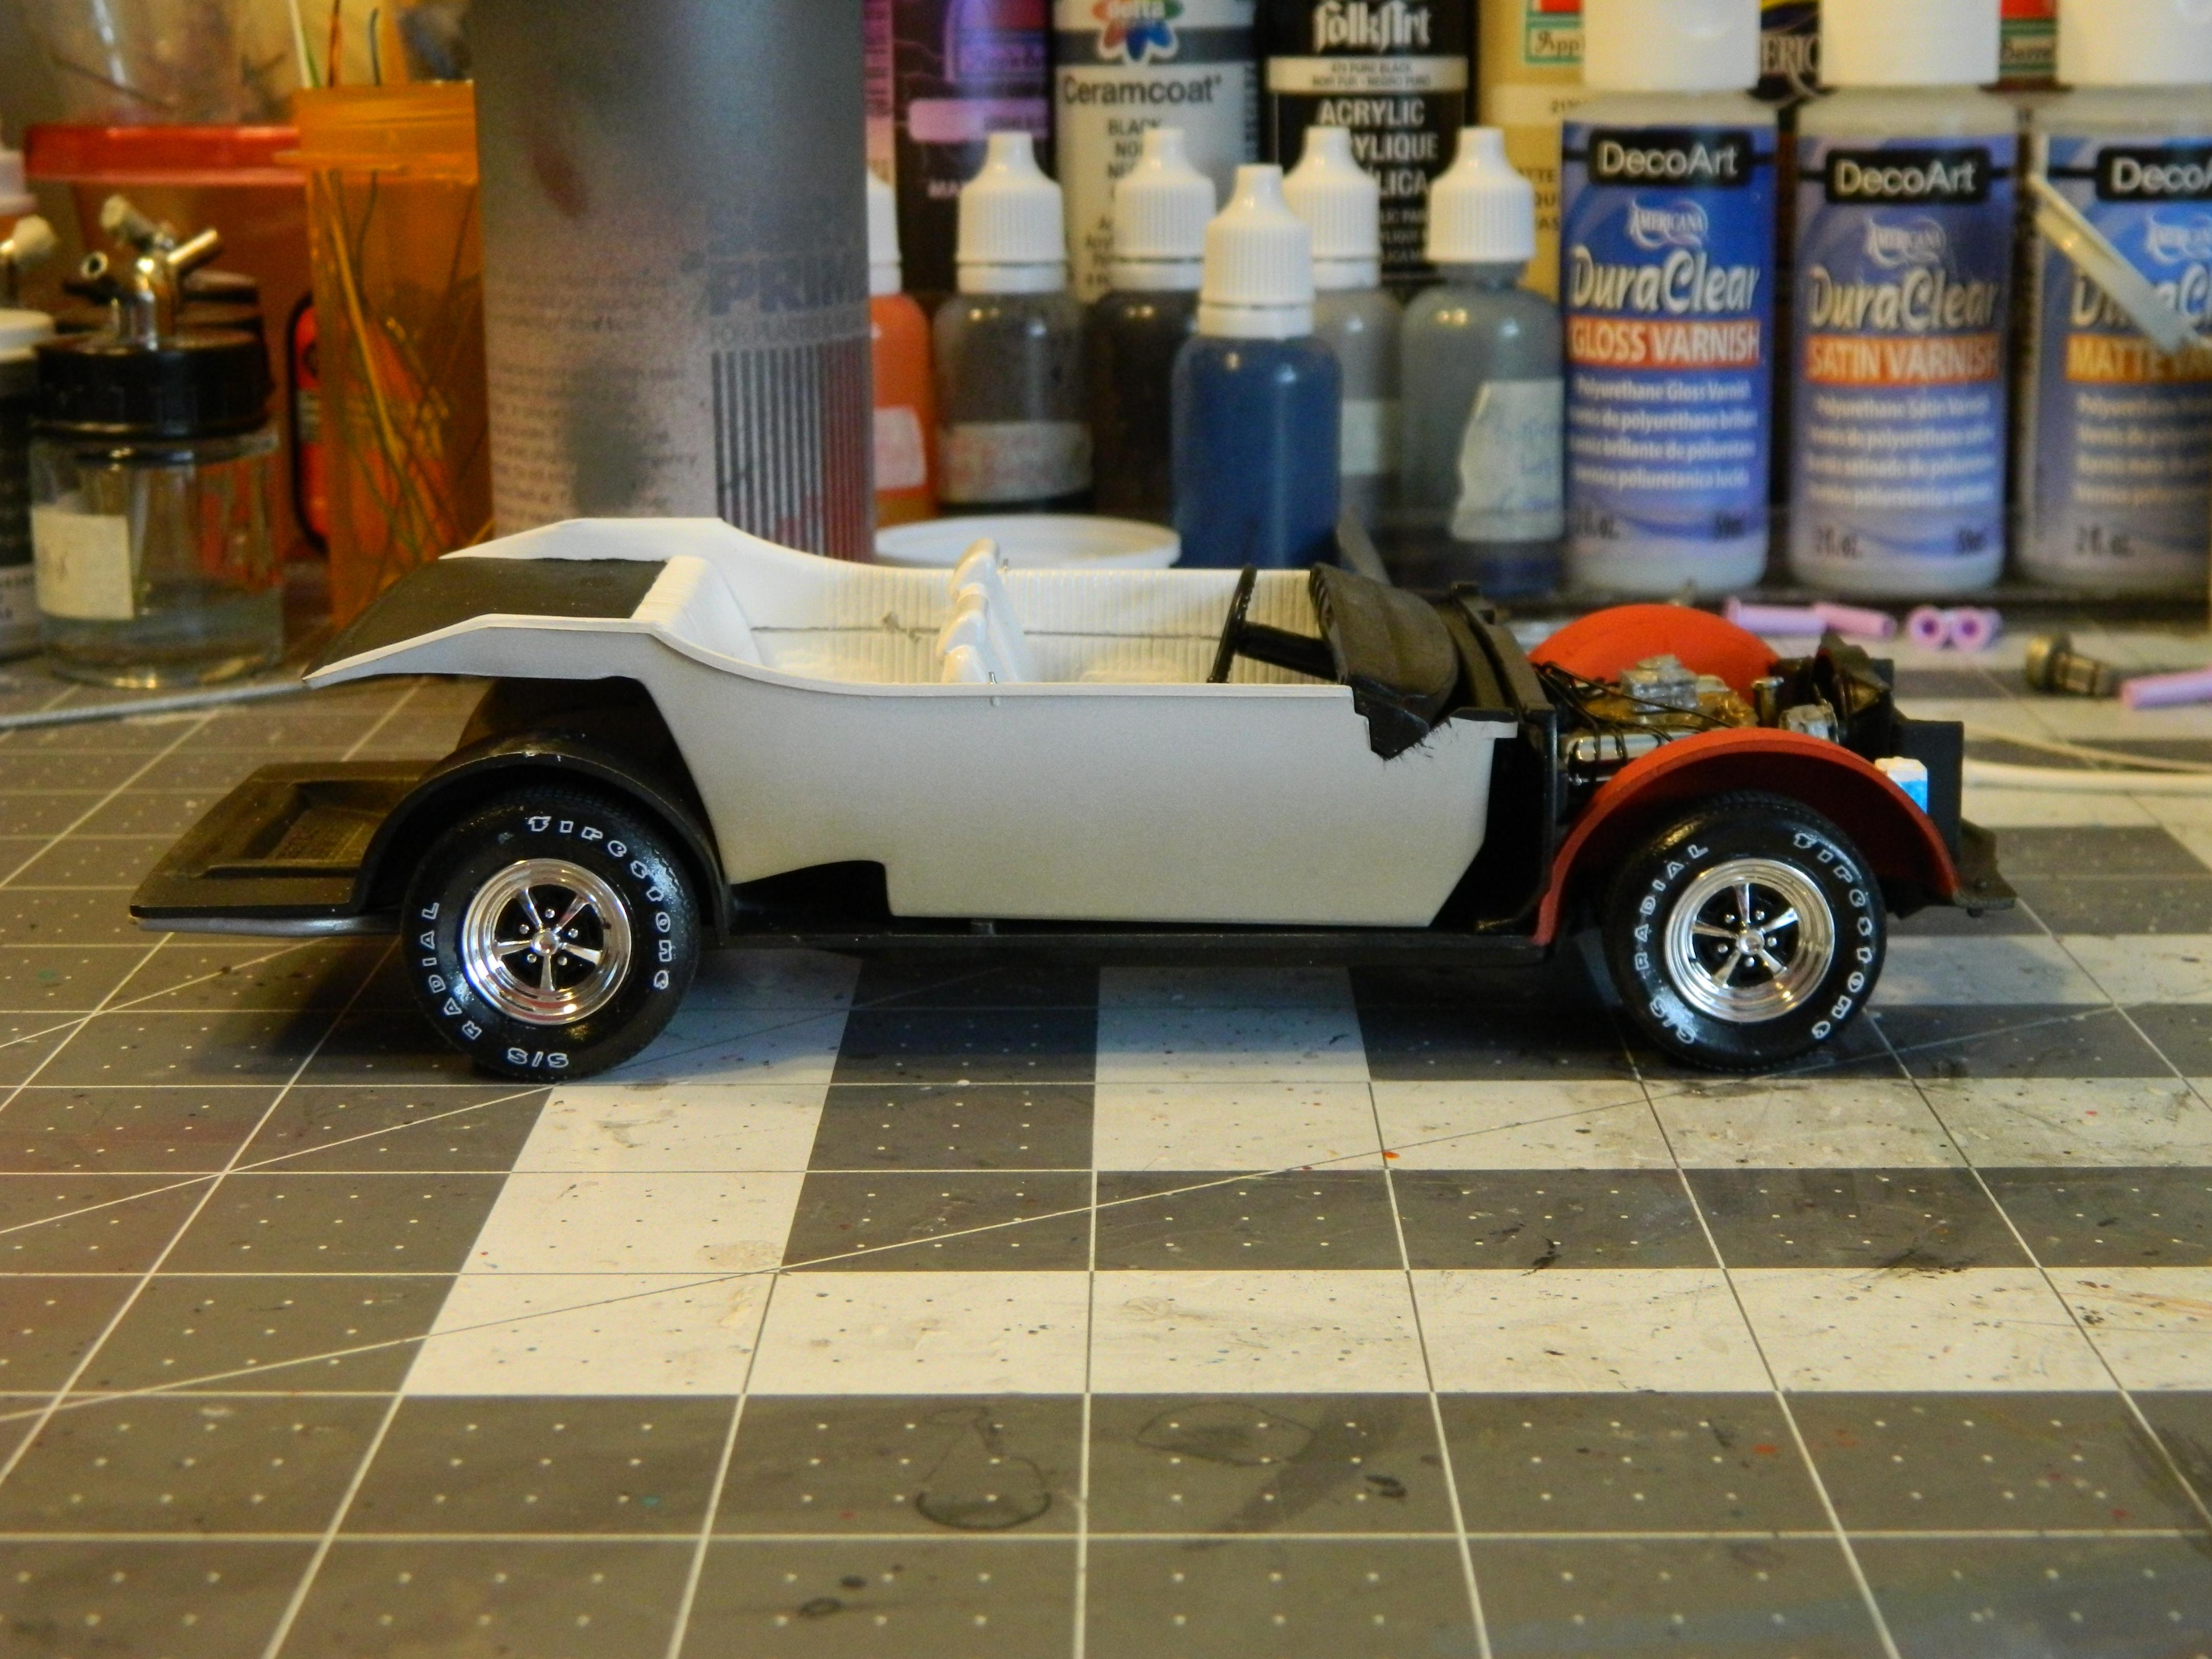
I got the dash detailed and most of the interior done. Certainly not my best interior, and I'm considering stripping the tub as I'm not happy at all with the door panels.
-
Well done, sharp looking Nova! I like the color!
-
Thanks! I actually used Rustoleum Camouflage Flat Tan for the primer. I got a can for free from our neighbor, so I decided to see how it would work as a primer. It did the job ok enough, but I probably won't use it for that purpose again. It sprayed good and covered smooth enough, but even after drying for a couple of weeks still seemed to soak in the color coats. Their actual primers do pretty well for me, so I'll go back to using them when I happen to not use my go-to Stynylrez Primers.
-
Sharp Charger, very well done!
-
Very nice!