Dragonhawk1066
-
Posts
3,932 -
Joined
-
Last visited
Content Type
Profiles
Forums
Events
Gallery
Everything posted by Dragonhawk1066
-
Nice color choice on a fantastic looking Cuda!!
-
 The engine, dash, and whole interior look fantastic! The wheels and tires look exceptional as well!
 -
Mitsubishi 3000 GT (w/ some modifications...)
Dragonhawk1066 replied to Tommy124's topic in Model Cars
Very nicely done! The wheels look great on it! -
Looks awesome! That's an excellent body/interior color combo!
-
They're nice kits with slight changes to parts content (bumpers, wheels, etc.) and different decals with each re-issue. I've done two different ones and really enjoyed them both.

-
1969 Boss 429 Mustang in "Black Jade" paint
Dragonhawk1066 replied to baycolony's topic in Model Cars
Well done!! -
That's a beauty!
-
Nice!!
-
Nice work!
-
´71 Plymouth Satellite (ex Revell GTX)
Dragonhawk1066 replied to Koellefornia Kid's topic in Model Cars
That looks fantastic! Well done! -
69 Shelby convertible GT500 Gulfstream Aqua
Dragonhawk1066 replied to vamach1's topic in WIP: Model Cars
Looking good Rex! Great color combo! -
Looks good!
-
It certainly can't be airbrushed as bottled, as it's on the thick side, but many different types of thinners can be used to get it to airbrushing consistency. Plain blue automotive windshield washer fluid, Pledge Floor Gloss, any acrylic thinners from Vallejo, Tamiya, Createx, etc. I've even seen plain water used, but haven't done it myself. I started out thinning with the washer fluid, which worked very well, and the Pledge which I was hit and miss with. I now use a "home brew" mixture that I found in a Facebook group that is 3 parts distilled water, 1 part 91% isopropyl alcohol, and 4-5 drops of glycerin as a flow improver per 8 oz. batch. This has worked phenomenally well for me and I will use nothing else. These thinners will work for any of the craft paints, including Anita's, Delta Ceramcoat, Folkart, Apple Barrel and more. Those craft paints are mostly all I use anymore. I generally start at a 50/50 mixture, but usually end up at around 60% thinner give or take depending on the thickness of the paint. If you use any thinner besides the custom mixture or the Pledge, a flow improver/retarder is highly suggested to help with the flow from the airbrush and to avoid having the tip dry on you. I've used Testors Lacquer Clear, Tamiya TS-13, and Krylon Short Cuts Gloss Clear over the craft paints with great results, just making sure to use a couple of lighter coats to start with. I also use Decoart Duraclear Varnishes, Createx 4050 UVLS Gloss Clear, and Pledge Floor Gloss as clears from time to time with nice results as well. I hope all of this helps ??.
-
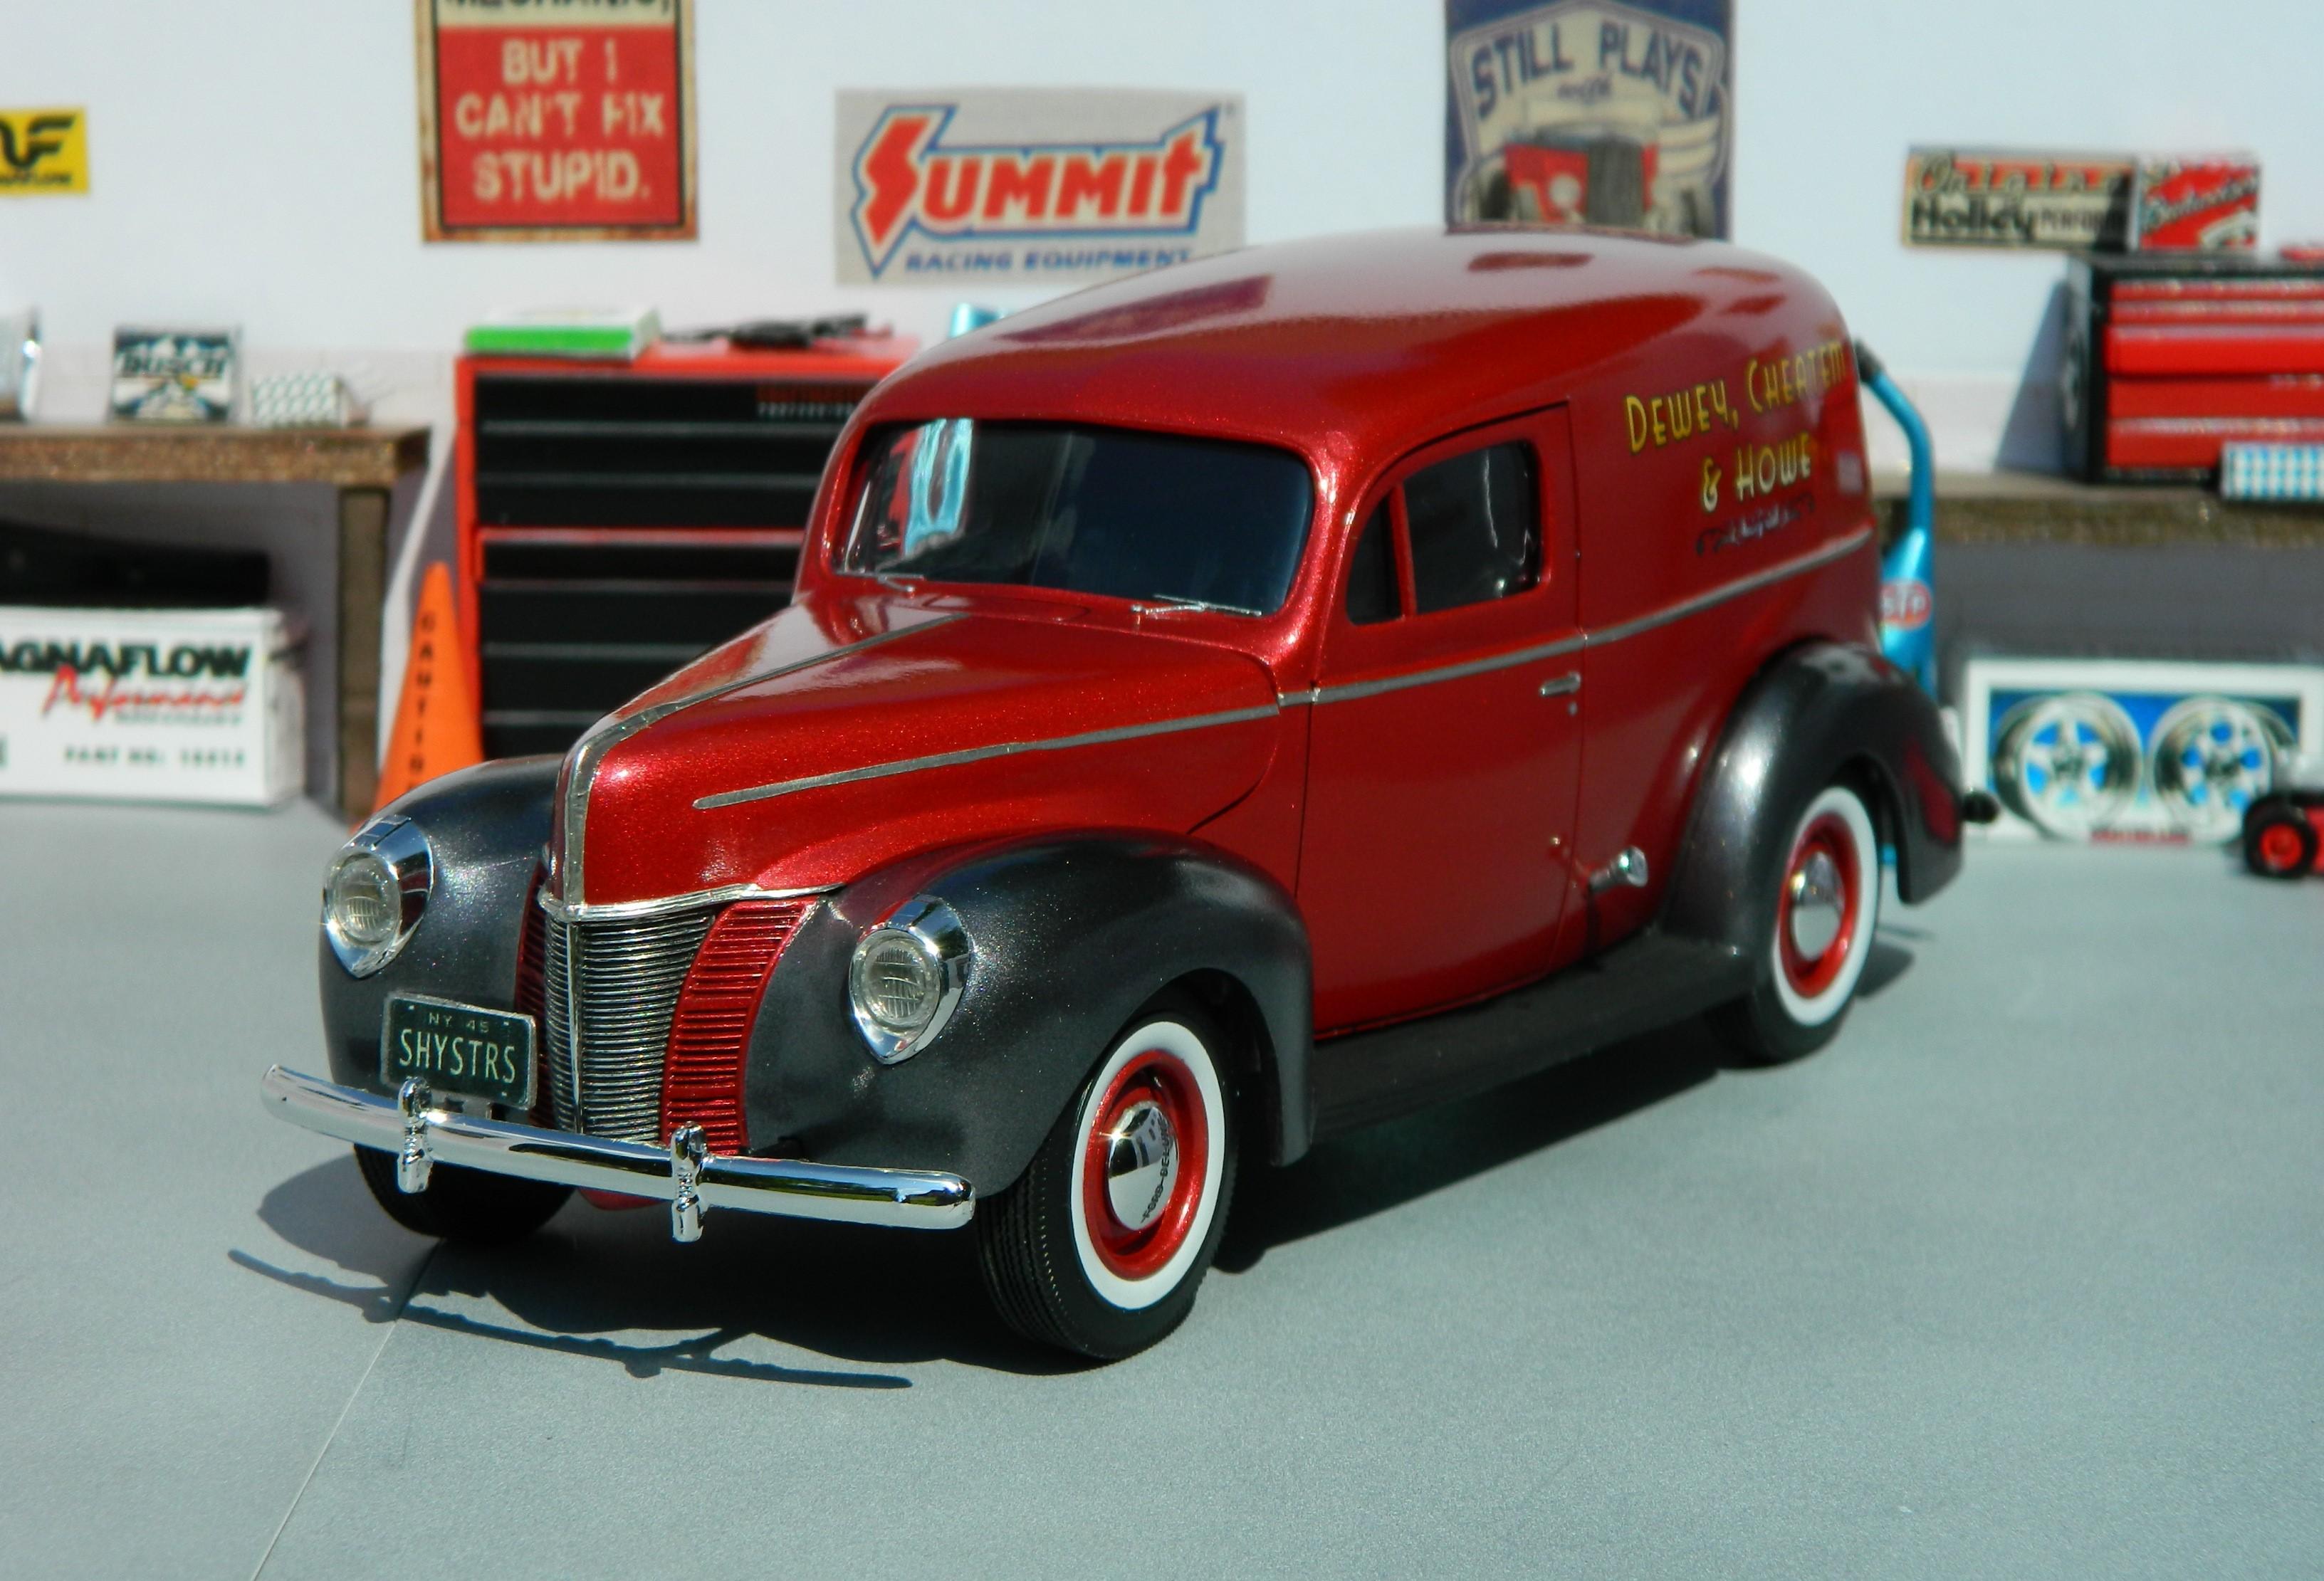
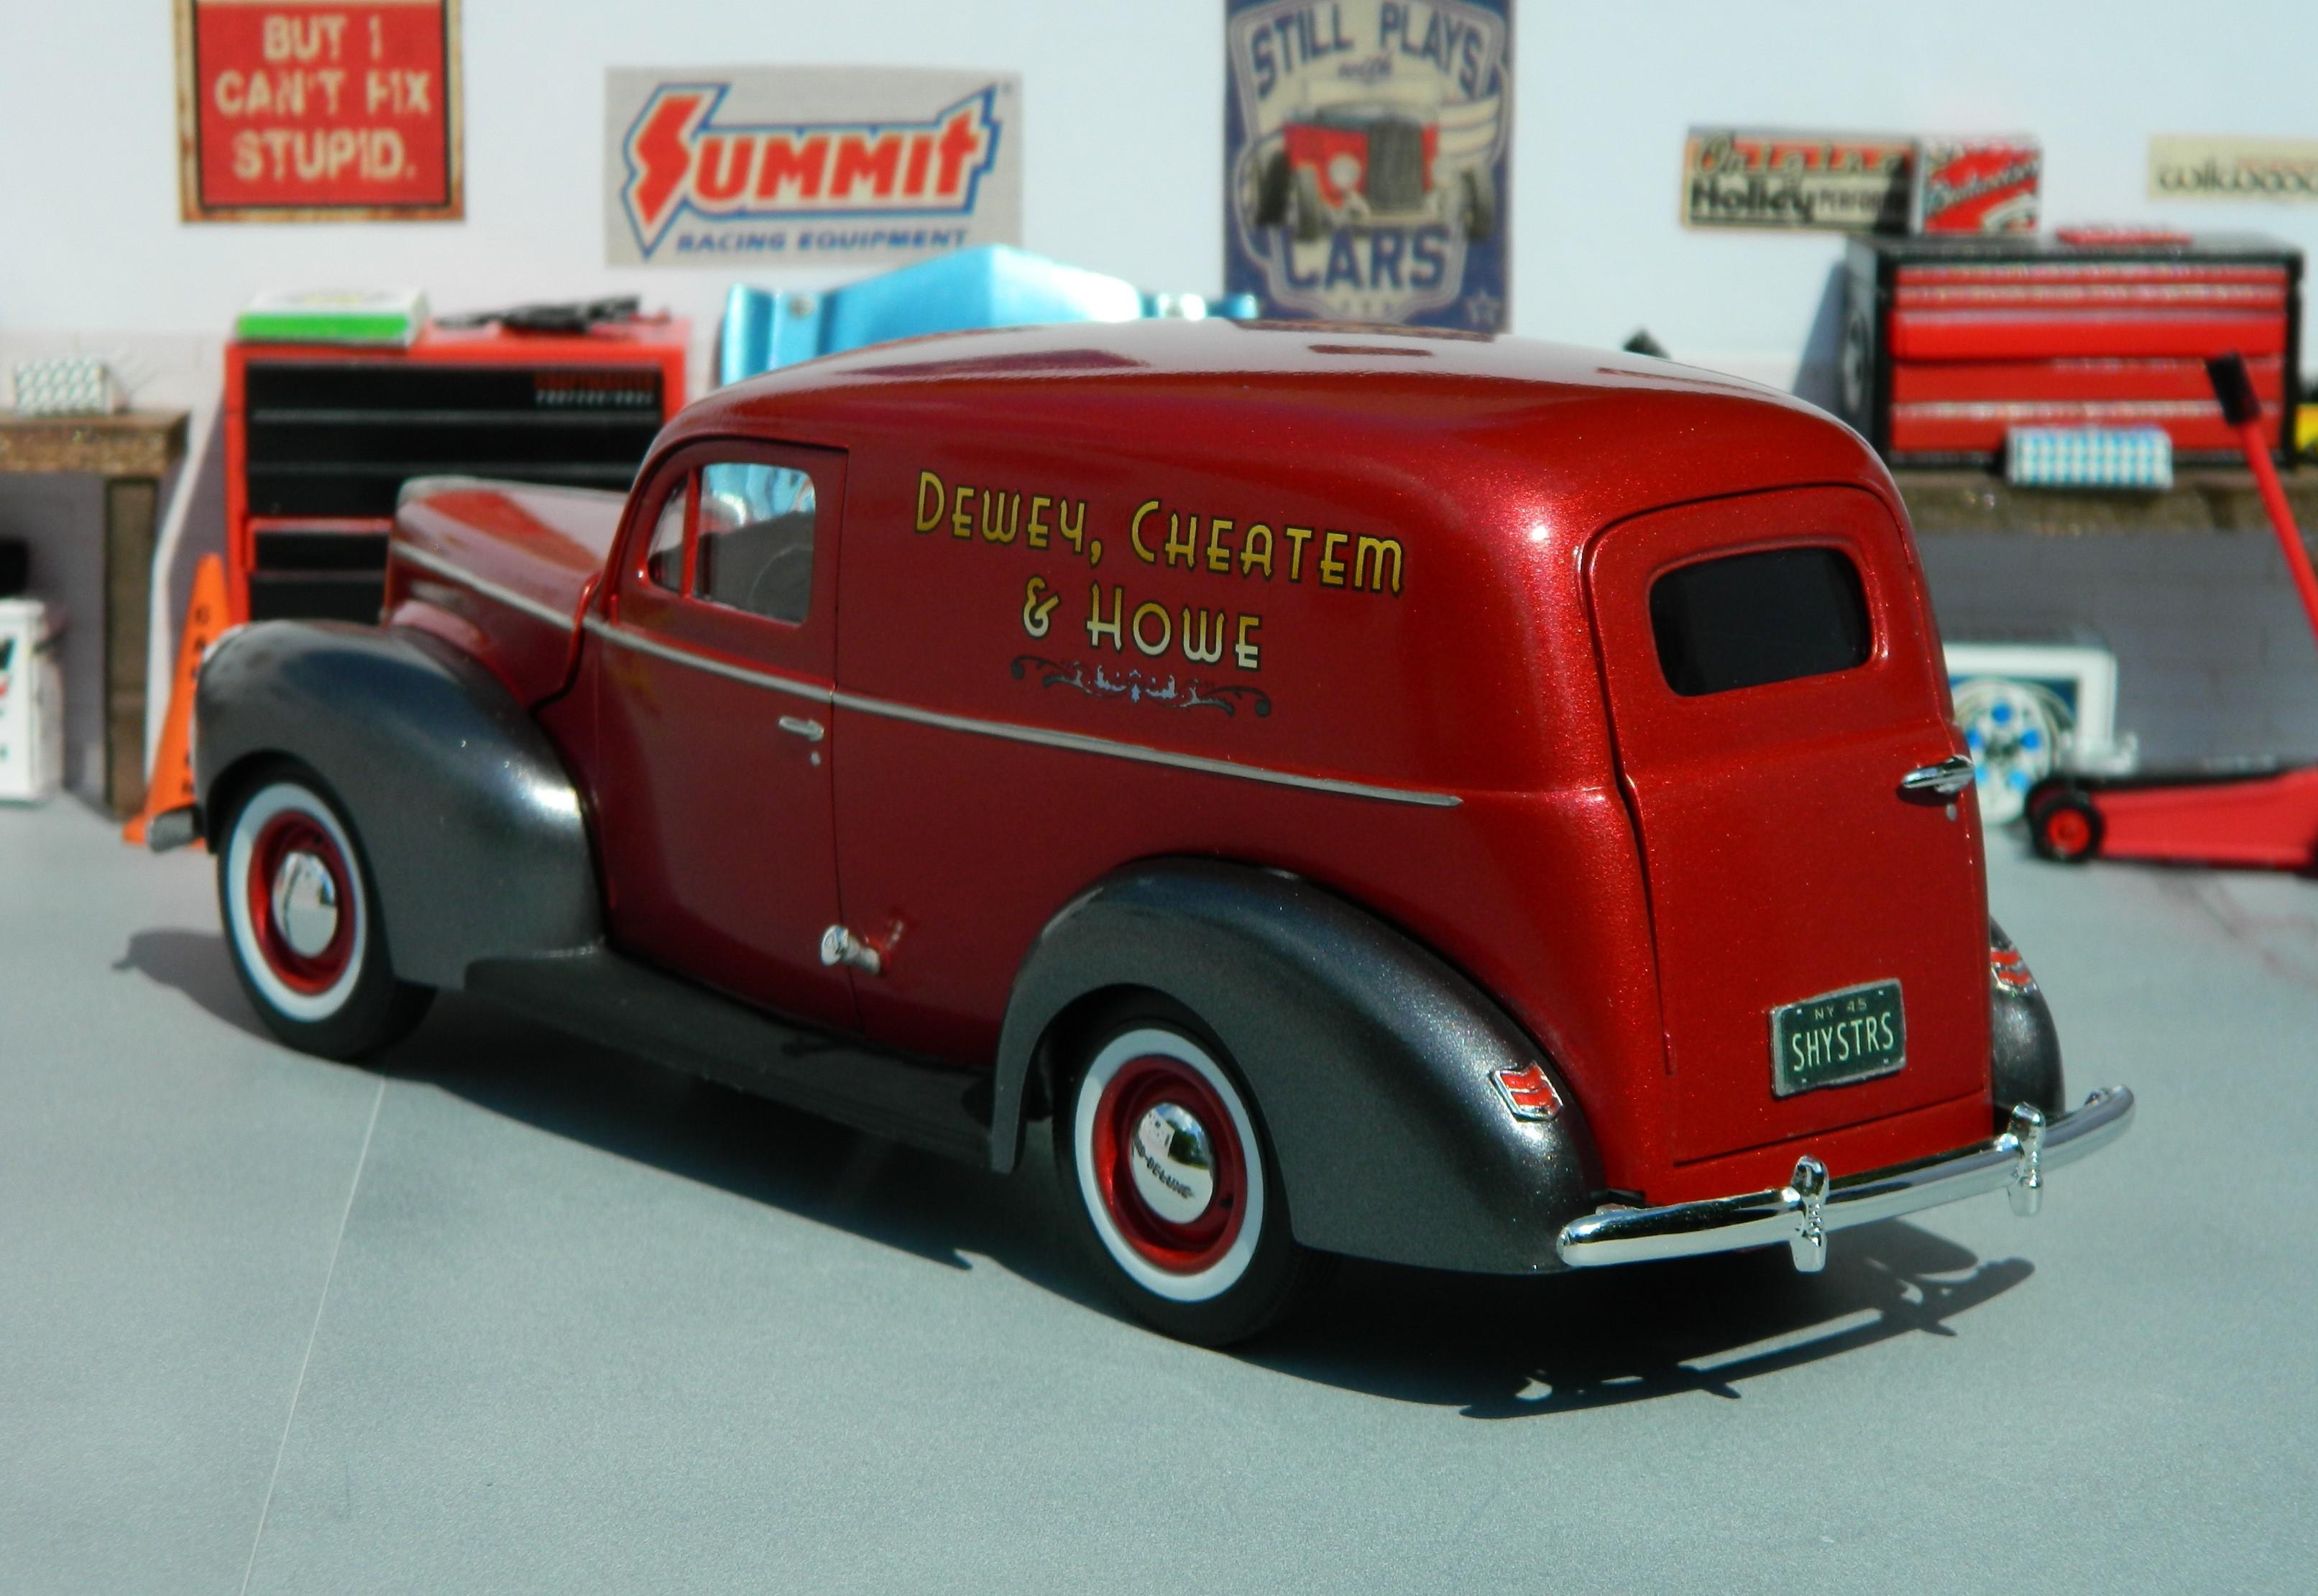
Pretty nice truck! Well done!
-
Outstanding! Well done!
-
Super nice!
-
Cannonball Pontiac Transam - David Carradine
Dragonhawk1066 replied to Gustavo Reis's topic in Model Cars
Awesome!! Well done! -
Turned out nice! I like the color!
-
Thanks for the info, I'll try to look that up later as I'd like to do another down the road sometime. You know, I wasn't really sure at the time of the build, lol. I just treated it as a panel with a bulge to contain the spare tire. With Rusty's info I will probably go back and touch it up with some Rubber Black paint.
-
Monogram Shelby Cobra 427 S/C "Copperhead".
Dragonhawk1066 replied to Dragonhawk1066's topic in Model Cars
Thanks guys! Thanks Kurt! I'll have to print one up when I get more ink for my printer! Thanks Bill! Mainly luck, lol. It's a gloss lacquer clear that I wet-sanded from 3200 up to 12000 grit, then polished with Novus #2, and finally waxed with Meguiar's Cleaner Wax. -
Thanks Bob! I've taken some outdoor pics since then, and the color really pops in the sun.
-
55 Chevy Rat Rollback
Dragonhawk1066 replied to mchook's topic in Model Trucks: Pickups, Vans, SUVs, Light Commercial
Outstanding!! Superb weathering! -
Excellent work!
-
"00" Mustang 68 - Dukes of Hazzard Reunion
Dragonhawk1066 replied to Gustavo Reis's topic in Model Cars
Nice job!