Dragonhawk1066
-
Posts
3,932 -
Joined
-
Last visited
Content Type
Profiles
Forums
Events
Gallery
Everything posted by Dragonhawk1066
-
Very nice looking Corvair's! Well done!
-
I spent the day today wet-sanding, polishing, and waxing the body and hood. I started with 2000 grit and then to 3000, and 5000 wet/dry sandpaper. After that I switched to micro-mesh polishing pads for 6000, 8000, and finally 12,000 before polishing with Novus #2, and a coat of Meguiar's Cleaner Wax. I couldn't resist a quick mock with the interior tub installed, I'm really liking how this is looking so far. If everything goes well, I may just get this one finished tomorrow.

-
Looks nice, and yes that is a nice molded-in color.
-
Nicely done! Those do look good in white and blue!
-
Nice work on all, and some great color choices!
-
Looks great! I have that kit as well and will build it if I ever come up with a color idea, LOL.
-
Nicely done! Those wheels and tires look great on it!
-
Looking incredible so far!
-
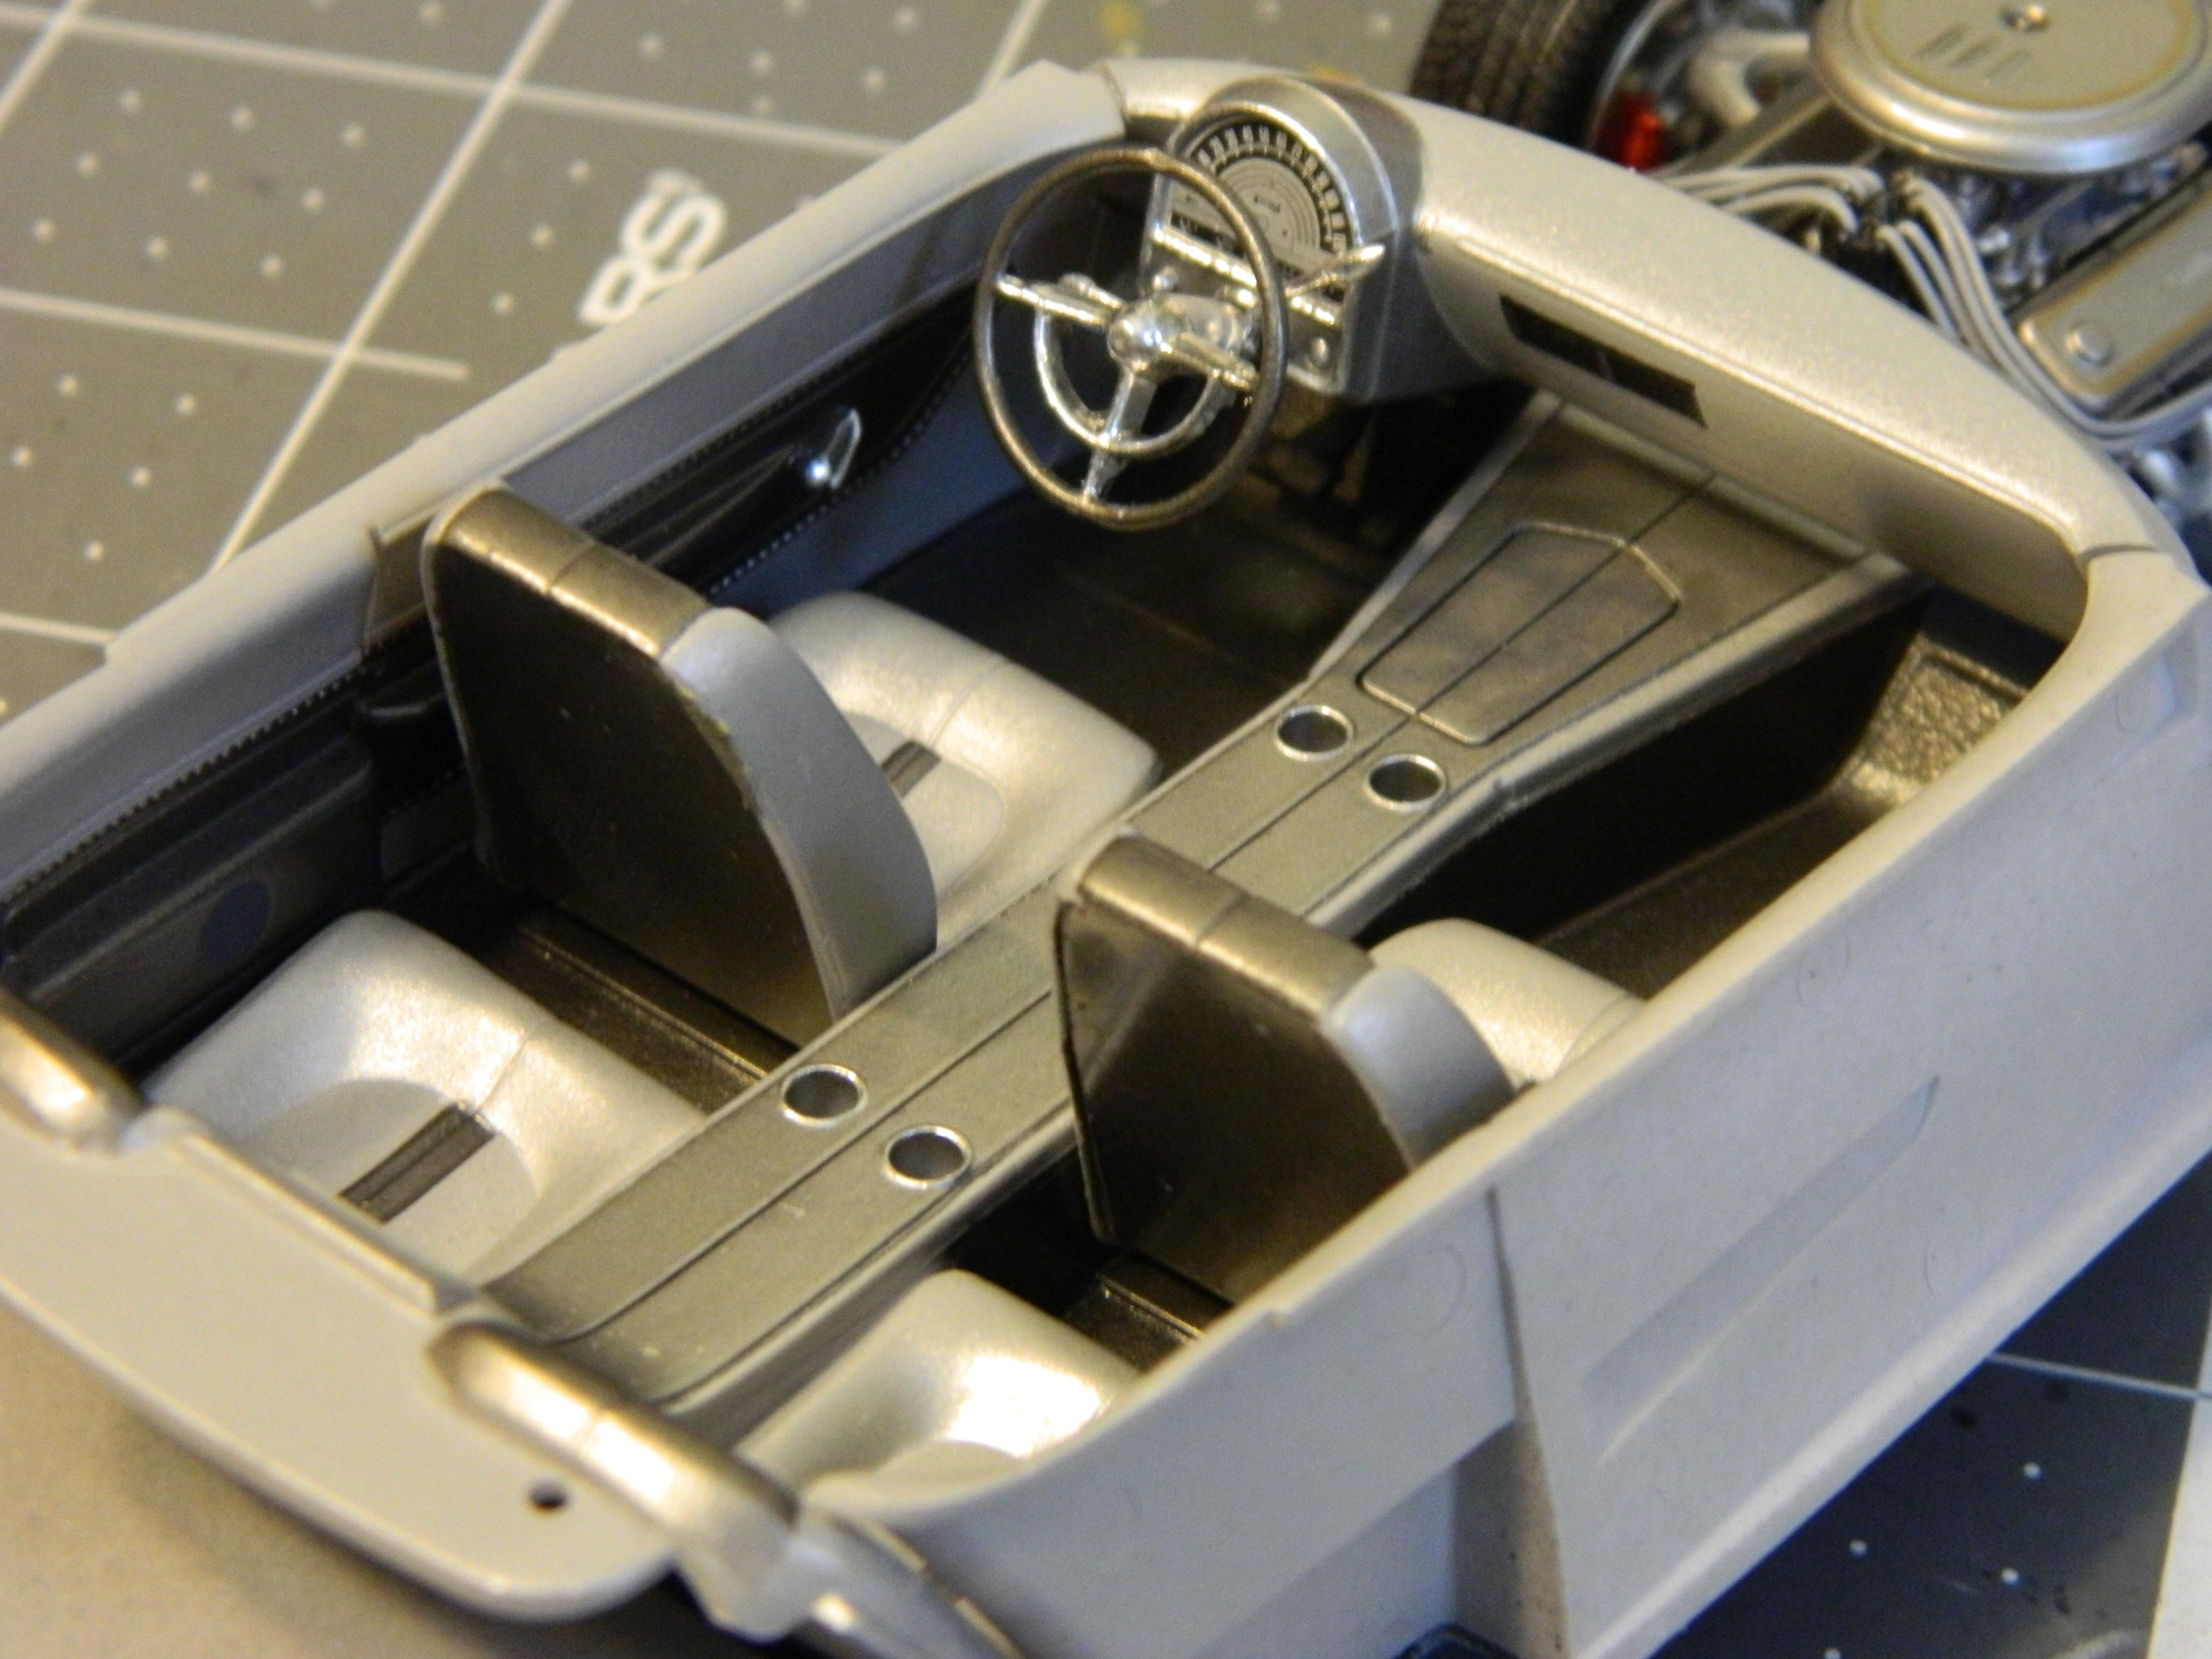
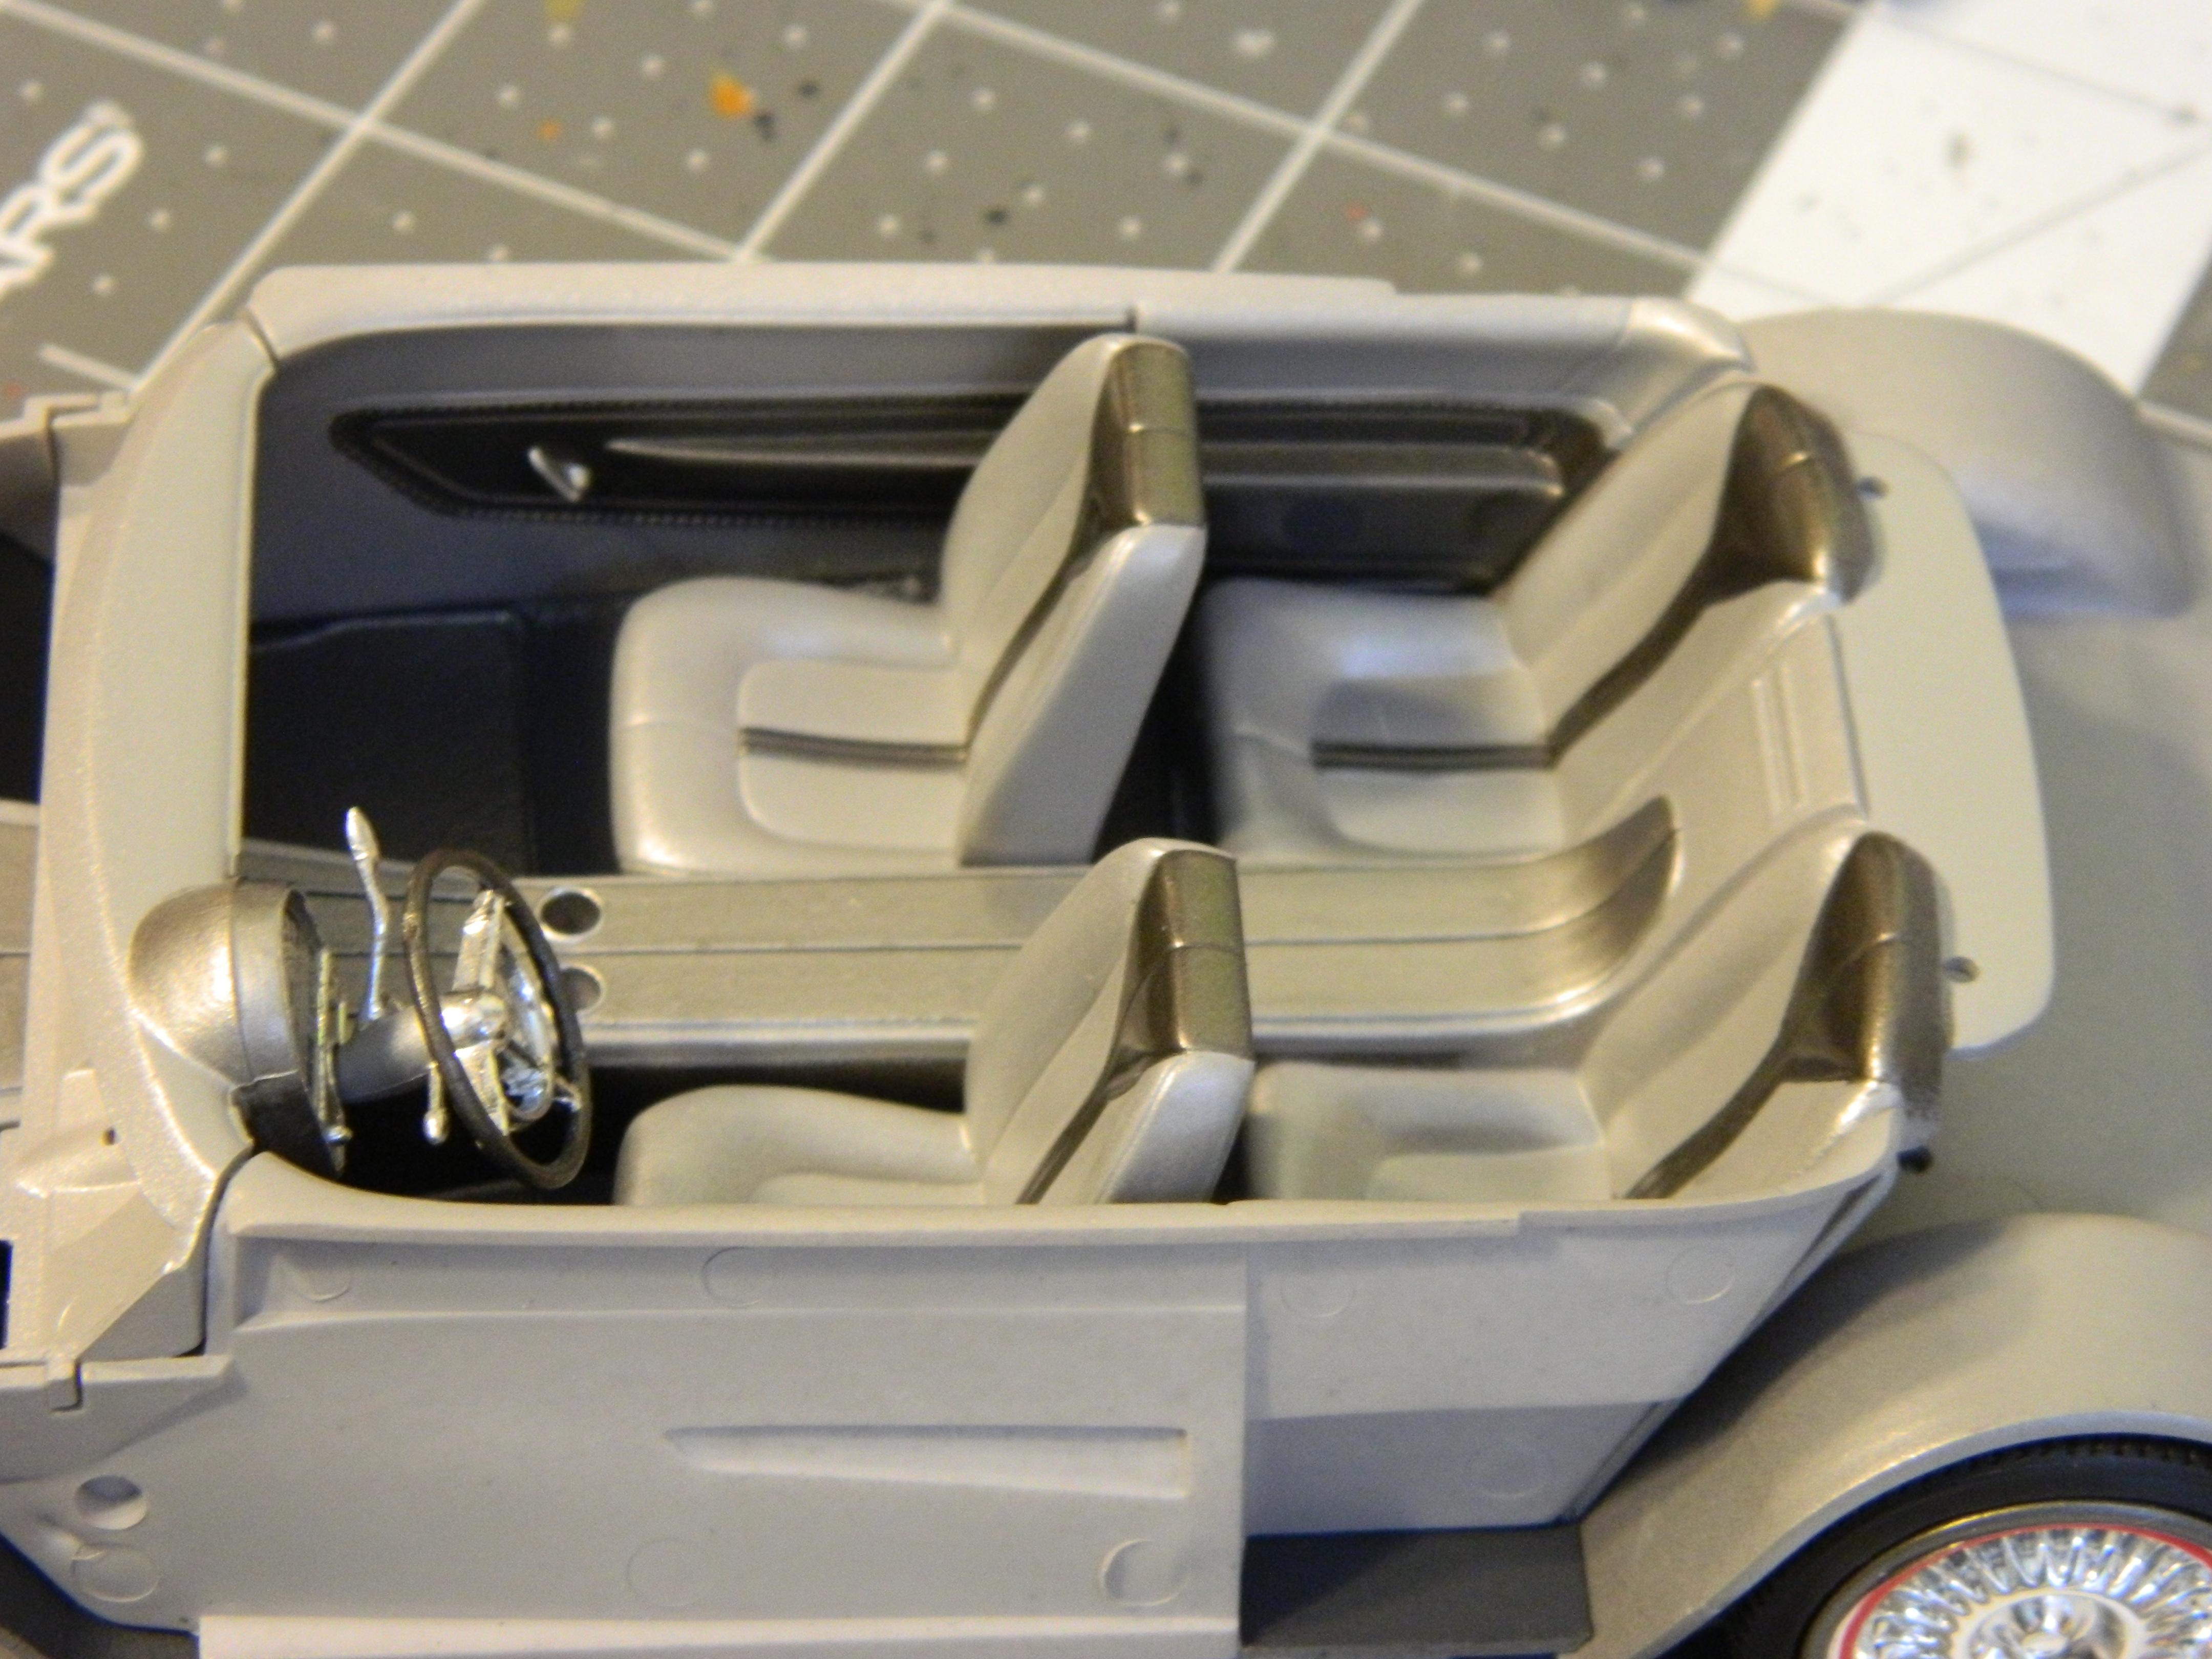
Thanks for the comments guys! I managed to get the interior done today. I also put the valve cover and air cleaner decals on, they're very subtle, but I like the look. Seeing the top of the steering wheel in these pics makes me want to try to repair it or find a different one, it was difficult removing it from the sprue without some kind of flaw. The attachment point was not very well located and was a little thick and the flaw is much more noticeable in the pic than in person.
-
I was able to spray the Krylon Short Cuts Clear on yesterday, and I'll probably wet-sand and polish it on Friday. I worked on the engine and chassis today, and managed to pretty much finish those. I'm debating whether to leave the wheels chrome, or spray some Tamiya Smoke on them. I'll finish the interior tomorrow and probably spray some primer on my next project, the Foose FD-100 Pickup after that.
-
Nice work on the grille/headlights, and on the chassis. Excellent looking interior, and the paint is gorgeous.
-
Great looking color and the white is a great contrast for it!
-
 Just seeing this for the first time, what an excellent build you have so far. The final hood scoop looks fantastic, I think the stance is perfect as-is, and that color looks awesome. The Tamiya Metallics are great to experiment with concerning base colors.
 -
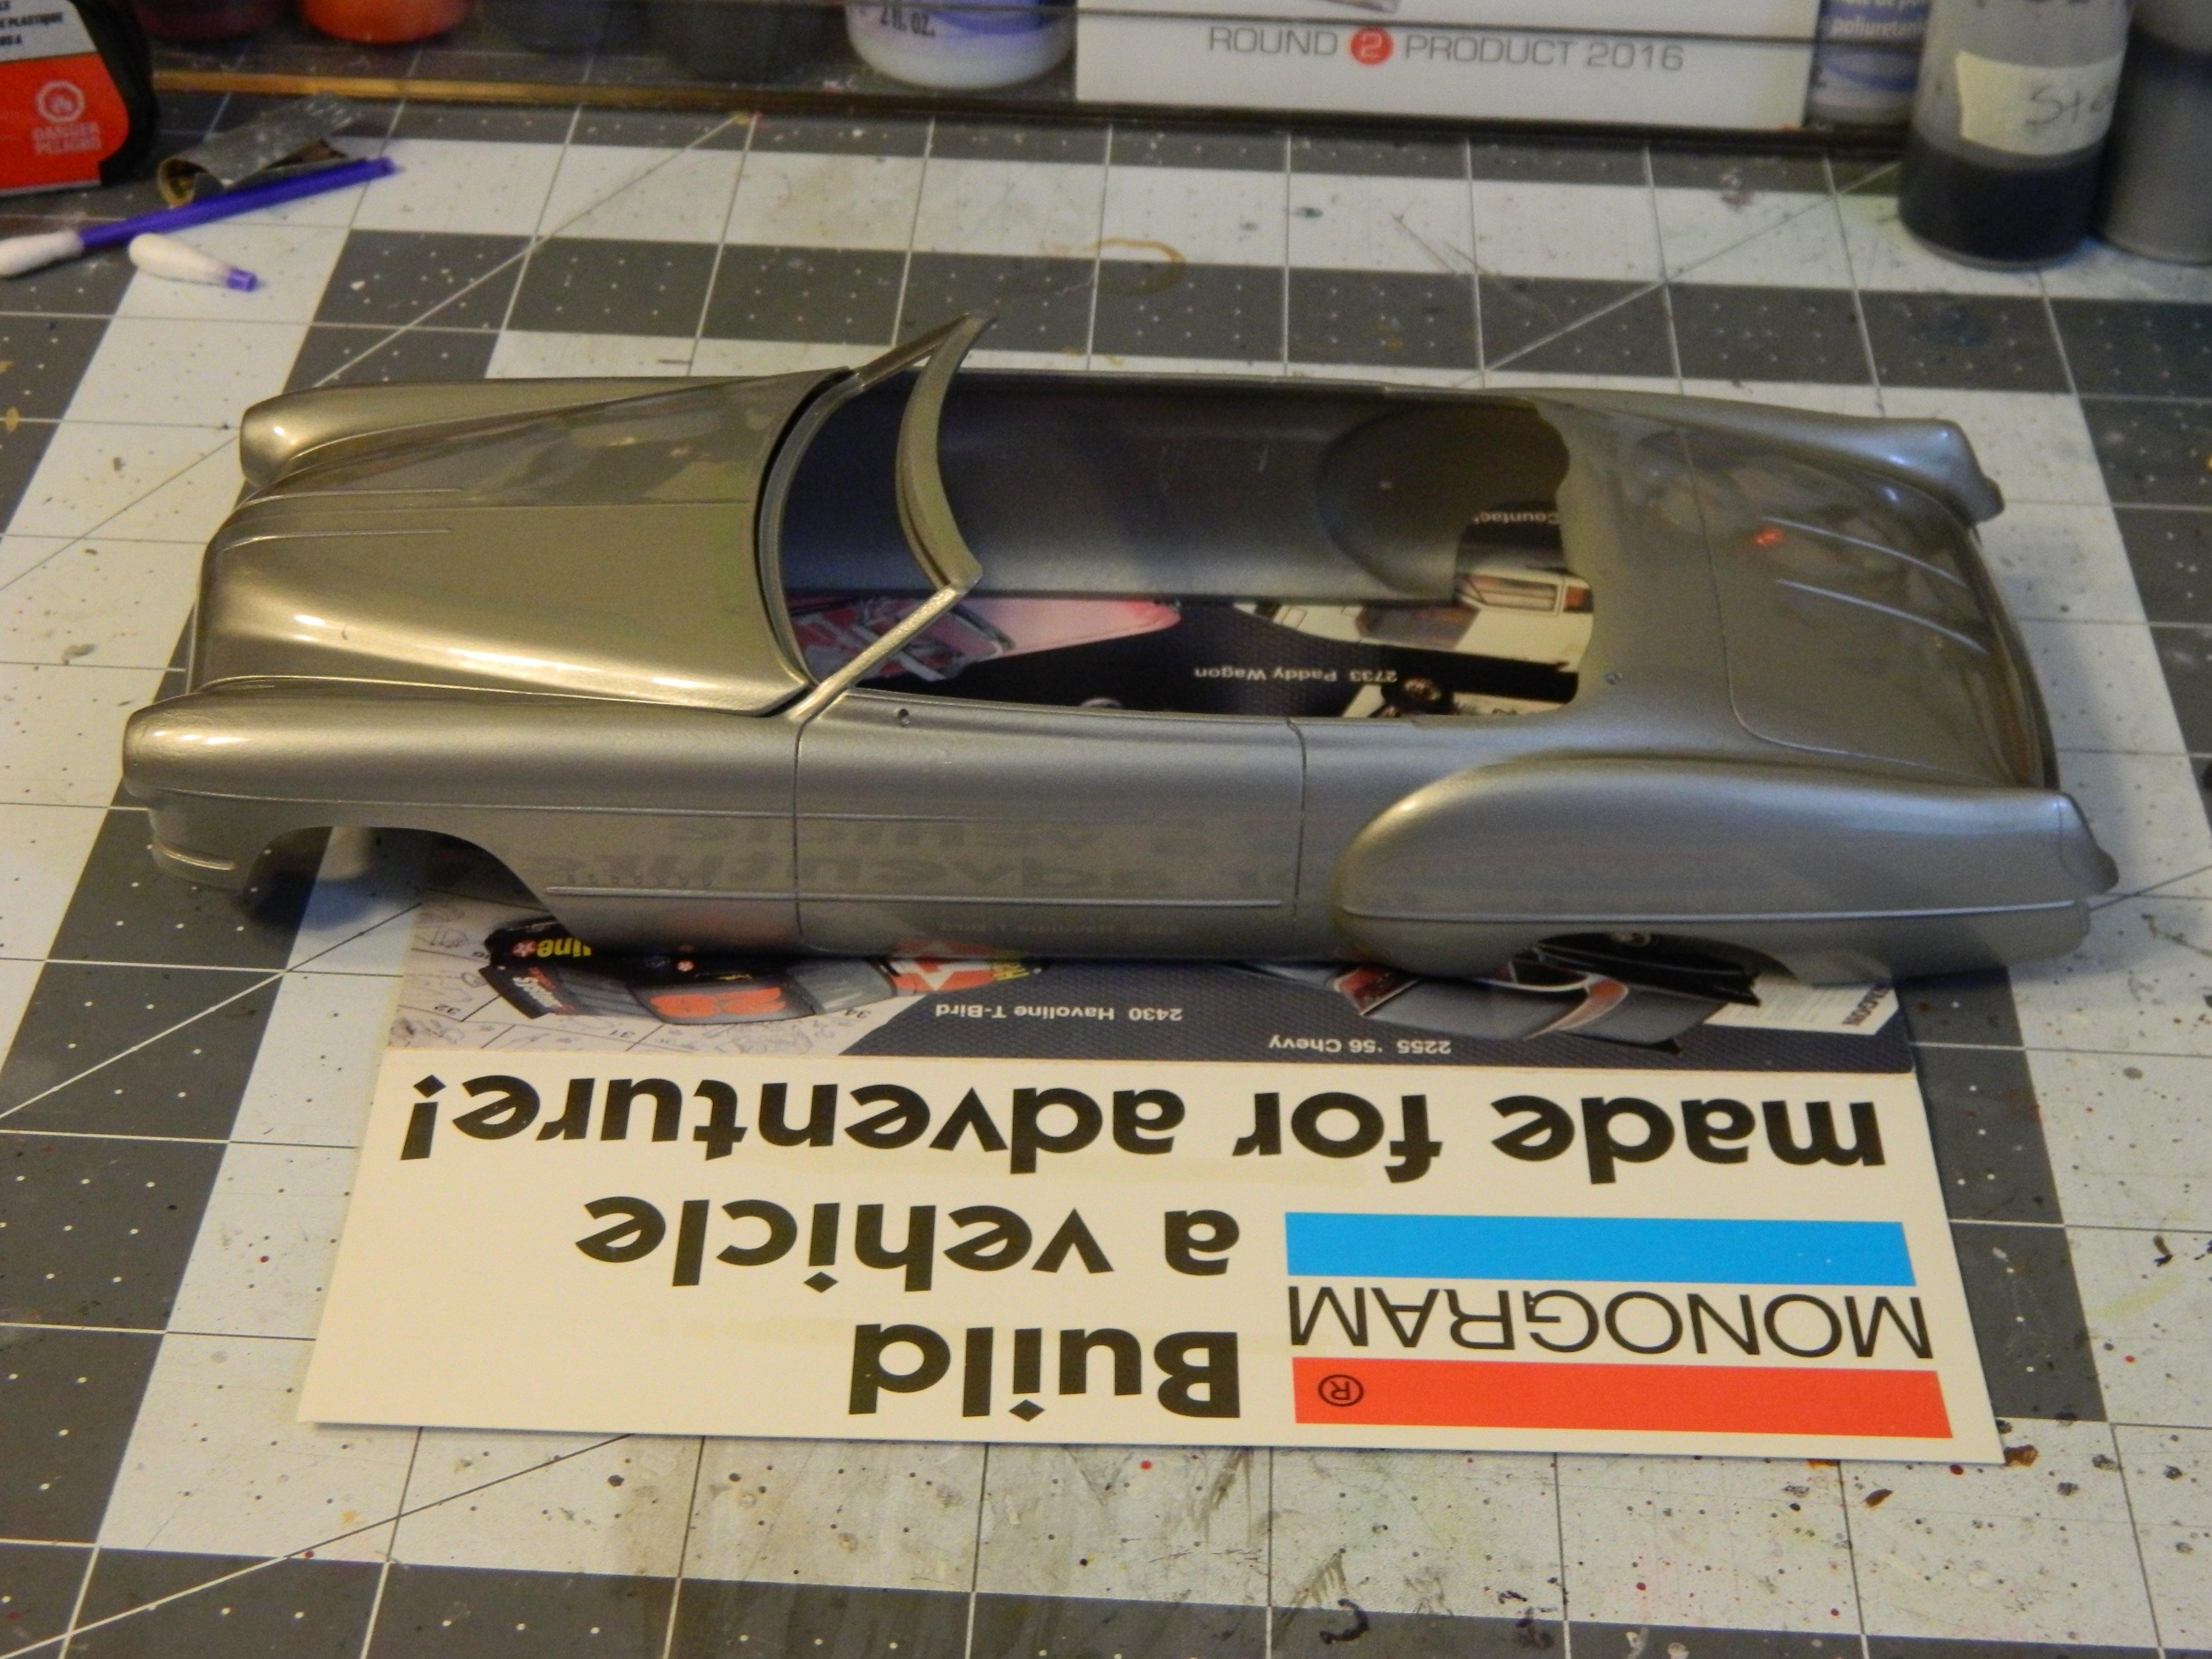
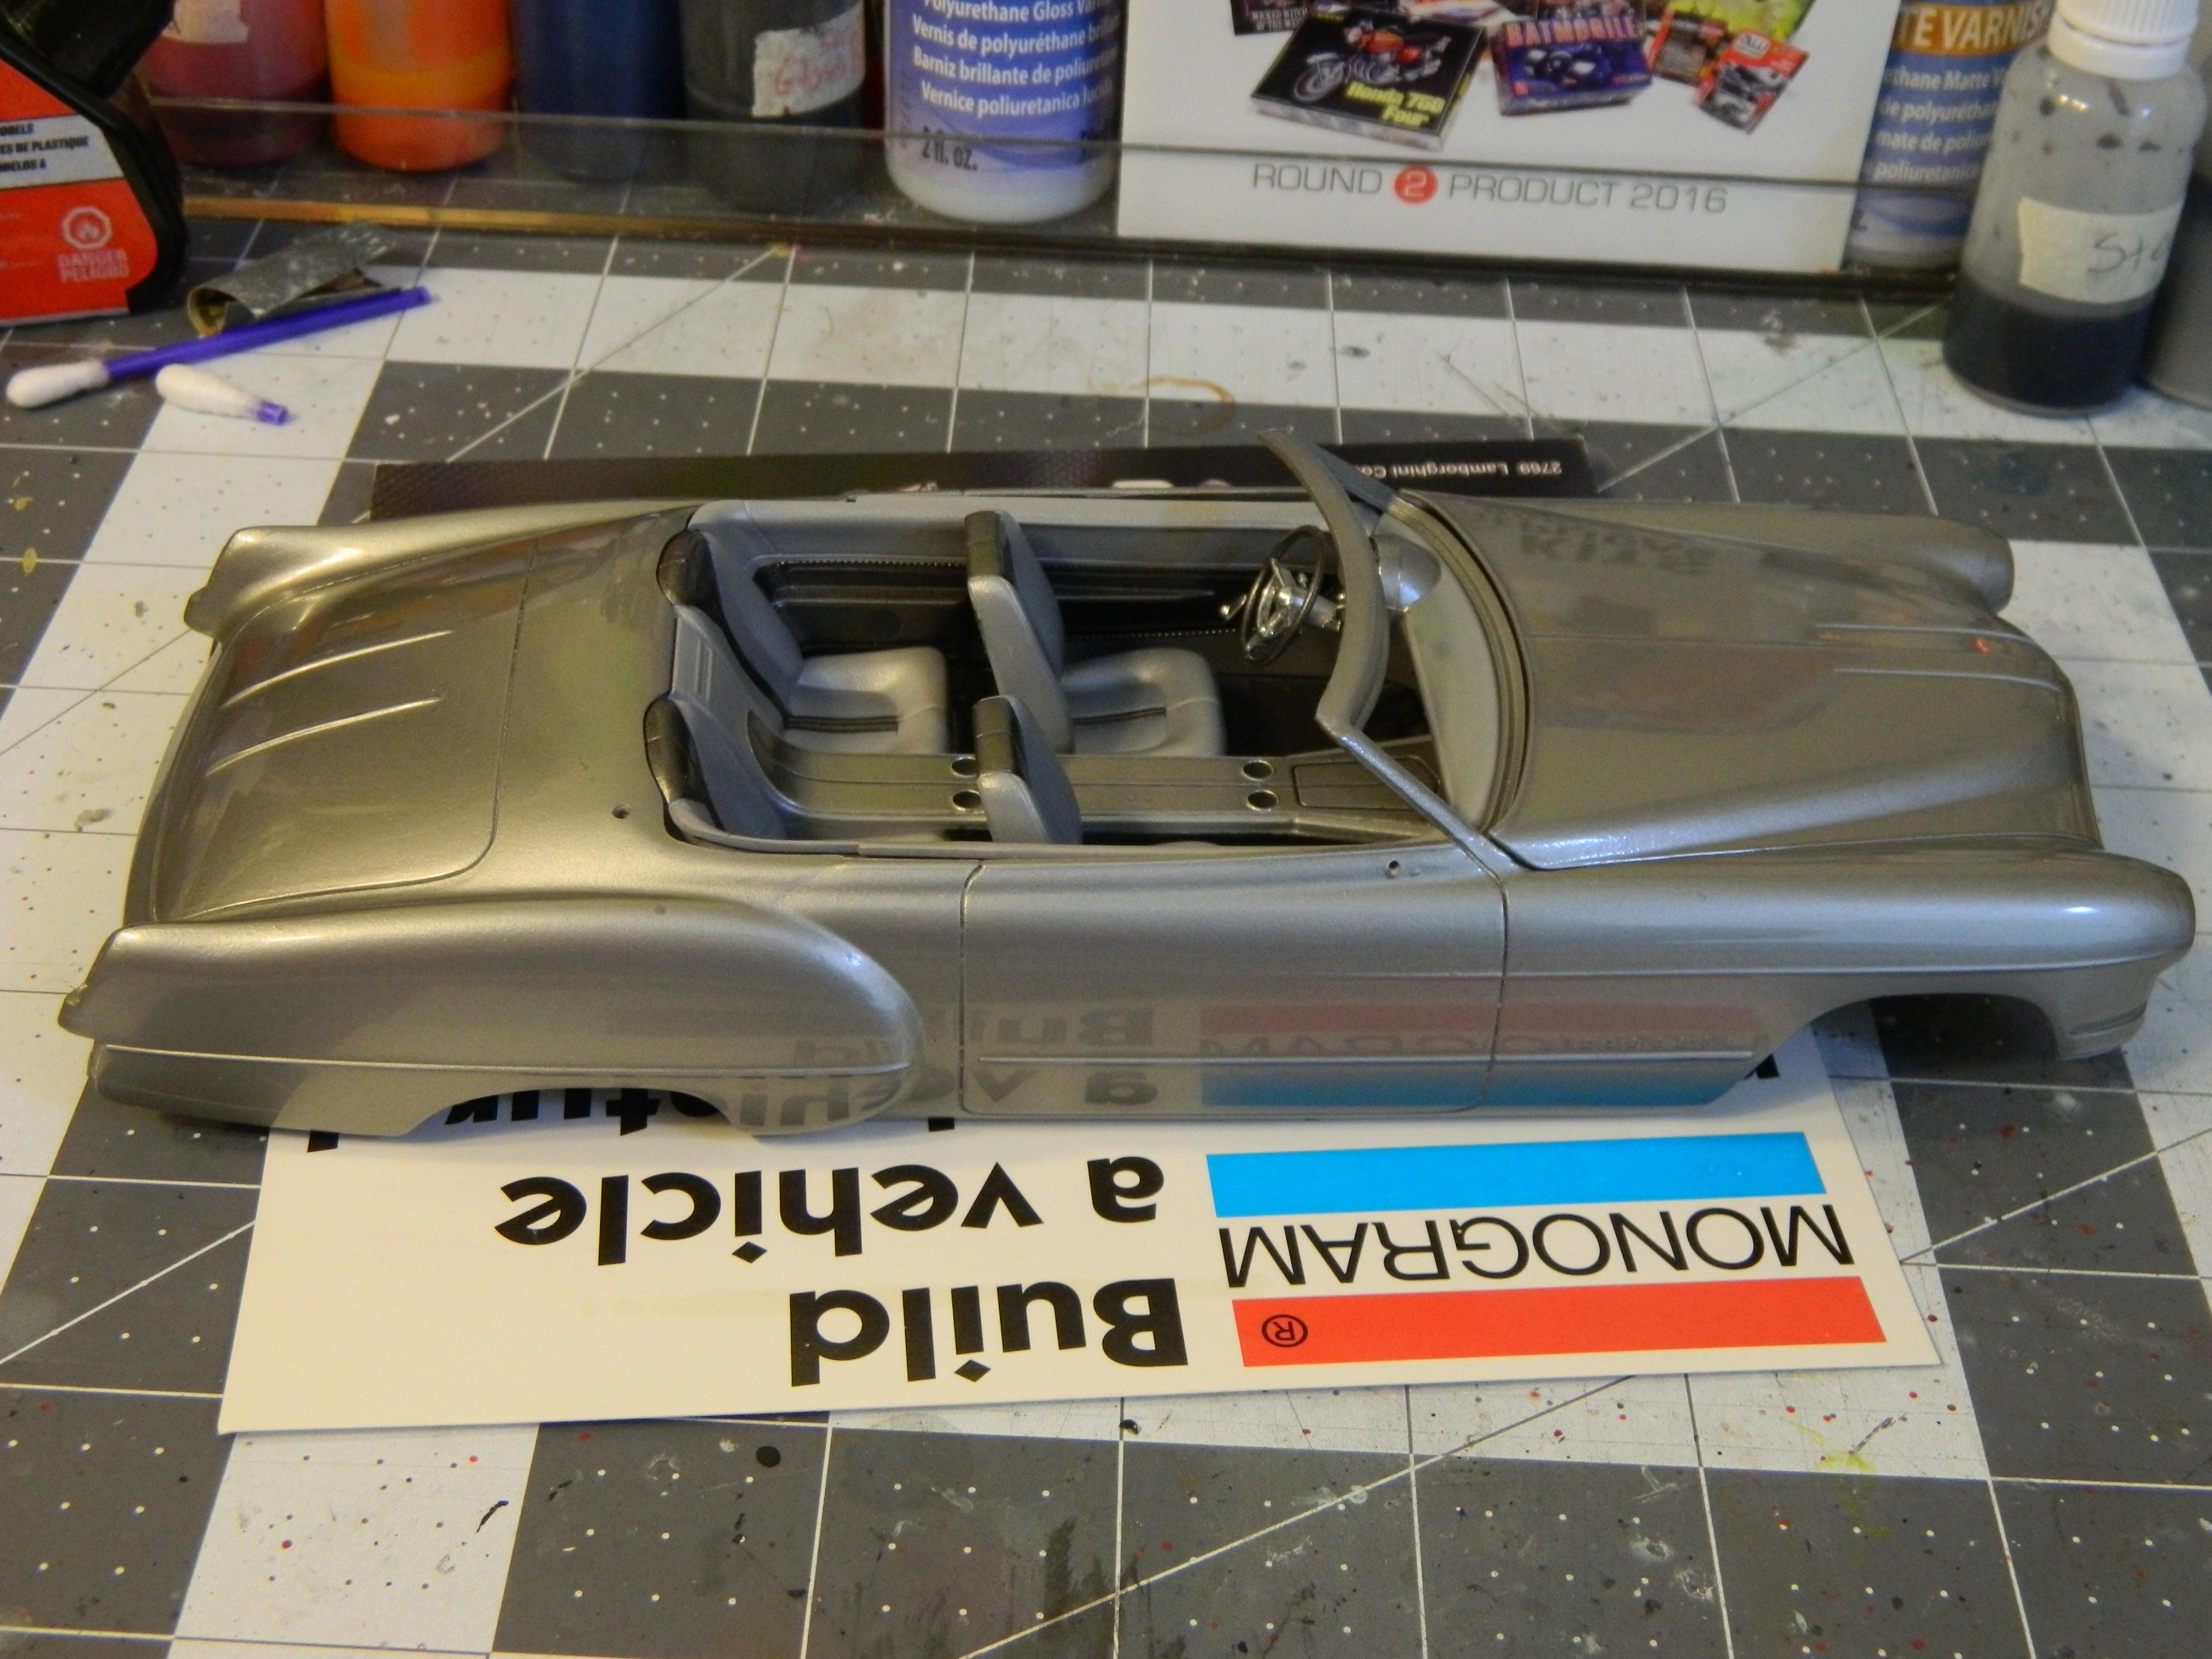
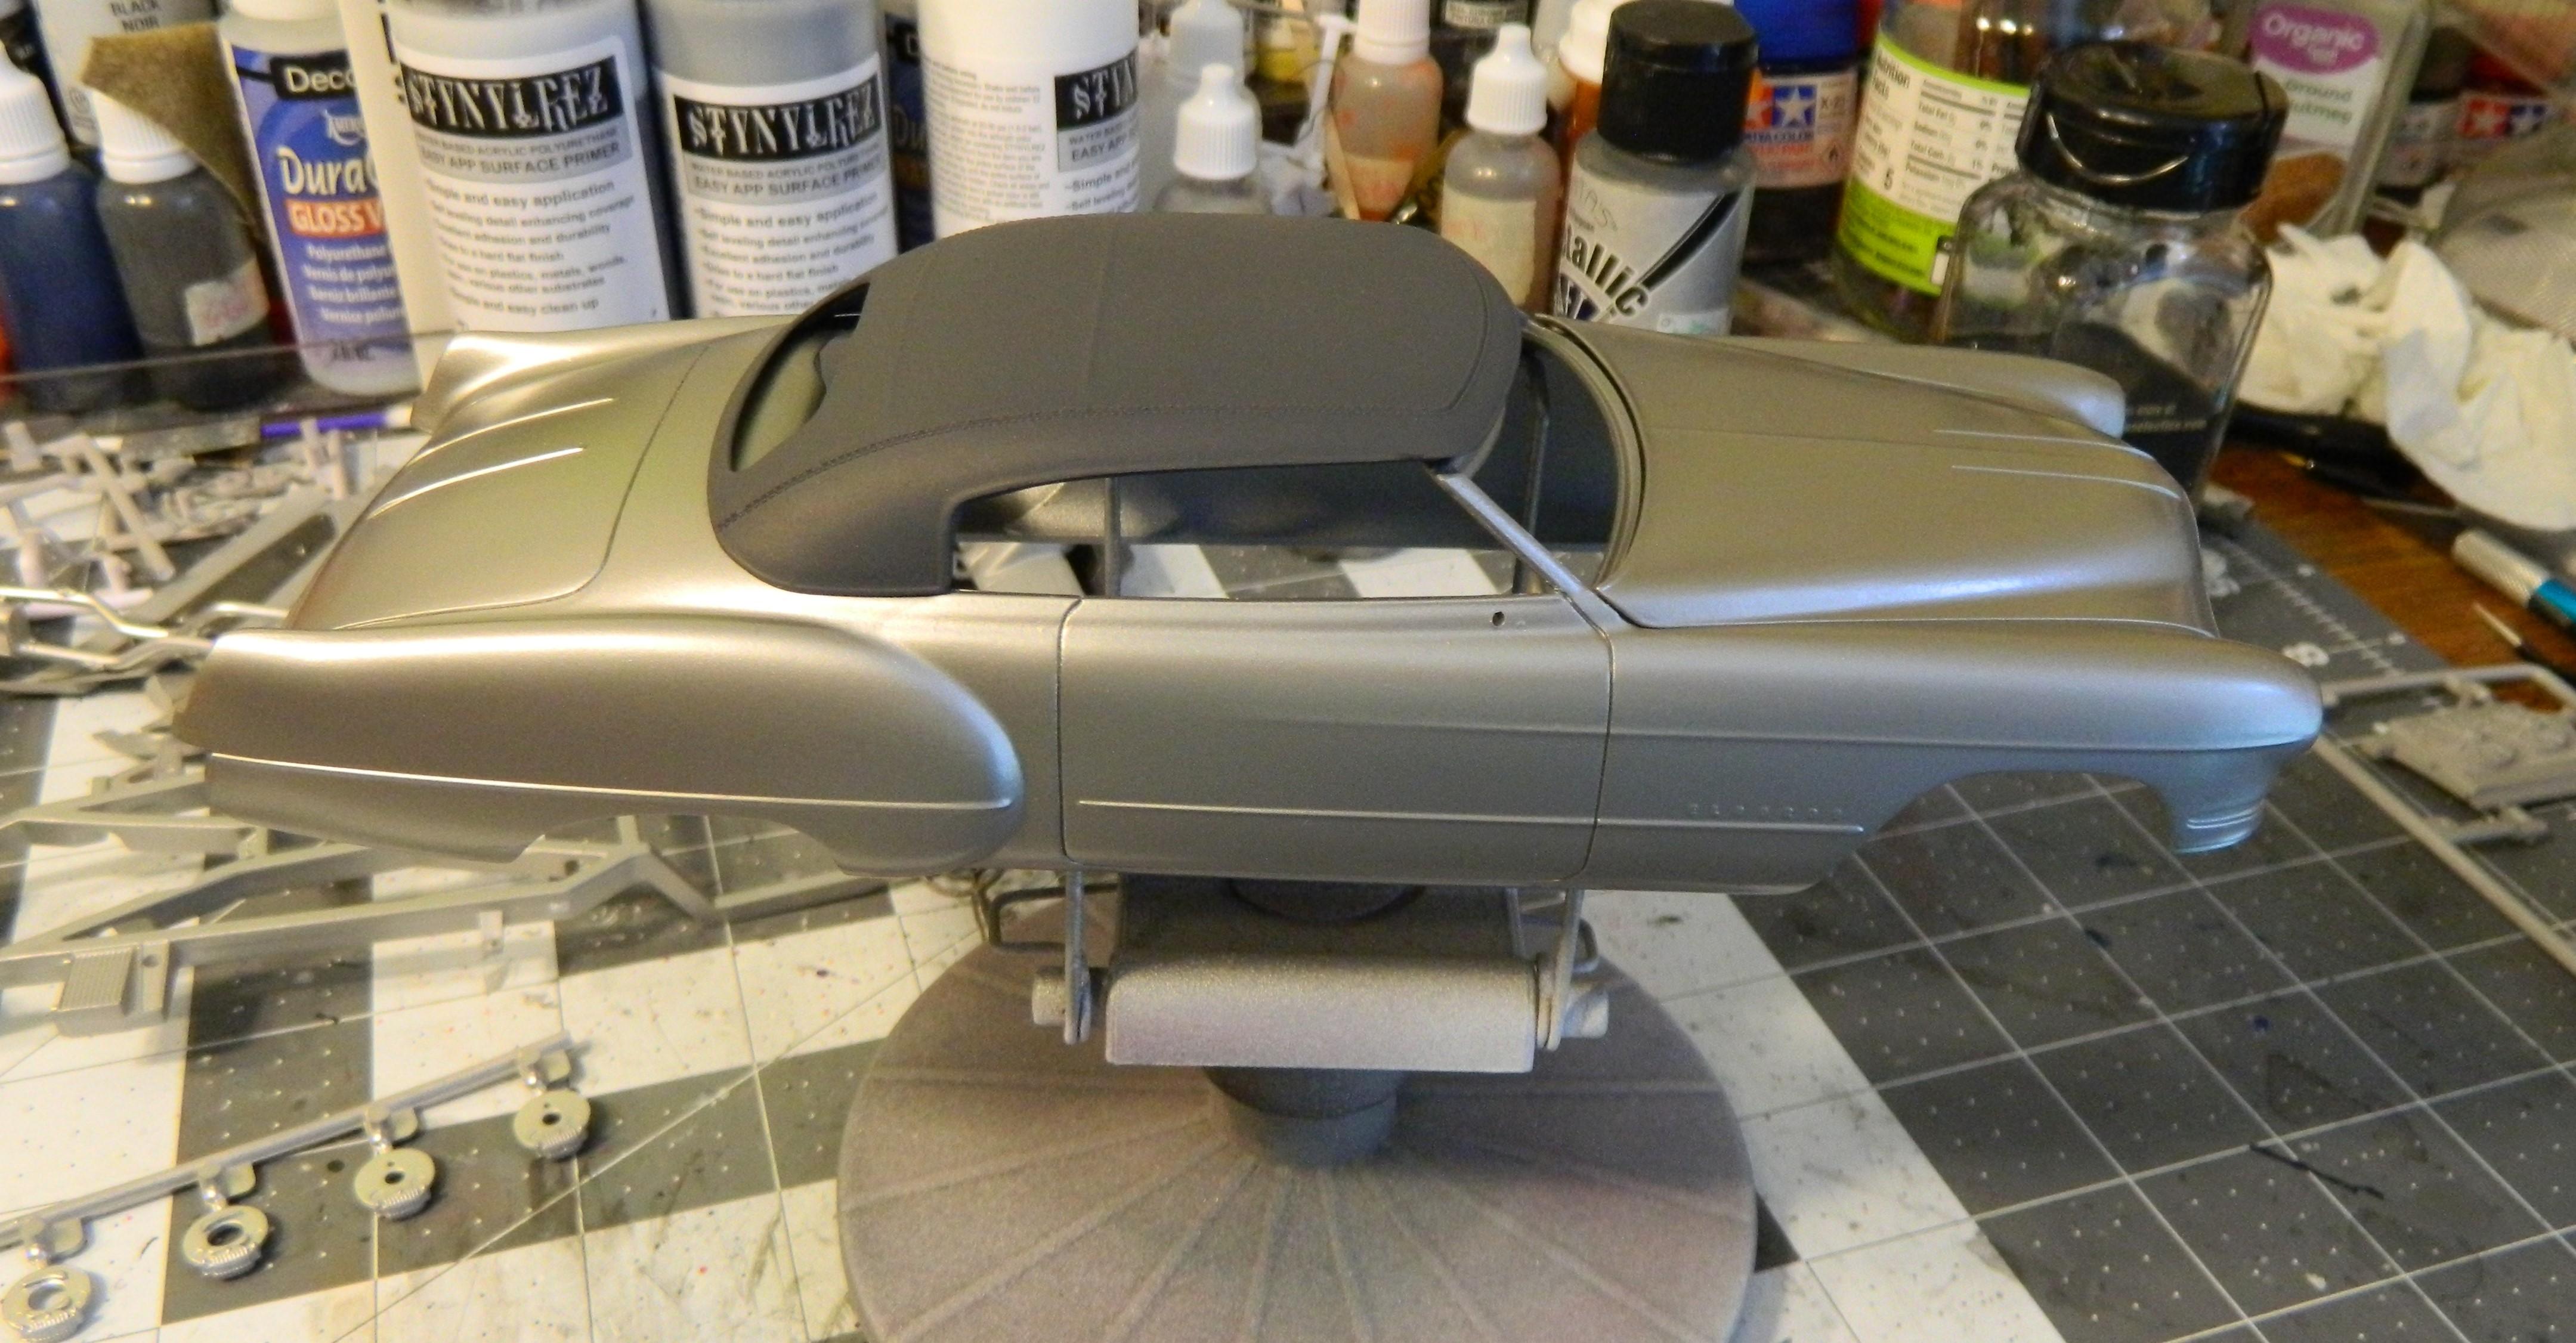
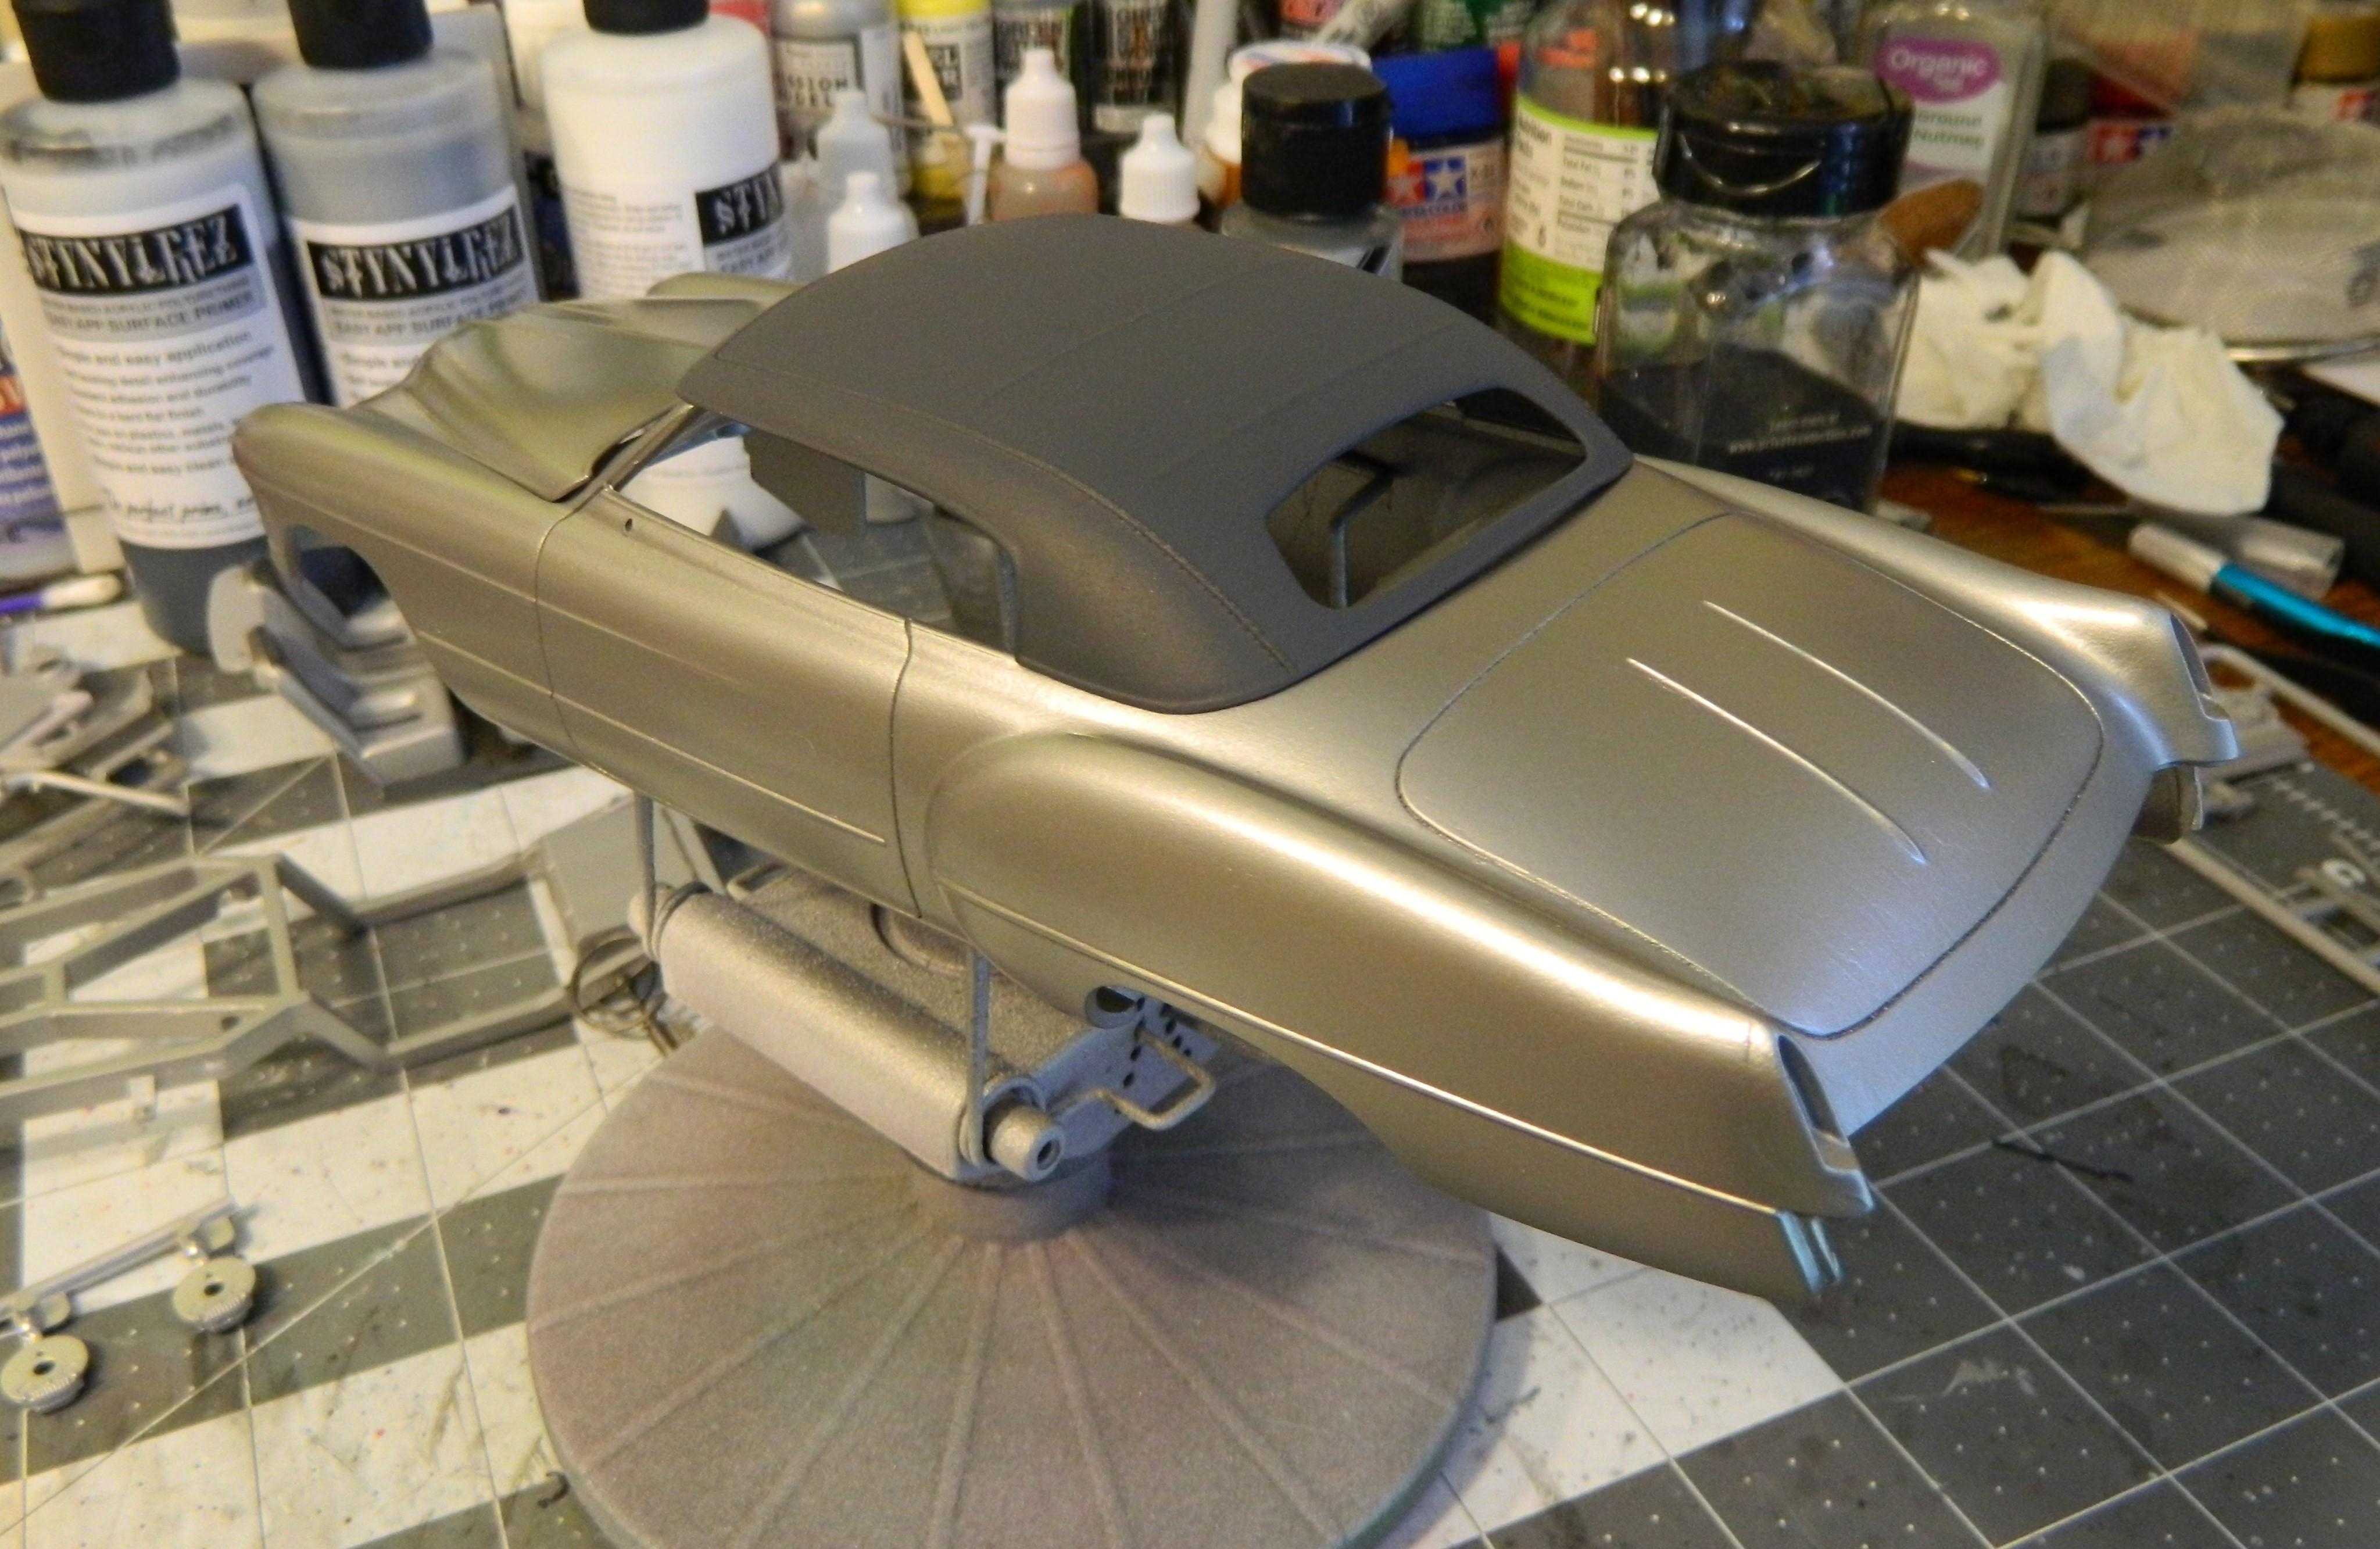
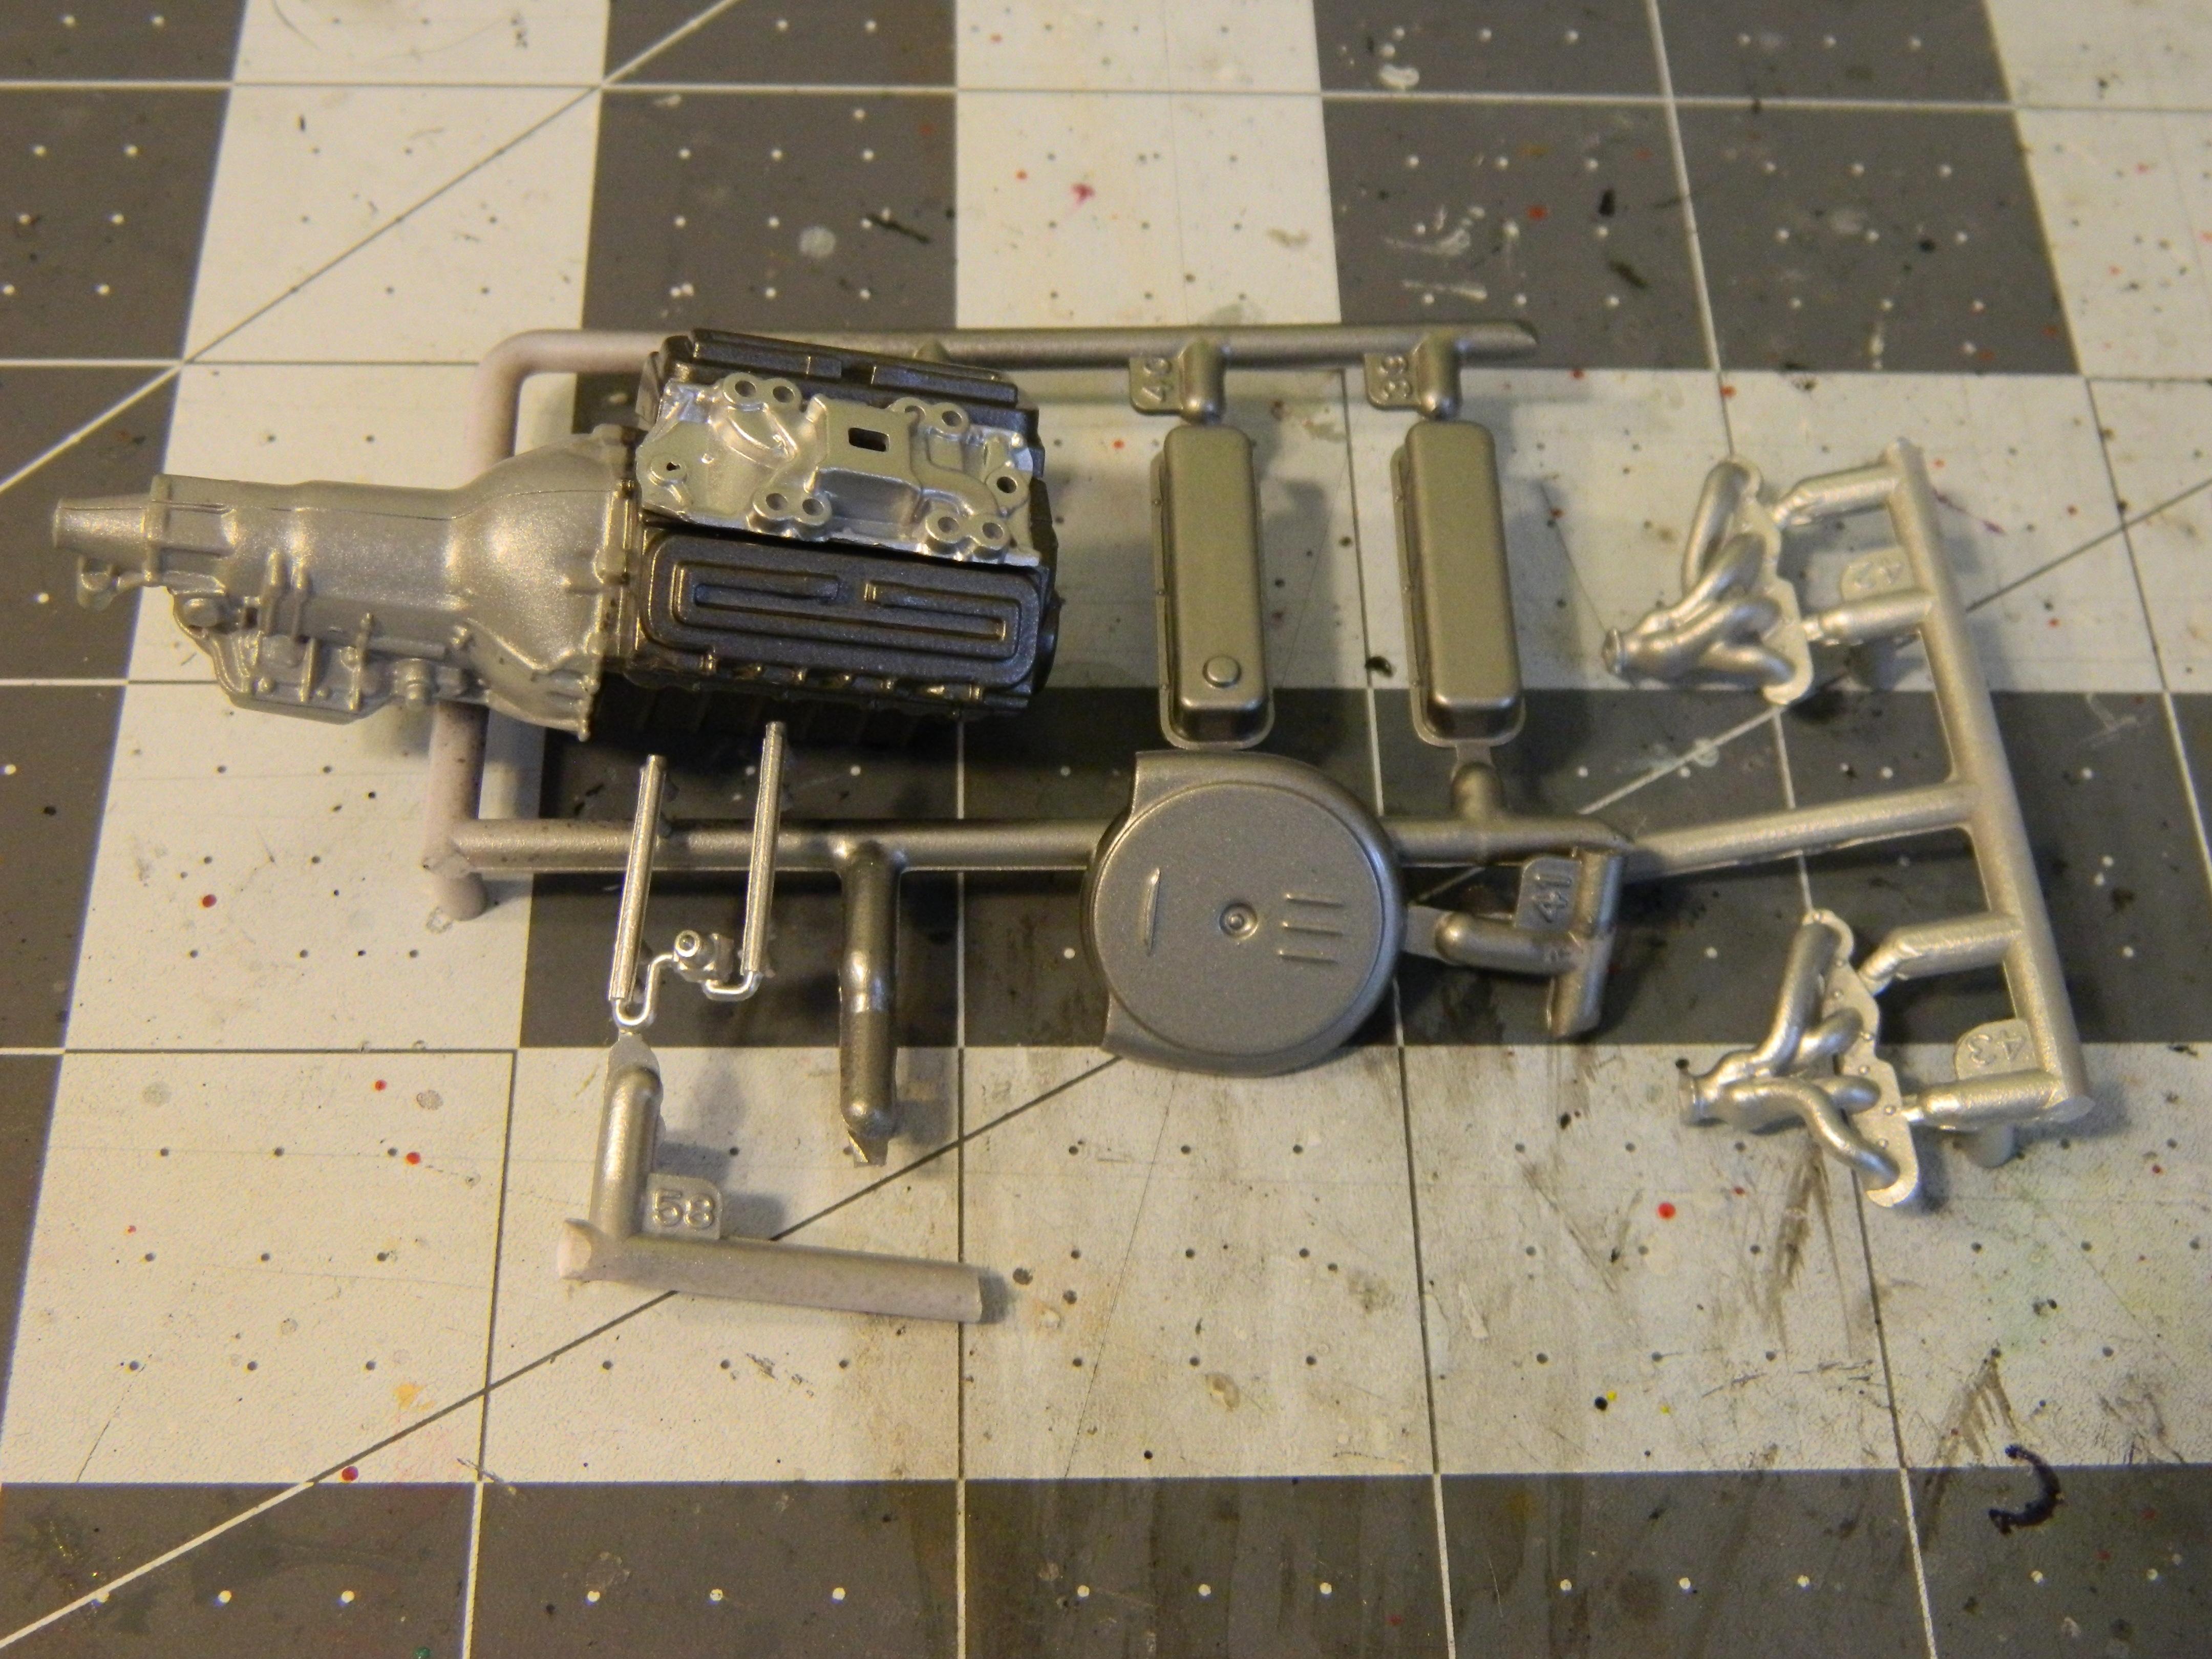
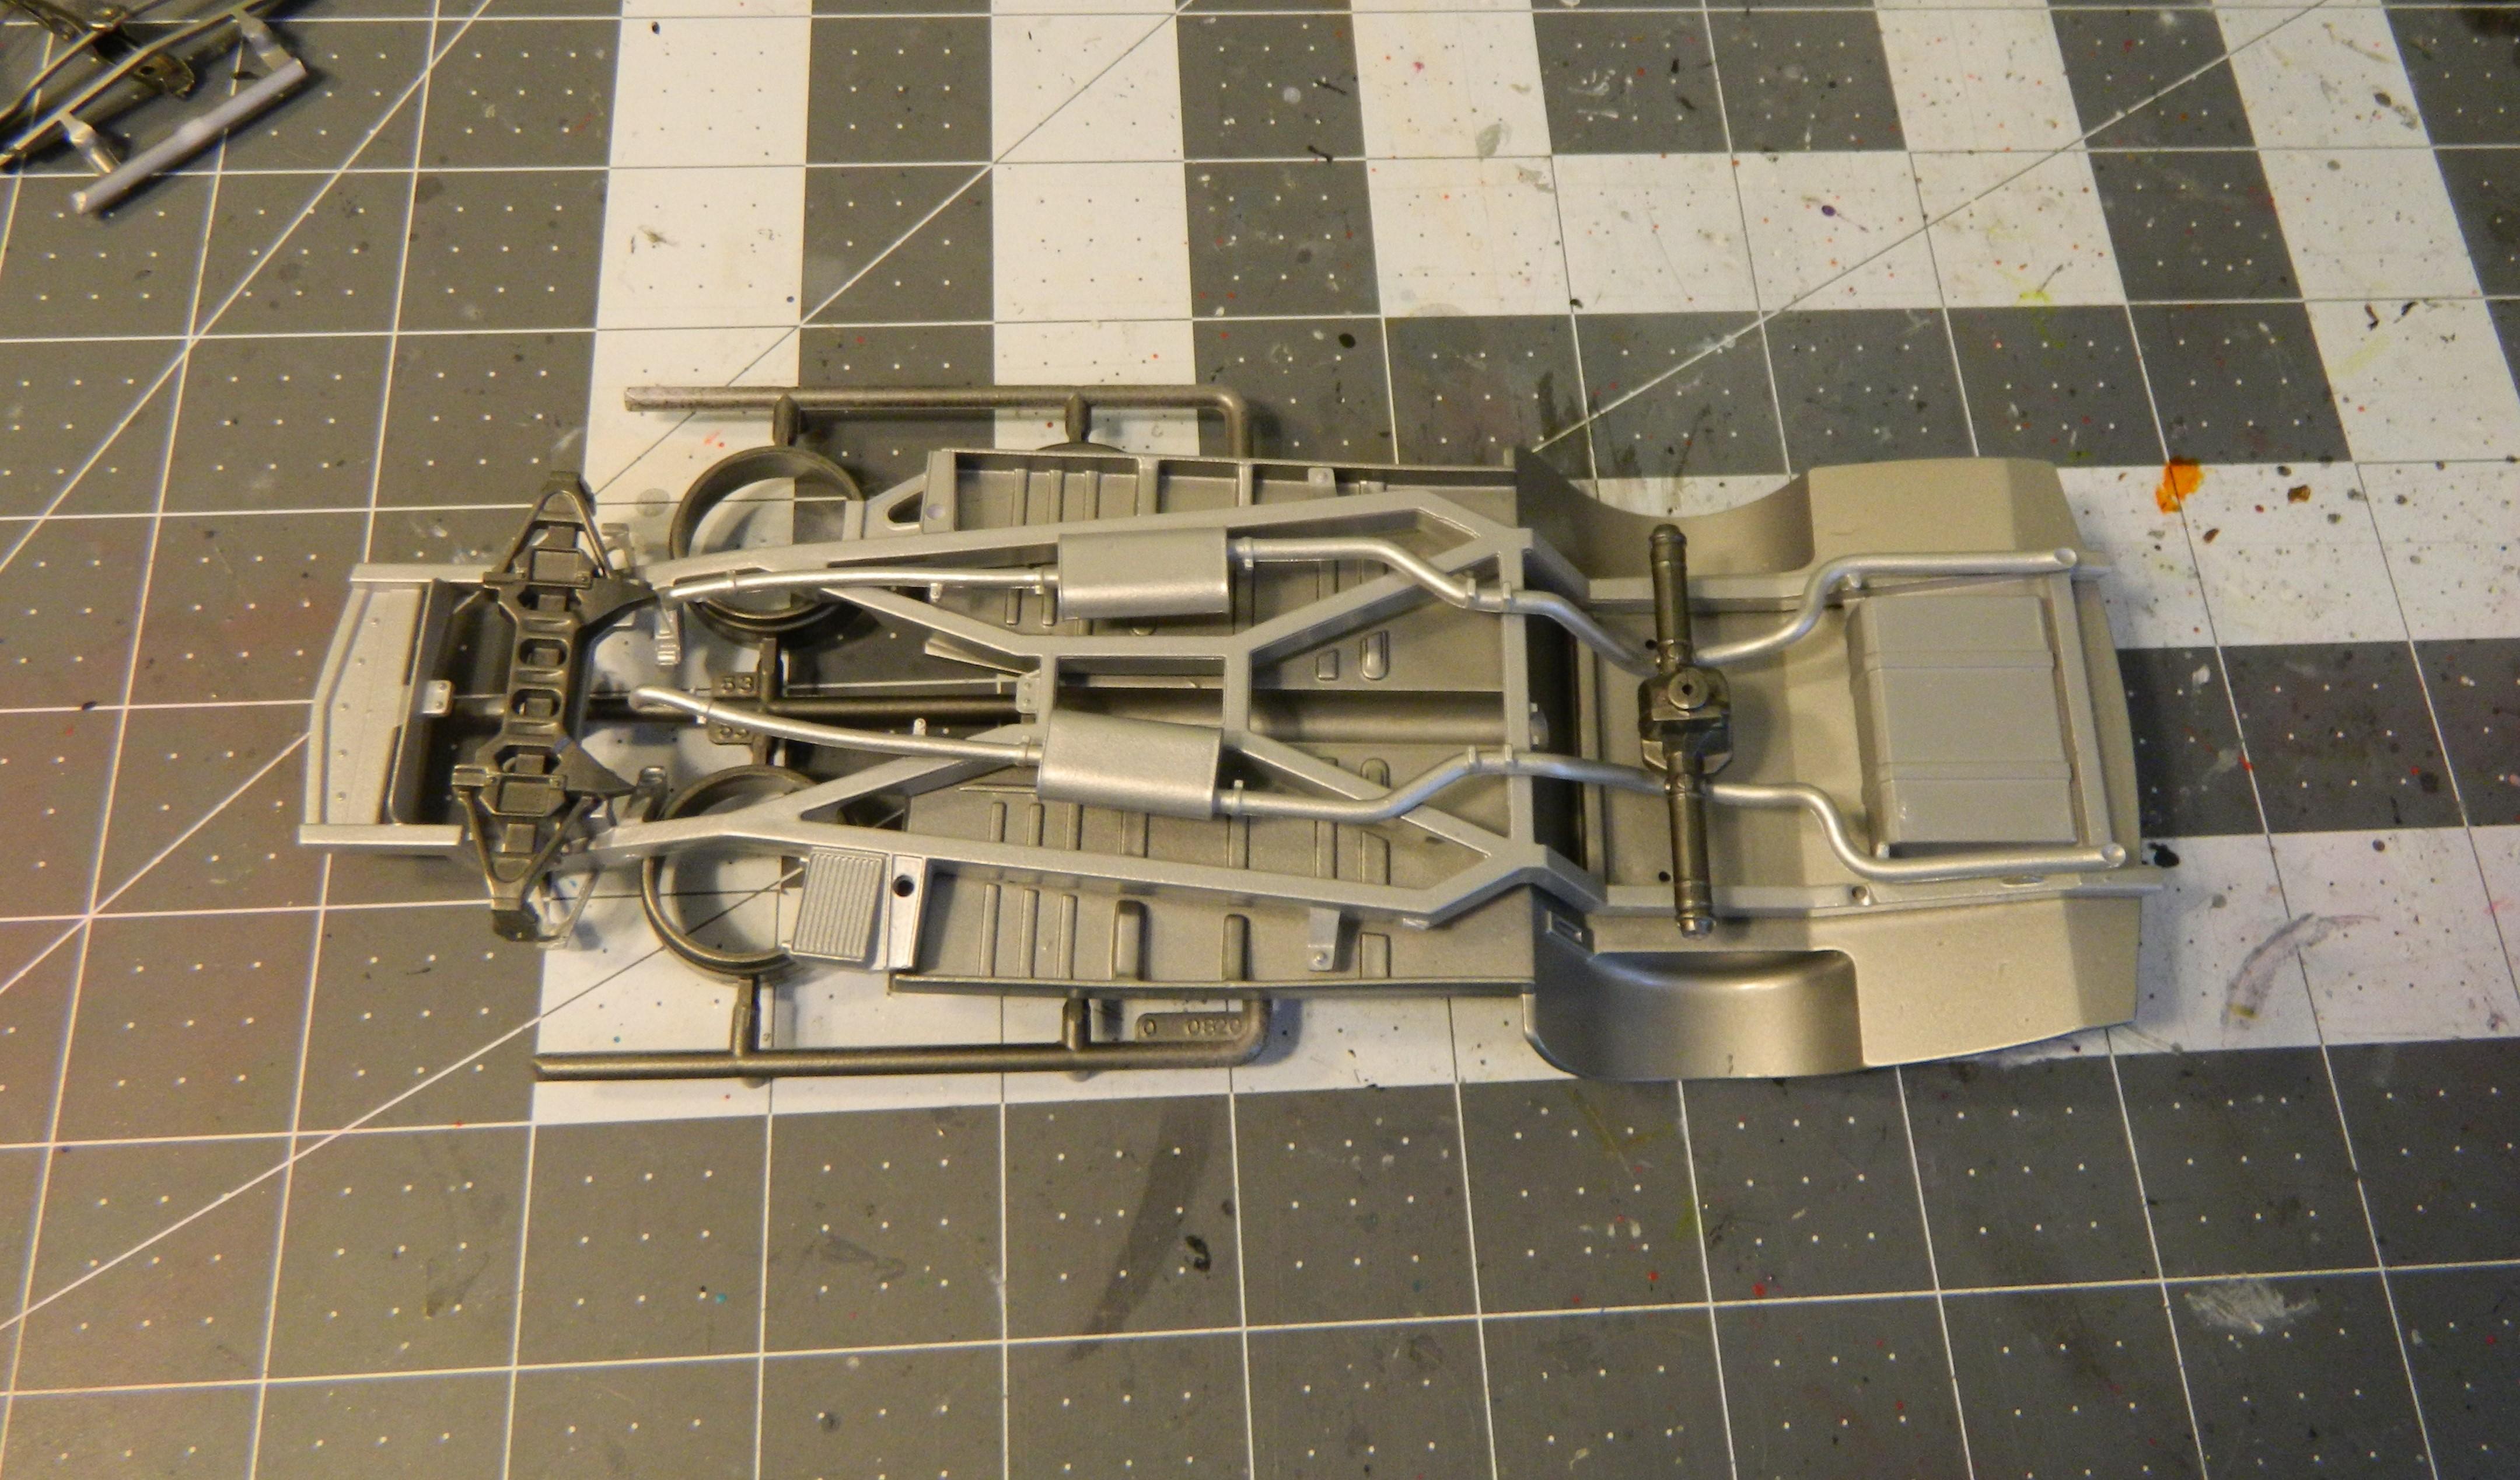
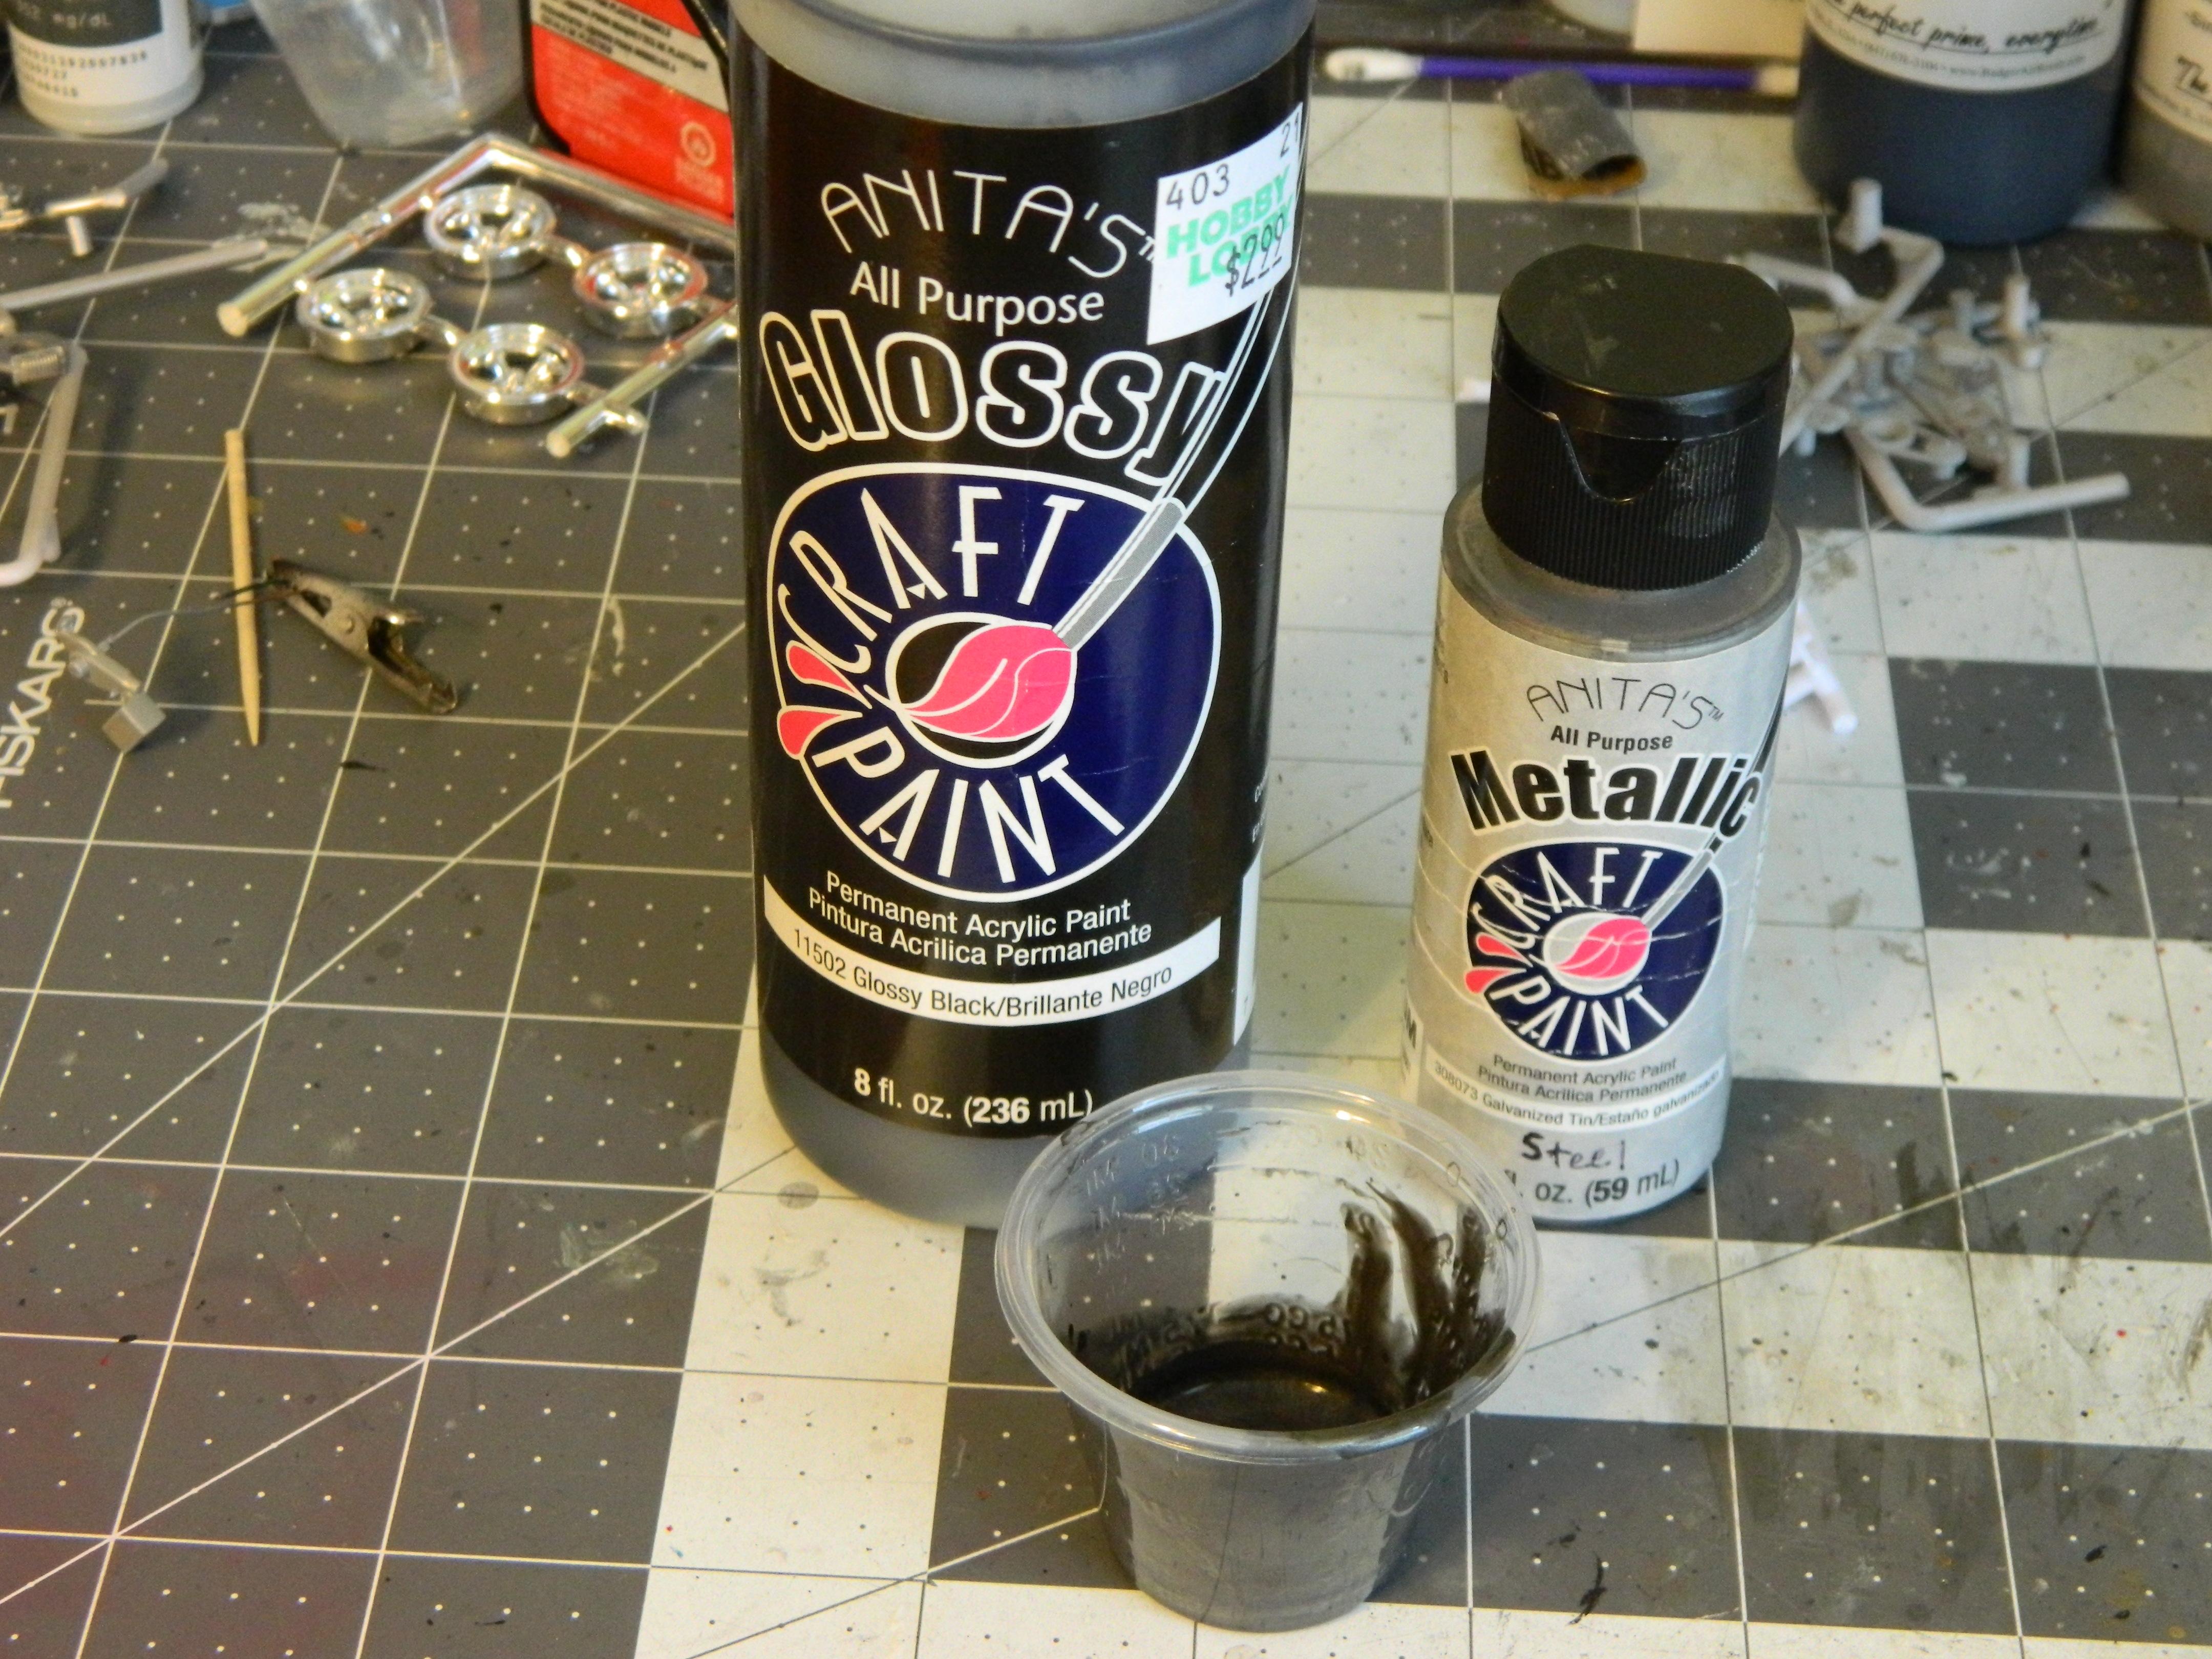
I got the body painted in the Anita's Metallic Galvanized Tin craft paint today. I mixed in some Duraclear Gloss Varnish and a few drops of Createx Retarder for flow improvement. I sprayed it through my cheap dual-action airbrush at 22 psi, three coats total. I also mixed a Dark Gray for the top using Delta Ceramcoat Black and Apple Barrel Elephant Gray with some Duraclear Matte Varnish added for durability at the same psi. I hand painted the carpet area with a less-thinned cap-full of that same dark gray mixture. I also taped off and sprayed the top of the console with the Galvanized Tin. Since I changed my mind and painted the engine a darker color, I painted over the Dark Tin valve covers and air cleaner with the Galvanized Tin body color for contrast. Included are a pic of the un-assembled engine and undercarriage for an idea of my color contrast scheme. I'll get some clear on the body in a couple of days, and will be painting, detailing, and assembling the other parts until then.
-
Thanks! I mostly airbrush them, but for some smaller parts I do hand paint them. Thanks Mike, It is a nice kit and I don't think I've seen one built badly yet. It was a Father's Day gift a couple of years ago and I'm glad I finally got the inspiration for a color to get it built. Thanks for the well wishes. Funny thing is I still forgot to paint a major piece, LOL
-
Outstanding work so far! Very nice and realistic engine, well done interior, and a beautiful paint job and color!
-
Those are actually pretty decent kits fitment-wise, at least the ones I built were. A lot of flash on the parts and potential molding issues in the headlight areas, and maybe at the lower-back portion of the passenger front fenderwell, but otherwise pretty nice kits. I'm sure you'll knock-em out of the park, and I'll enjoy watching the progress.
-
Great pics of some great looking cars, thanks for posting these. I would love to experience a couple of days at a Mecum Auction, if I had a bucket list that would definitely be on it.
-
Thankfully we were able to bring our girl home this morning, and she seems to be doing very well considering. Feeling more relaxed, I was able to get the body wet-sanded this afternoon with some 2000 grit wet/dry sandpaper. I'm hoping I can get the body color on tomorrow. I also have to mix a non-glossy "Dark Tin" for the interior carpet area and convertible top, since I wasn't thinking and used the gloss black instead of flat black, LOL. On top of everything else, my brother drove our mom down to Ann Arbor Hospital this afternoon to prep for a heart procedure on Monday that she's been waiting 6 months for. Hopefully this great hobby can help keep my mind off of things like it thankfully has so far.
-
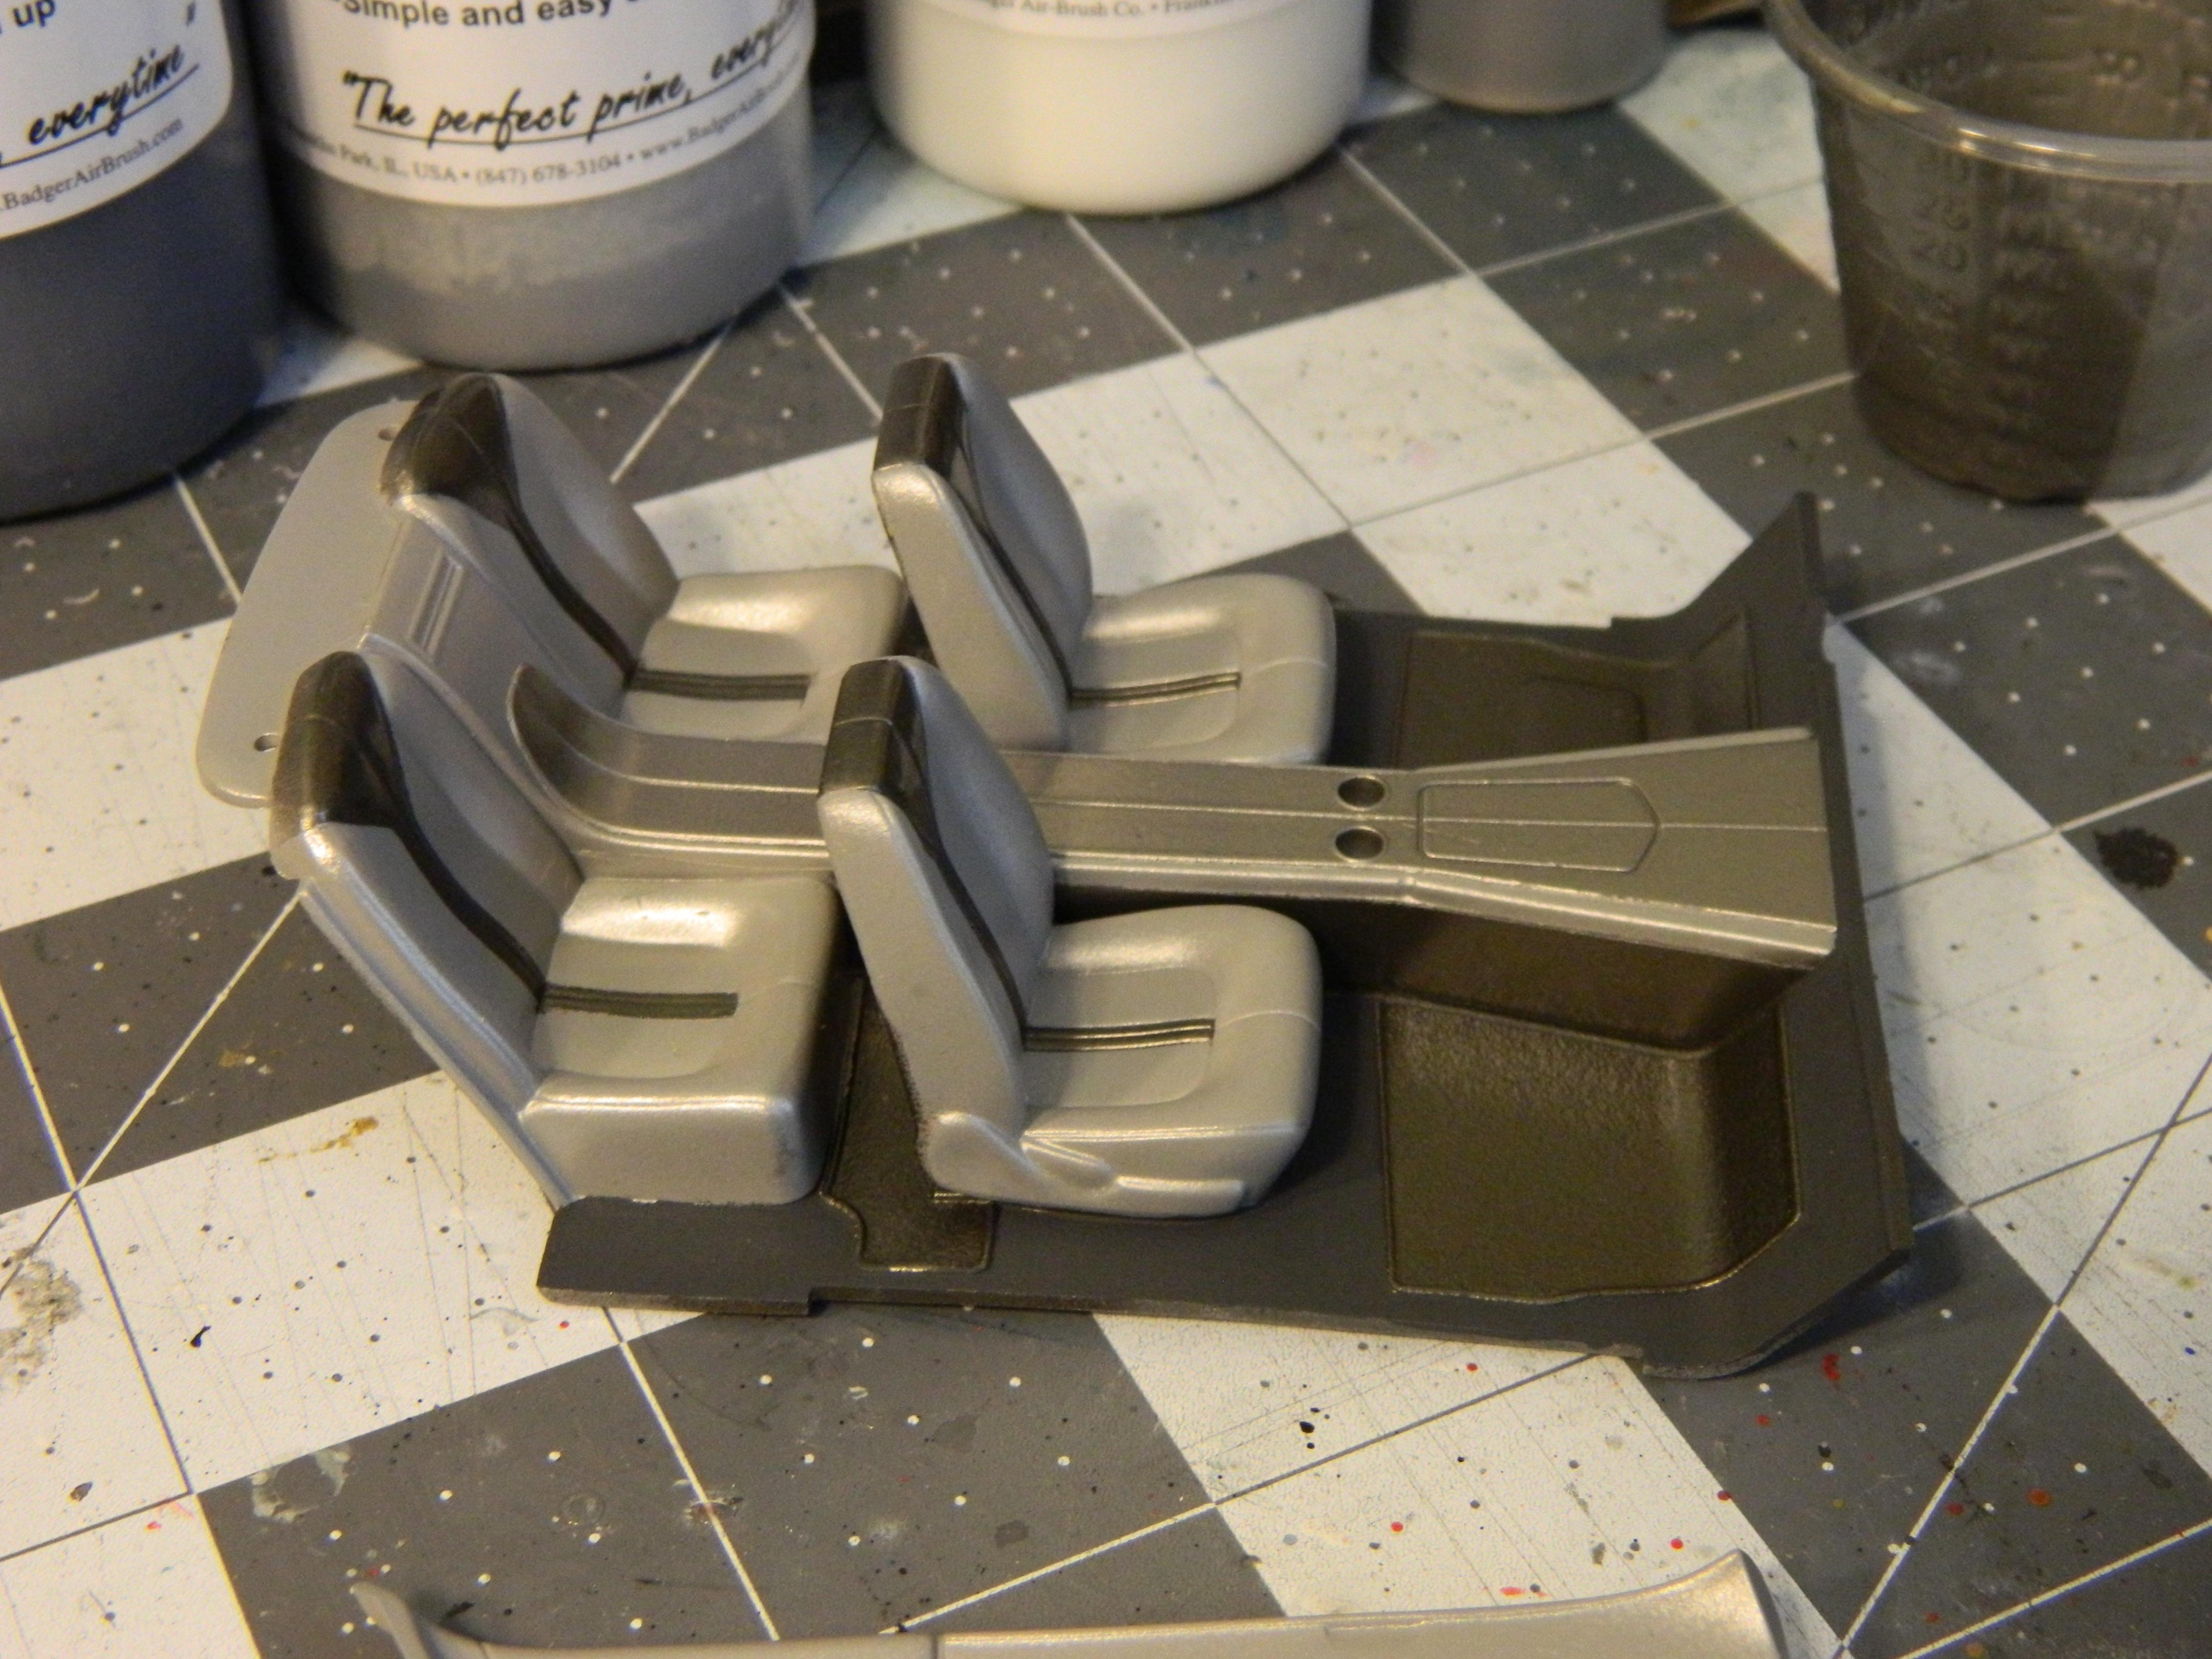
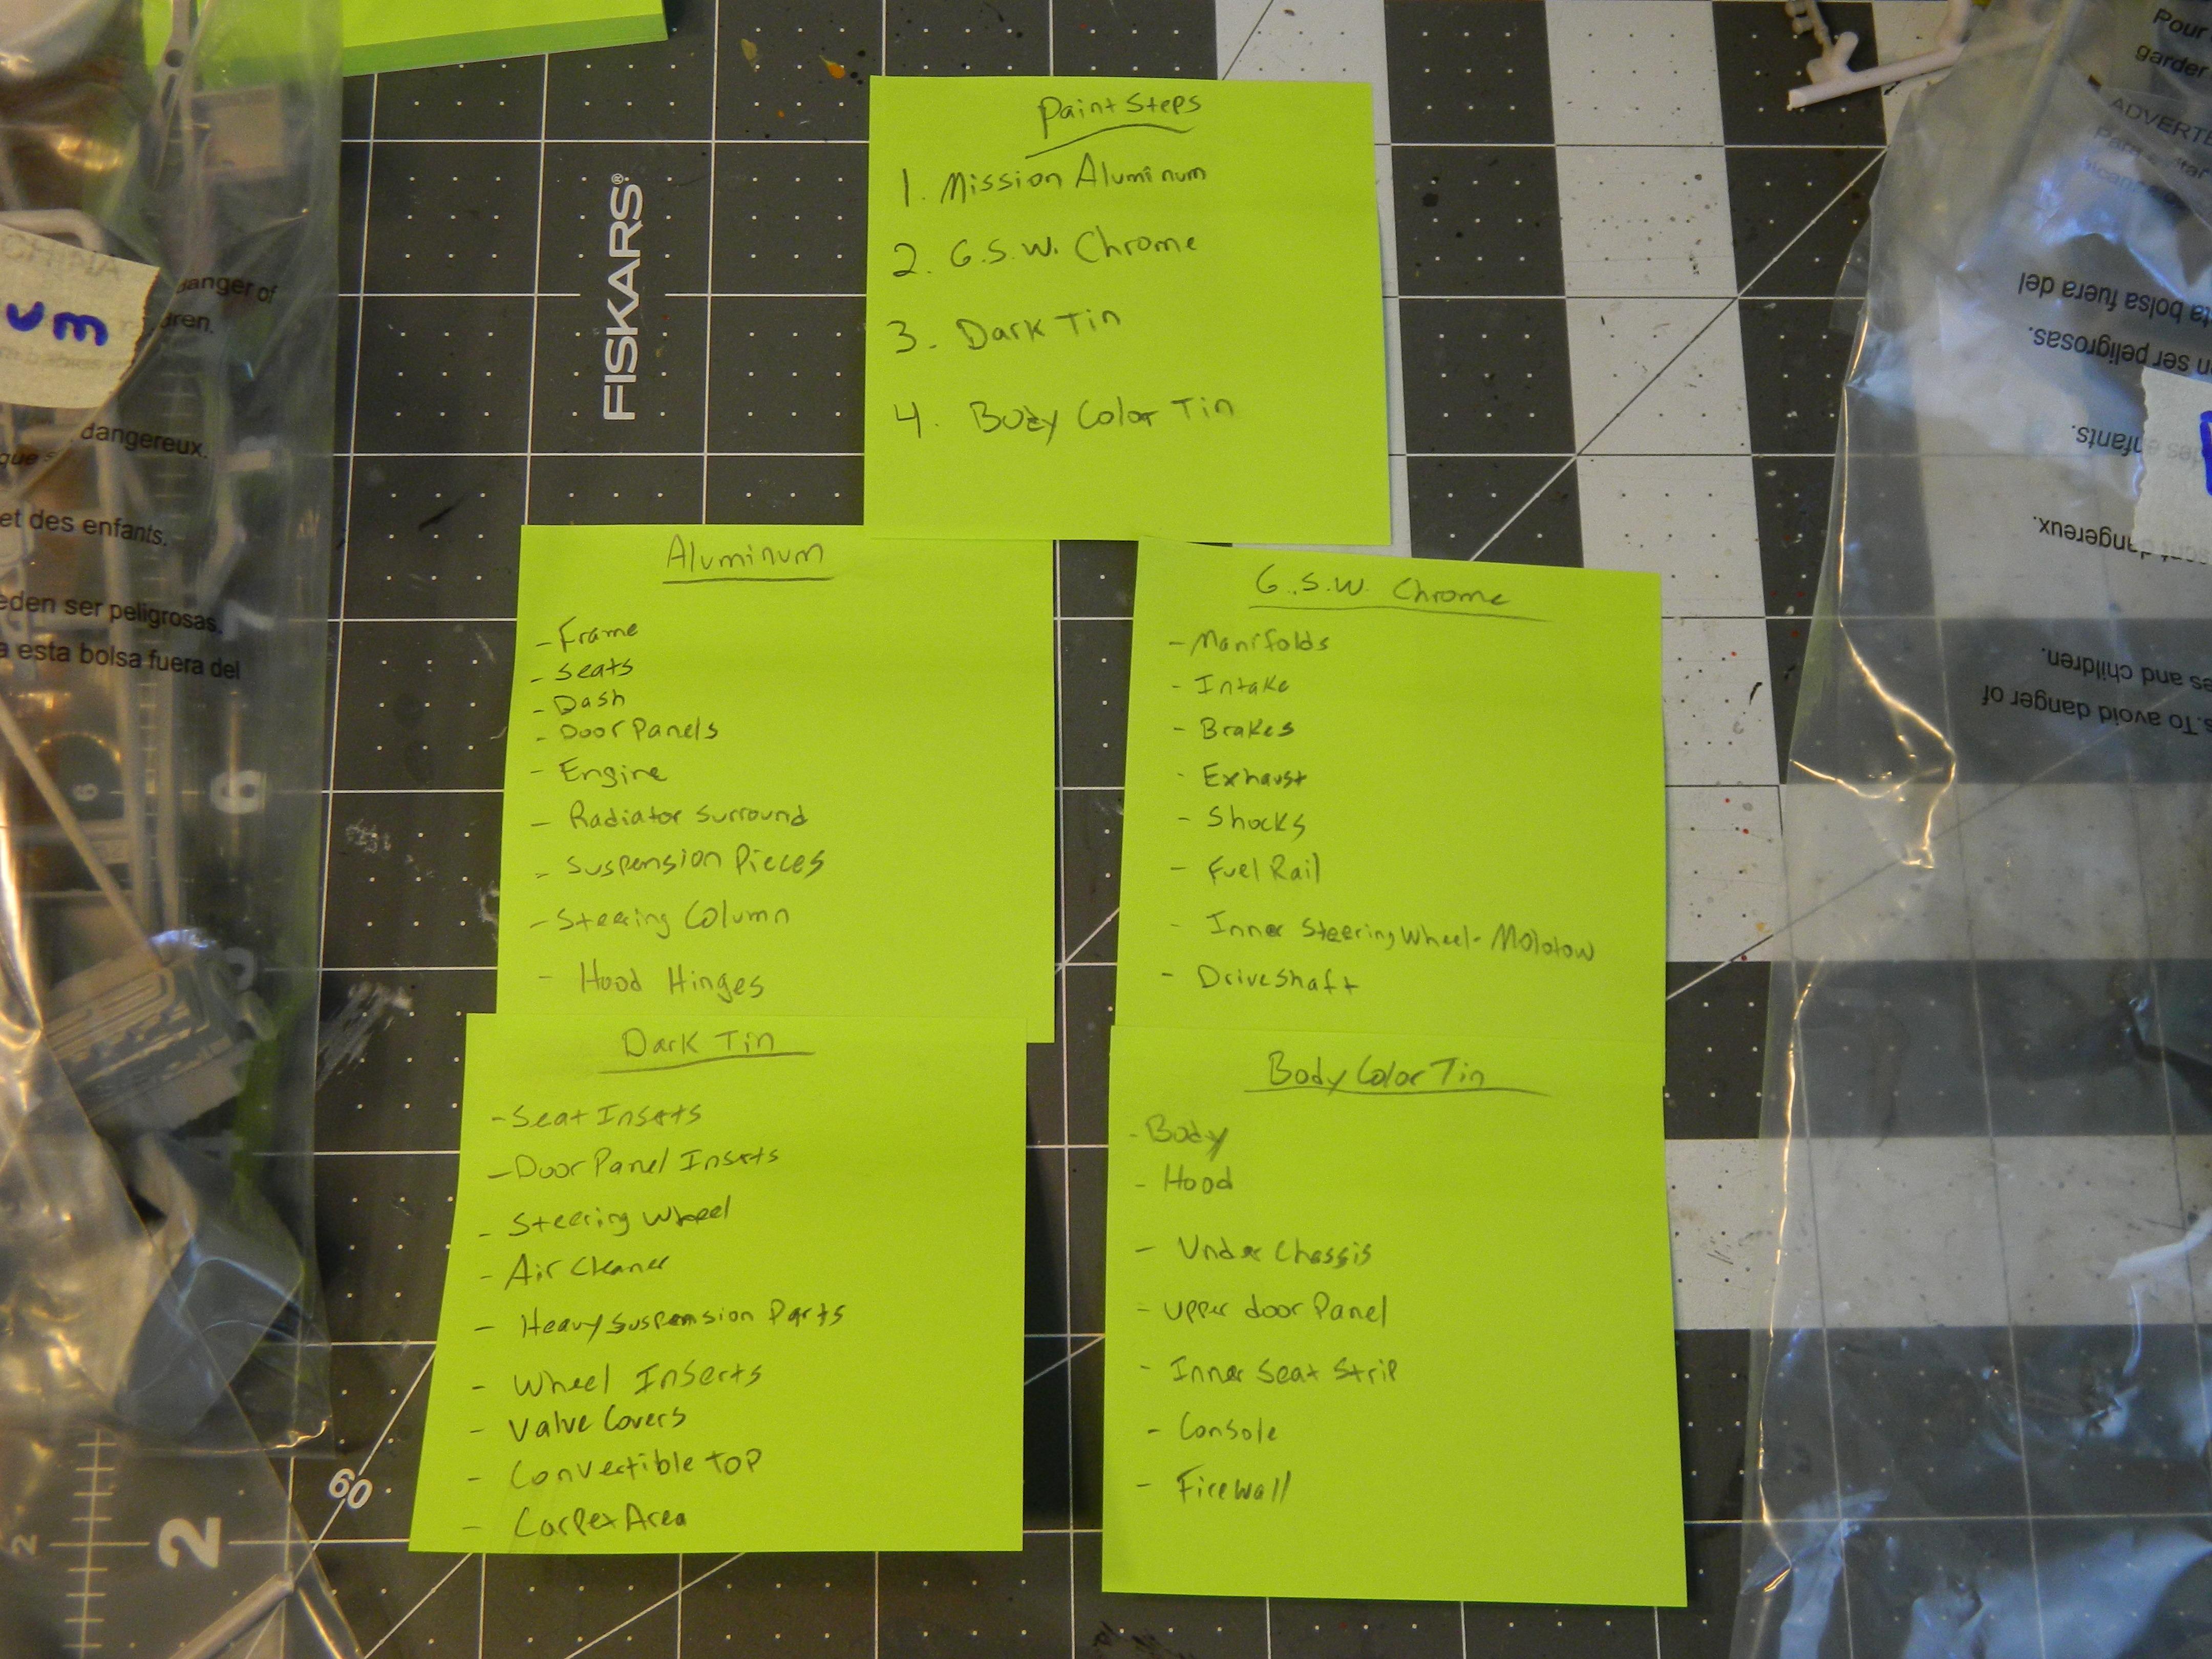
Things went kind of crazy these last couple of days as we had to take one of our Basset Hounds to the vet for surgery for pyometra, two years after her sister had to do the same thing. Anyways, I was able to get all of the parts painted to keep my mind off of missing our girl until we could bring her home. I have to resort to making color lists and separating the parts into labeled baggies so as not to forget anything. Even then I missed the rear seats in the interior tub part, so I had to go back and get those painted before taping off for the second interior color. I used Mission Models Aluminum, Green Stuff World Chrome, and a custom mix of Glossy Black and the Galvanized Tin body color for the colors so far.
-
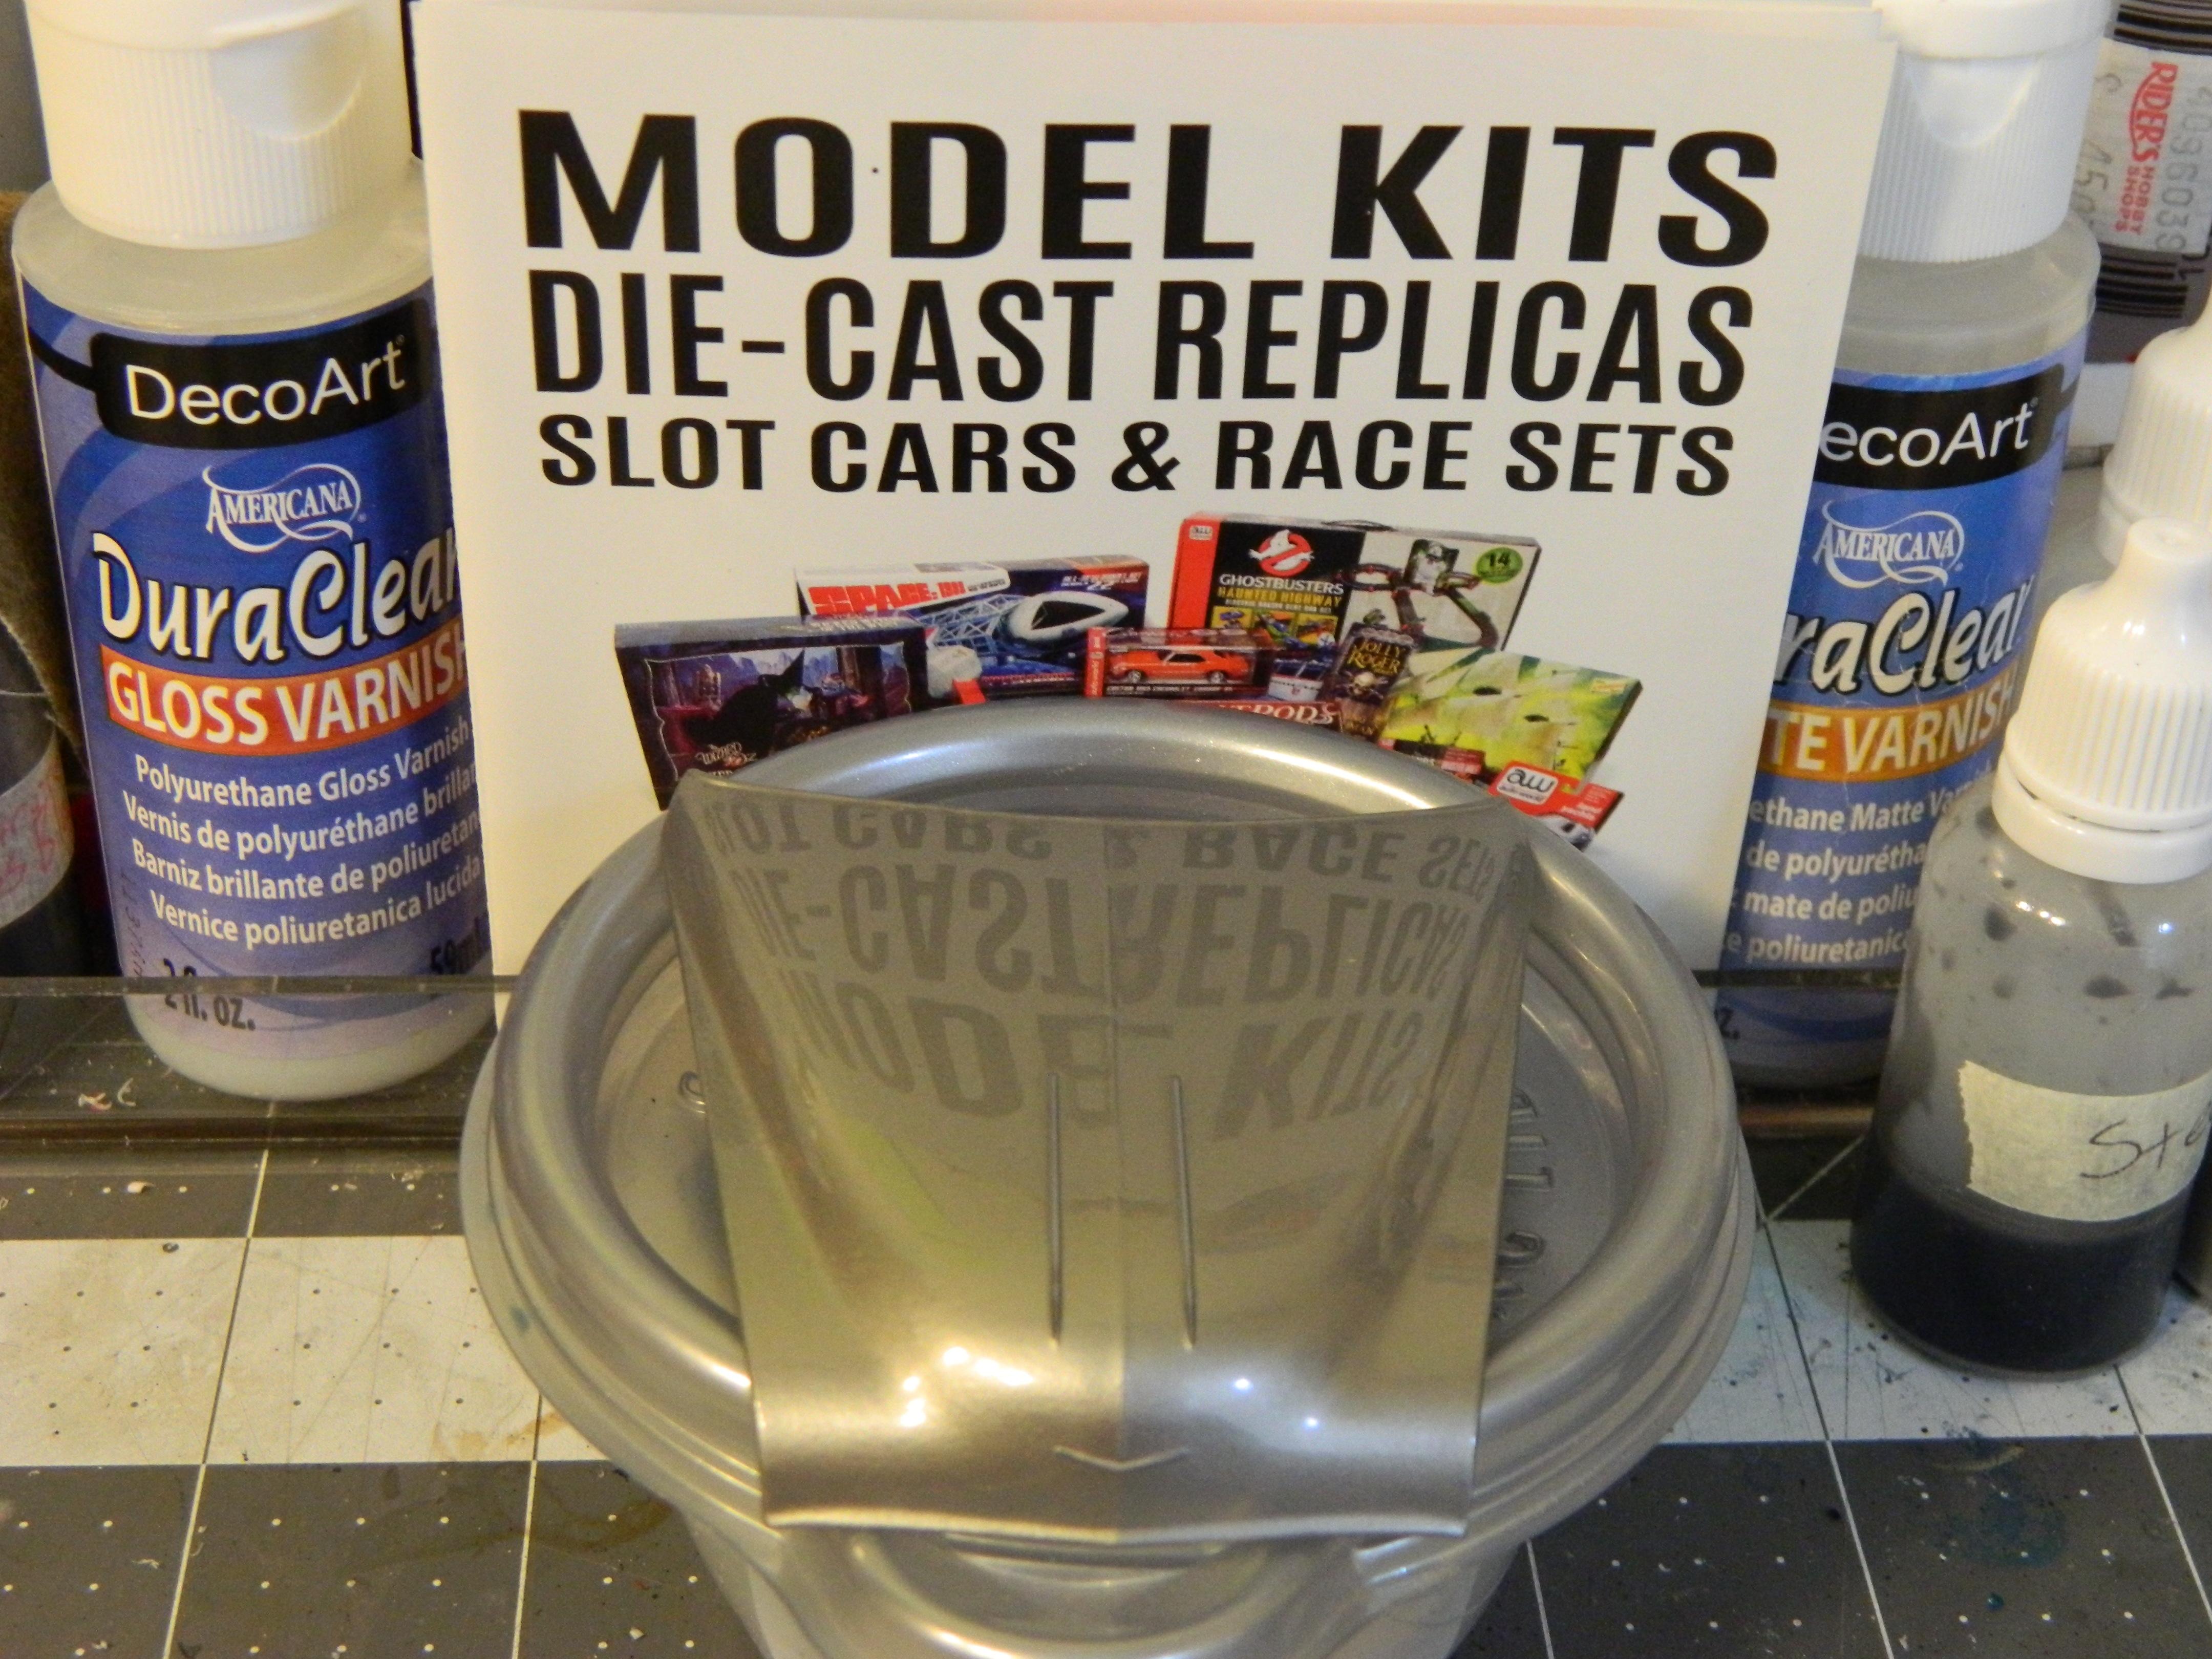
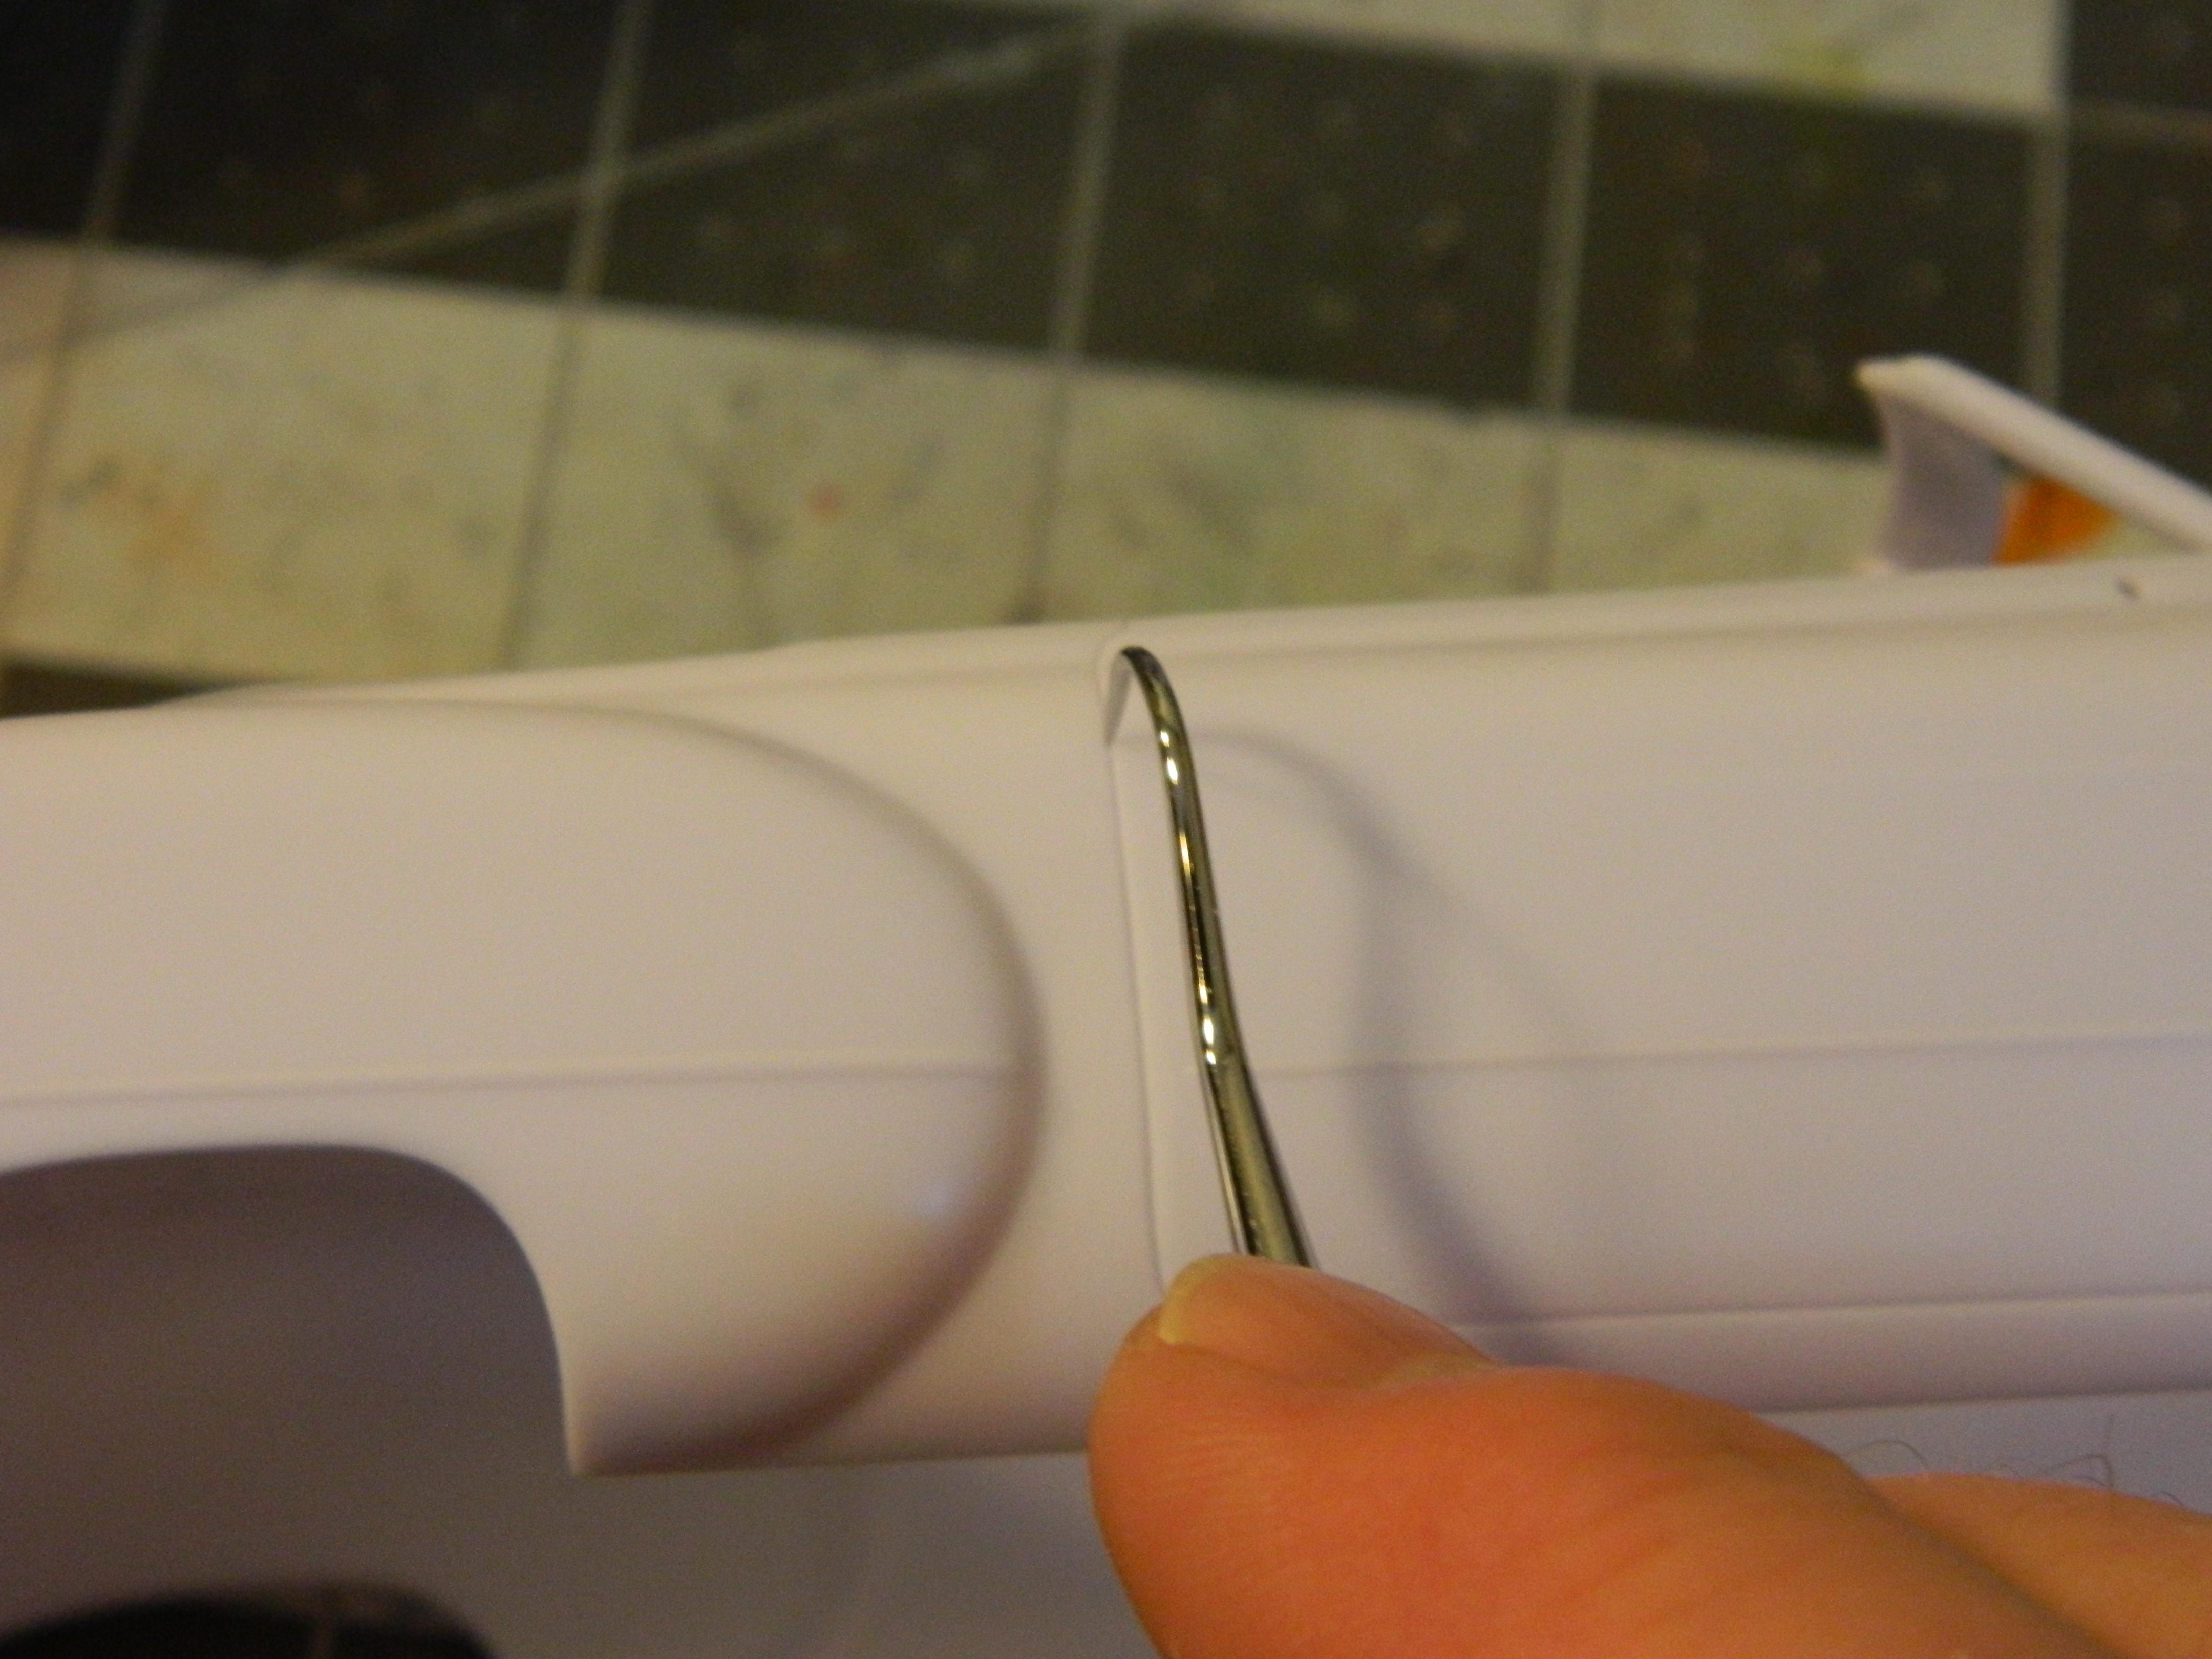
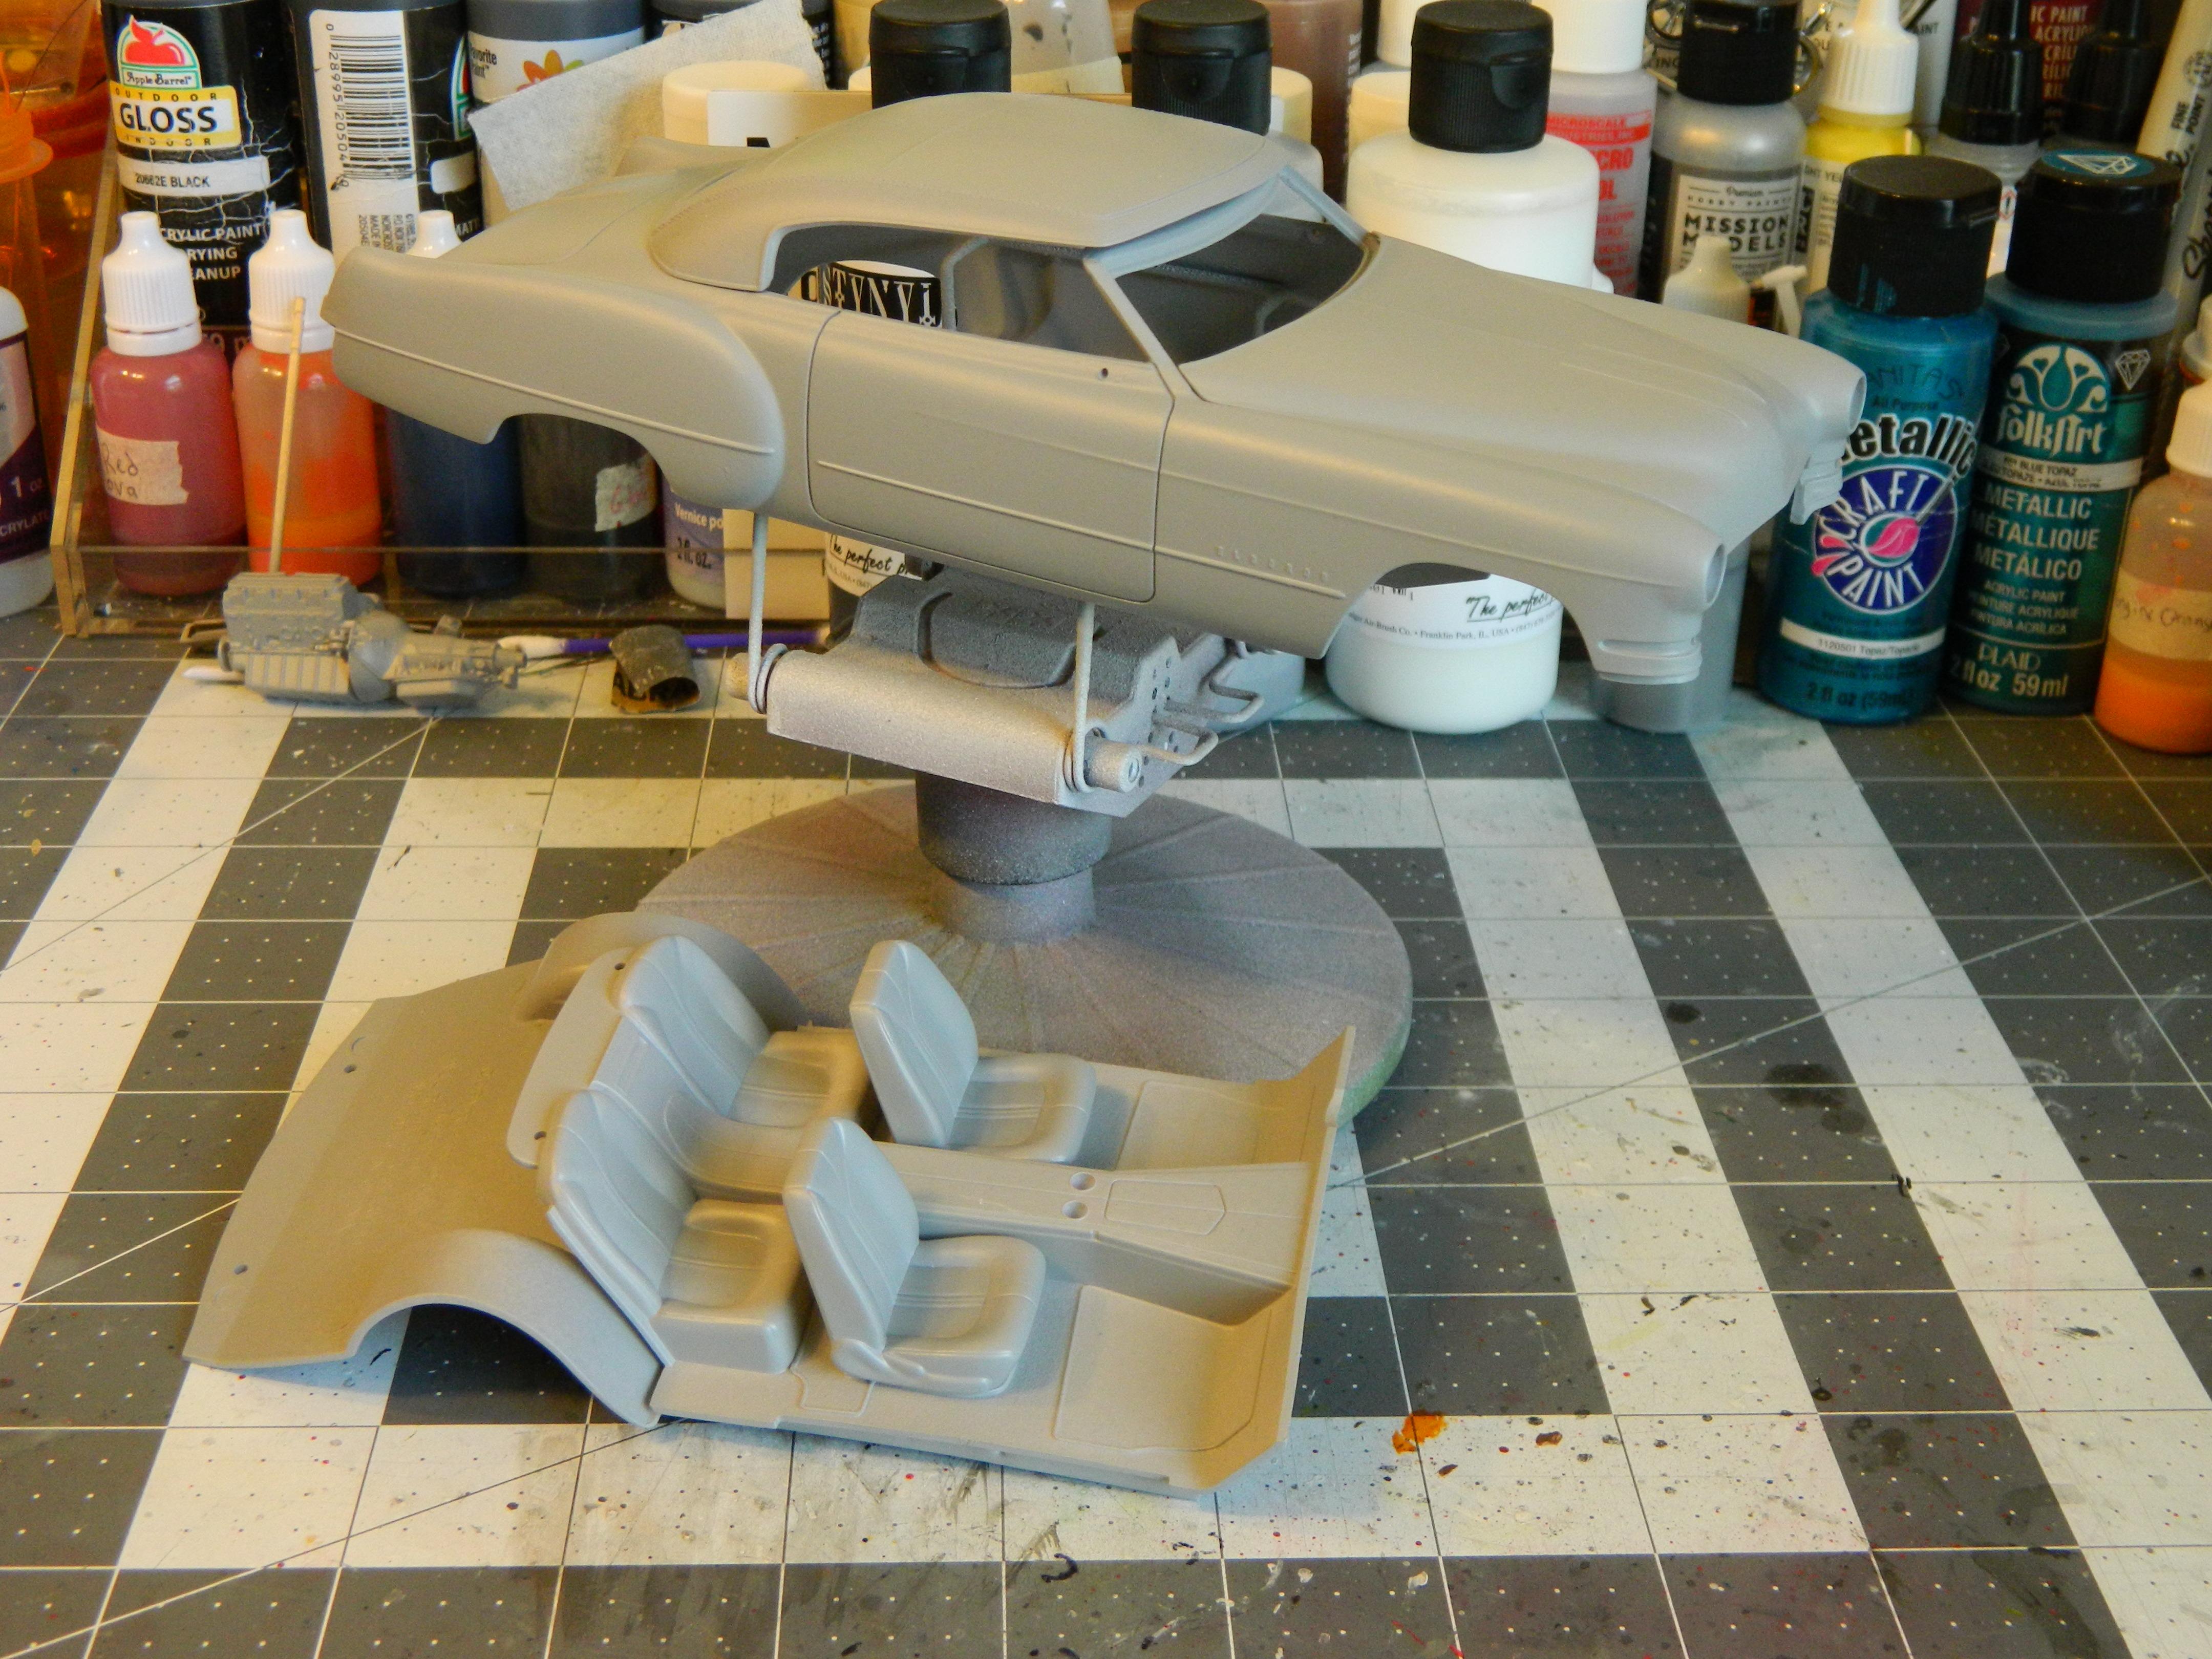
I'm probably one of the last modelers to build the Foose Cadillac, but here goes. I did the usual parts prep work, including removing mold lines and copyright stamps, trimmed the flash, and then scribed the panel lines over the weekend and gave everything a Dawn dishwater bath. After drying overnight I went ahead and sprayed on the Stynylrez primer. I was scraping the bottom of the bottles, so I mixed the white I had left with the remaining gray, and through the airbrush at about 32 psi it went.
-
Thanks guys!
-
Nicely done.
-
Well done, very sharp!
-
Nice looking Nomad!