bobss396
-
Posts
3,662 -
Joined
-
Last visited
Content Type
Profiles
Forums
Events
Gallery
Everything posted by bobss396
-

Hobby Lobby Inventory reduction sale
bobss396 replied to magicmustang's topic in General Automotive Talk (Trucks and Cars)
I will look today, there is another hobby store next door, their kits are never on sale. -
38 F and raw. The windy days are less and less. If it tops 45 today, it will be a miracle. By now places like Ace Hardware should be hopping. Nobody is doing much outside, including me.
-
1/25 or G Scale Outboard Motors?
bobss396 replied to bobss396's topic in Car Aftermarket / Resin / 3D Printed
I saw a cast one either on Etsy or eBay and it looked awful. So far not much out there as 3D printed. -
They have always been at the NNL East, so time will tell for this year. I have almost always bought something from them.
-
'35 Chevy DIRT Modified
bobss396 replied to bobss396's topic in WIP: Stock Cars (NASCAR, Super Stock, Late Model, etc.)
Thanks. The Milidon valve covers are cast resin I've had for years, made by Fred's Resin Workshop, now out of business I would like to solve the header riddle today. I will have some time while waiting for the paint on the Mustang AN fittings to dry. 3D printed so they are too fragile for the dehydrator. I am going to revisit the side rails and dive into my sprint car parts stash. -
Hobby Lobby Inventory reduction sale
bobss396 replied to magicmustang's topic in General Automotive Talk (Trucks and Cars)
I was in one last week, I found the clearance section, no models. I asked someone who was doing inventory, when is the 40% off thing happening. I was told, every other week. I'll be going later and will ask about models on clearance. There is always someone around to ask for help. -
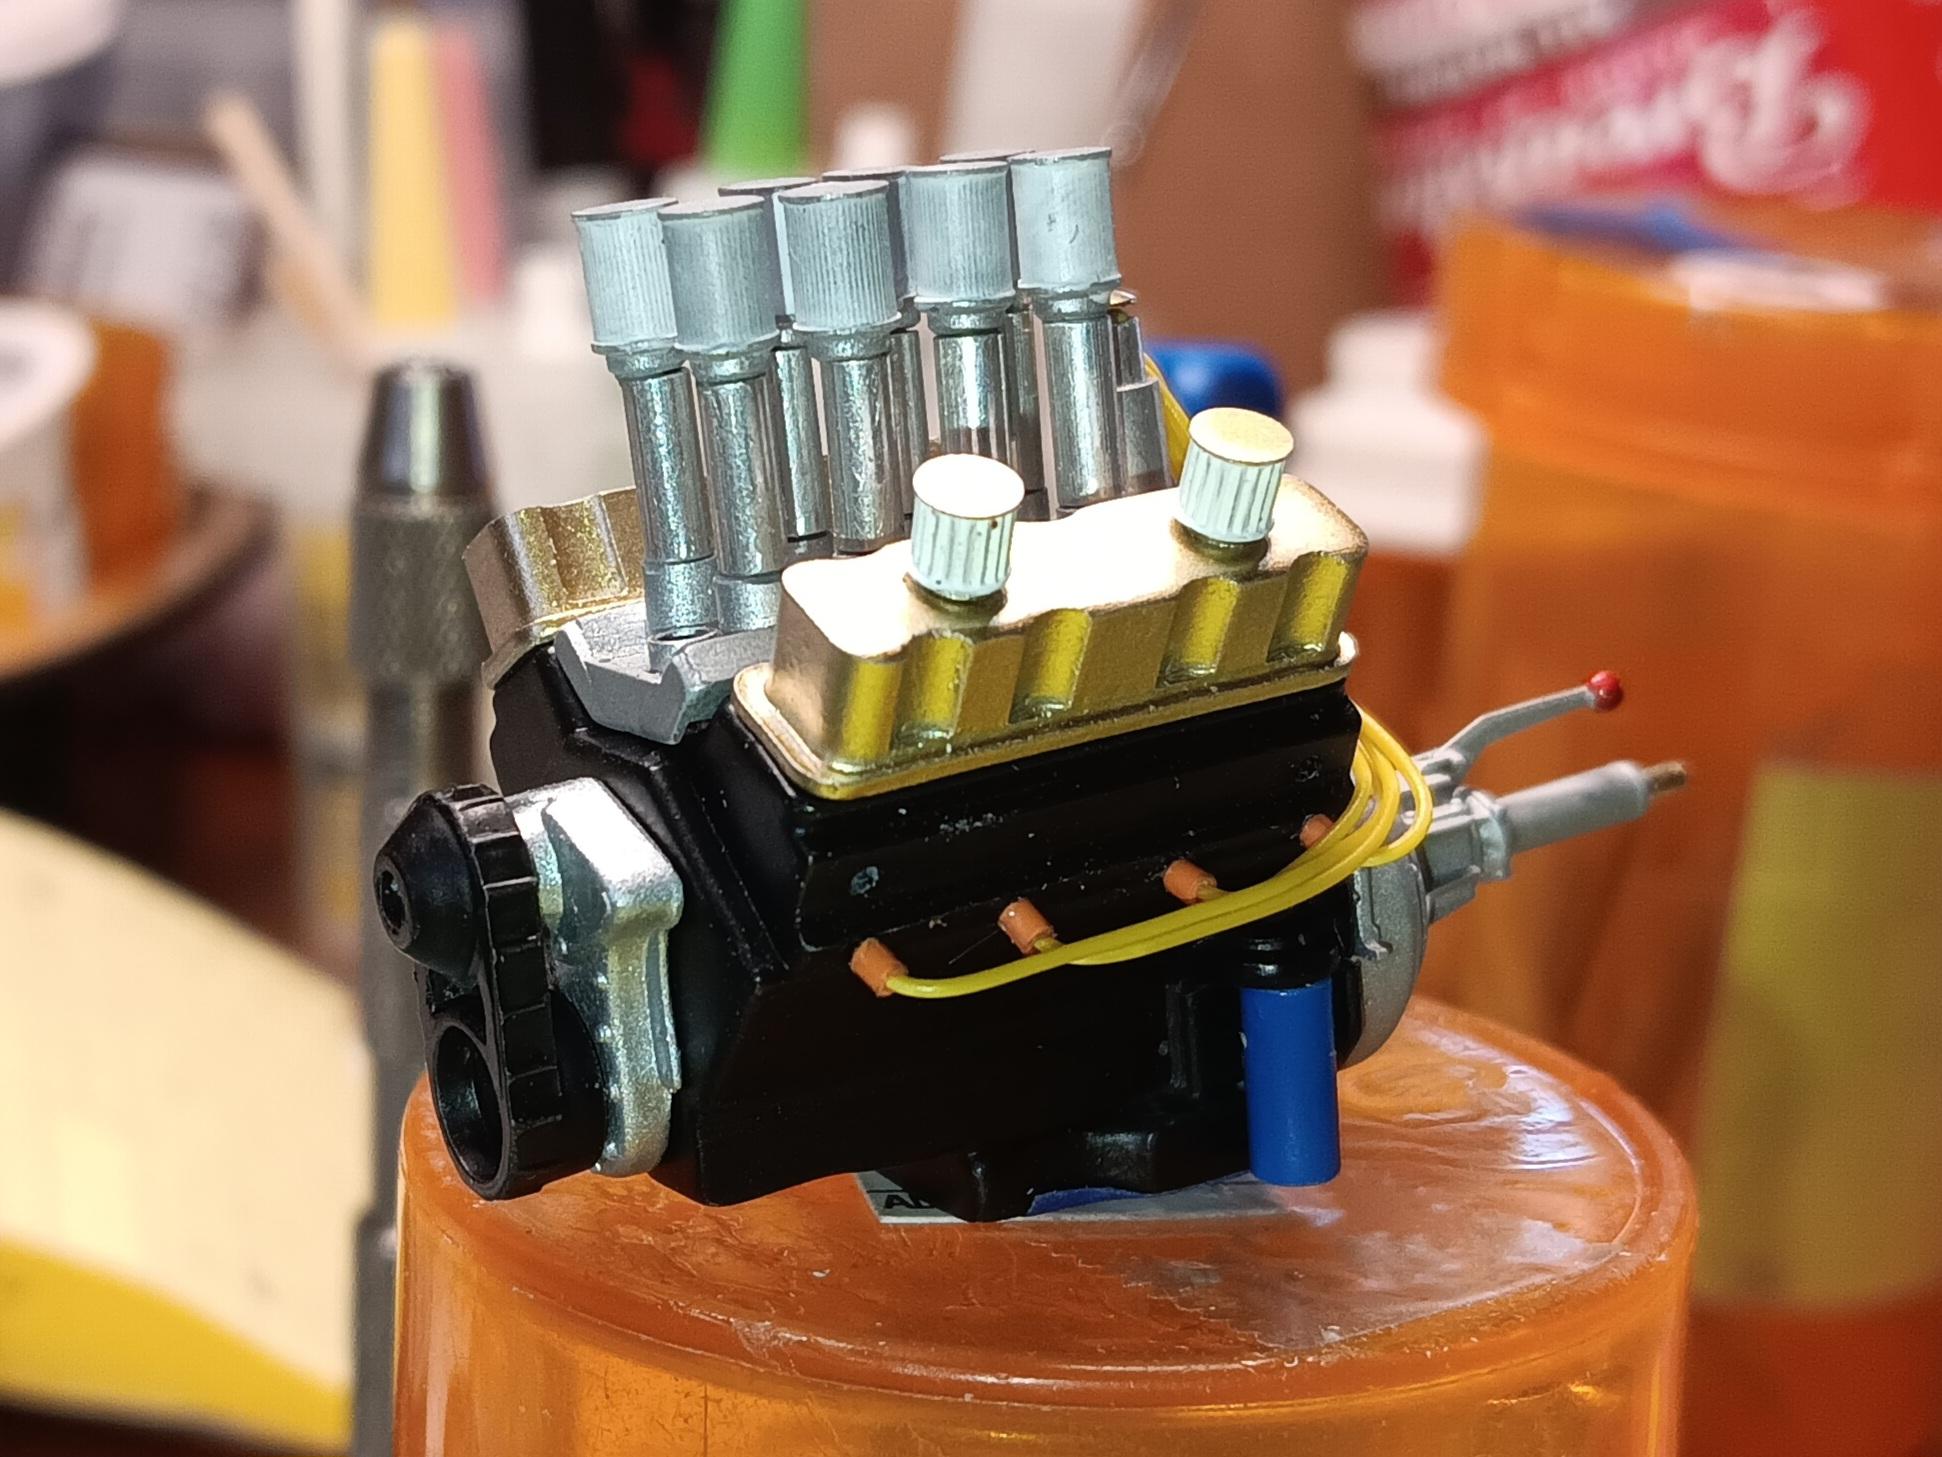
Wired.. now onto plumbing the oil cooler..

-
I caught that too. There was an auto parts store that delivered parts with one similar car, factory stick. The only one I ever saw. They would not sell it to me.. well....
-
Magneto is in, injectors too. The aluminum tubing was worth the effort. The filter elements I gave a thin wash of craft store acrylic paint thinned with water
-
I haven't seen it in a while, but a great film. I have a '69 Ford Galaxie started that will be in spirit, a replica of the movie car.
-
This was a pile of work to get it looking good. It took a 2nd place at a show this past weekend. I still have the Mustang to finish up and Falcon from the combo kit still in the box.
-
I should be back on the build today, definitely on the Mustang. I had dissected the Ron Coon injectors and replaced the tubes with aluminum tuning. I was going to go all in with a credible throttle detail. But the injector tubes are quite close to the firewall. Then the oil line to the cooler plumbing, it gets real tight as well by the firewall.
-
1/25 or G Scale Outboard Motors?
bobss396 replied to bobss396's topic in Car Aftermarket / Resin / 3D Printed
I did see a 1/20 scale one... possibly a viable option. I'm in no rush, I just had an idea pop into my head at a show on Saturday. -
1/25 or G Scale Outboard Motors?
bobss396 replied to bobss396's topic in Car Aftermarket / Resin / 3D Printed
Thanks, I saw that one. There is also a 1959 Lindberg cabin cruiser with 2 outboards in it. There is a toy one made by Tomy that came with a boat. I can get a non working one on eBay that looks like an old Mercury unit. -
Matt Wells always supported our LIARS annual show, except in 2024. The acid test will be the new owner showing up at the NNL East next month.
-
1965 Fairlane short tracker
bobss396 replied to Sledsel's topic in Stock Cars (NASCAR, Super Stock, Late Model, etc.)
That is sharp. I finished one last year... and lost it in the house somewhere... -
I find that snips distort small metals quite a bit. I mainly use .010" aluminum step flashing, brass in .010" and .020". Also some brass angle that cuts with a razor saw. I have a simple bender, I have to dig it out and take a picture of it. I mainly bend aluminum in a small vise for angles less than 90*. Otherwise with a sharp corner it cracks. Brass I can bend without cracking. General cutting, I score with a #11 blade and break it. I have made up lots of radiator guards, interior door panels, firewalls, etc.
-
Someone told me that some scammers get paid for a call simply going through. I get them on my landline, a 99.999% hang up rate. On my cell phone, I answer in Spanish. 99.998% of those hang up too. I didn't get too many Medicare scam calls this past year. I also got loads of cals offering me a free back brace... all offshore. I say vile things to these people, no matter male or female.
-
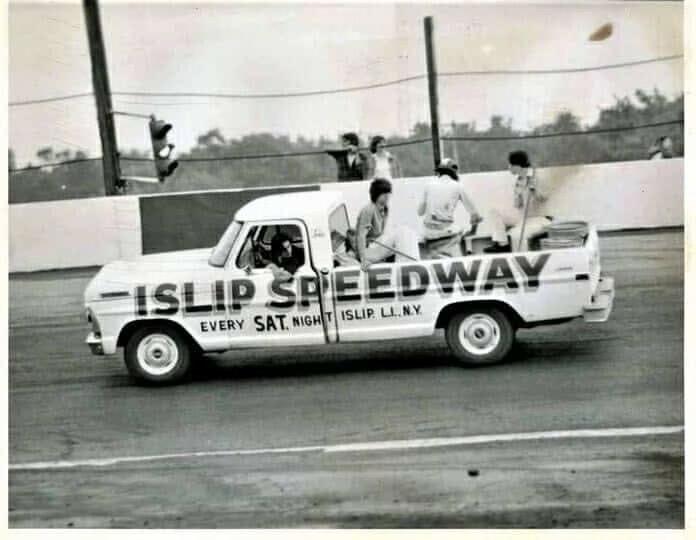
These were the sweepers at Islip Speedway. There were 2 trucks. Someone local ended up with one and drives it around.
-
I see it around at cruise nights, owner is 84 years old.
-
I'm looking for a decent 1/25 or G scale outboard boat engine. Size and brand are not important. I don't want to spend big bucks on a vintage kit and I want it to look fairly realistic I have seen some cast resin pieces that were pretty bad looking so far. Anyone got a source? Thanks.
-
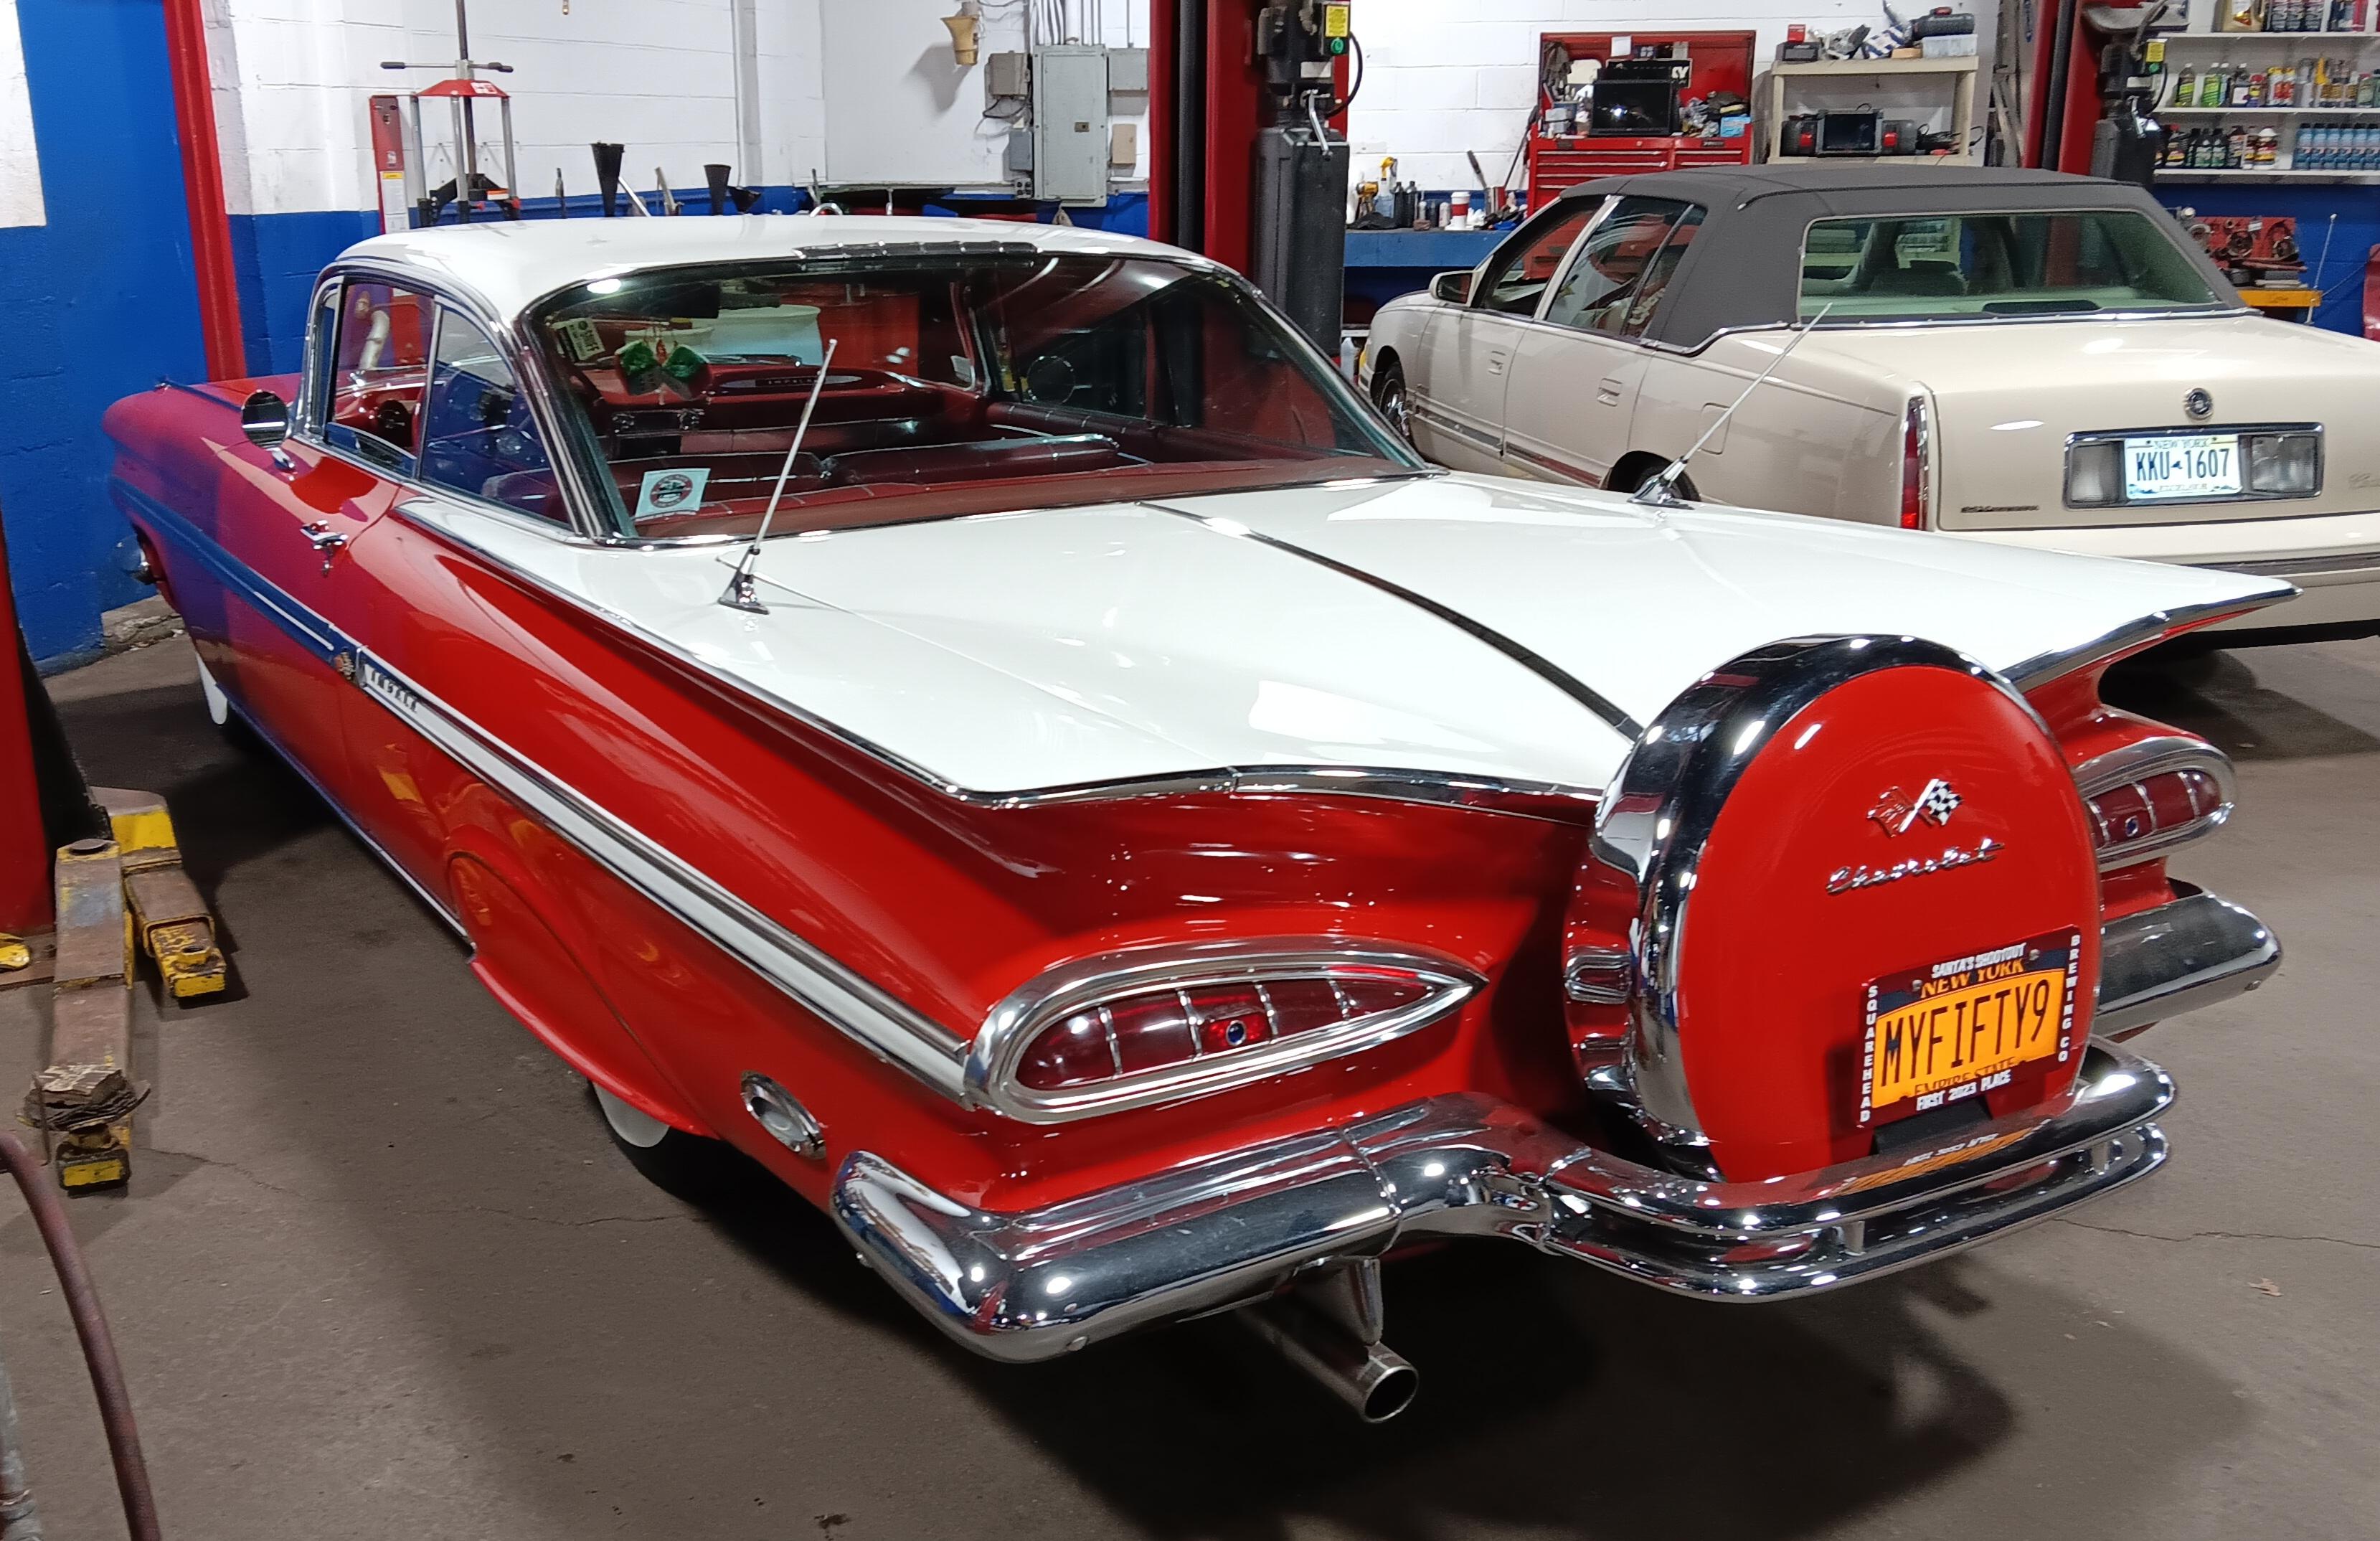
This was in a friend's shop the other day. The car was restored a few years ago, seems to be in #1 condition.
-
There is a rumor that Hobby Heaven now manages this forum... I believe it
-
35 this morning, sunny but raw. High winds yesterday... again. Not a sign of the yellow forsythia blooming. I watch this plant so i can start lawn care once the bloons fall off. Elsewhere I have seen the crocus popping up. Some buds on trees, not much else.
-
I'm down to just my phone until I get a new computer. No way for me to add a photo. Is this a glitch or the way it is going forward?