bobss396
-
Posts
3,666 -
Joined
-
Last visited
Content Type
Profiles
Forums
Events
Gallery
Everything posted by bobss396
-

1951 Chevy Figure 8 Stock Car
bobss396 replied to bobss396's topic in WIP: Stock Cars (NASCAR, Super Stock, Late Model, etc.)
That is the side the headers come out on. Yes, the driver side. I boxed it out inside and it is behind the cage -
What's with the U.S.Post office these days?
bobss396 replied to styromaniac's topic in The Off-Topic Lounge
I ordered a 50 pound pail of pool chlorine tabs yesterday on eBay, free 2-day shipping... should be interesting as to when it shows up. Will be likely by UPS. I have bought some things on eBay and they show up via Amazon, the next day. Amazon seems to be doing something right. -
1951 Chevy Figure 8 Stock Car
bobss396 replied to bobss396's topic in WIP: Stock Cars (NASCAR, Super Stock, Late Model, etc.)
I am not following what you mean.... -
1950 Cadillac series 61, 1/24-1/25 wanted.......
bobss396 replied to Allan31's topic in Model Building Questions and Answers
Contact Don from Modelhaus, I know he was selling off stock and some masters a year ago, not cheap. -
This looks great. My only complaint is the trim across the middle of the door. It will make it harder to decal a logo on it. I will definitely want at least 2 of them.

-
1951 Chevy Figure 8 Stock Car
bobss396 replied to bobss396's topic in WIP: Stock Cars (NASCAR, Super Stock, Late Model, etc.)
Got the wheel well fixed. Putty is next. Clearance the crossmember for the exhaust. Pipes are roughed out and made a side exit plate. I have to box off an area on the floor pan.
-
I saw it, awesome to say the least. I will post a picture later from my phone.
-
1951 Chevy Figure 8 Stock Car
bobss396 replied to bobss396's topic in WIP: Stock Cars (NASCAR, Super Stock, Late Model, etc.)
I'm working on 1 car at a time right now.. see how long that lasts. If I have some common tasks, I will combine the efforts. I'm adding some more bars to the cage on the '51 and decided to run the exhaust up through the floor and out behind the passenger door. I also have to fudge the rear wheel opening on one side, remove about .060" from the rear and add the same to the front. This is why I pin things together, imagine finding that after paint.... -
1951 Chevy Figure 8 Stock Car
bobss396 replied to bobss396's topic in WIP: Stock Cars (NASCAR, Super Stock, Late Model, etc.)
This was one class that permitted cow ? catchers, to a point. Almost always angle iron and black pipe. I'm considering door bars and maybe 2 bars from the cage to the chassis rails. -
1951 Chevy Figure 8 Stock Car
bobss396 replied to bobss396's topic in WIP: Stock Cars (NASCAR, Super Stock, Late Model, etc.)
Figure 8 drivers are another breed. We had one guy who looked like Barney Rubble. We pitted away from them, too much chaos when they would pit for repairs. A few guys became great modified drivers. -
1951 Chevy Figure 8 Stock Car
bobss396 replied to bobss396's topic in WIP: Stock Cars (NASCAR, Super Stock, Late Model, etc.)
Back on the bench. The Chevy 6 fits well. I had to make more clearance on the floor. I made a mount for the rear bumper yesterday. And got a few things painted. I added 2 pieces of angle stock on the firewall as a stop. Also 2 mounting blocks in the trunk, these are pinned to the chassis so it goes back together the same way every time. I mounted the interior to the chassis to make assembly easier. Next will be final chassis prime, install the radiator frame and get some gauges going for the dash. I still may hinge the trunk lid.
-
Resin Pick up parts help needed.
bobss396 replied to Sledsel's topic in Truck Aftermarket / Resin / 3D Printed
VCG Resins has a Bronco upgrade kit, he has other Bronco items as well. A very god place to deal with. https://www.vcgresins.com/shop/p/revell-ford-bronco-upgrade-kit -
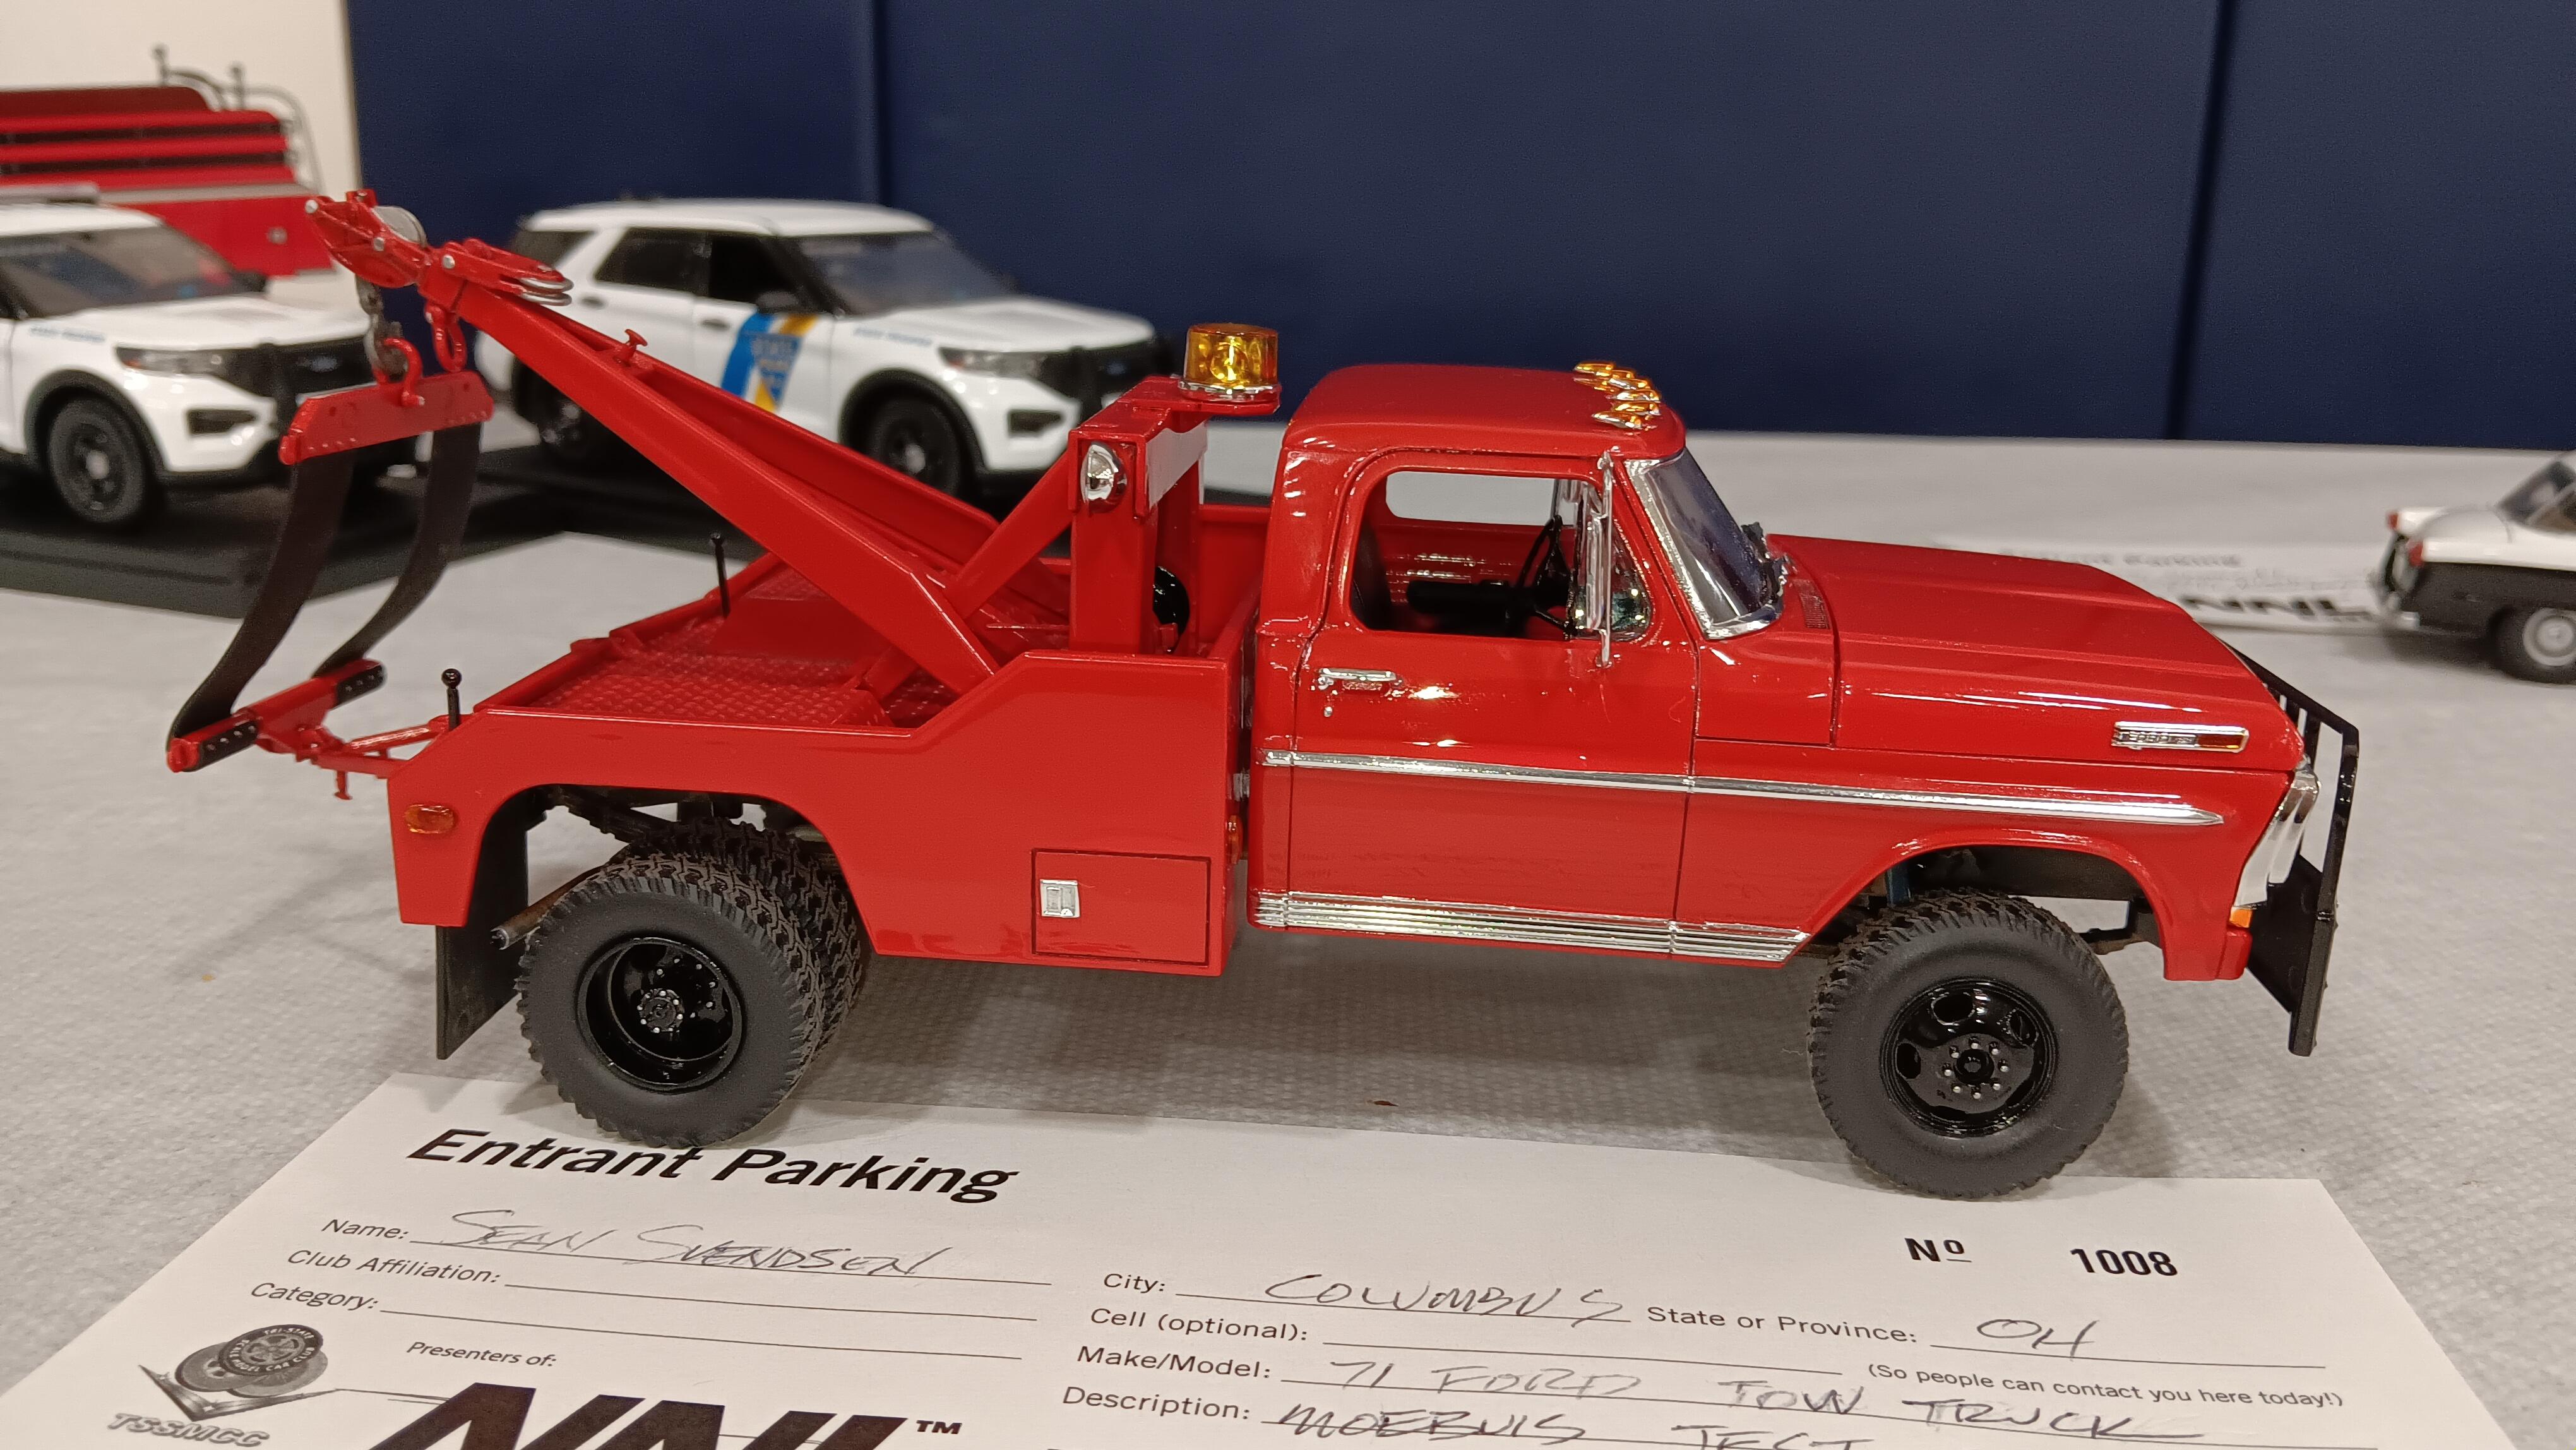
I am a total crack 'ho for anything tow truck/car carrier related. It would be cool if someone just issued a complete bed. So far any resin or 3D printed ones I have bought and or looked at are not up to my standards.
-
1960 Chevy Fleetside Pickup
bobss396 replied to 70 Sting's topic in Model Trucks: Pickups, Vans, SUVs, Light Commercial
I have one I put away 20 years ago, converted it to a tow truck. I had issues like you did with getting the roof to look decent. I will call the engine very well detailed for something that comes out of a kit. I recently dug it up again, it will be back in work soon. -
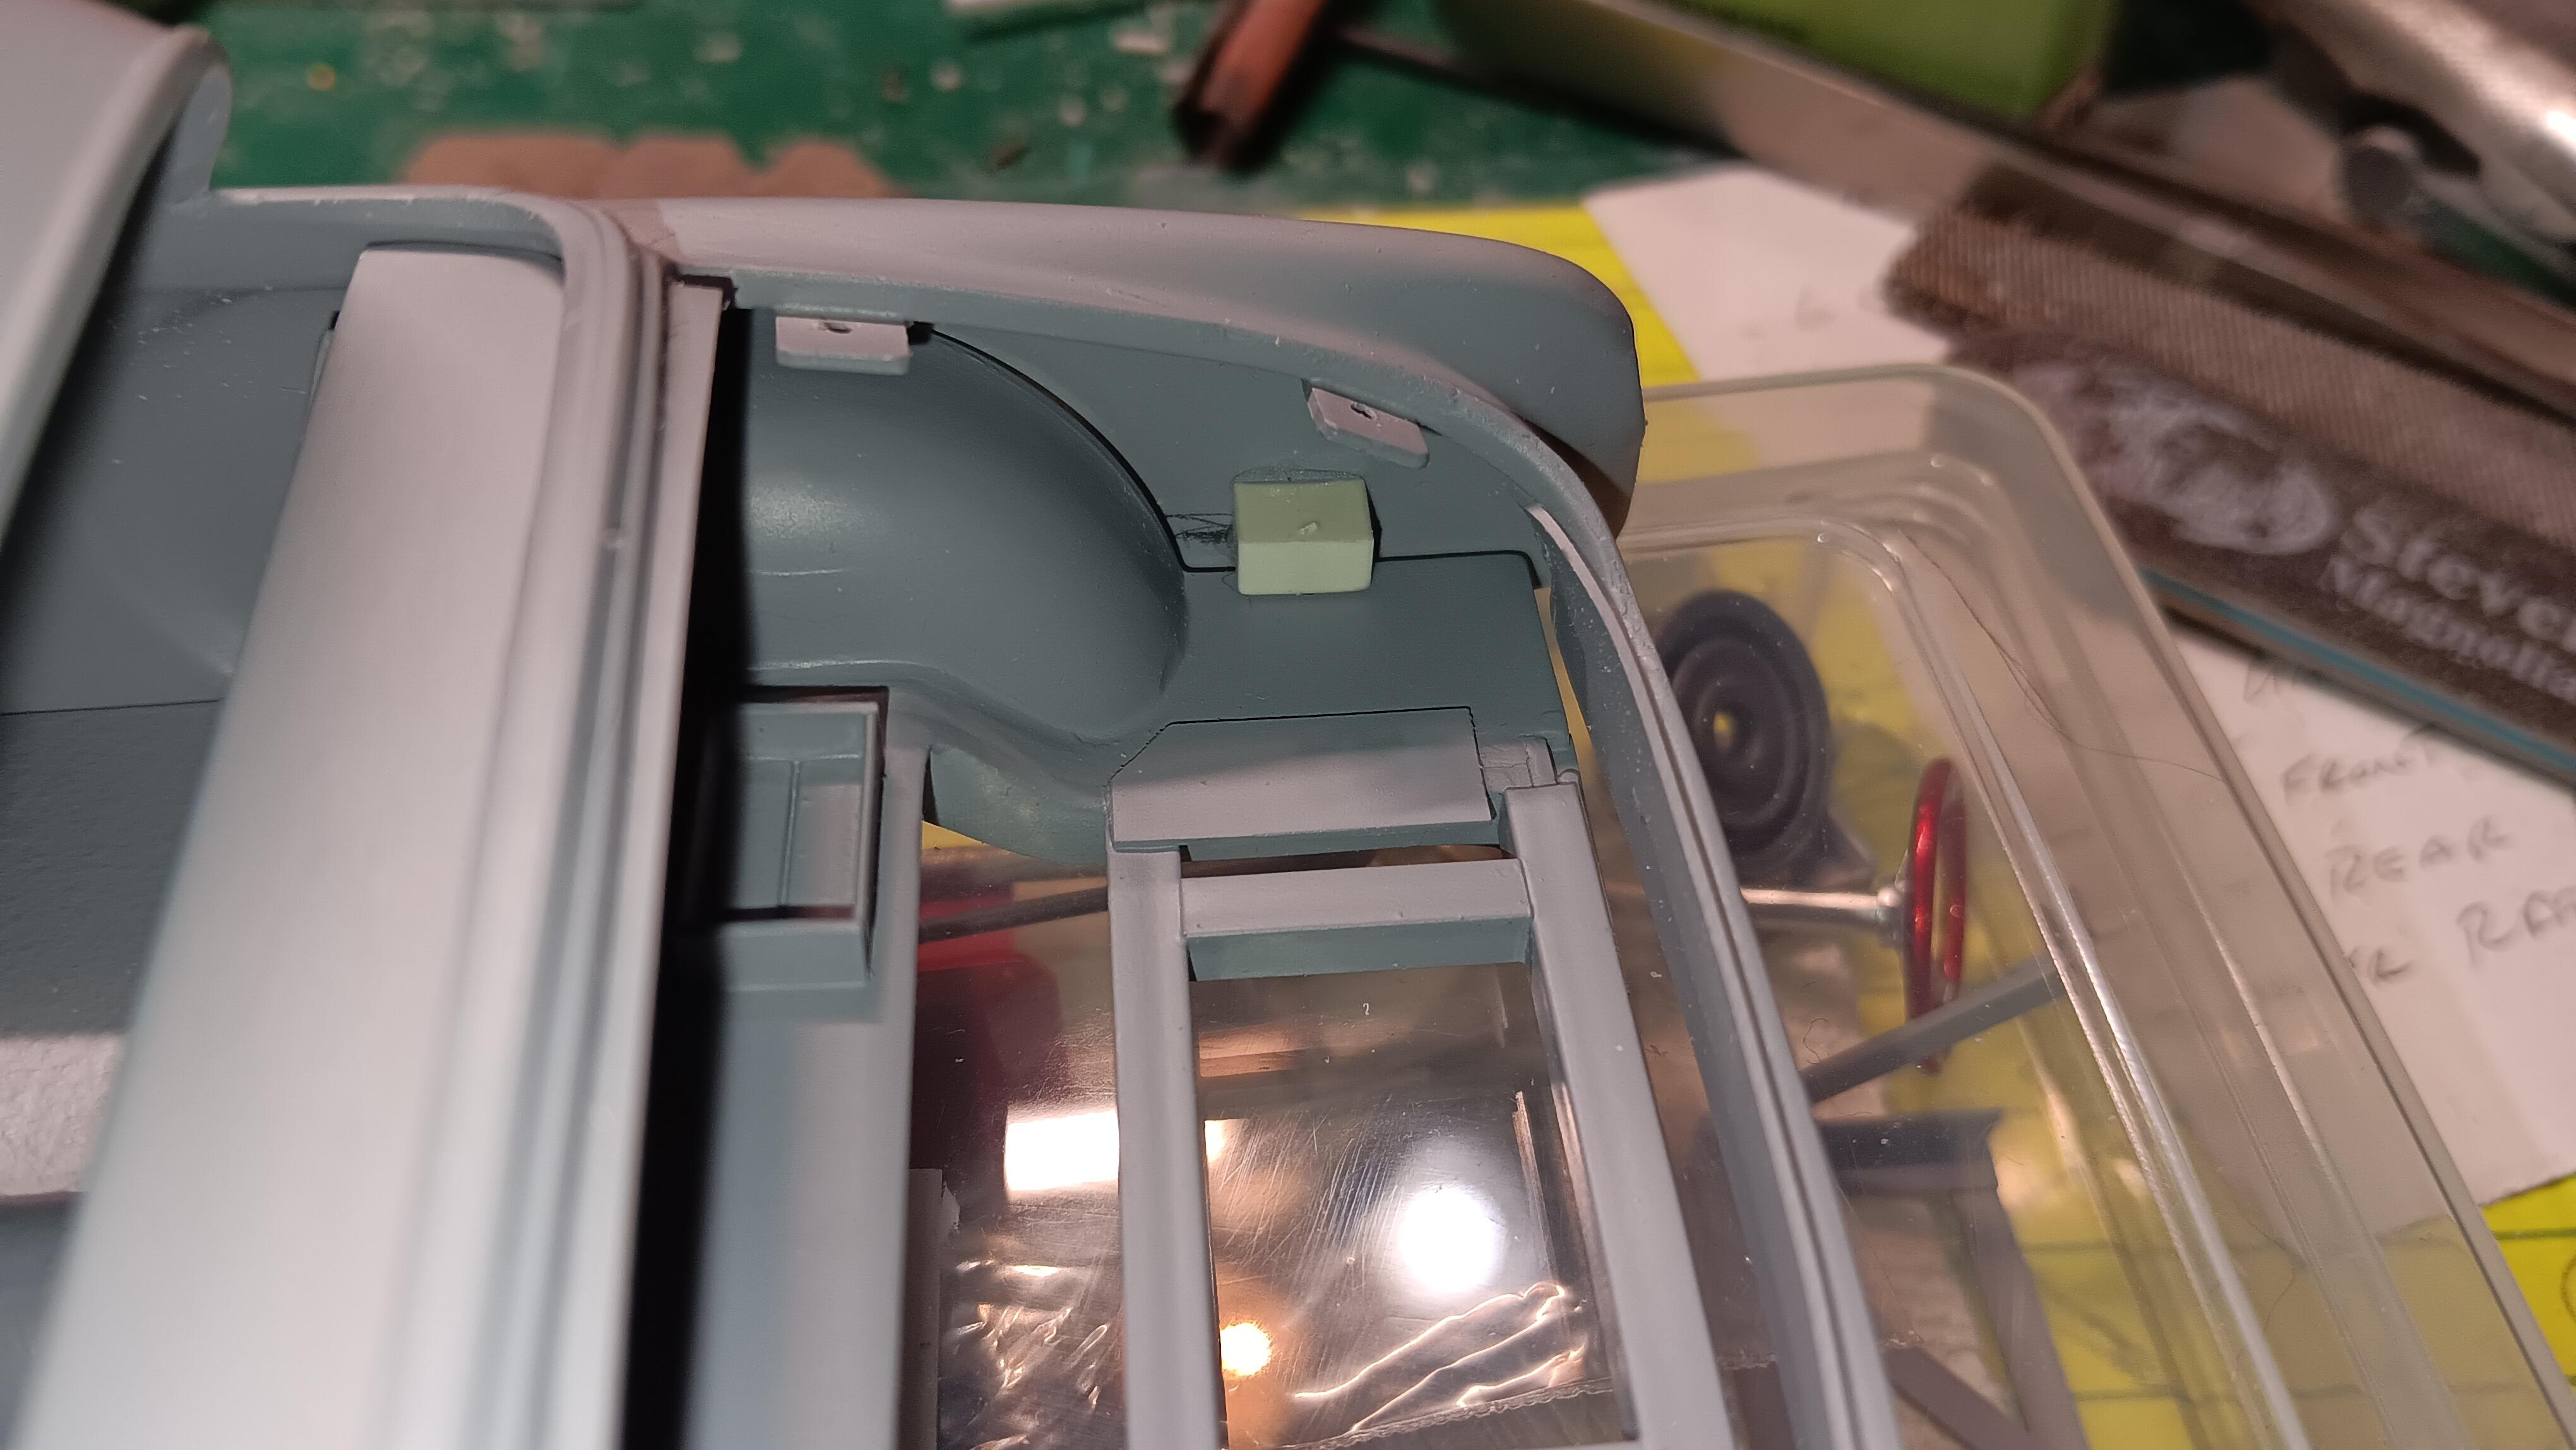
Gluing in Acetate Windows
bobss396 replied to DoctorLarry's topic in Model Building Questions and Answers
I sometimes leave material for little tabs when I am making up "glass". This gives a bond surface away from what will be visible. Some plastics bend better than others. I'm now using something from Hobby Lobby that is .015" thick and will hold a bend. I just unwrapped a new dress shirt and of course saved the pins (great for shifters) and the little clear plastic part that supports the collar. -
I used to have lathe access at work until 2005, I had a buddy with a Hardinge at his shop I could also use. He would run me things on one of his big CNC lathes at times. He would take my CAD drawings/files and make a hard task easy. I am at the point where I NEED a small lathe soon.
-
I hoard up any wheel-backs that I come across, they come in handy for adapting odd wheels on a build. On the one-piece wheels, I saw off that "factory" nub or cut it way down.
-
Painting with Tamiya Pearl White - TS 45
bobss396 replied to Bill Anderson's topic in Model Building Questions and Answers
I have used the clear pearl (TS-65) over white primer with success. The effect is the same in the end. -
How do you prep your glue surfaces???
bobss396 replied to Vinny G's topic in Model Building Questions and Answers
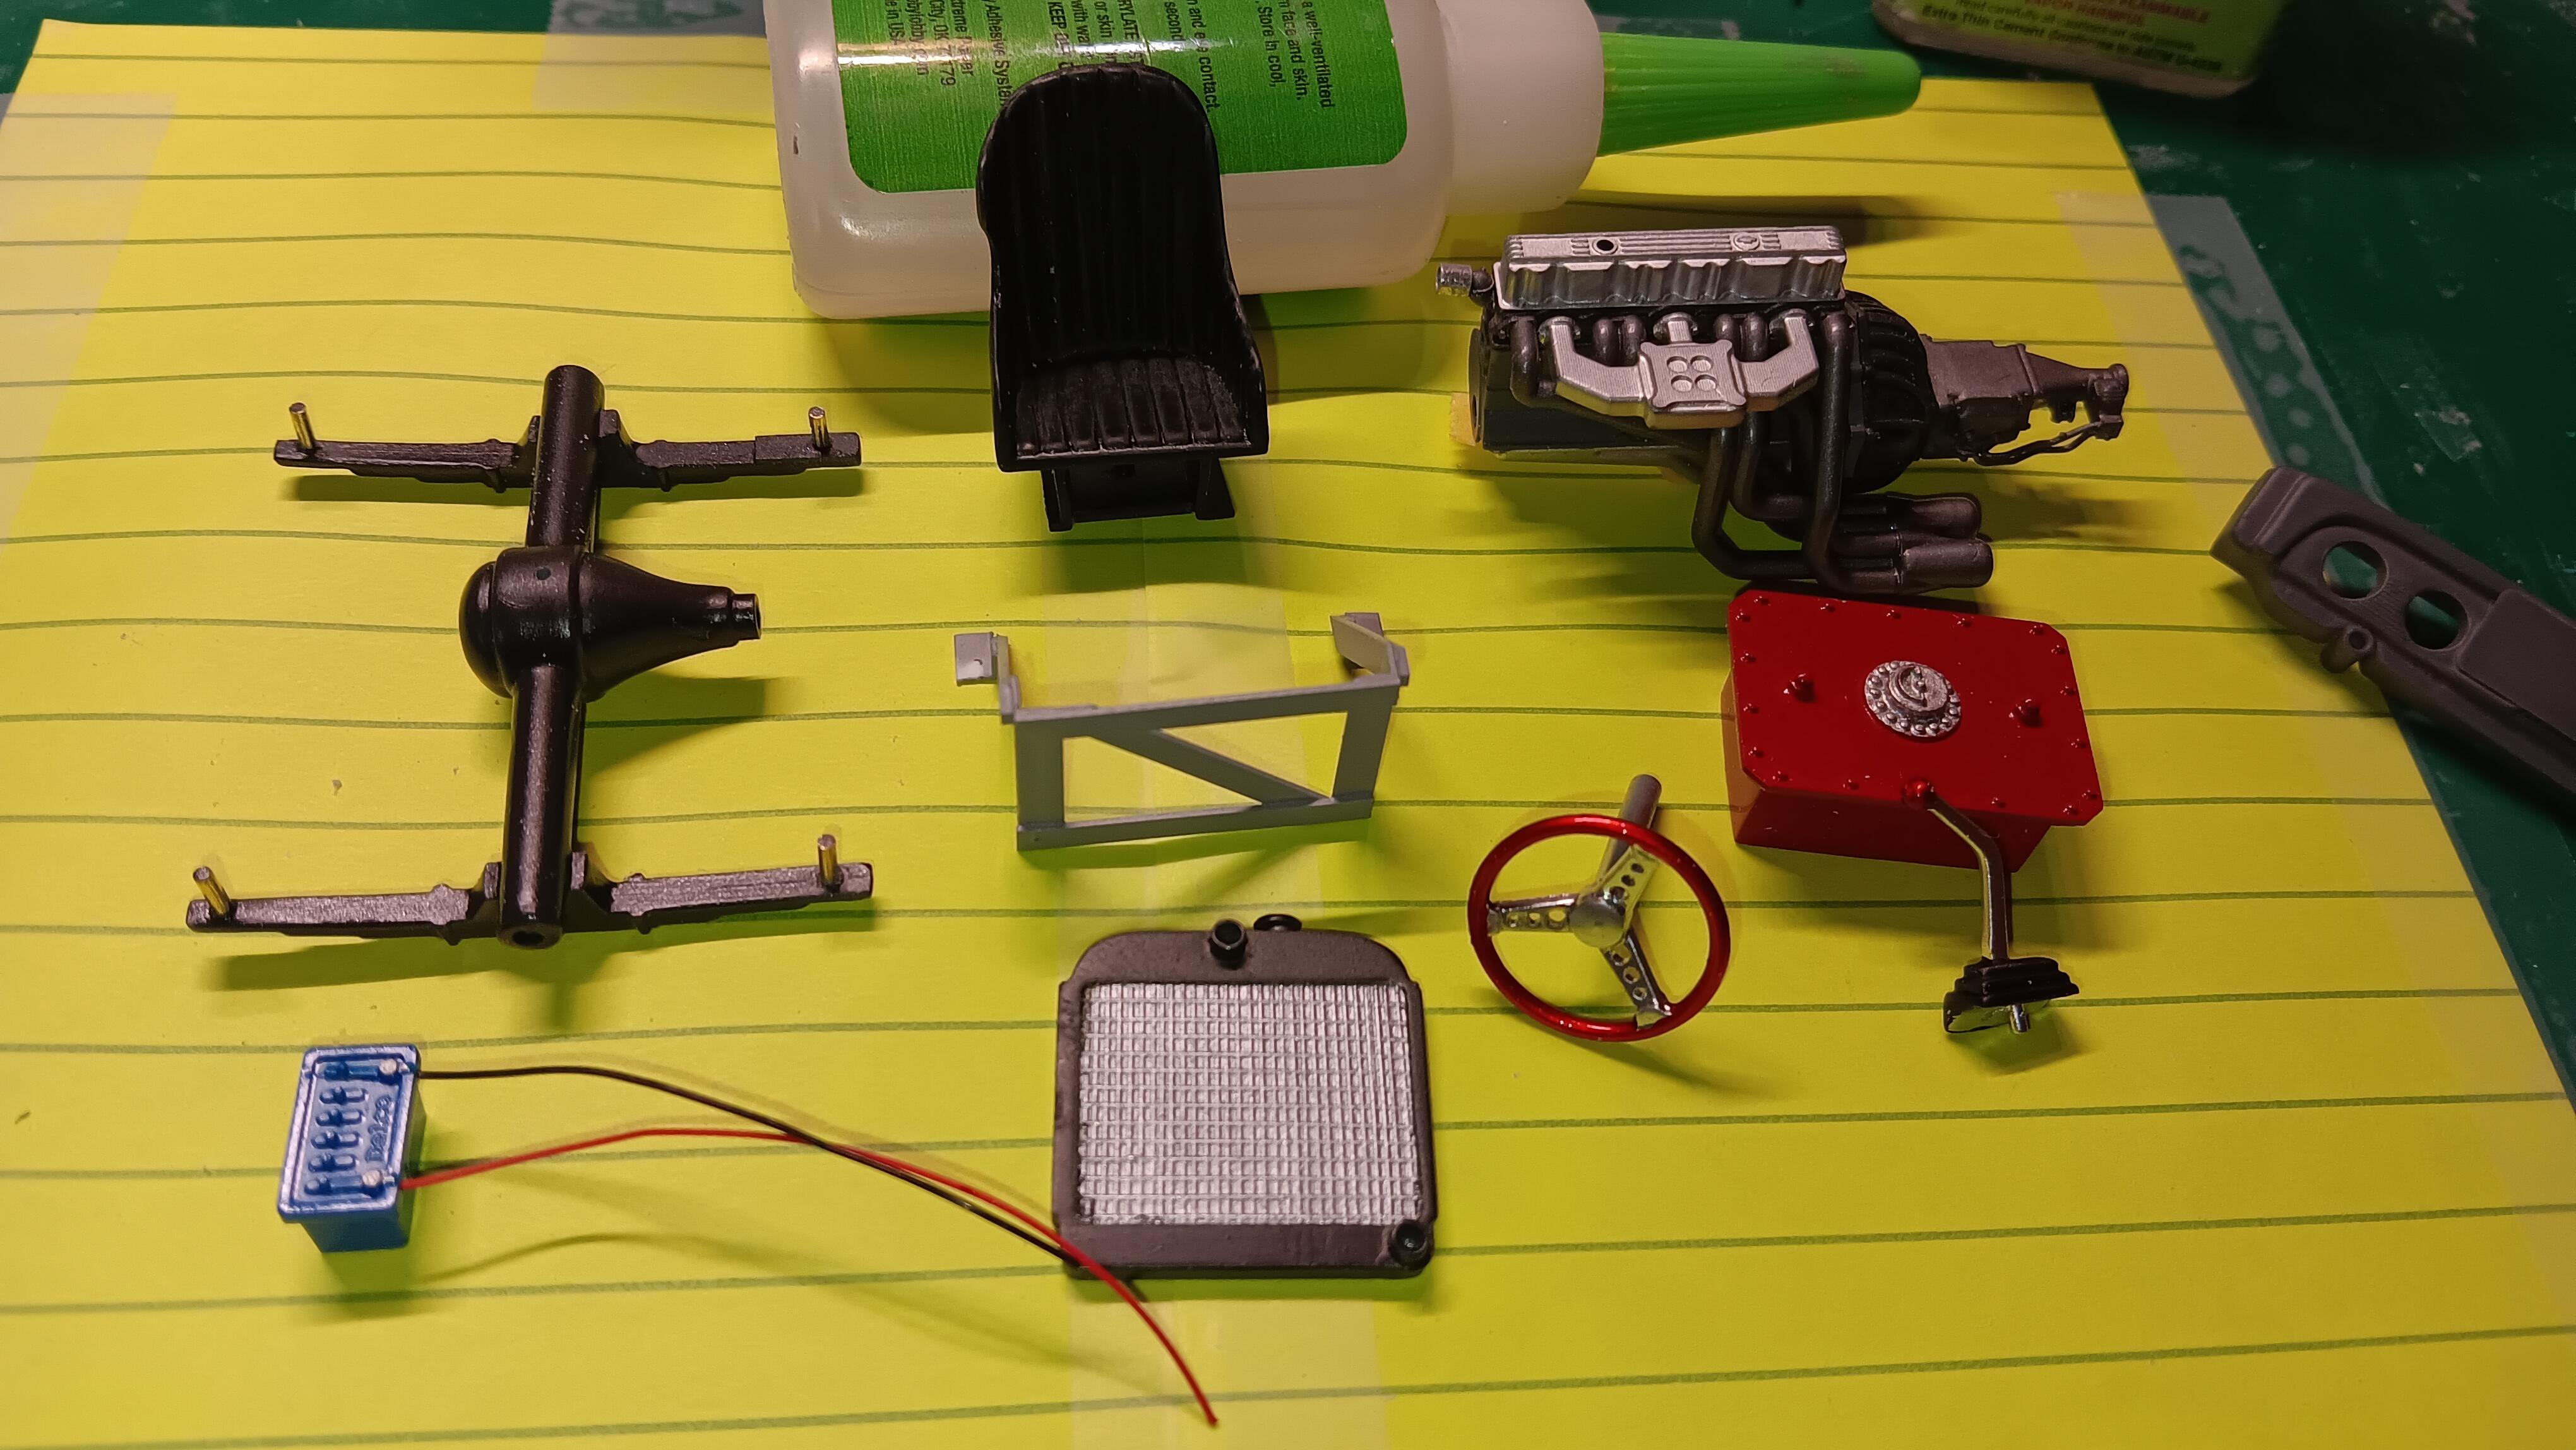
I started using paper clips and staples, which are not even close to being round items. Then onto floral wire which is strong enough and cheap. I use a lot of .093" Evergreen tubing that has an .048" hole thru it. I can use plastic or brass rod to make strong joints. In general my go-to metal items are 1/32" and 3/64" brass rod. I have a few lengths of .031" stainless steel pins that come in handy. Most used lengths are 1/8", 3/16" and 1/4". -
Me and my brother had ZZ Top worthy beards for a while, everyone in the family HATED them including wives and girlfriends. What to do... grow it LONGER... When I got a real job in 1981 I cut it shorter by a lot. My brother needed to go to court about something, his was gone. Now I trim it with a #1 or #2 guide on a Wahl trimmer.
-
How do you prep your glue surfaces???
bobss396 replied to Vinny G's topic in Model Building Questions and Answers
Anything that needs strength I will pin it in place. I drill holes while things are in the raw plastic state, pin one side with brass rod, aluminum tubing or stainless steel pins (1/32"). Then I use as little CA glue as possible. I rarely ever scrape paint off anything. -
I like the scoop. I have (yet another stalled project..) and I grafted a scoop from a '66-ish T-Bird onto a Mercury hood. That comes with a chrome piece for the front of the scoop that sets it off.
-
Watch with photo-copying a decal sheet, with my printer the scale is a little off. Put a scale in with whatever you are copying so you can check it.
-
Stalled project from 2014.... those are rookie numbers! Seriously, the car looks great. I could build for a solid 3 years if I unearthed all of my stalled projects. I have some going back to 2000.
-
Detail painting… a question of the whats and whys
bobss396 replied to Keef's topic in Model Building Questions and Answers
Citadel is one my local hobby shop carries, the shop owner says that the figure-guys like them. I found Vallejo acrylics at Hobby Lobby, so far I got a black and silver to start with, they were $3.99 each. Online at eBay they are $6-8.