NOBLNG
-
Posts
9,962 -
Joined
-
Last visited
Content Type
Profiles
Forums
Events
Gallery
Everything posted by NOBLNG
-
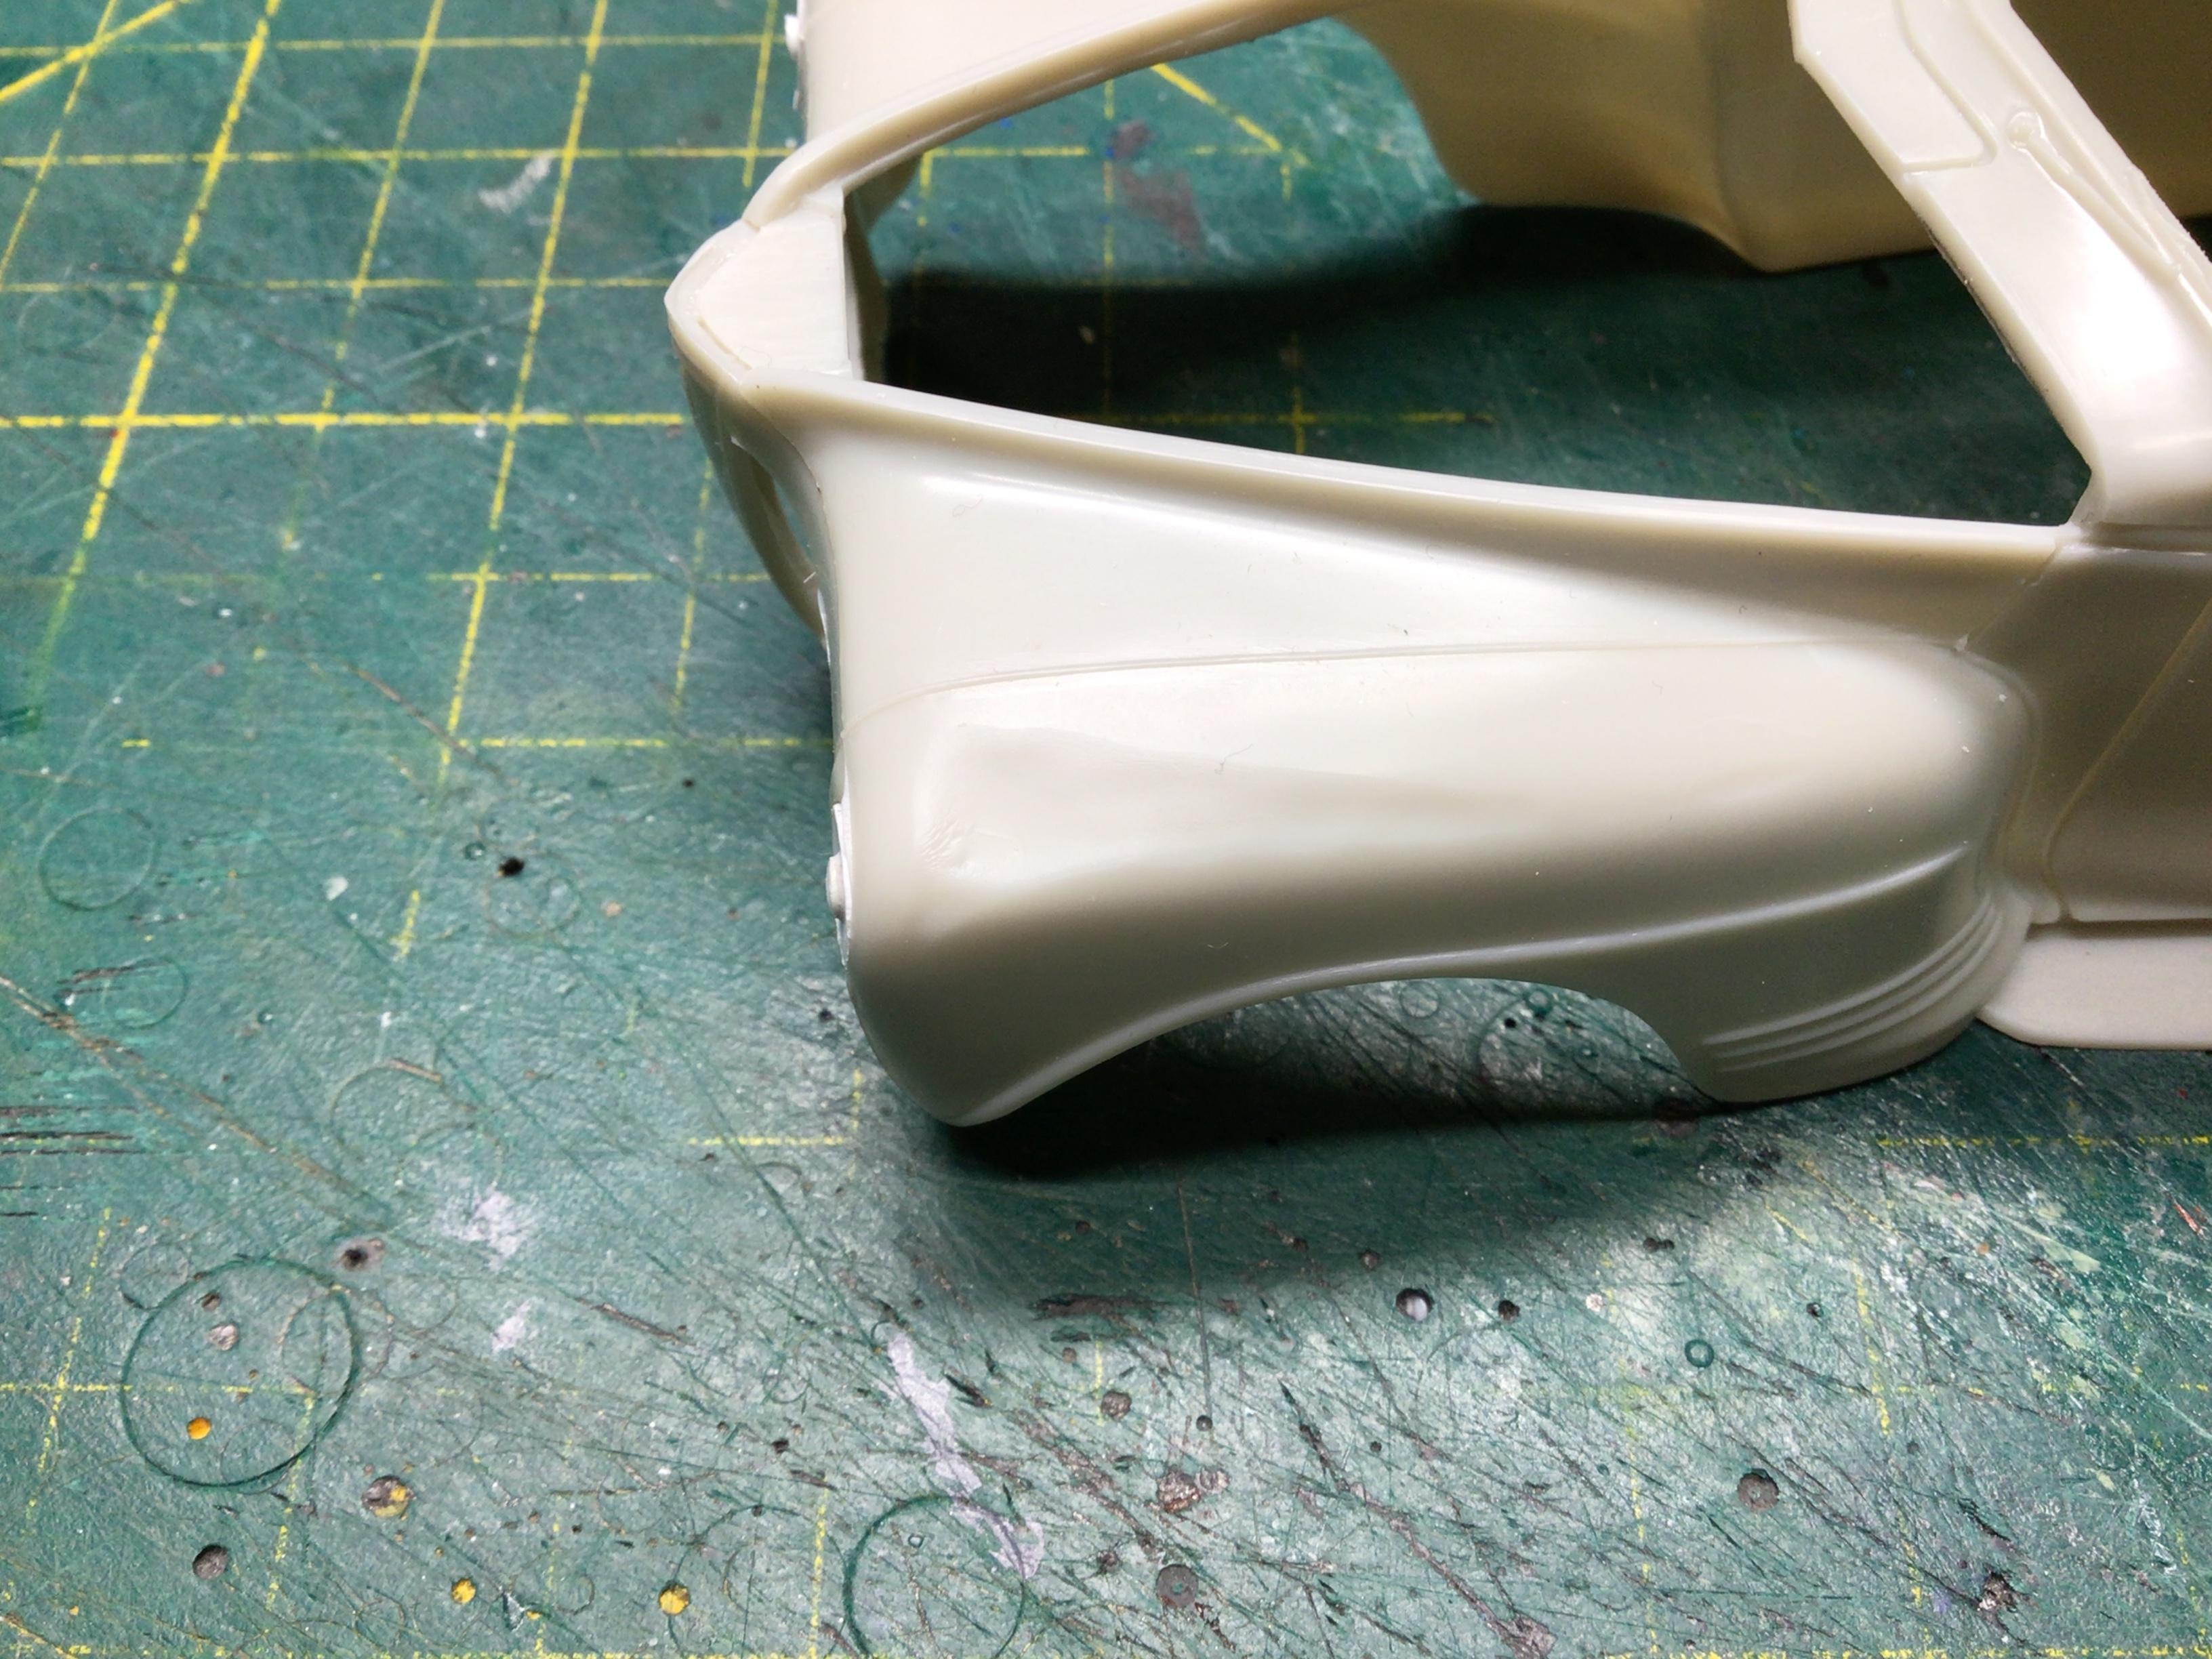
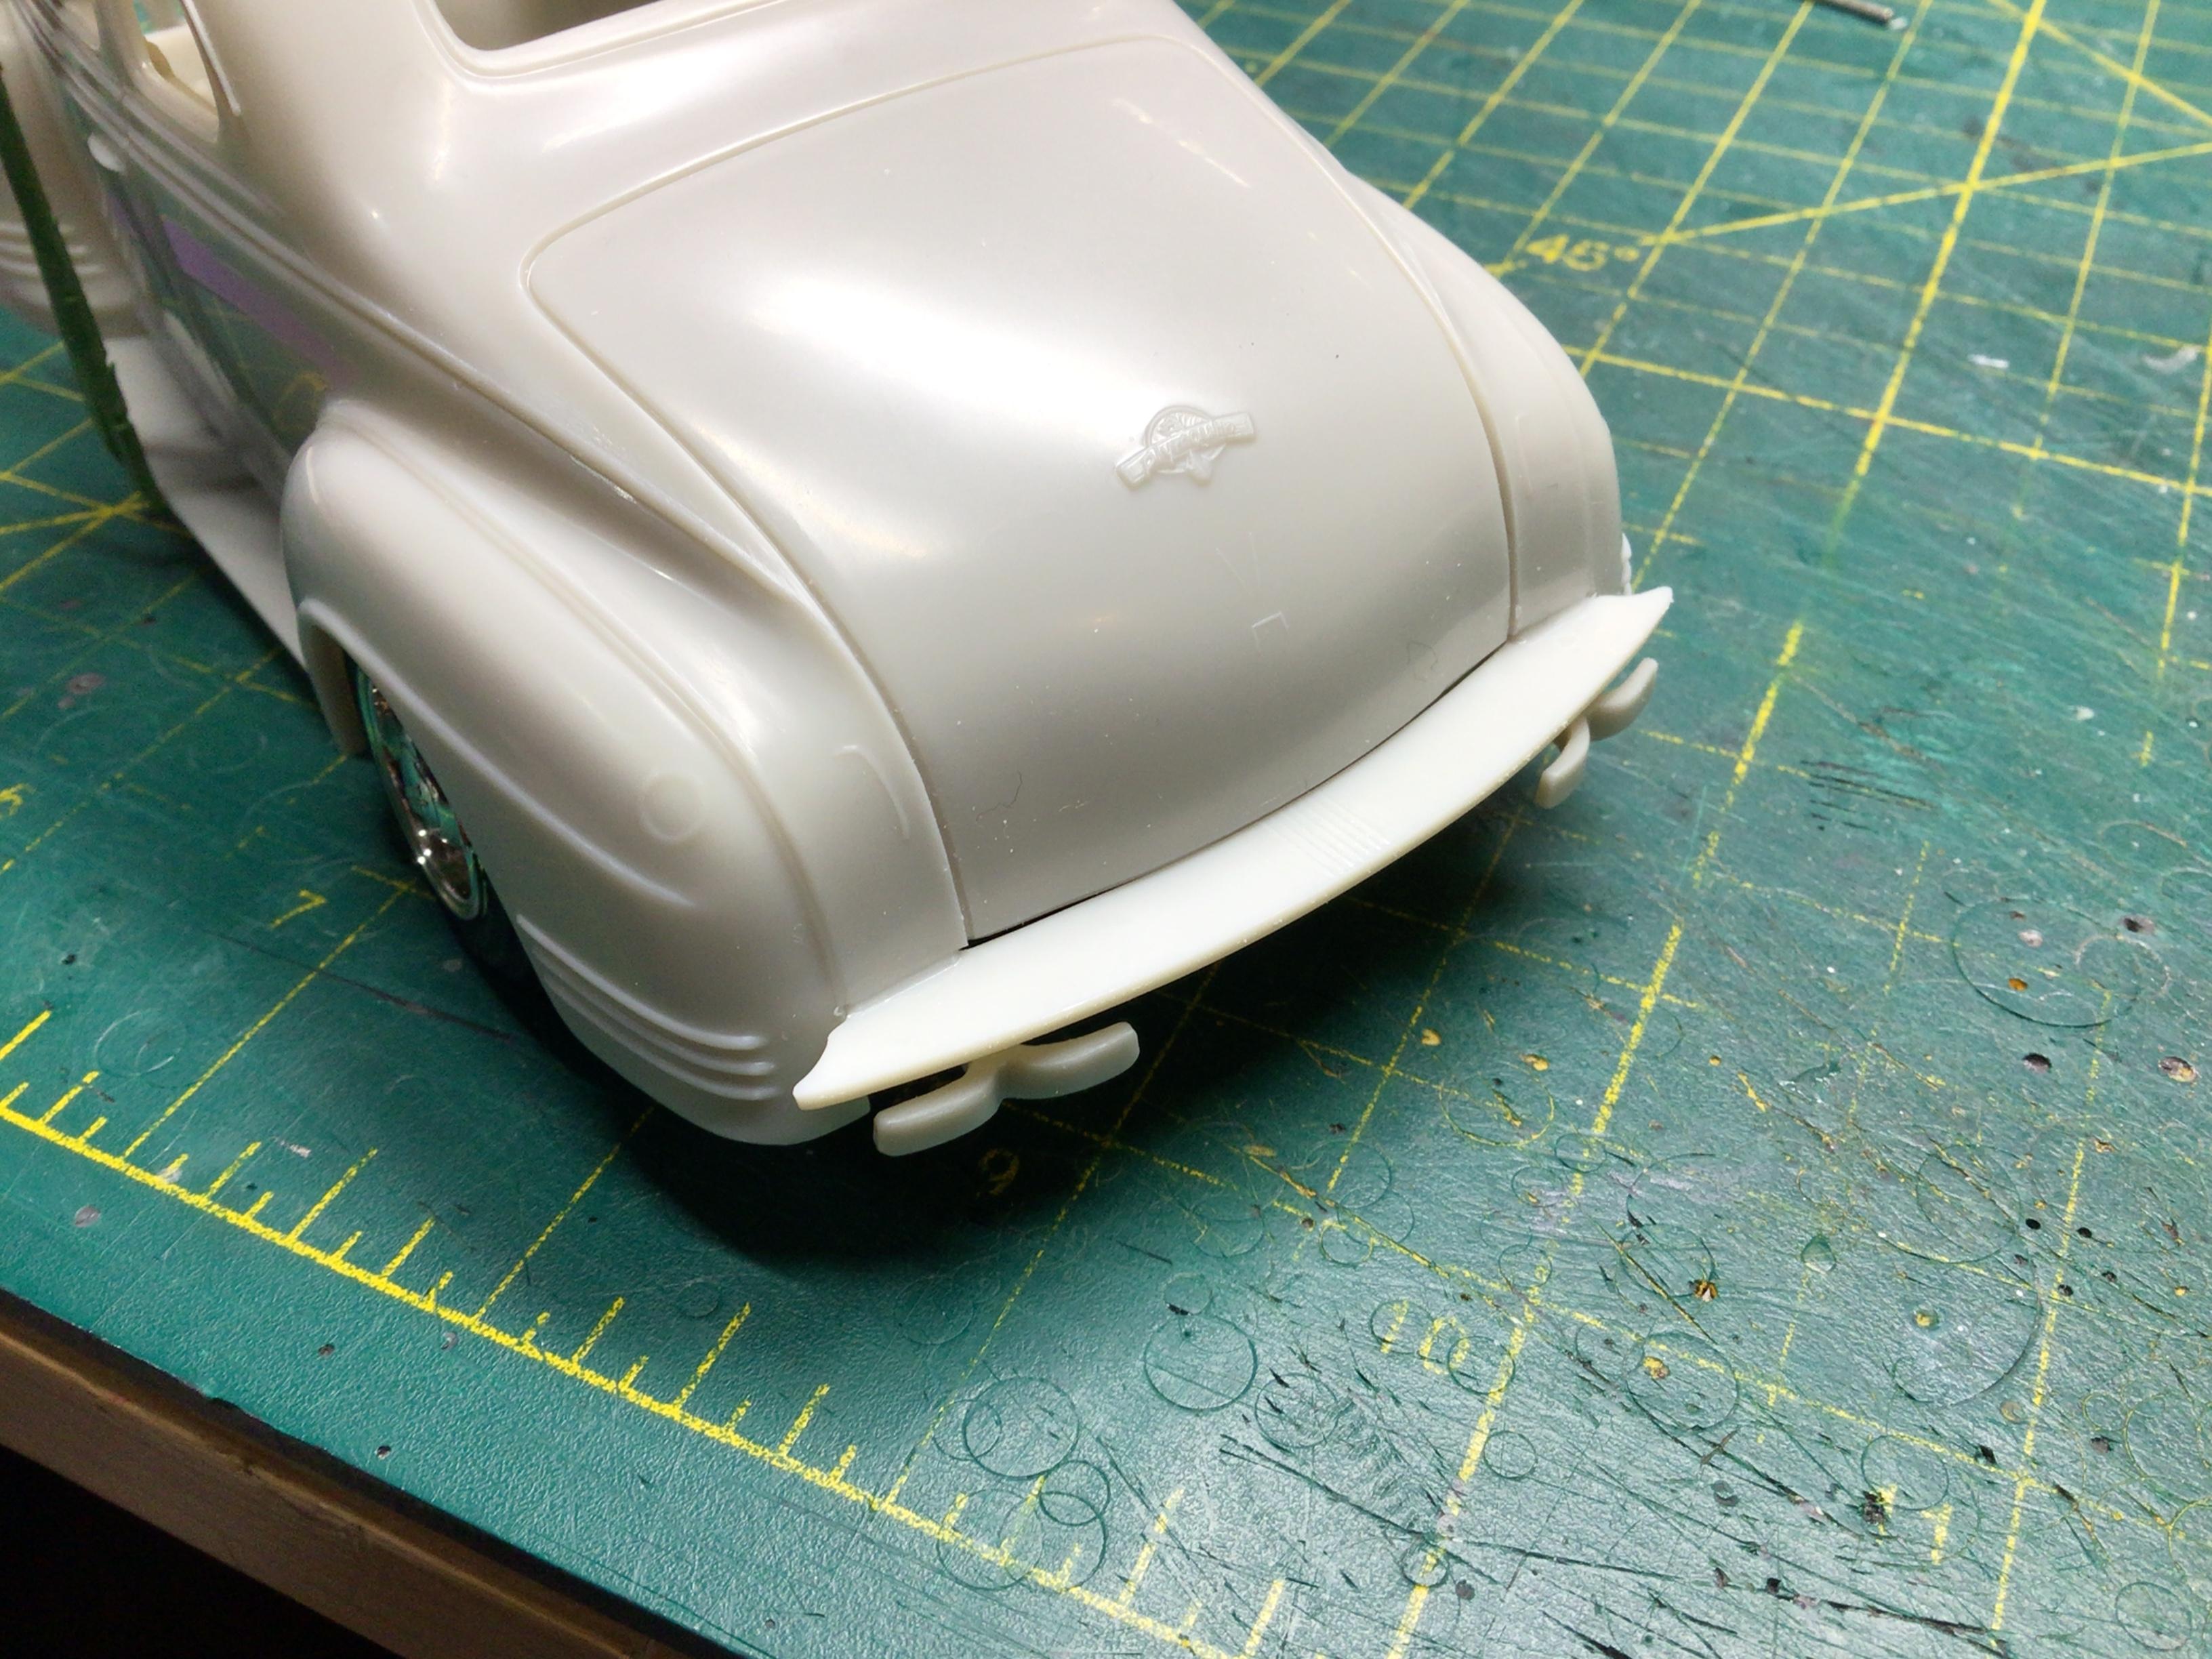
I started a bit of sanding on the nose…I ran out of other things to do.? I haven’t gone through to the goo yet, but it’s getting thin. Now to get the other side to look the same.?I will have to fill the sink marks made by the sprue goo on the drivers fender. I also stripped the bumper chrome and detailed them a bit, then sprayed them and the grills with the Revell Chrom. They are drying in the dehydrator out in the garage.?

-
Bummer!?
-
Cool project! I have this movie on dvd.?
-
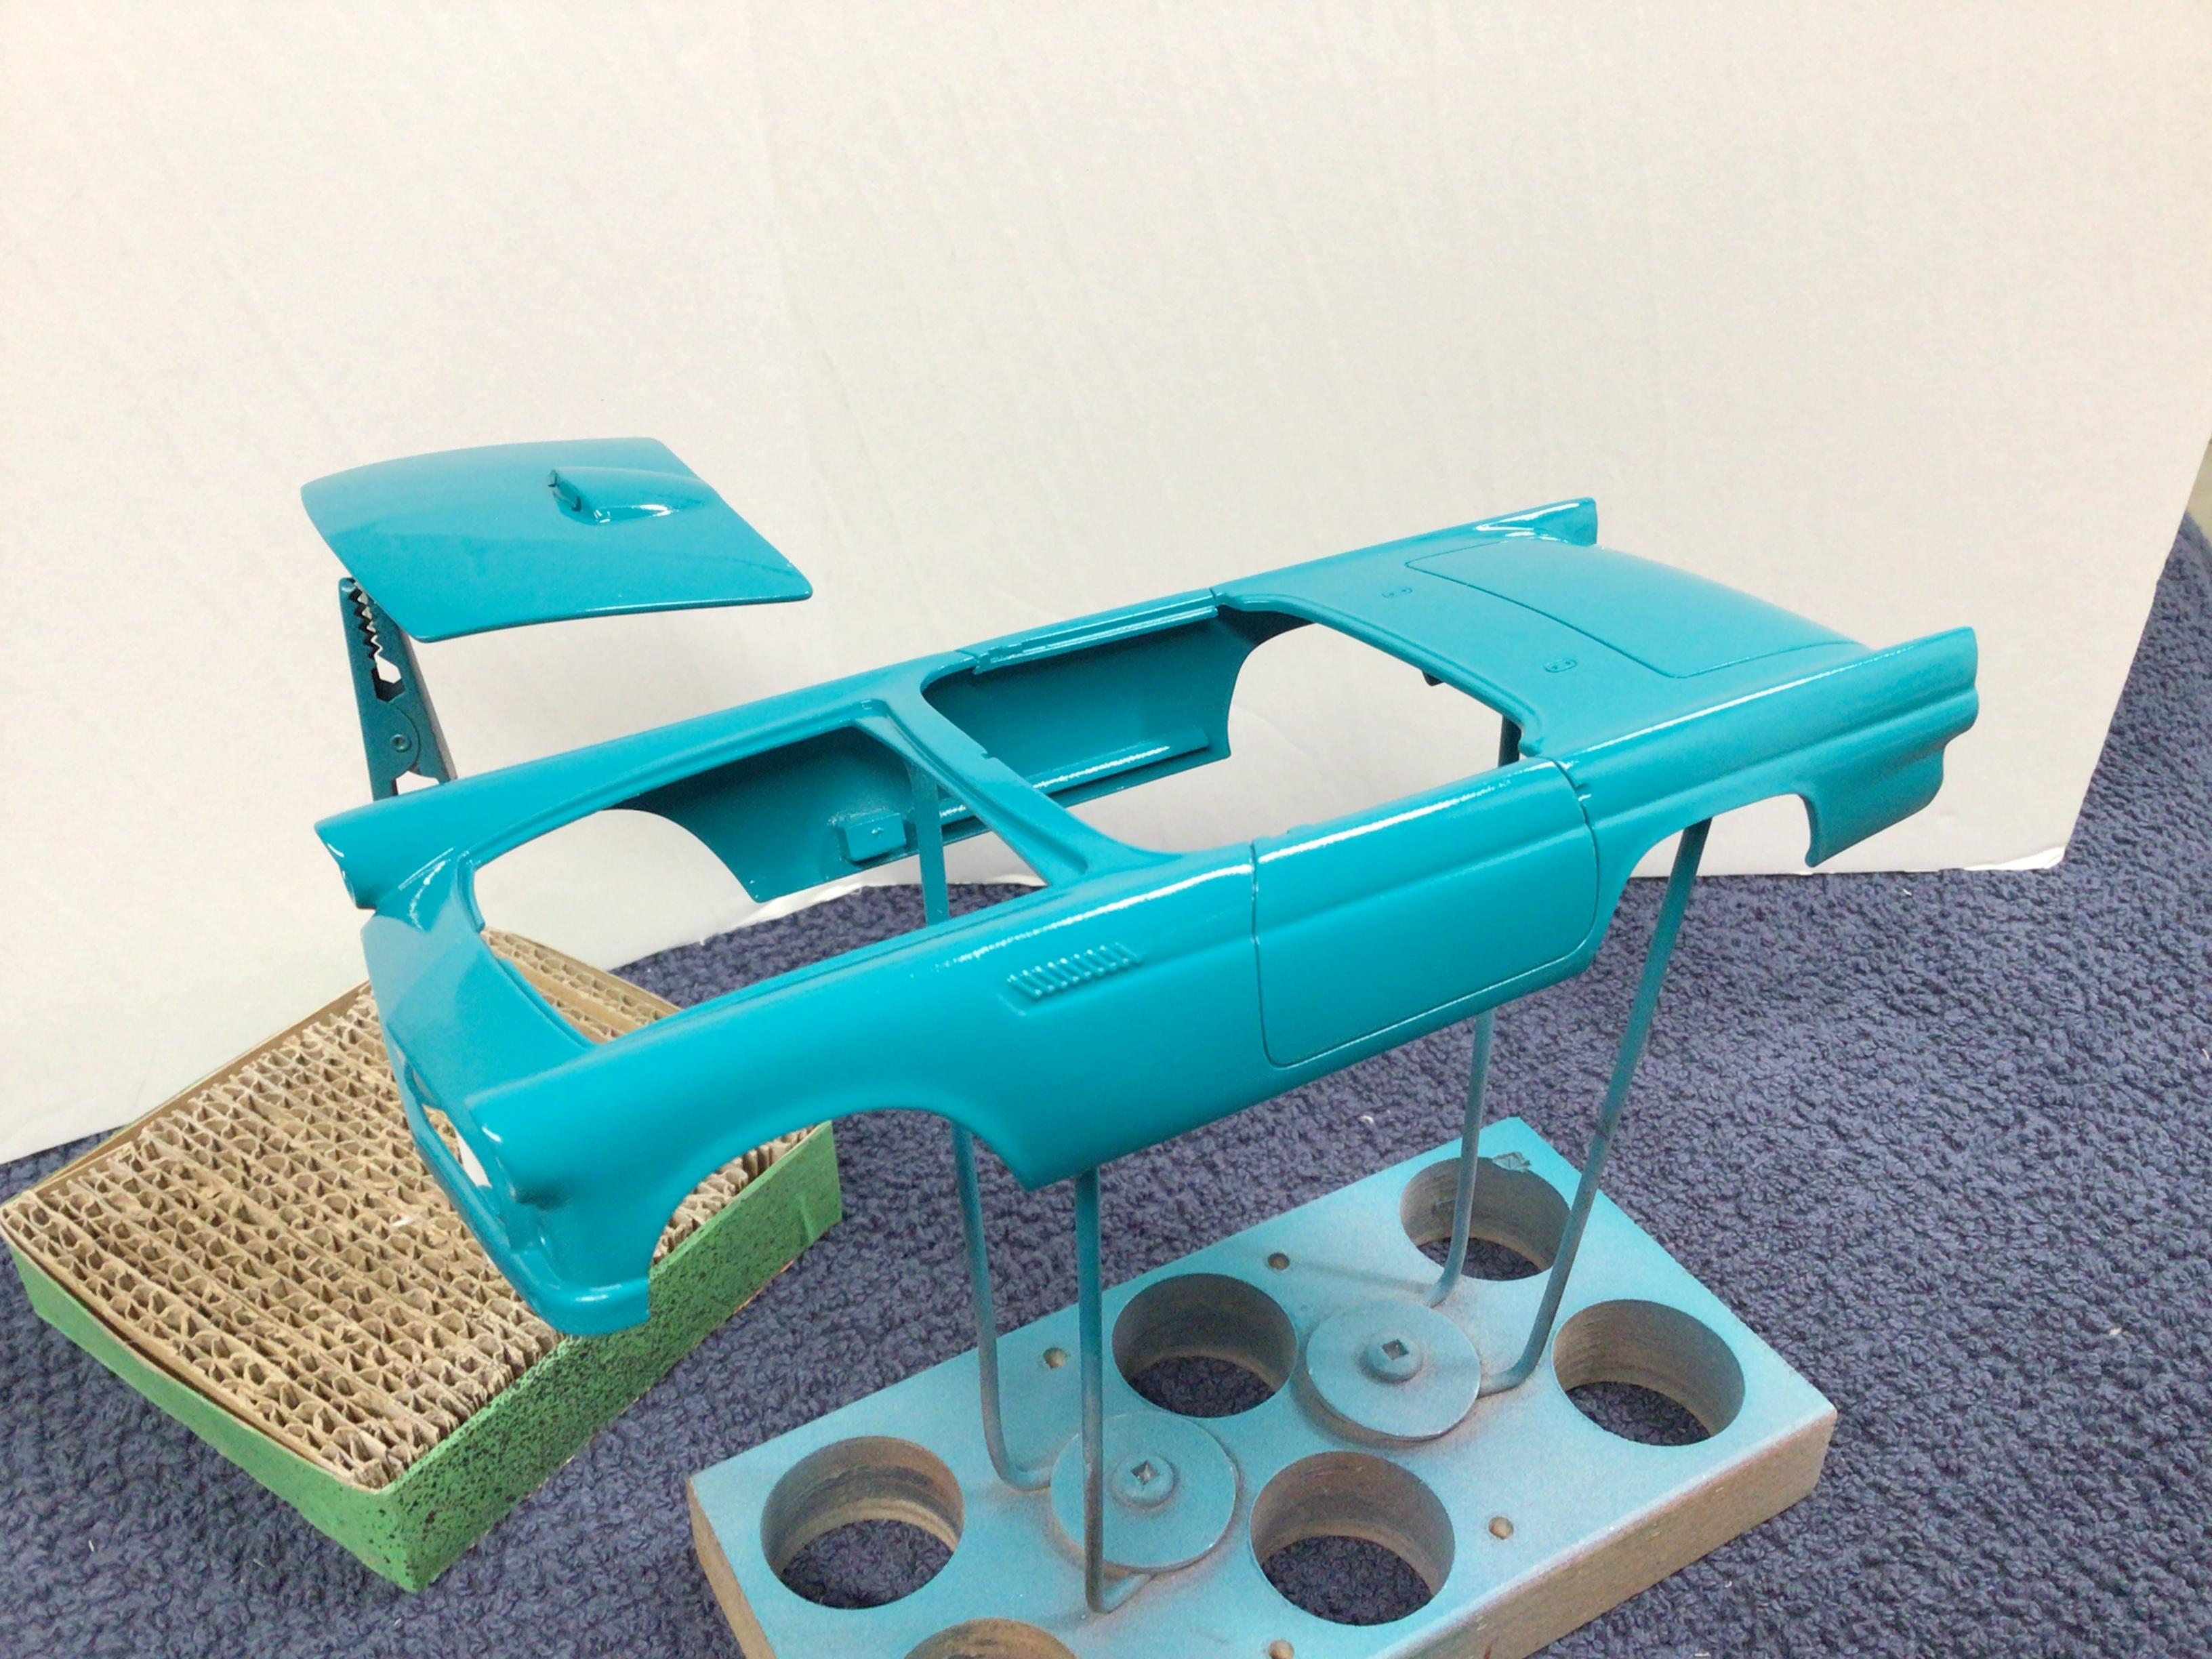
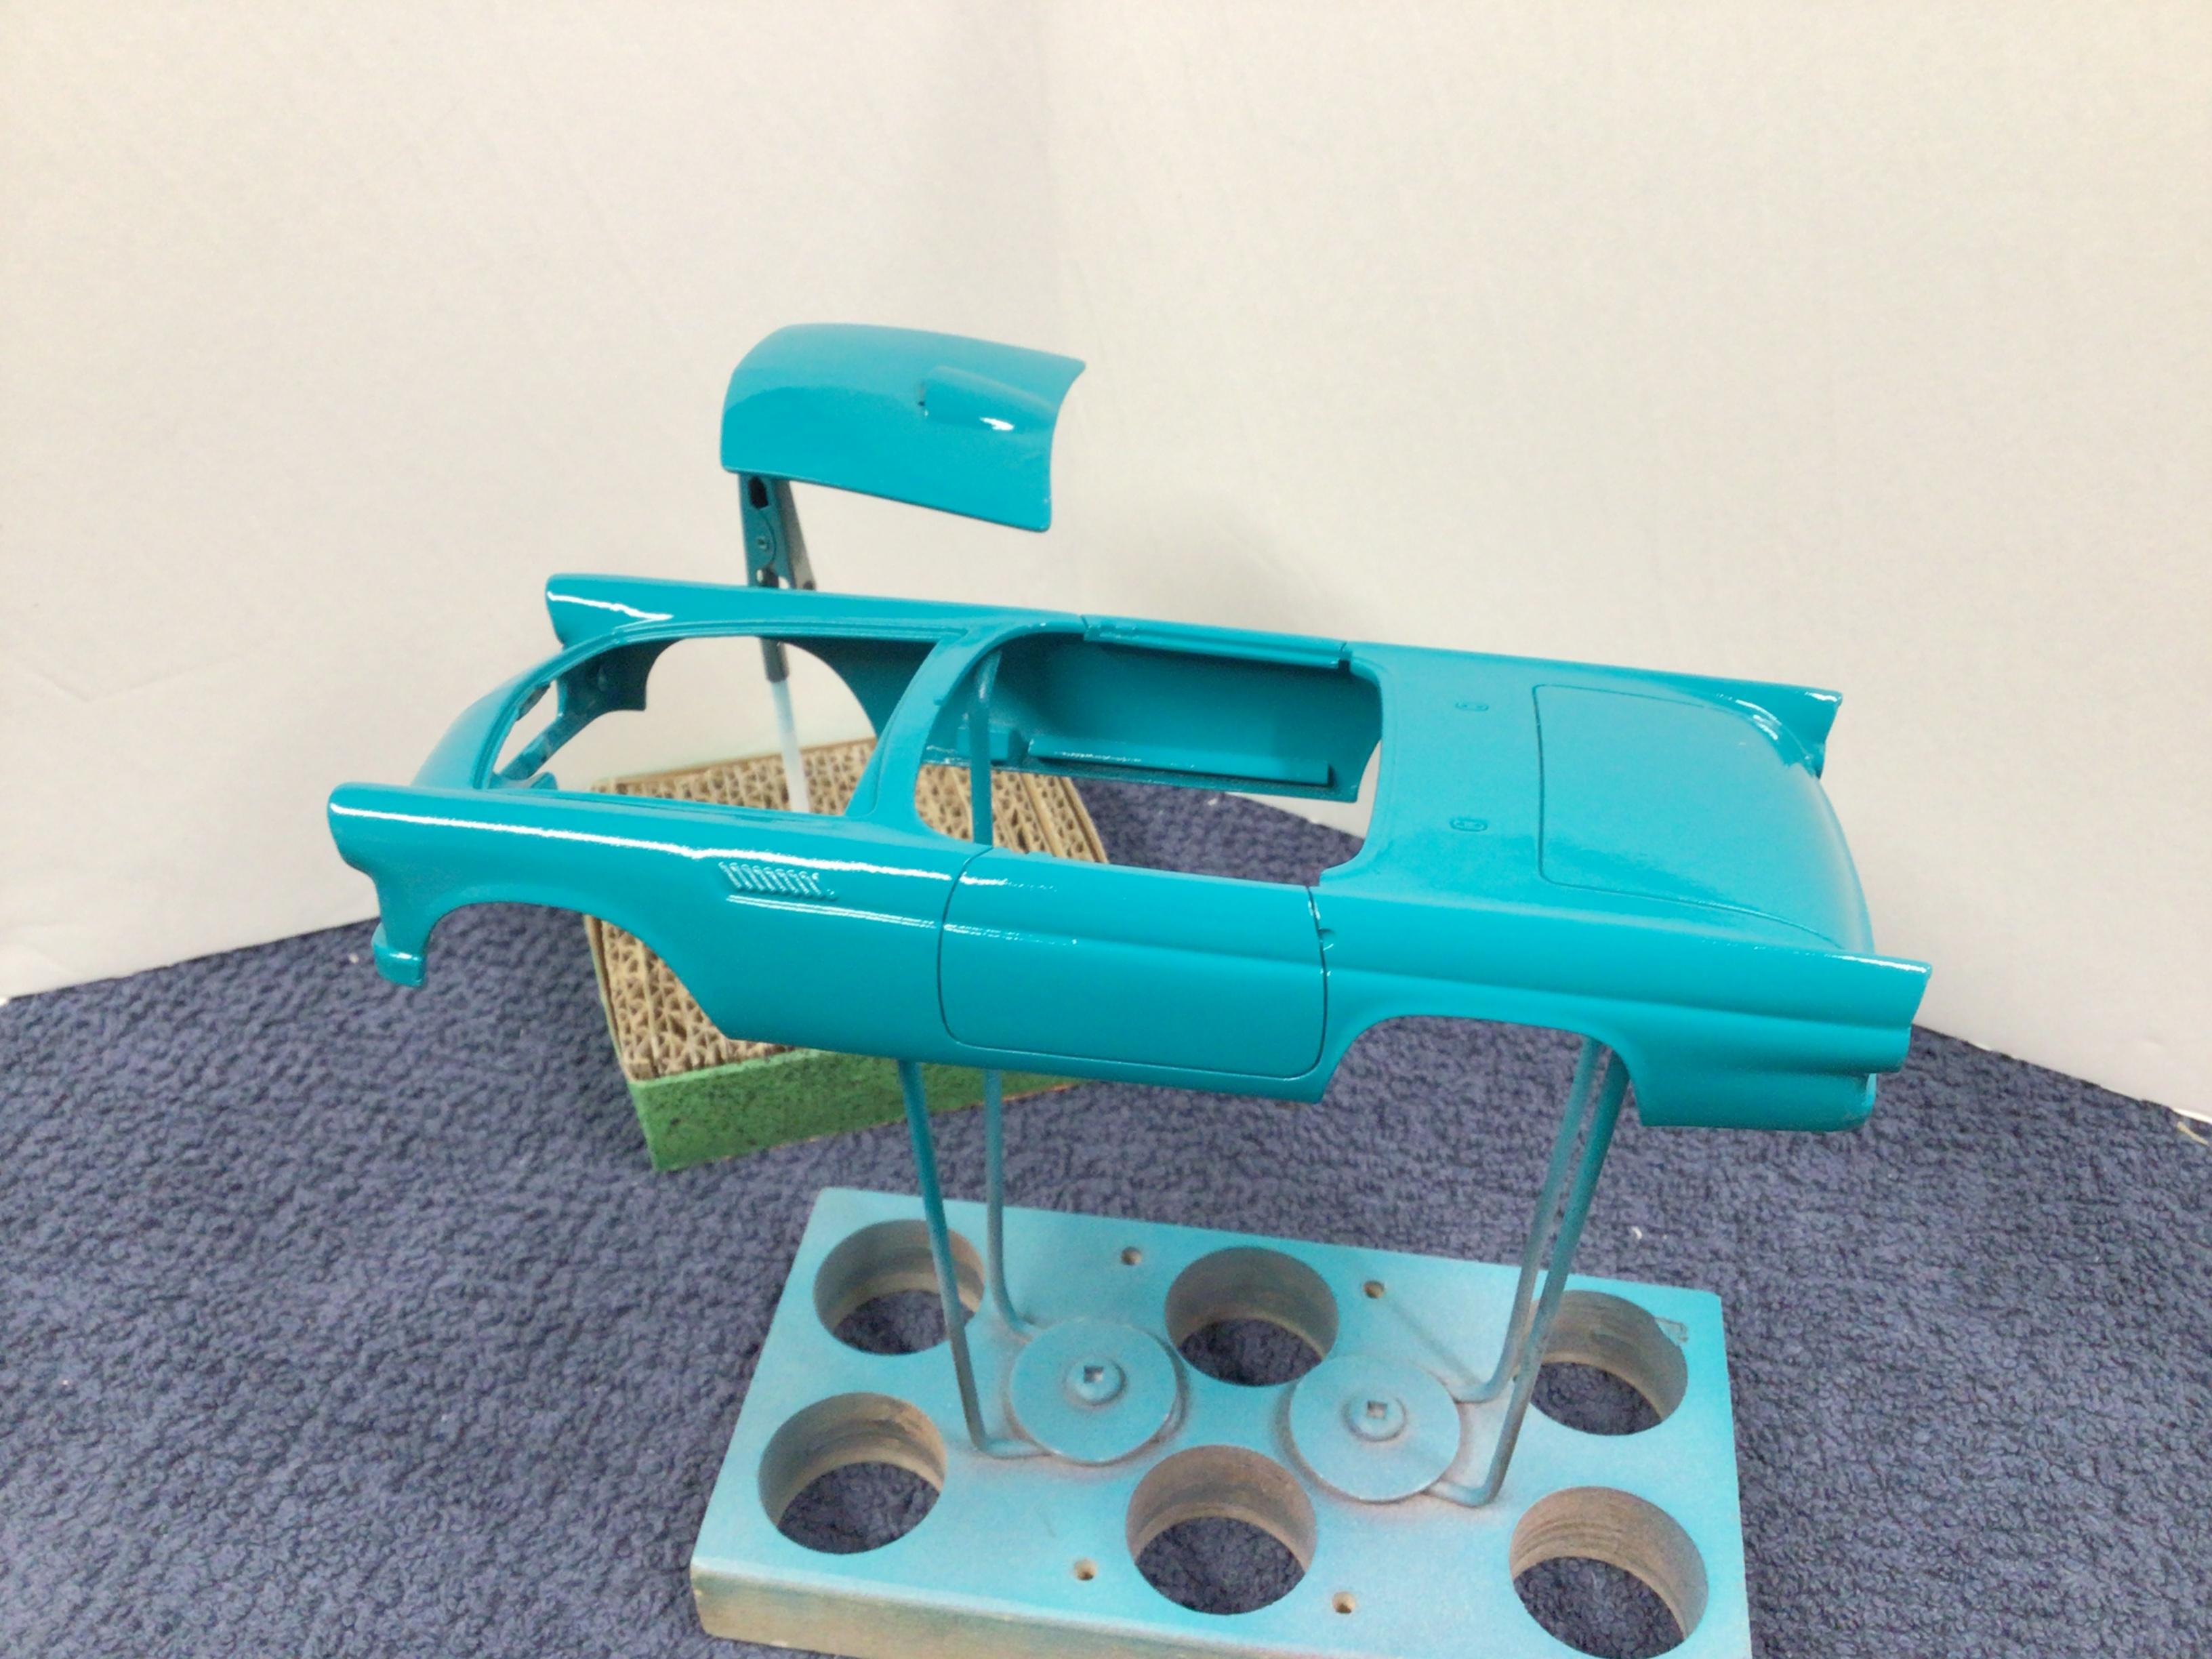
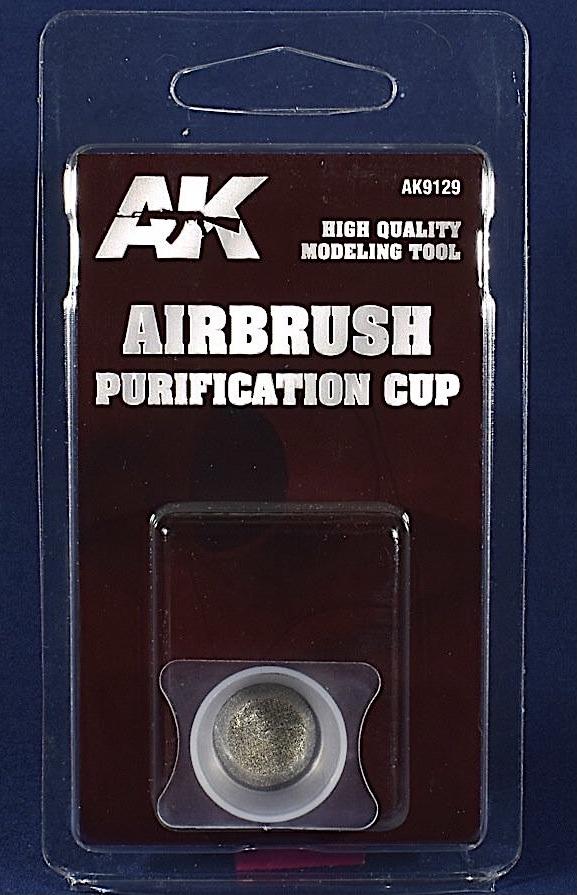
I finally got a decent coat of paint on this one. I kept getting little bits of trash on the color coats. I bought a screen to filter the paint going into the cup and that solved the problem.? Then a few coats of Mr. Hobby clear straight from the can. Now I’m going to try my hand at polishing it a bit before any more assembly.?
-
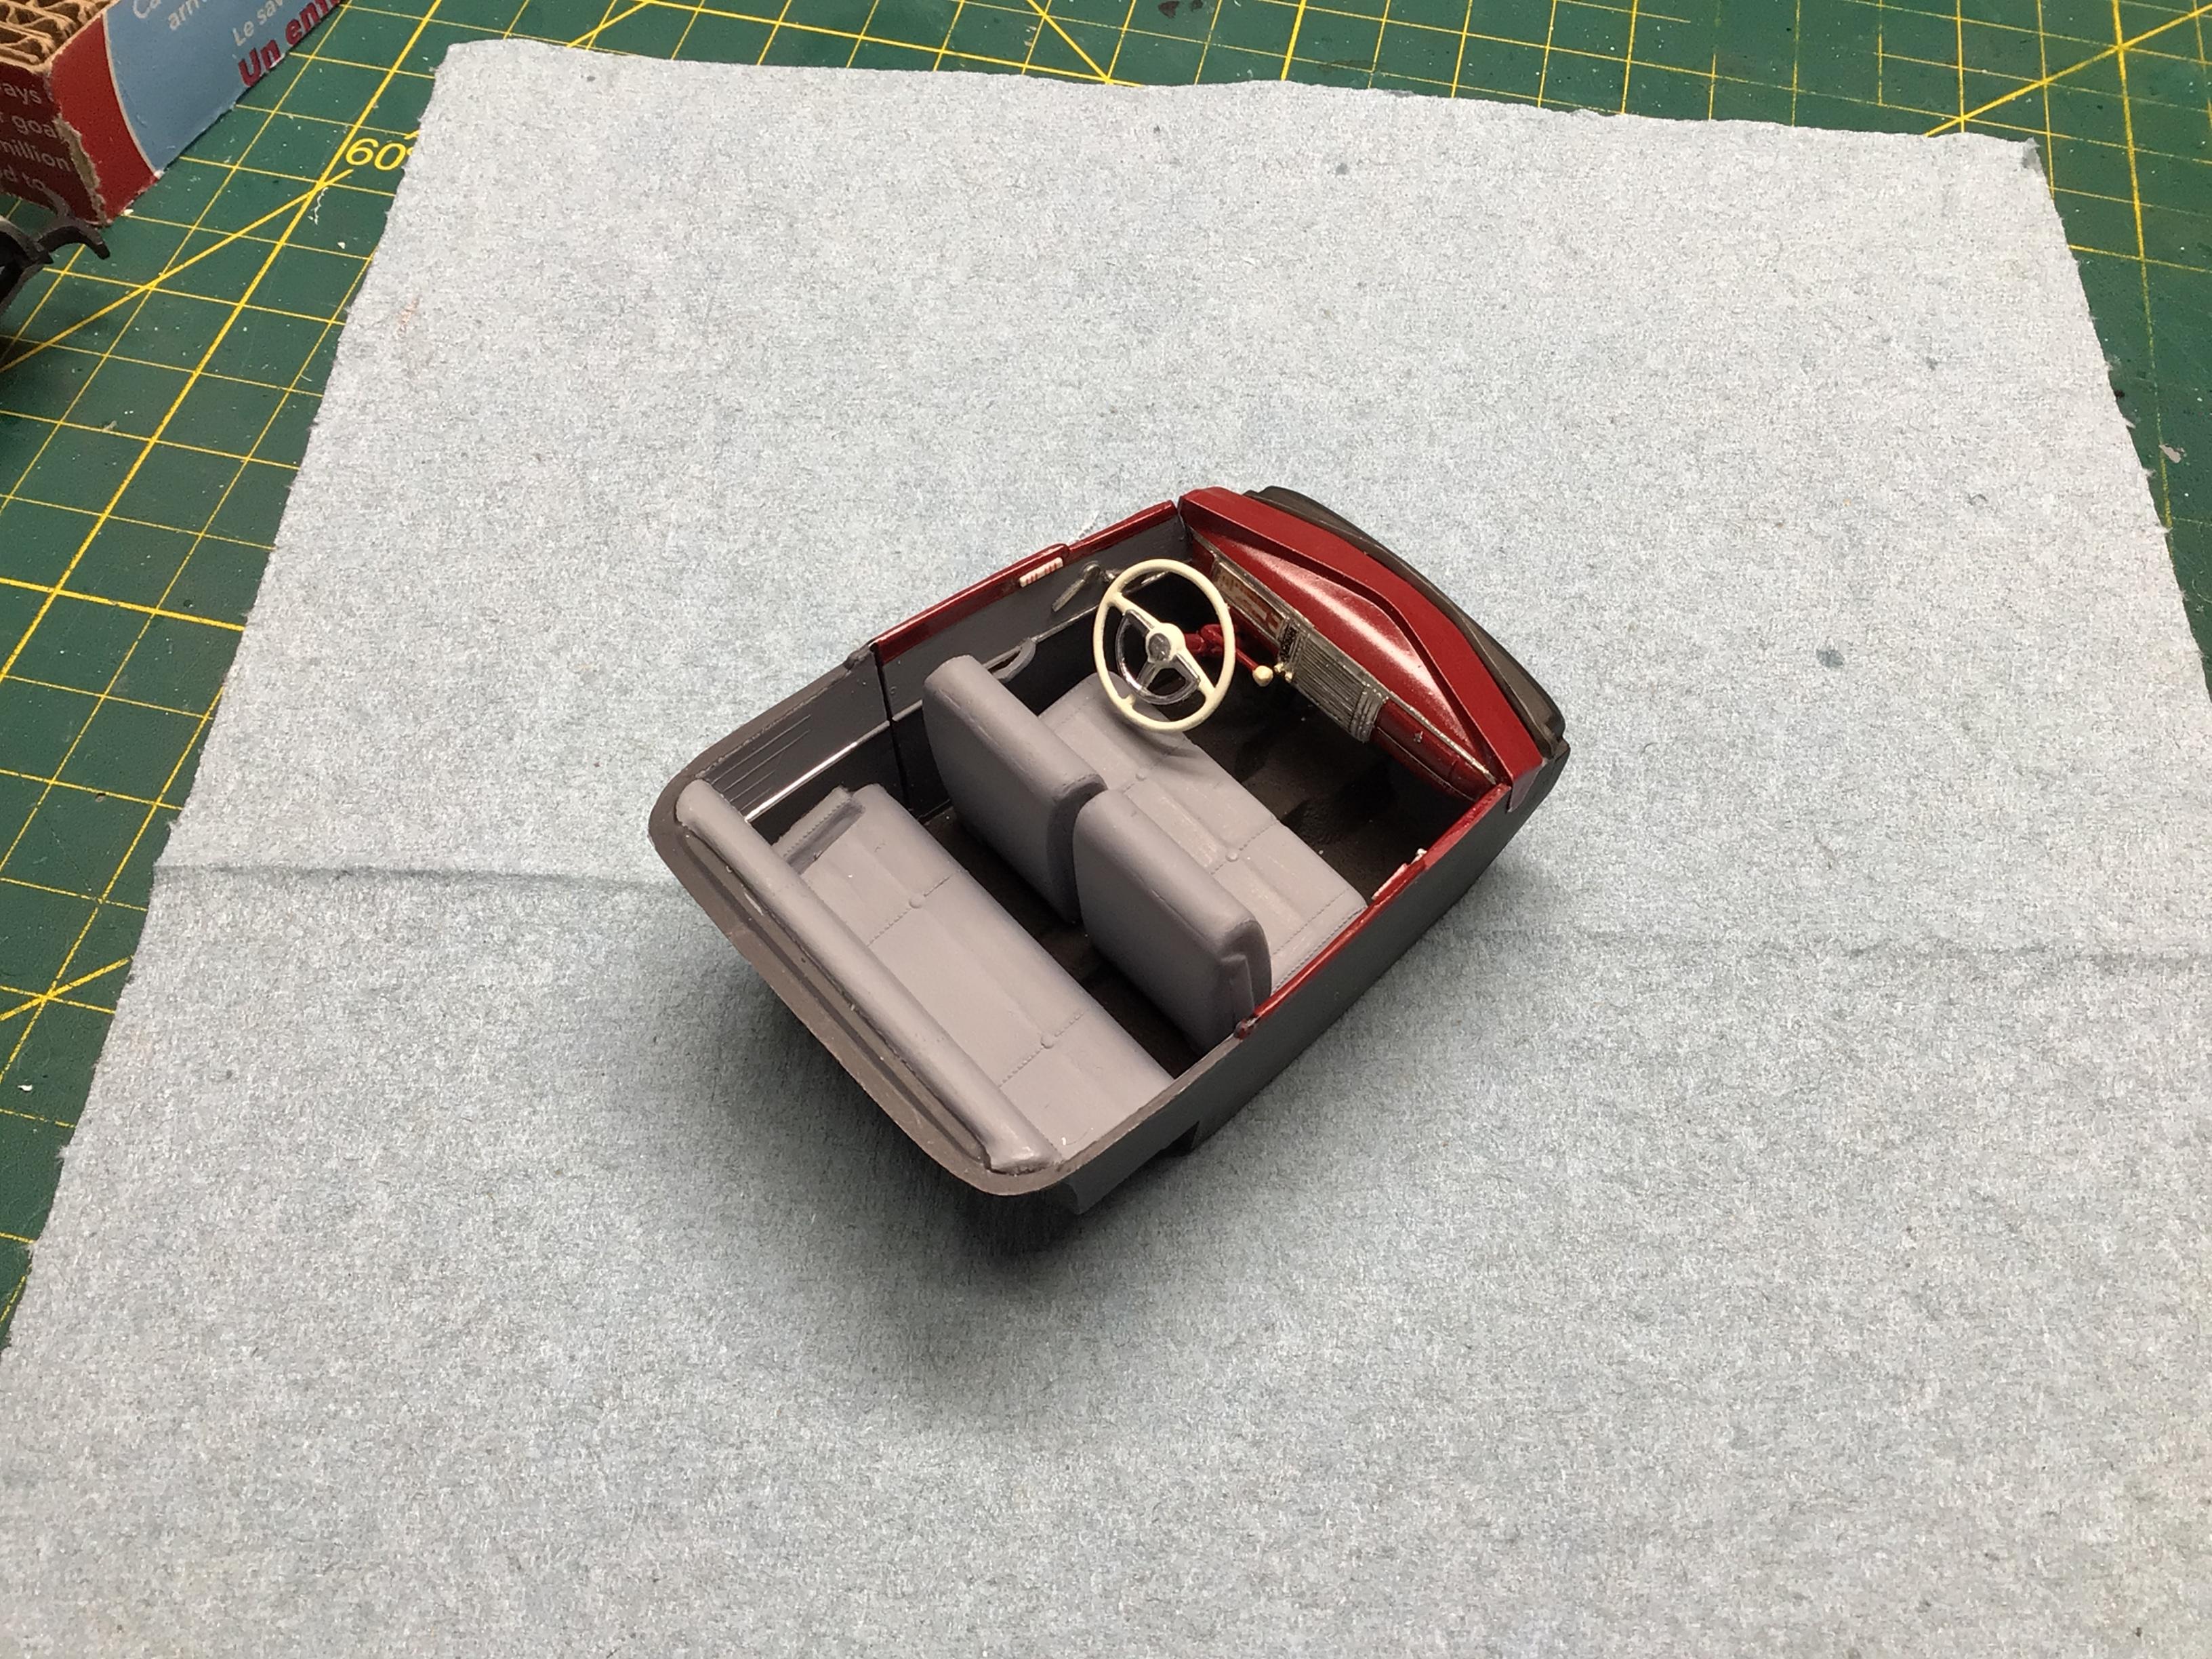
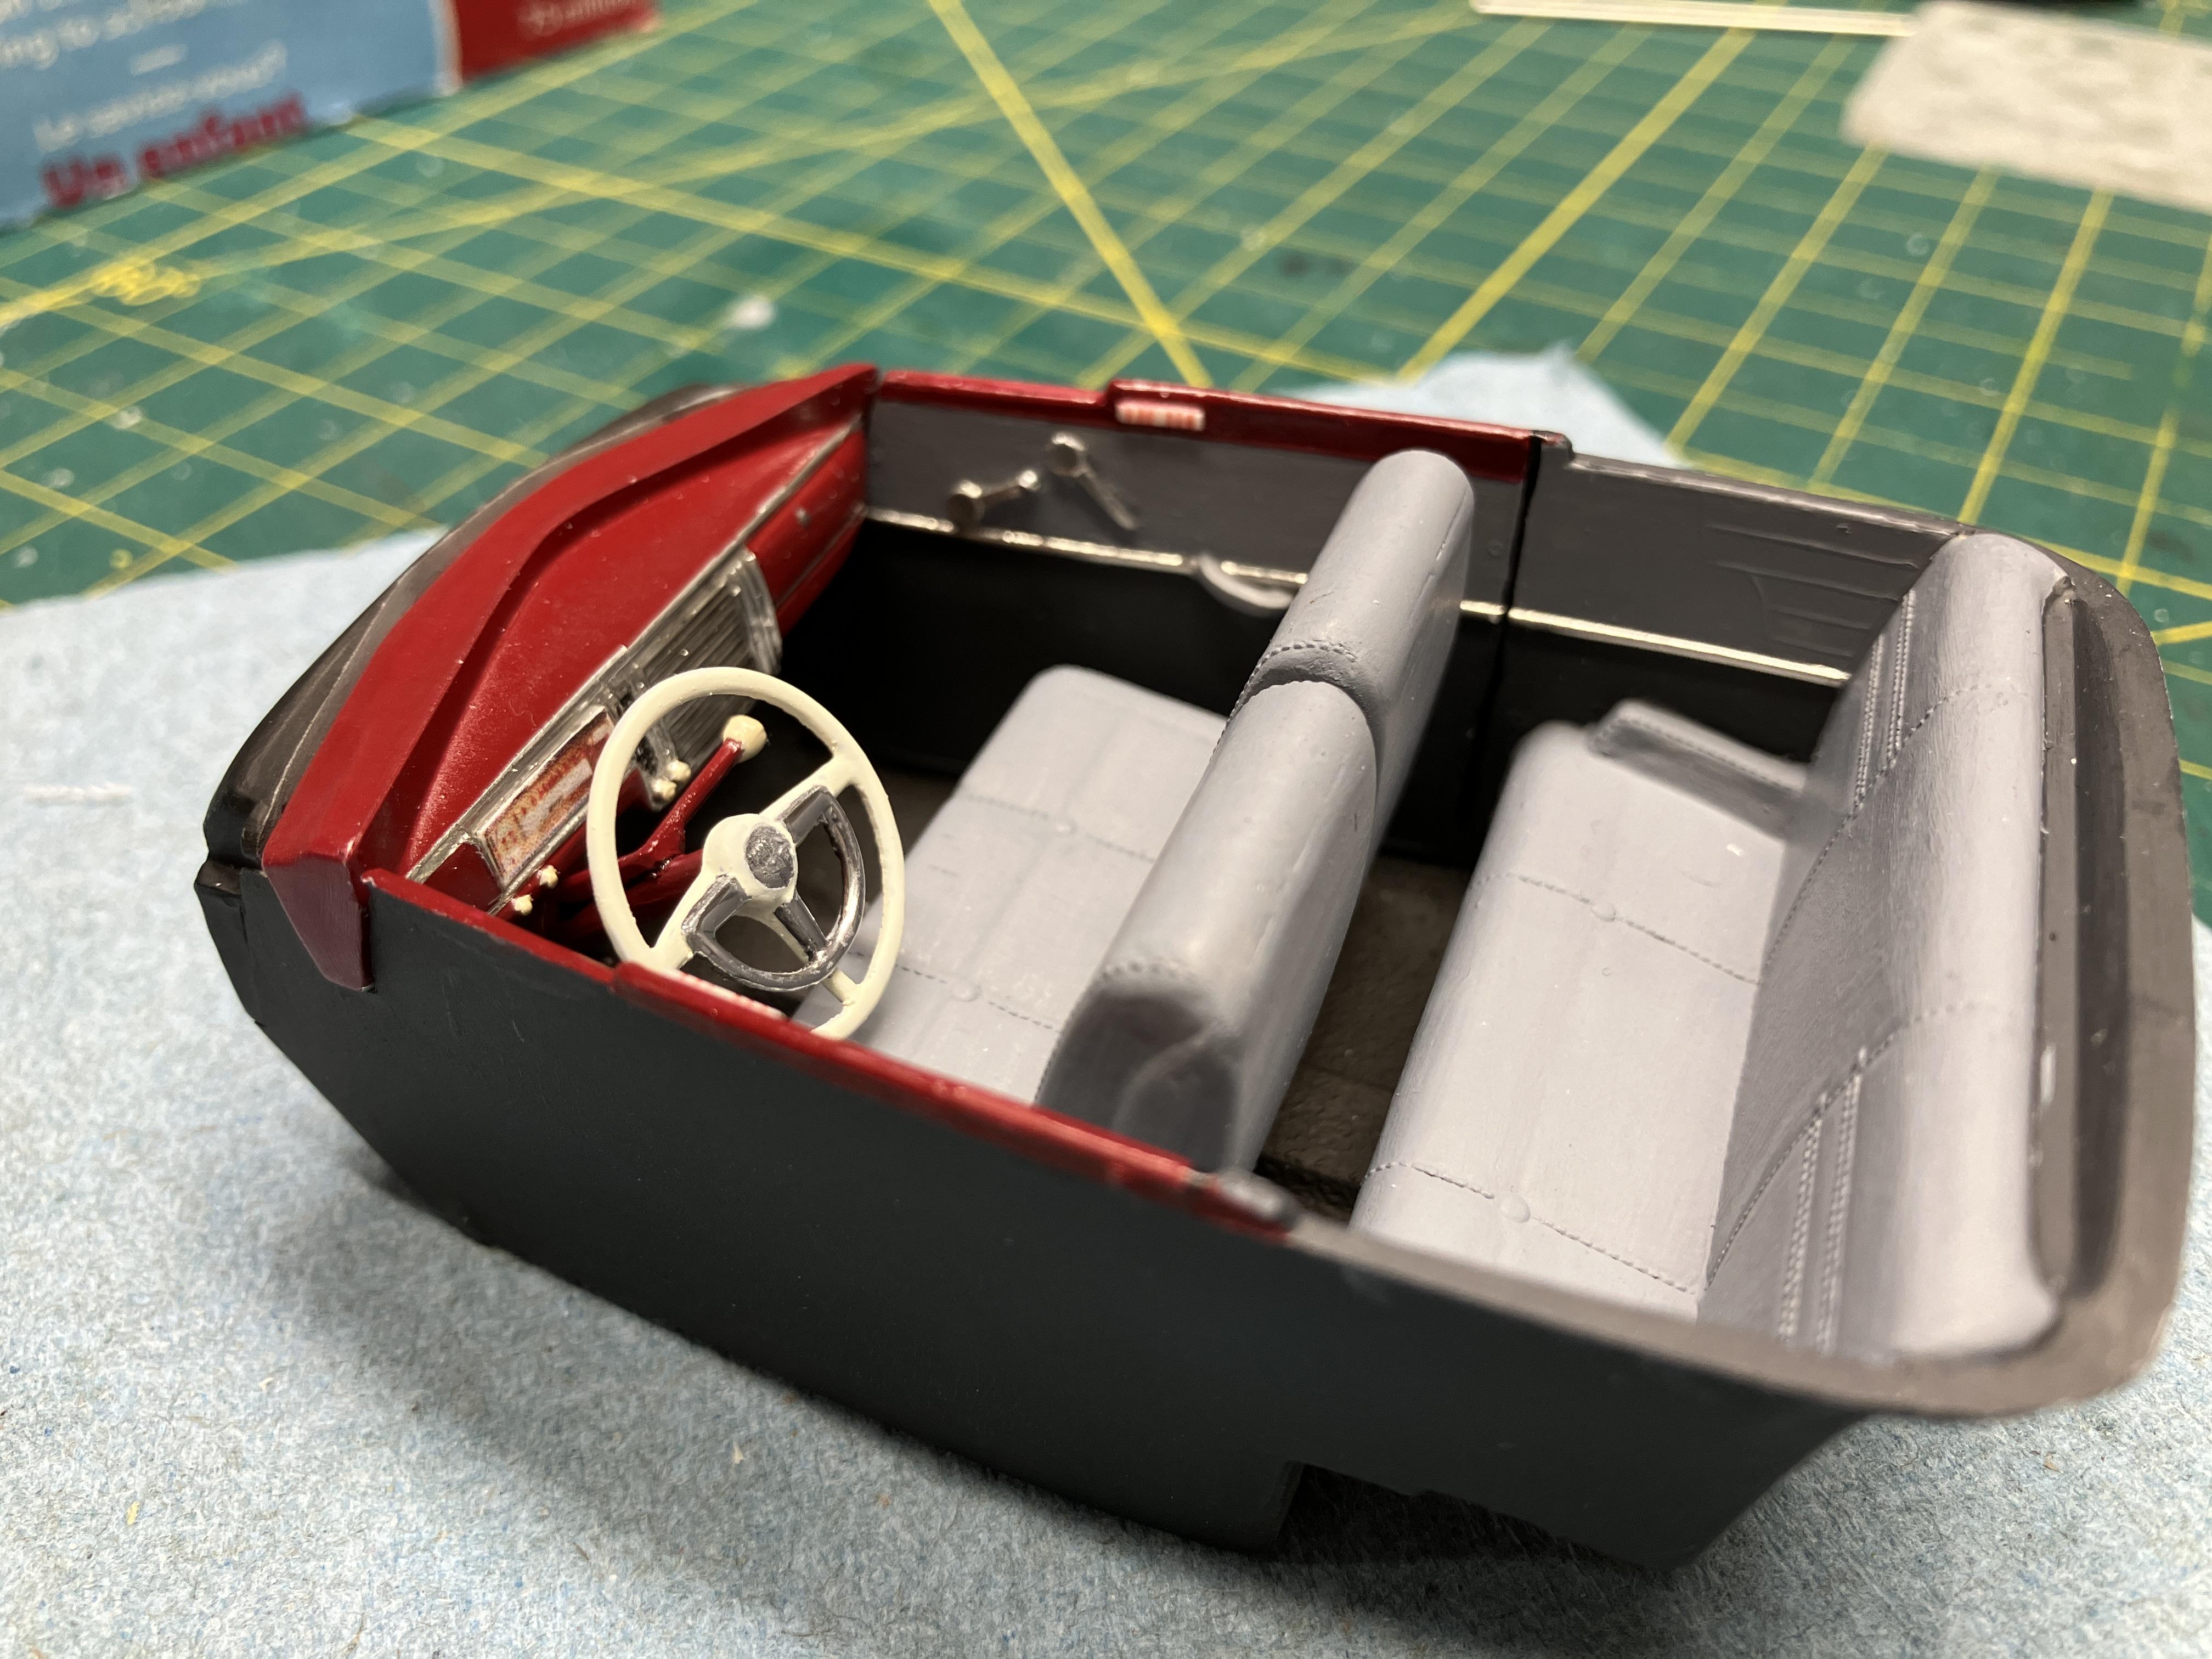
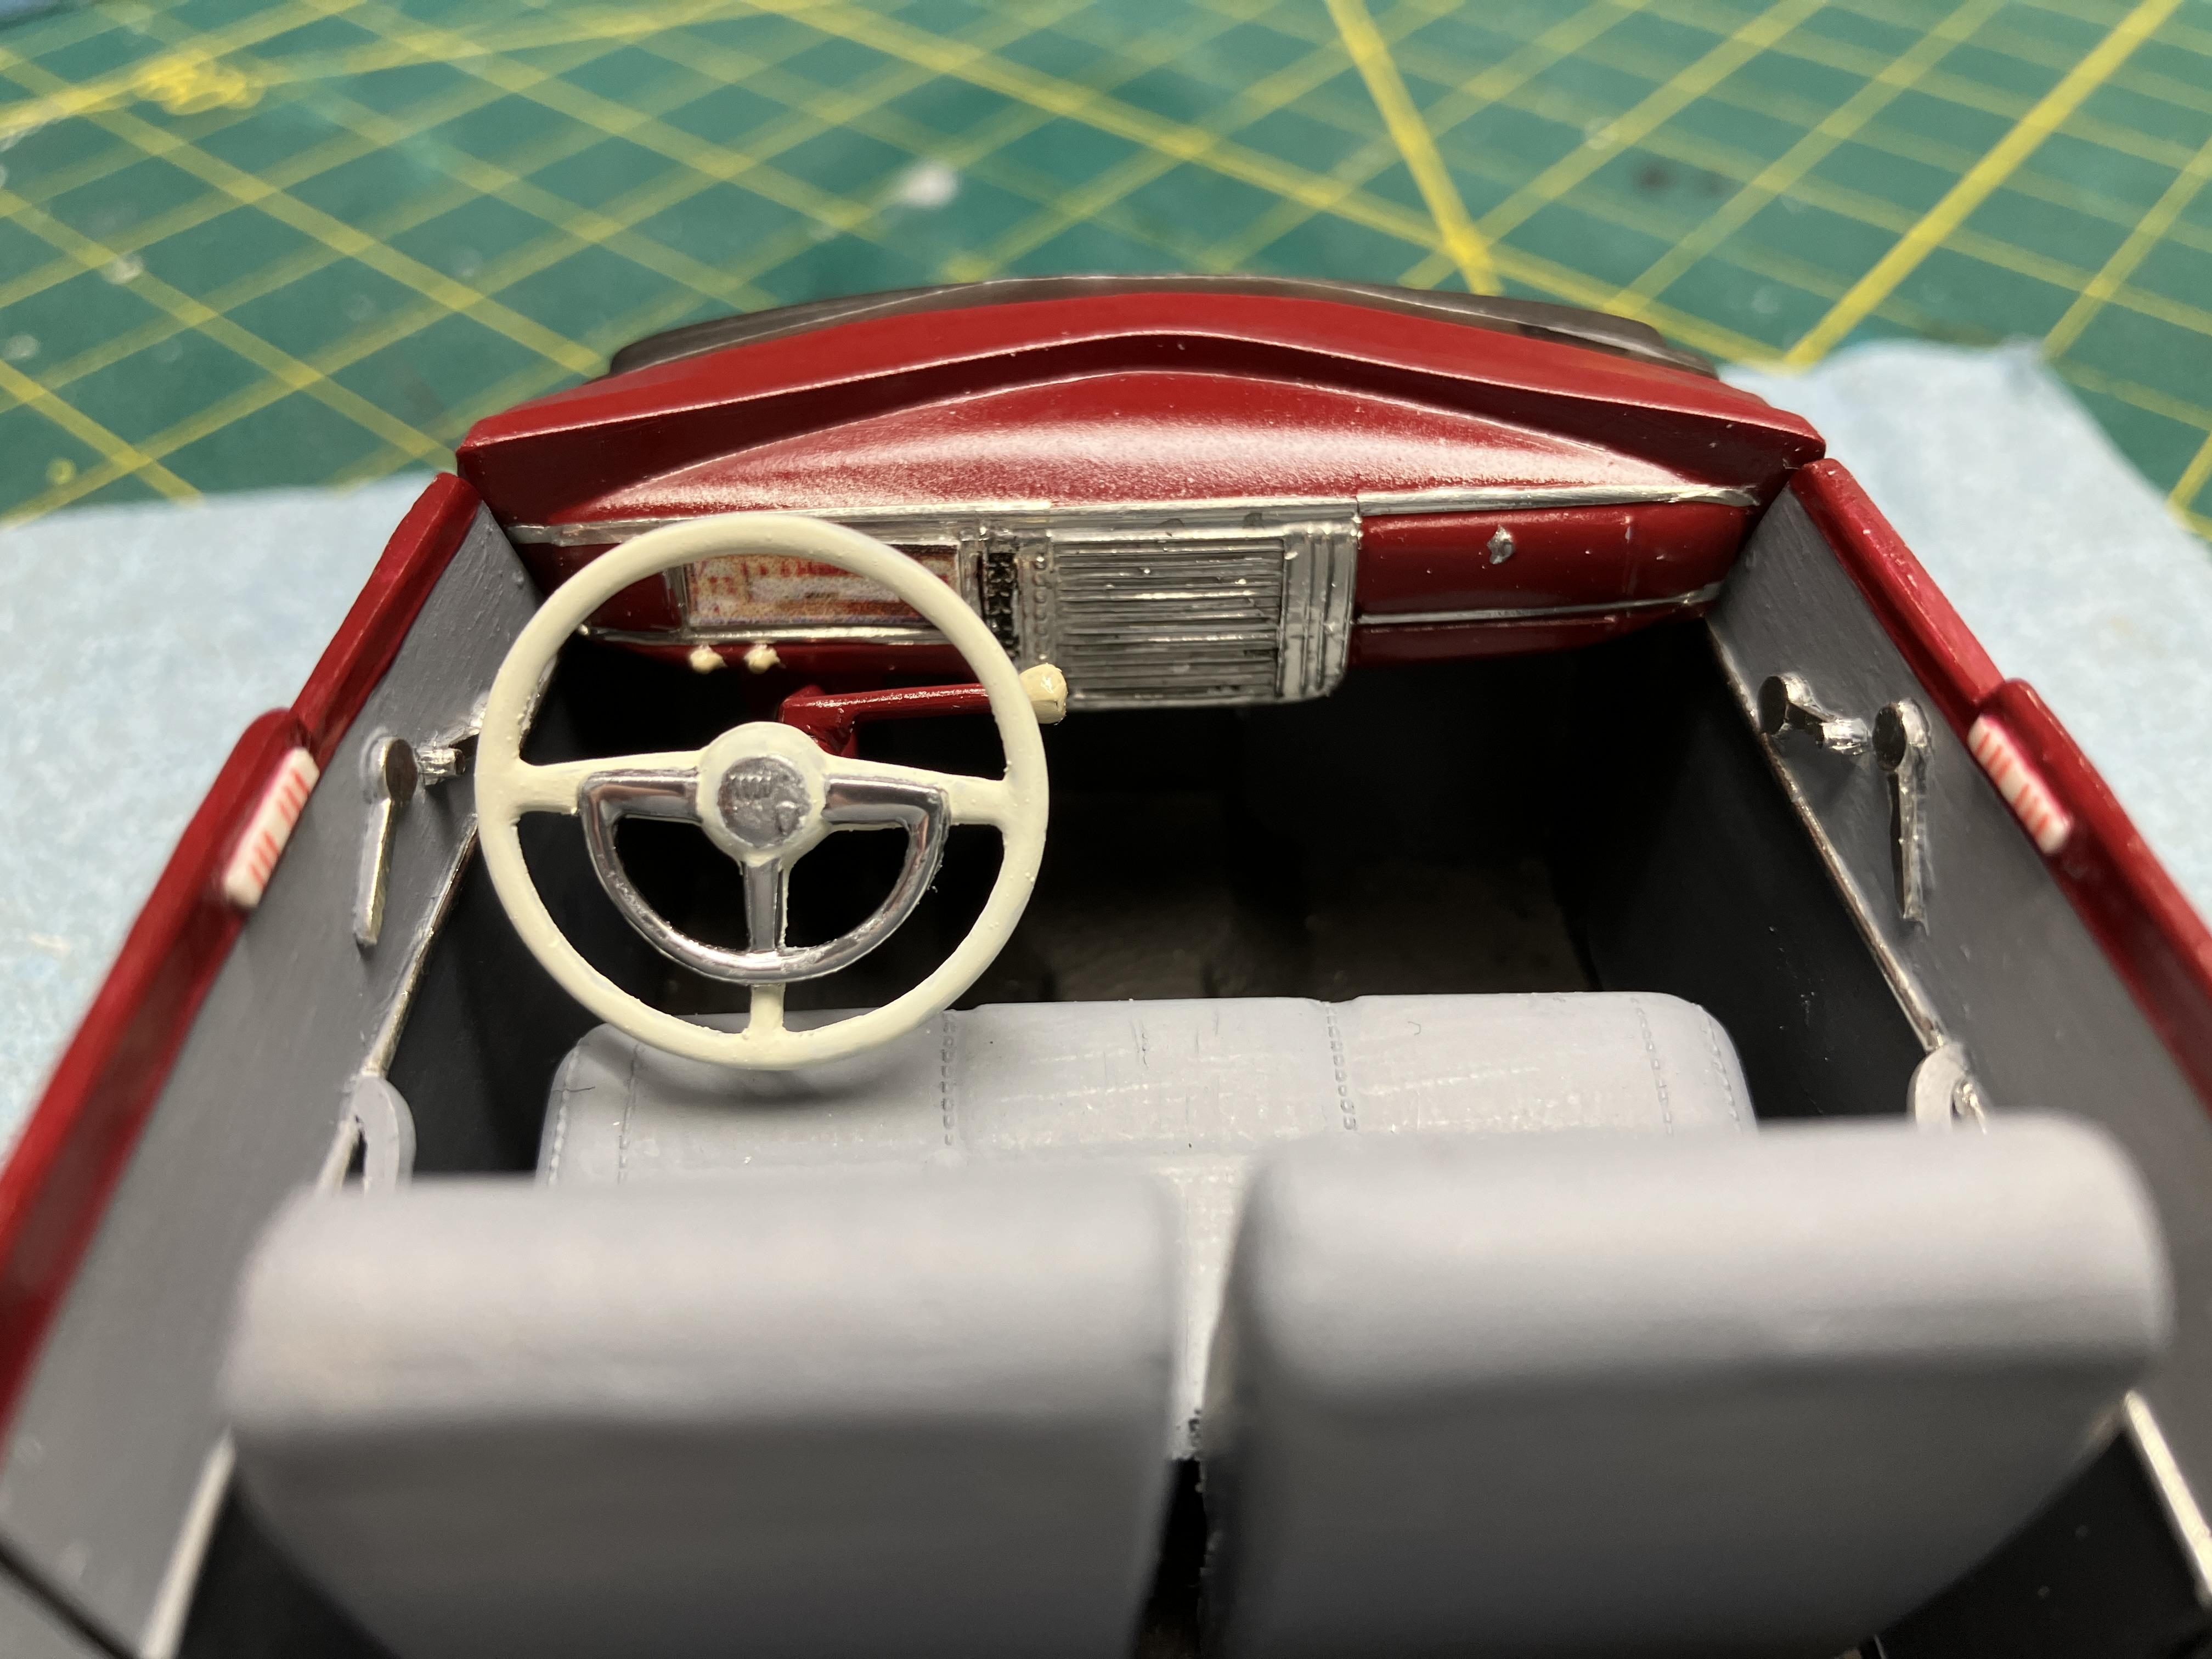
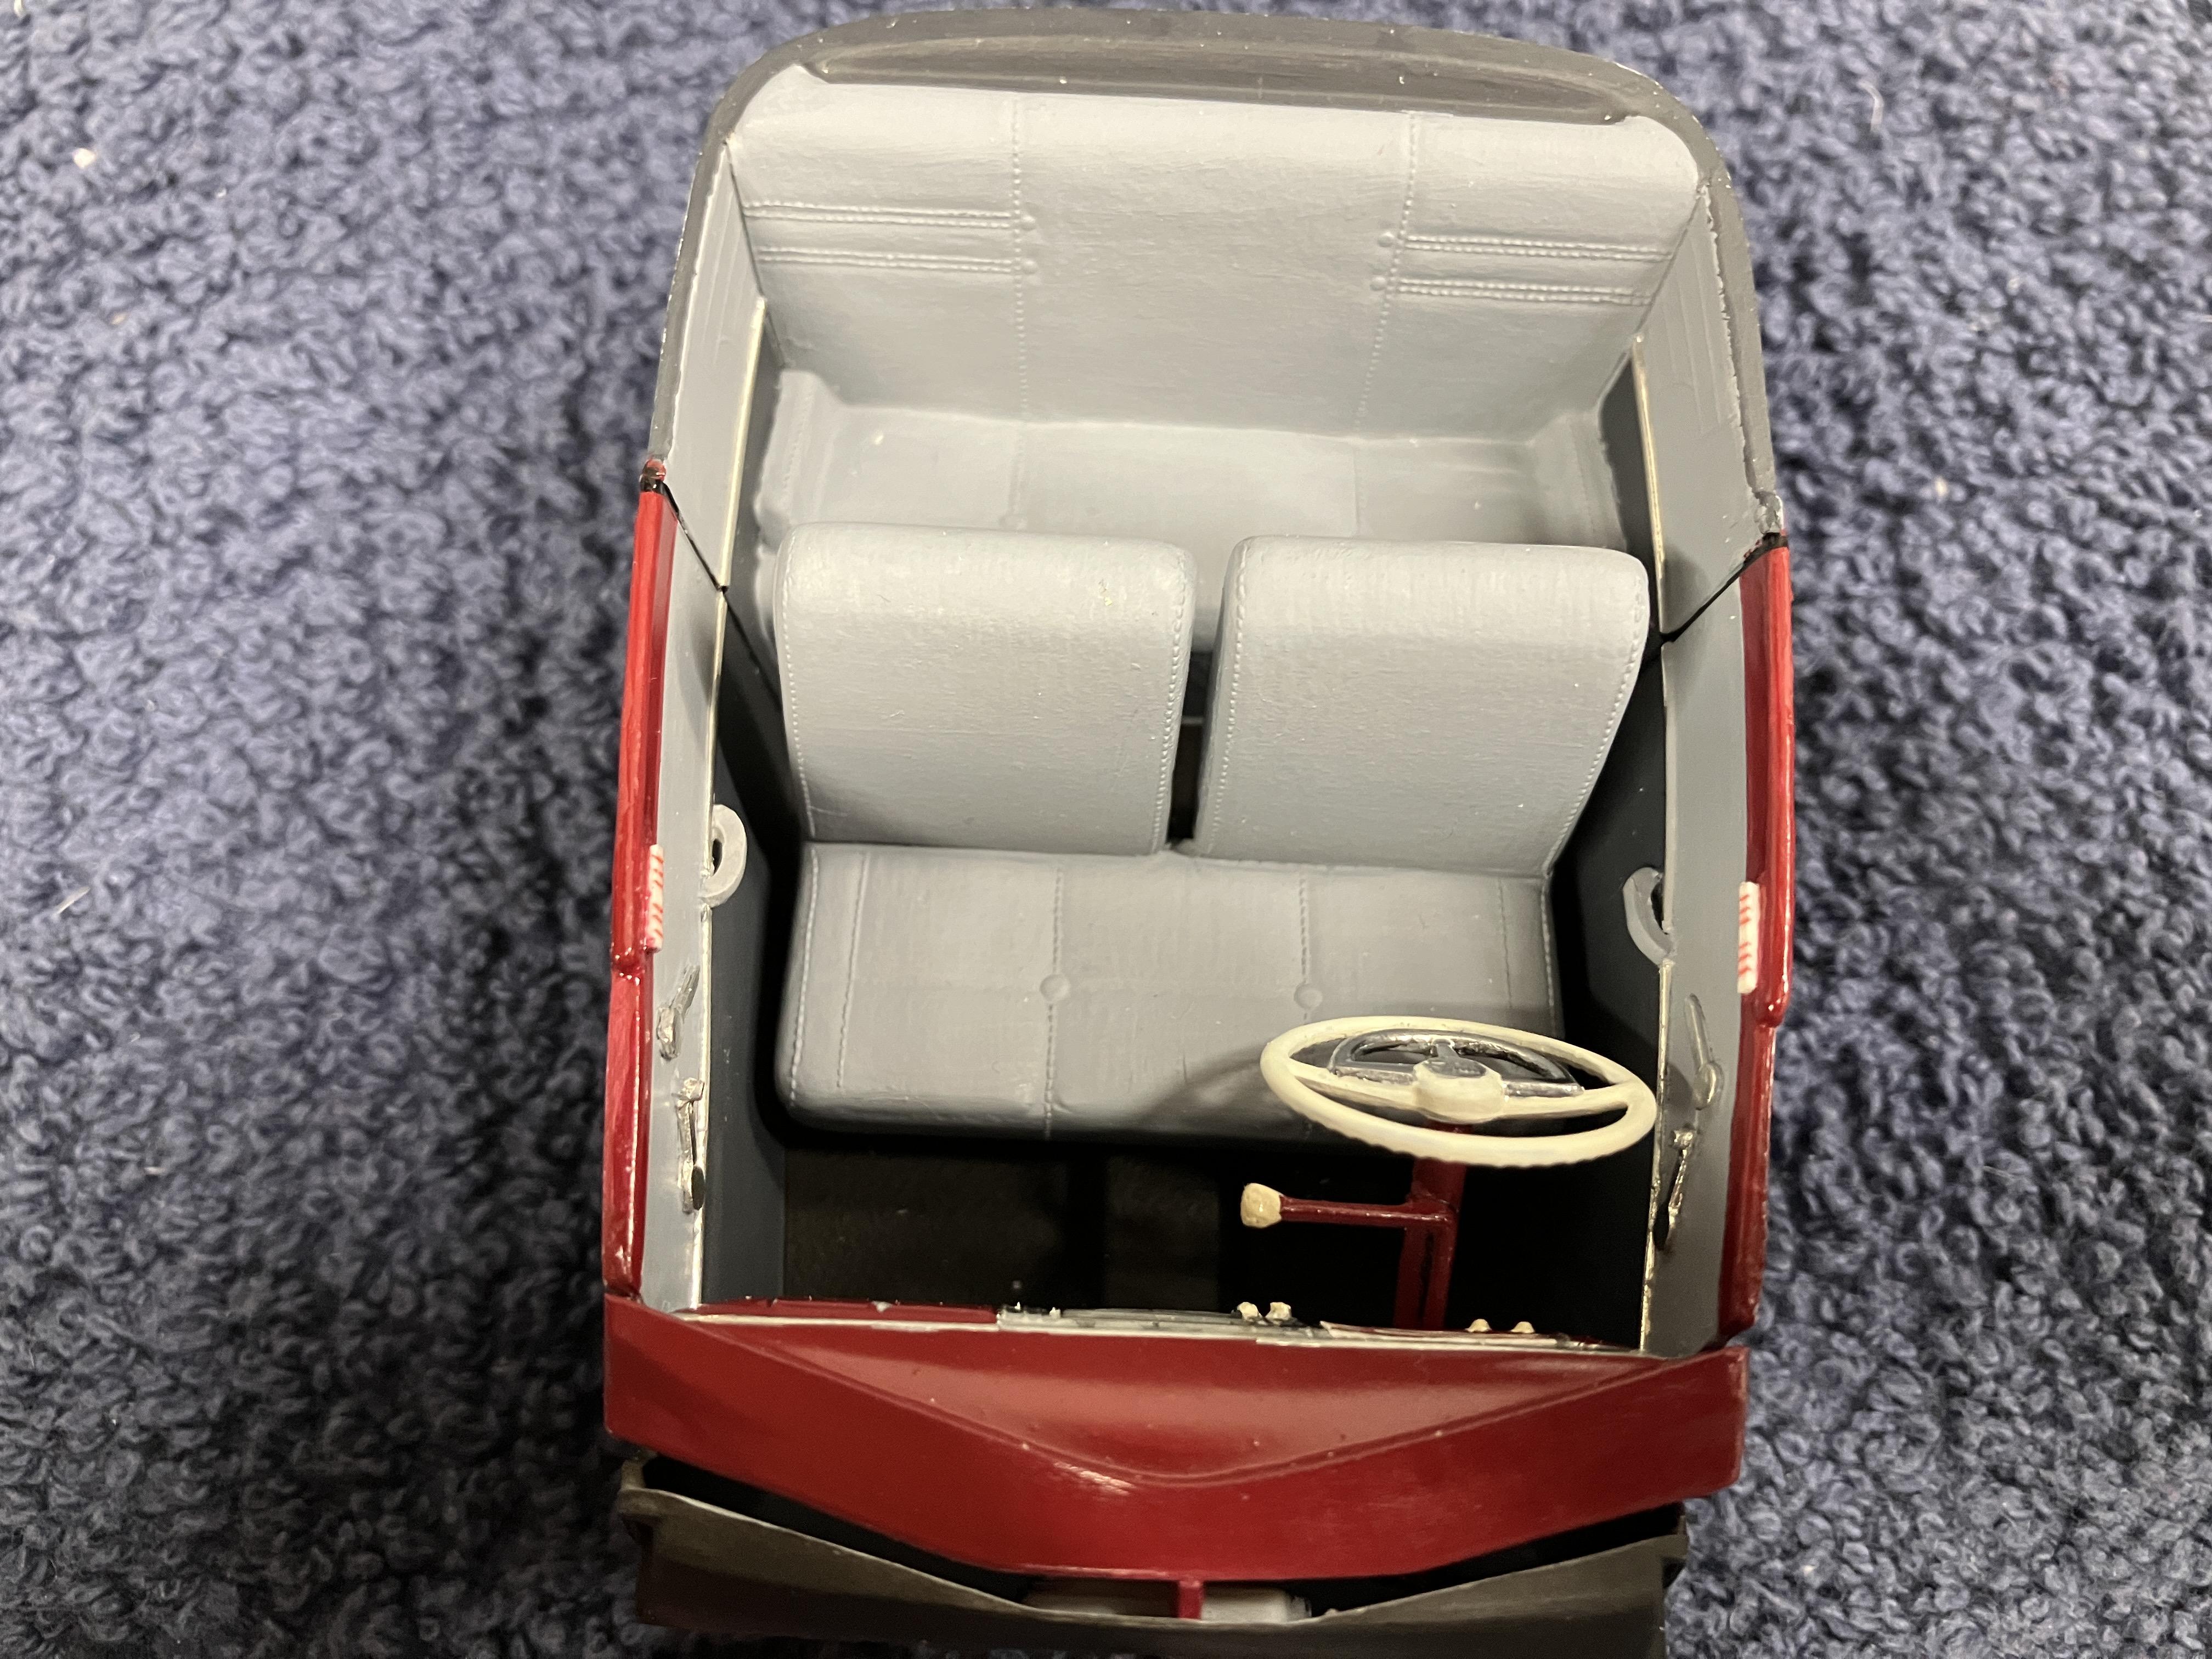
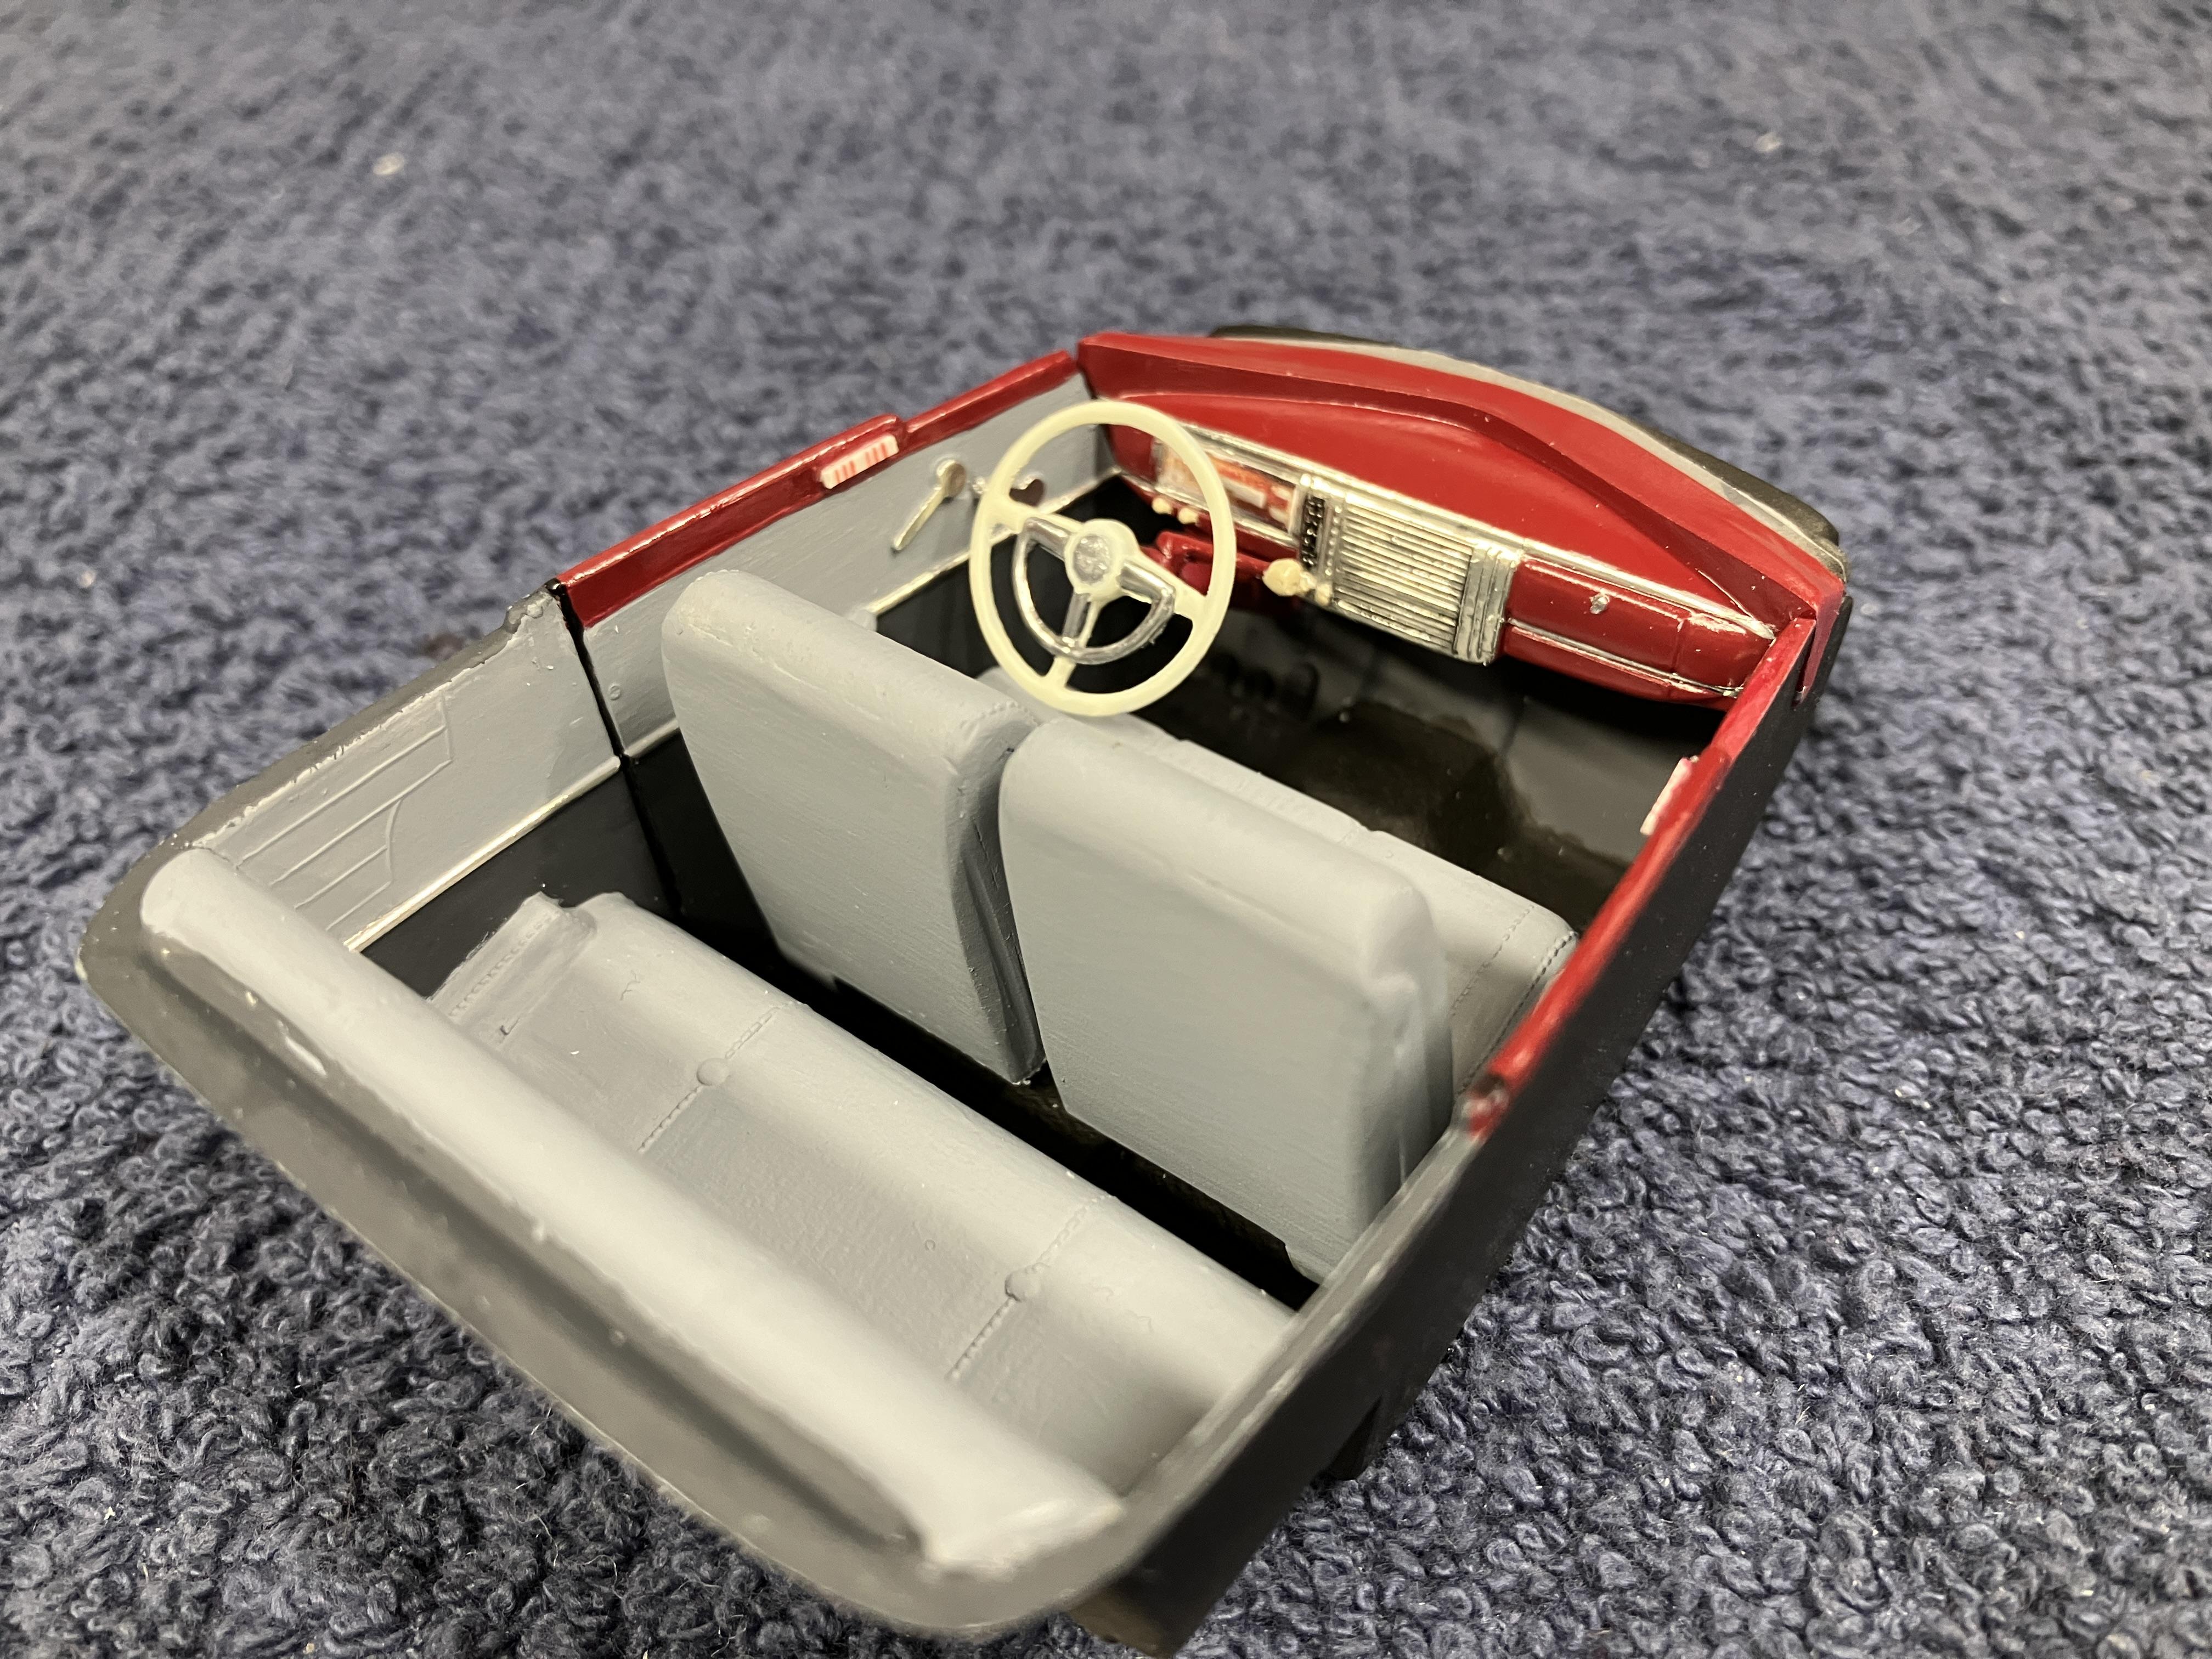
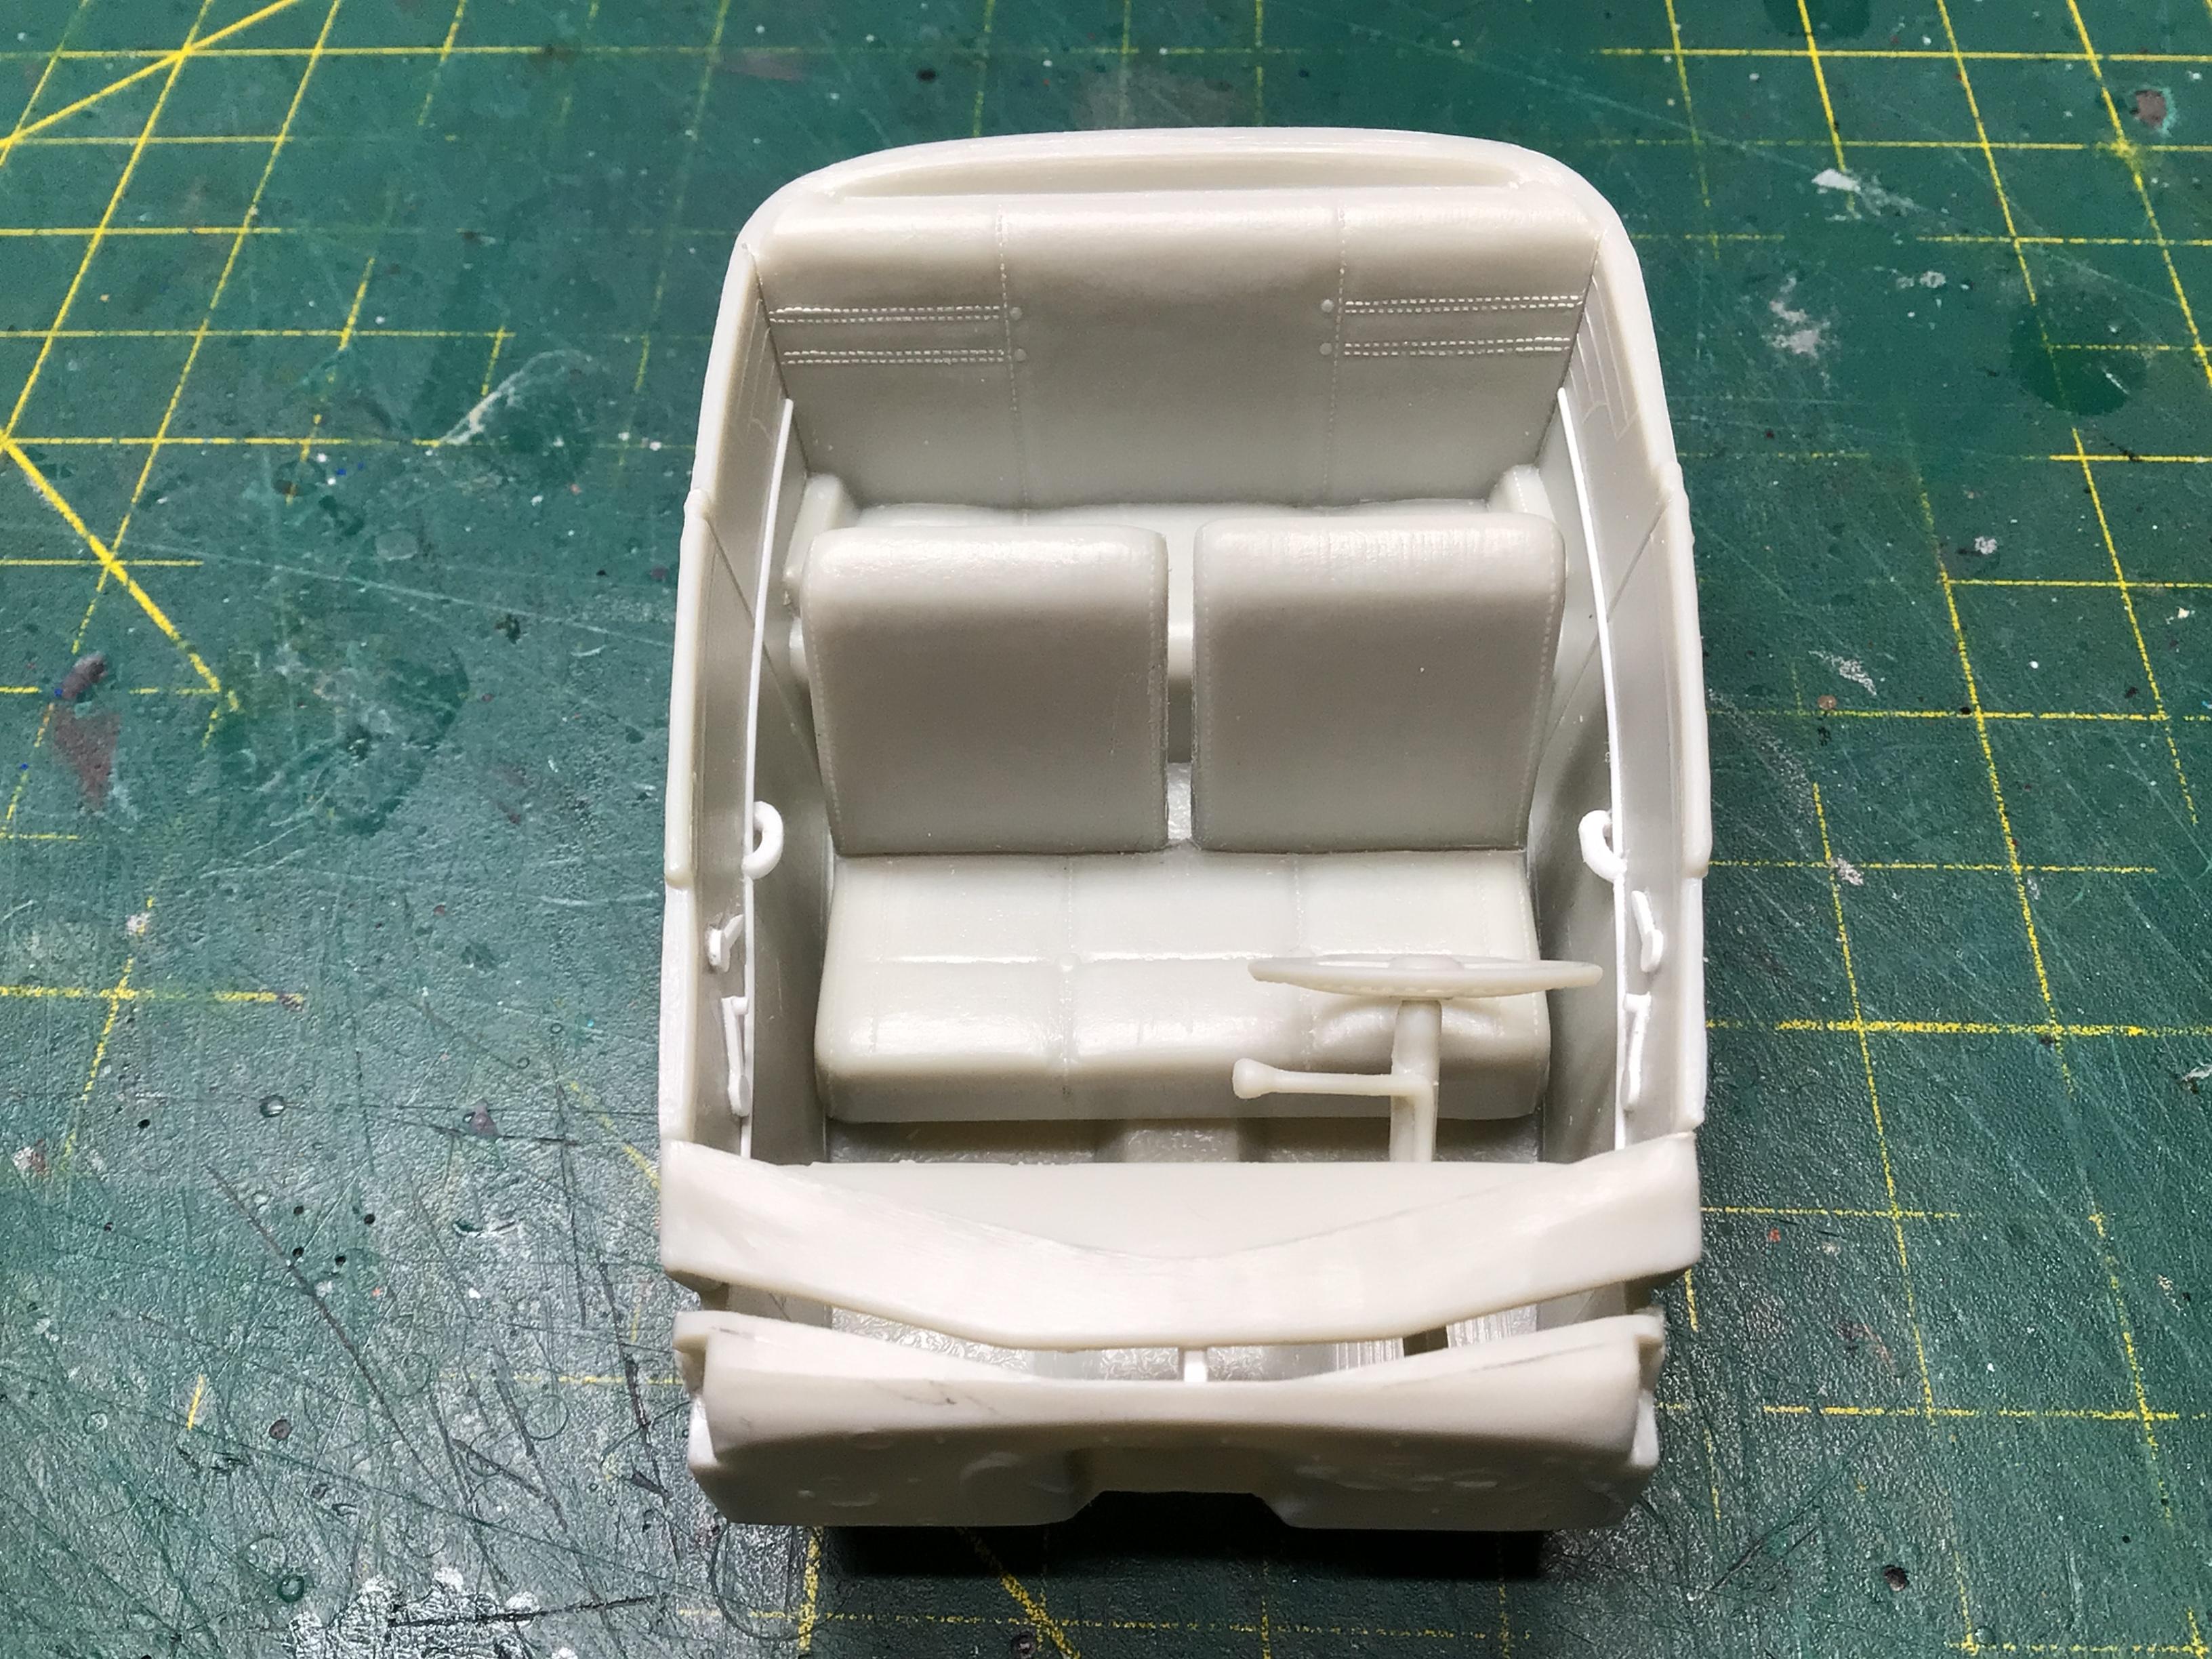
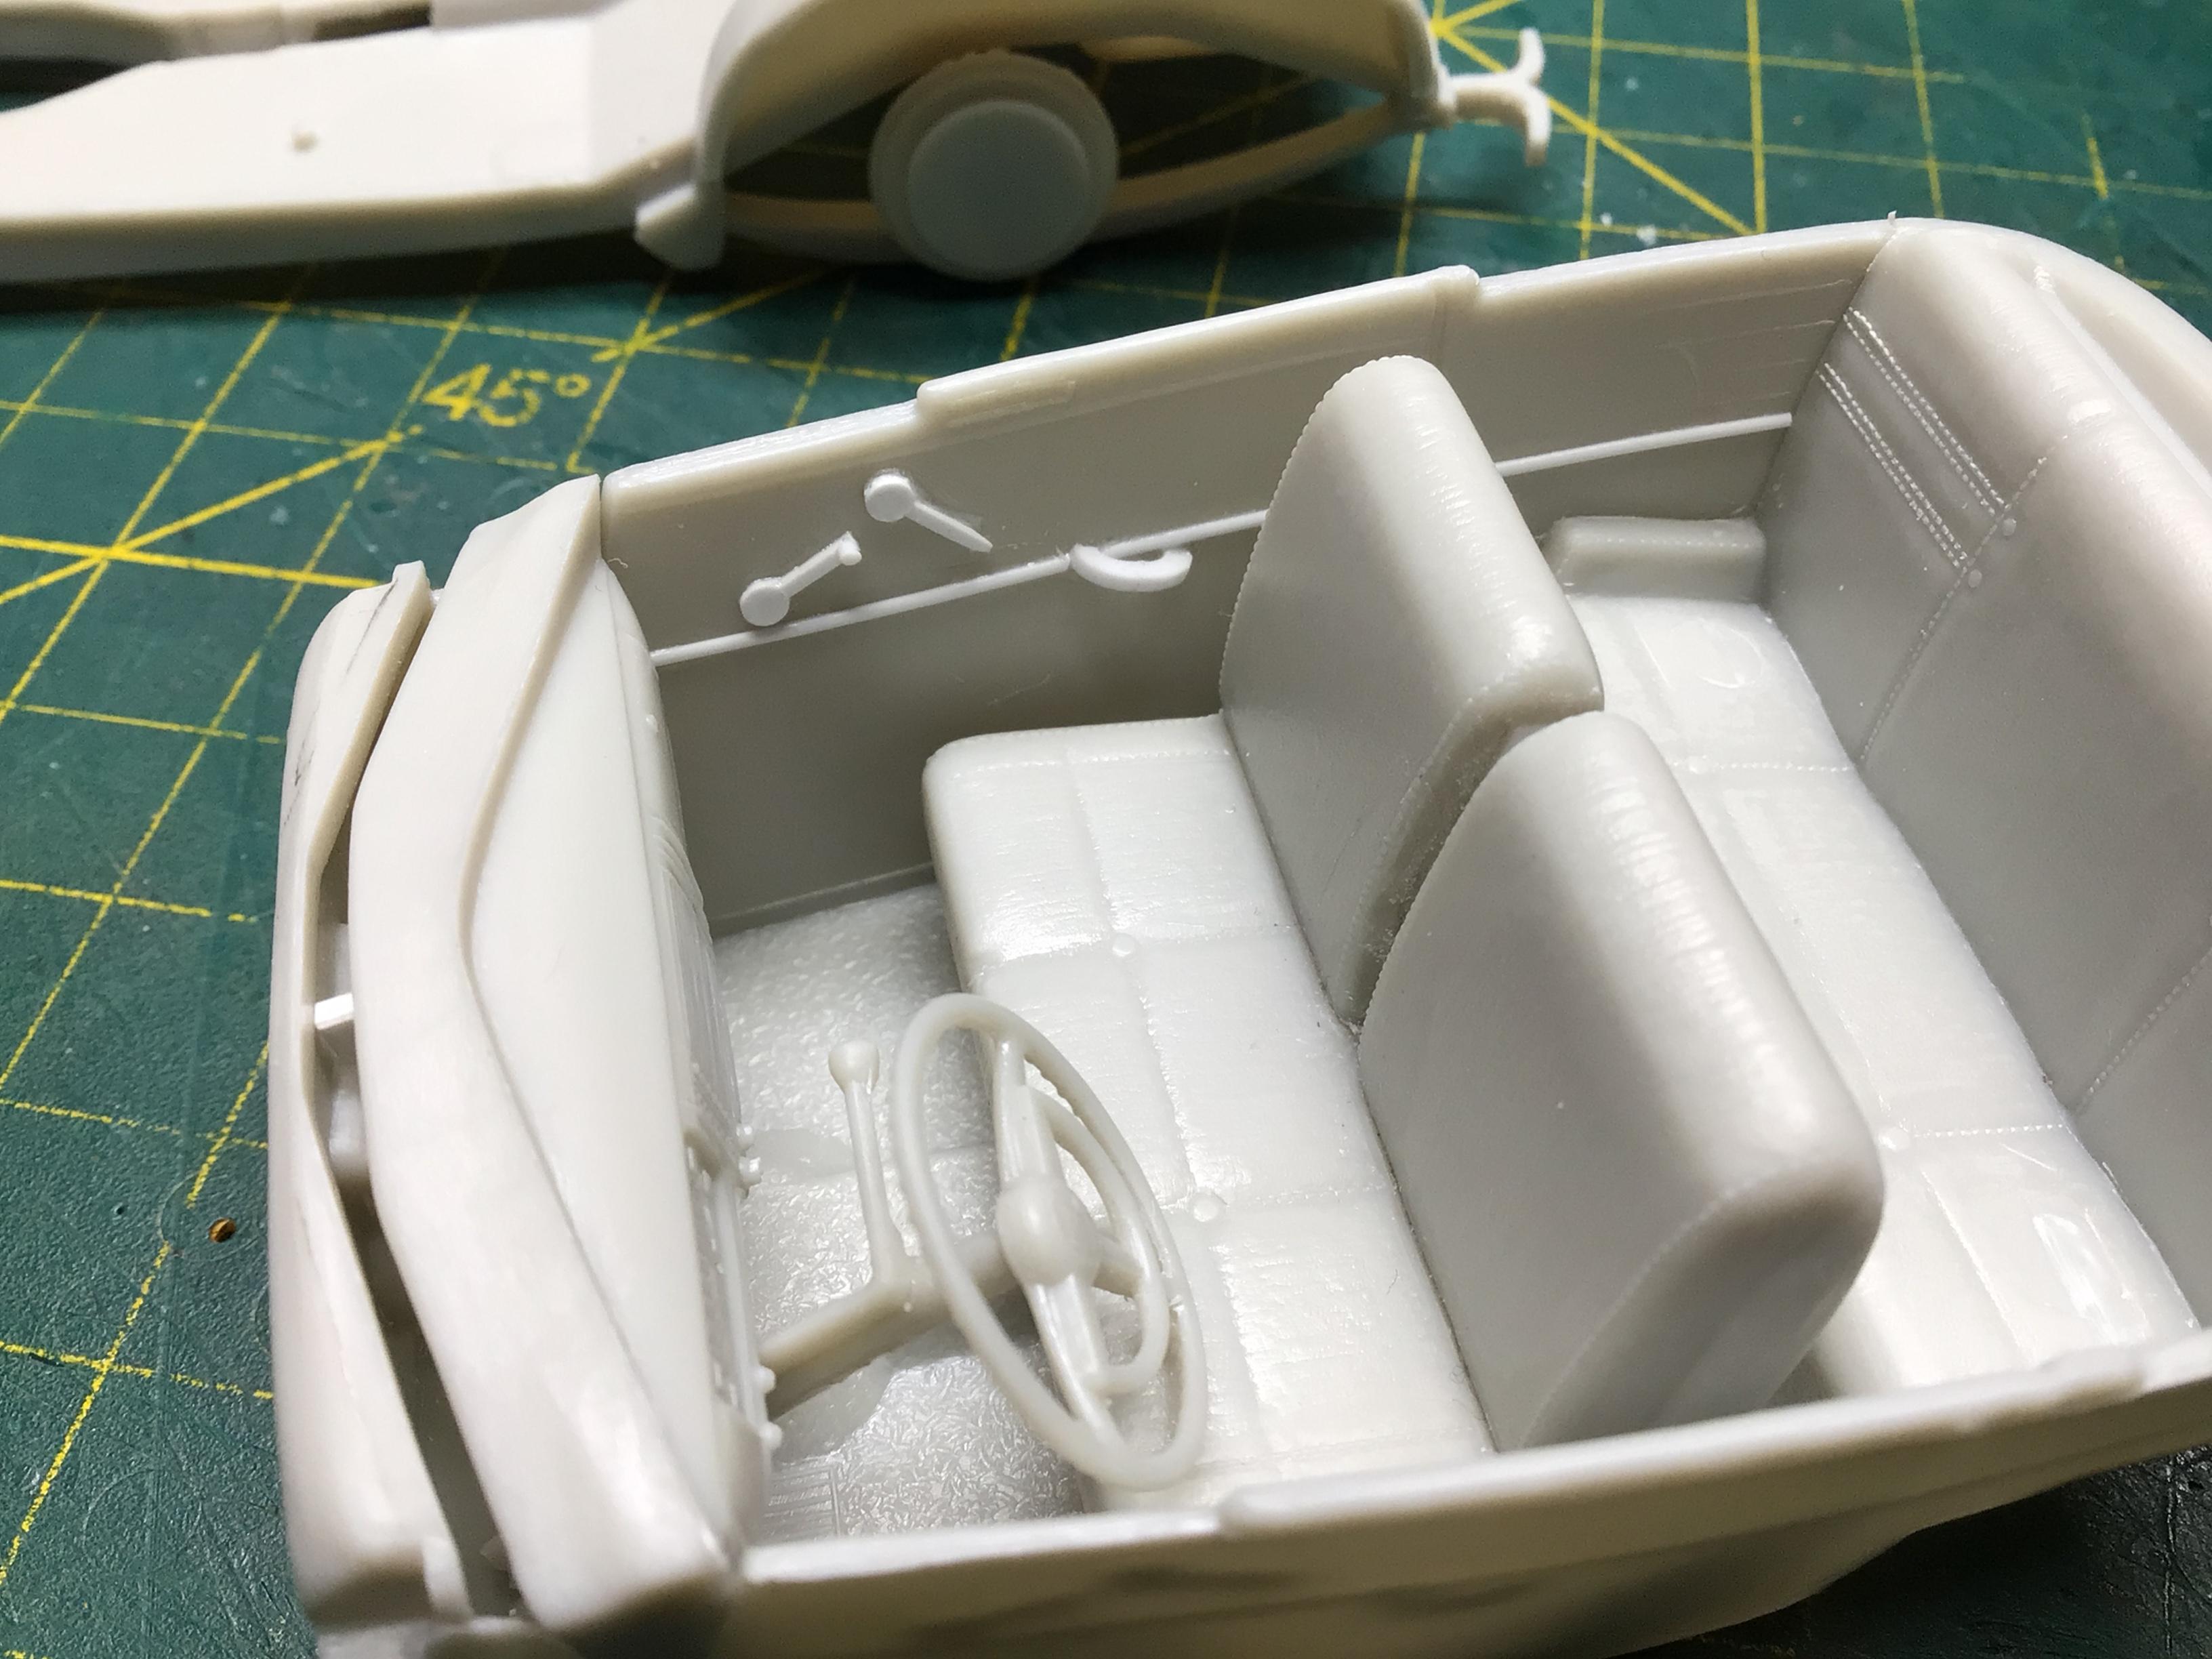
I got the interior finished.? Now….on to bodywork.?
-

Wonder how this cars crash test results were?
NOBLNG replied to Sledsel's topic in General Automotive Talk (Trucks and Cars)
The driver likely ran into something like a hydro pole guy wire to get that shape of a dent? Then the cyclist figured it was a good place to park their bike.??♂️- 1 reply
-
- 1
-

-
Why paint one, when you could line up 3 or 4 and paint them all with one pass??
-
You’re welcome!? Yeah, I was shocked by how much there was in there.? You’re welcome!? That’s what it means here too.? It is the discontinued Testors Aztek acrylic in the 2oz. bottles. It was a partly used bottle, so….dried paint particles.?
-
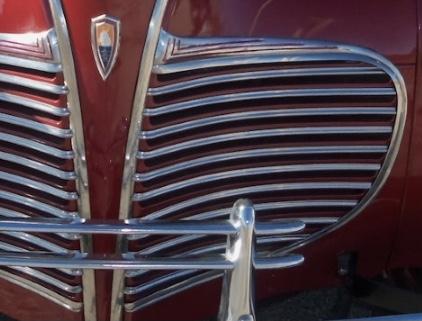
Cars used to be so beautiful and unique! I came across this site while searching for a nice printable picture of a ‘41 Plymouth guage cluster. https://carstylecritic.blogspot.com/2021/09/american-dashboards-1936.html http://carstylecritic.blogspot.com/2021/09/american-dashboards-1941.html
-
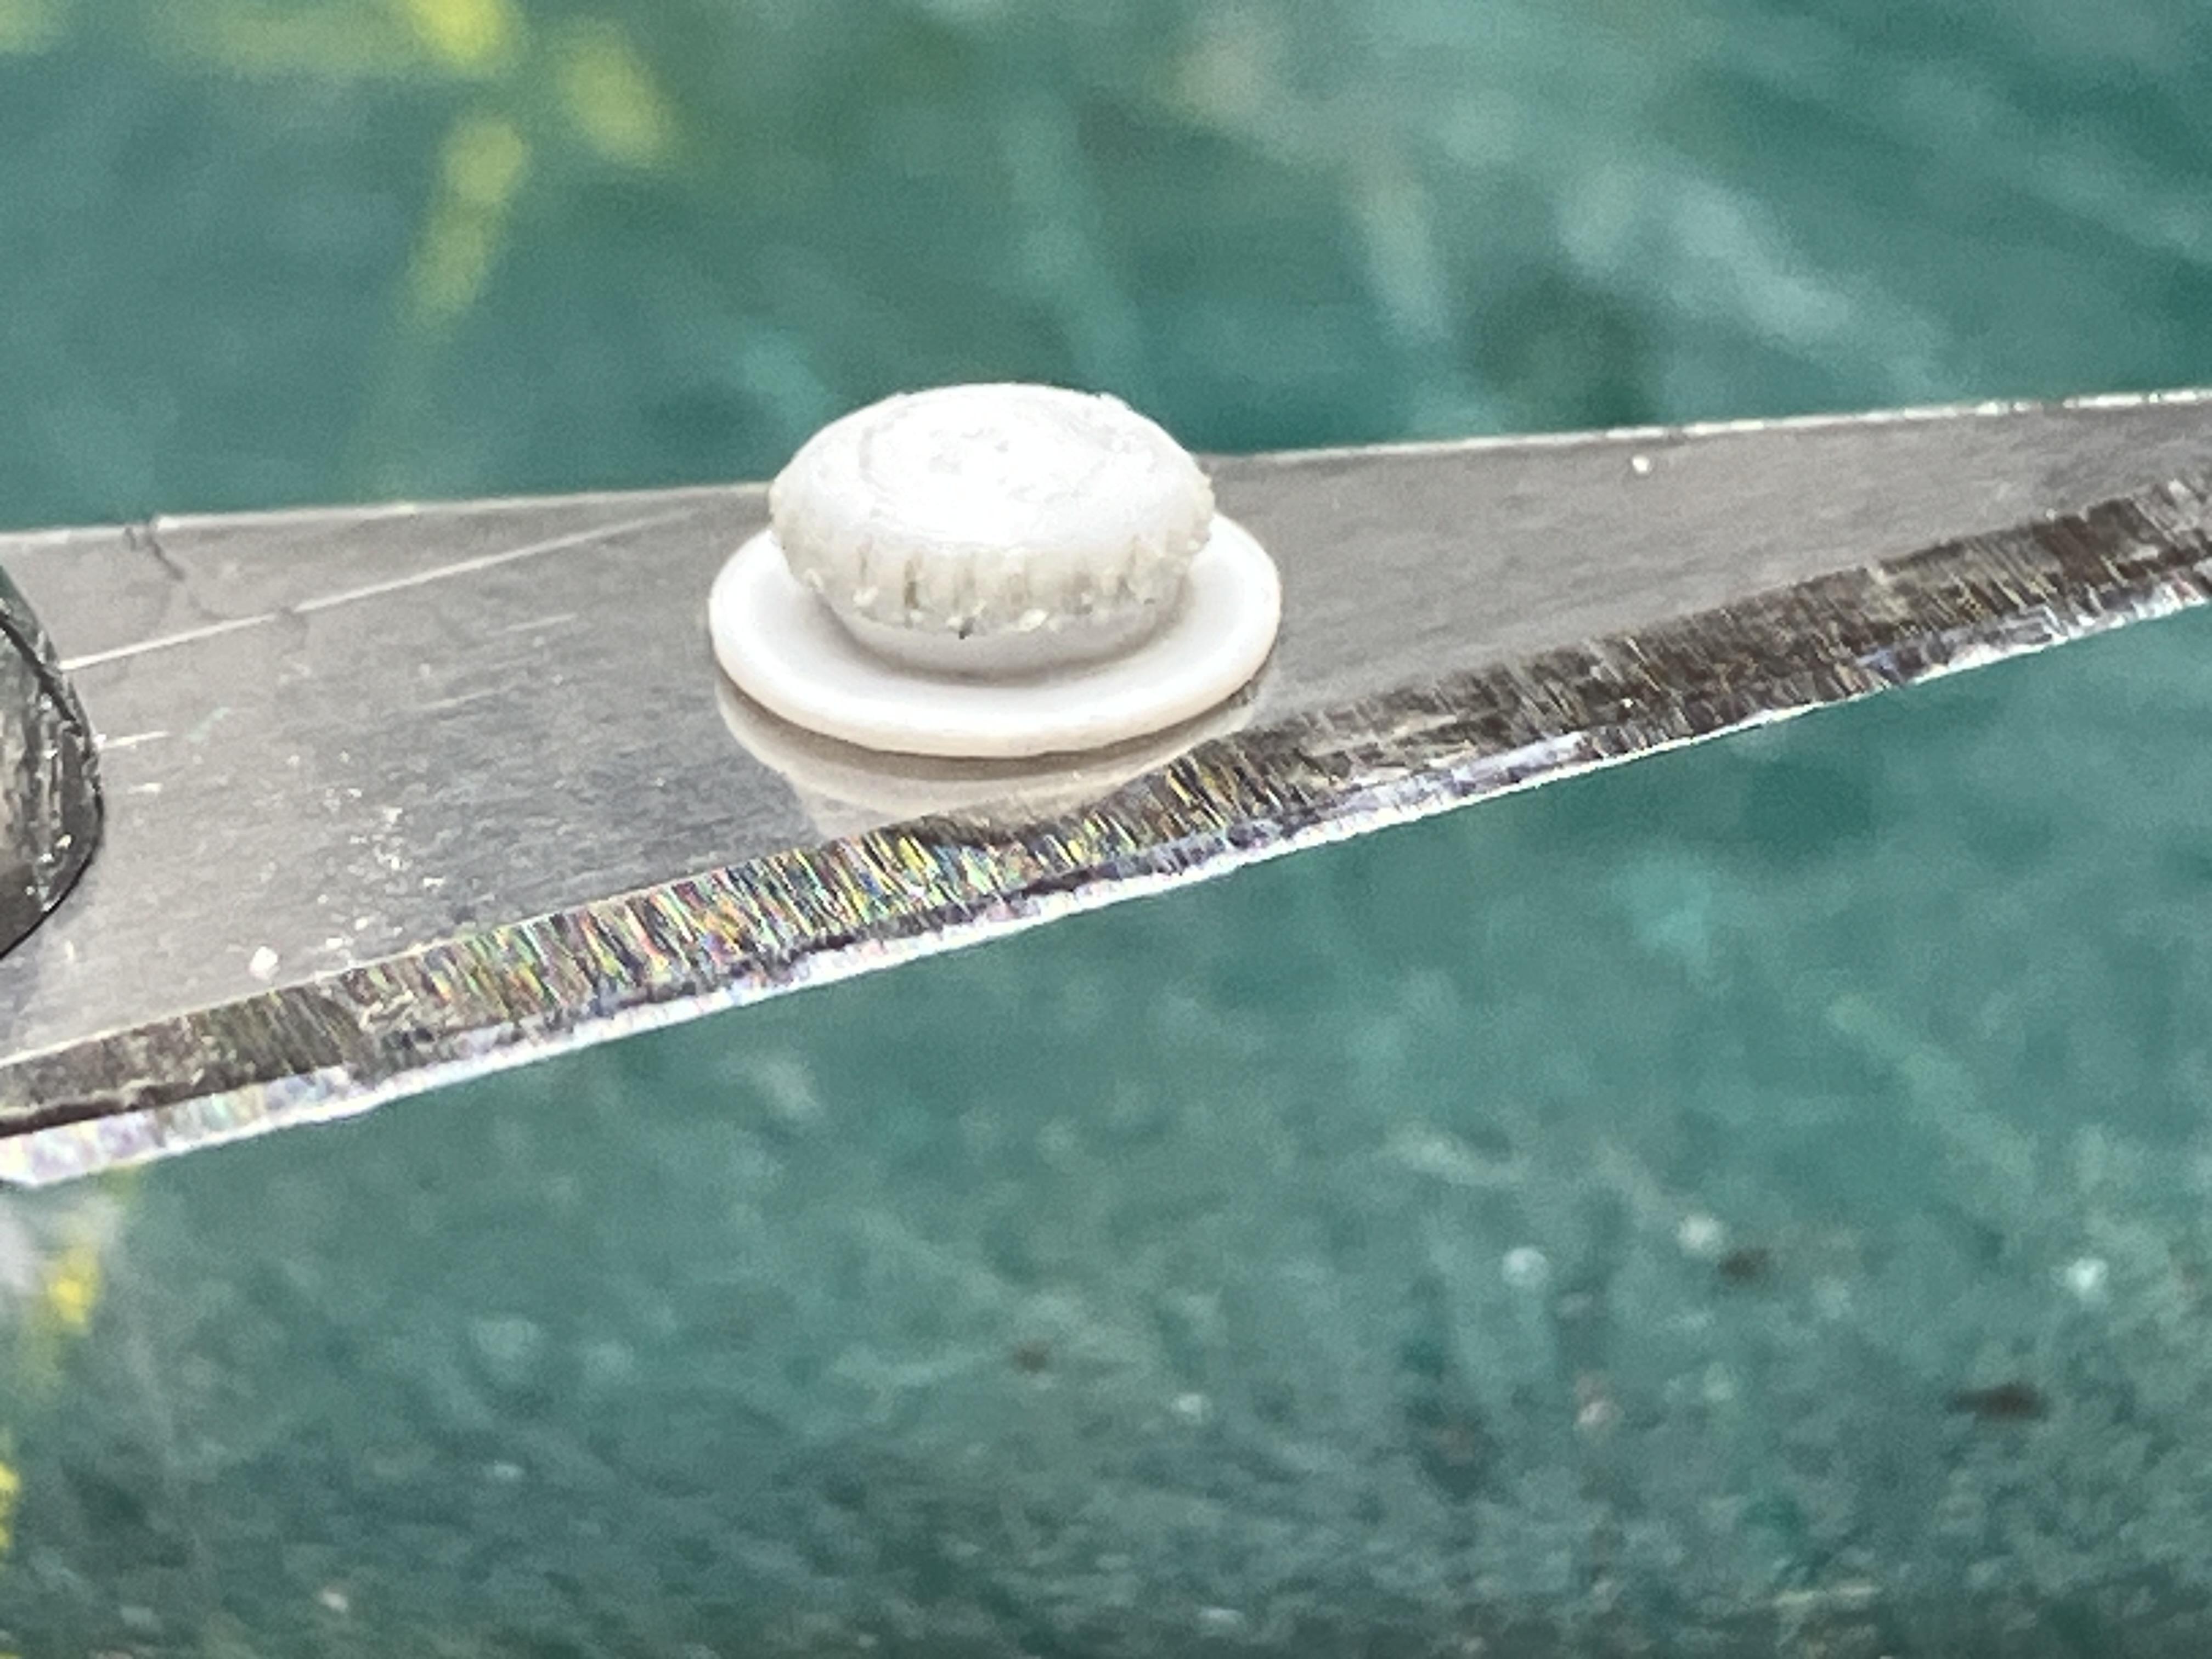
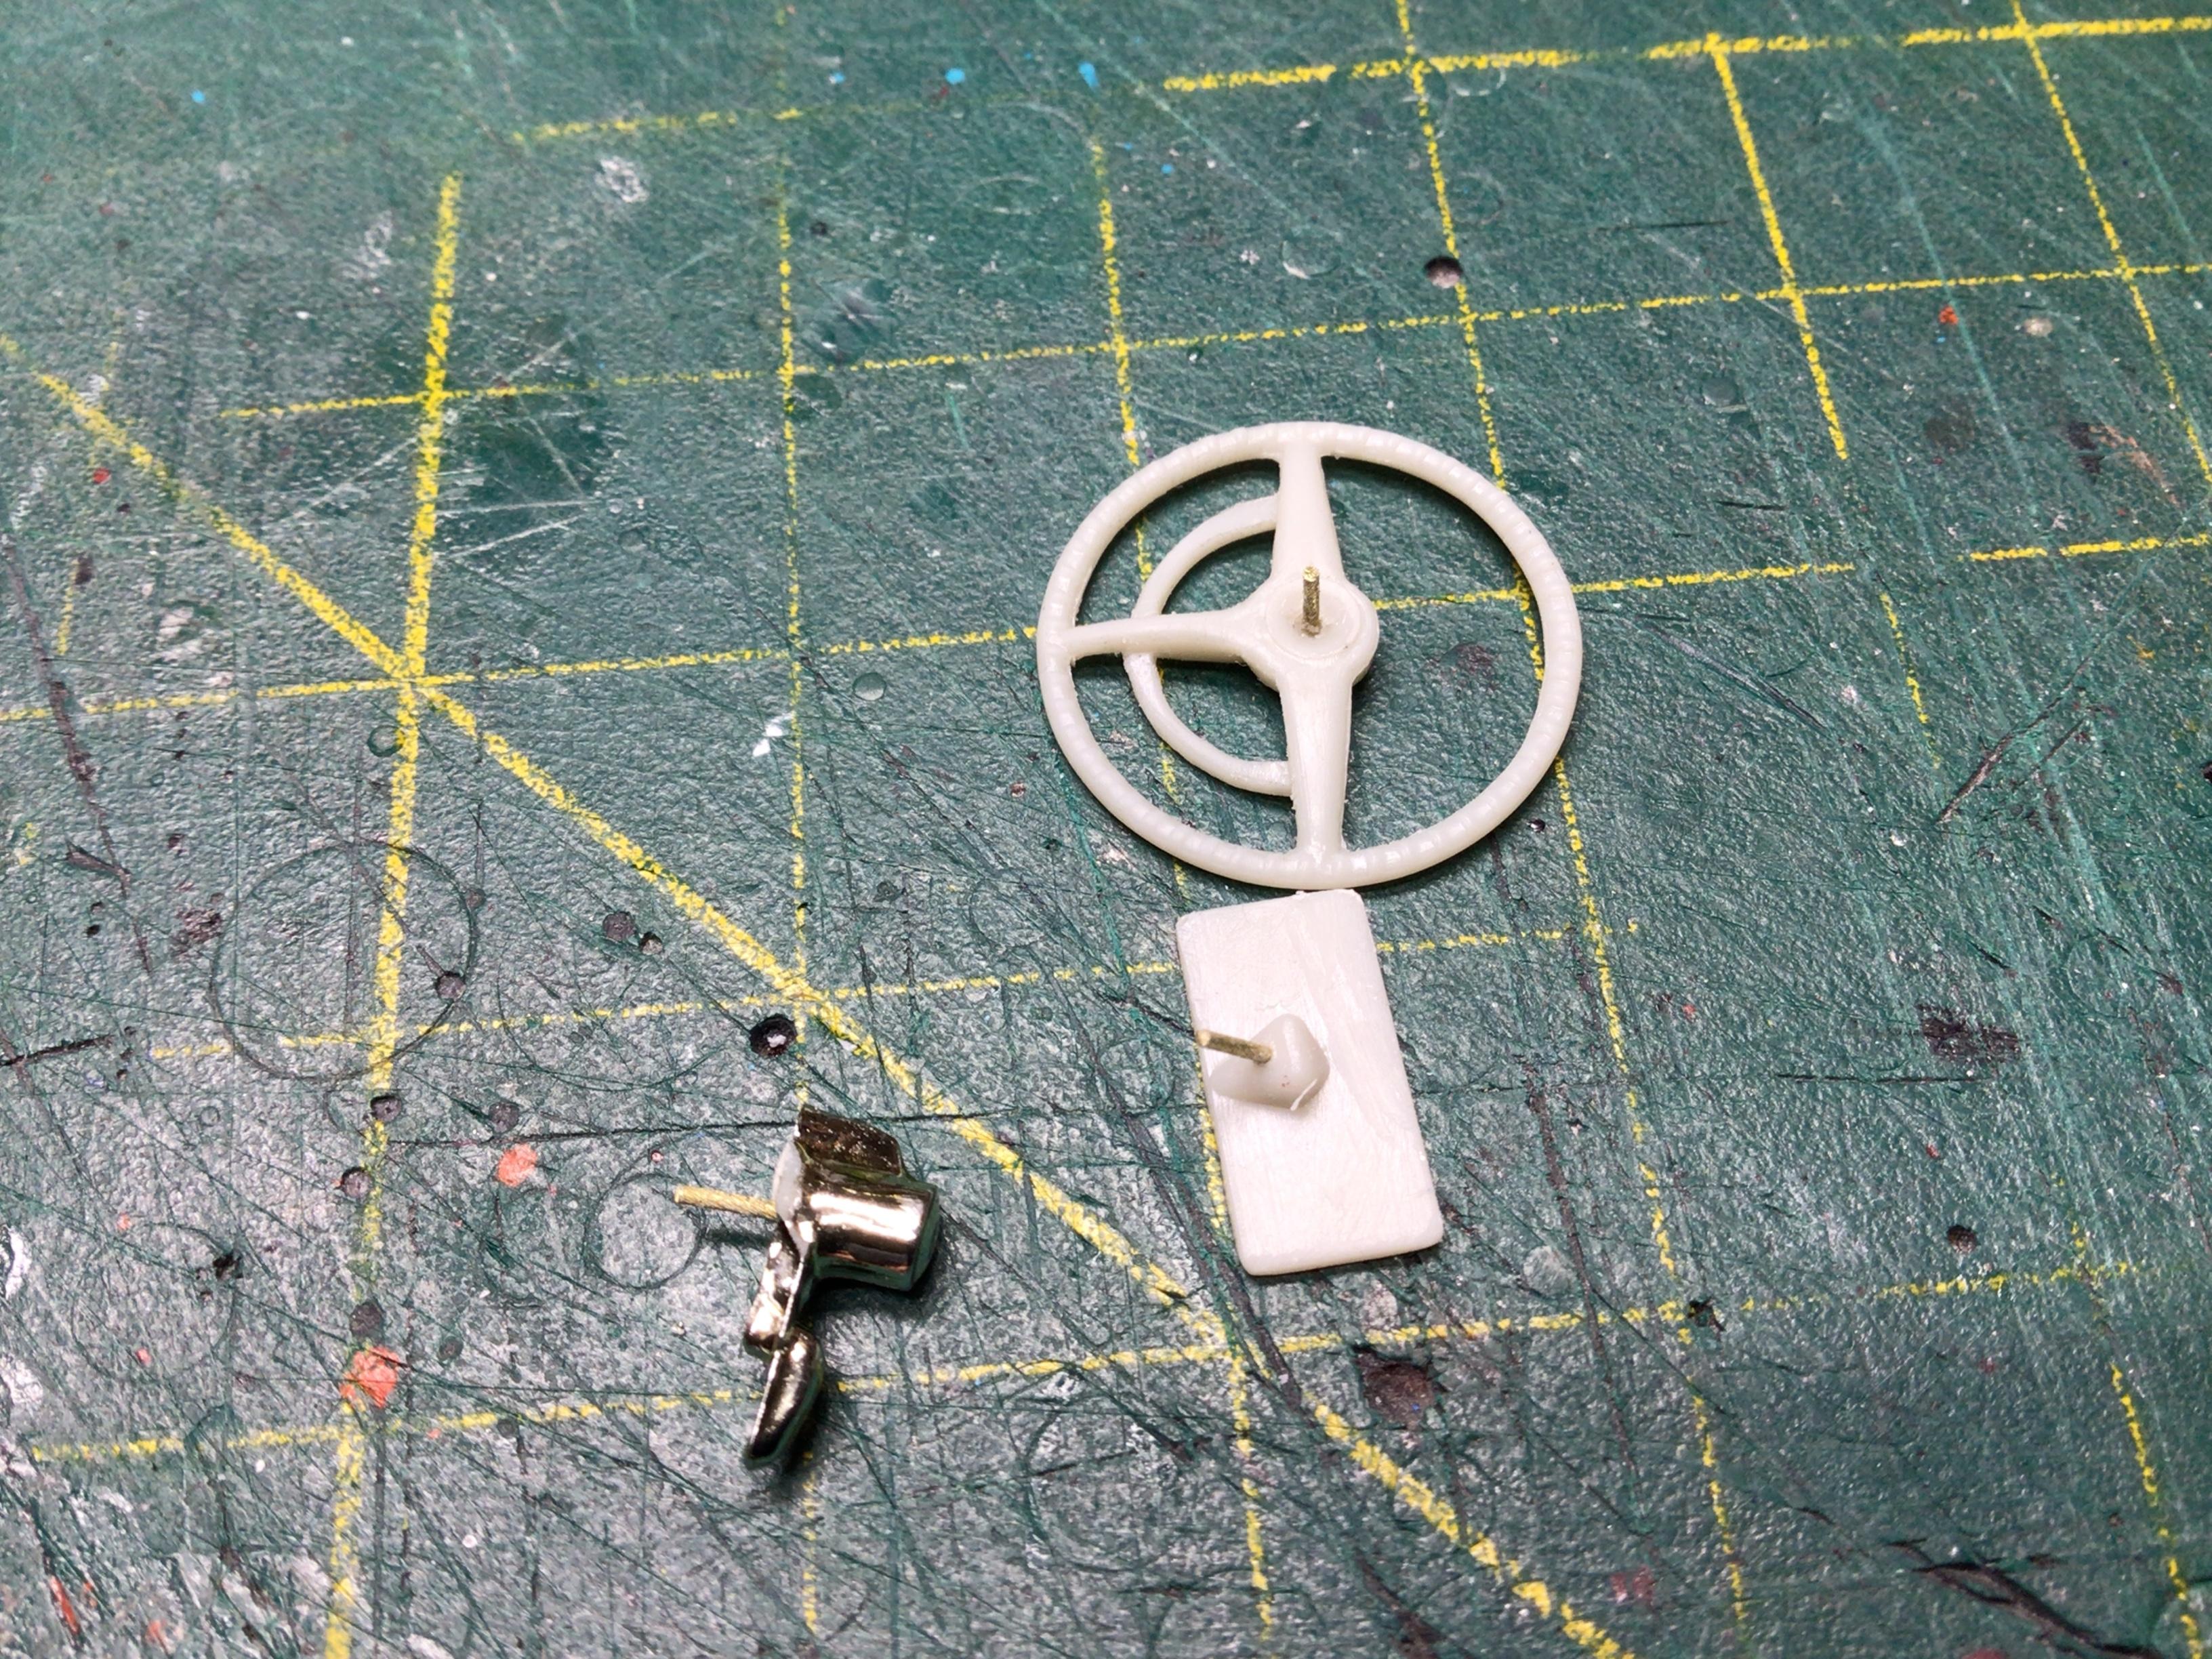
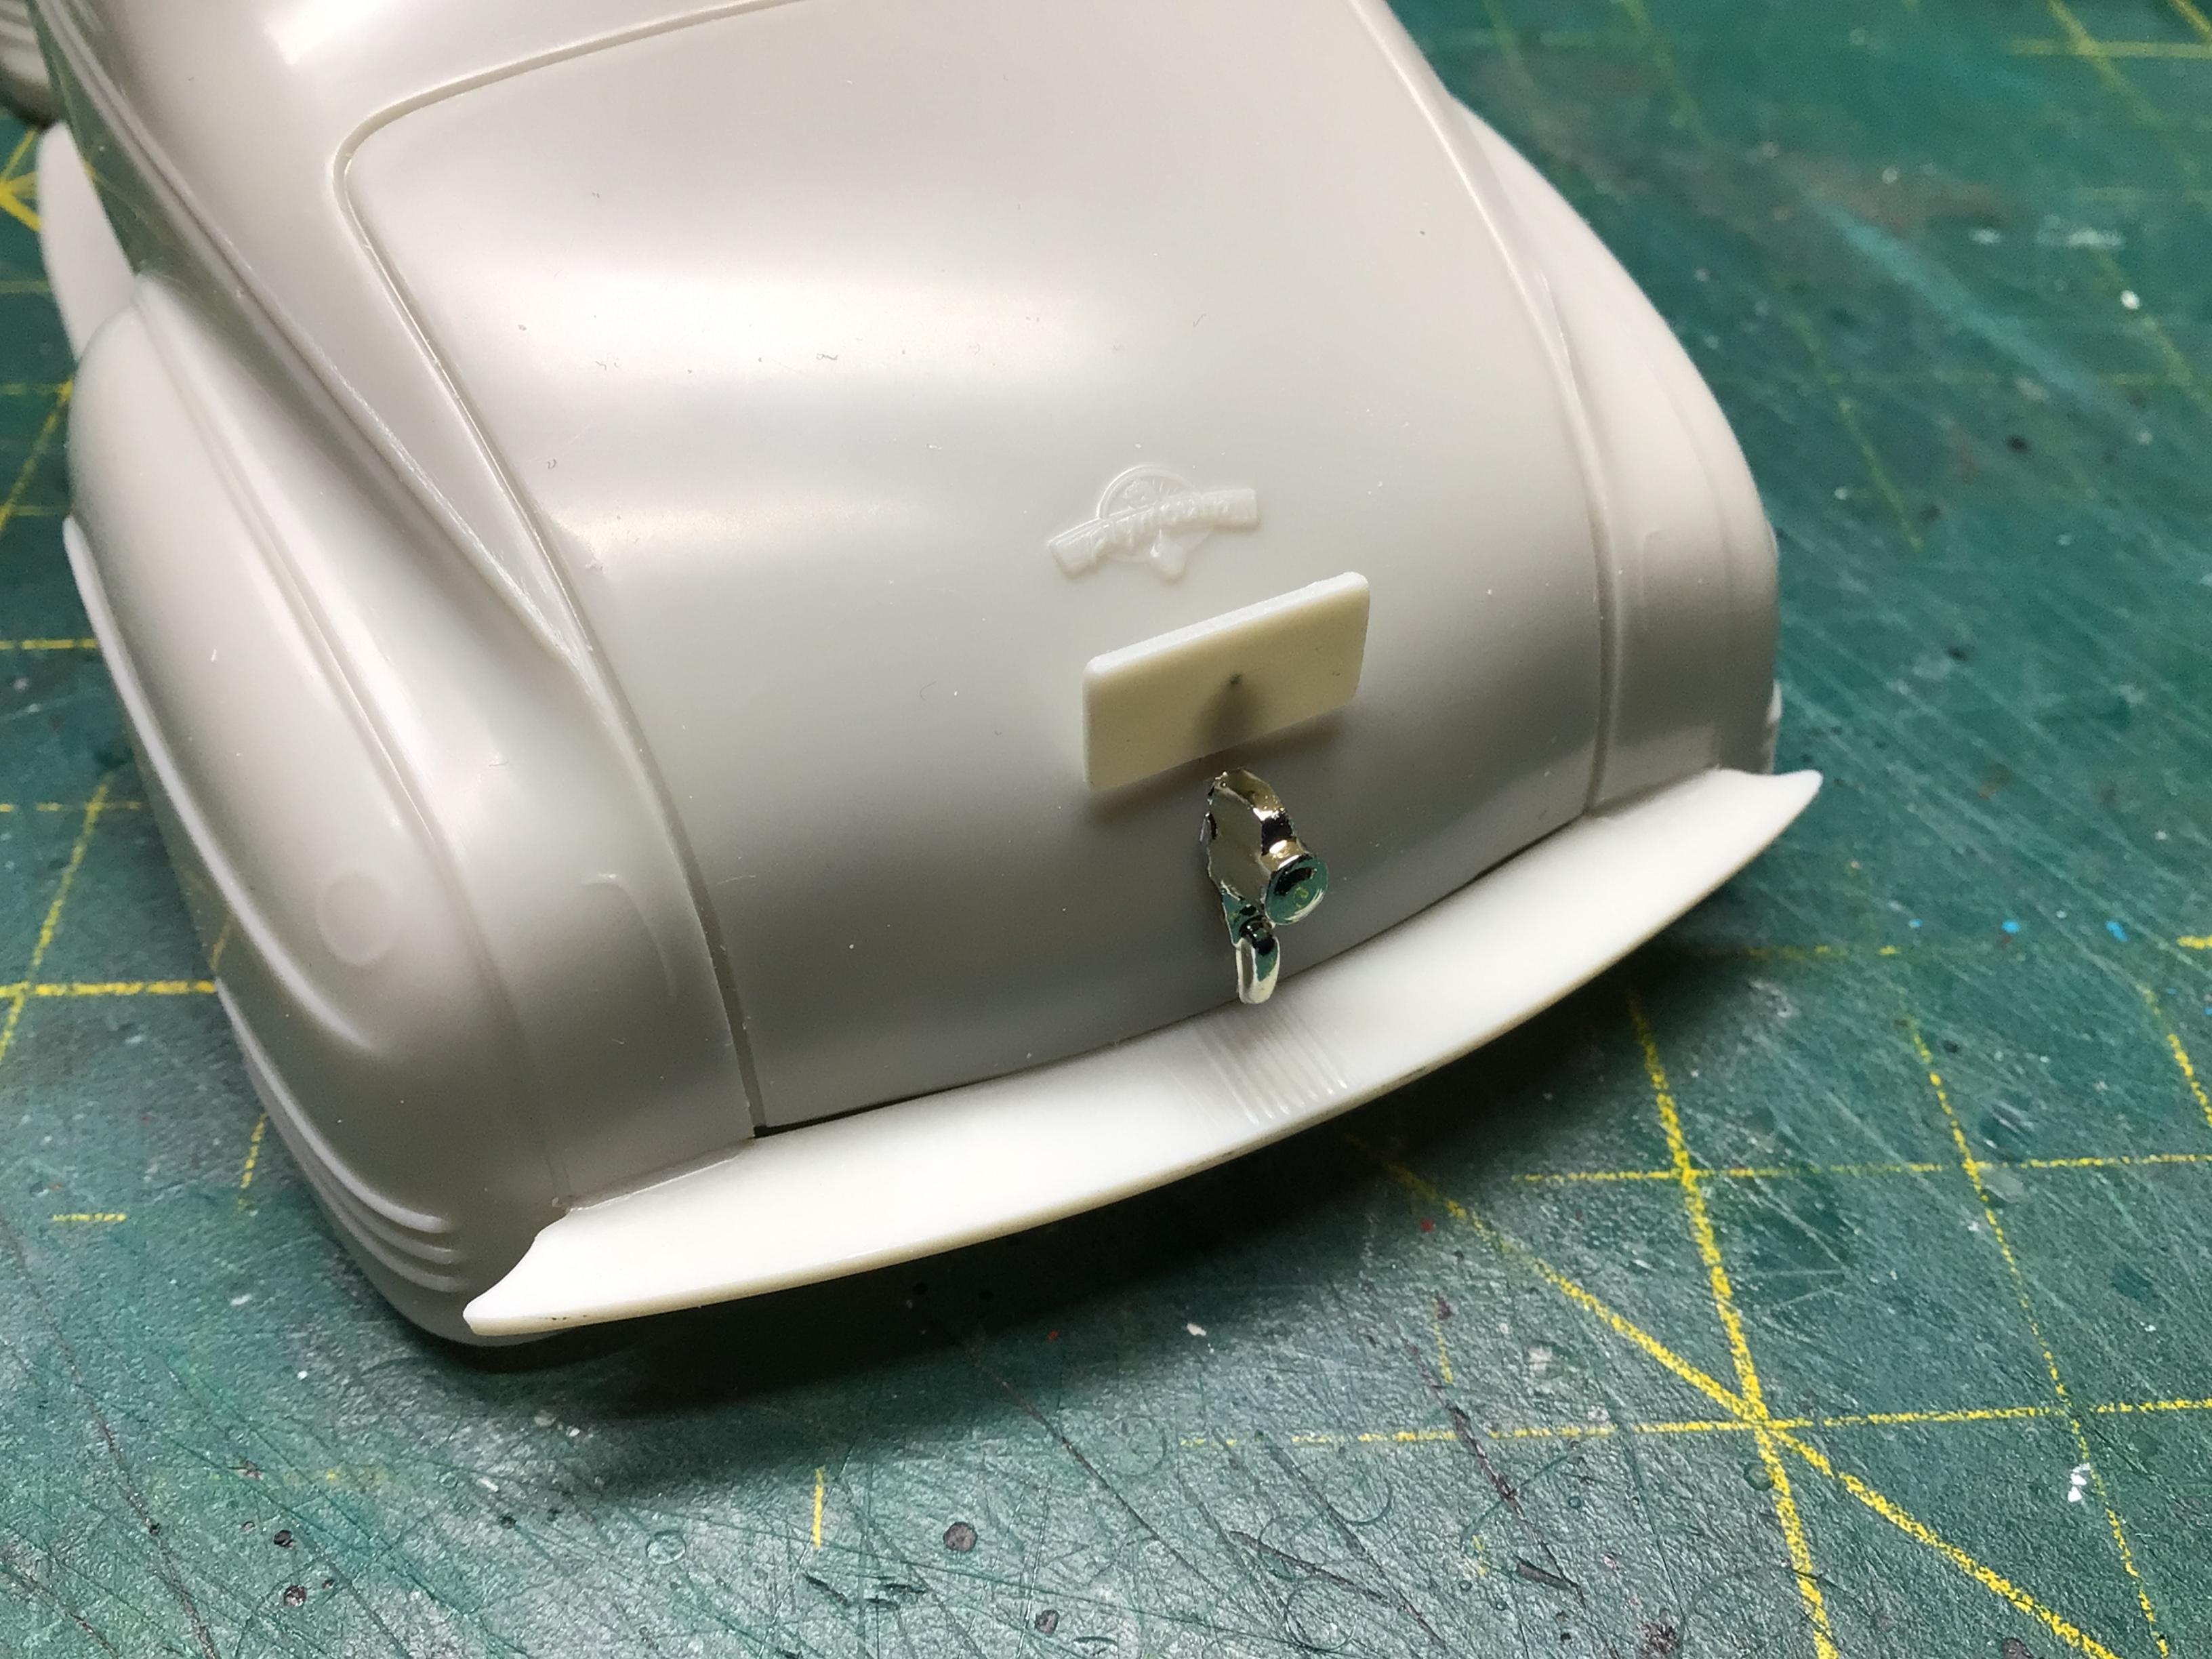
Thanks David. I rolled a file over a piece of 0.080” evergreen rod to get the knurled edge. Then chucked it in my cordless drill to dome it and cut it off. Then glued it to .020” thick punchout for a “pipe” and a .010” punchout for the gasket.?It has a pin in it now and I will foil it and paint the grommet before installing it.?
-
Looking For A Special Glue
NOBLNG replied to oldcarfan's topic in Model Building Questions and Answers
Screw it if ya can’t glue it.??
-
I have thought about it, but I only have one grill set and there is a slight possibility that I could destroy it…so I think I will just paint the slots.? If I reconsider, I could likely do it with my photo etch saws.?
-
Nice start on this one Kari. Funny that the Super Sports would still have a 6 cyl as standard.
-
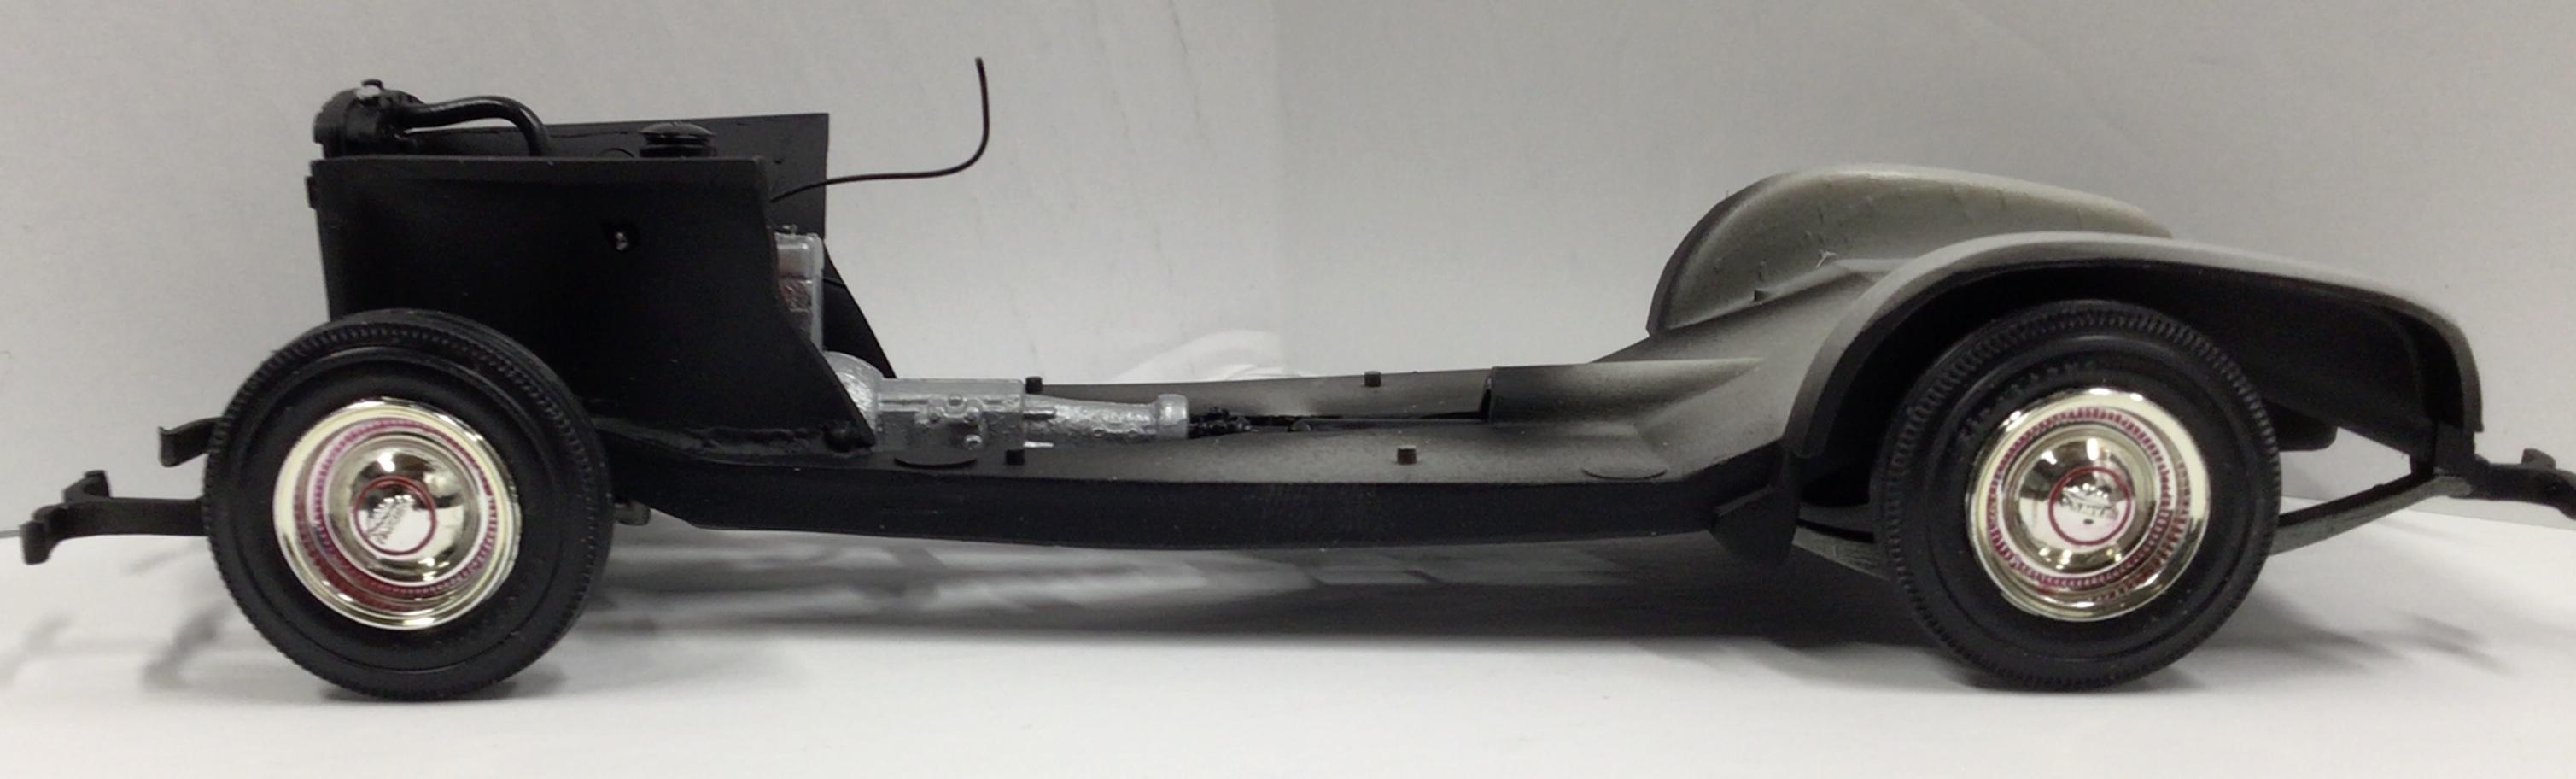
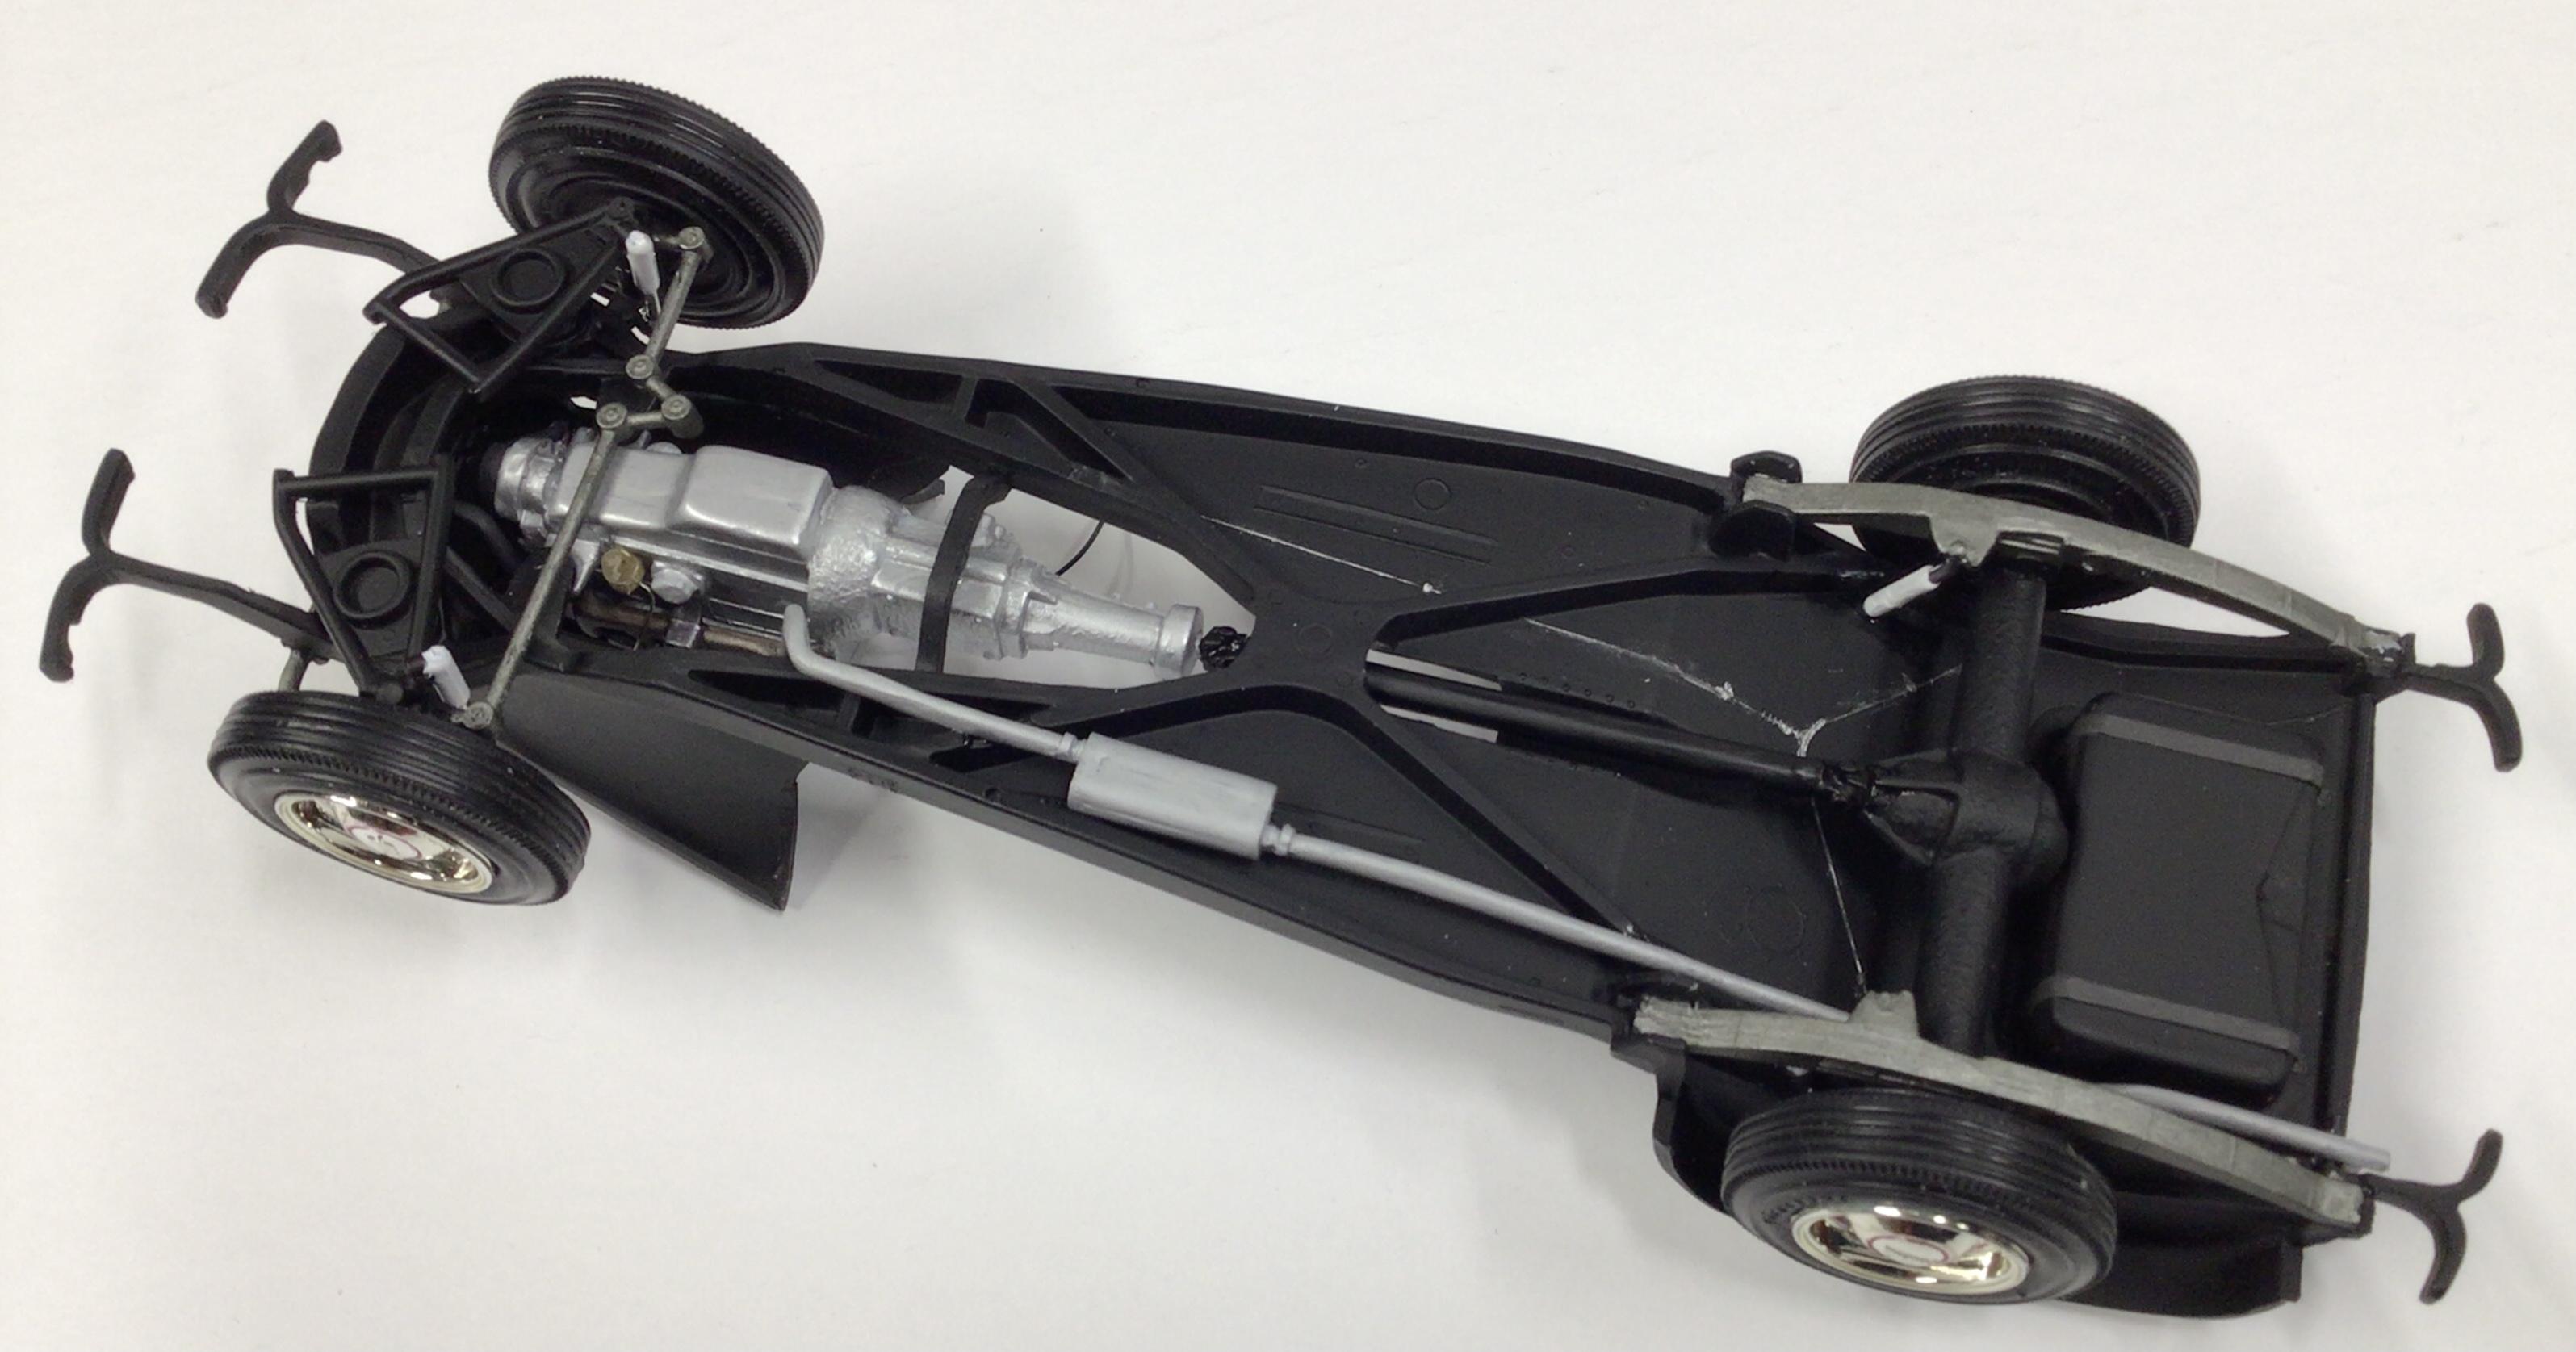
Well how about that!? I guess when the latest owner had the engine and transmission rebuilt, he replaced the driveshaft too.? Edit: I only searched long enough to verify that it wasn’t supposed to be a torque tube setup.
-
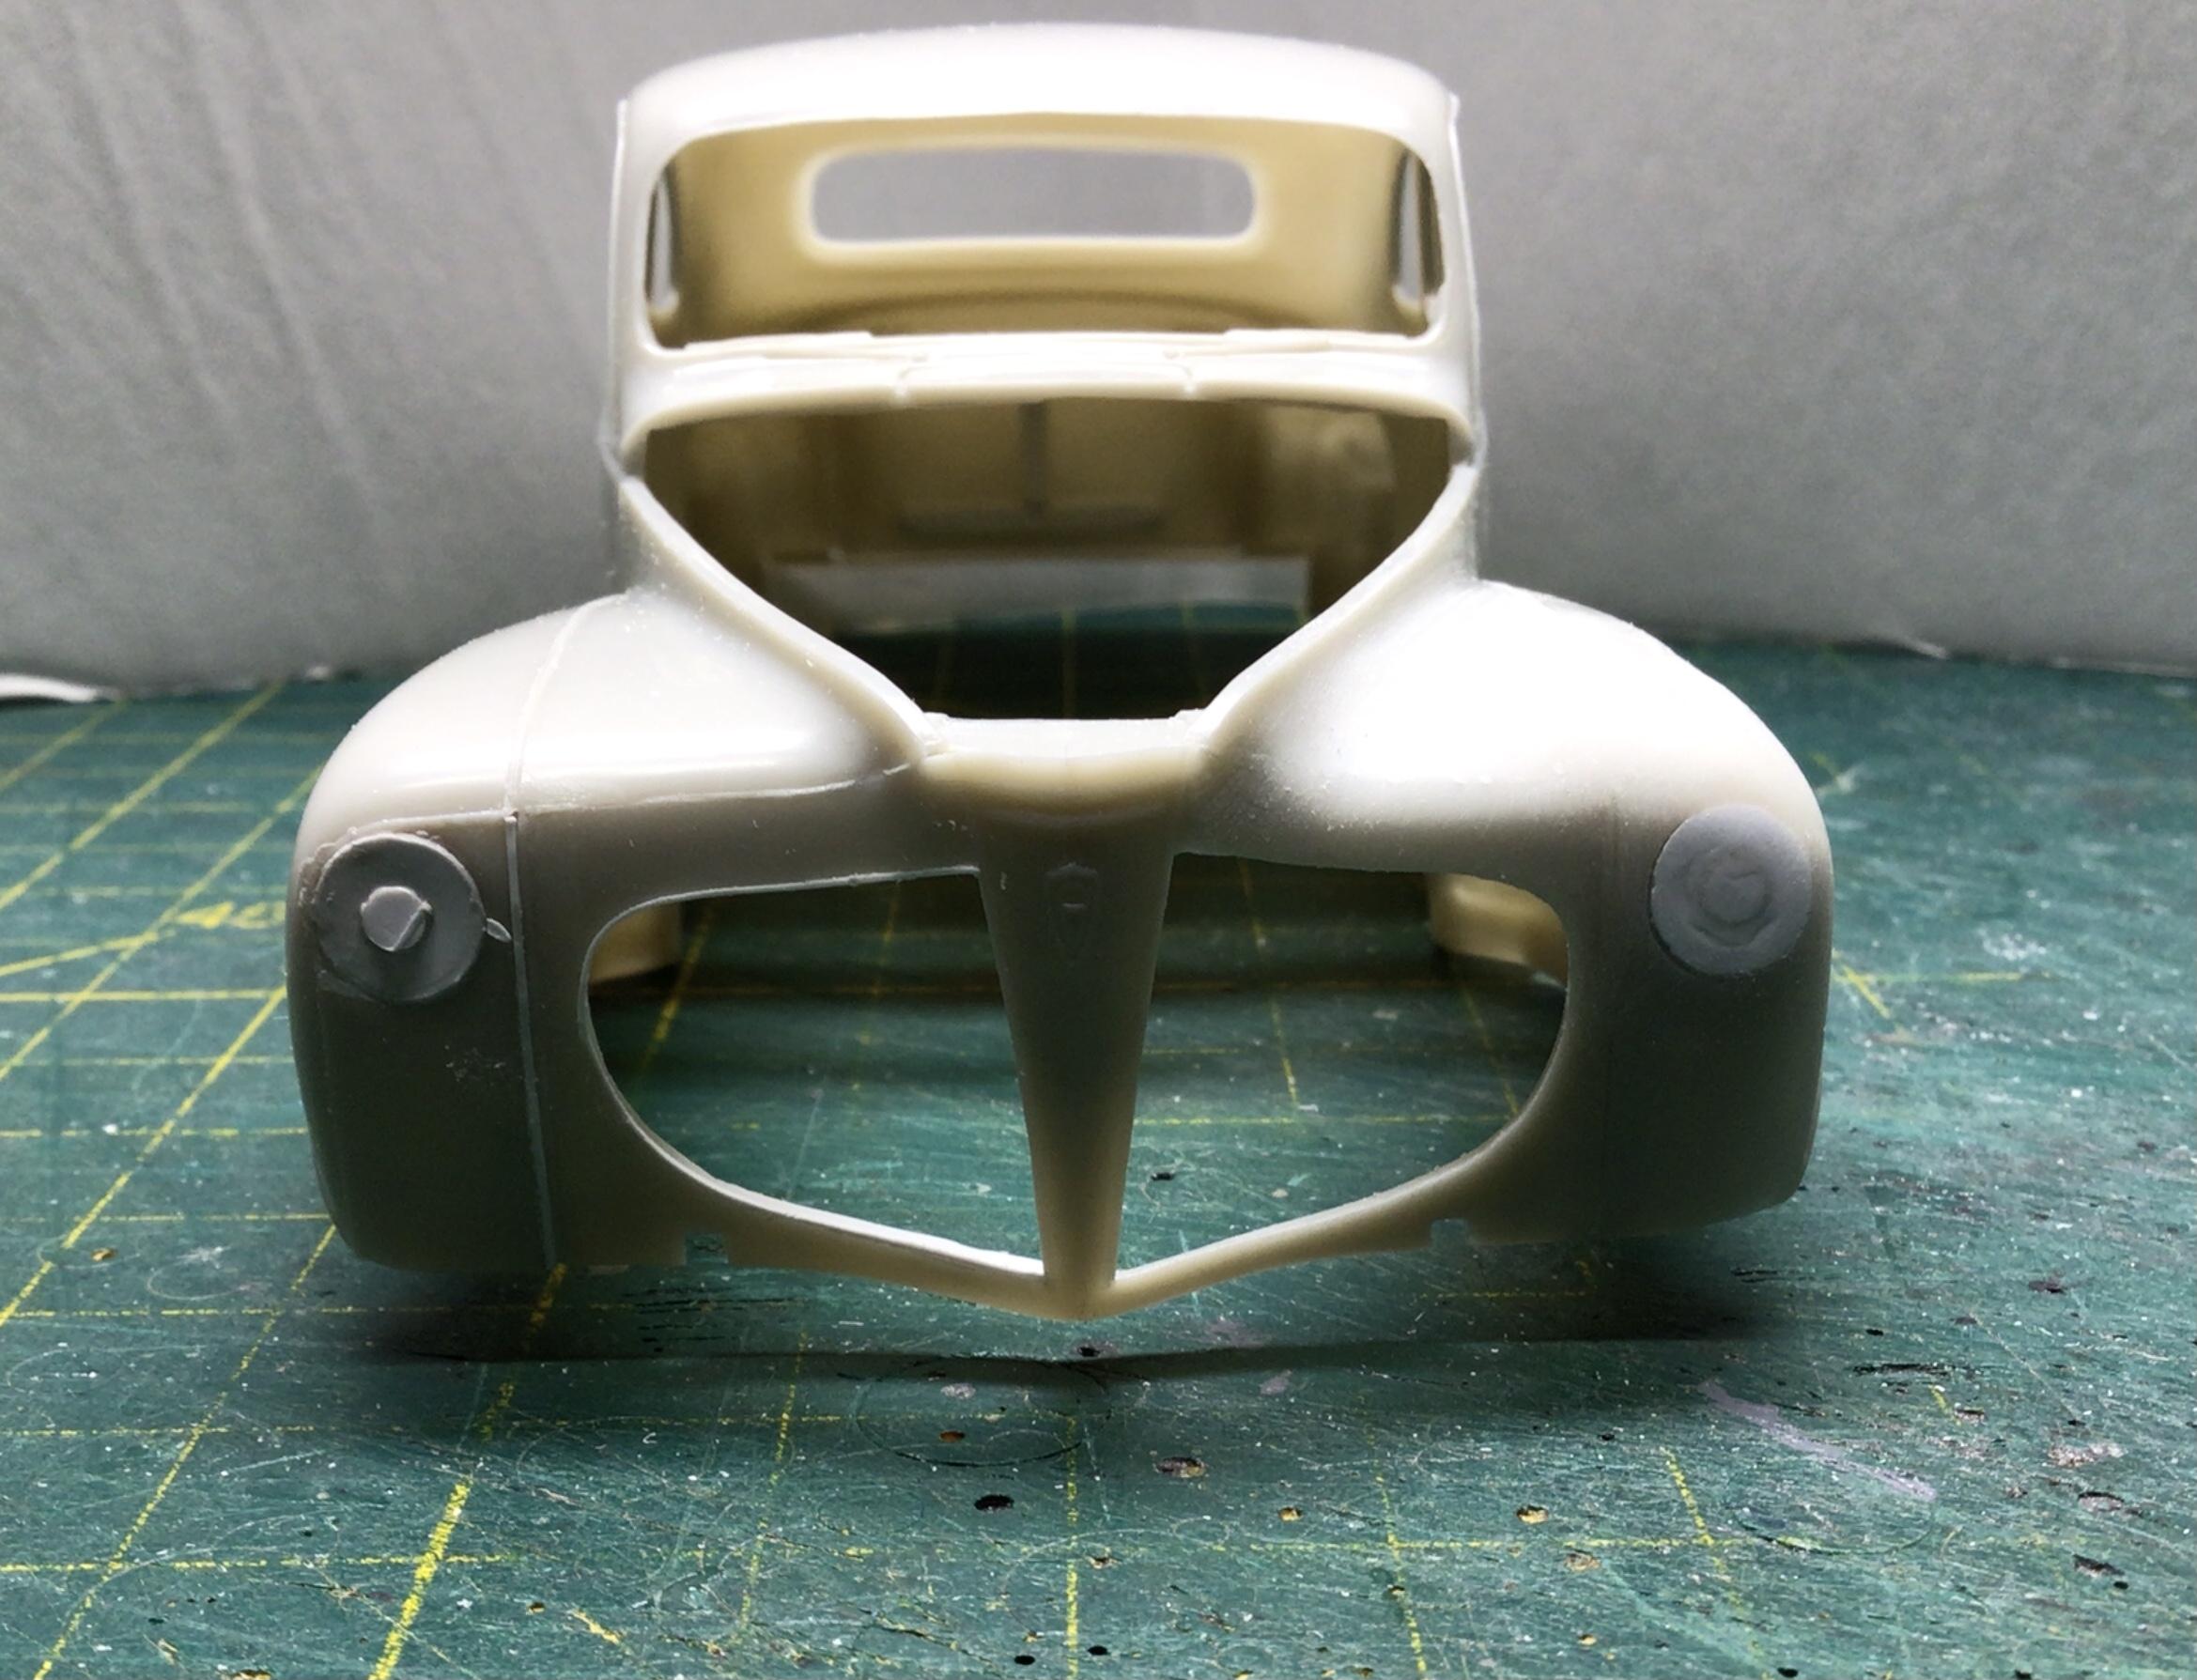
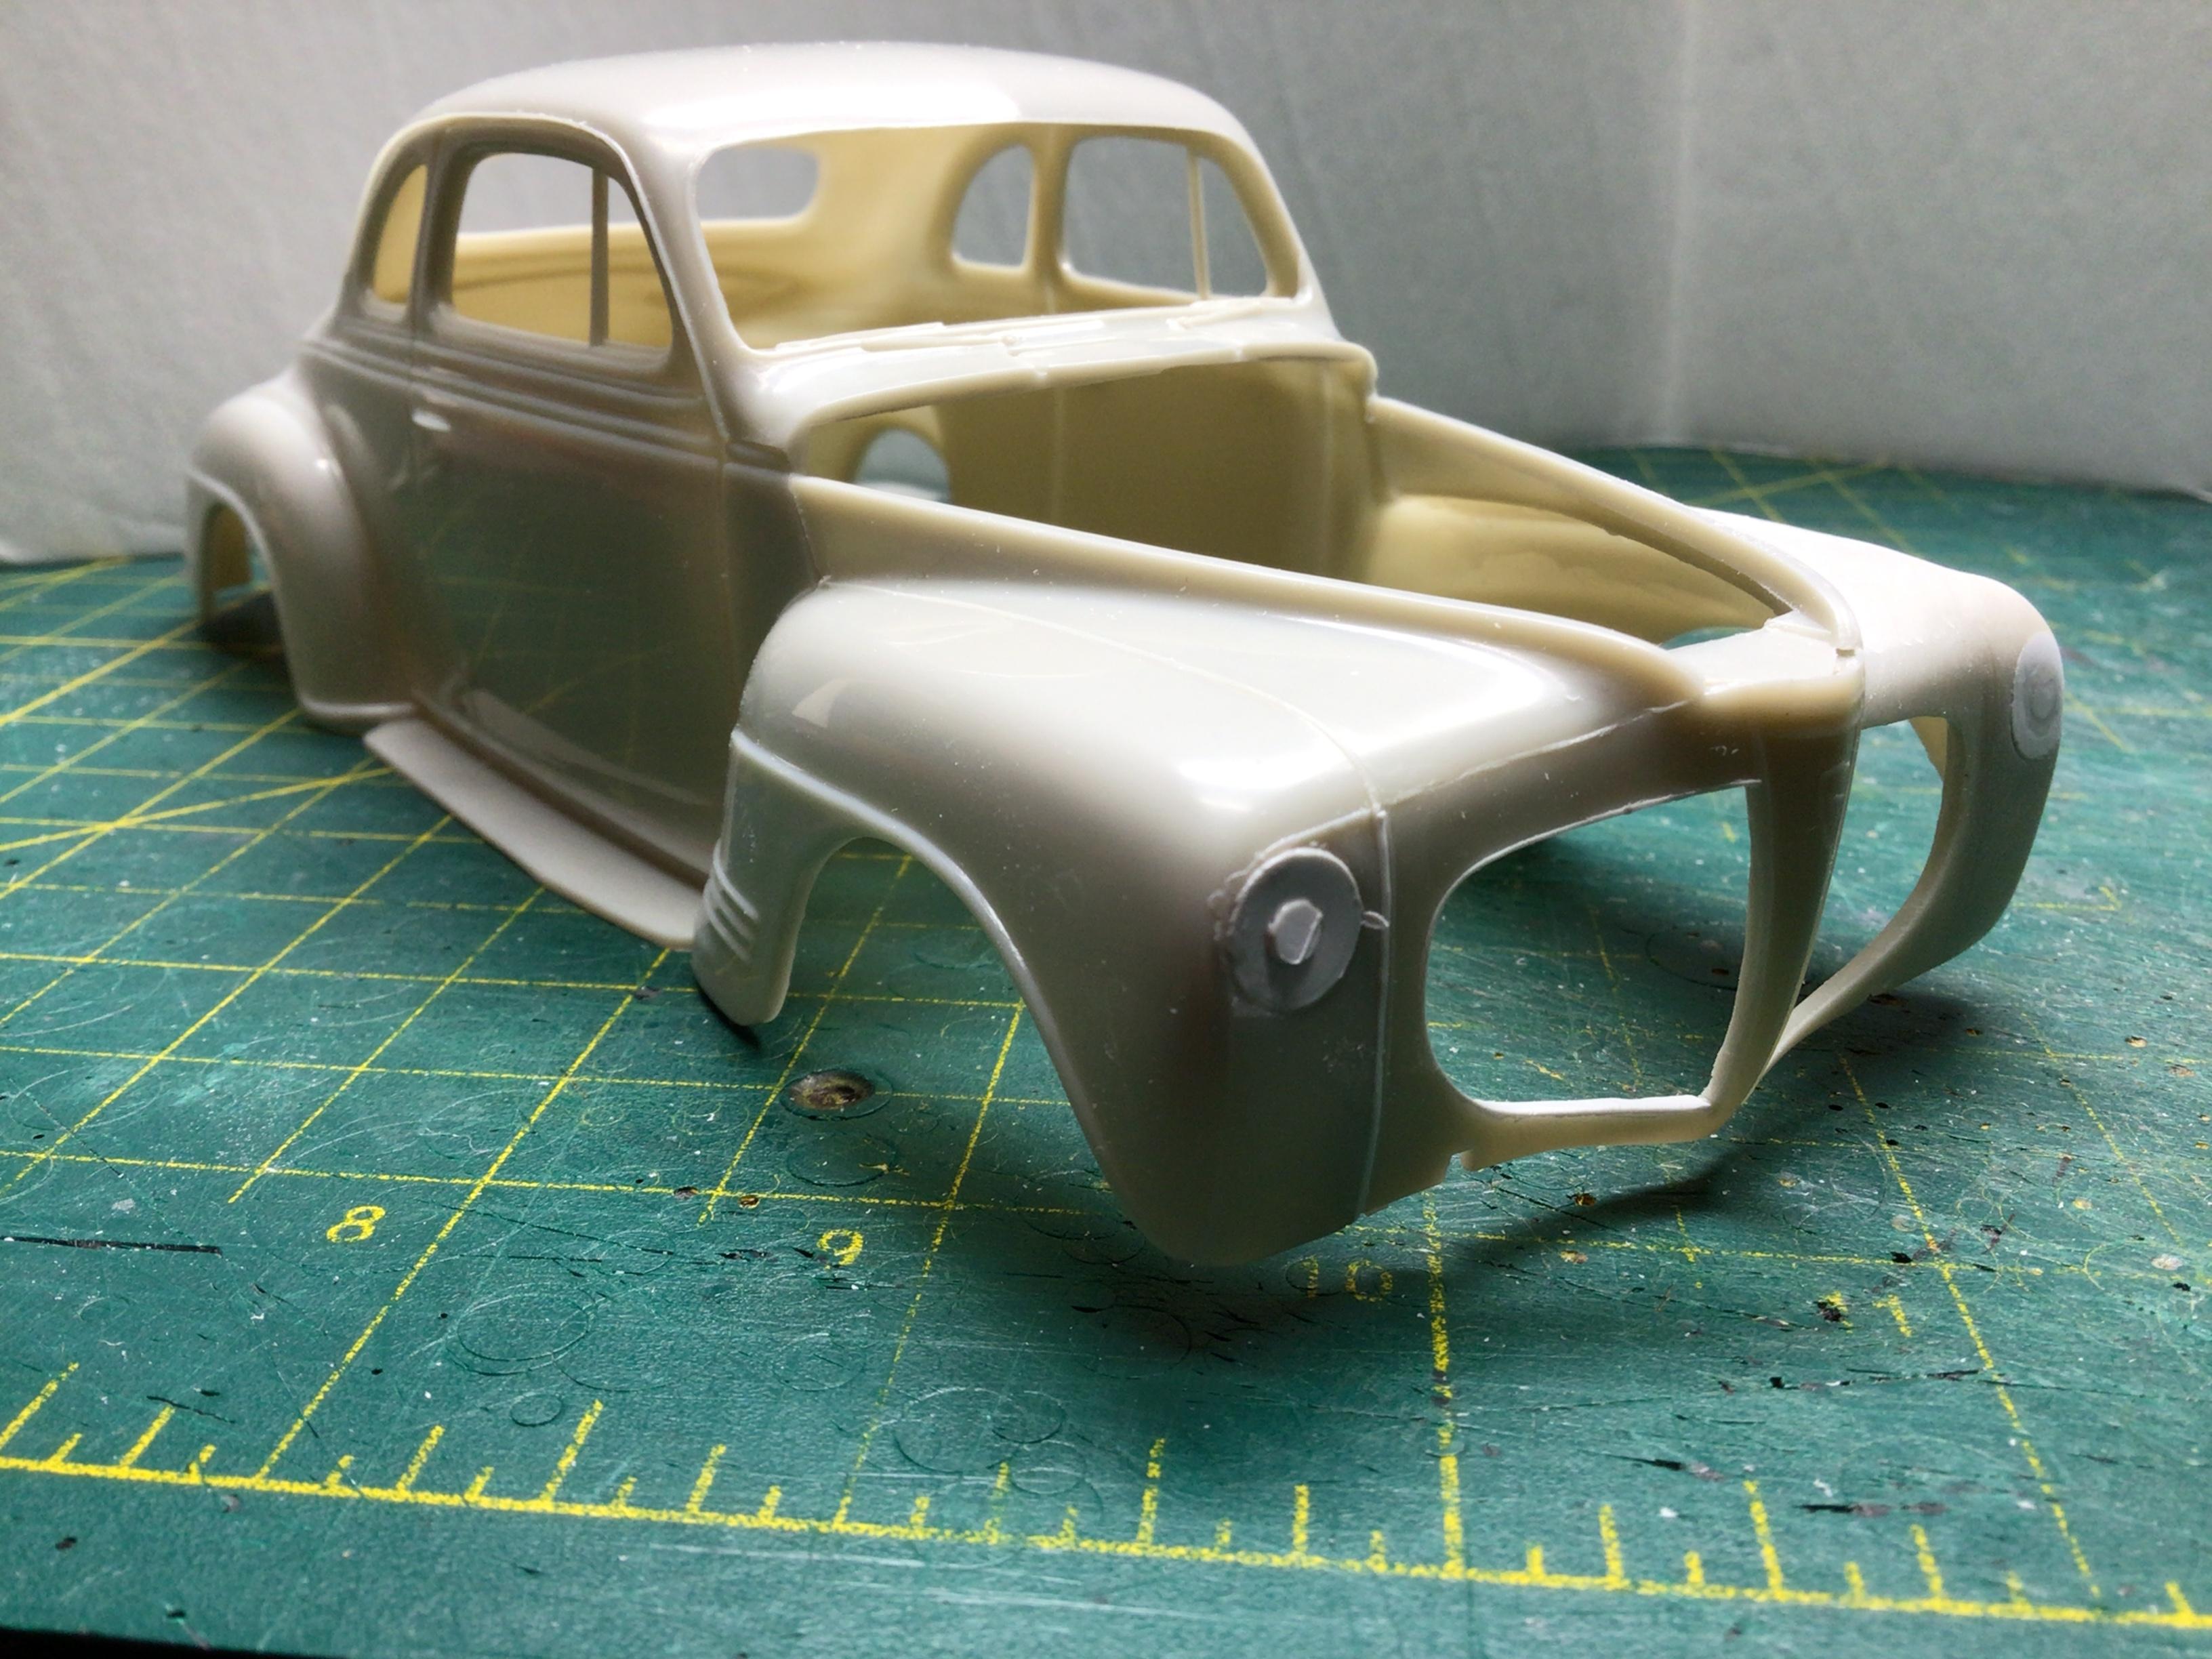
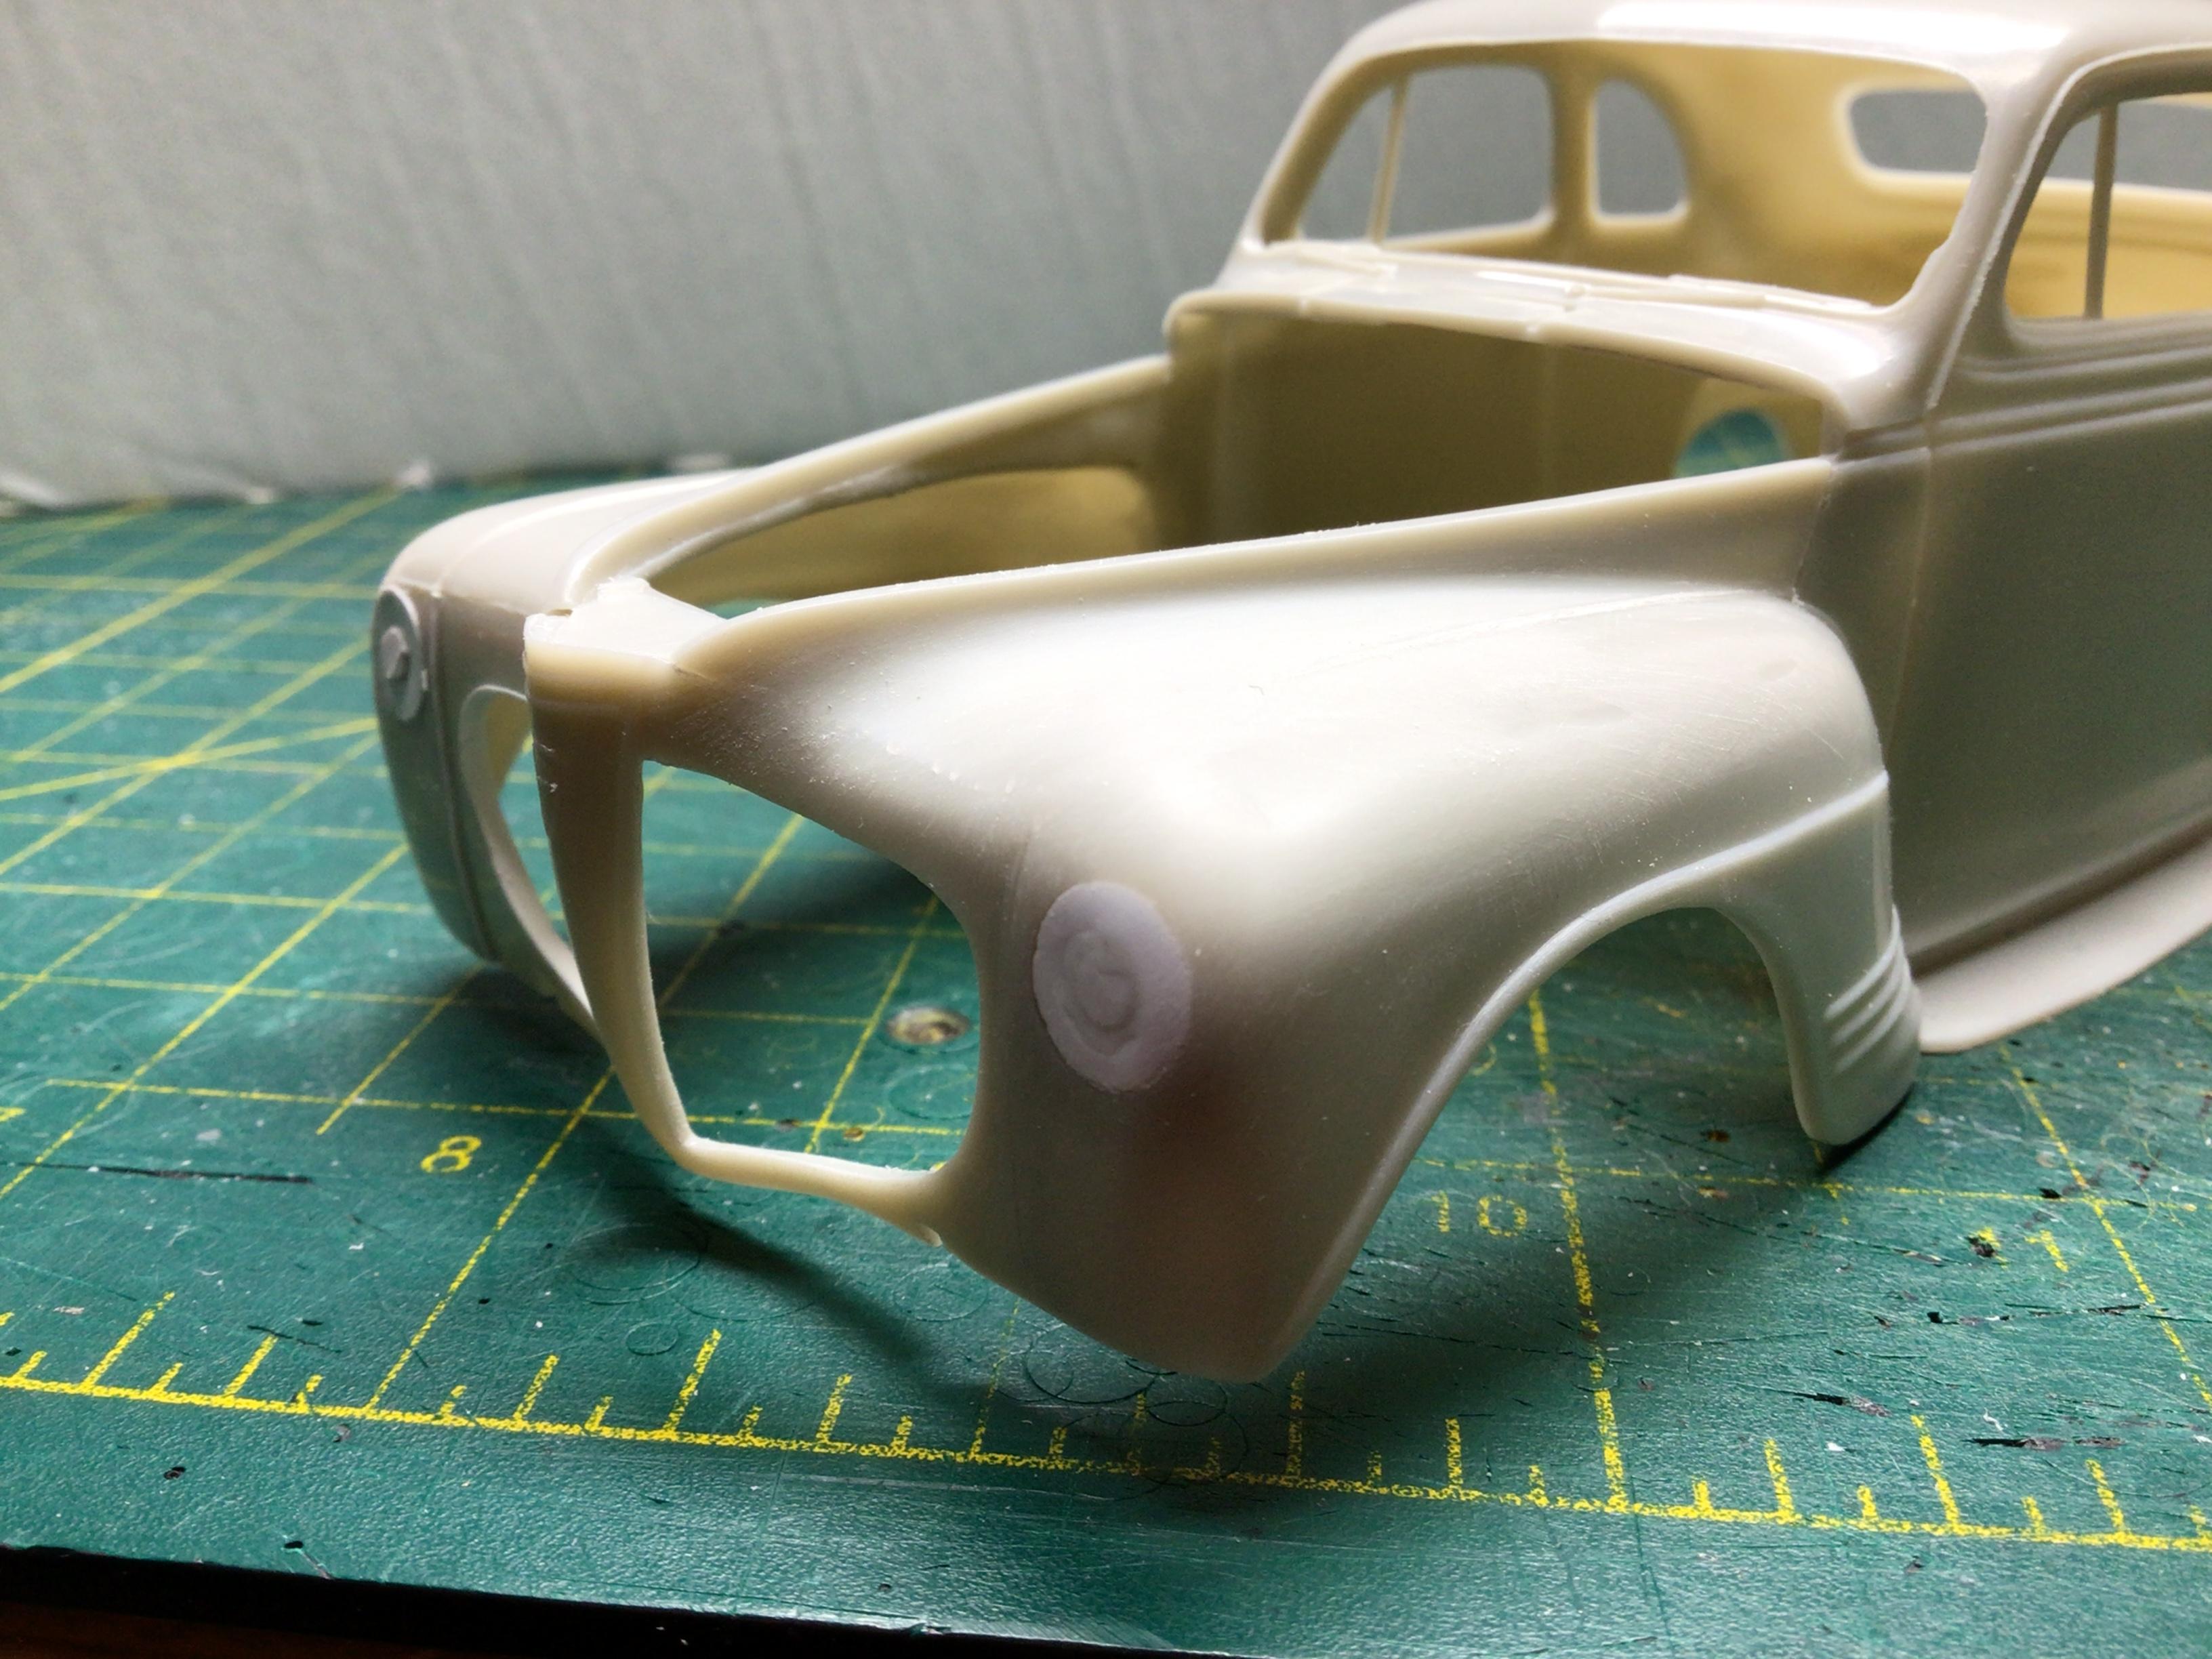
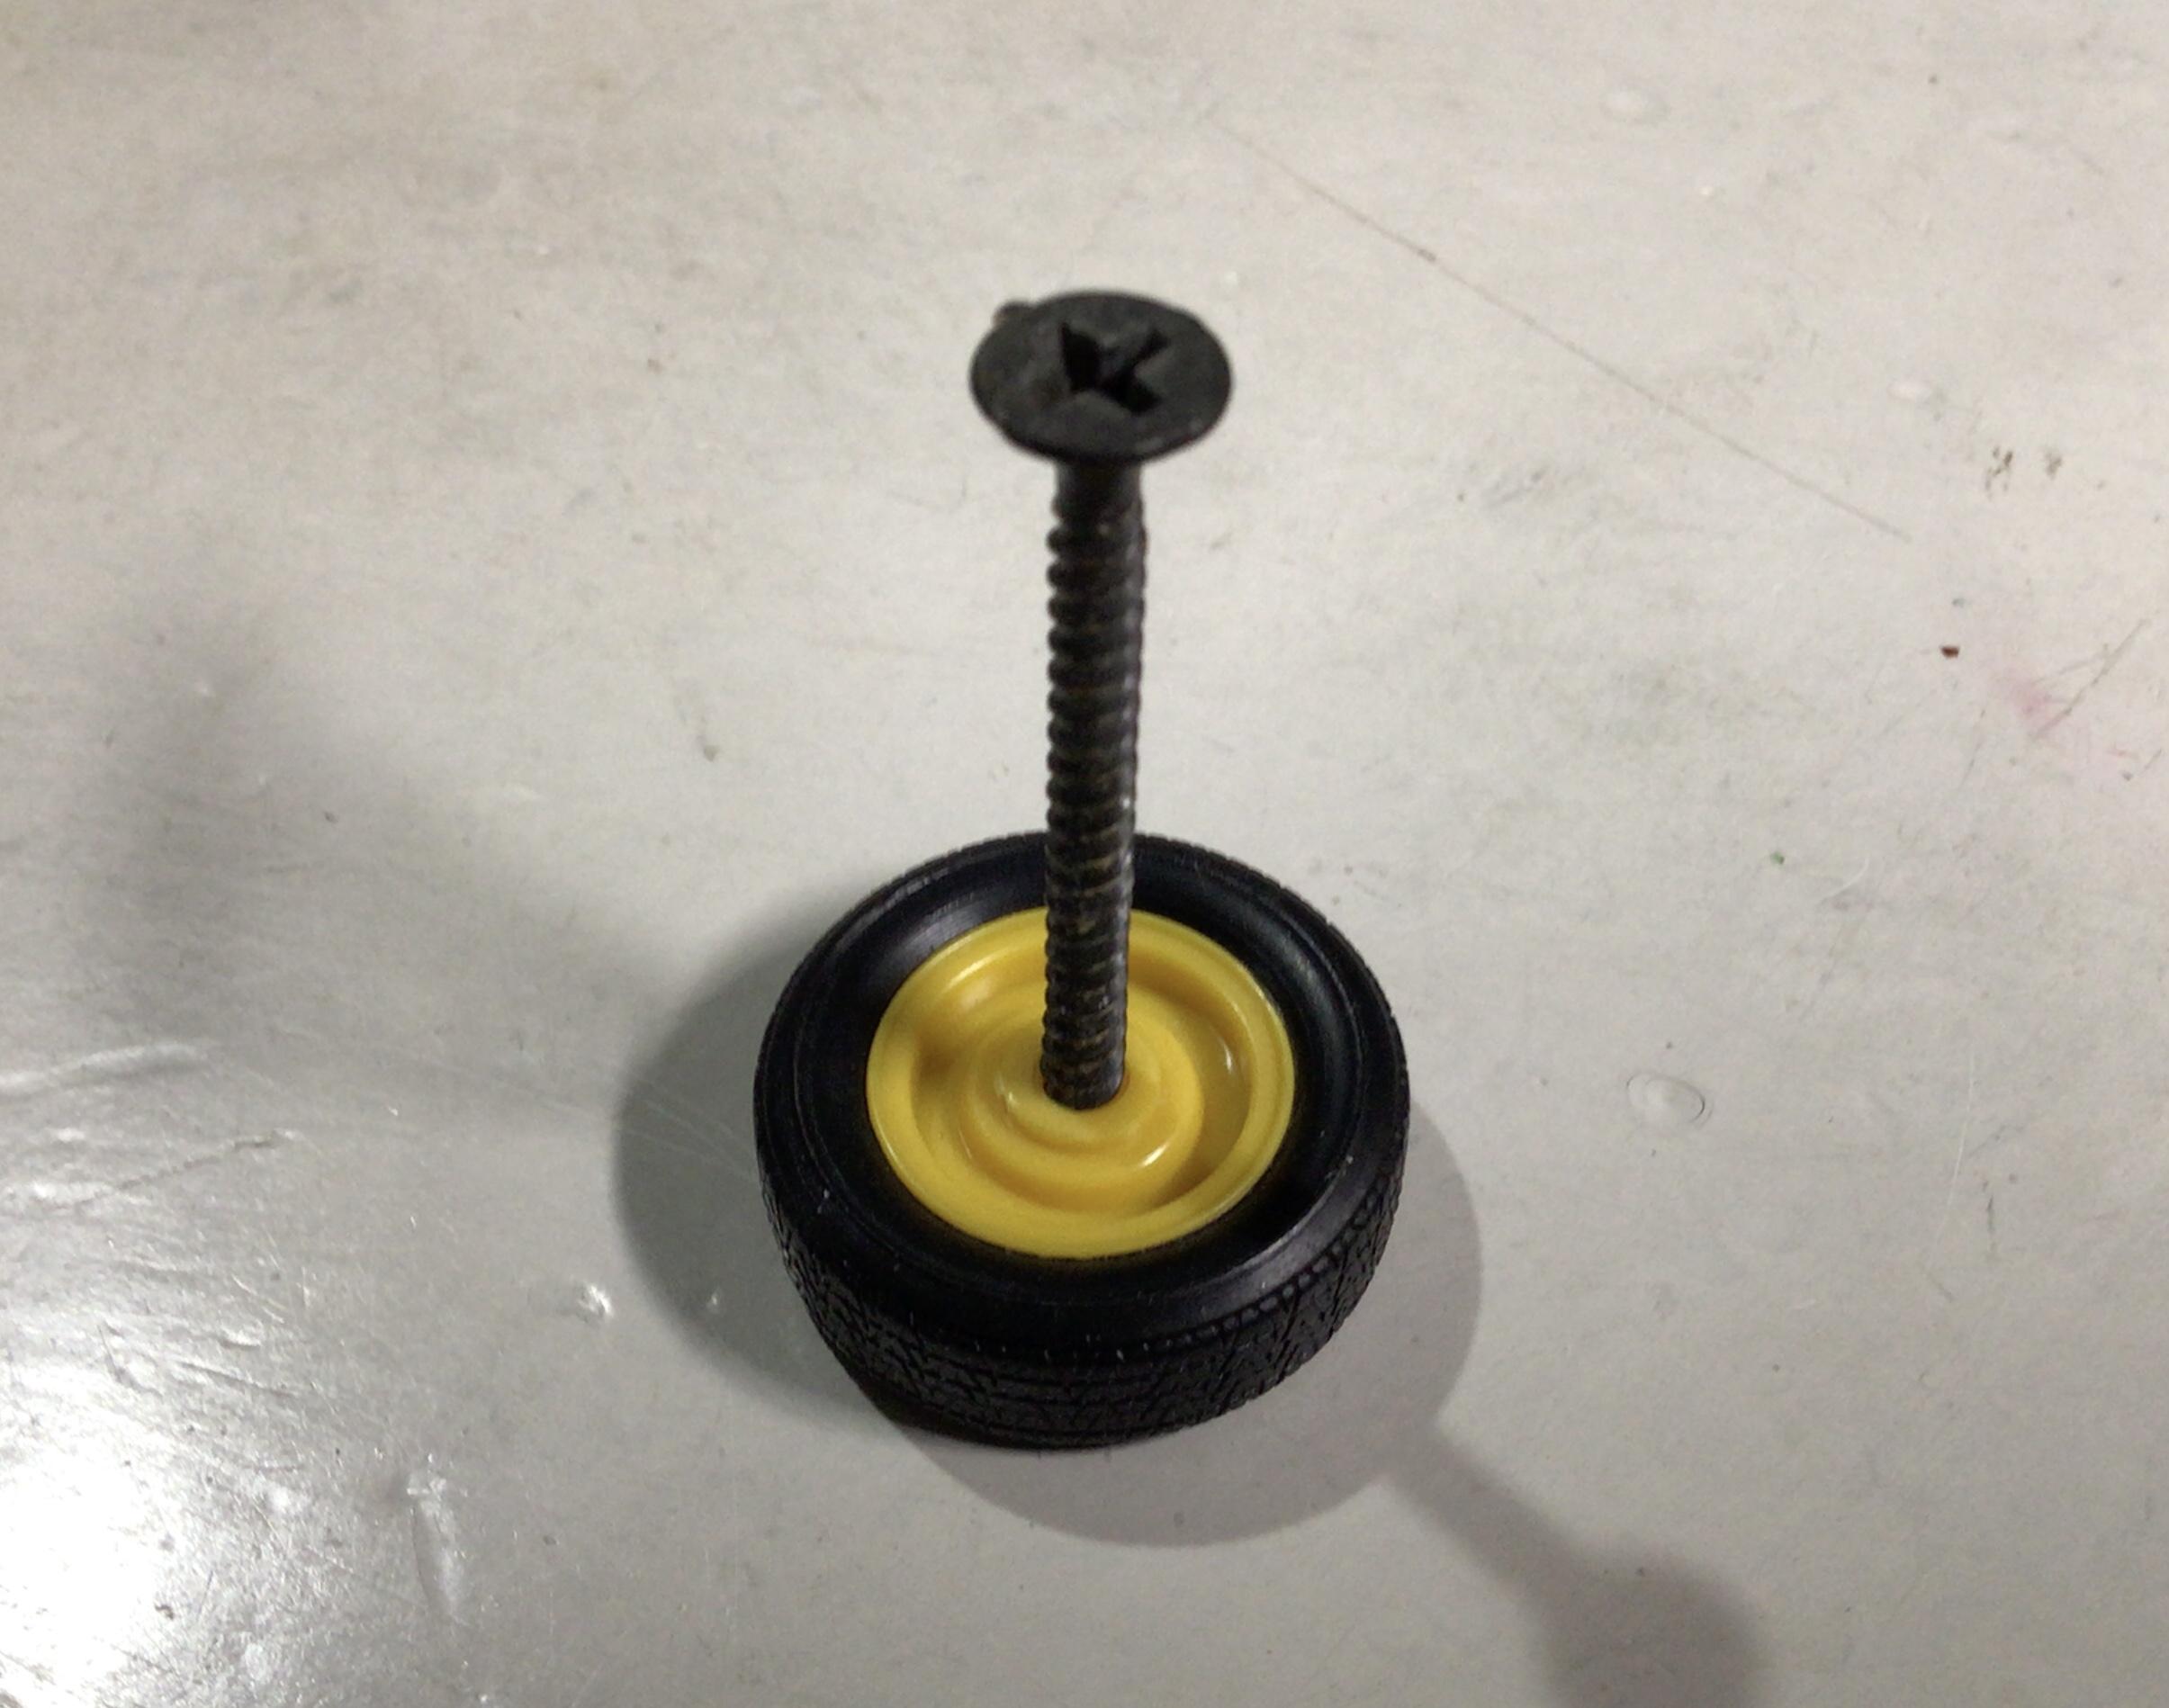
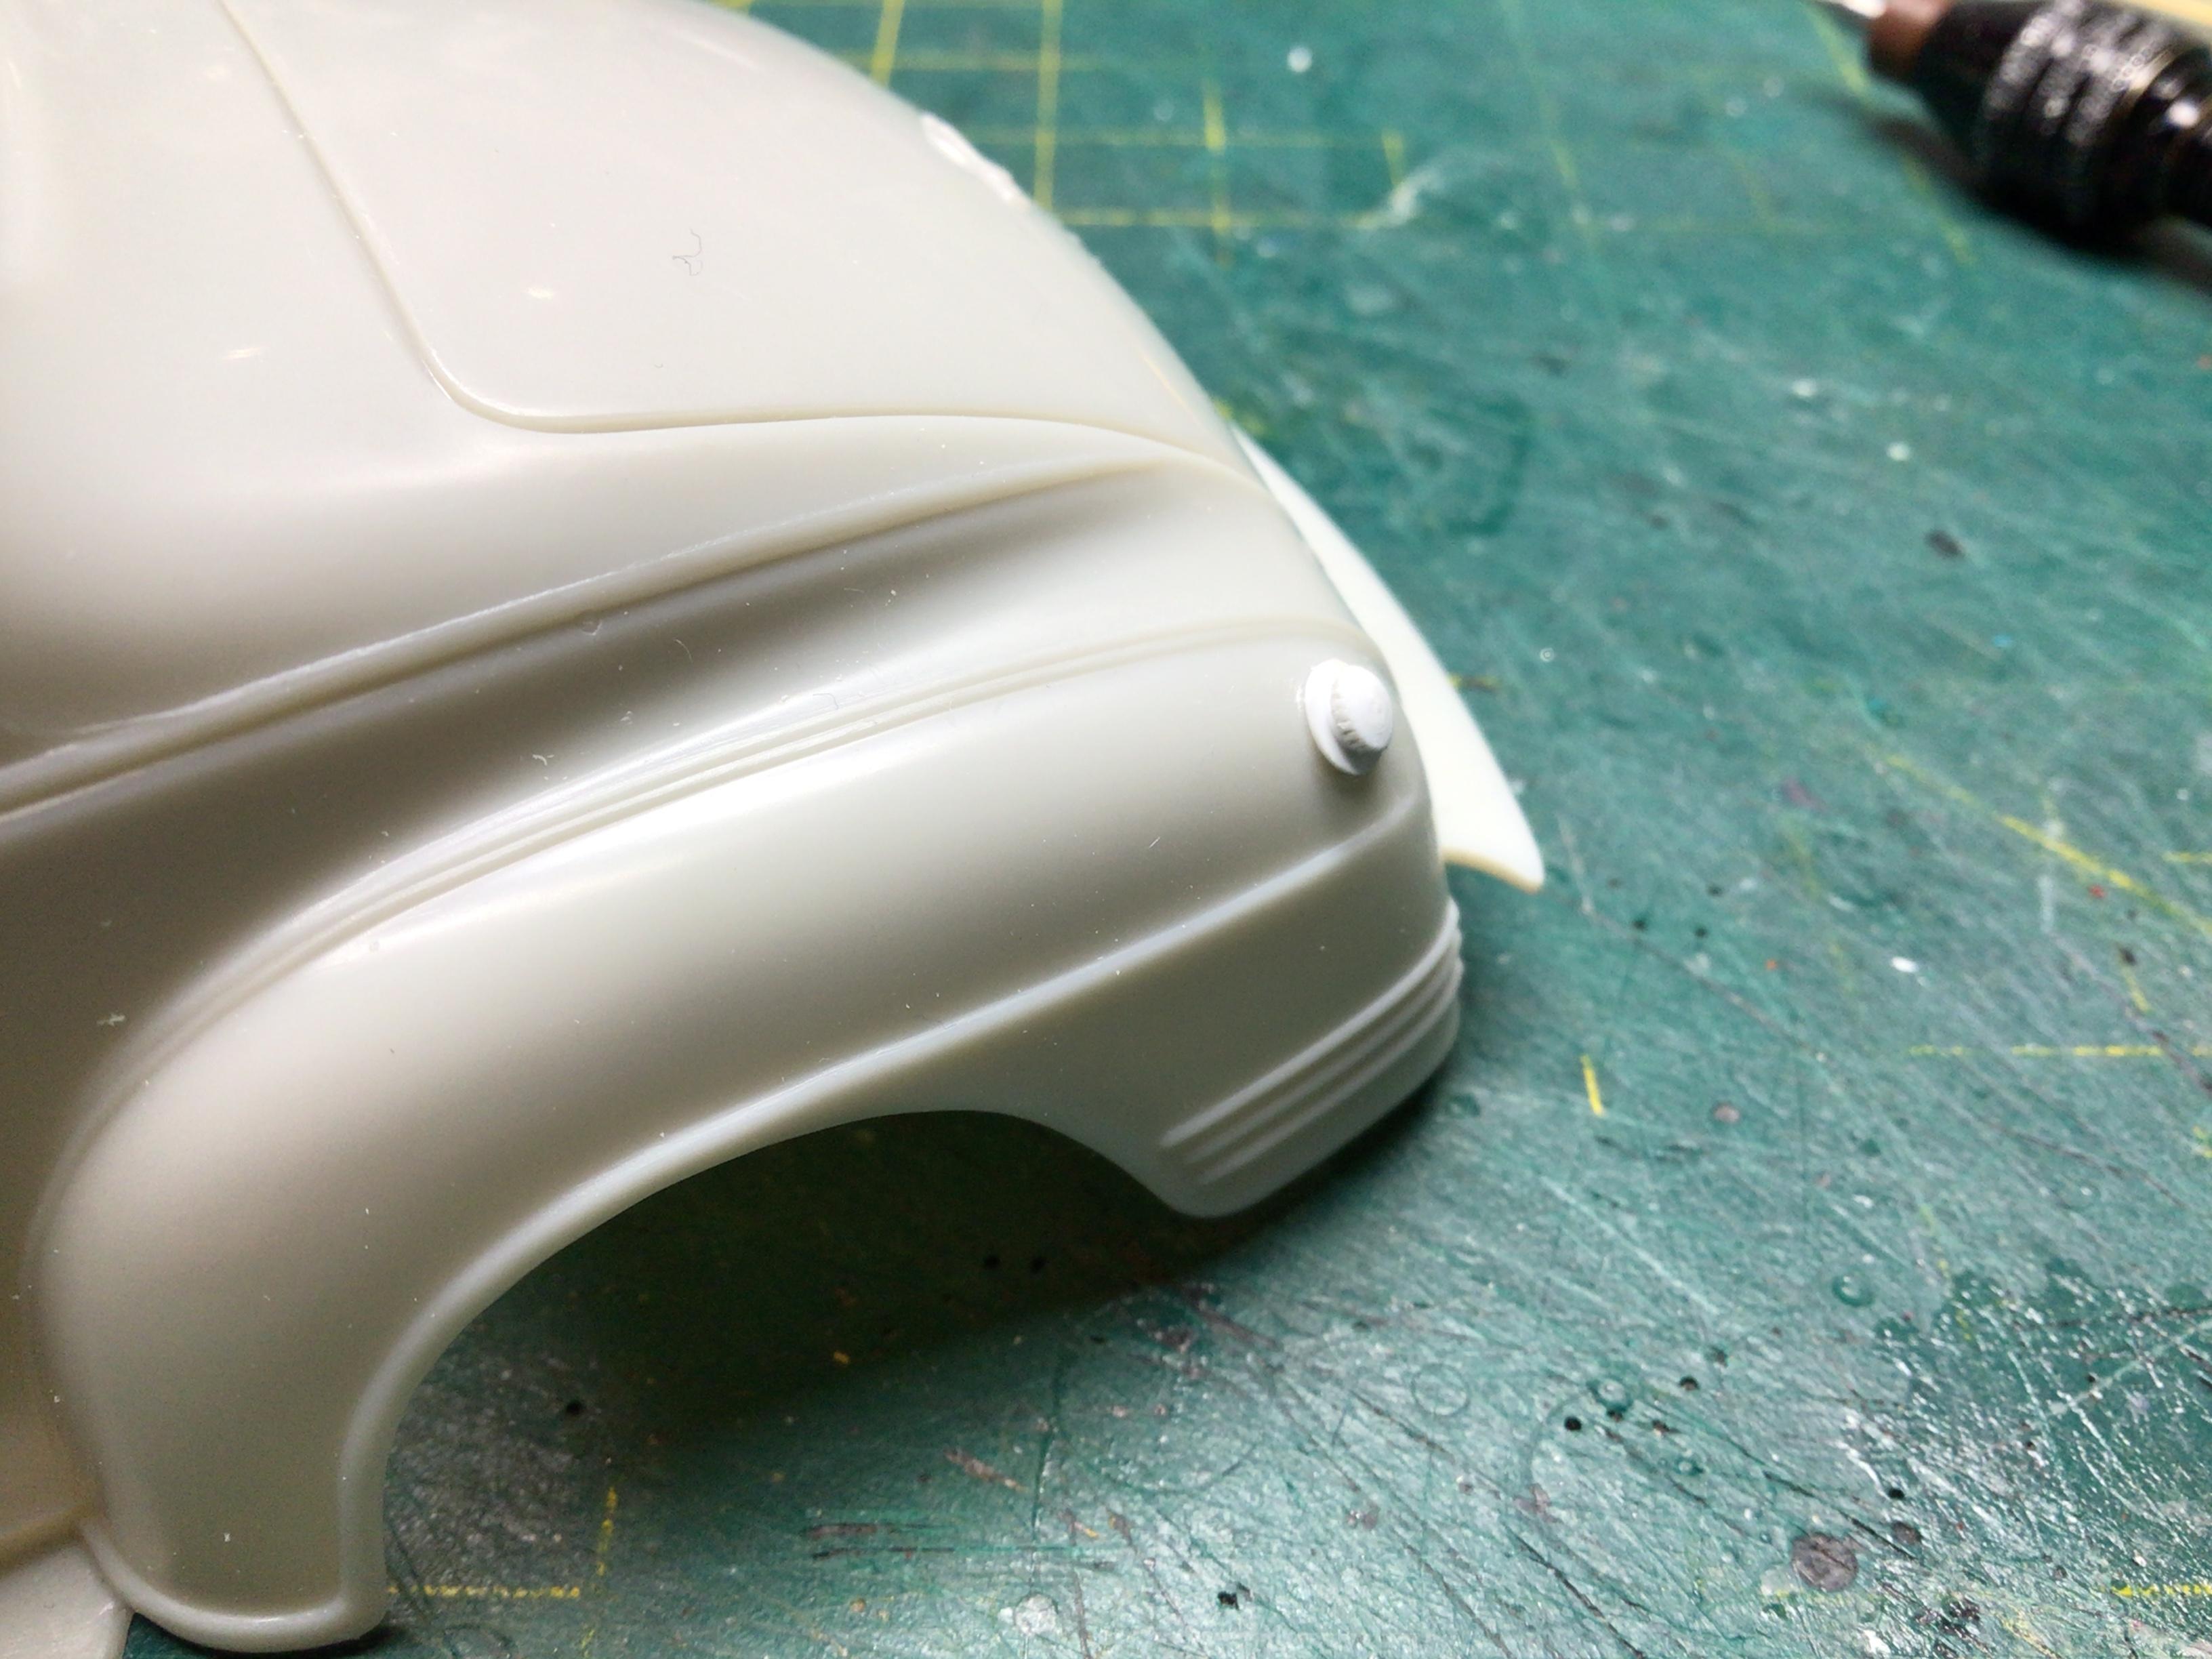
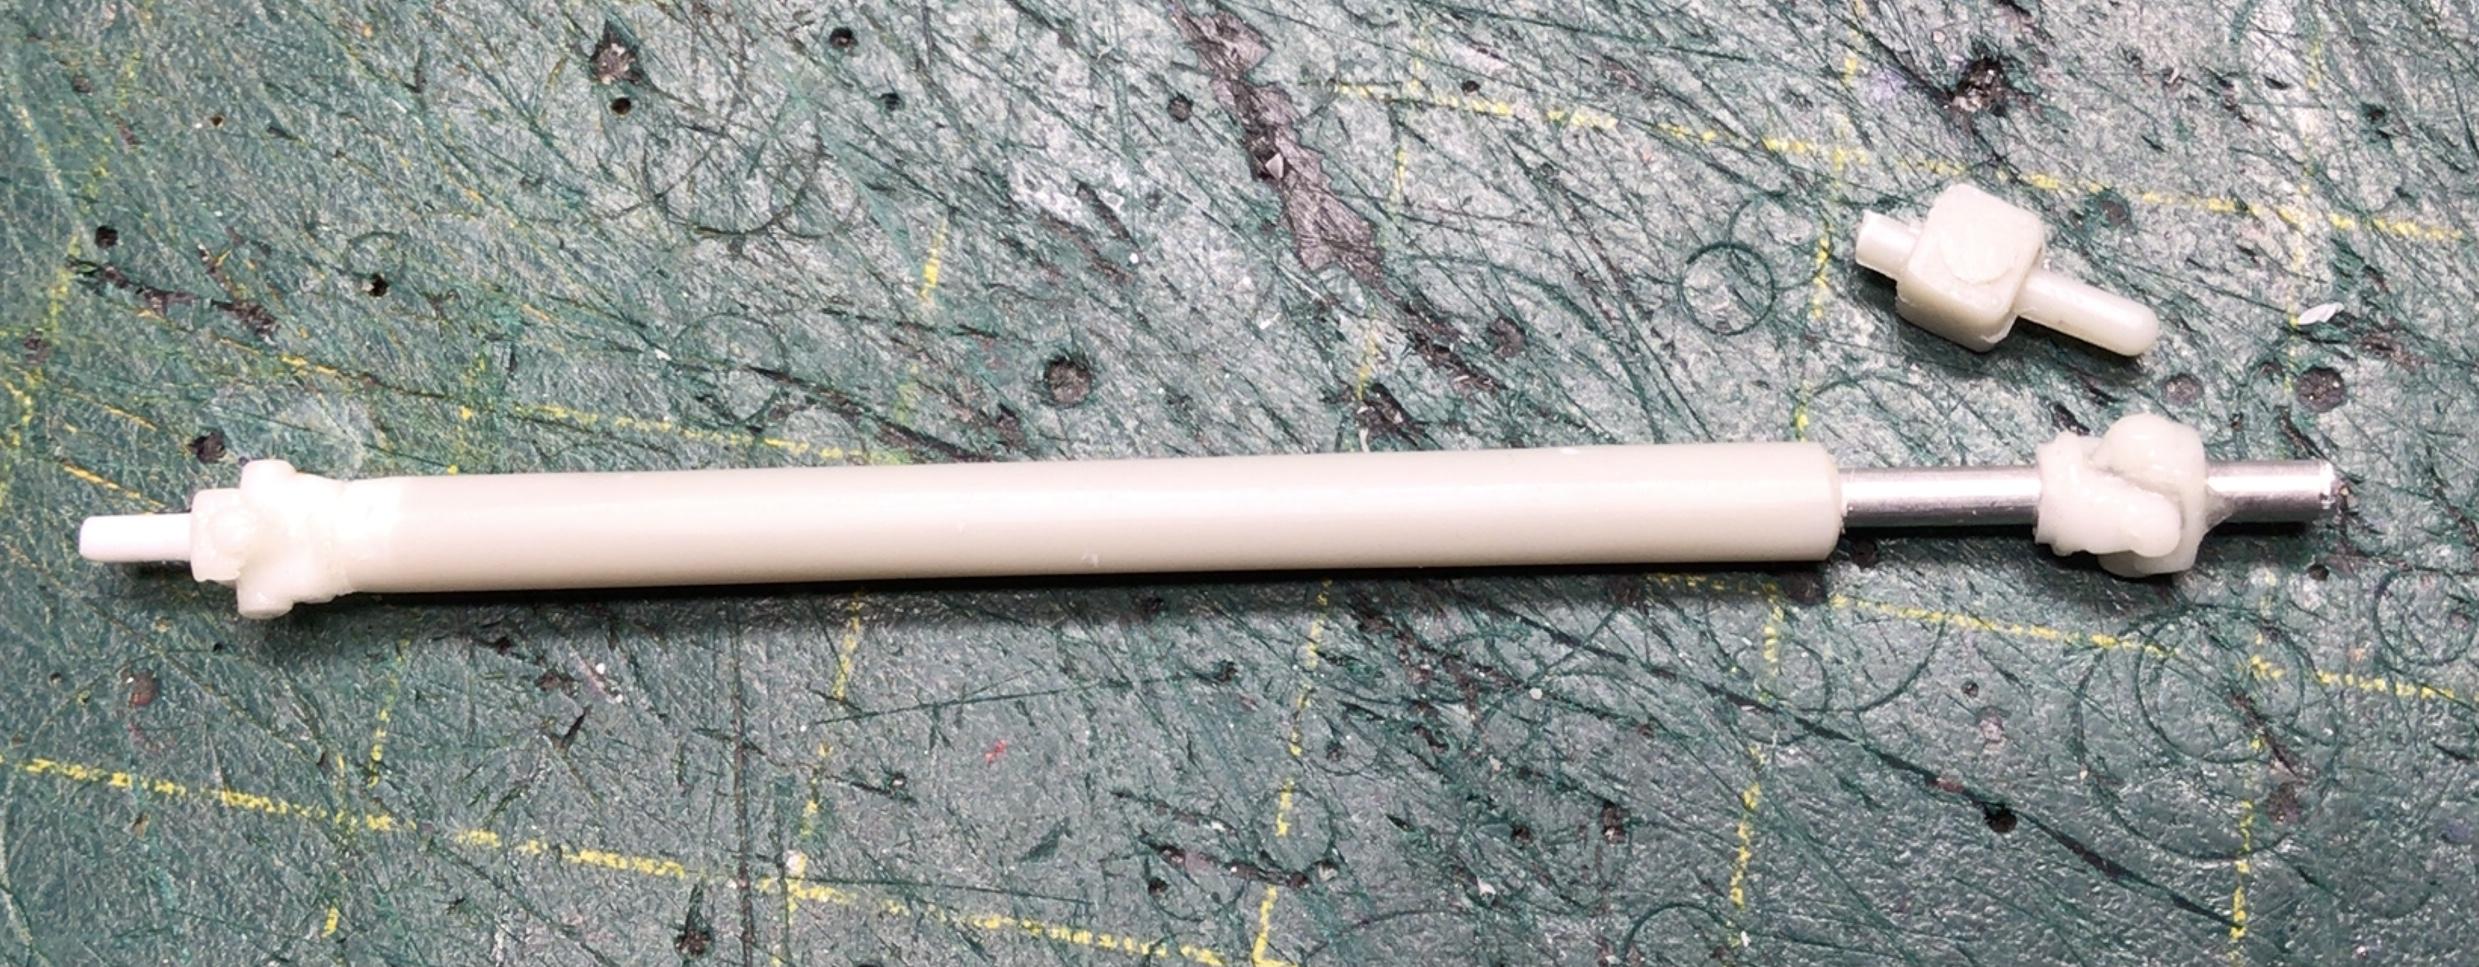
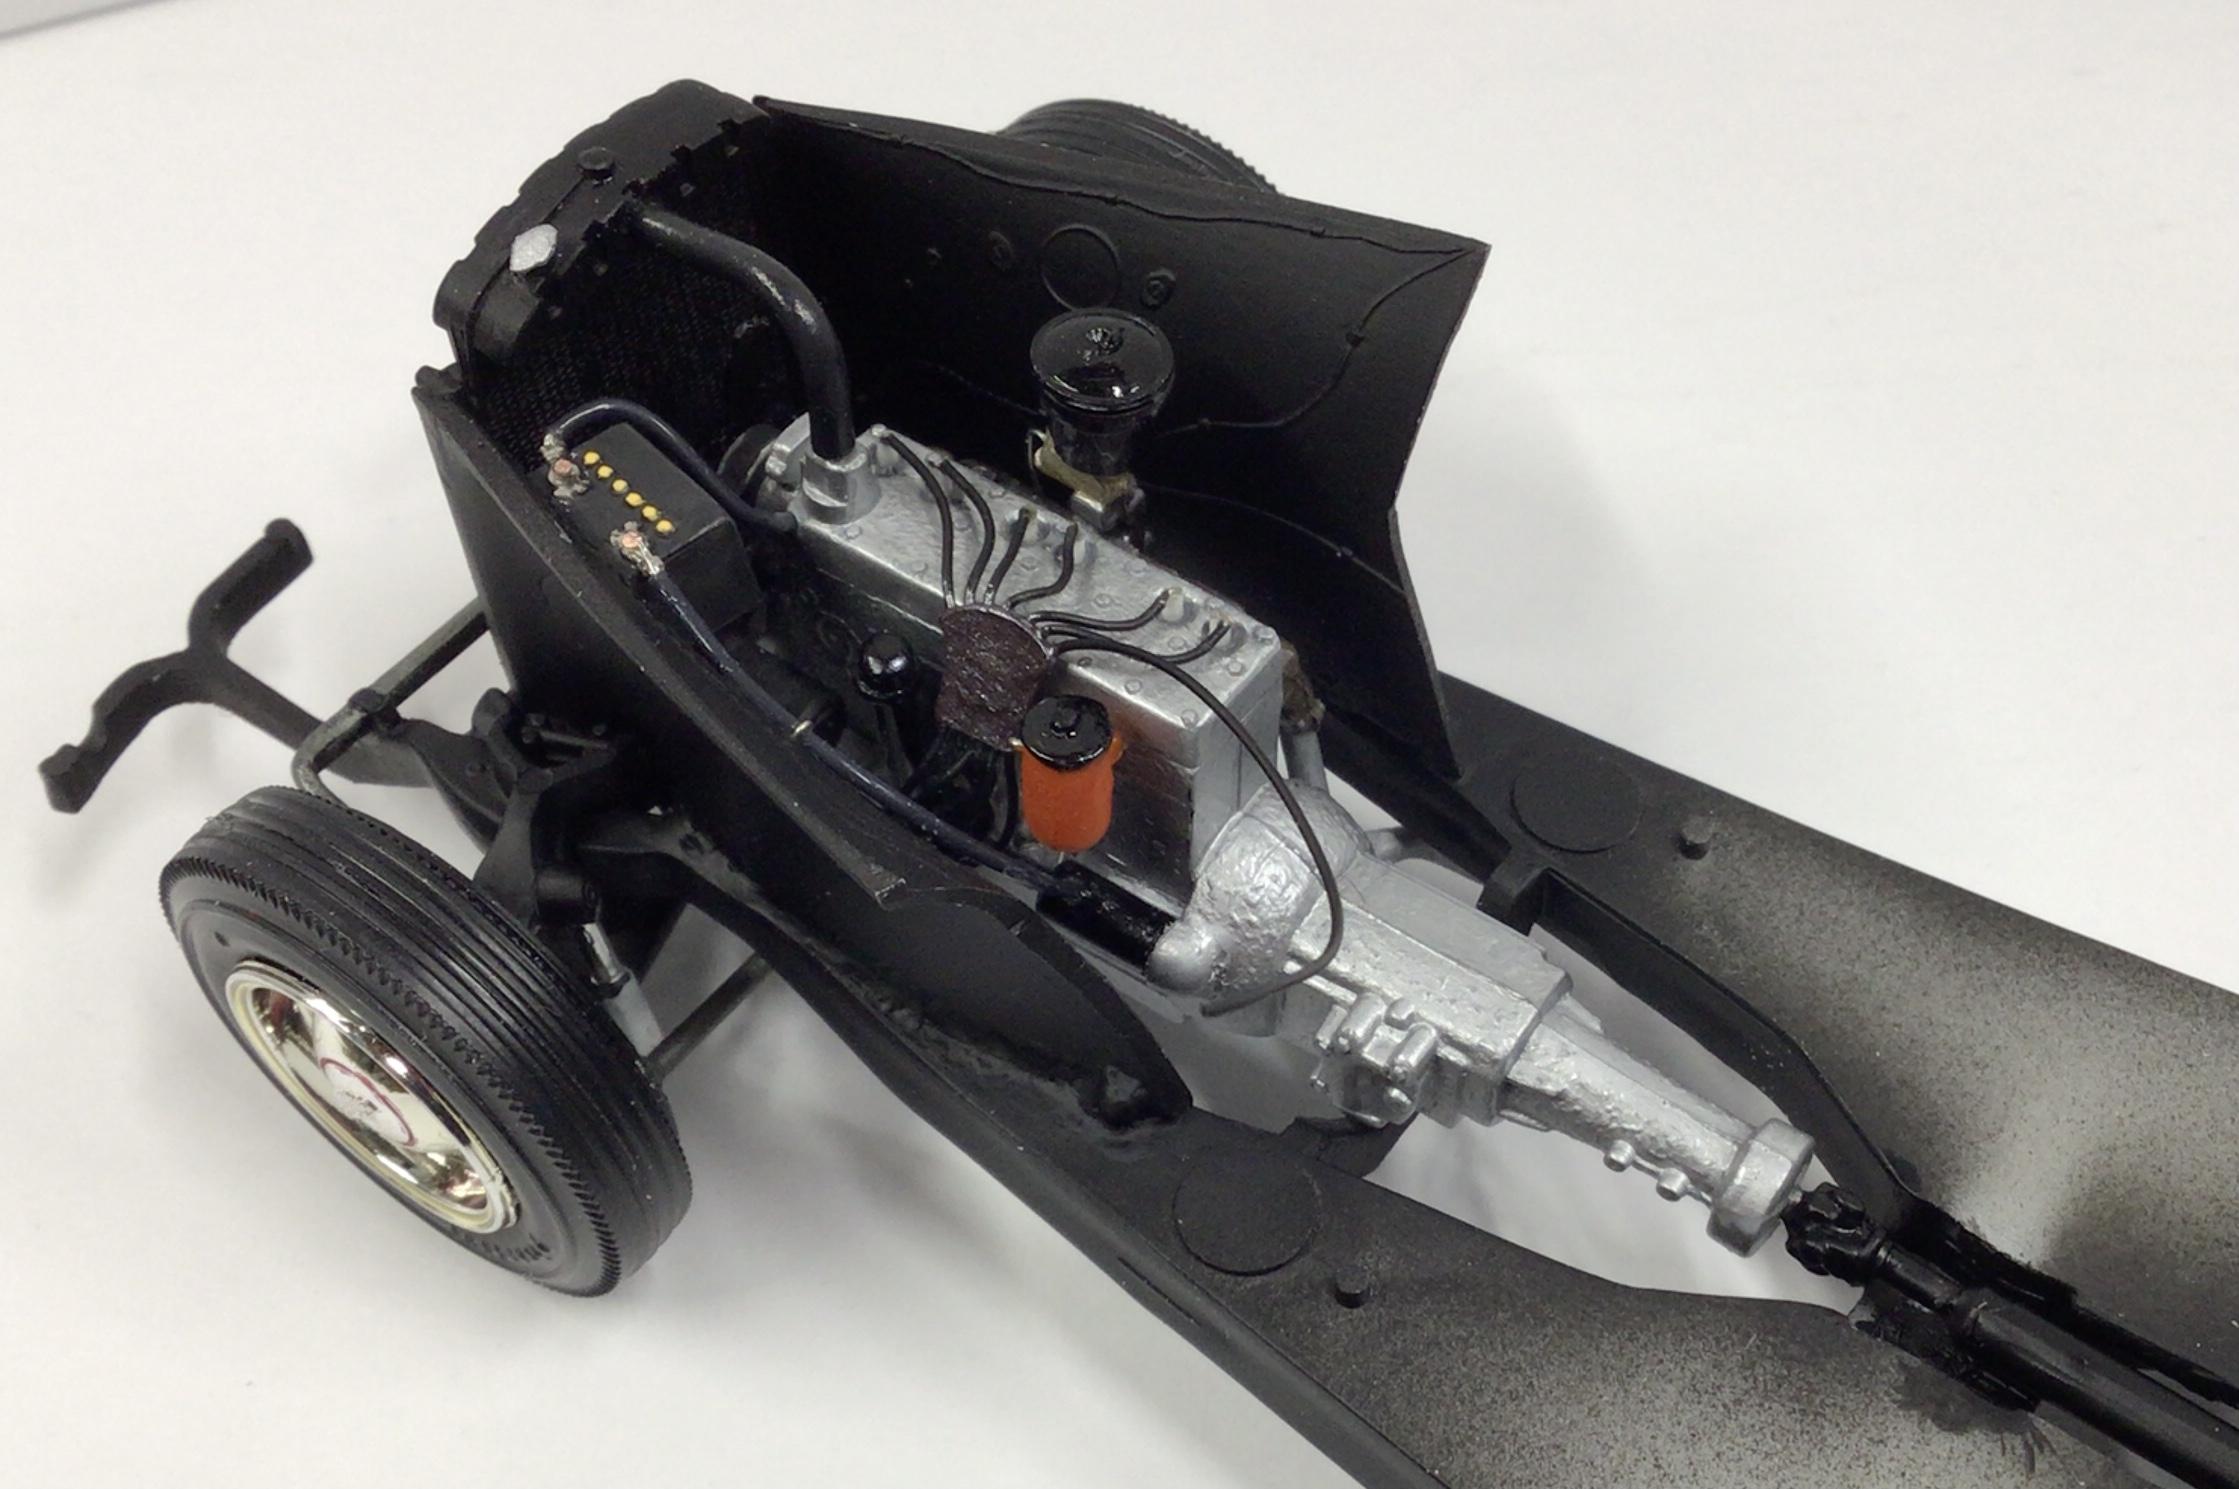
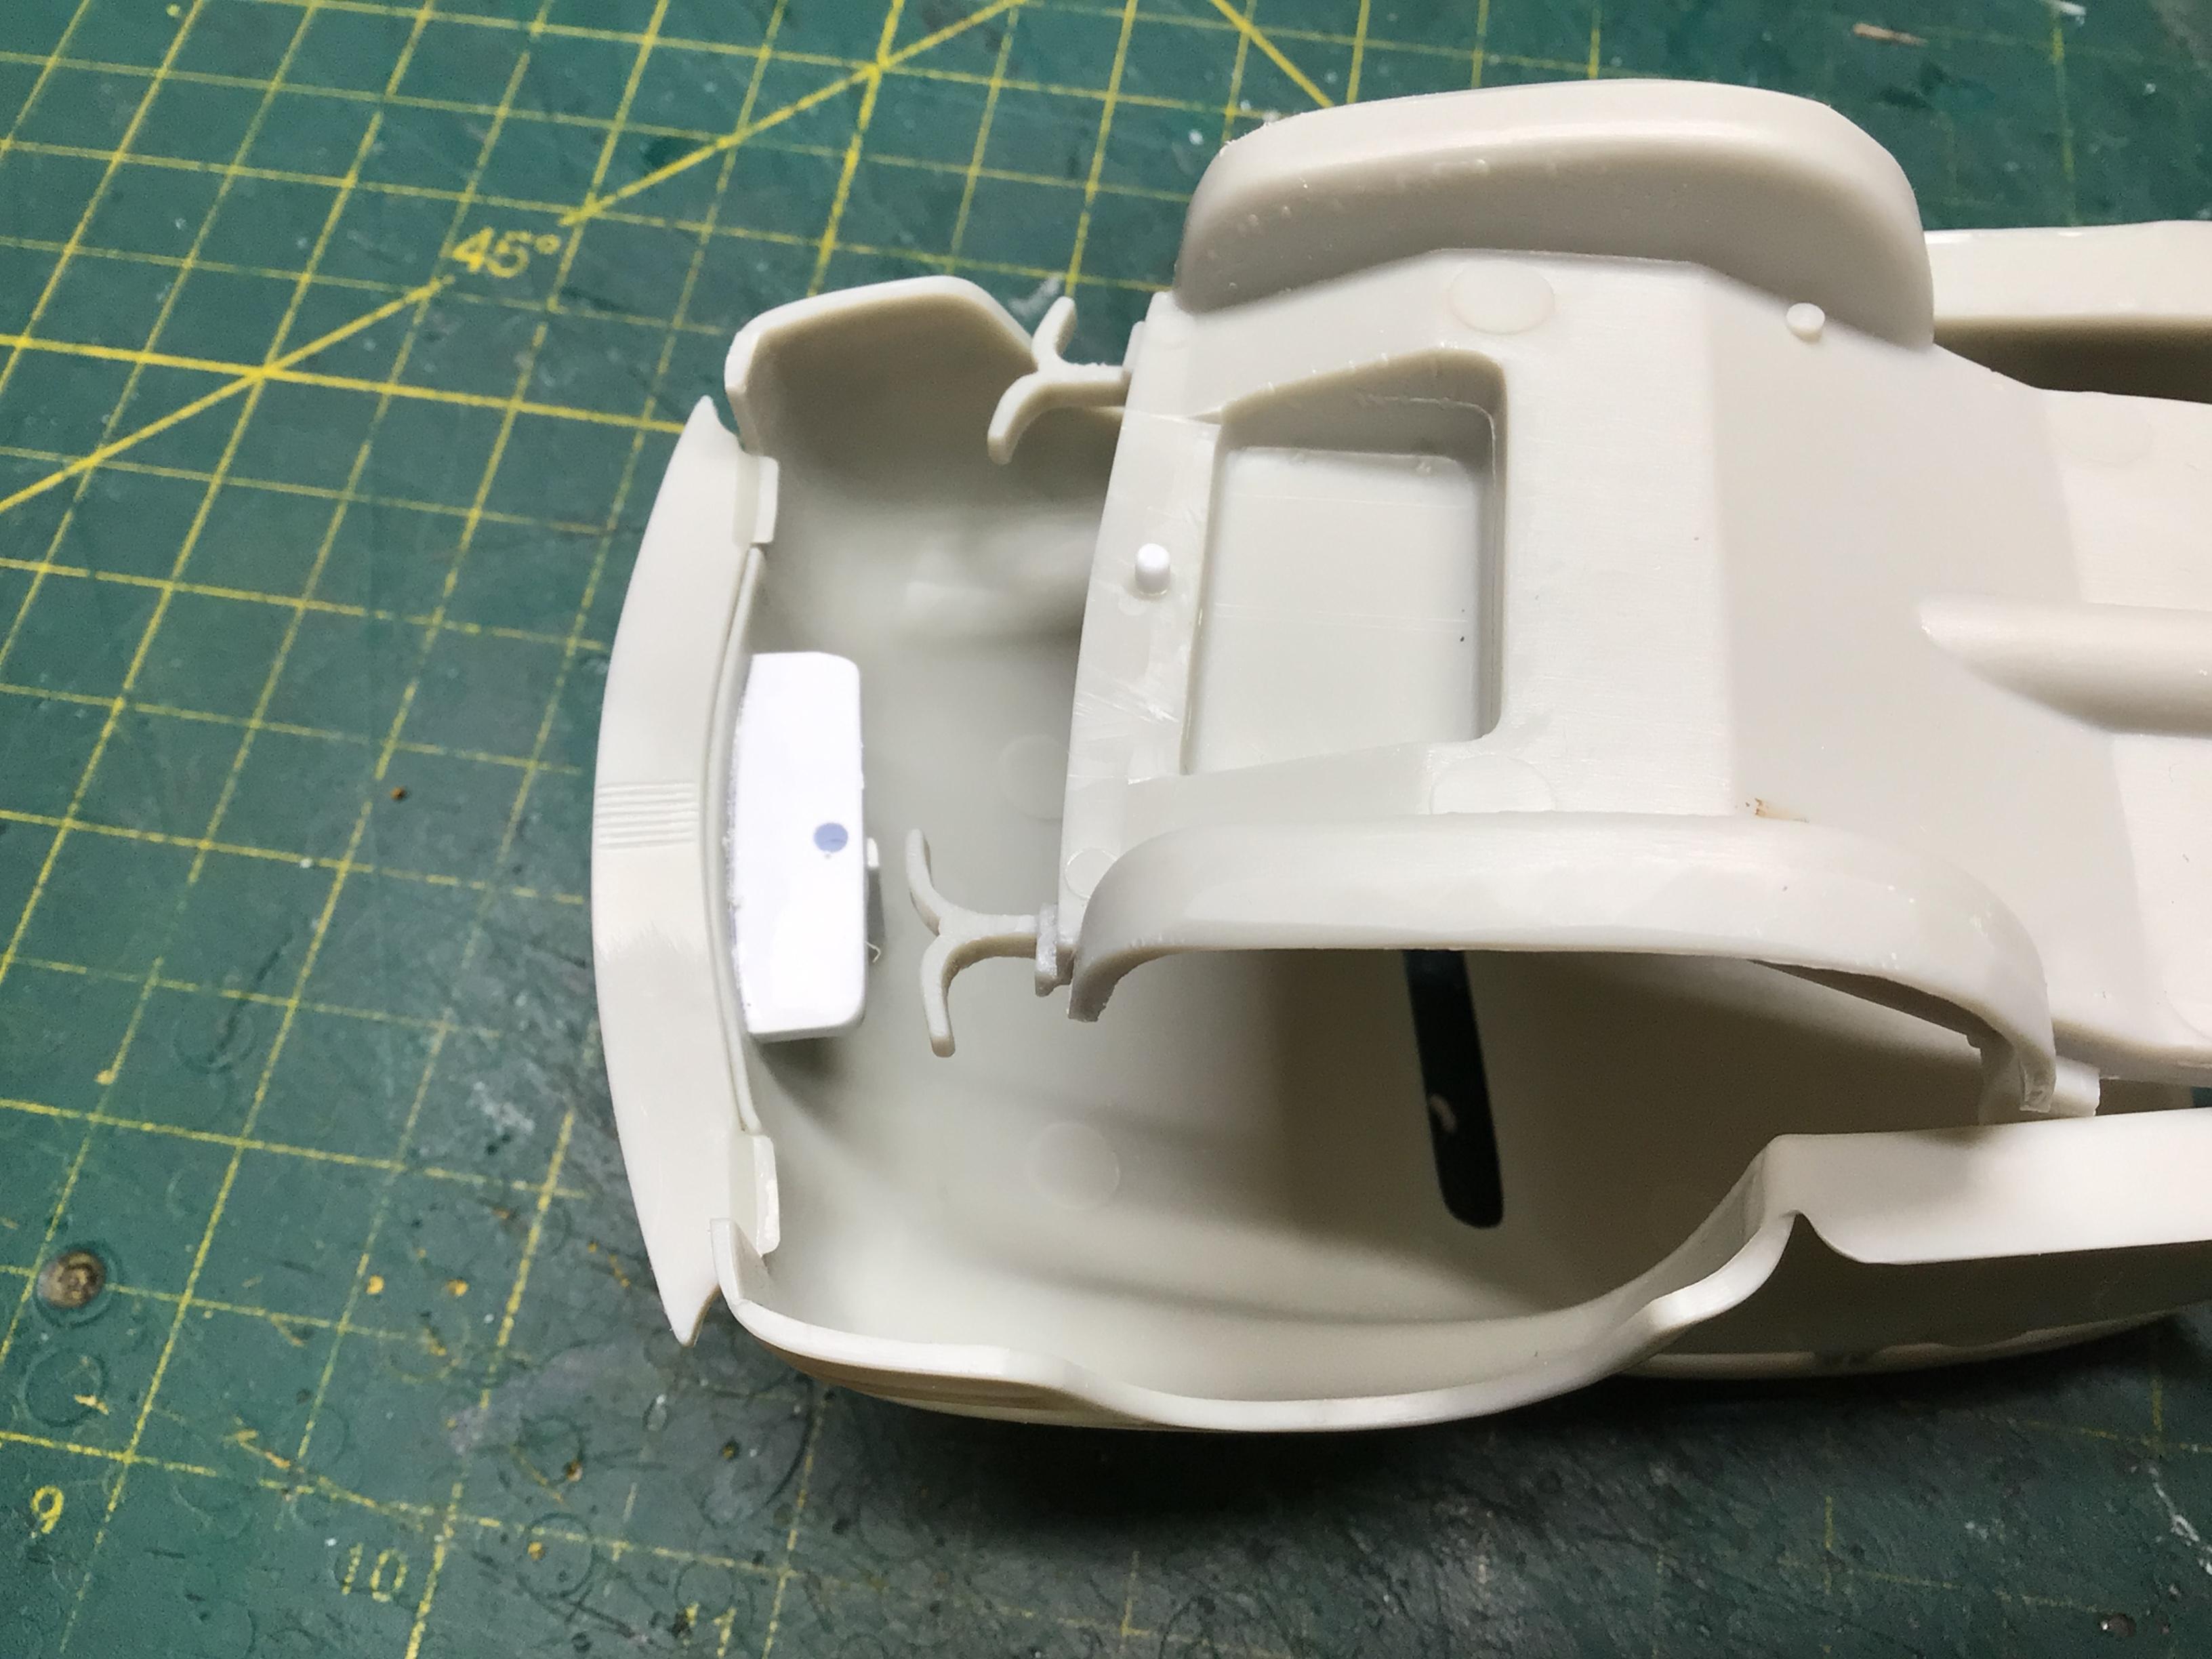
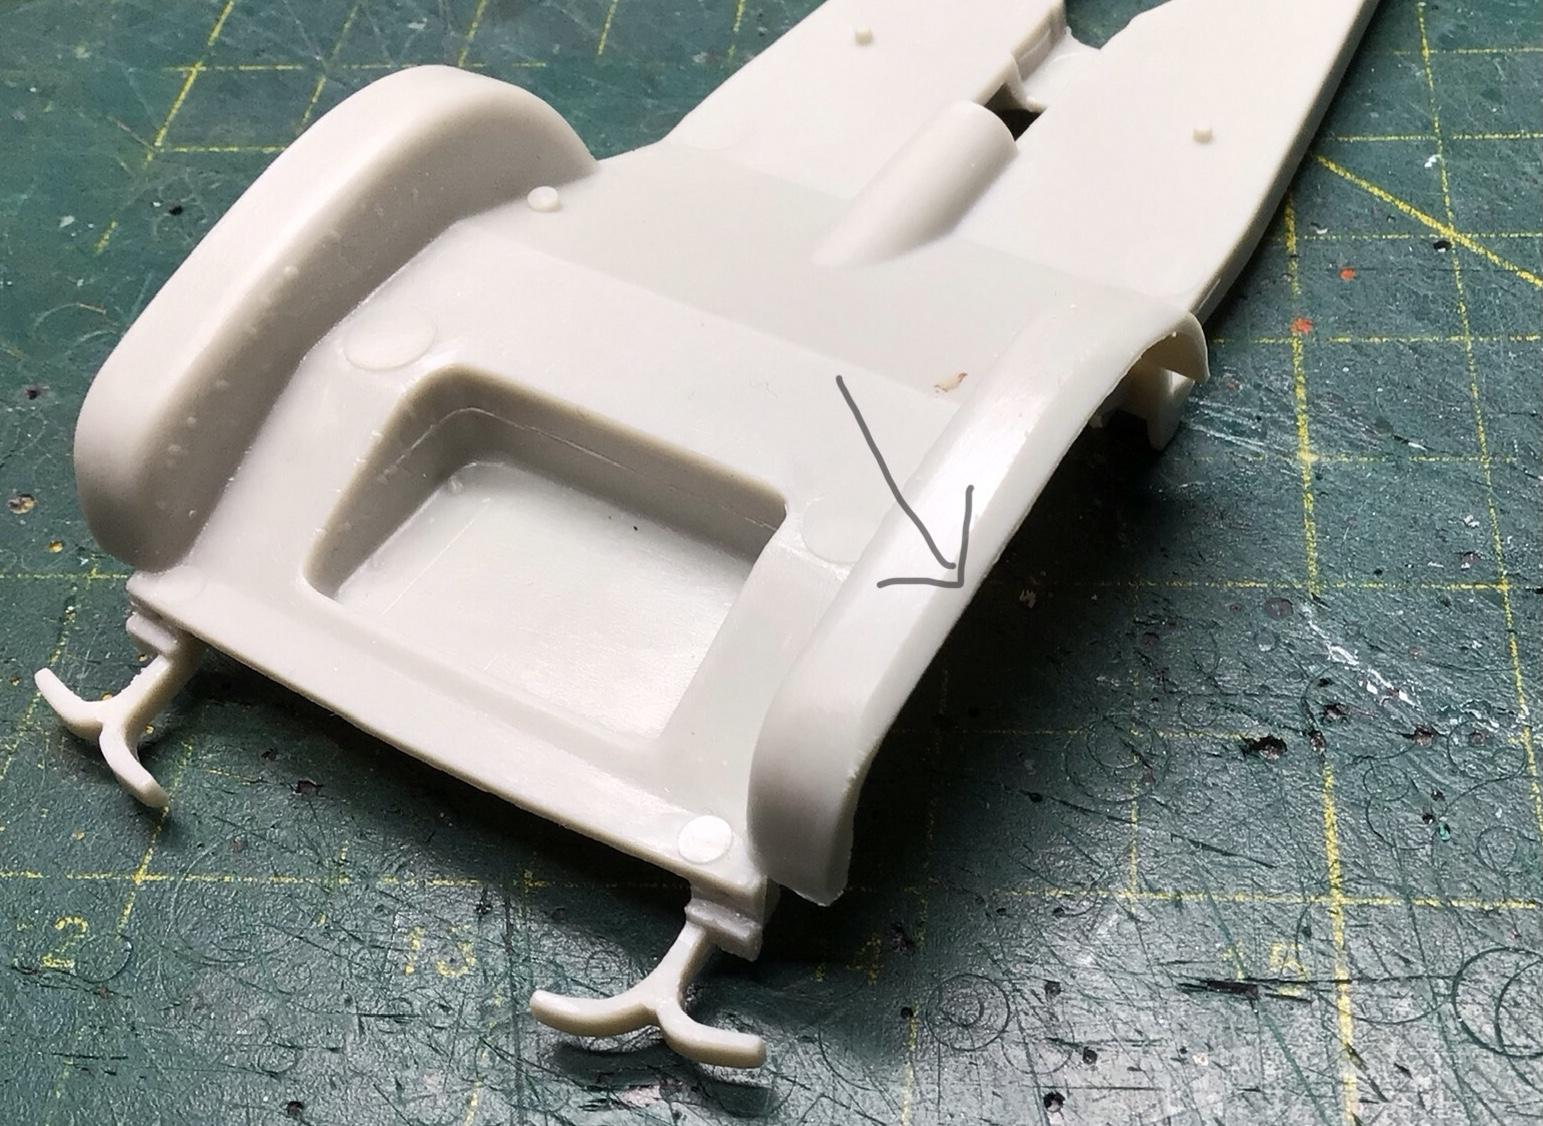
I’ve reconsidered the inner fender modification. They don’t need to be leaned out under the outers after all. They just need a little re-contouring at the top edge where they meet the outer fenders, and a little trimming for firewall clearance. I also filed a groove on each side for radiator clearance. I got the wheels detailed and mounted. The engine is in. I had to make a new upper rad hose, as the kit piece was about 1/8” short at the radiator end. I replaced the square block u-joints?with some resin pieces that I cast. And I made a new gas cap c/w grommet…just cause I felt like trying it.?
-
Three AMT 1941 Plymouths built from first run original tooling....
NOBLNG replied to tim boyd's topic in WIP: Model Cars
Thank for showing us them Tim! They both look superb.?? -
A different approach to the AMT 41 Plymouth coupe.
NOBLNG replied to alan barton's topic in WIP: Model Cars
Great work on this one Alan! I thought I was having deja vu when read the backstory.? Your full custom approach certainly makes the kit’s drawbacks a non-issue.? -
Food Dehydrators & Paint Dryers
NOBLNG replied to JayVee's topic in Model Building Questions and Answers
Can you attach the surround to the lid so you don’t have to reach down inside? -
Planning is not my strong suit.?
-
Old cars brings back old memories
NOBLNG replied to Stanward VonDiederichs's topic in WIP: Model Cars
It’s looking nice Stan!? Some of these older kits can definitely be frustrating!? It’s either build them as best as possible from the box, or modify them to suit your fancy…have fun with it!? -
Thanks Bob!? Thanks Dennis. They’re not really accurate to the original, but better than what AMT gave us.? Pins make everything go back together accurately. Nothing is more frustrating or possibly devastating than trying to glue these tiny parts on after paint with no locating points.? Anything can be beaten into submission…it’s just a matter of effort vs sanity!? Thanks Rick. I am basically doing all these little modifications to delay having to work on the front end issues.?
-
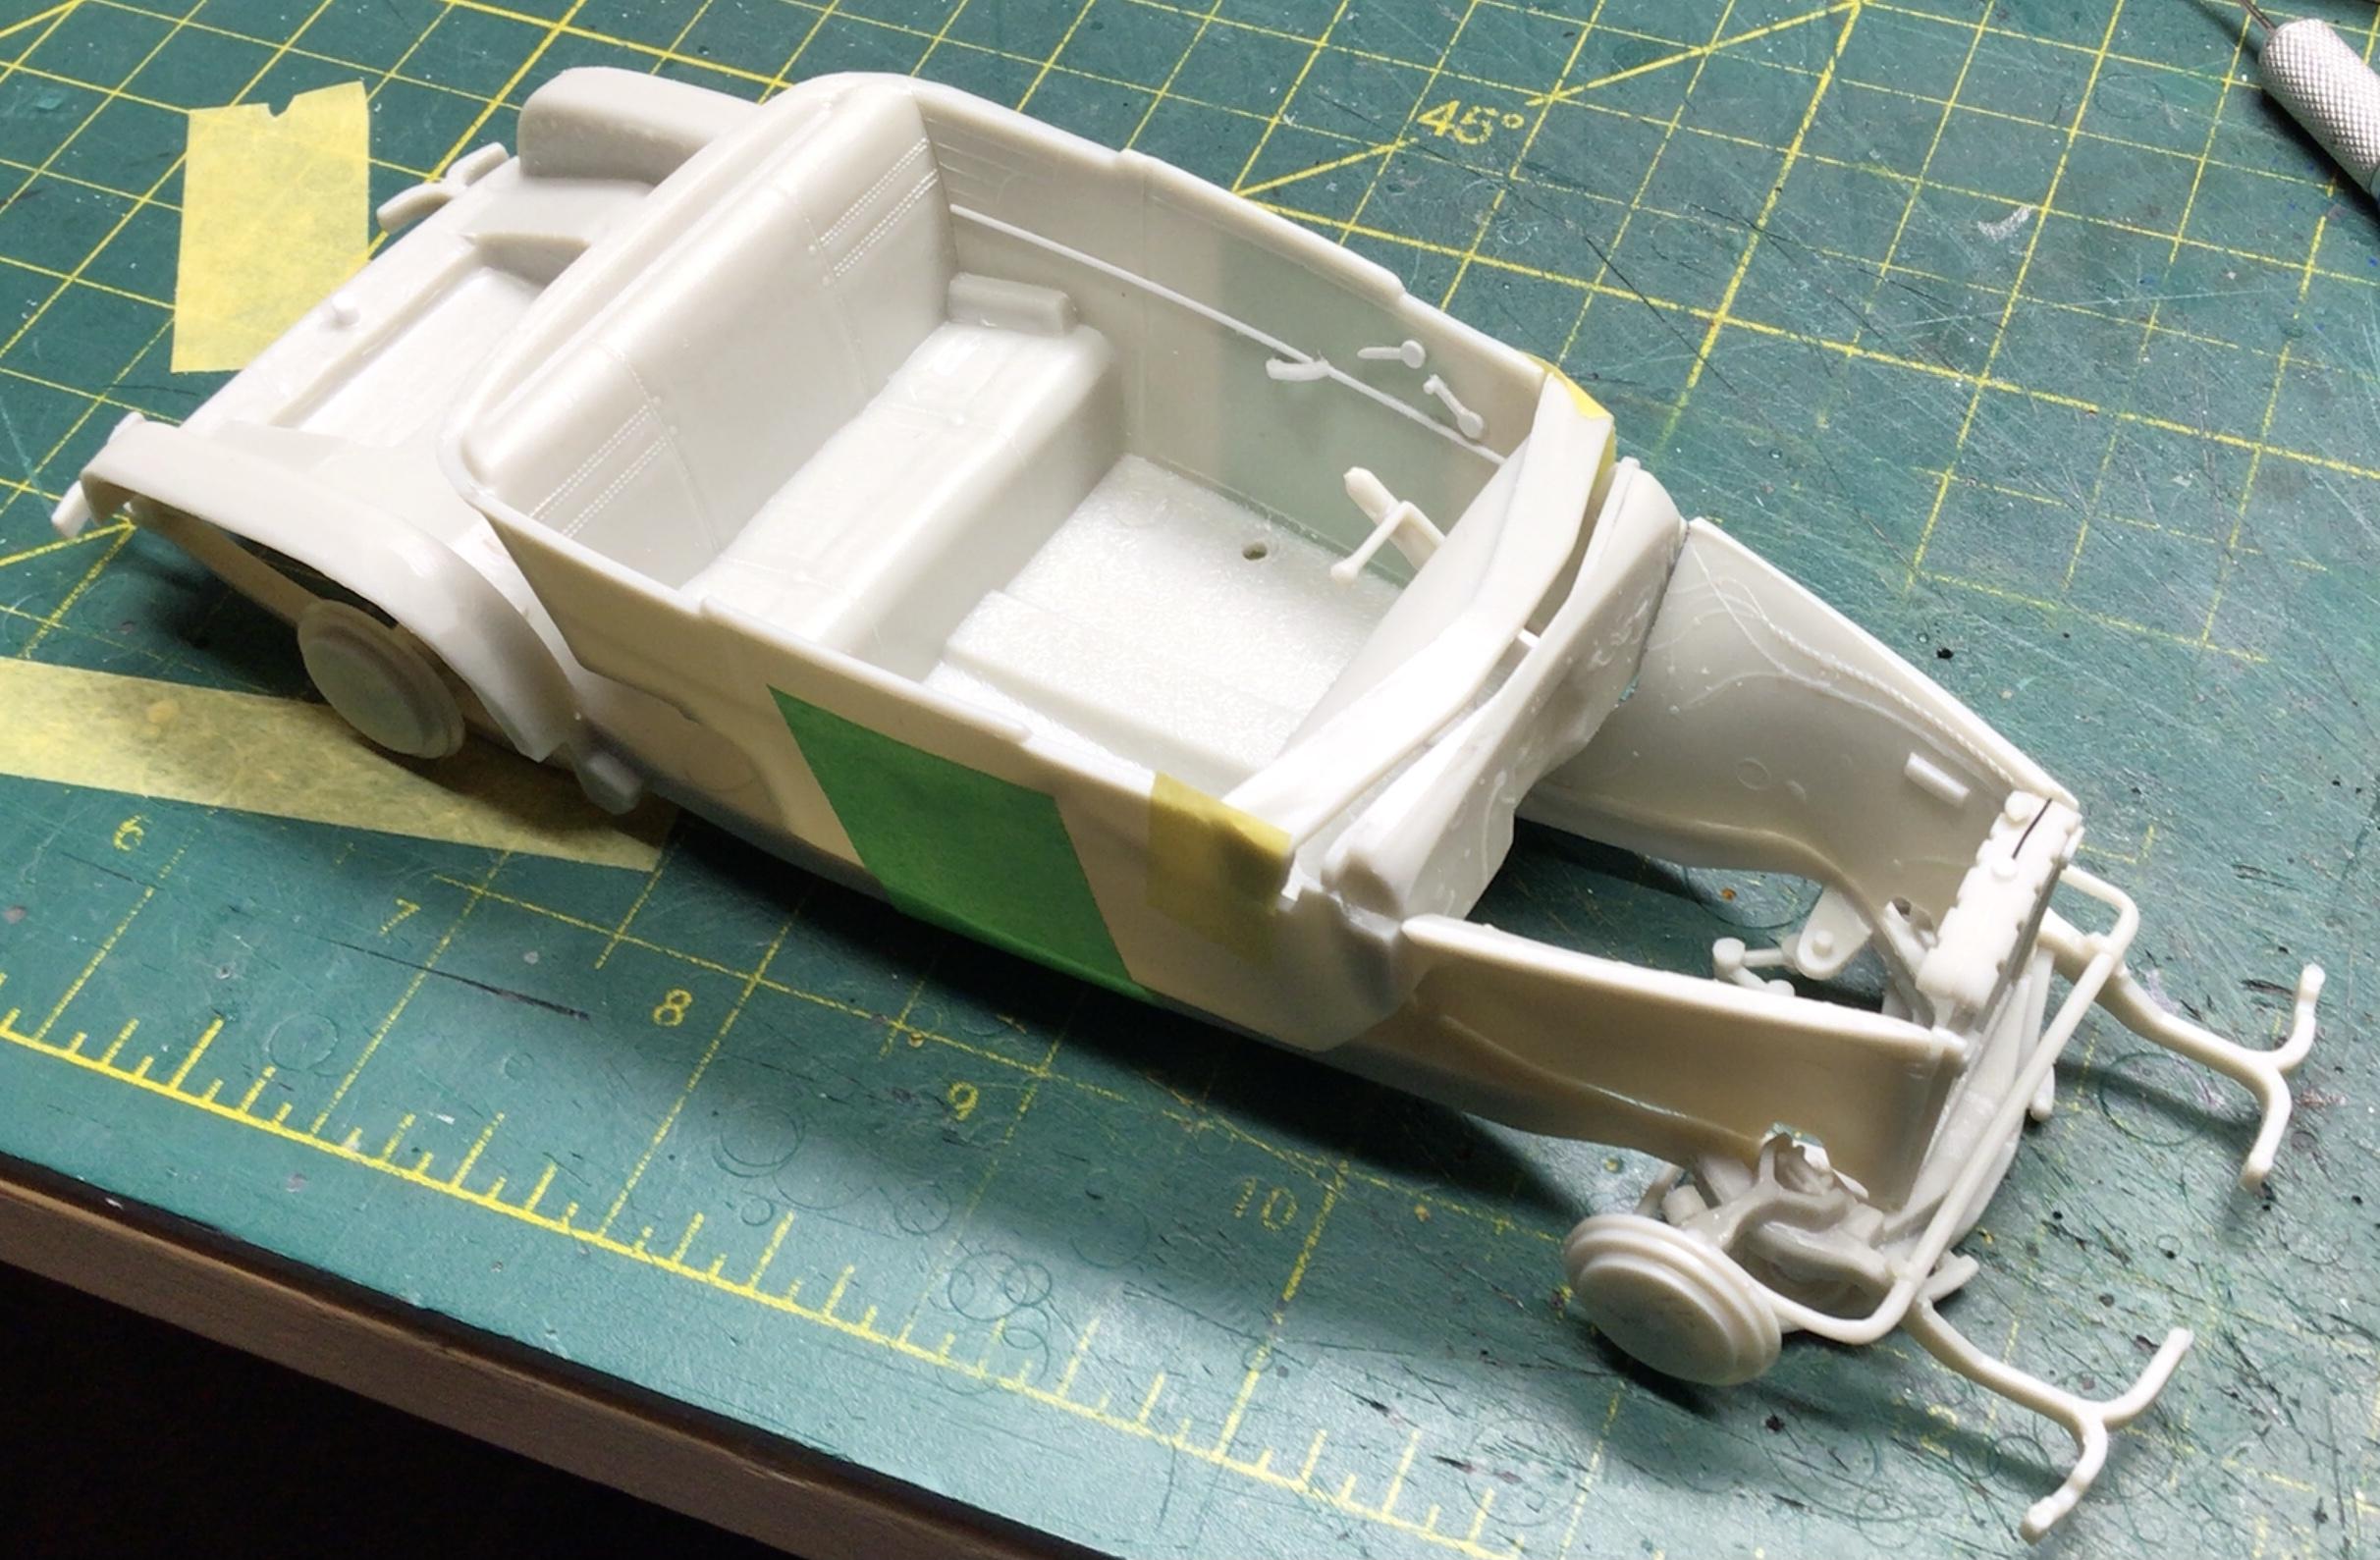
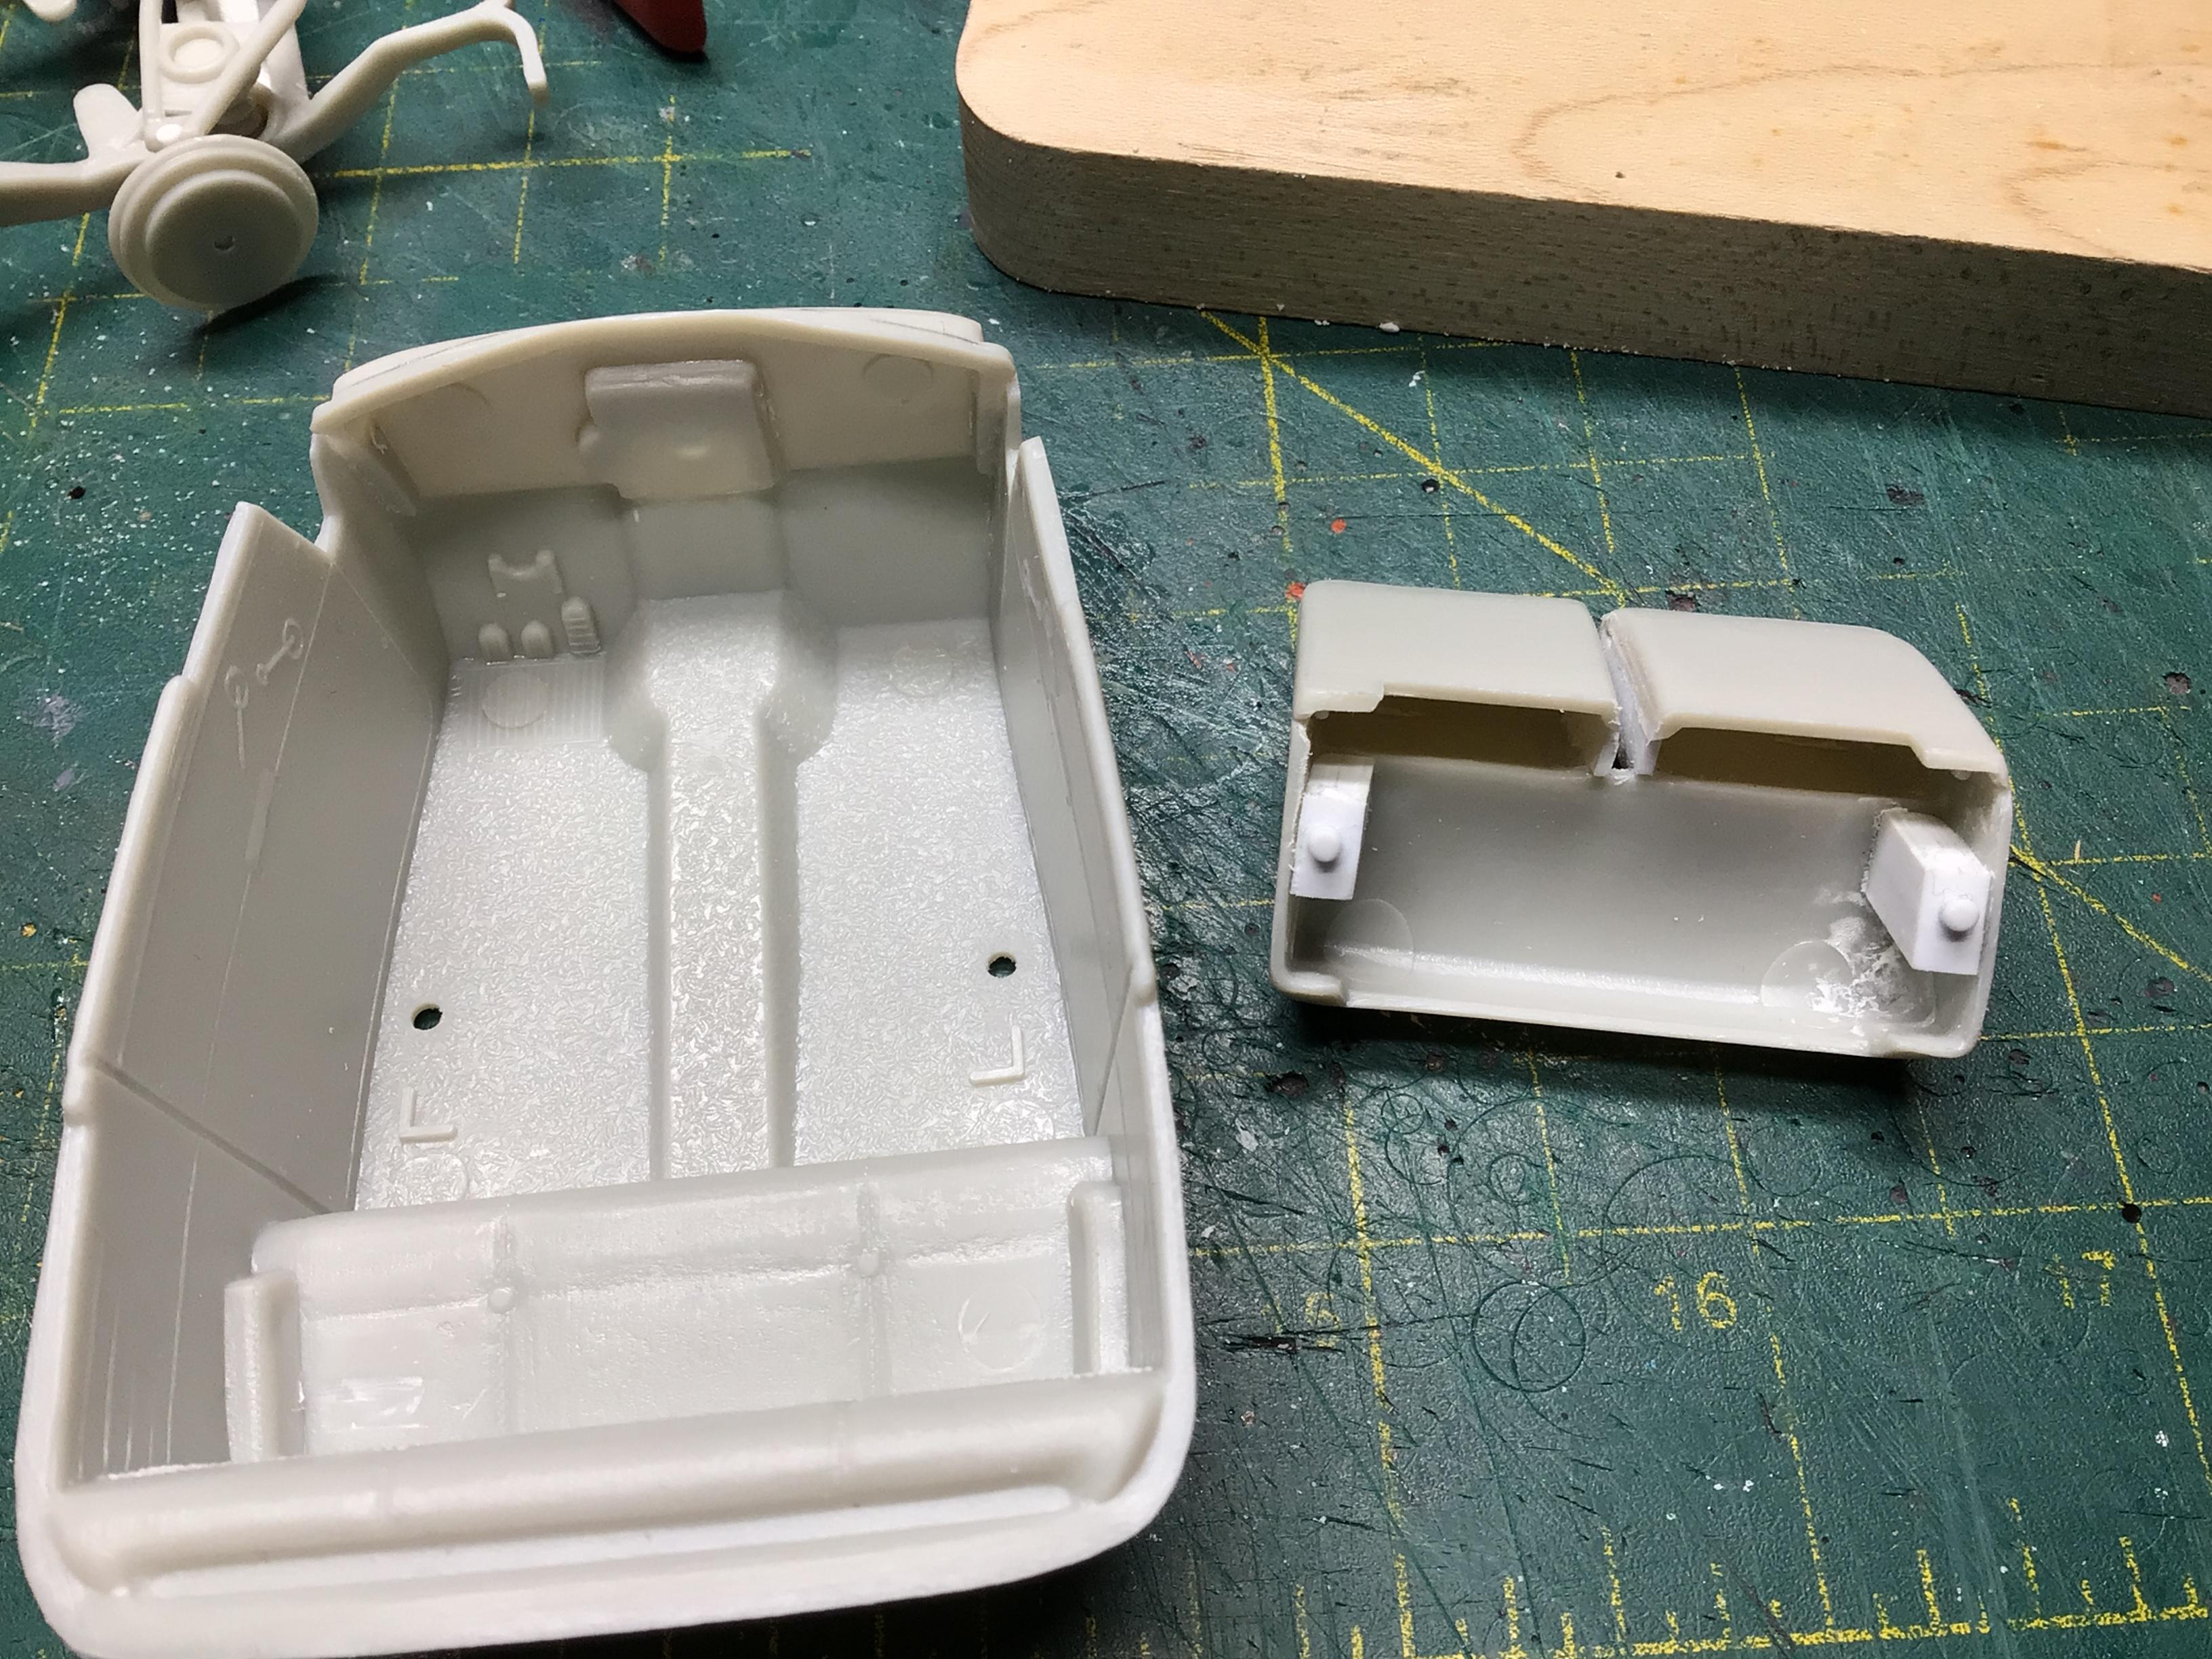
The sprue goo did actually melt the fender a bit. Funny I never noticed it until today.? I think I’ll be sanding that out anyway hopefully.? I’ve been busy pinning and pegging parts to make the final assembly easier. There is a little interference between the fender wells and the body that seems to prevent the body from sitting all the way down at the rear, so I filed them a bit and that cured the issue. I split the bench seat back and made some rudimentary door hardware and added some .030” half round for the chrome strip. They aren’t too fancy, but better than the kit moldings in my eye, which were extremely shallow…basically just an outline.
-
Gotta love a car that has room in the trunk for the mother-in-law.?
-
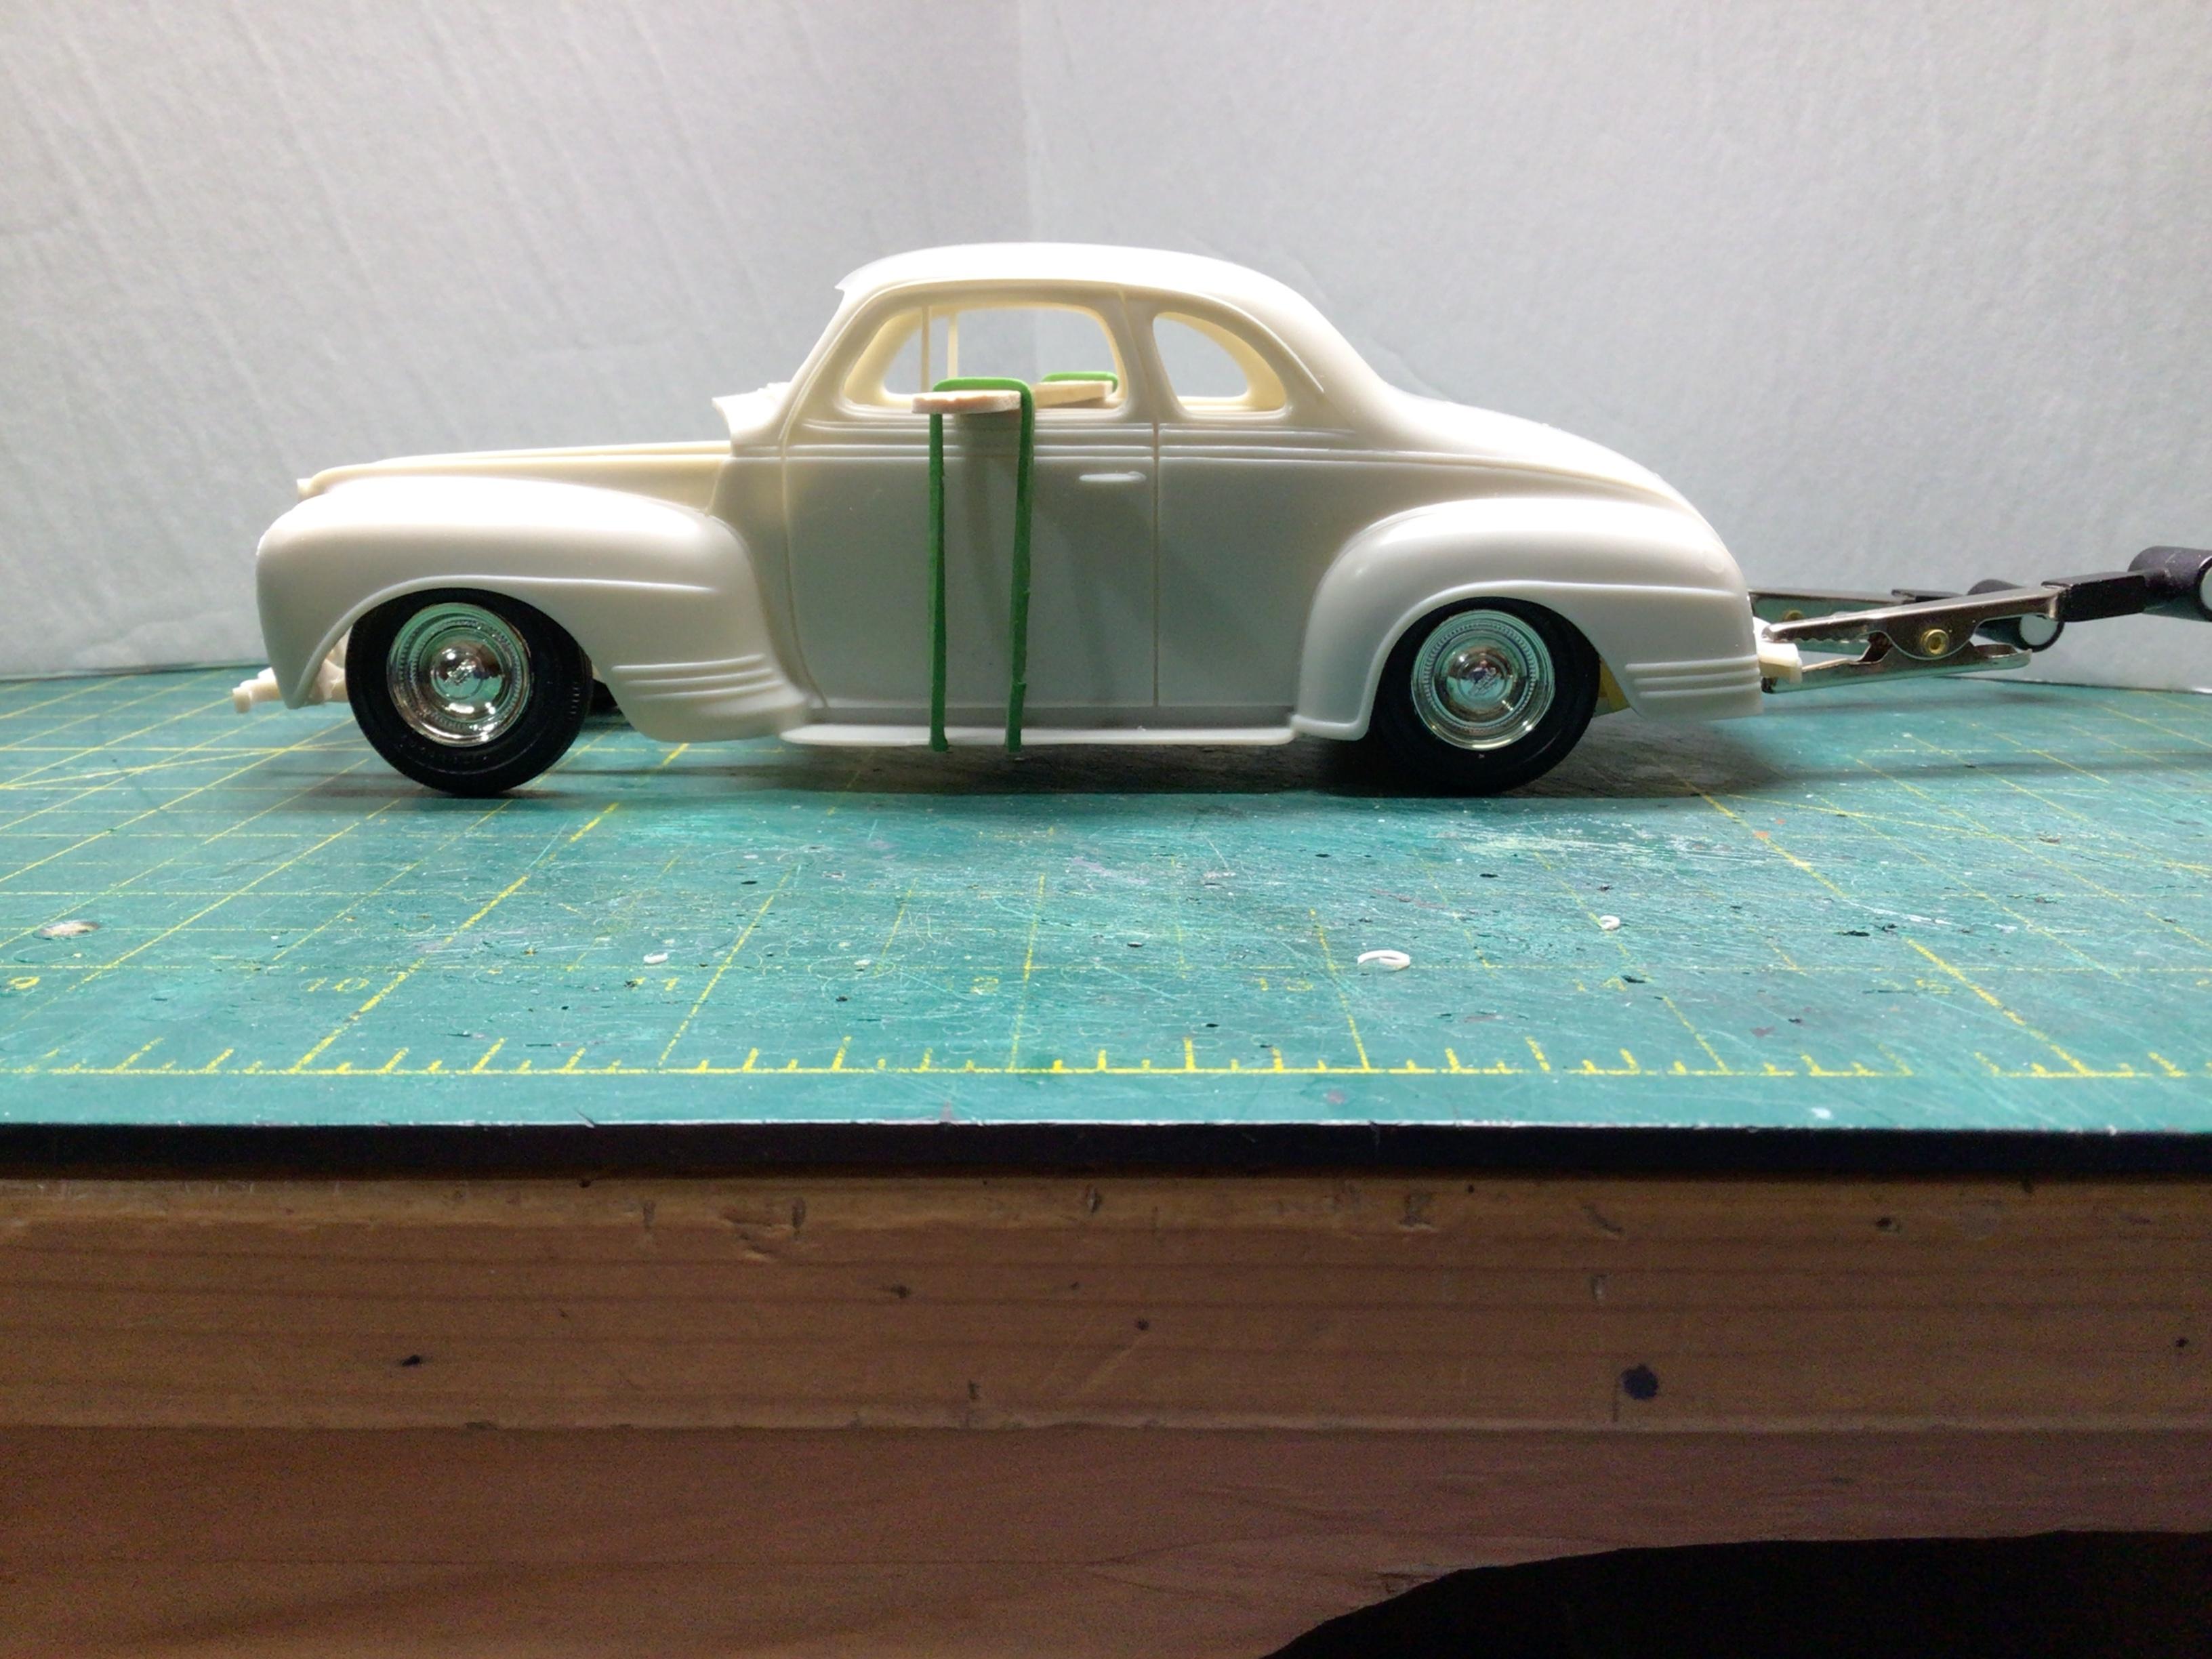
I got the rear differential attached to the leaf springs ? in the lowered position, so the ride height is now set. I glued the rear bumper fascia to the body (since it will be body color) rather than to the frame like the instructions show.?
-
2024 Cannonball Run Restomods Build Thread
NOBLNG replied to White Rabbit's topic in Community Builds
Thanks Anton…I had thought of that, but it would require some fancy exhaust piping. I haven’t gotten seriously into this one yet, as I am trying to get my ‘56 T-Bird painted, struggling with a ‘41 Plymouth and doing a ‘49 Merc. I will have another look at it when I get motivated.?