NOBLNG
-
Posts
9,962 -
Joined
-
Last visited
Content Type
Profiles
Forums
Events
Gallery
Everything posted by NOBLNG
-
 Thanks David.? This kit has got to be the polar opposite of the AMT ‘41 Plymouth. Everything looks right, has proper mounting points and the kit practically builds itself.?
 -
A bit of progress.

-
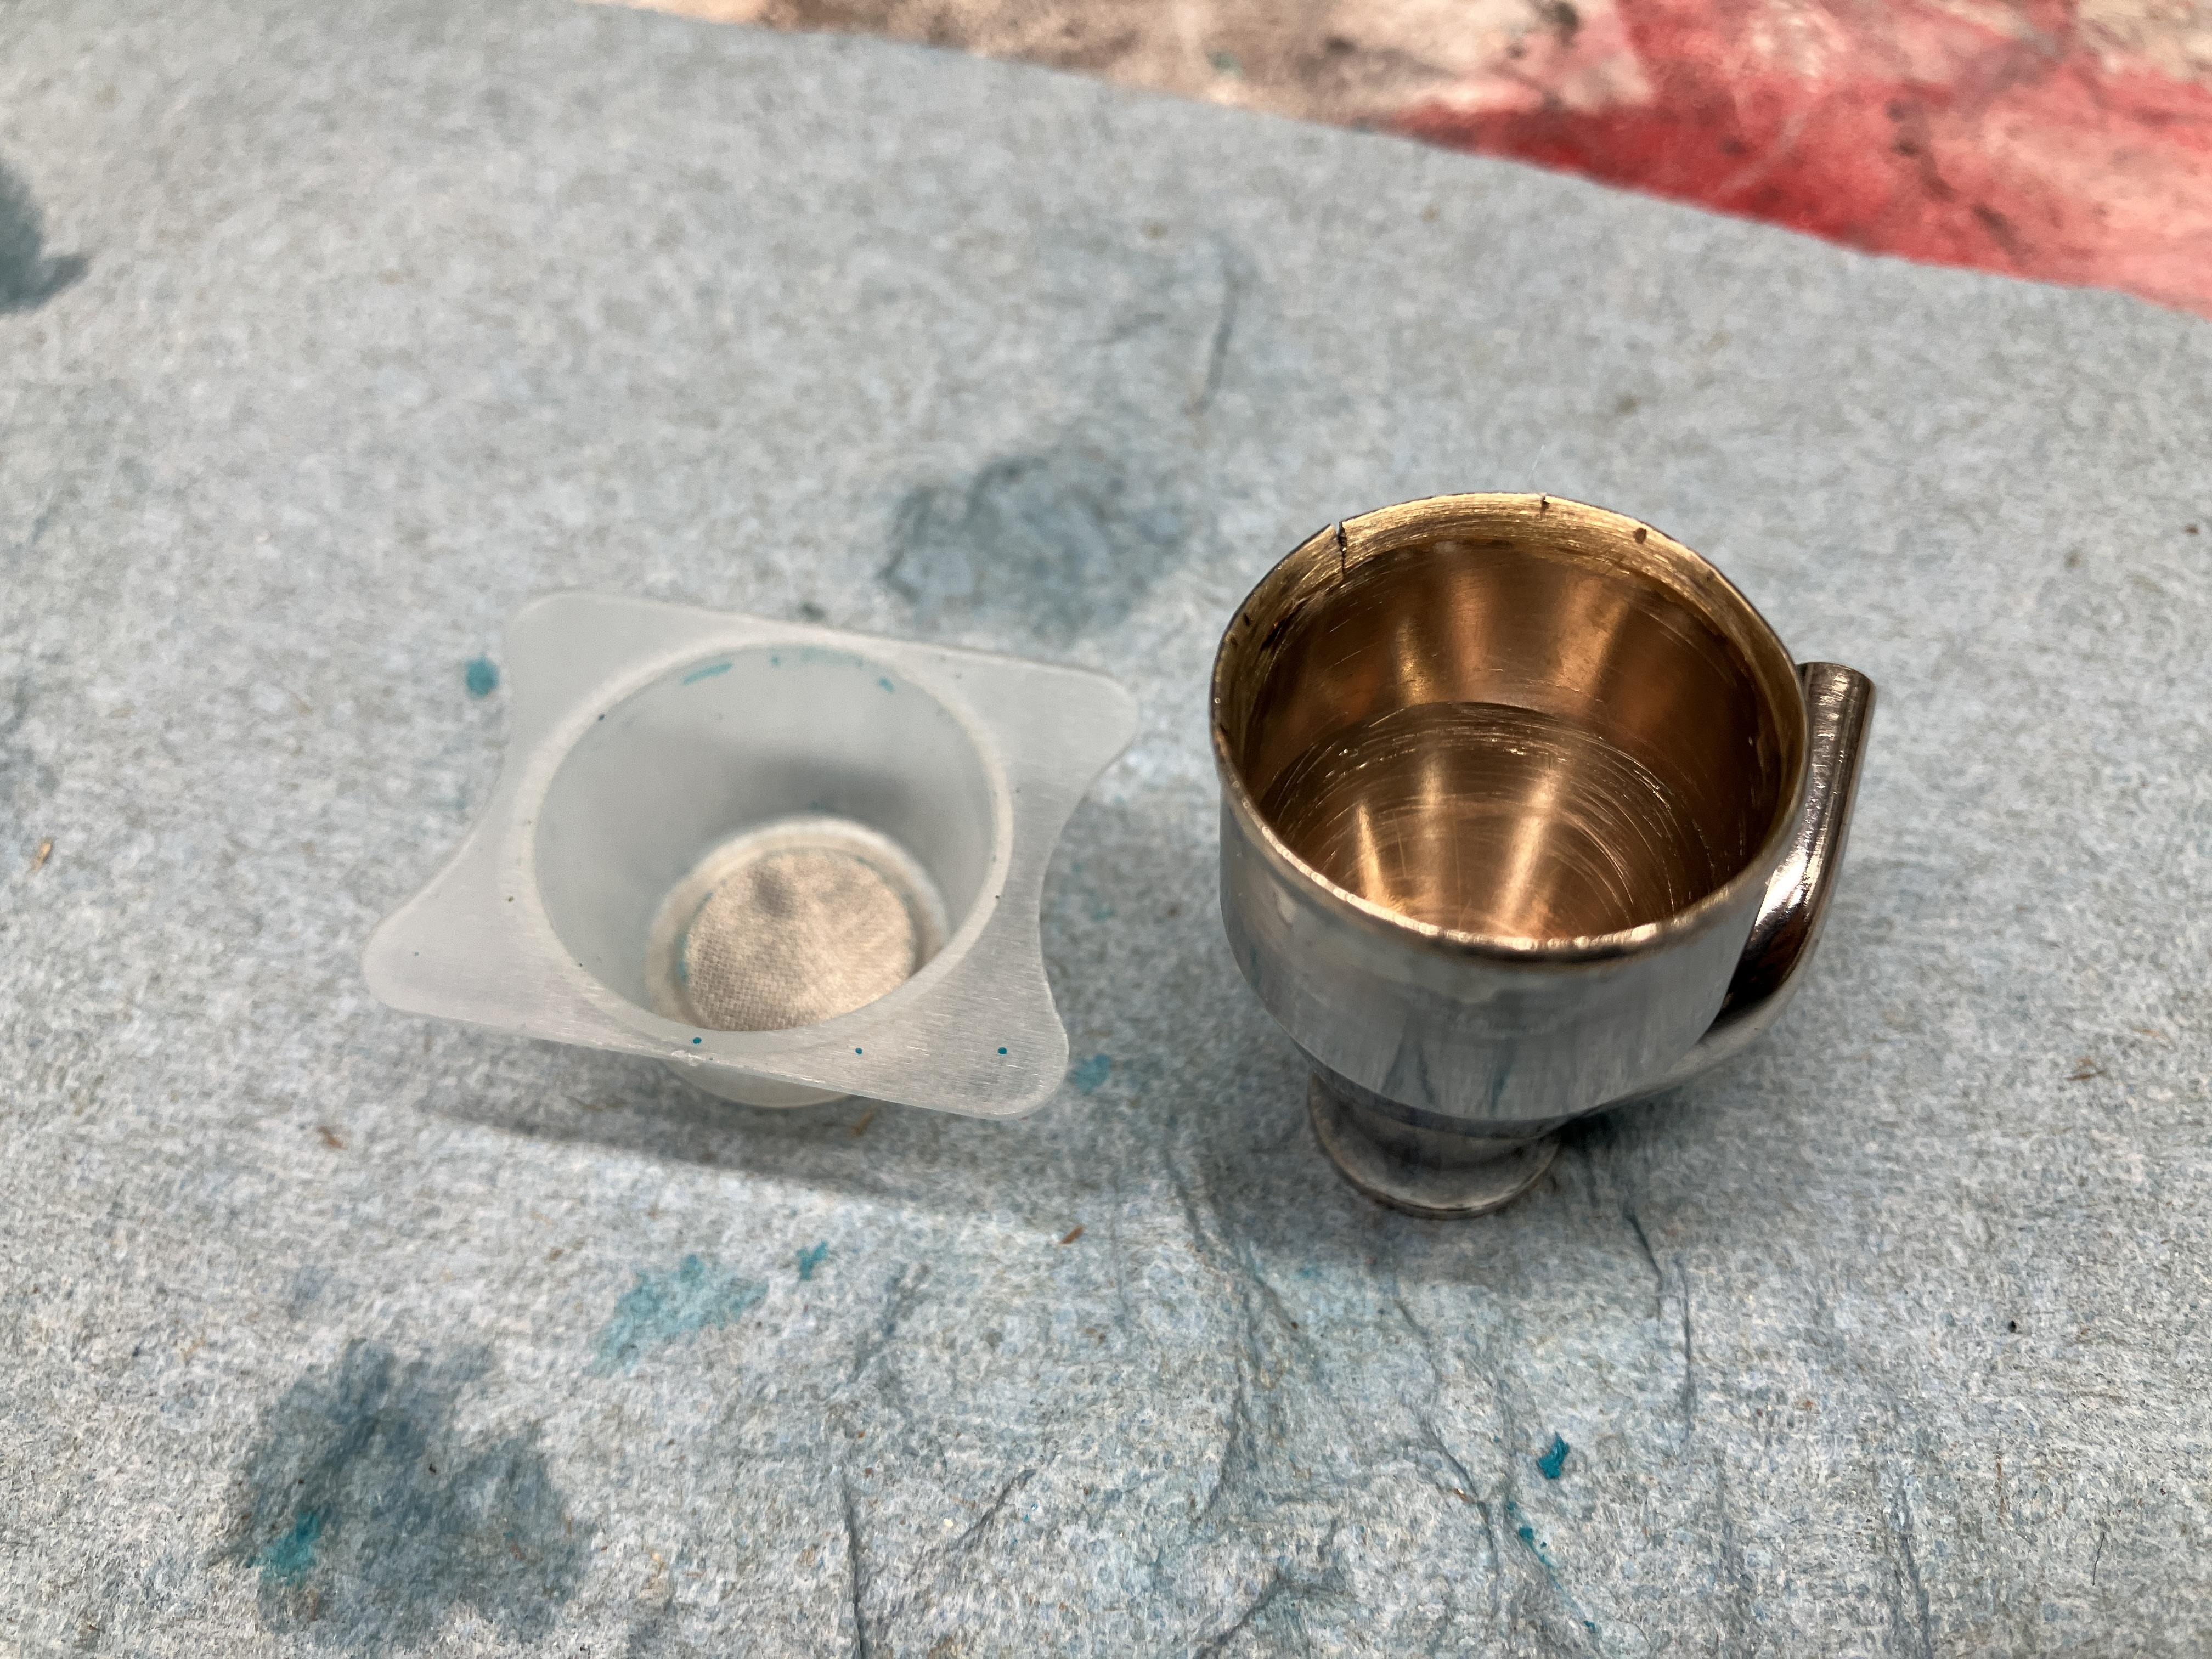
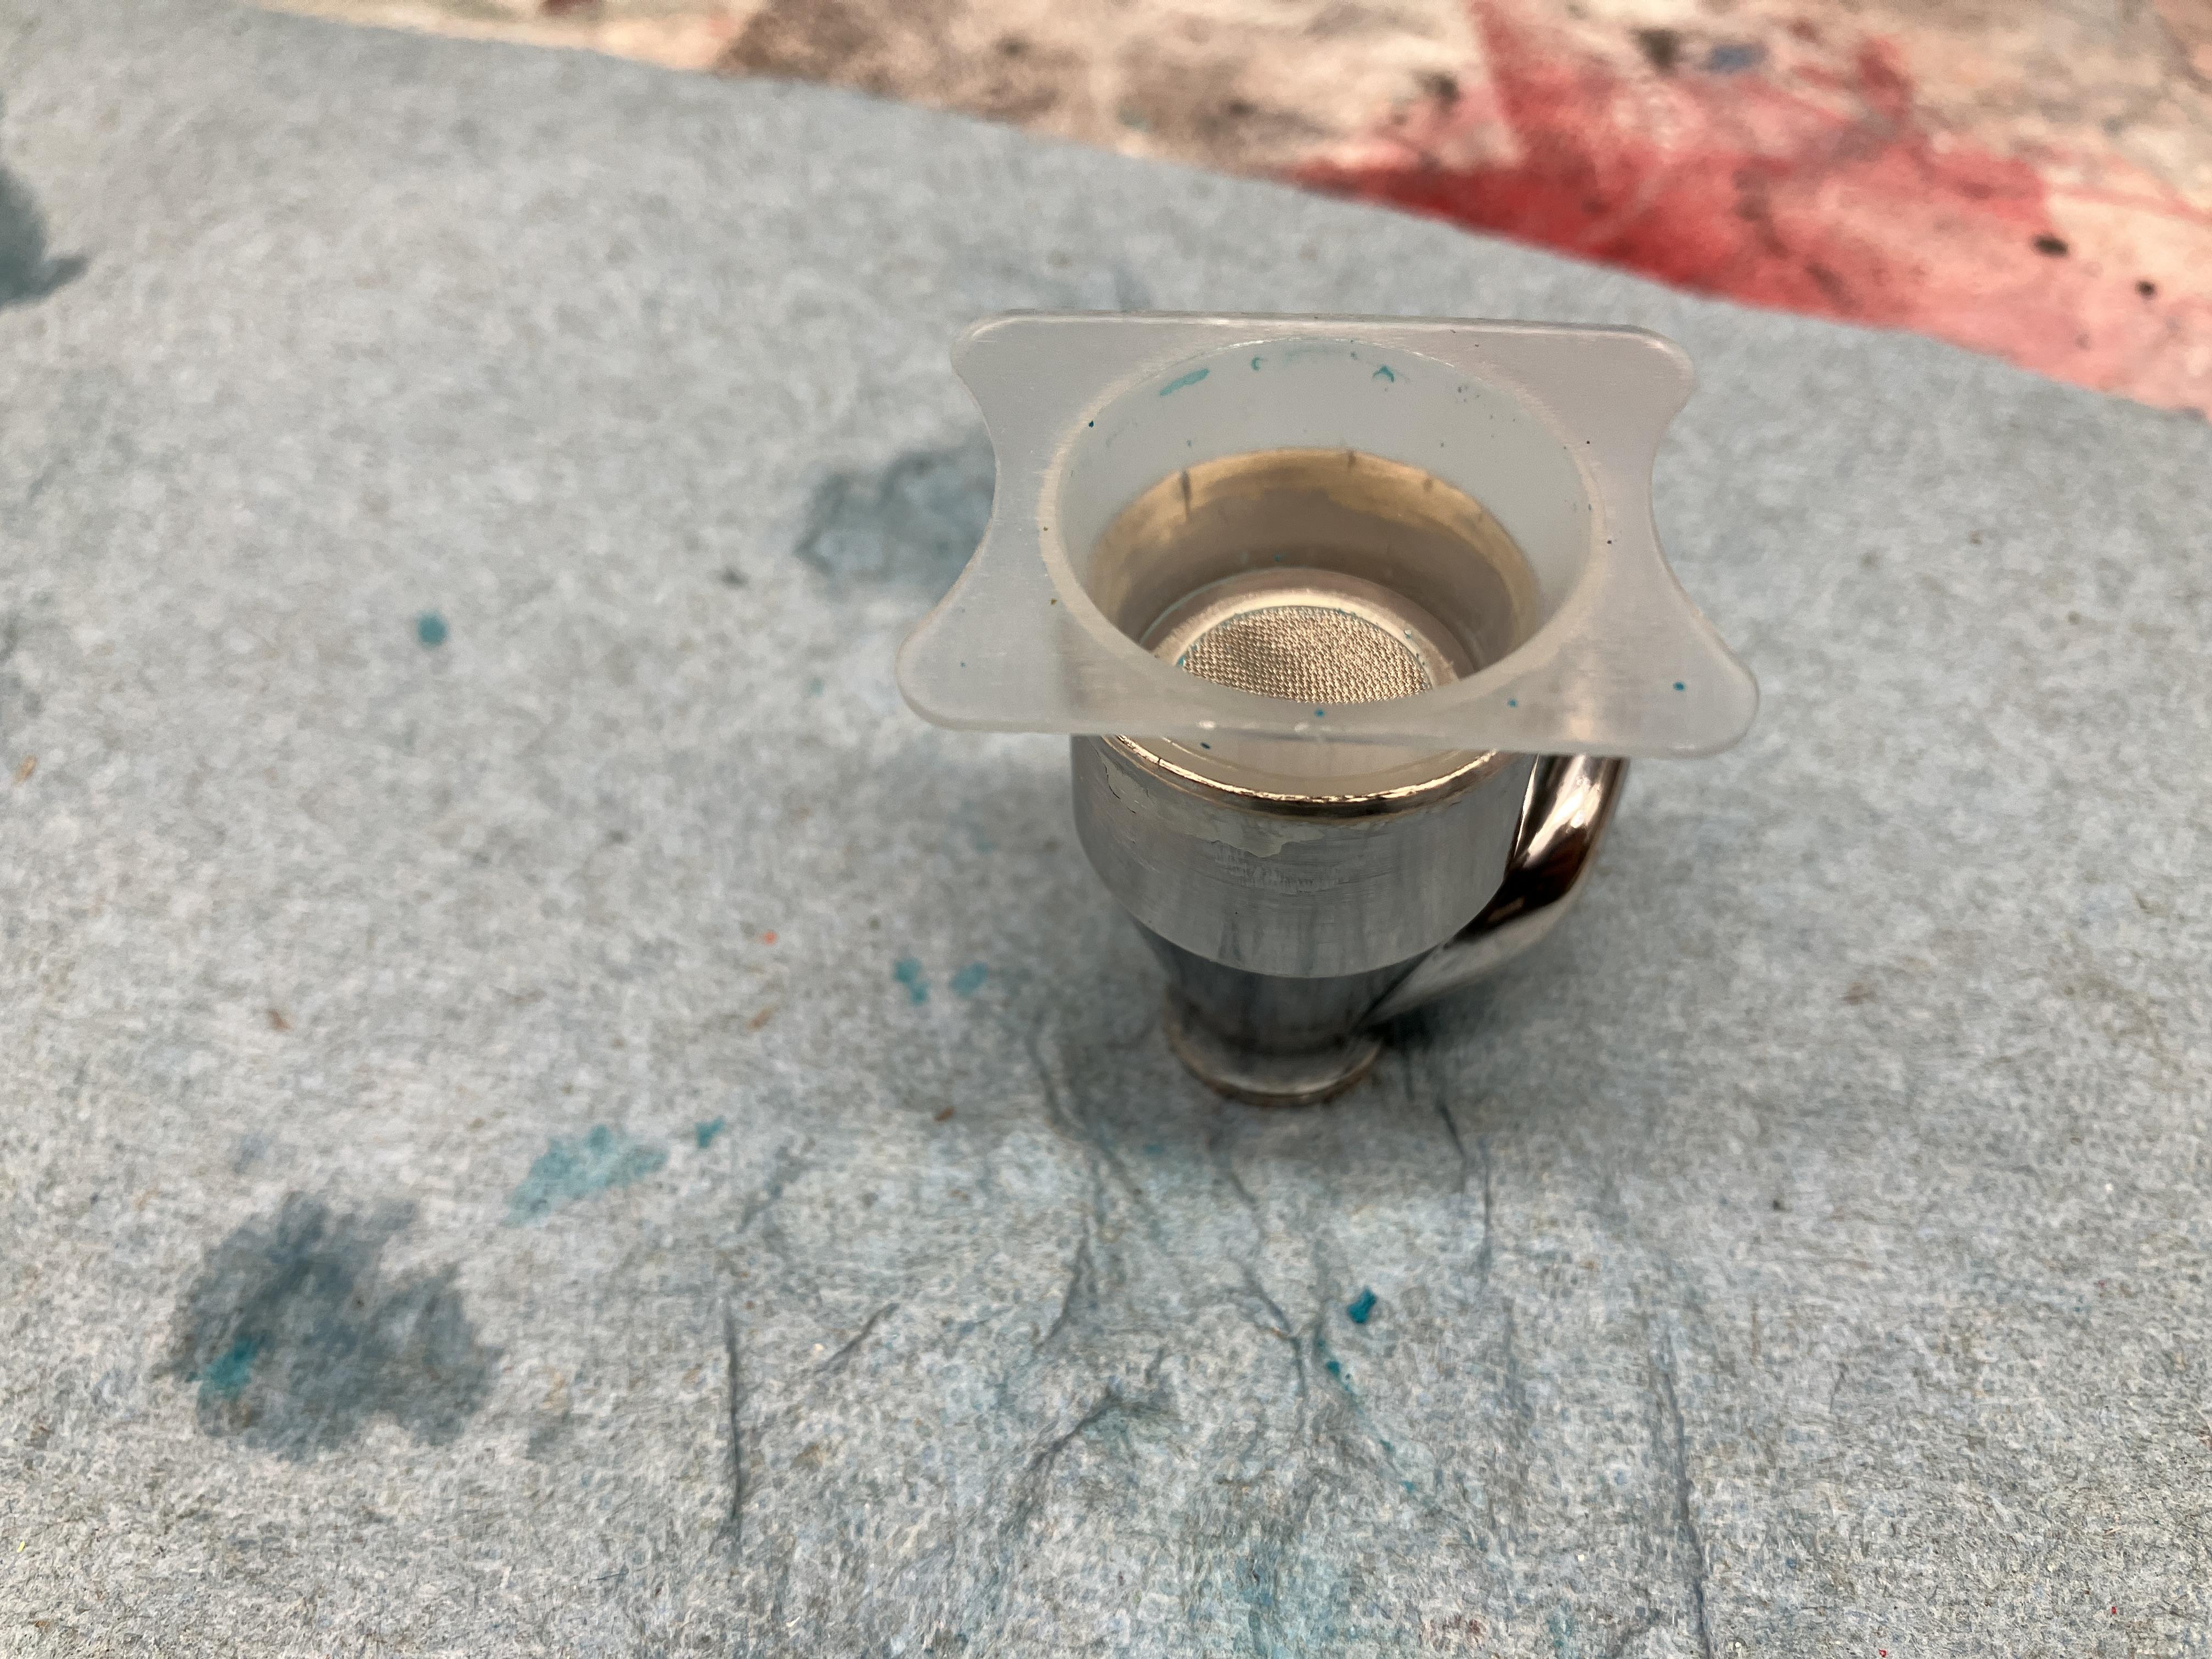
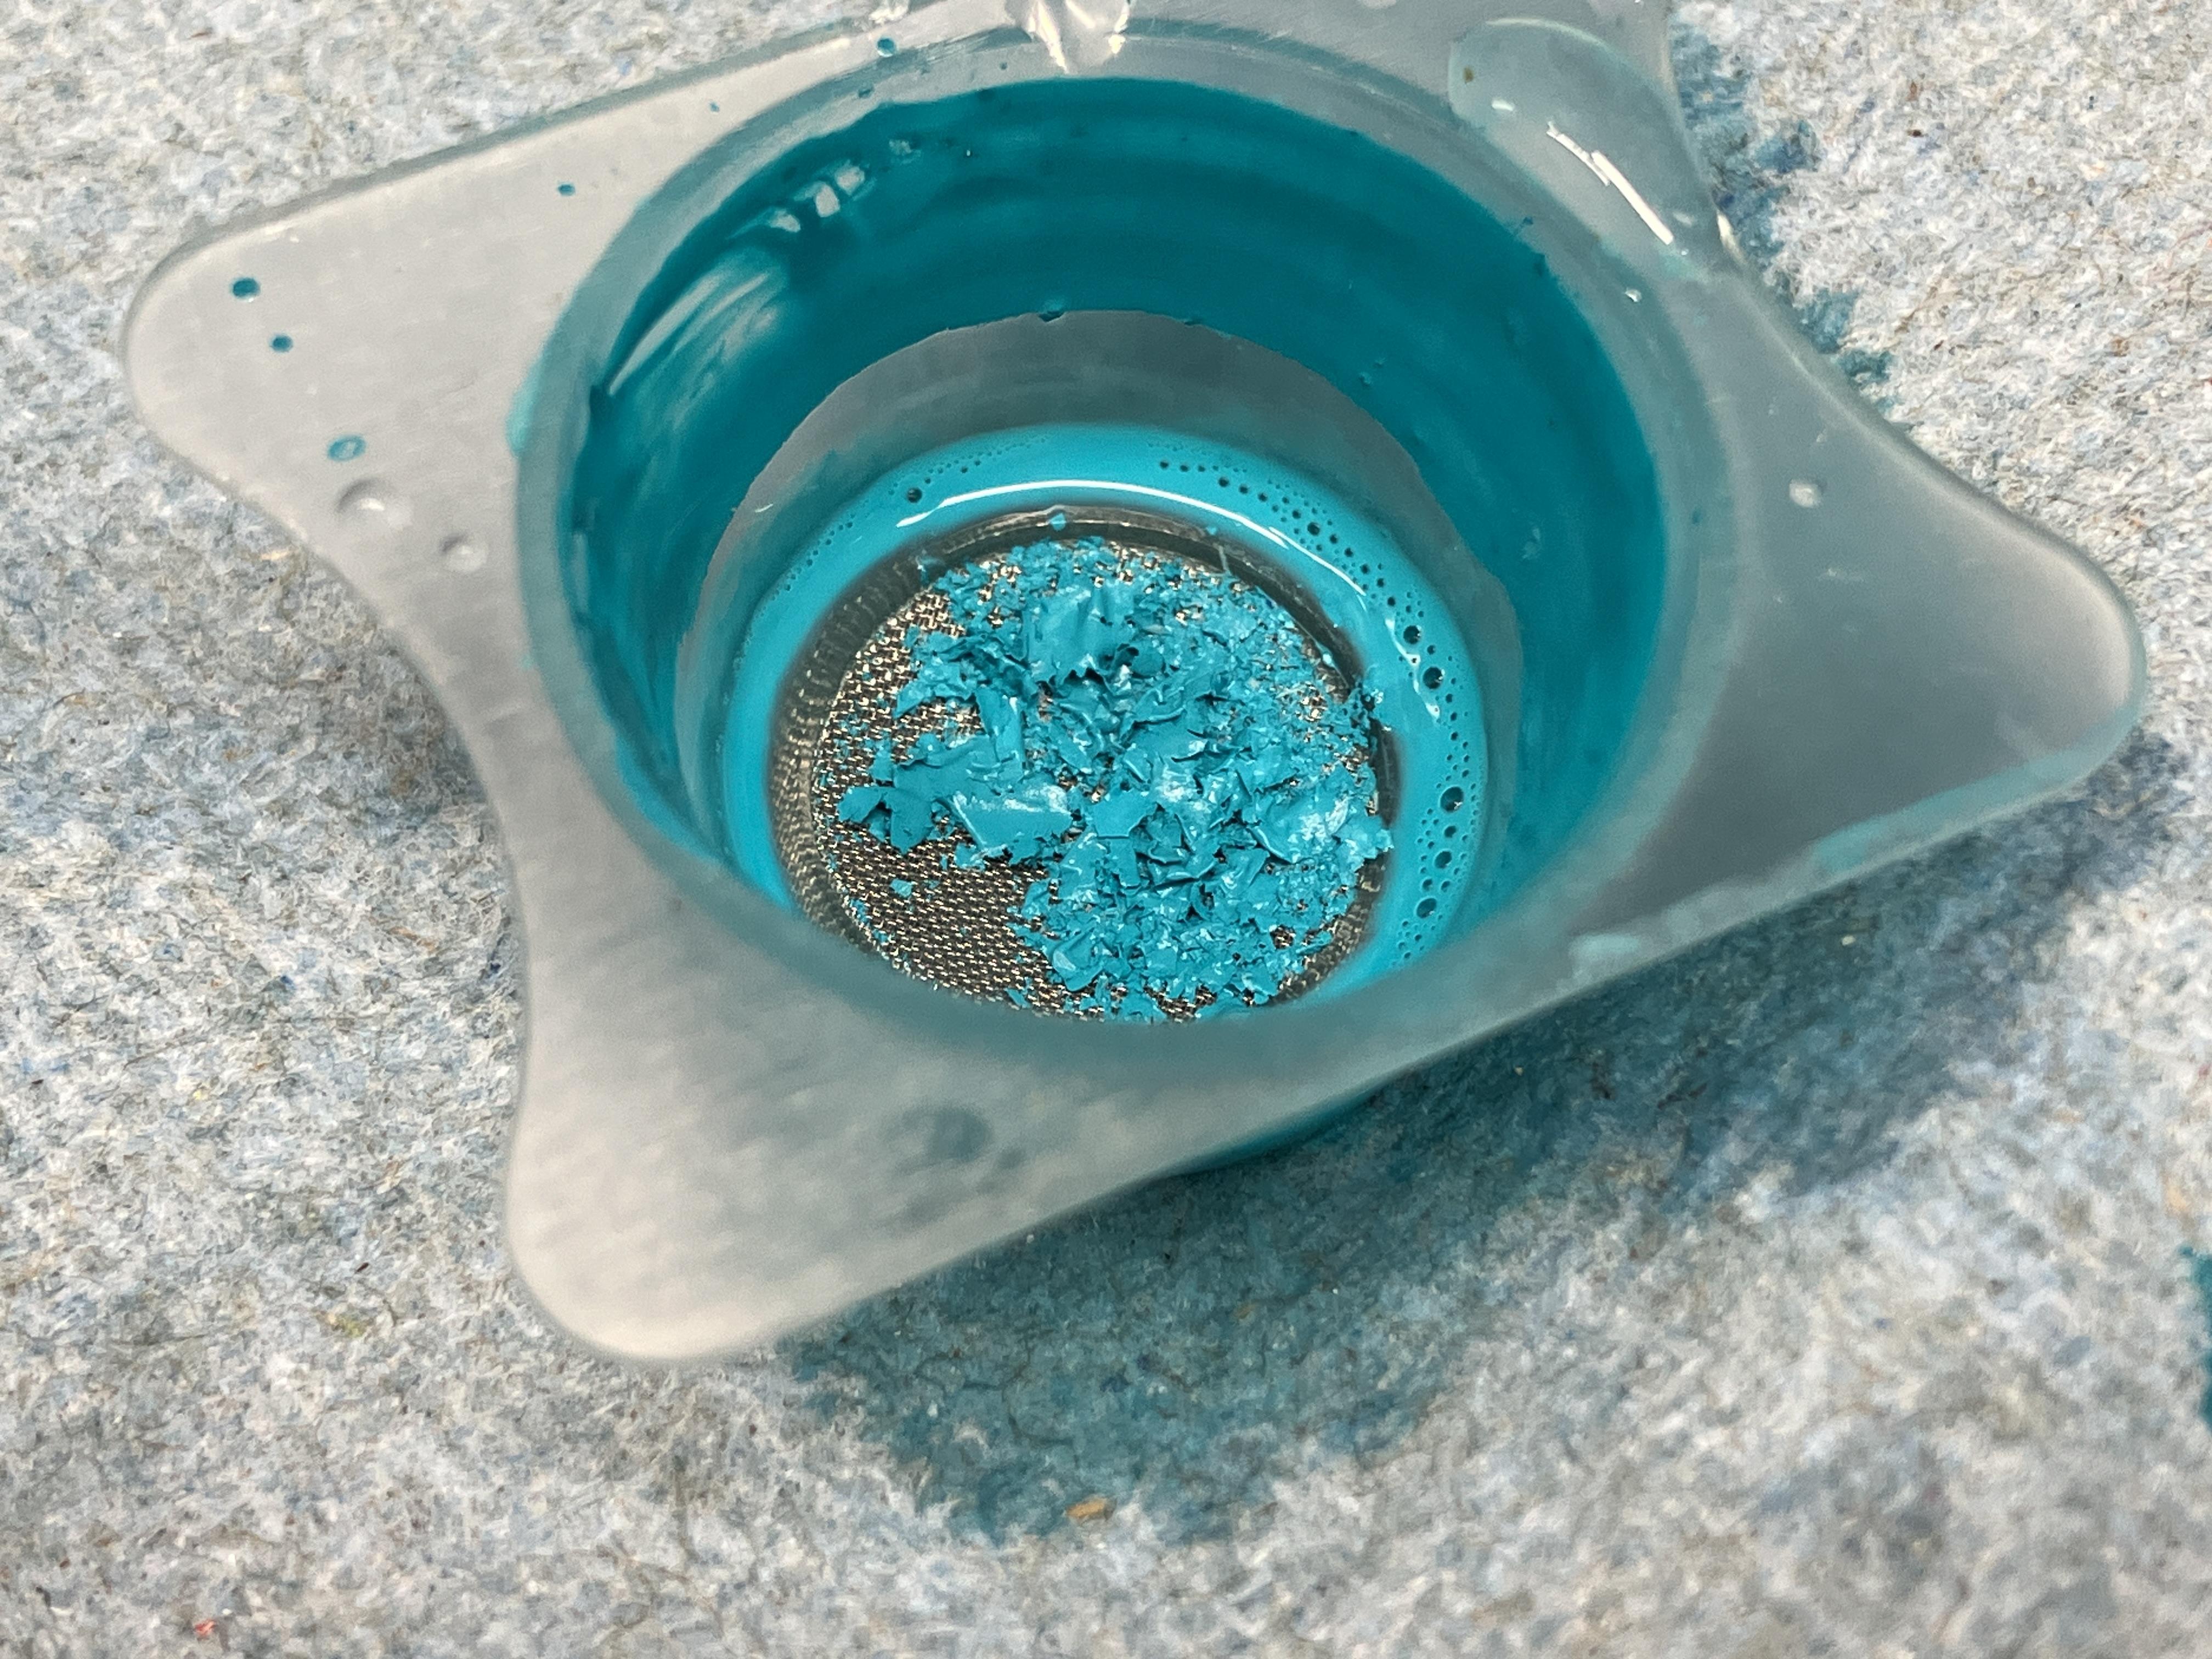
I have had good luck with this Testors Aztek paint in the past. This time though, when using a previously opened container, I get little chunks of stuff on the surface with every coat.? So I picked up this little AK strainer at a local hobby shop. It wouldn’t fit my Paasche H airbrush cup because of the little lip in at the top of the cup, so I modified it slightly. I have a couple of spare cups on order just in case I screwed it up.? I’m amazed at how much dried paint crud it filtered out. The paint is going on very nicely now!?
-
I am having fun with it so far Len.? Having You and Jim doing a build at the same time helps a lot. I don’t think a kid that didn’t know or care anything about accuracy would have too much trouble slapping this together…but trying to make this an accurate replica of the 1:1 is definitely a bit of a challenge. I really don’t care if it is true to the original, I just want to improve it slightly and have it look good on my shelf.
-
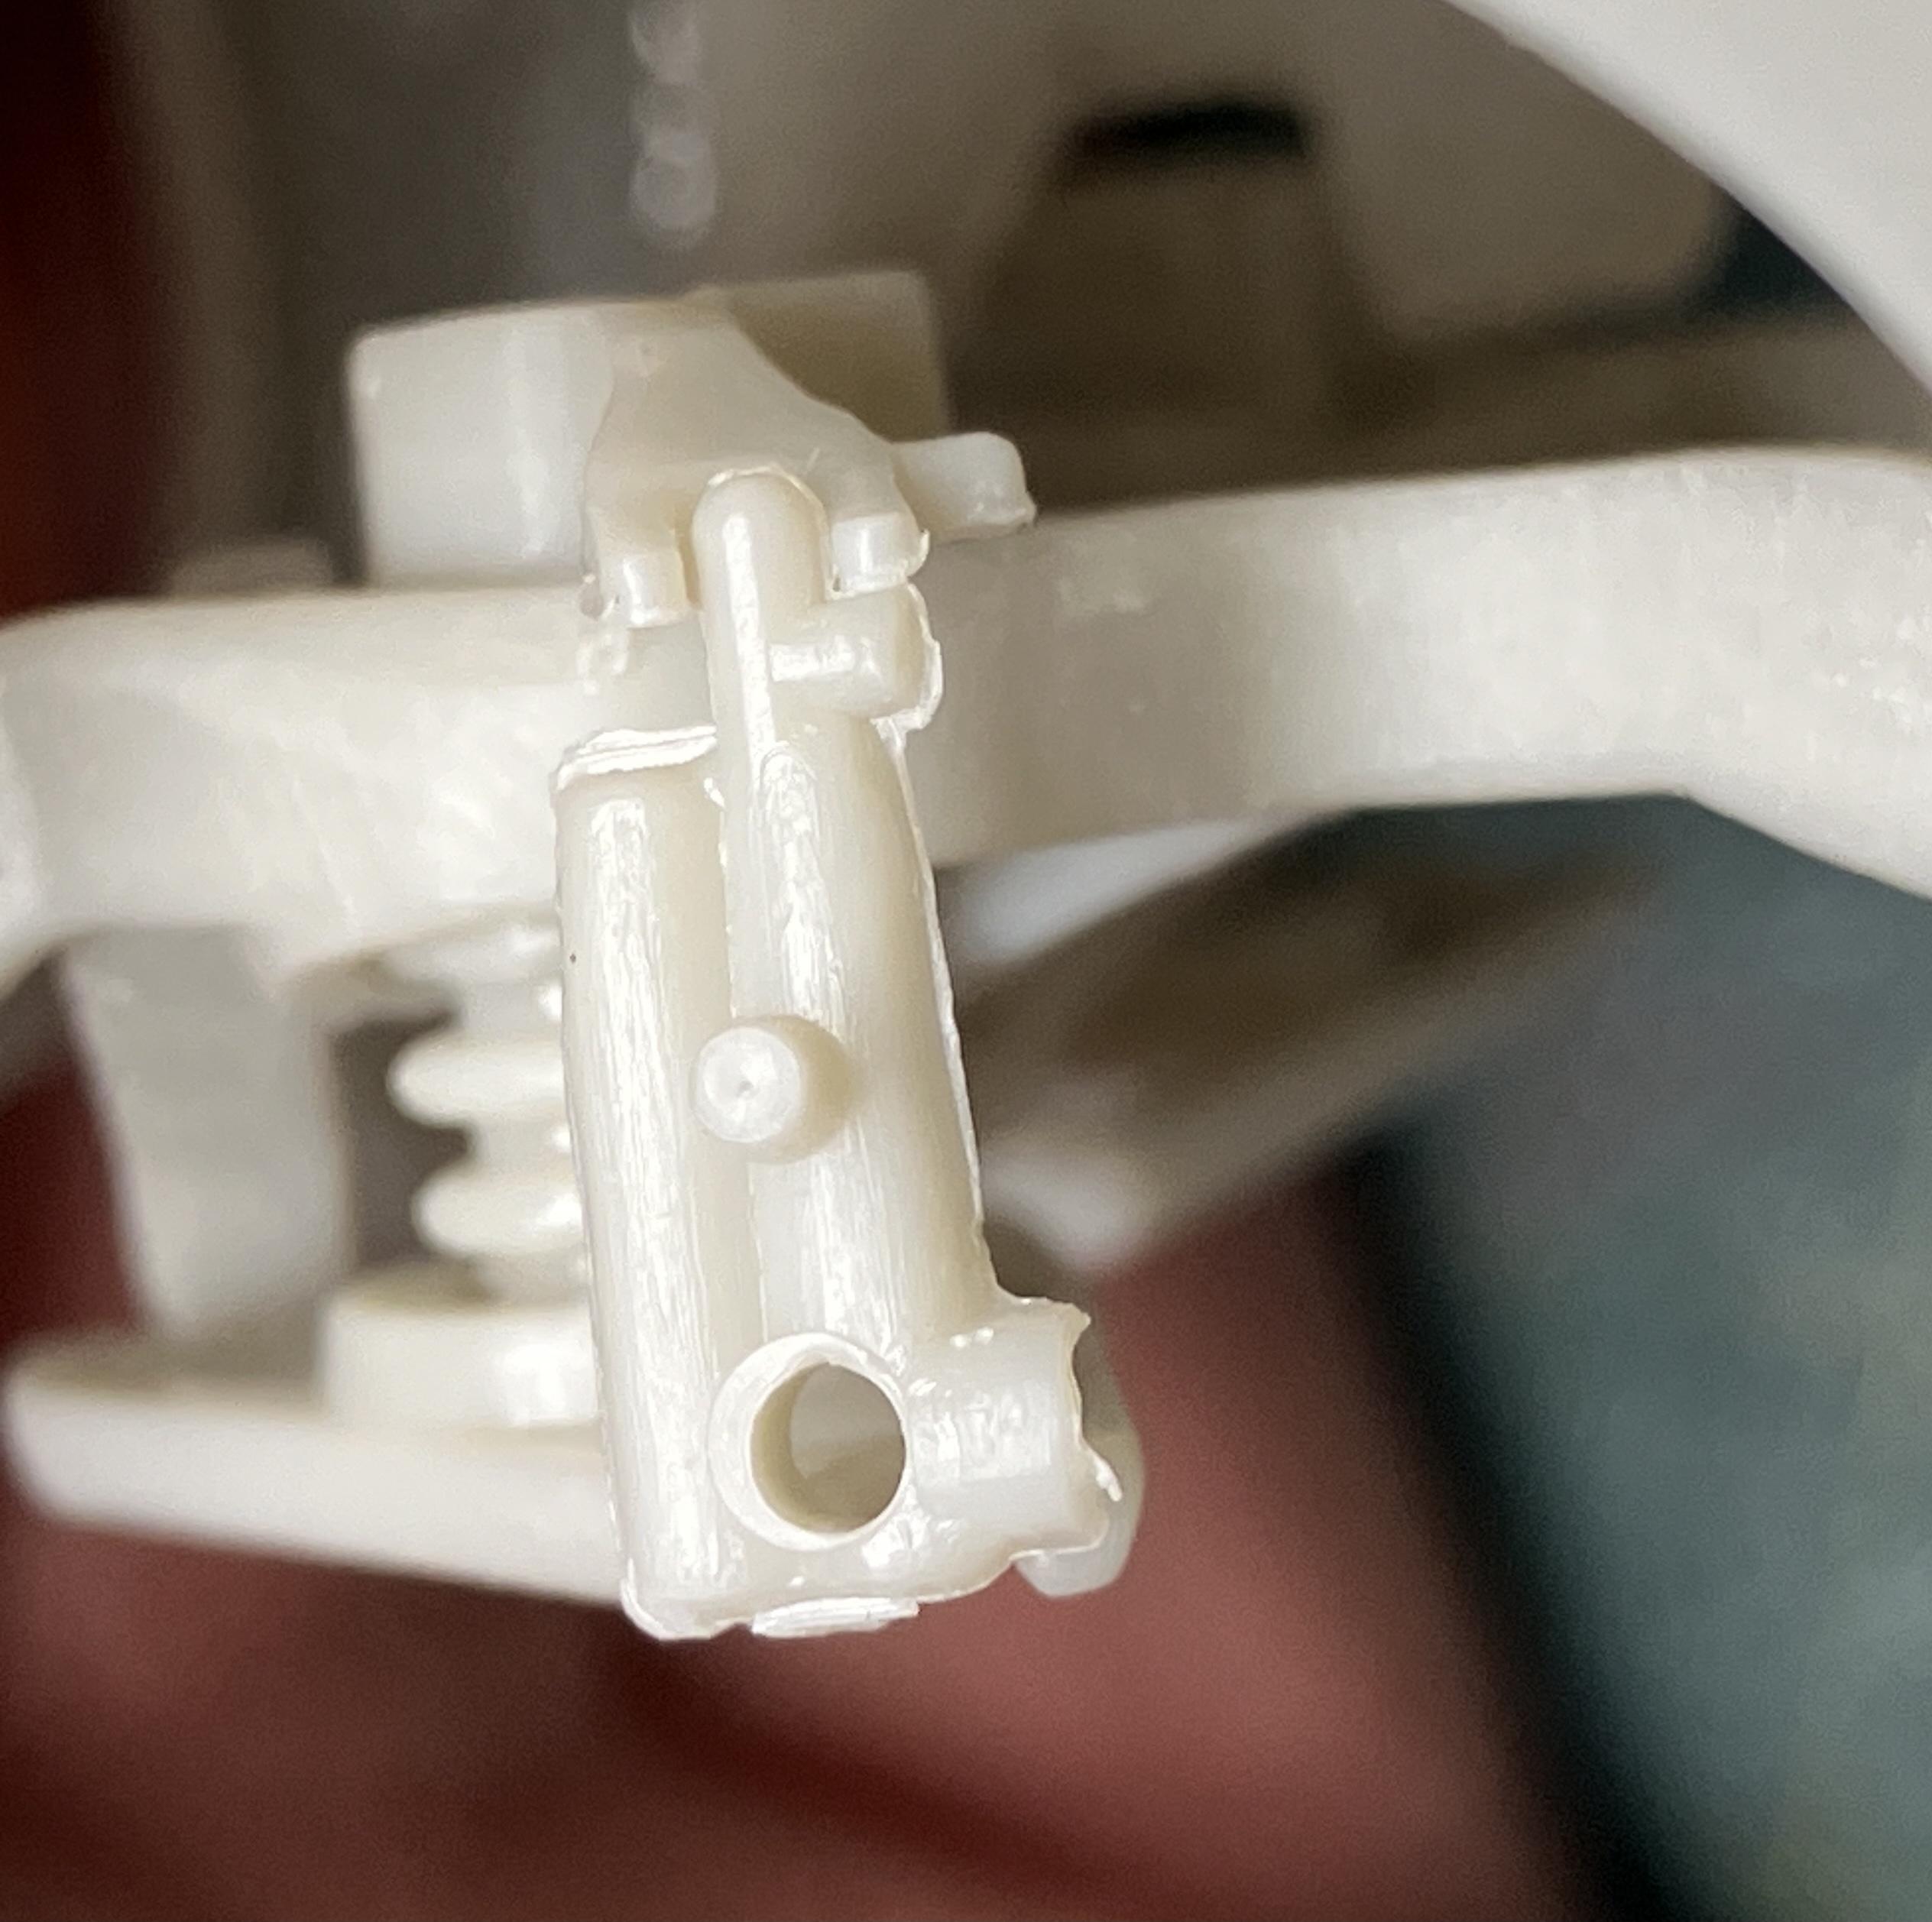
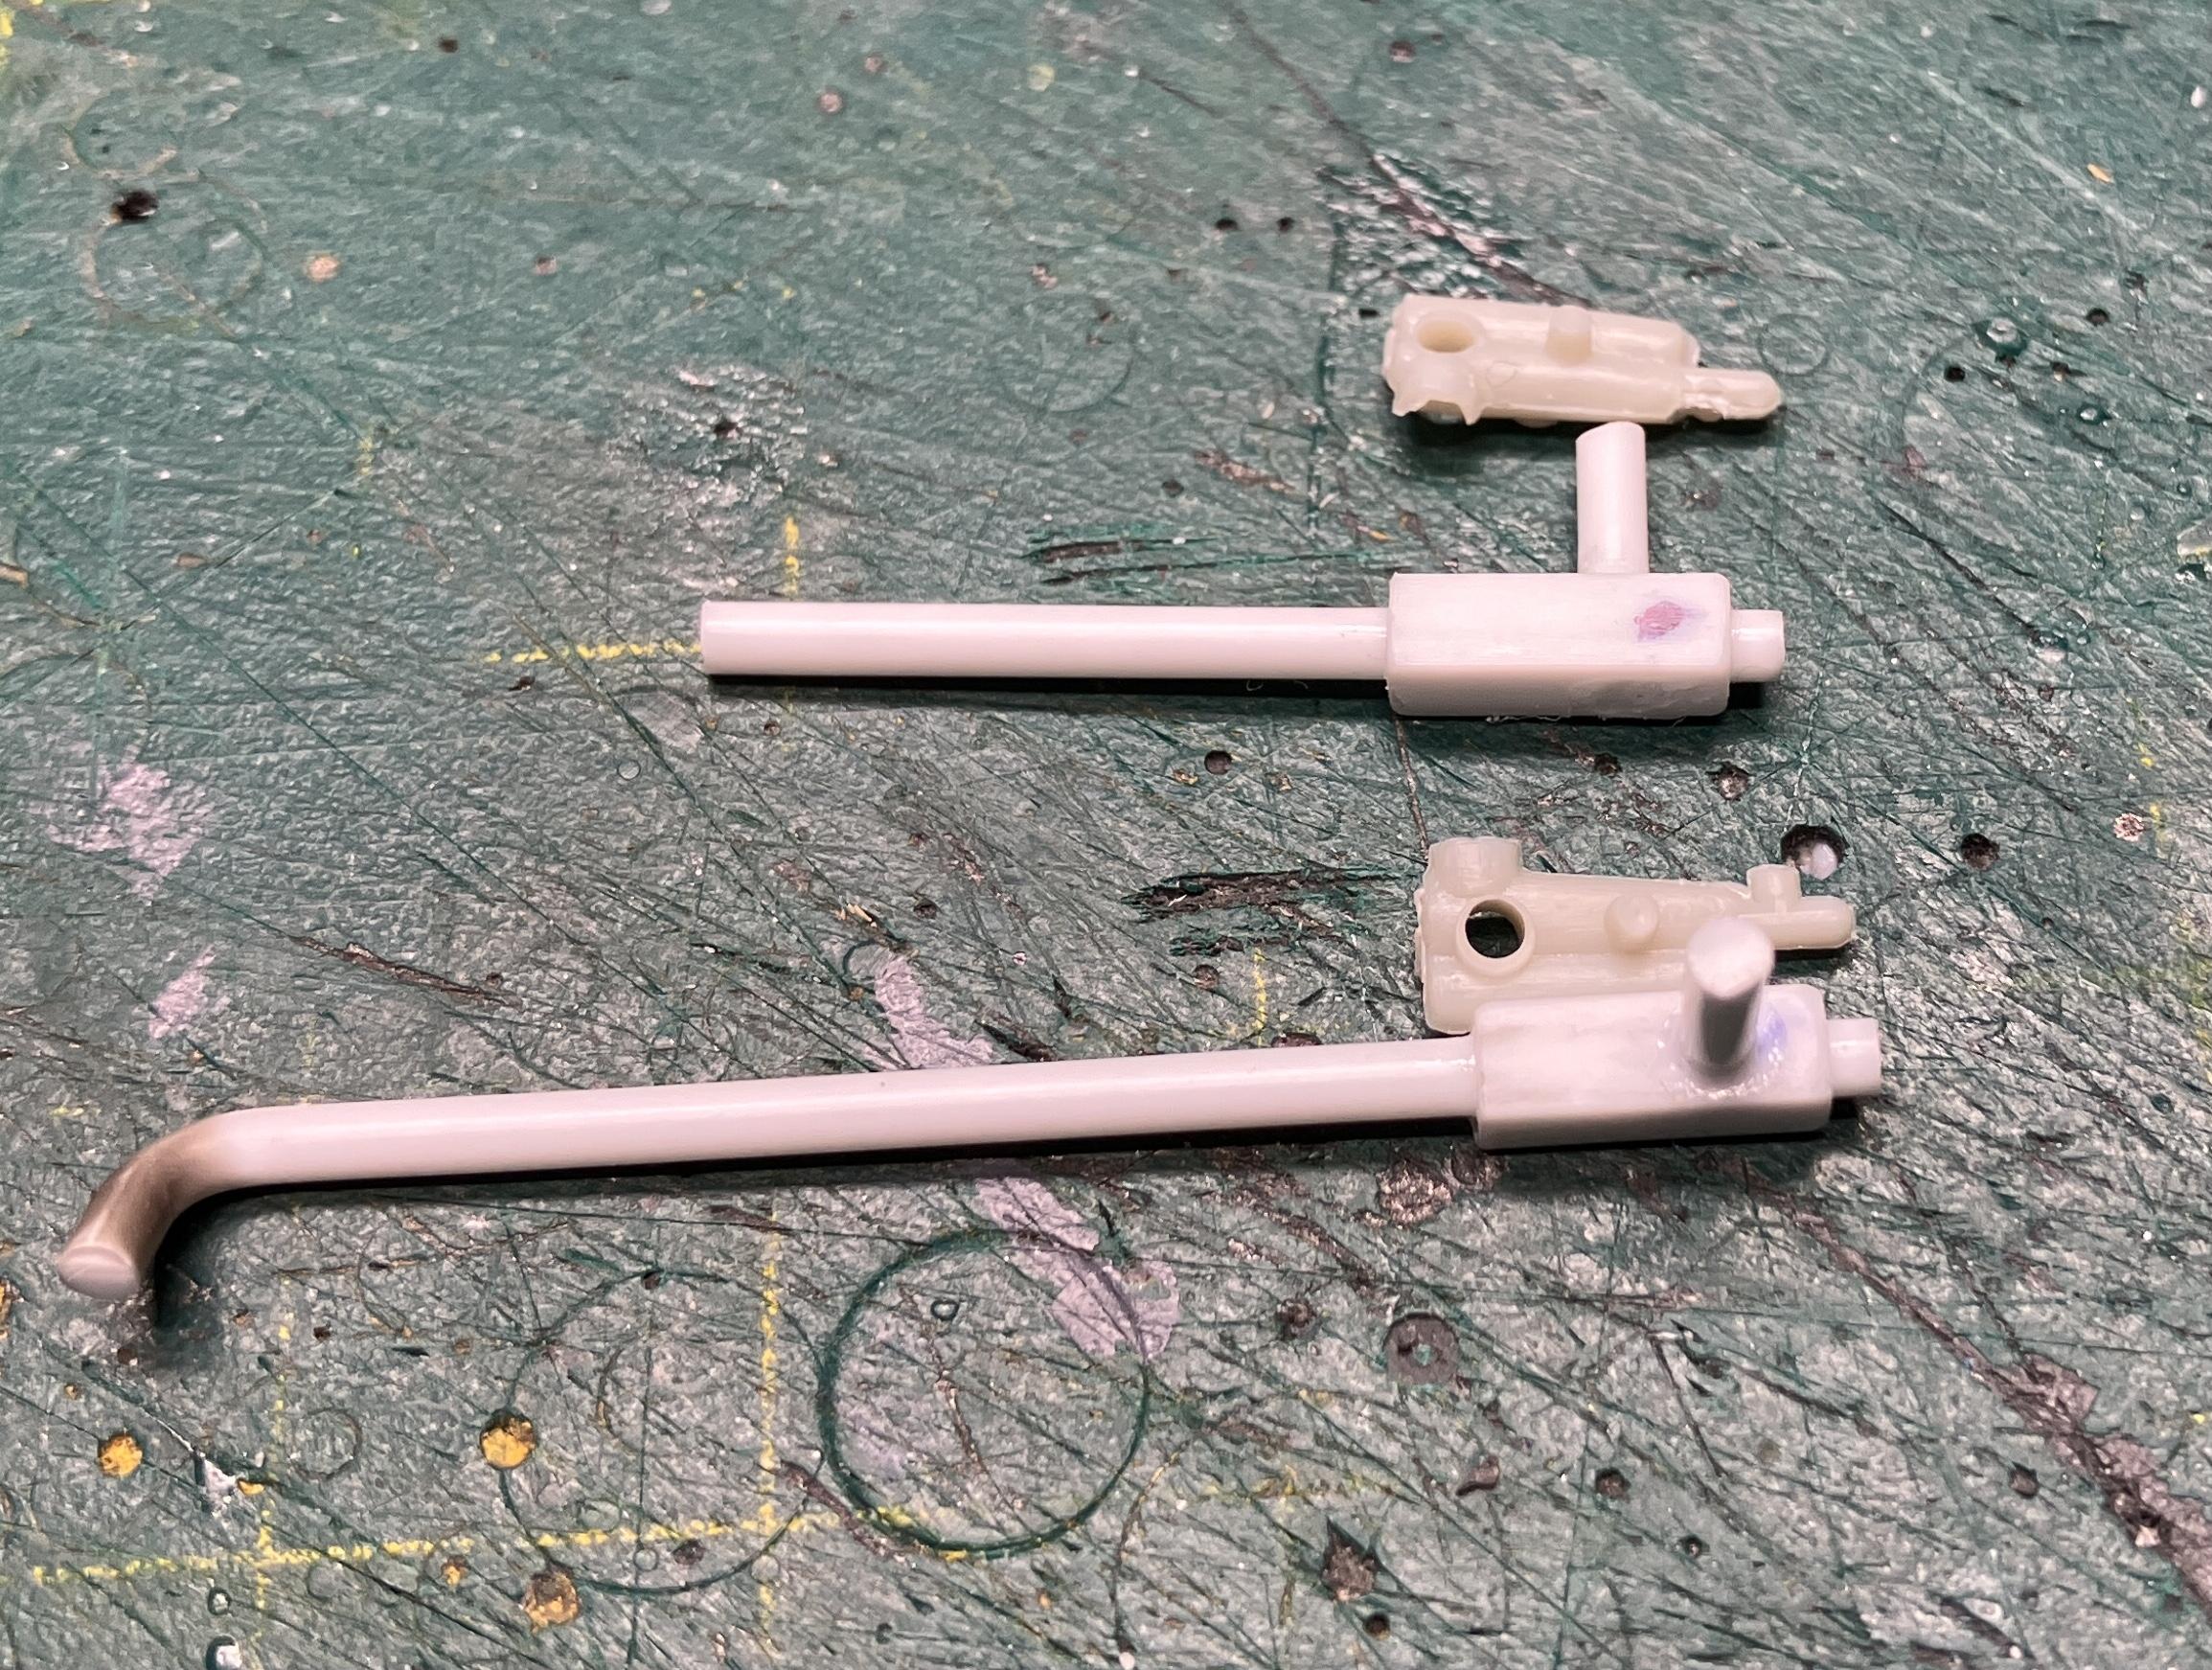
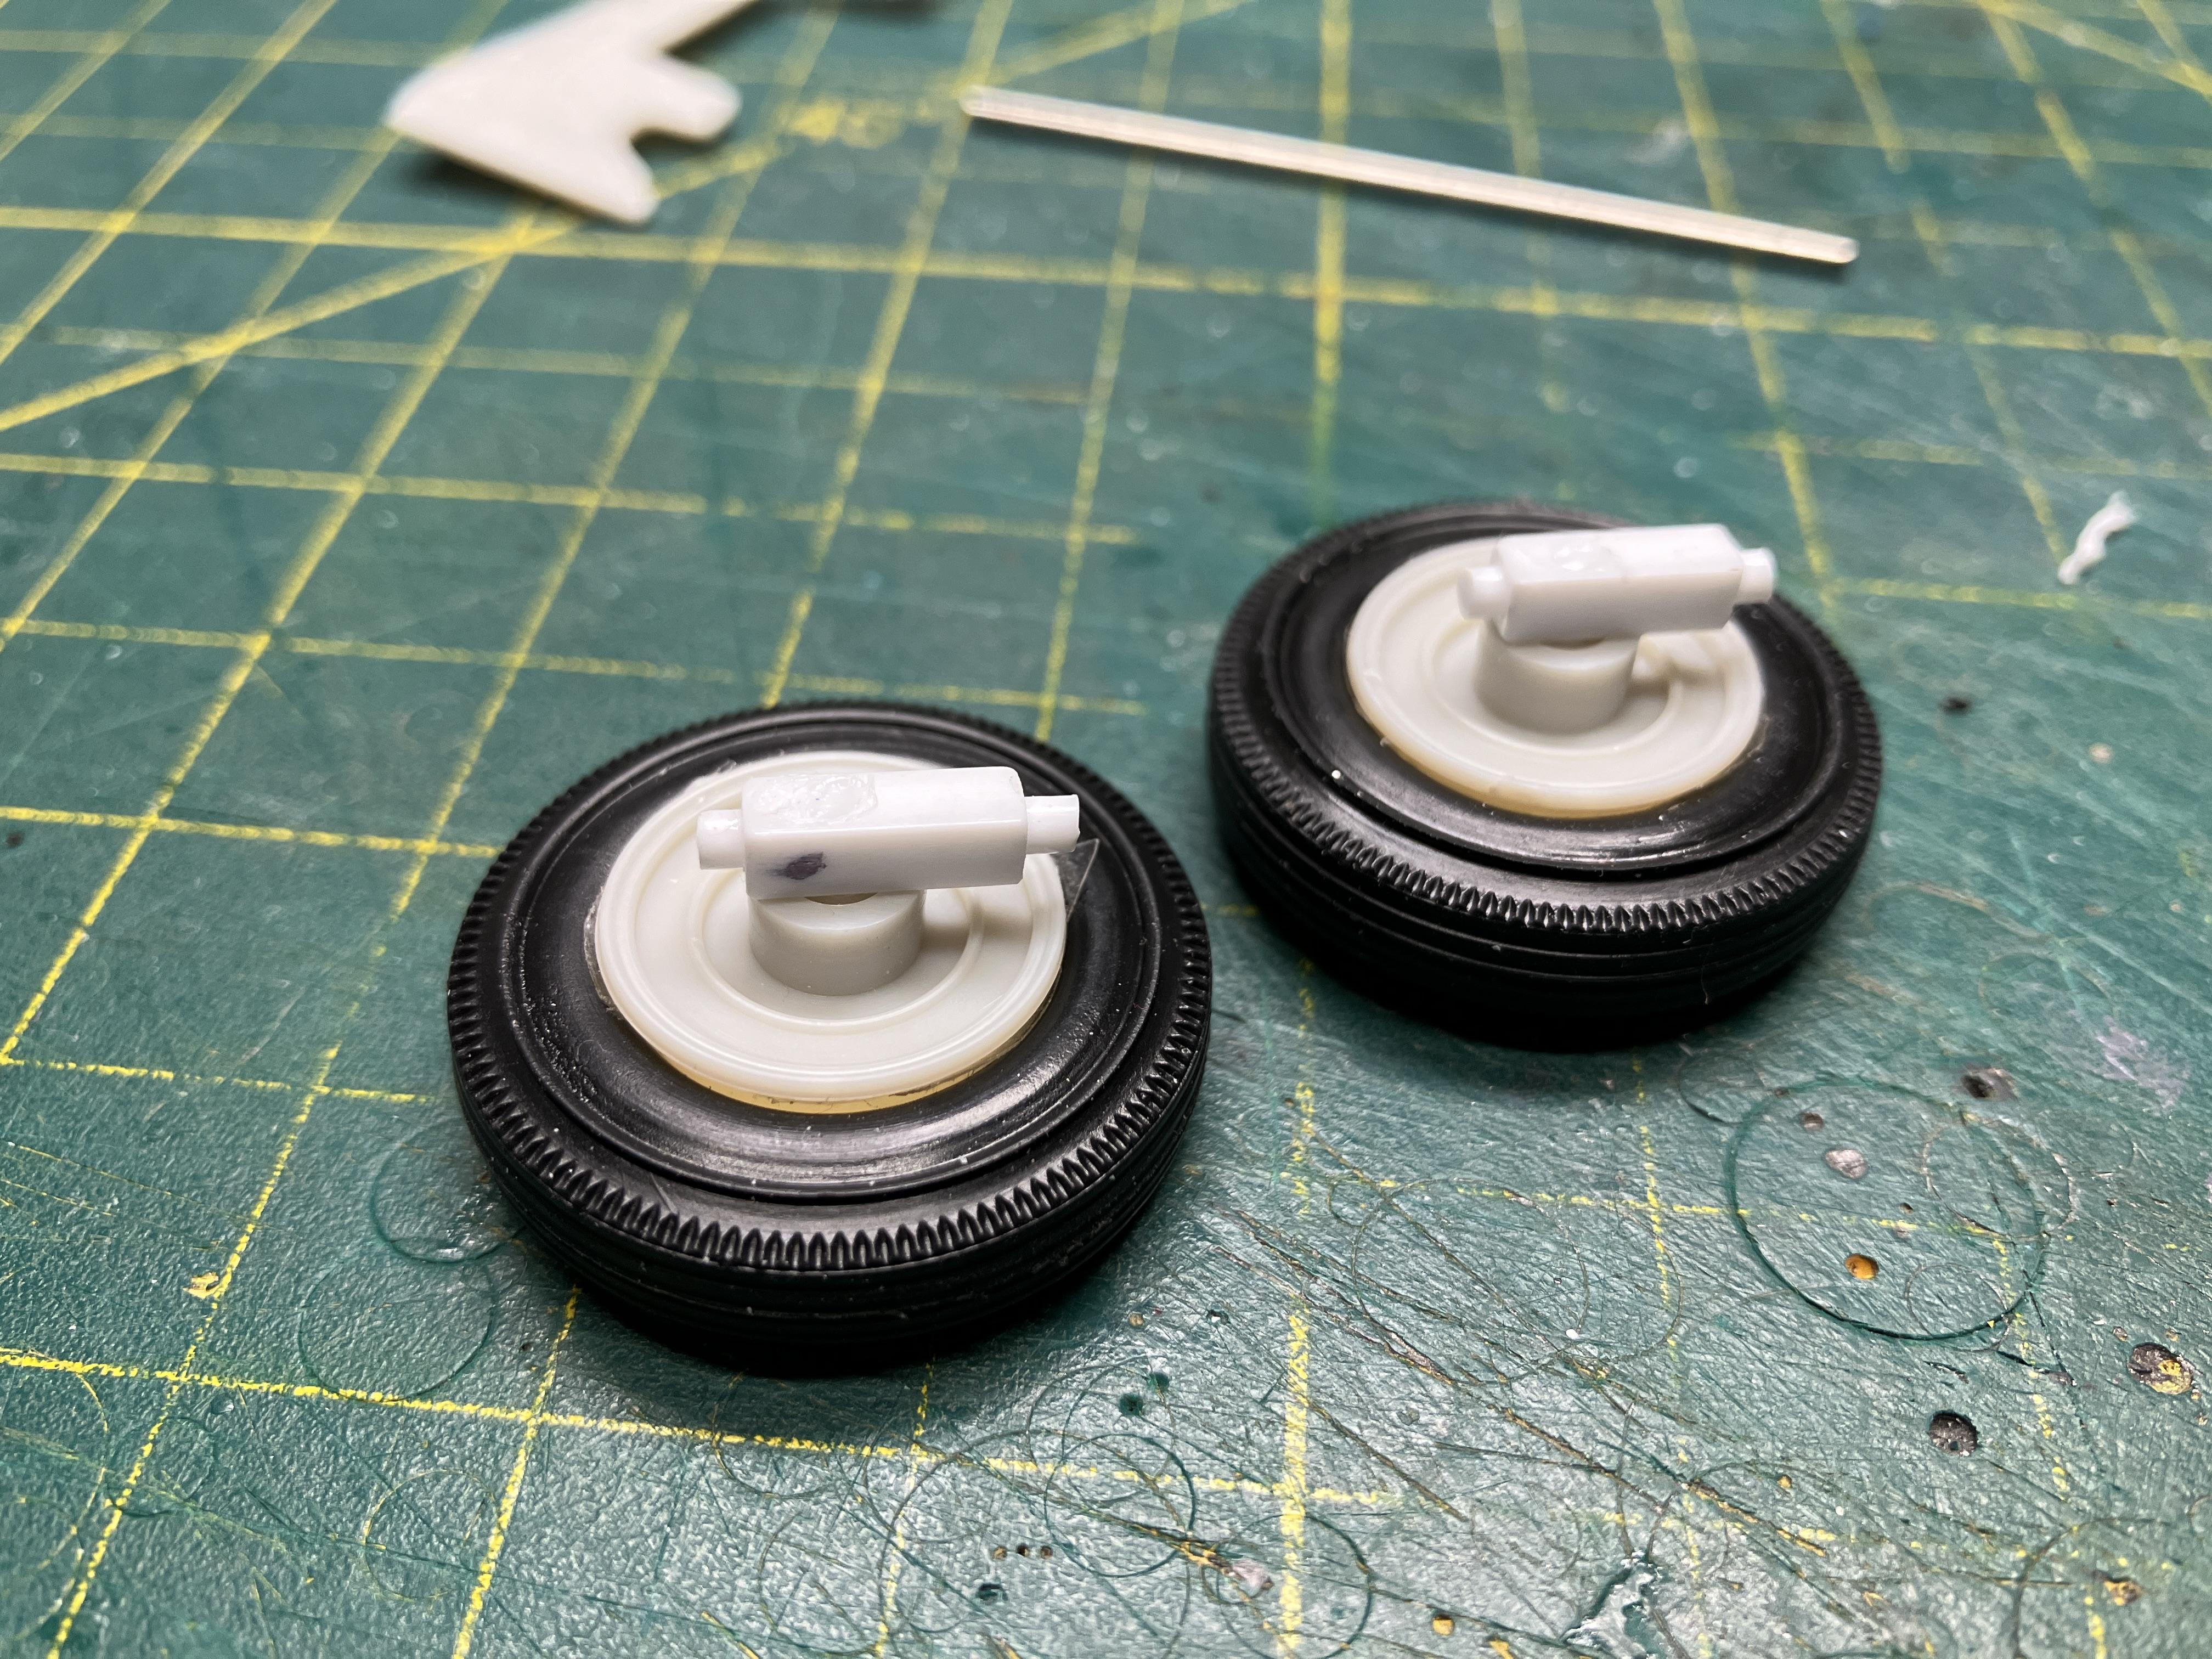
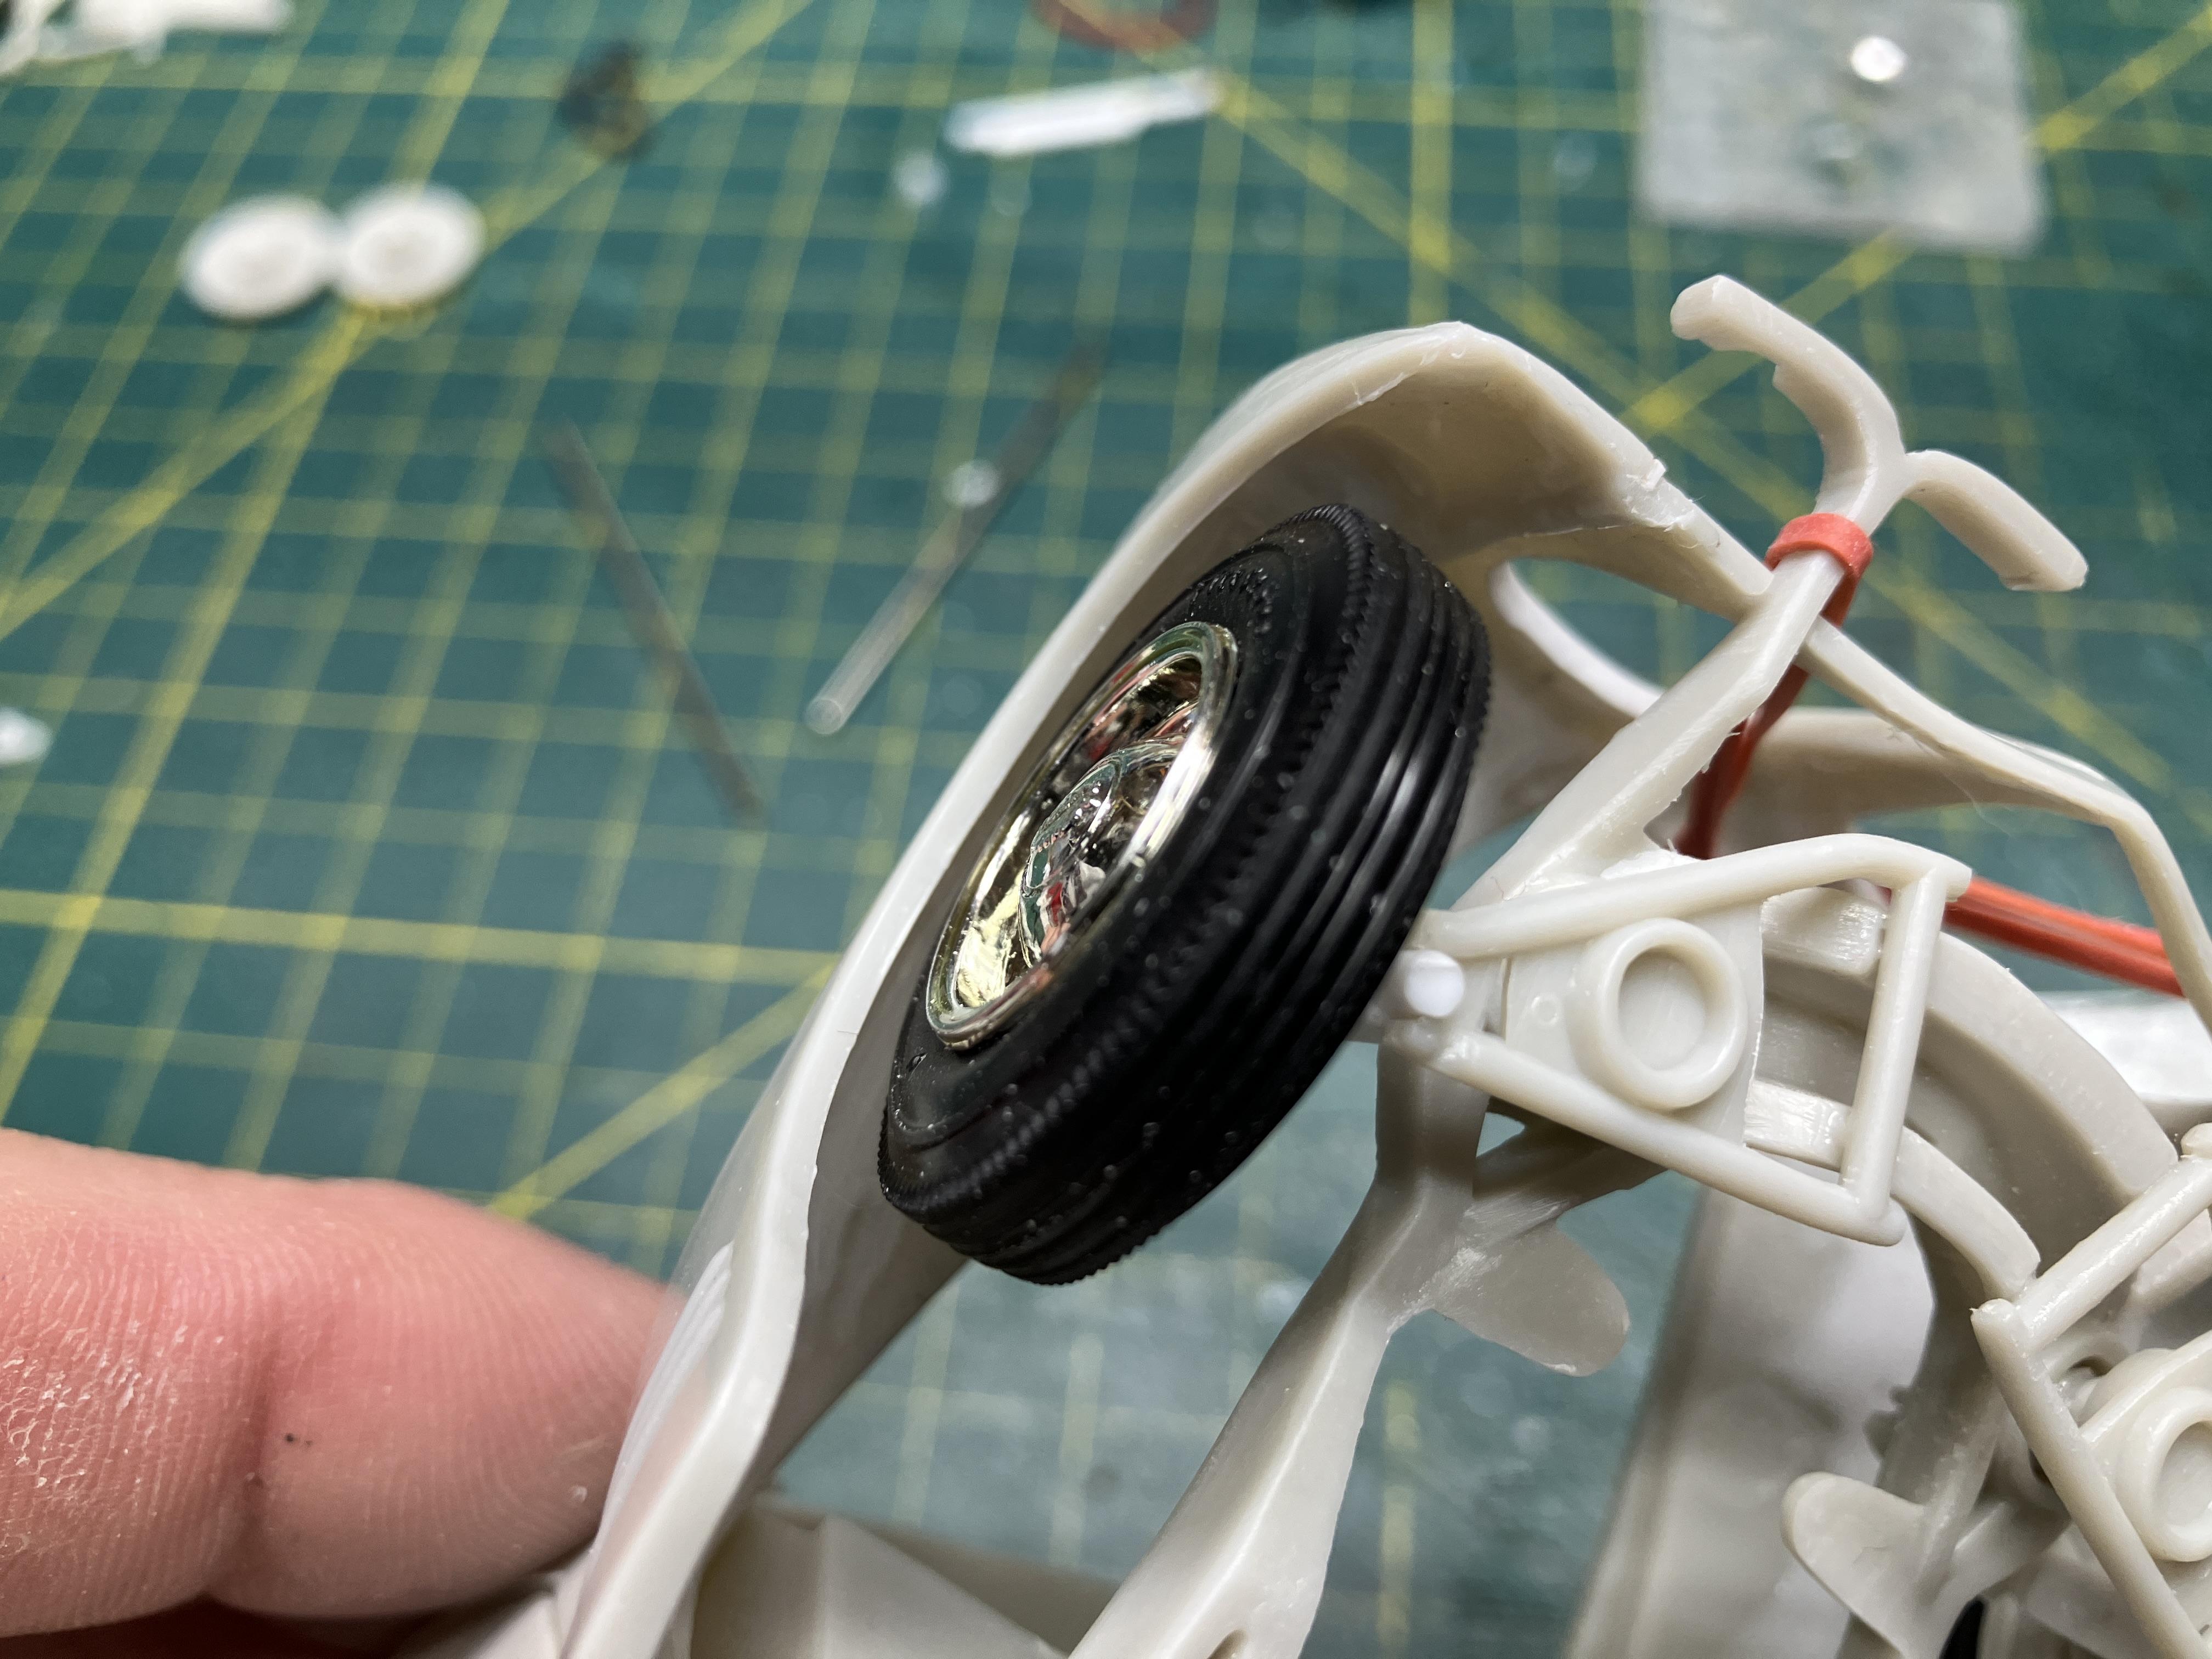
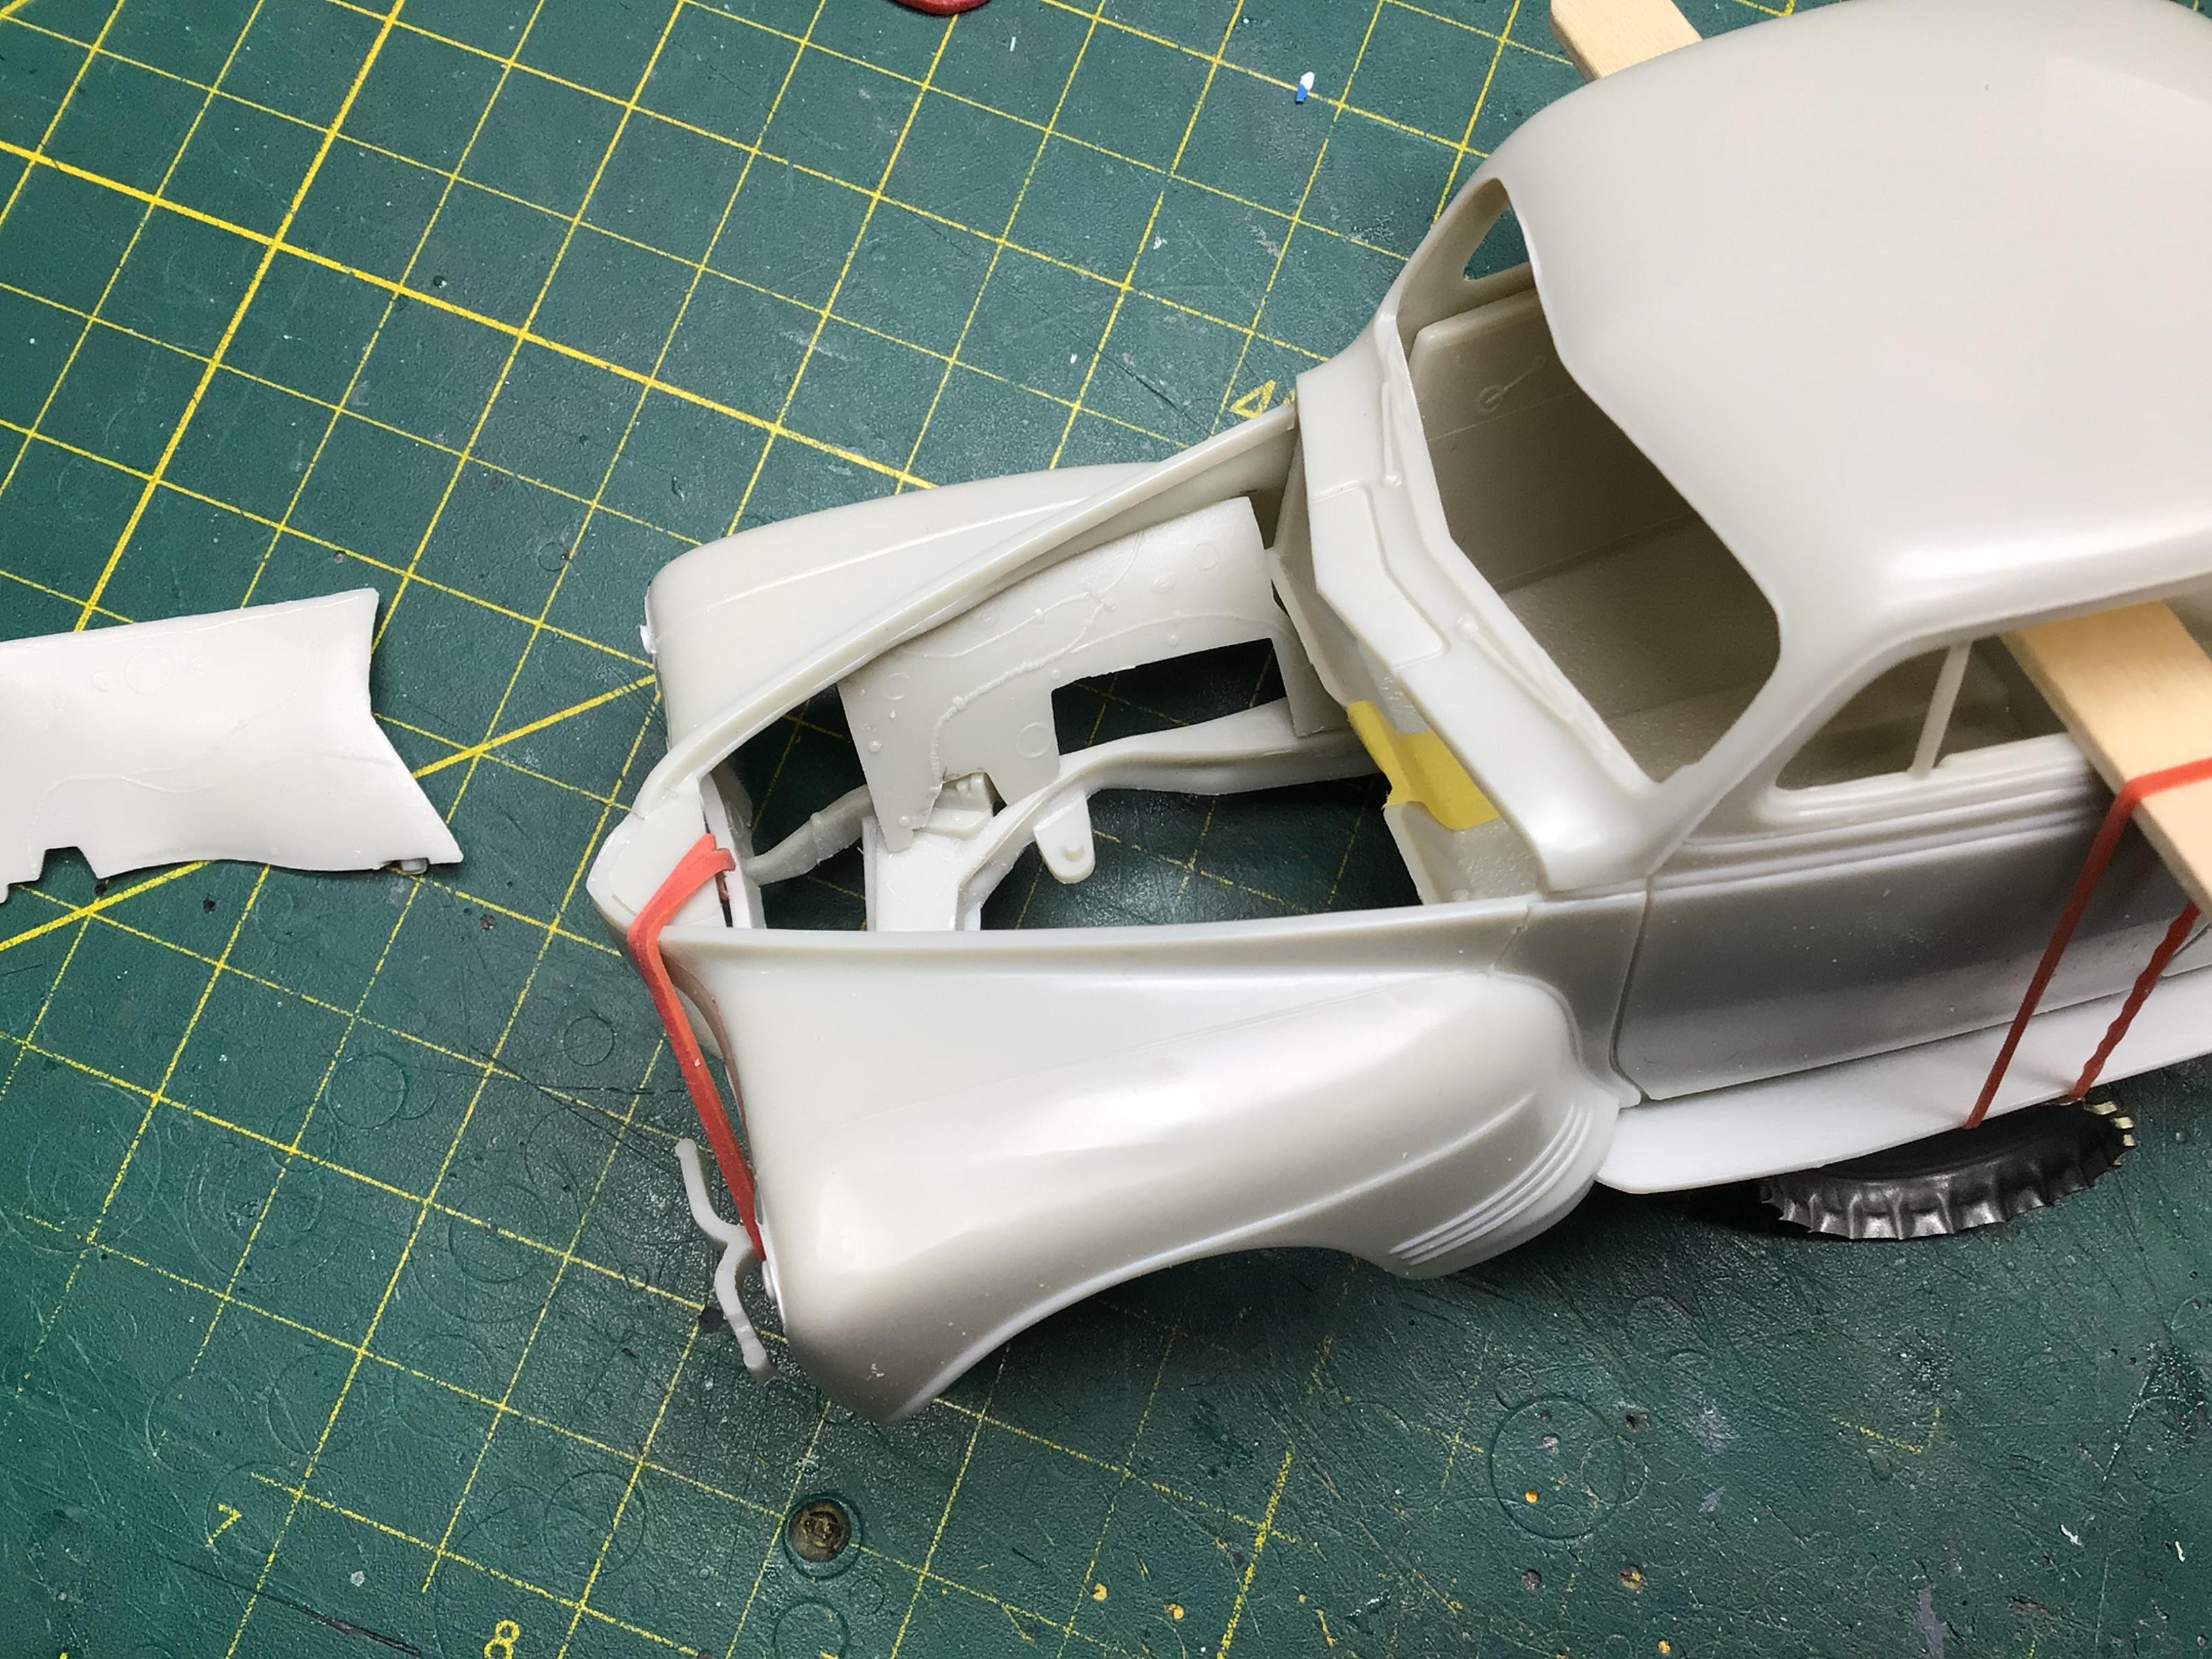
I guess I should get the wheels mounted and a ride height set before messing to heavily with the fender wells. The kit knuckle/spindles are pretty chintzy and are meant to be used with the metal axle. I accidentally clipped off the lower mount.? However, the instructions clearly show the little stub in place that definitely needs to be removed in order for the knuckle to fit.? Since I want to lower the front a touch anyway, I figured it would be best to just make some new knuckles. I used 1/8” square evergreen tube with some .080” round inside for the kingpins and spindles. The stock wheel backs need to be trimmed to get the wheels inside the fenders. I may need to trim a bit more yet?
-
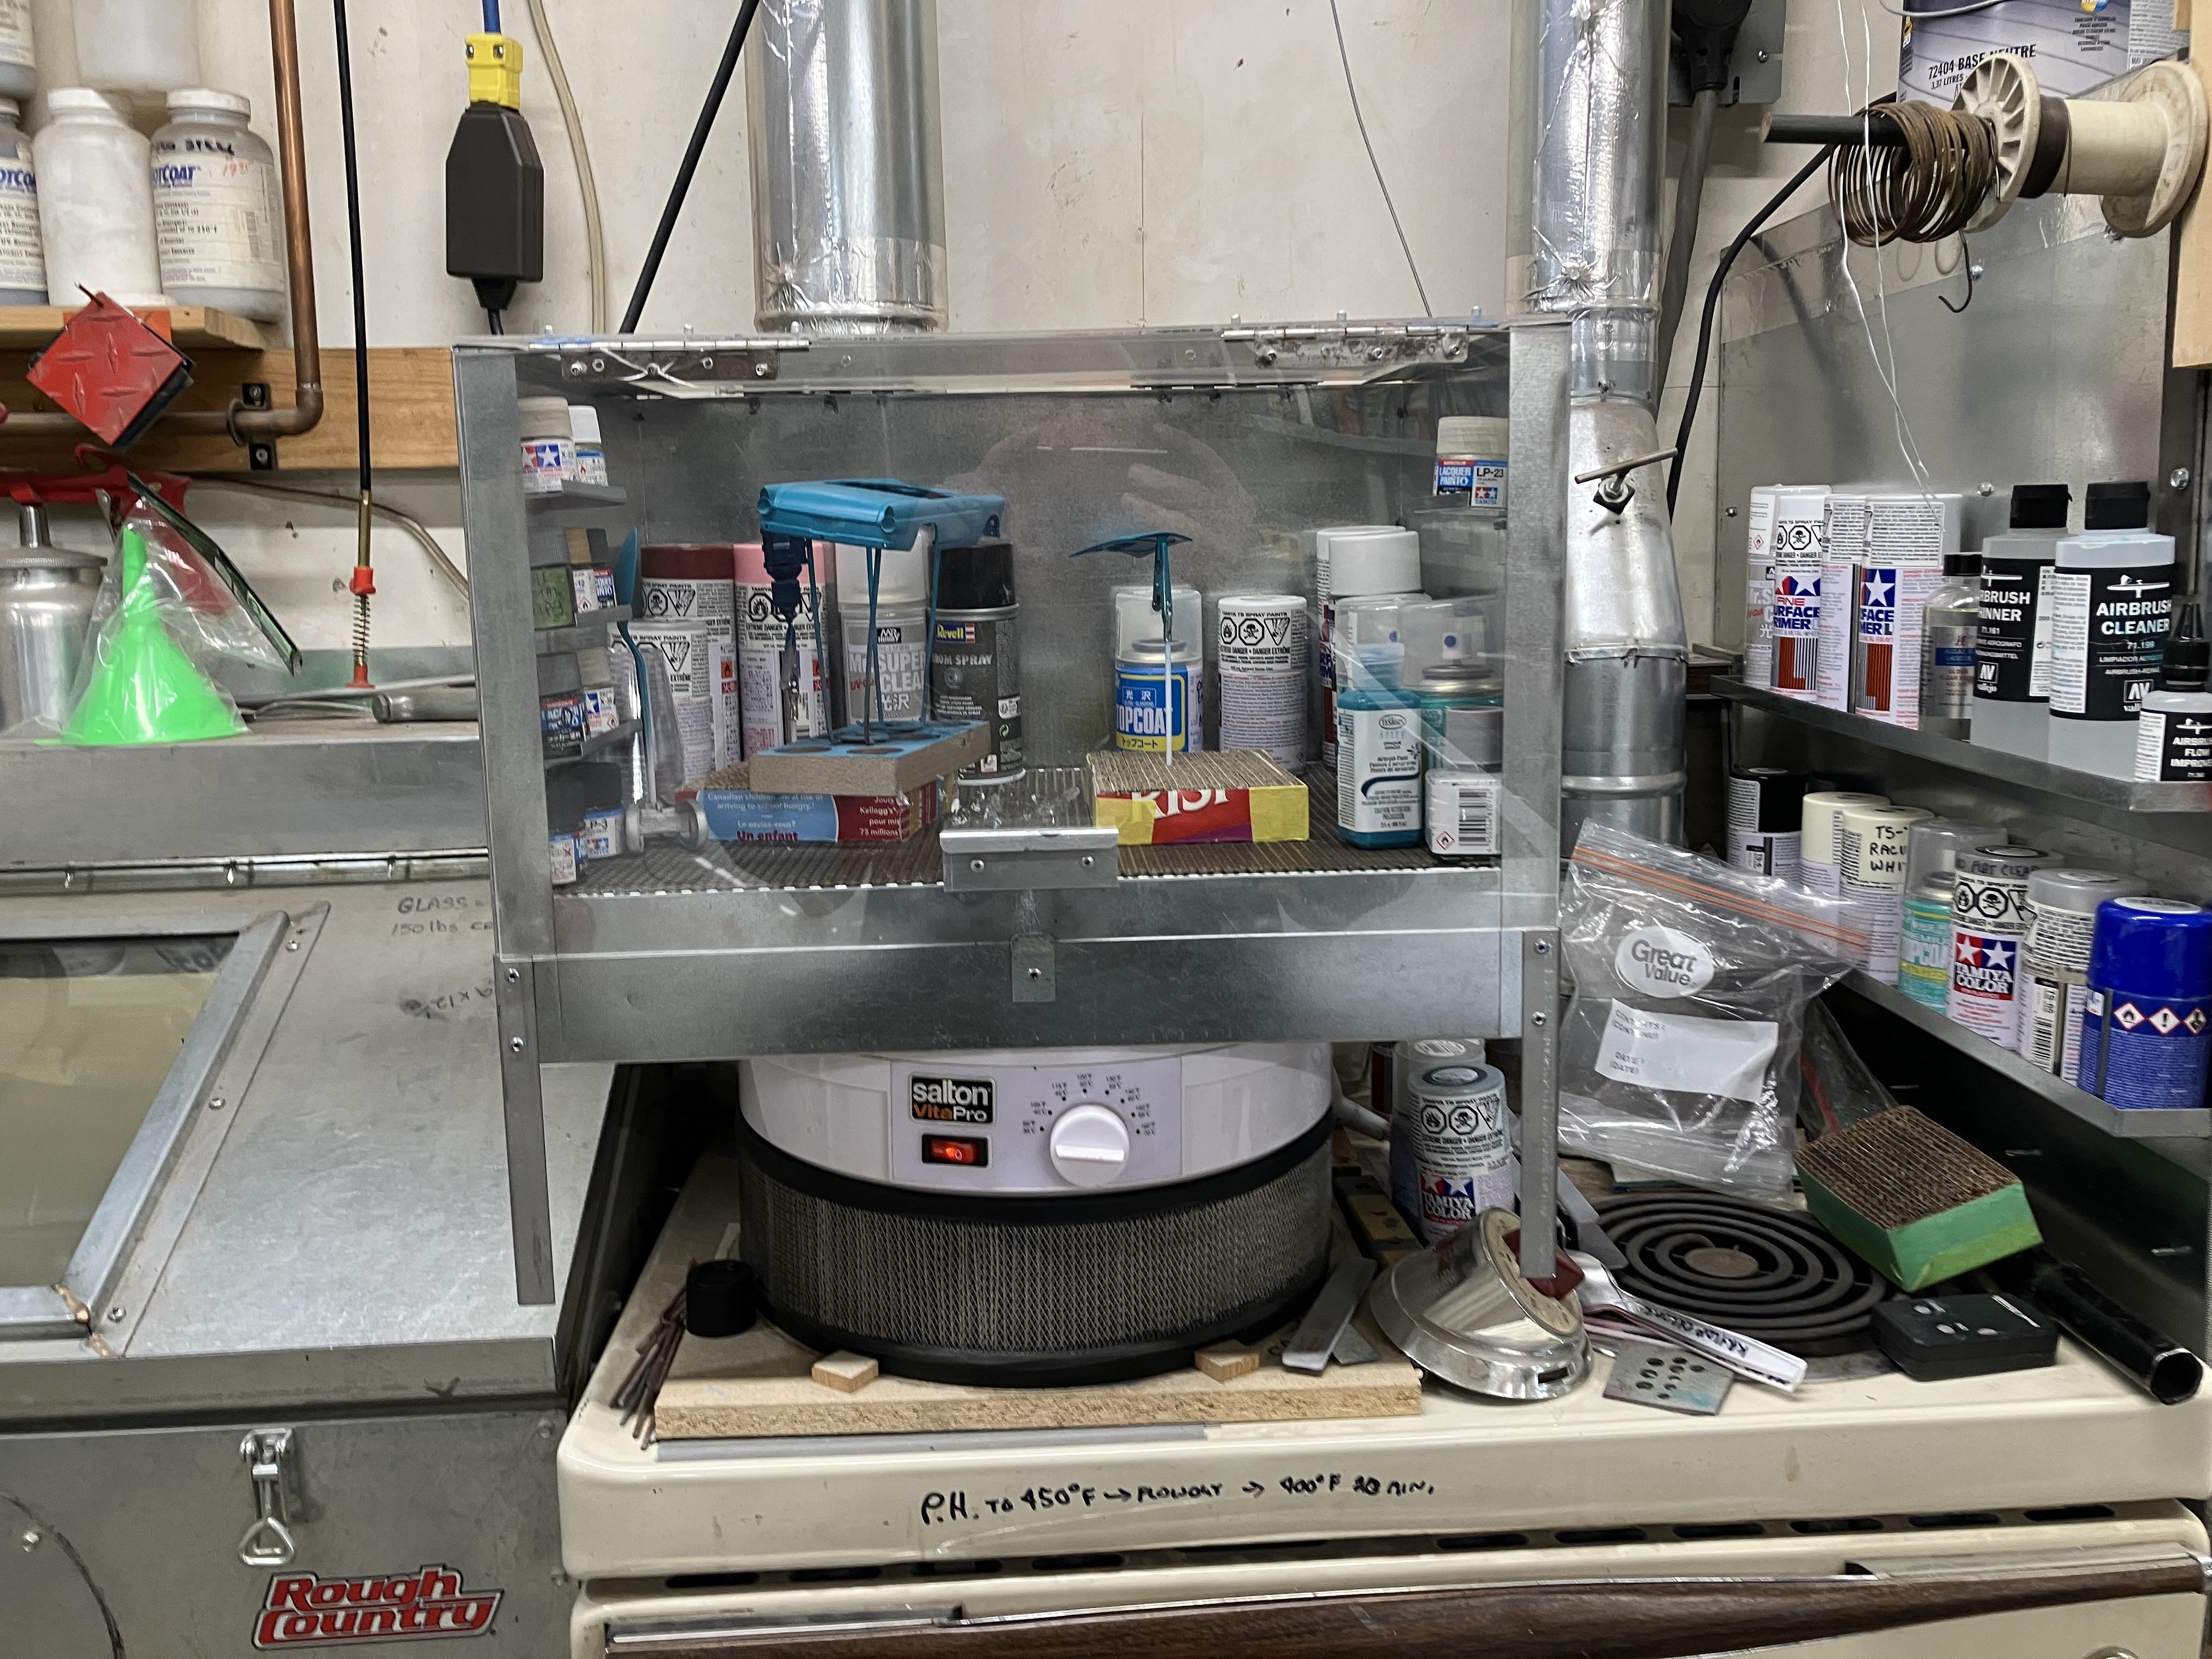
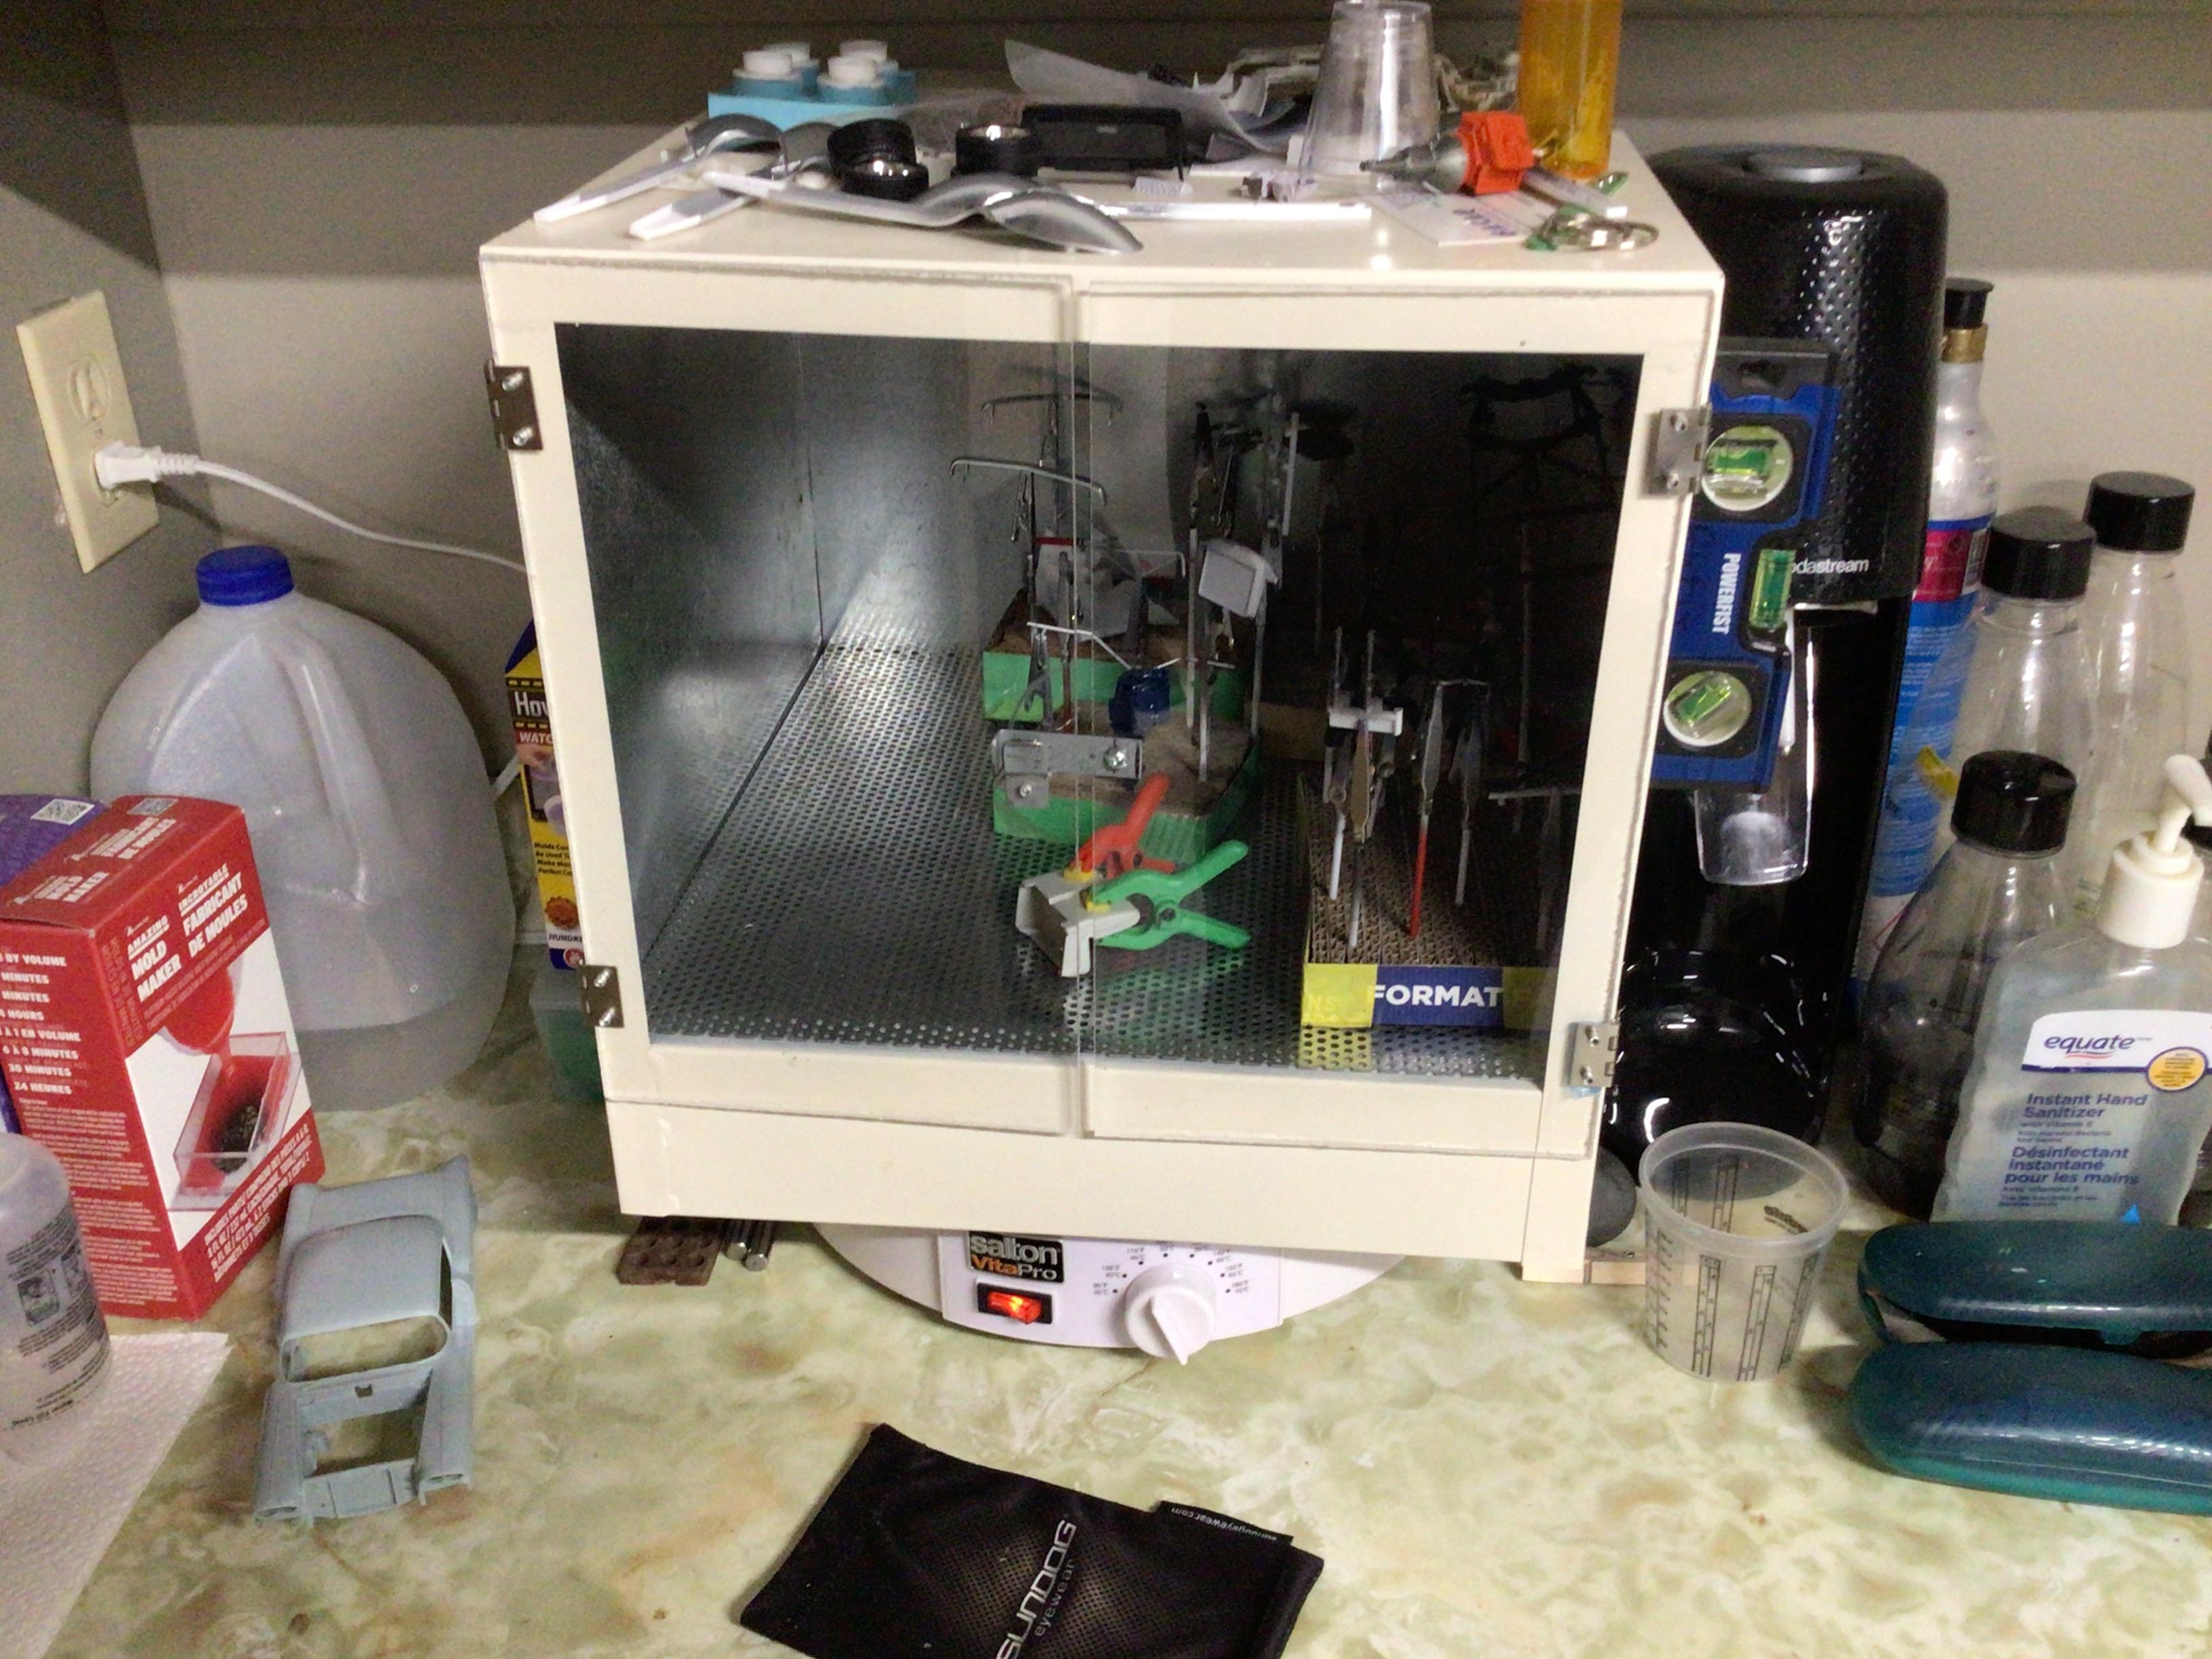
This is the one in my garage. I found an auto air filter that fit nicely under it, since my garage is filthy. And I keep it on low heat so I can store some “soon to be used” paints in it. My detached garage has a heater going in it constantly, but it gets pretty chilly in there sometimes. This is the one in my basement. I have cranked it up to the max 160F to dry paint and it has not melted any styrene. You could certainly build a box from plywood or cardboard that would give you more room and easier access. The clear doors are not really necessary, and the heat is not high enough to cause a fire hazard. The main thing is to allow airflow out of the box.
-
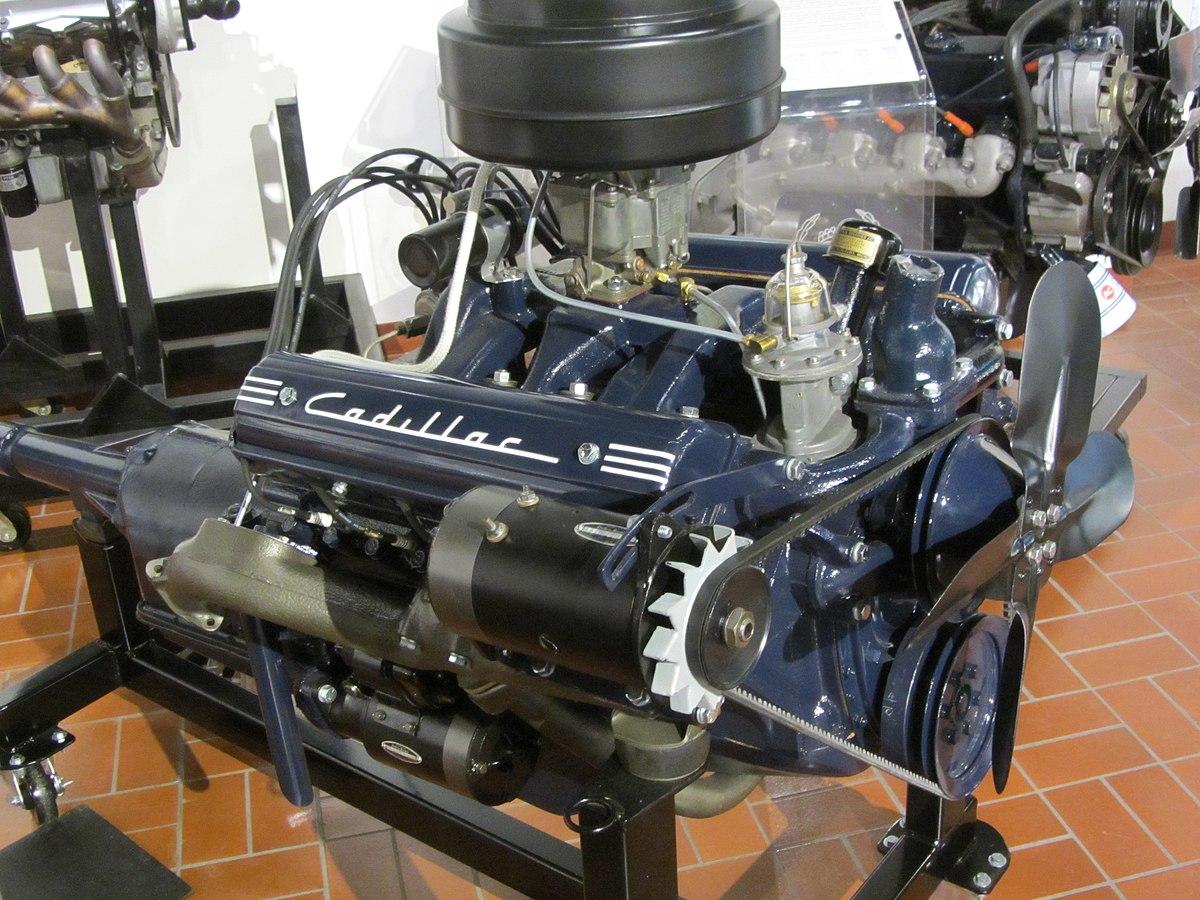
There, I think this is a little closer to the Caddy color. About a 50/50 mix of these two colors.
-
It is pretty hard…but not as hard as virgin styrene. I can still dent it slightly with my fingernail. I want it to be firm so it won’t smear or clog the sandpaper when I shape it. I might not even sand through to it, but it is there for insurance.
-
I didn’t know they were available without handles…that would make this modification easier.? I will see if I can find them somewhere.
-
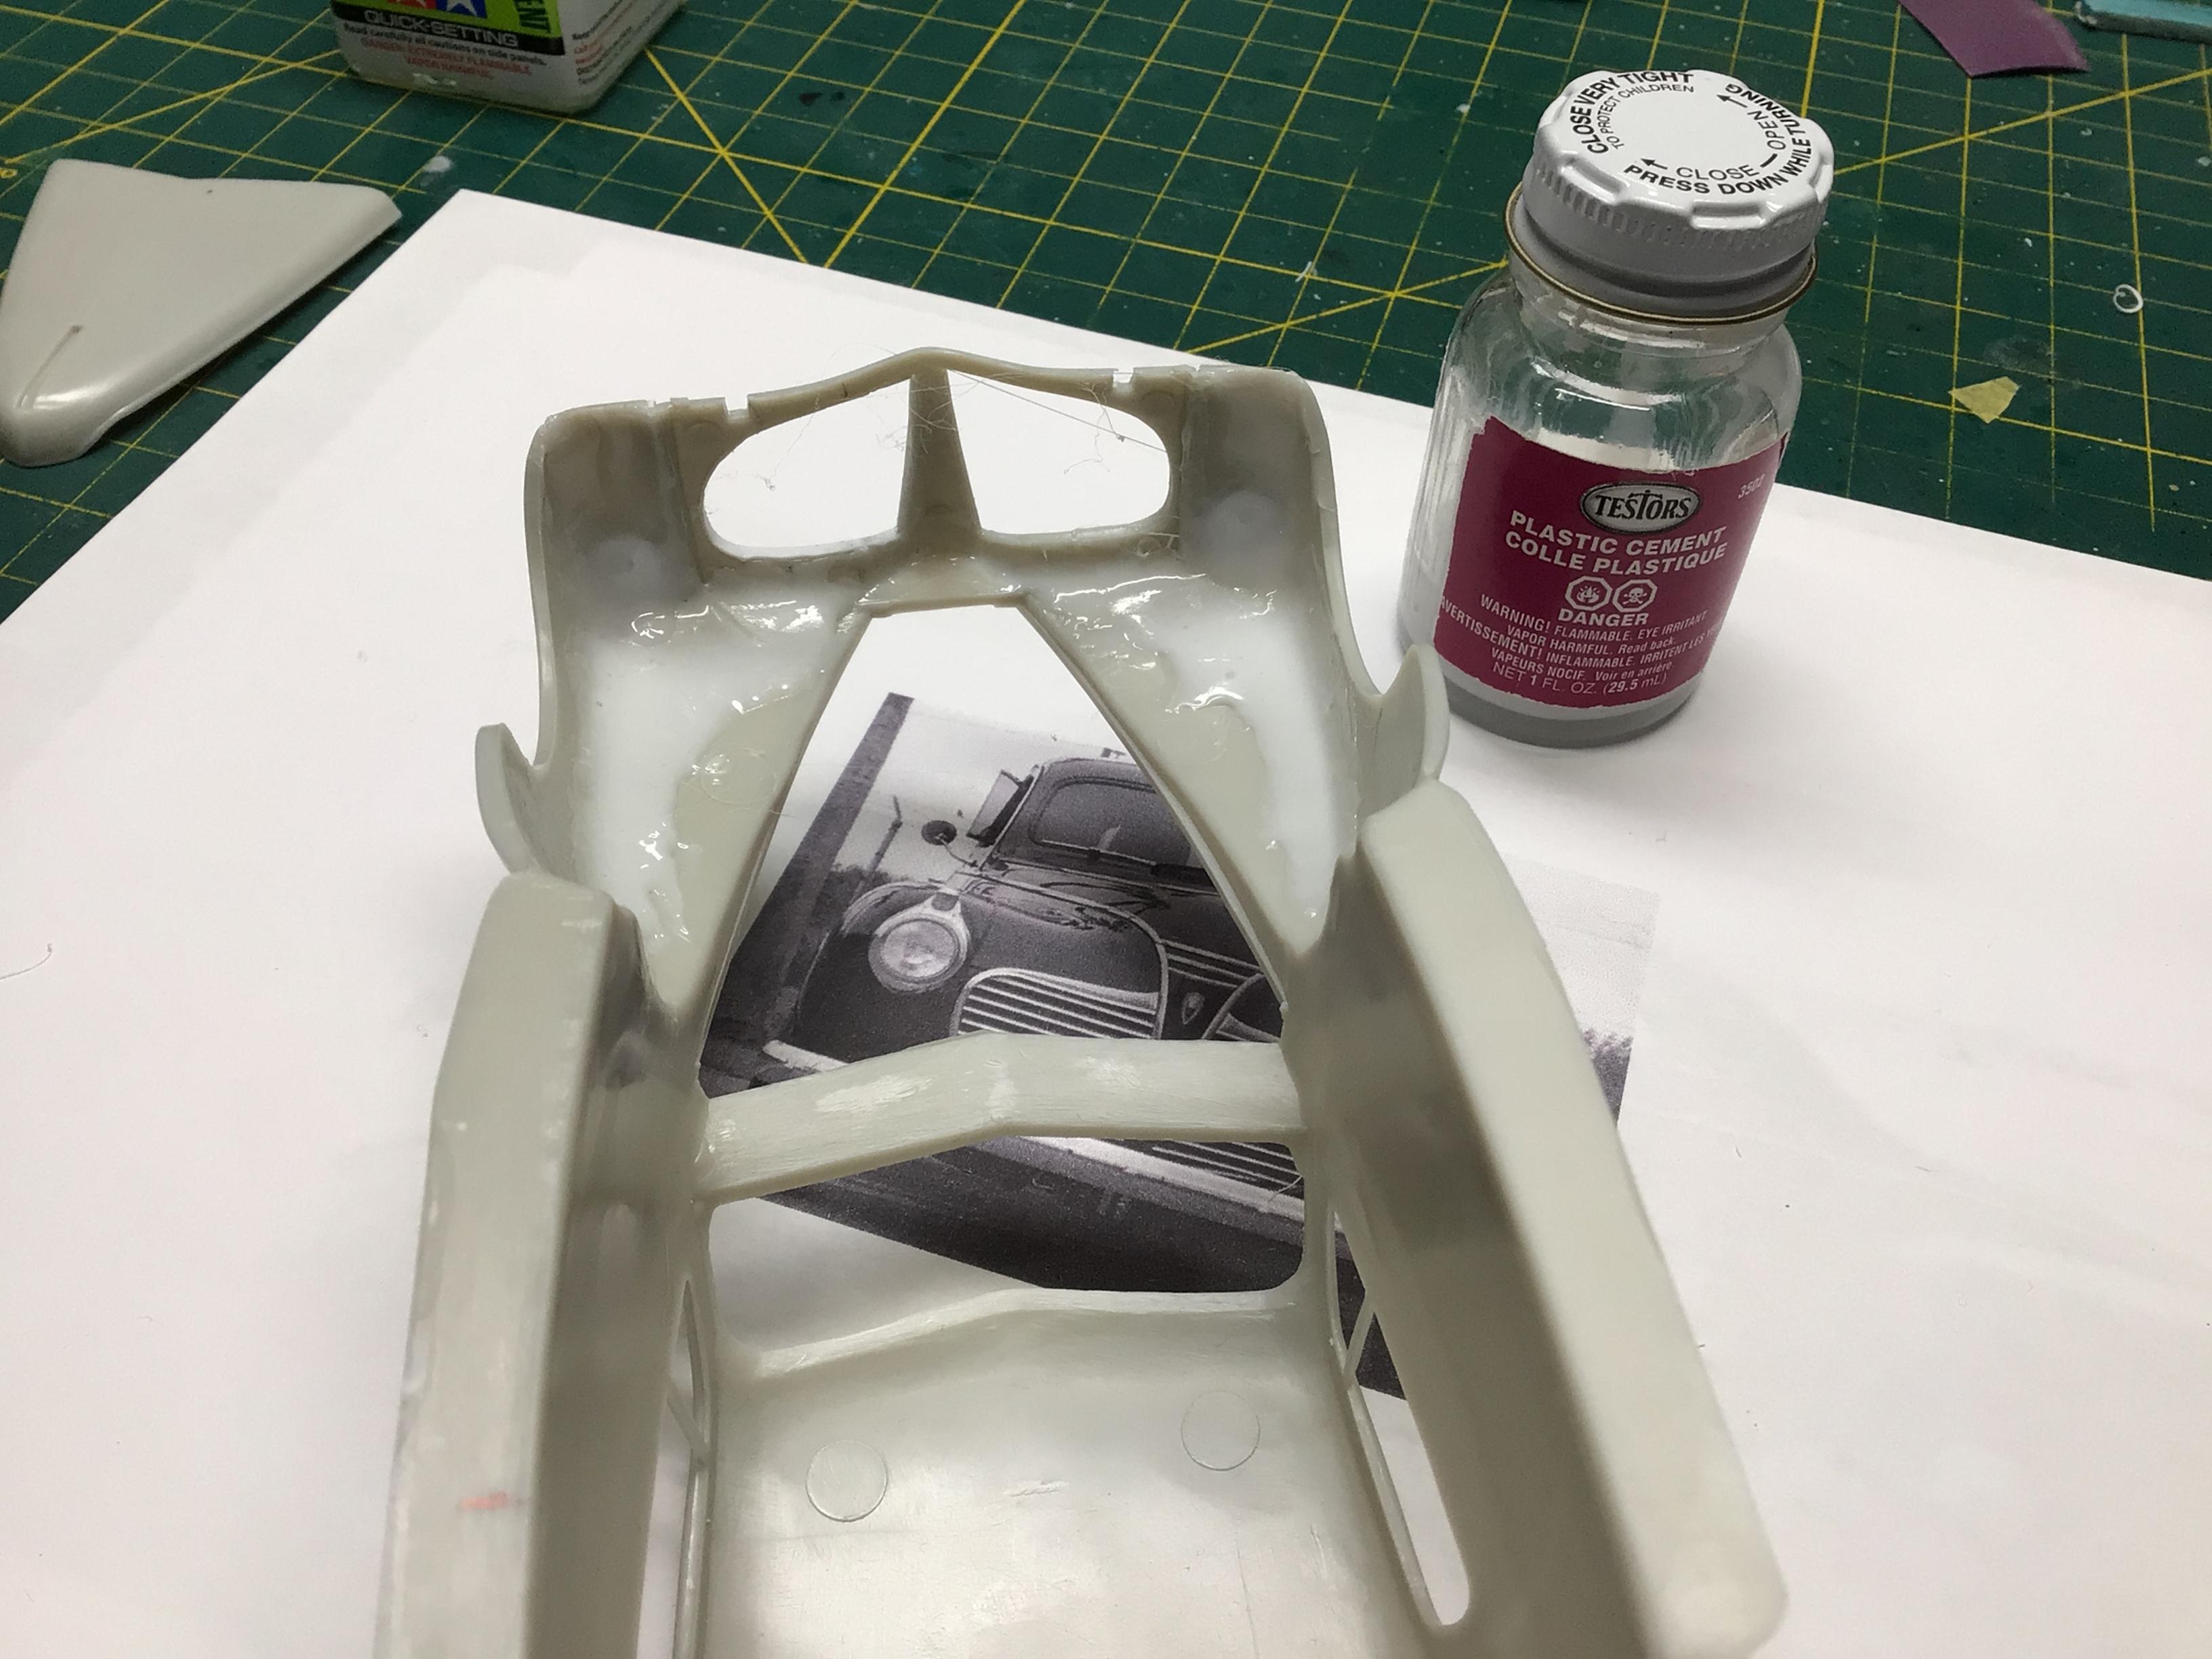
No, it was in a glass bottle, but it’s likely the same stuff.
-
Thanks Rich. These brushes work better than pipe cleaners because the bristles are stiffer. I do have to use pipe cleaners on the paint cup though and hope to find some better ones. I have some Vallejo airbrush cleaner that works great for acrylics, and lacquer thinner works for everything else. No, but I like to clean everything between color changes, and this brush makes it easy.?
-
Yeah, good upgrade on that engine Len!?
-
It could be the solvent? I had mixed up this batch probably a year or more ago using Testors plastic cement. I opened the jar thinking it would be solid, but it was still VERY gooey. That sounds like a good idea for the dehydrator. You want it to be easy to get a freshly painted body into it. I had the use of a sheet metal shop, so I made custom cabinets for mine.?
-
I had a set of the Paasche brushes, but I found the twisted wire core too large to get right to the tip. I have also used pipe cleaners, but the last bunch I bought at the dollar store are real flimsy and tend to lose bristles. I really like these interdental brushes, but the fat handle prevents them from getting all the way in. So I shaved the handle down and wedged one into each end of a short piece of aluminum tubing. They are just the right diameter and are not at all affected by lacquer thinner.?
-
Cool! That engine looks fantastic!?
-
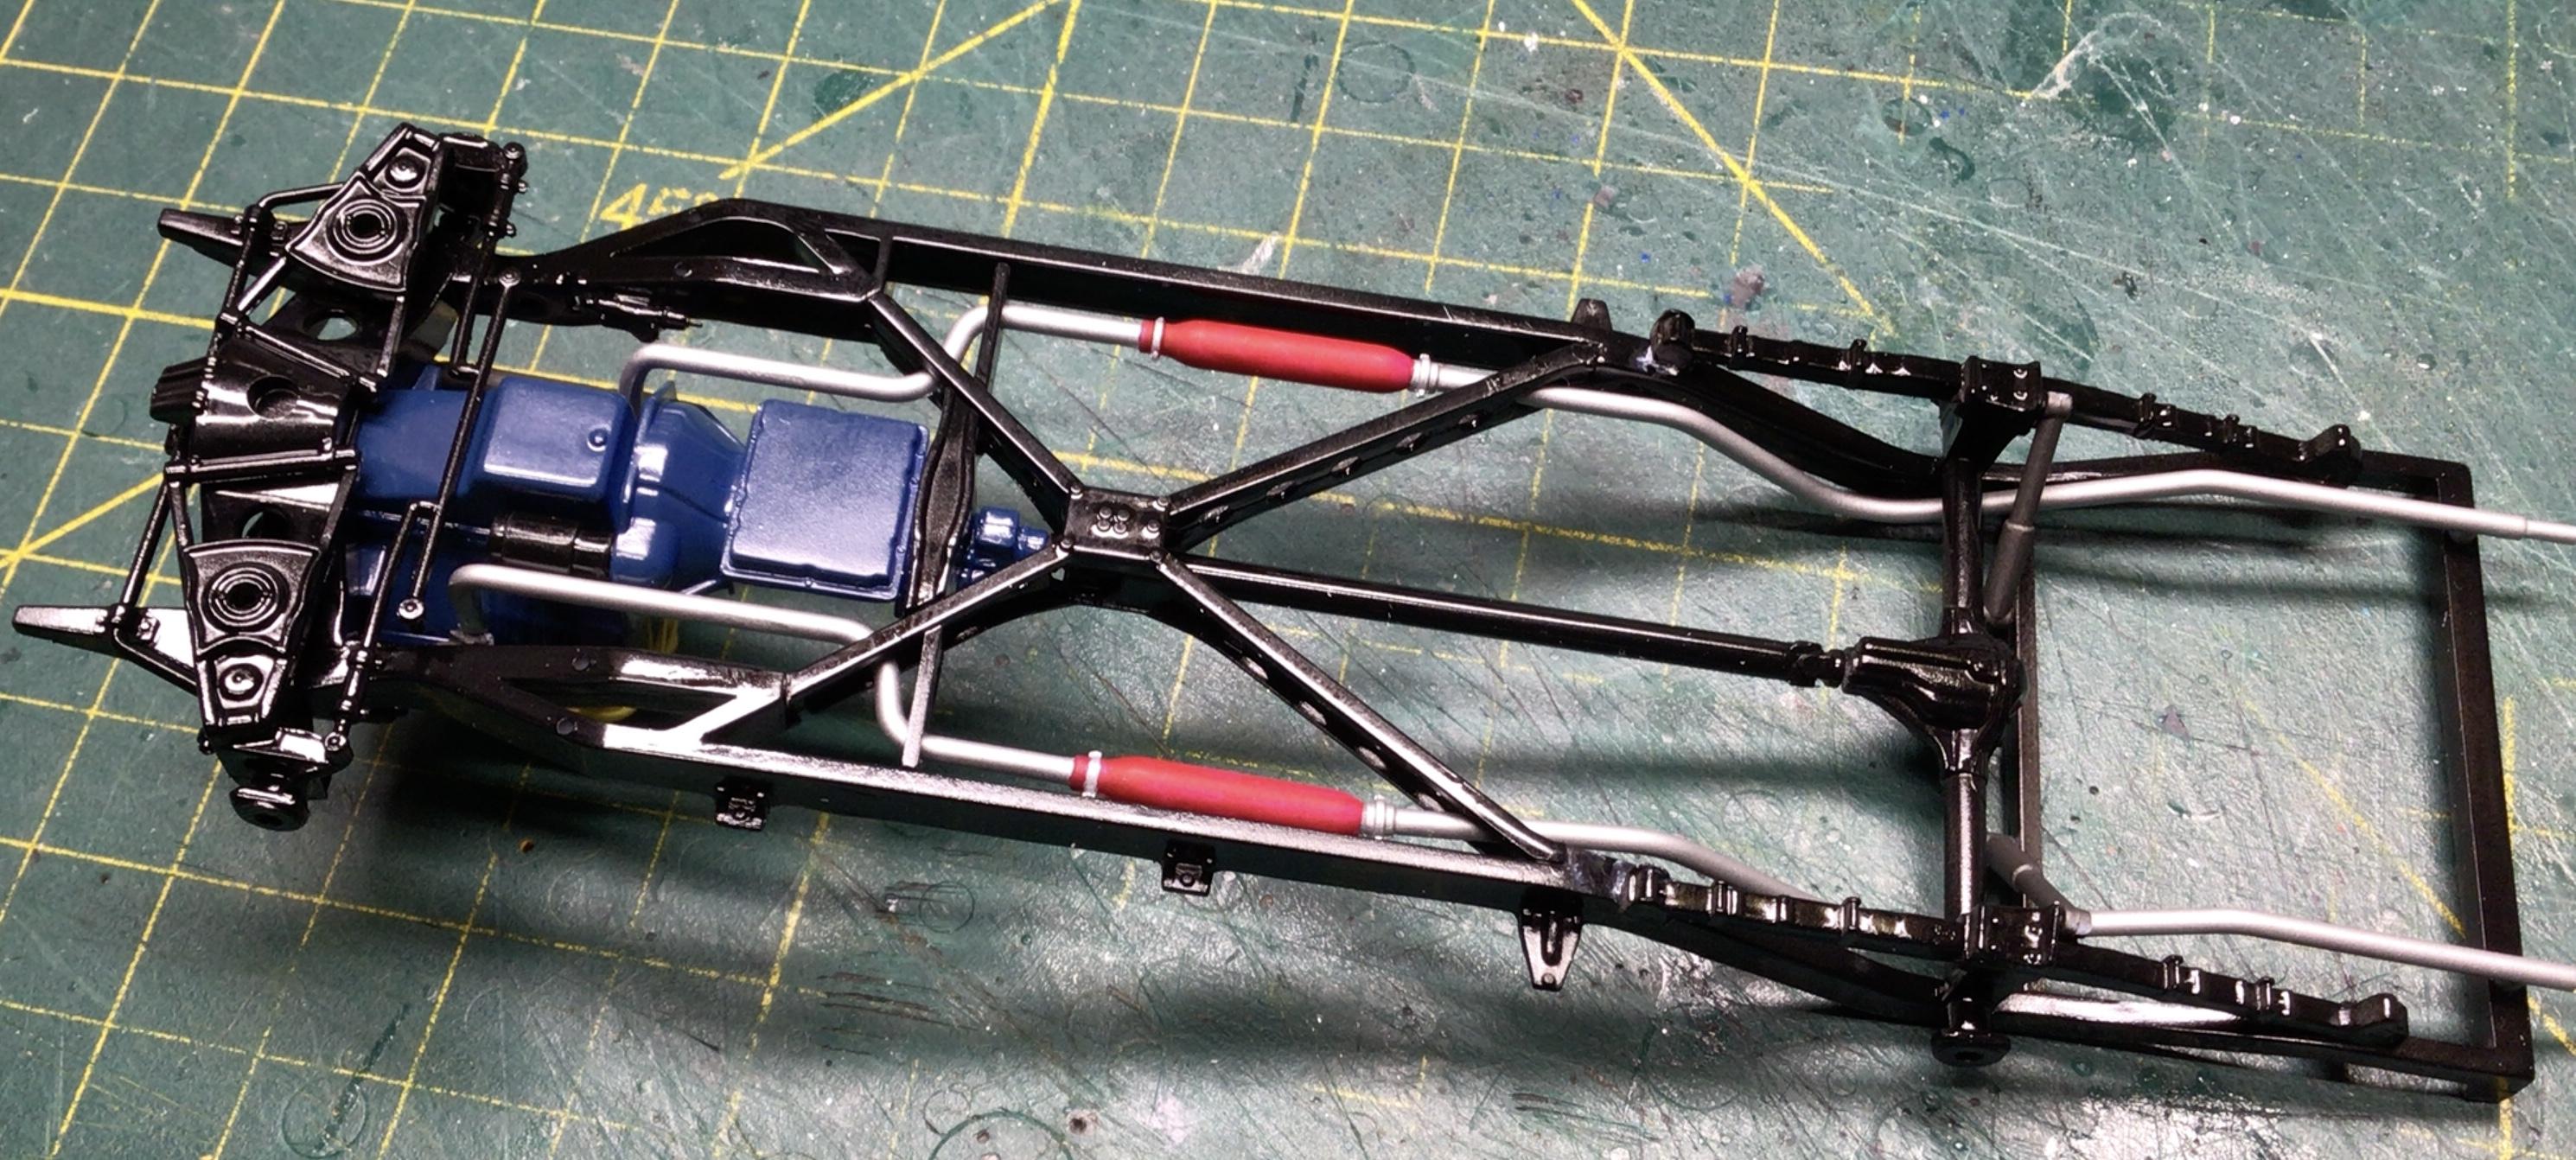
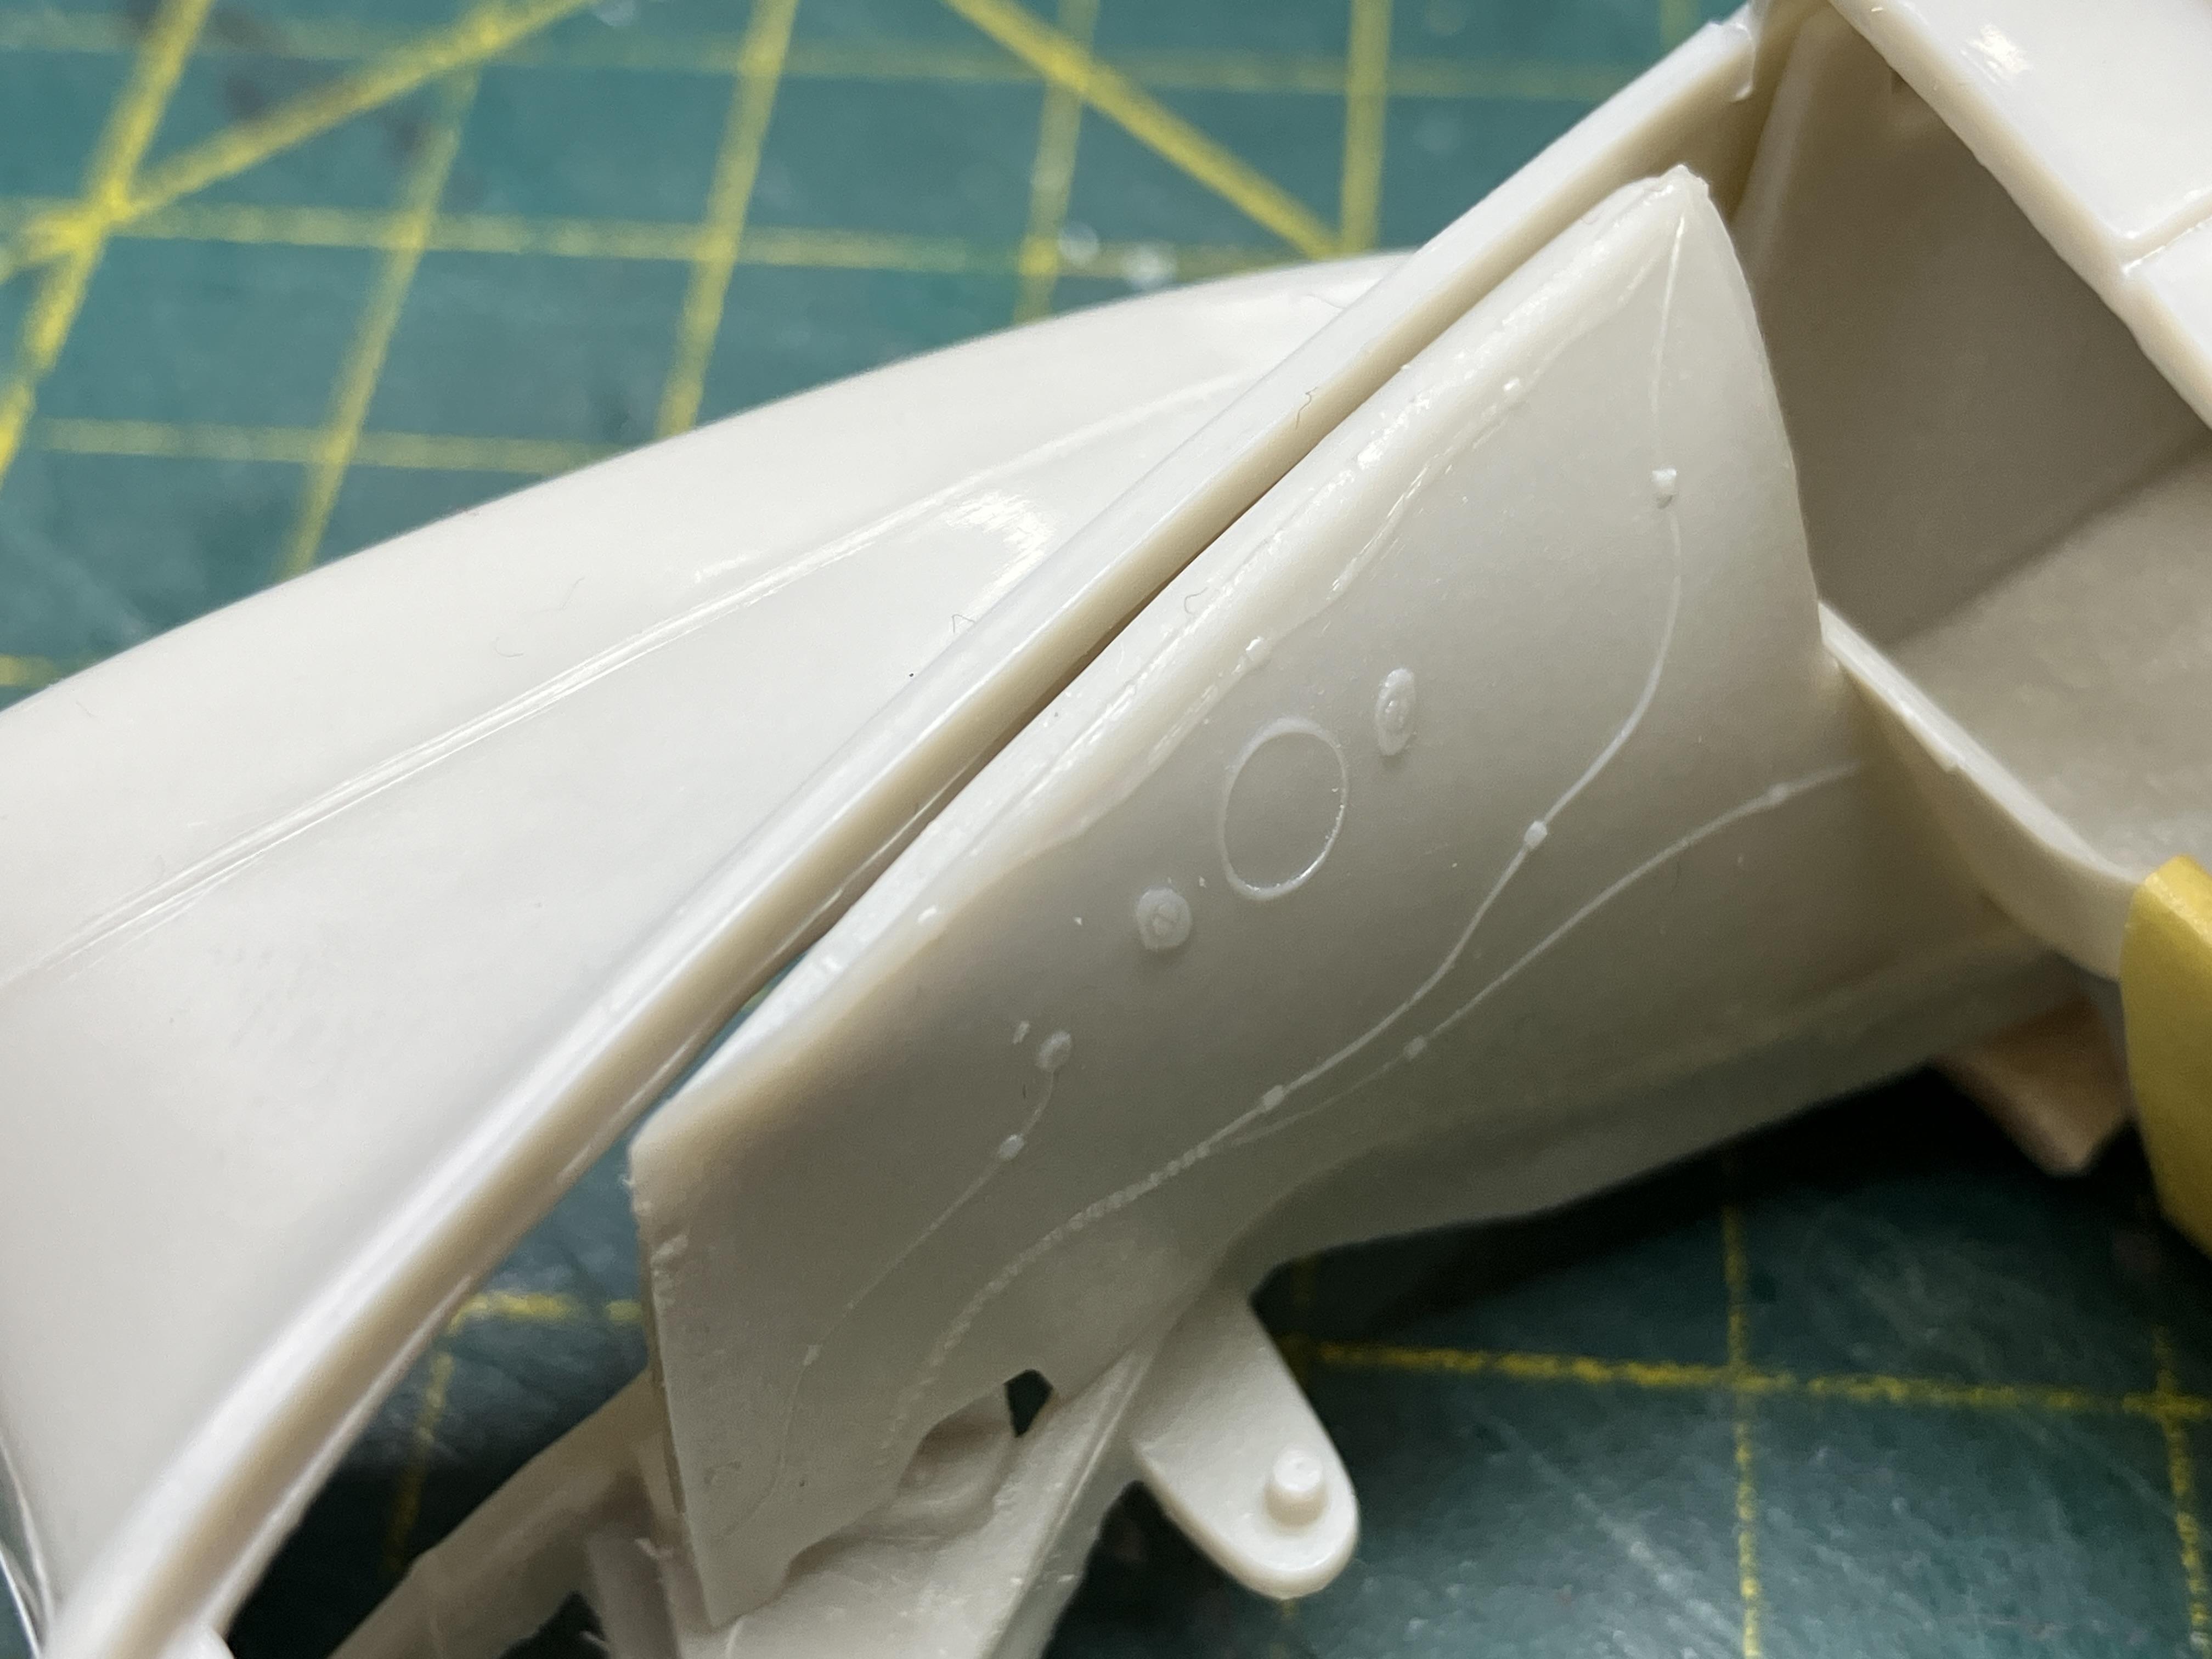
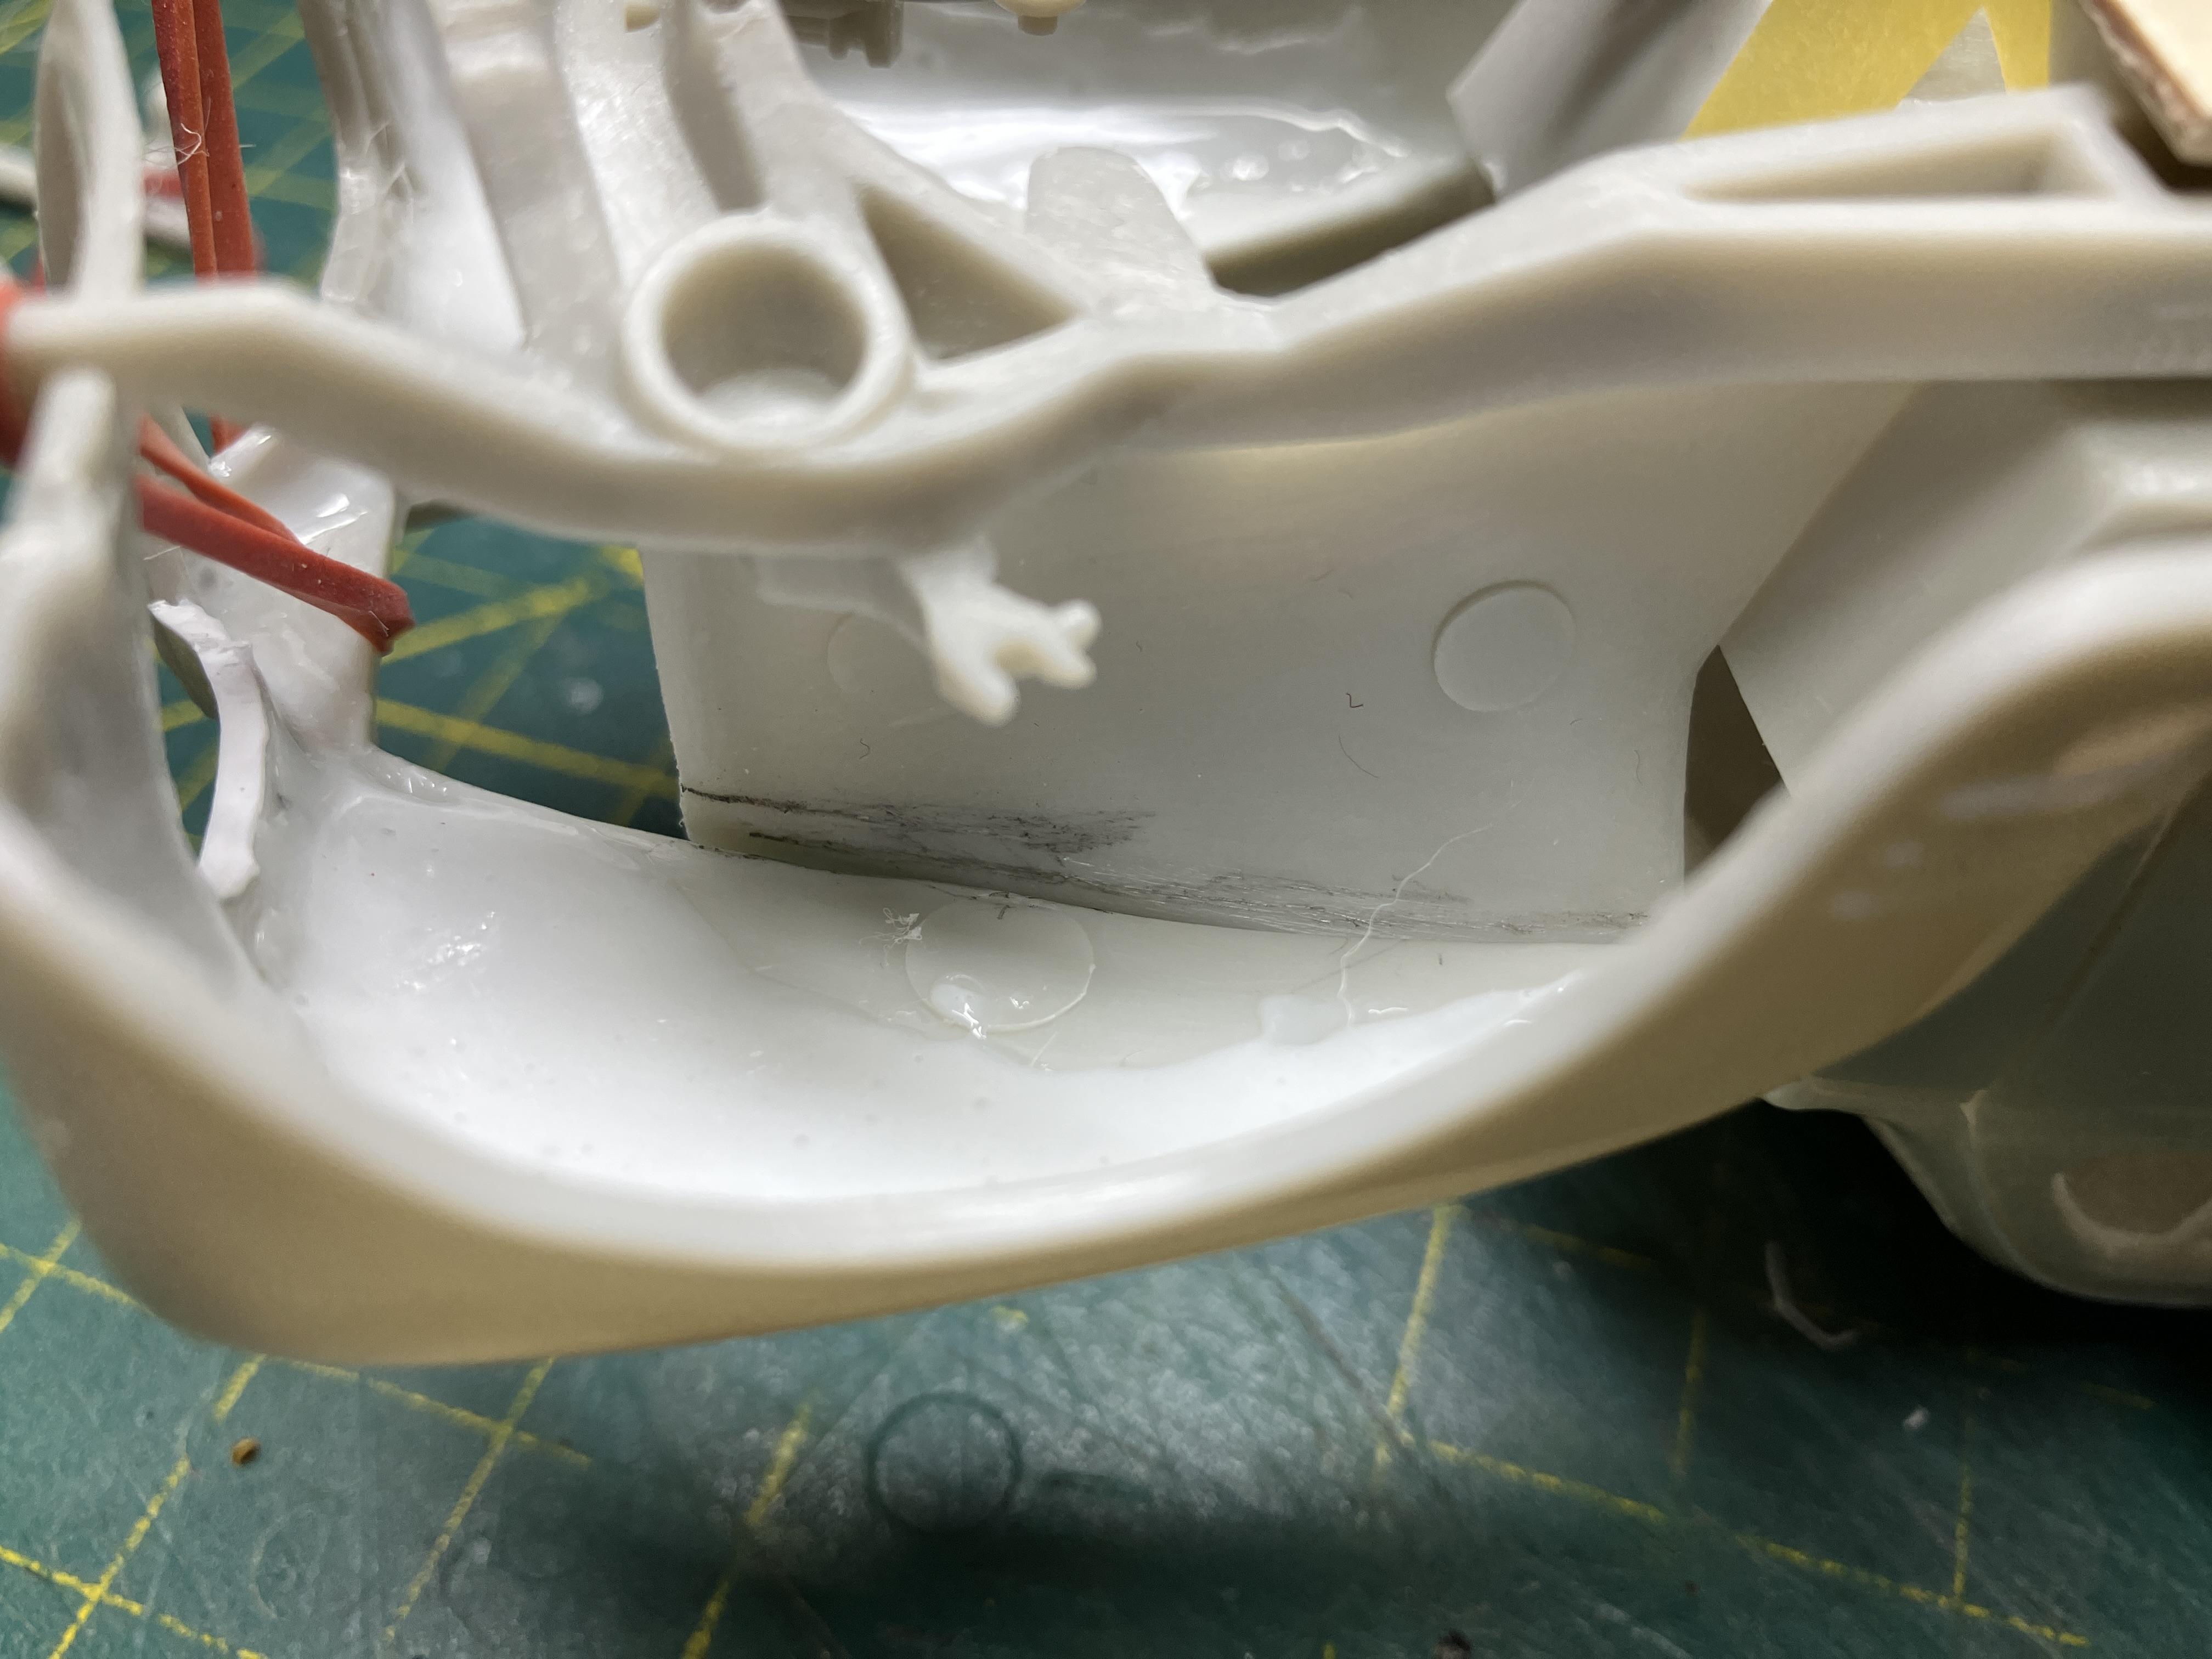
Thanks Guys! Due to Len and Jims issues with the inner fender fitment, I am using the parts meant for use with the headers to get a better fit as a trial. I trimmed a fair bit off the top, so that they can lean outward under the fenders. I think this will work nicely, and I may glue them to the body?
-
Have you had a chance to use it?
-
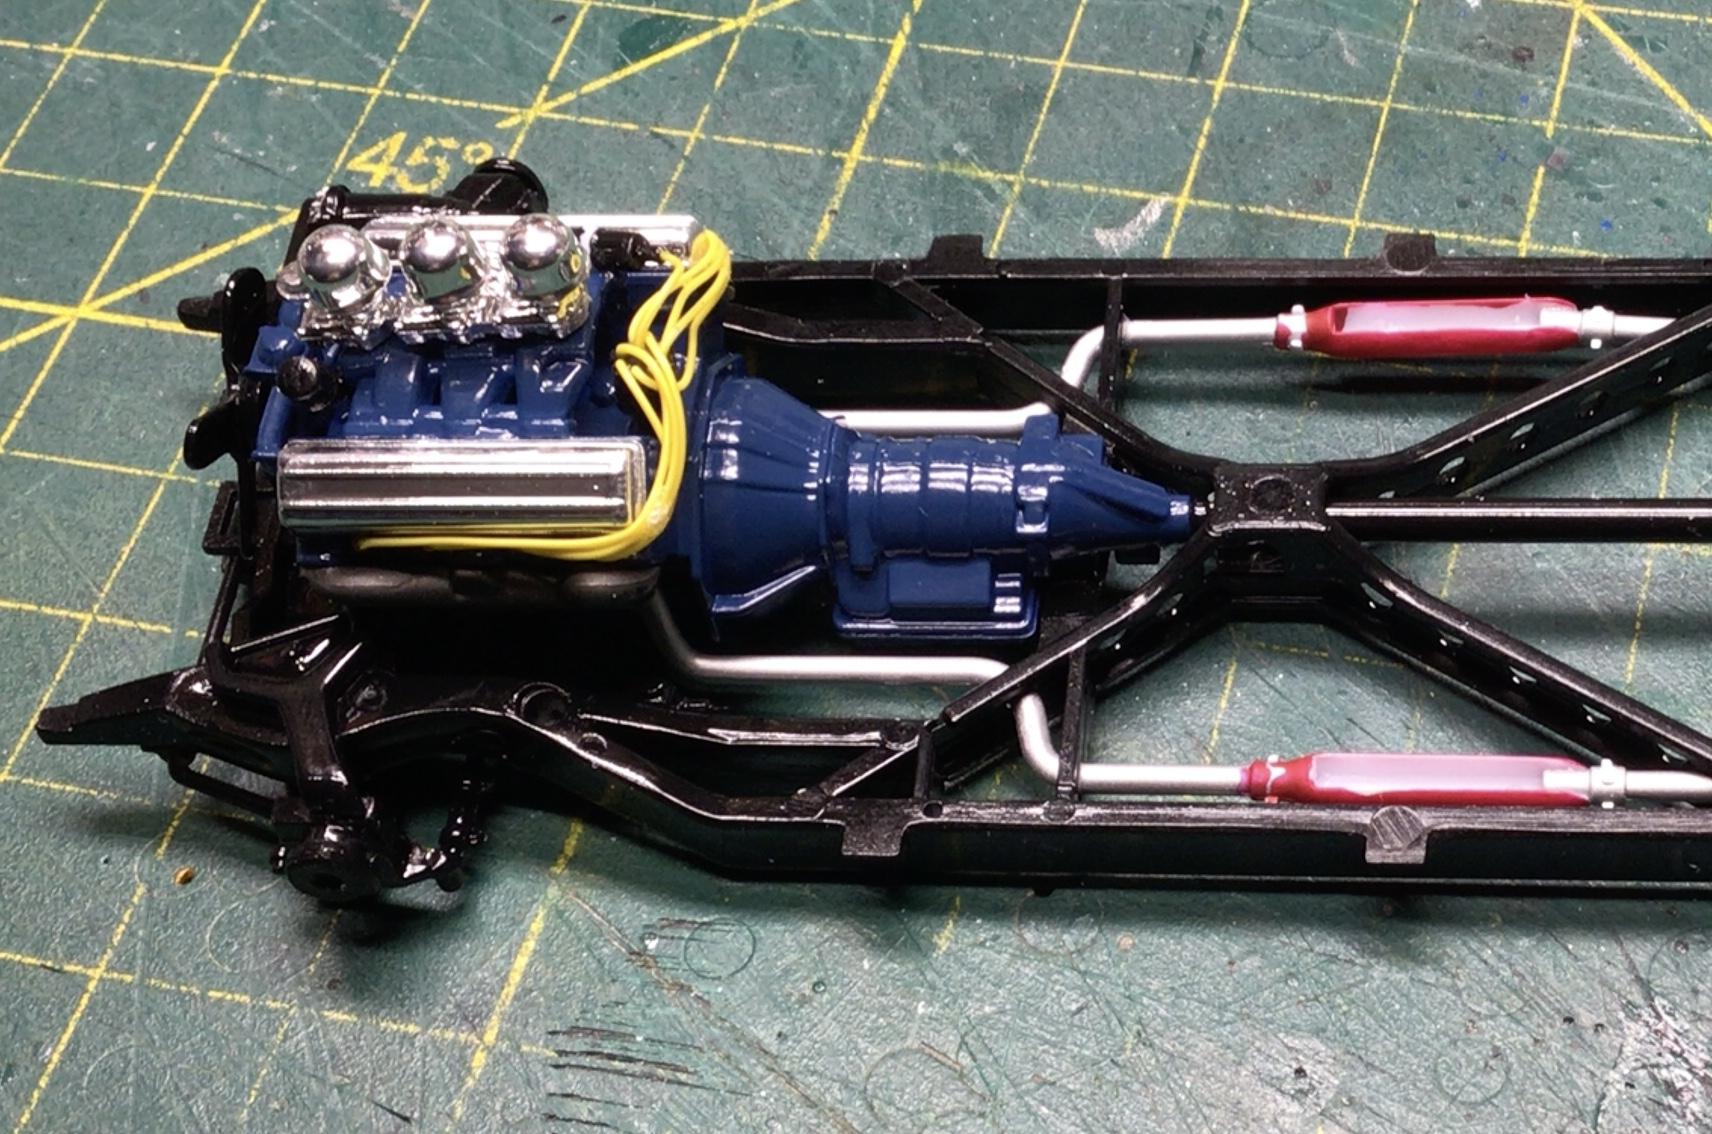
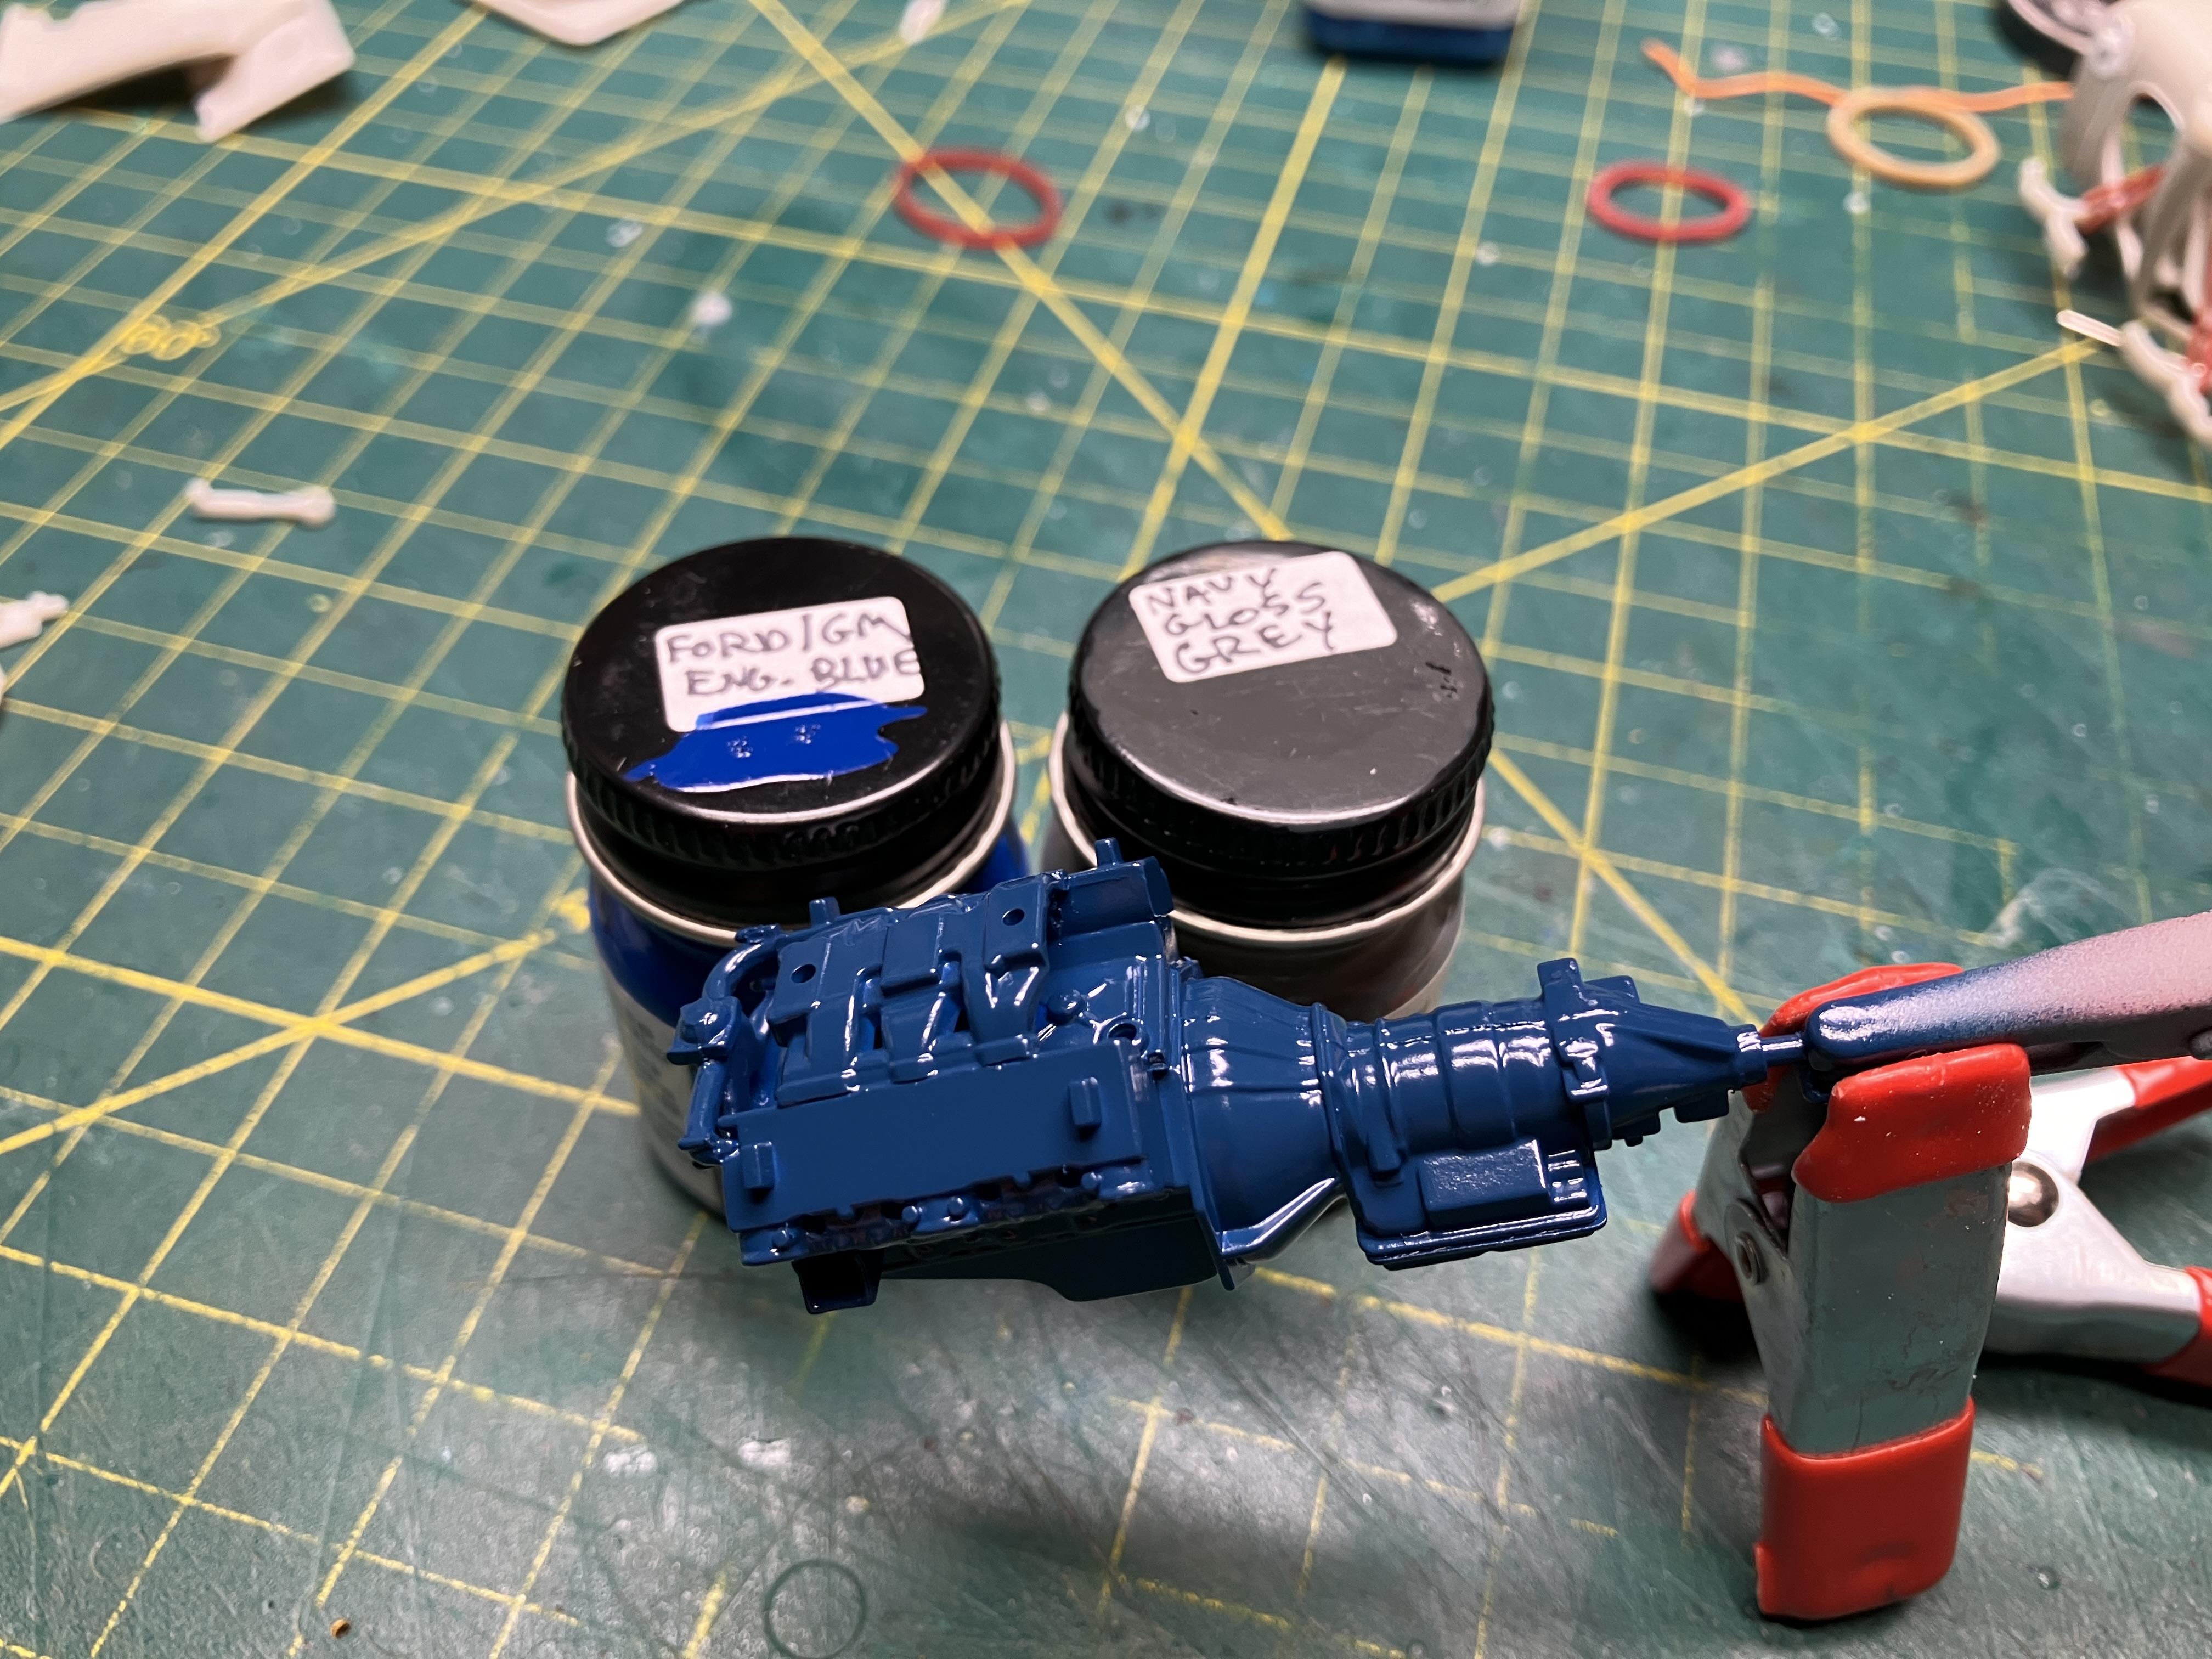
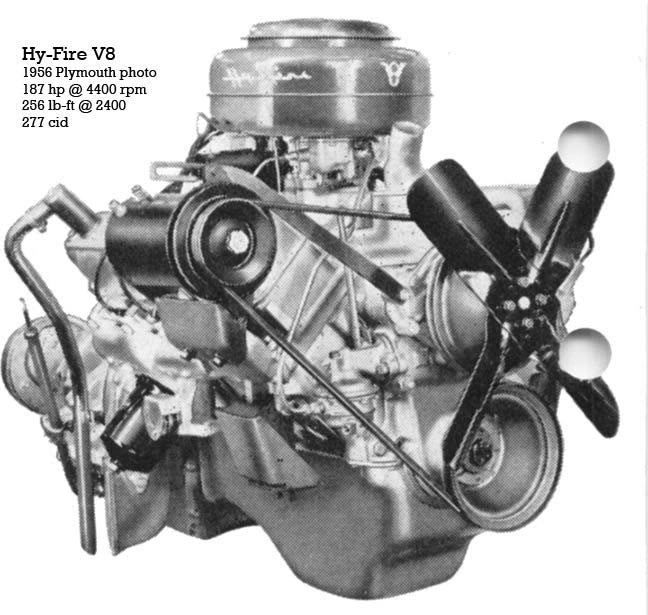
I smoothed the mold lines this morning. Then I drilled the heads and distributor for plug wires. I got everything primed and some parts painted. The instructions call for the engine to be painted gold, but according to my research, it should be a very dark blue. This is a Ford blue, and I’m not thrilled with it, so when it is dry enough I will try to mix up a darker shade.?
-
AMT 1939 Ford tudor sedan chopped and sectioned
NOBLNG replied to Paul Payne's topic in WIP: Model Cars
I’m liking the shape of it…it’s sure gonna take some bodywork to get it smooth!? Nice progress.? -
I have one too, but mine has a hemi.?
-
Yeah, that’s why I stuck with the six-banger.?
-
Looking sharp Jim! Mine’s been in the dehydrator for the last week, and the sprue goo is still a little soft.?
-
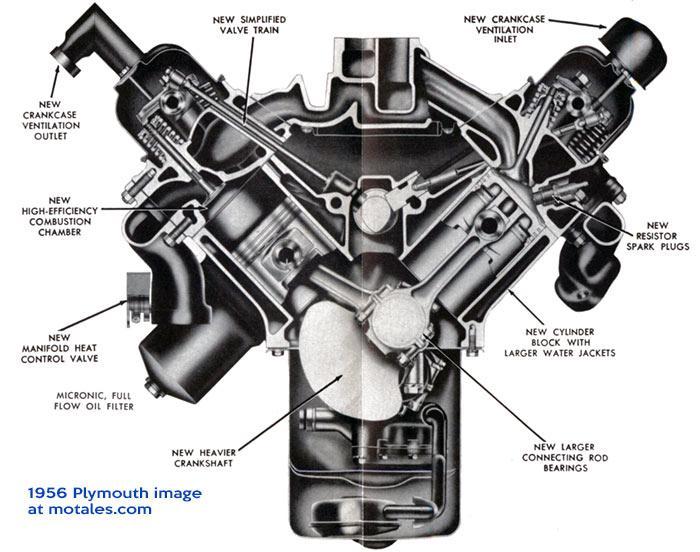
I guess that is supposed to be the “micronic full flow oil filter”. That is how the heads are mounted according to the instructions…and I’ve started a ‘49 Merc, and a ‘66 El Camino since starting this one…gotta keep my sanity.???
-
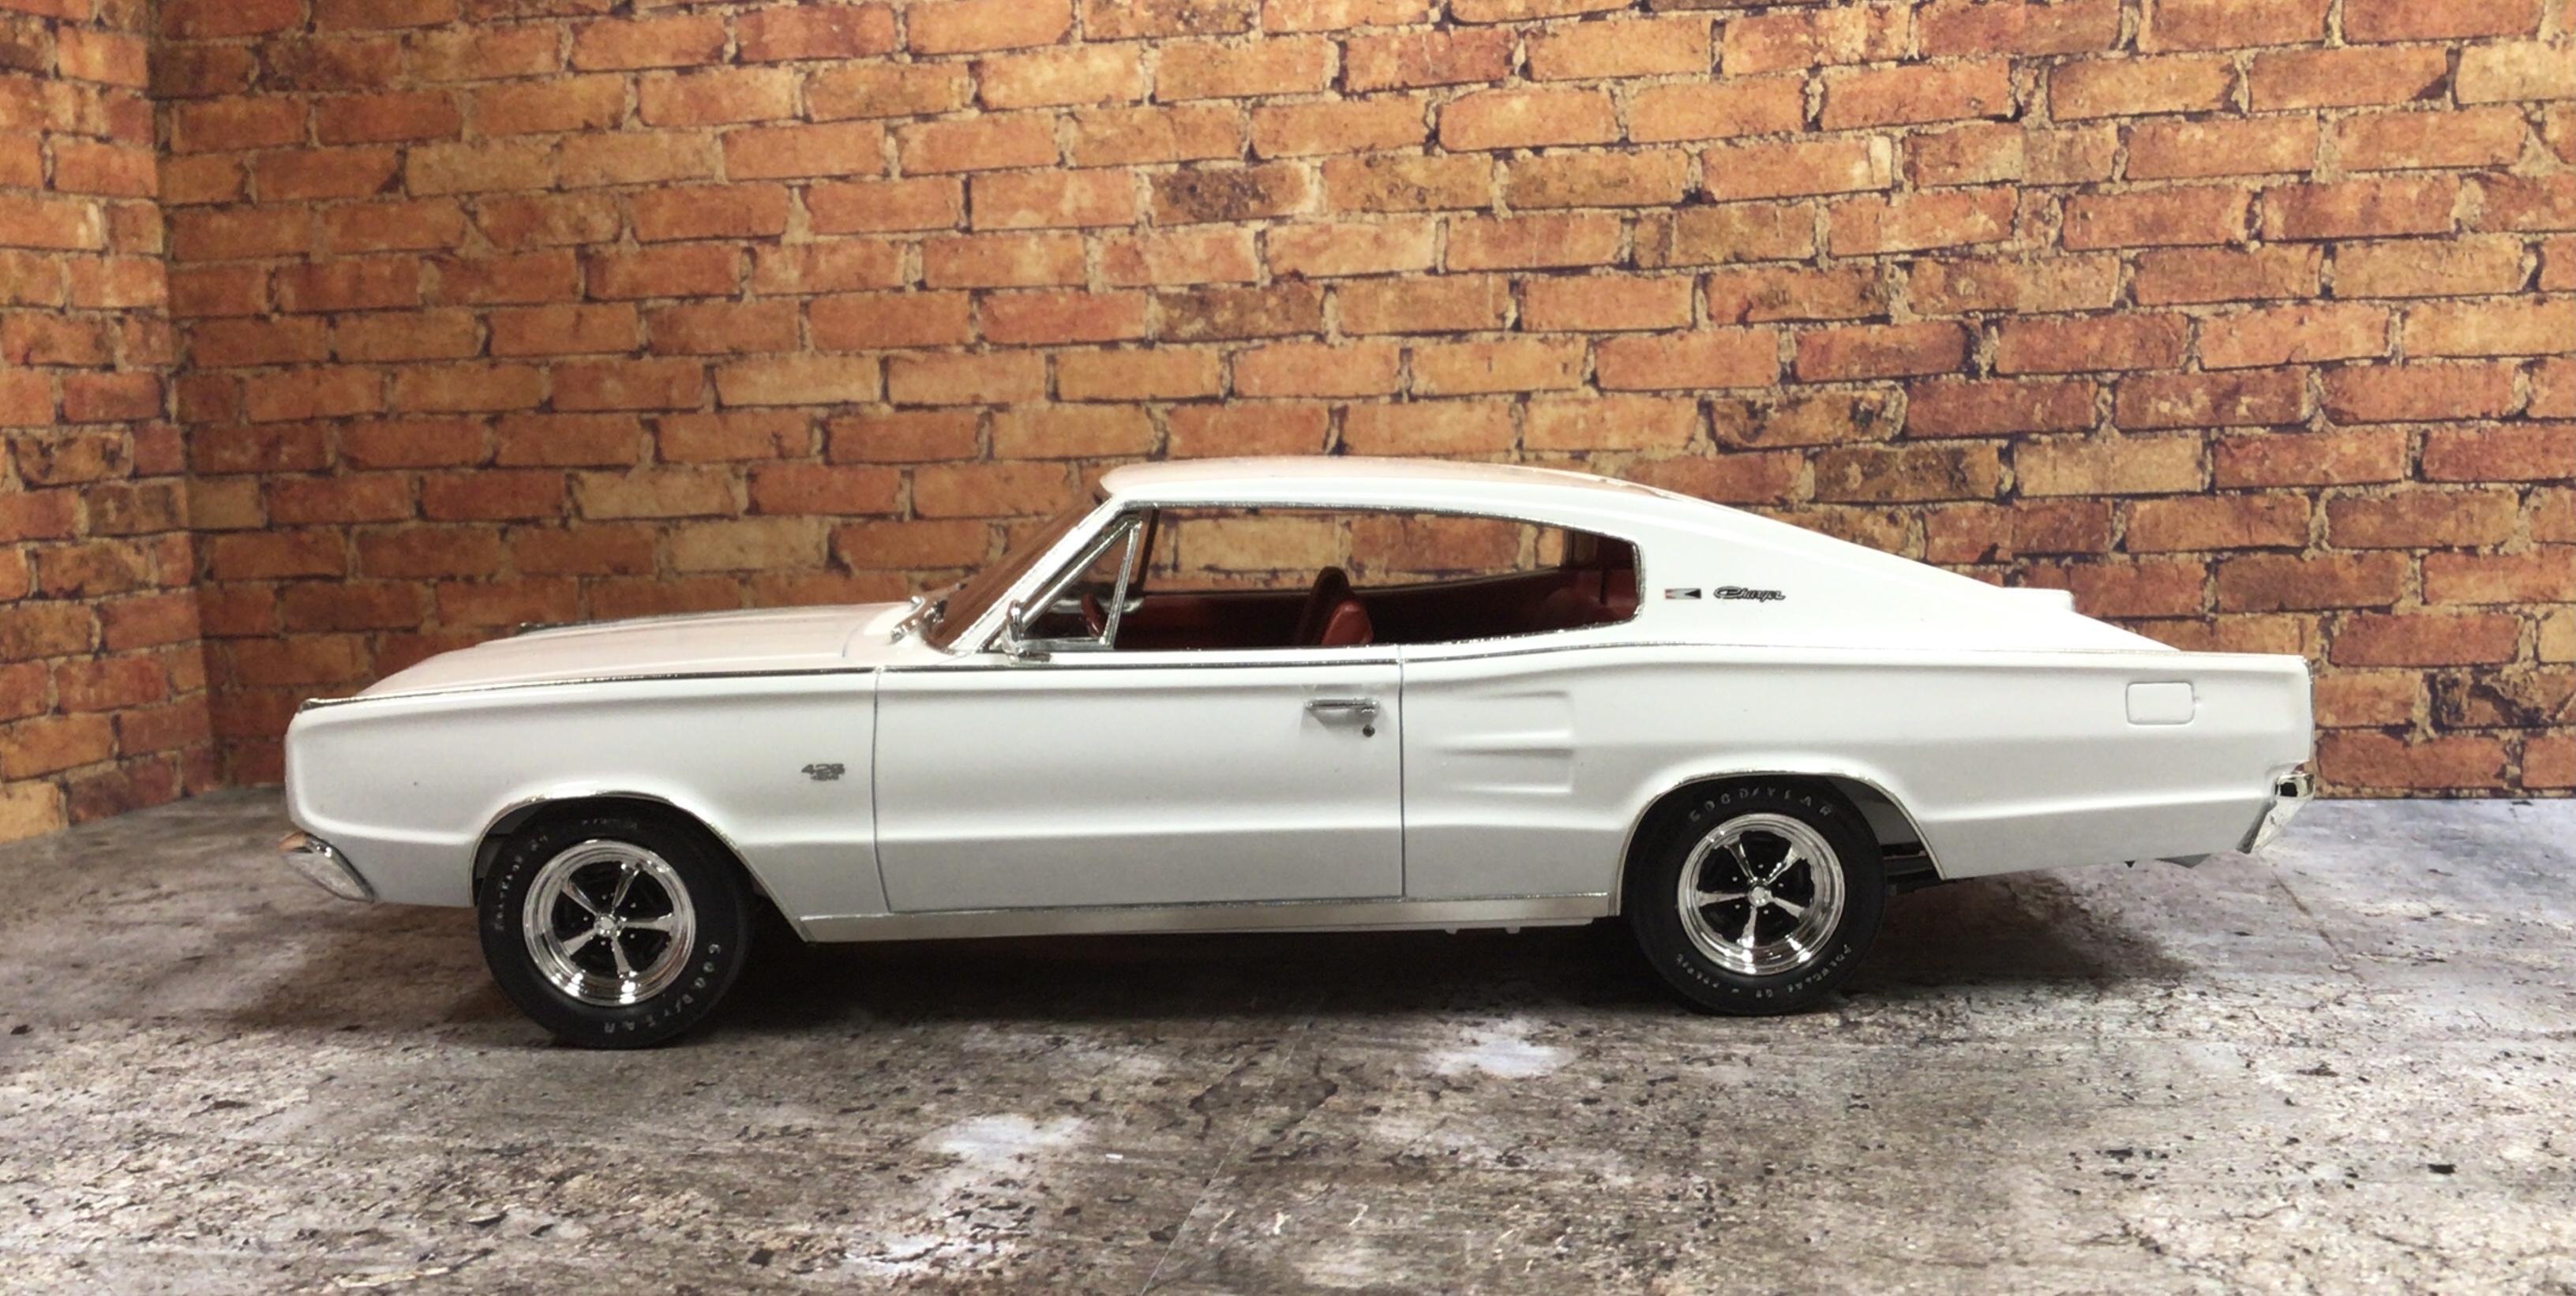
I like the Quad headlights too, and eliminating the door post/B pillar.??
-
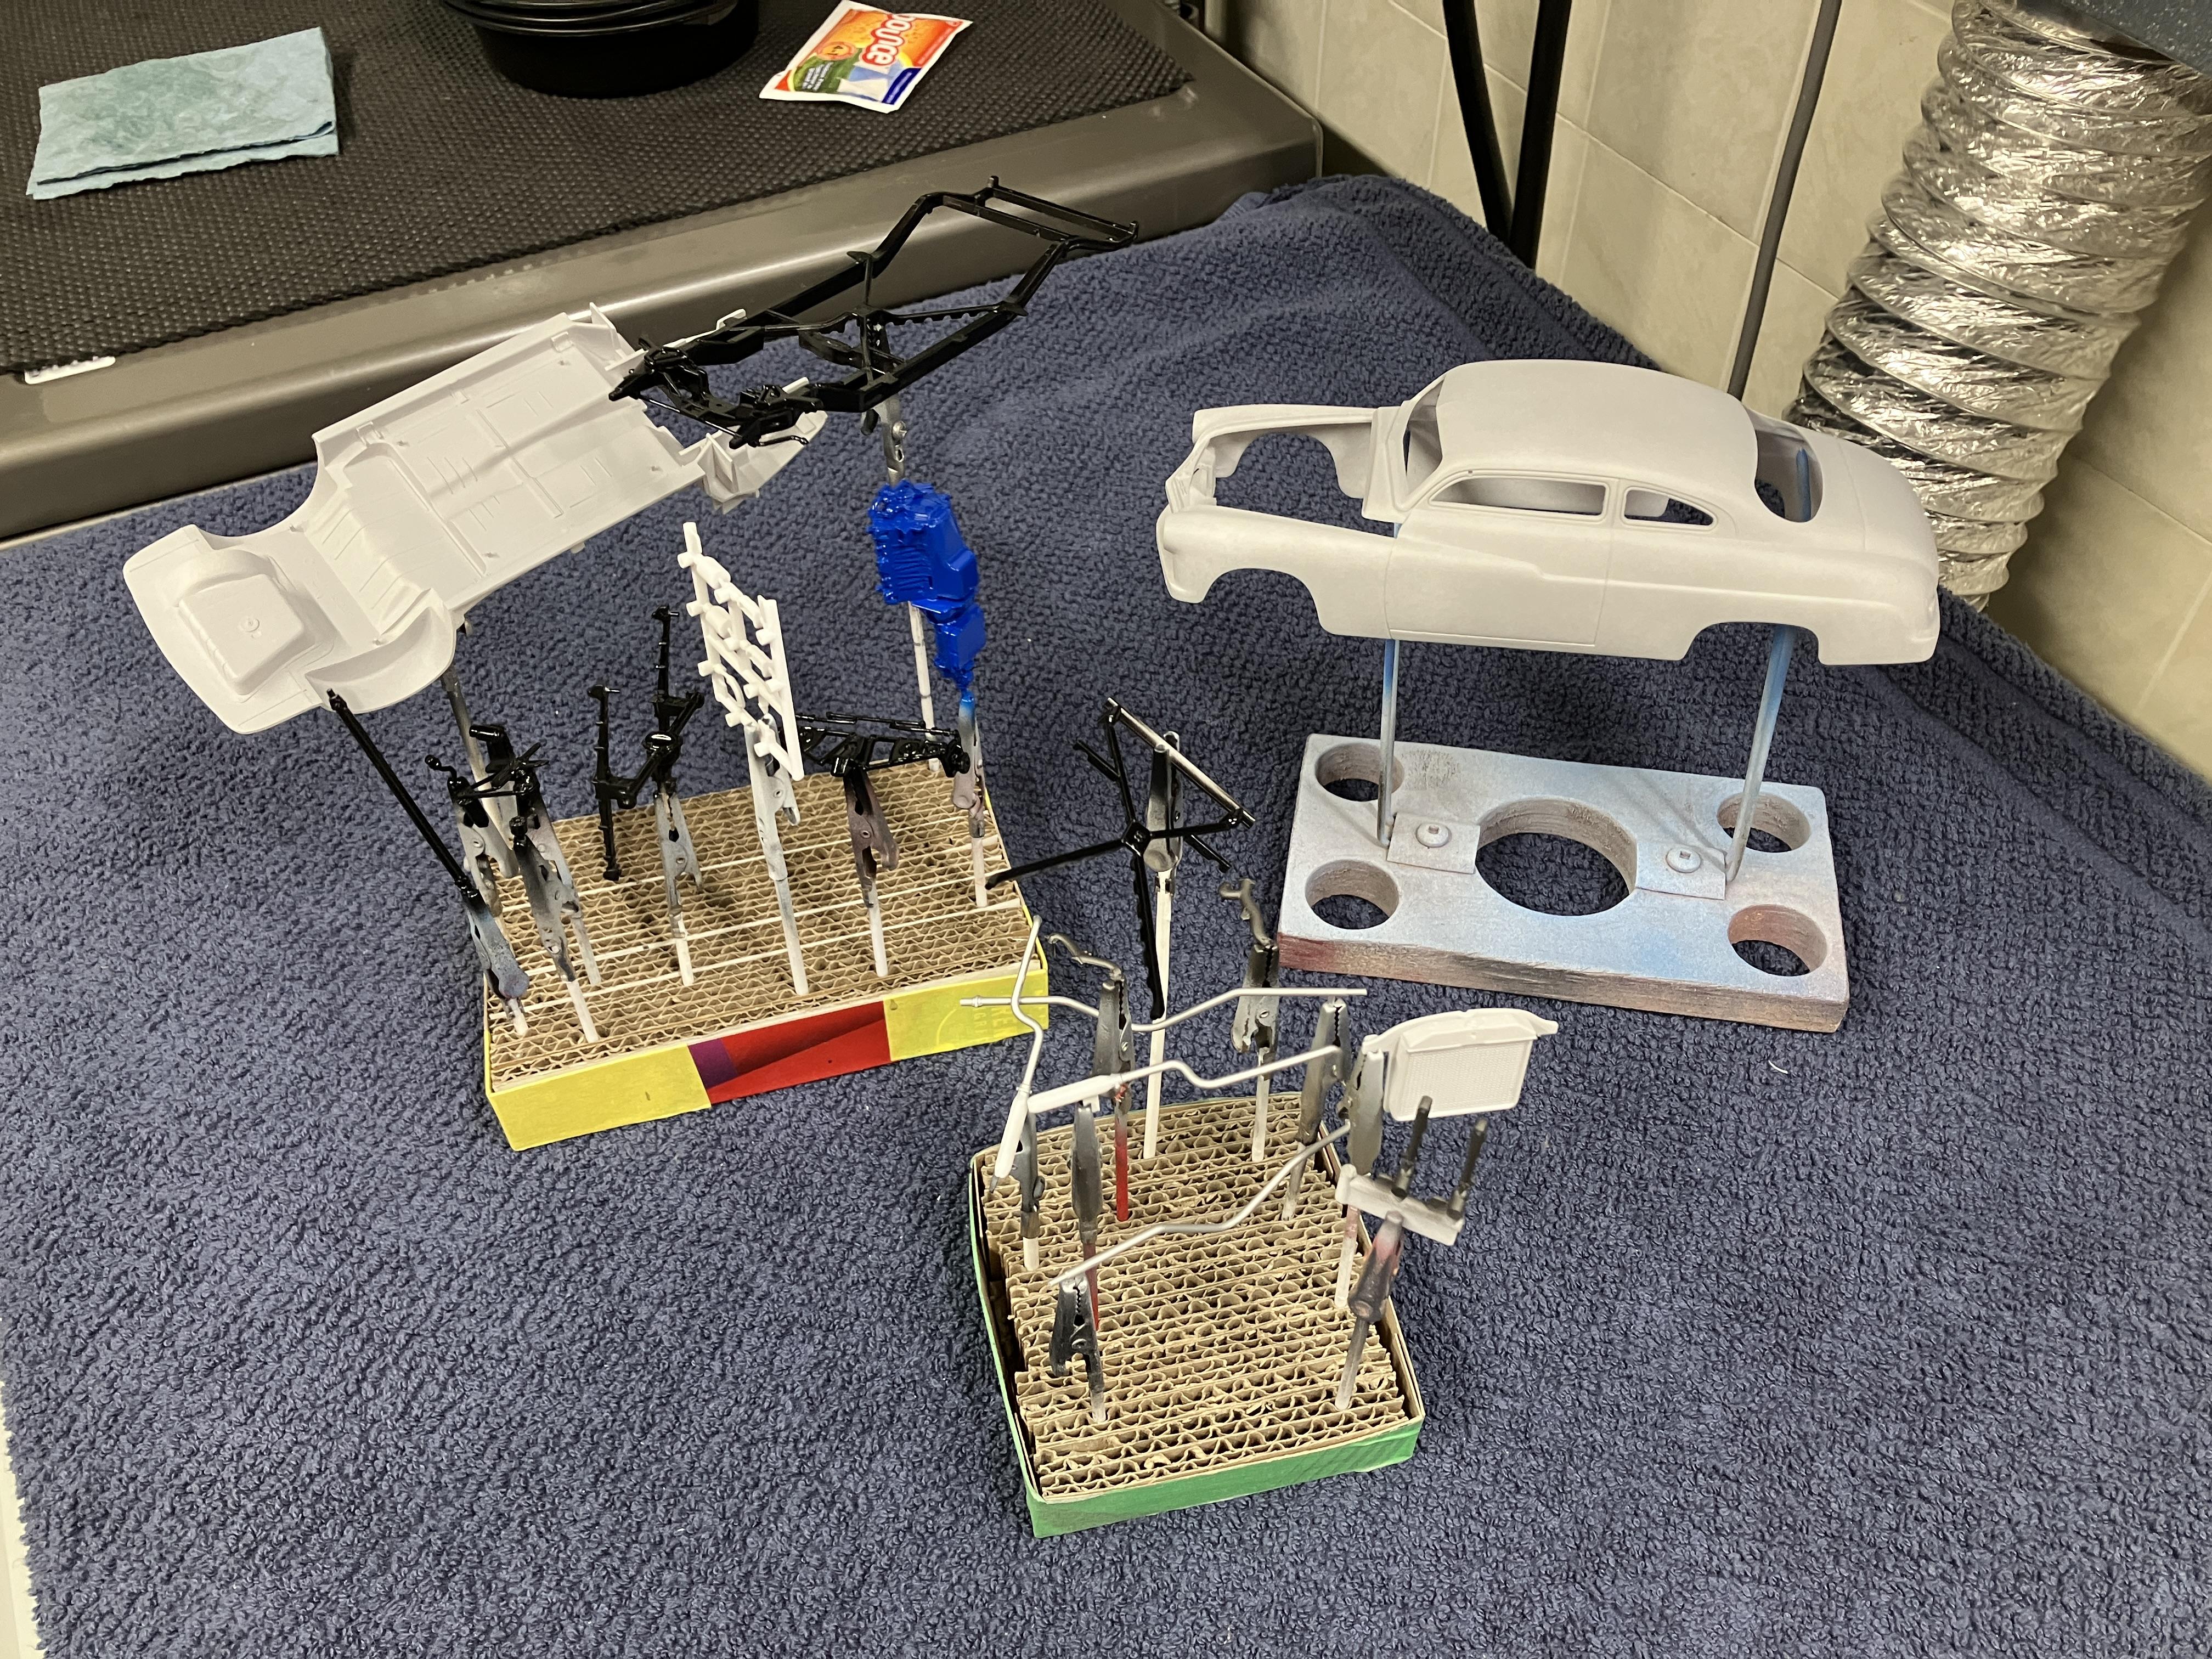
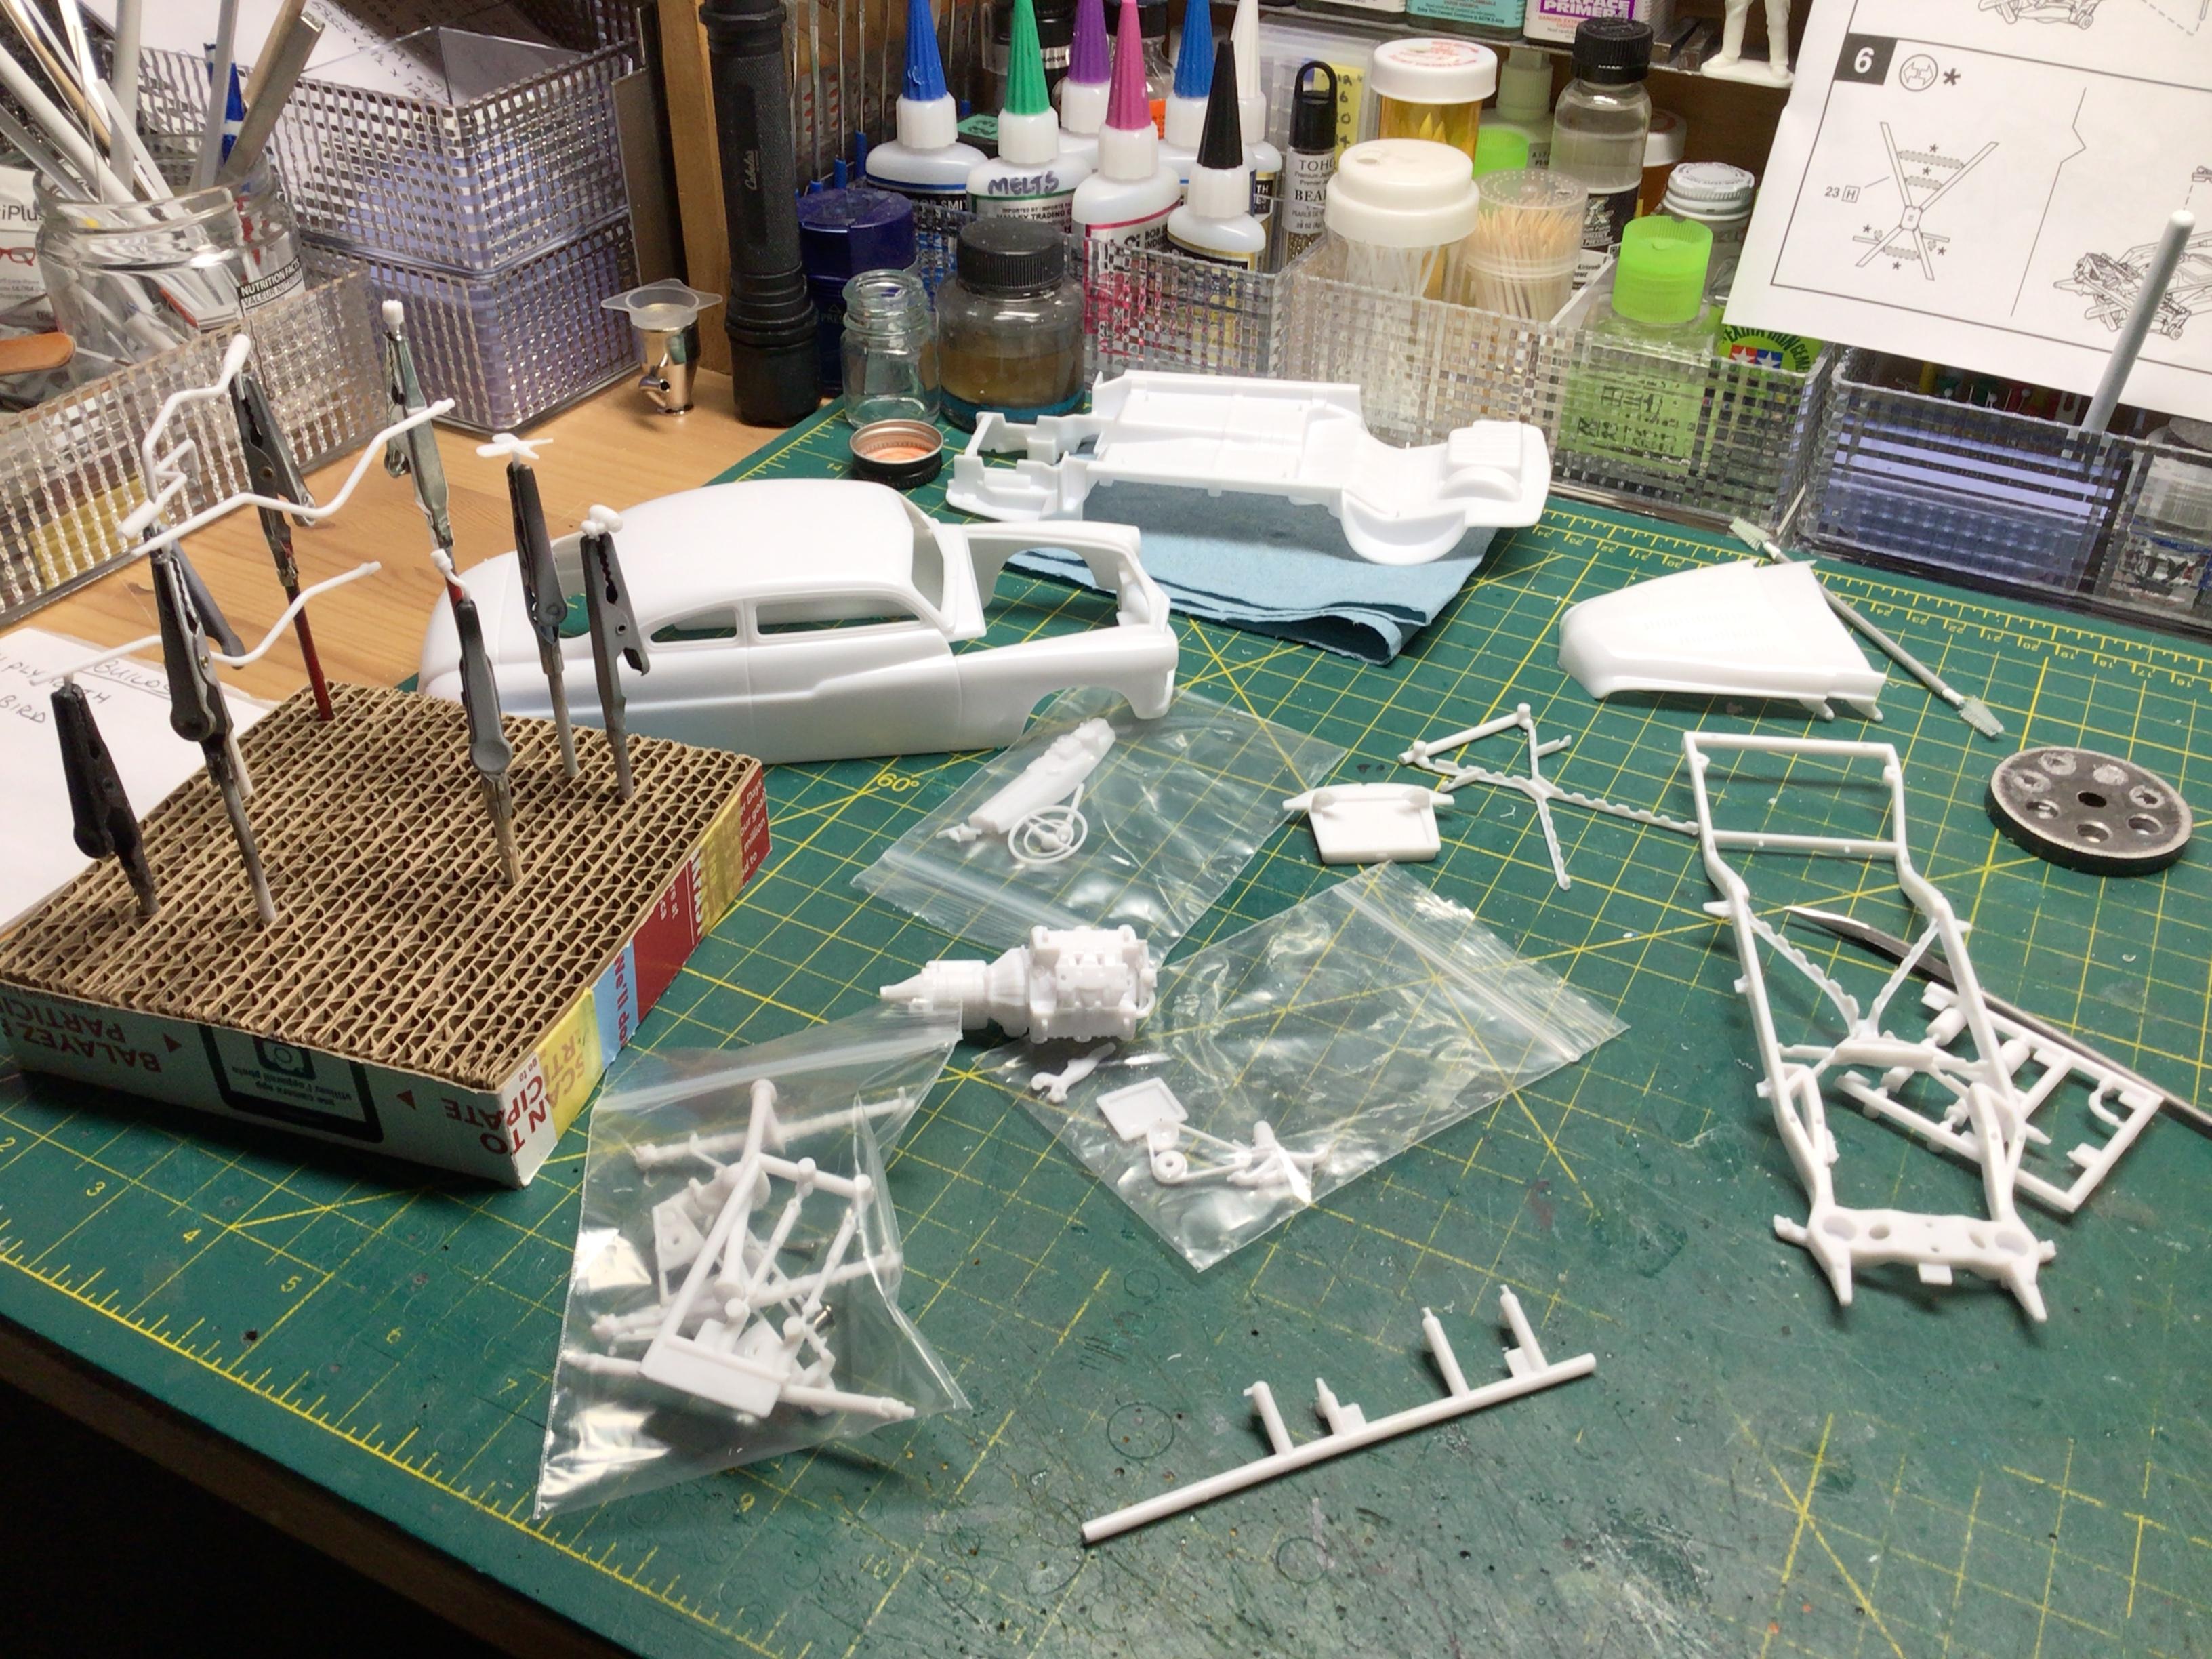
Well it’s out of the box and on my bench. Only one part ran away so far.? The steering box has somehow vanished?. On the upside, I found the second set of tires packaged inside the body.? I am just in the process of removing flash and gluing parts together that can be painted as a unit. I think I will build this mostly OOB, since it is already heavily customized. Some of you that have seen or built a lot of these may be less than impressed. I will however do my best to give it a nice paint job, which unfortunately is my weakest skill.?