bill-e-boy
-
Posts
906 -
Joined
-
Last visited
Content Type
Profiles
Forums
Events
Gallery
Everything posted by bill-e-boy
-
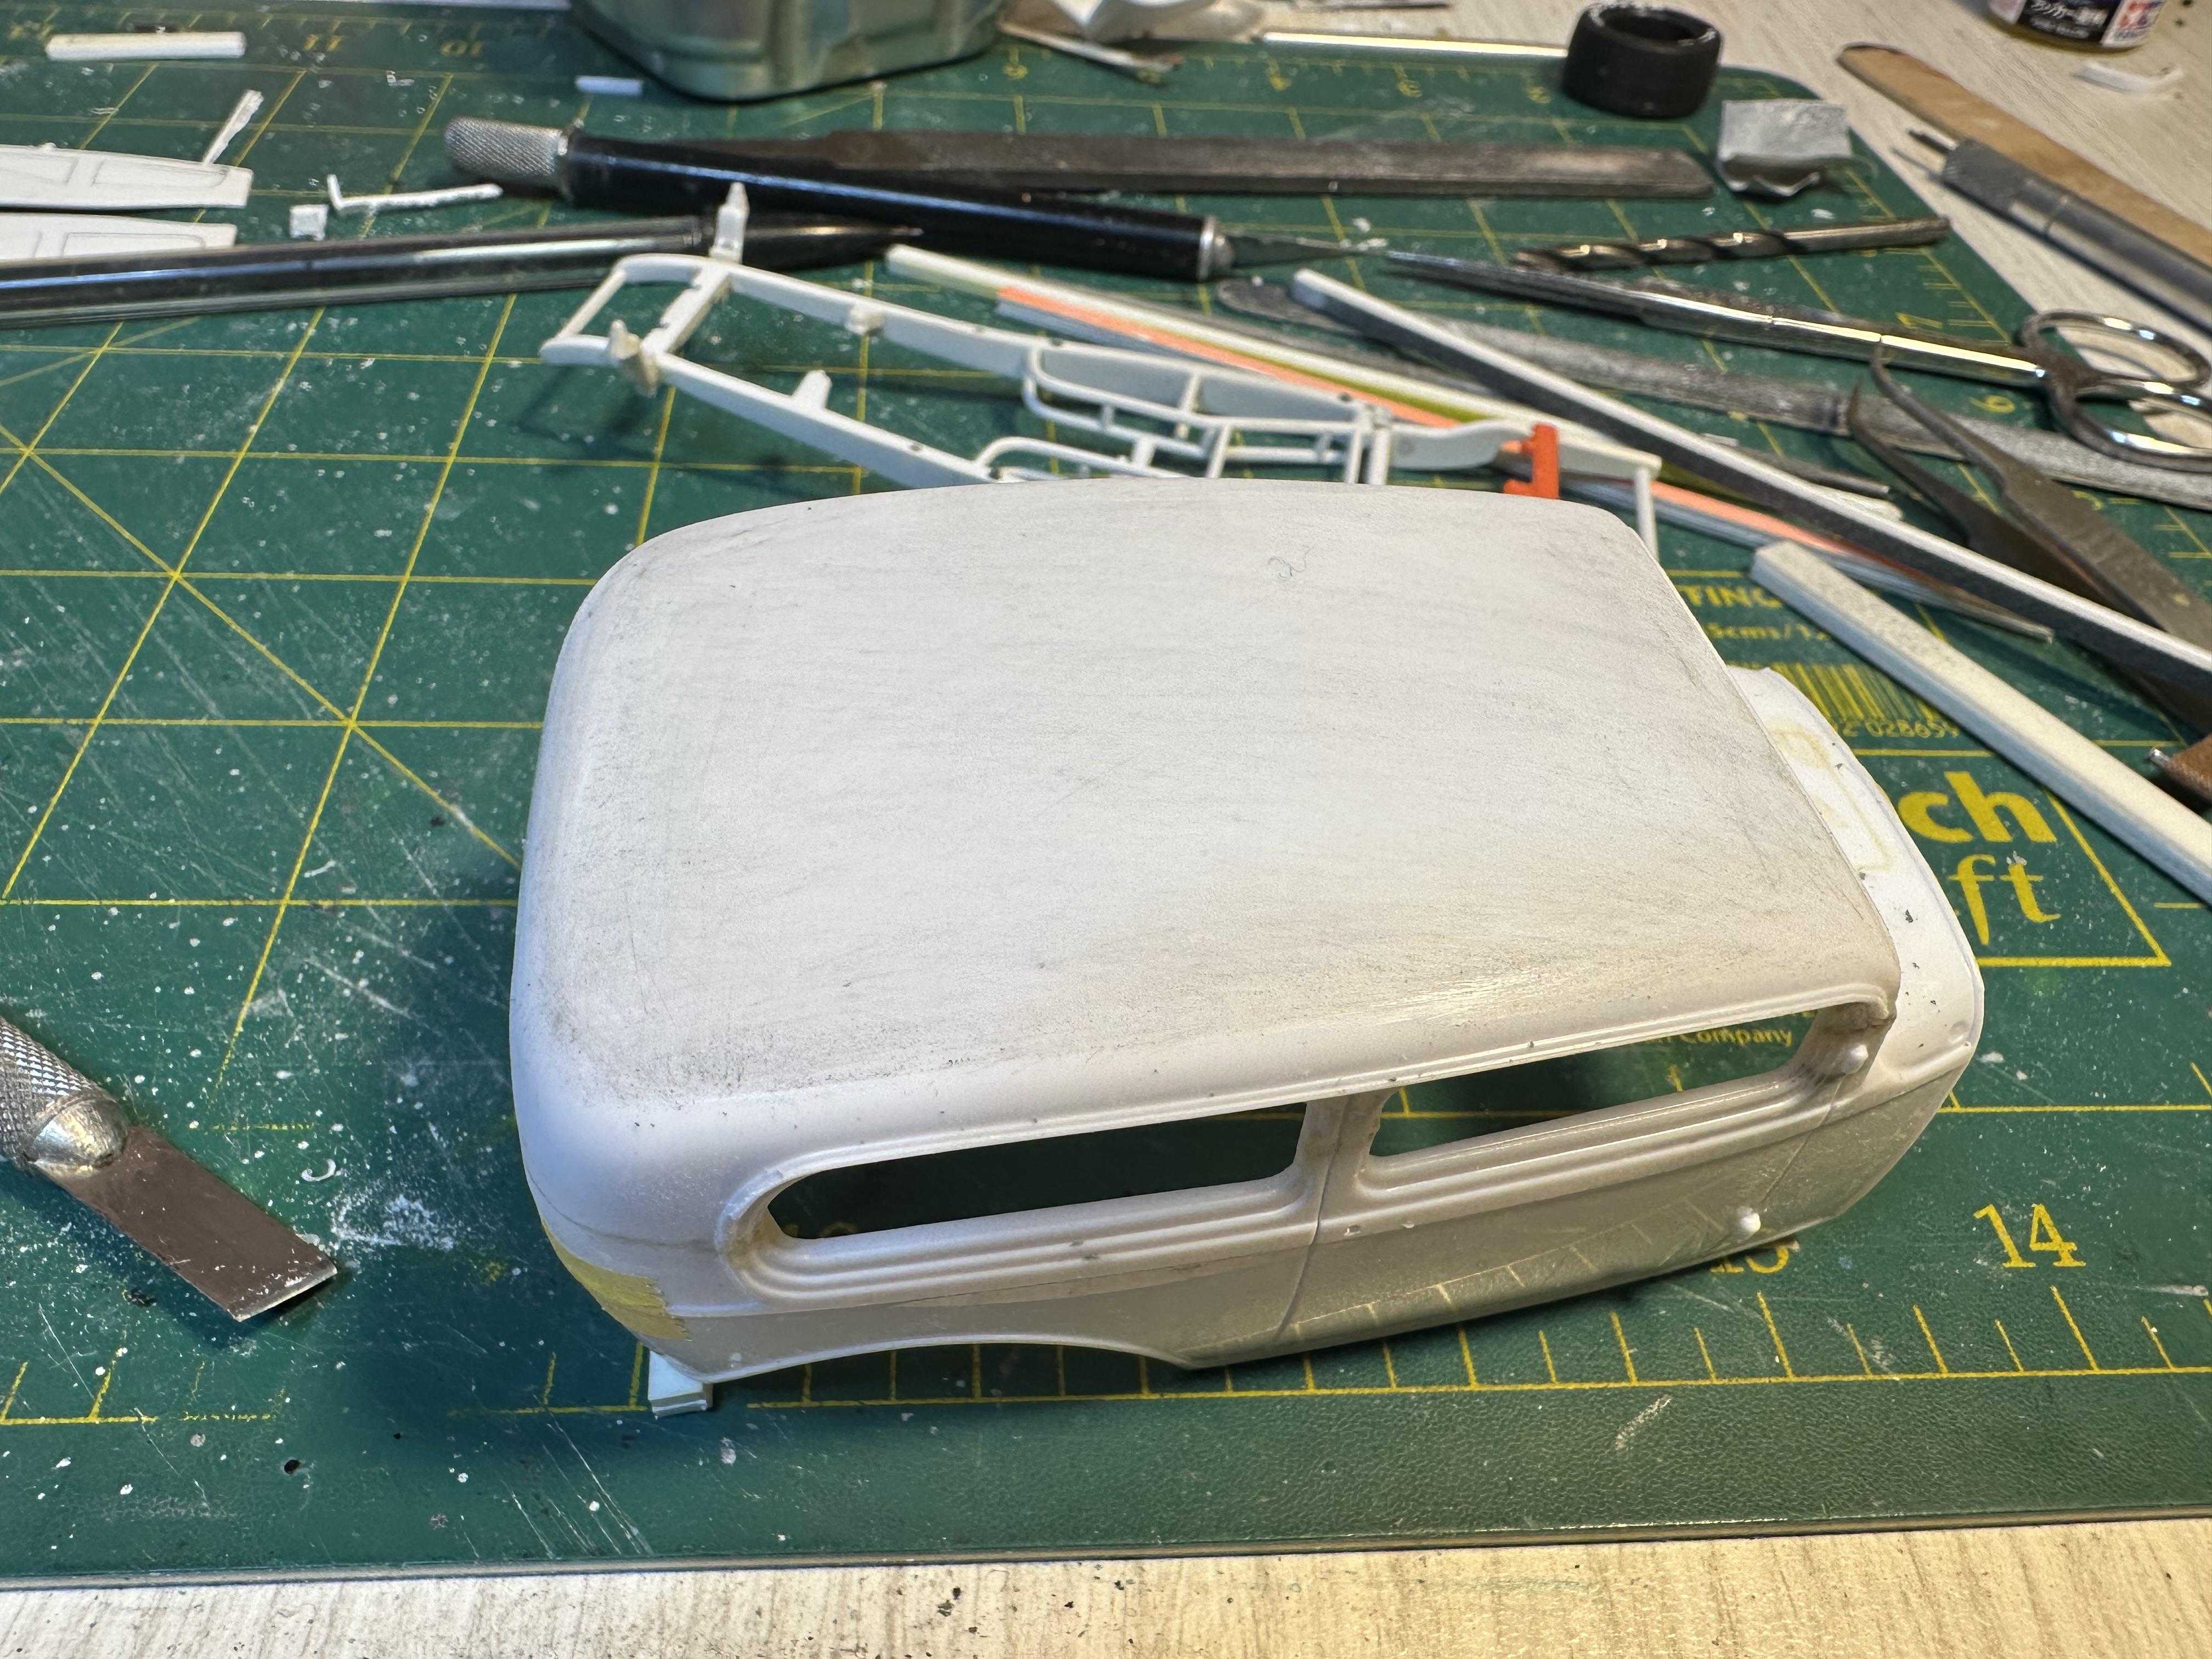
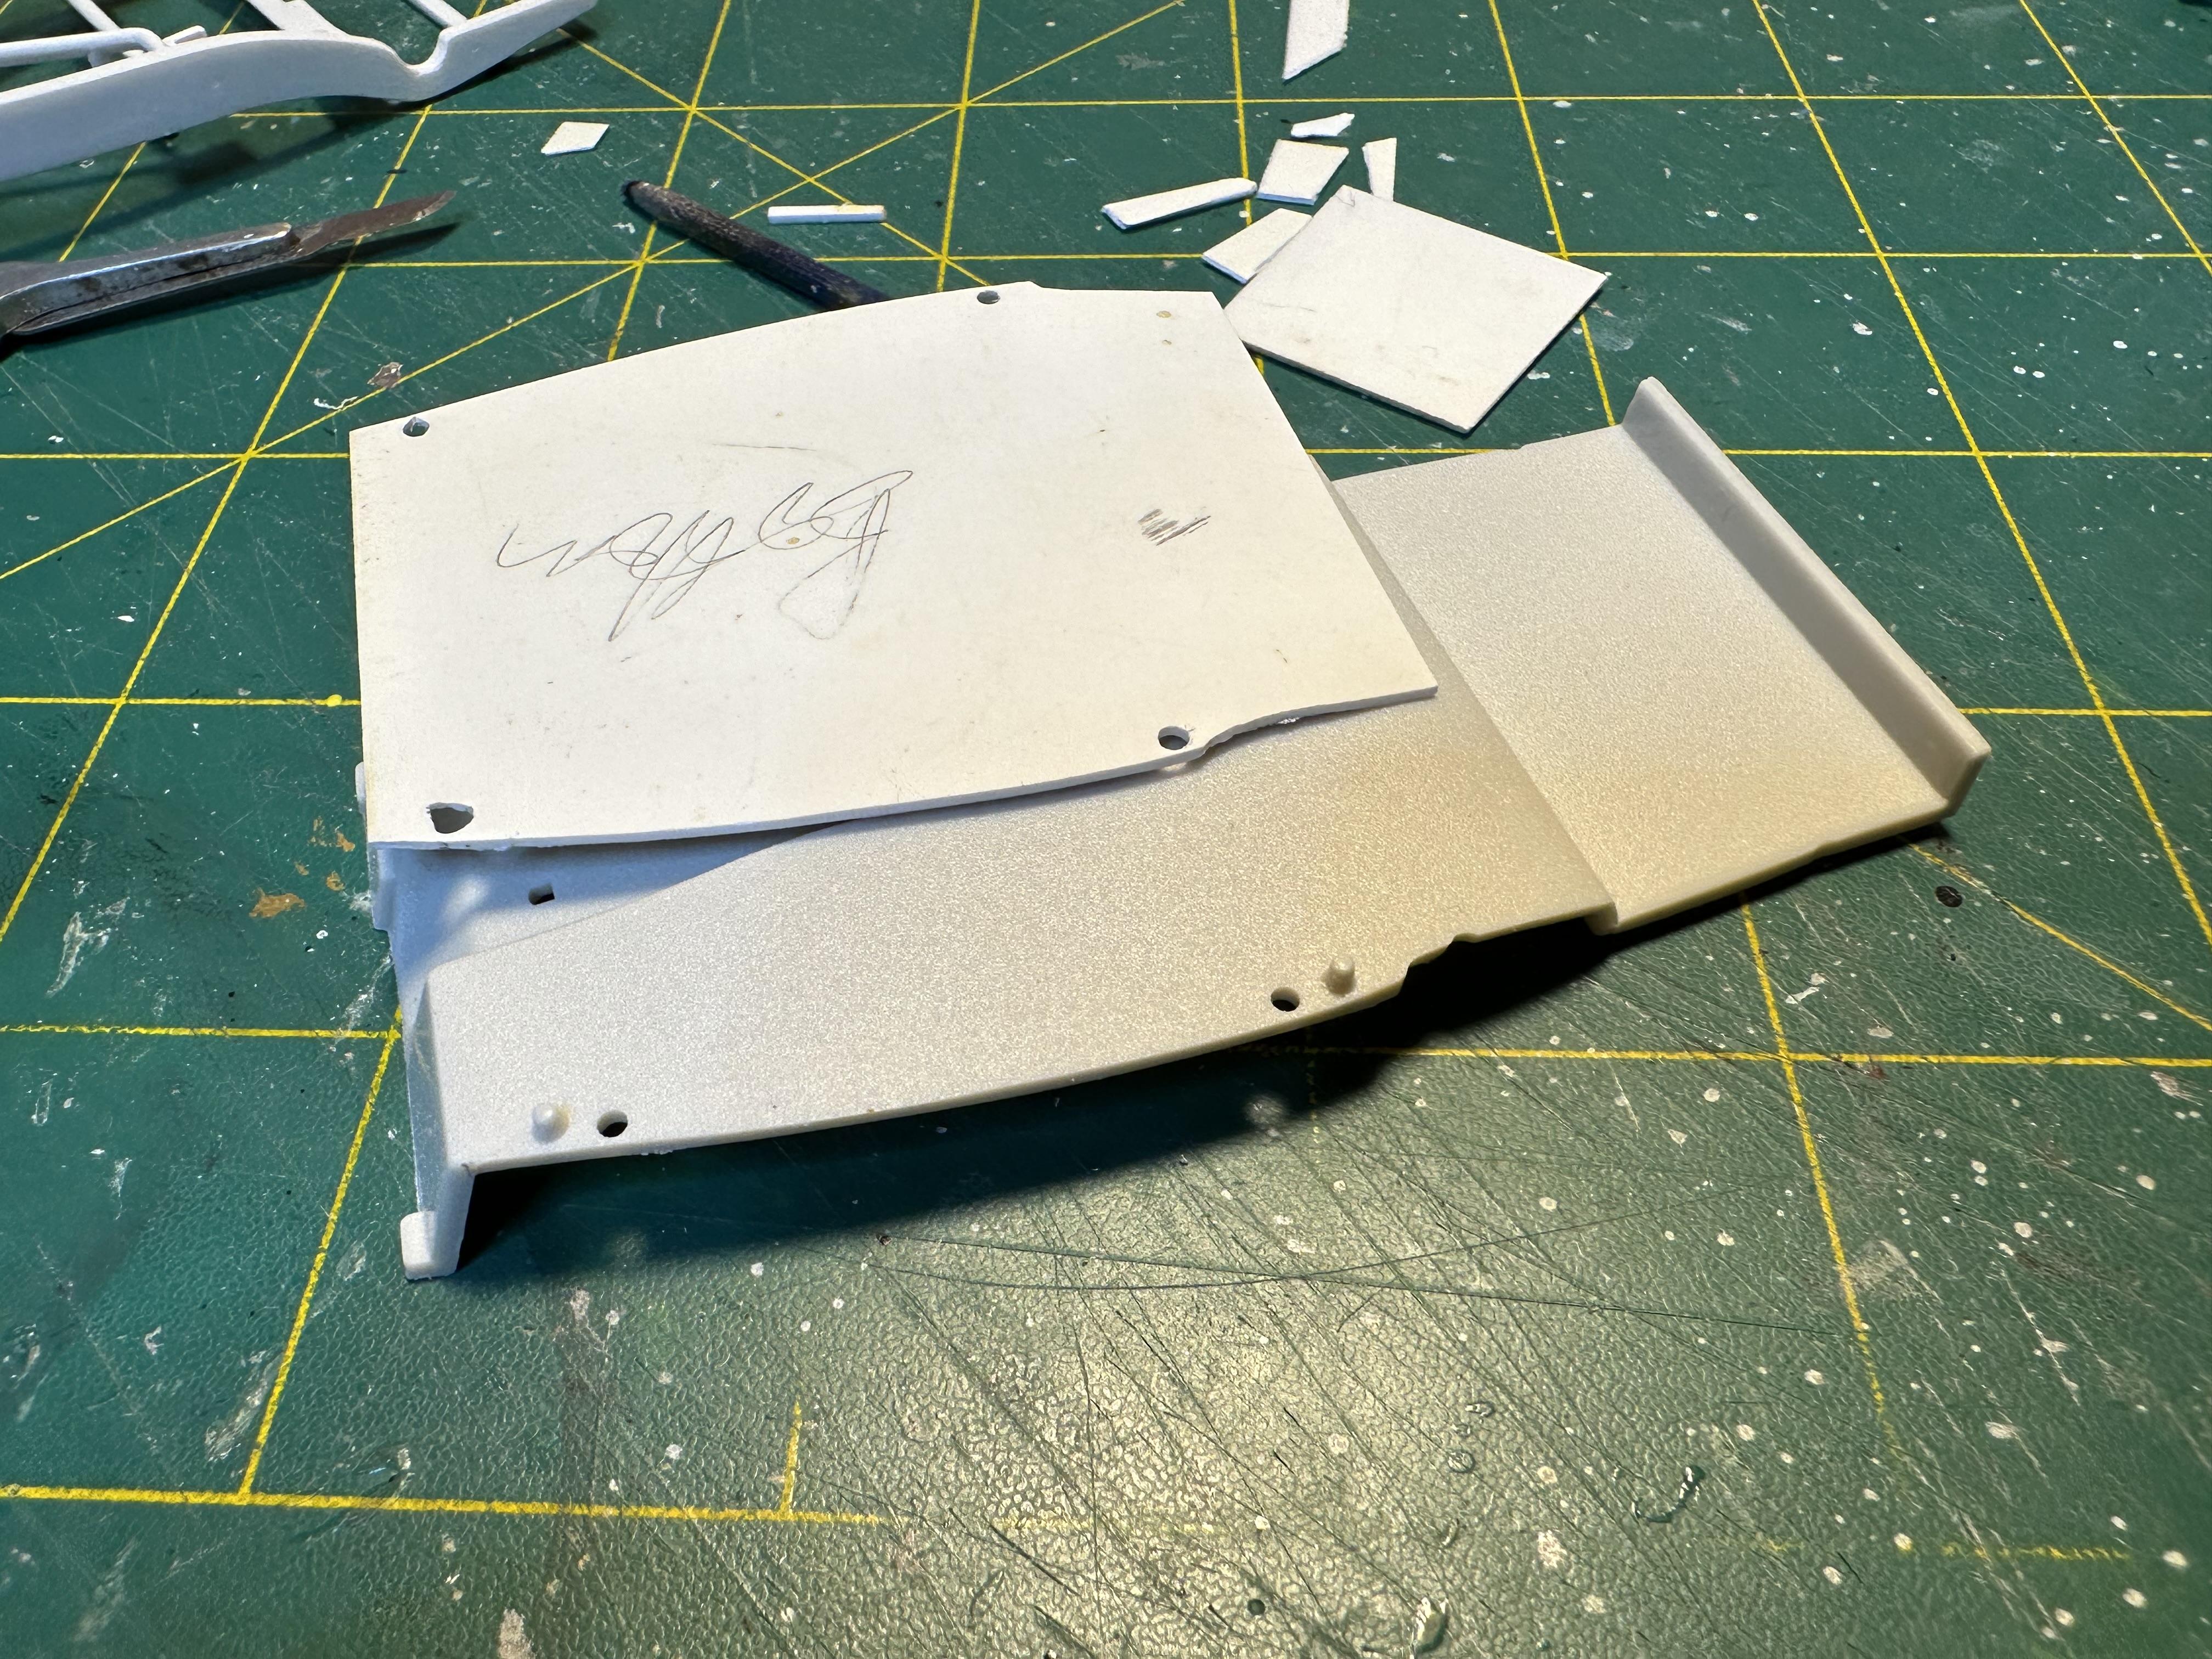
Been working on the body by removing the top fill in panel. Removed the moulding with a chisel knife Xacto blade and then started in the sanding sticks. Started with 230 and now need to work through the grades to about 1000 - 1500

-
Roadworthy Rescue Wrecker
bill-e-boy replied to Steamboat's topic in WIP: Model Trucks: Pickups, Vans, SUVs, Light Commercial
This show has recently landed down here in NZ and I have been avidly following along. You have made a cool replica of the wrecker "rescued" on the show - kudos to you -
Wow @Speedpro you are taking a wild move changing the back window and back body mouldings. I note there is quite a difference to the curvature of the body between the A and 32 bodies so you have your work cut out for you. When I looked at the 32 rear window of my build and referencing to online pix, I see what you mean by the wrong shape at the bottom of the window. I would not have known otherwise. Damn is this a case of unseeing something. I see you have removed the moulding that runs over the cowl. I too have removed this on prior 32 builds for a more streamlined look. I am dithering on this. Also a little unsure of removing the roof insert as my reference build had the insert but I am taking a more modern approach so will more than likely remove it
-
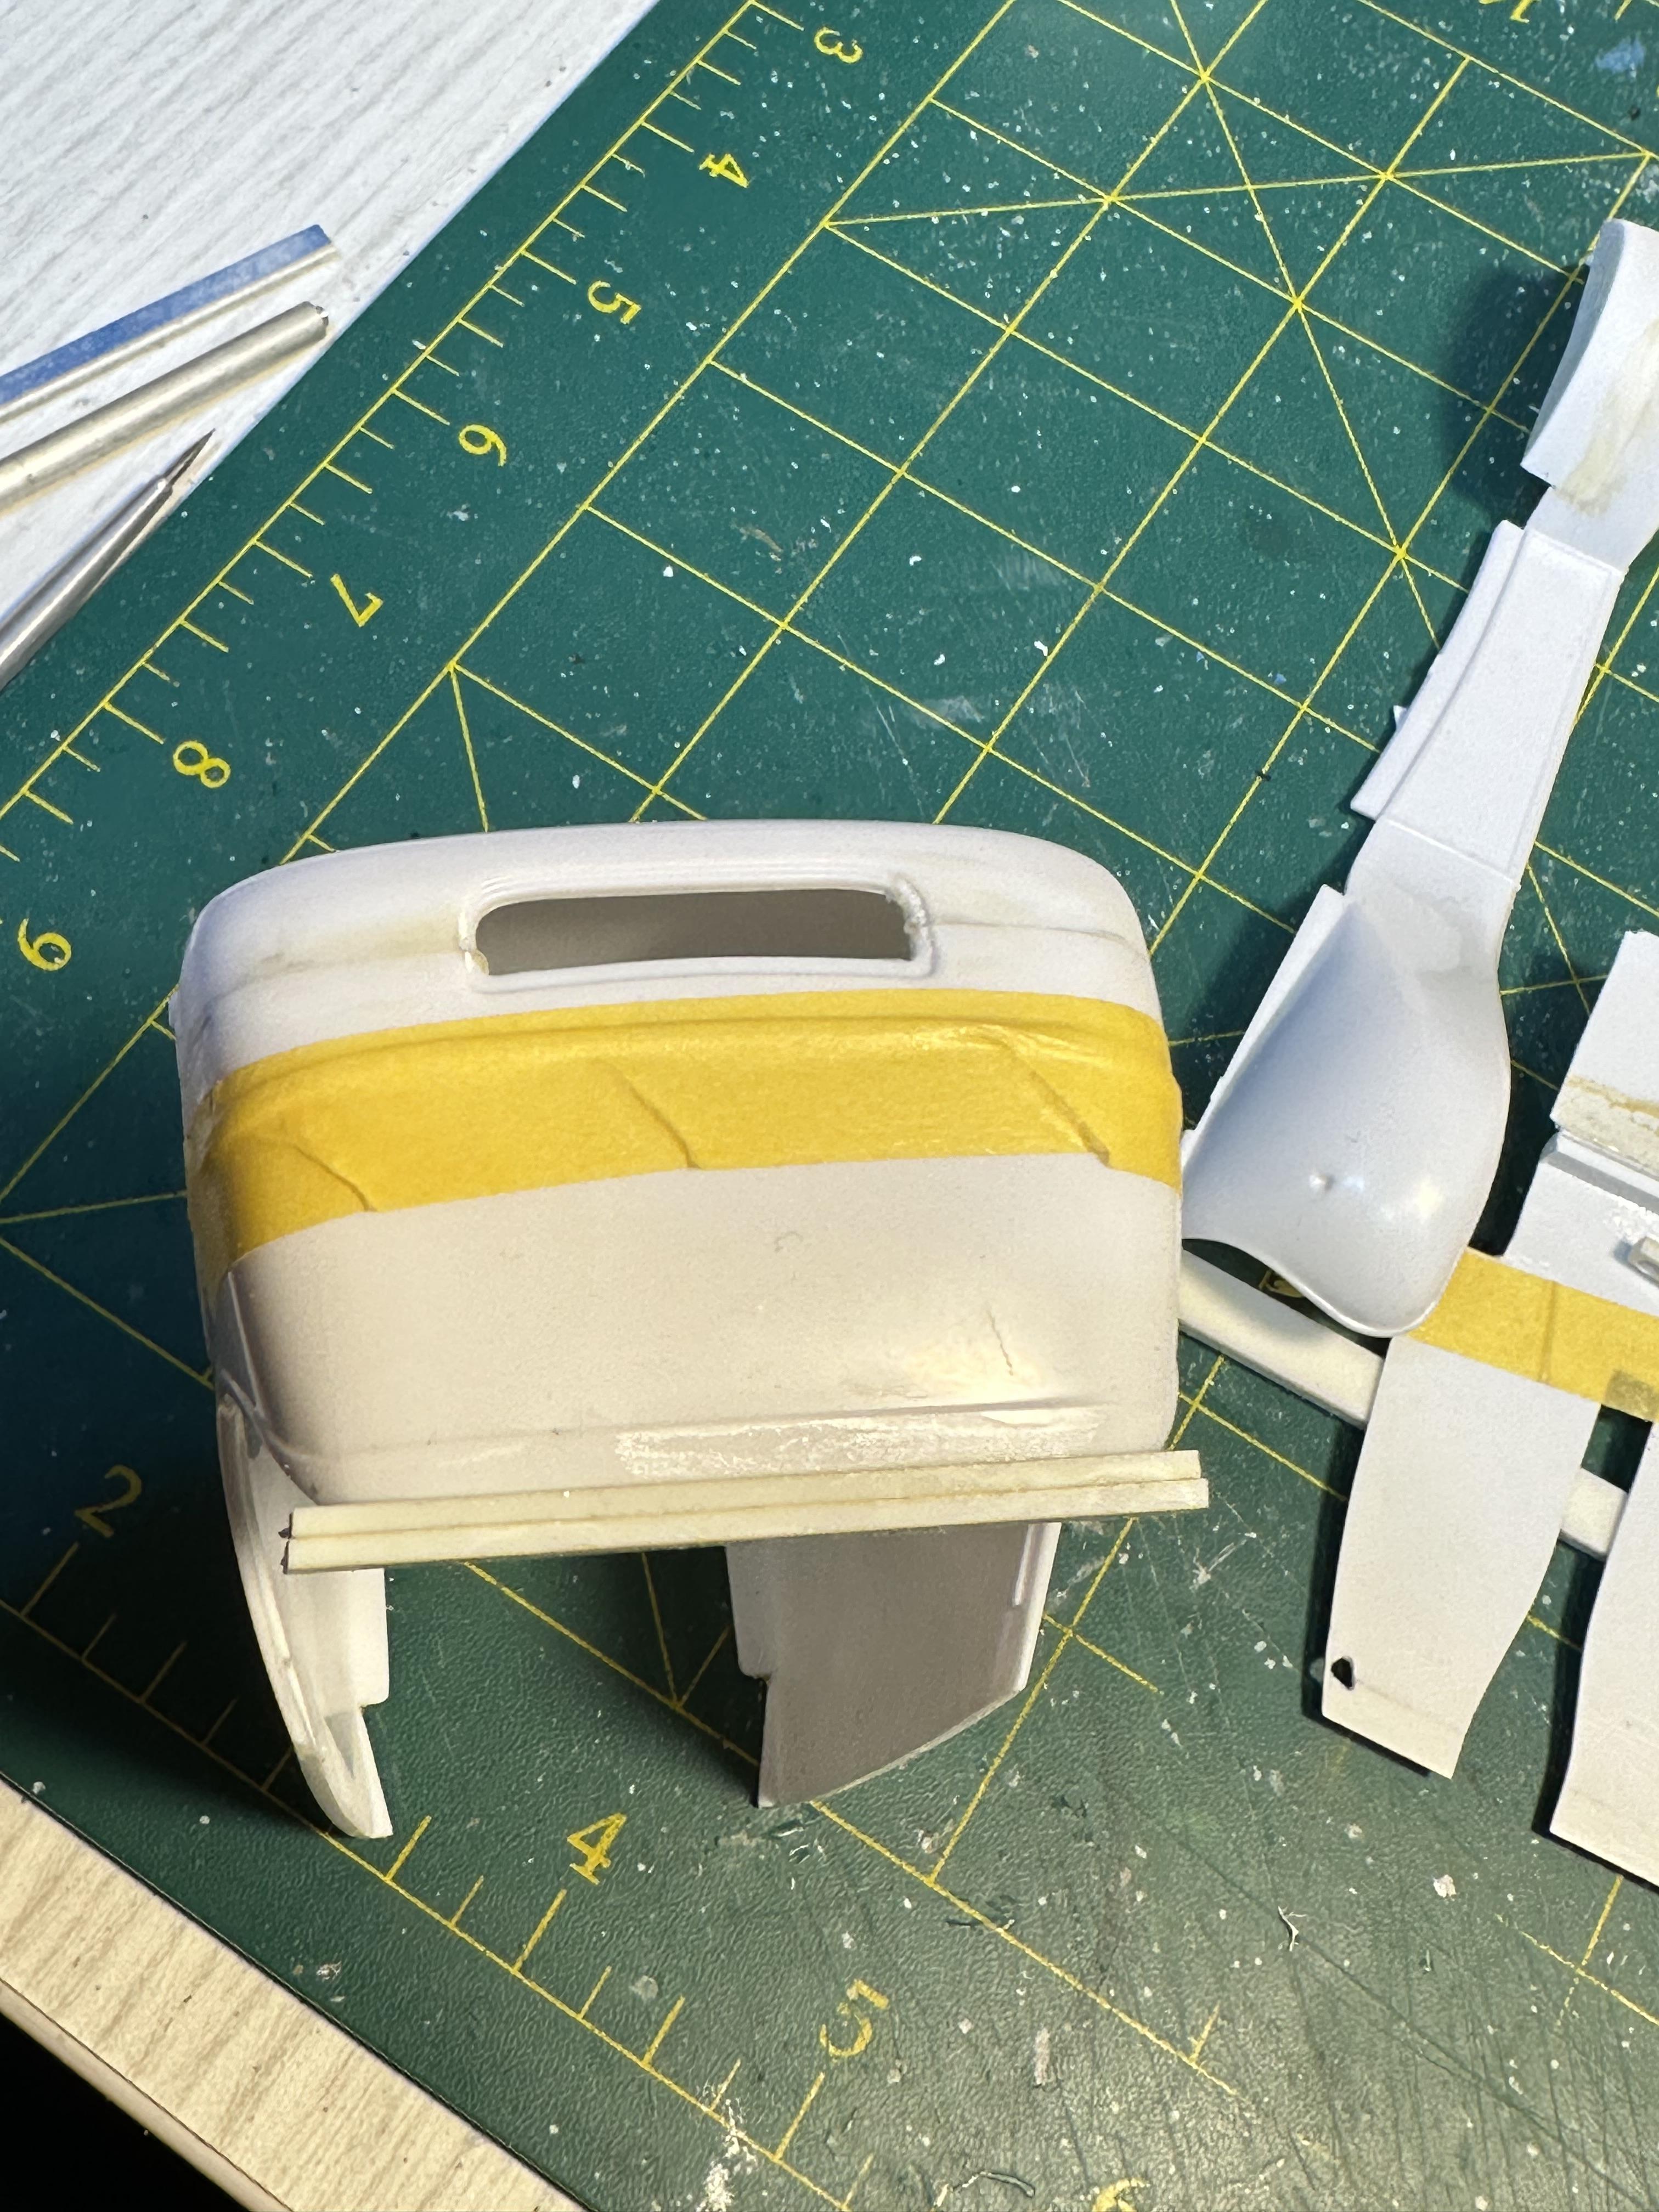
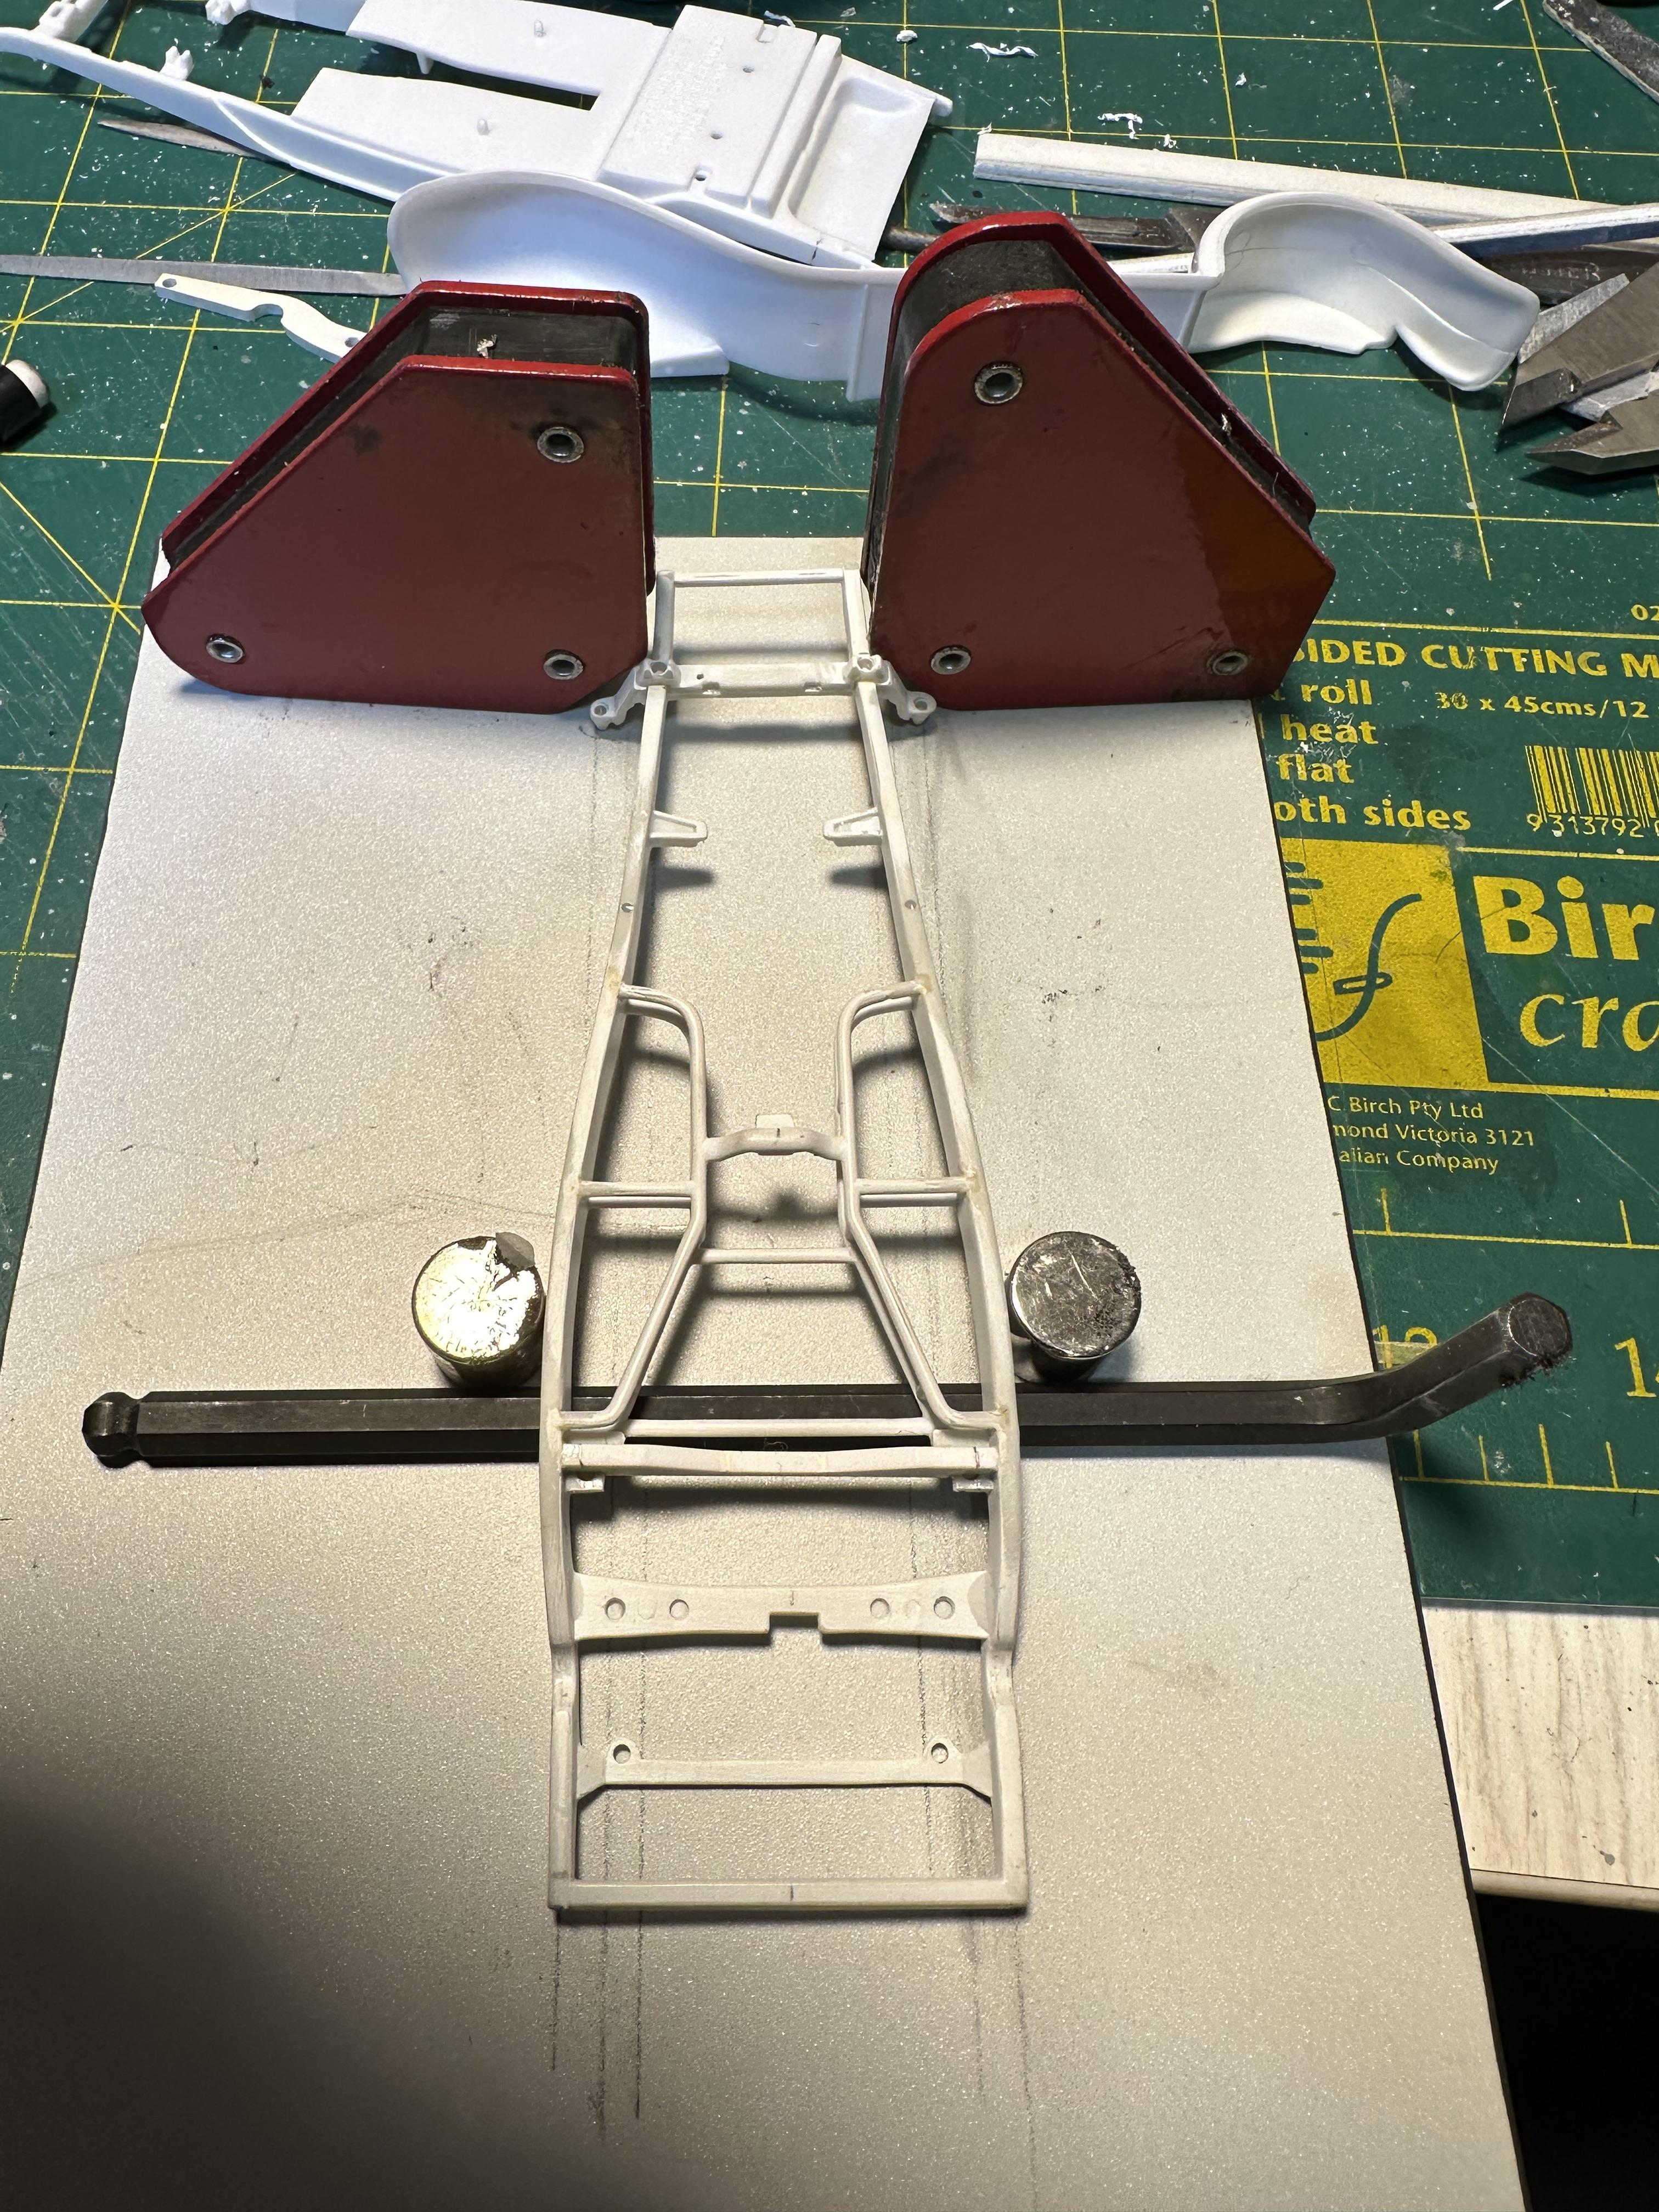
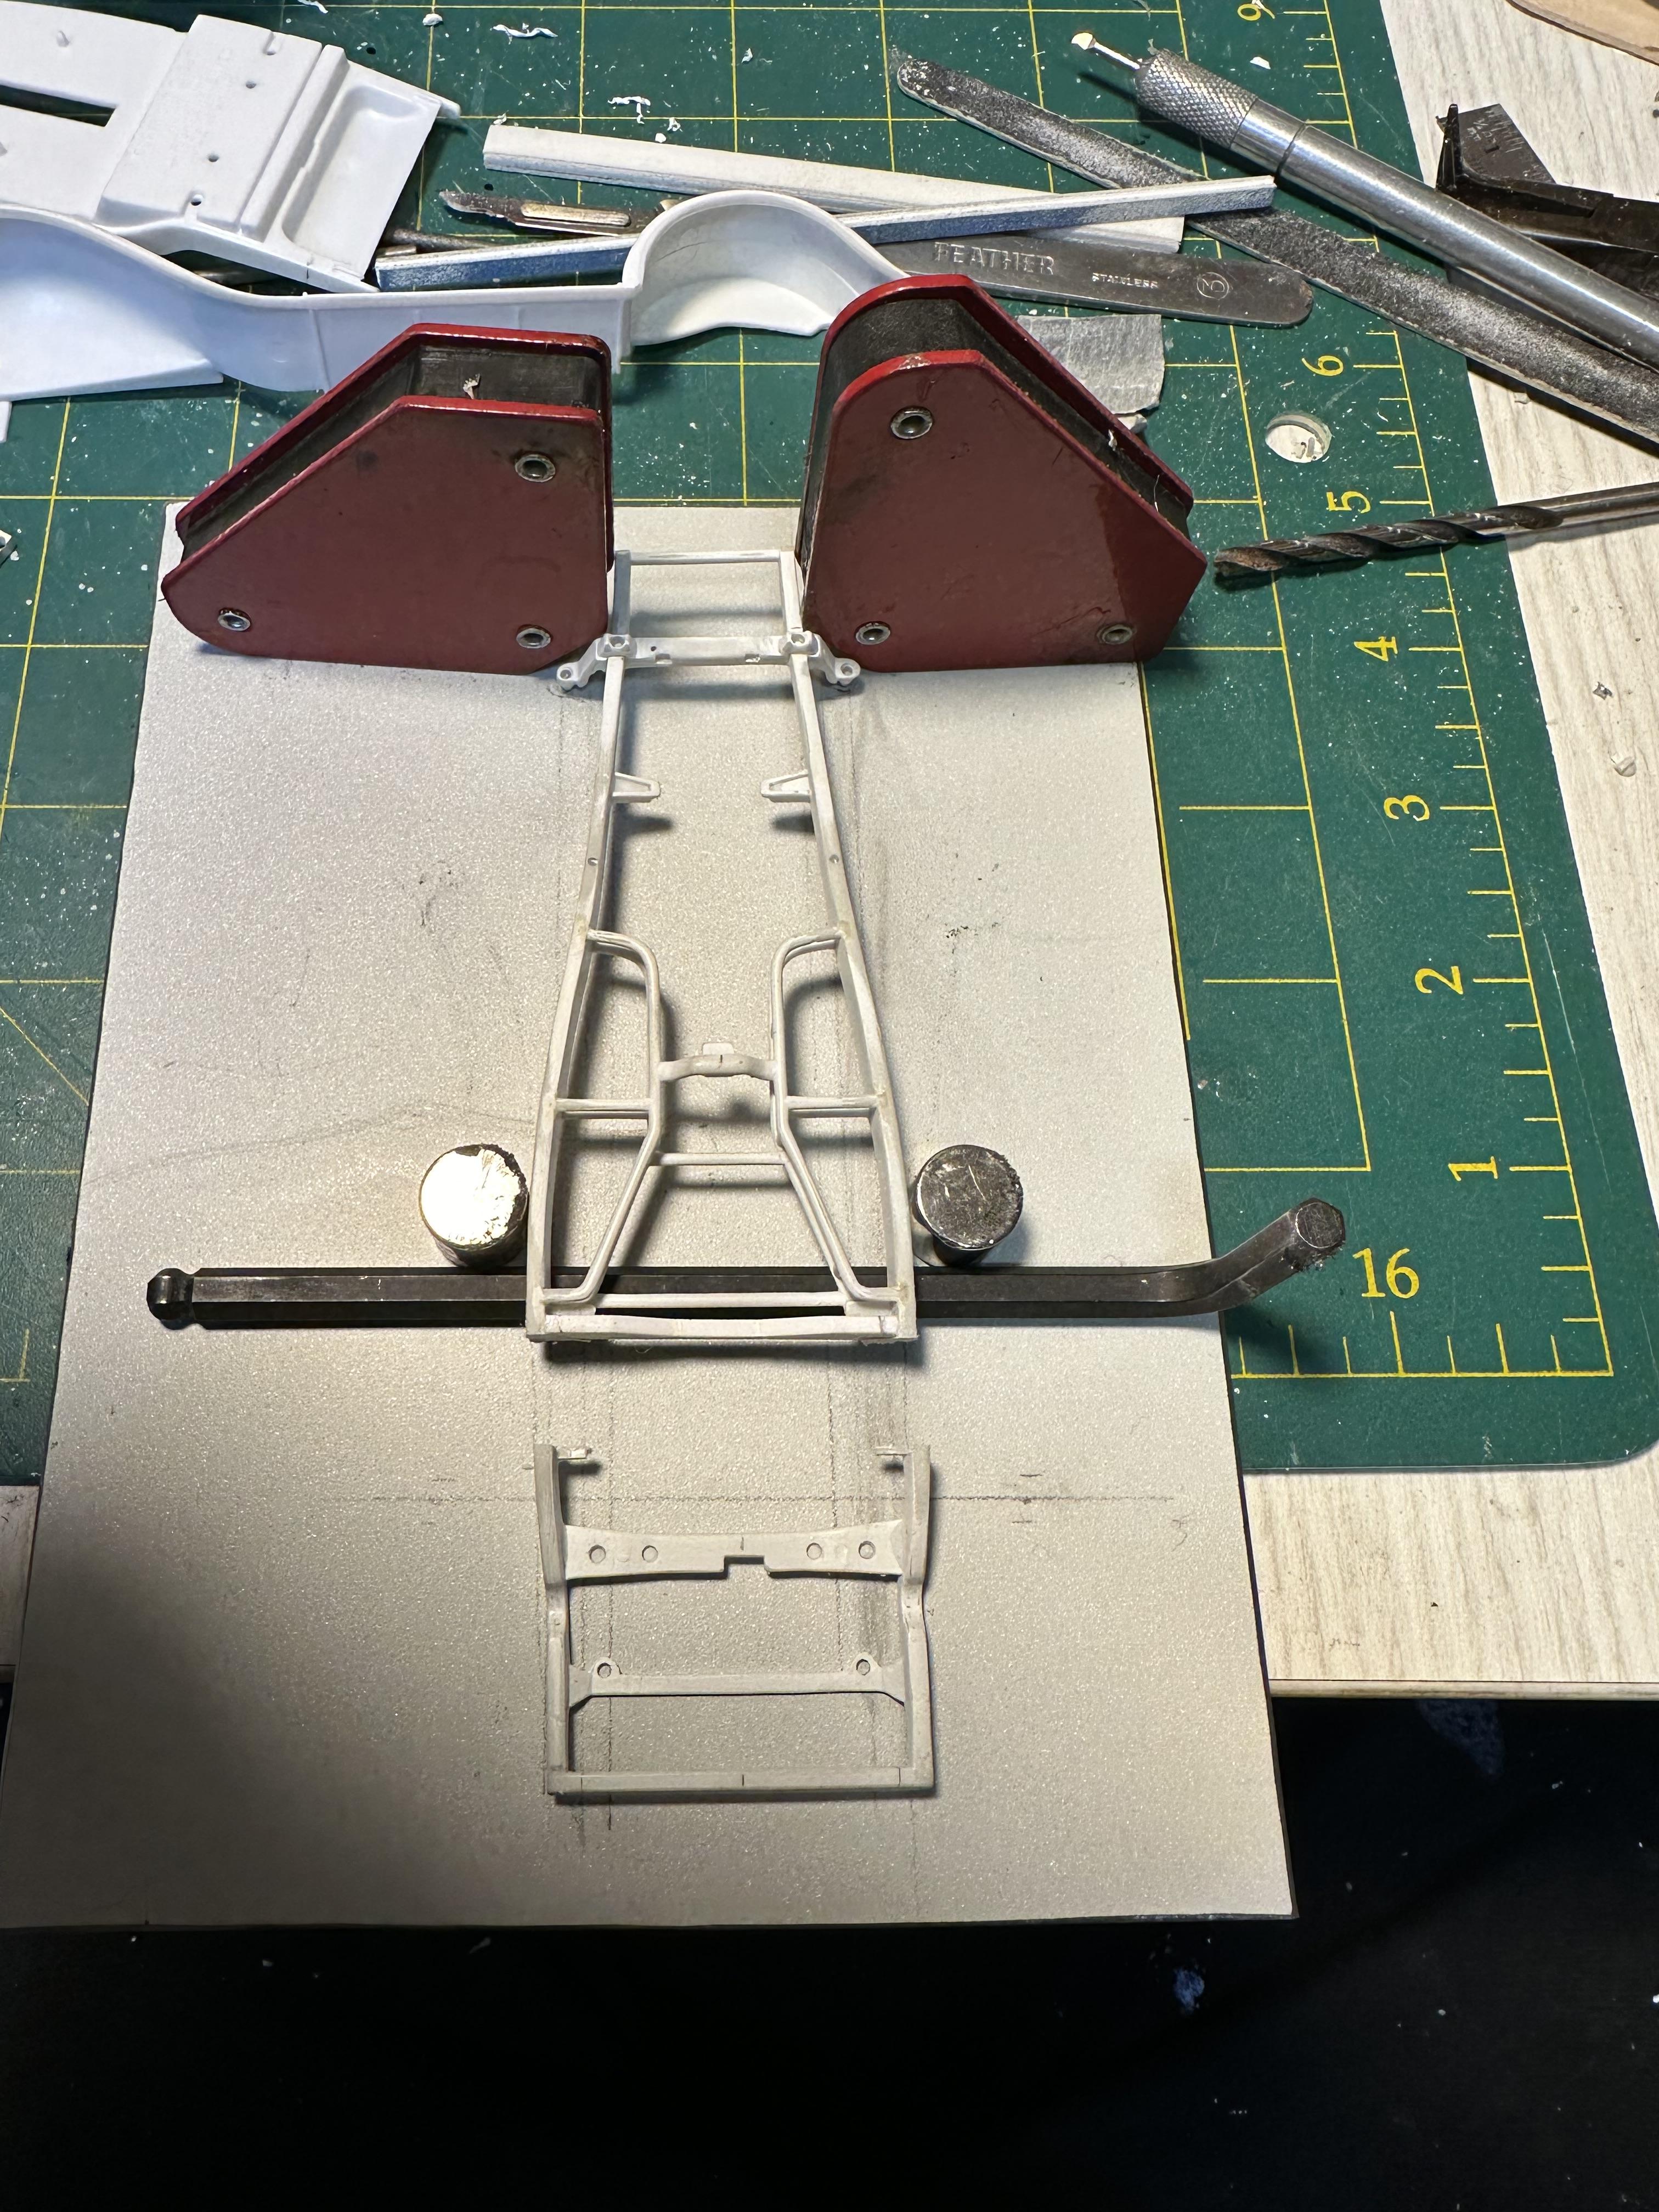
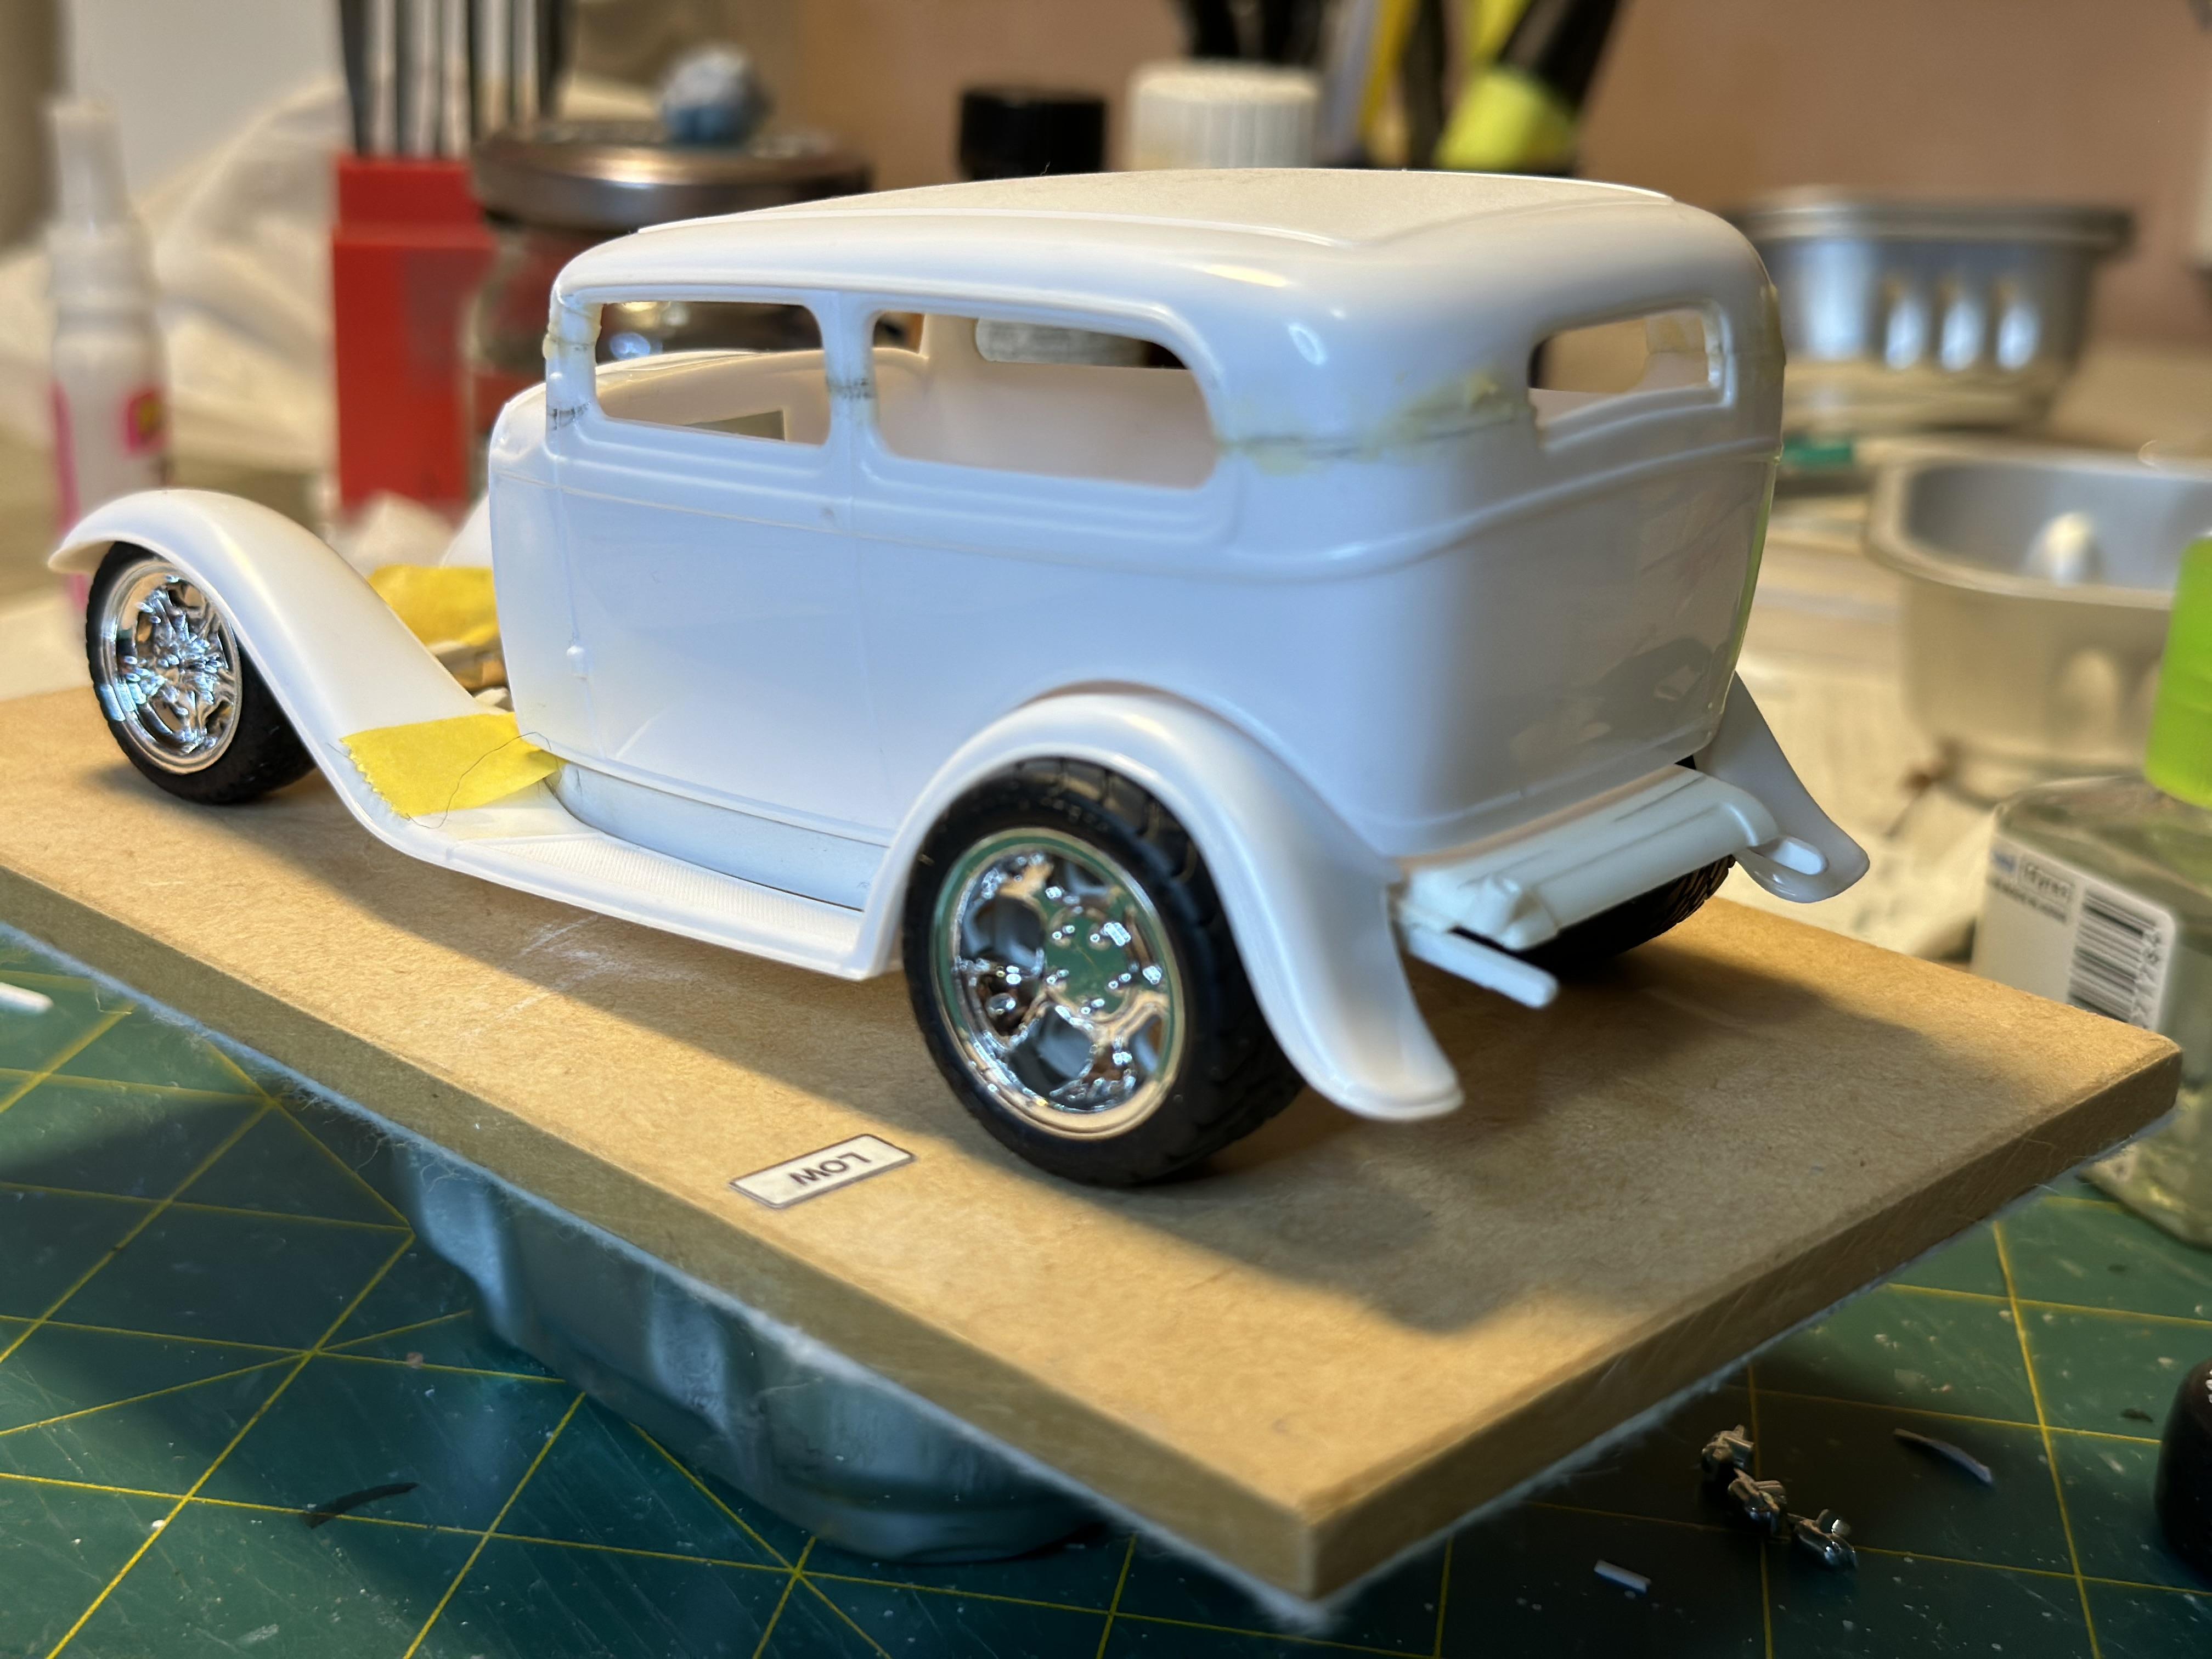
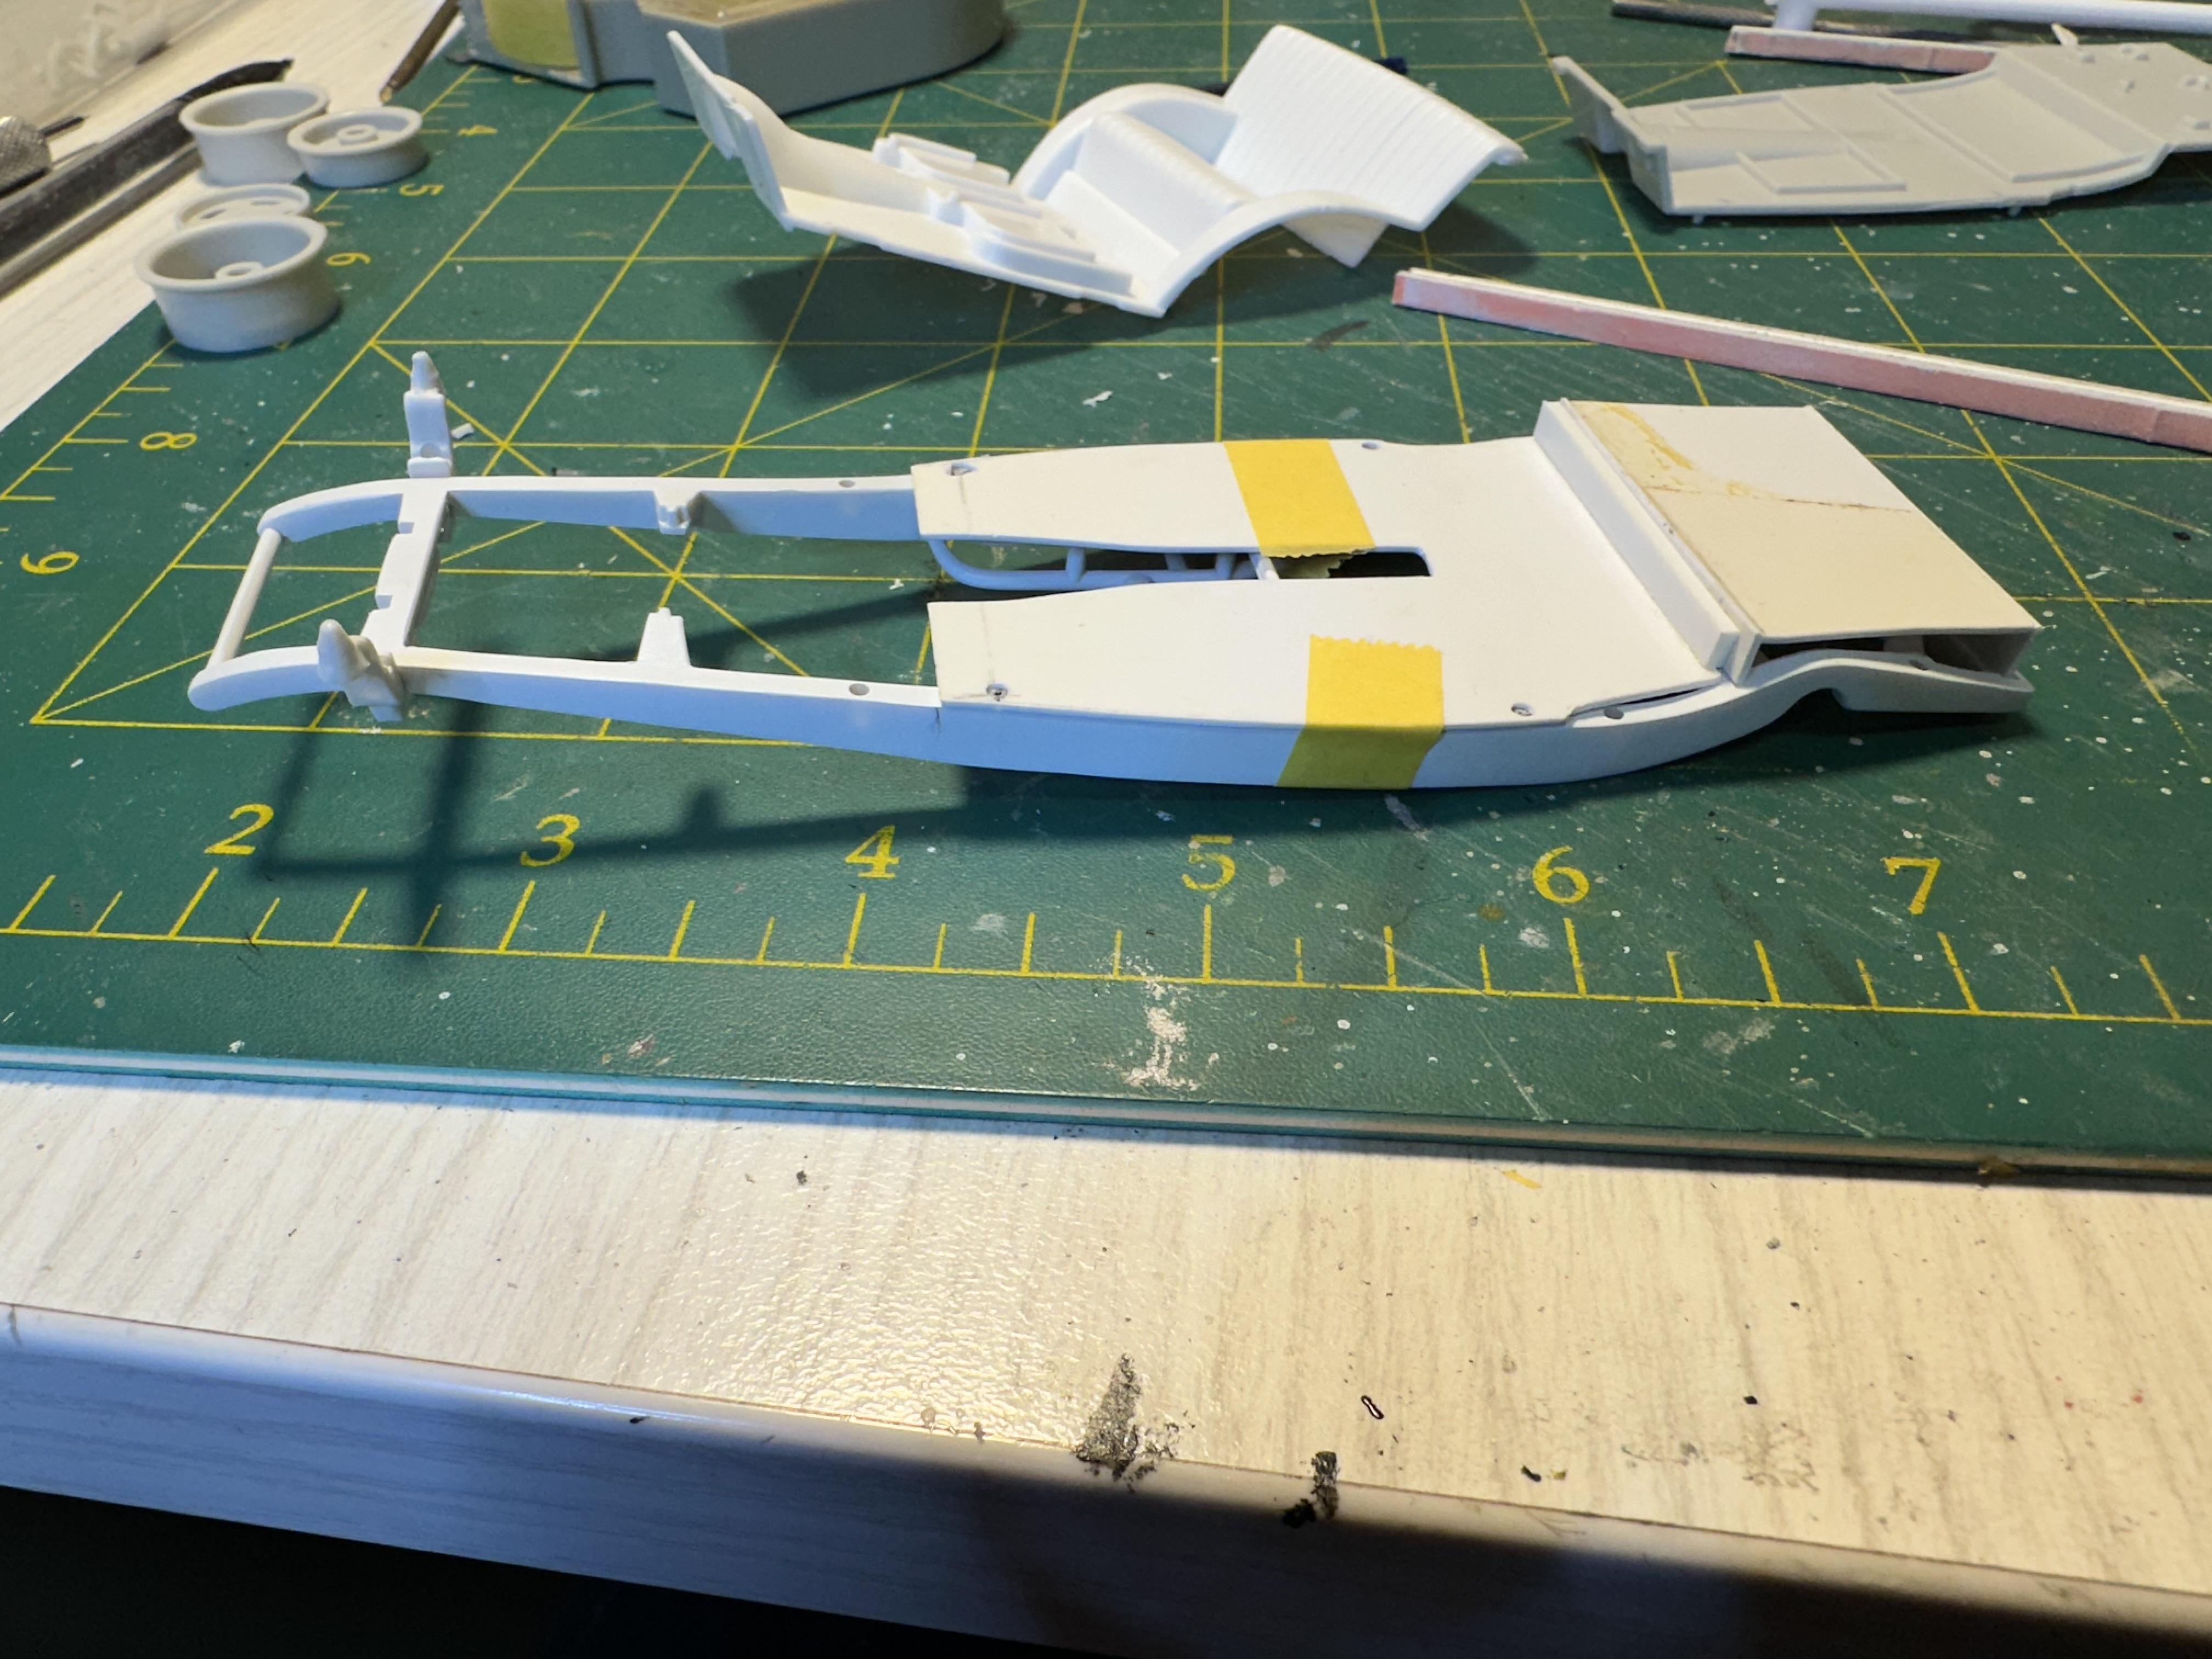
Small update. The rear of the chassis narrowed and body work in progress with a rolled pan installed to cover the rear of the chassis rails
-
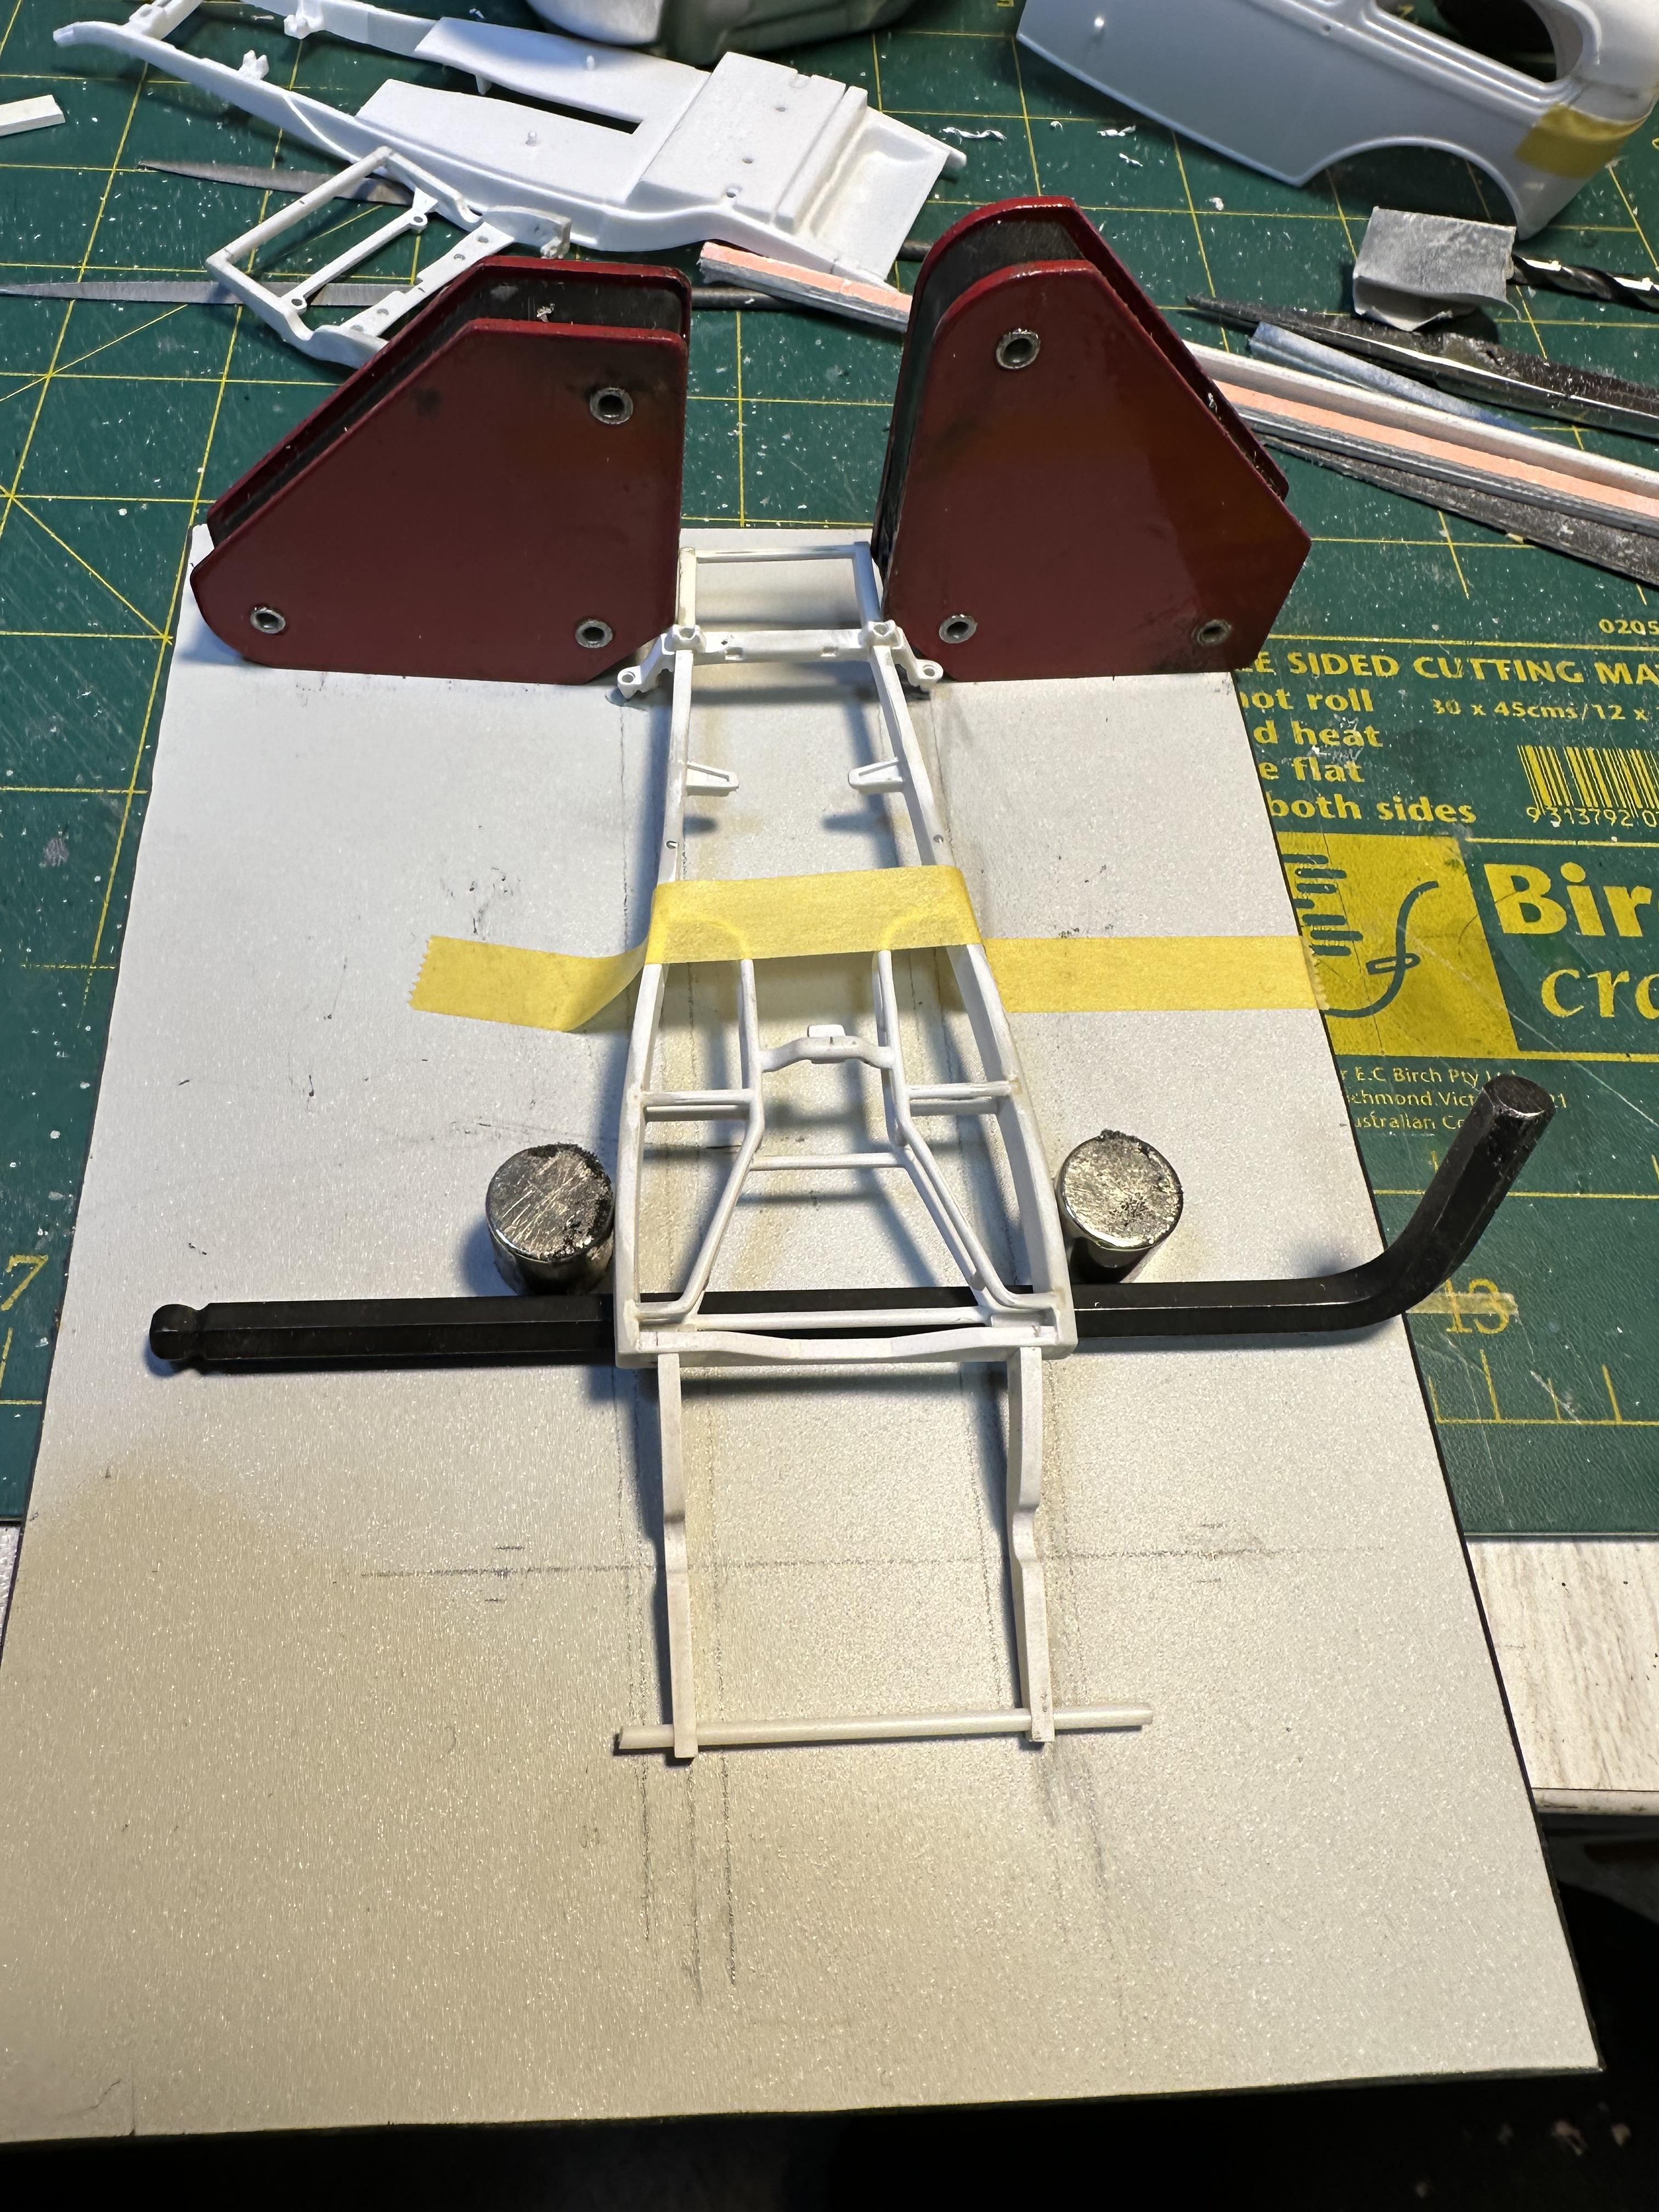
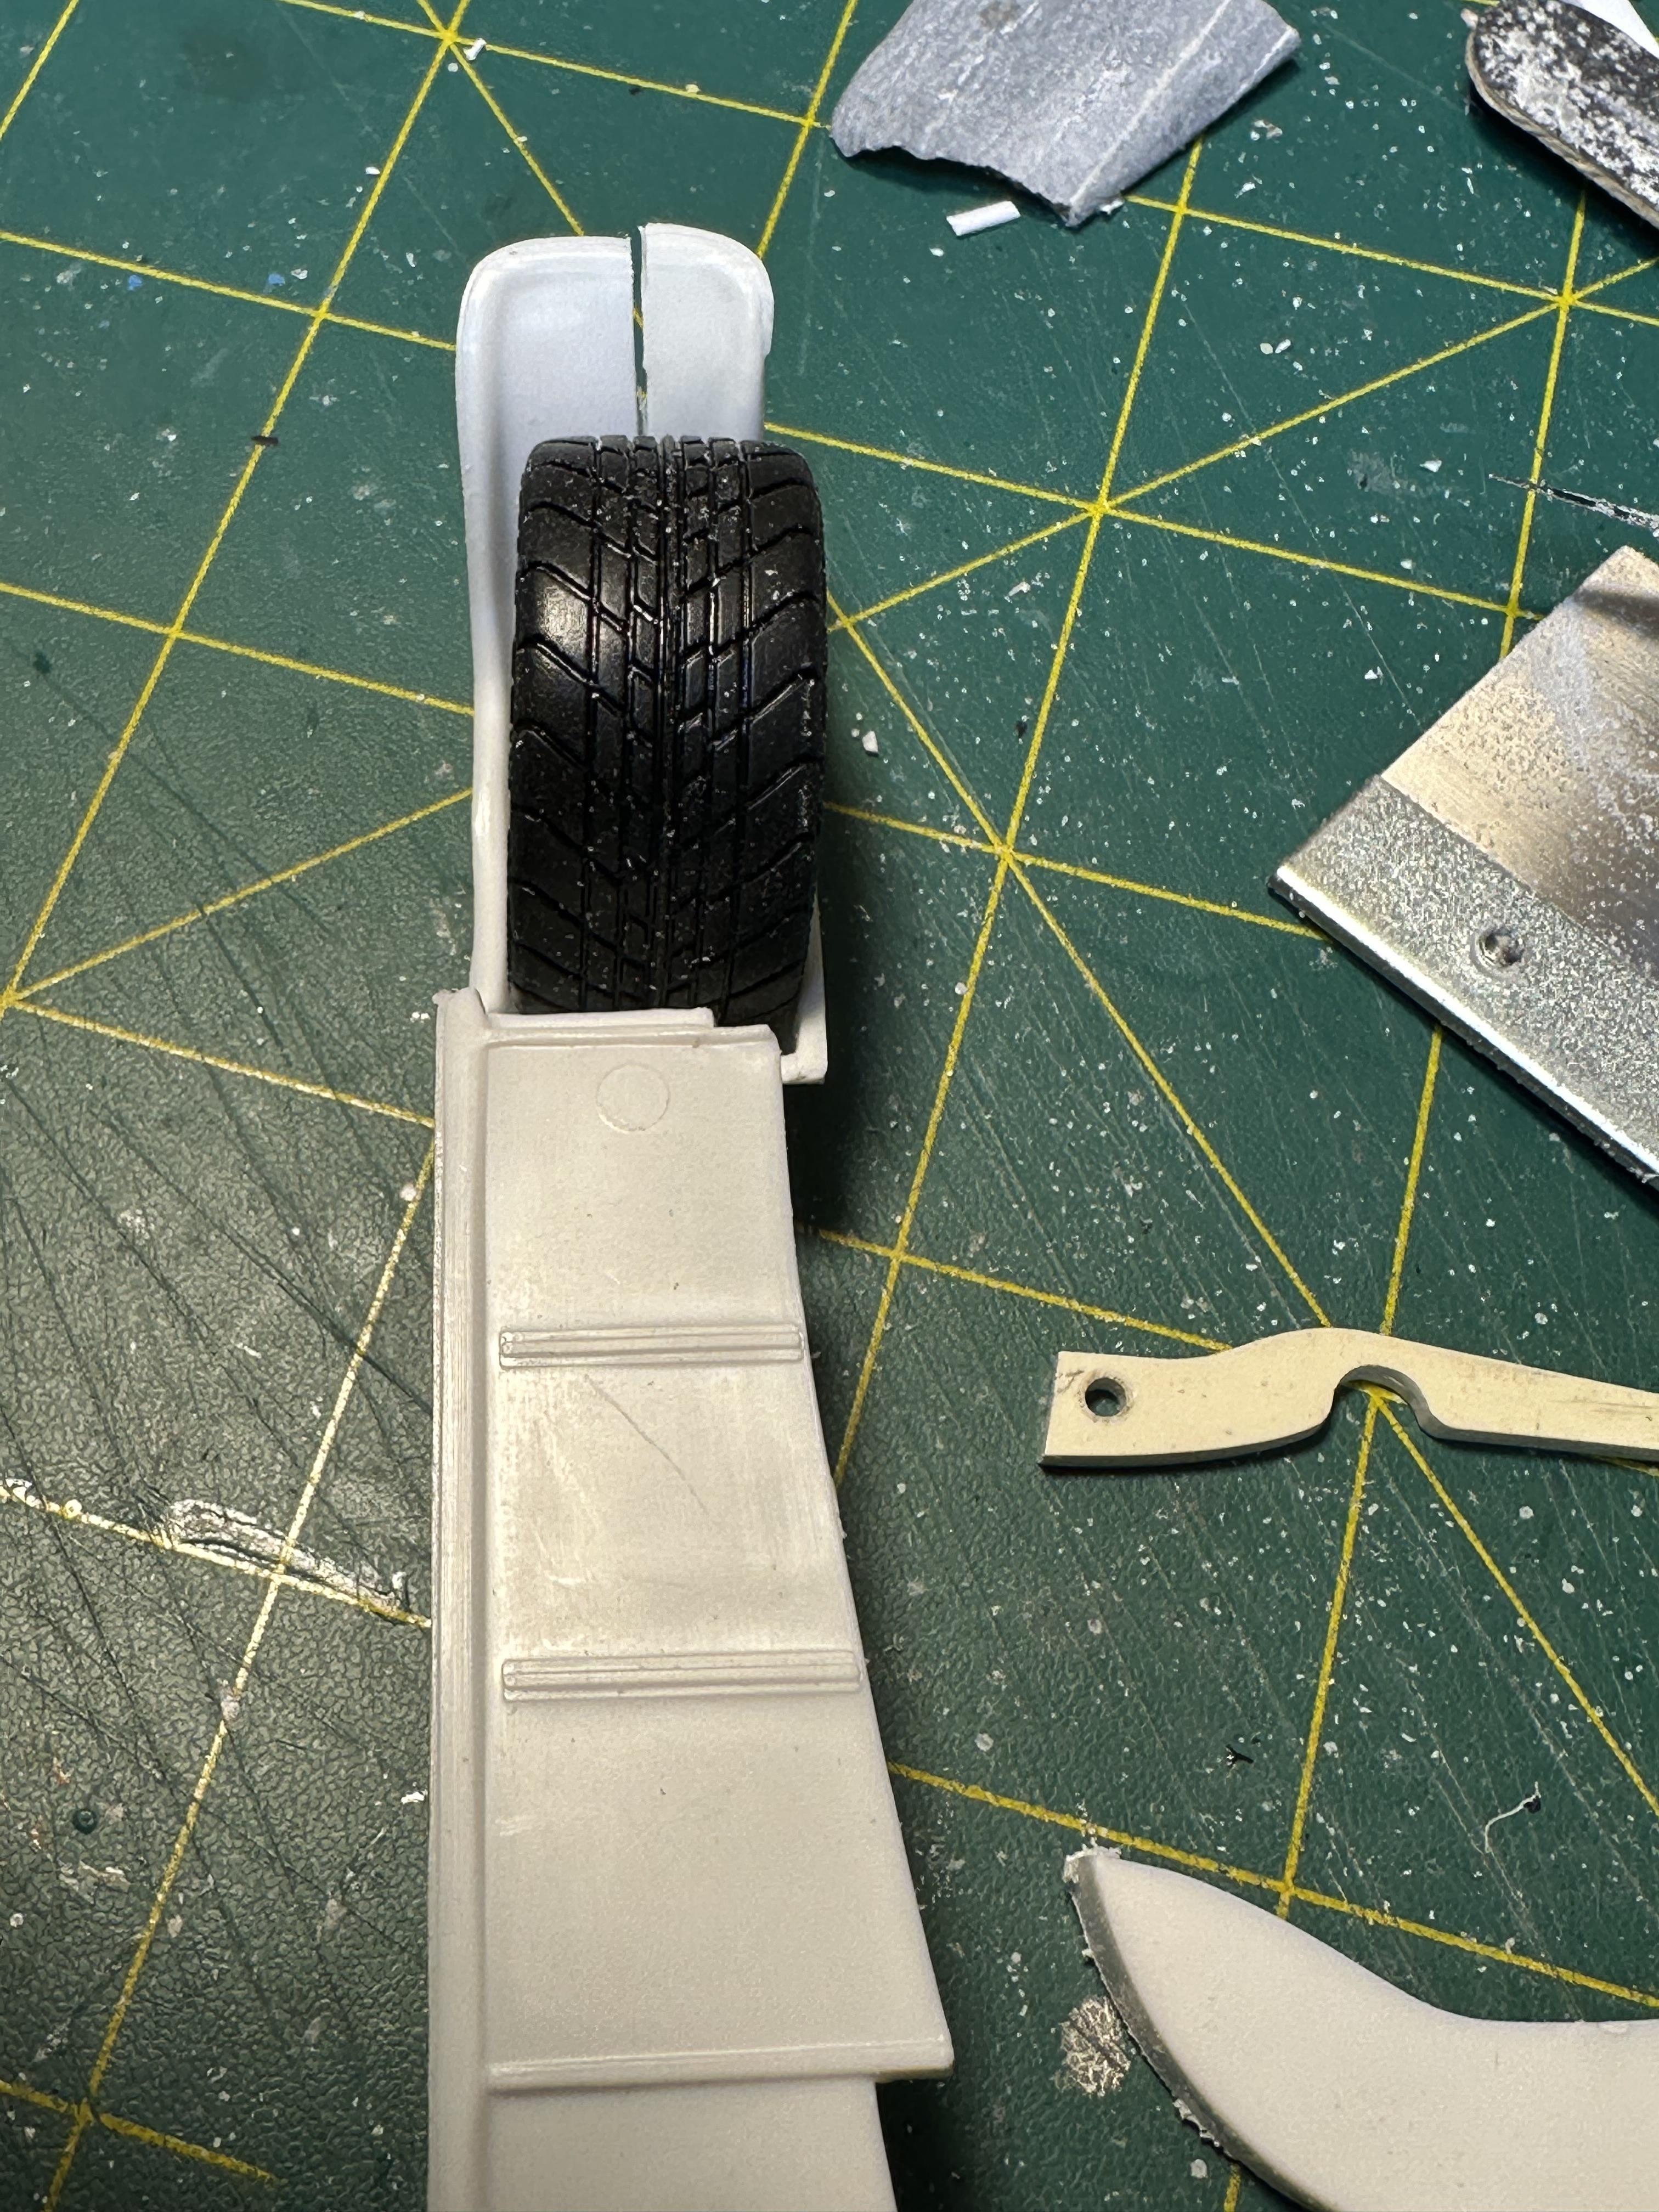
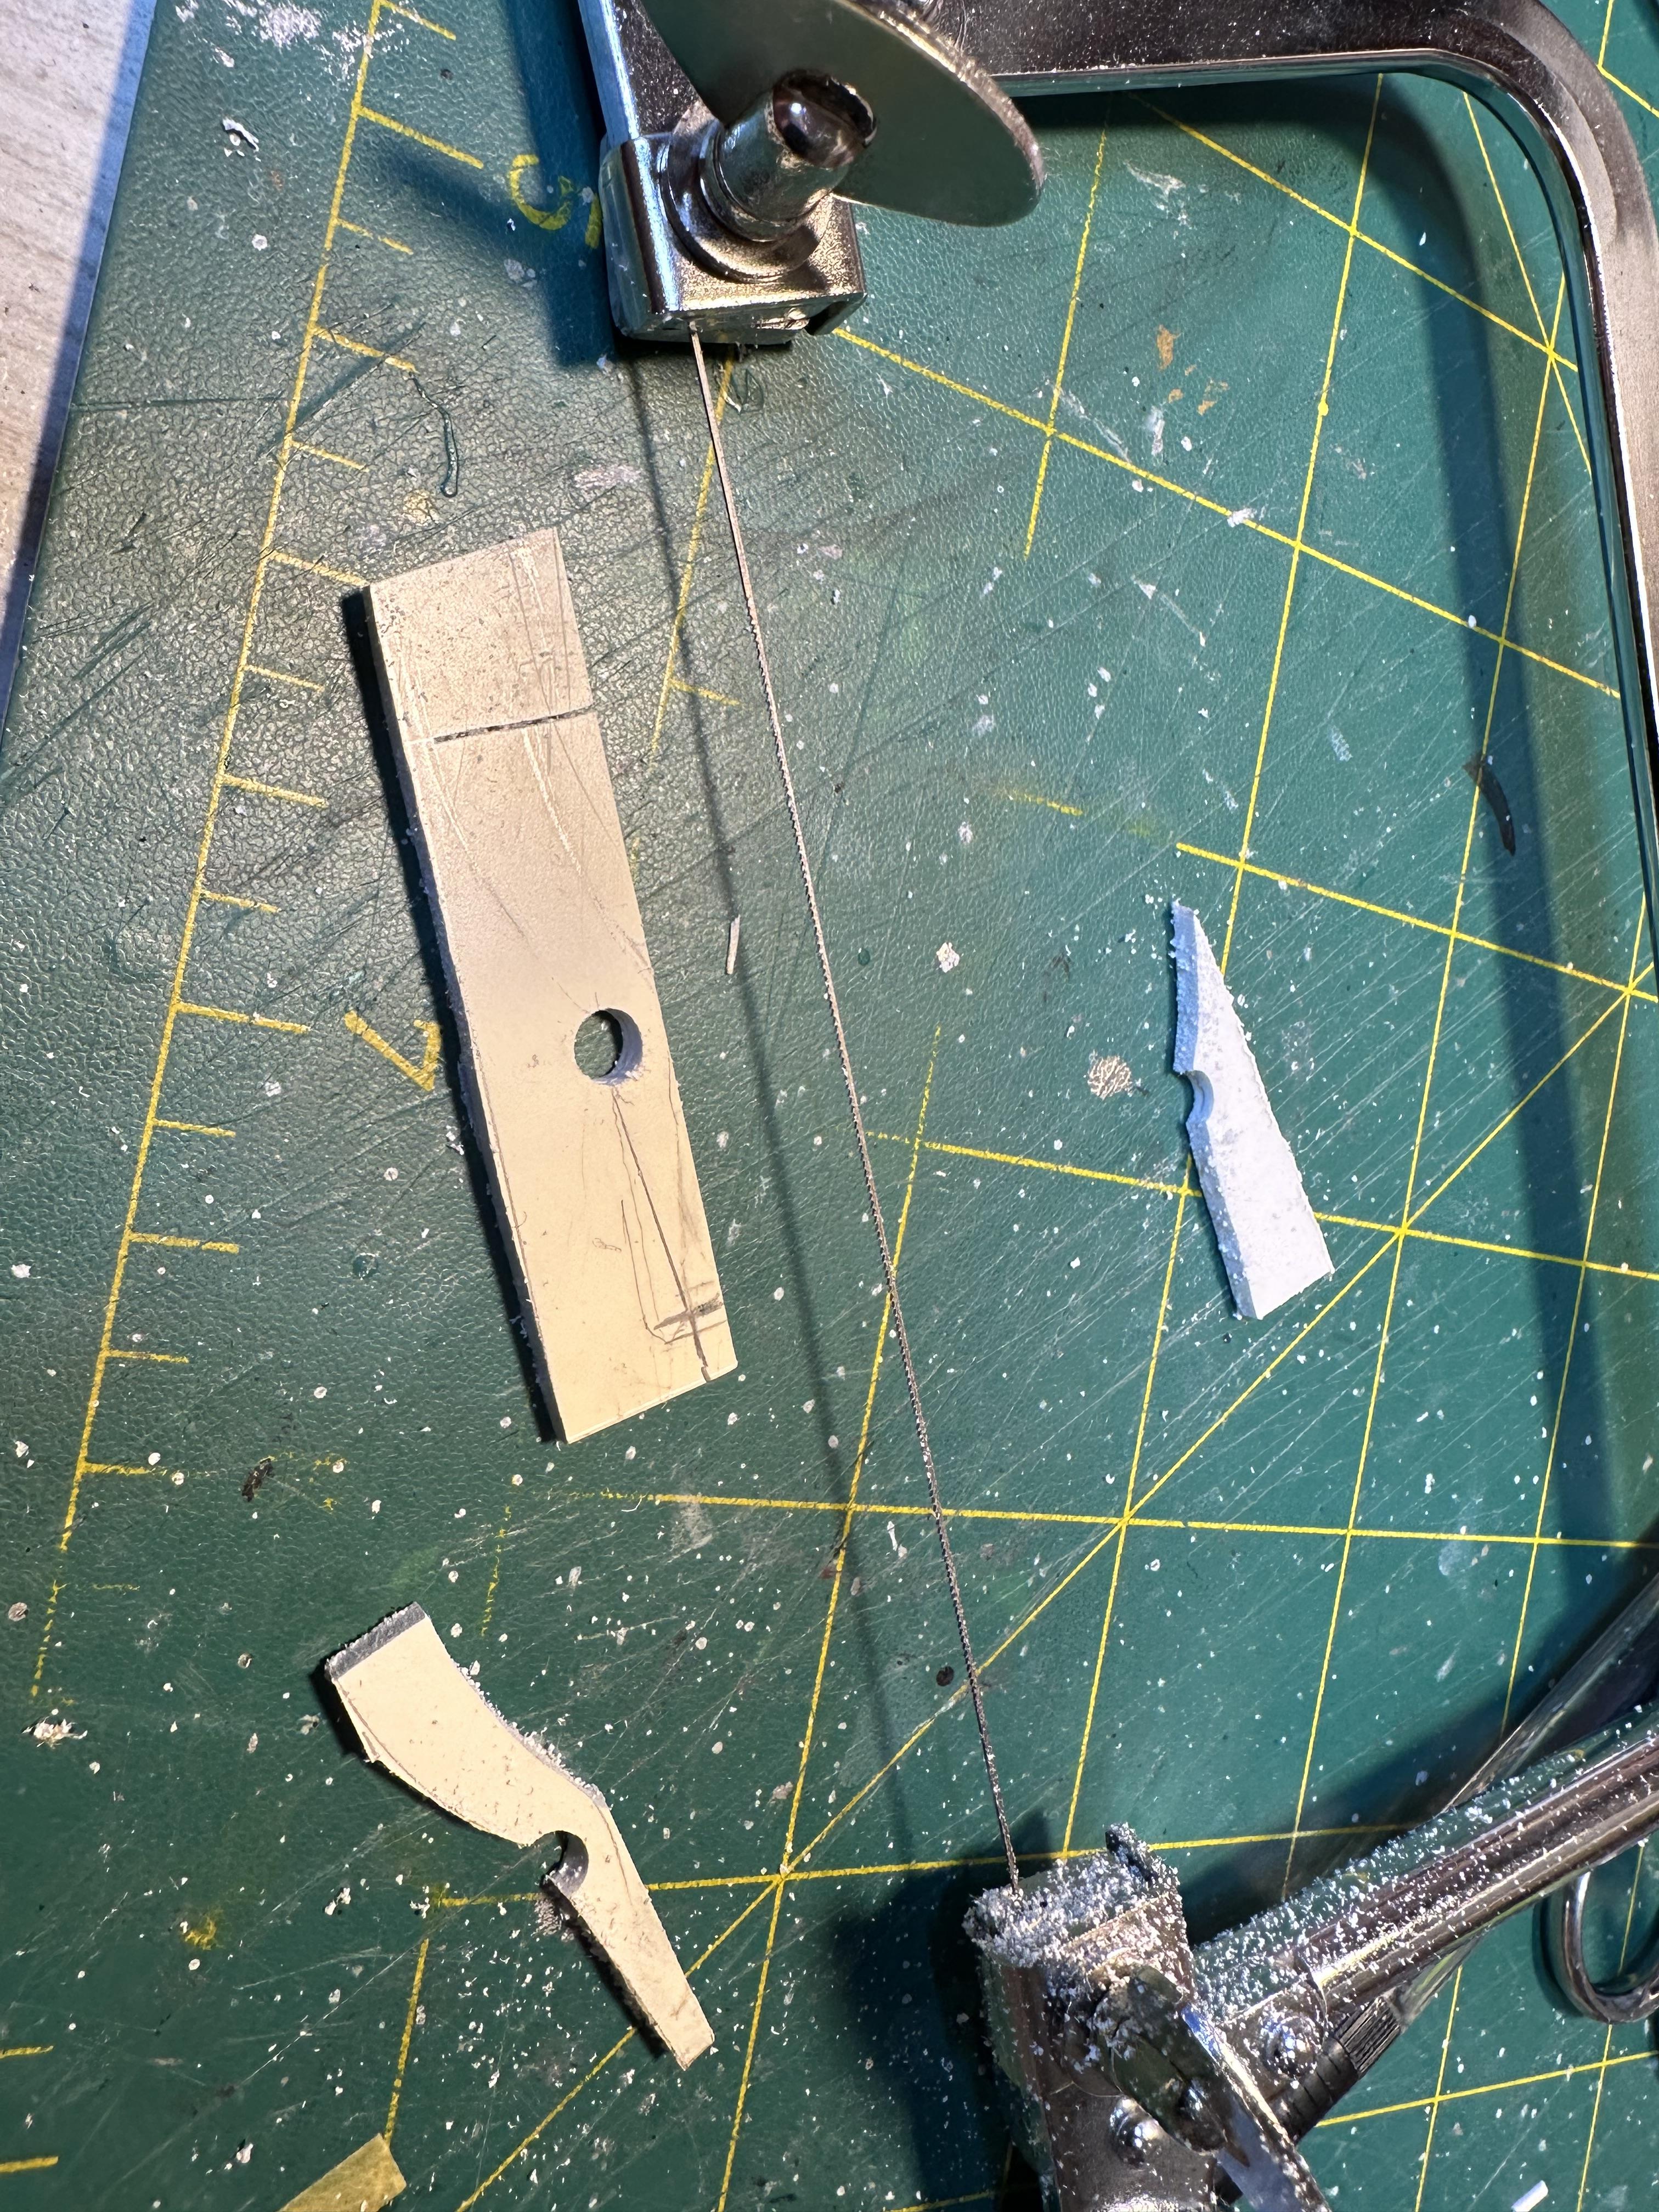
Working on this at what seems a snail pace. Not a lot over the last week or so - life interruptions keep getting in the way of modeling. I have been working on narrowing the rear end. I made up a jig with some sheet metal and magnets. The Allen key is to provide spacing for the chassis from the jig. First pix is of chassis set up in the jig before cutting. Note that I have installed an extra cross member to provide attachment for the new chassis rails. Next up is the chassis rails cut off before clean up The new rails glued on using the jig to make sure all is straight Although the rear of the chassis can still be seen when the body is mounted it is not as exposed as with the original due to the straightening of the rear section of the new rails. As I am not using the fuel tank and cover I need to cover the rails so I will make up a rolled pan. Two pieces of 1.5 x 4mm glued up and glued onto the back of the body. I will shape up when the glue has set up I have also been working on the body filling and filing the cut lines Til next update thanks for looking
-
And some are fully polished And some have painted centres with polished rims And most are painted centres with a machined finished rims which are satin ally
-
As an aside the flathead cross member comes in handy when installing the flatty into the 29 Roadster/coupe
-
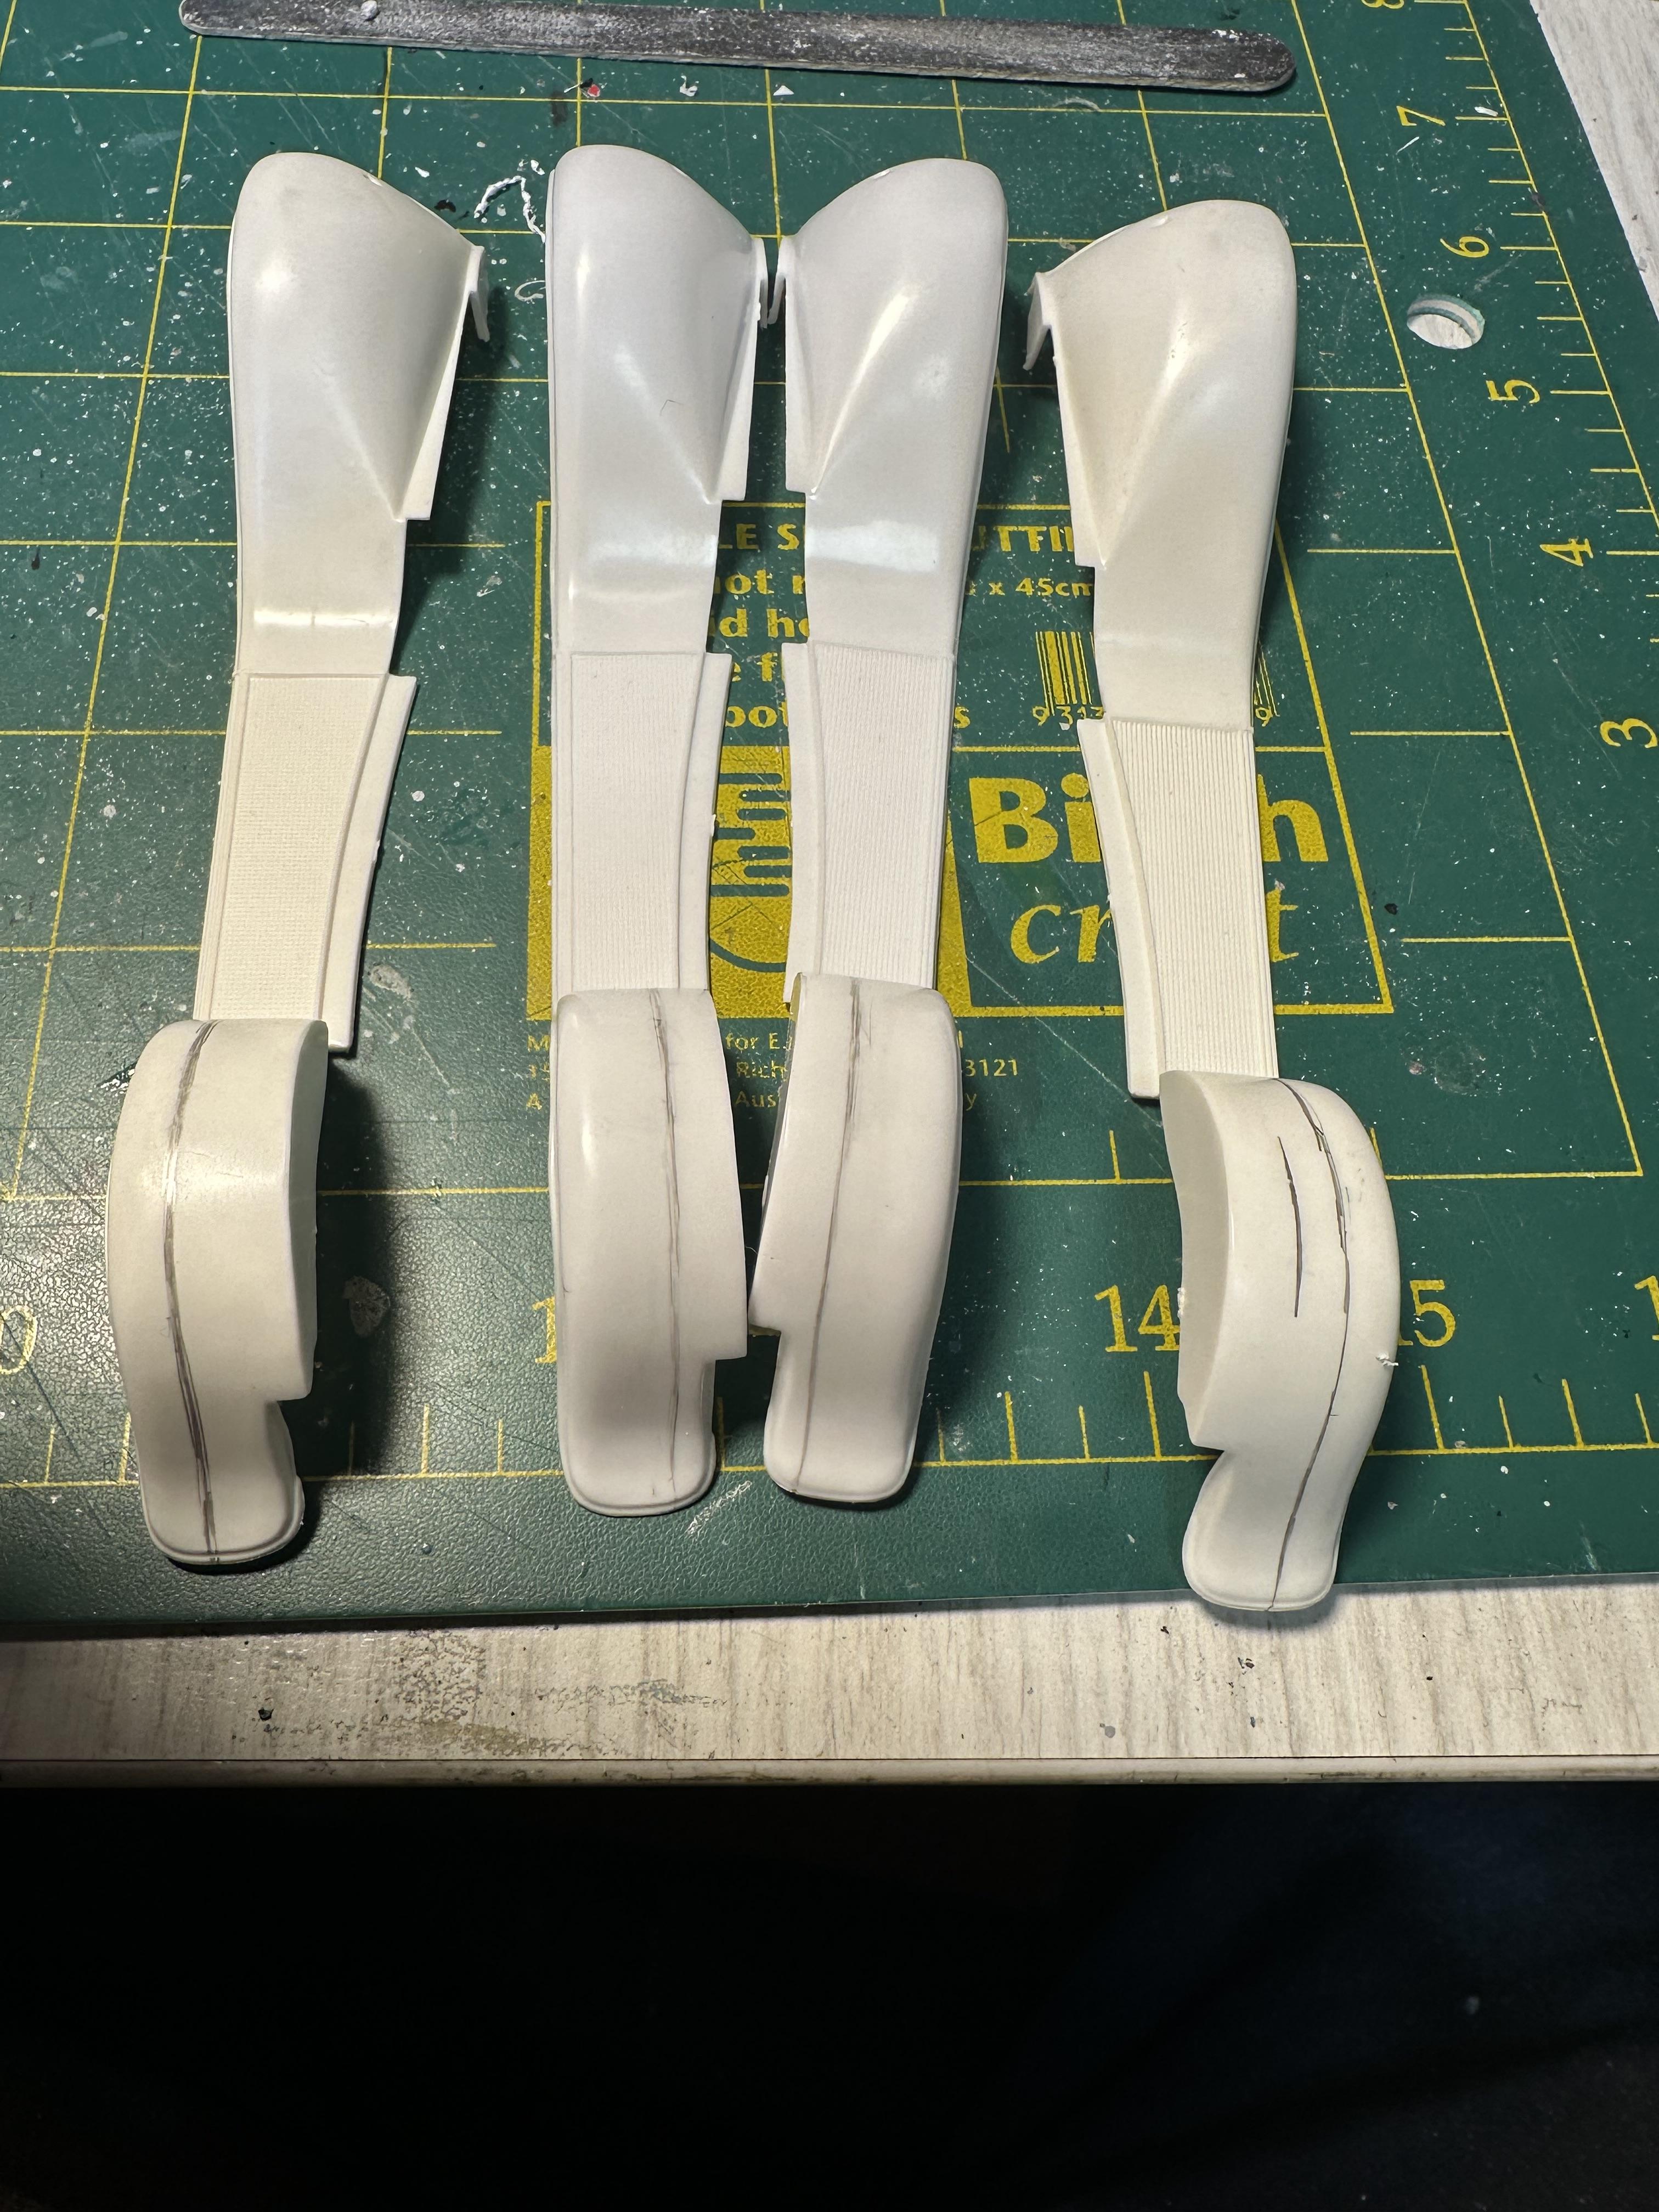
FWIW these are my tubbed fenders fitted onto the Revel 29 chassis - fits like a glove.
-
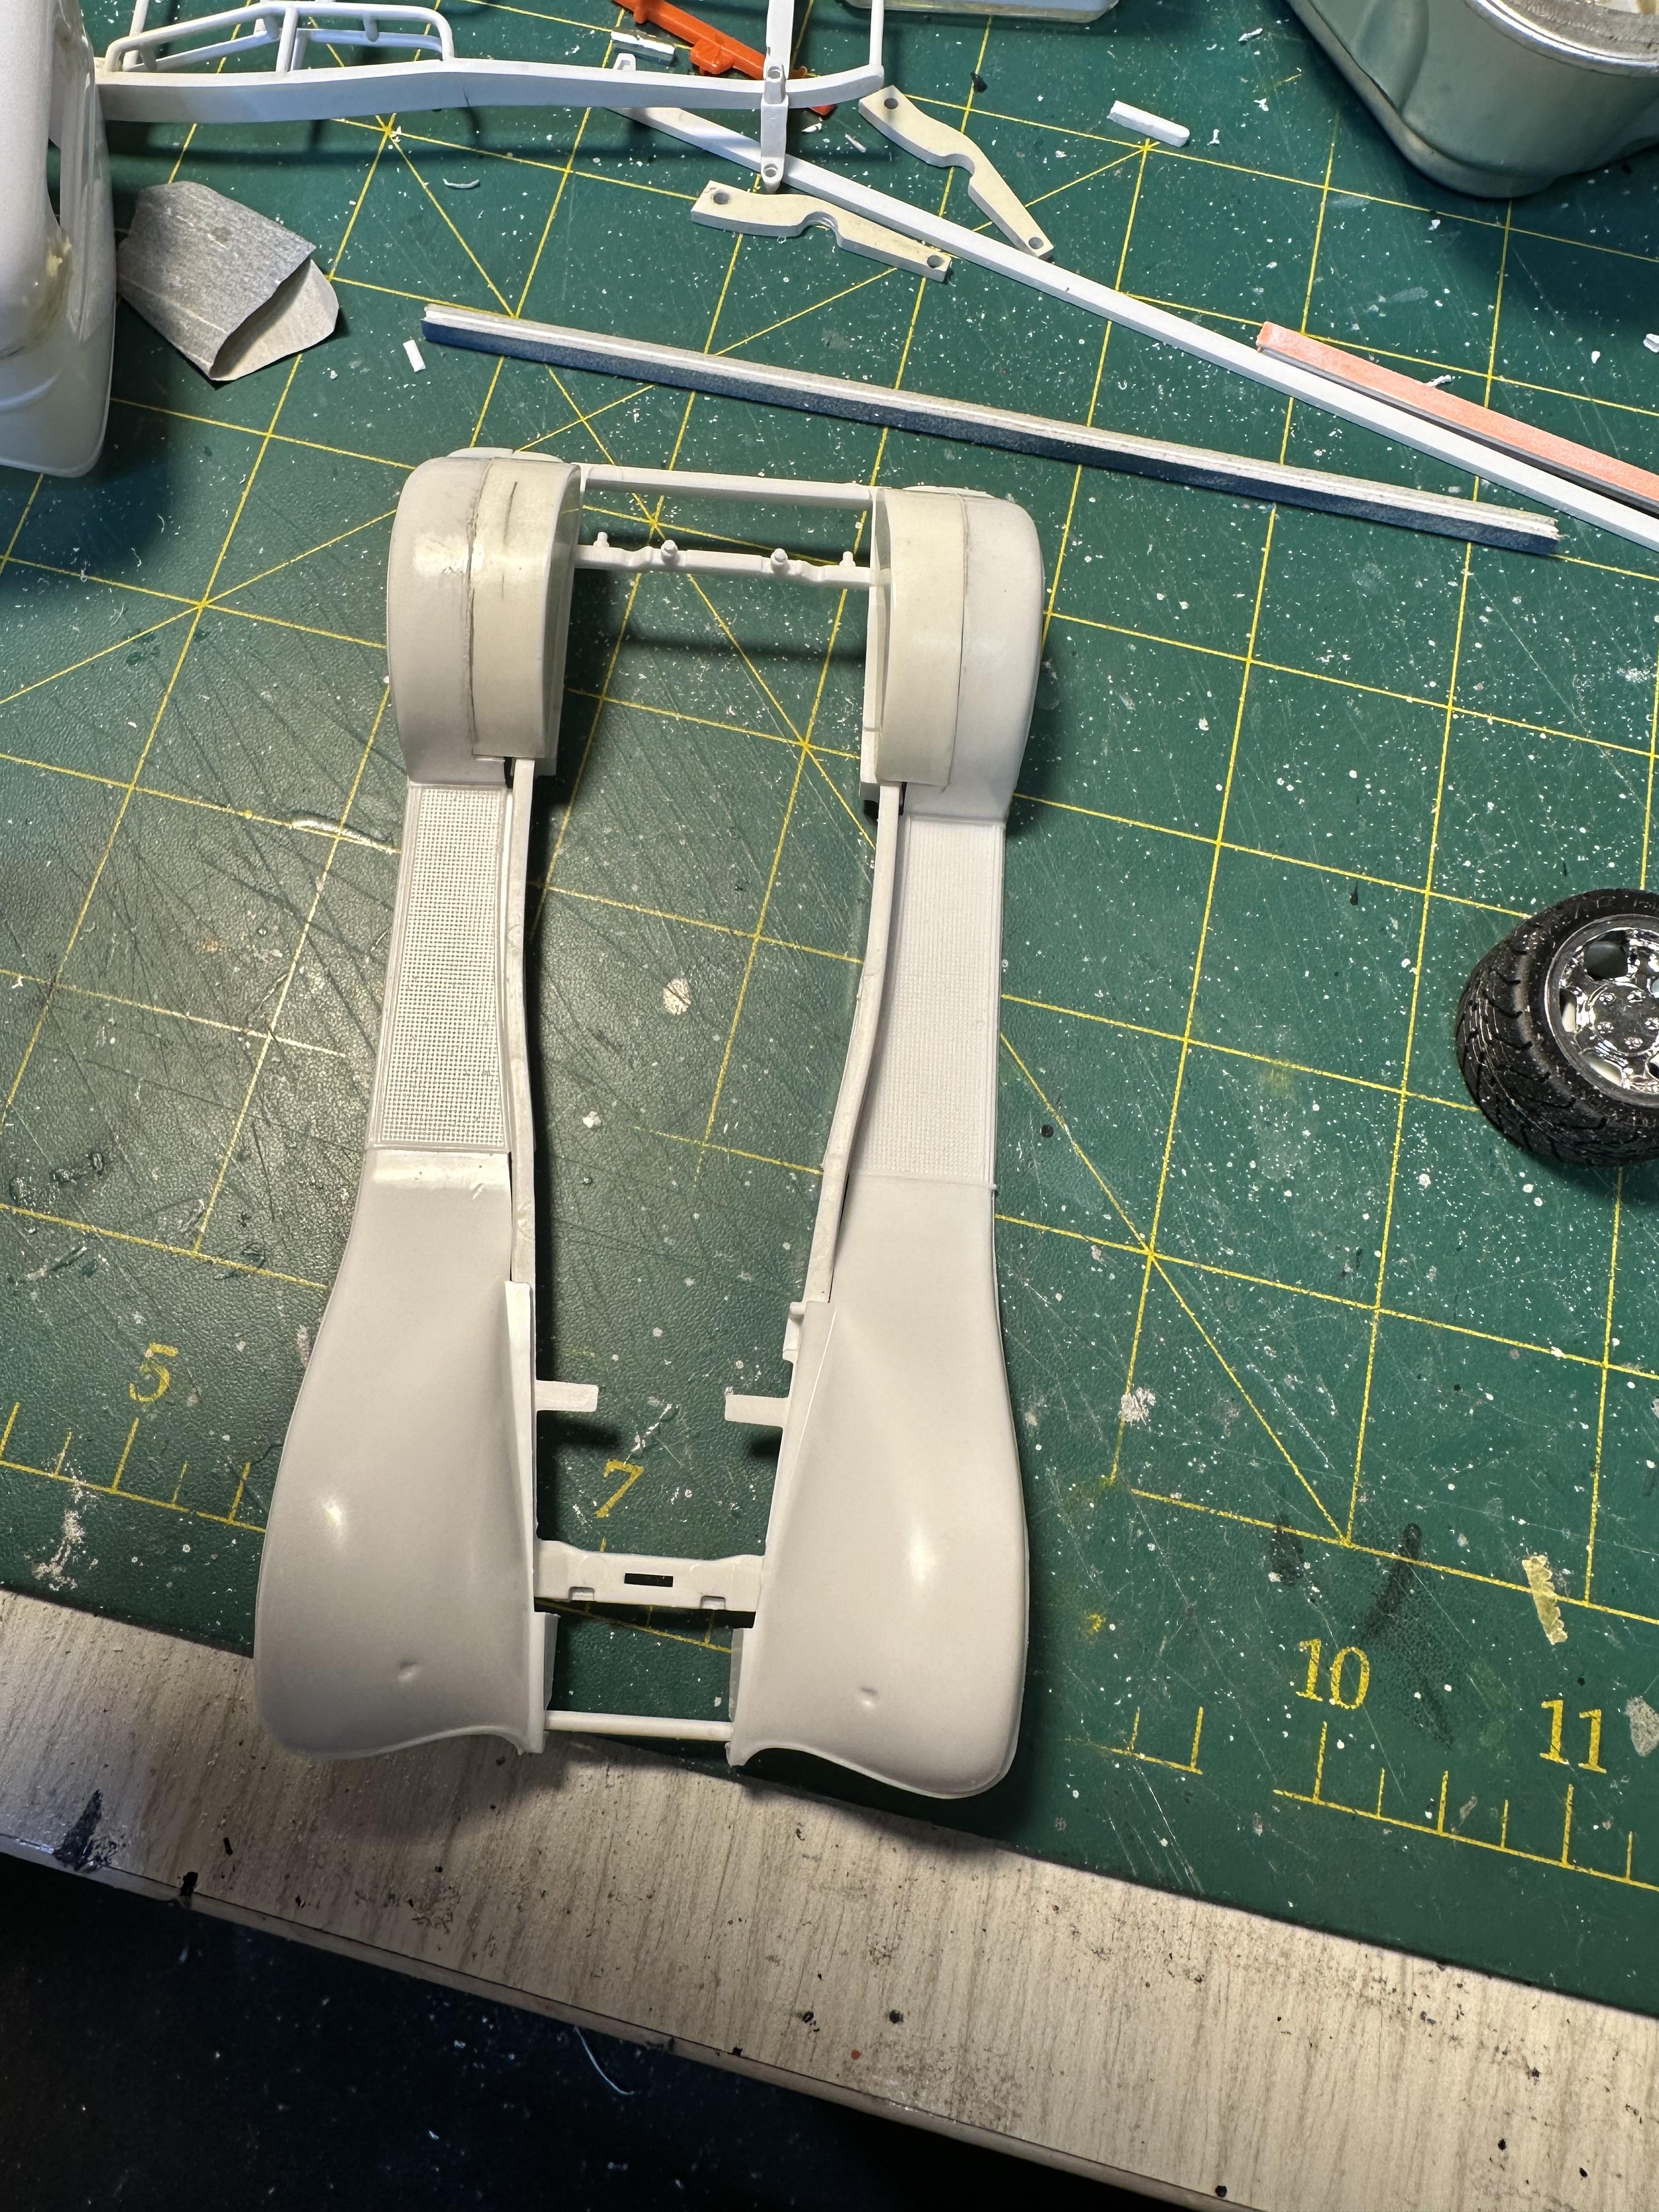
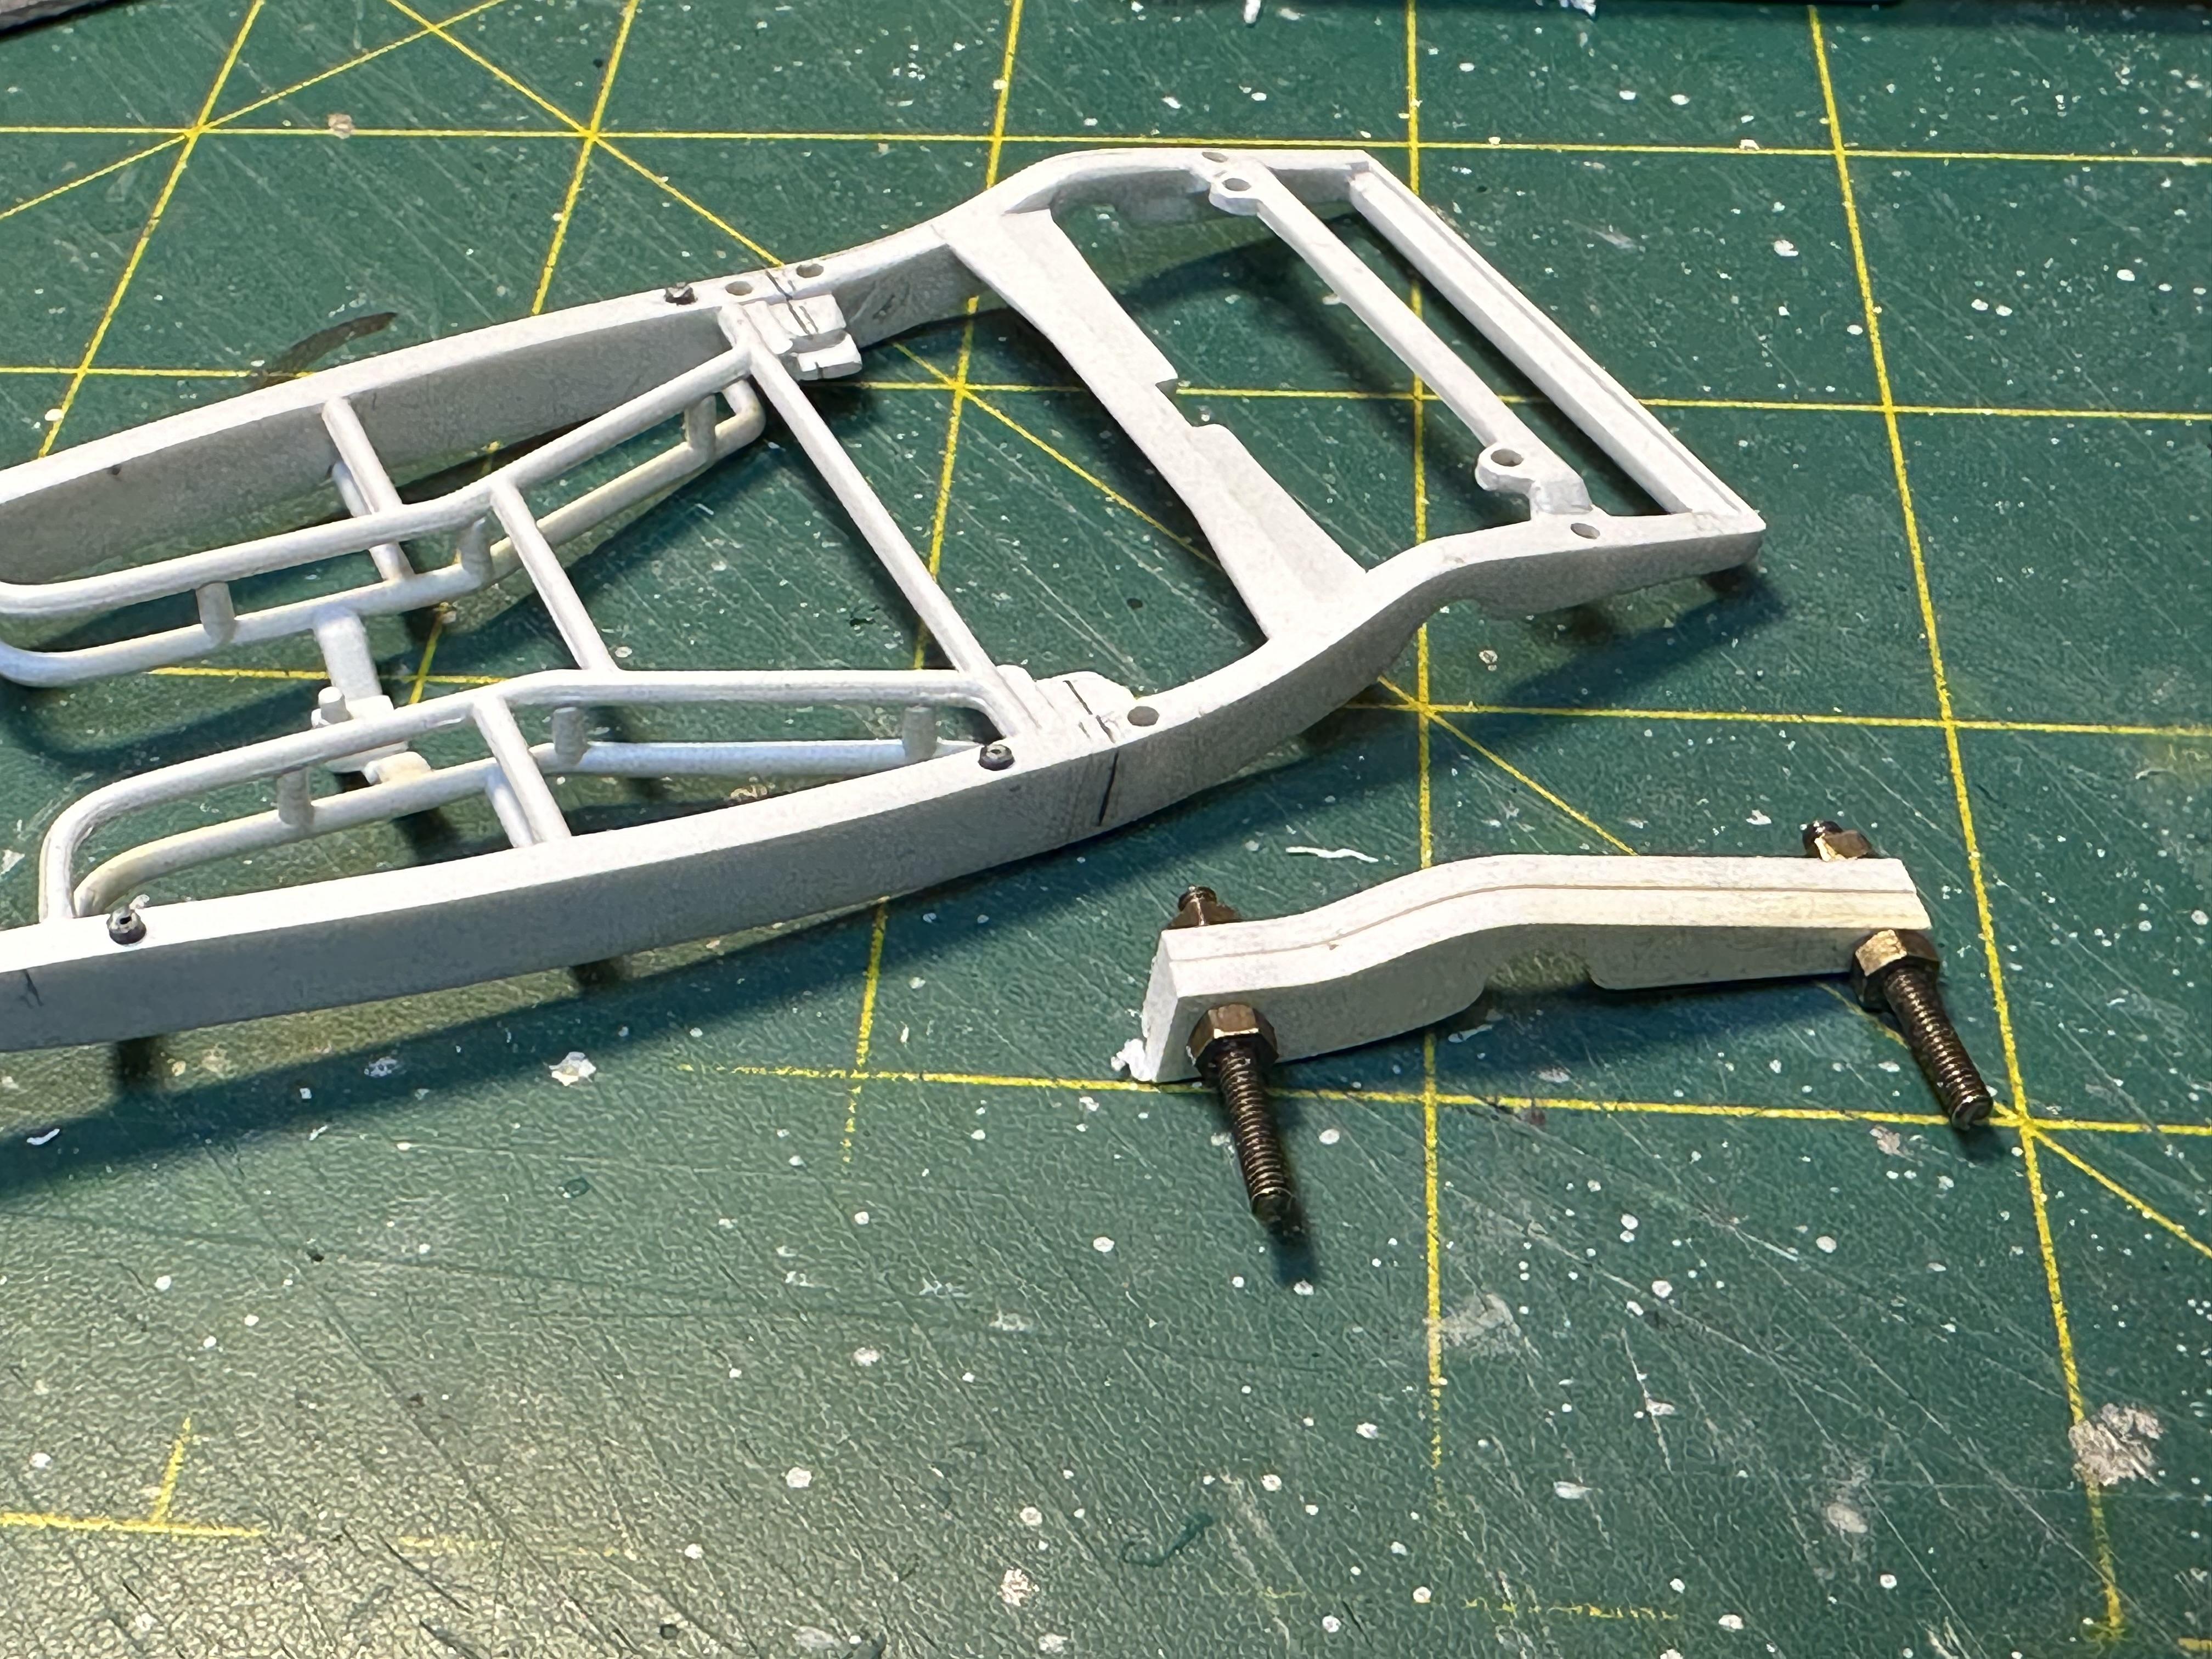
The new rear chassis rails - held together by small screws to ensure that they are the same when shaping And the newly tubbed rear fenders. And they are now wide enough to fit the big rear meats from the Vicky. I now may be able to get the back down a bit more as a bonus Thanks for looking
-
40 Ford motor Oil filter, generator and starter motor all turned up on my lathe Crab style distributor totally scratch built There two more oil filters tuned up to be header collectors as per the real car
-
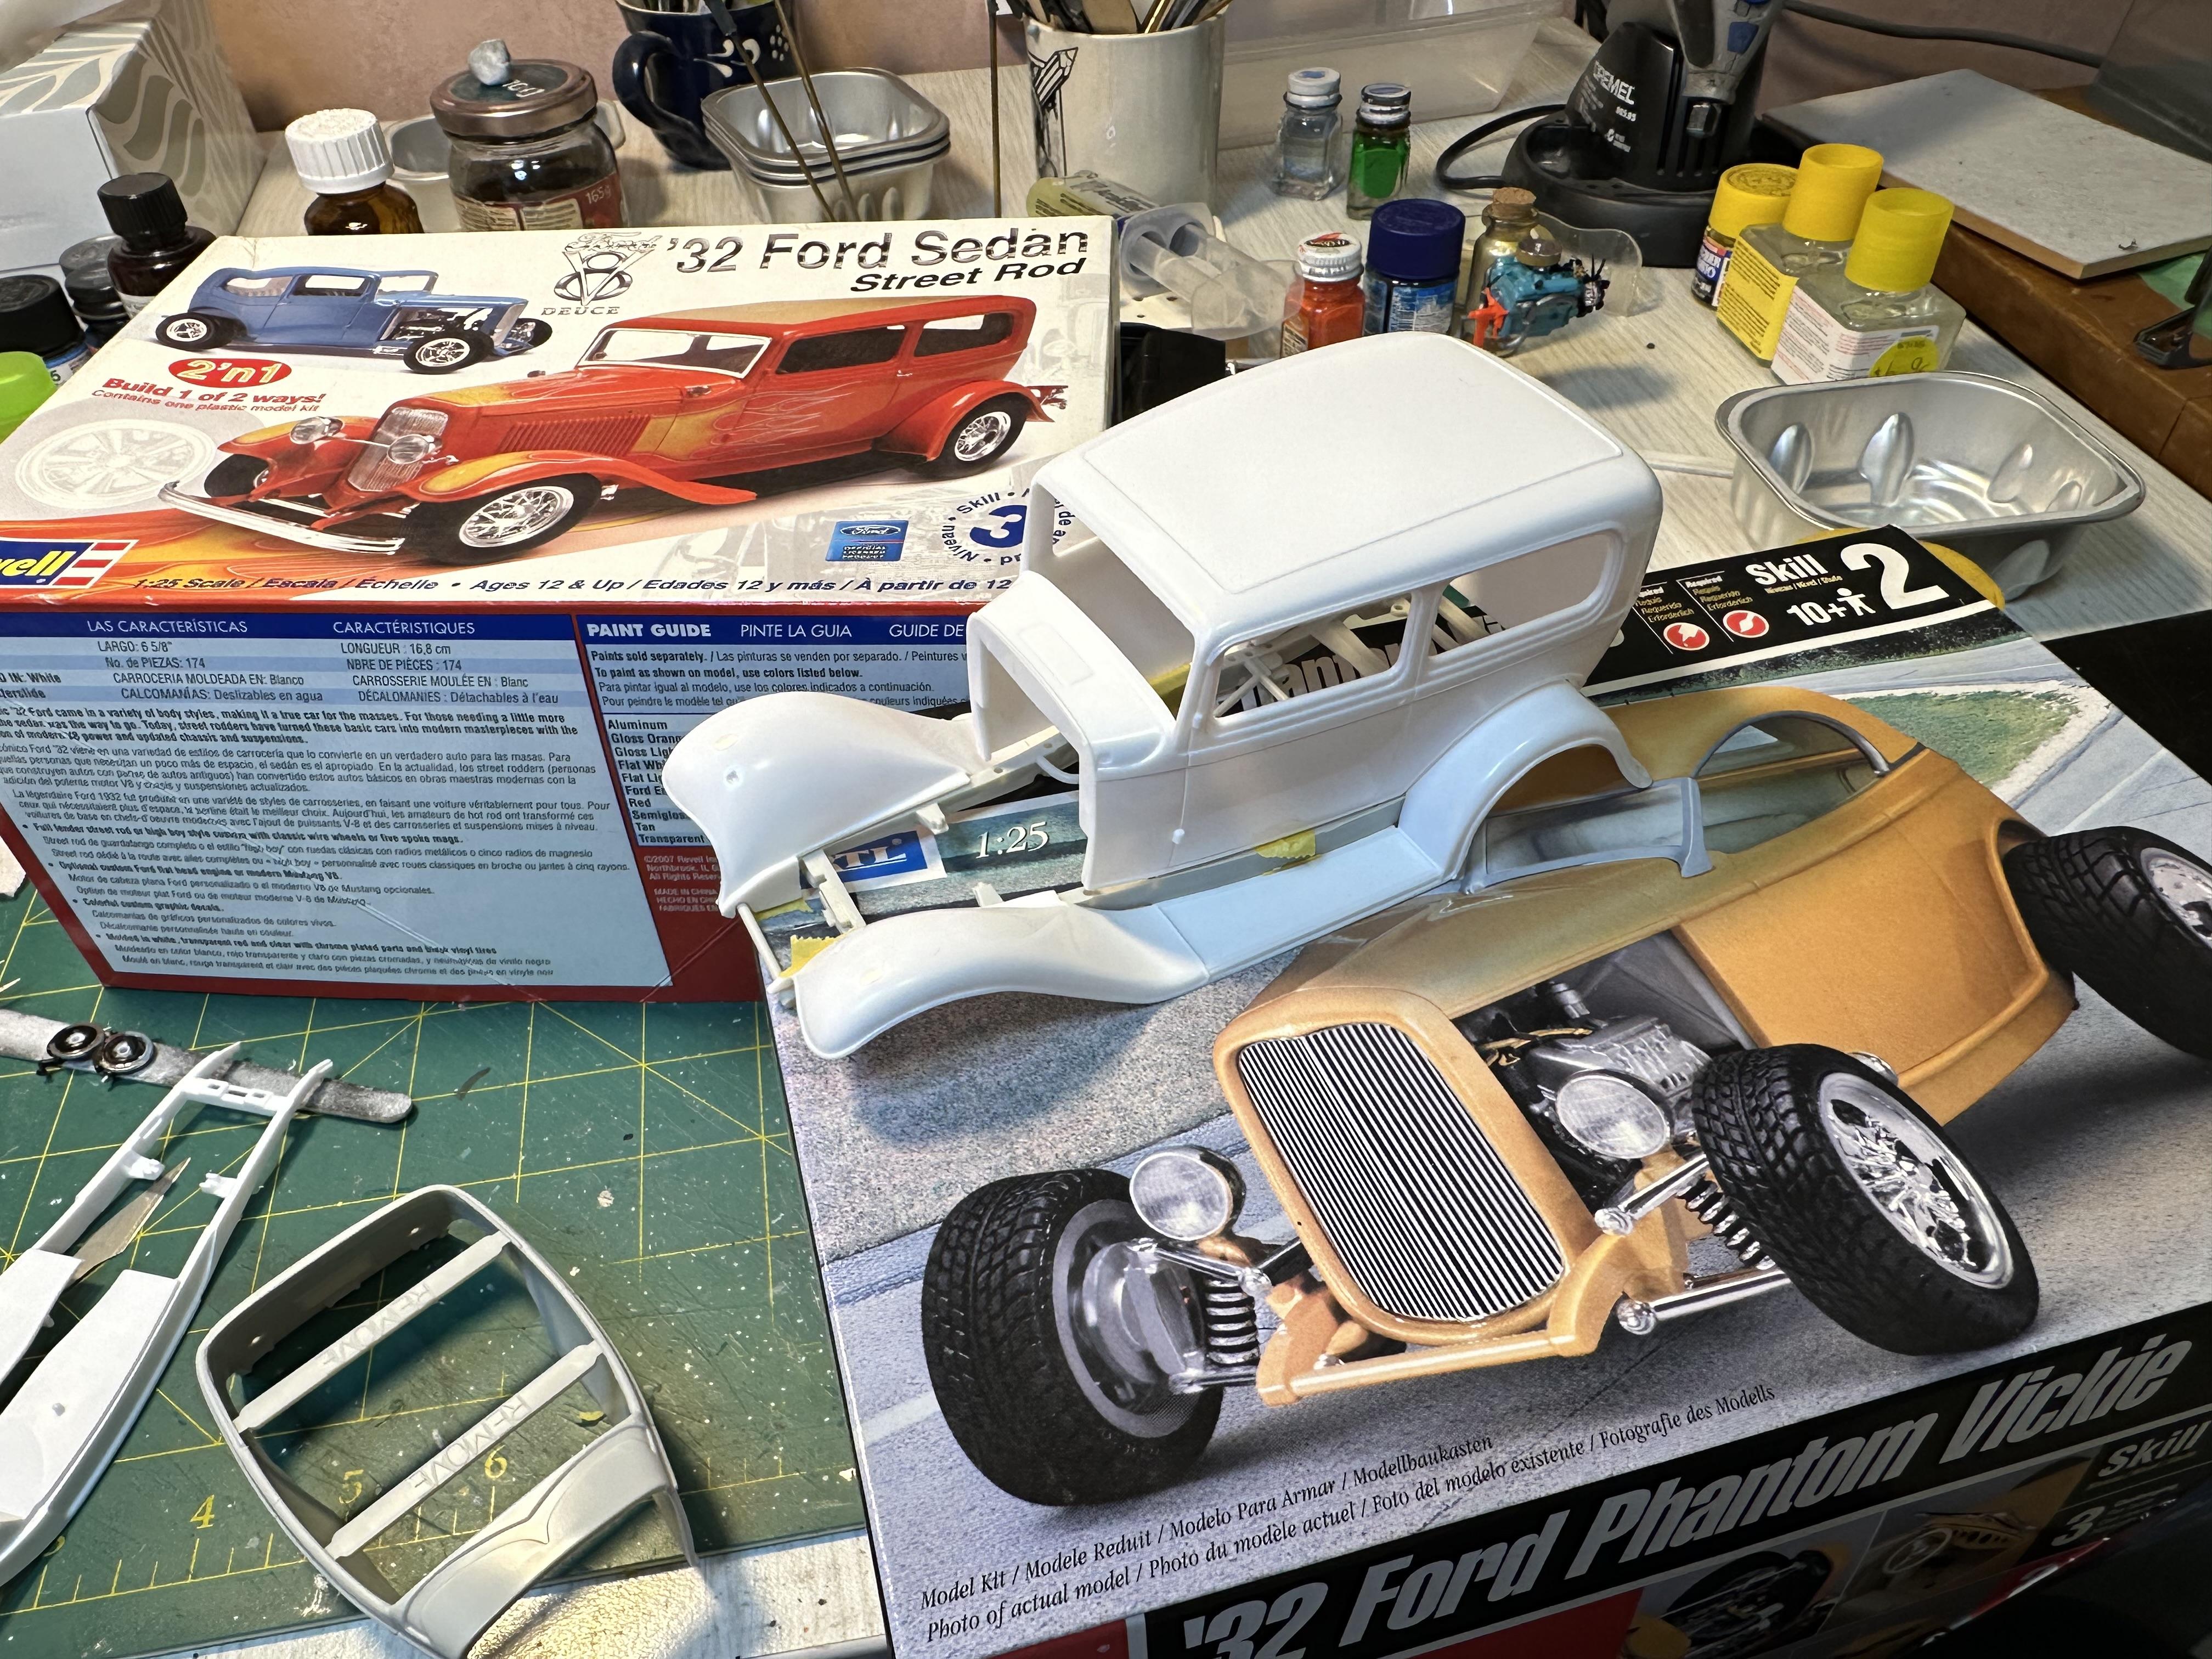
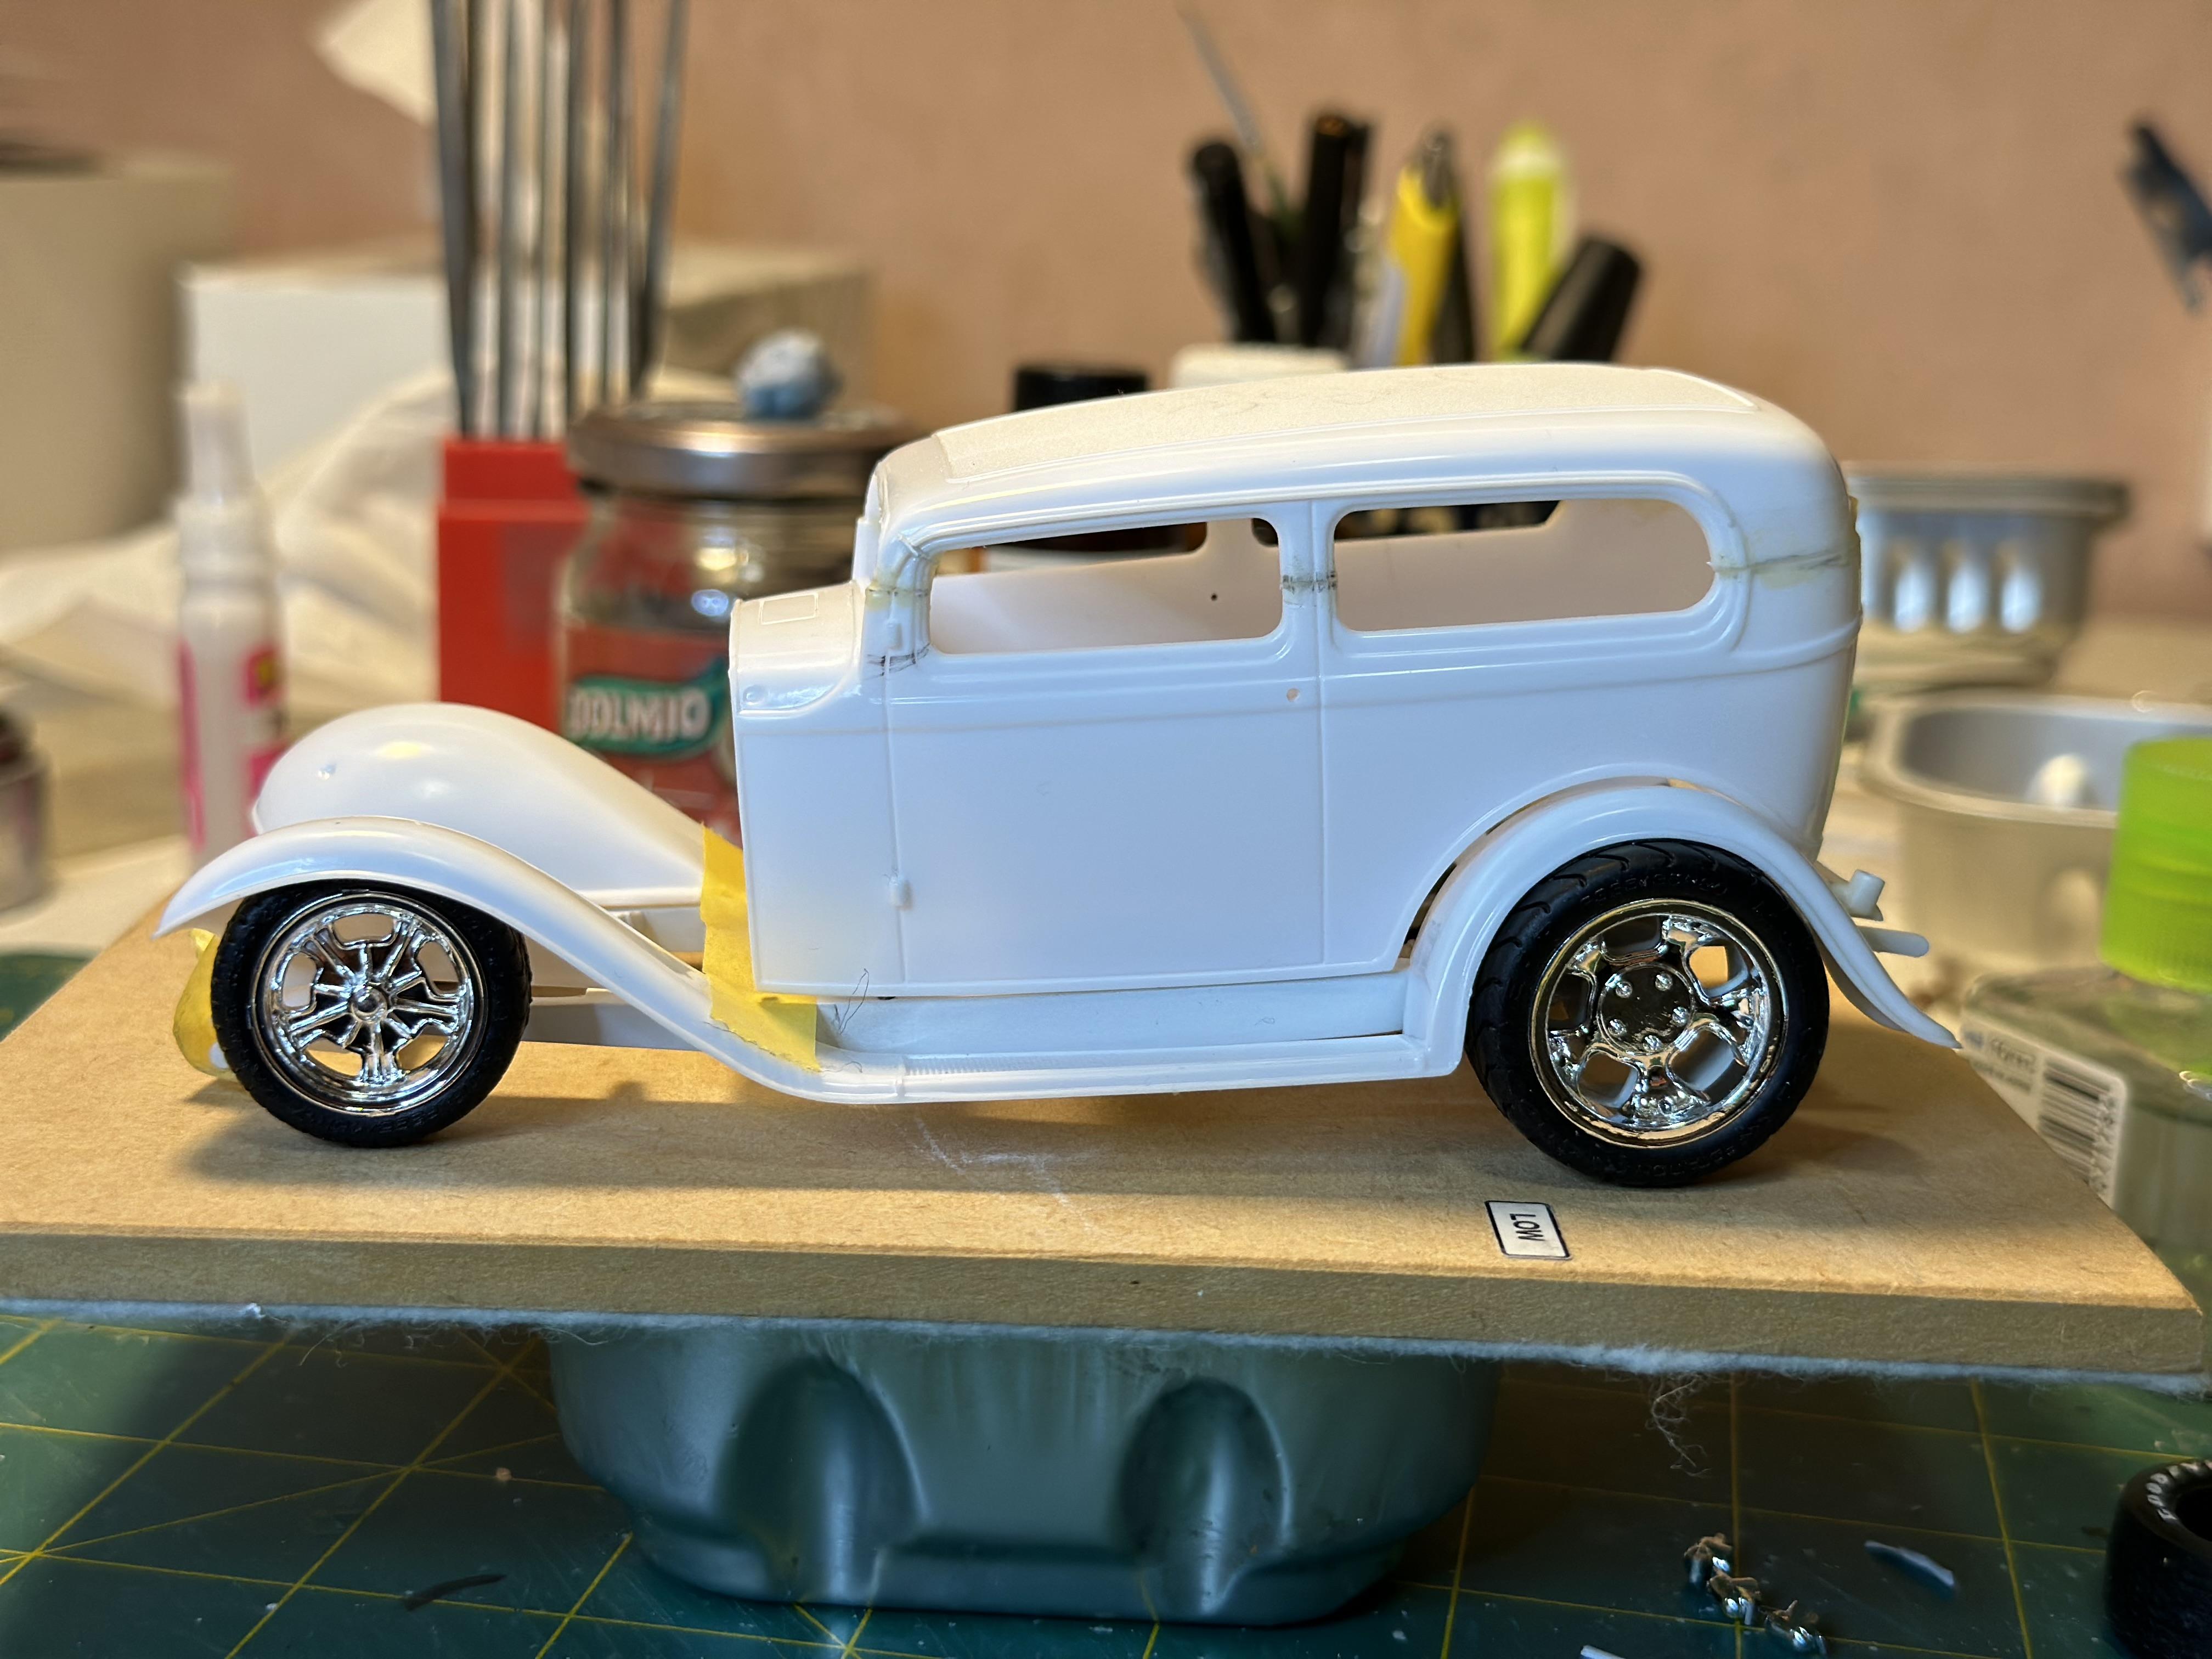
I had already started a 32 Sedan build just before this thread fired off. Here - I will continue with my original thread and post some updates here The build up is to combine these two kits to get a more modern version of the sedan posted above. That is based on the AMT kit and has a Ford 427 Cobra and XKE front and rear suspensions and has been chopped about 3". The new build has already been chopped 3 1/2" and will be tubbed. Some other ring in parts will be used such as a Li'l John rear end and any other parts that need to be scratch built or purloined from other kits Mock up with Vicky chassis and wheels showing off the top chop Presently working on the rear end
-
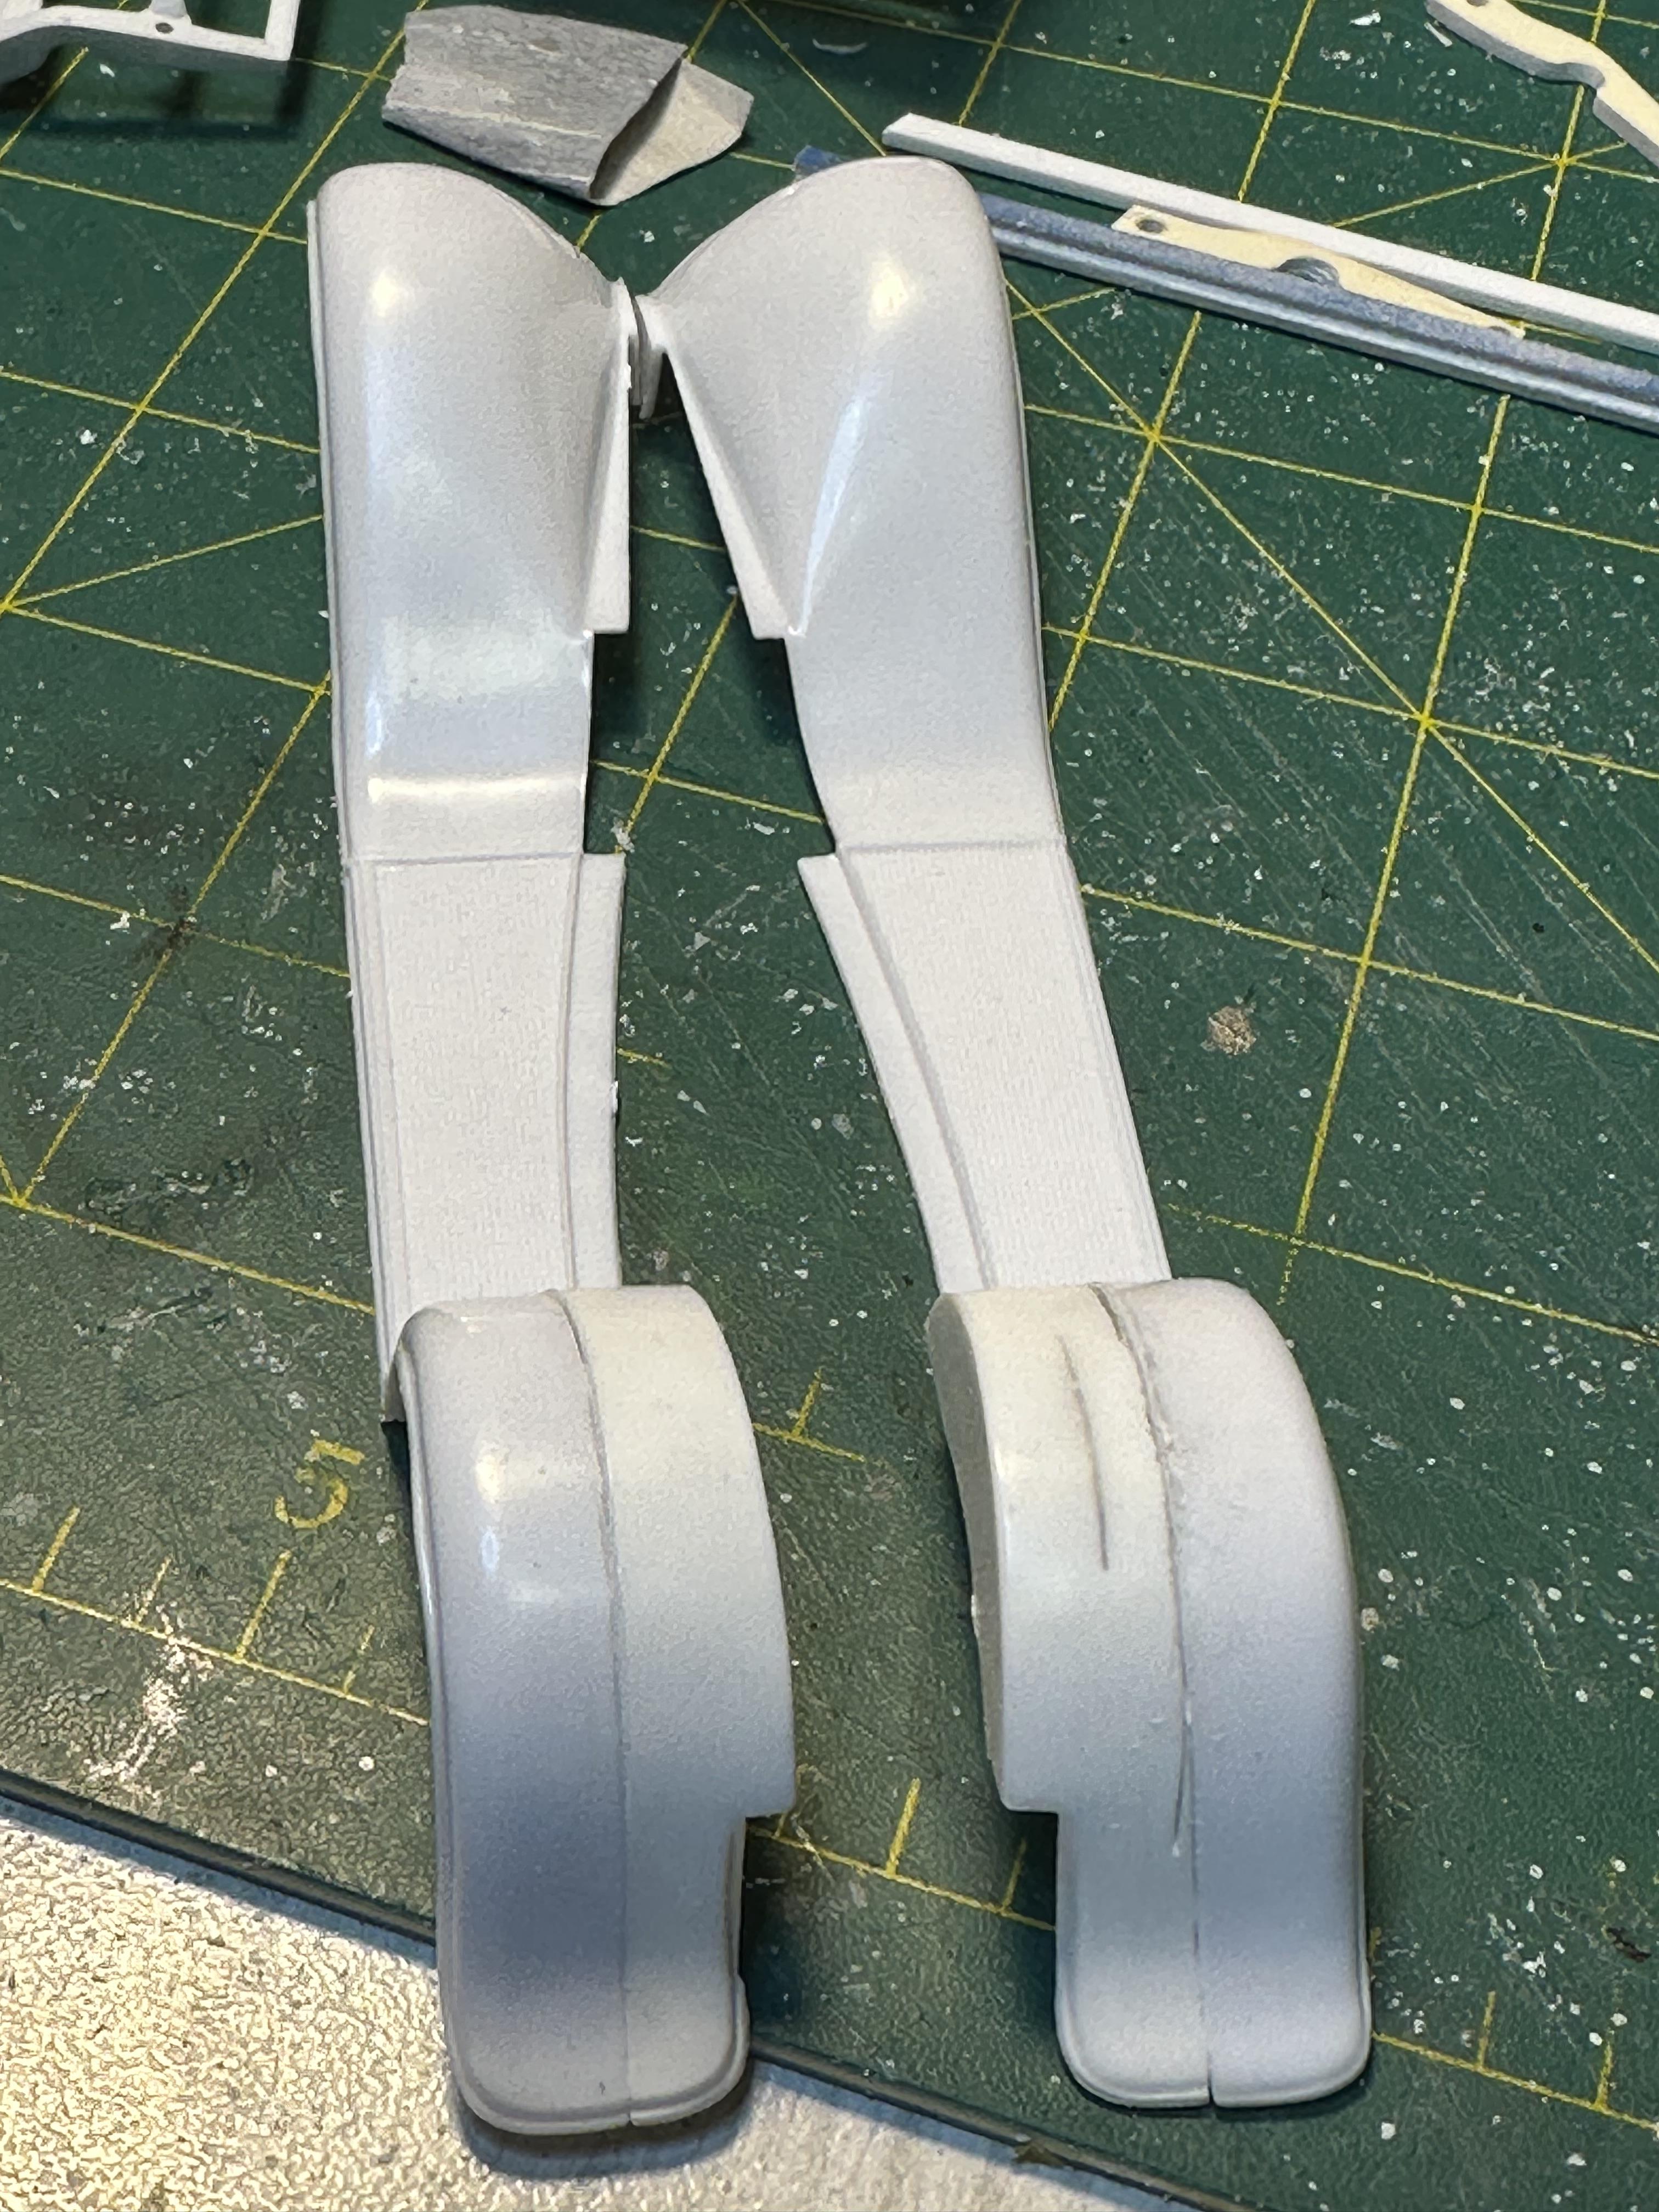
Small update before I move over to the 32 Sedan thread A tubbing we will go....... All marked up for the big slice job For the narrowed rear chassis rails I have marked out cut out some new rails that have the rear section raised so that I can deal with the ugly rear end view later At the moment the rail have been completely shaped to fit I will determine placement on the chassis after the tubbing has been done. Thanks for looking
-
It was a pleasure to participate. Thanks to all
-
Who doesn't love a mock-up? Let's see yours!
bill-e-boy replied to Belairconvertable's topic in WIP: Model Cars
Current project - Revell 32 Sedan chopped 3 1/2"
-
I will be watching and I may bring my build over from my thread I started a few weeks ago Anyhoo 32 sedan build from very early 80's (AMT) - are these still expensive in the market place
-
My - look what happens when you dont go into the forum for a few days. And yup with the new release of the 32 Sedan bound to happen
-
????
-
Thanks MRM - you are a champion. I will look over the post as it looks like it covers all of the info I need I want the Vickie frame as this is most probably the best 32 frame around. I will look at the 29 hiboy frame but will most probably scratch the narrowed section as I want all of the 29 Hiboy frames that I have for future builds. And the kits cost an arm and a left testicle here in NZ so I don't go robbing too many kits as a rule. May look at the 29 channeled frame as these end up in the parts bin. Cheers Bill
-
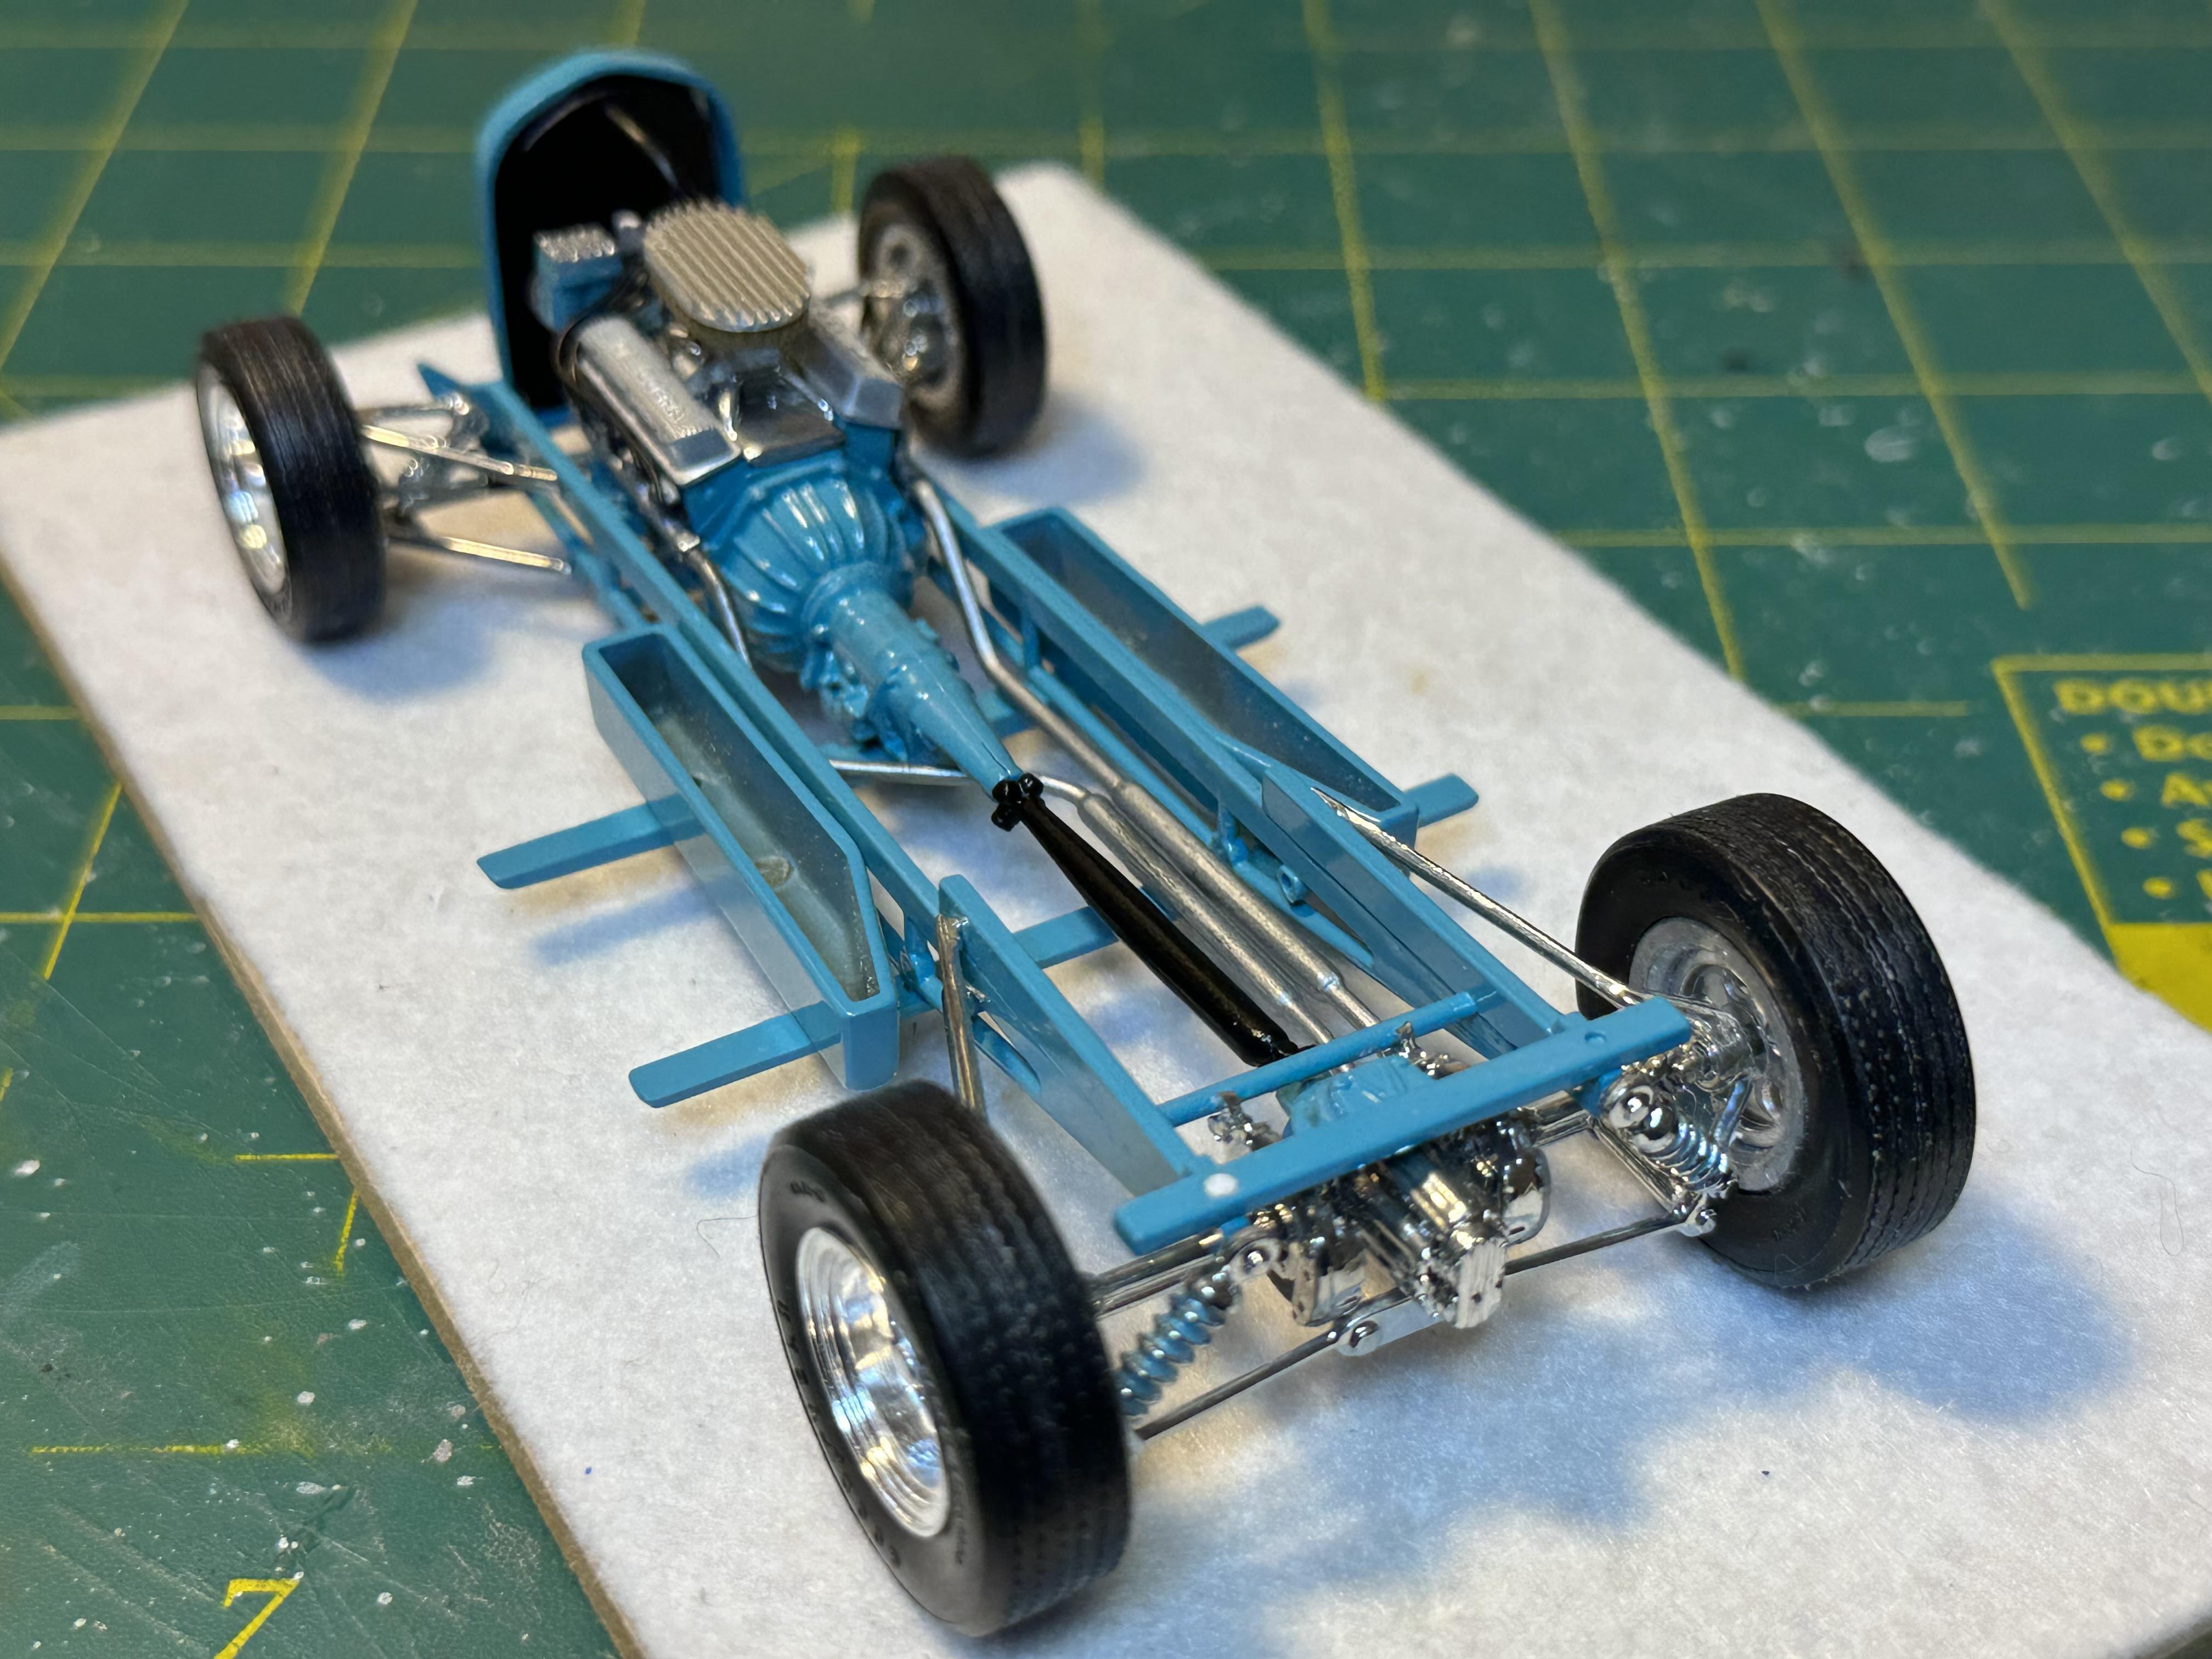
Thanks Tim. I know I did a lot of research in the hot rod mags I had available to me at the time. Kugel was just starting out and was using up a lot of Jag stuff with fabricated arms and stuff and I would say that this was the biggest influence. Mock up time to check major fitment Looking at the rear 3/4 view the tire stick out too far. Might have been OK in 70's but not these days. I checked the Lil John rear end and it is a lot narrower than the Vickie rear end. I am liking the look of the modern big tires. For a comparison I will mock up the sedan wheel and tire set next to see how that looks but if I stay with the Vickie set I will need to narrow and tub the rear end. Thanks for looking
-
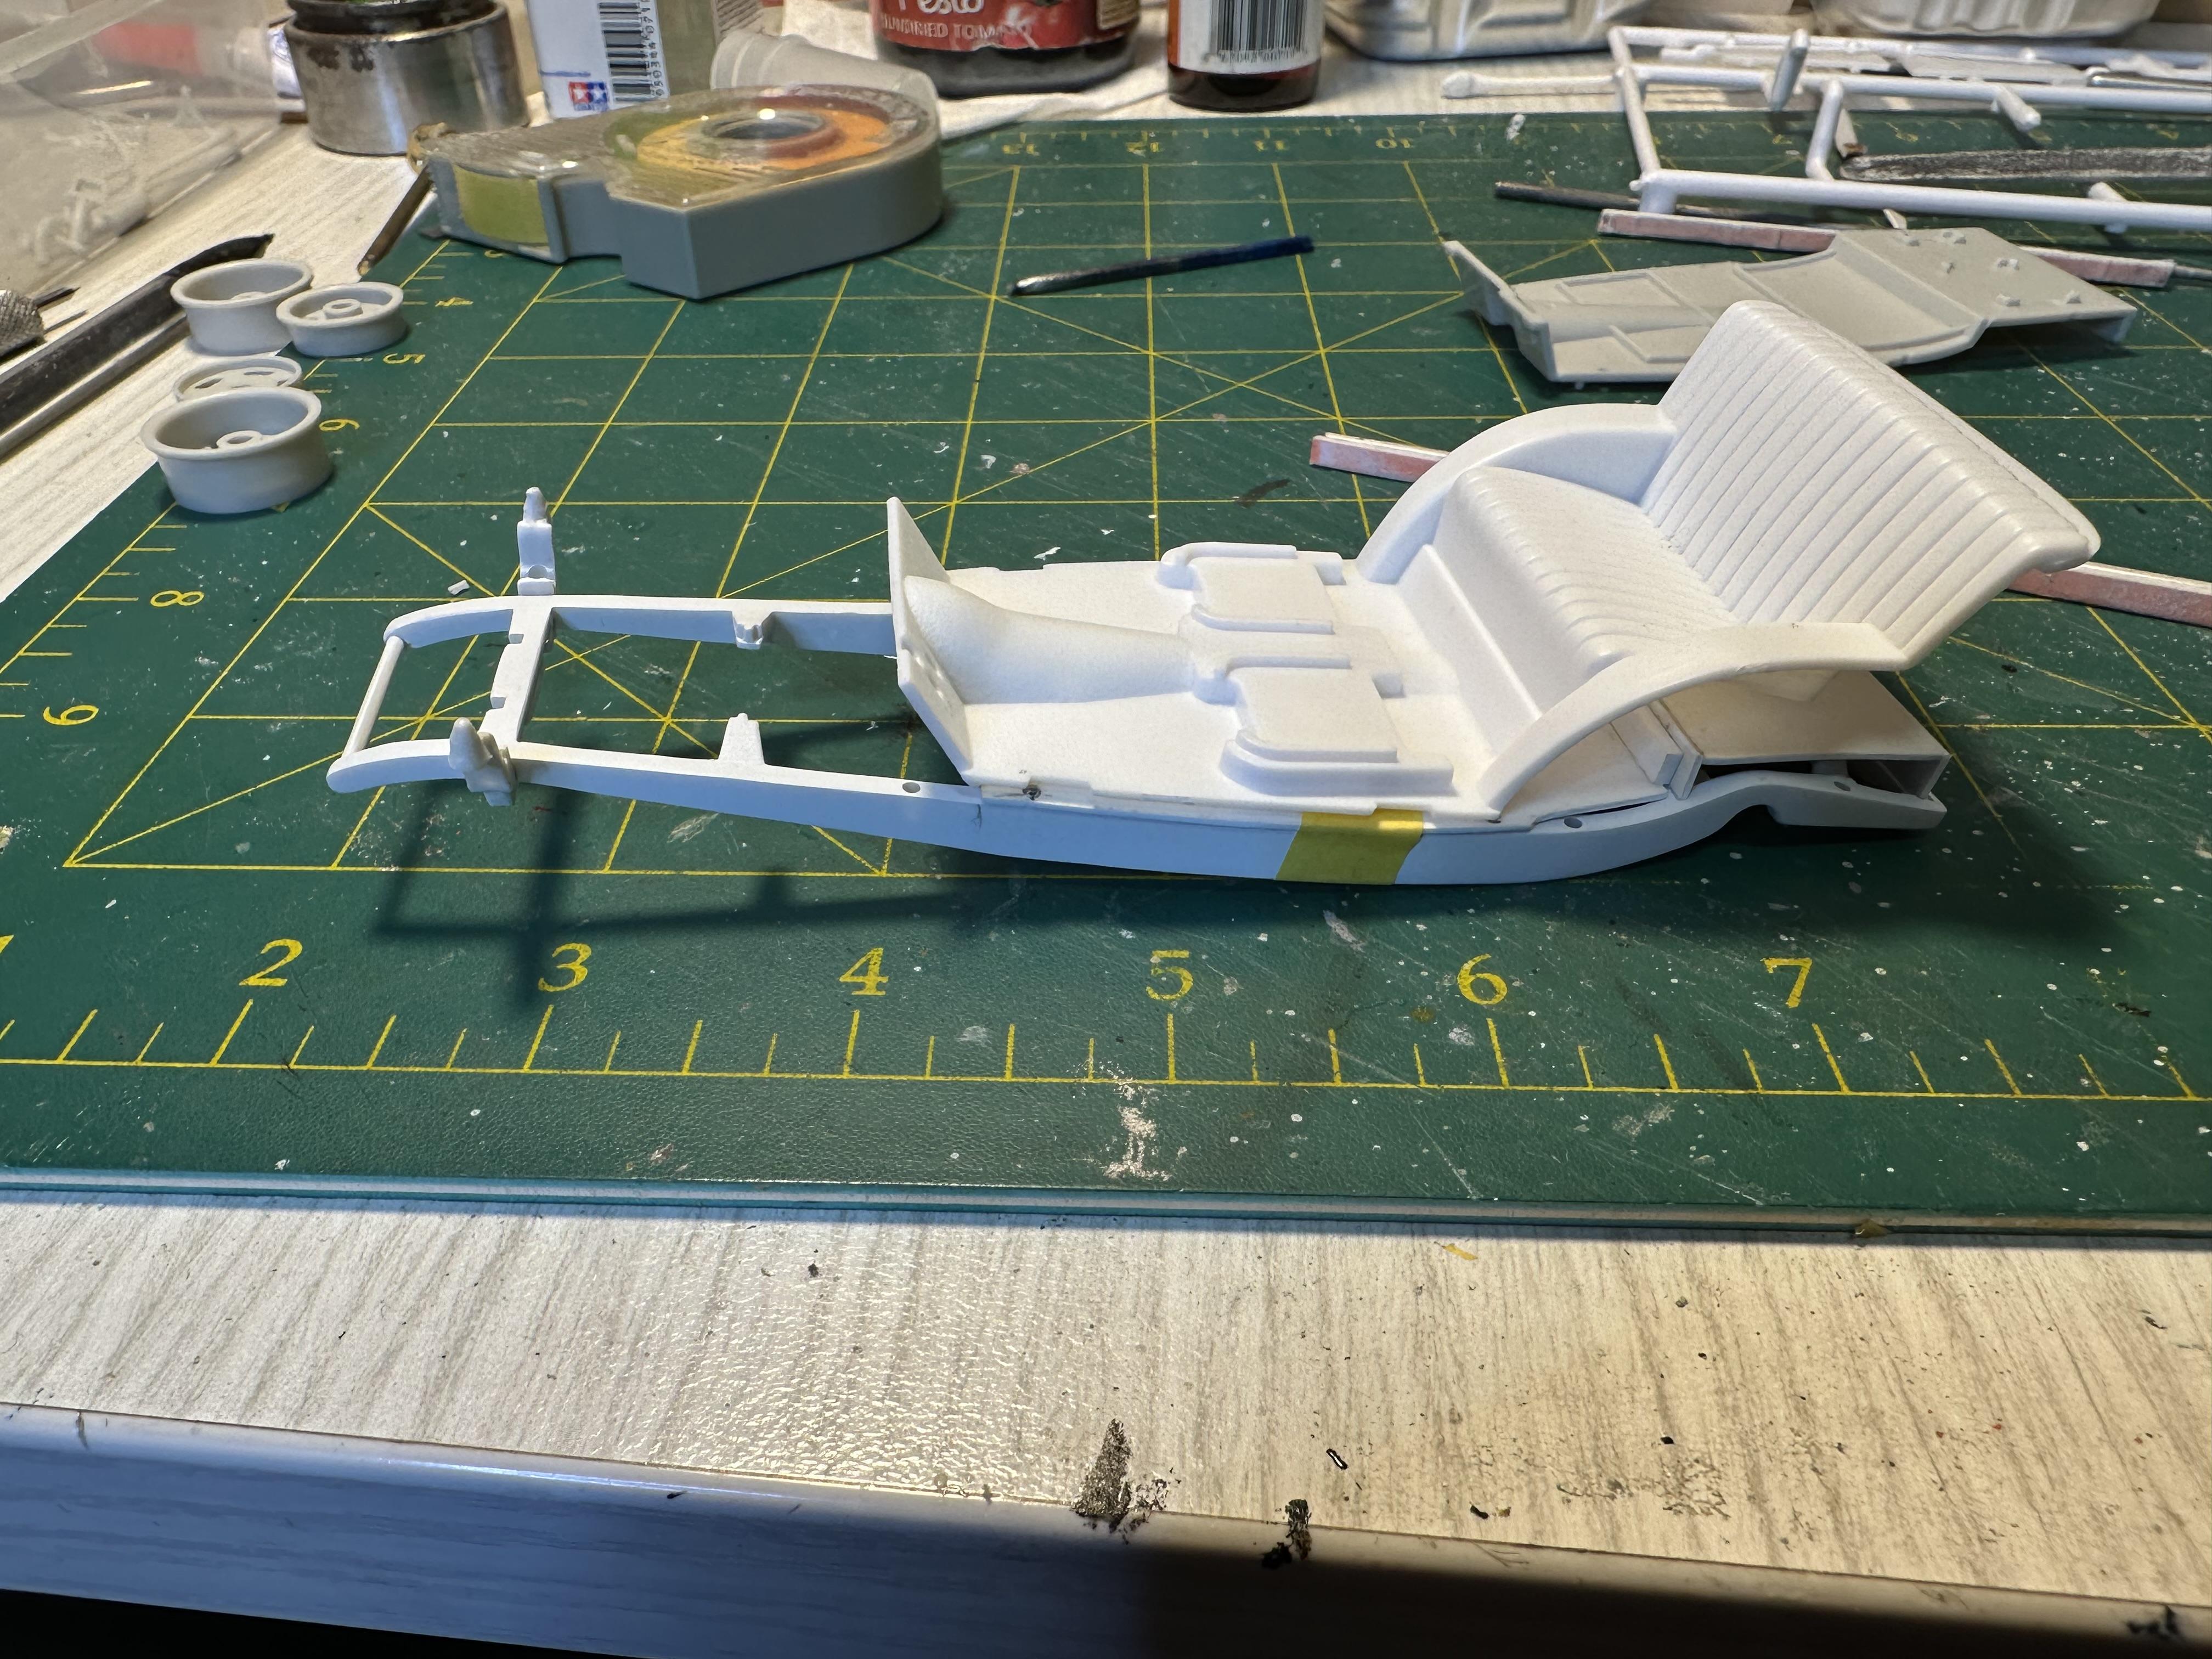
Got the floorboard done. Follows shape of Vickie unit Time for a mock up with body and fenders and floorboard and Sedan interior The rear shot is a bit hazy sorry. Looks like a bit of work needed to get rid of the ugly I intend to widen the fenders and maybe make up a rolled pan for back of the body Thanks for looking
-
DDA Collectibles Ford Falcon XY
bill-e-boy replied to Michael jones's topic in Car Kit News & Reviews
It's the same when we buy from US. Shipping often costs more than the purchase. And some suppliers do not ship out of the US at all. -
Is the motor one piece - be a devil to detail if it is
-
Trying to figure out what the pickup is. I know what it isn't - 32/34 Ford. Maybe a cut down 32 Chebby A nice looking casting to start a cool project - I will be following
-
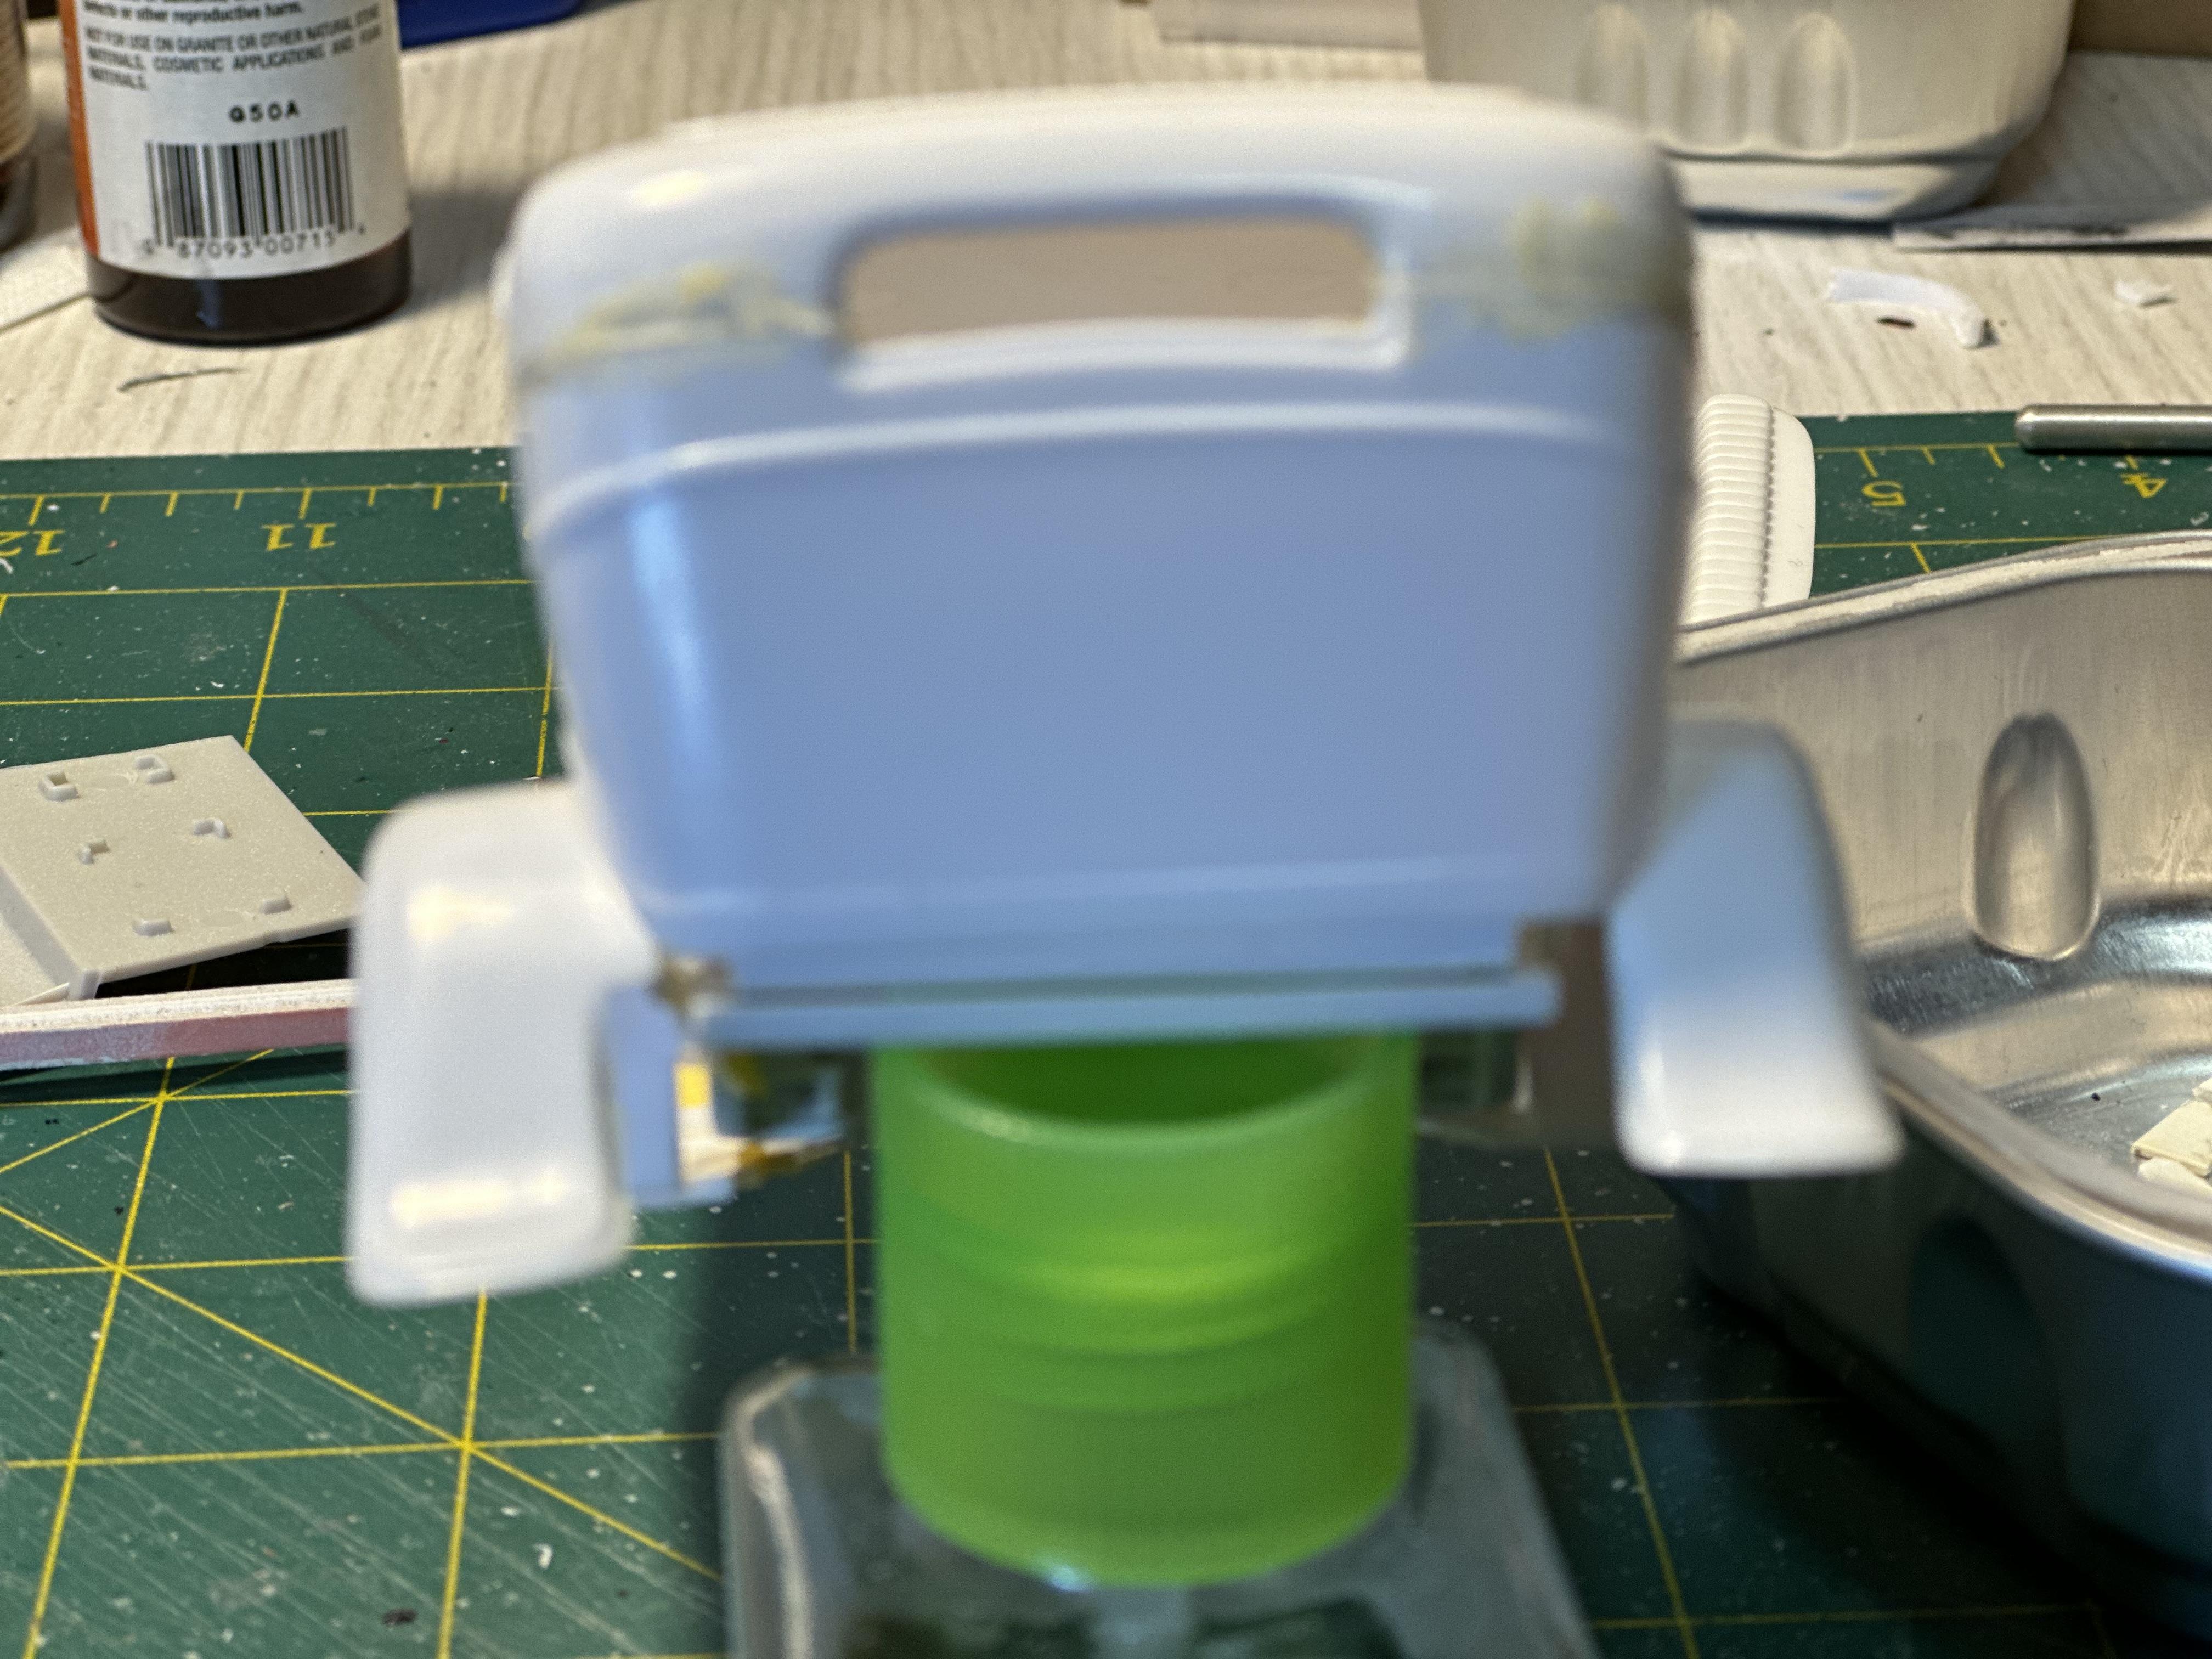
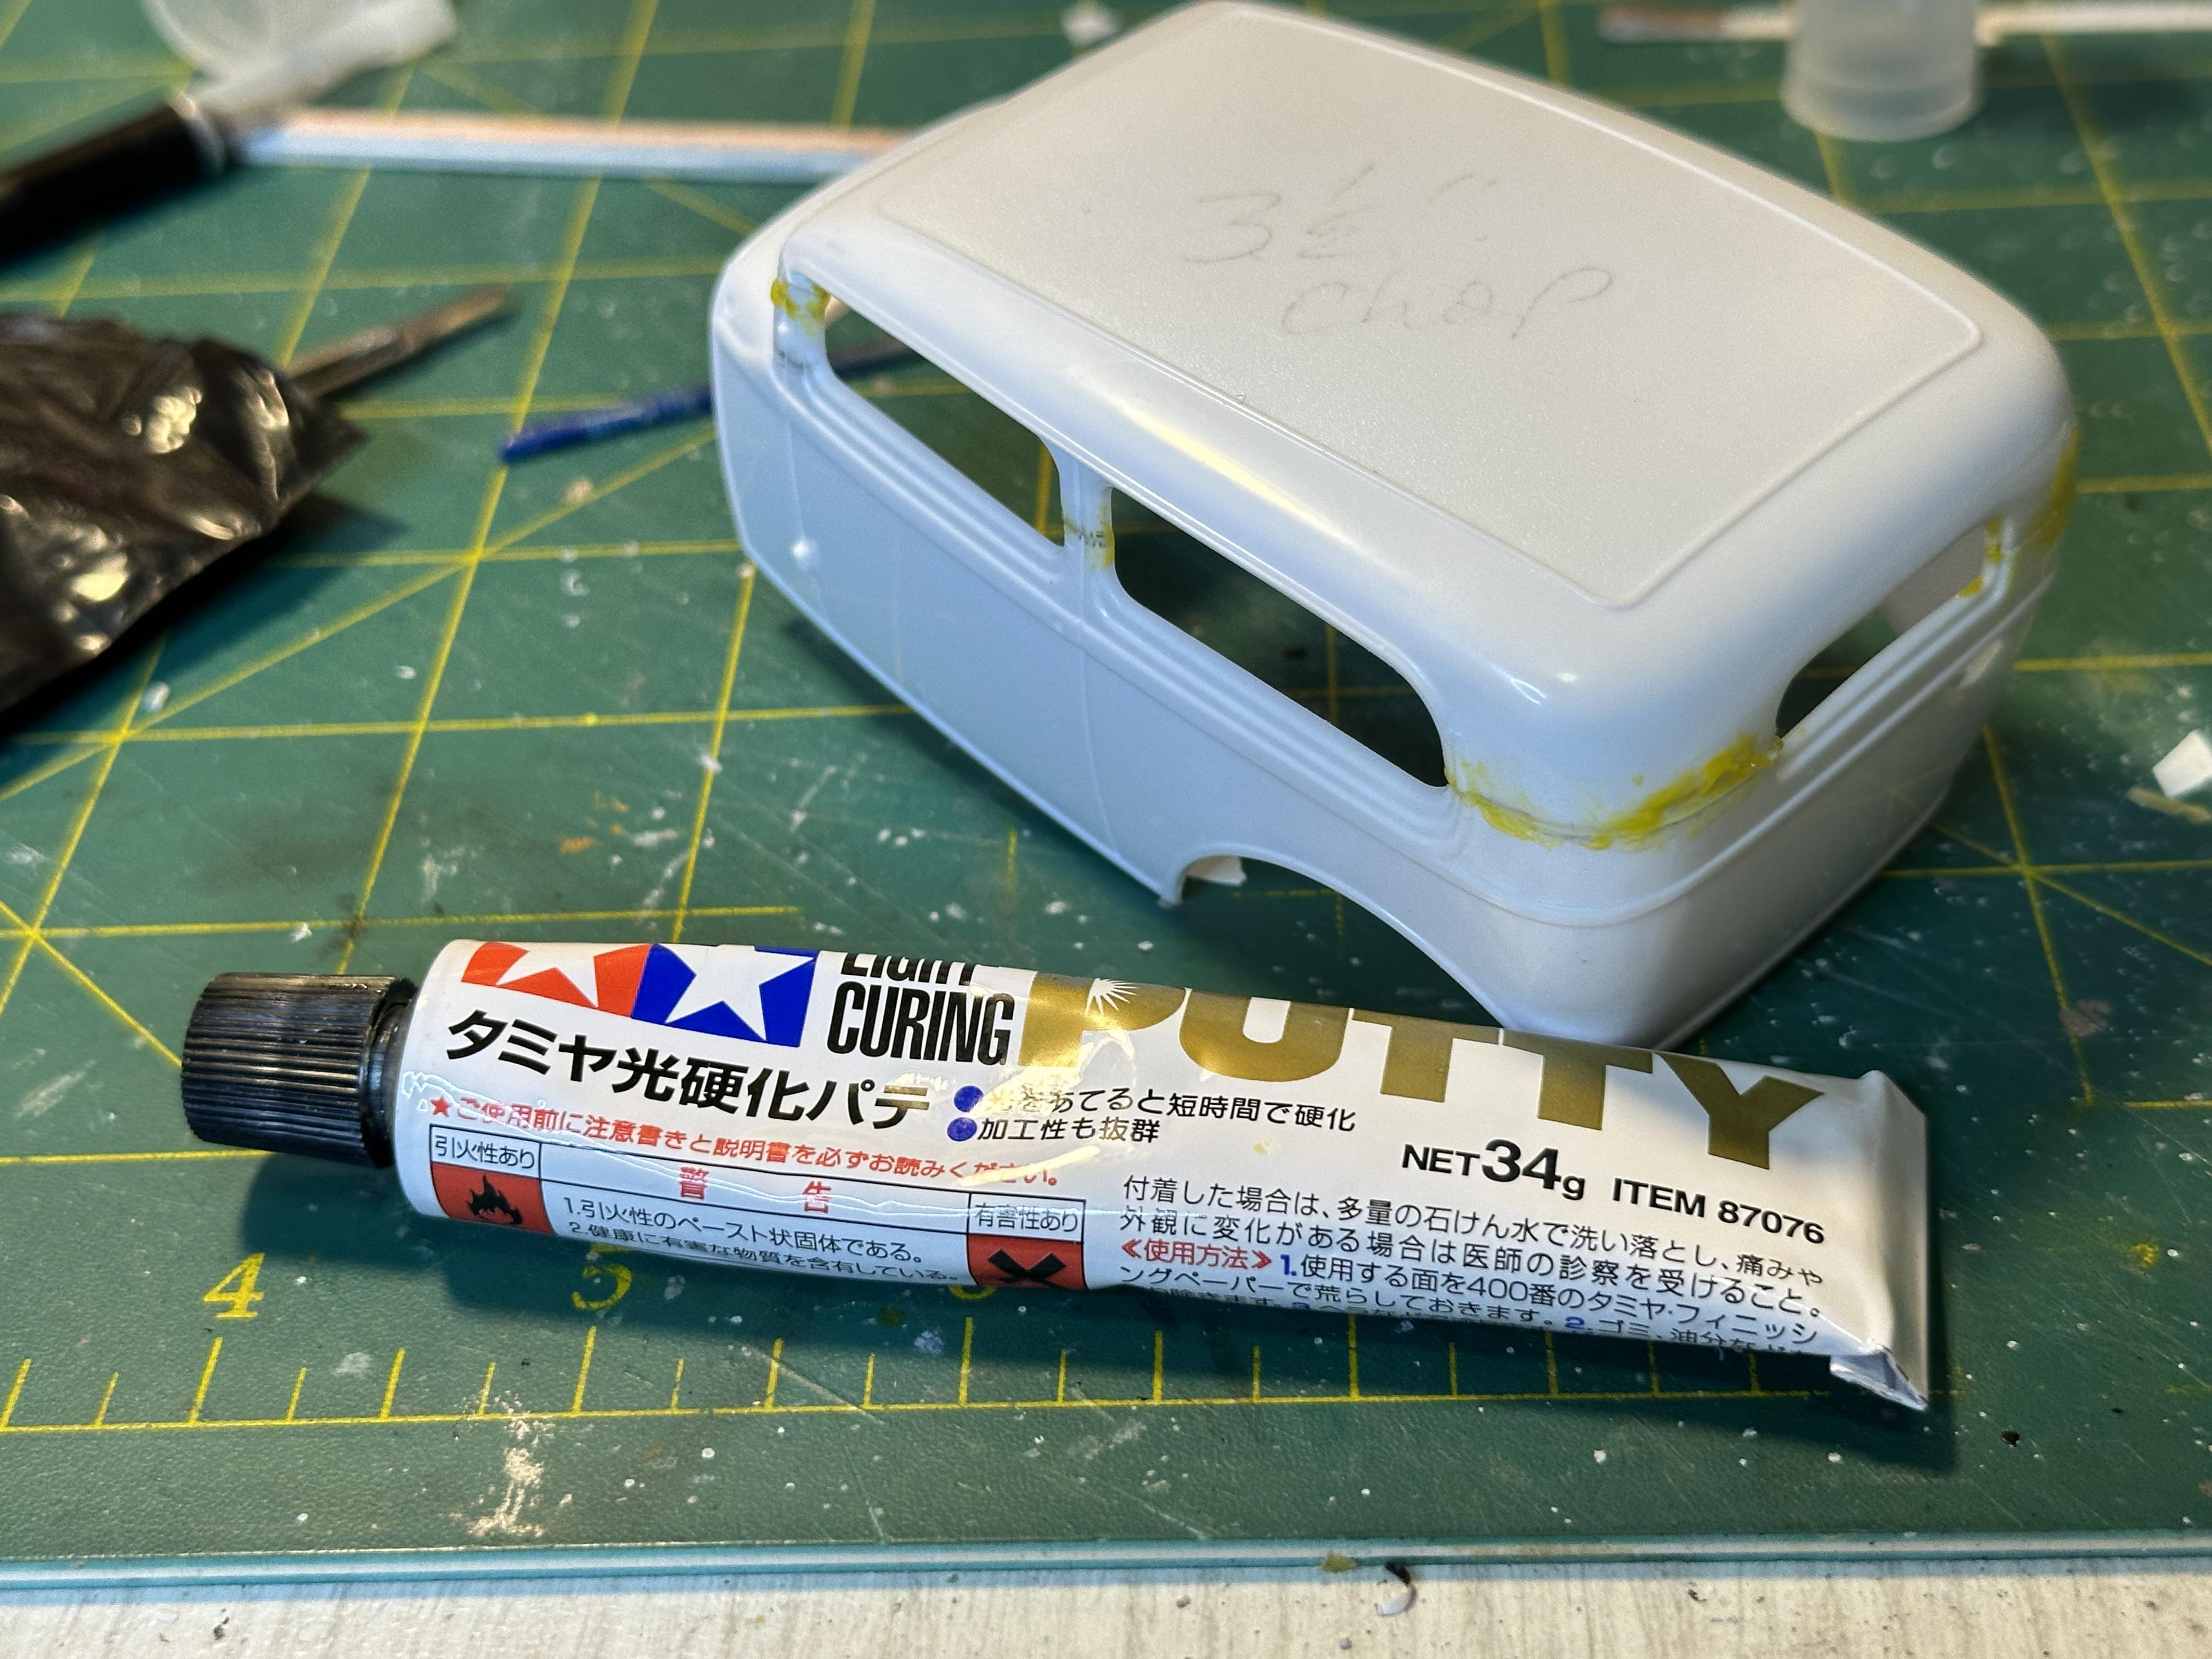
The Revell 27T Touring is the same chassis as found in the Lil John 26 Tudor and panel delivery and the dire 34 Coupe and is one of the best independent chassis about IMO too. I used the chassis under my 29 Pickup in the Tim Boyd tribute build which was stretched to suit the longer wheel base. Thanks MRM for jogging my memory as I may just have one floating about squirrelled away for such a project. It would be perfect for this build as I am not happy with the rear end from the Vickie. From memory the Buttera 26T front and rear were based on the XKE configuration but he milled his own components from ally. Buttera chassis shot from Tim Boyd tribute build I have been working on the floorboards to cover up the hideous looking under side of the Tudor interior. I made up the main part from some 0.75mm card stock that I bent to conform to the Vickie chassis using the Vickie unit as a template I have also started work on the body - using Tamiya UV cure filler. We will see if it stands up as a couple of mates have been using it and they say it is good Thanks for looking
-
Looking good. The wire wheels definitely put it into the 70's. What colour are you looking at, it kind of looks good in the (baby poop) yellow and tan