Plowboy
-
Posts
3,434 -
Joined
-
Last visited
Content Type
Profiles
Forums
Events
Gallery
Everything posted by Plowboy
-
Toyota 4x4 truck
Plowboy replied to Goose1957's topic in Model Trucks: Pickups, Vans, SUVs, Light Commercial
Looks good in yellow! These little kits are great slump busters! I built one around a year ago. First time in ages that I bought a kit, took it home and built it soon afterwards. A little extra work goes a long way on them too. I got rid of the spare mount and brush guard on mine. -
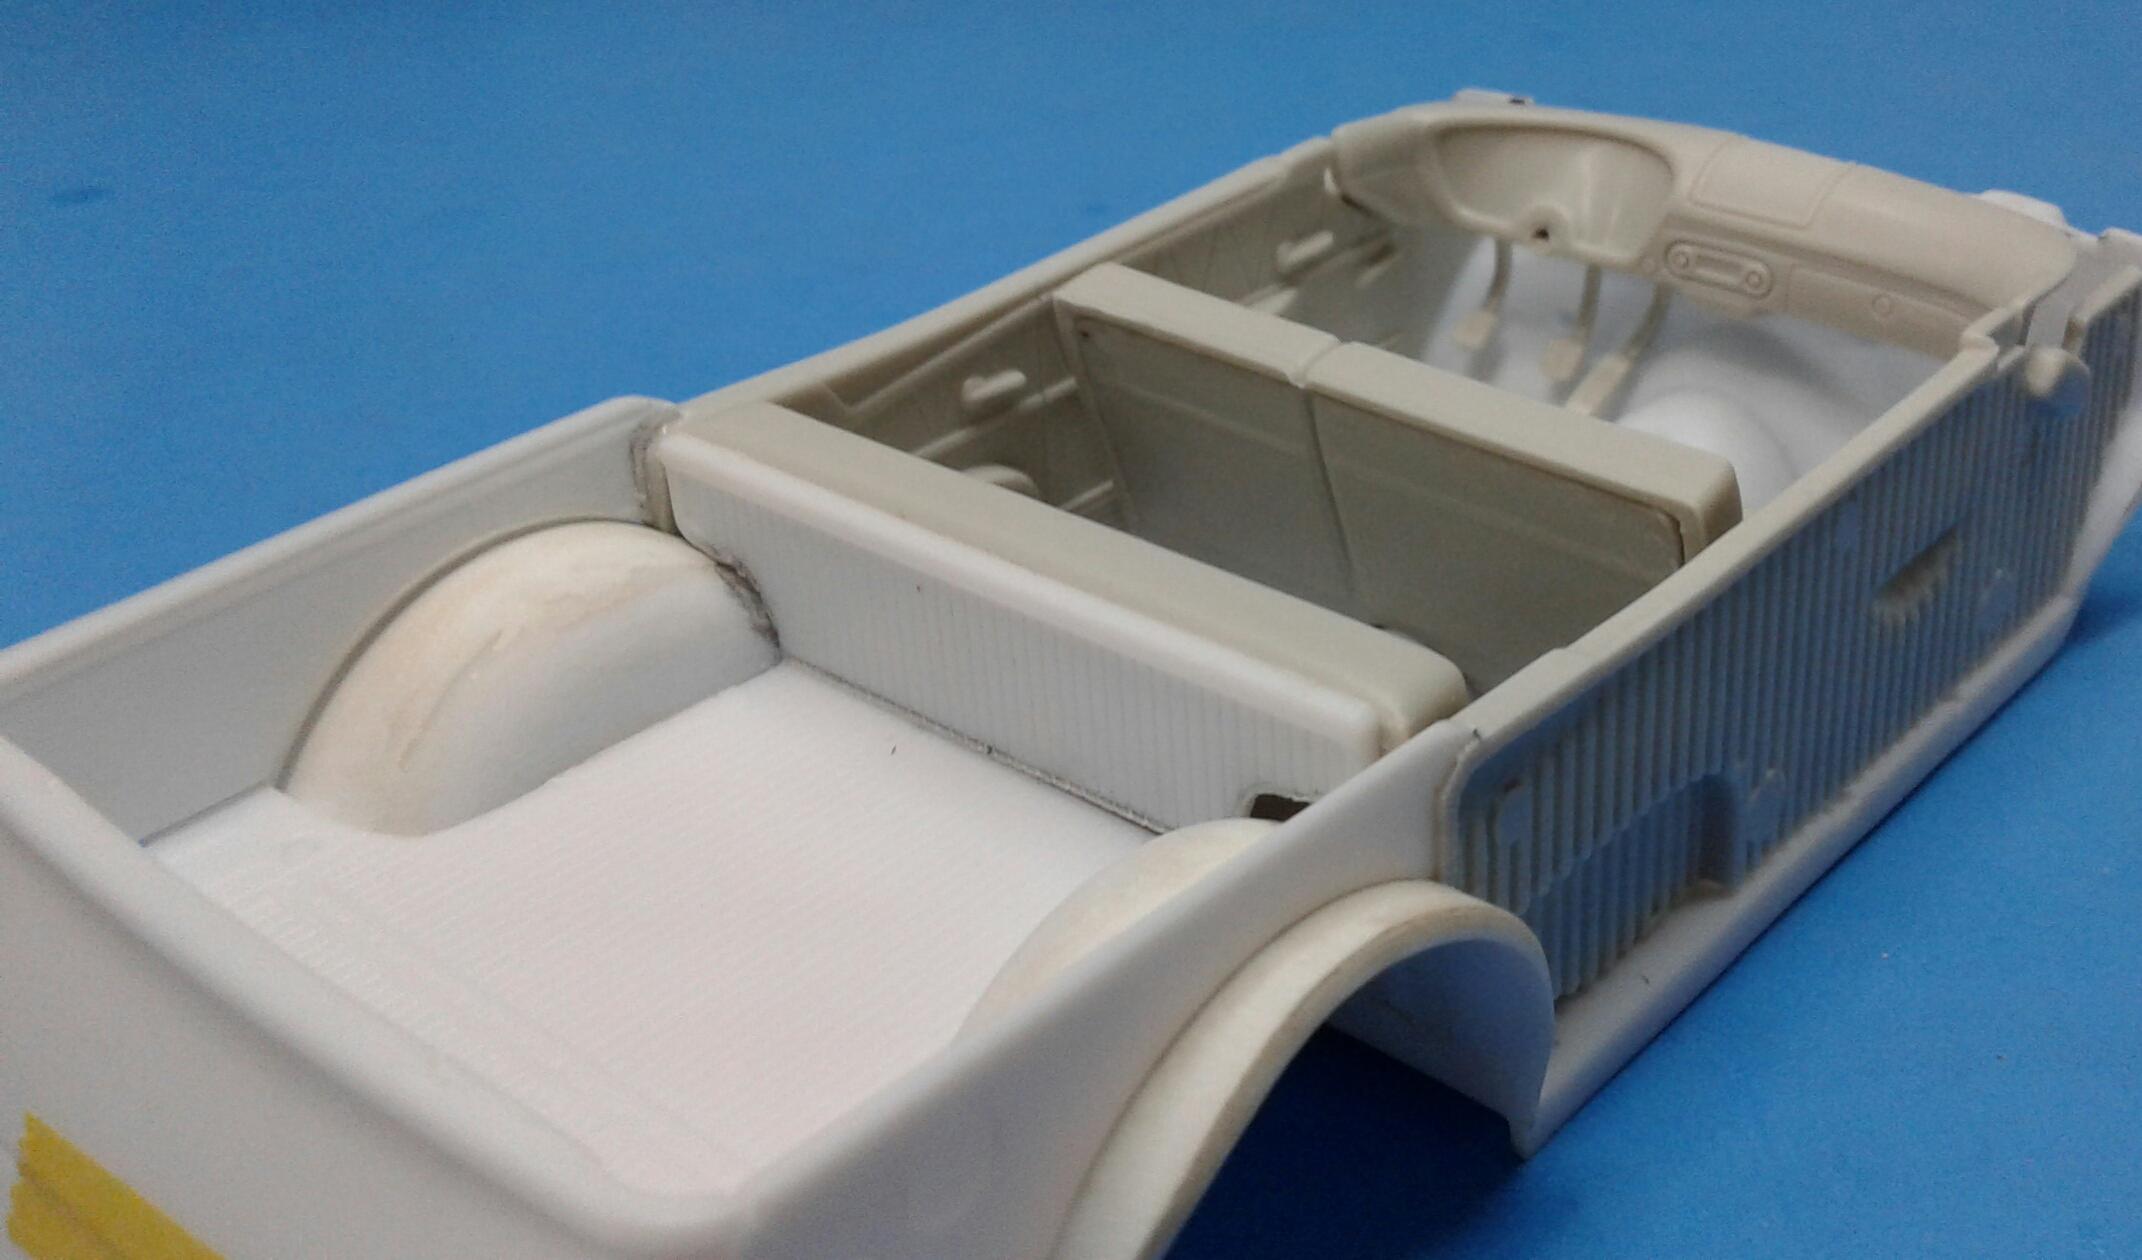
Thanx guys! I got the interior and floor pan fitted to the body. Everything is fitting pretty well. I've had to make a few adjustments. I need to do some filling in at the rear of the floor pan. I reworked the inner wheel wells up front to be able to lower it. Next will be getting the chassis and drivetrain worked out.

-
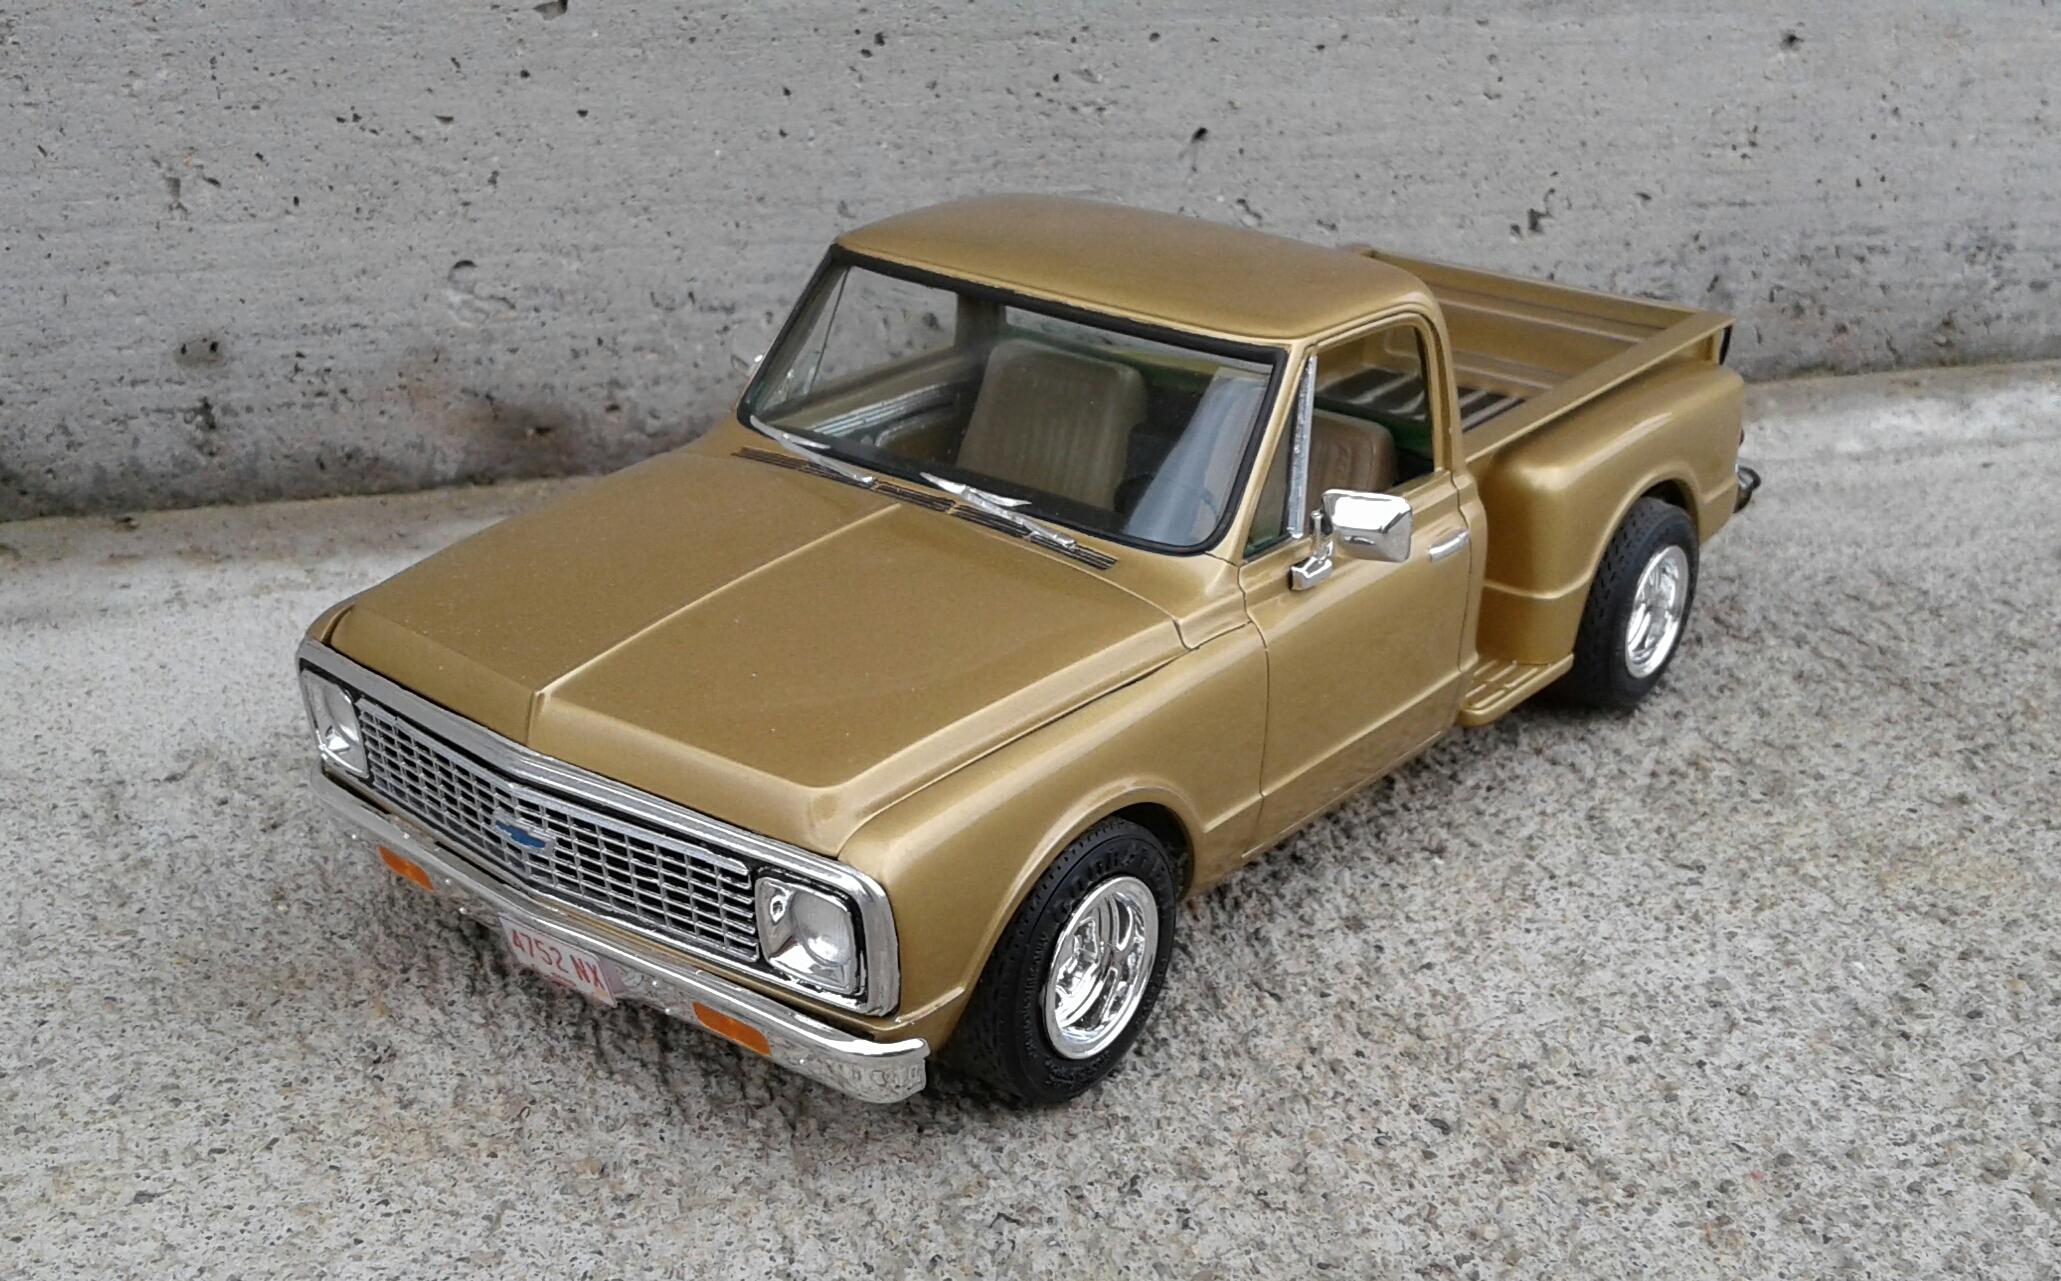
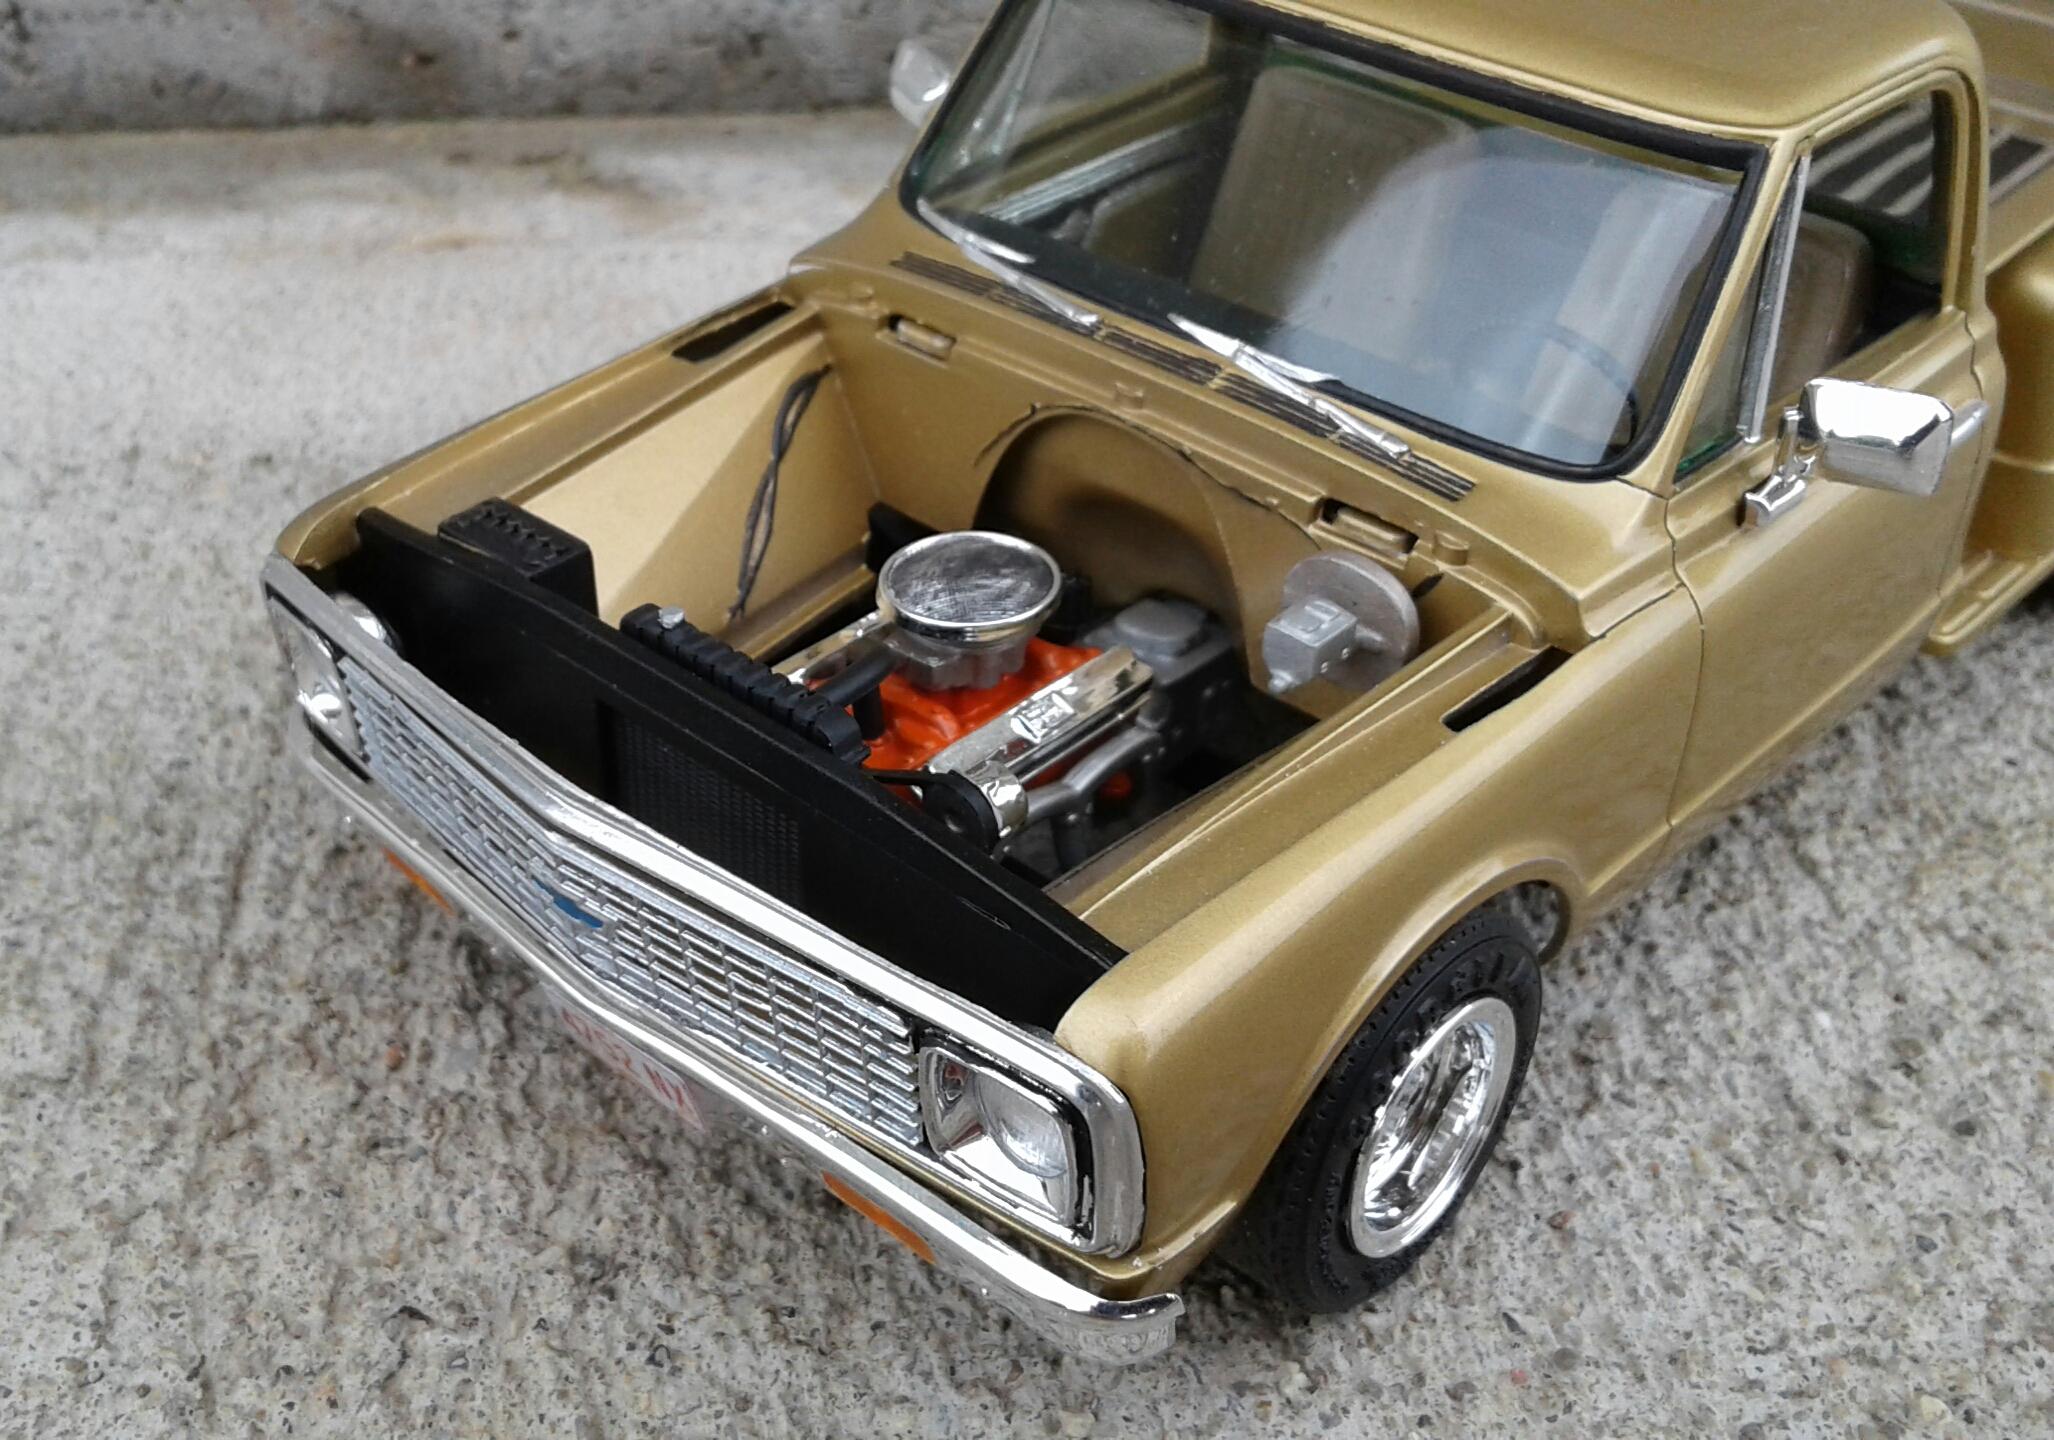
'72 Chevy Stepside
Plowboy replied to Plowboy's topic in Model Trucks: Pickups, Vans, SUVs, Light Commercial
Thanx! Yeah, I removed the marker lights, emblems and chrome trim. This is what the cab looked like out of the box. ,
-
Thanx to everyone for all of the great comments! I appreciate them!
-
First Gen Ford Raptor on 35s
Plowboy replied to lghtngyello03's topic in Model Trucks: Pickups, Vans, SUVs, Light Commercial
One of the nicest looking Raptors I've seen yet! I really like the color and the headlight detail really makes this model stand out! Nice work! -
Most Modern Ford Automatic?
Plowboy replied to Plowboy's topic in Model Building Questions and Answers
I'm pretty sure I have one in the stash. I'm wondering exactly what kind of automatic it is. I've also considered the engine and transmission from the Foose pickup. I don't know exactly what that transmission is either. Just that it's an automatic. Gonna have to do some research. -
Most Modern Ford Automatic?
Plowboy replied to Plowboy's topic in Model Building Questions and Answers
I think those have five and six speed manuals depending on the year. I'm gonna stab the five speed into my project and see if it will possibly work before I commit to an automatic. -
I've never done the liquid glue method myself. To me, that's introducing a solvent that will soak into the styrene that could possibly react with primer or paint later. I've had more ghosting issues where I've used liquid glue to join pieces together than I have from removing trim, door handles etc. I just finished a model that I had removed the trim and marker lights from with no ghosting issues at all. I think the major factor in that was using primer and paint formulated for styrene.
-
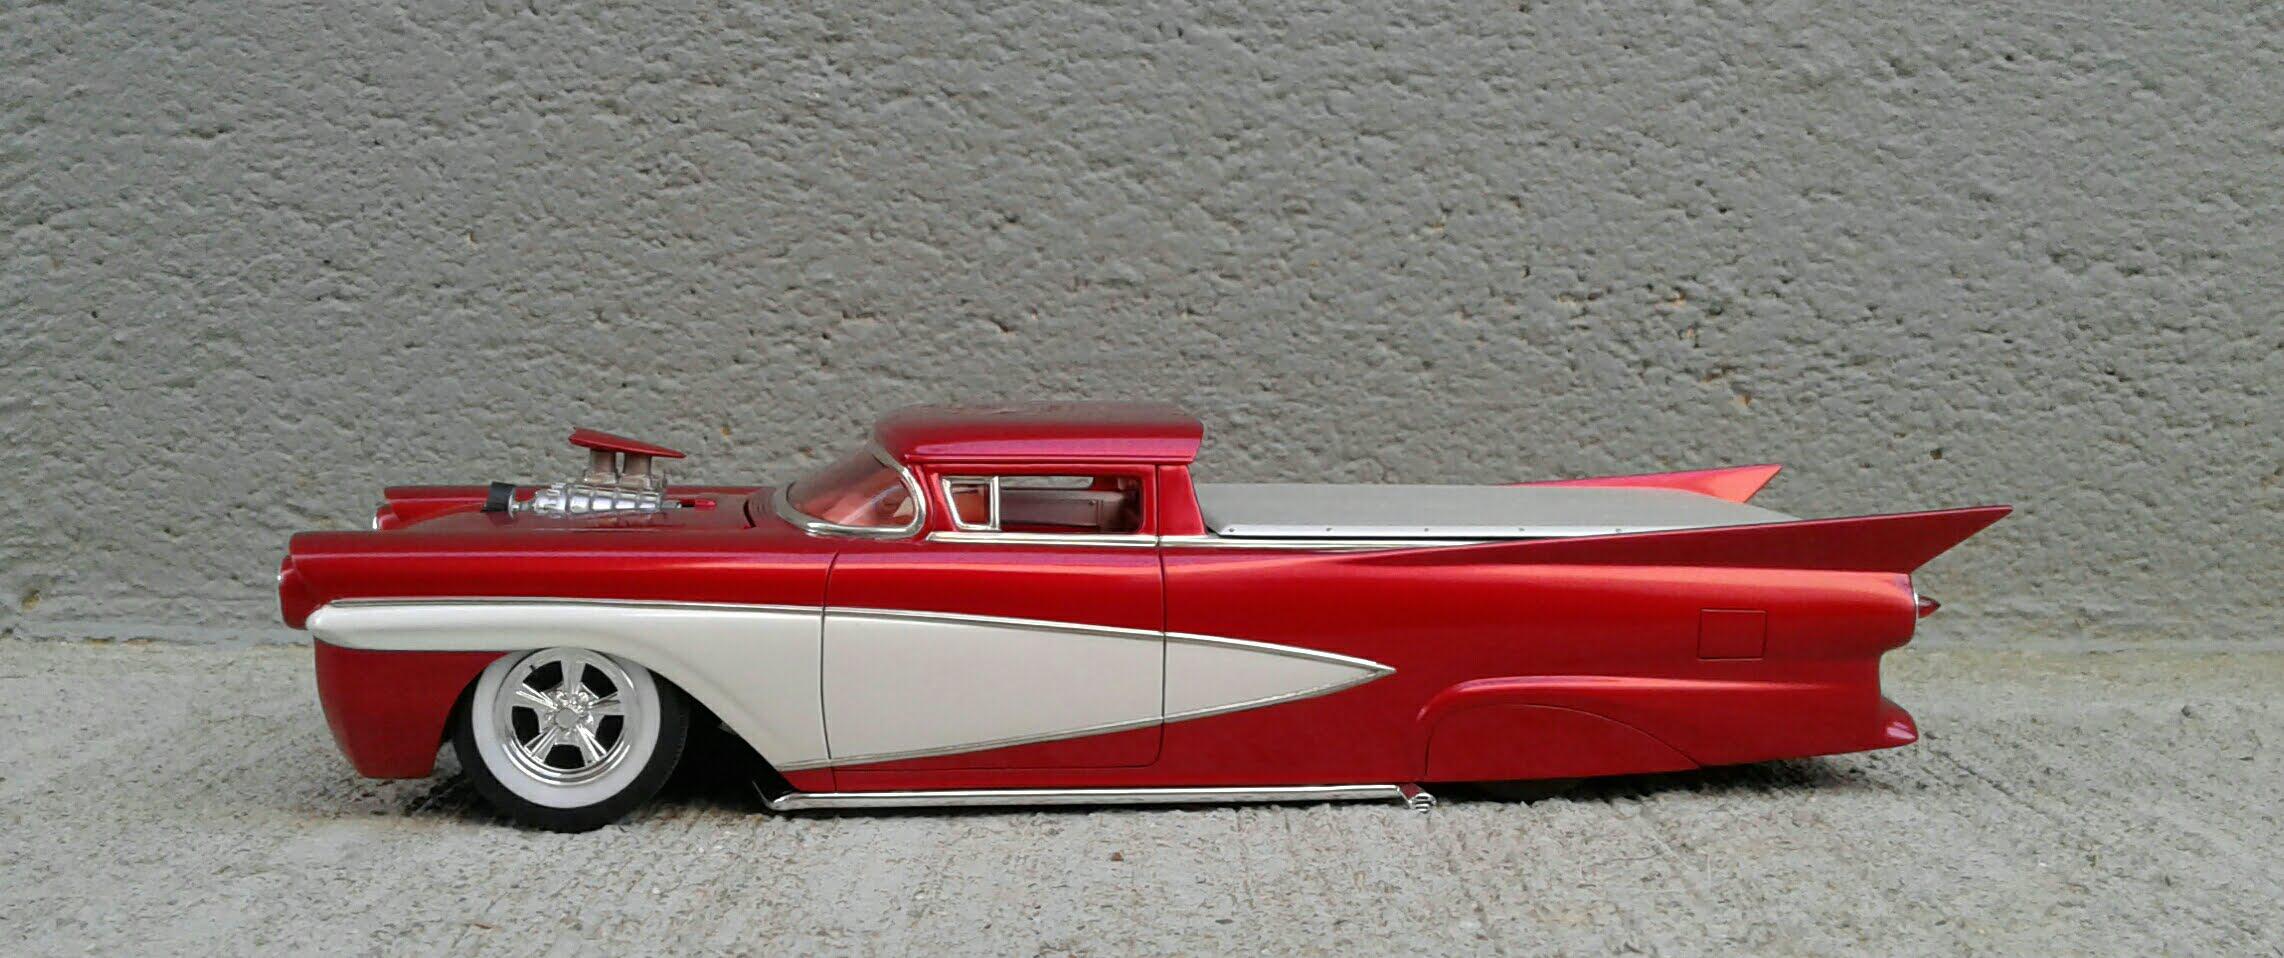
I thought about leaning the backend in. But, decided against it. I was concerned that it would make the side profile look wonky. Plus, I would have to fix the taillight housings to get them back to vertical. I have the interior worked out enough that I should be able to cut the hatch loose. I'm really hoping that I can make a hinge that won't show.
-
Chevy LUV
Plowboy replied to Rbray47's topic in WIP: Model Trucks: Pickups, Vans, SUVs, Light Commercial
Looks like you're working through the issues of this kit. That 4.3 is a perfect touch! -
Pile O' Parts RPU
Plowboy replied to Modlbldr's topic in WIP: Model Trucks: Pickups, Vans, SUVs, Light Commercial
Don't know how I missed this one! I would cut the cross member loose, get rid of the brass rod, slide the cross member forward and then glue the spring mount to the cross member. If possible, trim away the recessed area on the rear of the cross member for extra clearance. I would also bob the frame horns off so the spring could come back a little. -
Most Modern Ford Automatic?
Plowboy replied to Plowboy's topic in Model Building Questions and Answers
I'll have to check into that one. It could be my engine and transmission donor. Thanx for jogging my memory! -
'72 Chevy Stepside
Plowboy replied to Plowboy's topic in Model Trucks: Pickups, Vans, SUVs, Light Commercial
Thanx! The bed on the MPC kit is not very accurate. Especially the fenders. They're horrible. The side boxart also shows the stepboards way above the rocker panels. I'll have to watch for that issue when I build the GMC longbed with the leftovers. One thing I don't like about these kits is the bucket seats and console. The bench seat was much more common even in the Cheyennes. -
Is the most modern Ford automatic the AOD in the Revell '32 Ford? I need an automatic and want the most modern one I can get. Would even be willing to use a GM 700R4 if there's a kit that has one. No resin.
-
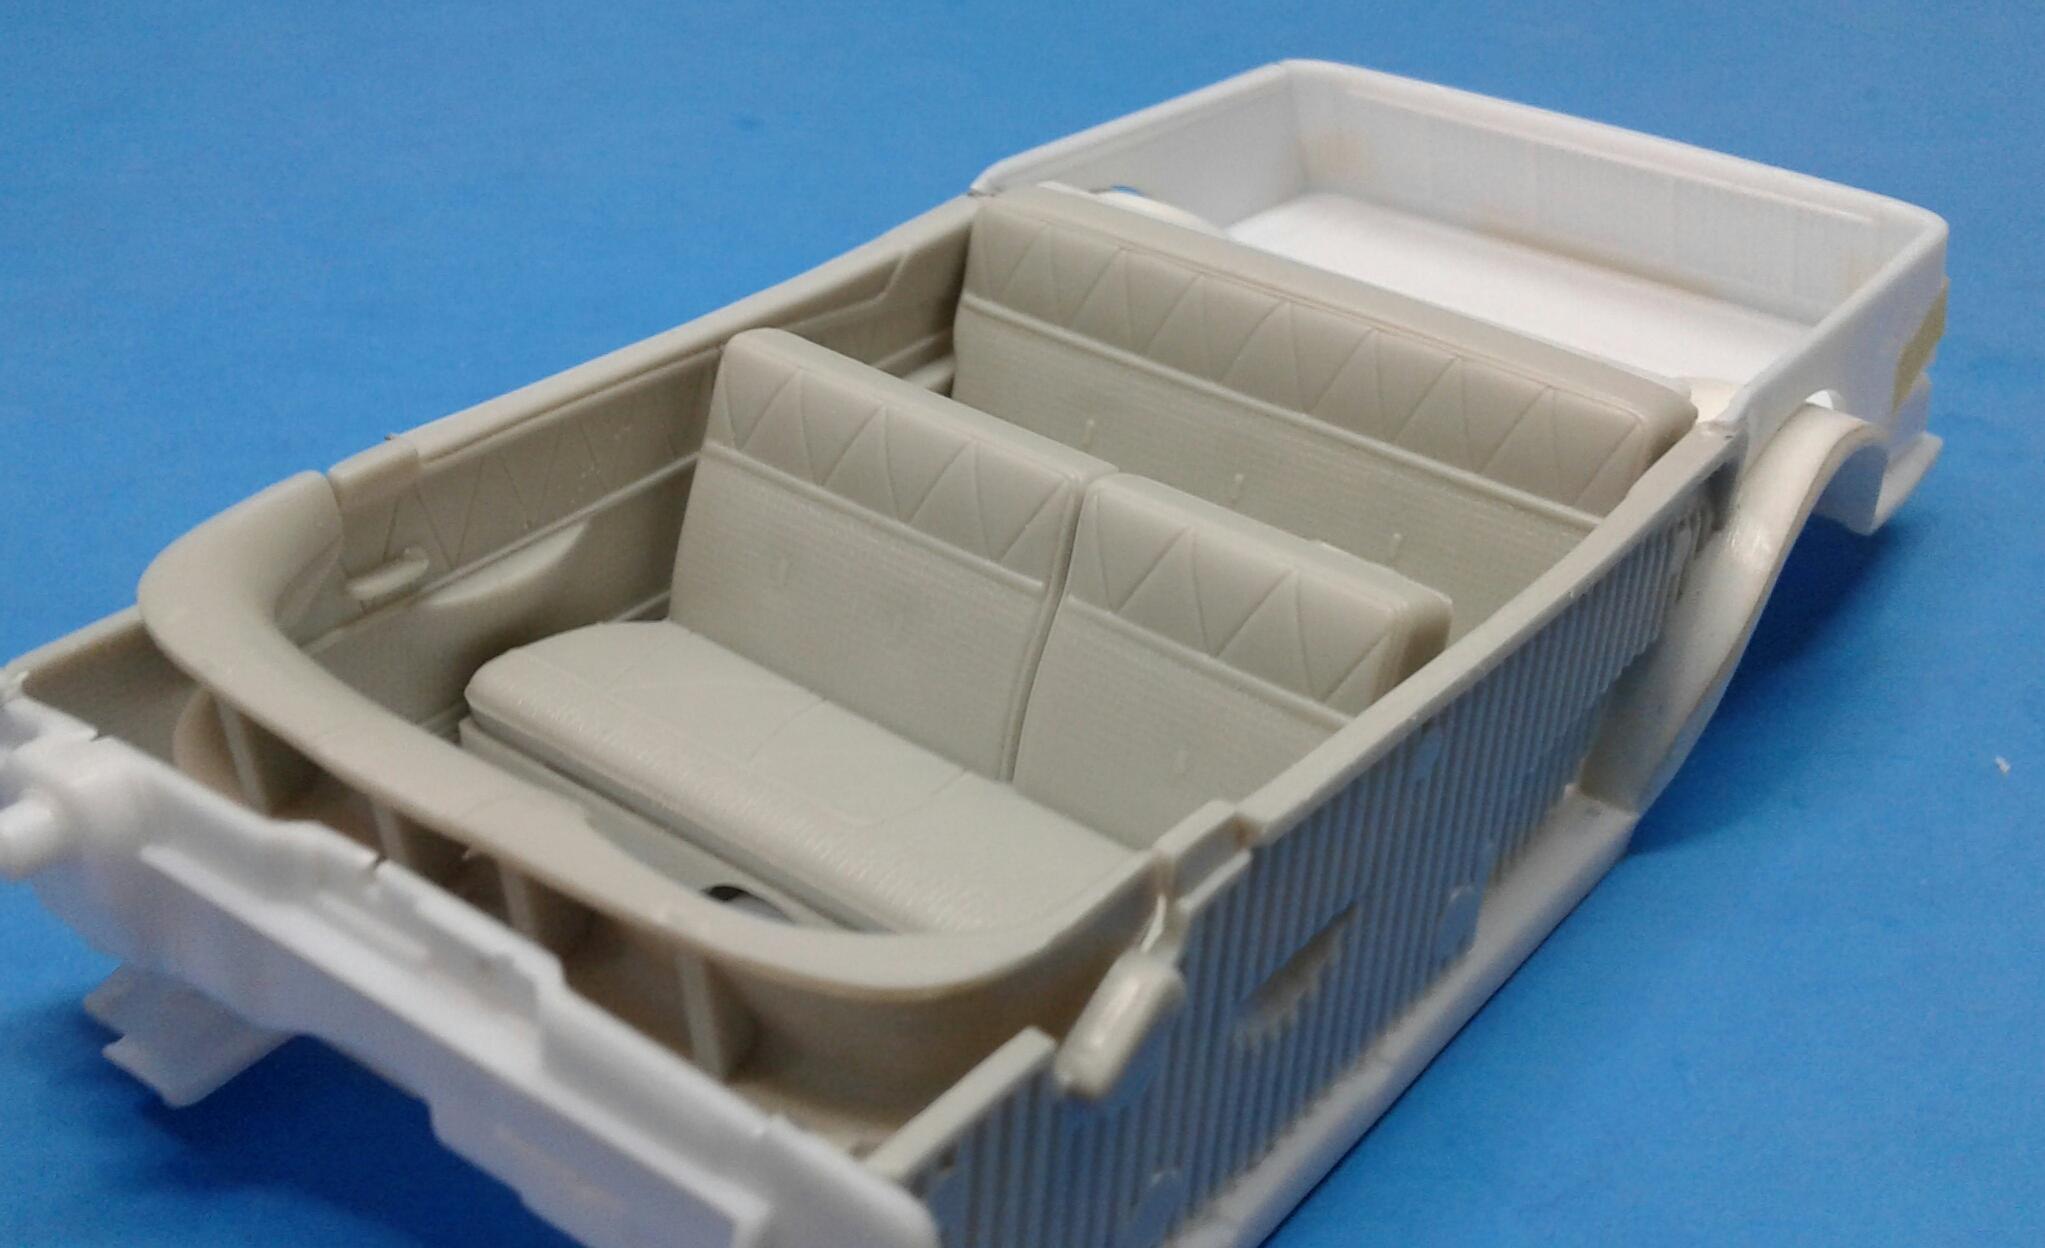
I've began getting the interior pieced together. I had already mini tubbed the rear wheel wells on the floor pan. I modified the Edsel rear seat to fit. I had to narrow the floor piece also. I joined the rear quarter panels/tailgate panel from the Del Rio to the Edsel's interior panels. I still have some trimming and fitting to do. But, I have a start on it.
-
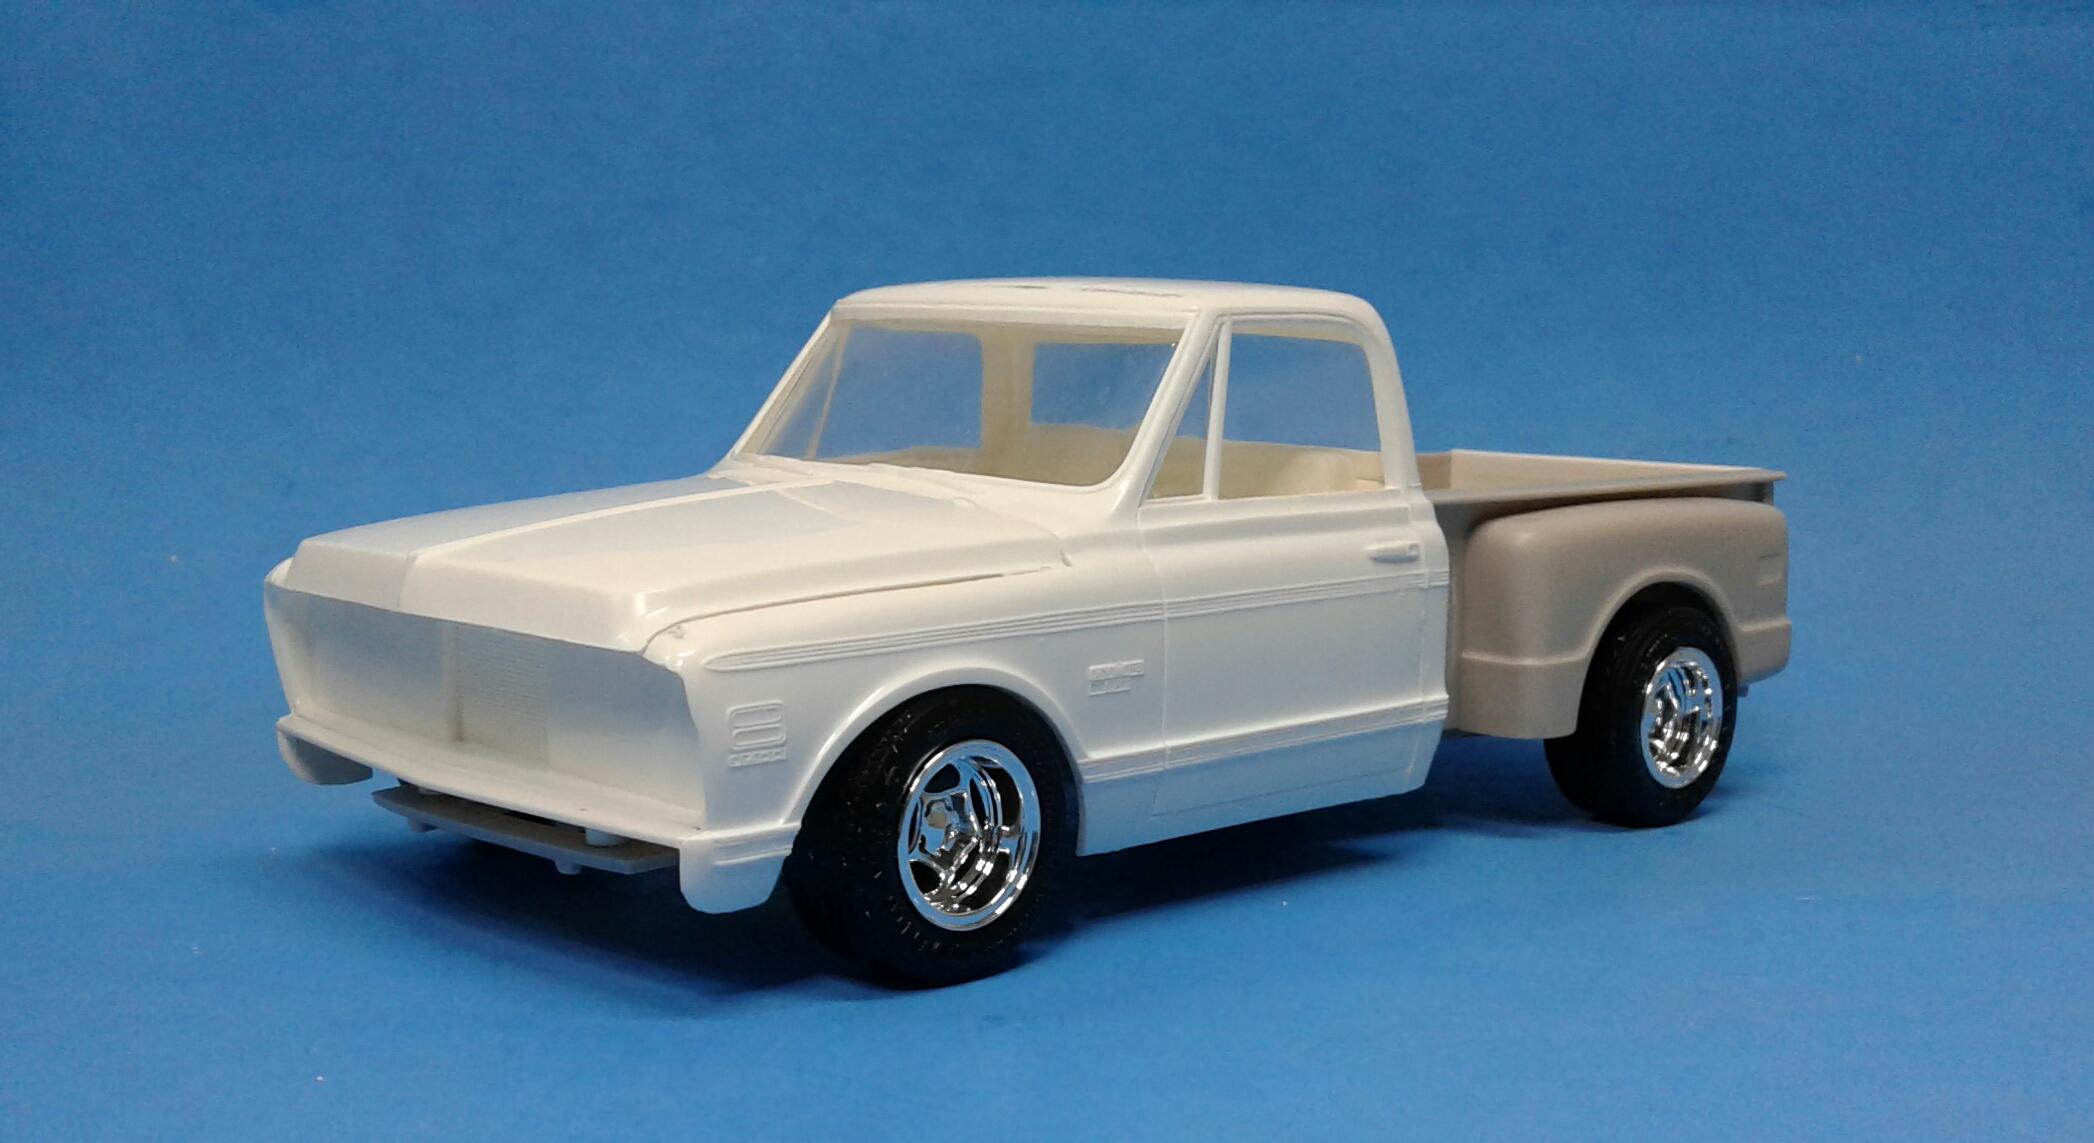
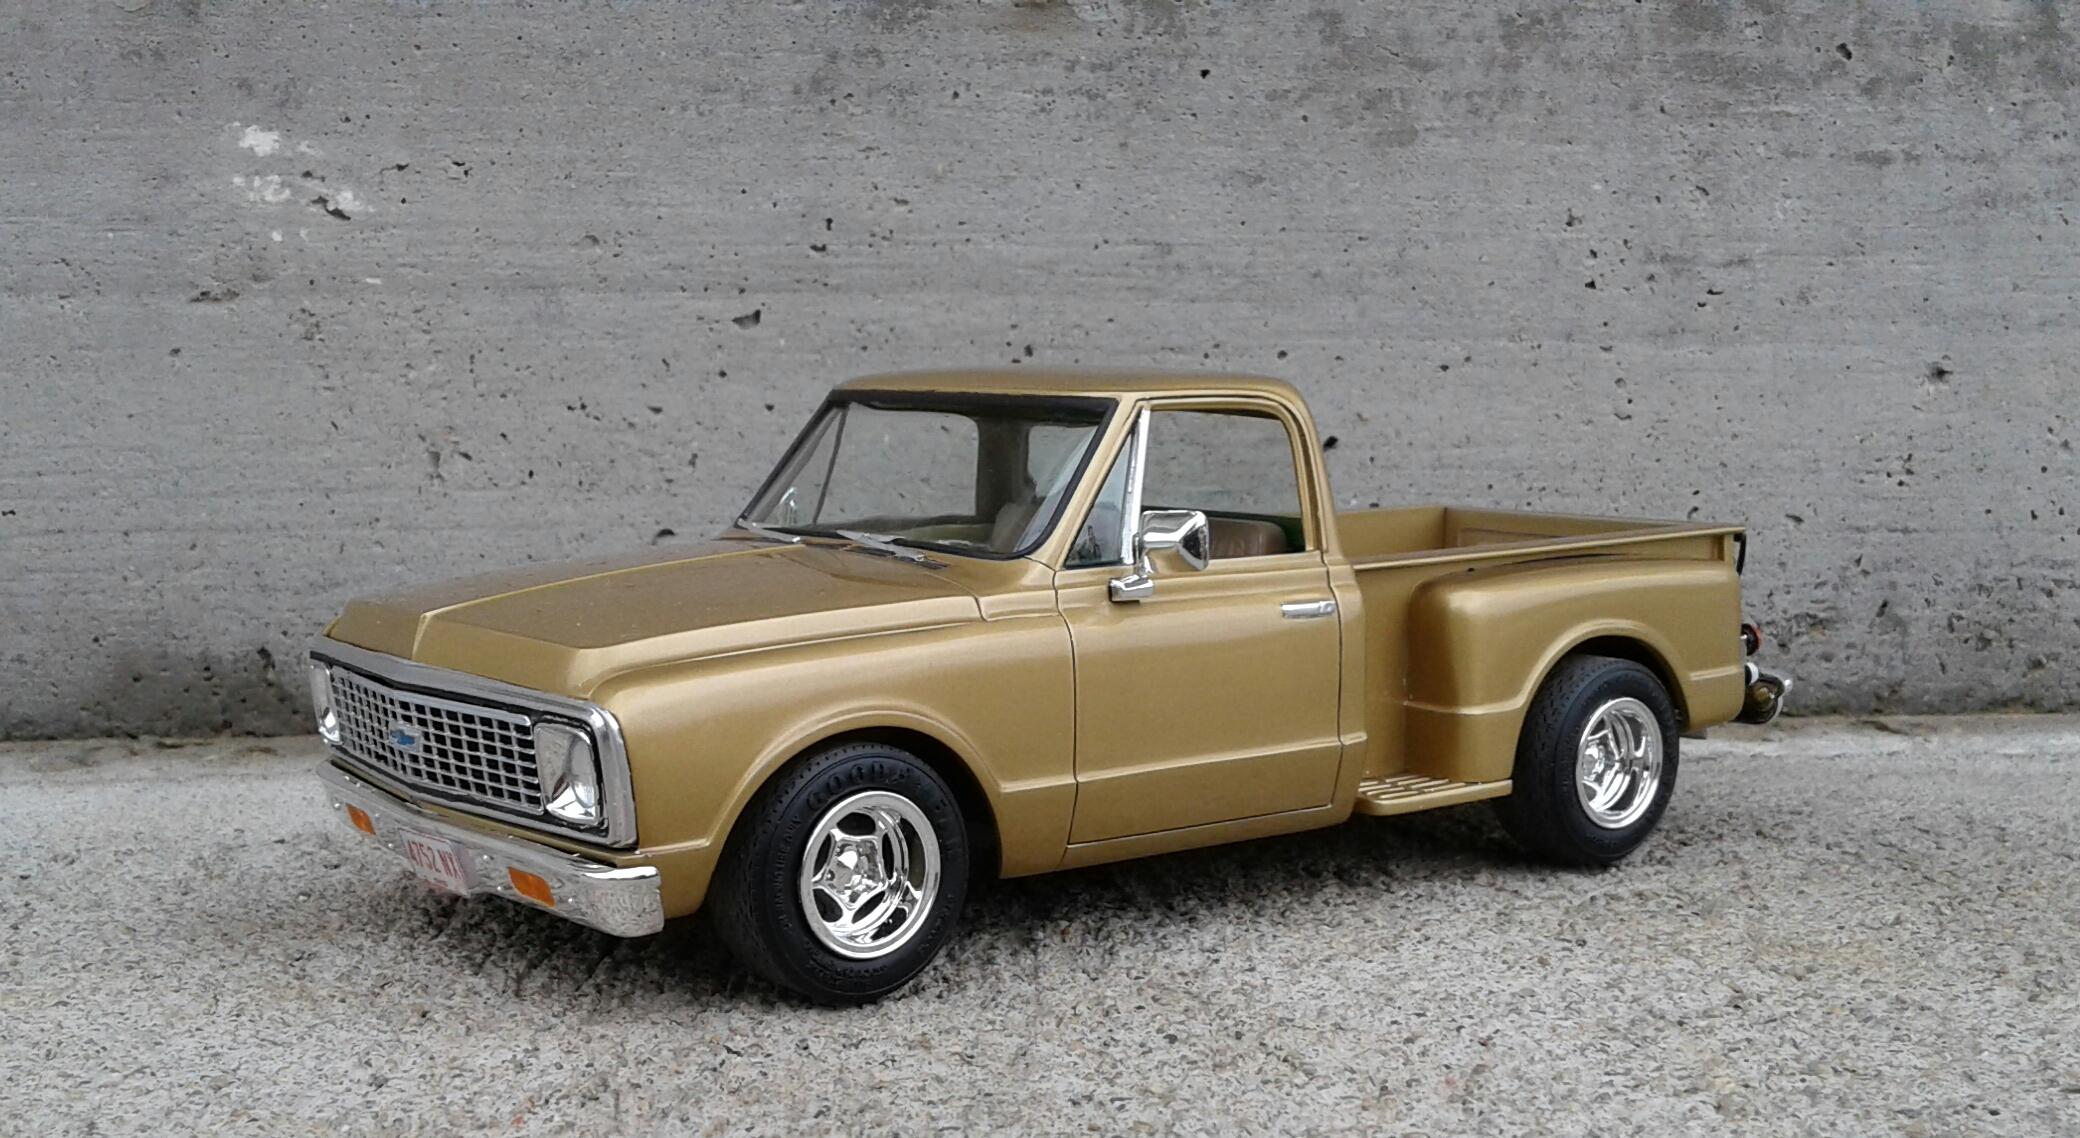
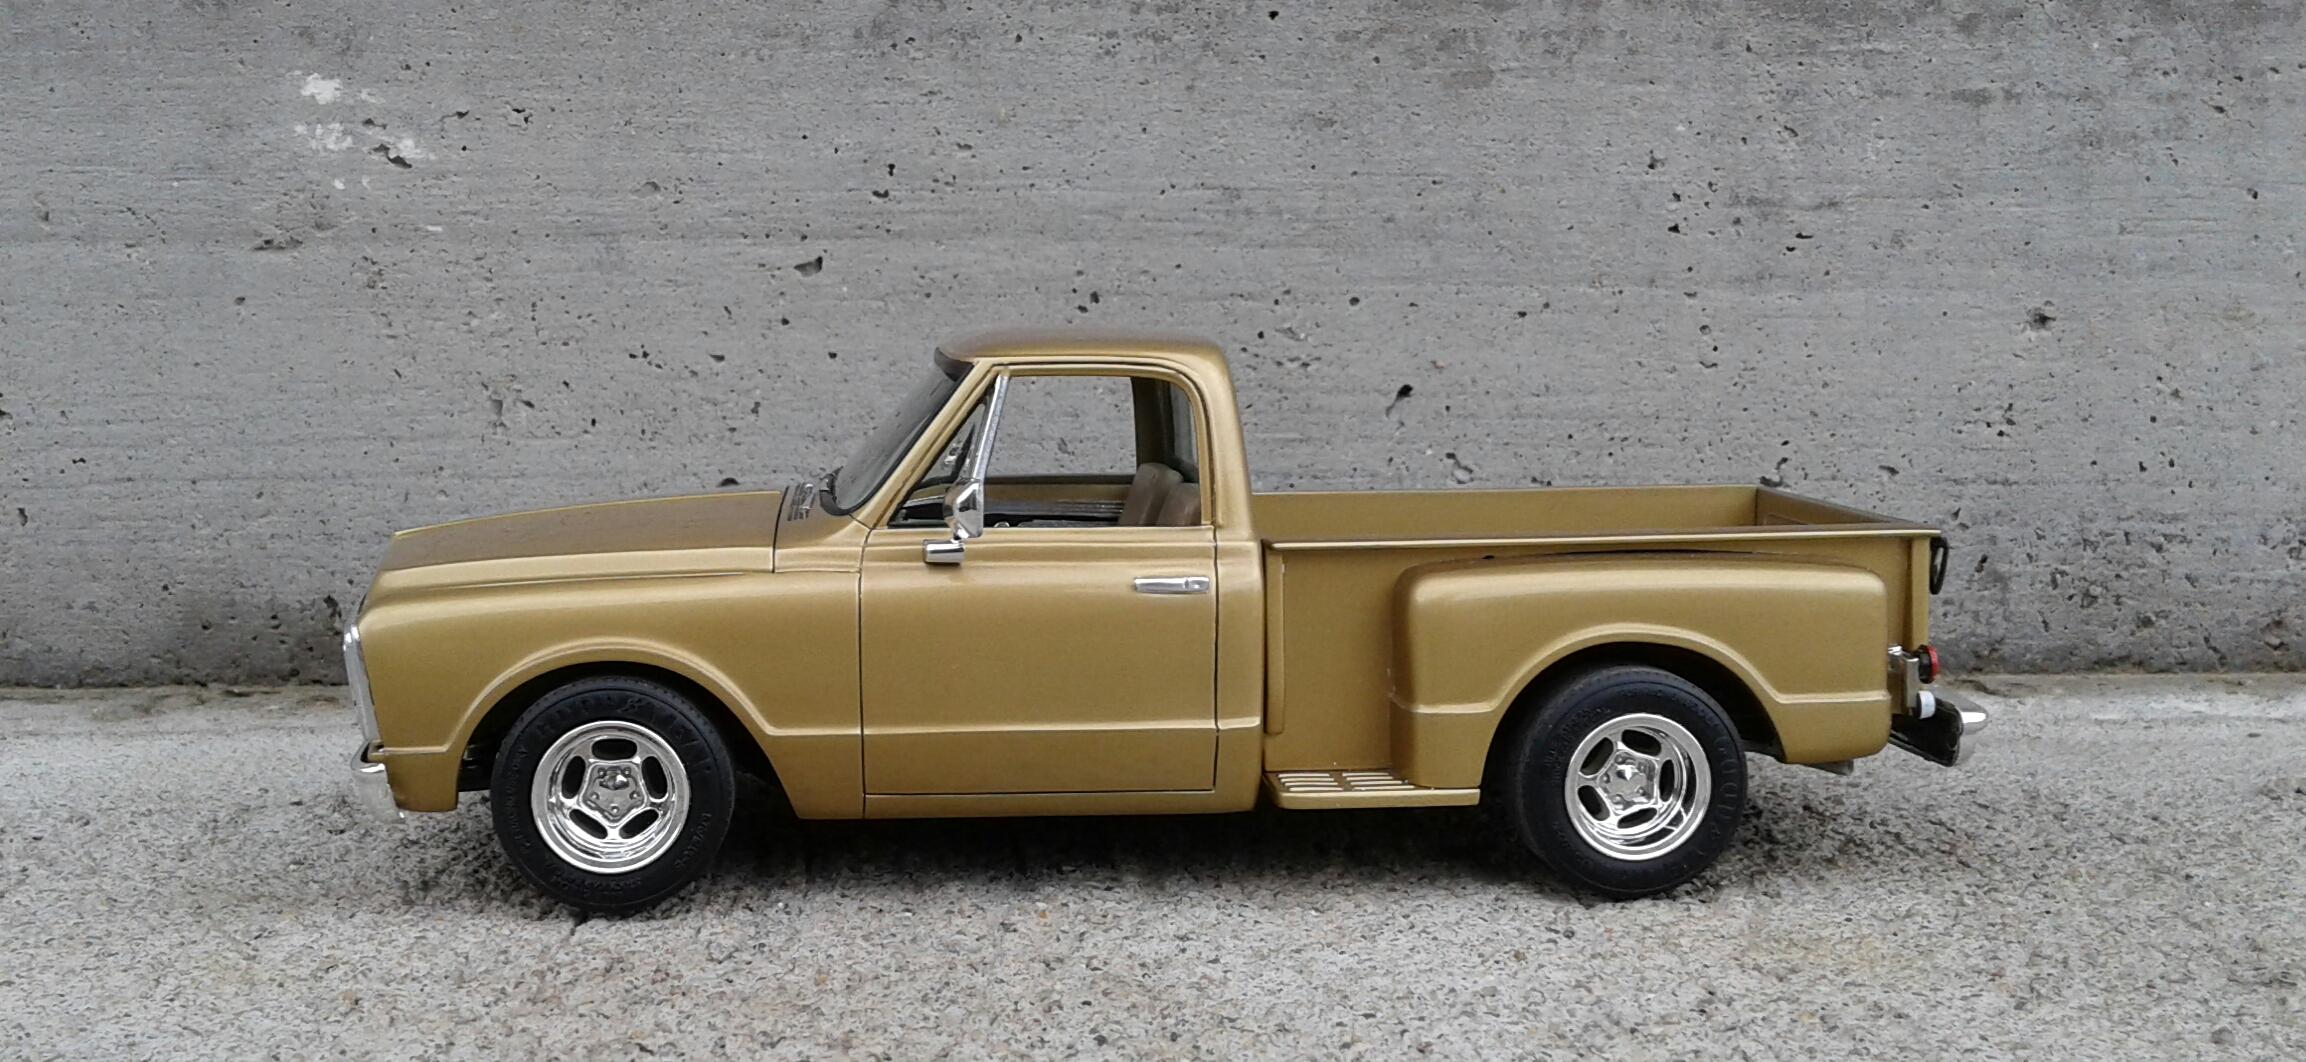
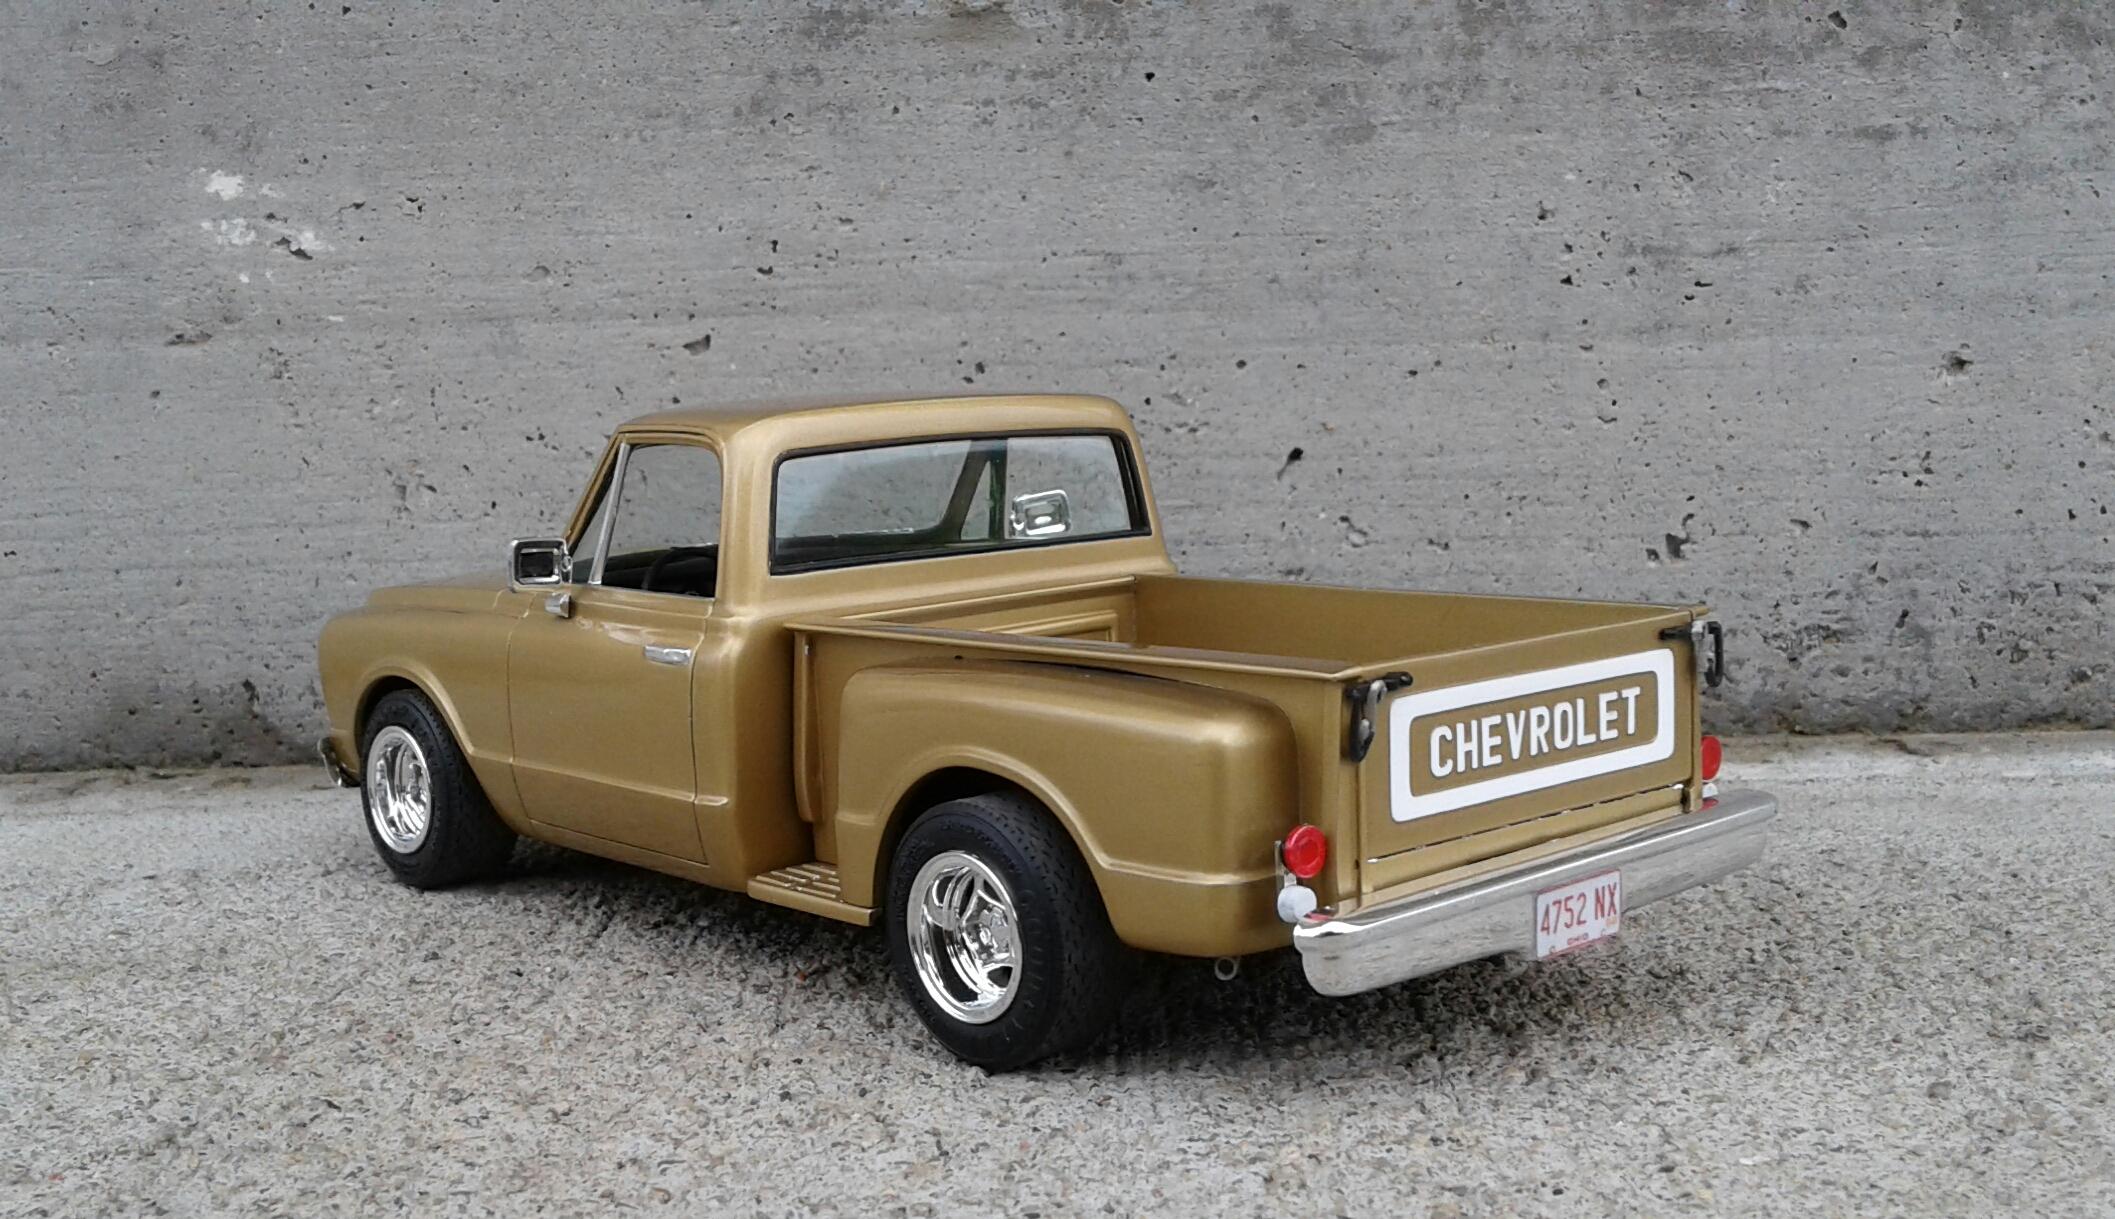
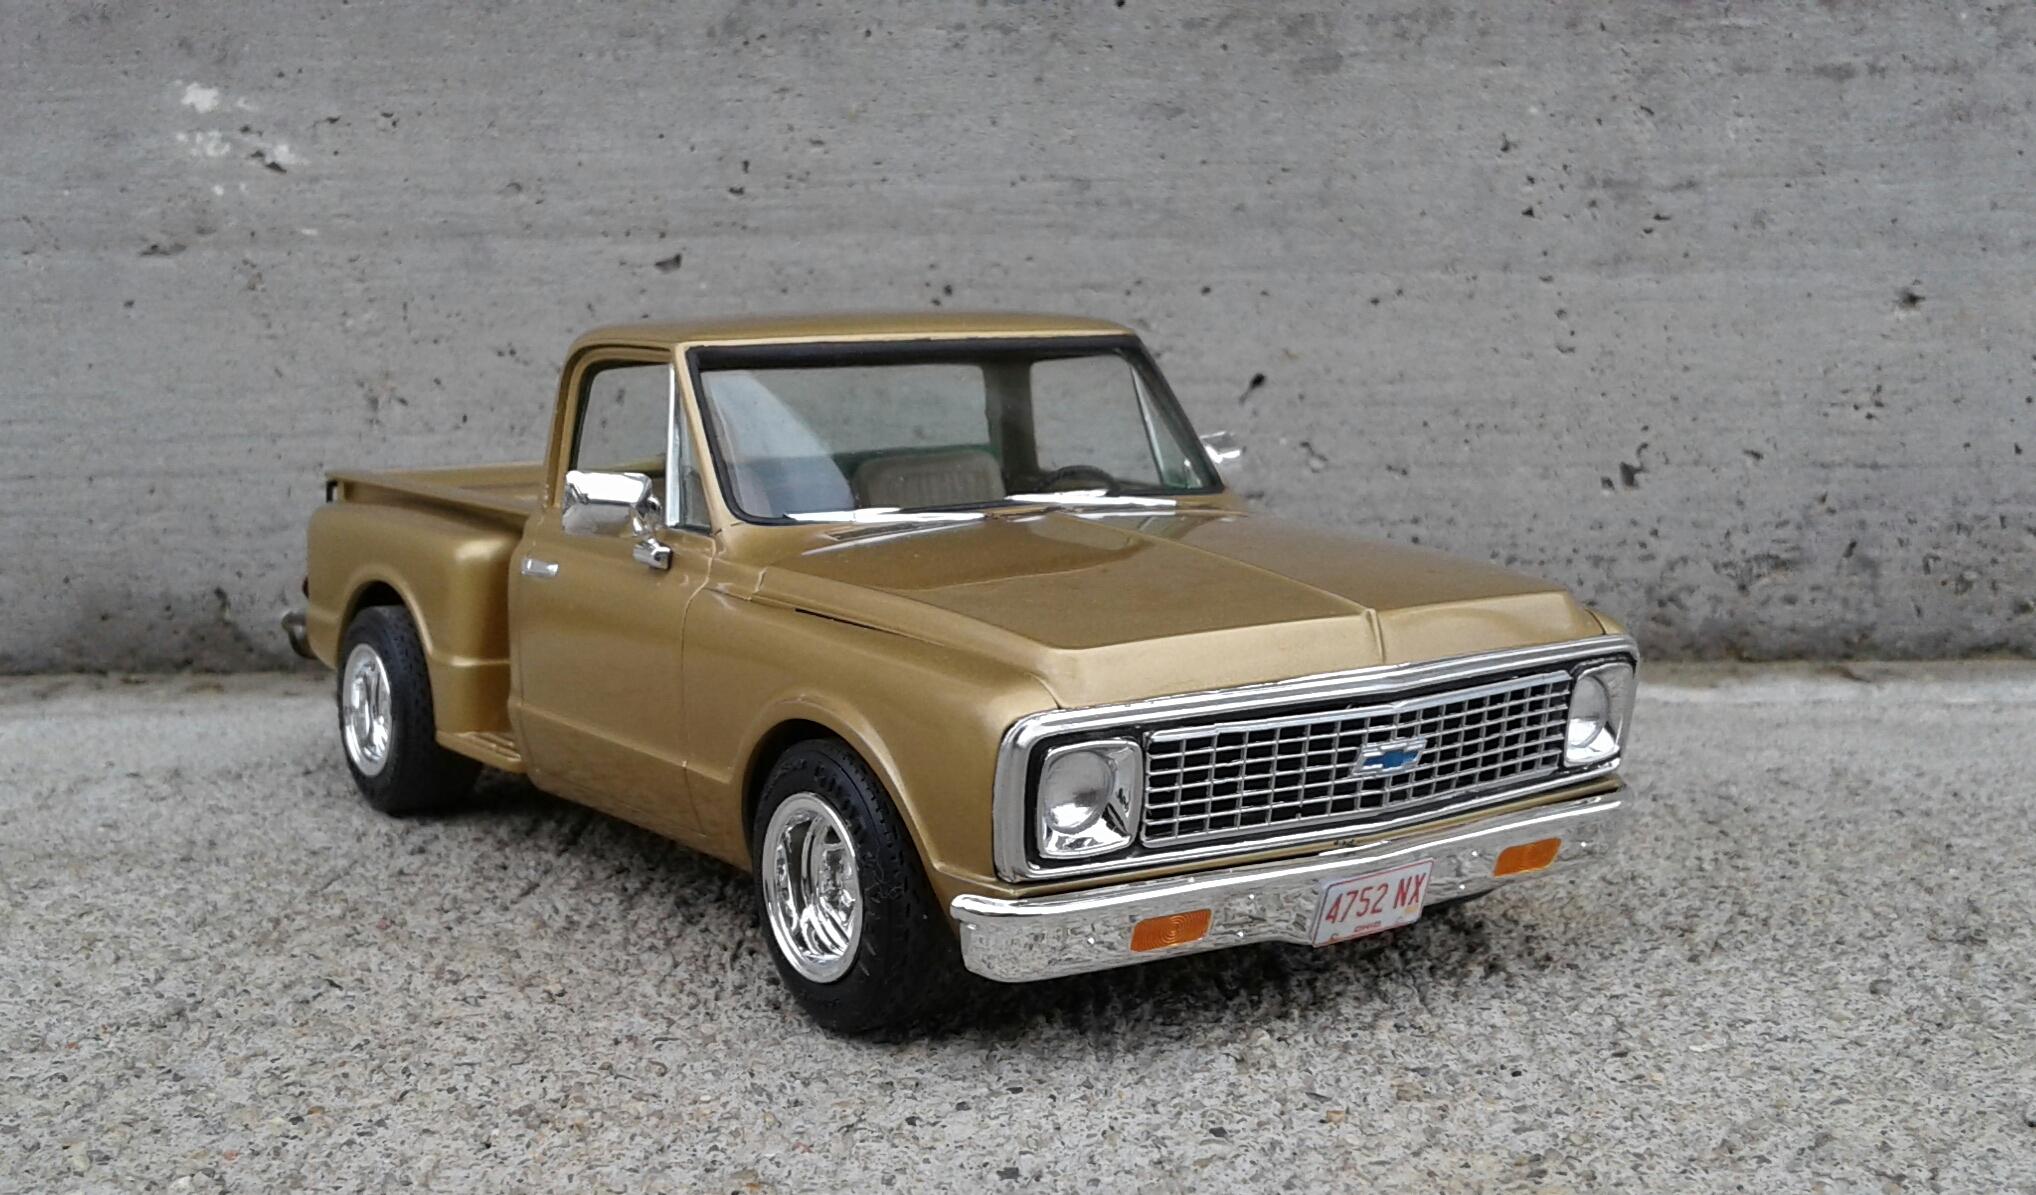
Finished this one up a couple of days ago. It's the MPC long stepside kit with the AMT '72 GMC chassis and bed. The original idea was to build it like the boxart only with a short bed instead. But, the decals didn't work out which in the end was actually a good thing. Since they didn't work out, I canned the side pipes also. While my original idea didn’t pan out, I'm still pretty happy with how it turned out and it still reminds me of the first one I built. Thanx for checking it out!
-
If I lengthen the roof, I'll have to lengthen the interior also. Rather not do that. If I make the quarters shorter (they're the same length as the Del Rio's), I'll have to shorten the floorpan, gas tank and frame. Don't want to do that either. I think I'm going to open the rear hatch and see if I can make some hinges that won't be too visible. If I can't, I'll just glue it back together. We'll see.
-
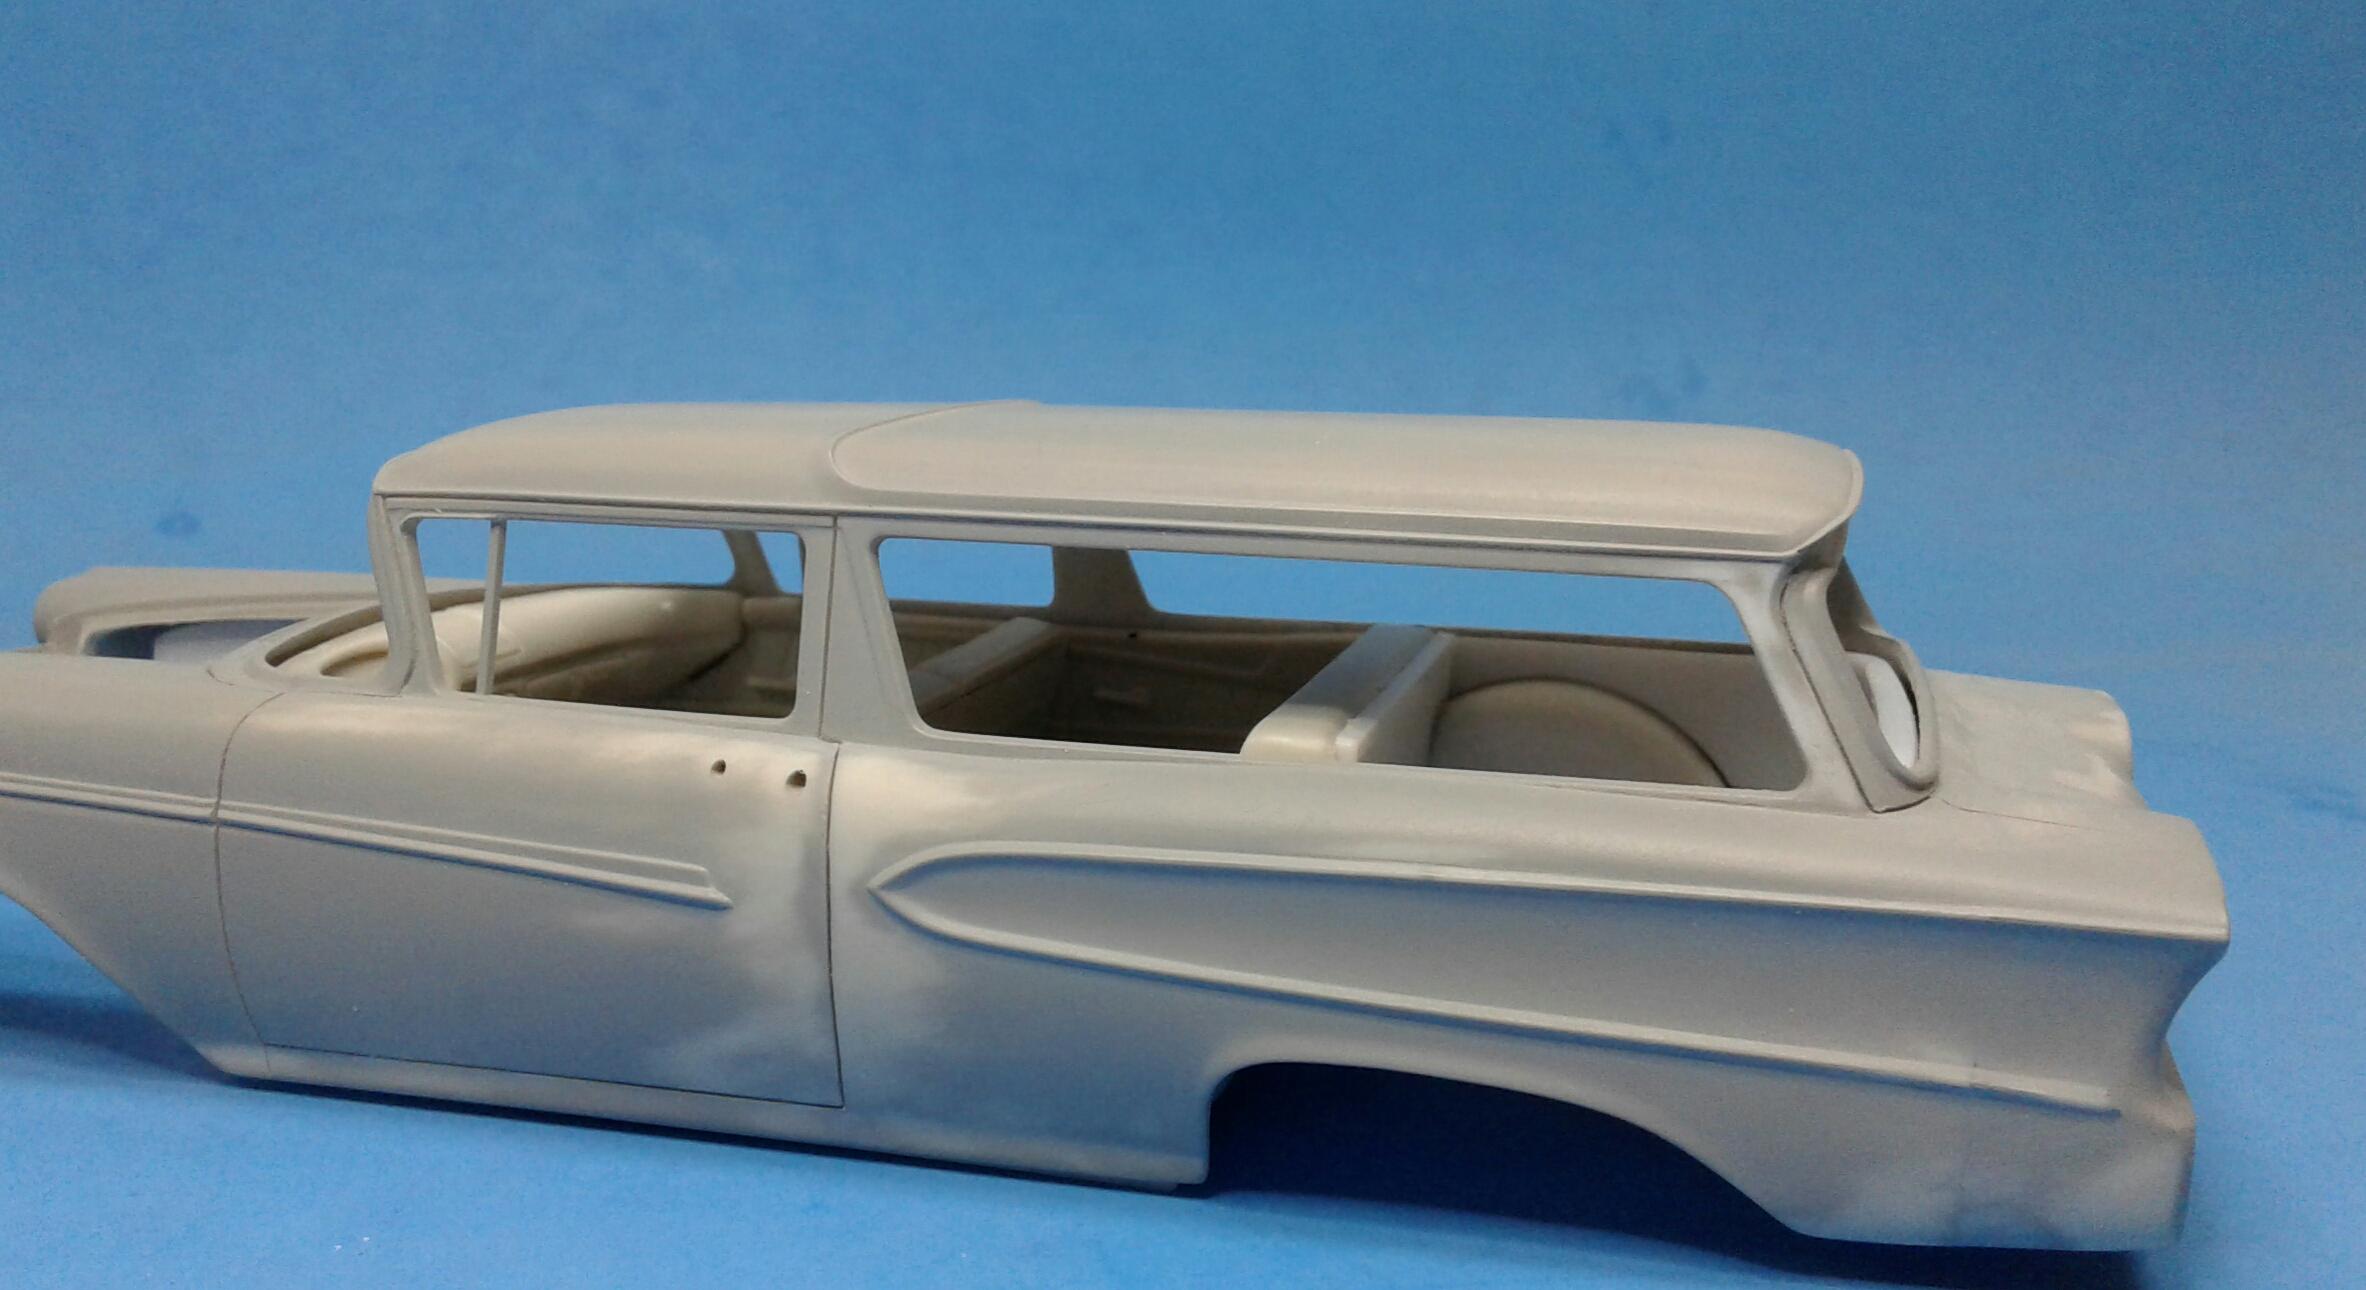
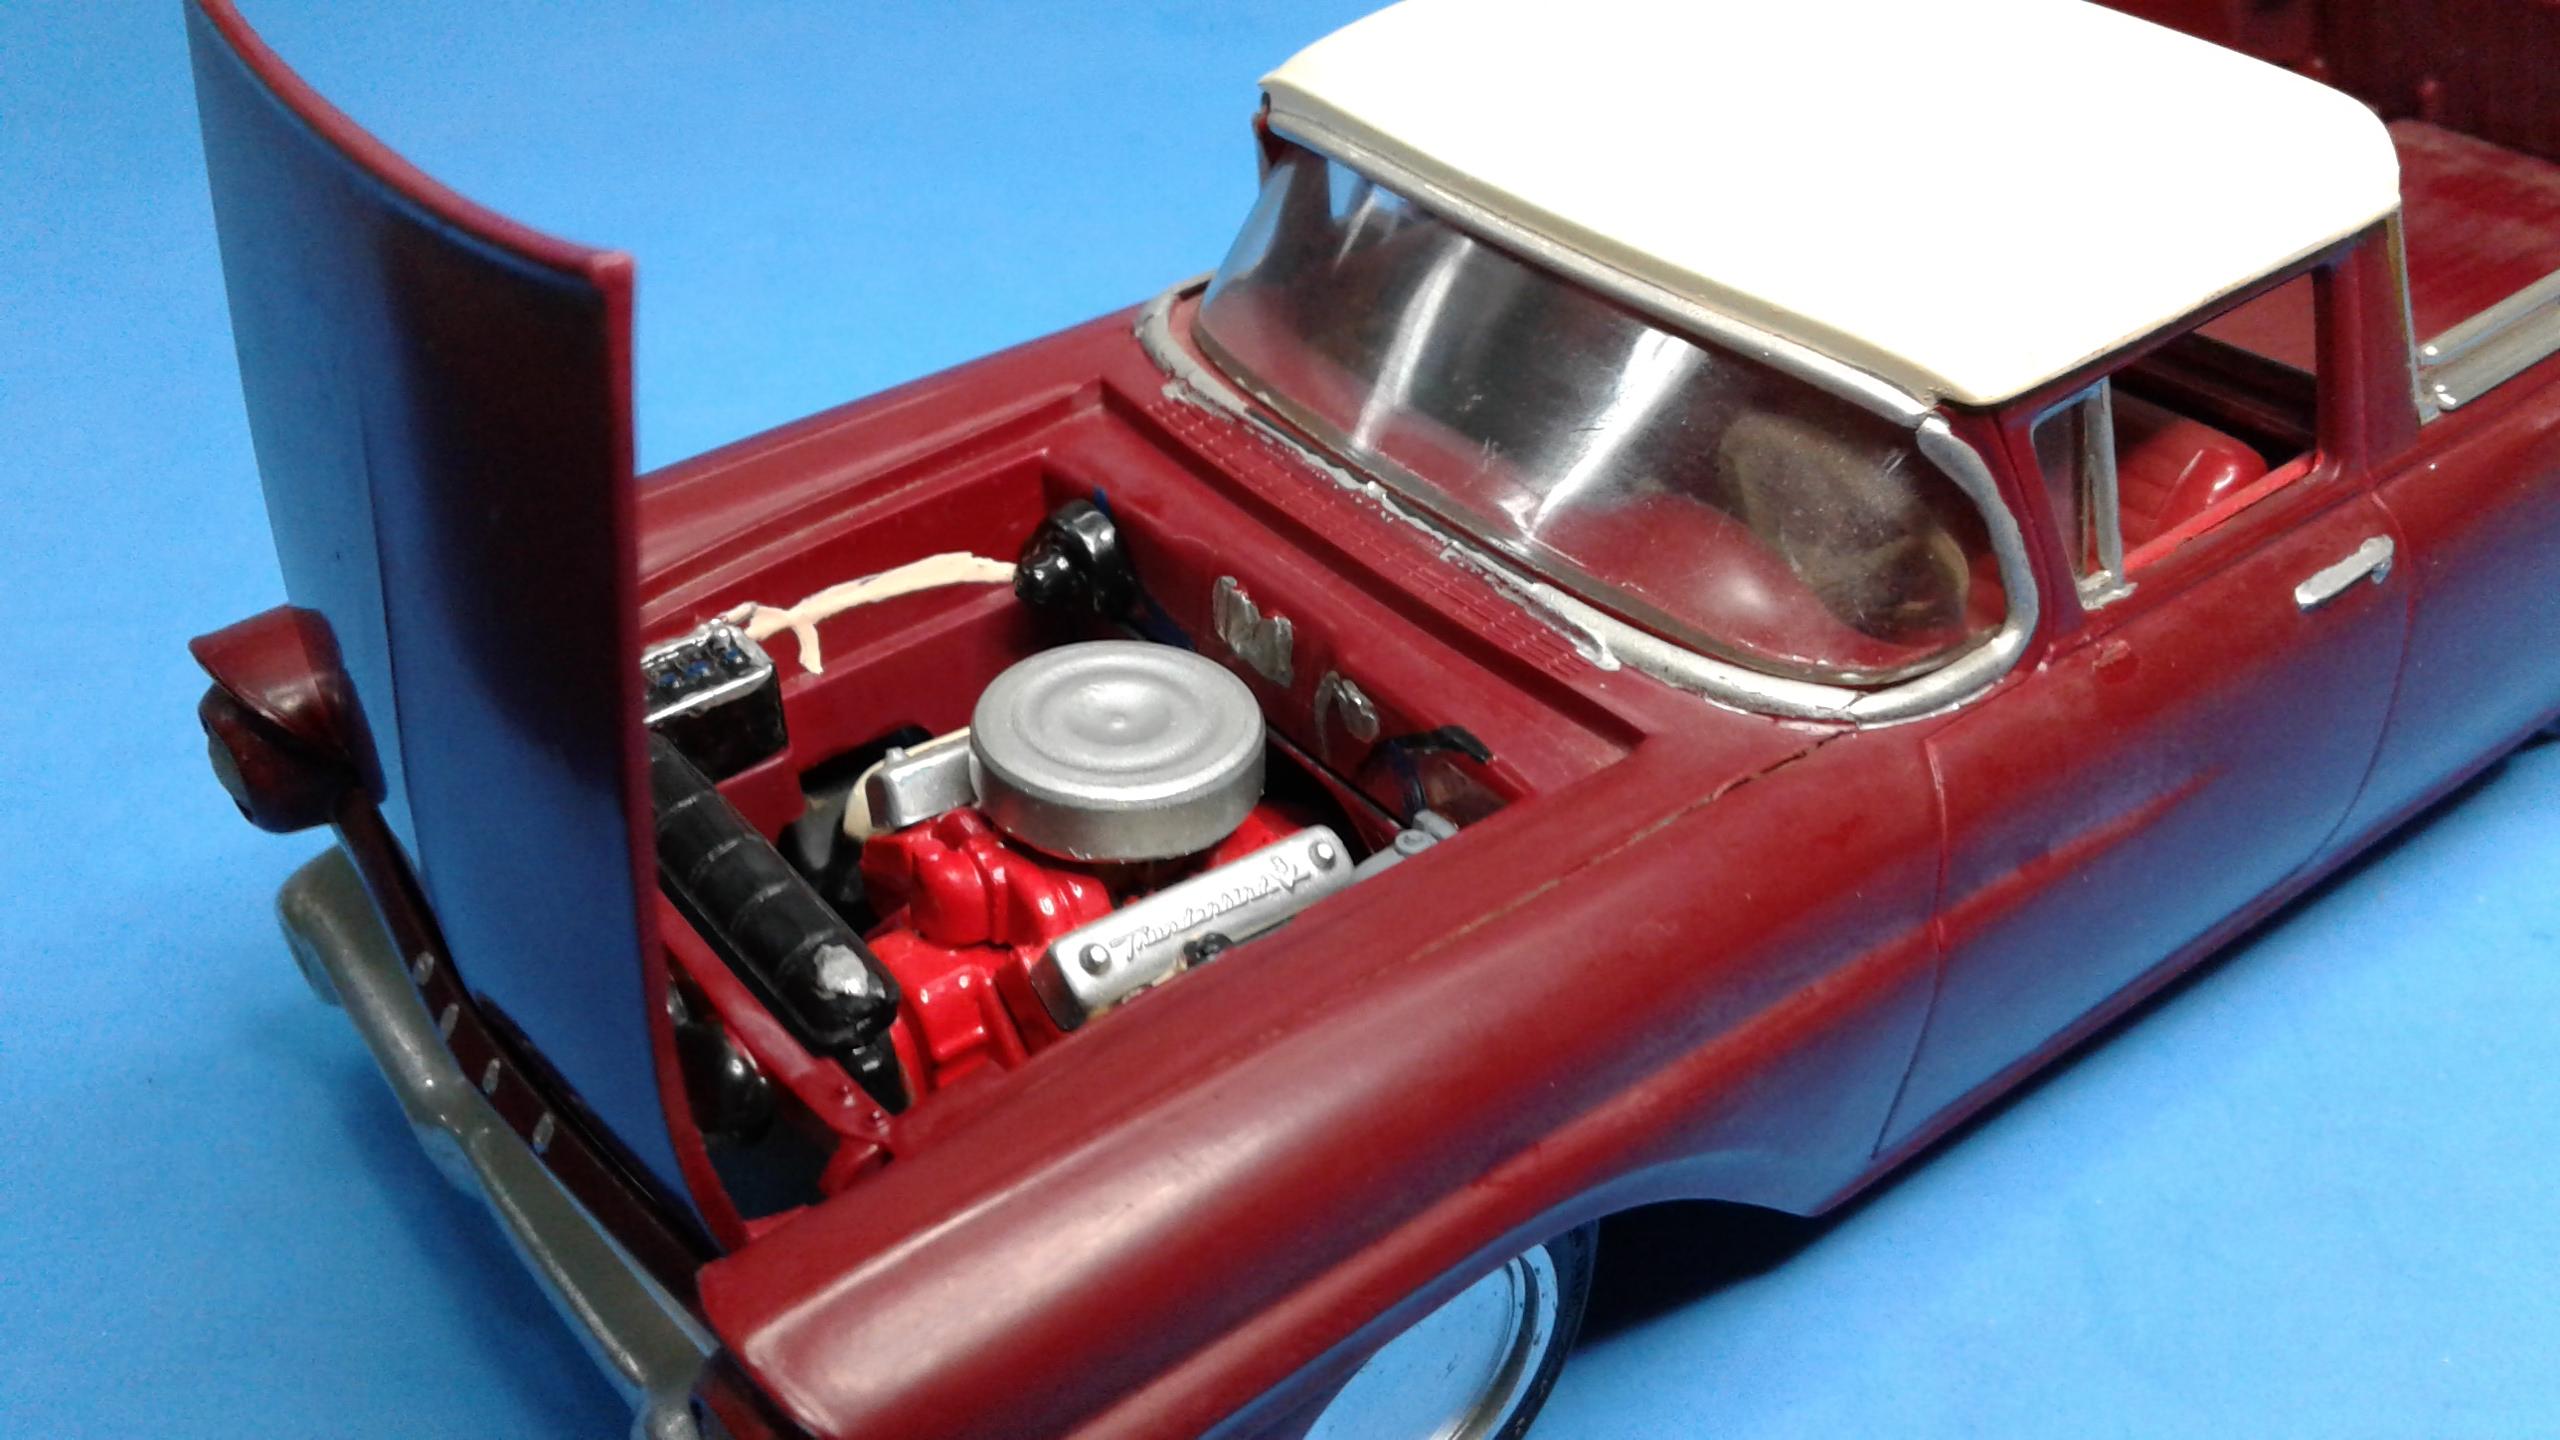
Thanx to everyone for the responses! I'm going to see what I can do with it. If I'm not happy with it, I'll kick on to someone that has more appreciation for it. I think it needs to stay just as it is. Change nothing. I can always convert the Del Rio into a Ranchero when the time comes. I would like to have a copy of the grille and bumper to use. The body kinda has me stumped. In one way, it looks like it's molded in color. But, it has a little junk in the finish in places. Maybe the builder sprayed a clear coat over it? It's gonna be interesting to see how it turns out.
-
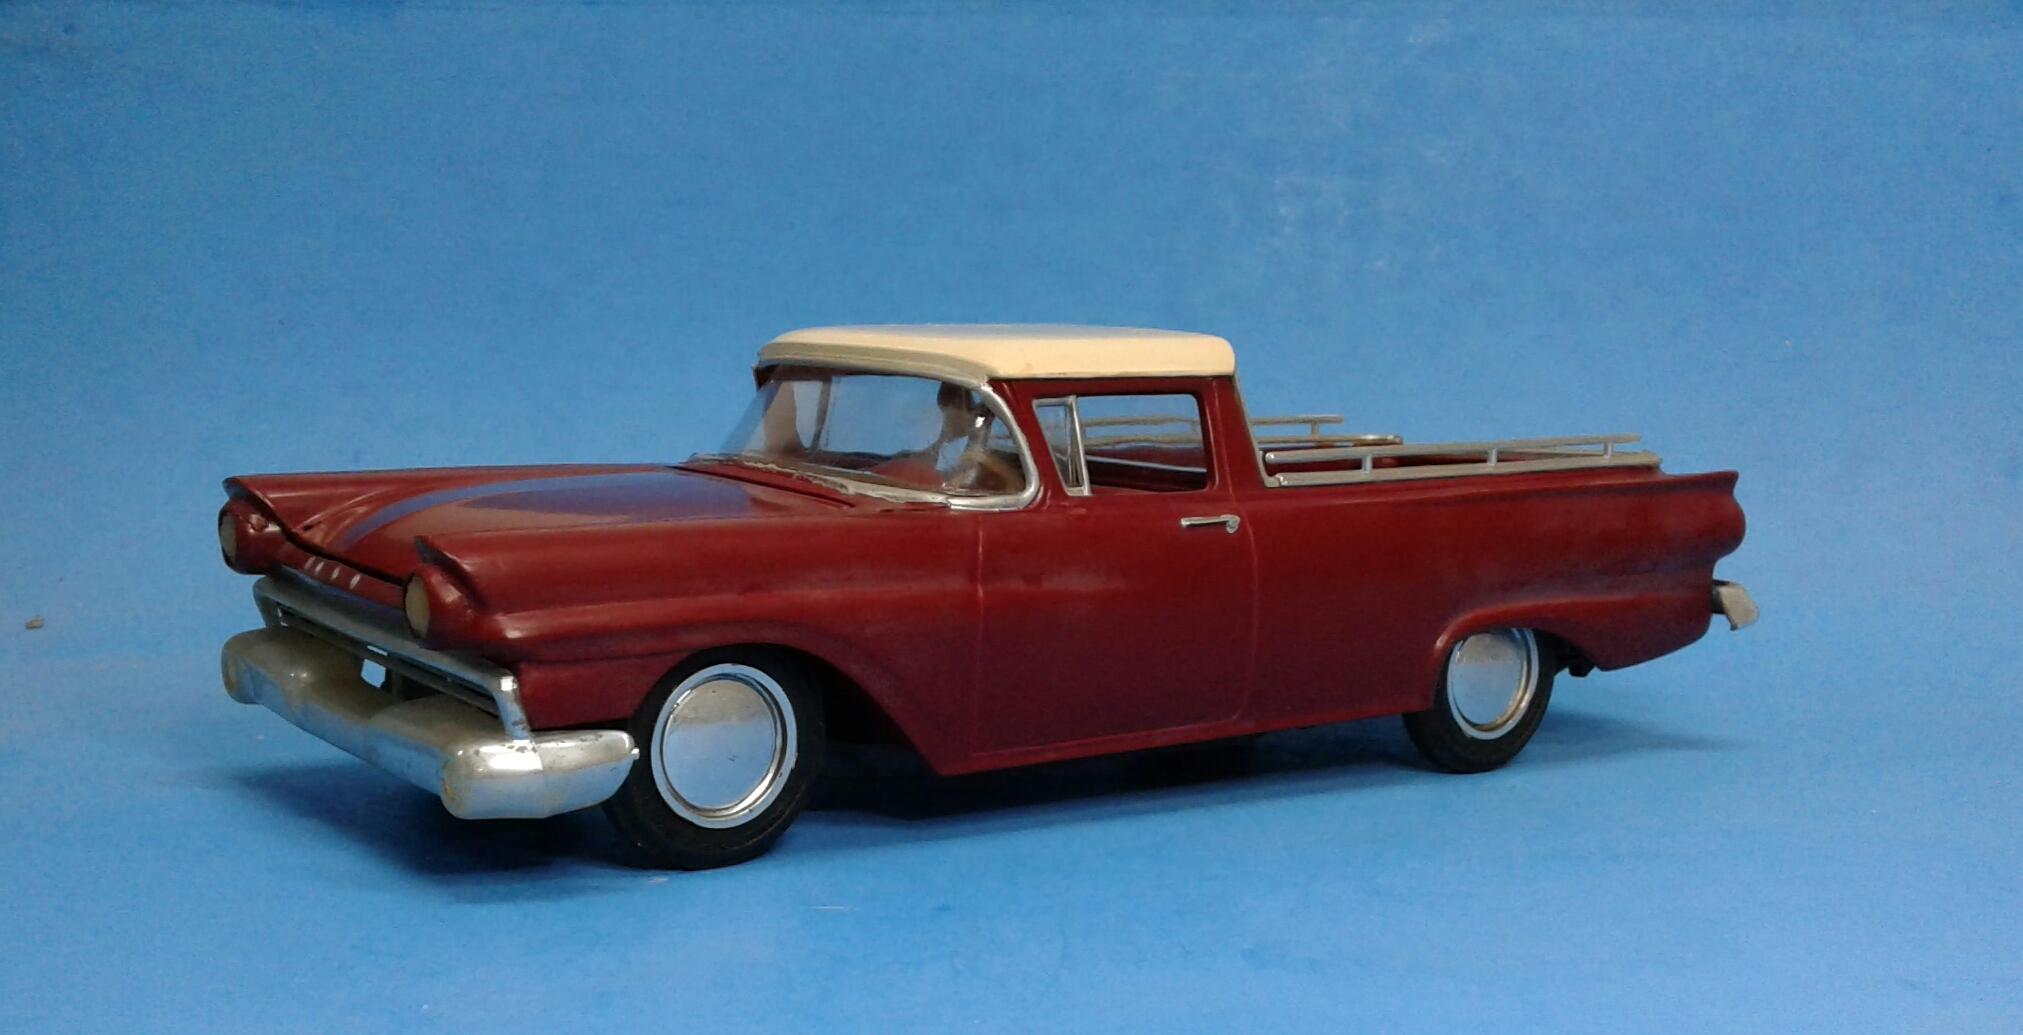
OK. There's this one.
-
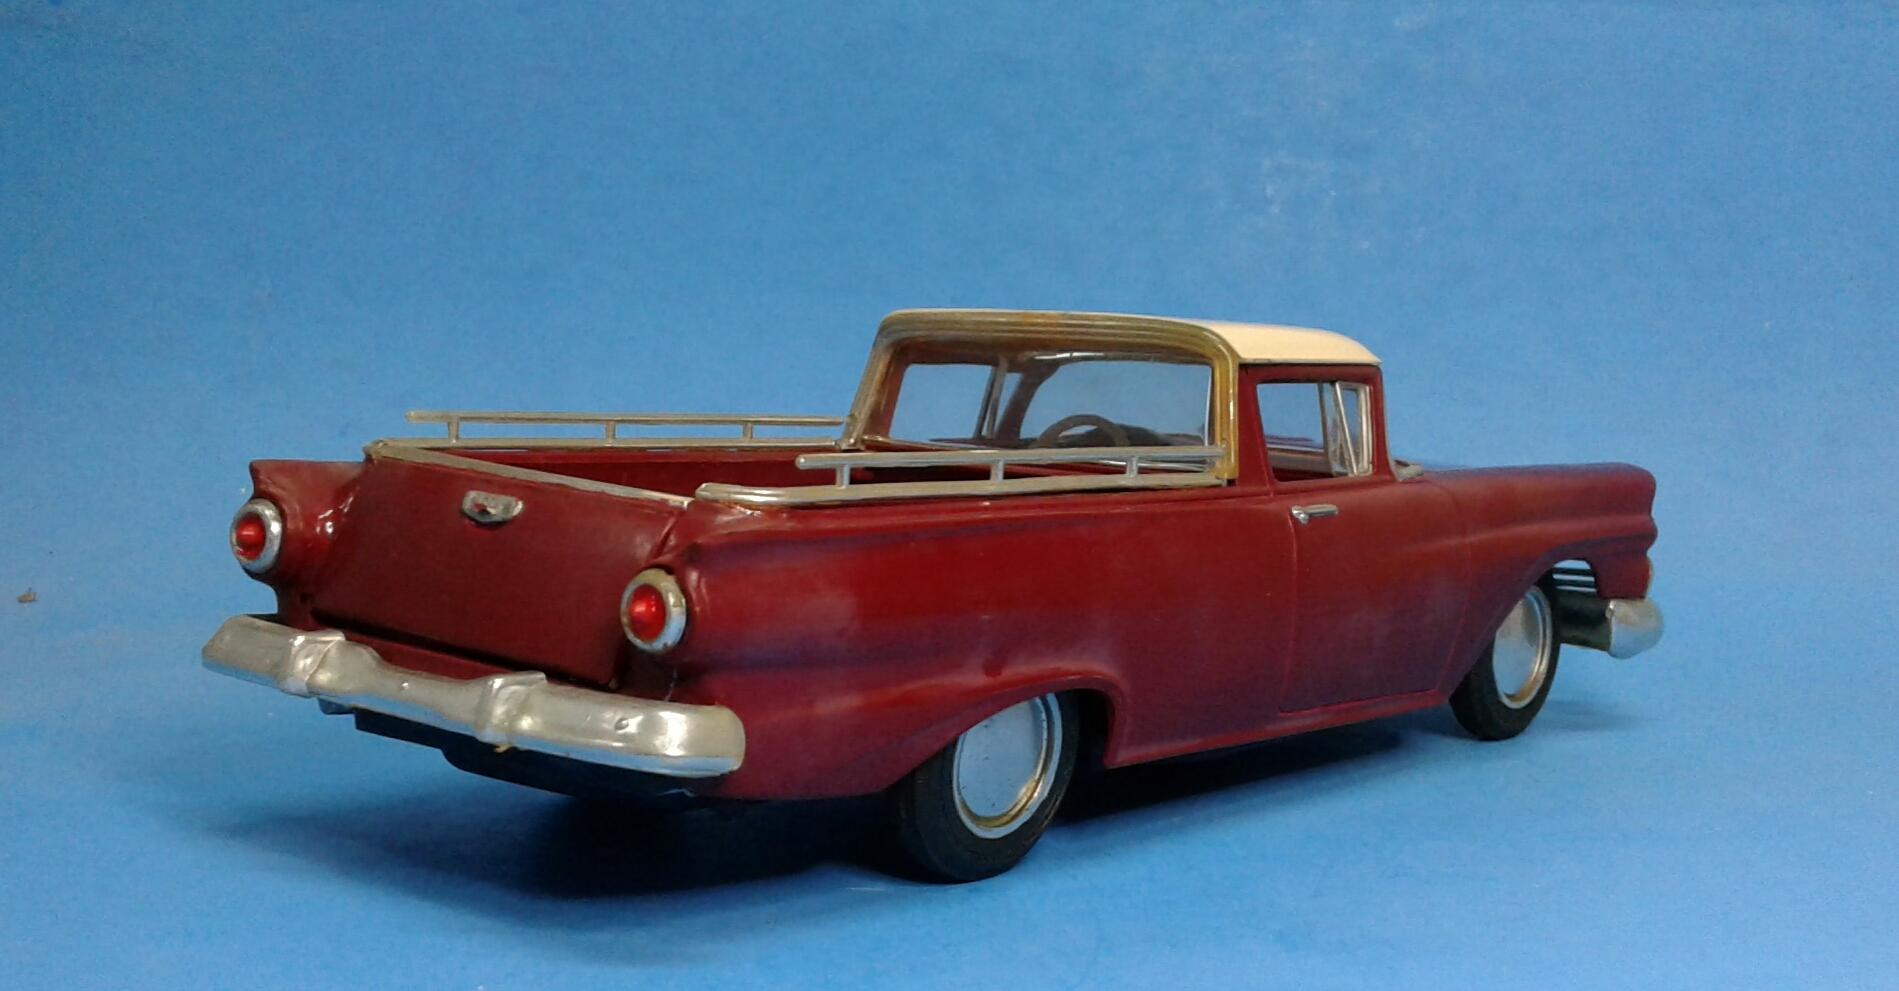
That's a question I never consider when I buy an old built up model. But, today I received one that has me asking that question. I found this on ebay for a BIN of $17 plus $10.75 shipping. I saw in the photos that it had the wrong front bumper. But, that didn't matter. It was a stock height roof '57 Ranchero! Plus, I just happen to have new pieces from another one I built years ago. Normally I don't care about the history of an old built up model. But, this old model is put together fairly well except for the tailgate being welded in crooked along with the bed floor. I want to rebuild it. But, kinda hate to at the same time. On one hand, I got it cheap, it's mine and they don't come around very often. On the other, it's kind of a piece of history that should be preserved. But, I'm not a history buff either. I'm really torn on what to do with it now that I have it. This is what it looks like after a quick wash. I've never seen one of these with a '59 Galaxie bumper and tube grille. Was that an optional part of the kit? It even has the bed rails and chrome around the rear window.
-
The primary pipes on those headers where they join the heads are way too close together for a BBC. The AMT '57 Corvette Street Machine has a set of fenderwell headers that may work. Hard to tell not knowing what you're building.
-
I trim it as close as possible with an Xacto knife. Then sand it smooth (220, 320, 400). When I spray it with primer, I do a couple of light coats and allow it to dry well (at least a day). Lightly sand and spray additional coats of primer. This usually prevents the trim from "ghosting". Also, use a primer that is styrene friendly. I use Tamiya.
-
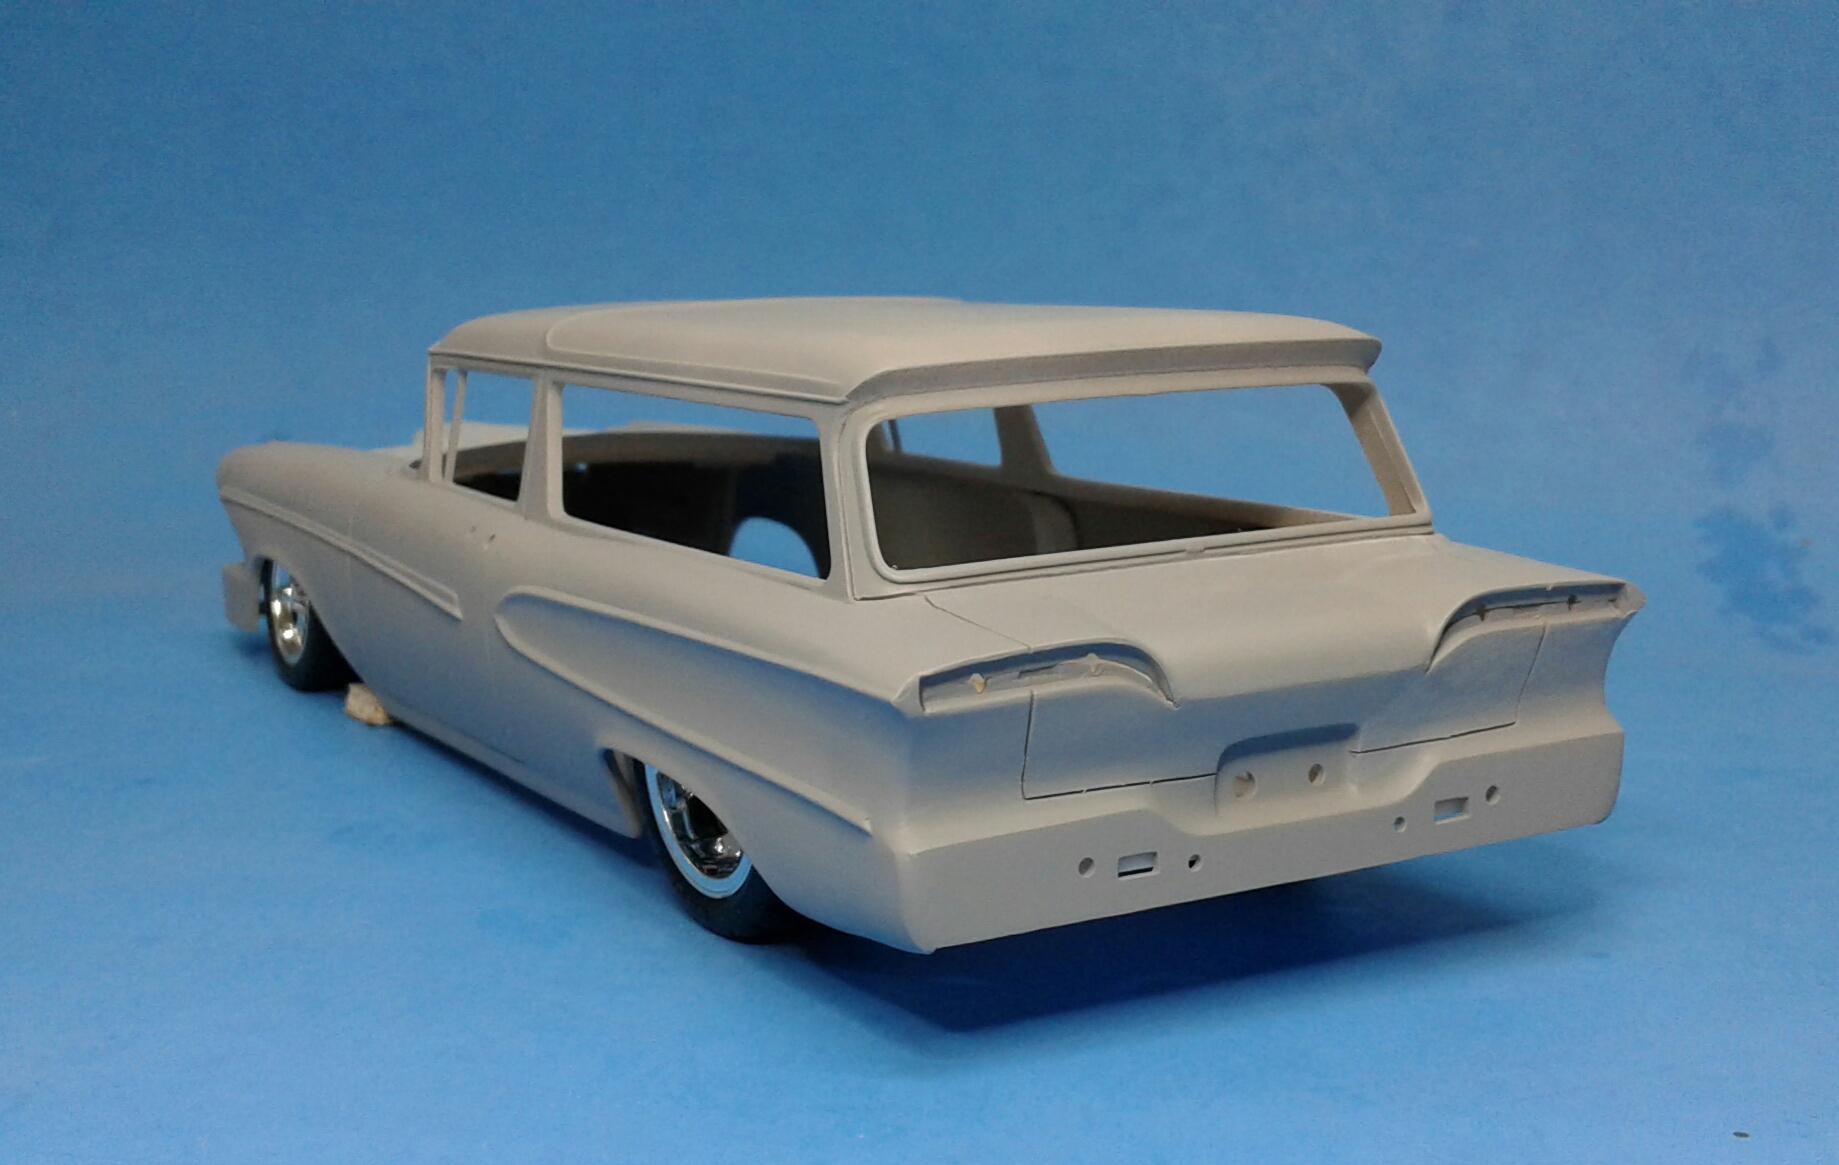
That's a good idea. Definitely something to think about. Only issue is where to split it. I got a light coat of primer on today. Just have a few touch ups and a little more sanding. I removed the Pacer script, rocker panel trim and the trim between the taillights. I filled in the trunk line and scribed in new ones.
-
1955 Chevy Junkyard Parts Truck
Plowboy replied to mchook's topic in Model Trucks: Pickups, Vans, SUVs, Light Commercial
Your weathering is top notch IMO! You really have the touch for making everything look right. Then you add in in all of the neat little details to bring it to life! Nice work! -
Thanx David! It really isn't that hard. This was my second attempt at chopping a top. I actually cut the top off using the stacked cut off wheel method. Then I cut across the roof at the center of the door and center of the quarter window. I glued the three sections back on, filled in the gaps and did a lot of sanding!