Bills72sj
-
Posts
4,582 -
Joined
-
Last visited
Content Type
Profiles
Forums
Events
Gallery
Everything posted by Bills72sj
-
Thank you for sharing the link. He had exception talent at detailing his builds.
-
 It is good to hear these kits are finally in hand. Hopefully my preordered kit will be on its way soon. It could come with NO wheels and tires and I would still be happy as I have plenty.
 -
Way cool! Thanks for sharing.
-
Very nice Olds. I have one of those to build someday.
-
What everybody above said... NICE!
-
Nice GTO. Are the wheels kit wheels? They look almost TOO nice.
-
WOW! They are both amazing! I would love to have them "chasing" my models around in the display cabinet.
-
Way cool build. I like the molded in front bumper. I am on the fence about the rear. You nailed the stance and the staggered wheels are outstanding. The Viper motor is a nice addition. Do you have a better pic of the grille? I would like to see how your effort turned out.
-
Best glue for painted parts
Bills72sj replied to stevez's topic in Model Building Questions and Answers
I have a number of glues I use. I tend to avoid direct adhesion on painted surfaces. I almost always scrape the surfaces to be joined down to bare plastic. Except for photo-etch onto painted surfaces. For that I use Future/Pledge floor finish. Below is my arsenal. I have heard clear 2 part epoxy works well but have not gone down that path.
-
Sweet ride. What was you technique on the wood grain in the interior?
-
I concur with most all of the above. Acrylics are generally chemically inert when applied to cured solvent based paints. If you want to practice seeing what affects what, get some dollar store acetone, drug store alcohol, auto parts store window washer fluid and hardware store lacquer thinner and mineral spirits. Spray some spoons and let them cure for a couple of weeks. You will figure it out.
-
Finished: 1957 Nomad with my first wired Engine *PICS*
Bills72sj replied to Billy Kingsley's topic in Model Cars
Very nice job. Great color and detail. -
Way cool gasser.
-
Magnificent job! I wish it was mine!
-
I love this. The color, the wheel and tire choice. Well done.
-
1st for the year. Detailed 1974 Hurst Olds from a Johan promo.
Bills72sj replied to Bills72sj's topic in Model Cars
Thank you Bob.? Thank you Anthony. ? Thank you Richard ? I have grown to admire the body style as well. -
Very nice effort. I am working on one right now.
-
1st for the year. Detailed 1974 Hurst Olds from a Johan promo.
Bills72sj replied to Bills72sj's topic in Model Cars
Thank you Donato. ? Thank you Larry. ? Thank you William. That is something I strive for in every build. Thank you Anders. ? -
That looks really nice.
-
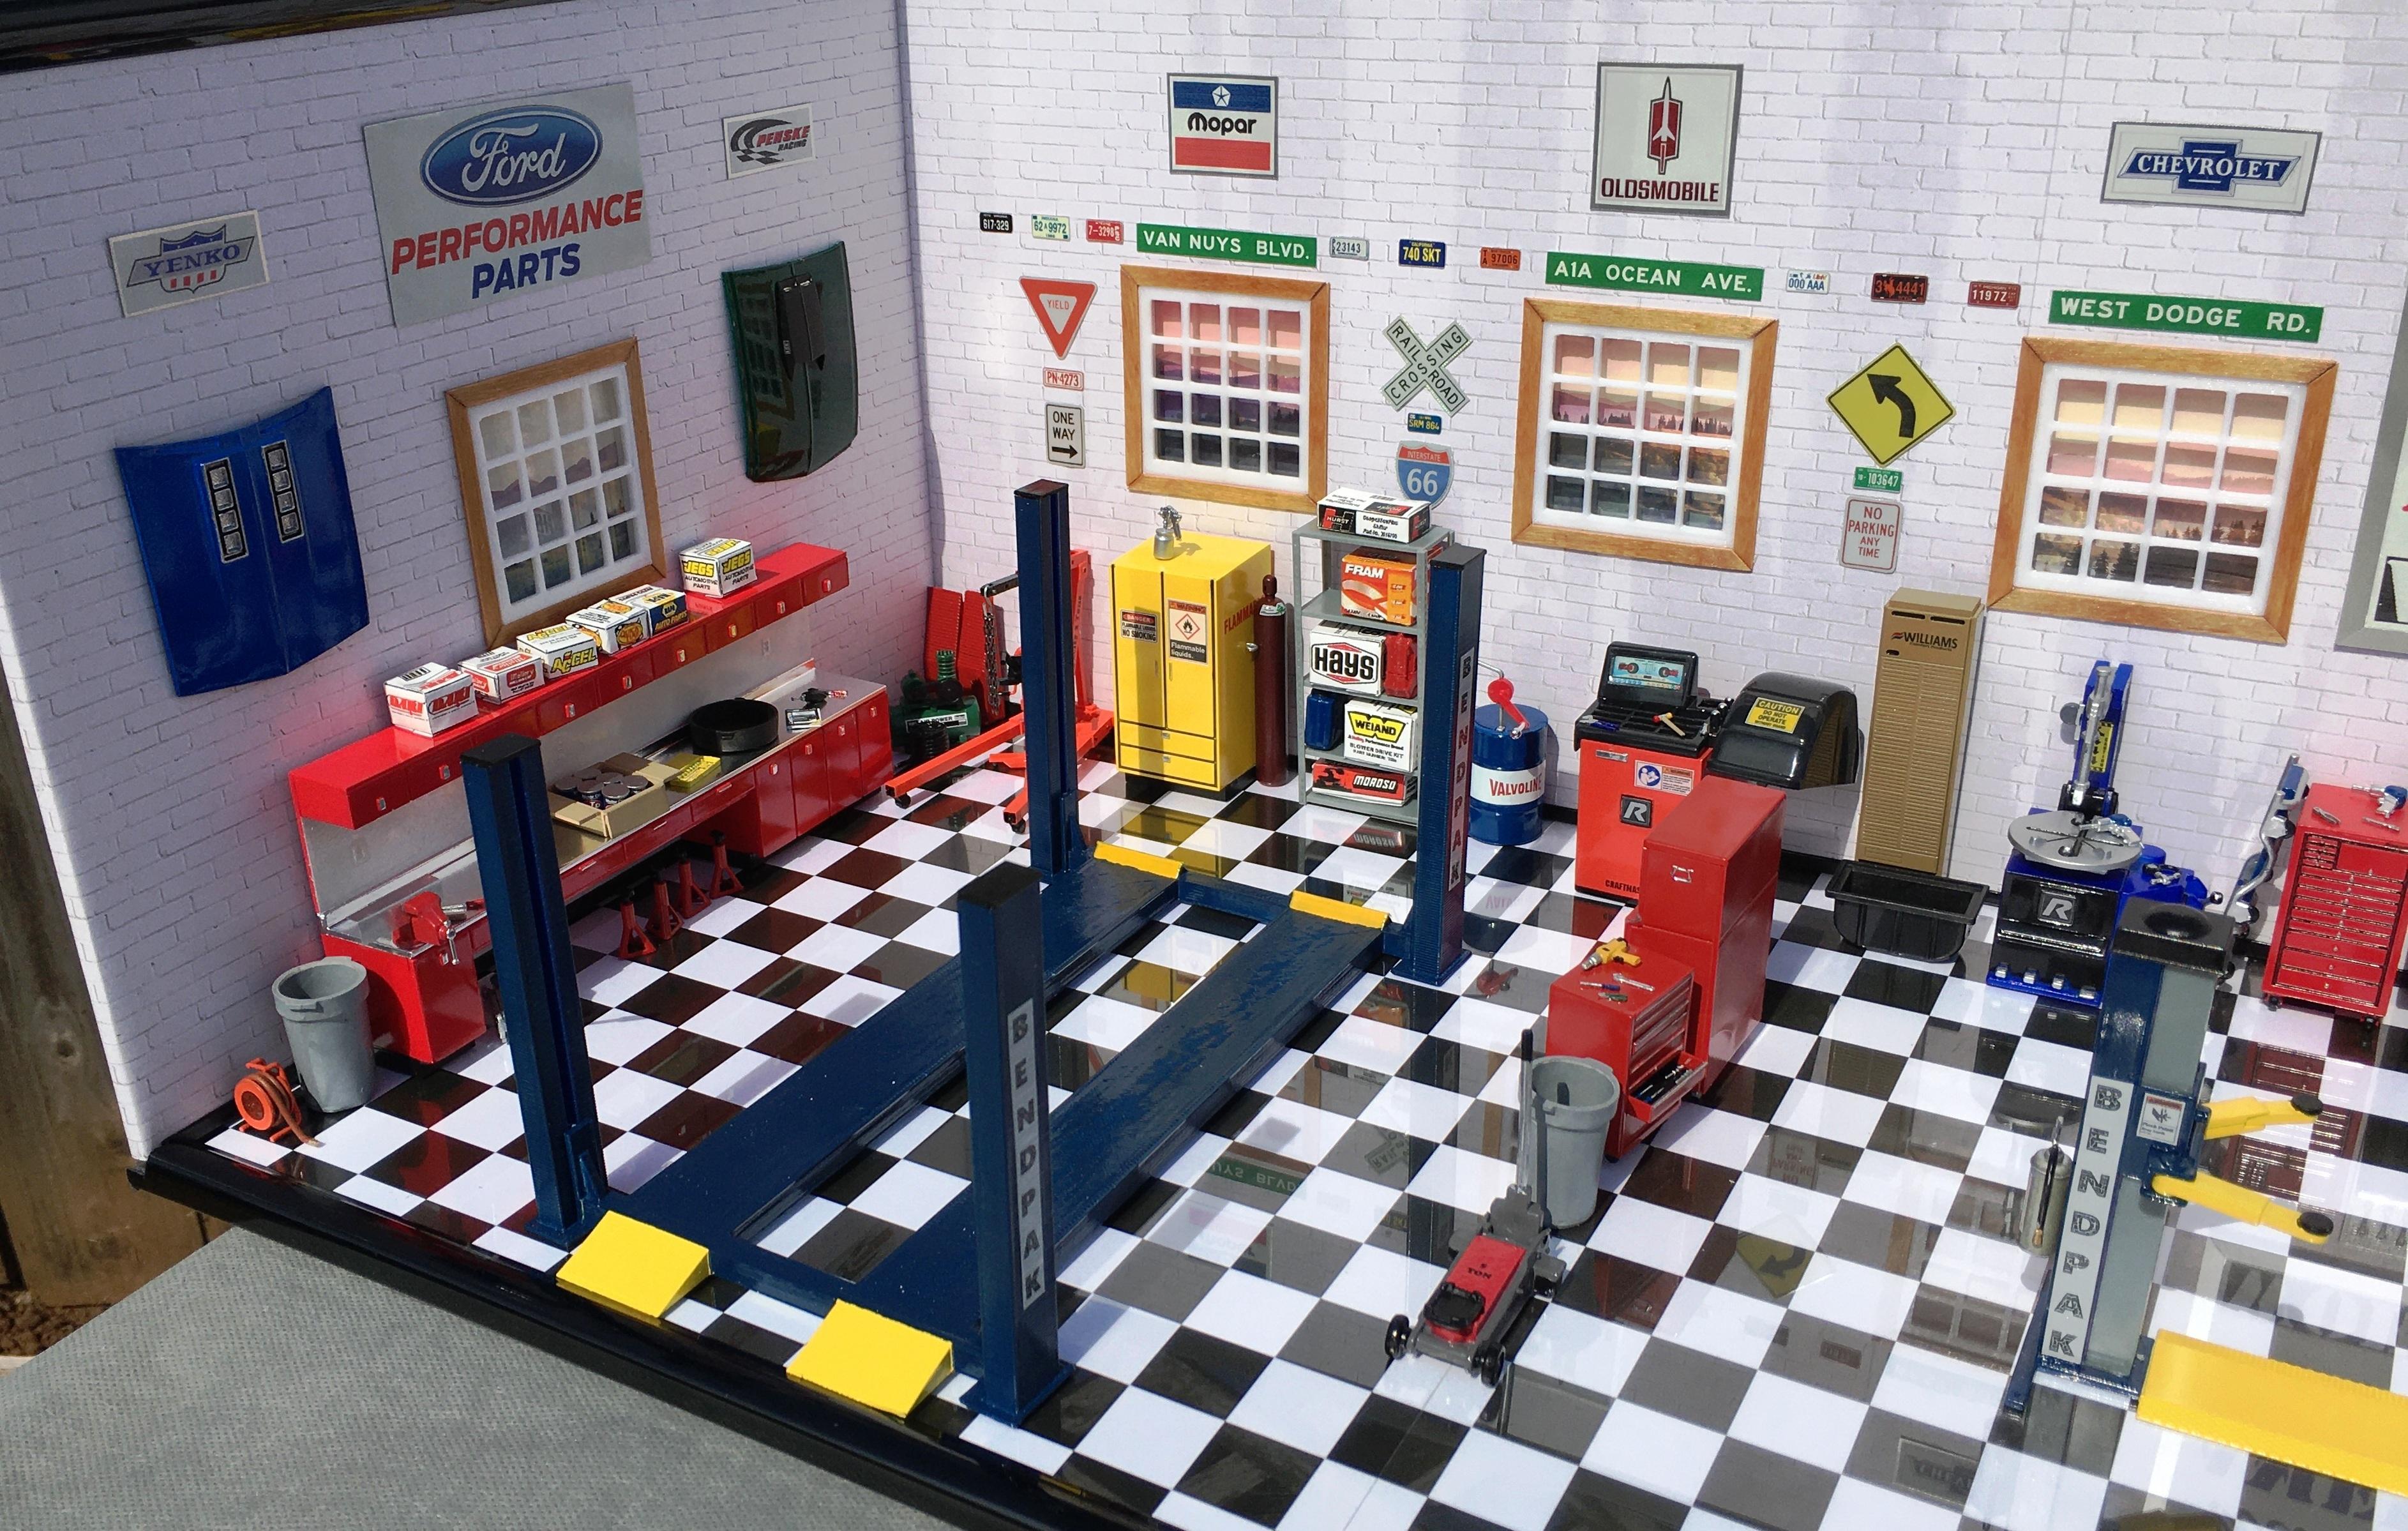
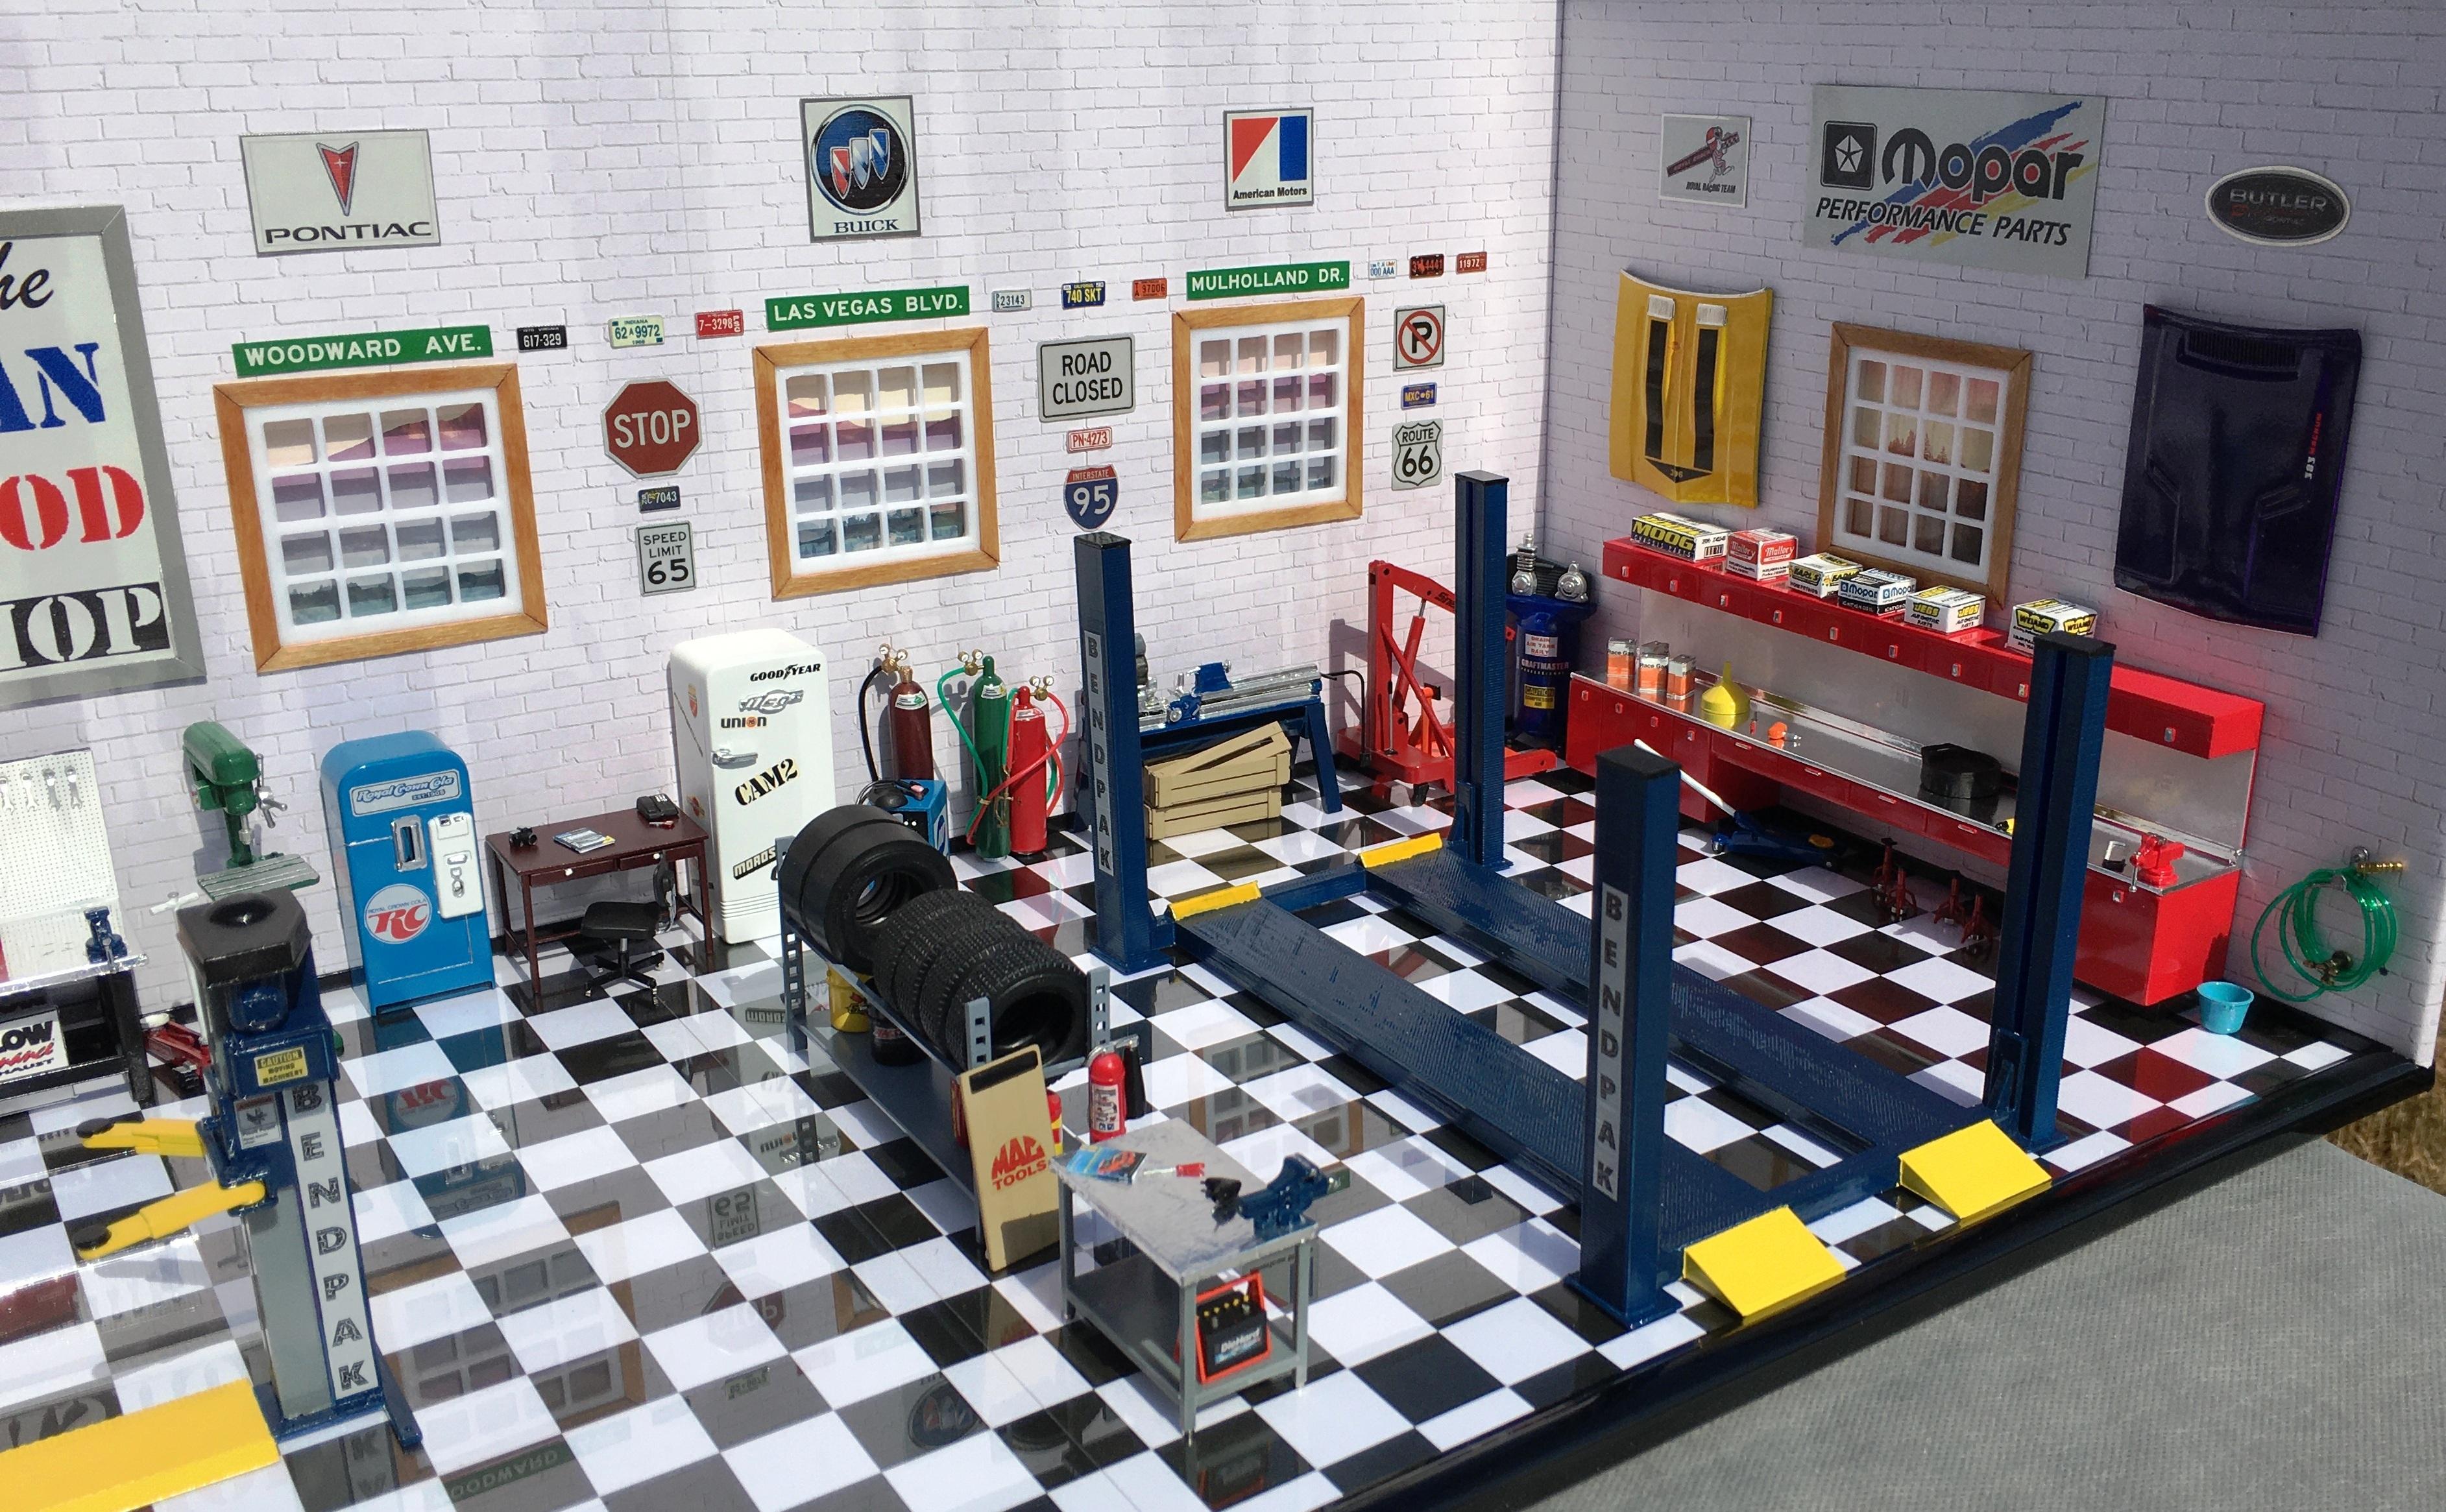
Jeff, Thank you. My diorama project was a fun build that went WAY over budget but it is pretty much exactly what I wanted. Little Testors enamel bottles mixed 50/50 with Home Depot or Lowes lacquer thinner works pretty well. I use a Mr Hobby PS290 with a 0.5 mm nozzle. Some folks thin it 10% more for smaller needles. You can use the same lacquer thinner to clean your airbrush after you are done. If you have enamel rattle cans, you can decant them (safely) and spray it just as it is, or maybe thin what you get out, a little bit. The trick I have learned is to spray the first coat kind of a dry mist with a little too much distance until you have shaded the piece about 25-30% coverage. Pause and let it "bite" for a minute or two. Afterwards move in closer and adjust your speed and strokes until you have 100% coverage but is wet enough to self level. Don't be in a hurry but keep spraying/stroking until you just "get" a nice glossy piece. It is ok to pause the paint flow and just blow air if you feel that you are risking a run or sag. Then quit and let it cure. Try to avoid missing any thing so you do not have to add anymore coats. Watch out for transparent colors running away from any ridges. They may require more blow time. This is where a double action airbrush can show its benefit. The paint really does not care what the plastic material is. Especially if you prime it first.
-
1st for the year. Detailed 1974 Hurst Olds from a Johan promo.
Bills72sj replied to Bills72sj's topic in Model Cars
Thank you, thank you and thank you Ken. ? Thank you Mark. The wheels were part of my vision early on. Thank you Anton. I have grown to like the Colonnade body style as well. Especially the front of a 73-75 Pontiac Grand Am and later the white Can Ams Thank you James. ? -
Nice build. Thank you for sharing. I have rebuilder with a fresh cab to get to one of these days.
-
I bought one not too long ago. Mostly to improve the pictures of my builds. Fortunately my bench already has plenty of light and my eyesight rarely needs any help. I have yet to pin anything. I have yet to lose a spoiler. I generally leave mirrors off because if they were never there, they cannot leave glue spots when they come up missing.
-
I am an enamel fan too. While 3D printing does not have release agents like resin, washing the parts is a good idea. Go with a super fine lacquer primer just to make sure the surface is as you want it to be. Enamels thinned with lacquer thinner, airbrush really nice and only take a couple of days to be touchable. However, my parts tend to get 2 weeks of rest due to my batch building technique and my limited build time. Both of my 4 post lifts are 3D printed and sprayed with enamel. No issues,
-
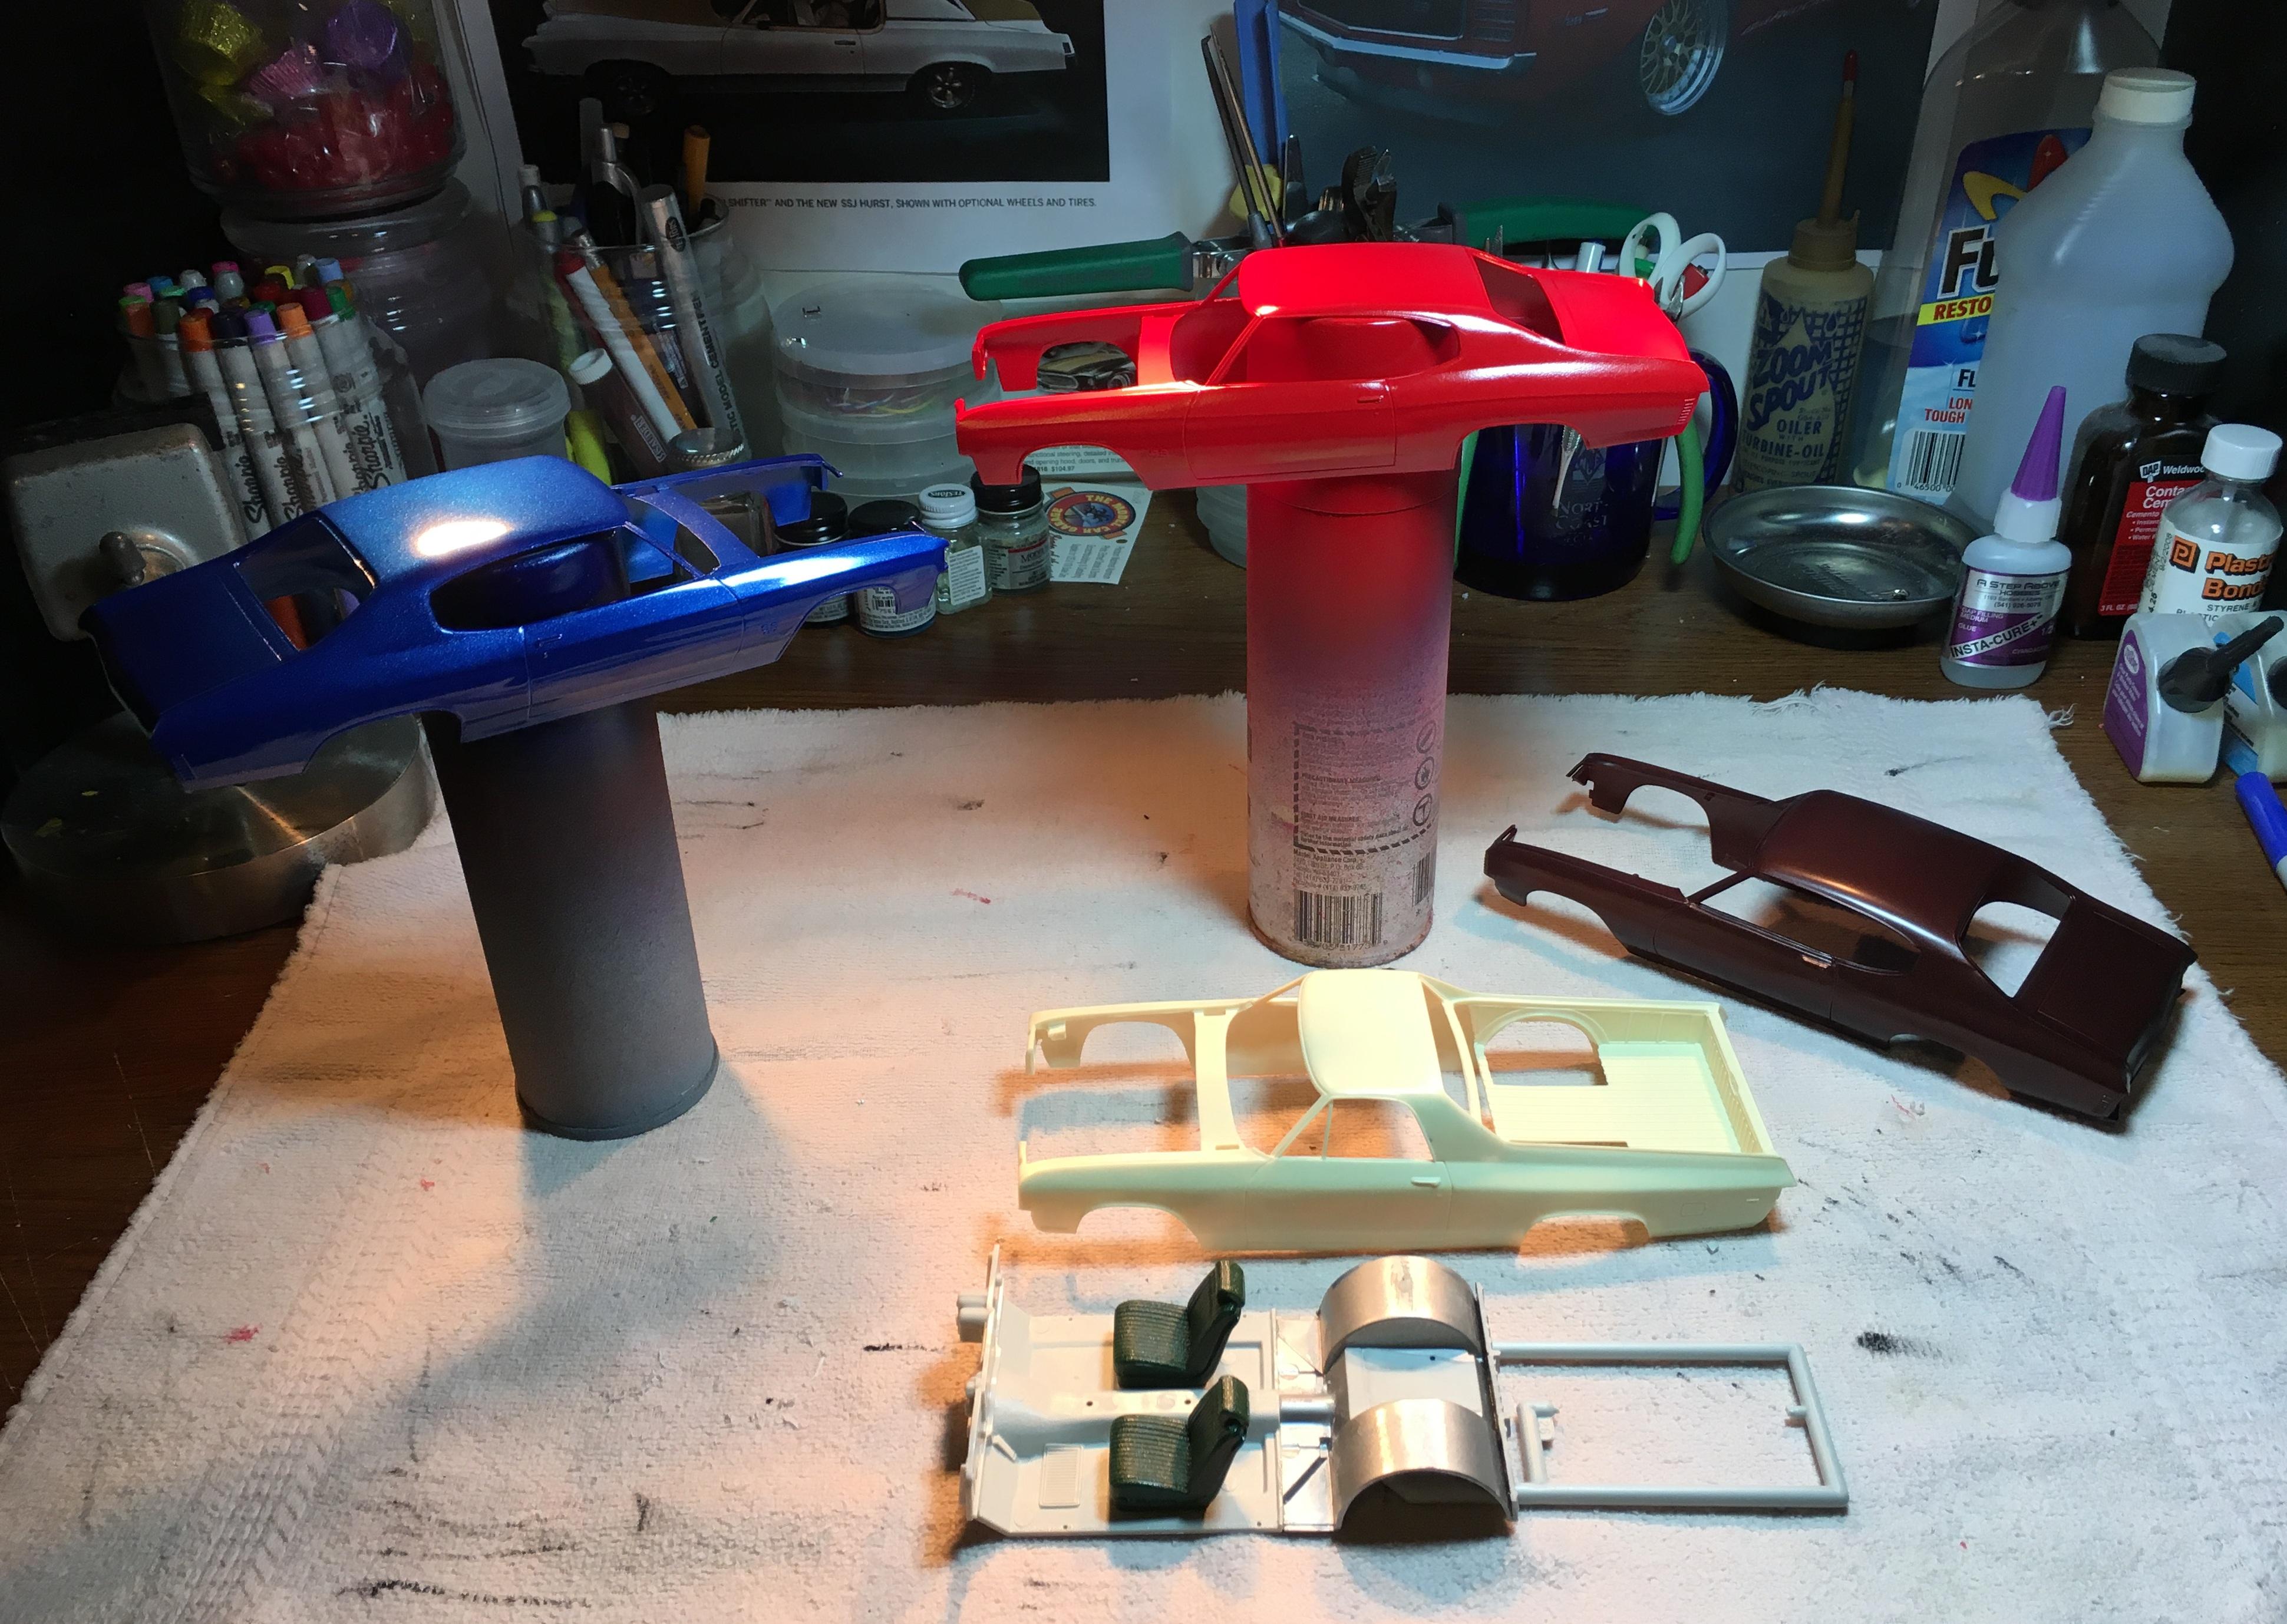
Building more than one kit at a time.
Bills72sj replied to ctruss53's topic in Model Building Questions and Answers
I have been doing multiple builds over a number of years. I will work on one semi build with various levels of concentration, one or two complicated/highly modified builds and what I call batch builds. The batch builds are 4-5 kits of similar subject. Since I am a "Day Two" muscle car fan, I will mix and match parts between them to get a unique color/options package for each. It improves my overall efficiency for the limited time I have to work on them. Since I generally use enamels, I have plenty of tasks at hand while the paint cures. I have done a batch of Challengers, two batches of Chevelles, a batch of Mustangs and am currently working on a batch of mid 60's Pontiacs. When I bump into a problem for one, I can implement the solution for all of them as needed. I very rarely get frustrated and shelve a kit in progress. I get around 4-7 builds done a year within a year or two. This method makes my painting days much more productive and does not take away as much motivation whenever I have a paint failure. I always have the other builds to help me get over it. Sometimes I have one straggler but it too eventually makes it a cross the finish line