Bills72sj
-
Posts
4,583 -
Joined
-
Last visited
Content Type
Profiles
Forums
Events
Gallery
Everything posted by Bills72sj
-

Building more than one kit at a time.
Bills72sj replied to ctruss53's topic in Model Building Questions and Answers
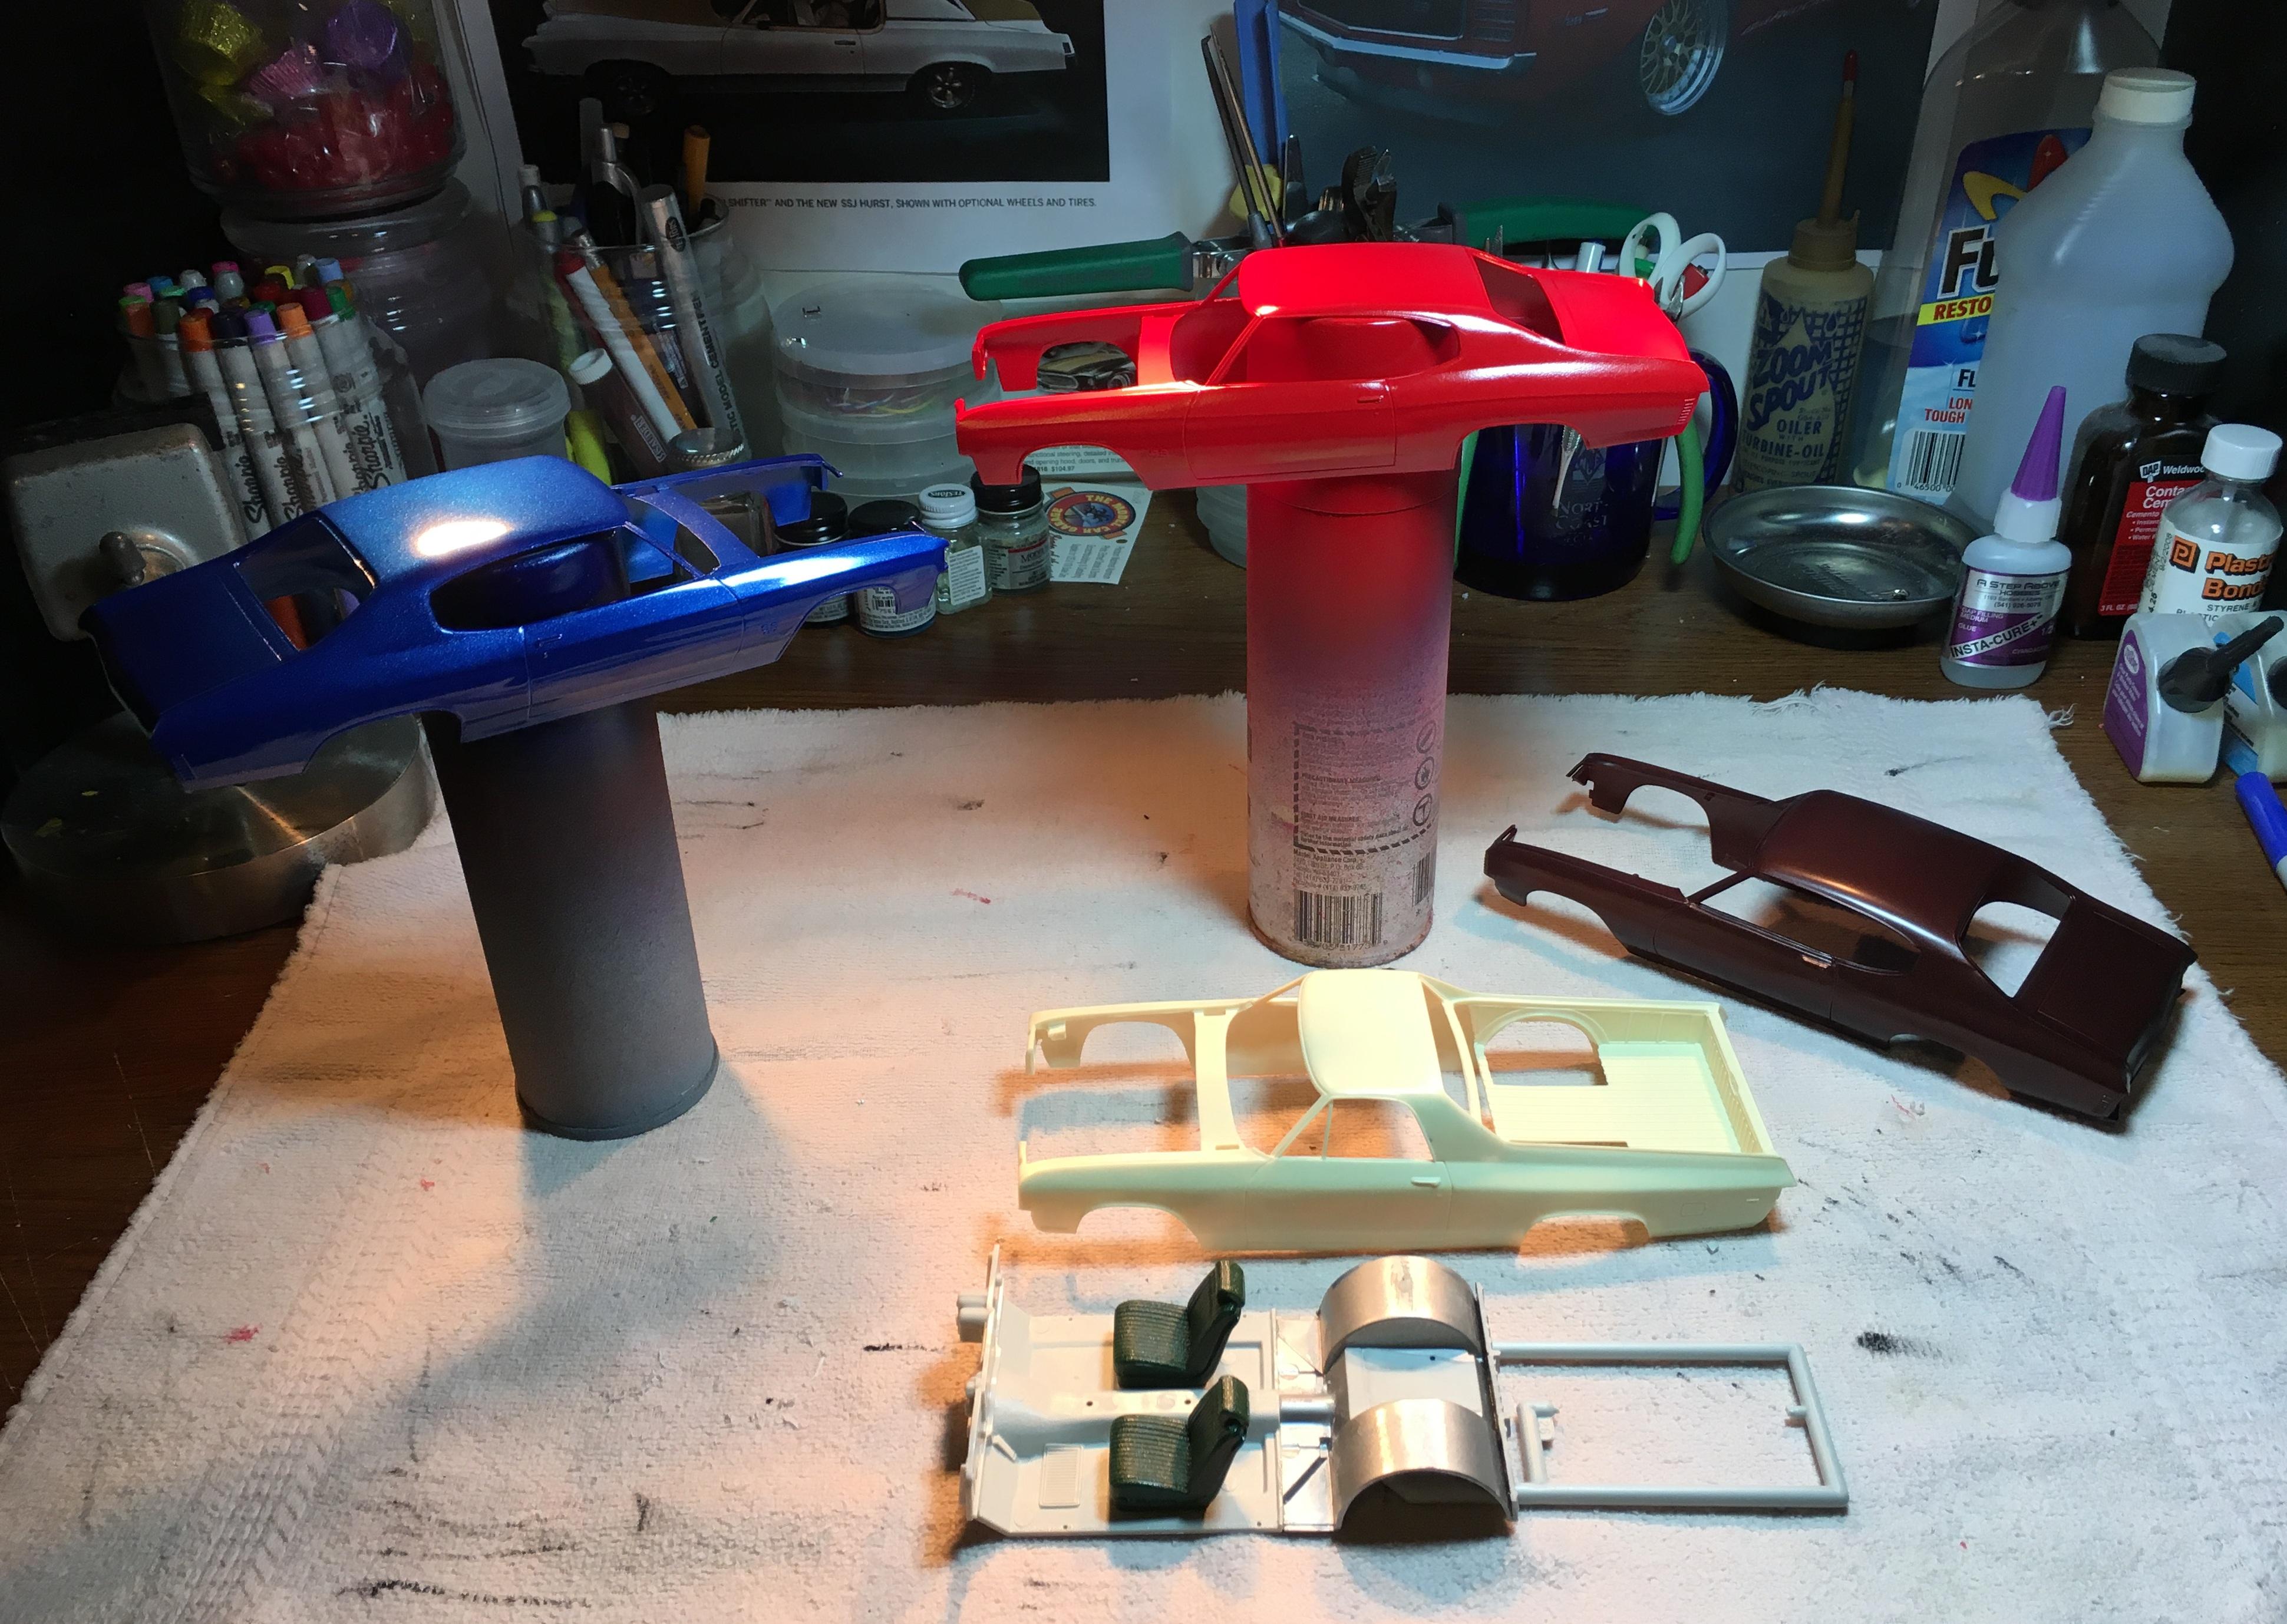
I have been doing multiple builds over a number of years. I will work on one semi build with various levels of concentration, one or two complicated/highly modified builds and what I call batch builds. The batch builds are 4-5 kits of similar subject. Since I am a "Day Two" muscle car fan, I will mix and match parts between them to get a unique color/options package for each. It improves my overall efficiency for the limited time I have to work on them. Since I generally use enamels, I have plenty of tasks at hand while the paint cures. I have done a batch of Challengers, two batches of Chevelles, a batch of Mustangs and am currently working on a batch of mid 60's Pontiacs. When I bump into a problem for one, I can implement the solution for all of them as needed. I very rarely get frustrated and shelve a kit in progress. I get around 4-7 builds done a year within a year or two. This method makes my painting days much more productive and does not take away as much motivation whenever I have a paint failure. I always have the other builds to help me get over it. Sometimes I have one straggler but it too eventually makes it a cross the finish line
-
Sorry, I forgot to answer the light question. They are aftermarket running lights I got off ebay in the middle of the project. I remember they did not cost very much at the time.
-
Hopefully 10 years down the road the housekeeper (me) will still be keeping it clean. It has already started to accumulate some additional car parts such as a camshaft and crankshaft. However, it does stay in my display cabinet so that will help. I had lots enjoyment building it.
-
1st for the year. Detailed 1974 Hurst Olds from a Johan promo.
Bills72sj replied to Bills72sj's topic in Model Cars
If you had, you would have stood out in a crowd. Thank you David. ? Thank you Chris. ? Thank you Samuel. ? Thank you Mario. This is the first I have ever seen in scale. I am glad you liked the workshop. Thanks, thanks, thanks and thanks Mike. Thank you Dave. ? Thank you Jim. ? Thank you Ray. ? Thank you Chaz. ? Thank you Craig. ? Thank you Jeremy. ? Thank you Carl. I know how that goes. It took nearly a year to make it happen. Thank you Eric. ? Thank you Scott. Staggered wheels and stance are two of the goals I always shoot for. Thank you Trevor. I am glad you like it. Thank you Carl. ? -
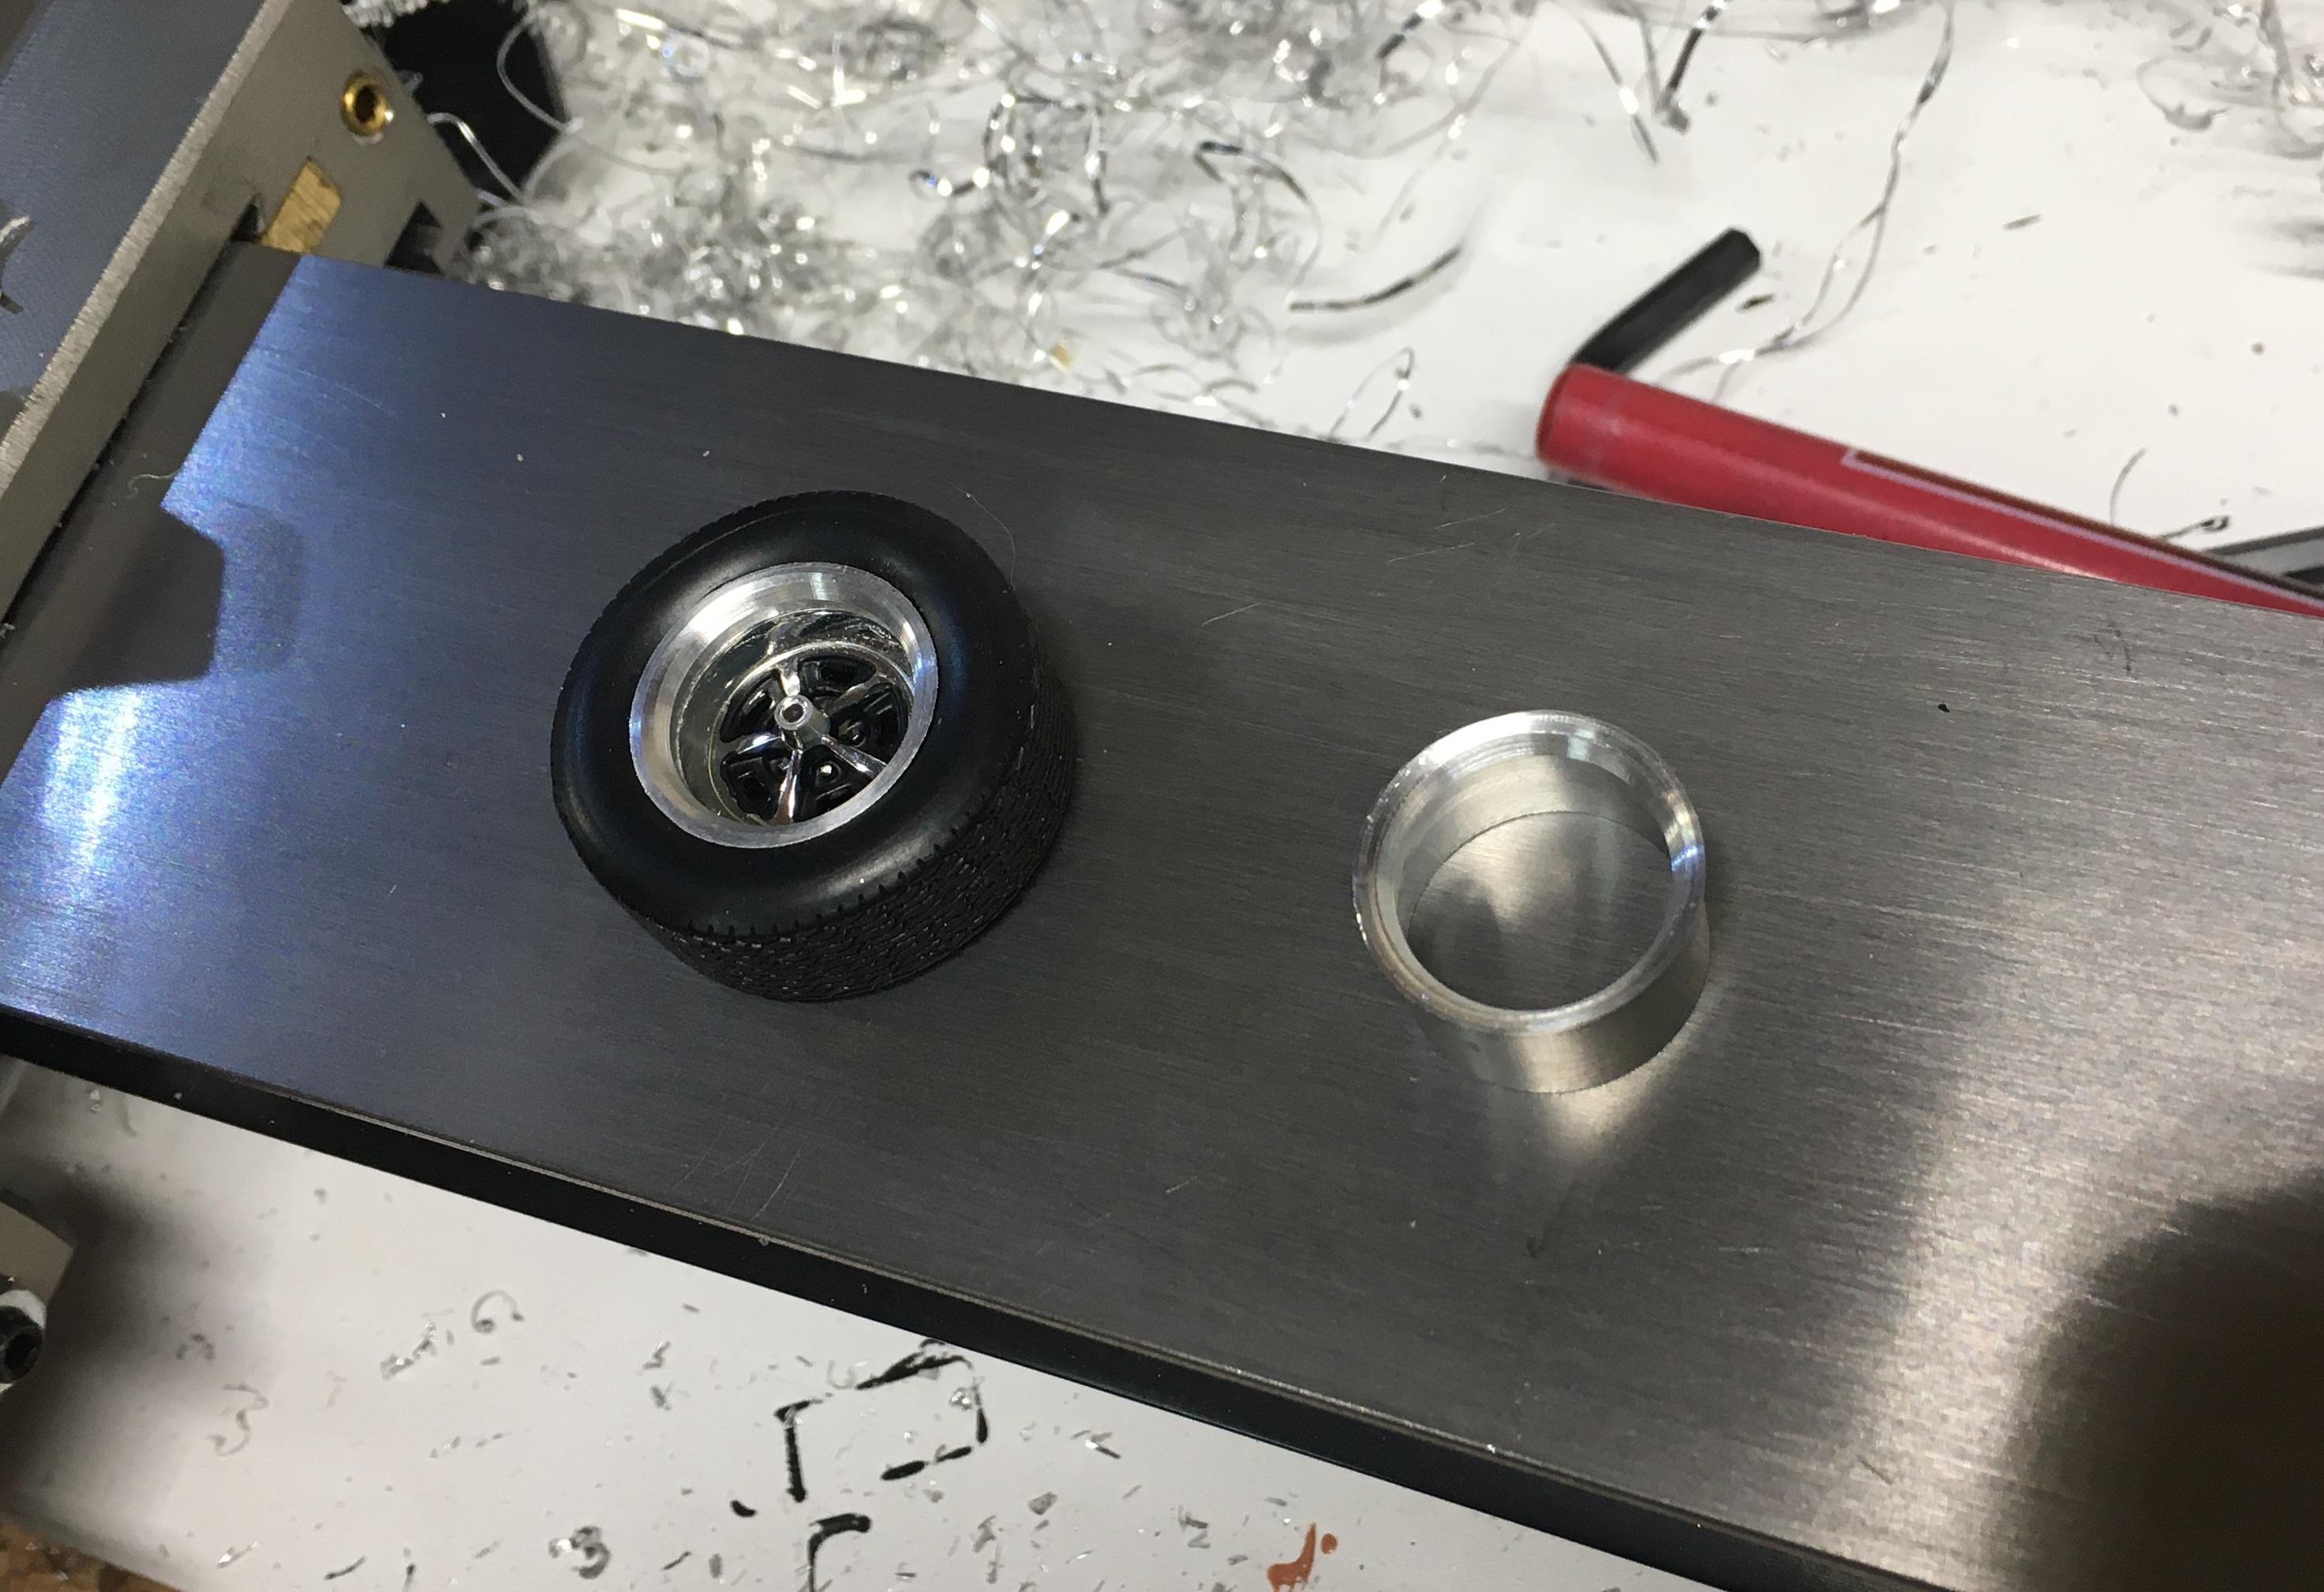
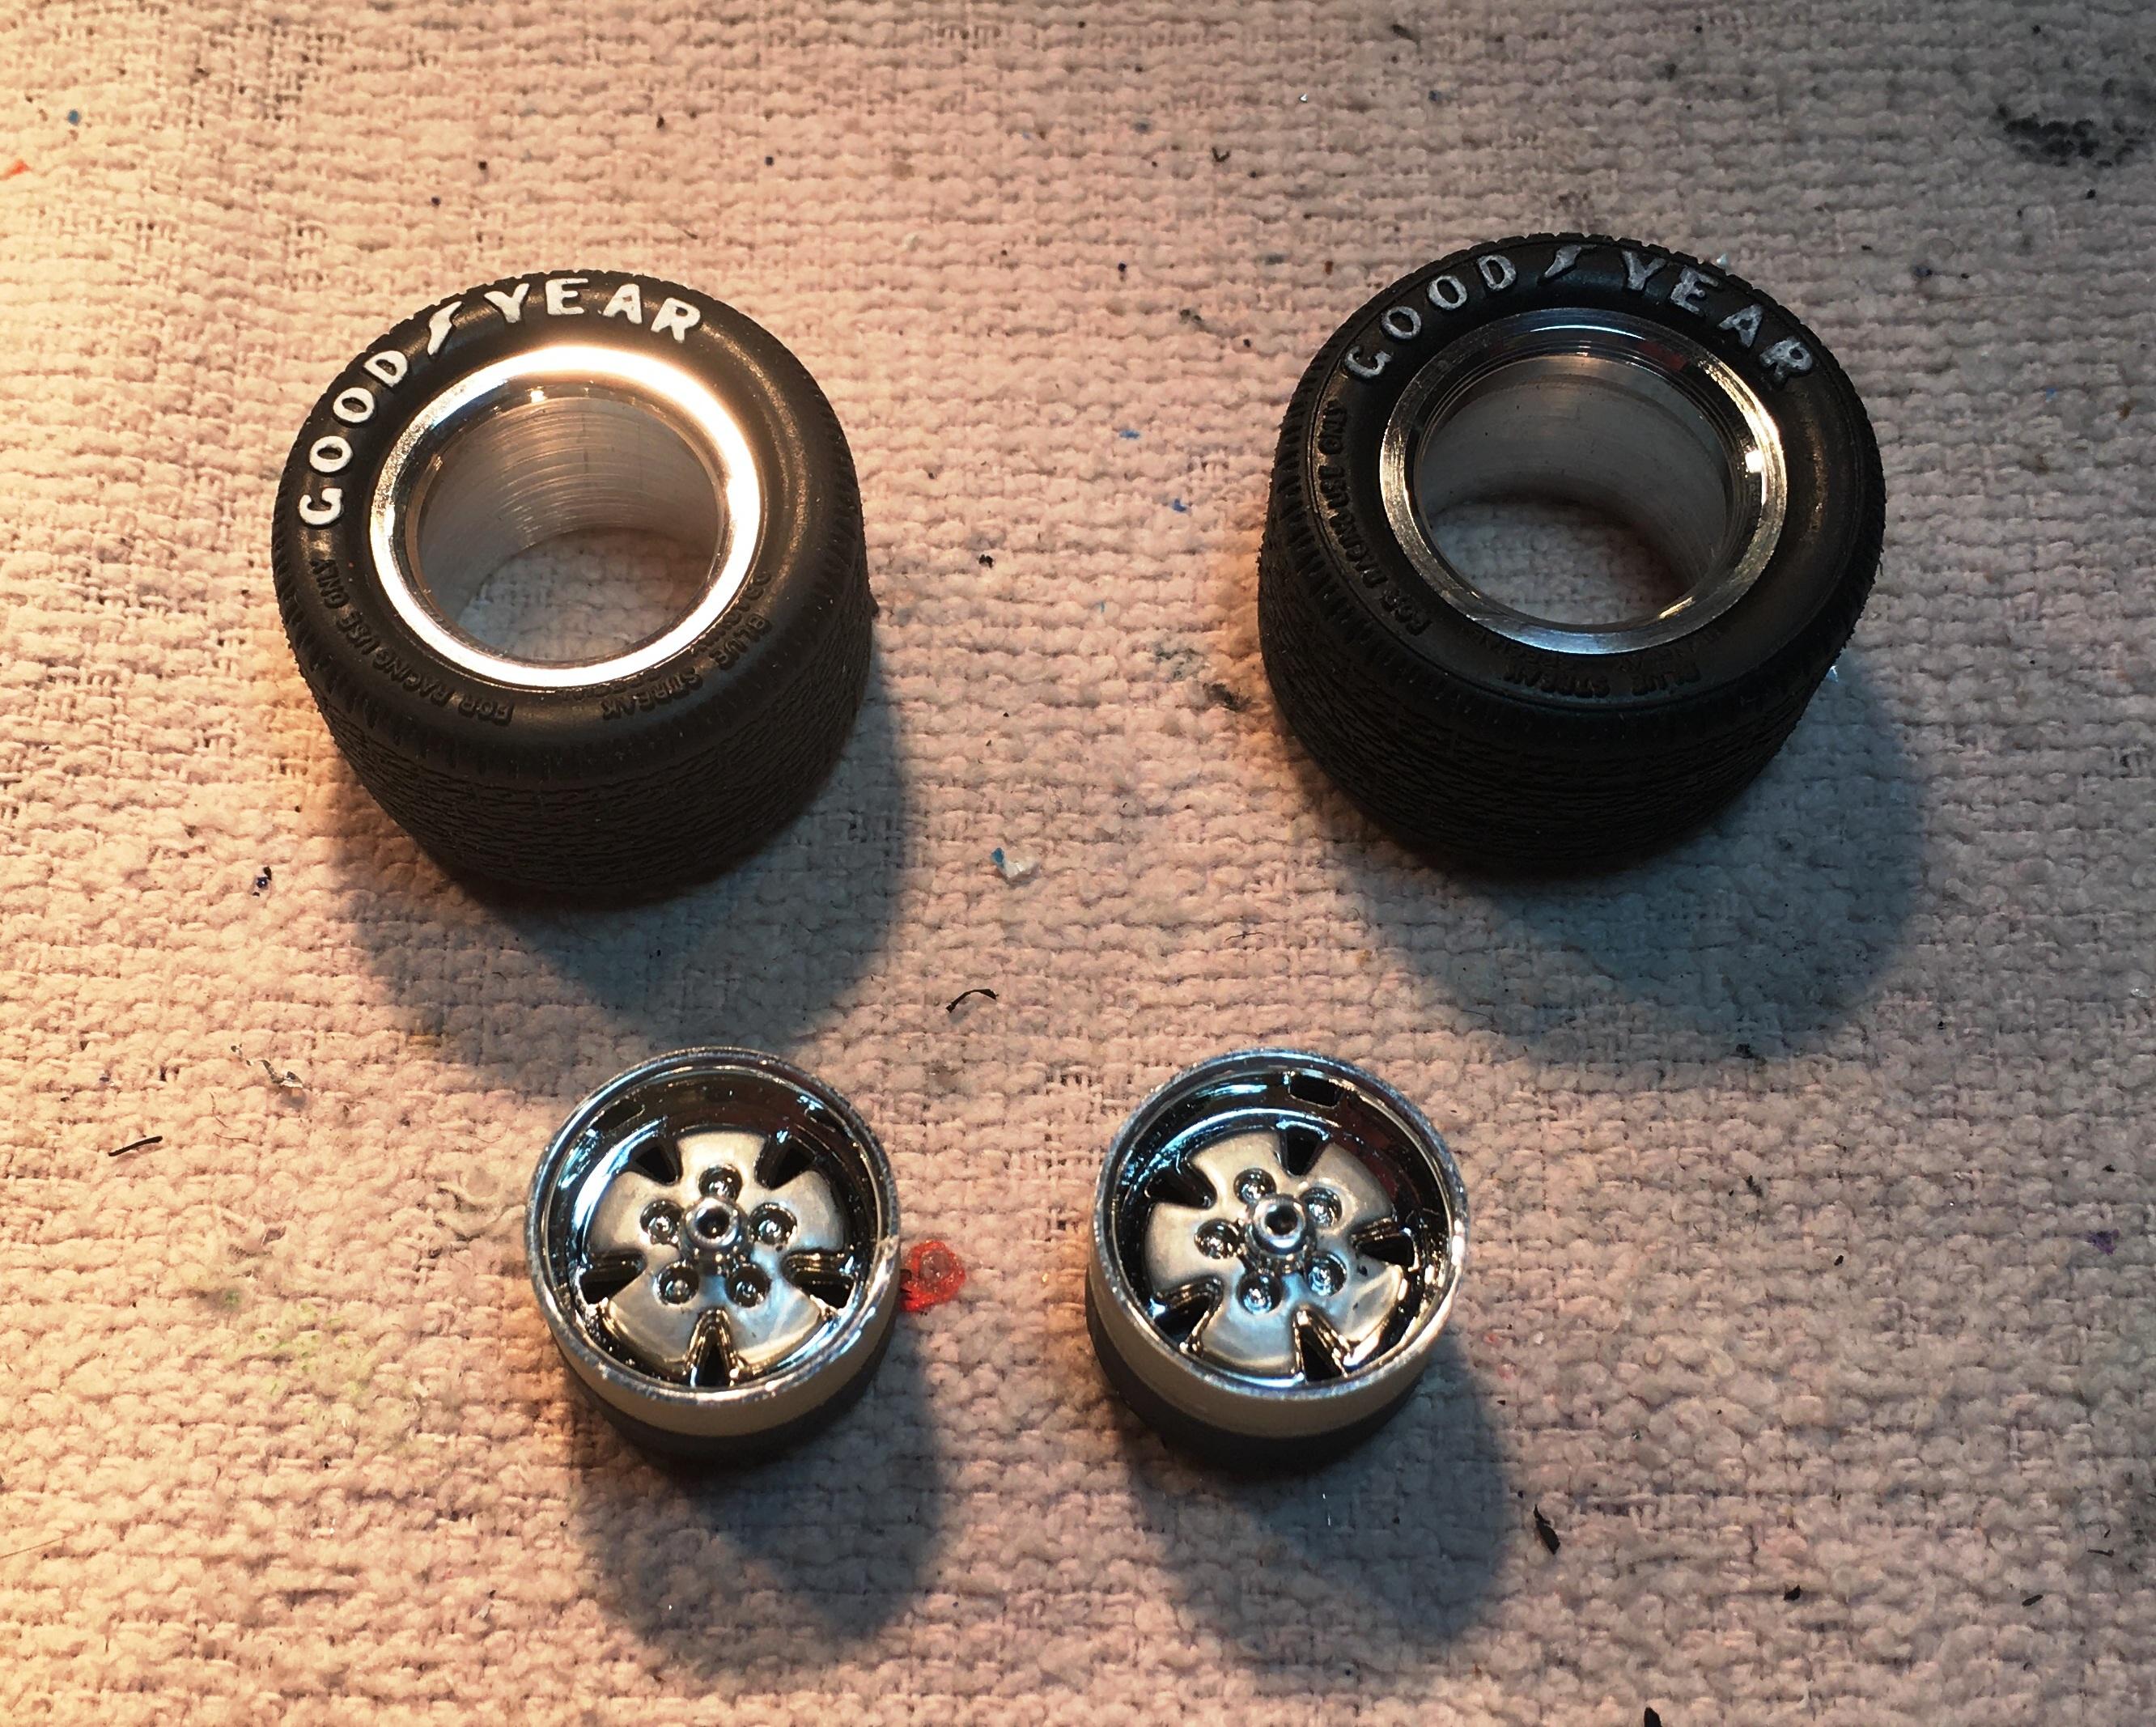
15"-17" American racing wheels
Bills72sj replied to Belugawrx's topic in Model Building Questions and Answers
If you have a lathe and some free time you could whittle a set from some aluminum tubing,
-
Pretty cool "driveway" platform you have there.
-
Pick ONE Hmmm.... I have a few but 1969 Grand Prix to finish out my 69-72 collection.
-
Nice work so far. Following as I like Boss Mustangs. (I built a 69 Boss 429 awhile back)
-
Cool Charger. Thanks for the heads up on the fitment. I have a number of these to get to... someday.
-
1st for the year. Detailed 1974 Hurst Olds from a Johan promo.
Bills72sj replied to Bills72sj's topic in Model Cars
Thank you Eric. ? -
Thanks for jumping into the deep end and sharing this option. When I run out of rattle can black, I will pick up some.
-
Recommended Clear Coat Time Frame
Bills72sj replied to smoosh91's topic in Model Building Questions and Answers
Steve give excellent advice and has the results to back it up. I too am gun shy about clearing my paint jobs. Clearing with Future will have ZERO chemical reaction with enamel as it does not have solvents in it to react with the base color paint. It also has the advantage of being able to removed with household ammonia if you are not absolutely pleased with the results. It is so forgiving and self leveling, you can apply it with a 3/8 wide paint brush. Just do not stroke it for too long. You can dang near drown it then wick off the excess with a paper towel. One bottle can cover years worth of builds.
-
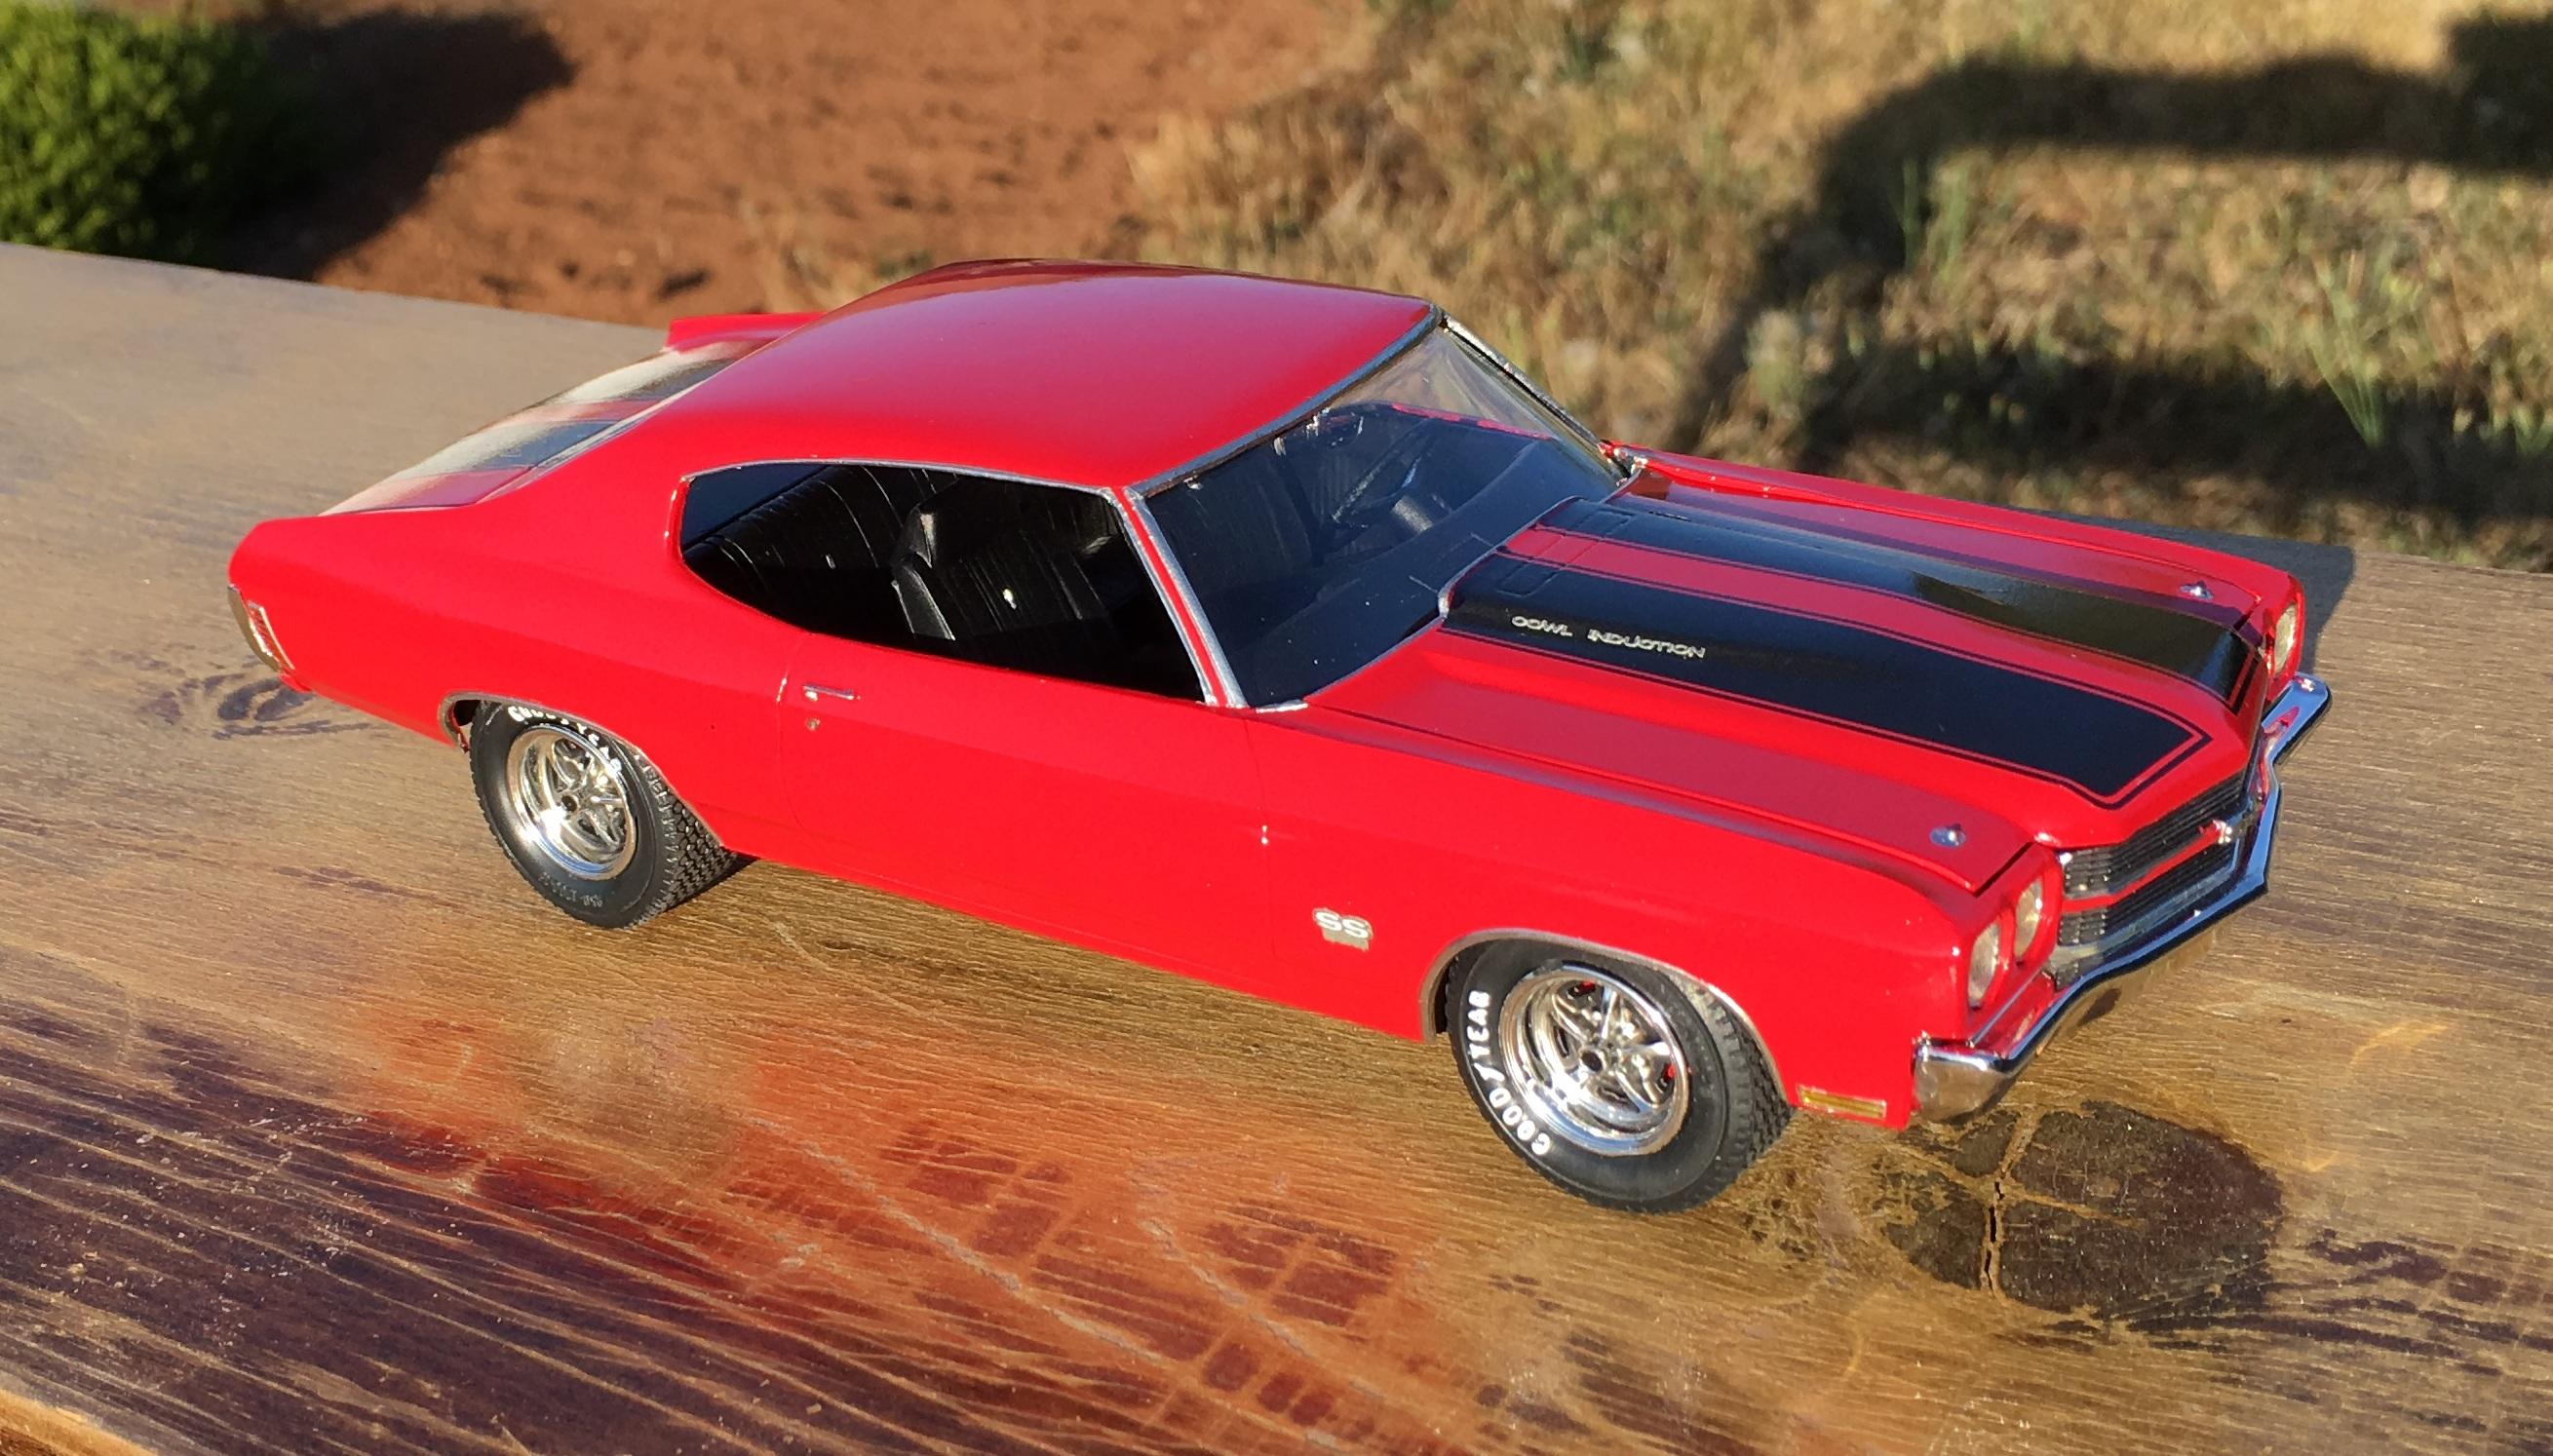
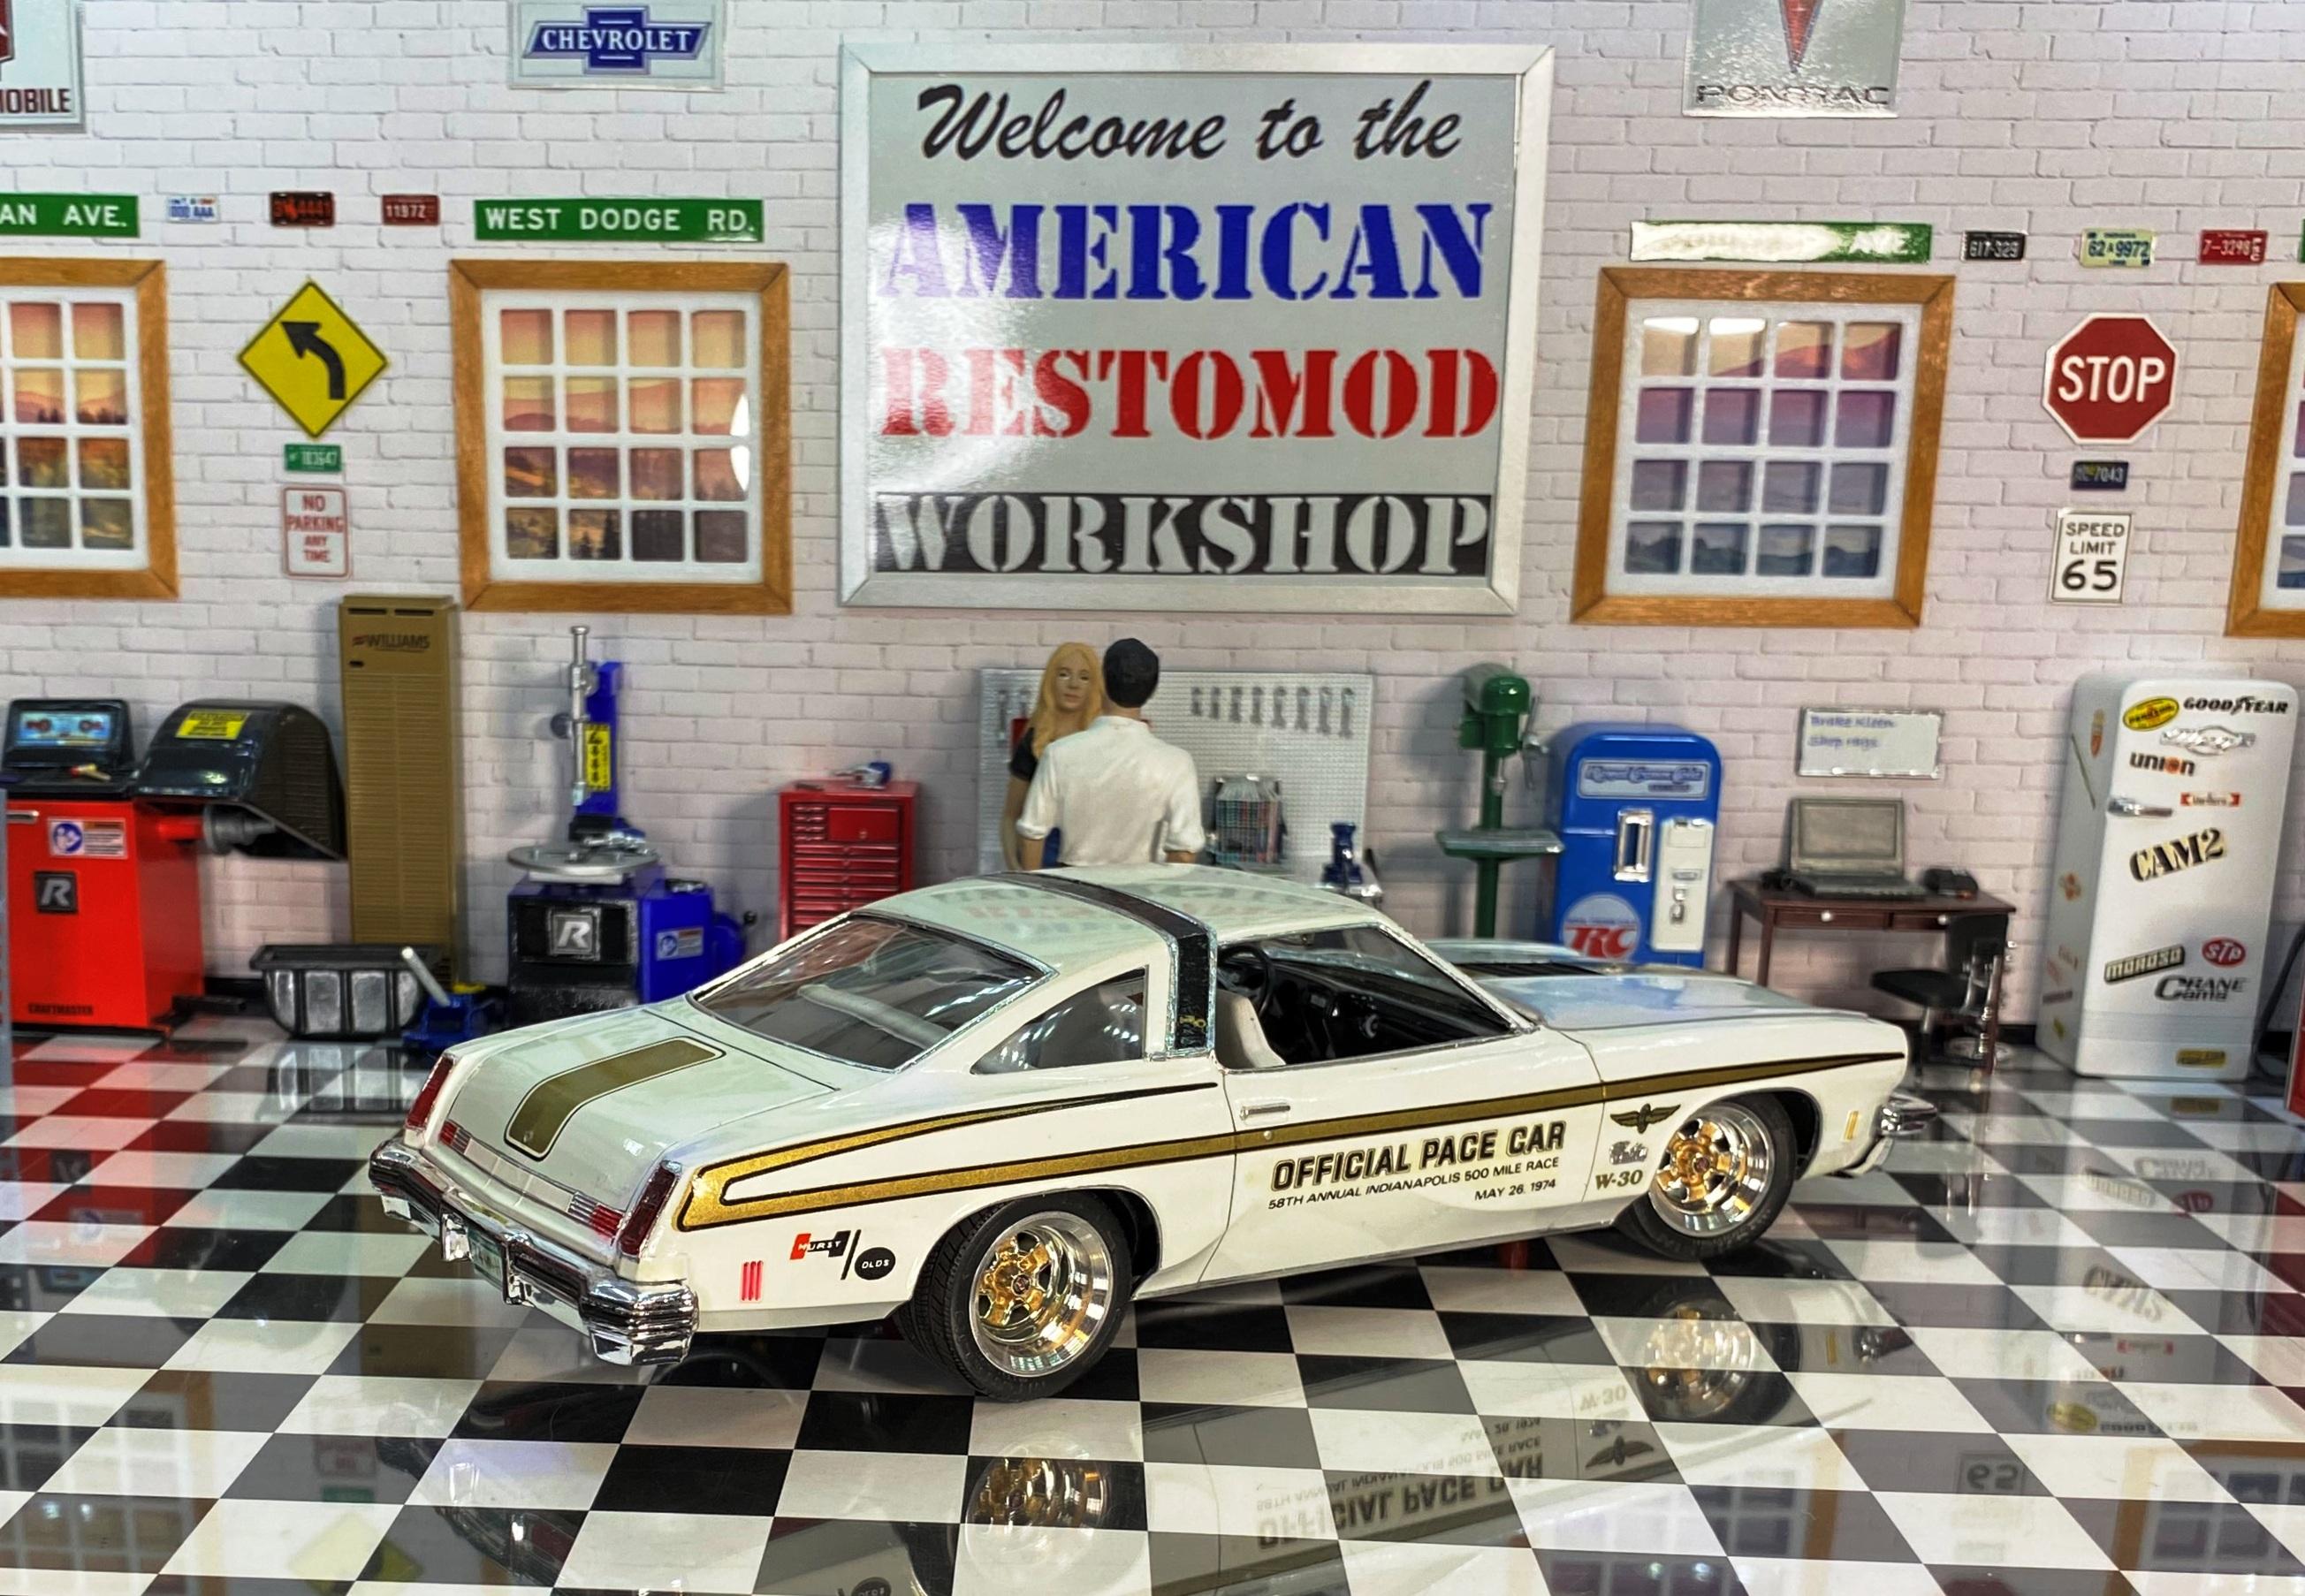
This one is finally done. Backdated a 75 Cutlass promo to a 1974 Hurst/Olds with a Rocket 455. Lots of kit bashing and fabrication. No less than 6 kits contributed to this build. It started as a desire to replicate a car that I street raced against in the summer of '84 (I won BTW). I found the decals online years ago but kept waiting to pick up a neutral colored promo at a decent price. I started it right around a year ago. Wheel hoops are aluminum machined on my mini-lathe with 69 Olds wheel centers. The engine has the most detailing I have incorporated to date. This is the link to the build: http://www.modelcarsmag.com/forums/topic/170183-1974-hurstolds-indy-pace-car/ Comments welcome. ?
-
Rustoleum Bright Coat Chrome
Bills72sj replied to Plasticated Guy's topic in Model Building Questions and Answers
Go one light mist coat. Give it a few seconds to gas off then spray continuously until it is smooth THEN QUIT. Leave it alone for a couple of weeks. You can experiment with shooting Future over it as is has NO solvents to disrupt the surface of the chrome. My suggestion is to experiment. Here is the video that turned me onto GSW. -
Thanks for the suggestions, I have yet to get around to that.
-
The blocks in the walls are actually printed paper I got from Hobby Lobby for around a buck a page. They are in scale but have no texture. Which for my needs and budget, worked for me. The checkerboard floor is paper as well.
-
Thanks for sharing. I am still a fan of Testors. I have decanted cans to airbrush but do not have good sealing jars to store the leftovers. I have recently been thinning the little bottles 50/50 for air brush use. Not sure if it is economical but I get great results. I like the economy of scale the cans you are testing out. I can definitely see the advantages. Less cost and waste with much better control.
-
1964 Pontiac Starter Question.
Bills72sj replied to StevenGuthmiller's topic in Model Building Questions and Answers
I have personally changed starters on my and my buddy's Pontiacs a number of times over the years. 67-72 is definitely driver's side, solinoid UP. Headers make this job a serious pain. I solved the inherent hot-start problem on my present Grand Prix by incorporating a fender mounted Ford starter solinoid and using 3/0 WELDING cable. For the ultimate detail, there is a small metal strap that holds the forward end of the starter to the block. It compensates for the 2 main starter bolts being aligned in the same plane. The Chevy starters I have seen have the two mounting bolts staggered. Since you are dealing with a 1964 engine, they may be some differences.
-
This has been an interesting read. As a hobby consumer, styrene is cheap and easily modified into whatever shape one desires with the exception of fine detail. Resin gave us the ability to obtain subjects that are not readily available. That demand will continually spill over into the 3D realm. Once a file is available there will always be people willing to print it for others. This is the stage I am at. I buy 3D prints because they scratch that itch. Someday, I may get a printer but I have too much kit inventory to build already. I bought nice batch of parts from a vendor on Shapeways last year. It was very economical for the exquisite detail I got.
-
Rustoleum Bright Coat Chrome
Bills72sj replied to Plasticated Guy's topic in Model Building Questions and Answers
I have both of the Green Stuff World "Chromes" the brushable and the airbrushable. I am pretty happy with both. Note: I build so distractedly that my painted parts usually get 2 weeks of cure time before they are handled. Airbrush version looks pretty nice but the black base makes it kind of a black chrome. I used it recently on a couple of bumpers that were stripped and painted with rattle can Rustoleum Gloss Black. The corresponding bumper mates were still kit chrome and very looked different. I sprayed them with Tamiya "Smoke" and they match much better. The GSW brushable chrome needs to be applied a bit heavy and only used on small parts ot touch ups.
-
Thank you all. Much appreciated. Special thanks to Sam for providing the engine. ?
-
Thank you gentlemen?
-
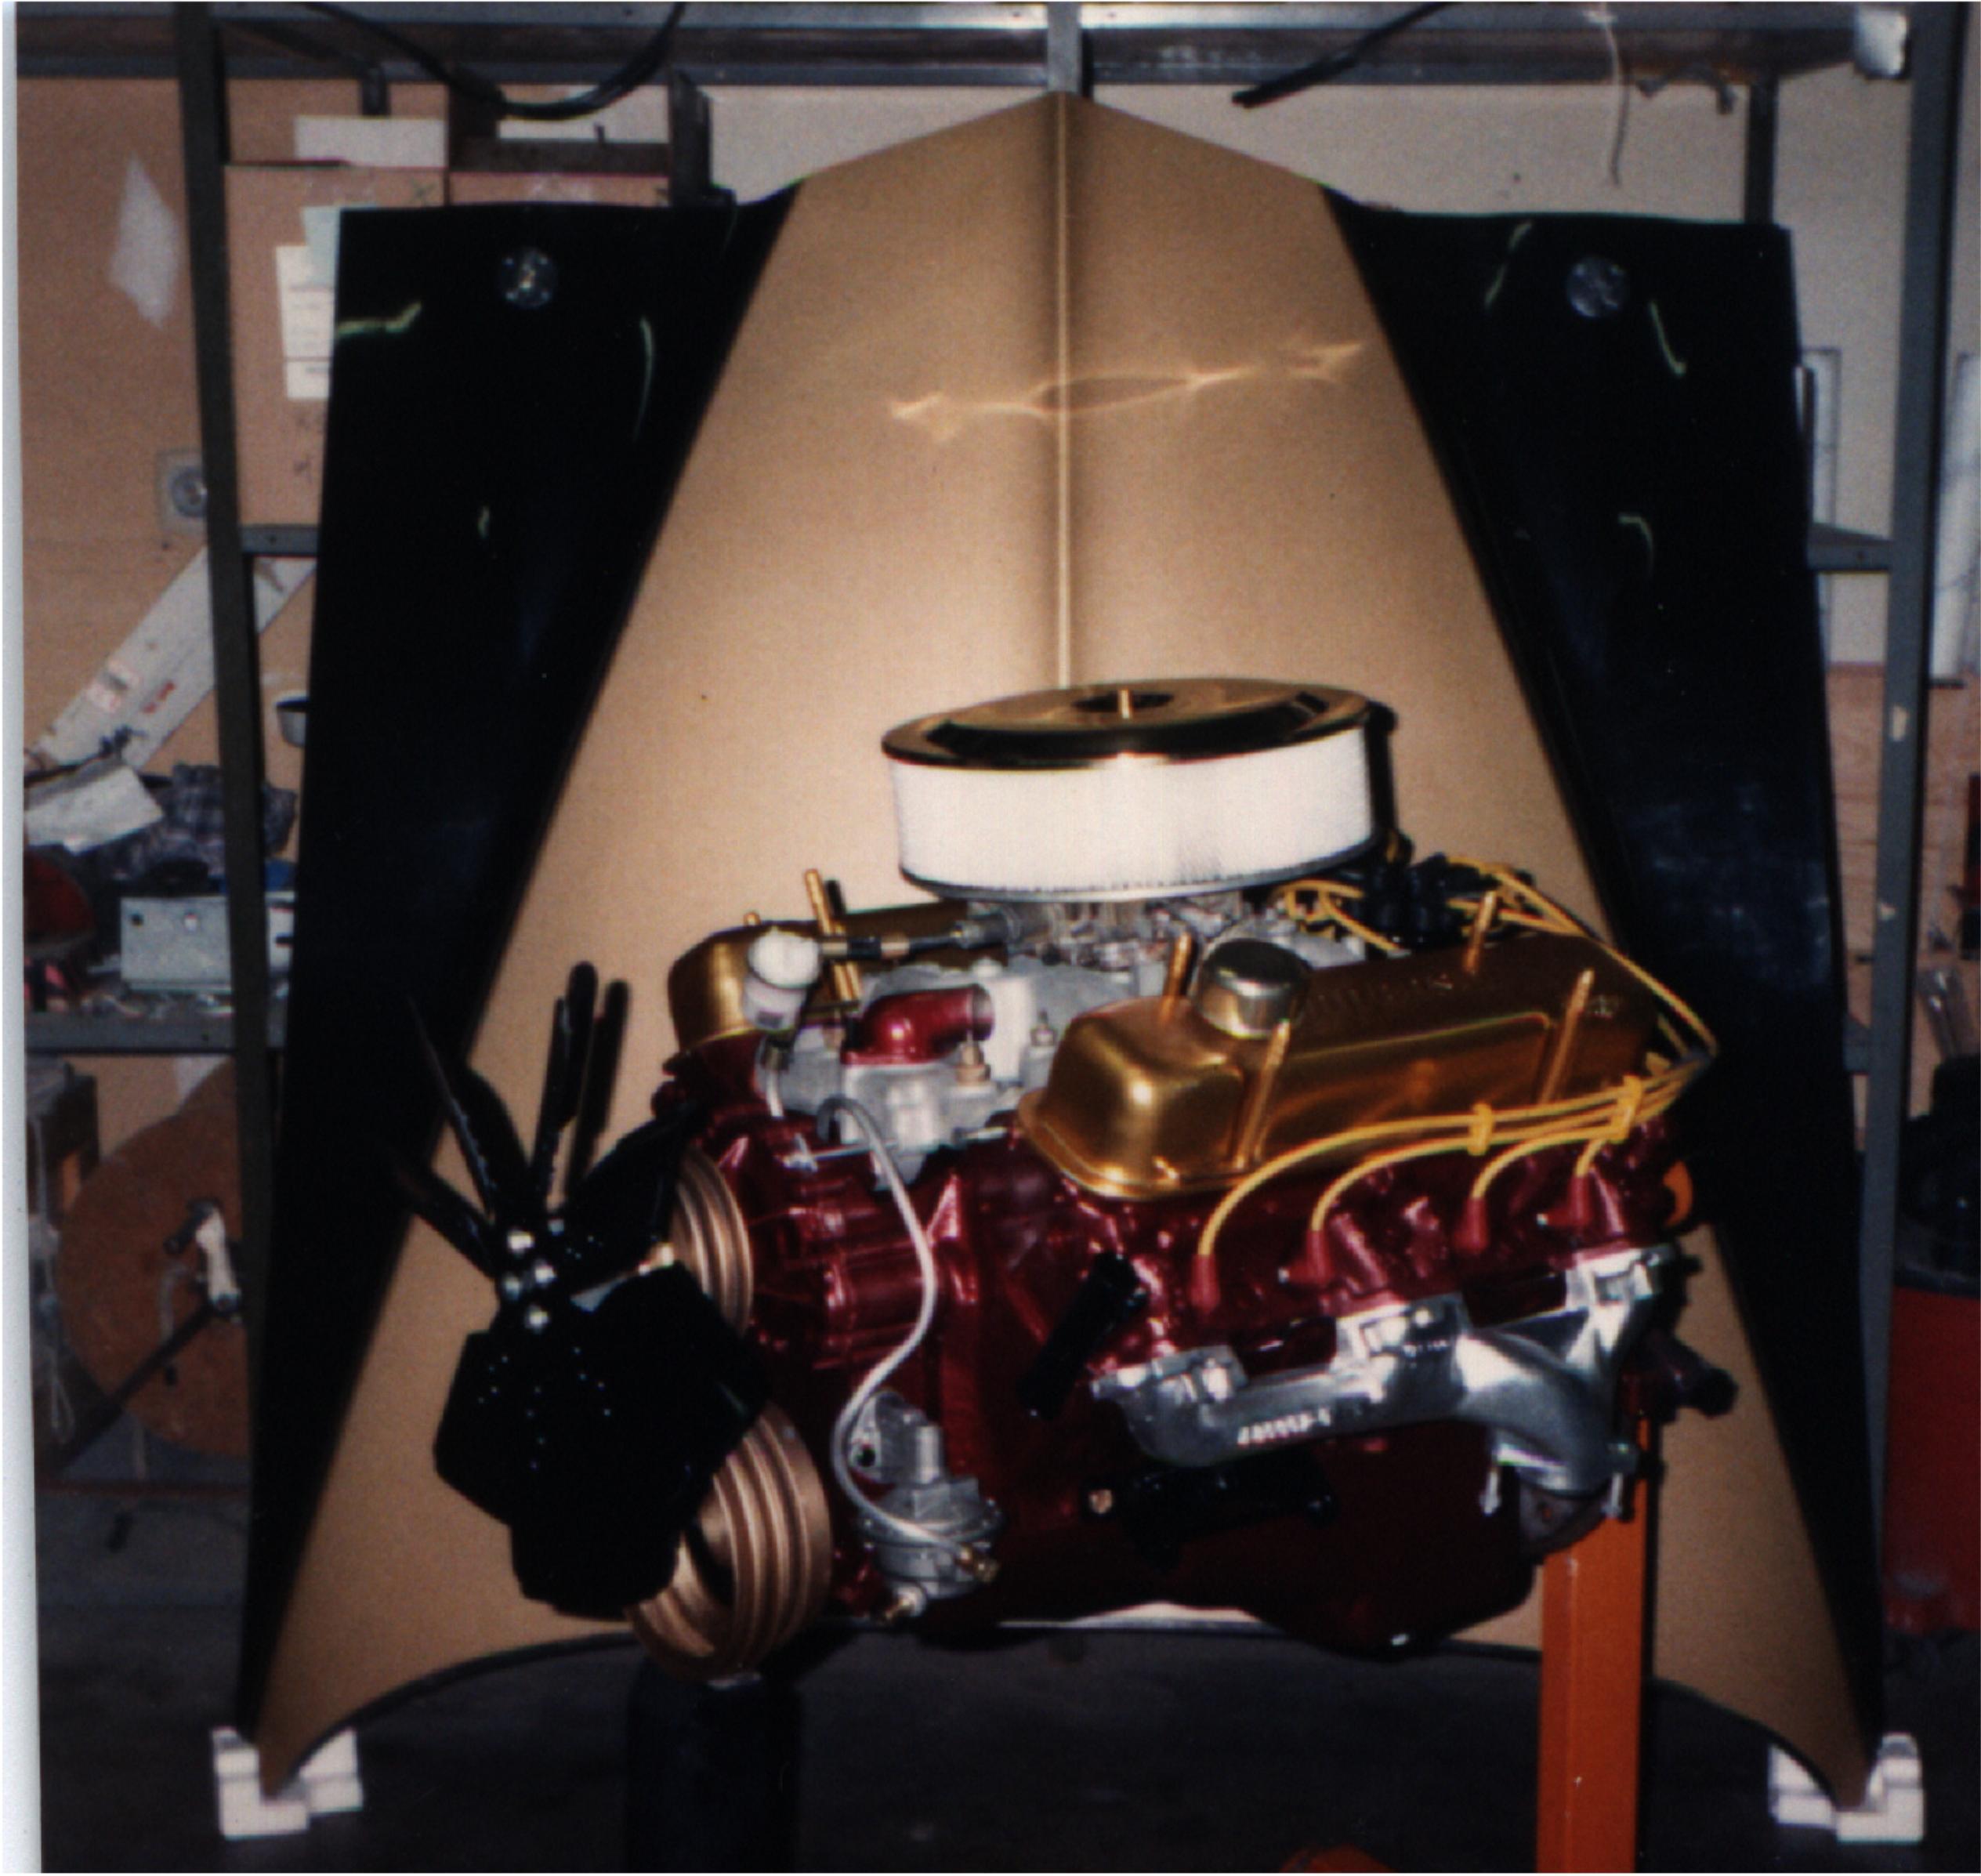
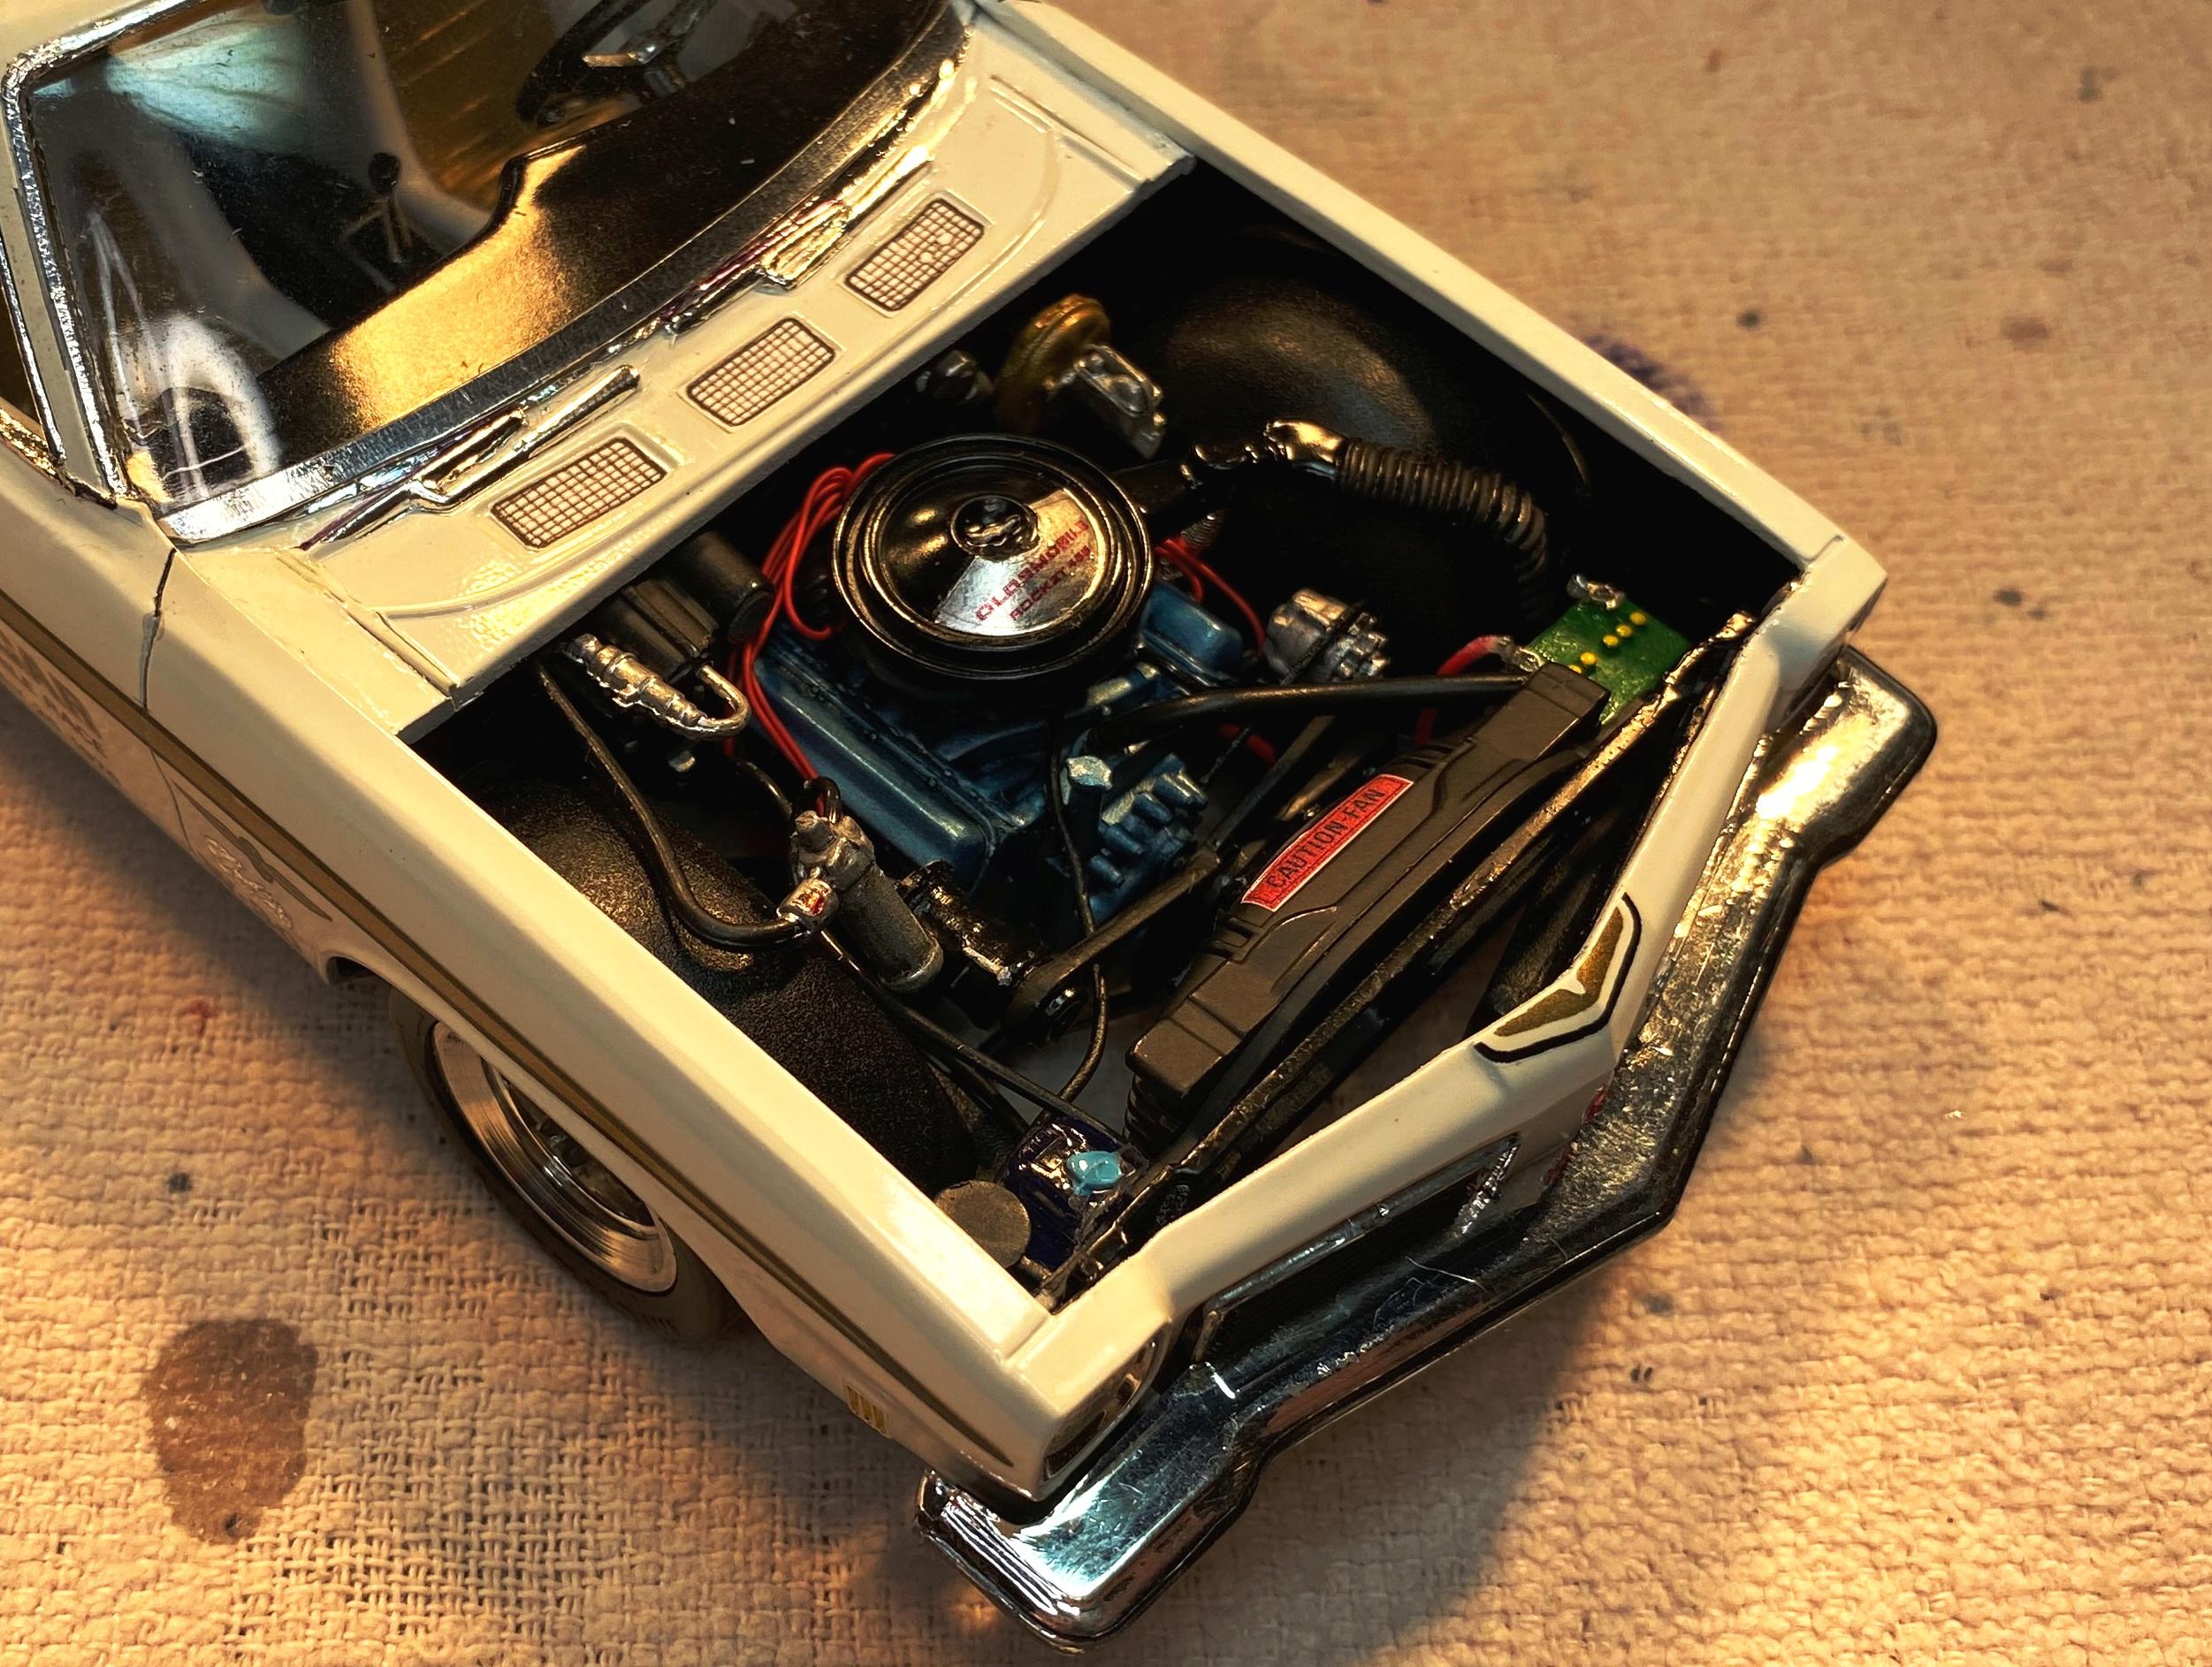
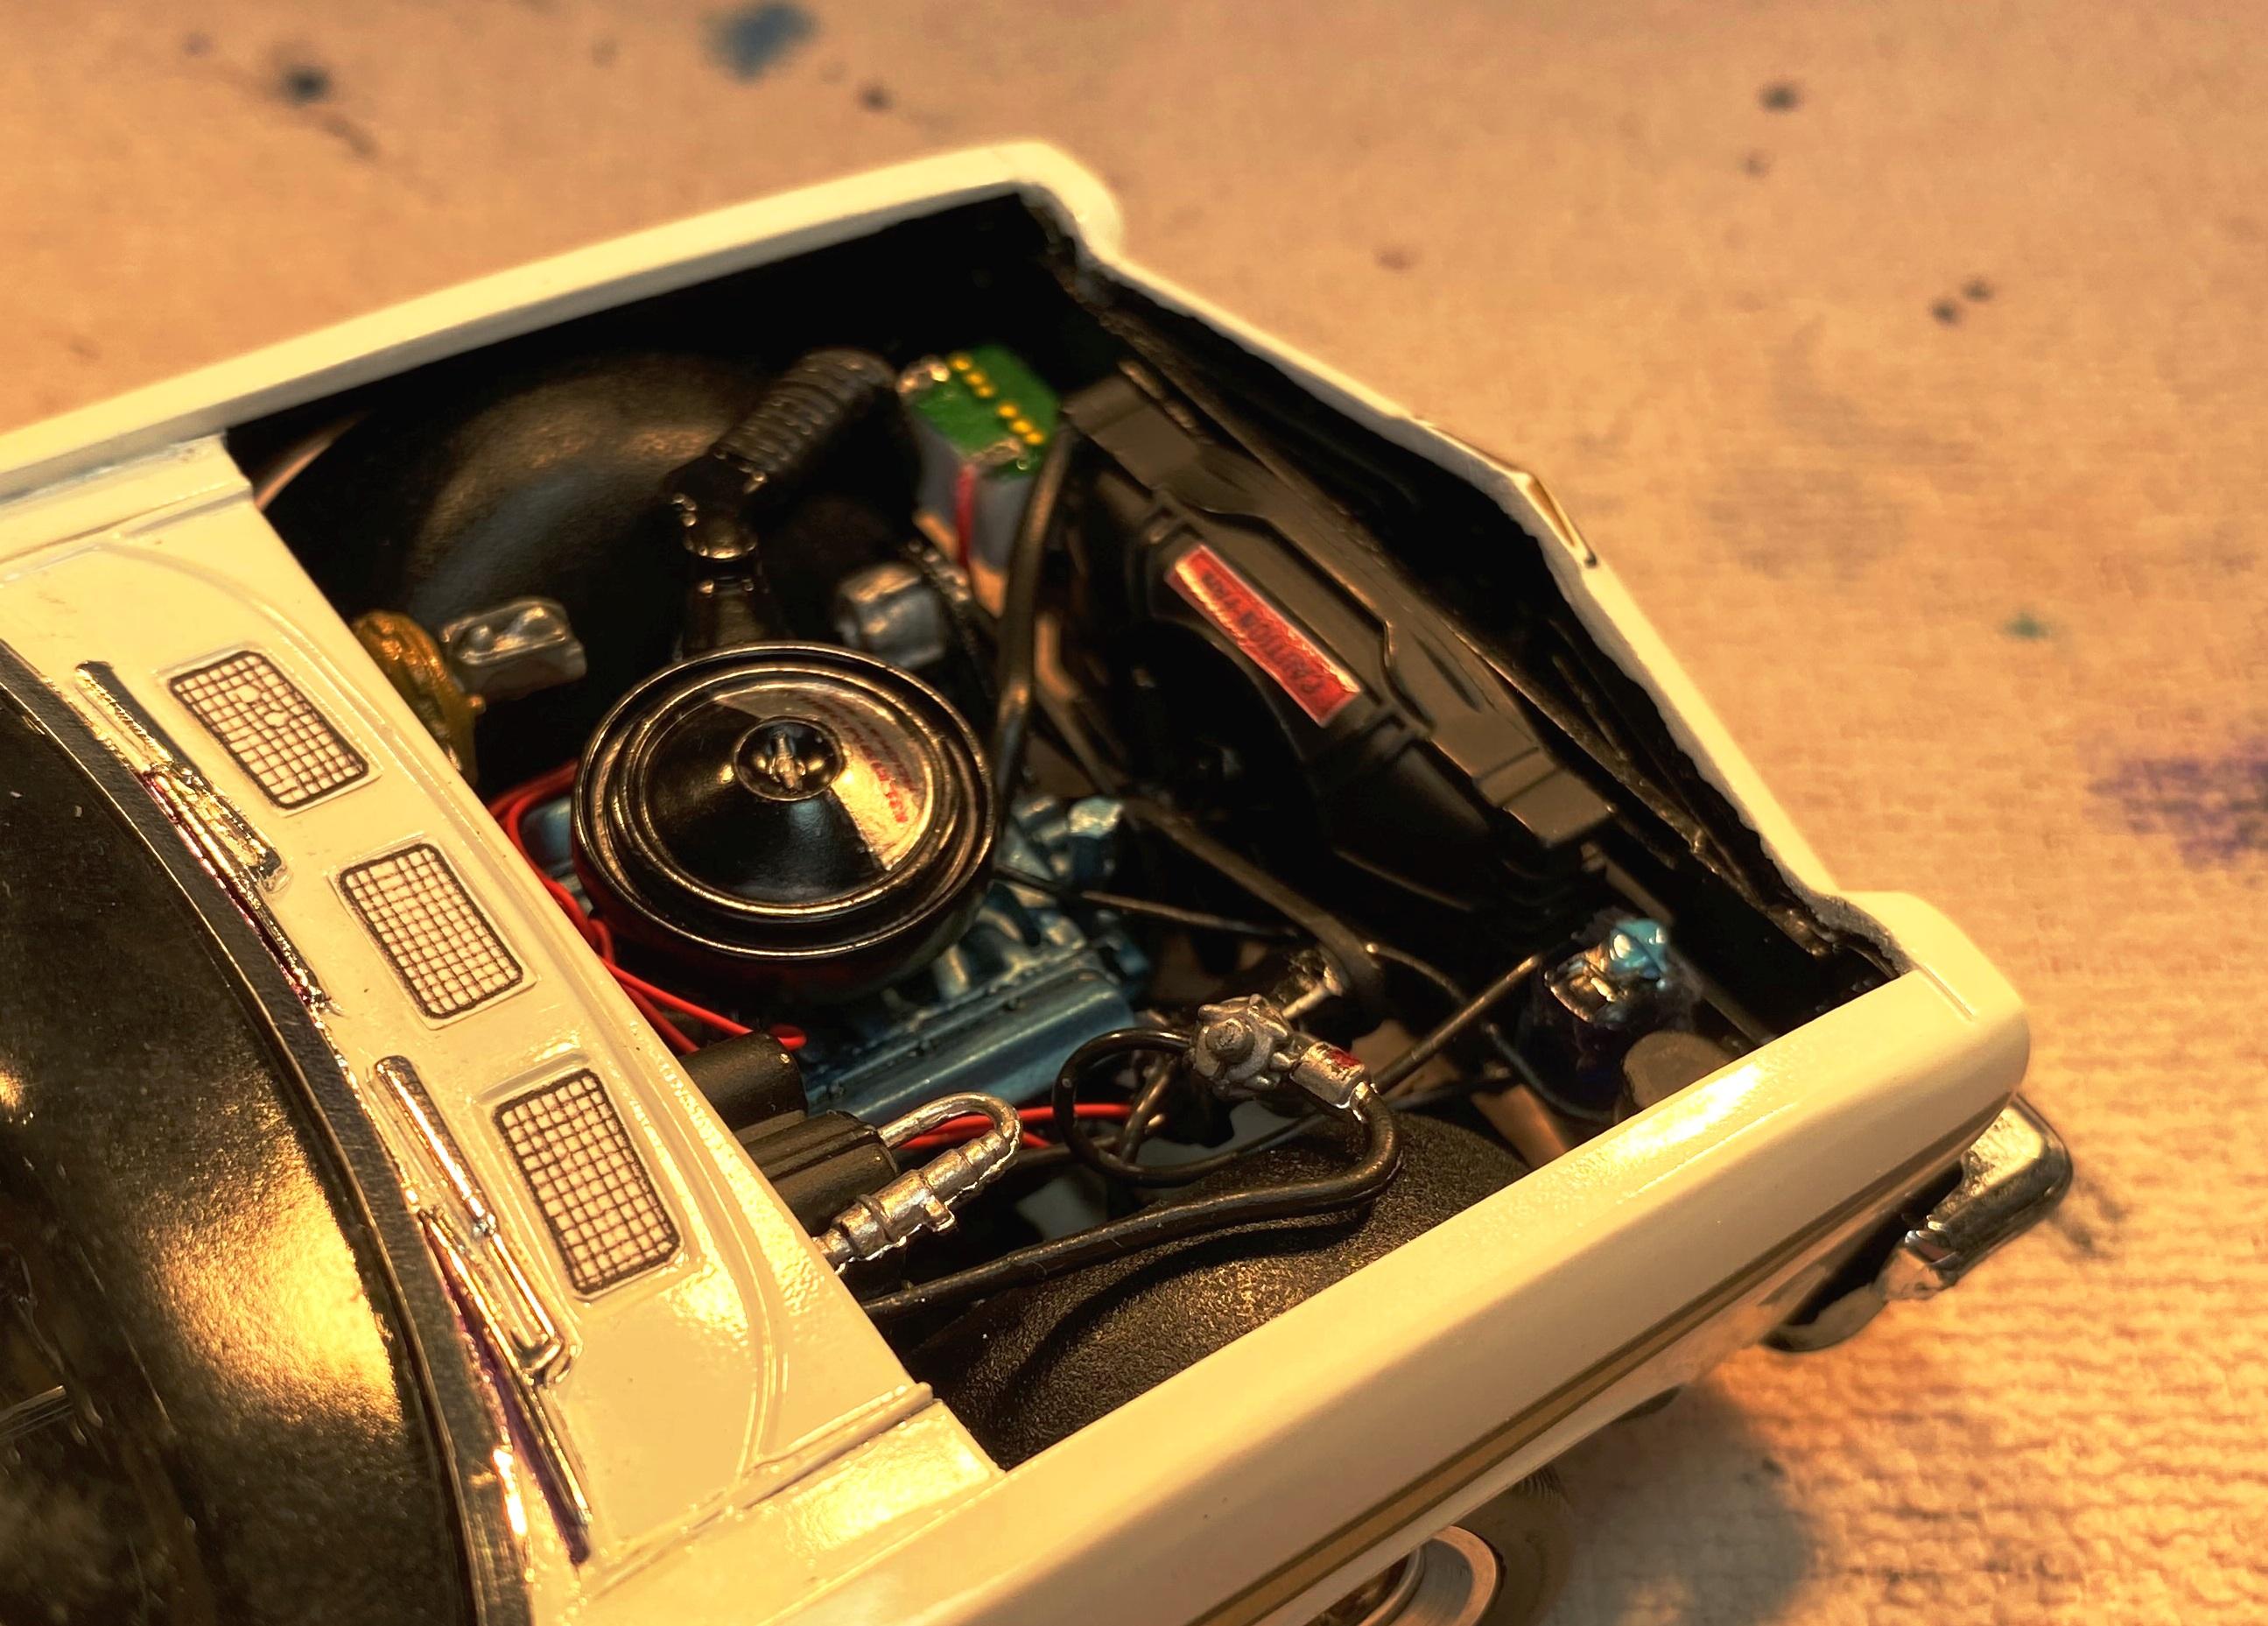
My 74 Hurst/Olds engine bay is finally done. While not 100% accurate, I threw as much at it as I could. Be advised I had to start with a Johan promo which has no opening hood and engine bay. A lot of kit bashing and parts box raiding took place to make this happen. Cowl is from a 62 Catalina with cowl vents printed on paper. The engine bay is from a 67 Chevelle Pro Street kit. The firewall, with A/C box, is from a 70 Monte Carlo. The A/C parts are from a 68 El Camino. The engine block and transmission are from a 69 Olds 442. The dechromed intake and valve covers are from the parts box. The Olds engine blue was custom mixed from blue, black and silver acrylics. The air cleaner came from a 72 Grand Prix annual. The snorkel flex tube came from some Mustang kit. The chrome heat riser tube came from the 72 Grand Prix spoof exhaust. The fan belt and pulley assembly came from the 68 El Camino. The radiator is from the Monte Carlo. The Parts box contributed the following: Master cylinder and booster Washer bottle Battery with photo-etch battery clamps (I'll never do that again!) Emissions evaporative canister Tubing from semi truck kit air lines. Home made decals for Caution Fan and “Oldsmobile Rocket 455” (Clear decal laid over BMF) Scratch built distributor and ignition wires. This task was definitely a challenge motivated by seeing what fellow modelers have shared in their builds. Comments welcome.
-
I have had the same dilemma with various sheens of black. Thinned bottle paint is expensive for the volume used. Rattle cans are hit and miss with quality, cost and solvent "hotness". In general they throw too much volume which requires adaptable application technique and clogs my spray booth filter faster. Rattle cans have been economical in the past, when on sale, but it would be nice if there was another way. I like what you are looking to try. If you succeed, I may very well follow you down the same path.
-
That turned out pretty cool. You hardly ever see these without a Trans Am spoiler.