Bills72sj
-
Posts
4,583 -
Joined
-
Last visited
Content Type
Profiles
Forums
Events
Gallery
Everything posted by Bills72sj
-
That turned out way cool. I am slowly getting my 74 together.
-
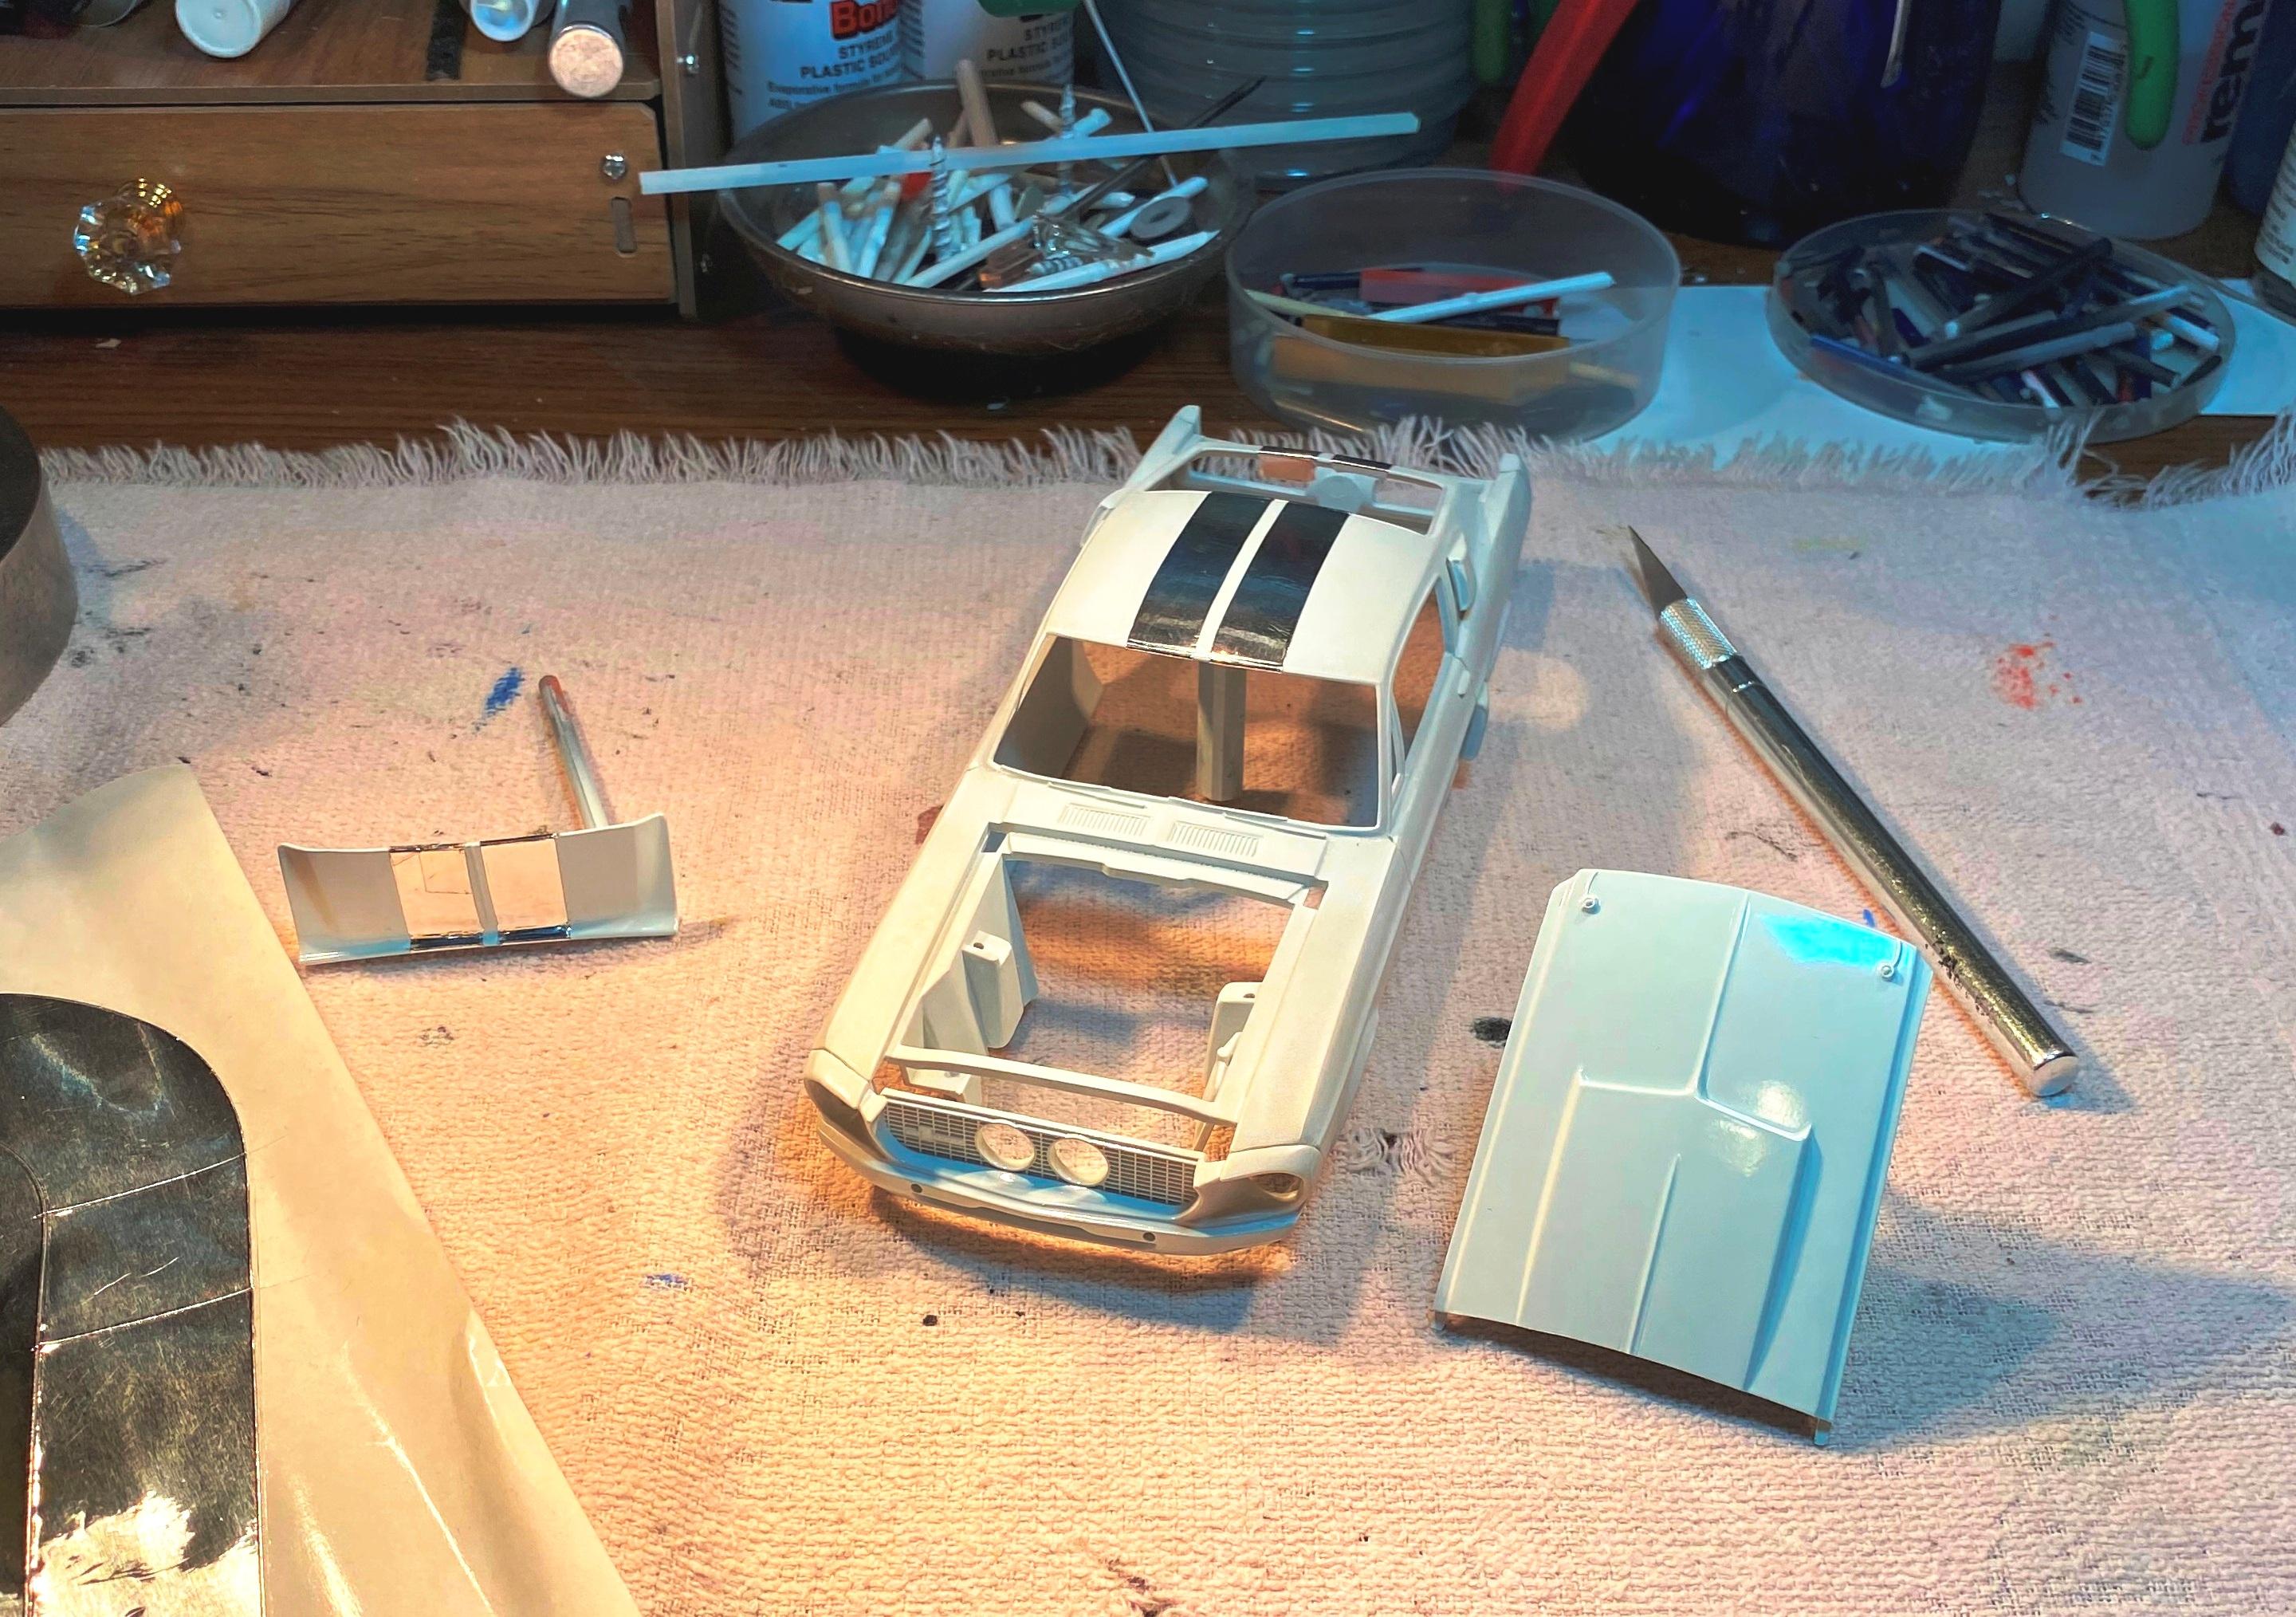
The white has cured long enough to mask the stripes. I found a printout of the dimensions of the stripes which actually taper in places. I used some BMF type material from a leftover project at work. The adhesive is amazing. Supper strong but does not leave residue when removed. Works way better than any tape I have ever used including Tamiya. The Chrome stripes on white look pretty cool but this one is going to be white over dark blue.

-
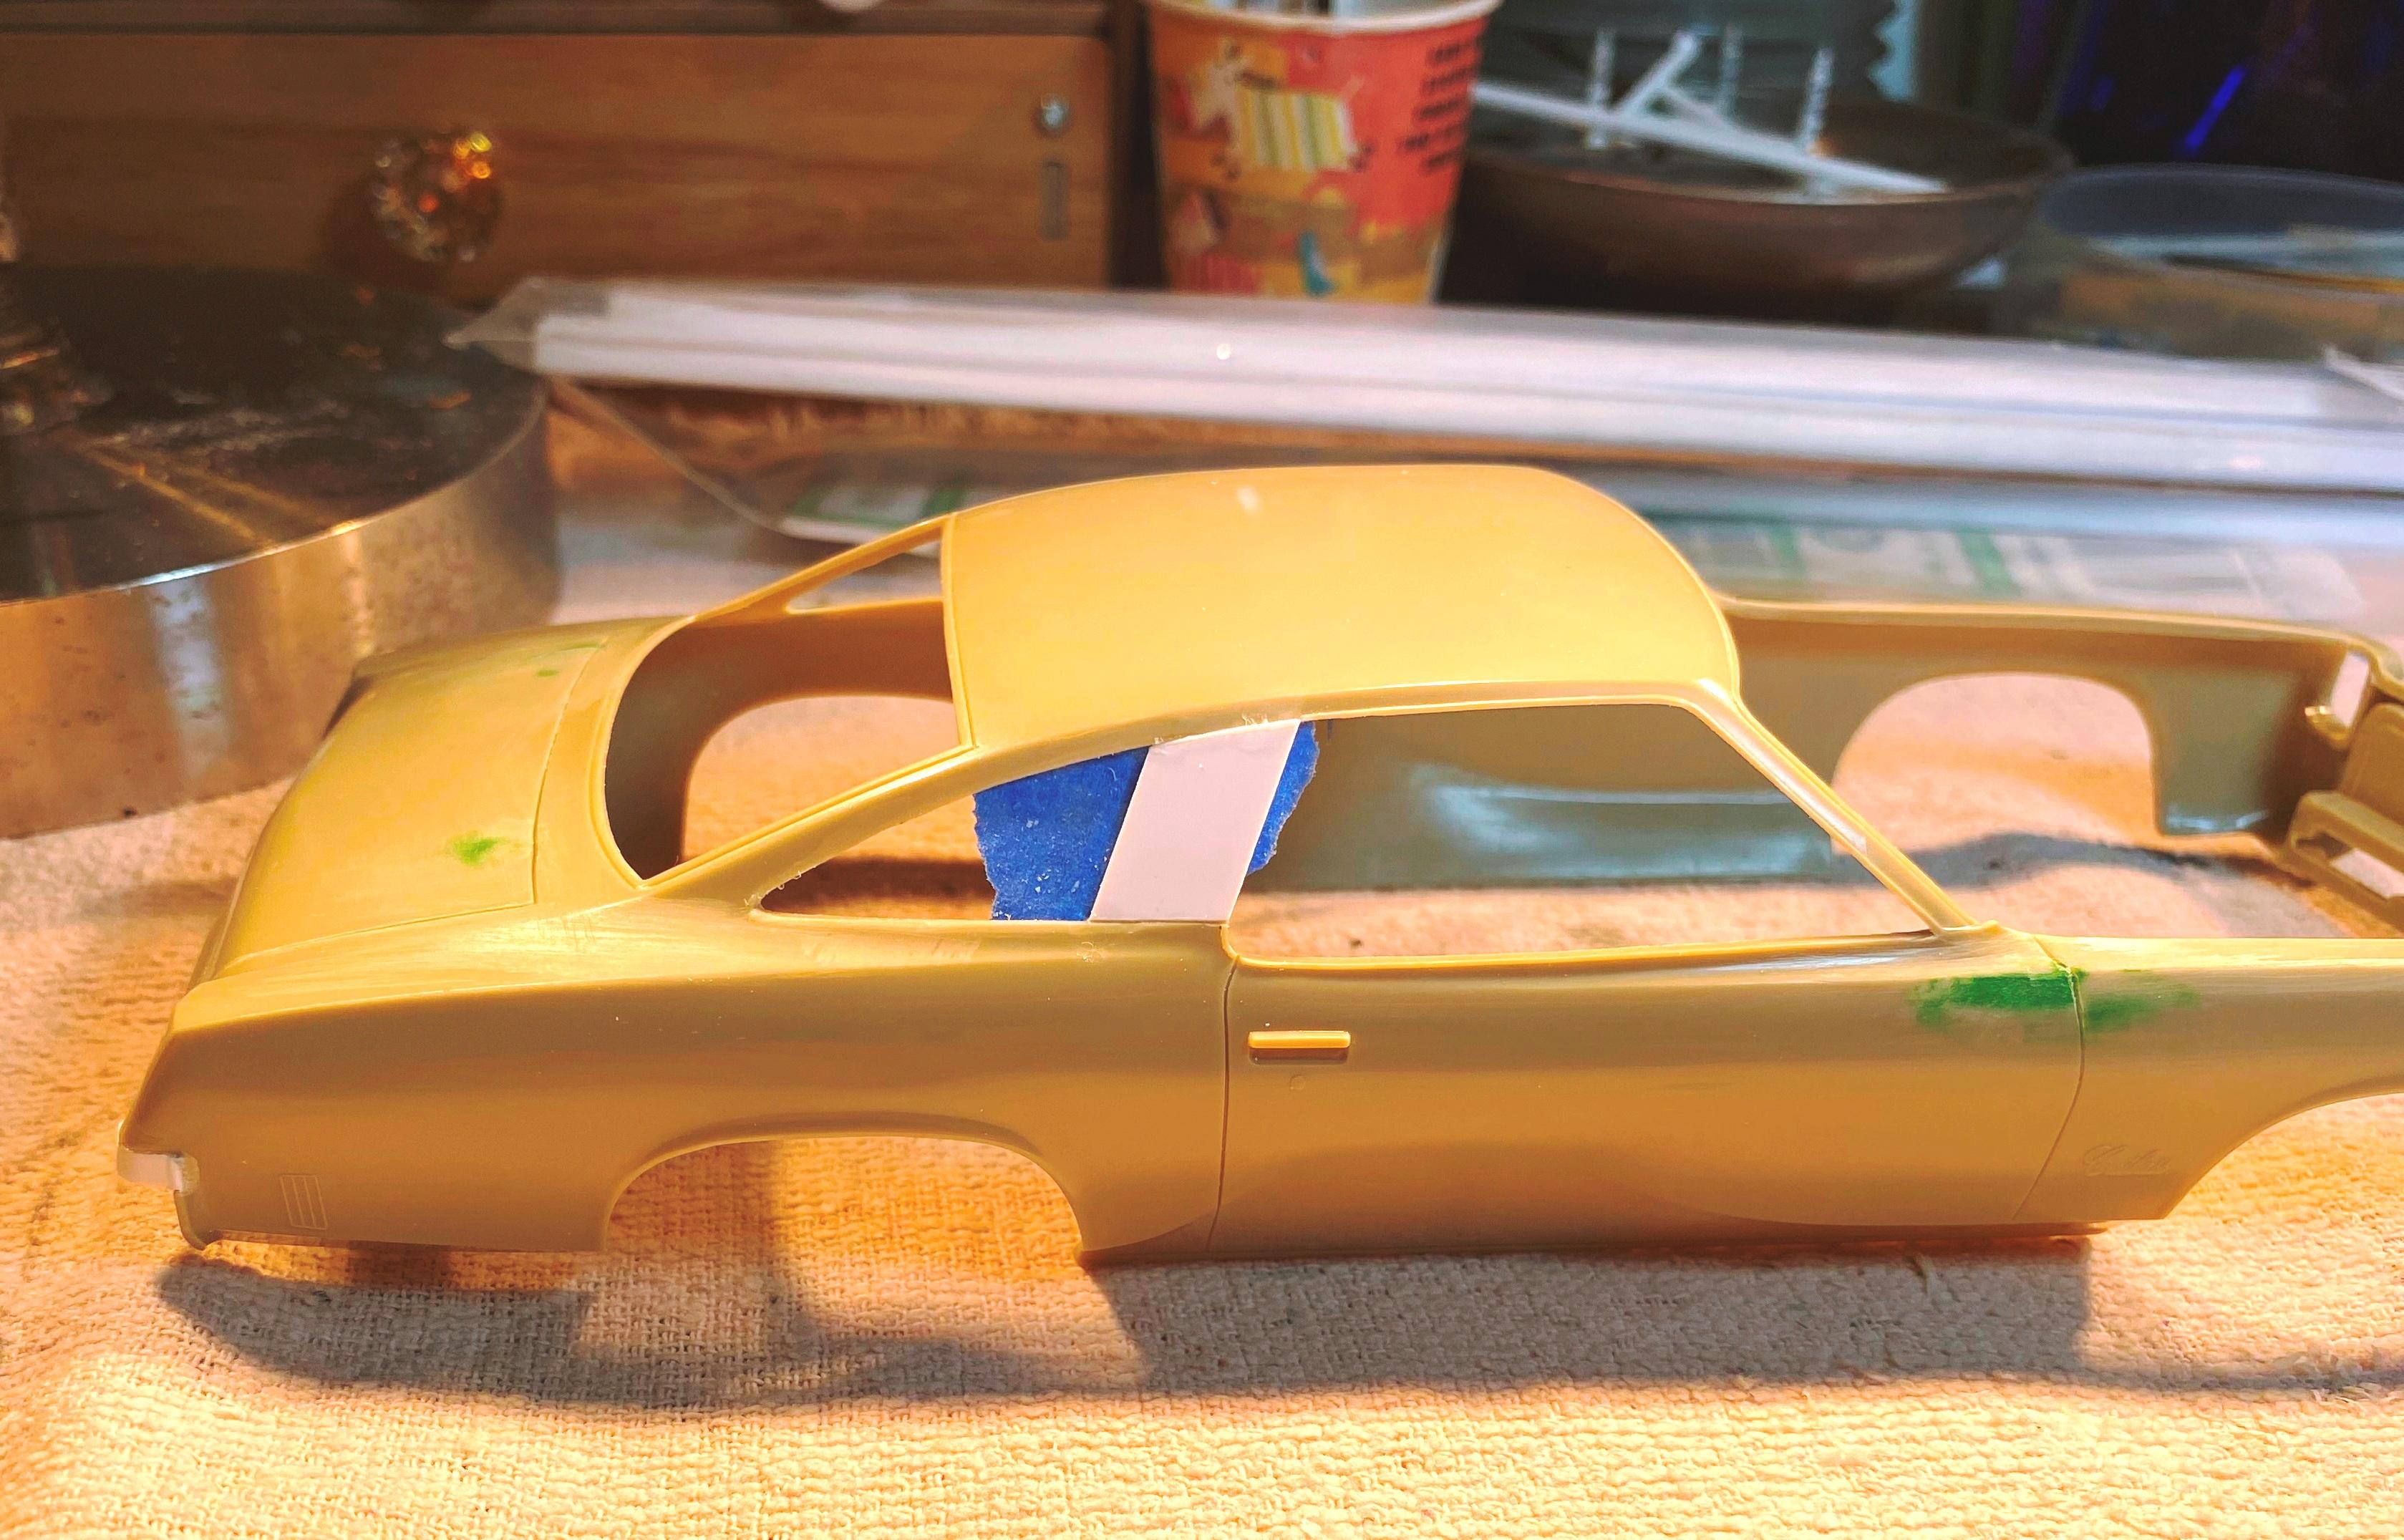
In order to do the faux Landau strip, I need to widen the B pillars. I cut them out and added new ones in. I also fabbed the pieces that go below the tail lights. They were originally just incorrect chrome nubs molded in with the rear bumper. I also need to fab a cowl and firewall as promo bodies don't come with them.
-

AMC Javelin in "Trans Am Red" (Jo-Han kit resto)
Bills72sj replied to Tommy124's topic in Model Cars
I could have sworn that was a 1:1. You nailed the details and the finish. It makes my AMX look like a heap. -
Thanks for sharing. The cowl vents are something I would never thought of. The foil under paint trick is something I have done once, on my 70 Grand Prix restoration. It is about the ONLY way to get decent results from individual letter scripts. (Unless you are fortunate to have silver printed decals like my 70 Challenger R/T SE)
-
Another 7-year project, AMT 1968 Camaro Z/28
Bills72sj replied to RDean58's topic in WIP: Model Cars
Cool color. The hood and roof look like "Hammertone" paint. -
Very nice work! I love the added details. I have a couple of these in the stash to get to someday.
-
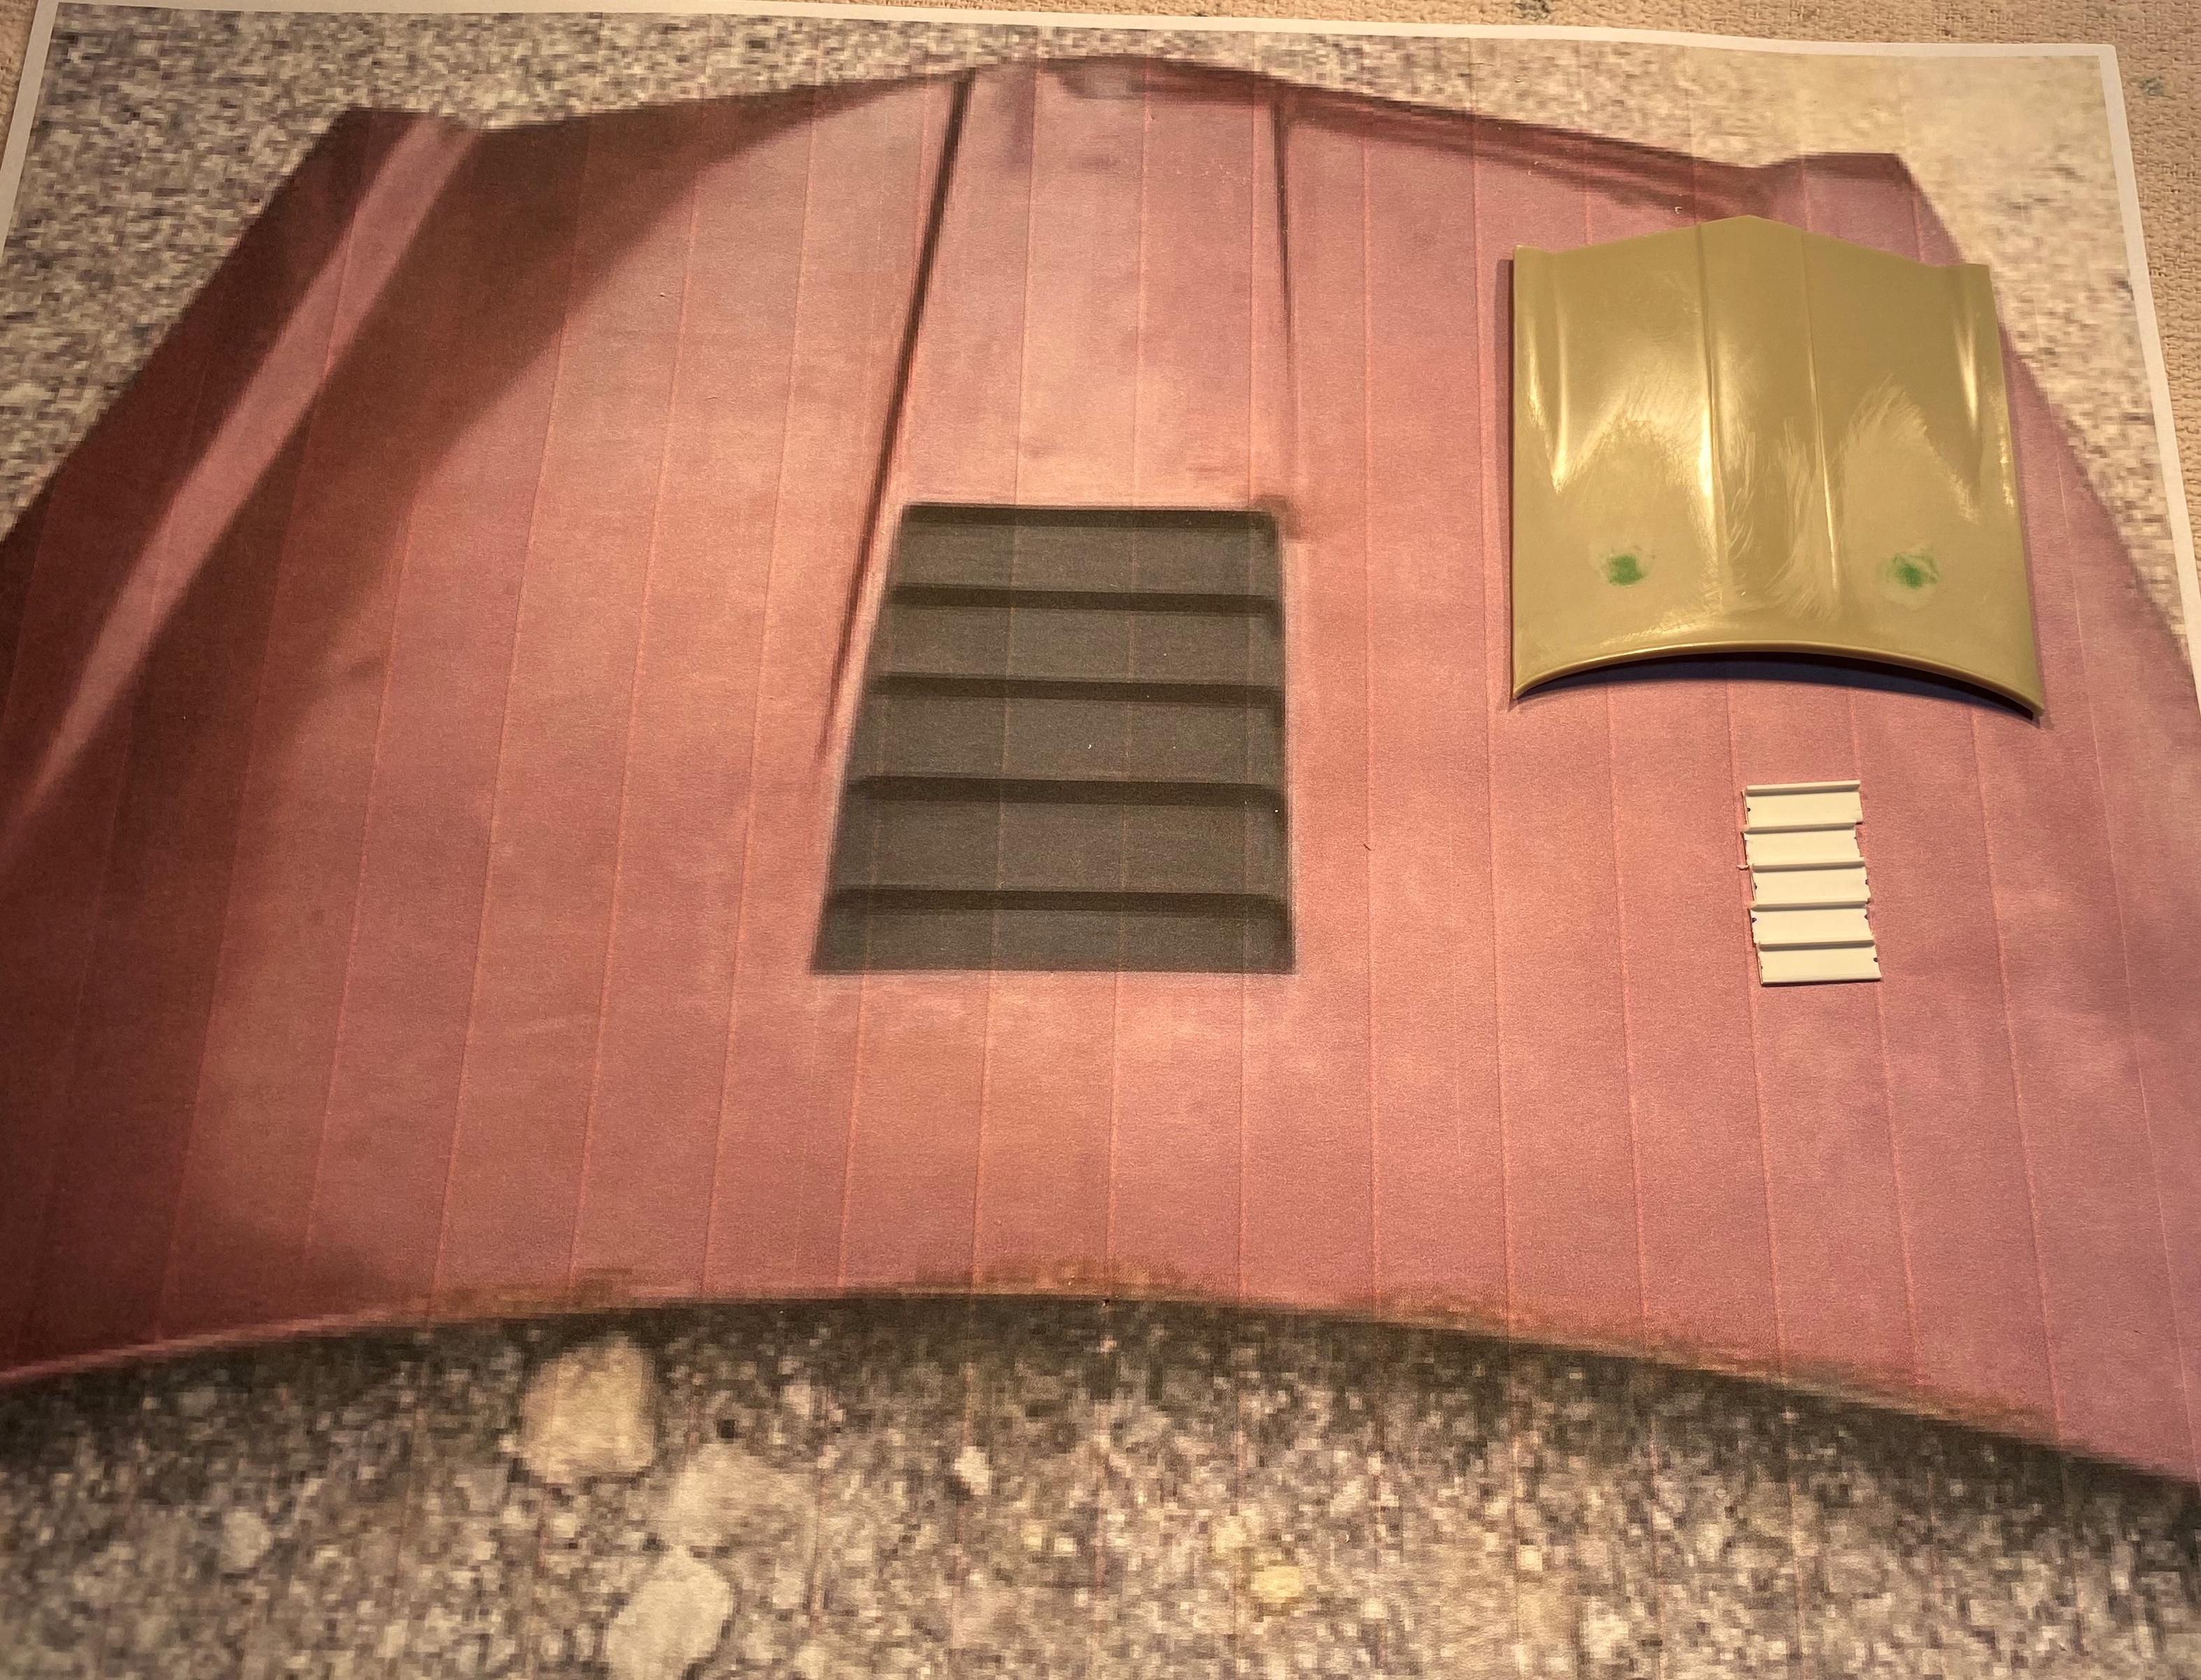
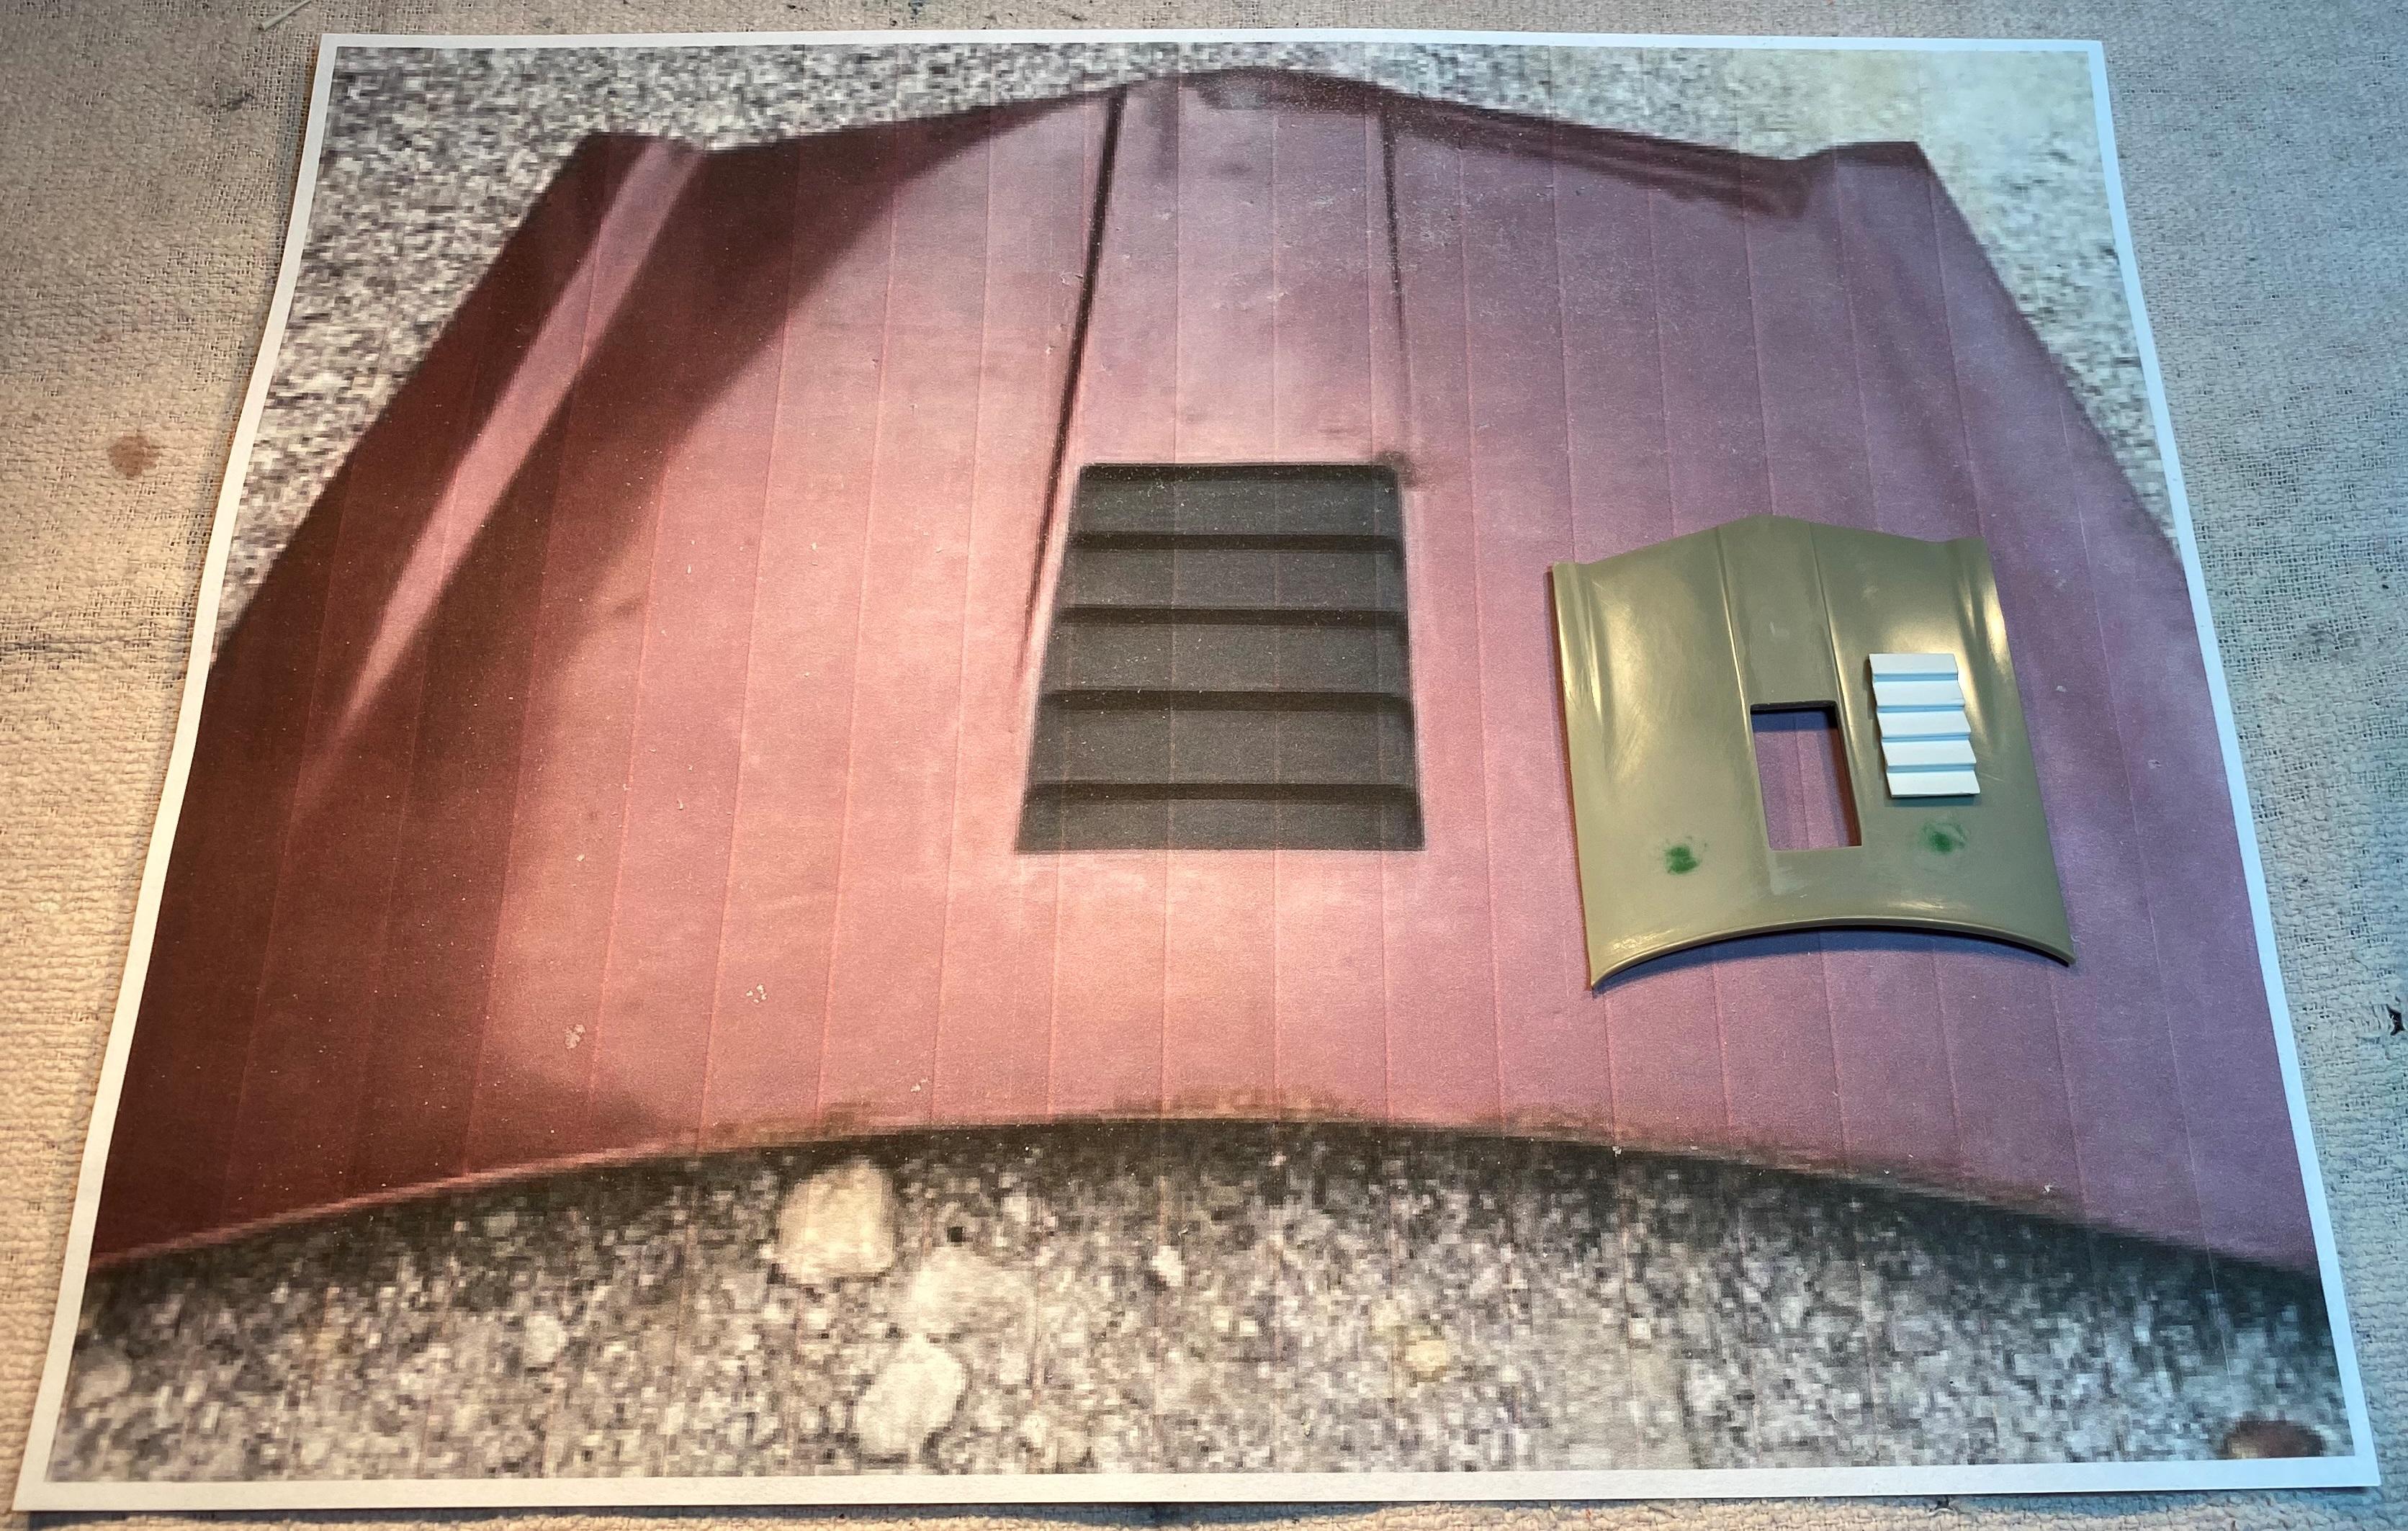
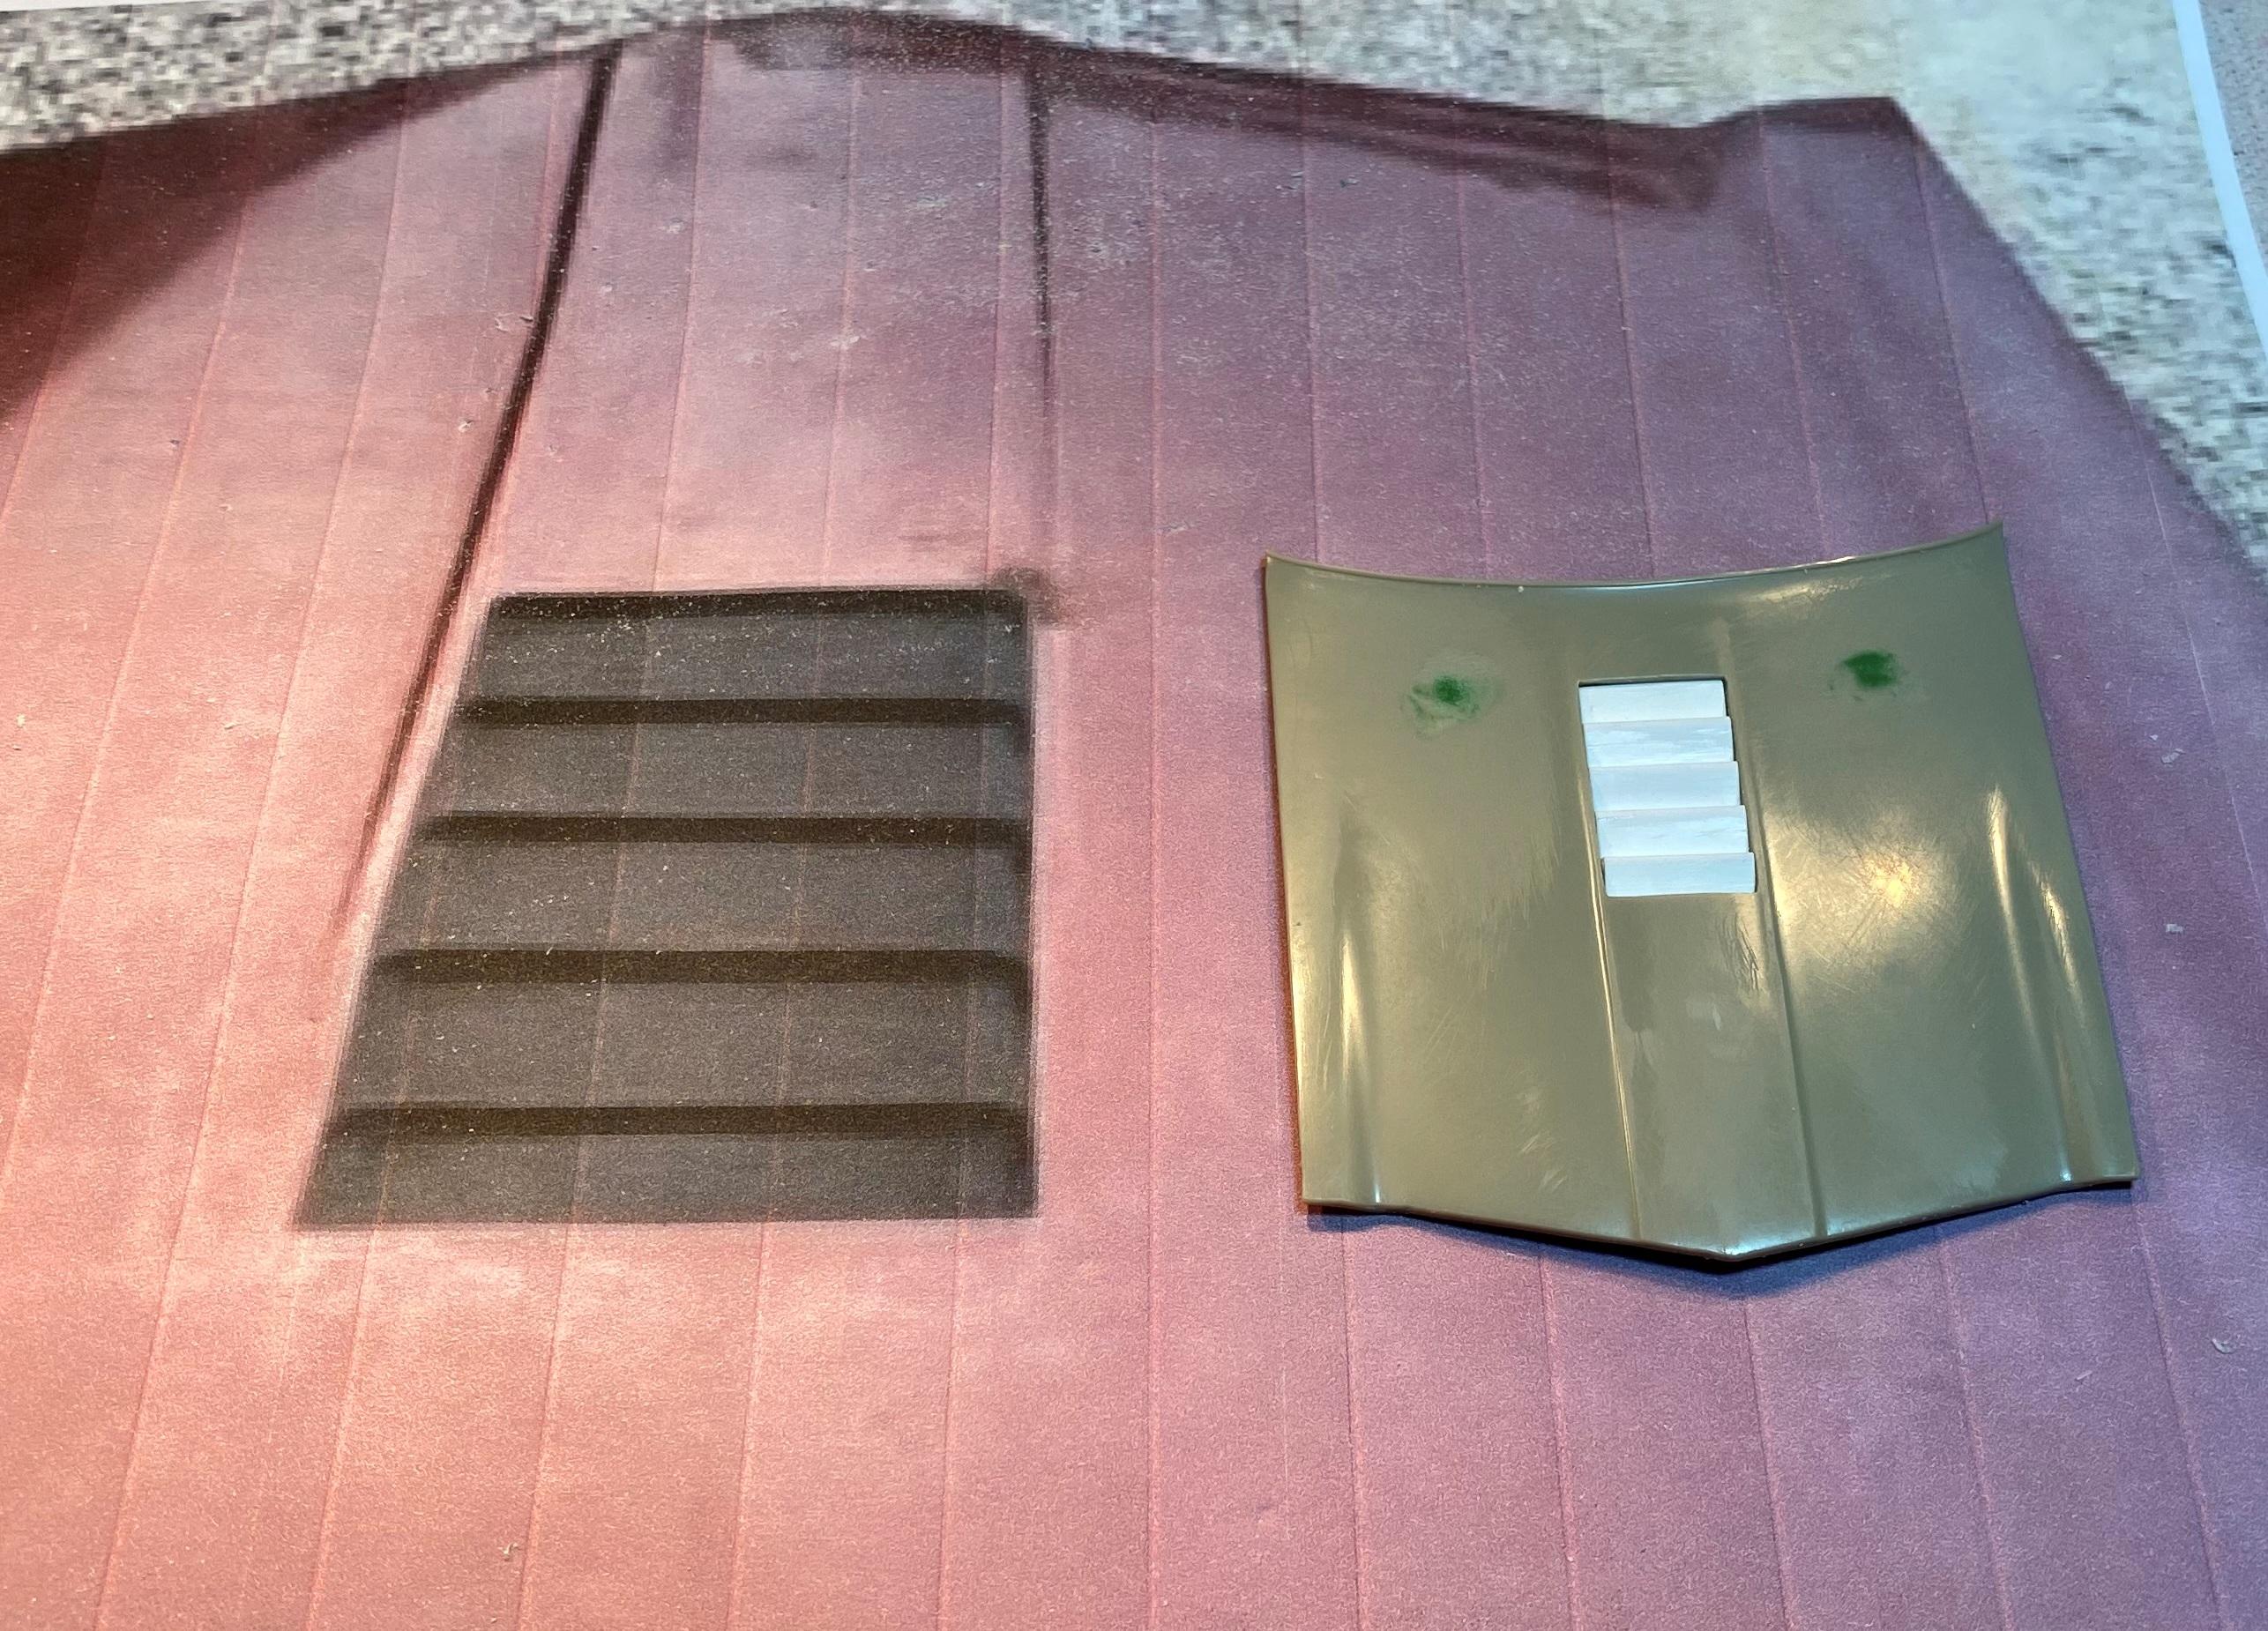
Trevor, it actually was not that difficult. I simply shaved one lip from the C channel and the steps came out perfect. My promo hood was so thick that the sides of the hole did not even need any additional material to enclose the low points on the sides.
-
I found a pic from the web of the louvers in the hood and printed it out. I took some Evergreen C channel made the stairstep insert. After bravely cutting a hole in the hood, I have a pretty decent replication of the louvers.
-
Thank you Gareth and David. ?
-
I love the lines and wheels on those mid 60's Pontiacs.
-
Testors factory colors.
Bills72sj replied to Mike C.'s topic in Model Building Questions and Answers
I suggest taking can of a color you do not like (or one that the paint will no longer spray out of the can) and decant it. THEN spray it over a glue bomb, or sprue or dollar store plastic spoons. Just, to get the feel. You will never go back (unless you are in a hurry). -
Very high quality build. I am curious how you did the cowl vents and the method for the Bonneville scripts on the quarters.
-
Jada 1/24 1964 Chevrolet Impala Wagon--modified and detailed
Bills72sj replied to rsmodels's topic in Diecast Corner
I have never seen a scale 64 wagon before. It has been since the 60's since I have seen a REAL one. -
Oops. My BRBO 2022 replacement.
Bills72sj replied to JerseeJerry55's topic in WIP: Model Trucks: Big Rigs and Heavy Equipment
I like the two tone rigs. Lighter color on top. -
Thank you all. ?
-
Who doesn't love a mock-up? Let's see yours!
Bills72sj replied to Belairconvertable's topic in WIP: Model Cars
I'm in with that. Especially for Pontiacs. -
Future? hot water. If teardown, then MAYBE an ammonia wipe. Everything else, lacquer thinner, air dry. Cheap seals will deteriorate like on my $15 Chinese air brushes, good seals could care less.
-
Thank you Brian. ? That was the intent.
-
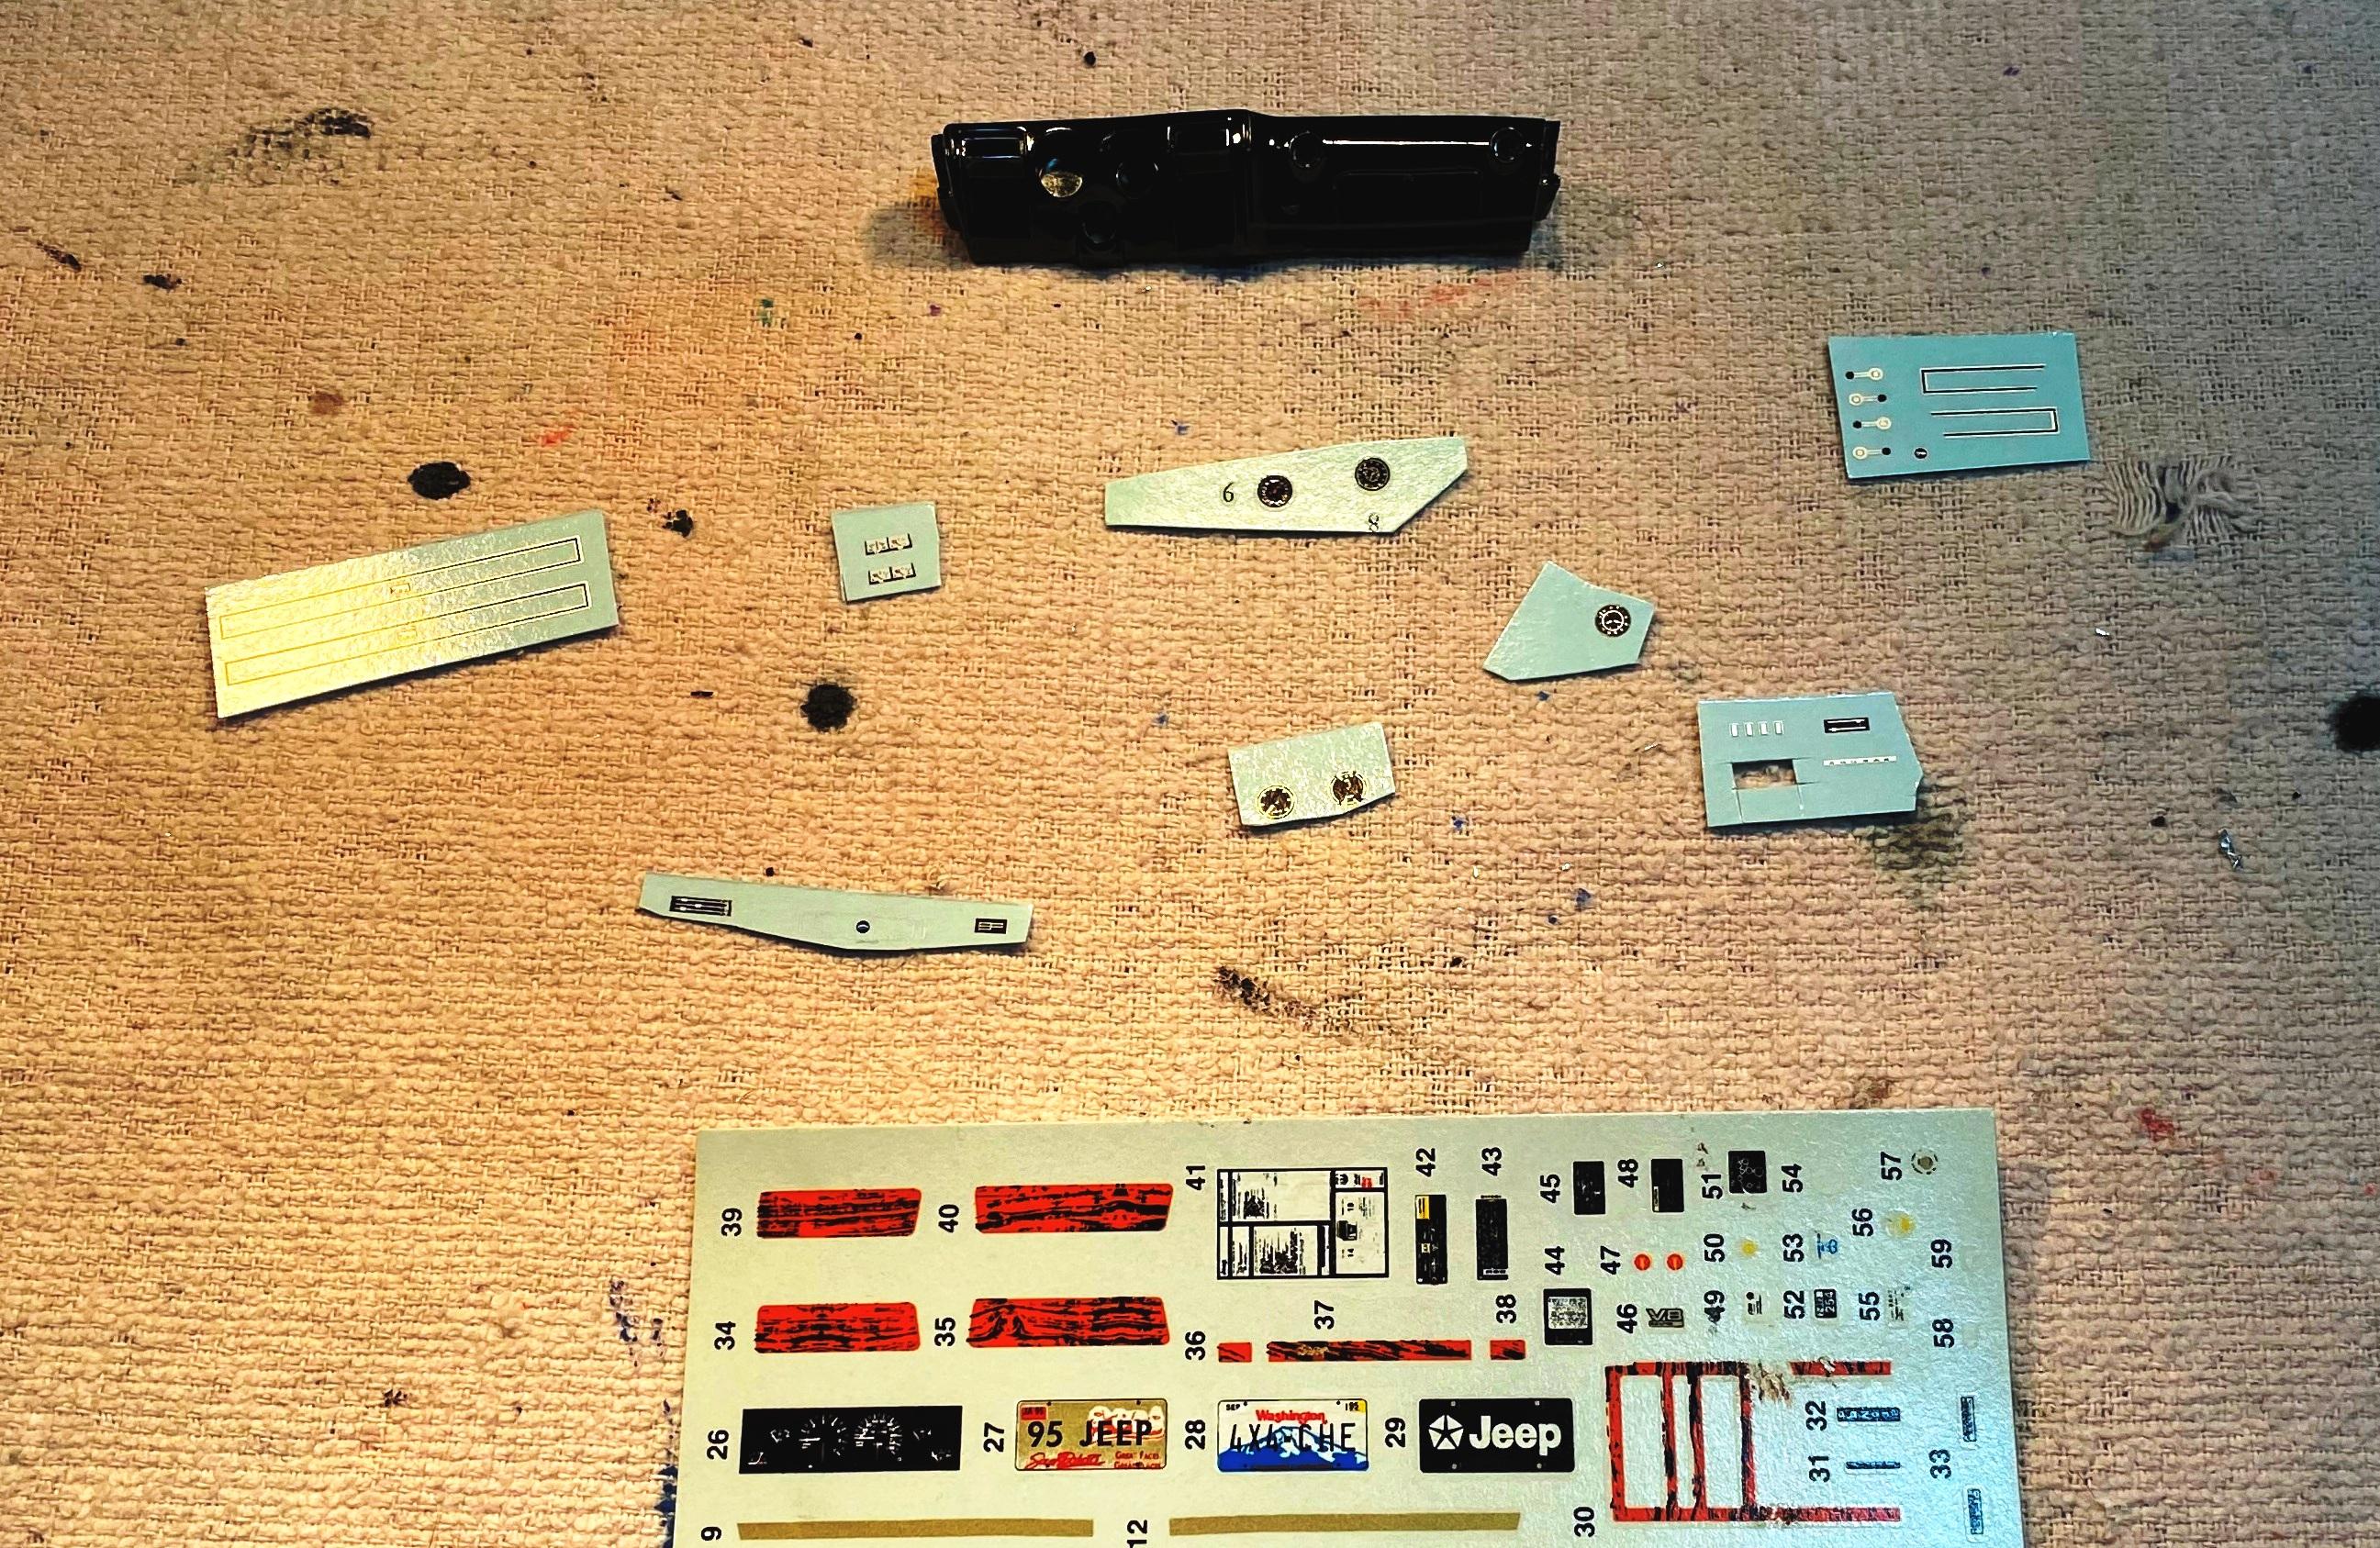
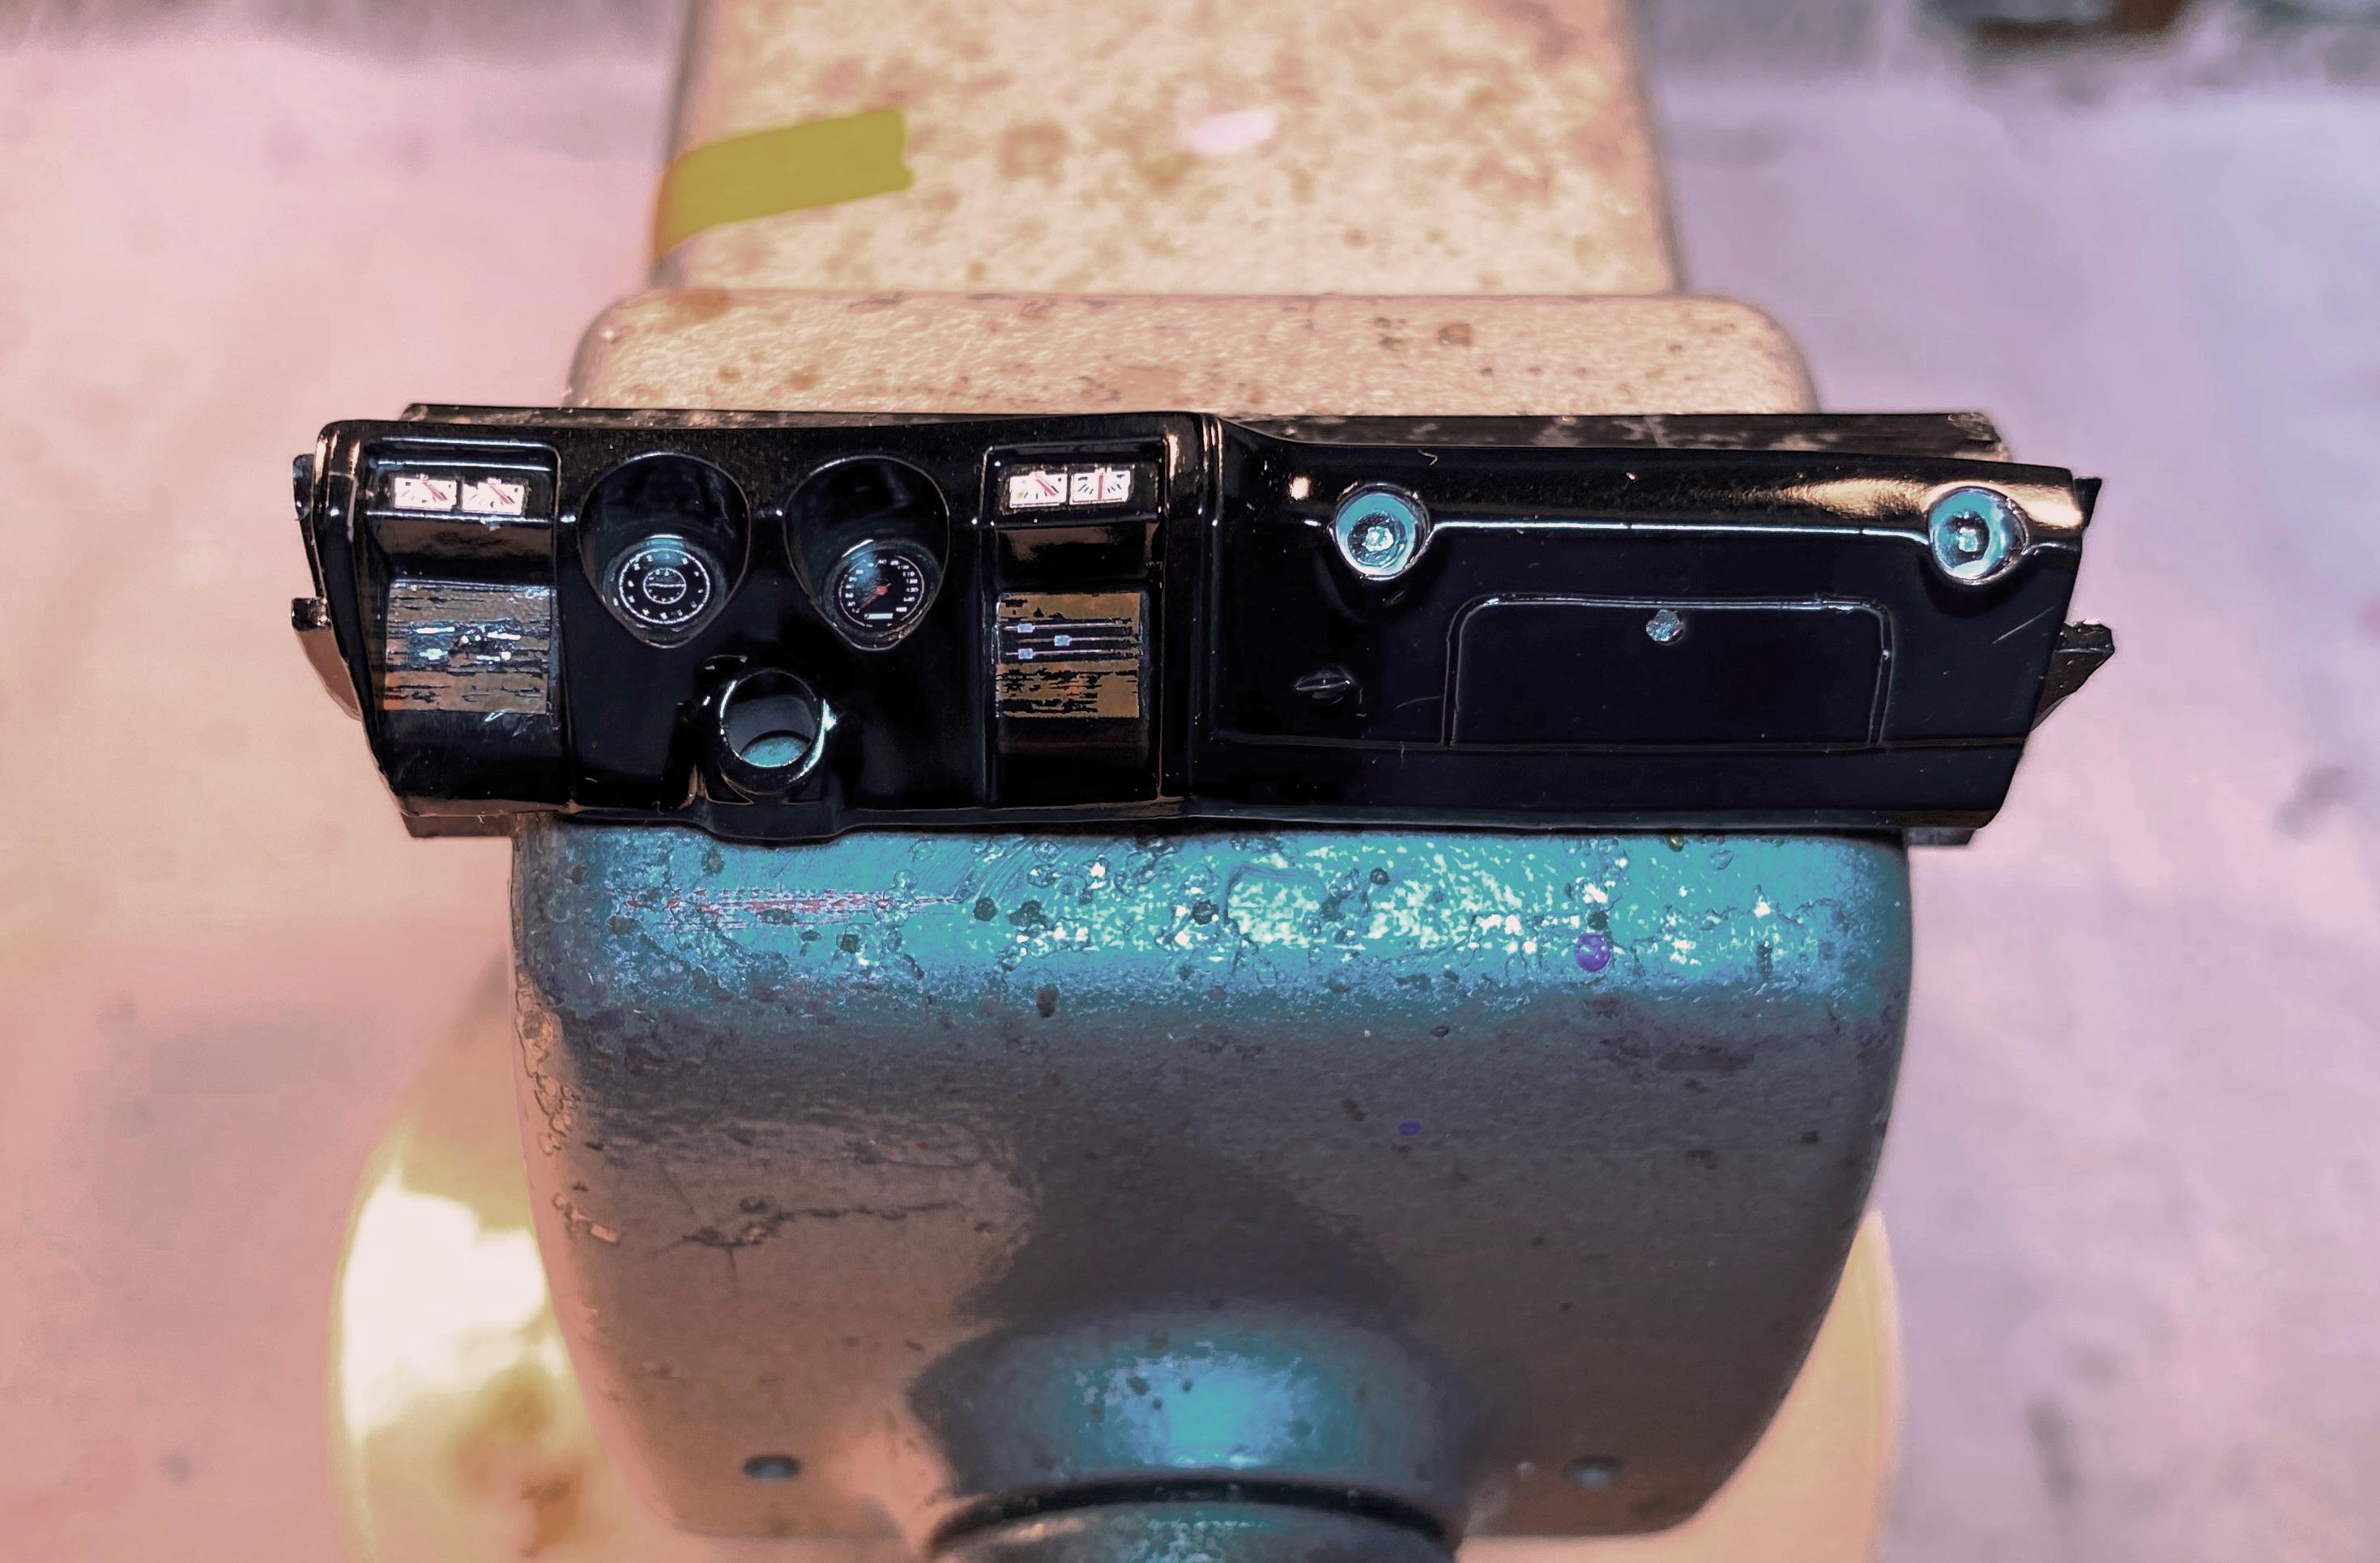
Been working on this without updating. Spliced chassis and interior painted. Gave the dash some semblance of detail with decals from the parts box.
-
Twins born 15 years apart
Bills72sj replied to Bills72sj's topic in Model Trucks: Big Rigs and Heavy Equipment
Thank you Brian. ? -
Reccomended clear over enamel
Bills72sj replied to hgbben's topic in Model Building Questions and Answers
I too am in the acrylic camp. No VOC solvents eliminates any risk of reaction. Though Steve is correct. FULLY cured enamel is tolerant of lacquer top coats applied in light coats. -
Very nice build and color.
-
CADDY 57 coe delivery
Bills72sj replied to CUSTOMBOY's topic in WIP: Model Trucks: Pickups, Vans, SUVs, Light Commercial
DANG! That is awesome! Very creative. -
I used vacuum pumps weekly for years in my refrigeration service job. White/milky is generally caused by moisture/humidity. Particularly if you are sucking air through it.


.JPG.e3082ea19550c0c0d1744b6365c17755.JPG)