StanGlover
-
Posts
244 -
Joined
-
Last visited
Content Type
Profiles
Forums
Events
Gallery
Everything posted by StanGlover
-
Sorry just now saw your question. It's Tamiya XF8 Flat Blue. It looks different depending on your lighting but it's a standard medium blue. On the real car, the top is more of a navy blue and the interior is a lighter medium blue.
-
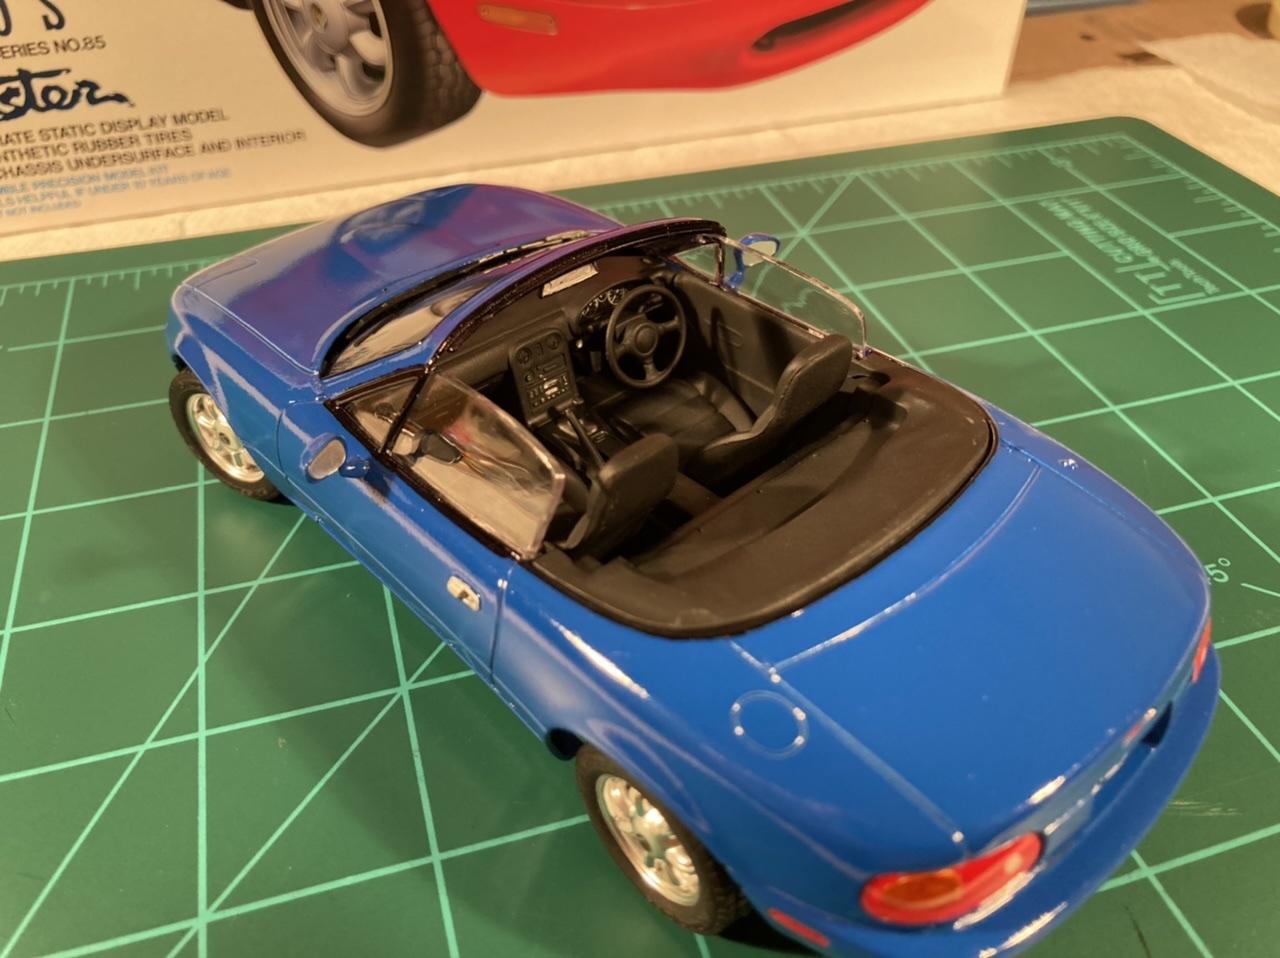
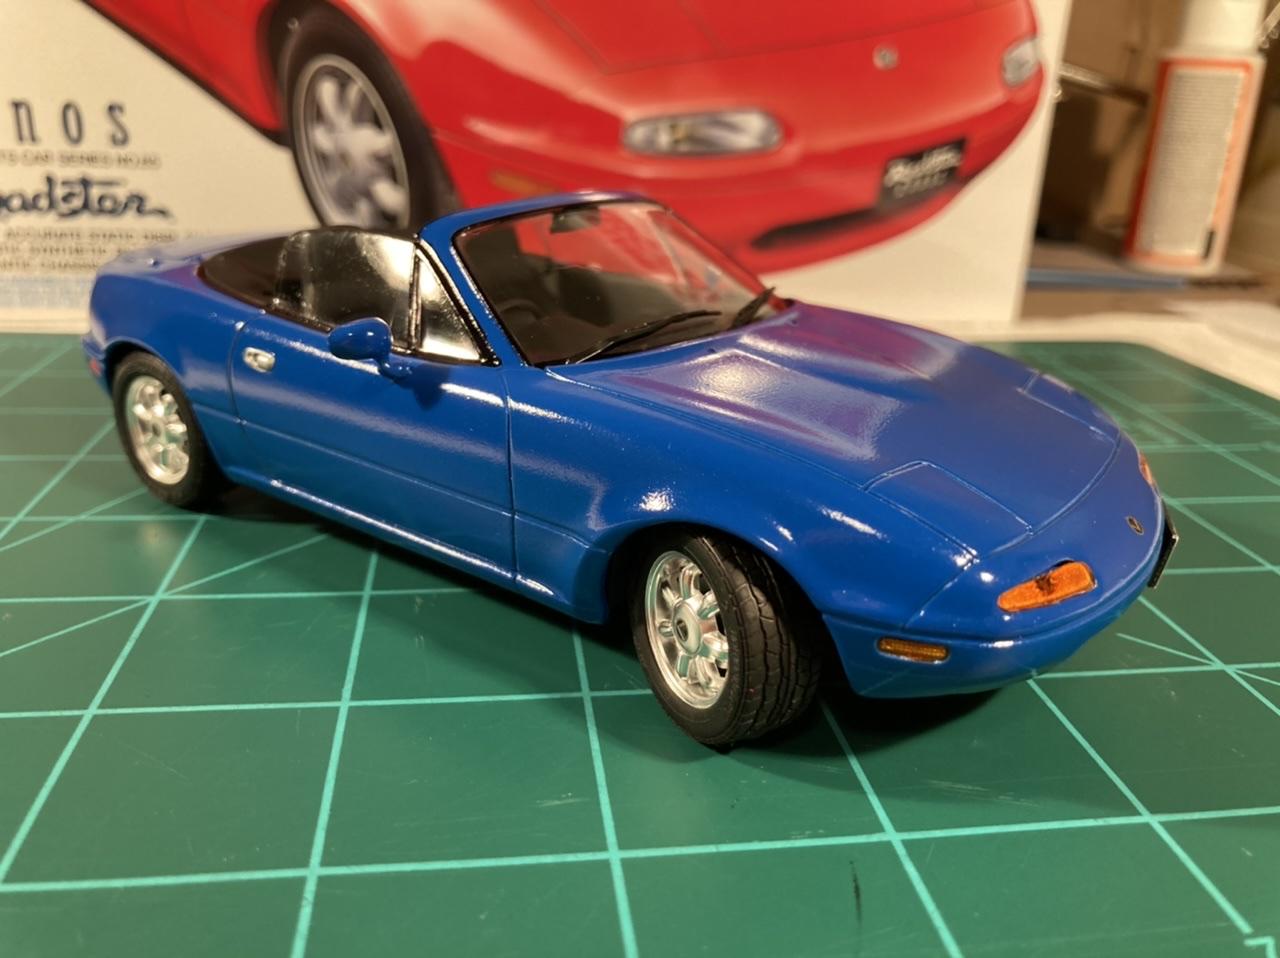
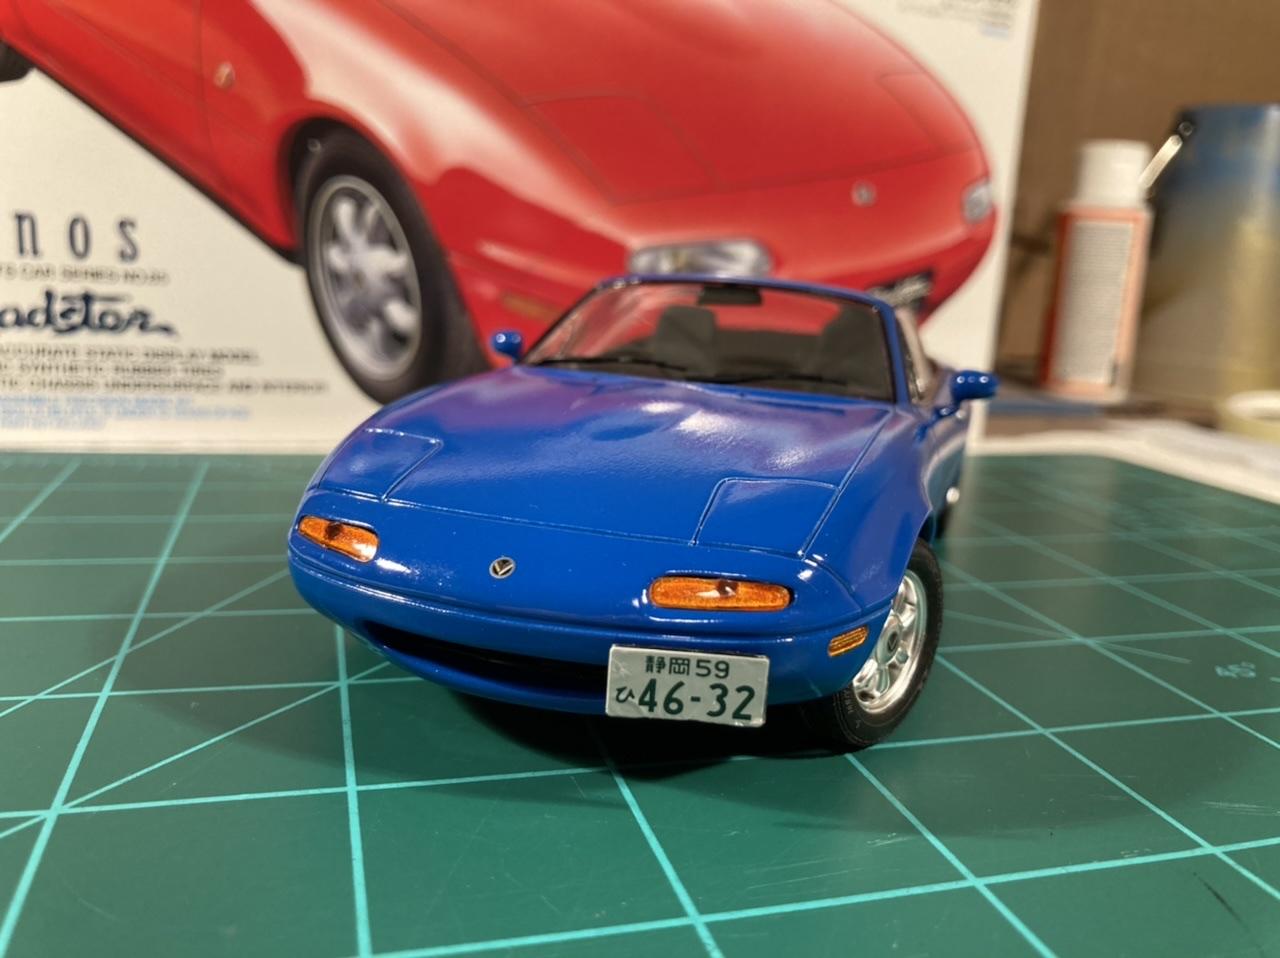
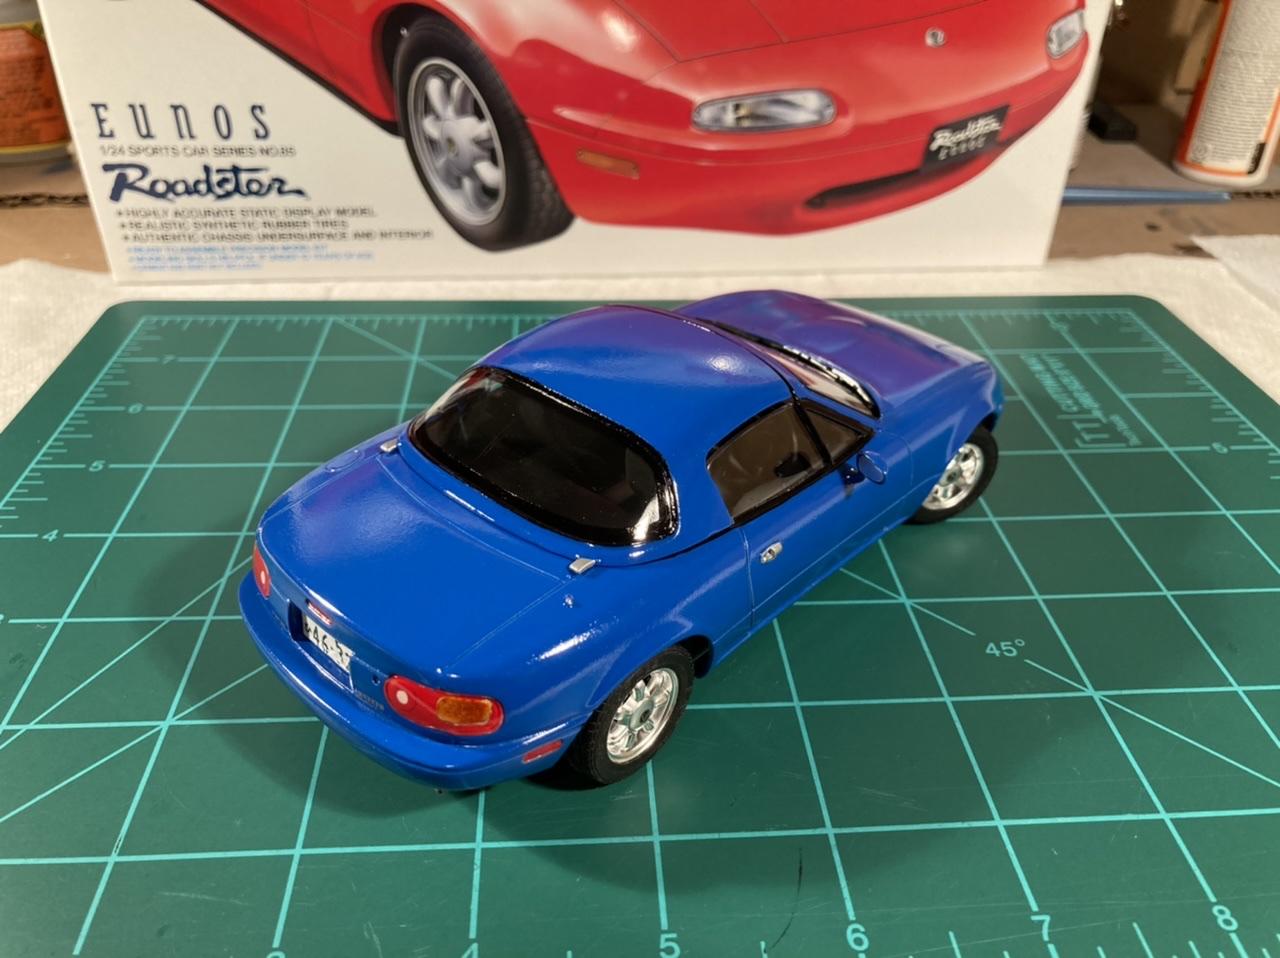
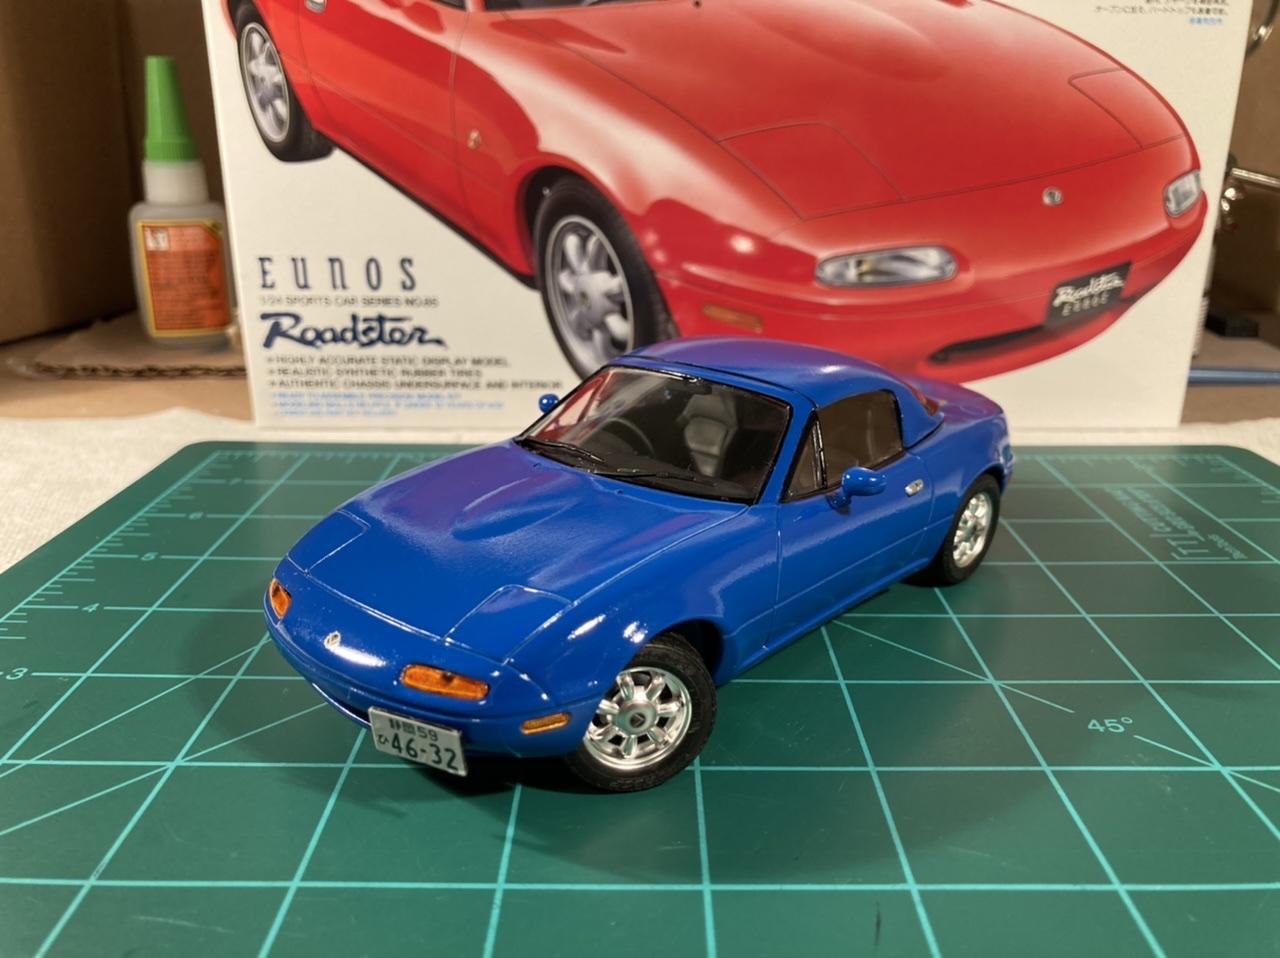
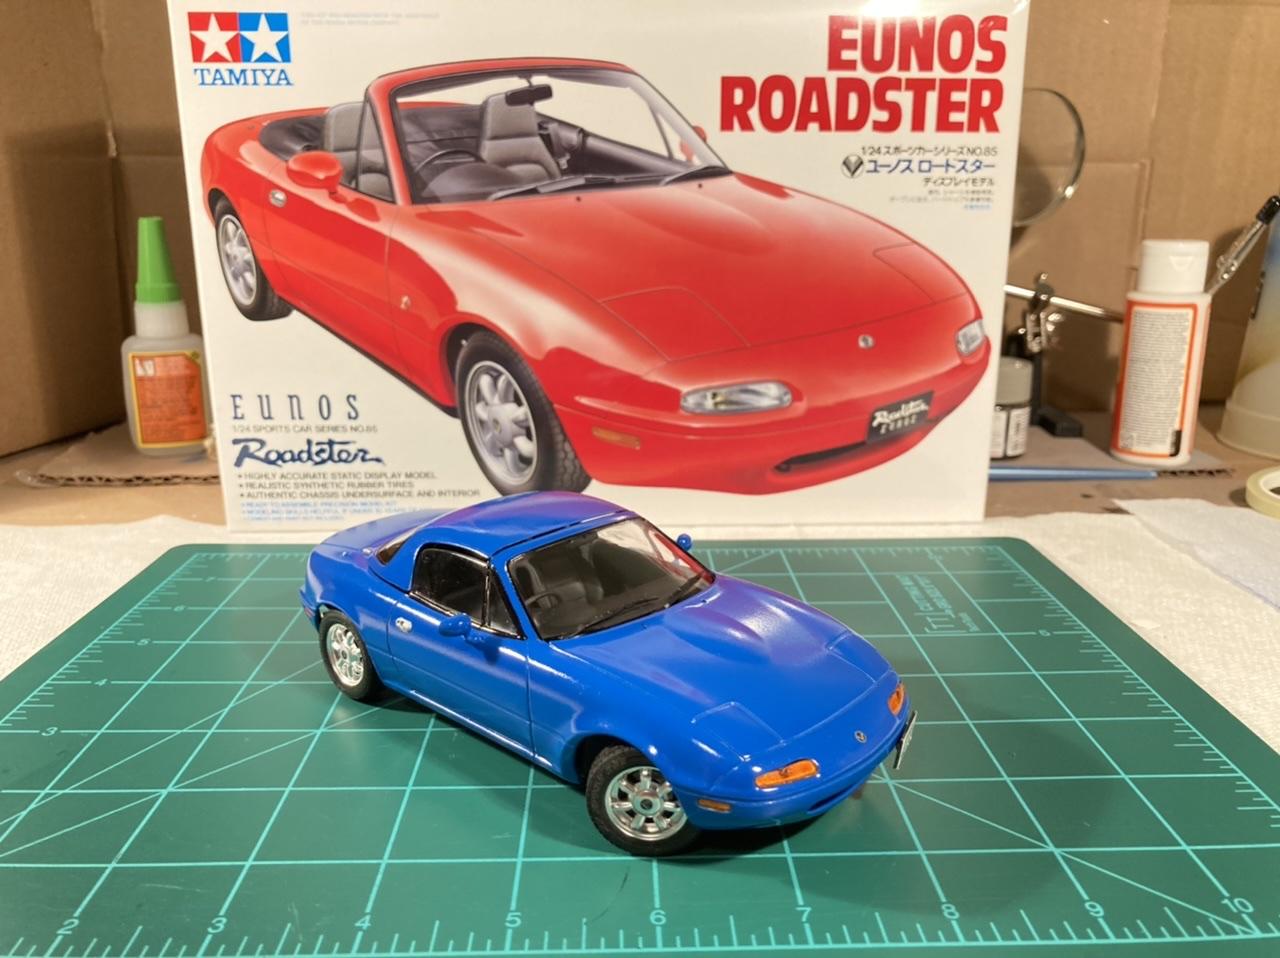
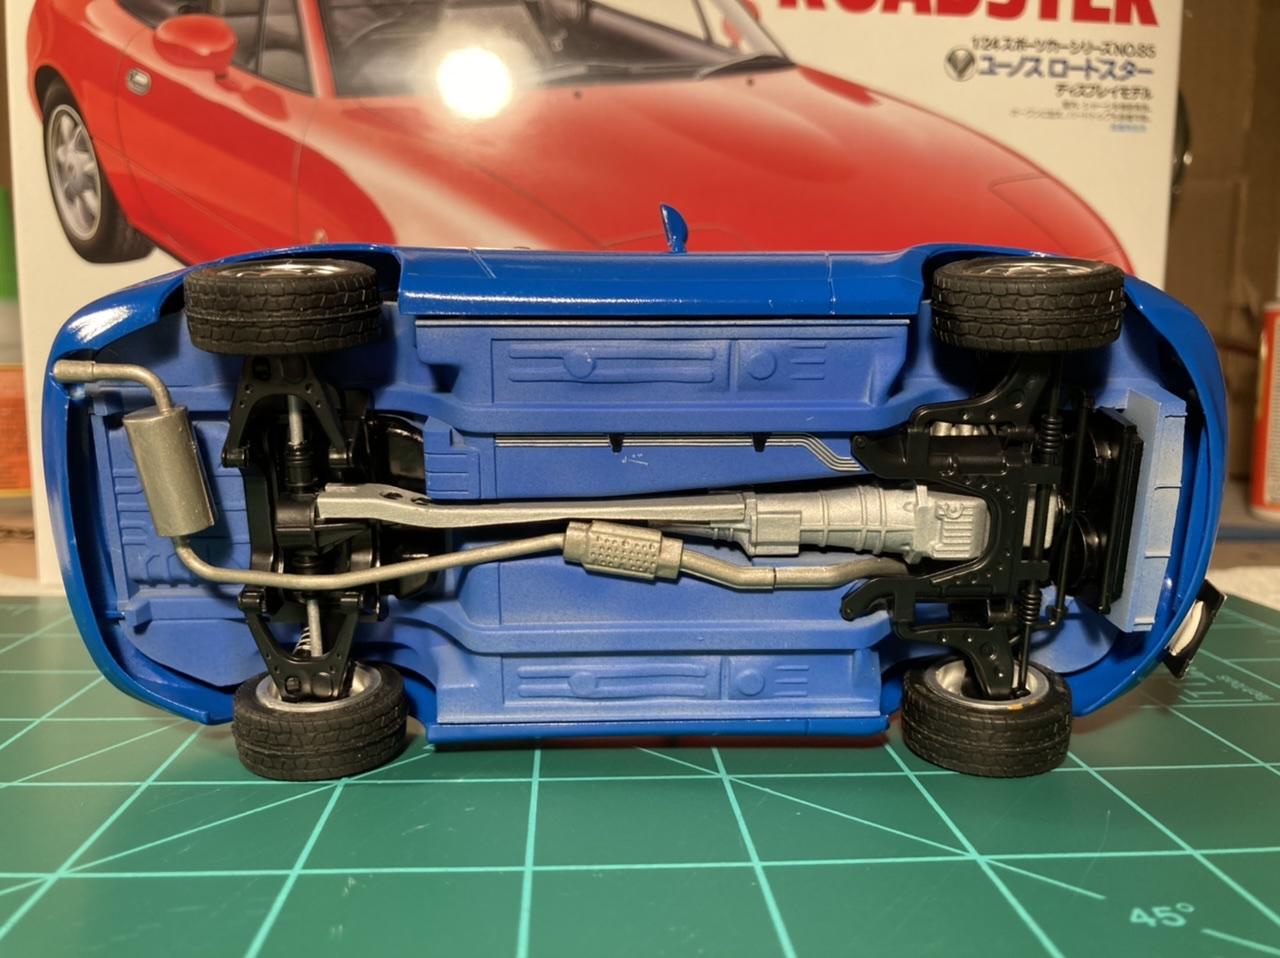
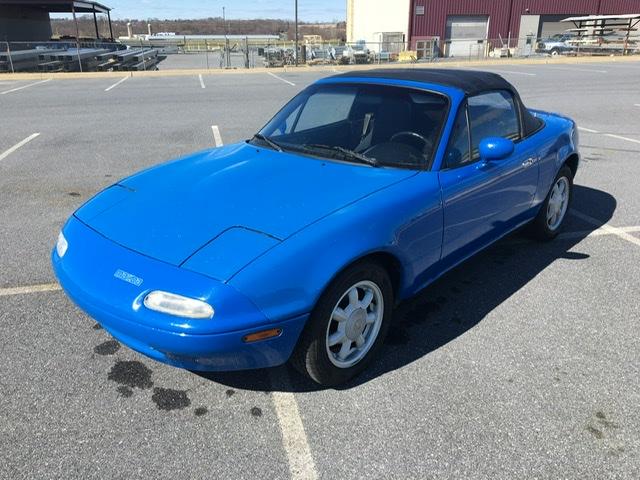
My latest build, a 1990 Eunos Roadster by Tamiya. I used to own a Mariner Blue ‘90 Miata so I had to paint this one blue too! It’s Krylon Colormaxx gloss “True Blue.” The finish has more orange peel than I’d like, but I don’t have the patience for wet sanding and polishing ? It’s good enough for my shelf! Not much else to say really, this is a pretty simple curbside kit that goes together nice and is a quick and easy build.

-
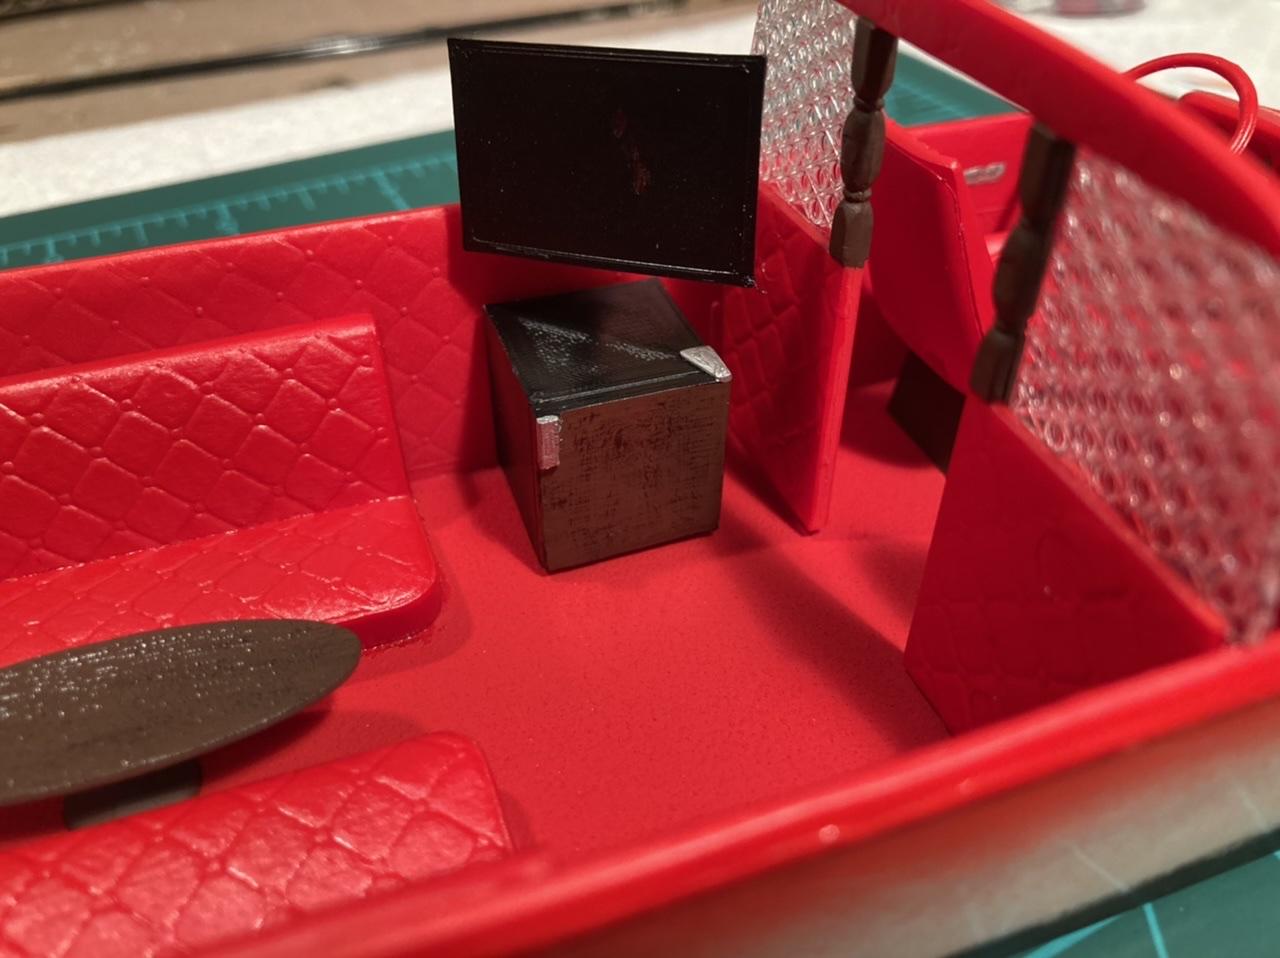
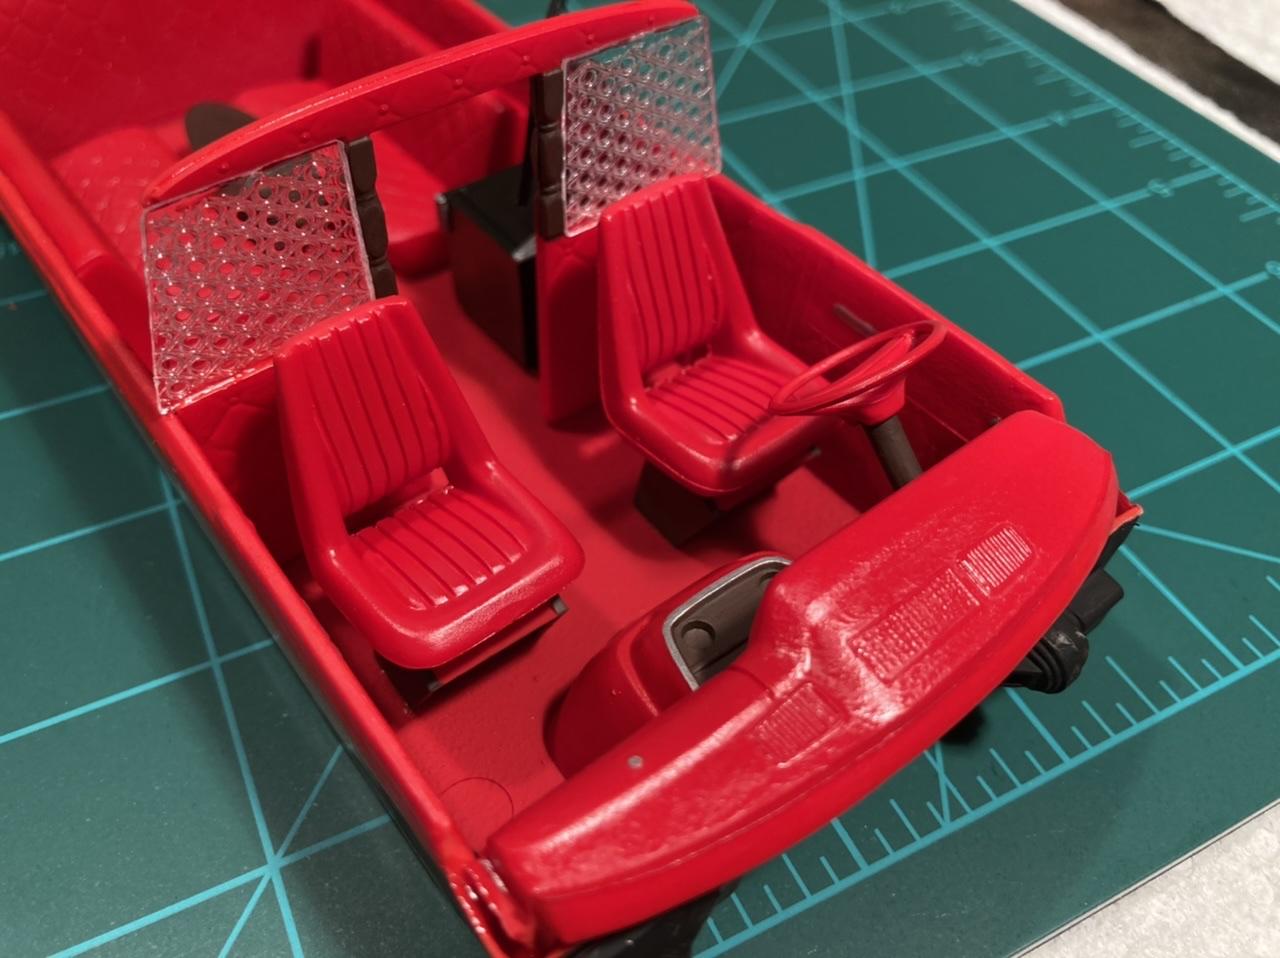
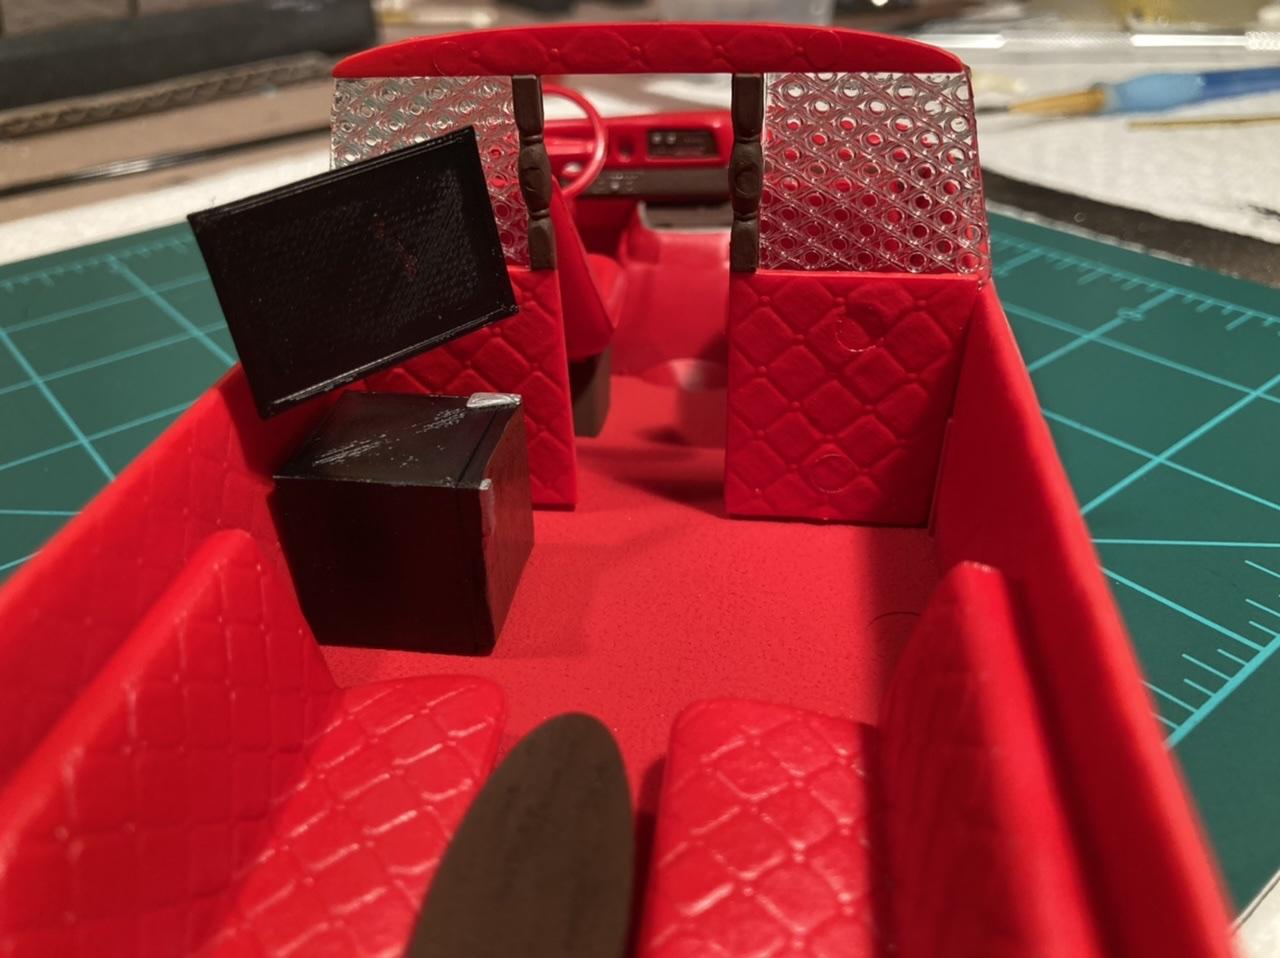
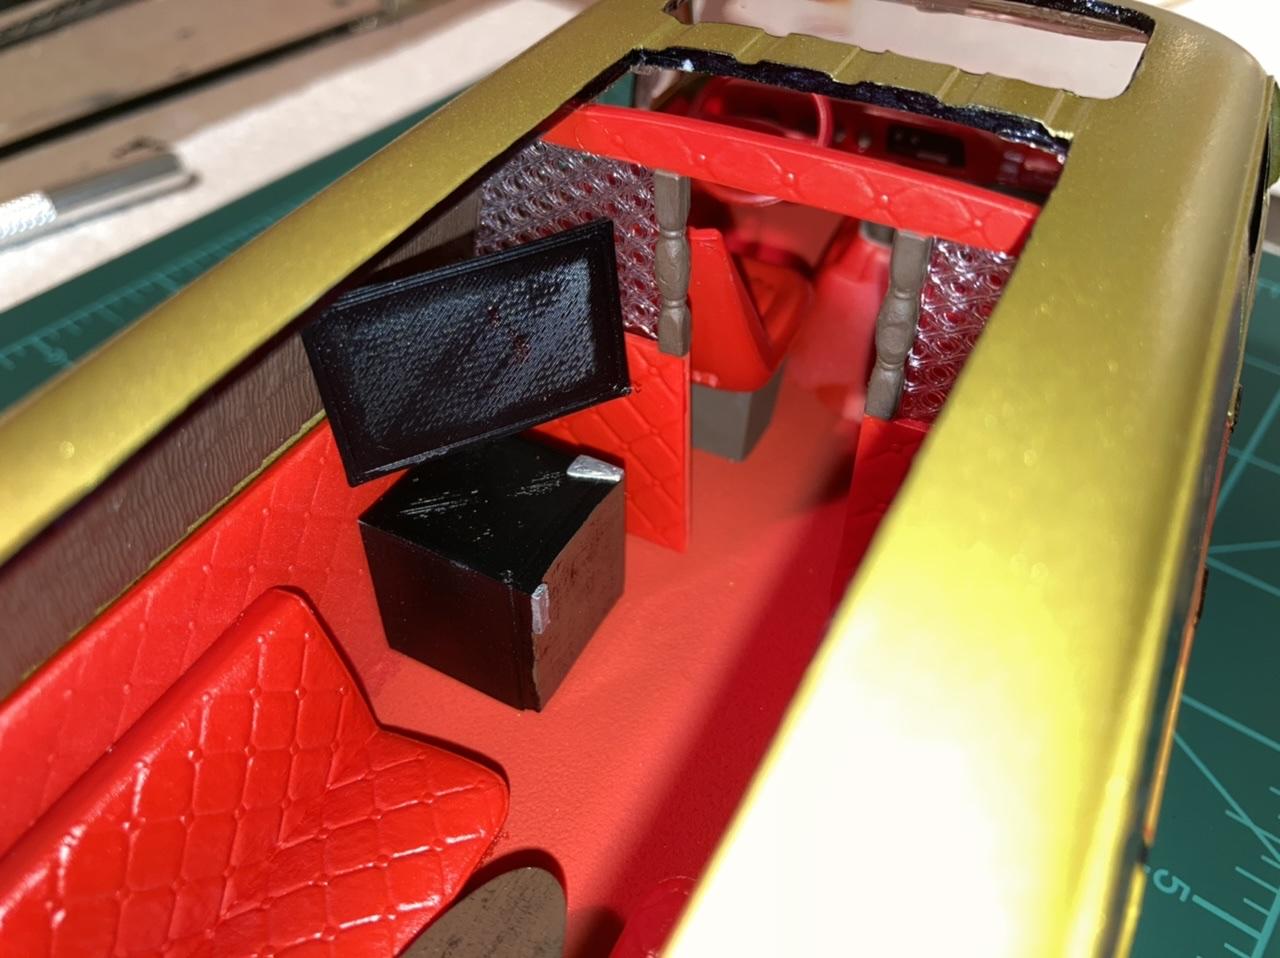
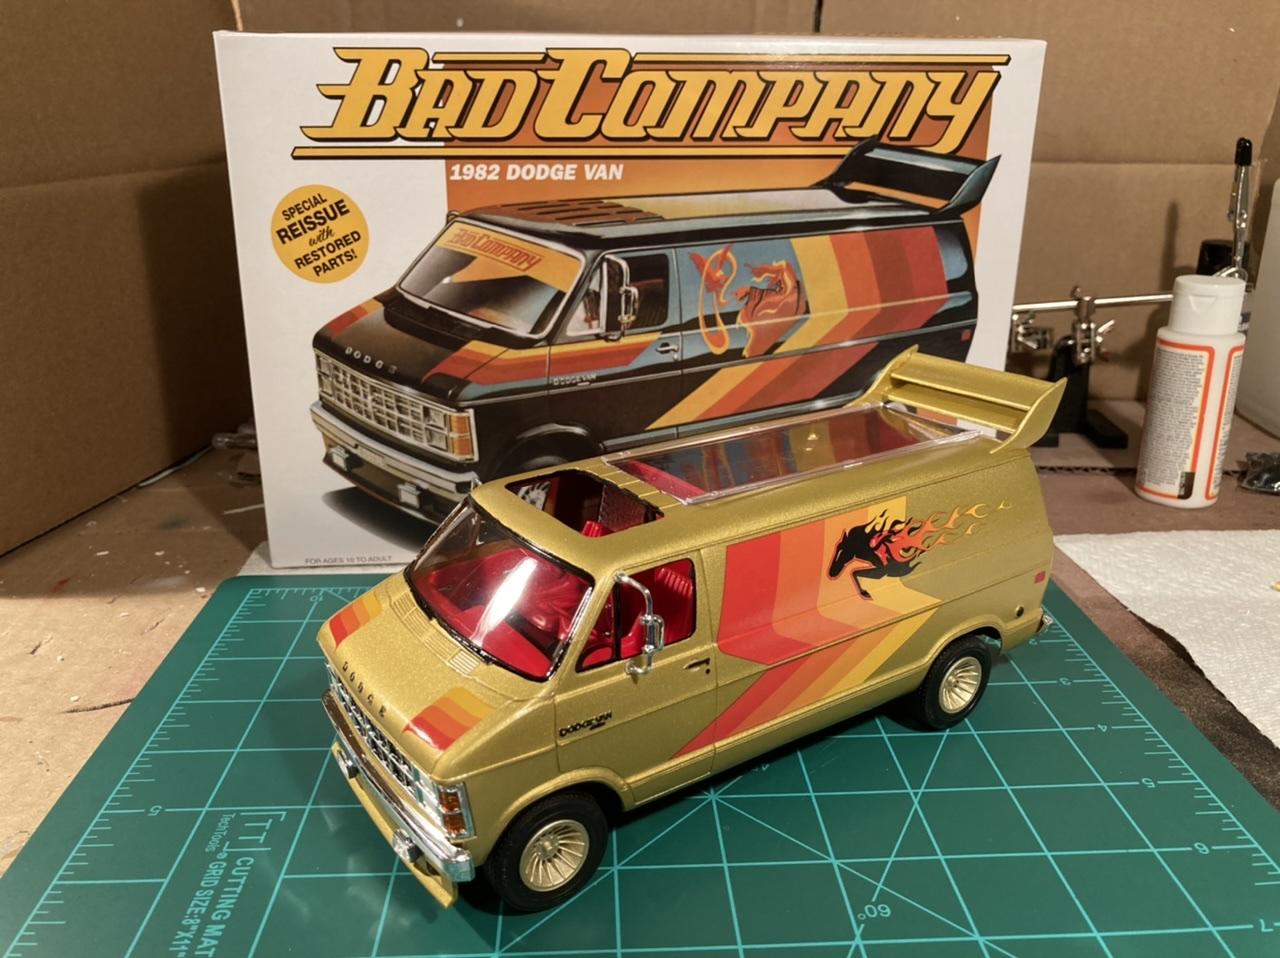
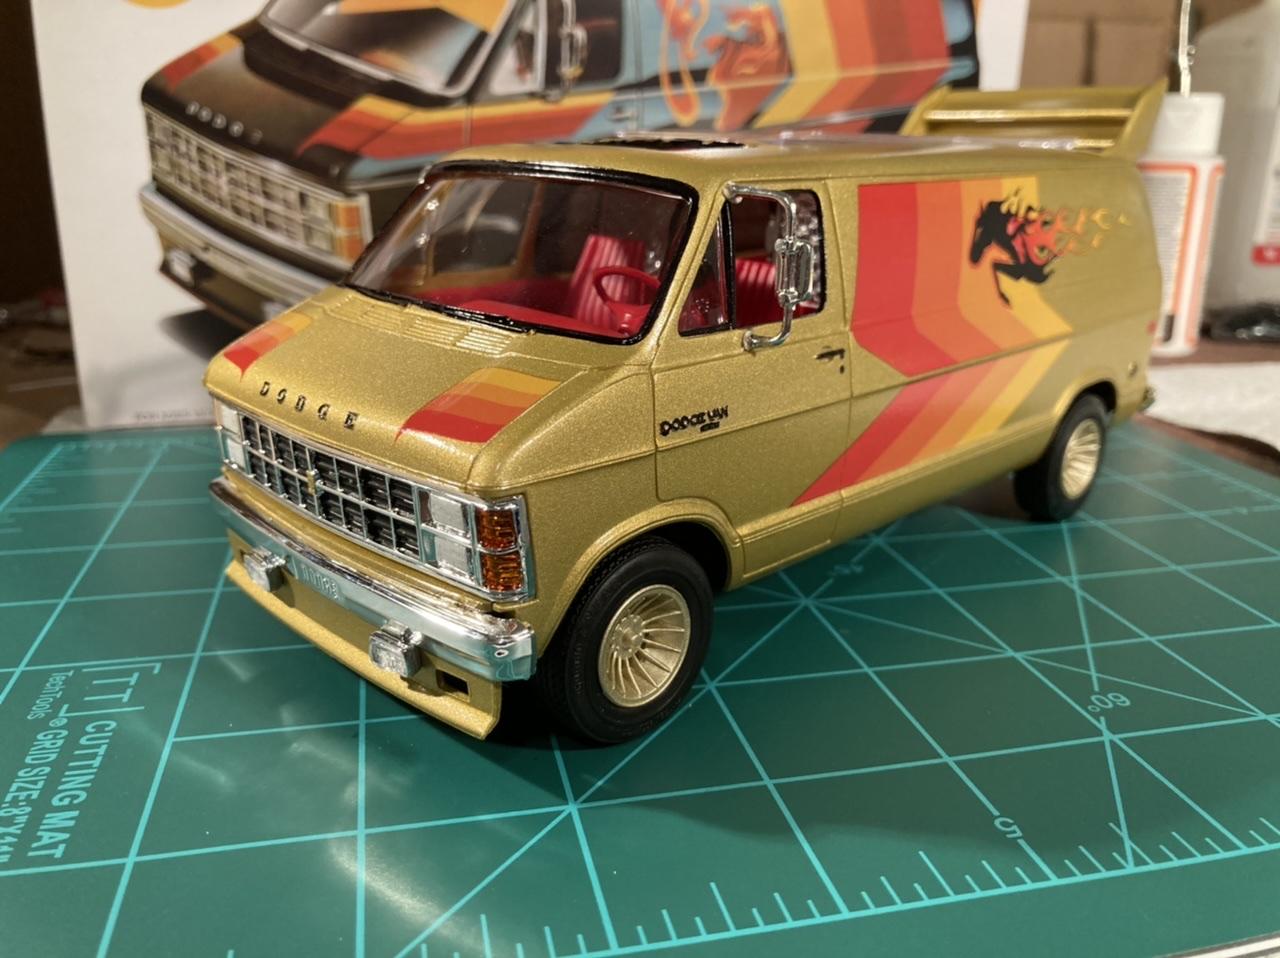
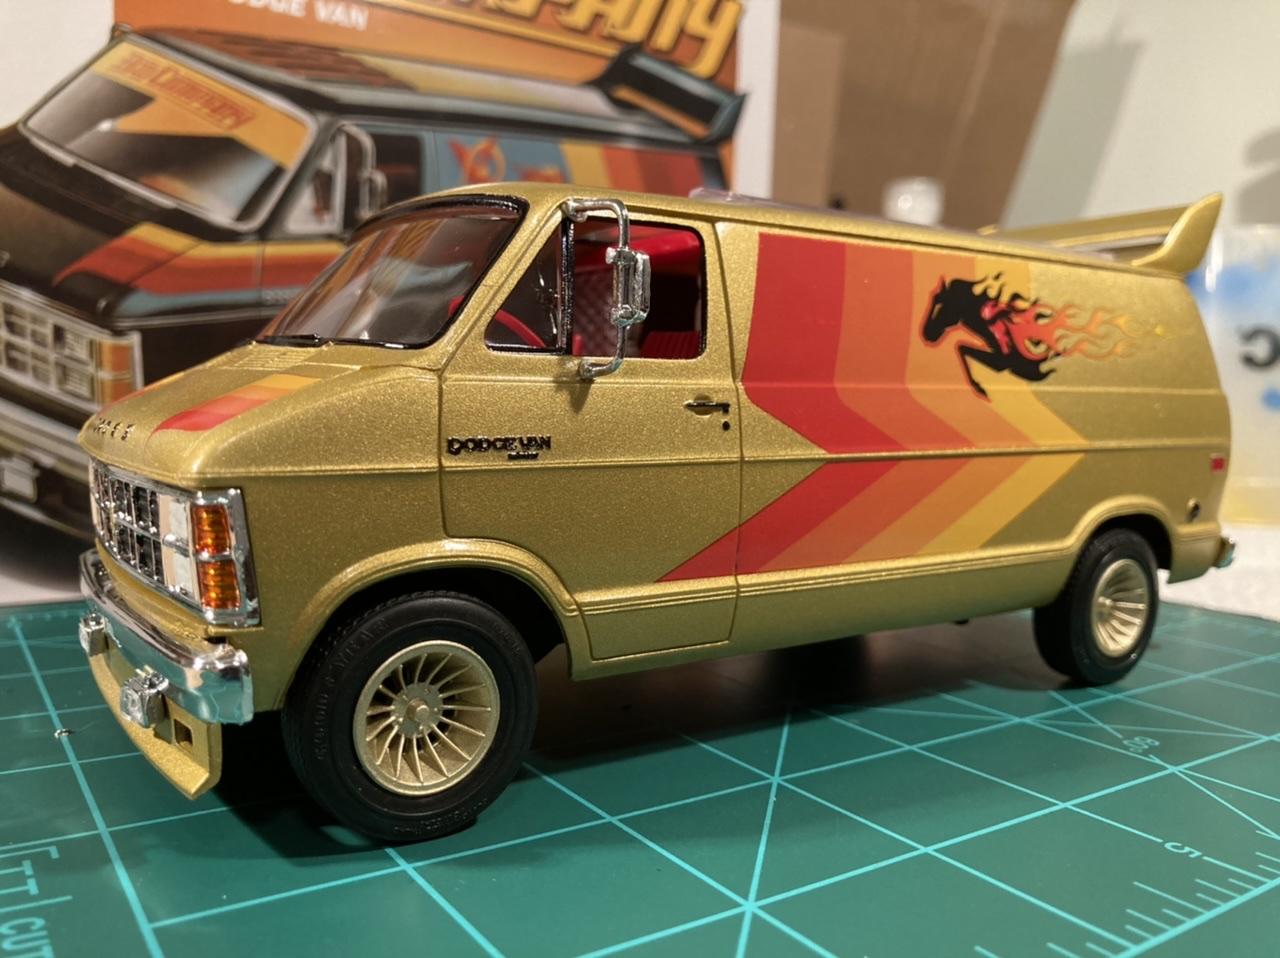
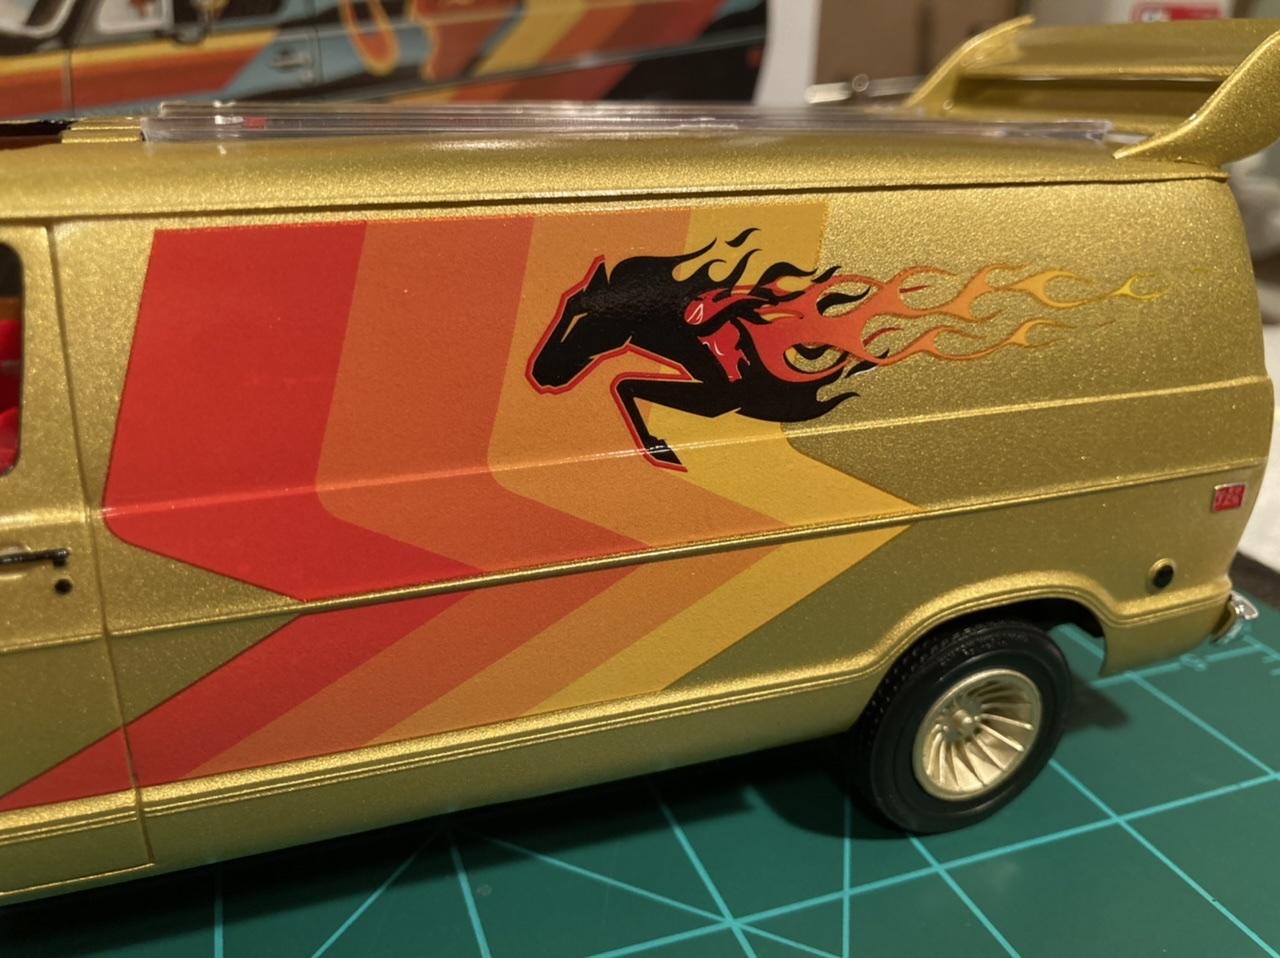
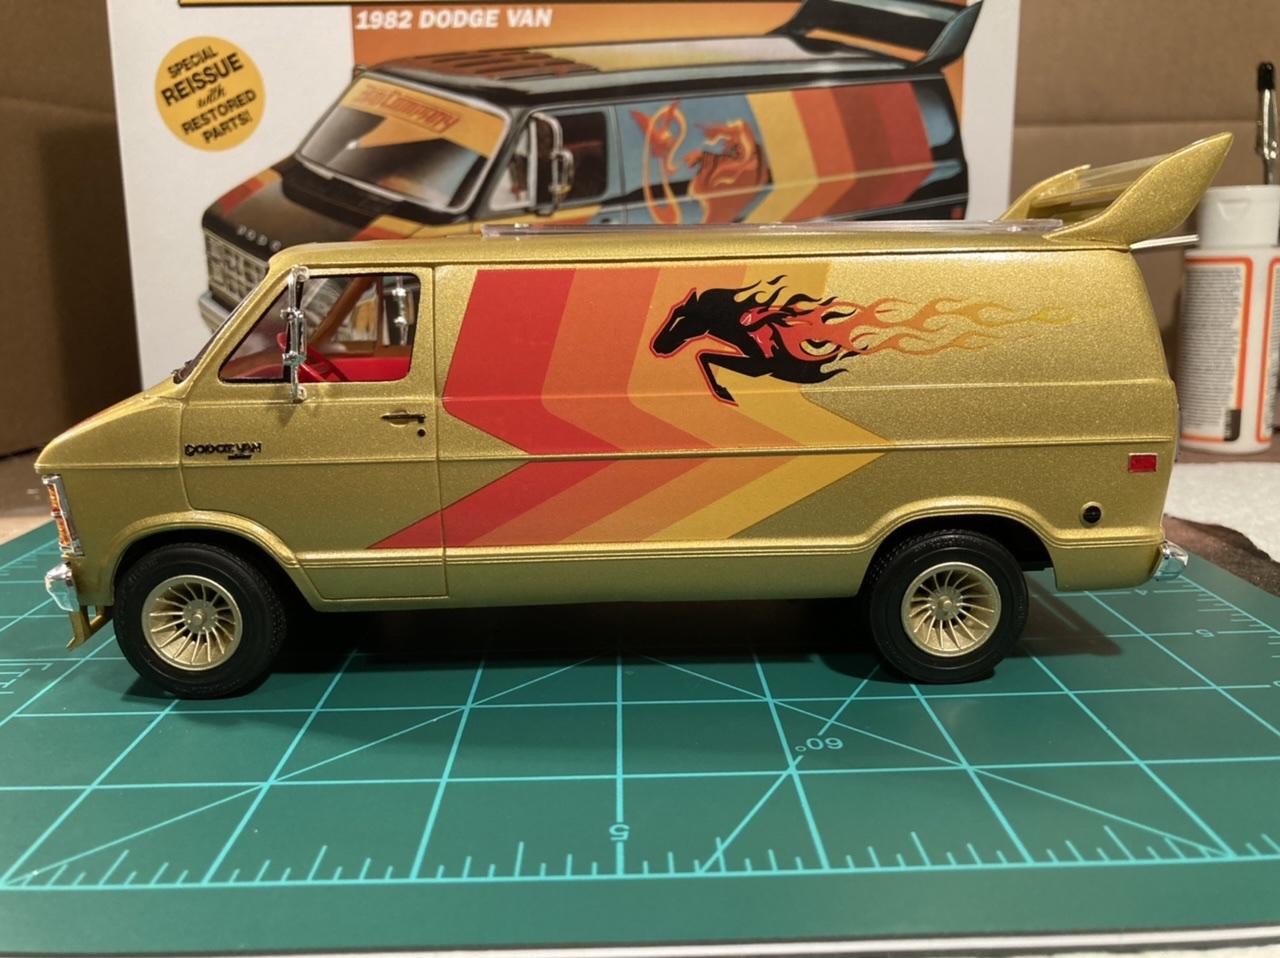
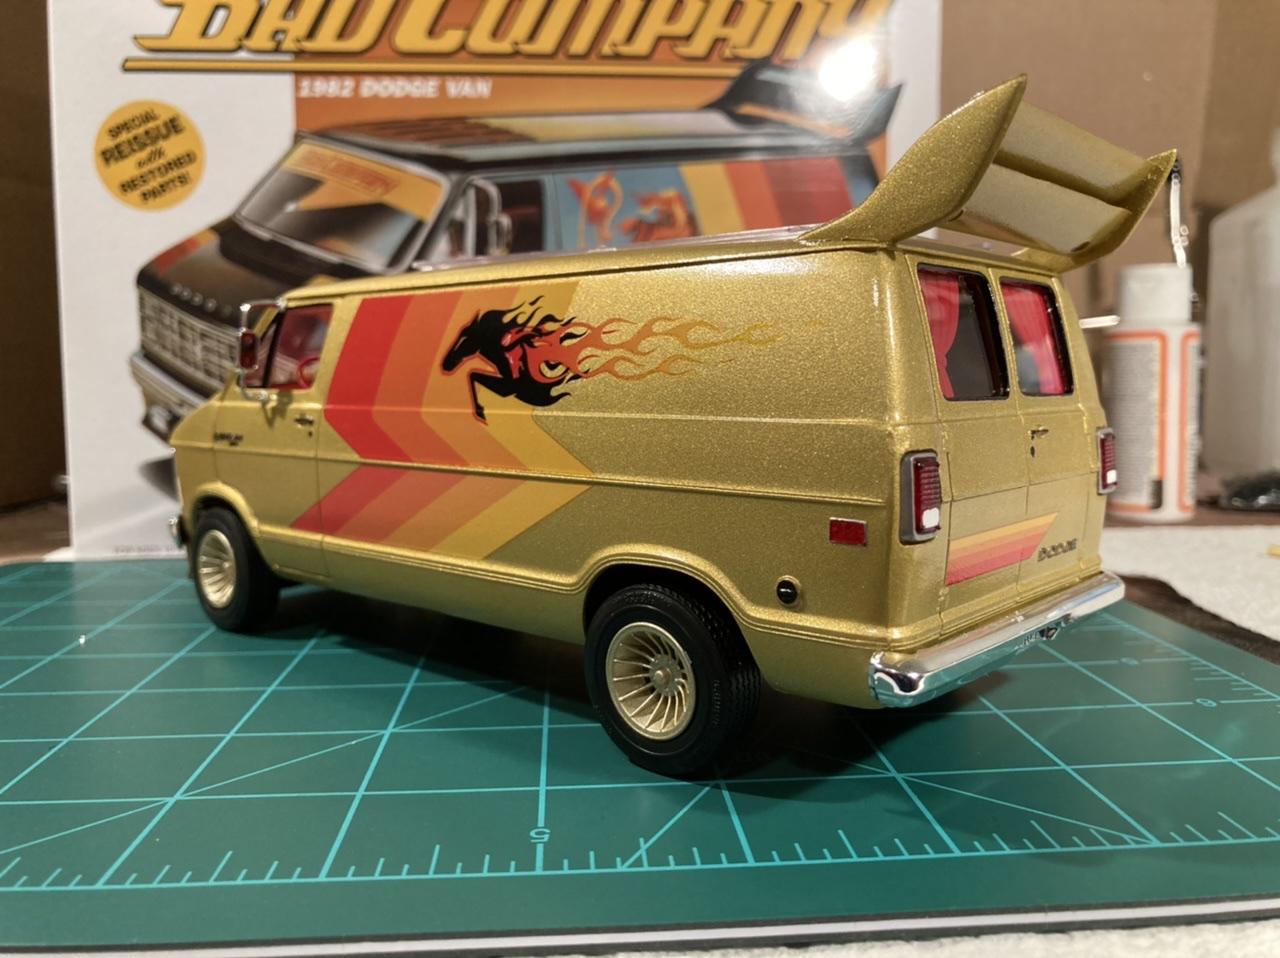
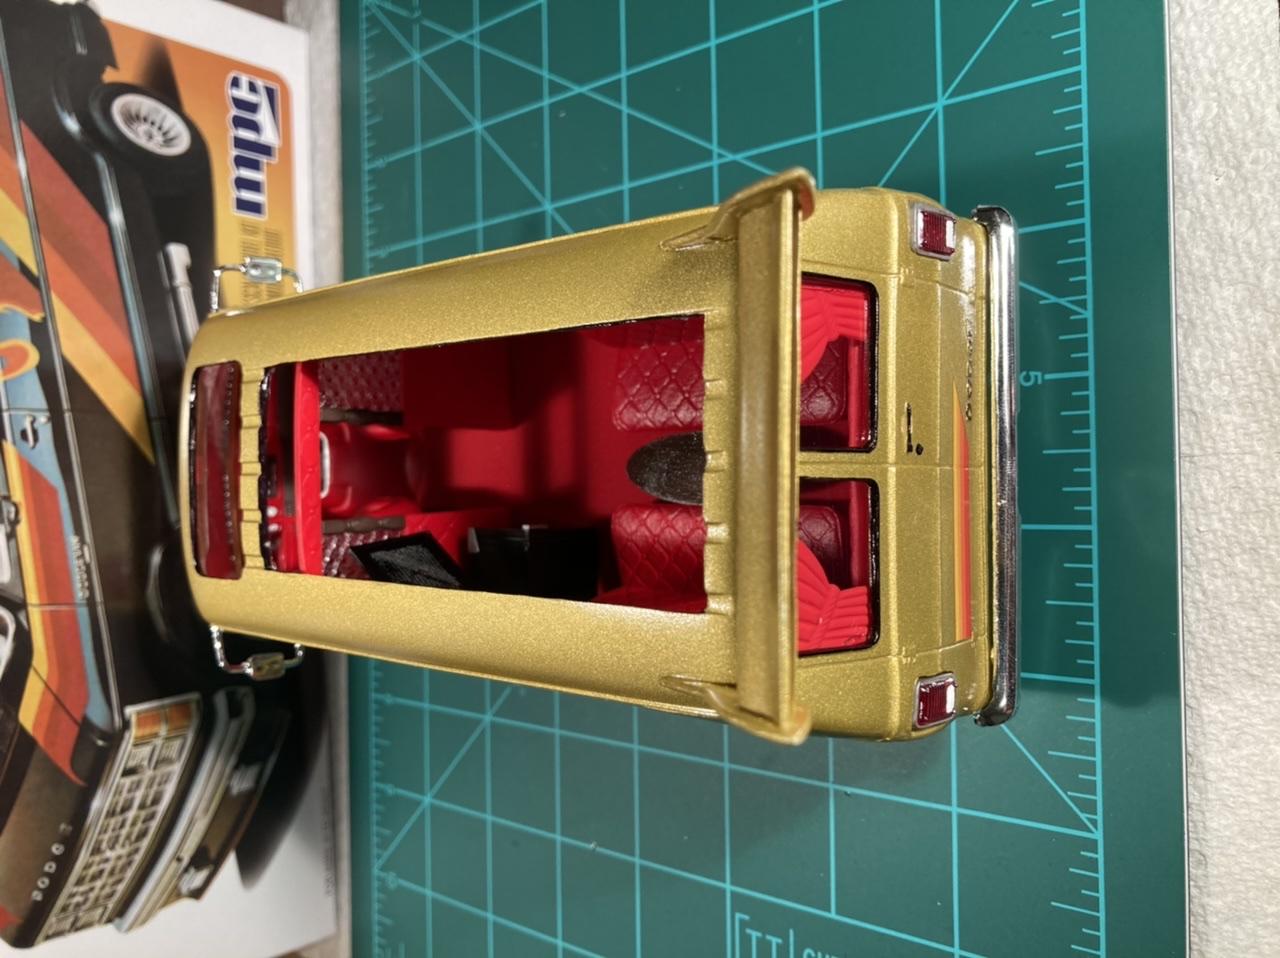
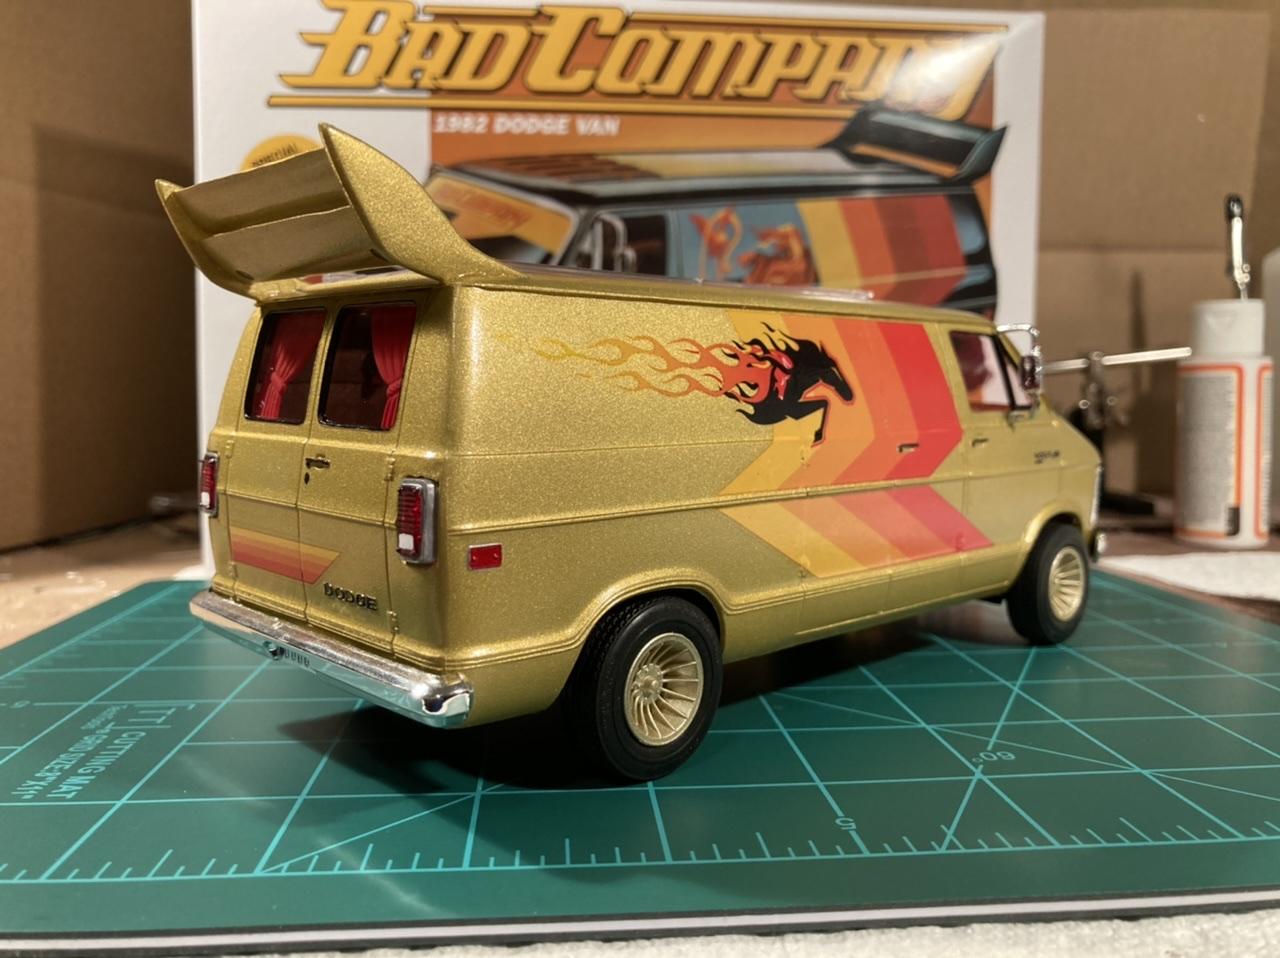
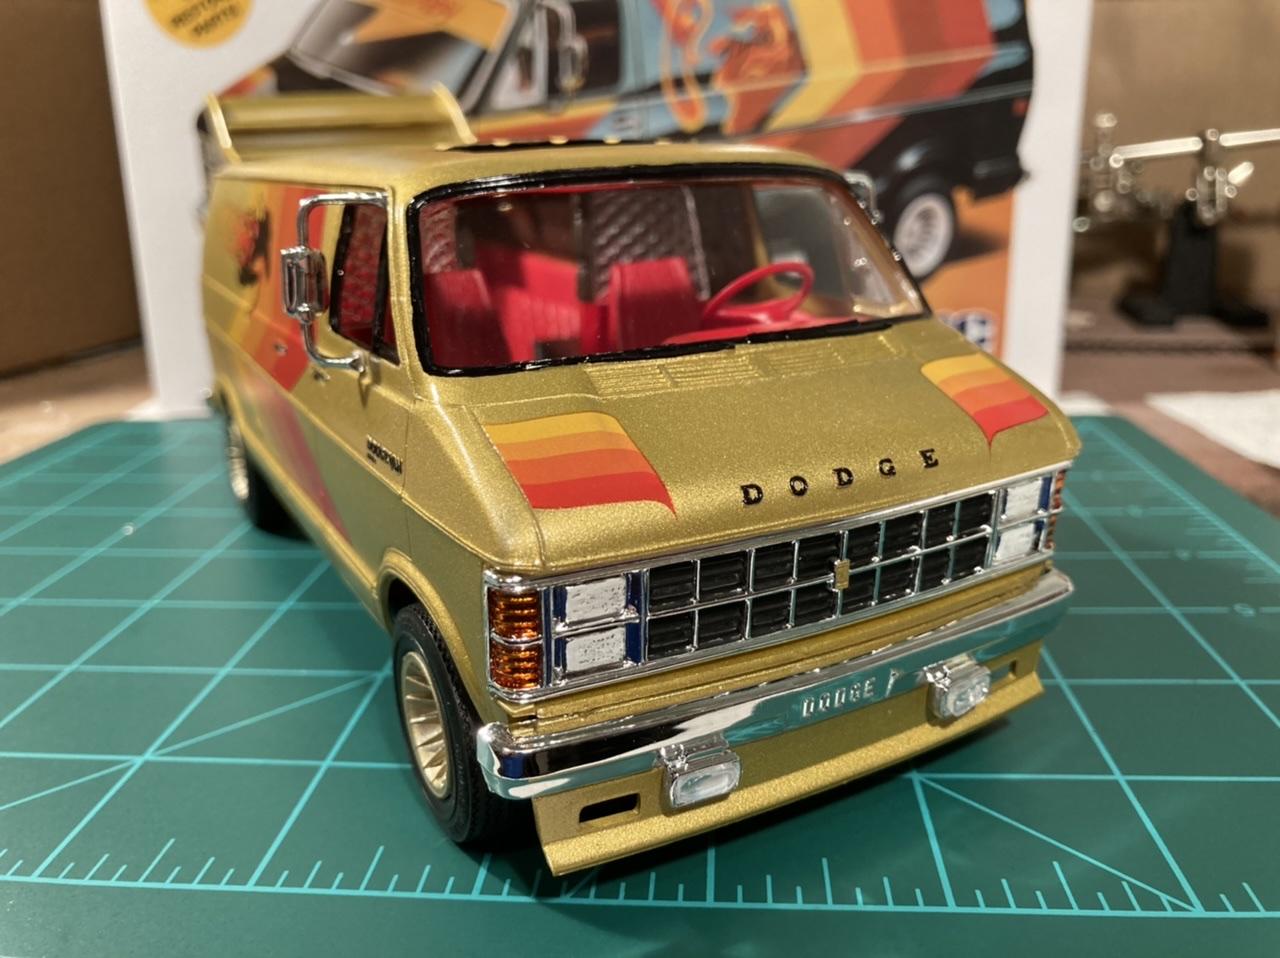
 Here is my ‘82 custom Dodge Van! It’s the re-released “Bad Company” kit from MPC, with my own mix on the decals. The black flaming horse decals came from the MPC Pinto Pony Express re-issue, and the sunset flaming horse came from the recent release AMT ‘66 Mustang coupe kit. I thought the wizard decals in the kit looked goofy so I swapped in those horse flame decals. I think they look like they belong together! I painted the body in Tamiya X-12 Gold Leaf, and the interior in XF-7 flat red, with Future on the seats, dash and walls. This was my first time using Future floor polish and I am definitely a convert! The body paint really pops with three thin coats of future. FYI, it’s now called “Pledge Revive It Floor Gloss Original” - it took me a while to find the current name and I had to order it from Amazon. The interior is mostly box stock, but I added a simple mini fridge and 32” flat screen tv that I modeled up in CAD and had my brother 3D print for me. The TV wall mount is just a cut piece of scrap sprue. Overall this kit went together pretty well, but it took some finessing to get the interior tub and chassis to seat properly in the body. The large glass roof panel is definitely supposed to be glued in from the inside, but it then won’t fit with the cab partition panel in place. I left it removable and just set it in from the outside. I wanted to use the chrome side exit exhaust pipes, but there doesn’t seem to be a way to actually attach them to the body or frame without doing custom fab. I didn’t realize this until final assembly so I won’t bother adding an exhaust. This kit’s eye candy is up top anyway, no one is ever going to look underneath! I probably should have left the engine out too since you can’t really see it. This is definitely the wildest looking kit I’ve ever done, and I had a blast doing it. I grew up well after the custom van scene died out, but it definitely needs to make a comeback!
-
Awesome! Where did you get this kit? Is it a custom resin kit?
-
Yeah it came with the kit’s decal sheet! I made sure to use it.
-
Thanks! I do have the Revell ‘90 lx coupe drag kit and it does have the stock parts. But I want to build that one as a stock coupe so it was spared from the chopping block! And my girlfriend gets on to me for buying too many kits as it is, she would lose it if I started buying duplicates ?
-
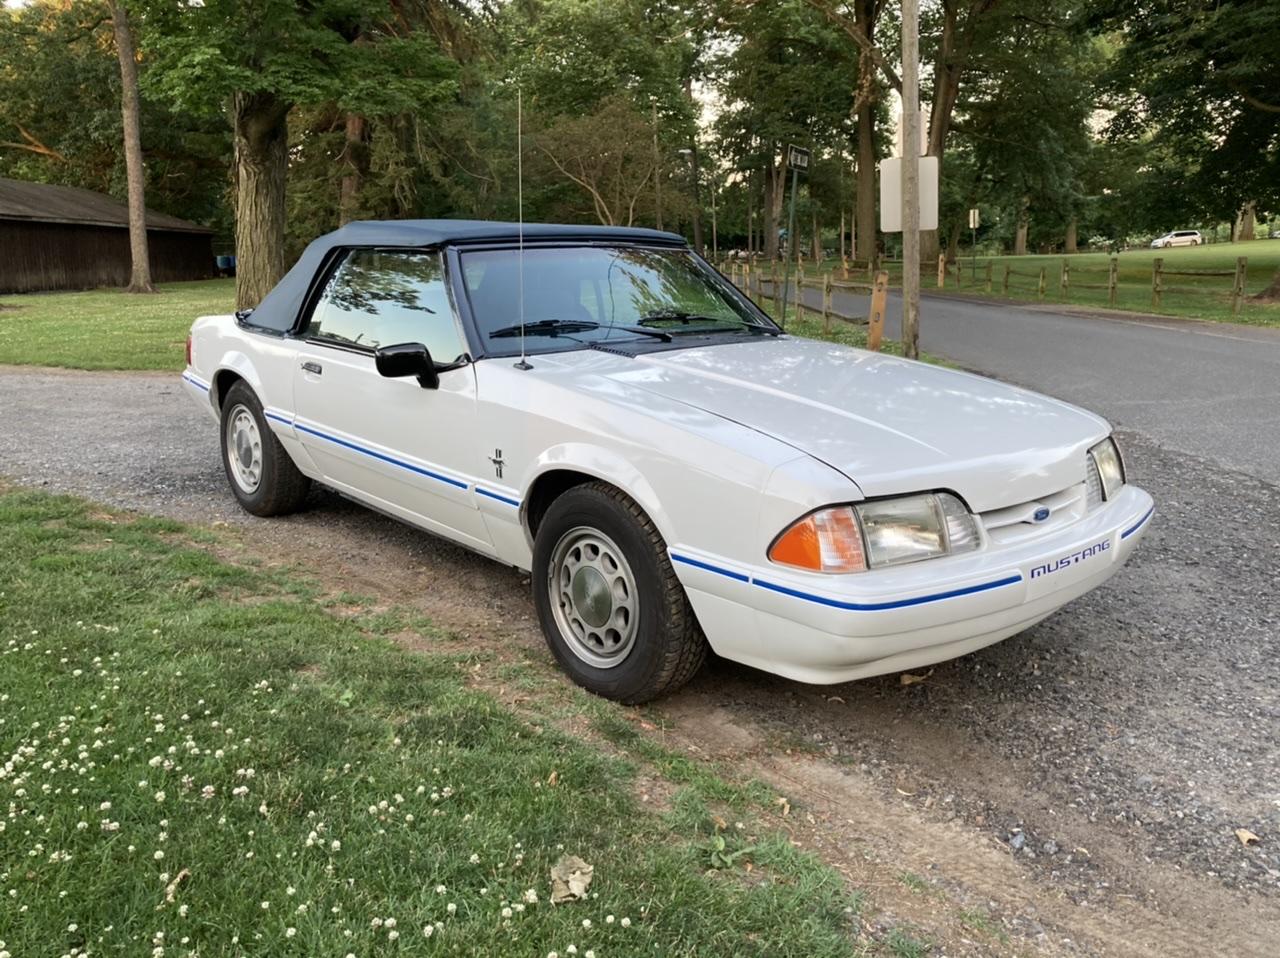
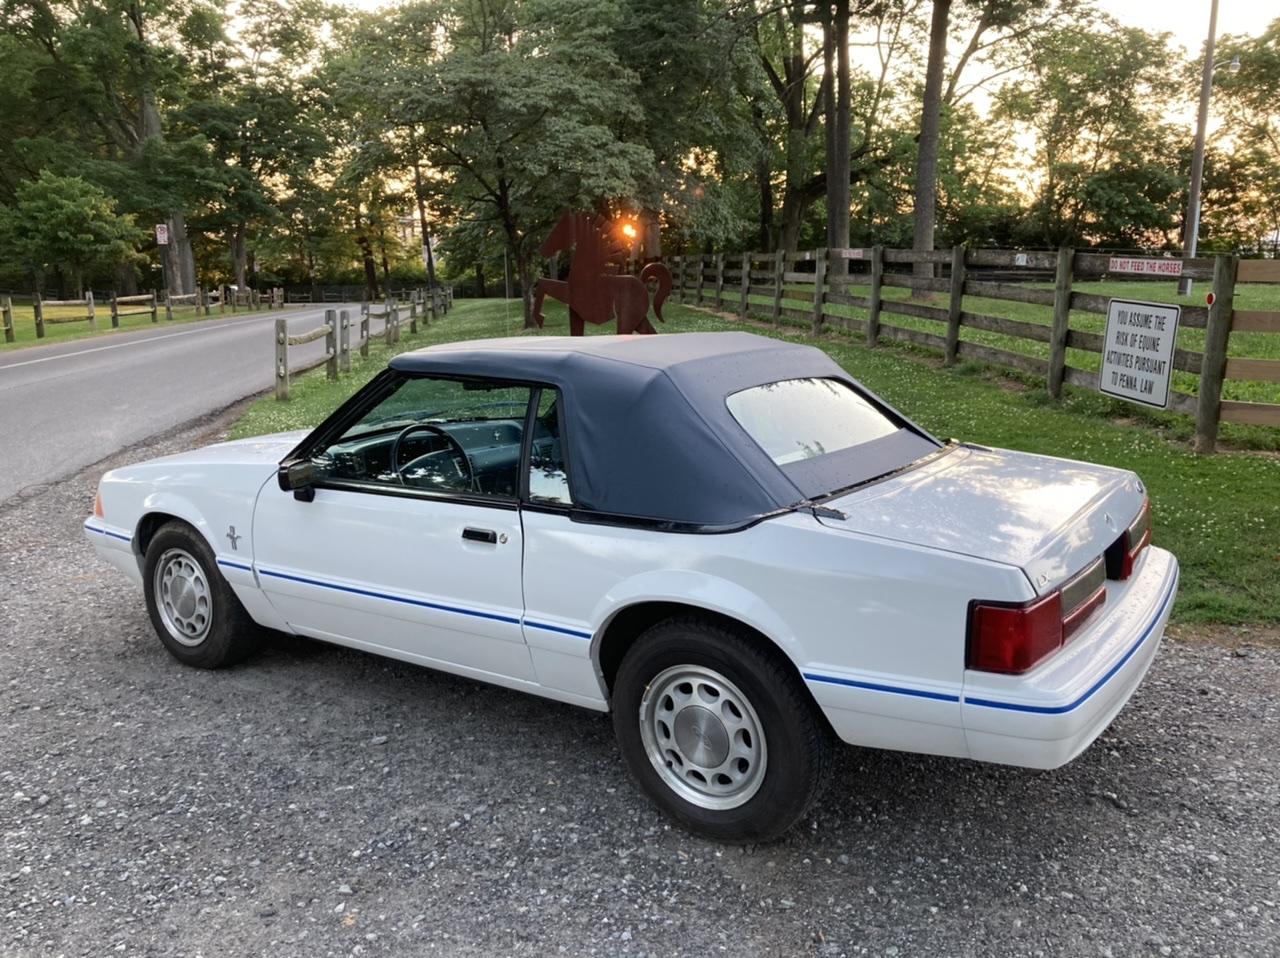
Here’s my 1:1!
-
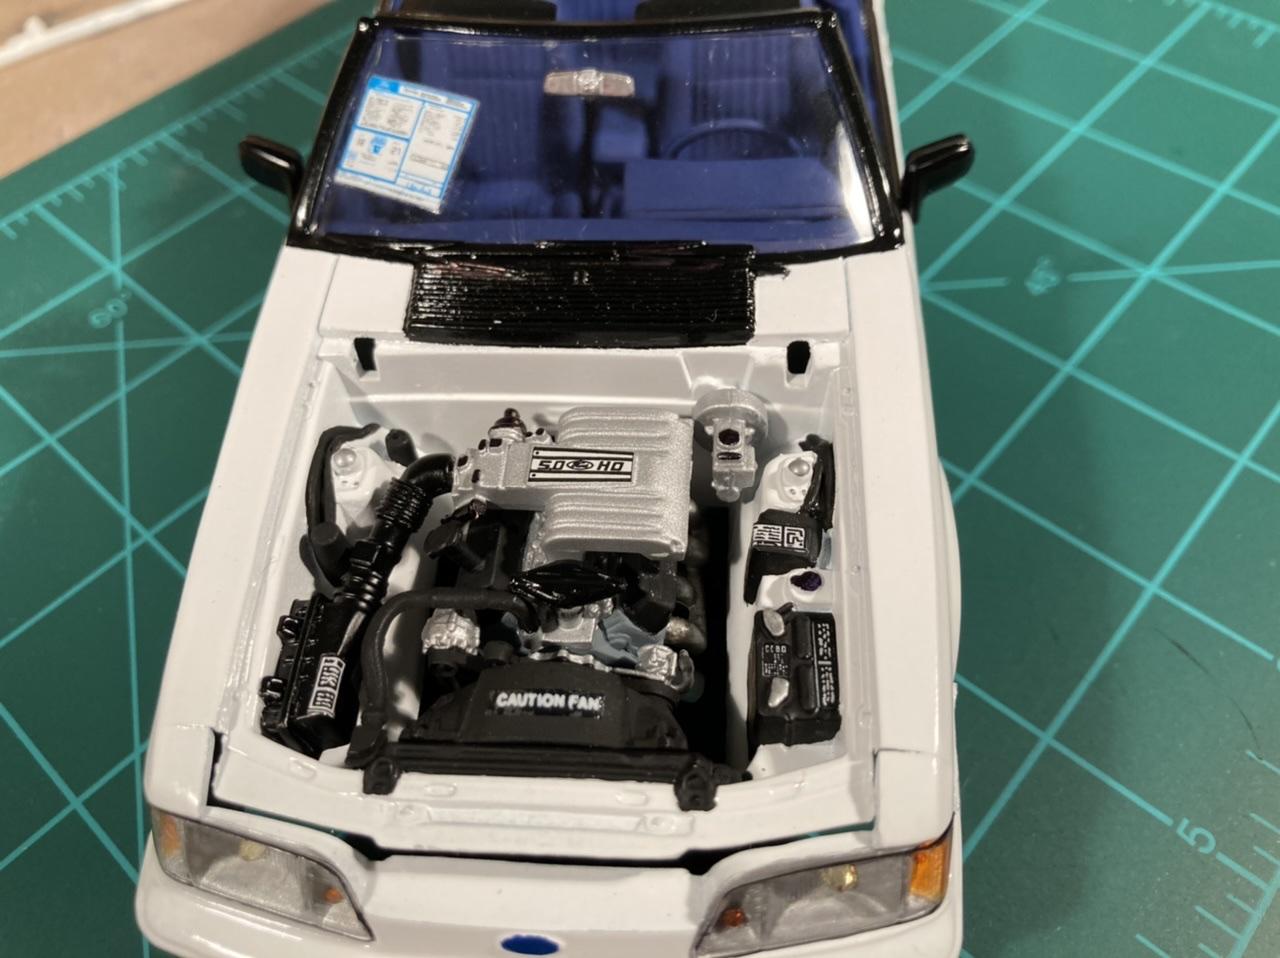
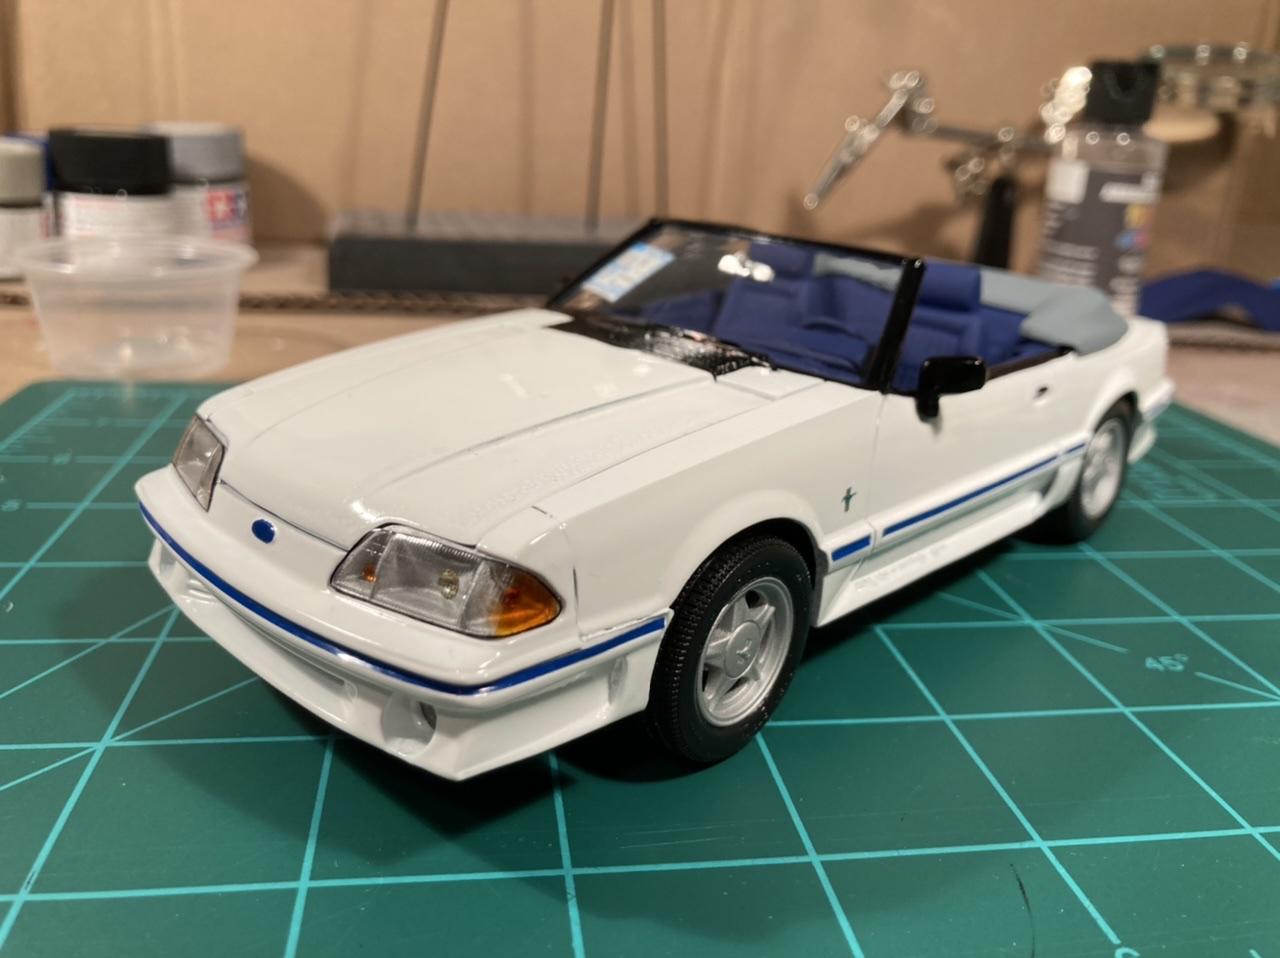
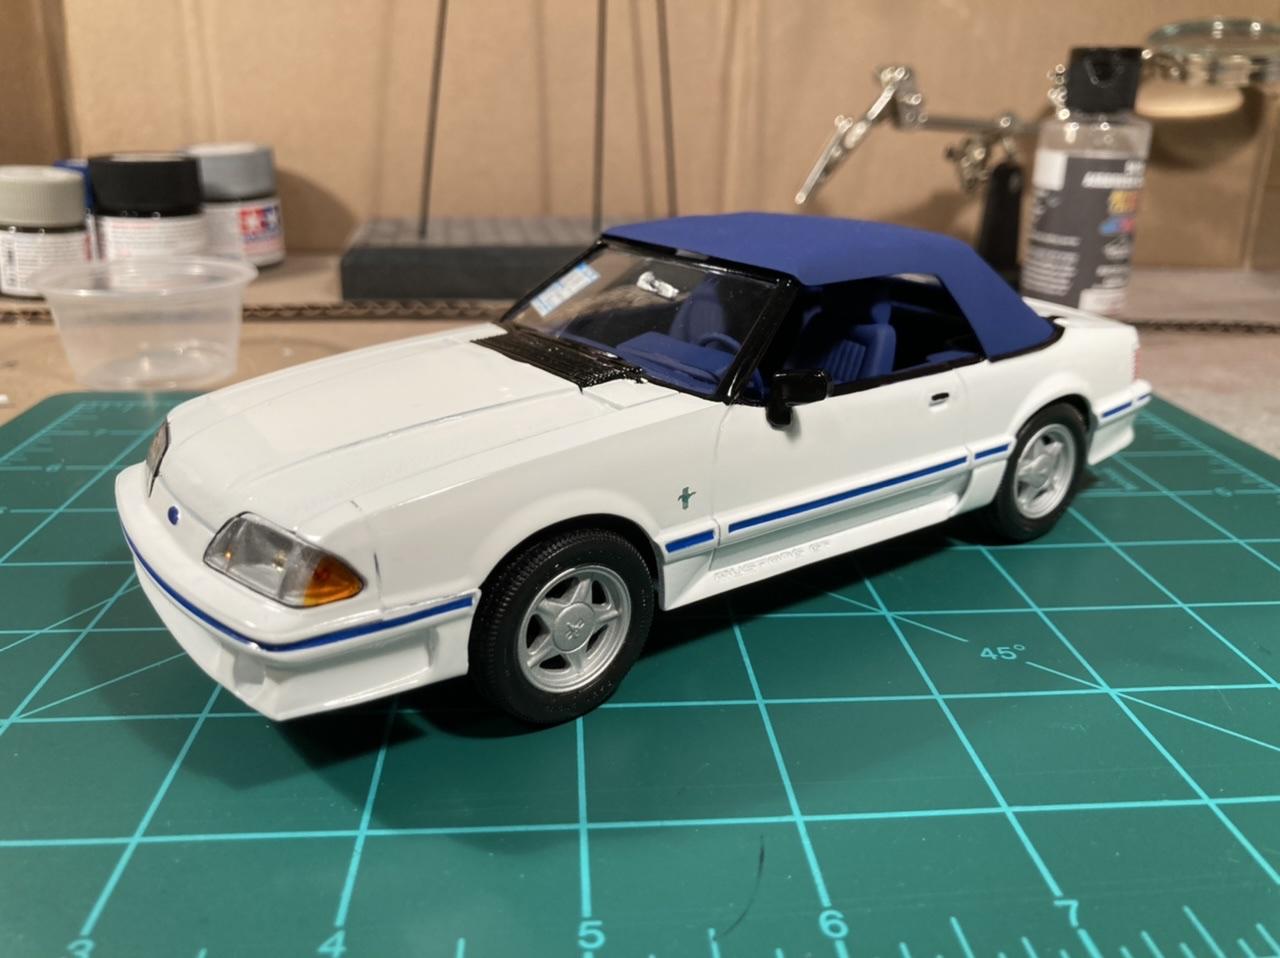
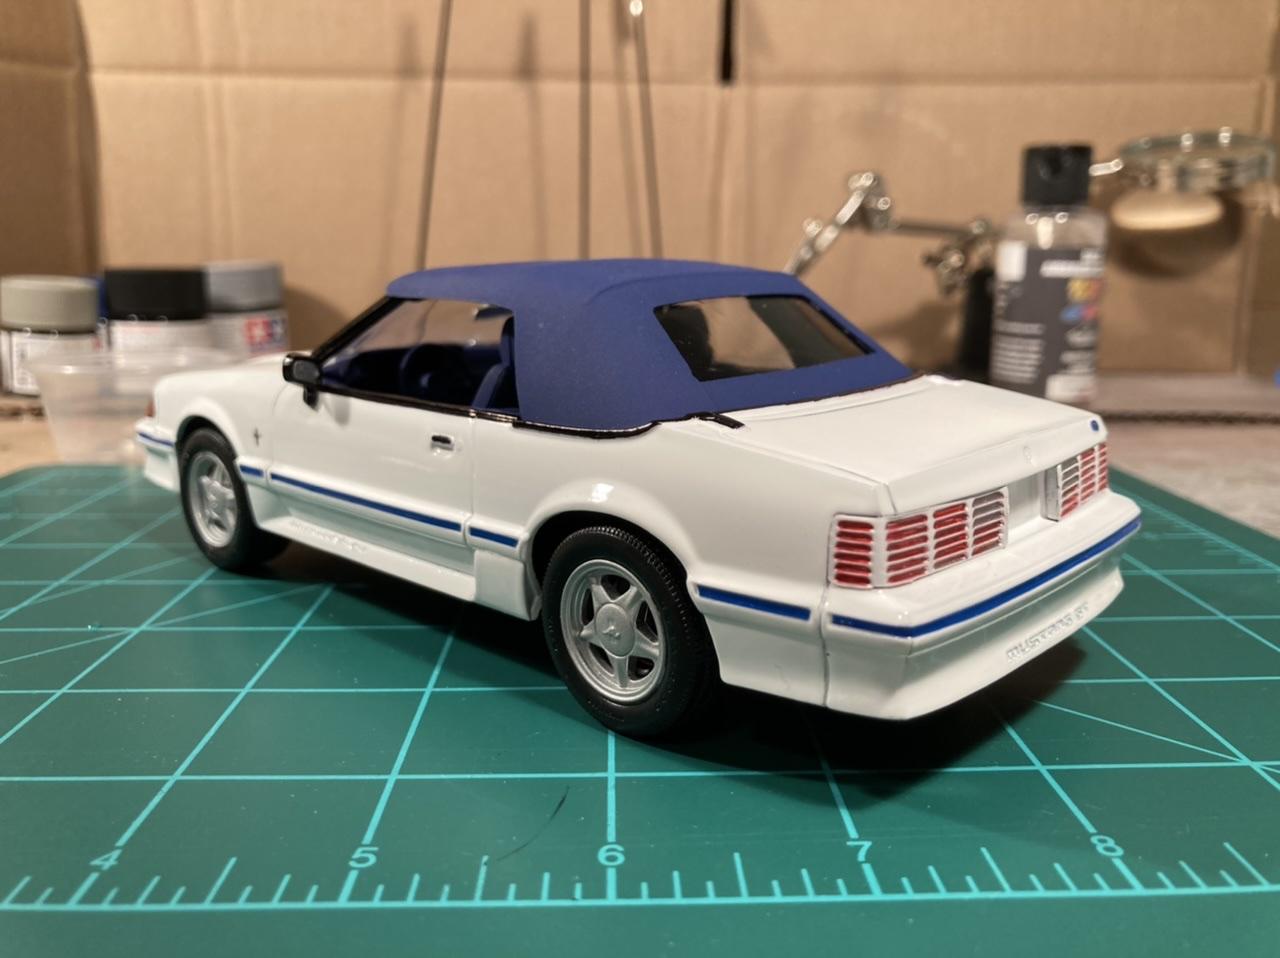
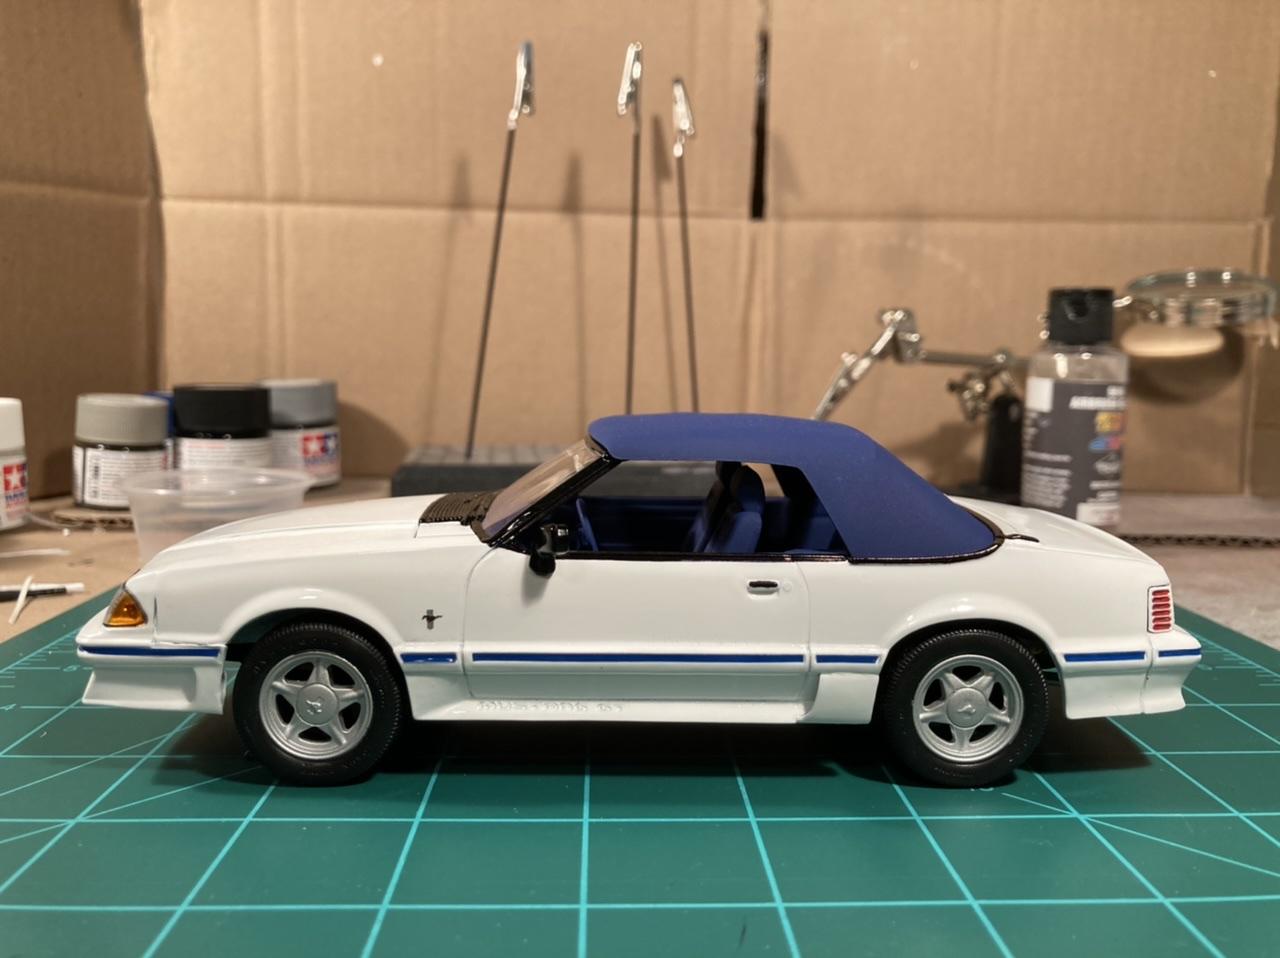
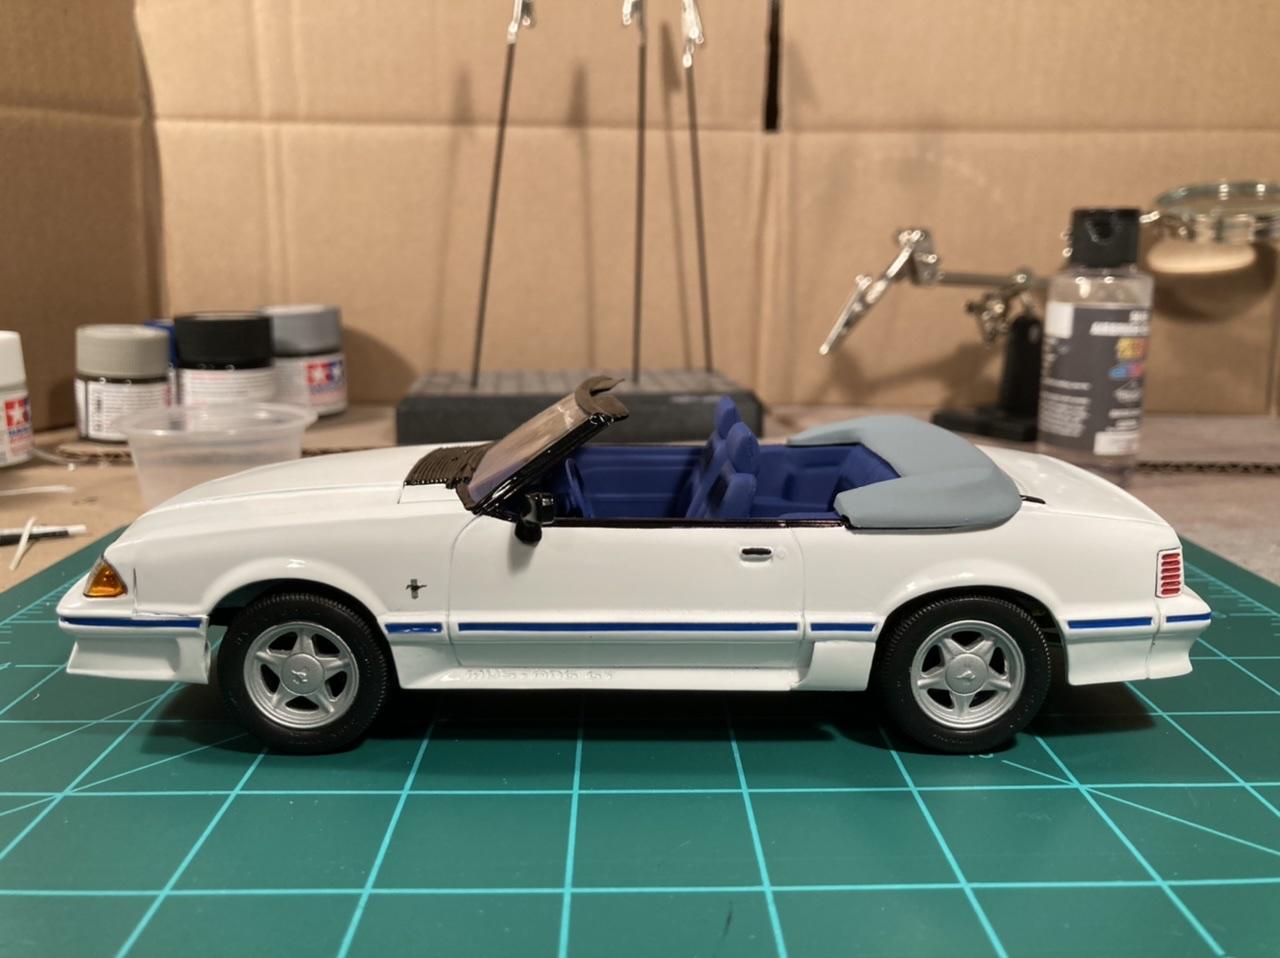
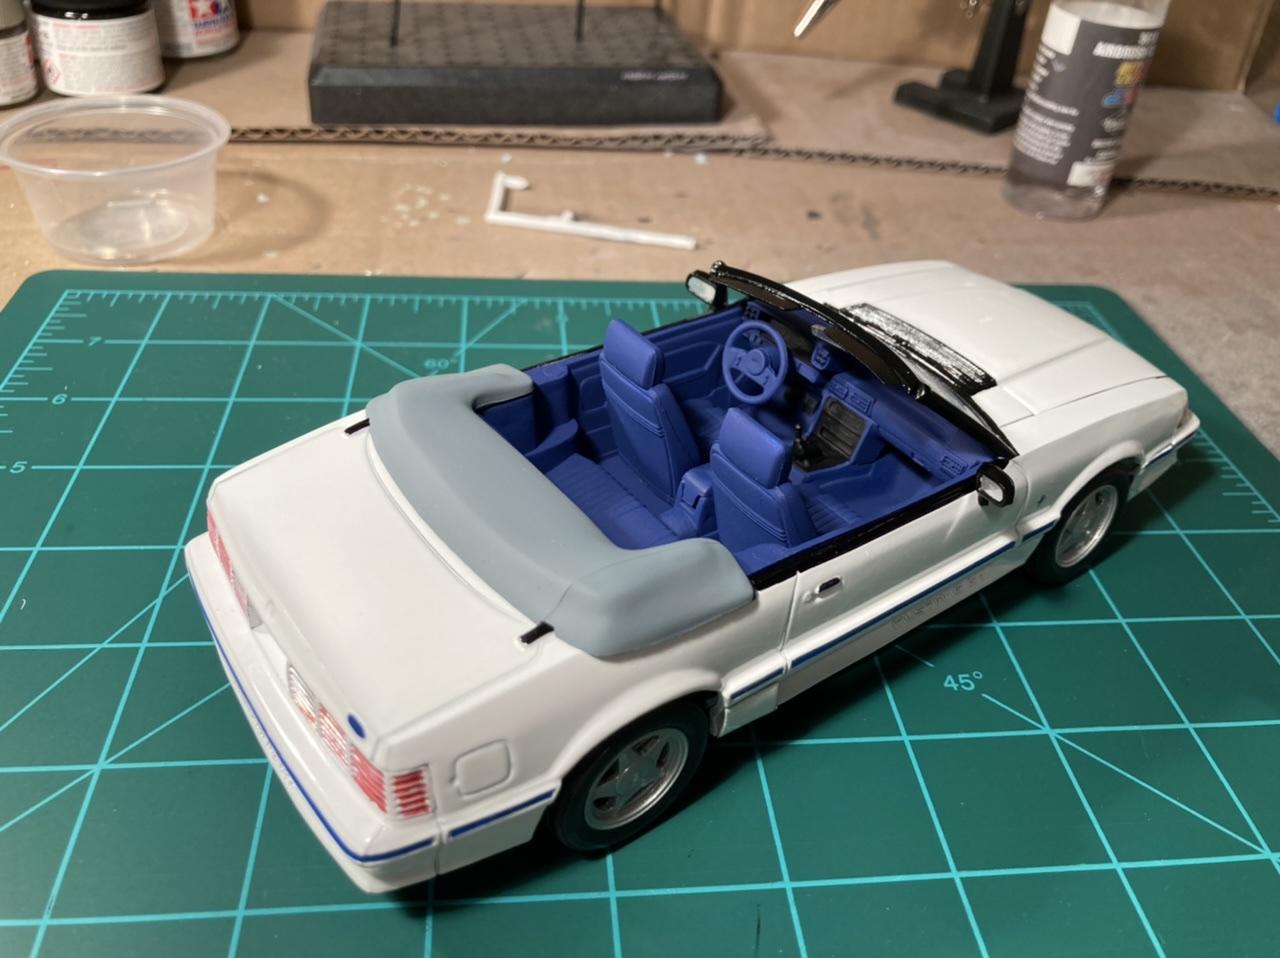
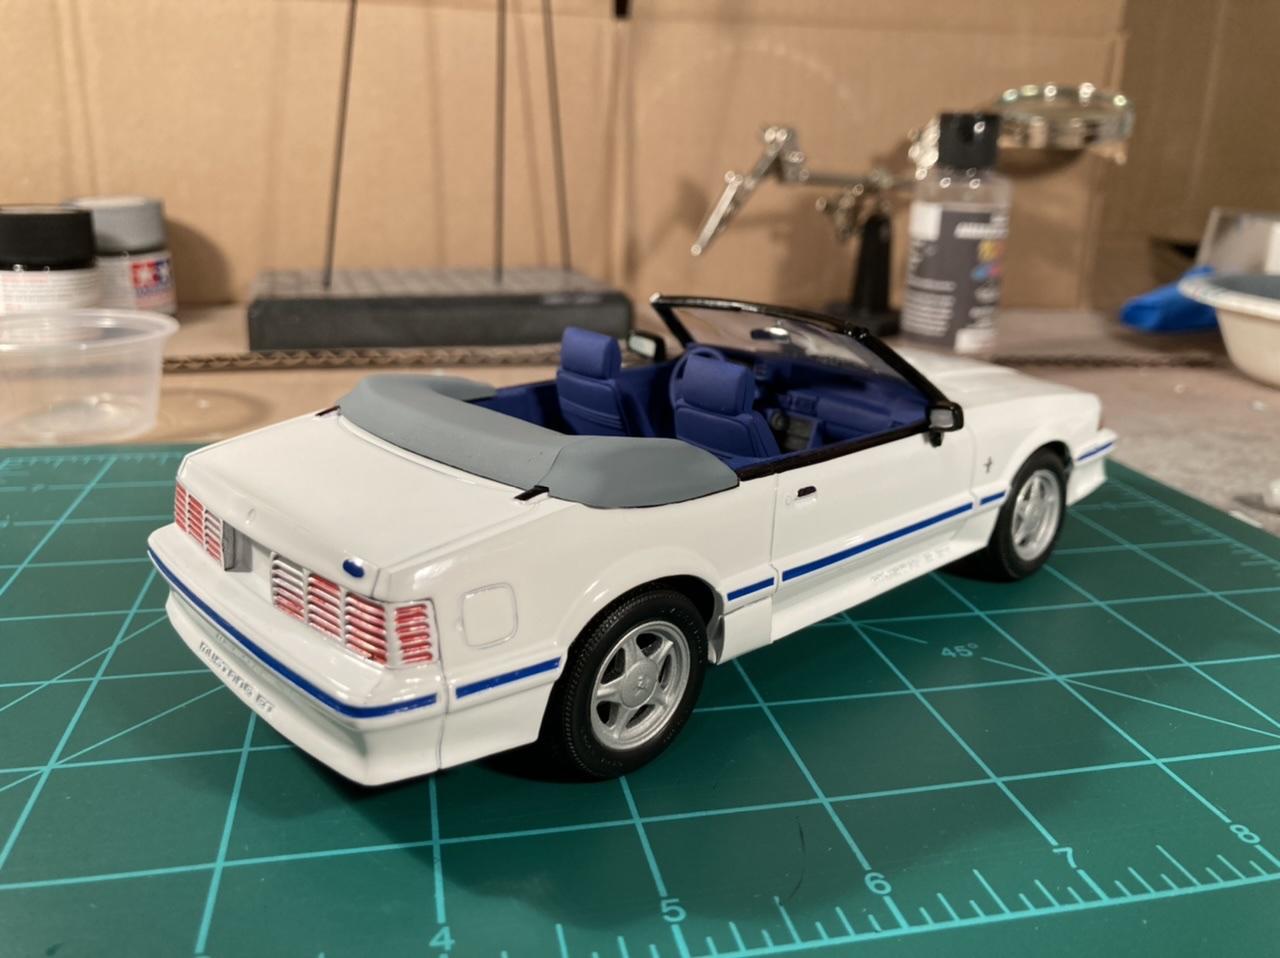
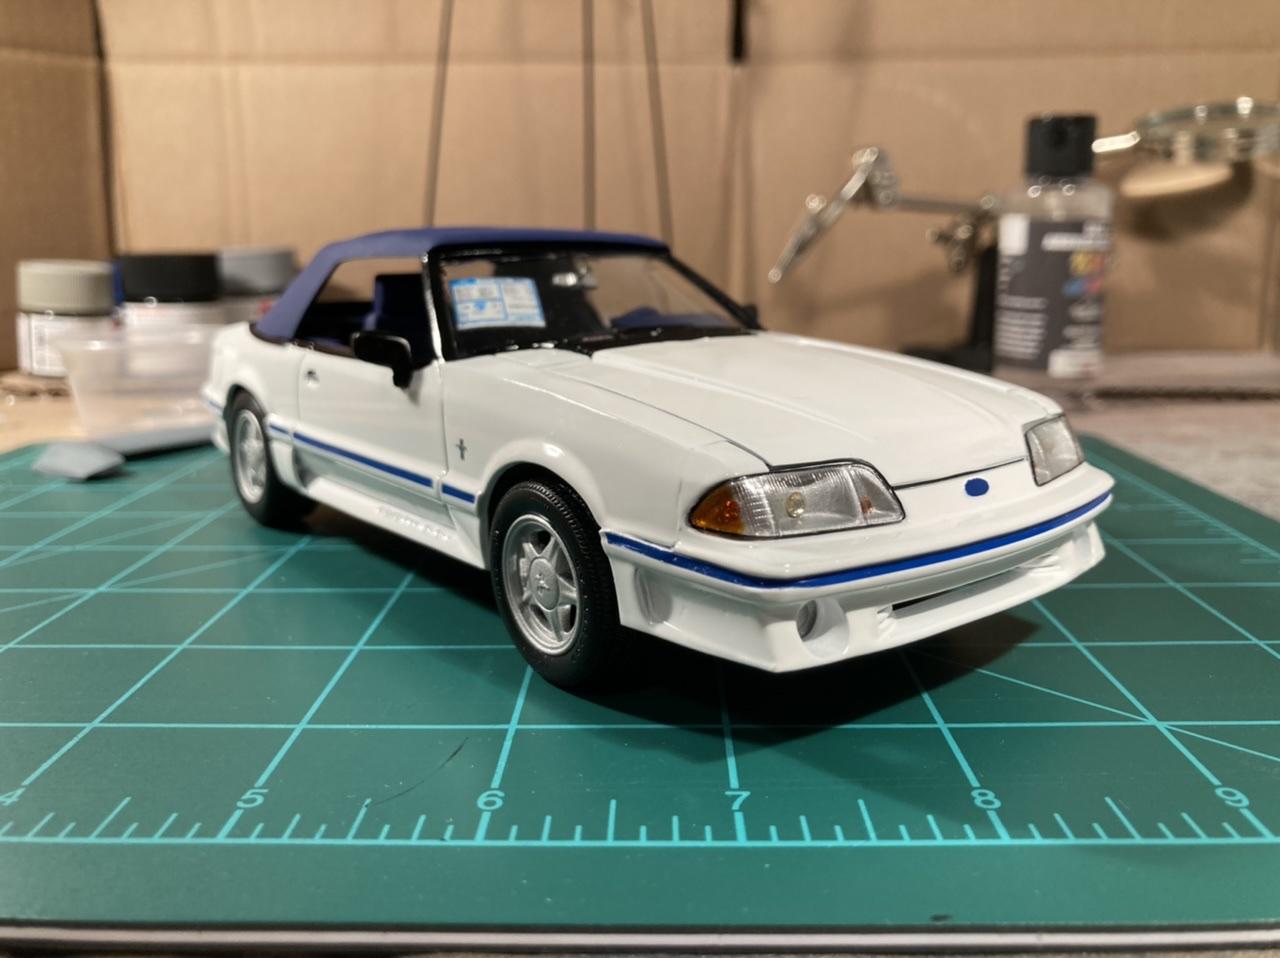
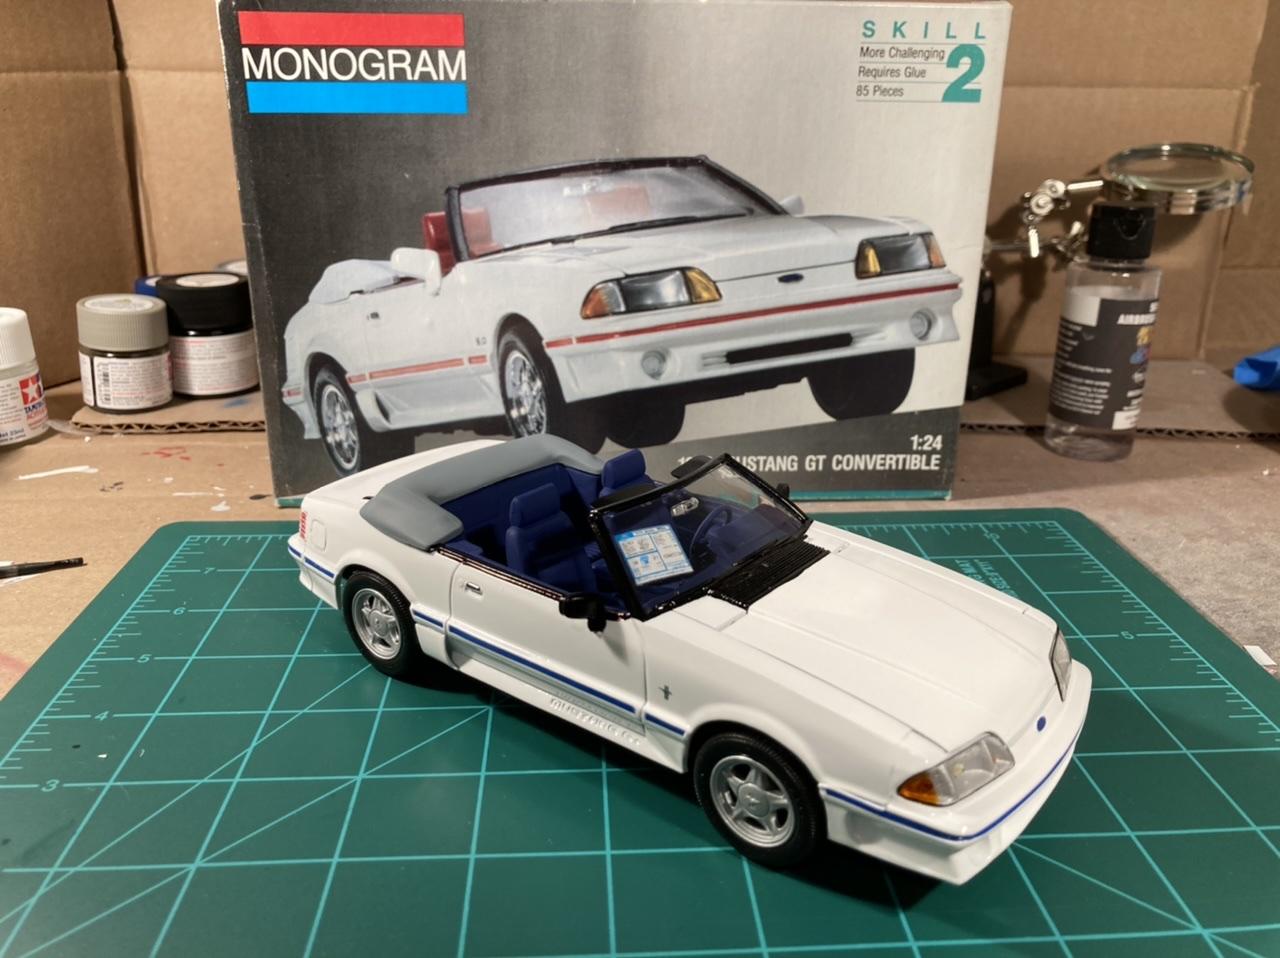
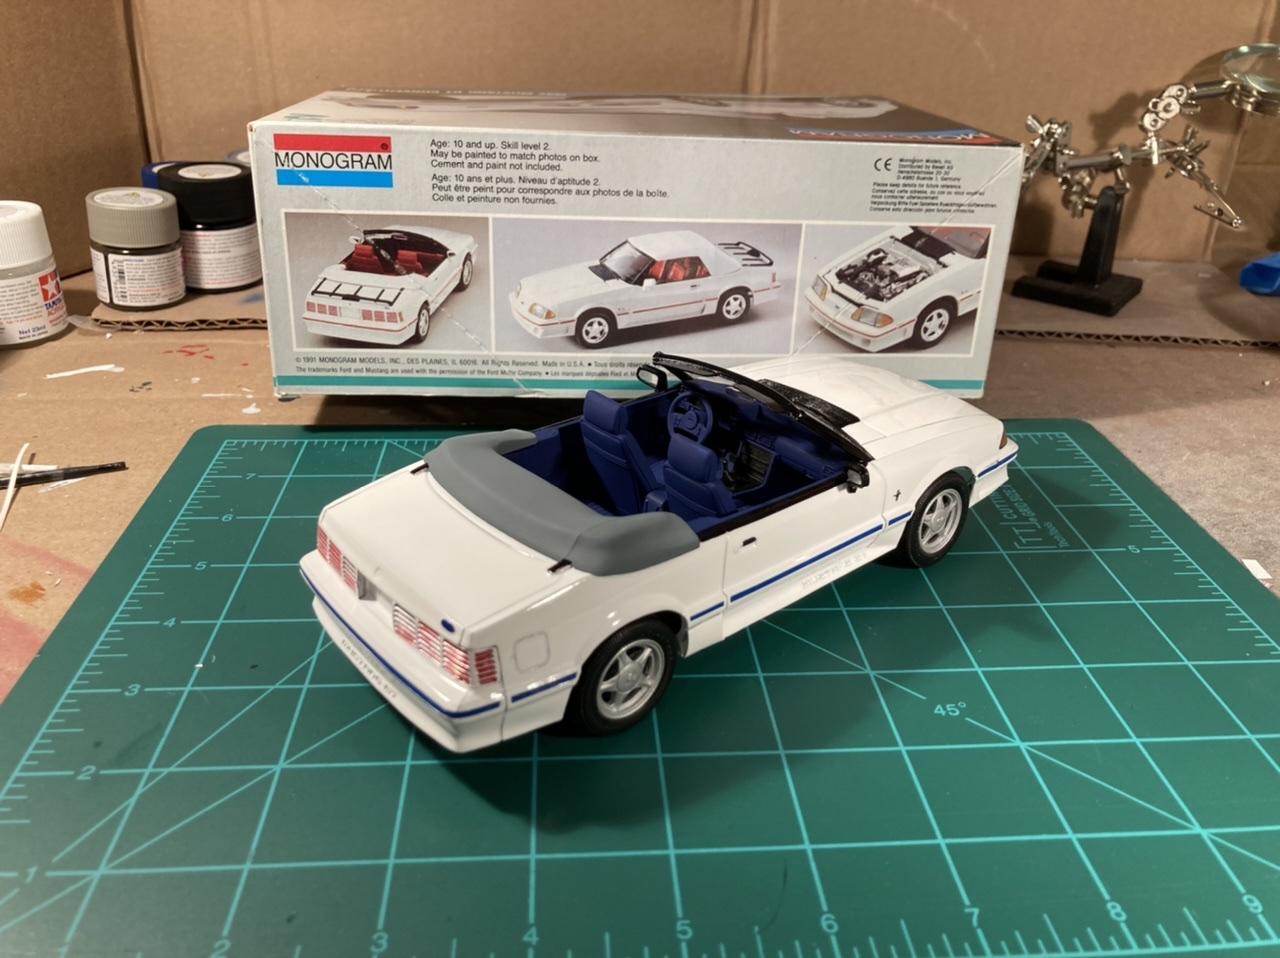
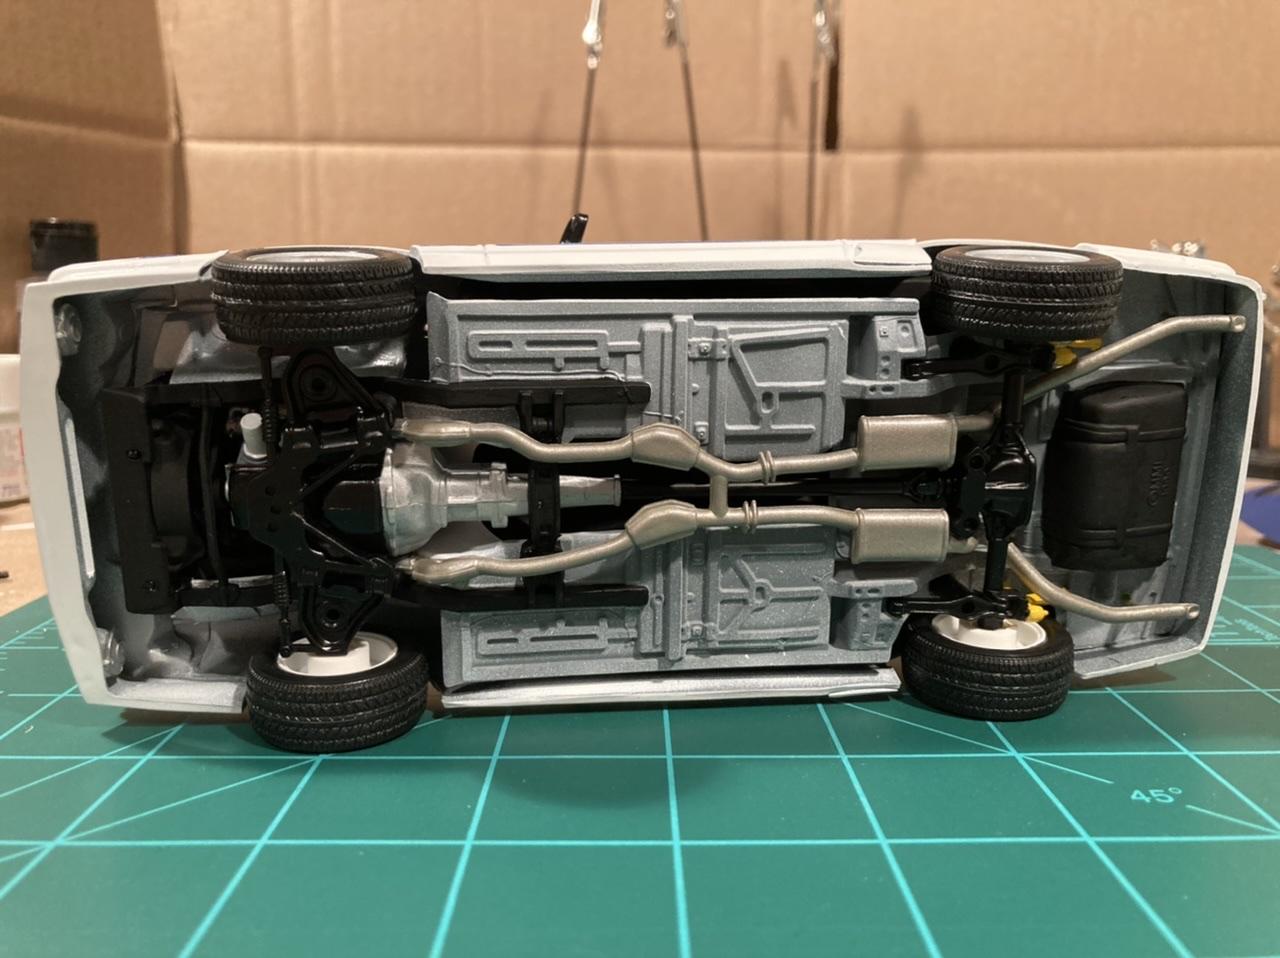
Here is my Monogram “1992” Mustang GT Convertible. I built this kit as a color scheme tribute to my 1:1 Mustang, a 1993 2.3 LX. My original idea was to kit bash this GT with an SVO or ‘83 GLX to create an LX ‘vert but all three of these kits are expensive on eBay today and I just don’t have the skills or stomach yet to cut up two $40-$60+ kits ?. So I settled for my car, but as a GT! I used Swarovski Crystals (meant for ladies’ custom nails) from Hobby Lobby to simulate the headlight and turn signal bulbs. And I used the actual belt line stripe tape left over from my 1:1, cut down for the 1:24 belt line stripe. To do those blasted cheese grater taillights, I painted them all white first, then used silver and red gel pens to color the lens sections. It’s a little sloppy but looks good enough. I messed up the clear coat on the hood too so I’ll have to repaint it at some point but it’s not that noticeable in these iPhone pictures ?. You’ll notice that the parade boot is grey when it probably should be white or blue. But my 1:1 came with a grey boot so I painted this to match! The previous owner also shaved the trunk luggage rack so I did the same here. I’m very pleased with this one and can’t wait for a nice day to photograph both cars together!
-
This looks awesome! I don’t know why you keep apologizing over the number of detail and behind the scenes photos - pretty sure we’re all nerds here who obsess over this exact thing ? No one is going to complain about too many high quality photos like yours!
-
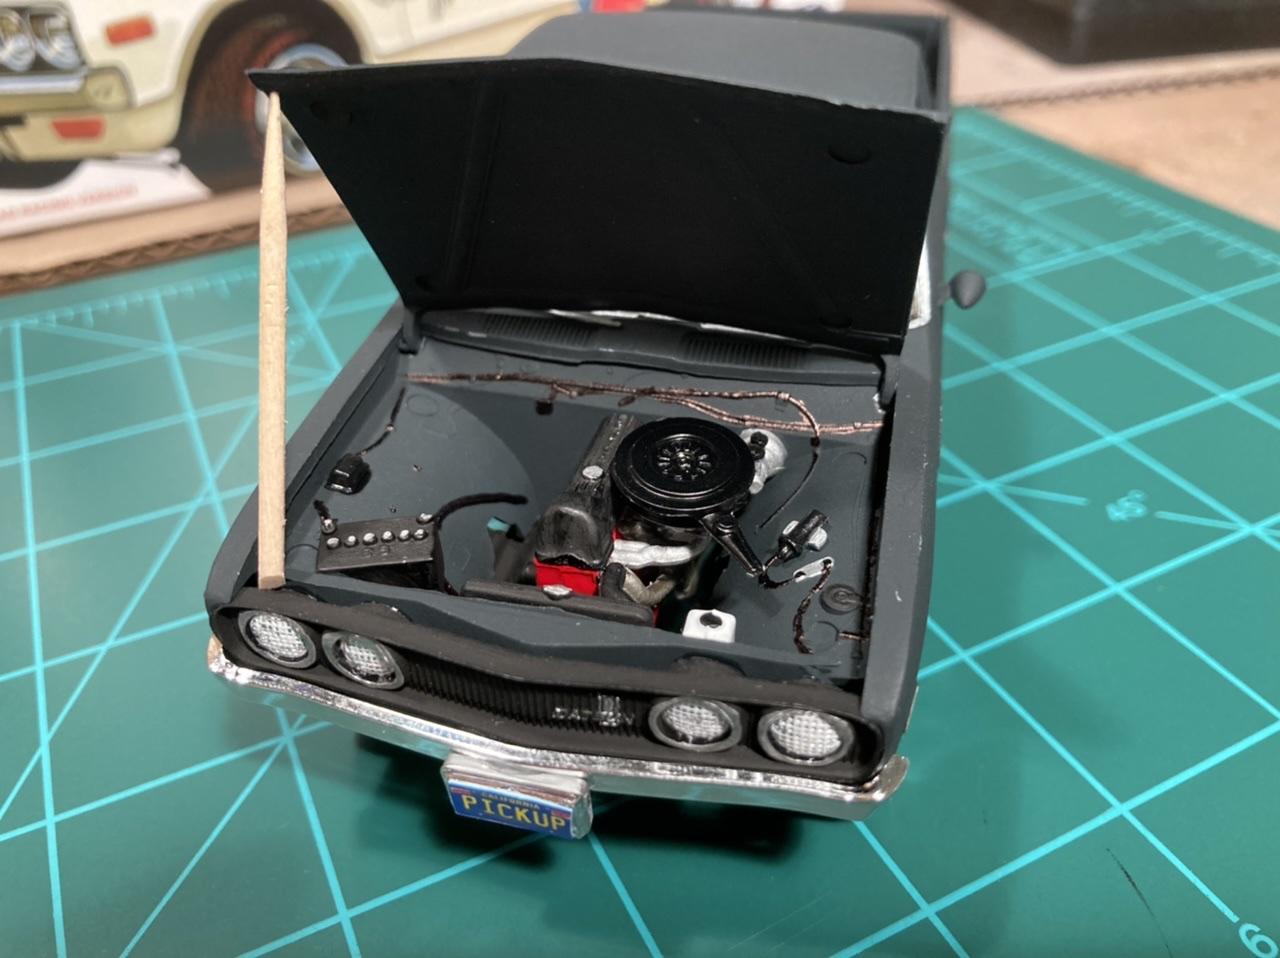
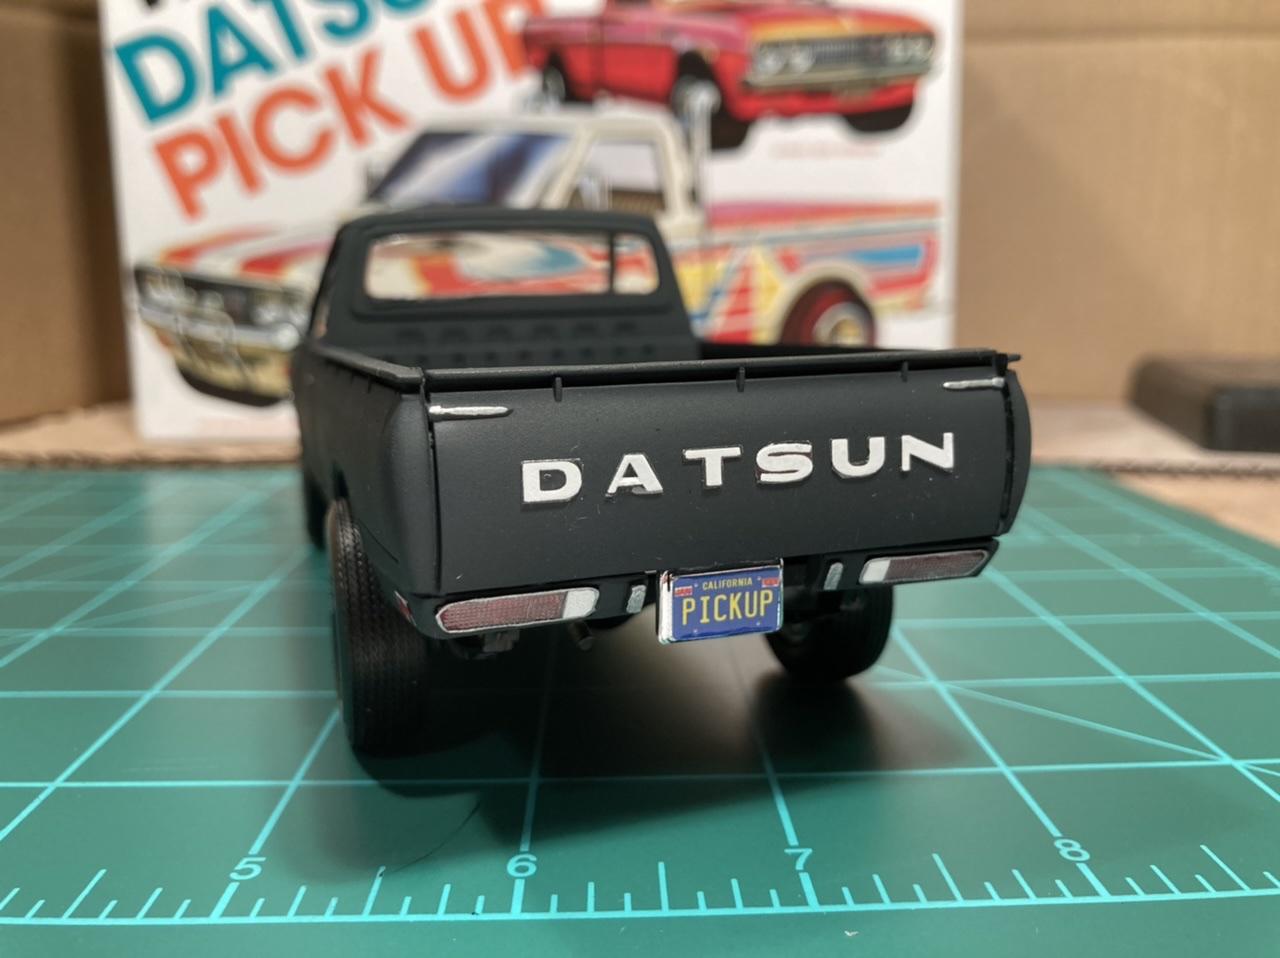
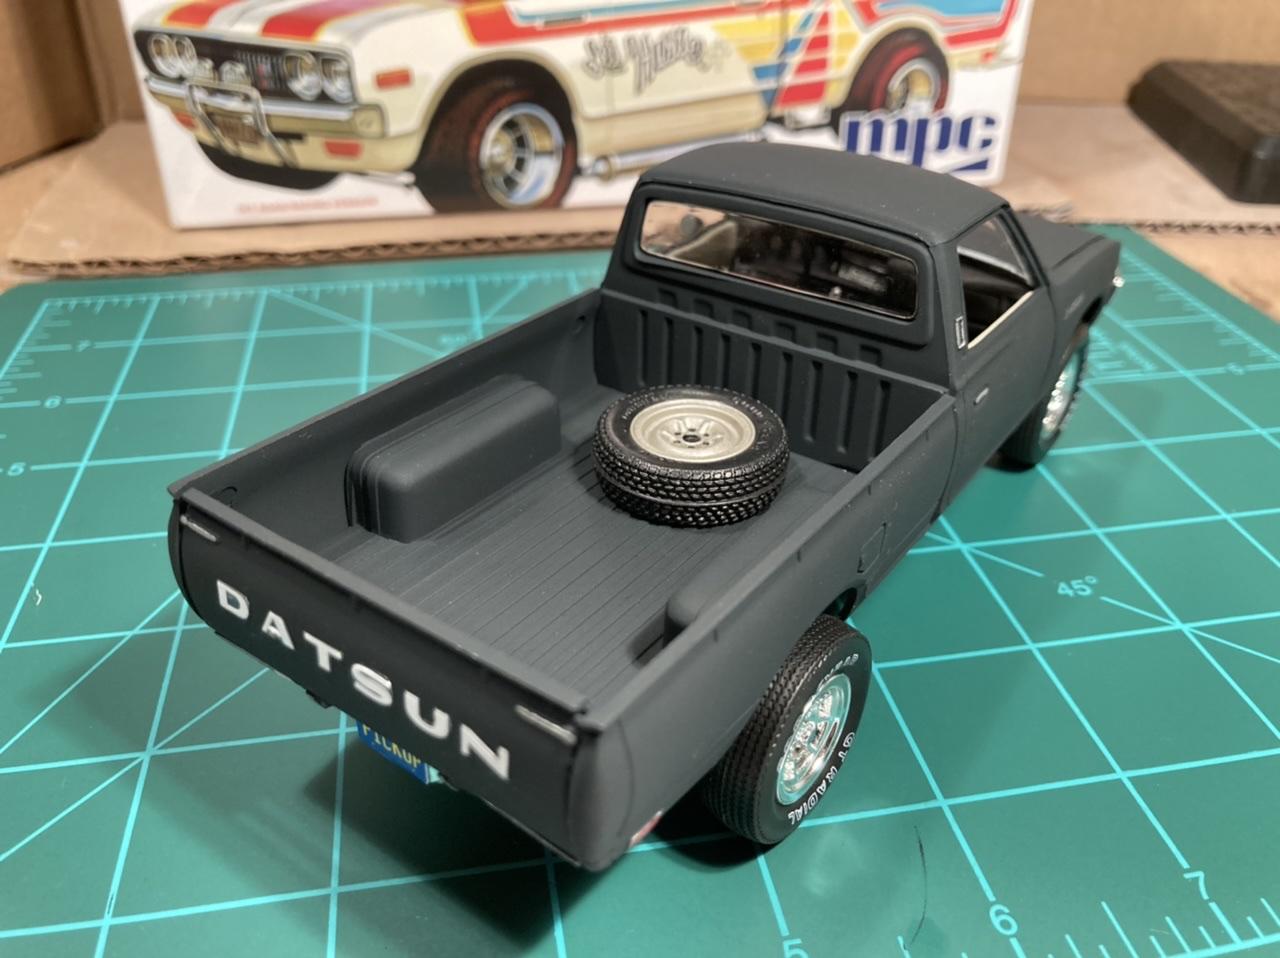
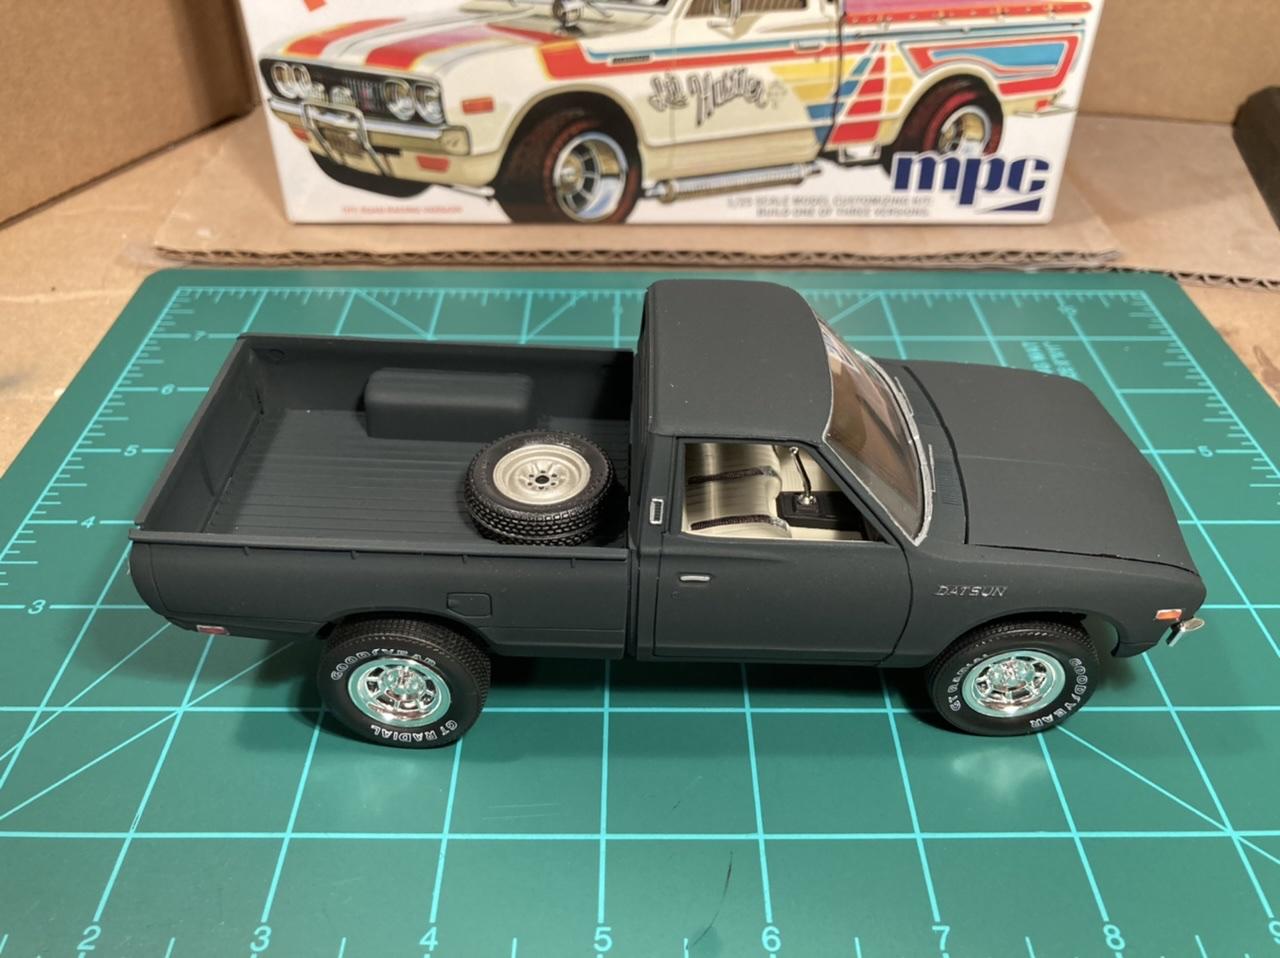
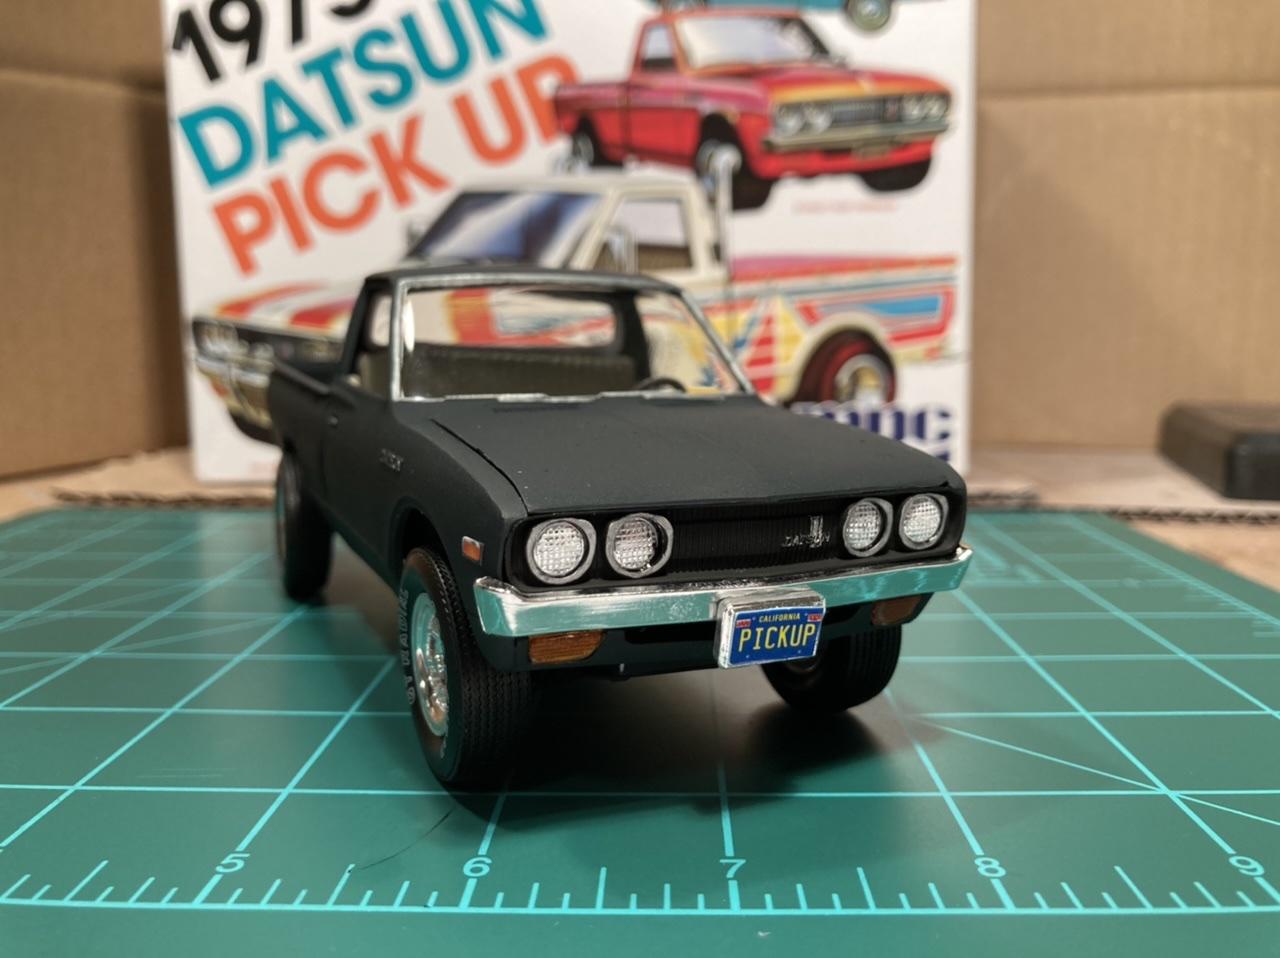
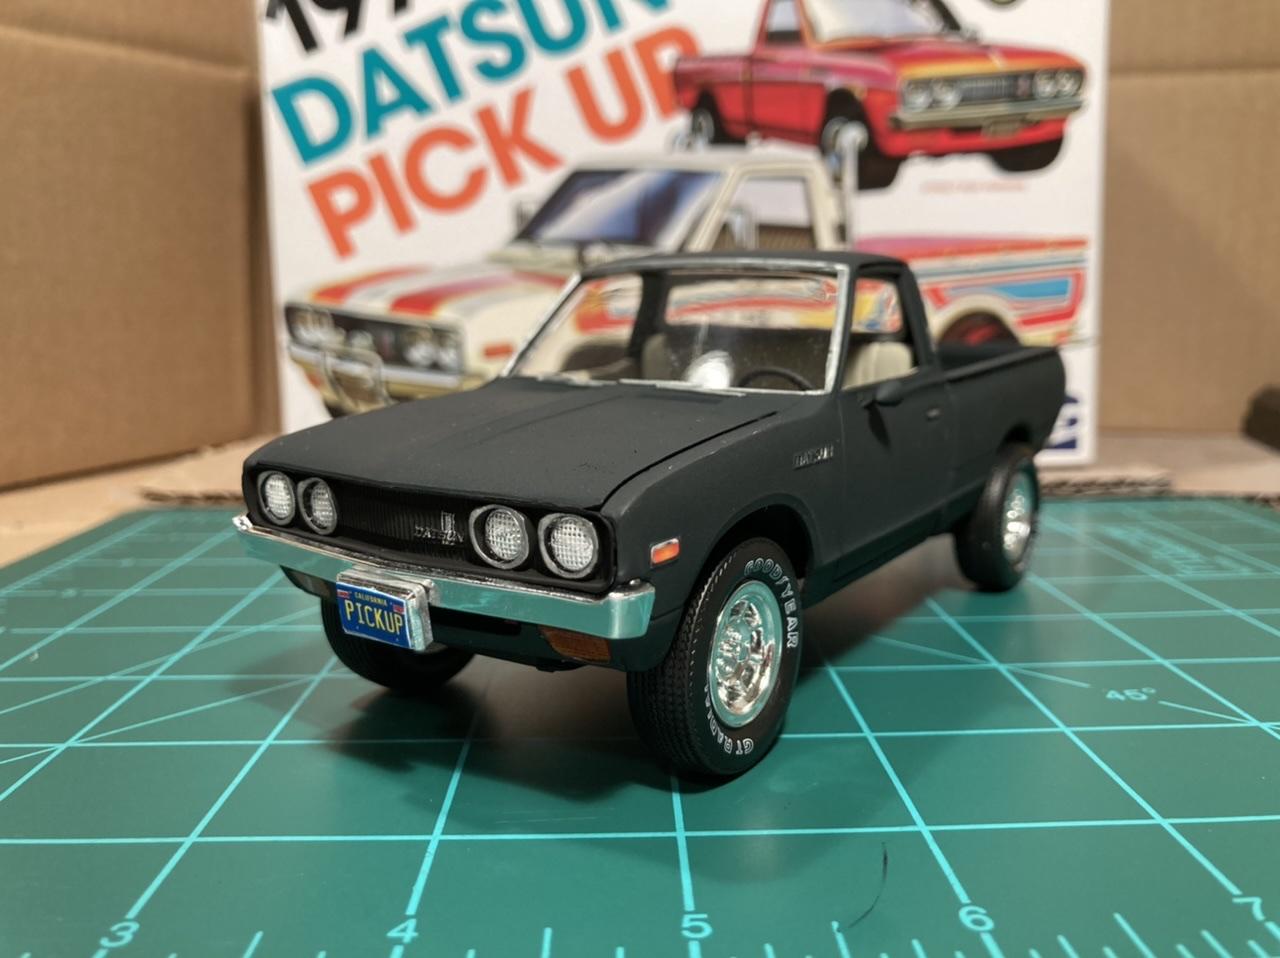
1975 Datsun Pickup
StanGlover replied to StanGlover's topic in Model Trucks: Pickups, Vans, SUVs, Light Commercial
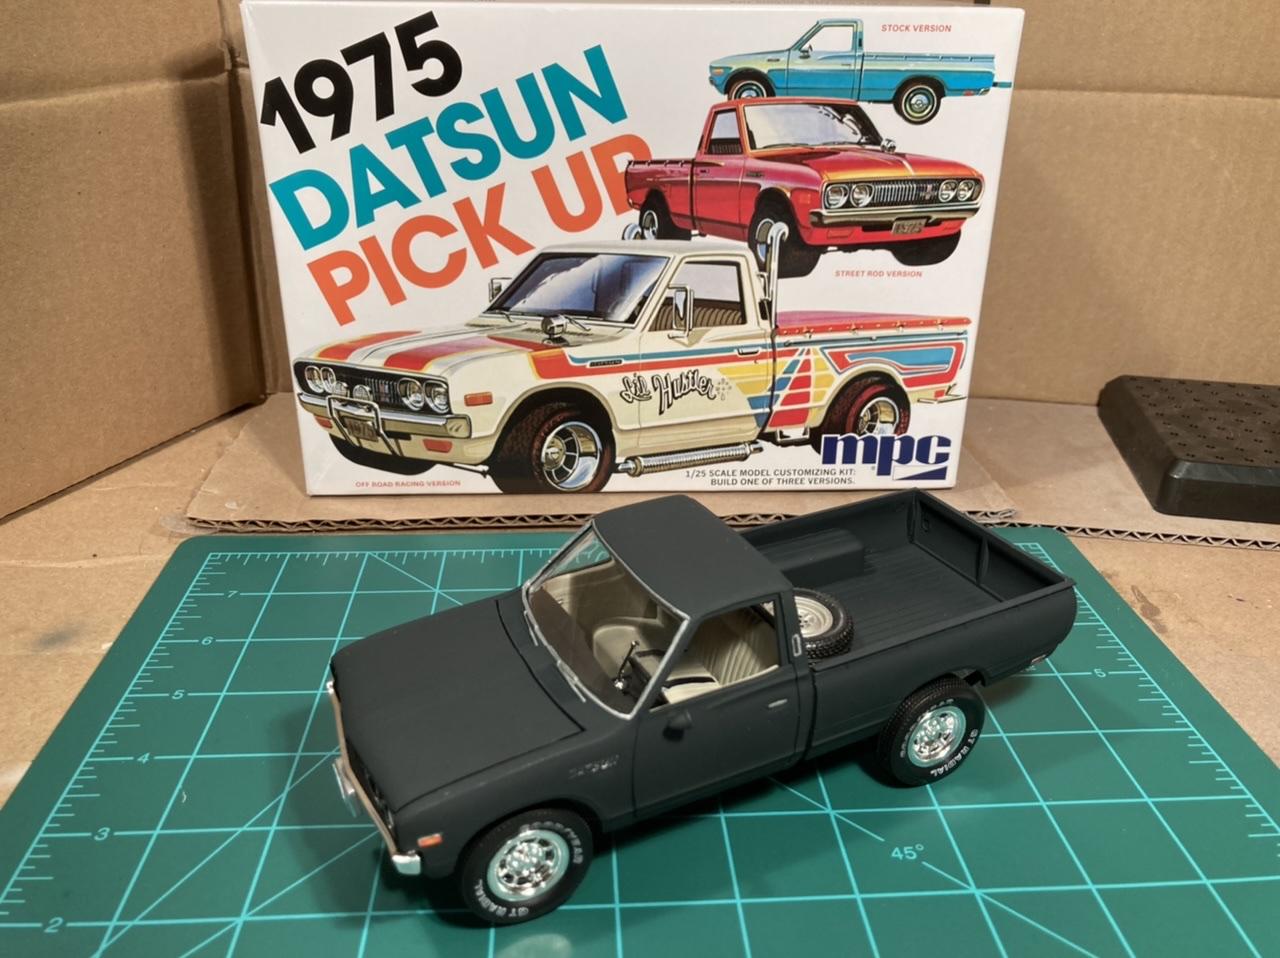
Yeah it’s definitely more of a charcoal gray than blue. I actually bought that paint color thinking it would be a navy blue and was surprised how dark it is. -
1975 Datsun Pickup
StanGlover replied to StanGlover's topic in Model Trucks: Pickups, Vans, SUVs, Light Commercial
Thanks Tom! I agree with you on MPCs. I buy kits based on subject over kit brand, and tend to gravitate towards 70s and 80s cars - peak MPC era. I love their wild box art too so I have several other MPCs in my stash! -
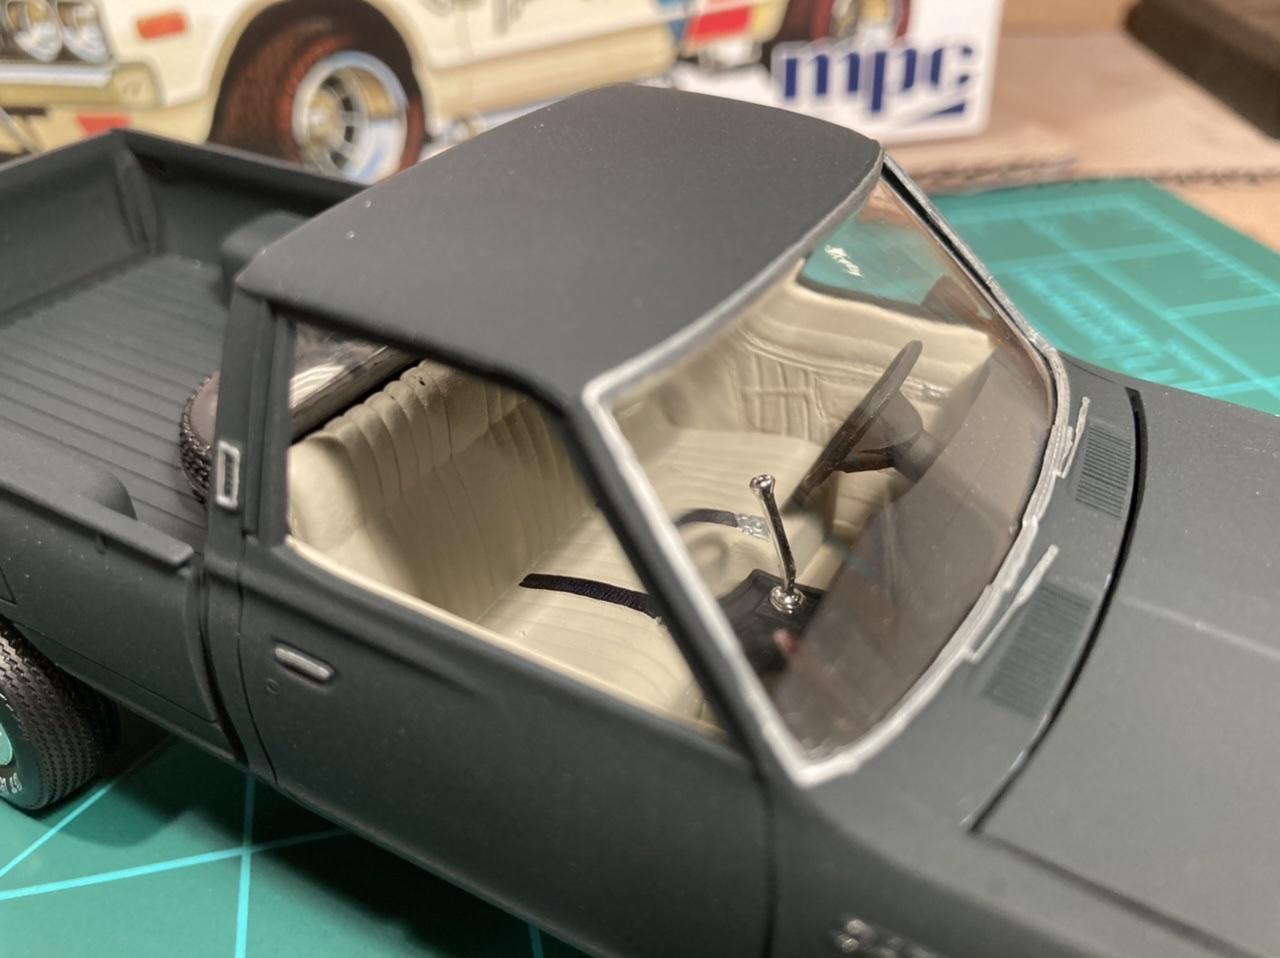
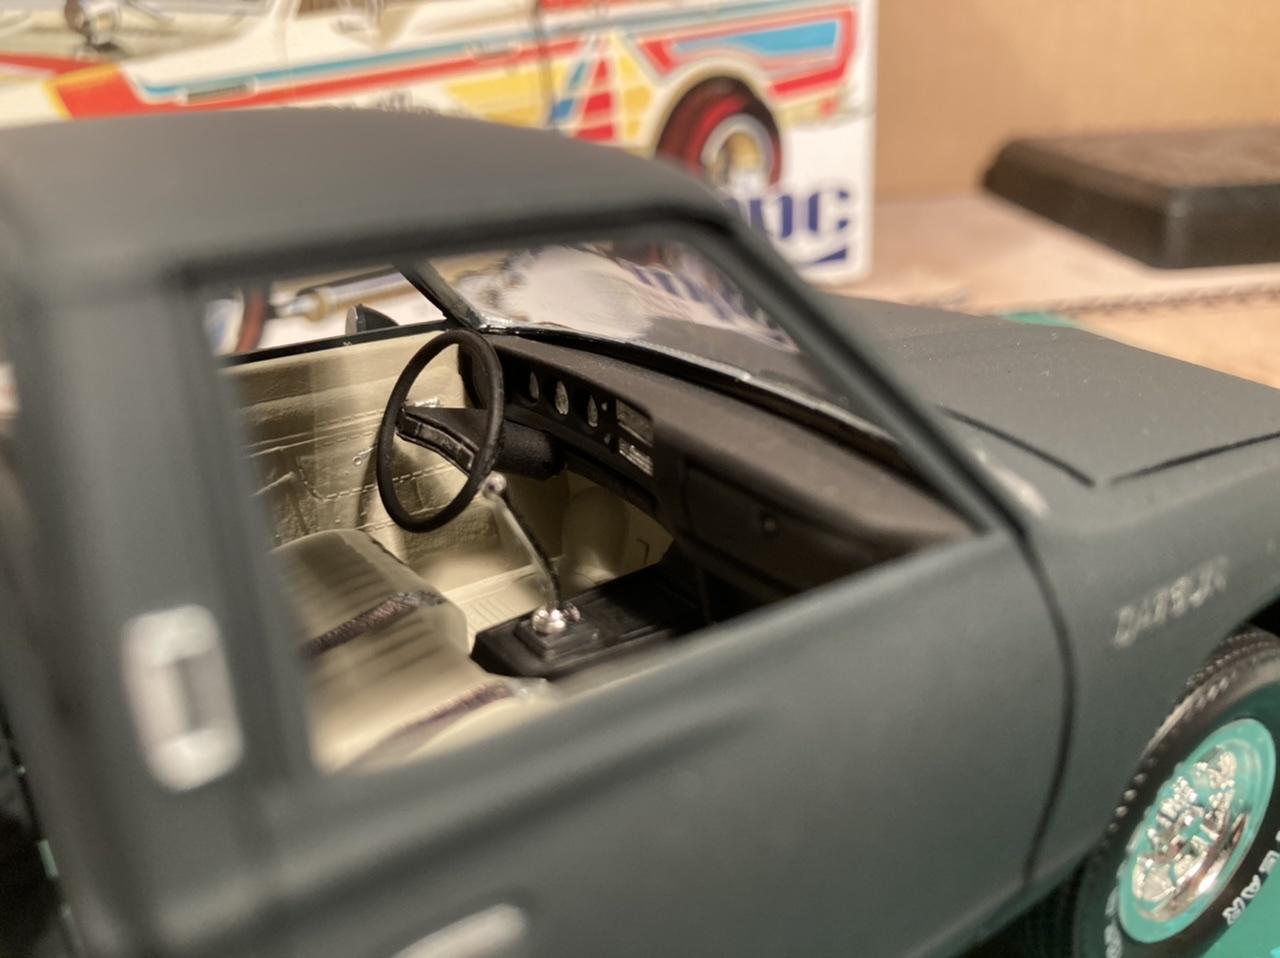
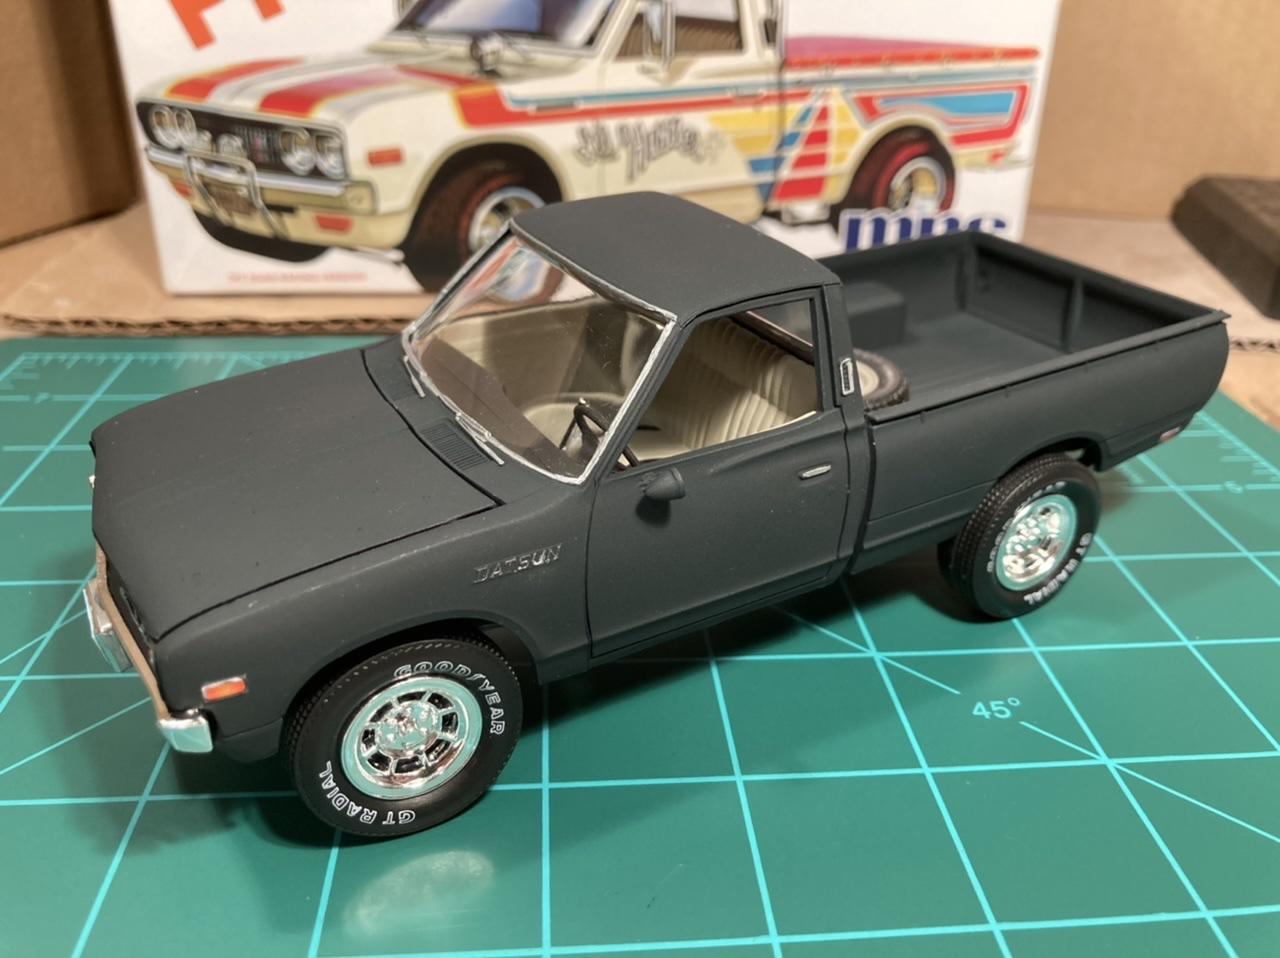
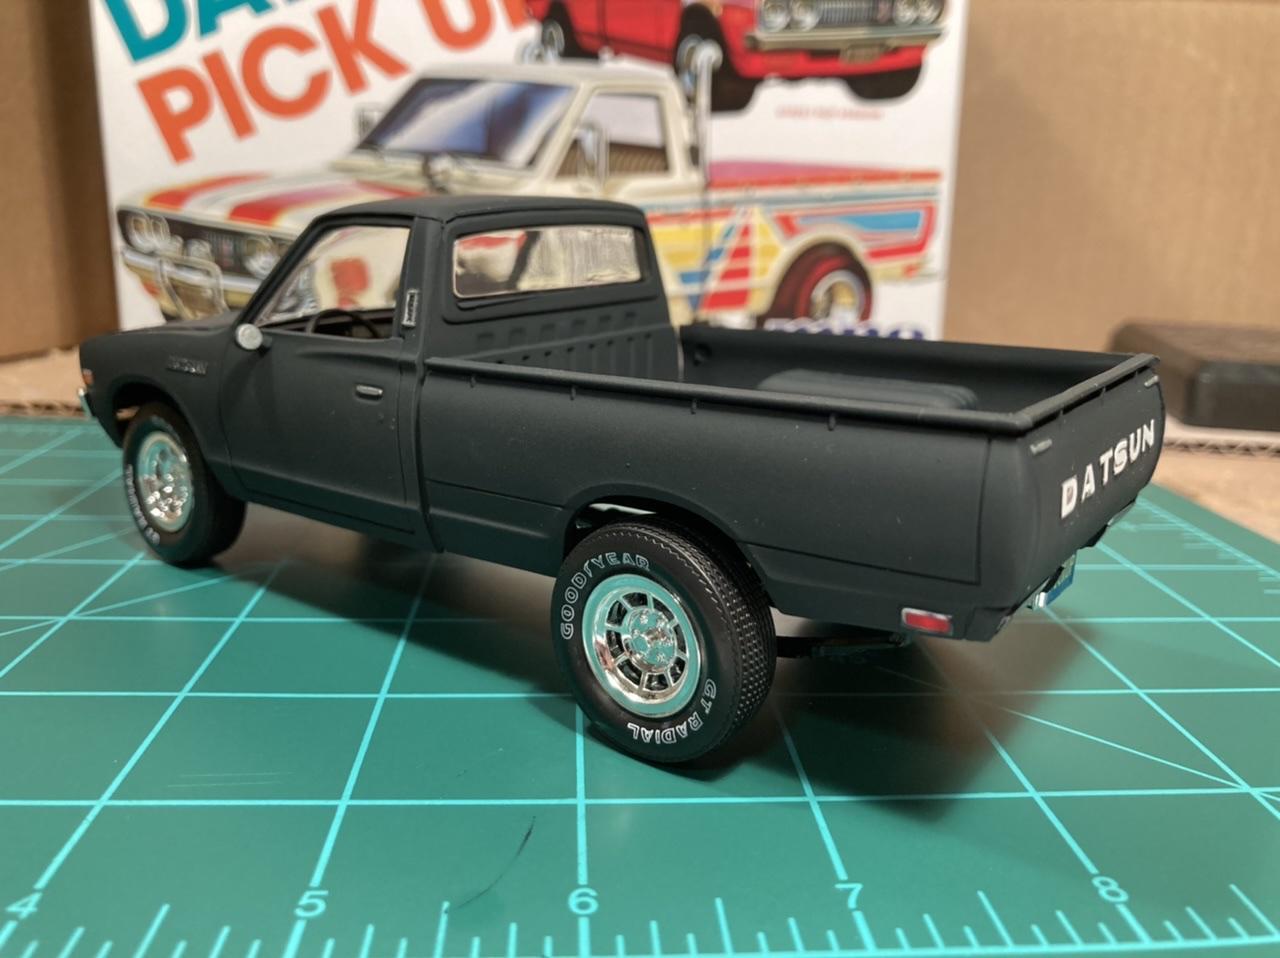
Just finished up this MPC ‘75 Datsun truck! Built from the recently reissued Lil’ Hustler kit. Airbrushed in Tamiya XF-17 Sea Blue for the exterior, XF-55 Deck Tan for the interior. Box stock except for the sport door mirror from the AMT ‘66 Mustang. This kit went together pretty well overall with plenty of detail, but there was a fair amount of flash on most of the parts. Also, my chrome tree was warped so I couldn’t use many of the custom parts (not that I wanted to). Overall I’m happy with the results and I love the color combo!
-
A few issues: The front drivers fender was slightly warped, so I glued the headlight panel on one side at a time and it straightened out pretty well. There is a huge parting line at the roof and rear pillars. I was able to sand it down without using filler so not too bad. The one piece glass canopy did not fit at all, so I cut each pane out and glued them in separately with mod podge. The frame doesn’t really have anywhere to attach at the rear of the body so it’s kinda just sitting there. There are very few locating features for anything so you just have to eyeball them in place. I have the MPC Pony Express kit in my stash so I’m excited to compare the two builds. I know AMT and MPC merged at some point so I don’t know if the kits are related.
-
Thanks everyone!
-
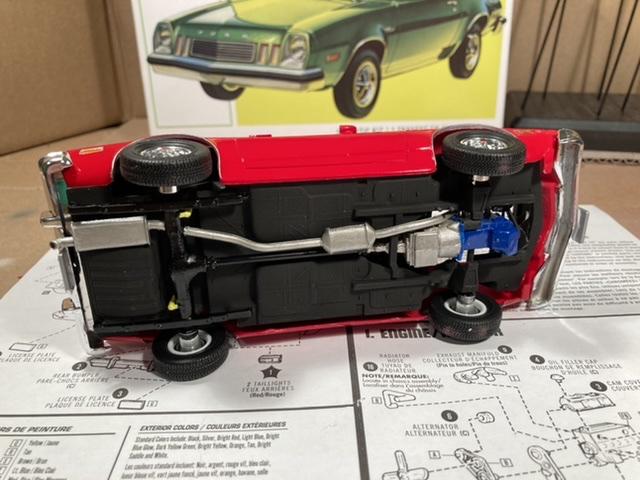
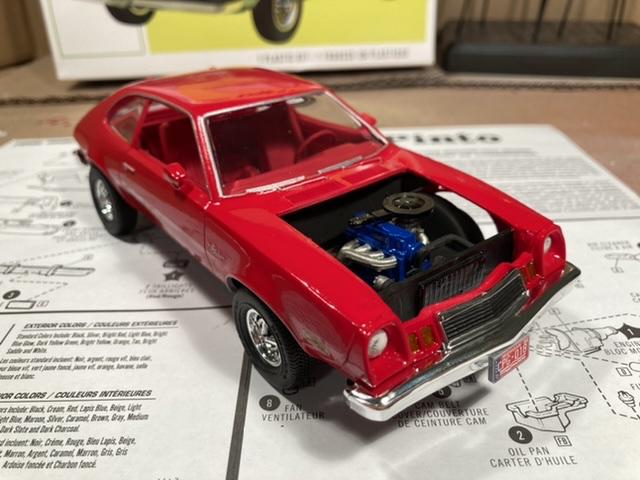
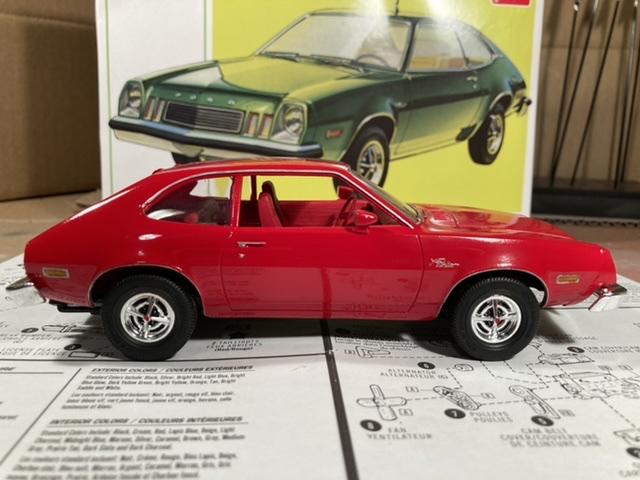
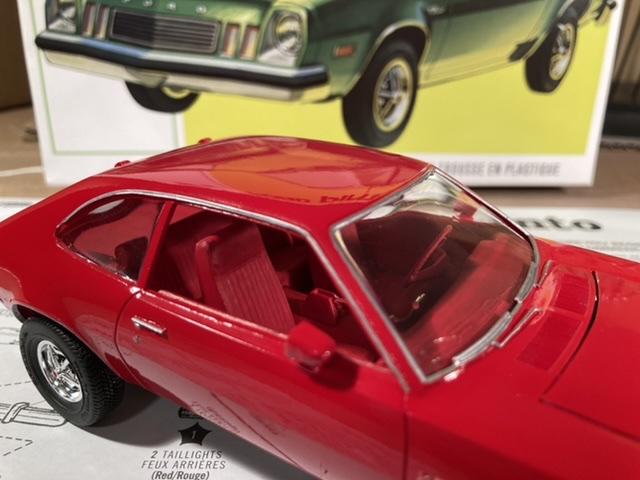
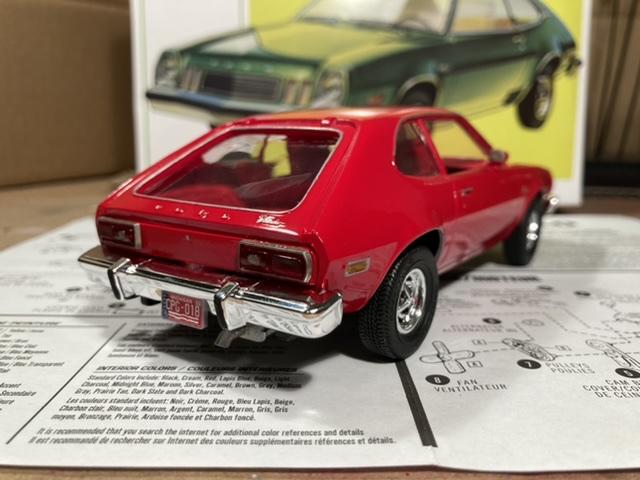
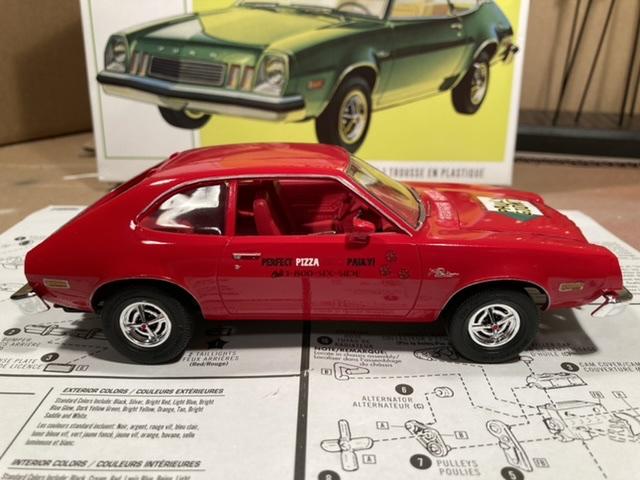
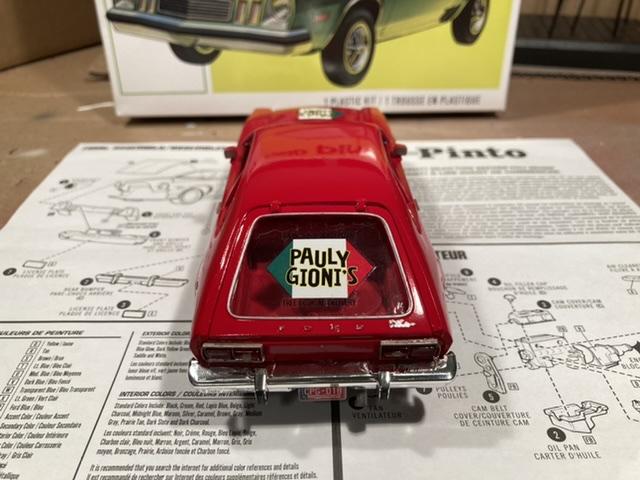
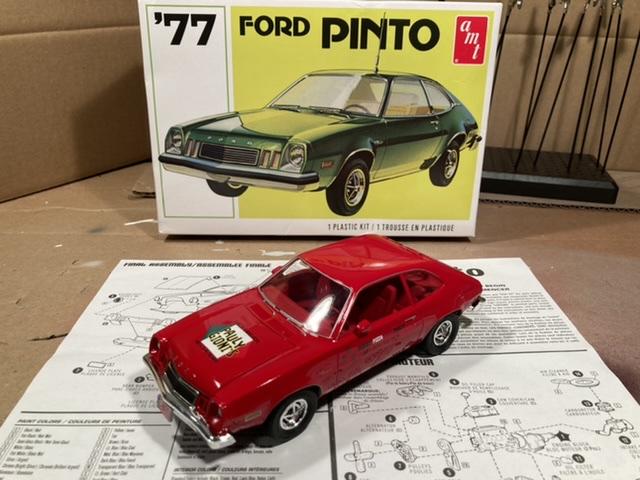
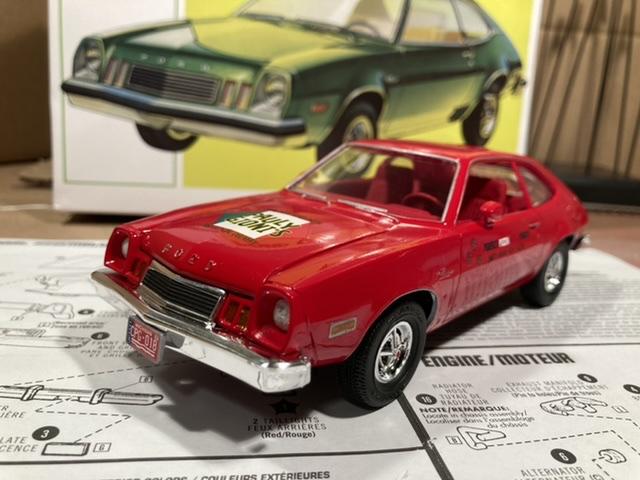
Here’s my AMT ‘77 Pinto! Painted Tamiya X-7 gloss red exterior with Folk Art Engine Red craft paint on the interior. This kit is pretty low in detail and the final fit and finish isn’t great, but it all comes together pretty good in the end. I’m definitely pleased with the final results!
-
They look excellent! I sold my 1:1 ‘90 Miata earlier this year, same color! I definitely miss it now ?
-
Great story Tom! I love it when people keep well maintained everyday cars on the road far beyond their intended life span, or take the time to restore a car no one else bothers with. A restored ‘69 Camaro? Cool, but everyone does those. A daily driven 1981 Plymouth Horizon in 2020? Please tell me more! I’m currently driving and slowly fixing up a ‘93 Mustang LX convertible. Everyone is fixing up the 5.0s, no one touches the 2.3s. It’s very slow but I still have a blast puttering around in it with the top down!
-
Thanks everyone! I was surprised by how detailed the kit turned out to be. I'm working on the AMT '77 Pinto reissue right now; it is a very crude kit in comparison.
-
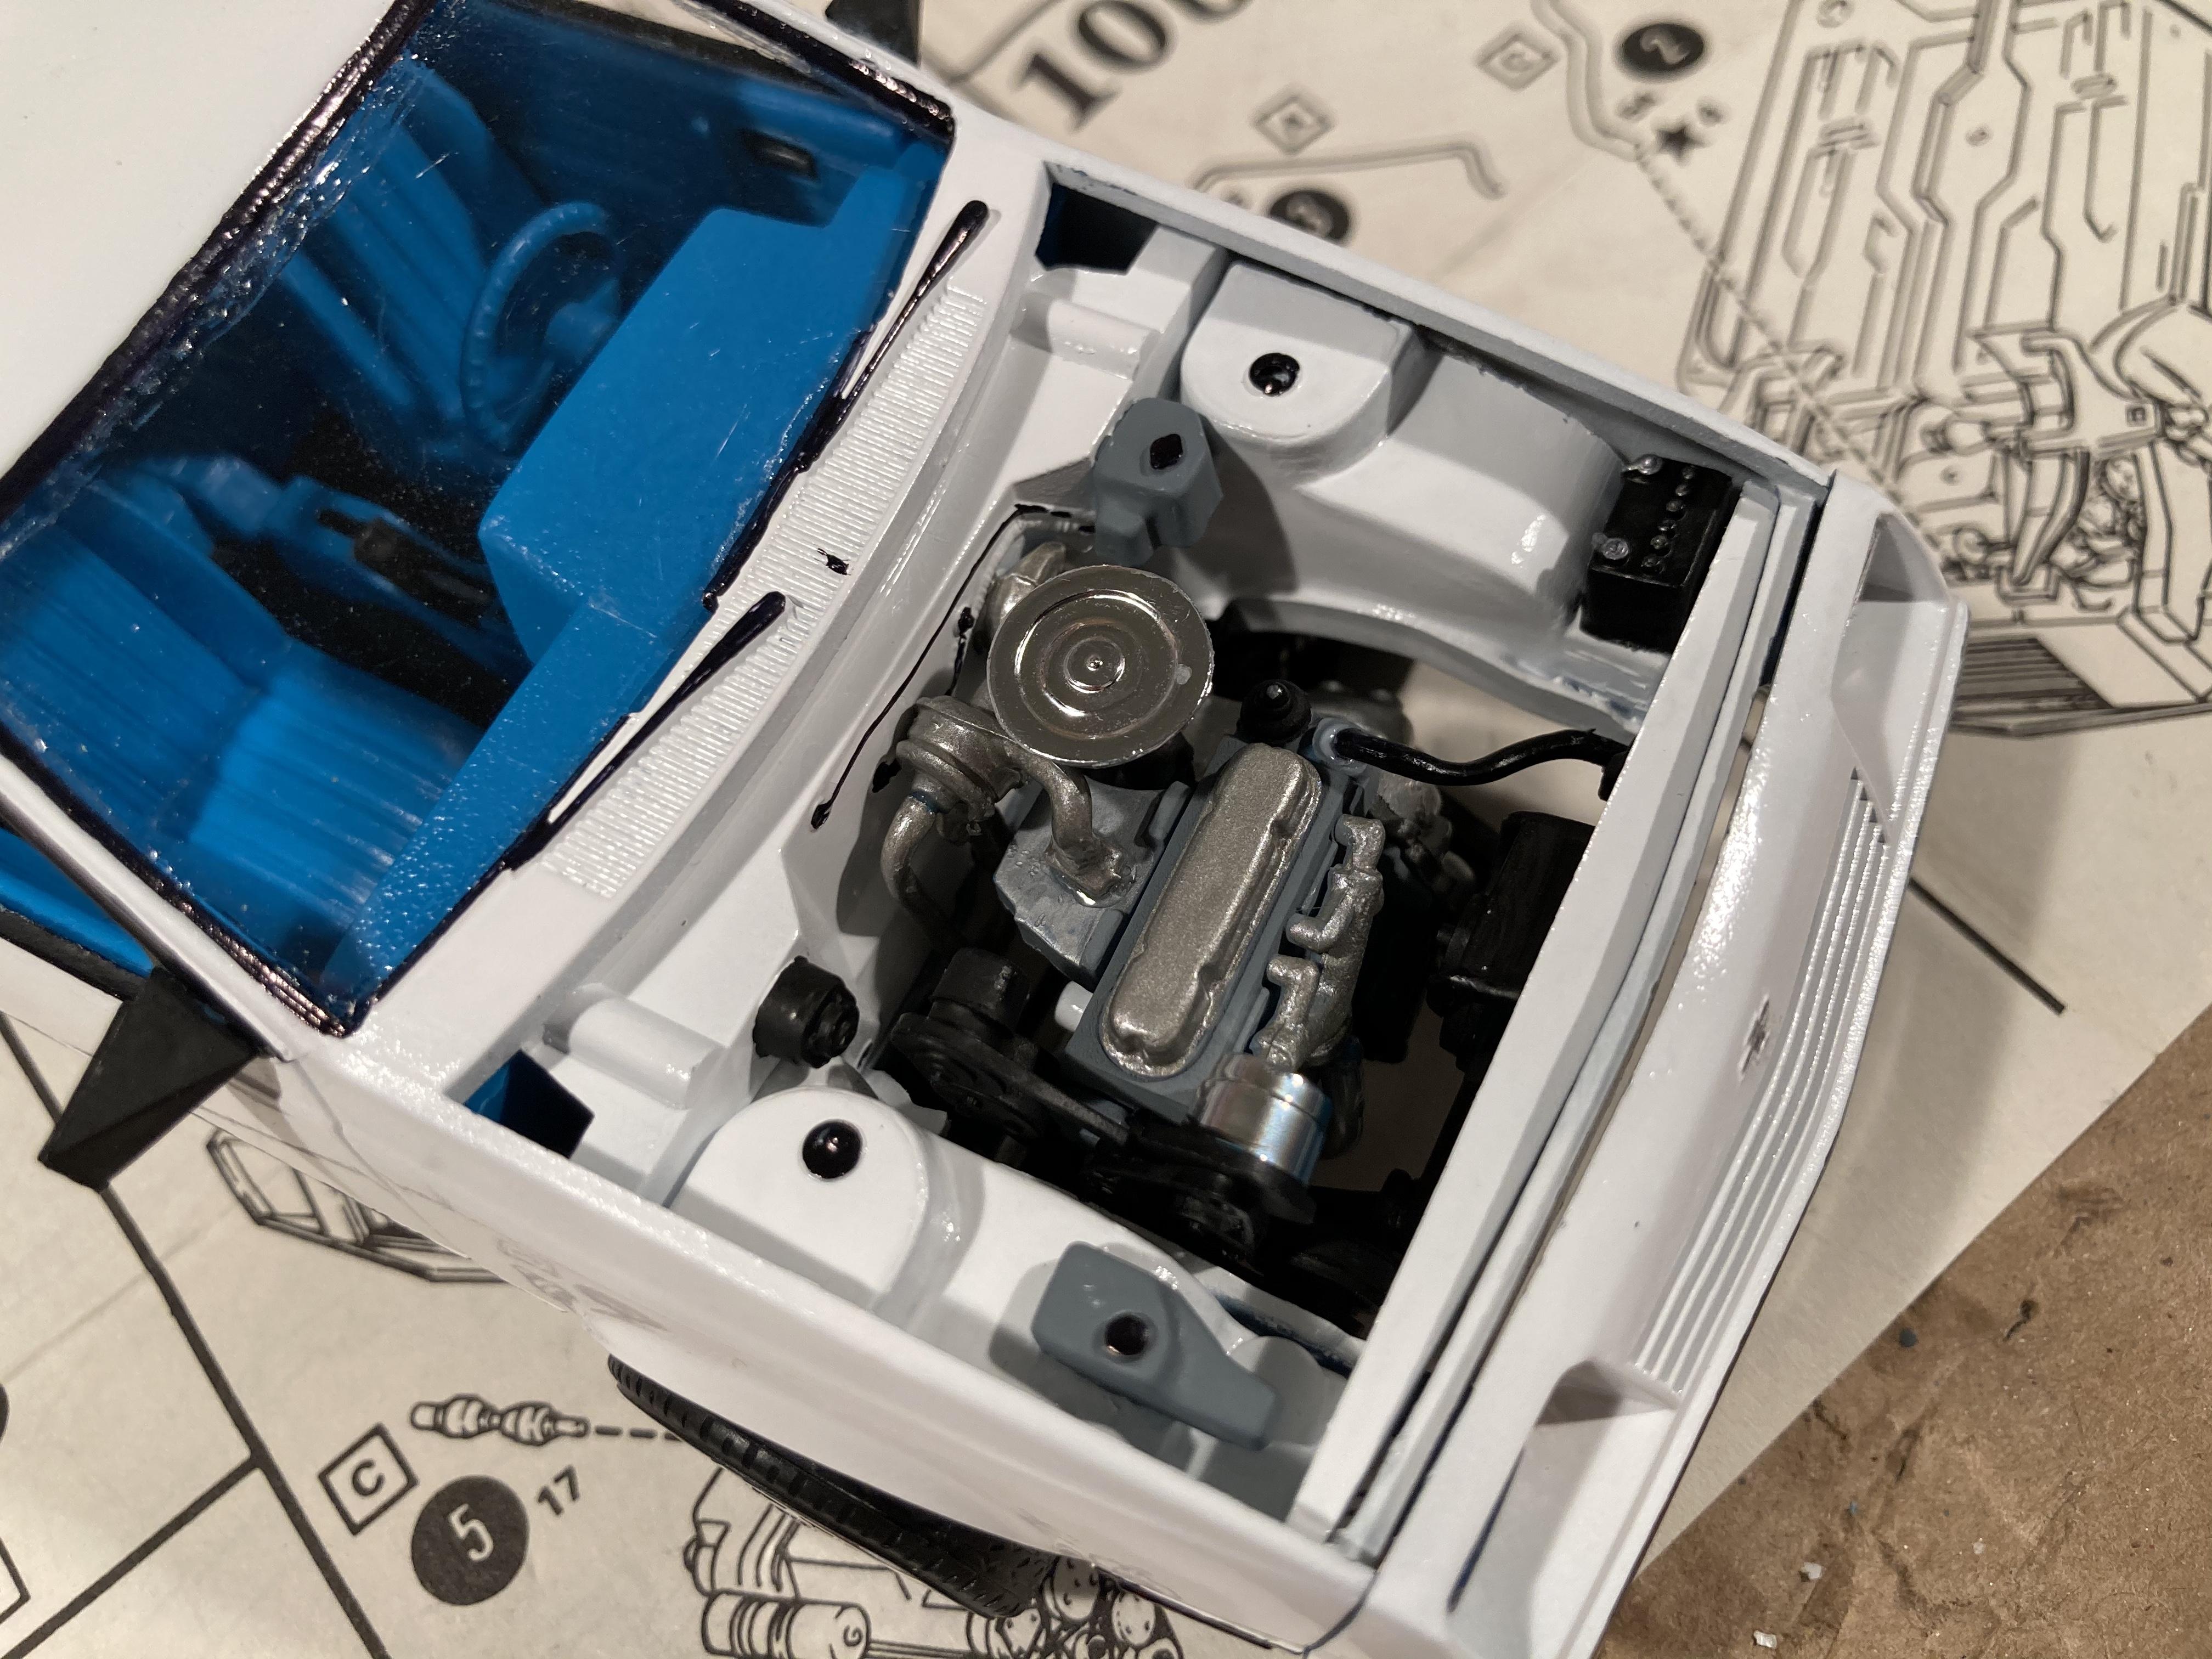
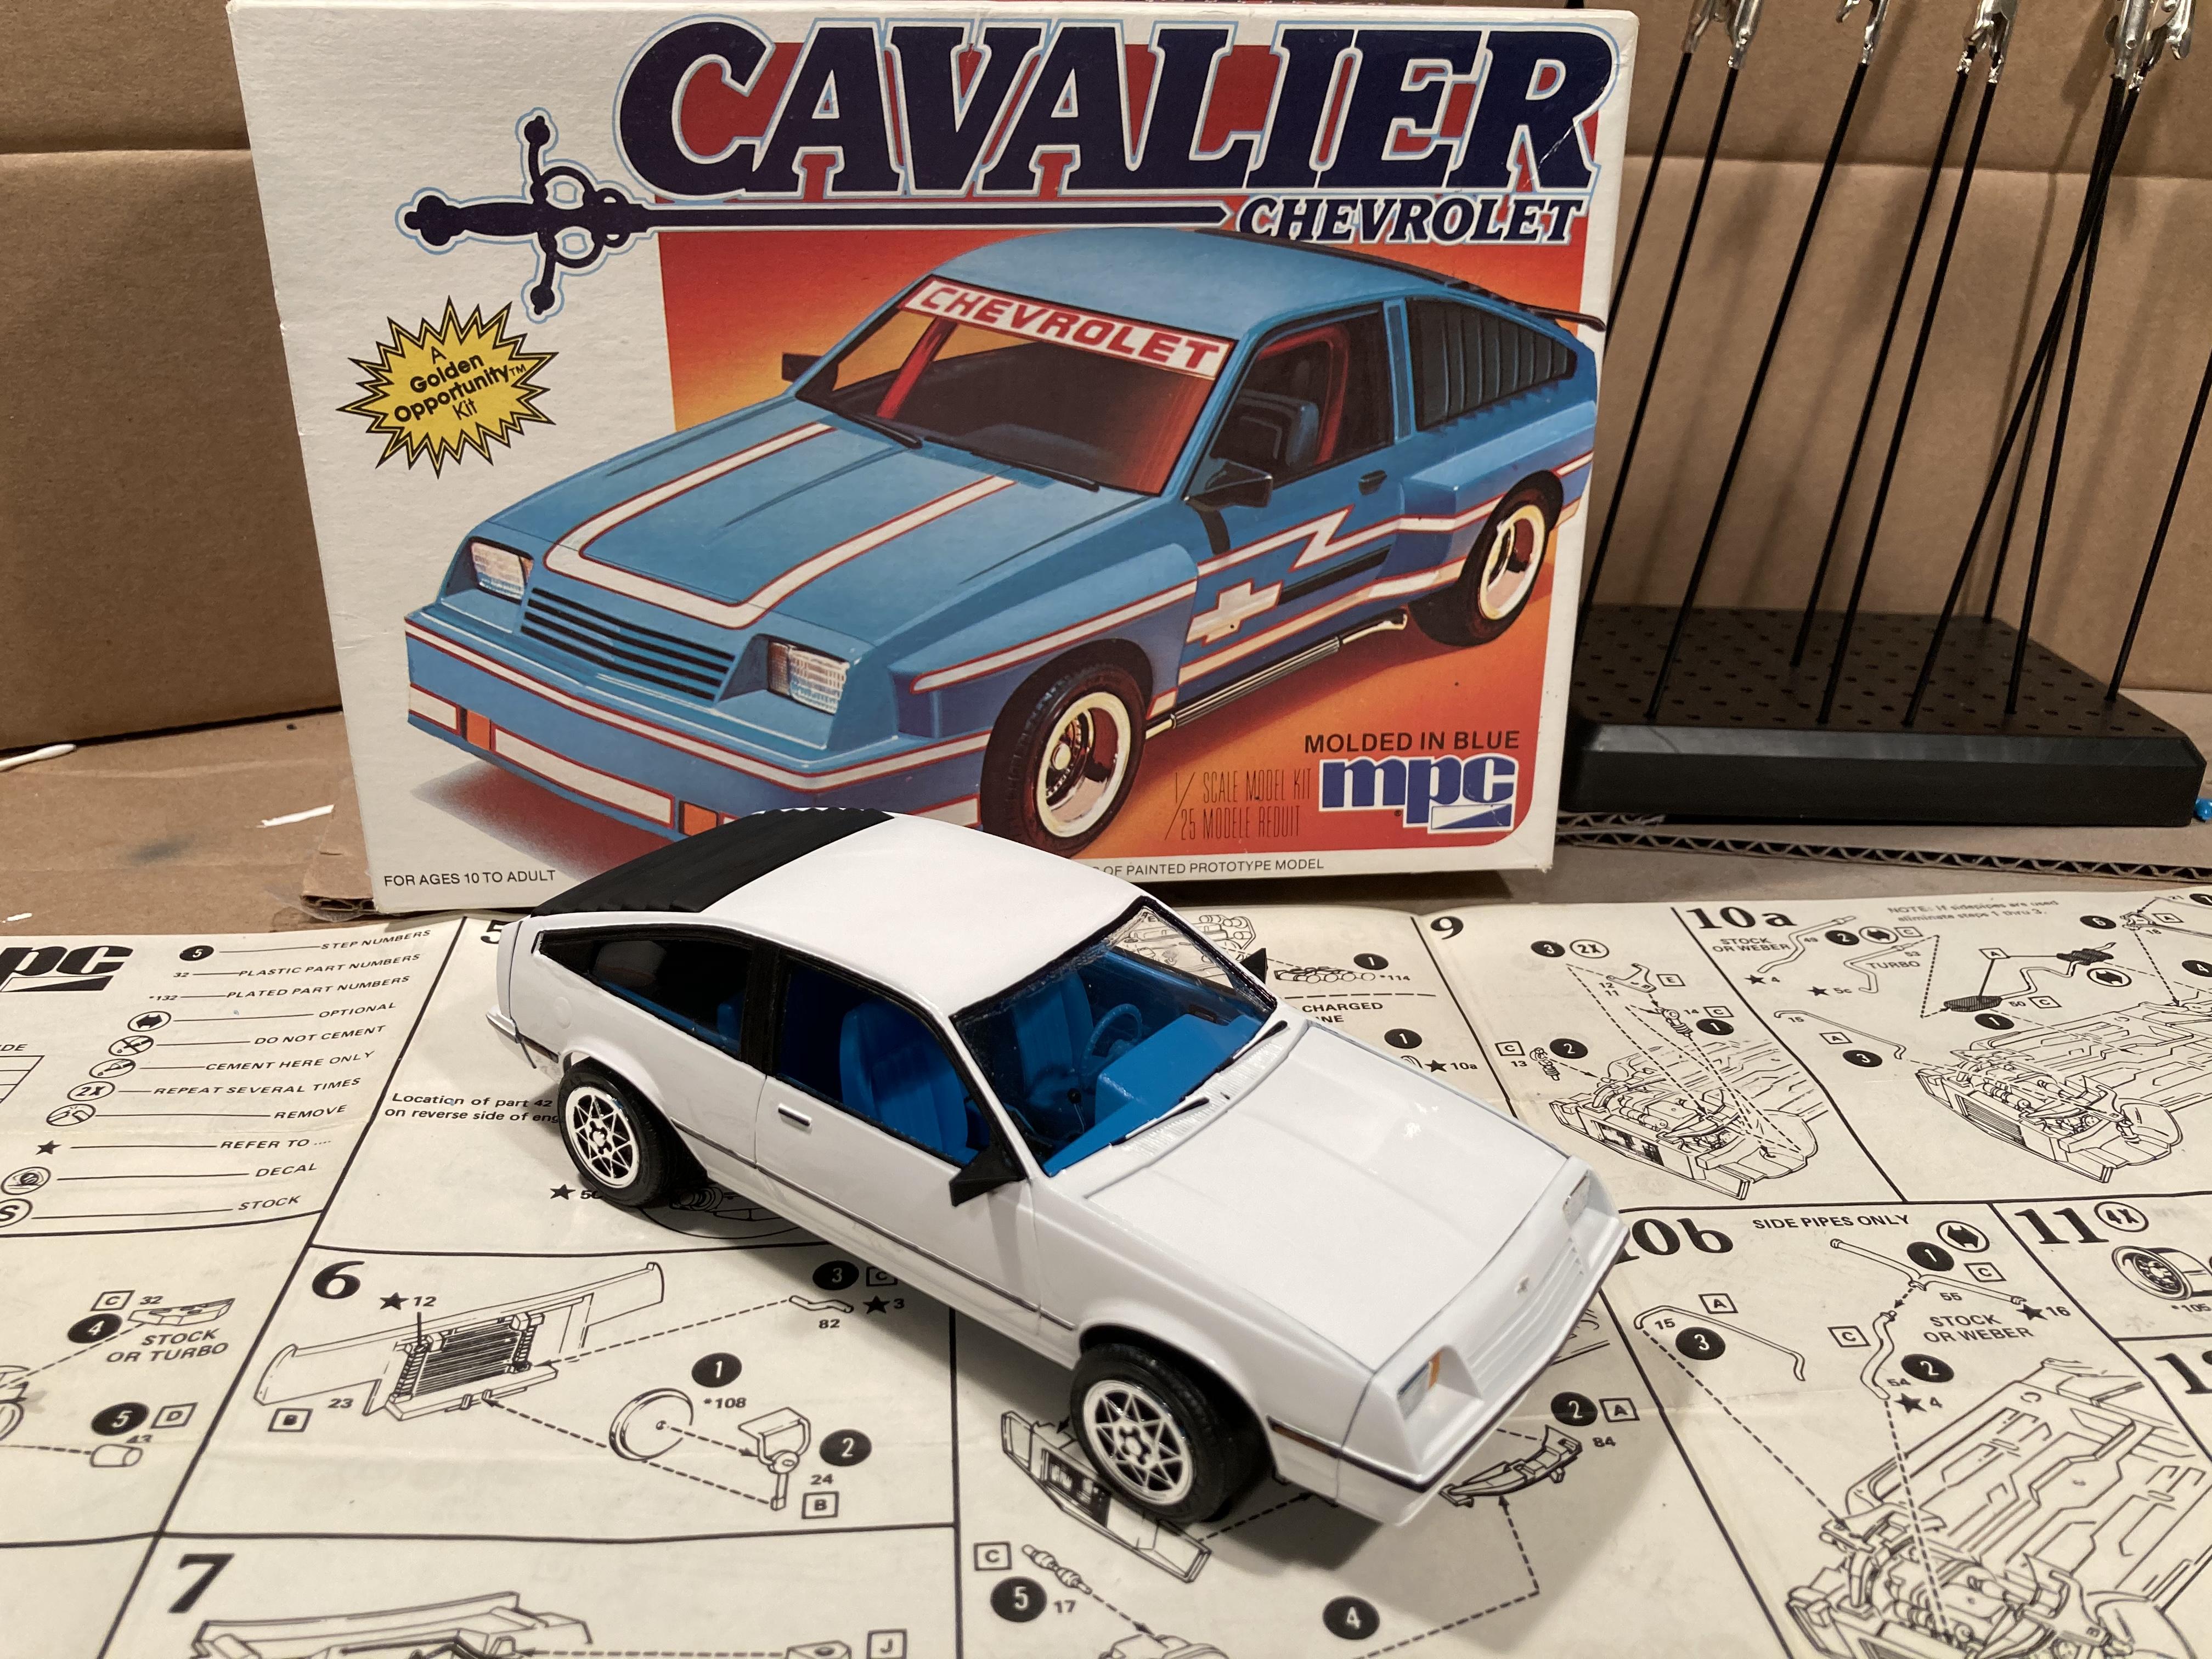
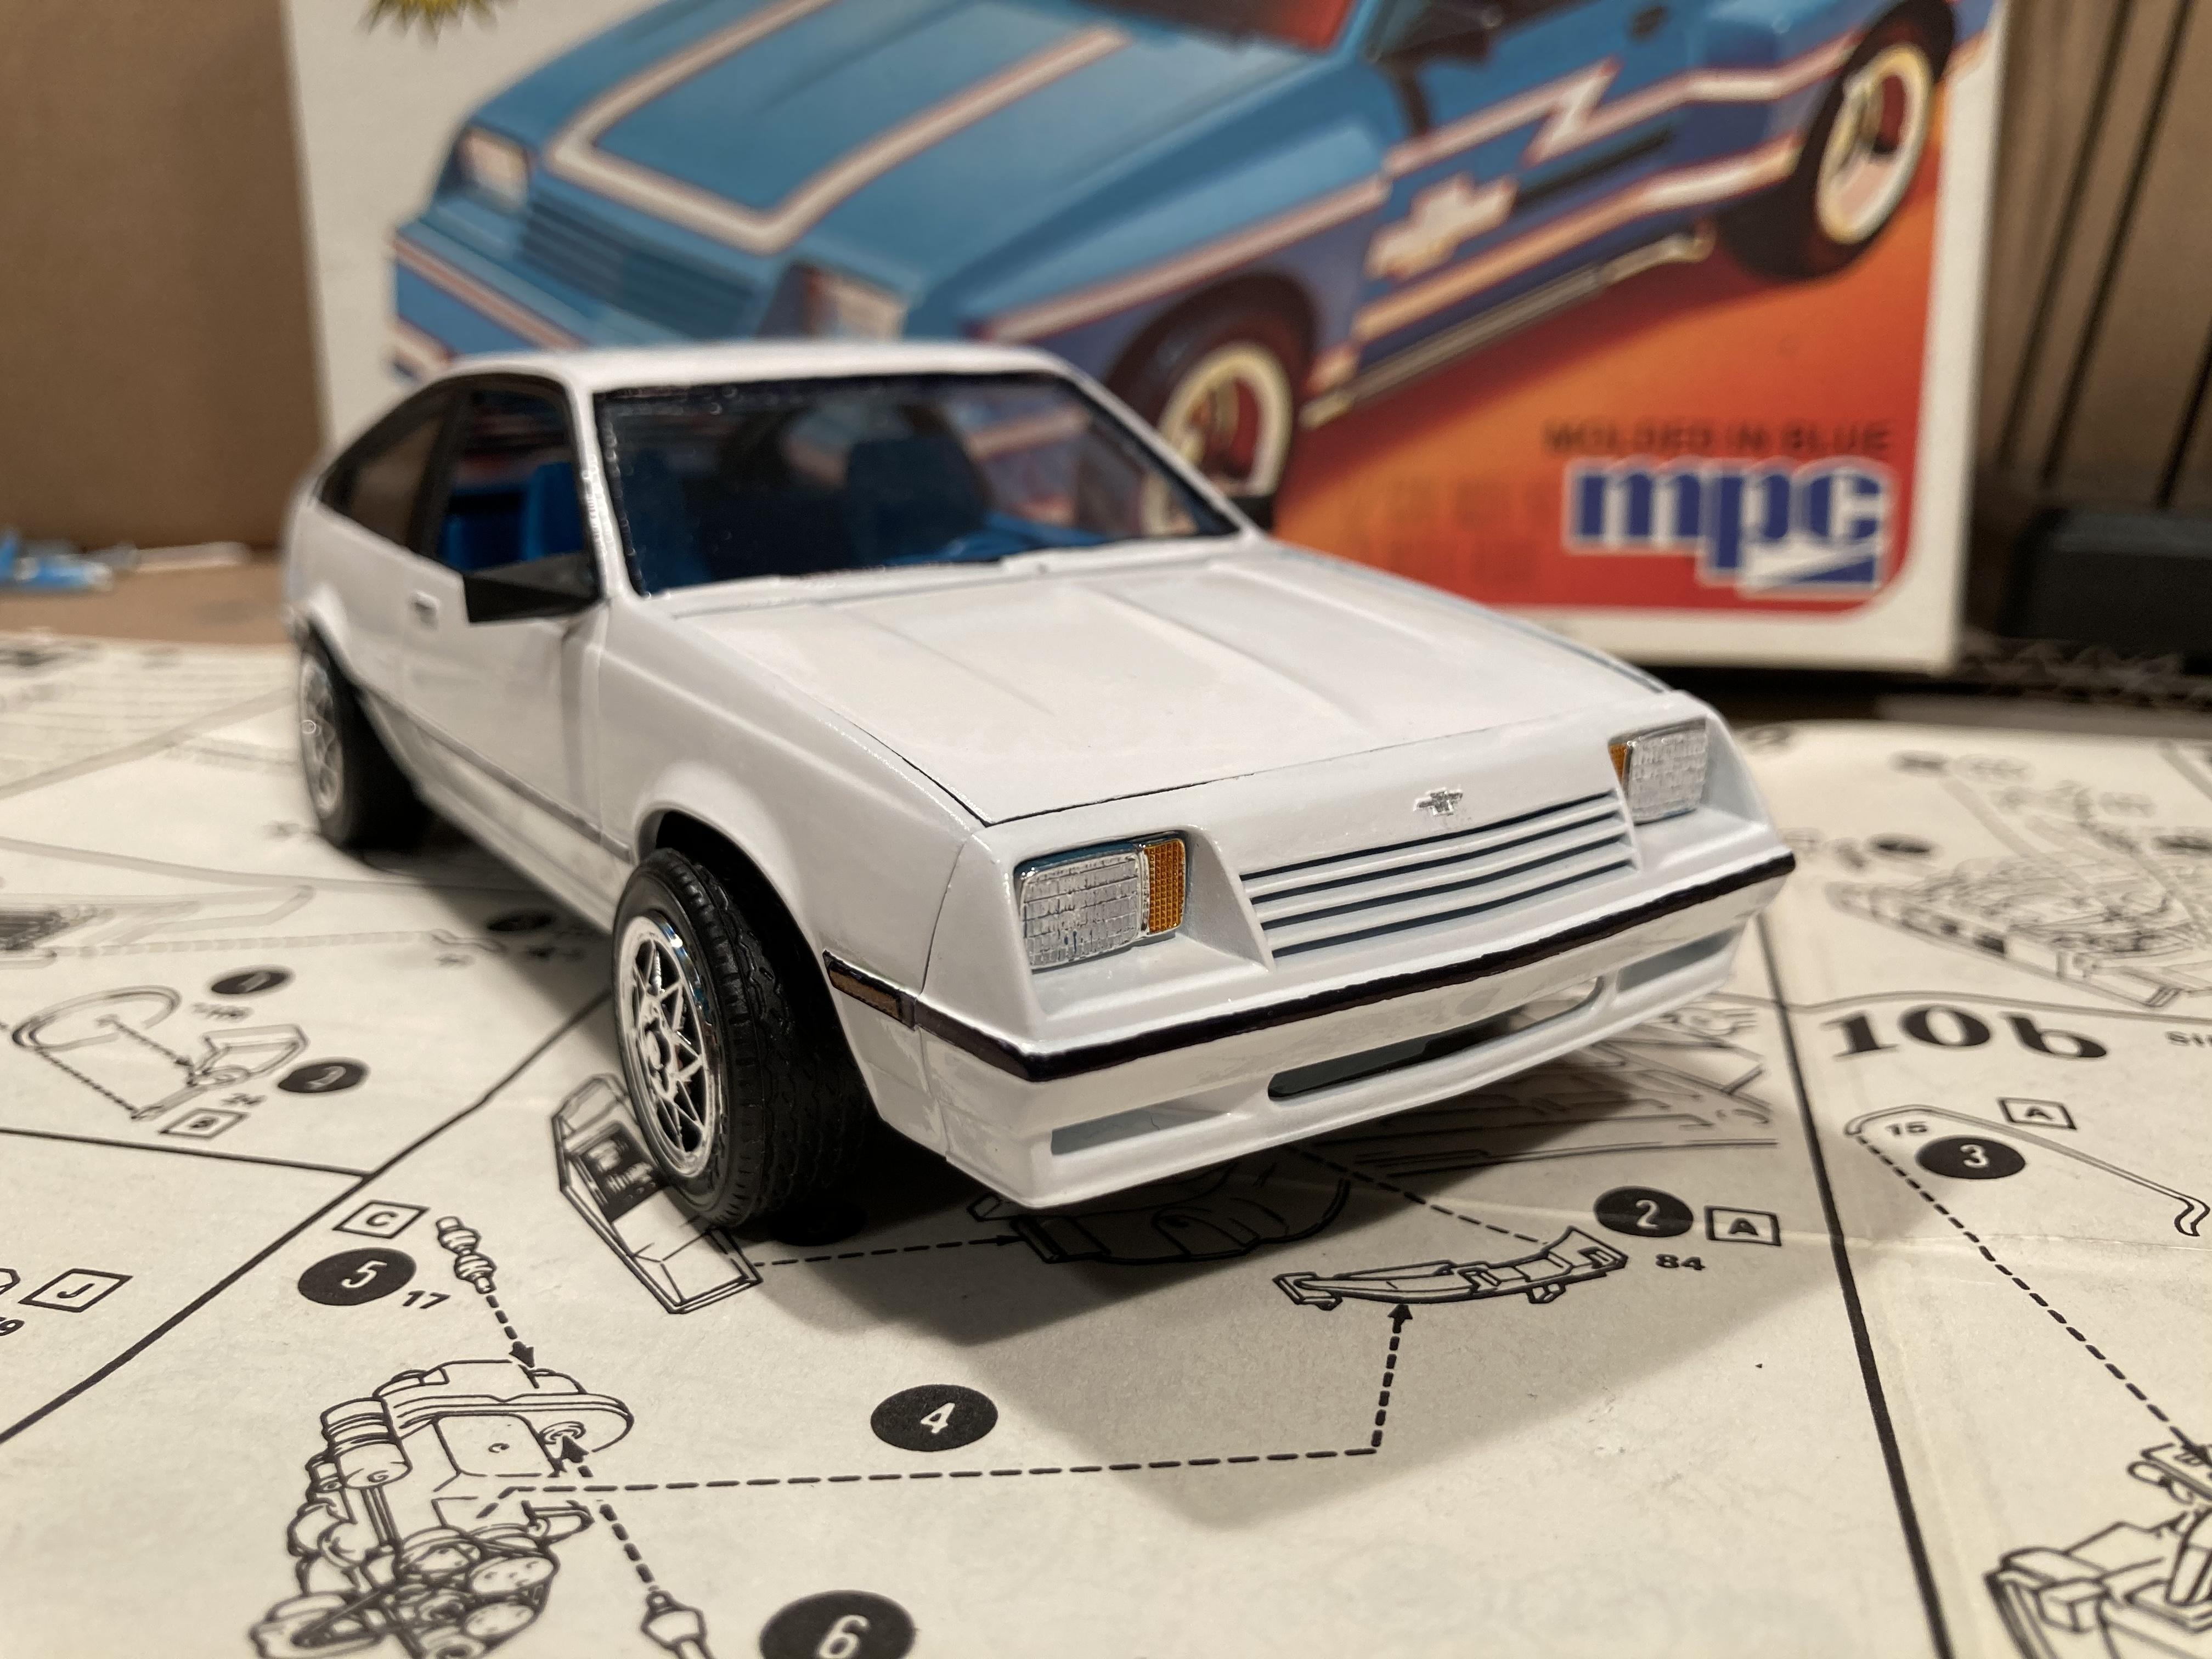
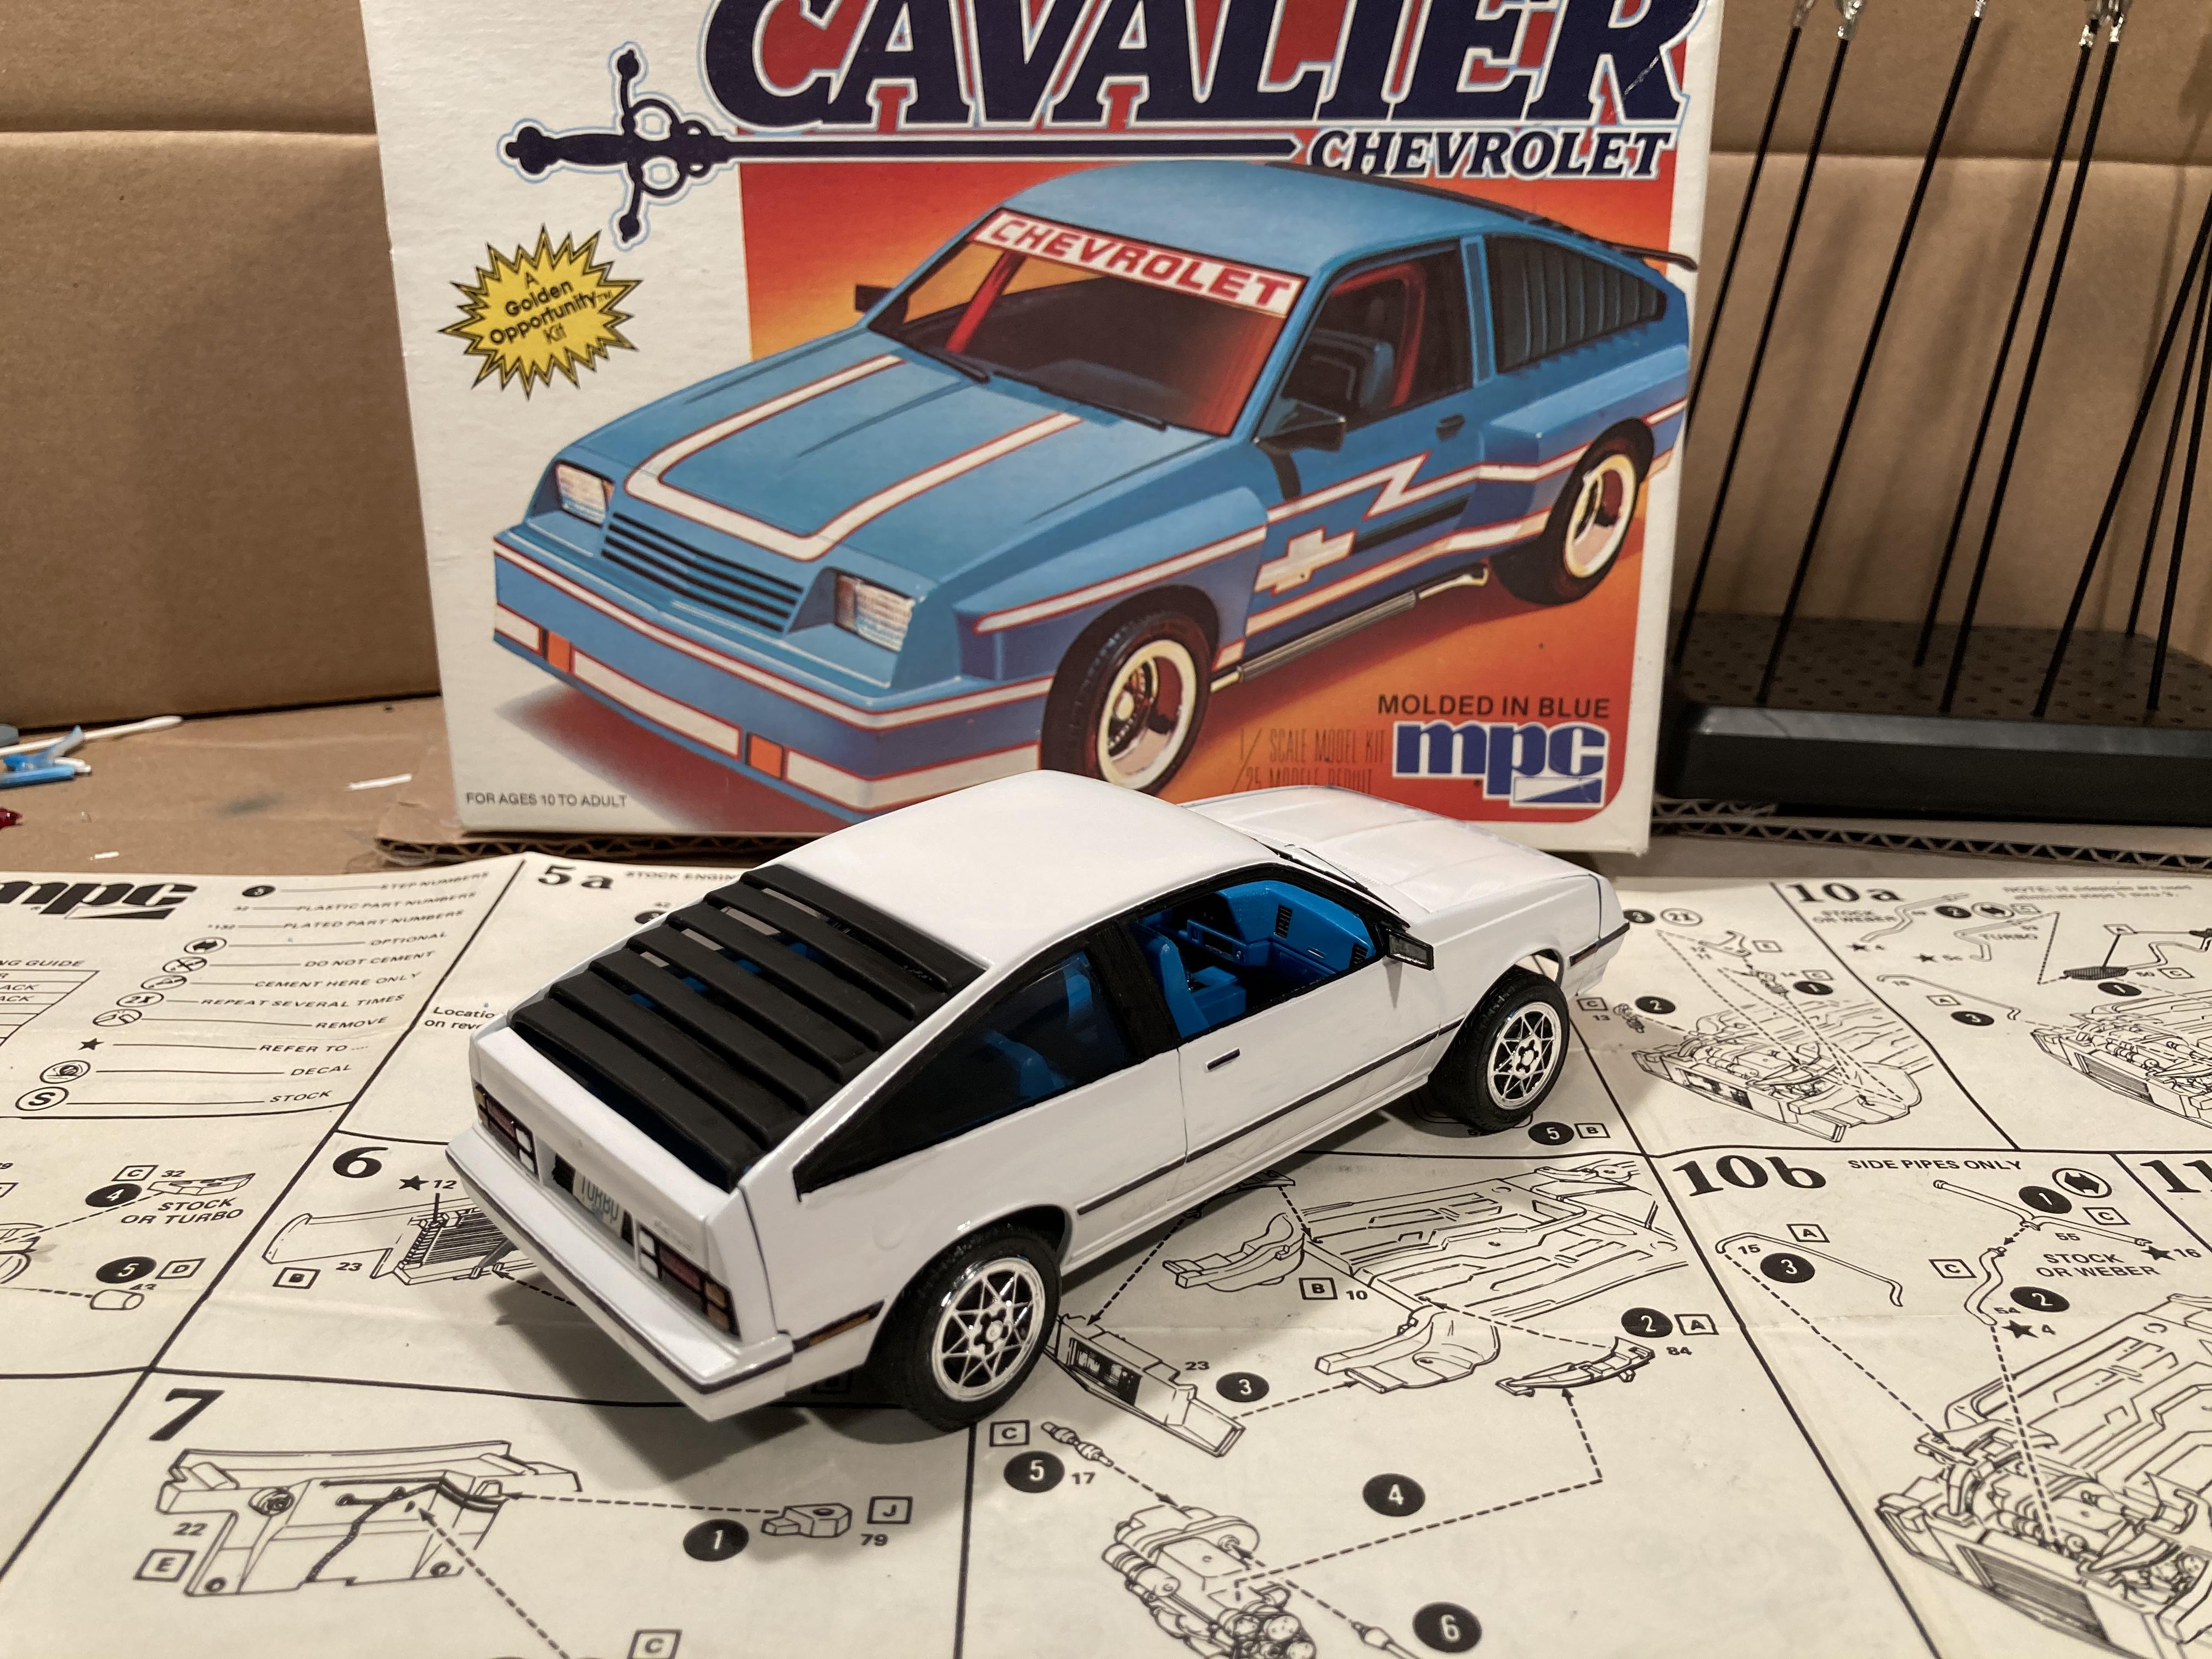
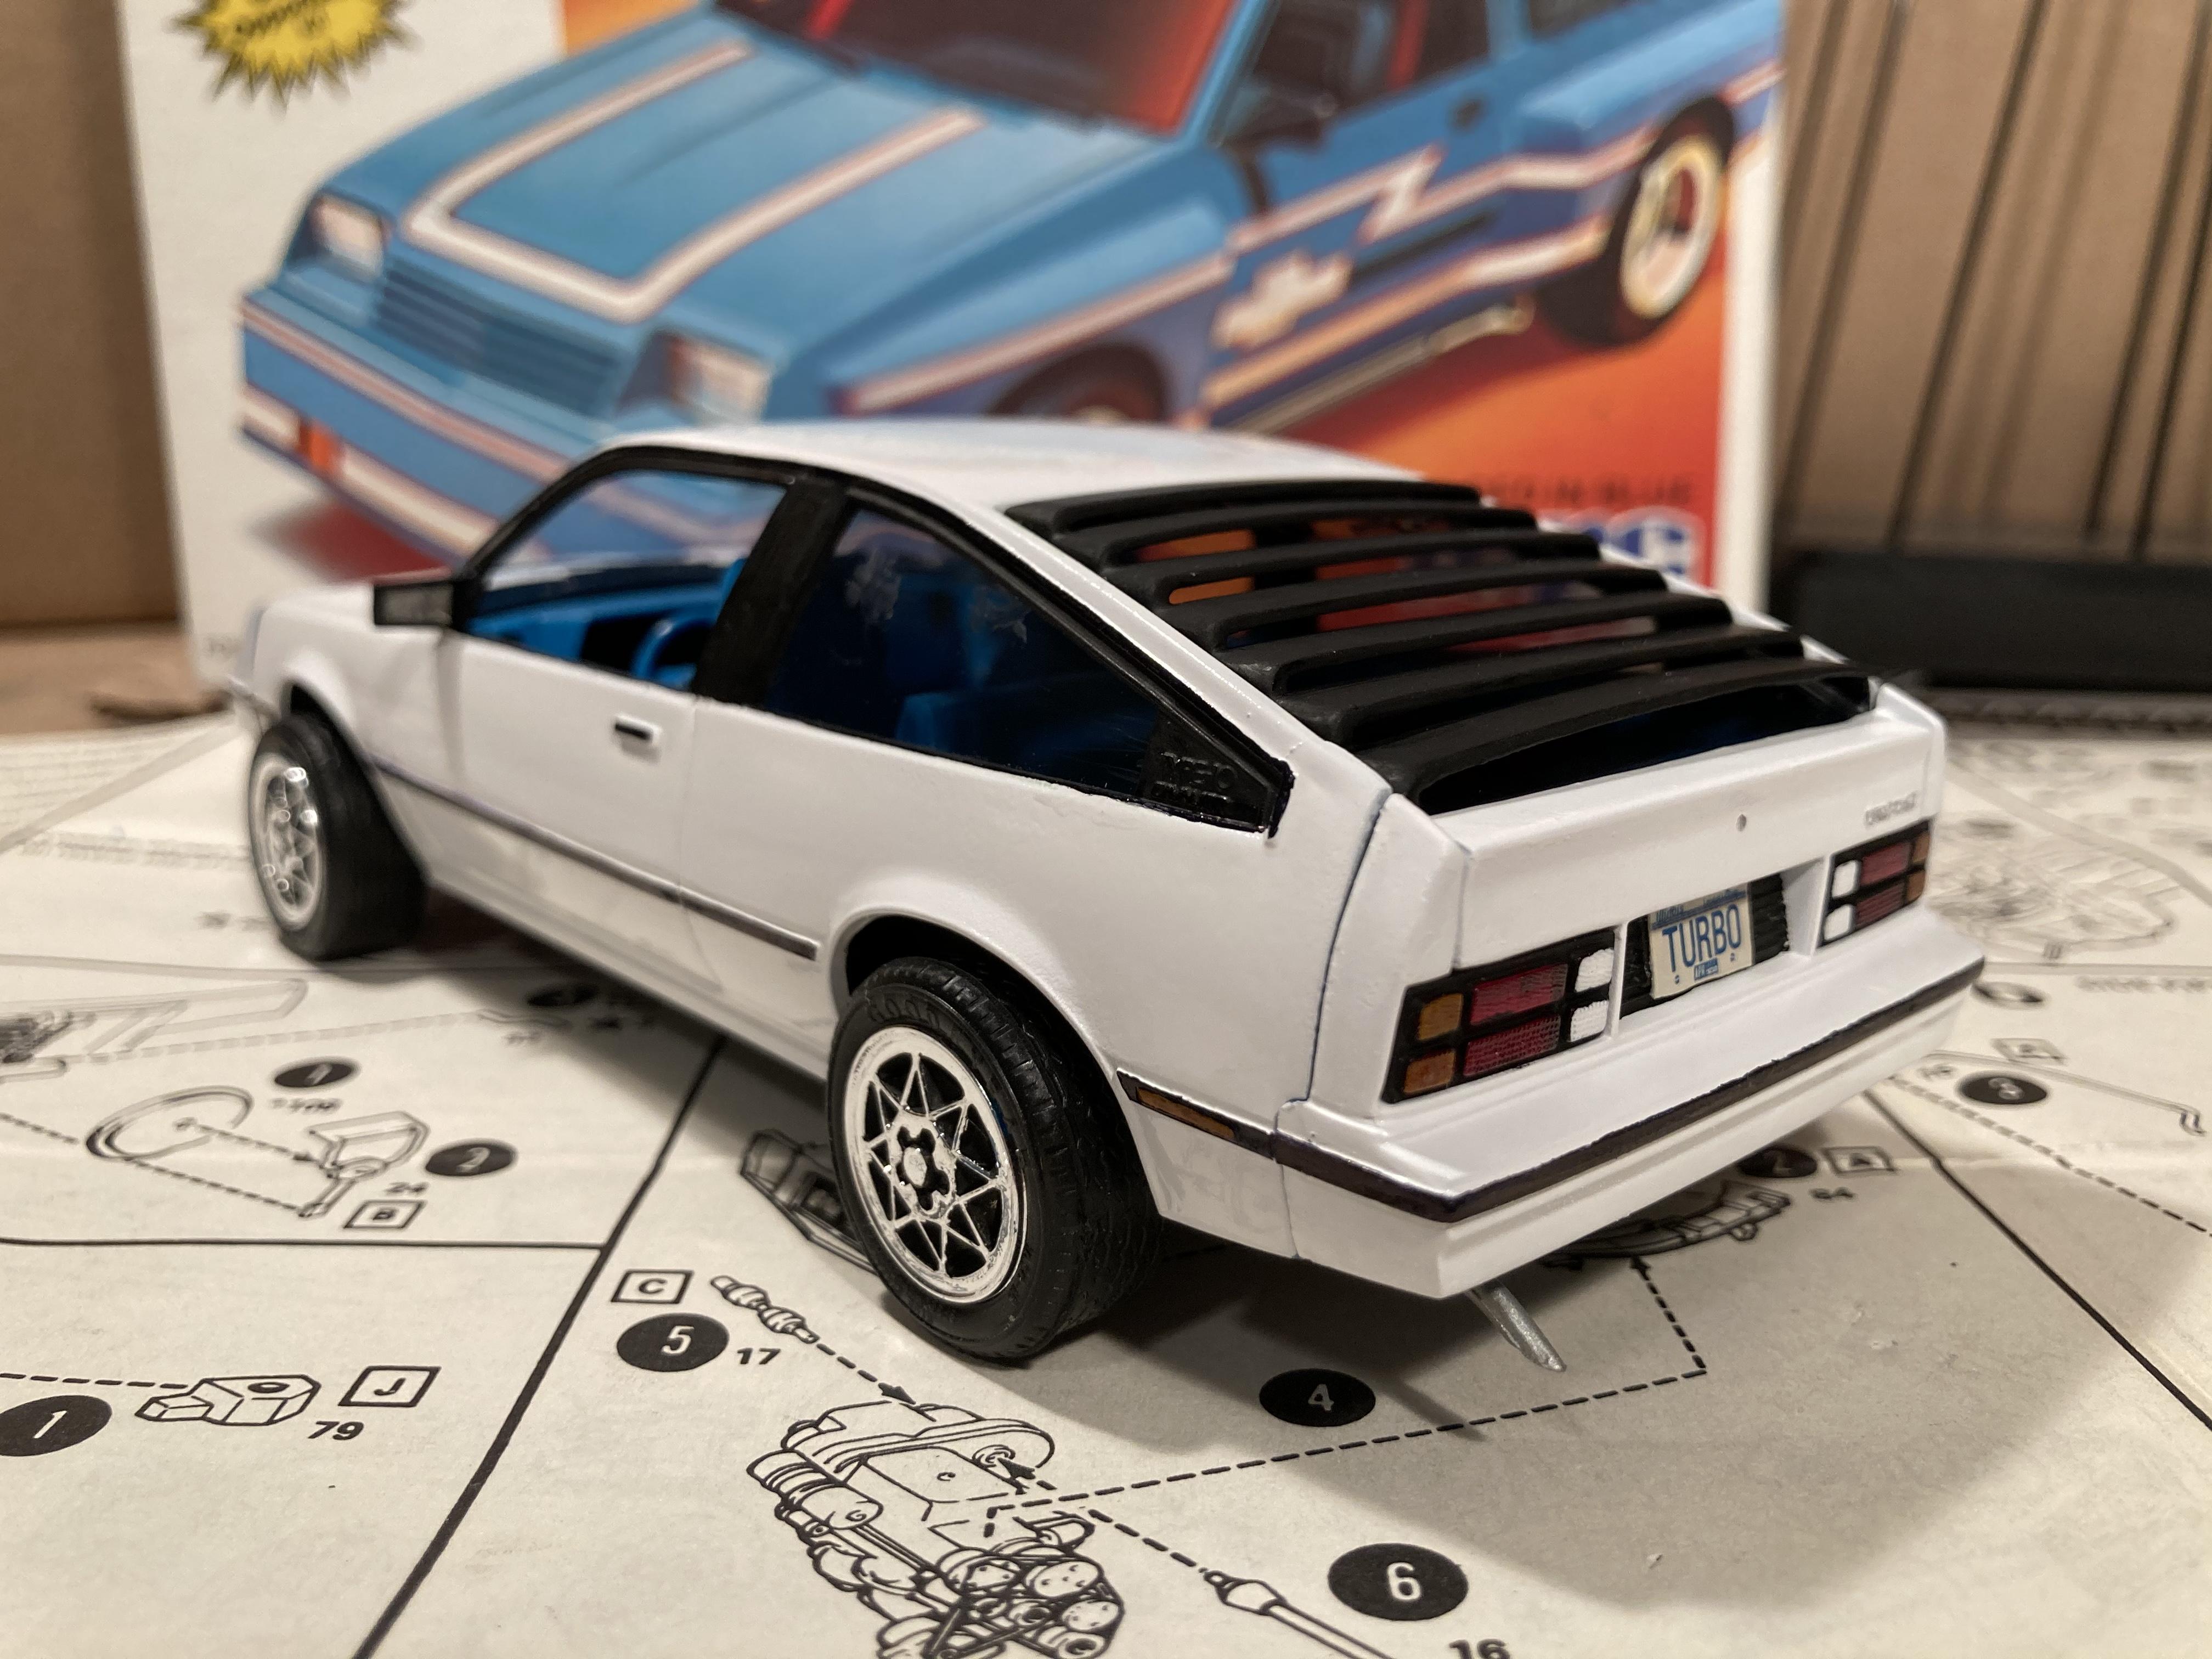
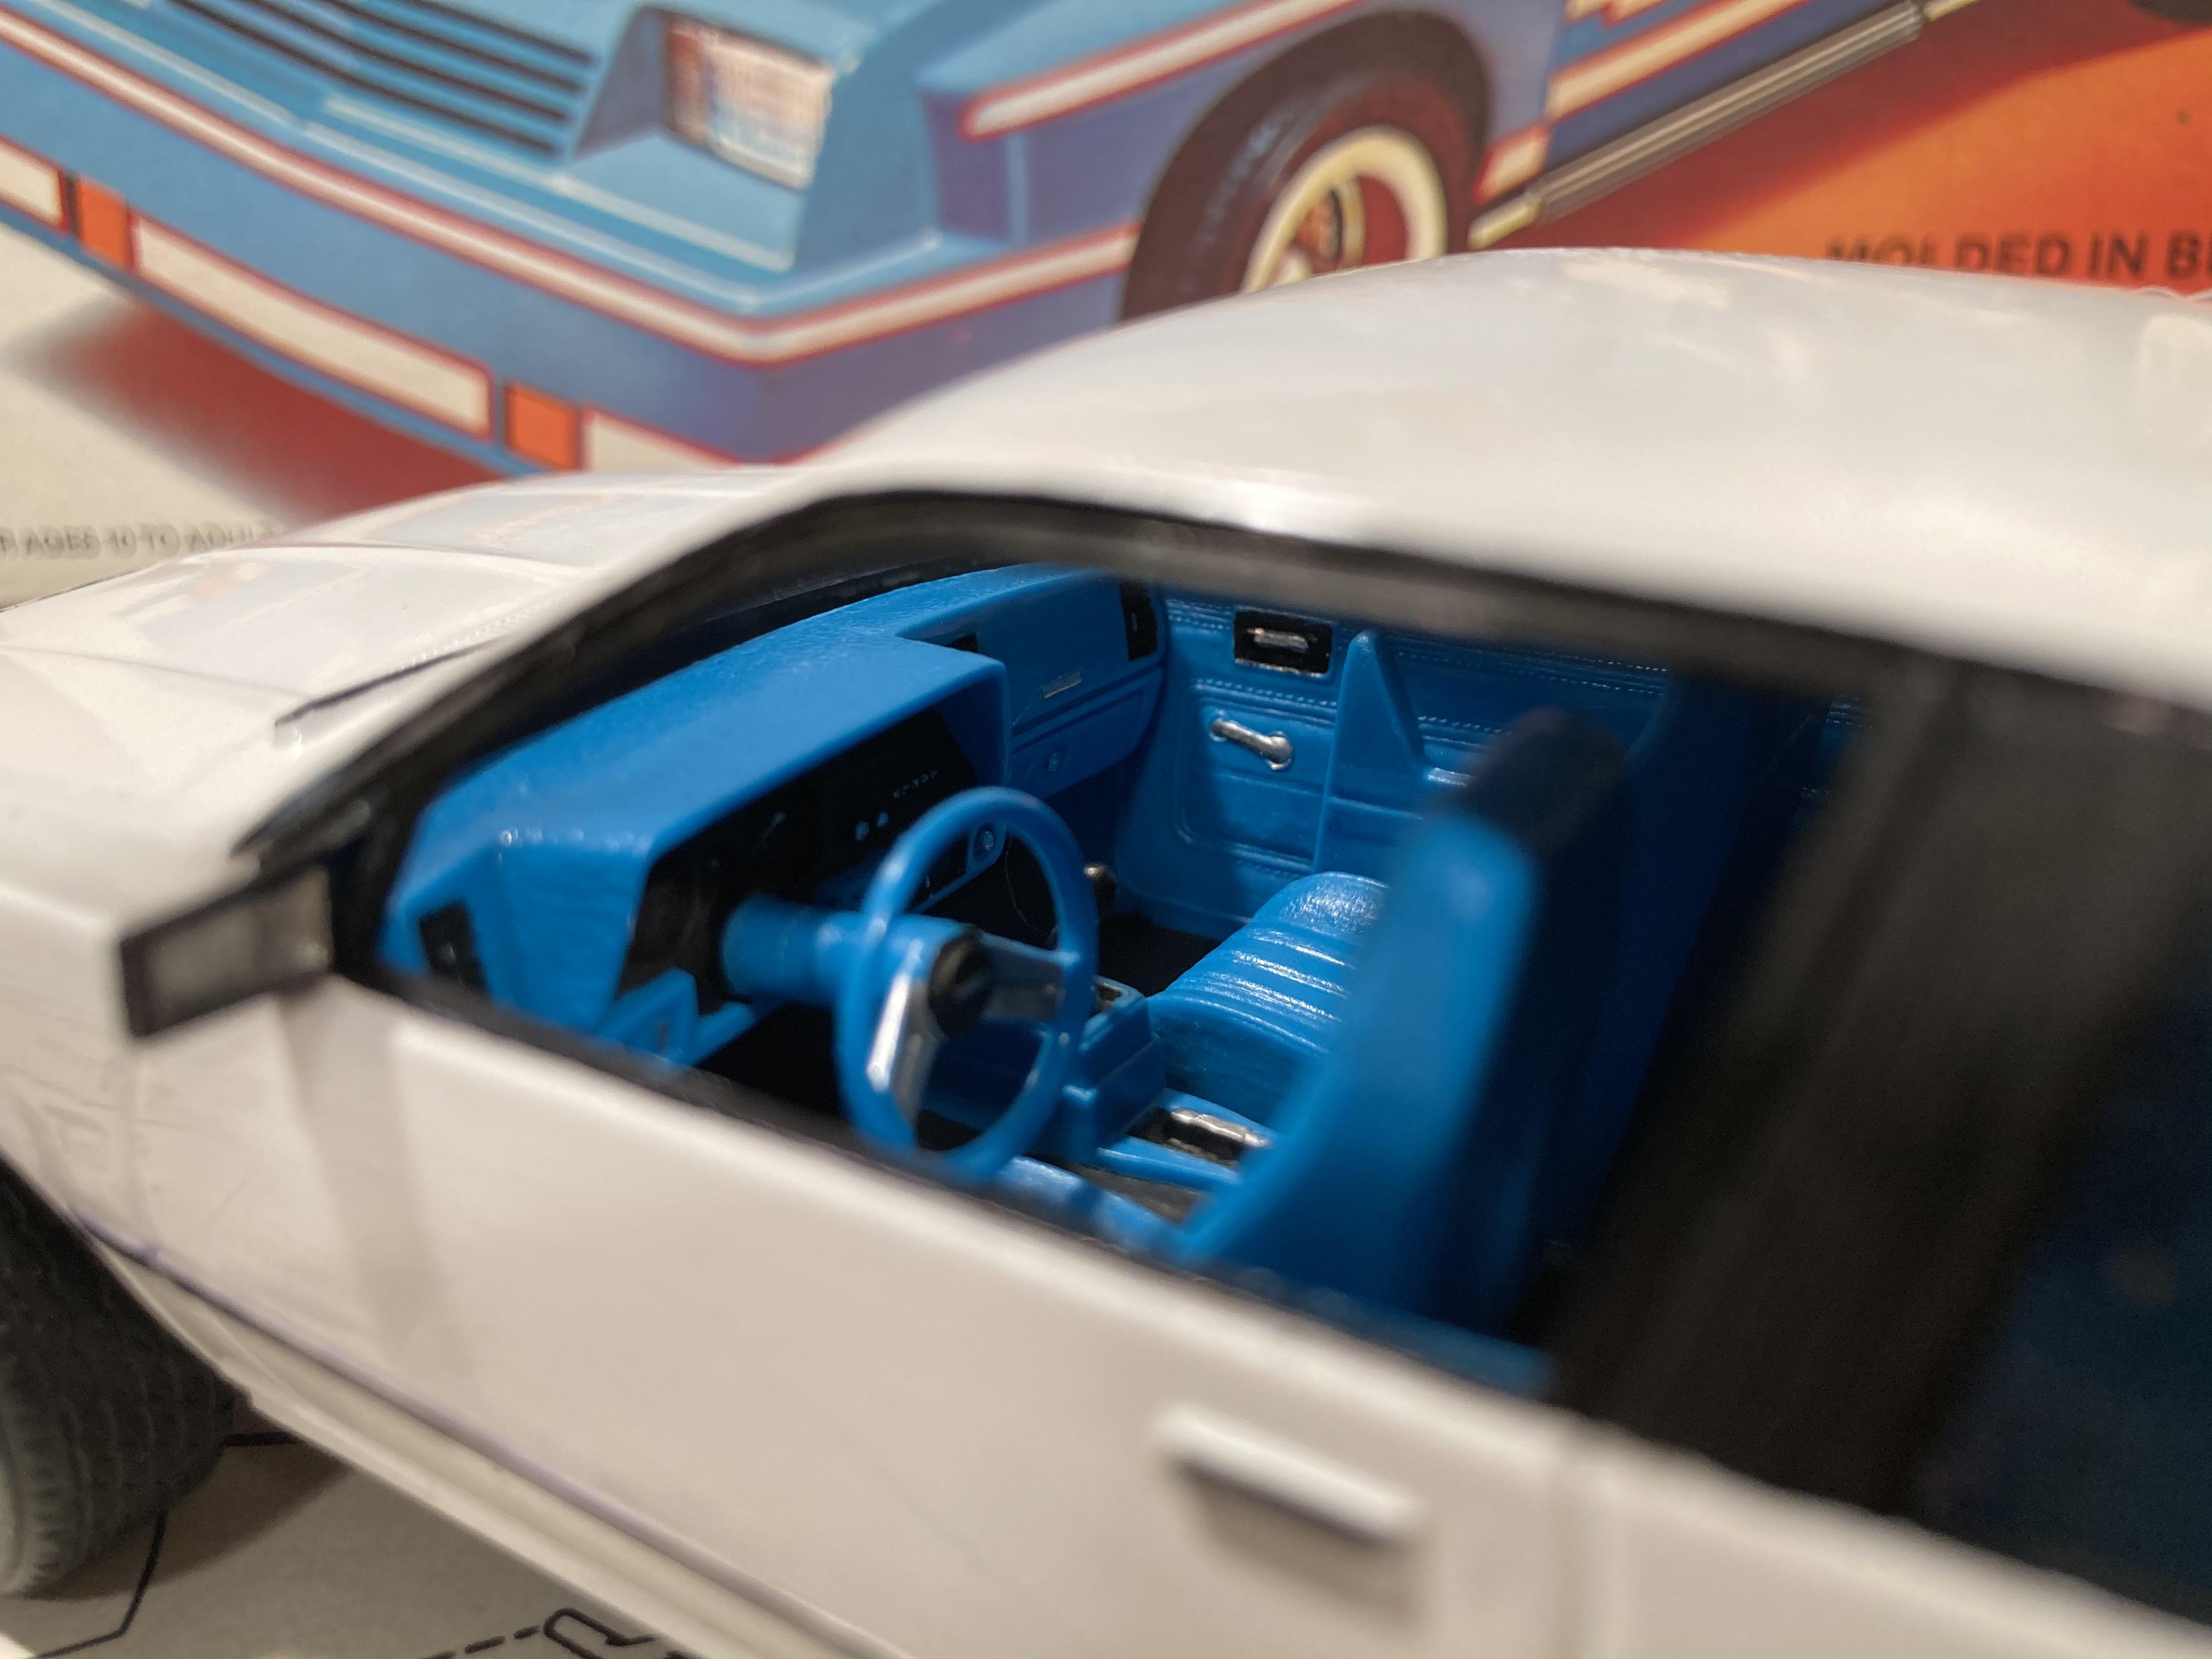
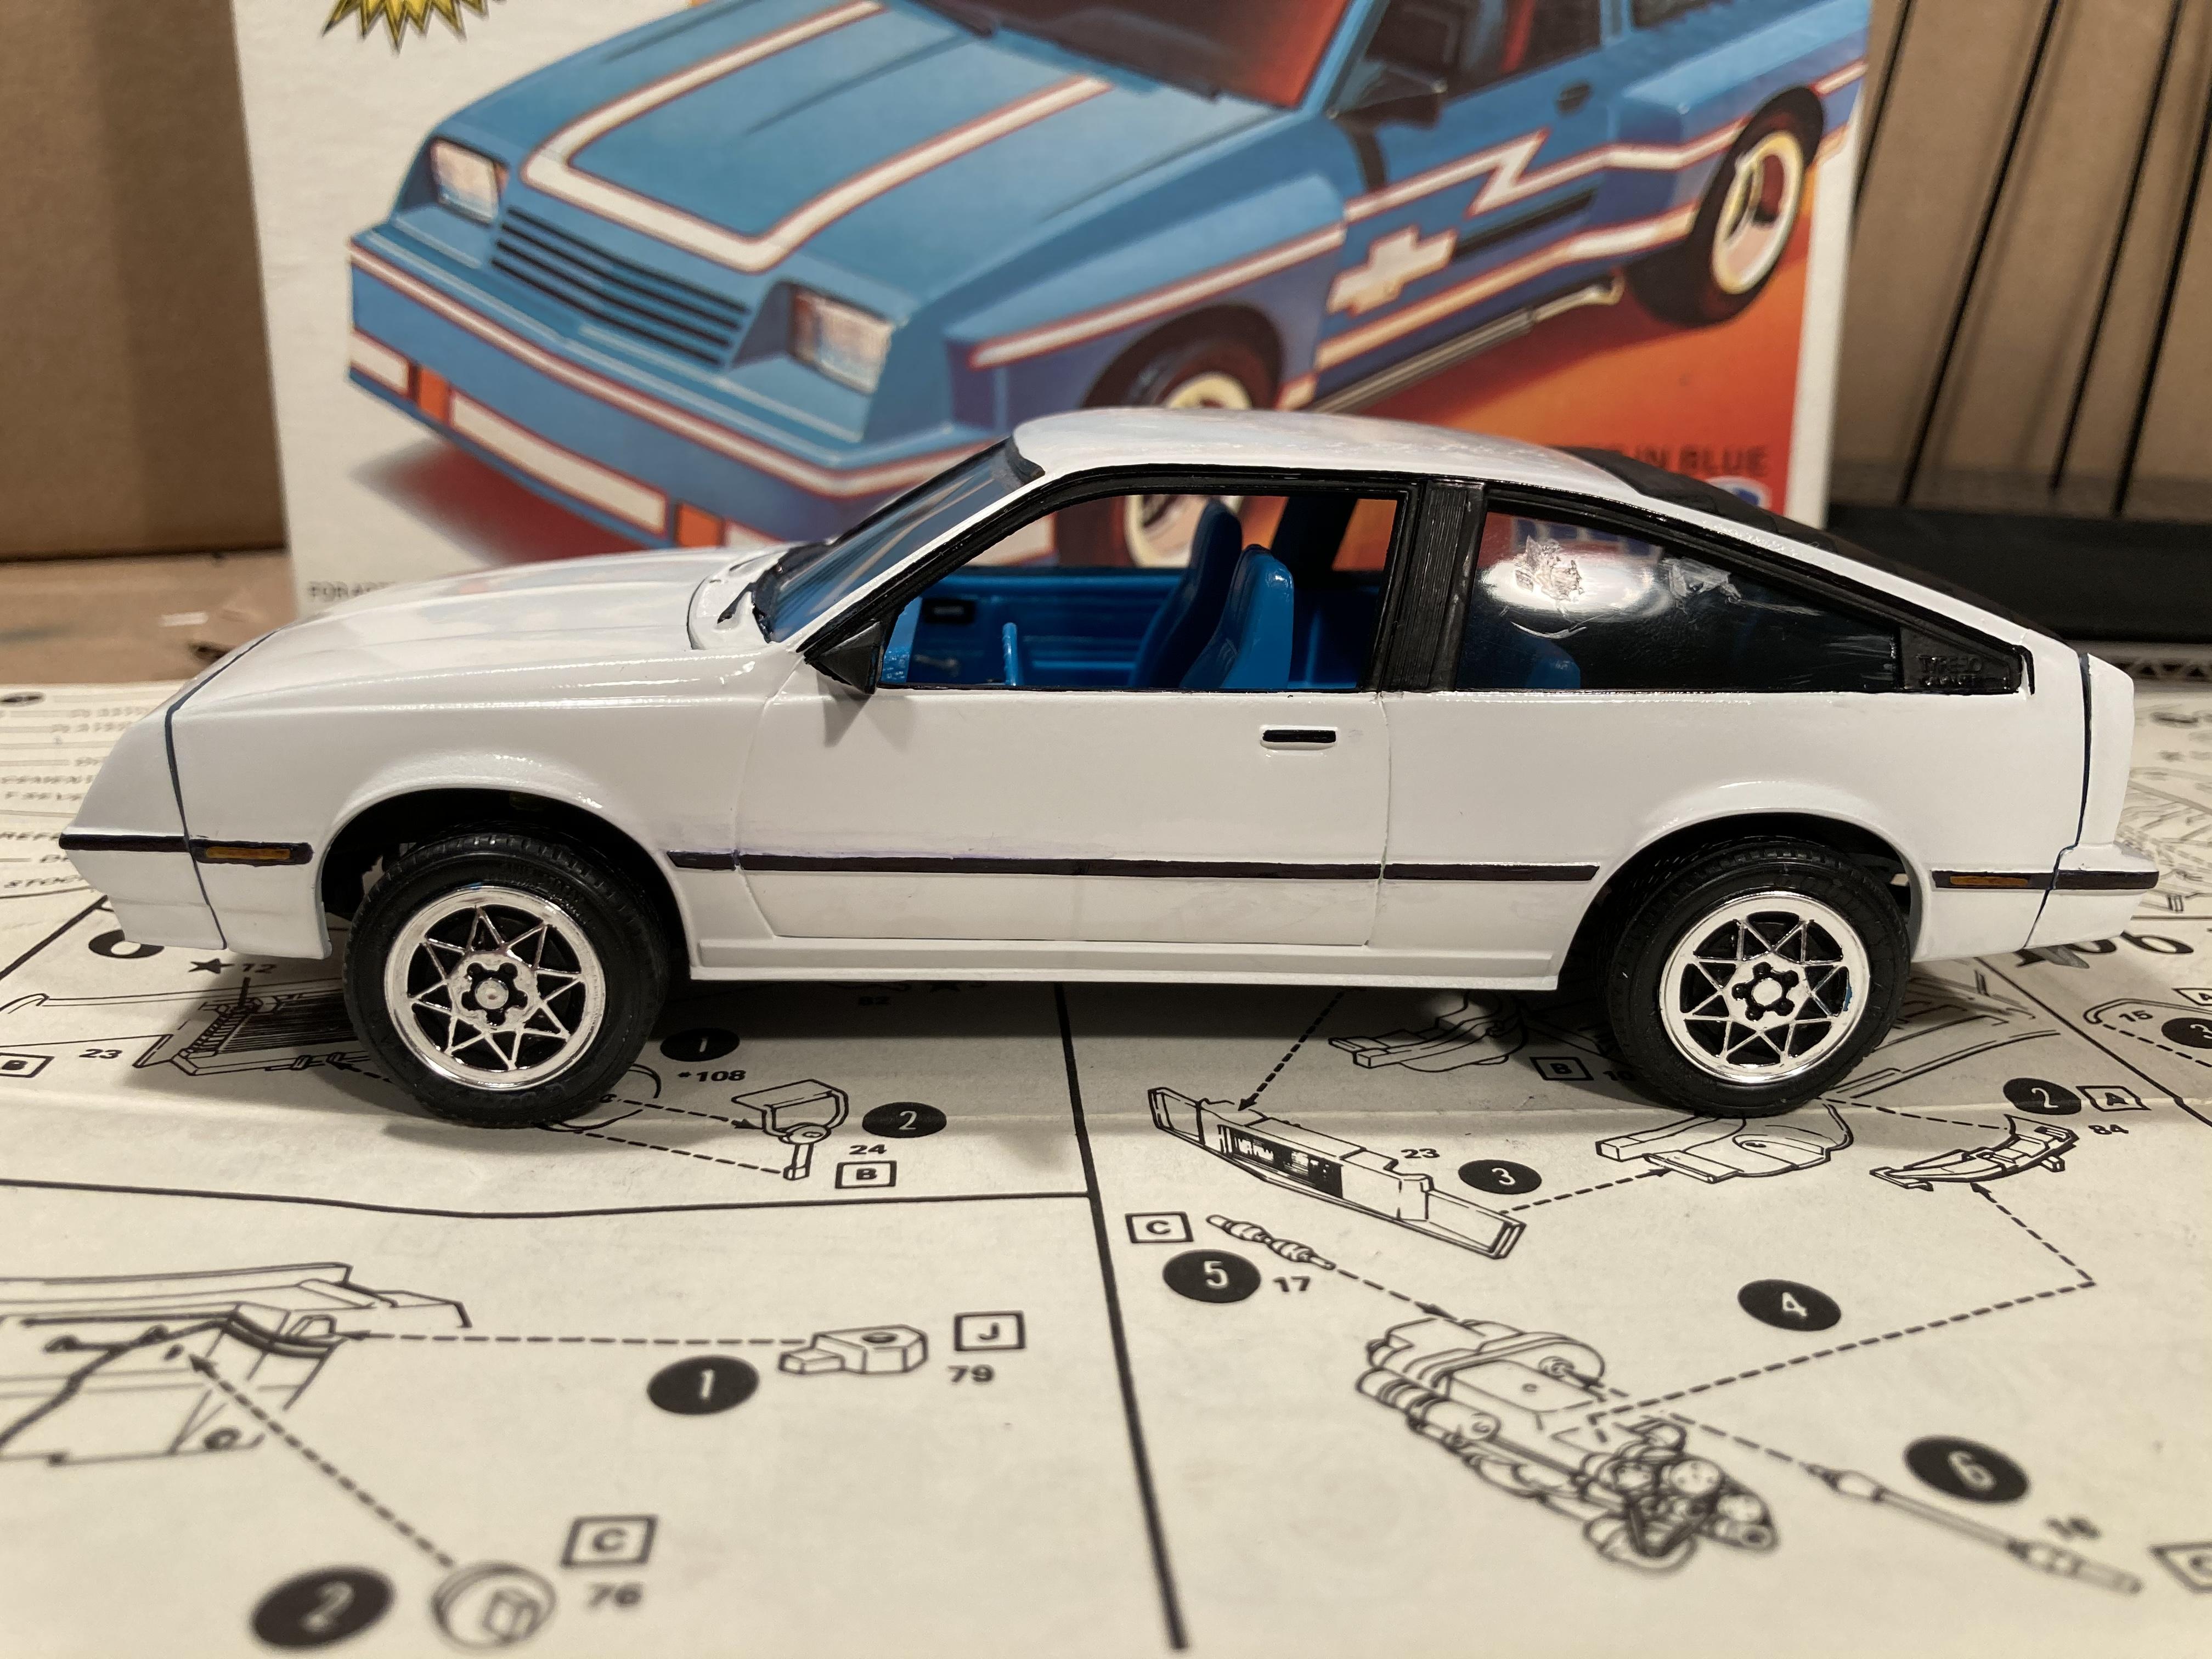
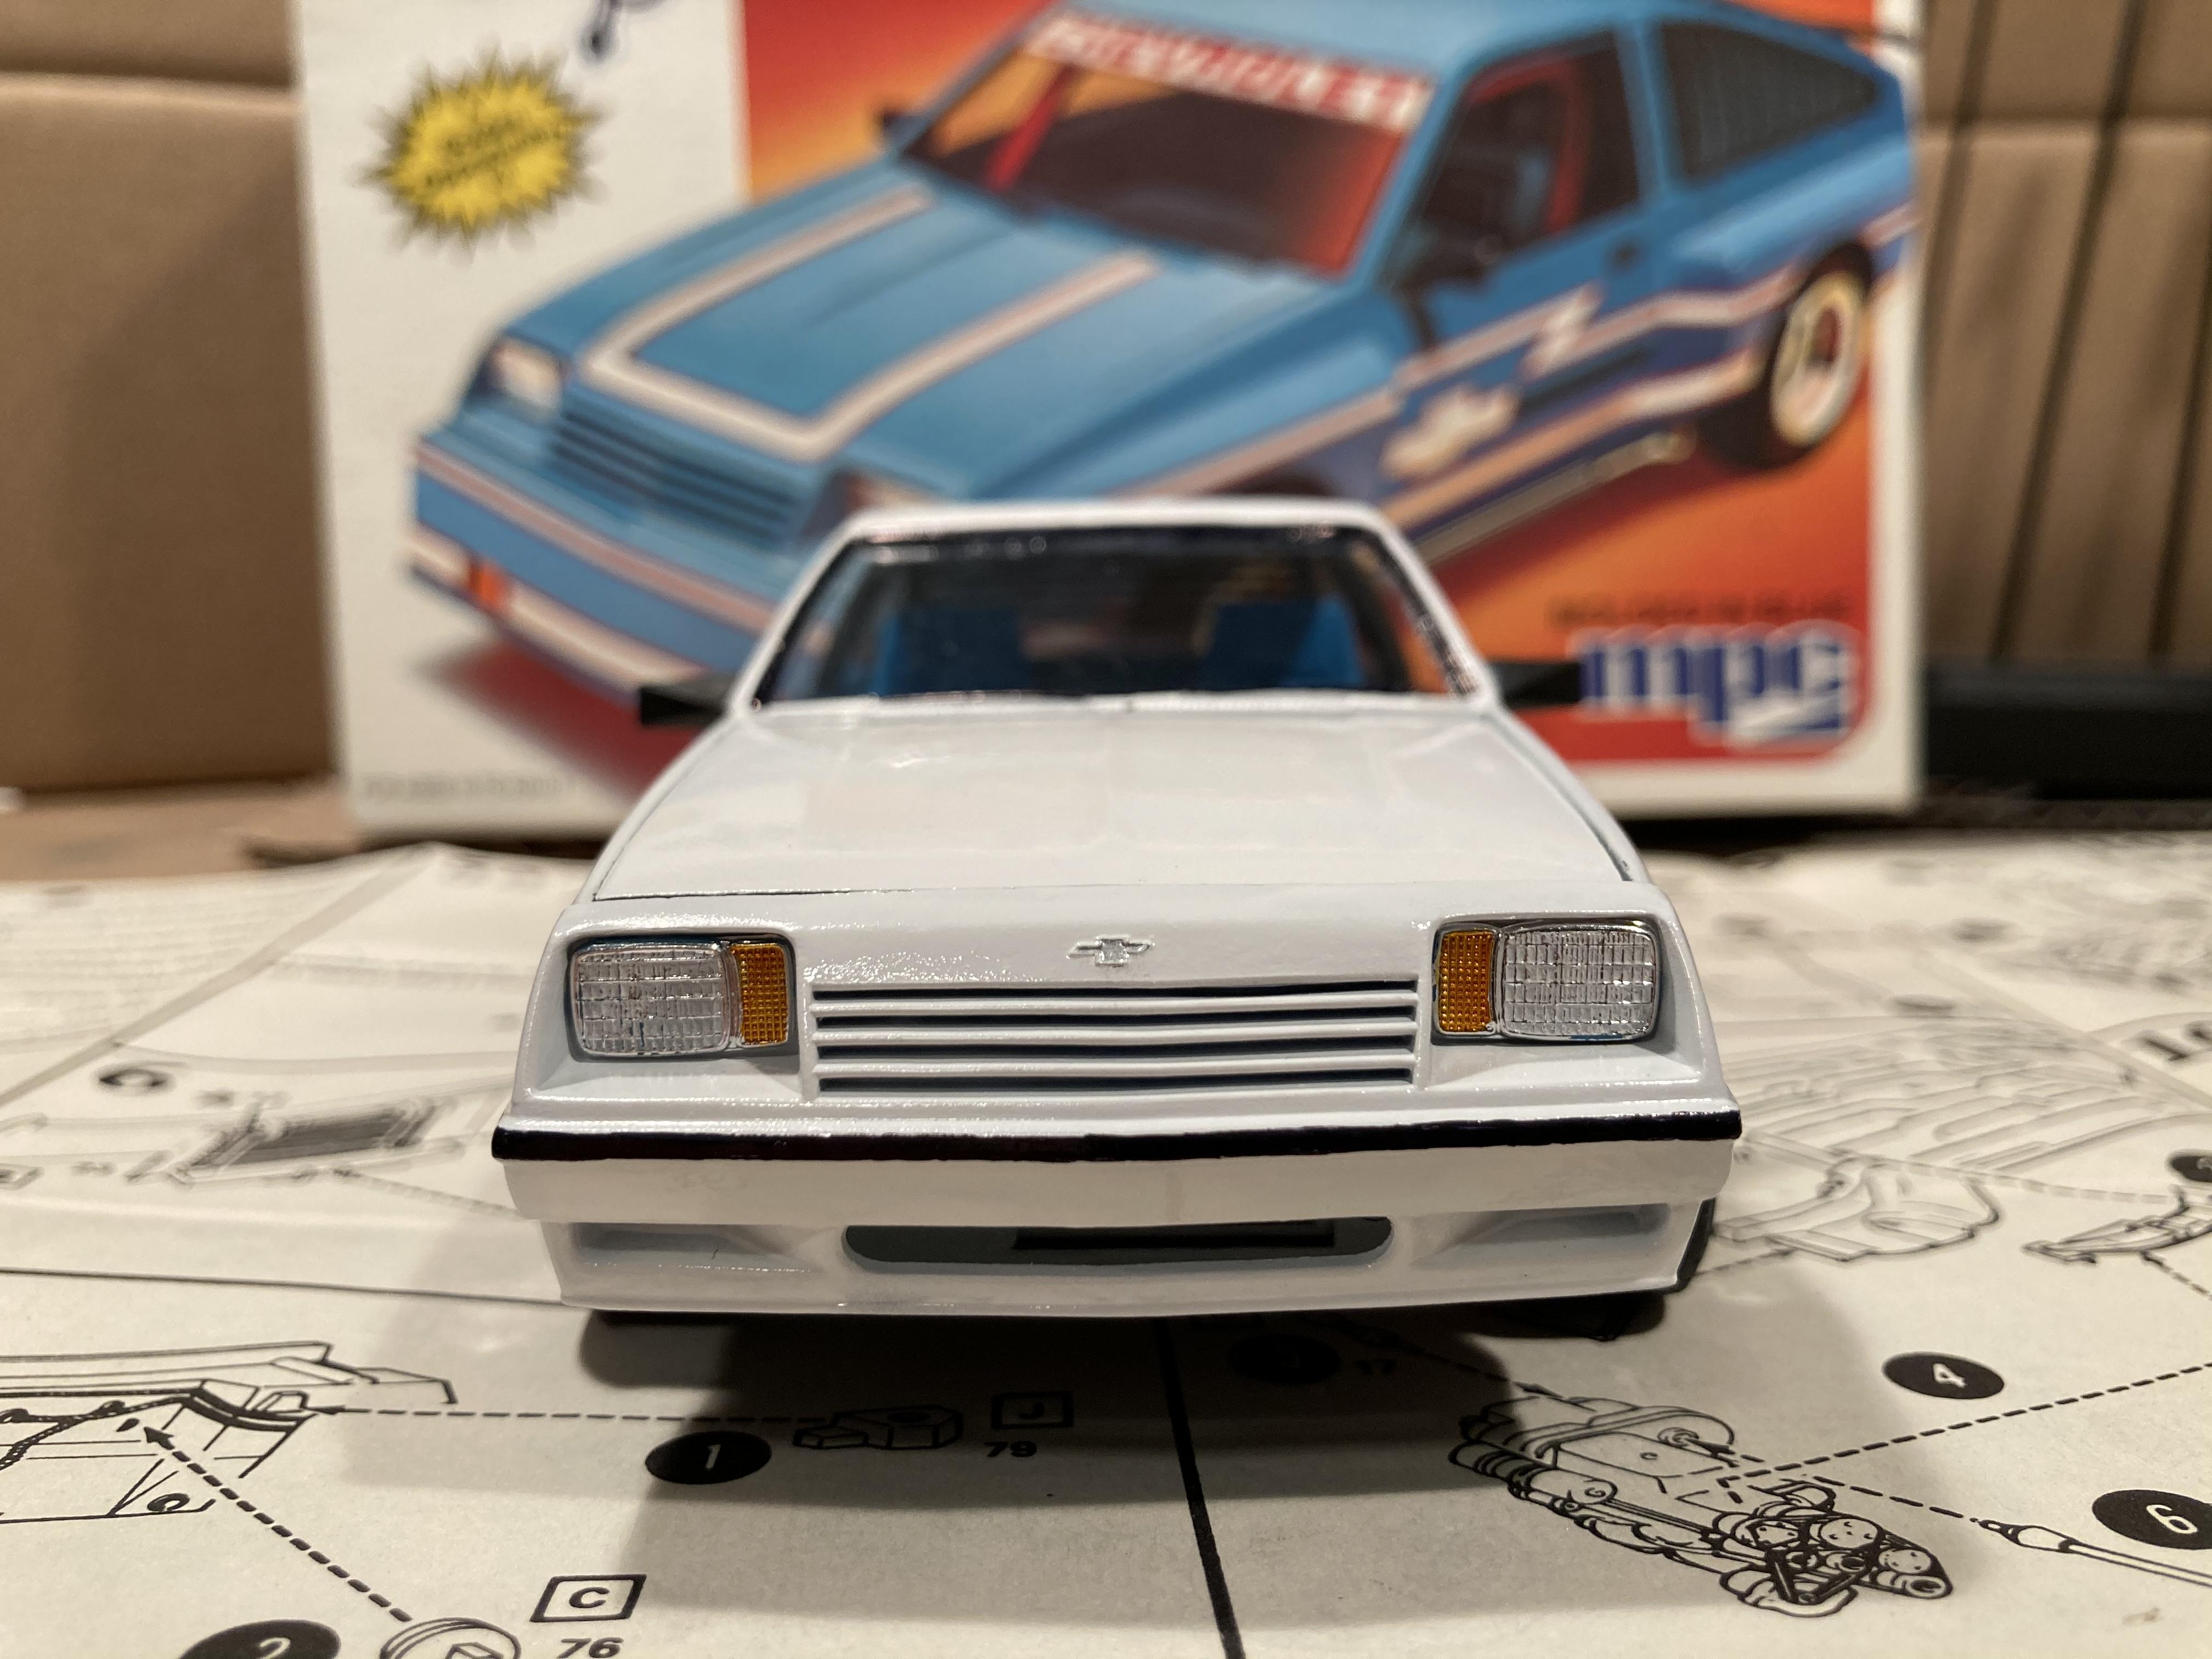
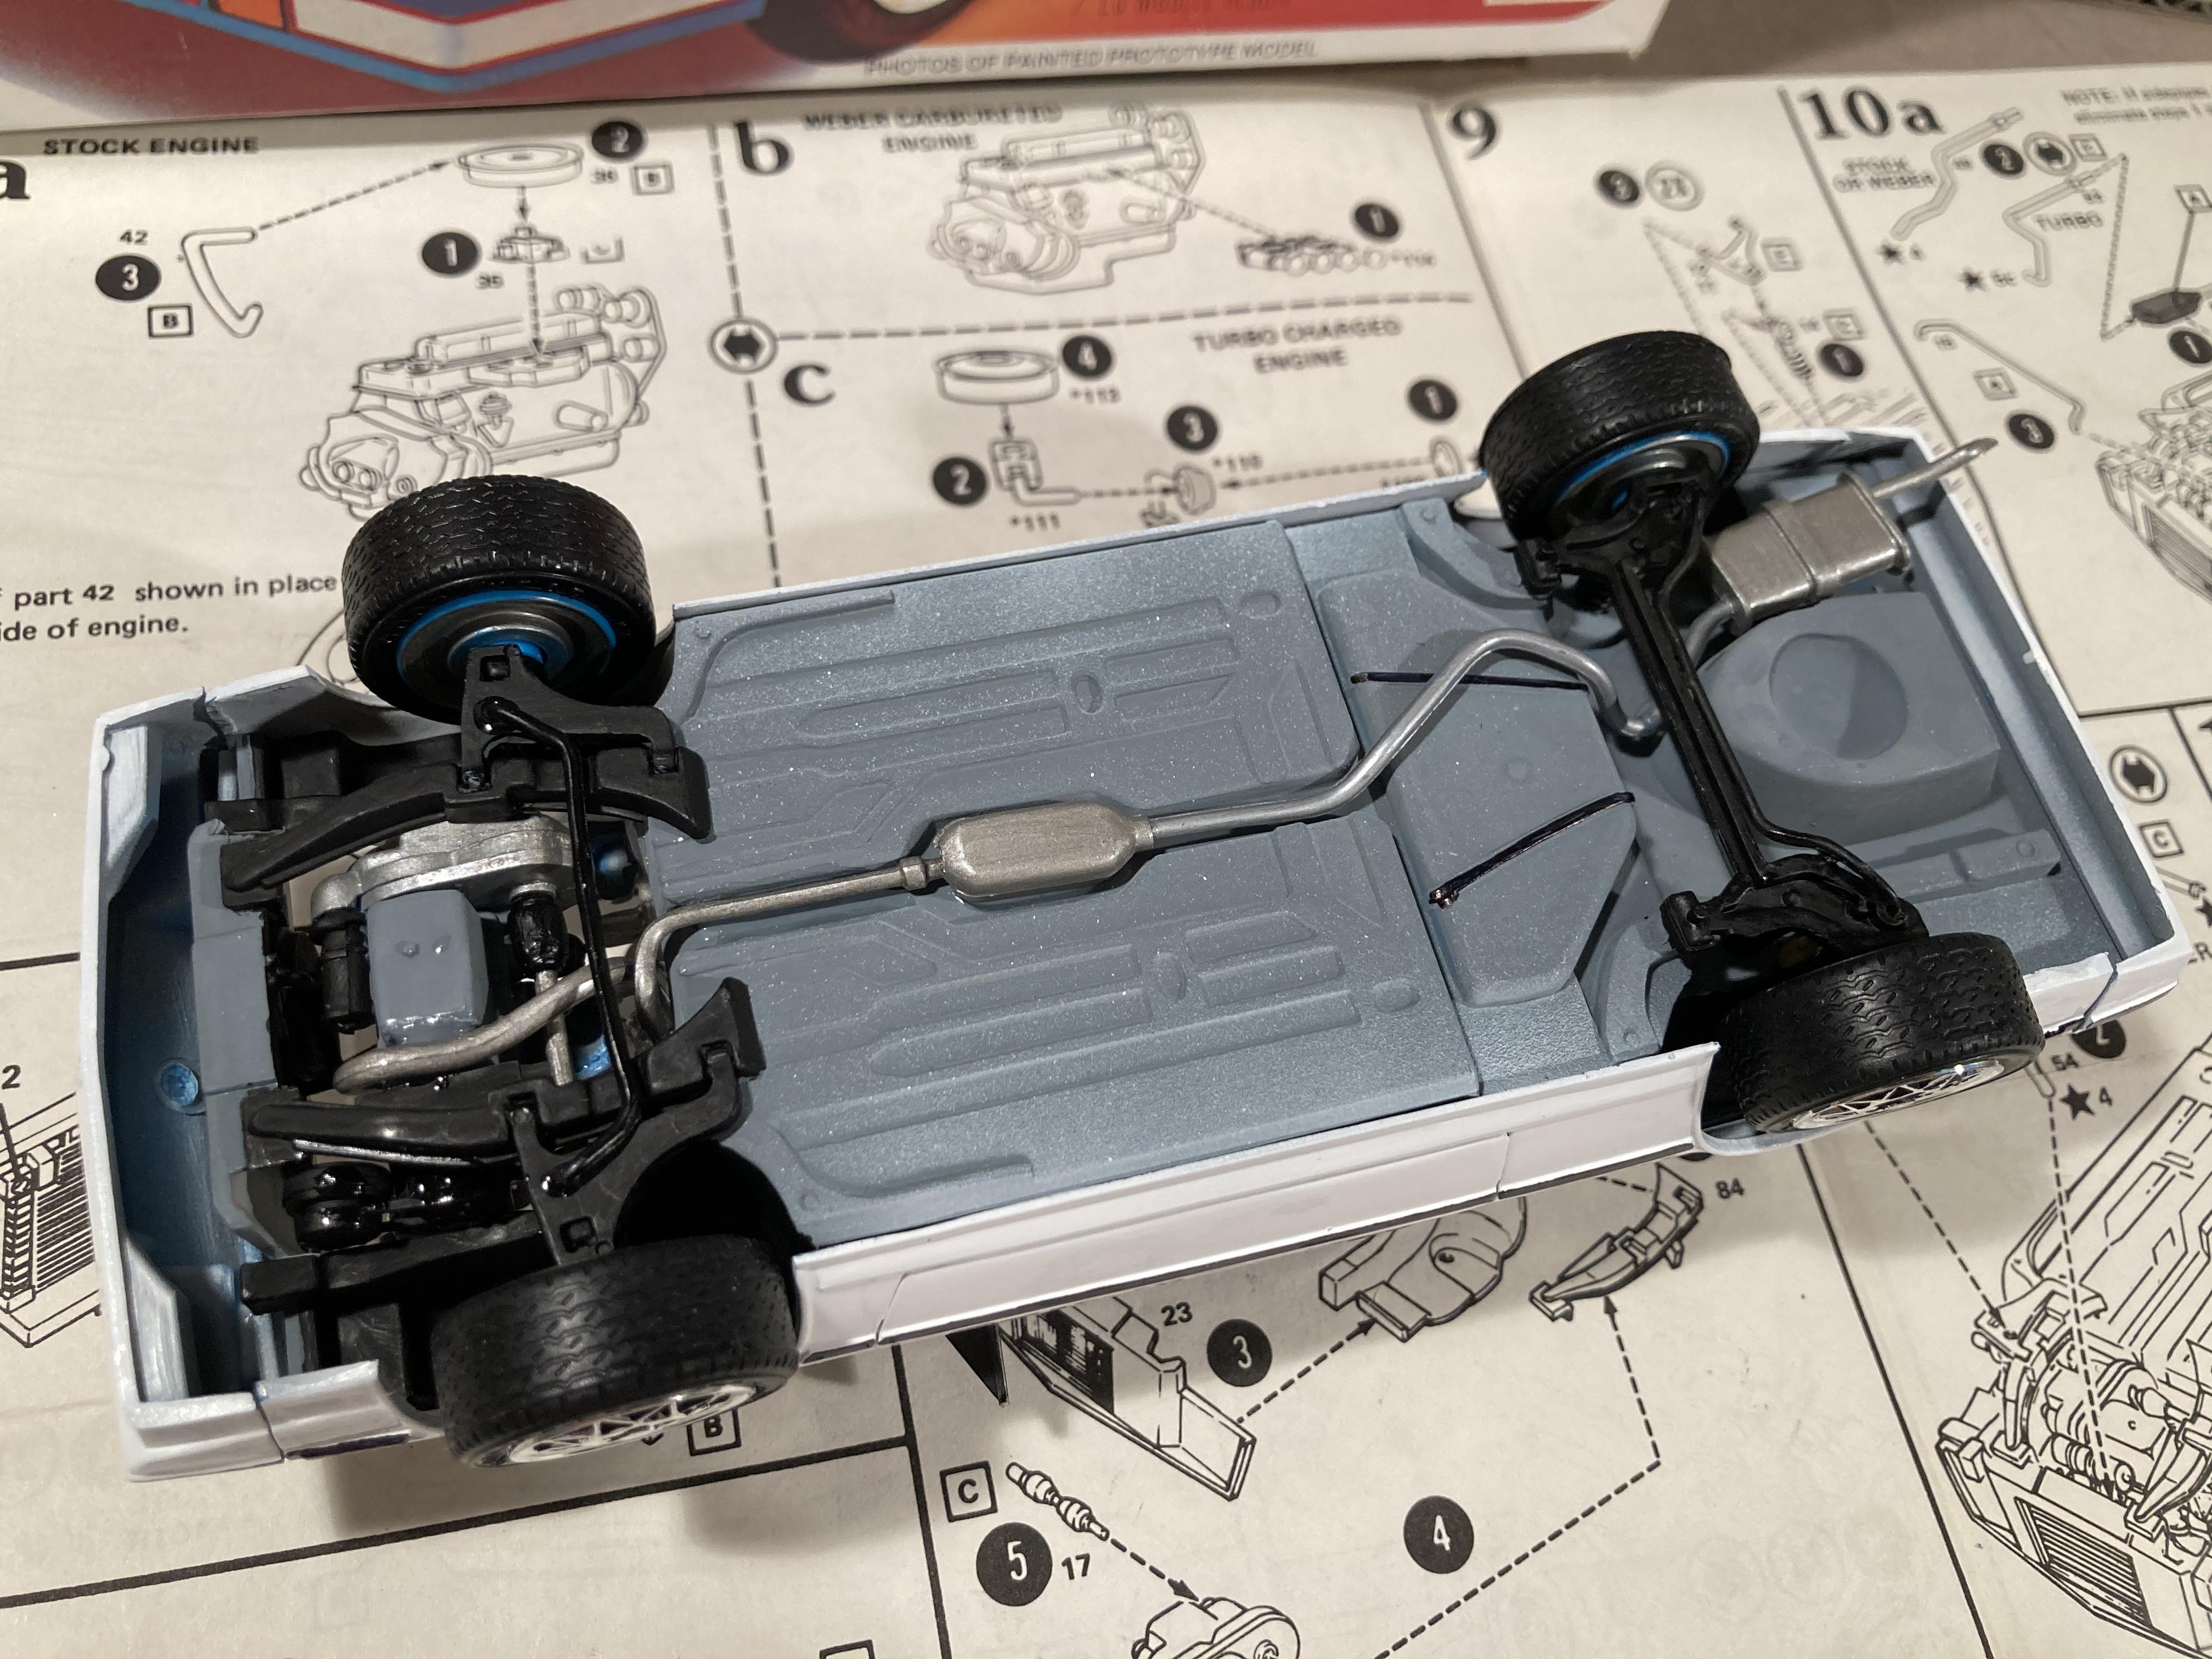
This is my first build in 15 or so years. It’s a vintage MPC Cavalier kit I scored from eBay for $13. Airbrushed in Tamiya Gloss White. I built it mostly stock but with the optional turbo kit, because I’m sure the real car needed it ? The windshield and rear window suffered from the infamous MPC “tire weld” so I installed the rear window louvres and made a new windshield from acetate sheet. I loved the bright blue plastic the kit was molded in so I left the interior bare, which is actually close to a real Cavalier interior color I found in a brochure online. The body paint is nowhere near perfect but it’s a lot better than the brushed paint jobs I did as a kid. On to the next one!