-
Posts
244 -
Joined
-
Last visited
Content Type
Profiles
Forums
Events
Gallery
Everything posted by StanGlover
-
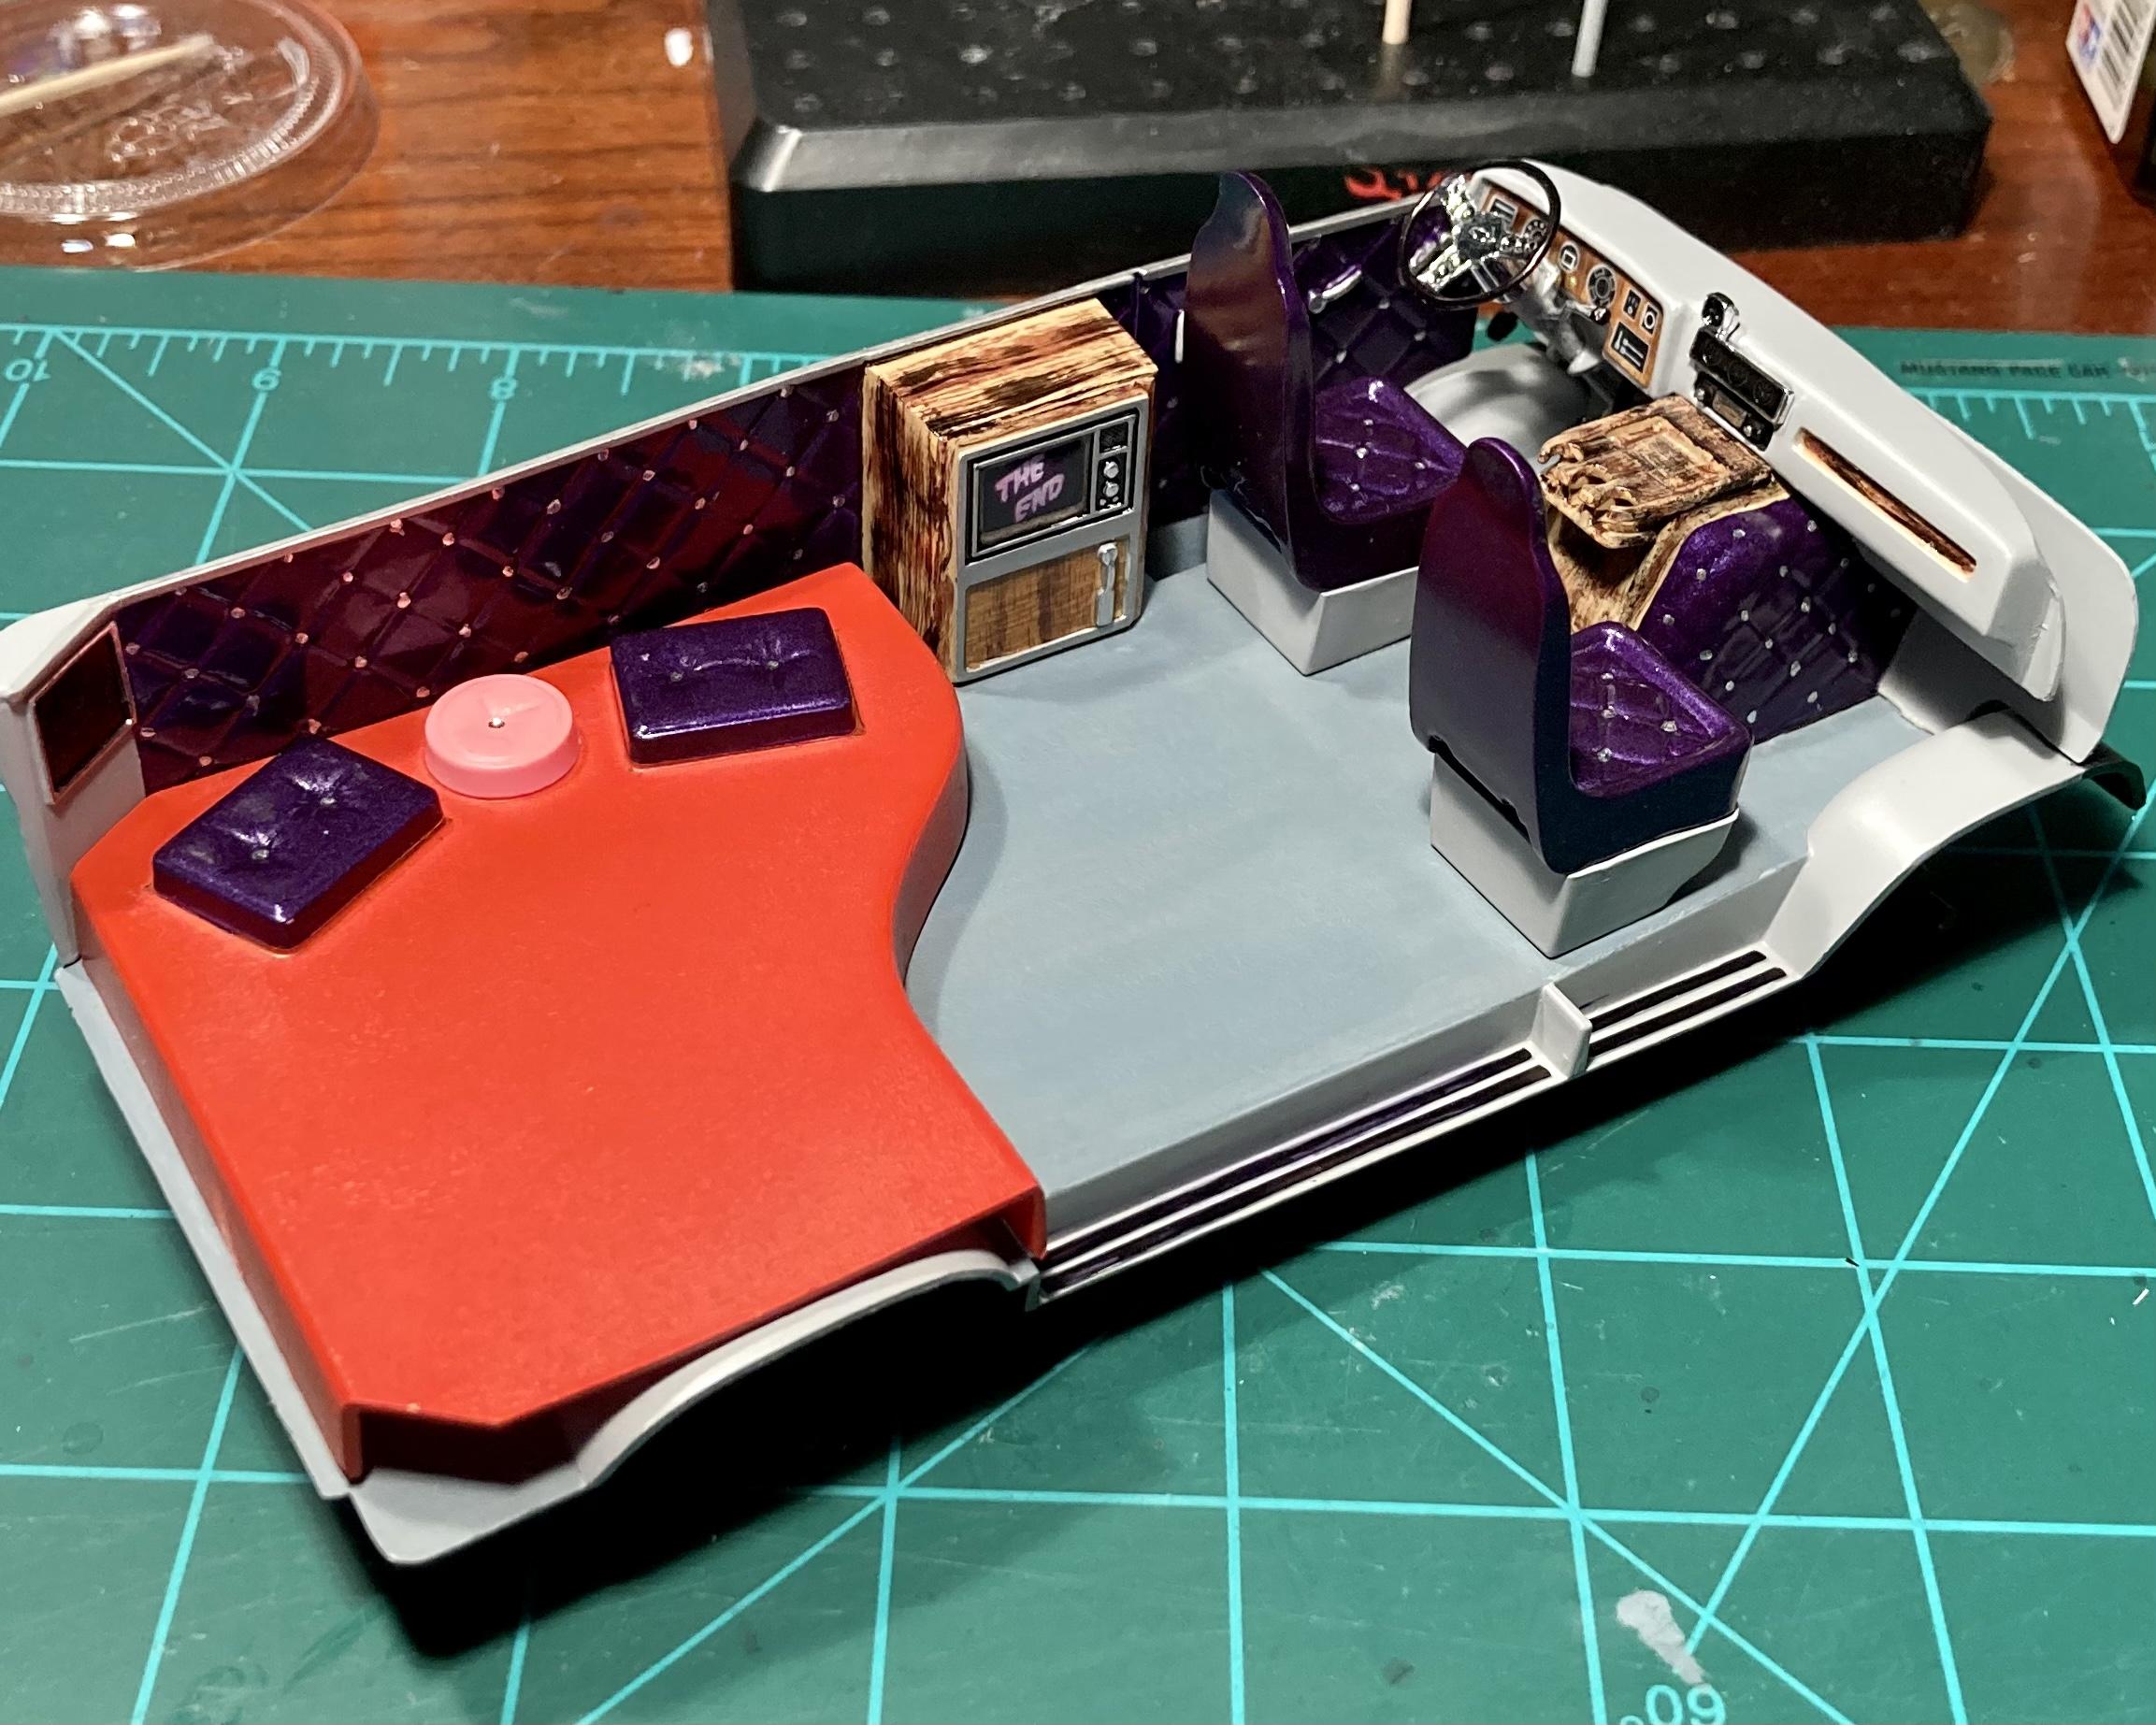
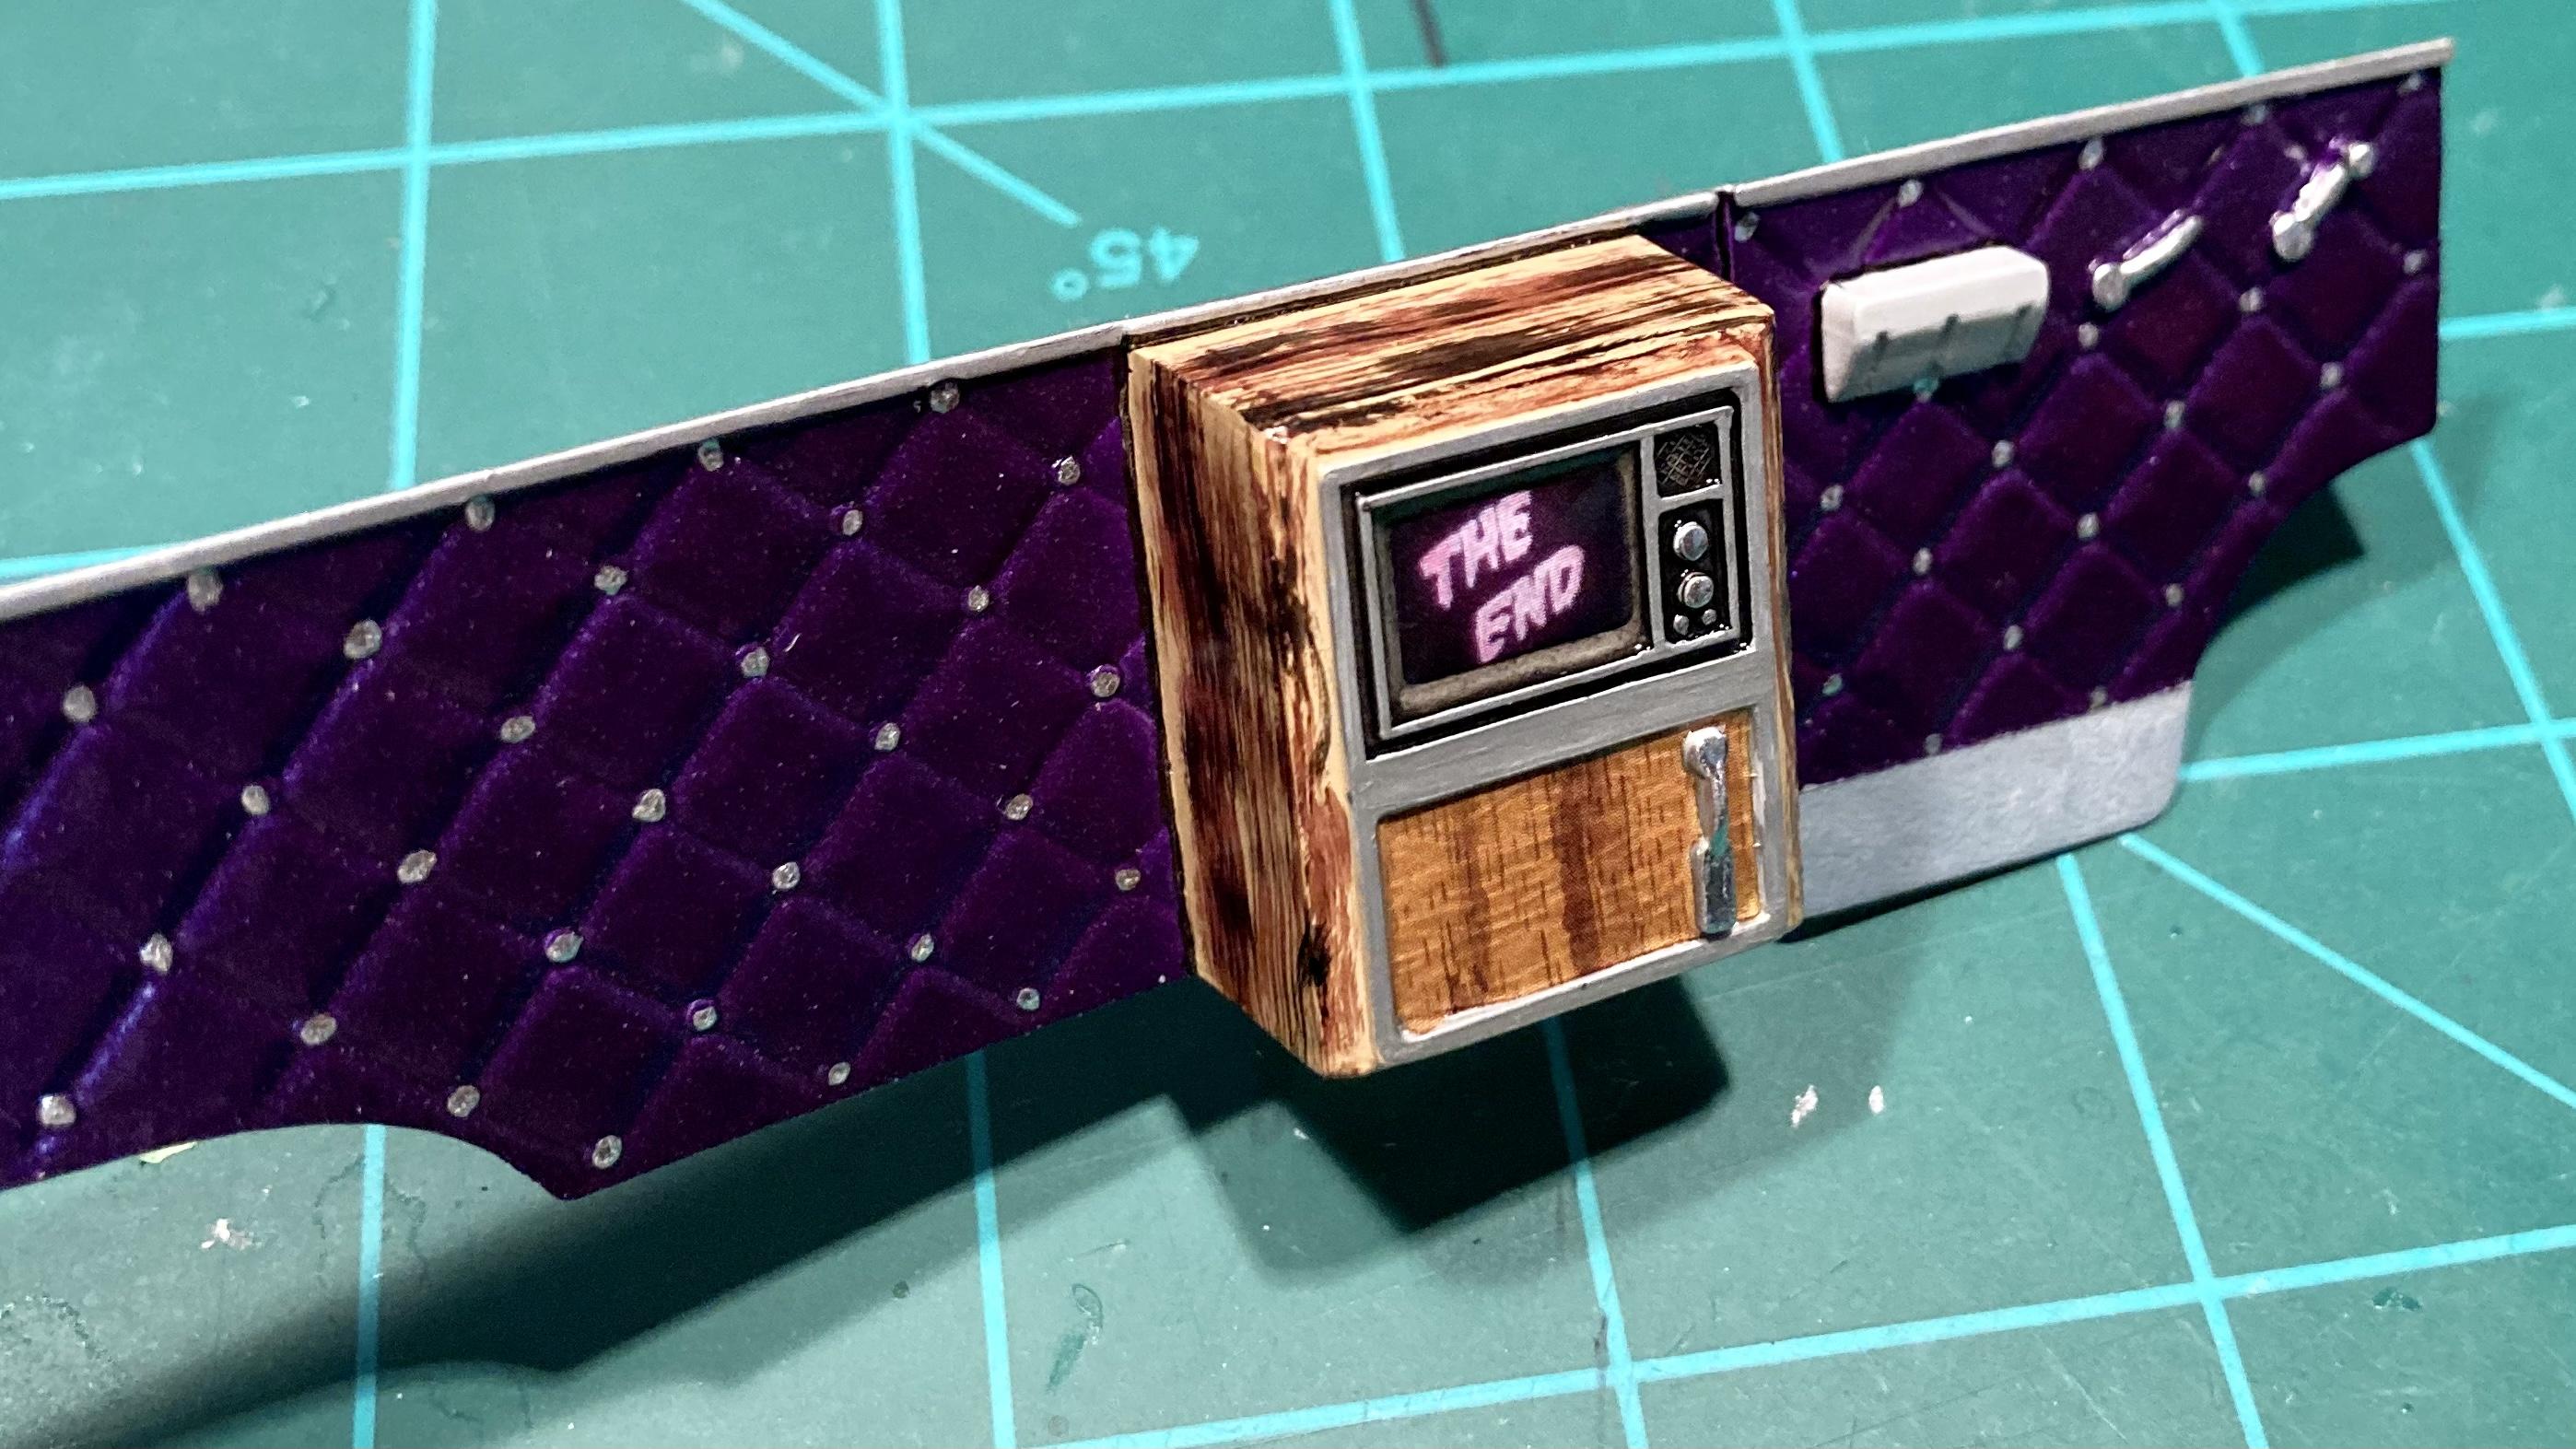
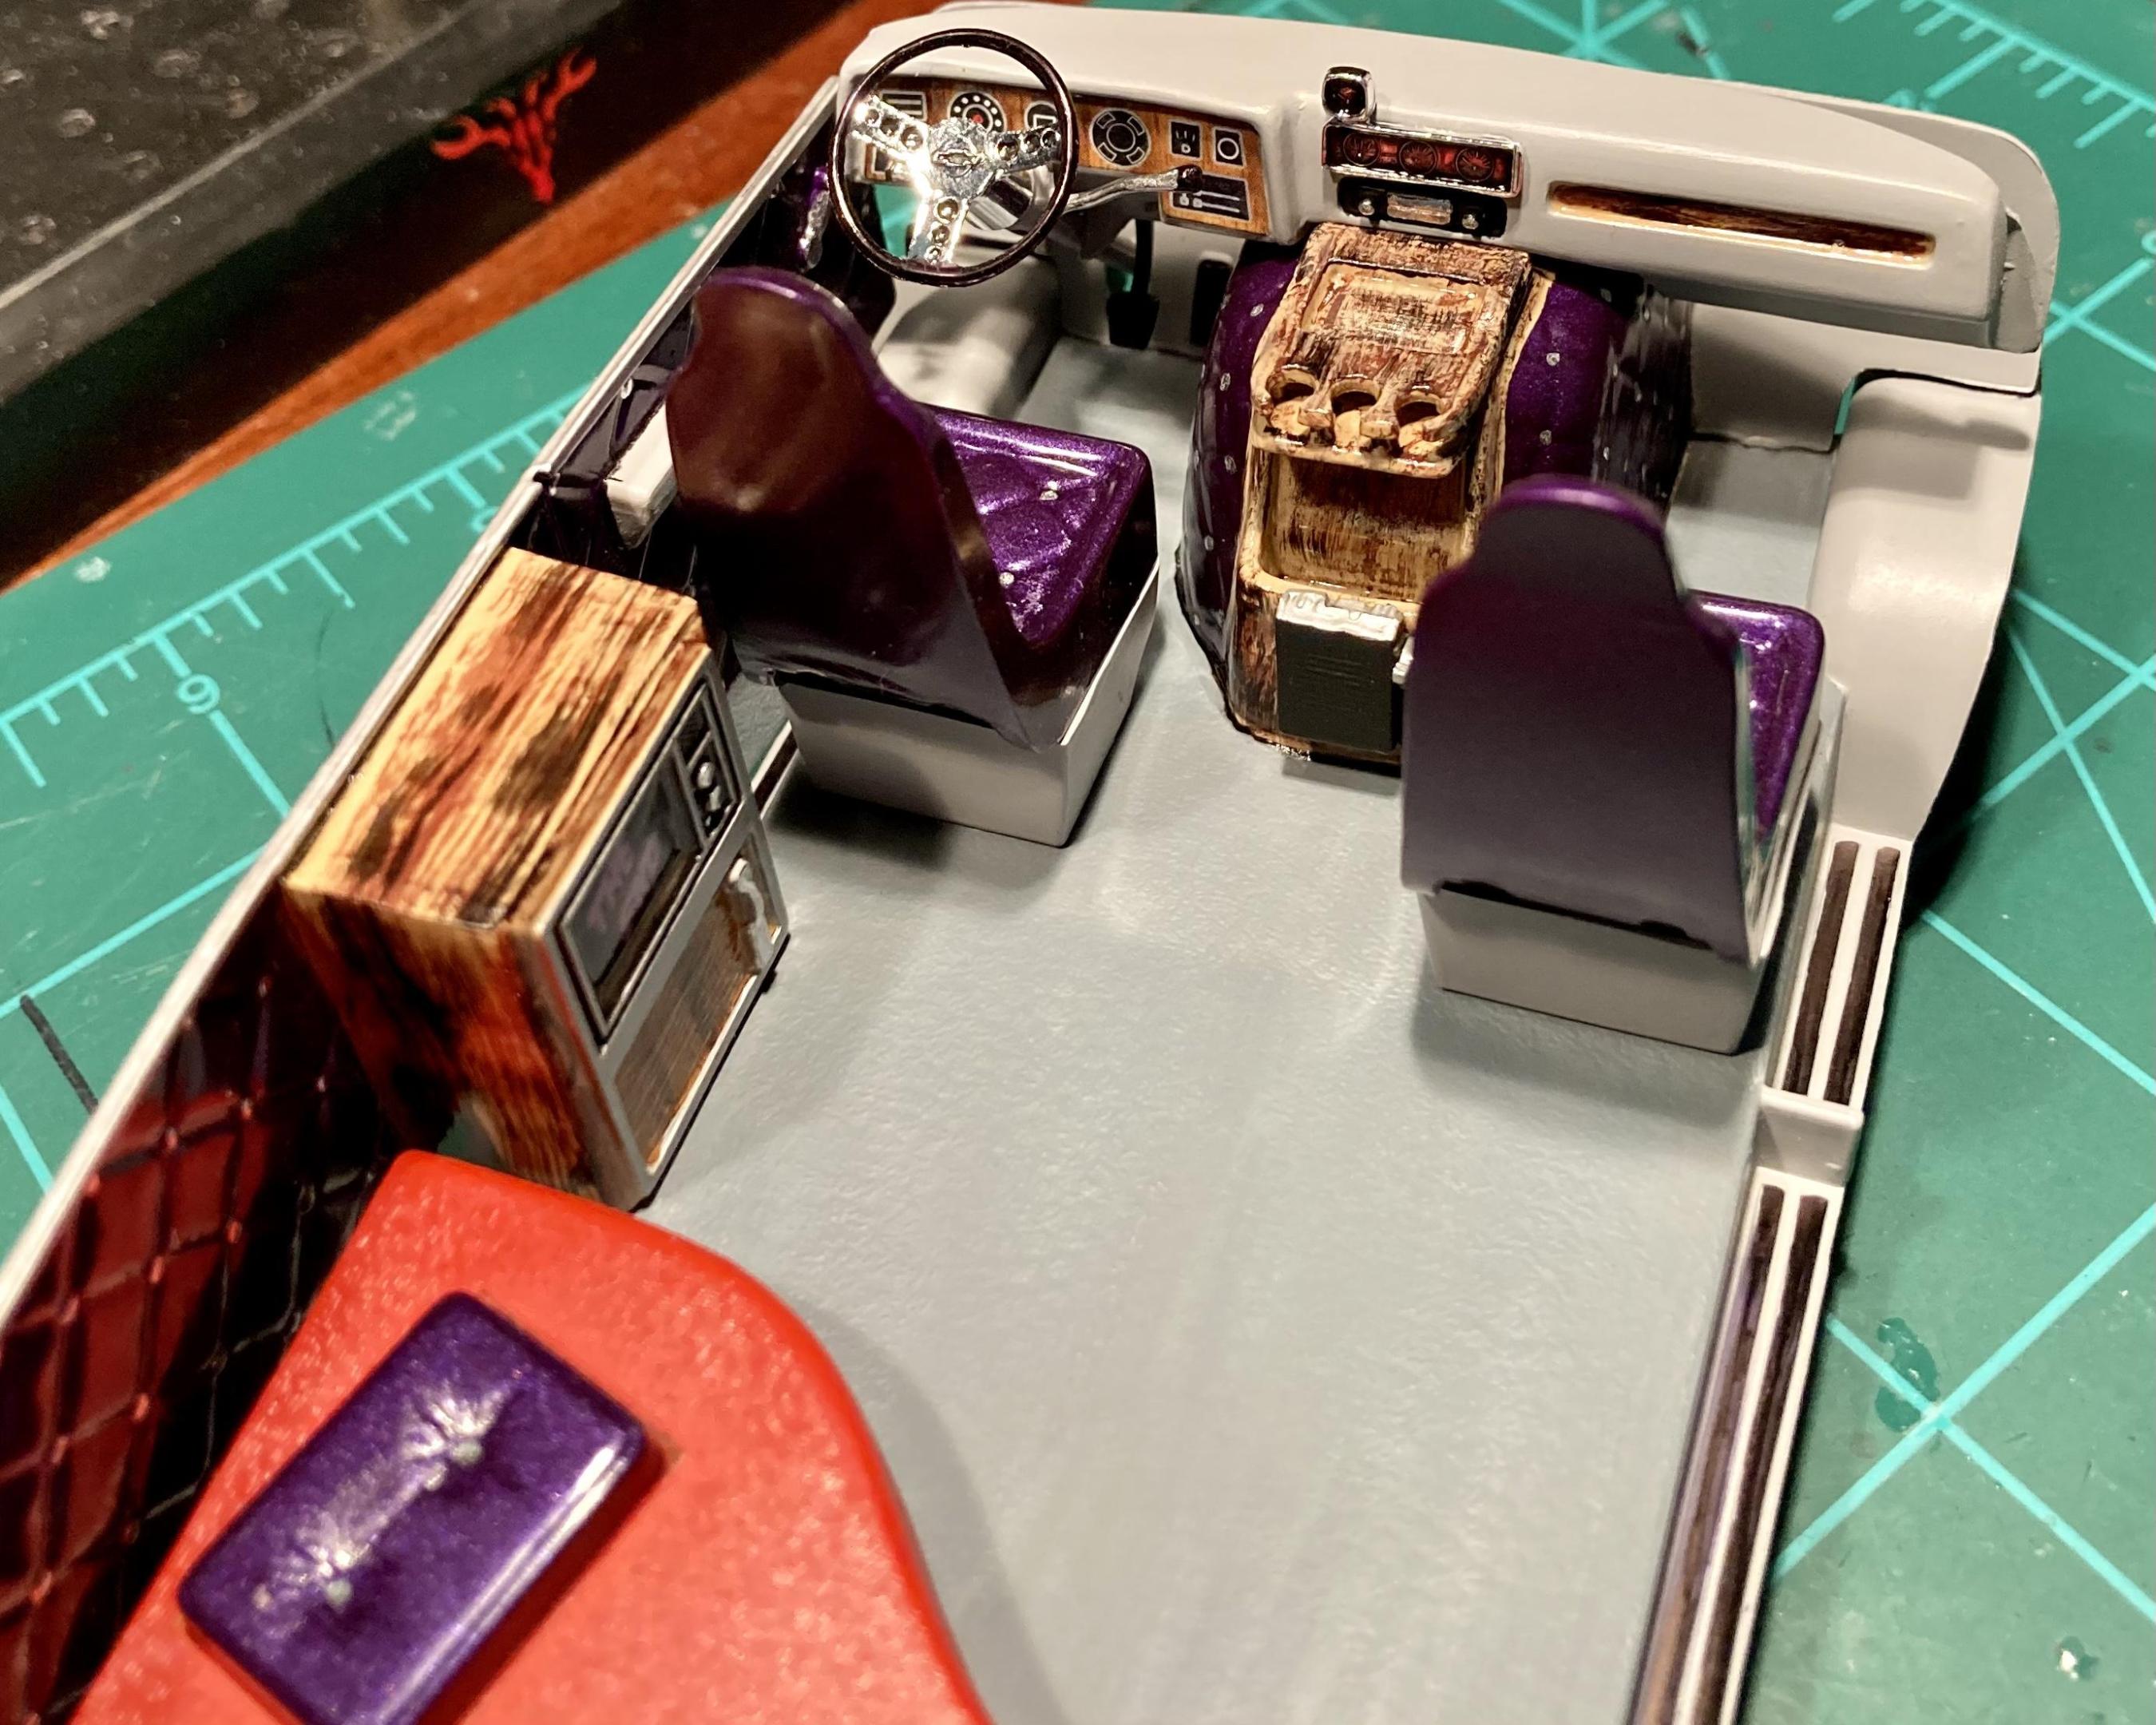
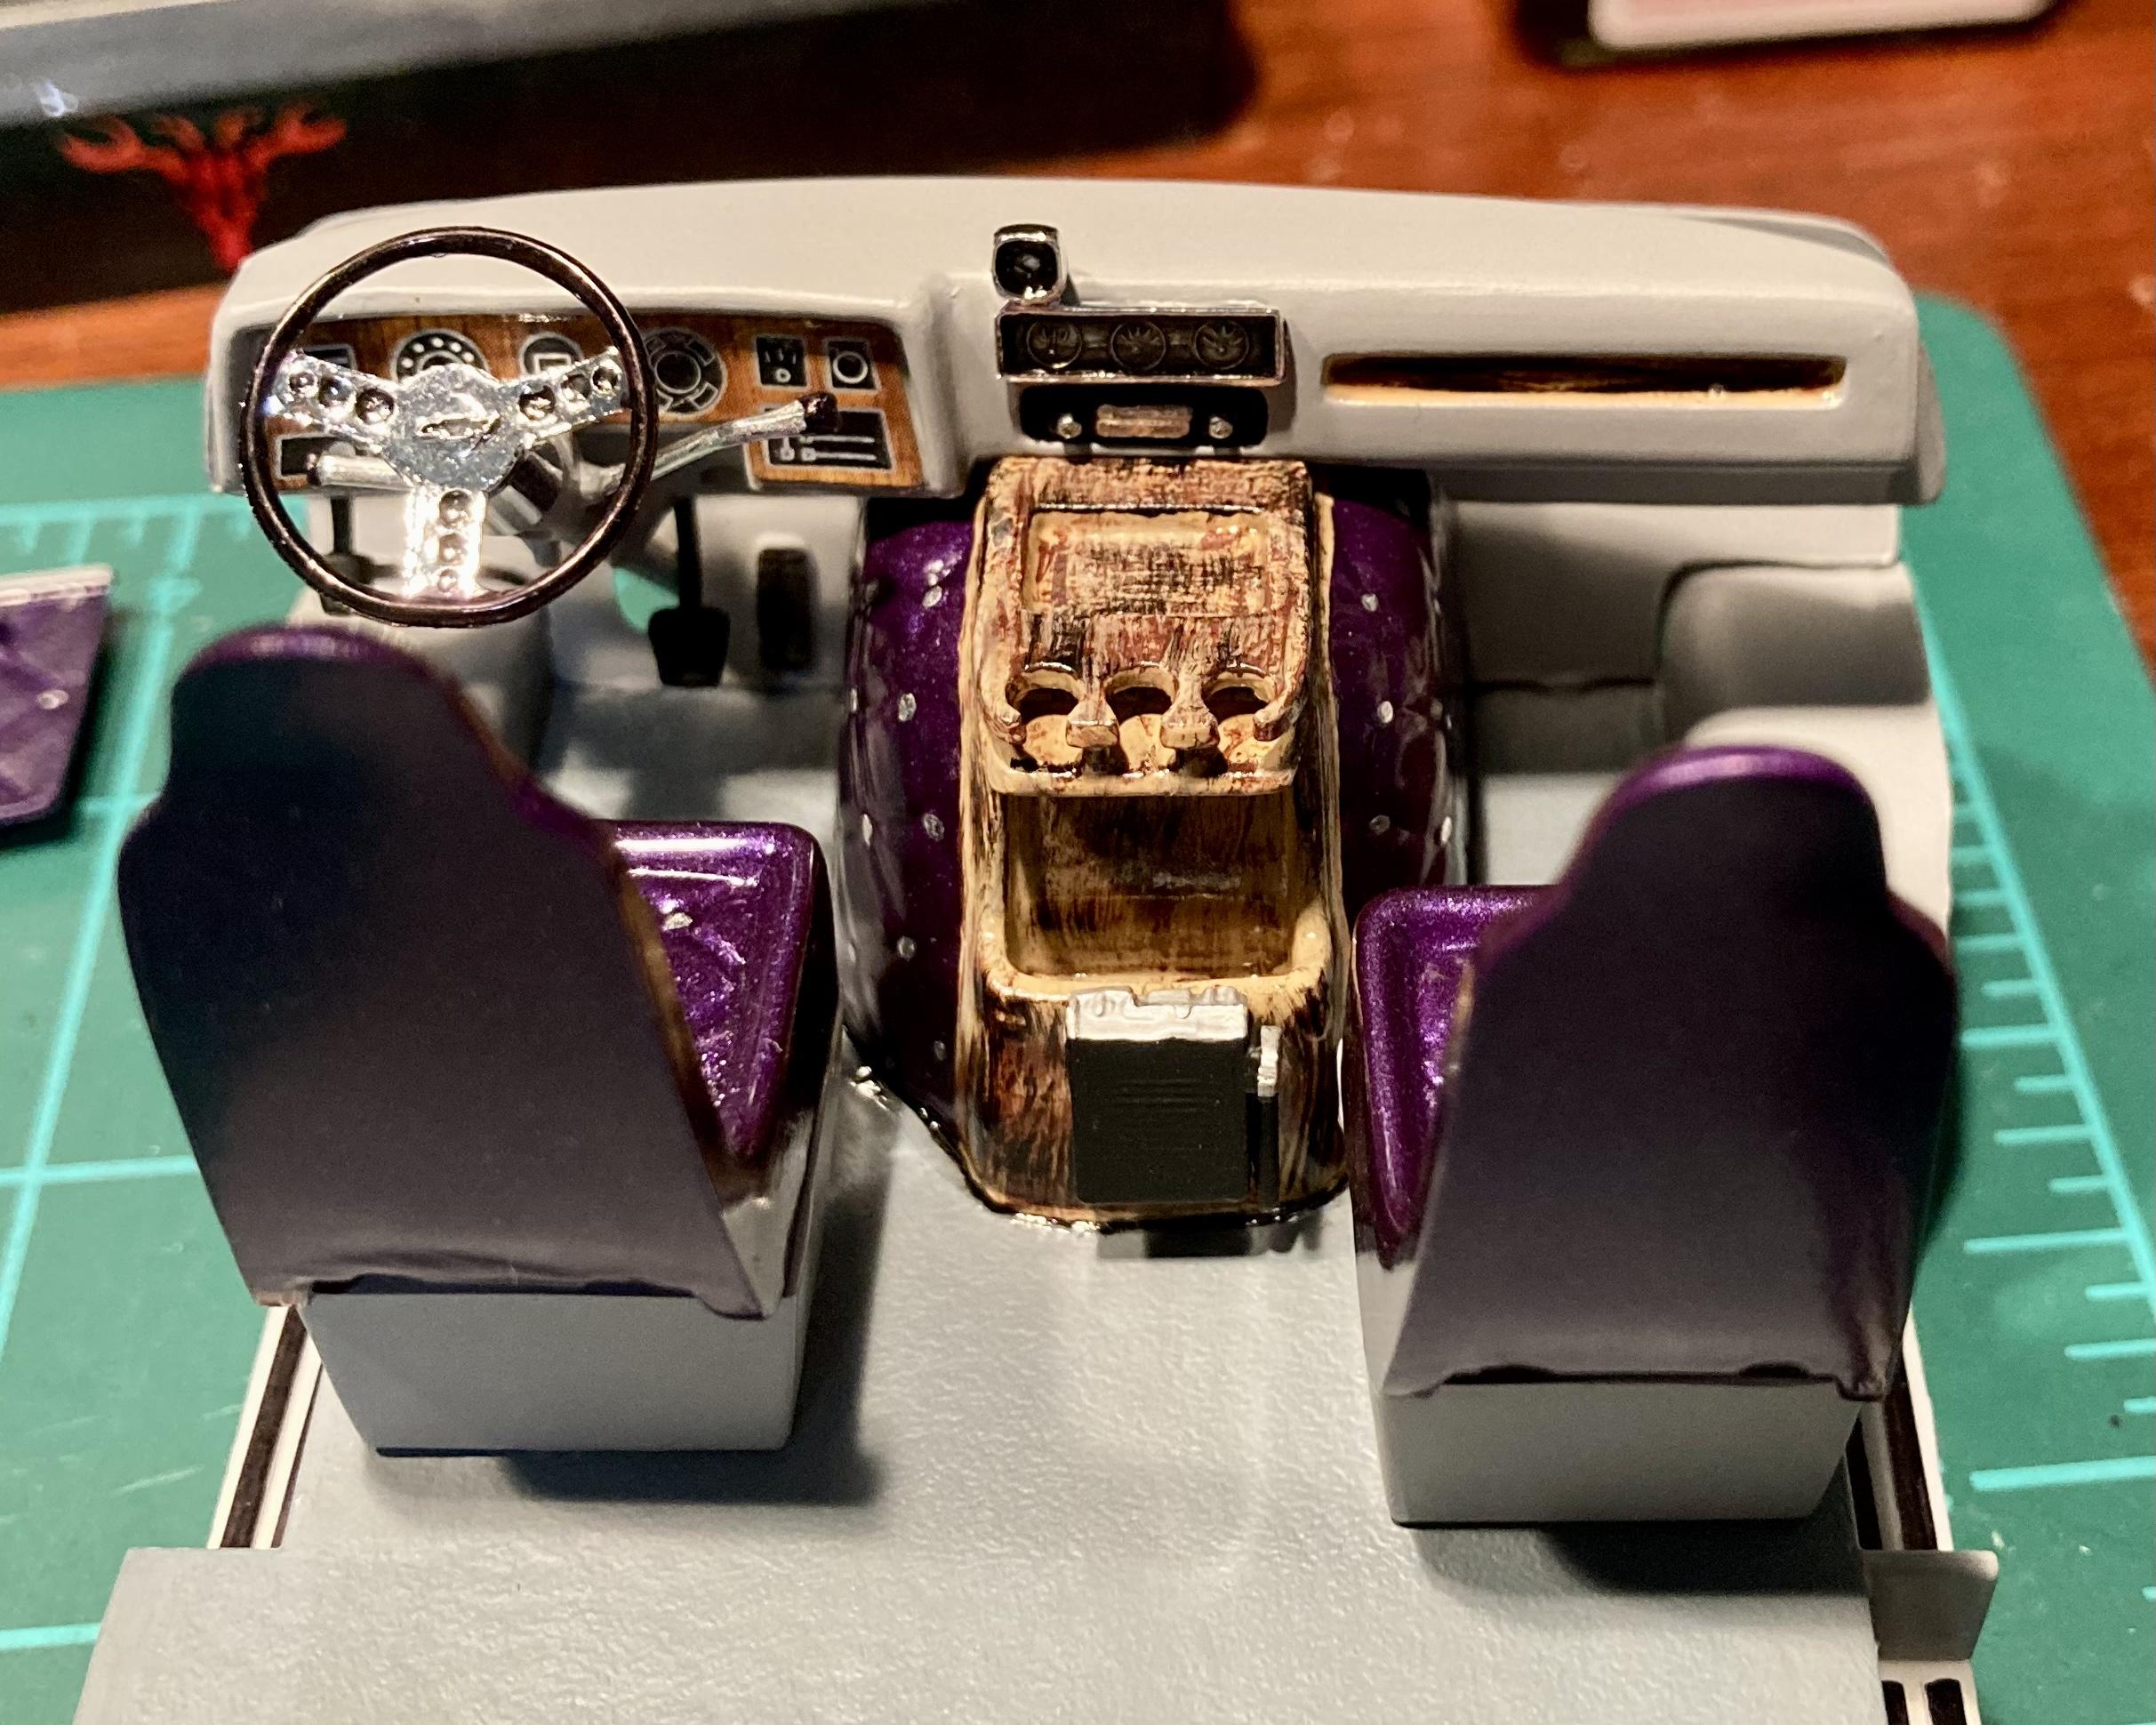
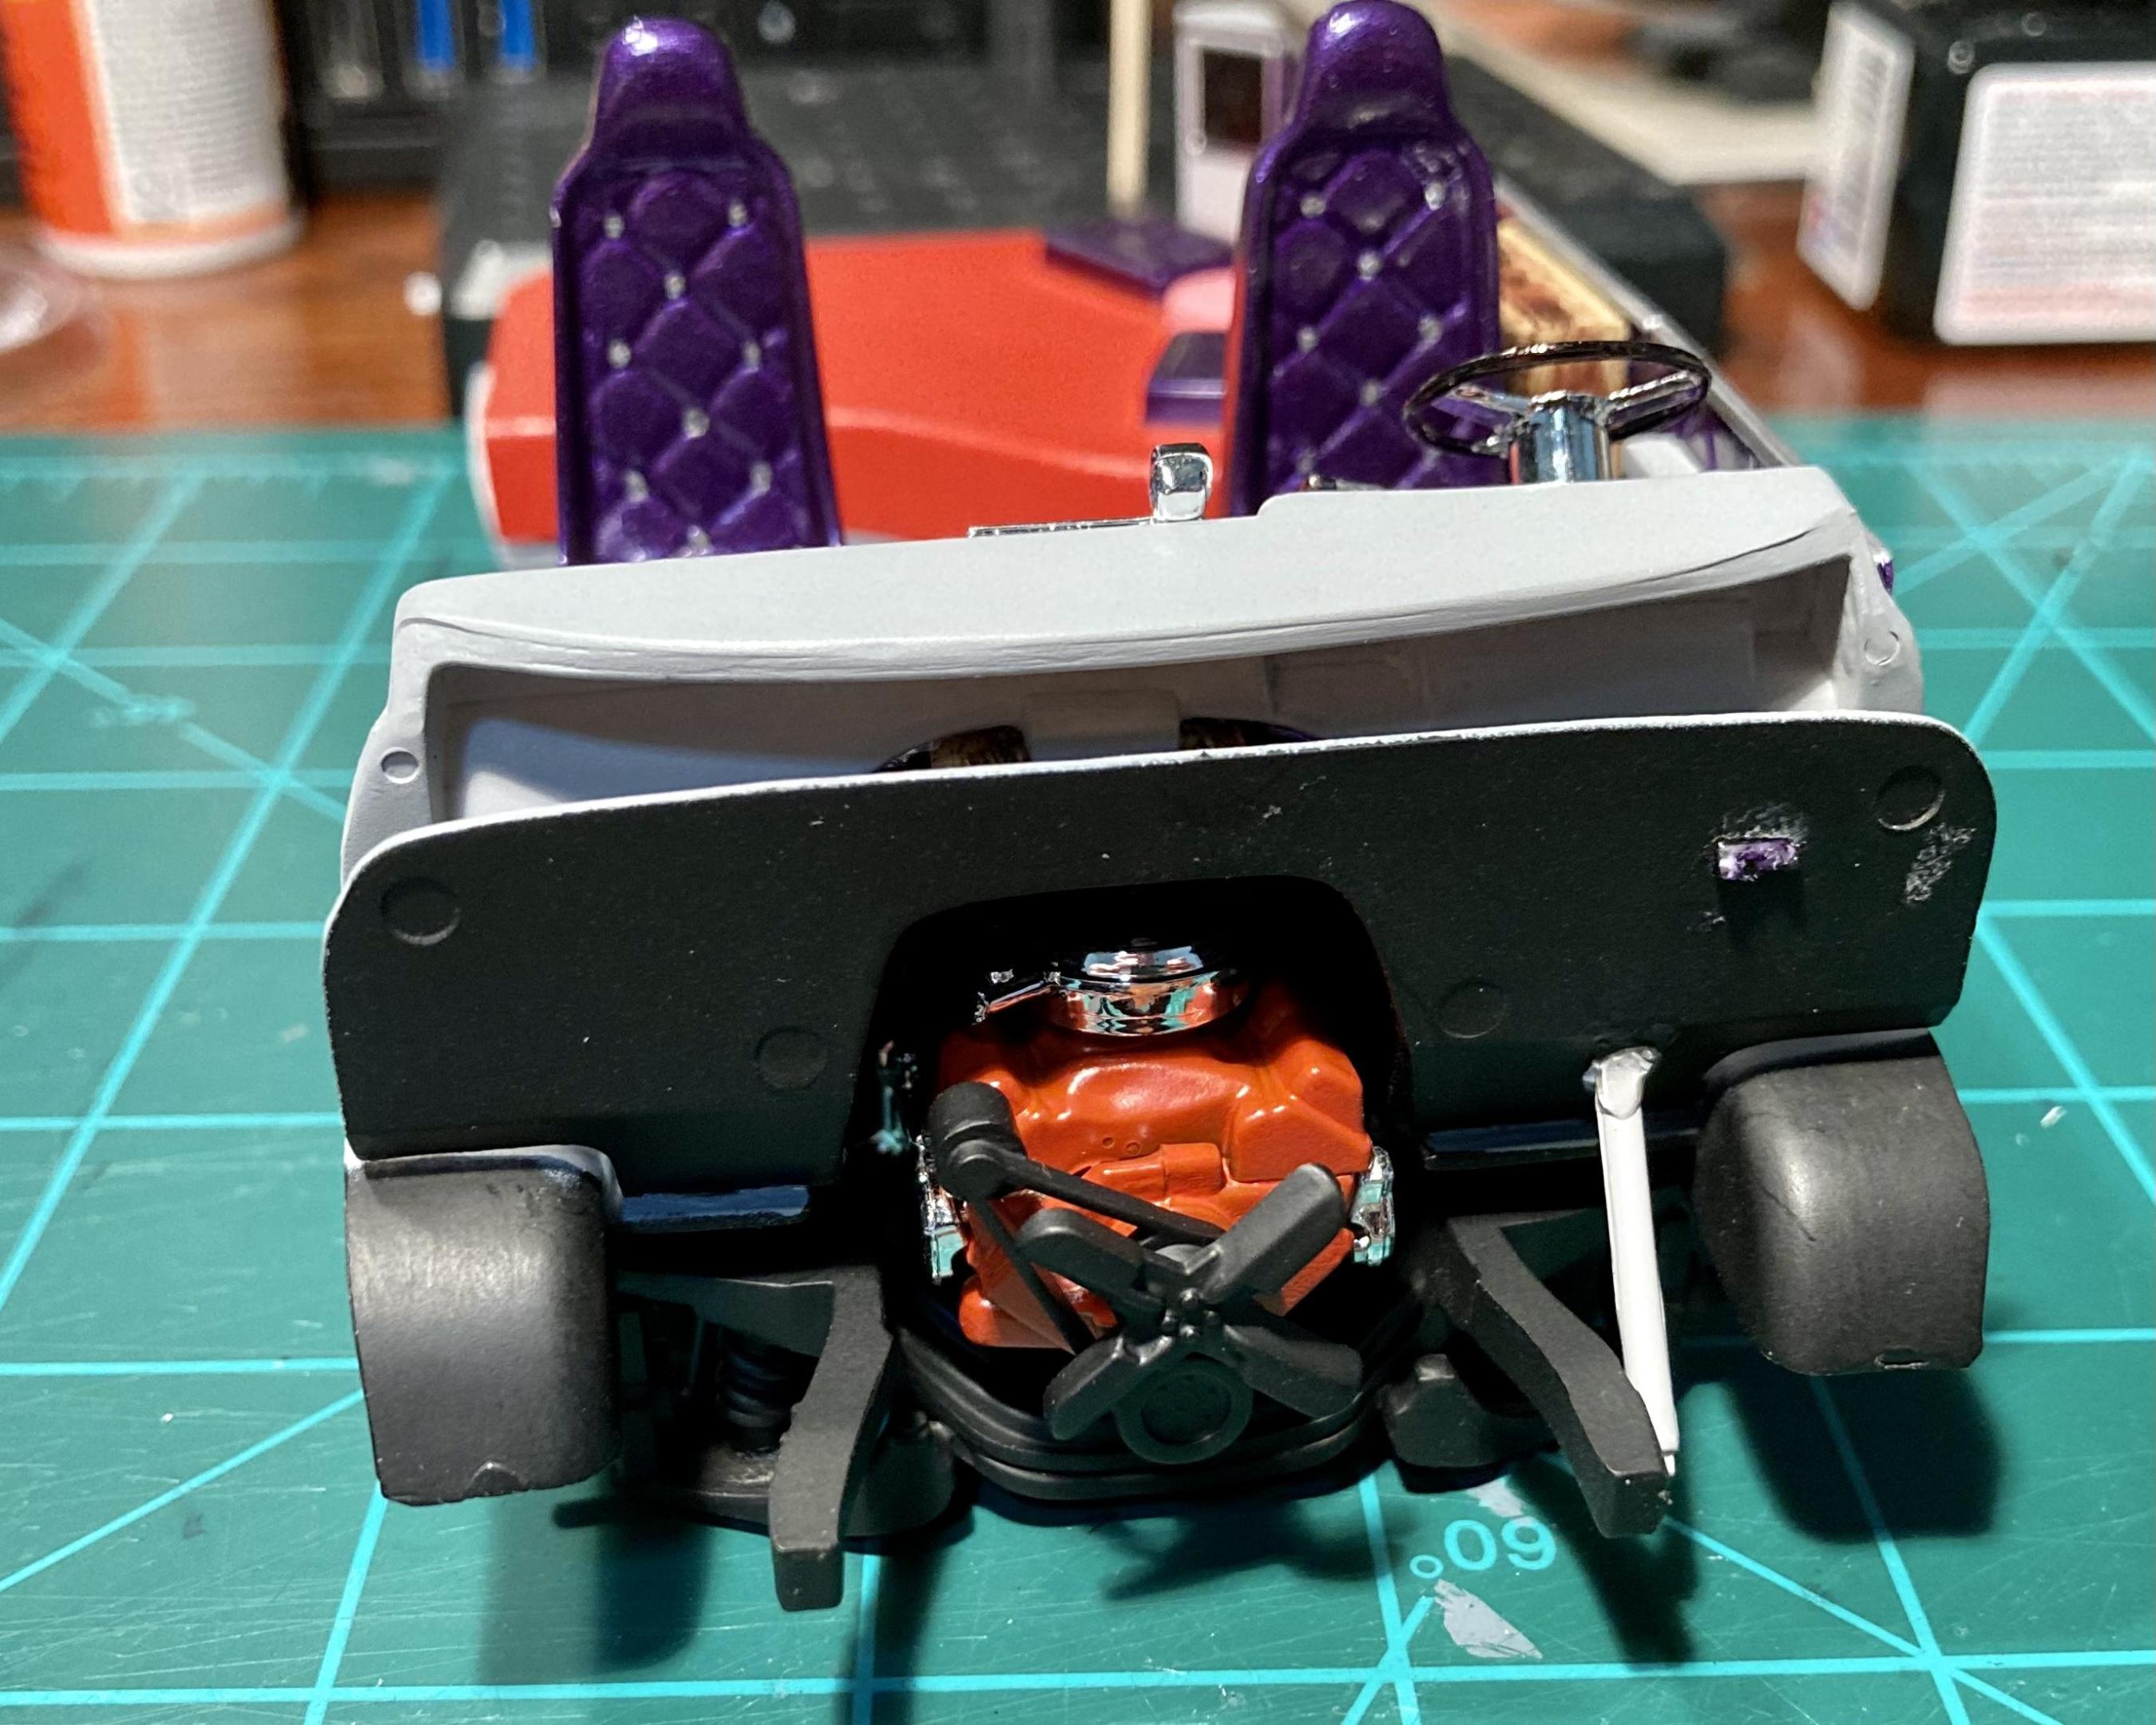
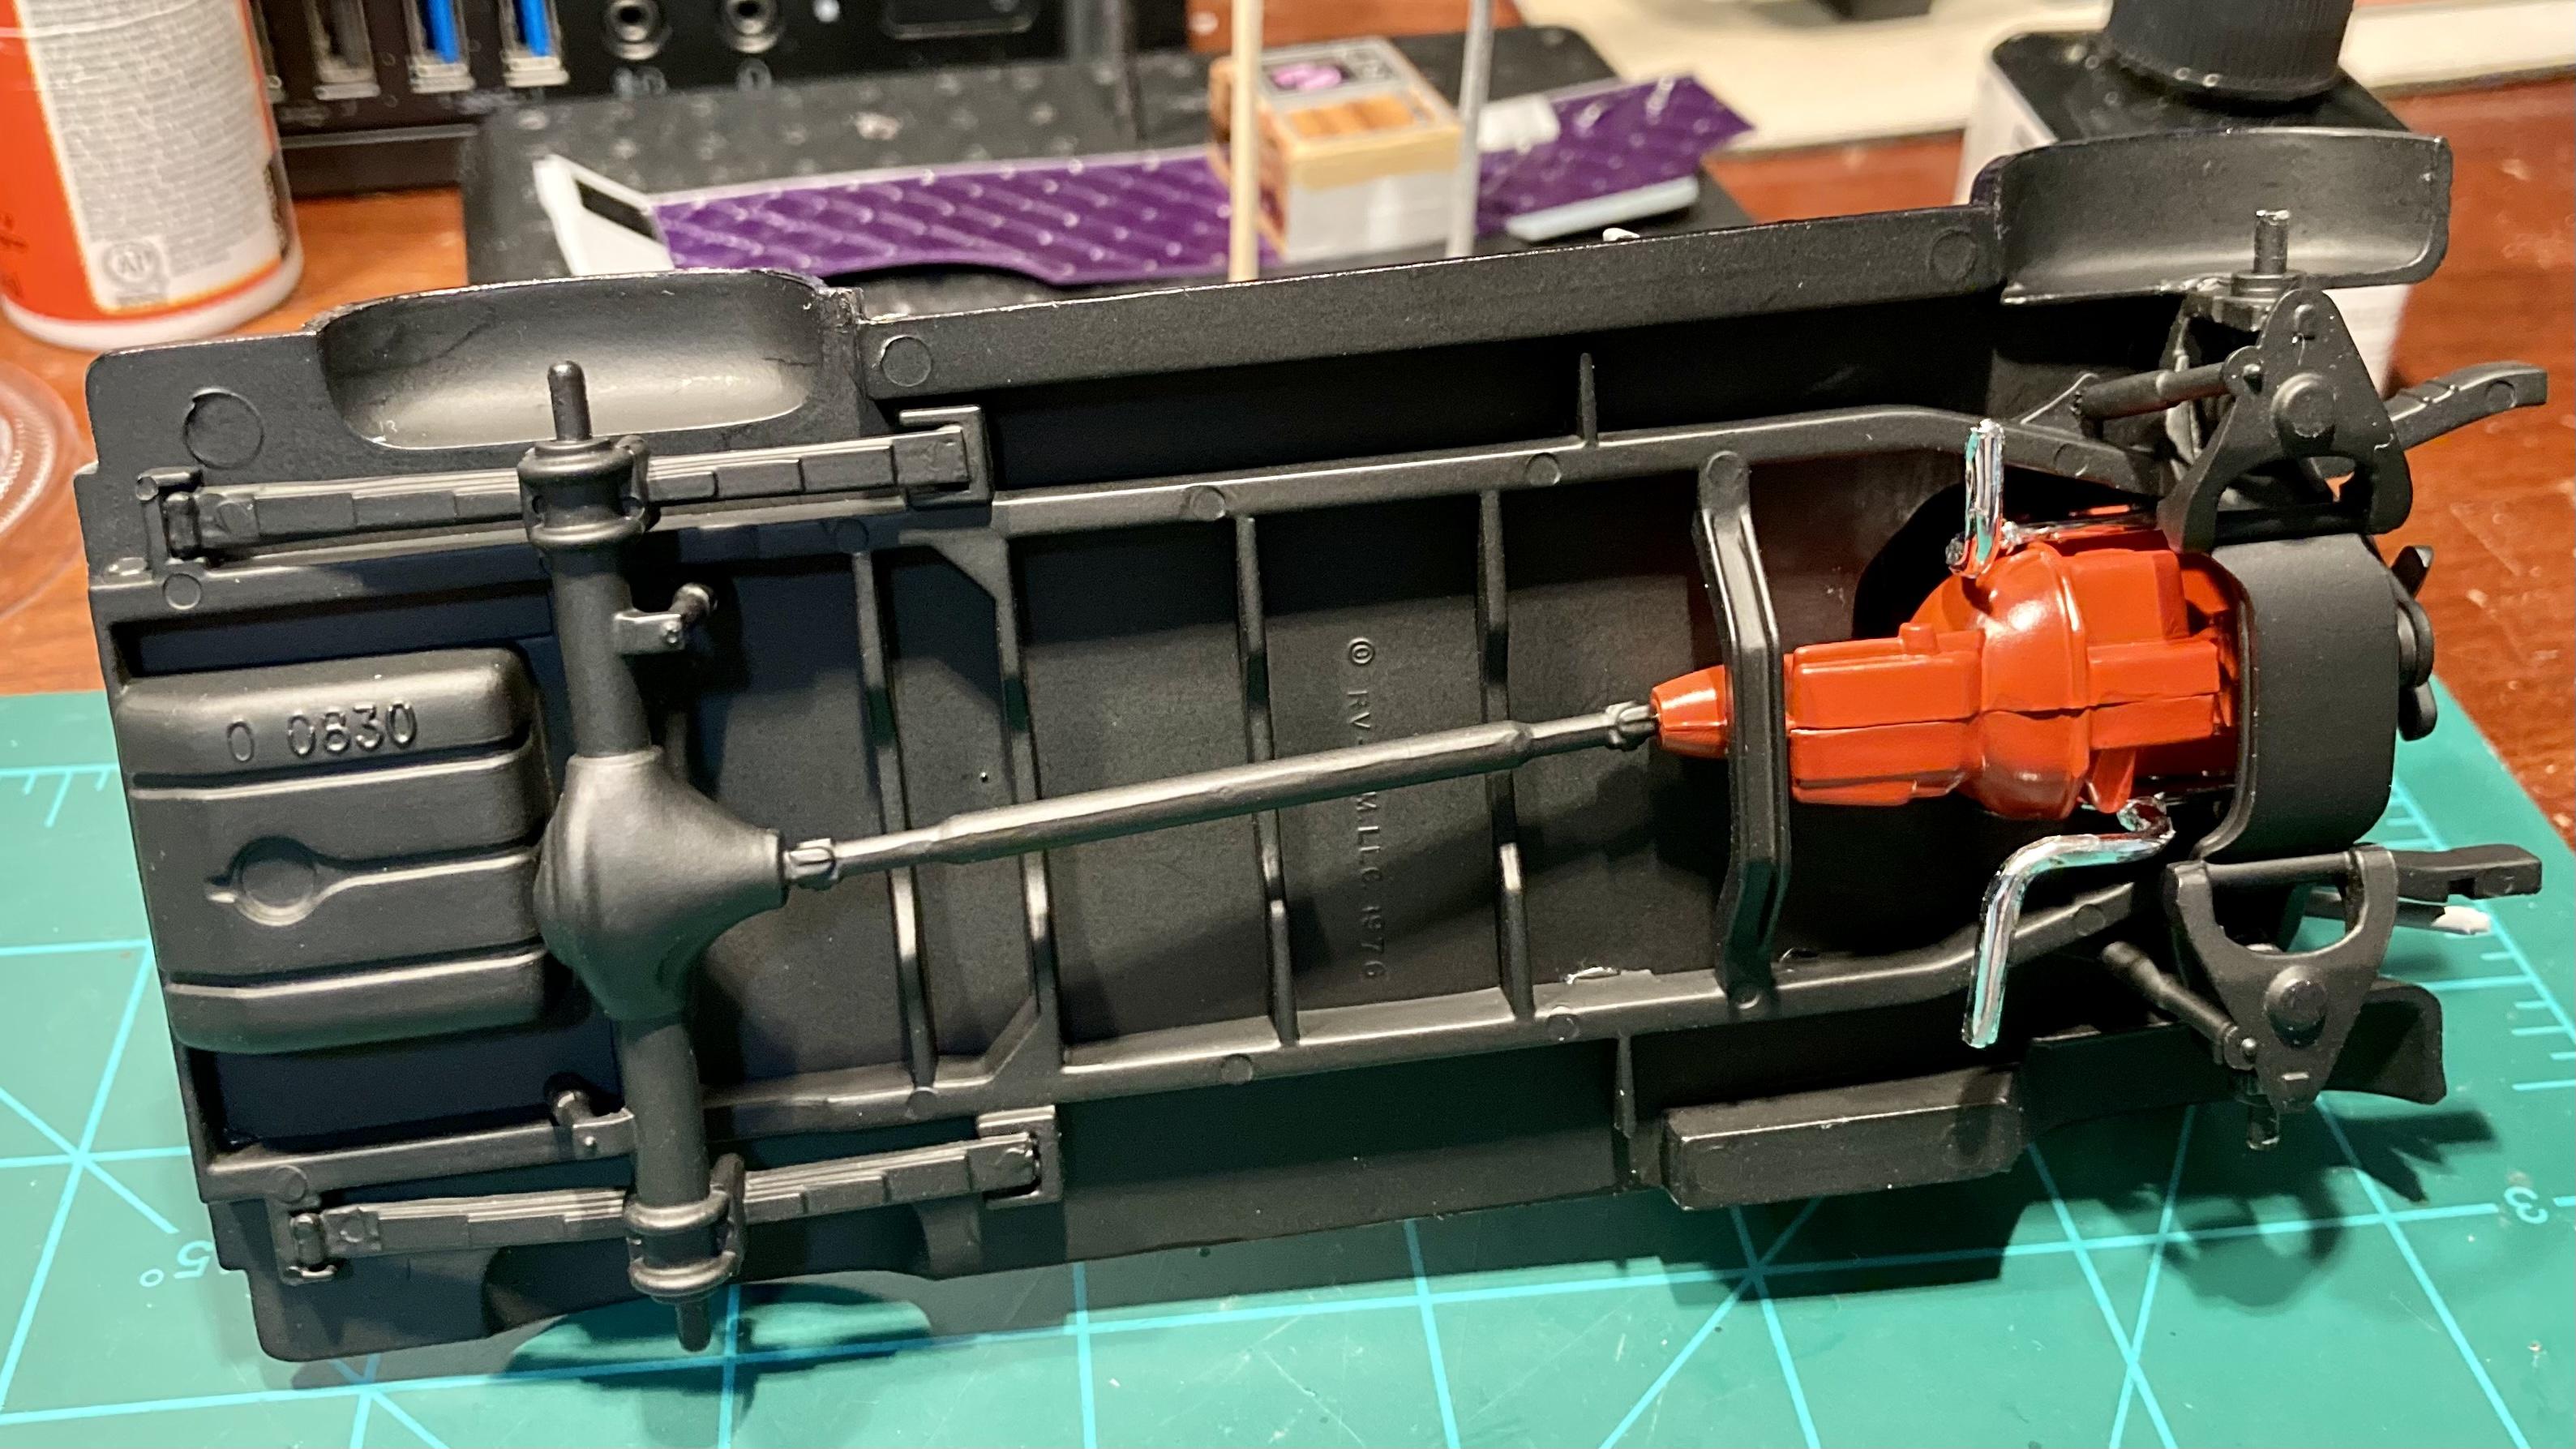
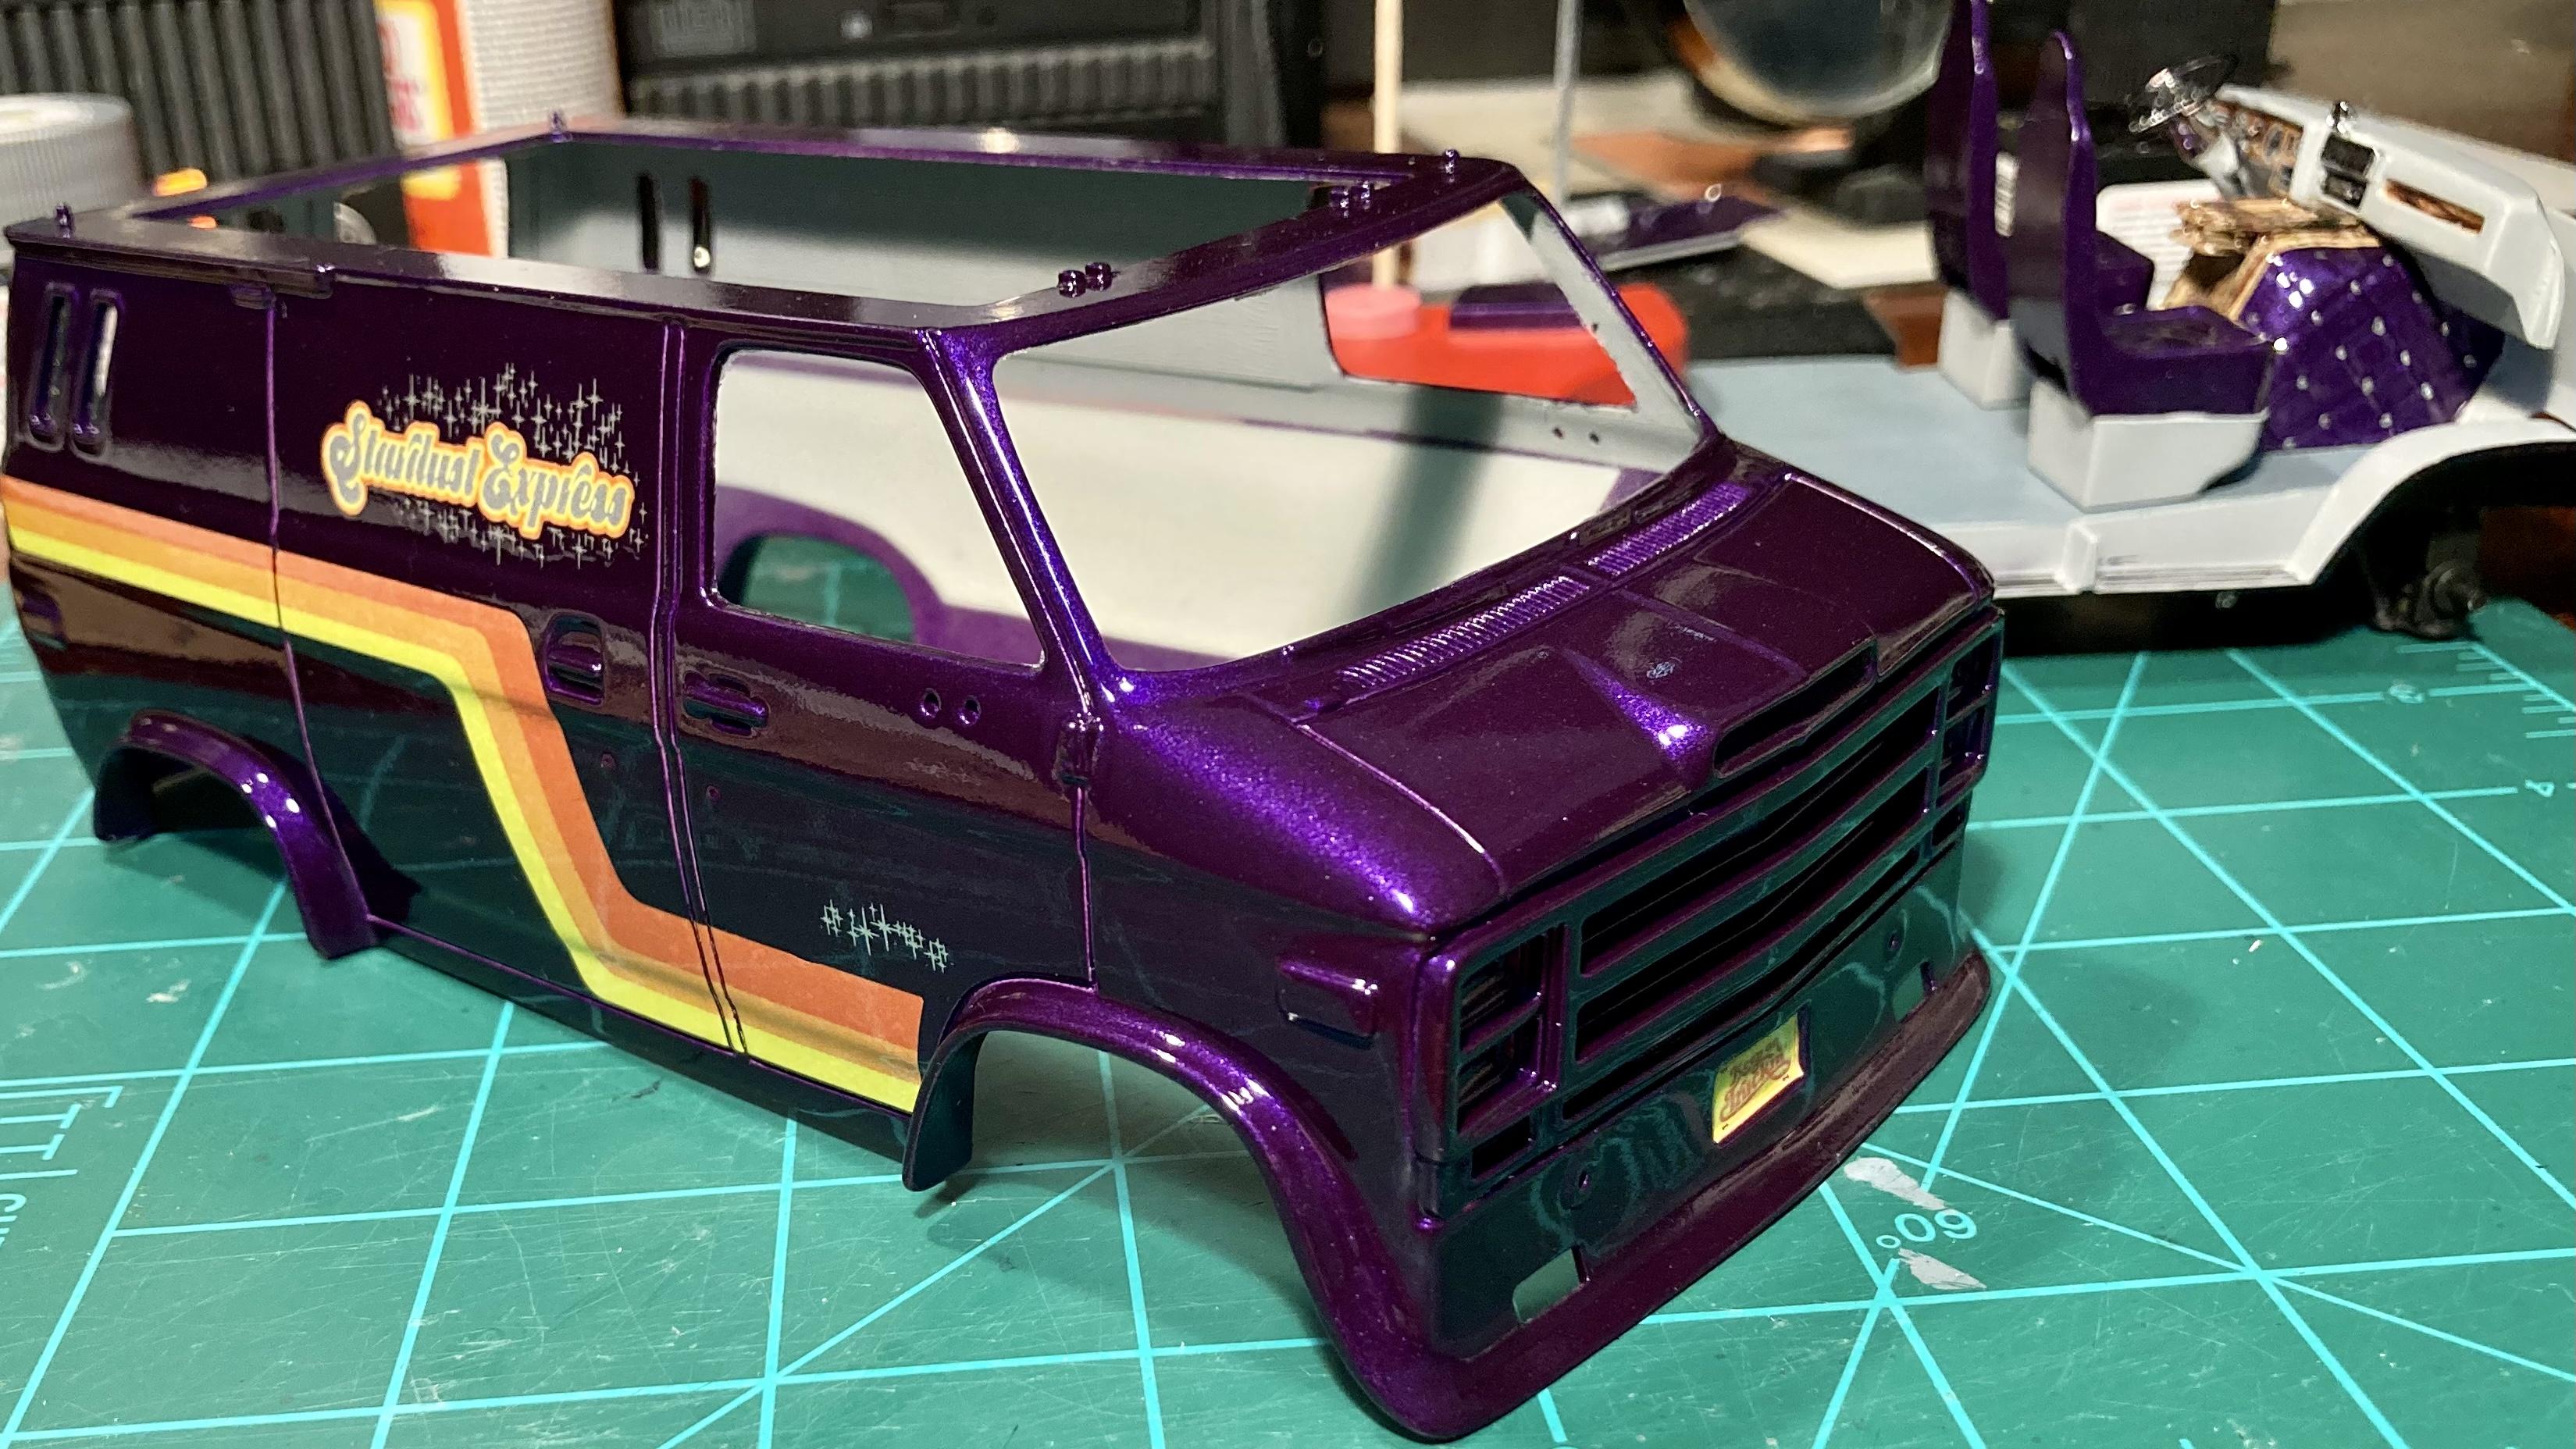
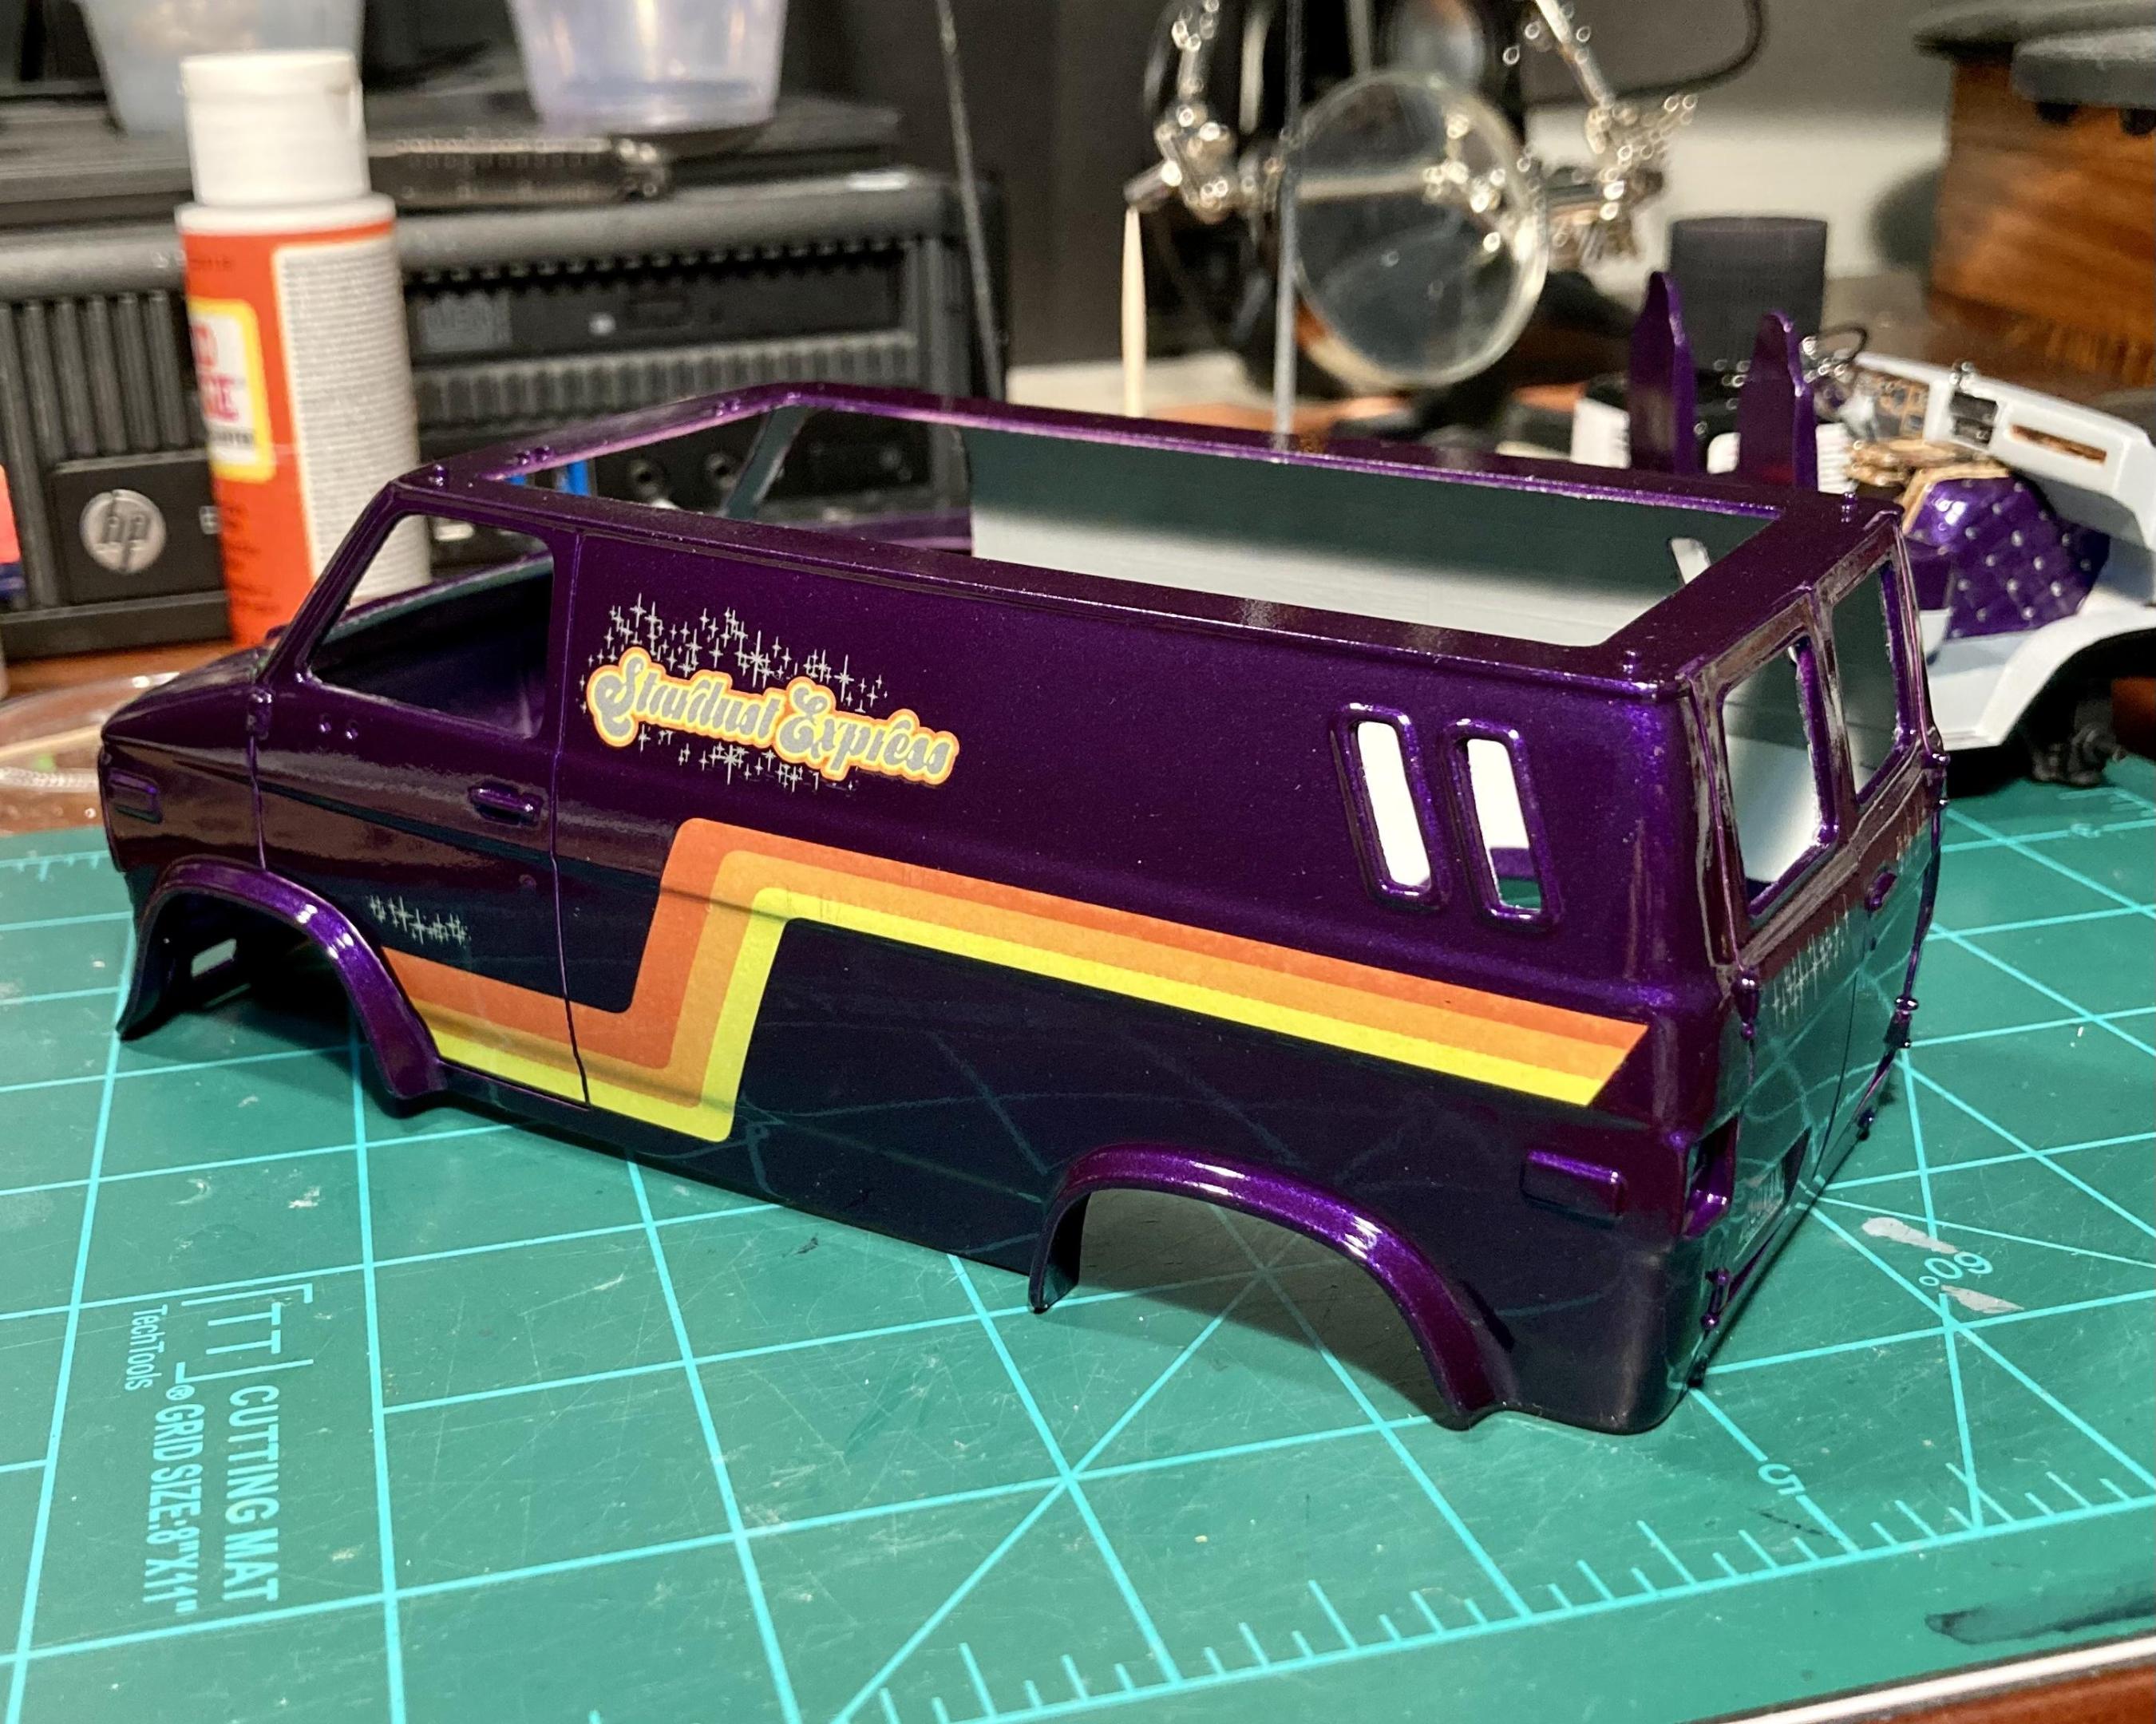
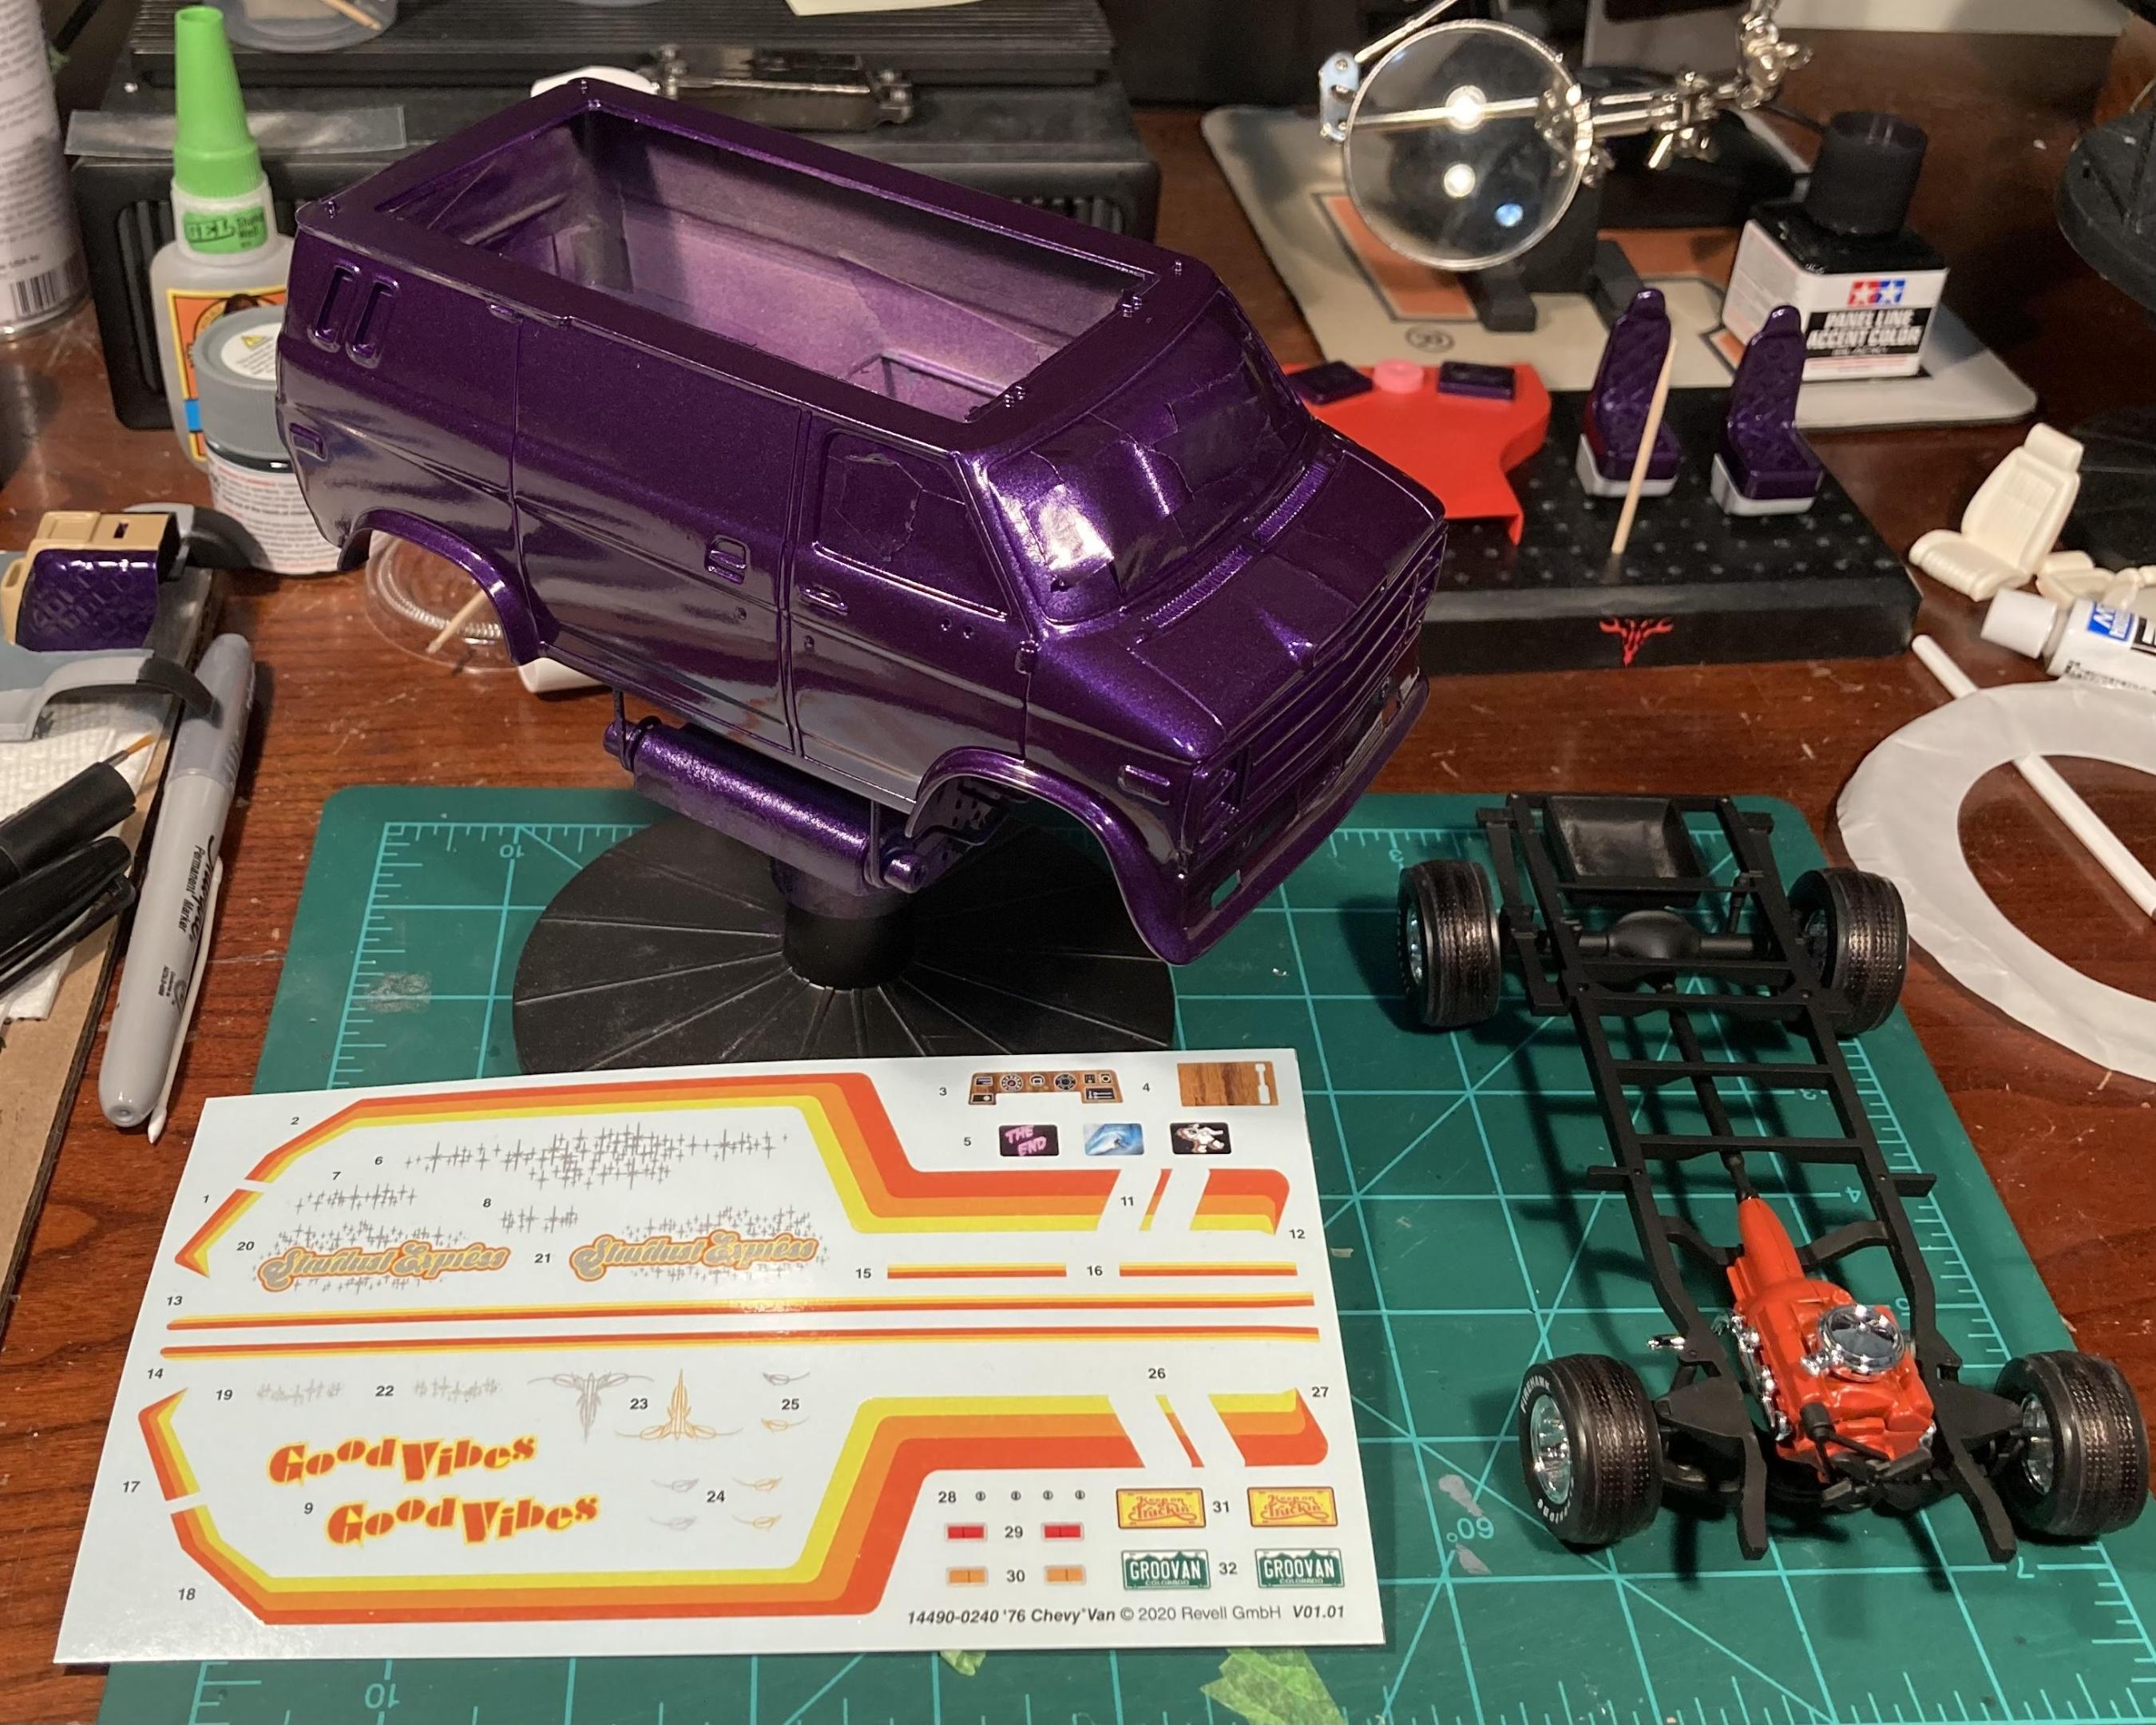
Interior is basically complete! I still need to paint the rear upper wall wood paneling inside the body shell, but otherwise it’s done. I used Tamiya flat acrylics for the wood, light brown as a base, with brown and black dry brushed on. I then coated it with two coats of Pledge floor gloss. This was my first time faux painting wood grain, and I tried to match the kit’s wood trim decals for the dash gauge surround and the mini fridge door. It came out ok, but next time I’ll try thinning out the brown as a wash instead of dry brushing it. Chassis is finished, not much to write home about here. All in black primer, with Krylon pimento orange and kit chrome on the engine. The floor plate was pretty warped when I started. I ran hot water over it and was able to bend it mostly straight. I got it the rest of the way when I glued the floor to the frame, using masking tape to hold it together while the glue cured. The body is also decal’d and cleared with Wet Look clear. I decided to keep the body solid purple and use the “Stardust Express” theme. I was going to use the thin belt stripe, but it was kinda bland without the two tone paint, so I rearranged the thick “z” stripes as you see here. They fit pretty good this way, almost like they were supposed to go this way. Next I need to polish out a few dust blemishes from the body and detail the body trim. Then she’ll be ready for final assembly!
- 24 replies
-
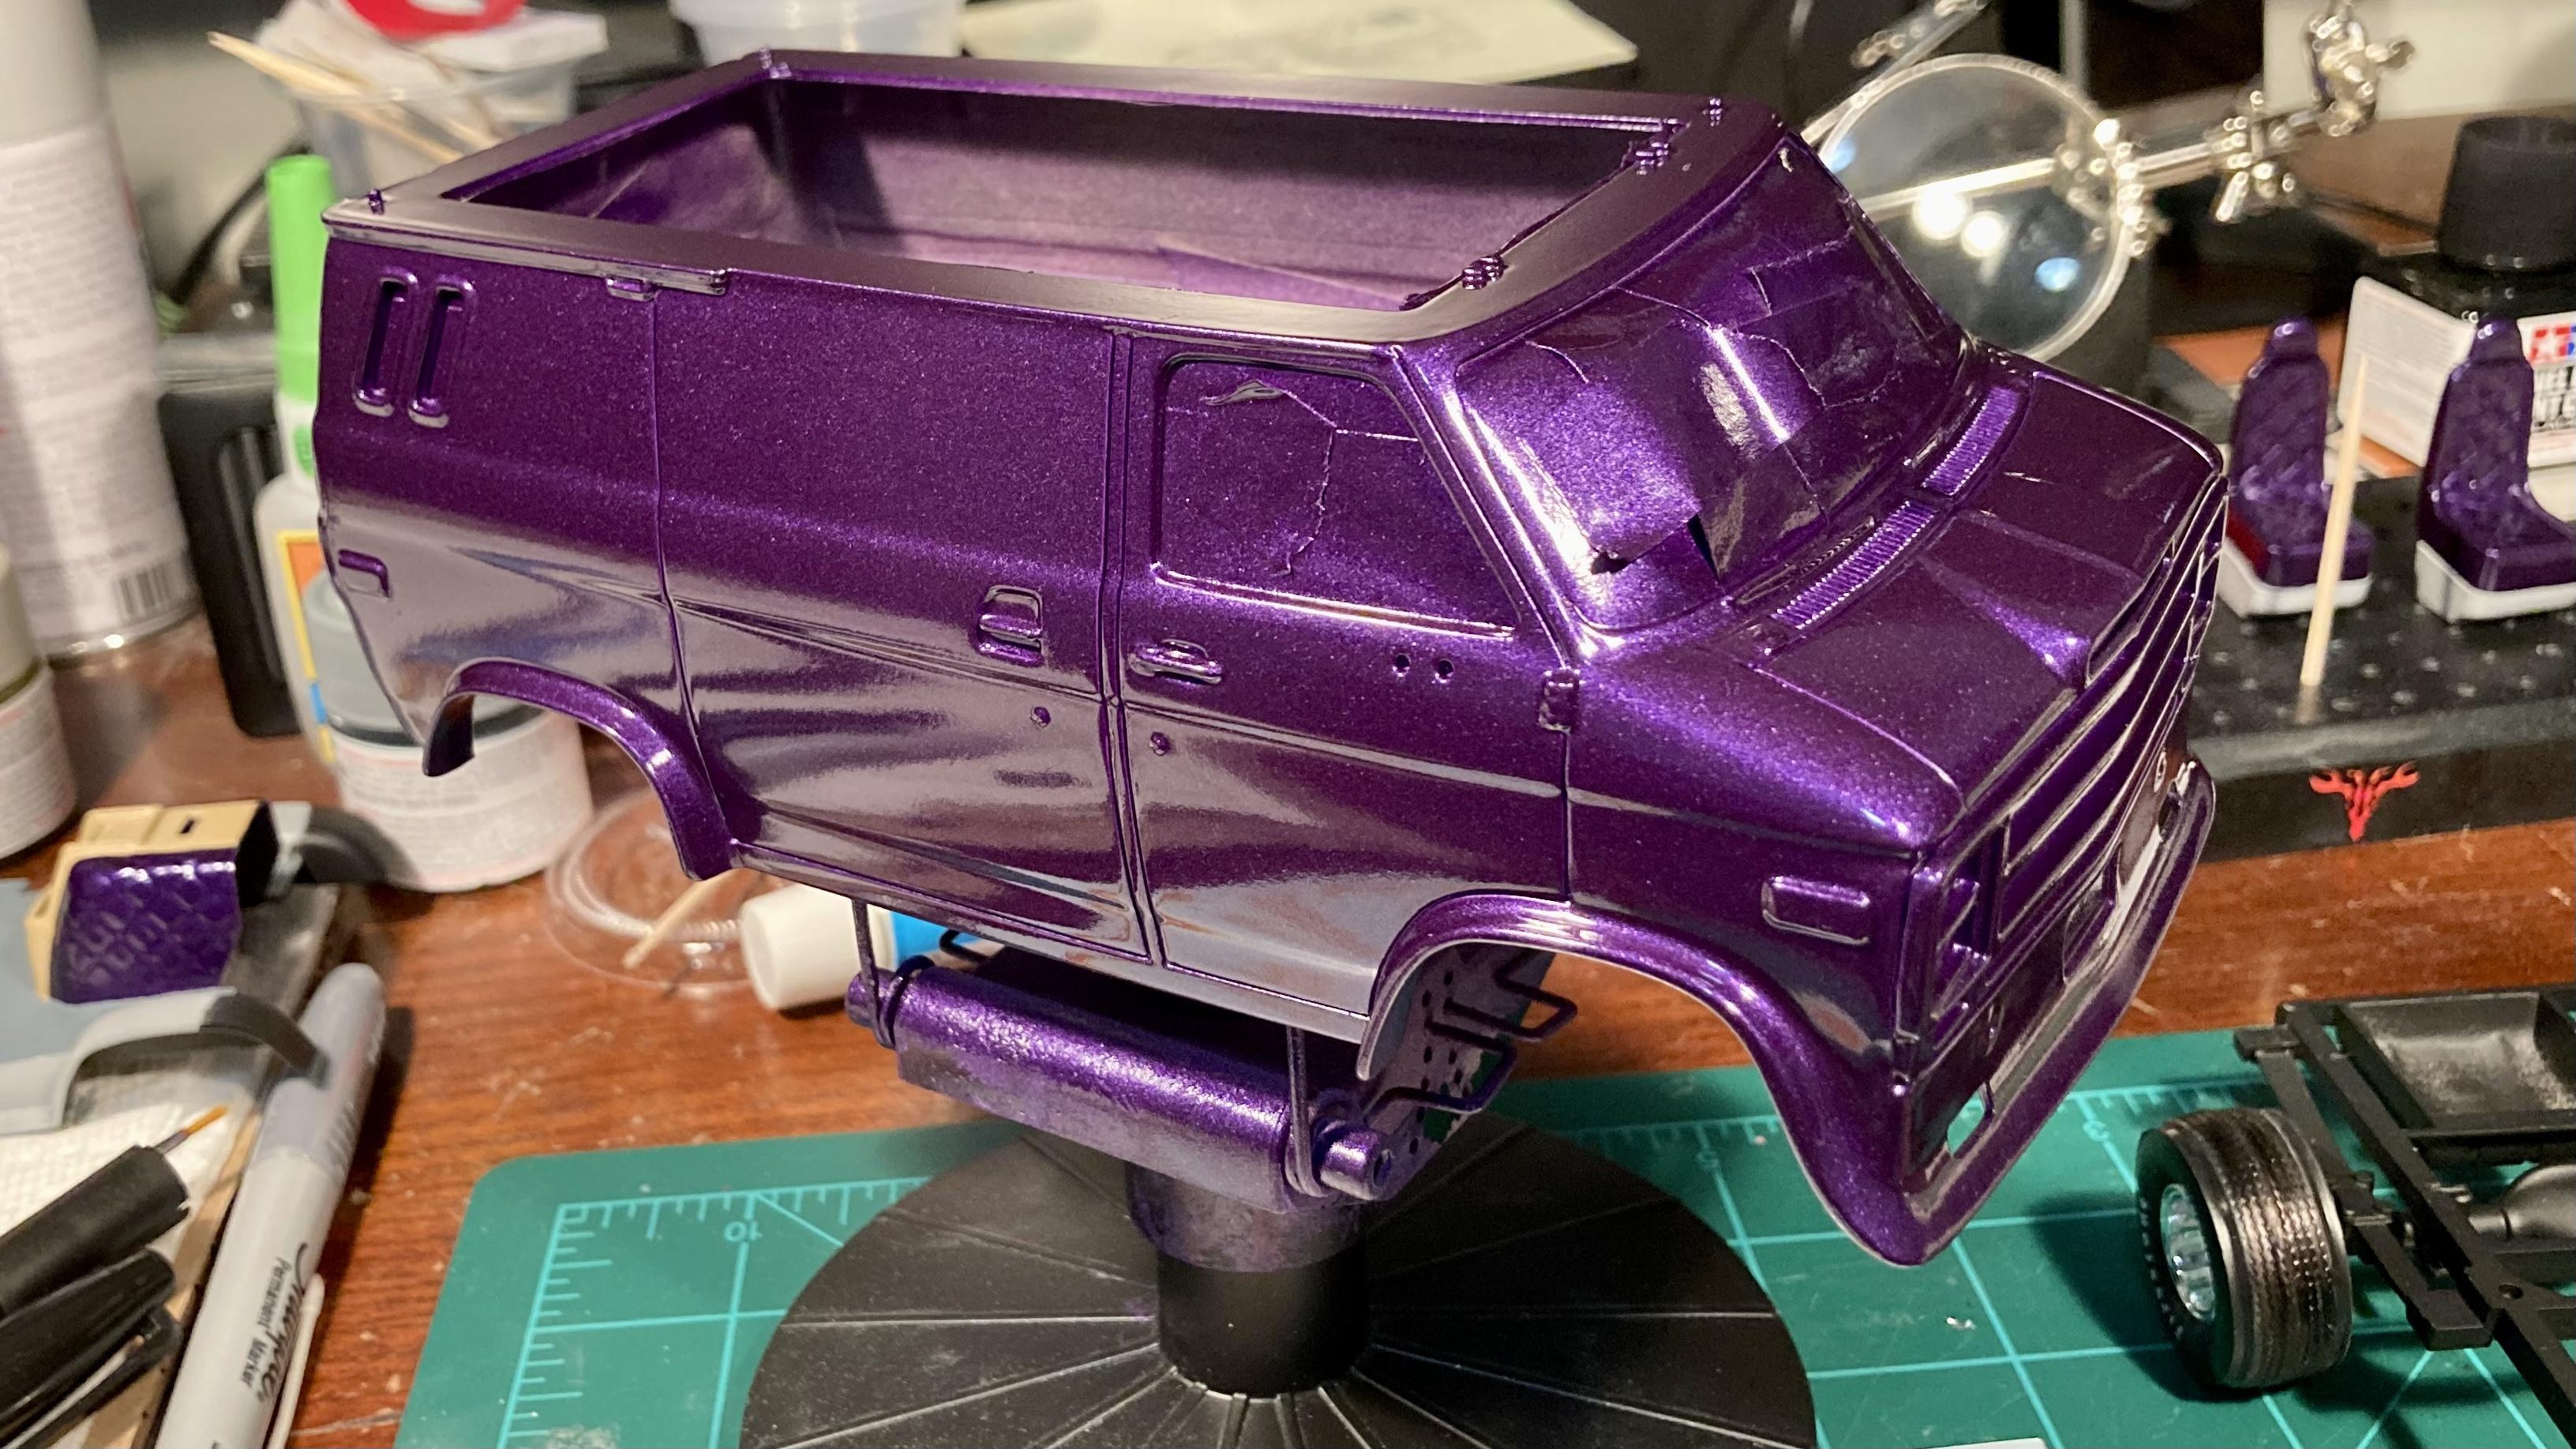
I got my base color down and it came out awesome! This is just the purple paint, no clear coat or polish yet. My original plan was to do a silver and purple two tone, but now I’m not so sure… that’s when I’ll ruin it ? Thoughts? Keep it solid purple or add the silver?Either way it still will be getting the “Stardust Express” graphics and the thin belt line stripe. The chassis is done, all in black primer with “pimento” Krylon on the engine block. I’m not going to bother detailing the engine since you can’t see anything anyway. I’ve done my wood trim base coat for the interior items in “light brown” Tamiya acrylic, they will get brown and black dry brushing to simulate wood.
- 24 replies
-
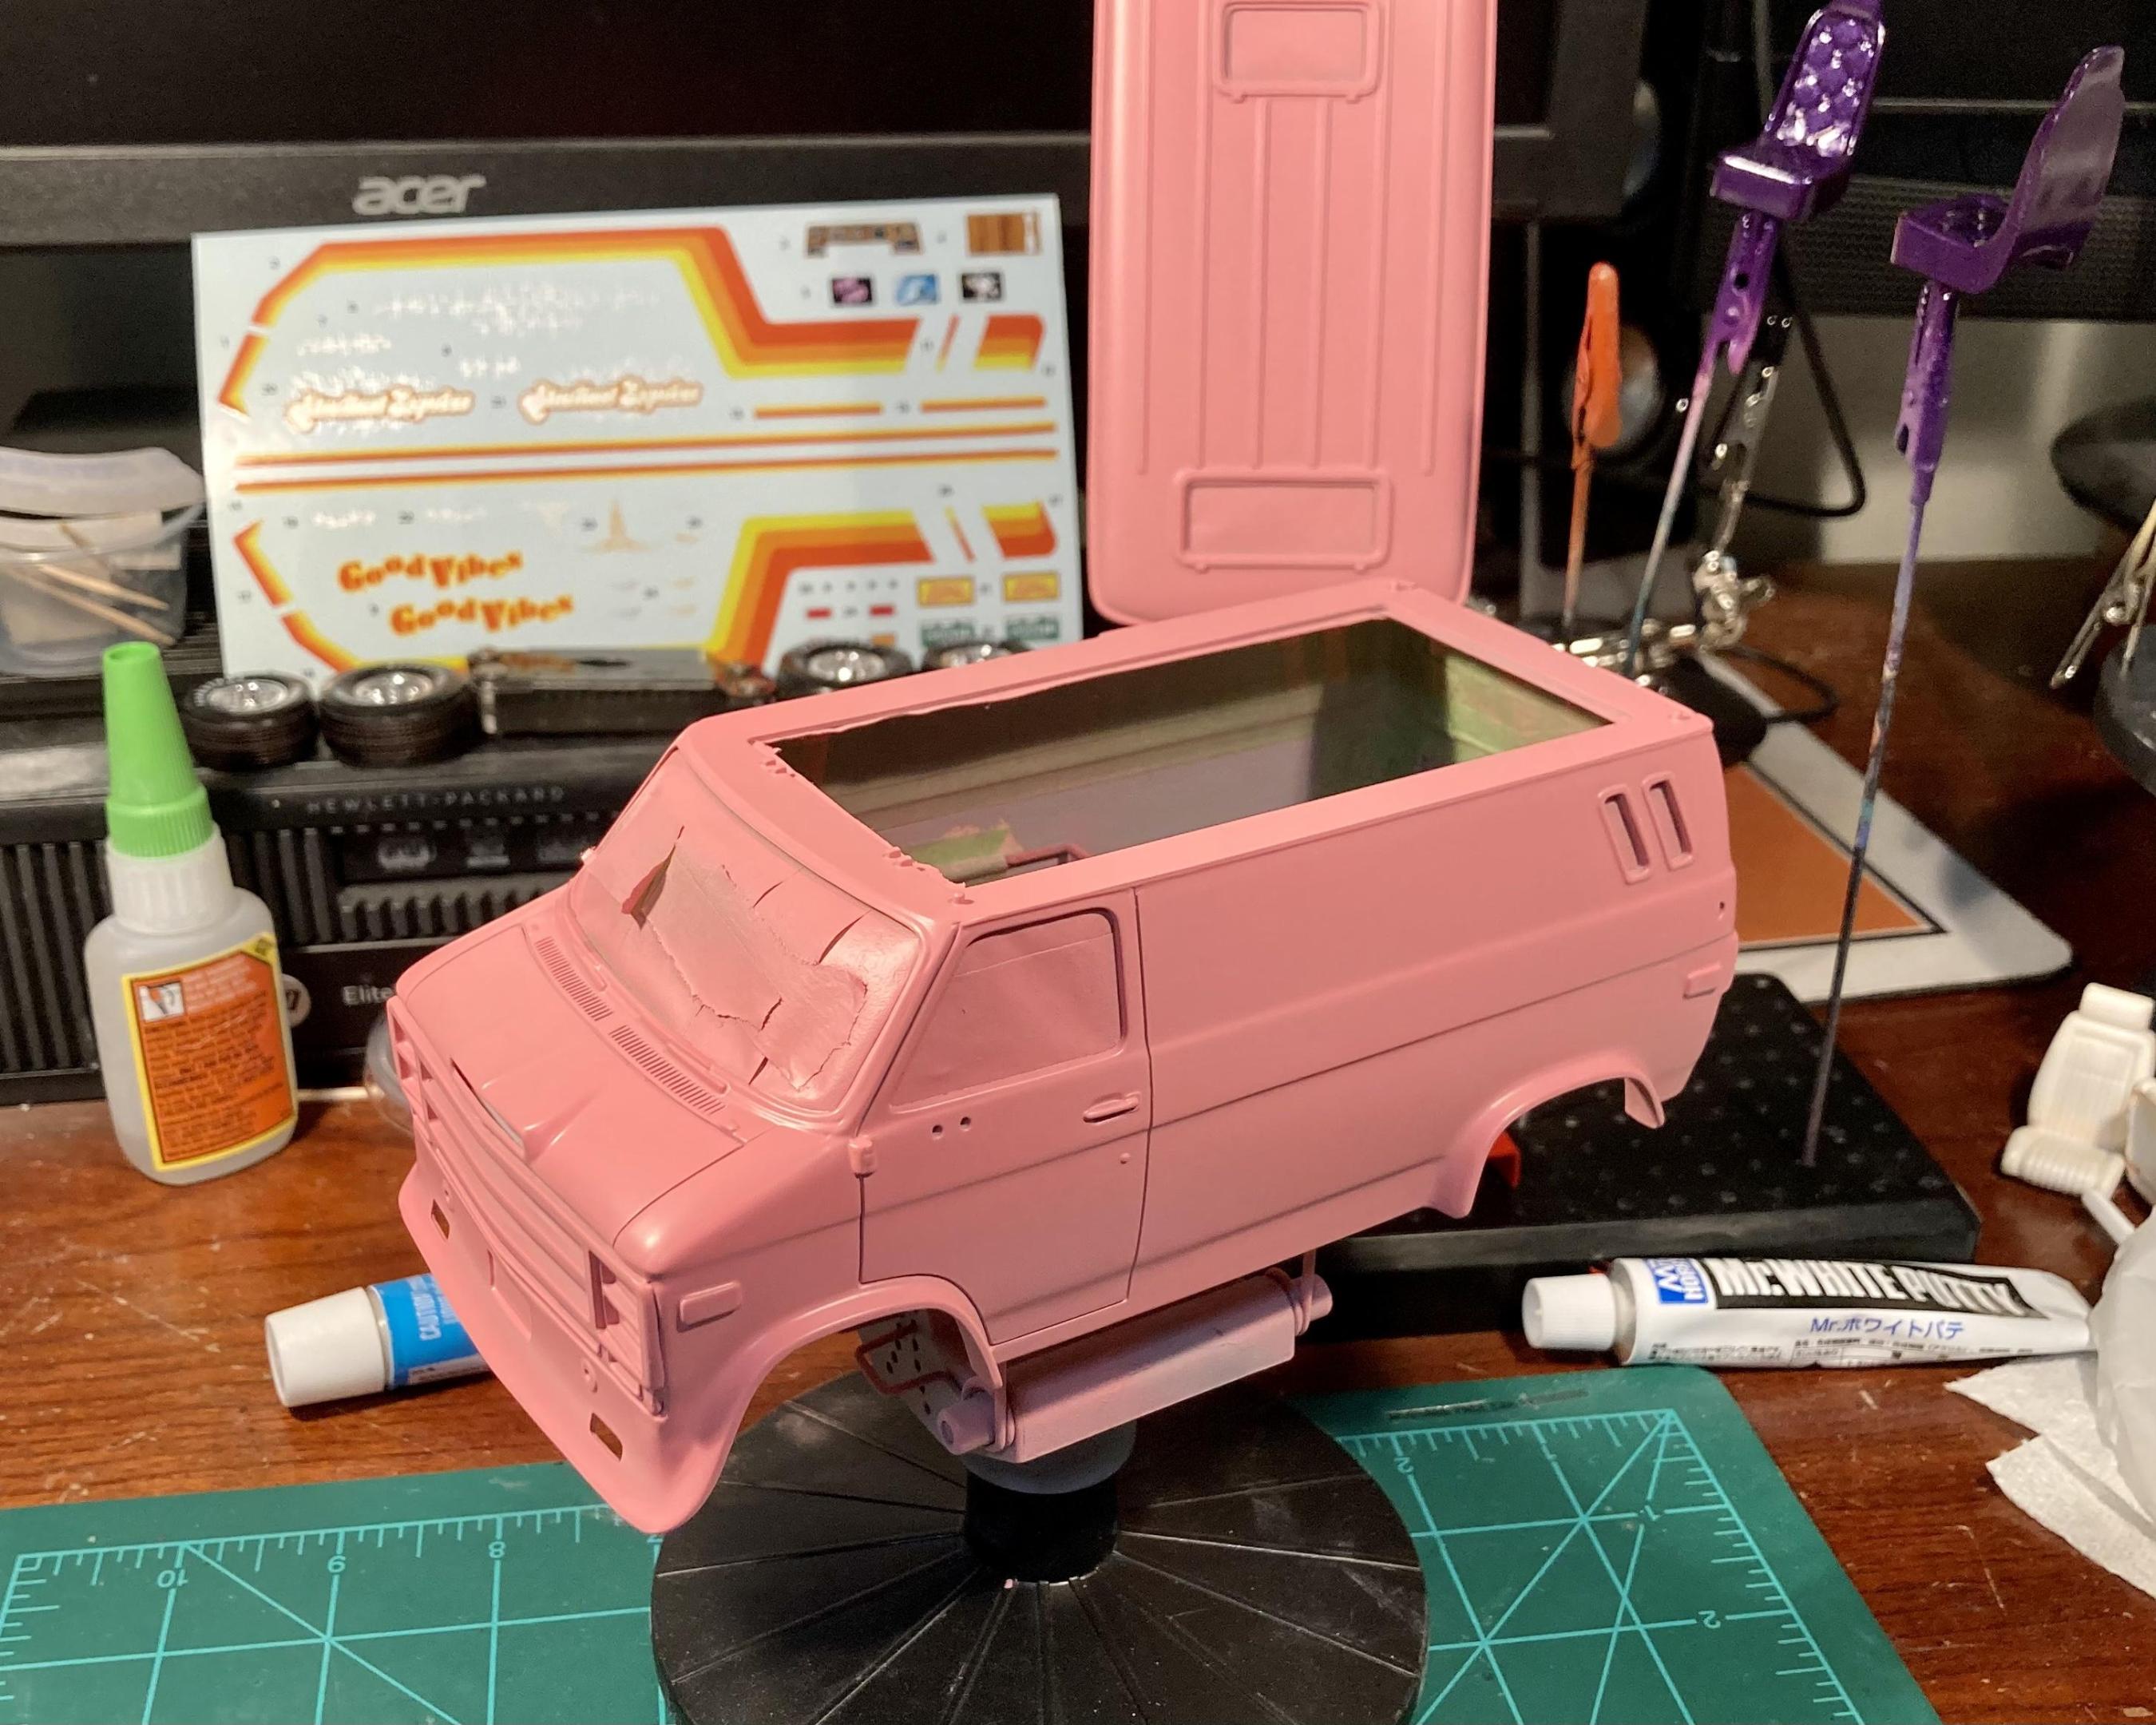
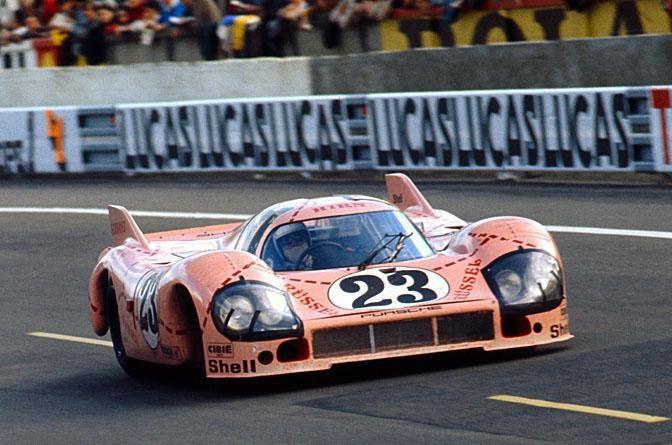
A quick update: I got the doghouse, bed and front seats sprayed, so now I can start detail painting and assembling the interior. The carpet will be painted a darker gray, and the console, tv and dash will be painted to look like wood. The body got its first coat of pink primer. Once it cures it will get finish sanding, followed by a second coat and then the body color. It’s no Porsche 917 racer but at this stage, this beast reminds me of the Pink Pig ?
- 24 replies
-
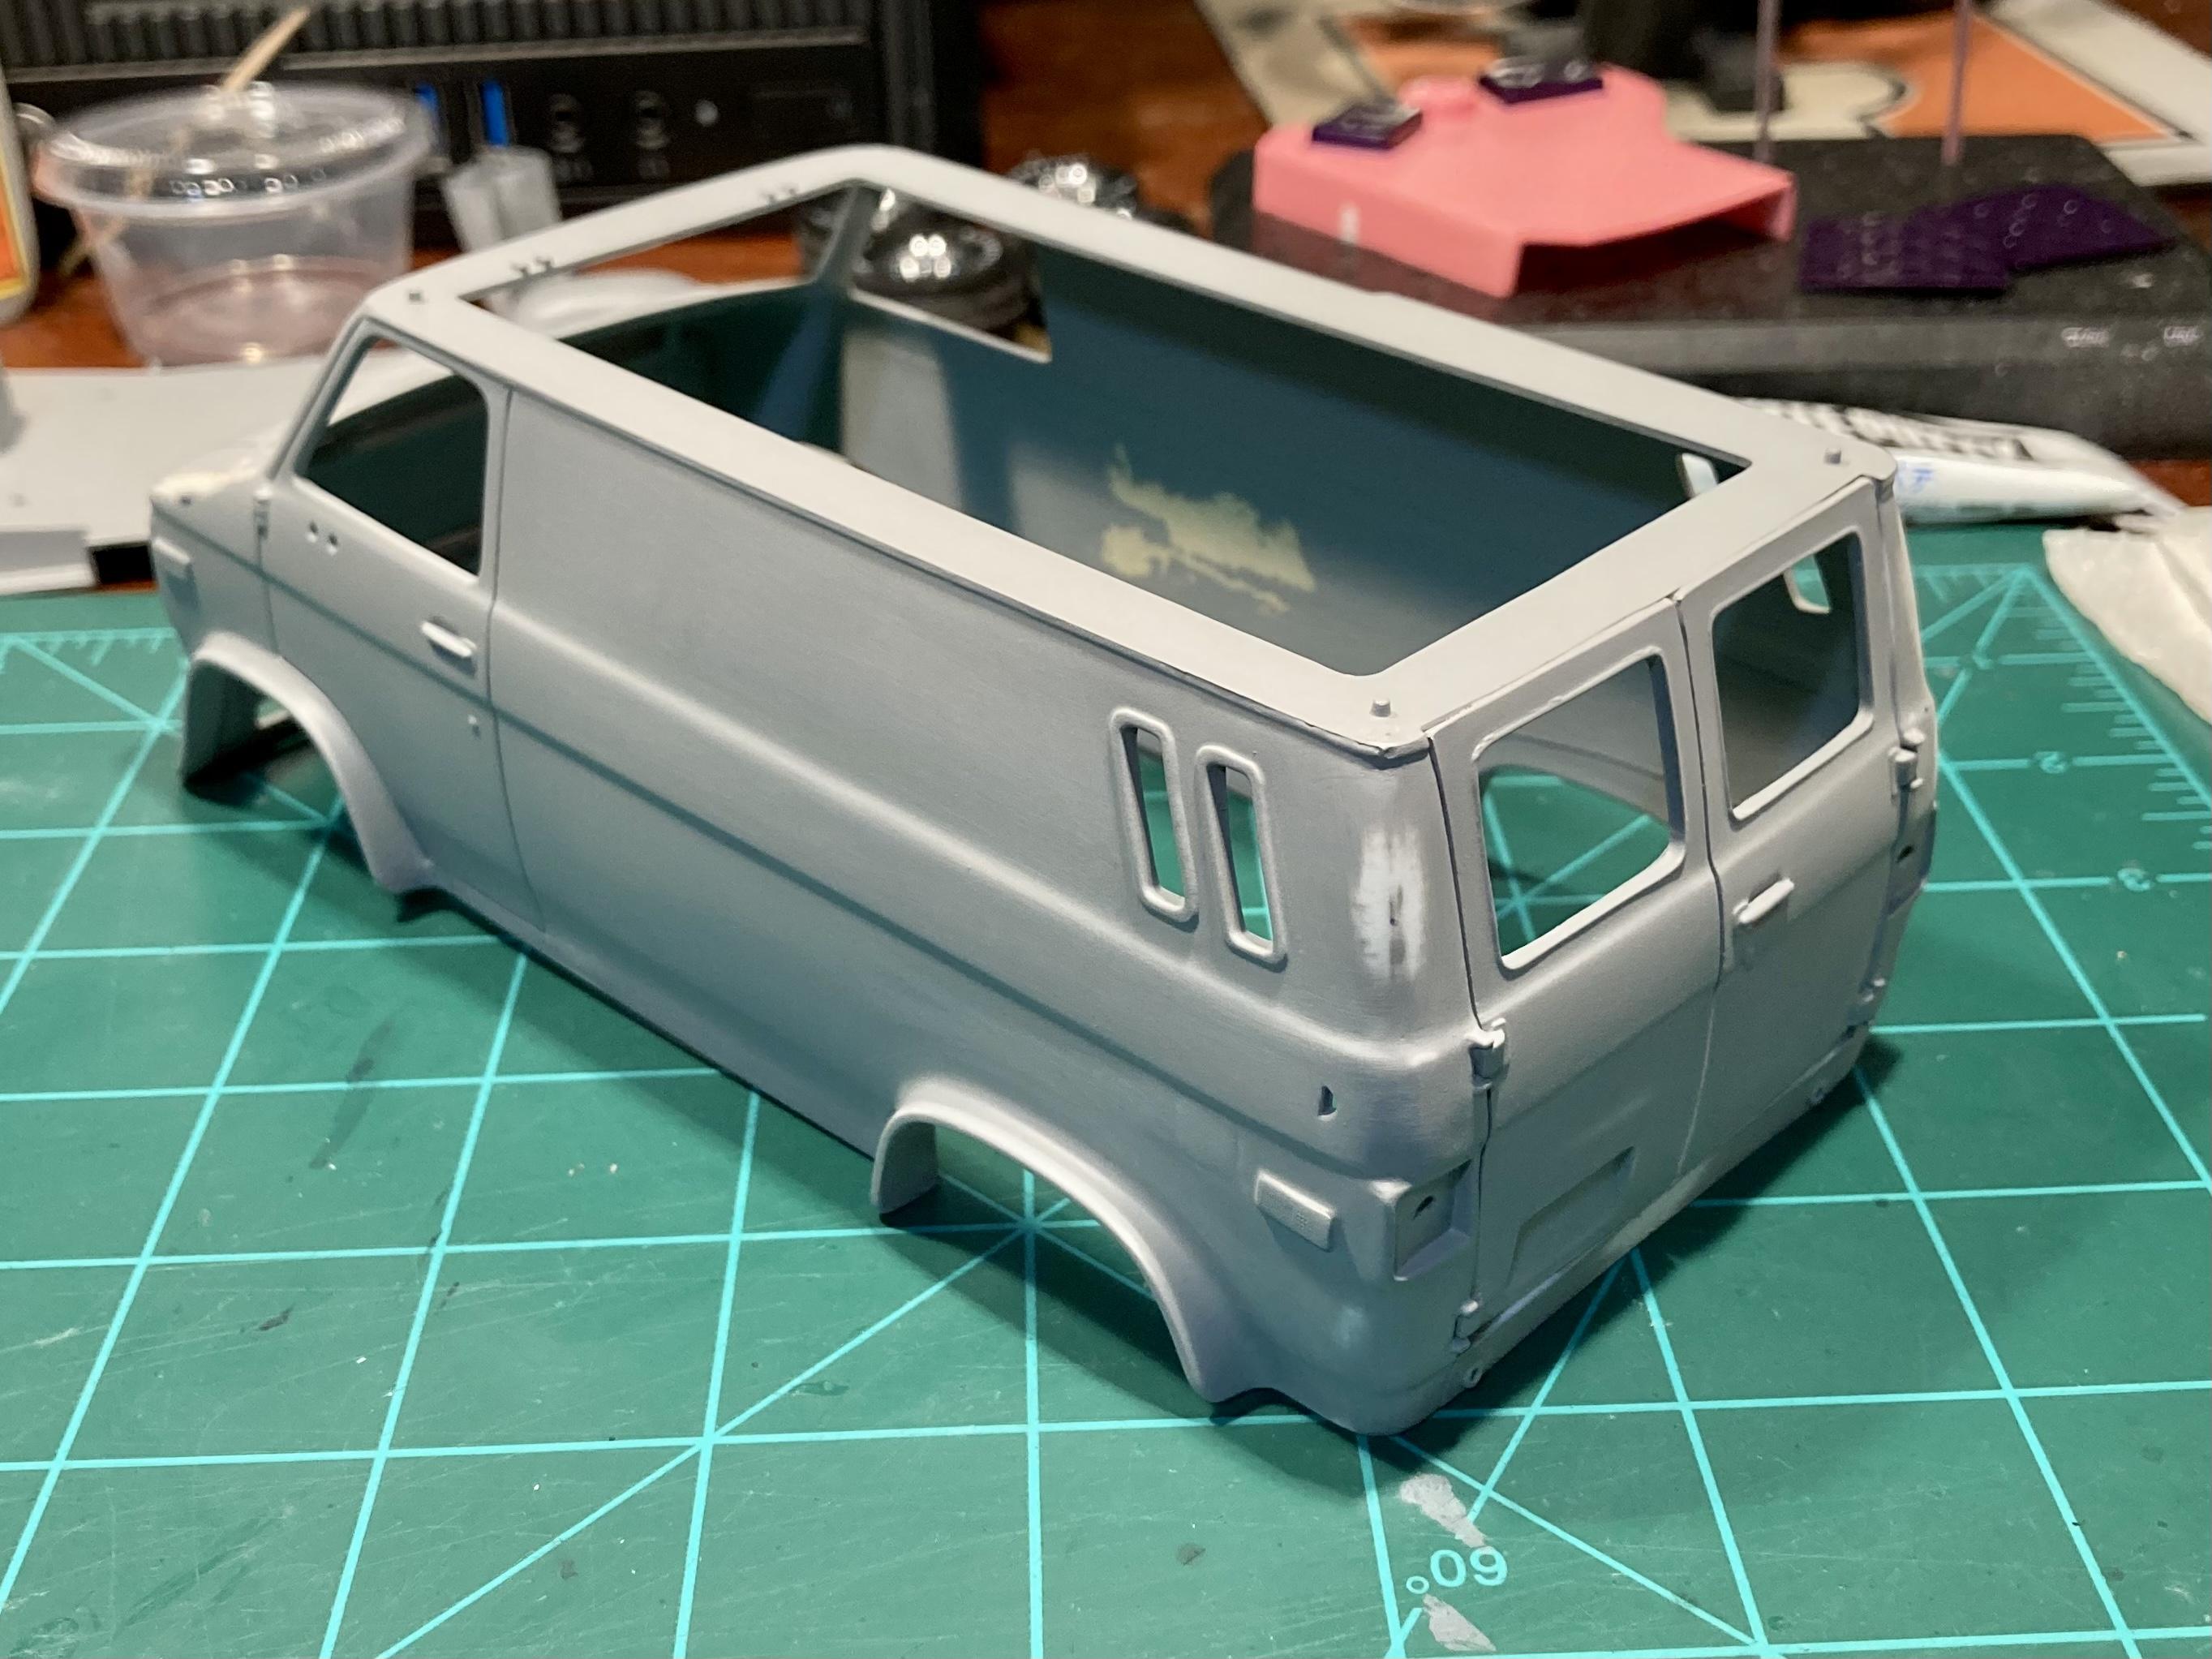
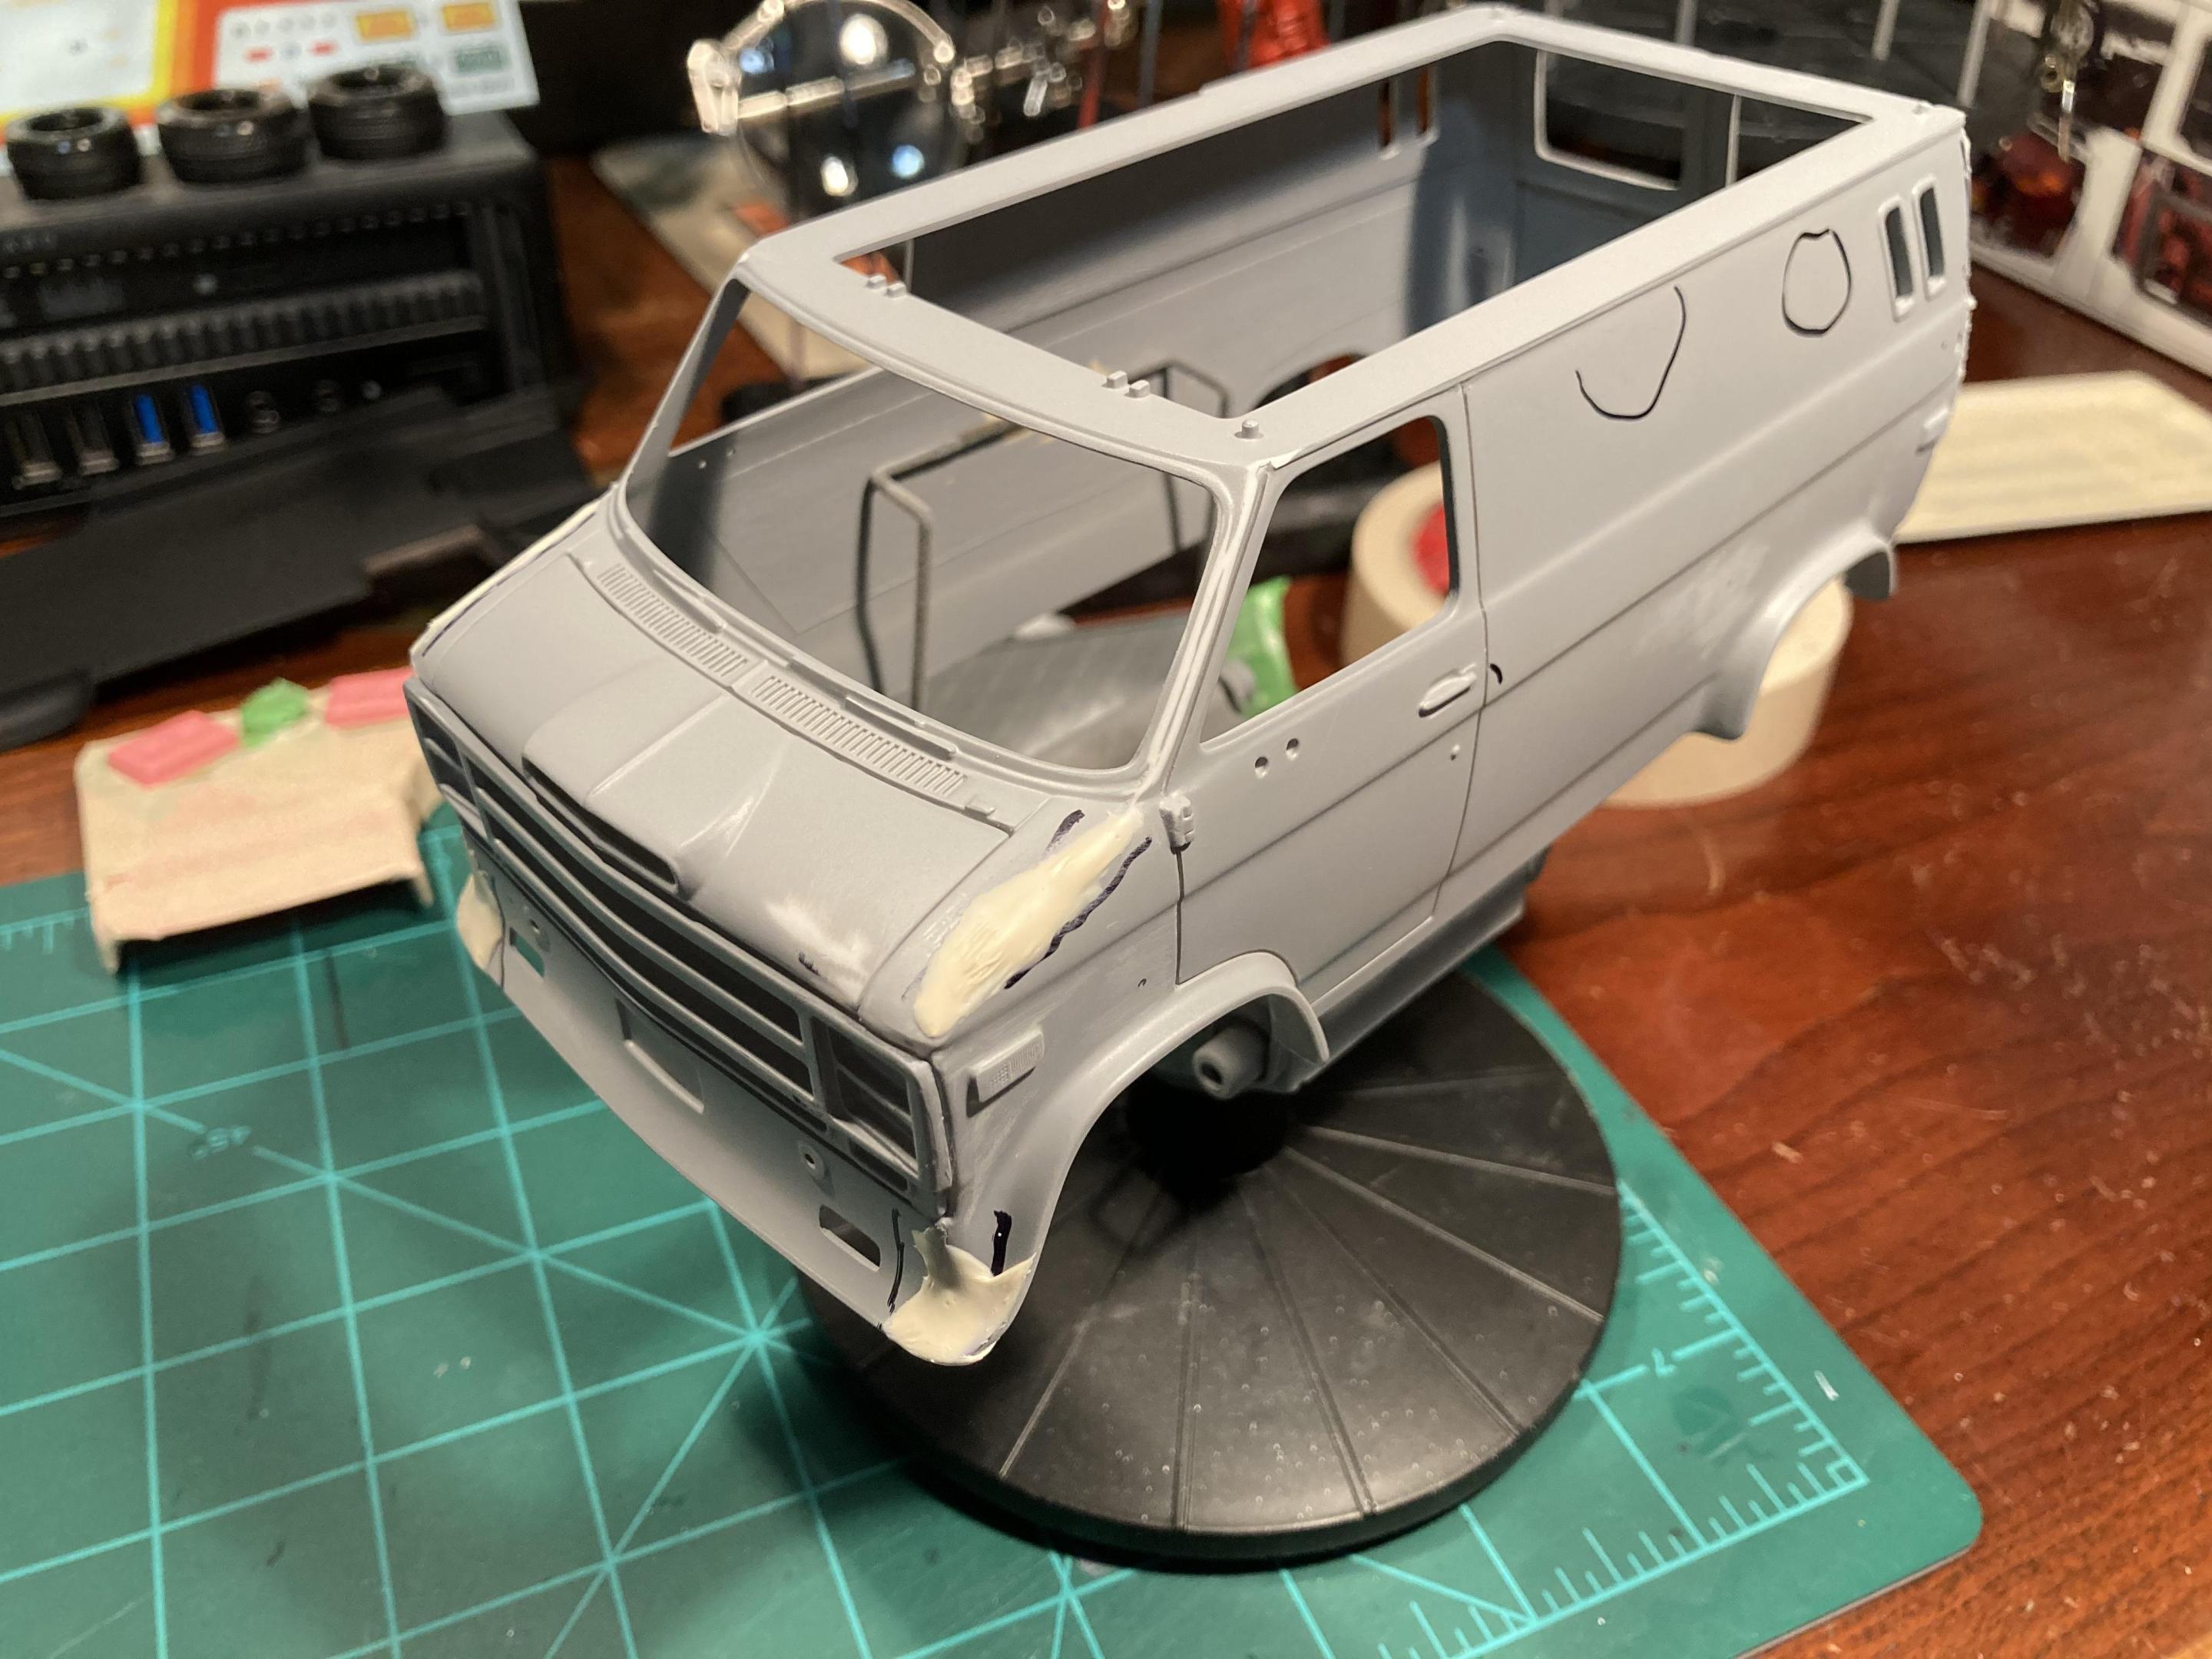
Should I spray the sanded through areas in gray primer first, or will the pink primer cover it all well enough?
- 24 replies
-
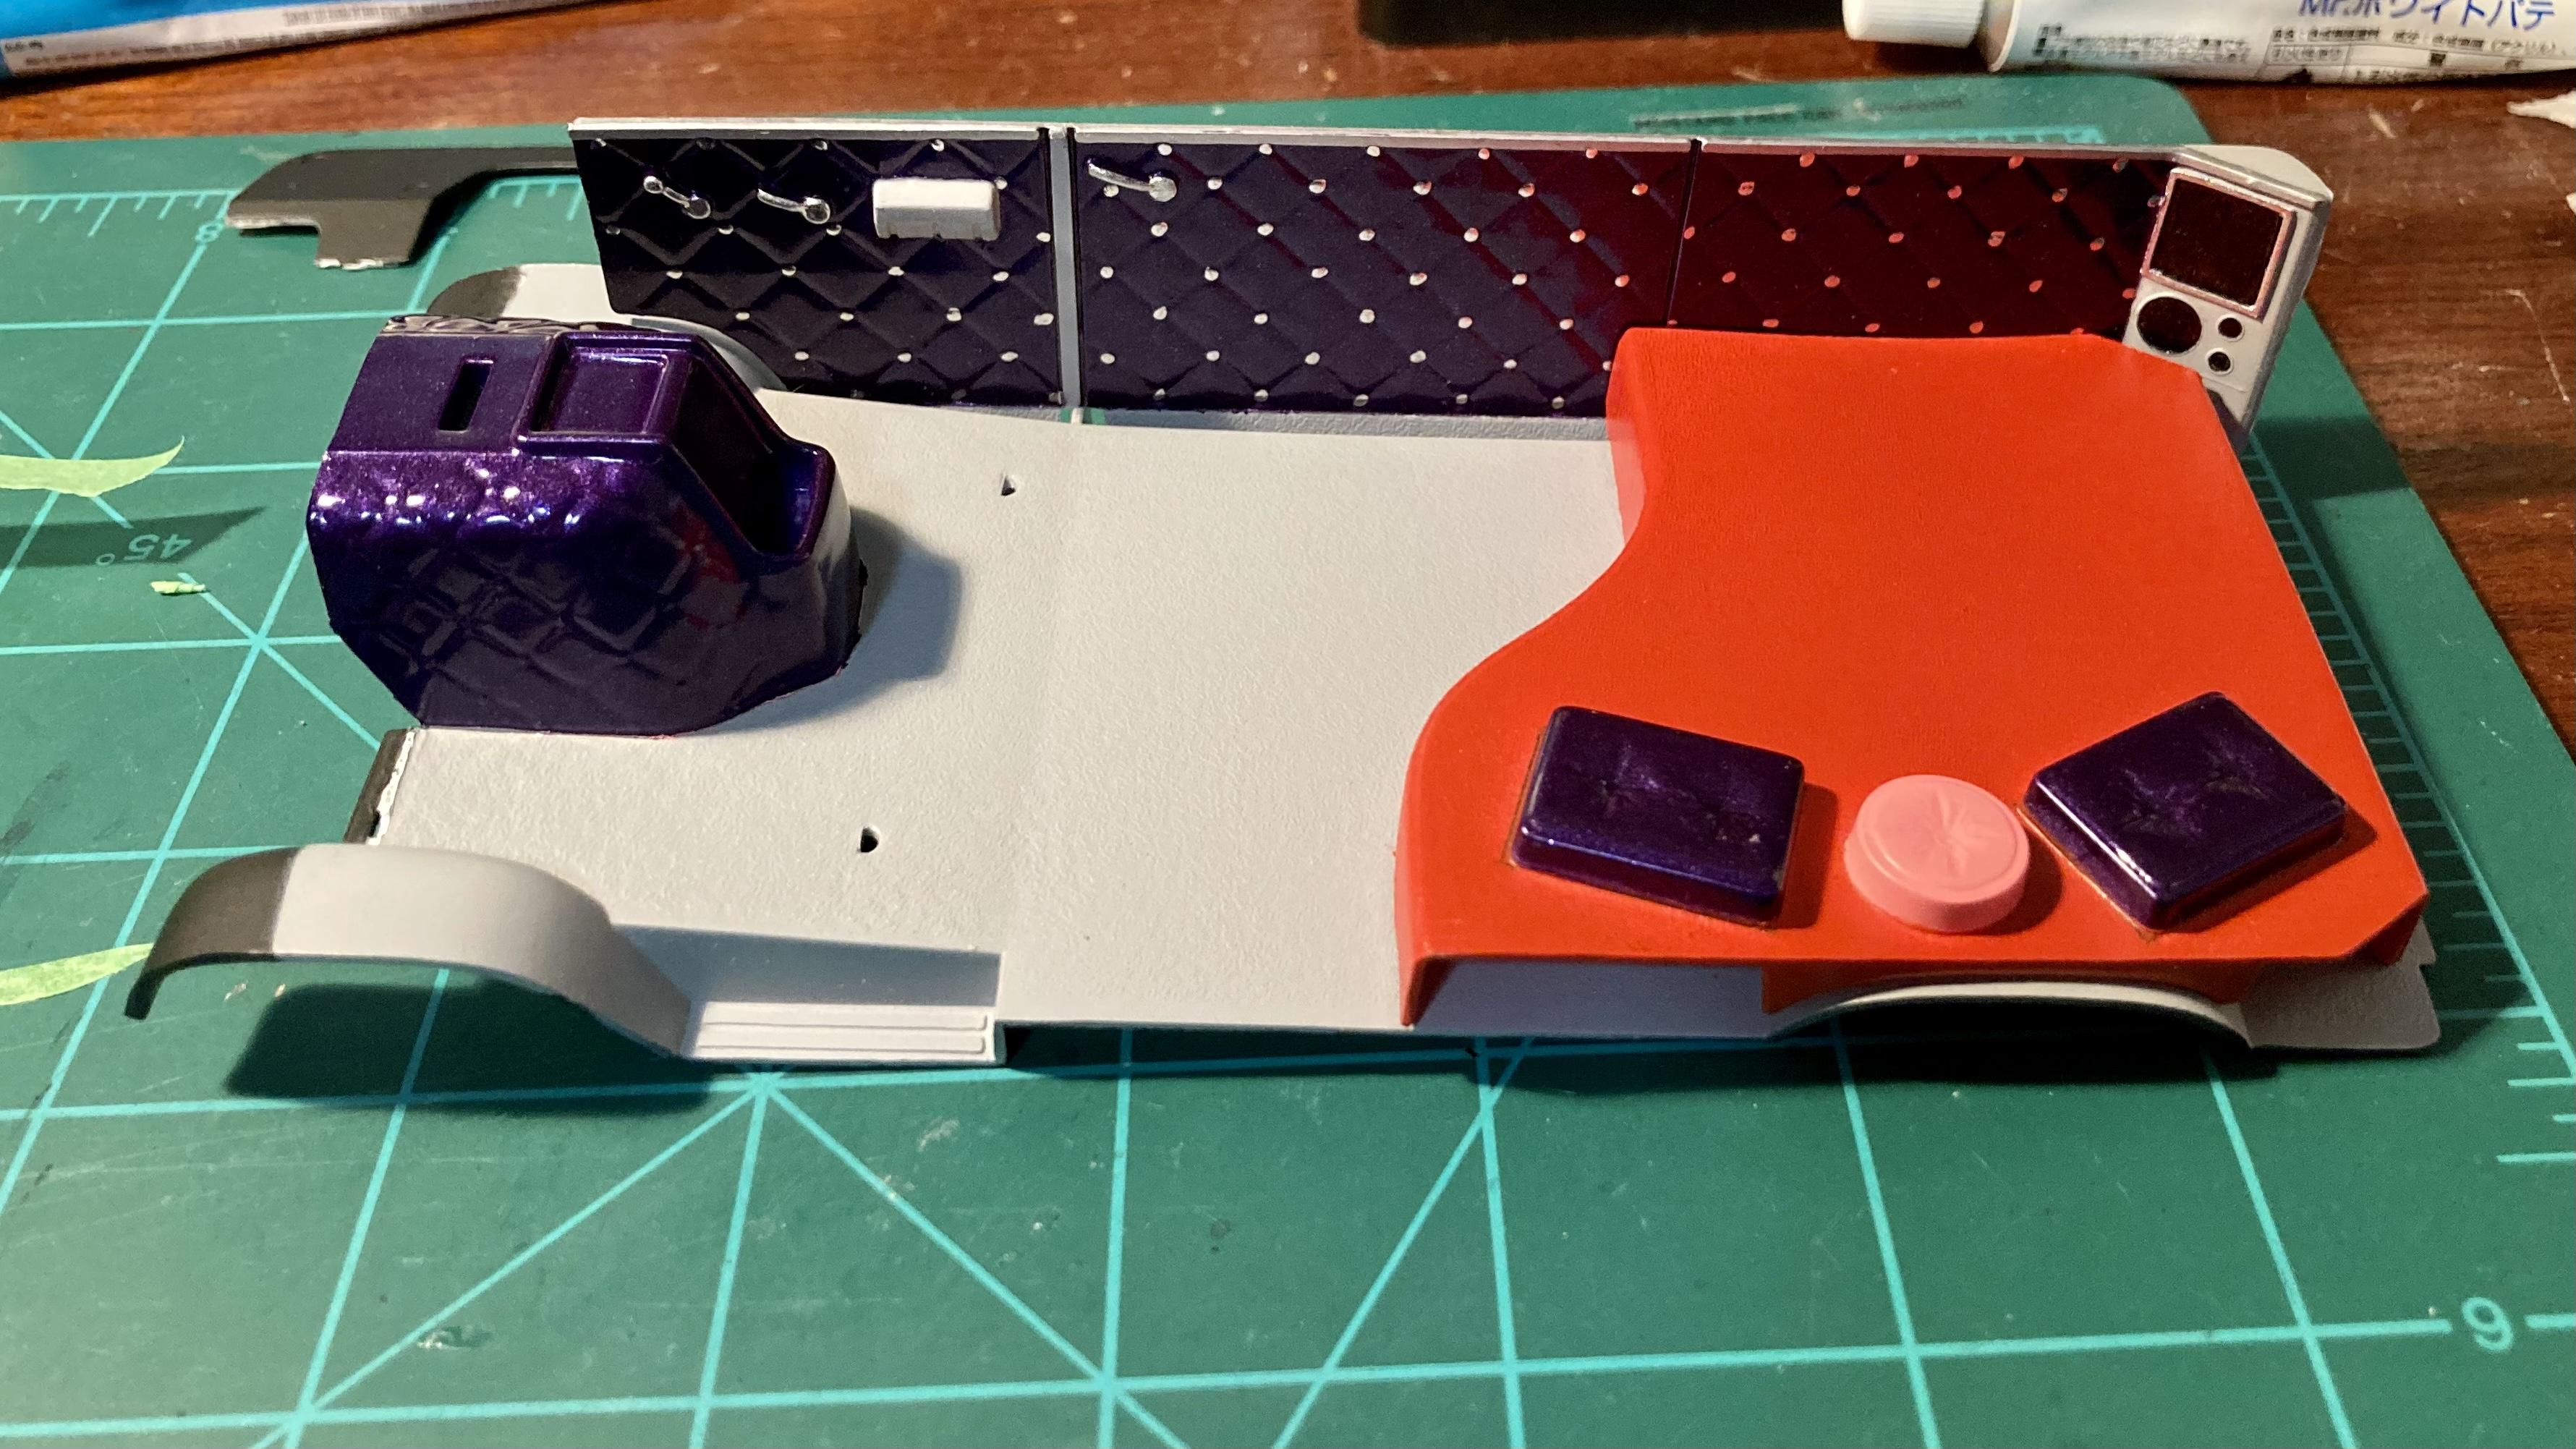
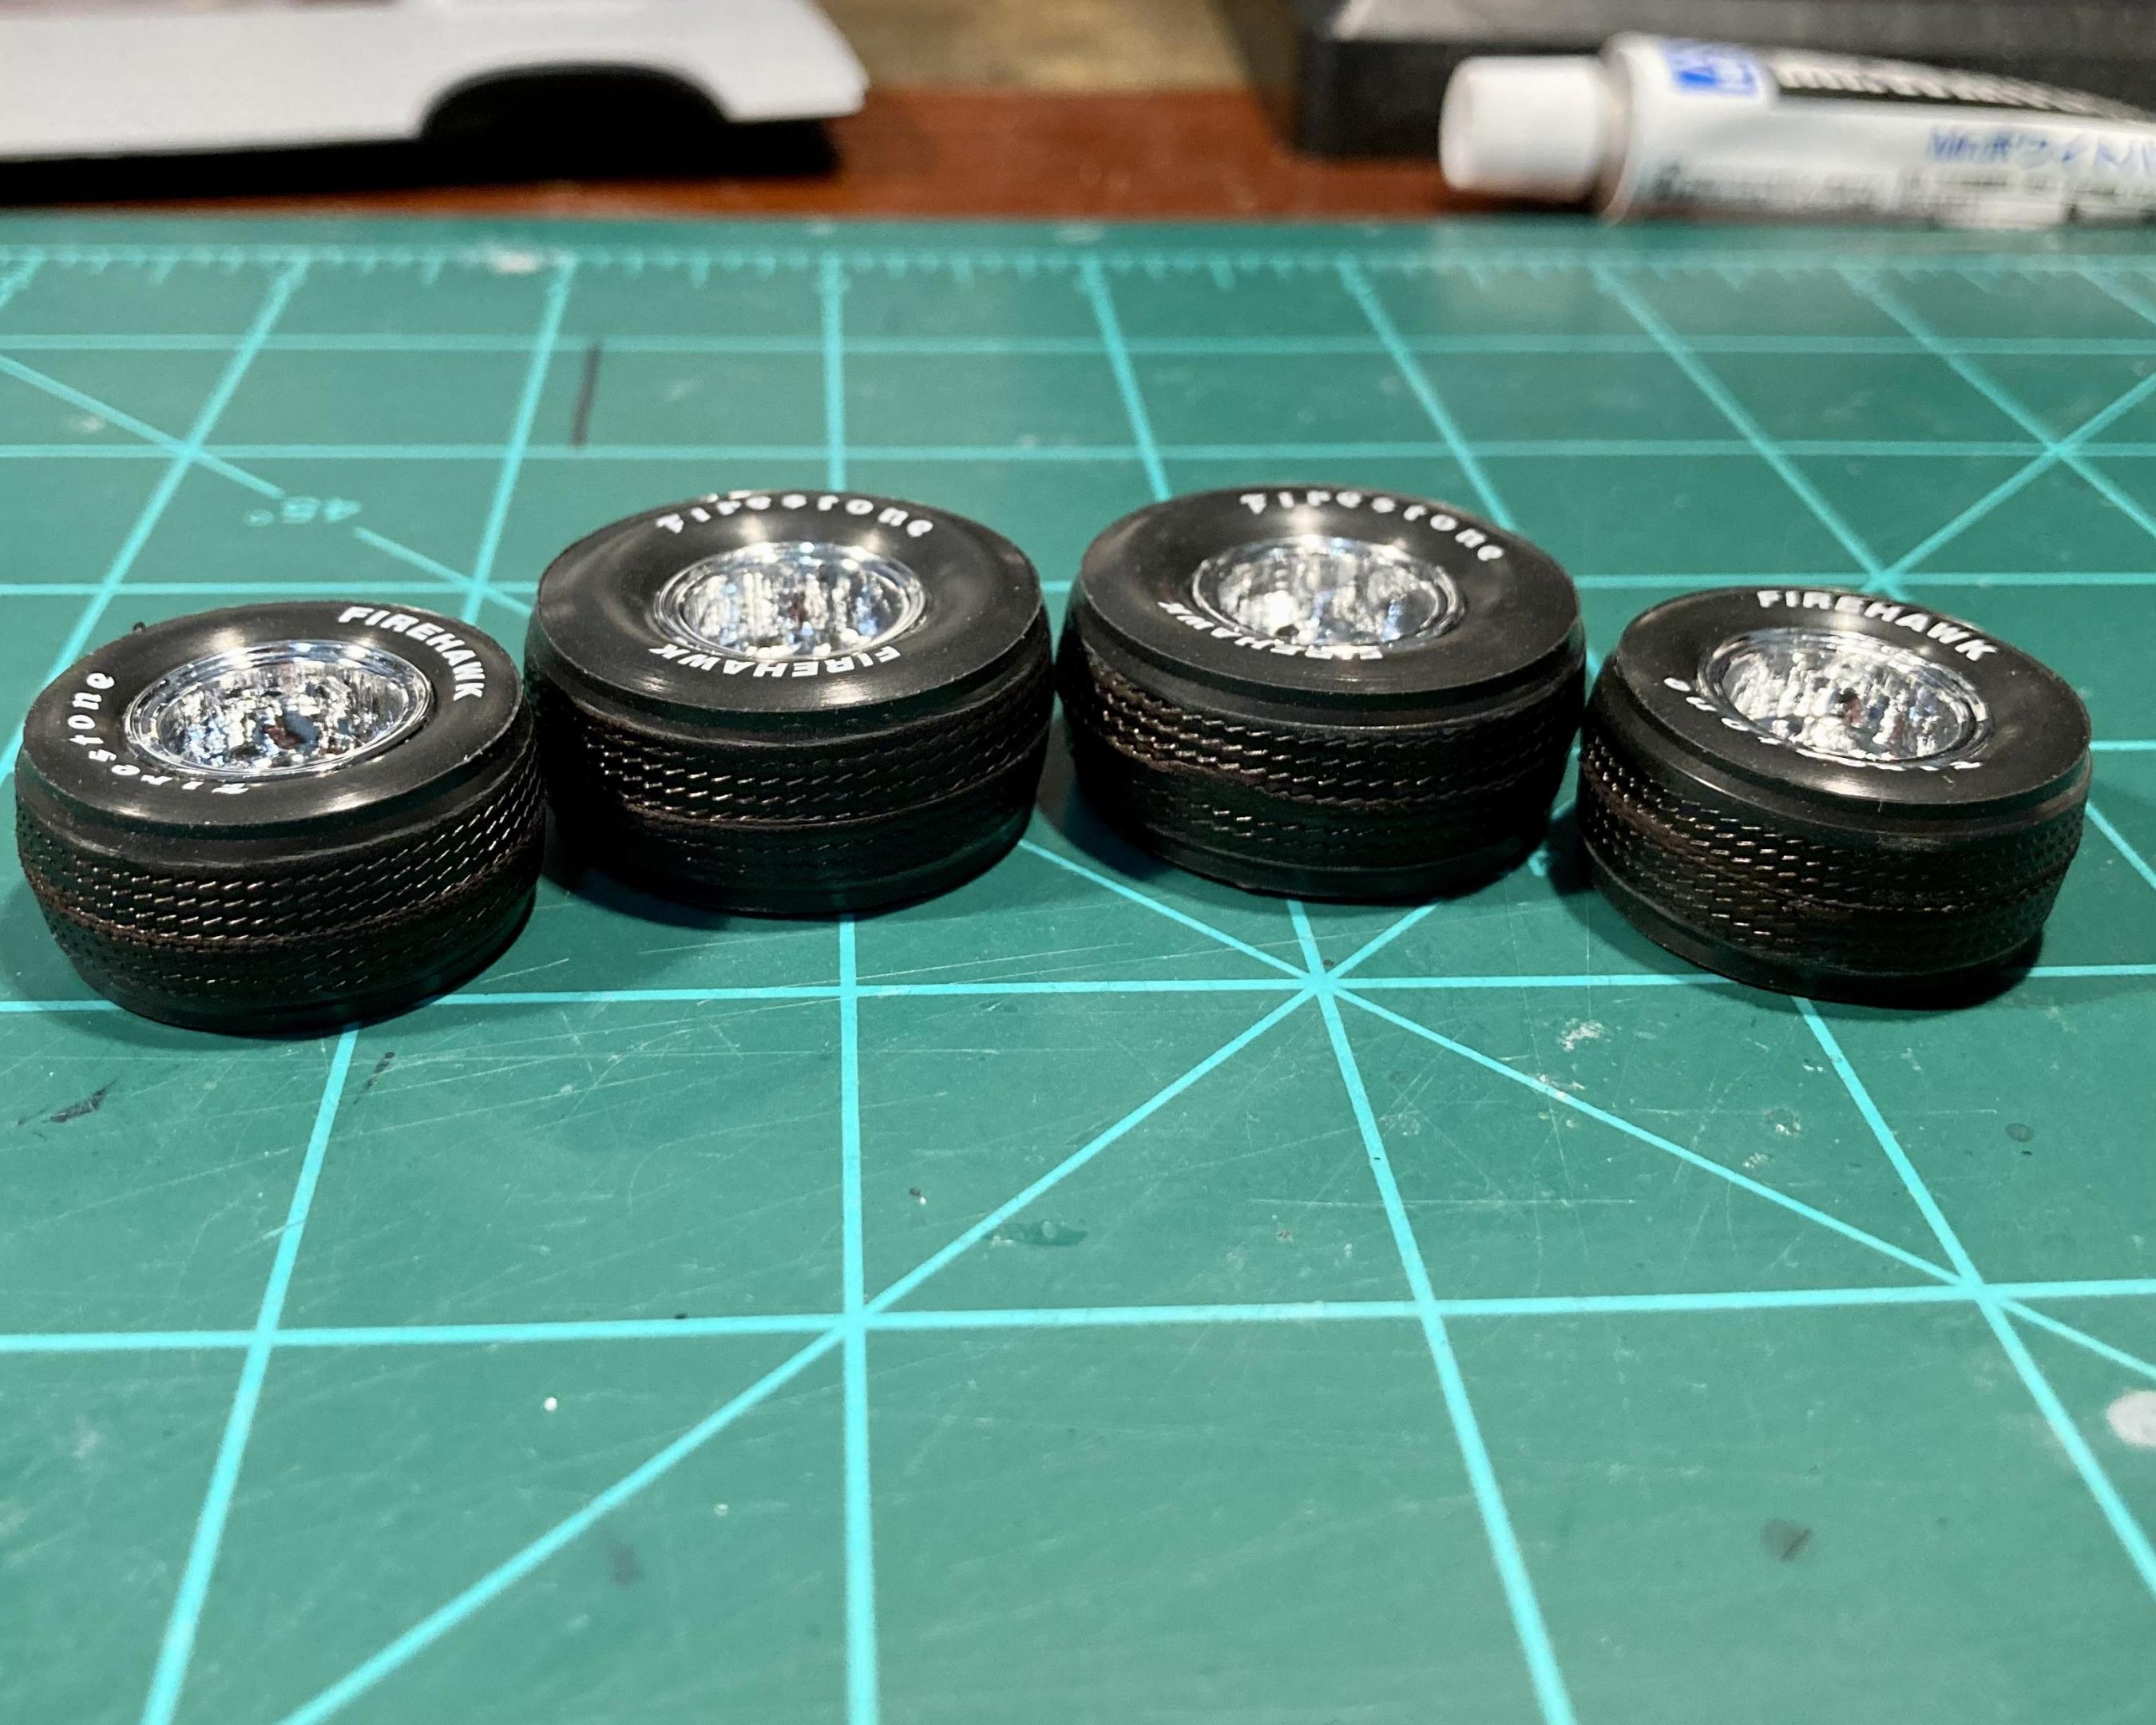
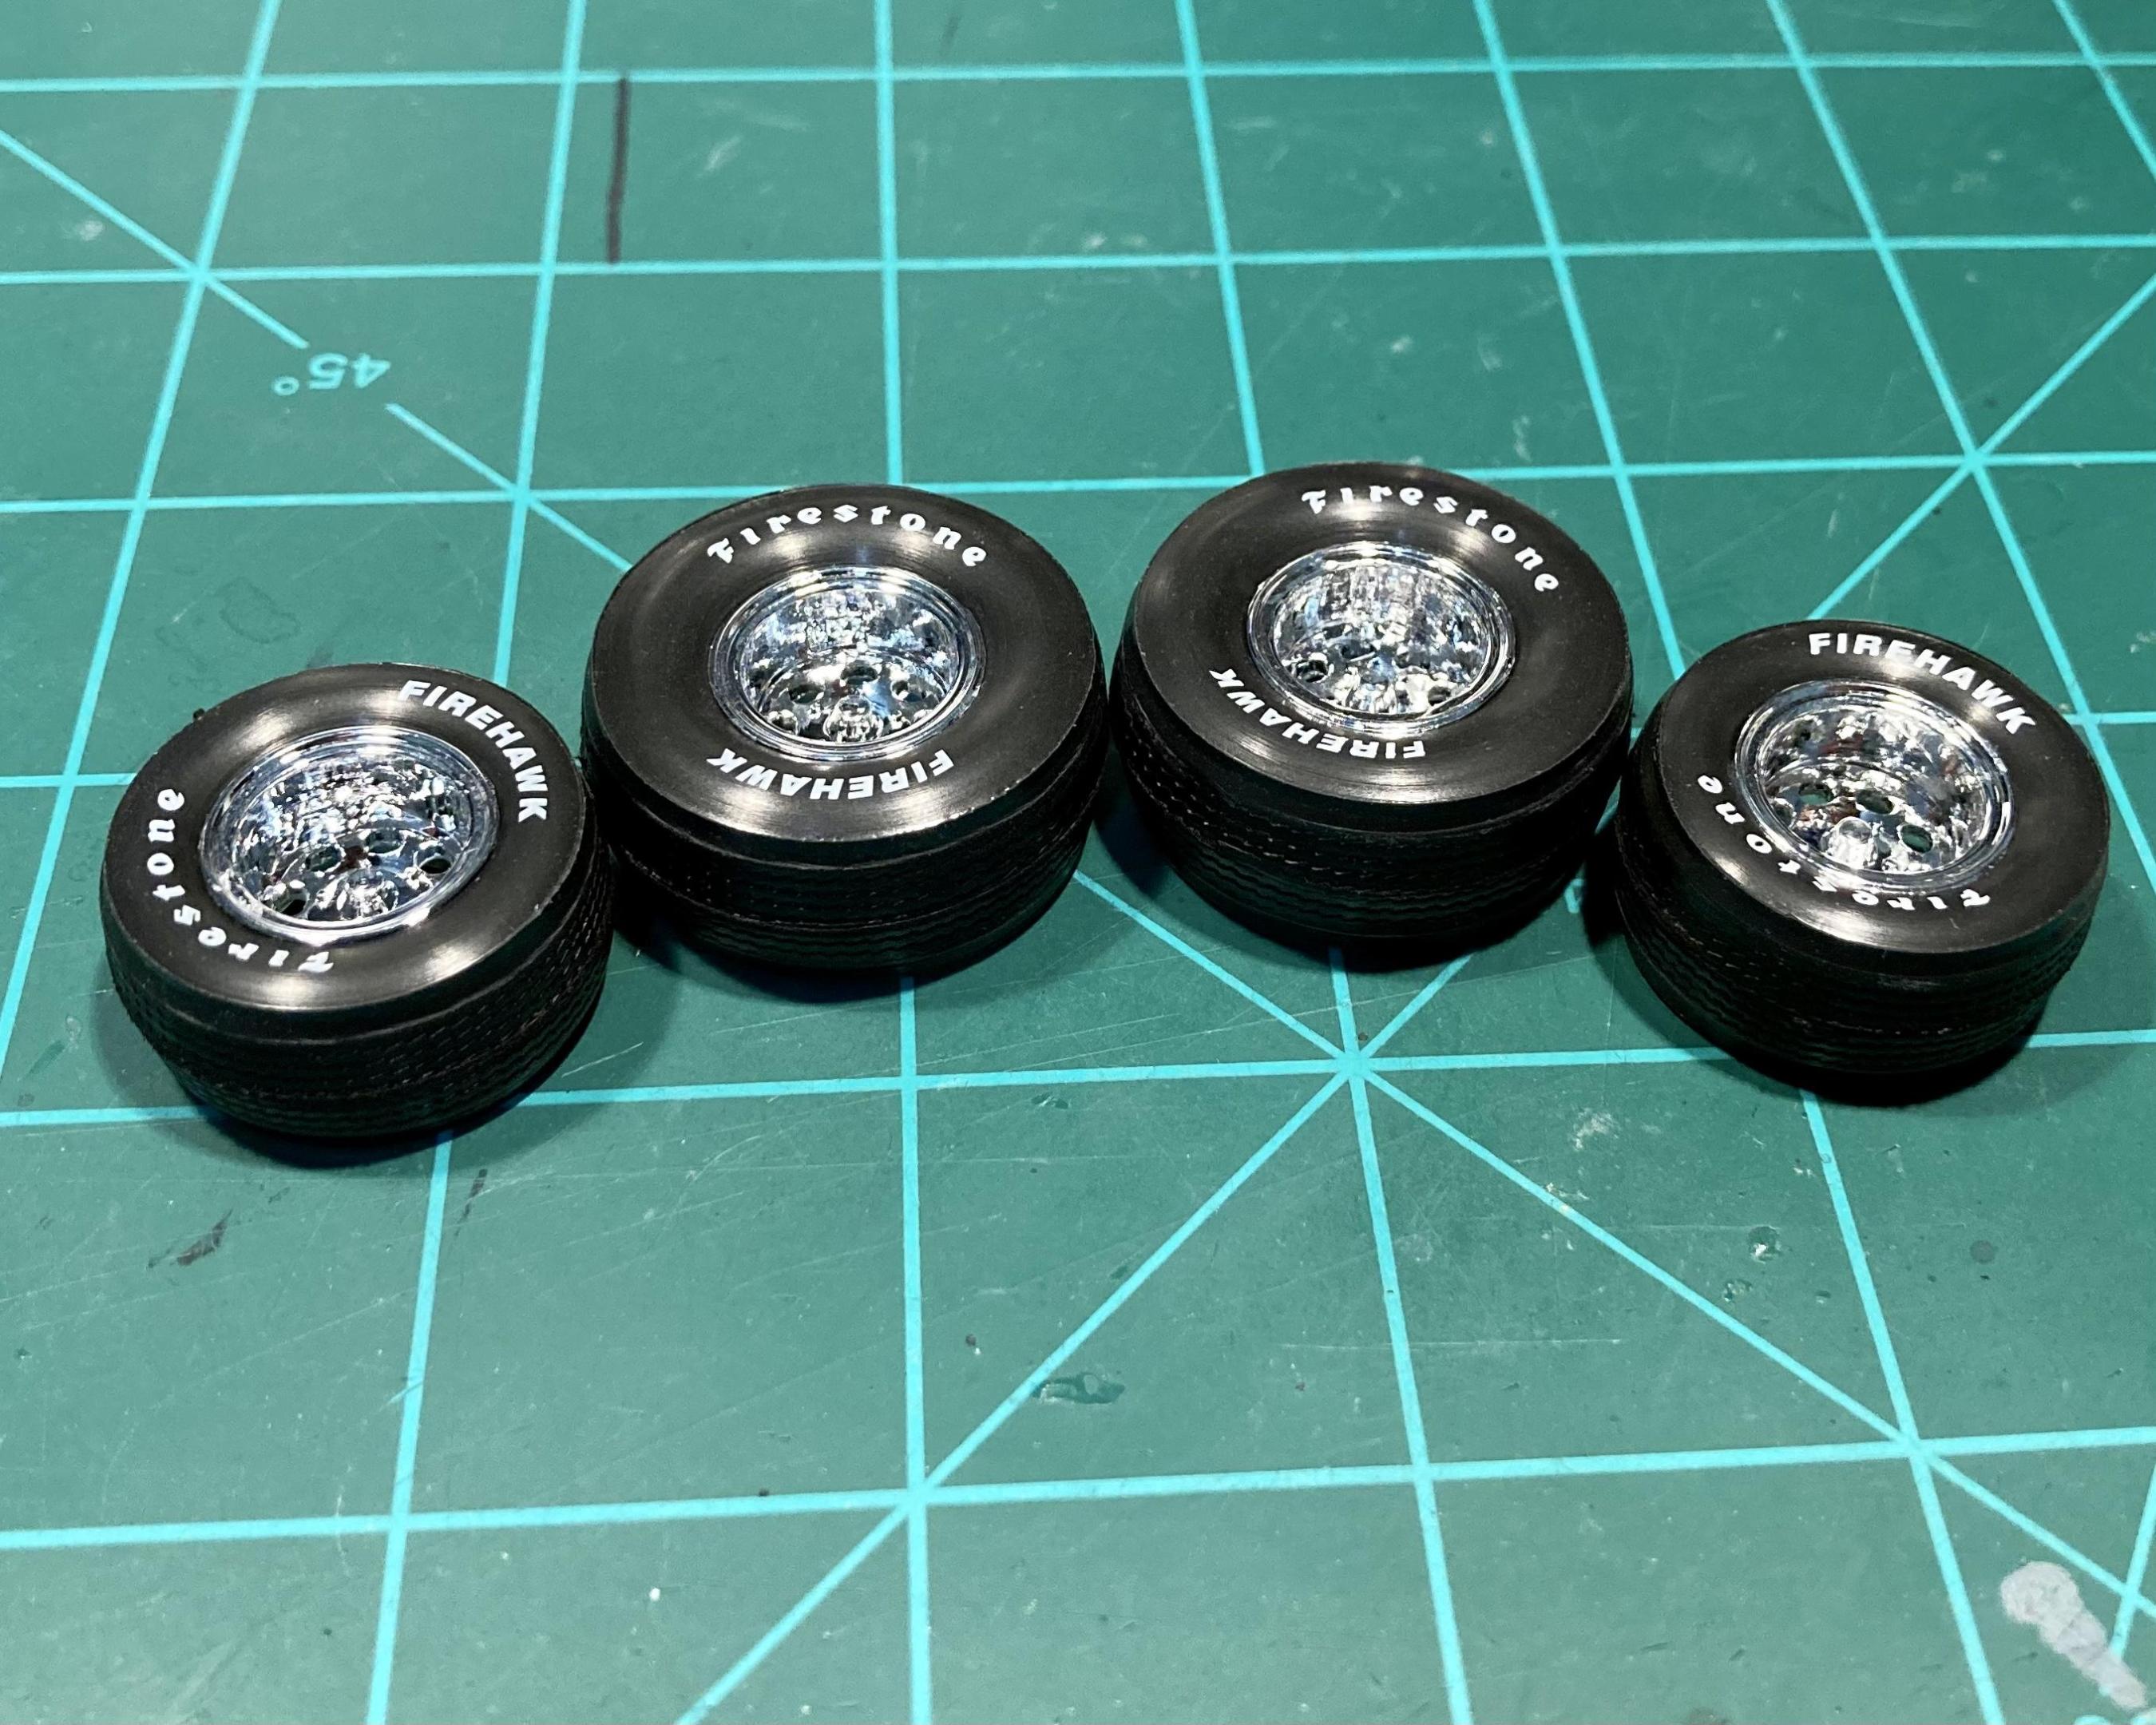
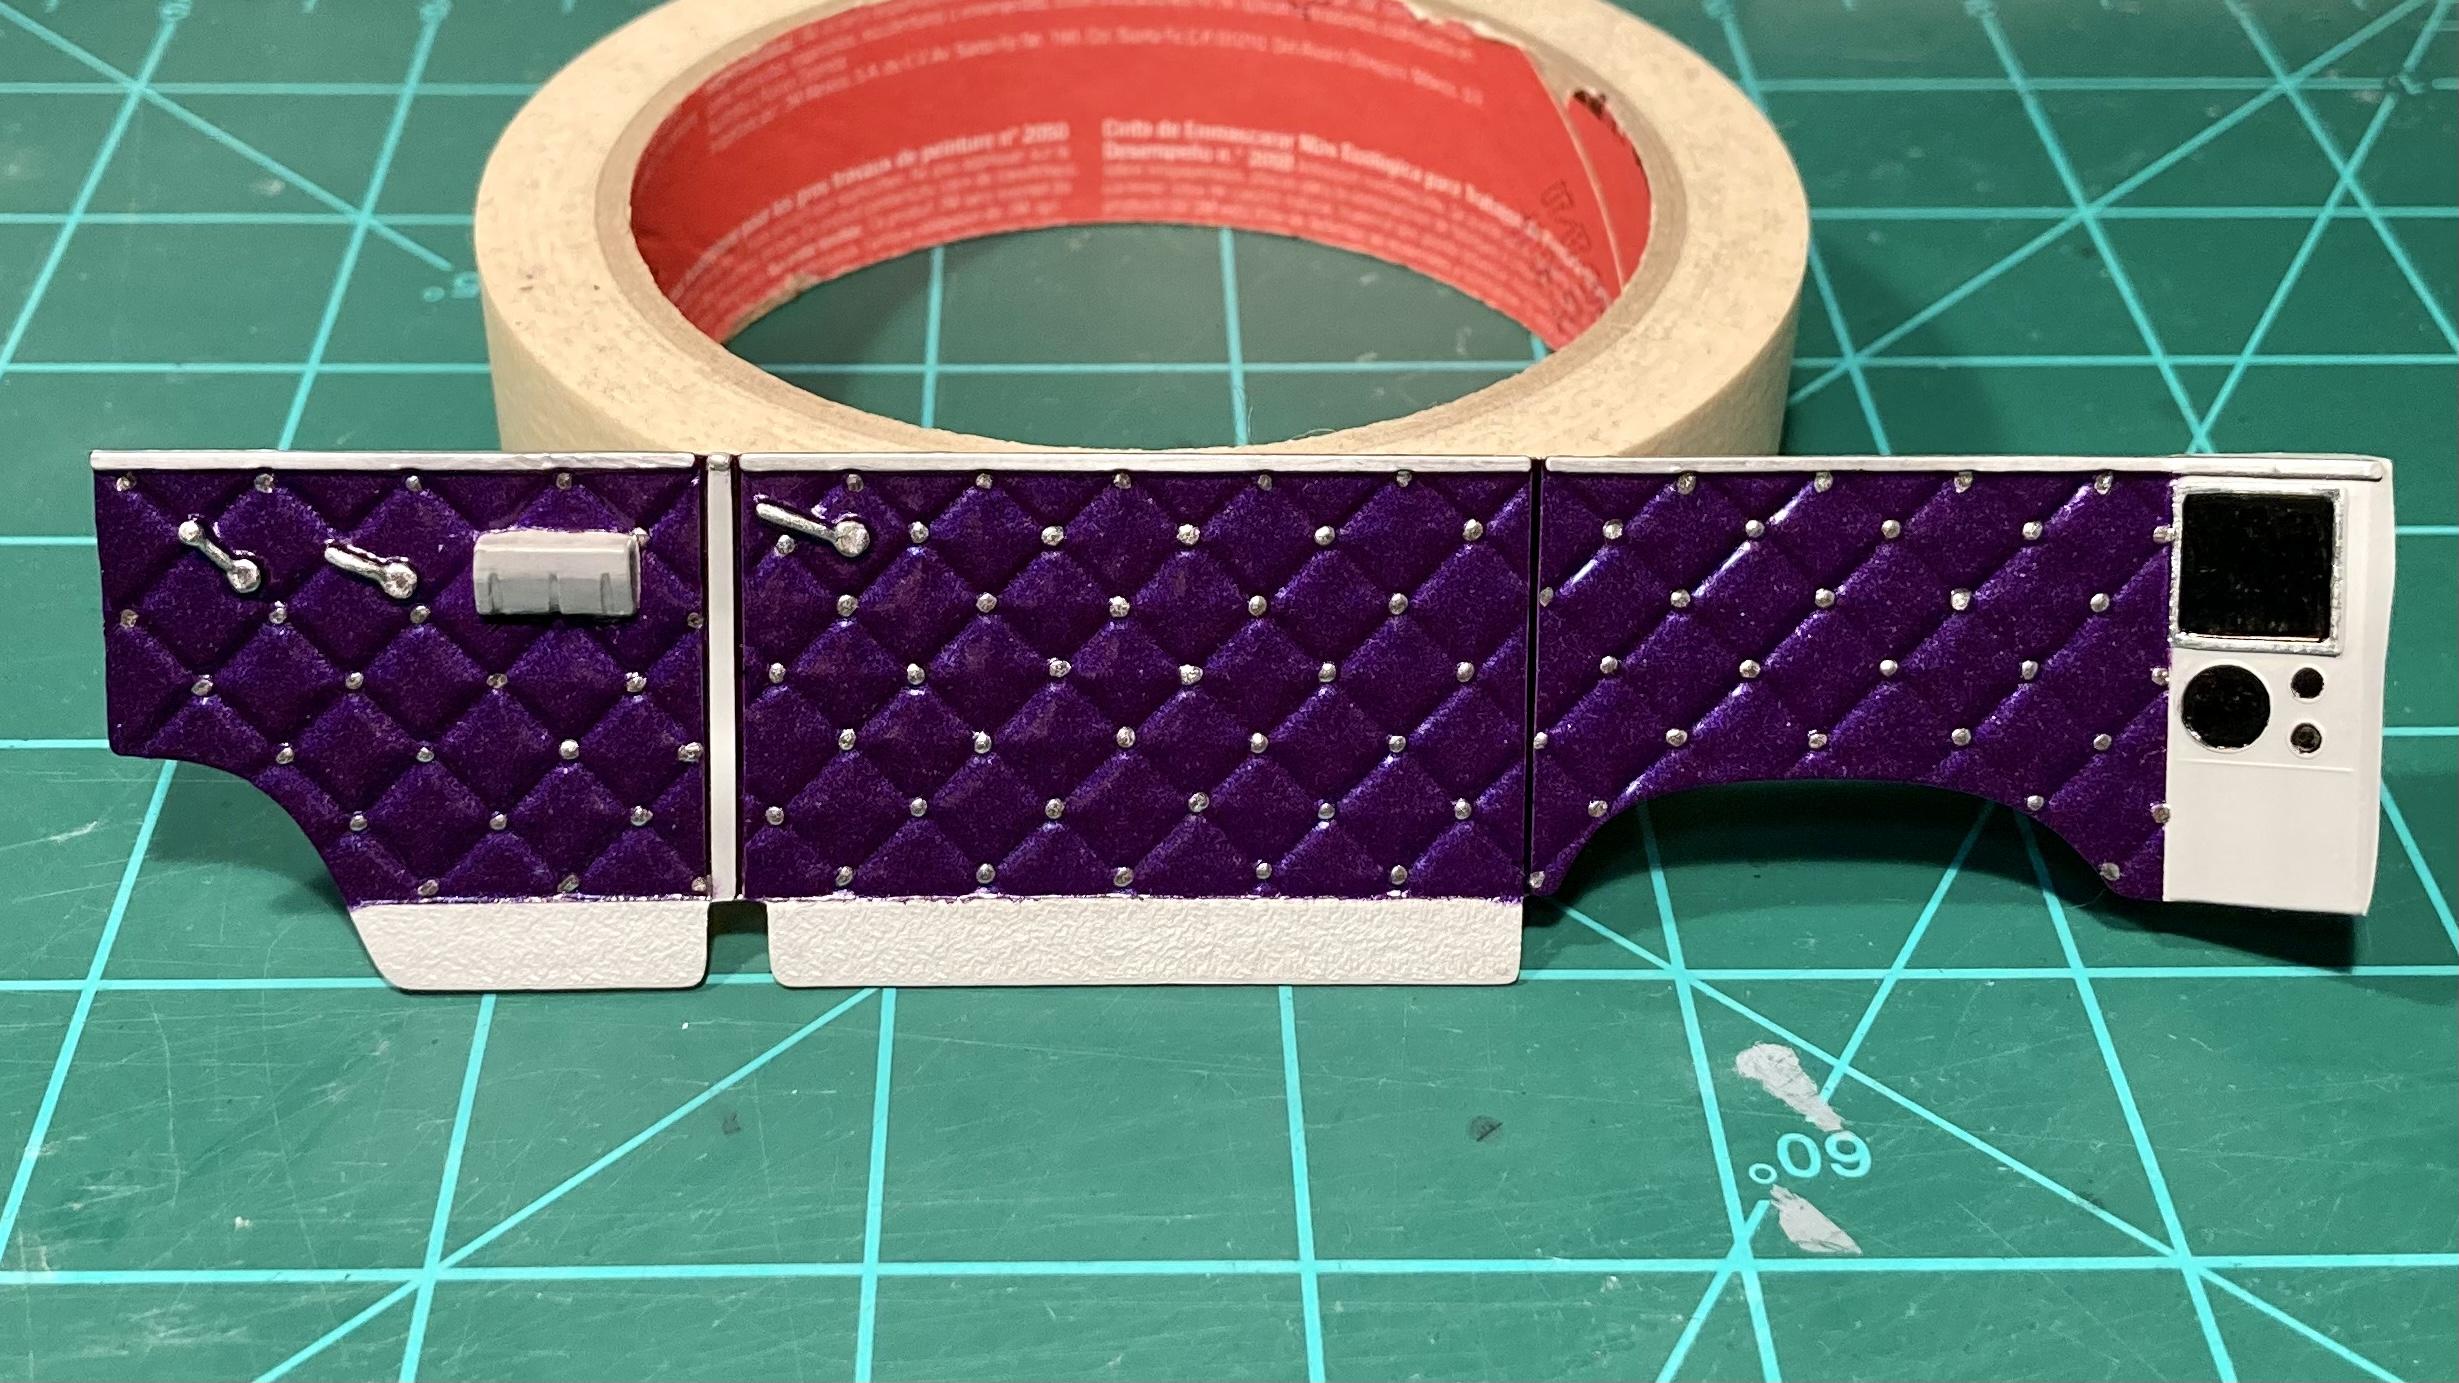
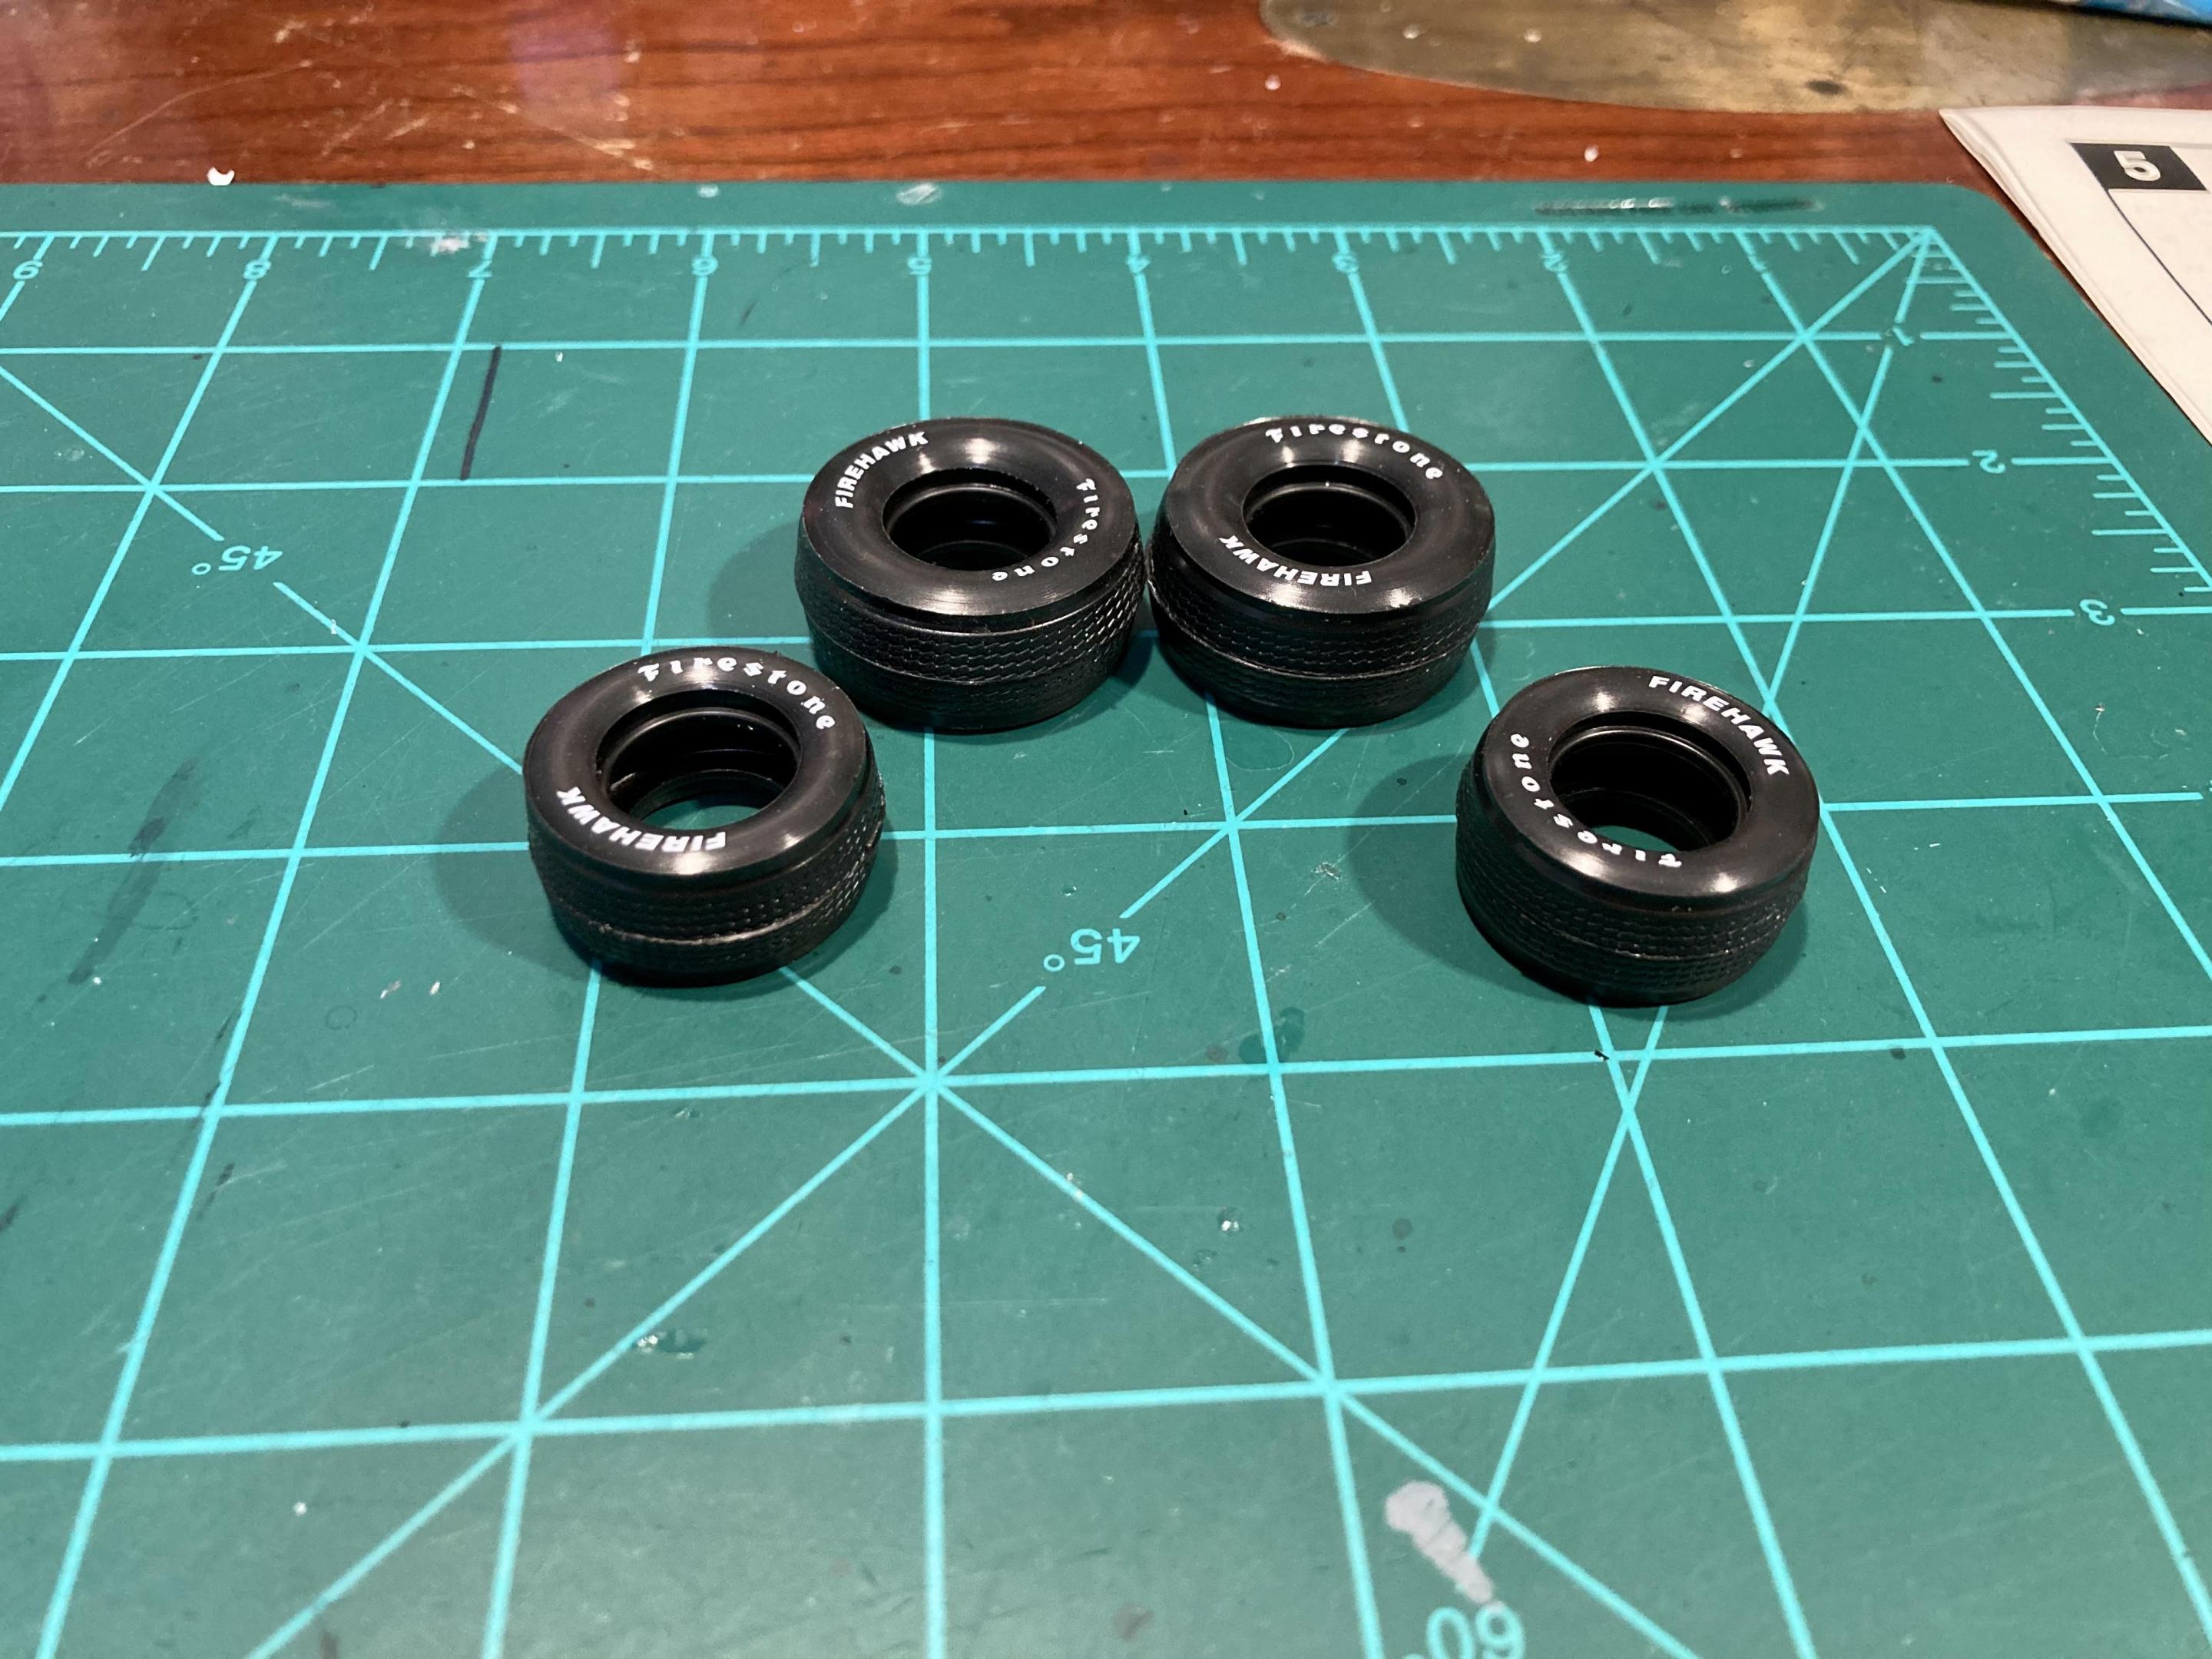
Here’s a taste of how the interior will look. I taped off the gray areas that will remain primer gray, then painted the tufted vinyl panels in pink primer, followed by the Purple-licious. You can’t really tell in the picture but there is some pink reflecting through that looks awesome in person. The carpeted areas will be painted a darker gray later. The tuft buttons and handles and speaker trim are Molotow. The body got another coat of primer, and some more sanding at the mold seams. Next up, pink primer and some light sanding. I sanded the tire seams and treads down. This left the treads looking chalky, so I simply colored them in with a black sharpie. I think they look fine for a shelf model now so I’ll go ahead and use them. I would normally give the chrome wheels a black wash, but since this is a custom I want them to be extra shiny. The flash was really bad on the wheels but they cleaned up ok. The flash seams don’t show once the tires are mounted so they didn’t need any Molotow touch ups.
- 24 replies
-
- 1
-

-
Thanks for the info, I was afraid it would take some trial and error test fitting. Opening doors is above my skill set right now so I won’t have to worry about that. Your results are certainly inspiring though!
-
Did you have any issues getting the E type hoods/bonnets to fit the body properly? I have the flat box euro market roadster kit, but the hood was packed stretched over the body shell so it’s wider than it should be. I haven’t started it or messed with trying to reshape it yet.
-
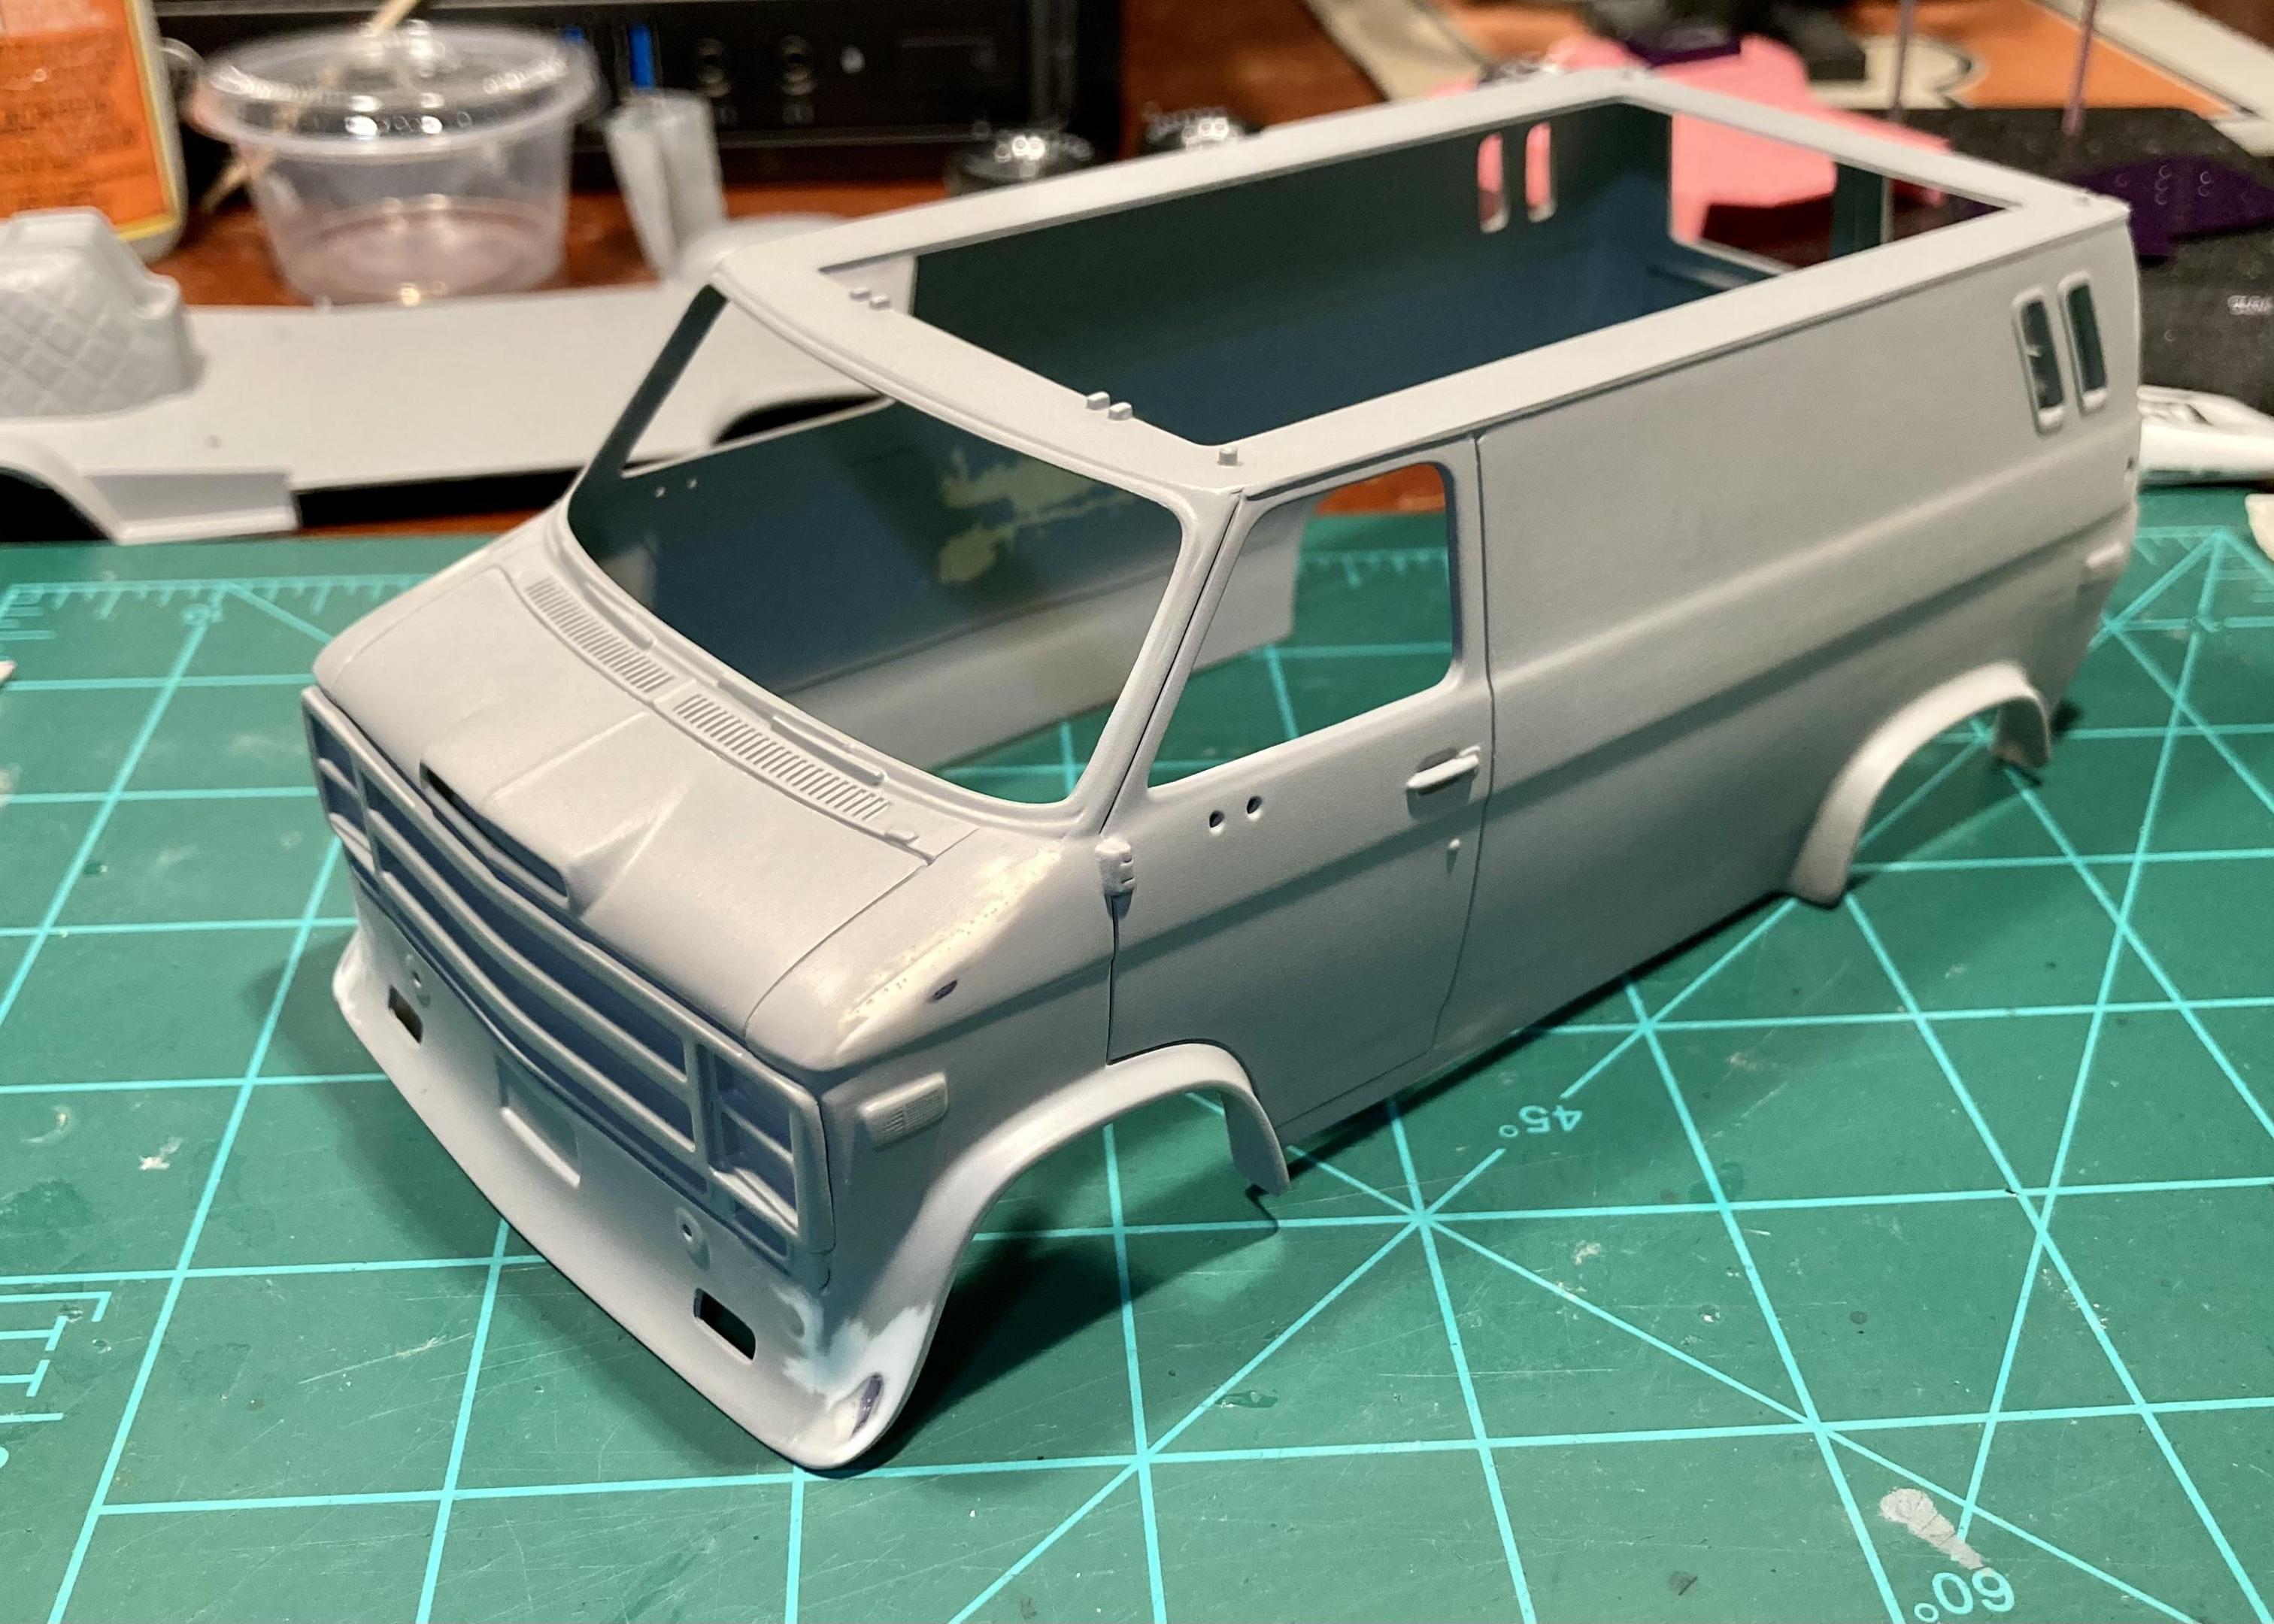
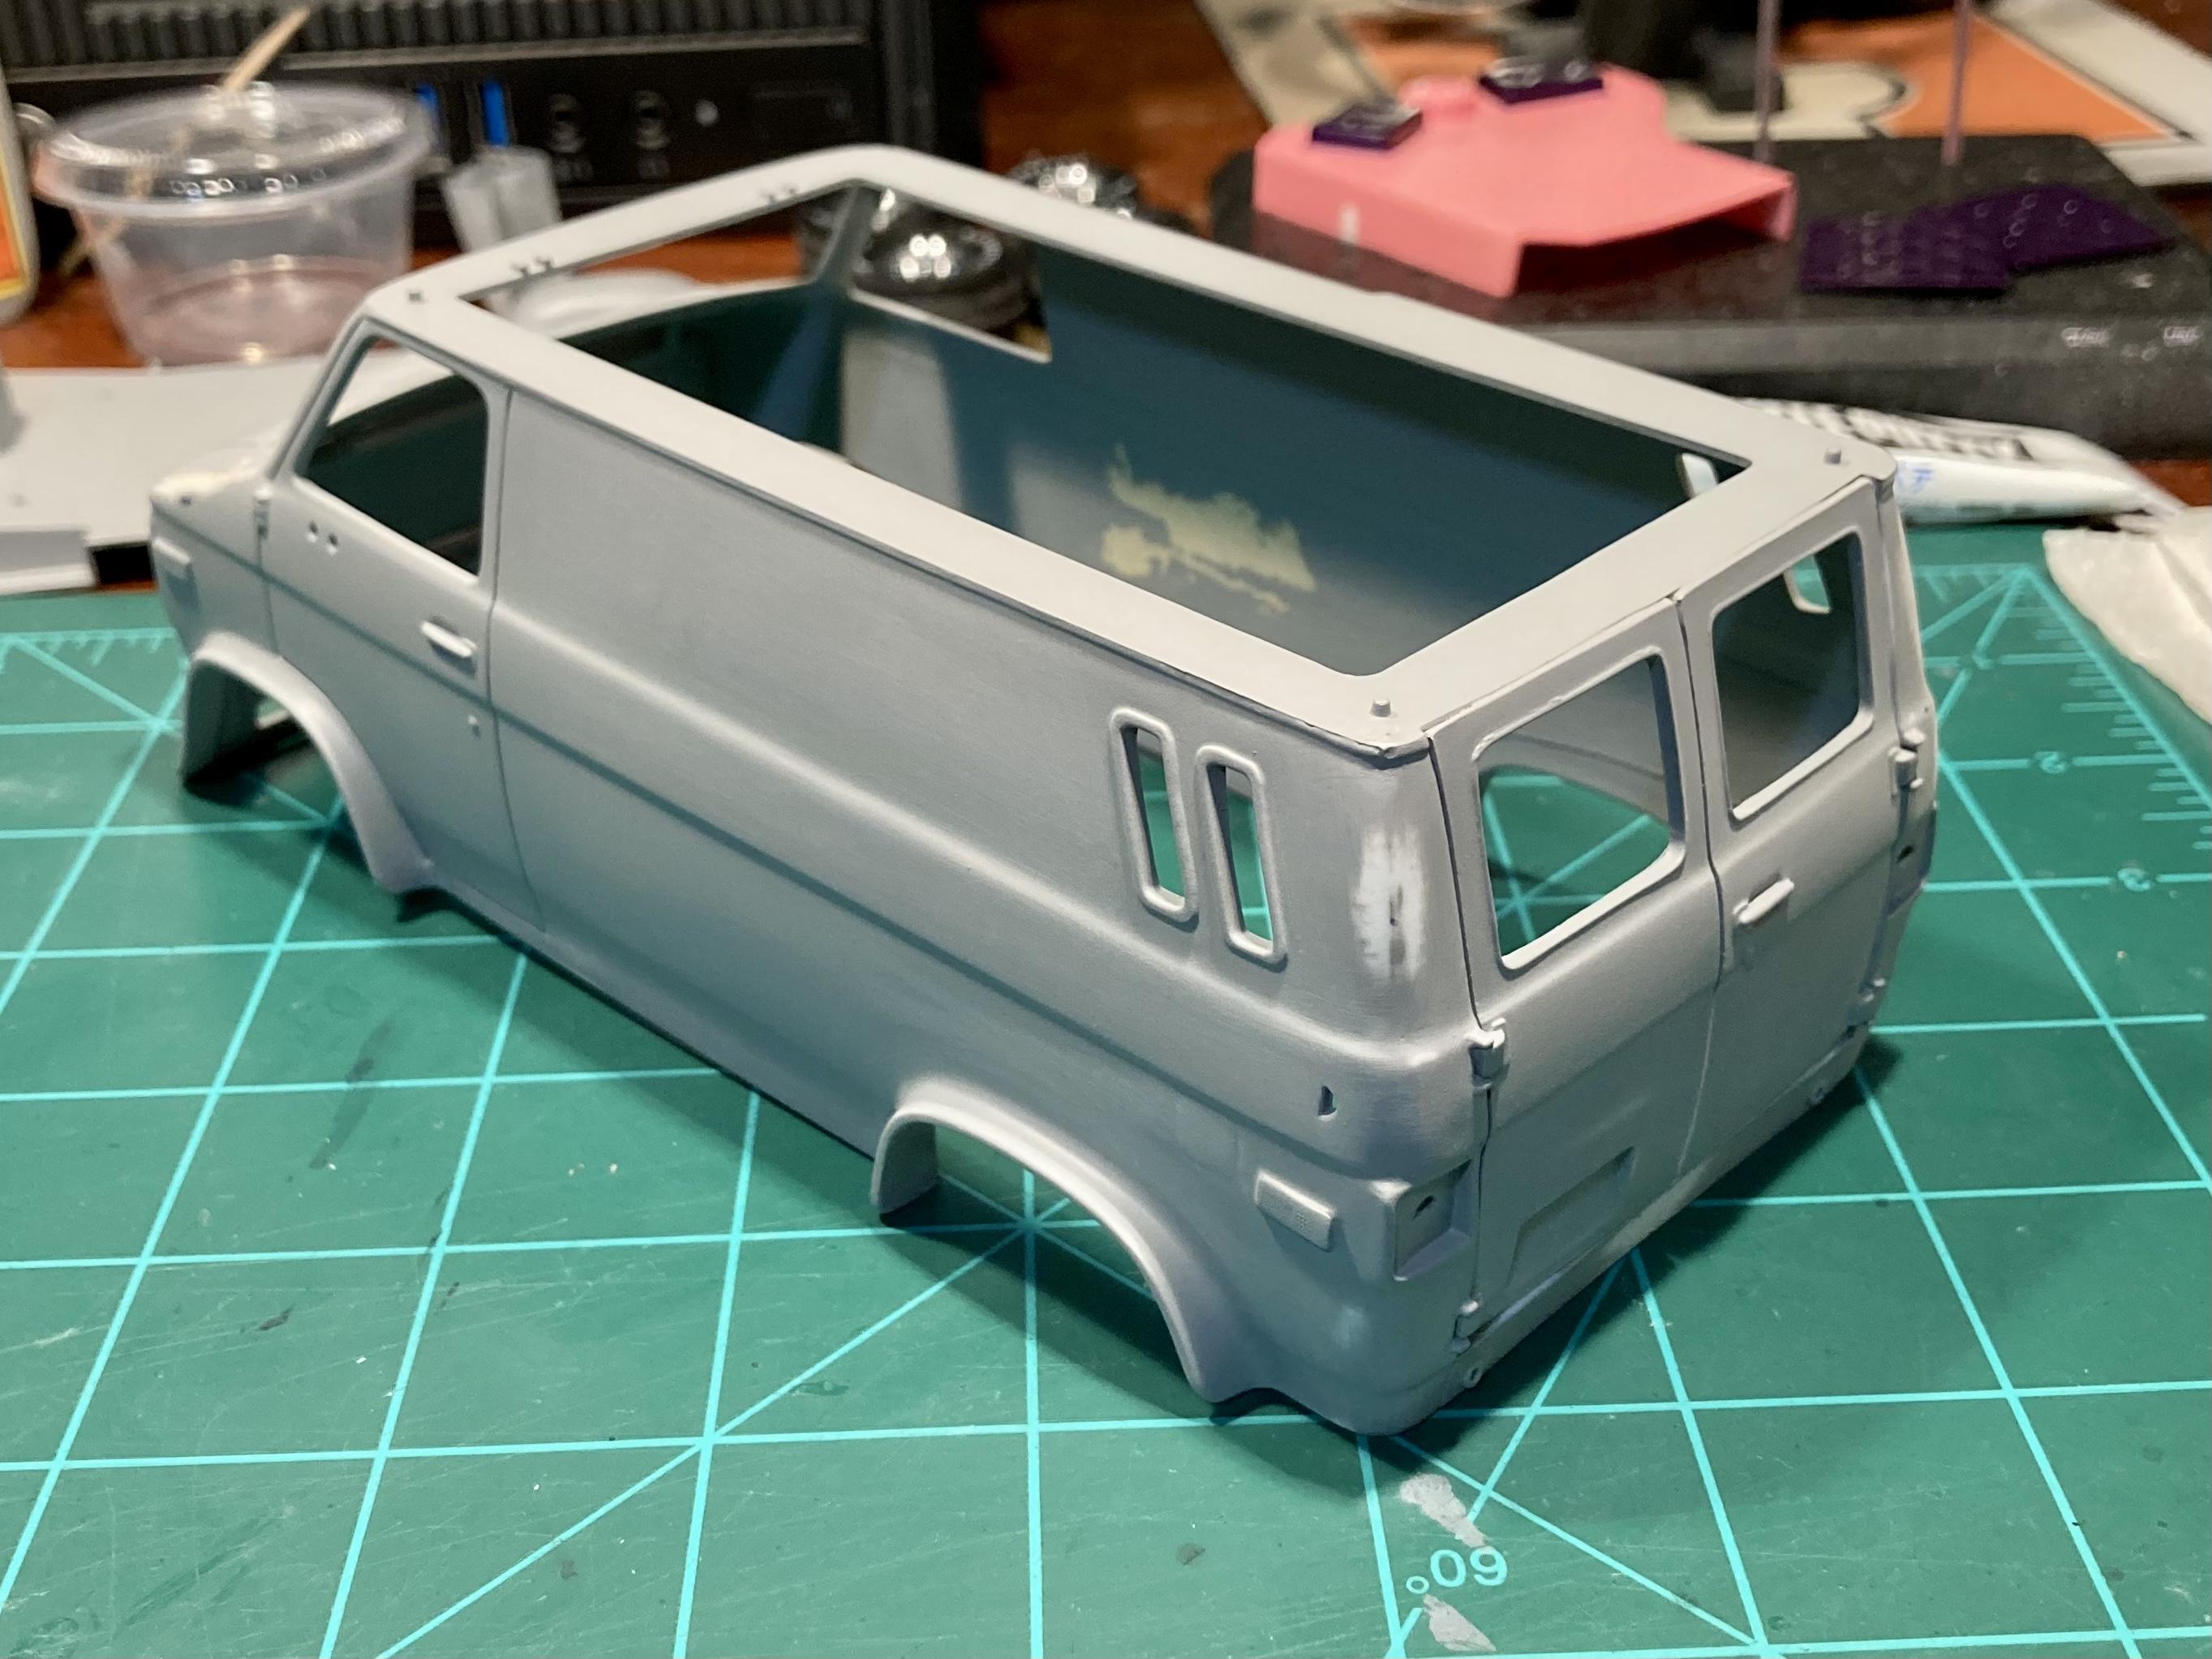
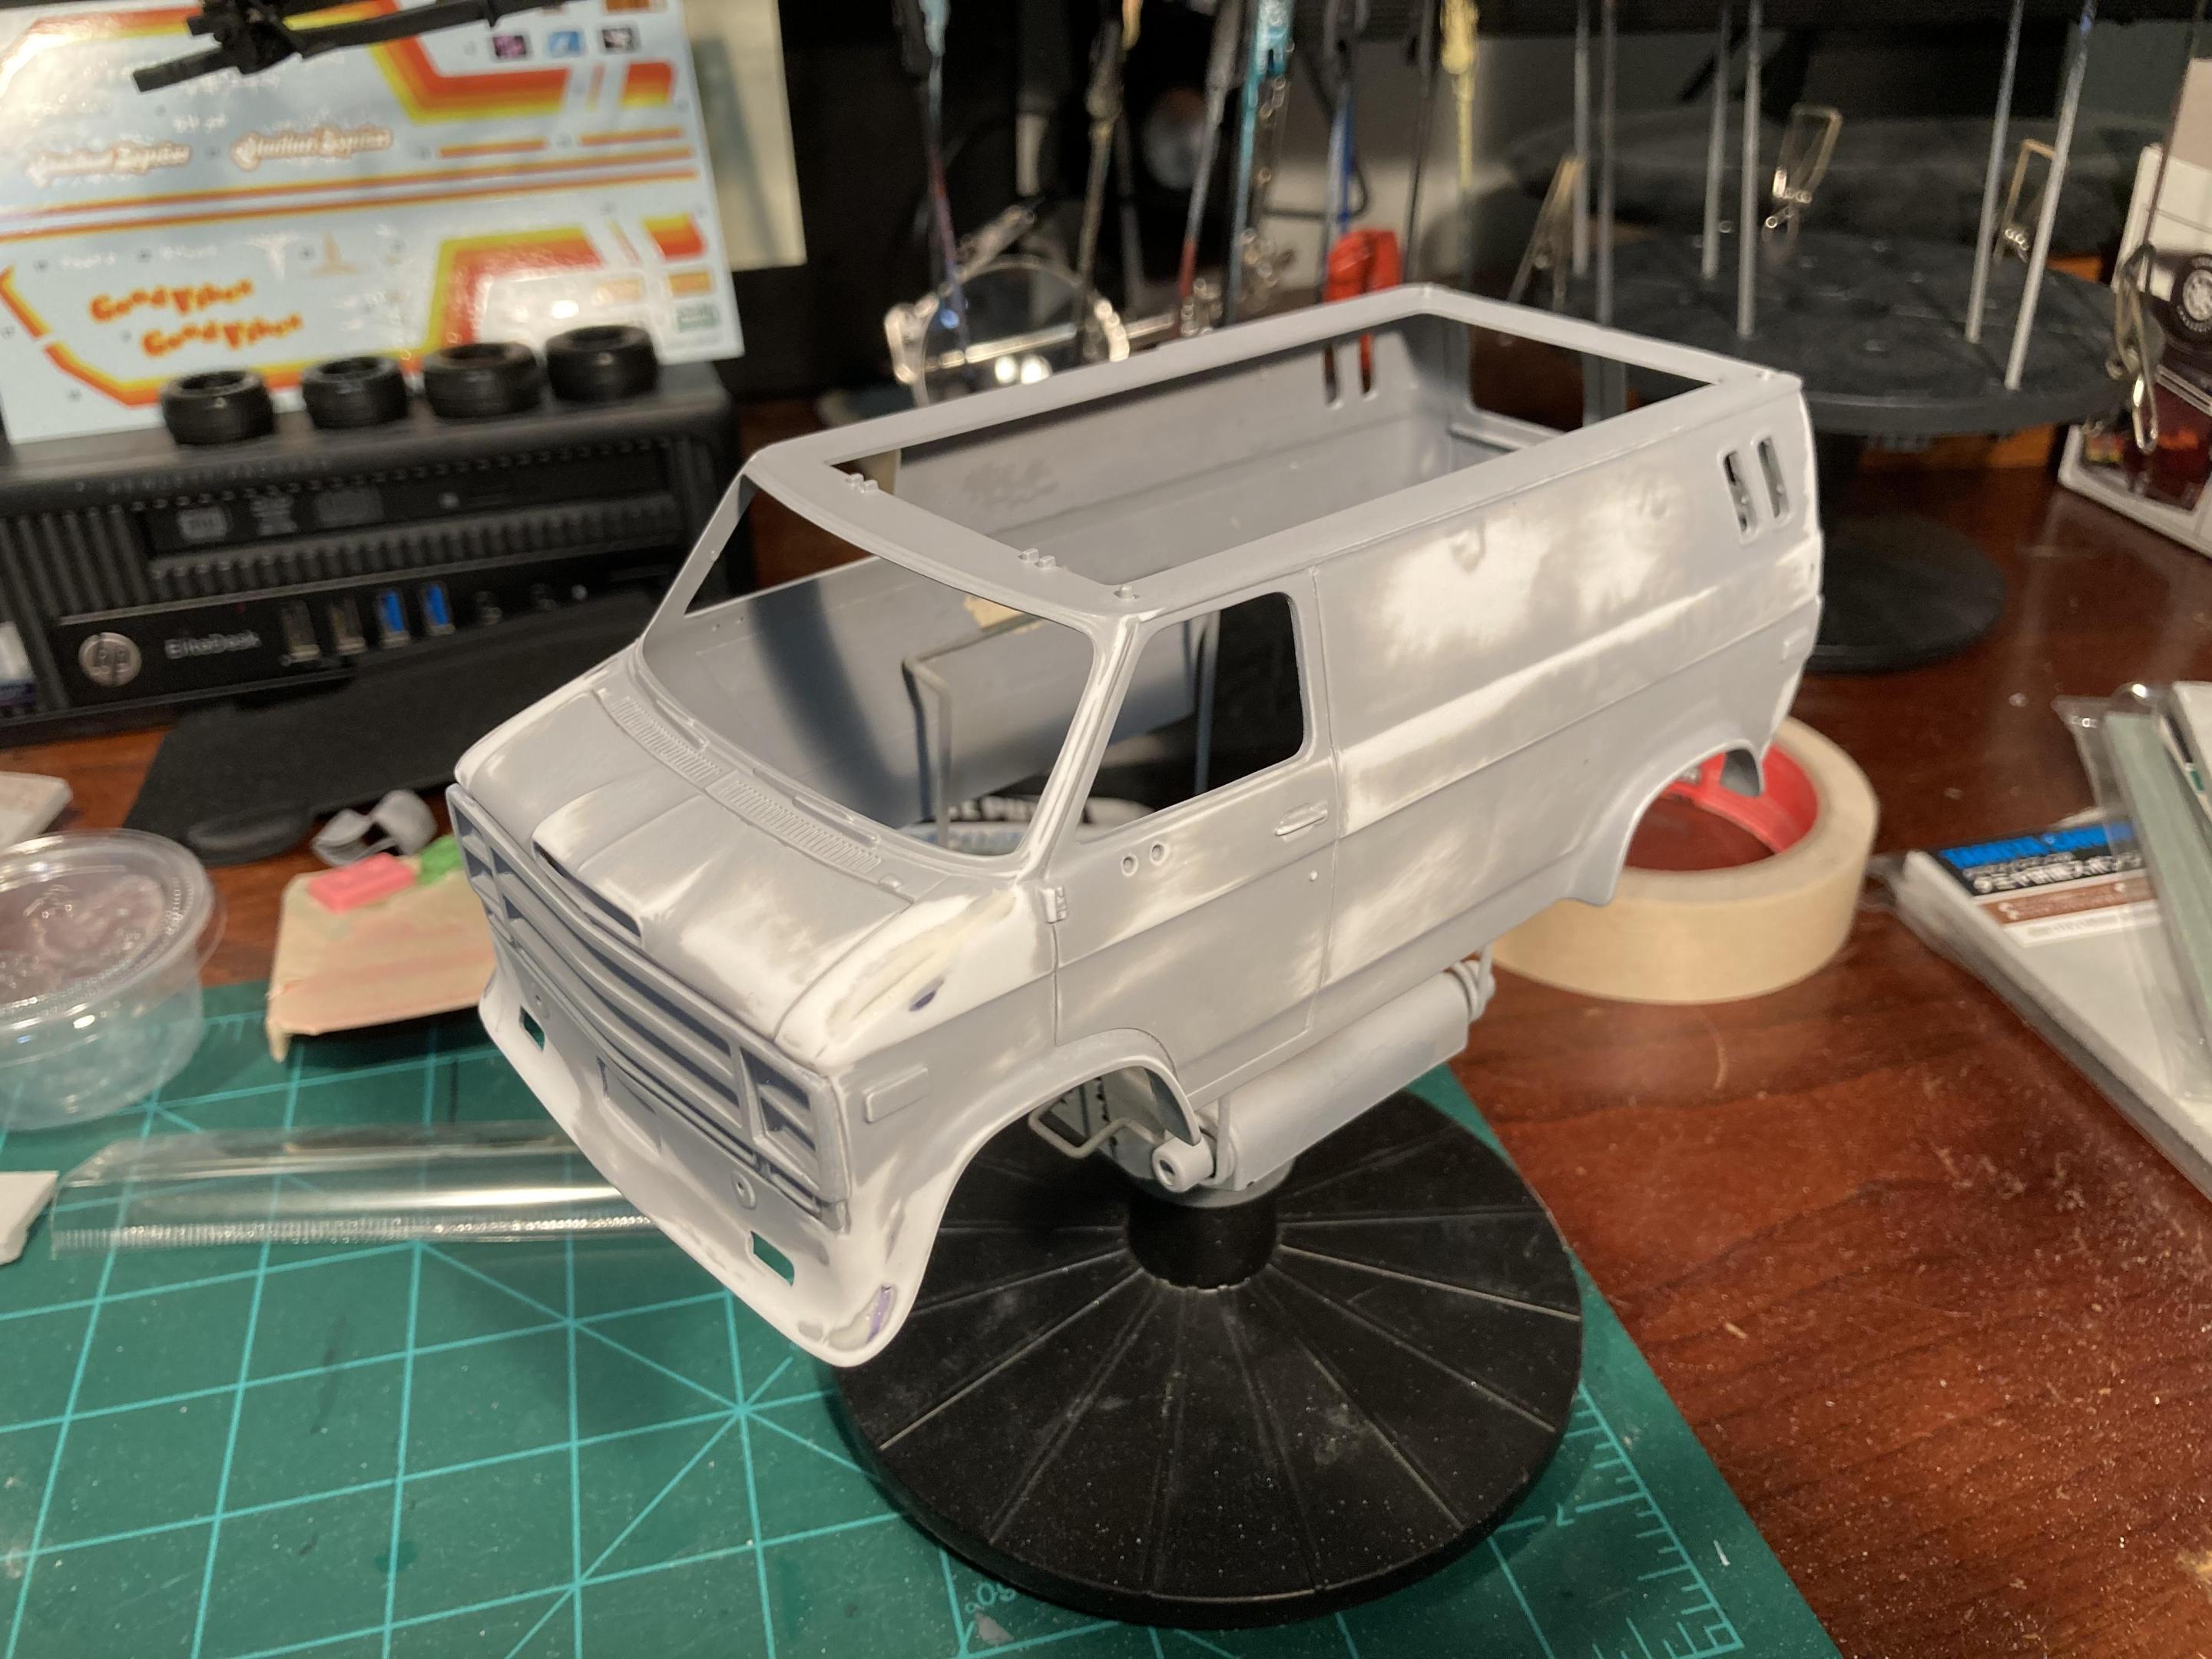
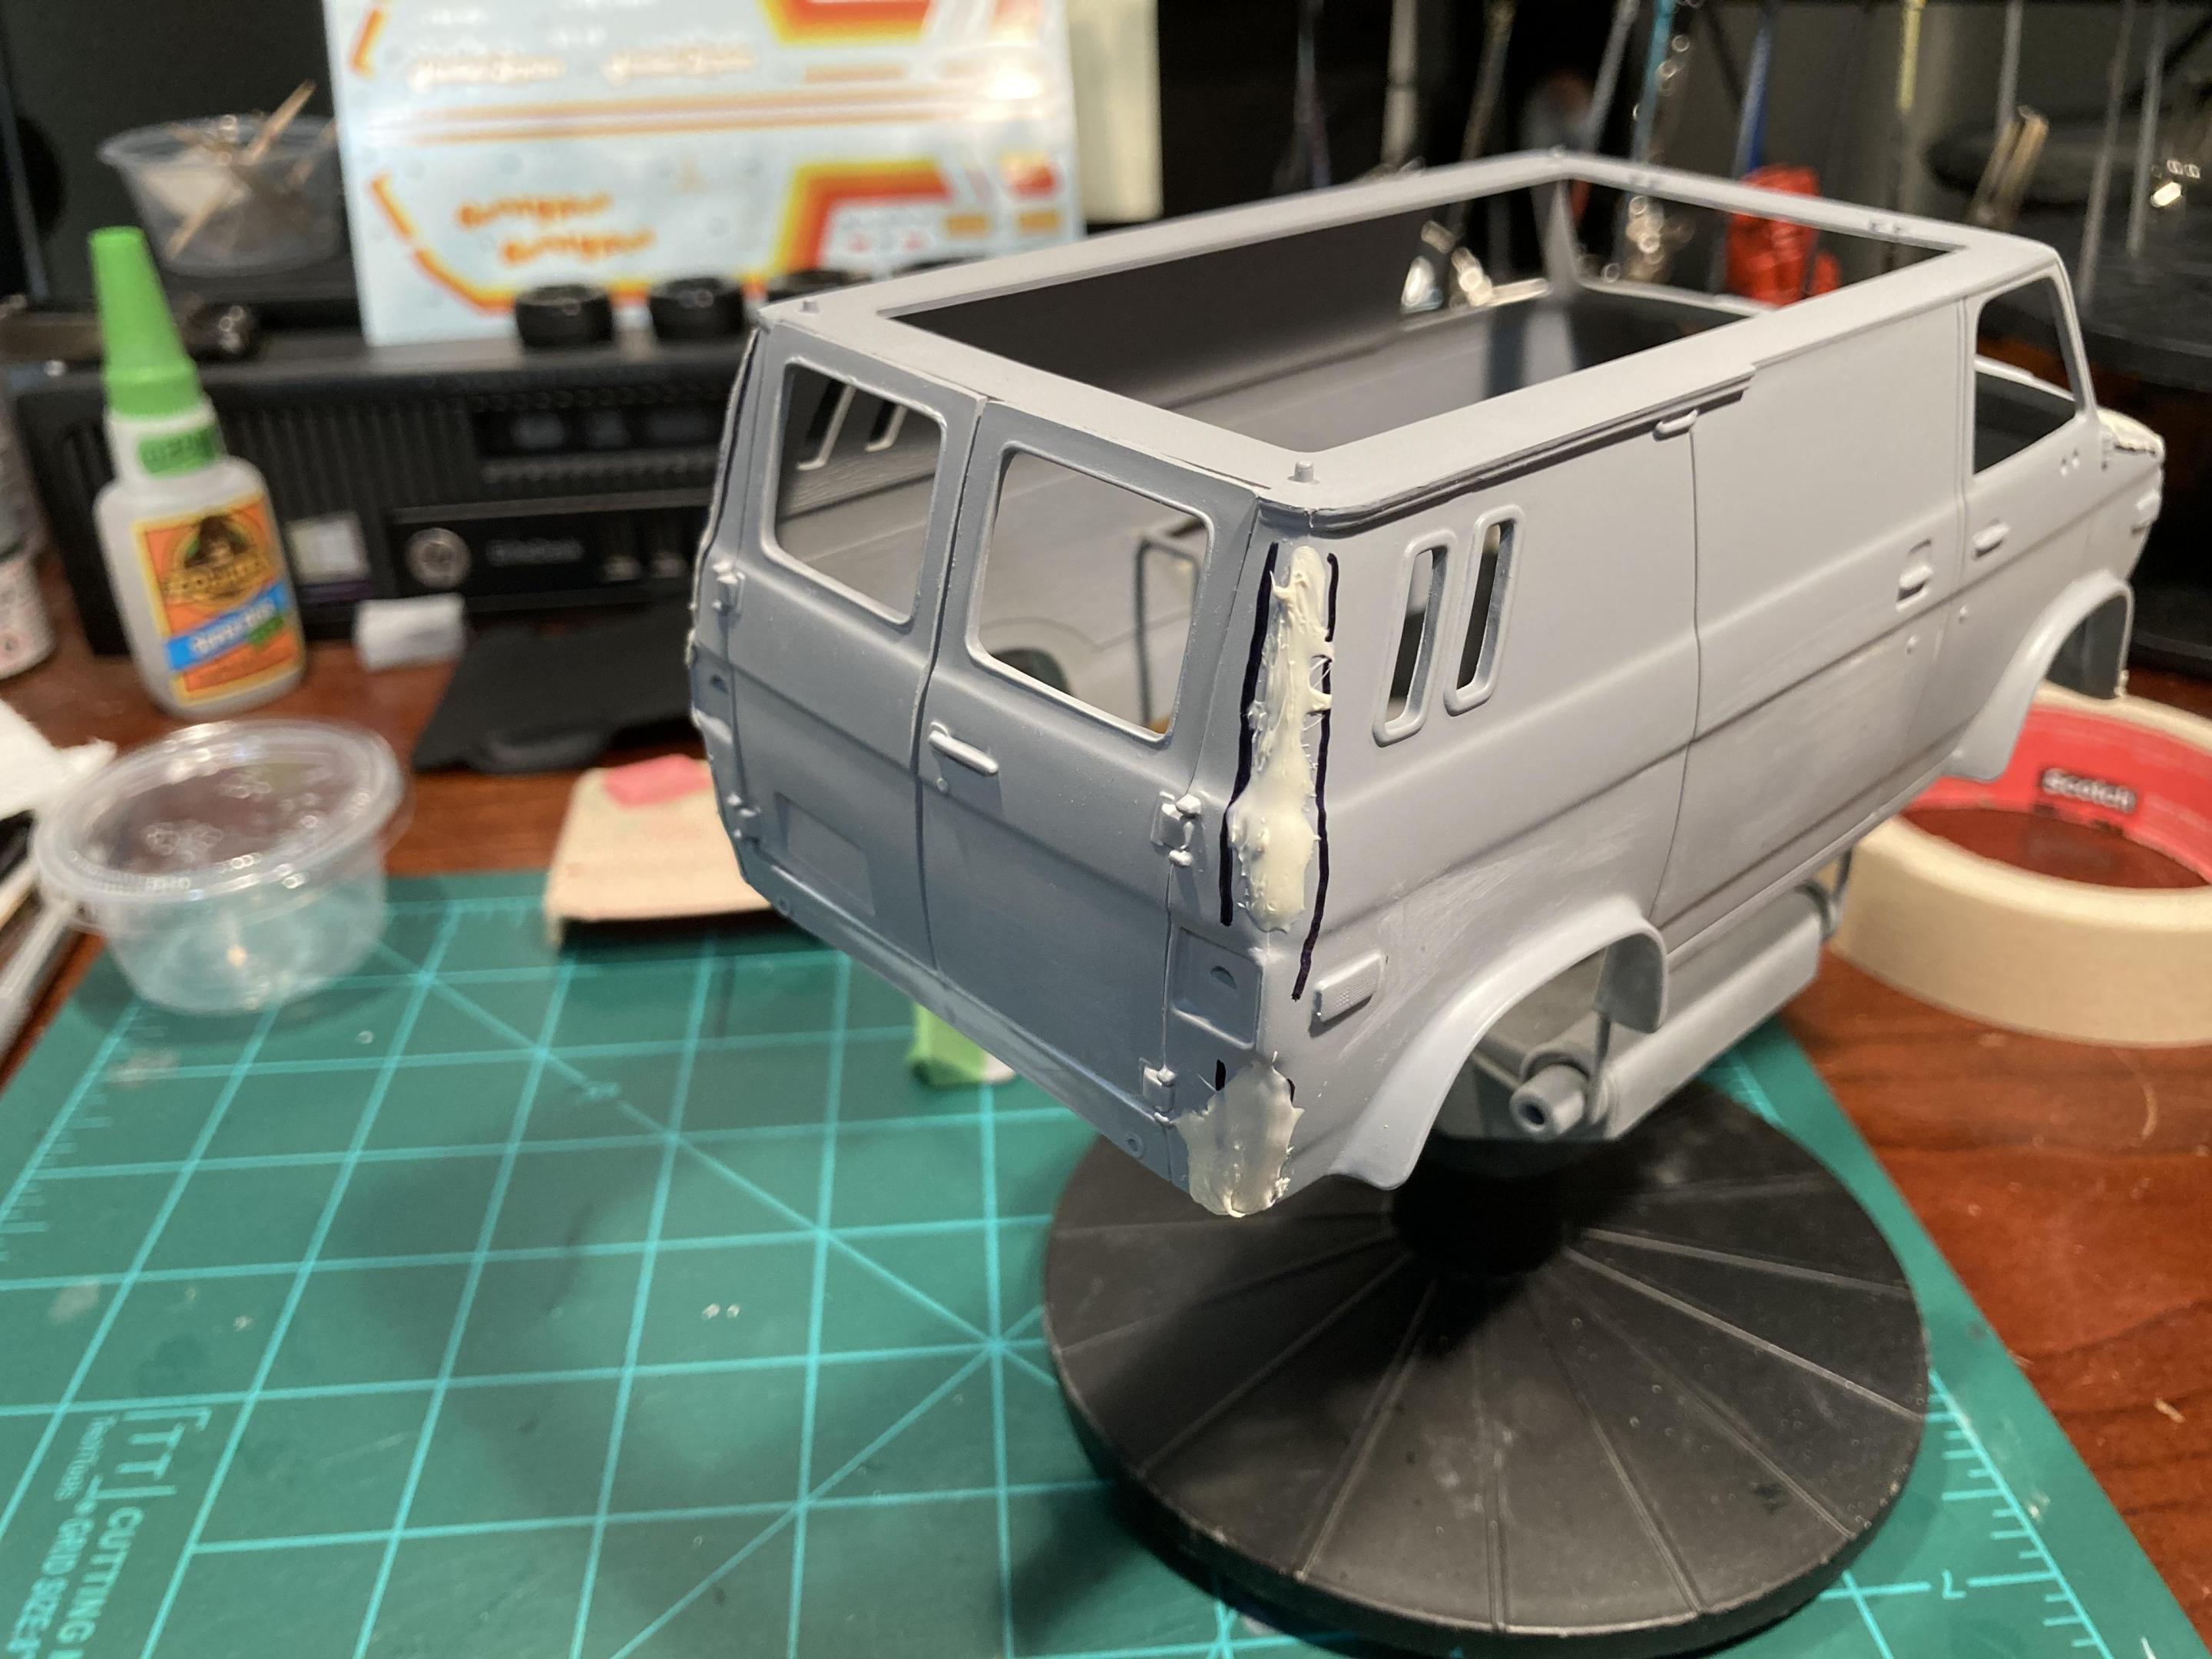
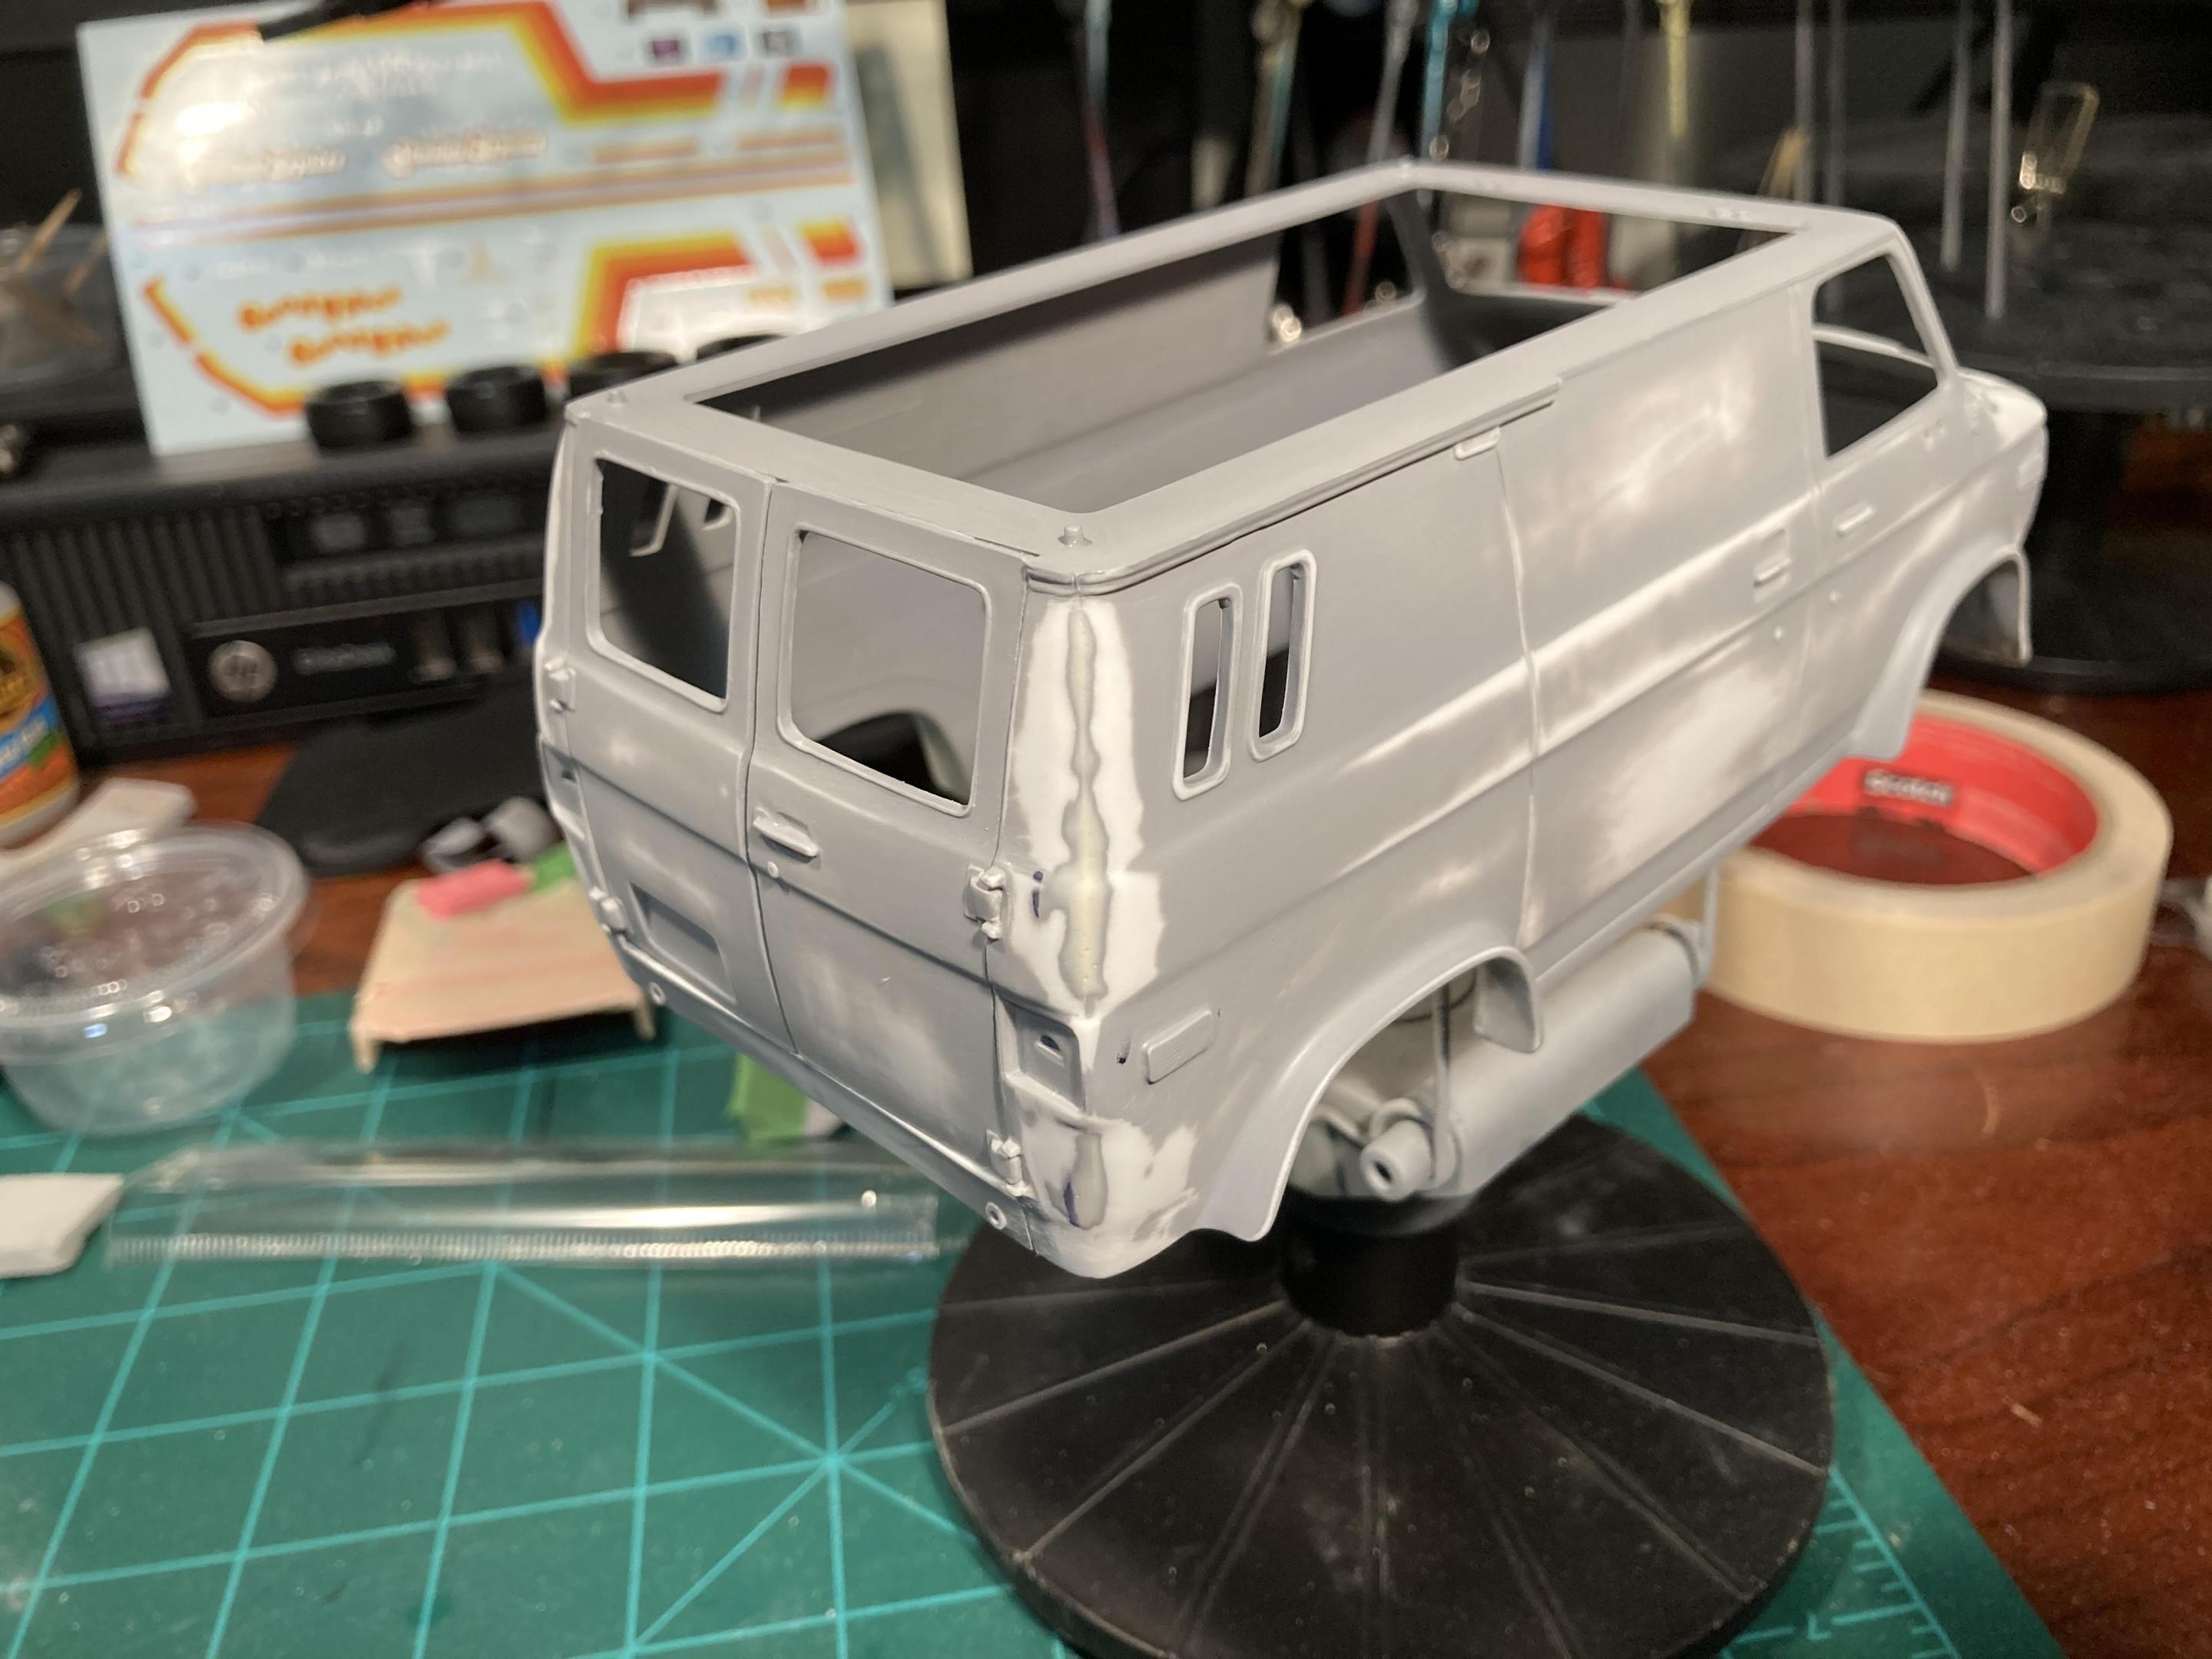
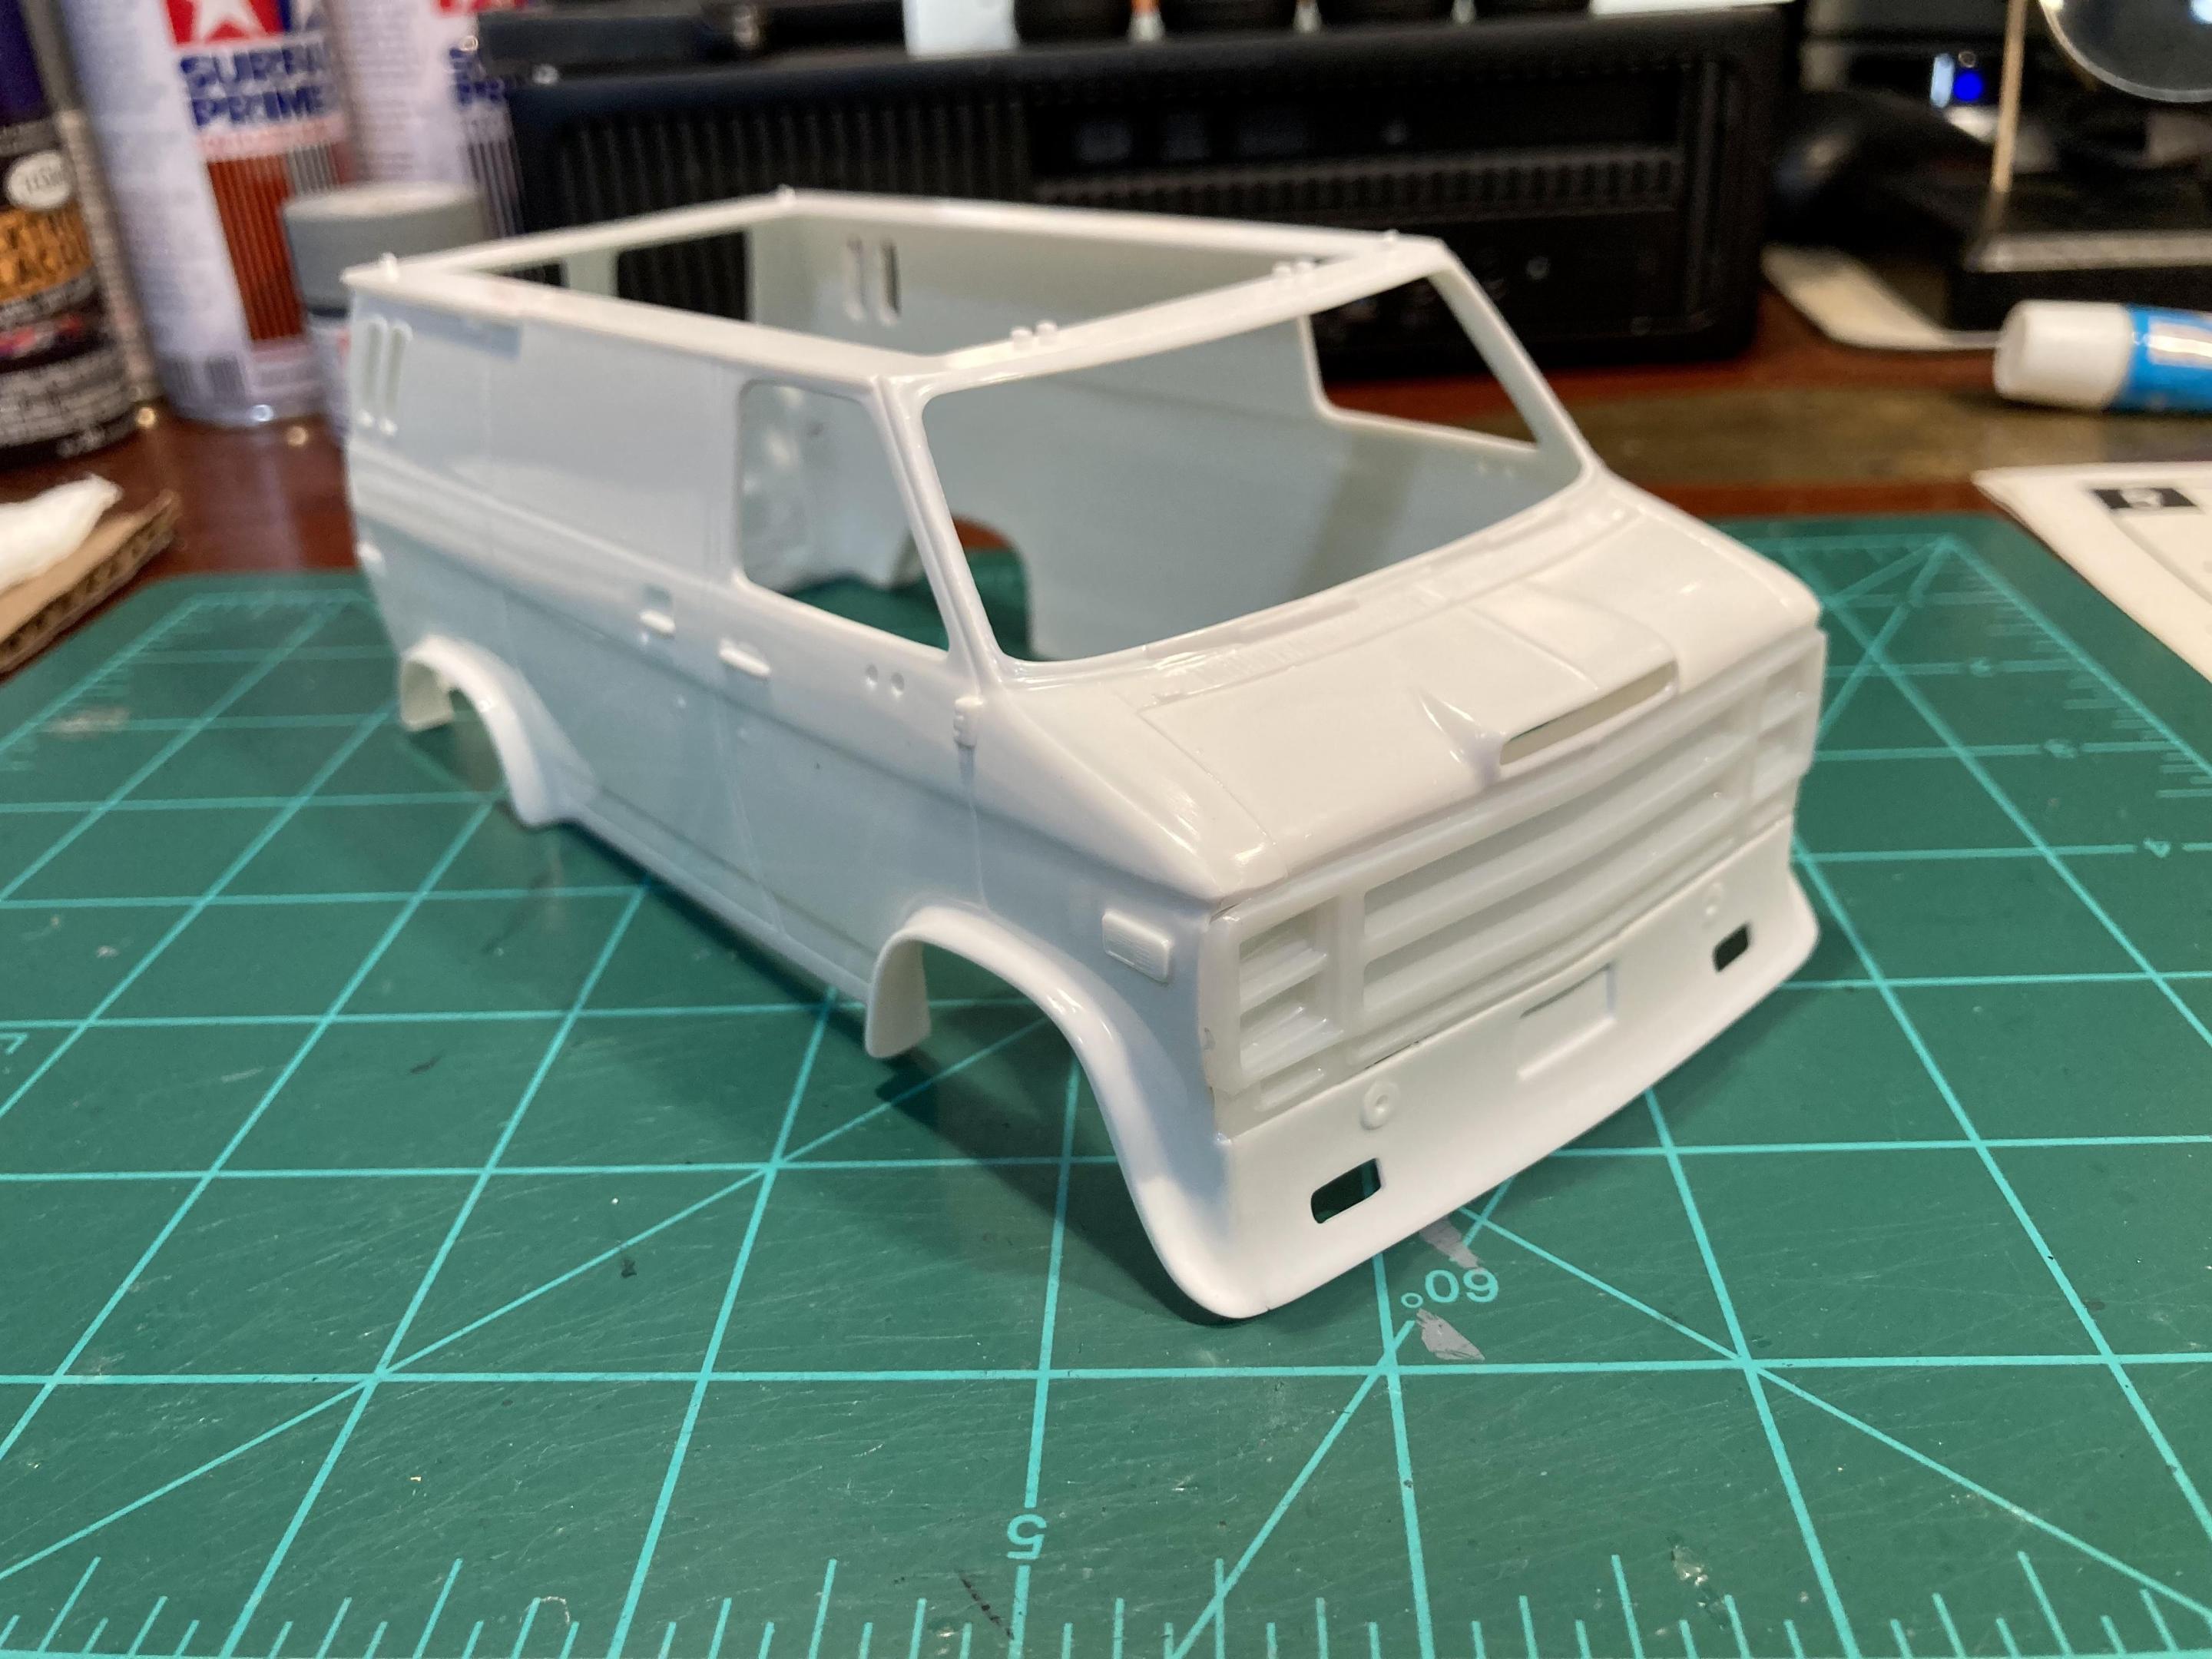
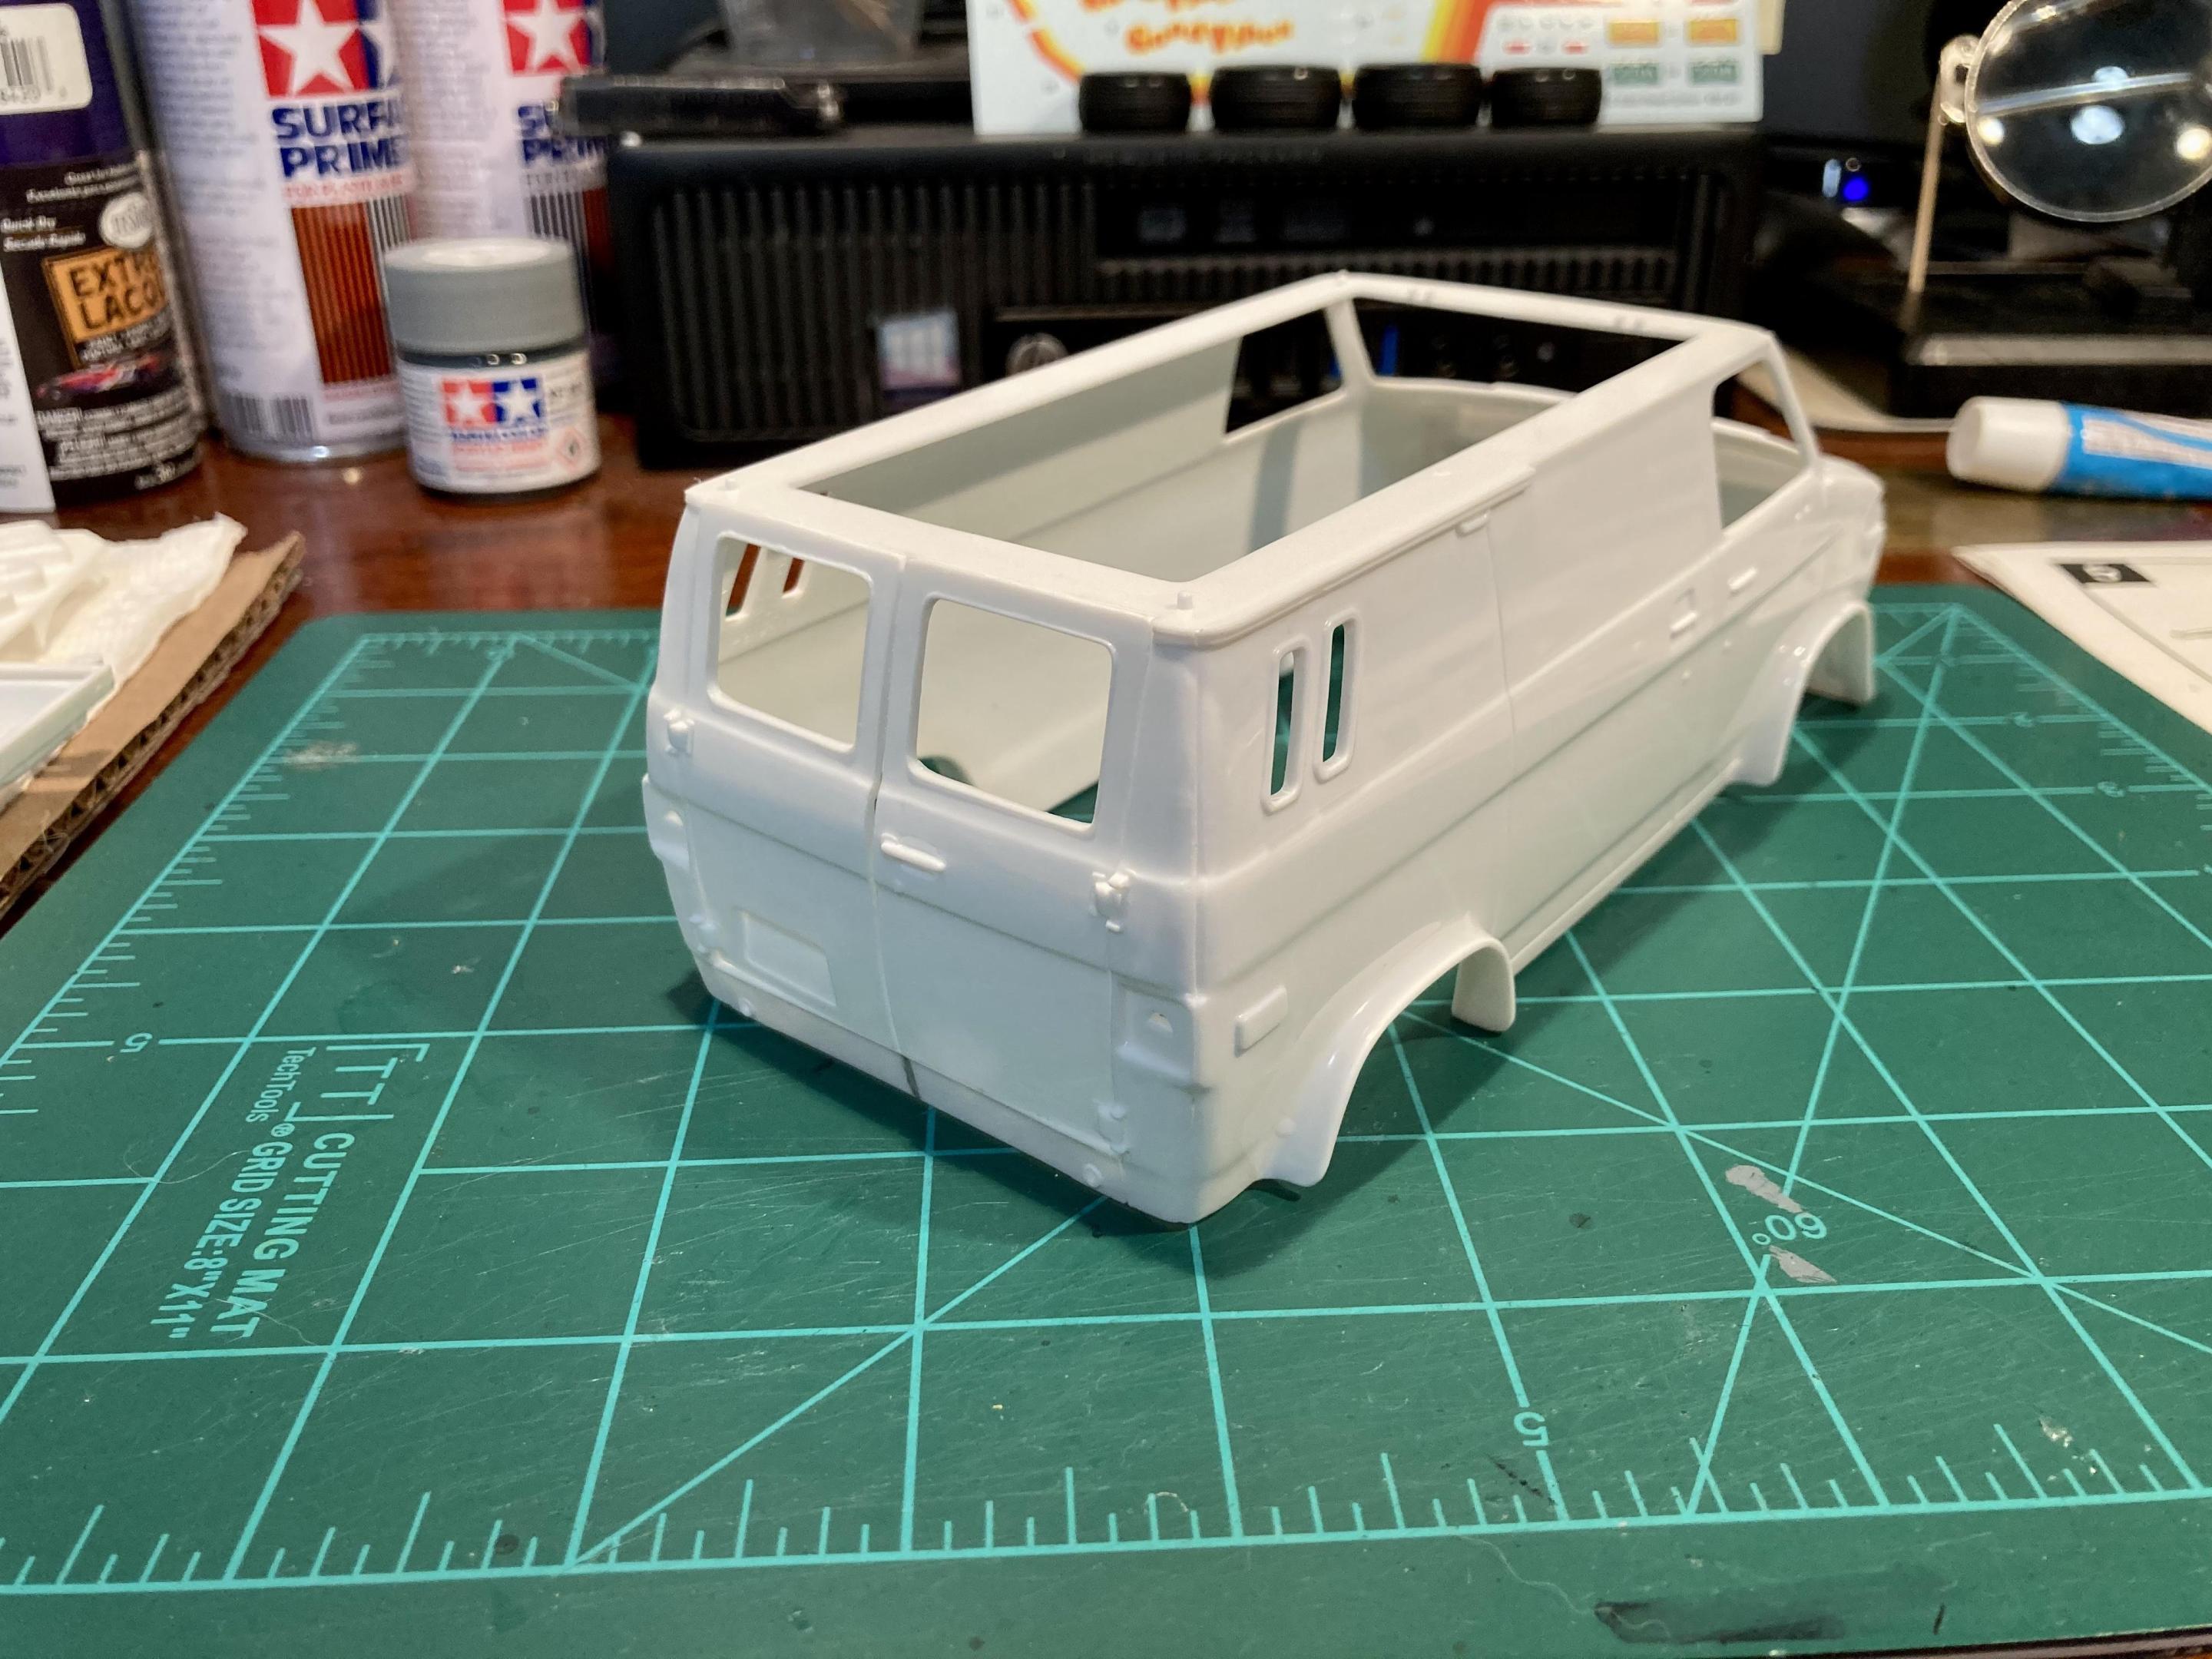
I got the body puttied and sanded! There were pretty bad seams and mold misalignment down the tops of the fenders and the rear corners. I forgot to take a picture of those areas before I started working though. But I think I got it looking pretty good. I’m hoping to get another coat of gray primer down this weekend. Then, another round of sanding. This was my first time using Tamiya sanding sponges. I wish I had tried them sooner! So much easier to handle, plus they conform to curves nicely.
- 24 replies
-
Thanks for the offer! I’ll see how the kit’s tires look once I work with them, I’ll let you know.
- 24 replies
-
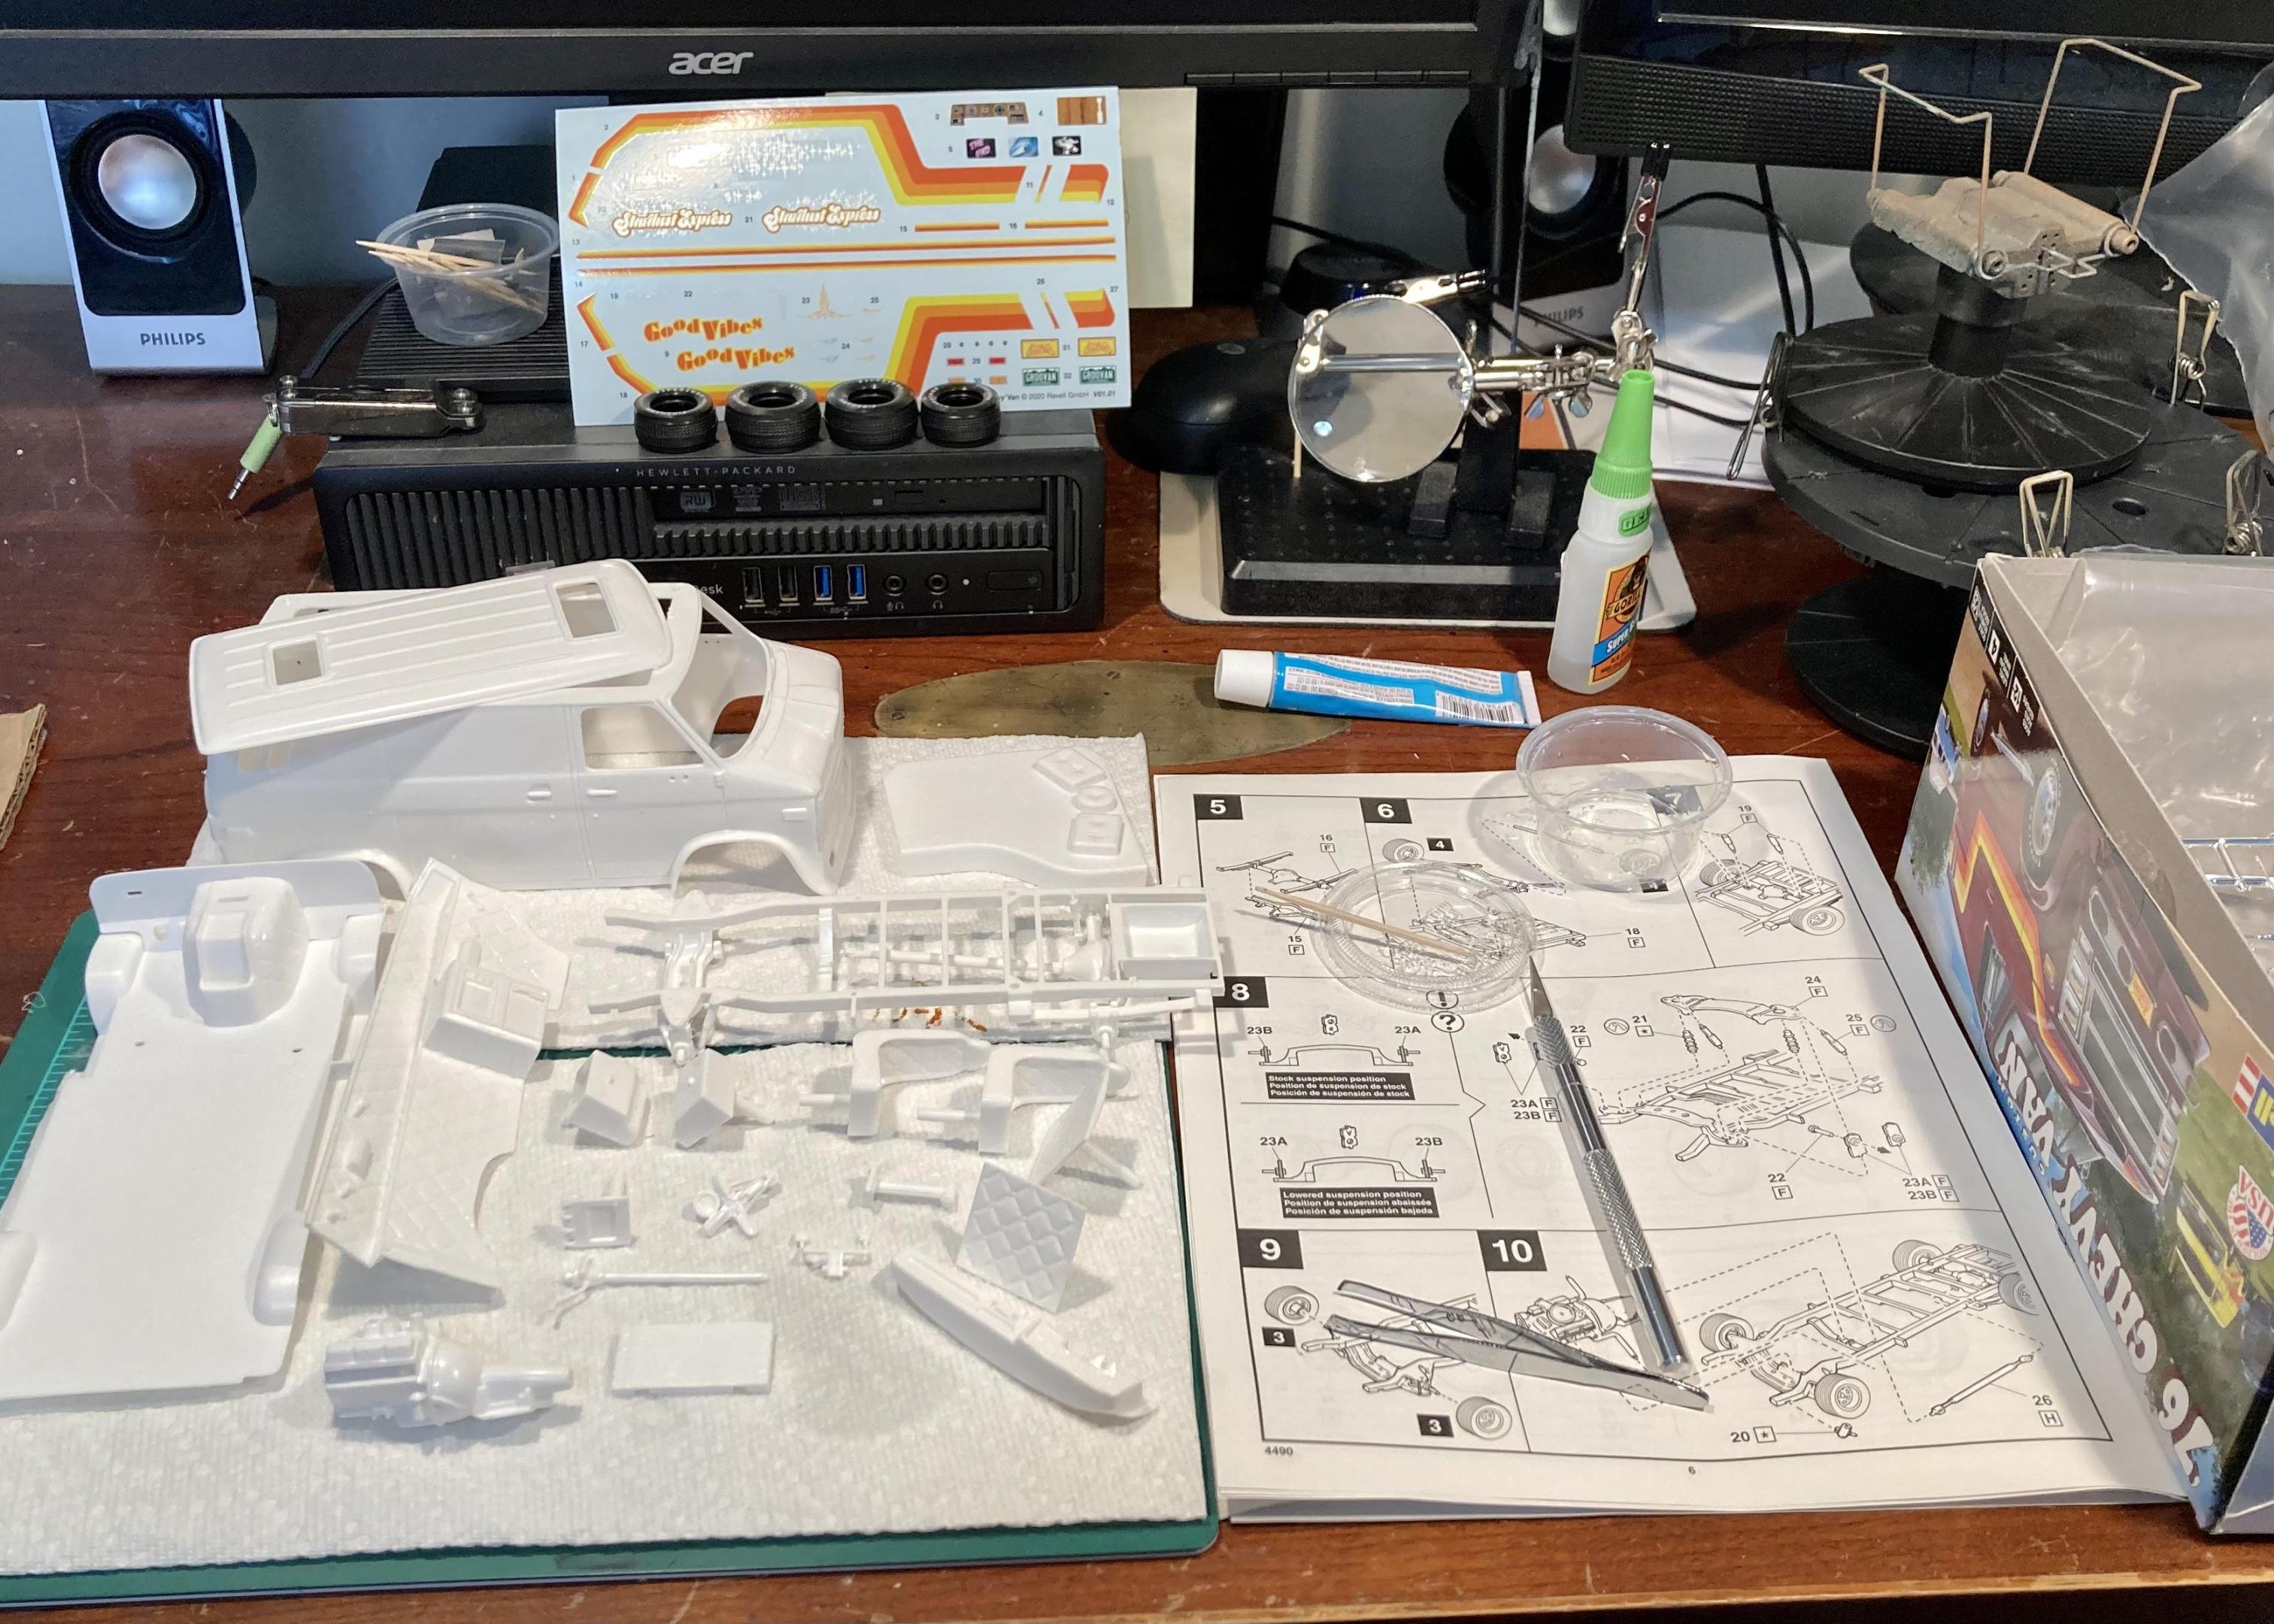
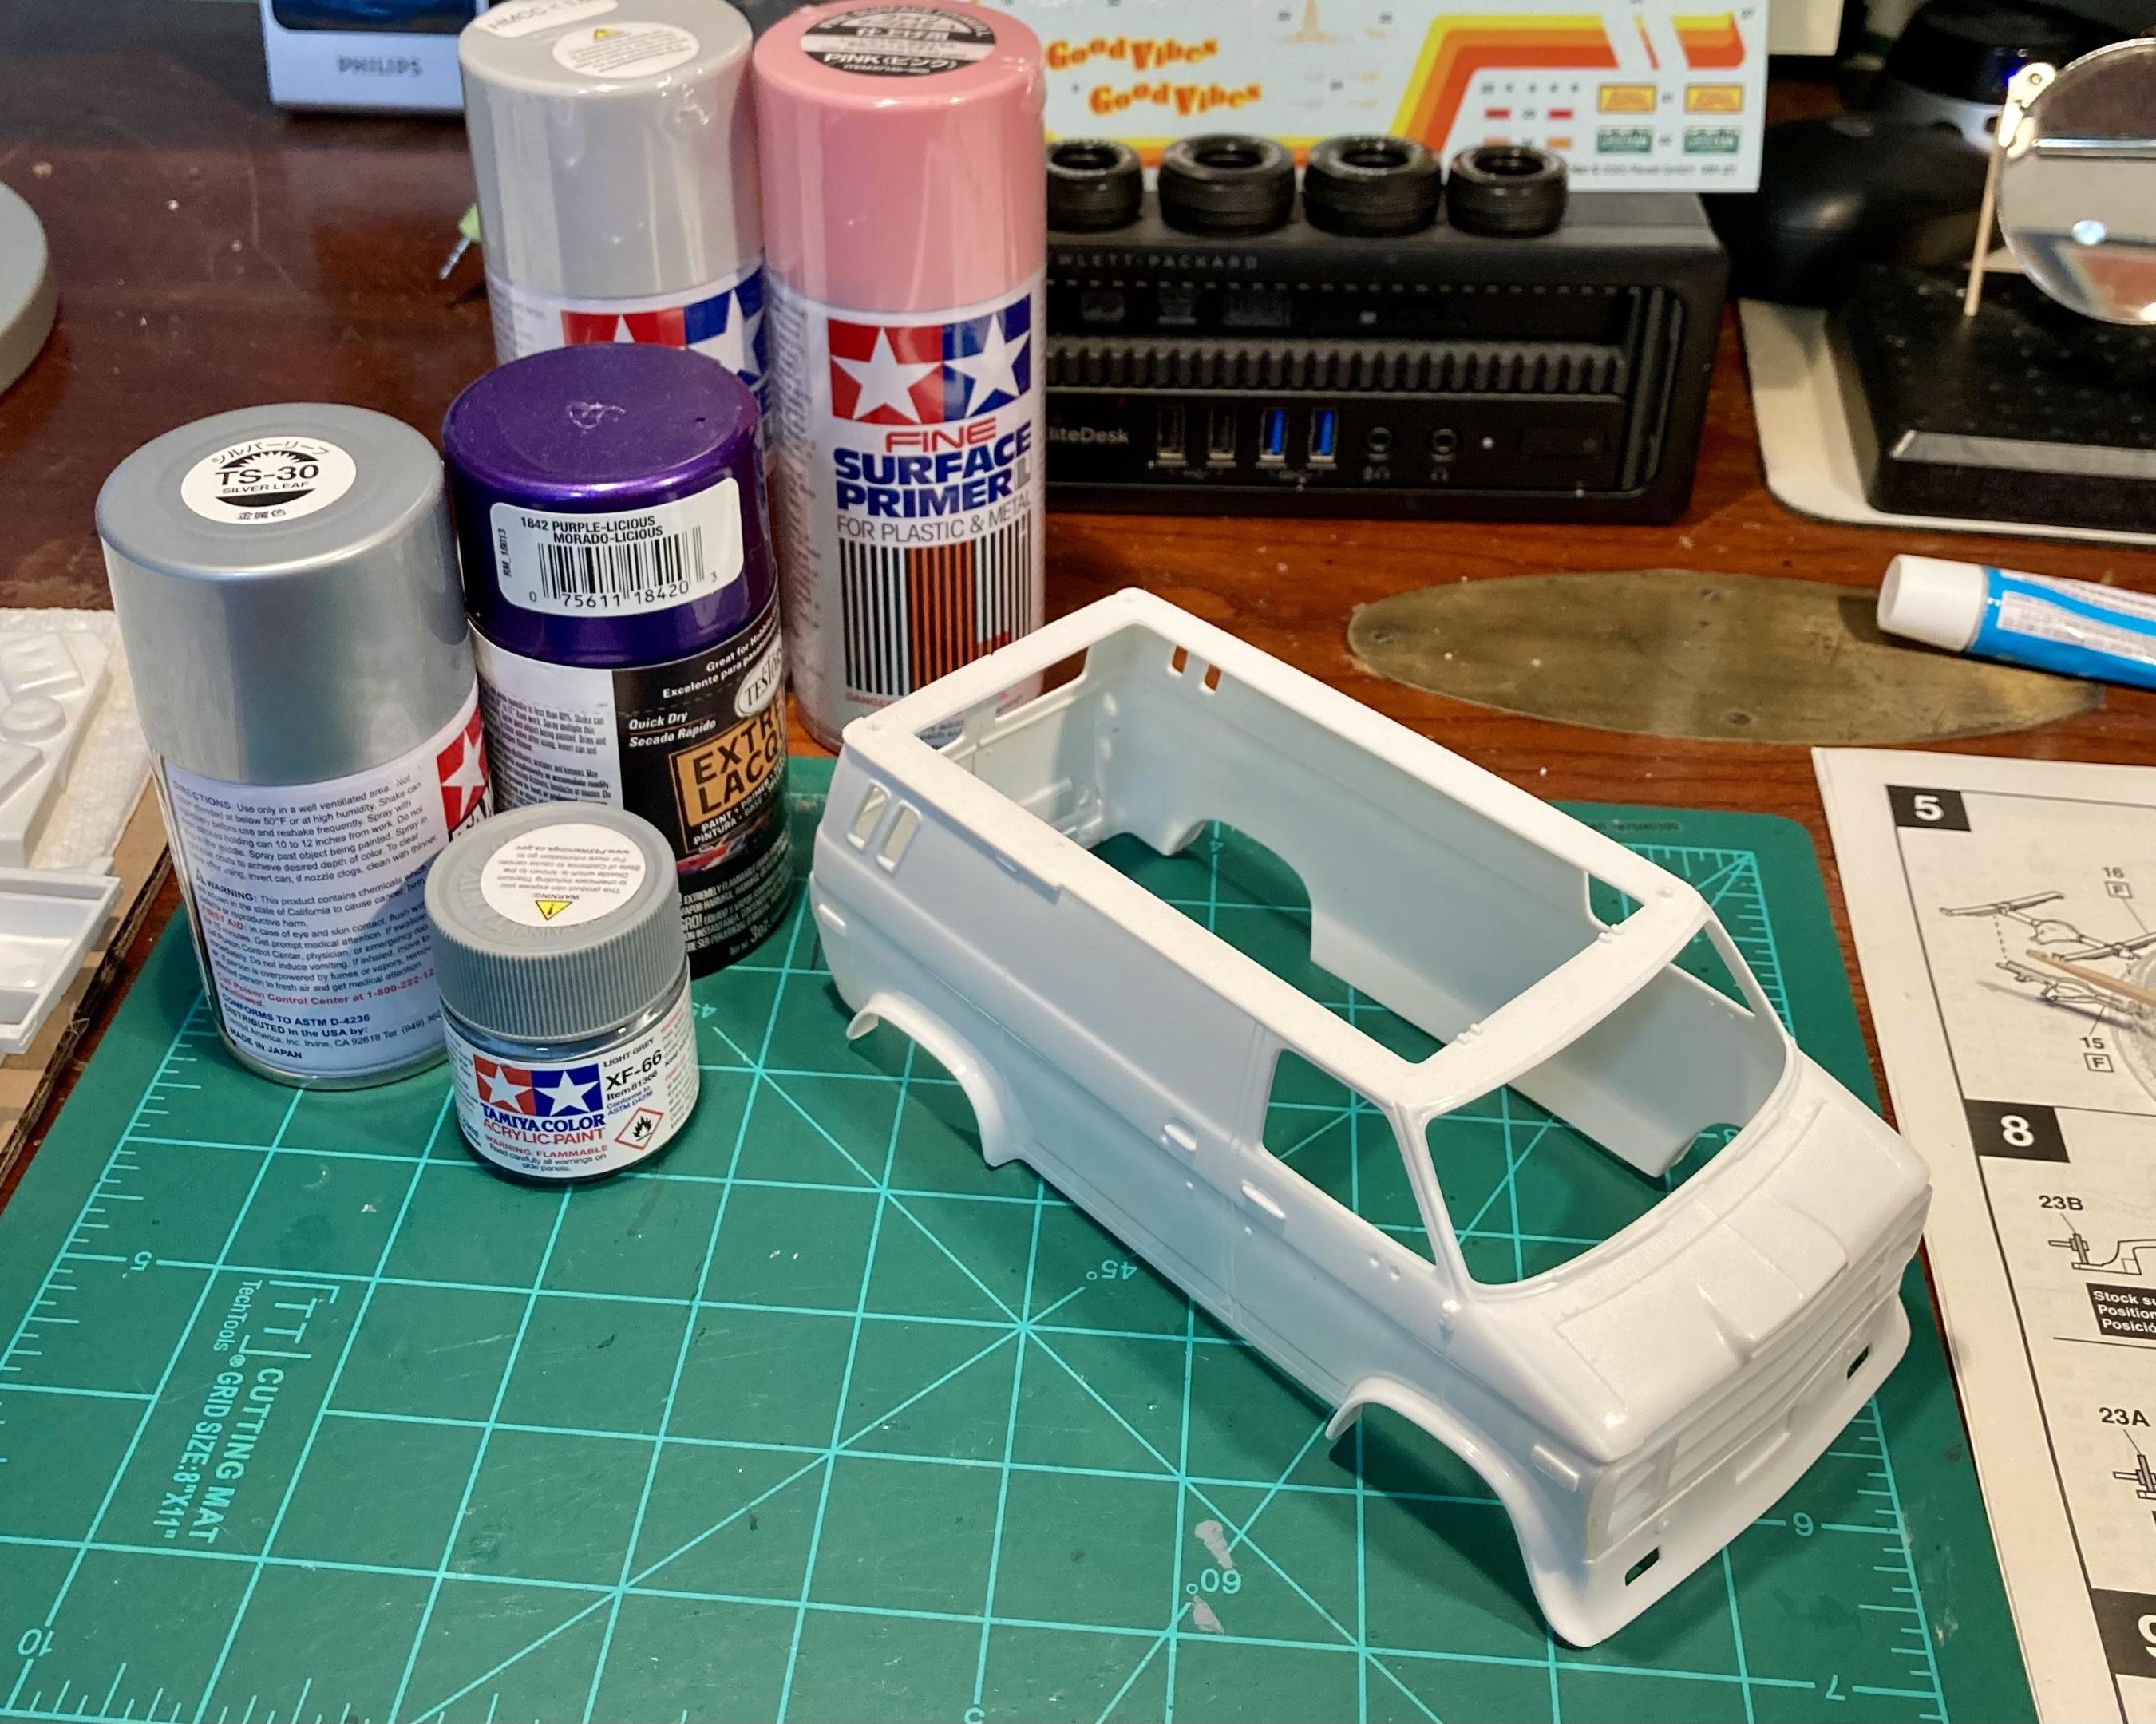
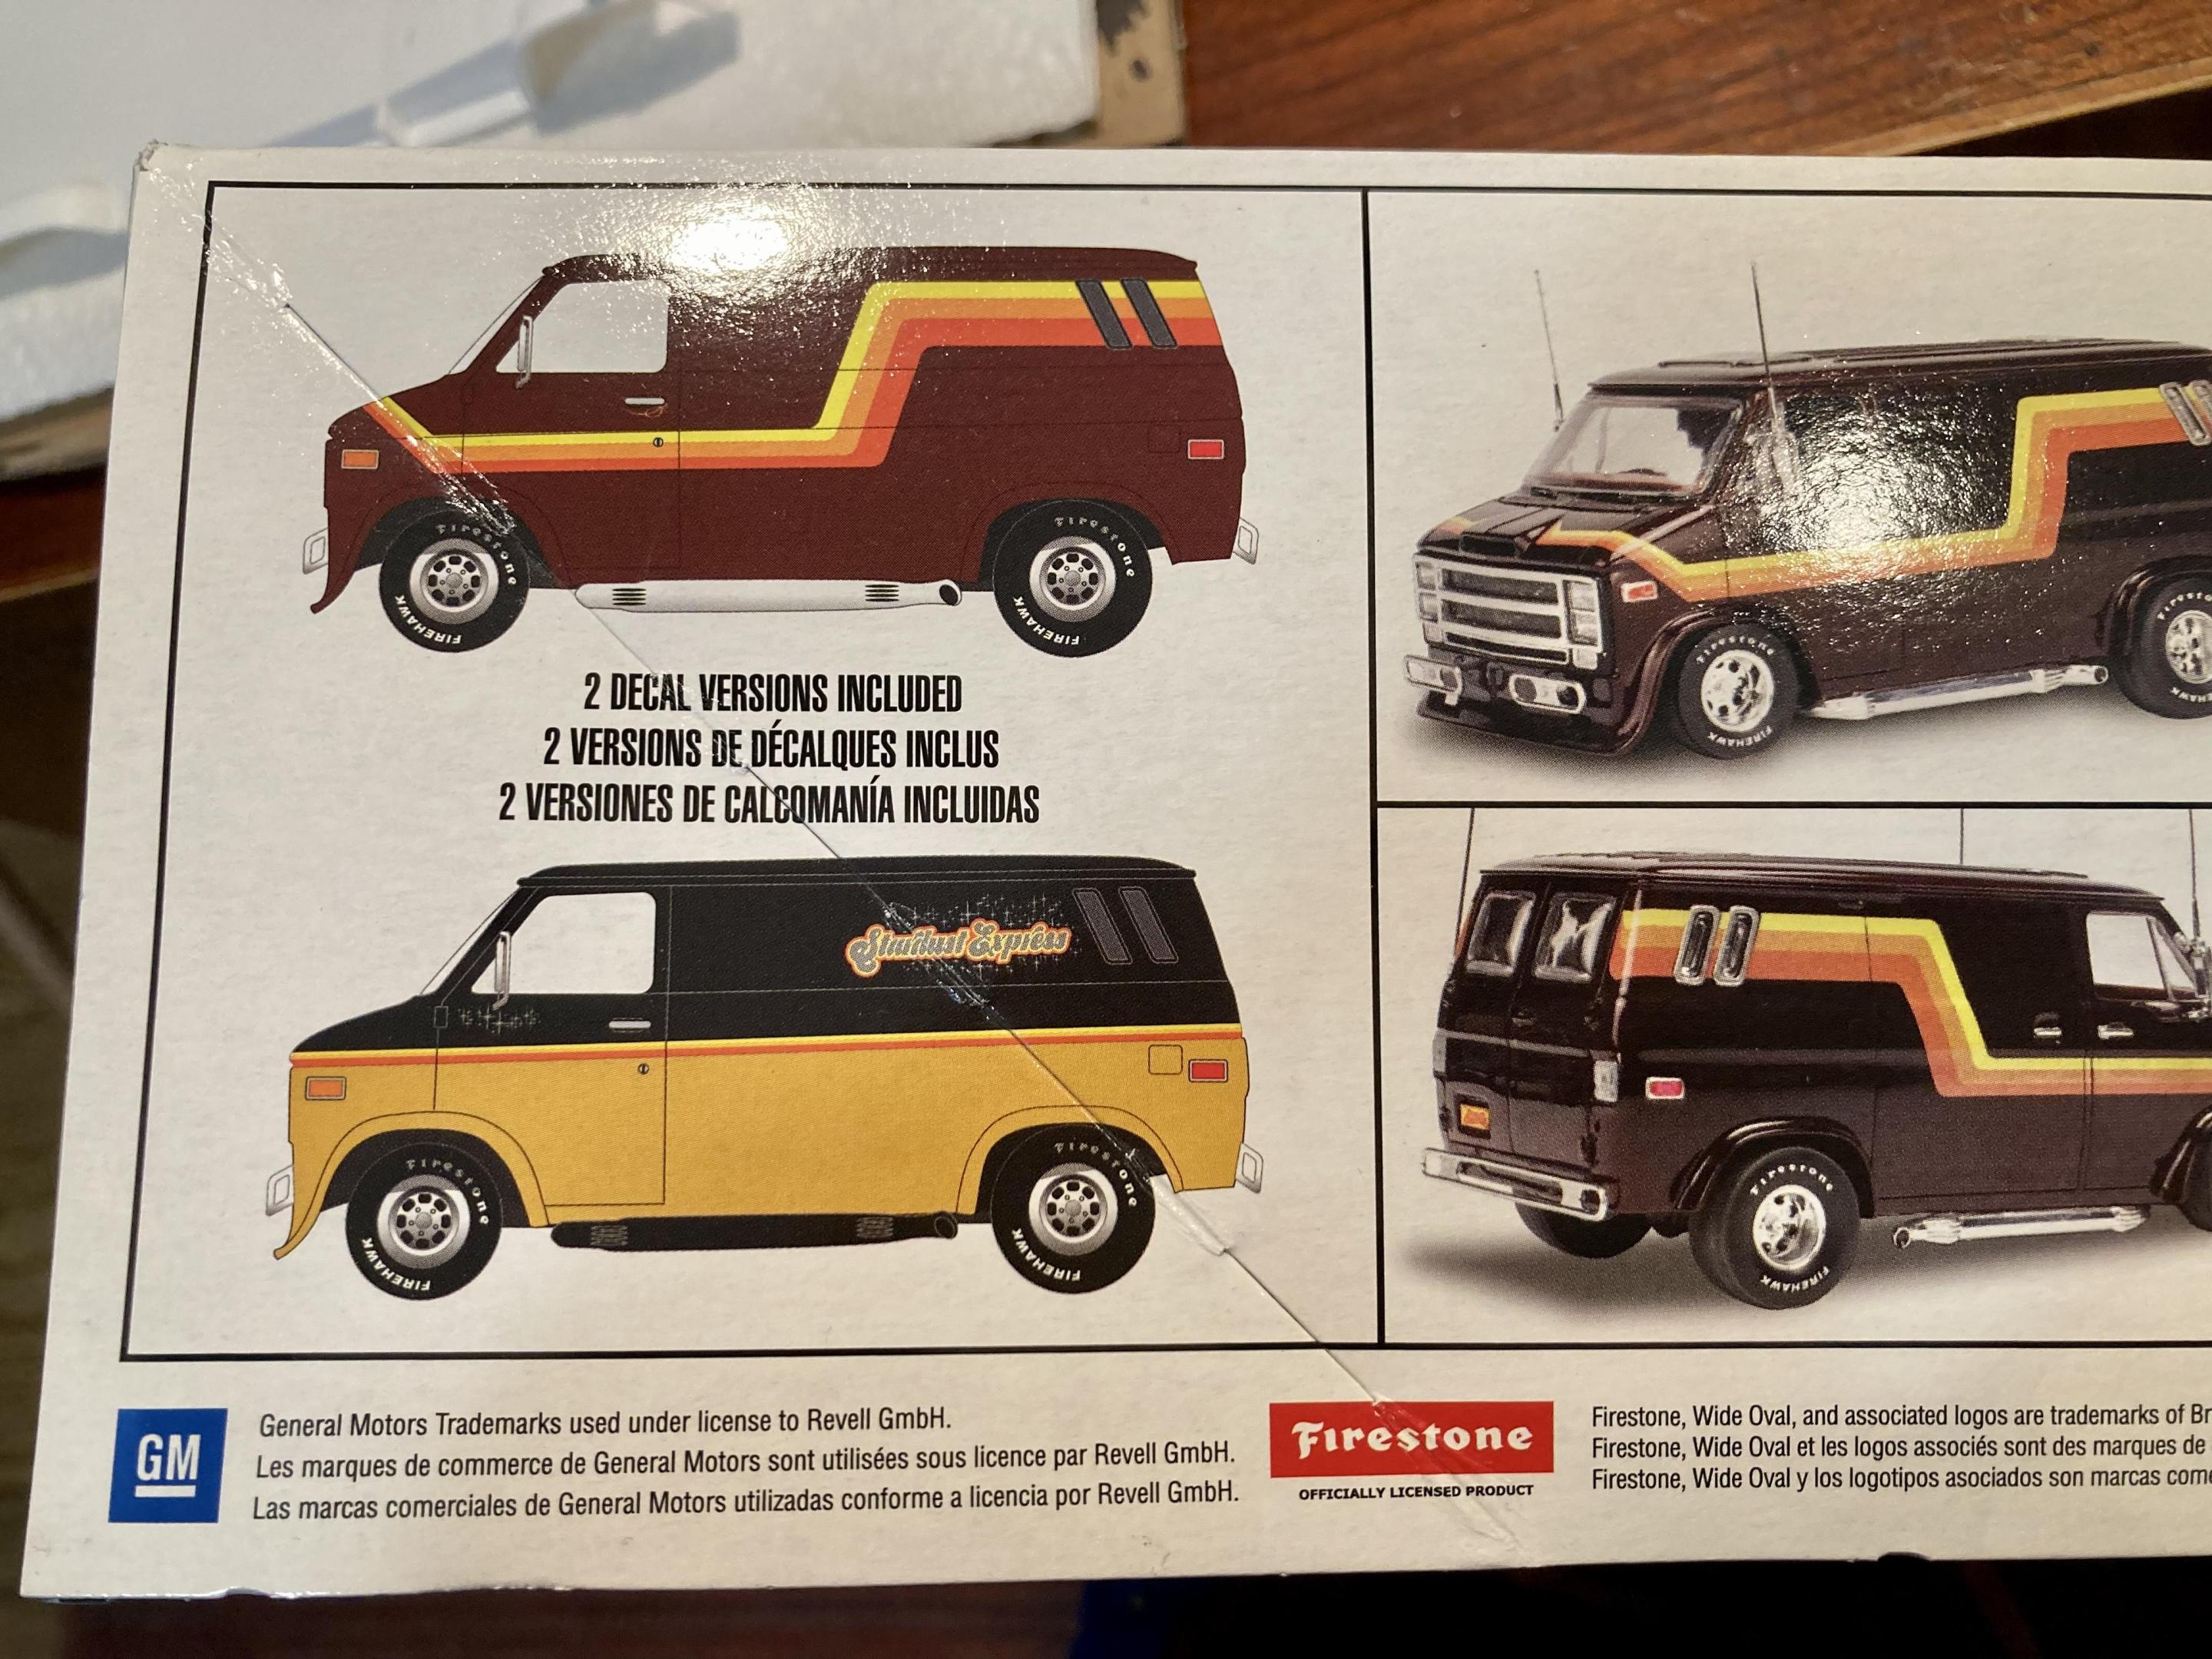
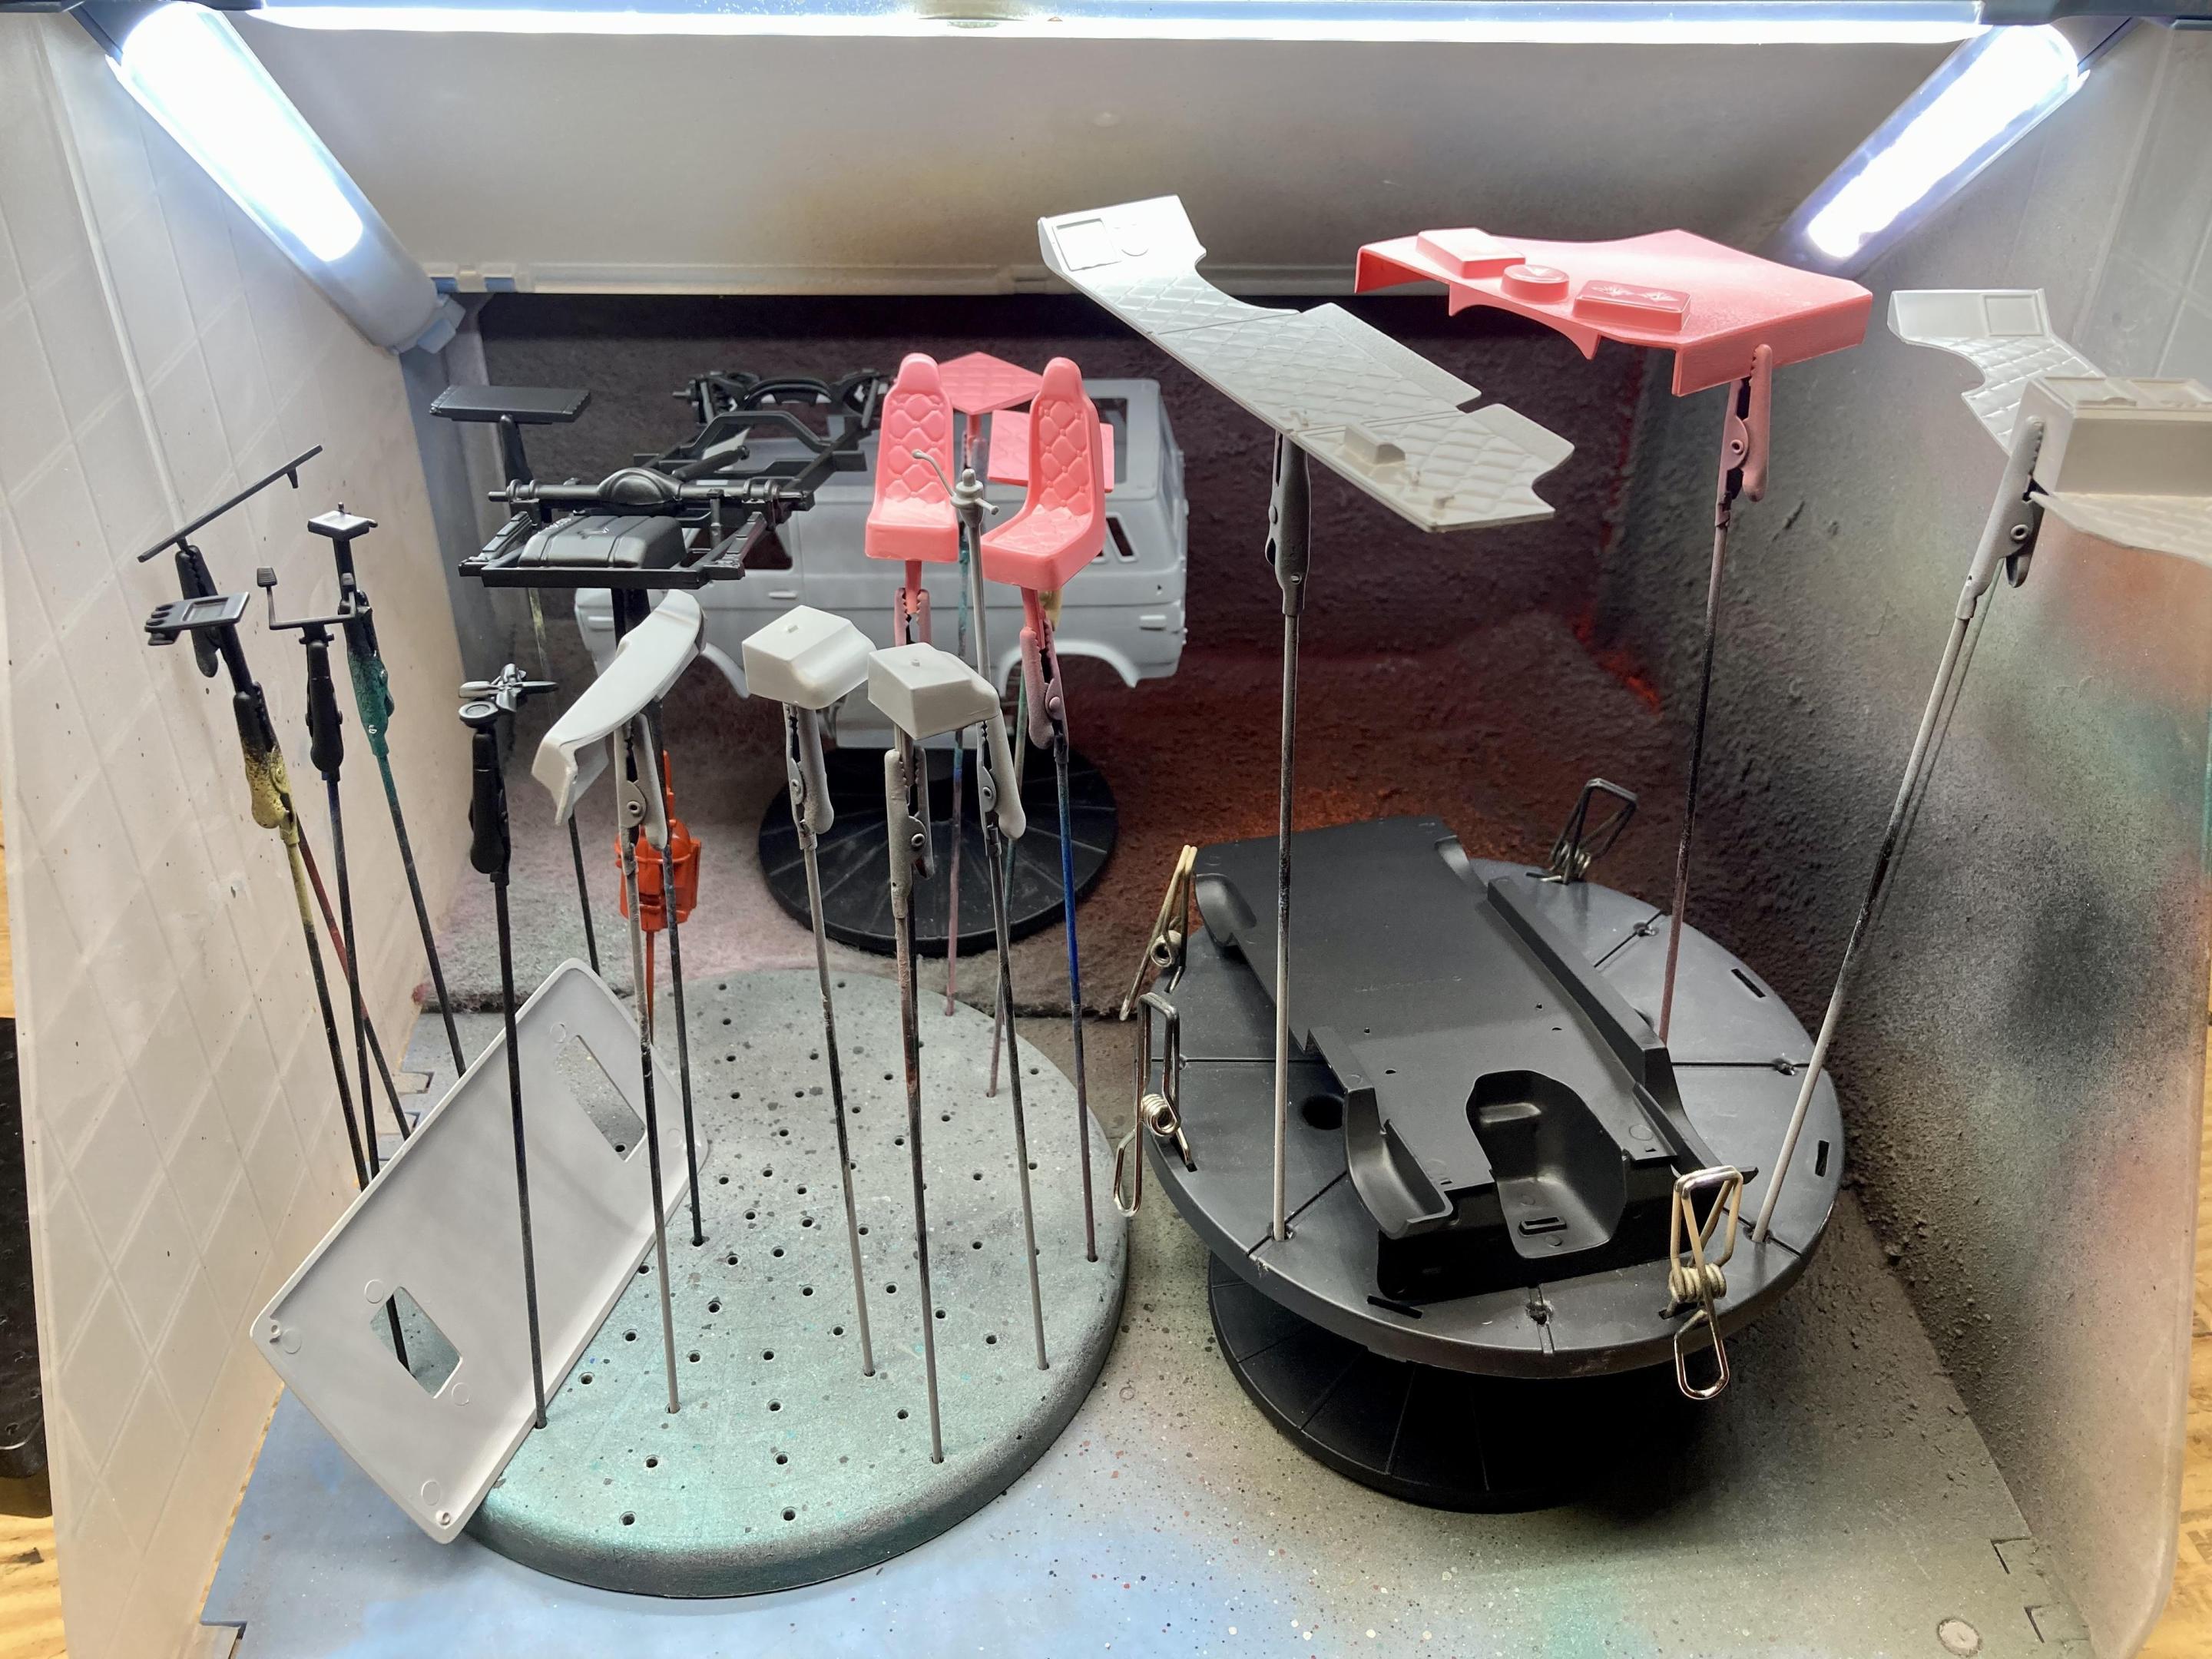
Here’s my latest project: The recent release of Revell’s custom Chevy van! I started off by stripping the chrome from the front fascia/grille, scribing the door gaps, gluing together all of the subassemblies and prepping them for primer. This build is going to be box stock with minimal engine and chassis detailing. Partly because there’s not much detail in these areas to begin with, but mostly because these 70s vans are all about the body, paint, and interior. So that’s where I’m going to focus my attention. I glued the hood shut to simplify the painting process and since you can’t really see the engine anyway. After stripping the chrome from the grille, I glued that in place along with the front air dam. I added some scrap sprue behind the air dam, in the corners to help reinforce the front end. Since the roof is removable, I glued the rear doors shut. The body is very flimsy if you don’t do this, plus it will help with my planned two tone paint job. The body will be painted Testors’ Purple-licious with Tamiya TS-30 Silver Leaf as the secondary tone. My plan is to do the “Stardust Express” graphics, so the top half will be purple and the bottom will be silver. I think I’ll do the fender flares in purple too to accentuate them. The interior is going to be various shades of gray, with the quilted vinyl wall panels and seats in metallic purple. Plus tons of brown wood grain. The bed spread will be orange to tie in with the orange in the graphics. The elephant in the room: this kit has two piece rubber tires. Everyone on this forum has been complaining about these since the kit was announced. In my experience, they’re not *that* bad ?. I used Gorilla brand super glue and they seem to be holding together. There’s definitely a raised ridge at the seam, so I’ll try sanding them down. They definitely won’t win you an award, but they’re *fine* for a shelf model. I don’t have anything else that fits and I’m not interested in paying for aftermarket tires so they will have to do. Here’s everything in primer so far. I’m using Tamiya’s pink primer under the purple. It’s my first time using it so we'll see how it looks! Once everything cures, I’ll tape off the portions of the interior that will remain gray primer and hit the body and wall panels in pink. The body is definitely going to need some further work to blend the air dam, and the mold separation lines at the fenders and rear corners are pretty bad. Thanks for following along! Feel free to share any tips, suggestions or ideas!
- 24 replies
-
Jeep CJ-2A
StanGlover replied to NOBLNG's topic in Model Trucks: Pickups, Vans, SUVs, Light Commercial
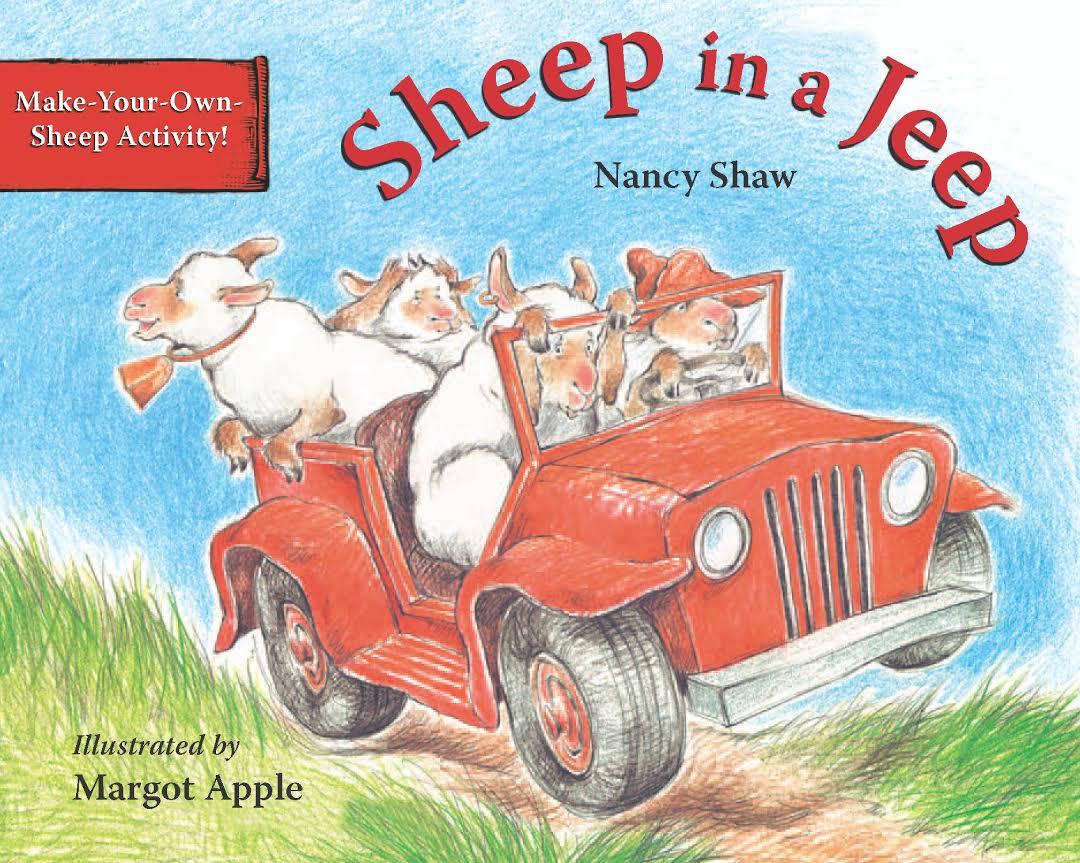
Way to unlock a core childhood memory! ? Your Jeep there instantly reminded me of this favorite childhood book: Nice job! Hopefully your build has a better fate than the one in this book ? -
Haha yeah that 6x6 would be a cool build! Revell needs to kit up the new generation of the AMG G-Wagen, would definitely be a hot seller.
-
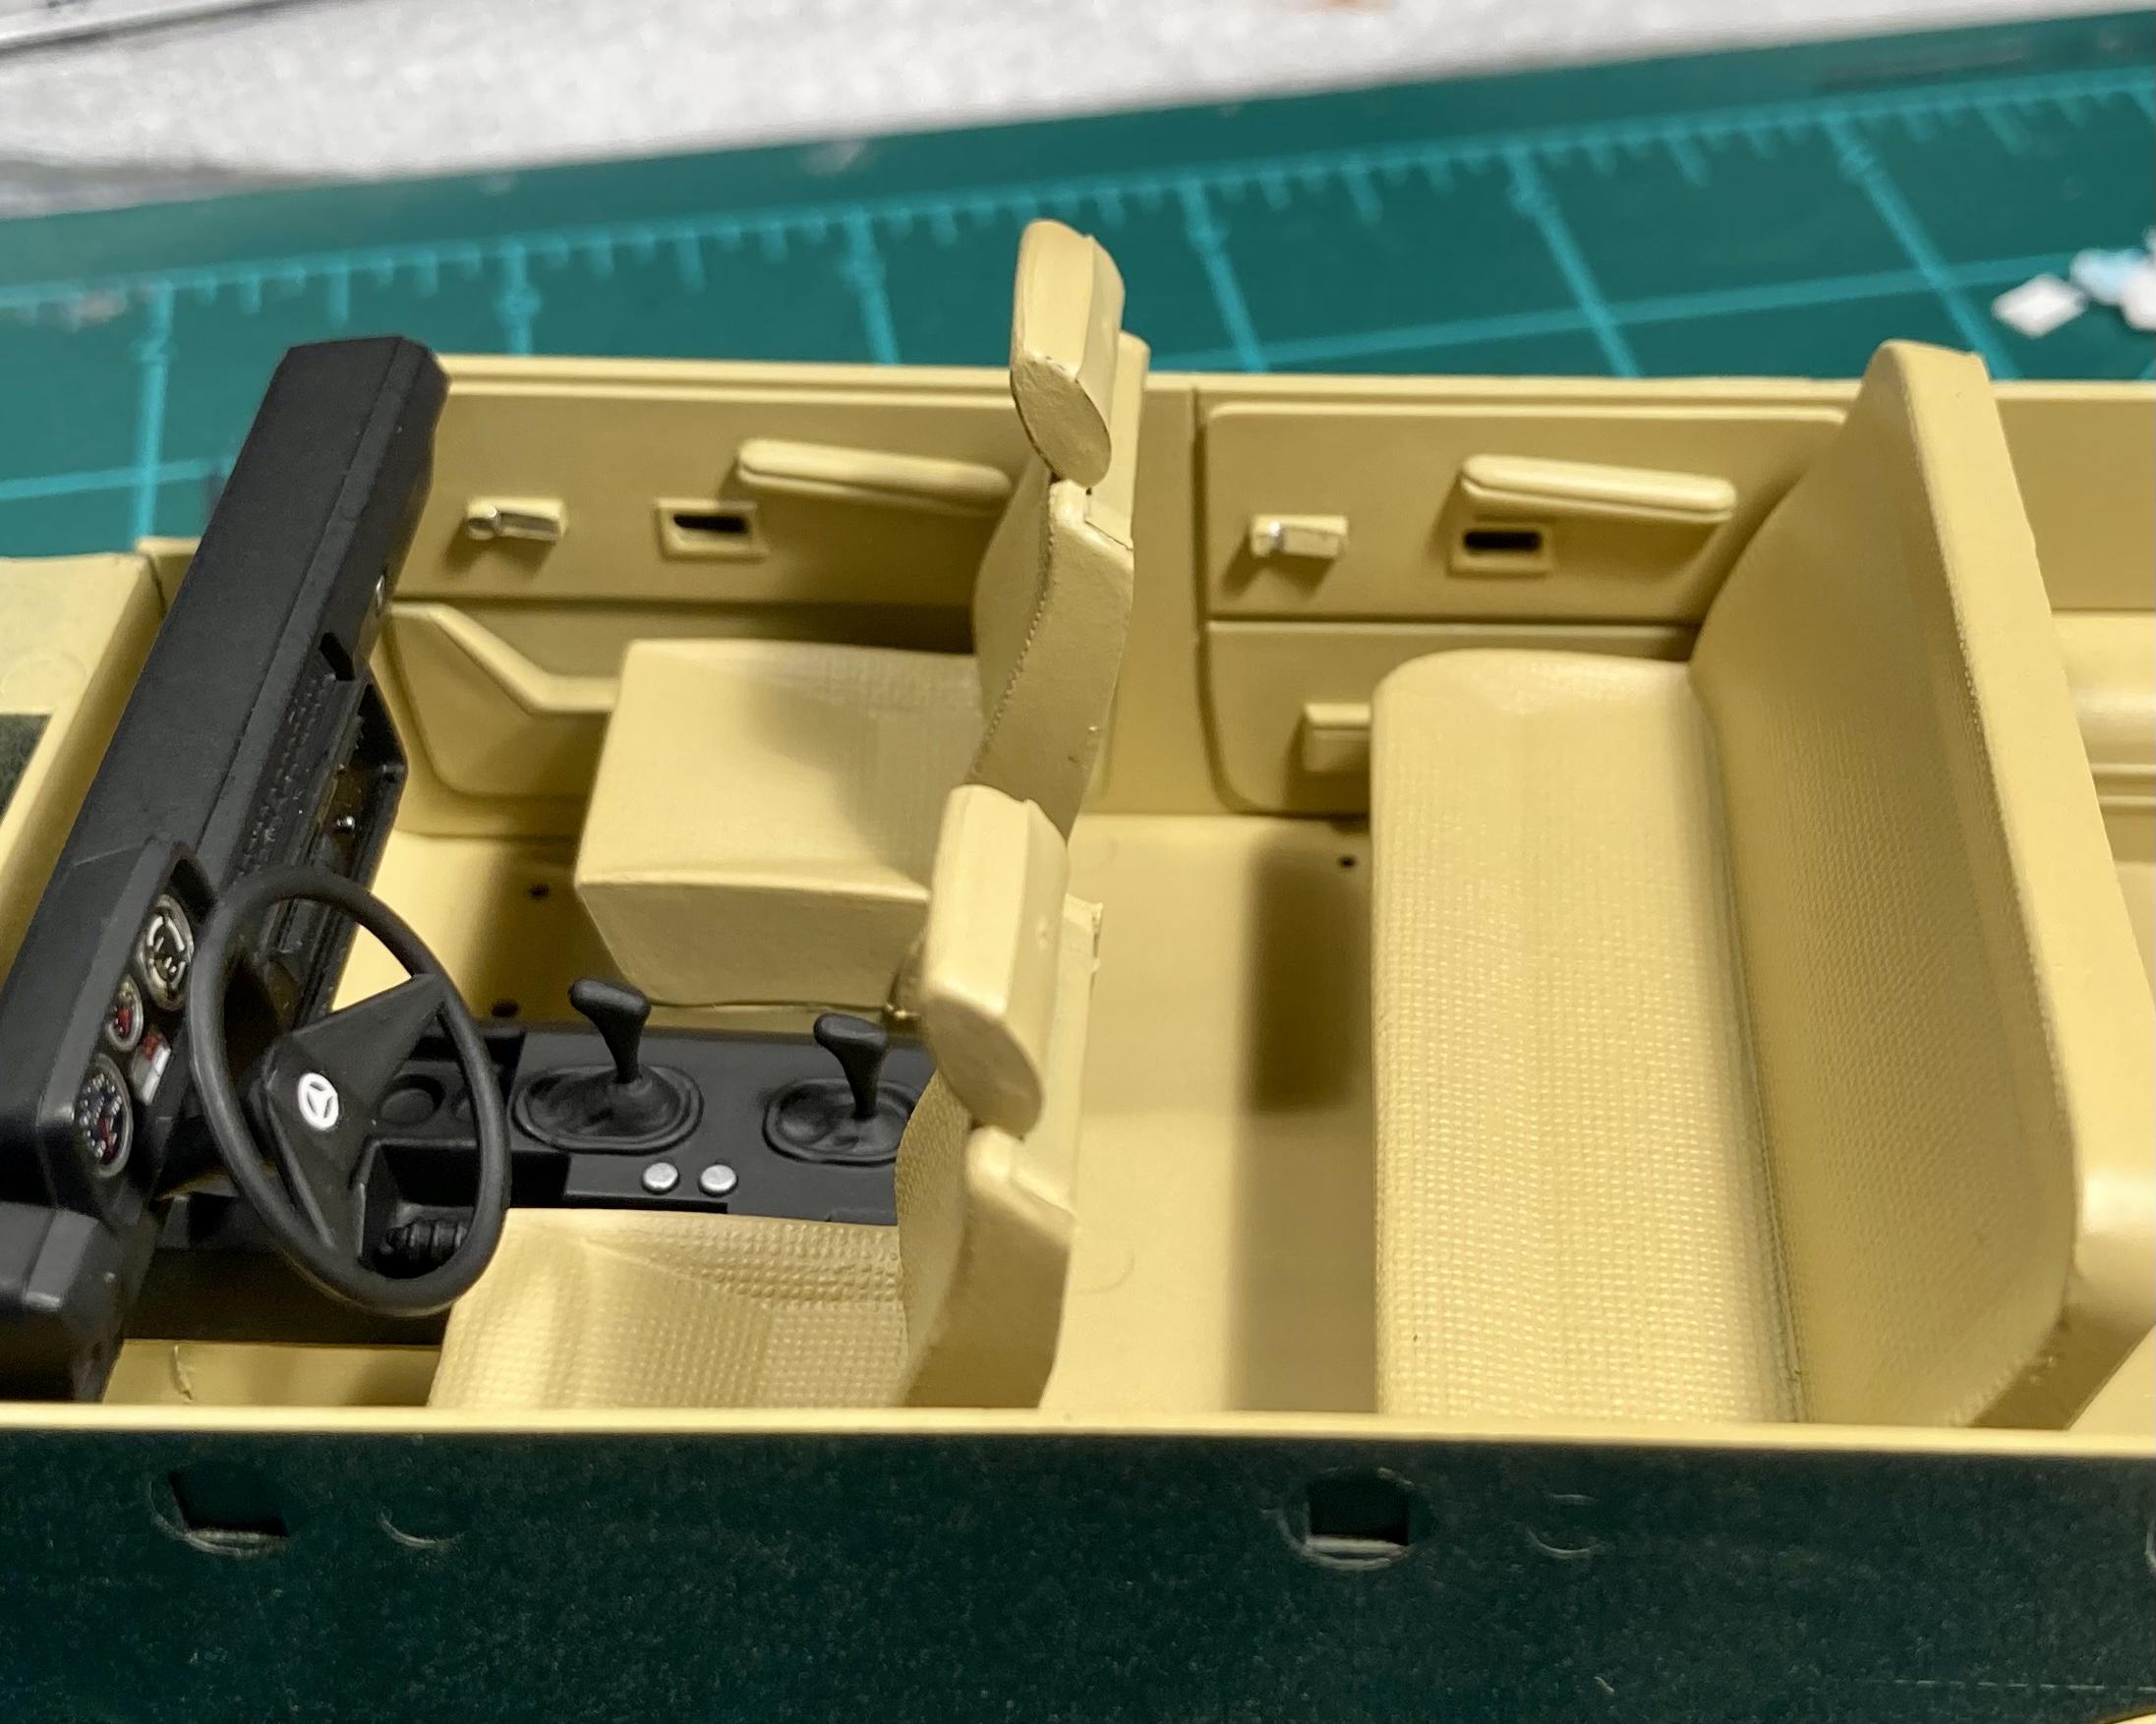
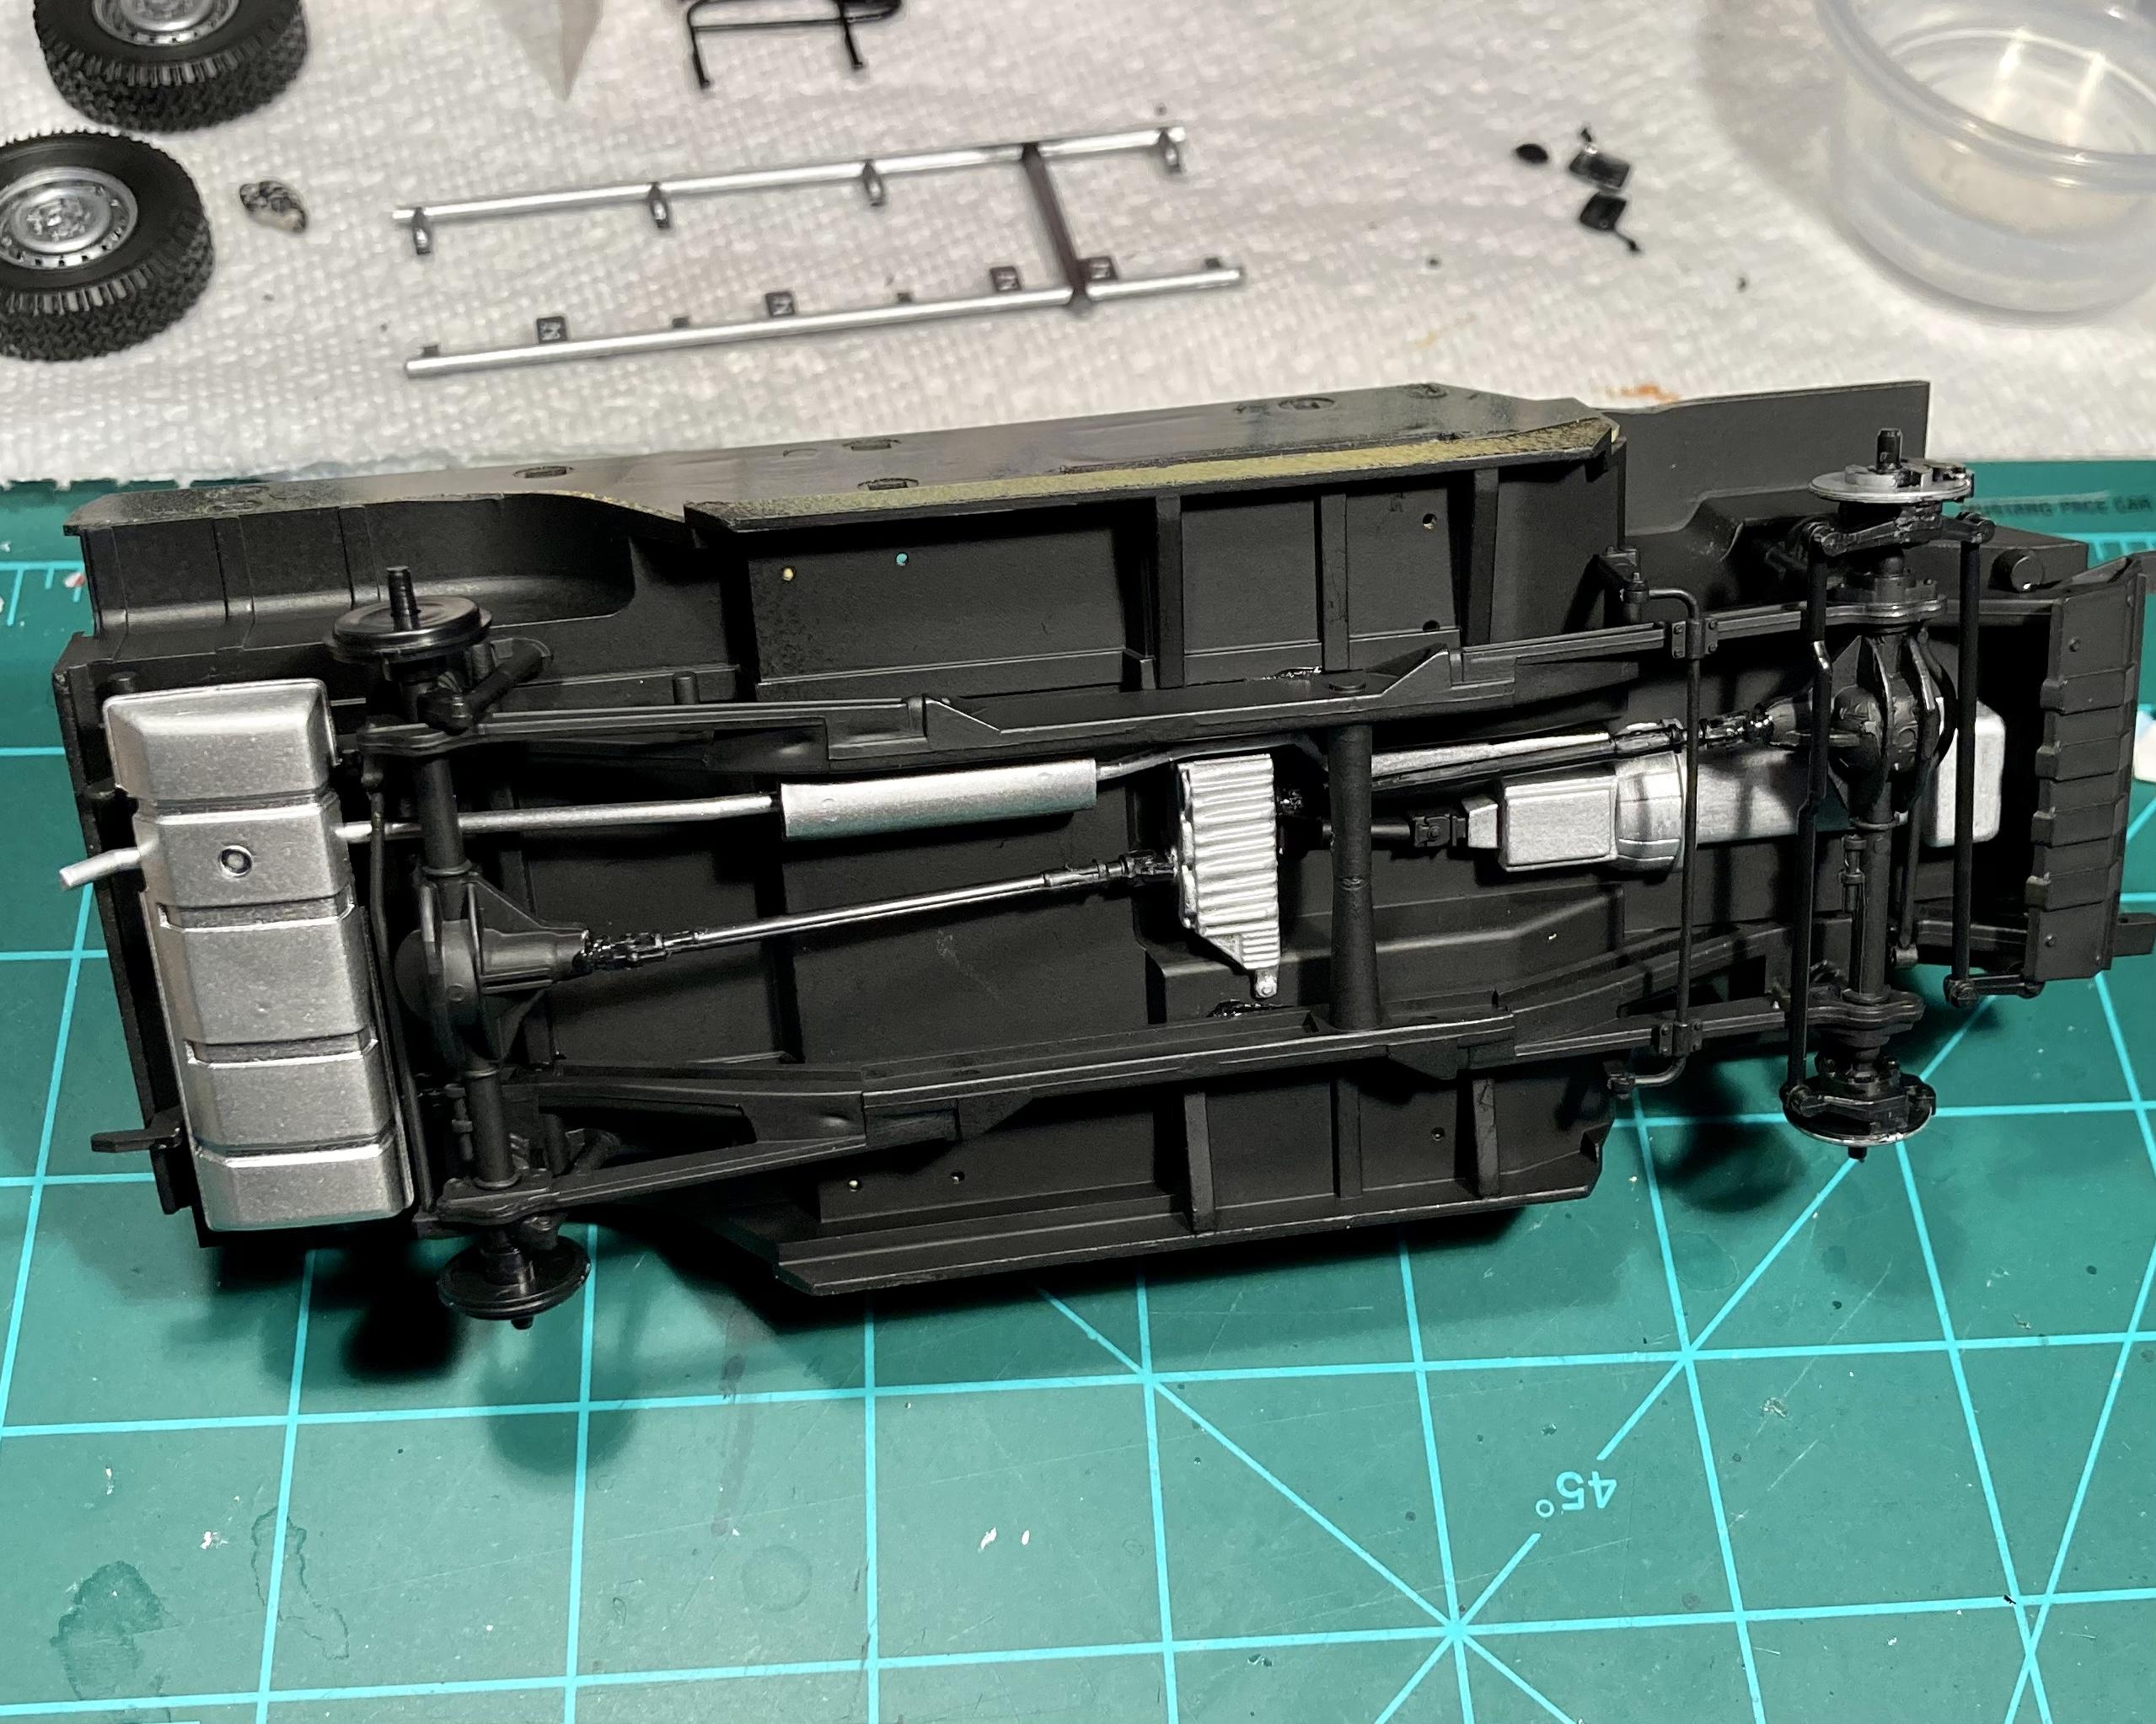
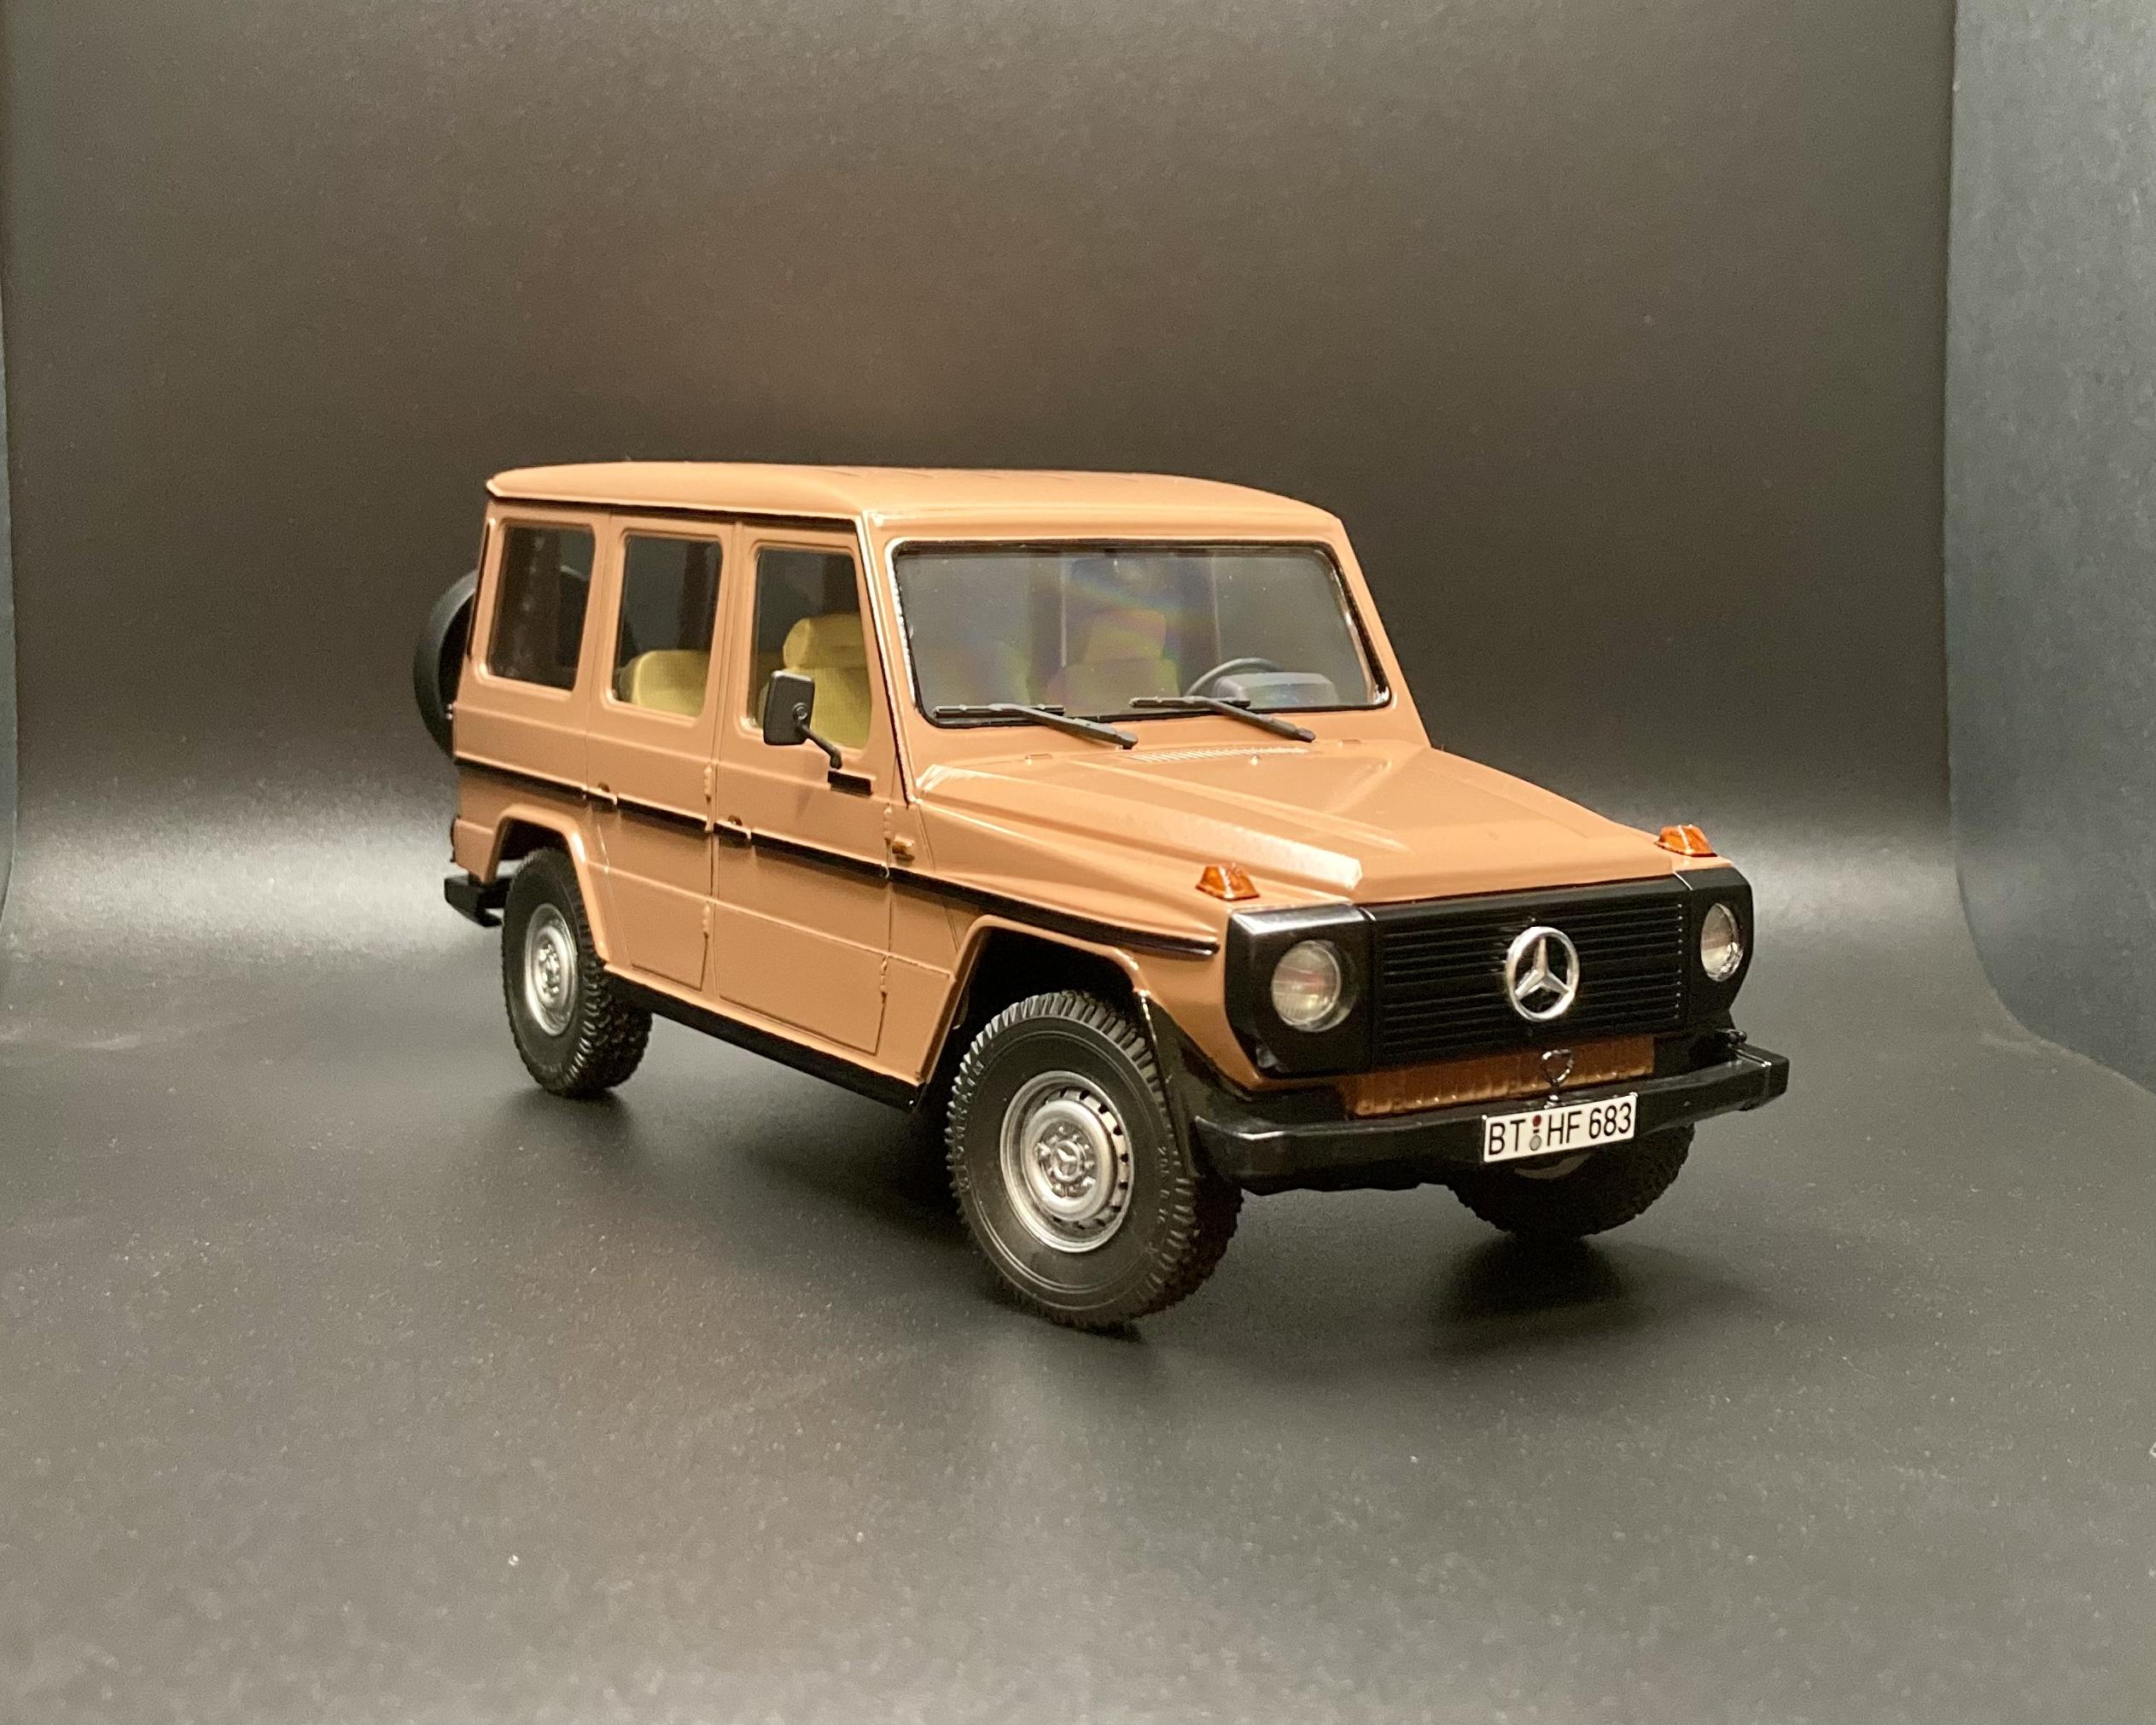
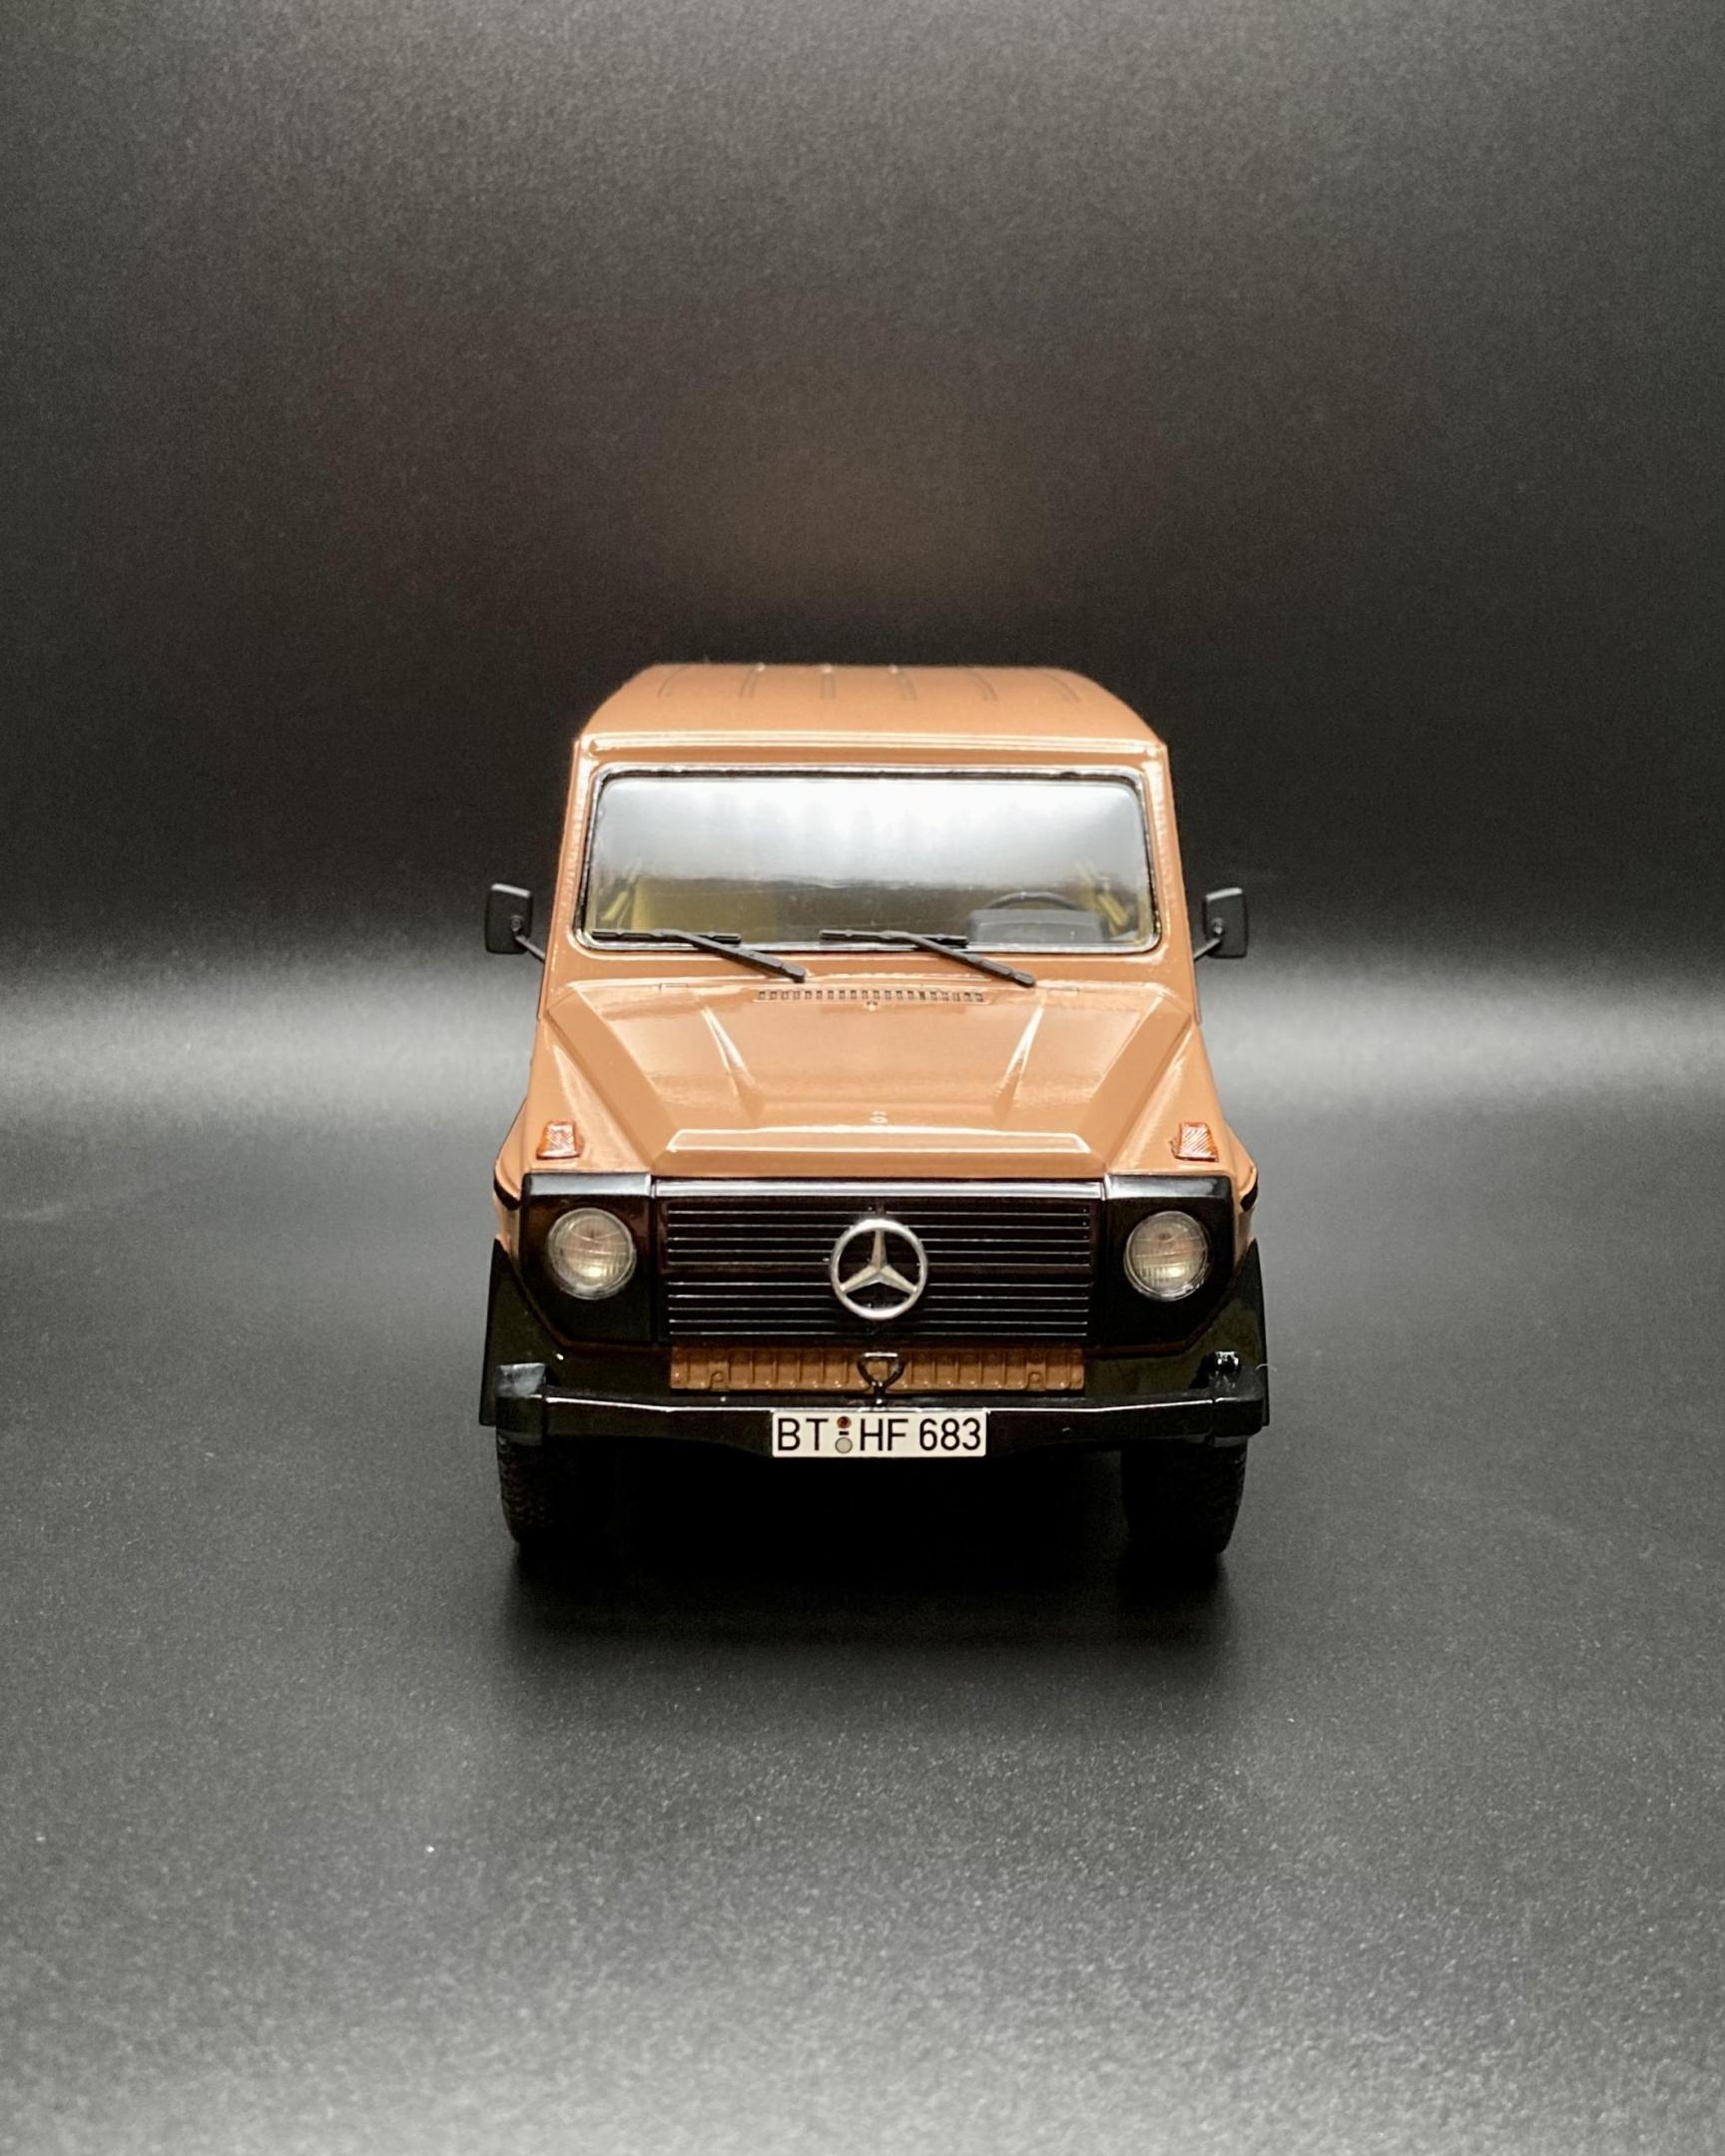
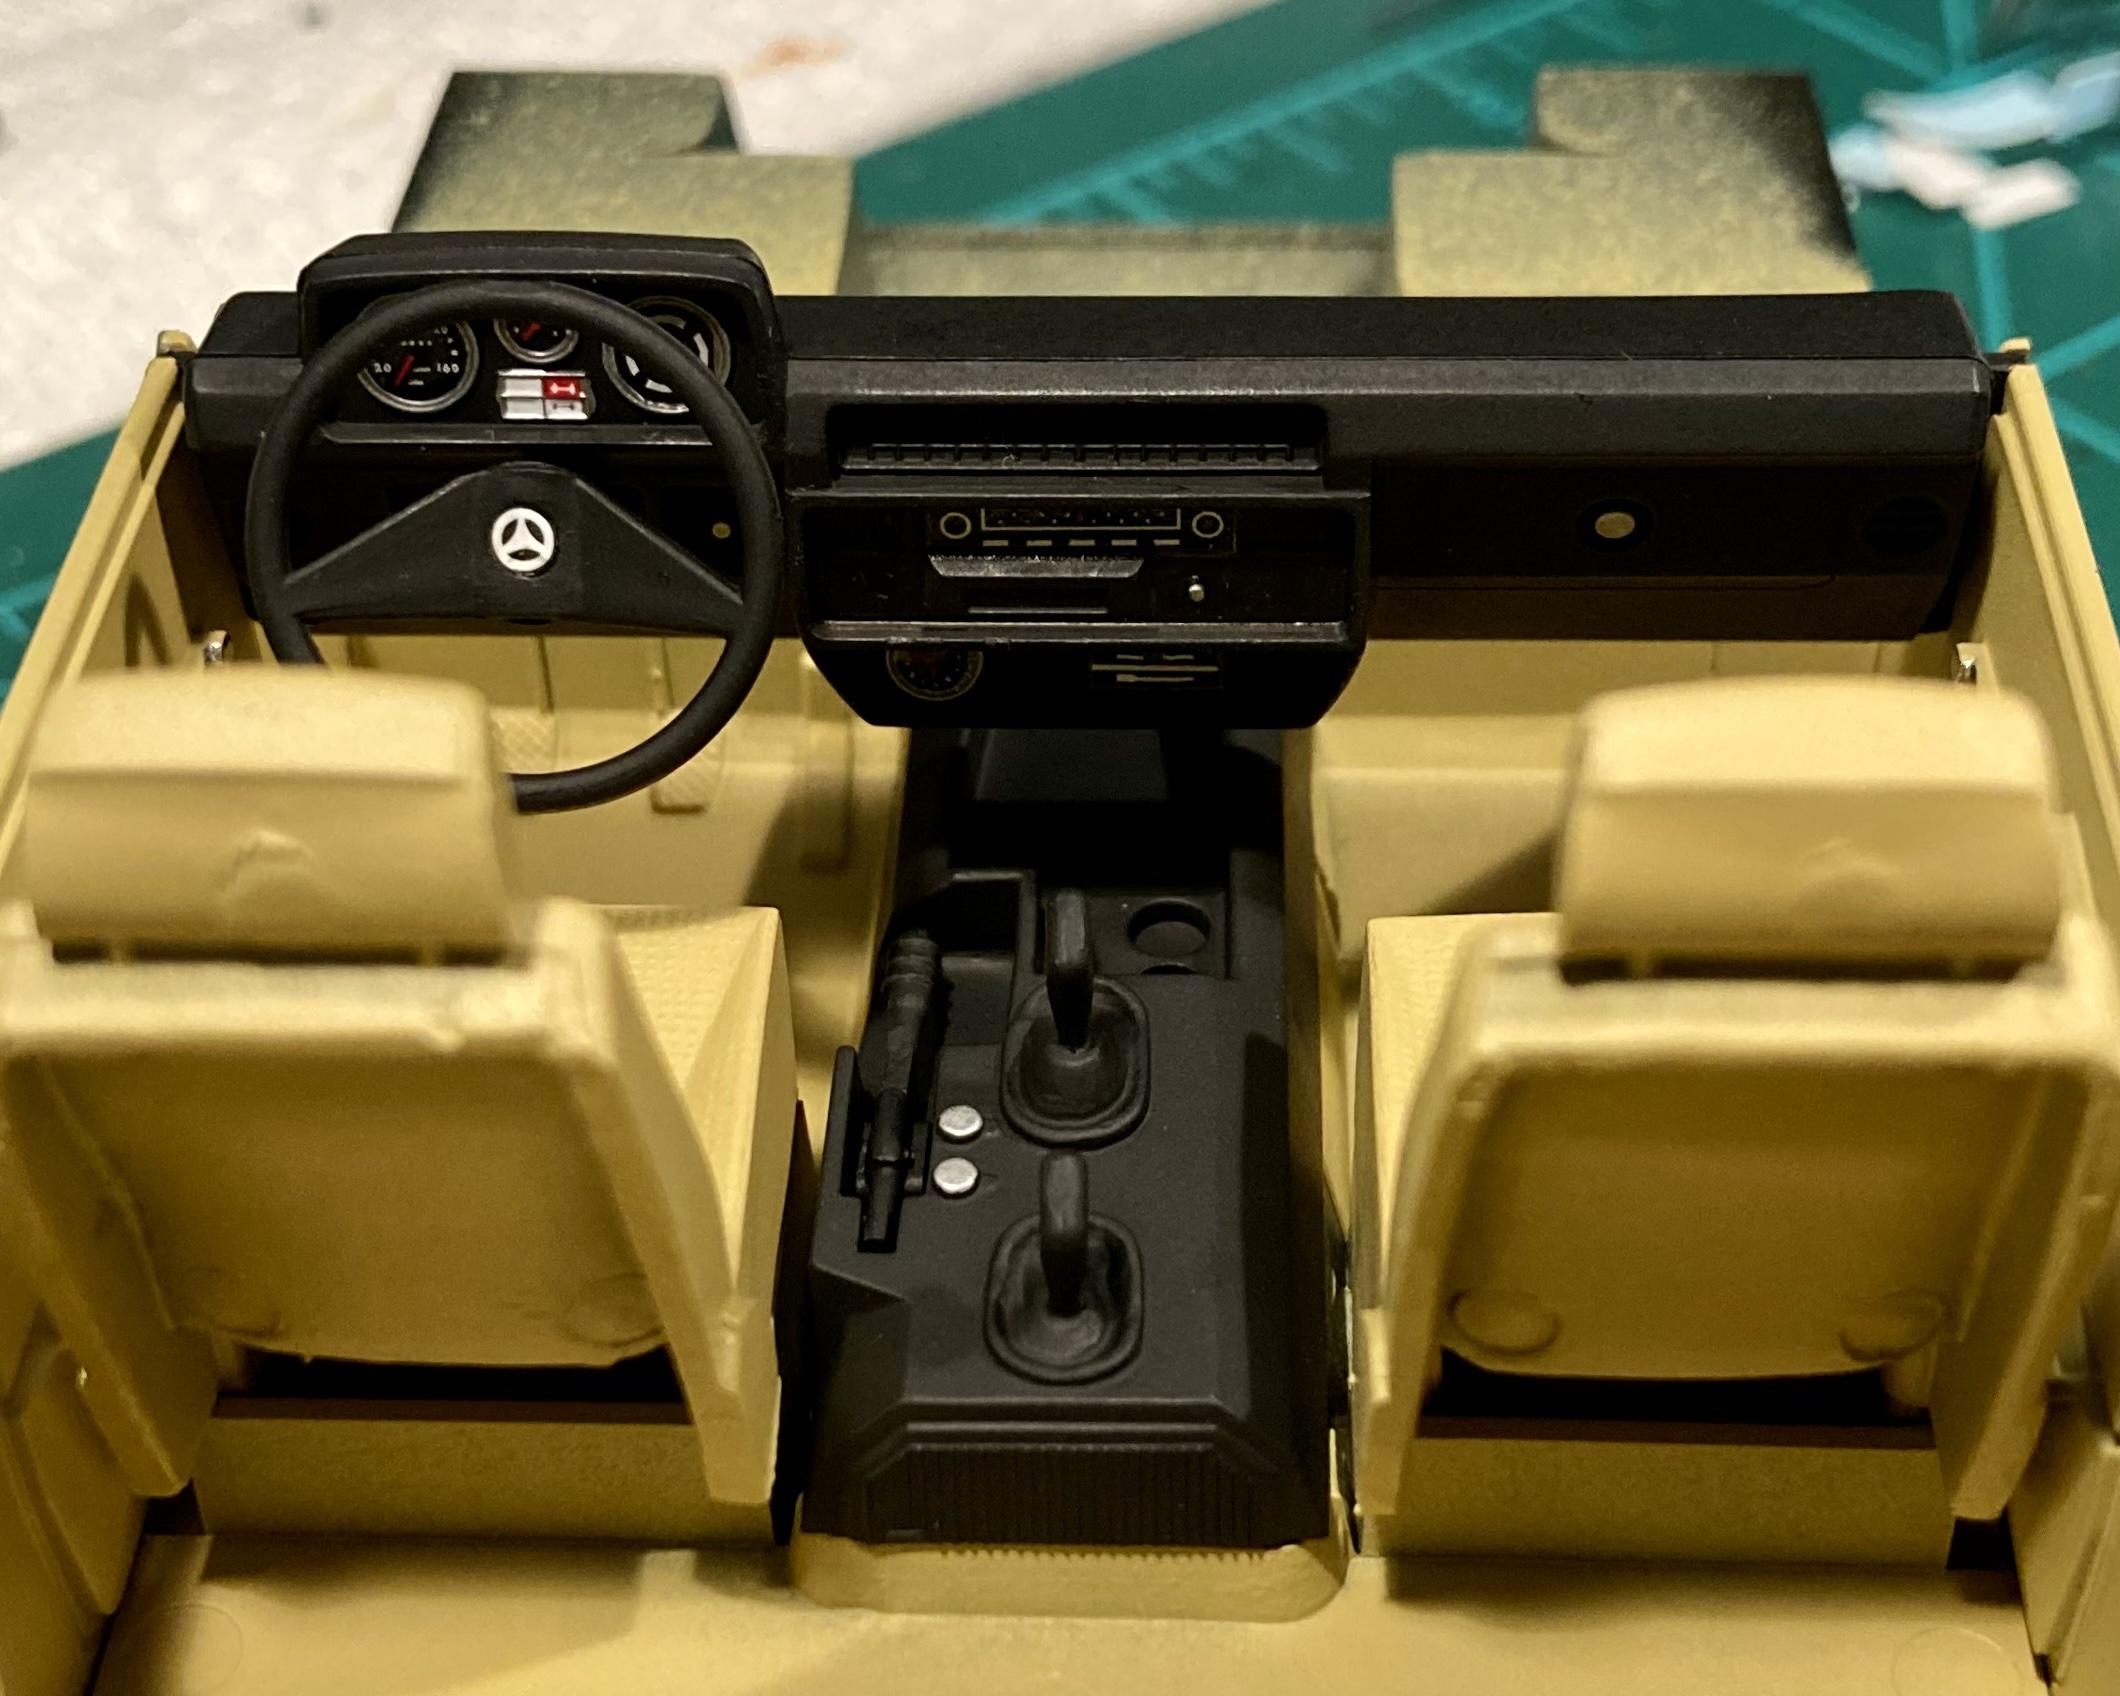
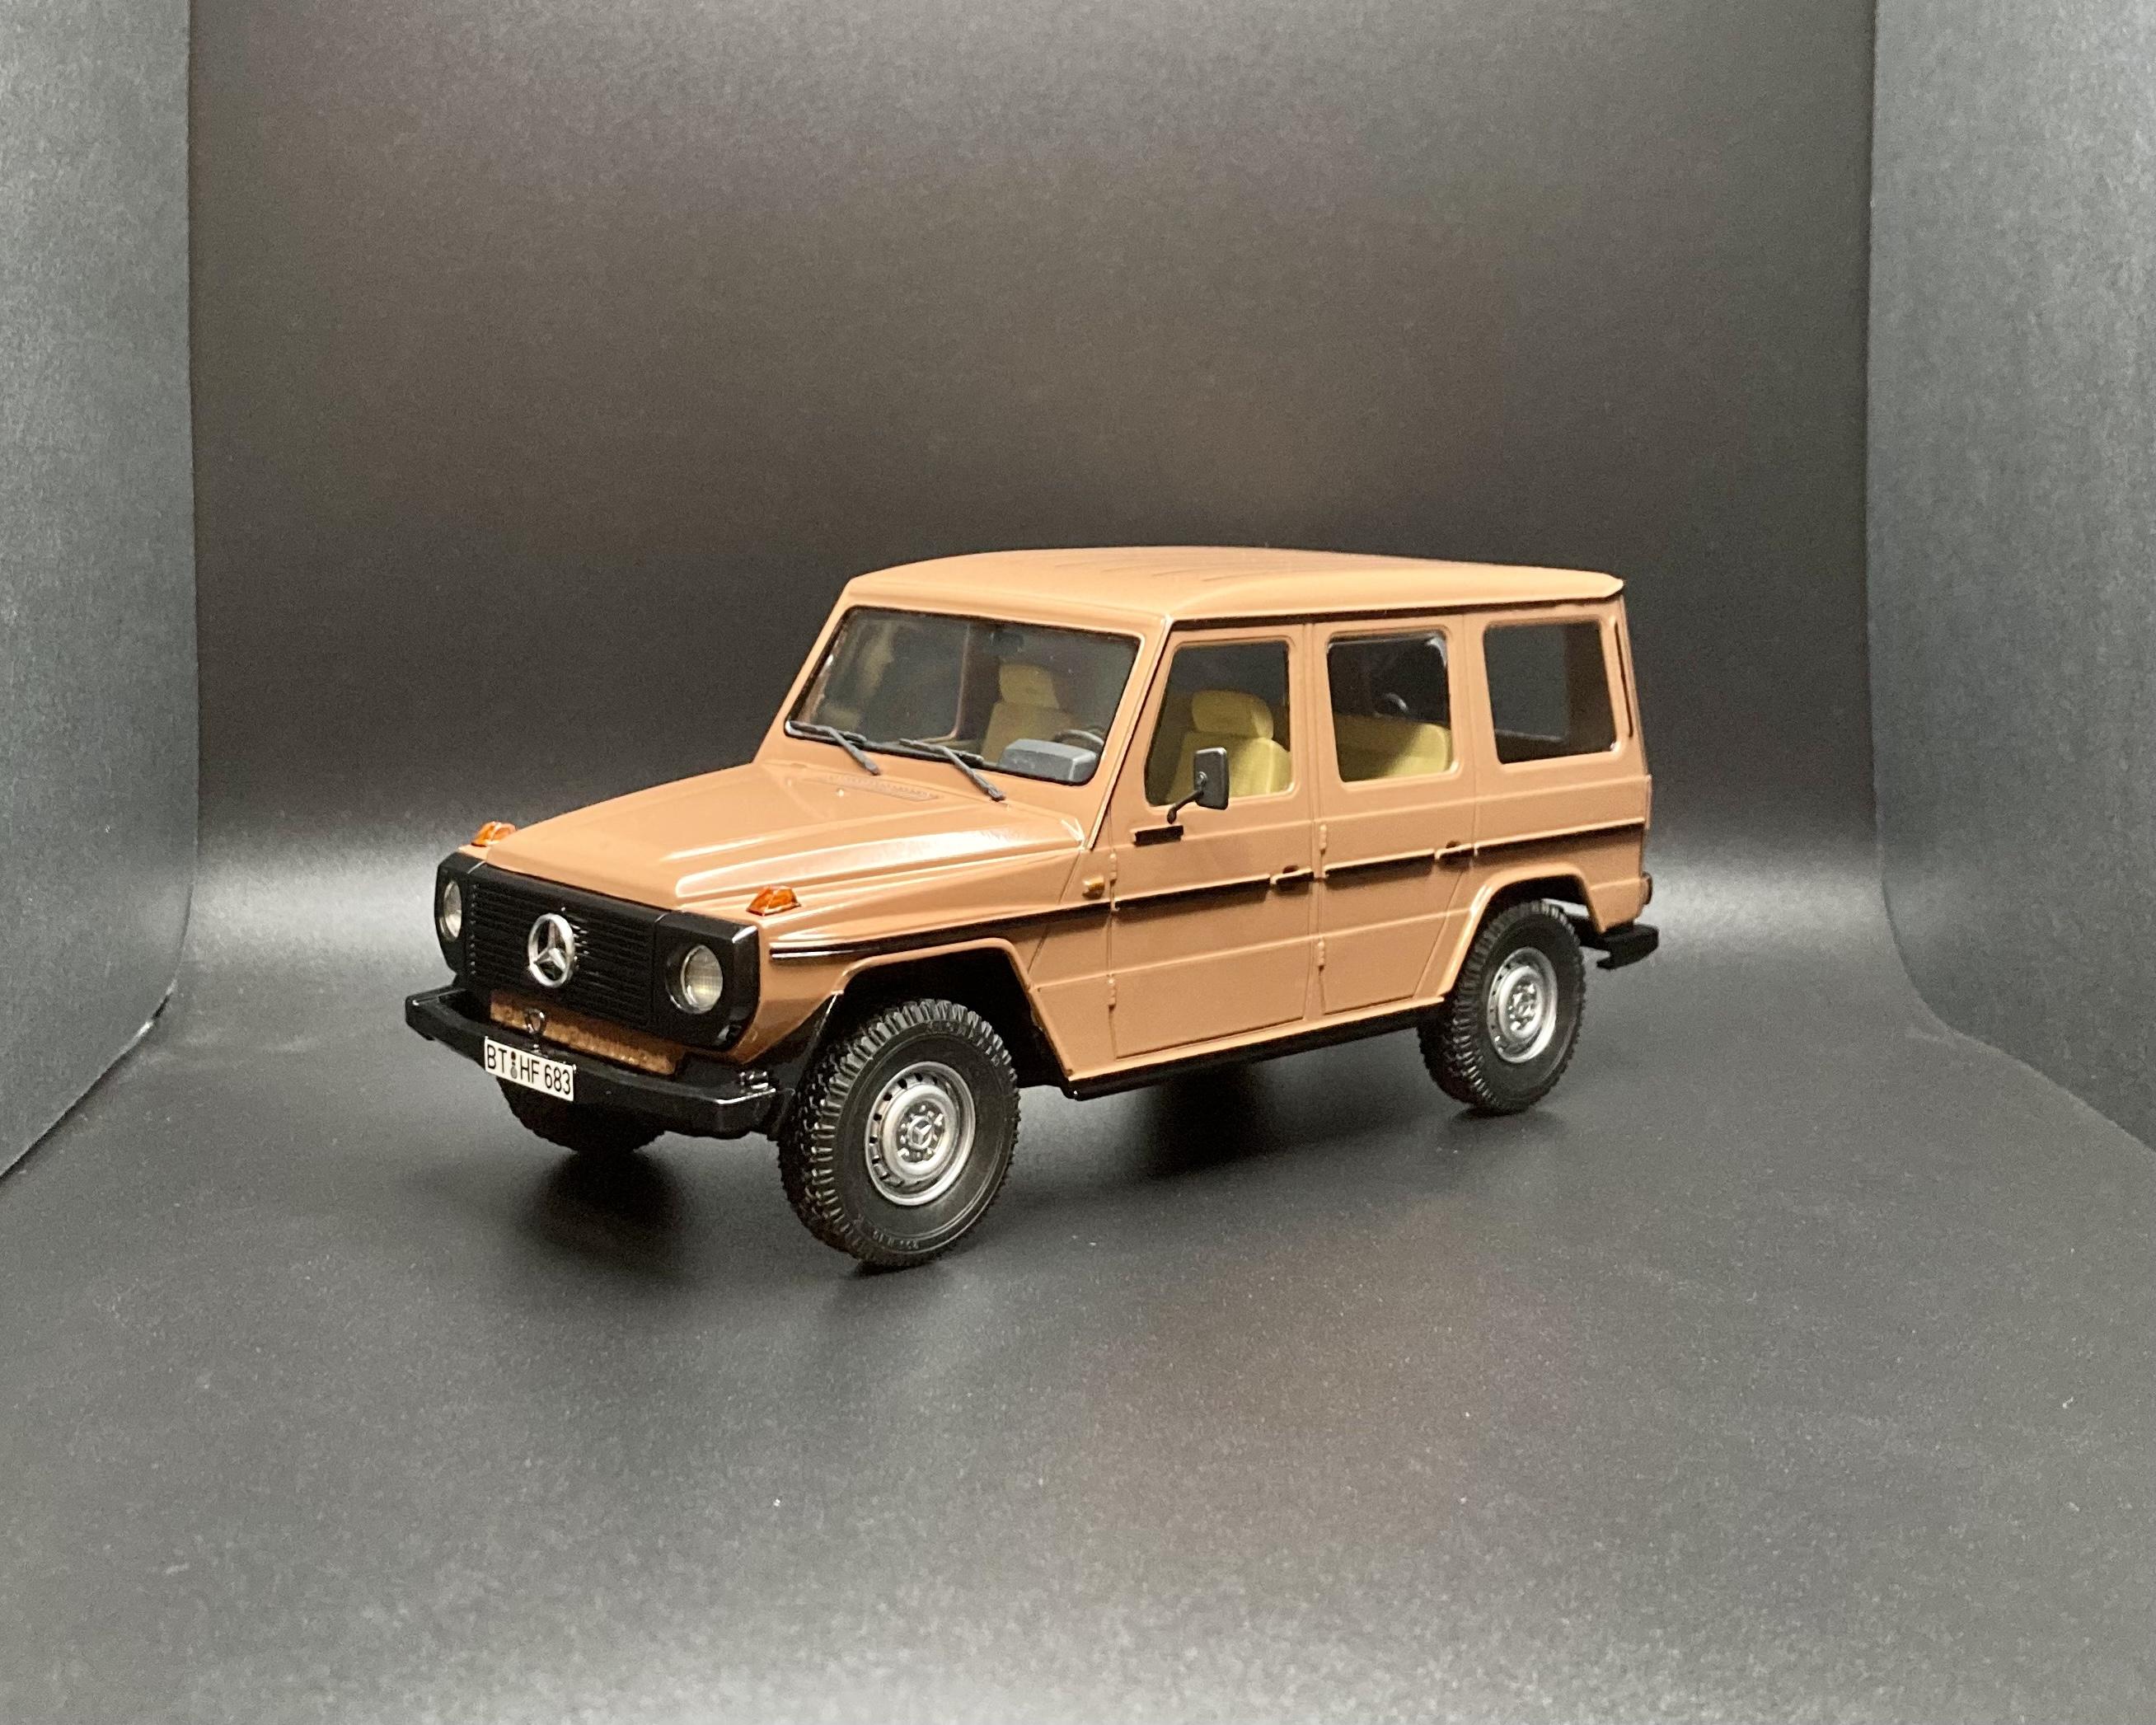
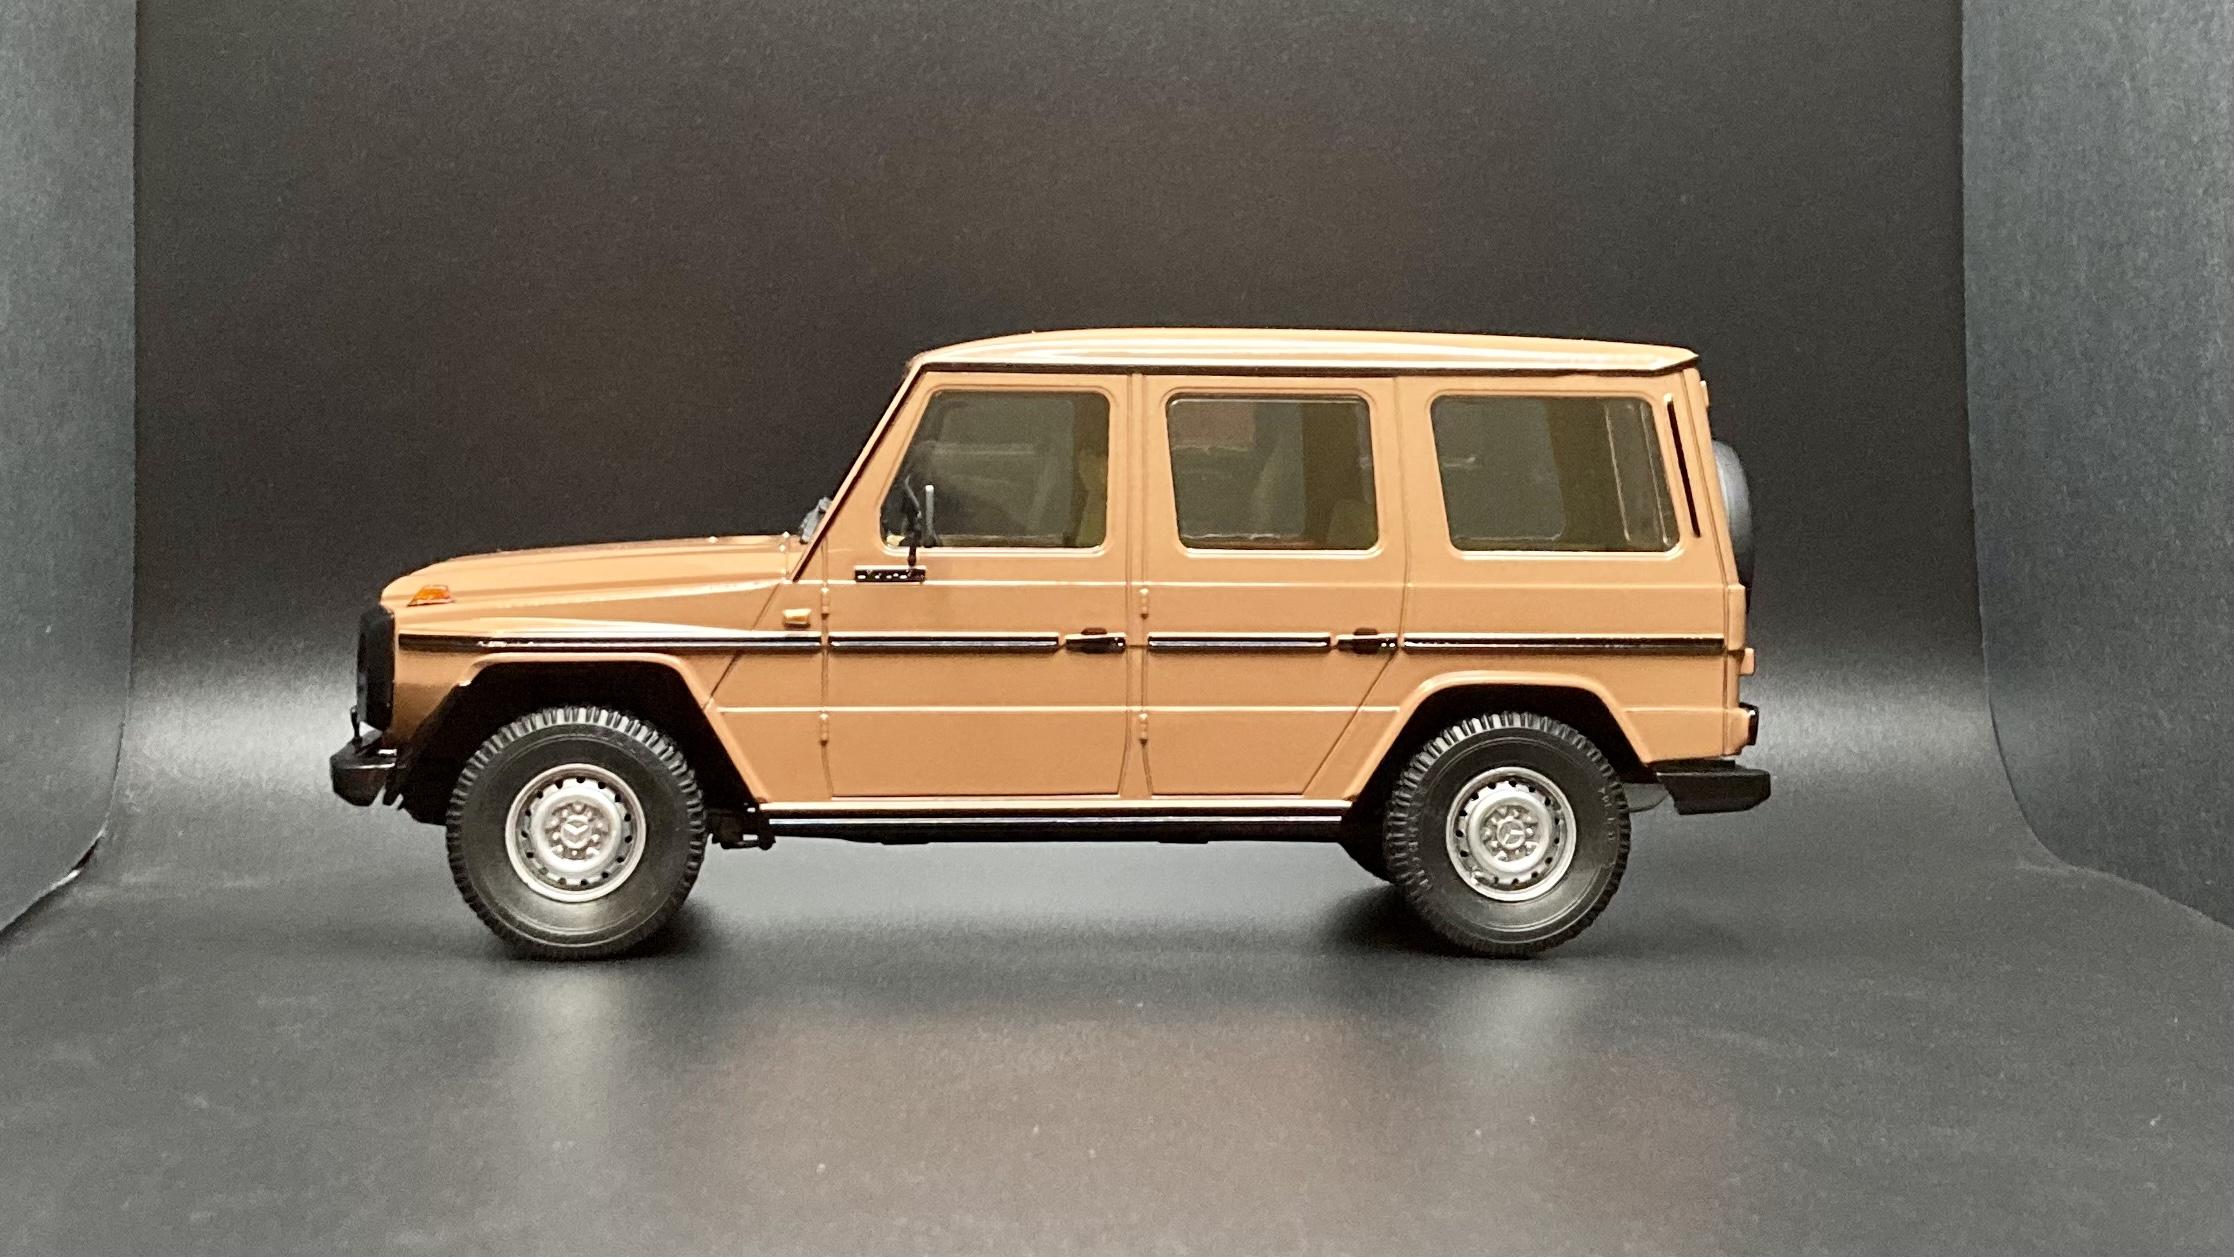
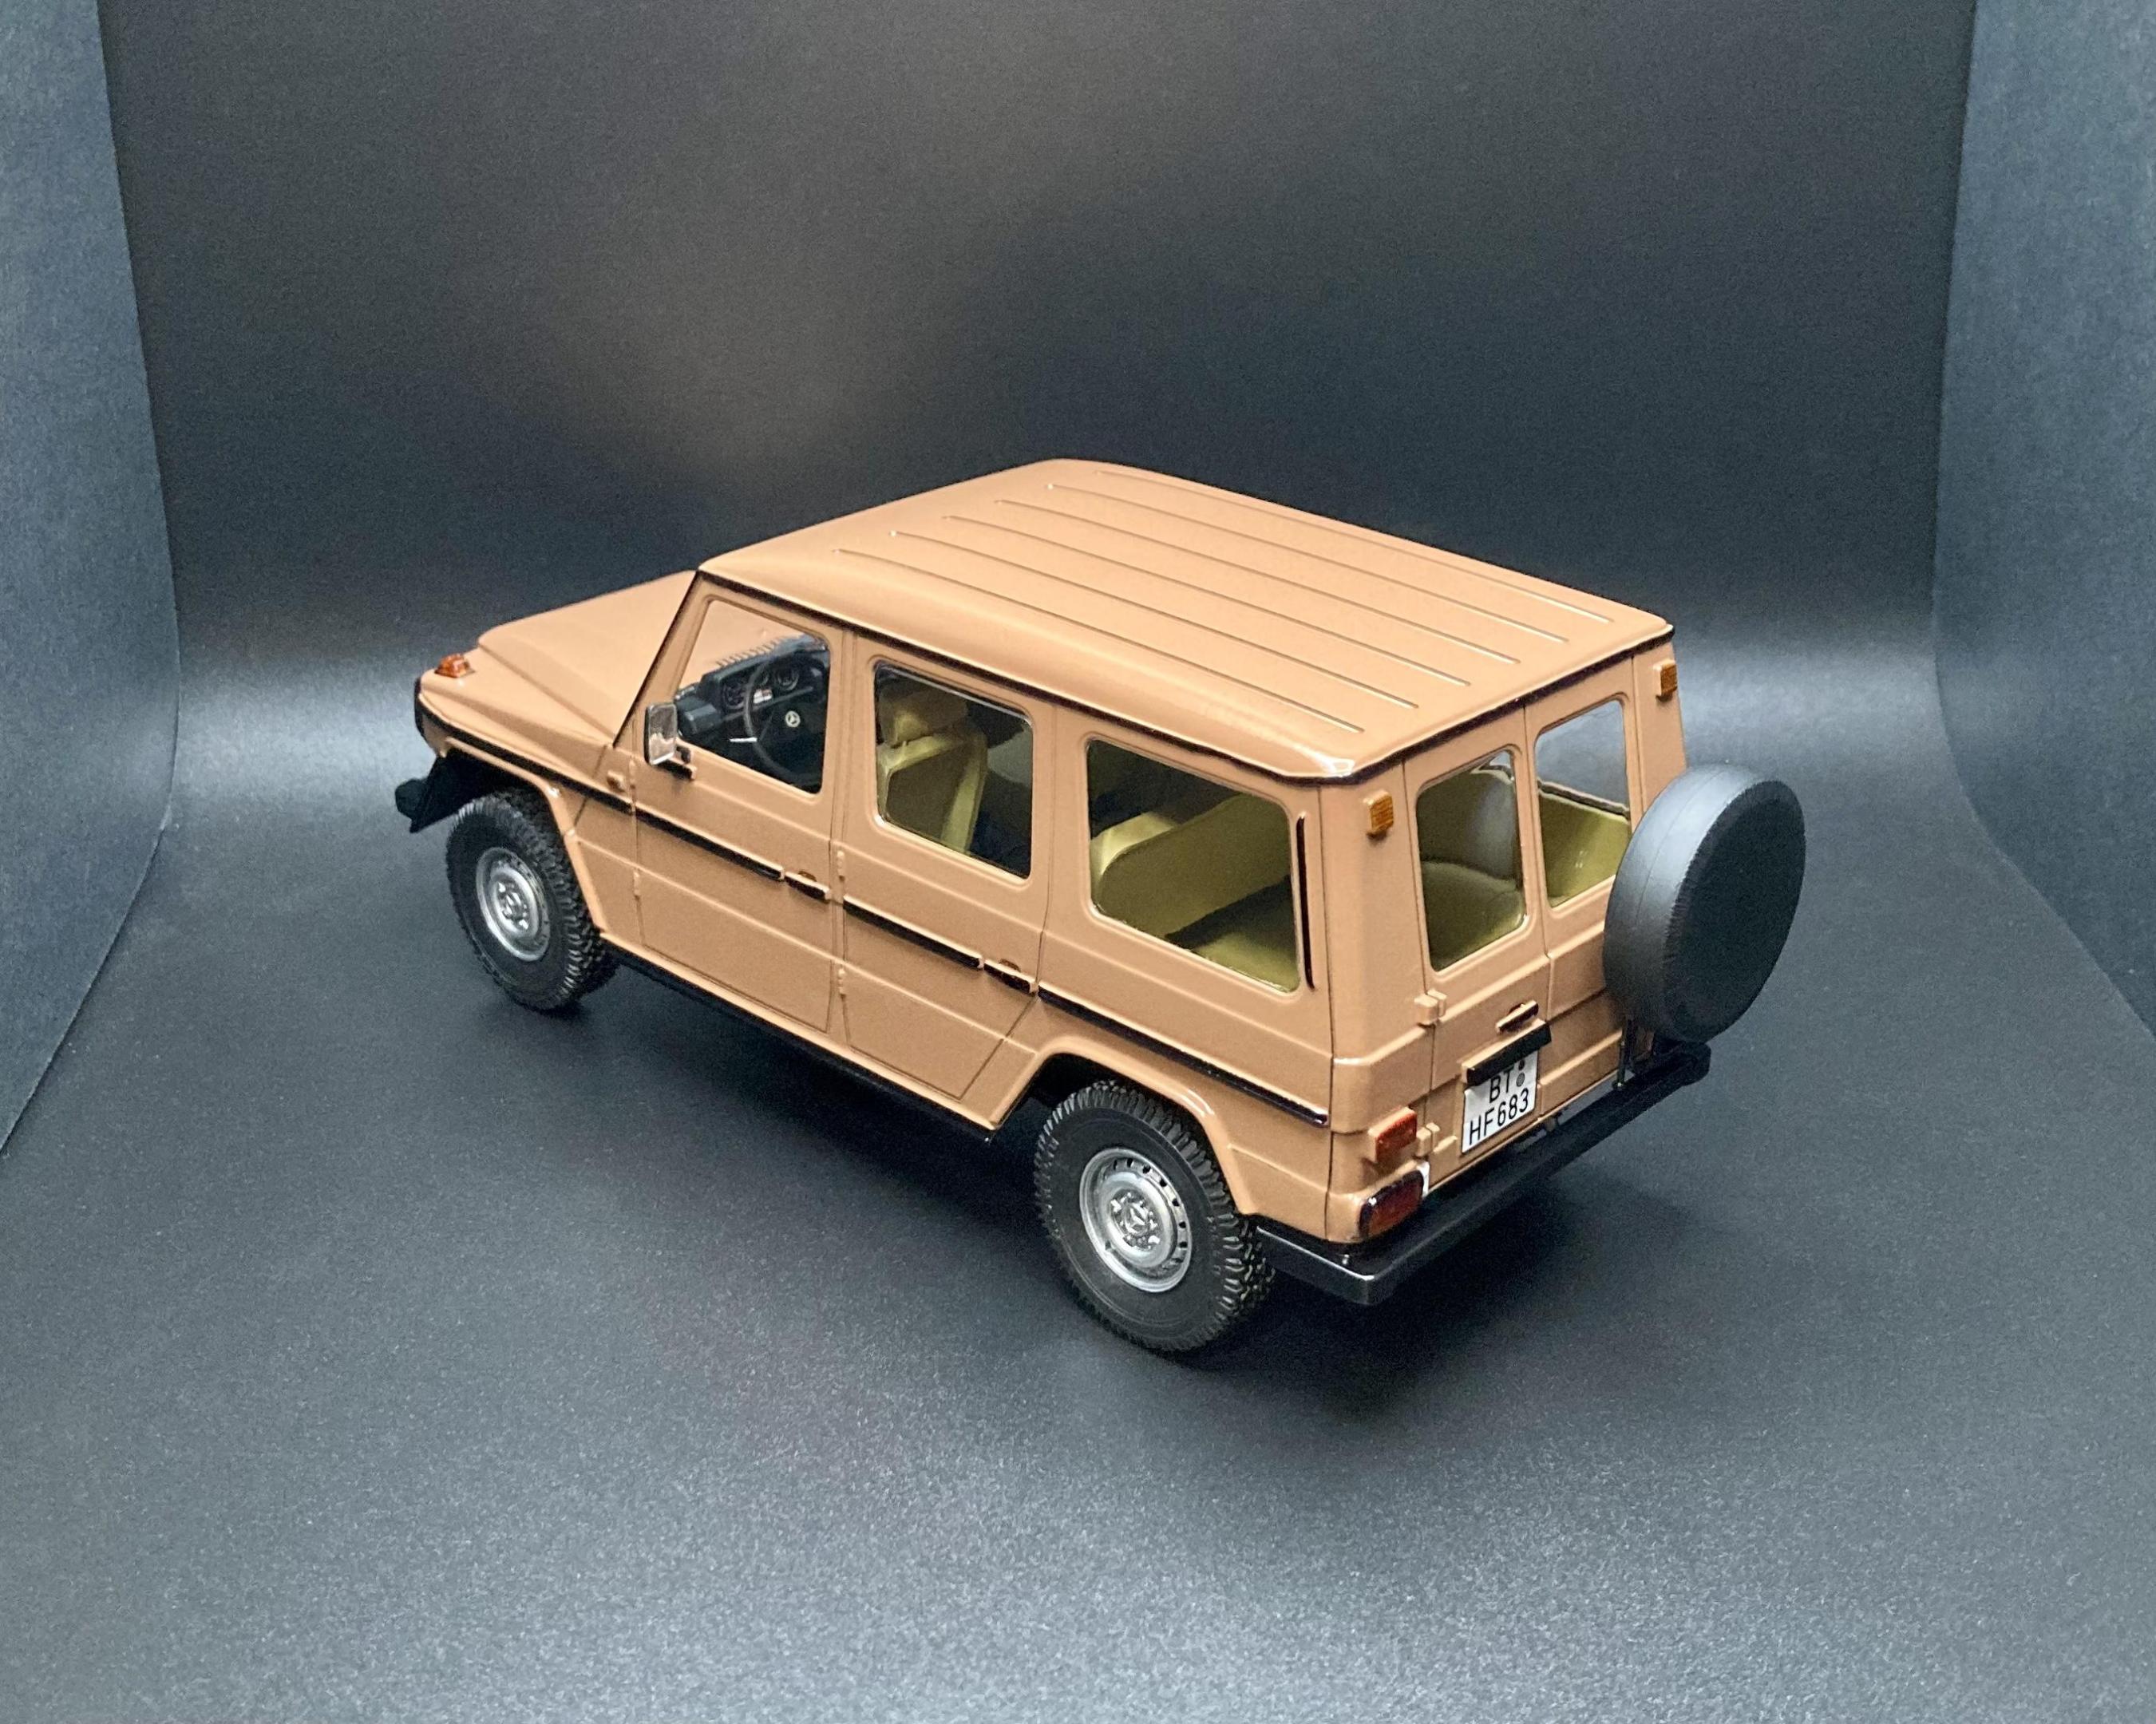
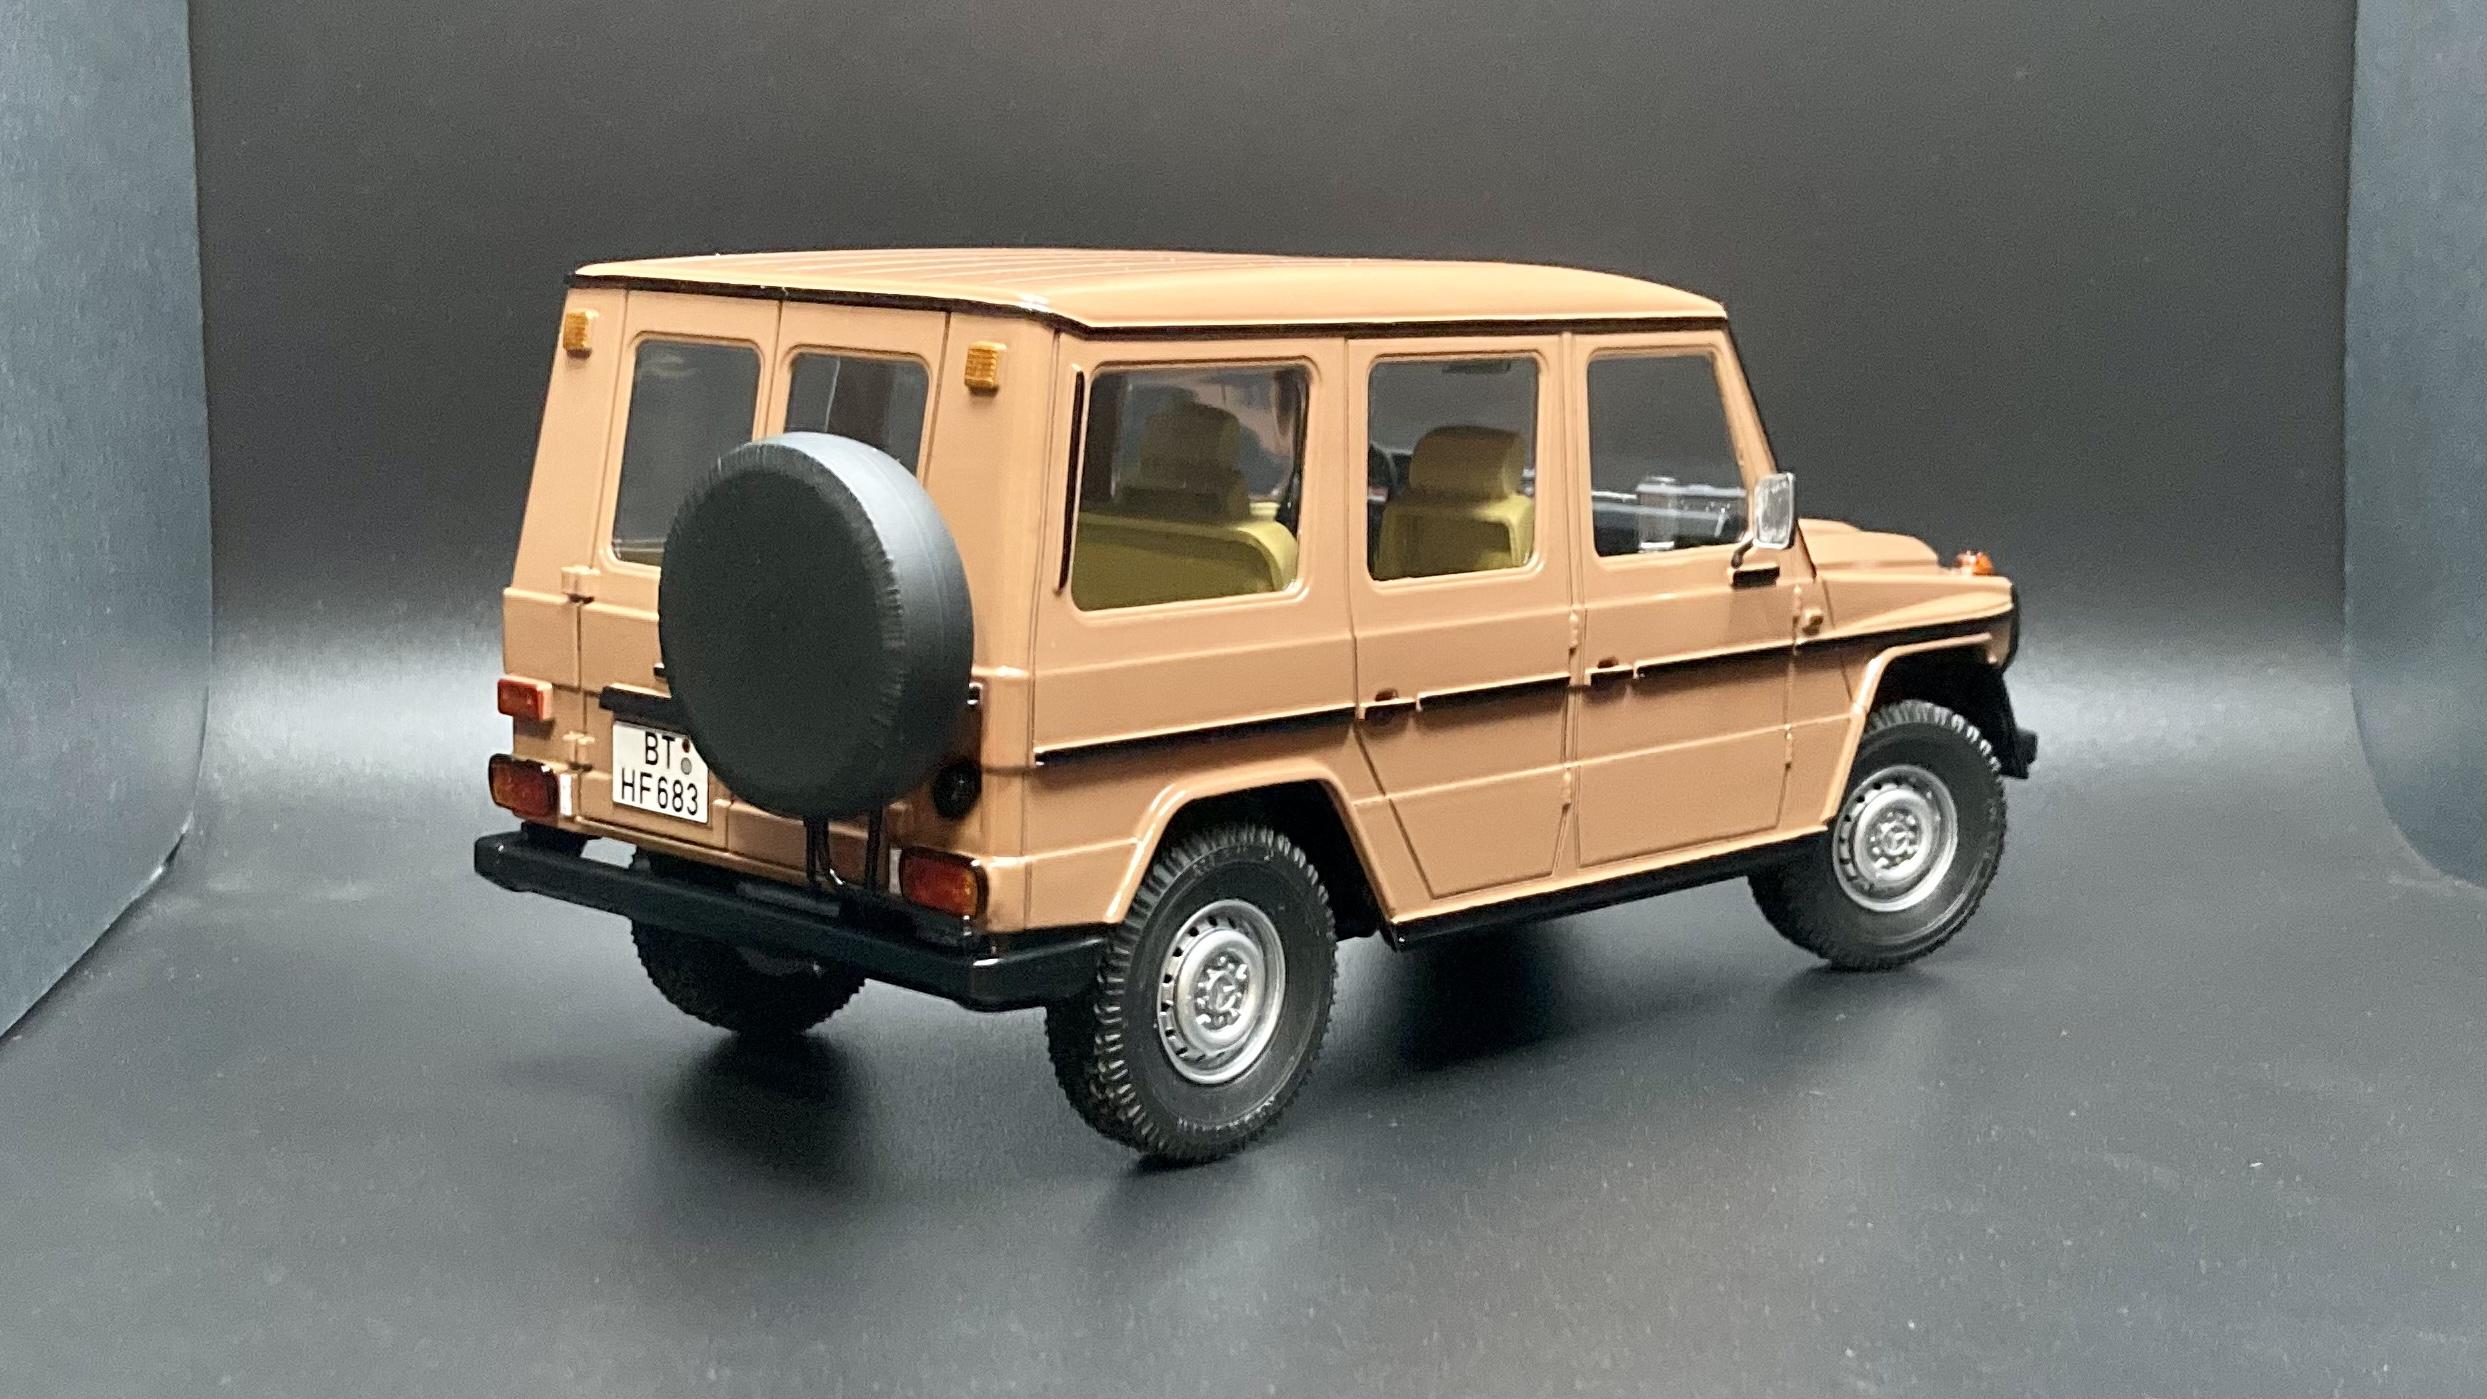
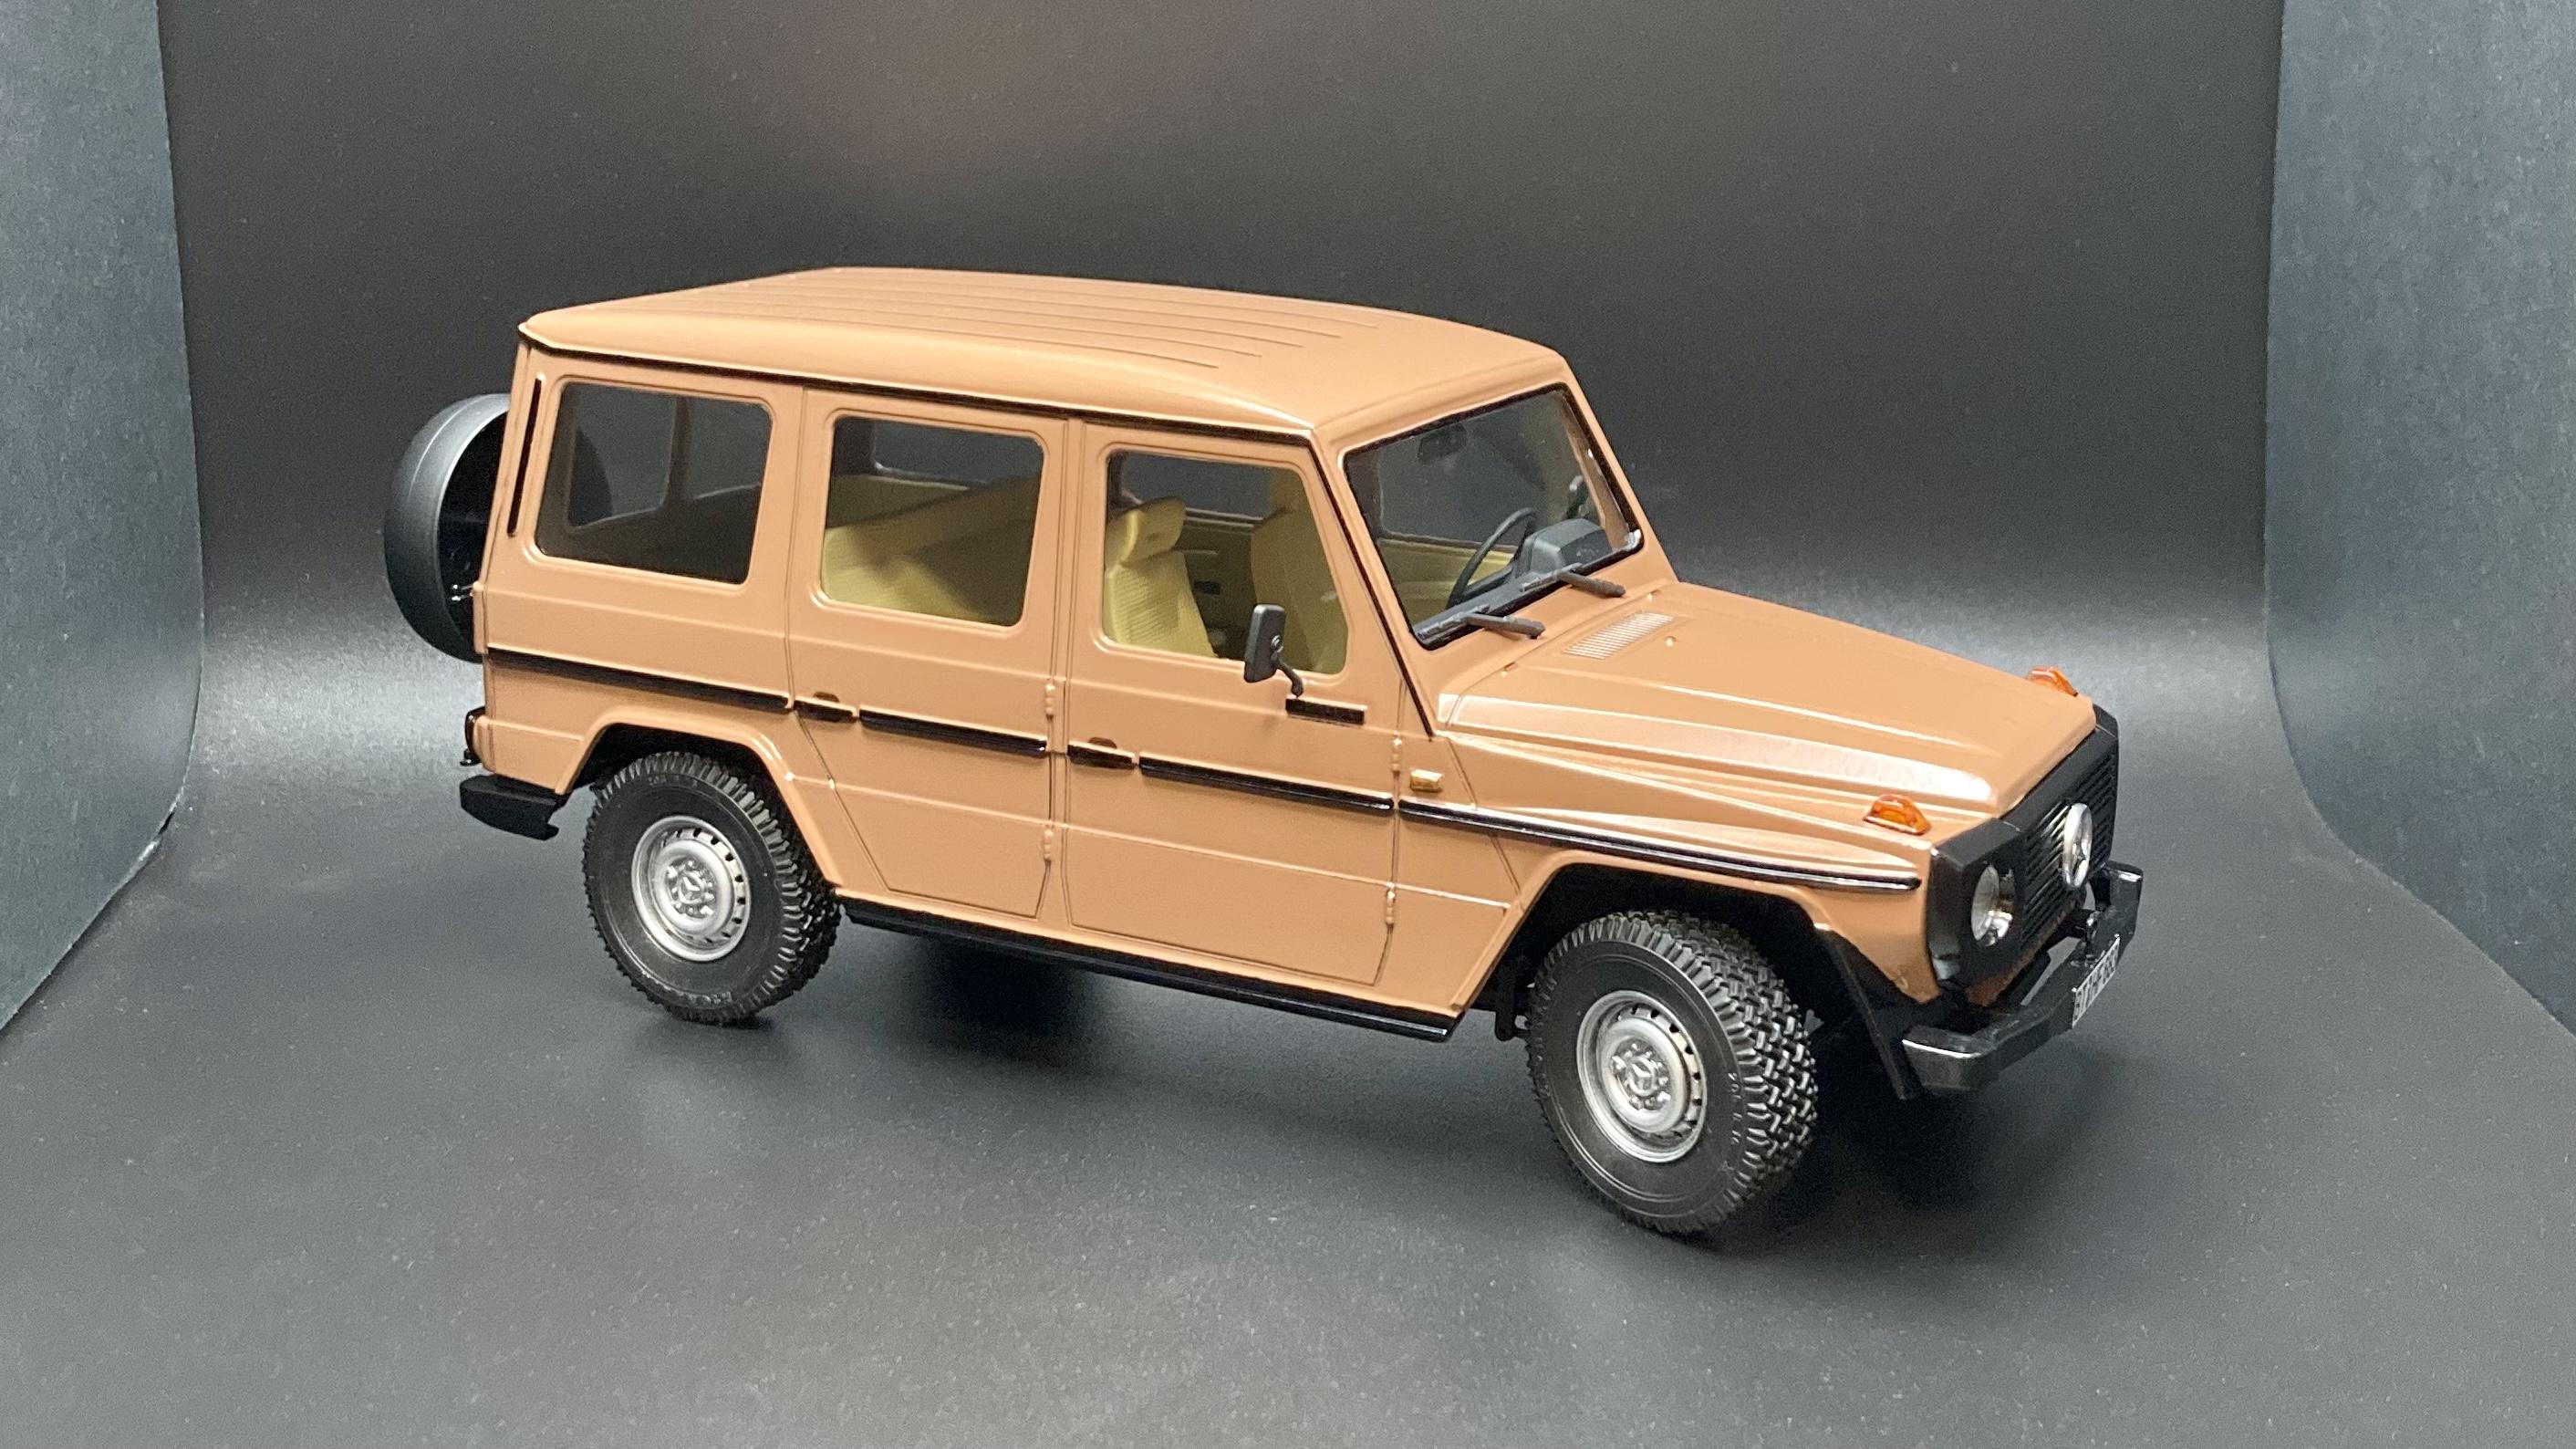
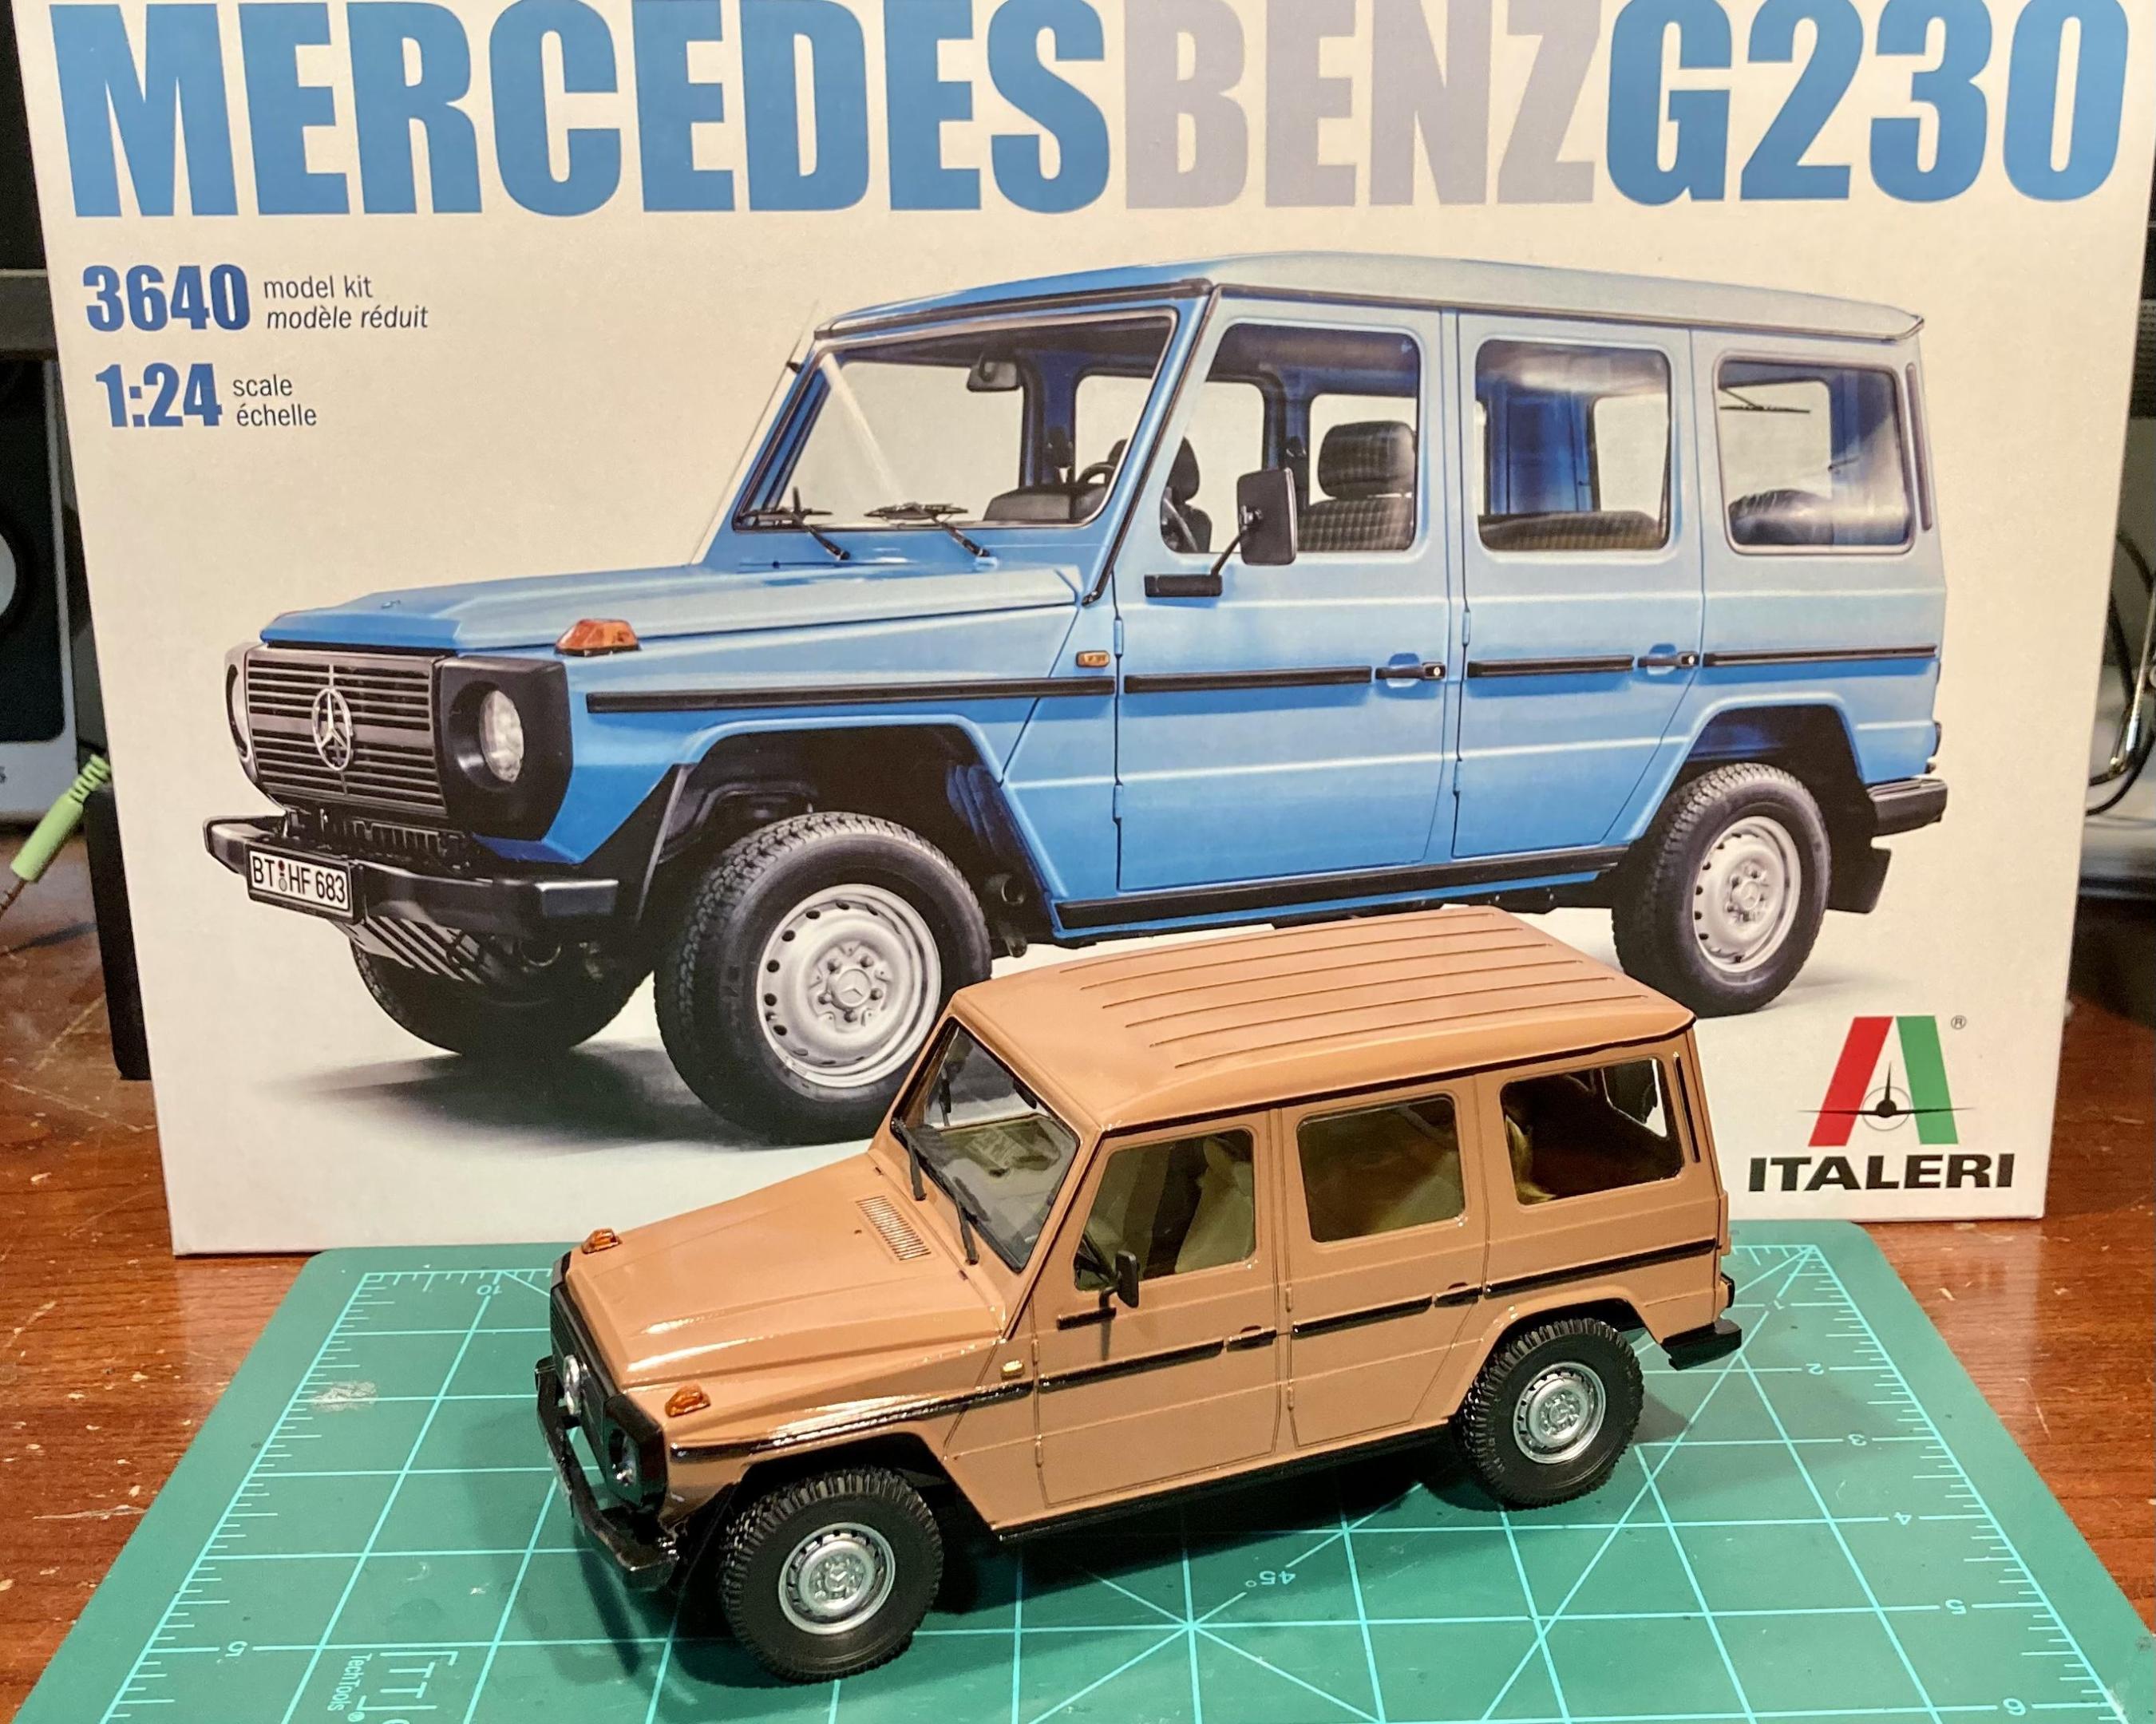
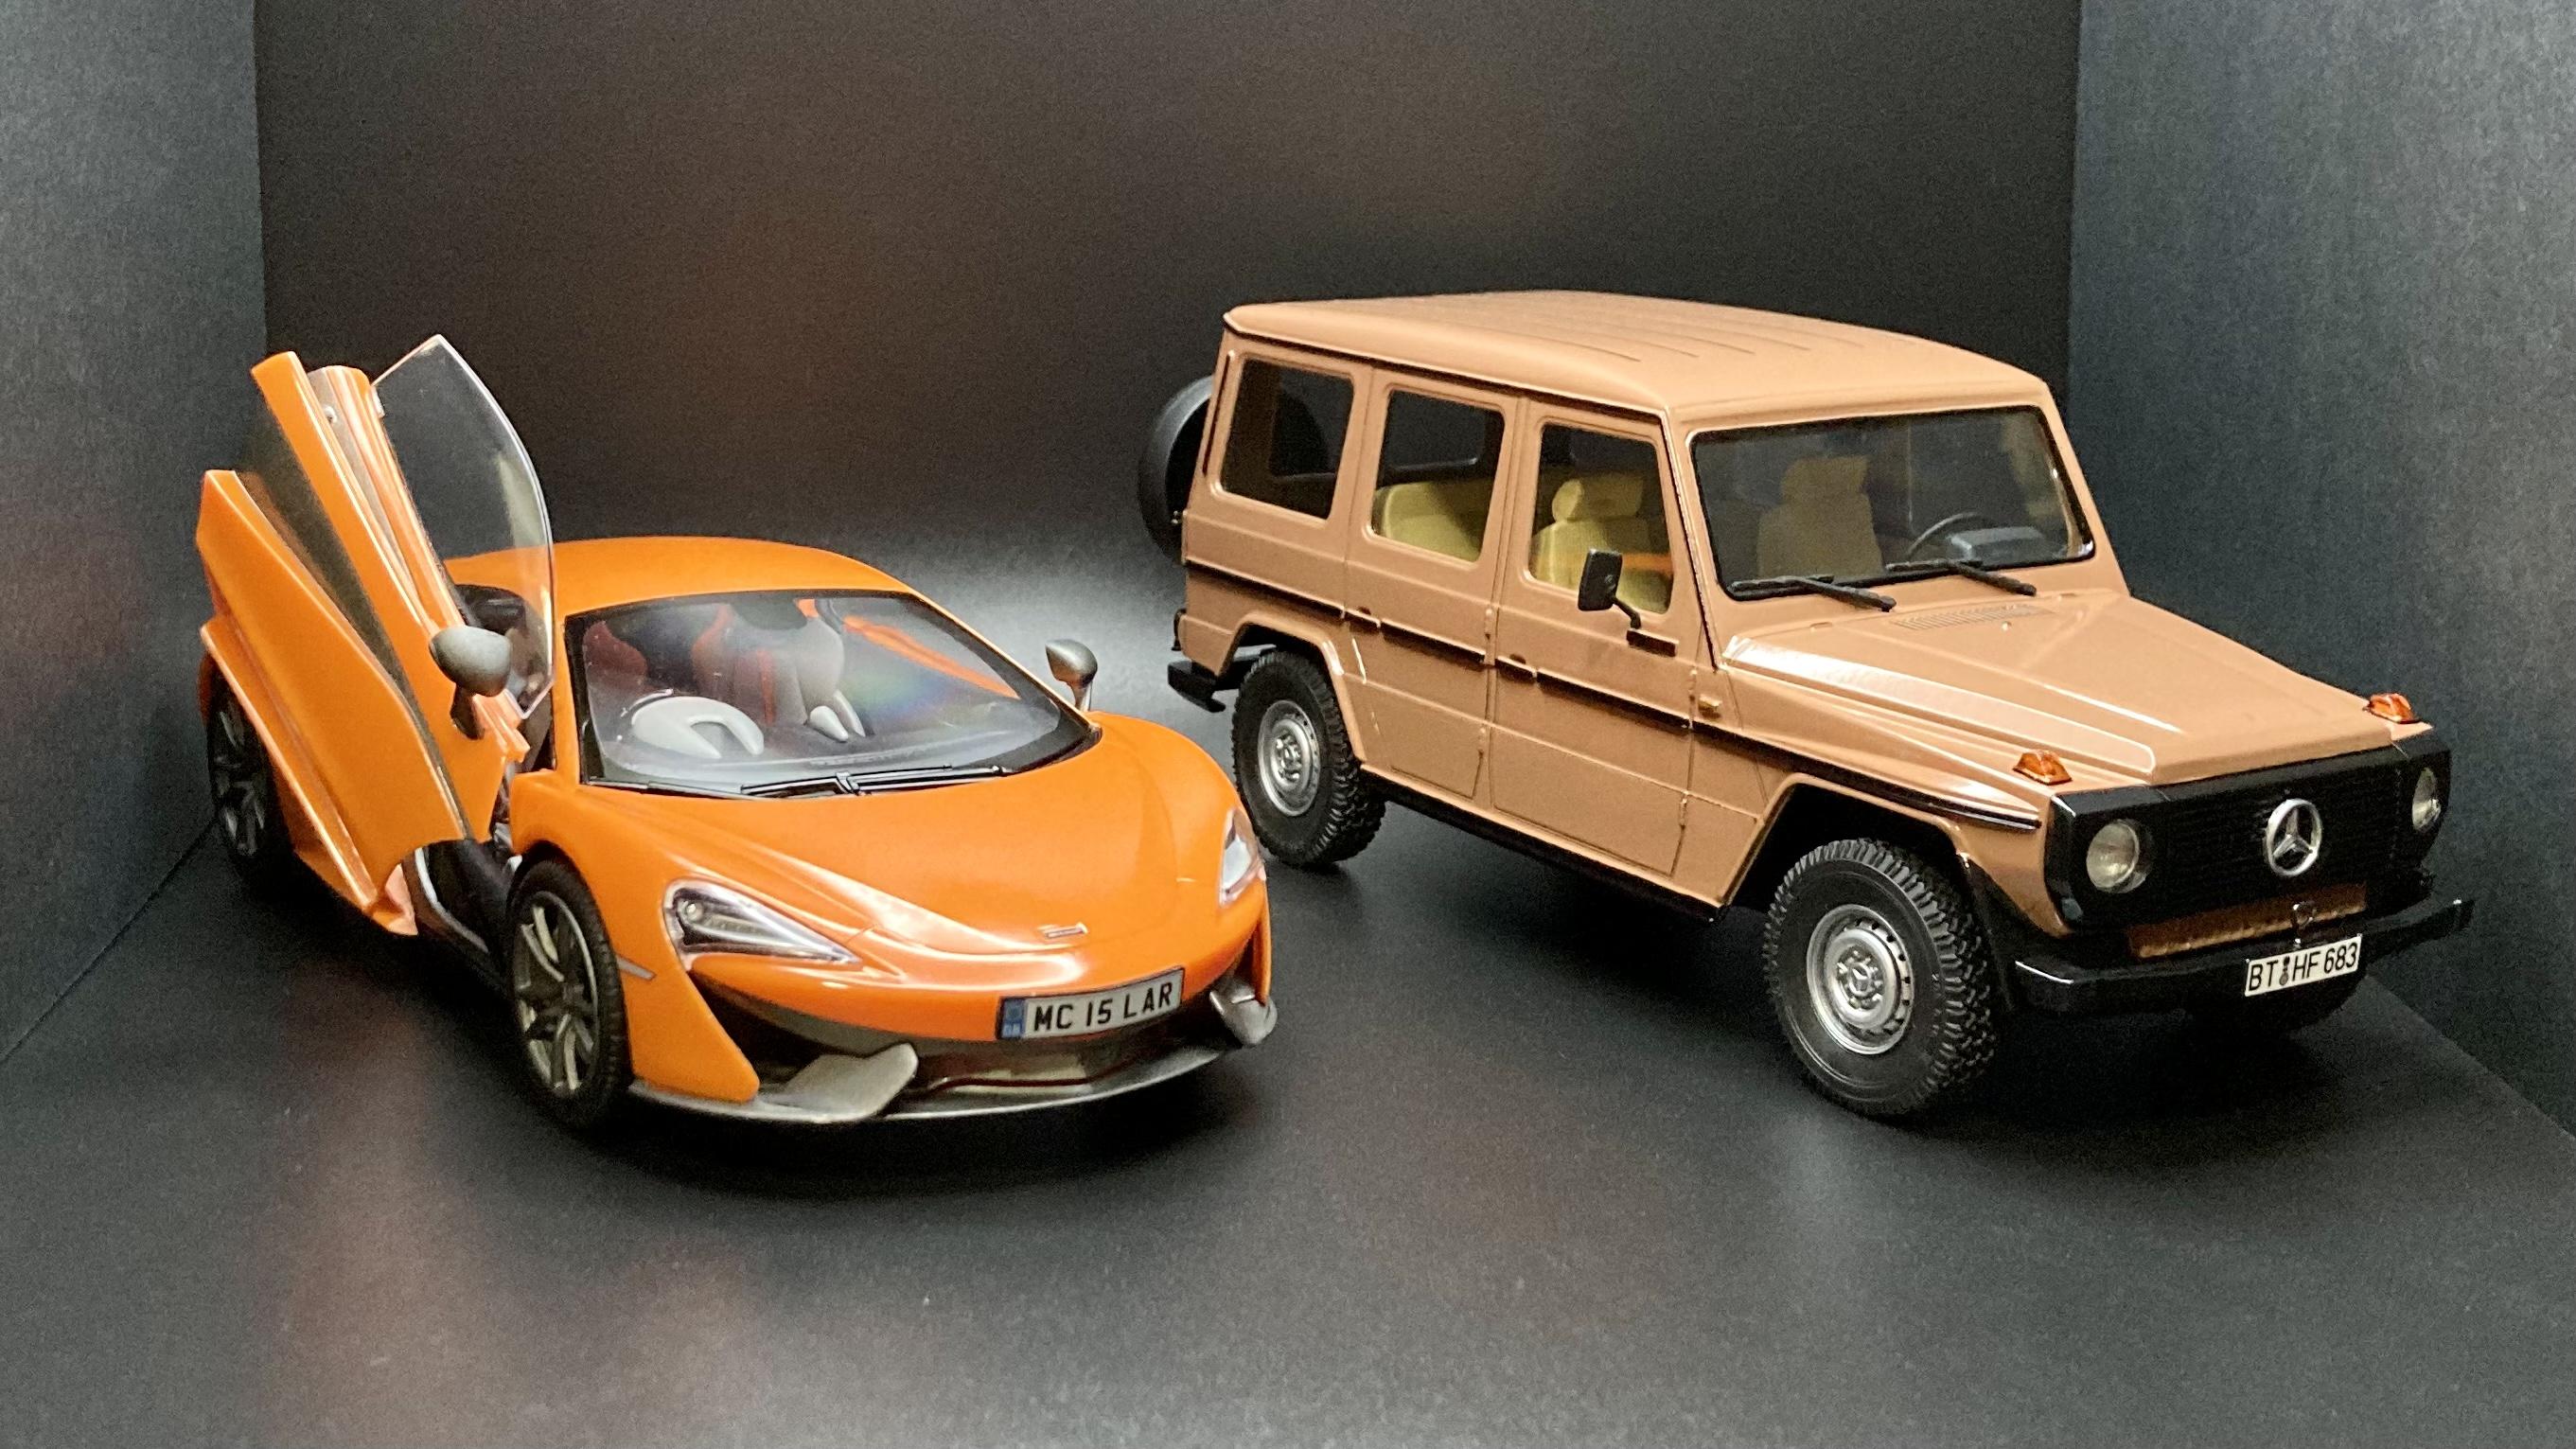
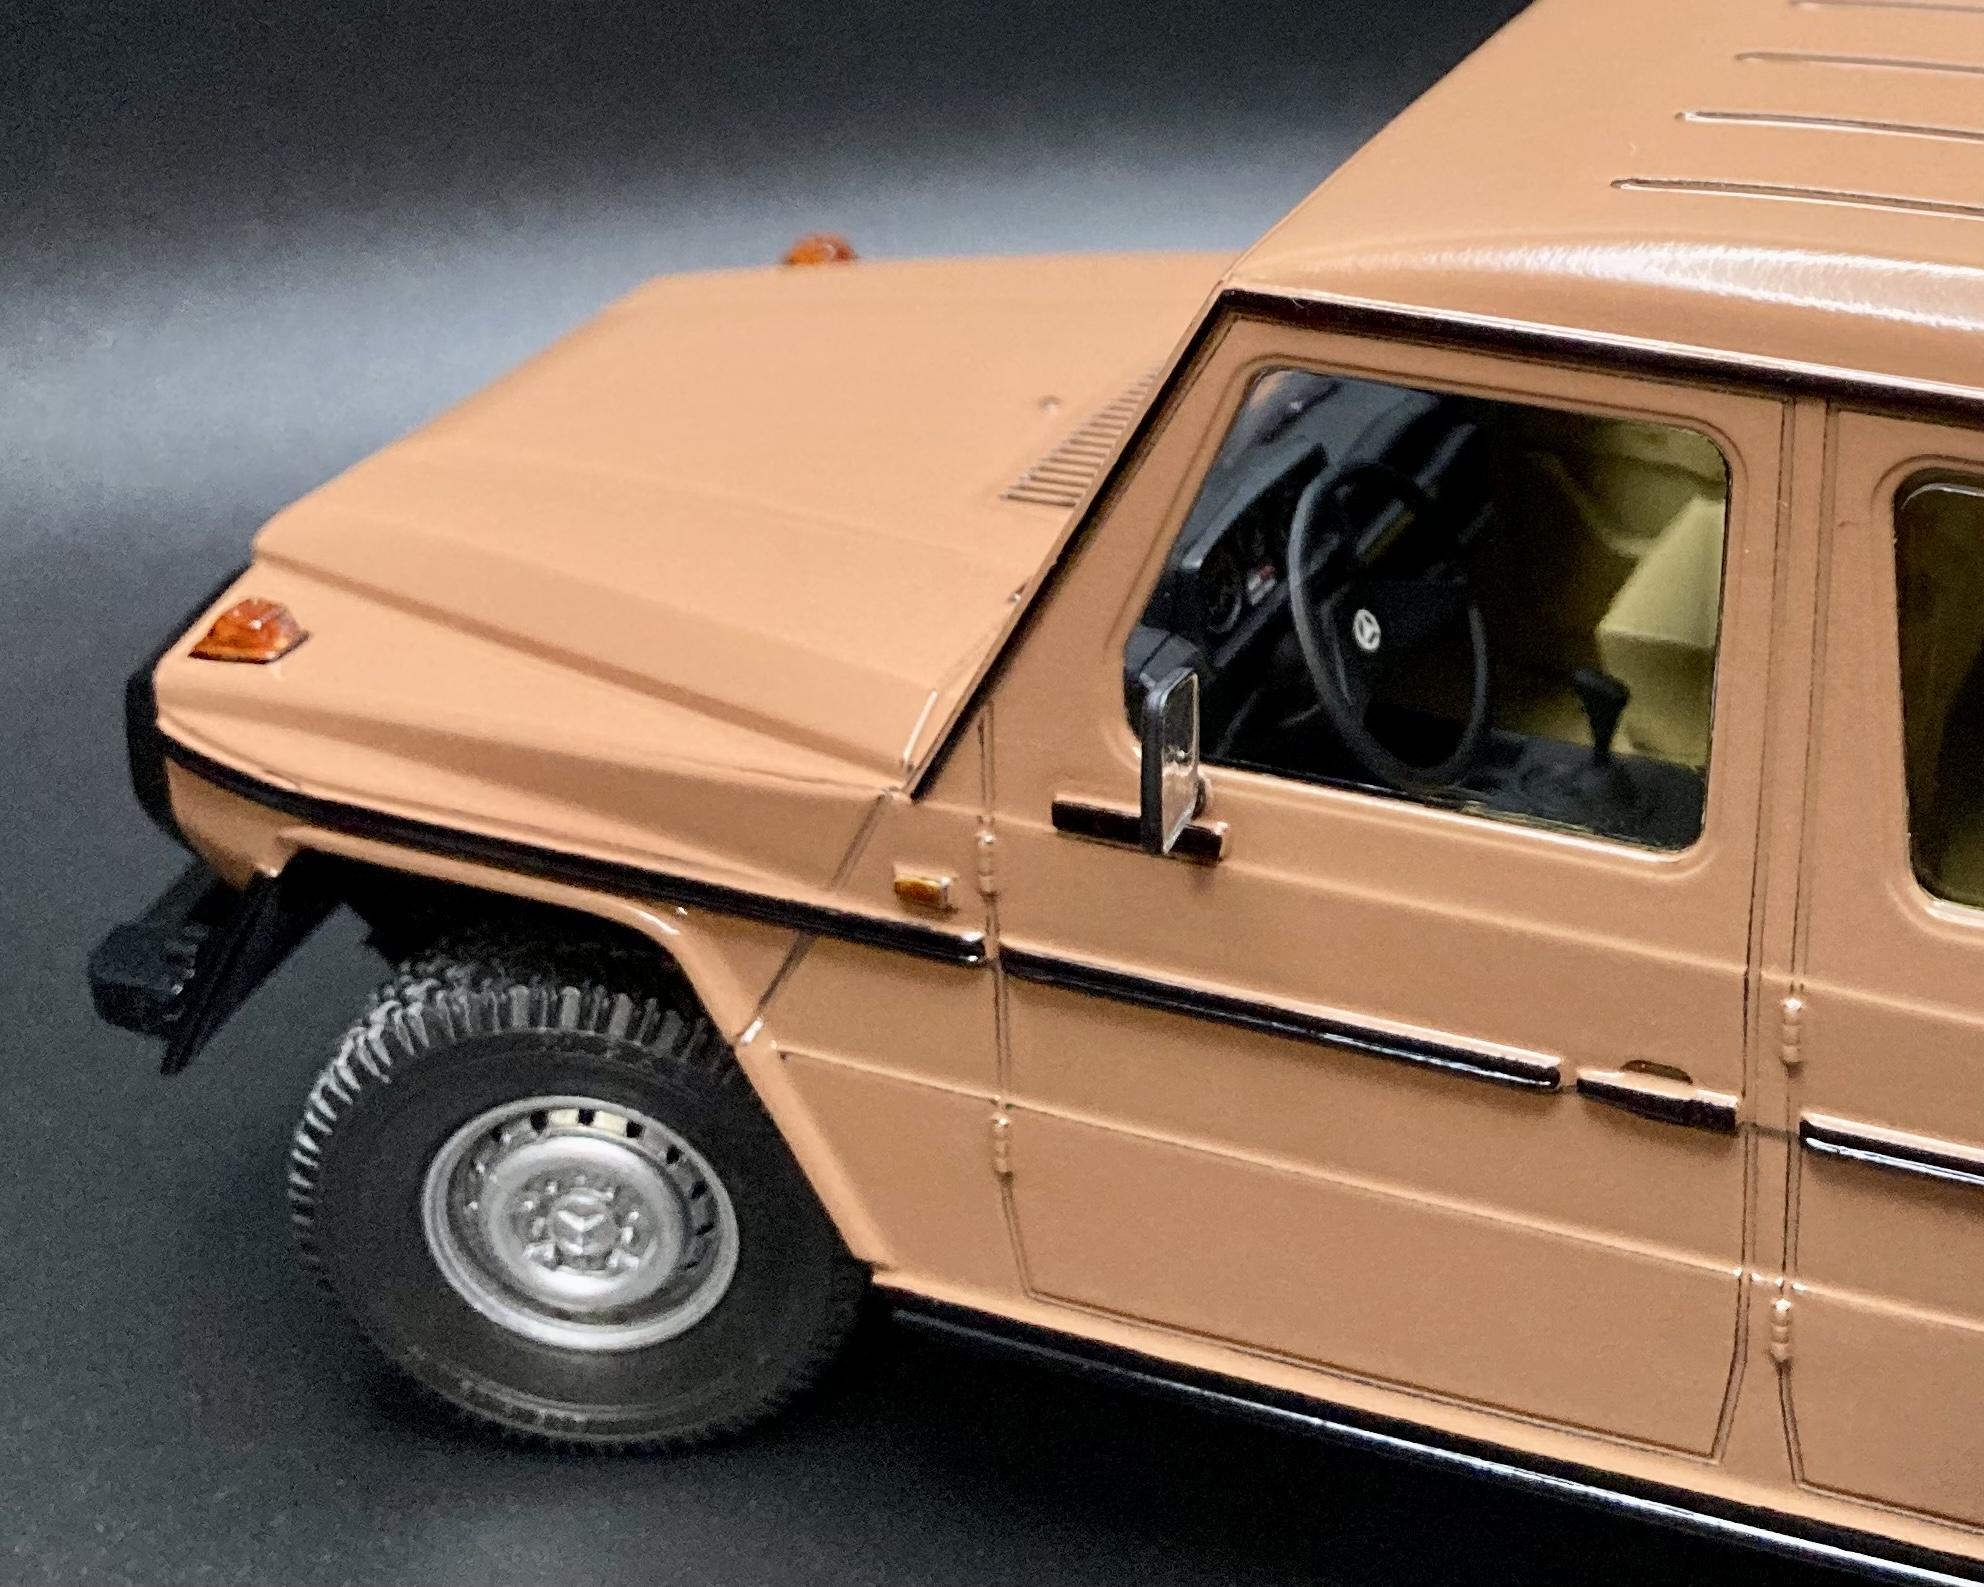
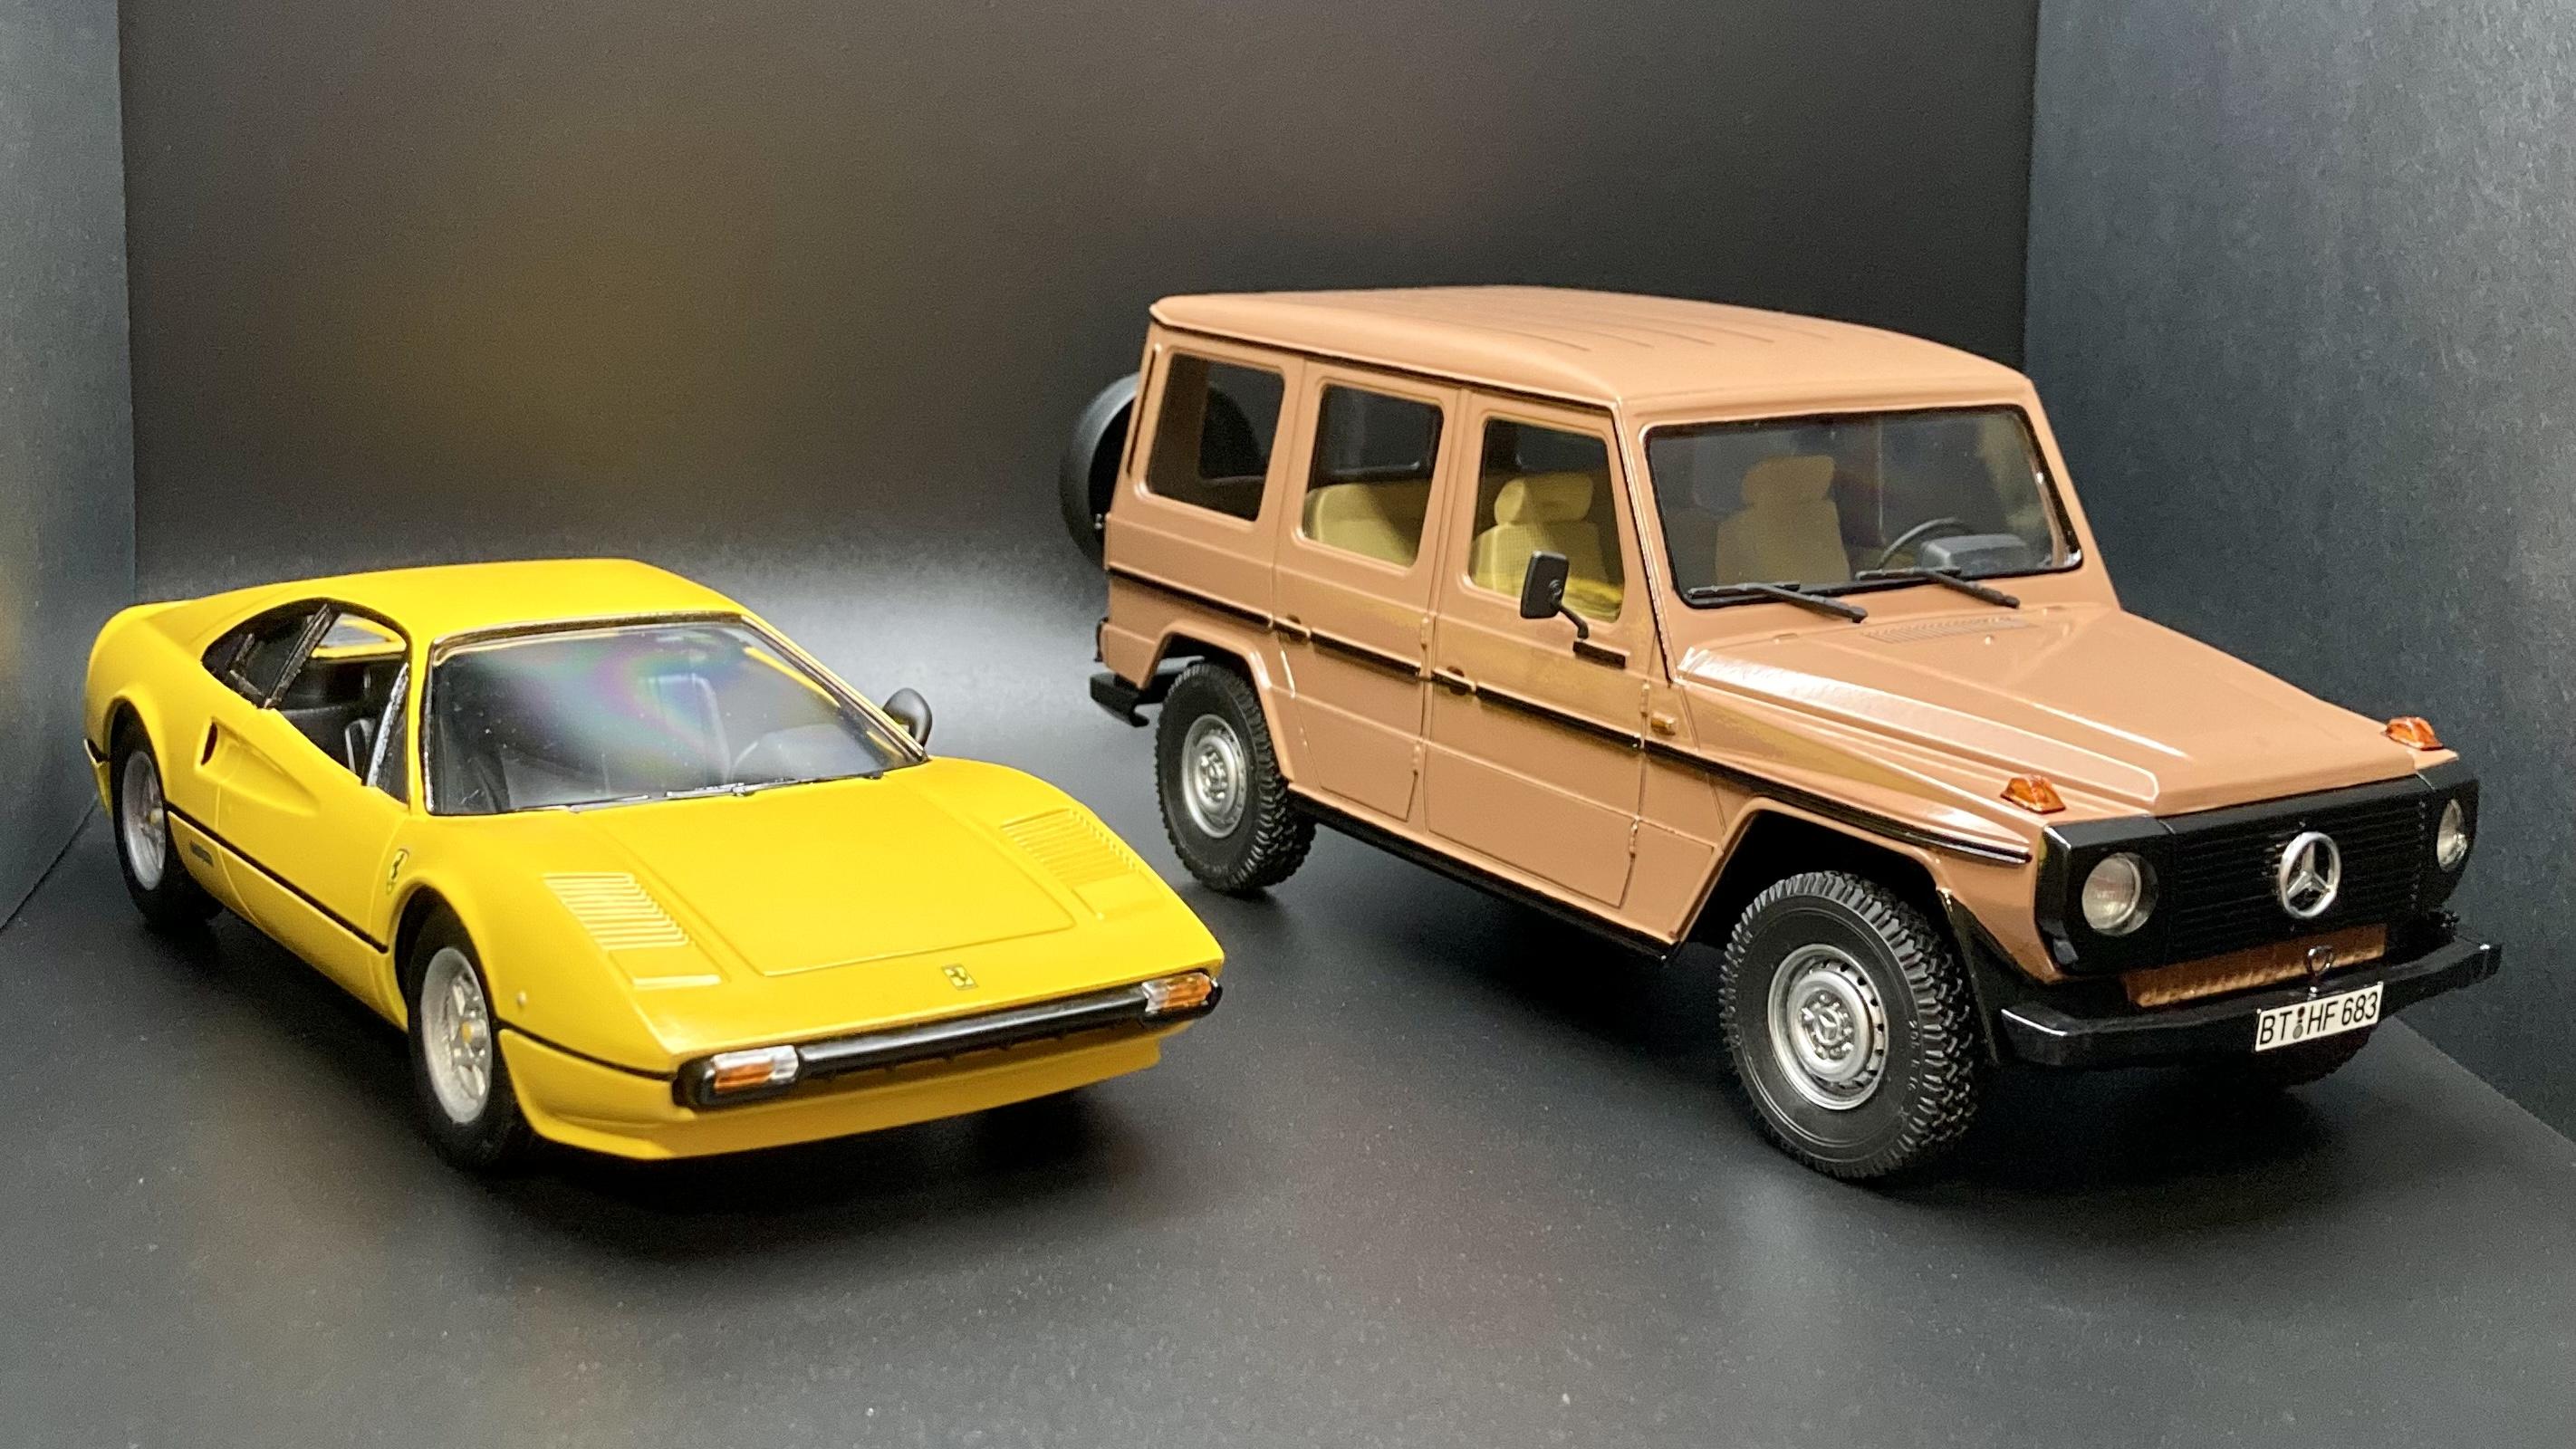
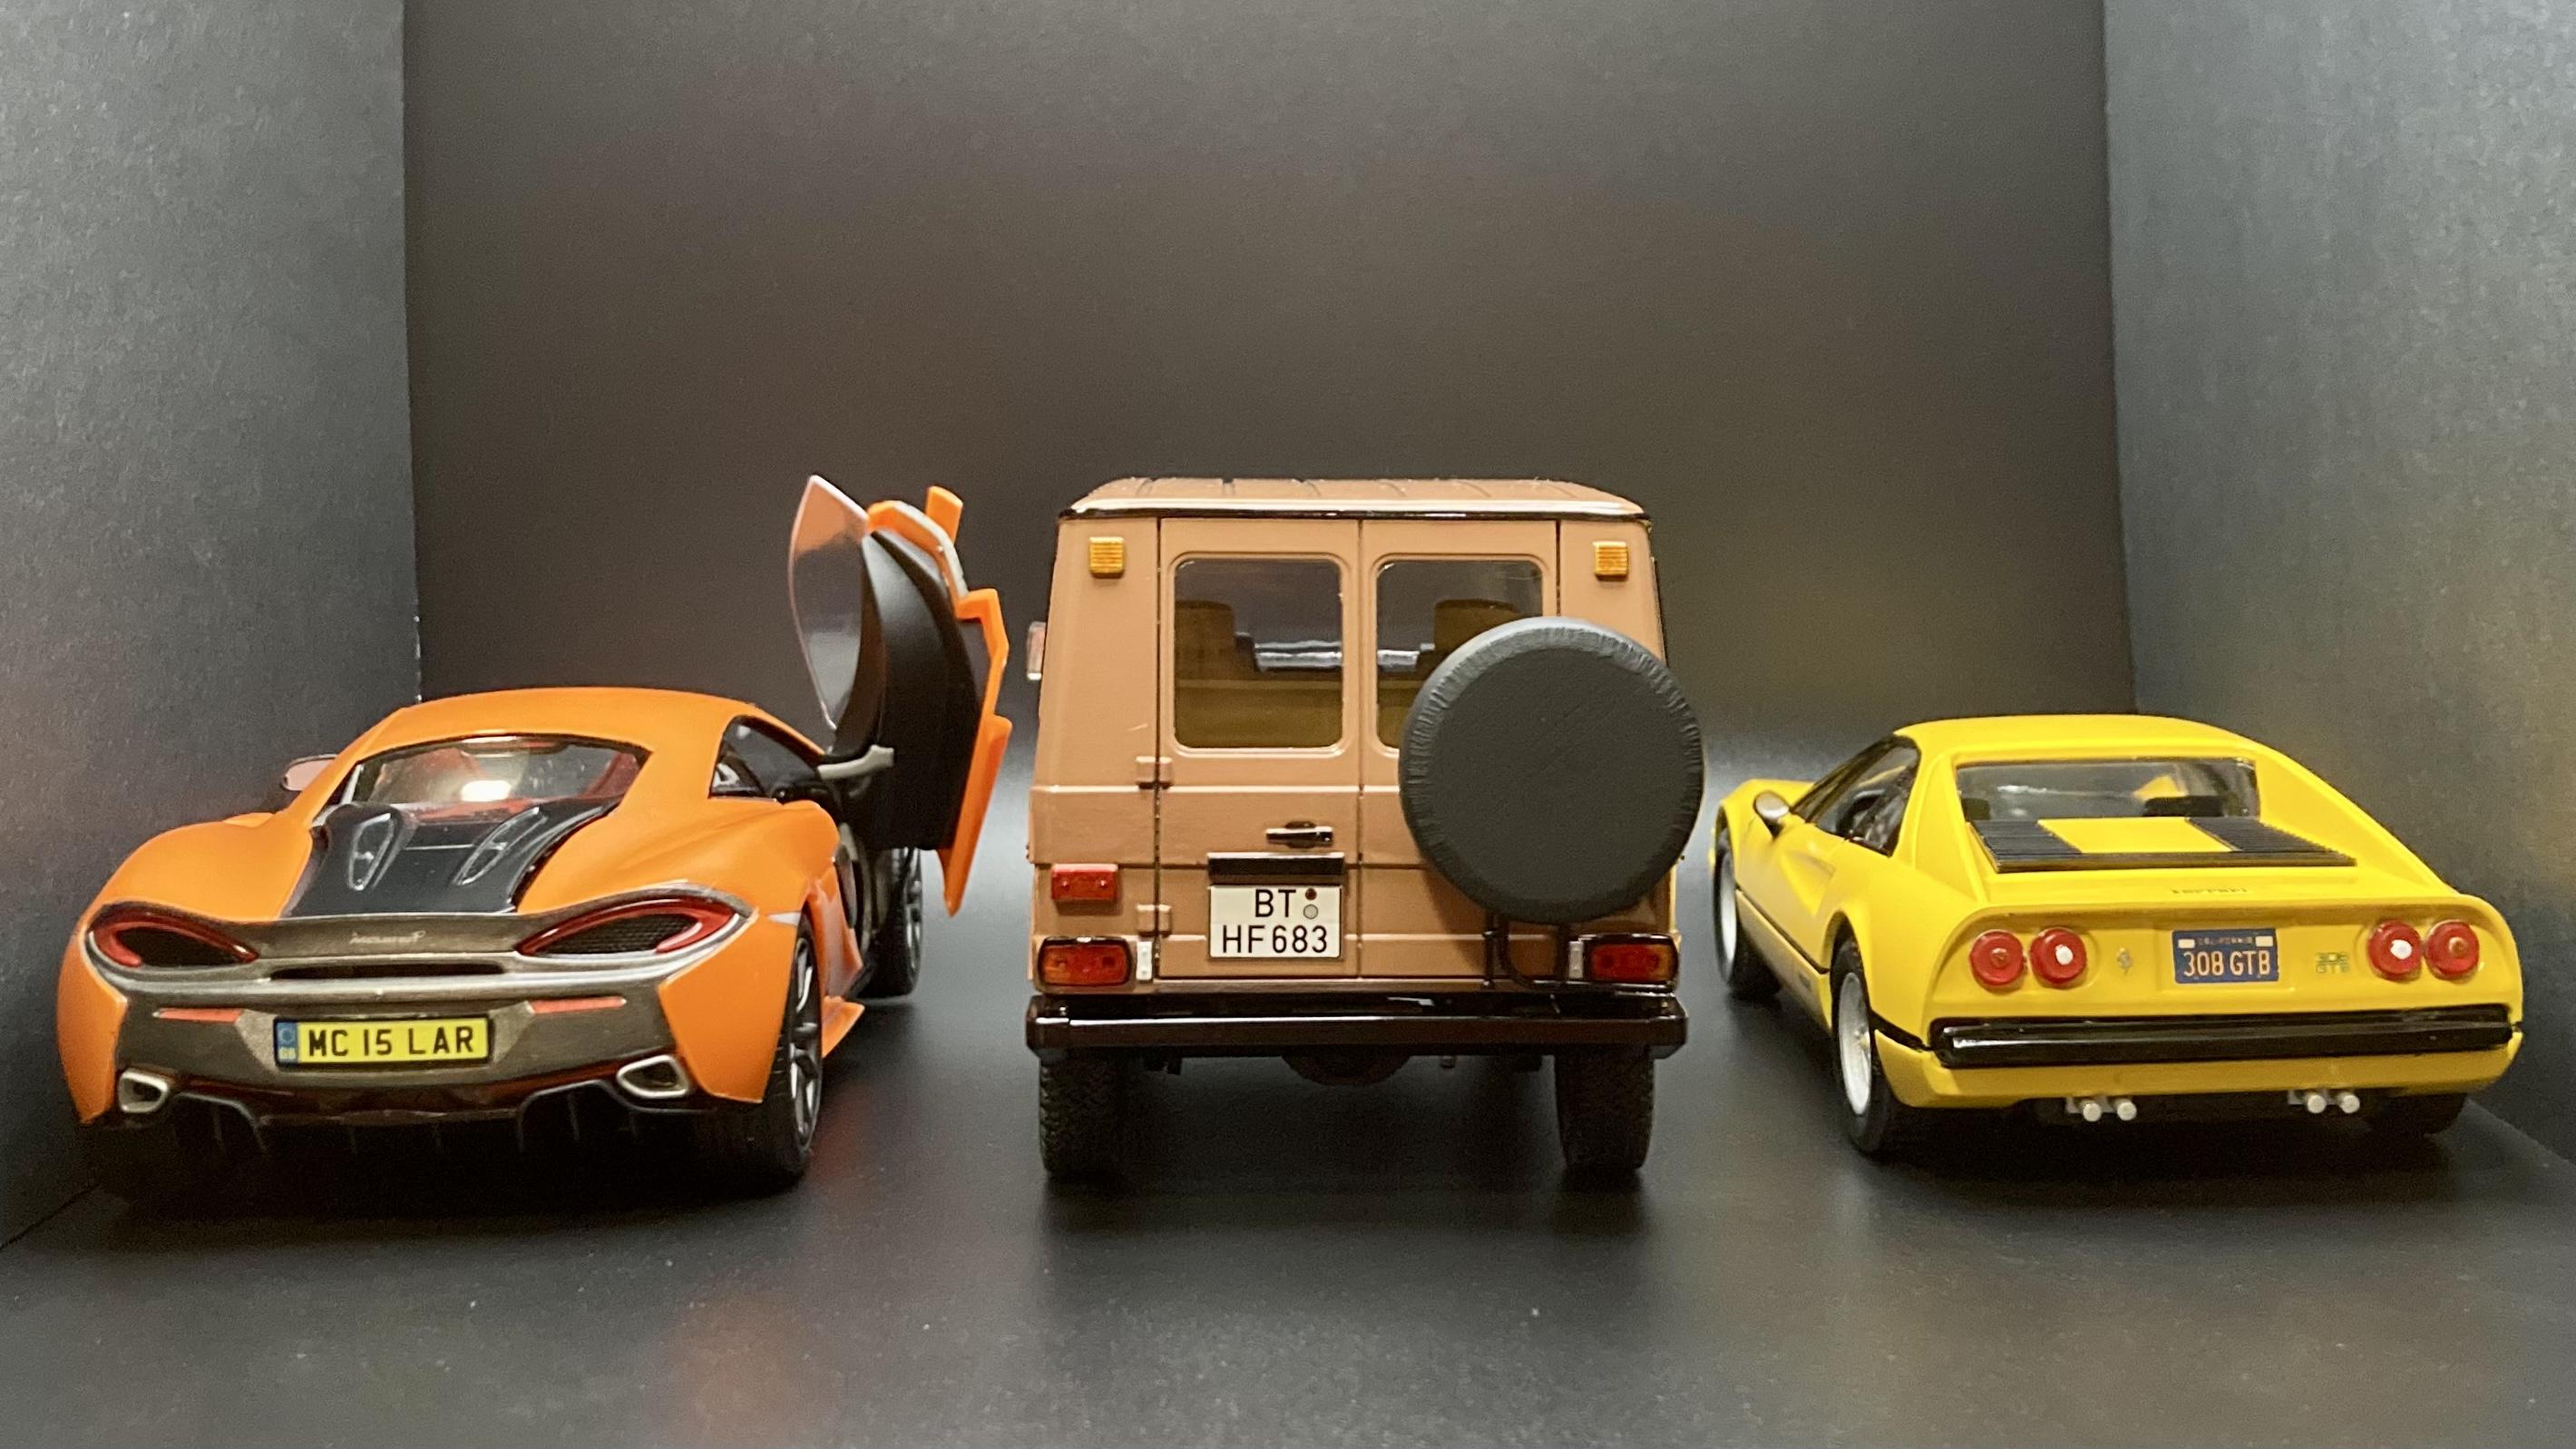
Here’s my first build of 2022, a Mercedes G-Wagen. This is from the latest 2019 release by Italeri, but it’s the same old ESCI kit from the ‘80s. The box art doesn’t show the rear end of the truck, but this issue has the molded-in rear D pillar strobes from the Fire Brigade version, and barn doors instead of the single hatch. All of the parts are molded in black plastic, except for the body which is molded in white. I painted this kit in all Krylon, with “Brown Boots” satin brown over black primer for the body and cleared, with two coats of Pledge Floor Gloss on top of that. Interior is “Summer Wheat” matte and black primer. Wheels are Tamiya gloss aluminum, lightly sprayed over the bare black plastic. This kit builds up very nicely, similar in fit and construction to Japanese kits of the era. But unlike those Japanese kits, this one has some flash to deal with. Overall not bad, and is a fairly quick build with nice details. The decals are especially nice in this issue. I’m happy with how this one turned out!
-

1978 Ford Courier “Minivan”
StanGlover replied to StanGlover's topic in Model Trucks: Pickups, Vans, SUVs, Light Commercial
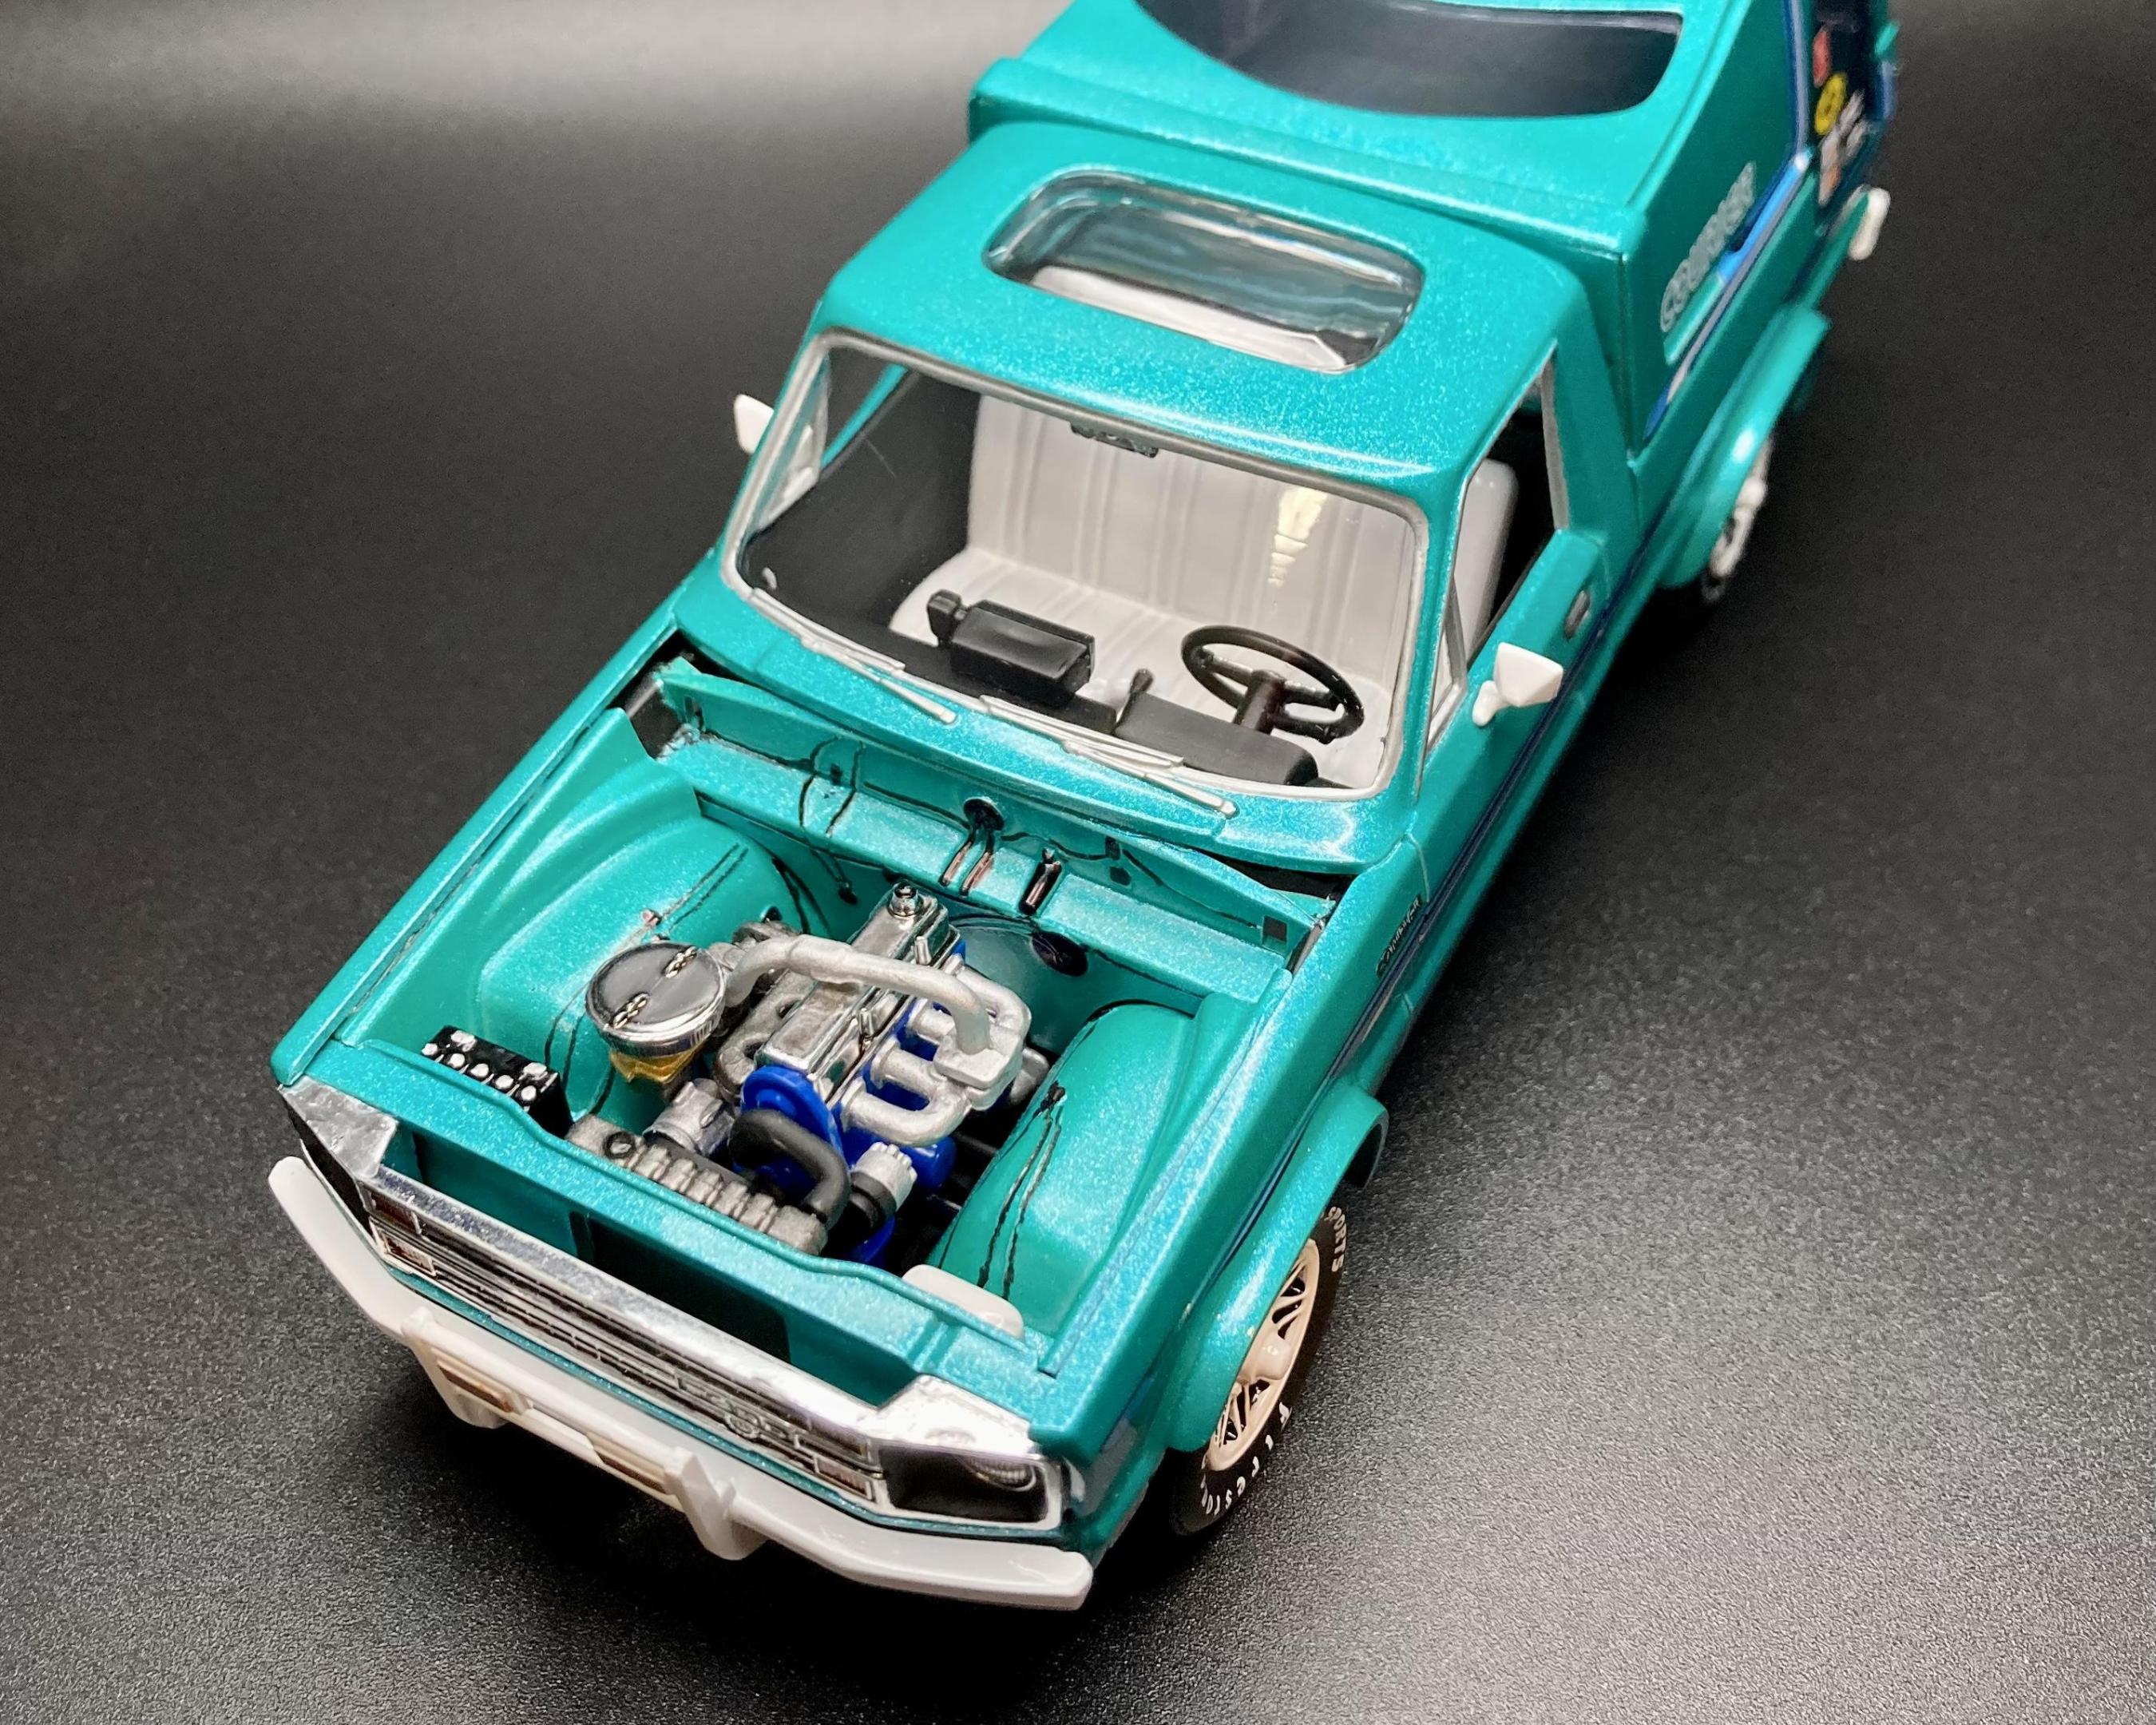
Yes all of that has to be done separately. I glued the firewall to the interior tub first (per the instructions) and then tried to align the inner wings with the firewall and frame after paint, but I got the angle of the firewall wrong. Then I had to trim the firewall to fit around the inner wings, and then the radiator support. All of that was slightly off now, which threw off the outer cab alignment with the engine bay. I think the windshield also interferes with the dash a little, making the cab sit high at the rear so the bed doesn’t align right. My advice: ignore the directions, try placing the interior tub on the frame, then align the firewall, inner wings and rad support. I think it’s possible to glue the 4 engine bay panels together as one unit first, paint that as one unit. Then the tub, bay, cab, and front end should fit better. The bed is also tricky to get square. I ended up gluing the bed, tailgate, and camper shell together as one unit and painted that all at once. The cargo area is just overspray, but the tinted windows mostly hide that. You will probably have to add or subtract plastic at the bed to frame body mount points to get the cab and bed to align right. I didn’t do that before paint so I just left it as is because I was getting frustrated with it. Anyway I hope that helps and doesn’t discourage you! It’s a cool little kit and was still fun to do. Once I burn down my kit stash some, I’d definitely like to buy another and try this kit again with the standard bed and a different livery. -

1978 Ford Courier “Minivan”
StanGlover replied to StanGlover's topic in Model Trucks: Pickups, Vans, SUVs, Light Commercial
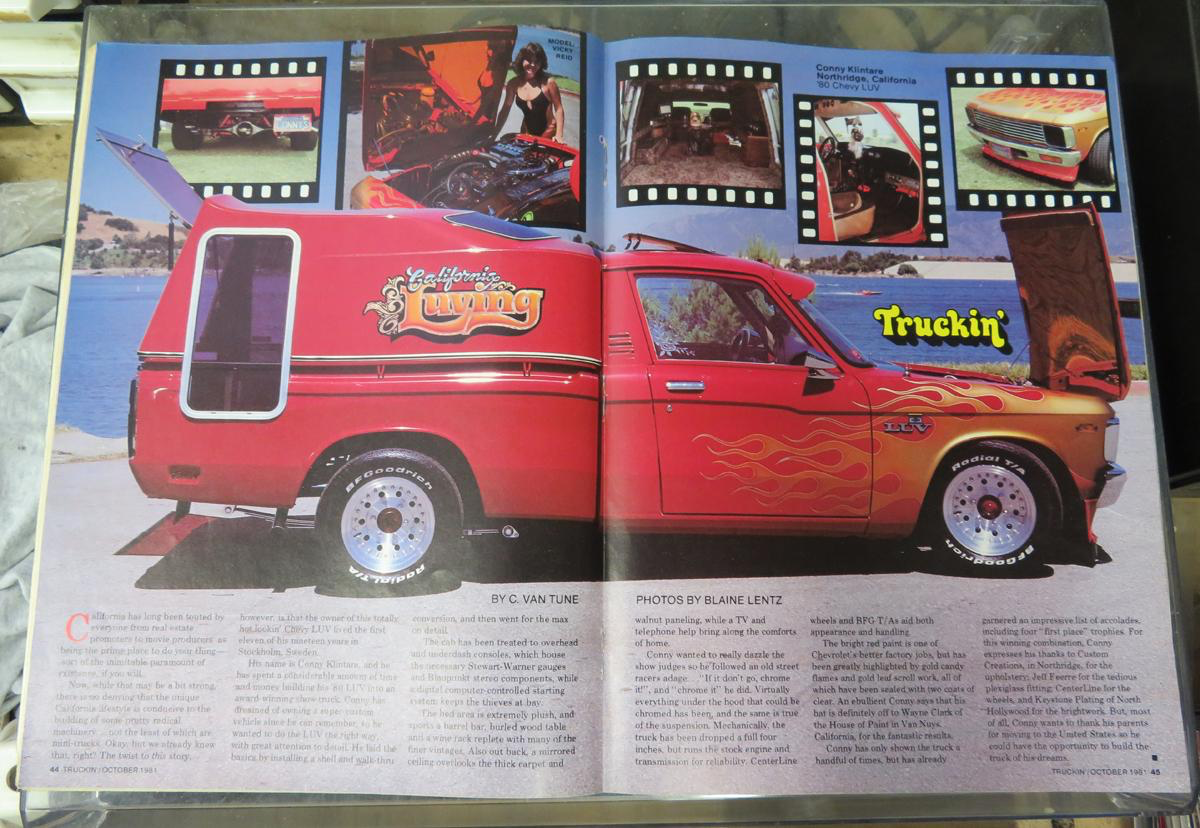
That old thread has a picture from a mini trucking magazine, looks like it was an aftermarket custom that may have had a limited production. -
Awesome builds! We definitely have a similar taste in cars: Euro sports cars, trucks, 4x4s, American land yachts, and especially mustangs!
-
The new Mustang Mach-E is a no-brainer kit to create as well. A full detail kit with separate motors and batteries would be awesome. I’d love to kit bash a scale EV drivetrain into a number of vintage cars.
-

1978 Ford Courier “Minivan”
StanGlover replied to StanGlover's topic in Model Trucks: Pickups, Vans, SUVs, Light Commercial
Thanks! Yes it can be built as a regular pickup, comes with two sets of bed sides, stock and custom notched for the topper windows. There’s also a roll cage for the bed area that I didn’t use. -
The woody decals came with that kit! Not sure what they were smoking at Round2 but I thought it looked cool ?
-
Thanks! Yes it is, made by Academy
-
I didn’t realize how many I’ve actually completed this year until I went back and counted! There’s a promo repaint, a snap kit, a few curbsides and three polished plastic bodies in there which speeds things up, and they’re all basically box stock but still!
-
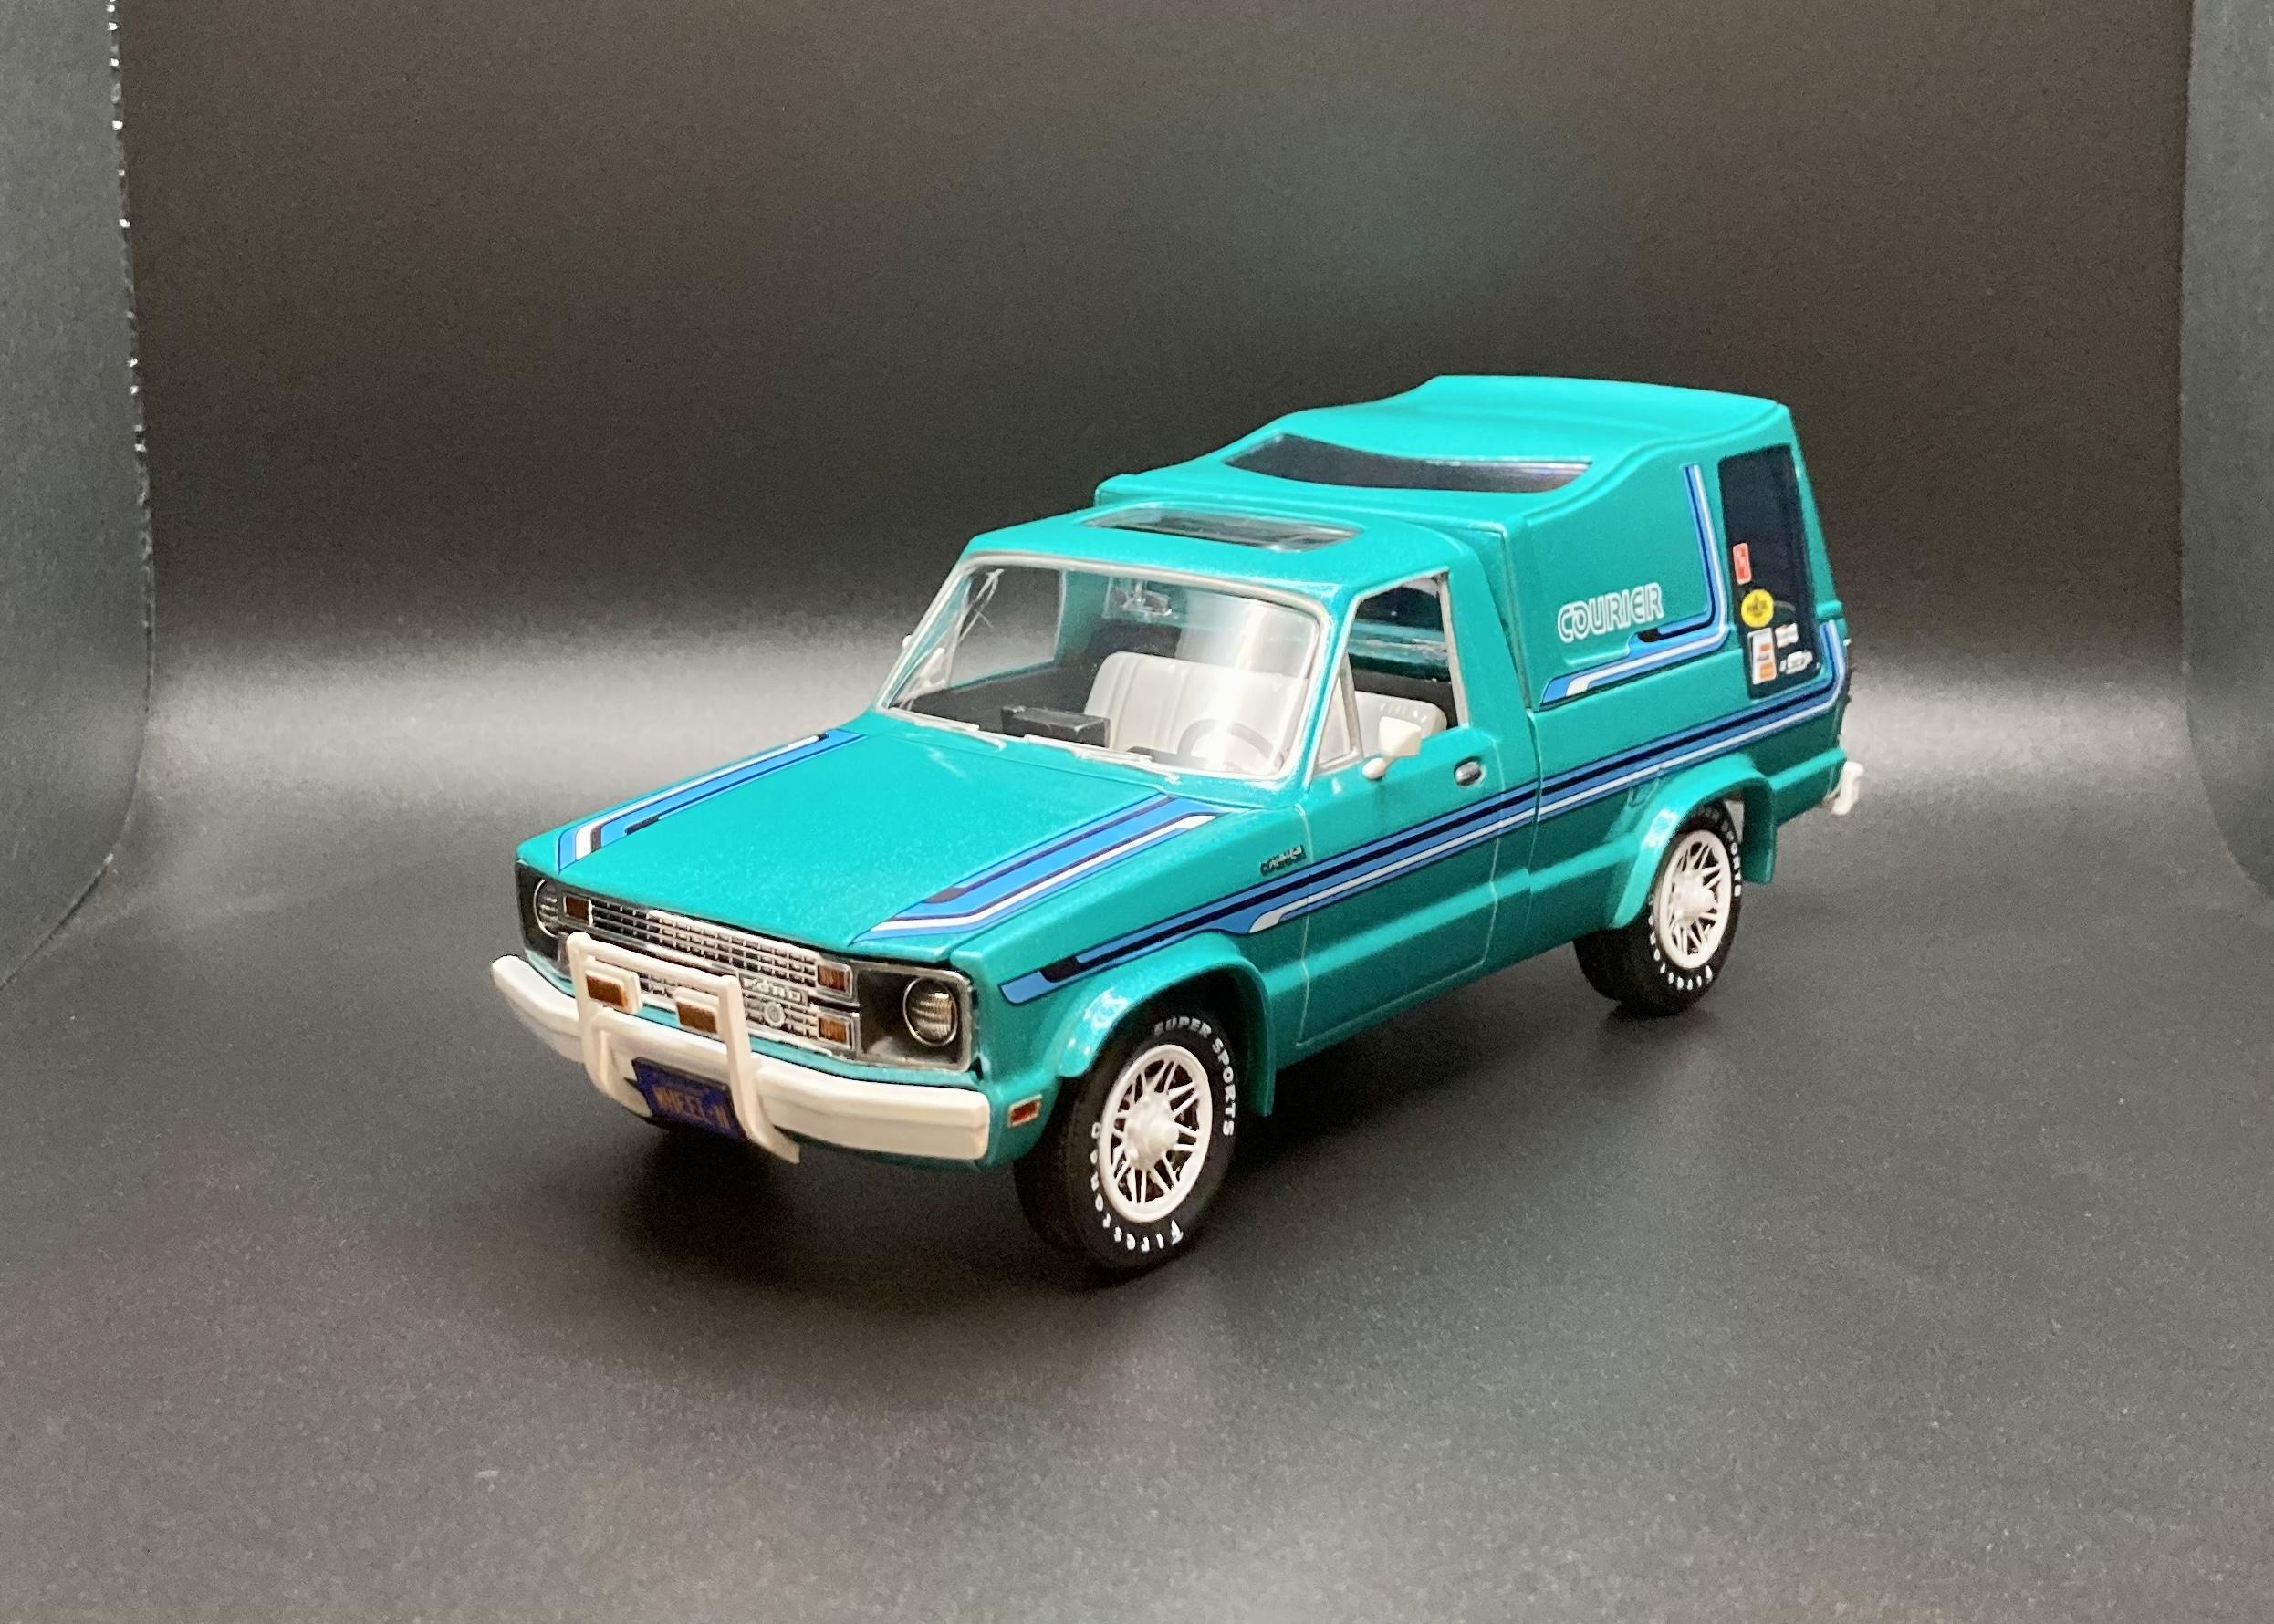
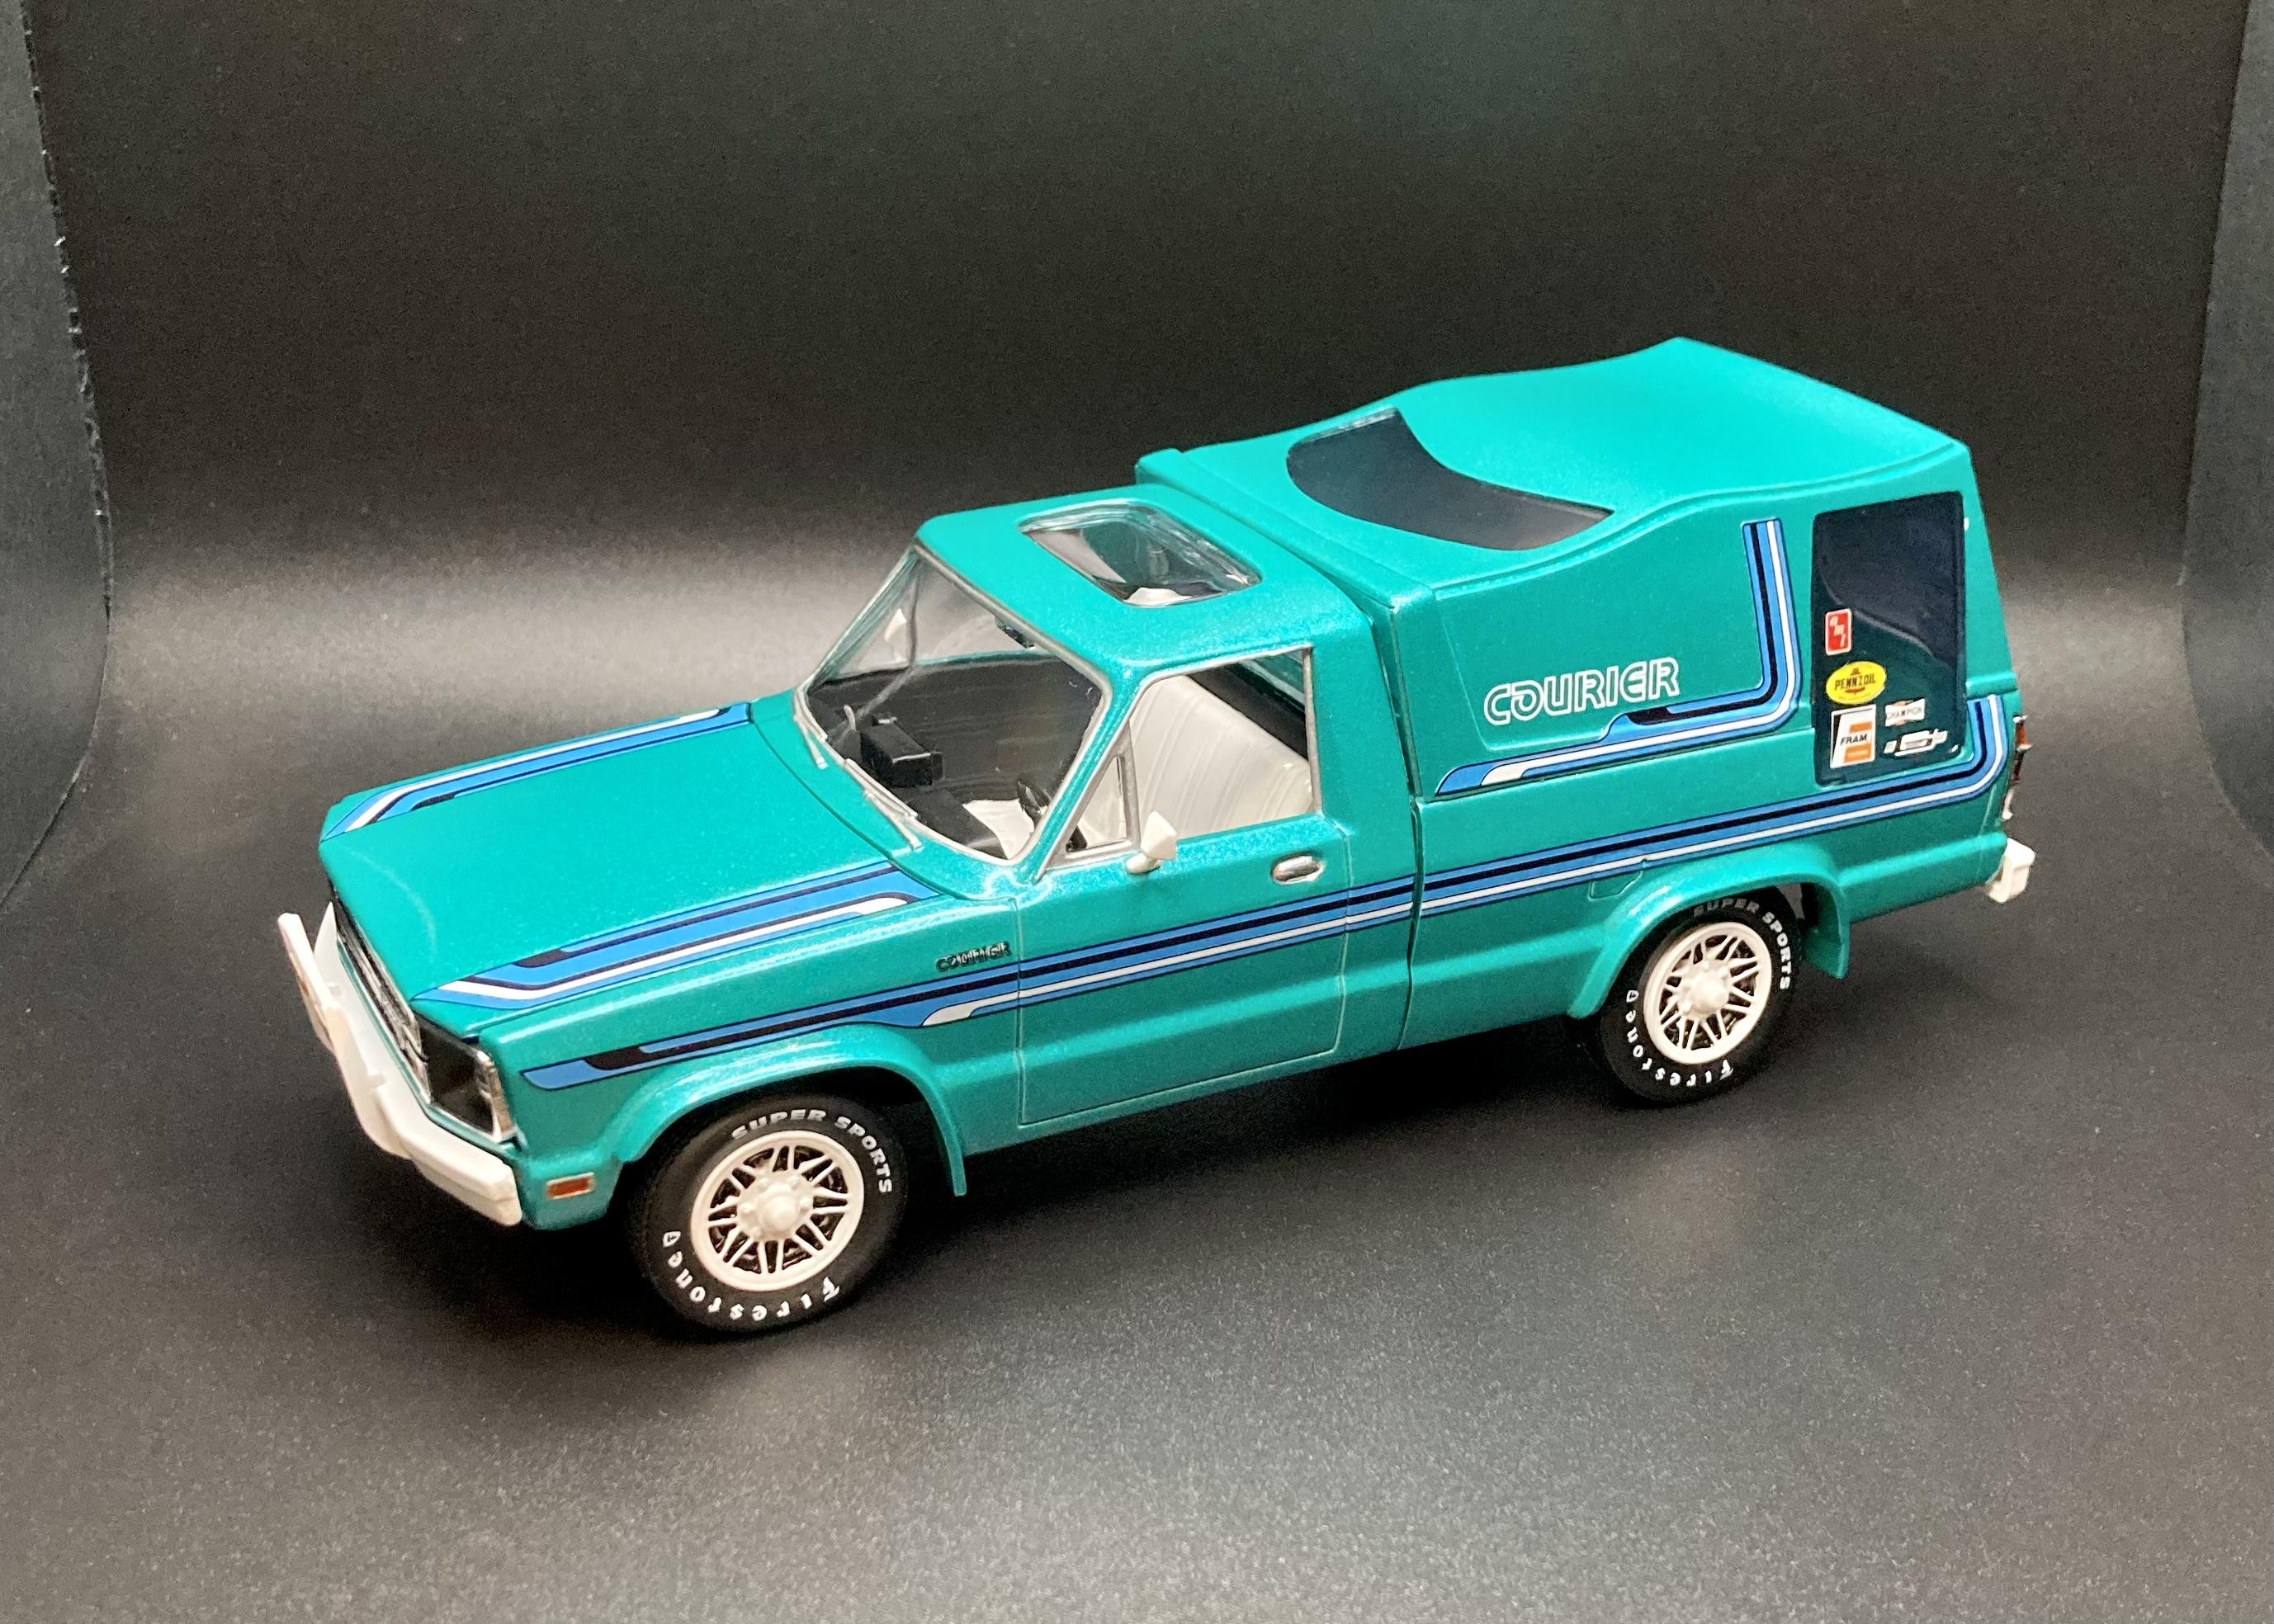
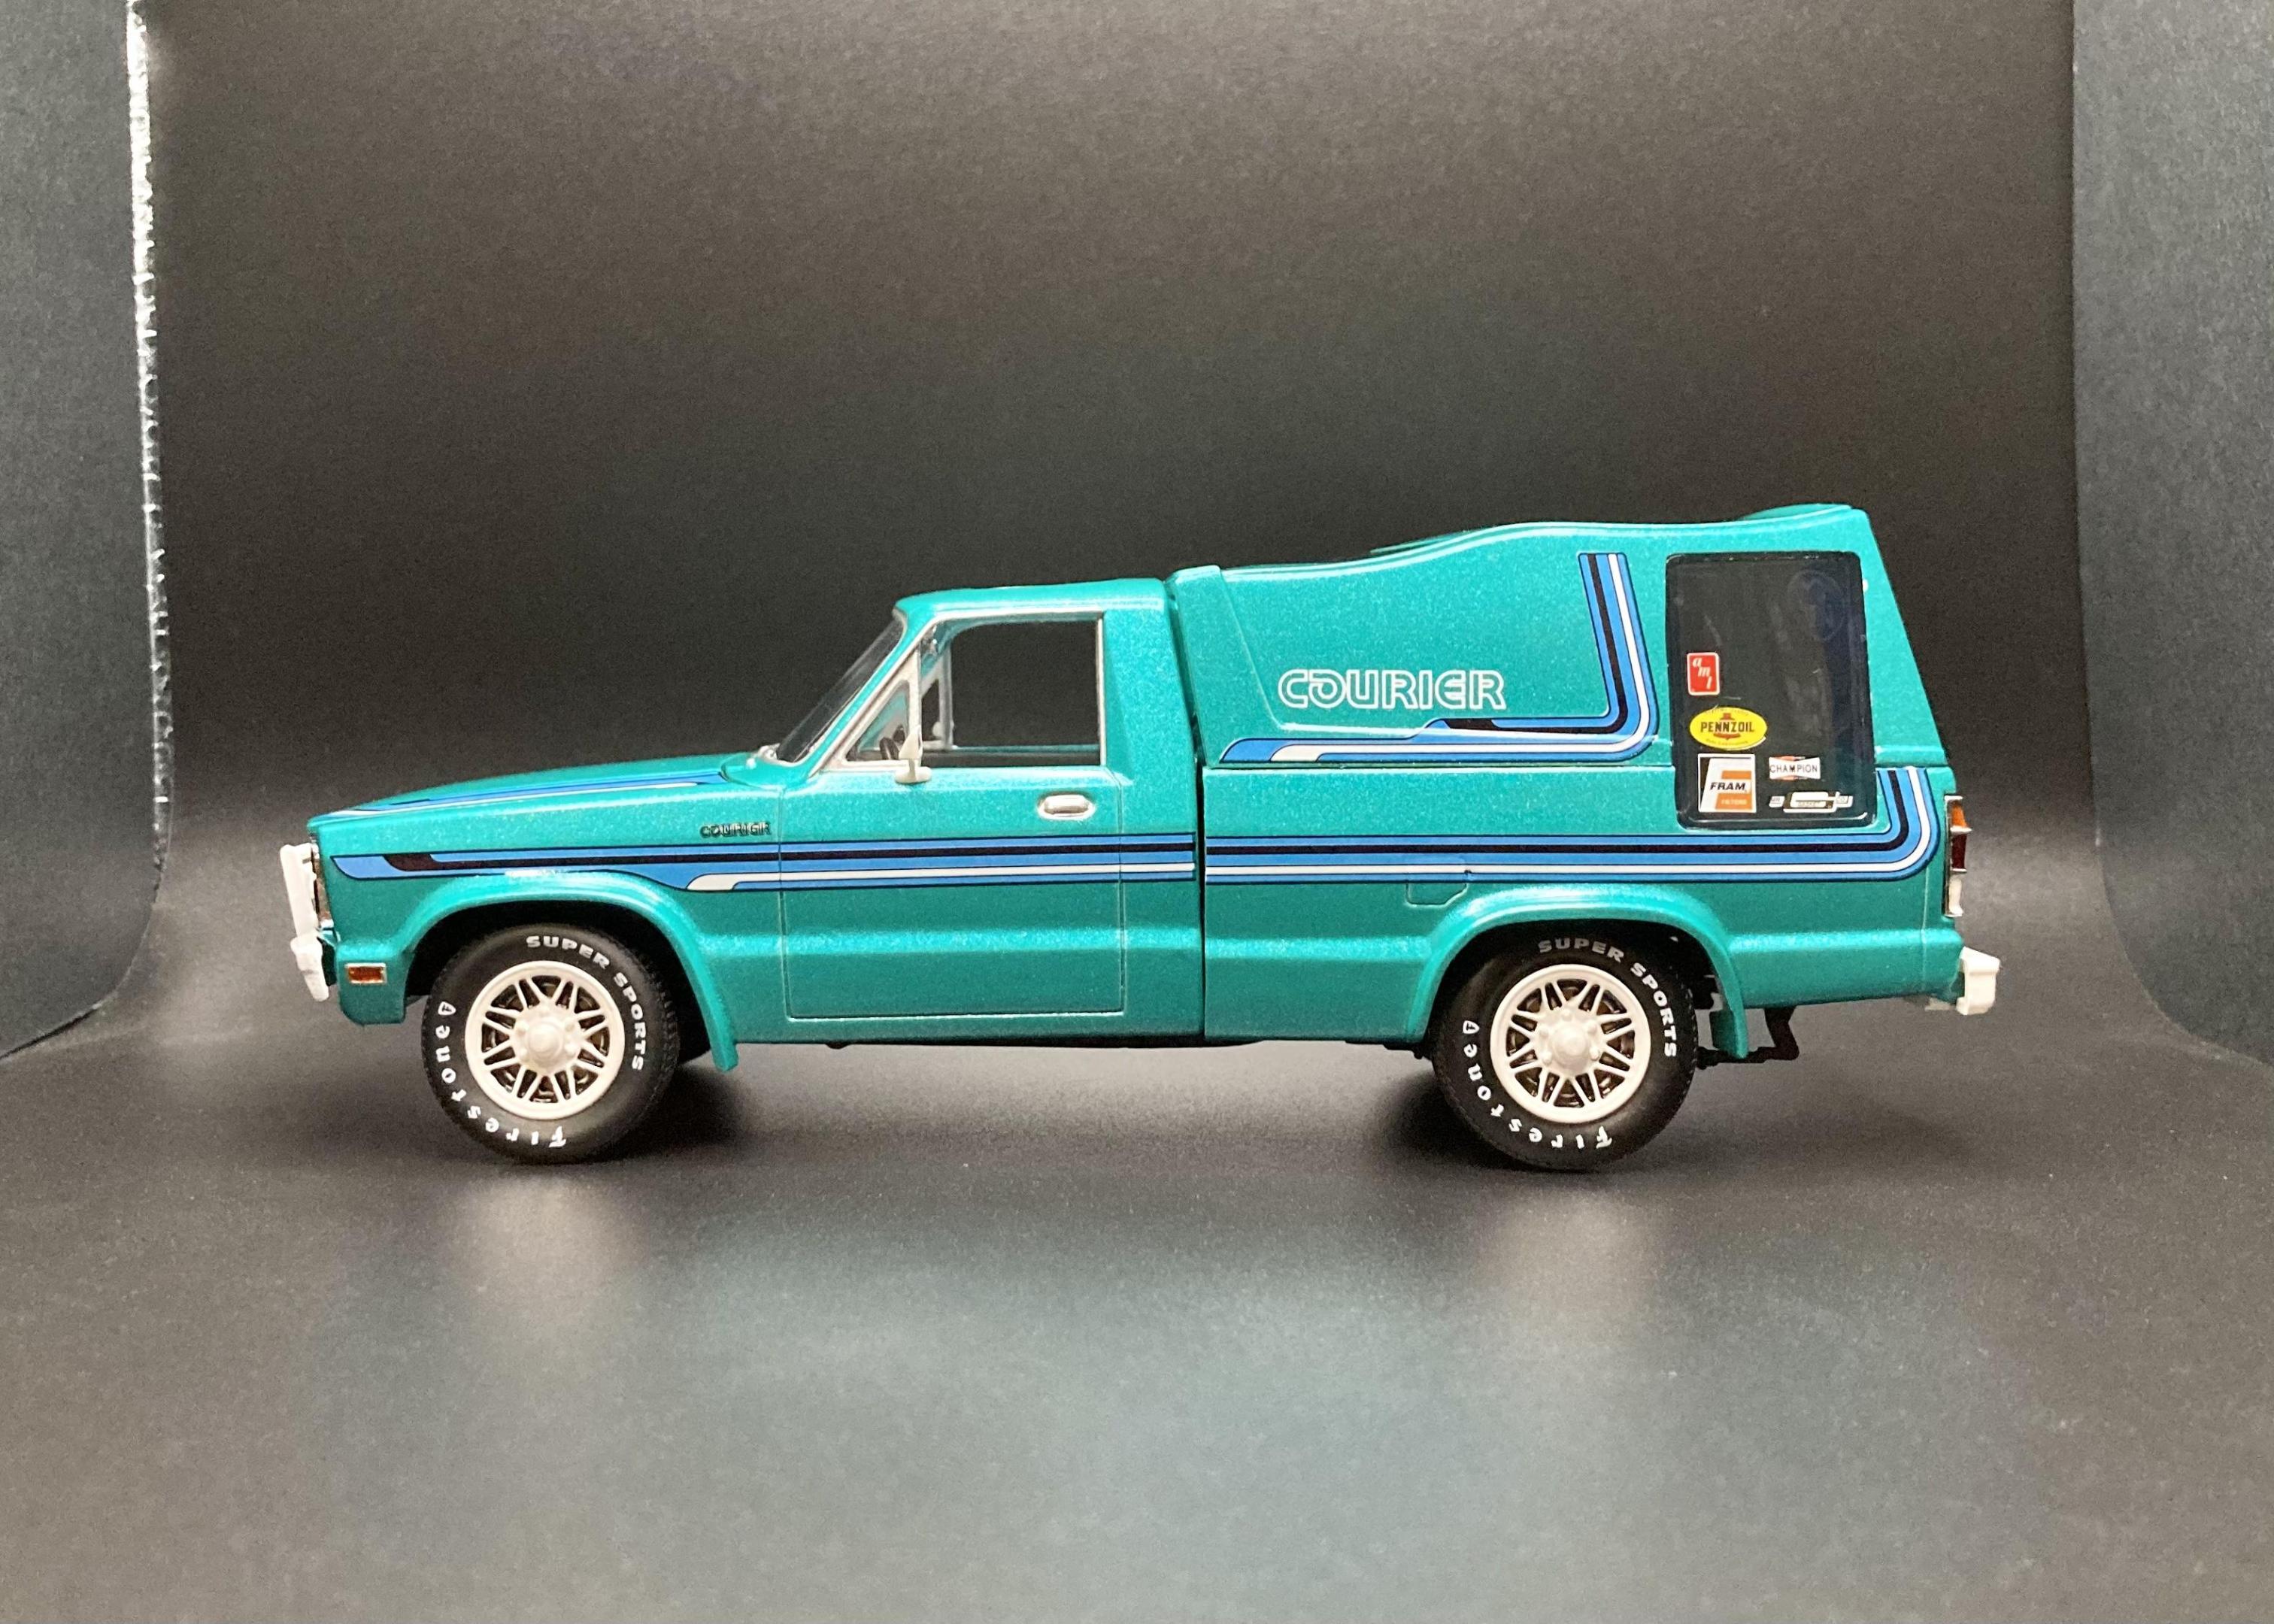
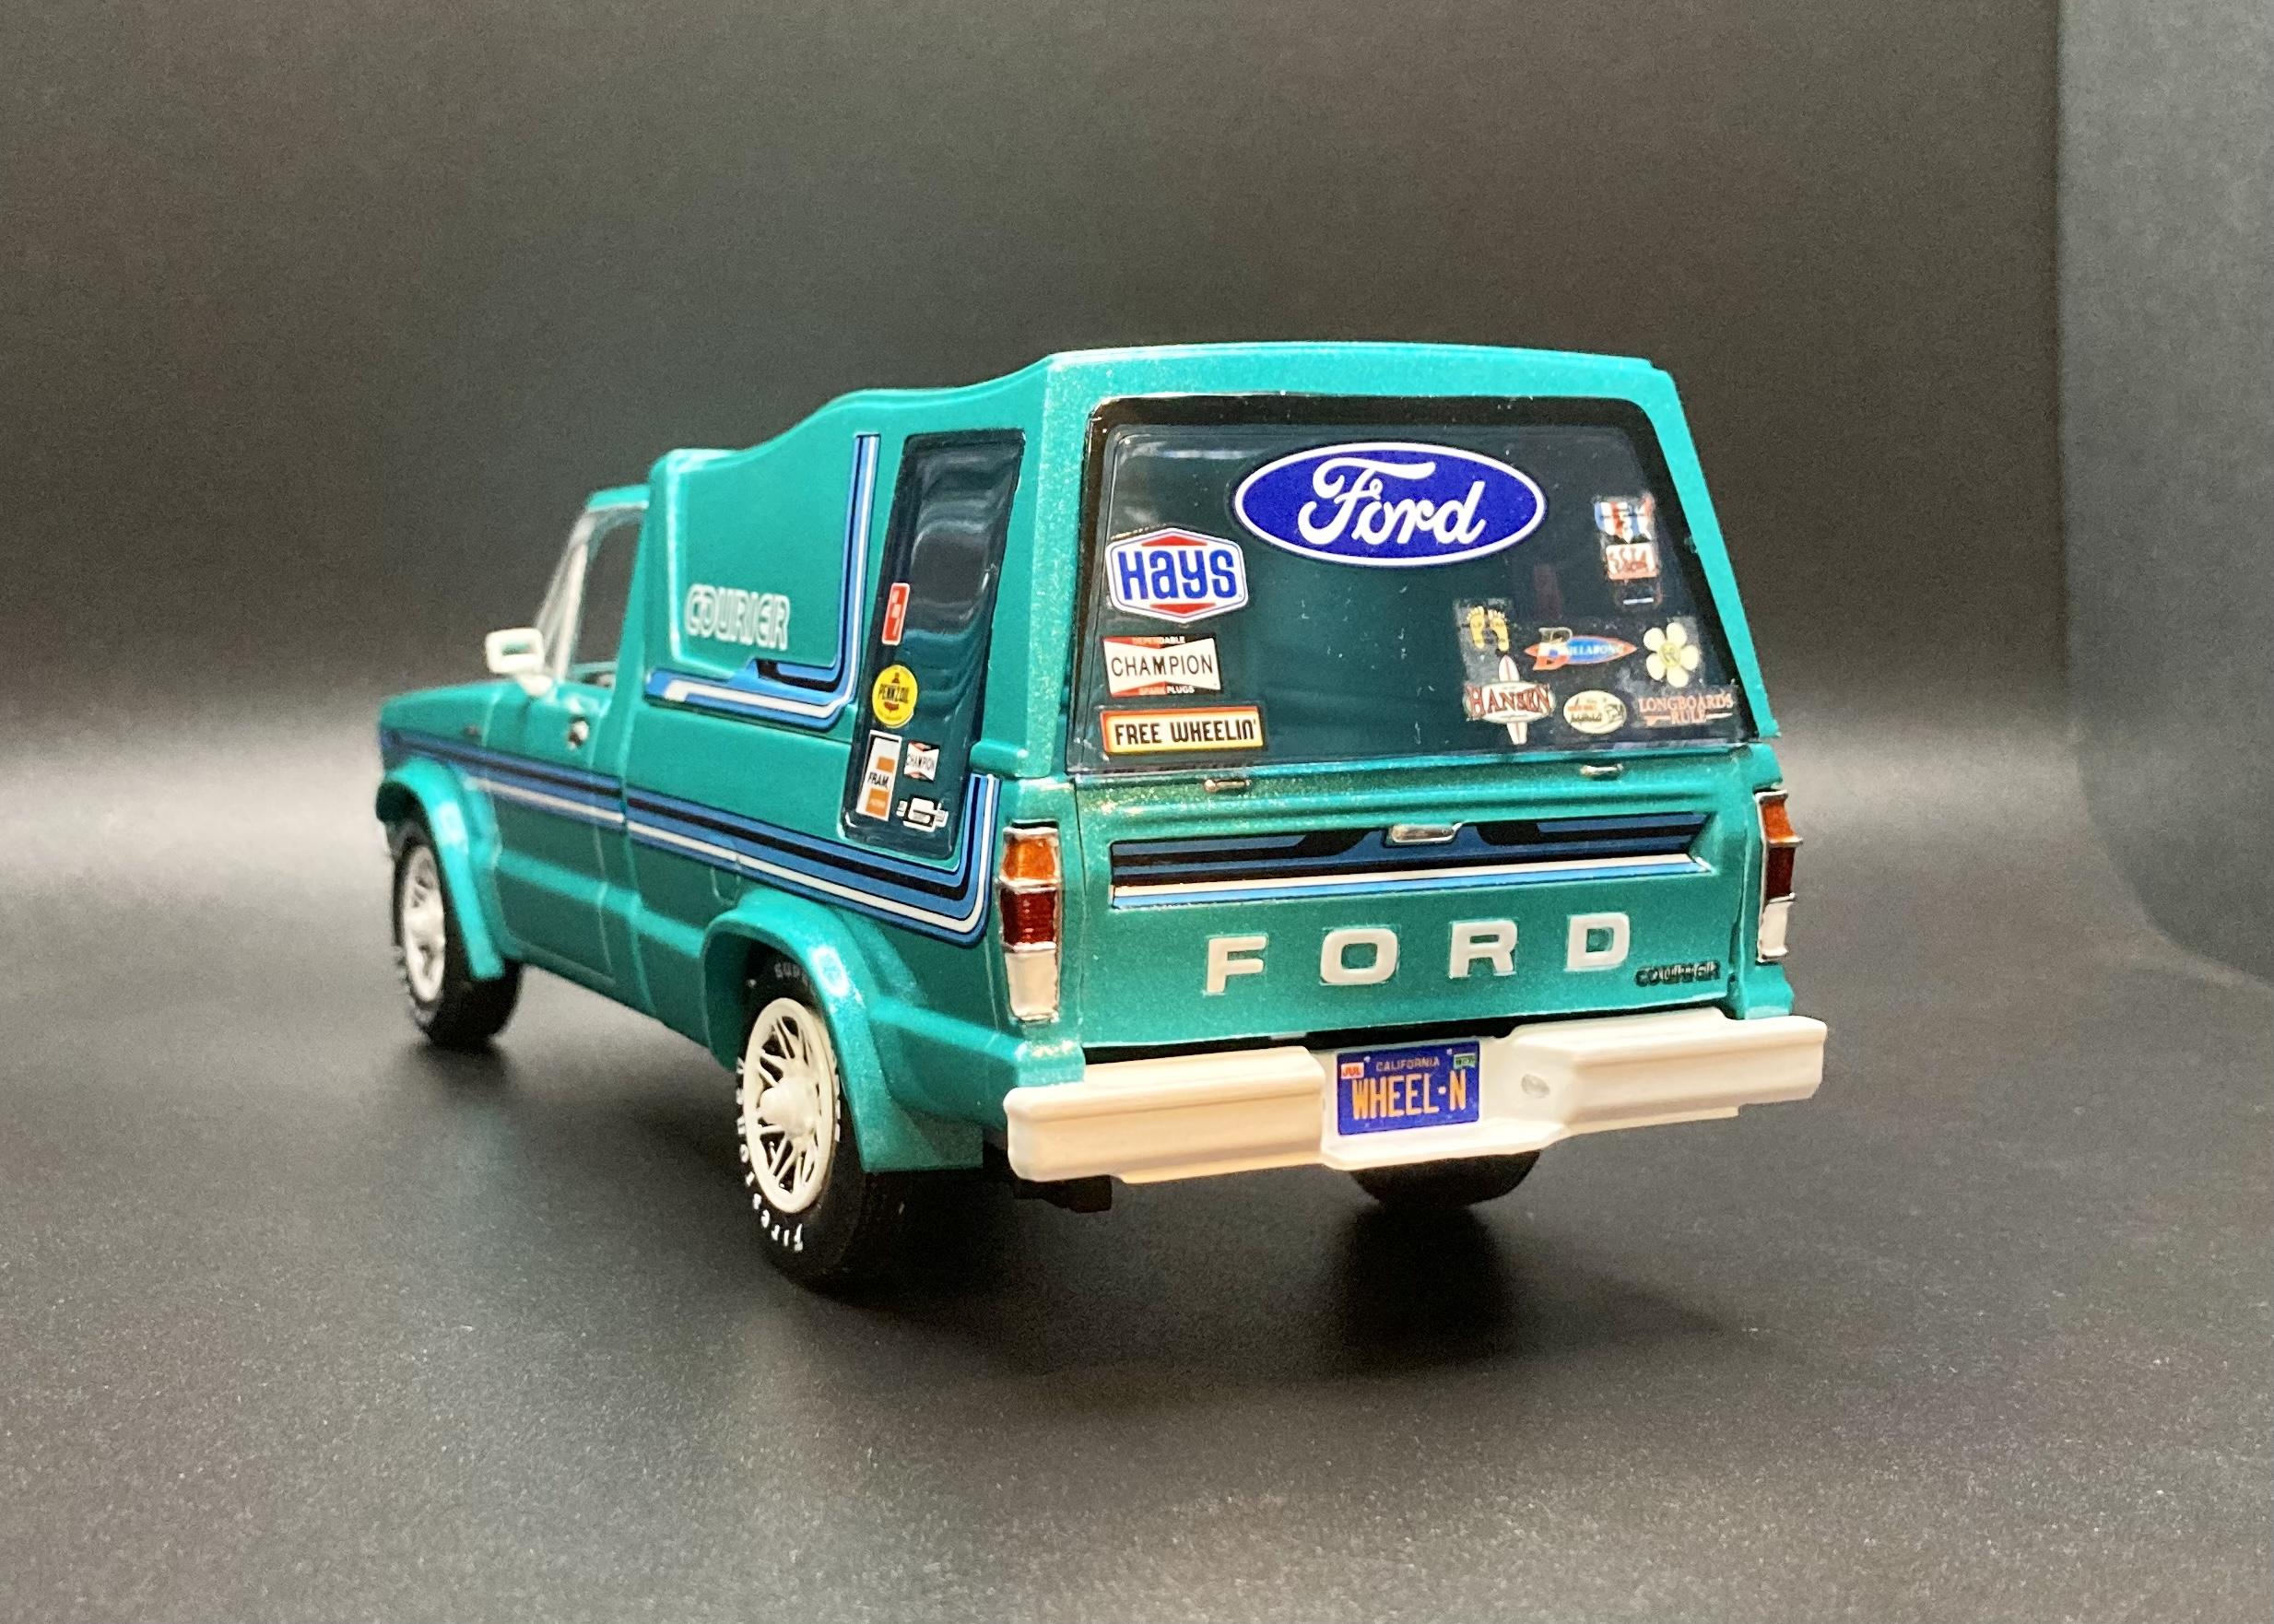
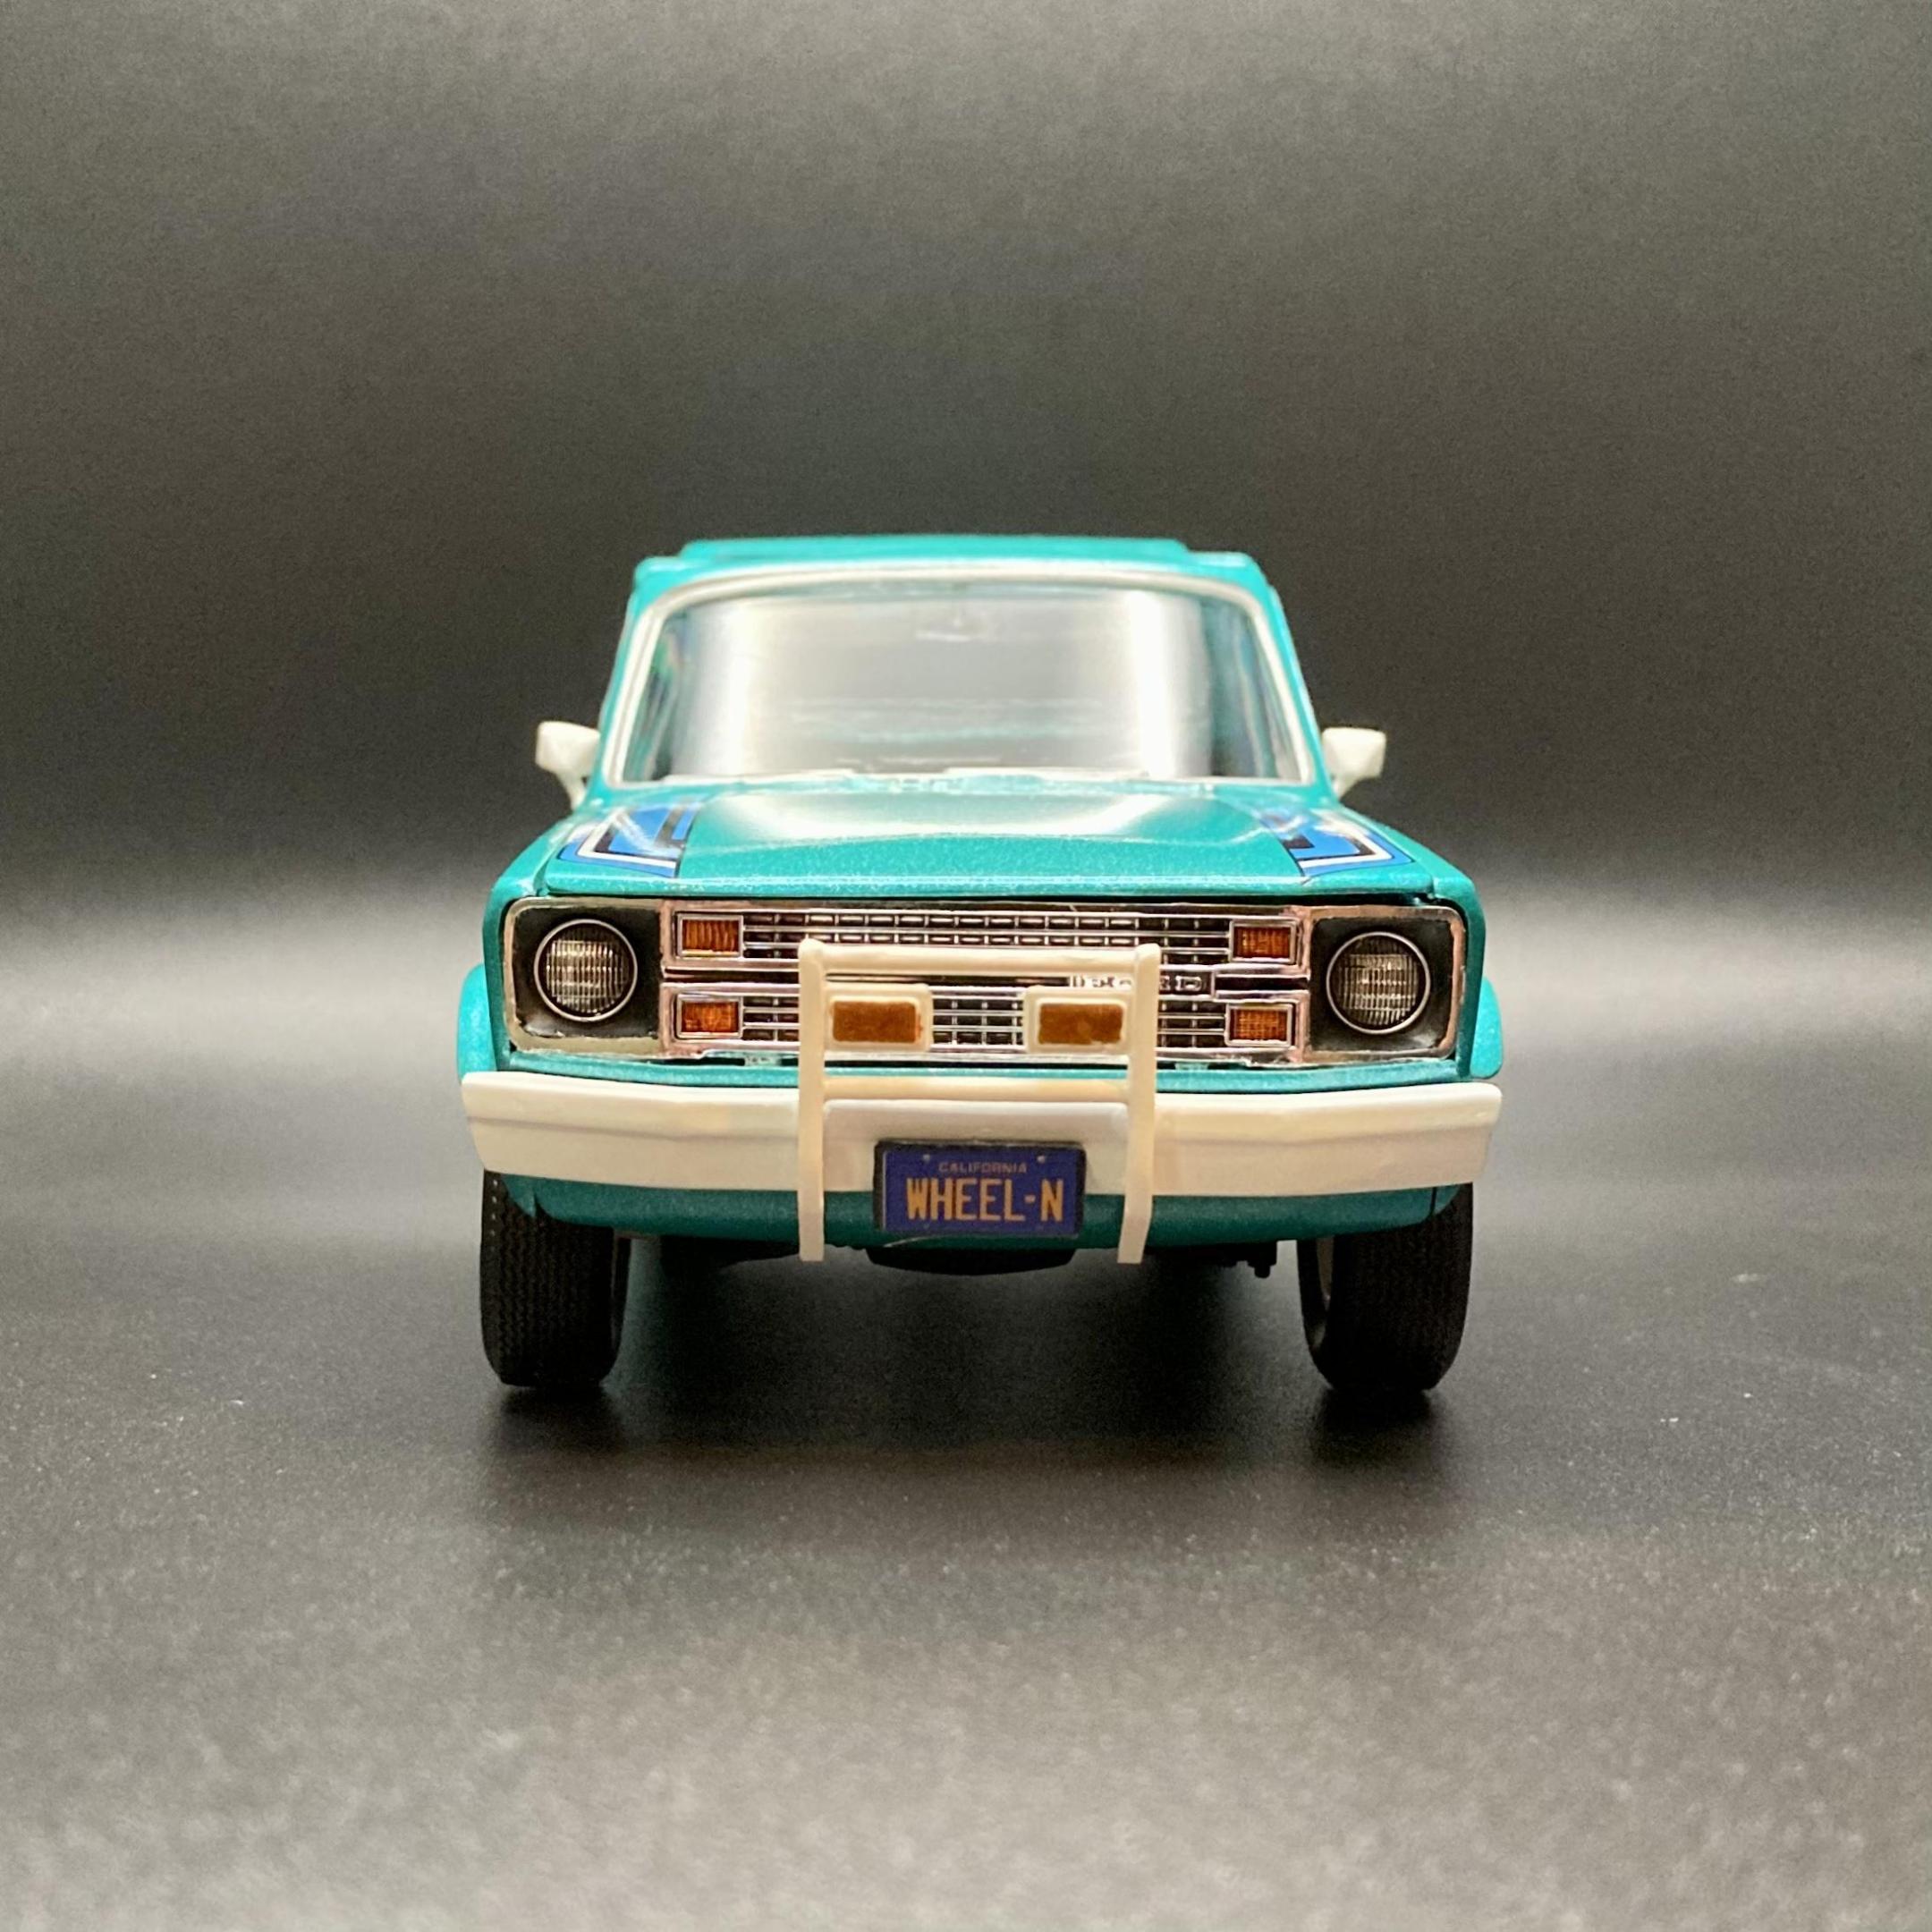
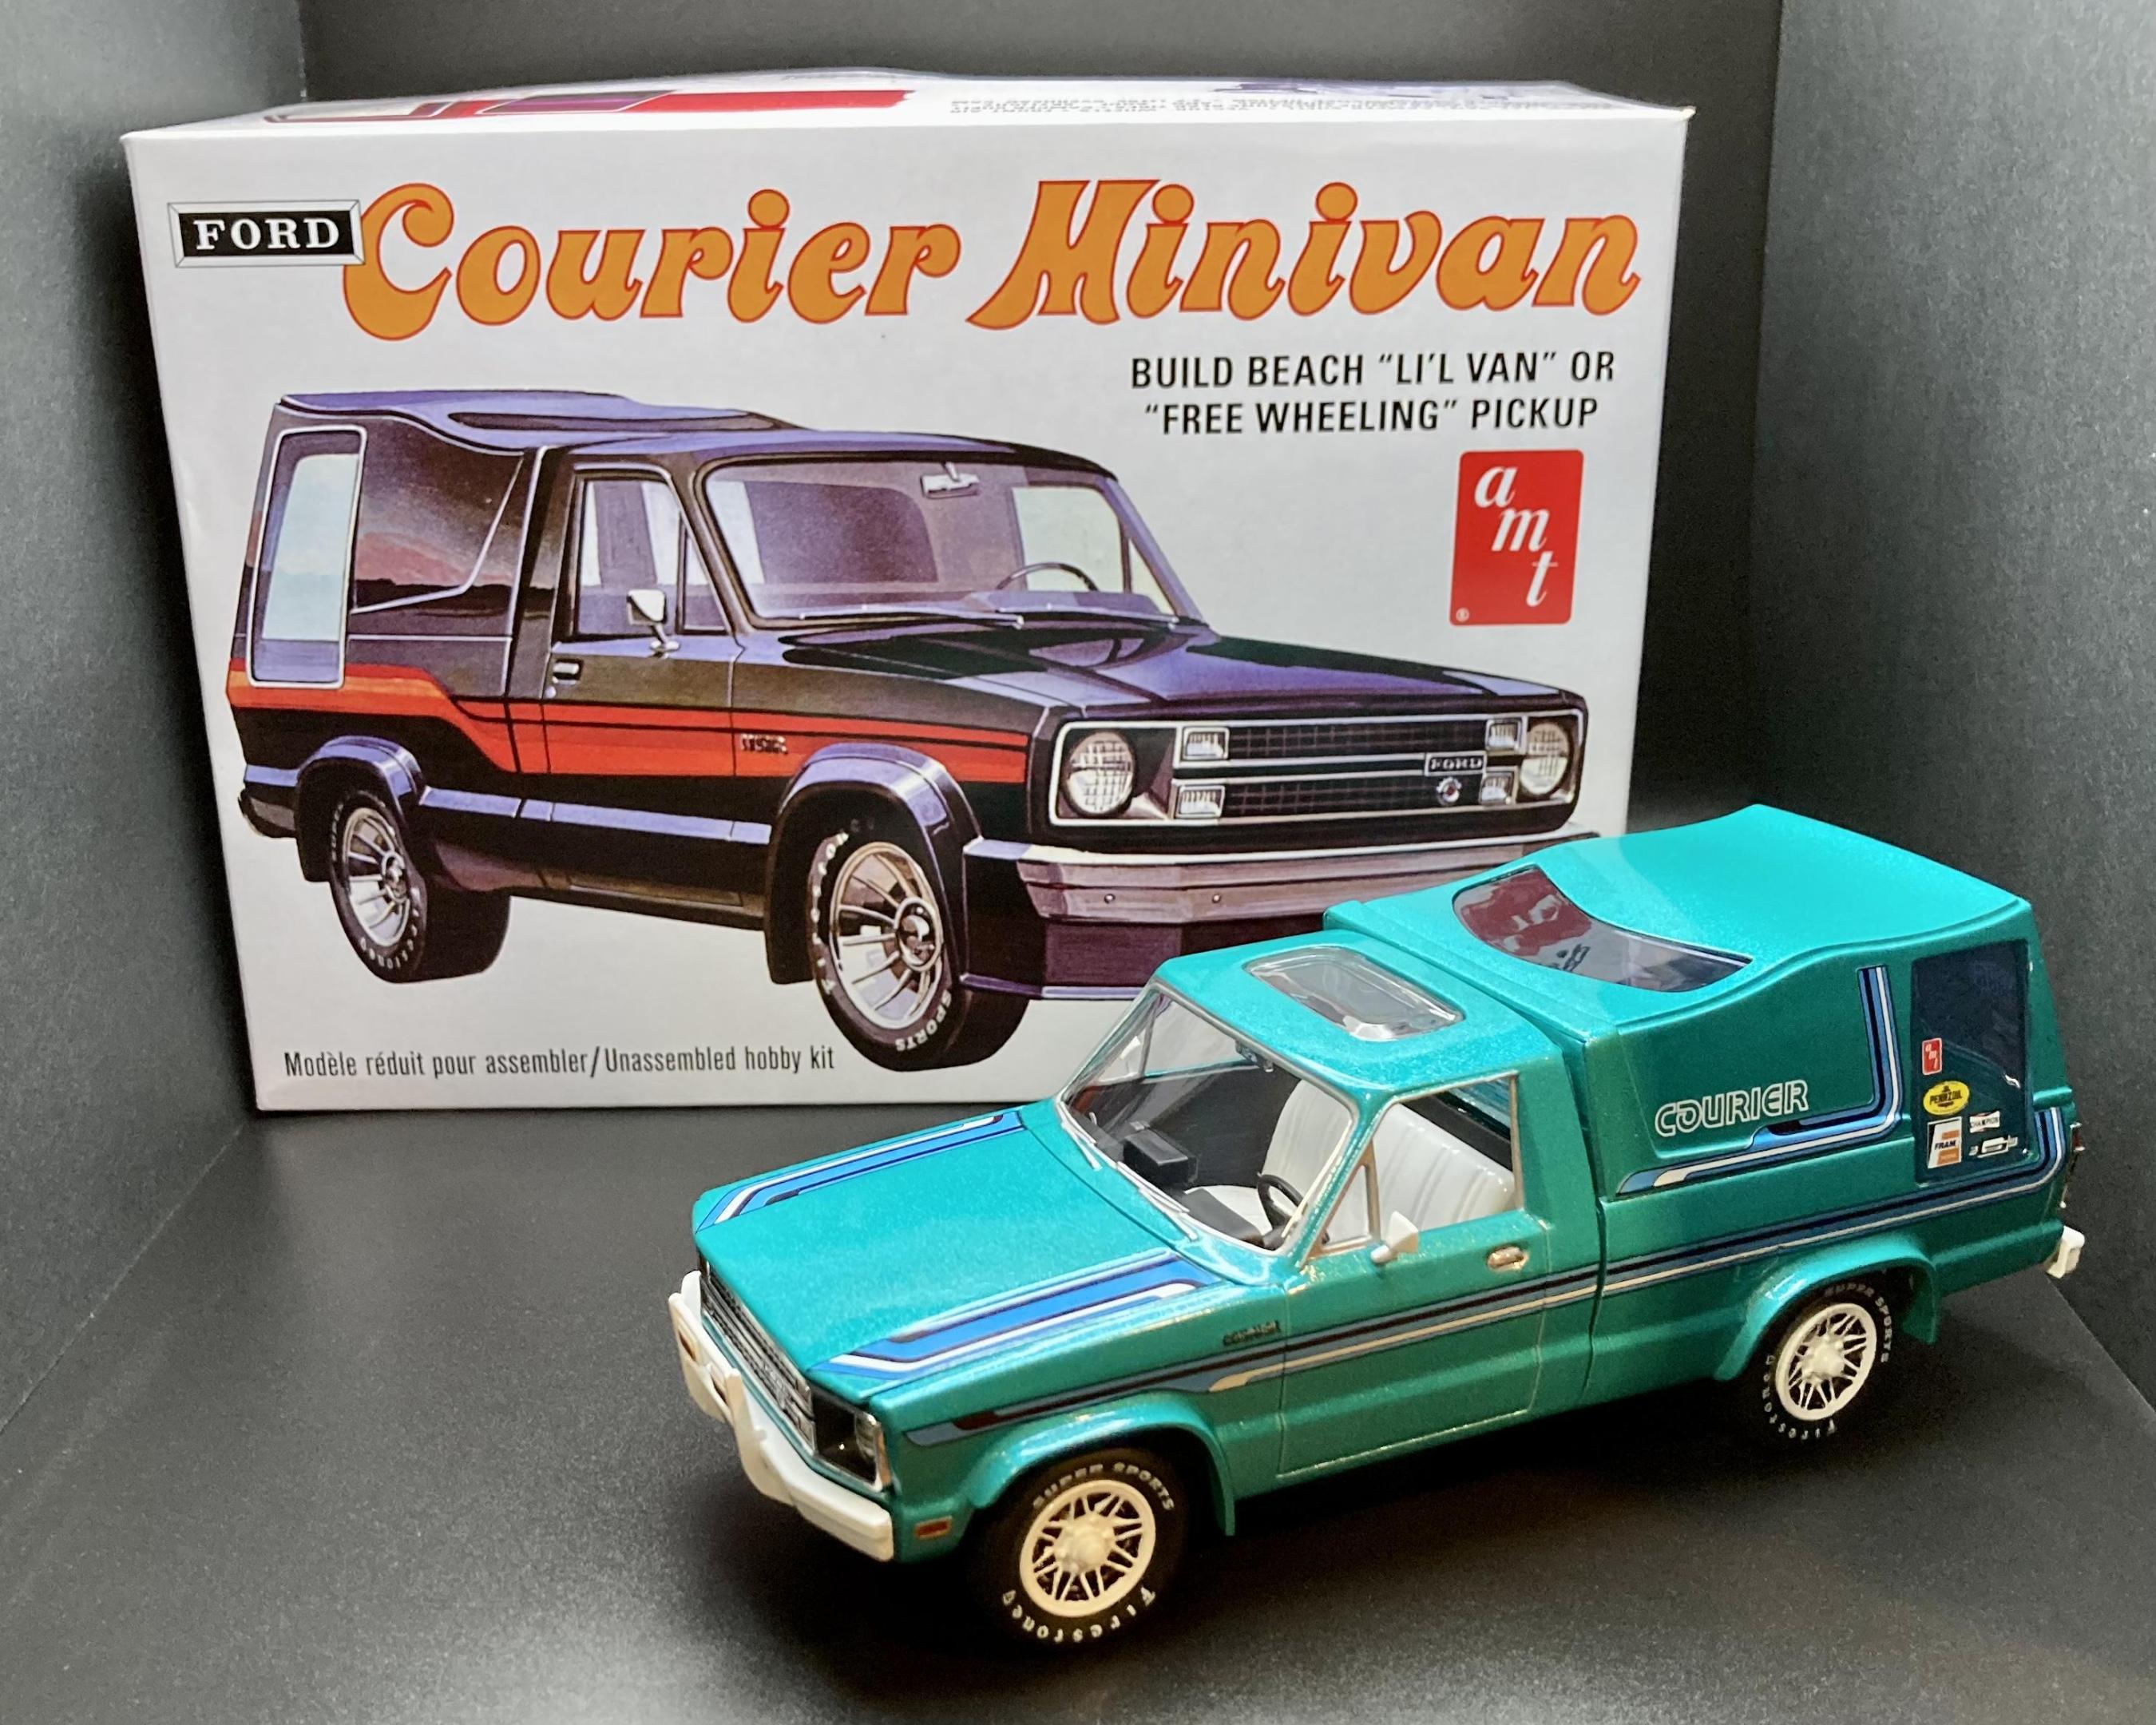
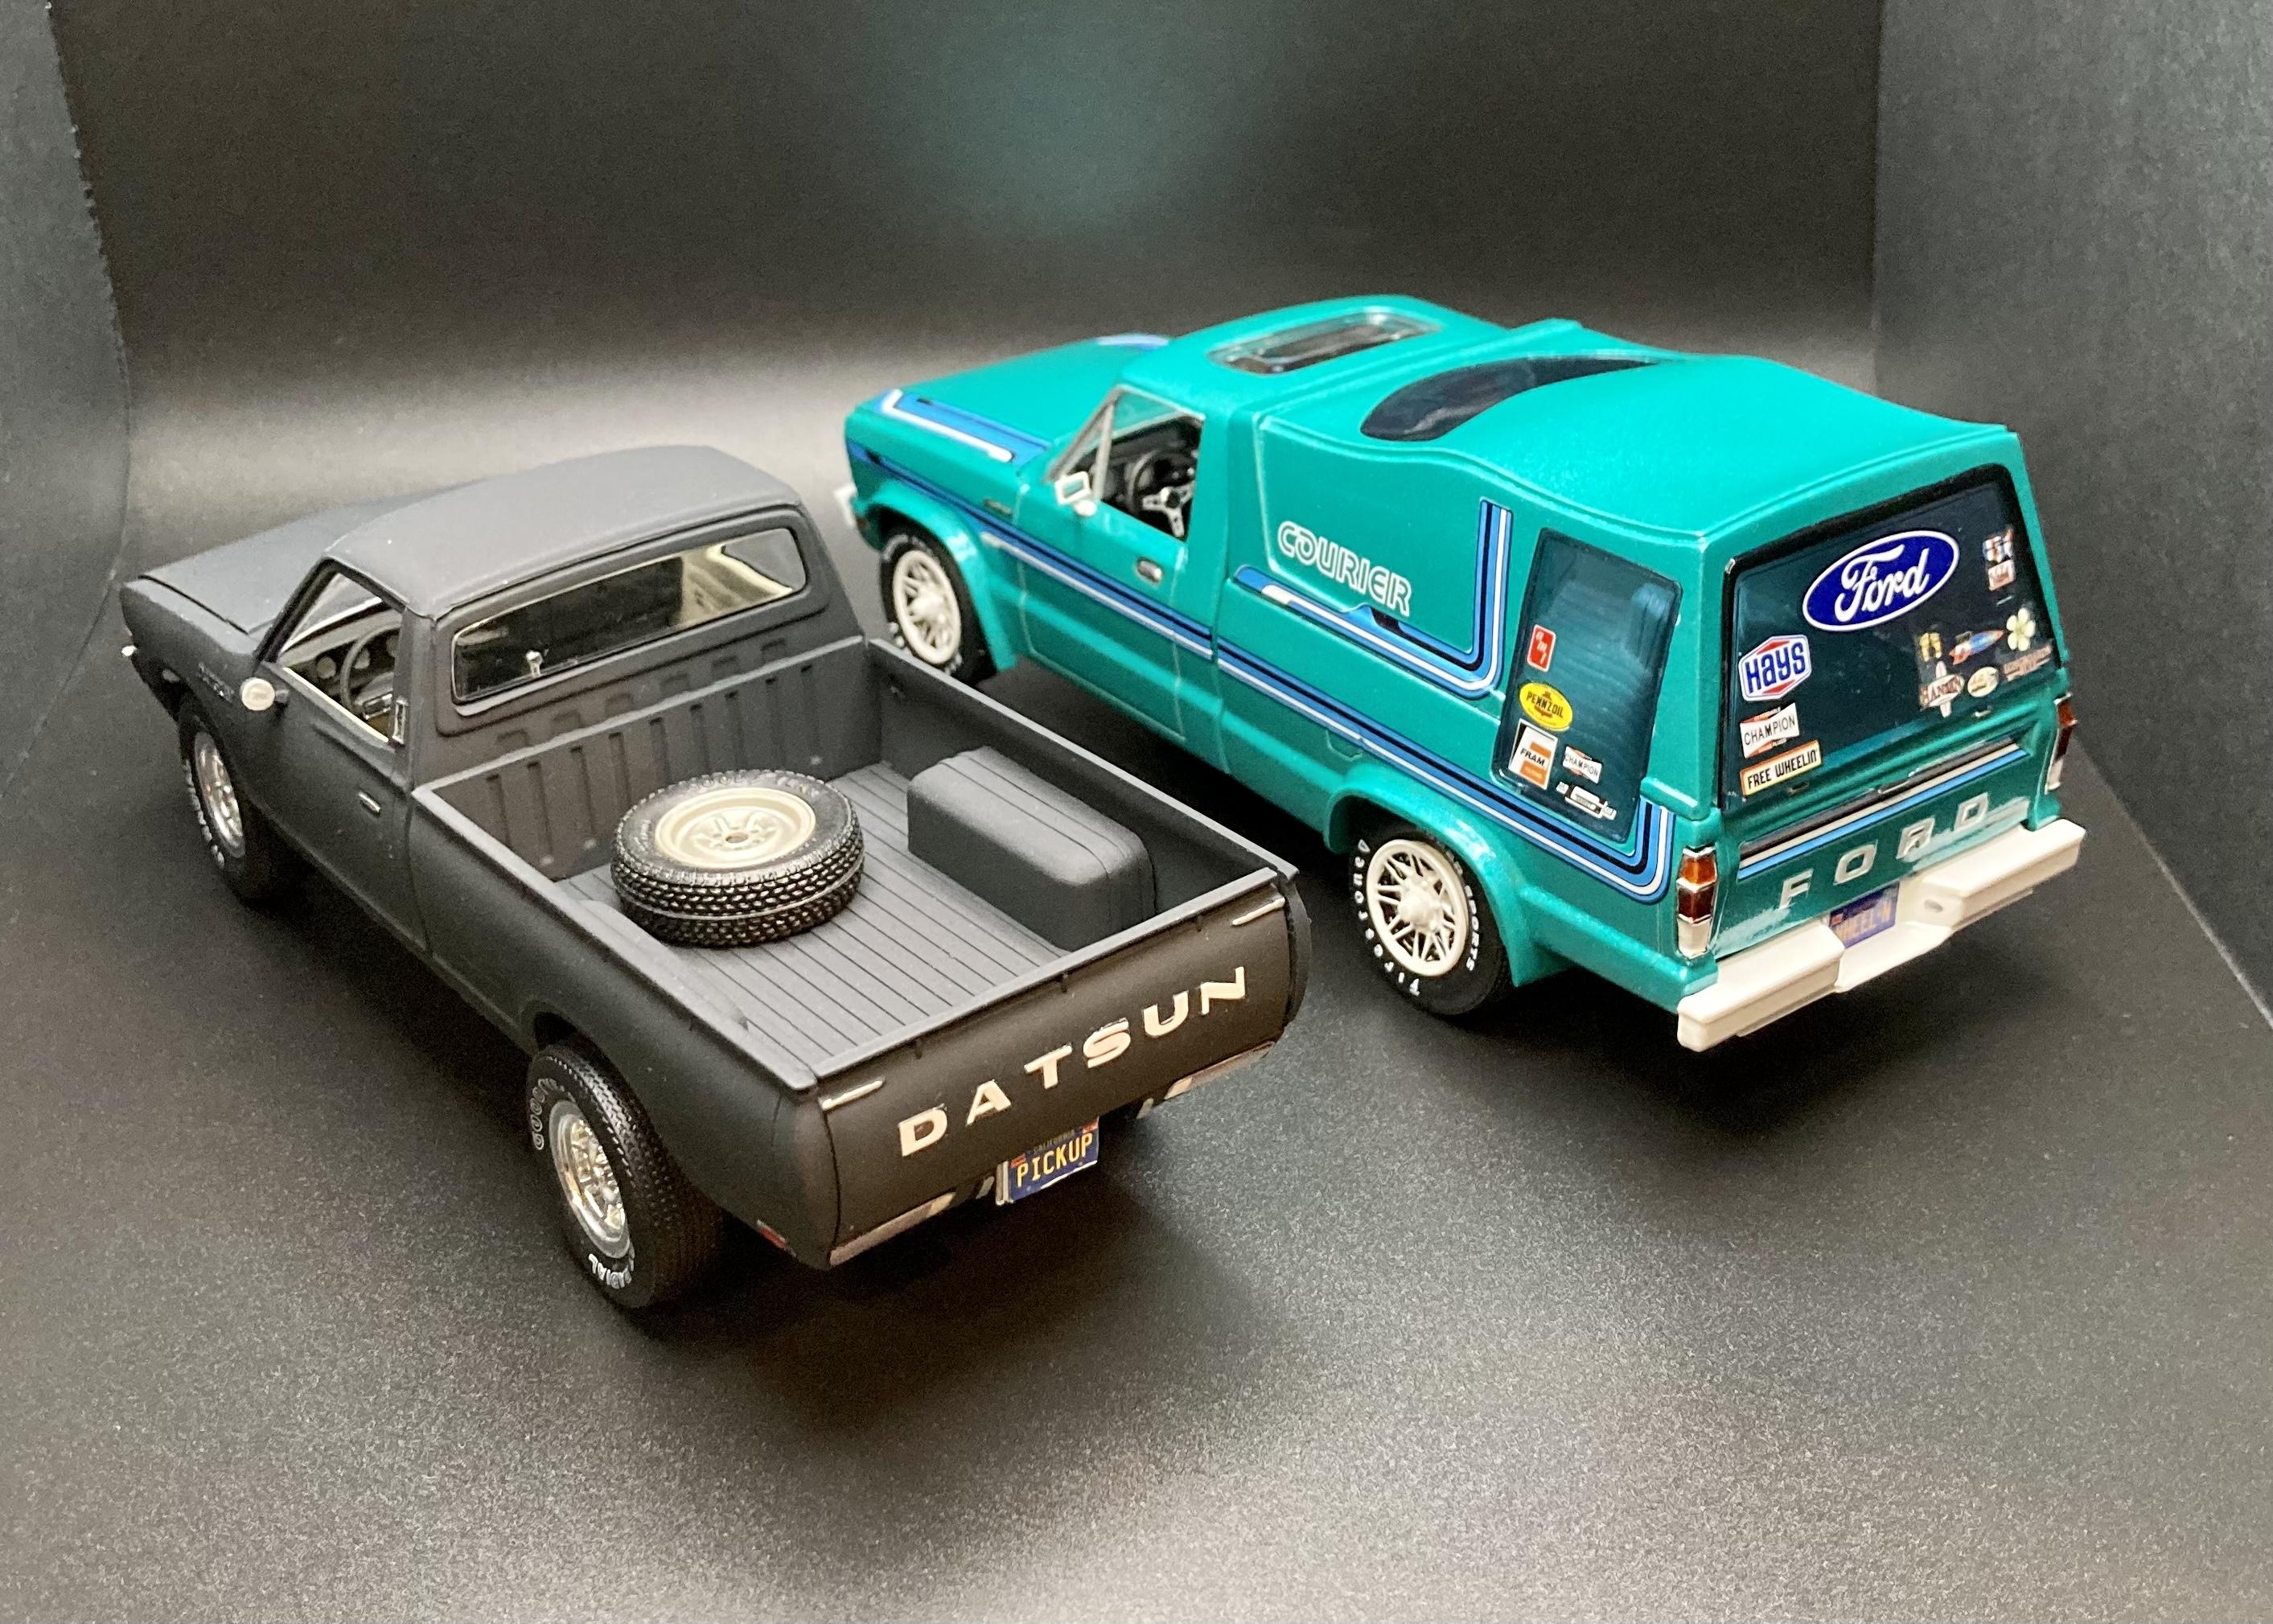
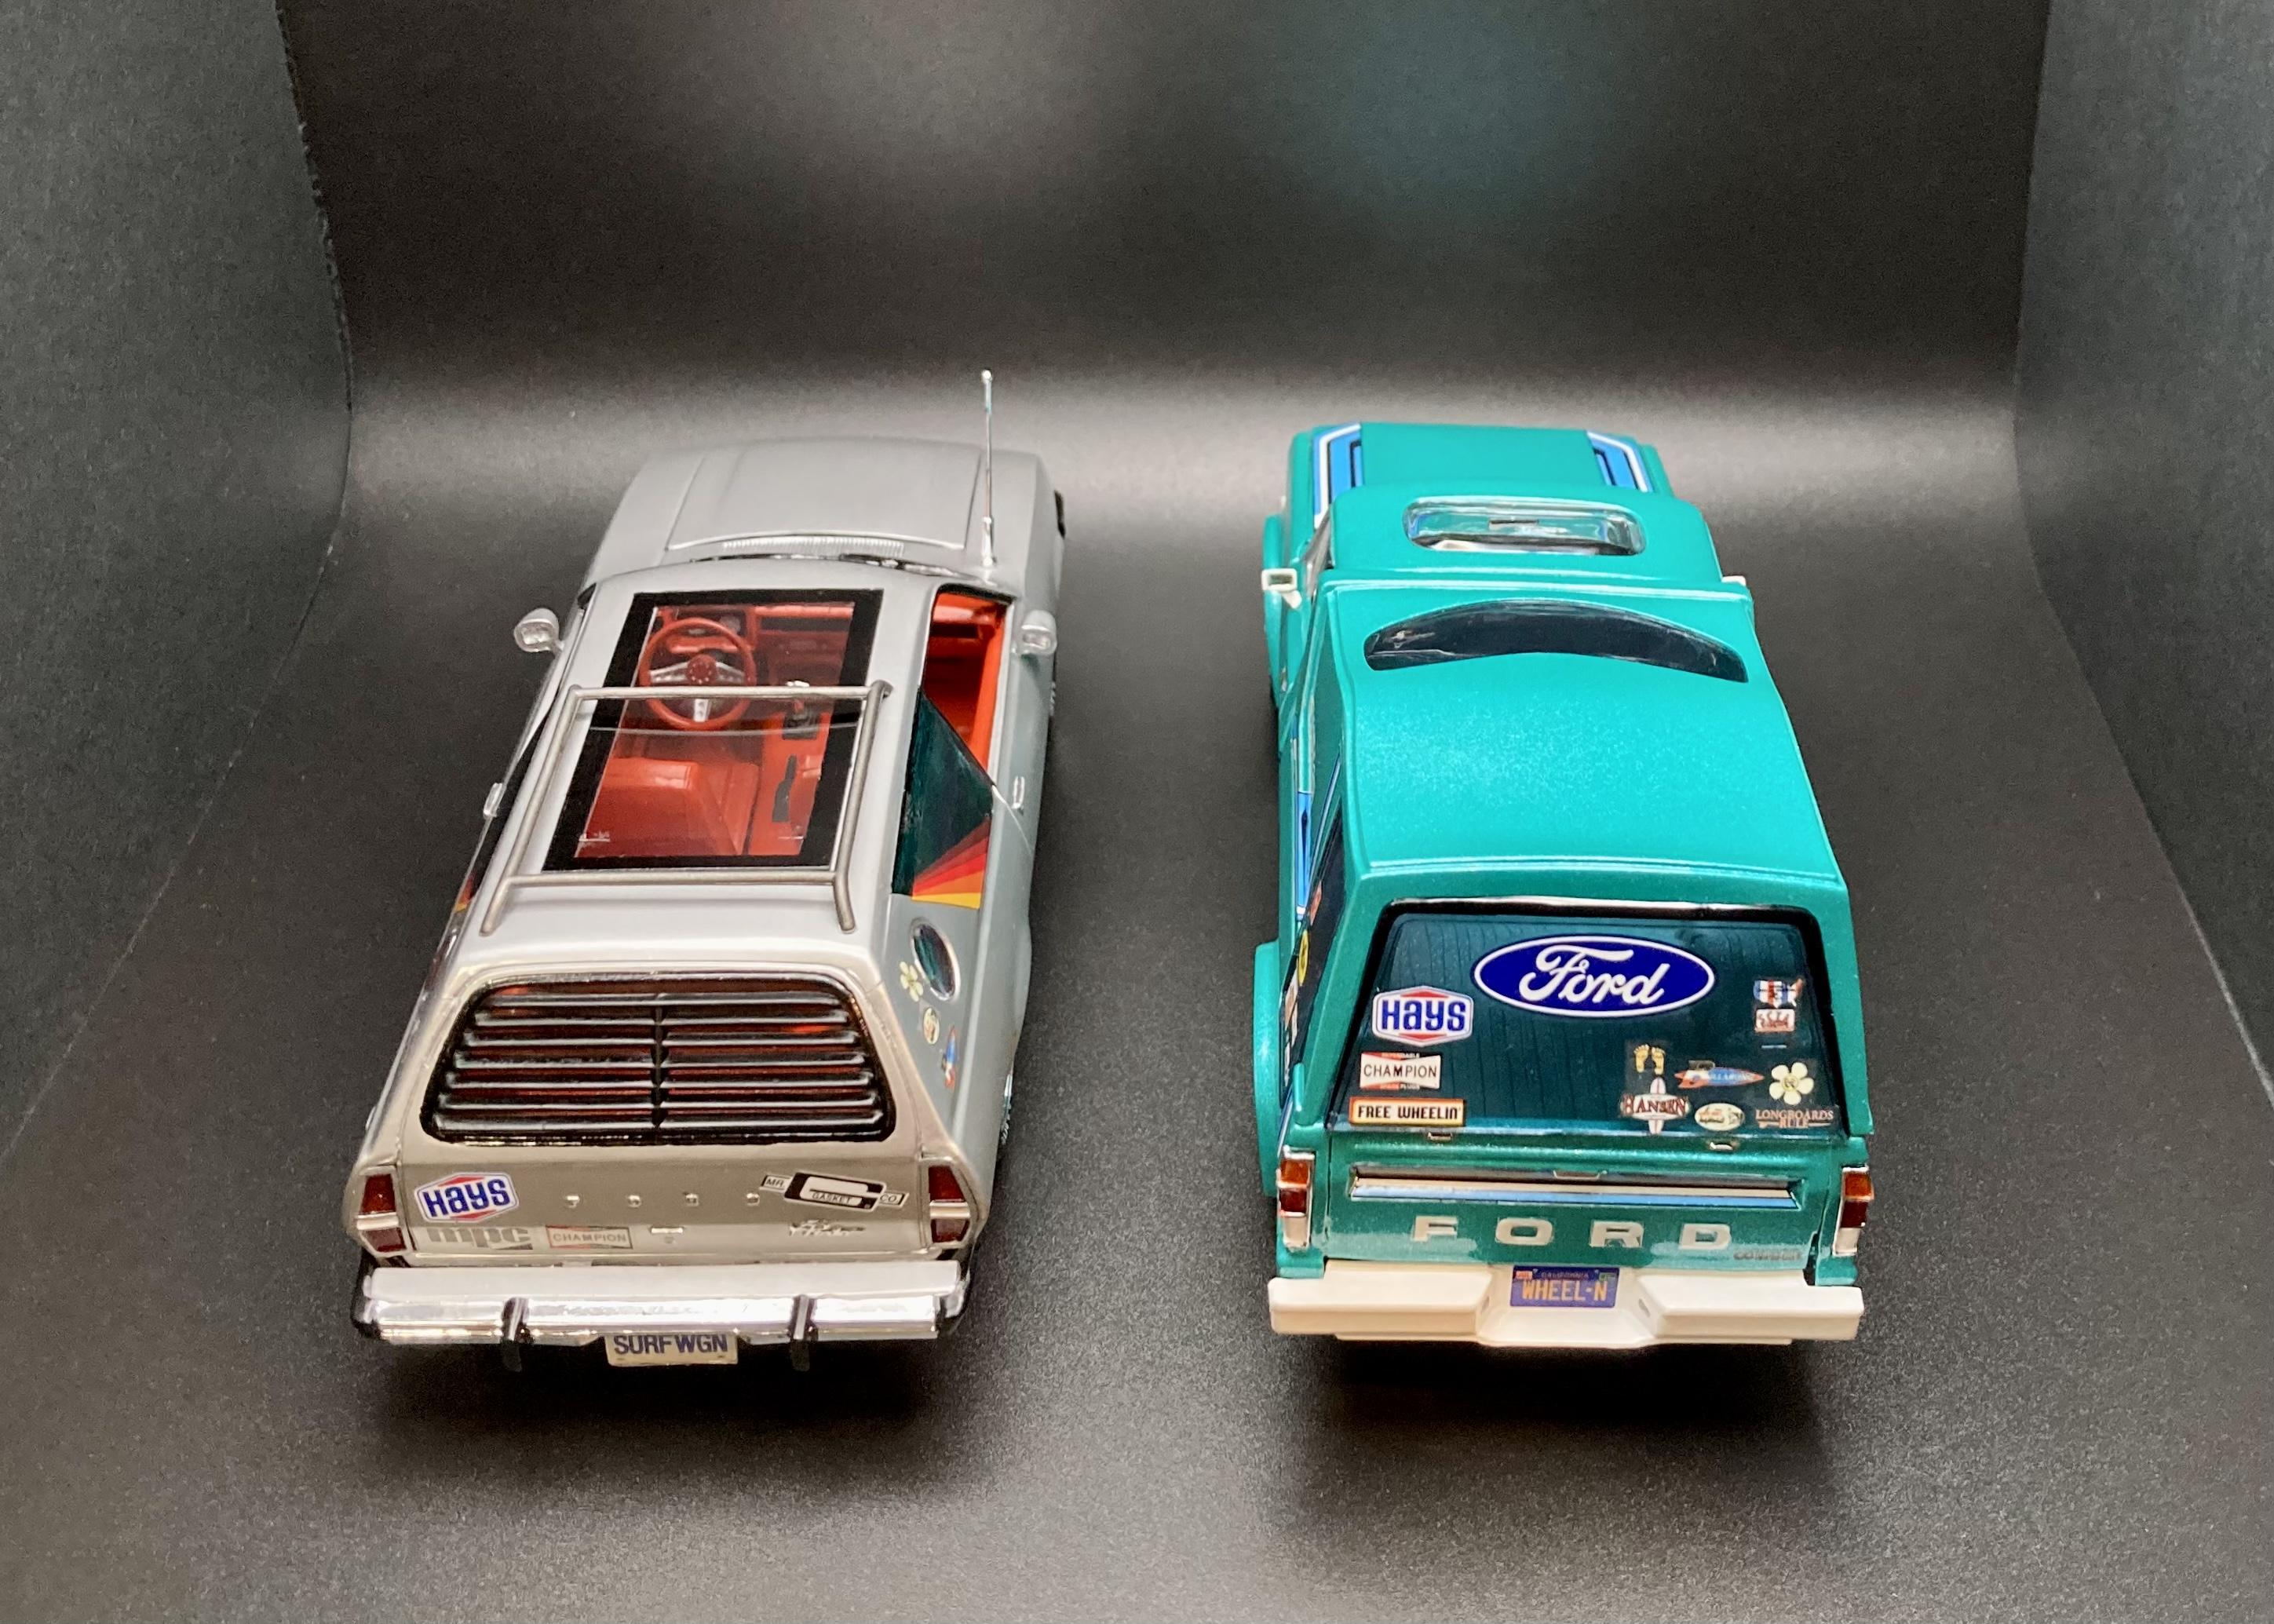
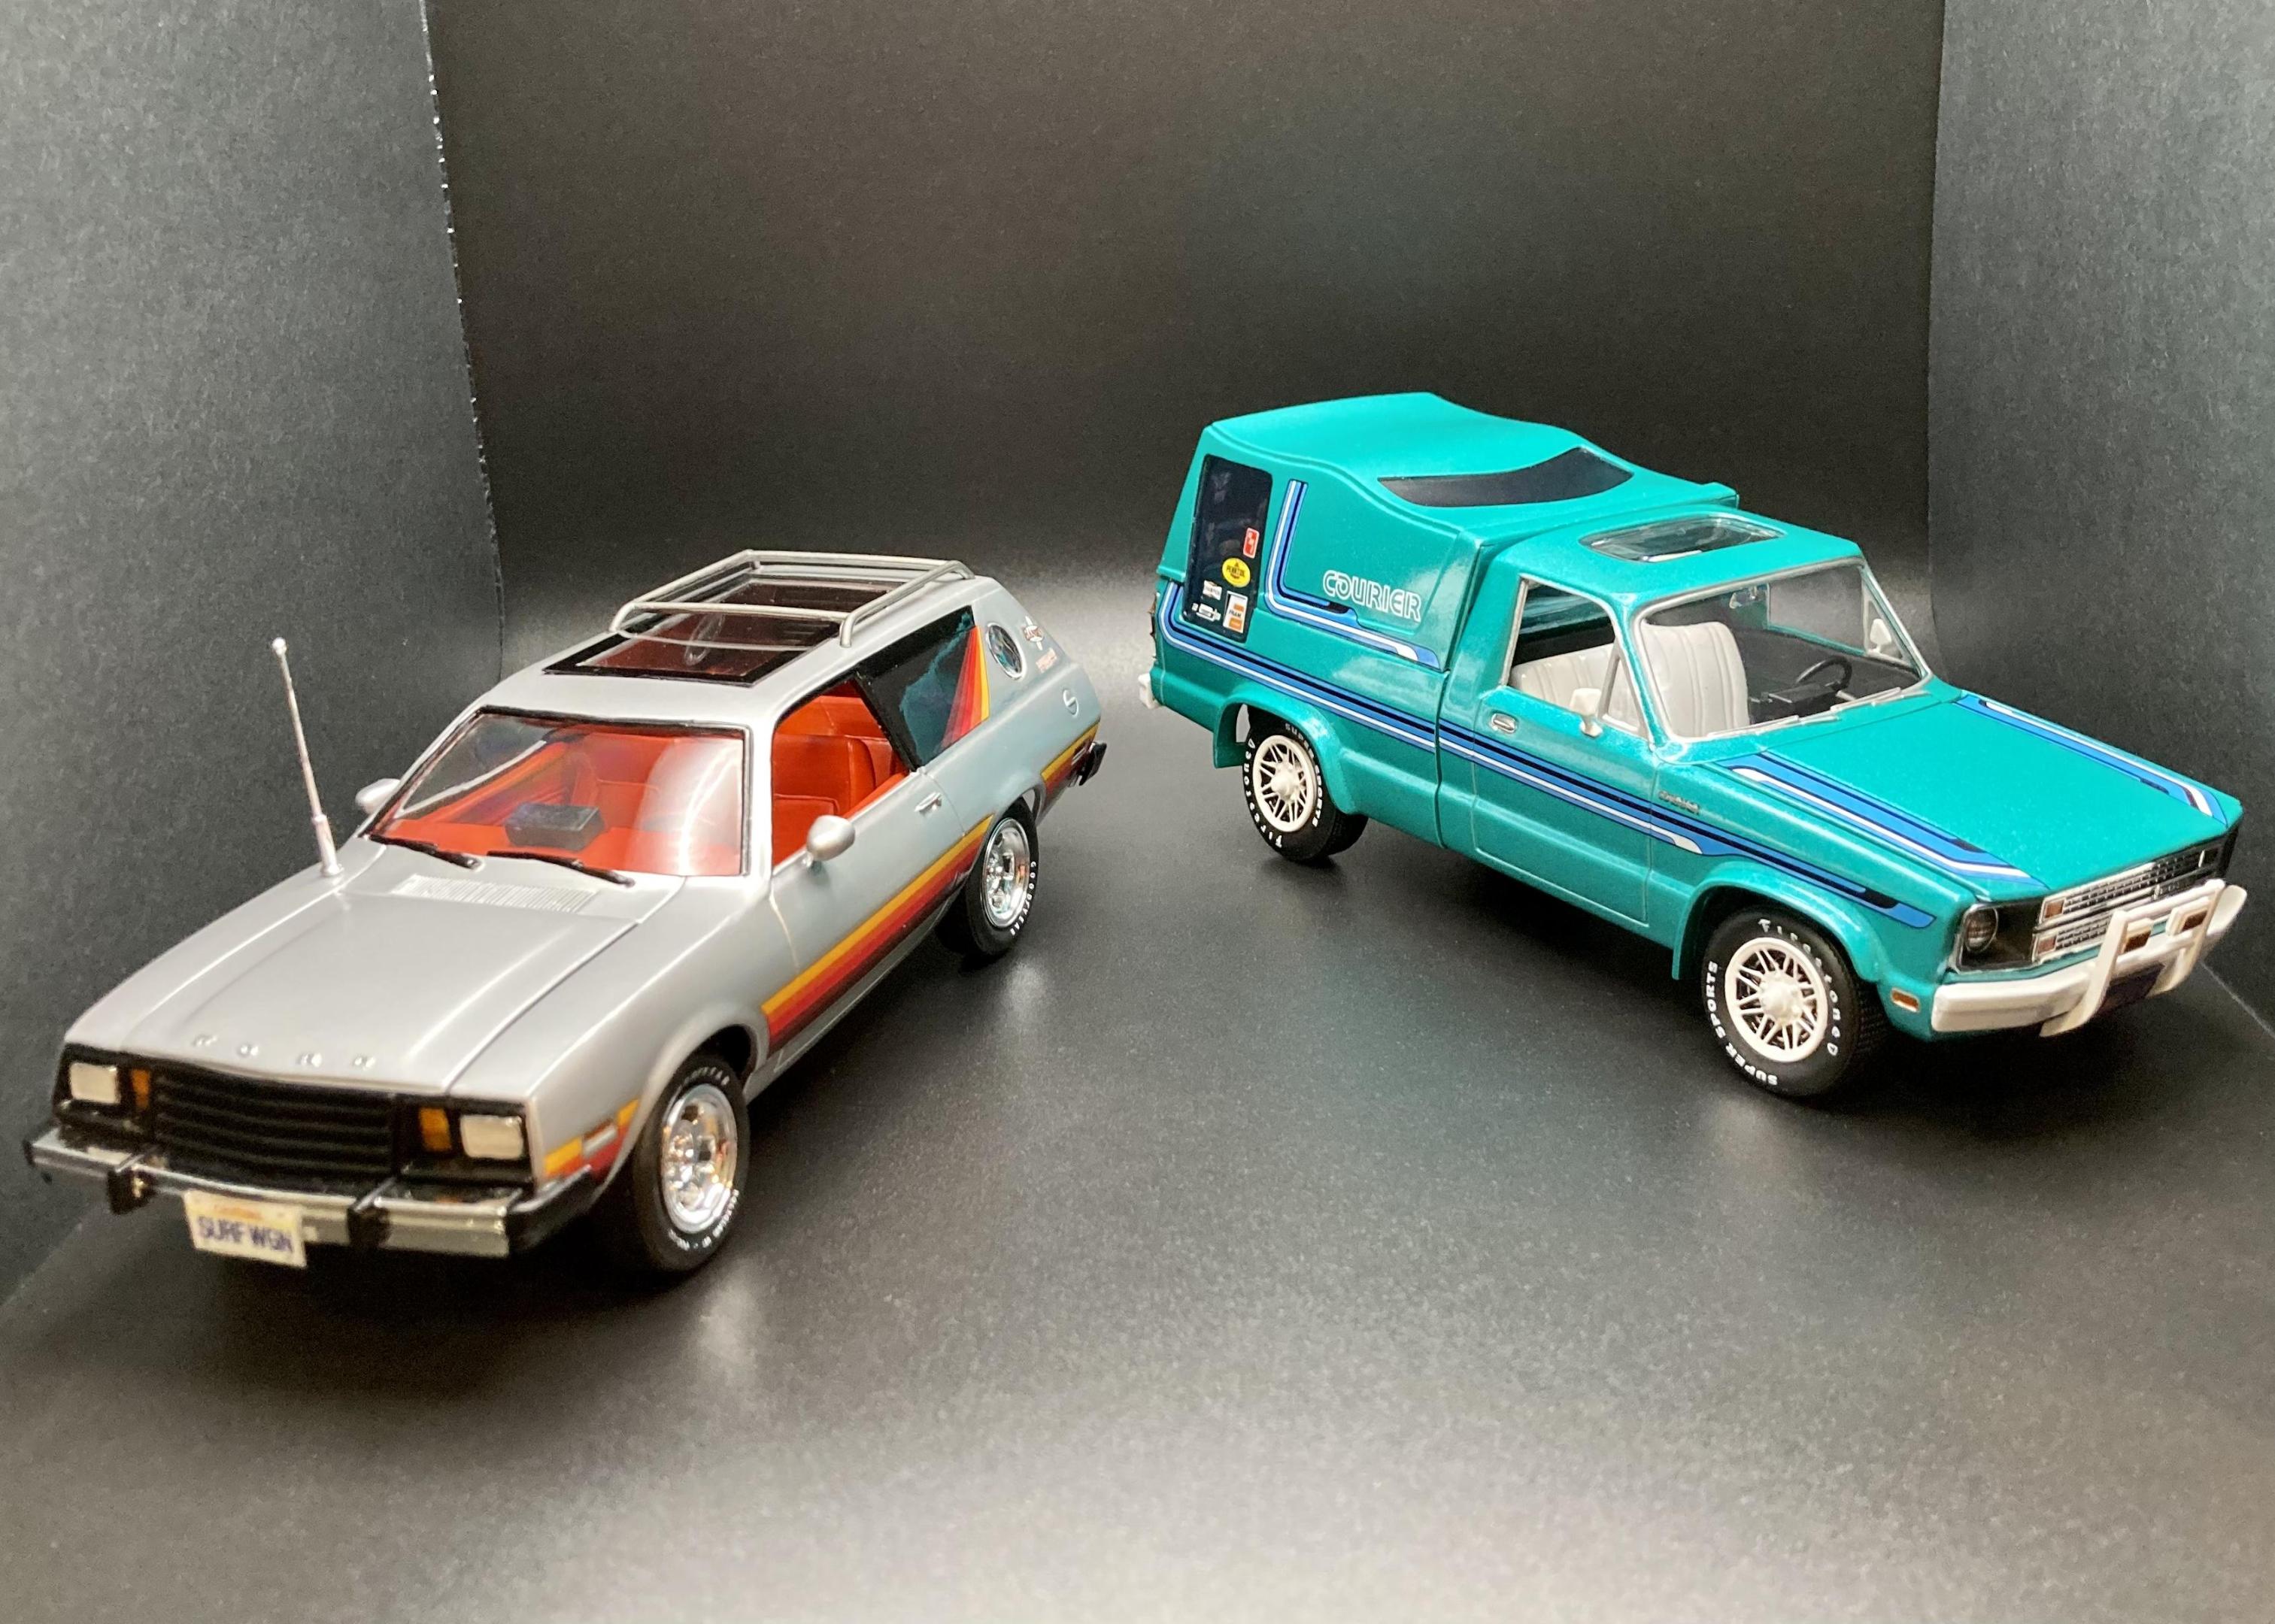
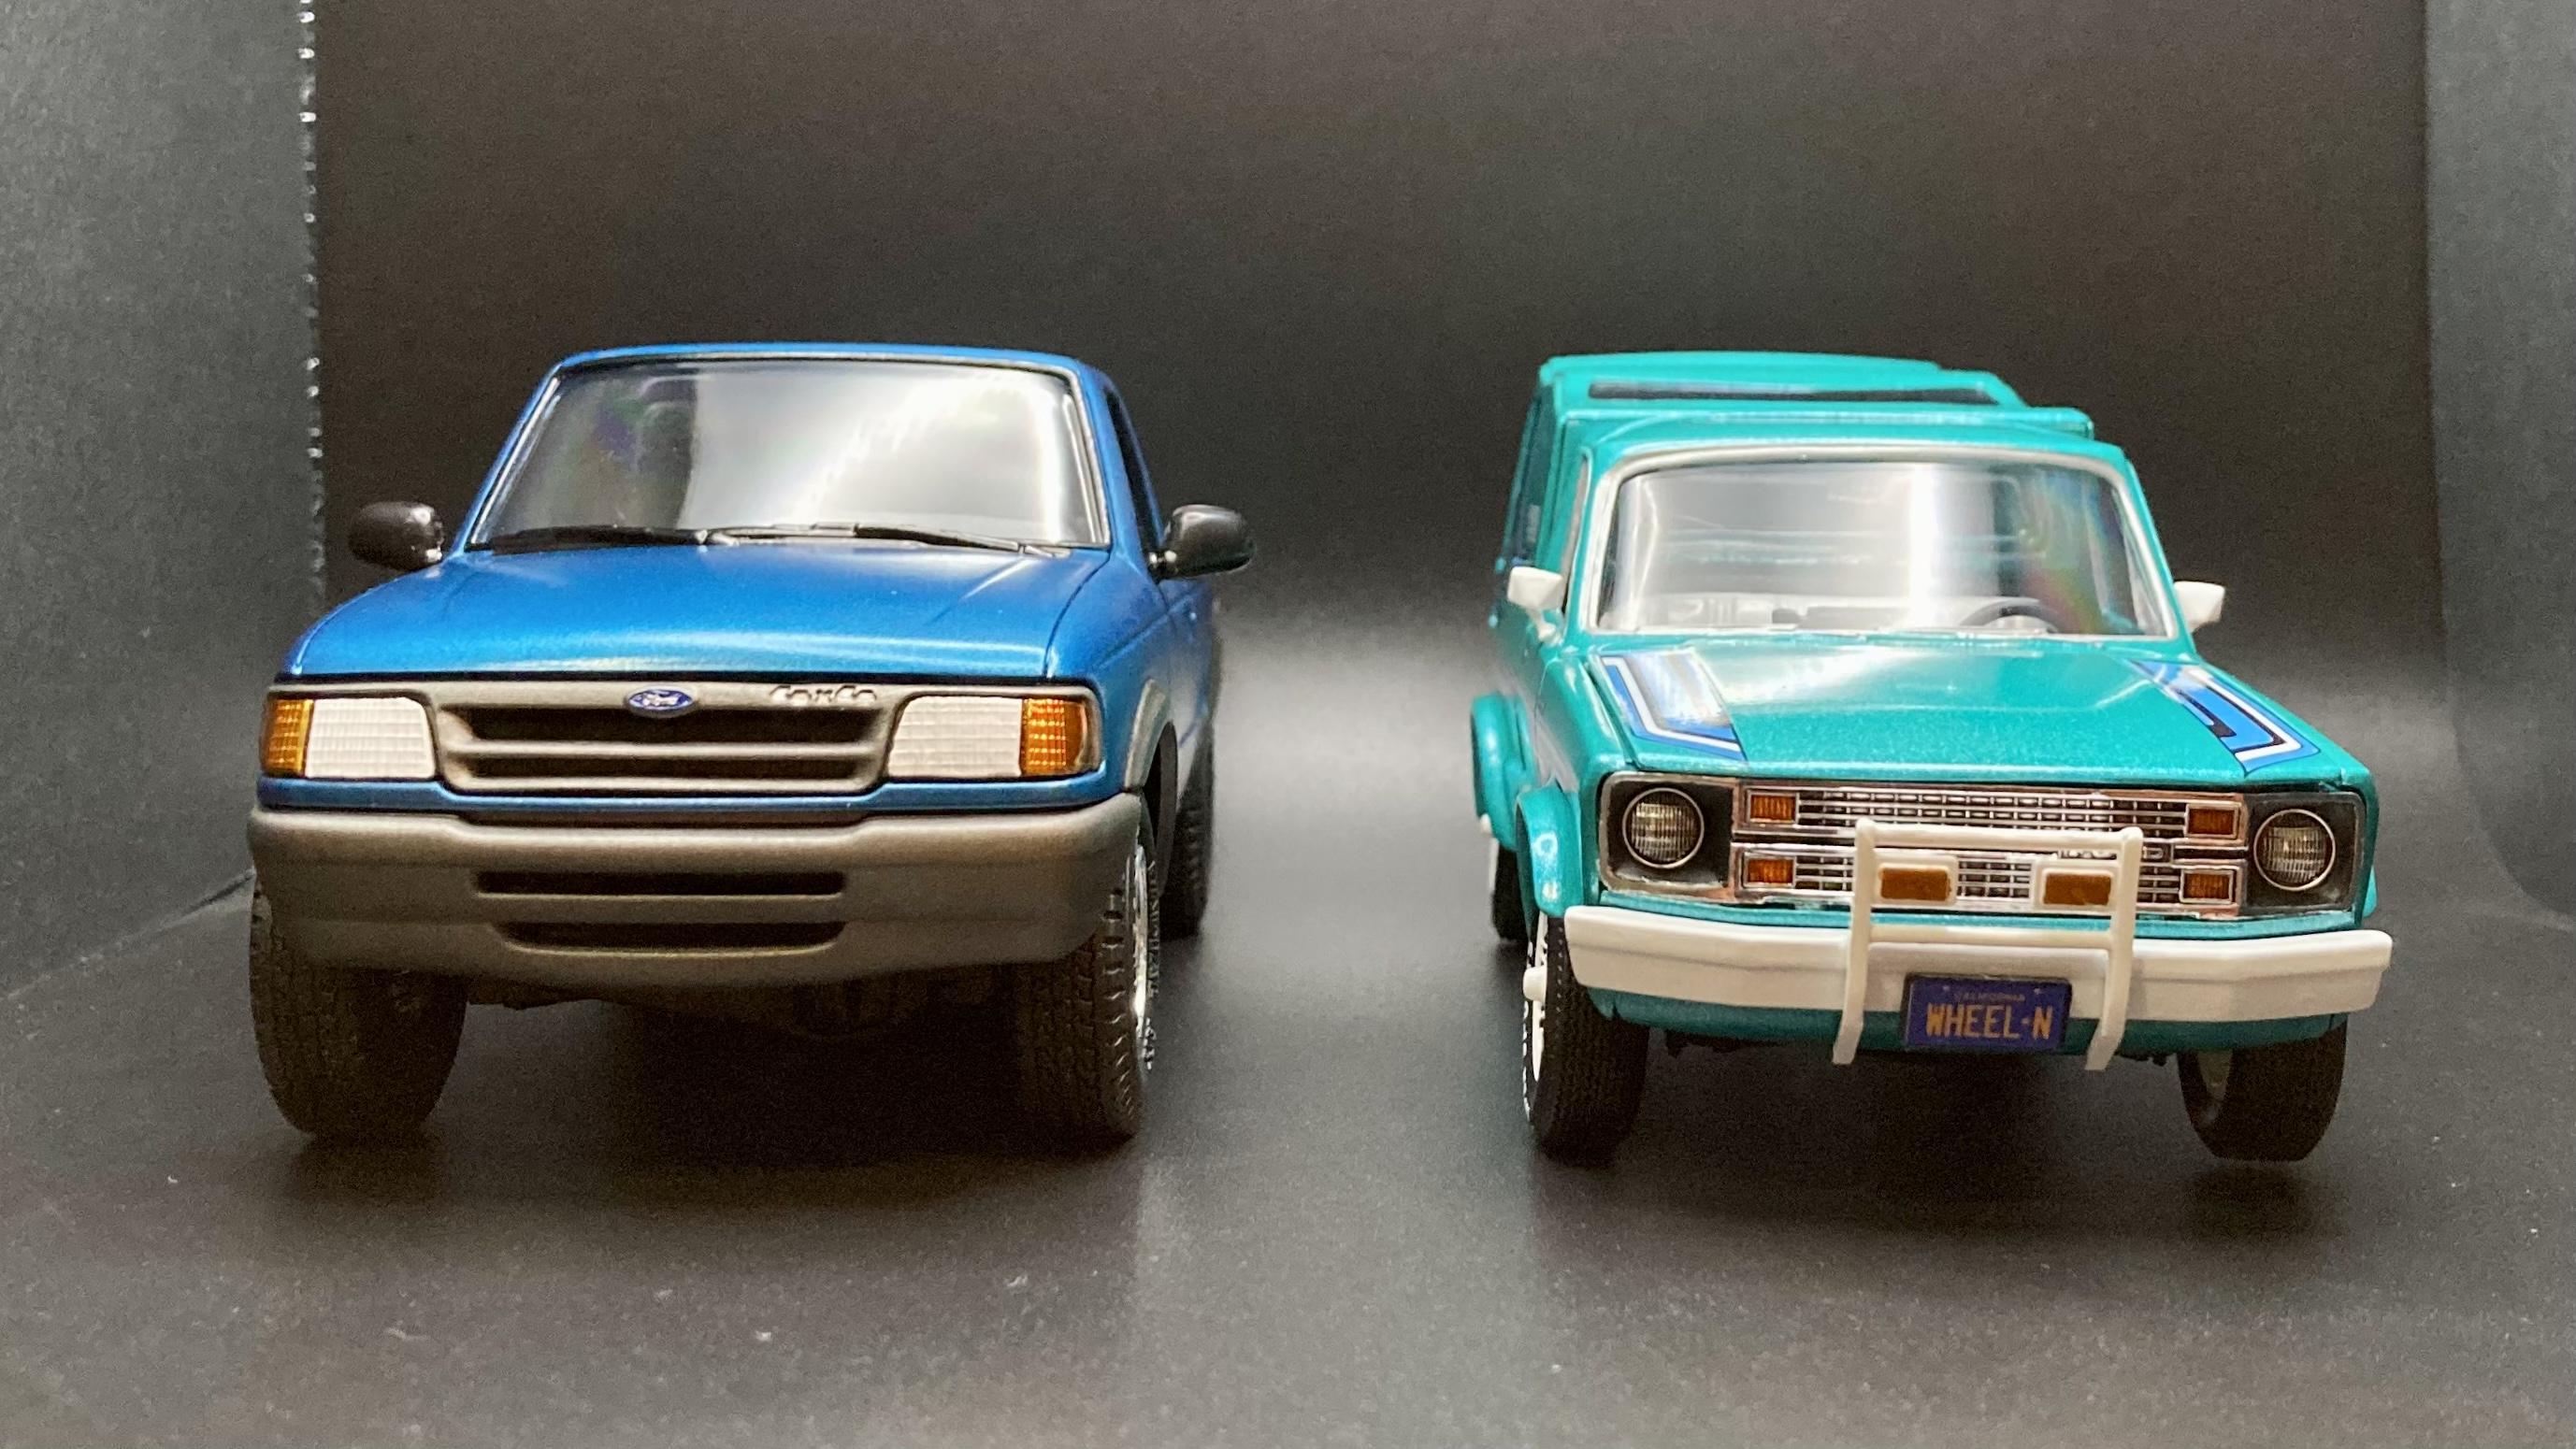
I just finished this one before the end of the year! ‘78 Courier “Minivan” by AMT. I struggled with the body paint finish on this one and ended up stripping it twice. Still some issues but it looks good on camera at least, and I can call it done ?. There’s some final fitment issues with this kit, but considering the age of the molds and the multi-piece body, engine bay and front end, it comes out ok. If you have the patience I’m sure you can get this thing square. The body is Testors Extreme Lacquer Turquoise, with primer black interior and Tamiya TS-26 Pure White on the seat, wheels and bumpers. This kit comes with tons of custom and stock part options and three sets of stripe decals. I chose the custom camper shell/bed and the front fender flares, but I left off the goofy snow plow-like custom front air-dam so I had to trim the front flares to go with the stock fascia. All of the options make for a fun kit to design however you want! Thanks for looking!
-
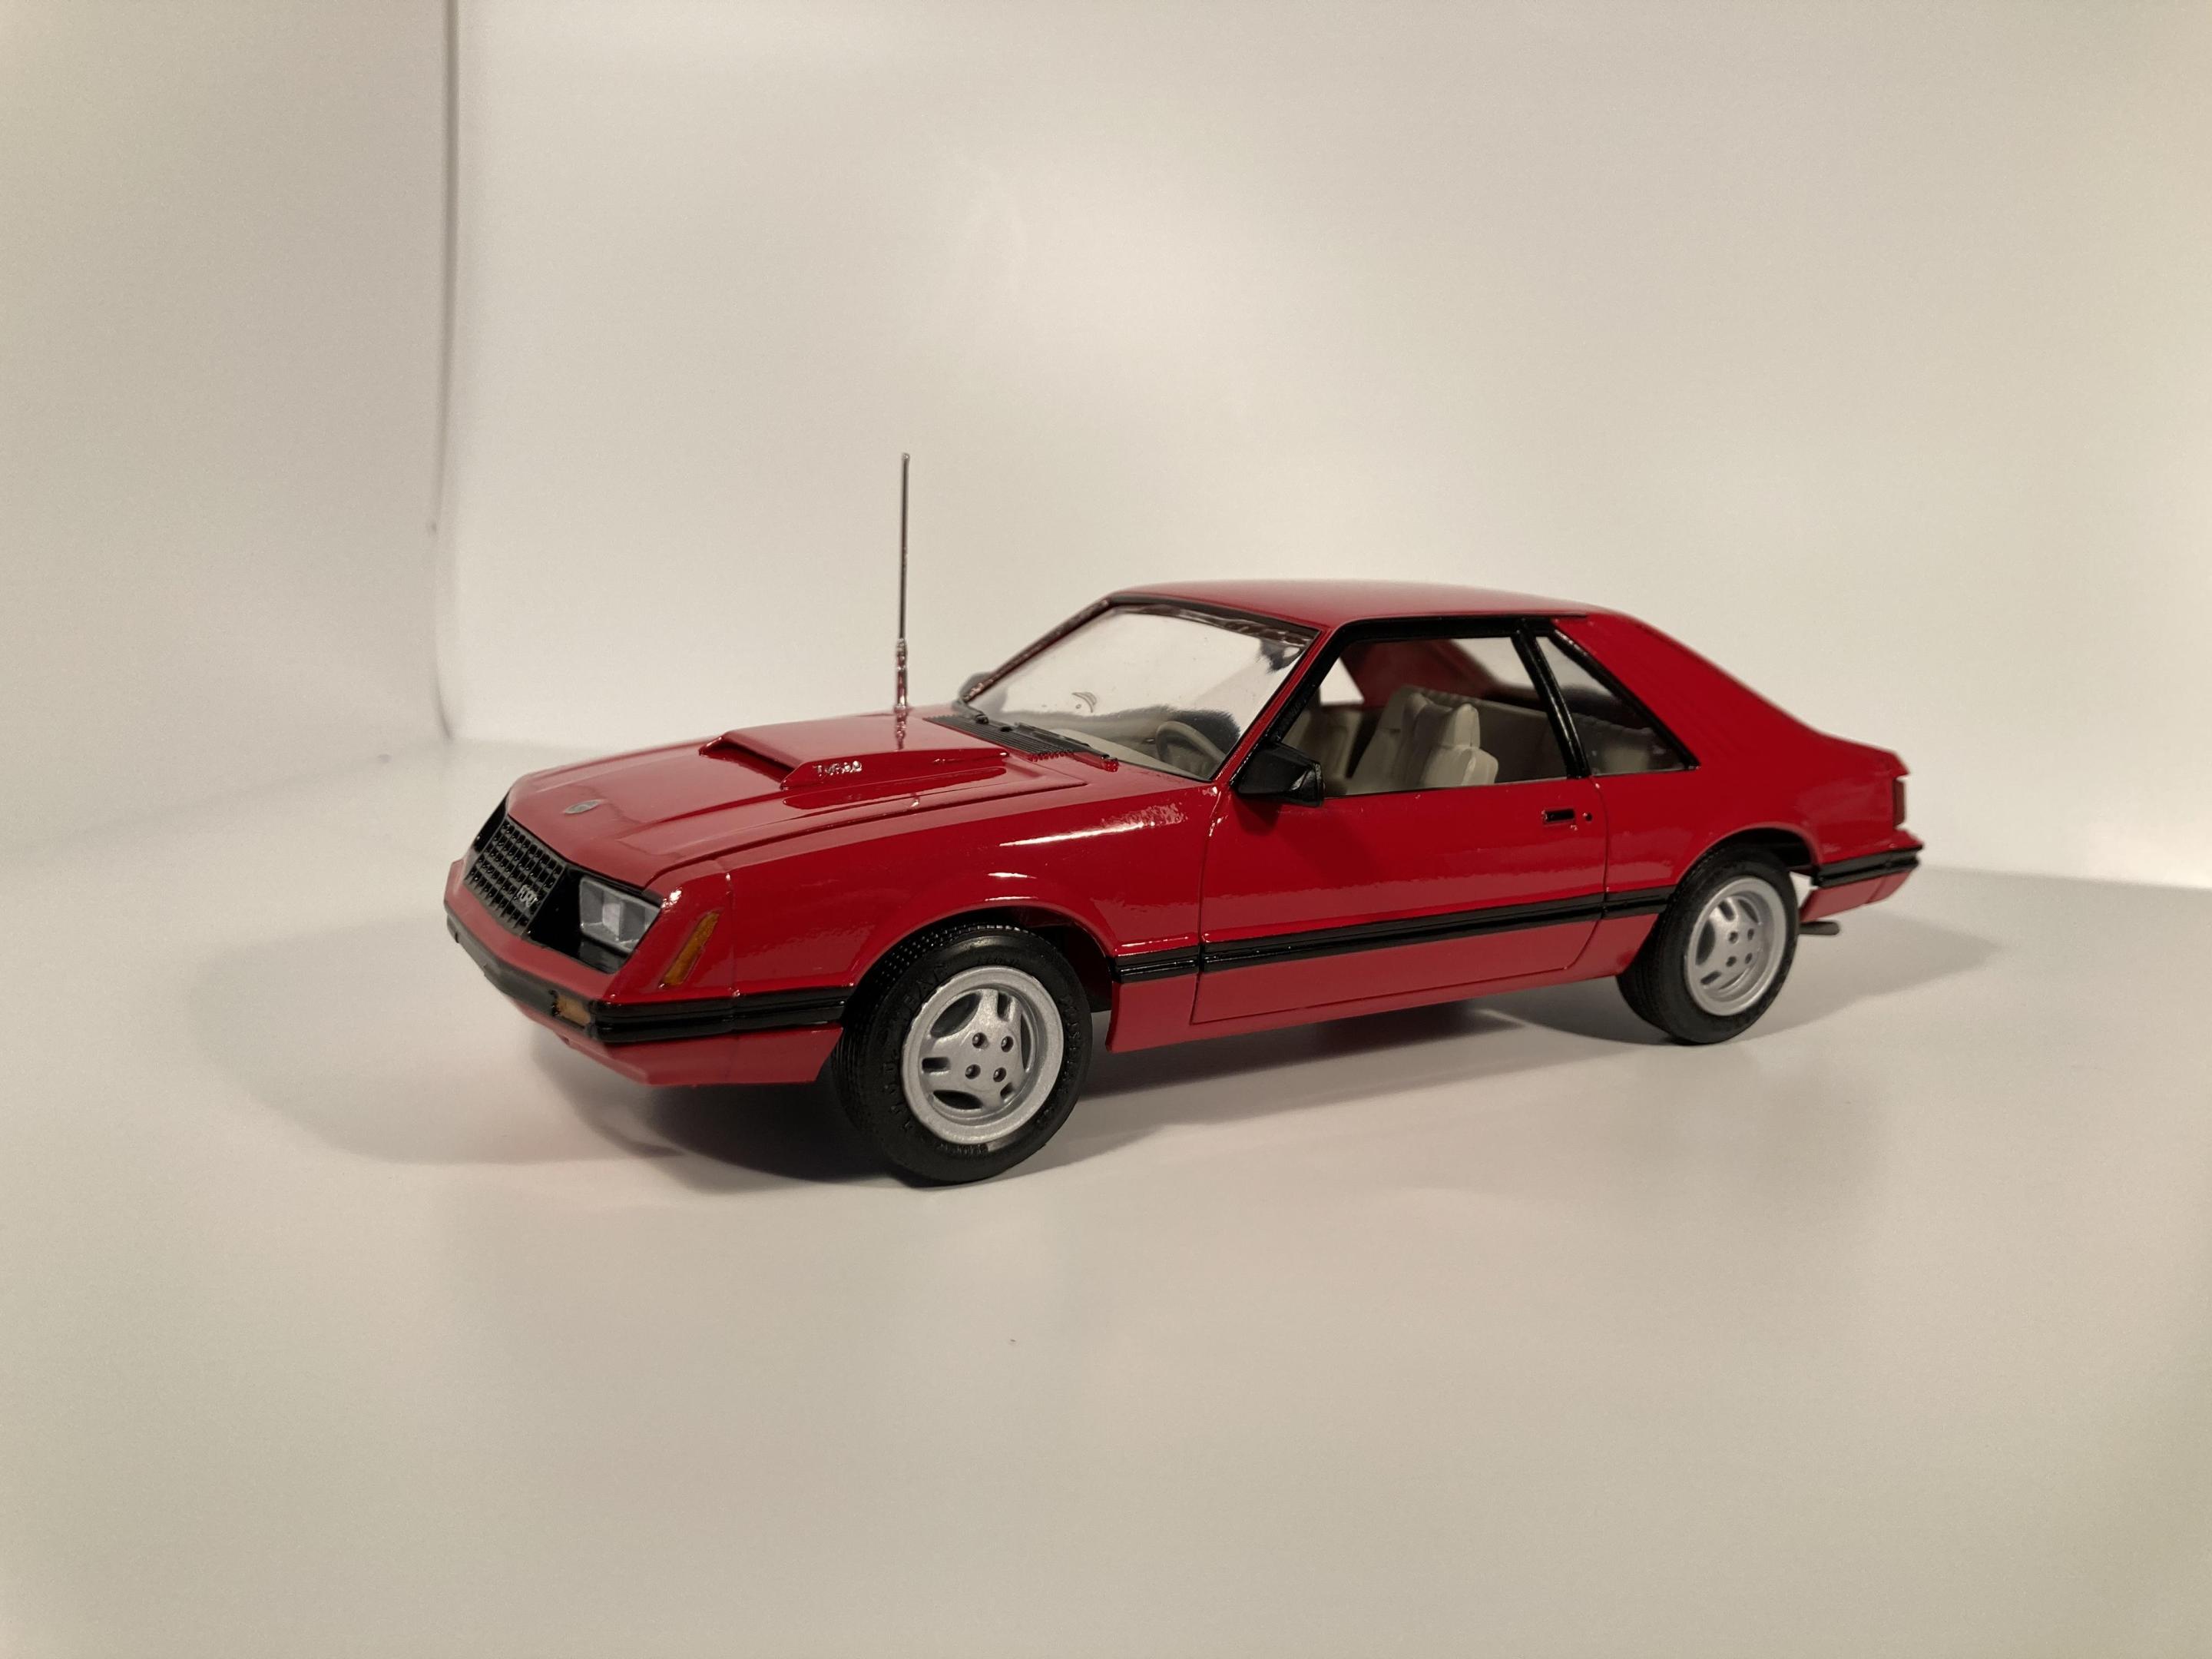
I built an ‘80s era kit Monogram Ferrari 308 last year, molded in likely the same red plastic as your Tbird. I primed the body first with black Krylon rattle can primer, followed by gray Tamiya primer. I then airbrushed it in Tamiya yellow acrylic. The red was completely covered by the primers and there is no bleed through to the yellow coat that I can tell. Give that a try? Or just paint it red ?
-

1975 Chevy K5 Blazer
StanGlover replied to StanGlover's topic in Model Trucks: Pickups, Vans, SUVs, Light Commercial
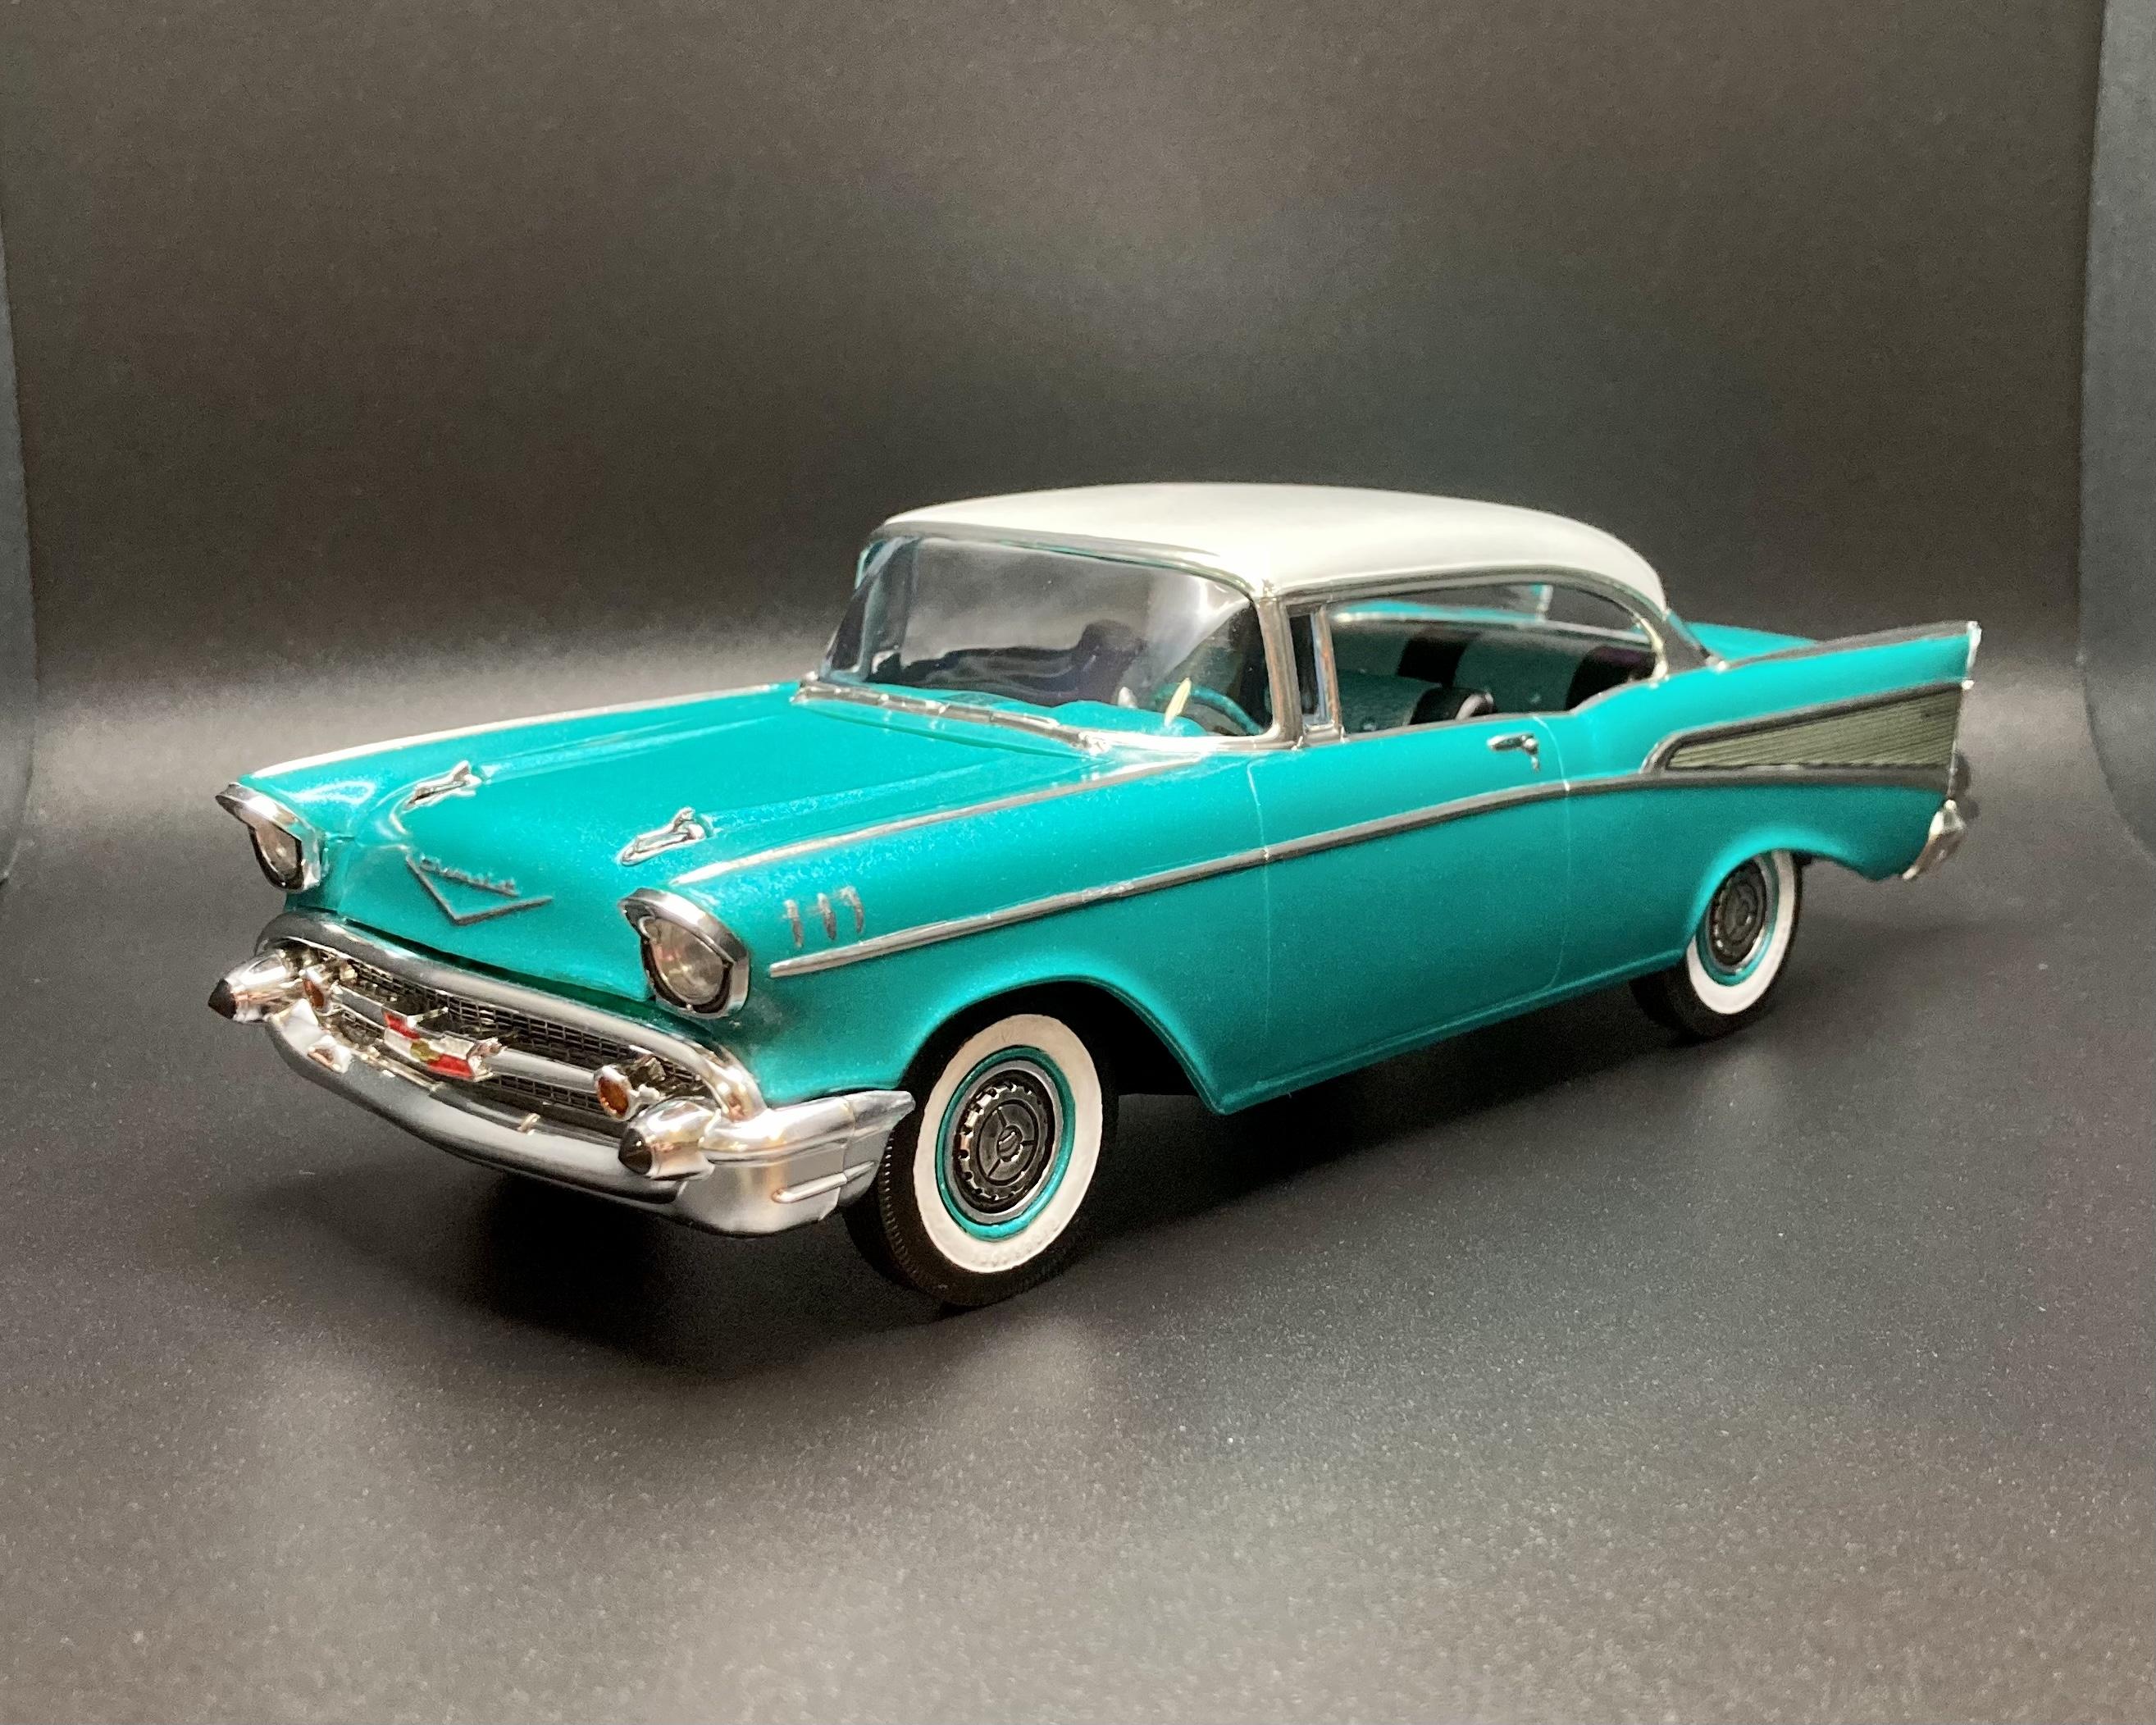
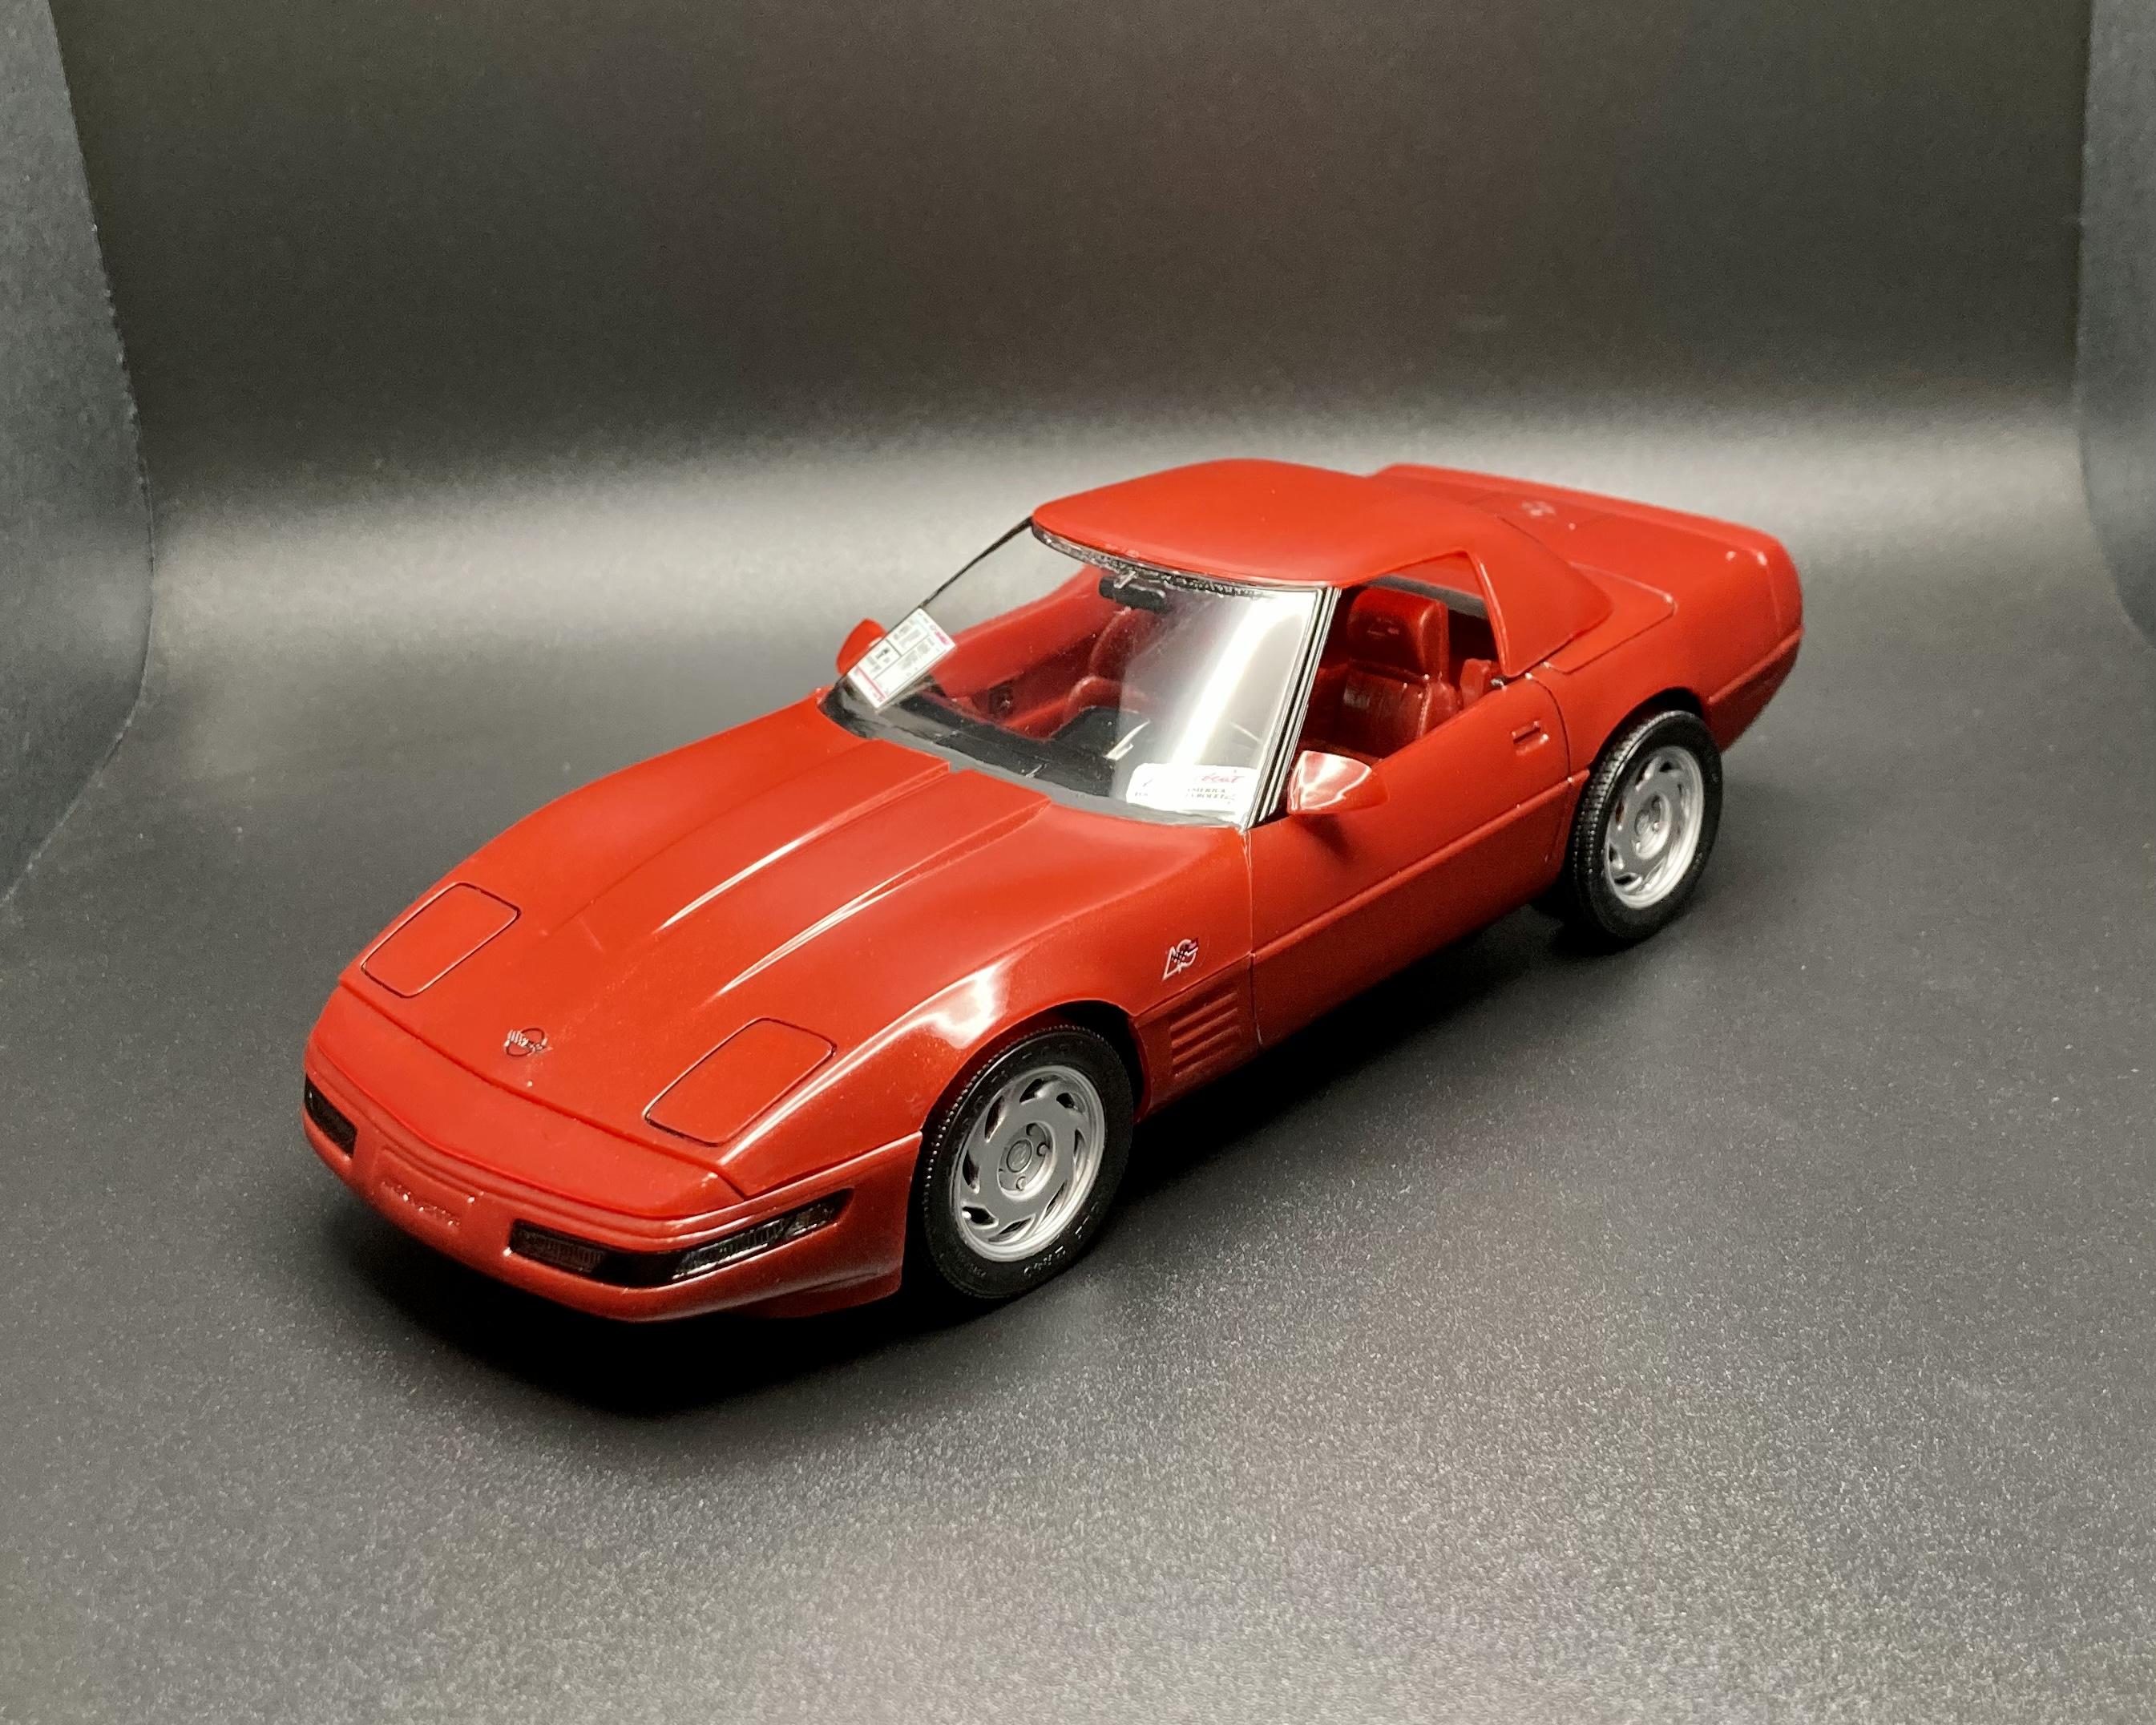
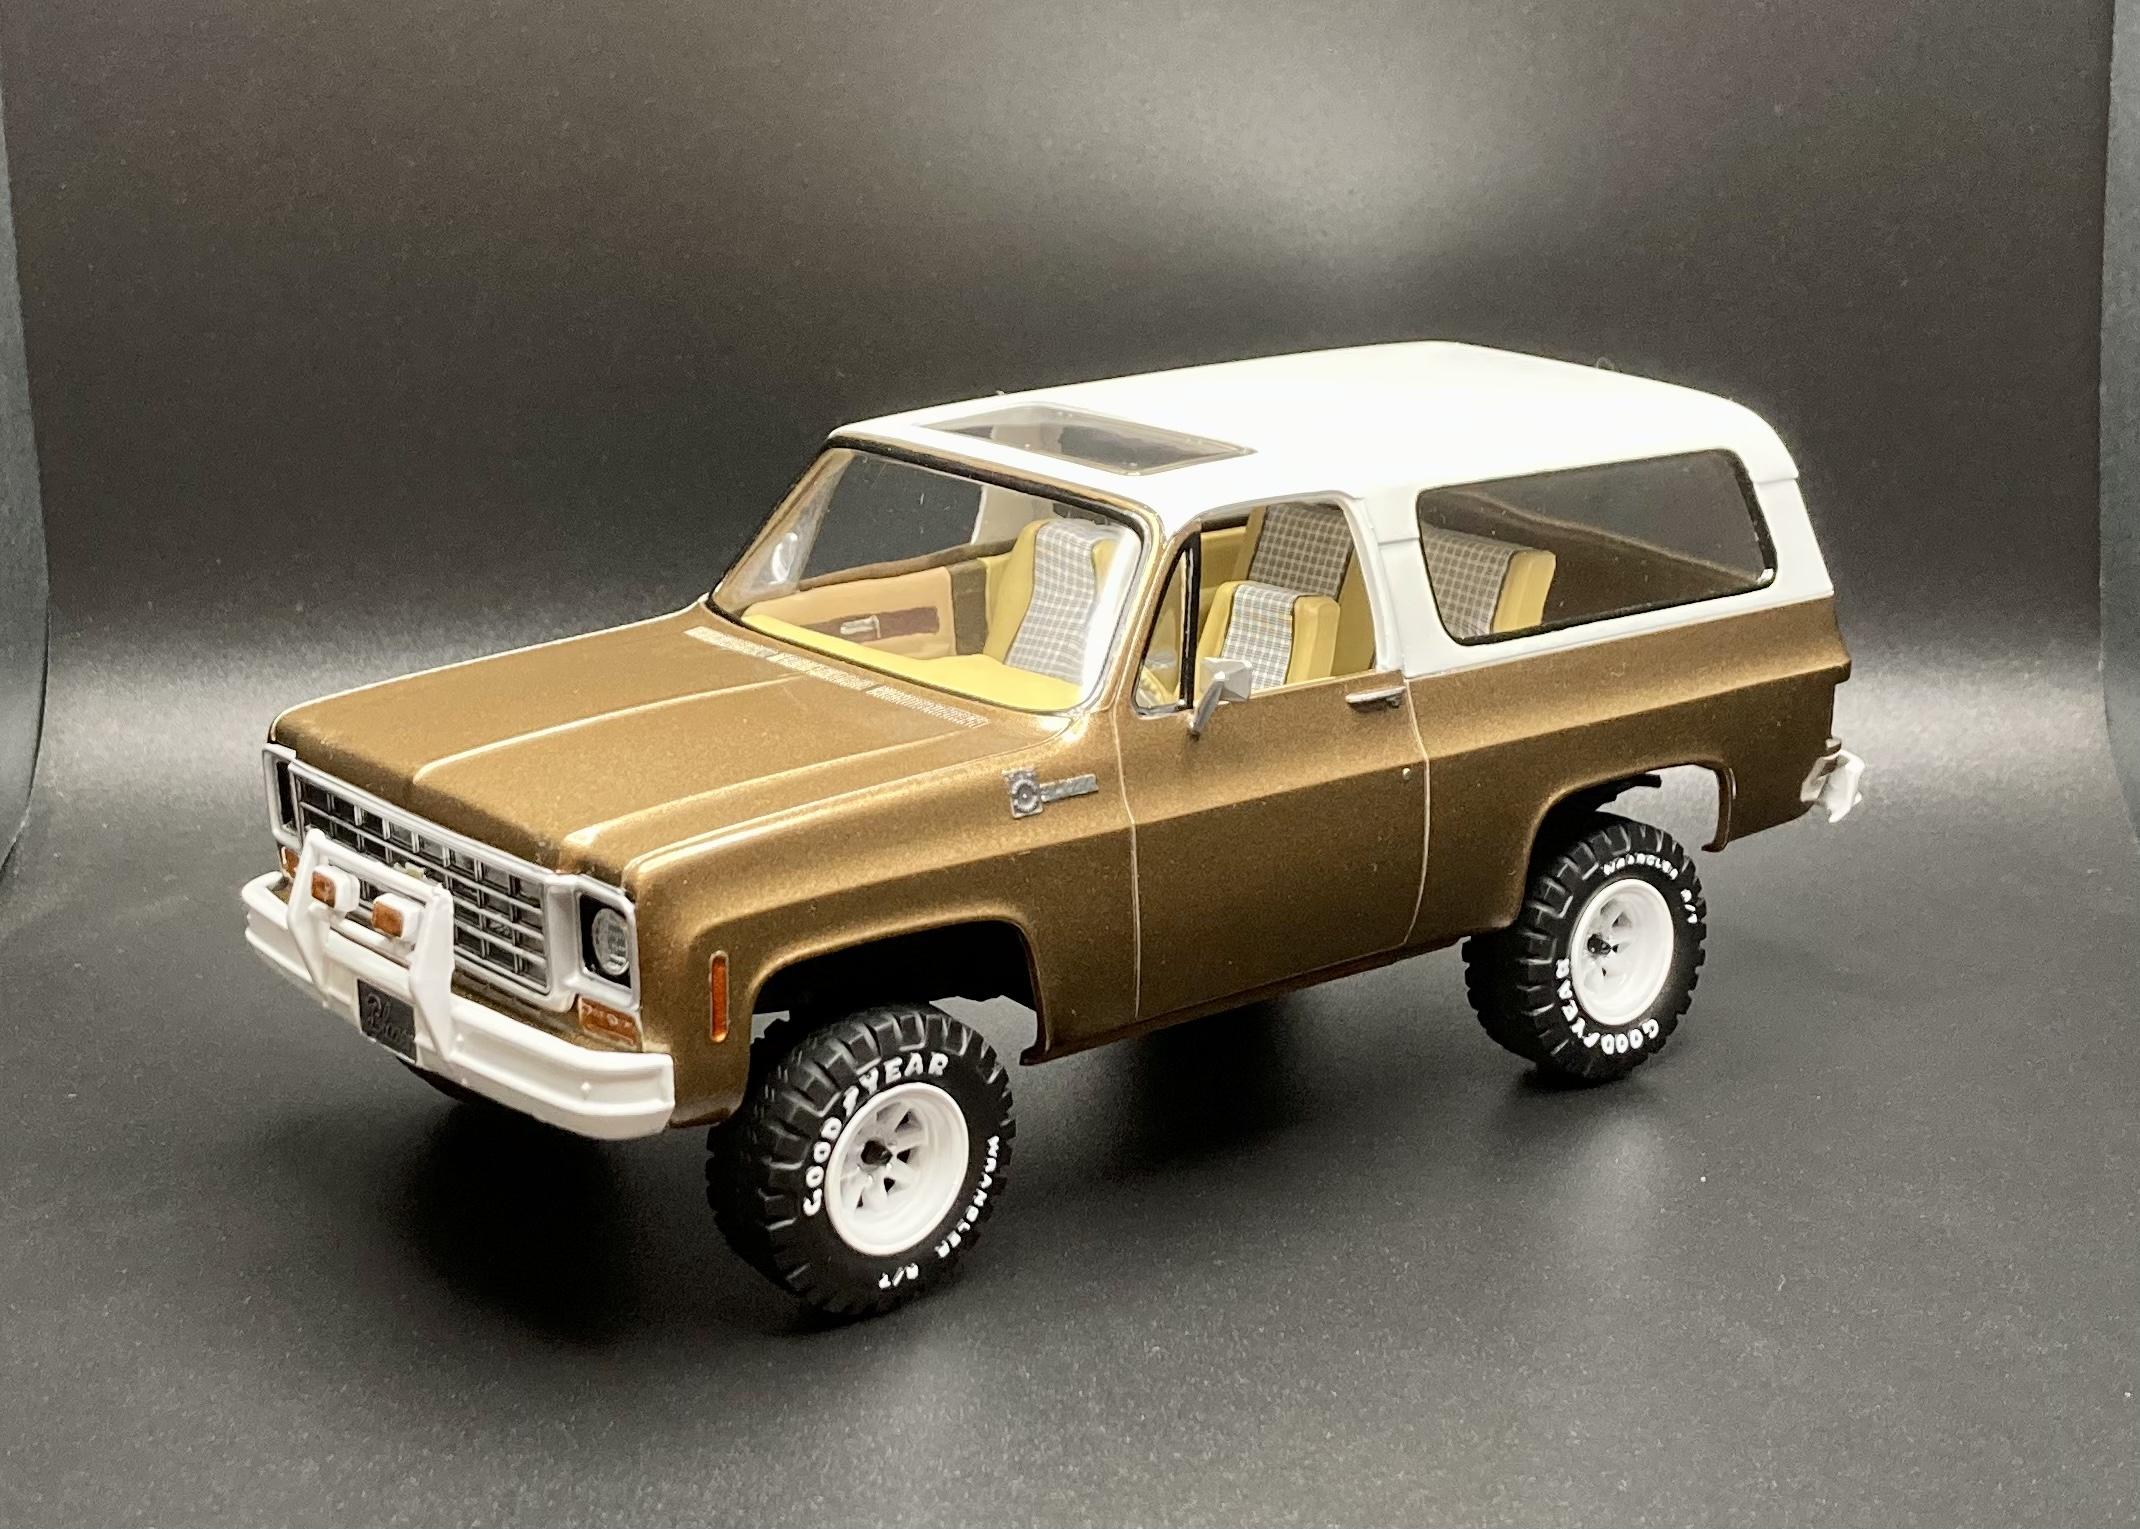
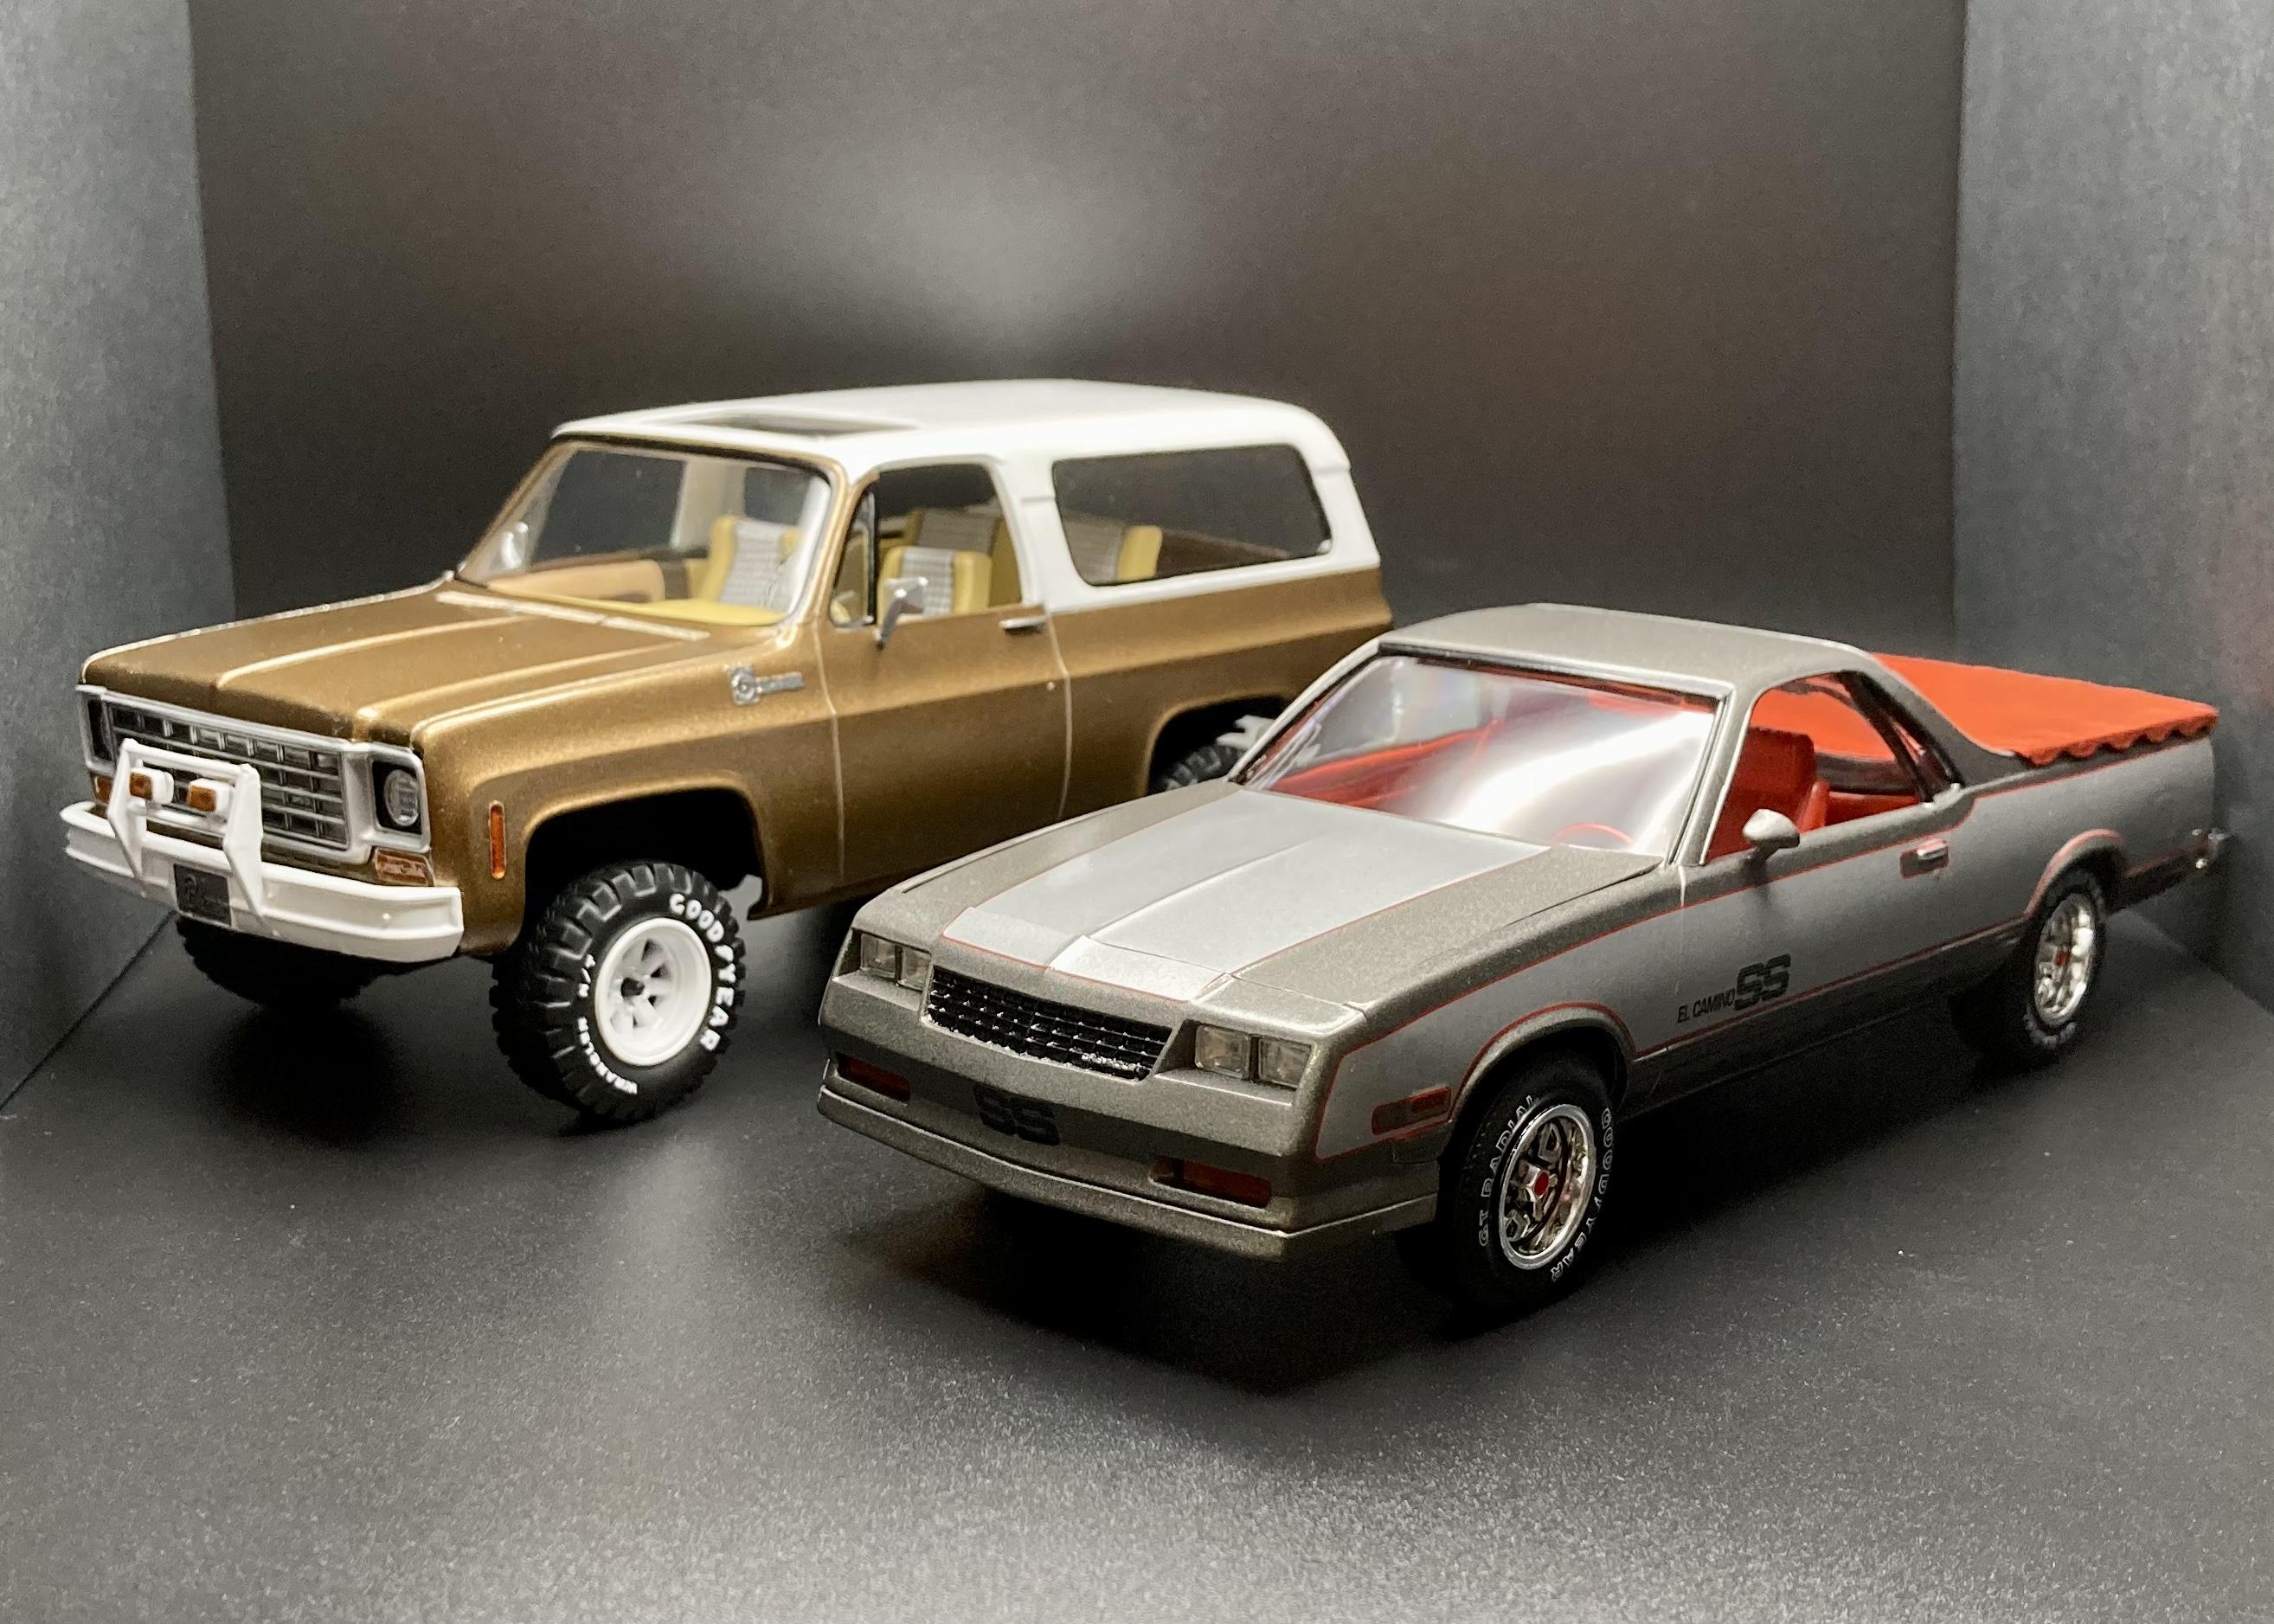
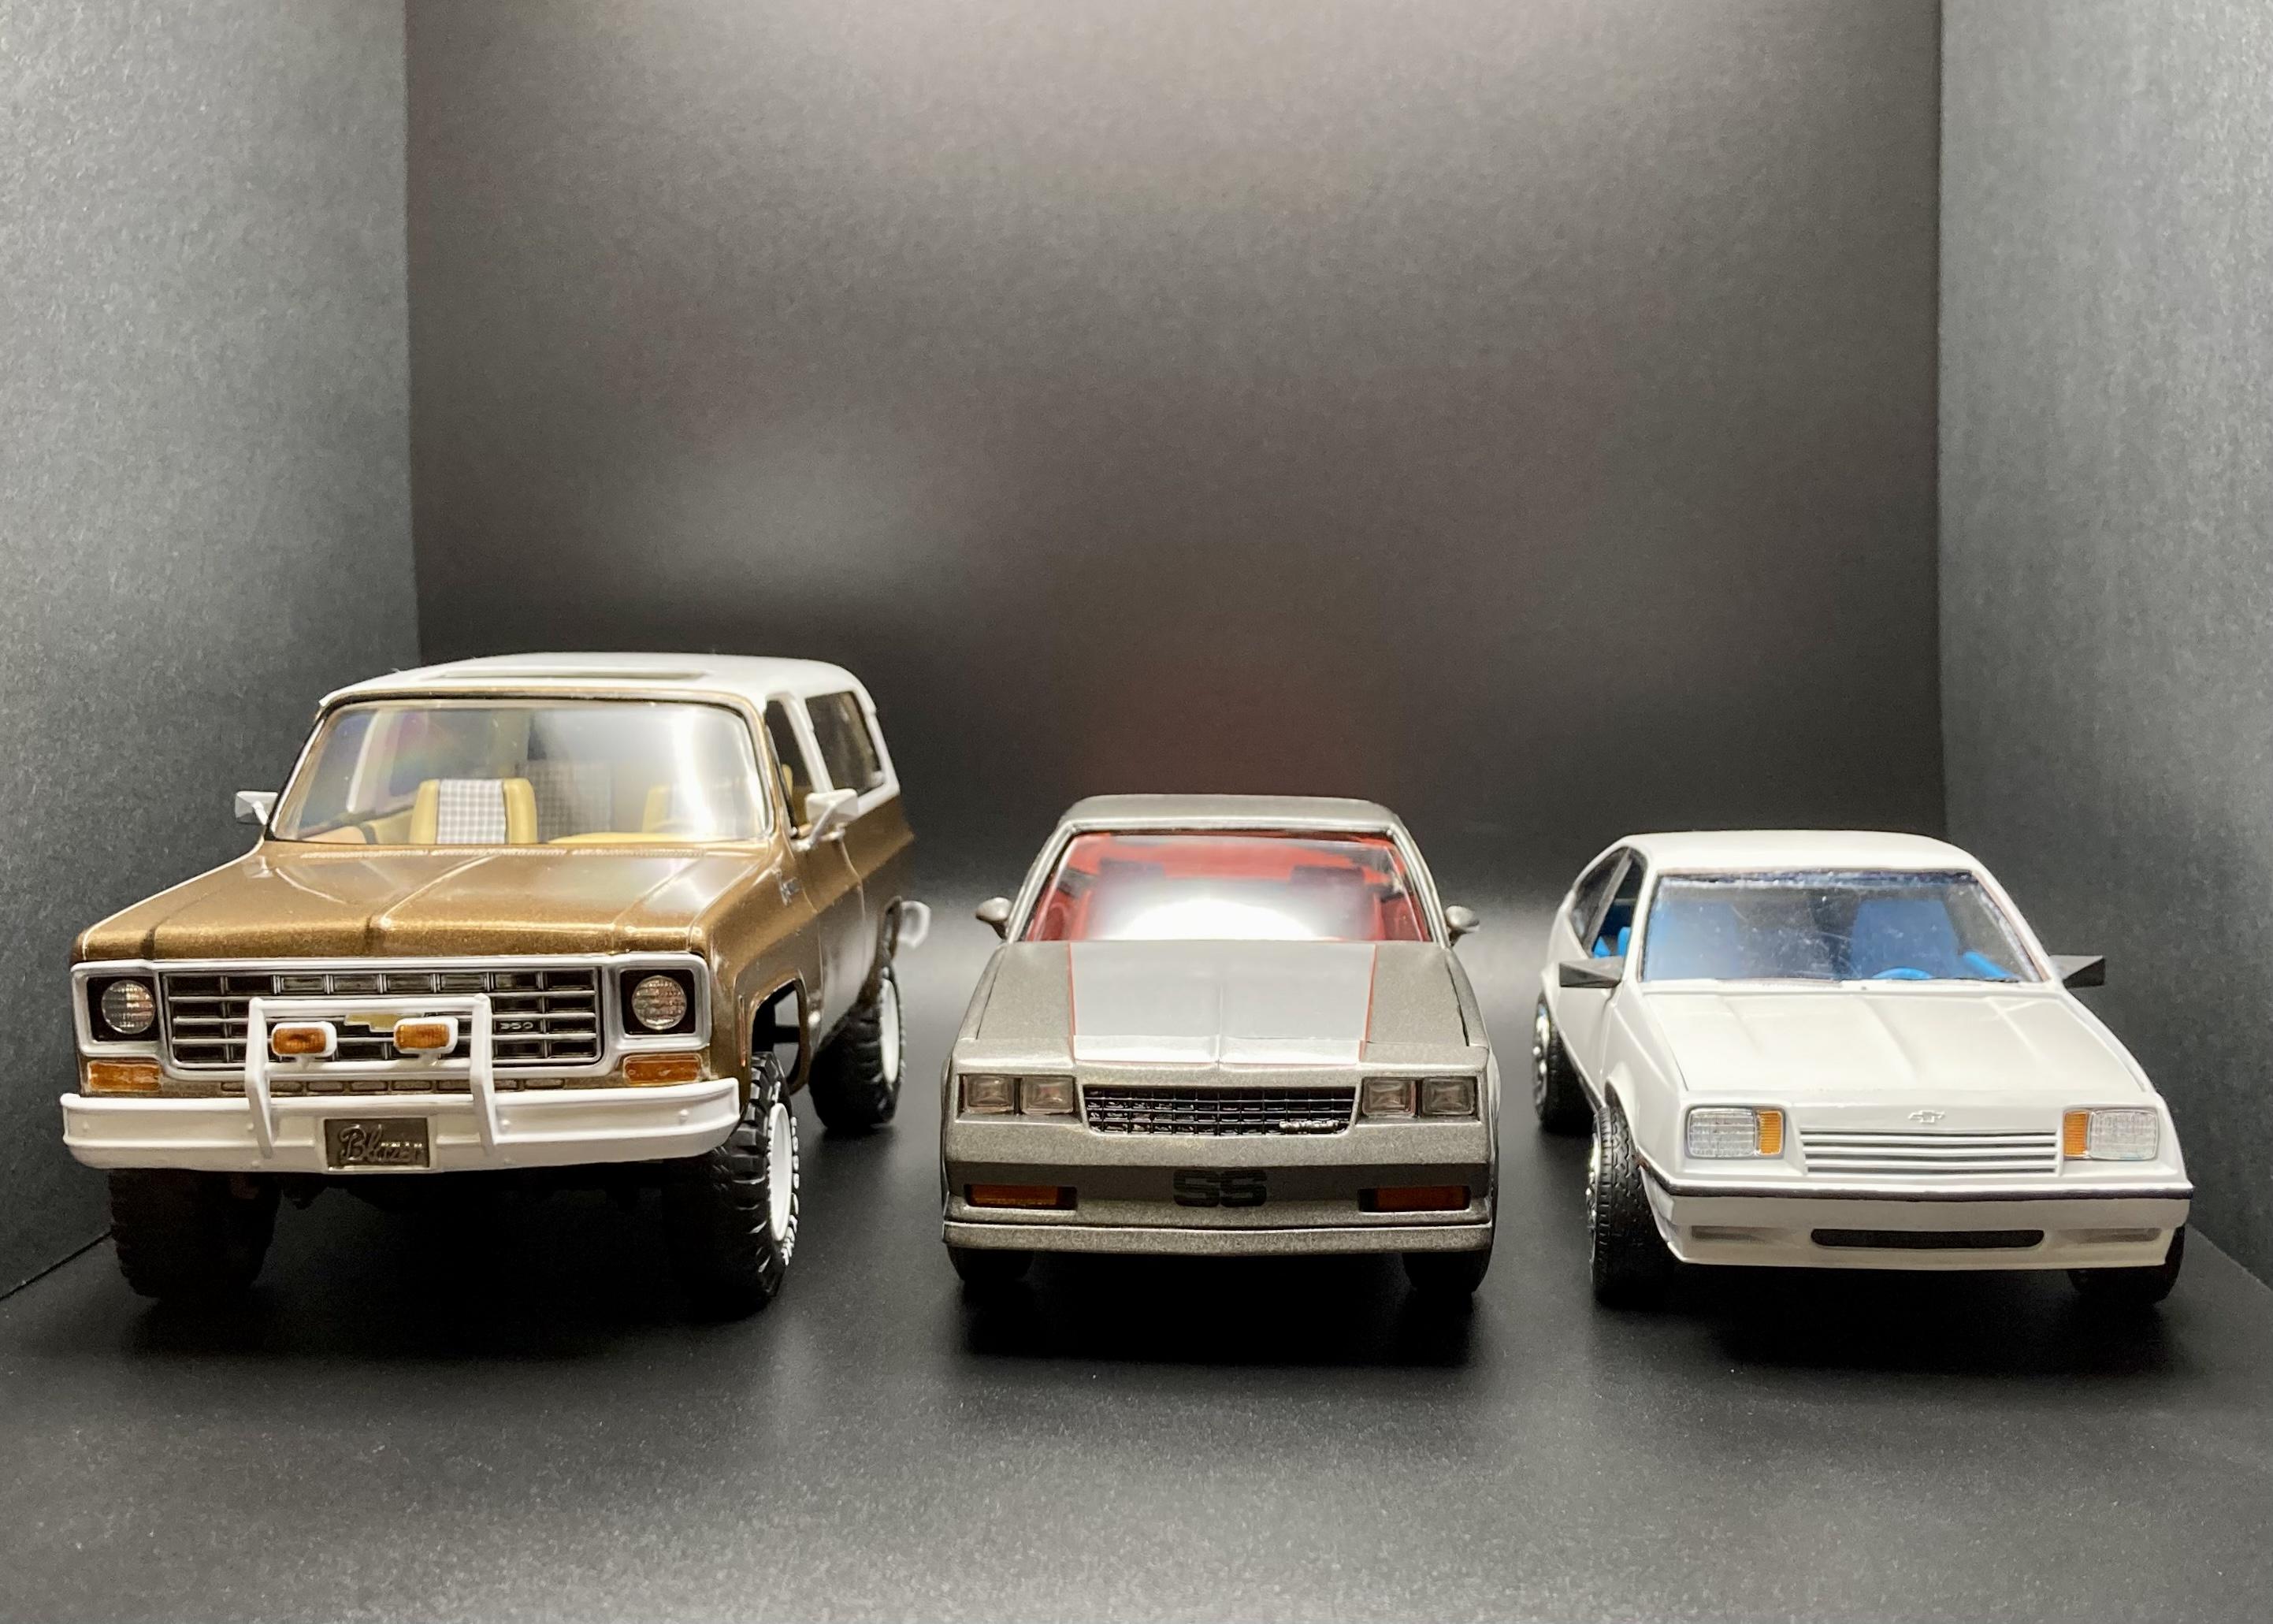
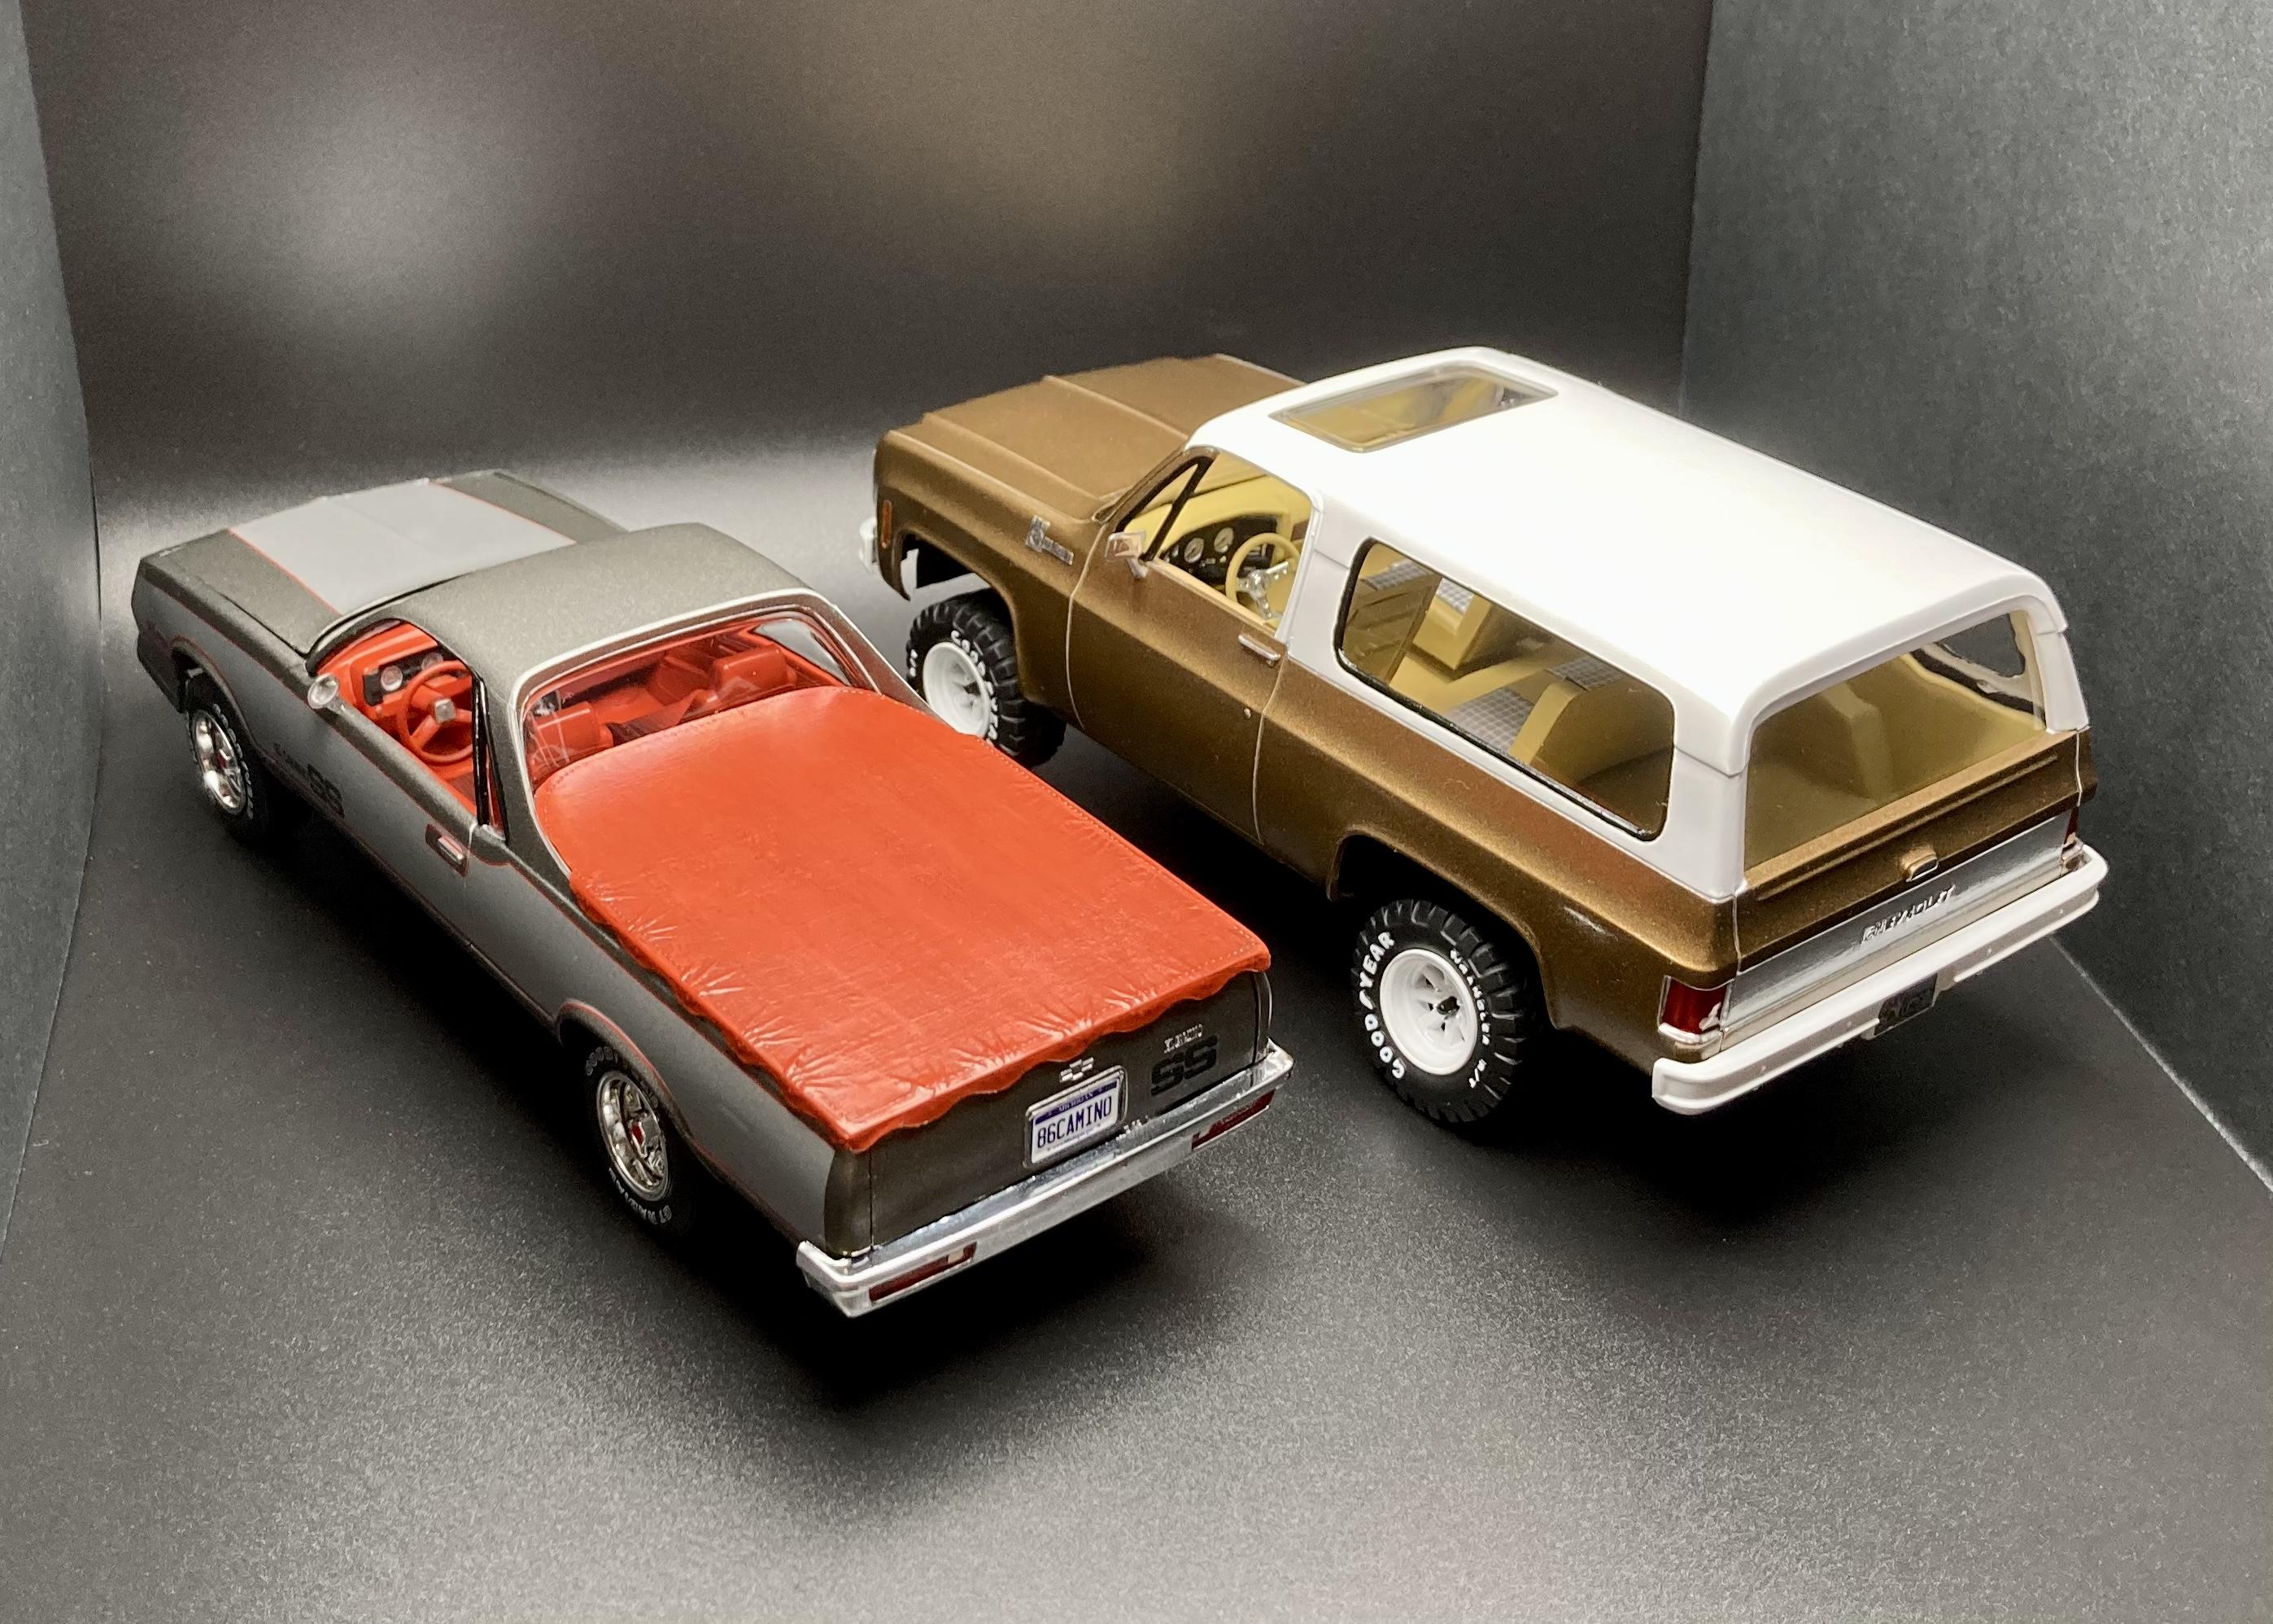
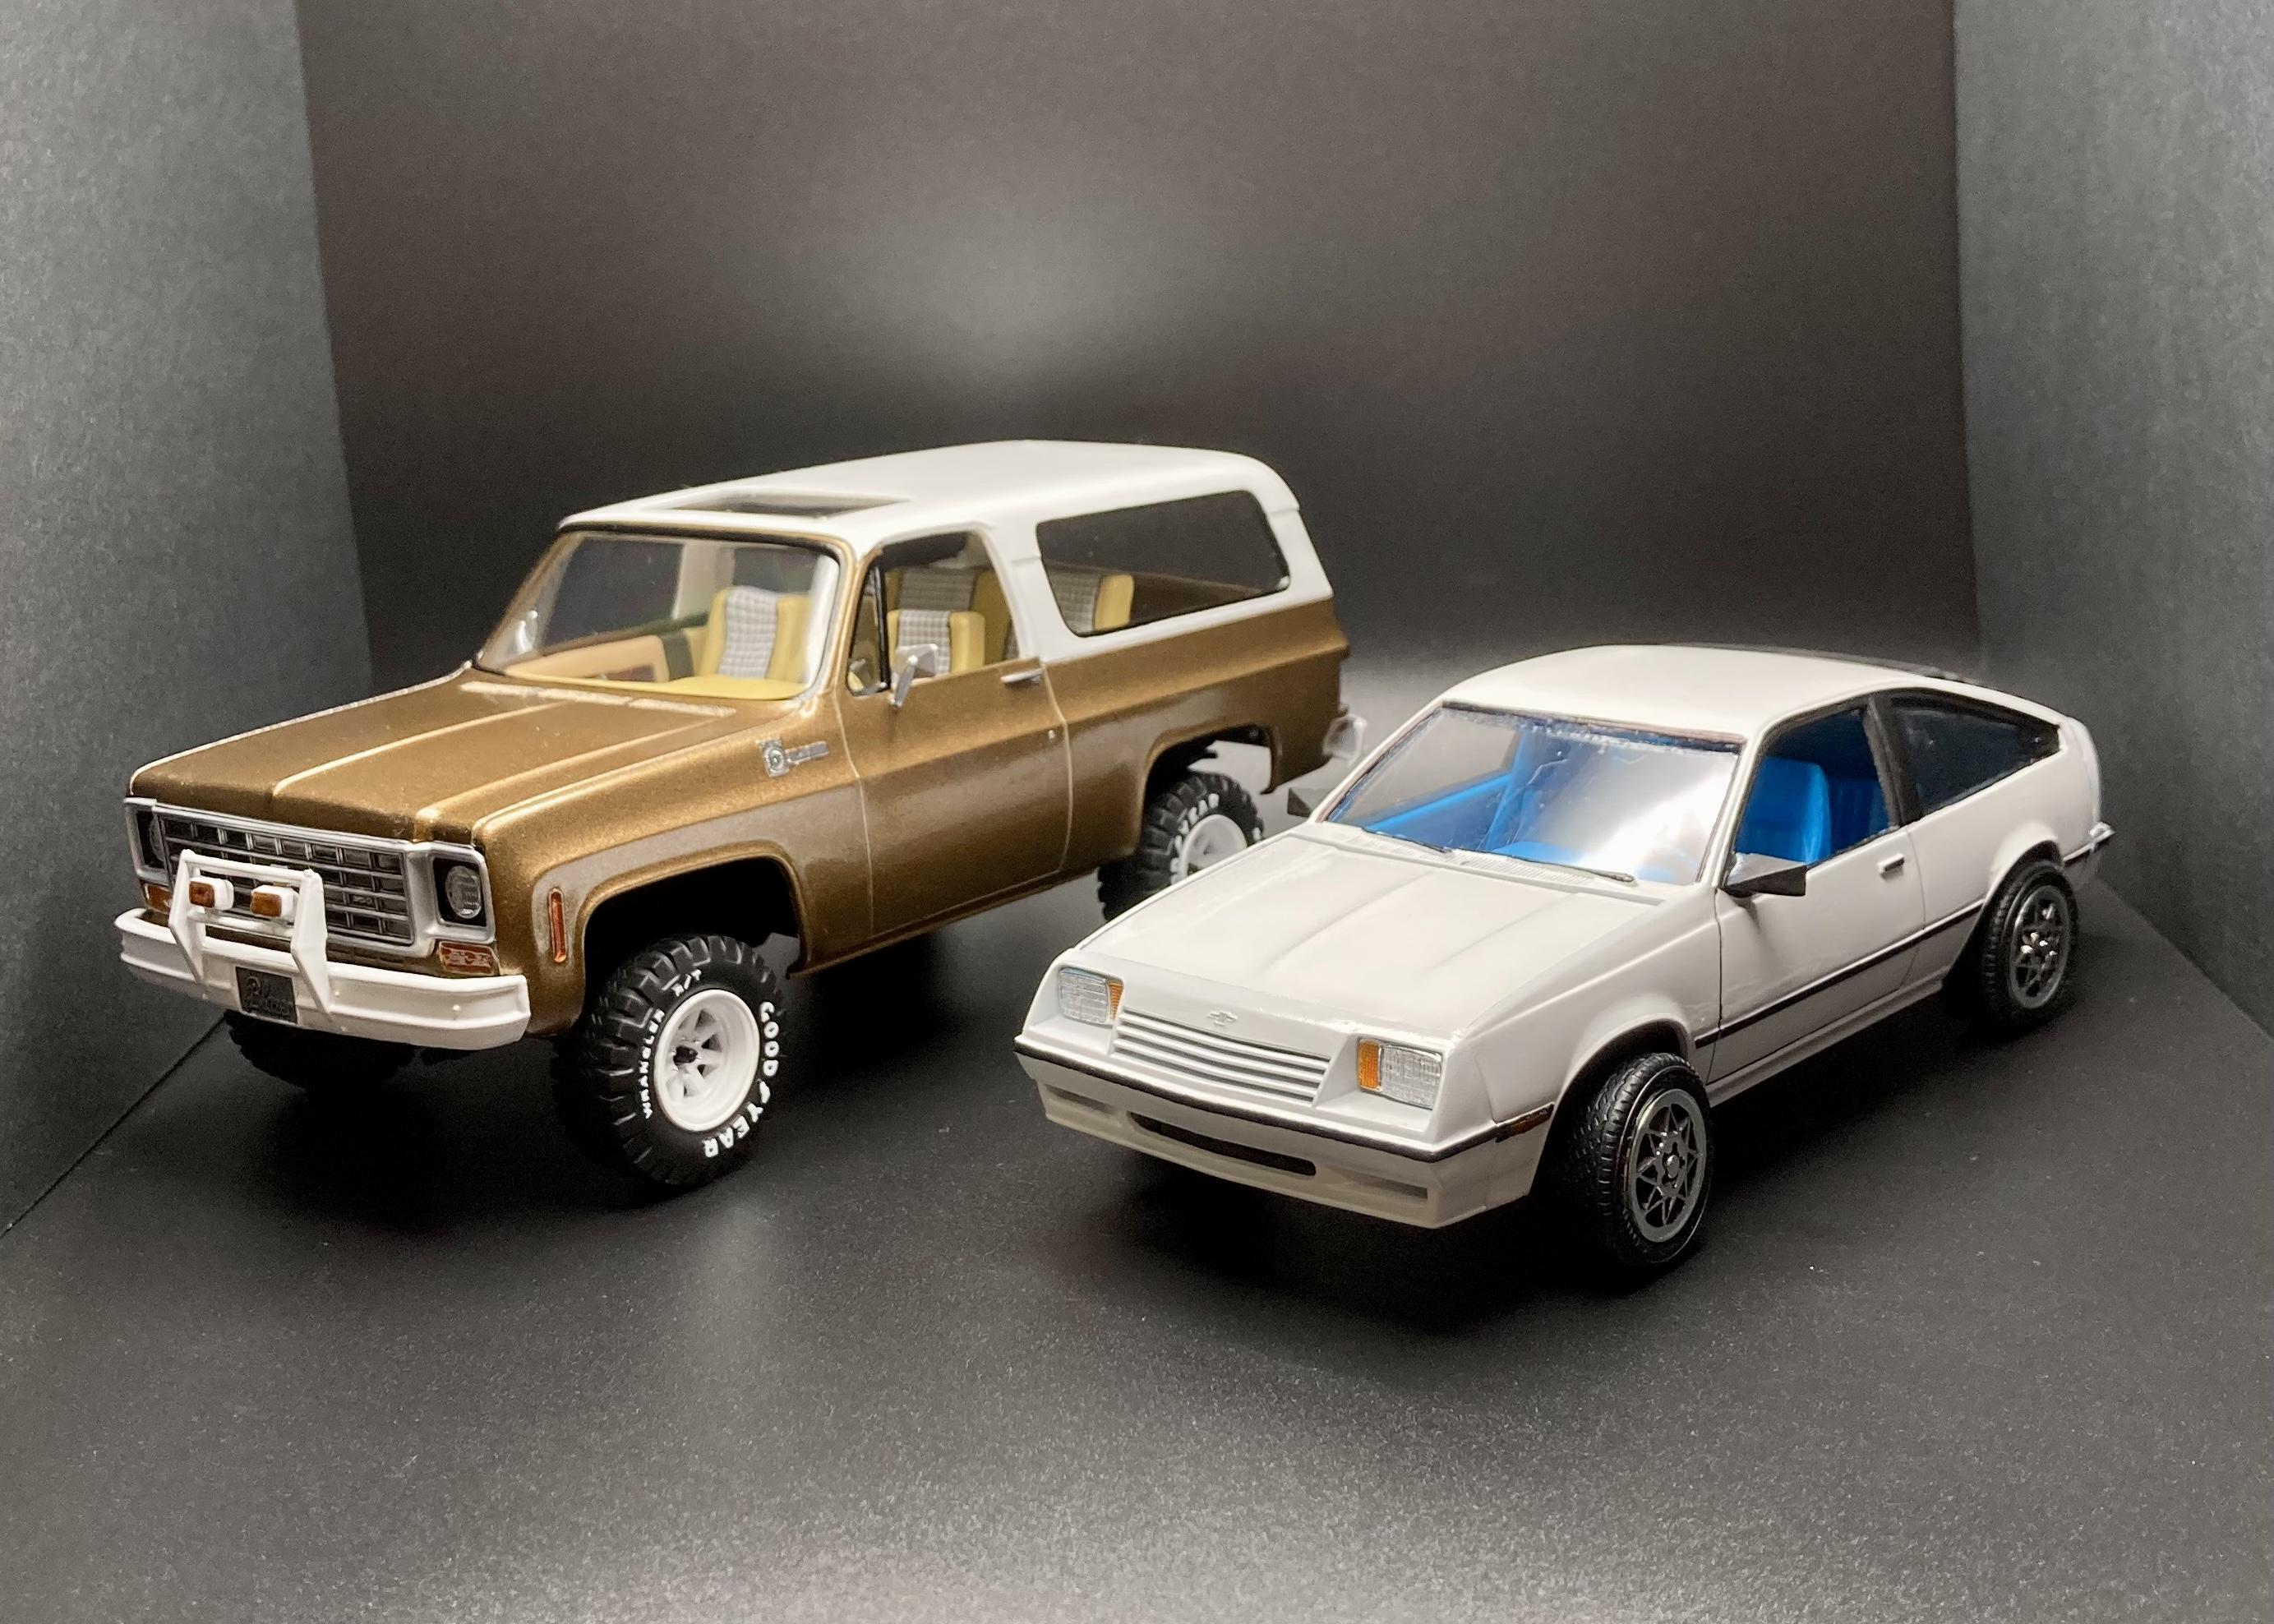
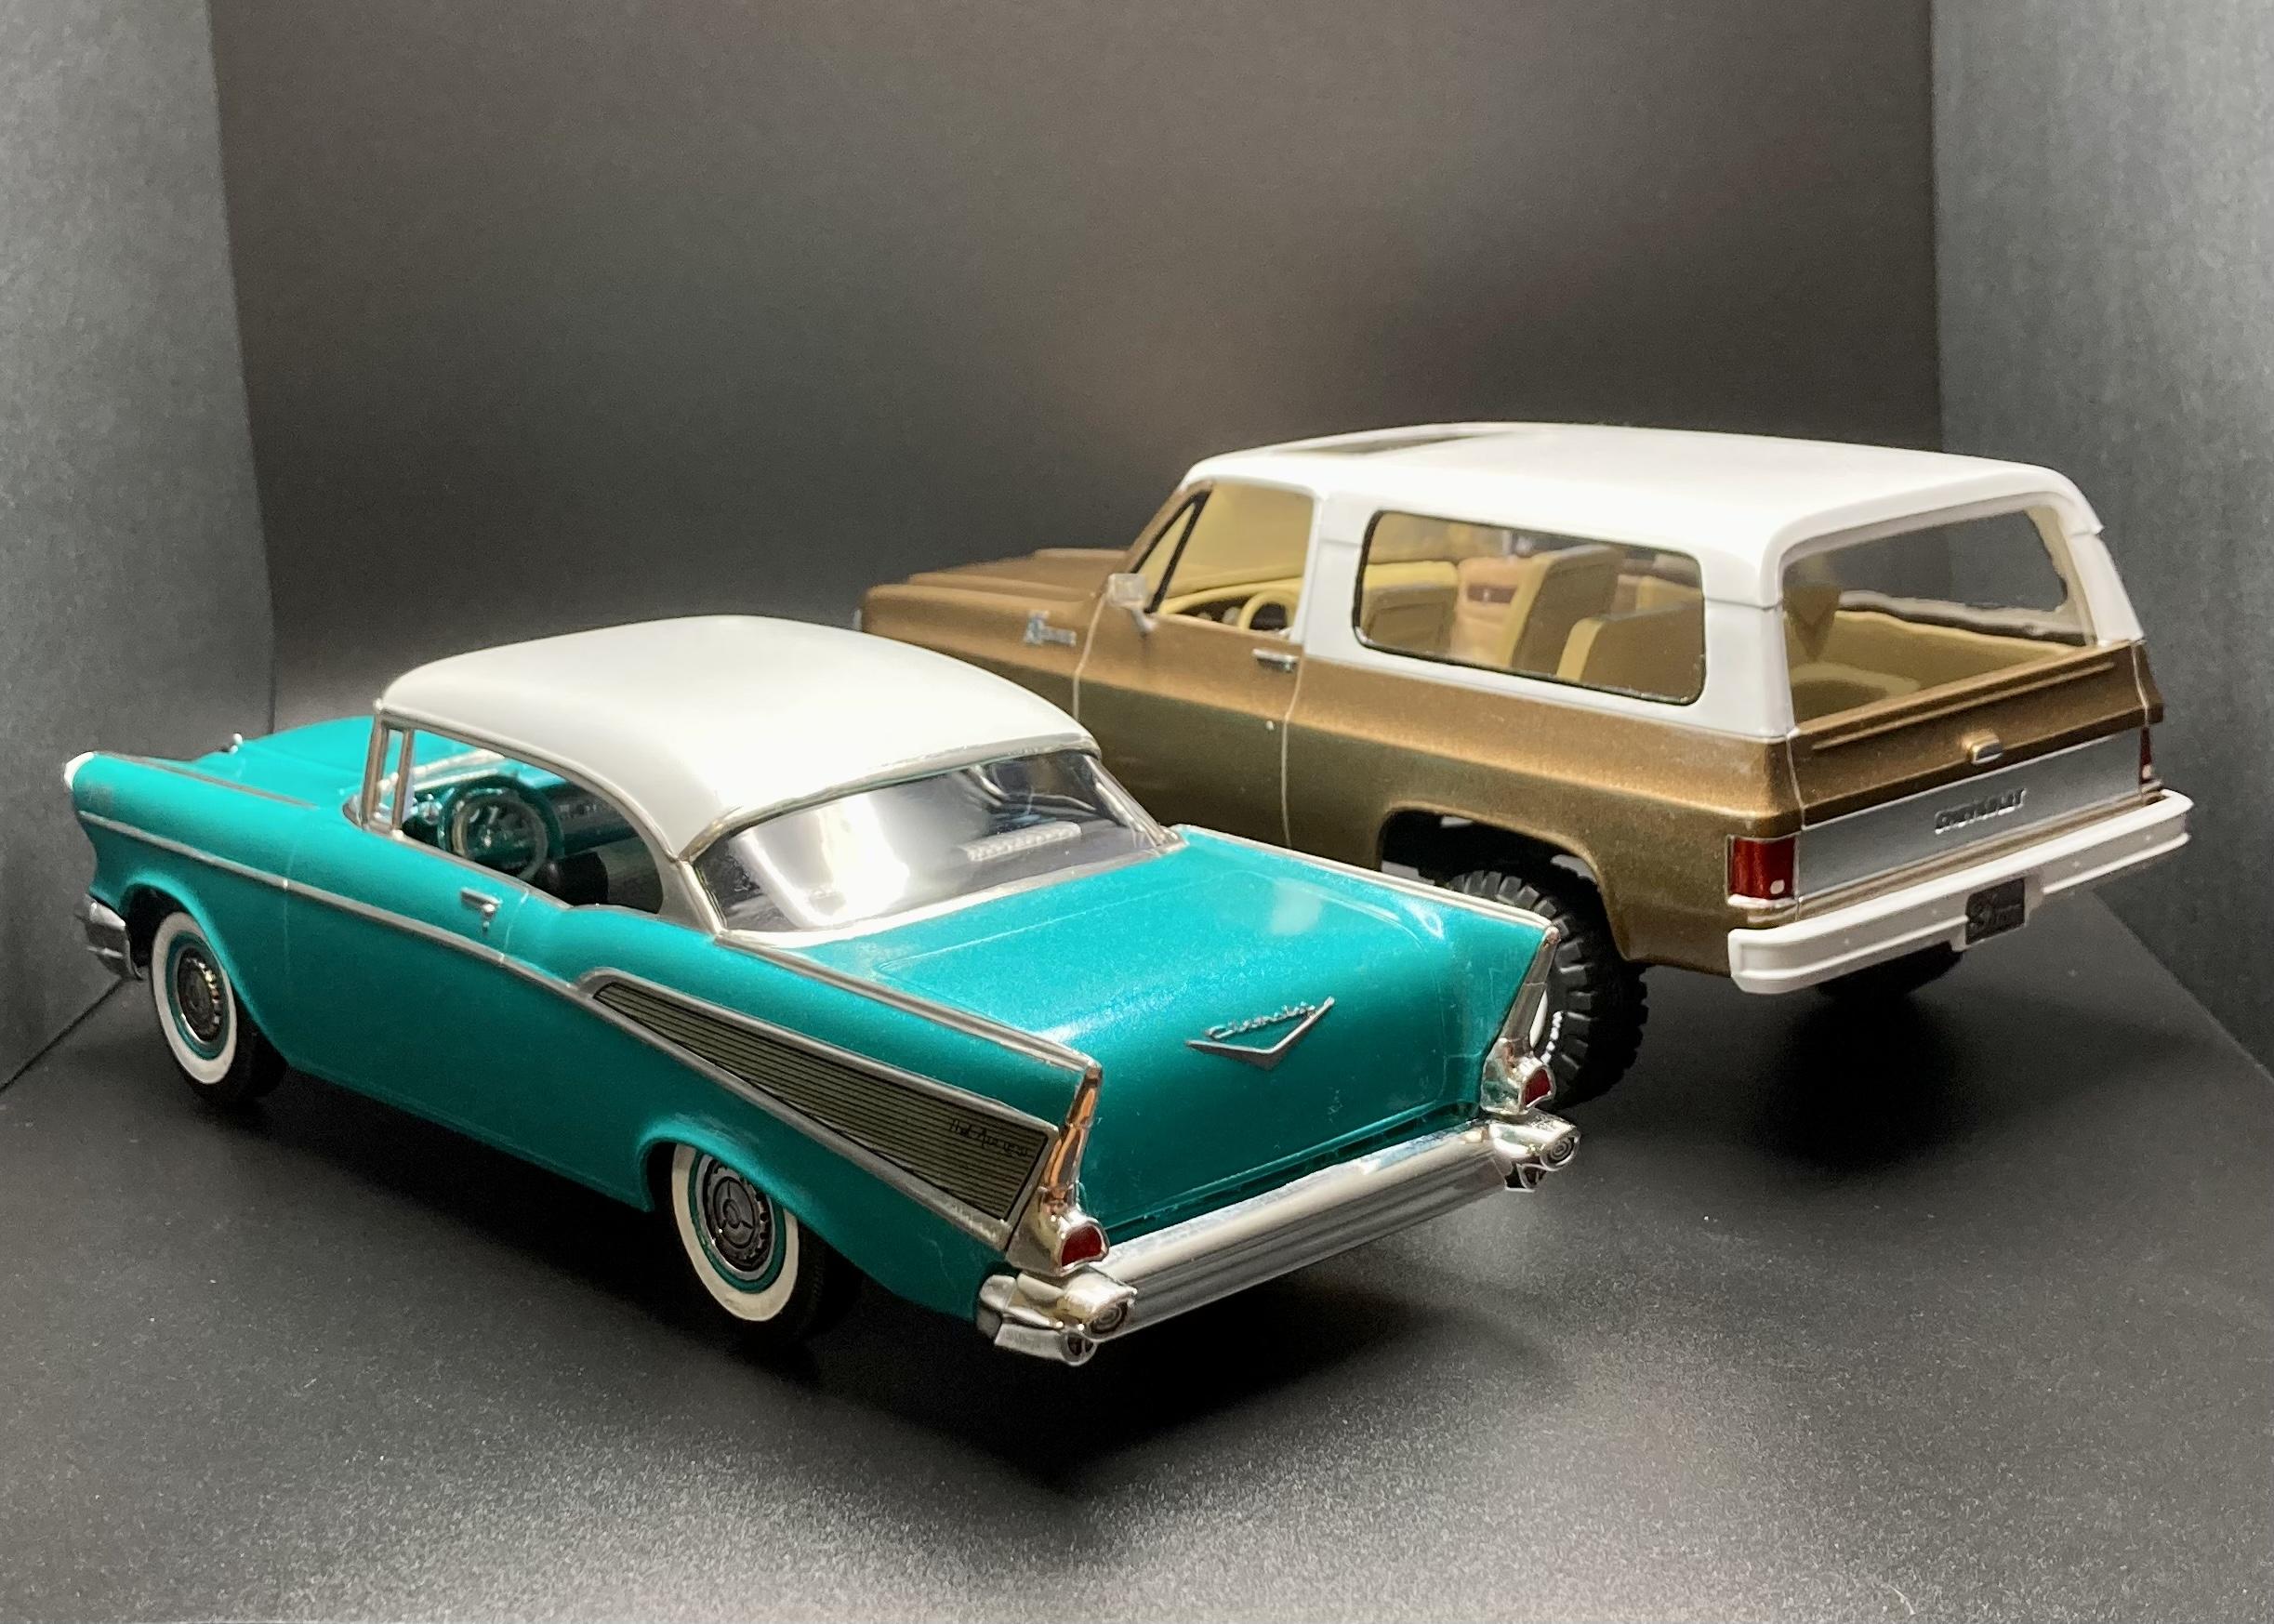
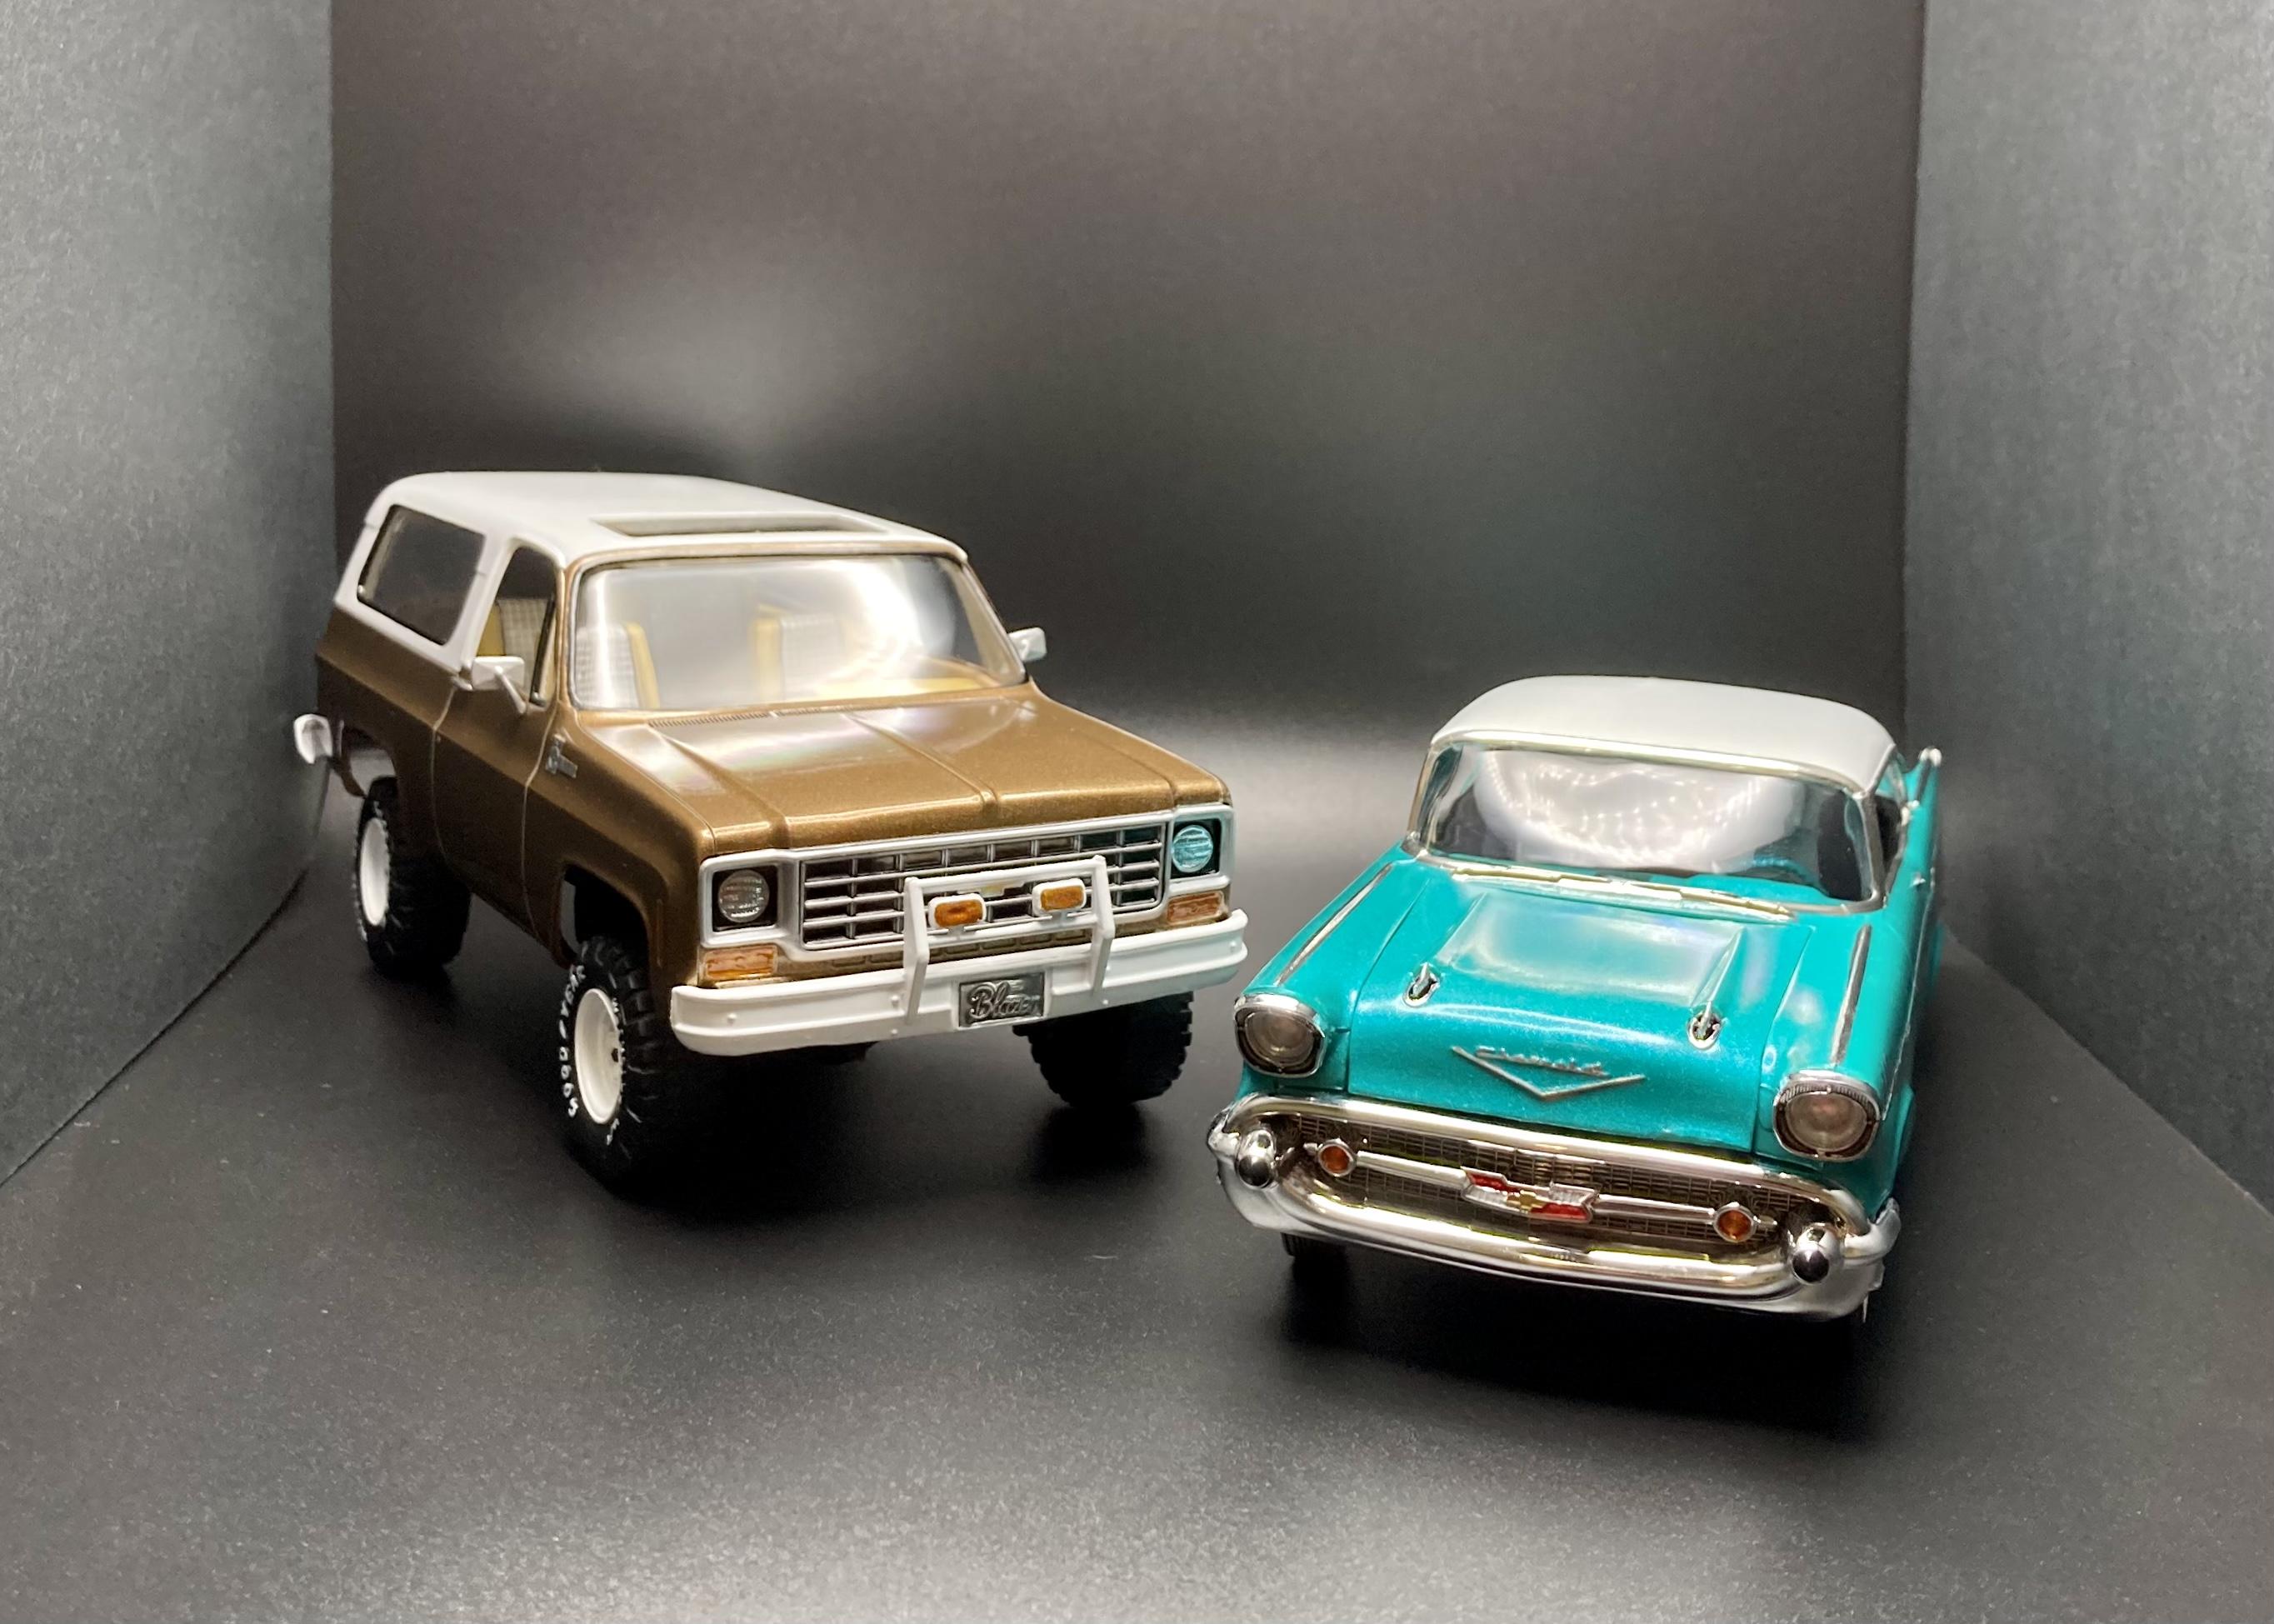
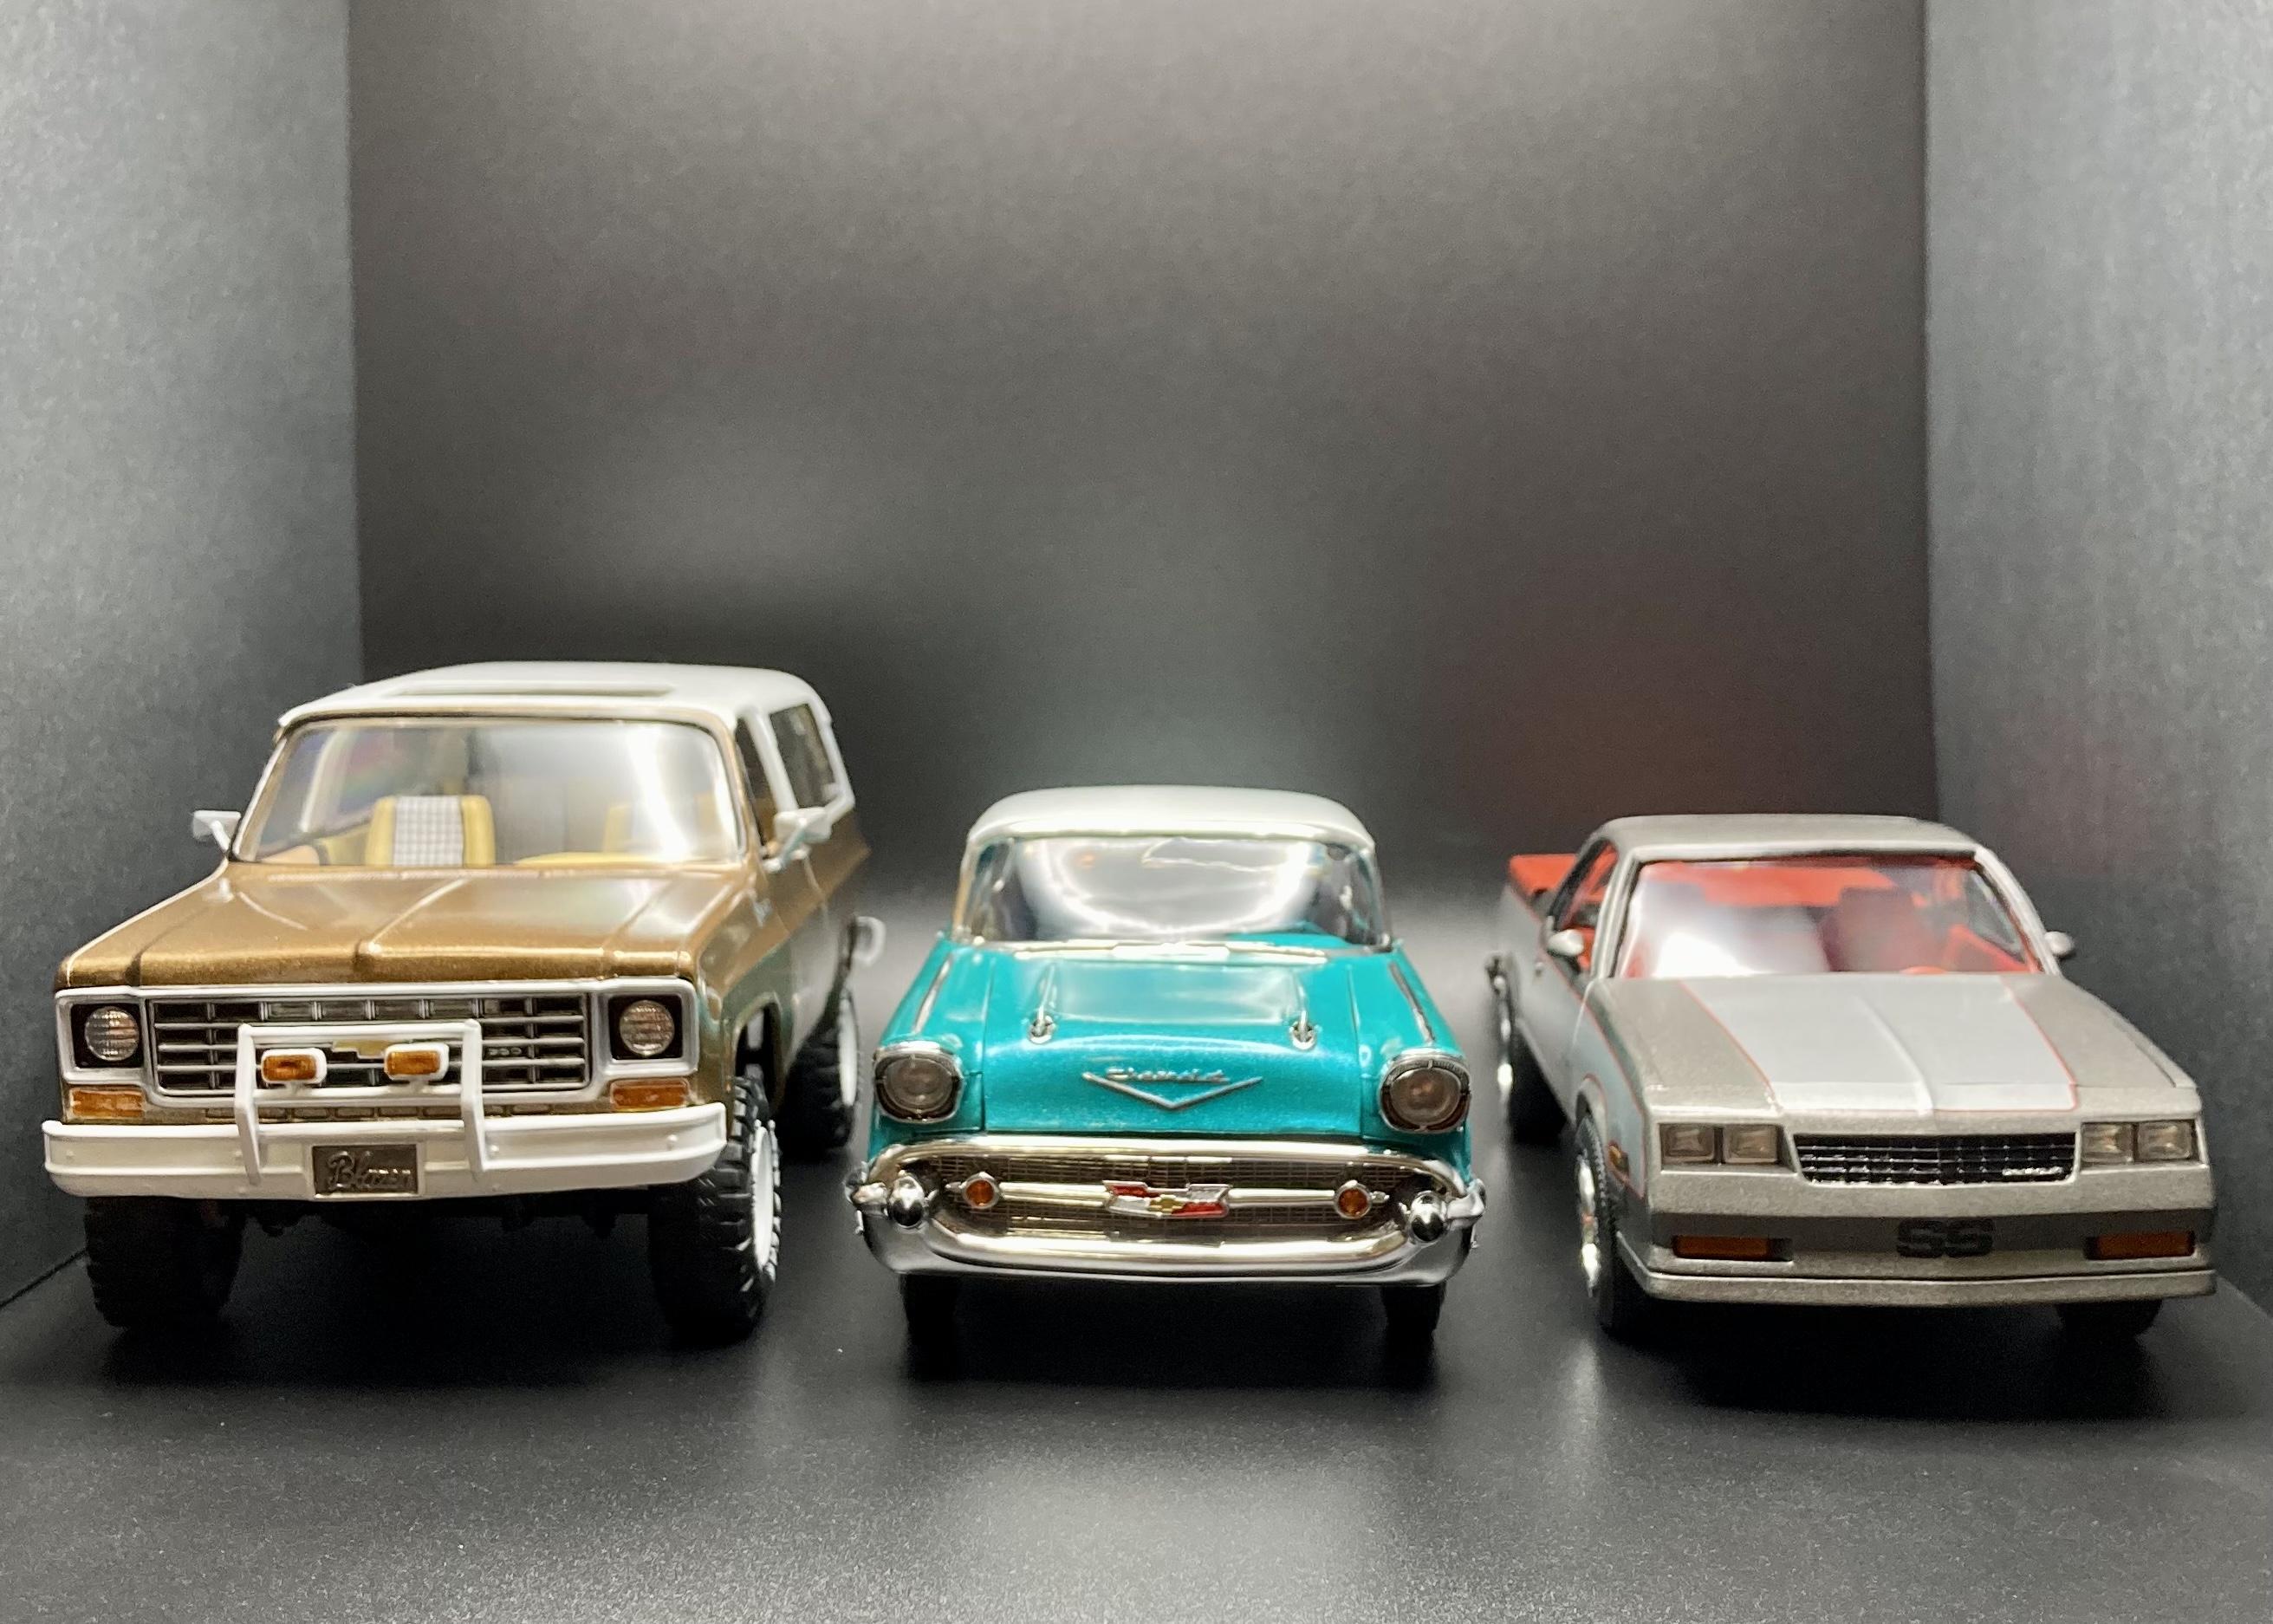
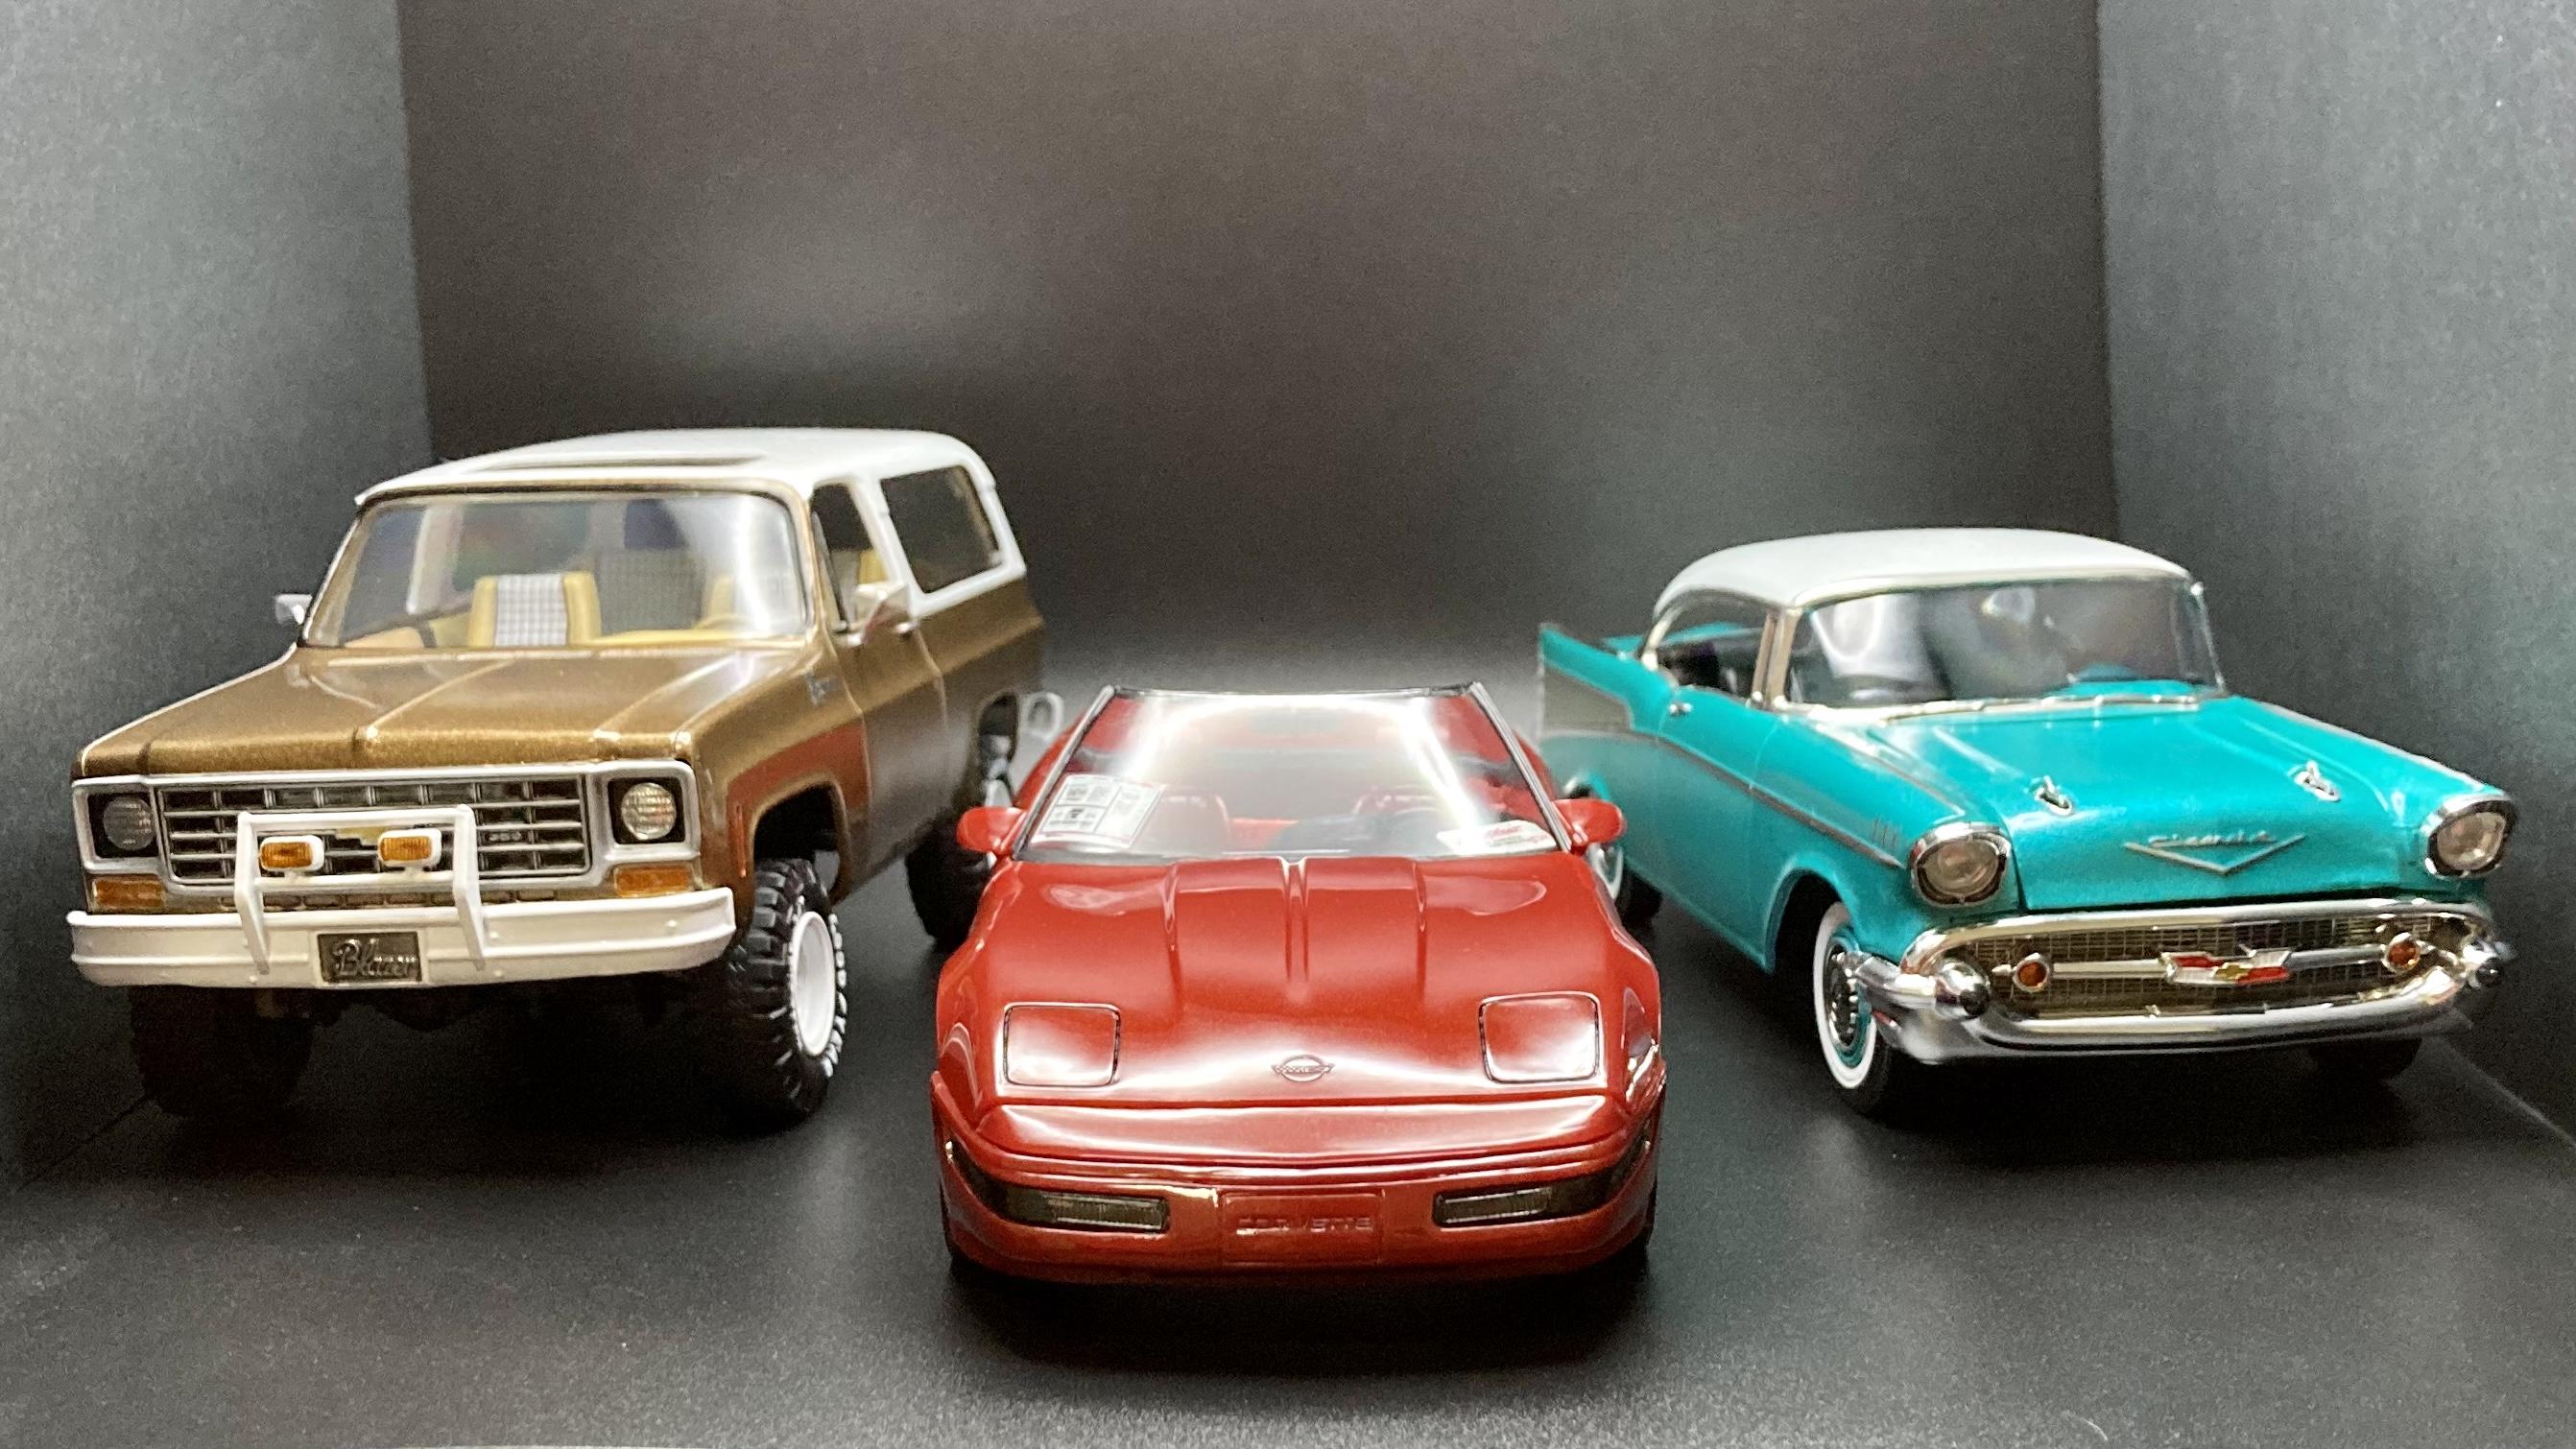
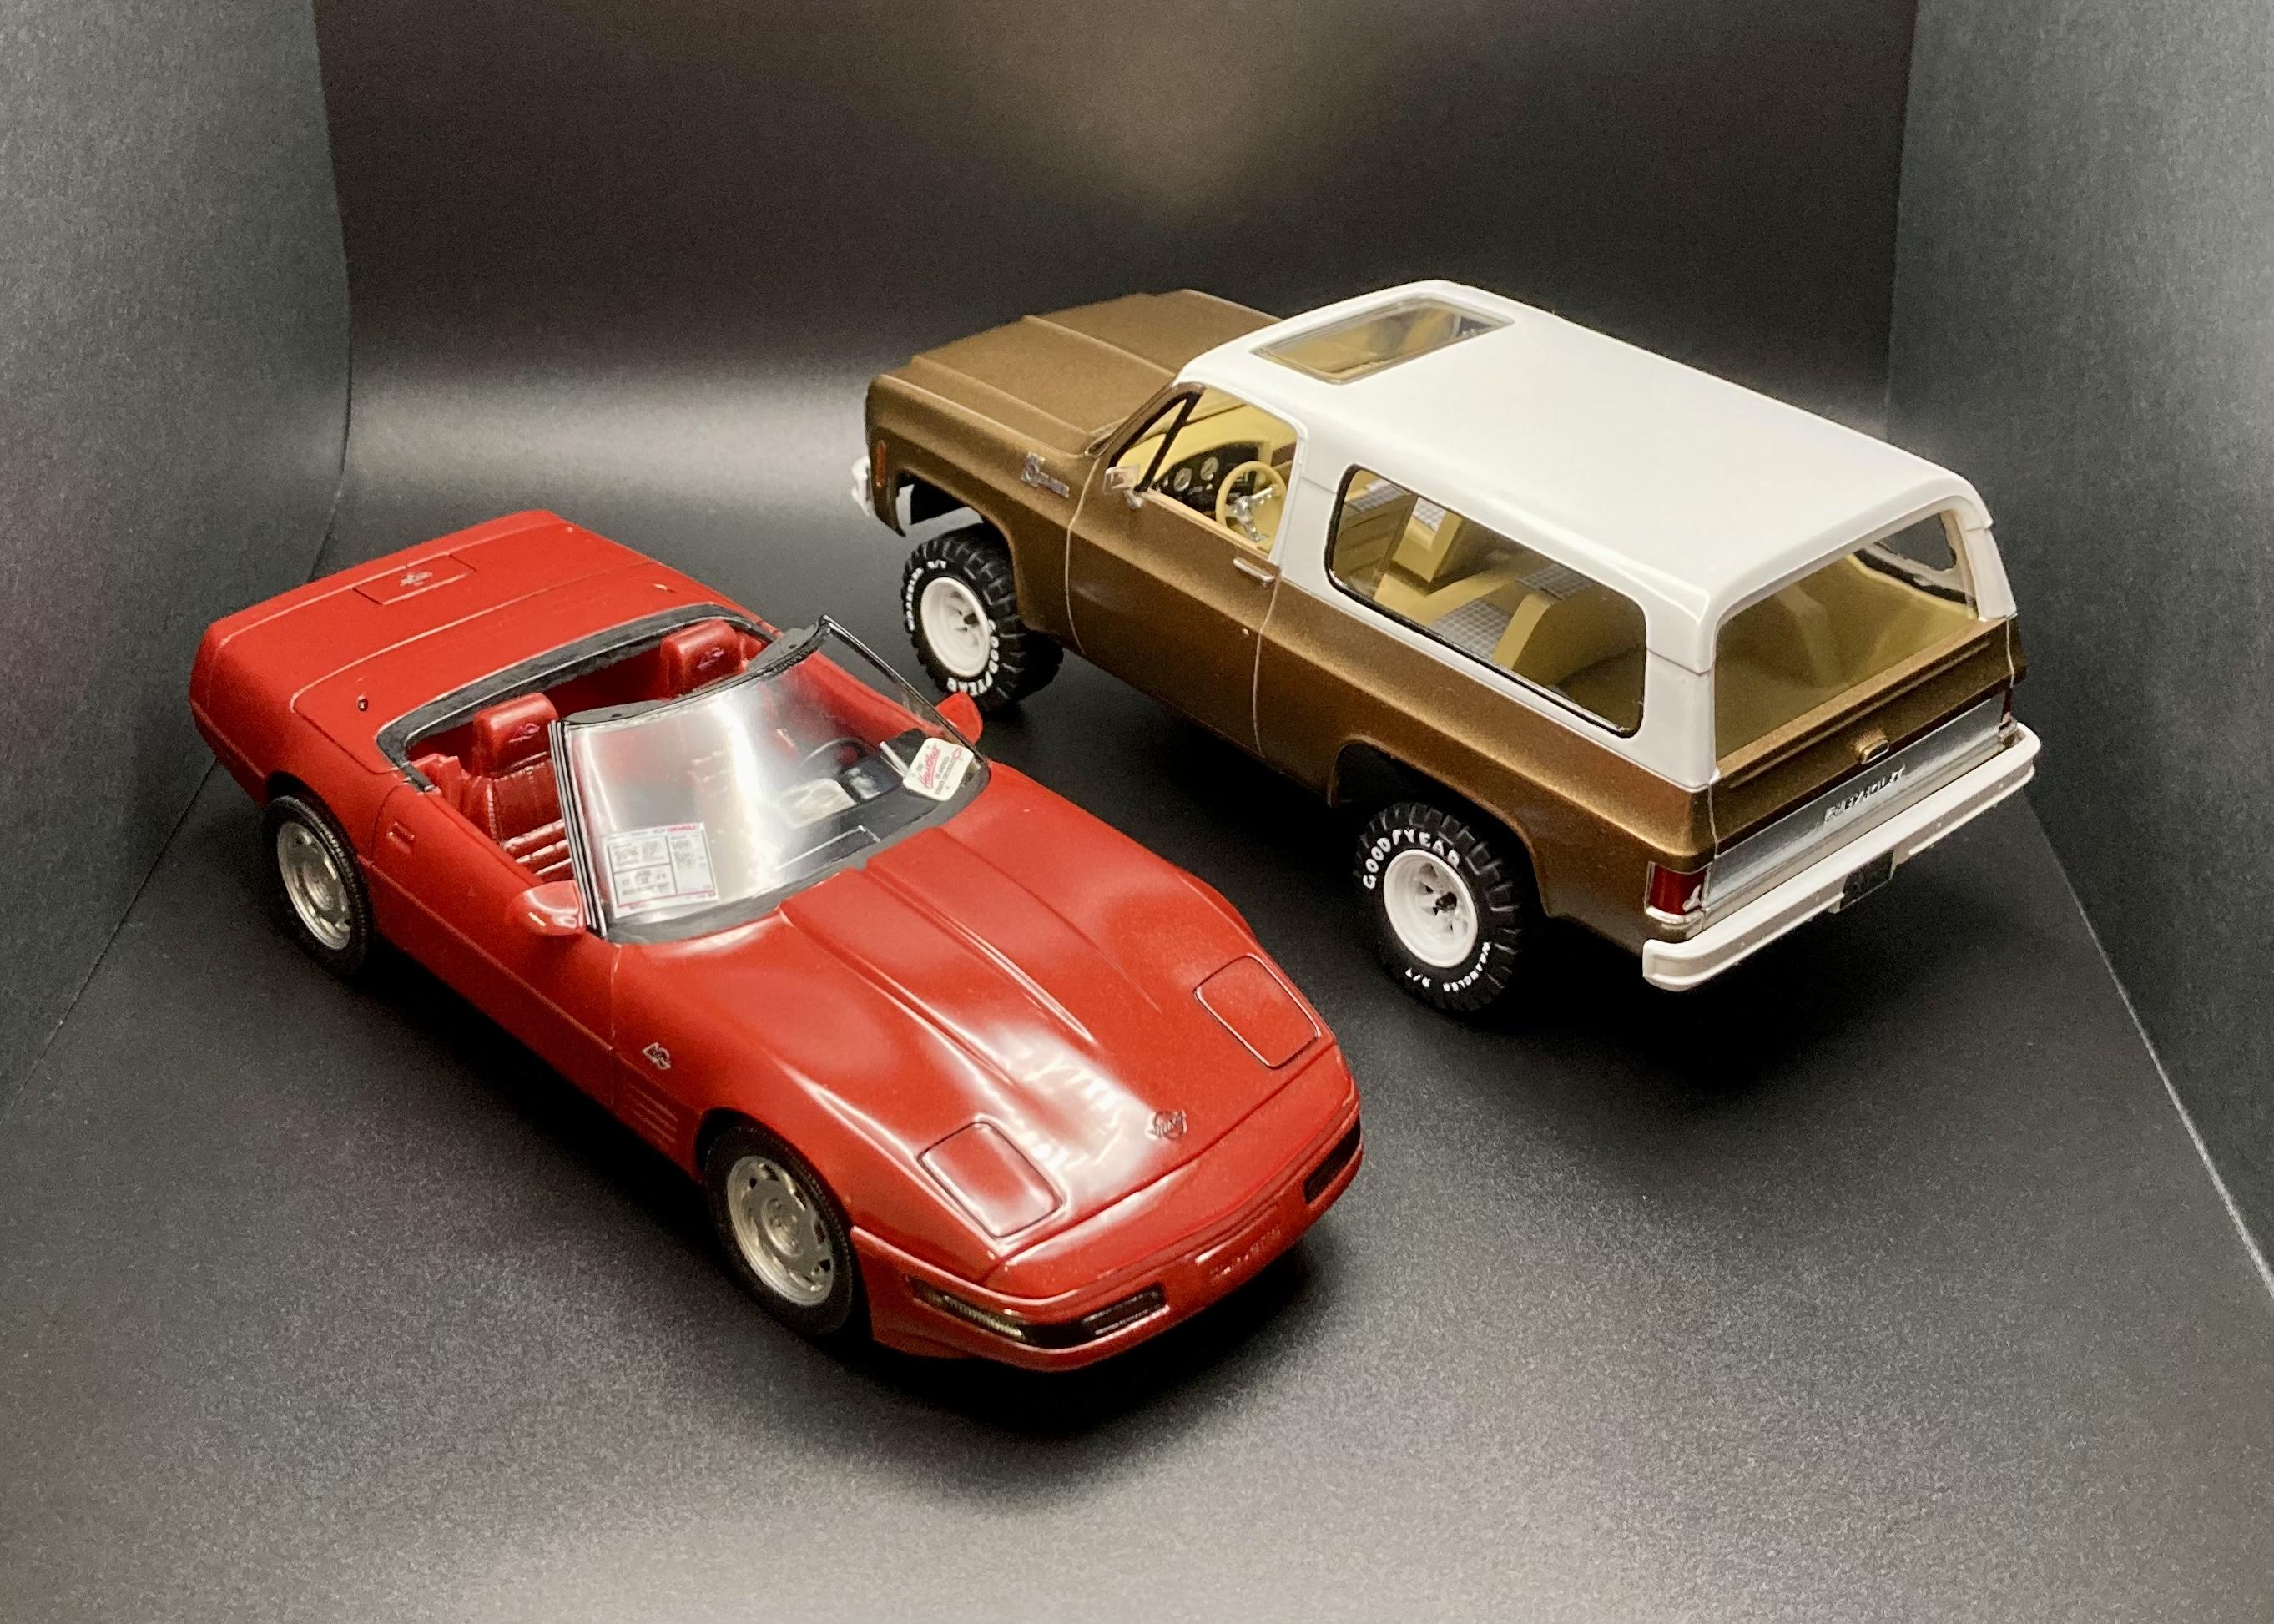
Here’s some shots of my Blazer posed with the other Chevys I’ve built so far! They’re all posted individually on this site if you’re interested.

