StanGlover
-
Posts
244 -
Joined
-
Last visited
Content Type
Profiles
Forums
Events
Gallery
Everything posted by StanGlover
-
I haven’t decided yet on colors. My heart says Rio red over black… but I already have three red Mustangs completed and 4th in the queue, a 007 ‘71 Mach 1. I’m also leaning towards Zinc yellow even though it wasn’t available on ‘99 Cobras, but it was on ‘01 Cobras. Mineral Gray is another personal favorite for New Edge’s, but again not available until ‘01. There were only minor visible differences between ‘99 and ‘01 so I might take a little liberty with the model year ?
-
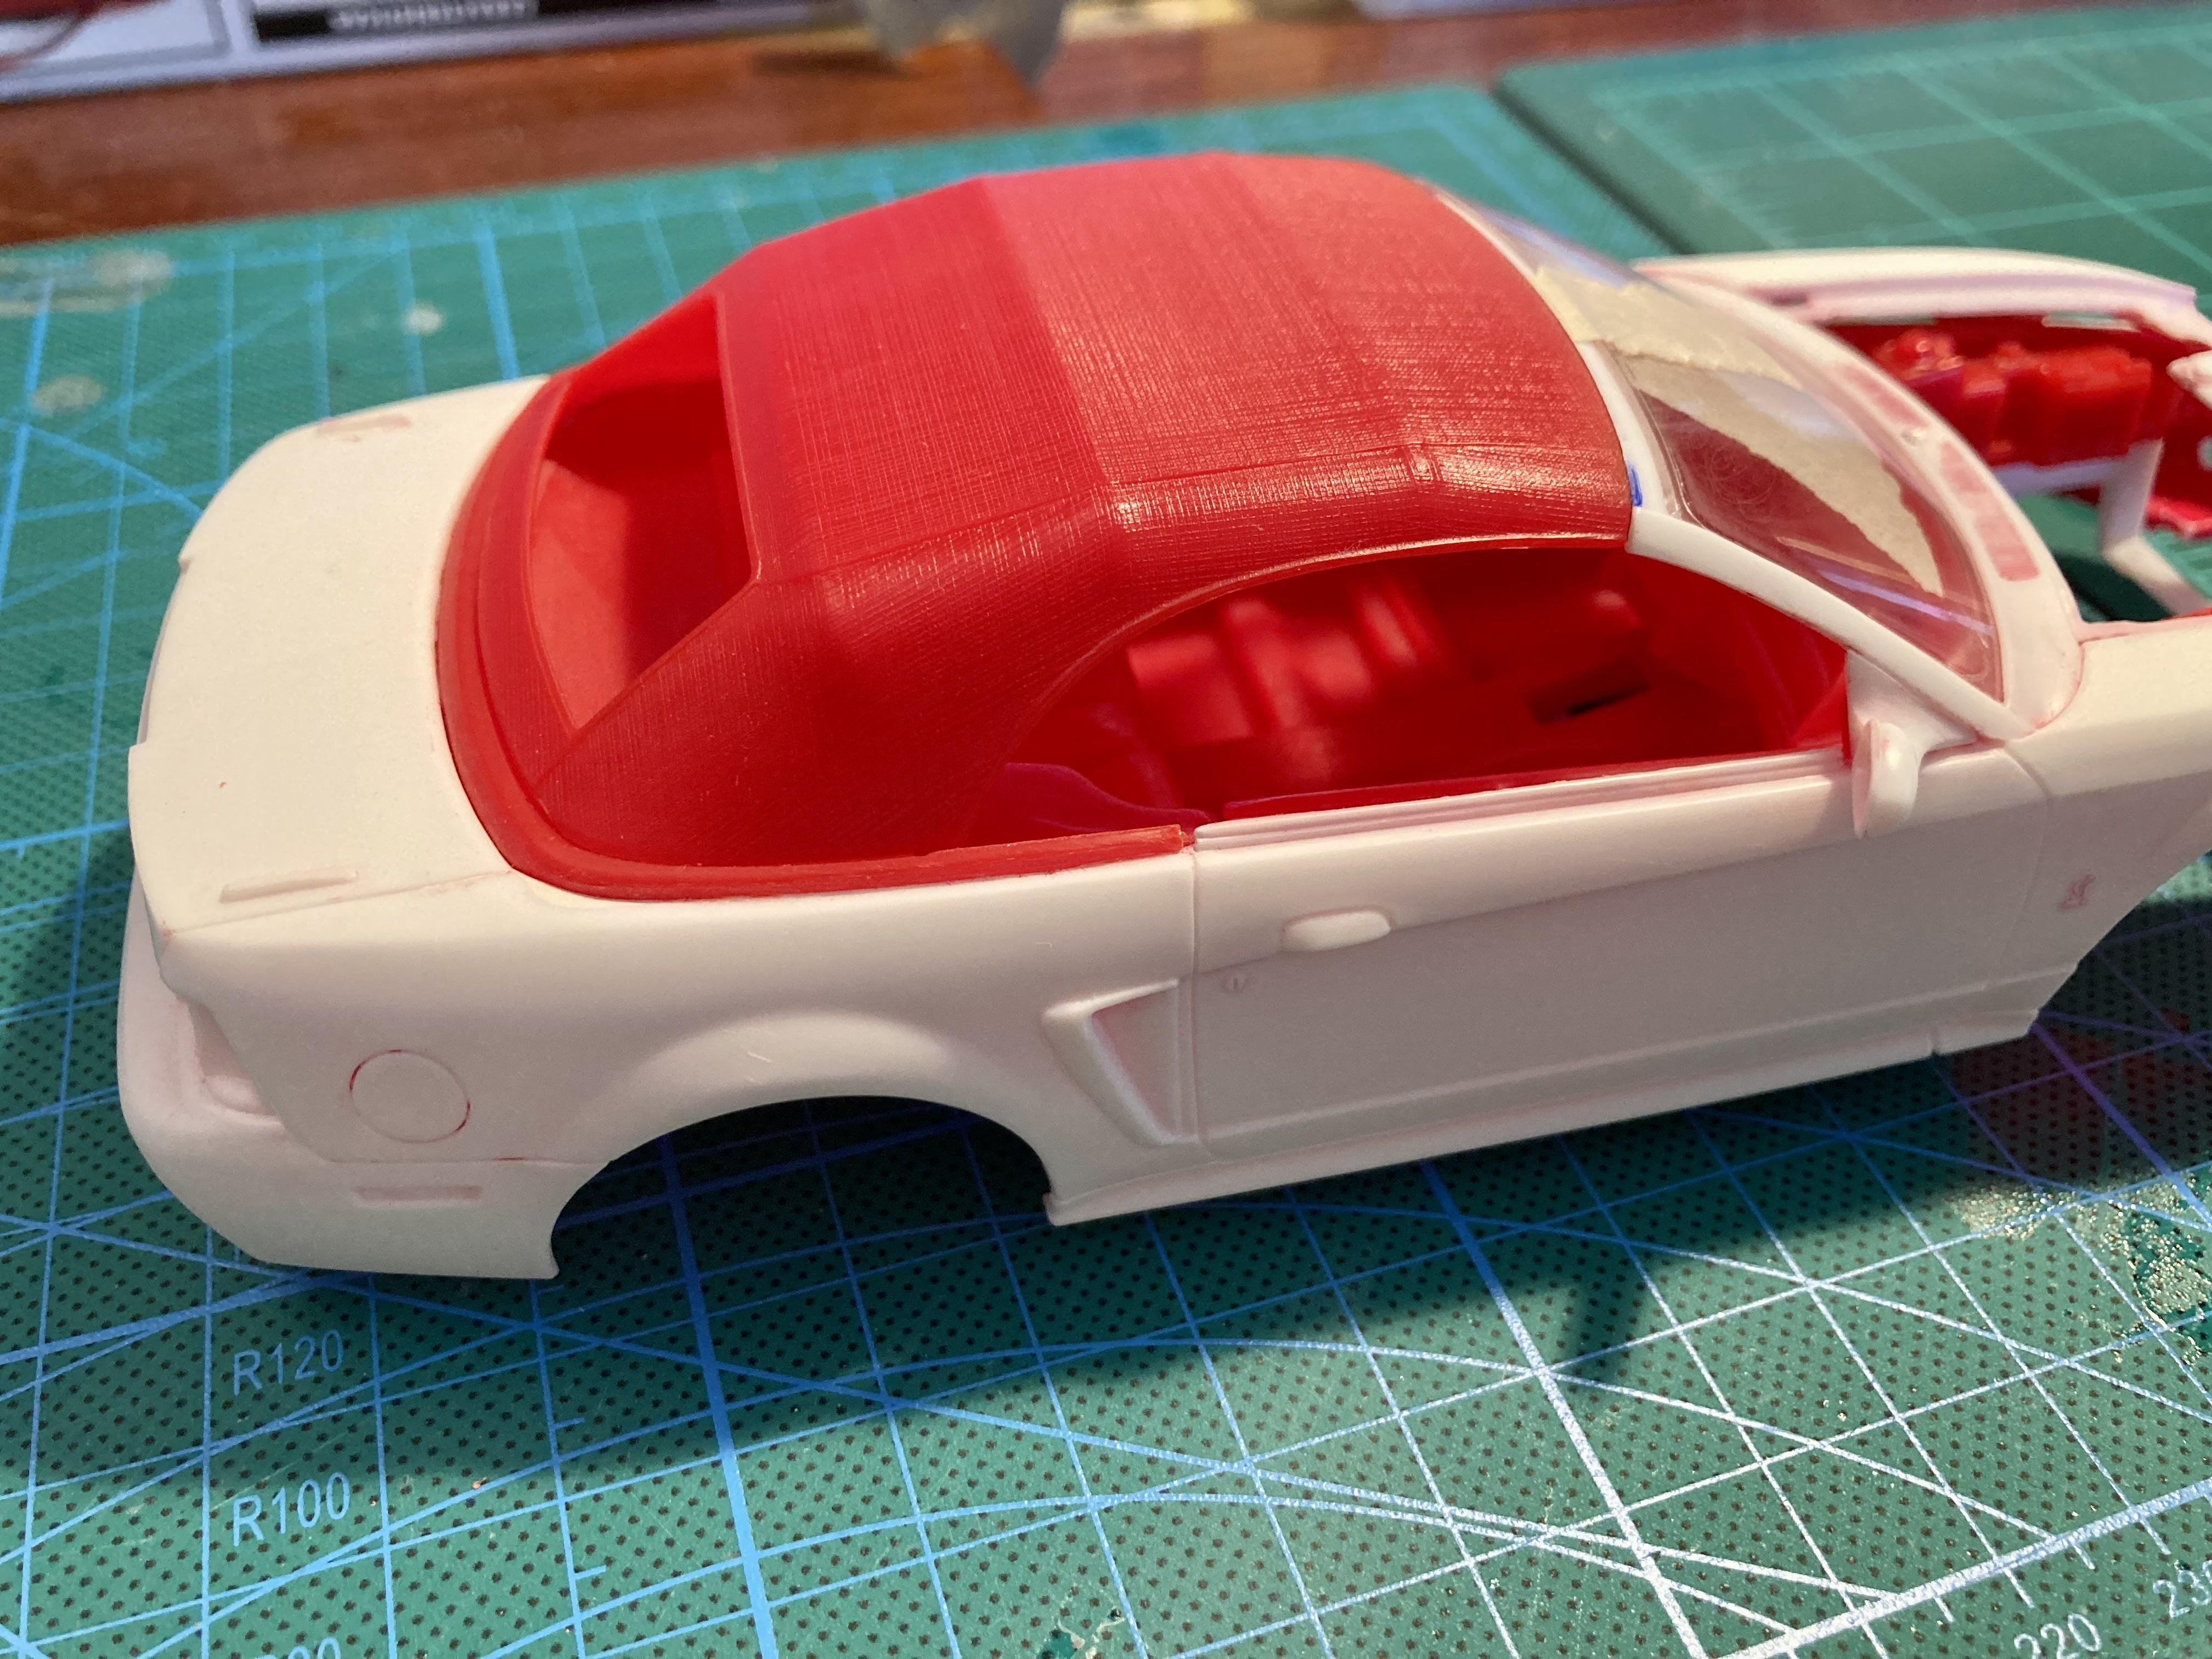
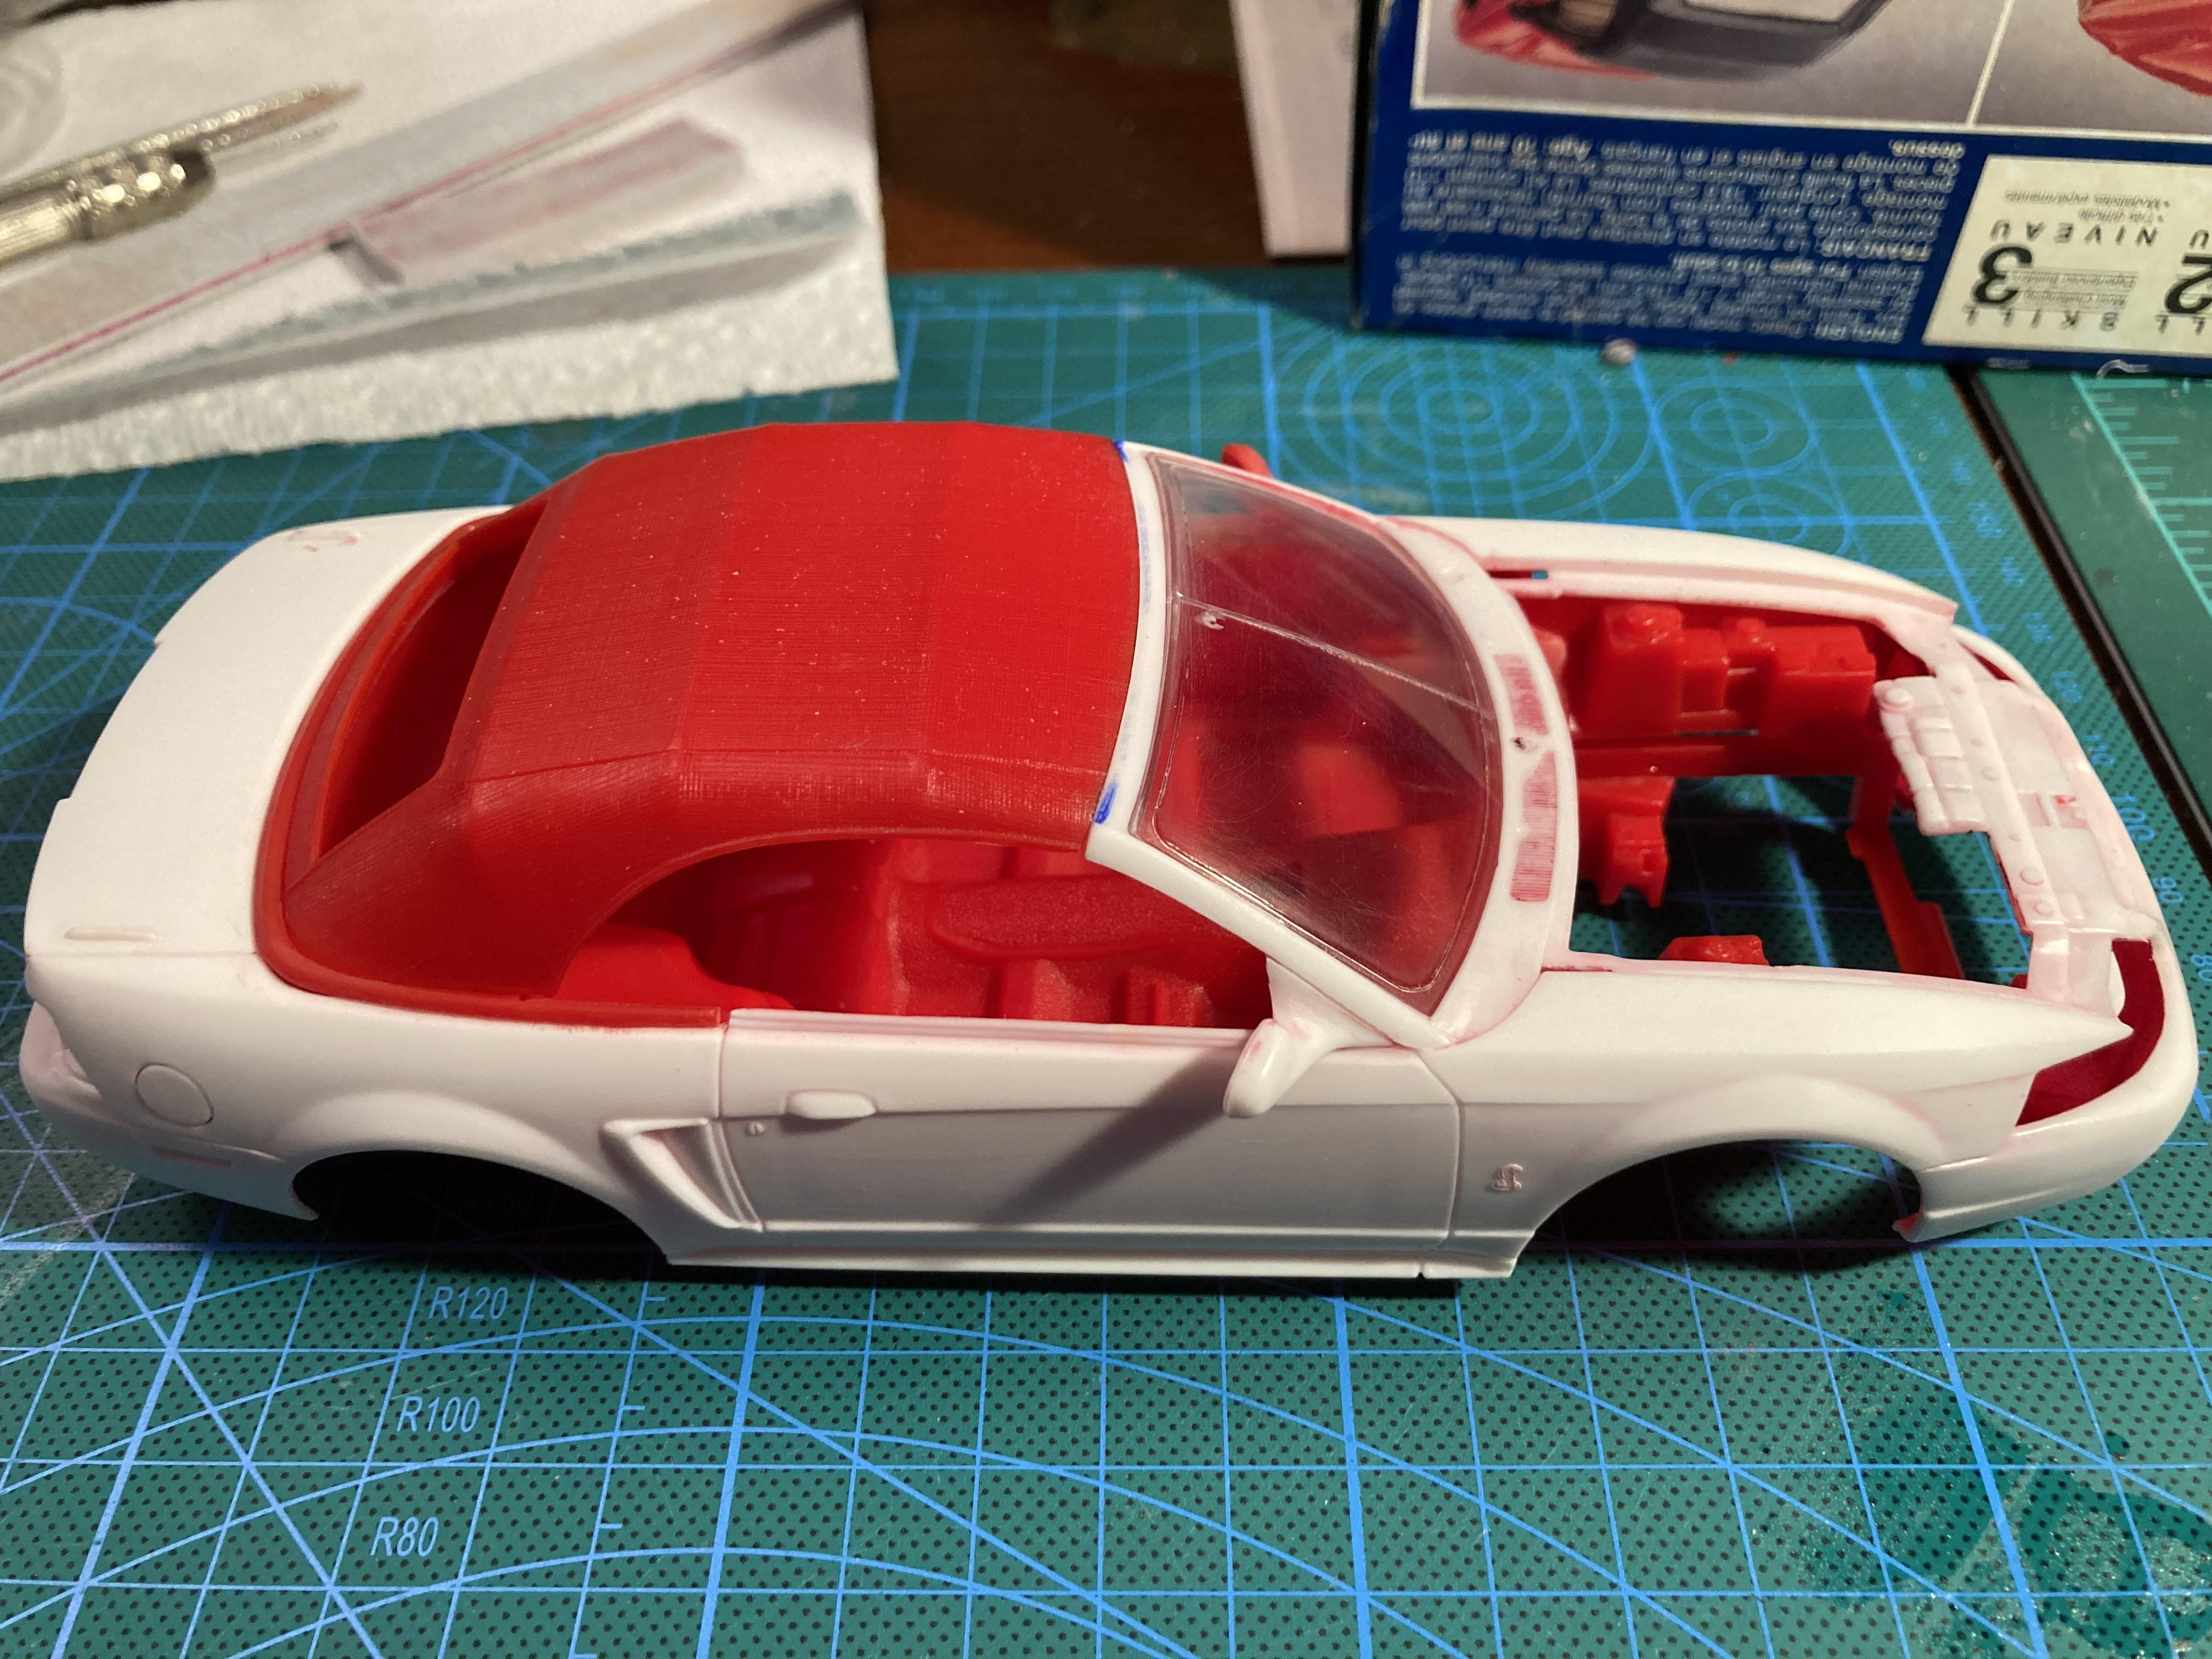
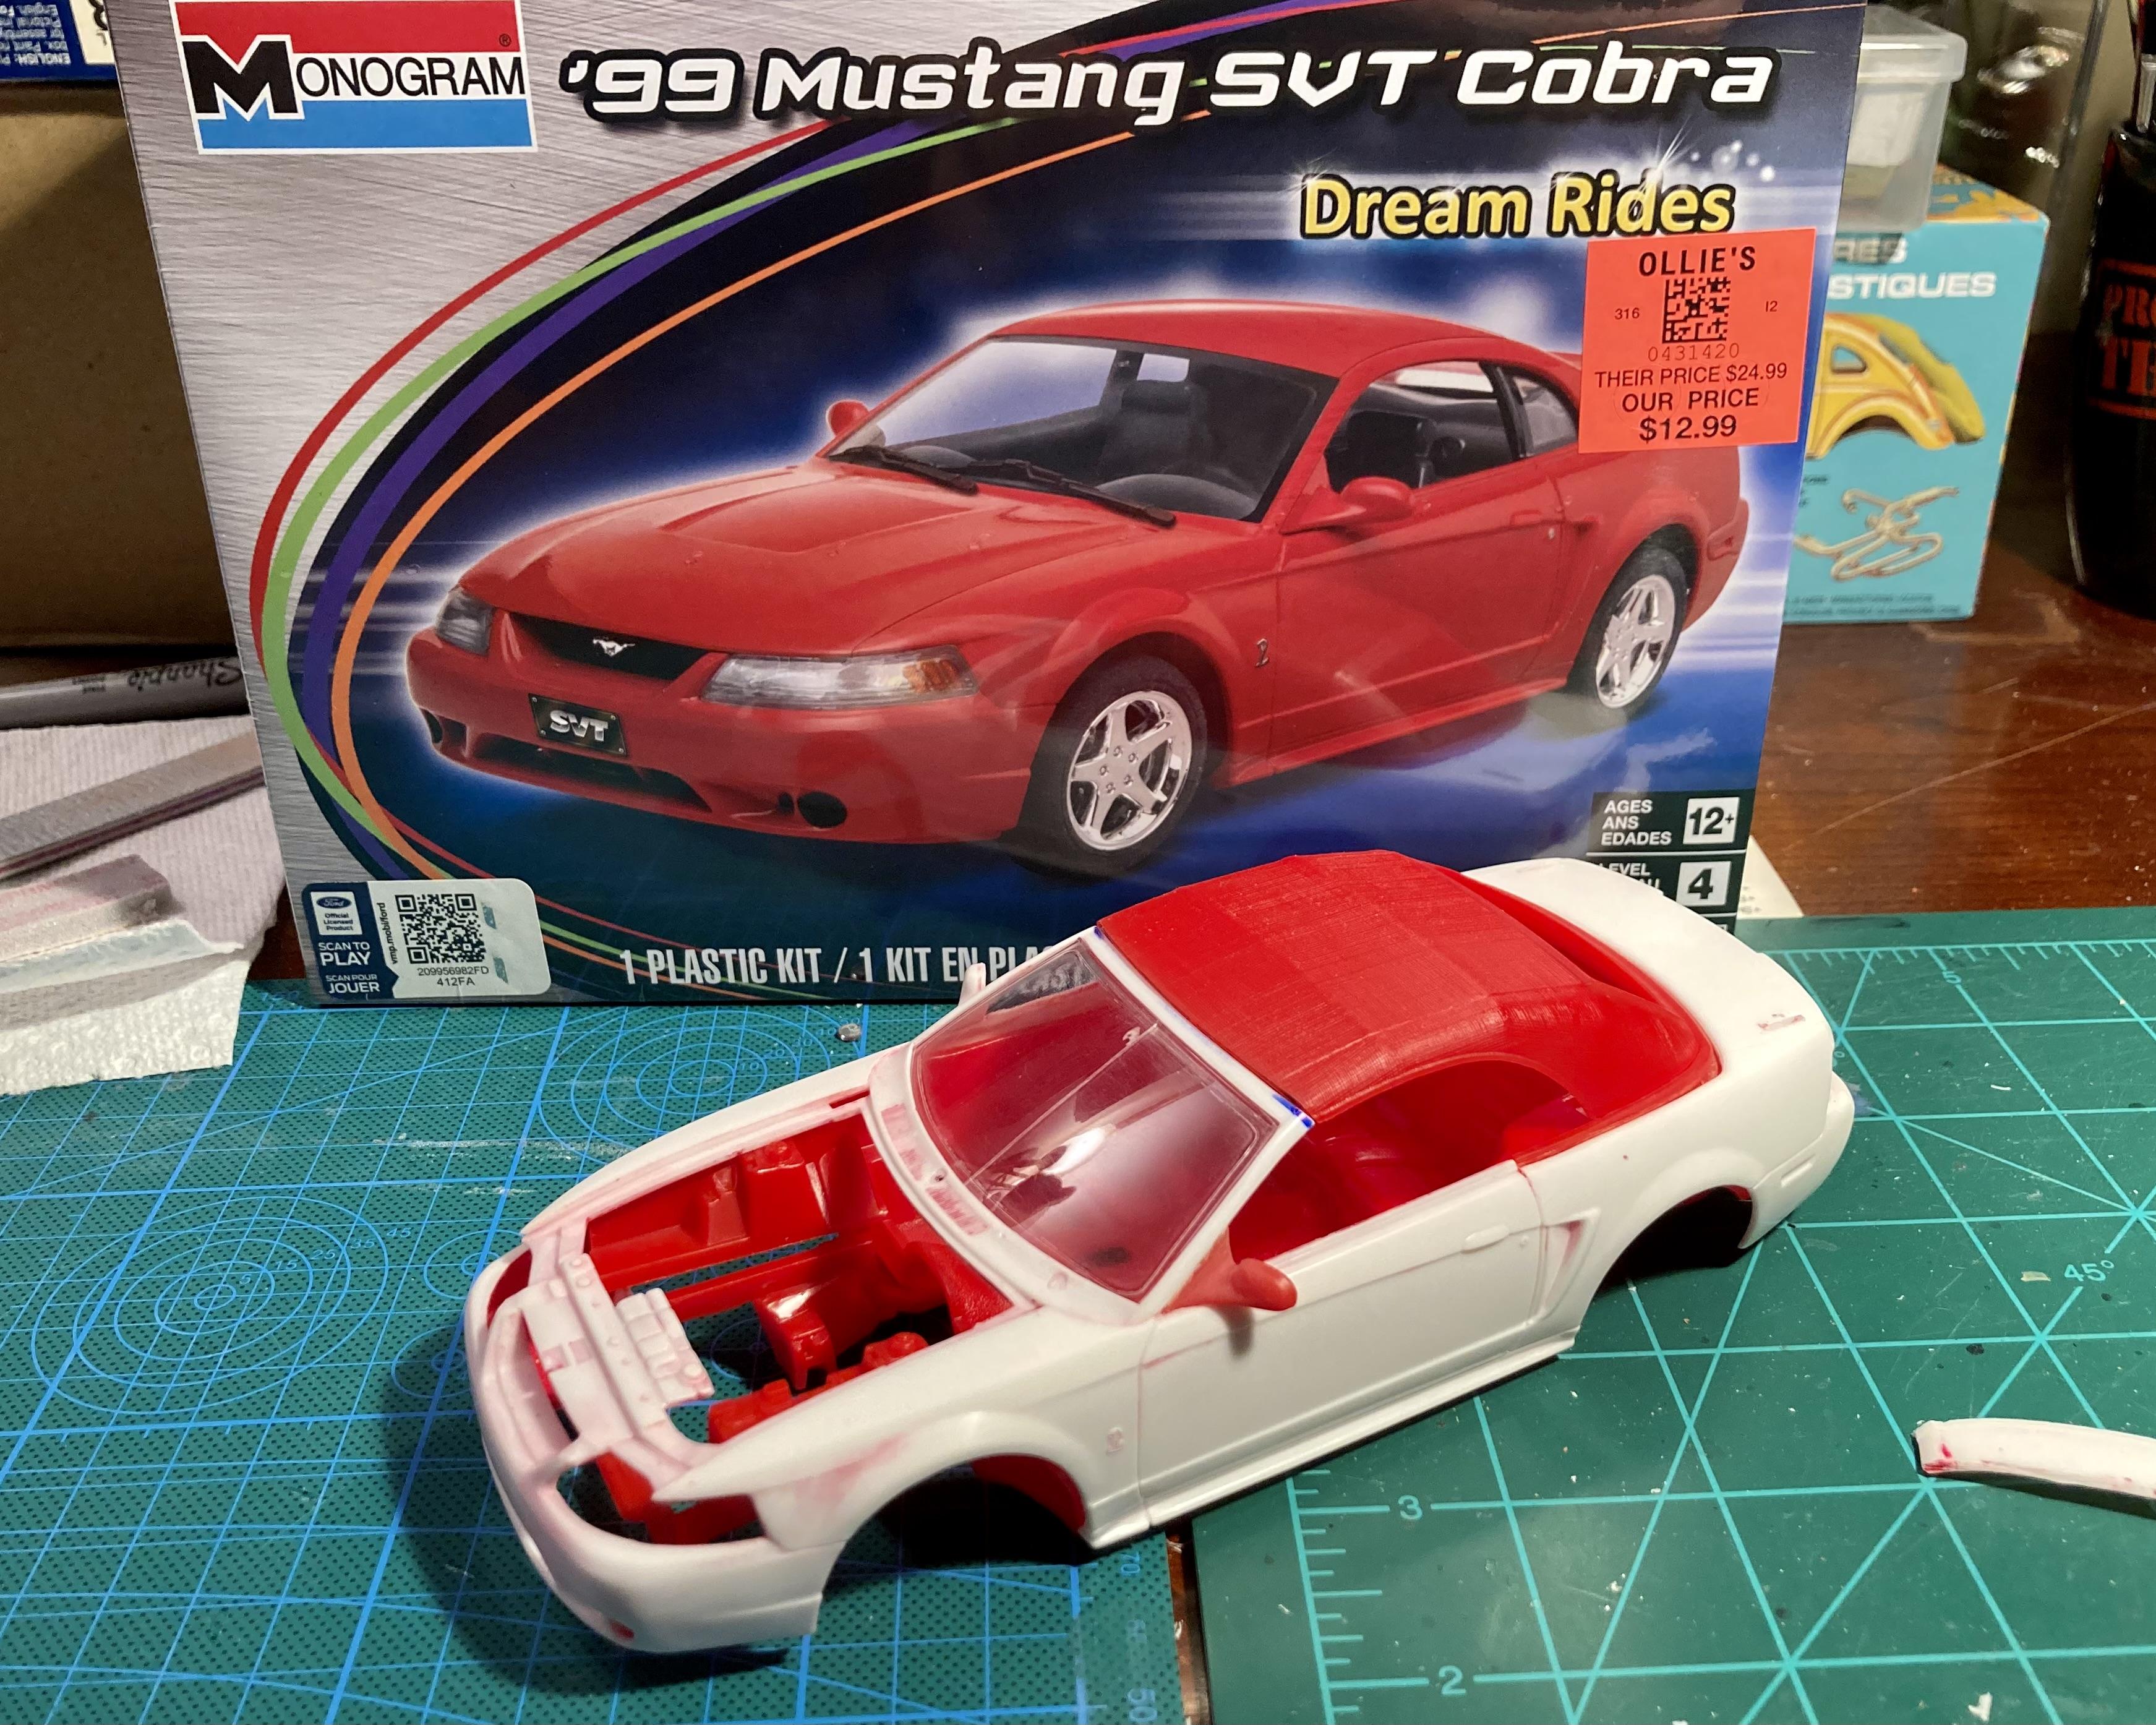
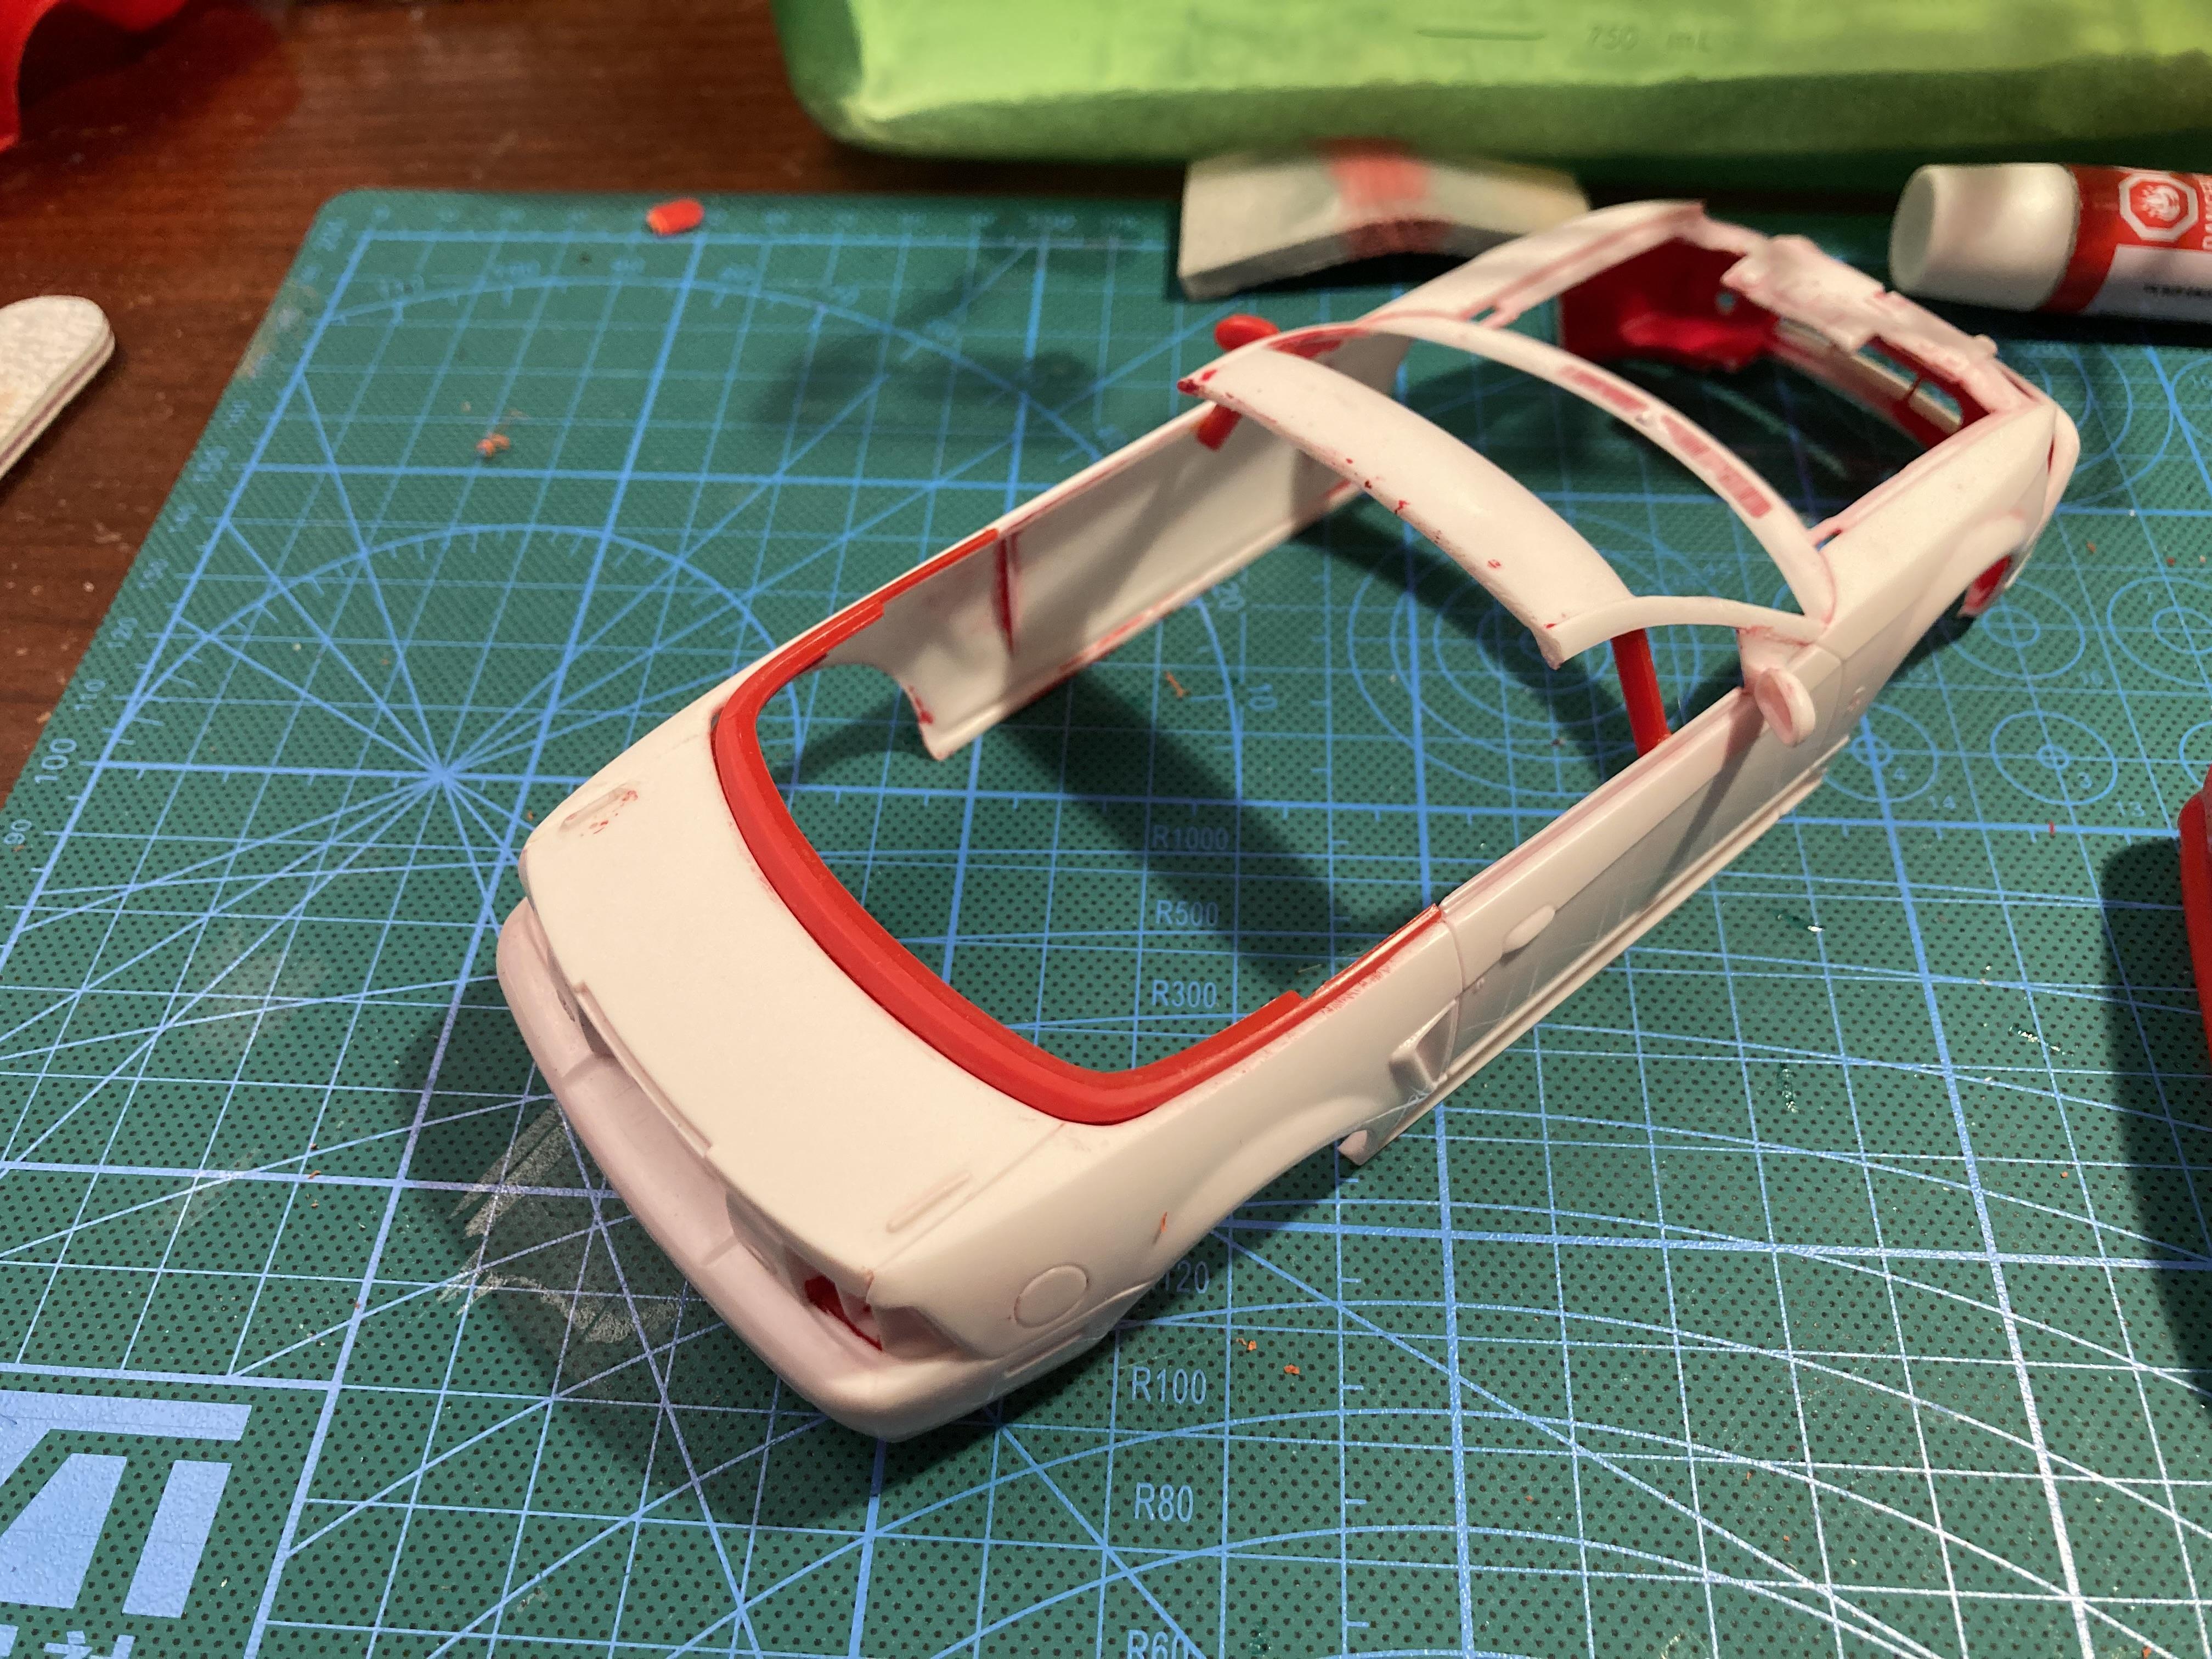
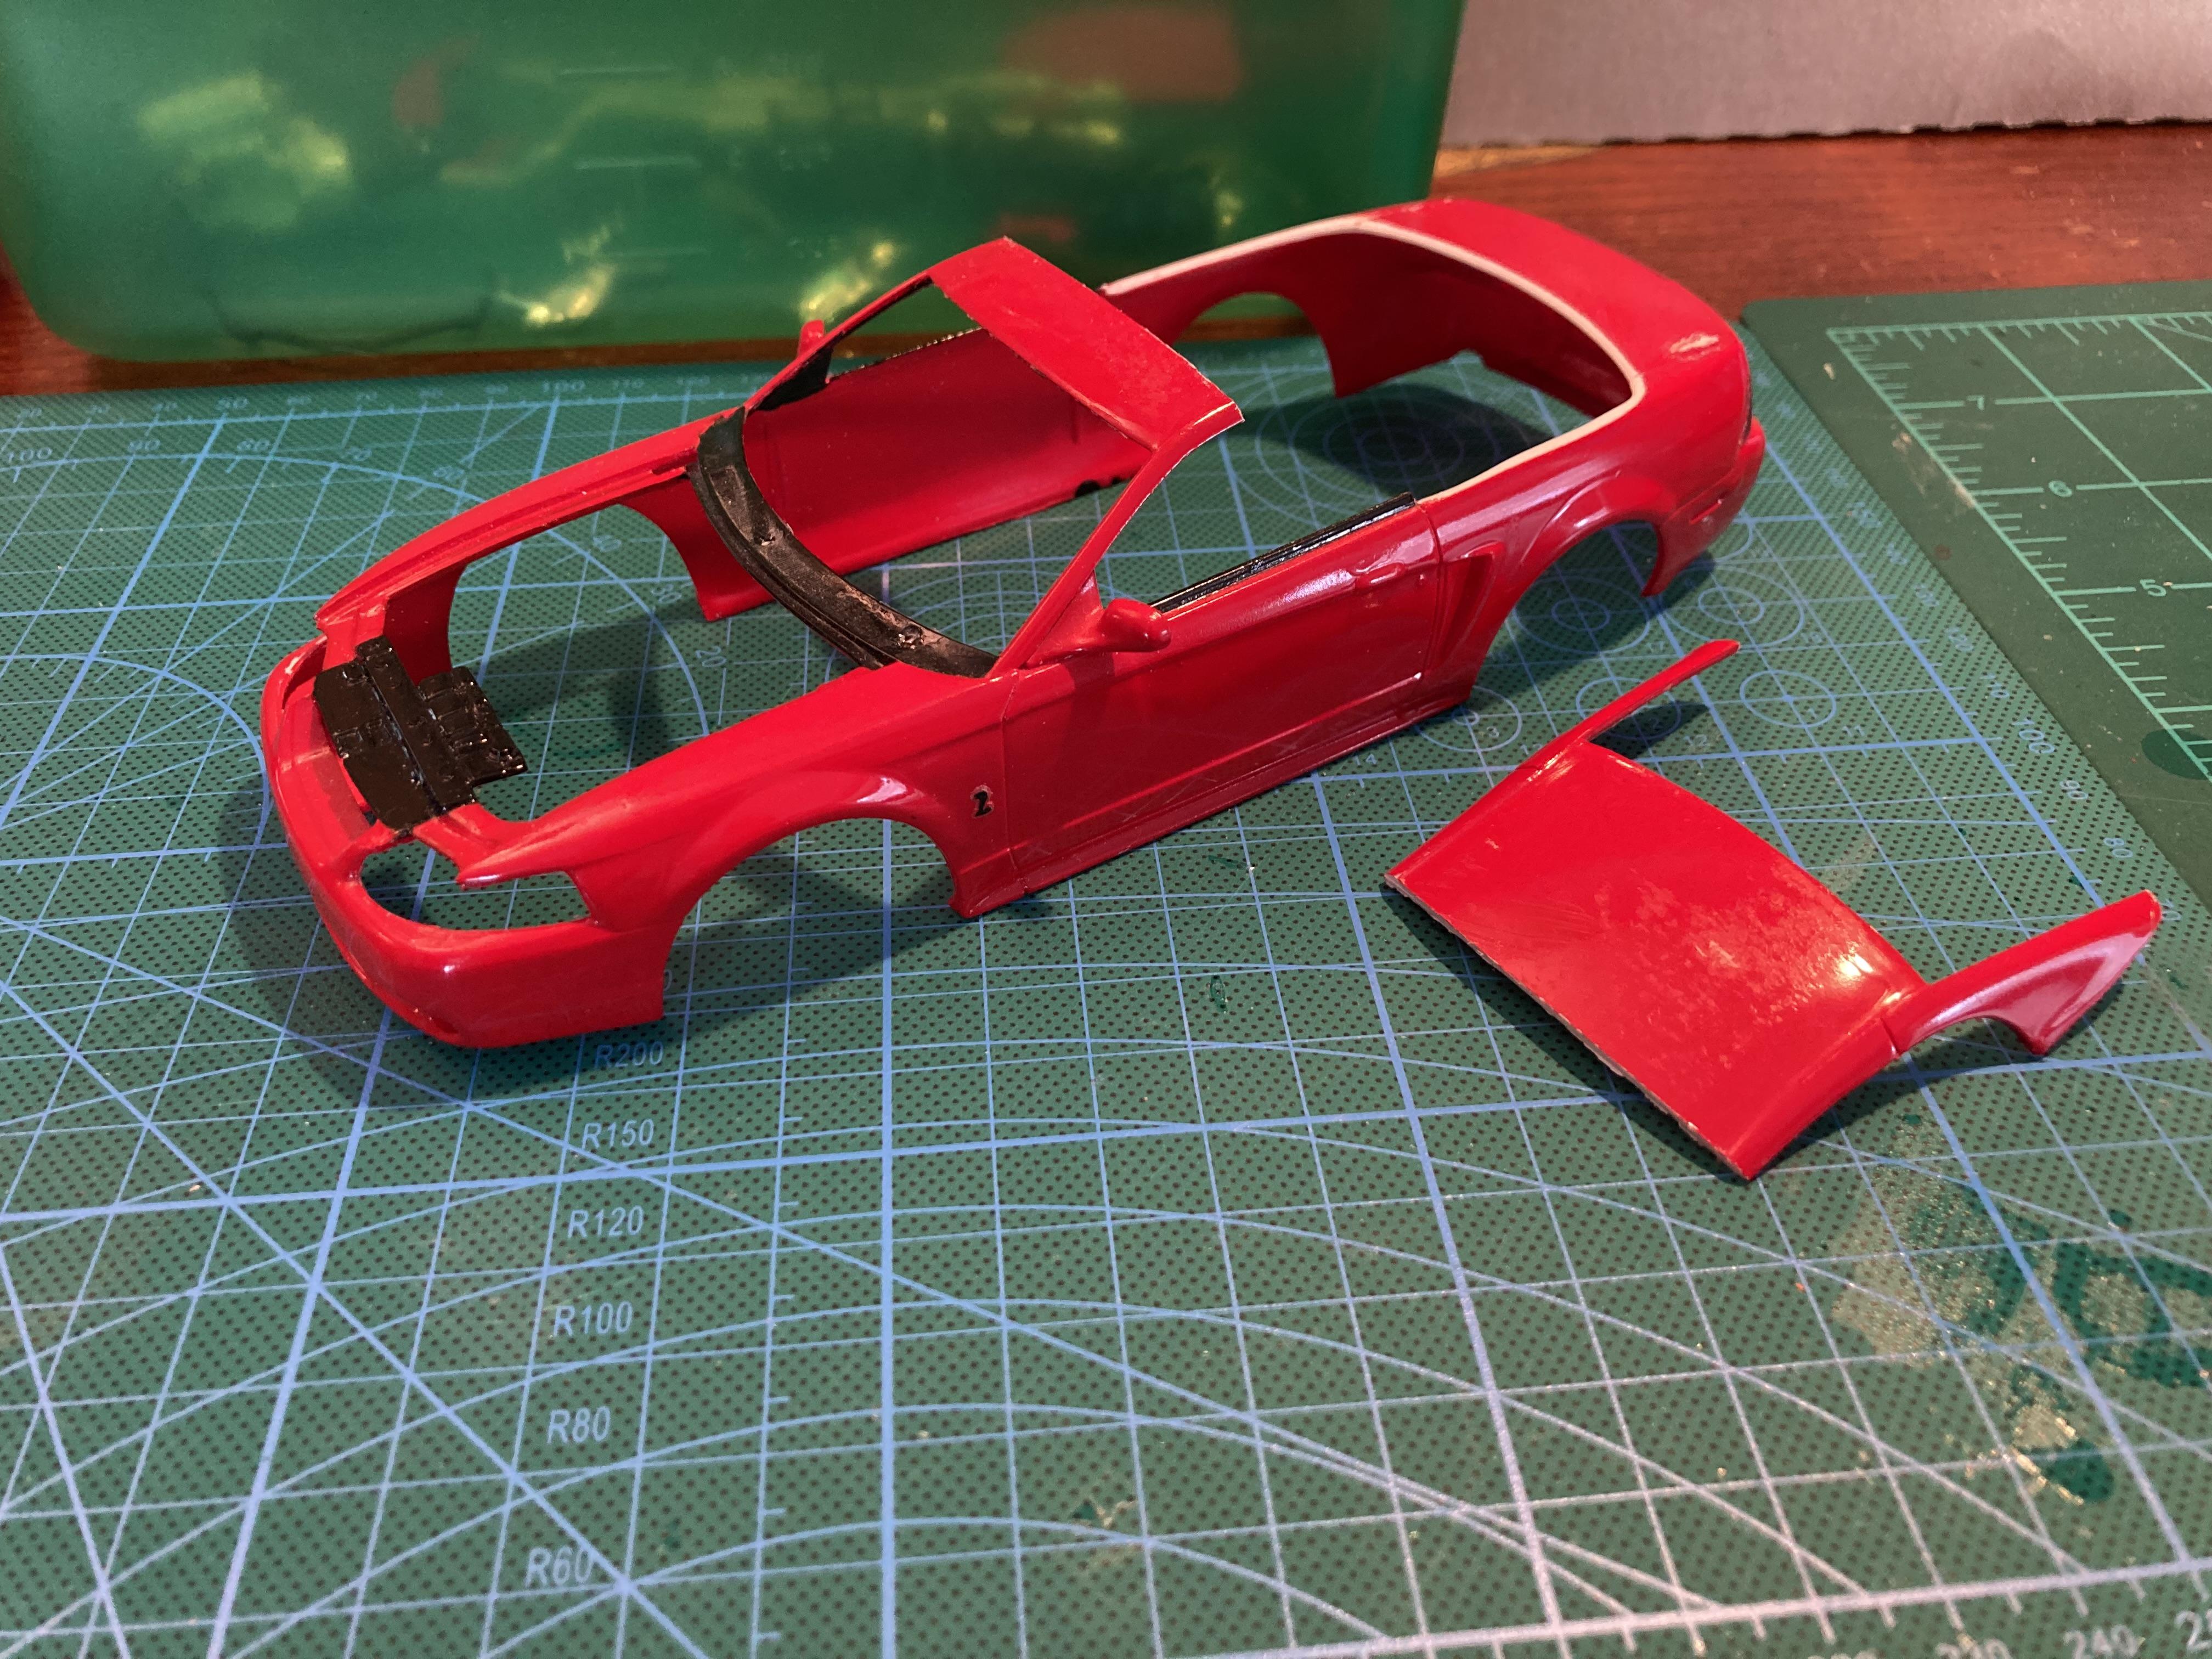
Another update: the body mods are done and it’s ready for primer! I haven’t set up my paint booth yet after my recent move but hopefully I’ll get this primed and painted soon.

-
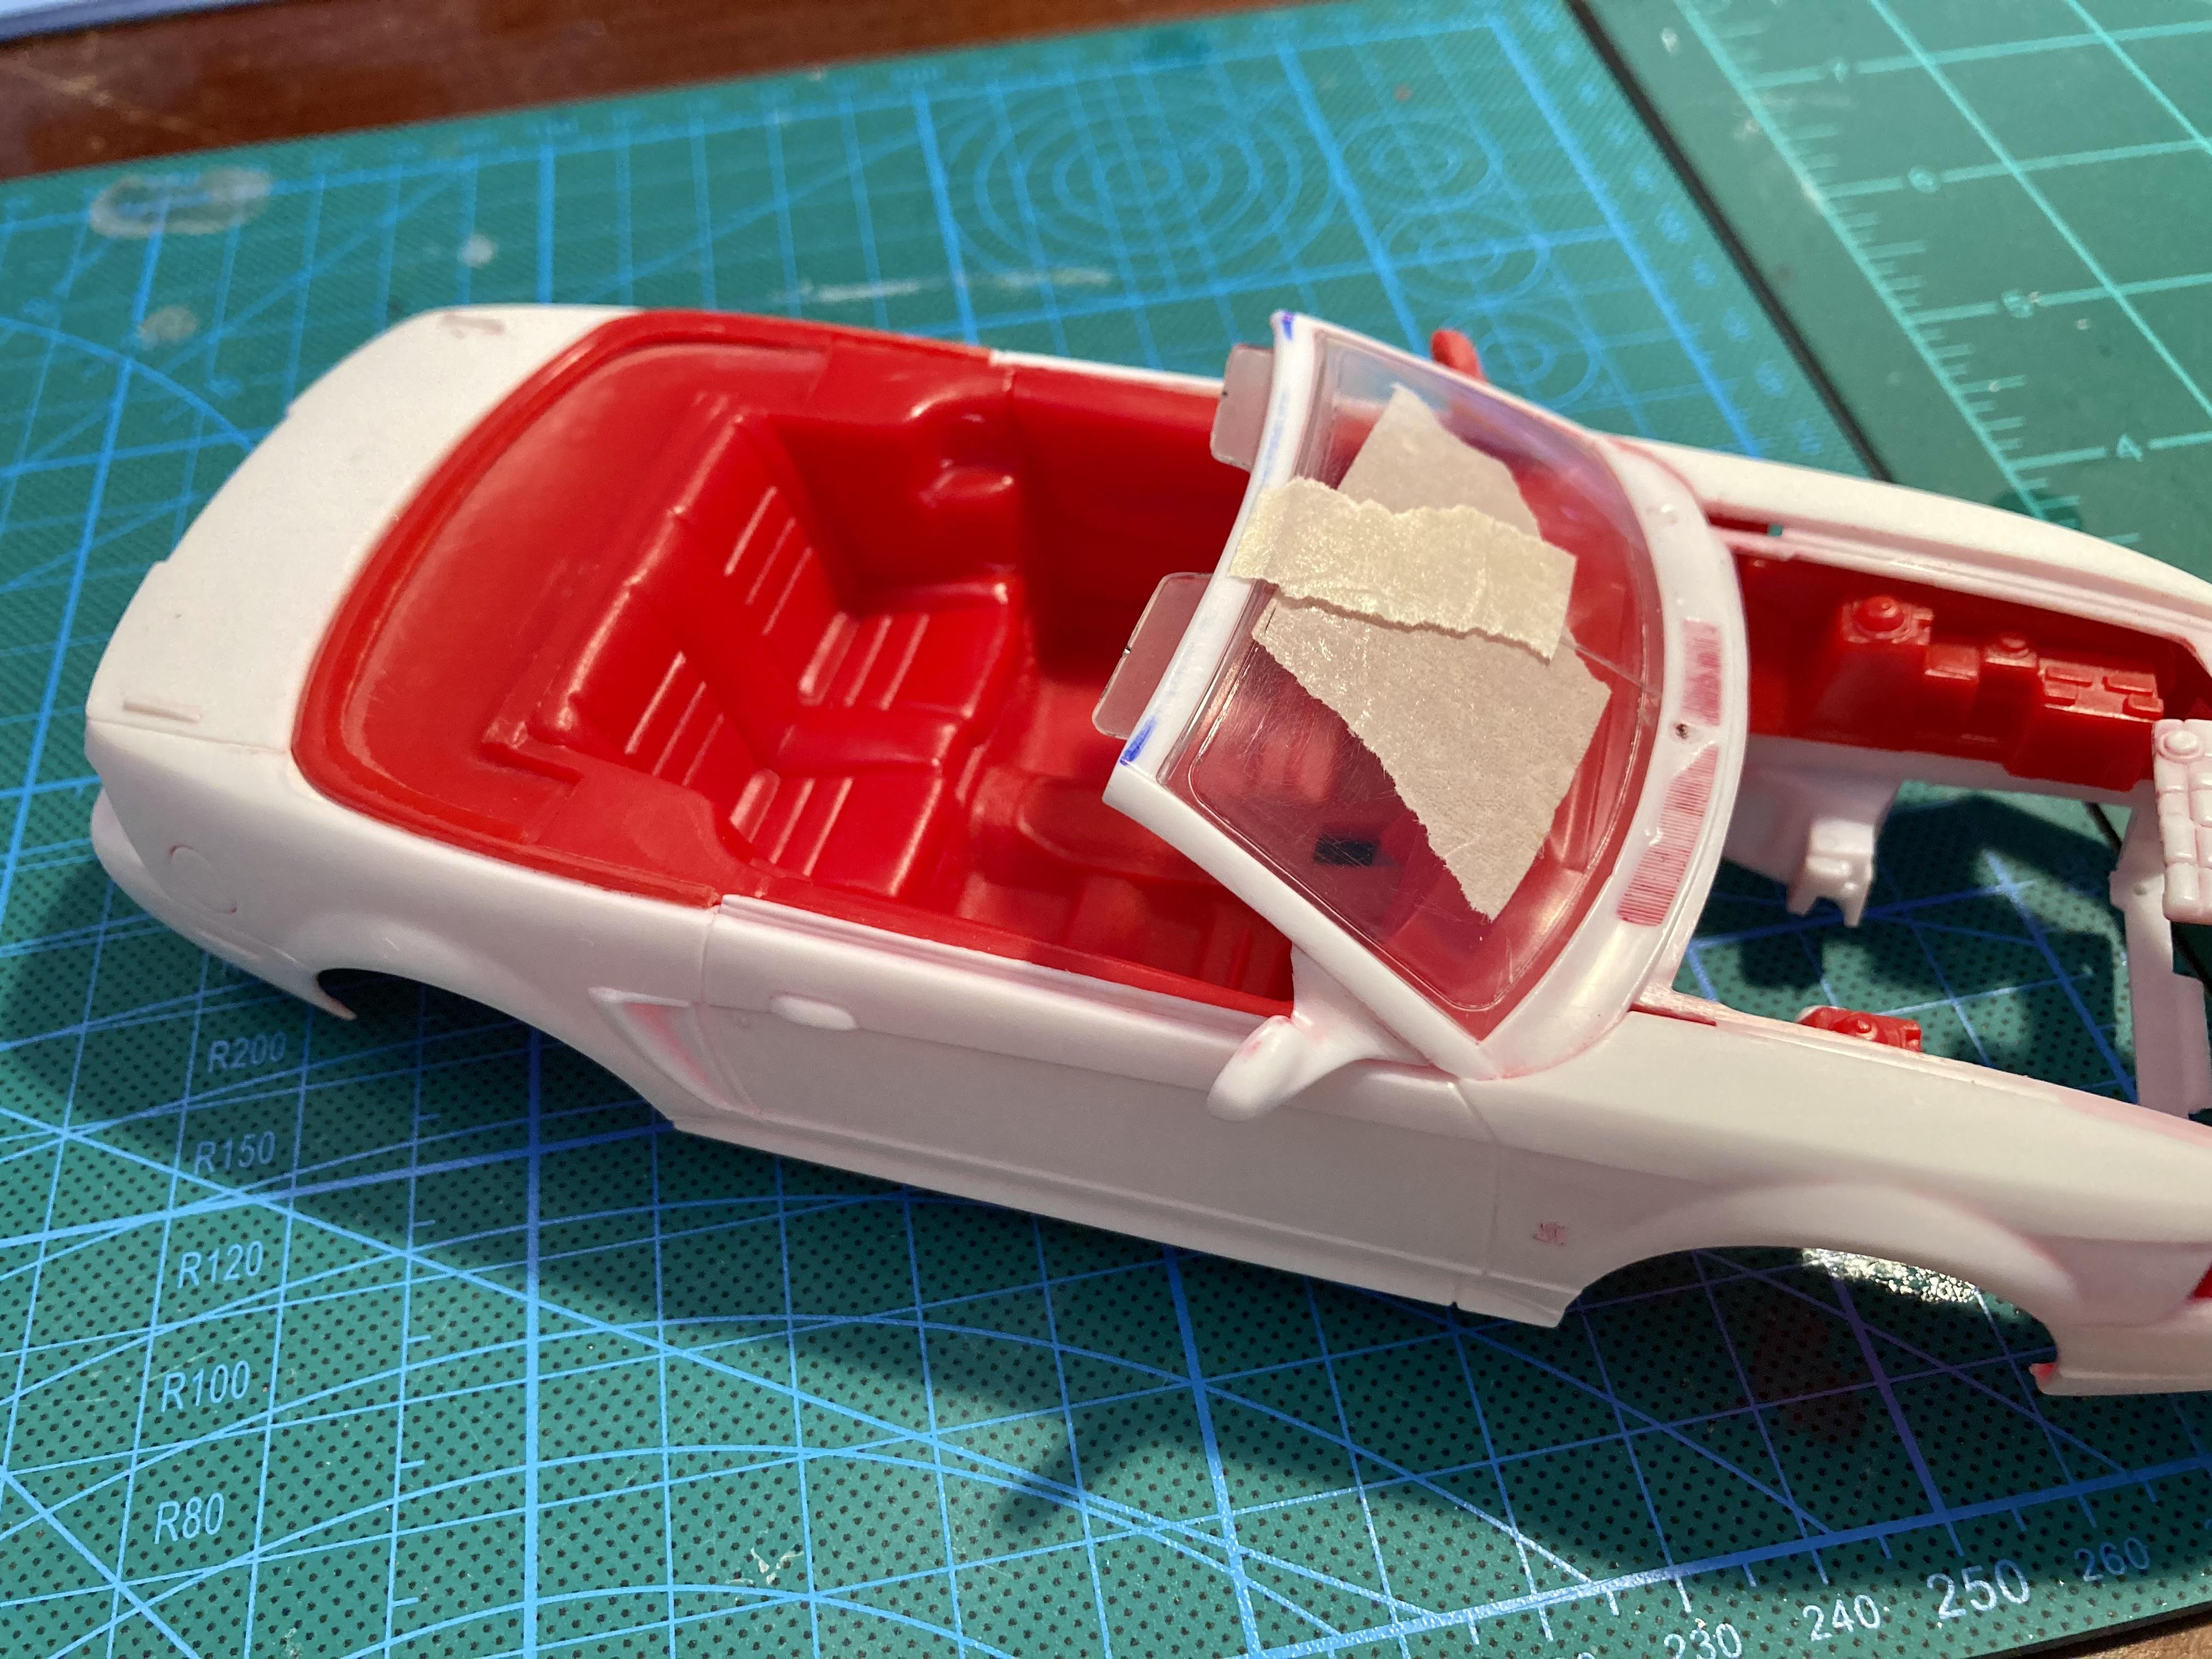
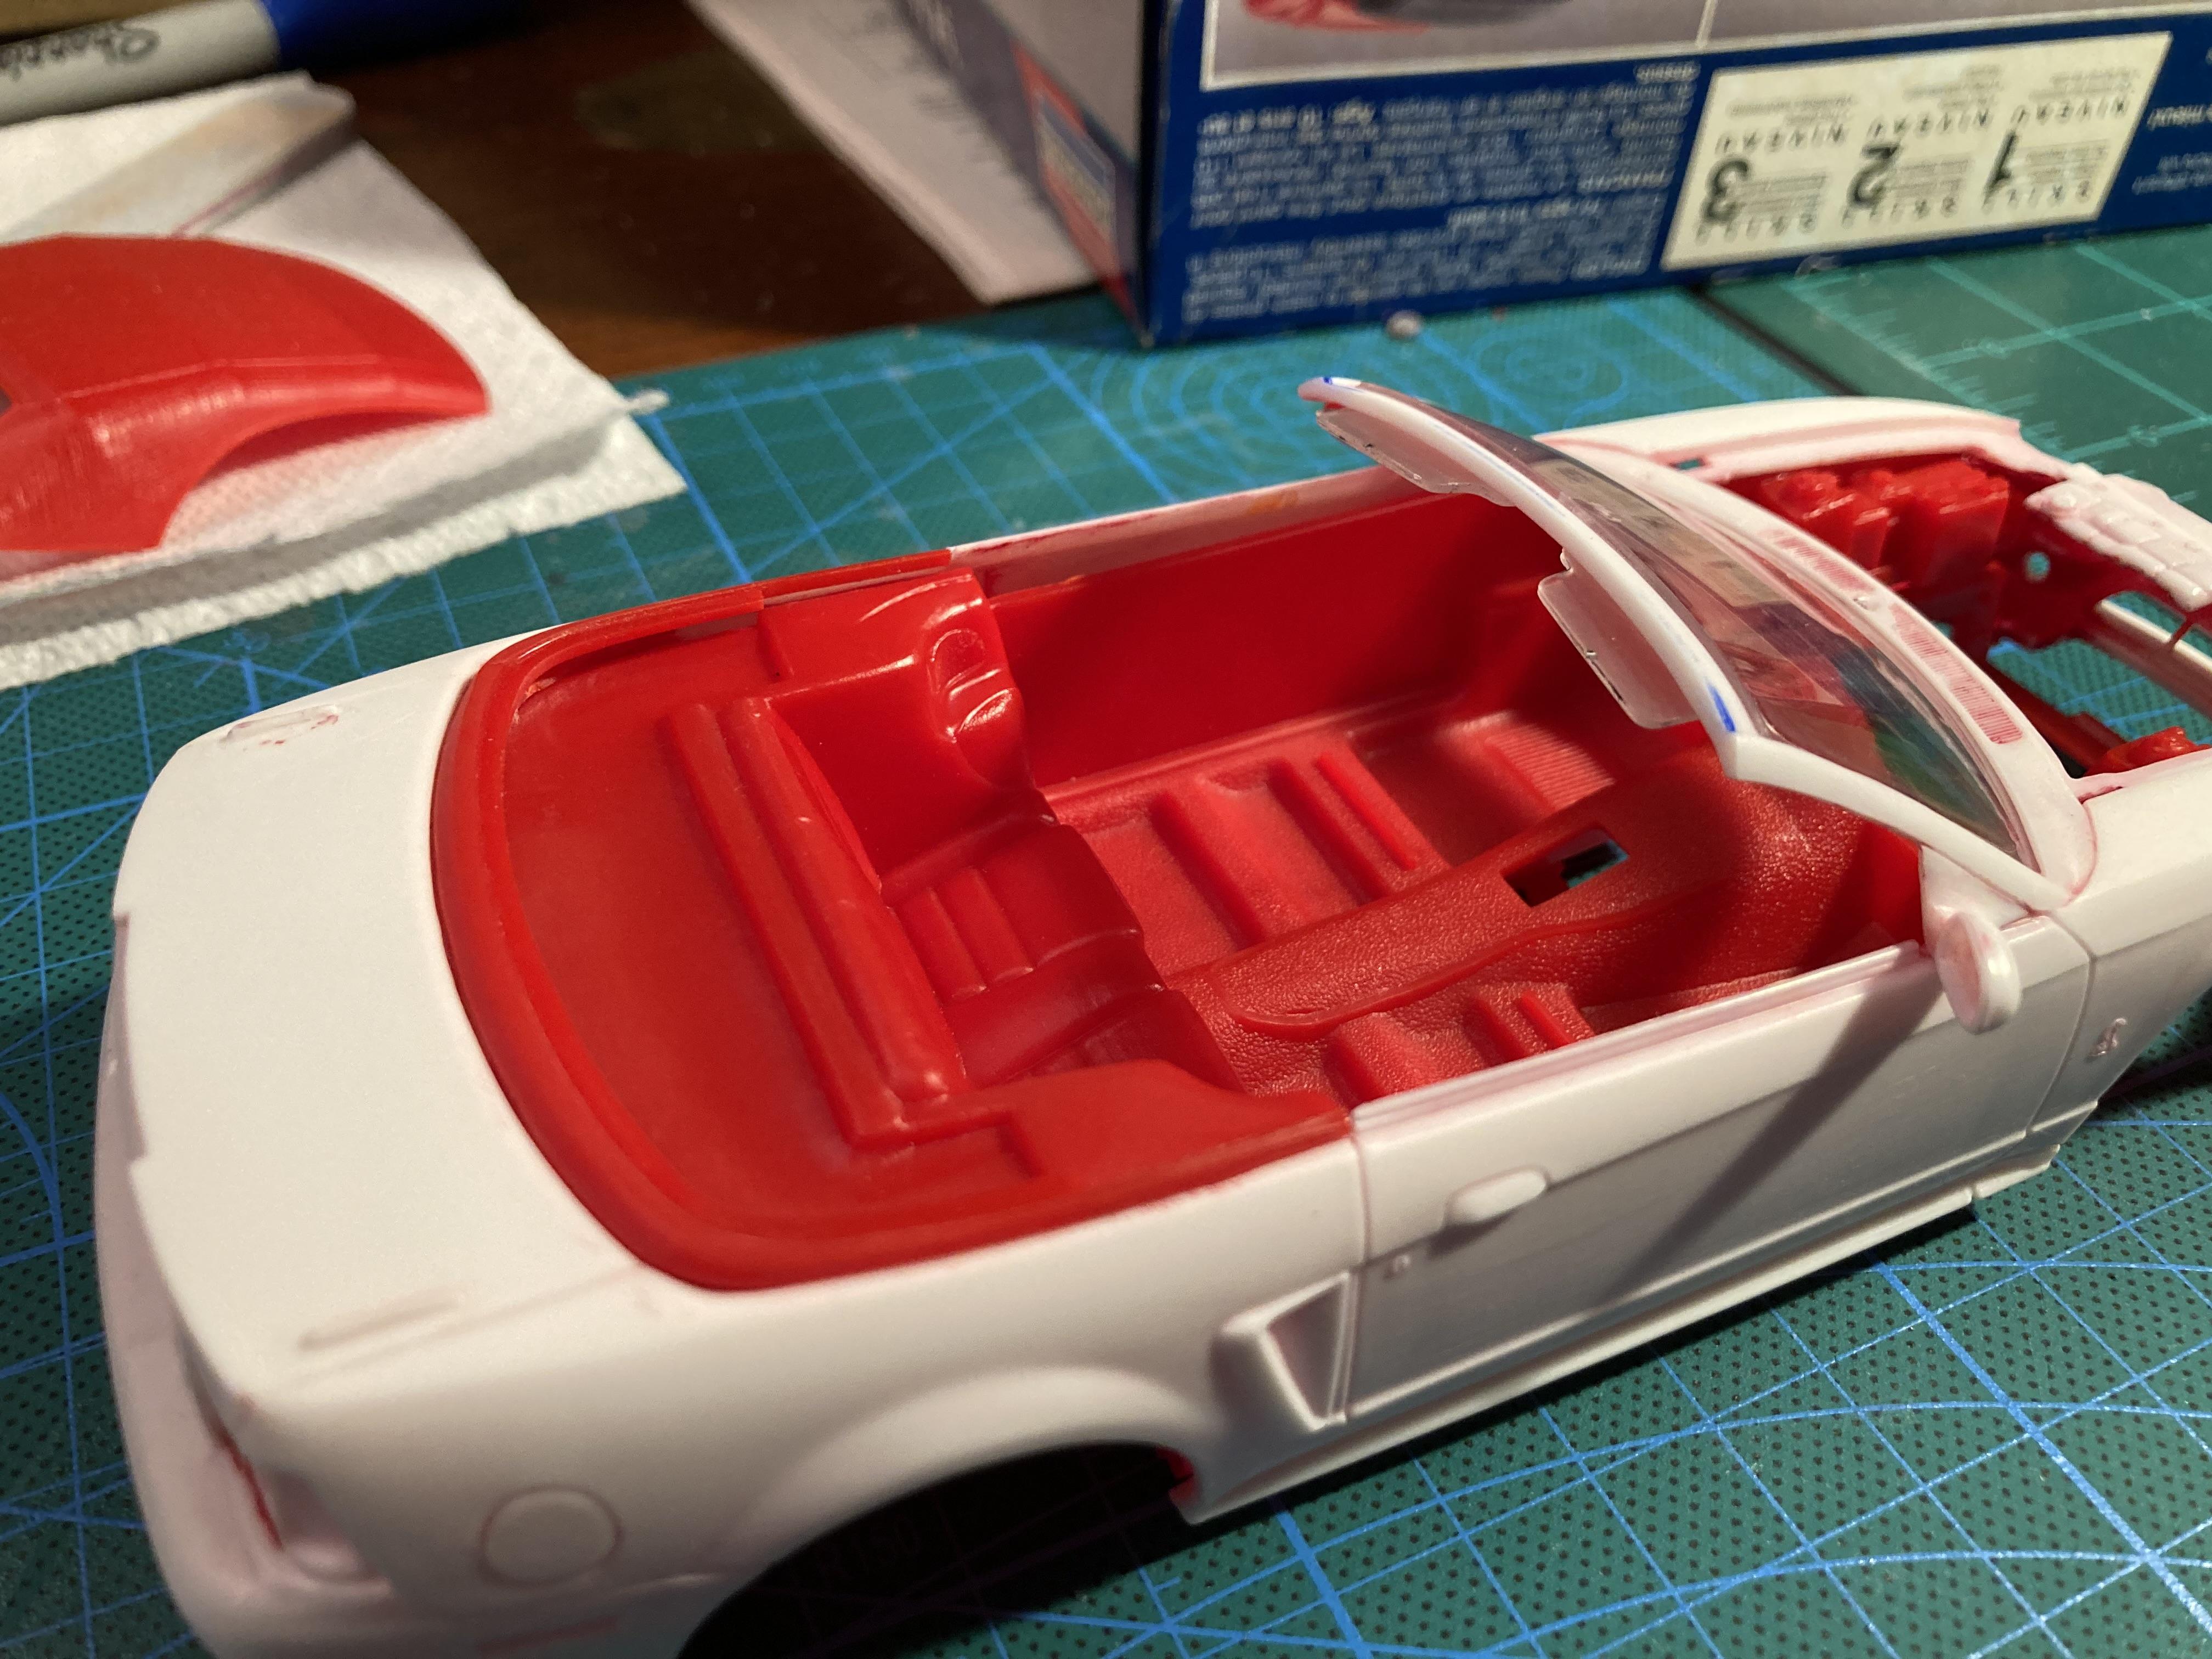
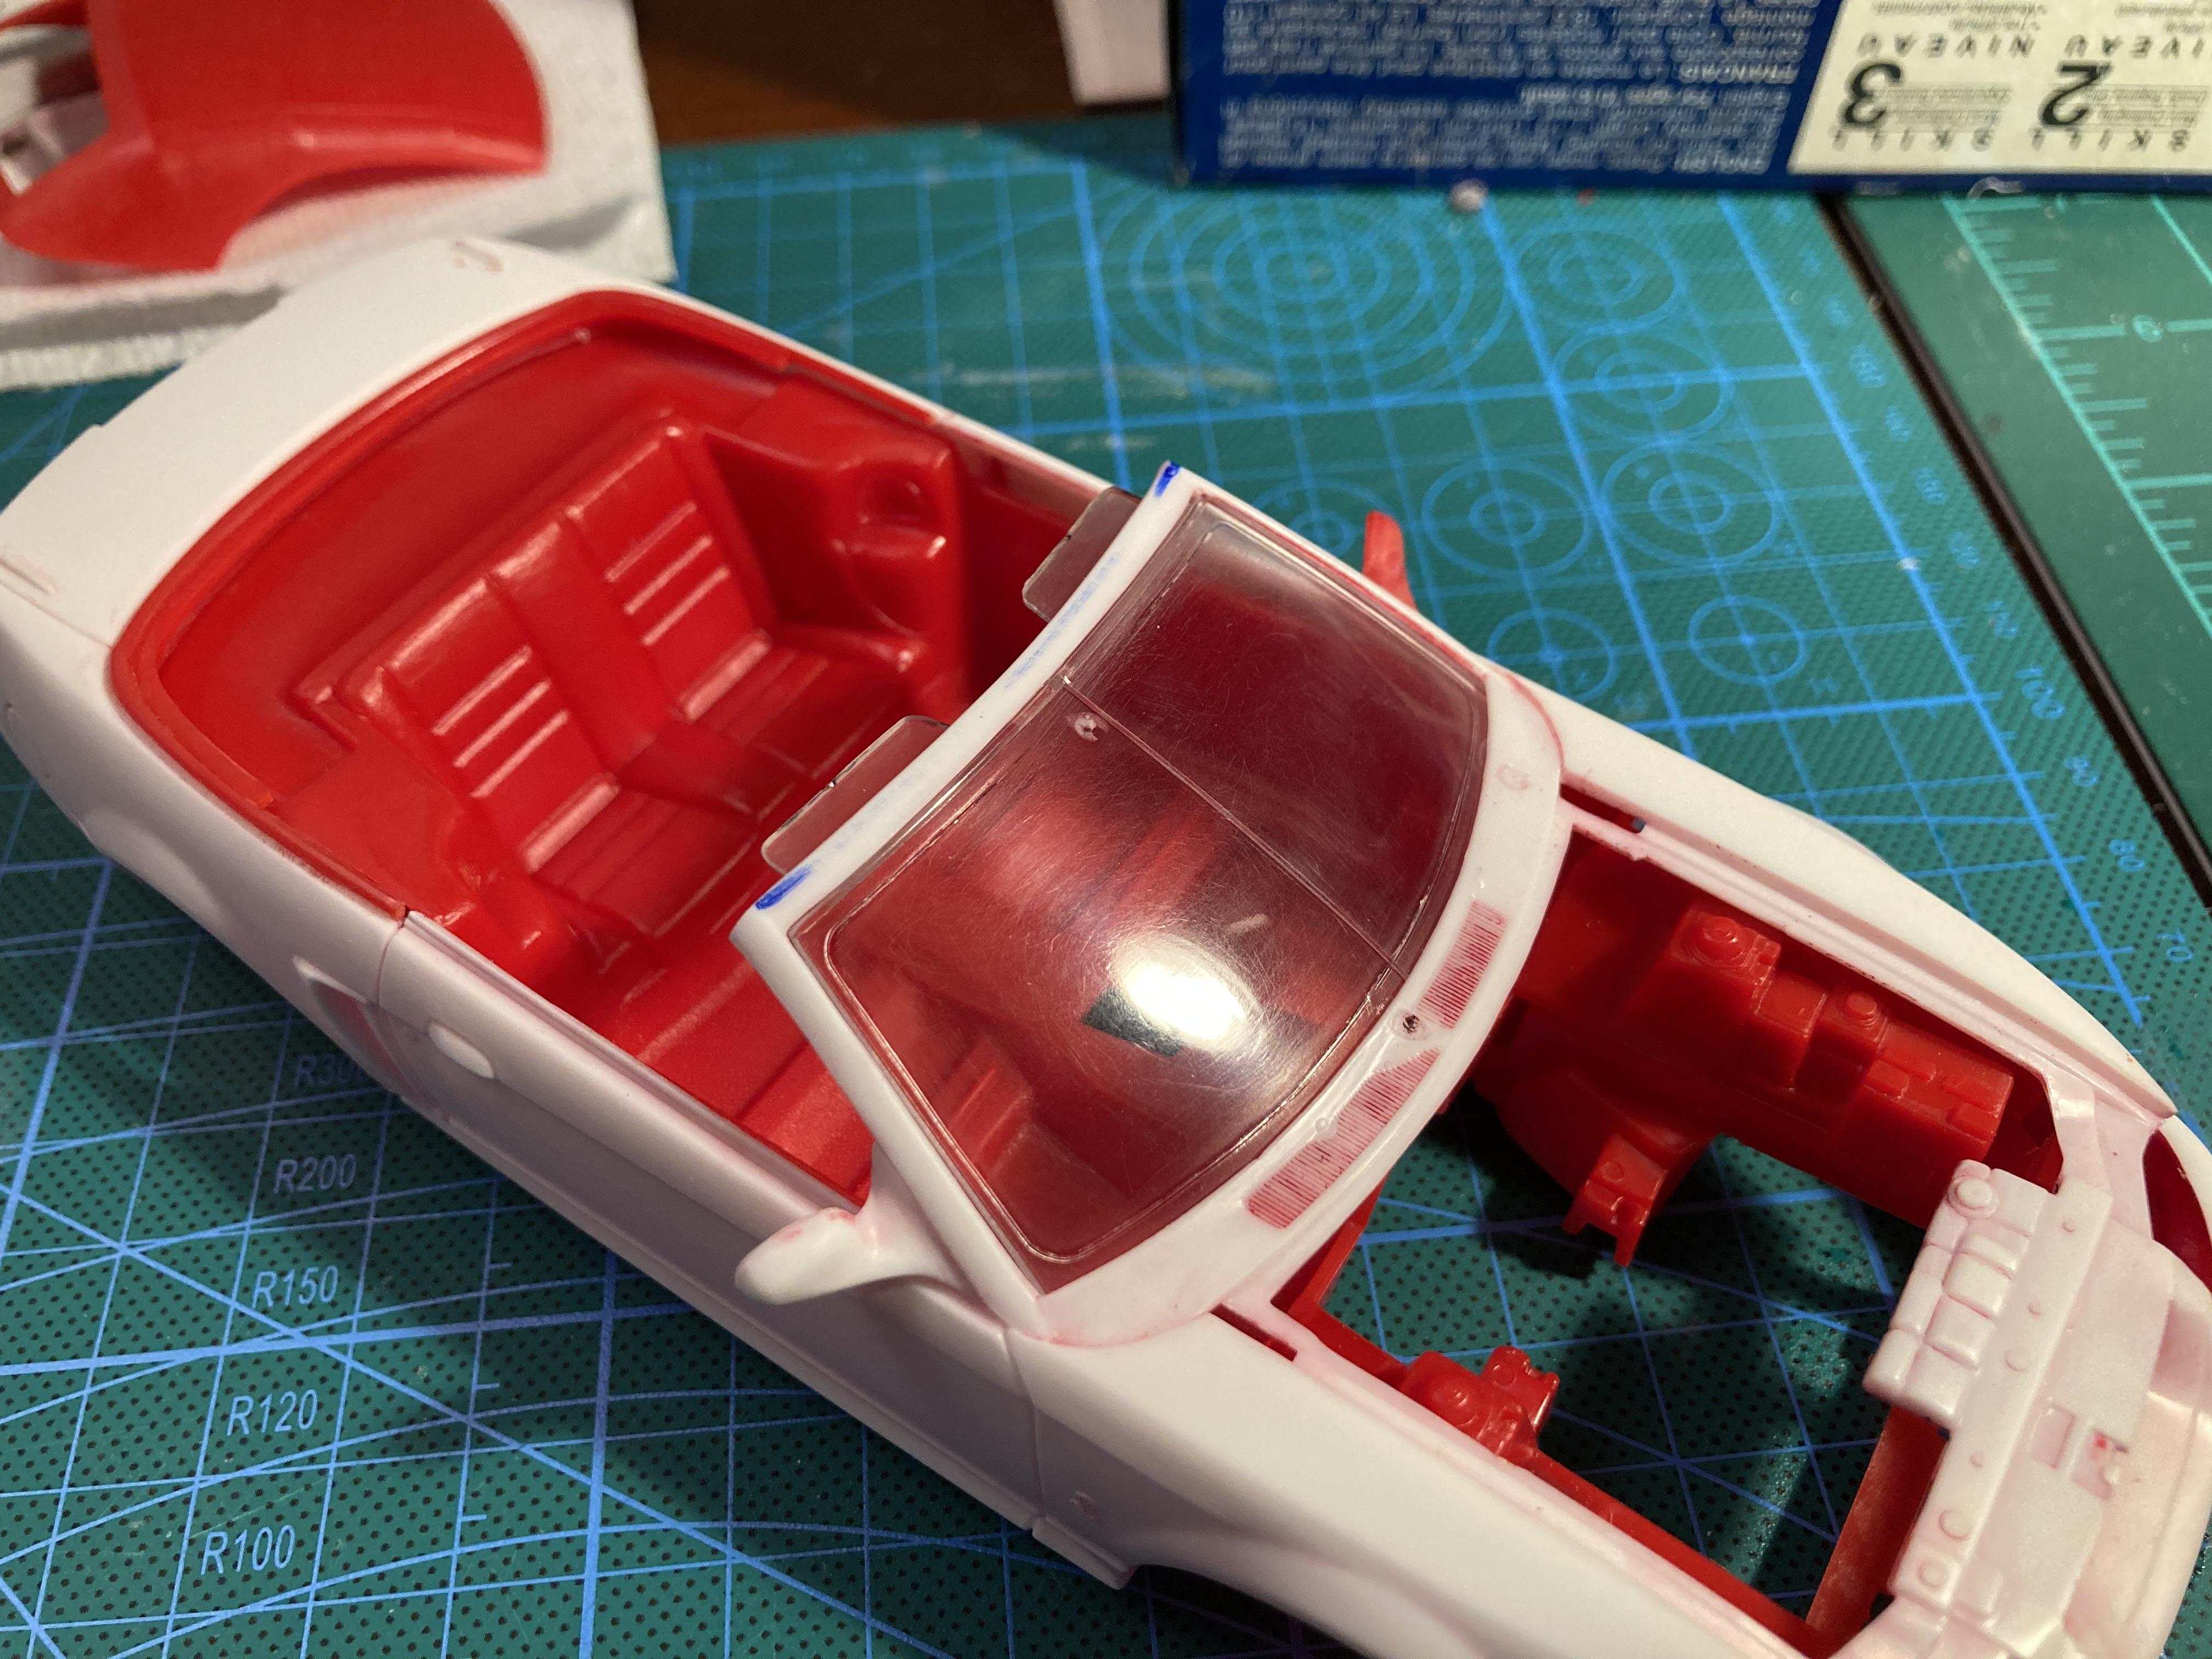
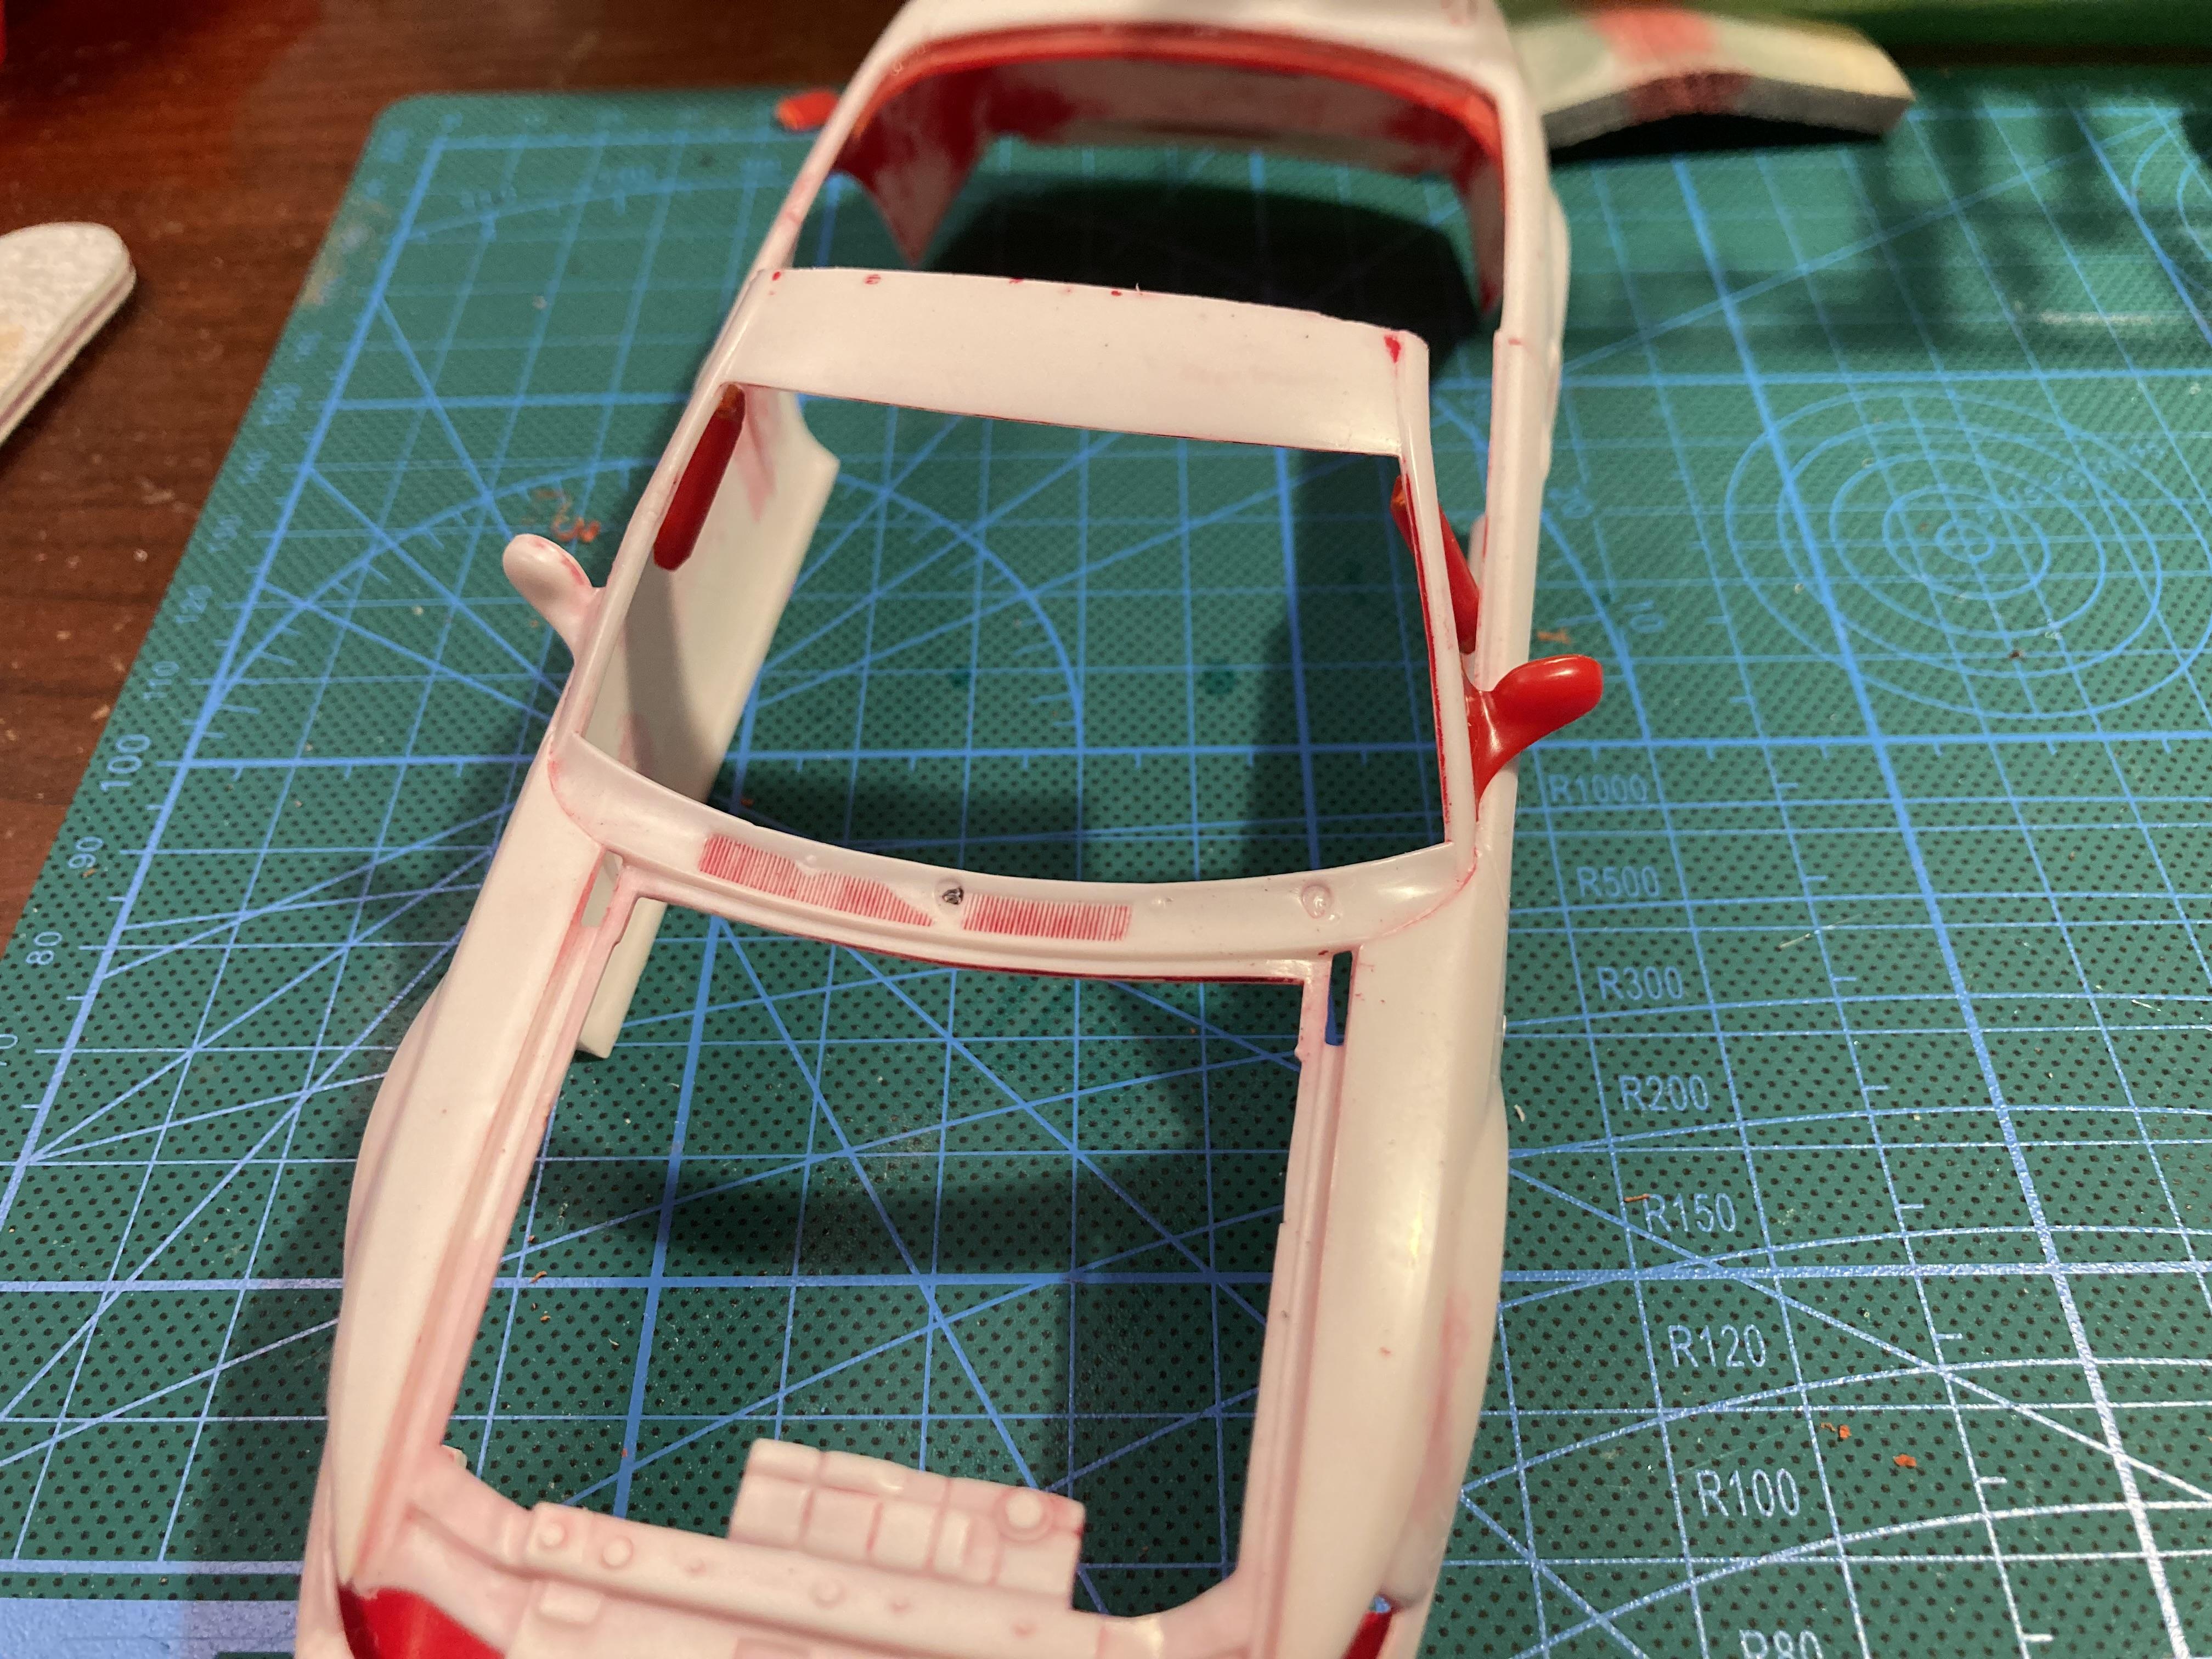
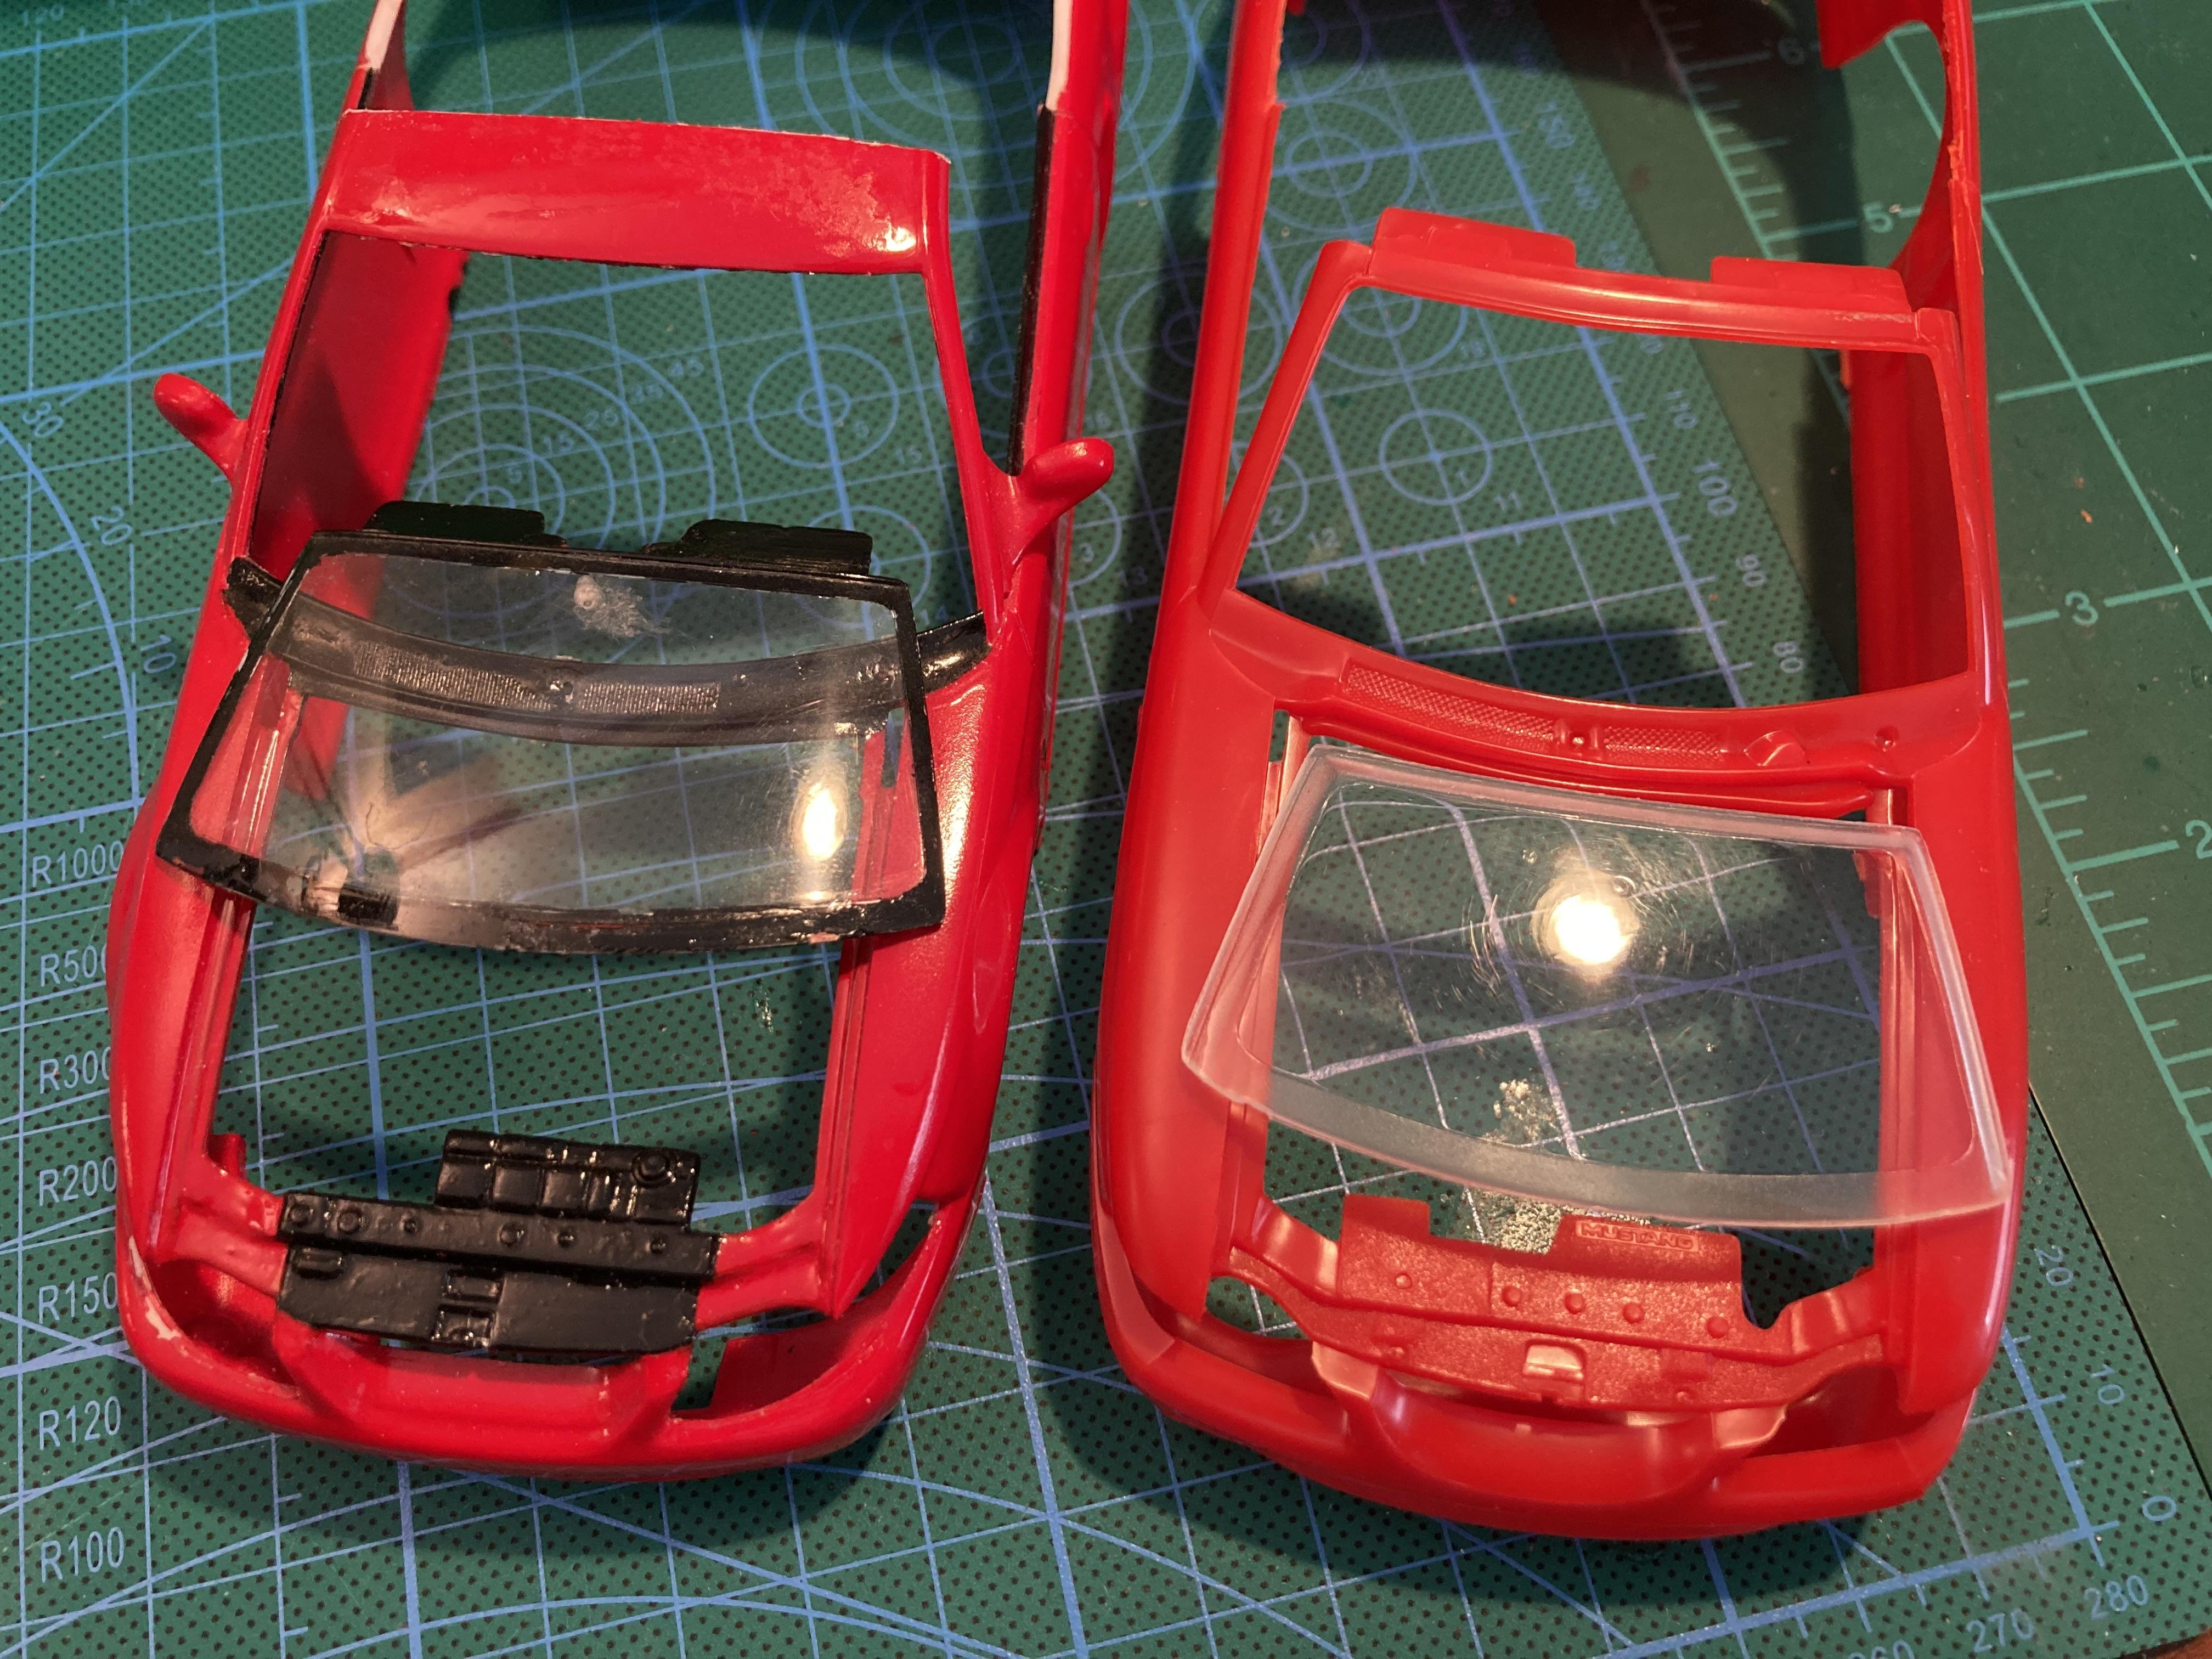
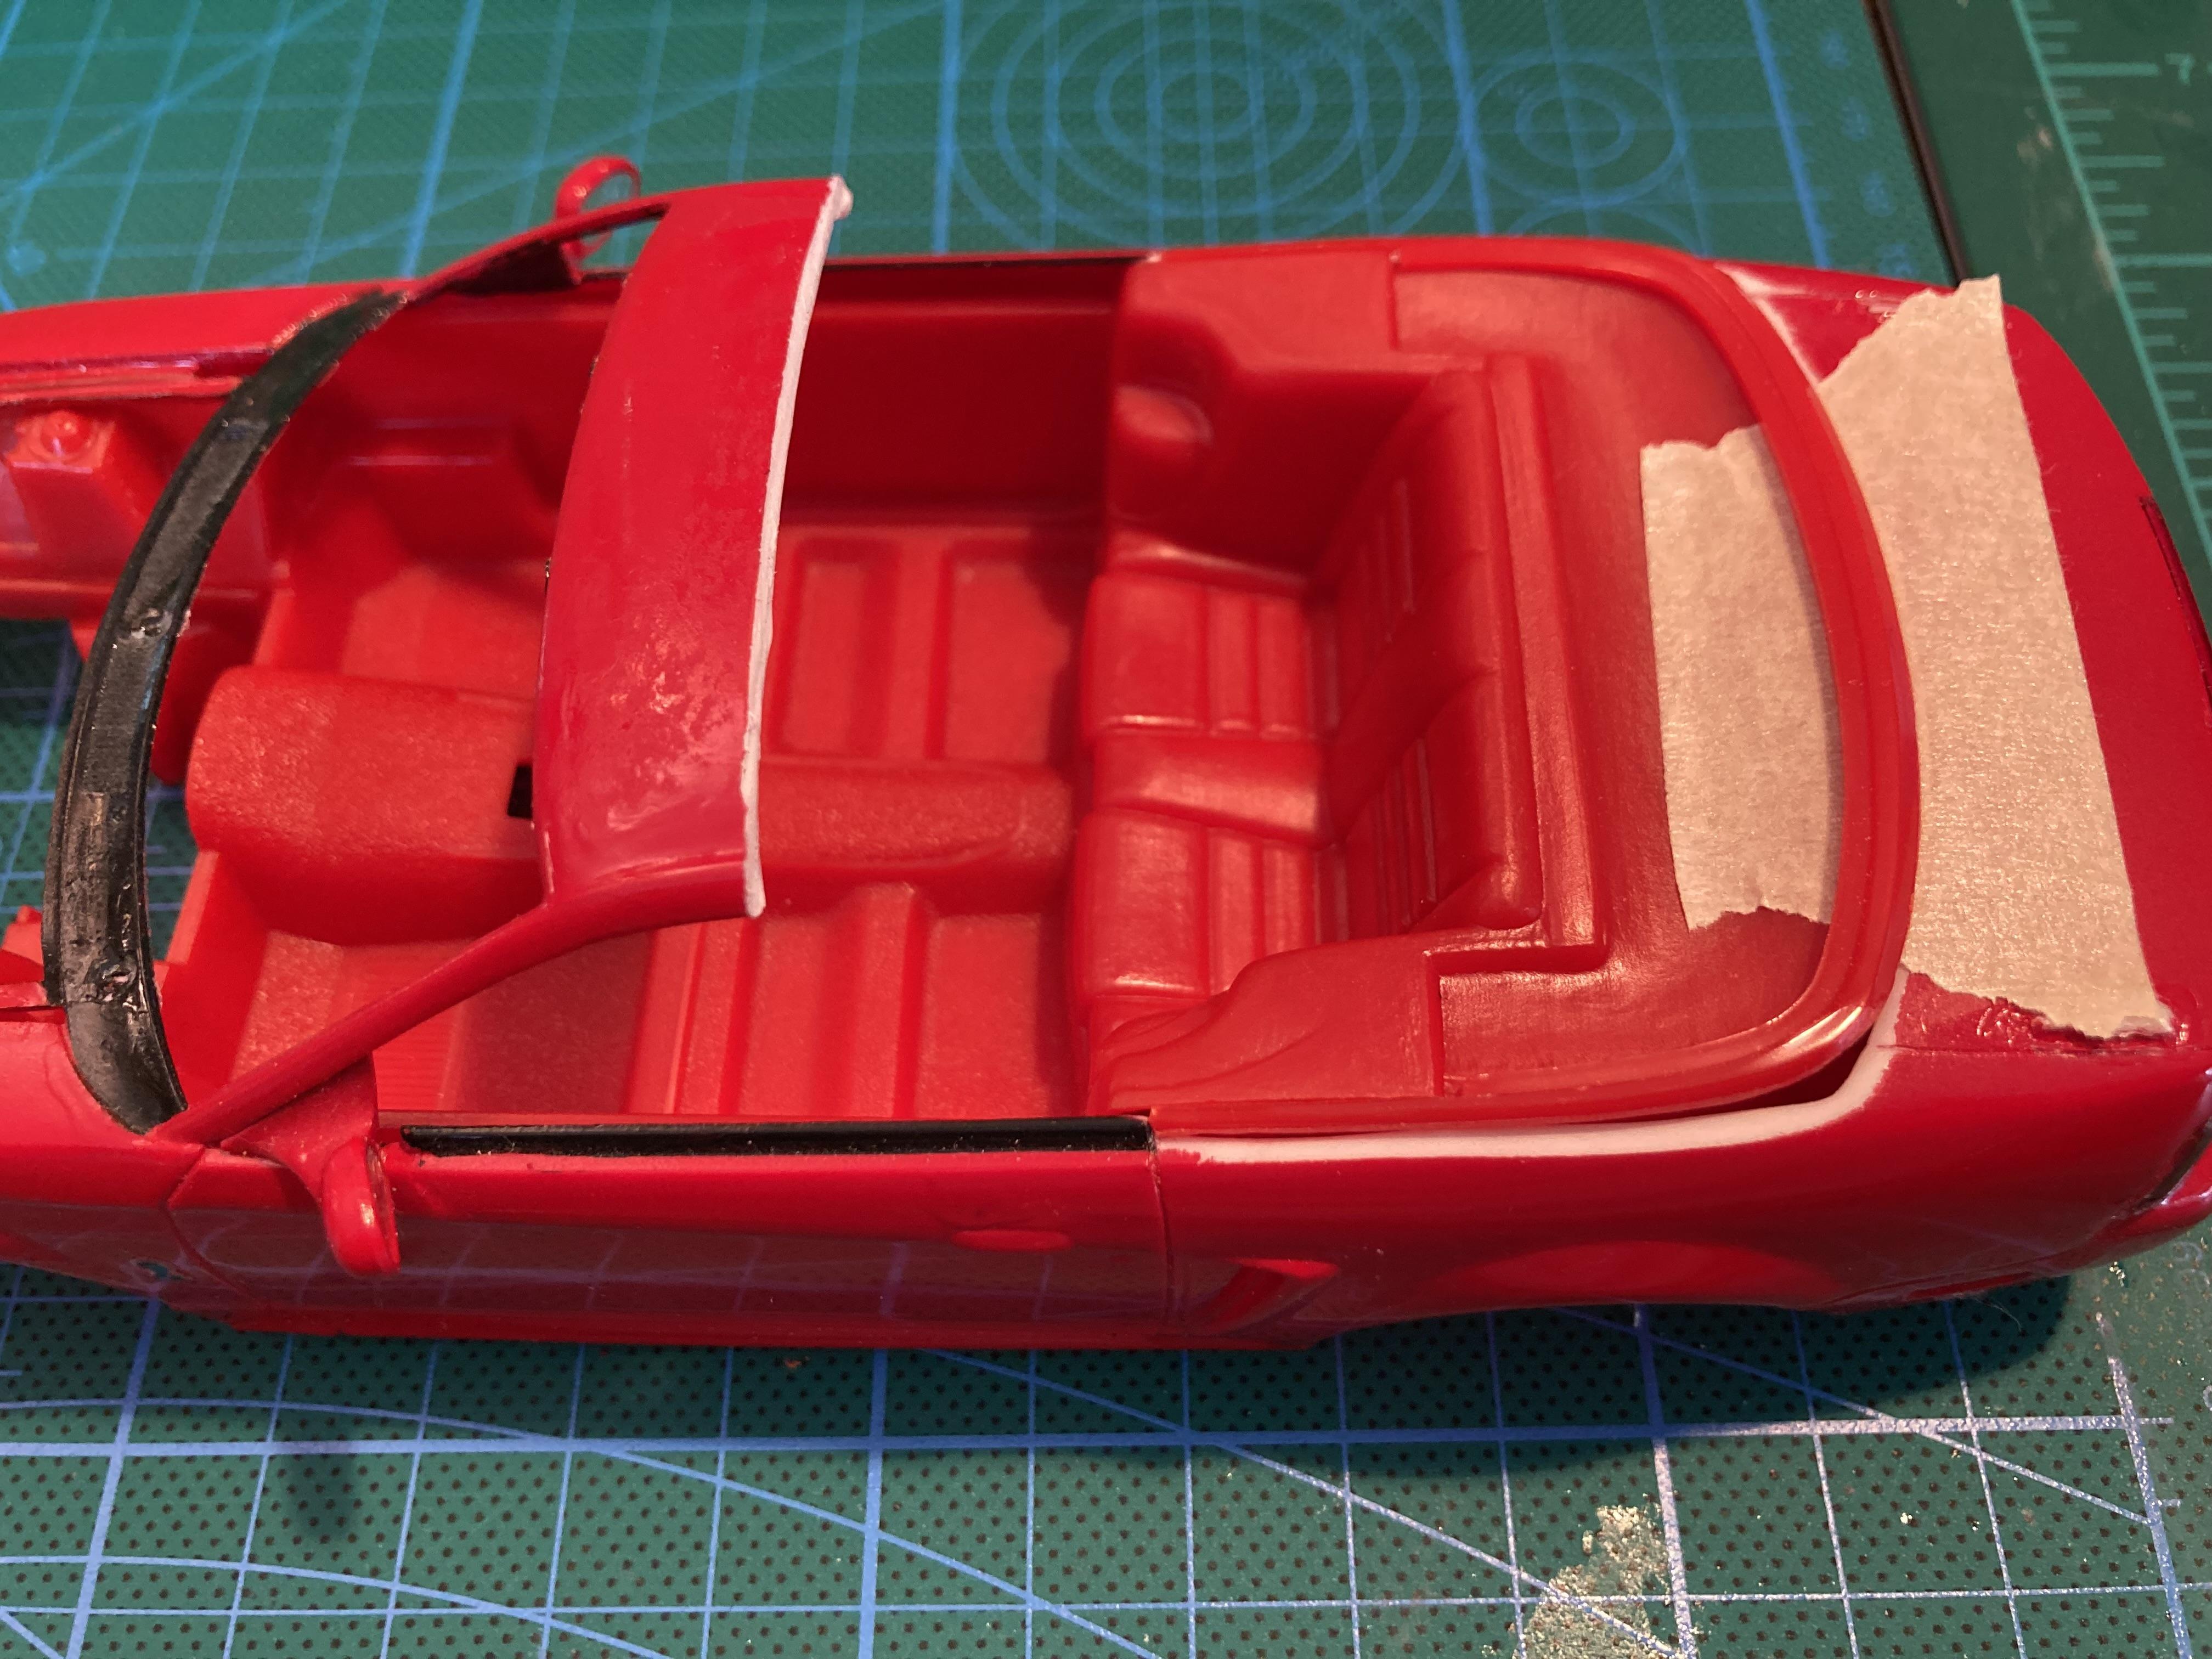
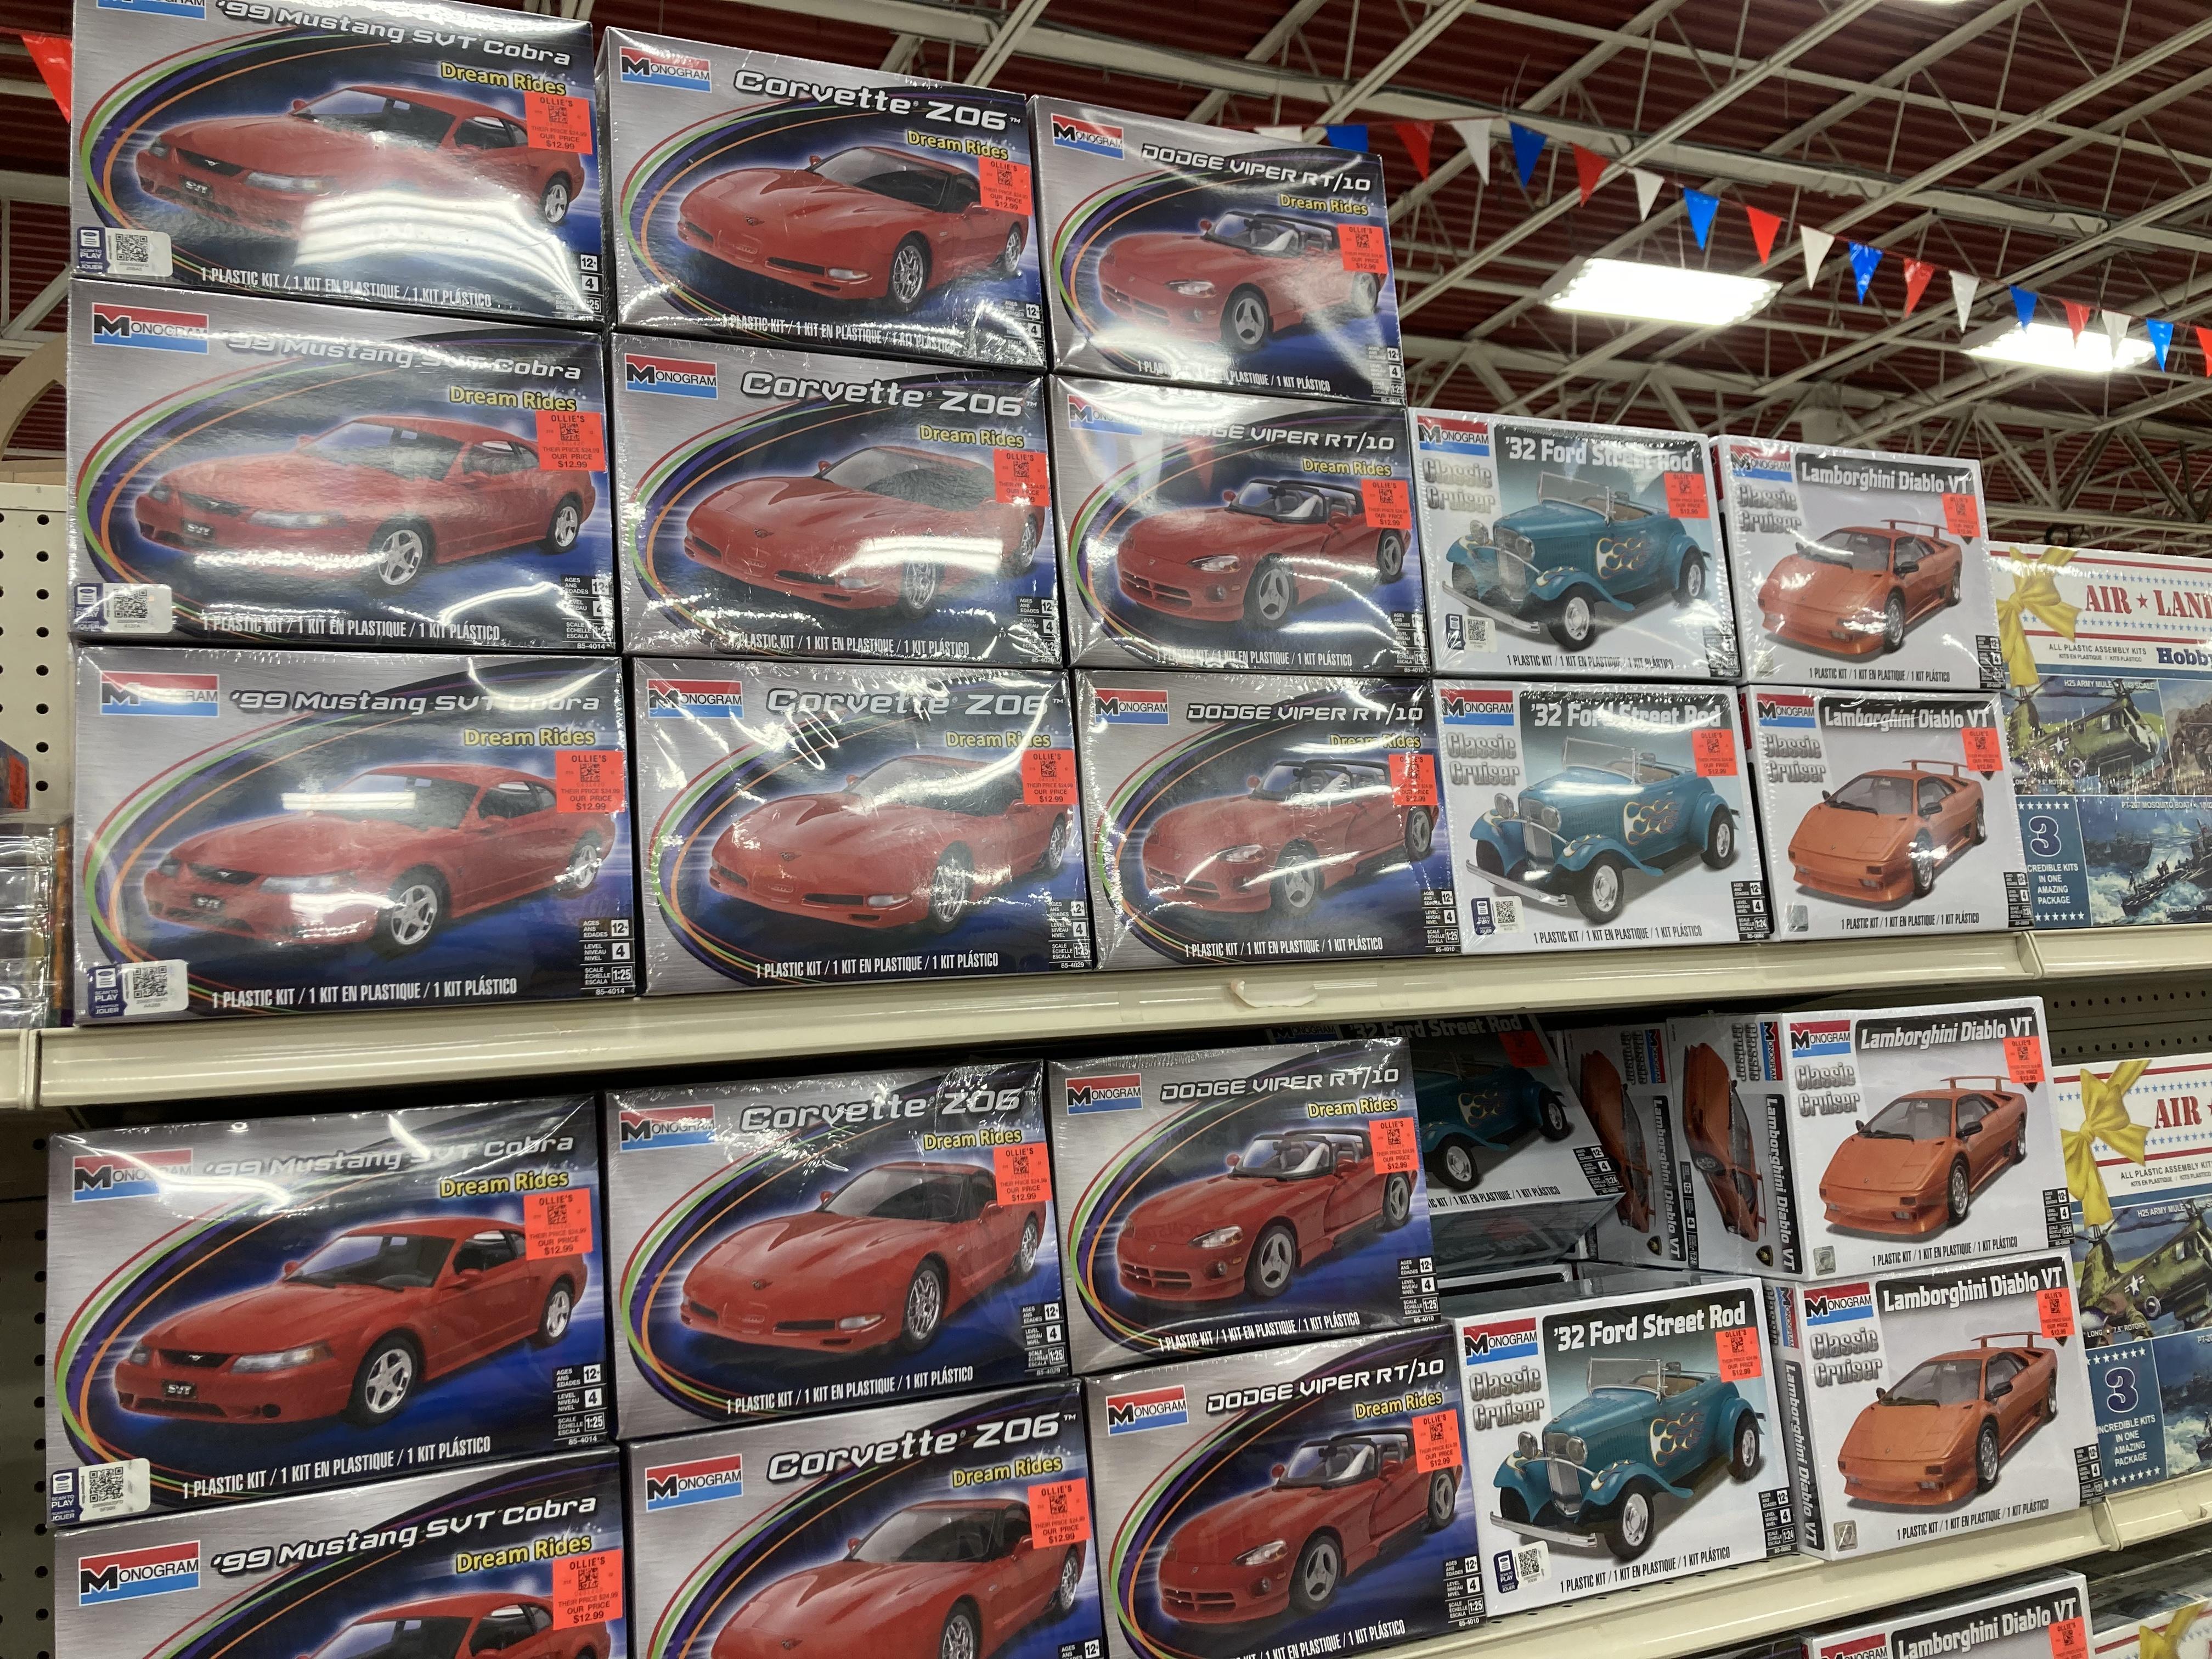
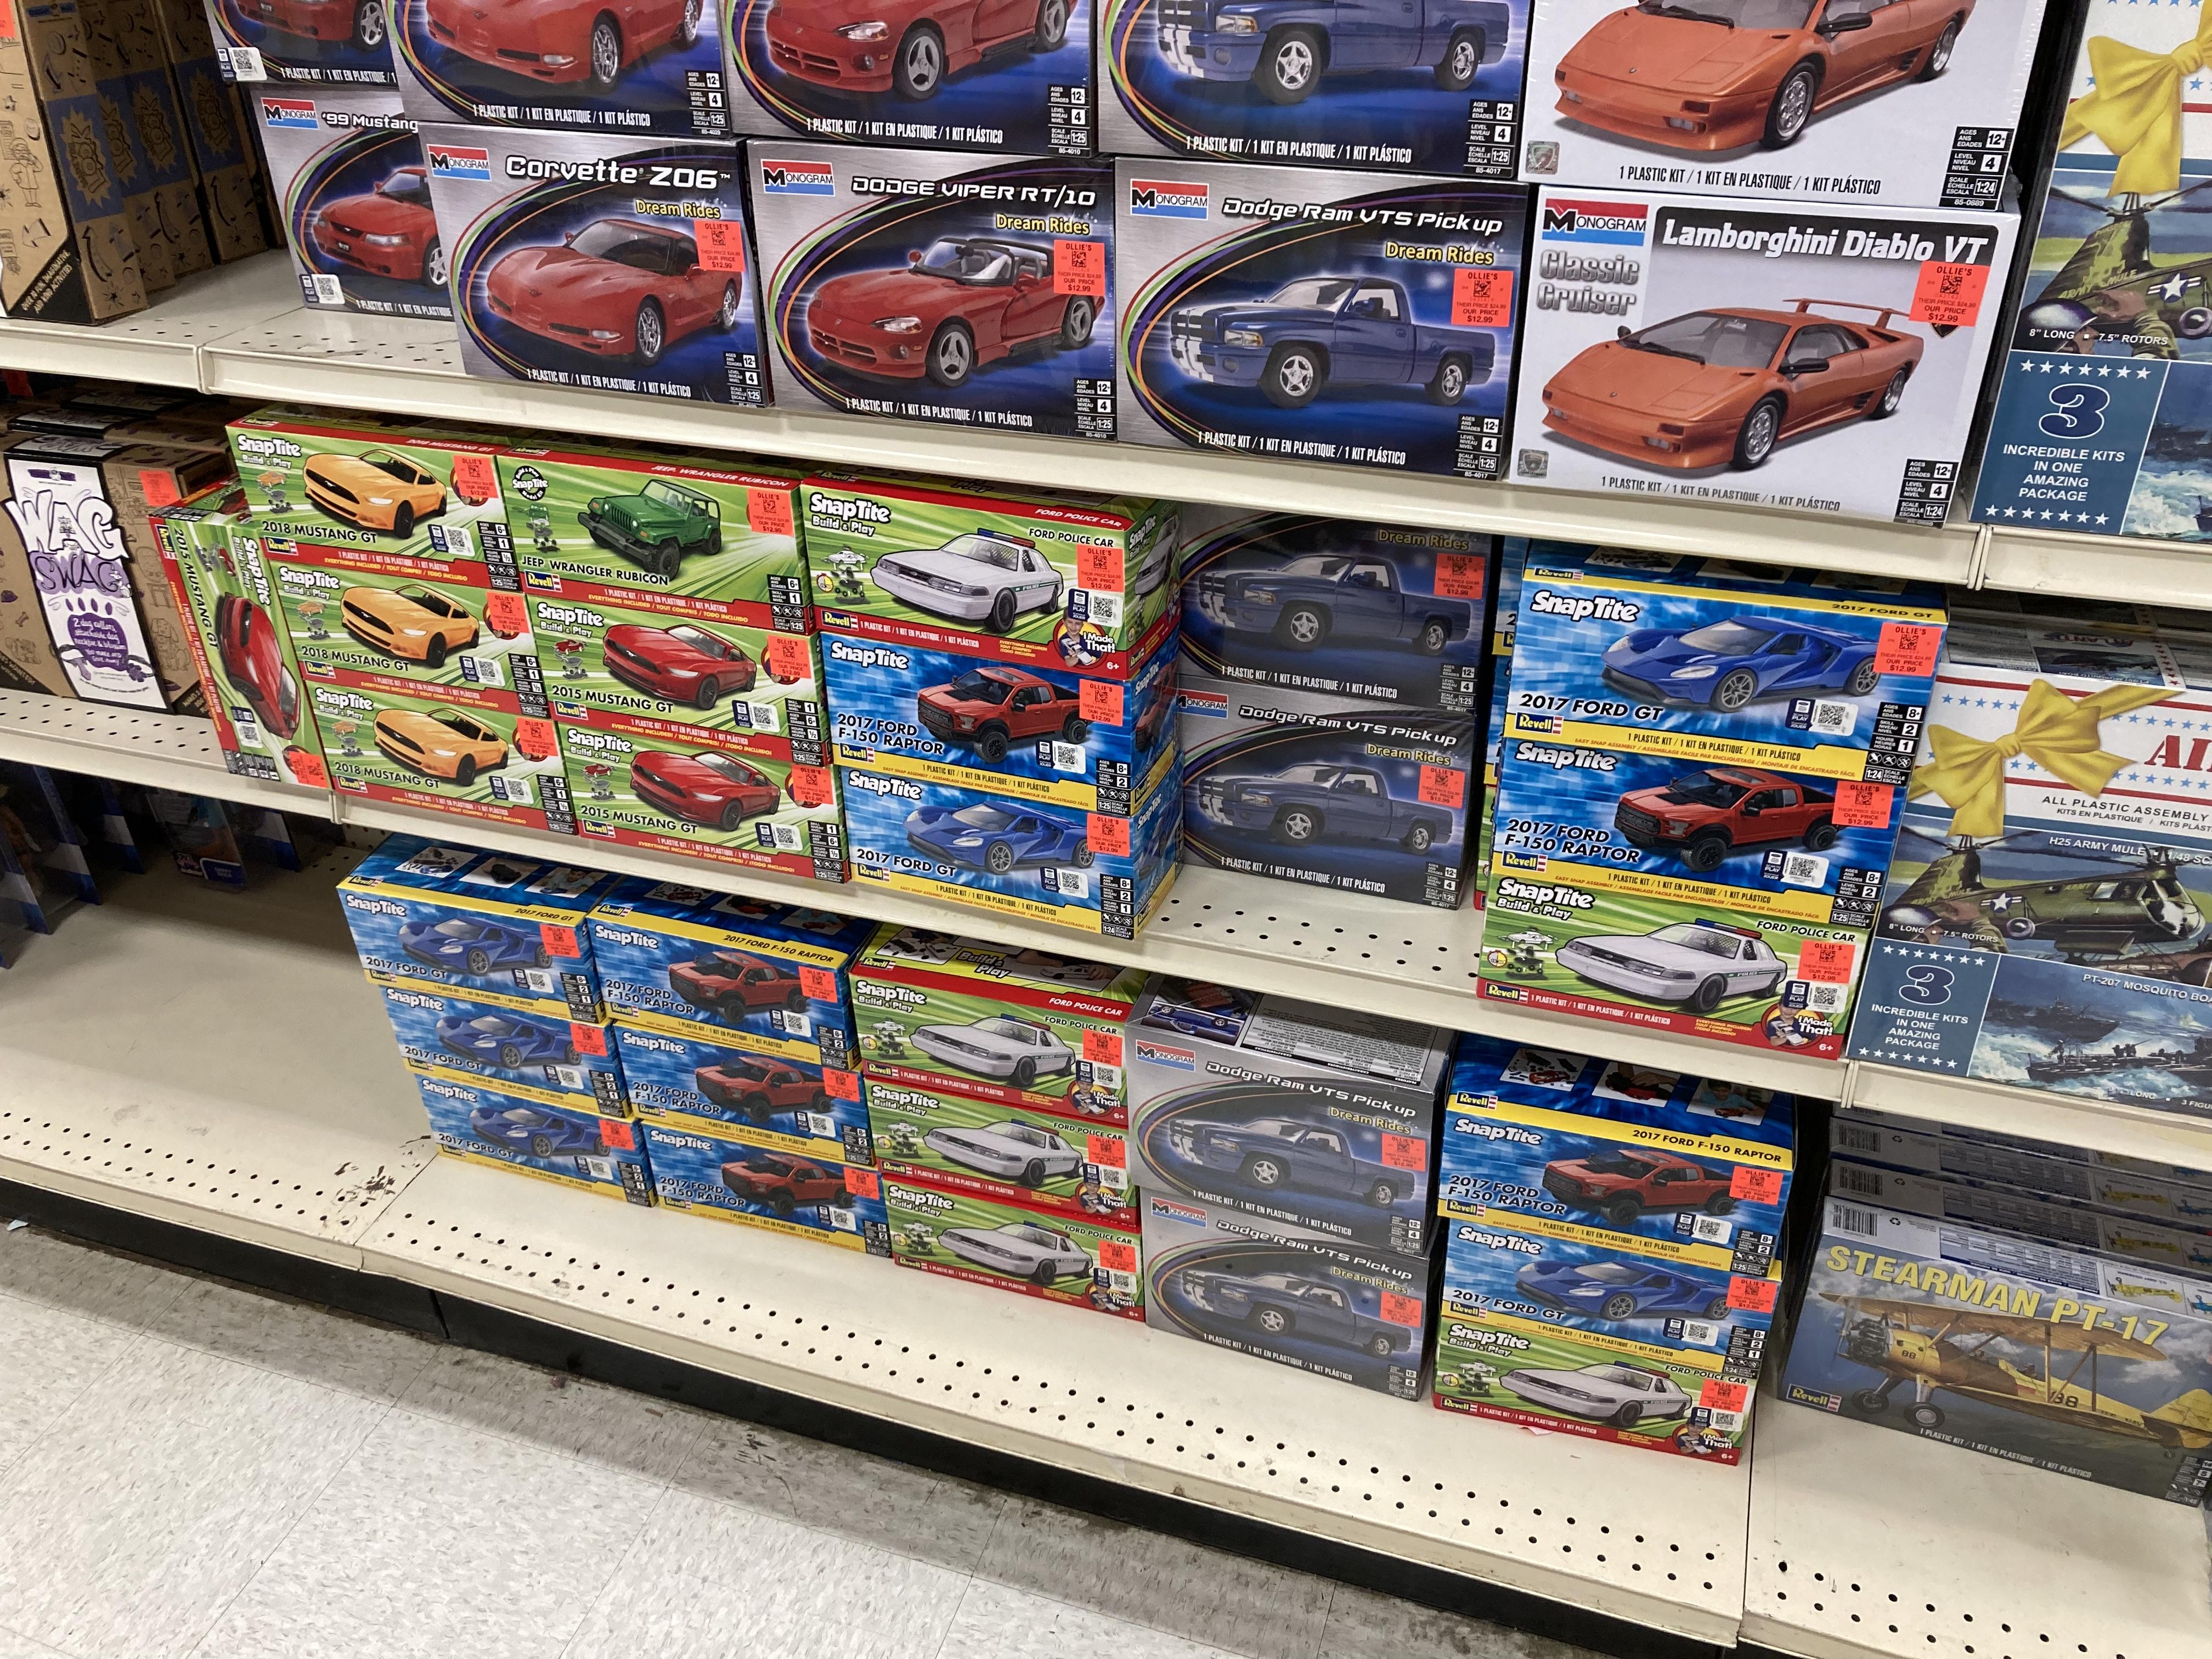
Windshield frame is complete! I managed to get it cut and sanded without any more damage to the A pillars or header. I did manage to crack the windshield itself while trying to polish out a glue blob. Luckily these kits are $13 at Ollie’s right now so I grabbed another. I’m probably going to use all of the parts (except for the body) from the new kit instead of trying to save my old glue bomb parts. The ‘99 windshield does already have sun visors molded in so that’s a nice detail I won’t have to come up with. Plus they give a place for the up-top to rest on.
-

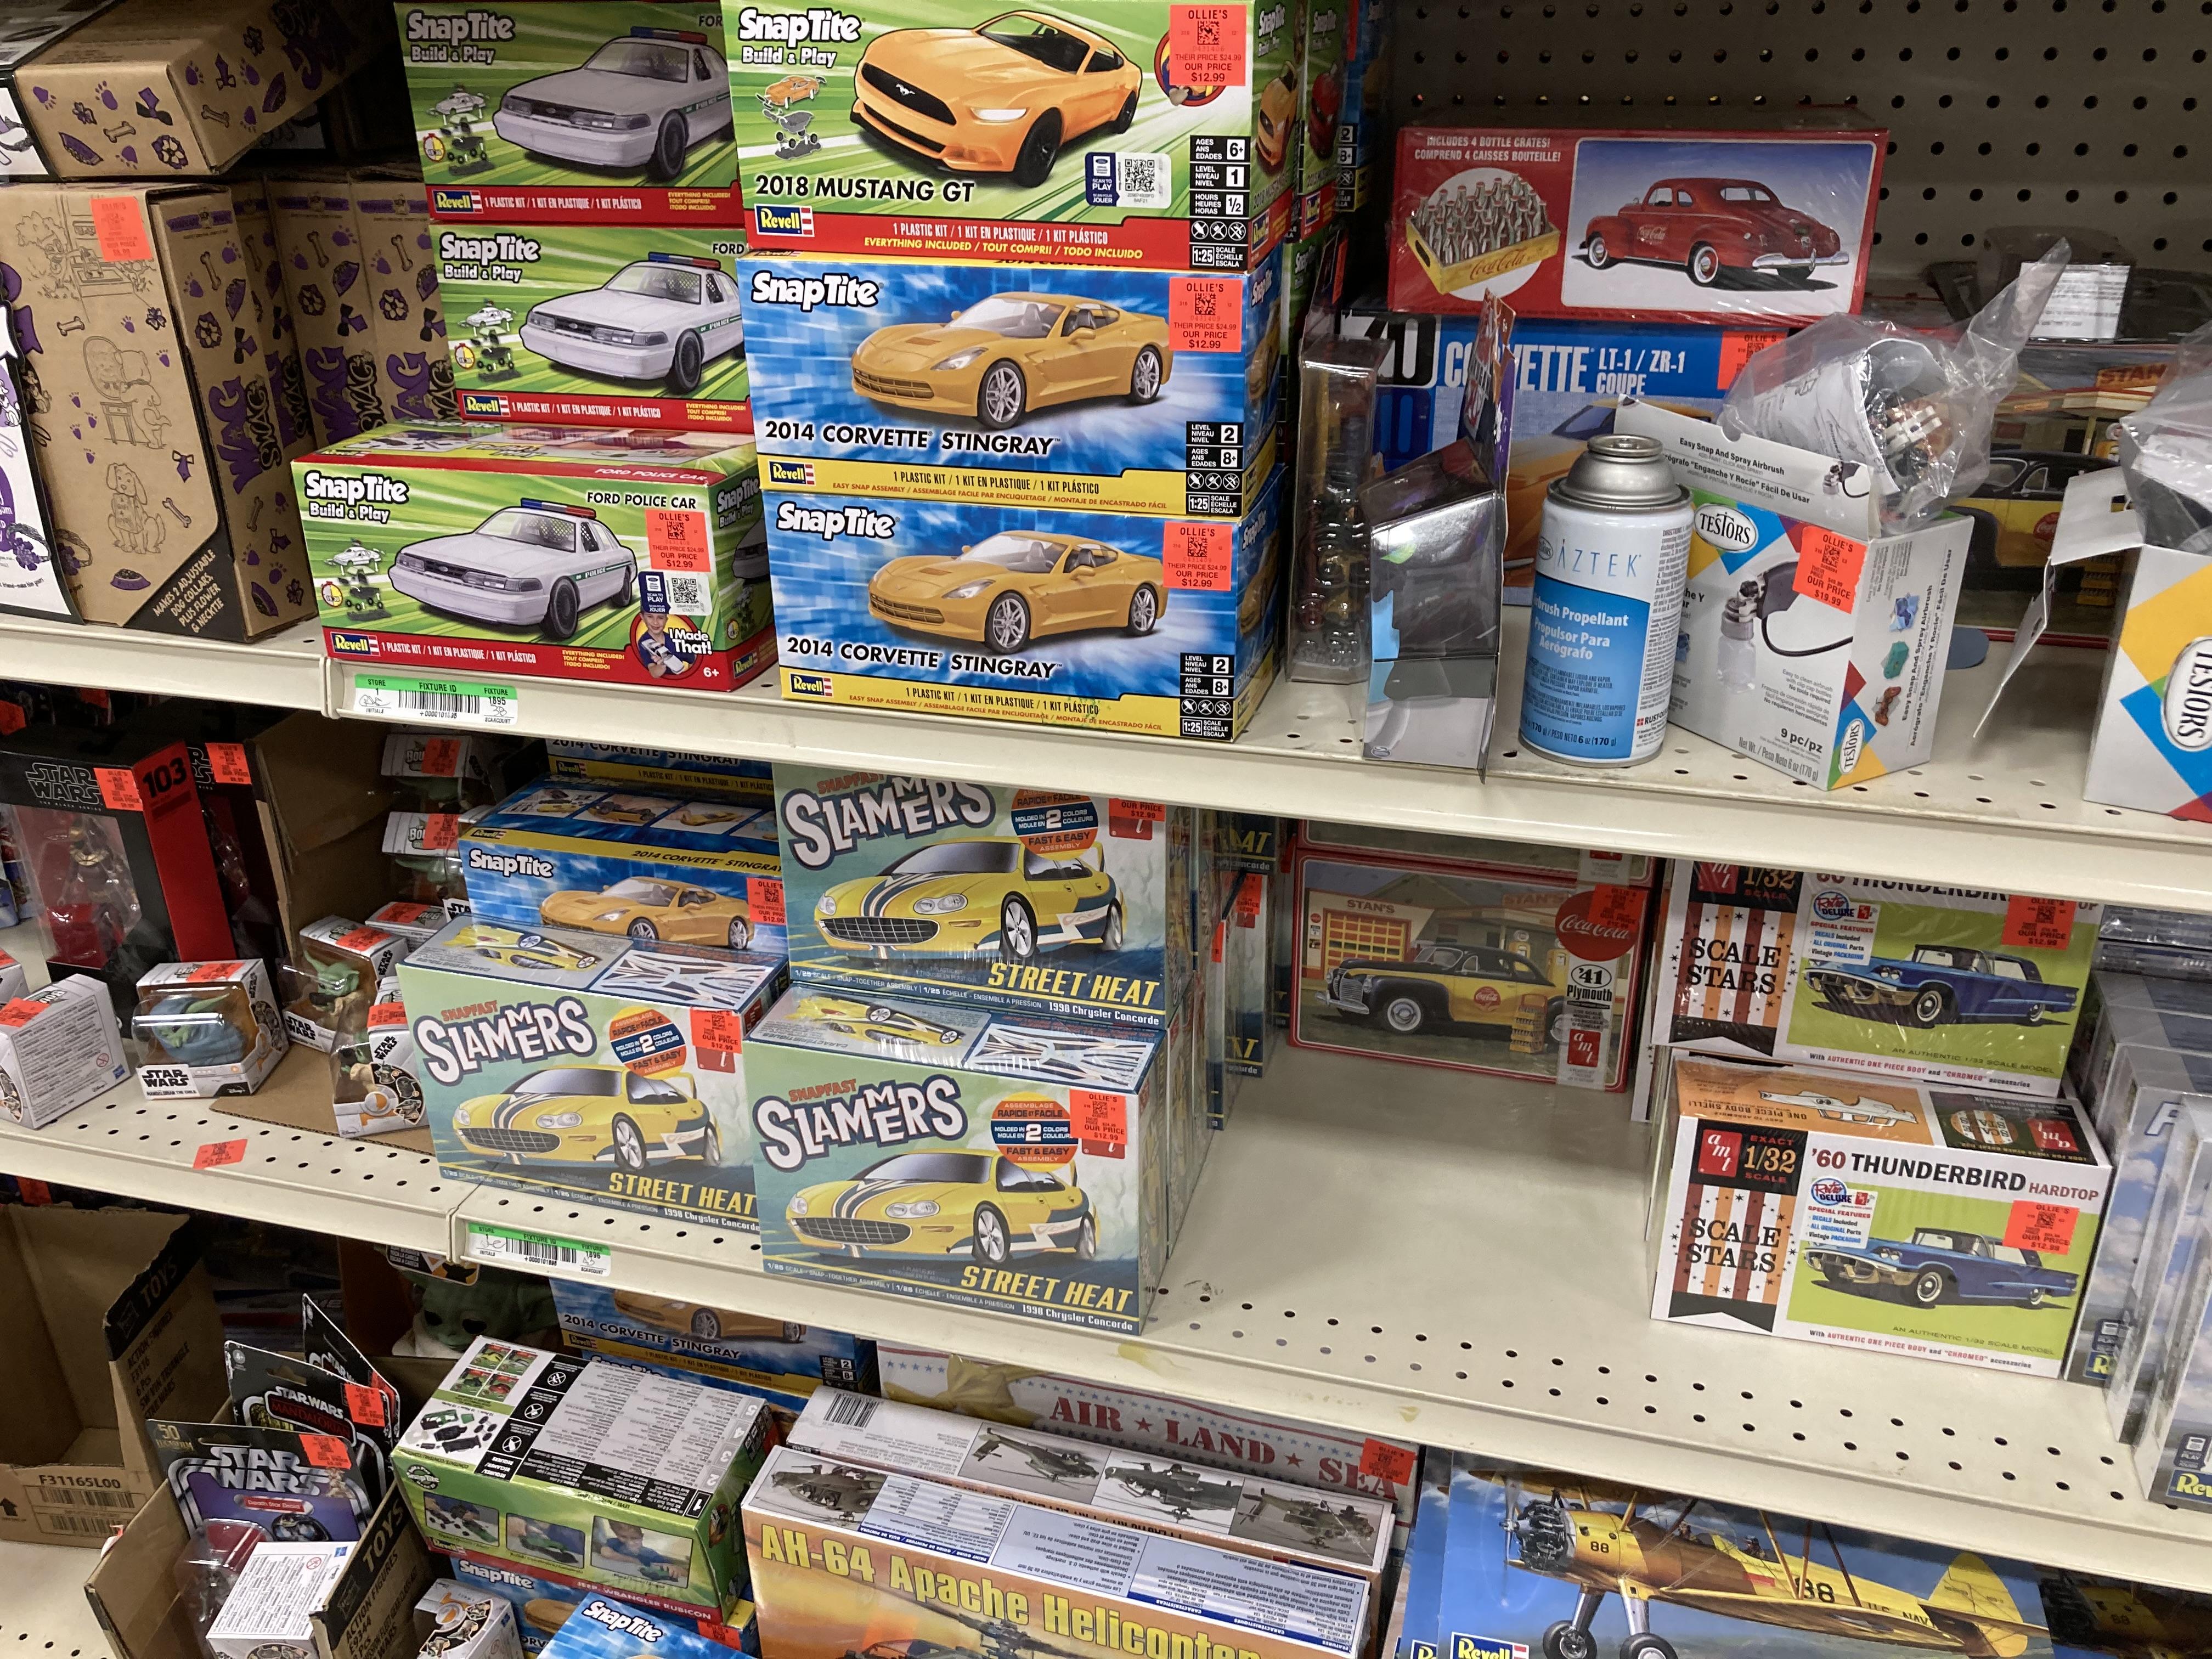
Ollie's strike again
StanGlover replied to GLMFAA1's topic in General Automotive Talk (Trucks and Cars)
Lancaster PA store had these today. Still a bunch of stock leftover from the Revell lot in February. East York PA mostly has leftover Revell stuff, but did have the AMT ‘70 Corvette. I’m annoyed that I paid full retail for the Coke ‘41 Plymouth when it was first released. ? I did pick up the Nova wagon and another SVT Mustang. I wish they had the surfer van!
-
Definitely! The Terminator Cobras, Mach 1, Bullitt, and GT convertible all deserve to be kitted up. Don’t get me started on the S550 only having the child’s toy snap kit from Revell or the expensive race-version-only from Tamiya….
-
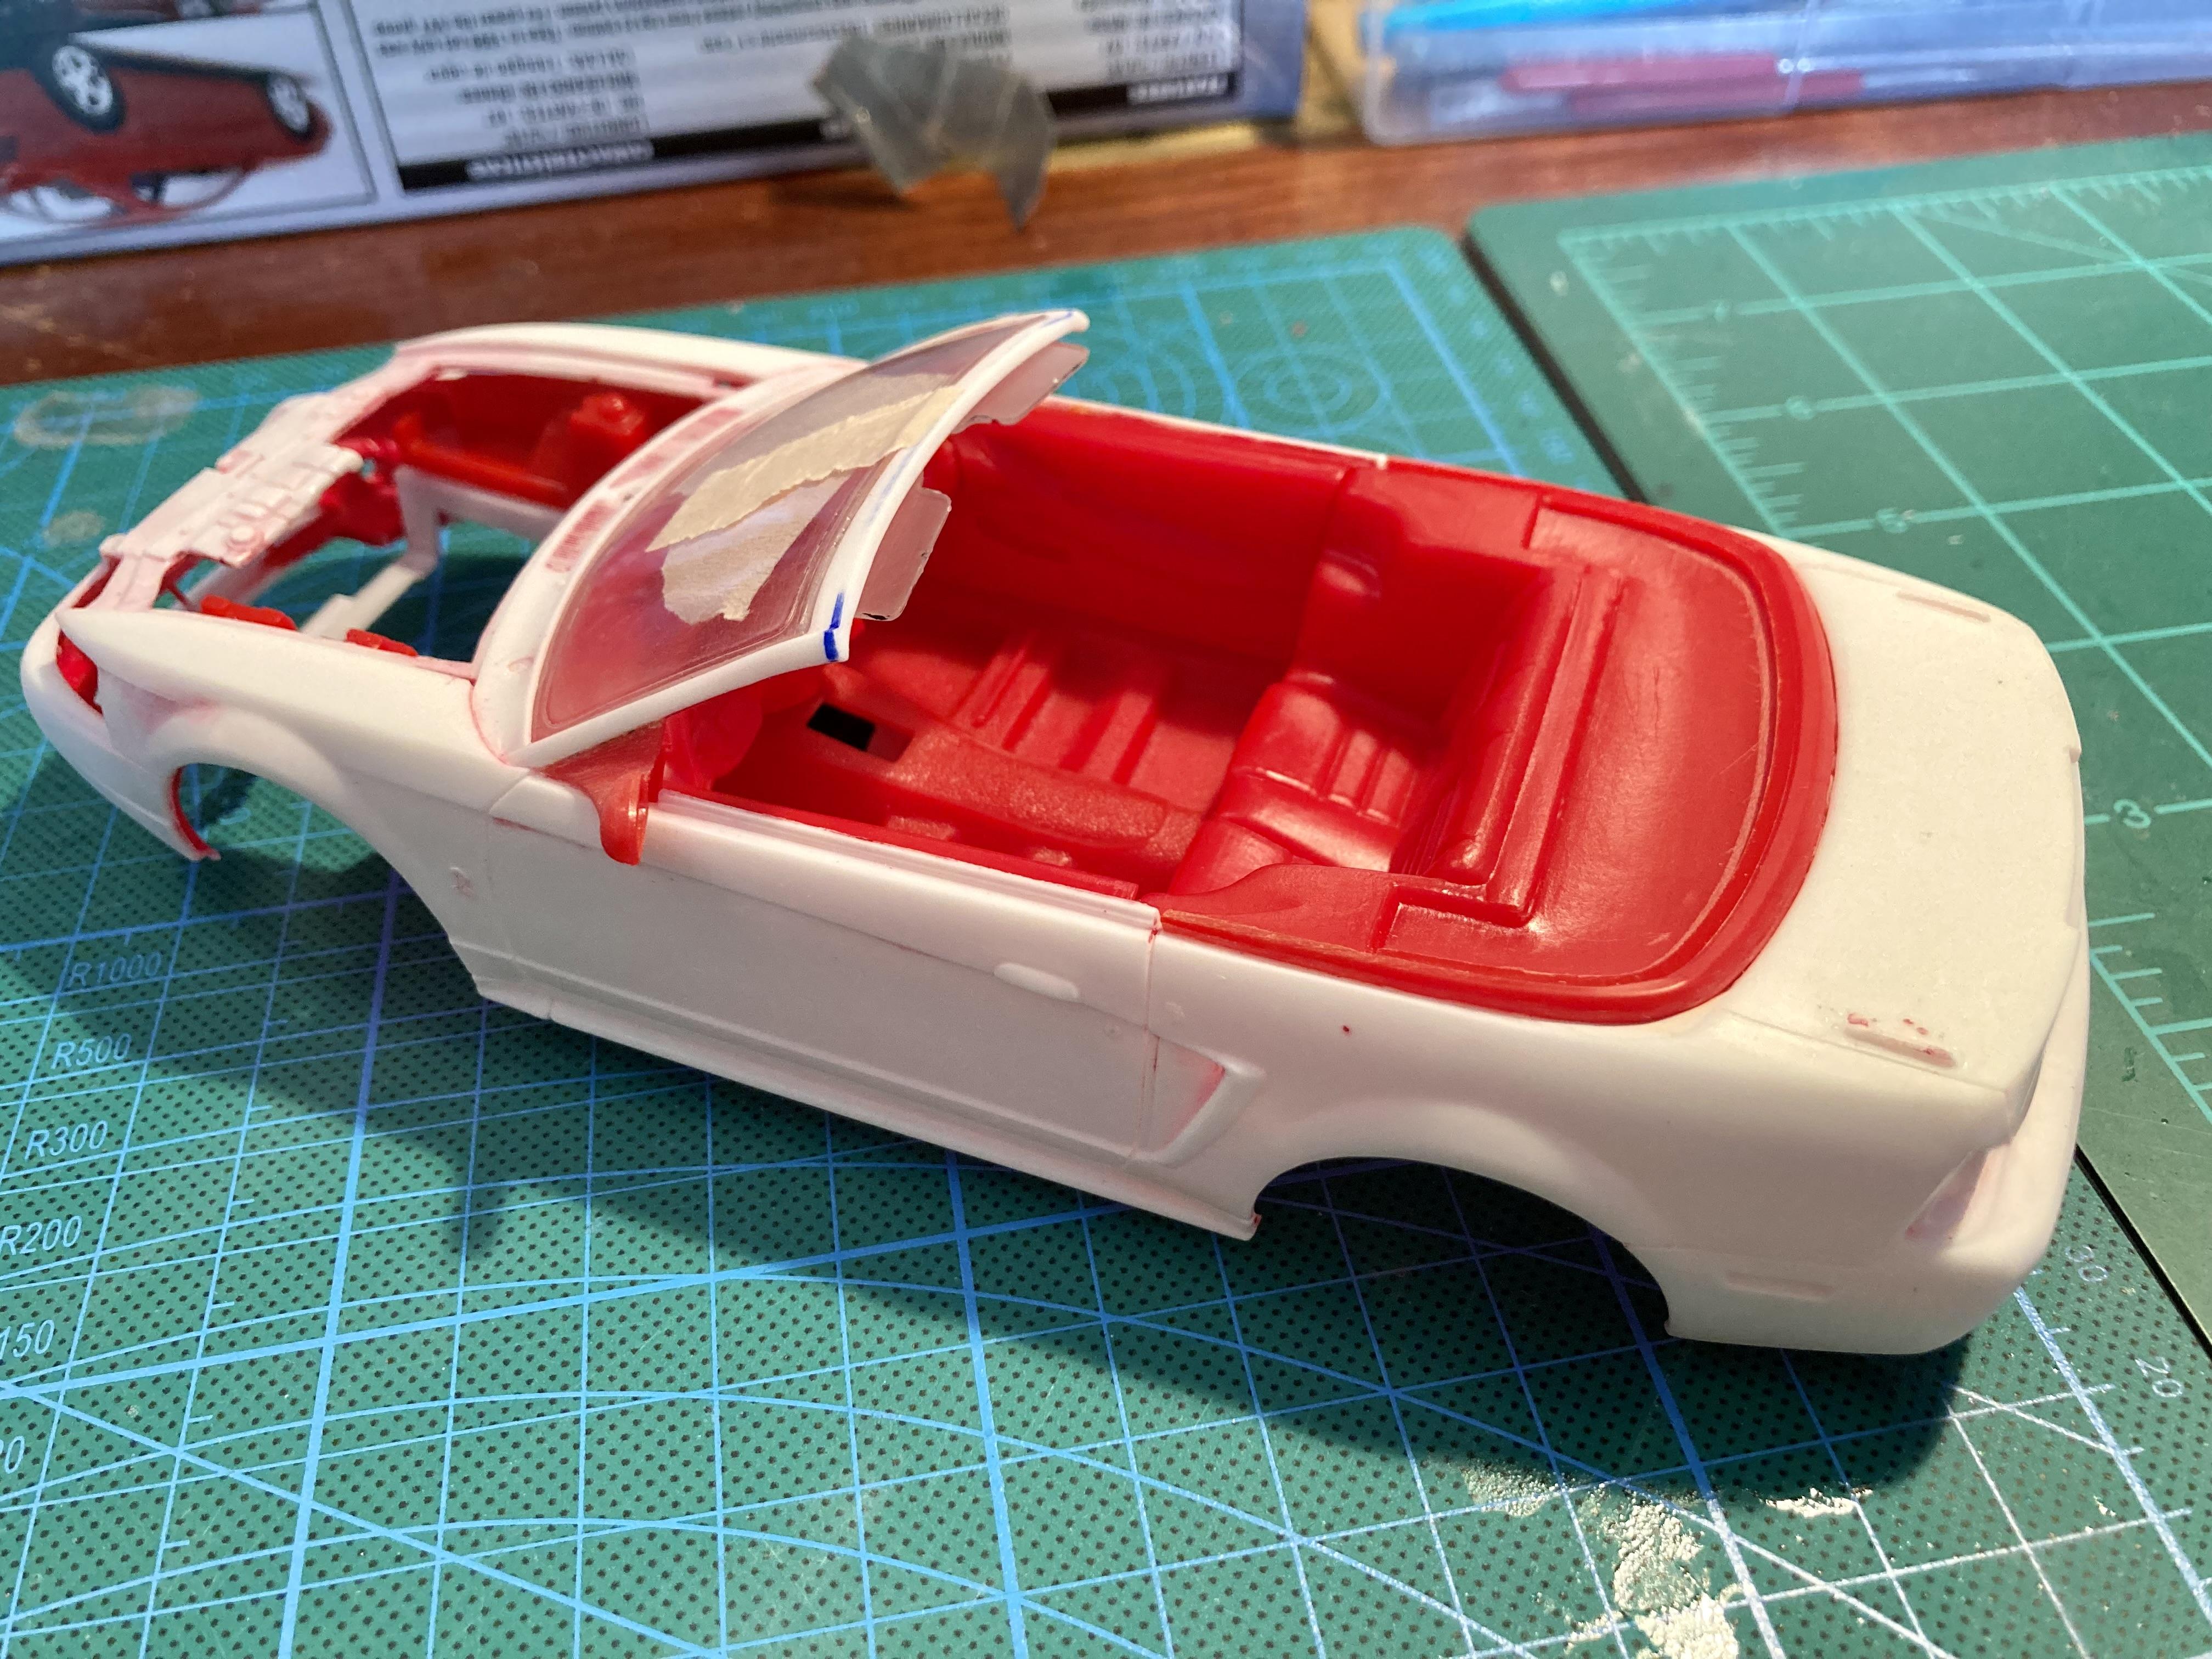
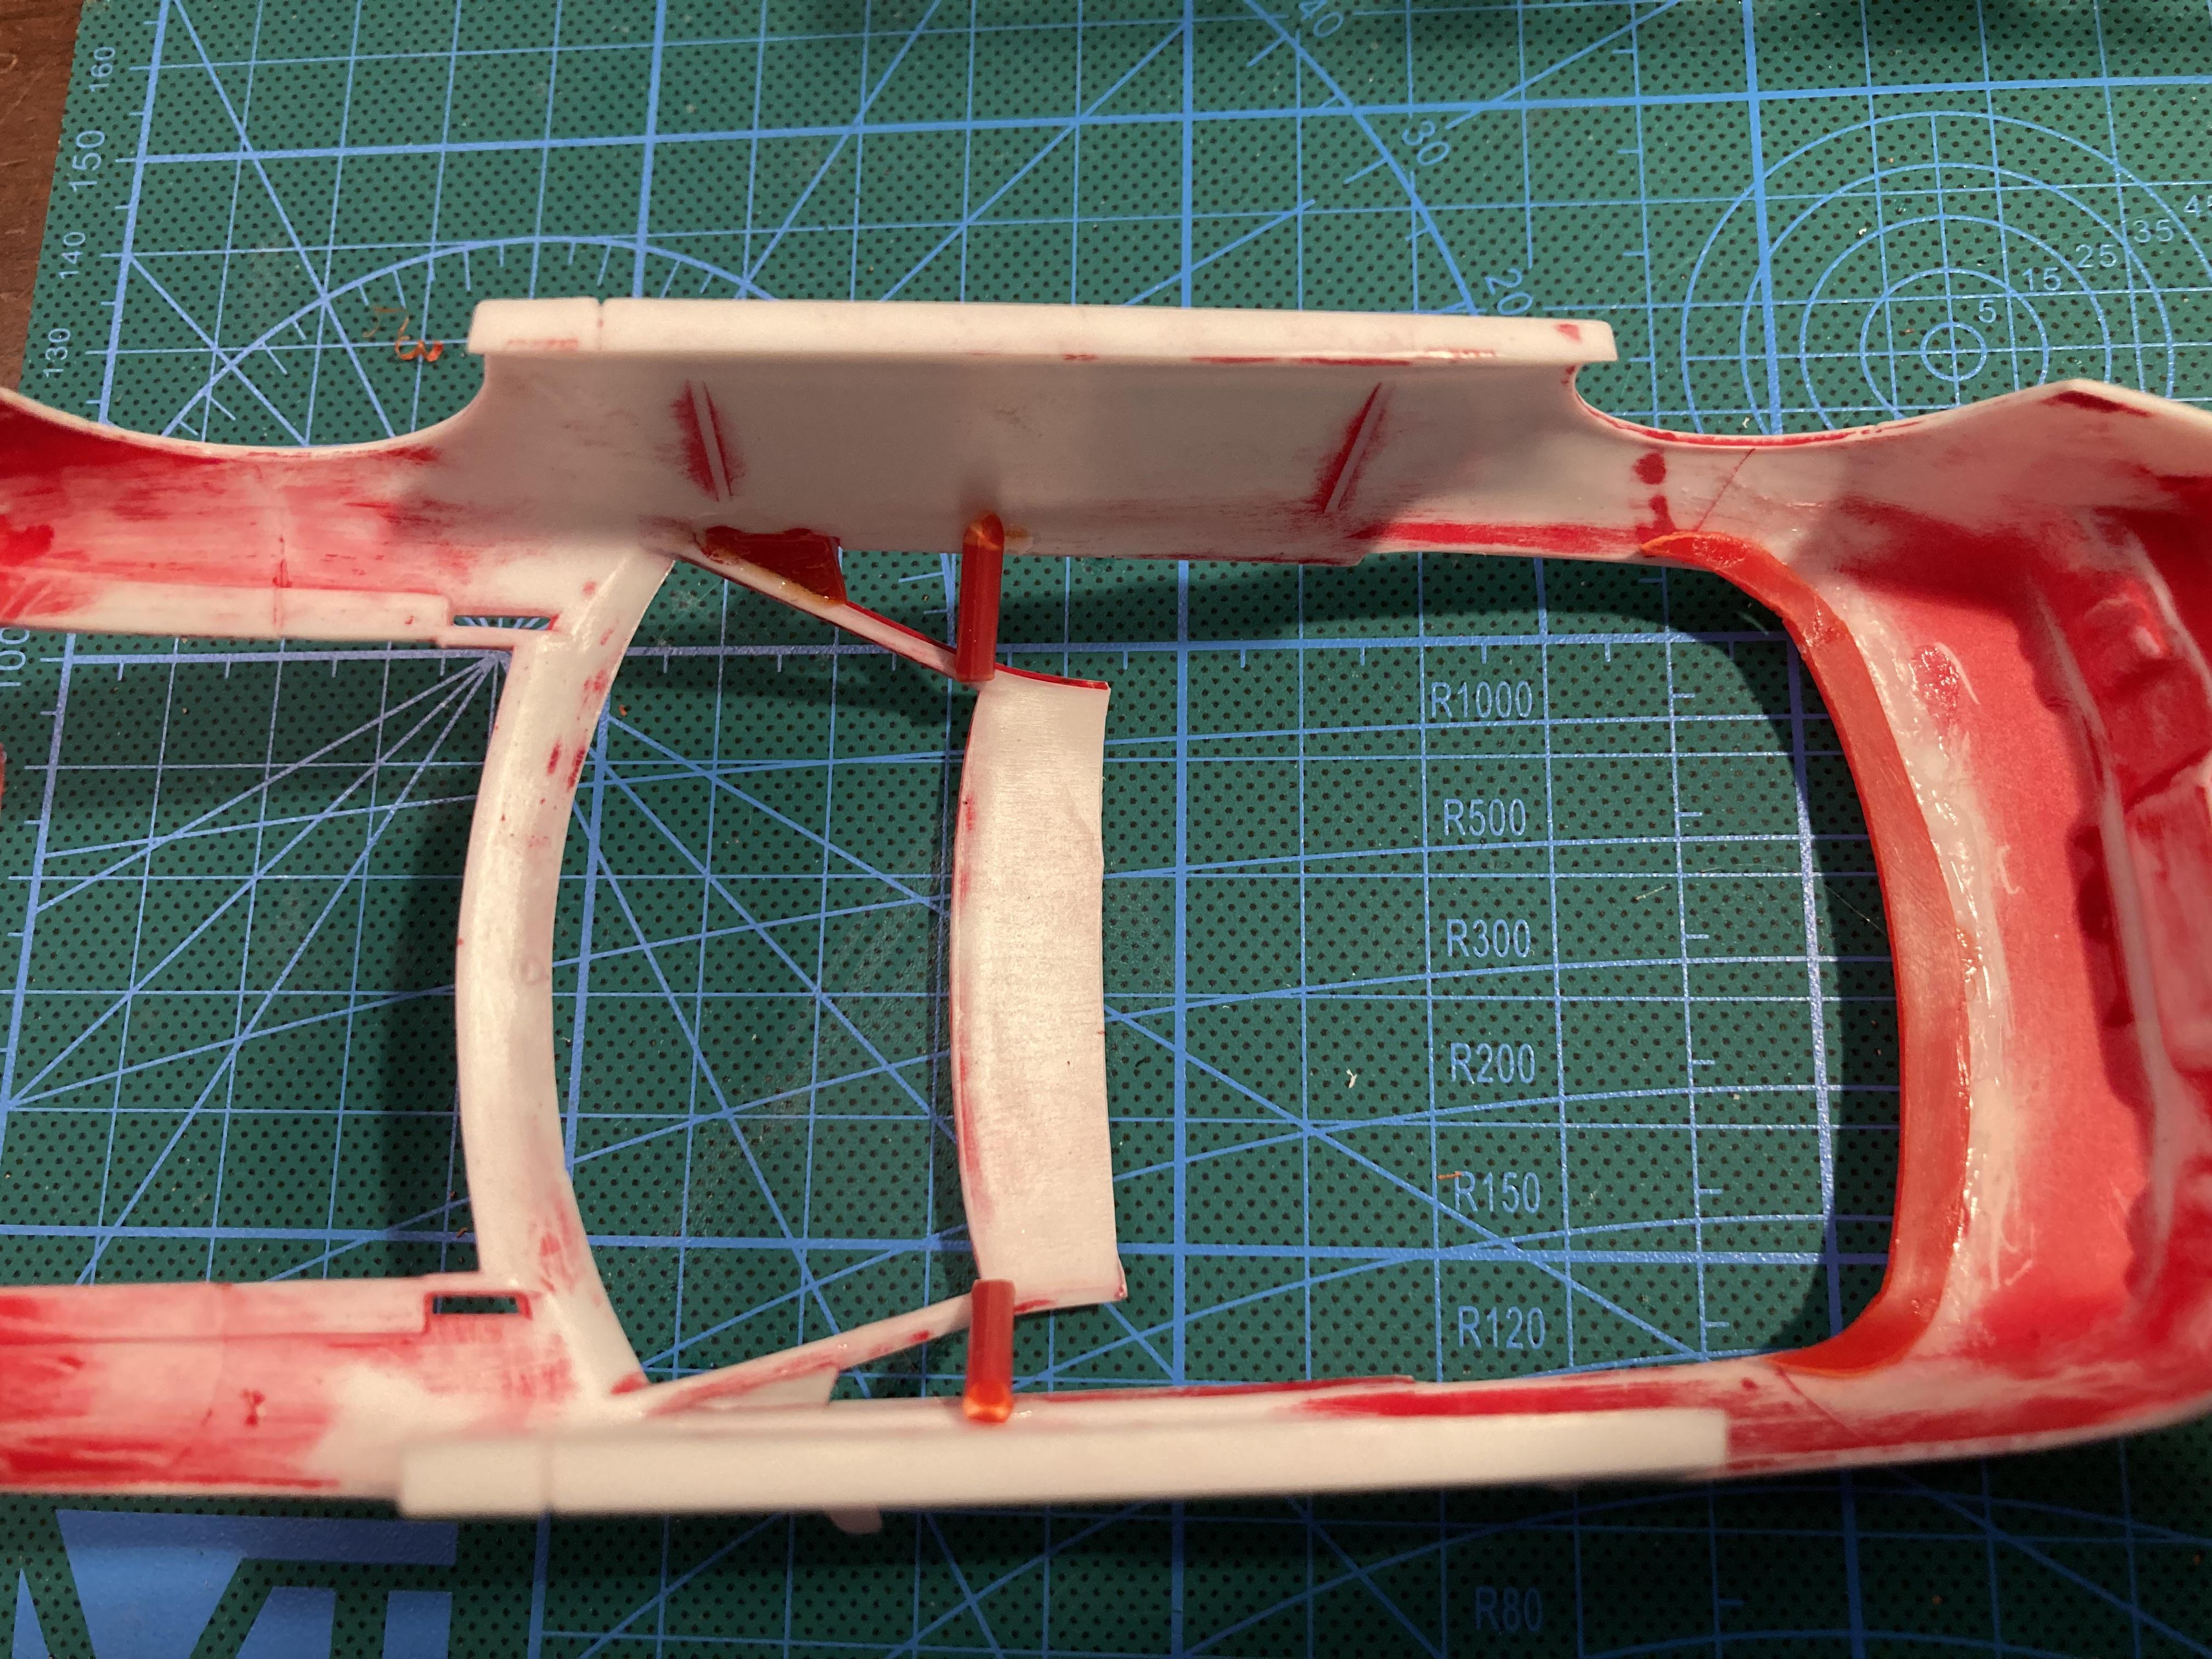
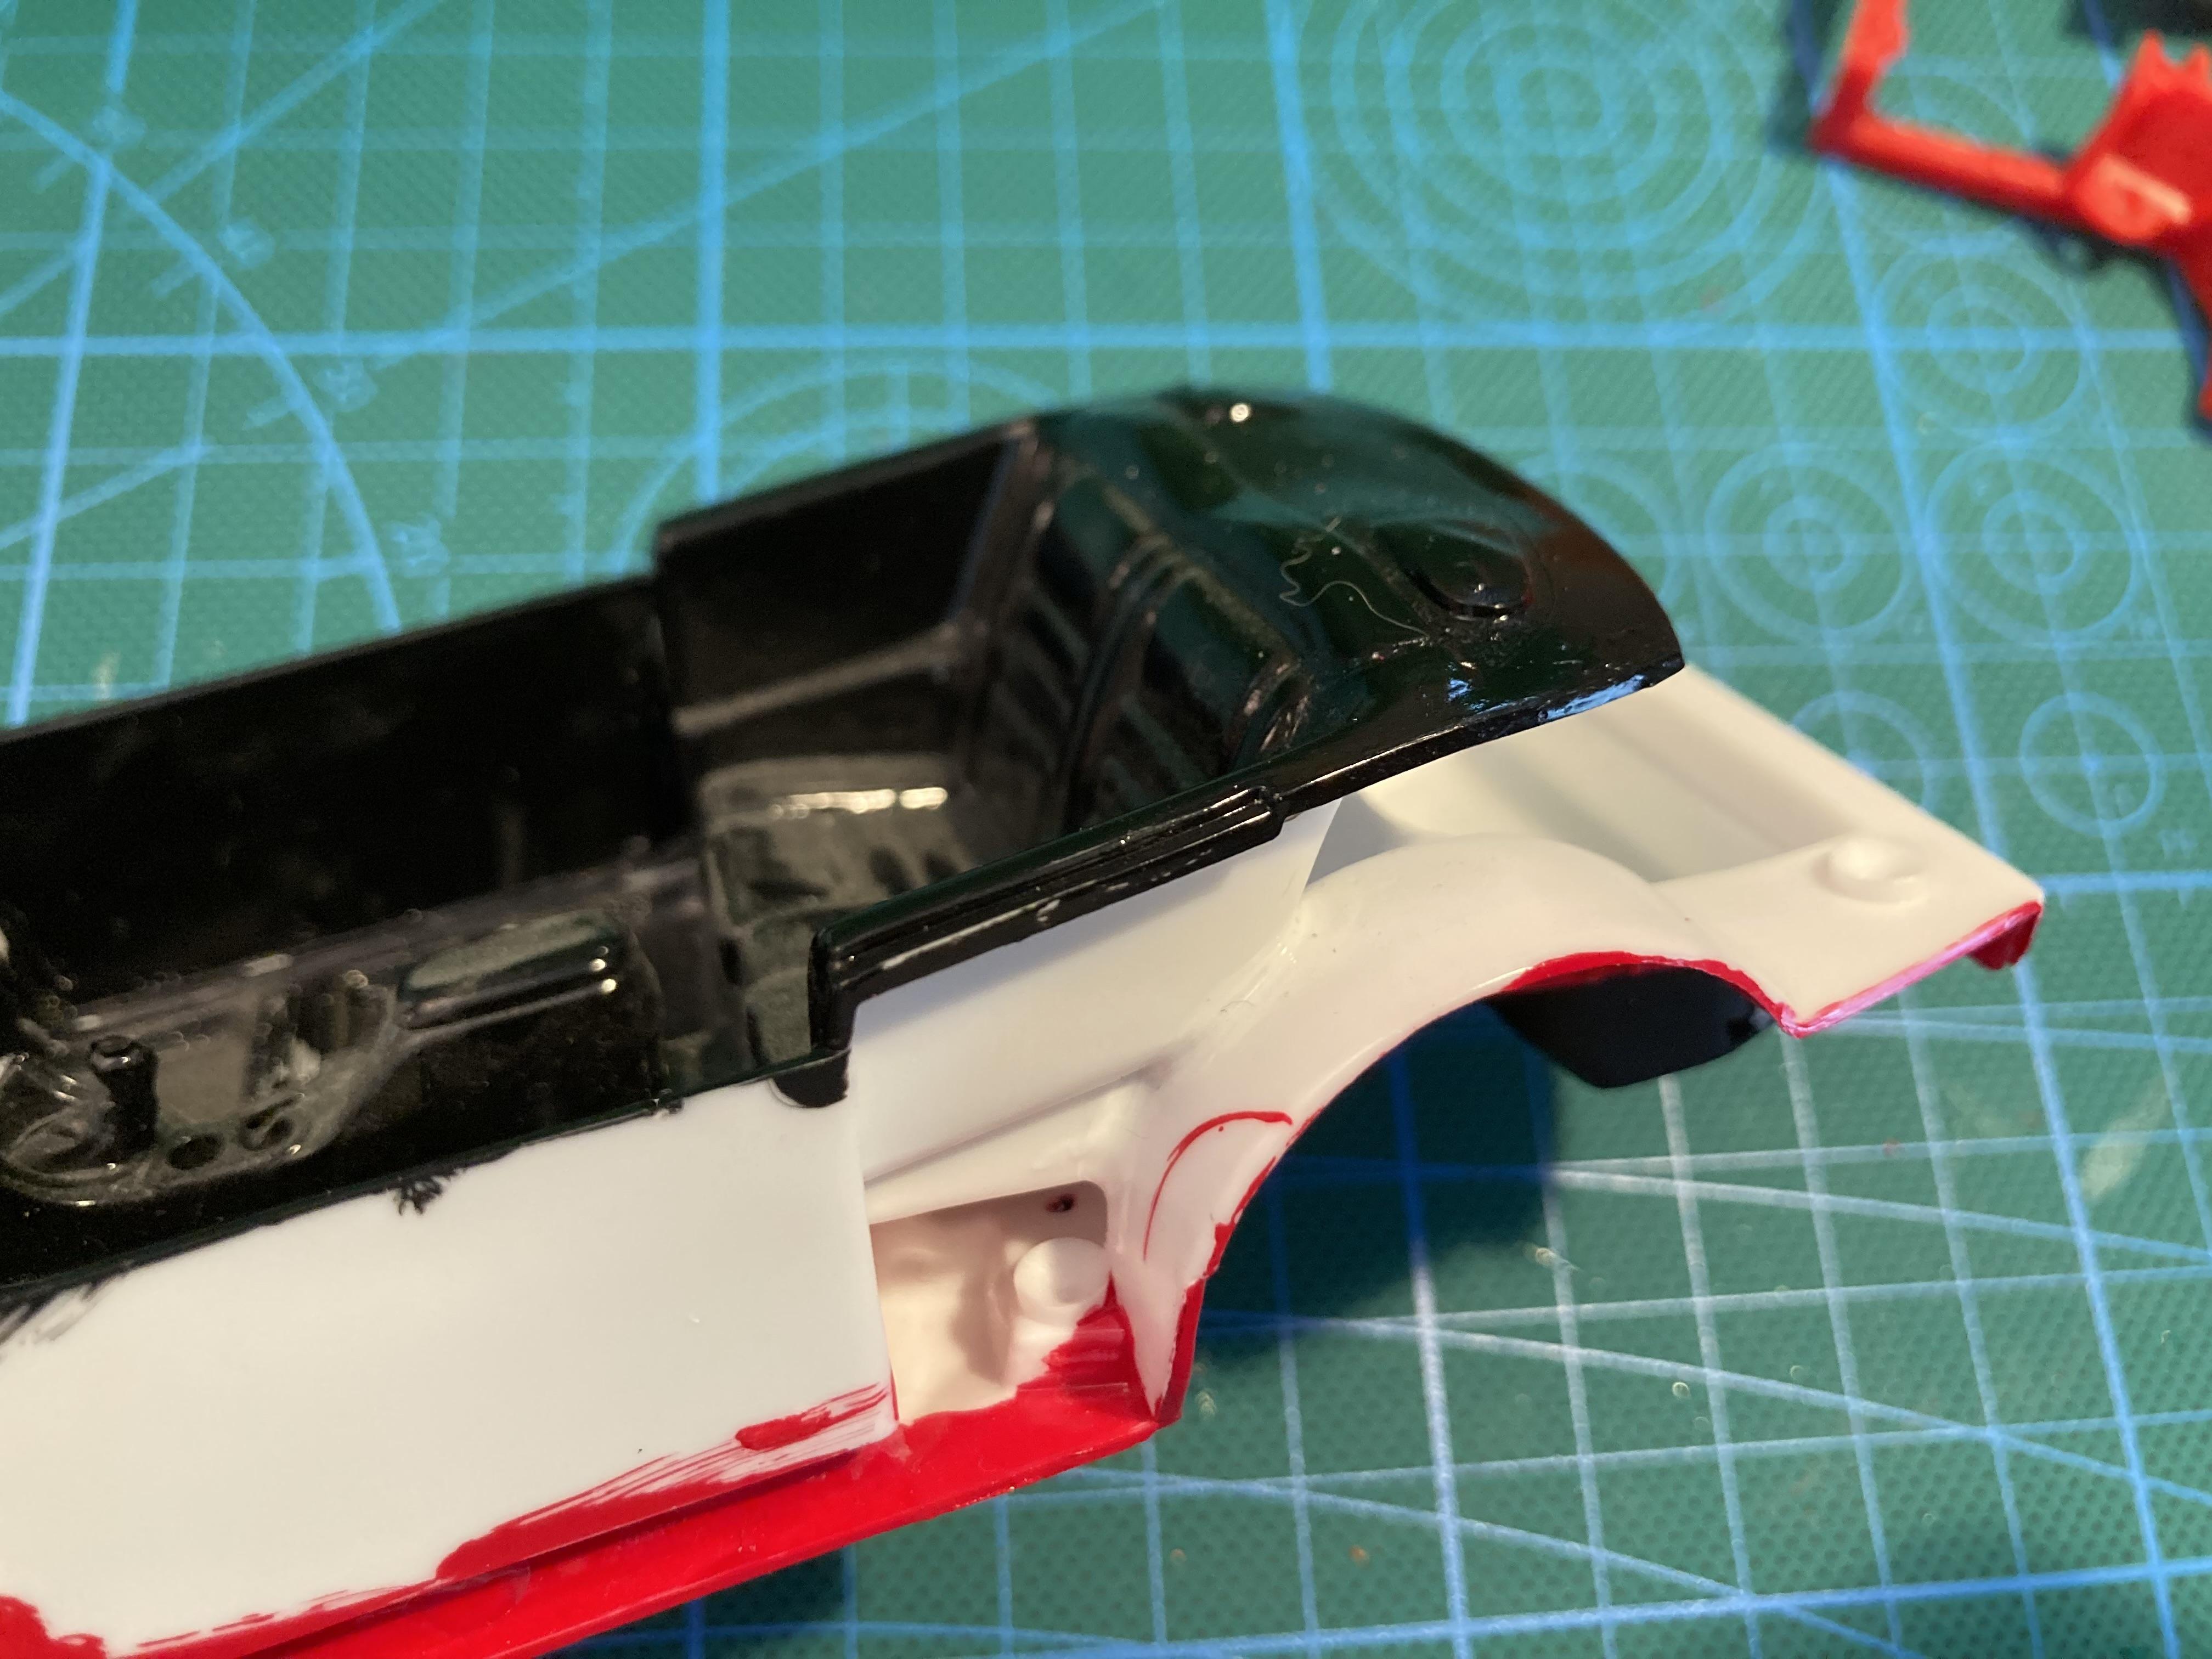
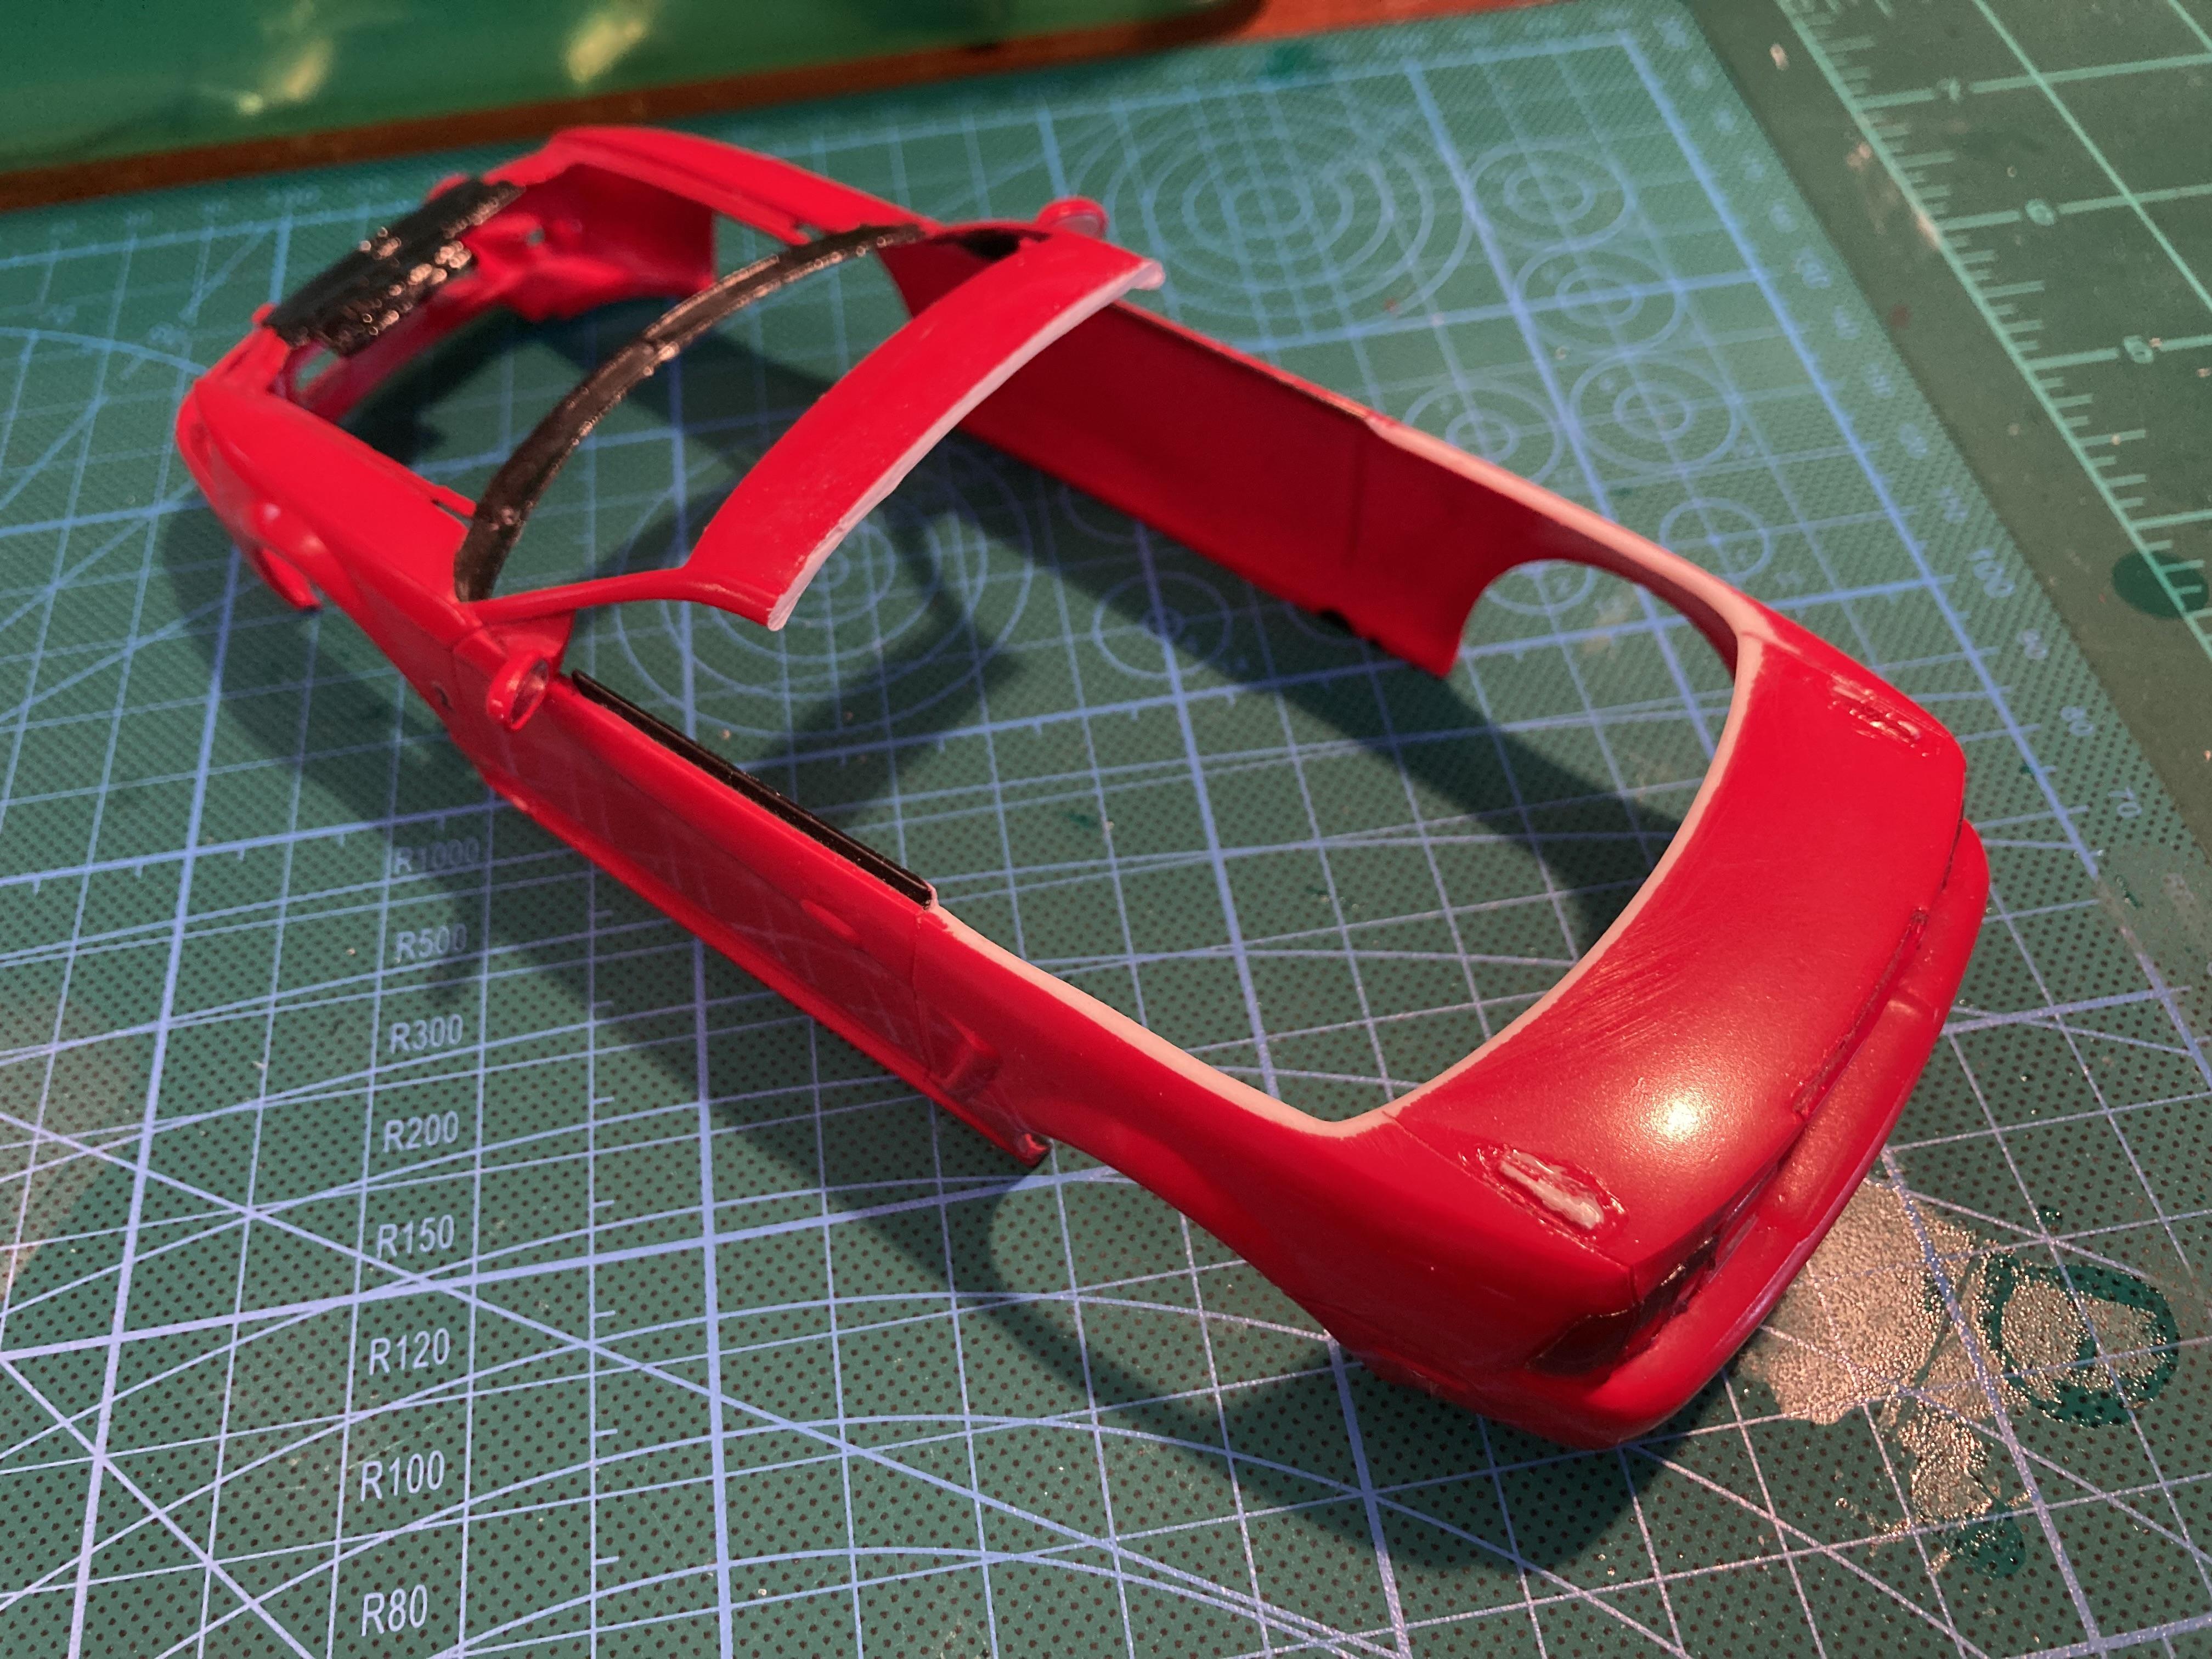
Some progress! I got the paint stripped and some sanding on the body. To give the convertible roof trim somewhere to mount to, I cut a strip from the trunk lid of the ‘94 body and glued it under the trunk lid of the ‘99 to give it a lip. I of course managed to break the passenger side A pillar before even touching the windshield frame, so I glued it and added some supports out of scrap sprue. While rinsing the body, I snapped off the driver’s side mirror and it went straight down the drain. Luckily the ‘94 mirrors are identical to the ‘99, just like the real cars. I re-glued the mirrors to give more strength to the A pillars. The trunk edge will need some fine tuning but the roof trim is starting to look like it belongs there! Needed another mock up of the up-top! I am definitely nervous about trimming the top of the windshield frame. Might add more scrap sprue to reinforce it.
-
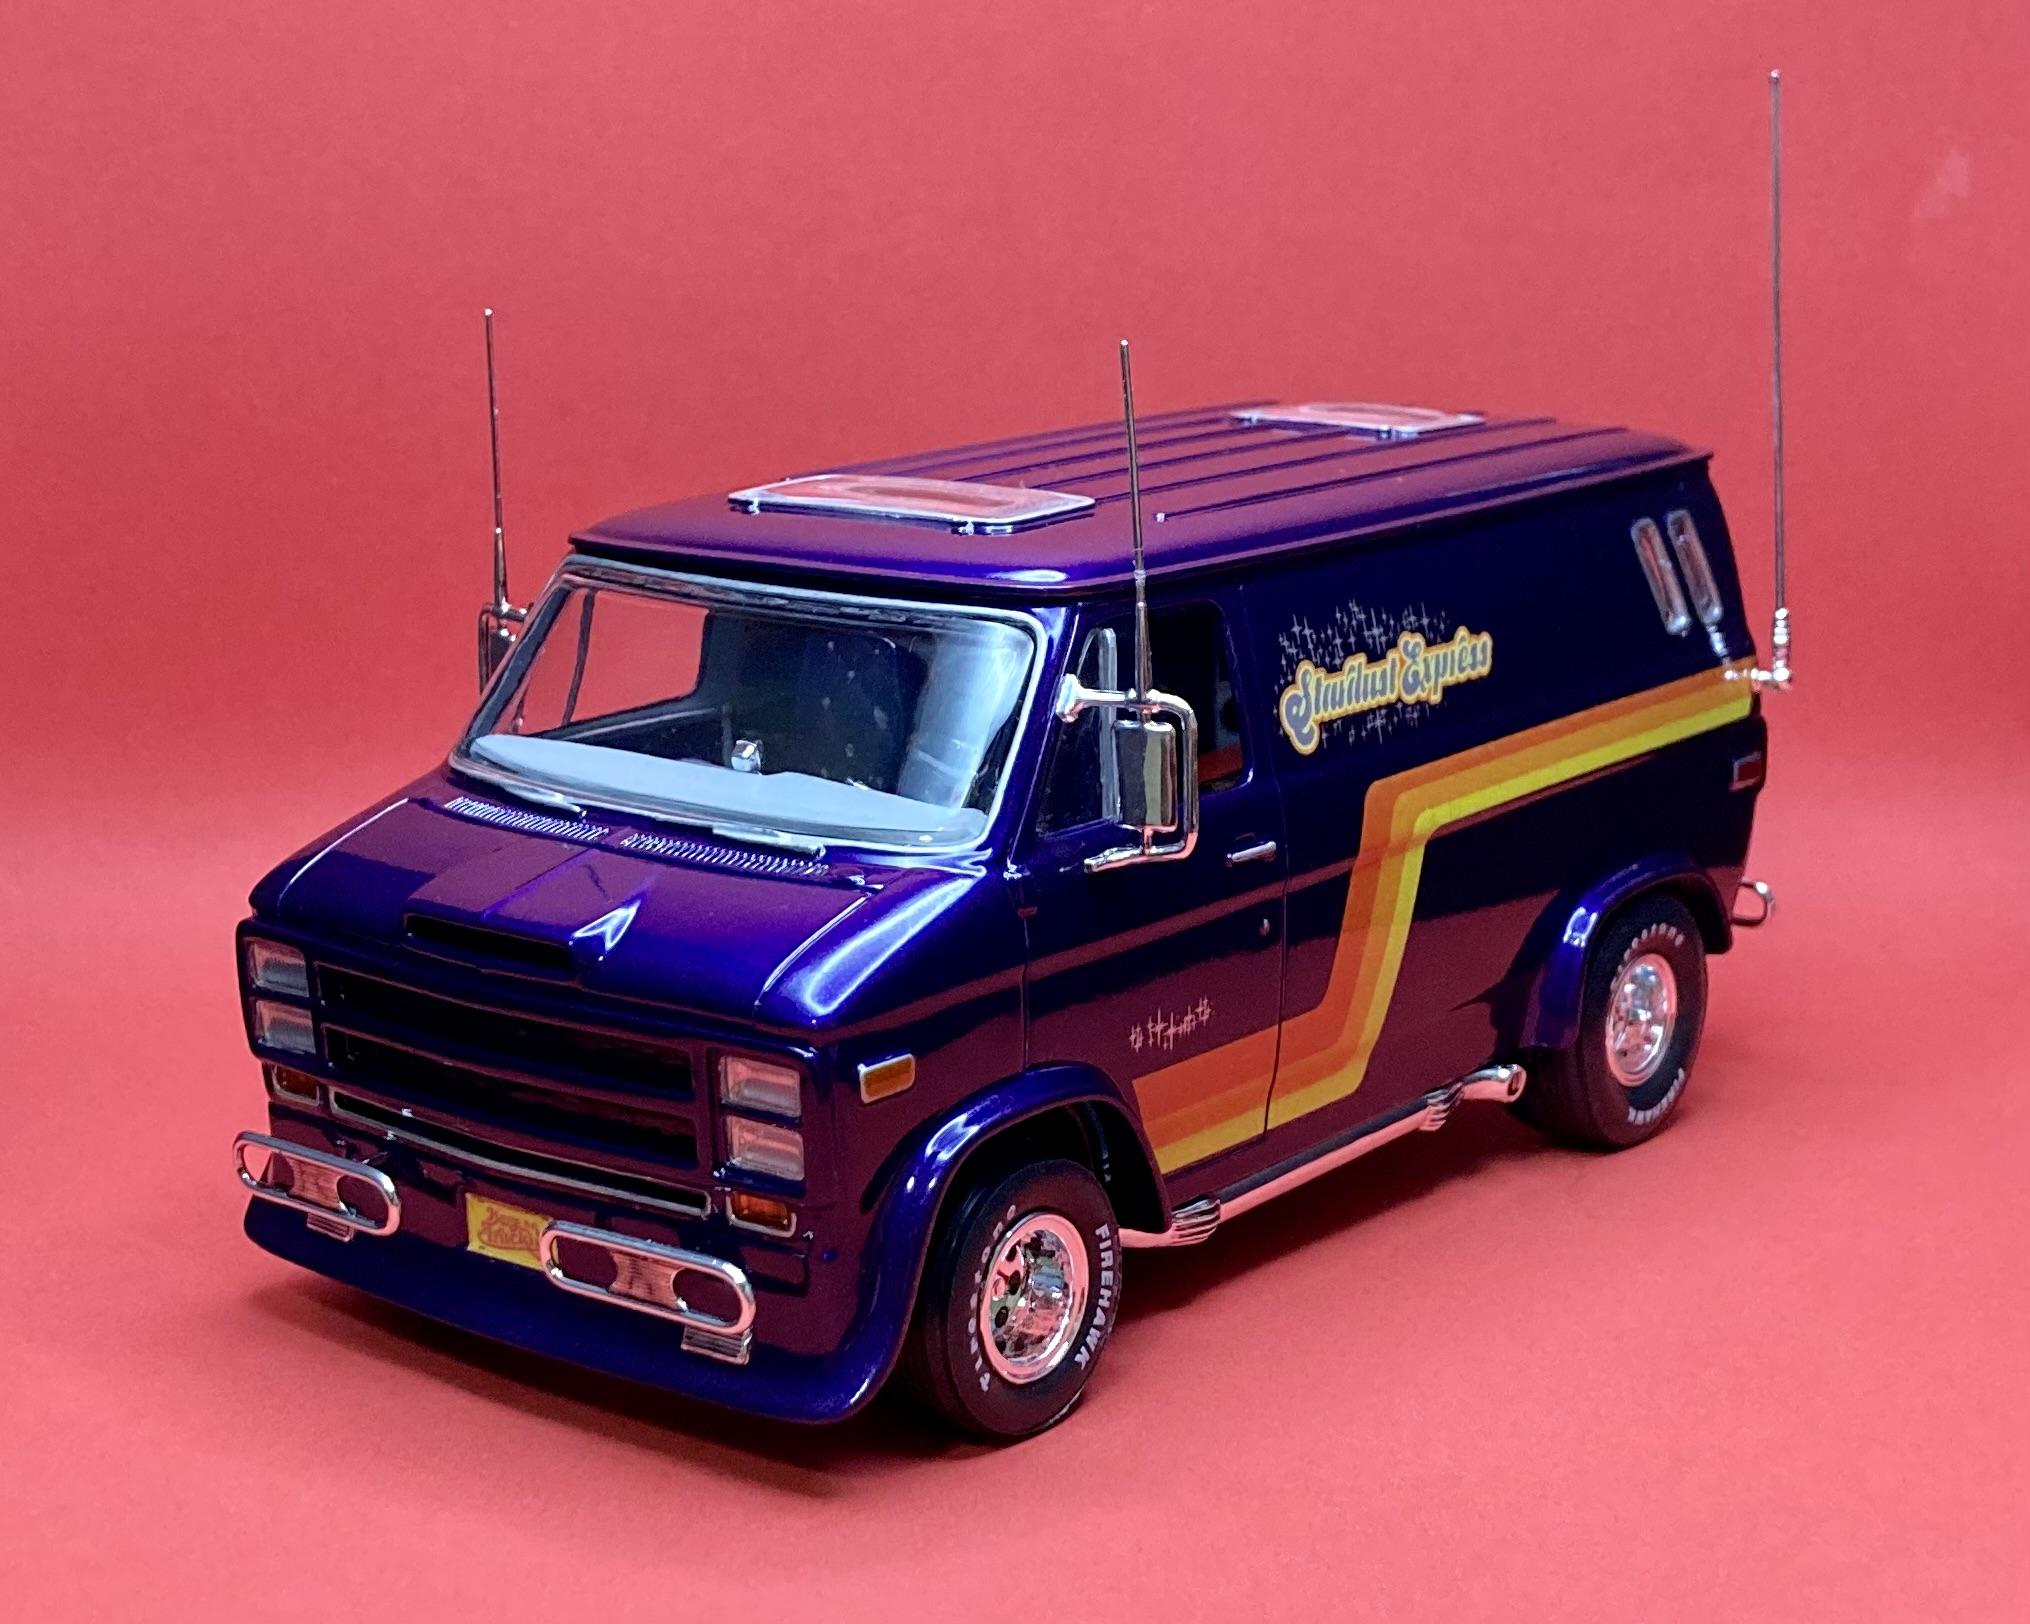
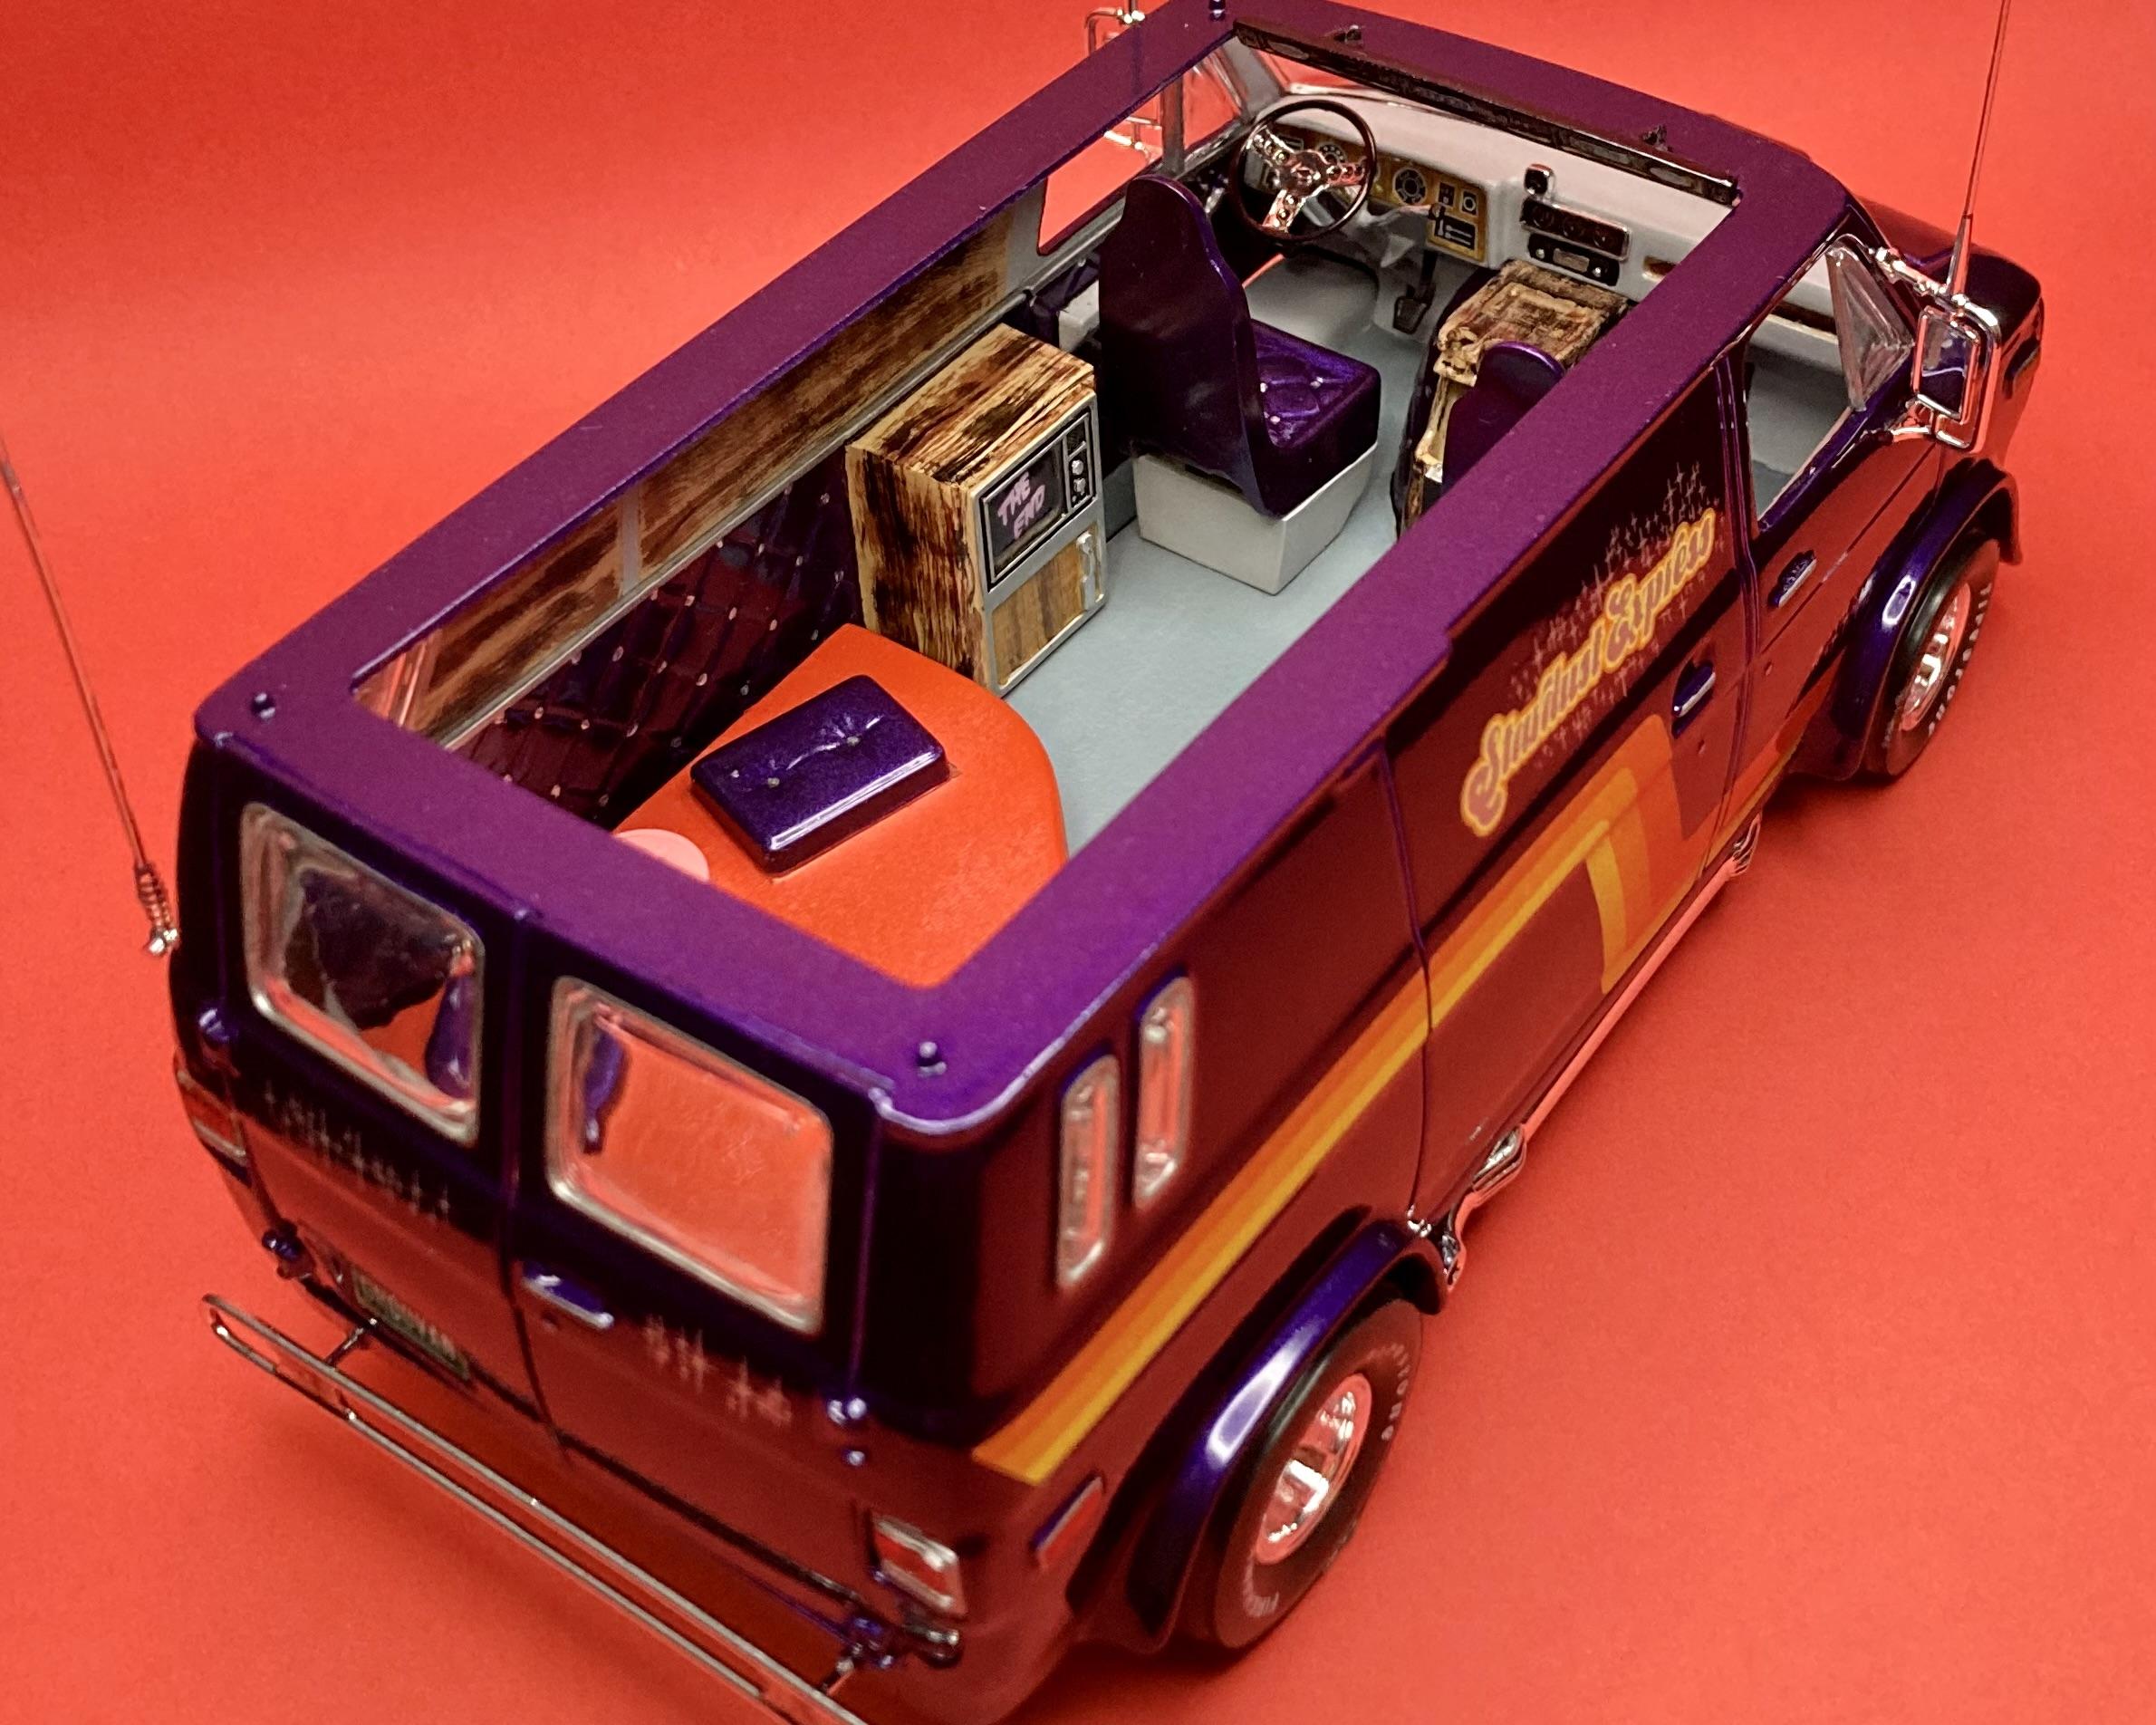
Sweet van! I built one a while back, this is a fun kit!
-
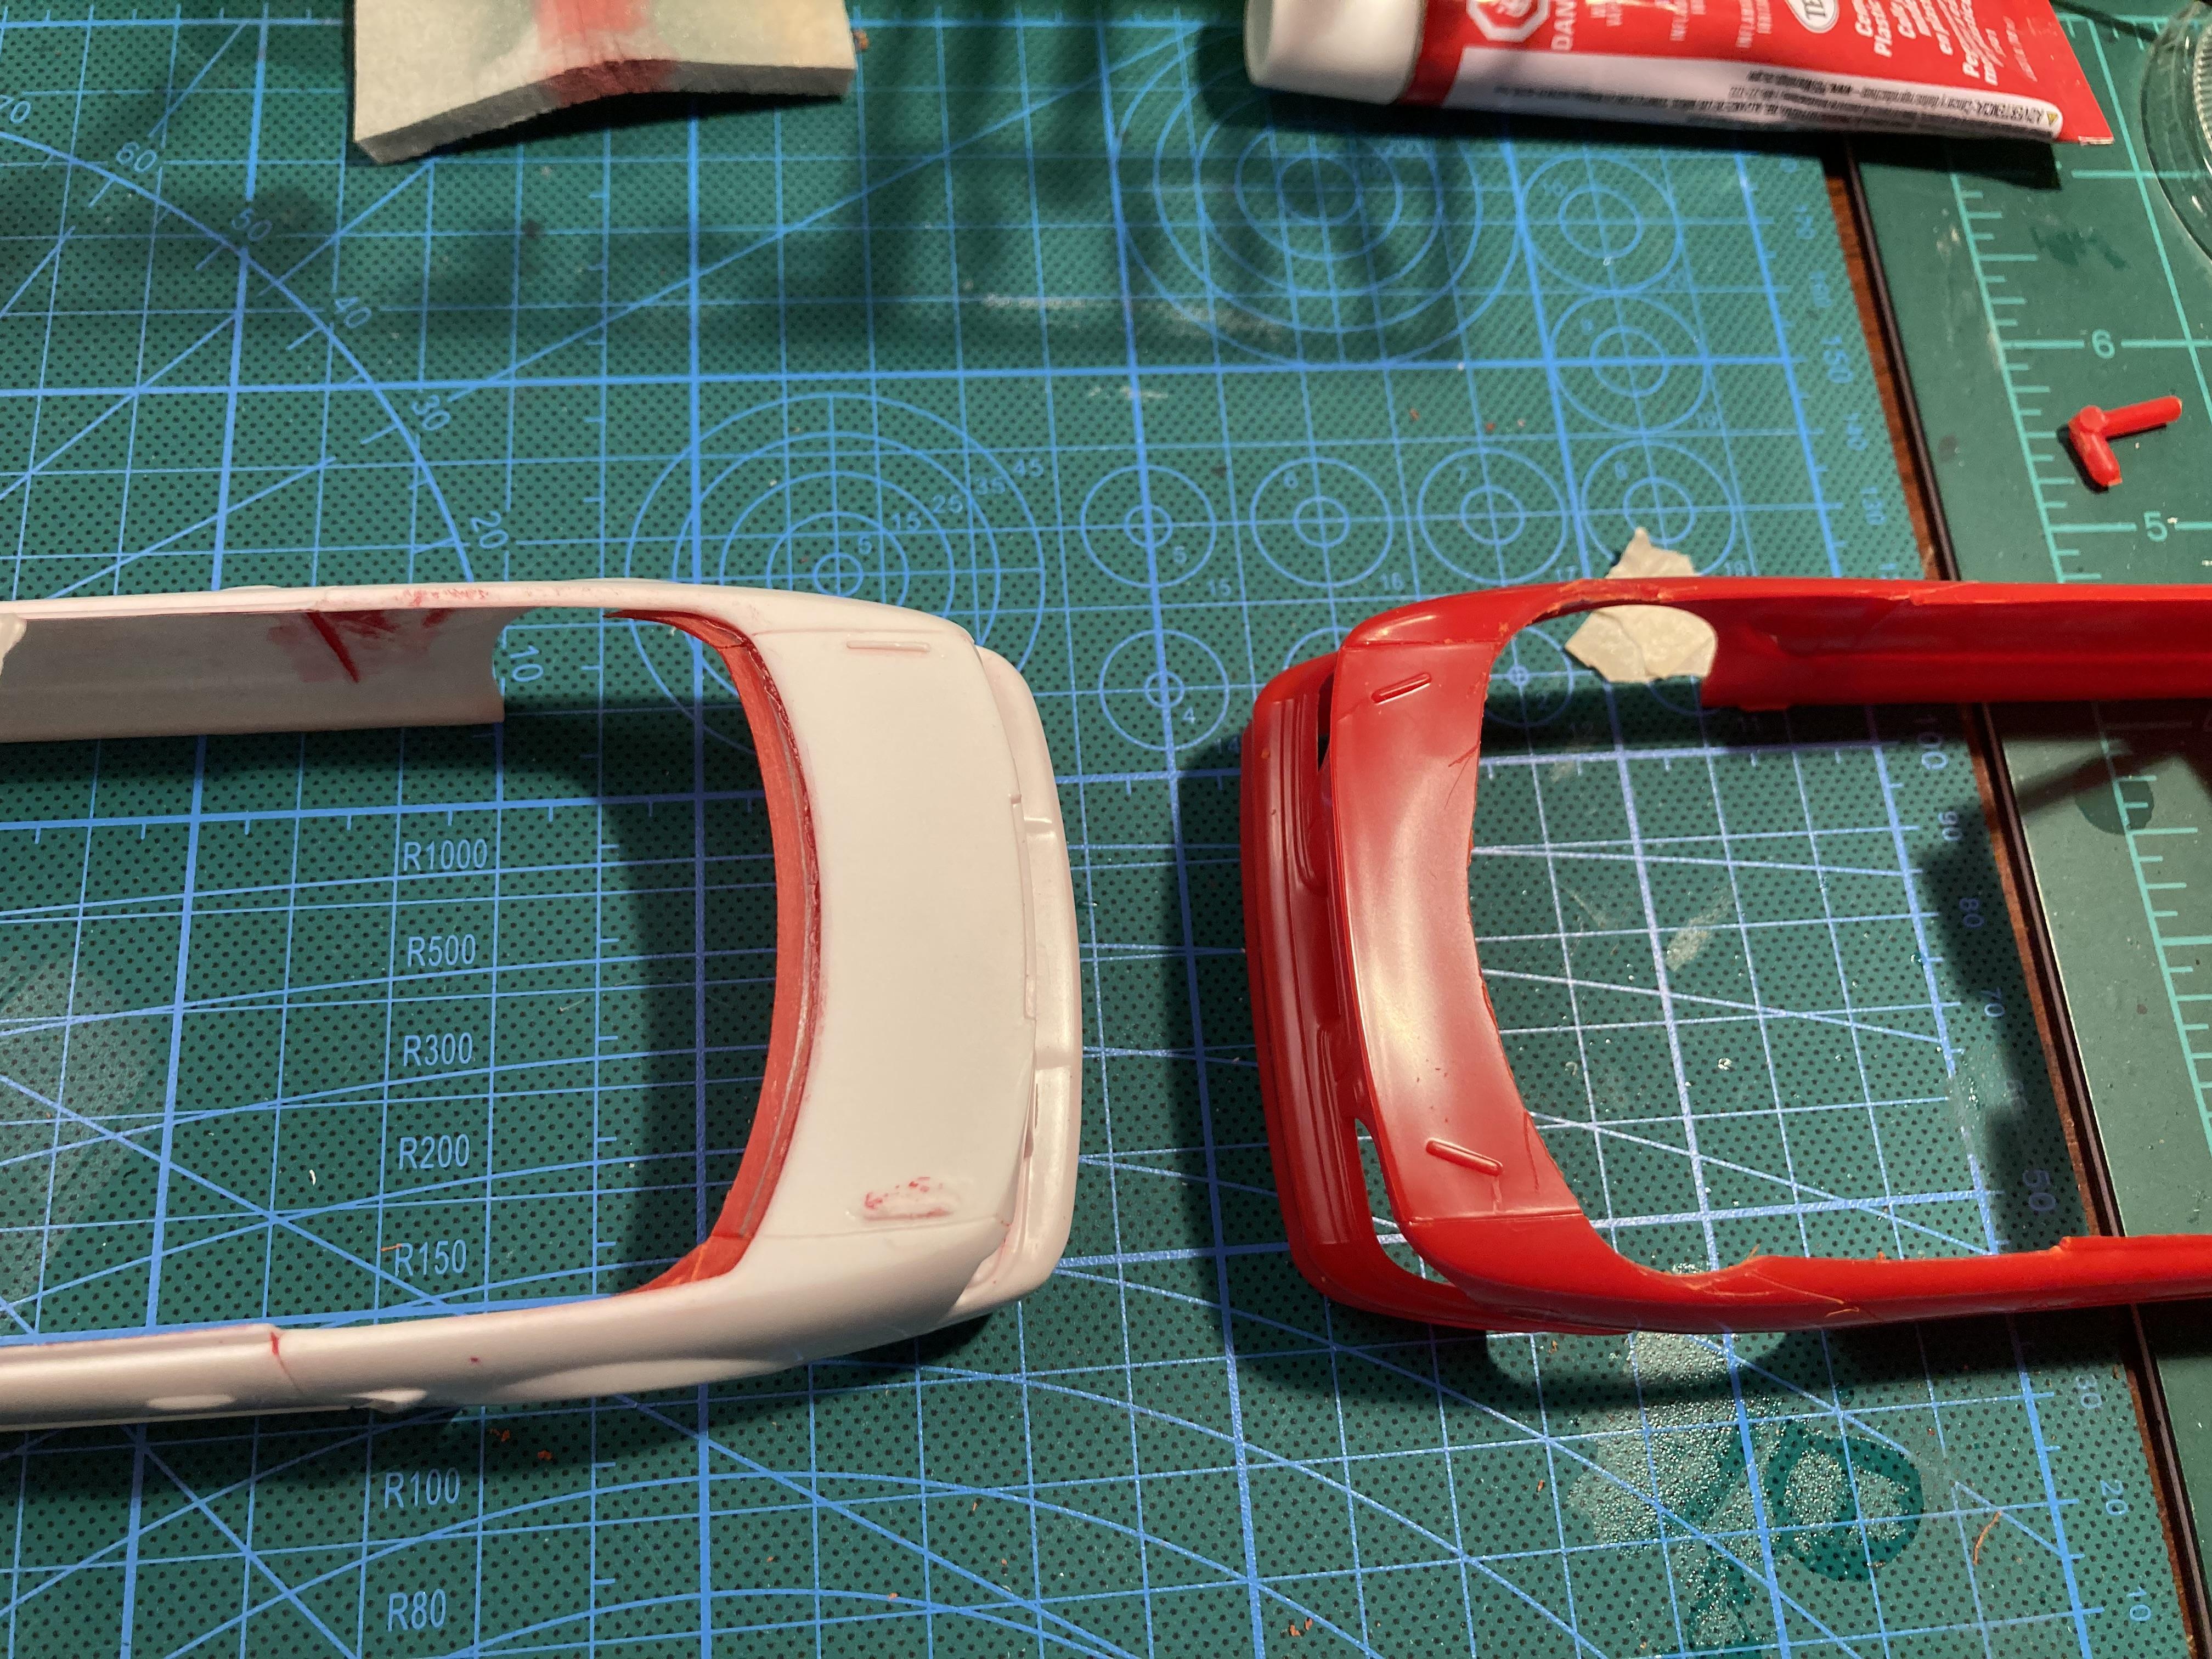
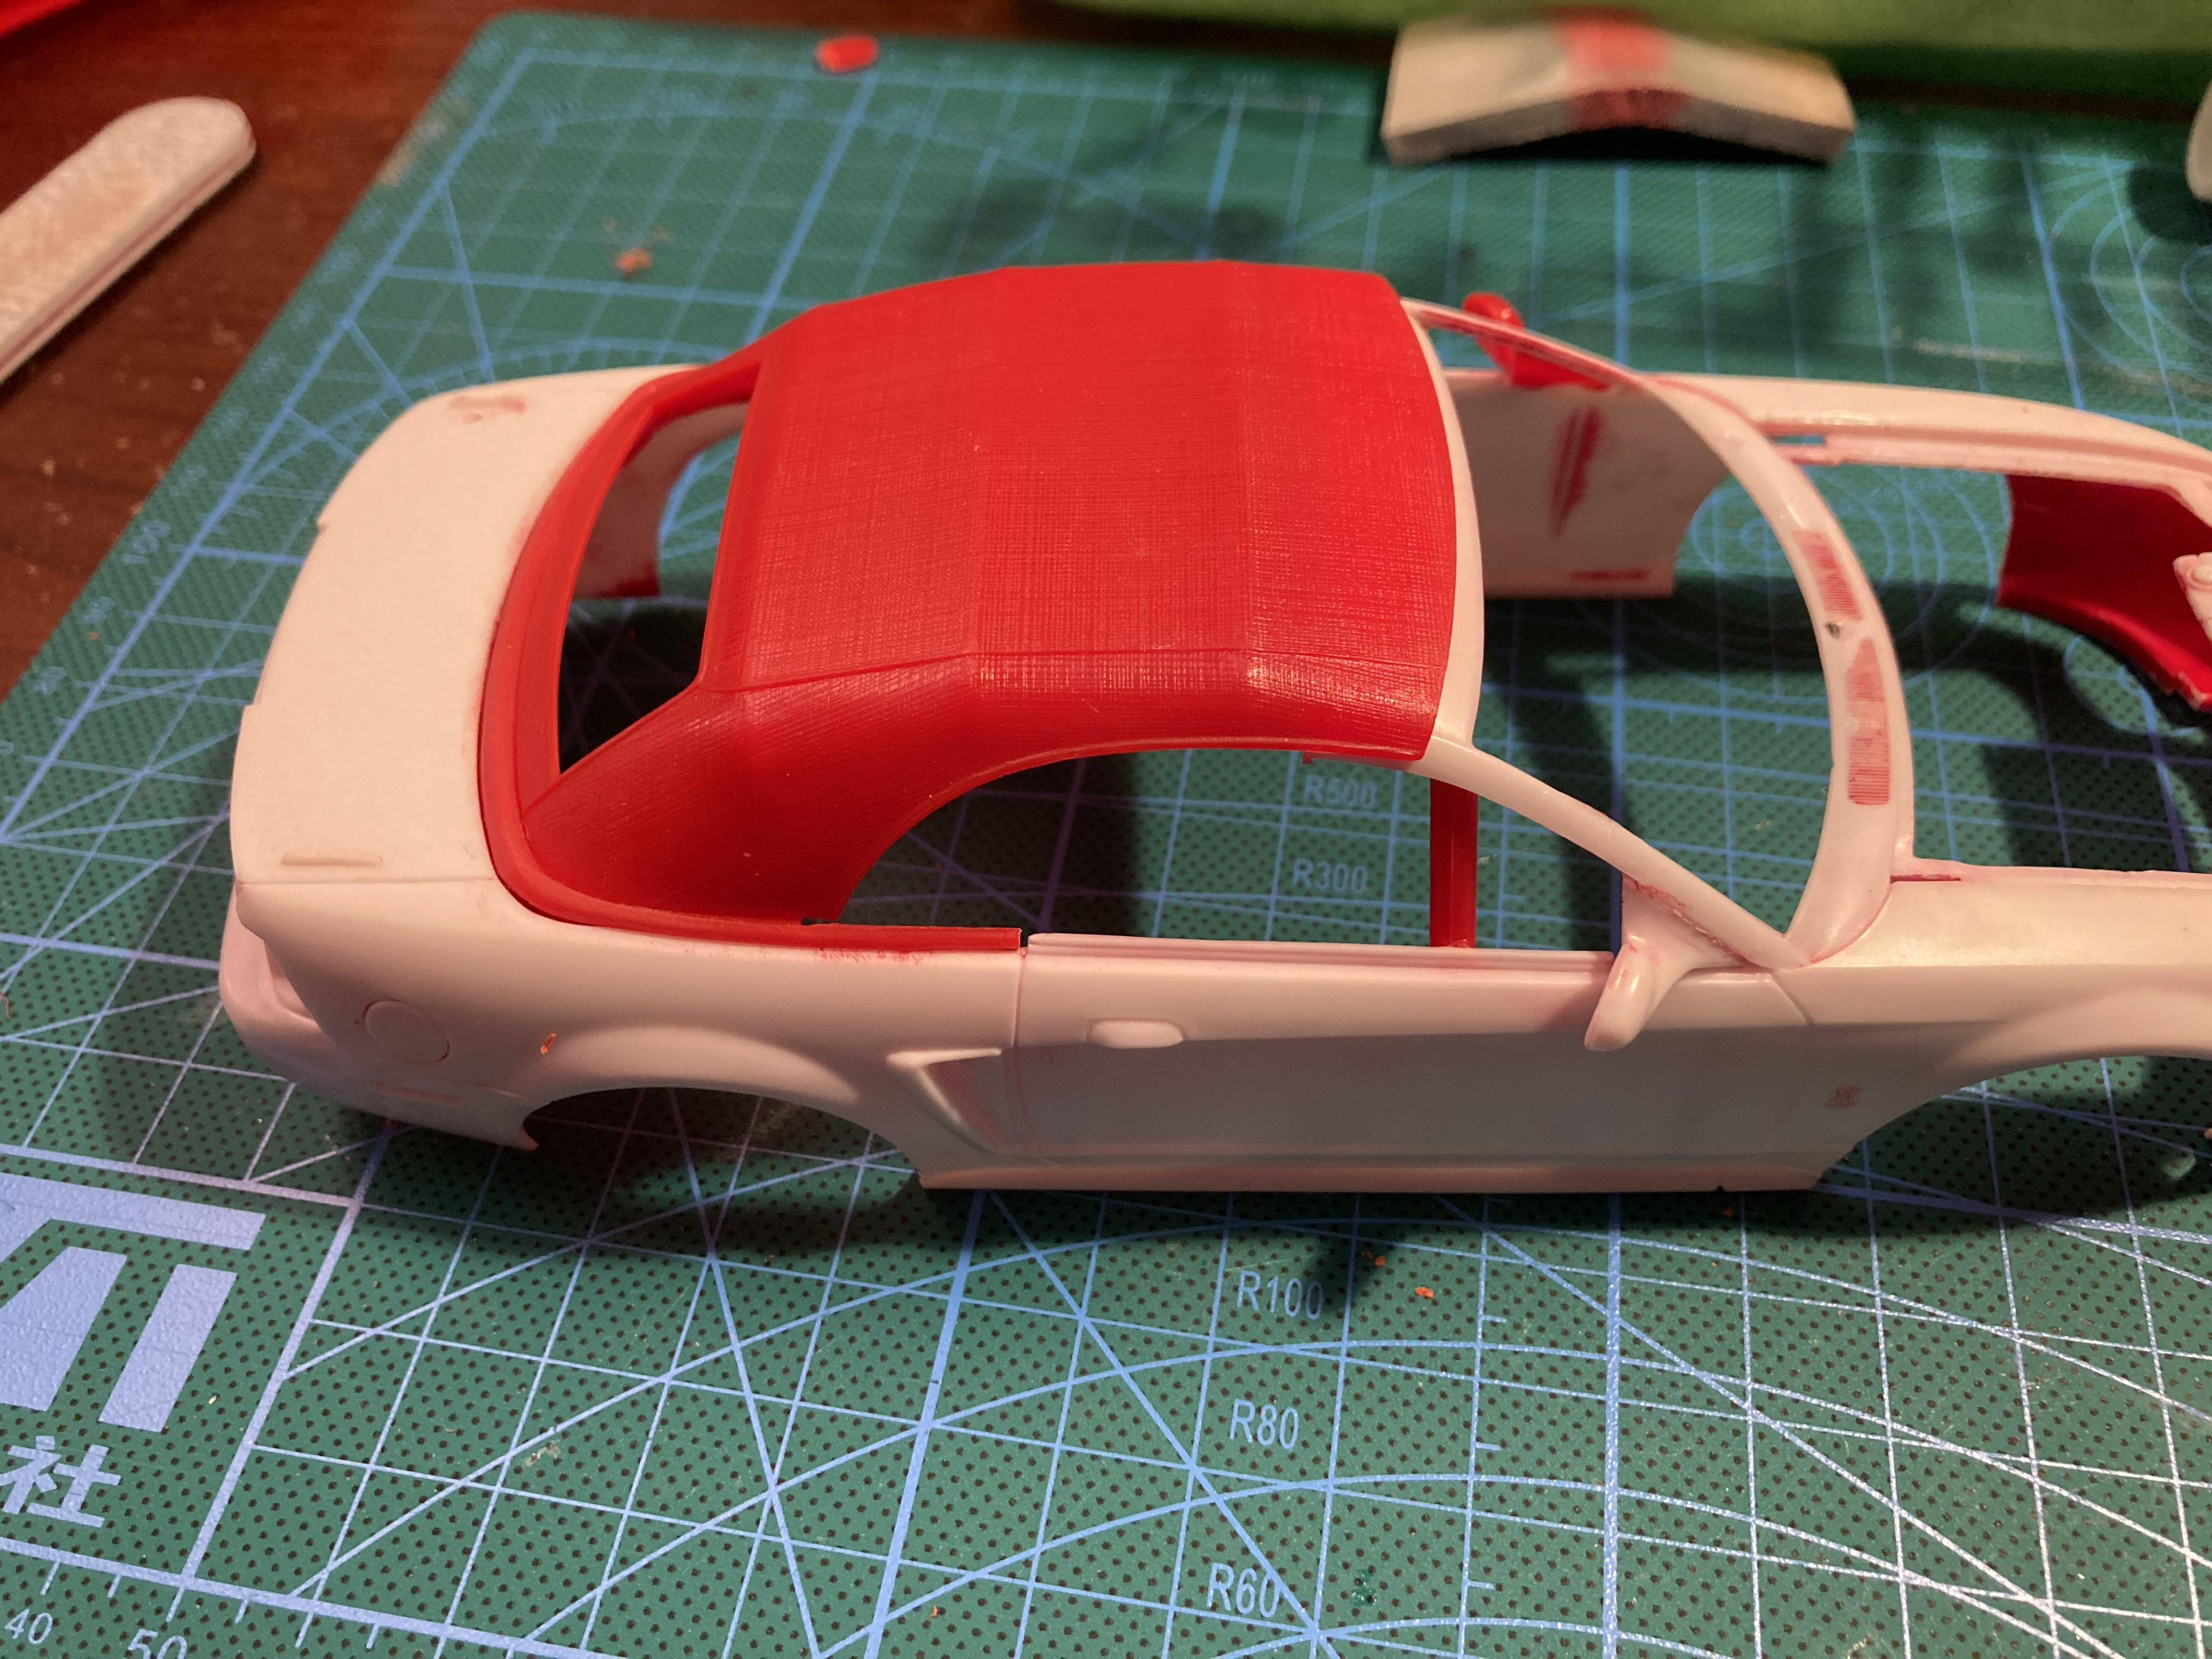
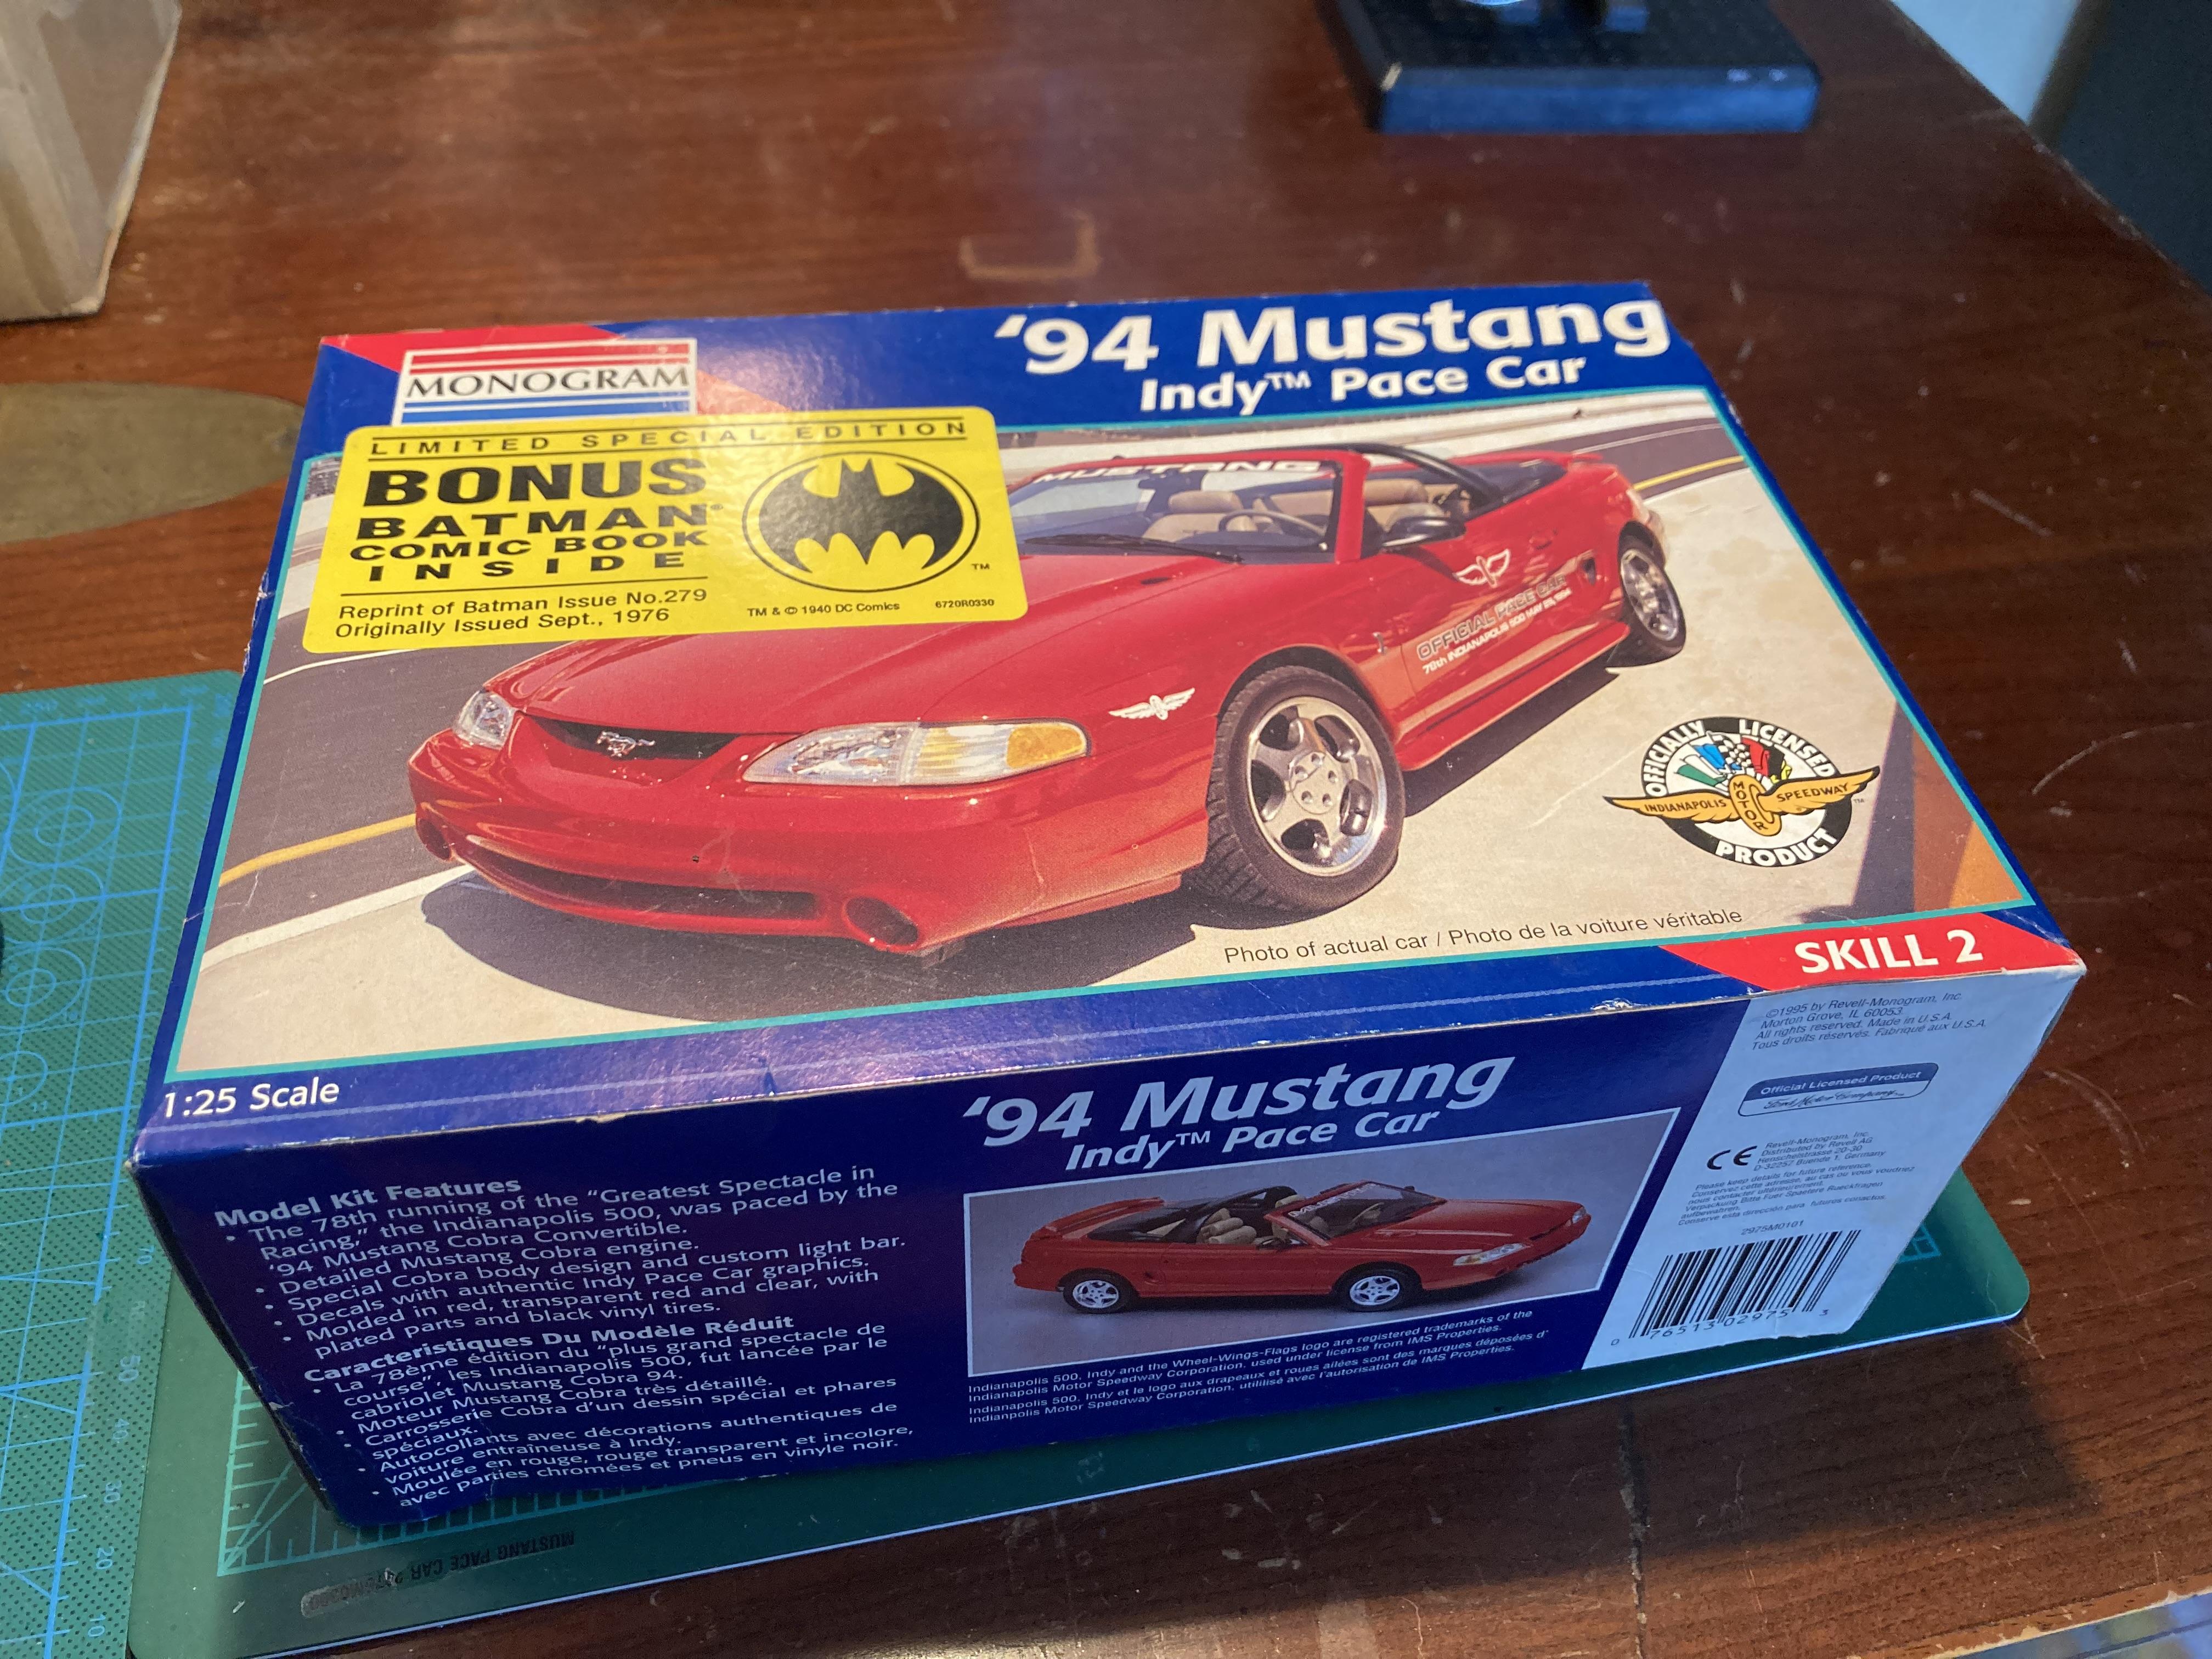
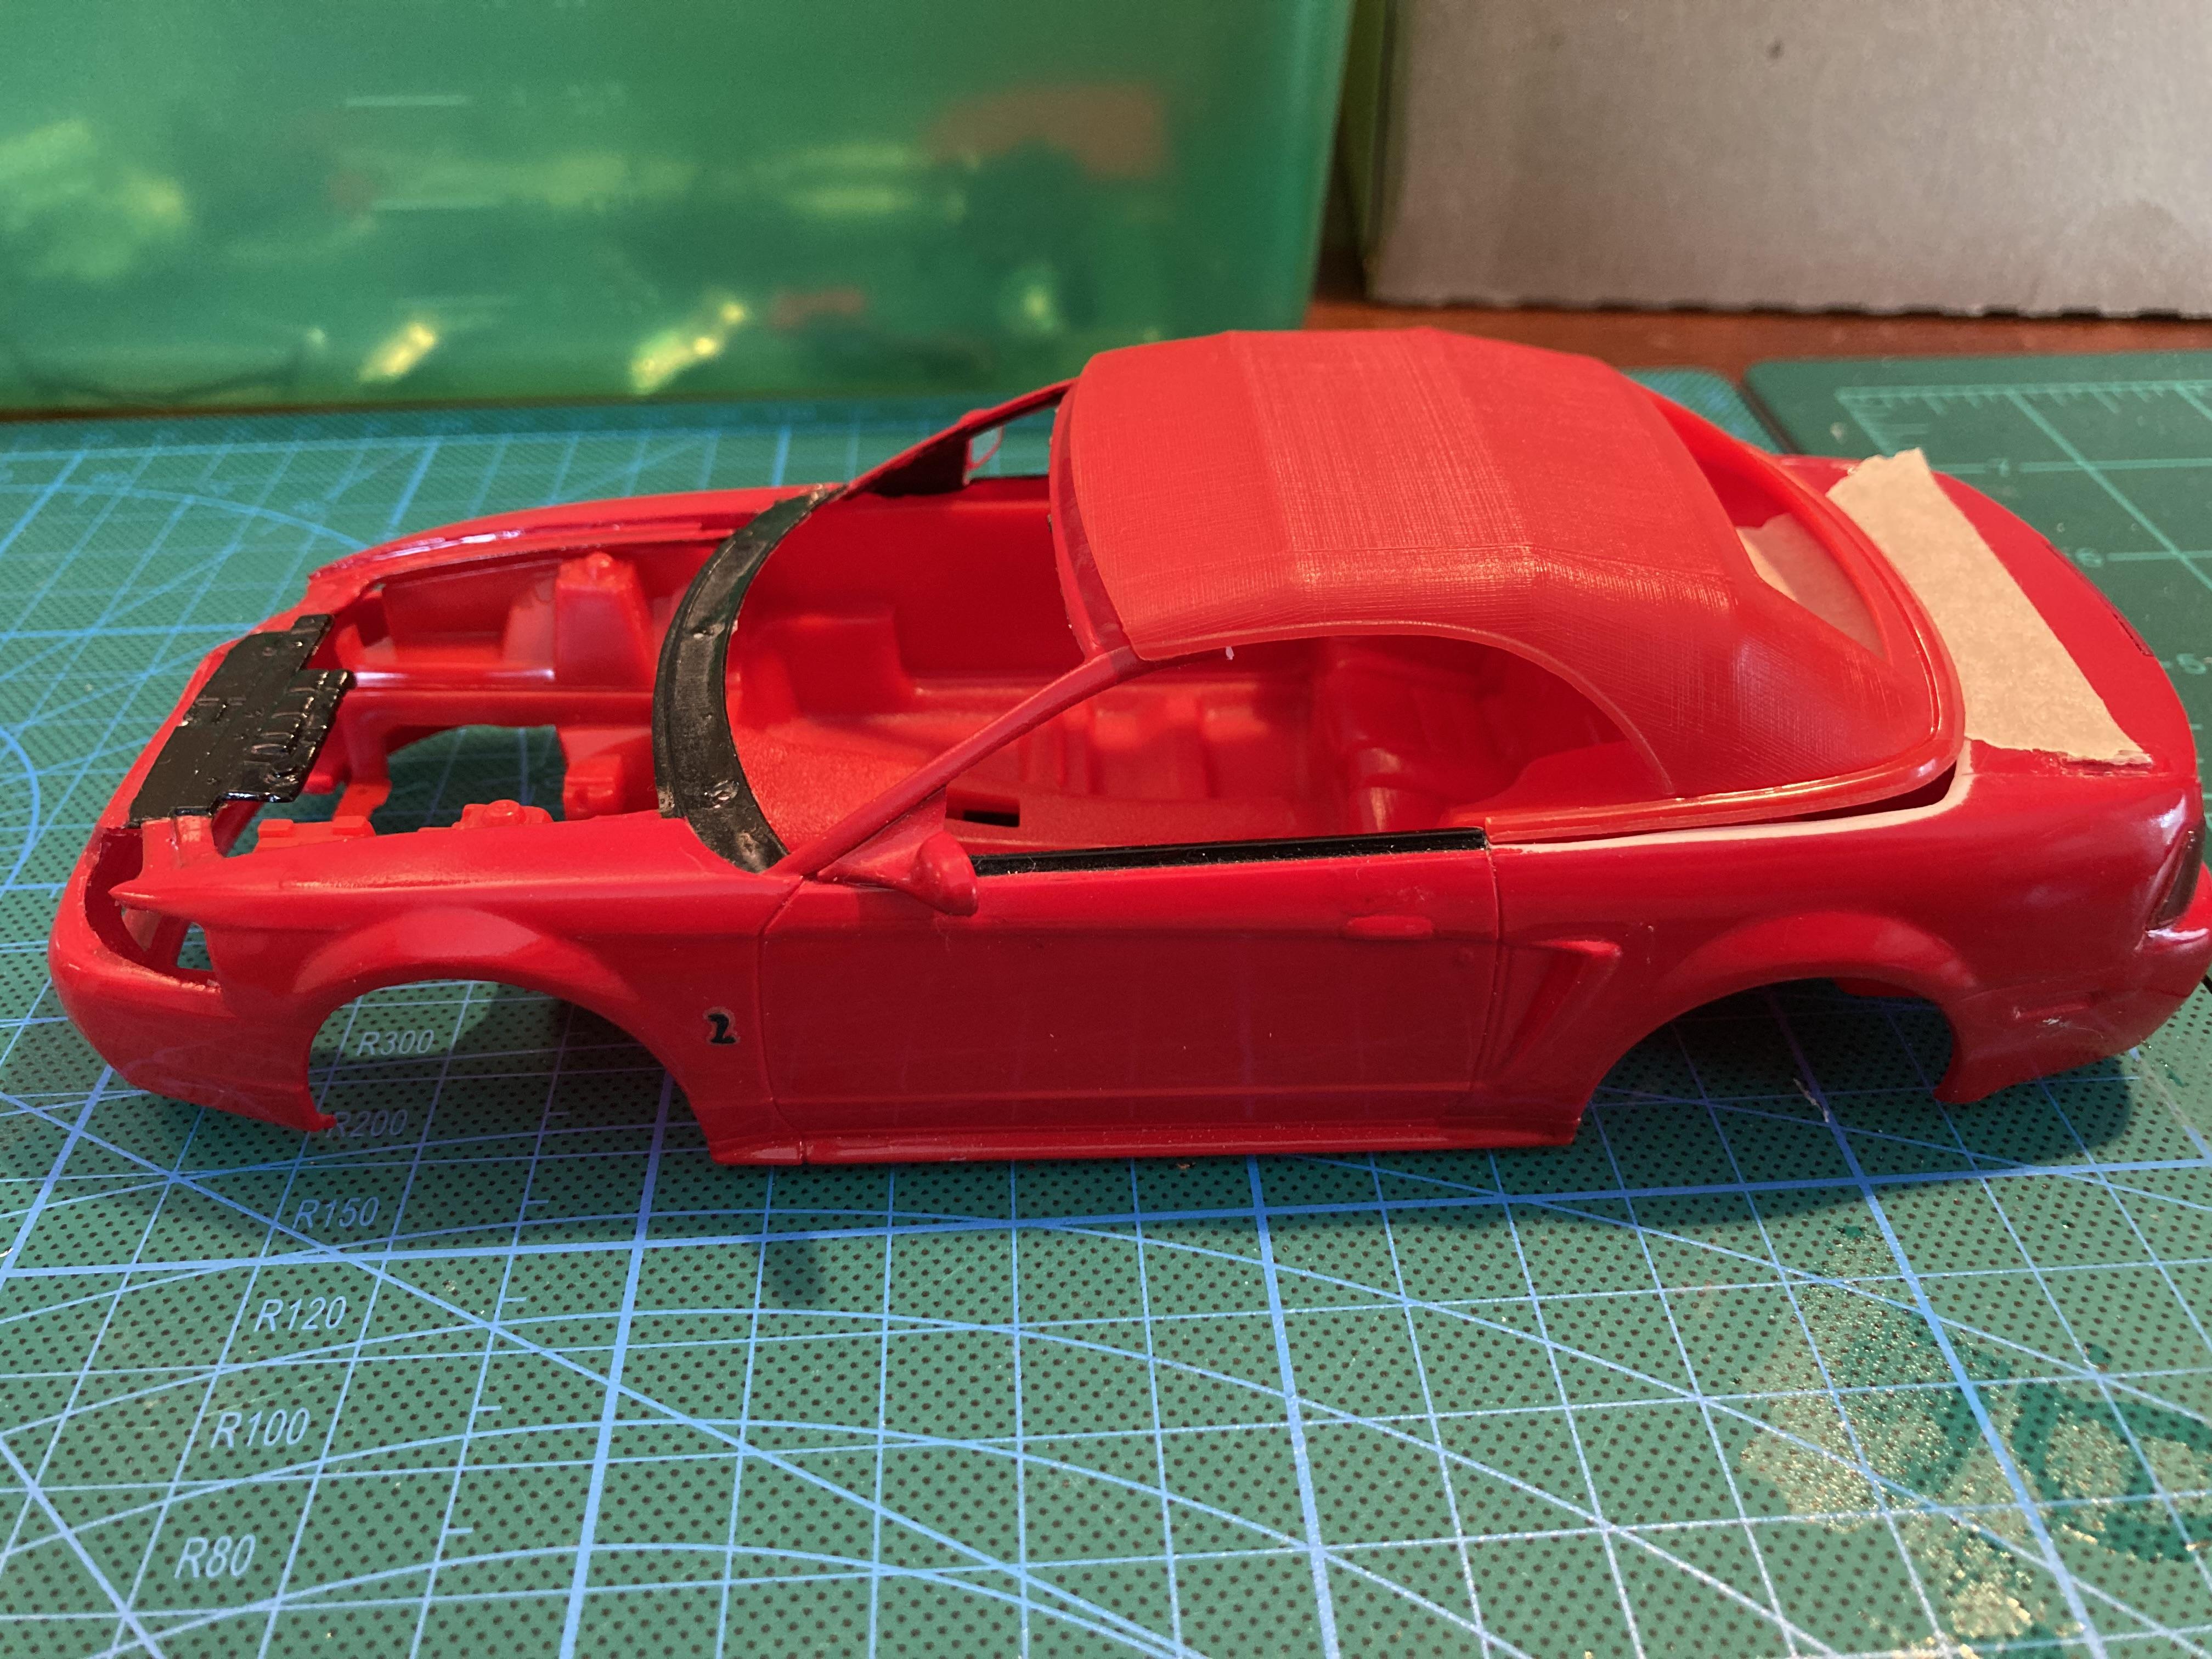
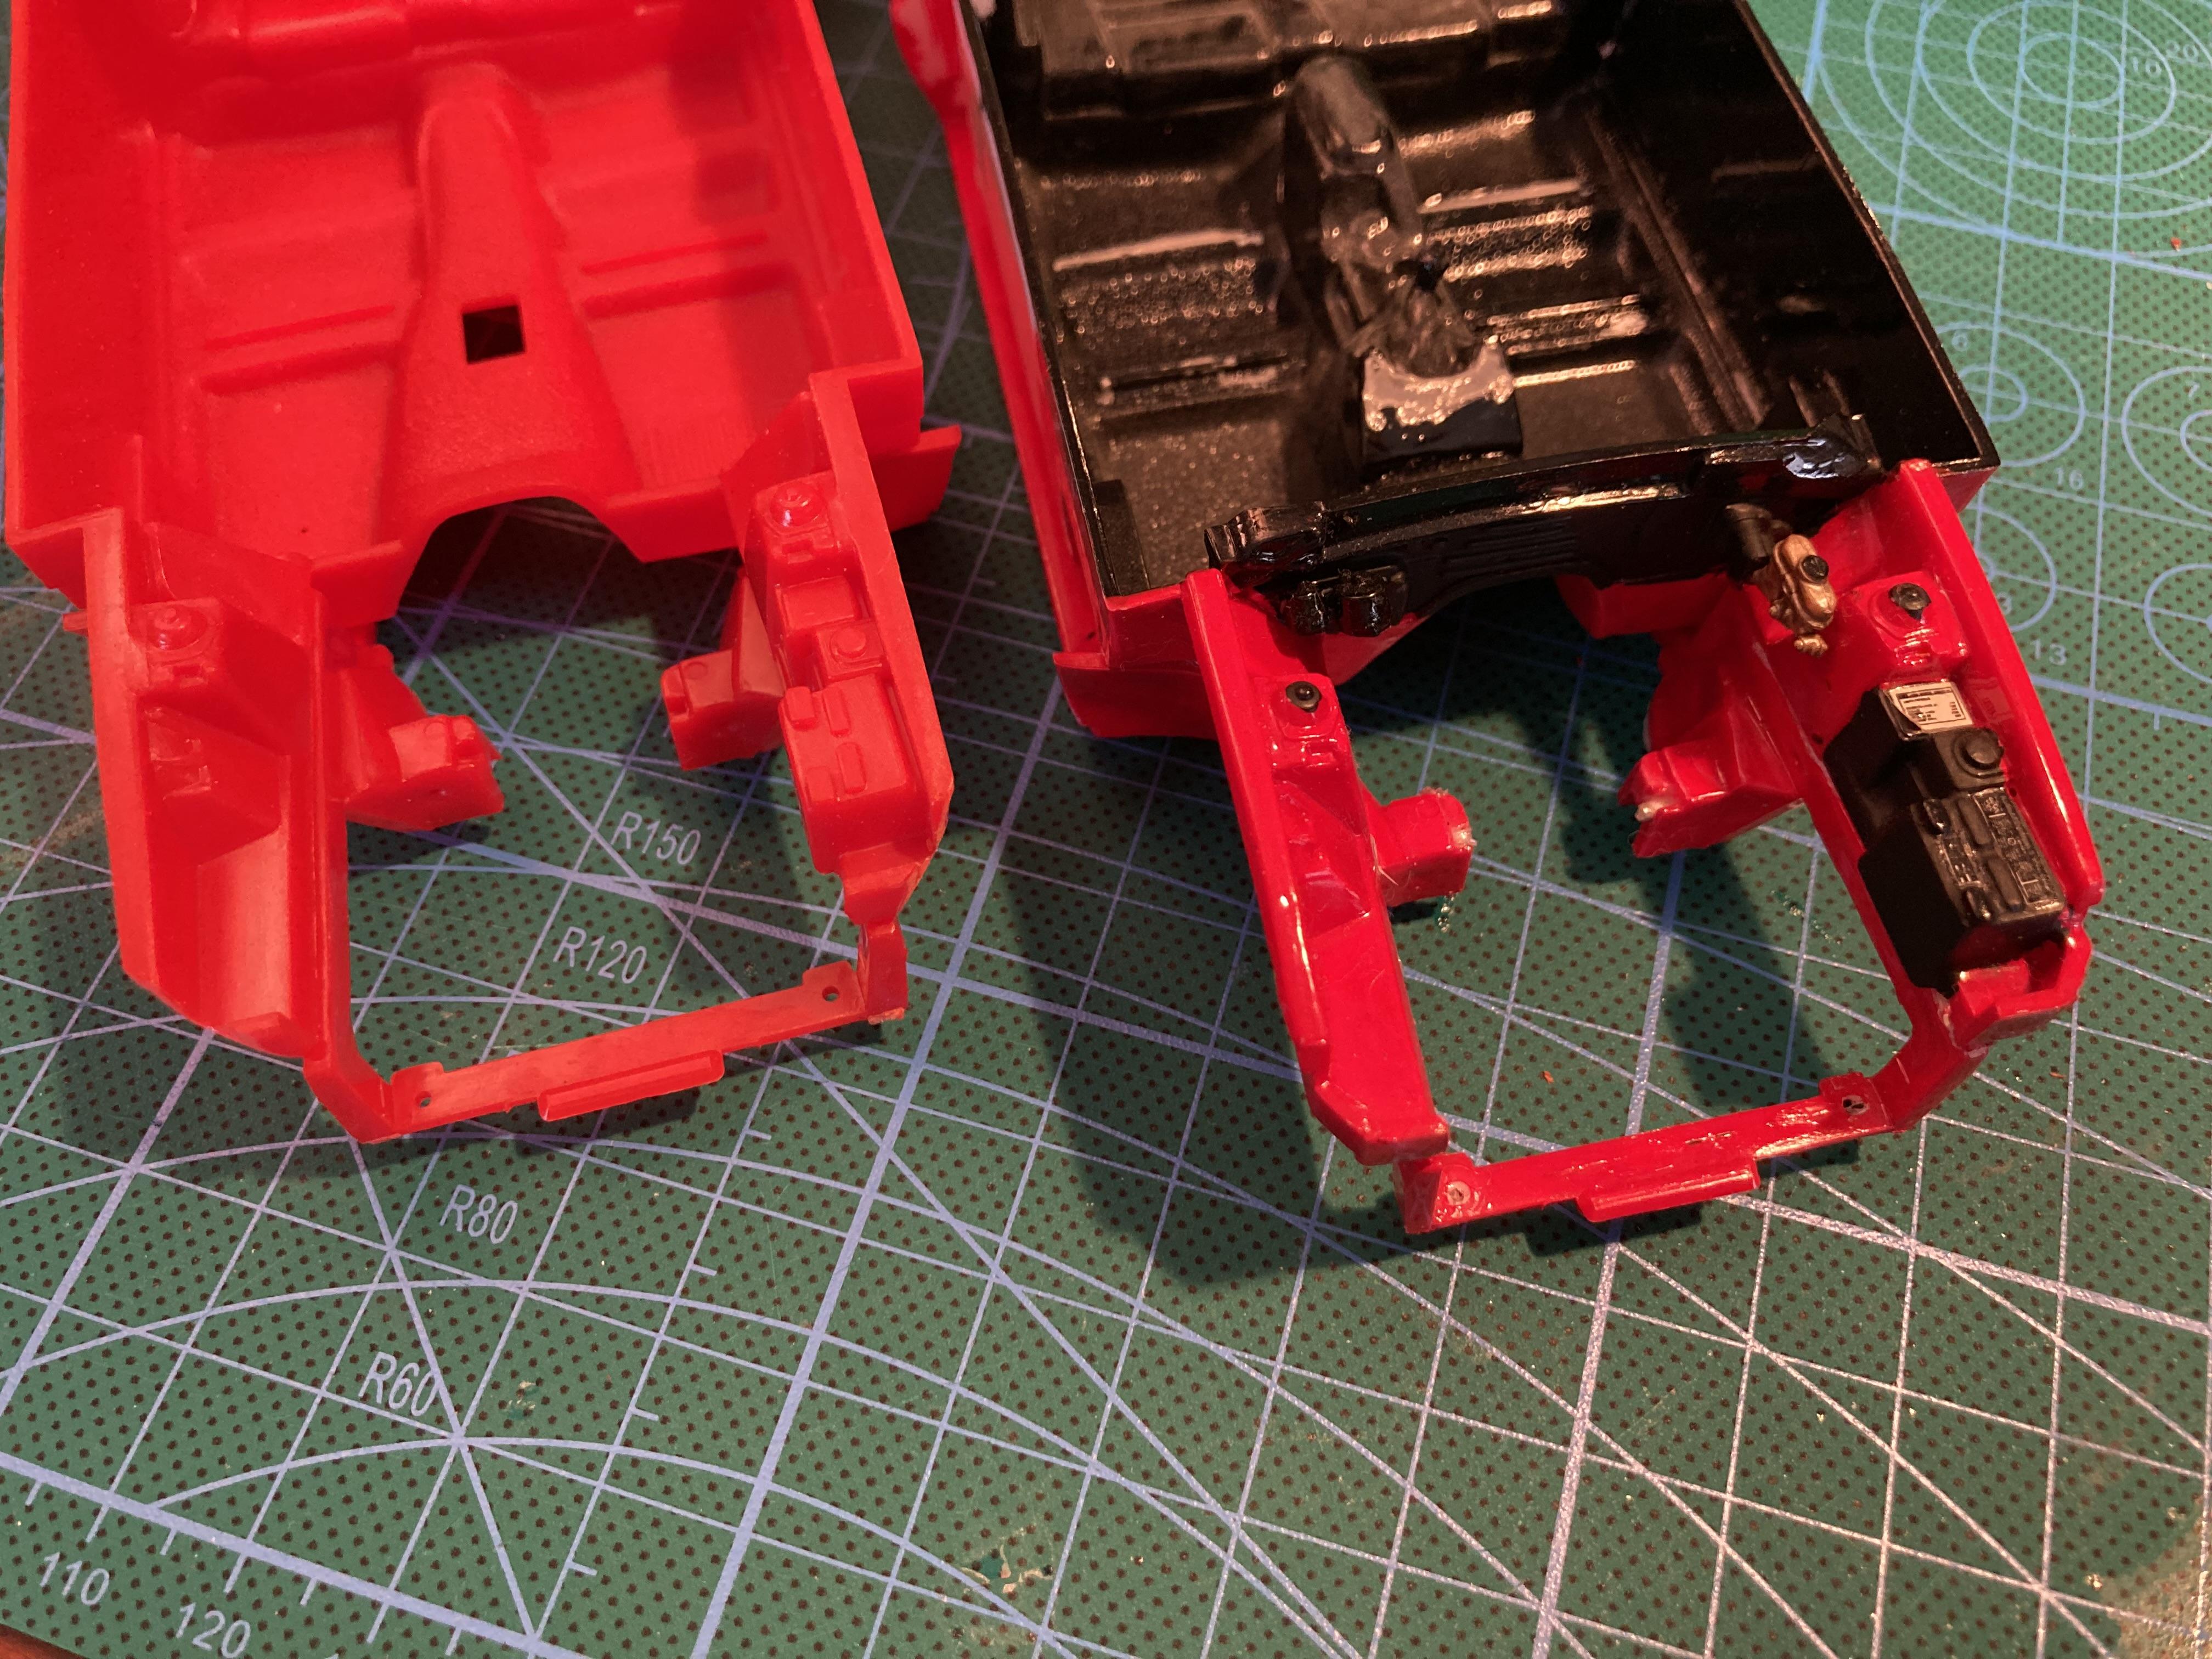
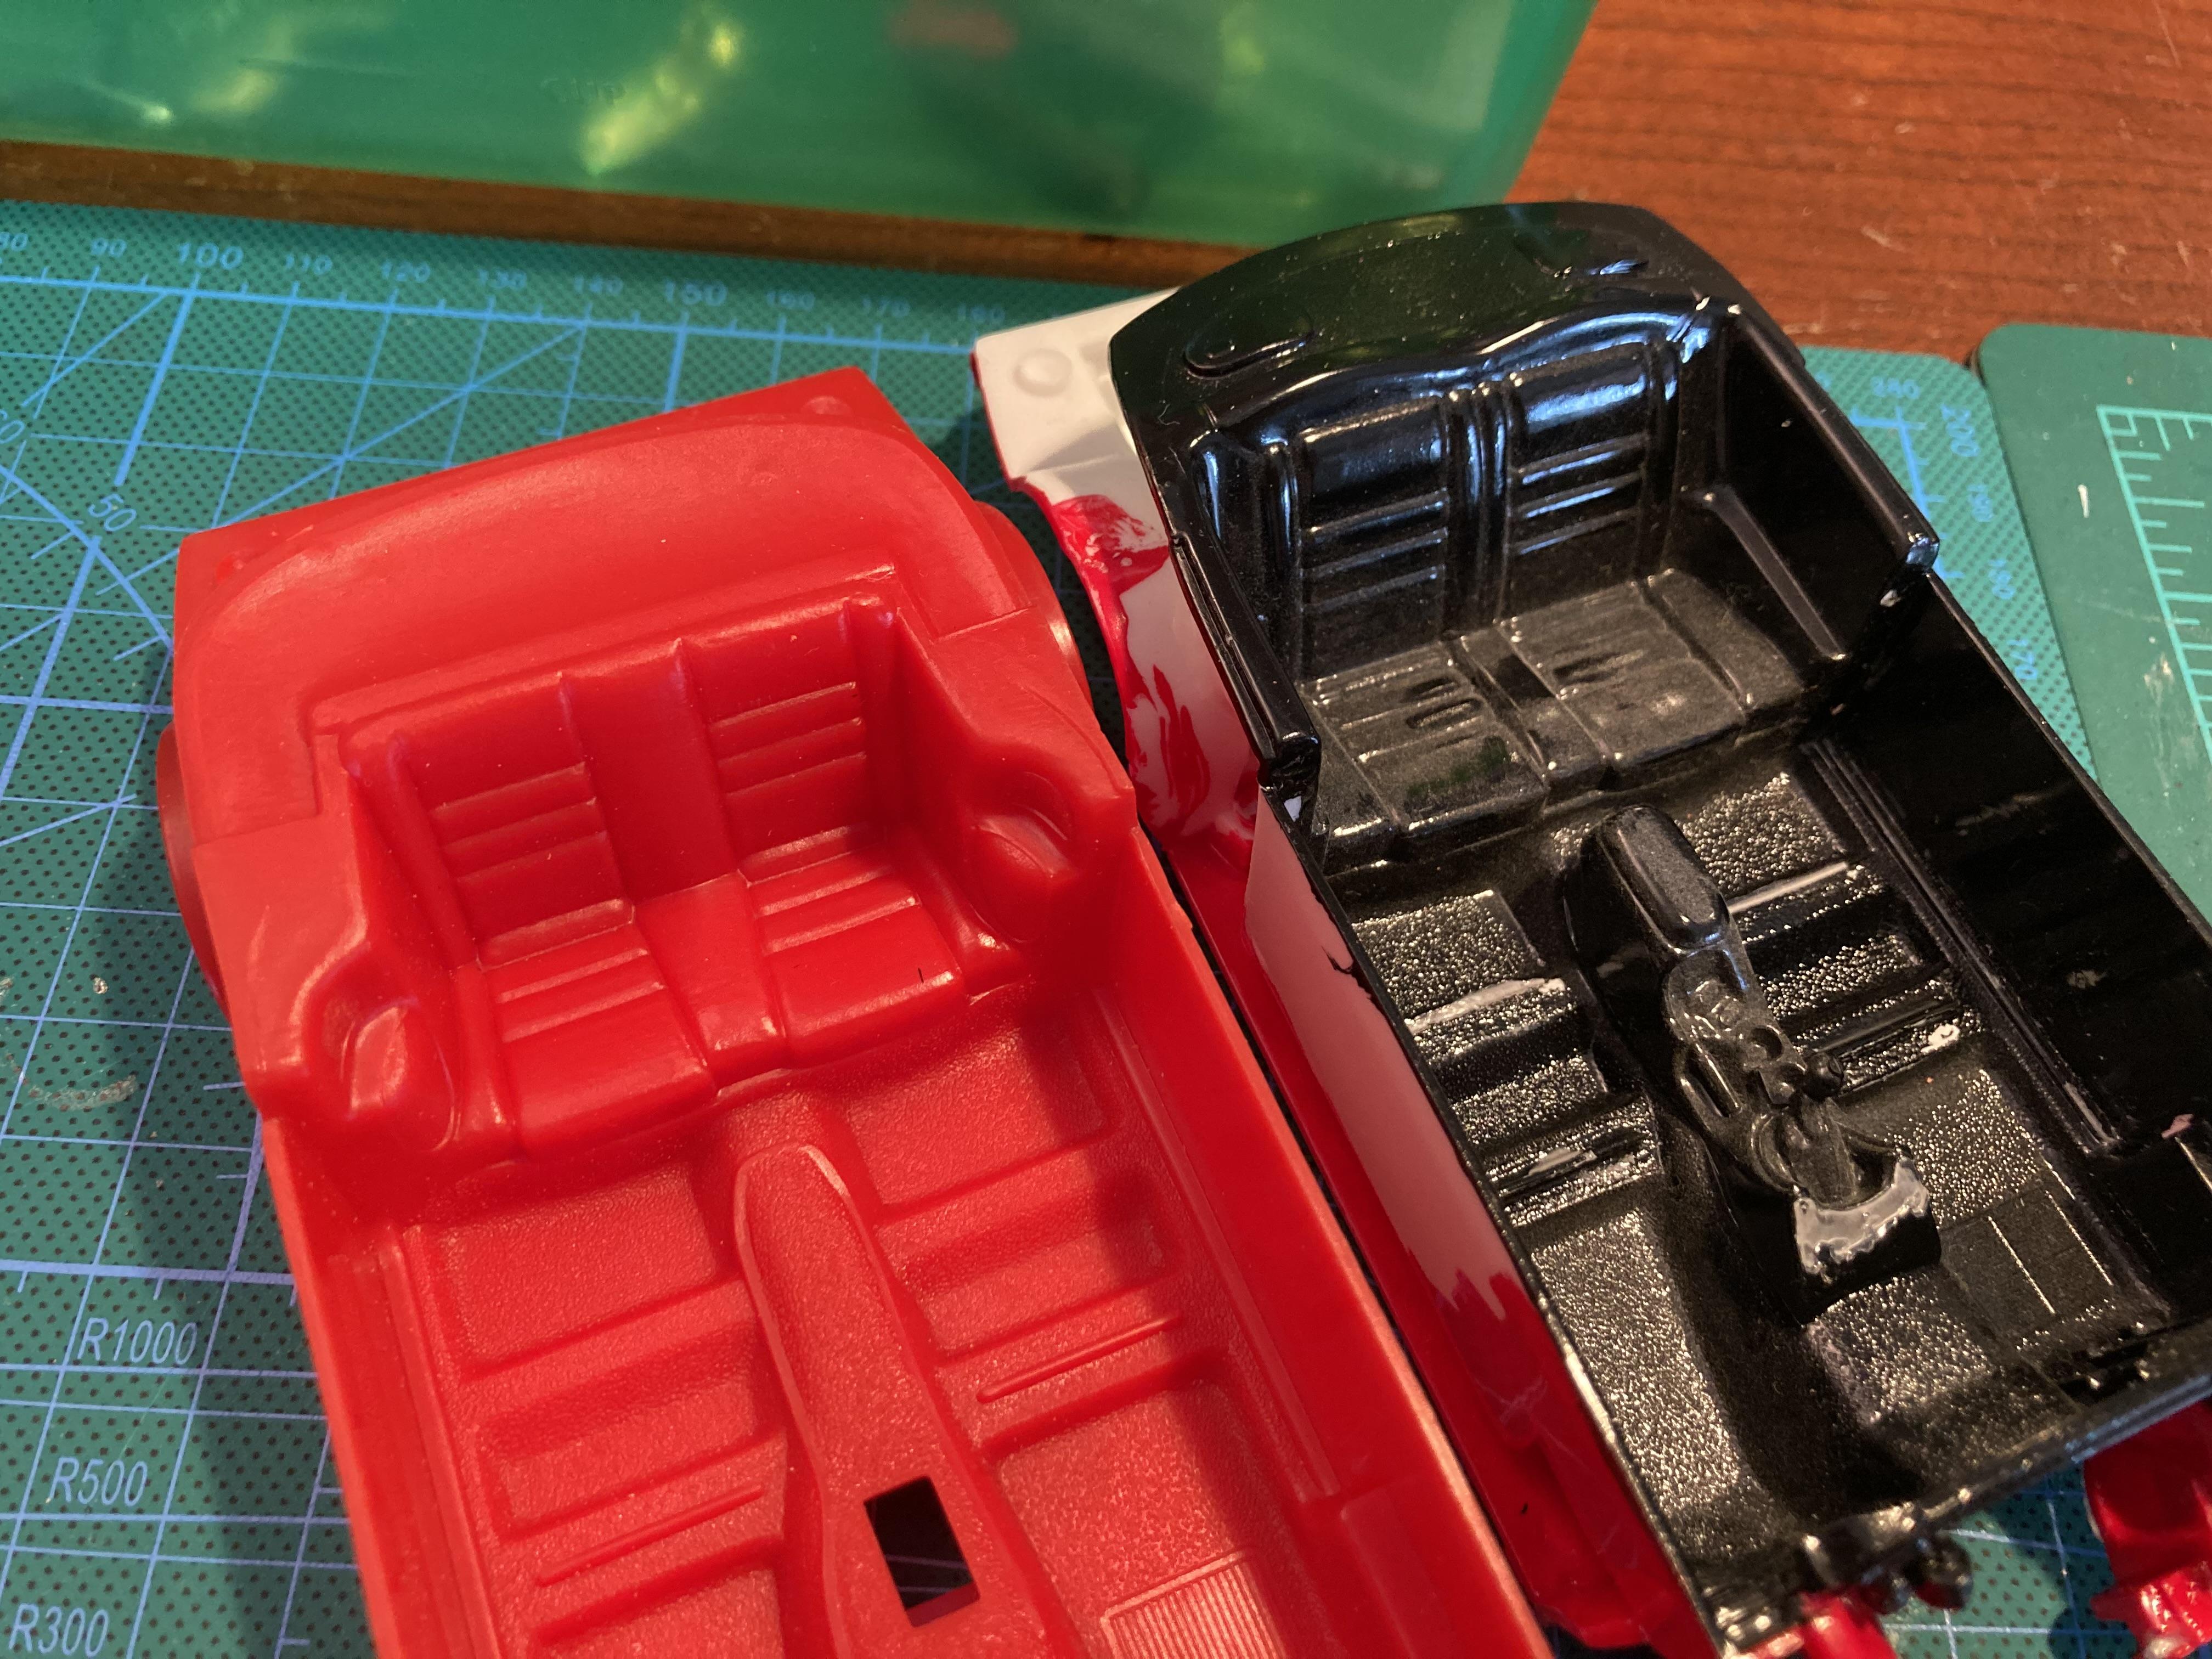
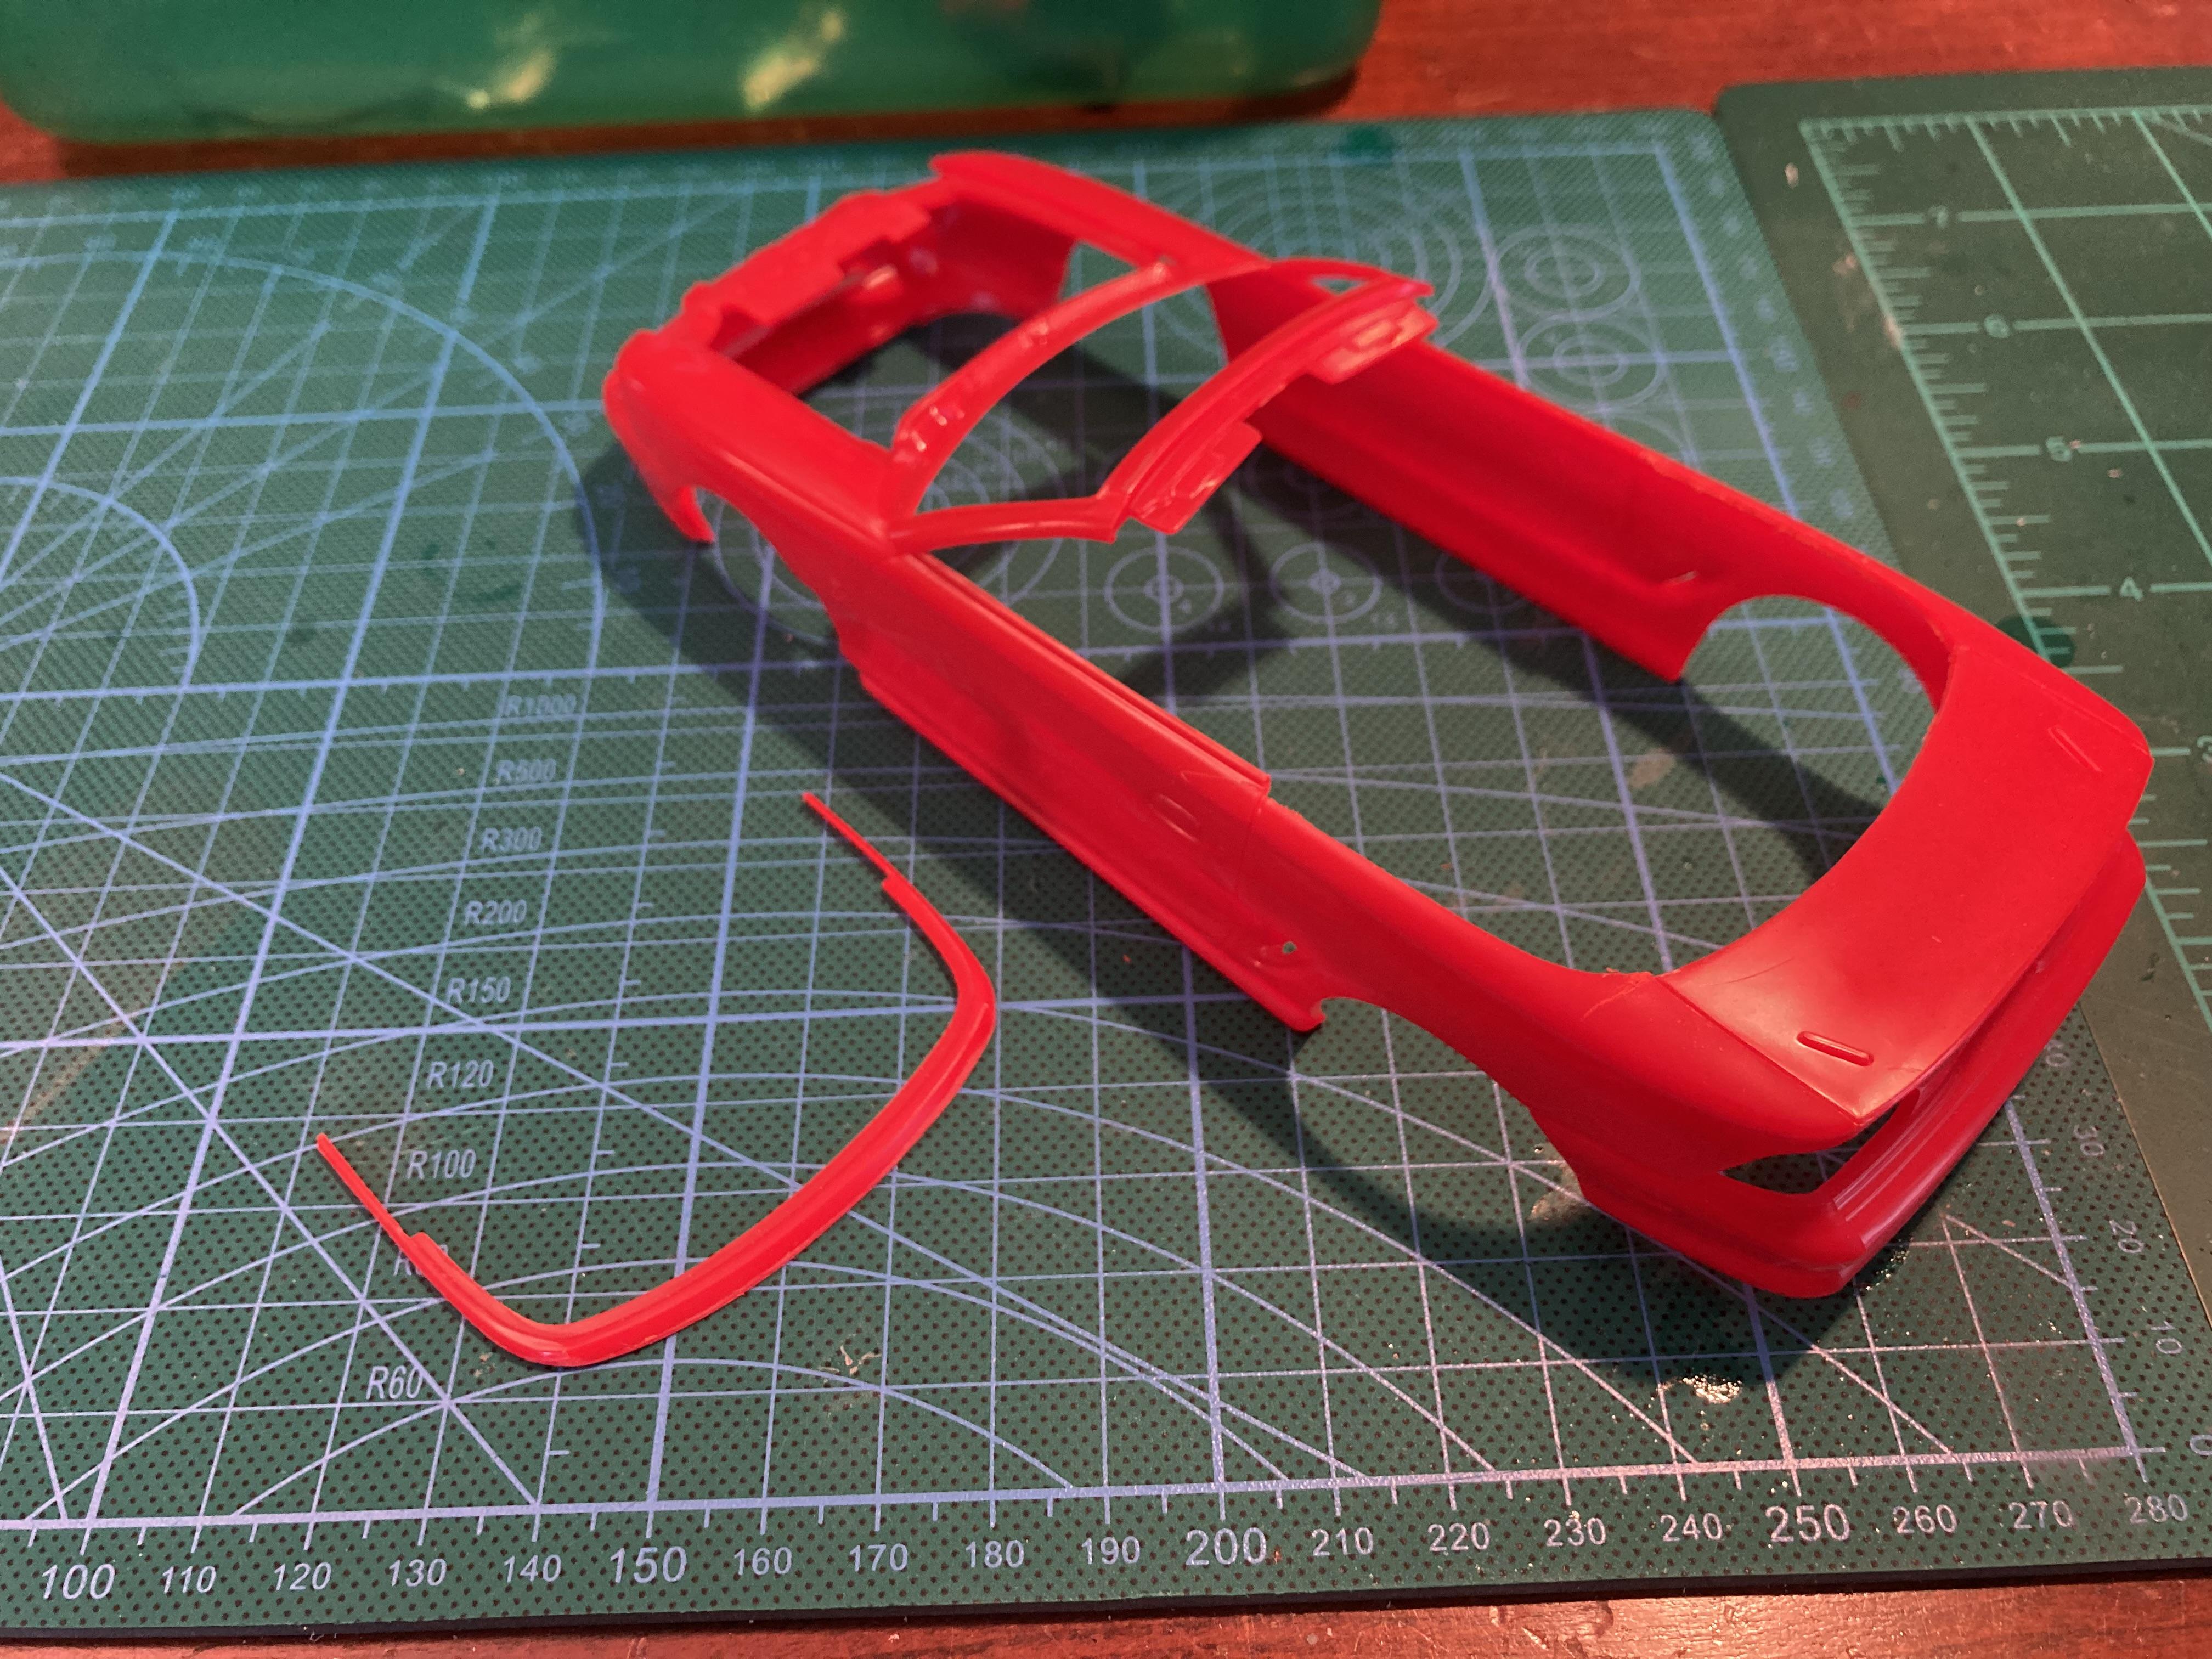
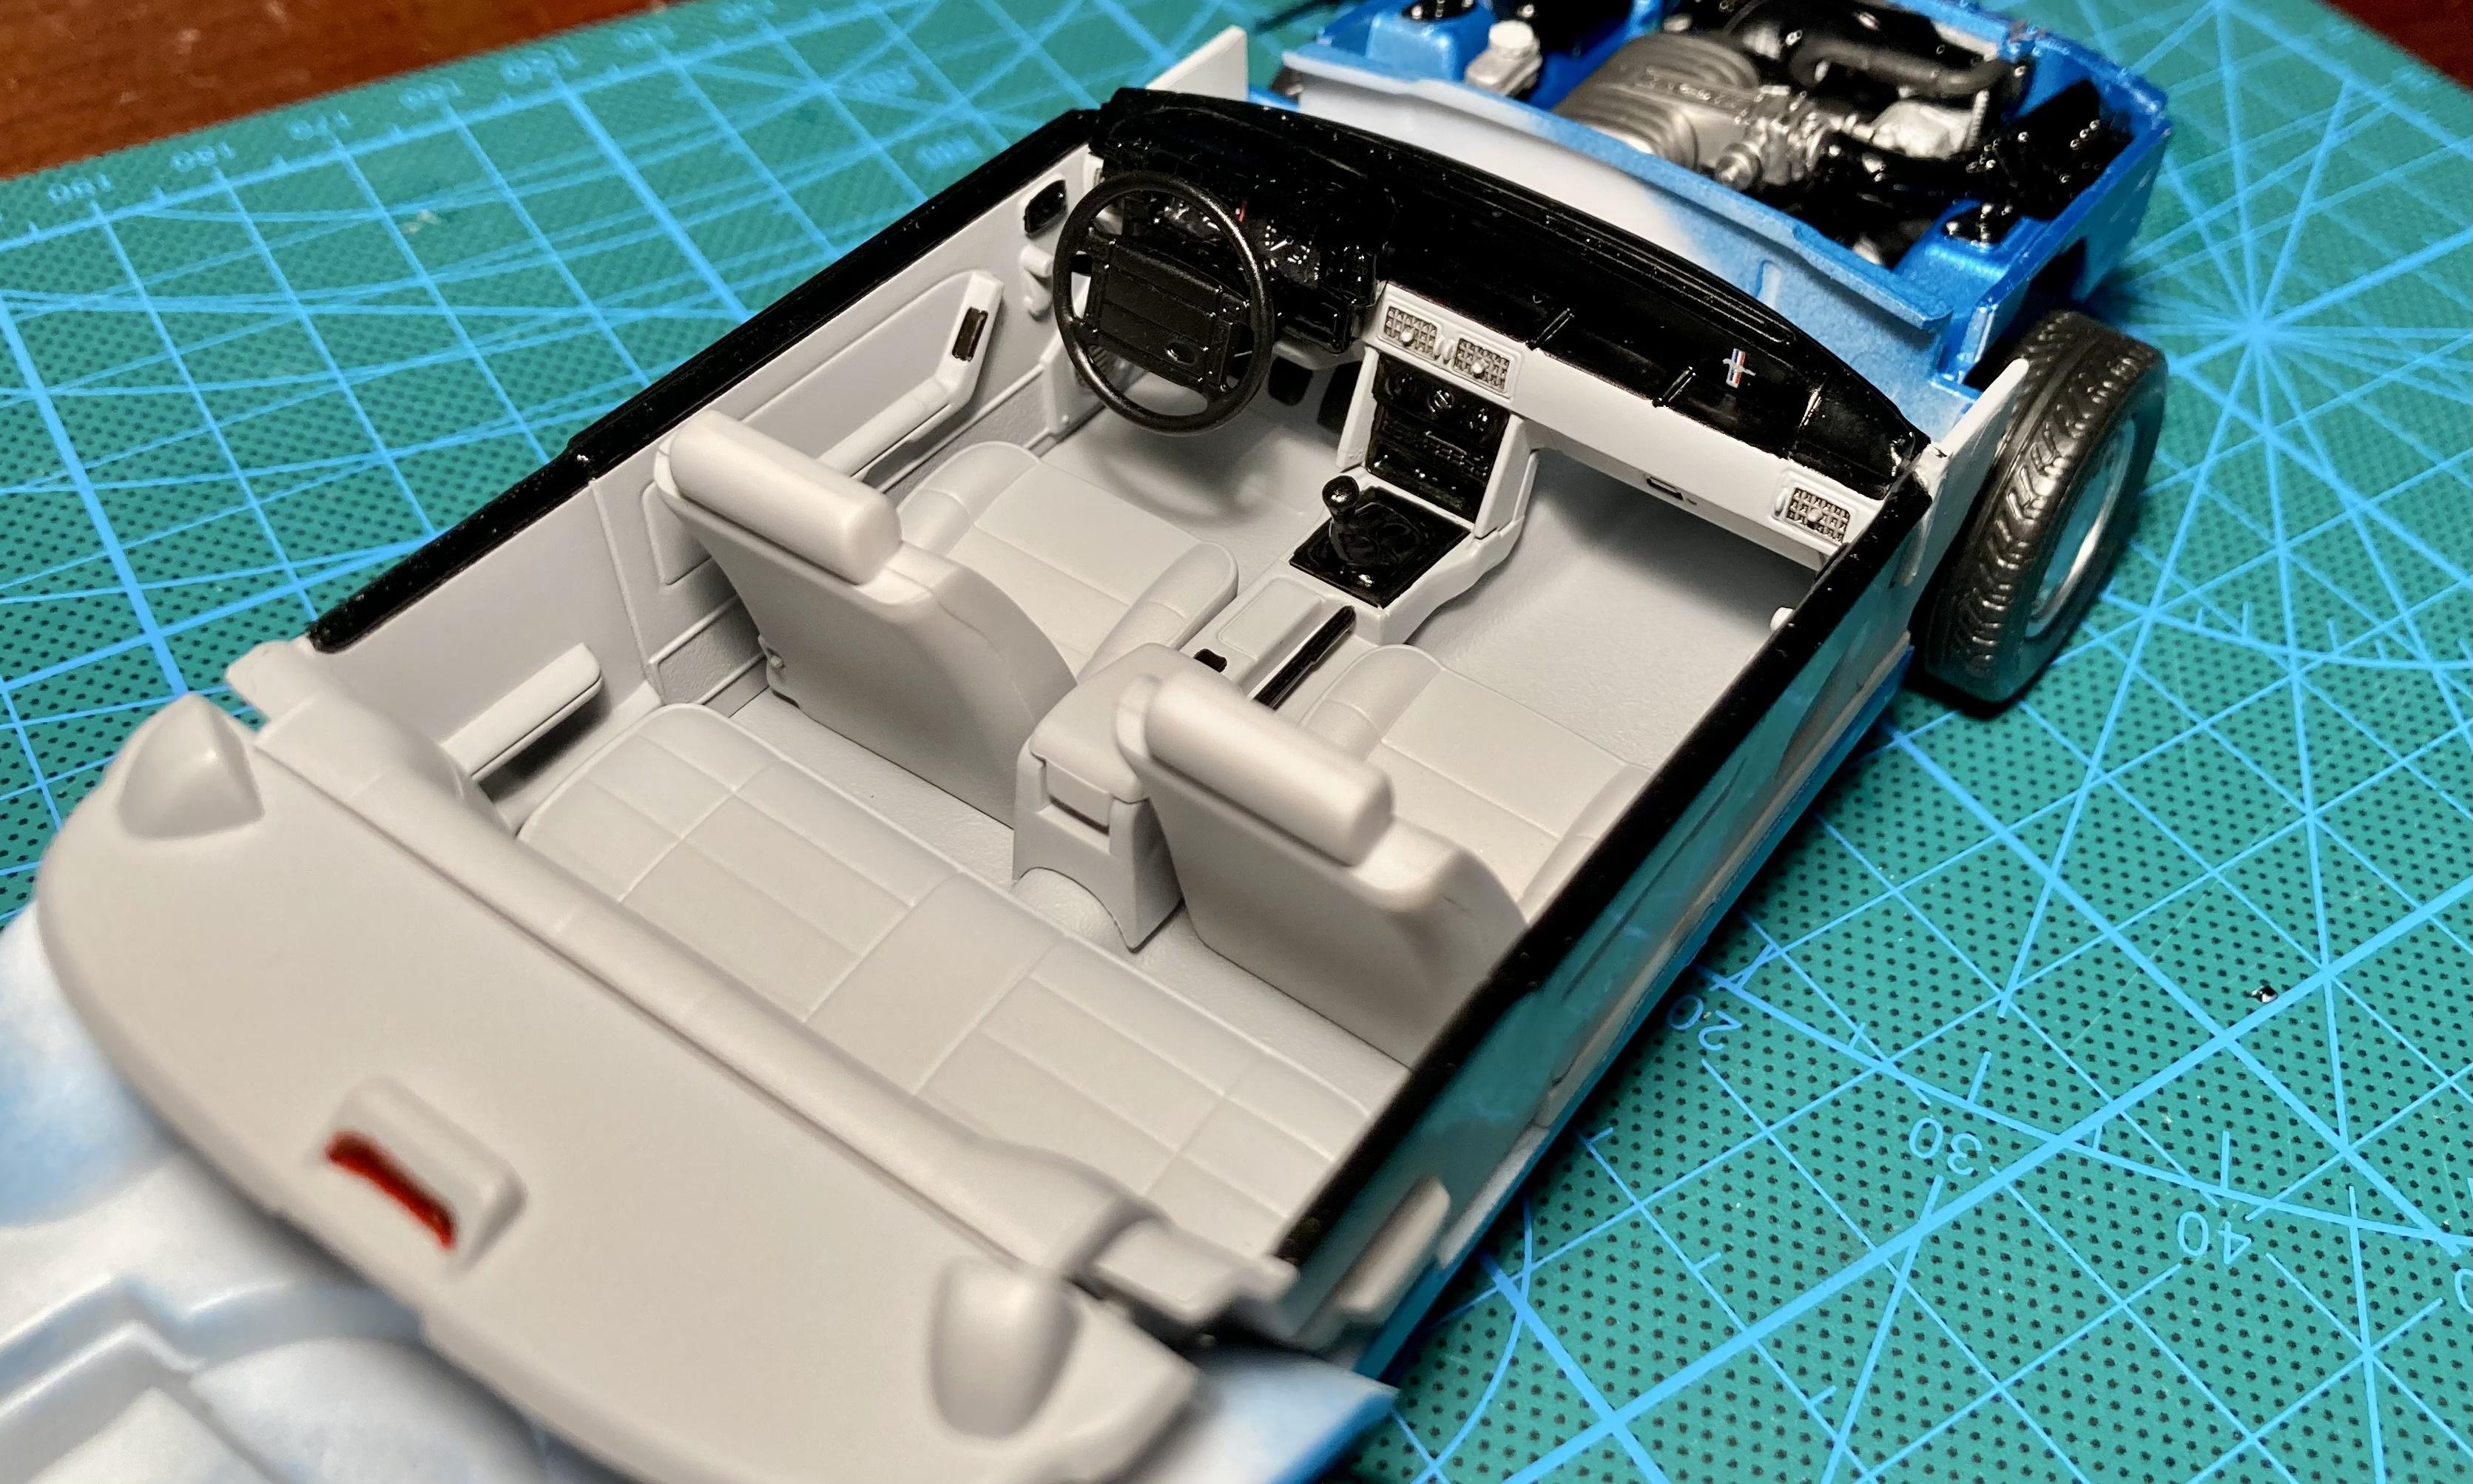
Since Monogram/Revell never made a New Edge Mustang convertible, I will be making one myself! I’m combining a Monogram ‘94 Cobra convertible with their ‘99 Cobra coupe. I originally built this ‘99 when I was probably 13-14. It was one of my better childhood builds… but it still left a lot to be desired. The ‘94 was an open box I got cheap from eBay. Sadly it was missing the Batman comic book haha. My idea for this project started when I was planning to simply rebuild my ‘99 coupe. But then Ollie’s recently released a new issue of ‘99 Cobra coupes, so I bought a new kit to build as a coupe and decided to hack up my childhood build. I forgot to take a before picture of it.I chopped the roof off the 99 along with the 1/4 window trim. The door window trim will be my reference point.The ‘94 is donating it’s convertible roof base trim, up top and interior tub. Both kits share identical interior parts including the seat pattern. I’m not sure if that’s accurate but the real New Edge interior didn’t change much from the SN95 so it is what it is. I’ll use the fresh ‘94 parts here.A younger me was pretty liberal with model cement… no chance separating the coupe interior from the ‘99 chassis. Luckily, the ‘94 chassis is essentially the same as the ‘99, except for the transmission mount and the front engine bay corners. I filed down the corners on the ‘94 inner fenders and cut out the ‘99 crossmember.Just like the real cars, the IRS swaps right in to the ’94 chassis. The windshield, frame and cowl are slightly different between the two, so my plan of cutting the frame and cowl out and swapping won’t work easily. I’ll probably just leave the ‘99 frame in place and trim the former roof down to fit the up top. Here’s a quick mockup of the roof base trim. The trunk edge needed some shaping and filler will be needed where the rear roof pillar met the fender.The body and ‘99 Cobra-specific parts are ready for a soak in the purple power bath. Thanks for reading, hopefully I’ll have a follow up soon!
-
Following! I built this kit and the later ‘92 GT a few years ago. These Monogram fox body Mustangs are one of my favorite kits to build. Simple construction but enough detail to look convincing.
-
I used a Tamiya spray can! TS-8 Italian Red. If it’s your first time spray painting a model, definitely practice first on a plastic spoon or soda bottle. Also, invest in Tamiya primers if you’re using their spray paint. Read through this forum, there’s tons of paint how-to info!
-
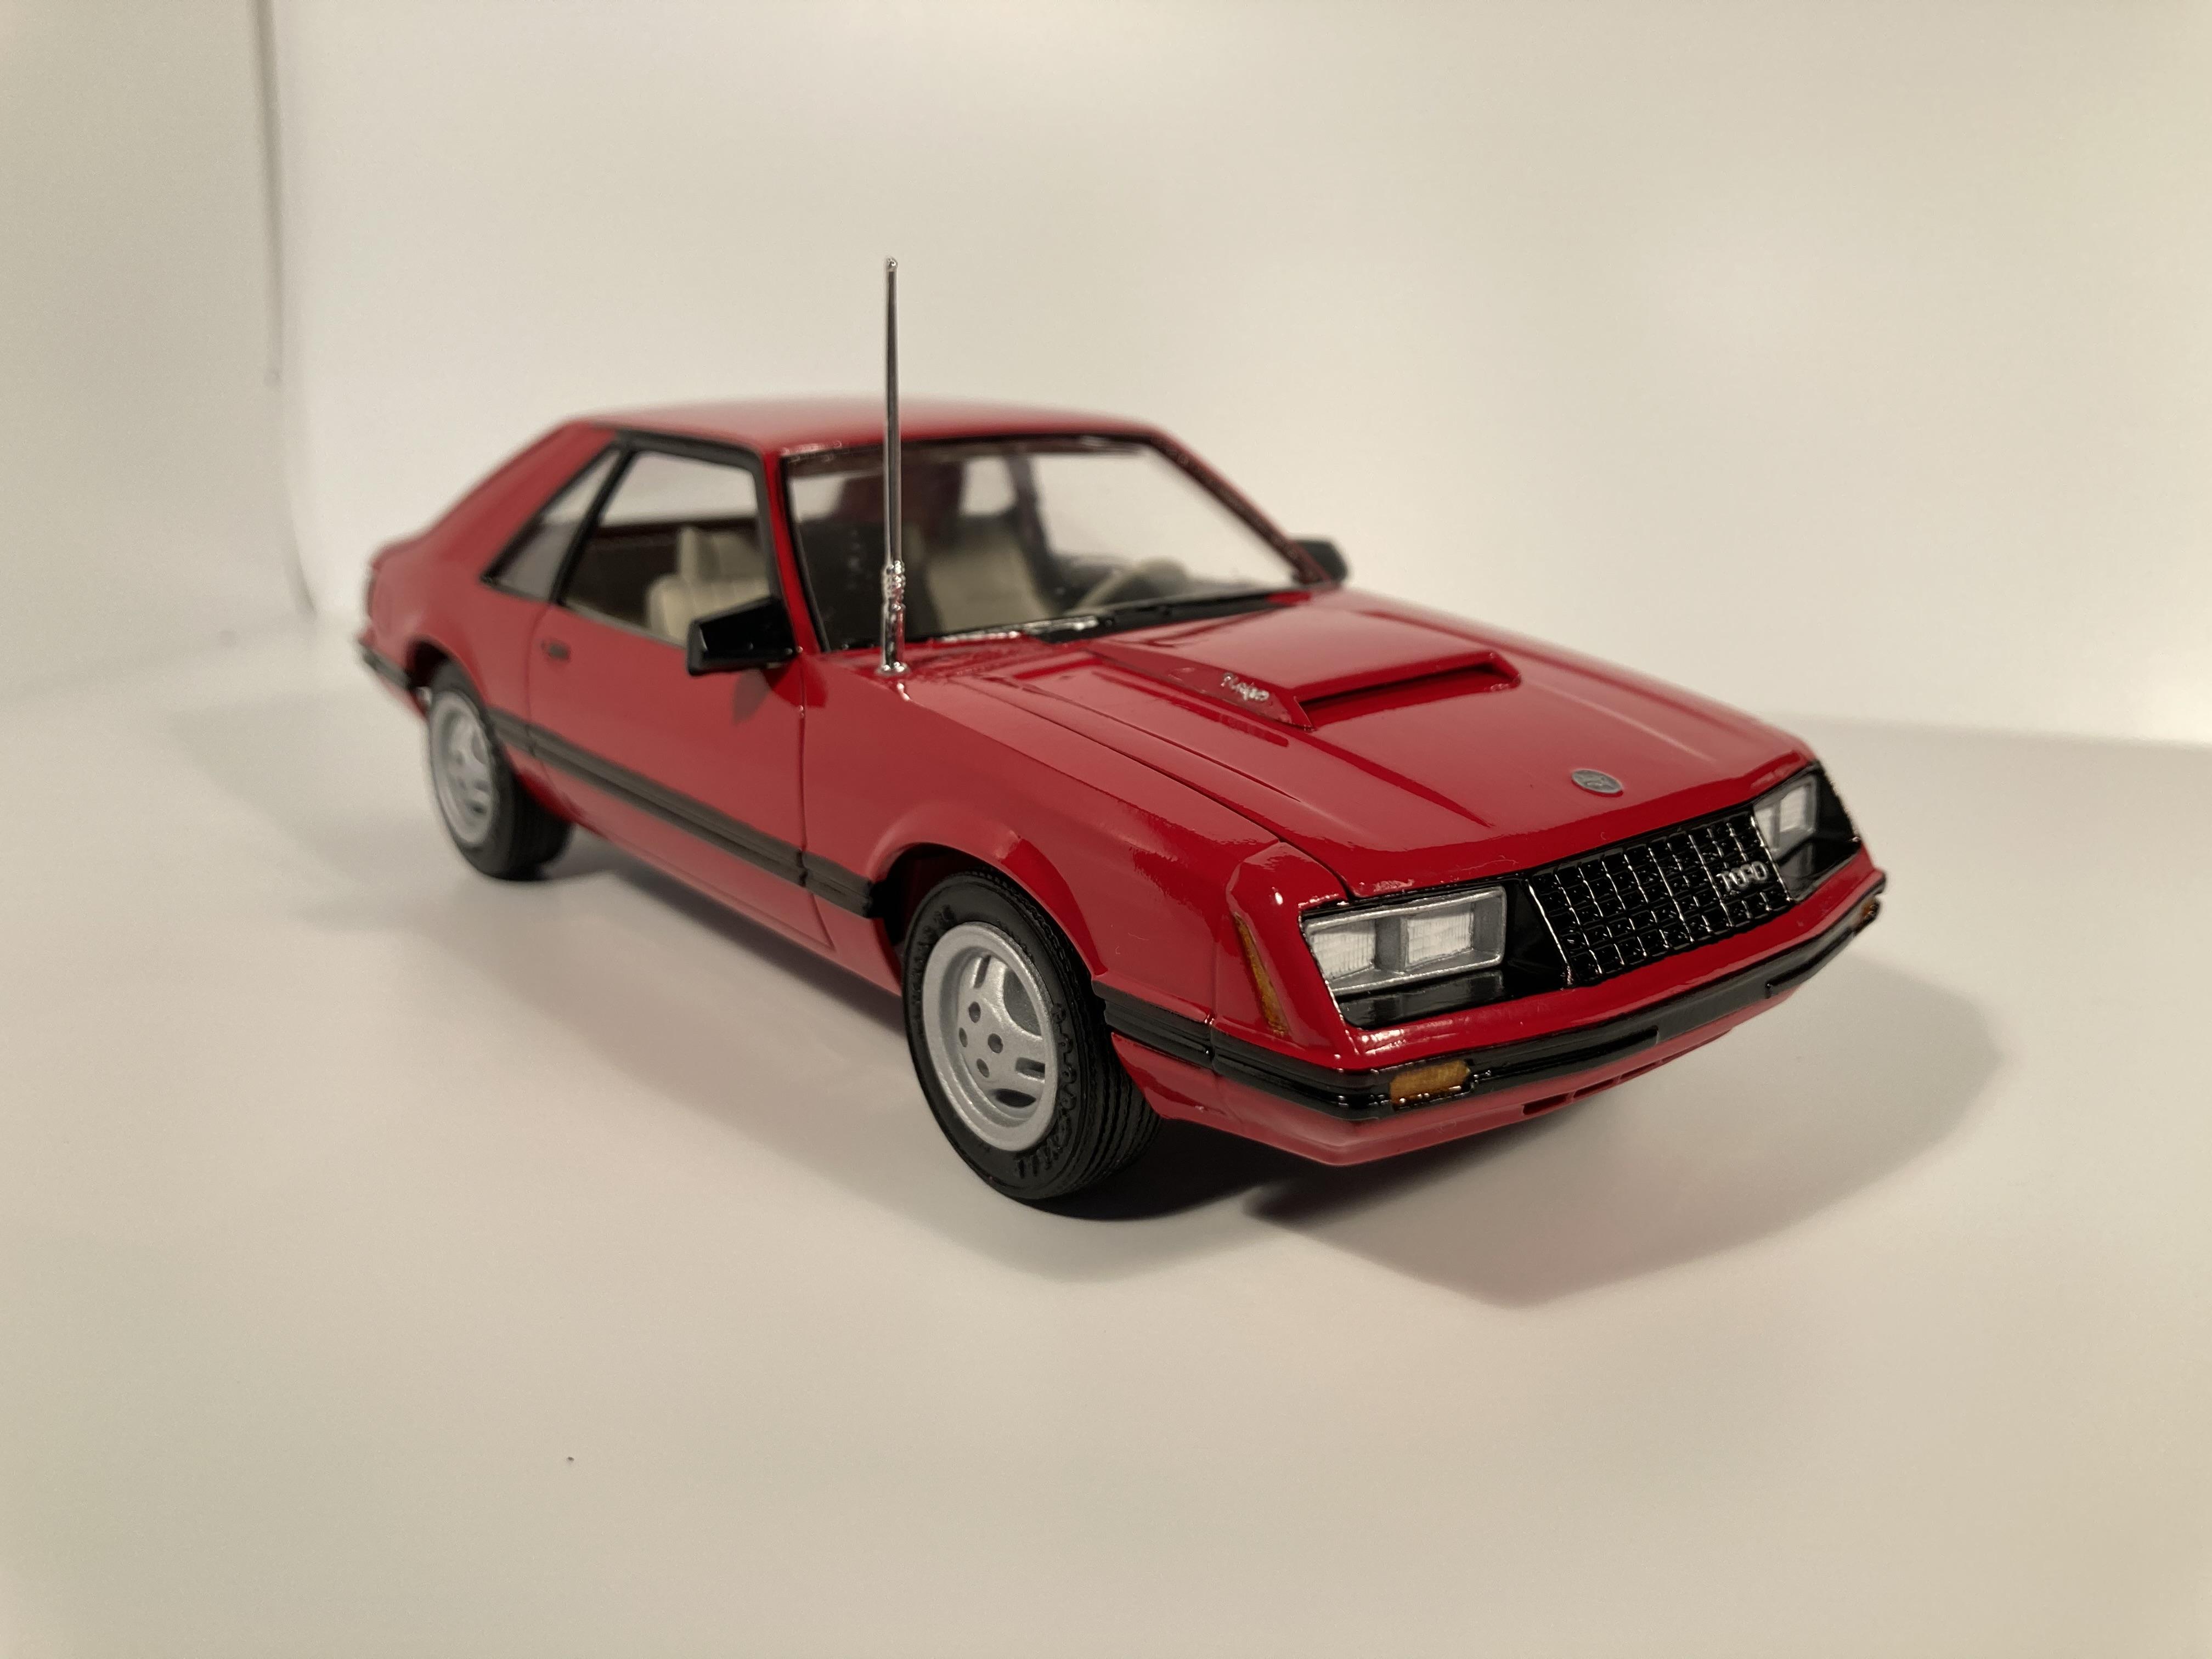
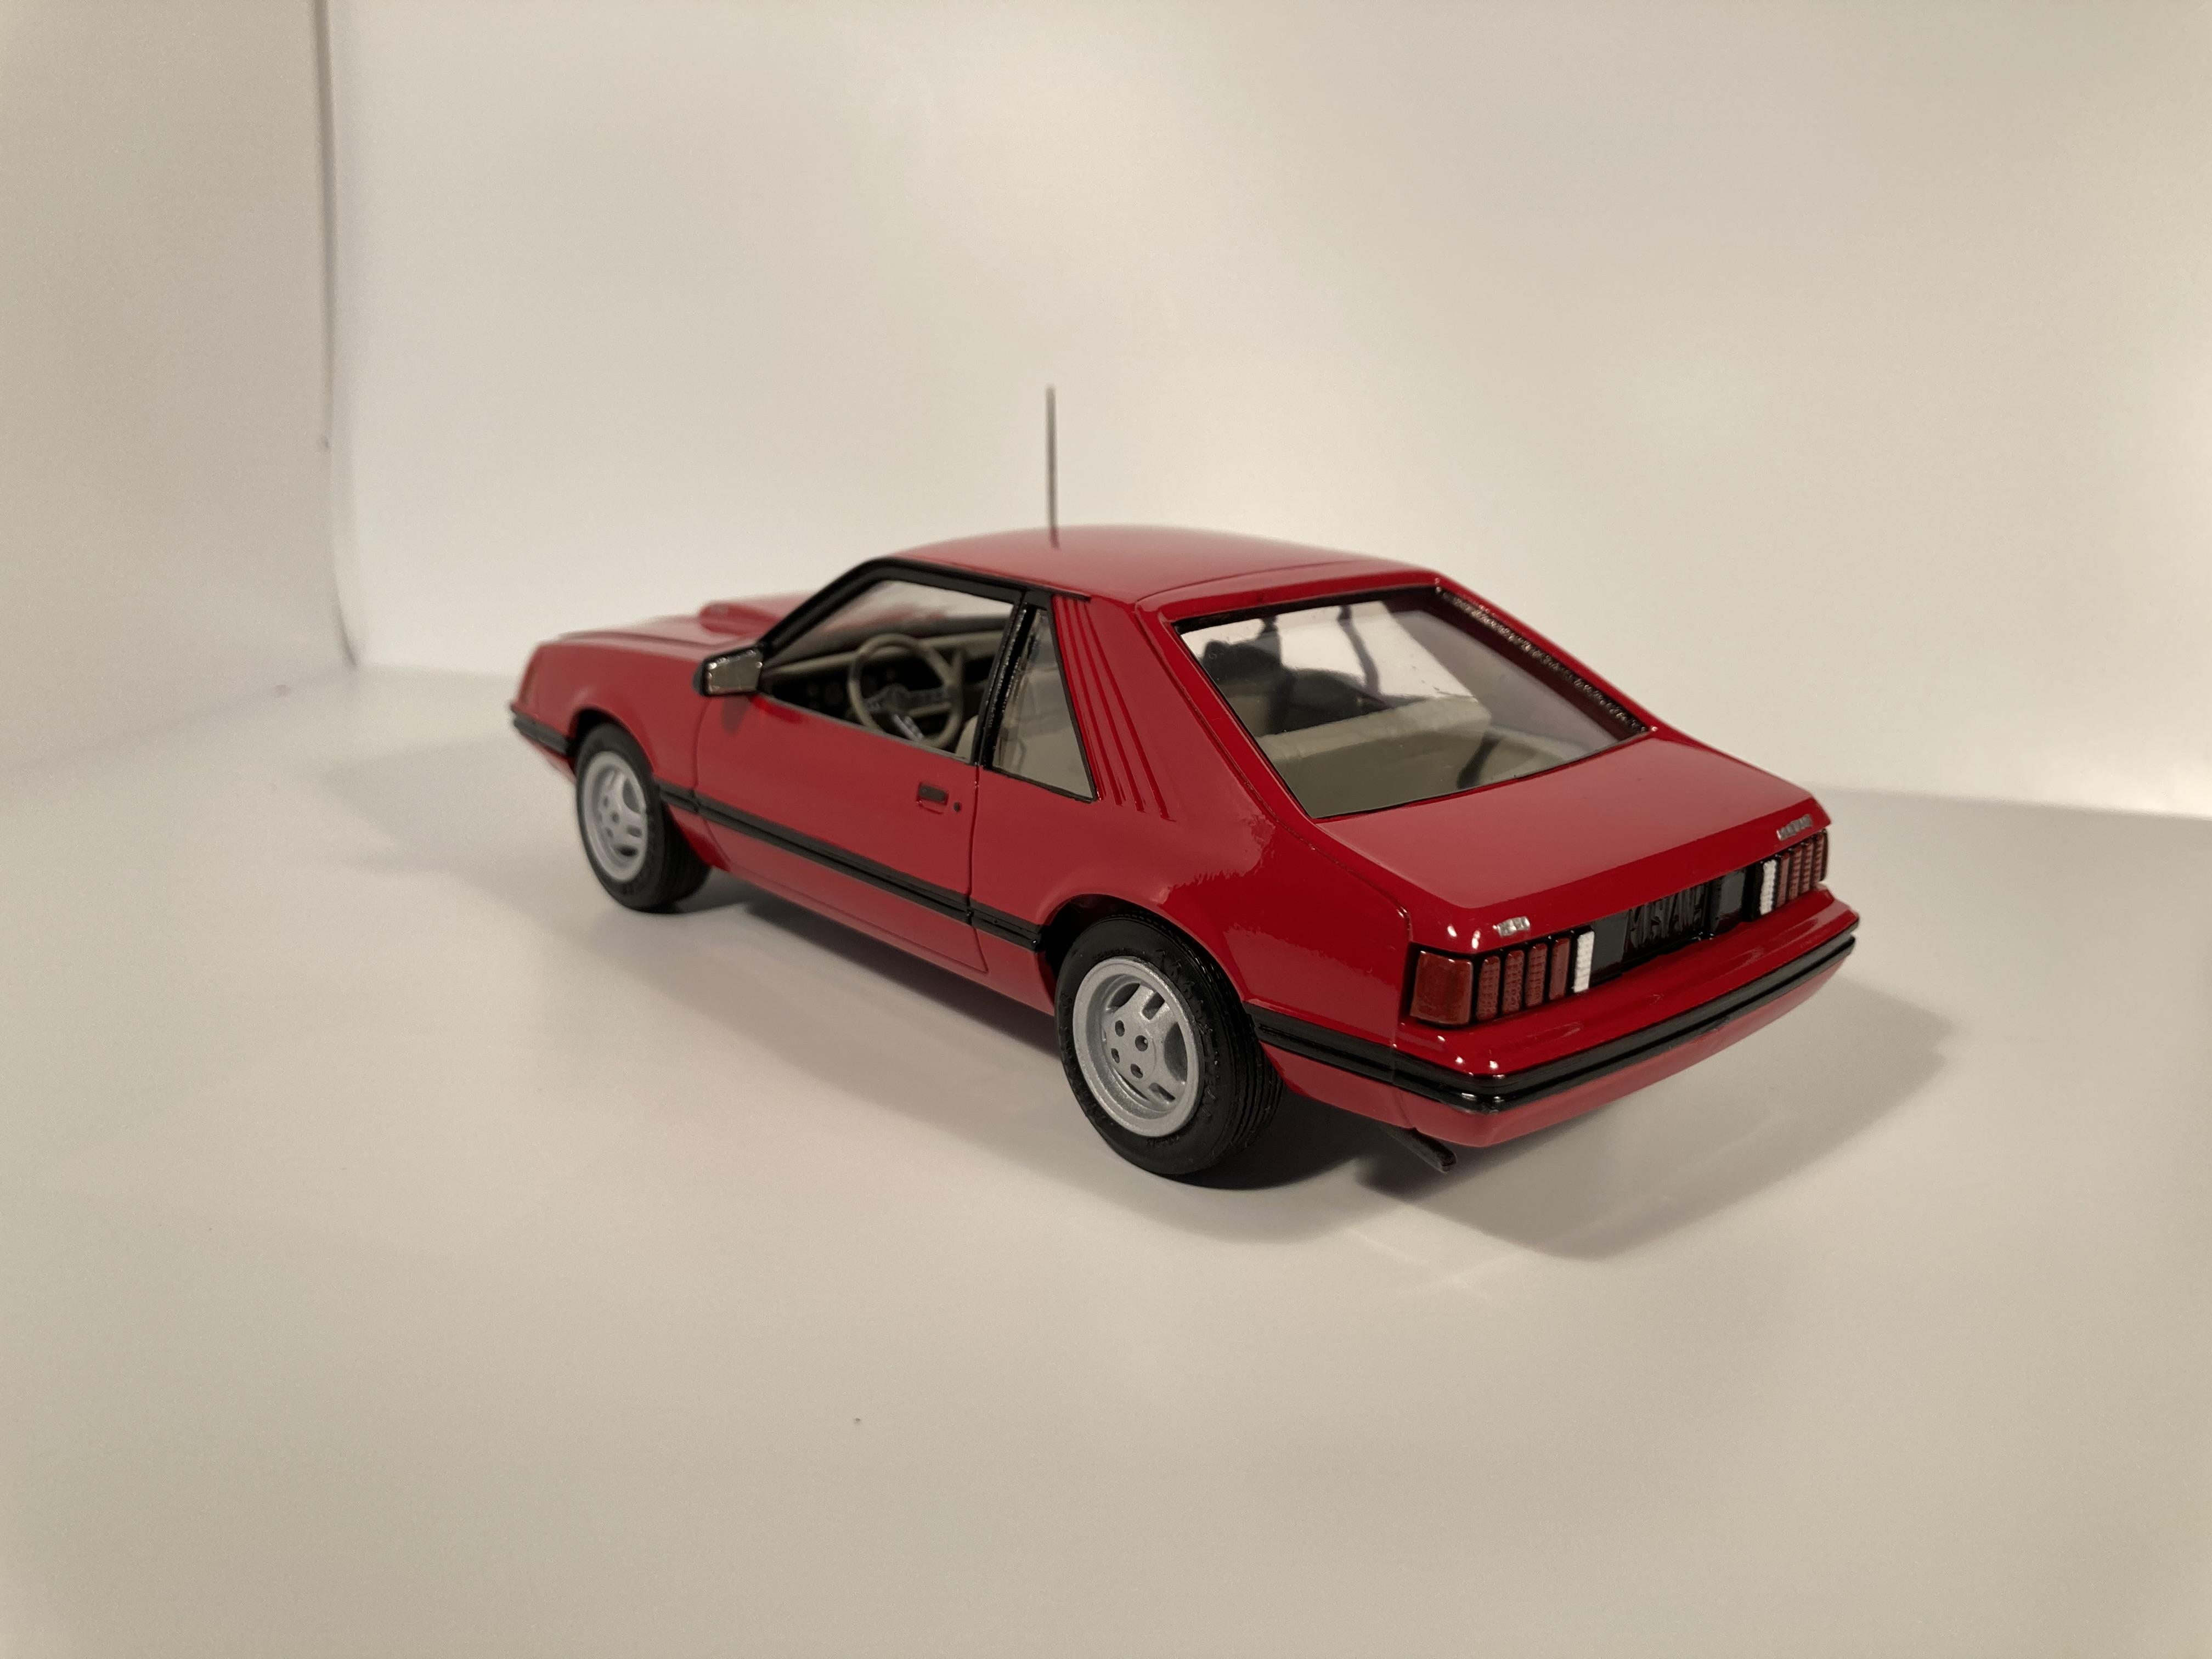
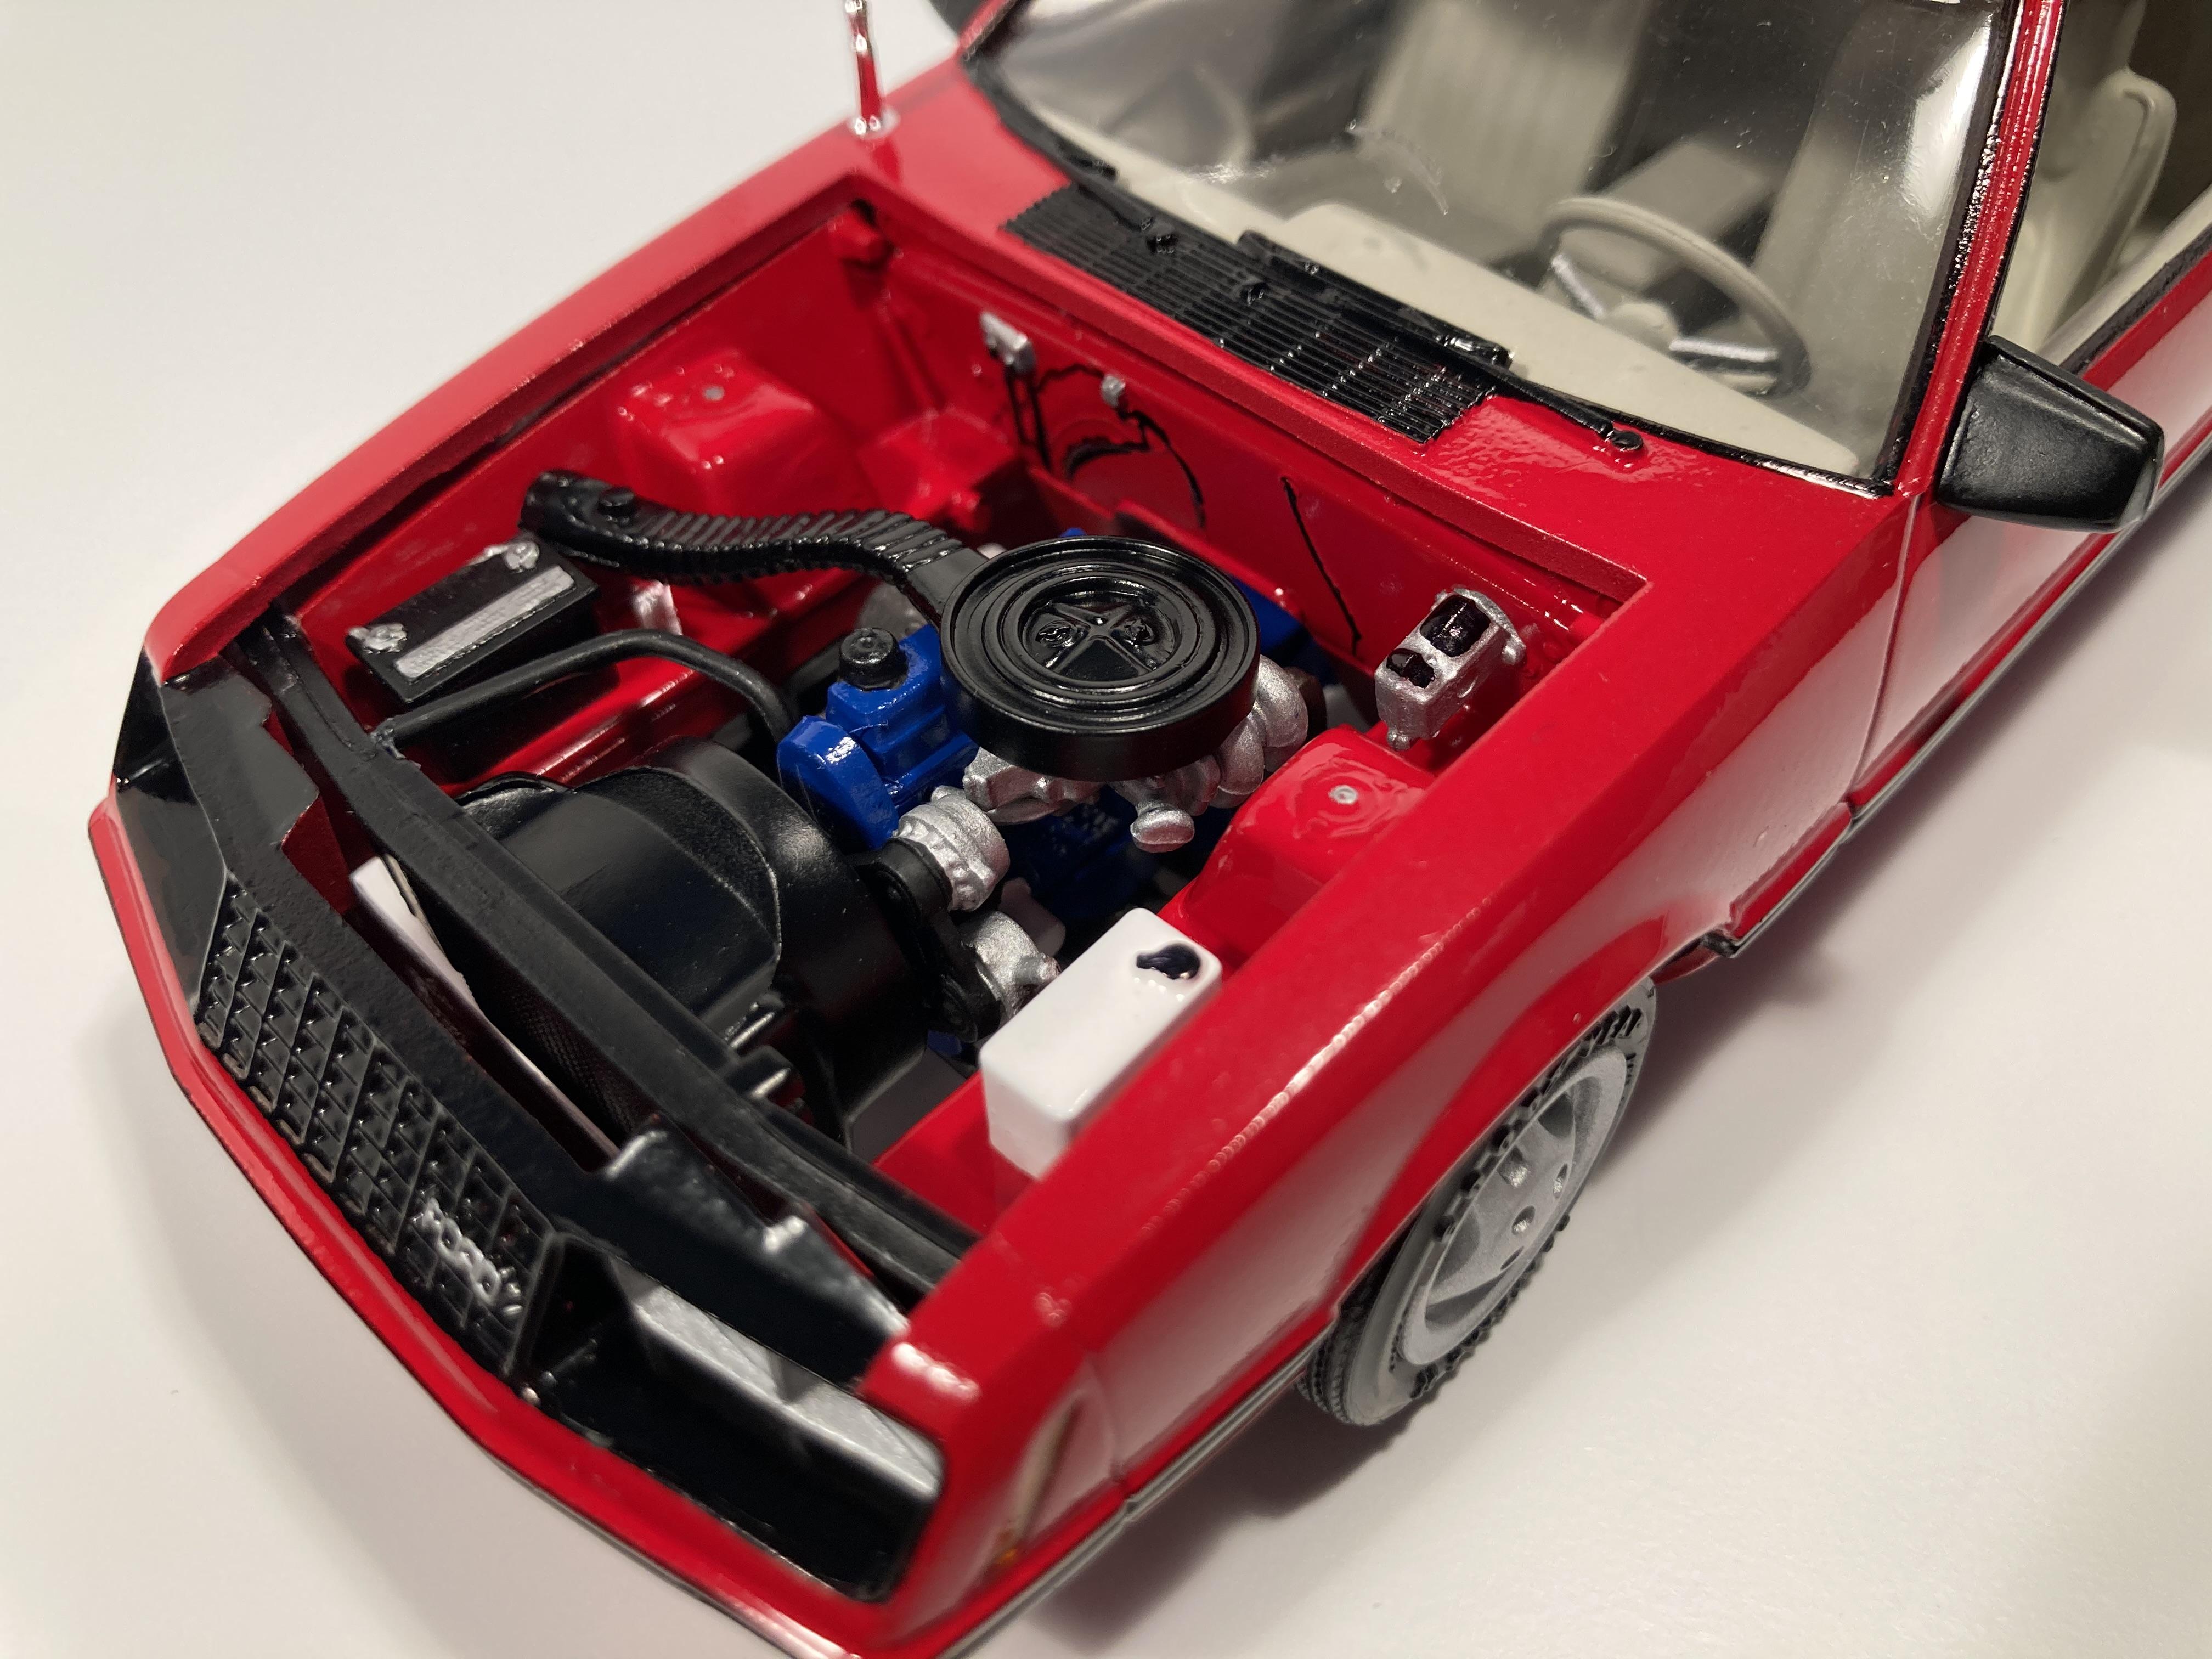
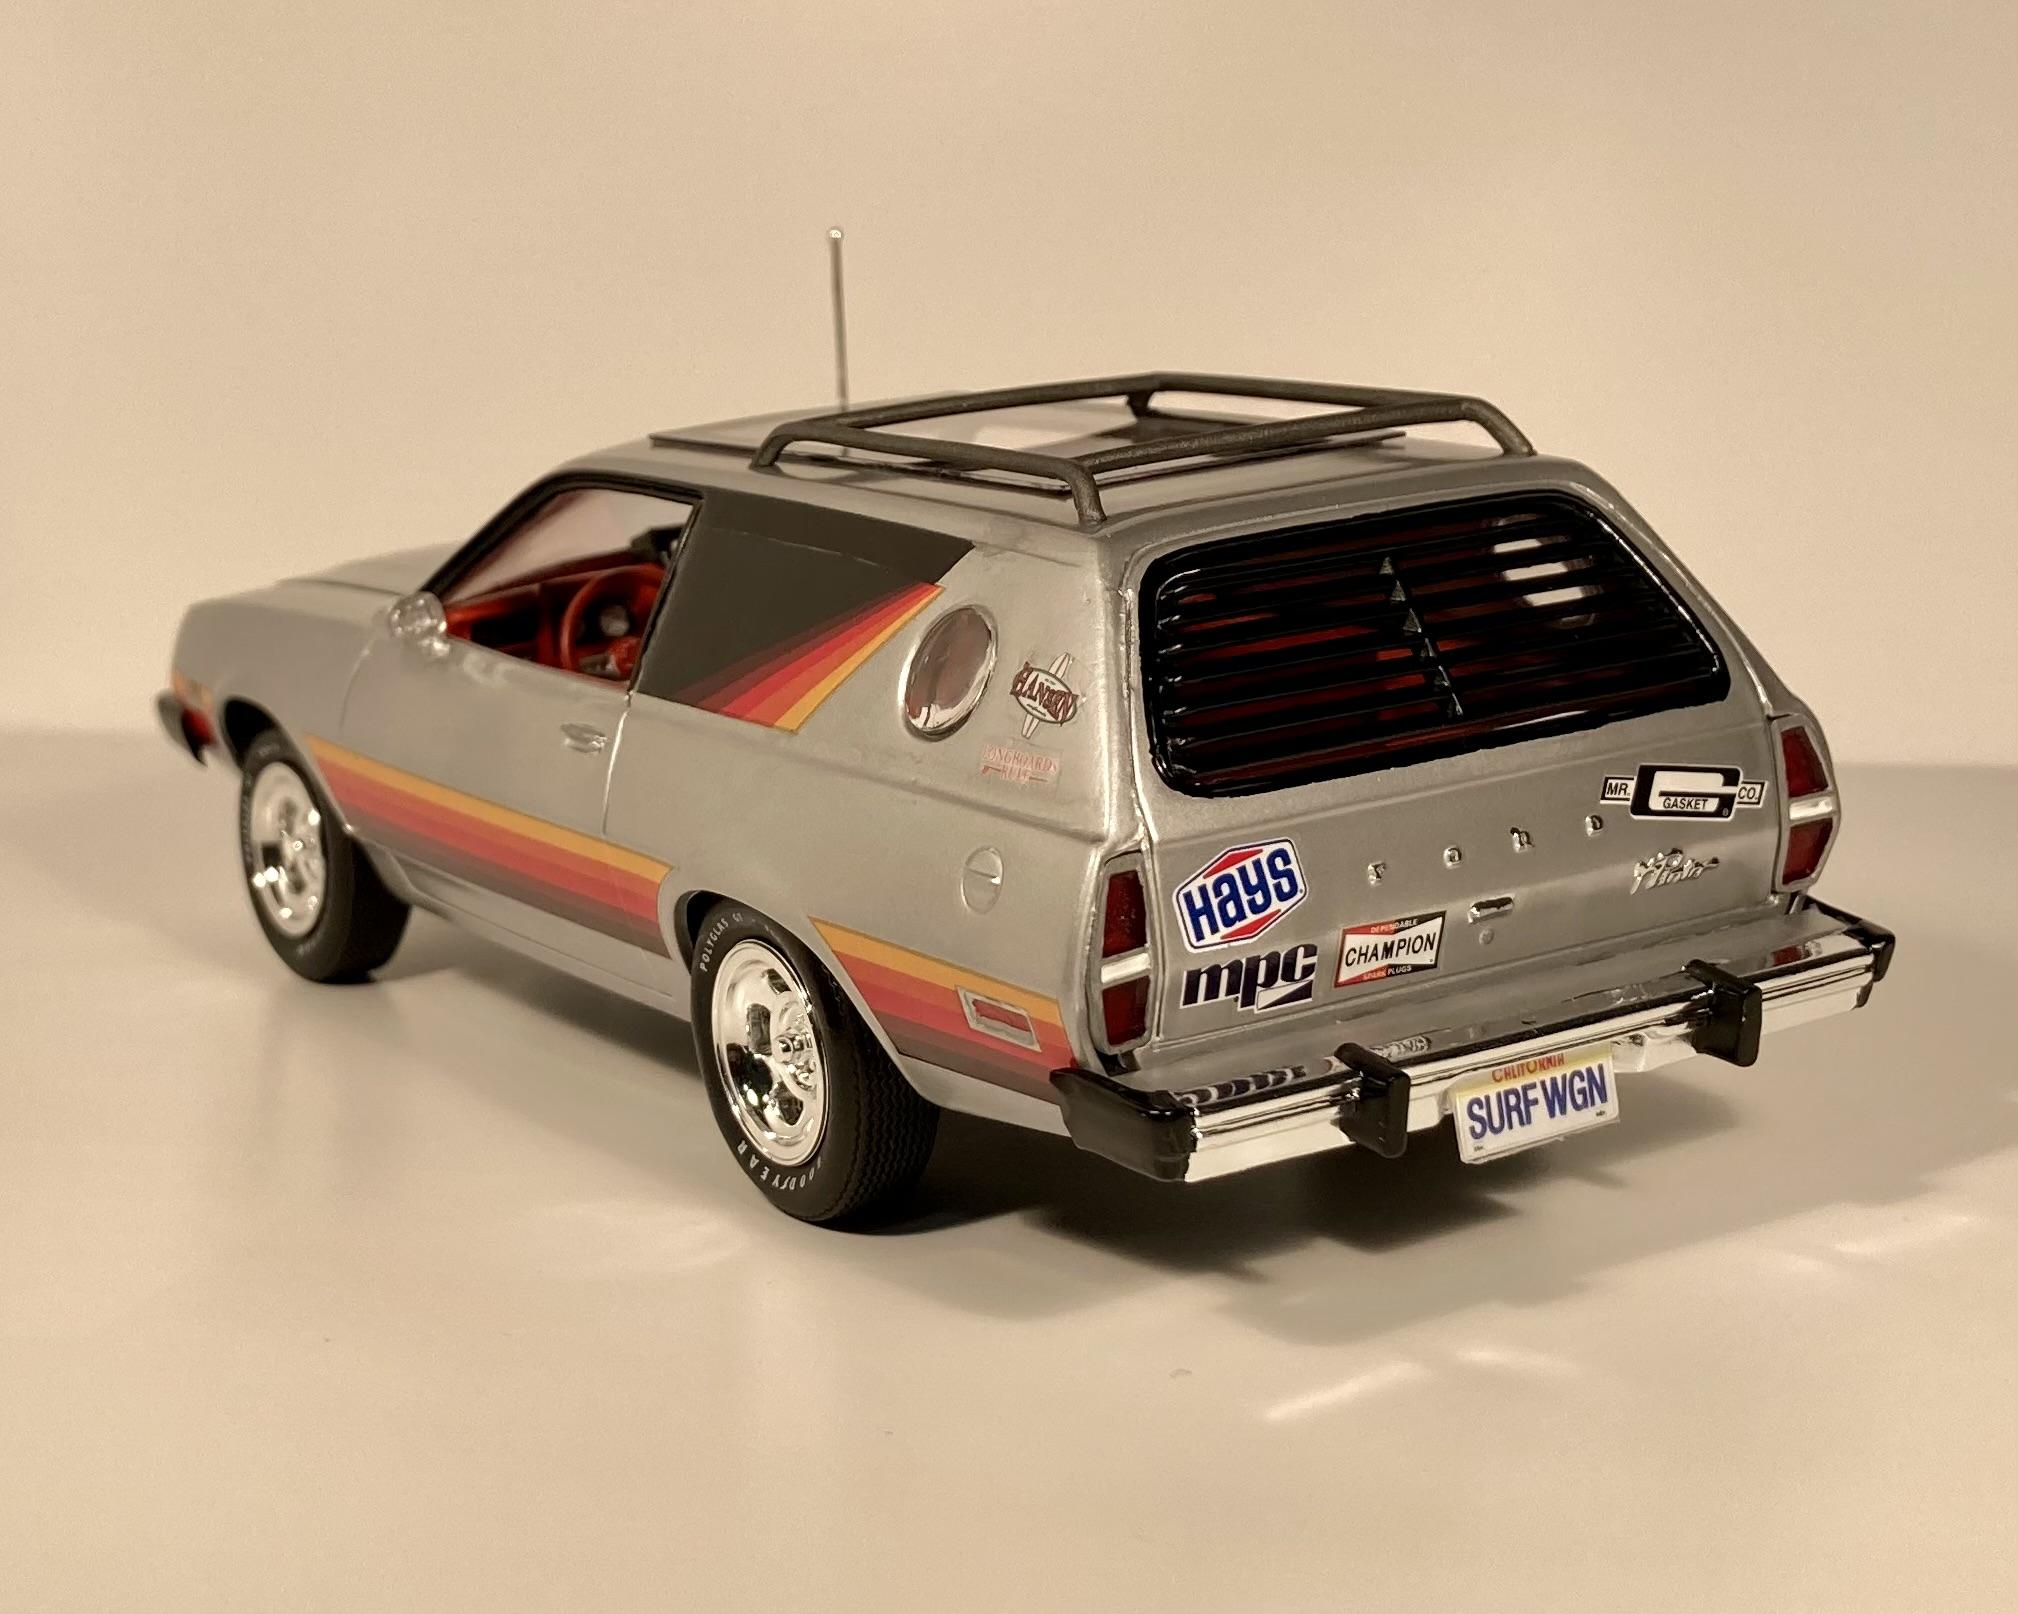
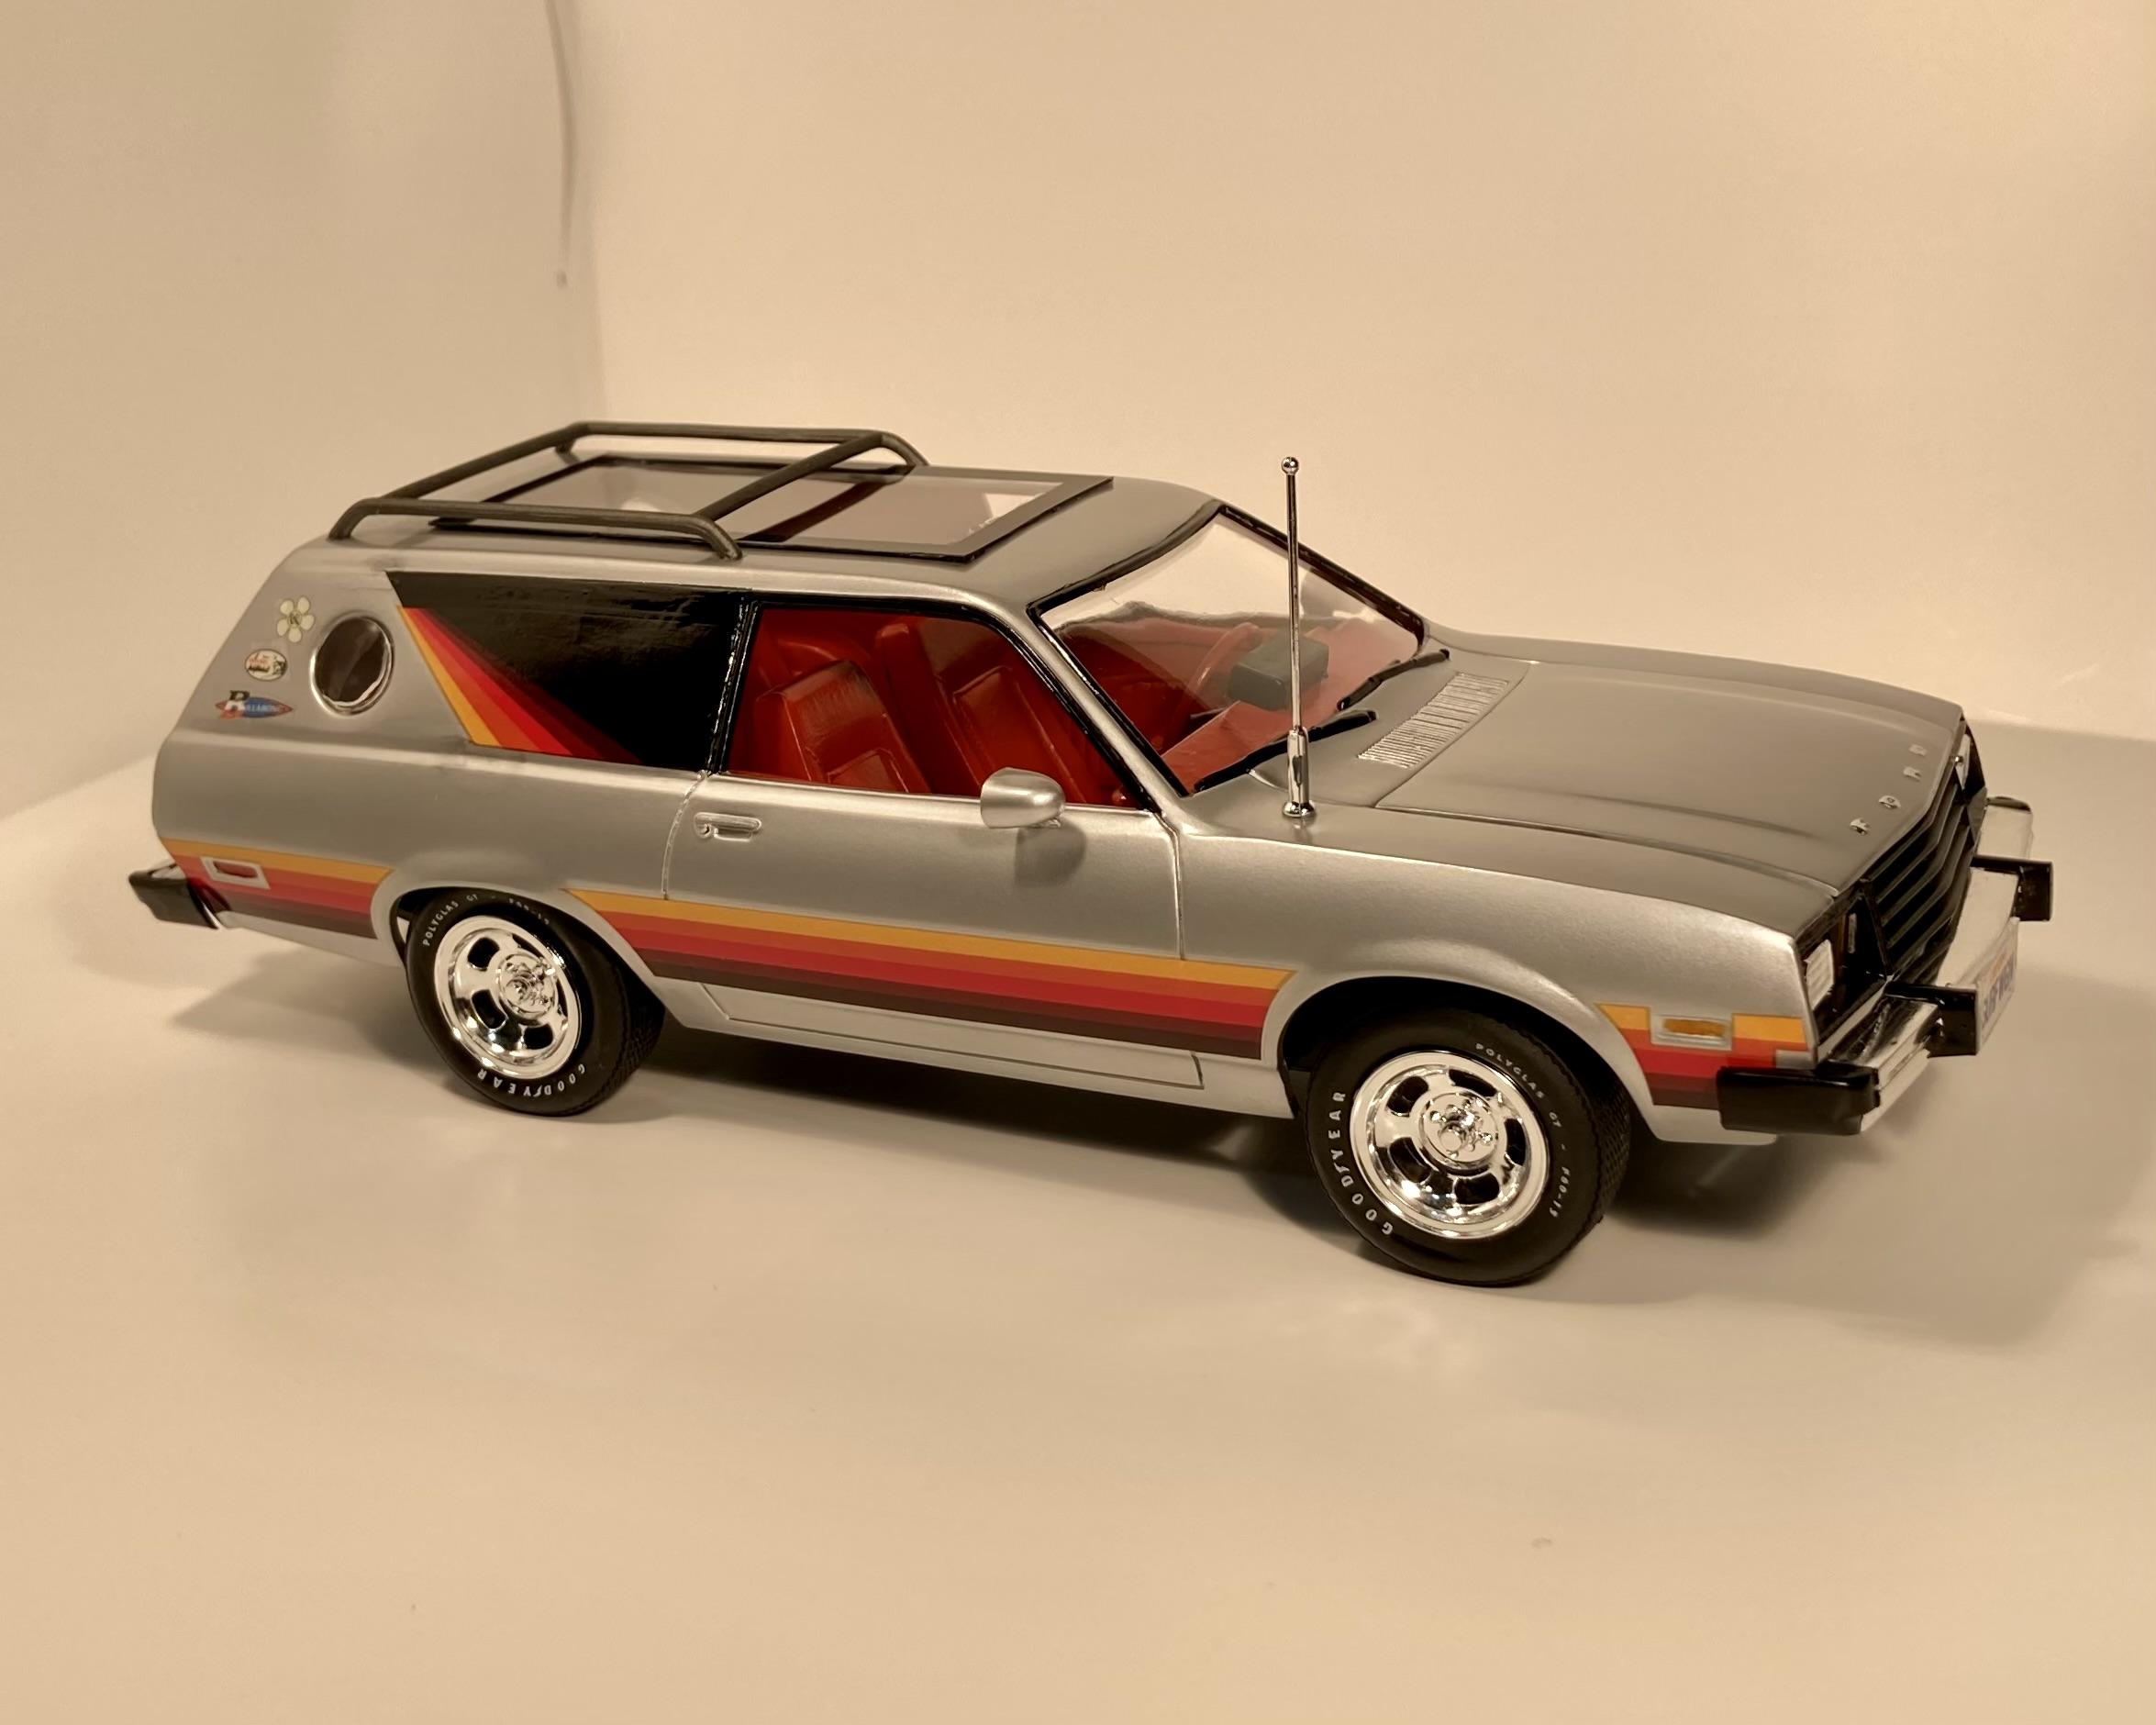
Looks great! I built the ‘79 cobra version a while back as a non-cobra turbo 4.
-
Another Pinto Cruising Wagon
-
? per my screen name/pseudonym that I first made up when I was 14: StanG…lover
-
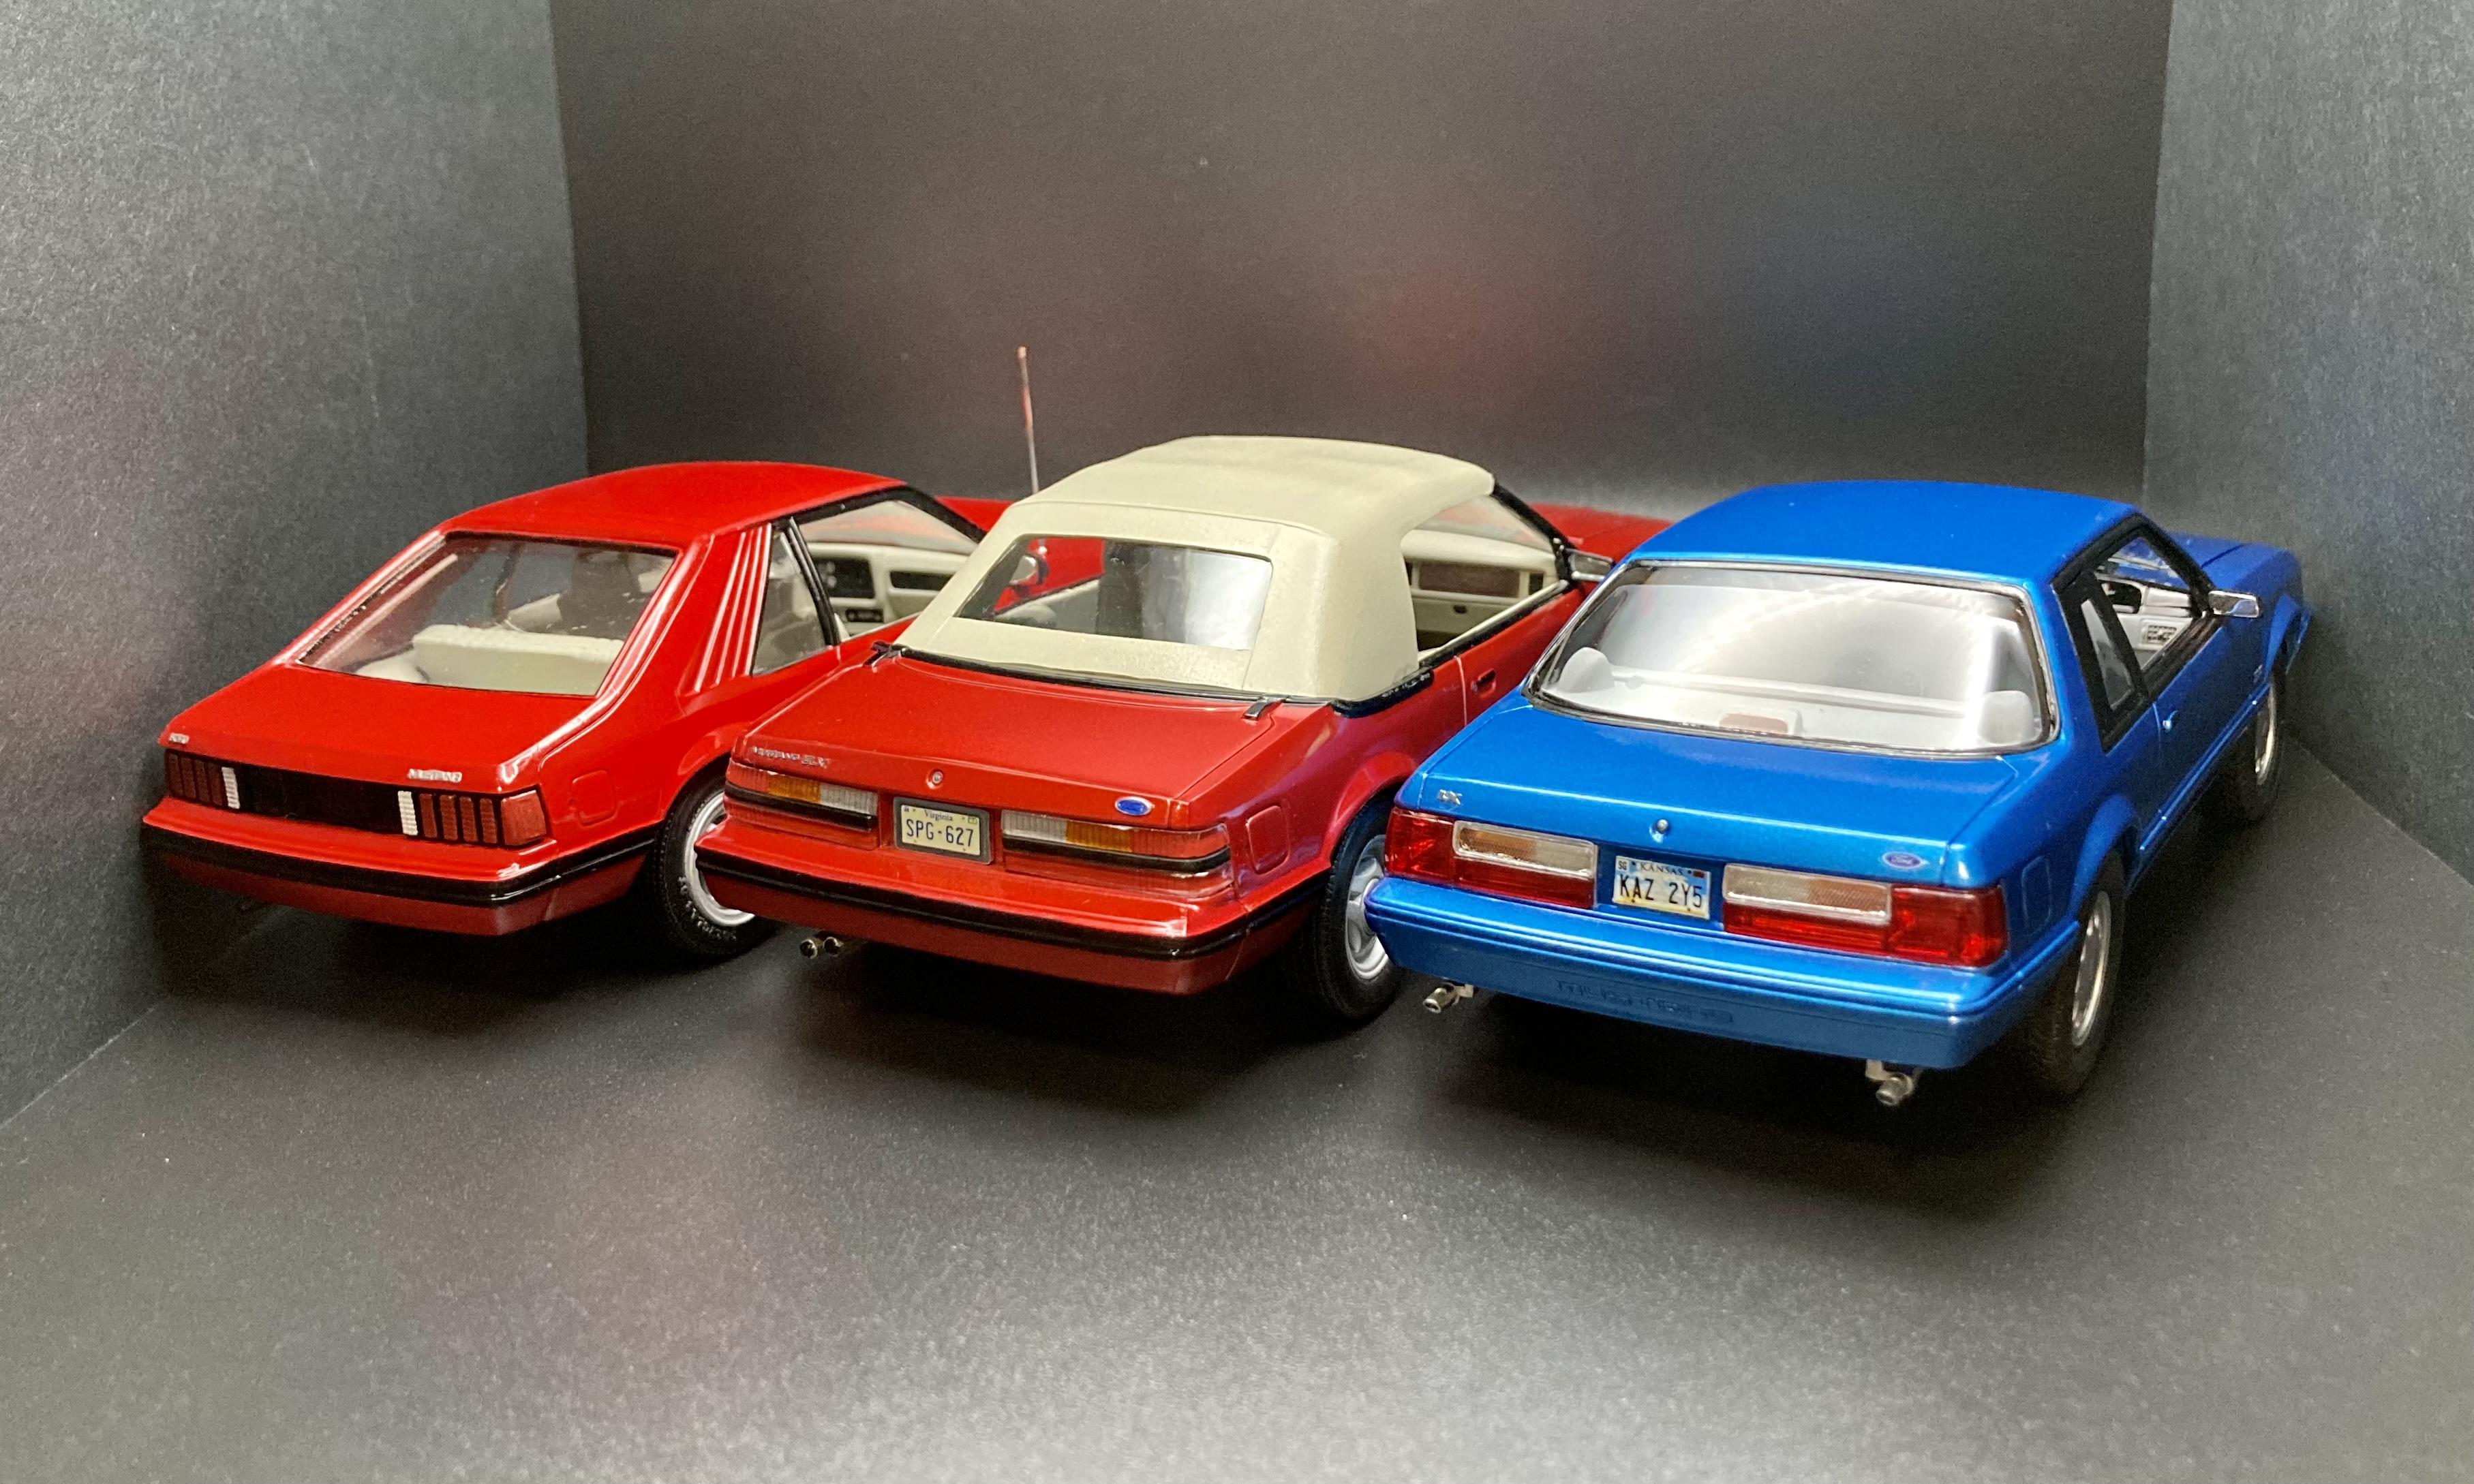
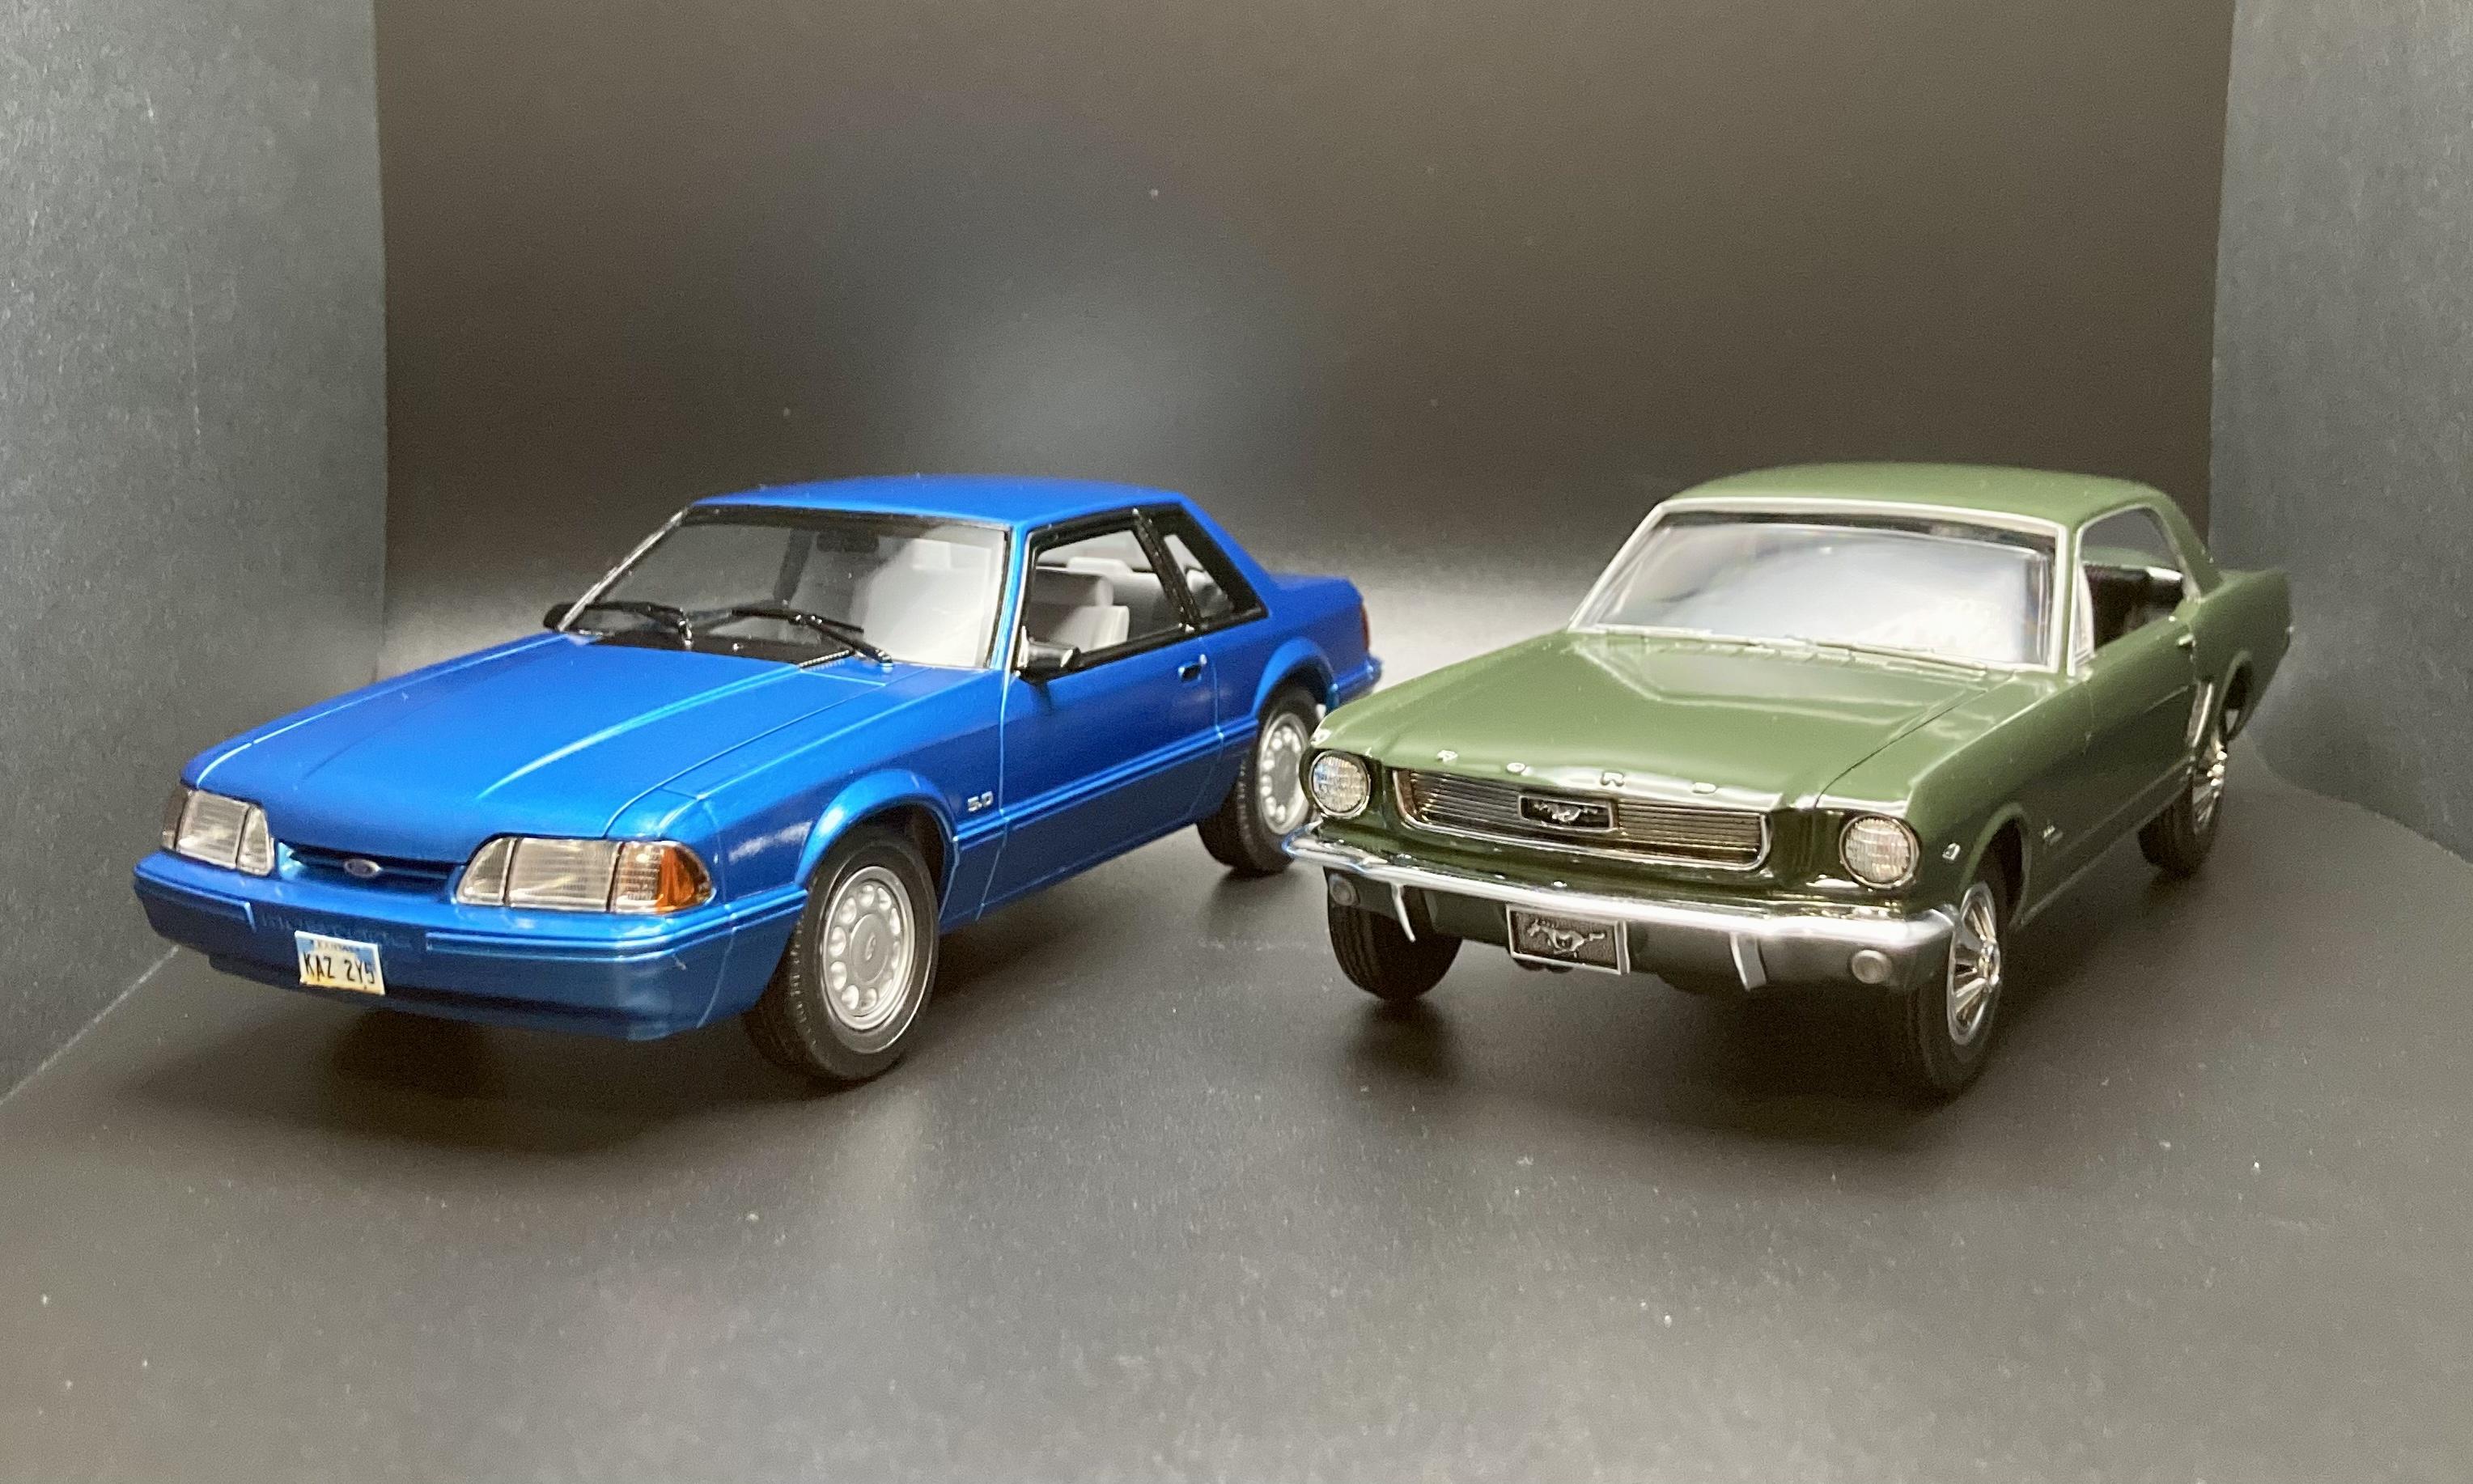
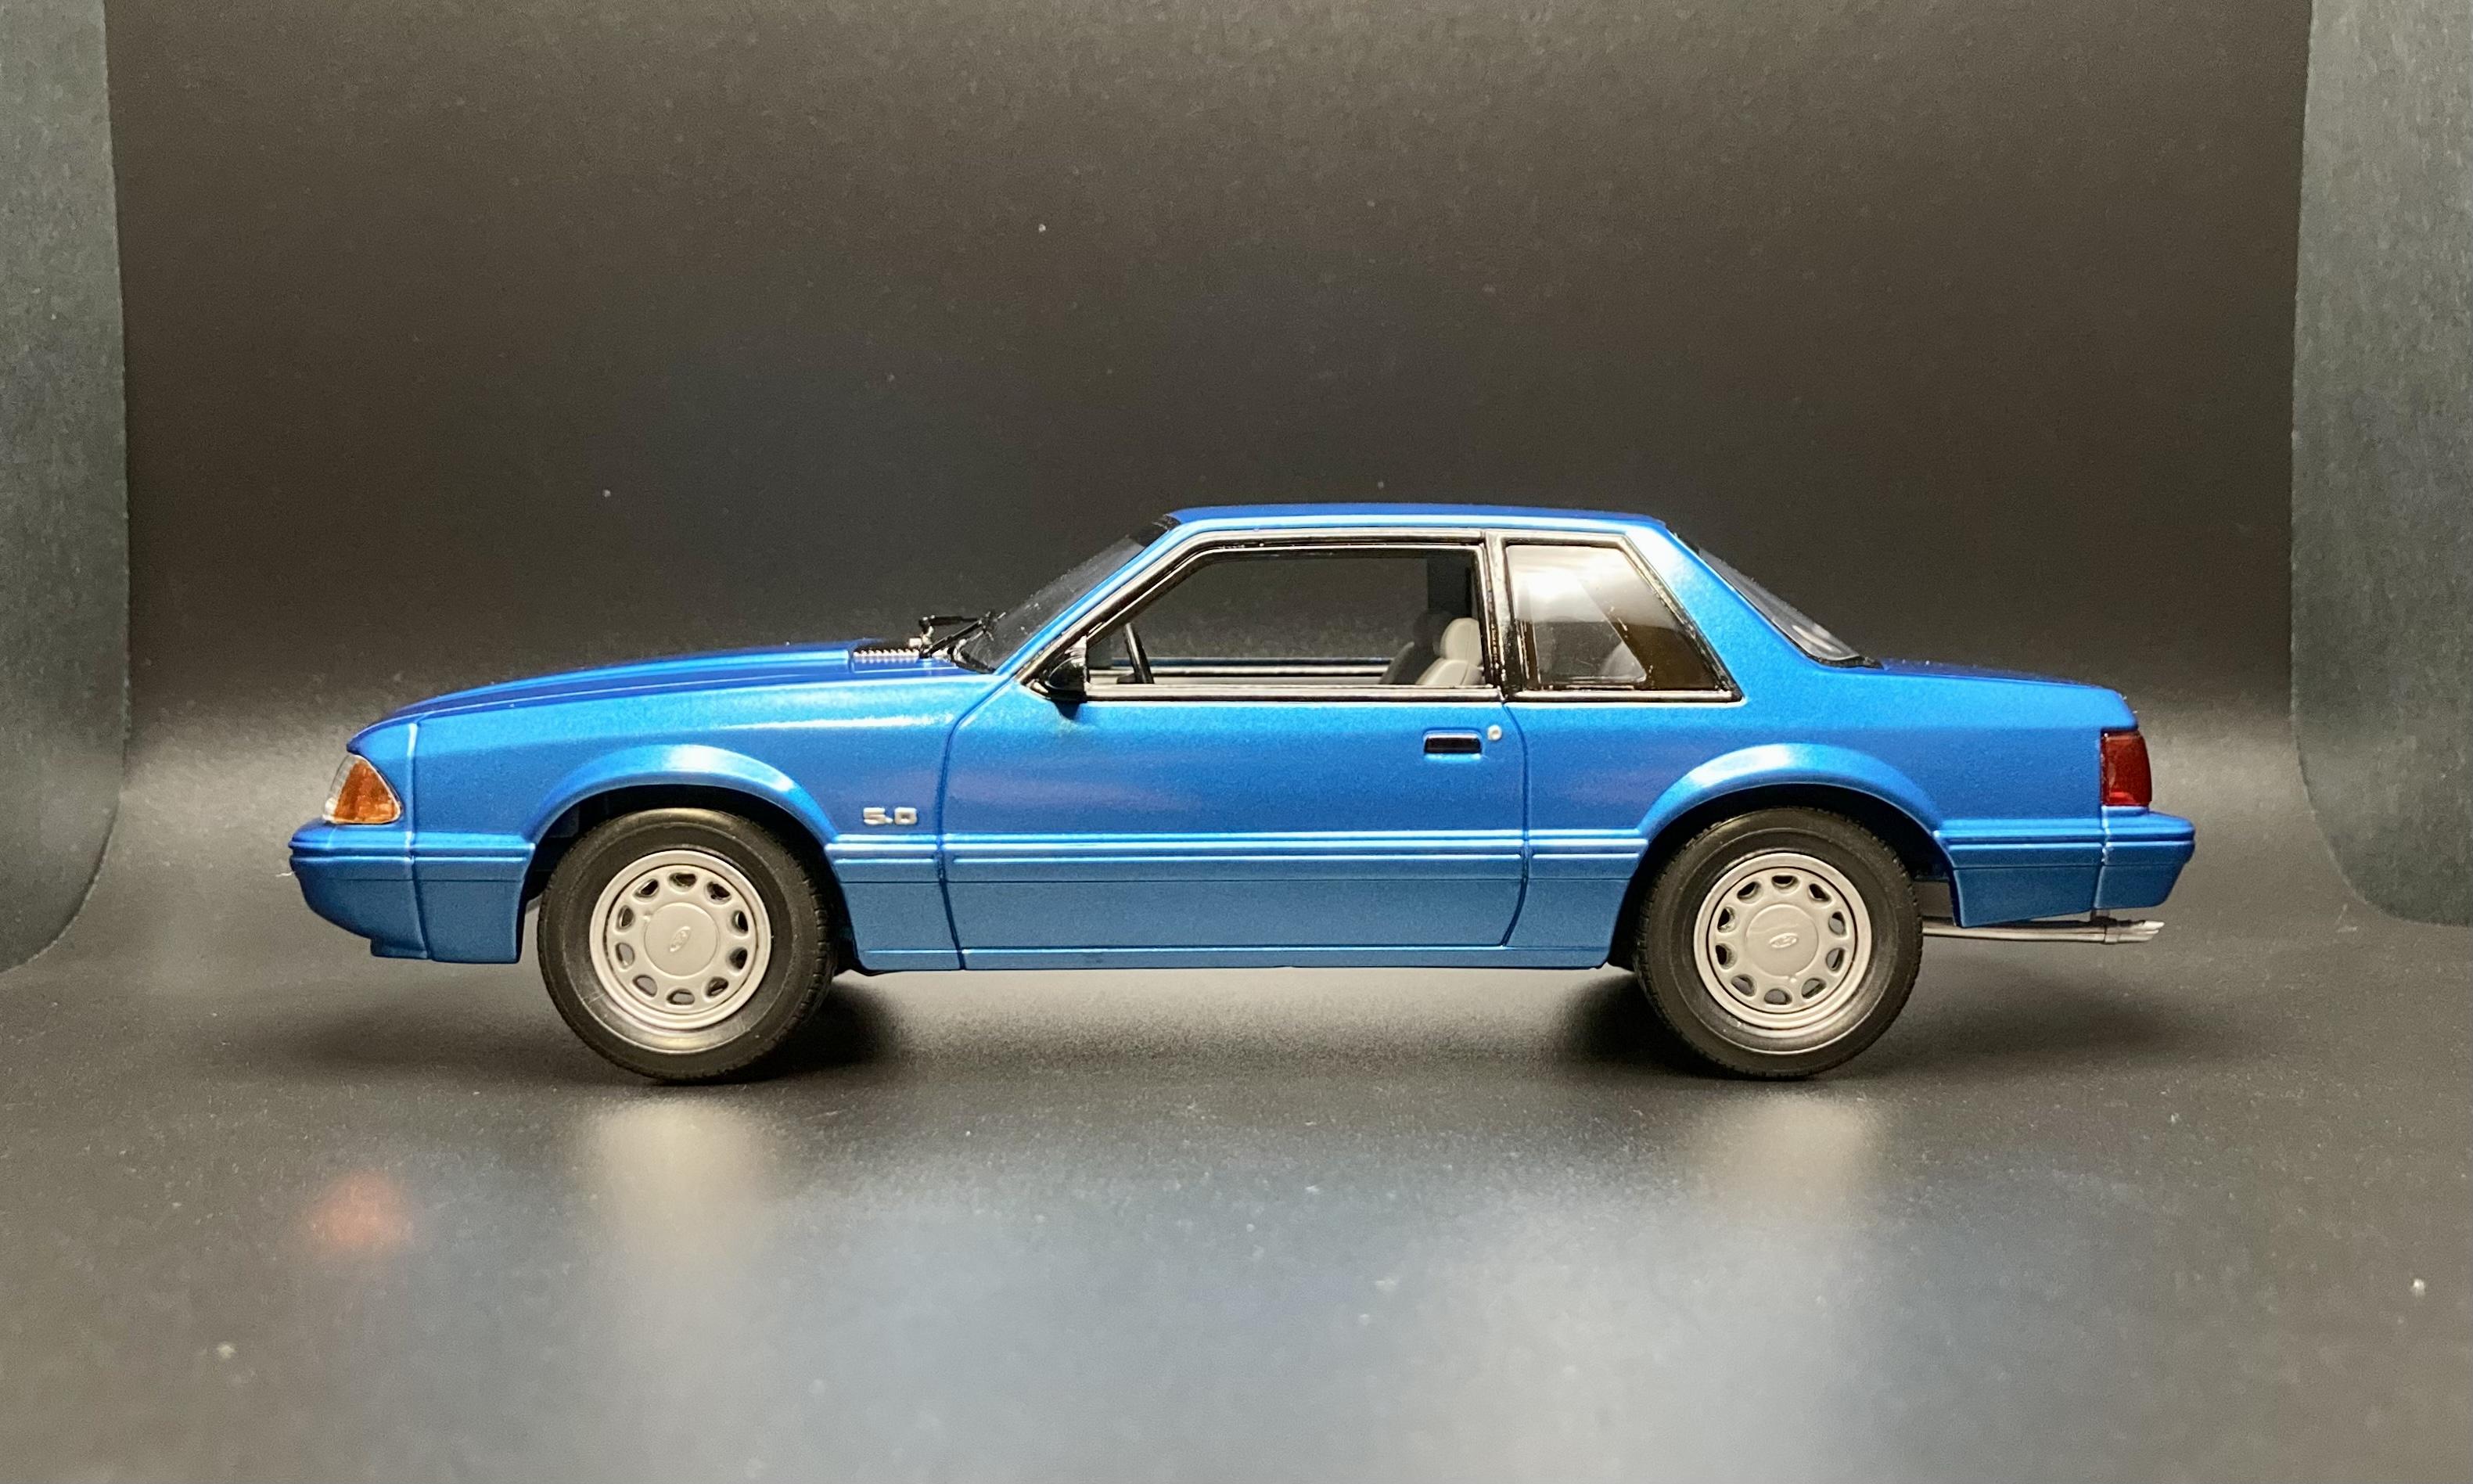
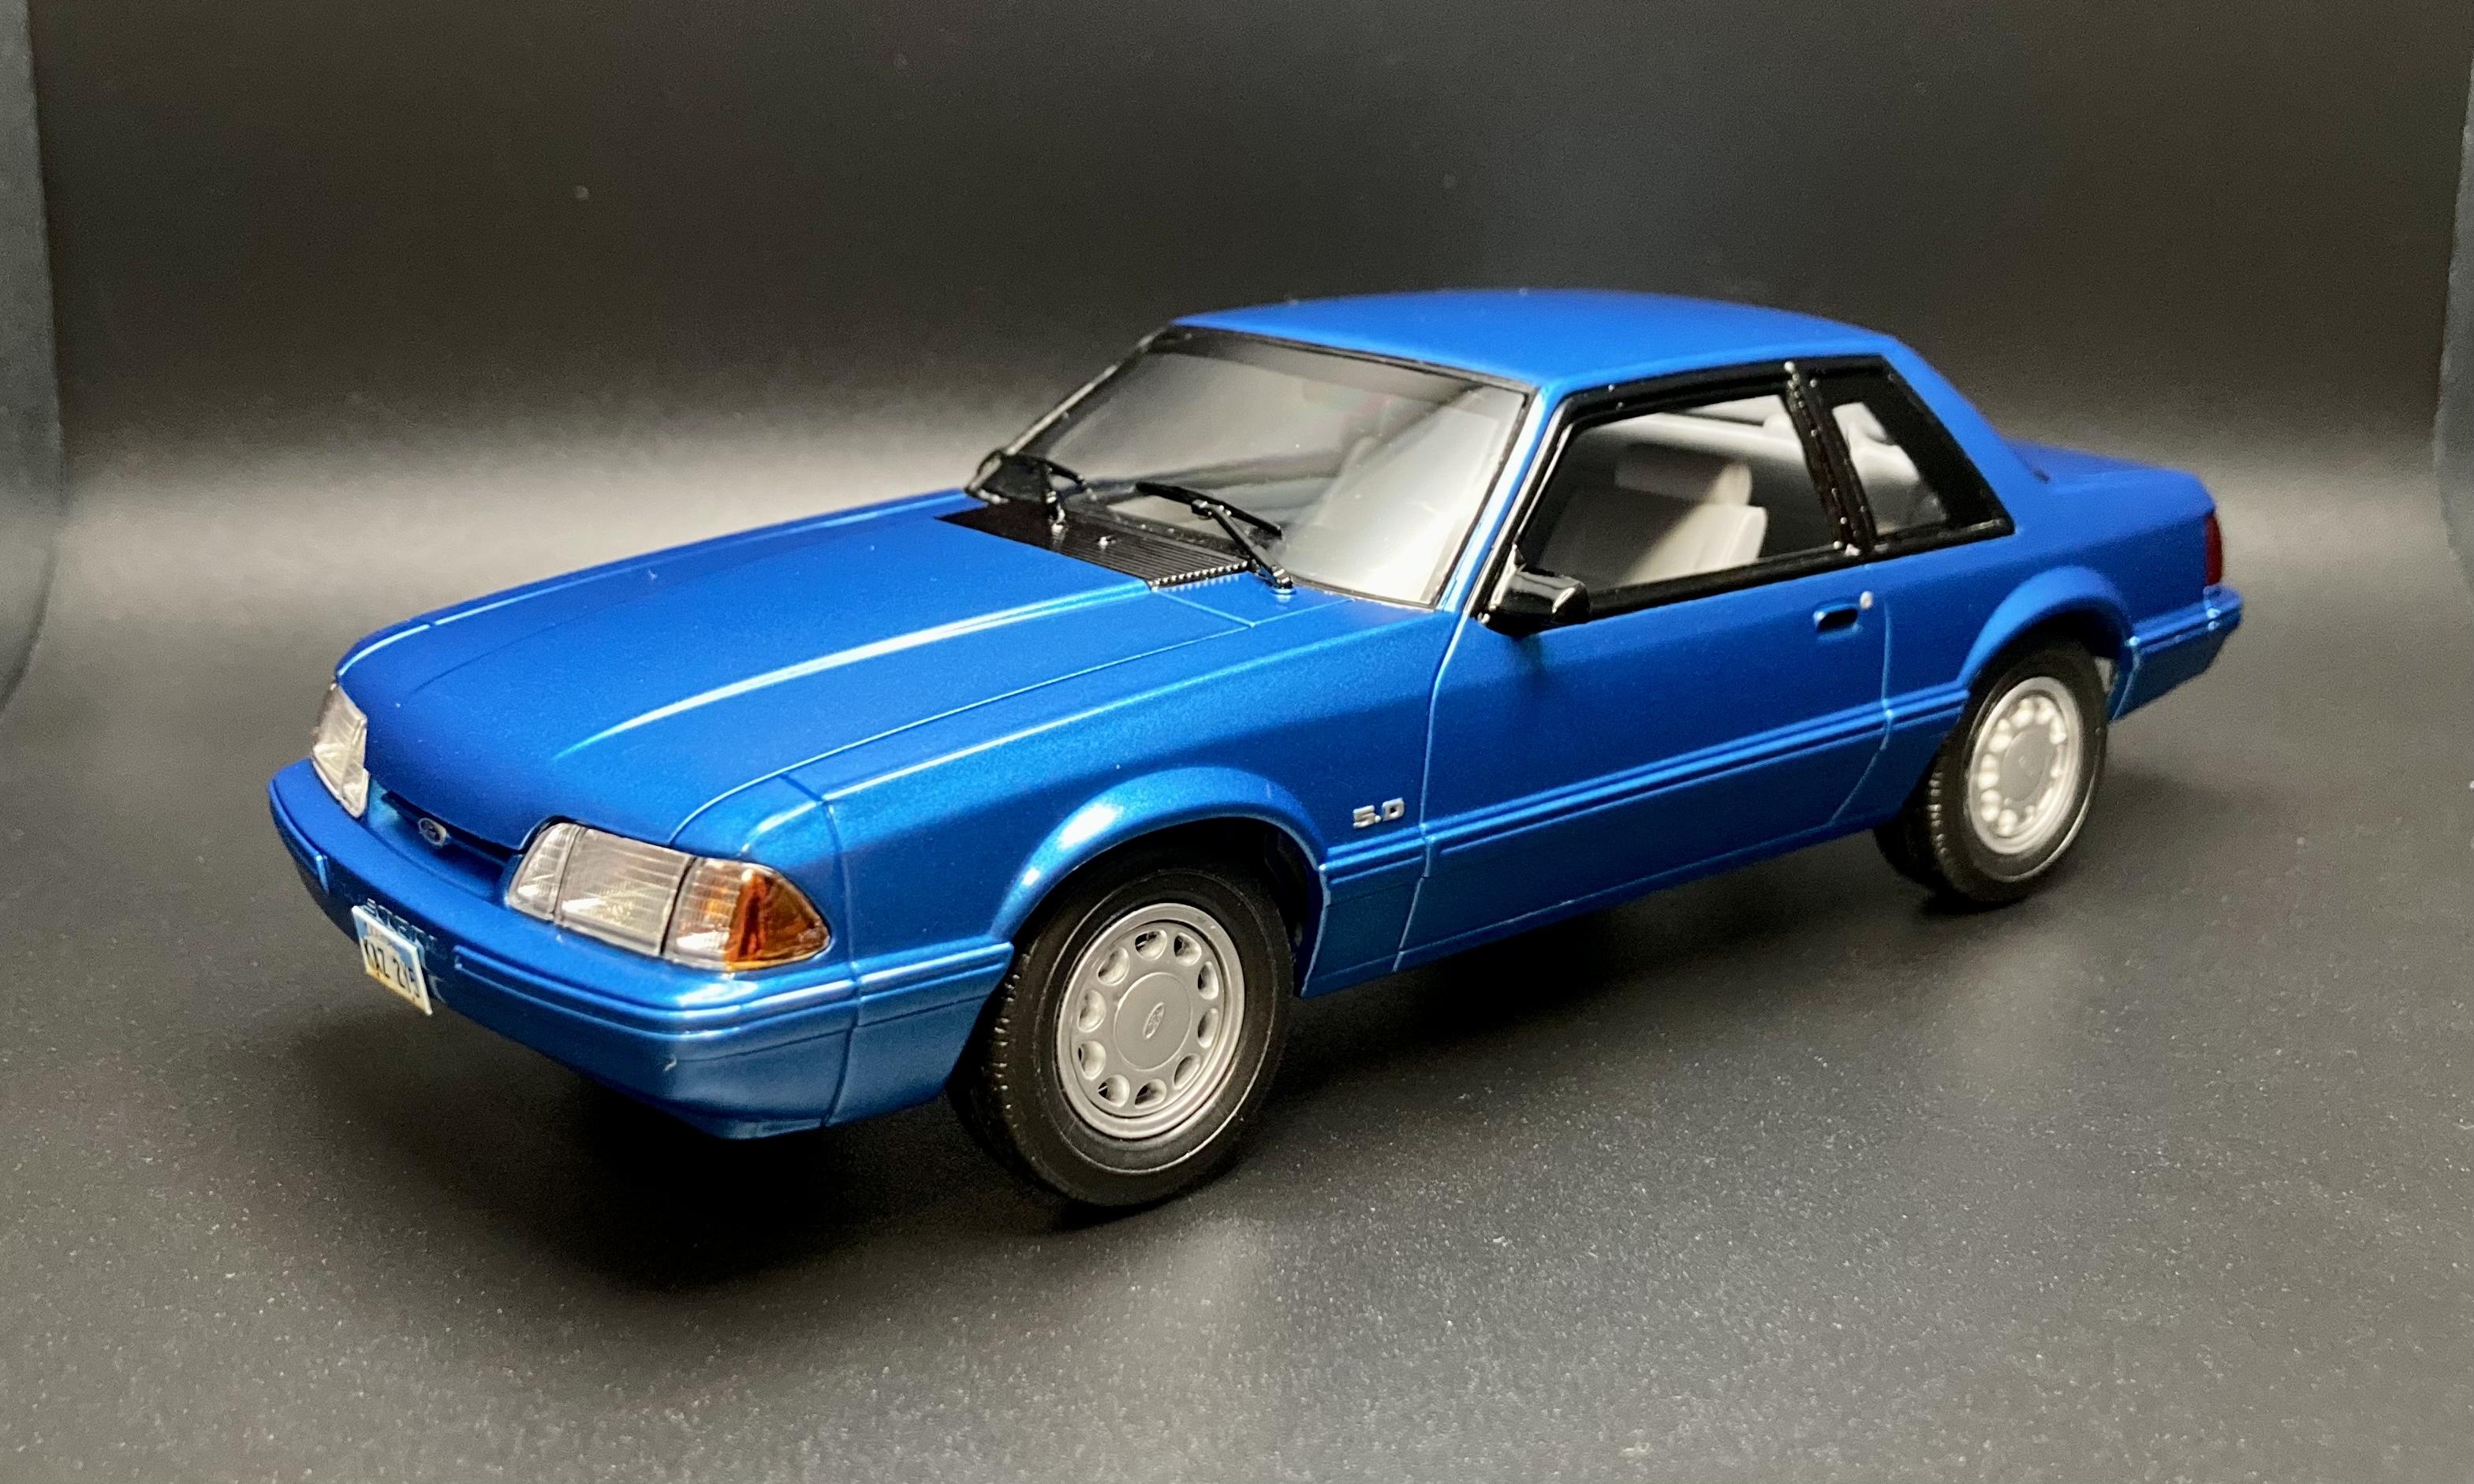
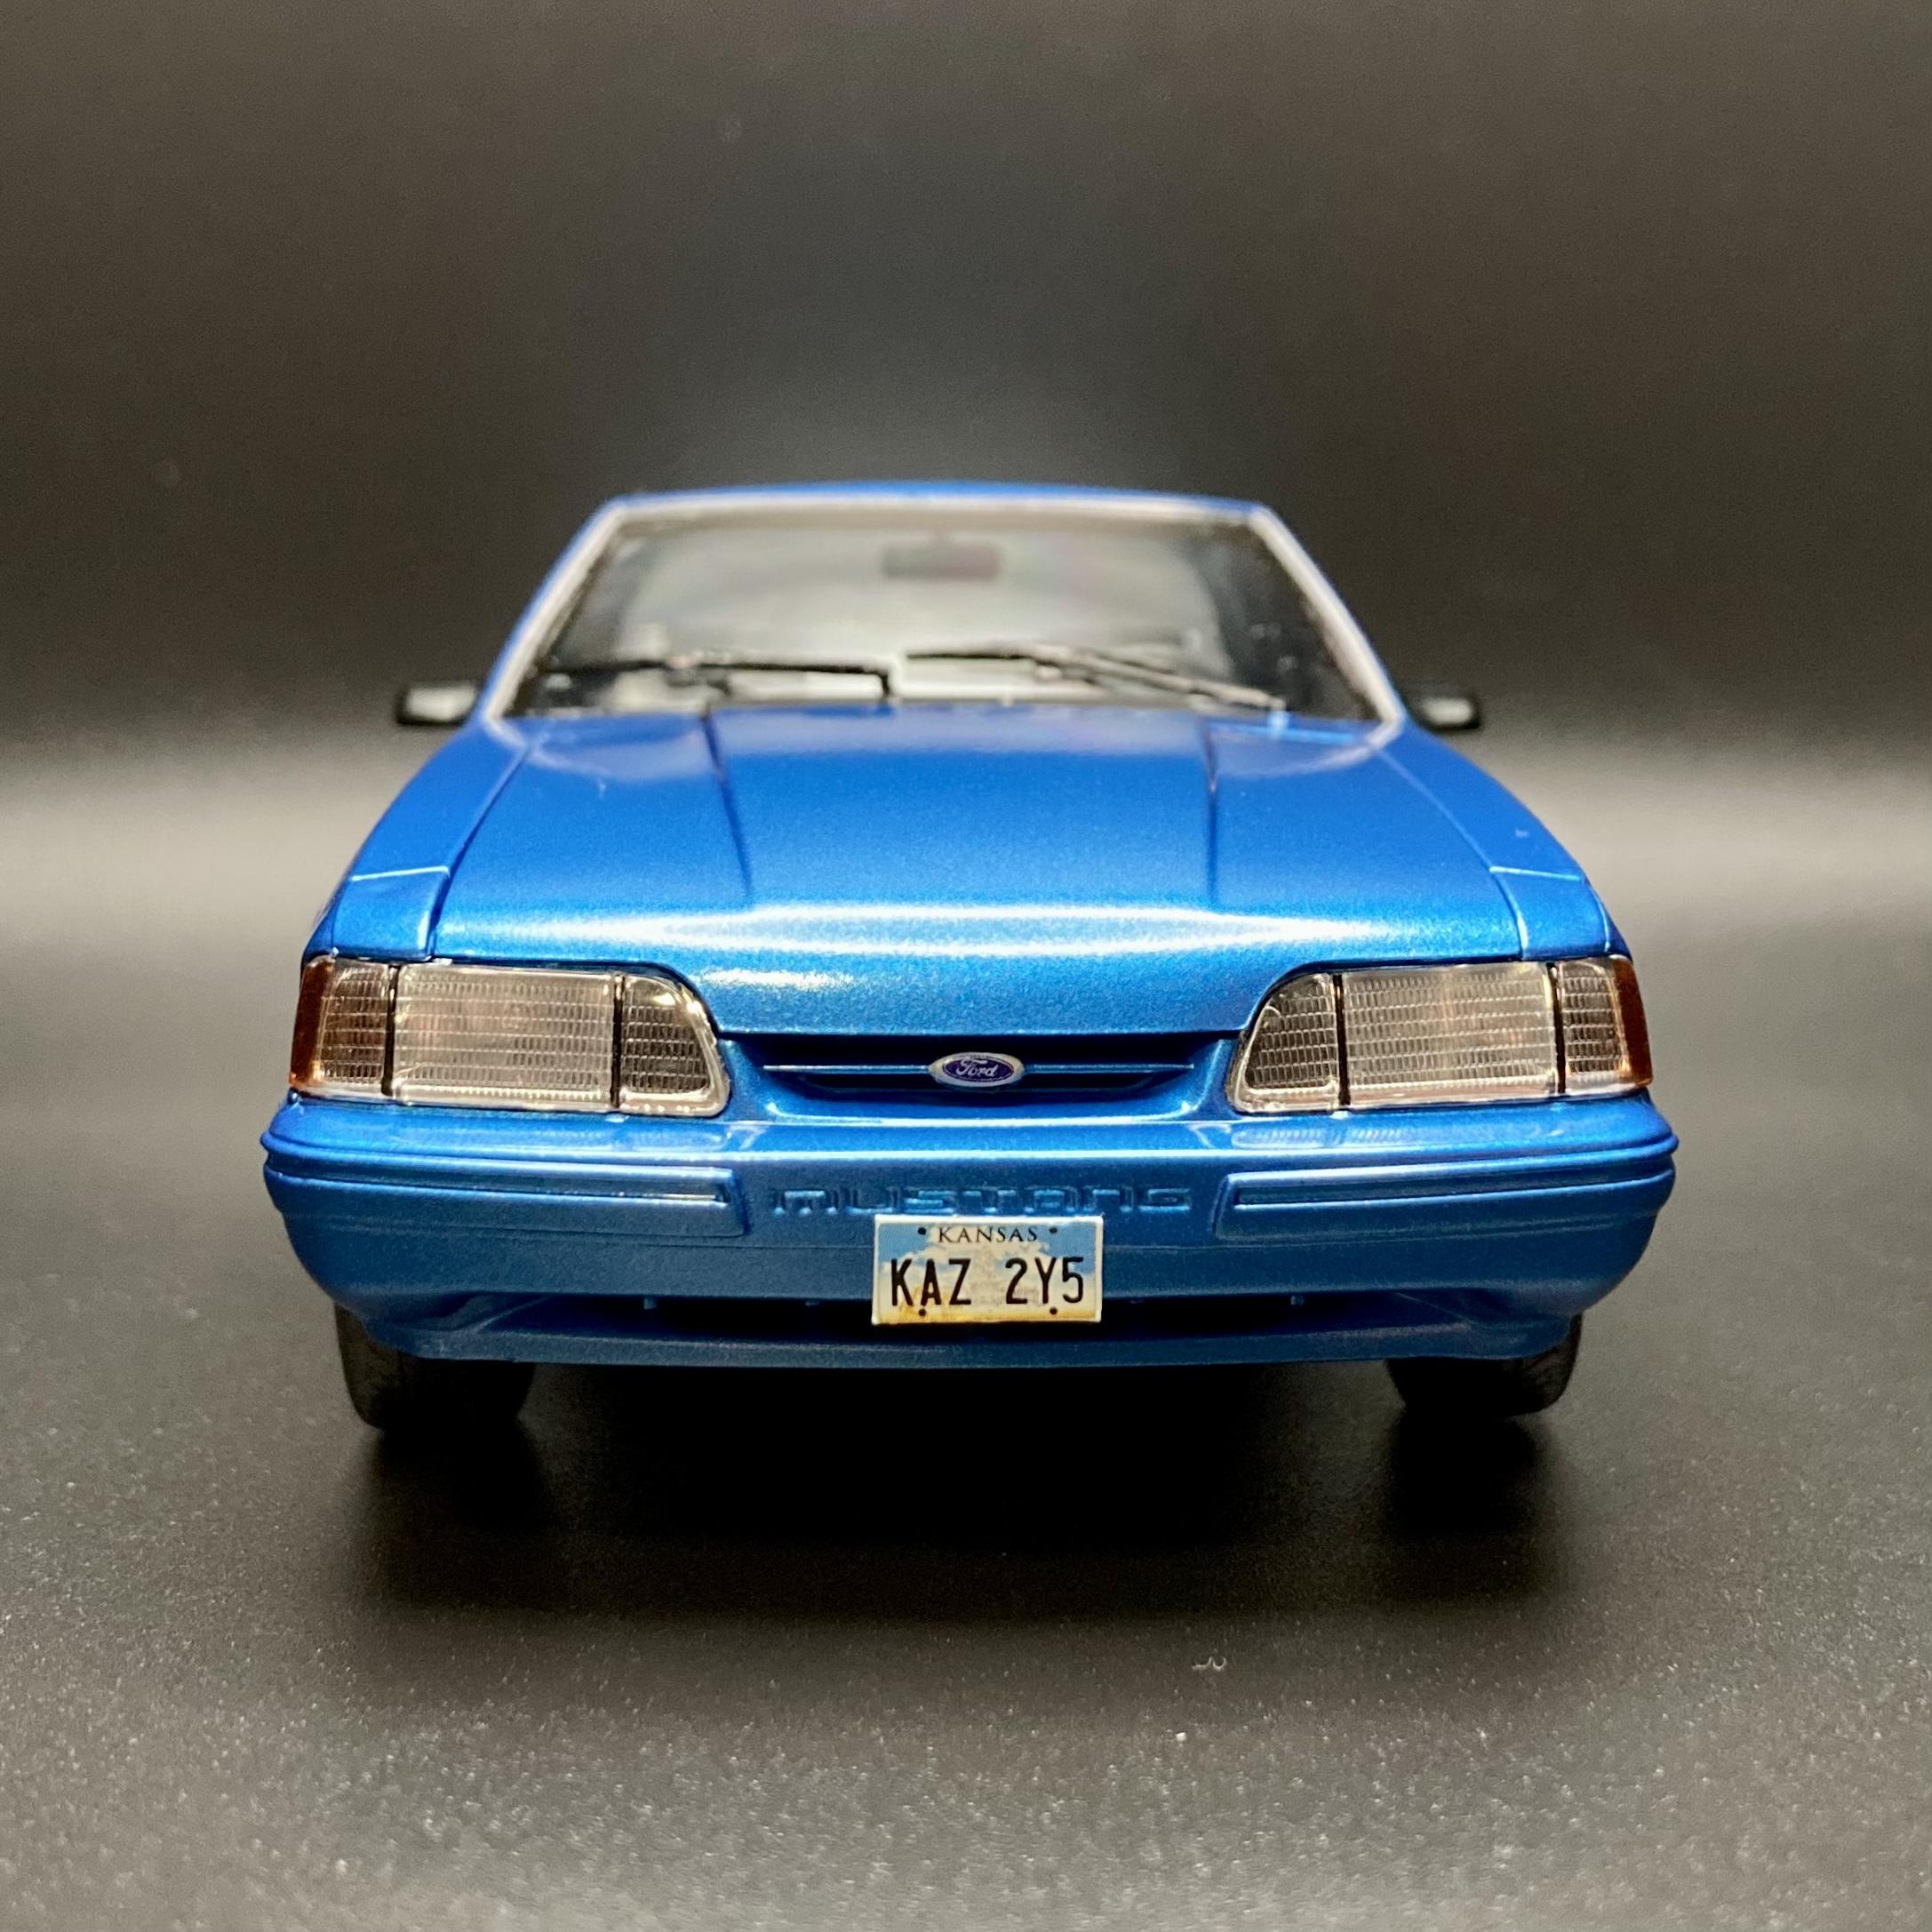
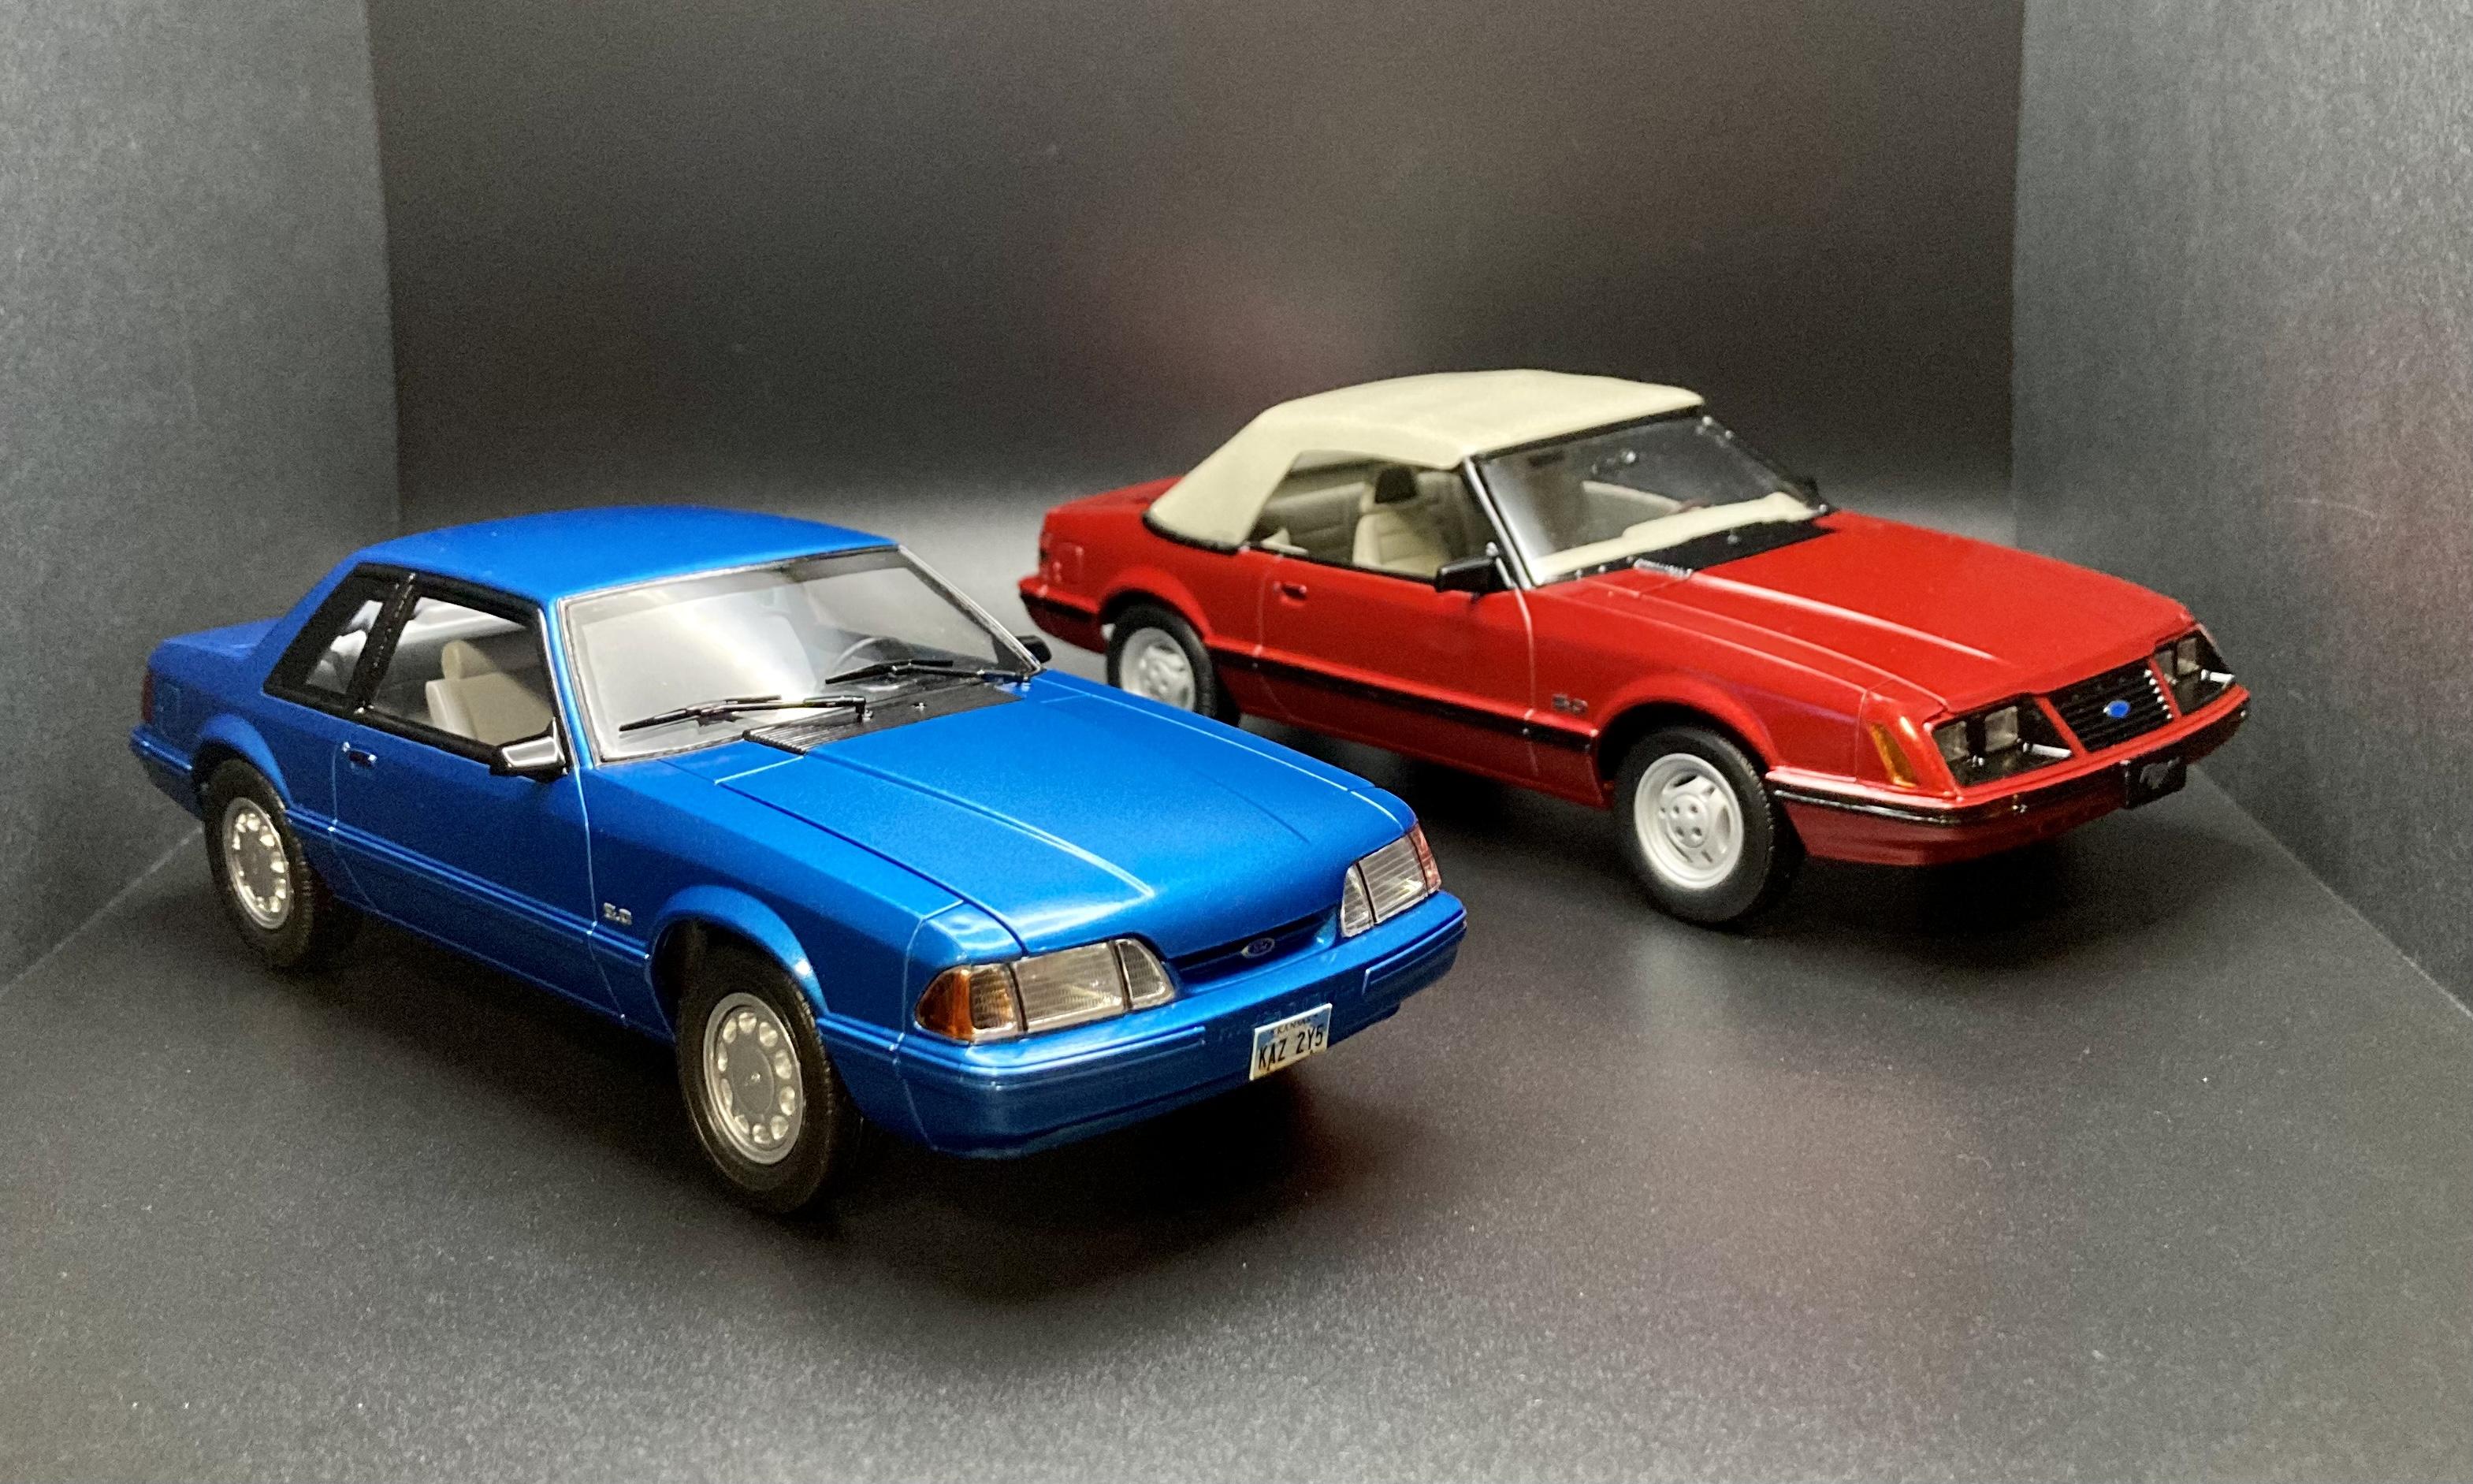
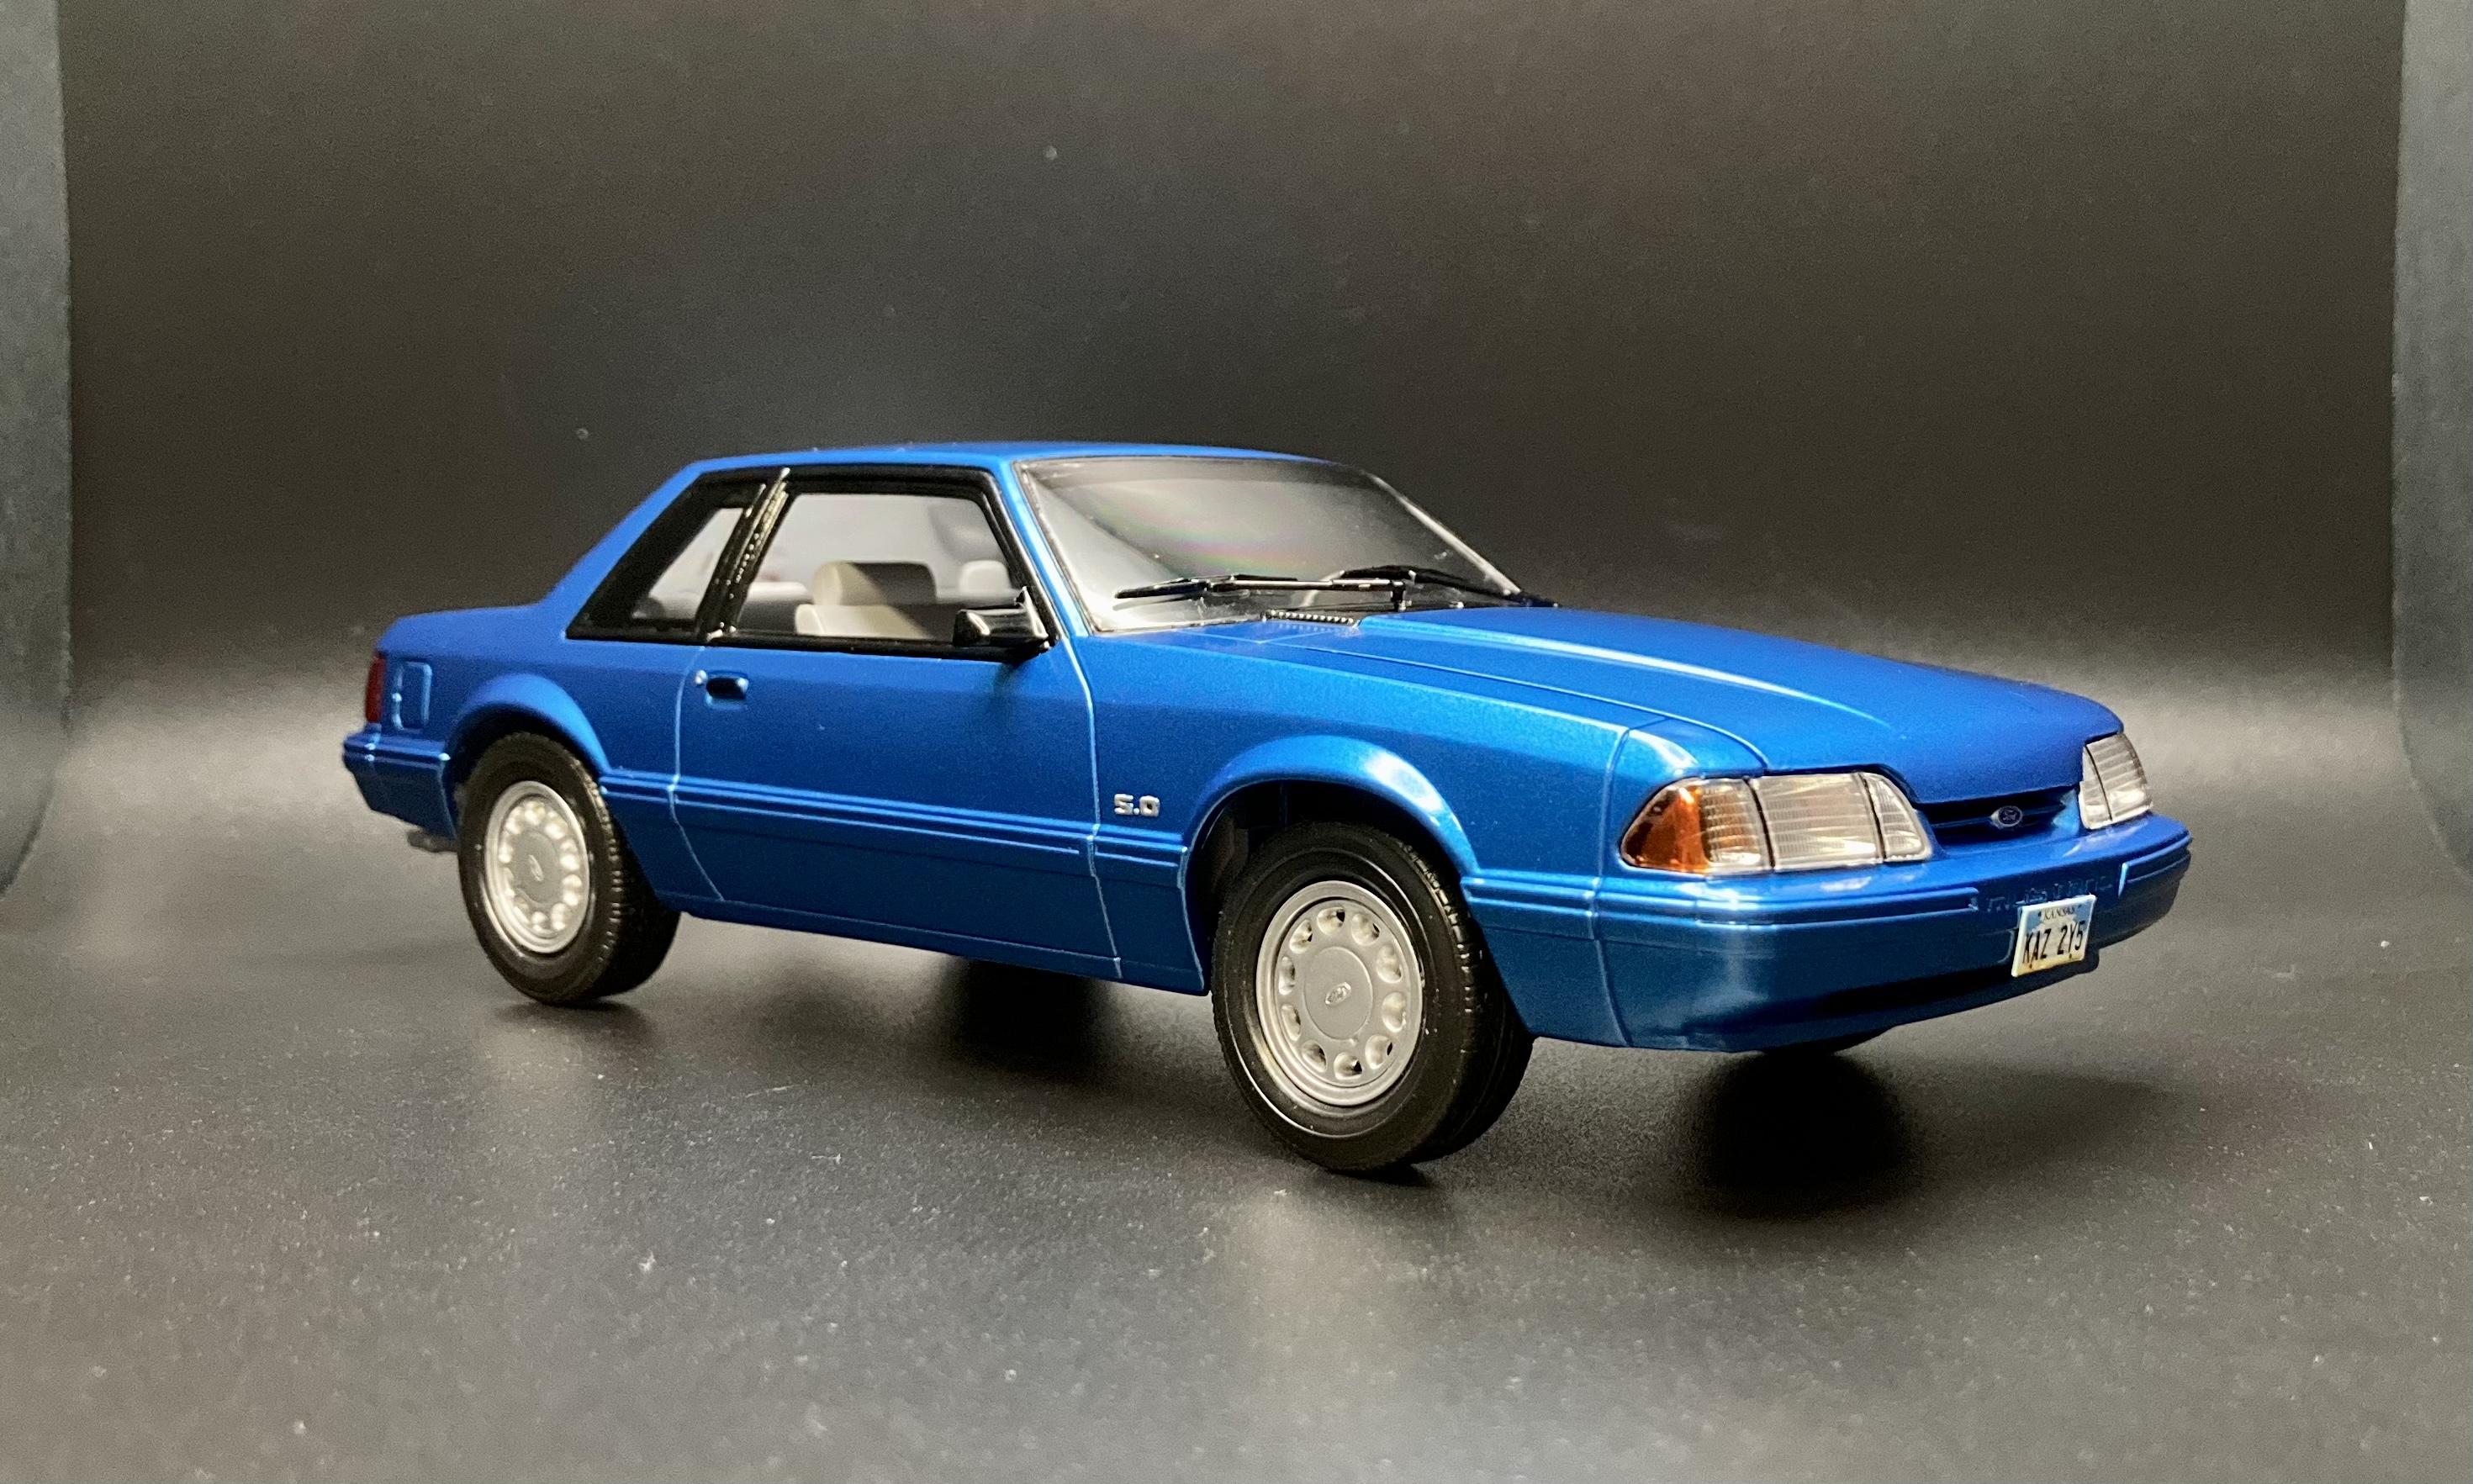
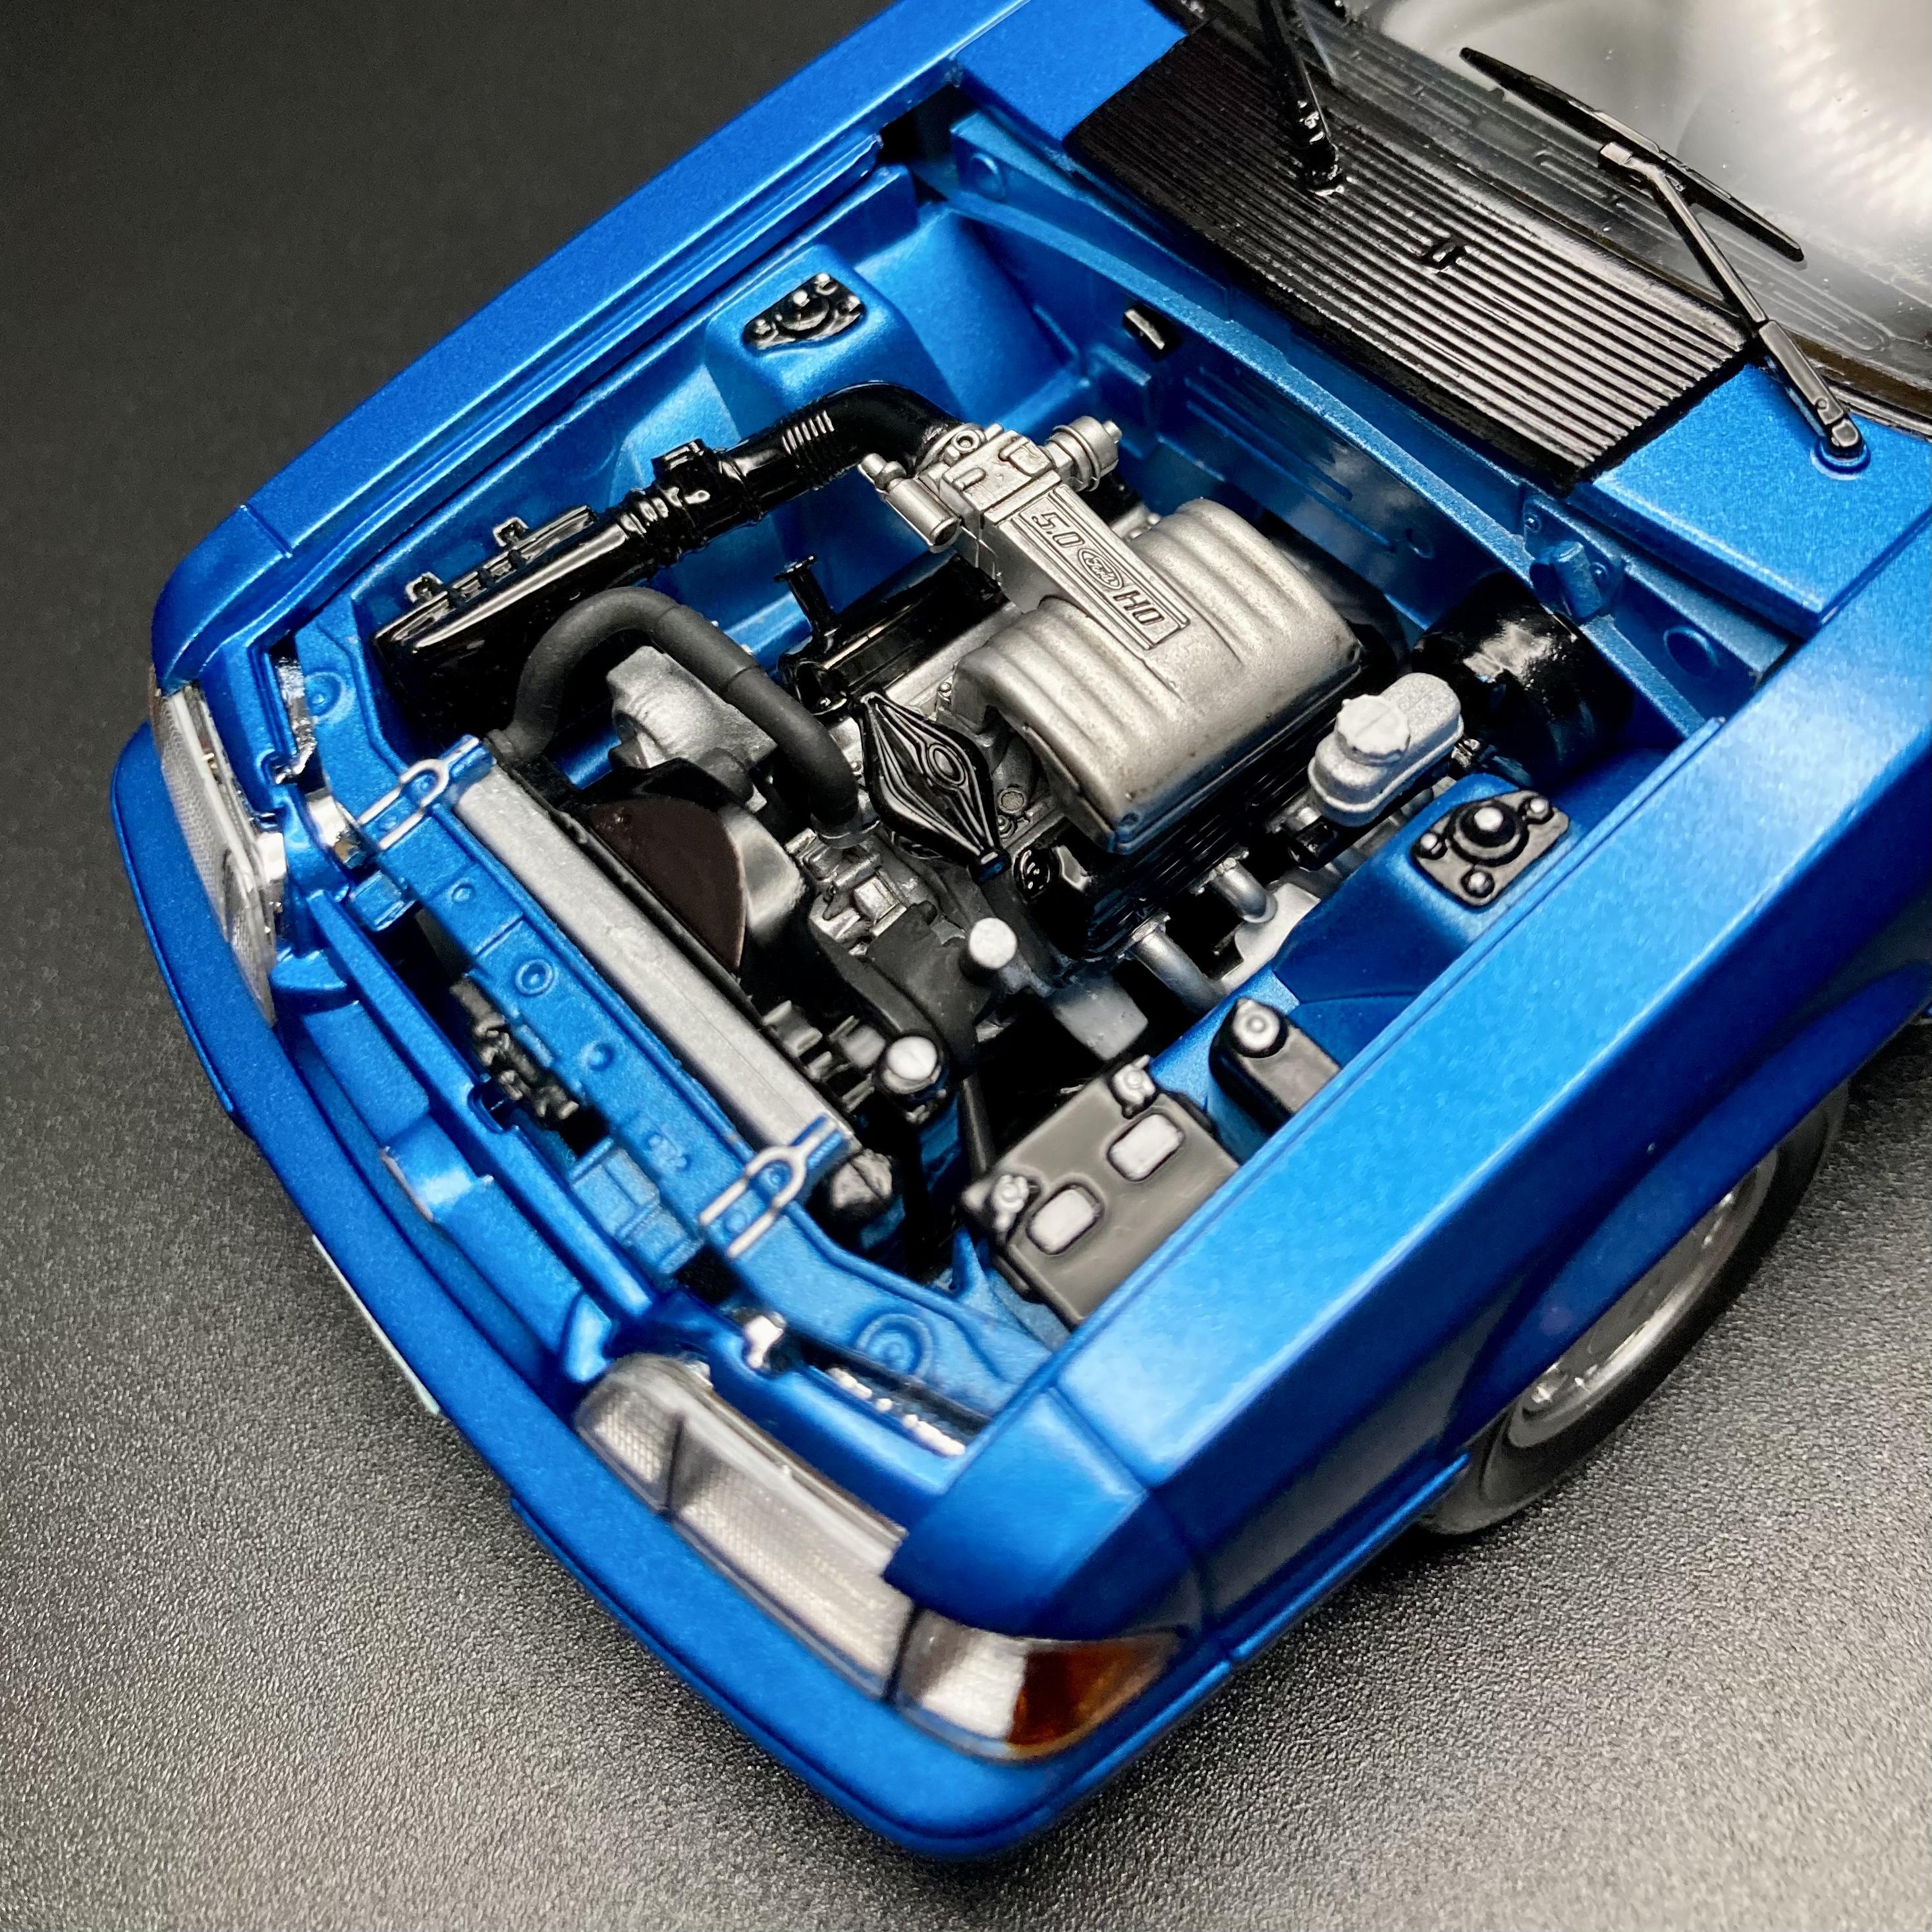
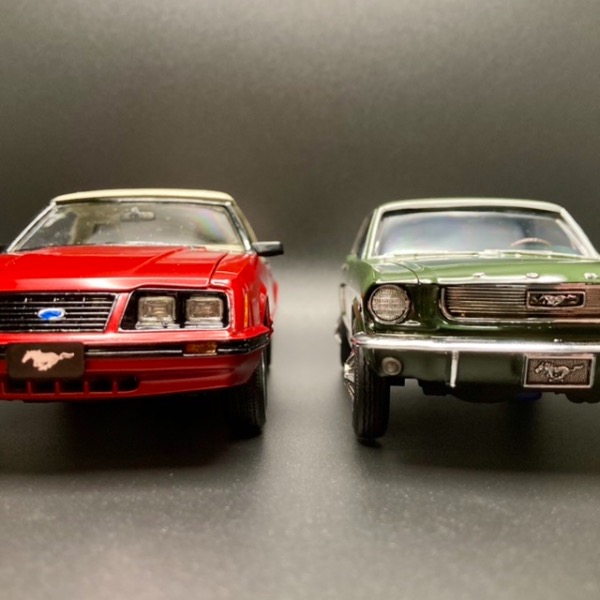
Here’s my box stock build of the infamous Revell 5.0 LX notch! A LOT of digital ink has been spilled on this forum about the roof proportions- but I haven’t seen many on here actually built as a factory stock car (mostly drag and police cars). To my eye, it looks fine until you see it next to a picture of a 1:1 ?. Using the current release Drag Racer kit, I wanted to build mine as a ‘92-‘93 model year with the body-color belt strip. I was shooting for my favorite Fox color of Ultra Blue, done here in Tamiya TS54 “Light Metallic Blue”. A 92-93 should have the Pony 5-spoke wheels, but I actually really like the 10-holes this kit comes with. I do have a Monogram ‘92 convertible that I might swap wheels with later. Roof proportions aside, this kit is very well done with excellent fit and detailing. I especially love how the window glass sets in from the outside of the car. The drag car release instructions only show how to build it as a drag car but the factory parts are included and they’re easy to figure out.
-
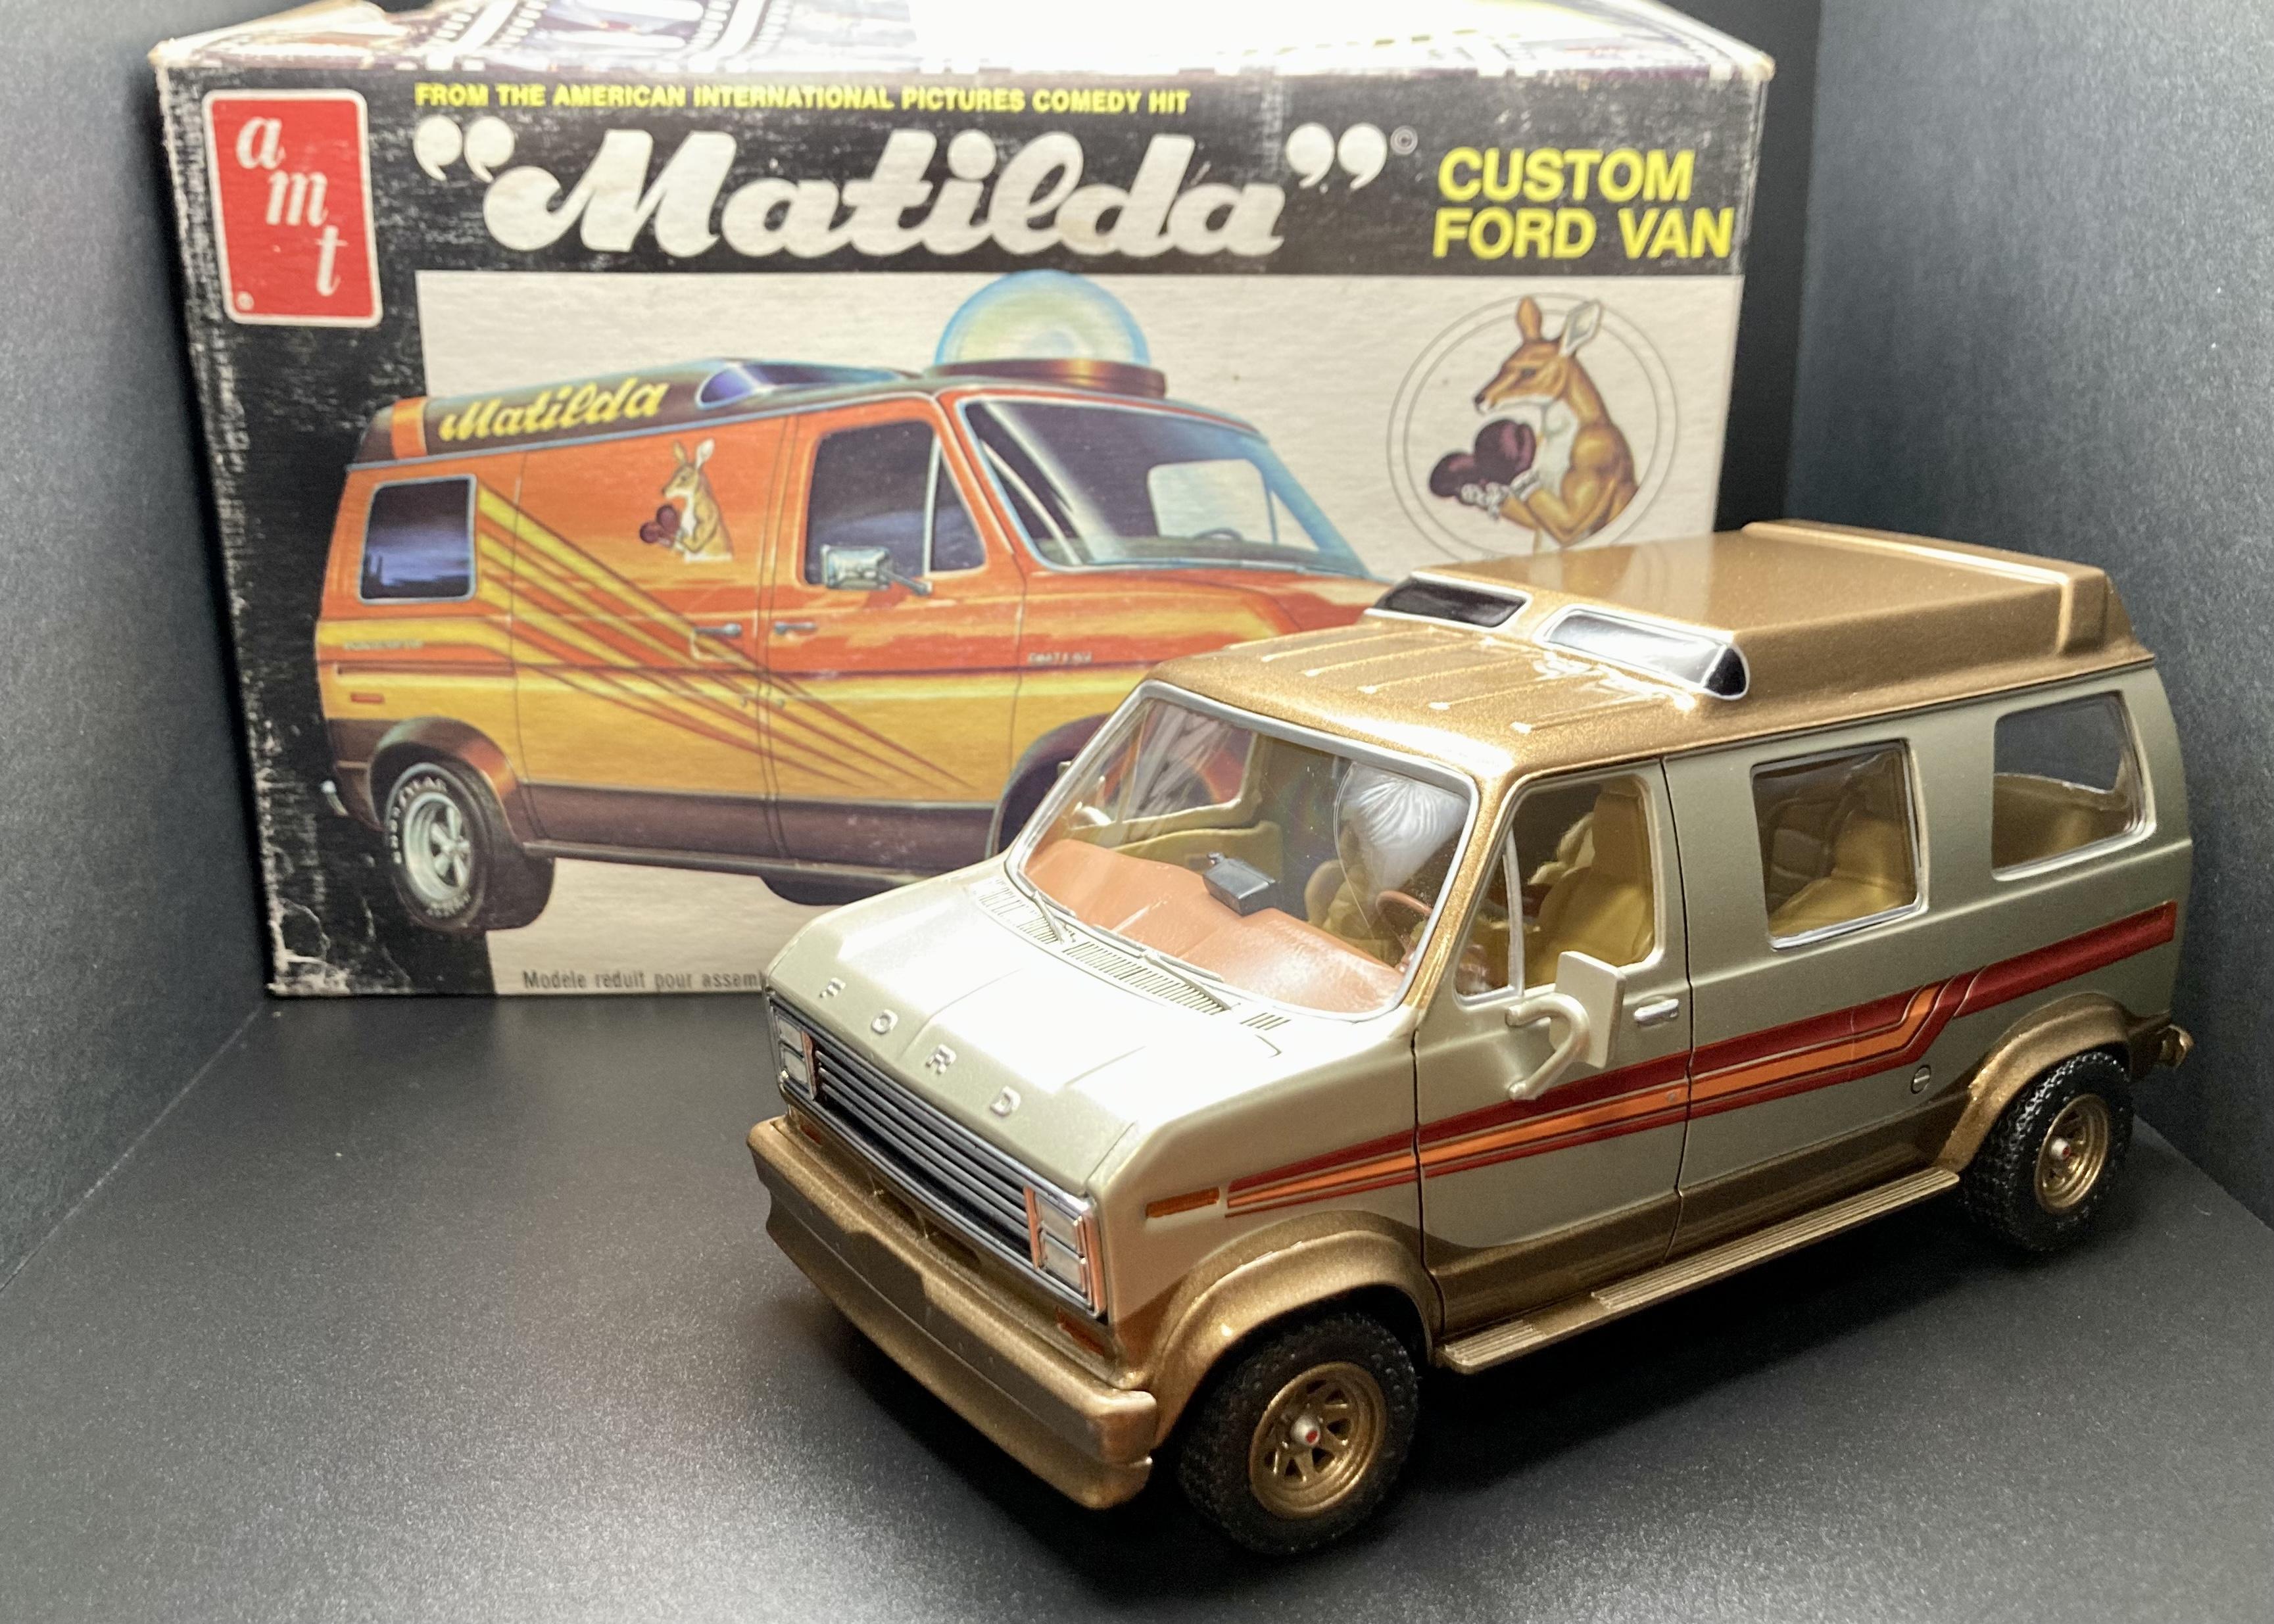
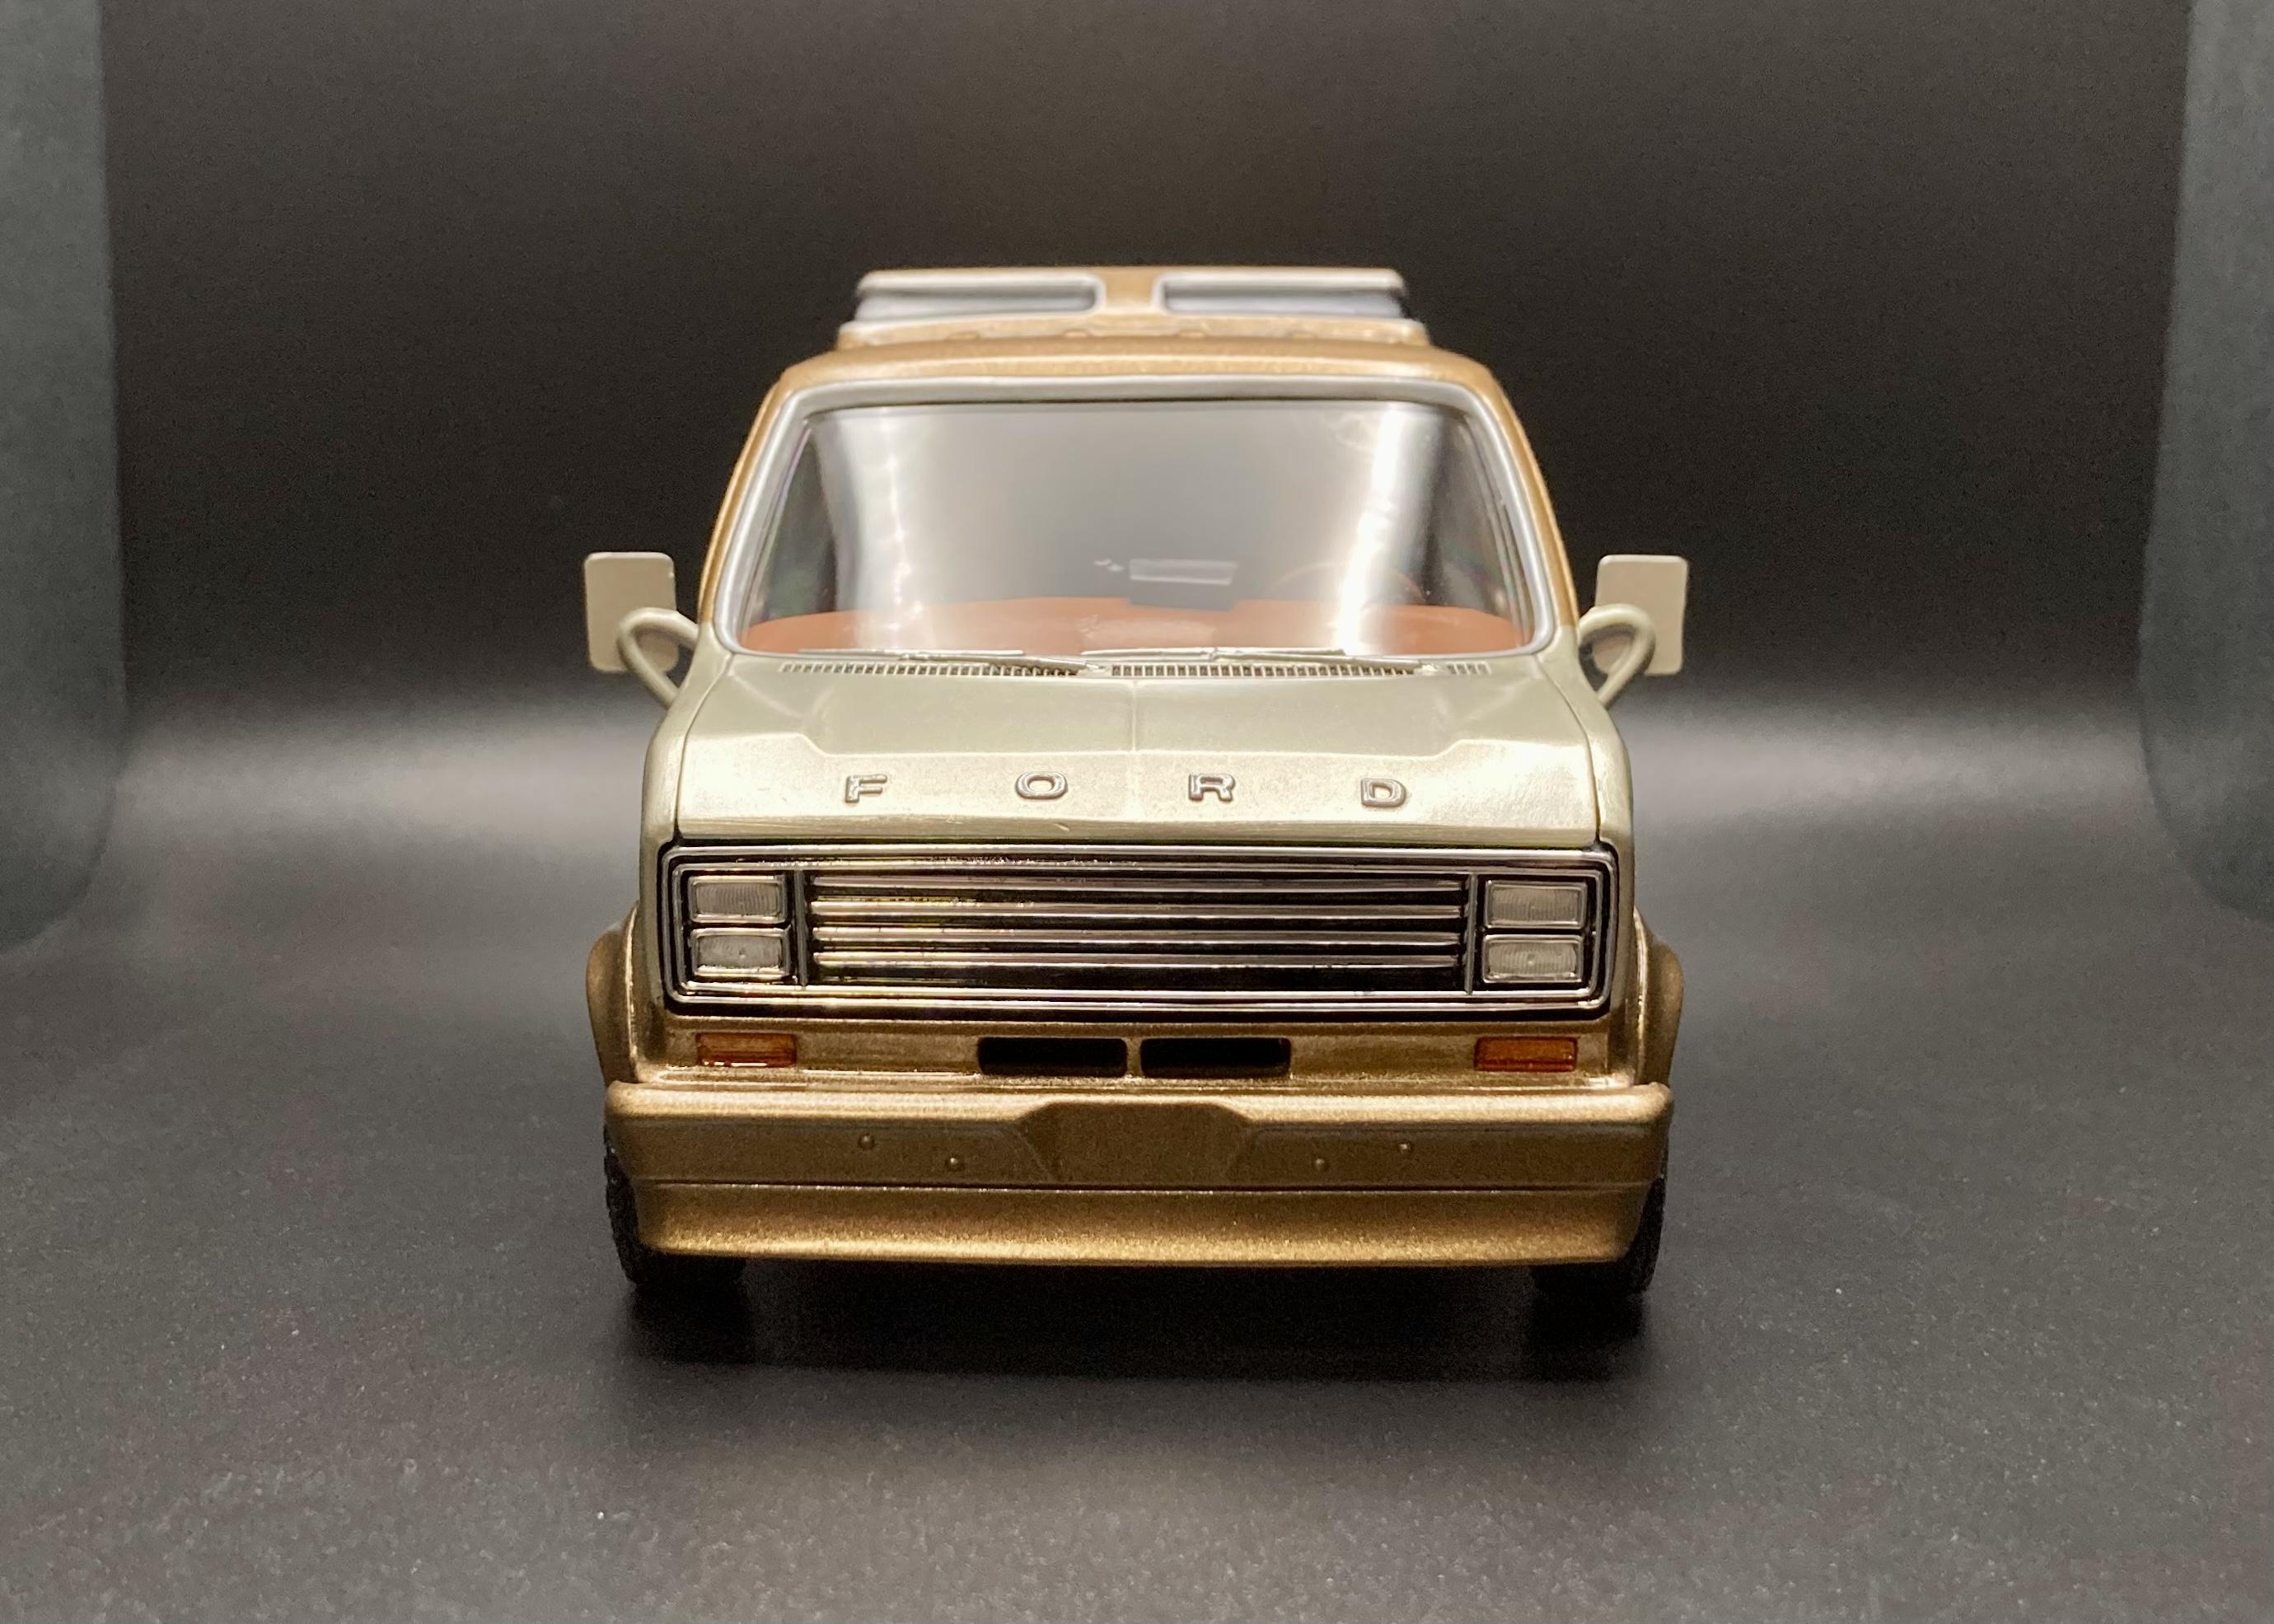
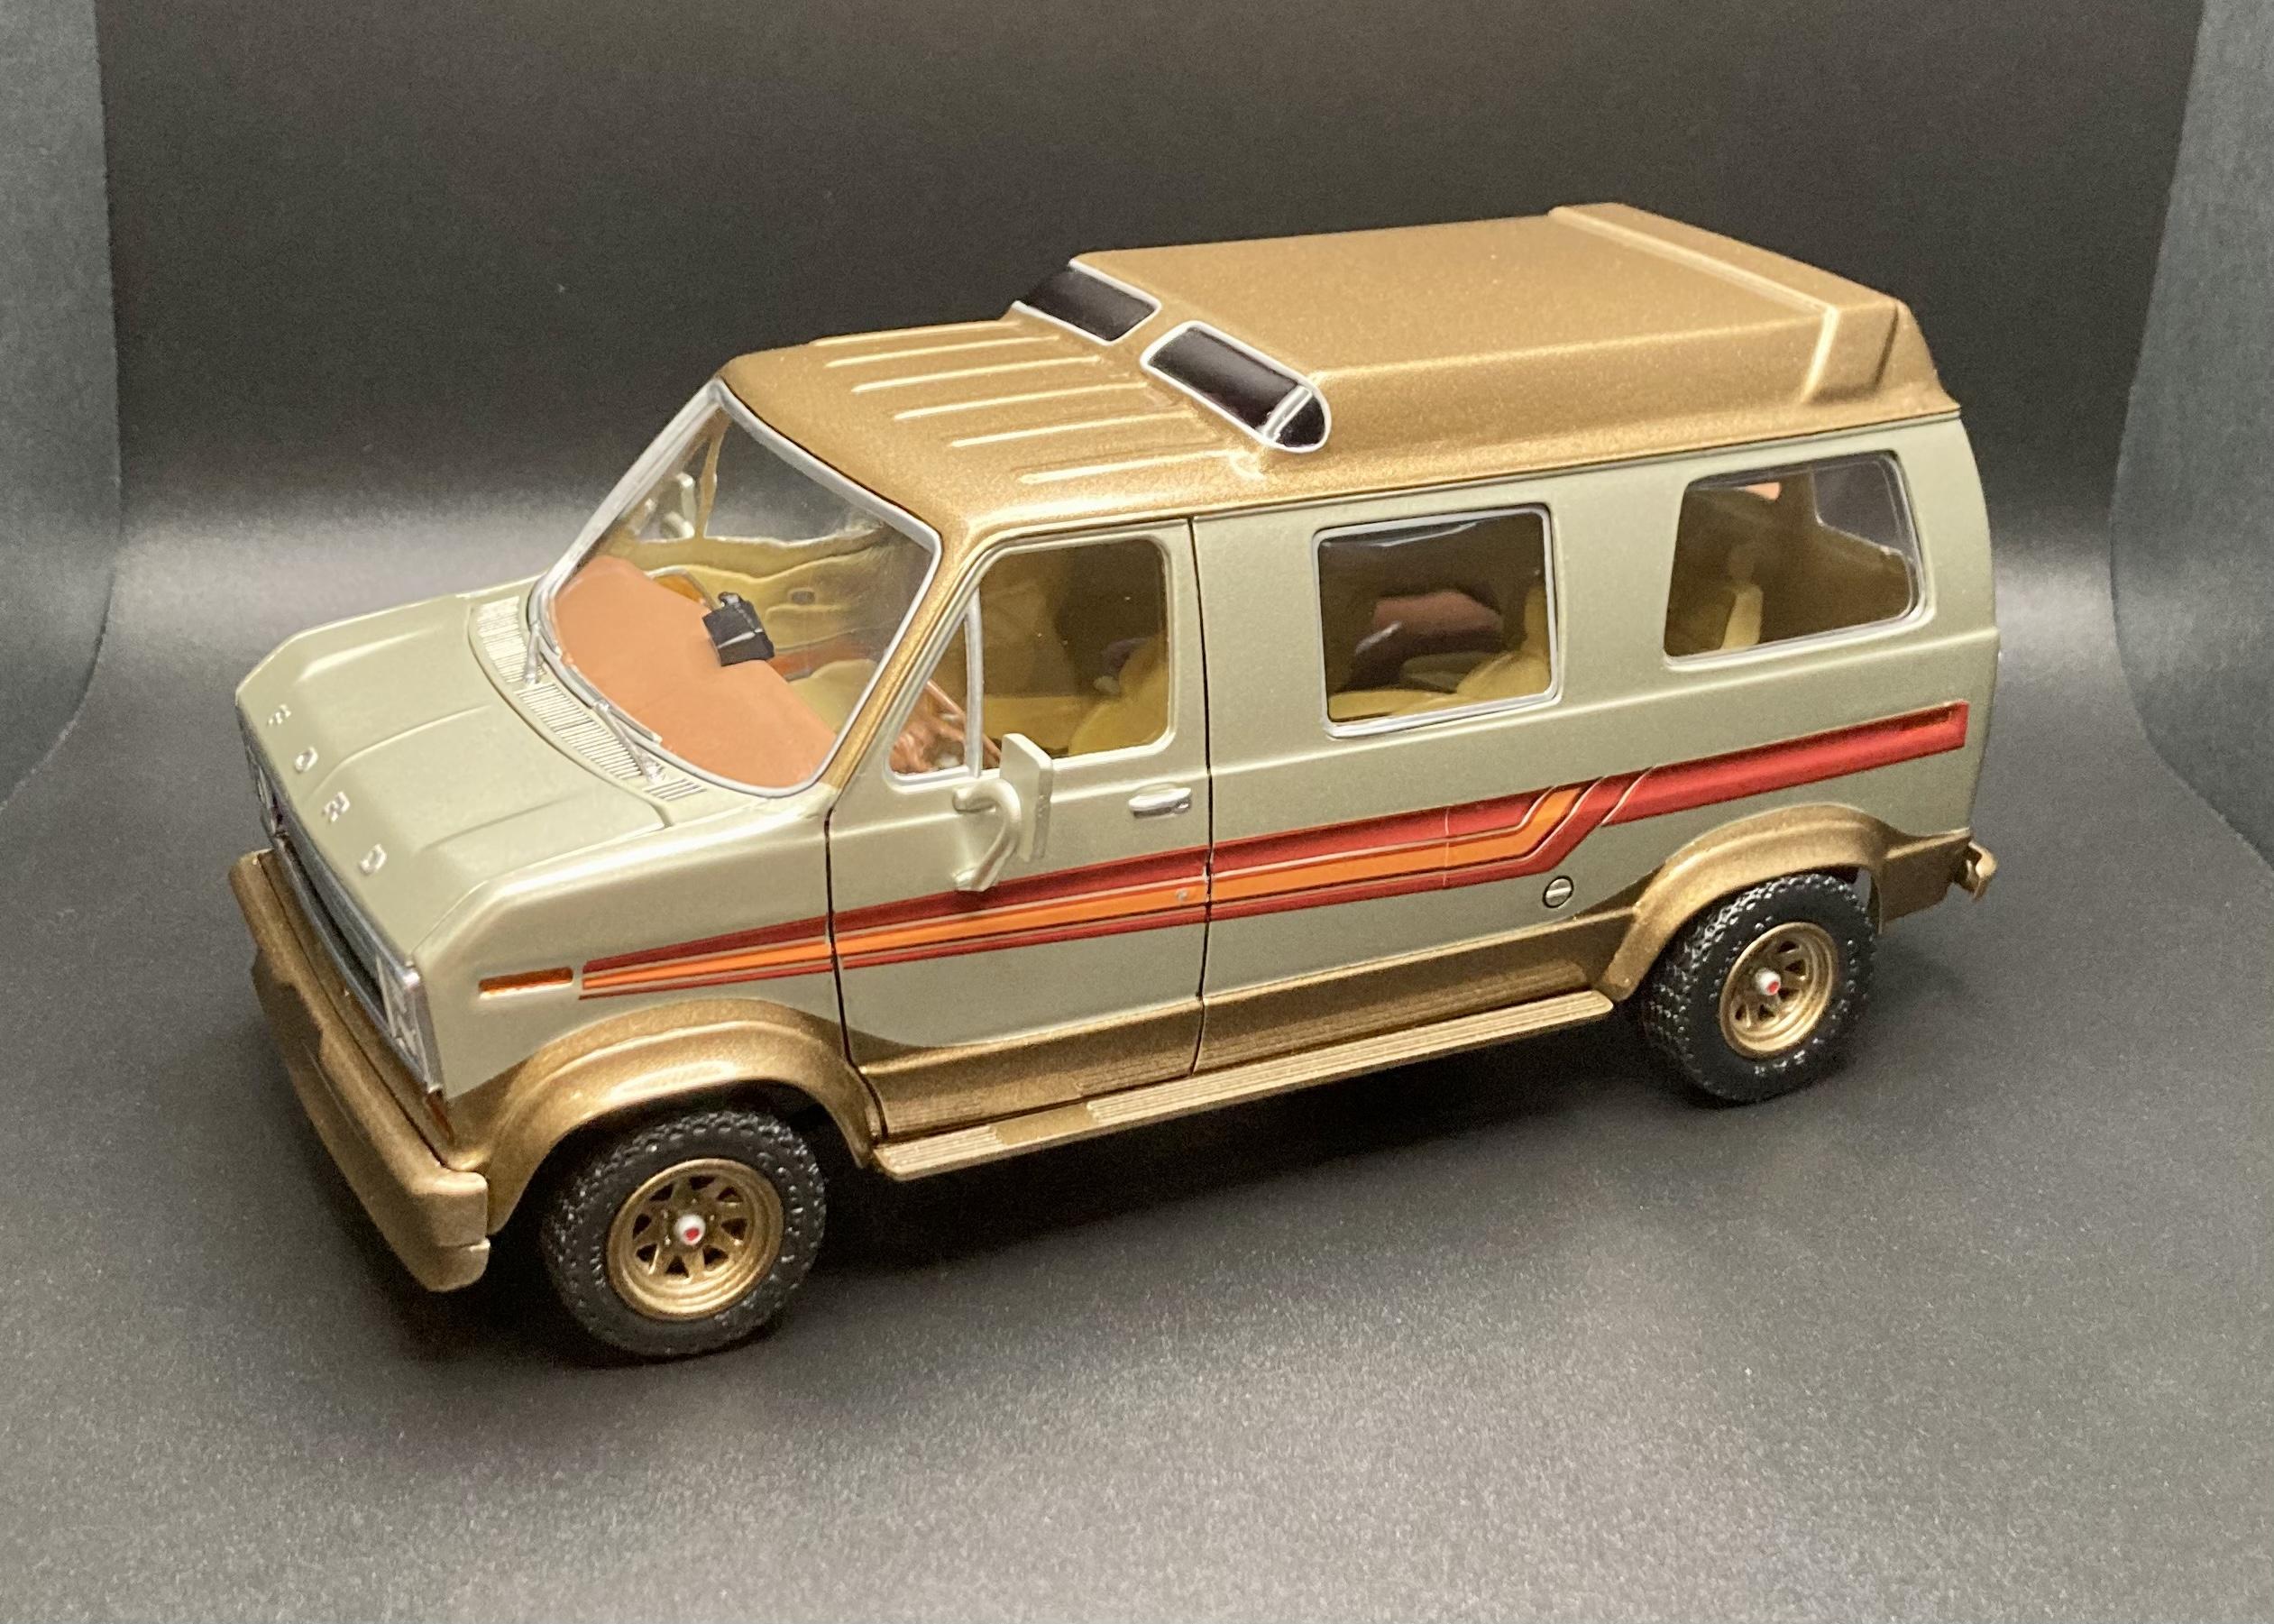
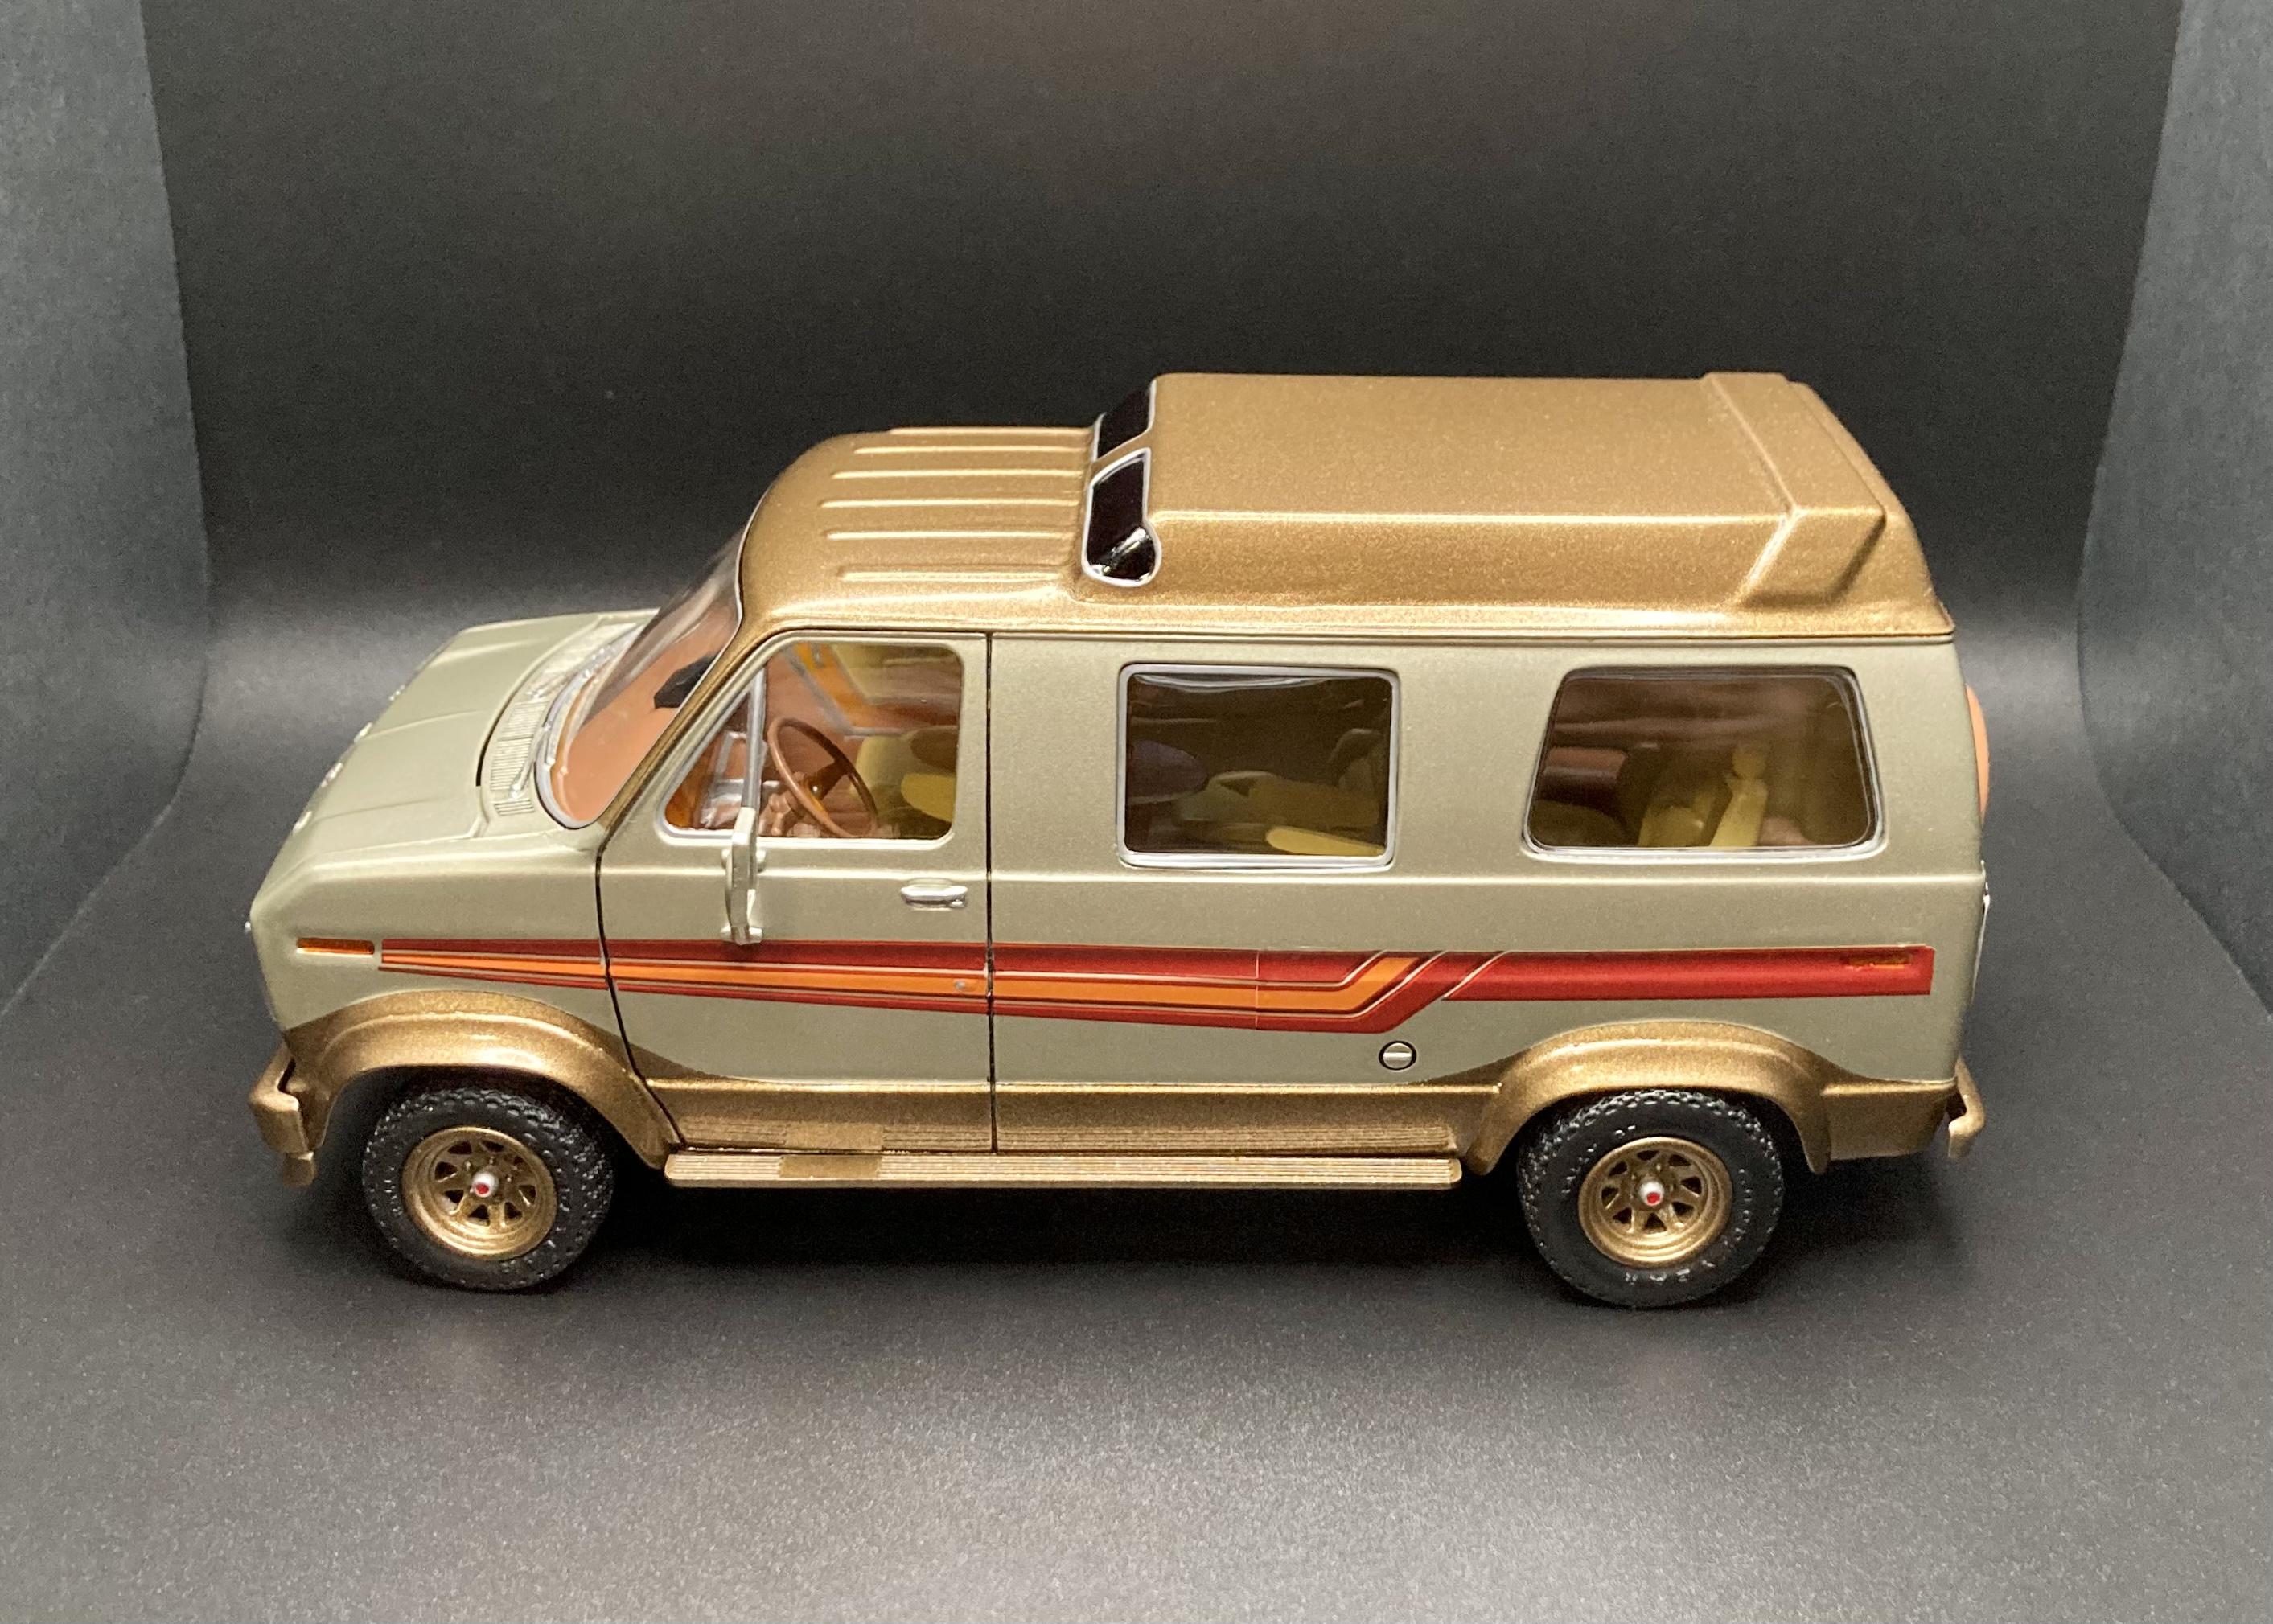
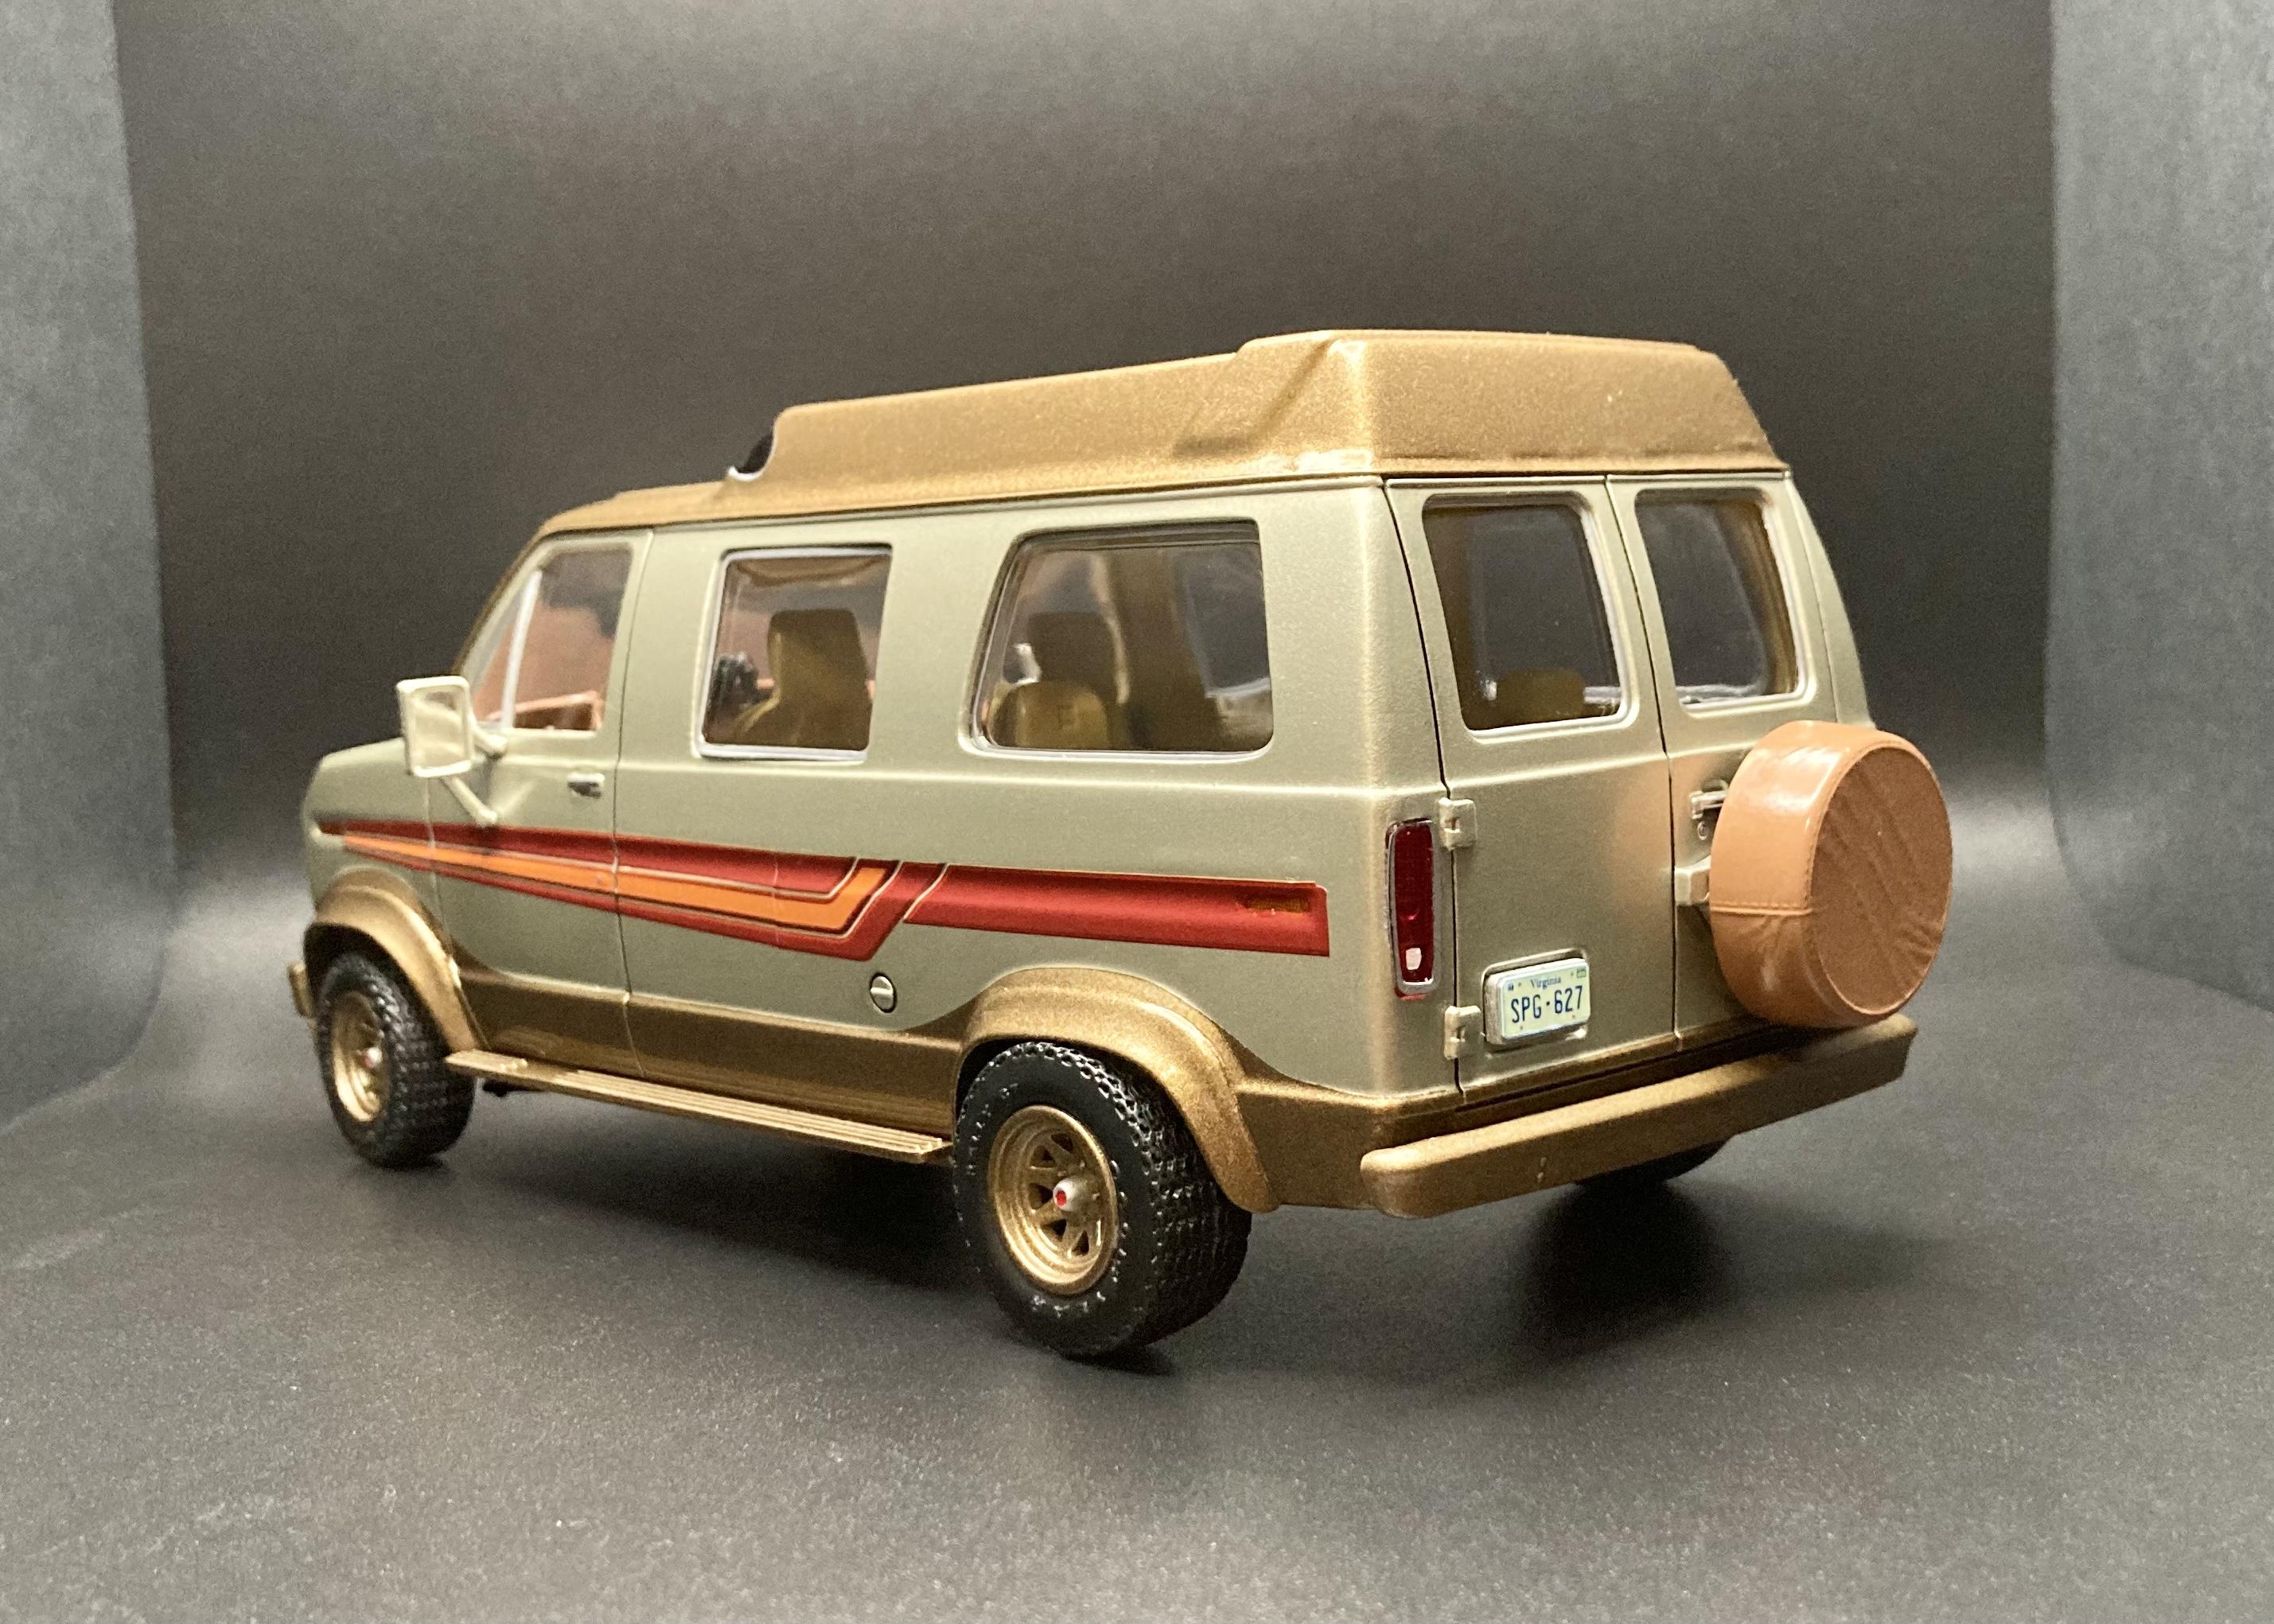
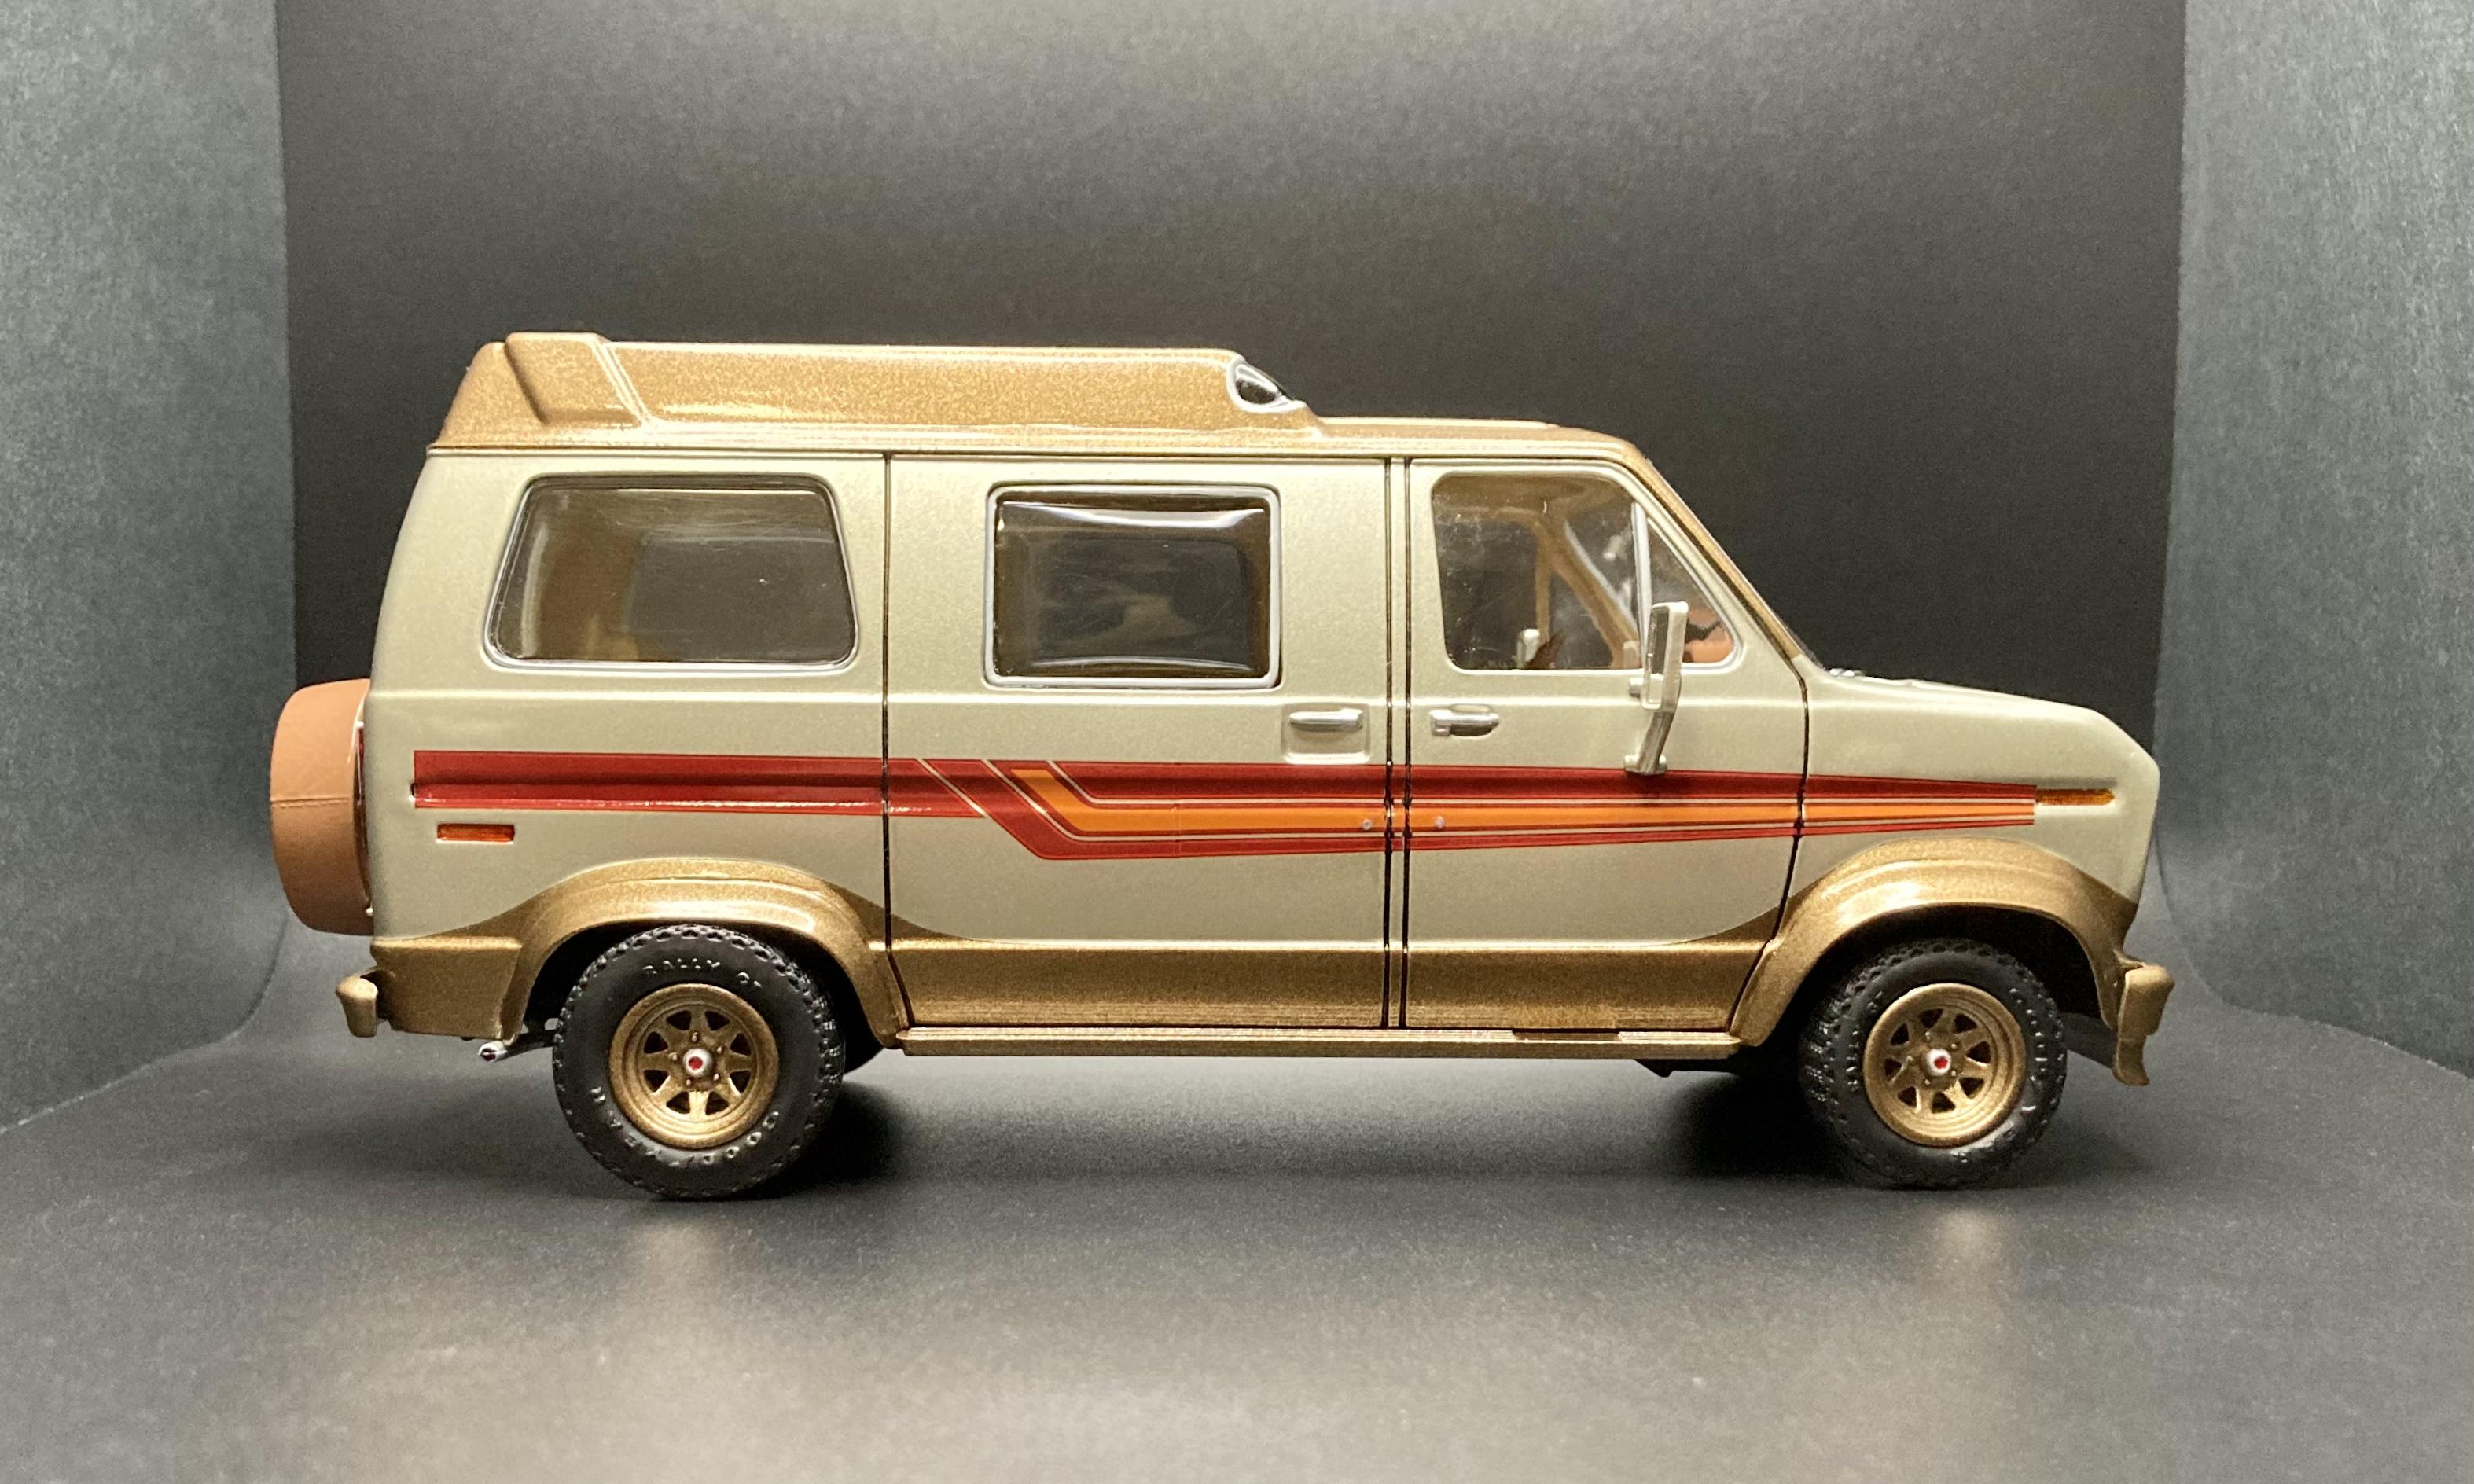
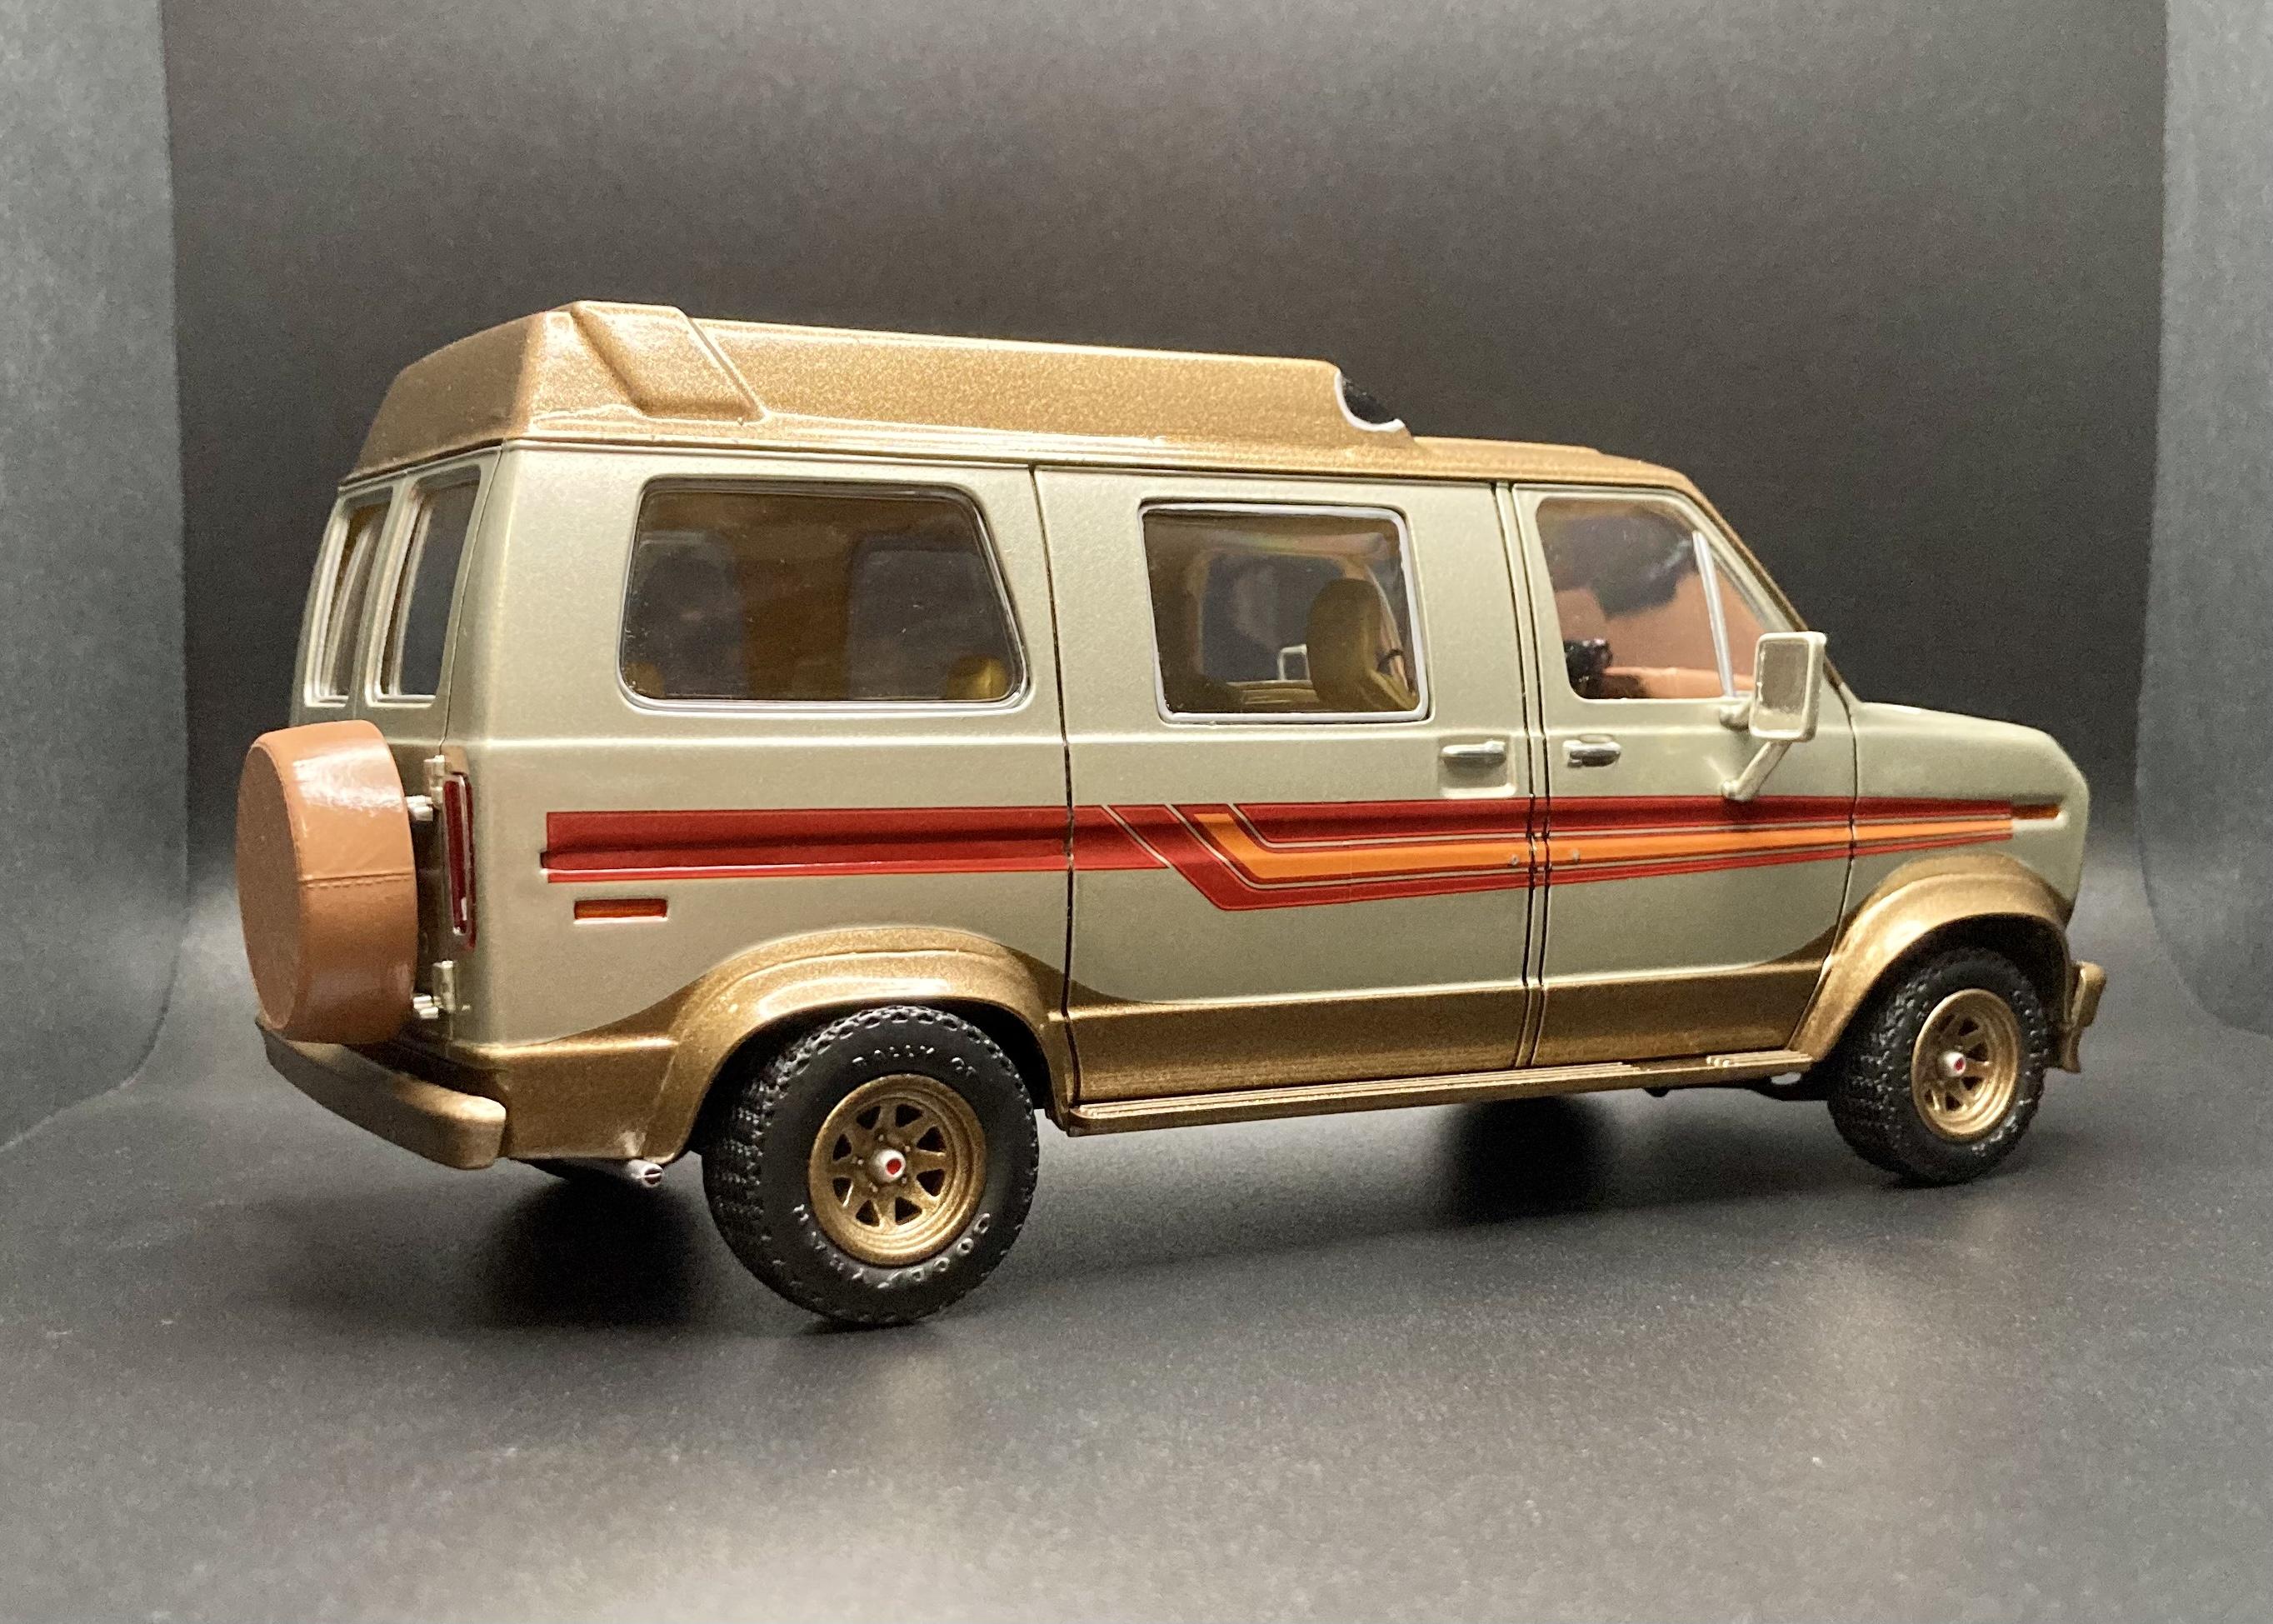
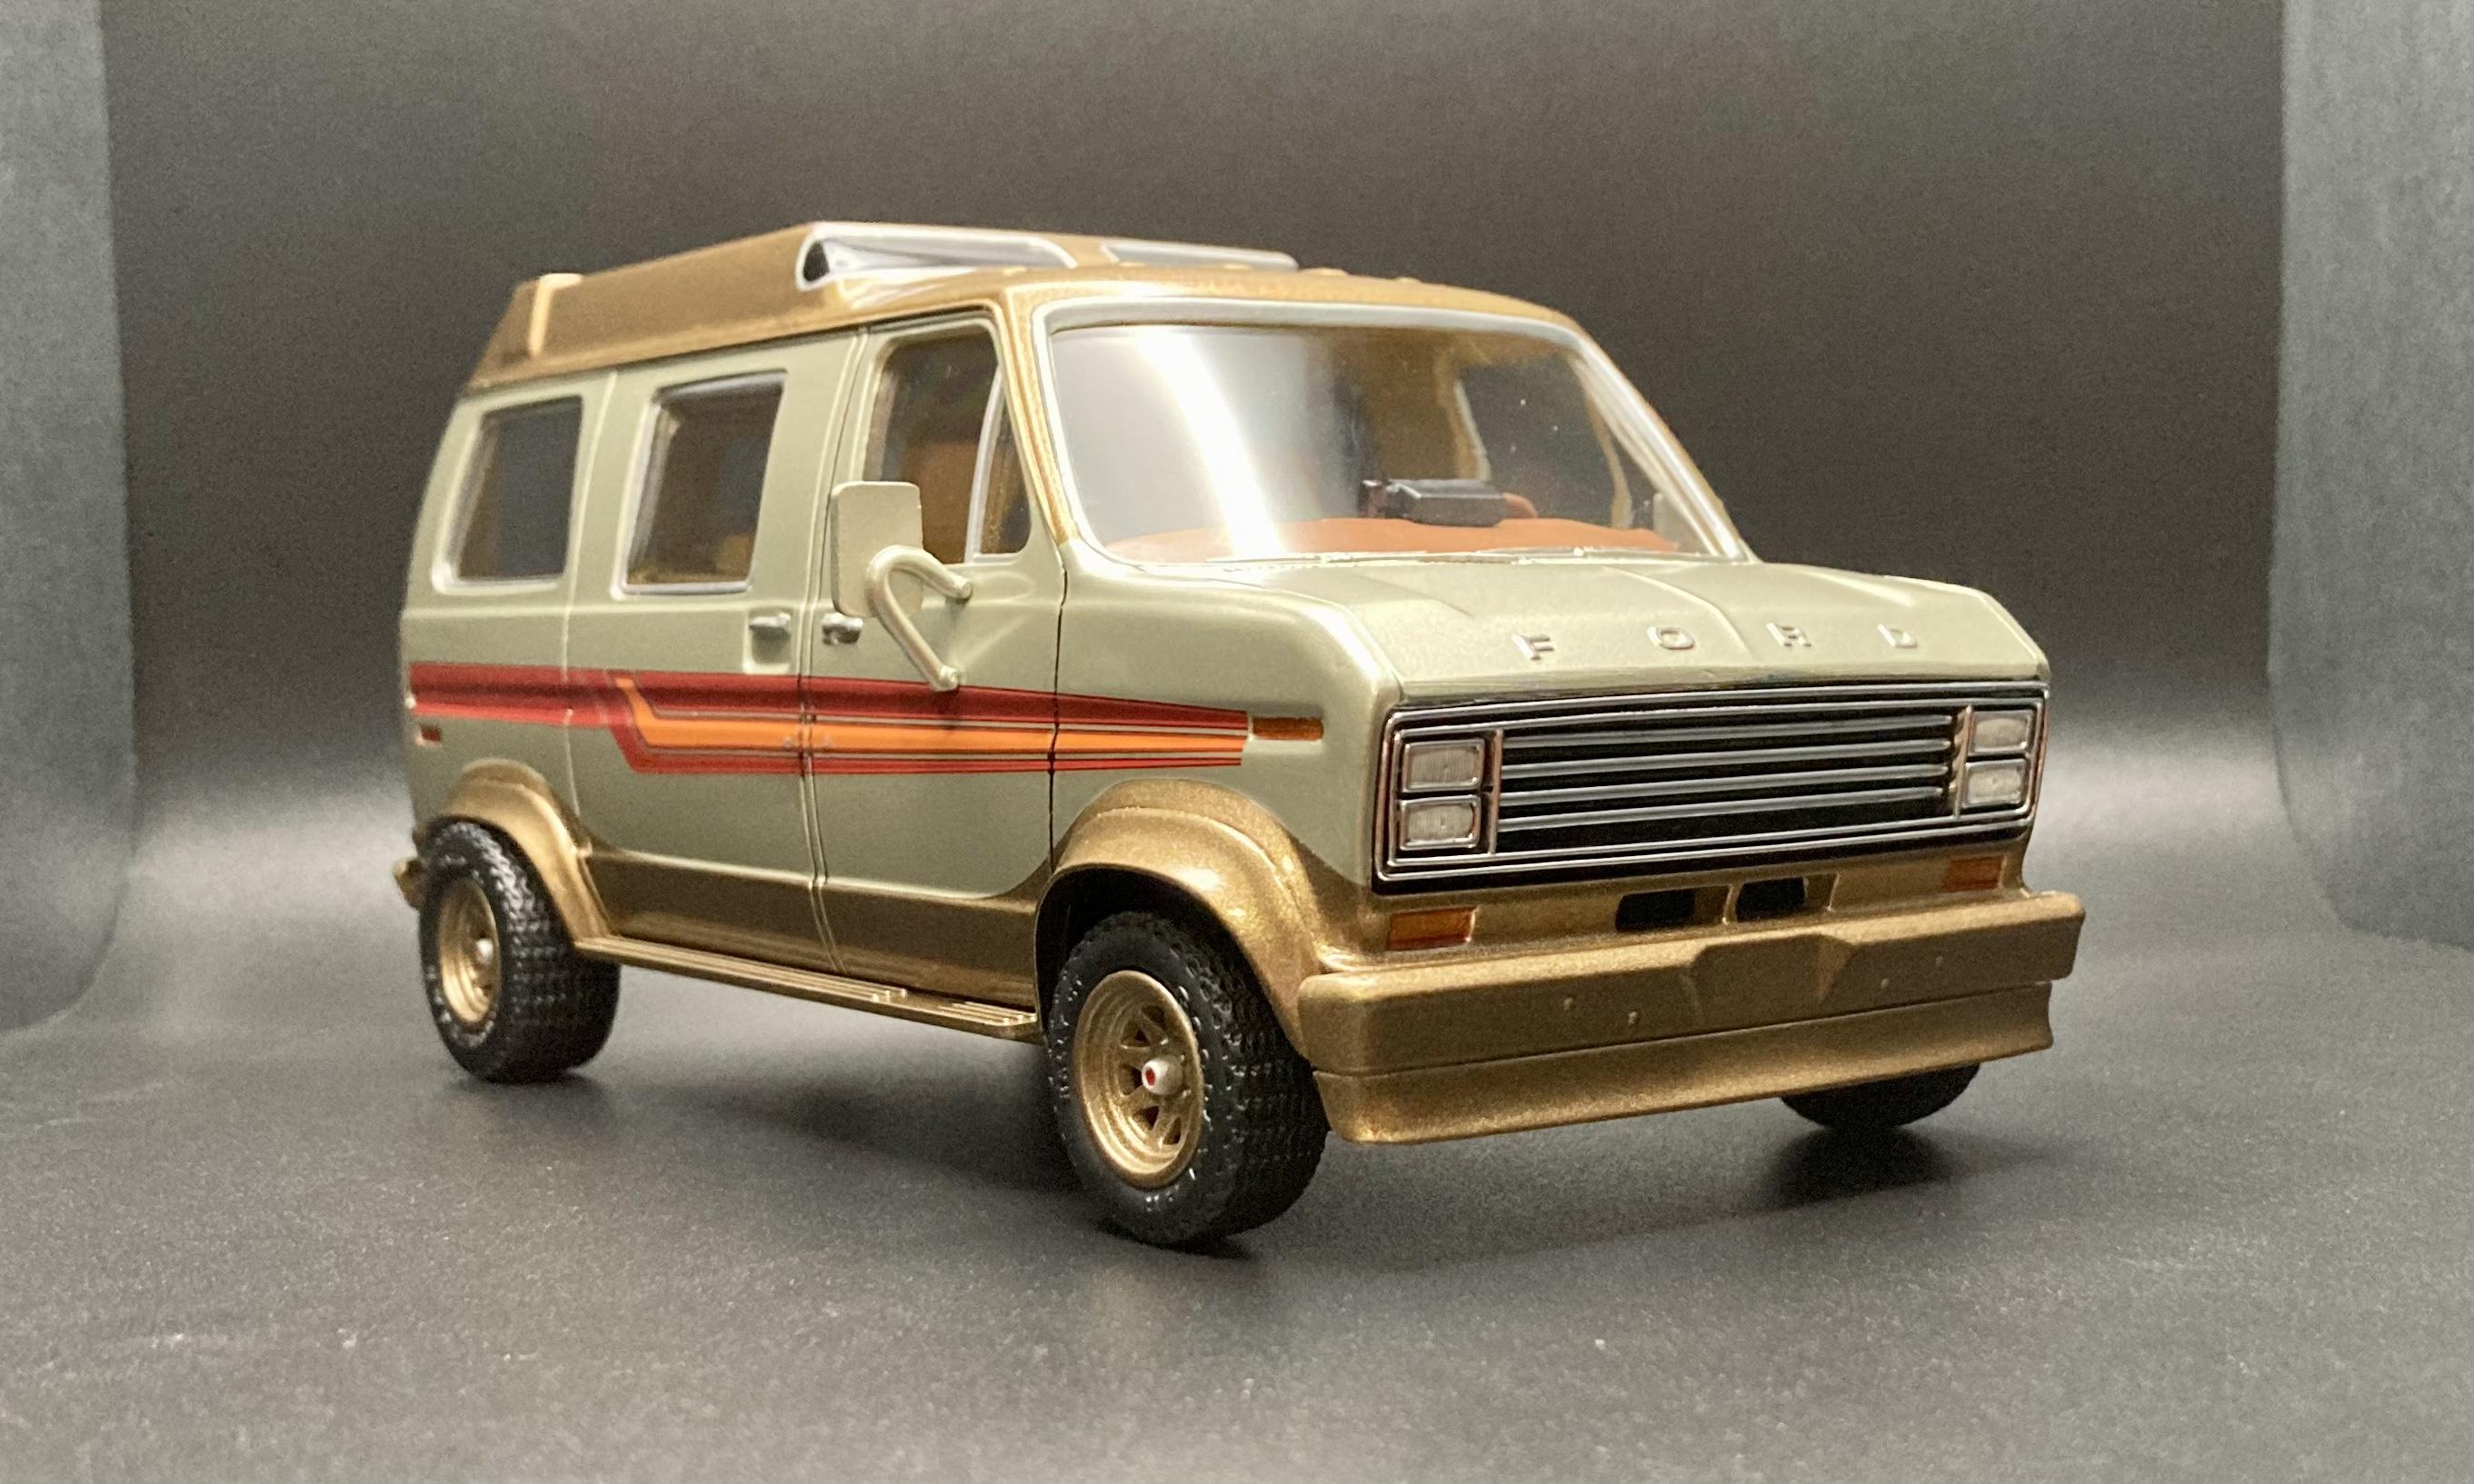
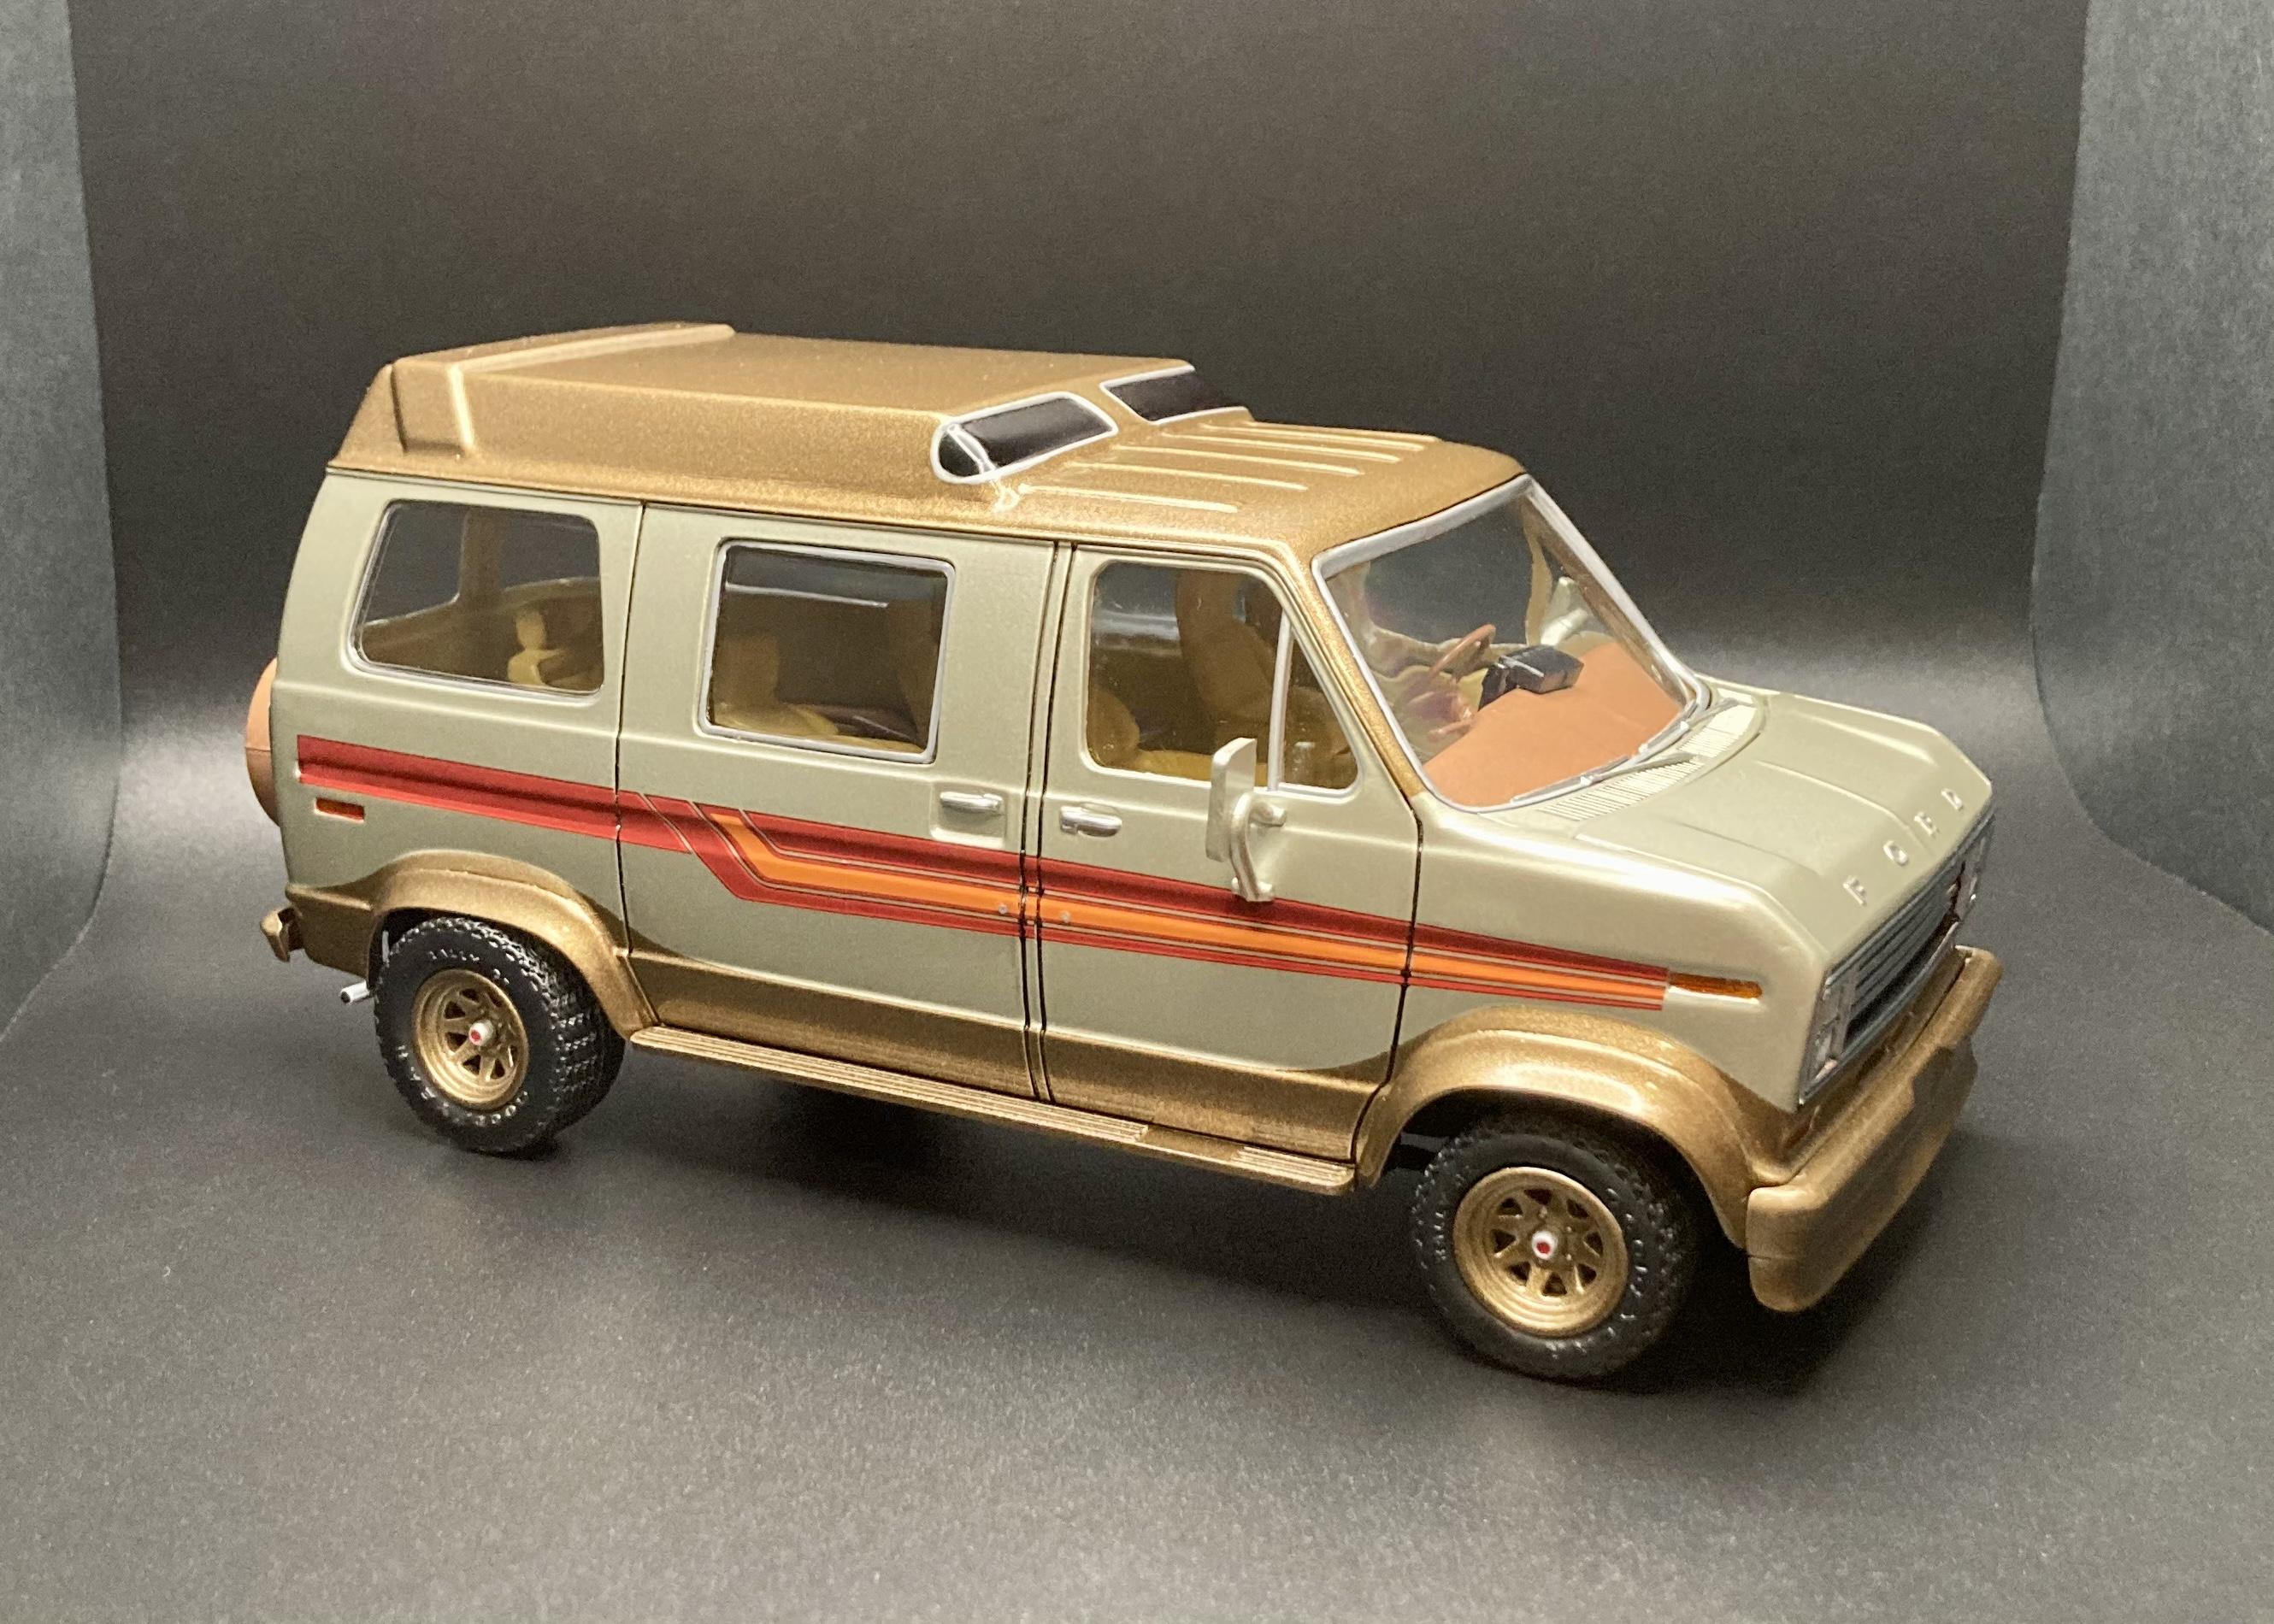
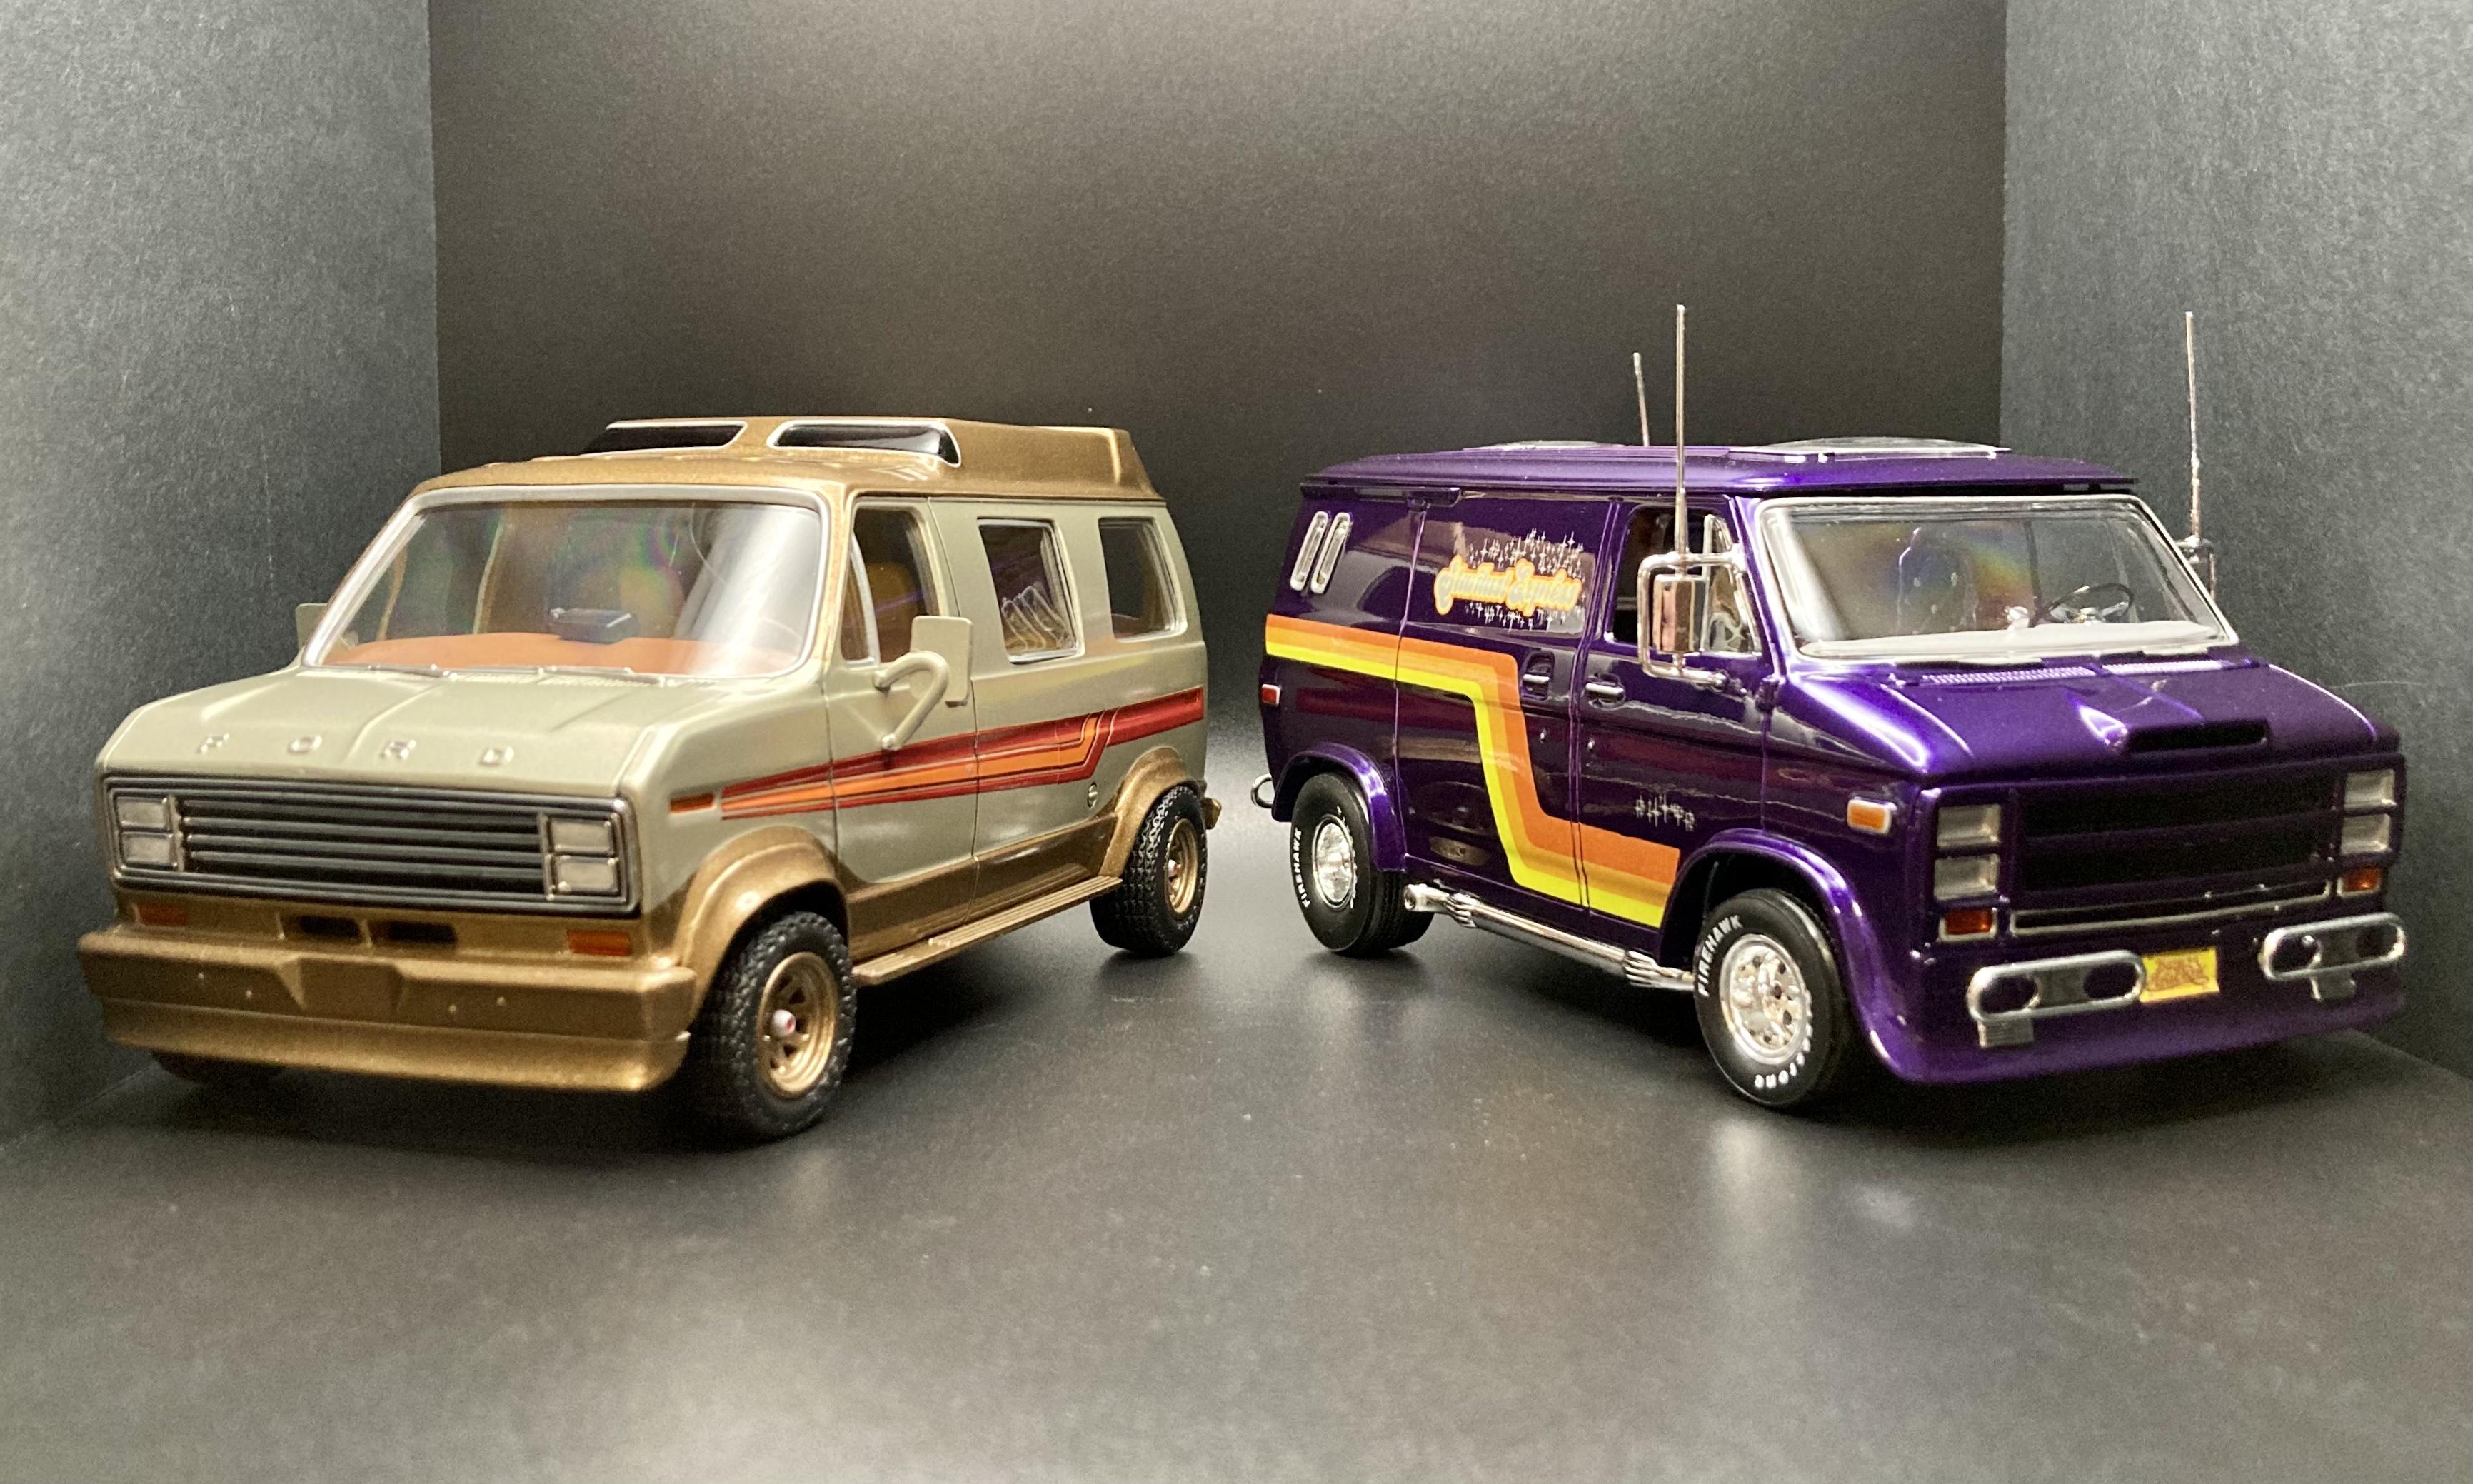
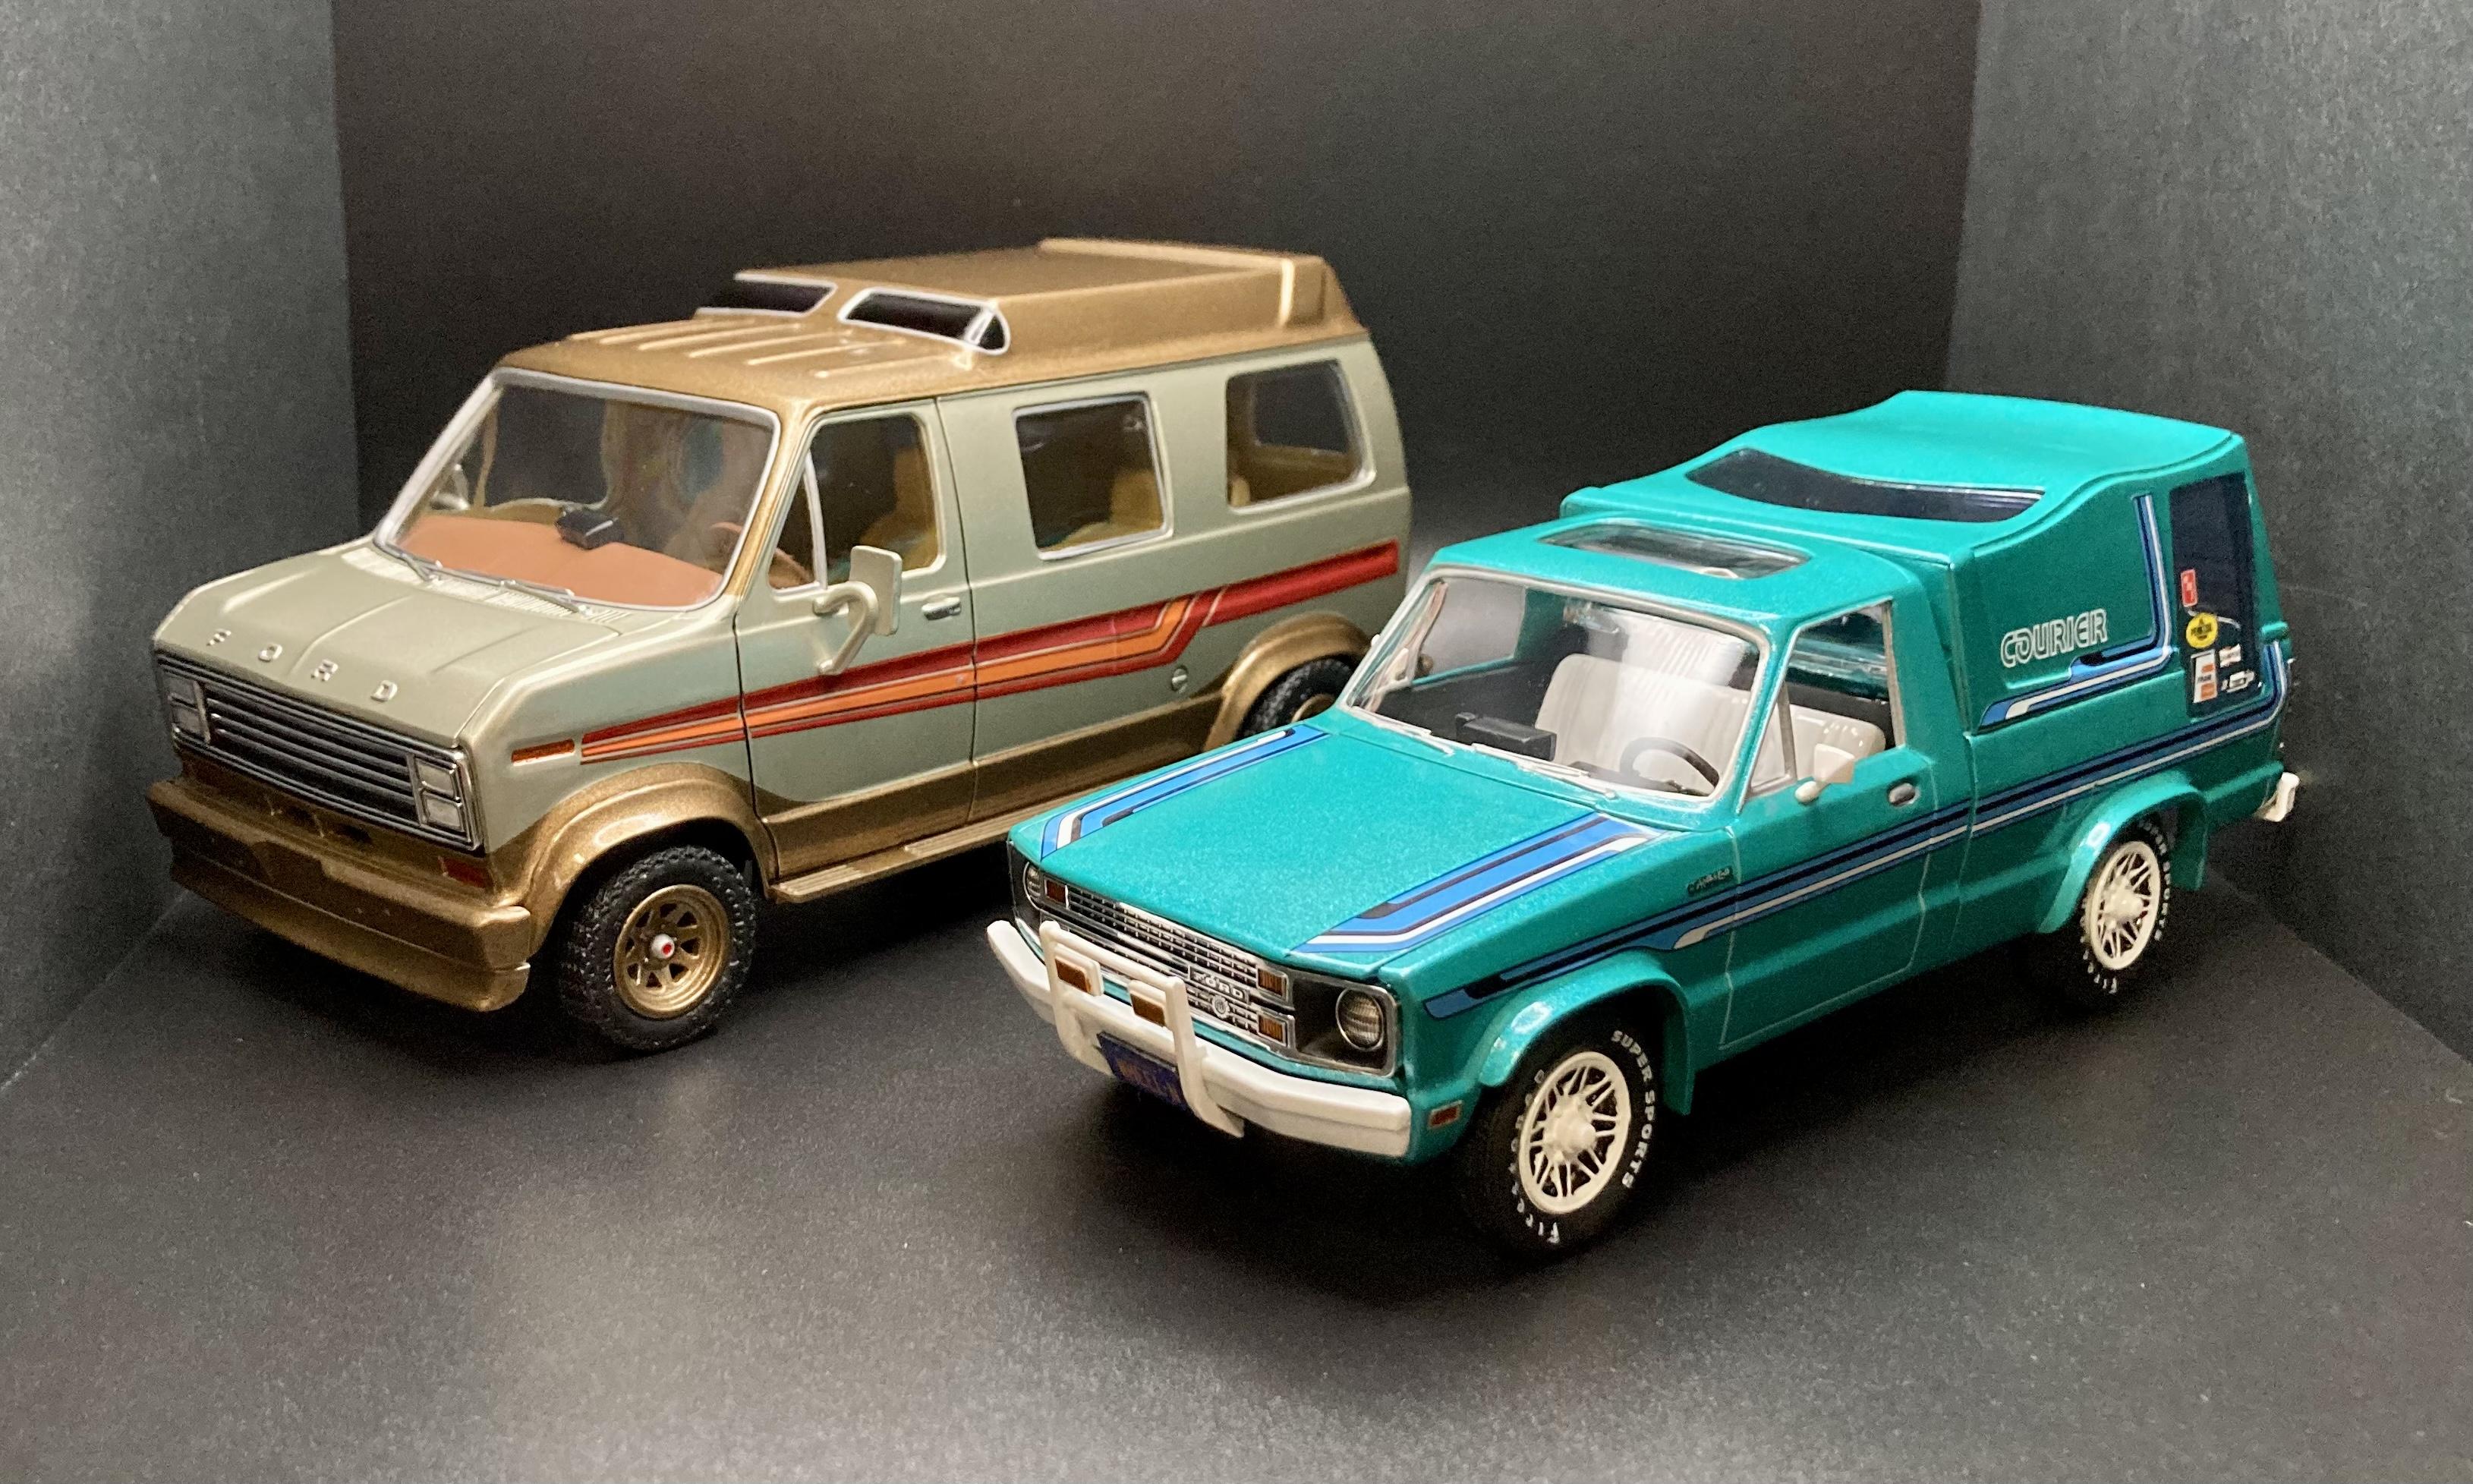
Here’s my Econoline Conversion Van, finally finished after about 6 months. I really wanted to build a 1980s style high roof conversion van, so I had to find a “Matilda” release of AMT’s Ford van. From what I understand, the Matilda release is the only one with this roof. At the time, the cheapest one on eBay was this complete, yet water damaged kit that also REEKED of cigarette smoke. I checked today and there are two nice kits available for less than I paid 6 months ago, so snap one up if you want a high top! AMT’s Ford van depicts a ‘75-‘78 model, so I used the custom square headlight grill in the kit to give it more of a mid-80’s vibe. The Matilda release doesn’t include the rear spare tire mount so I swiped this one from my recent “Cruising Van” release. The front and middle row seats are the custom option from ‘90s releases of the AMT 1940 Ford coupe and sedan delivery. They are similar to C4 Corvette seats and look right at home in a luxury conversion van. I only had two ‘90s ‘40 Ford kits, so the 3rd row seats are the custom option from the MPC ‘82 Cavalier. Close enough! The interior brown and tan are Krylon. For the wood trim, I first used Tamiya flat “Light Brown” and then brushed with Tamiya clear orange. The picnic table is scratch built from scrap styrene. The Matilda release includes the trapezoid rearmost side windows but only two of them. The middle side windows are leftover camper shell windows from the recent AMT Courier Mini Van. The high top “windows” are molded closed with no glass available so I just used black Sharpie to look like limo tint. The main body is painted Tamiya TS75 “Champagne Gold”, and the roof and ground effects are painted Testors Extreme Lacquer “Bronze”. The body stripes are leftover decals from the Courier Mini Van kit. Overall this kit builds up pretty nice for its age, but even in the older Matilda release there’s a ton of flash to deal with. I’m very pleased with how this one turned out! If Round 2 is listening: please bring back the high roof option! I know it would be a smash hit. Maybe leave off the kangaroo dome window though…
-
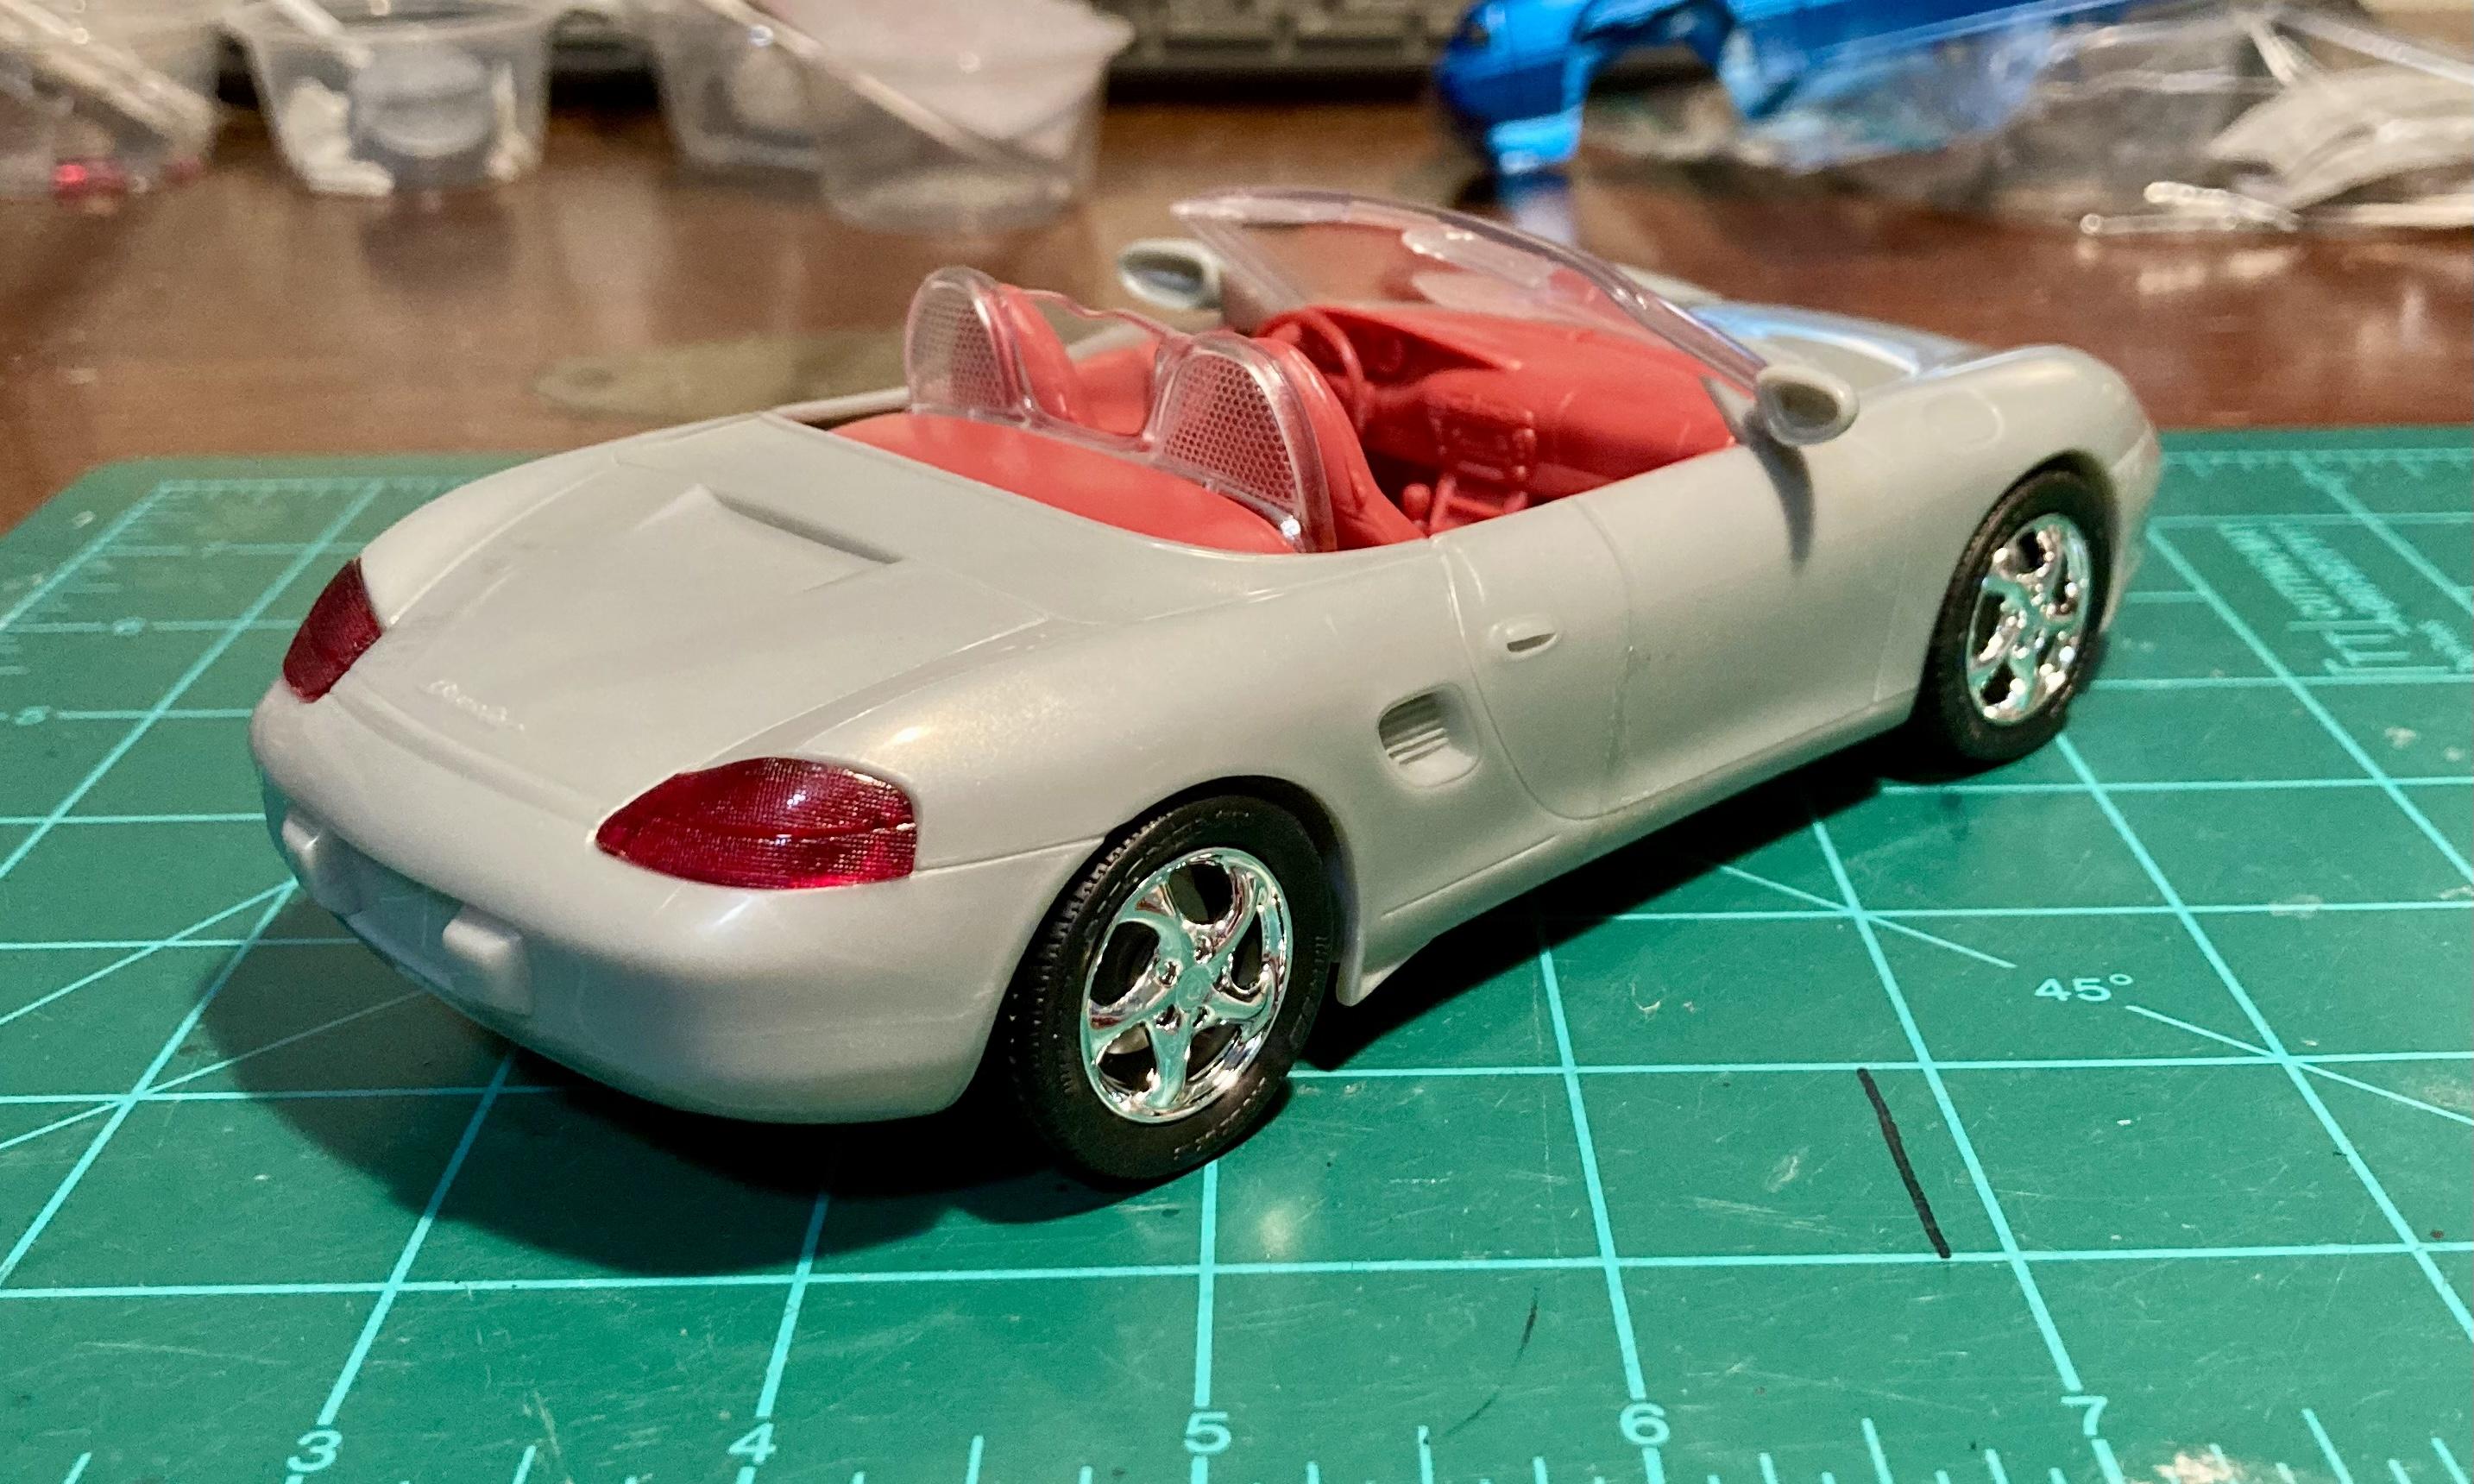
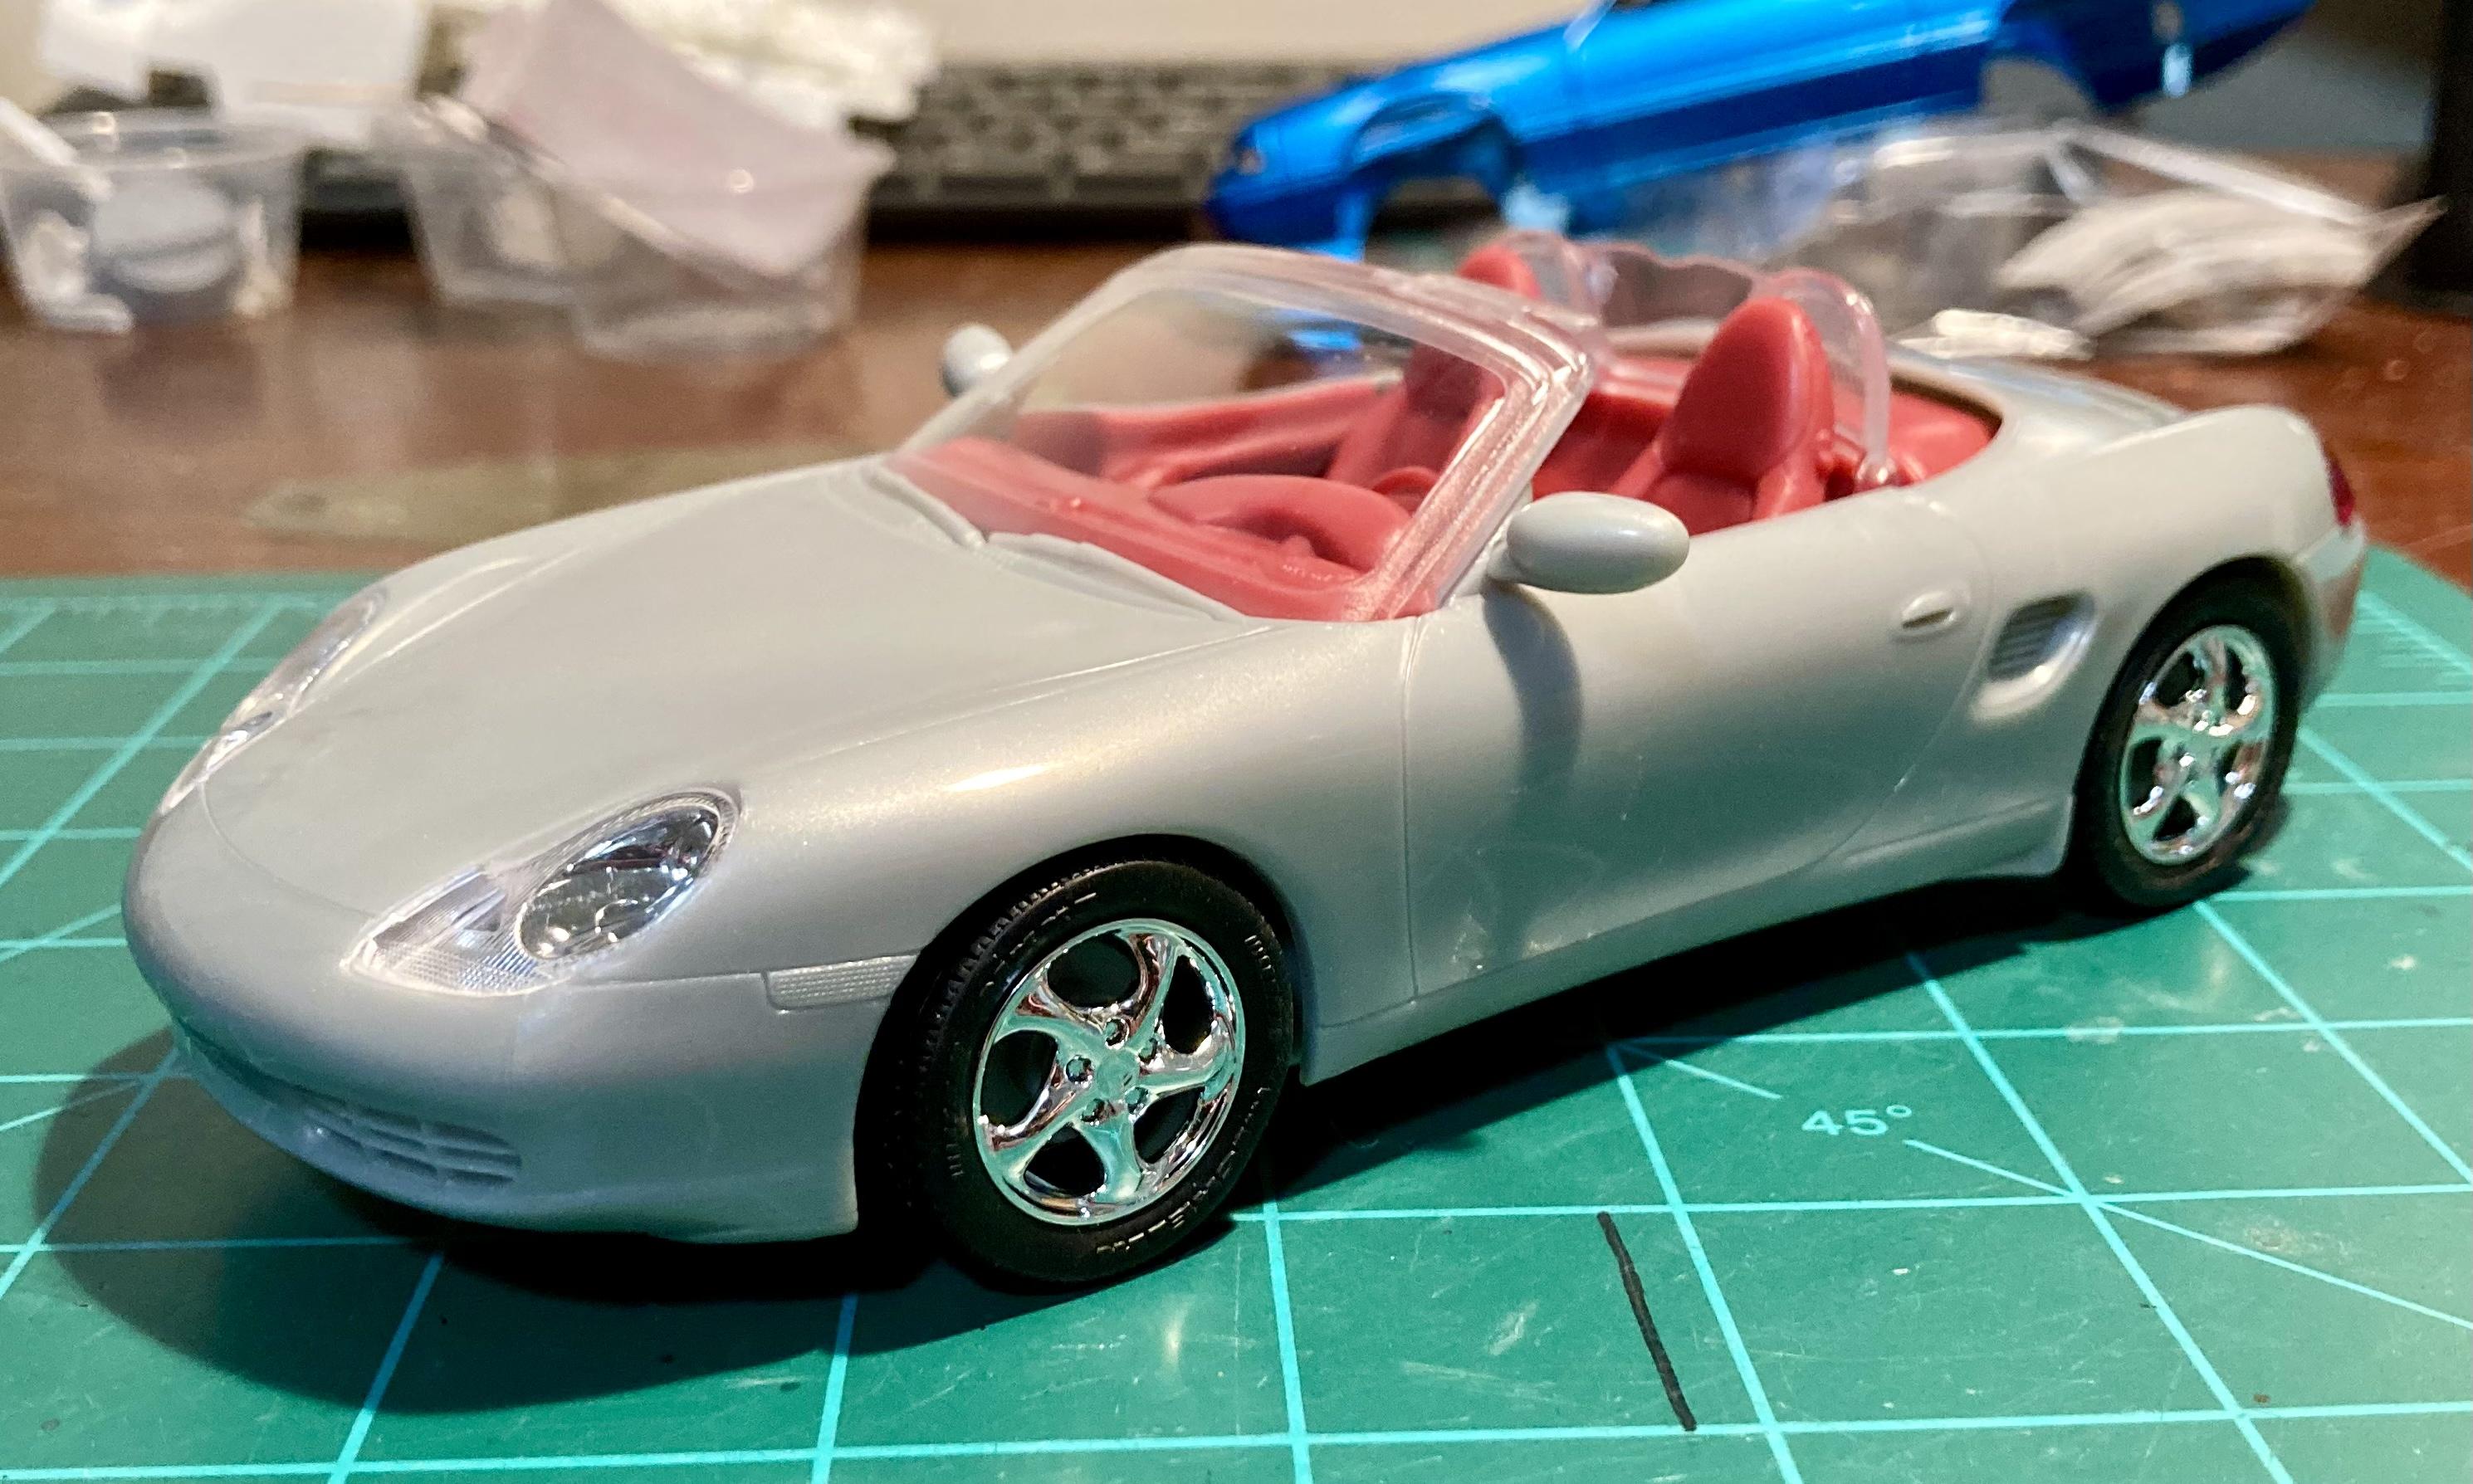
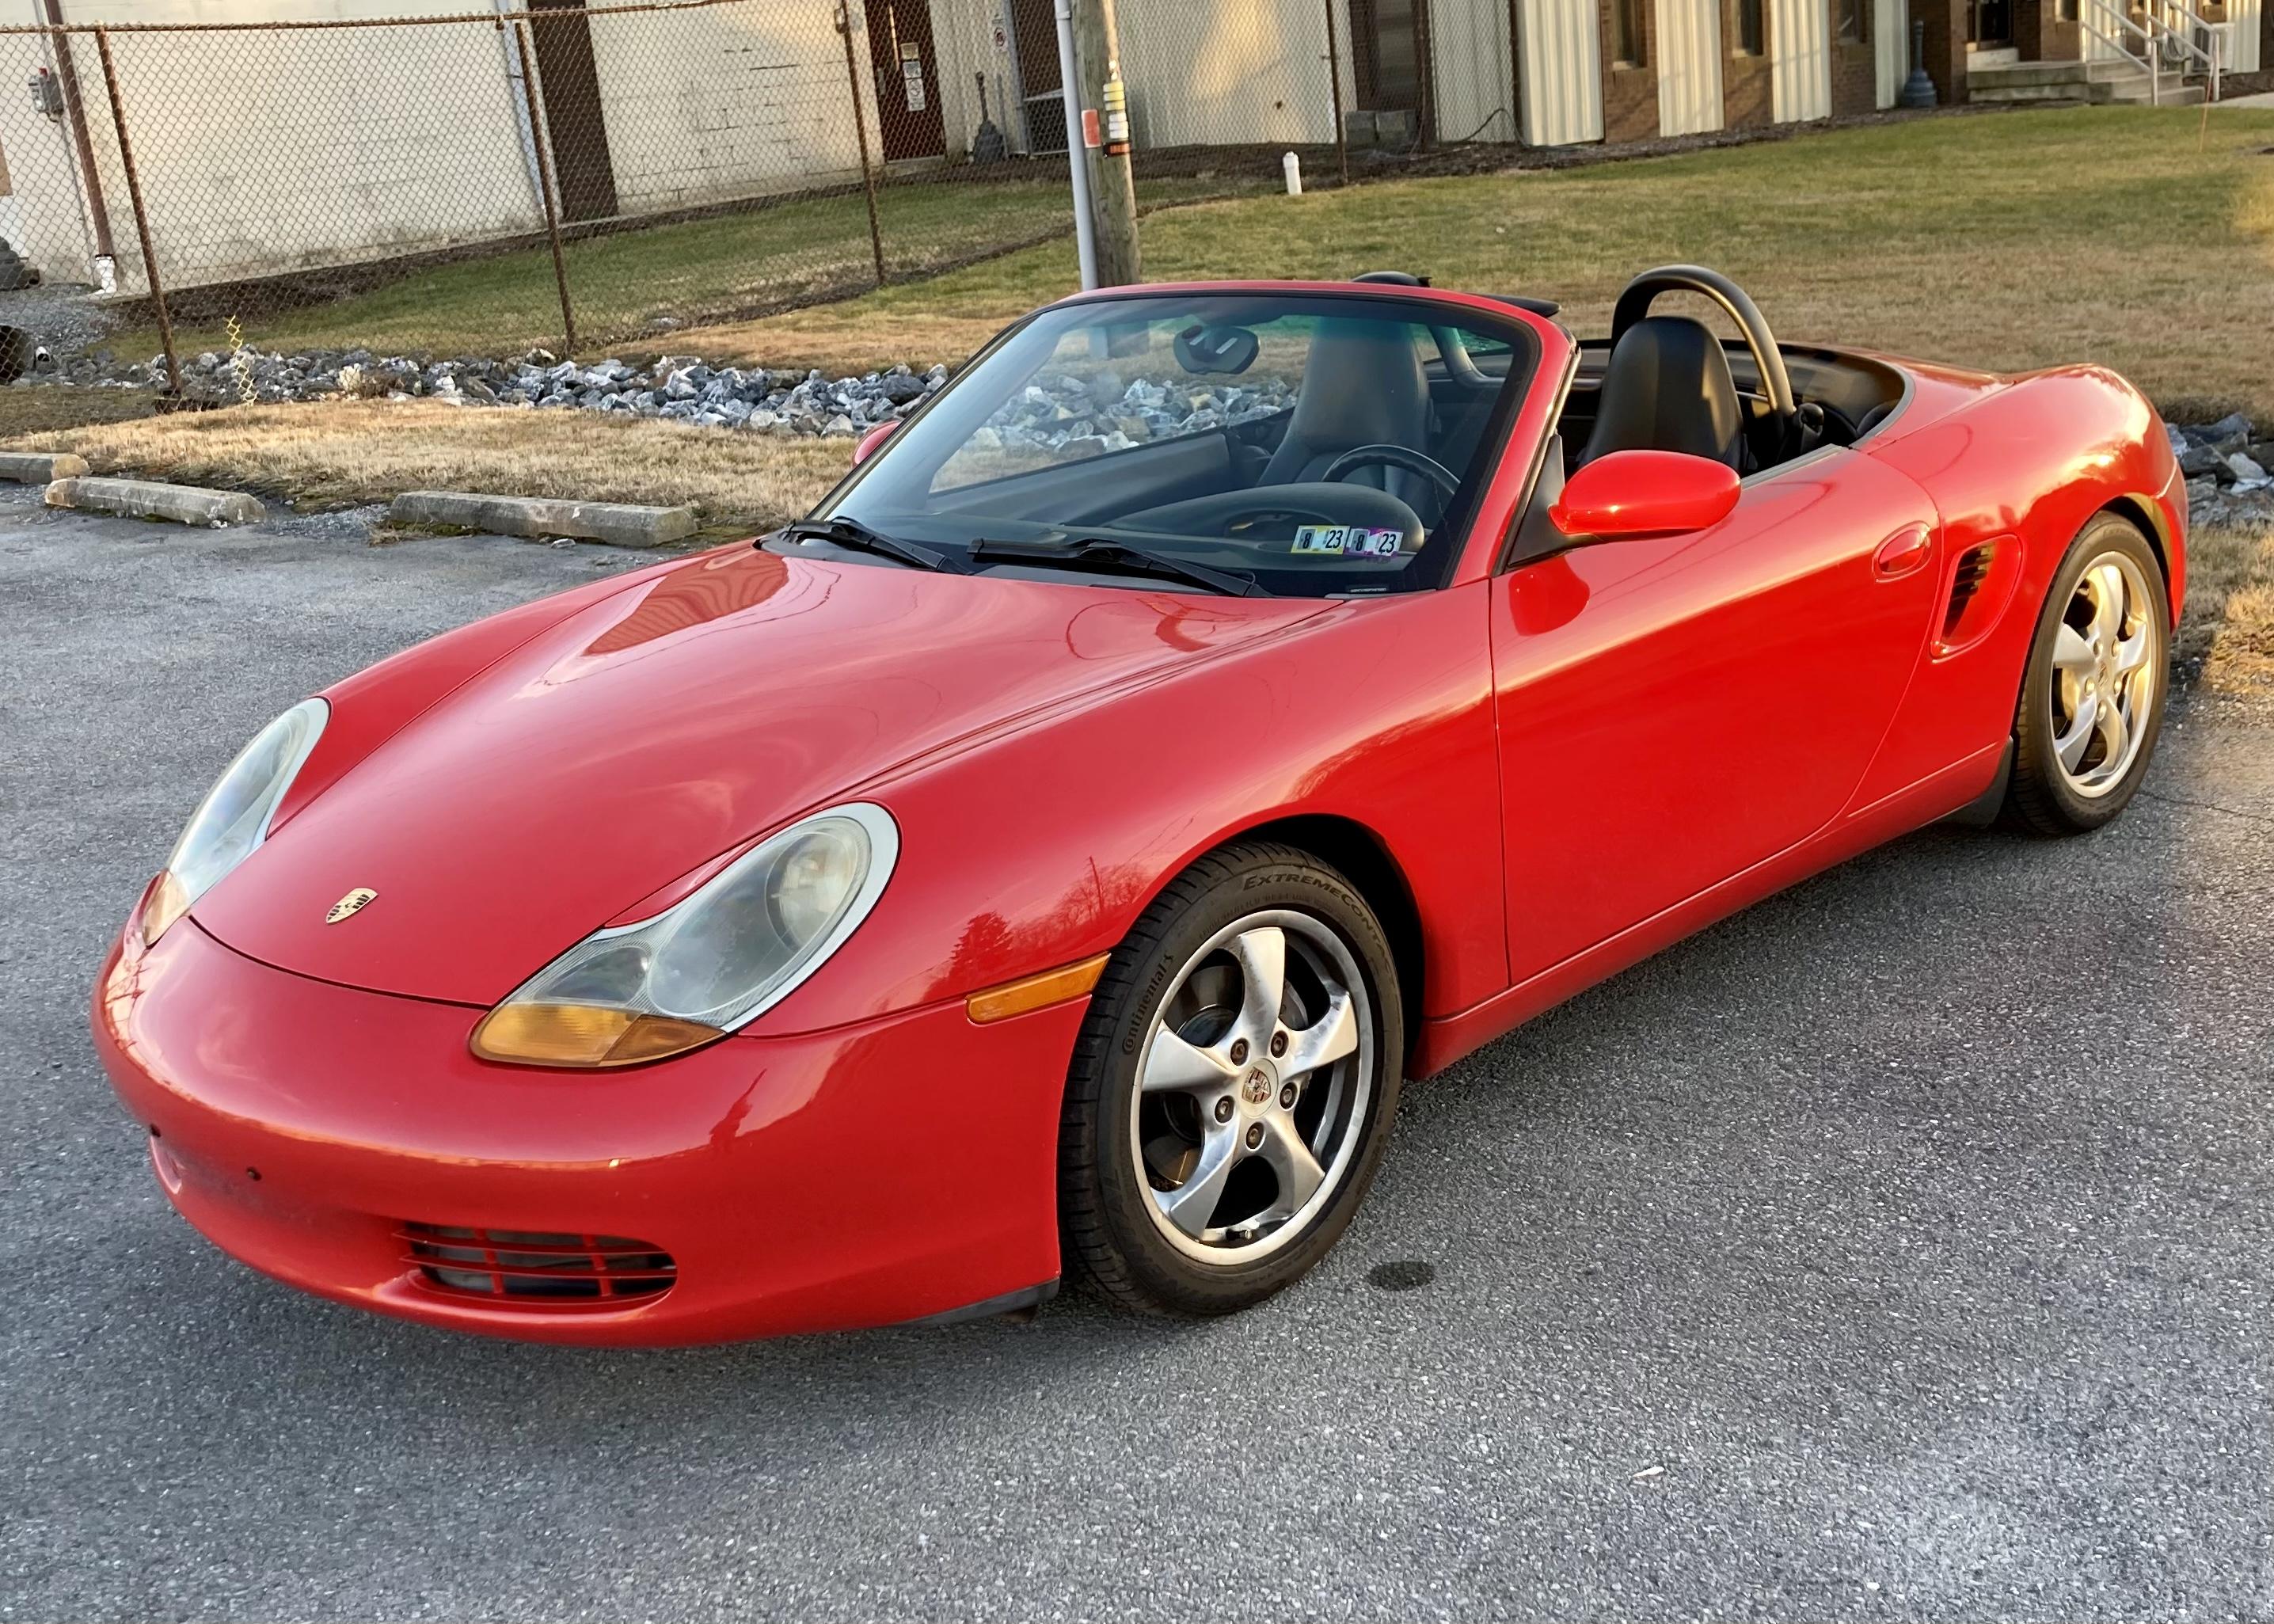
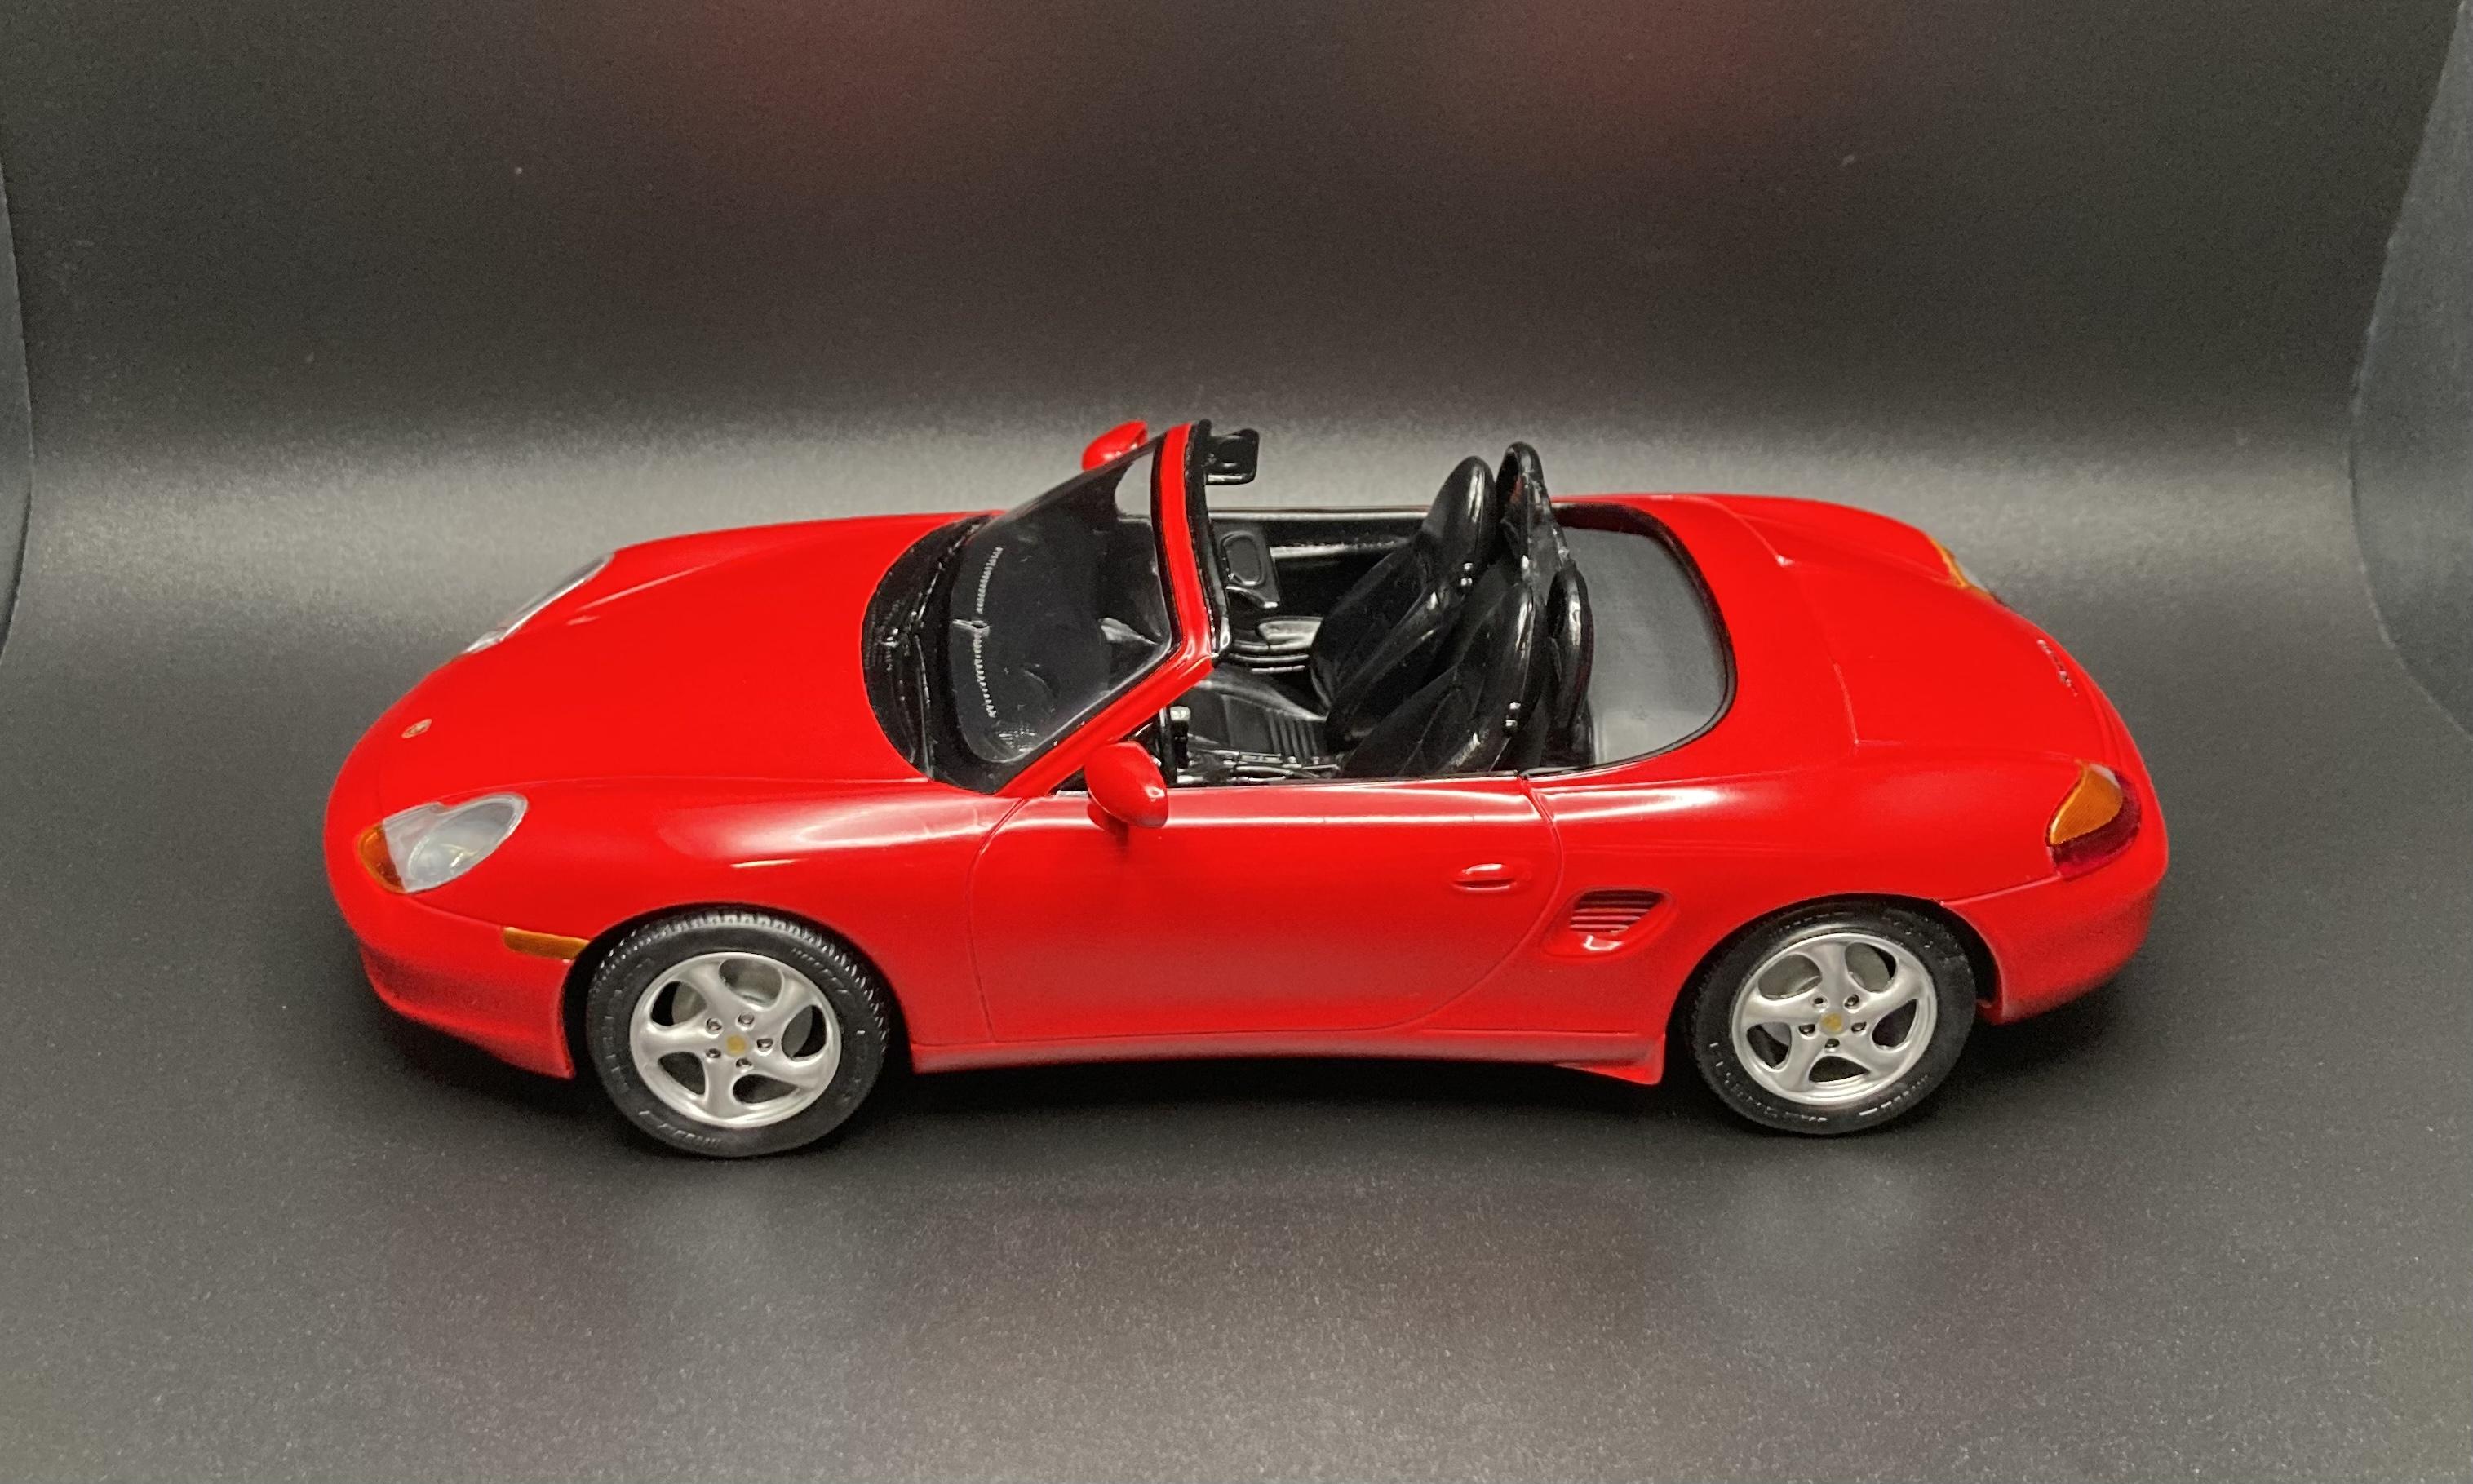
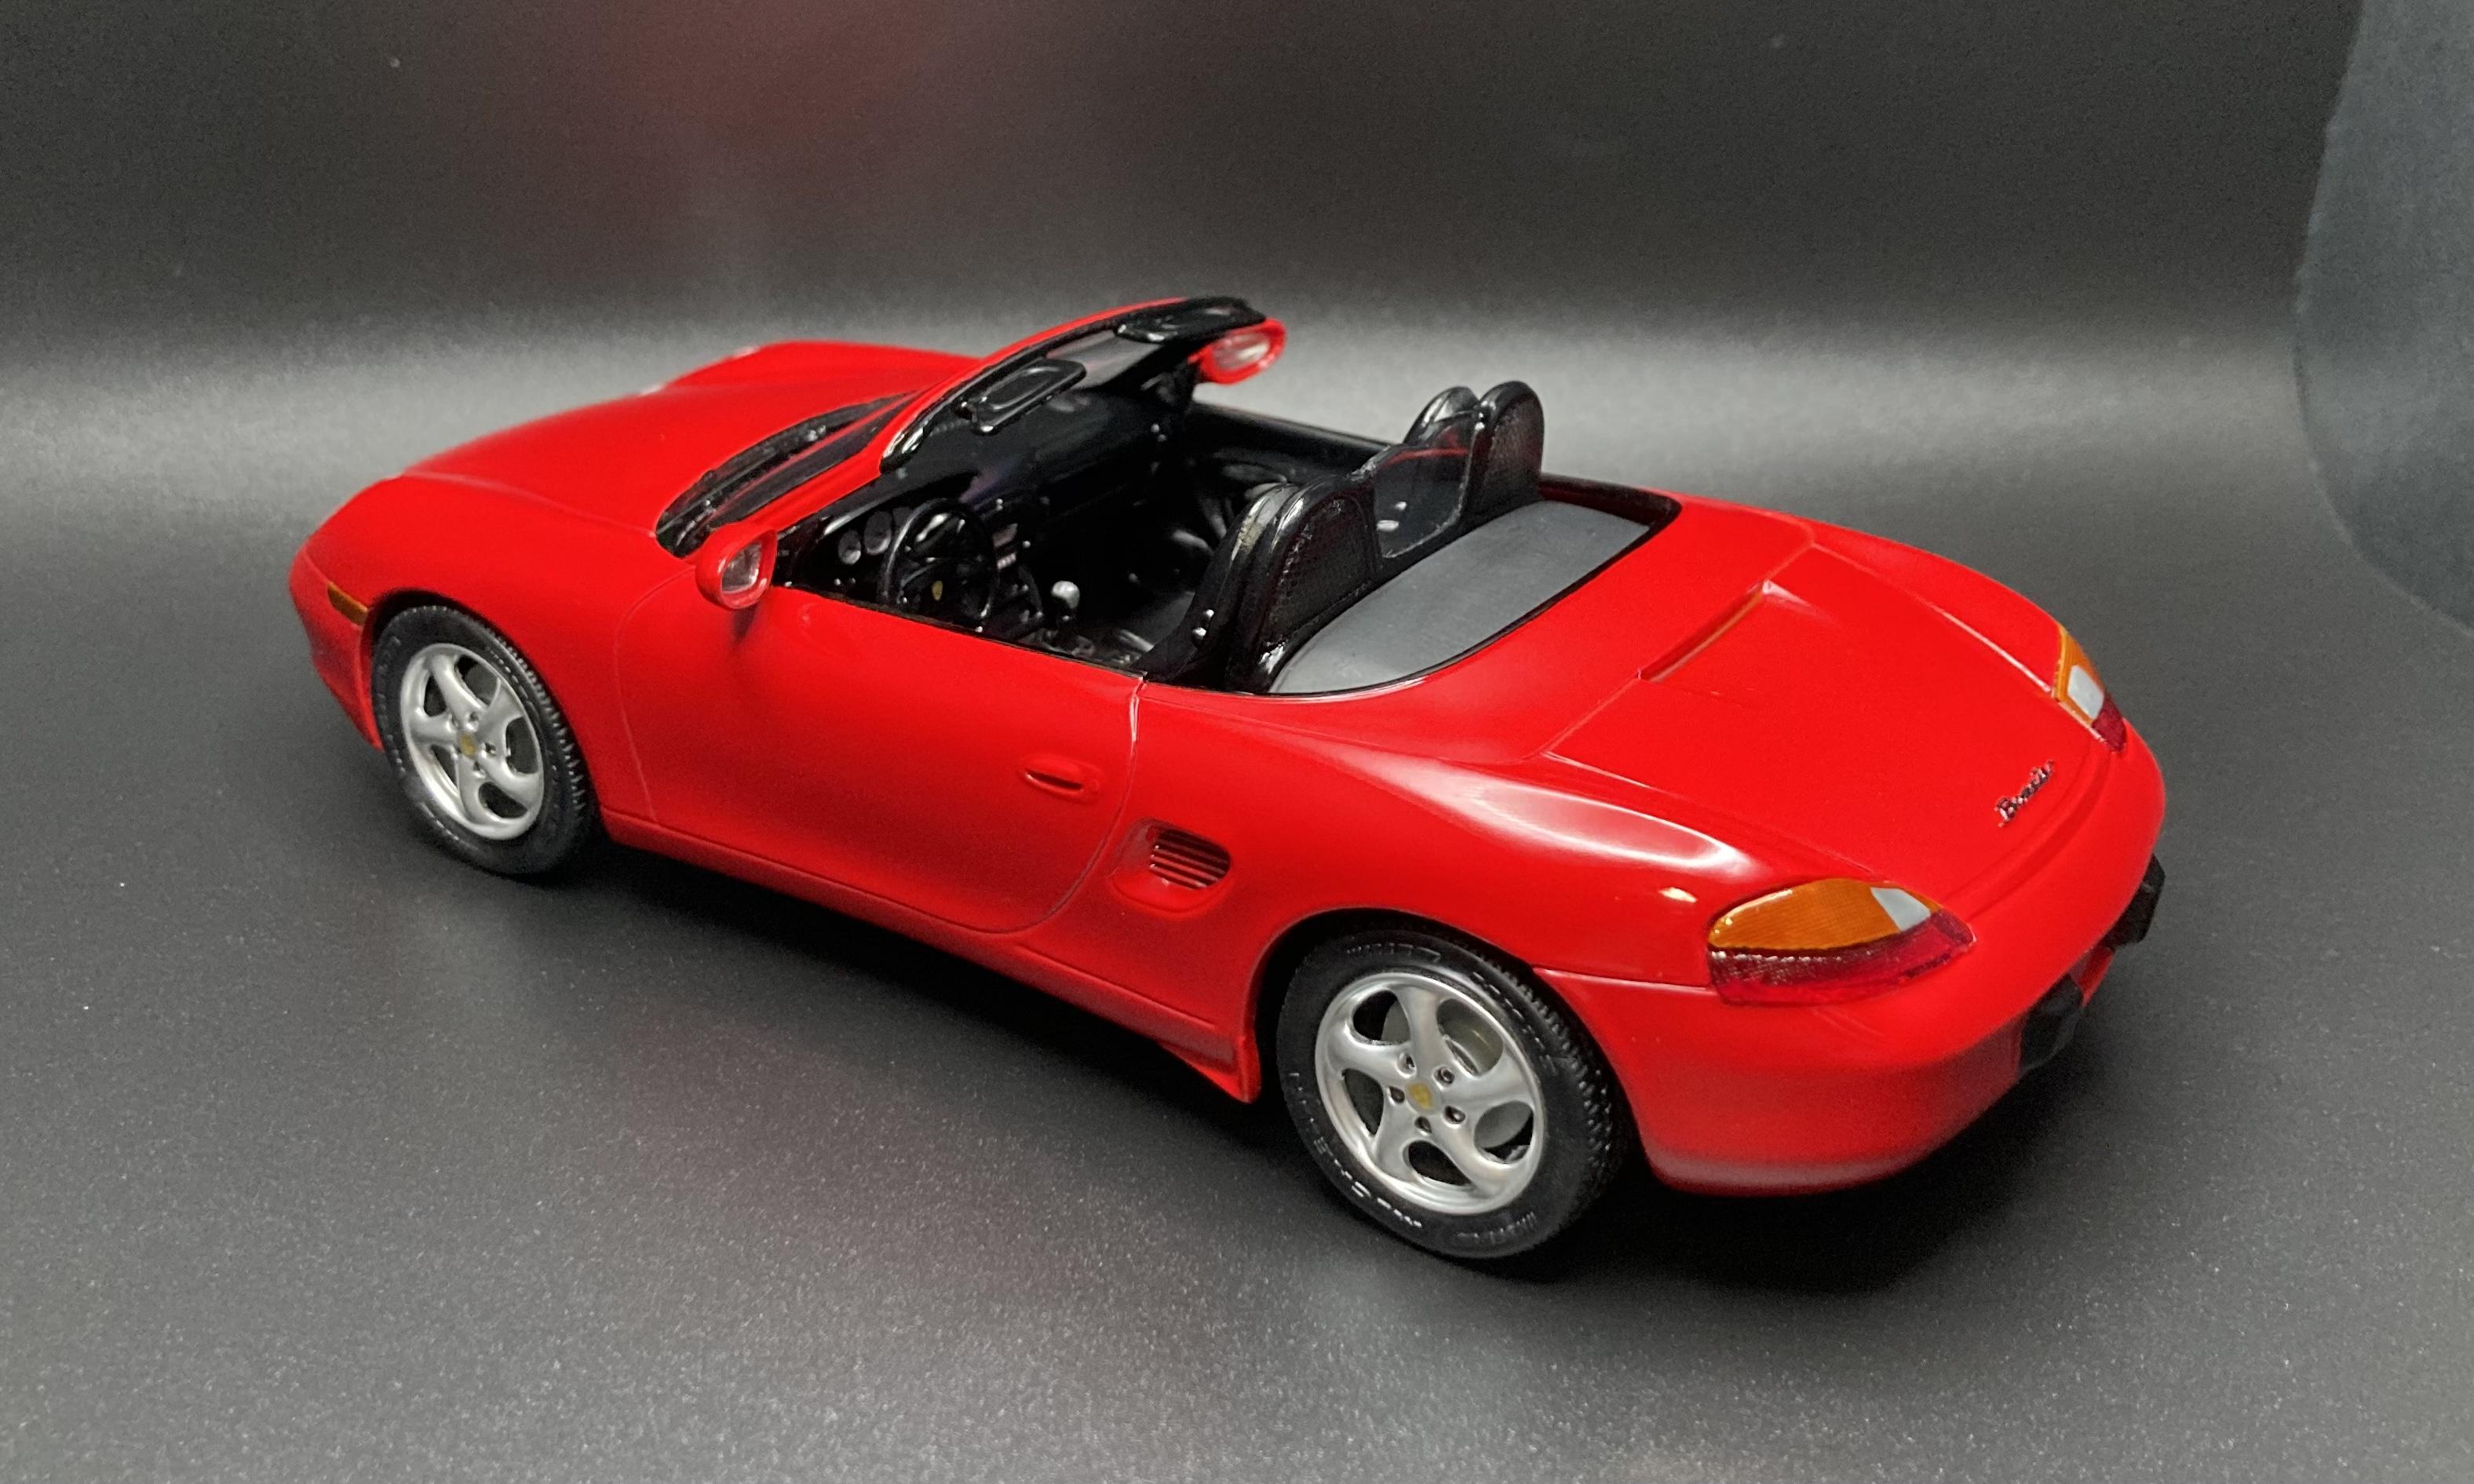
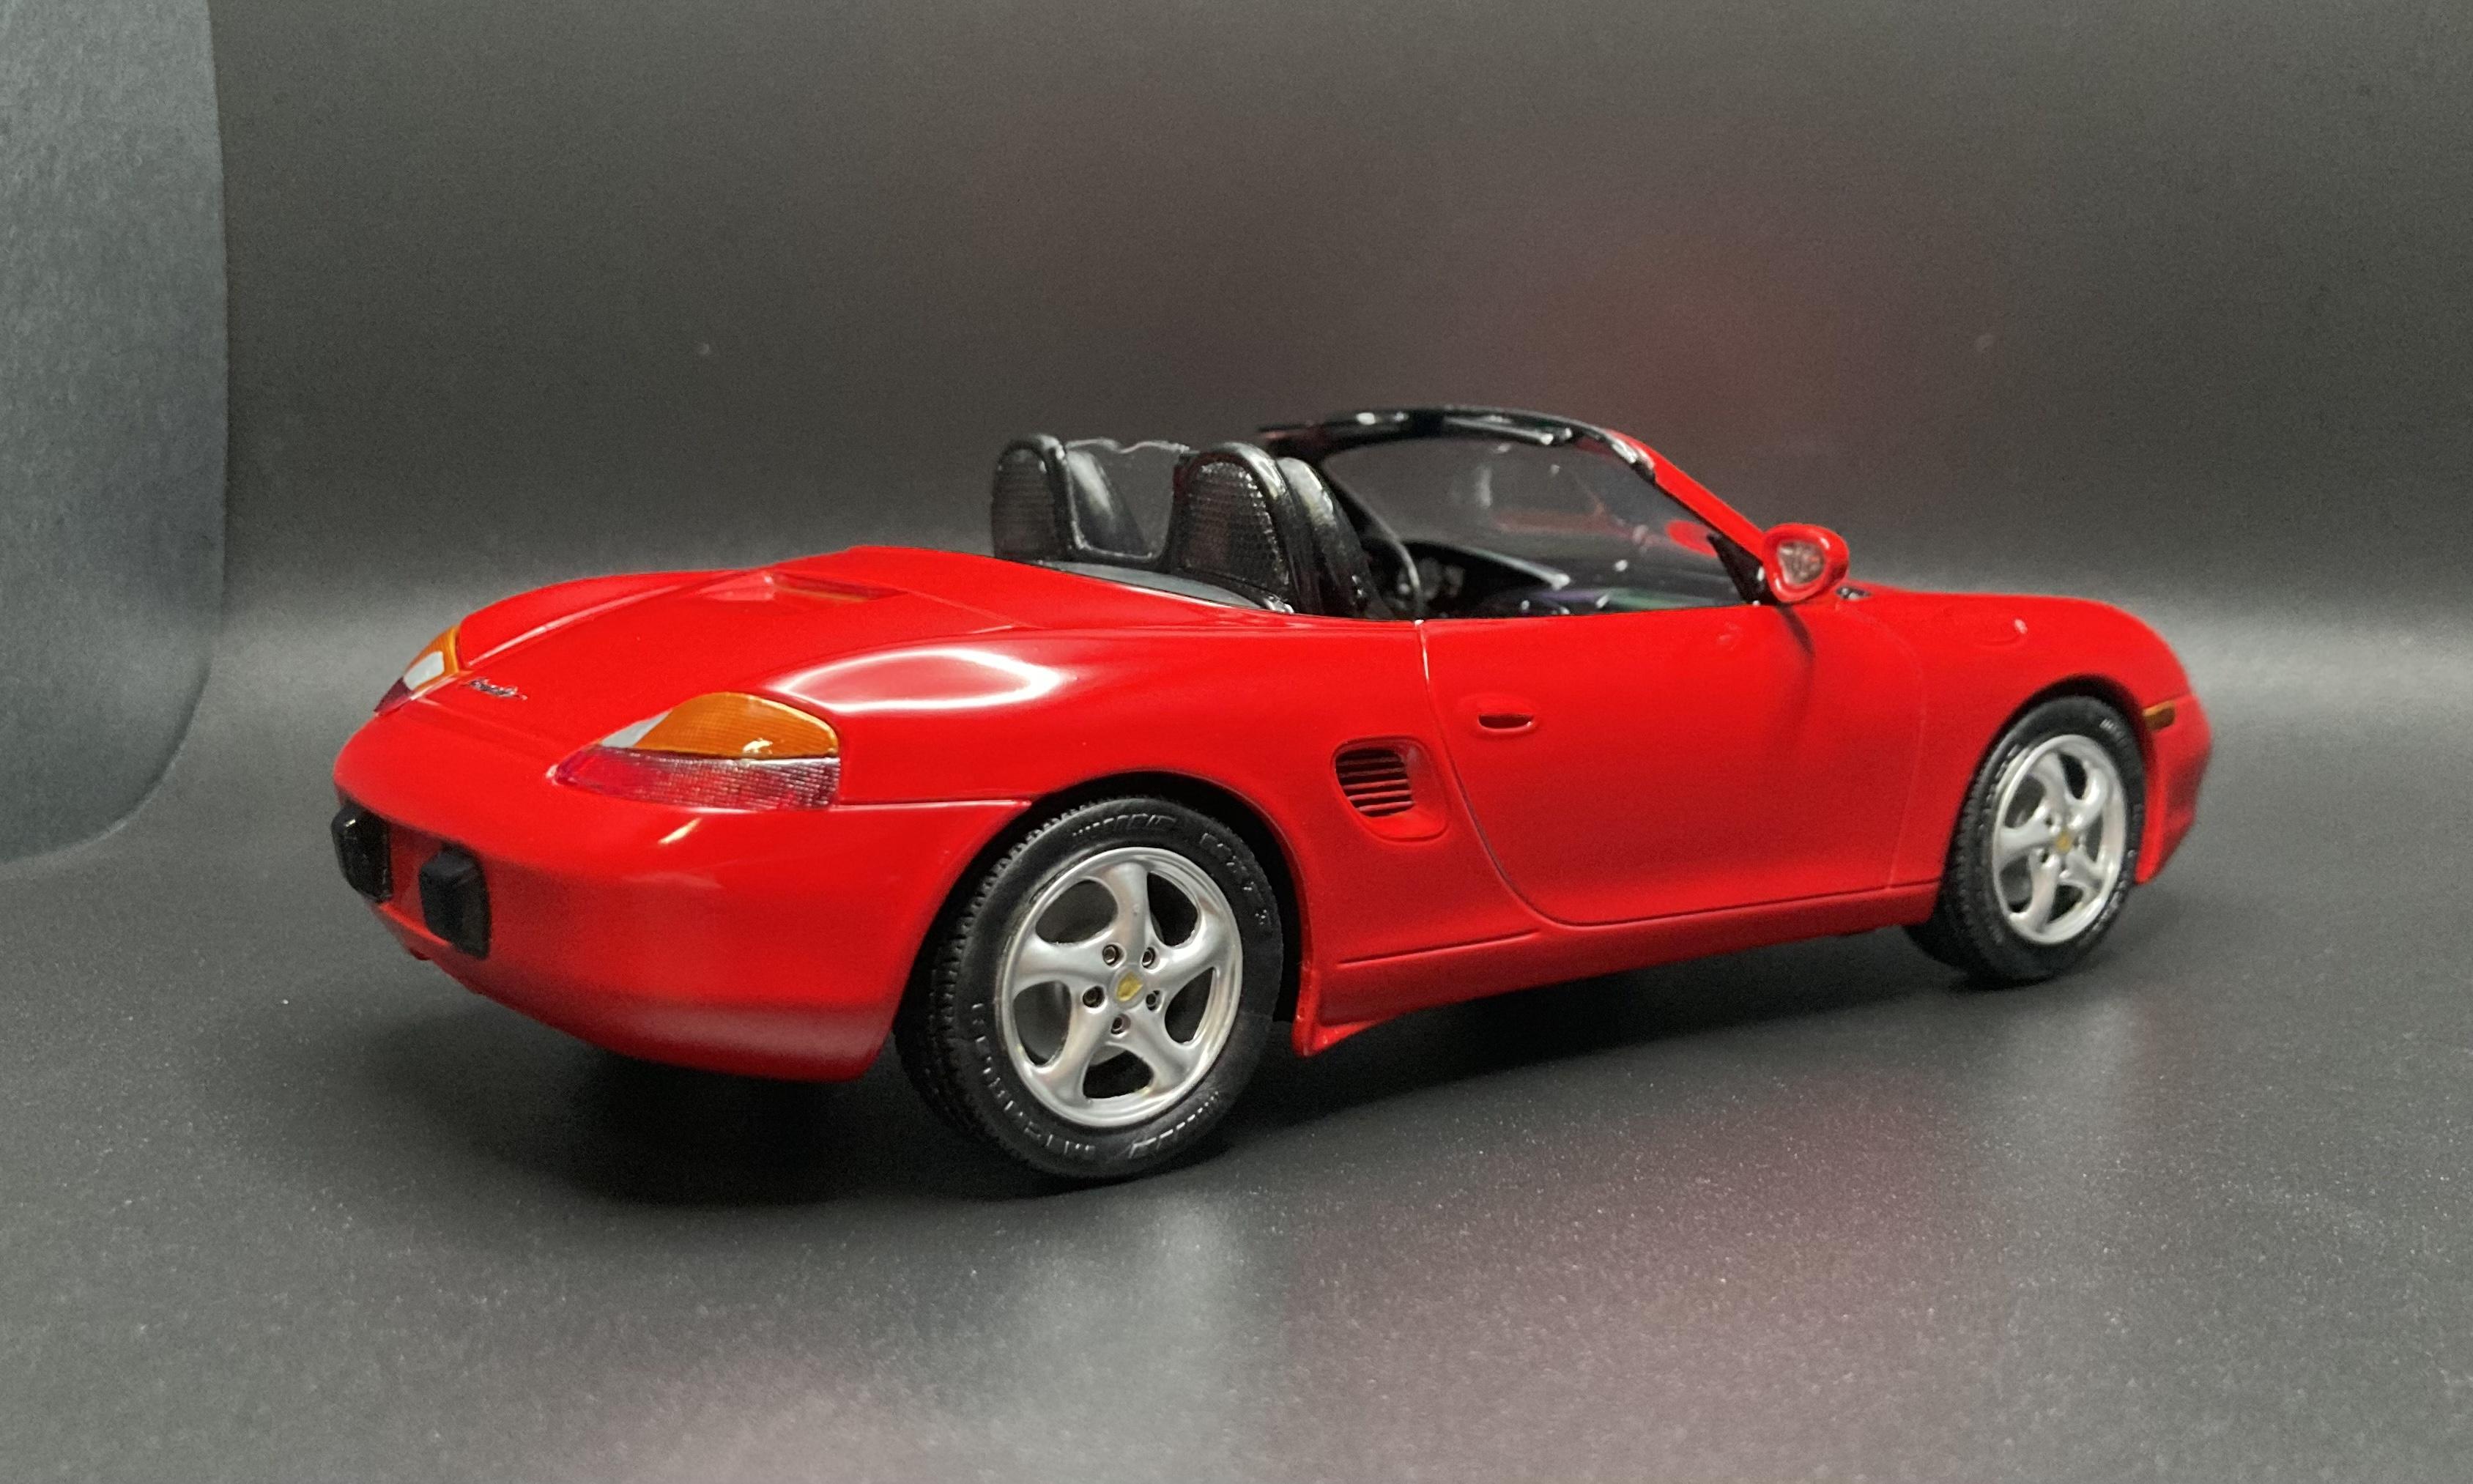
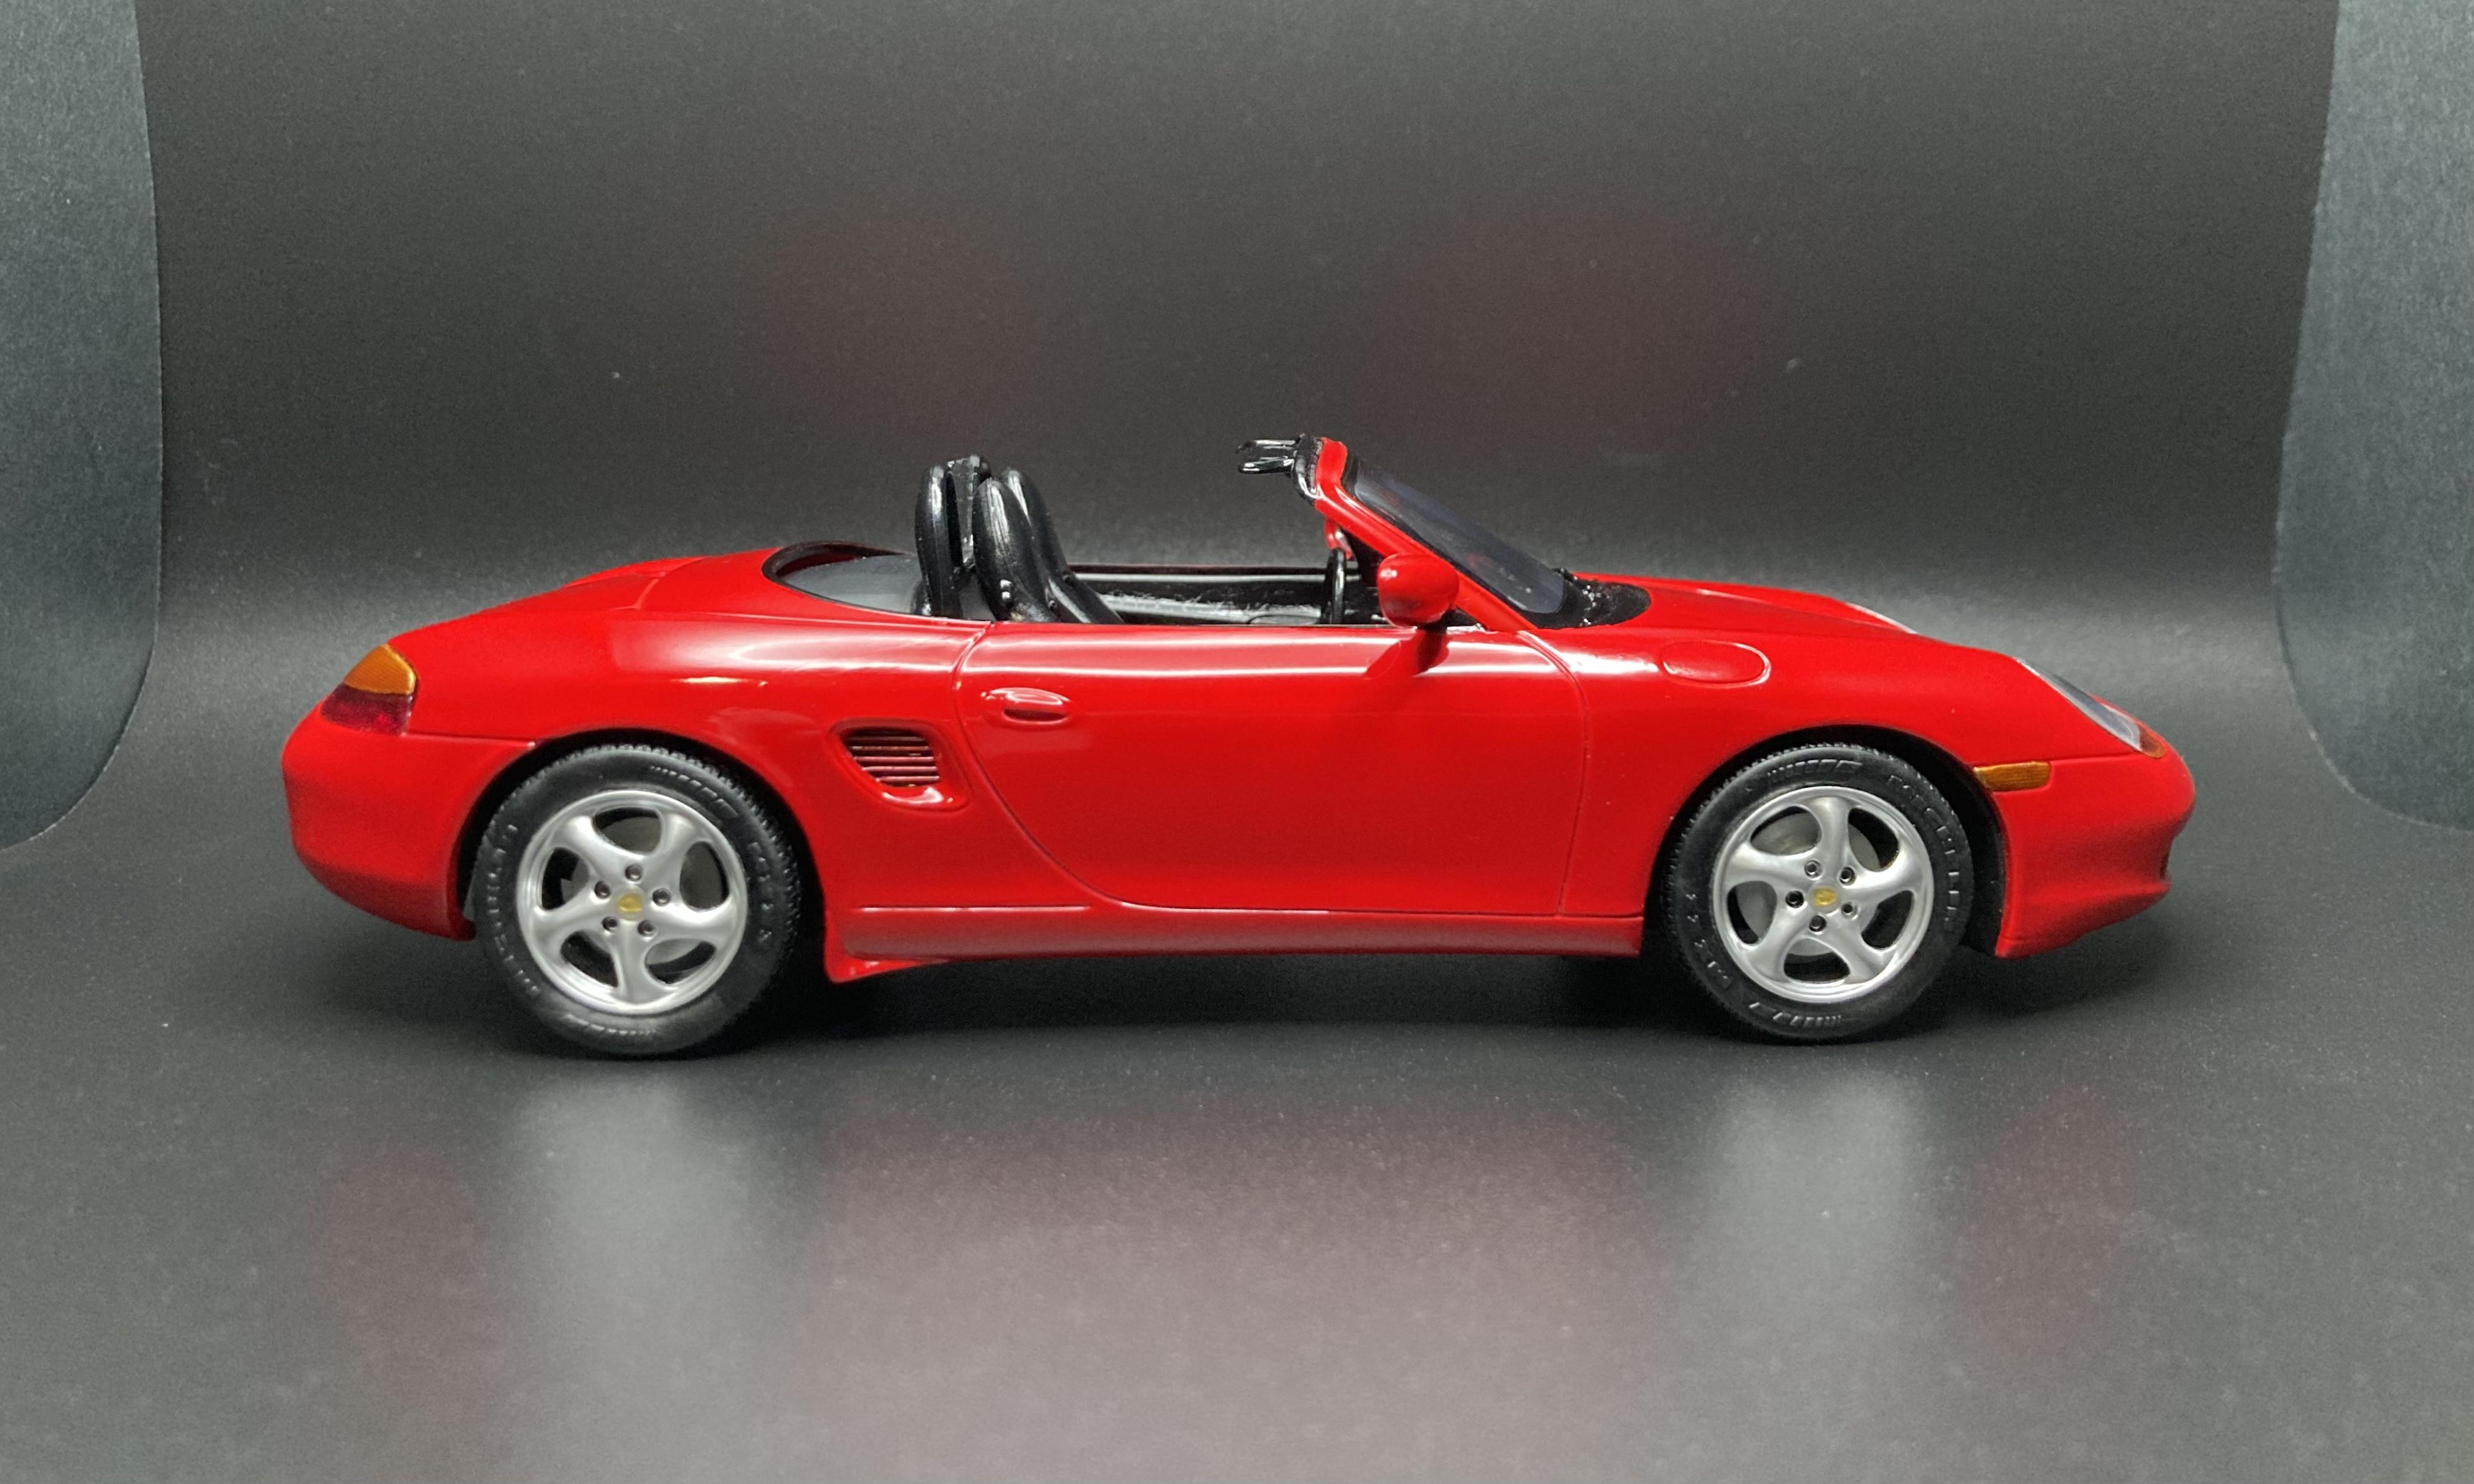
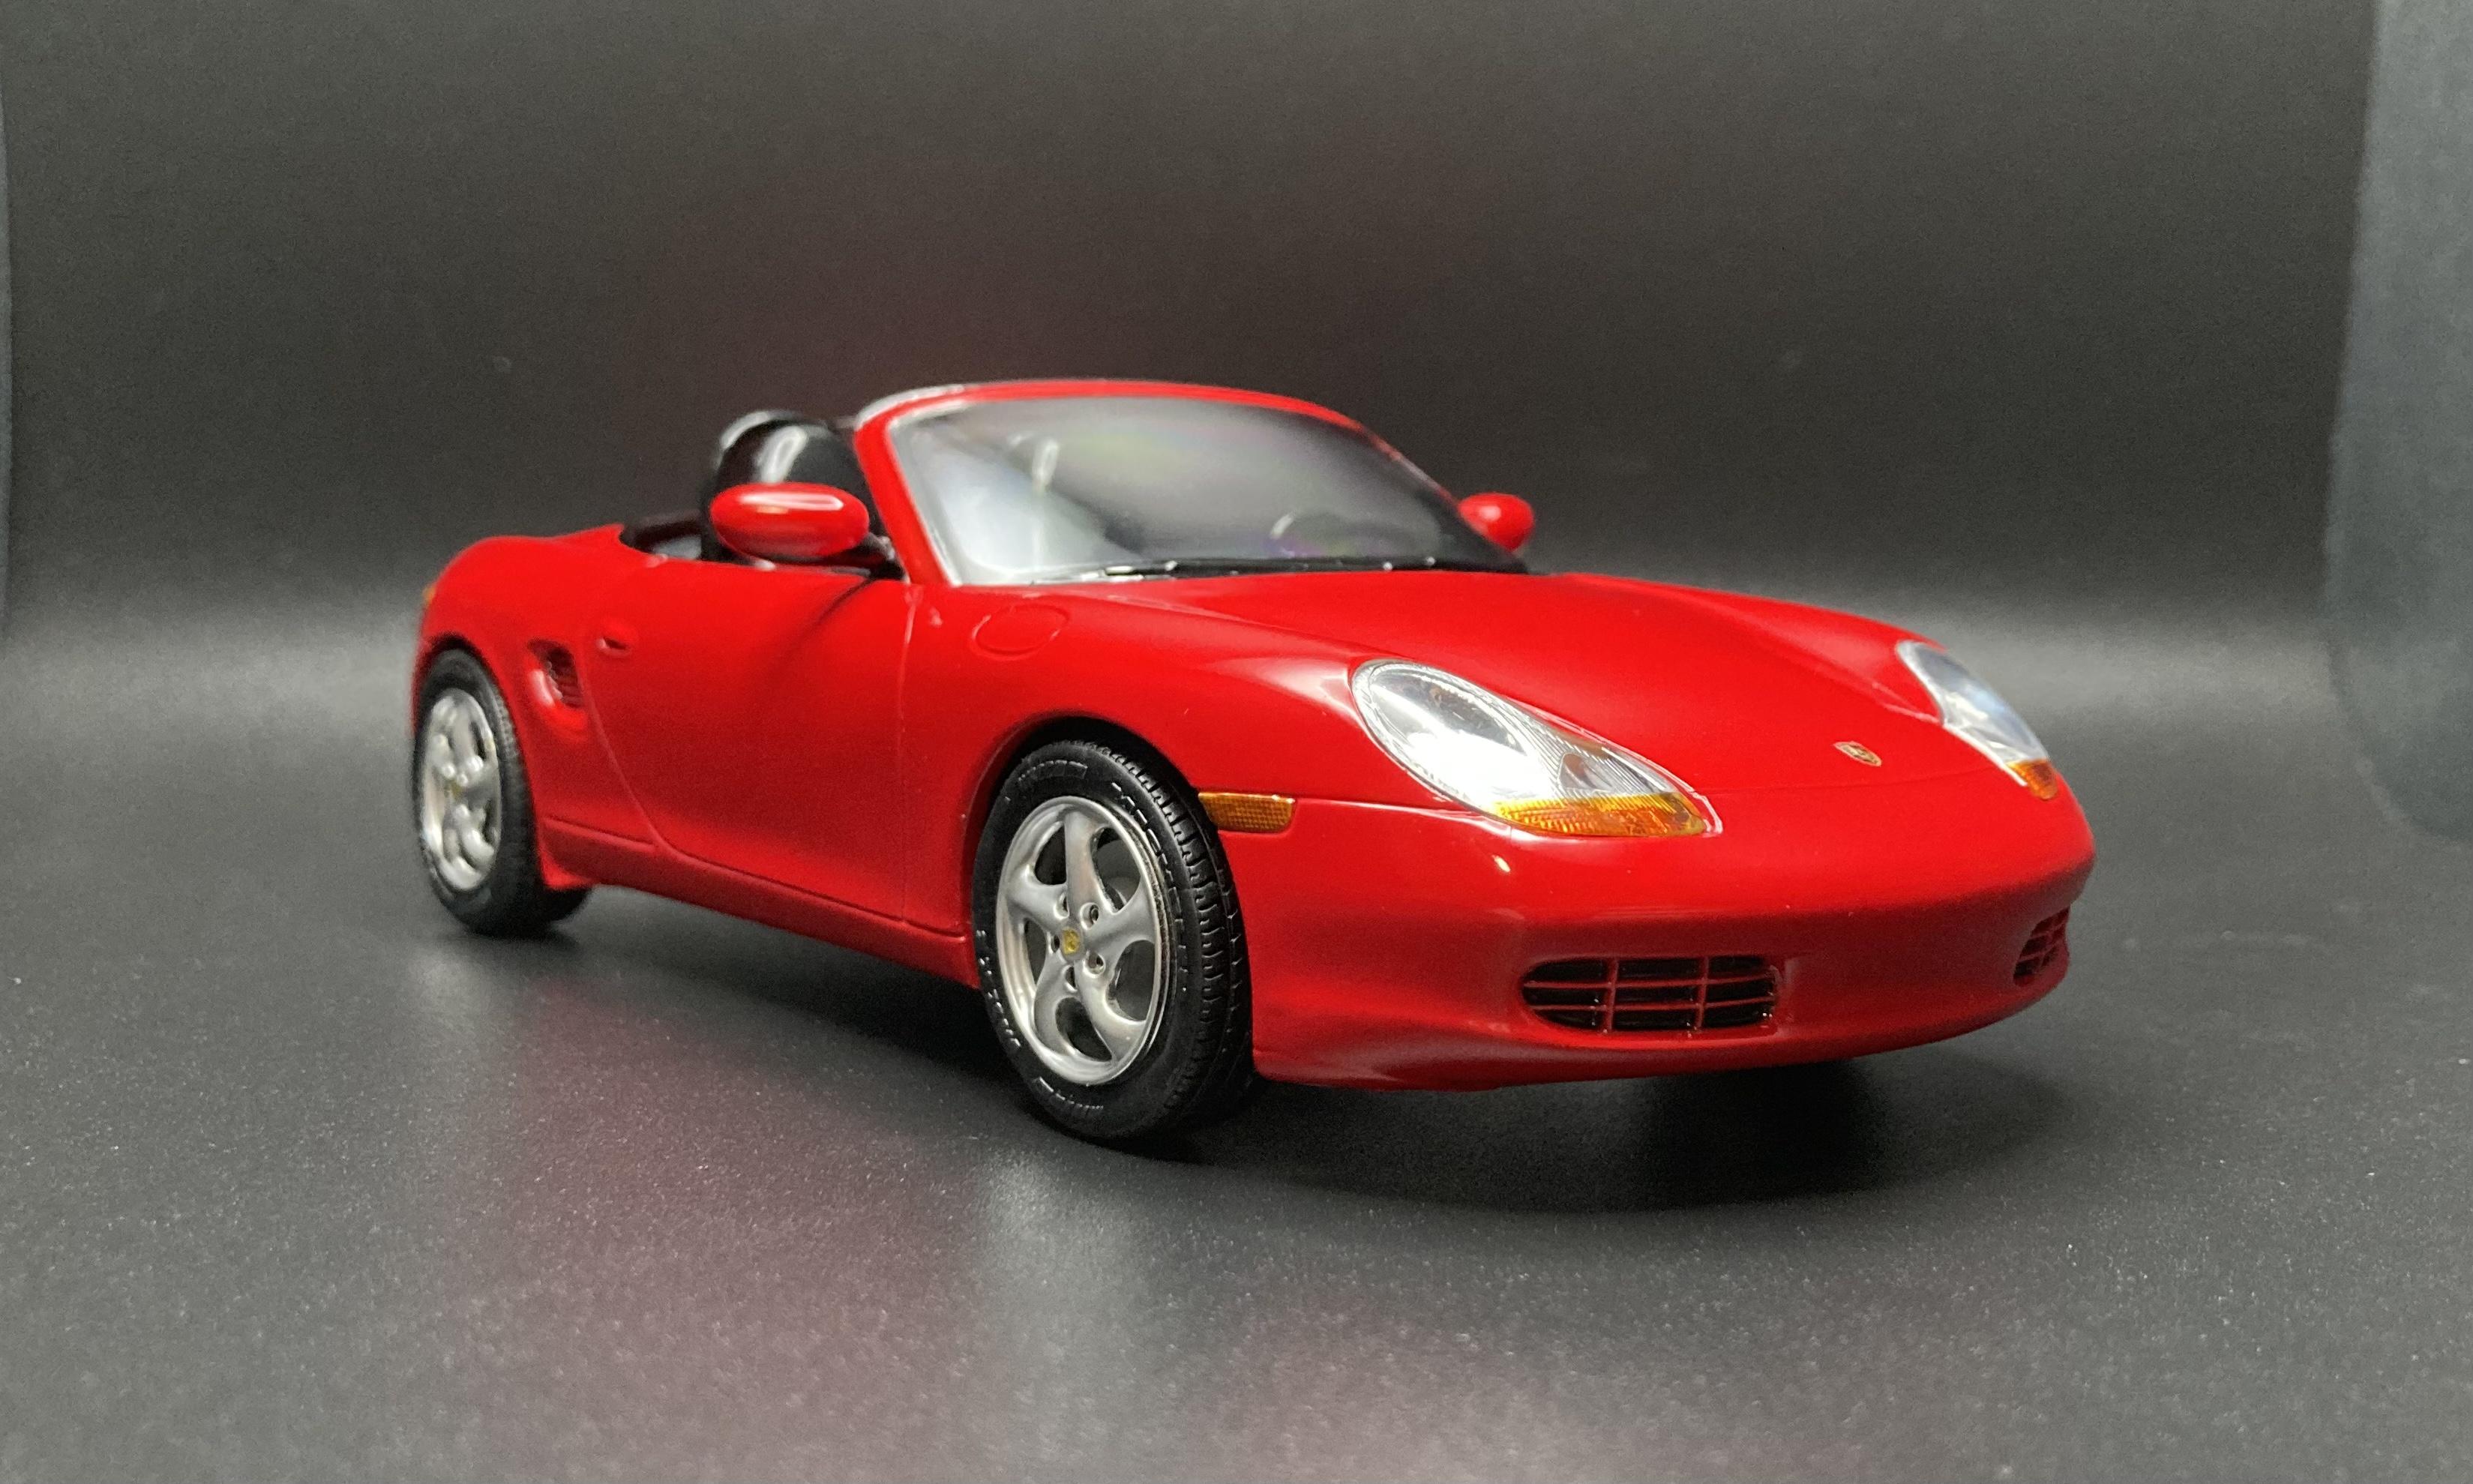
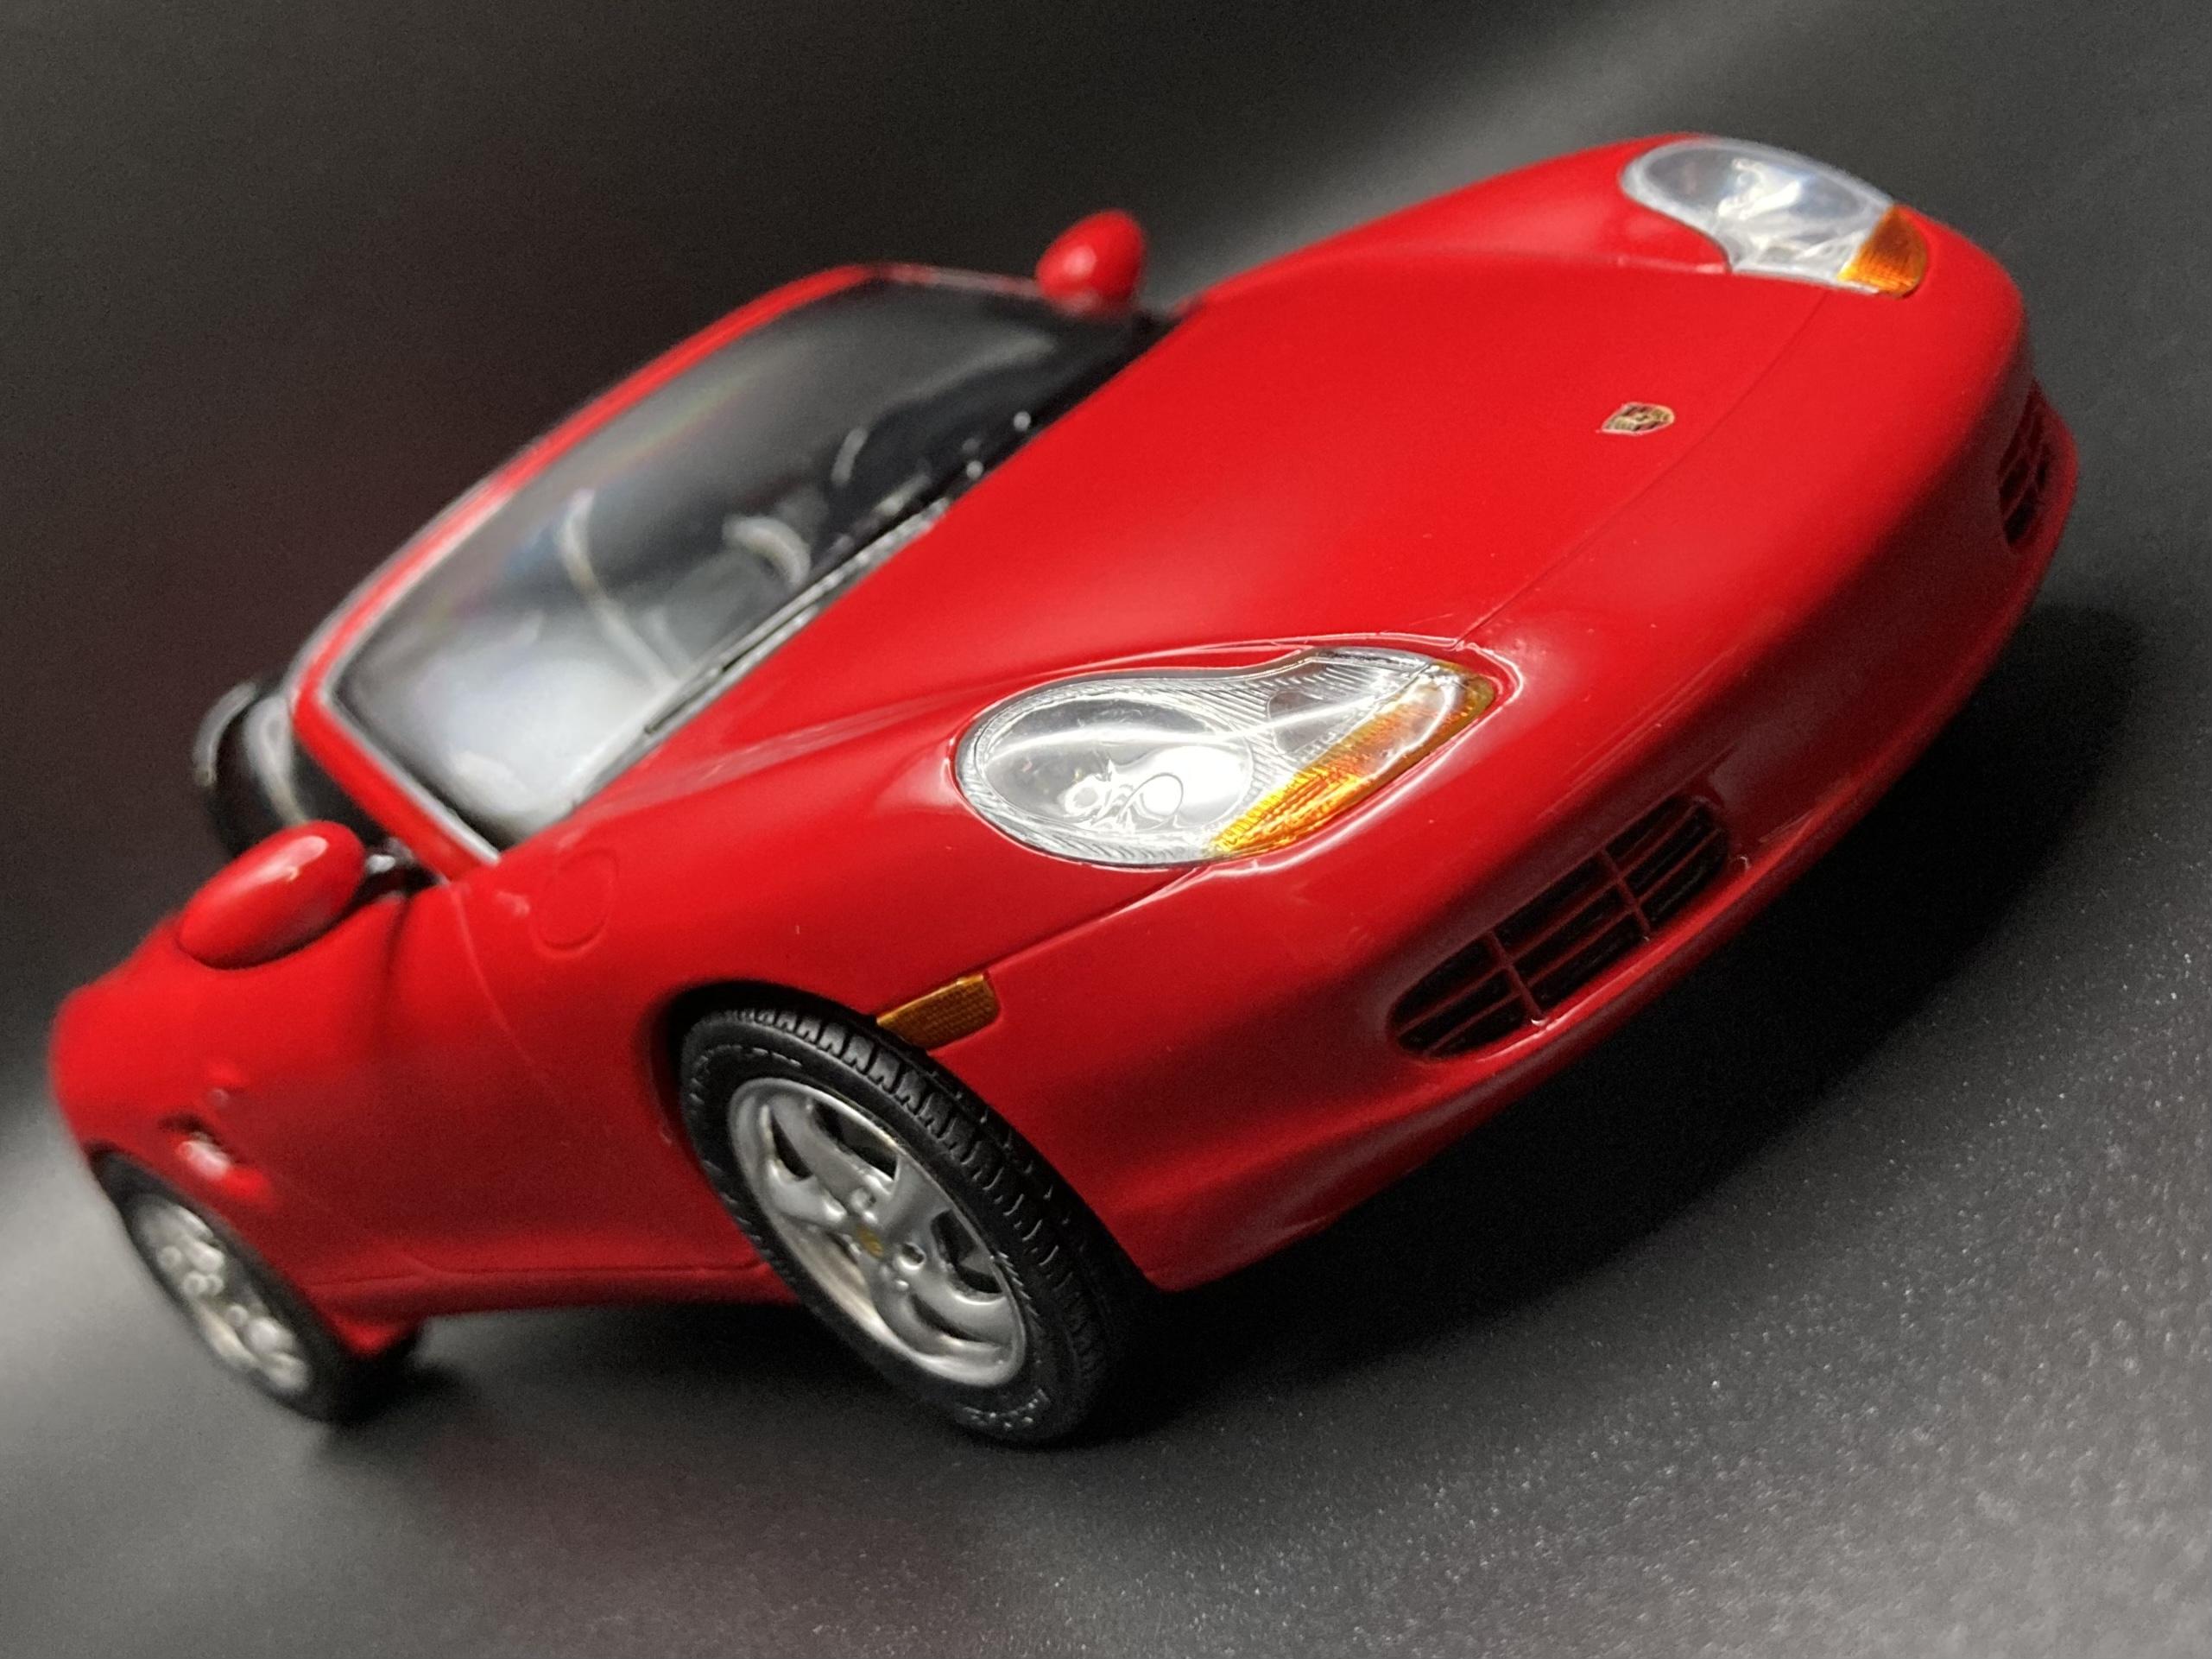
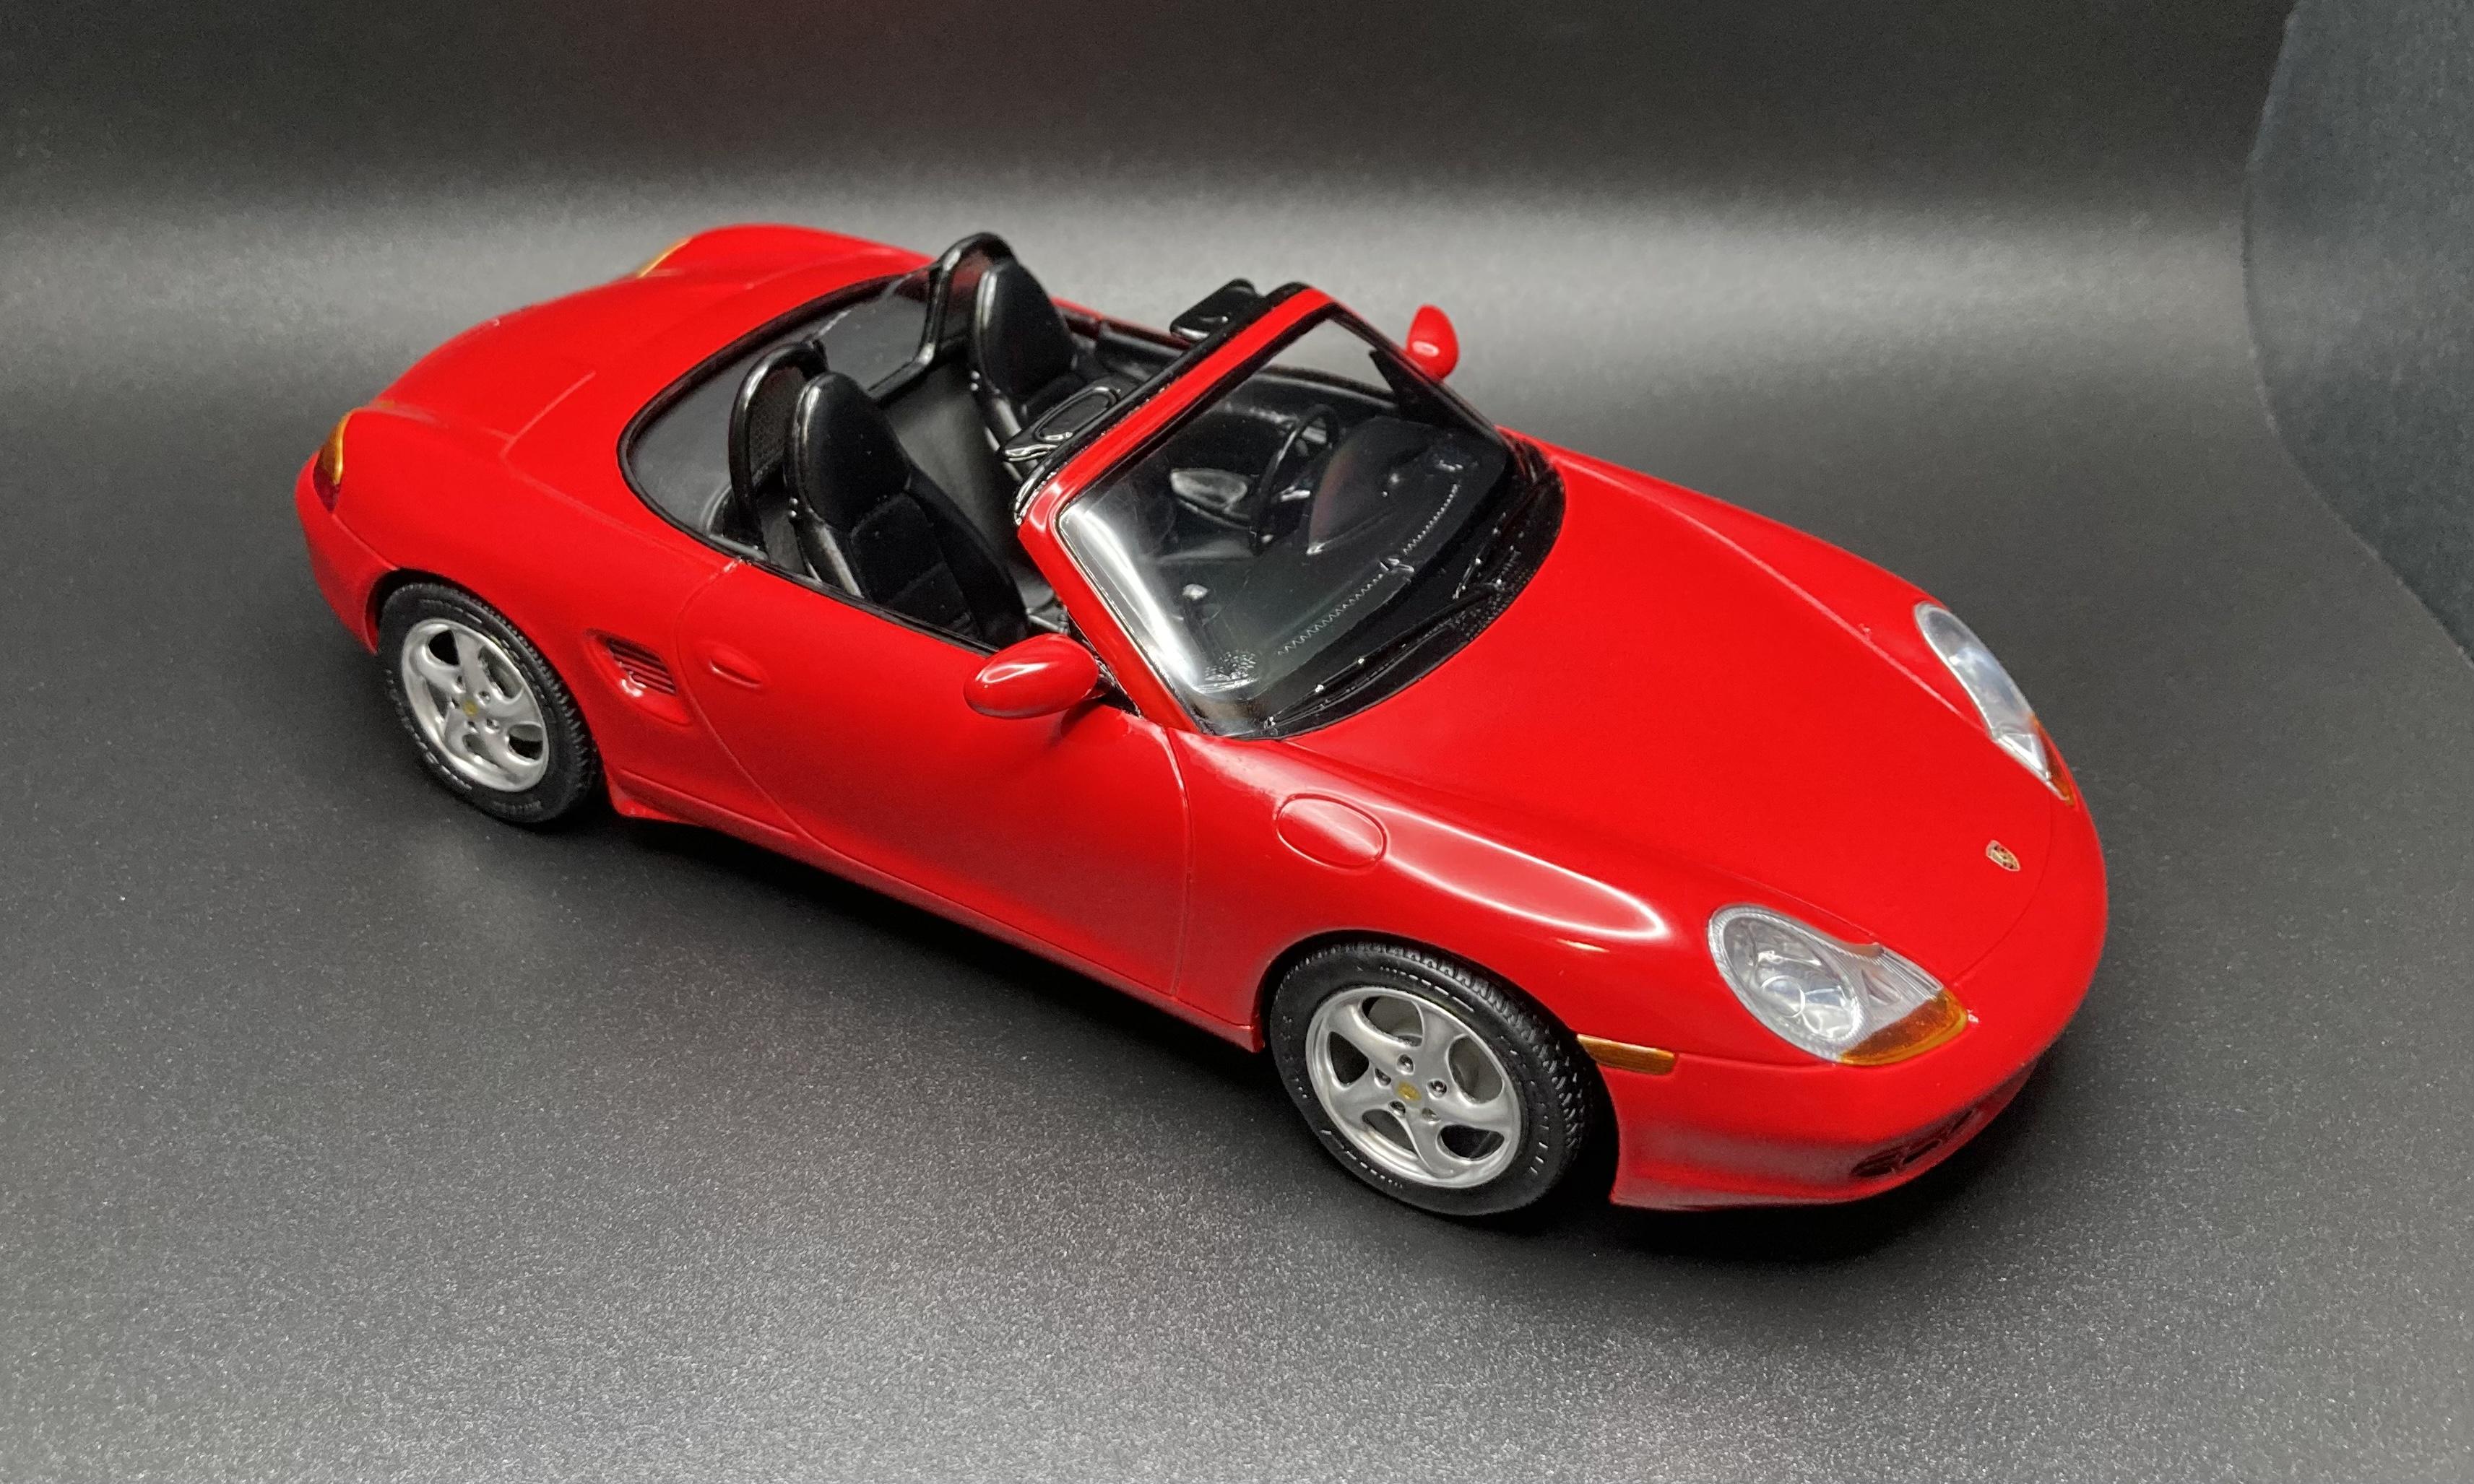
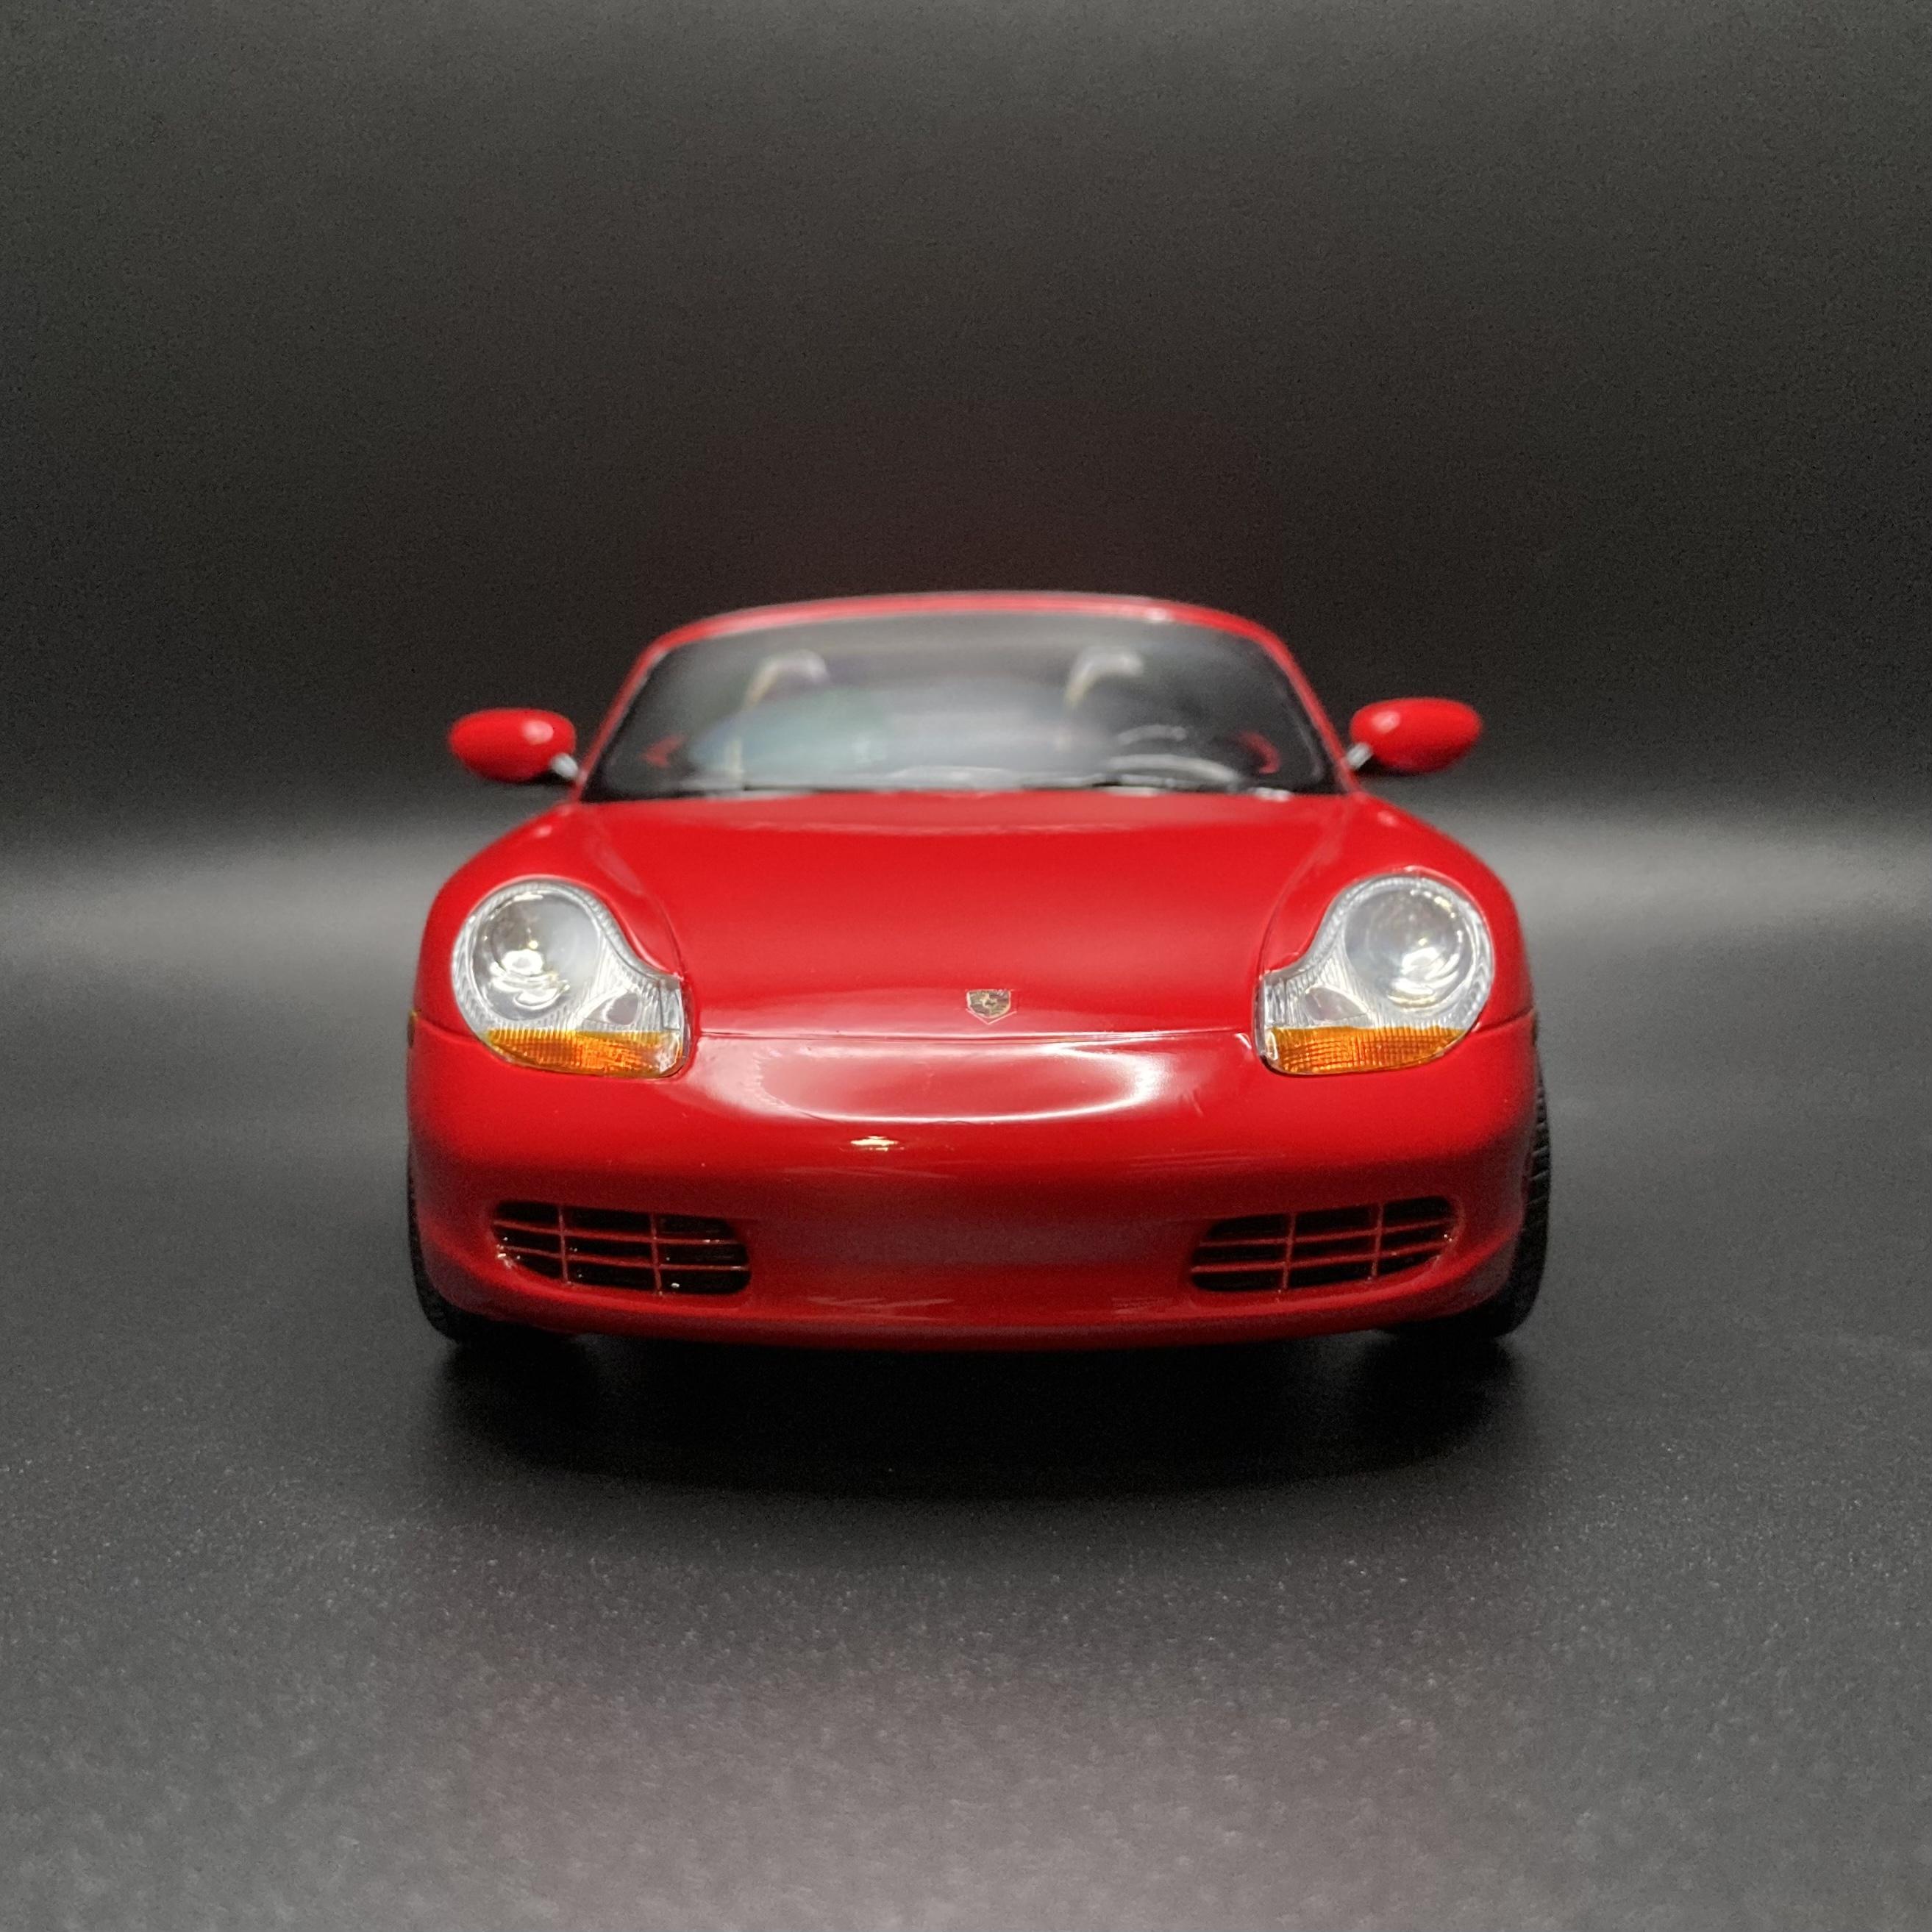
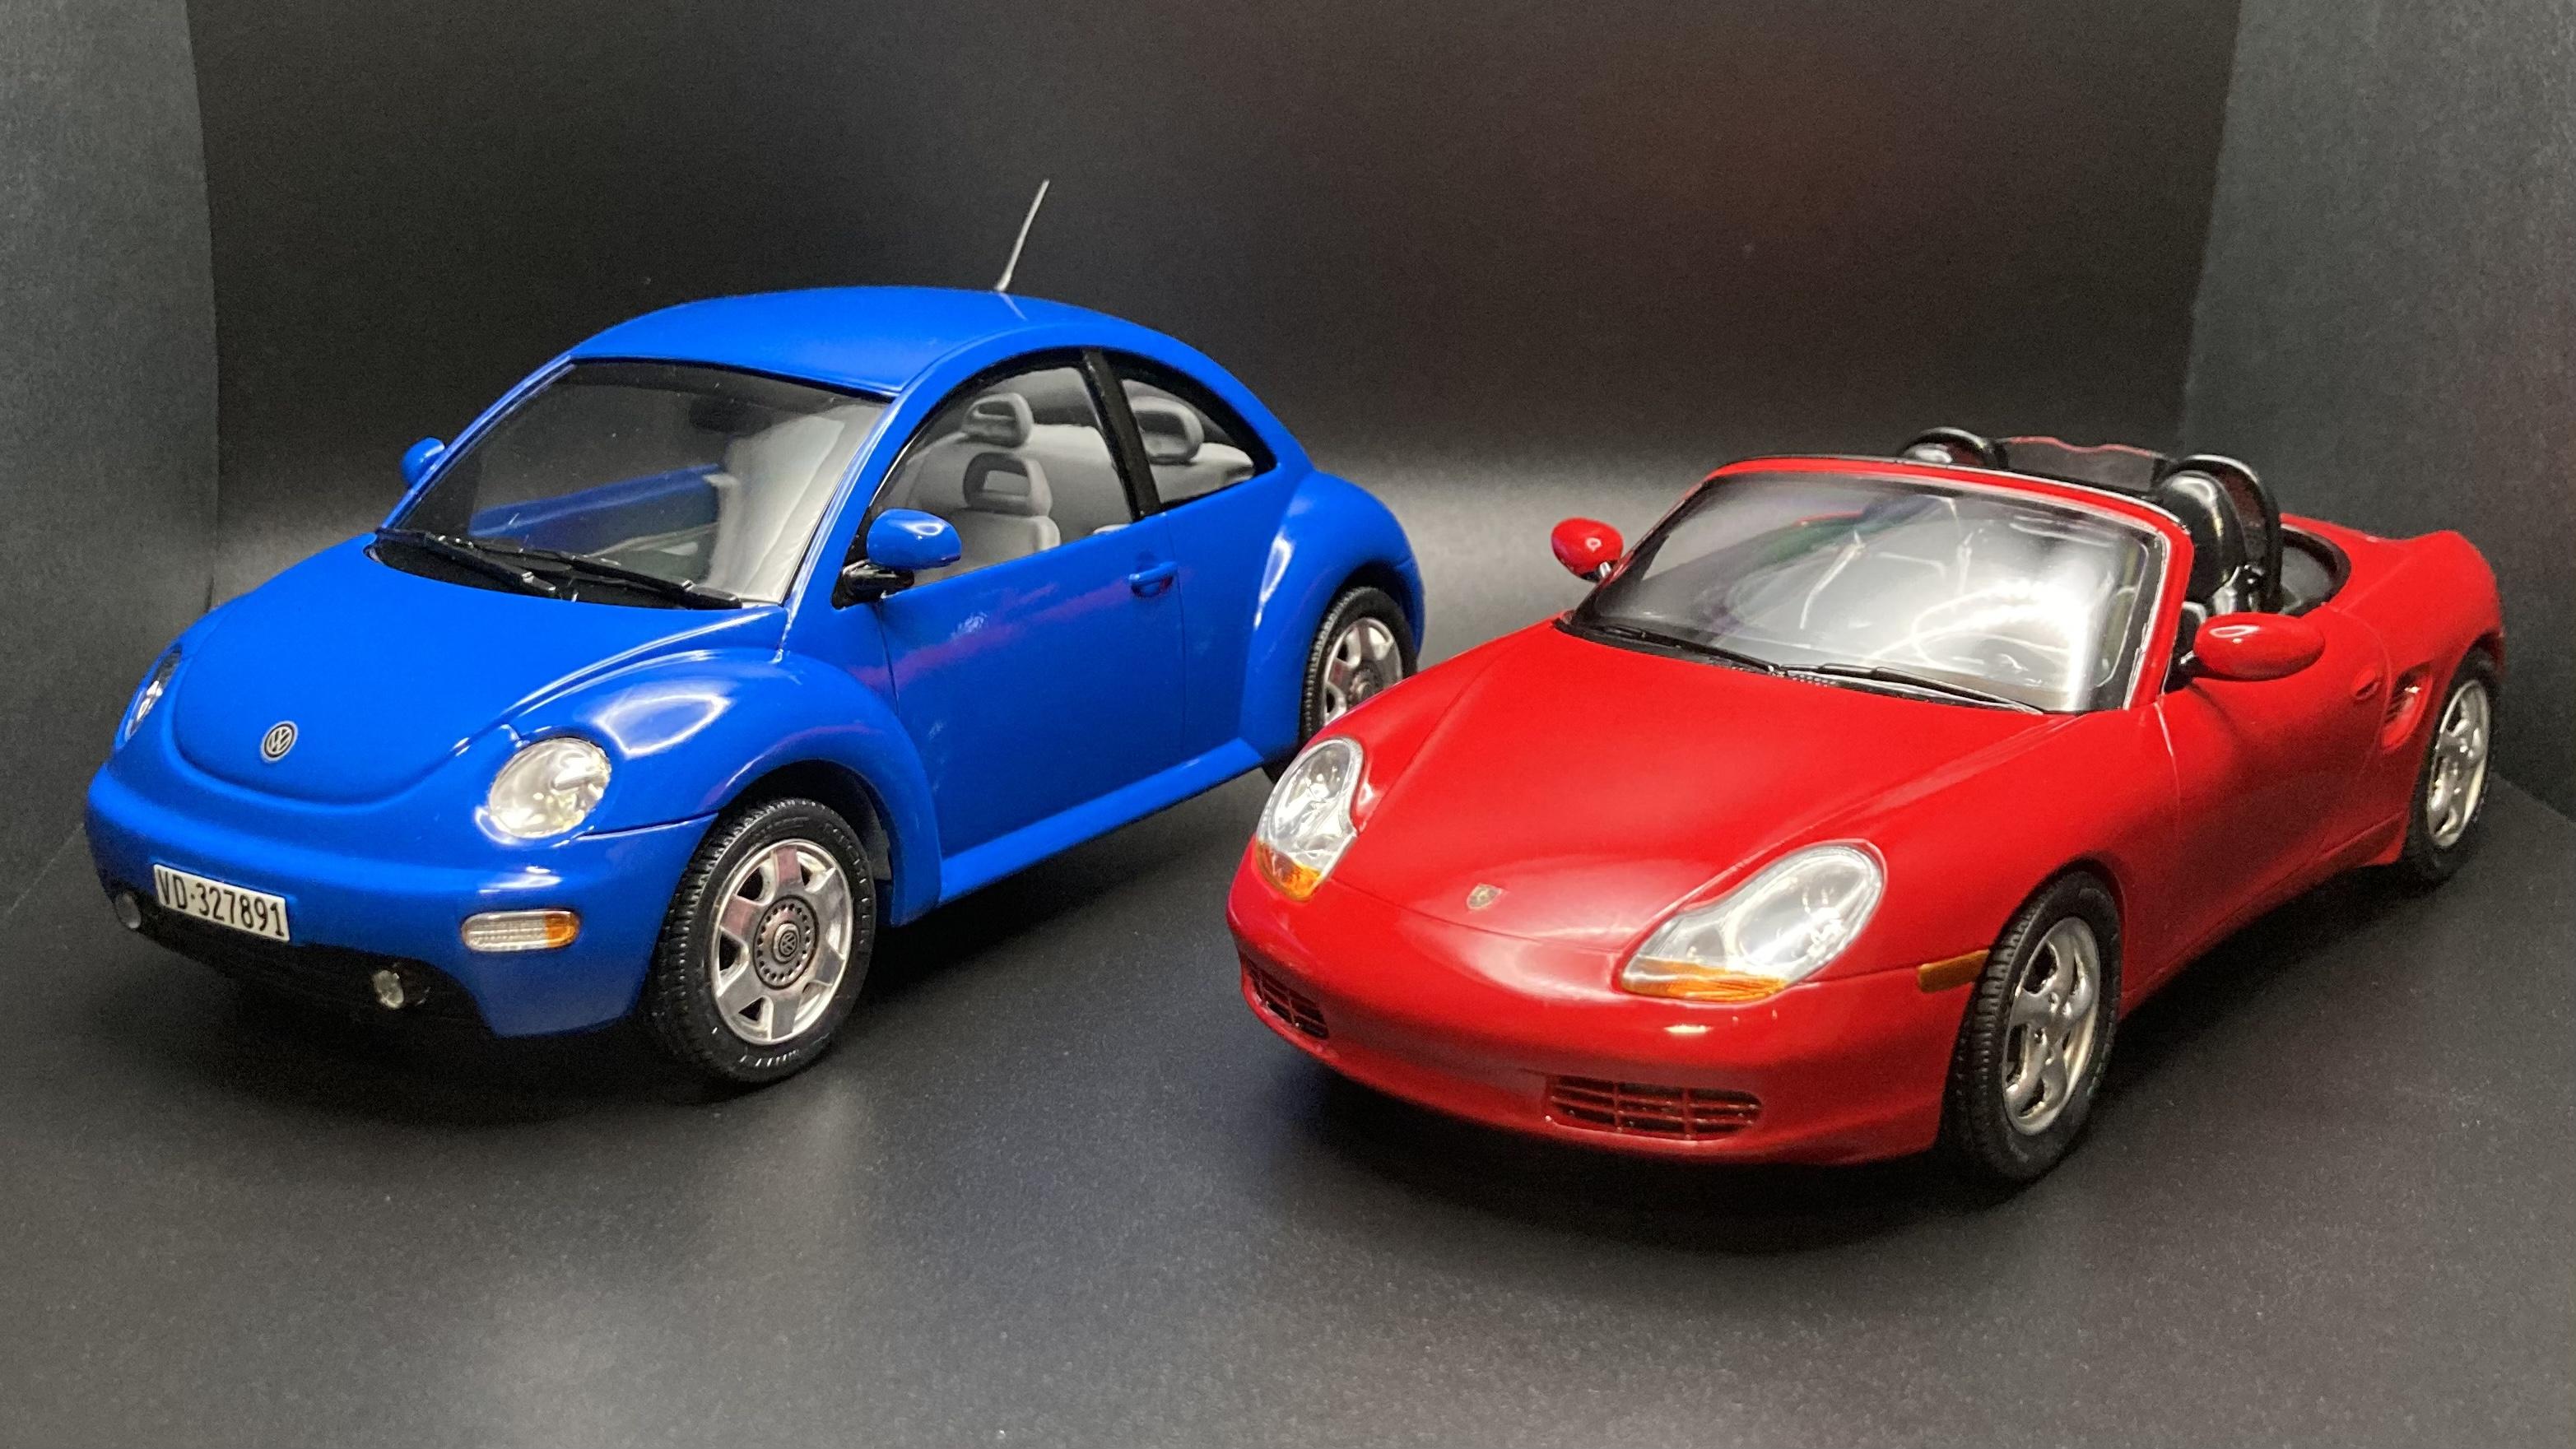
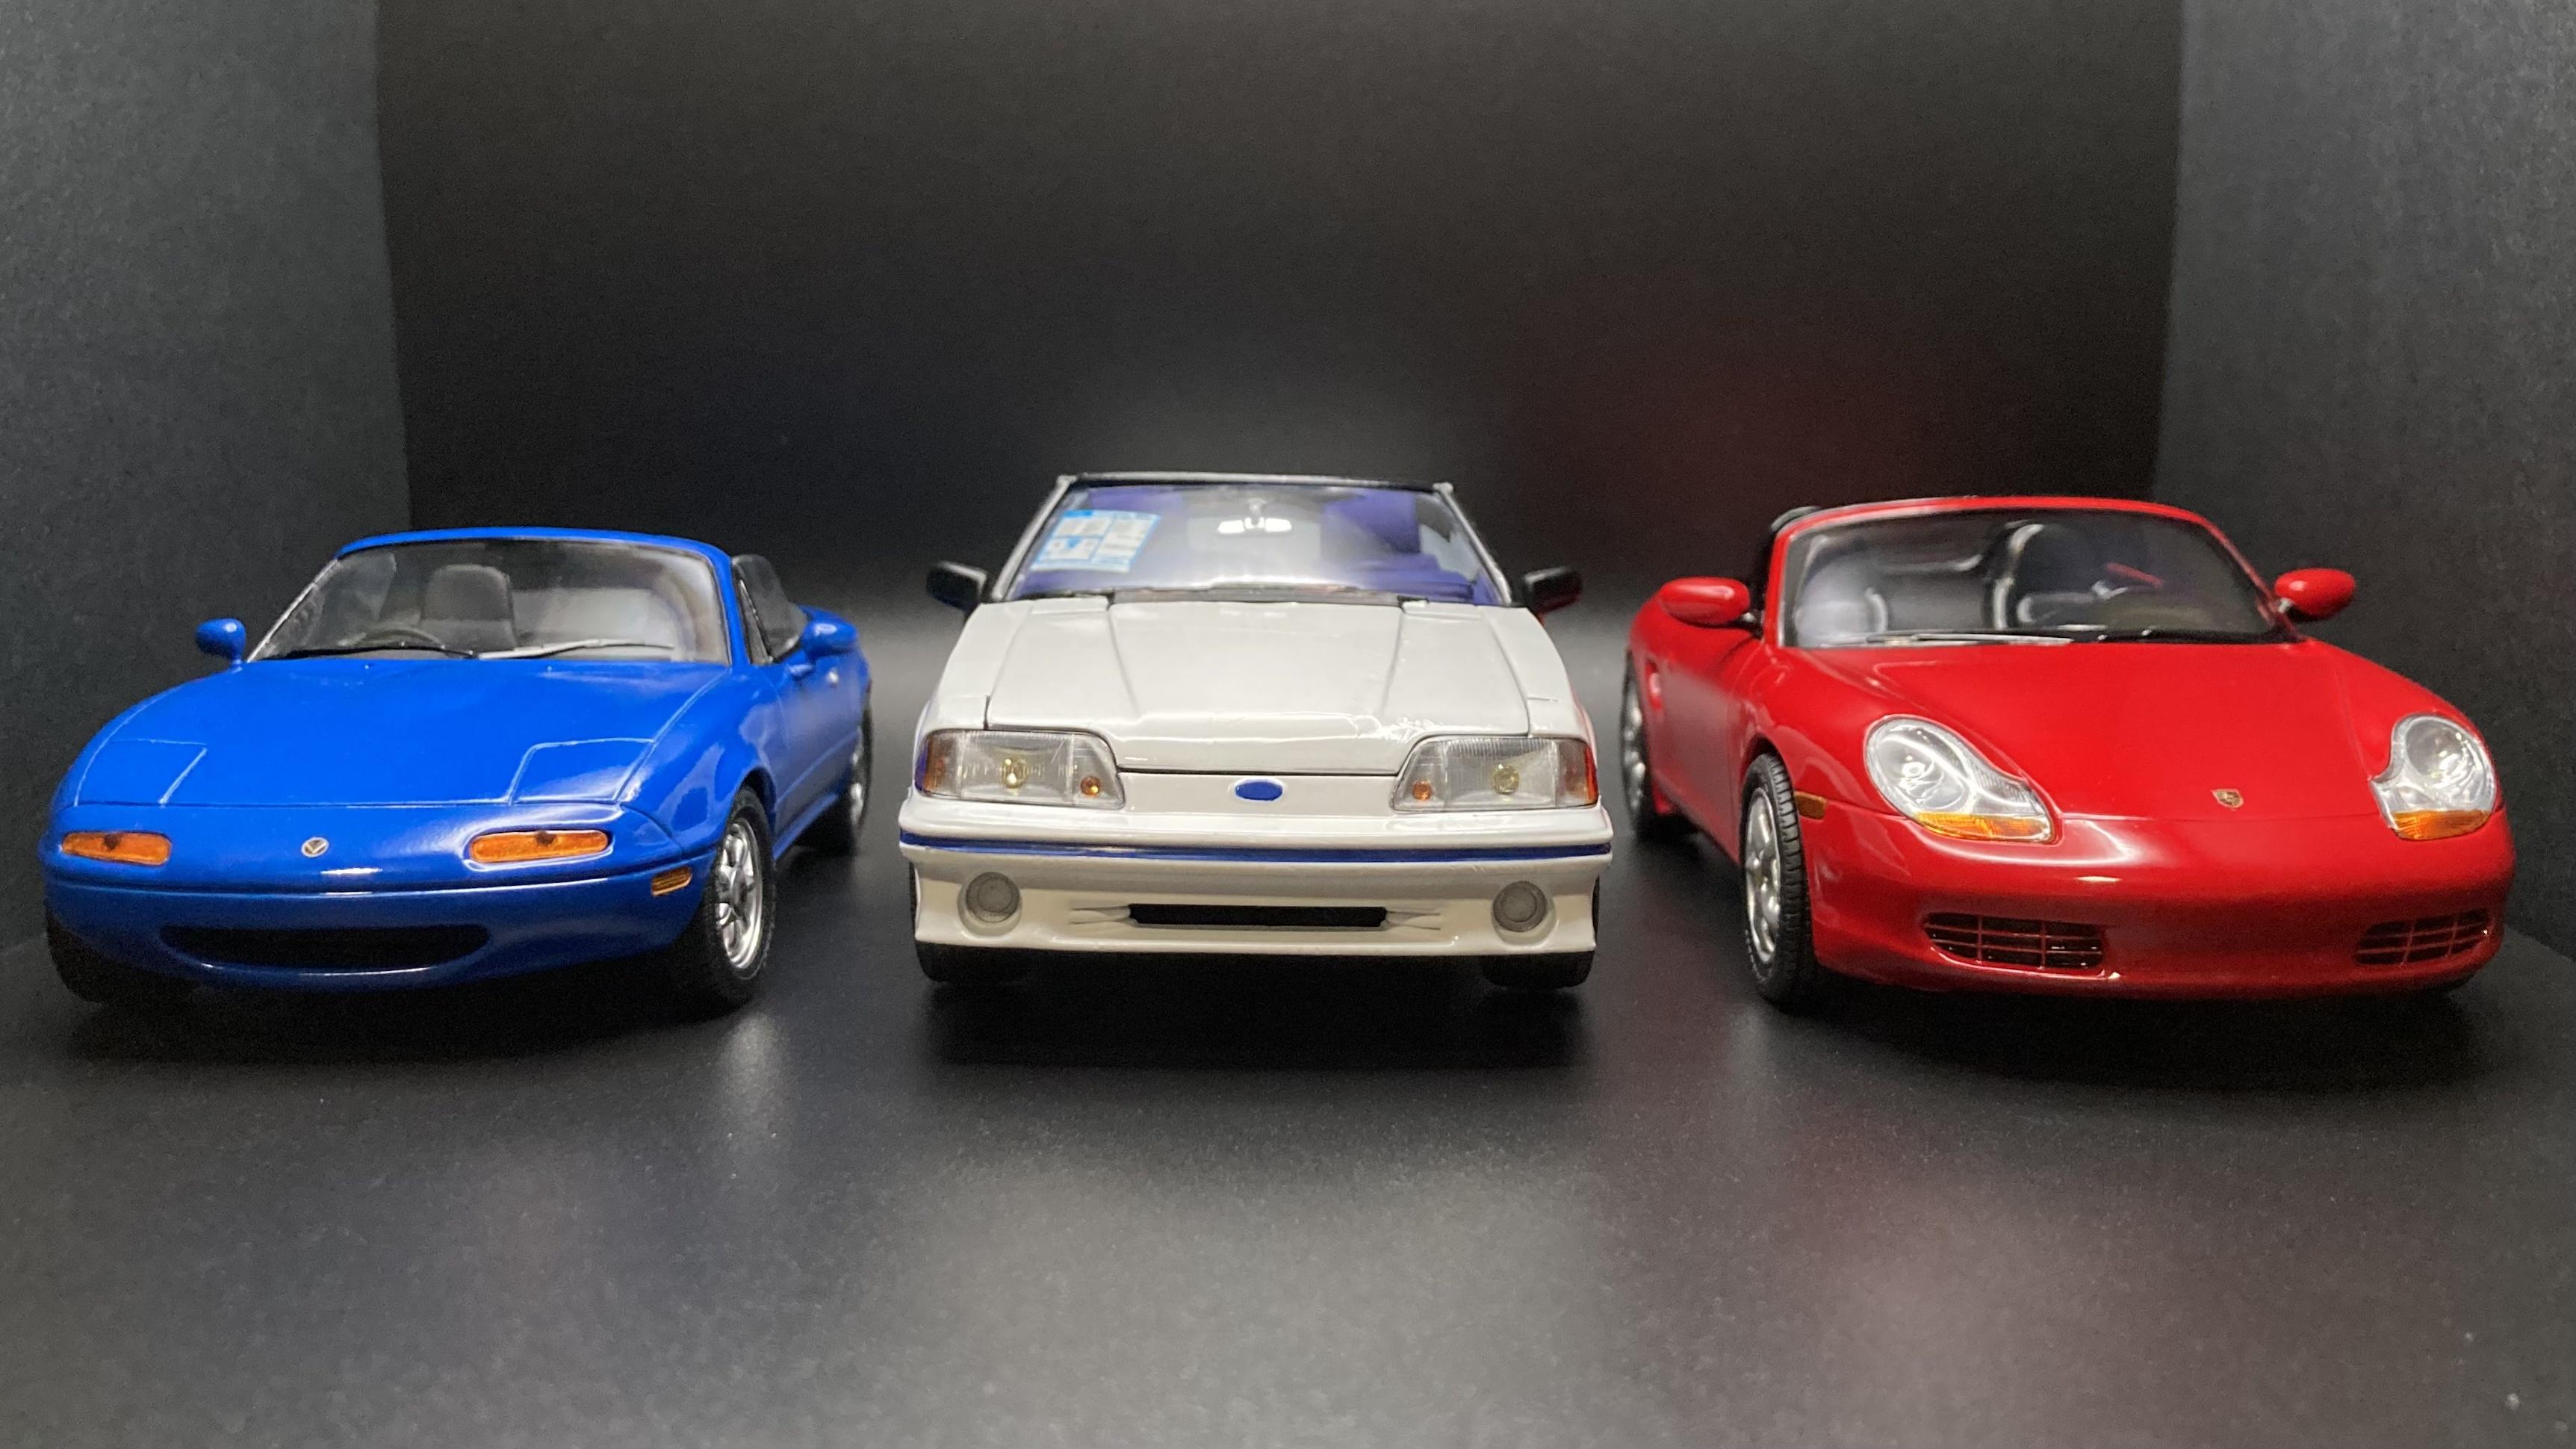
I recently bought one of my (many) childhood dream cars: a 2002 Porsche Boxster 2.7 manual. They say to never meet your heroes, but in this case it’s as amazing to drive as I’d hoped! Naturally, I had to build a model to match my real car. I started with the original issue Revell/Monogram SnapTite kit. For fun, I built it unpainted to see how it would look if I’d built it as a kid in the late ‘90s. It definitely looks like a toy and not realistic at all. It’s a very basic snap kit but the fit up is excellent and I think they captured the shape and proportions of the real car nicely. I painted the body Tamiya TS-8 Italian Red over their pink primer, which looks pretty close to classic Guards Red to me. The kit’s Turbo-Look wheels are different than my later car’s wheels but they’re close enough so I left them as is. It’s amazing how some paint and simple detail work can really set off a basic snap kit. Hood crest decal came from eBay. Kit only comes with a terrible set of stickers. Two late ‘90s Revell snap based kits of German subjects. Both come alive with a little detail work! The Boxster joins my builds of my former 1:1 fun cars. I wish I could have kept them all, but the sale of each one funds the next!
-
Ollie's strike again
StanGlover replied to GLMFAA1's topic in General Automotive Talk (Trucks and Cars)
My Ollie’s in Lancaster PA has a ton. I was tempted to grab another 99 SVT Cobra but I already have two. I did grab the Ram, Viper, and Lamborghini!
-
Italeri Mercedes 190E 2.3 16V (#3624)
StanGlover replied to peteski's topic in Car Kit News & Reviews
Can this kit be built as a basic 190e? Or is there only the 2.3 body kit included? -
Thanks! I actually painted the inserts free hand with a brush. I don’t have the patience to mask complex areas like that ?
-
I only completed 7 models this year, compared to the 16 I built last year. But I have 3 more in various stages of completion so I have a head start for 2023!
-
Awesome builds! Now I need an 80s Honda in my collection…
-
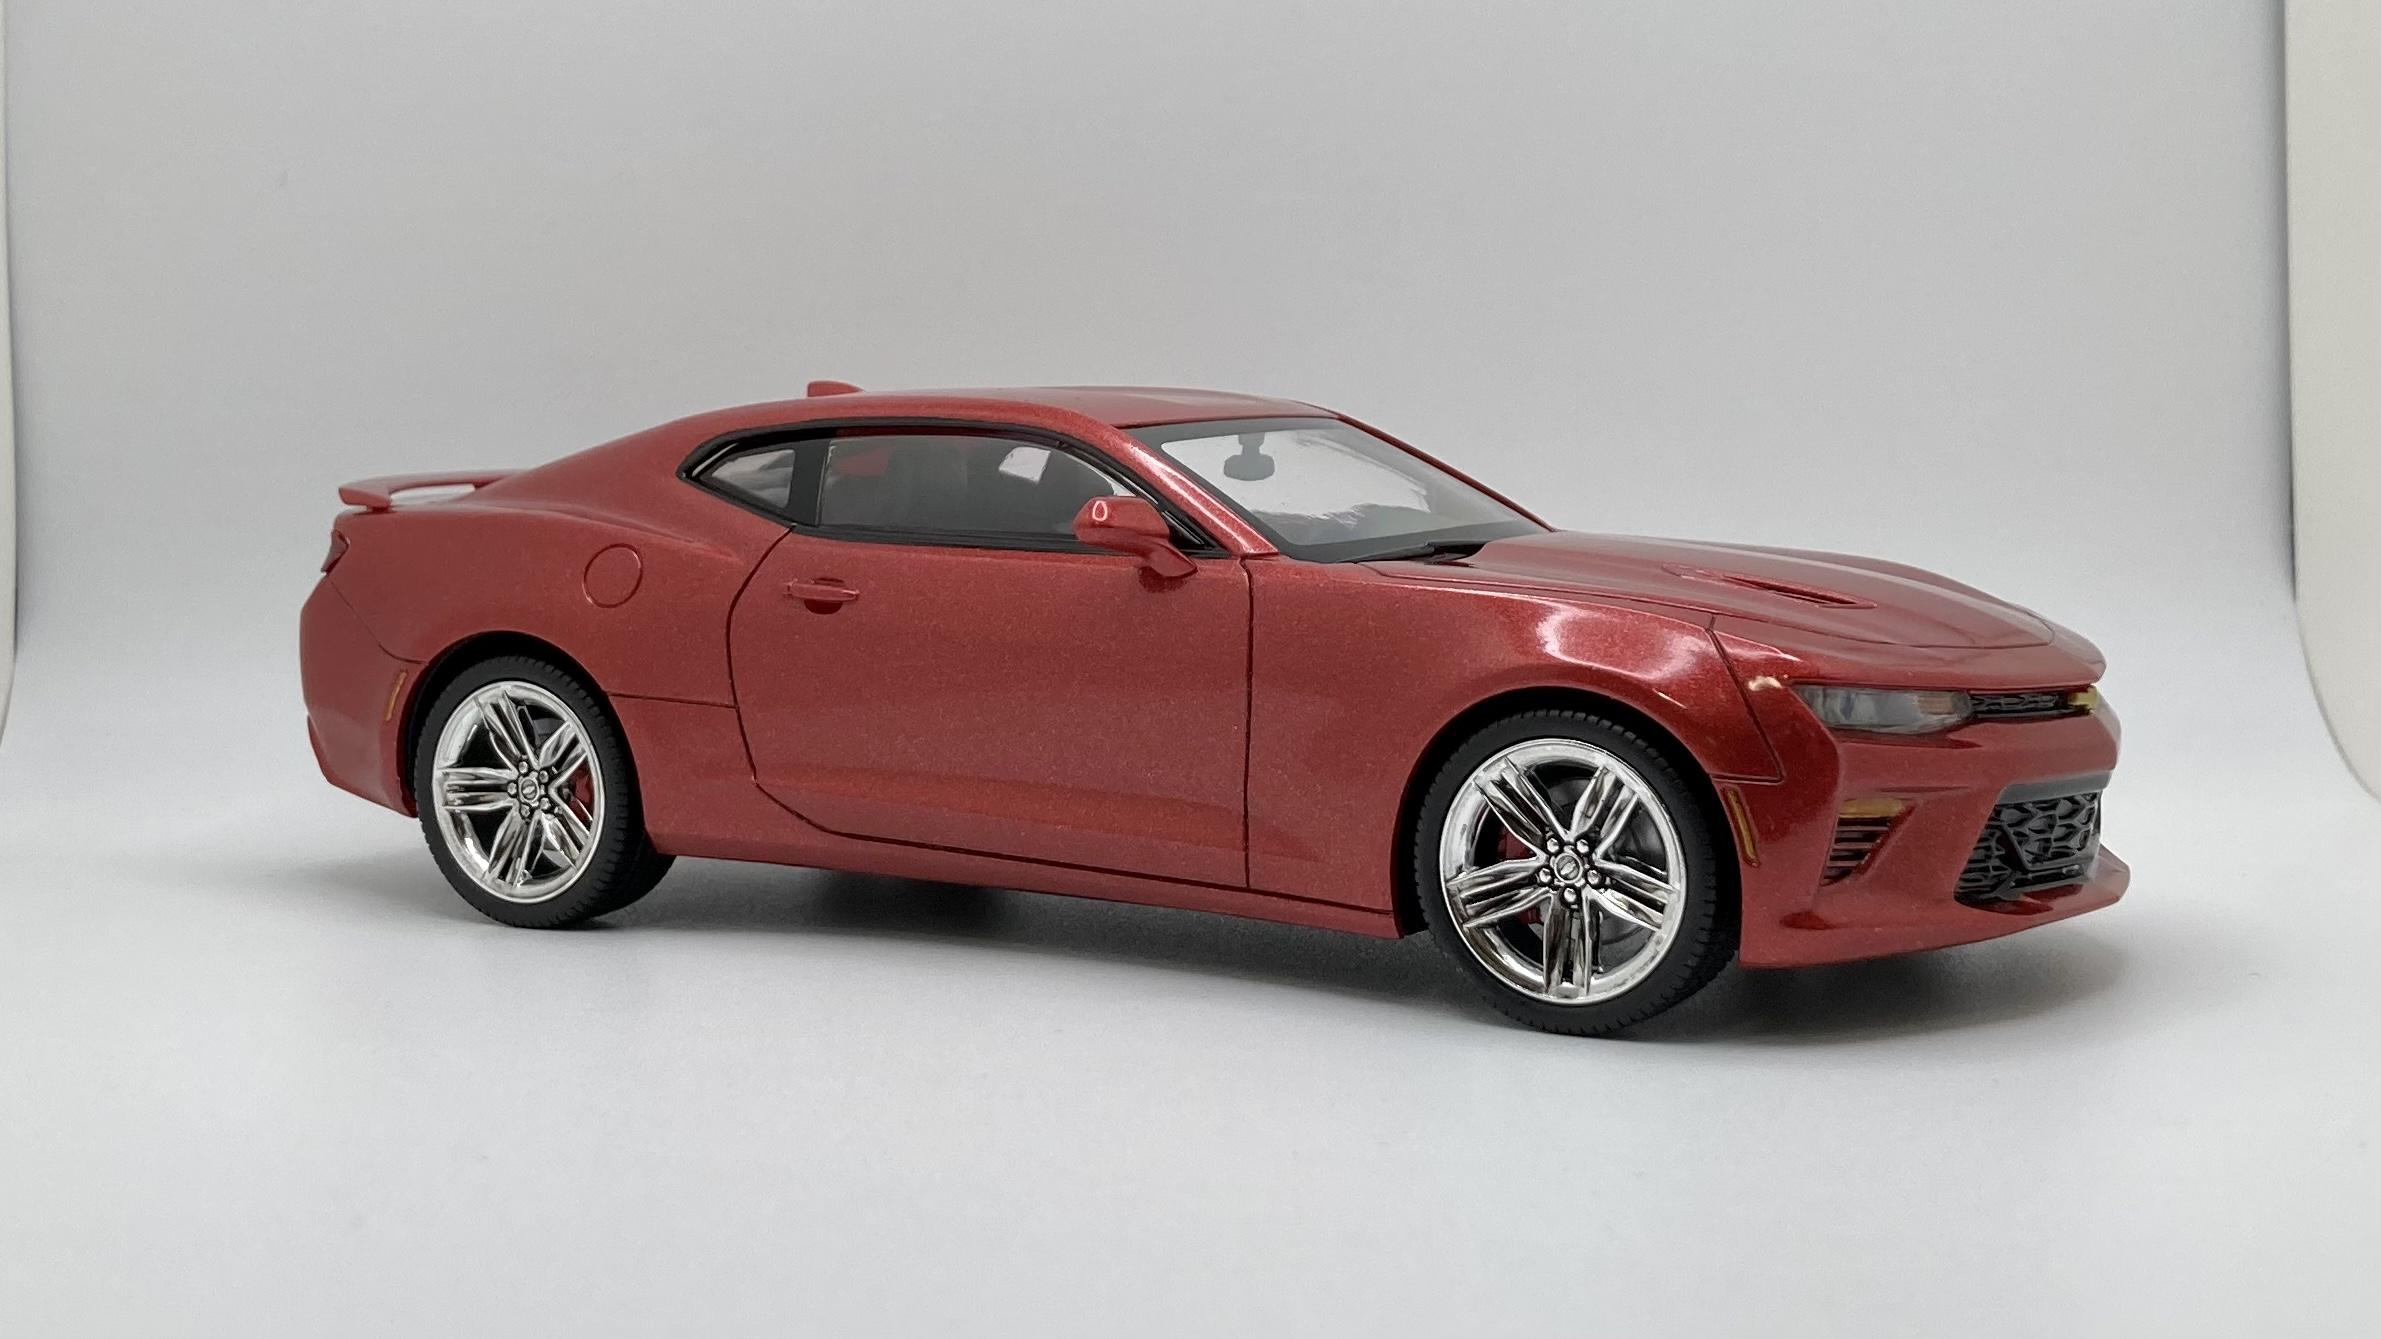
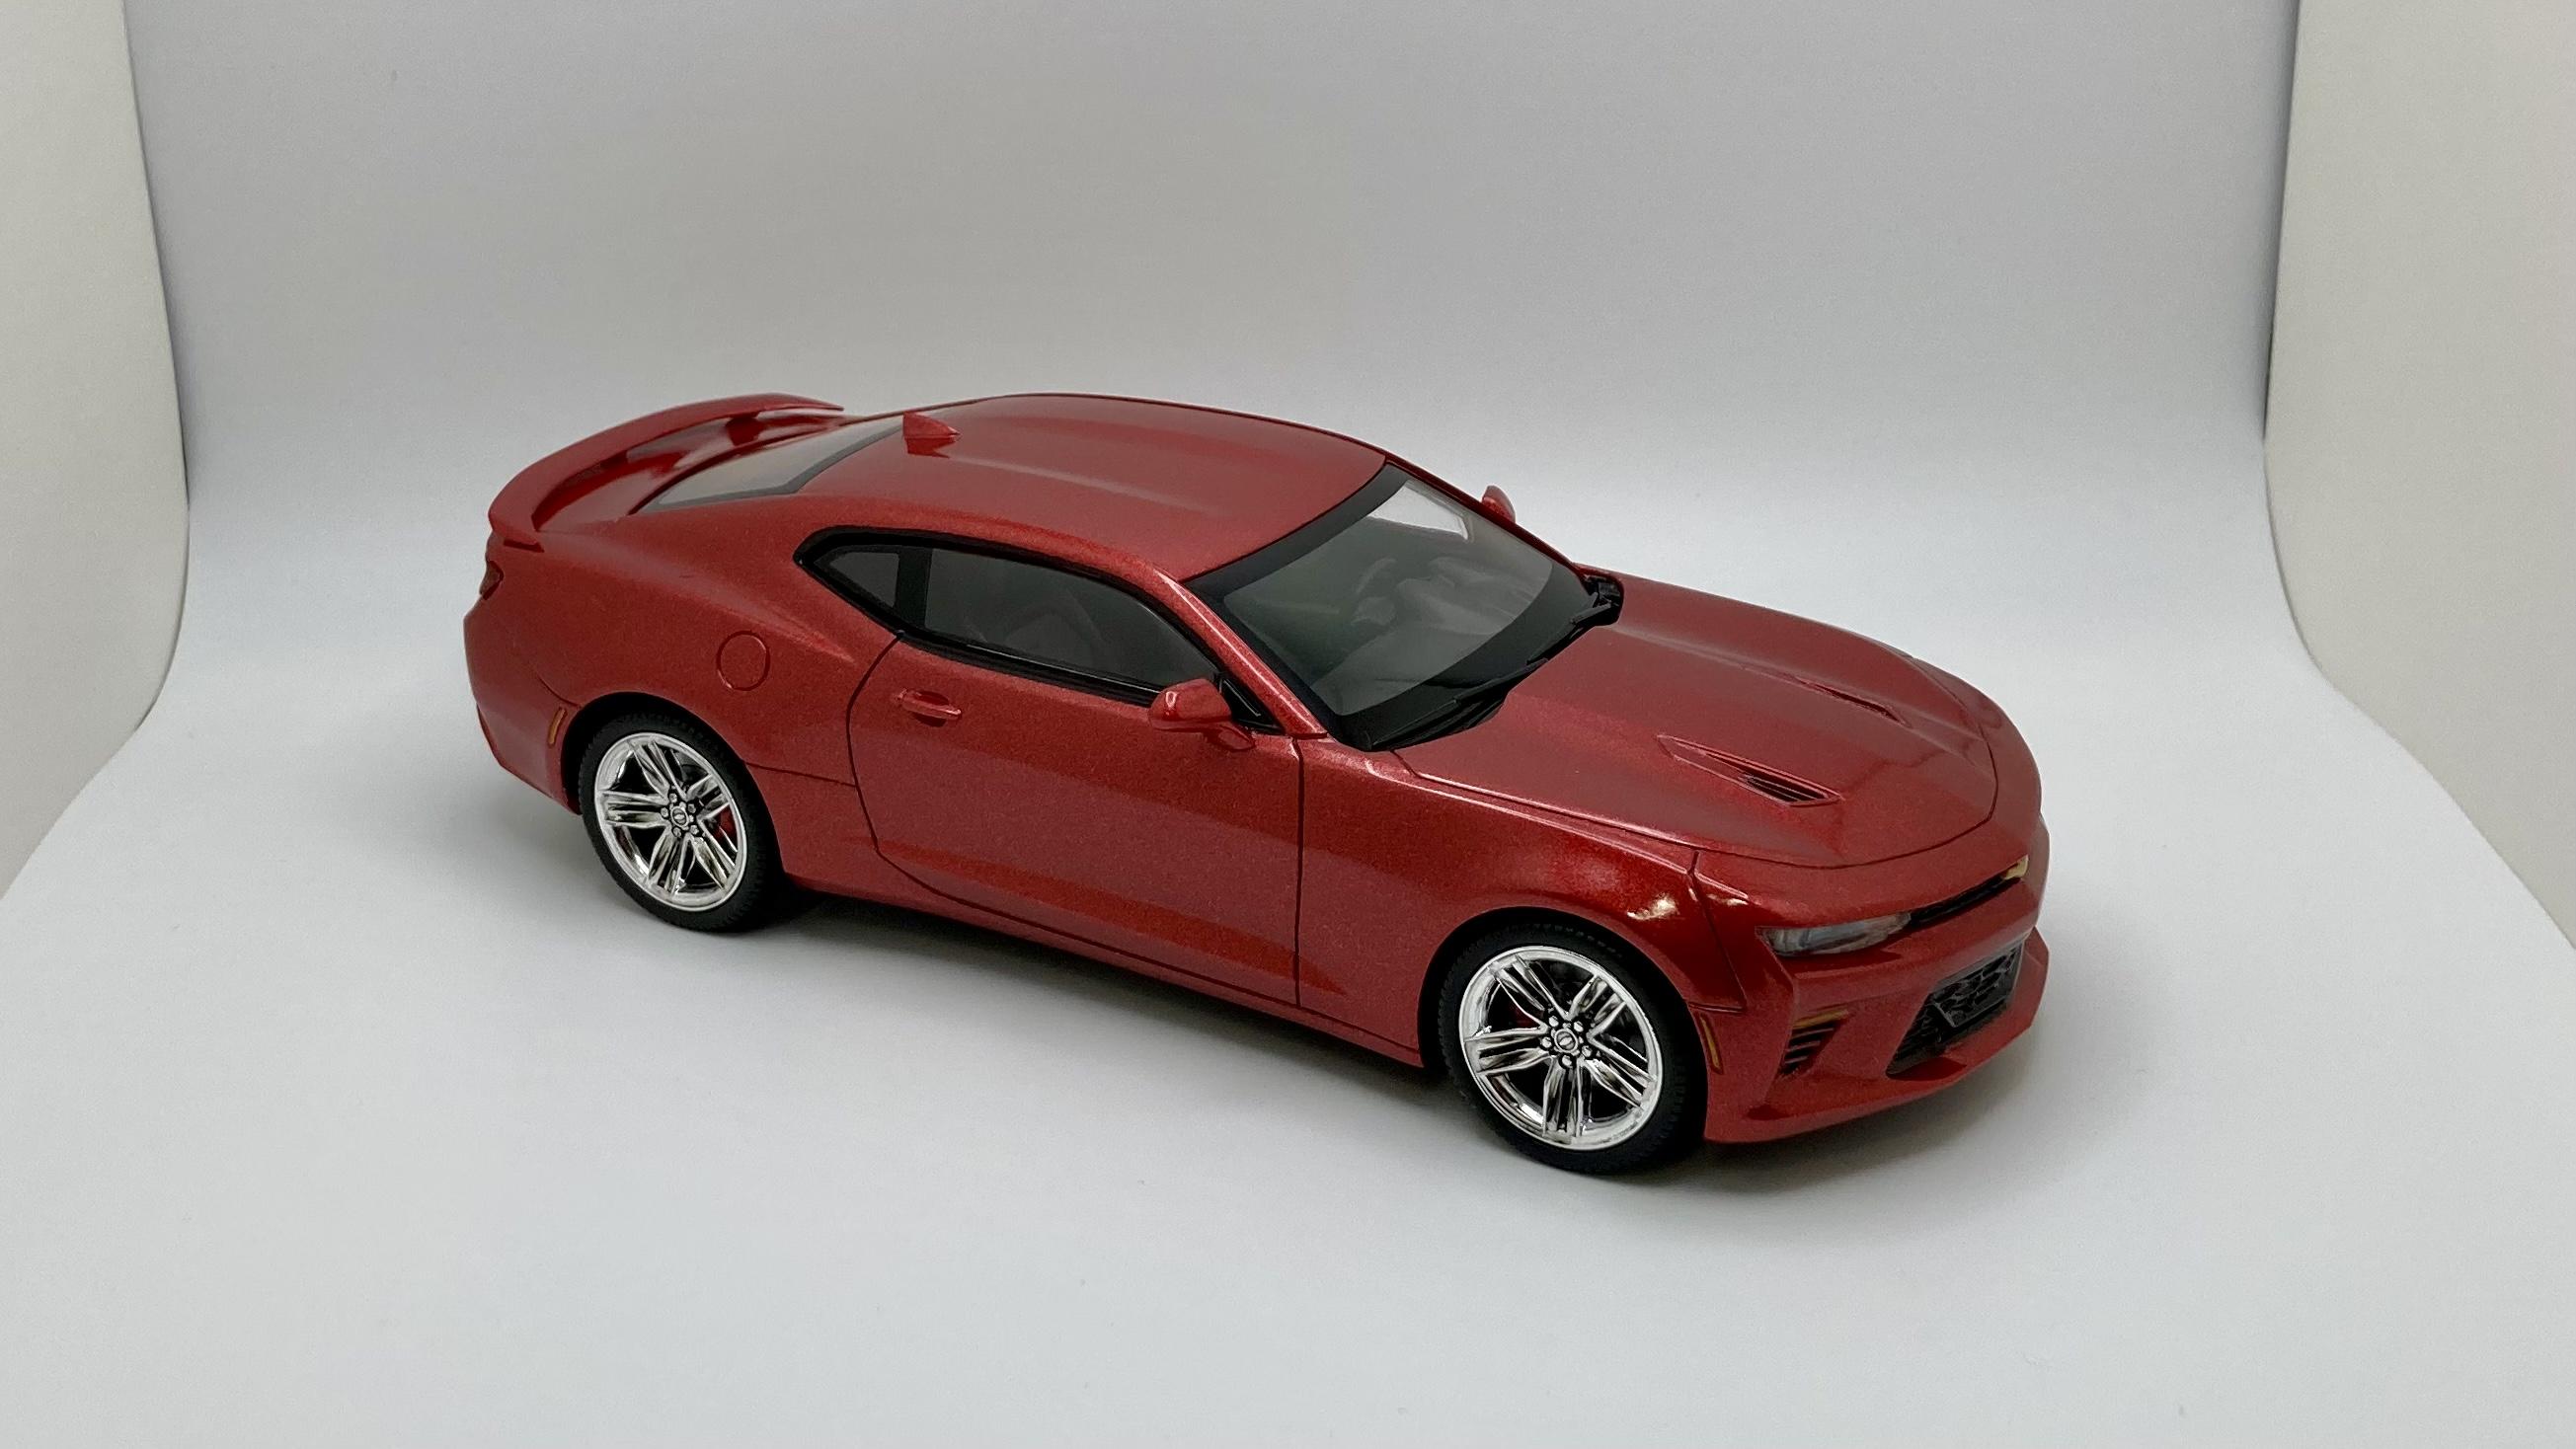
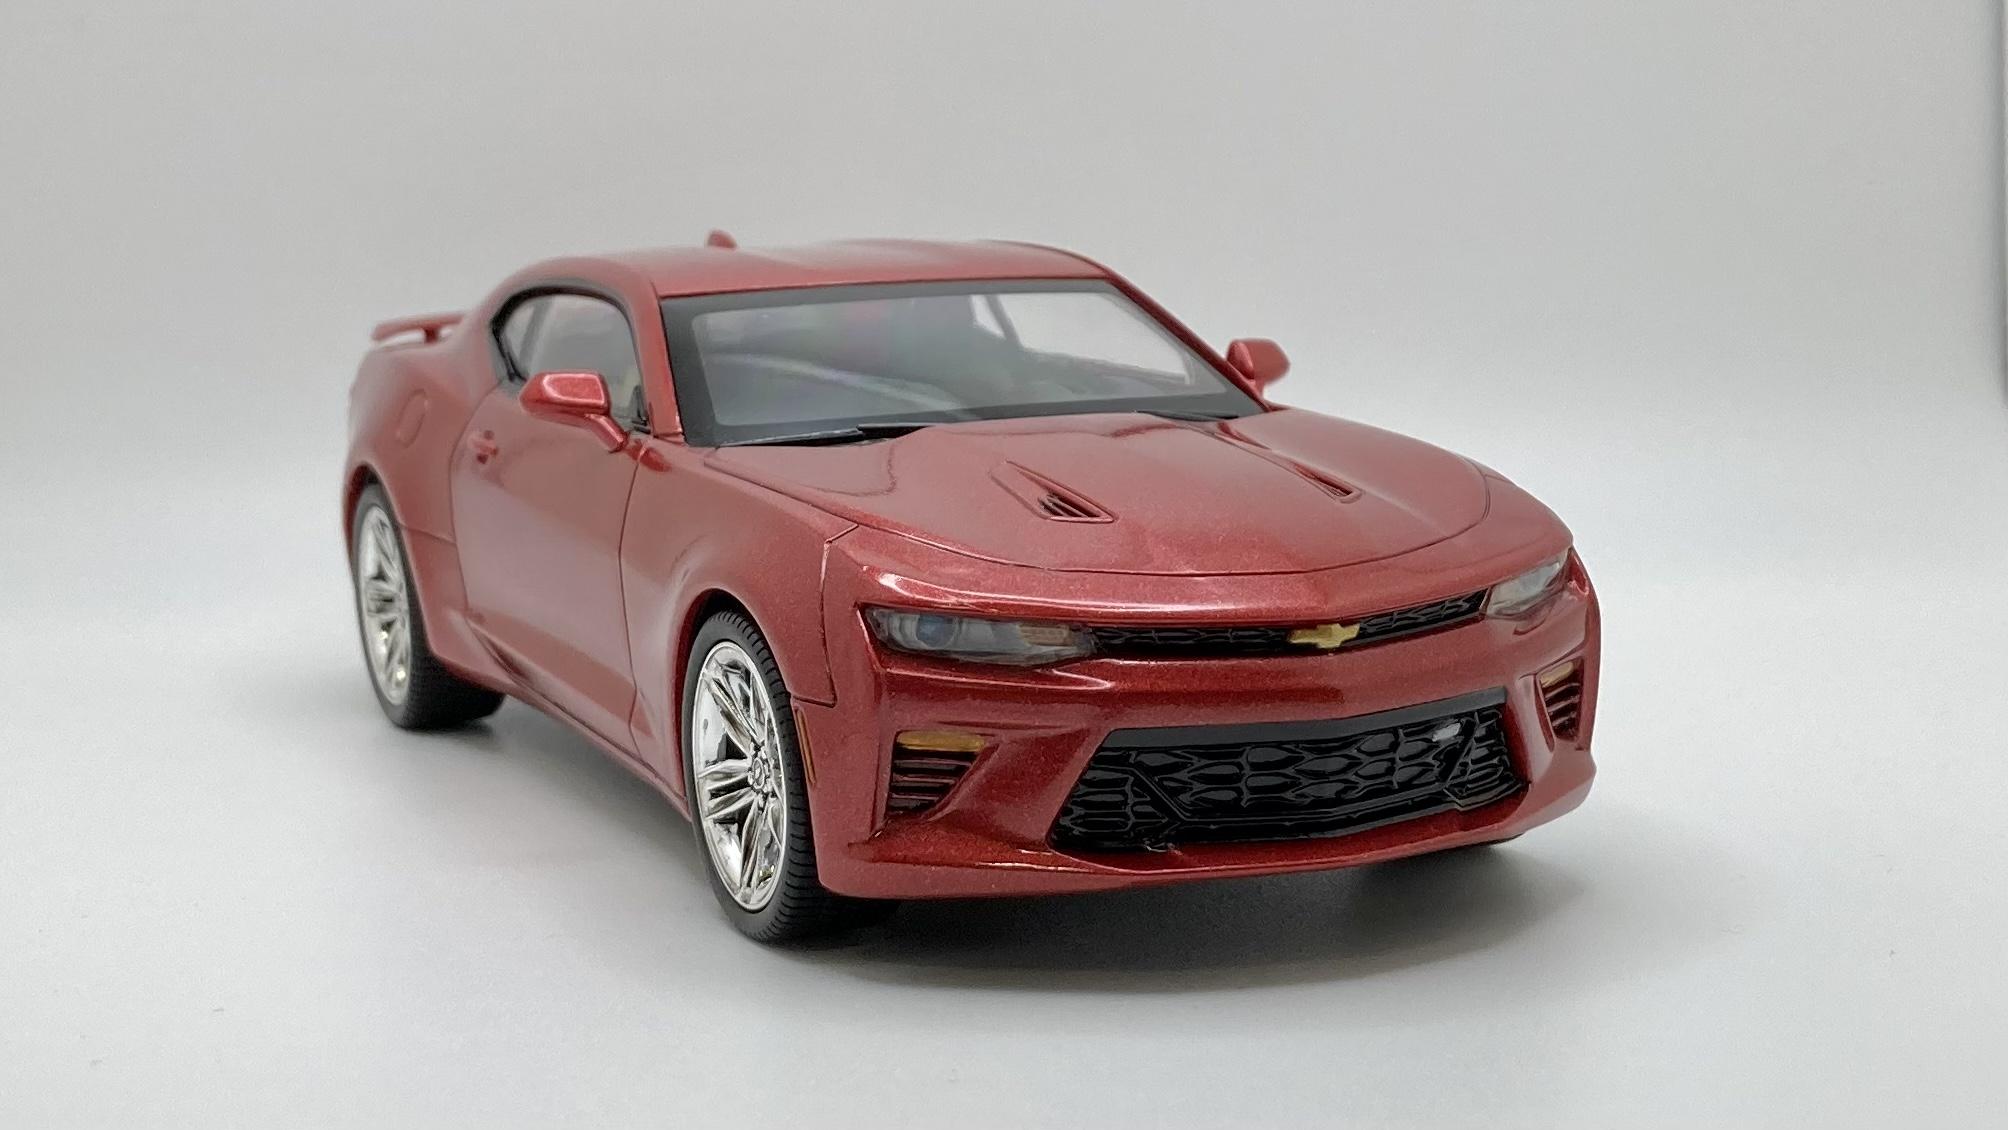
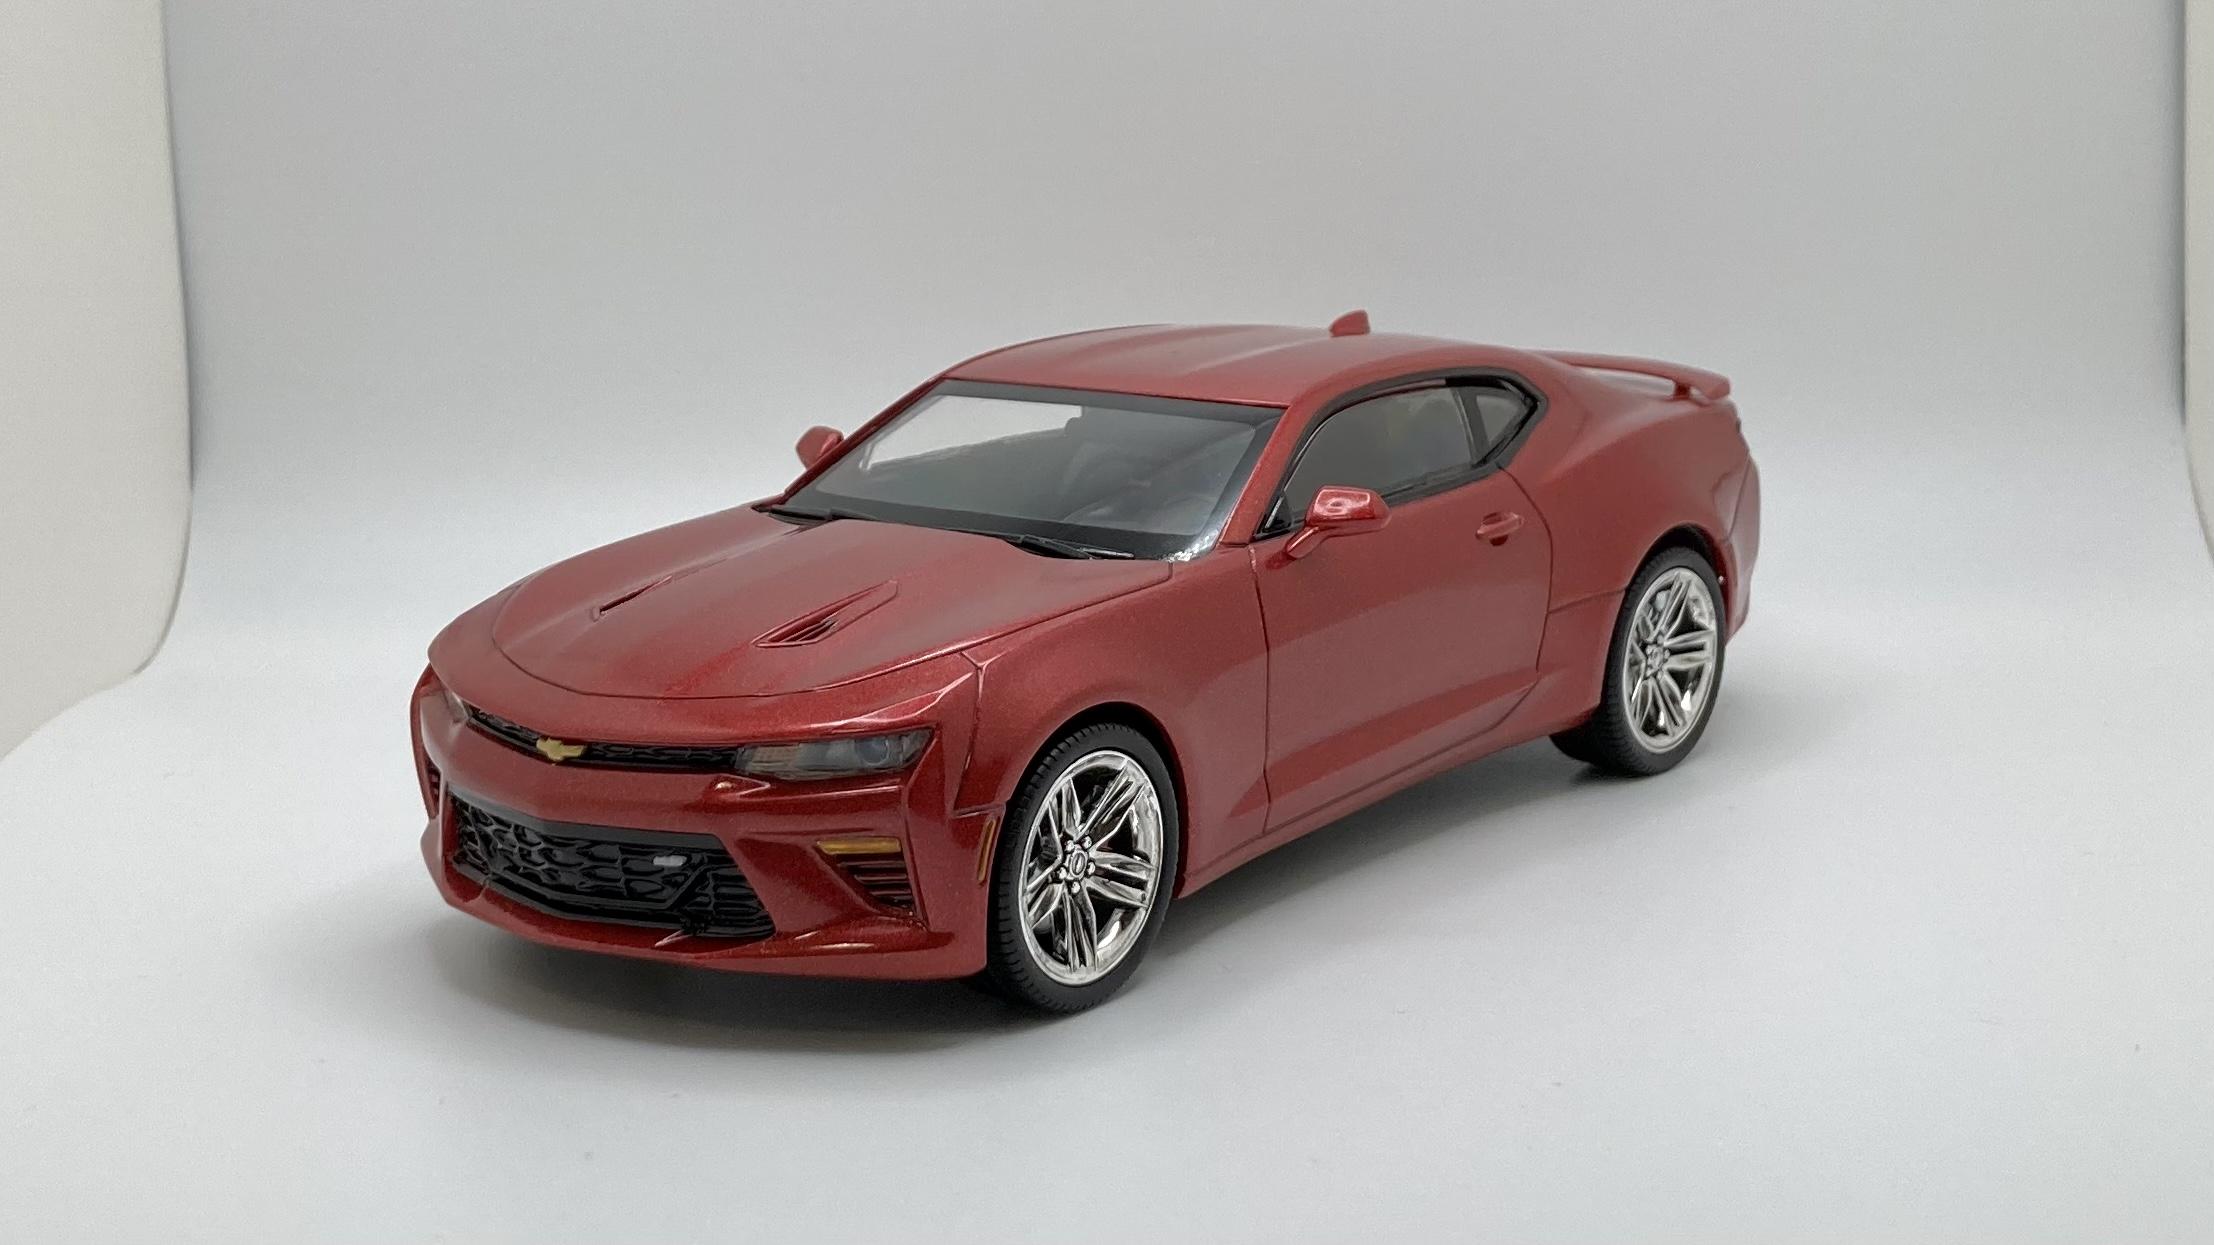
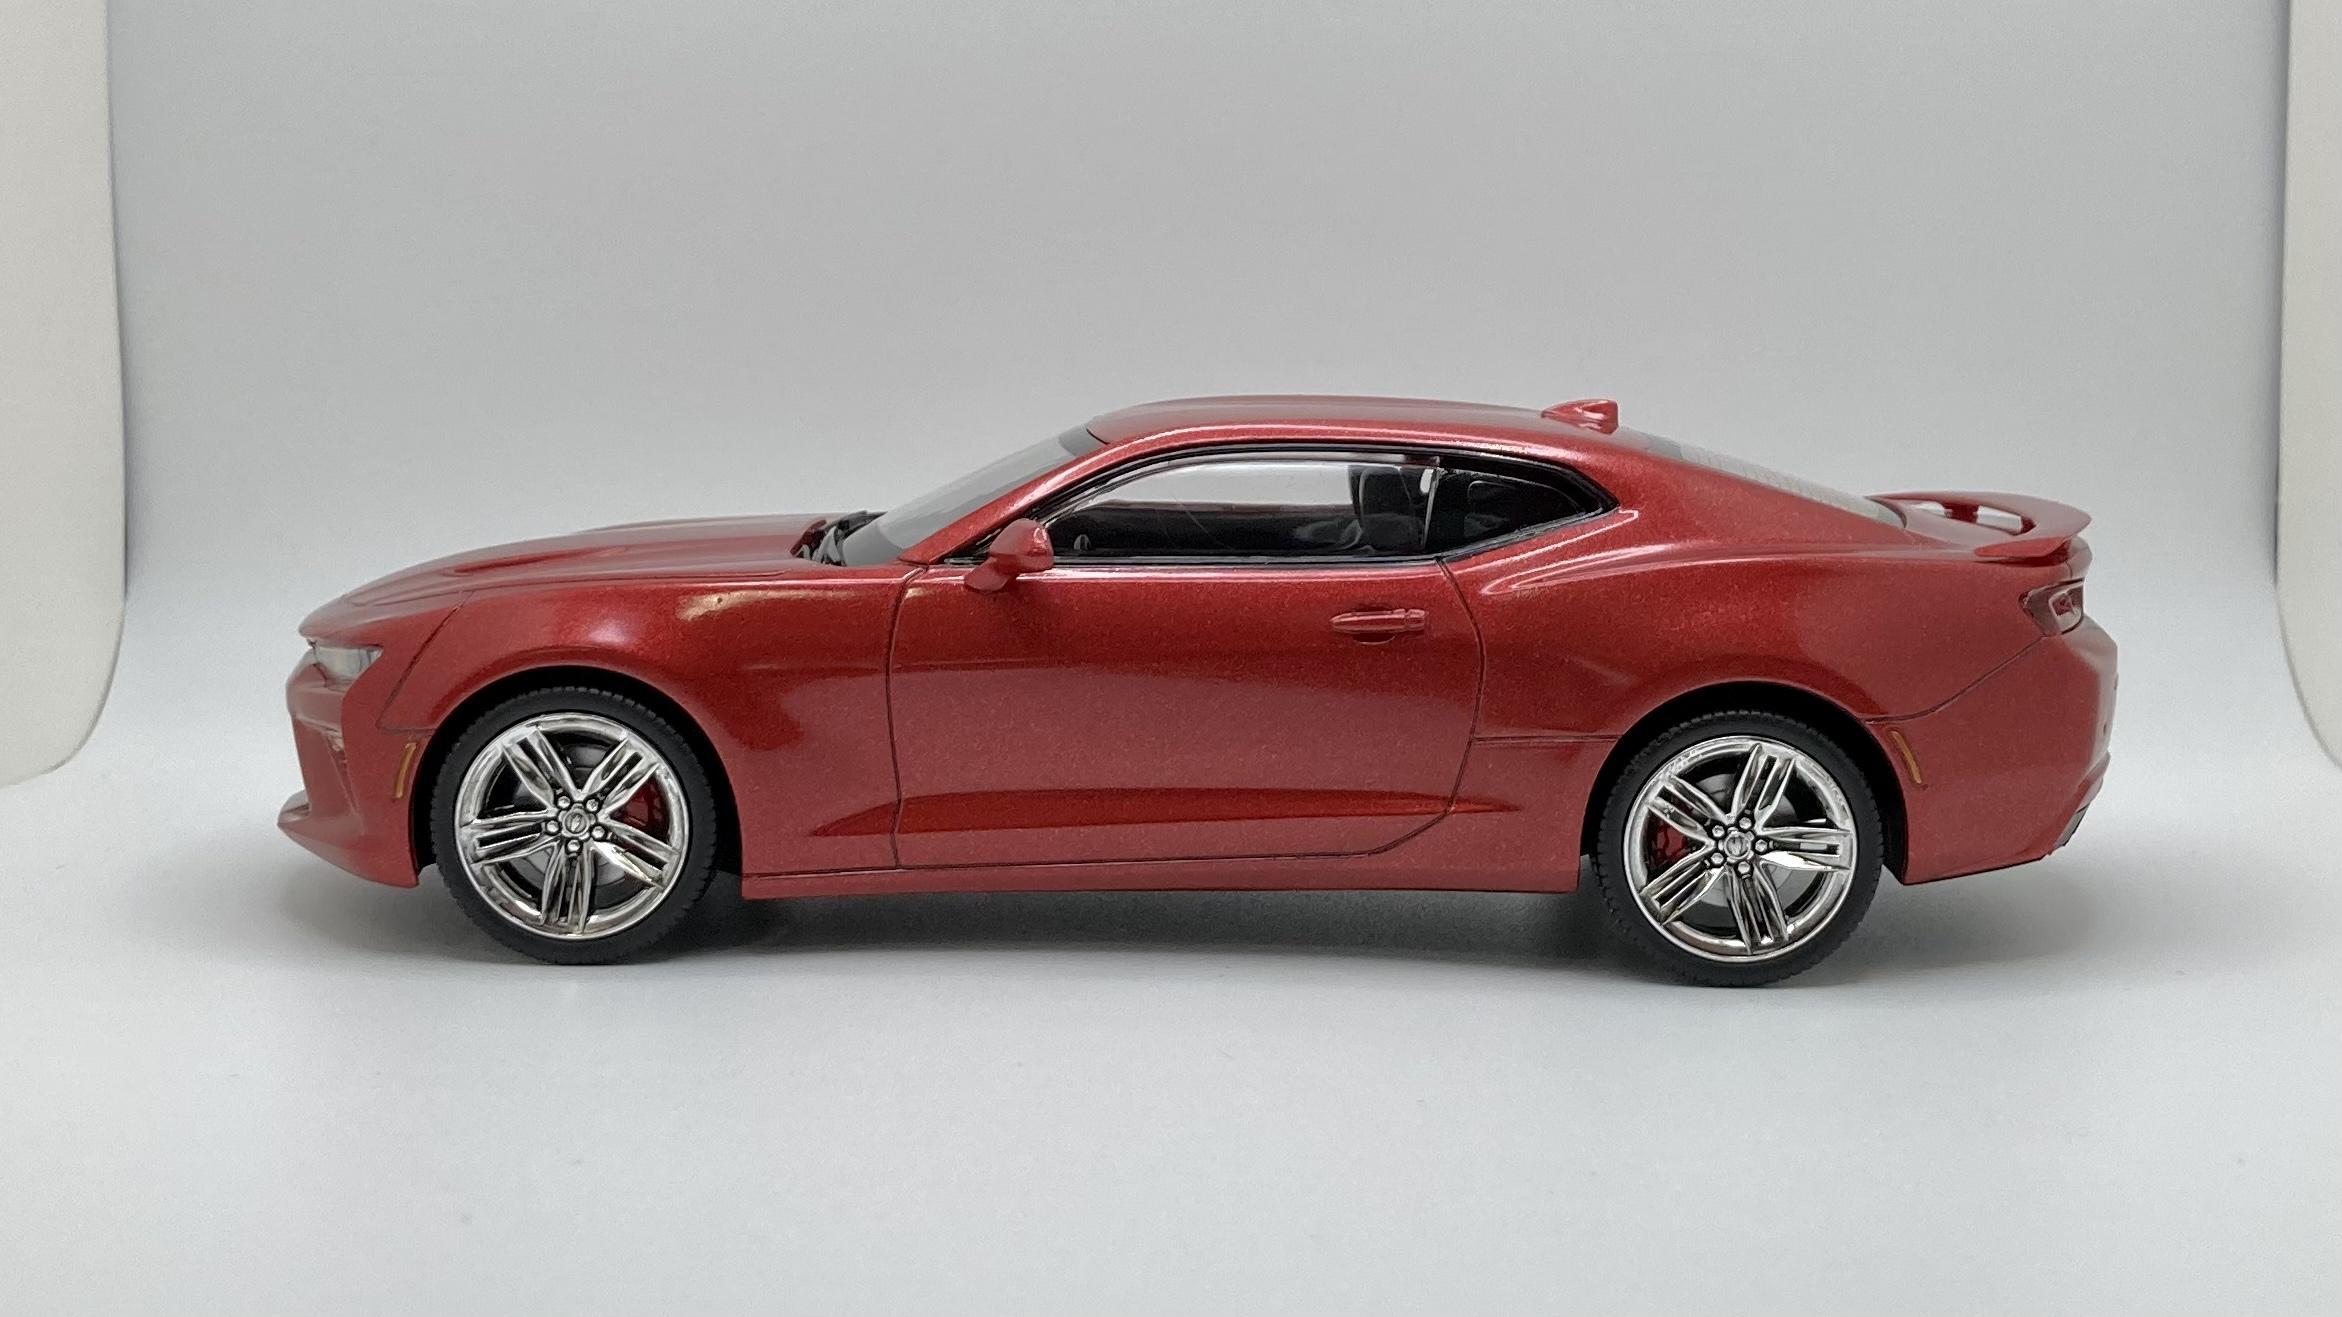
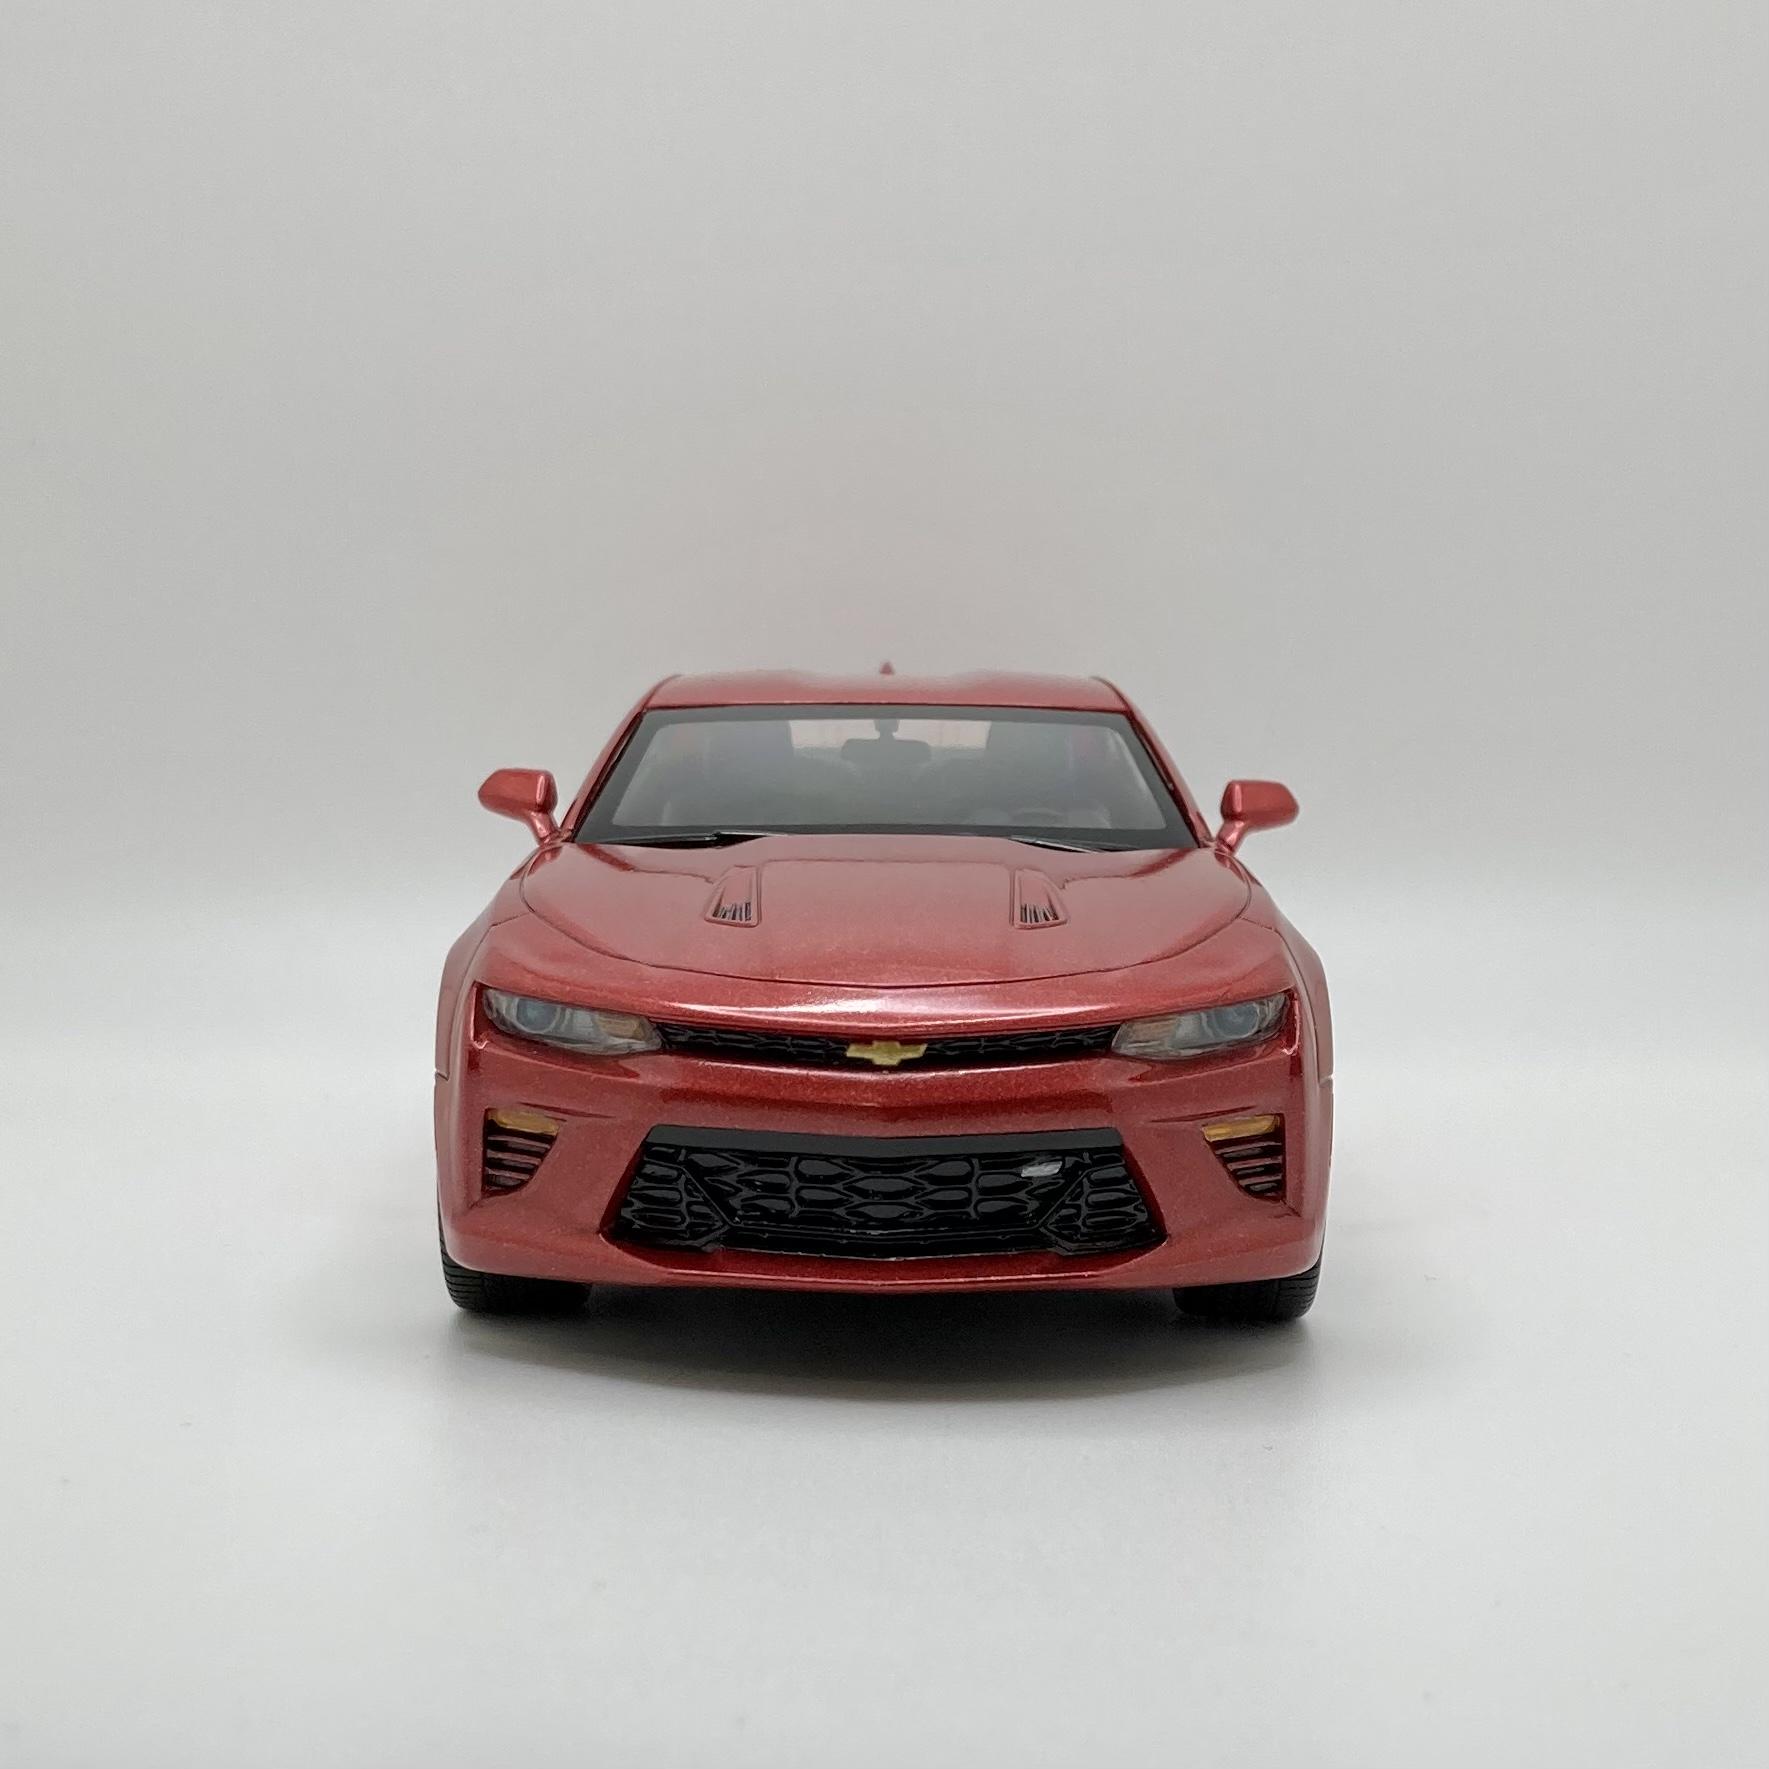
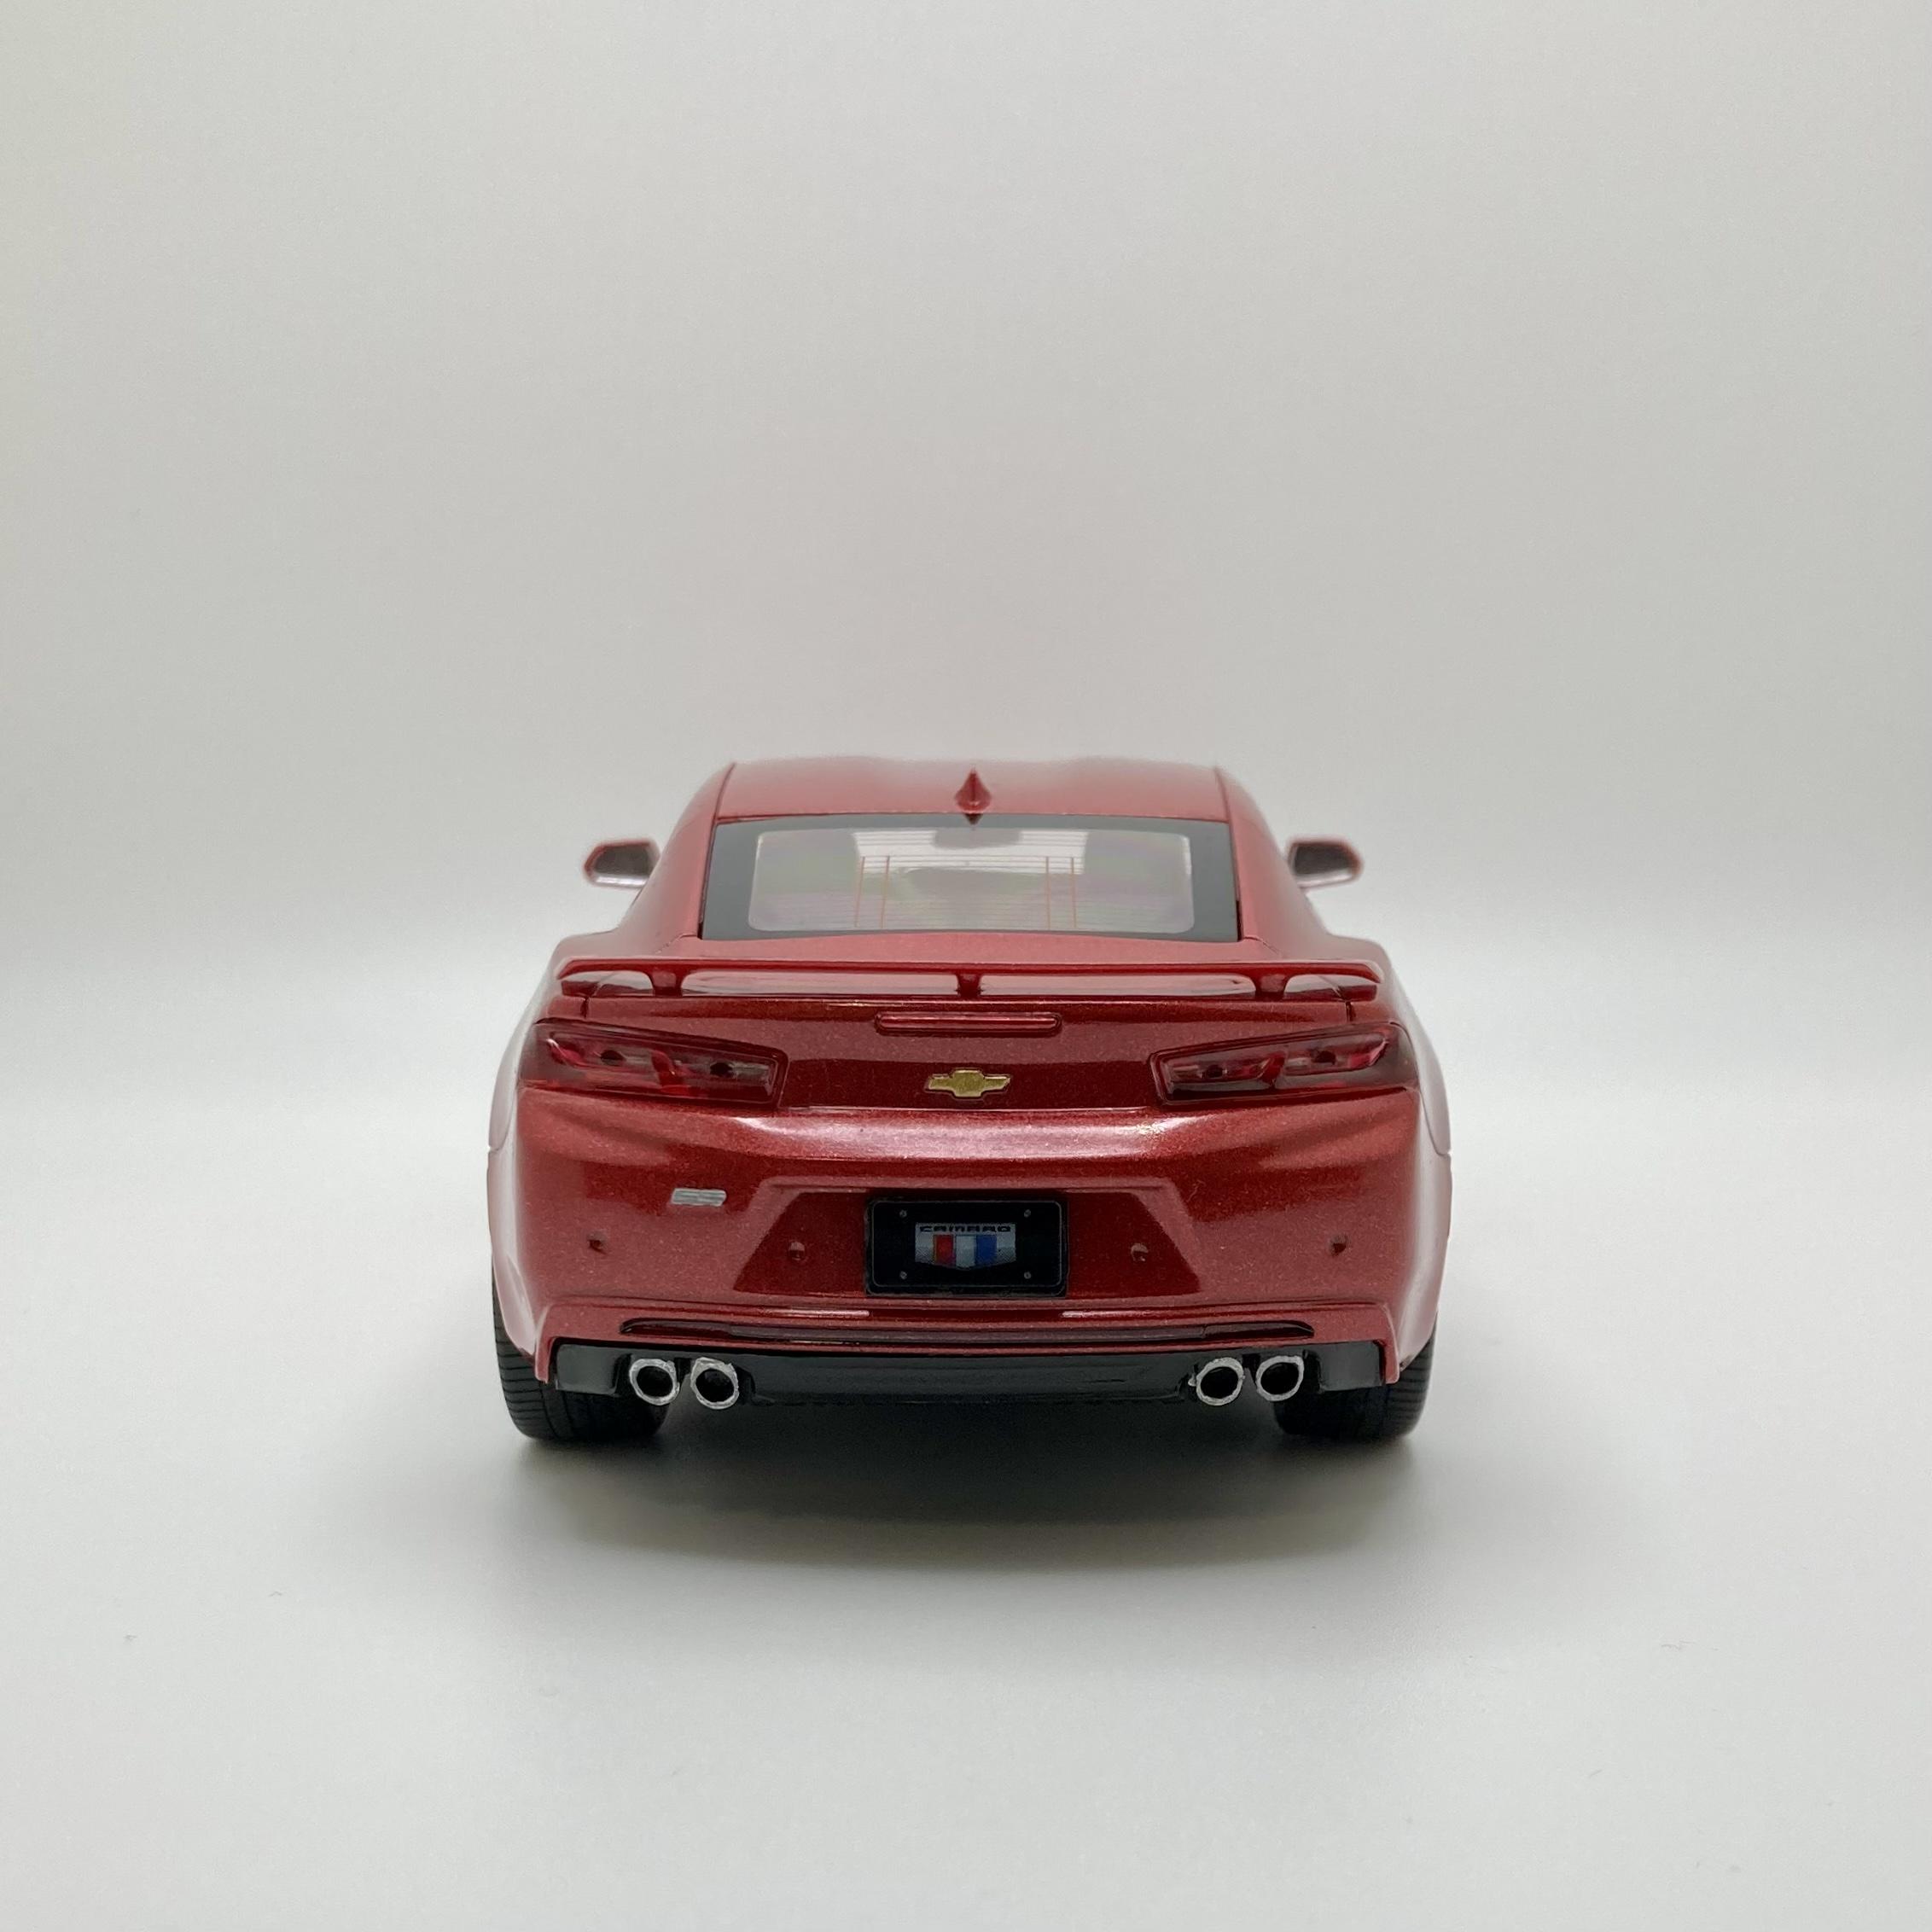
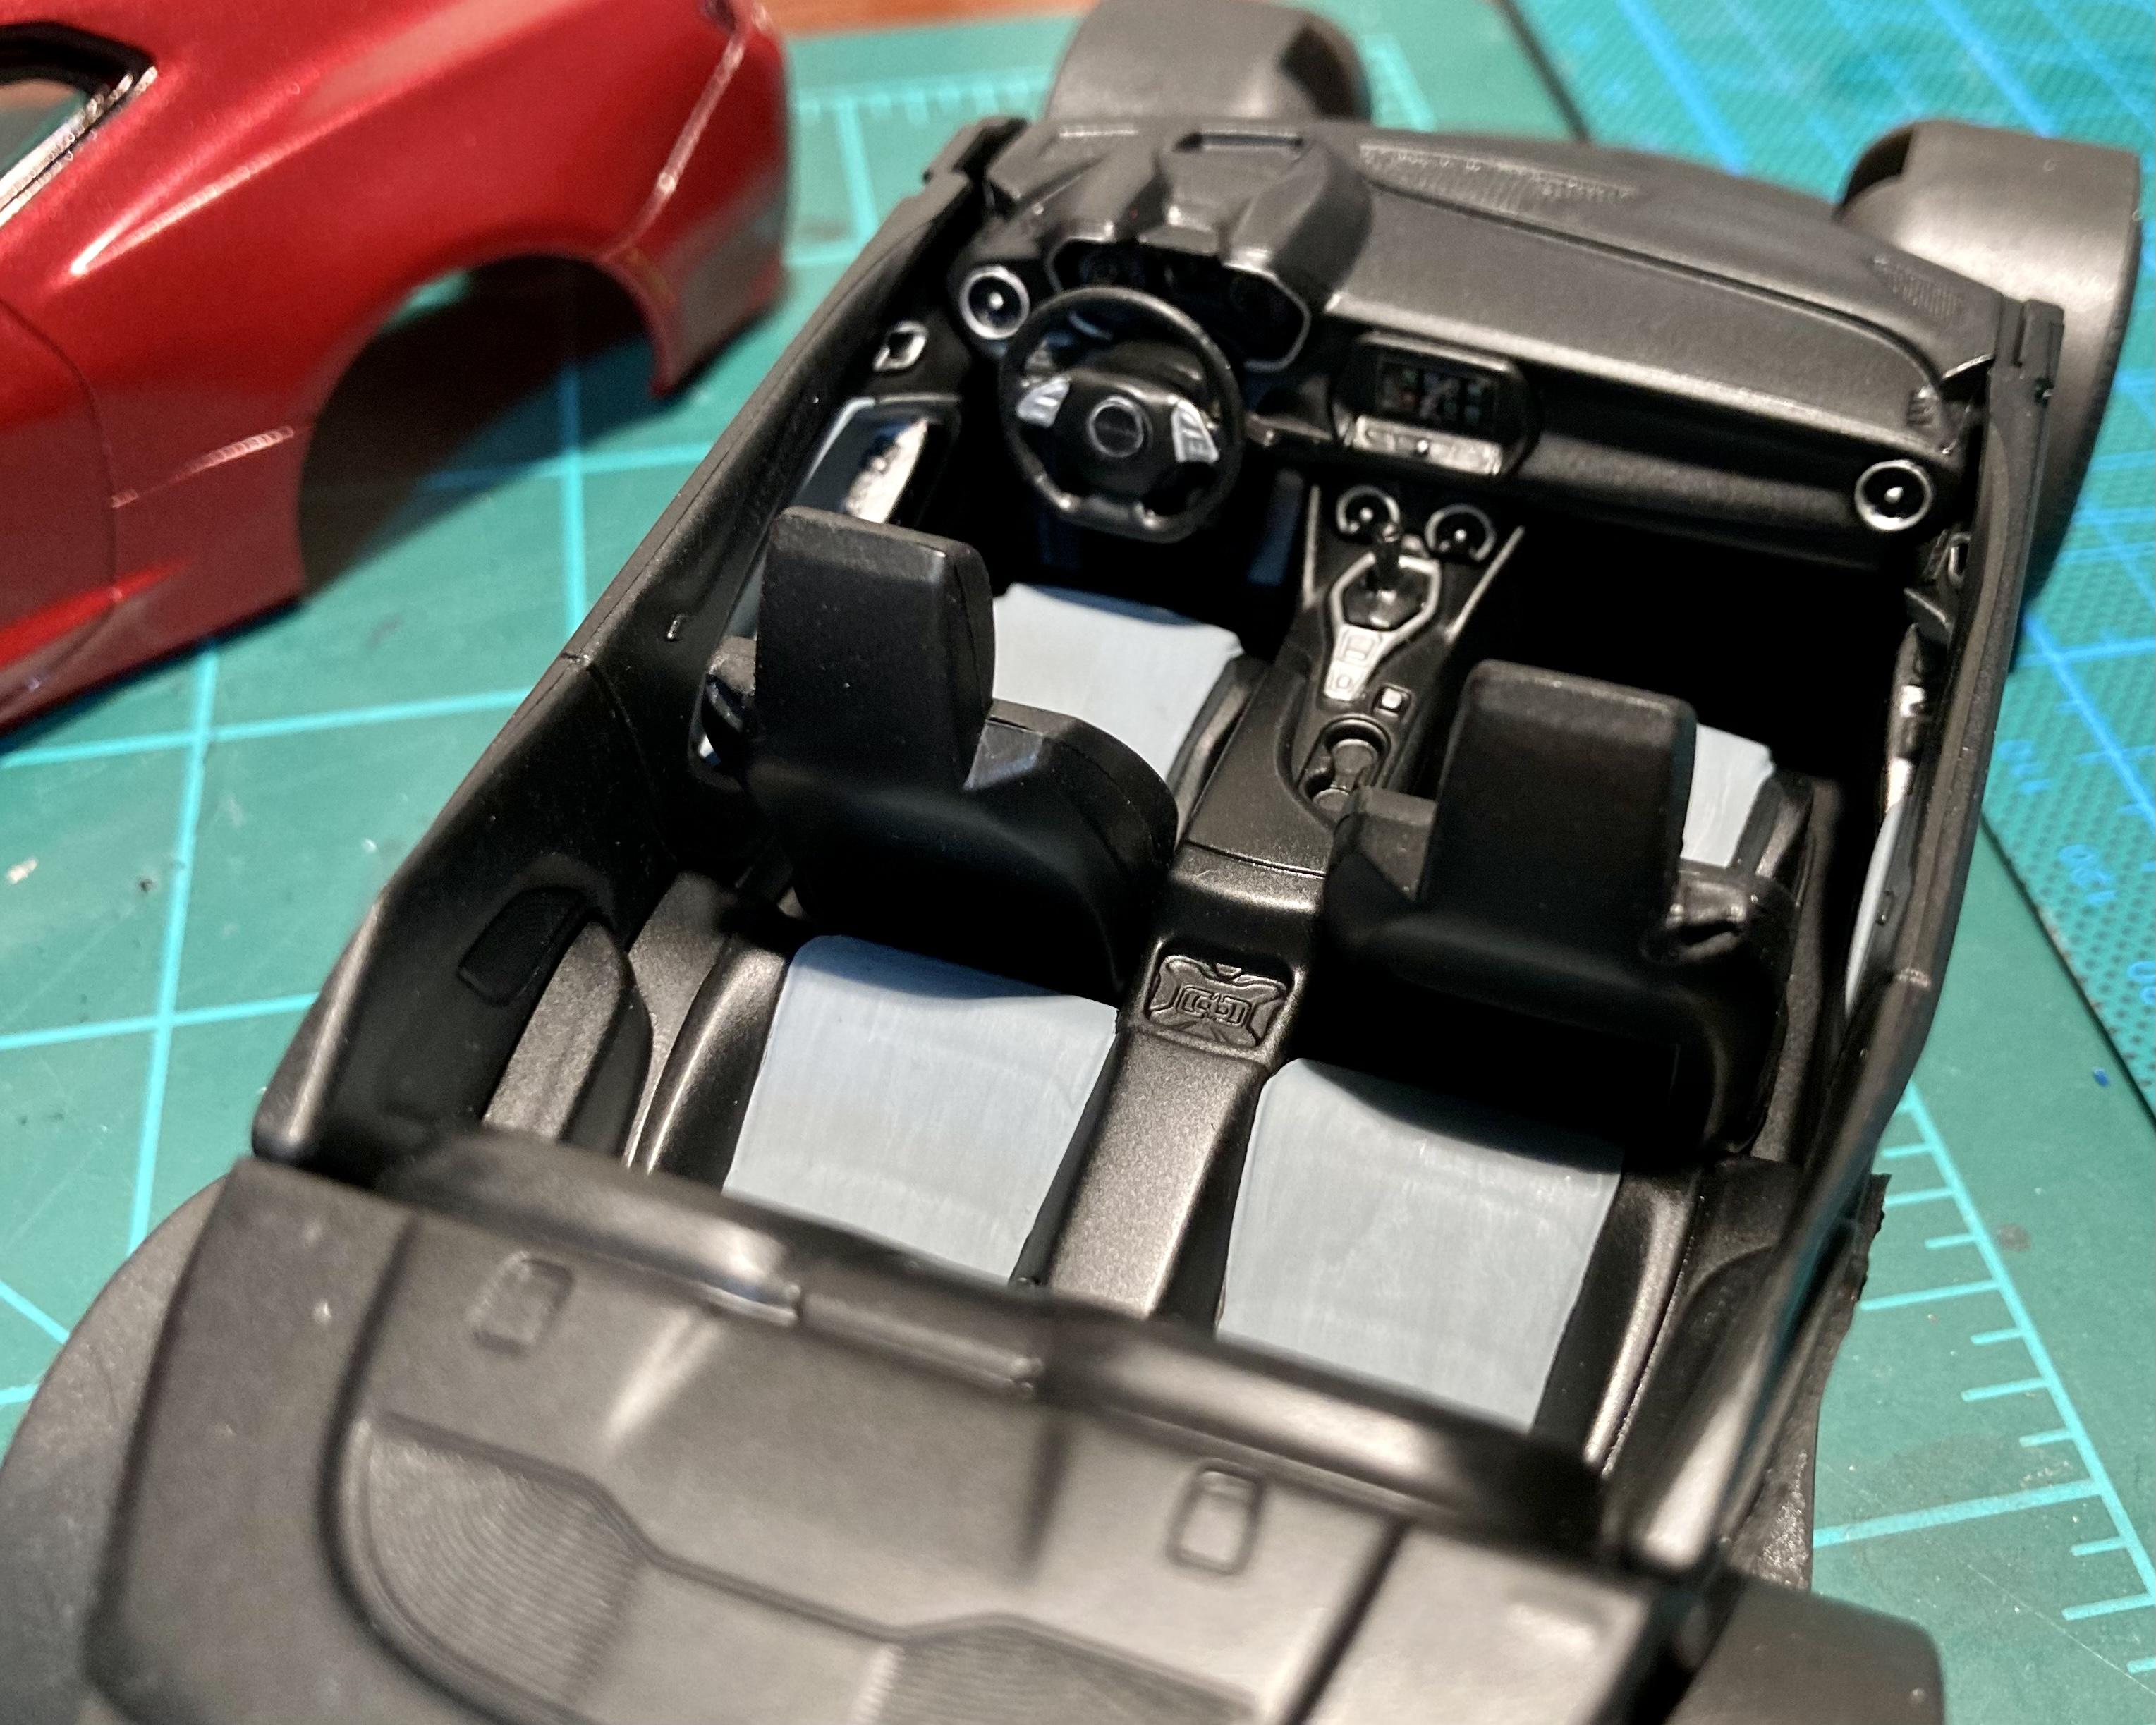
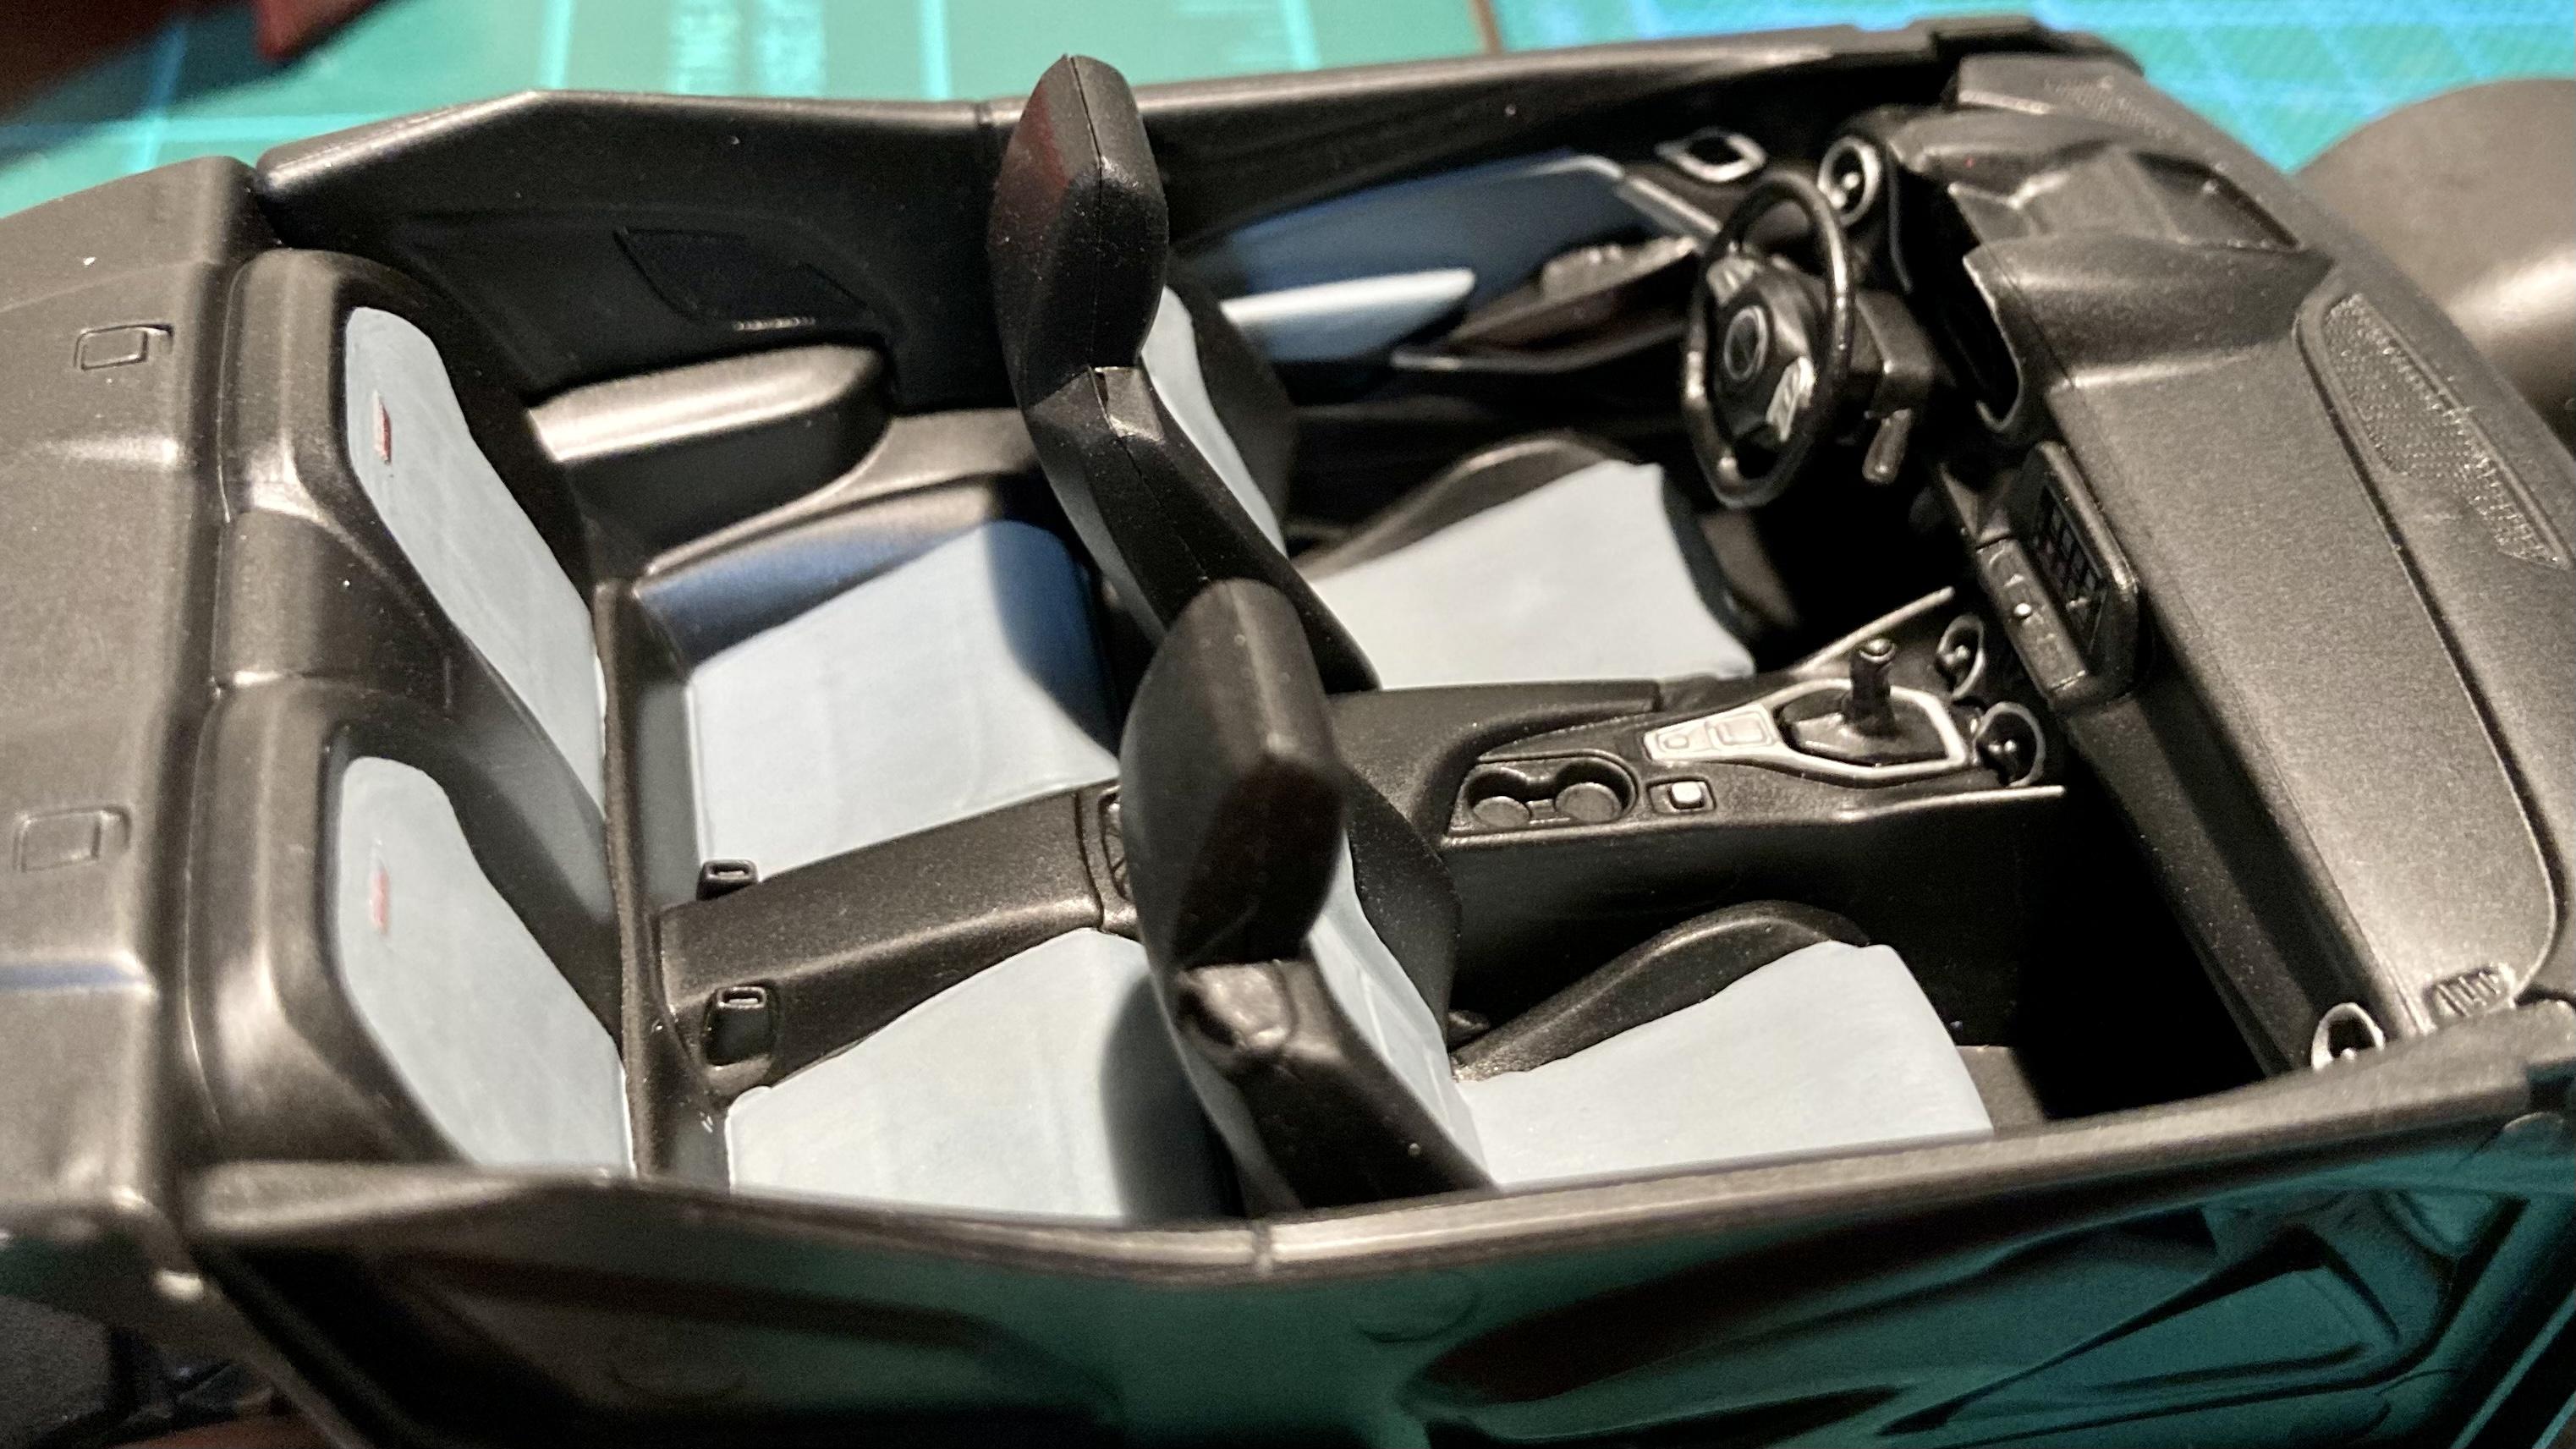
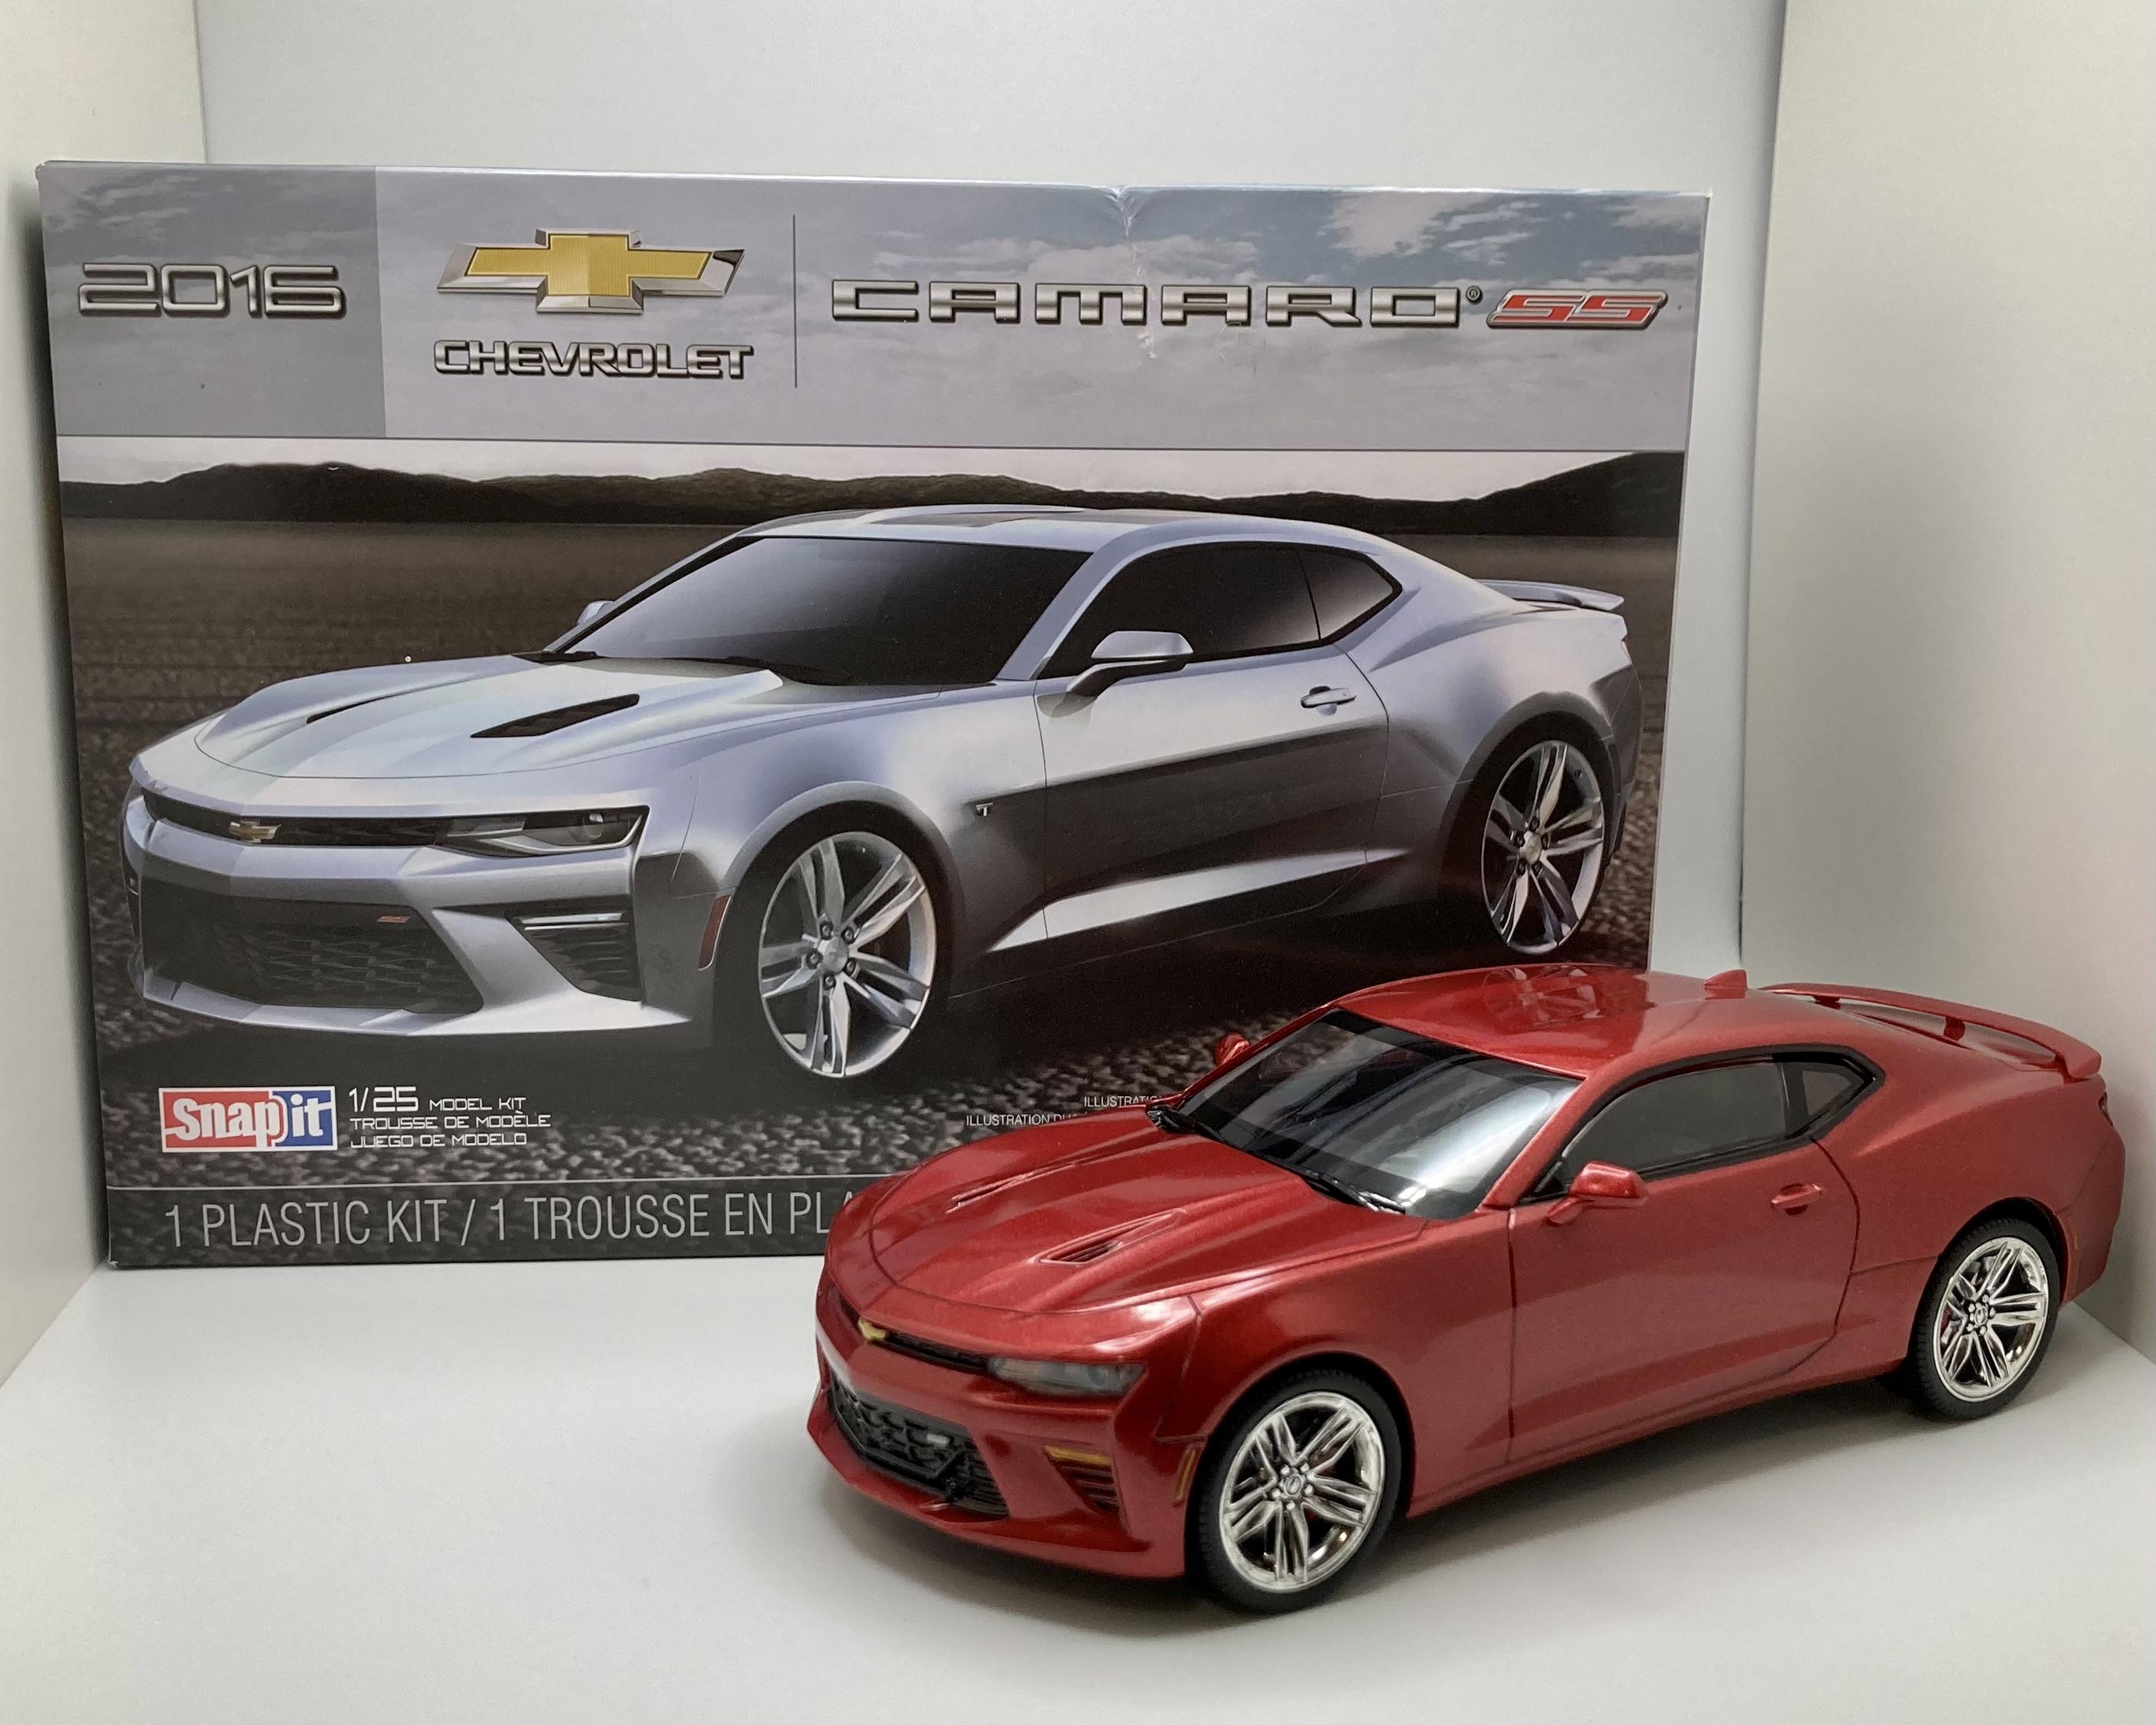
Here’s my build of AMT’s Snap-it 2016 Camaro! I painted it Tamiya TS39 Mica Red directly over the metallic red plastic the body was molded in (possibly TS19 Metallic Red; I painted the body two months ago and chucked the empty can ?). Interior is Krylon black primer with XF66 light gray for the seat inserts. I love the pre-painted glass it came with, complete with amber rear window defrost lines. Despite being a snap kit it has a ton of detail and it goes together perfectly!
-
1/24 Revell '79 ('81?) Chevrolet Camaro Z/28
StanGlover replied to Casey's topic in Car Kit News & Reviews
Oh I knew it was going to be a snap kit, I just assumed they’d throw in better tires at that price. I guess I’m used to Round 2 upgrading tires in their old tools. Oh well, you know what happens when you assume. ? I agree. My guess is that they thought it would be too difficult for kids due to the flash (again, not terrible on flash but it would look really bad if you didn’t clean it up), and unappealing to them because of the single molded color. So, it will take an moderately experienced builder to make it look good. Anyways I’m still excited to build it… whenever I get to it. -
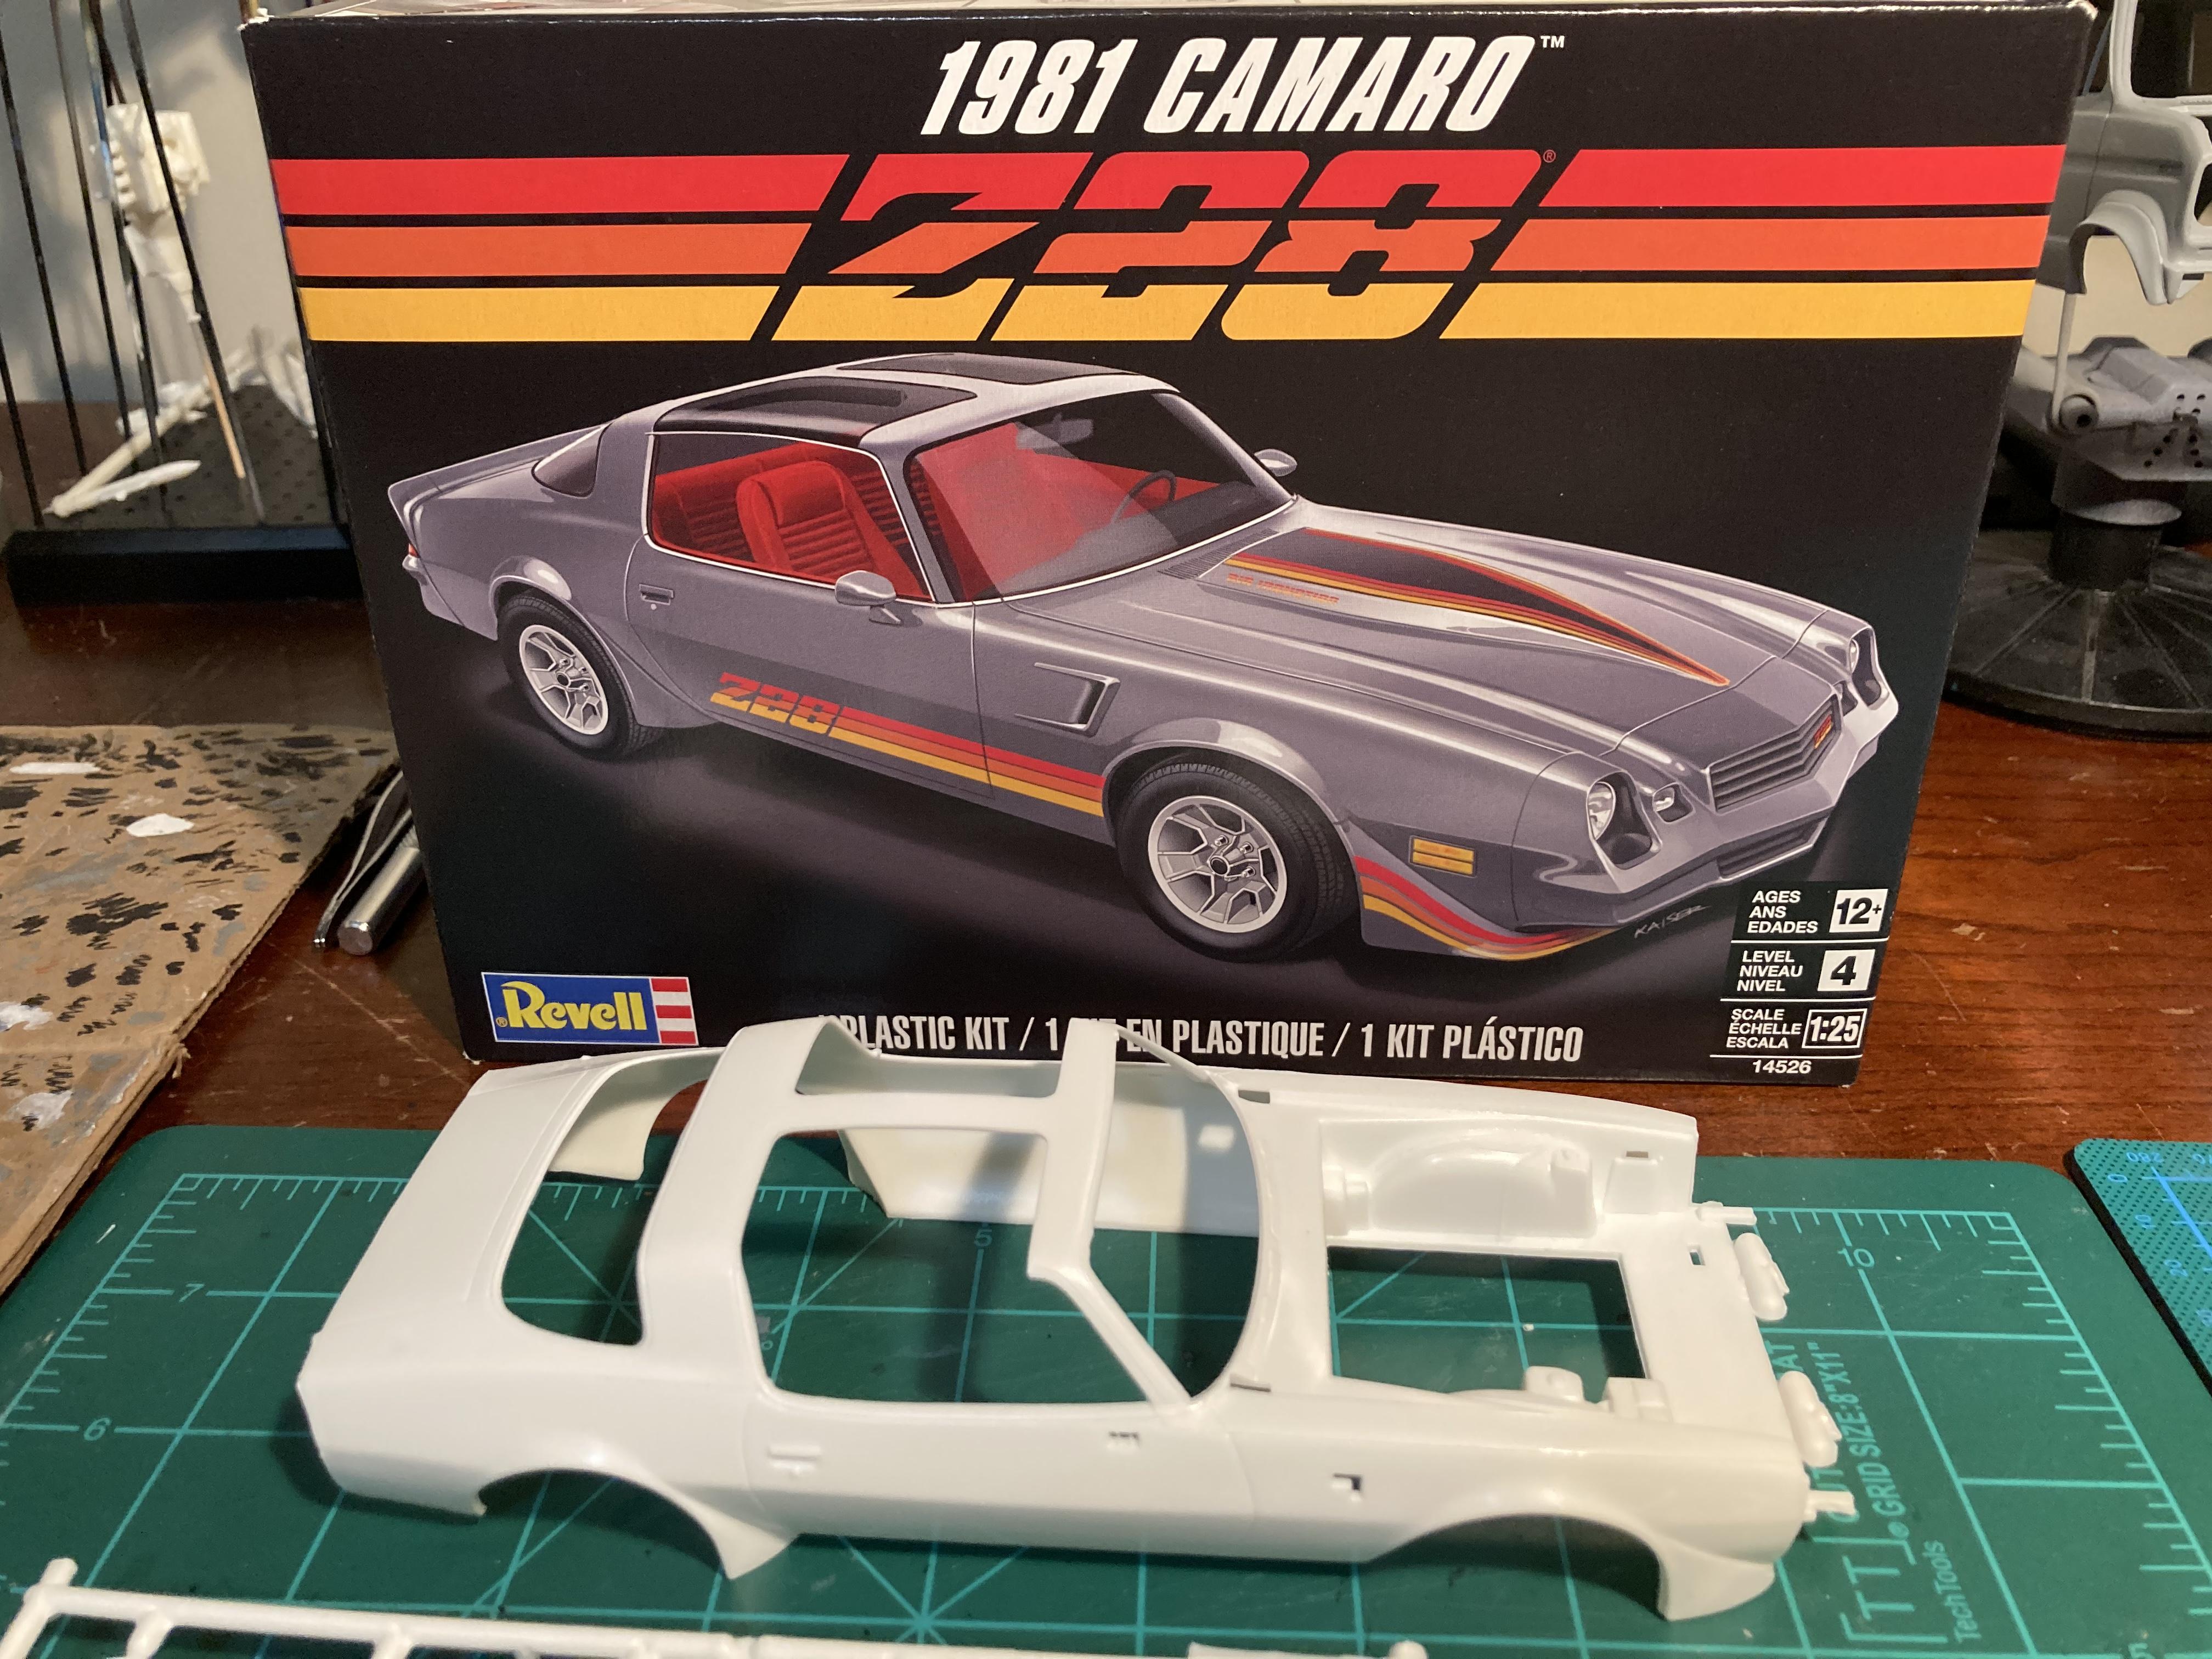
1/24 Revell '79 ('81?) Chevrolet Camaro Z/28
StanGlover replied to Casey's topic in Car Kit News & Reviews
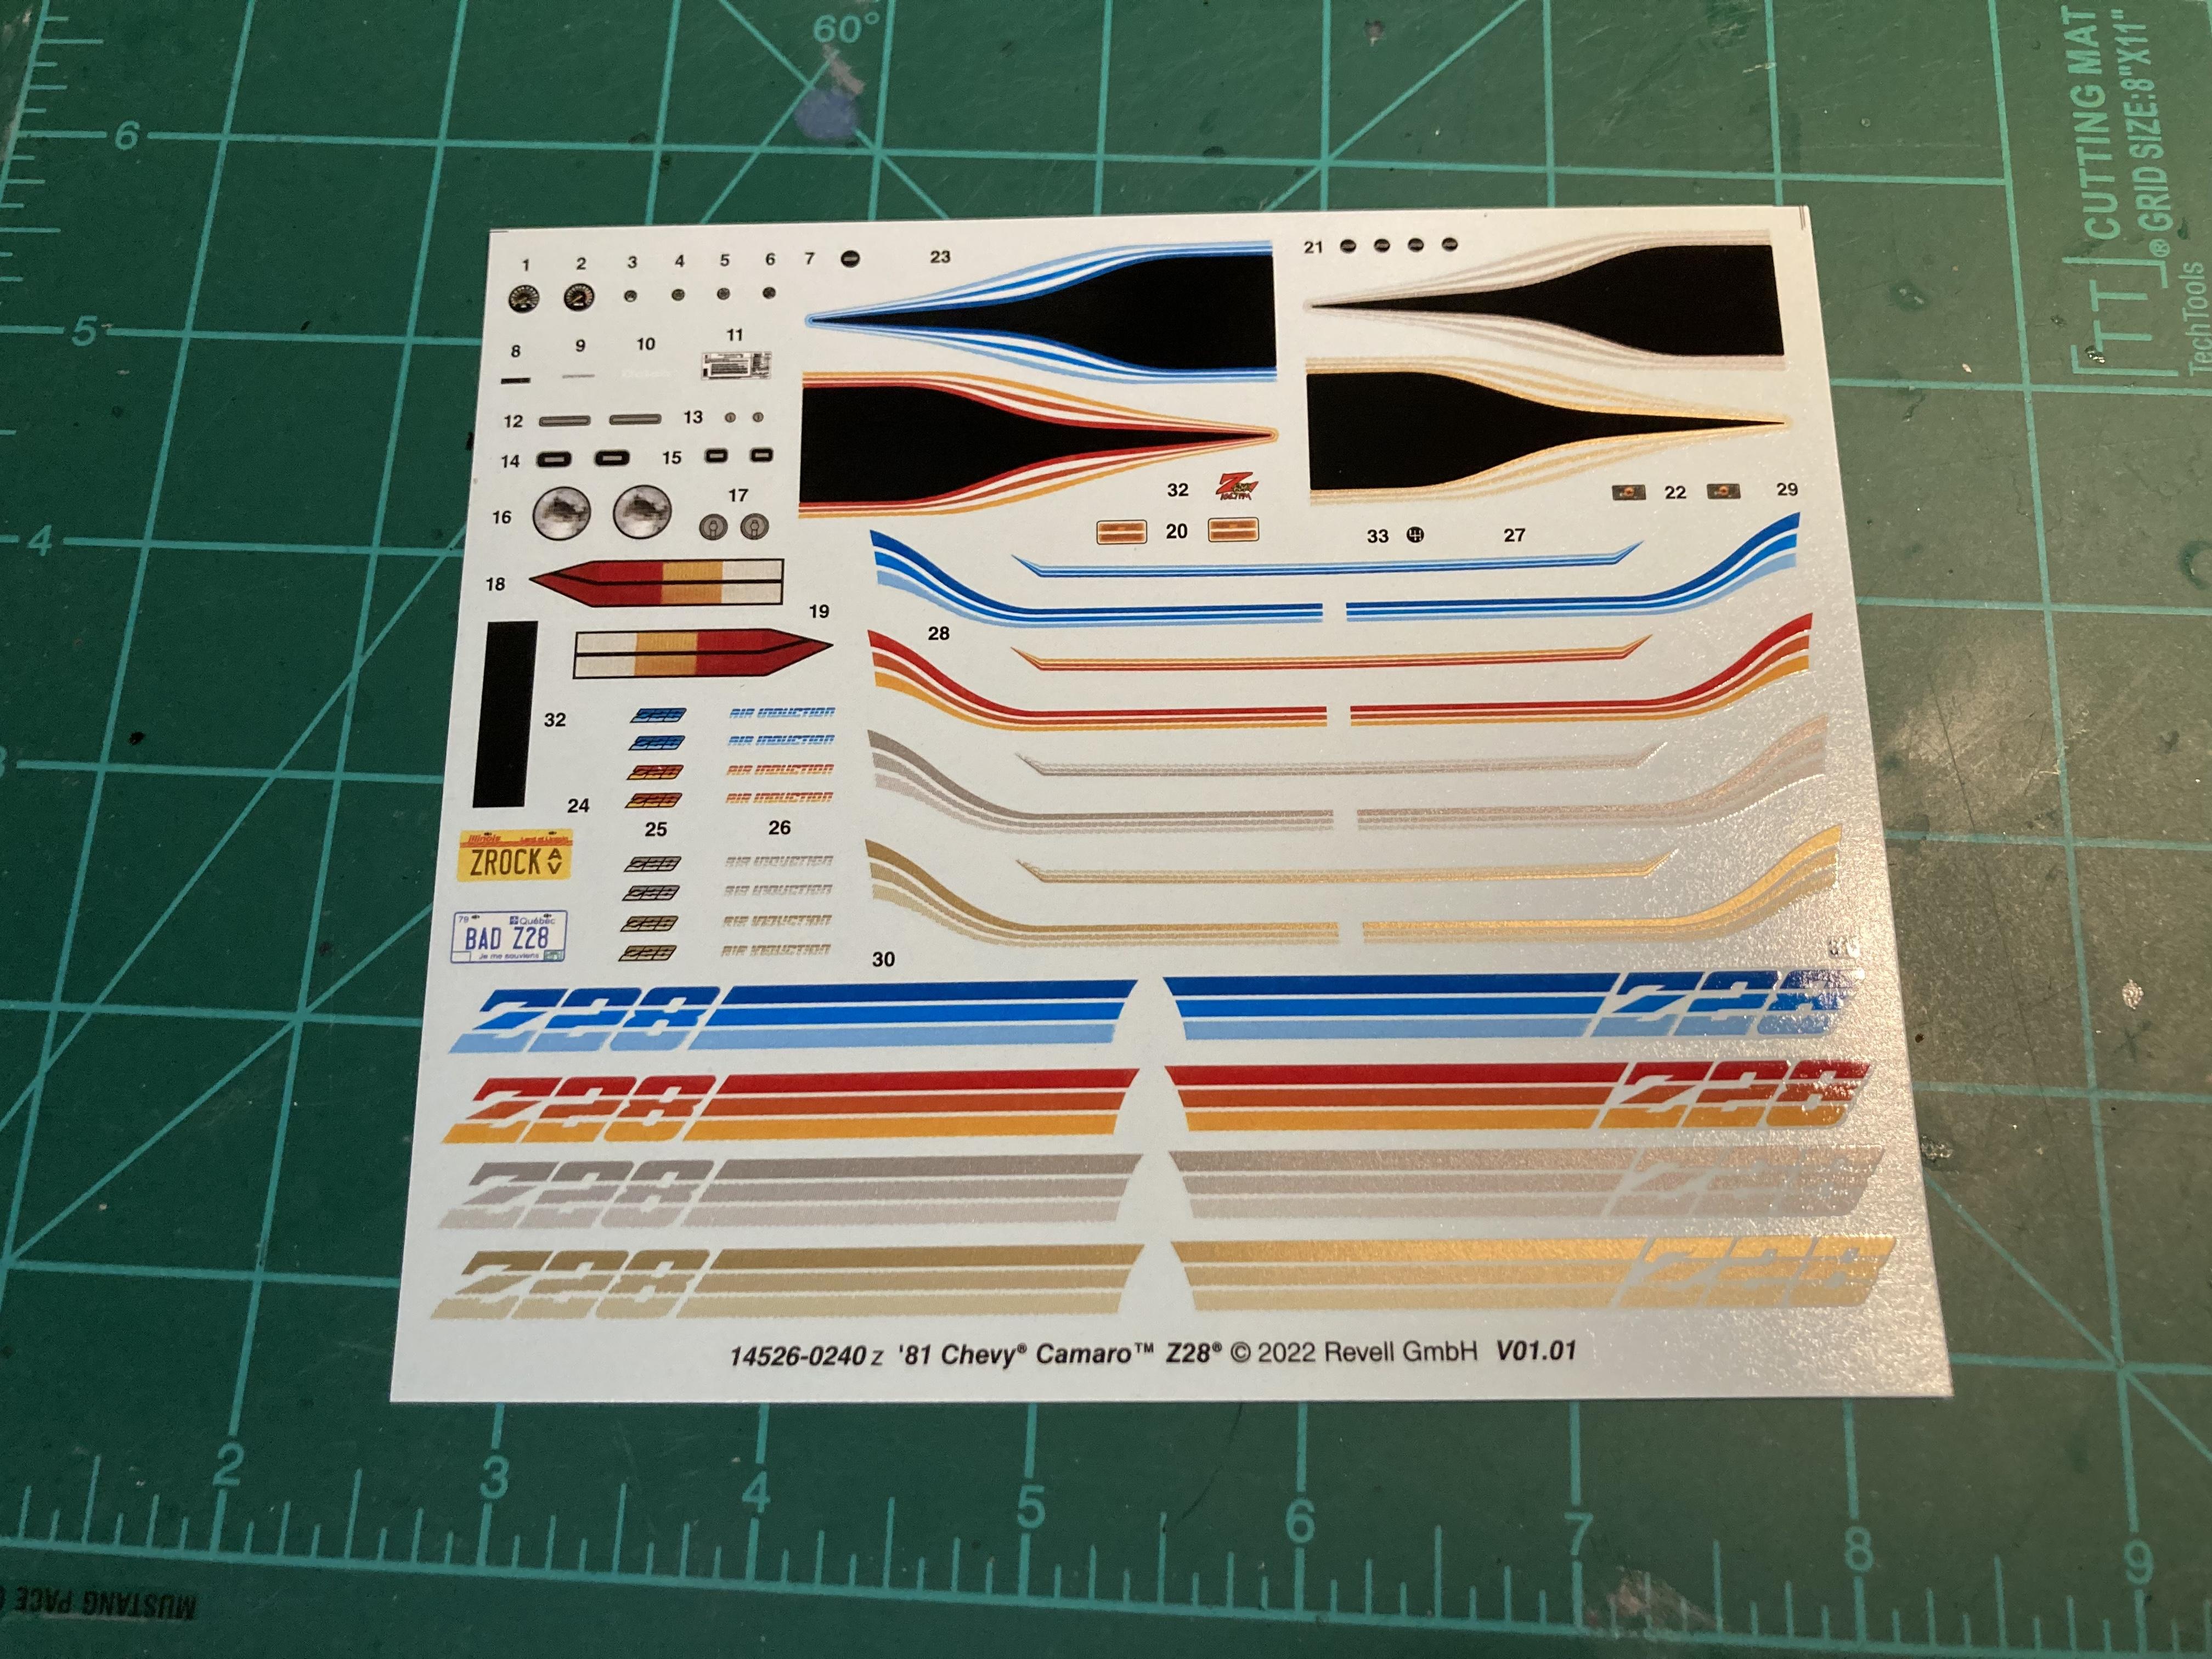
Just picked one of these up from HL today. Decals look beautiful. The plastic tires… not so much. I’m a little disappointed they didn’t provide rubber tires. Some flash but nothing too bad. No warping. It’s definitely a snap kit but the box doesn’t mention that at all. HL has it listed for $34.99 in my area which is frankly way too much for what you get. Luckily this week is 40% off, so I only paid $21 which is what this kit should start at to begin with… Overall it should make a fun quick build/slump buster.
-
1/25 AMT 1978 Ford Bronco "Wild Hoss"
StanGlover replied to Casey's topic in Truck Kit News & Reviews
My replacement hardtop showed up today. Only took 10 days, not bad at all. New one fits perfectly too. Looks like Round 2 is doing a better job at making things right, I’m a happy customer!
- 326 replies
-
- 2
-

-
- amt 1304
- ford bronco
- (and 2 more)