StanGlover
-
Posts
244 -
Joined
-
Last visited
Content Type
Profiles
Forums
Events
Gallery
Everything posted by StanGlover
-
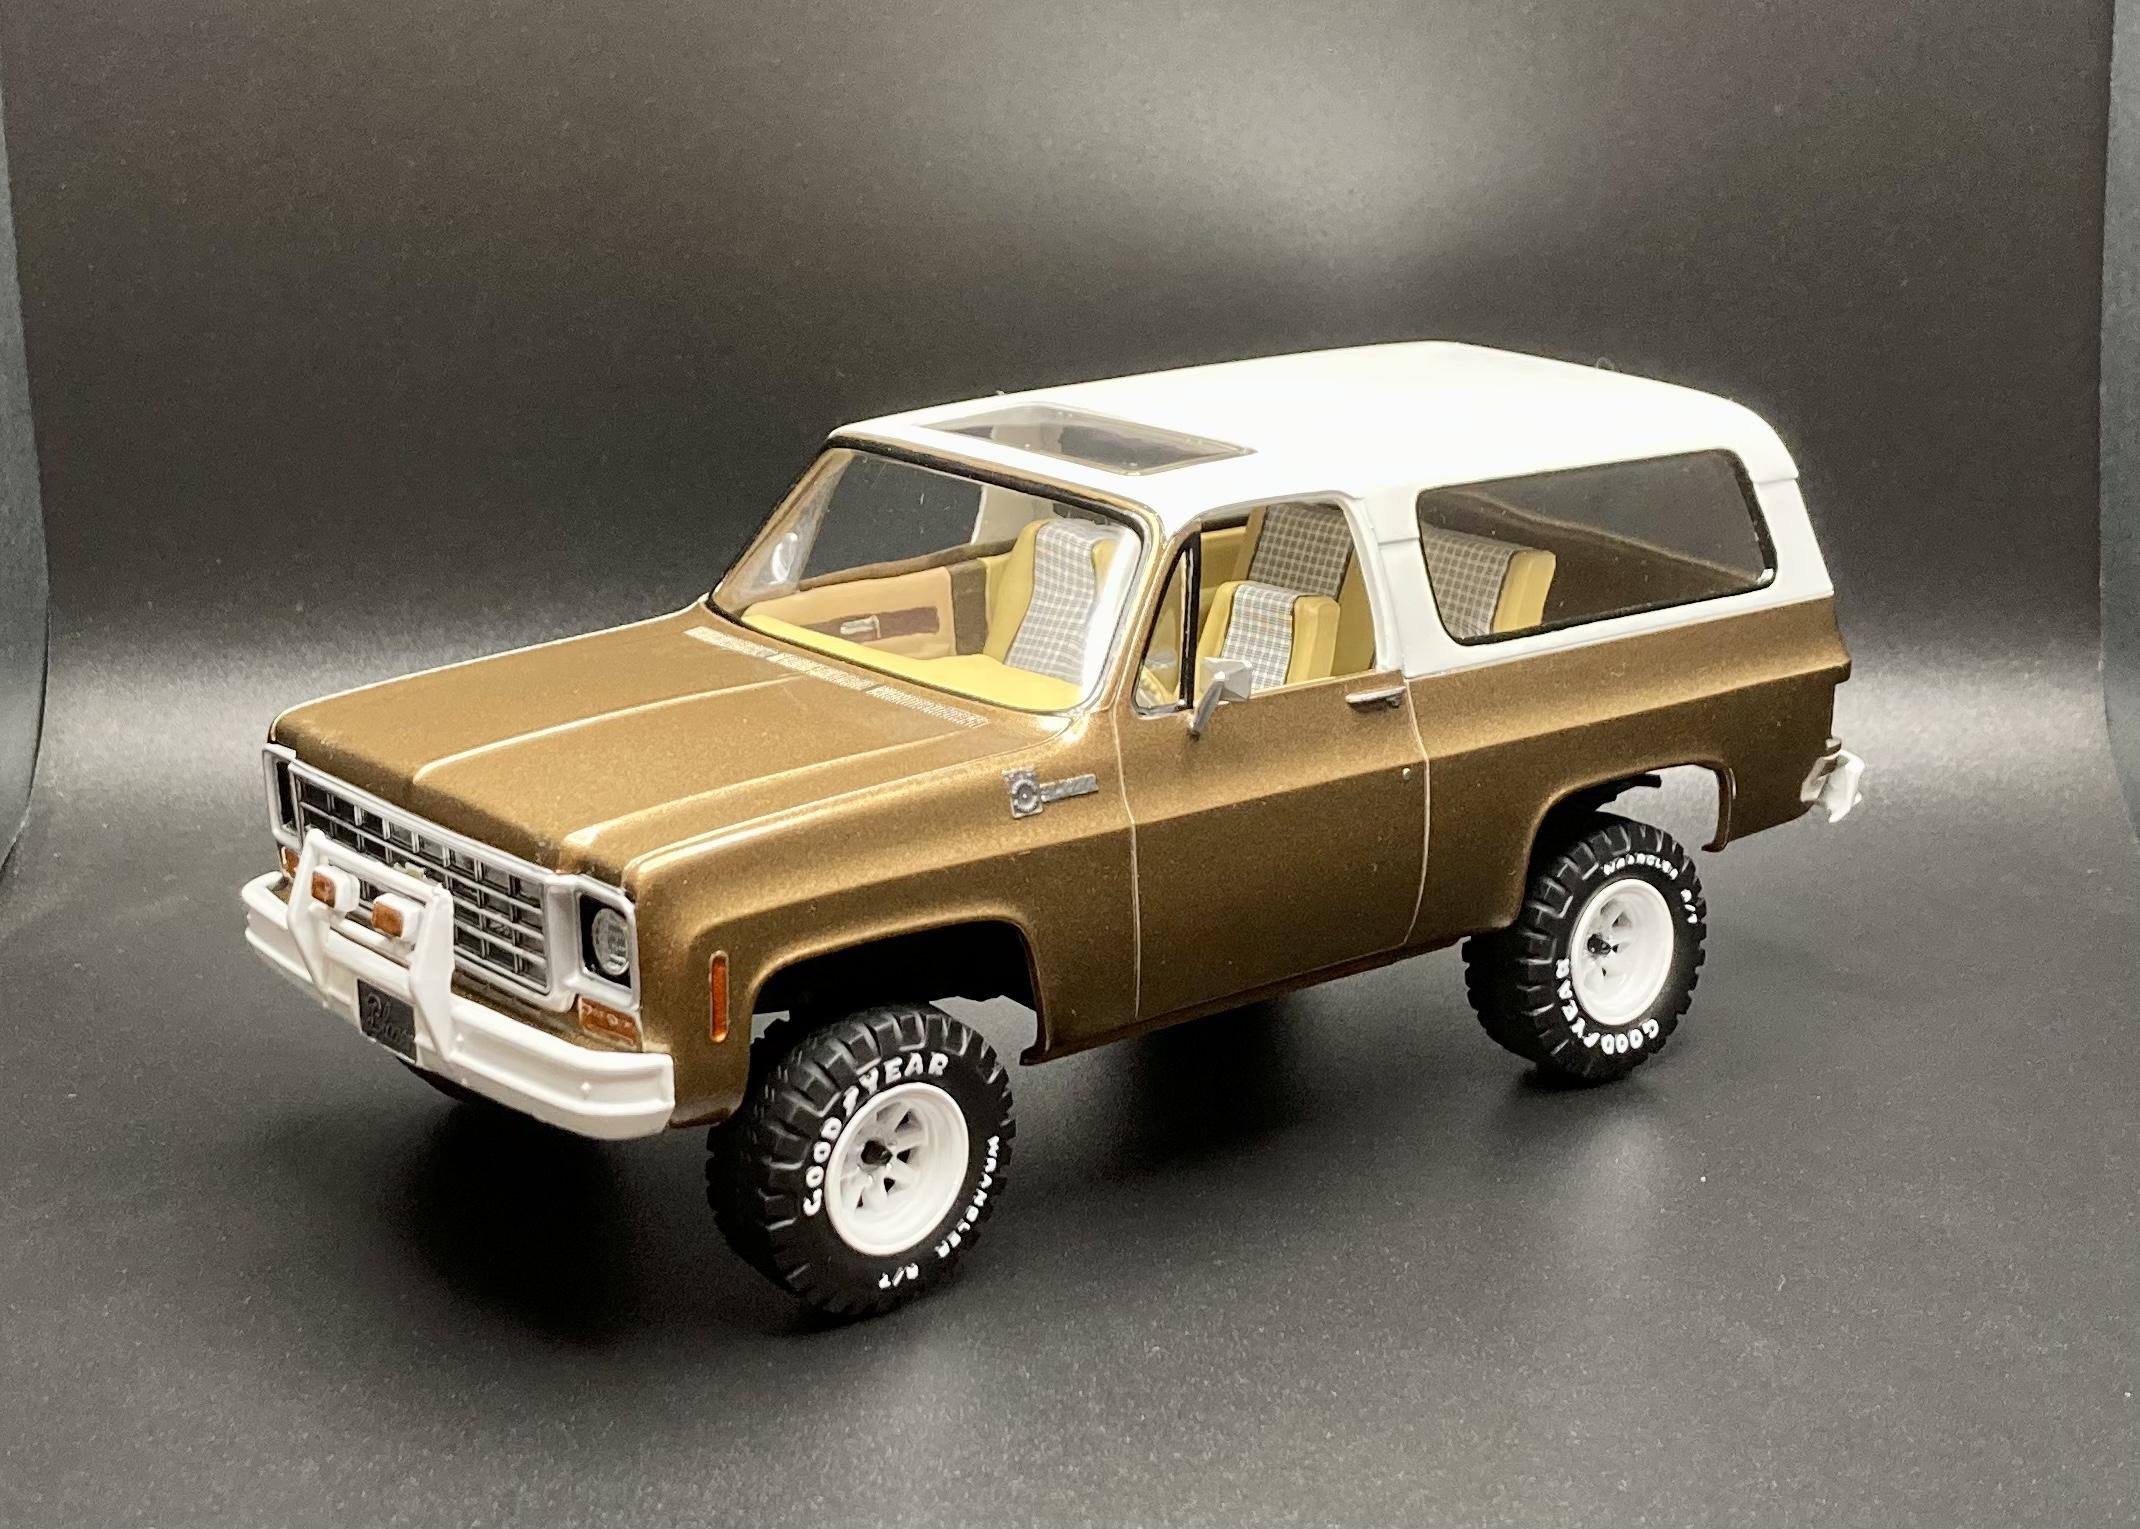
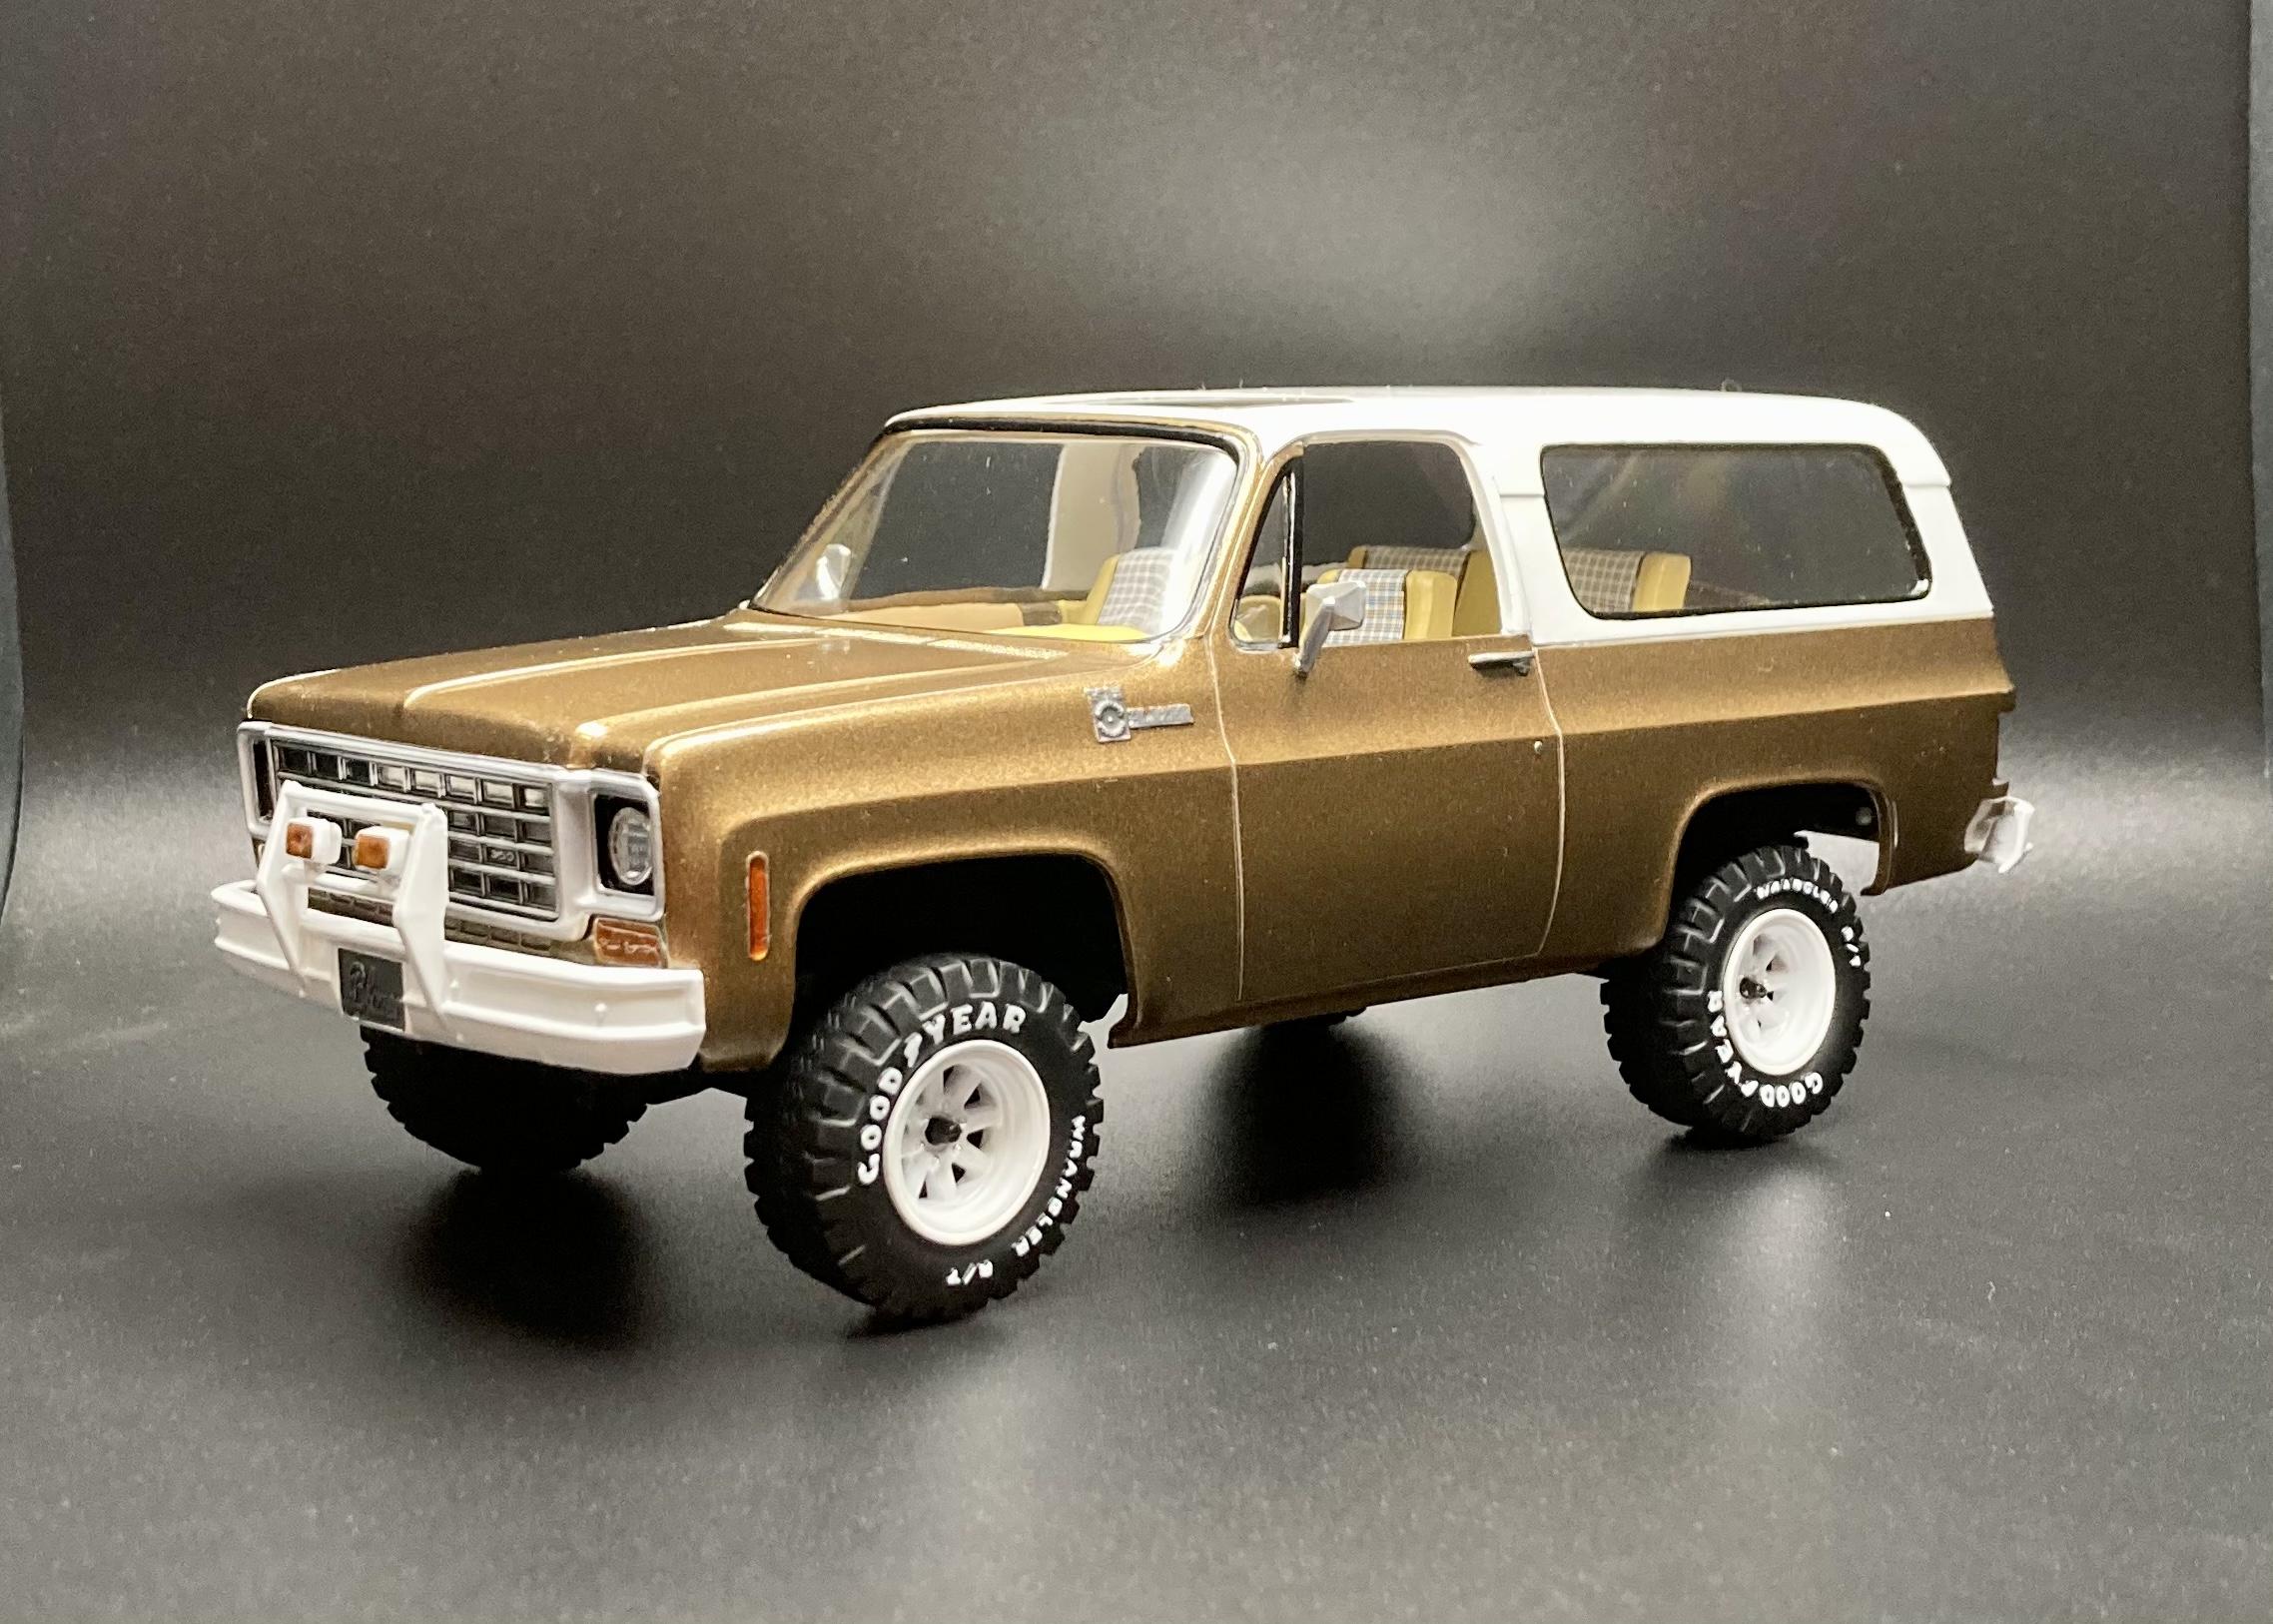
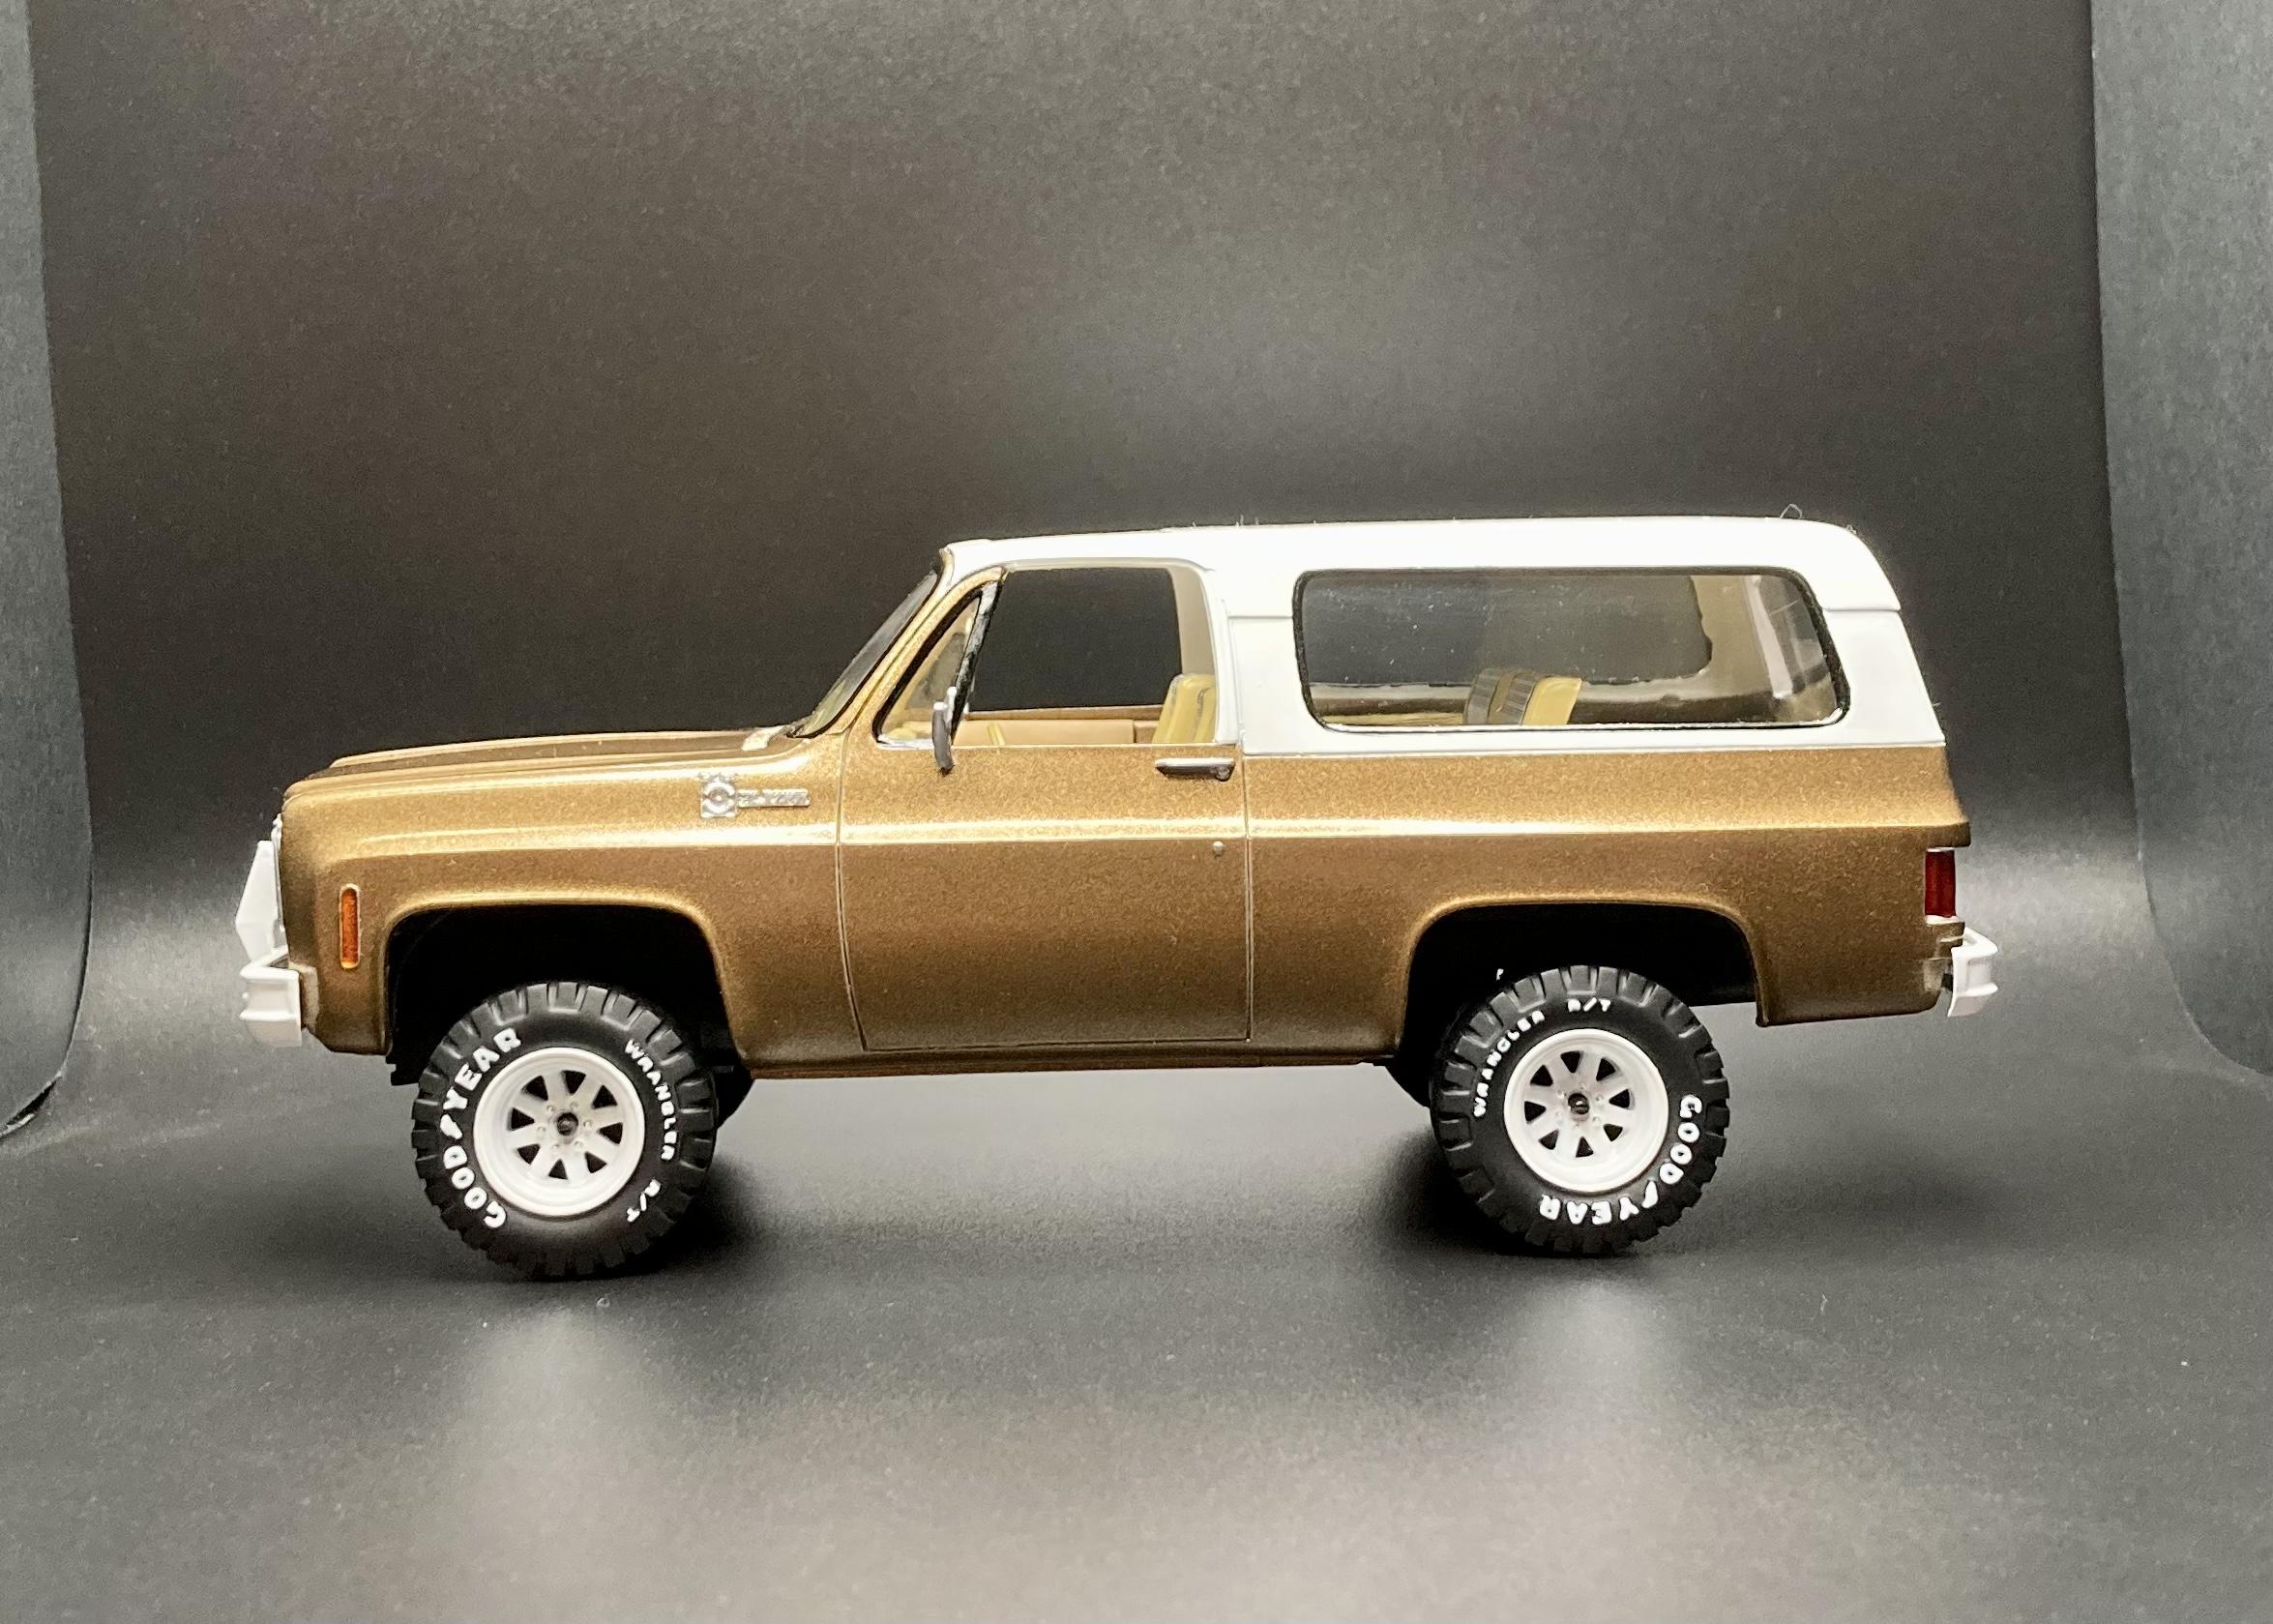
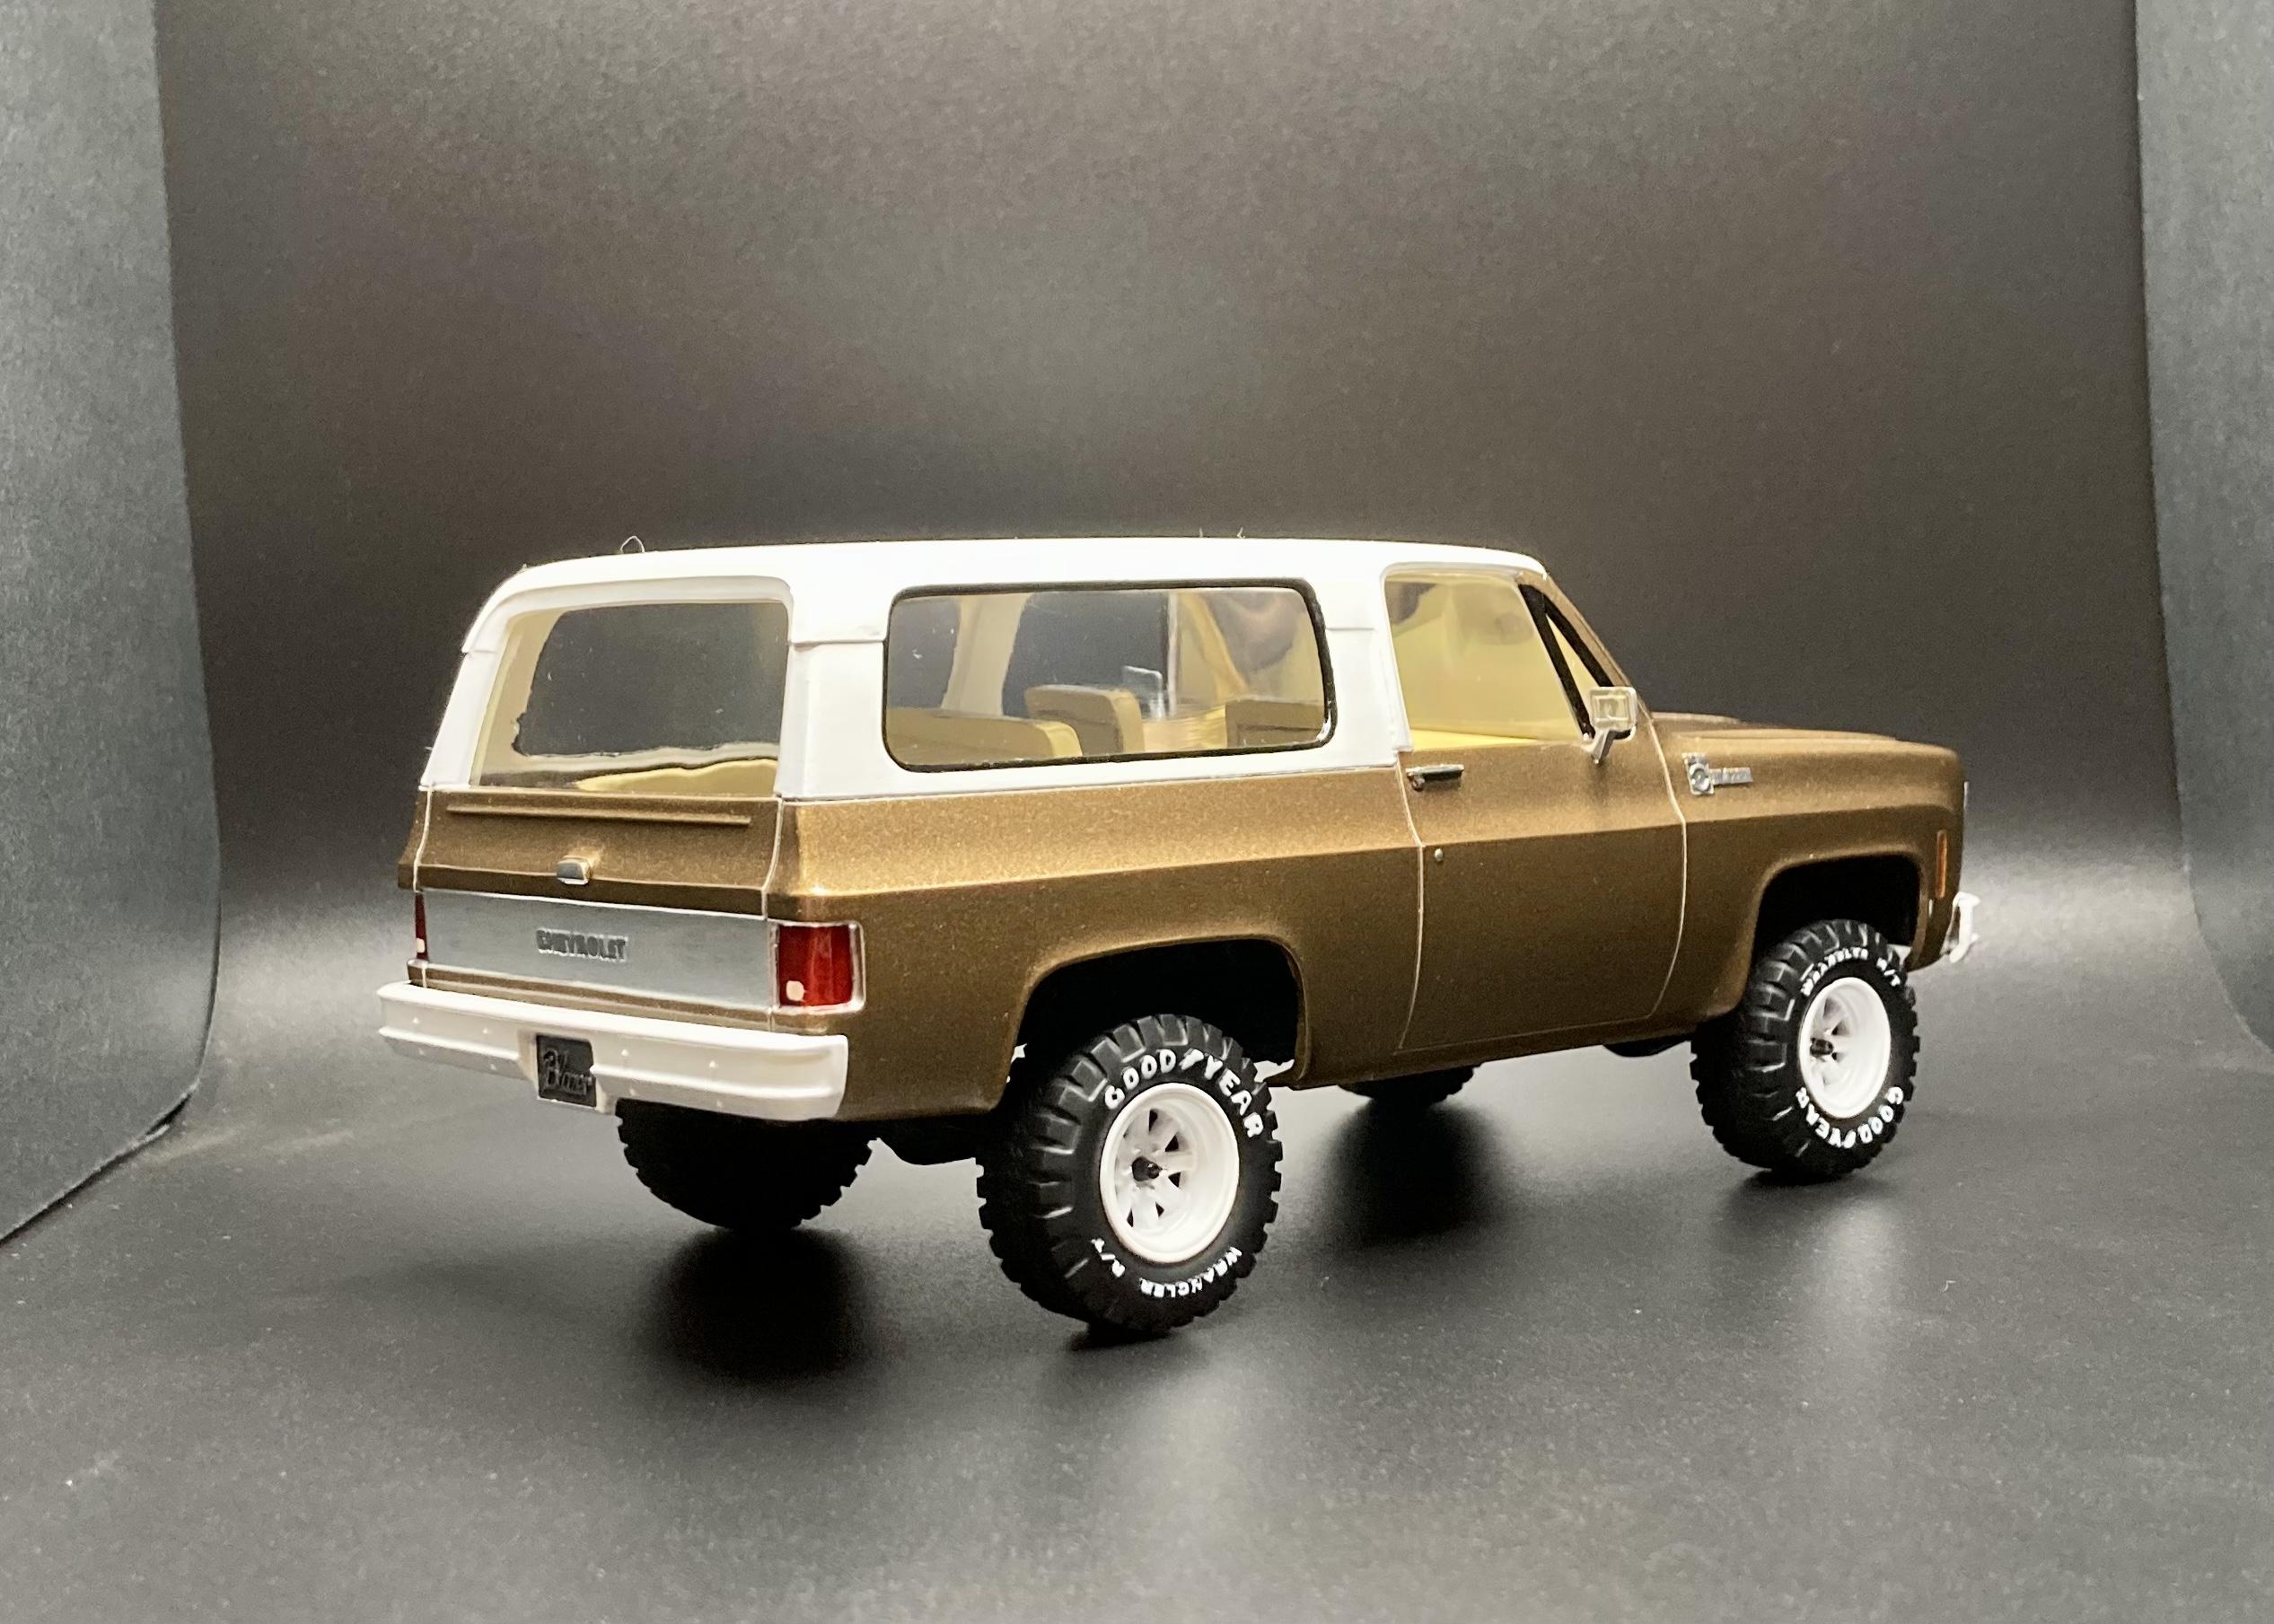
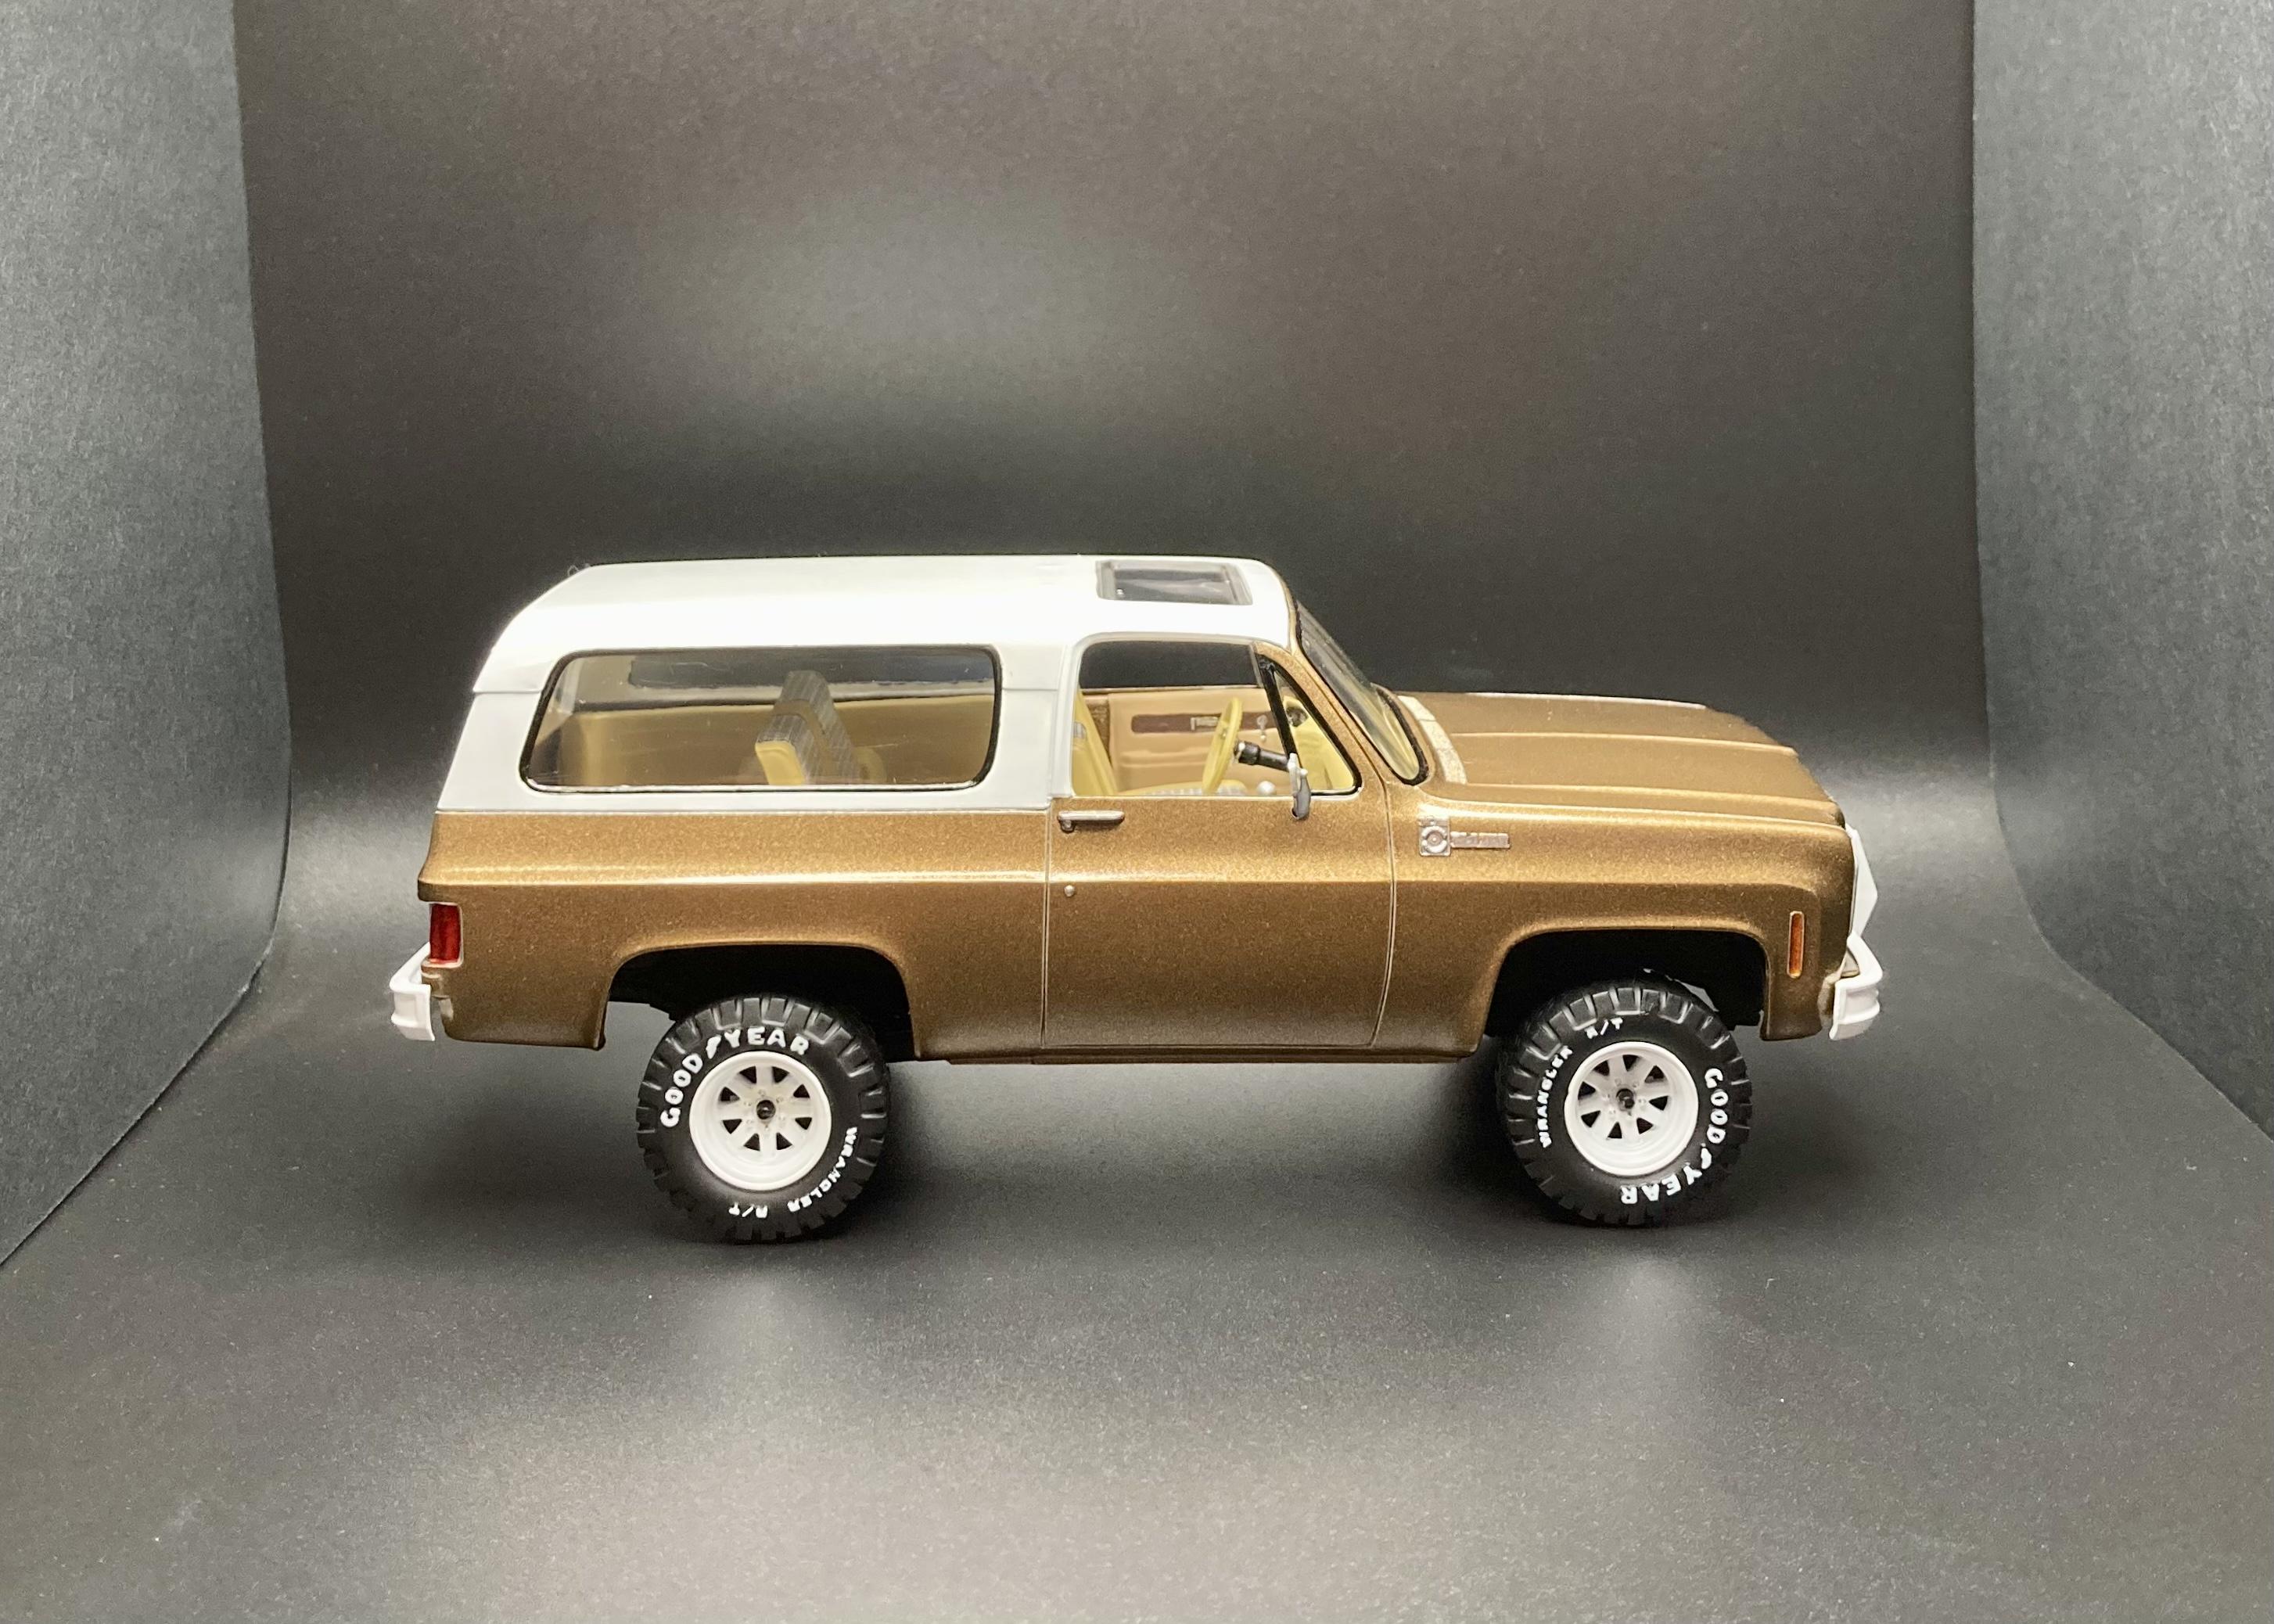
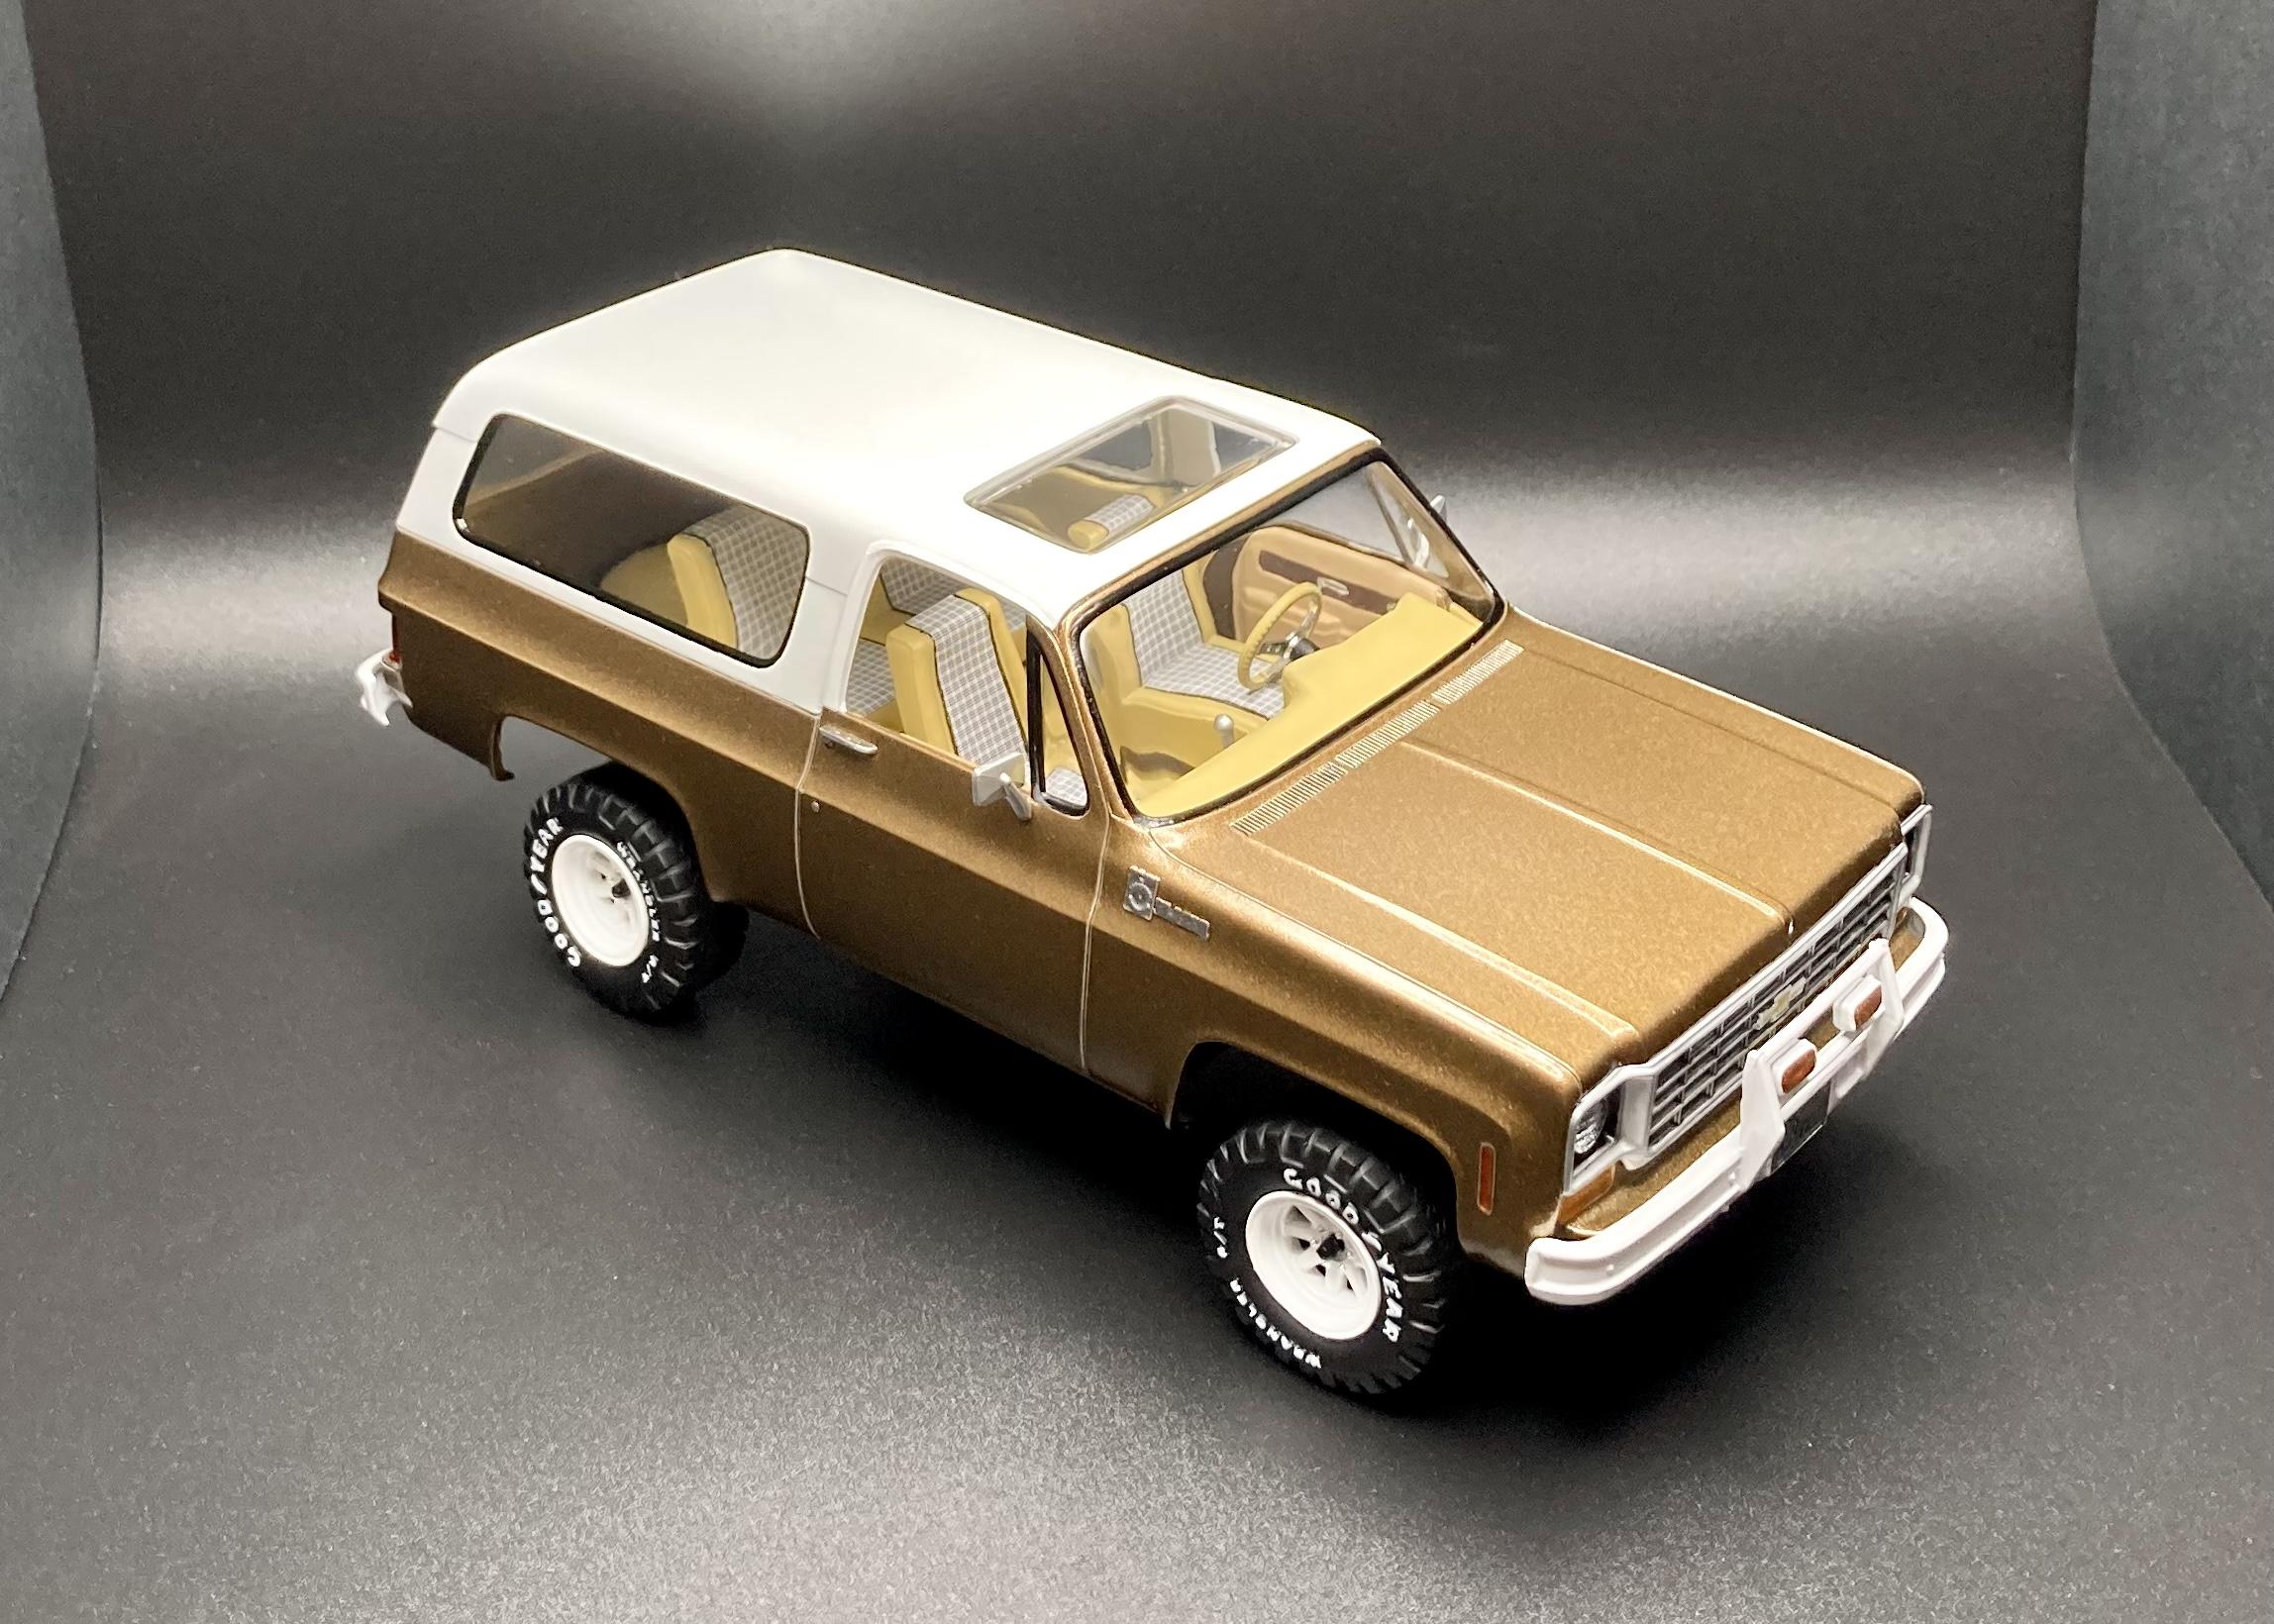
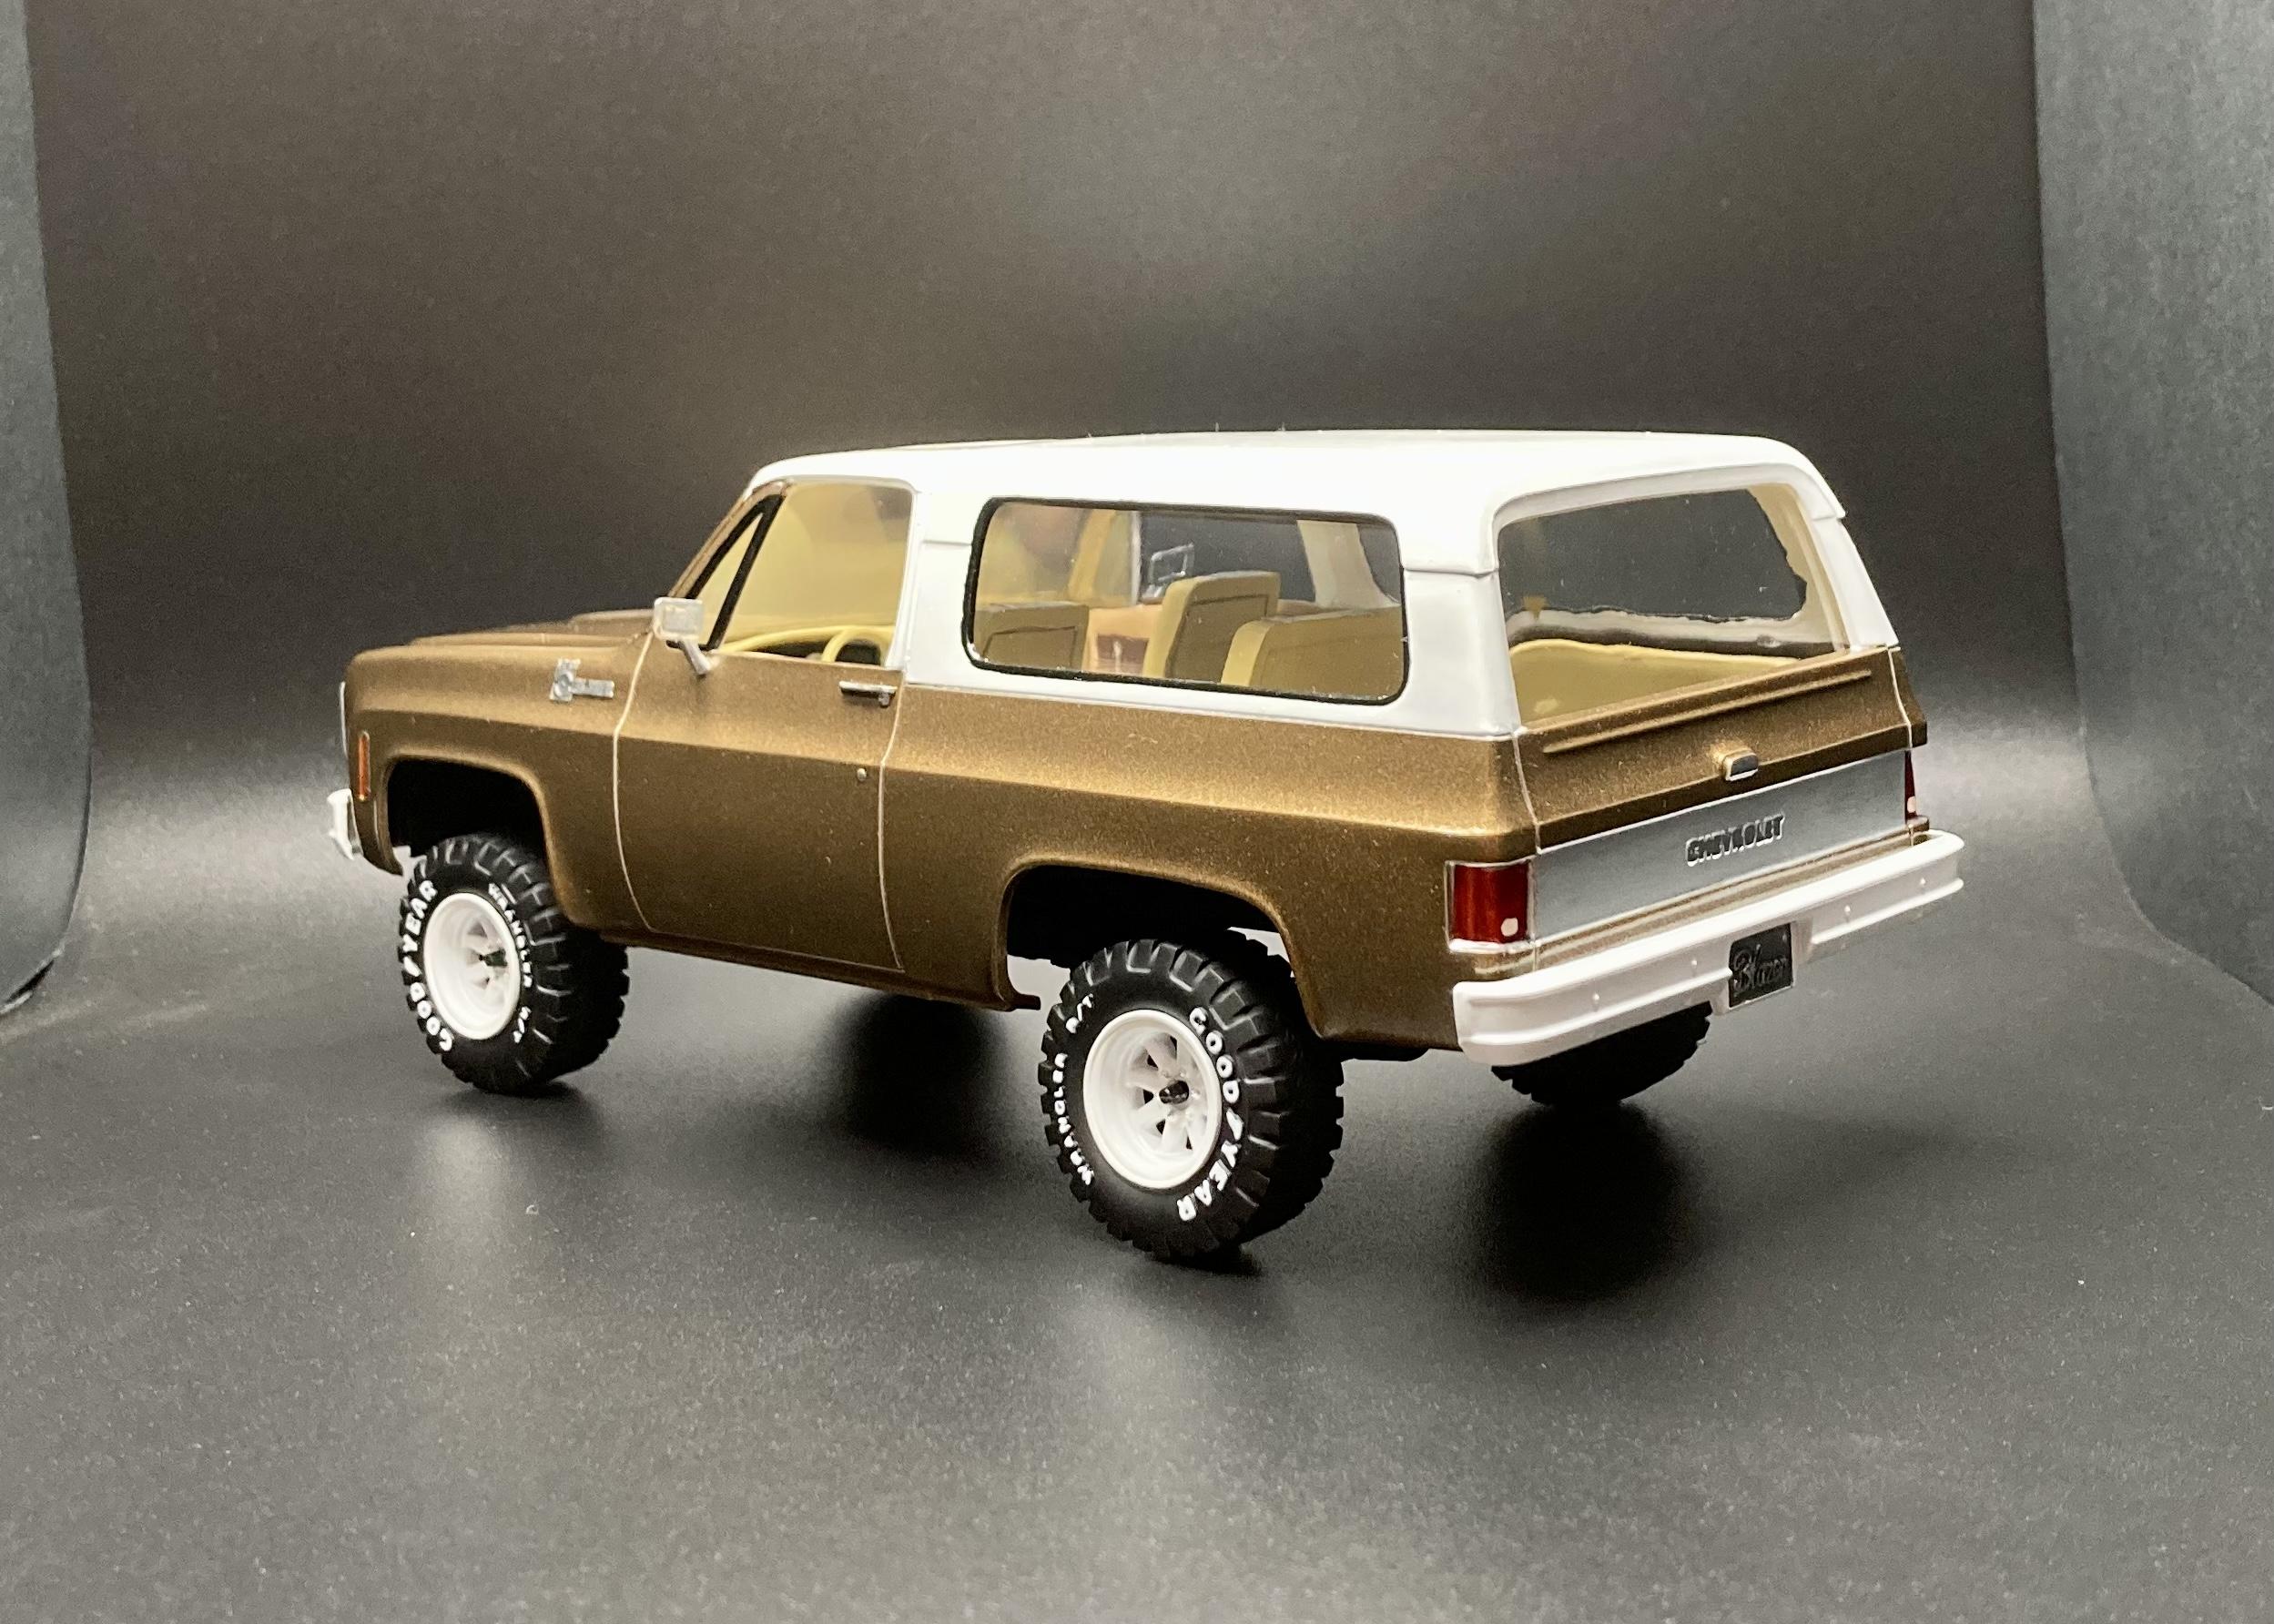
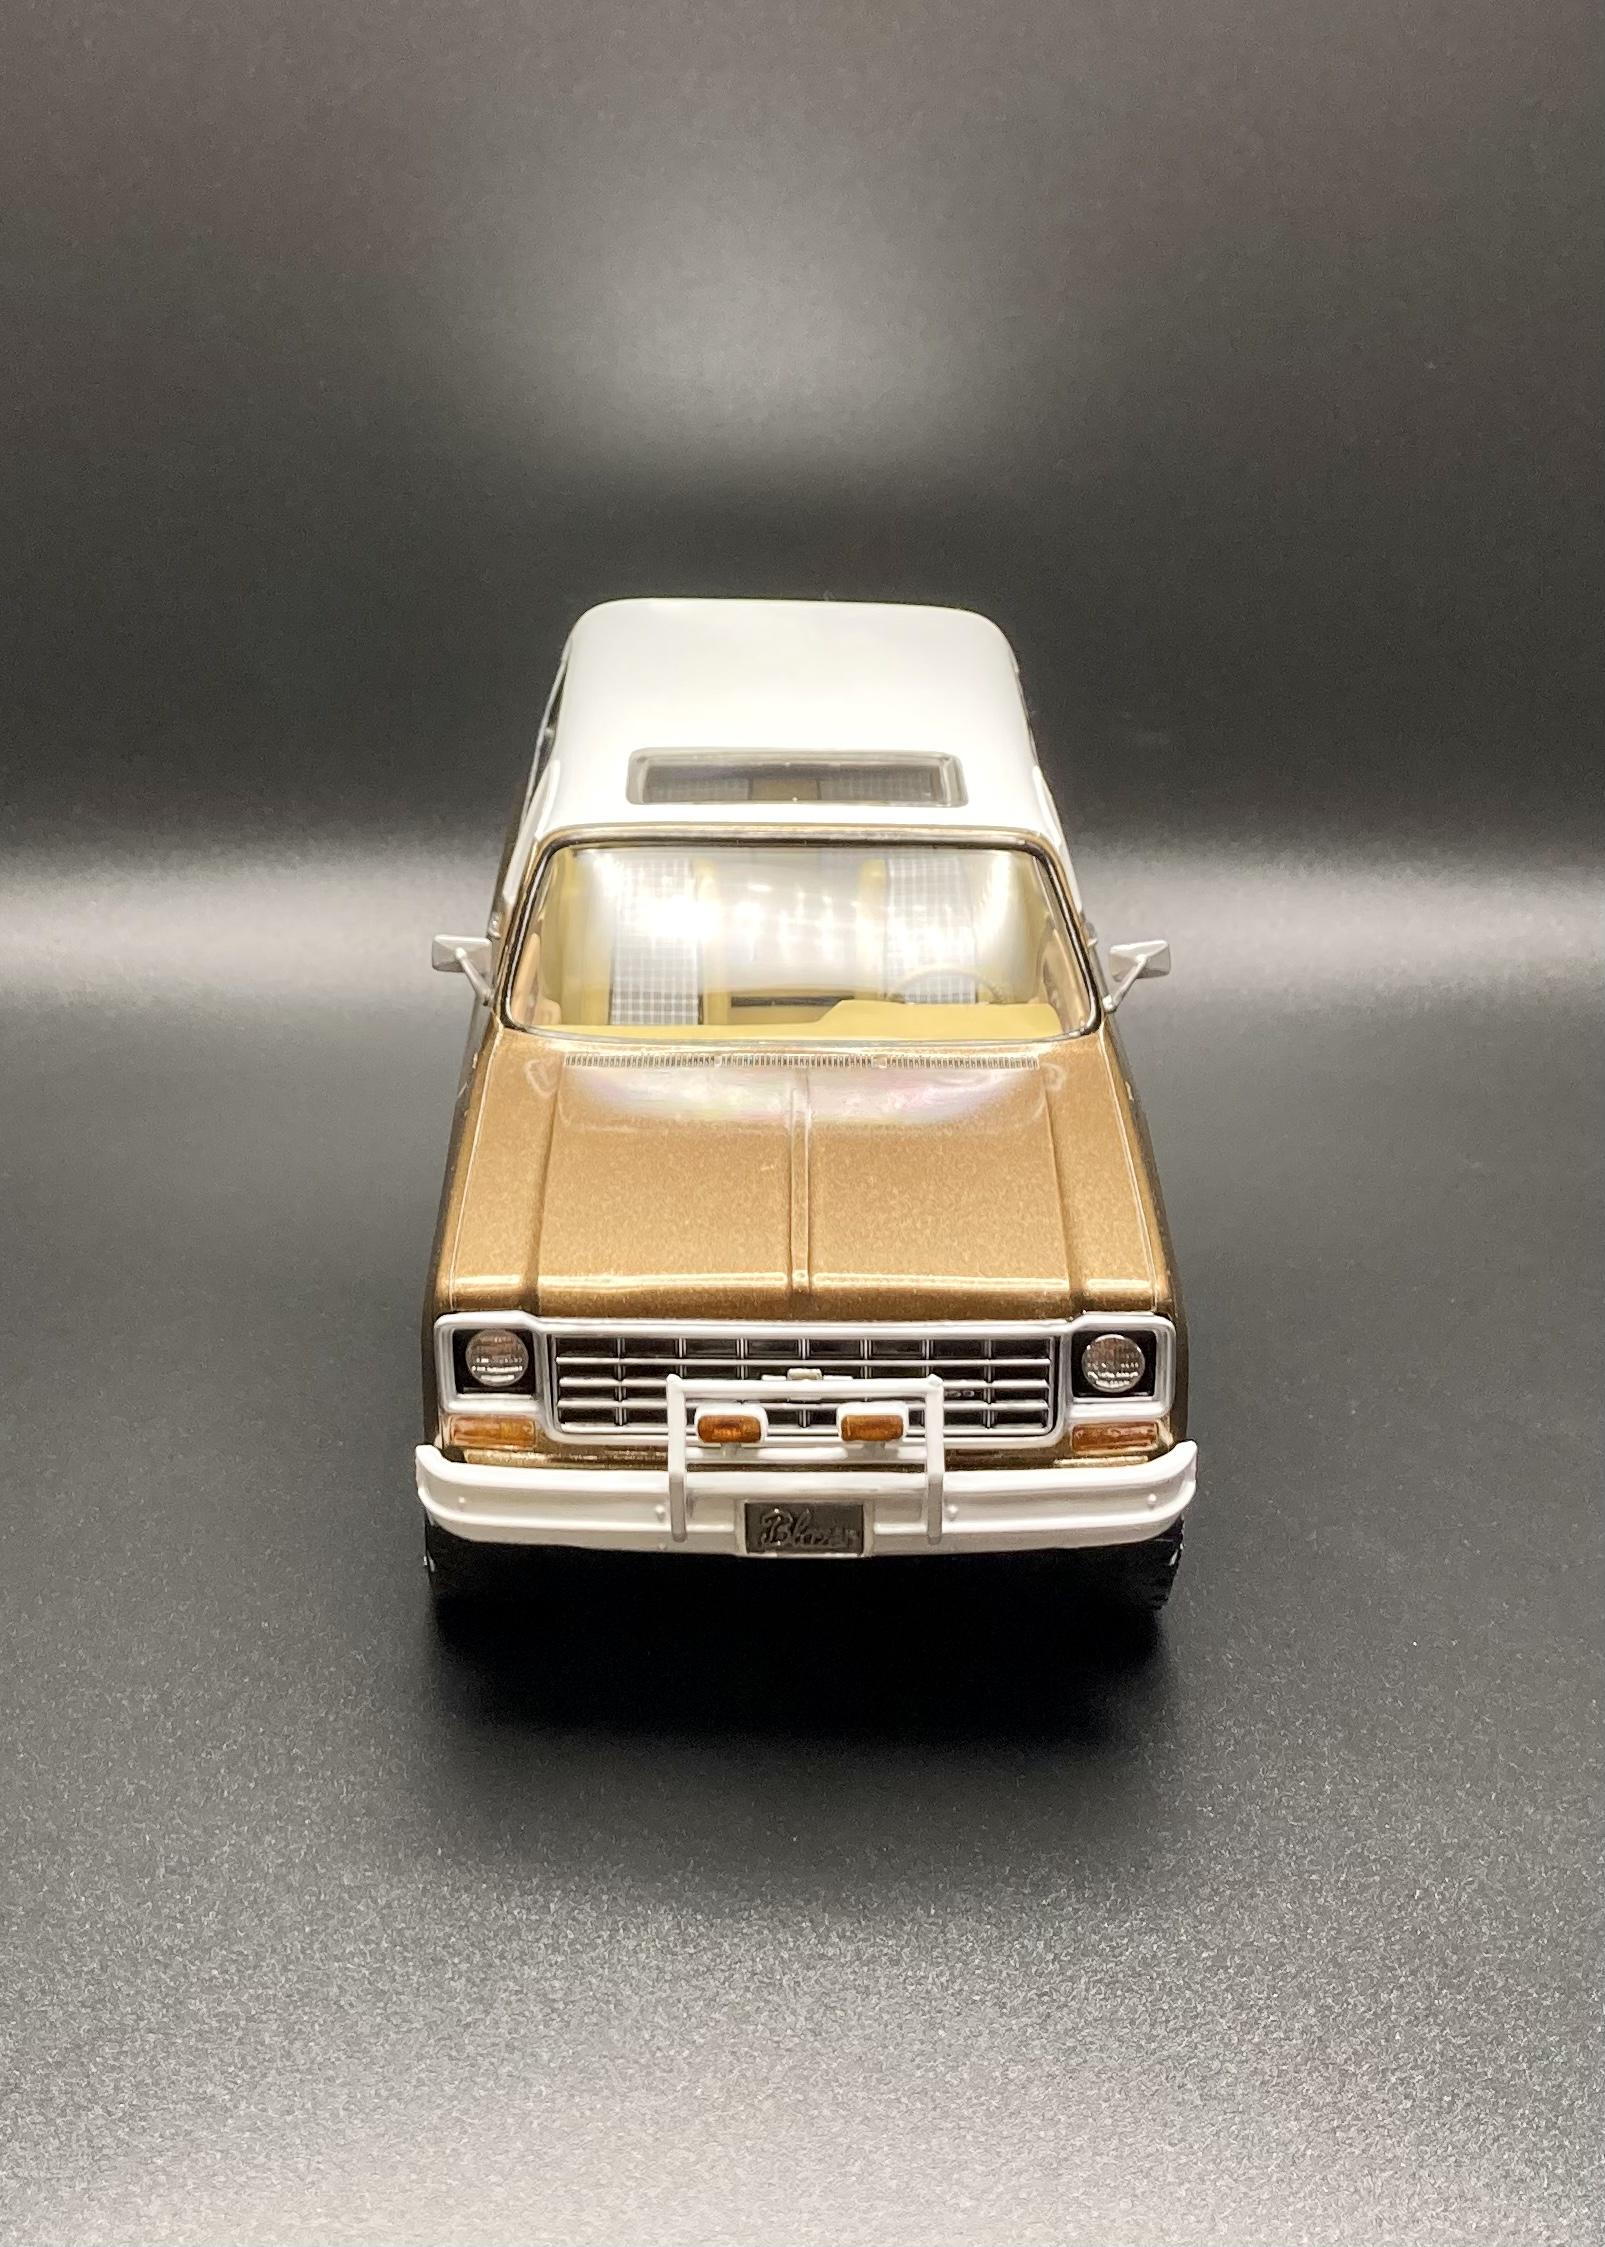
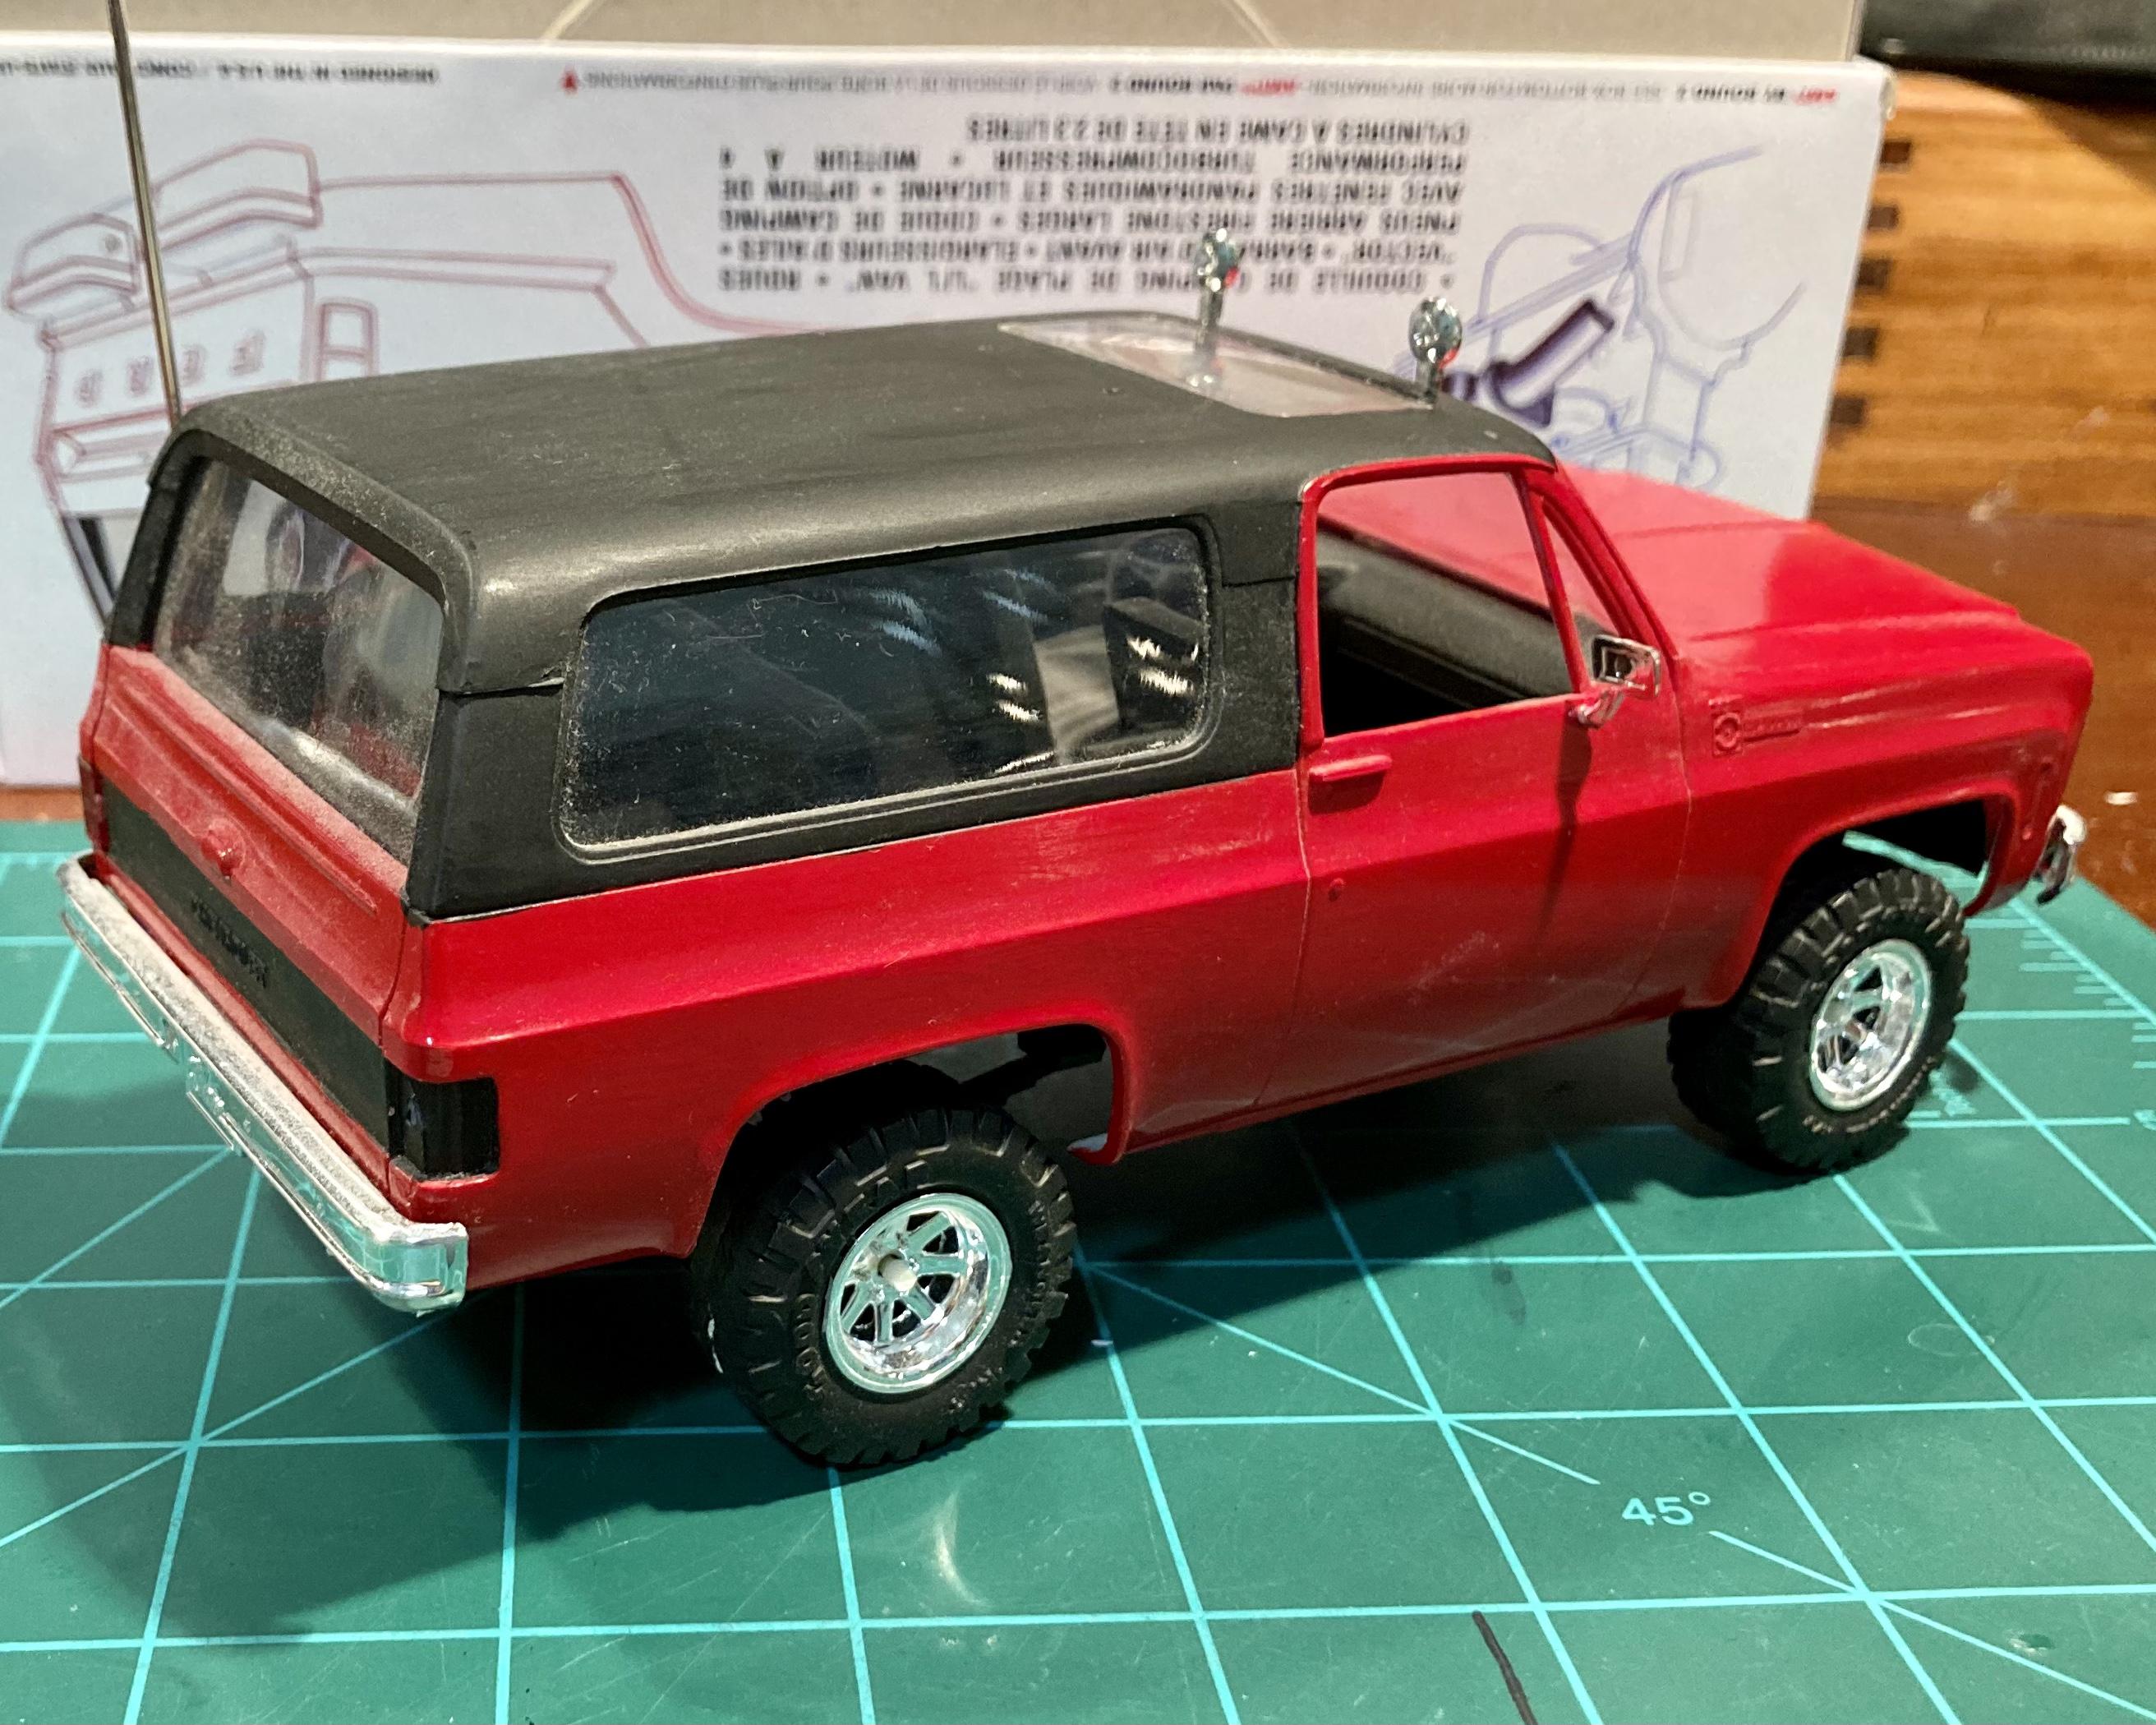
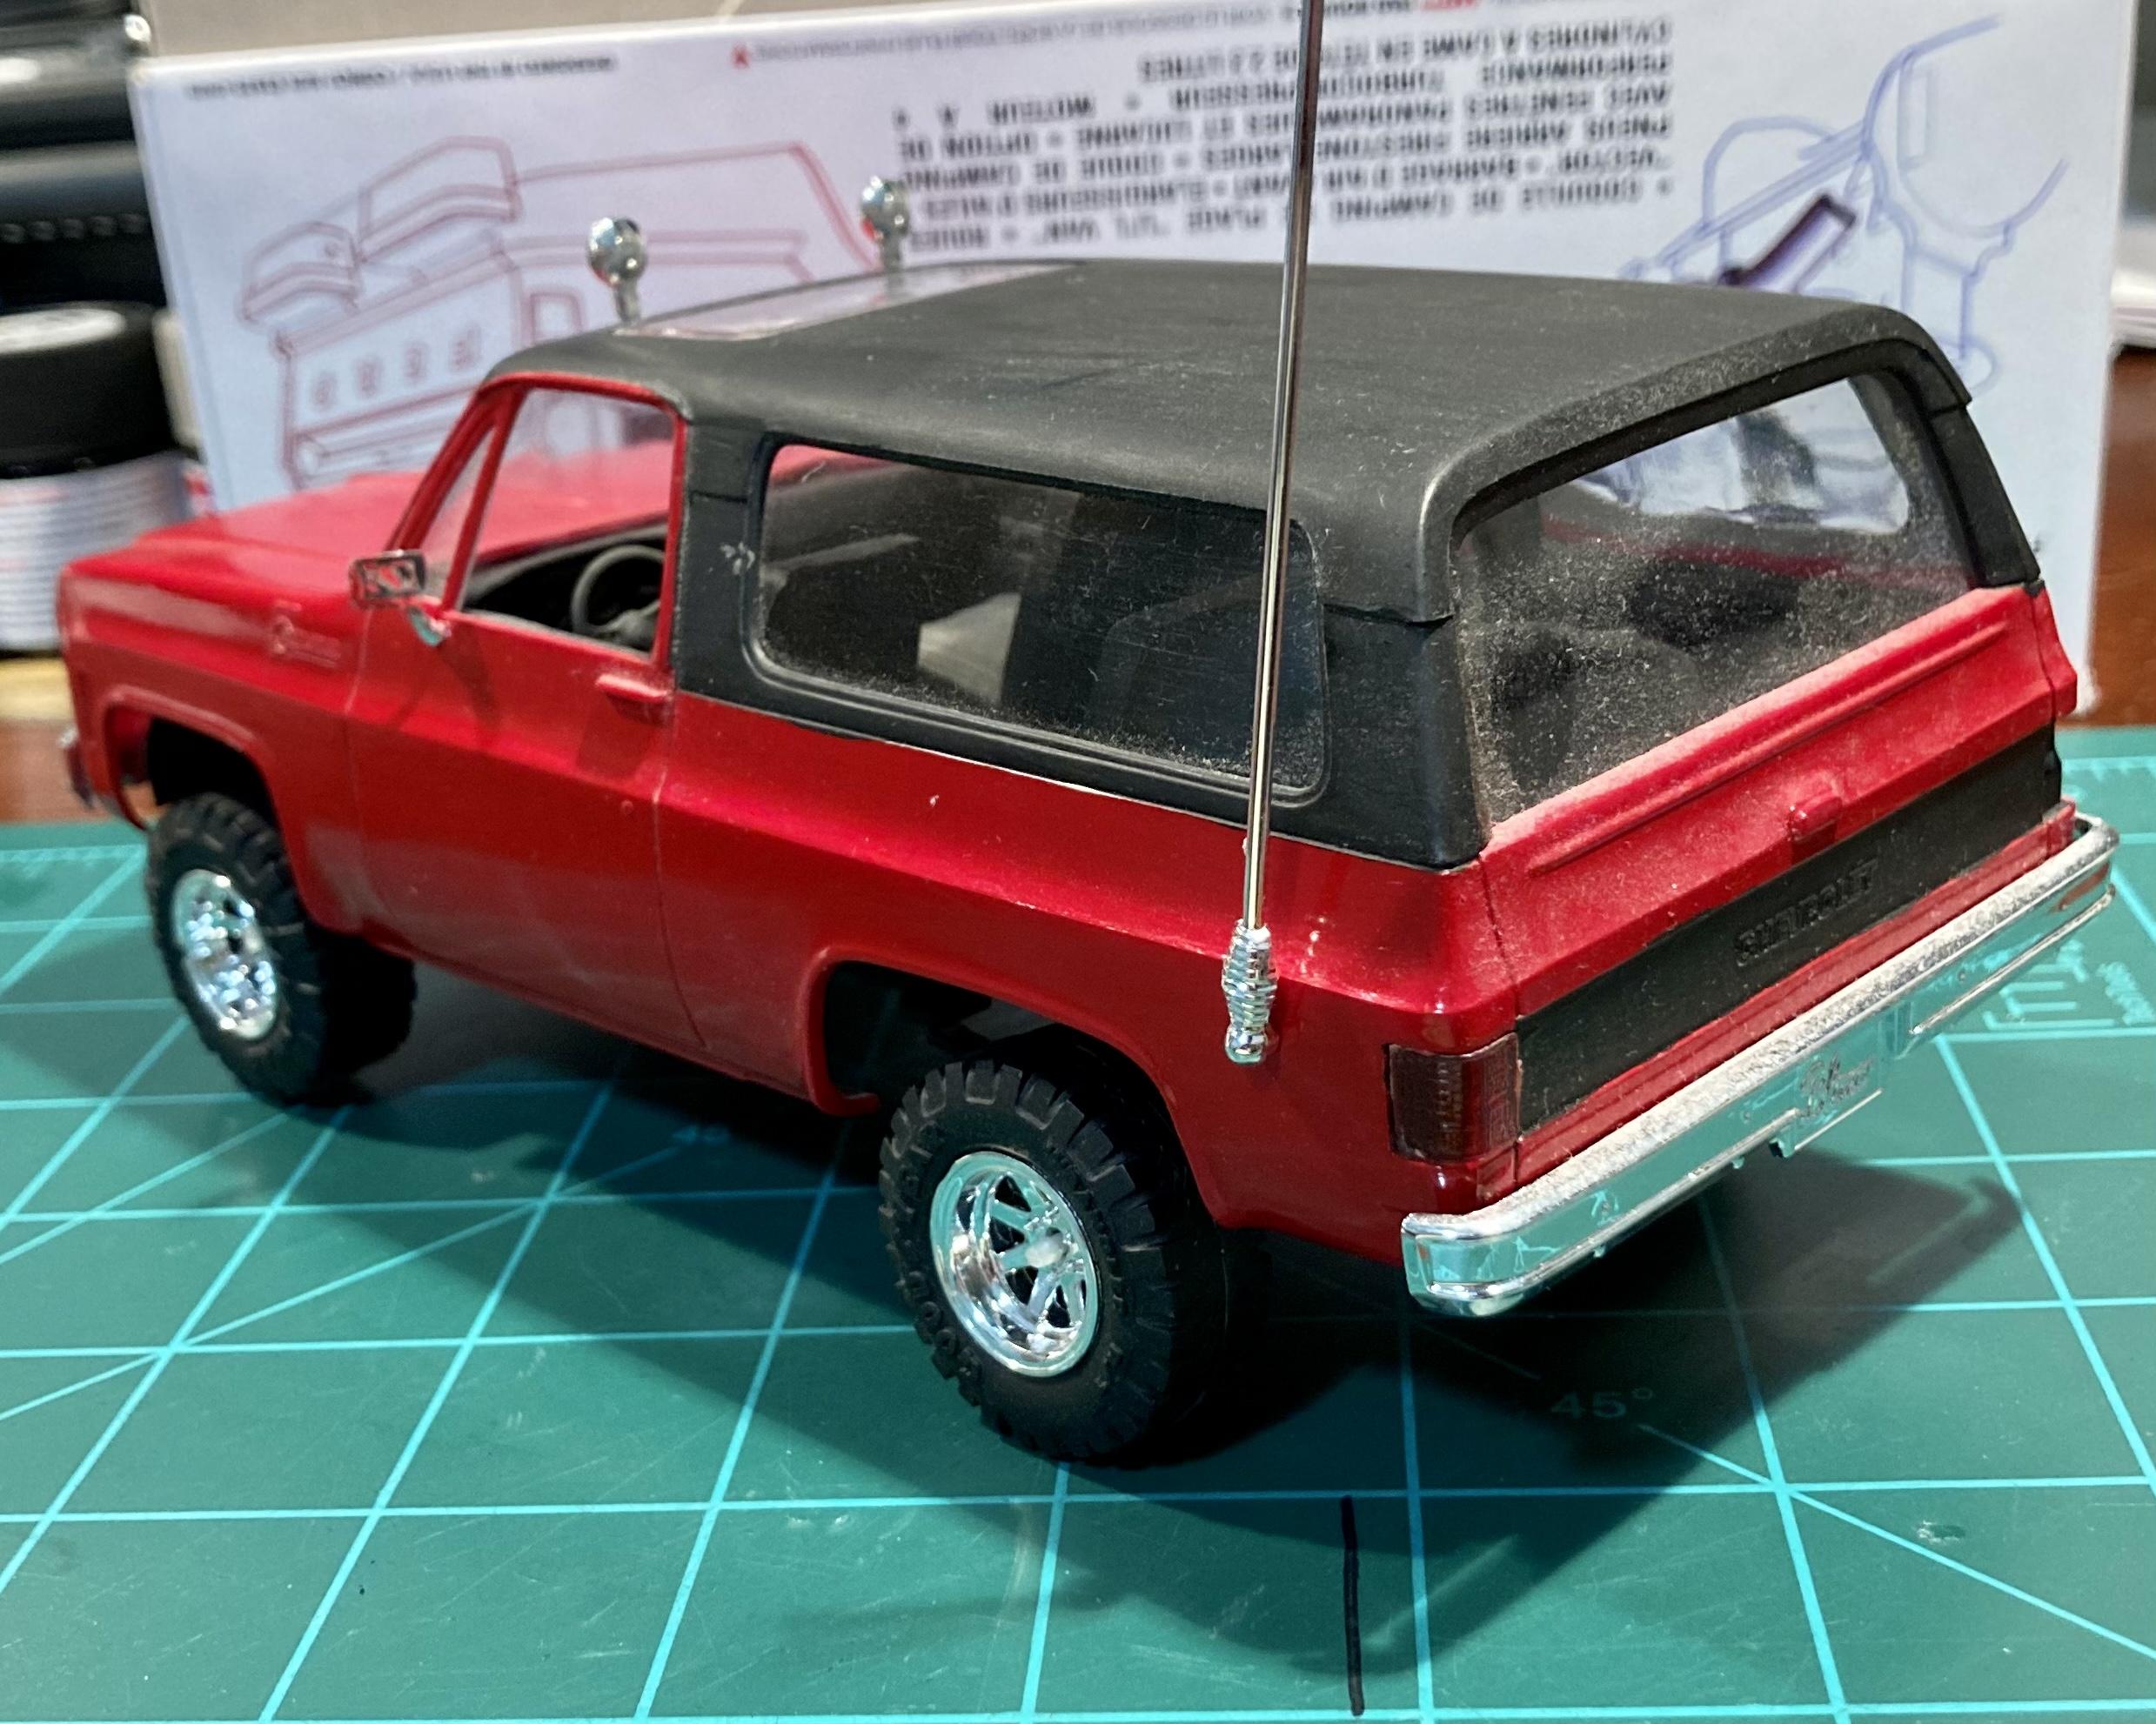
 Here’s the final results of my ‘75 Blazer snap kit rebuild! See my WIP for build details, but in short I built this kit as a teen 15 odd years ago. I hastily built it then so I decided to redo it to my current skill level and standards. I’m very pleased with how this one turned out!
-
I agree Mike, that would be nice! Although I’d prefer a later ‘80s square headlight version… to each their own! My parents’ 1:1 ‘86 K5 sadly ended up being sold to one of those “We tow your junk car, you get $200” type companies several years ago. I know that tow truck driver quietly signed the title into his personal name, no way he was going to let it end up in the junkyard. ? The body and frame were rust free but the paint, interior and drivetrain were shot. None of us had the time or space to fix it up at the time so it had to go, but I still miss it!
-
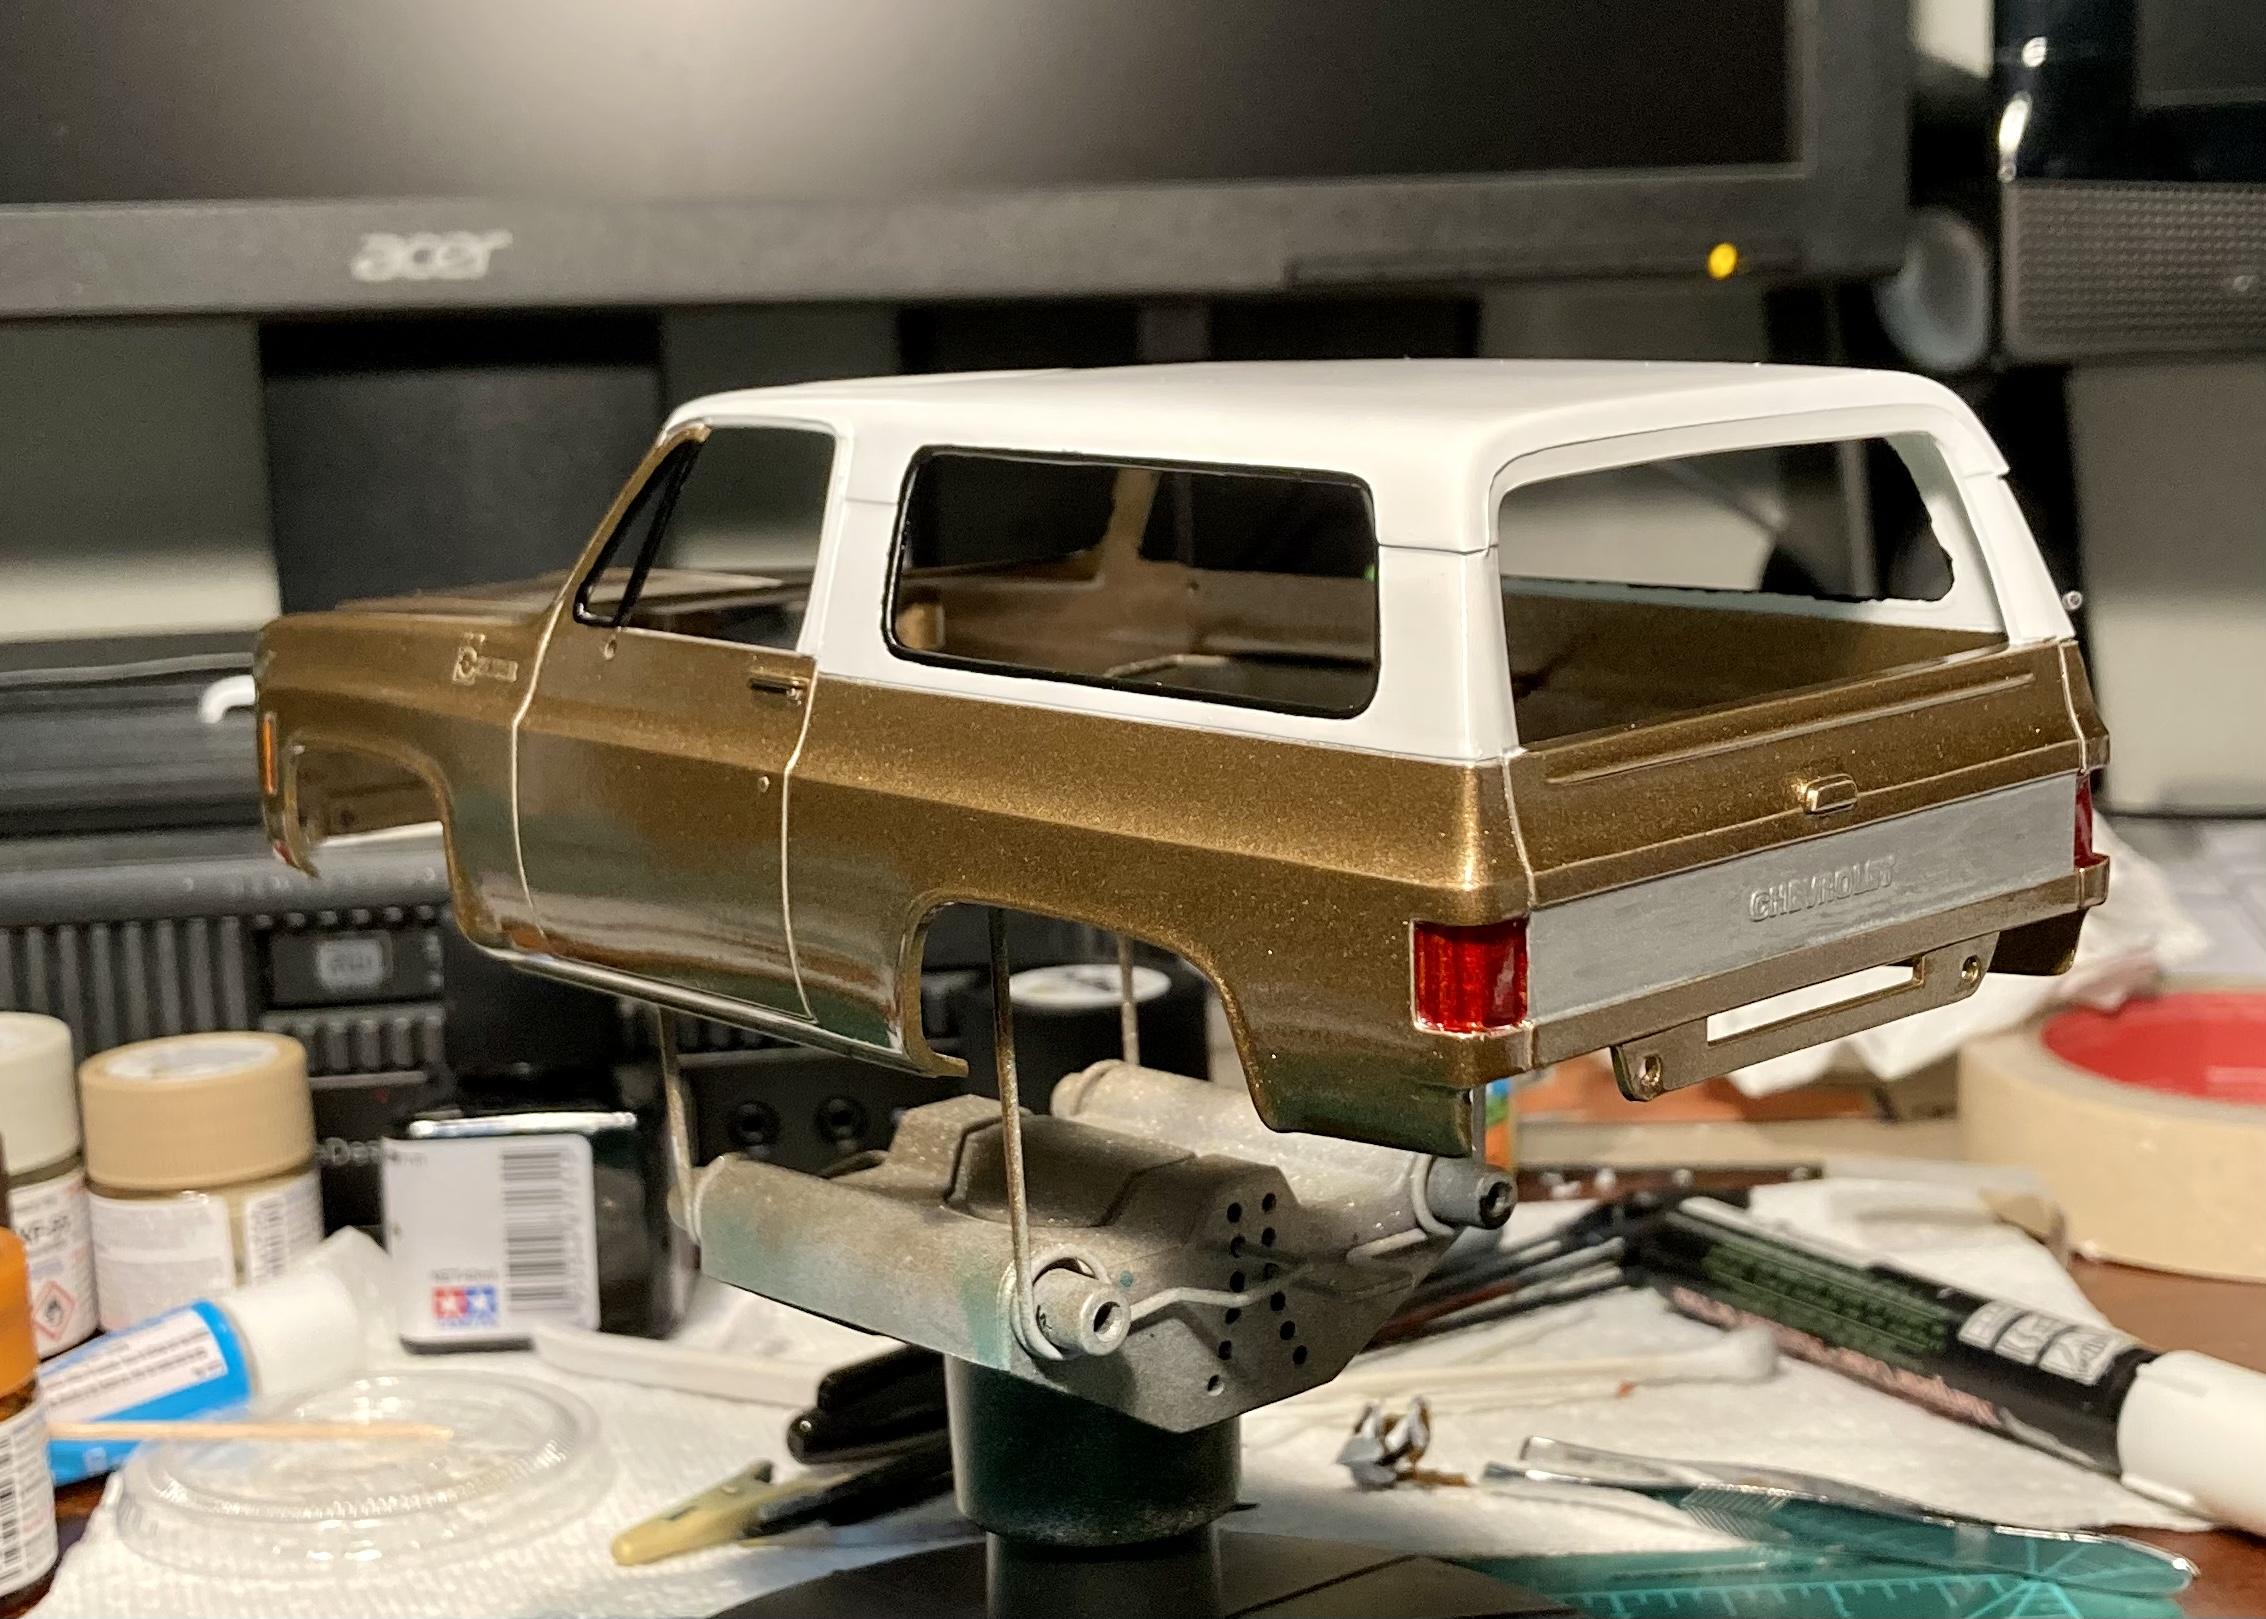
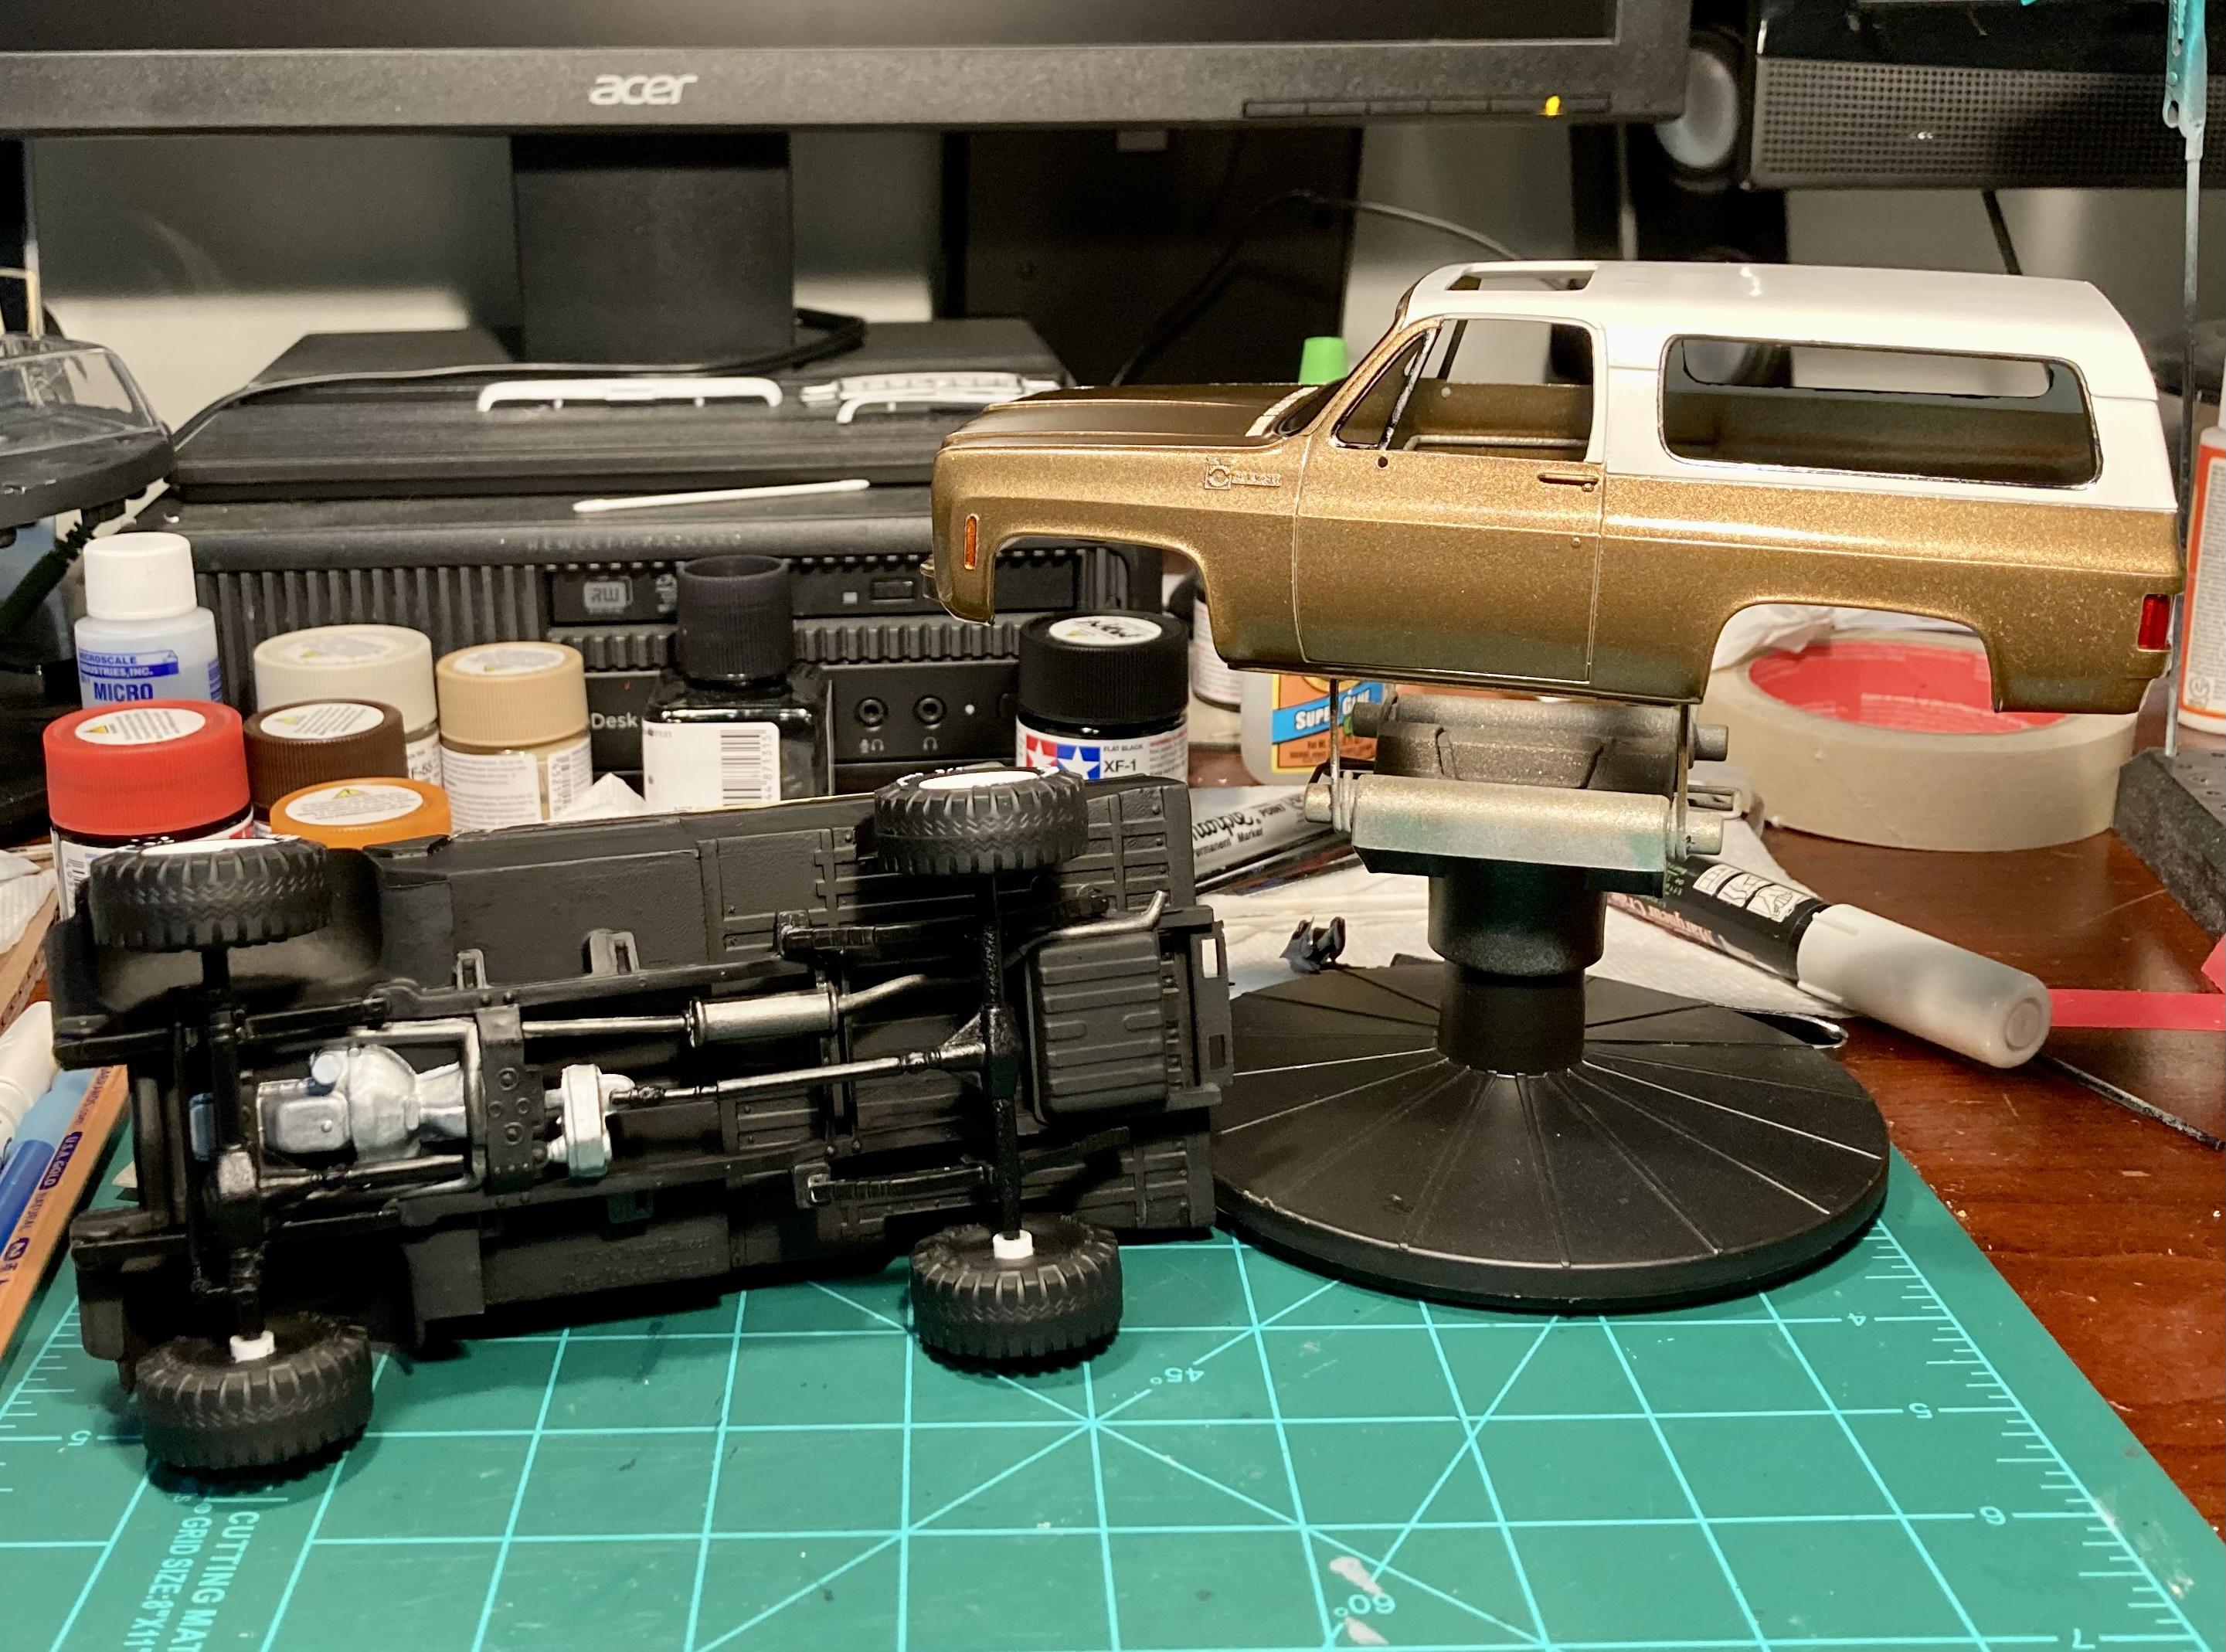
I tried to get my woodie decals applied the other day, but unfortunately they didn’t work out. They refused to lay flat and contour around the wheel openings despite my using Micro Set. So off they came, and she’s a base trim Custom Deluxe now. ?♂️ My taillight treatment seems to have worked out however. Molotow chrome base with several coats of Tamiya Clear Red Acrylic. I’ll paint on the reverse lights once my second coat Pledge floor gloss cures. I still need to apply Molotow chrome on the emblems and handles, but then she’ll be ready for final assembly! Chassis is finished. Since it’s not very detailed, I simply picked out the drivetrain in flat aluminum and the exhaust in metallic gray. Next time you see this she’ll be posted Under Glass! Thanks for following along and sharing your comments!
-
Steve, it would definitely be an odd choice of kit for MPC to reissue today! This kit was fun to build, but Cavaliers of any vintage don’t exactly have an enthusiast following… I can’t remember the last time I saw a 2000s Cavalier, let alone an ‘80s model. ?
-
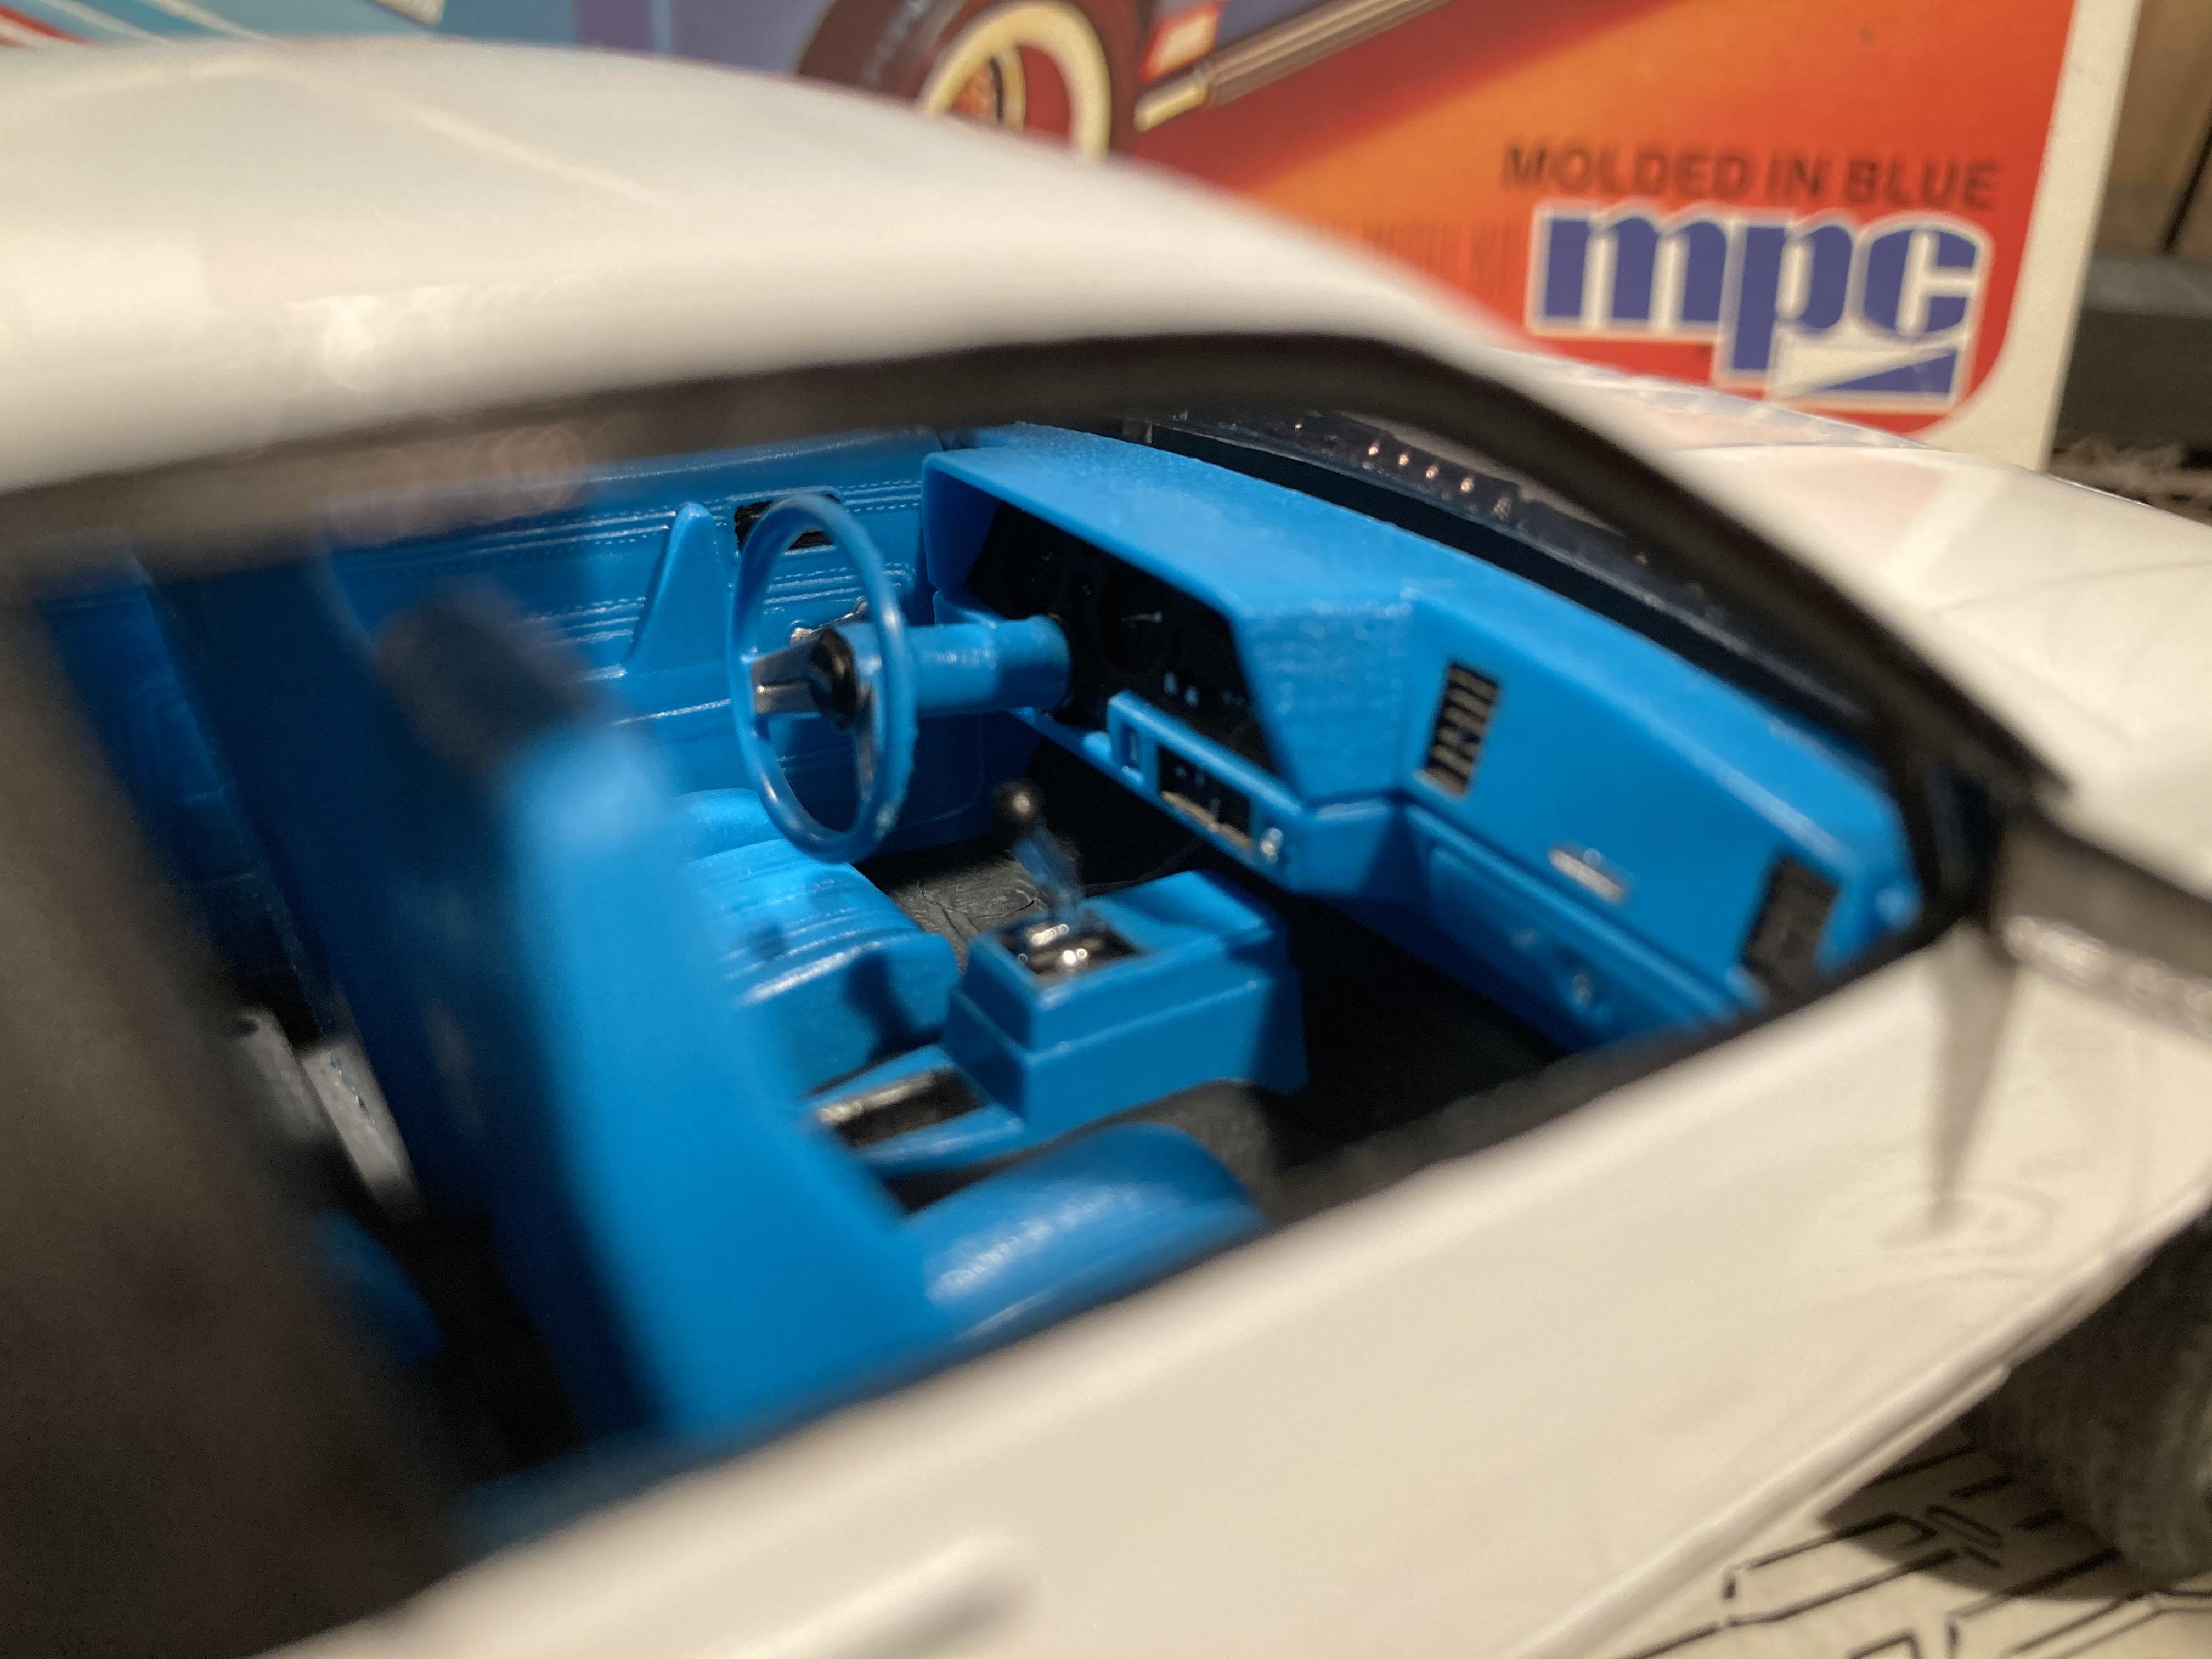
Nice job! I built the glue version a year or so ago, except I painted the body and kept the interior bare plastic! The glue kit wheels stick out way too far box stock, looks much better on your promo.
-
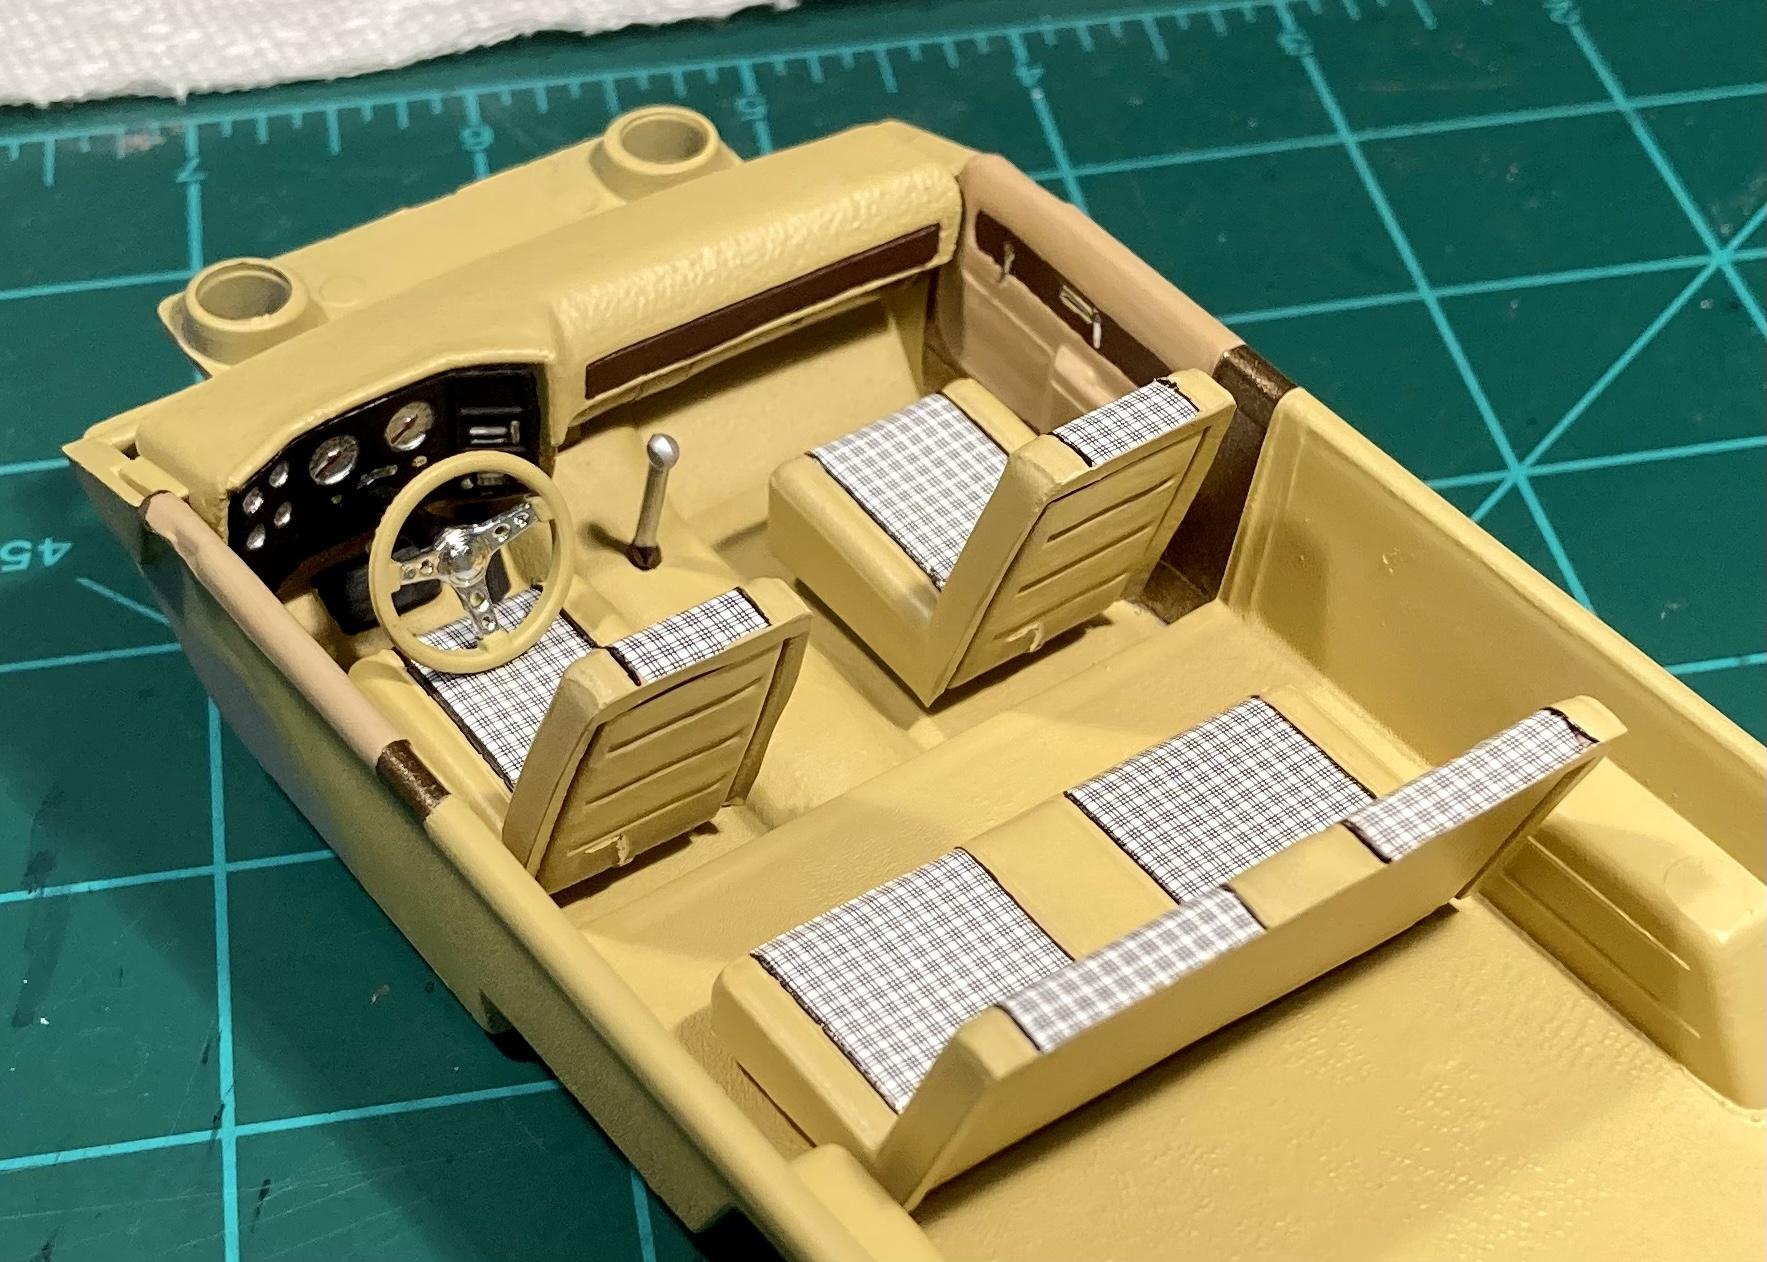
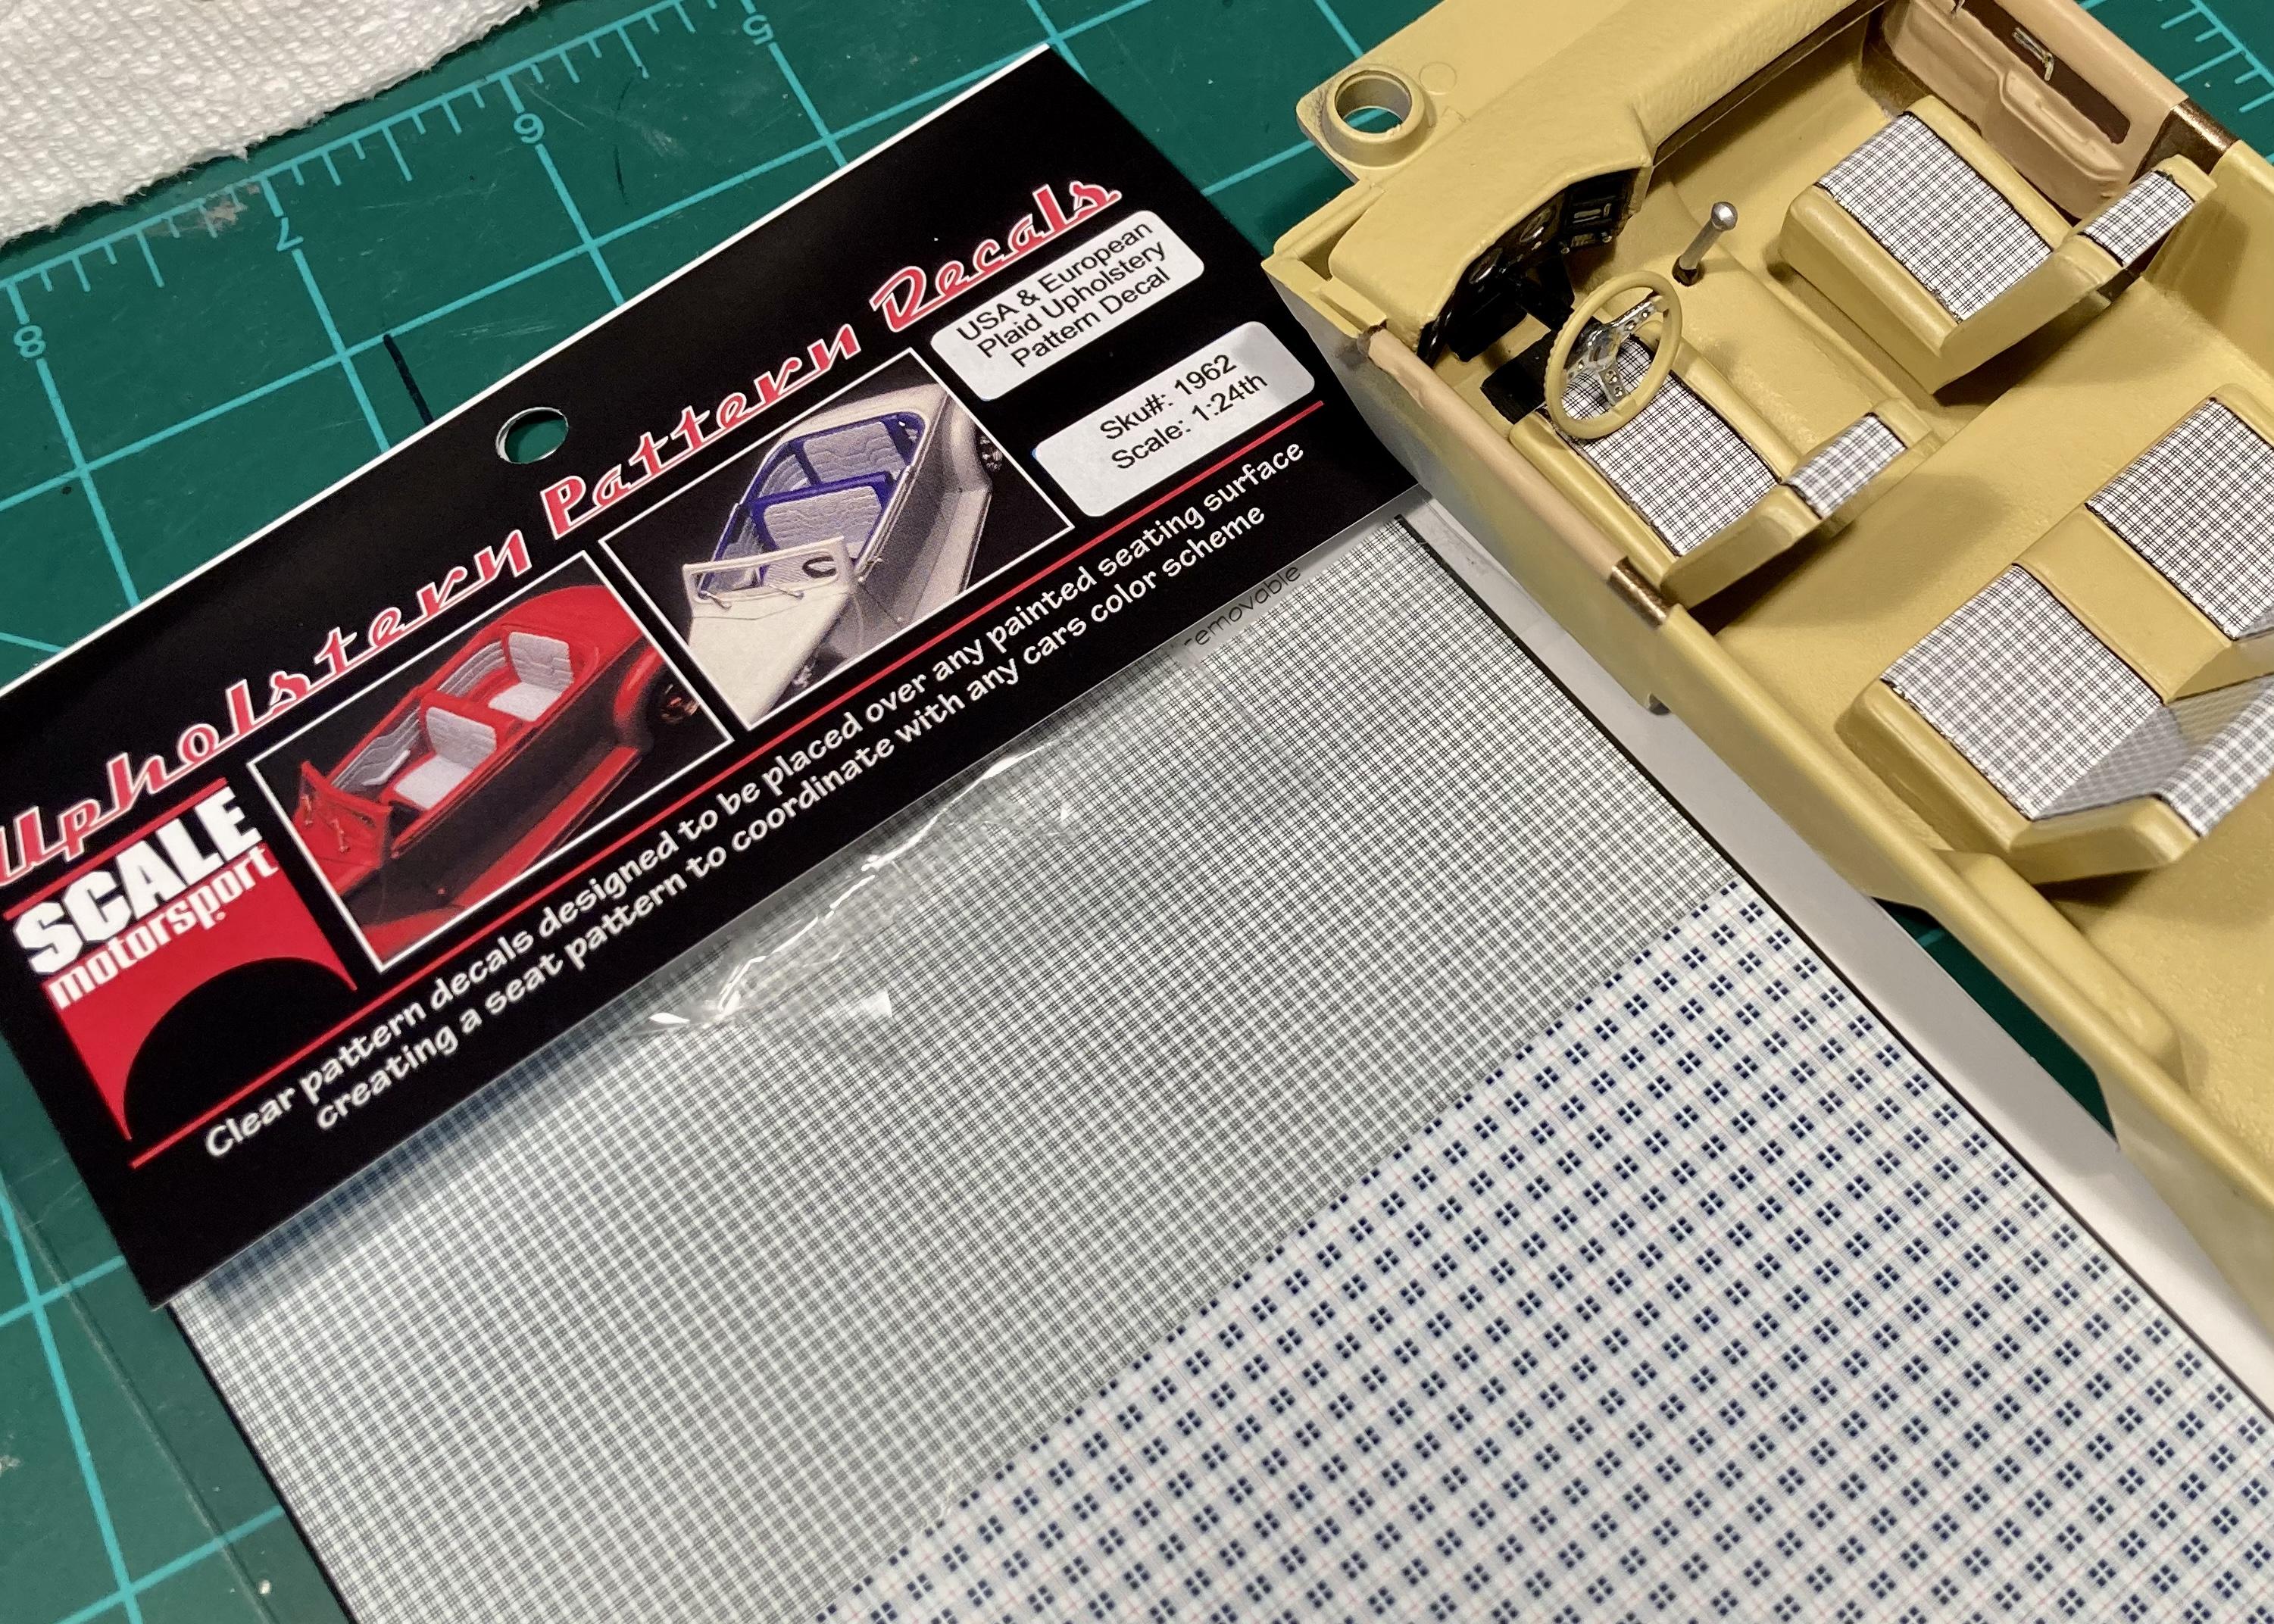
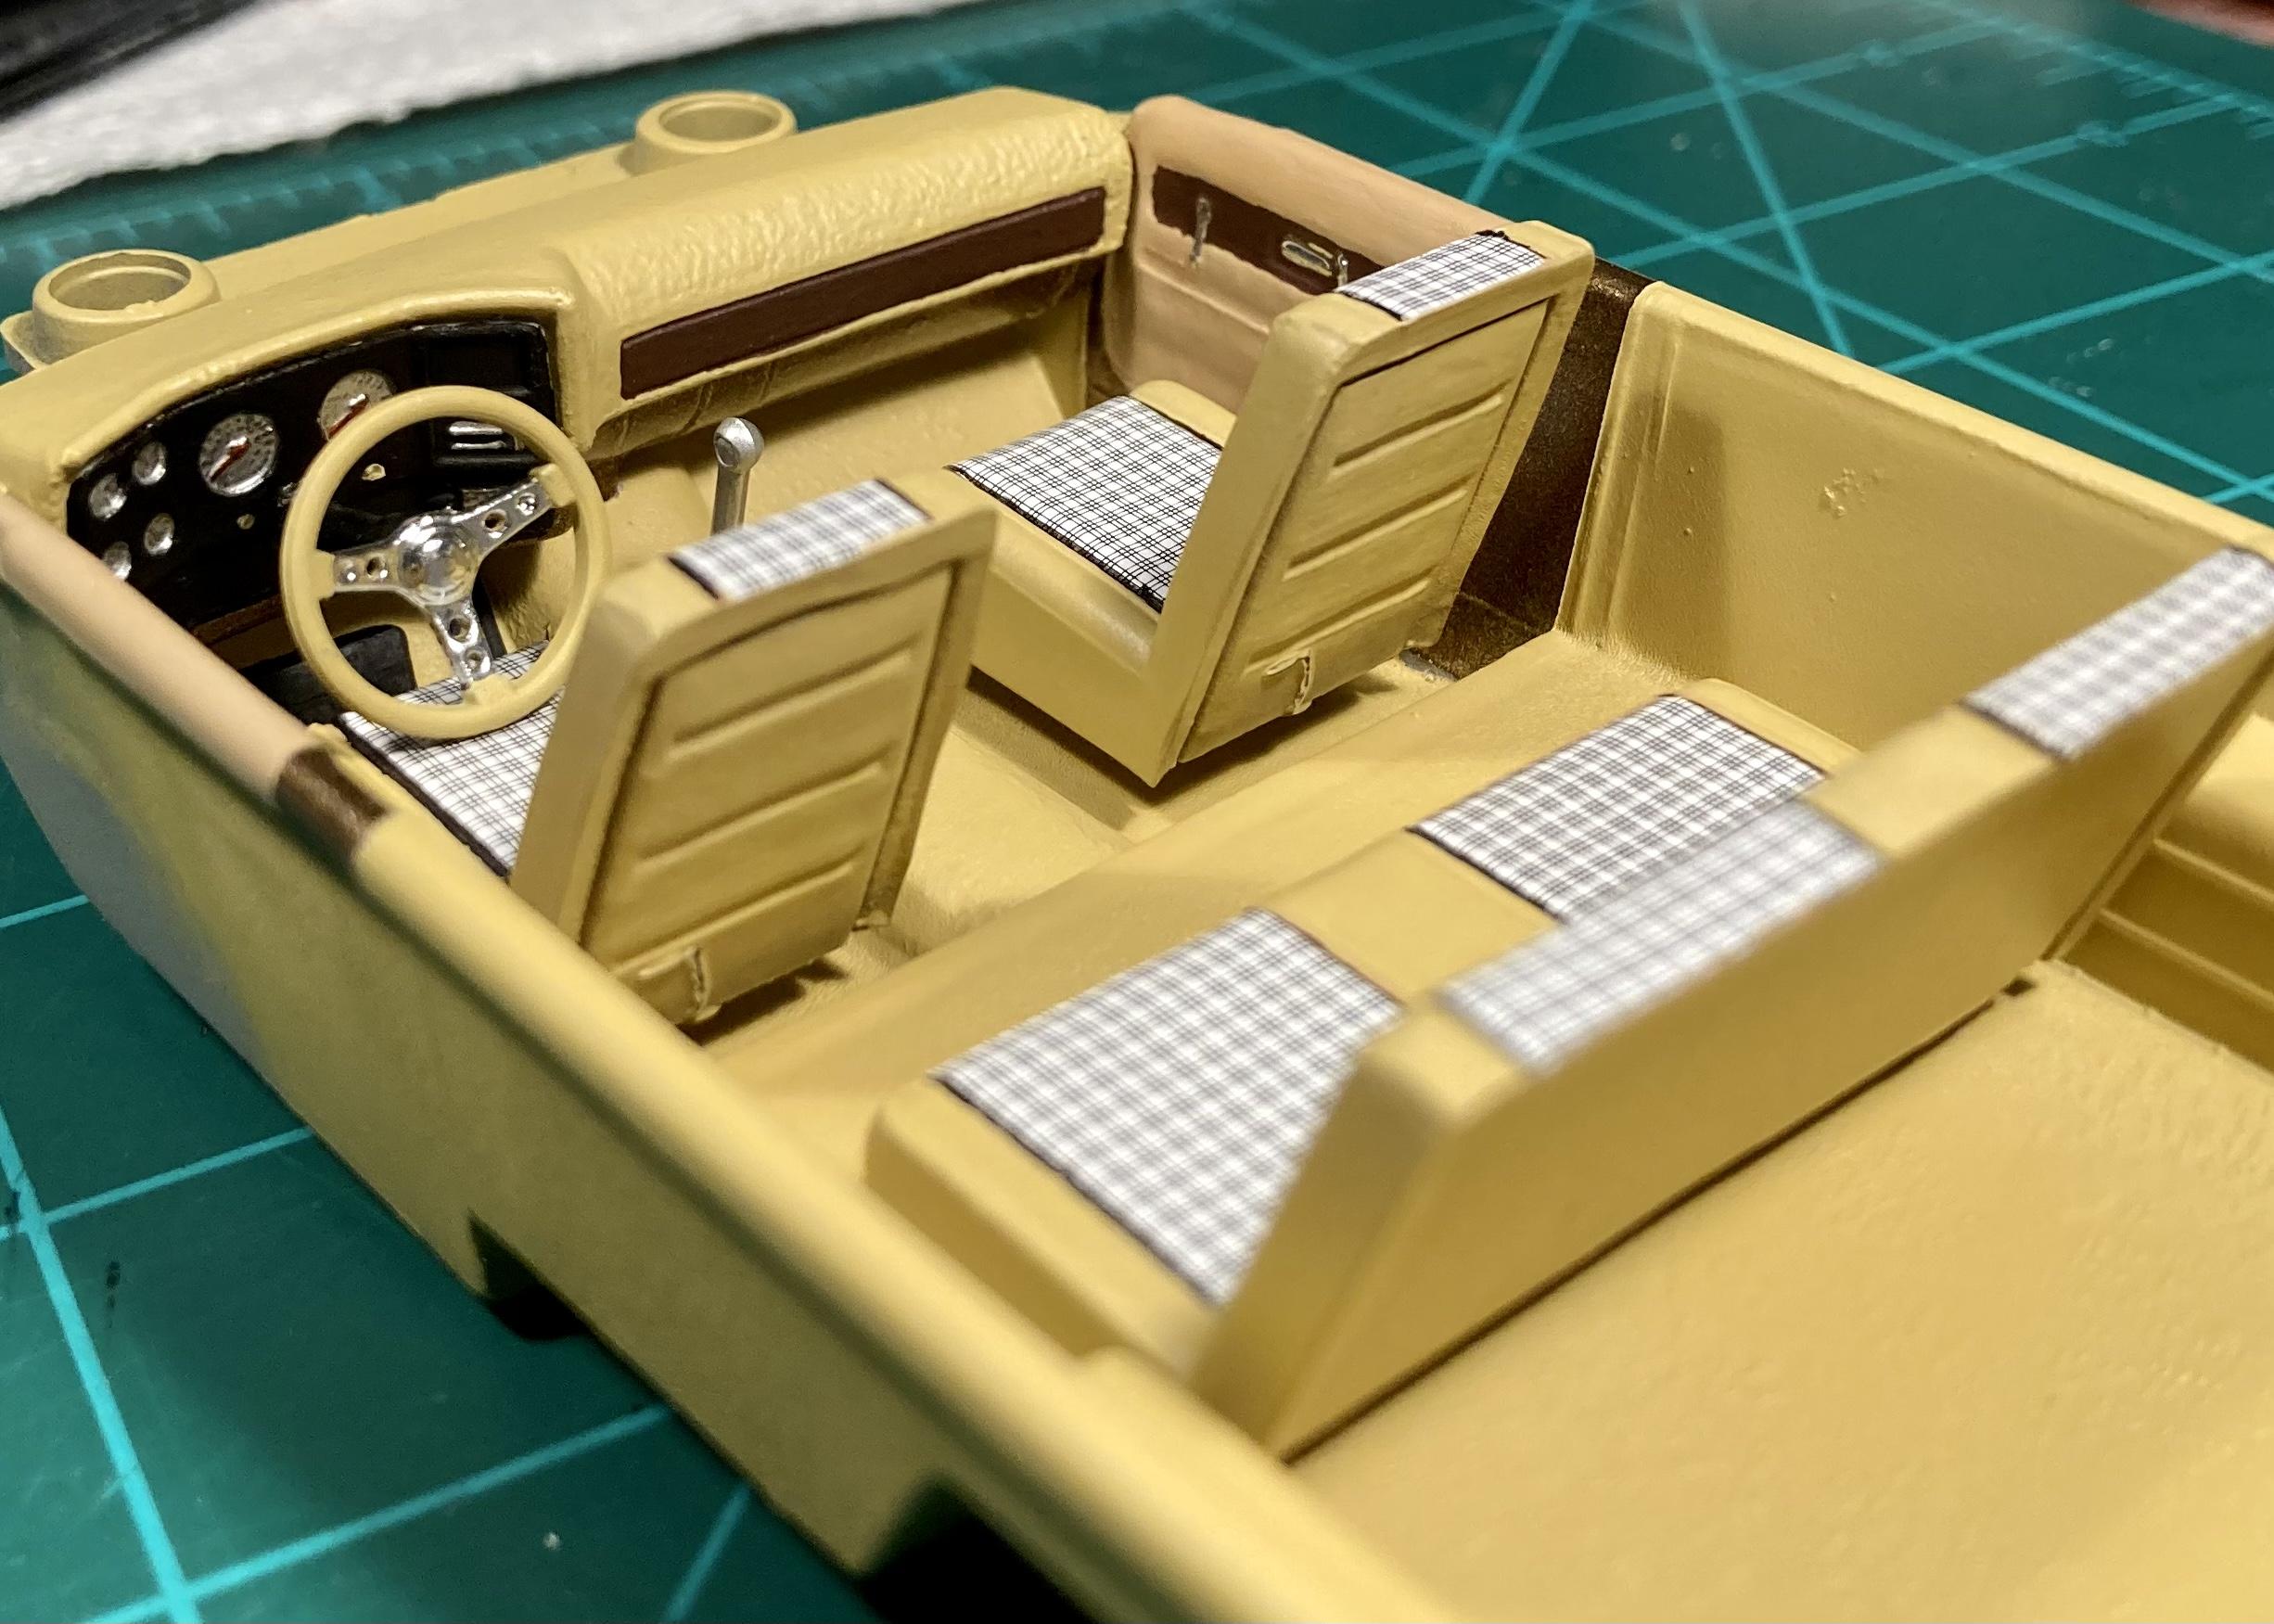
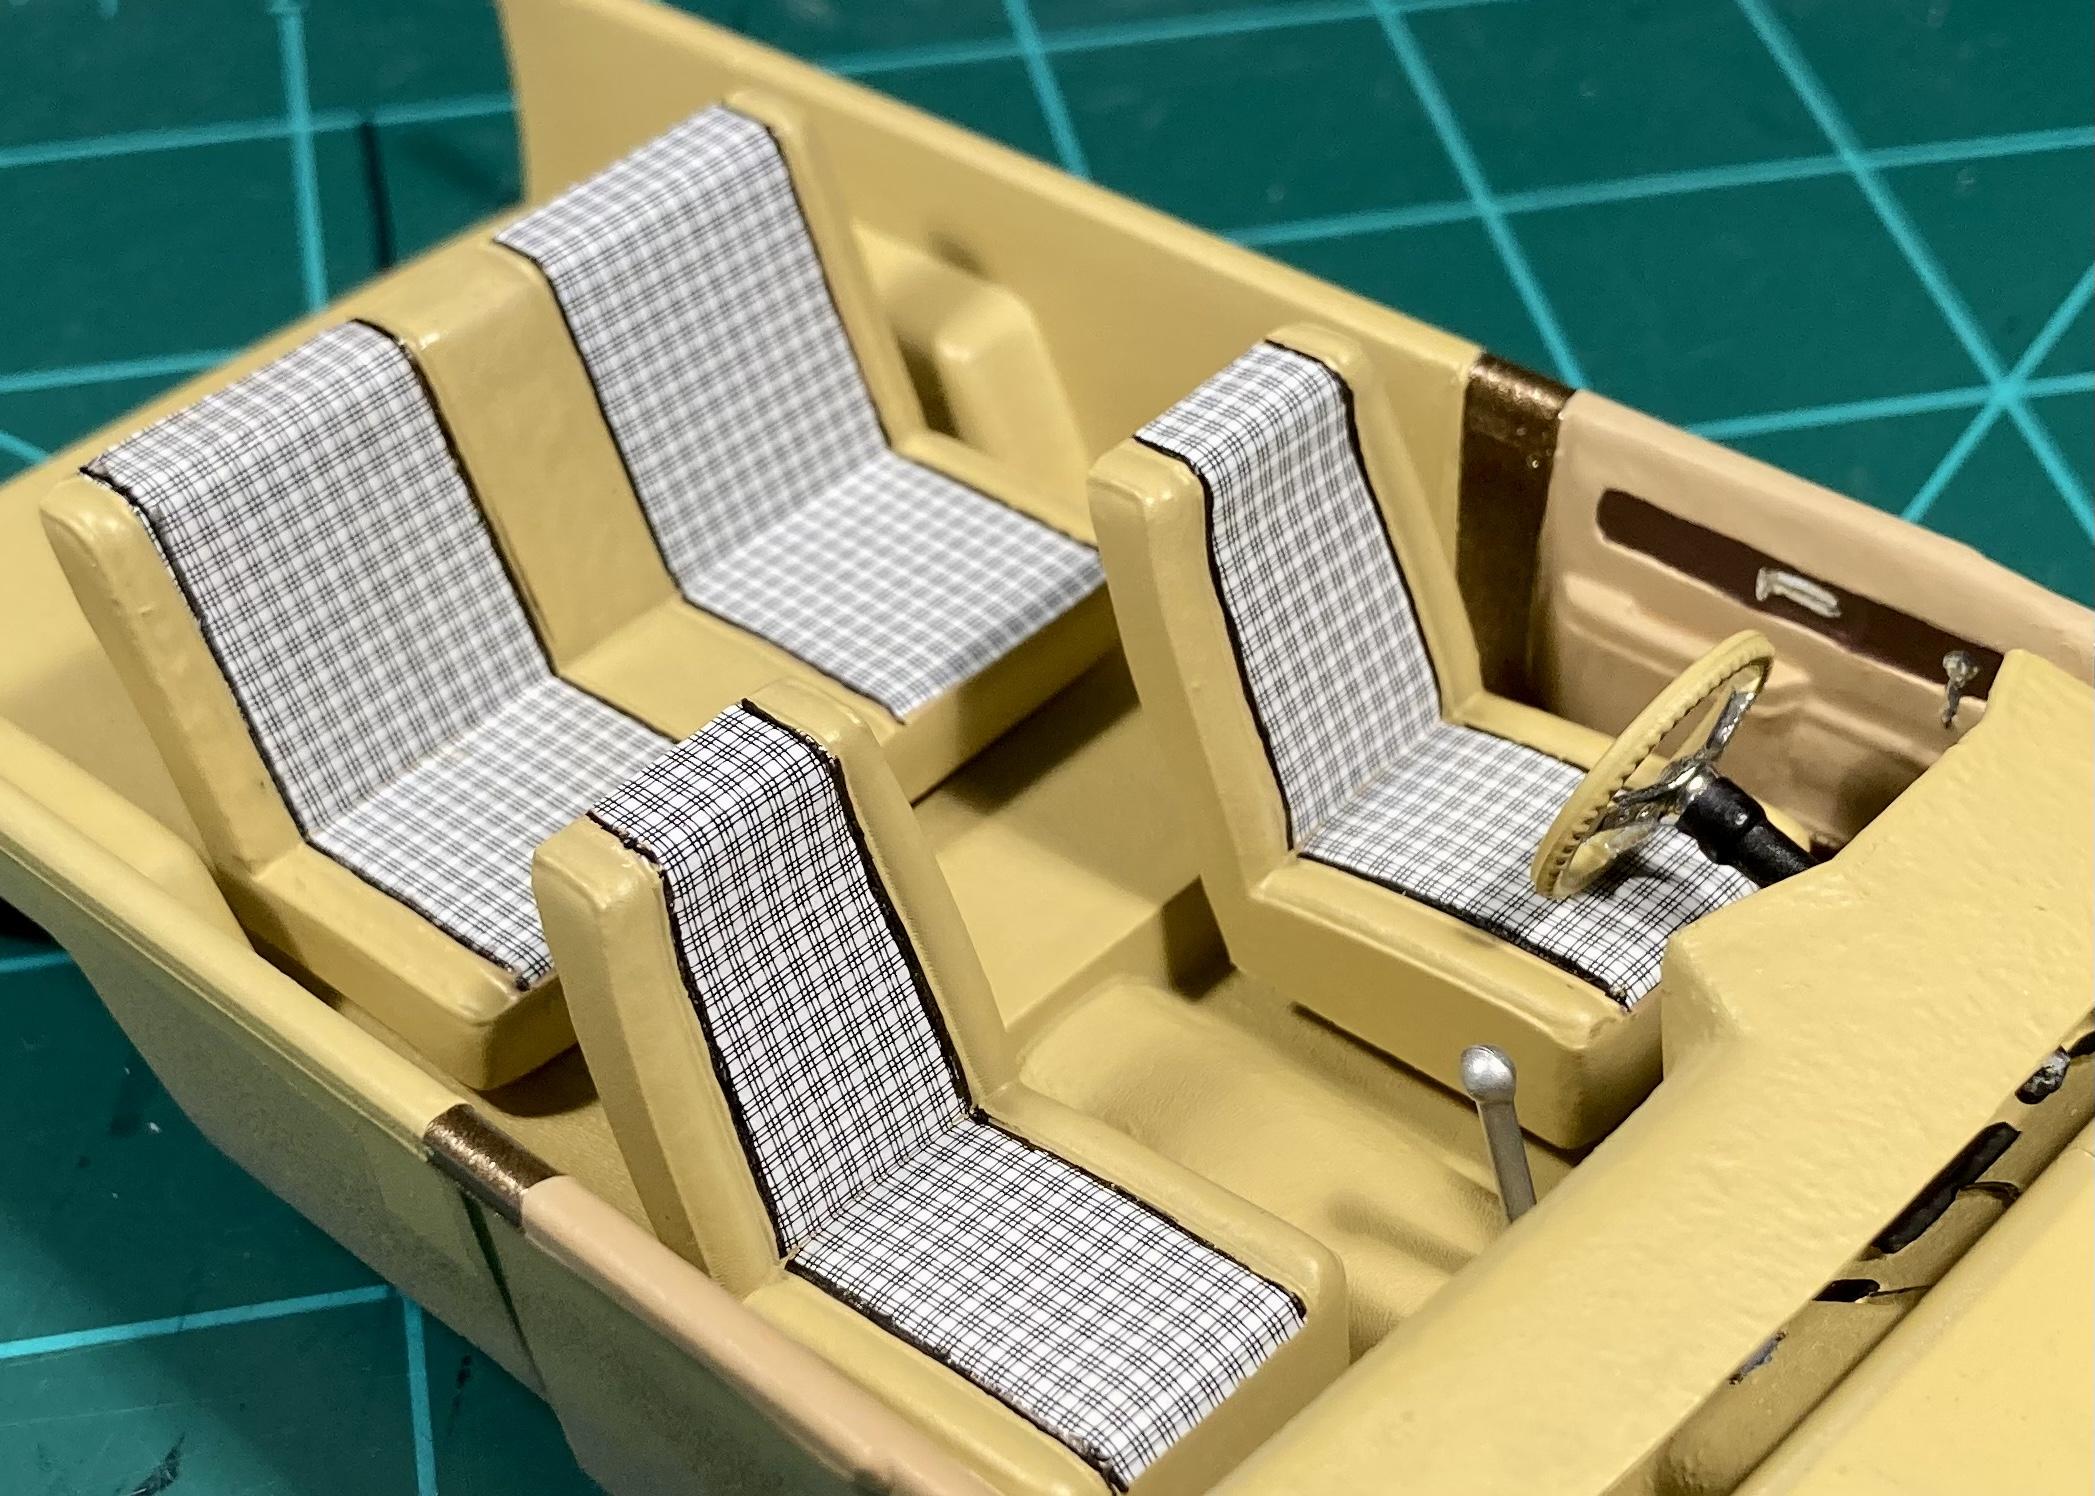
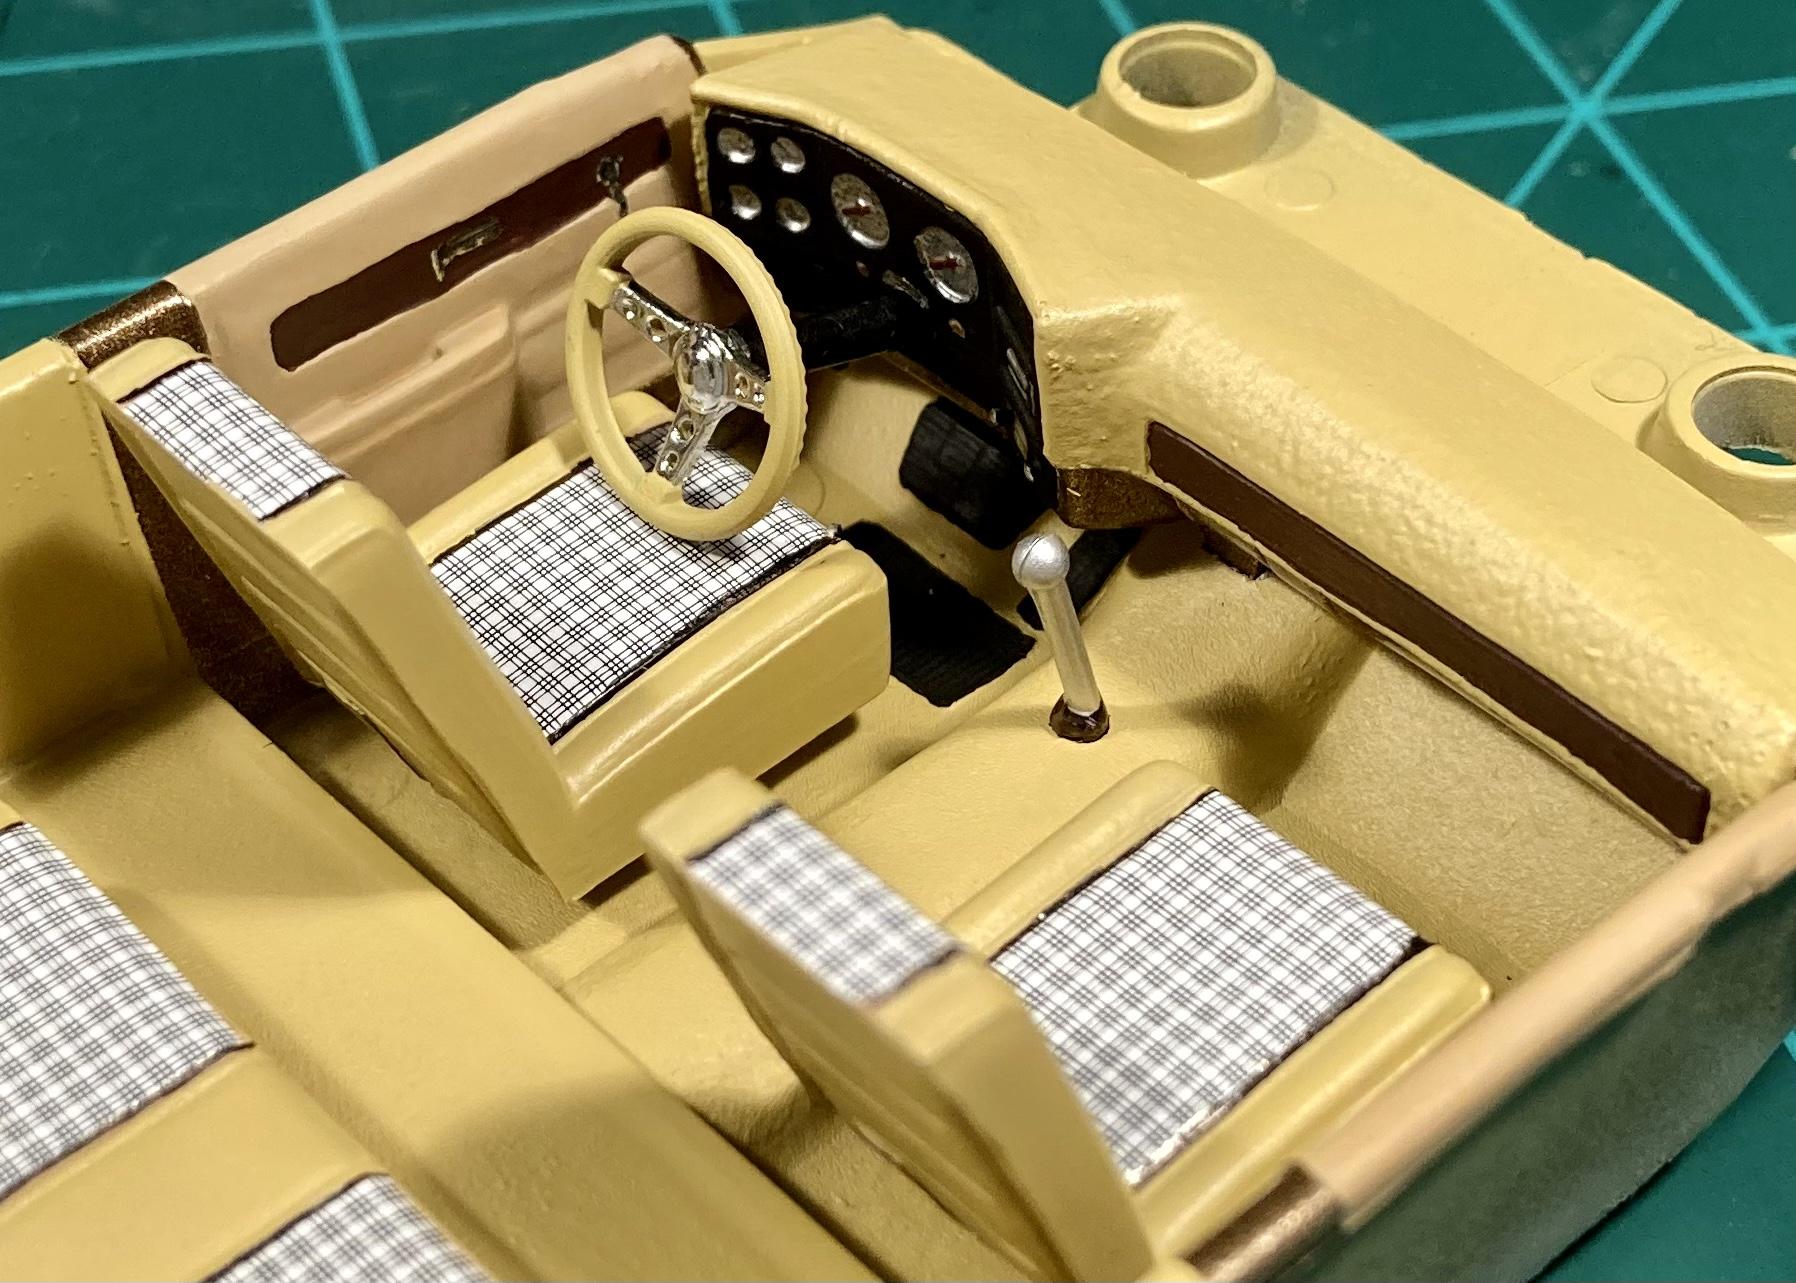
Interior is complete! Just some simple hand paint, Molotow Chrome pen, and silver gel pen details. Plaid decals are from Scale Motorsport, sku# 1962. The description says they’re supposed to be clear decals with a pattern so your base color can show through, but these turned out to have an opaque white background. Not exactly the look I was going for but I think it looks good as is. The bottom of the steering wheel ends up touching the seat which doesn’t look great. I don’t remember it fitting this way before I took it apart… remember to test fit! The interior tub does seem to be too shallow compared to a 1:1 truck. Once the truck is assembled it won’t be very visible anyway, so I’m going to leave it. This model was missing a taillight lens when I started, so I had to come up with a fix. They didn’t mold in a reflector bucket, so I just filled in the lens peg holes before I painted the body. I’ve chromed the area with Molotow, and once that cures my plan is to paint several heavy layers of Tamiya clear red to make lenses and fill the space. It should look decent enough for a shelf model.
-
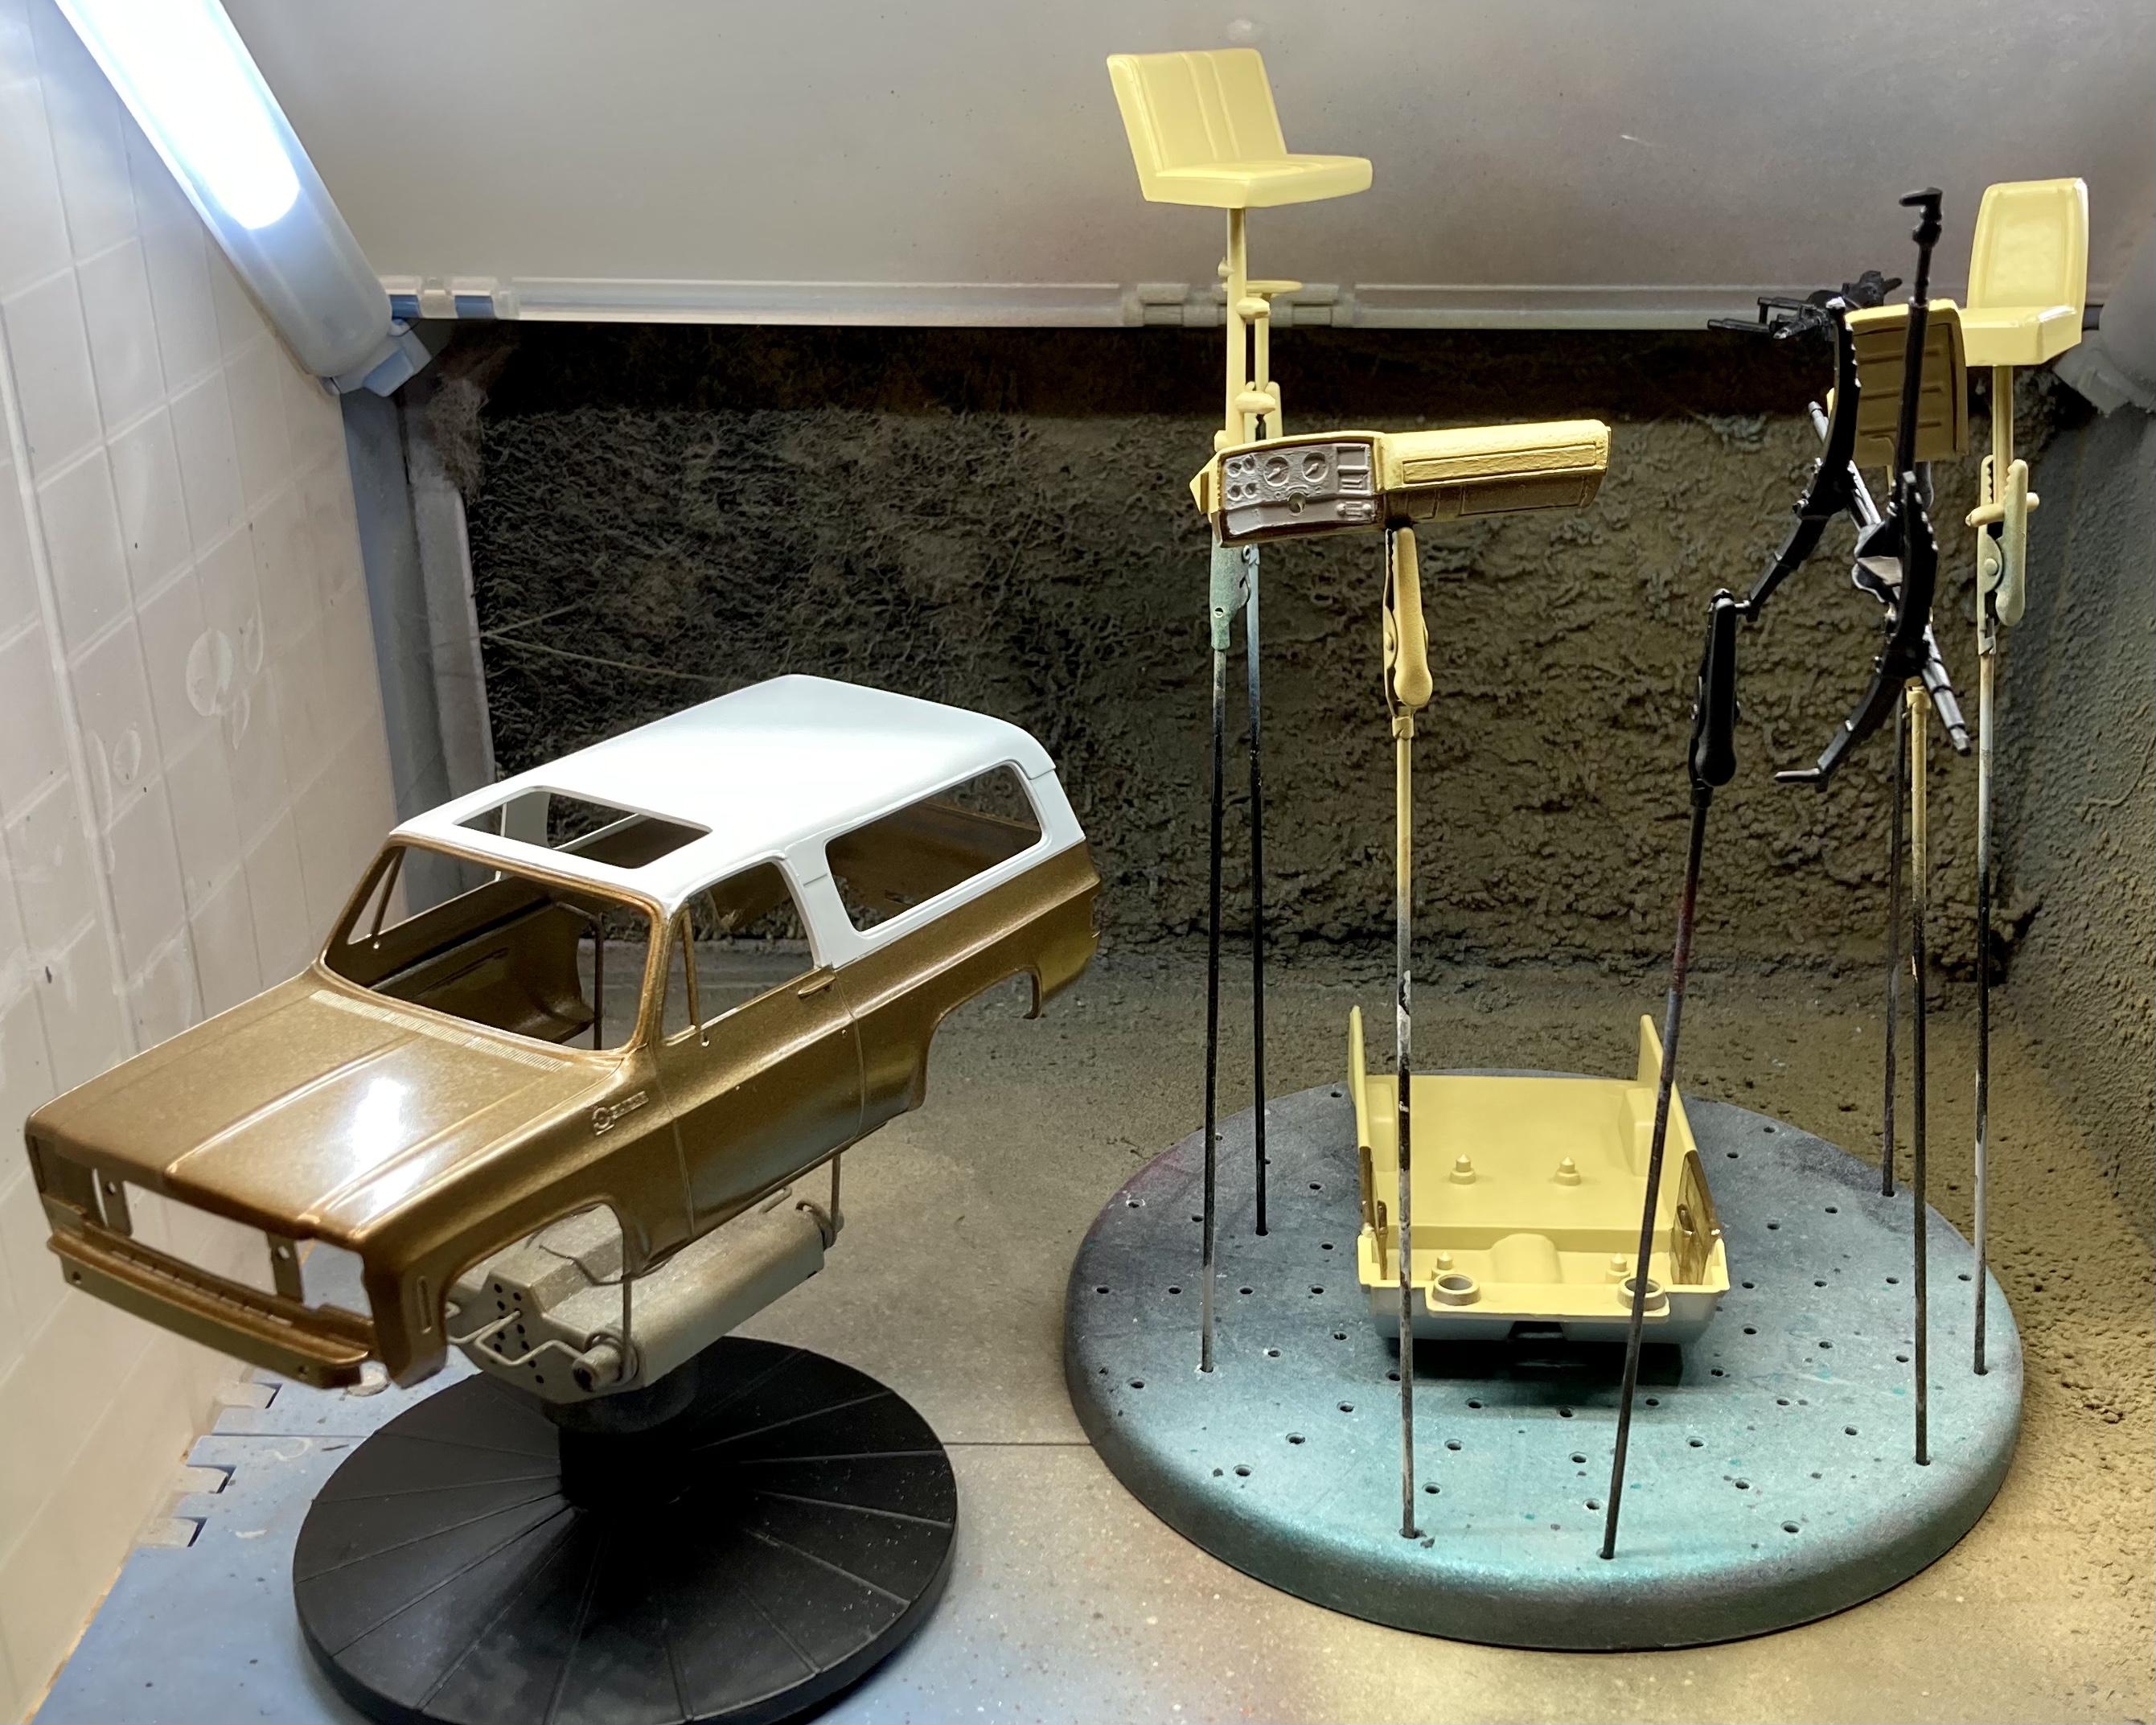
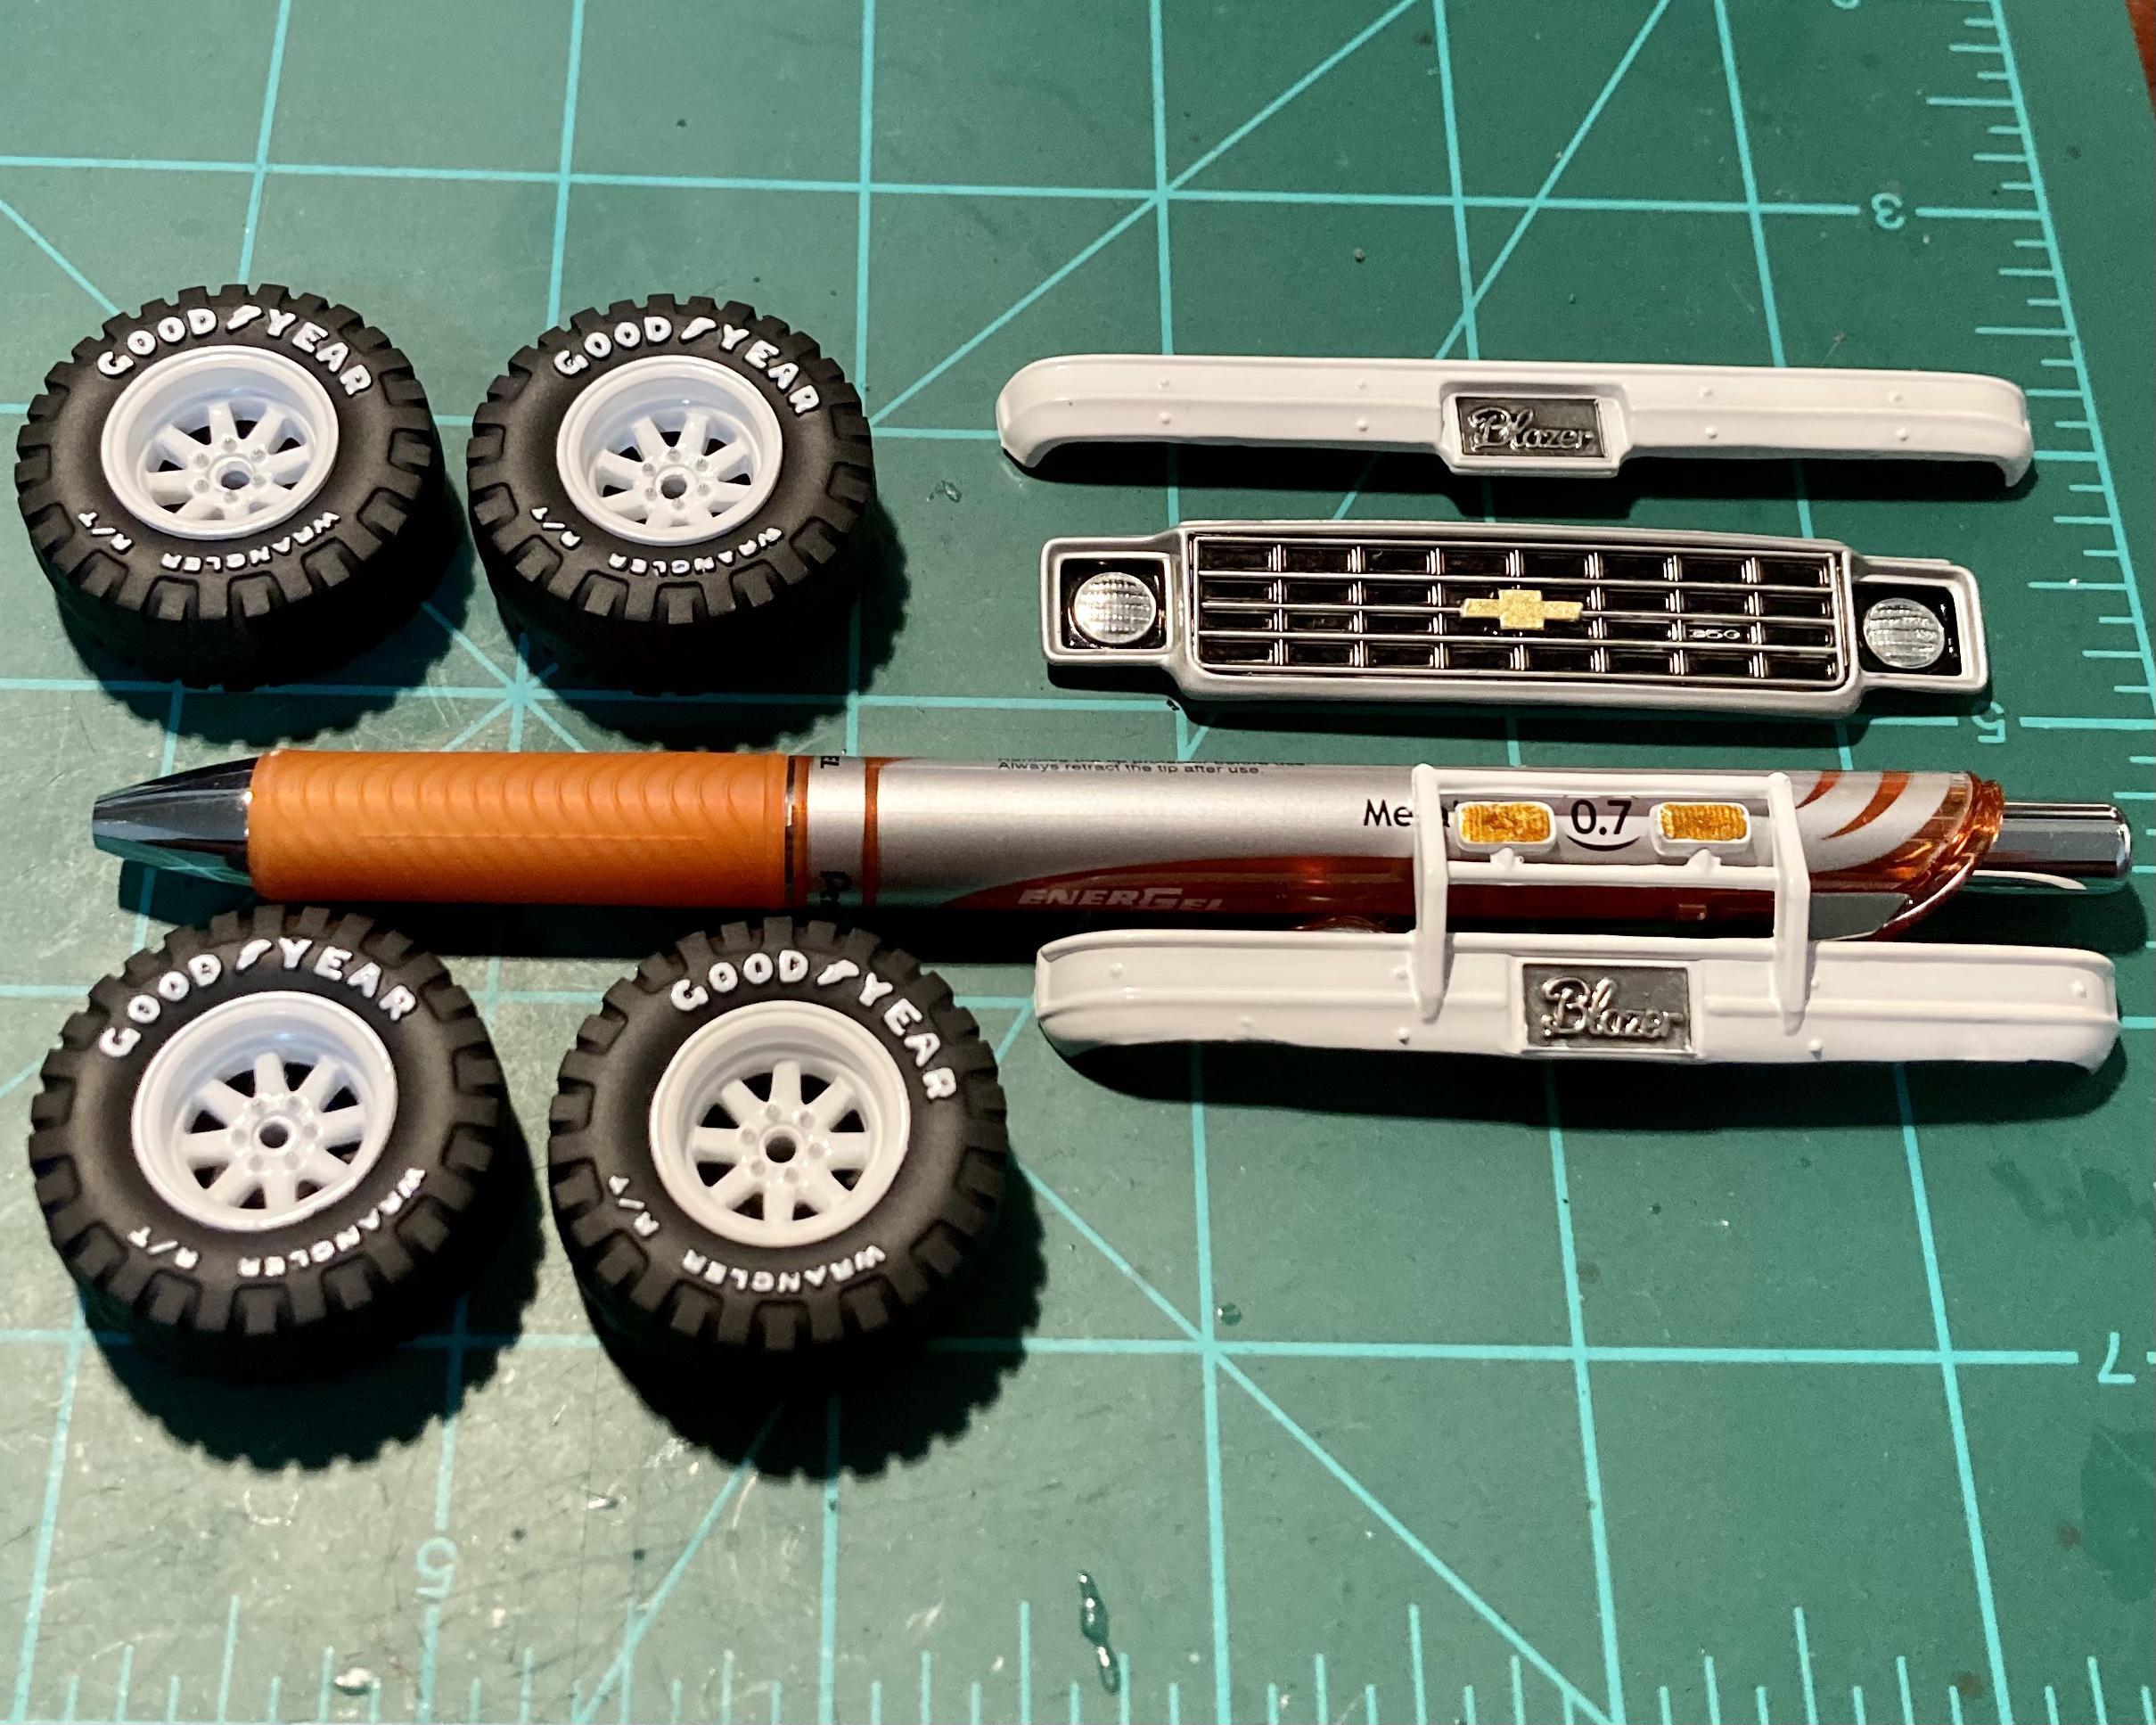
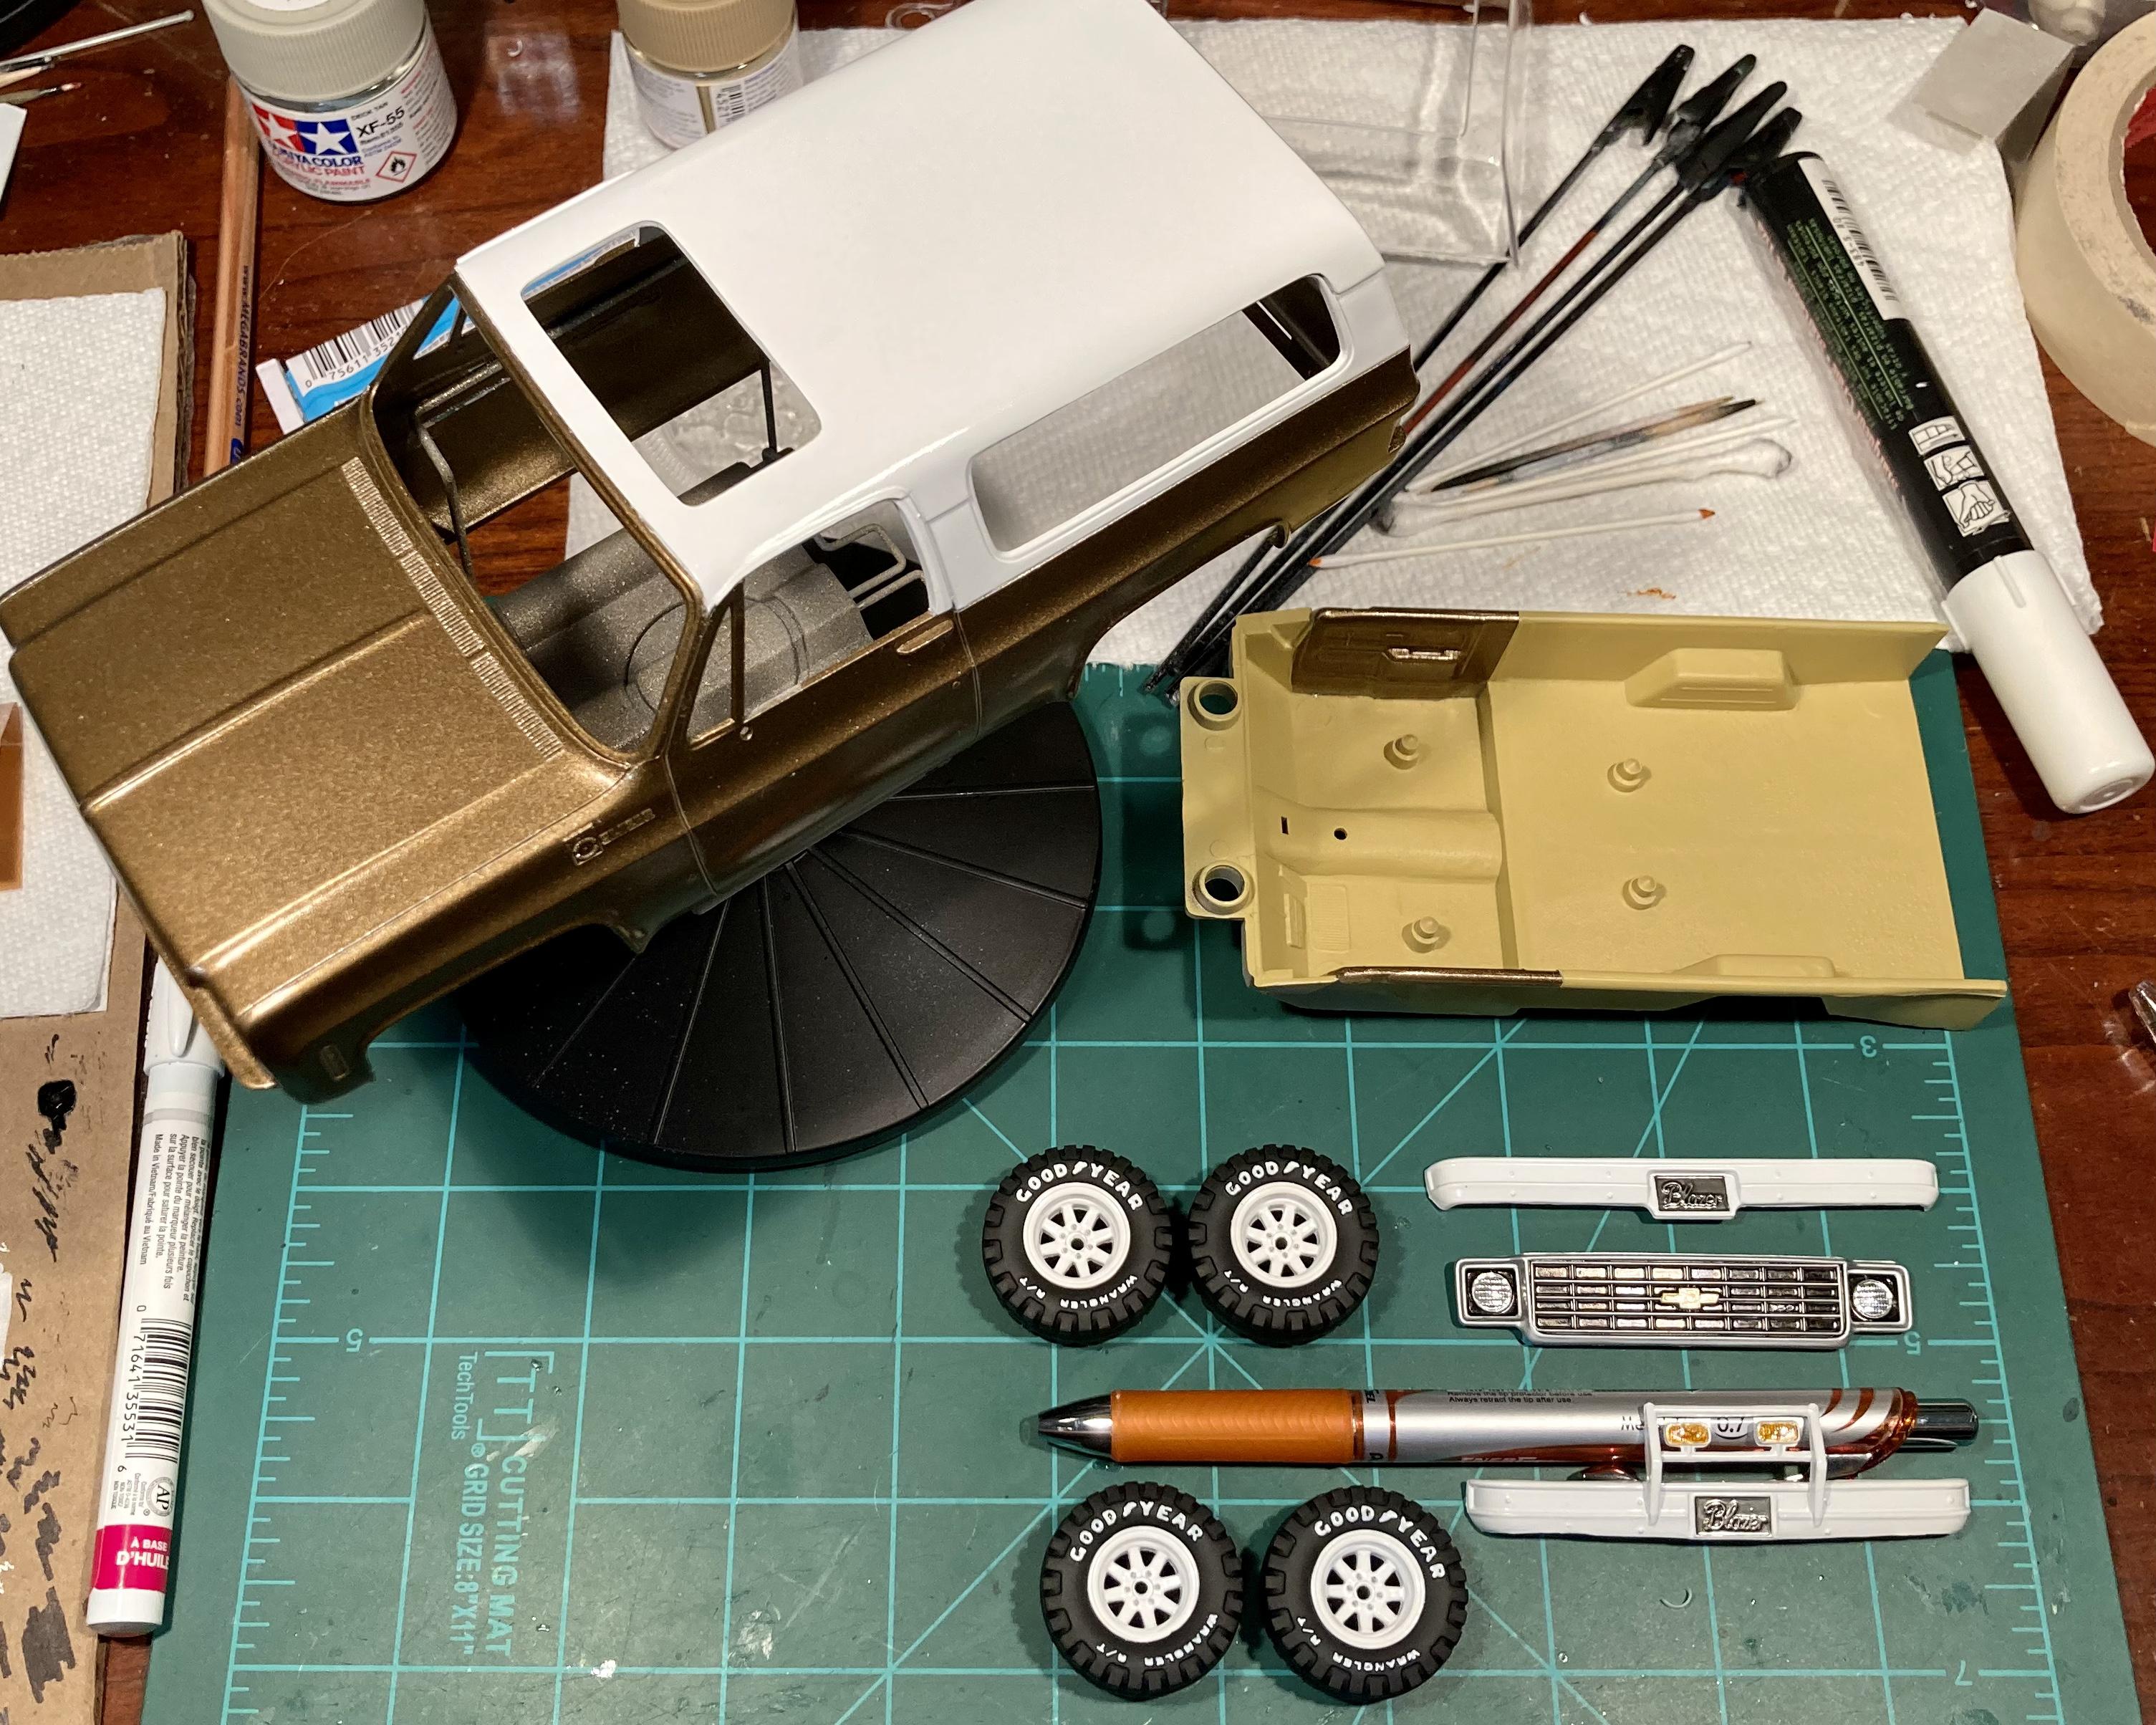
Found some time to get the rest of my spray painting done. I got the white Tamiya primer and Pure White paint laid down on the hardtop. Miraculously no paint bleed under my masking job! Just a few tiny spots will need touch up. I decided it wasn’t worth the time to drag out my airbrush for only the interior color and the axles, so I used Krylon Matte Summer Wheat spray for the interior instead of my planned XF-93, and rattle can semigloss black for the axles. The summer wheat color is not quite as yellow in person as my screen shows, but it’s definitely more yellow than the XF-93 “Dark Tan”. I think it’s still a good saddle/tan color so I’m happy with it. I got my wheel and tire package done, along with the grille and bumper details. Tires were painted Krylon Flat black, with a white Sharpie oil paint pen for the letters. I blackwashed the grille, and filled in the negative space with a Molotow black liner pen. Headlights are Molotow chrome, which will get a dab of clear school glue to simulate lenses. Next up will be detail hand painting for the interior and exterior.
-
1975 Chevy Blazer
StanGlover replied to Bullybeef's topic in WIP: Model Trucks: Pickups, Vans, SUVs, Light Commercial
Glad to see you’re still working on it! Made progress on my own ‘75 Blazer Snap, although mine is just box stock. -
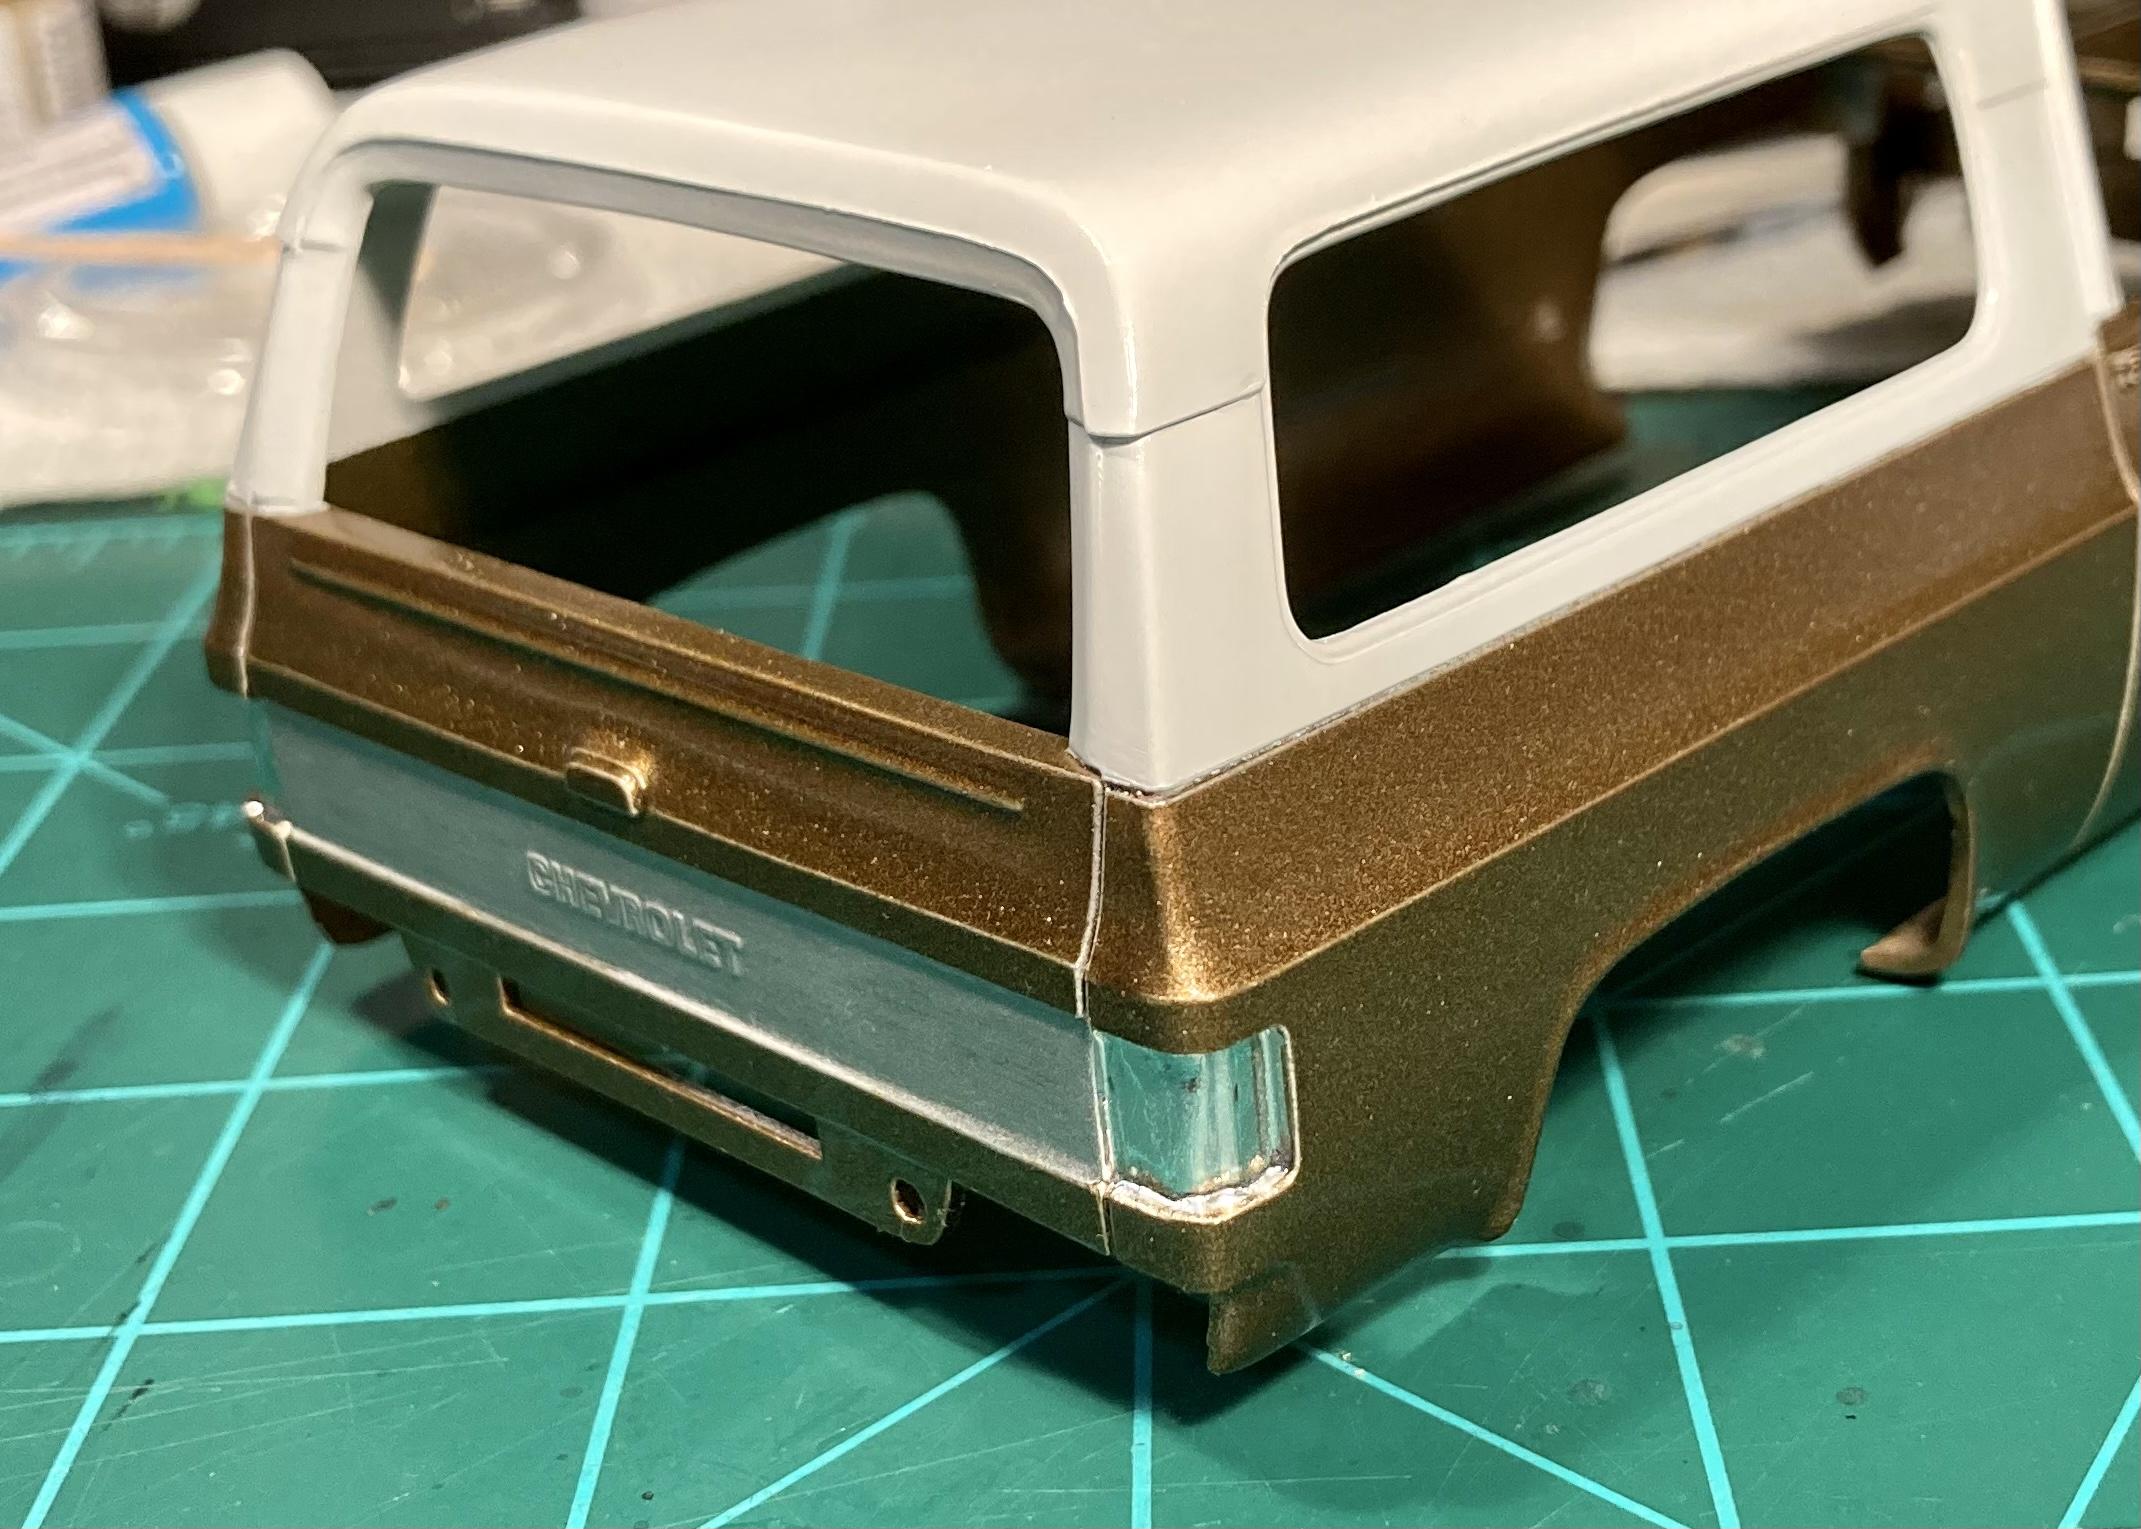
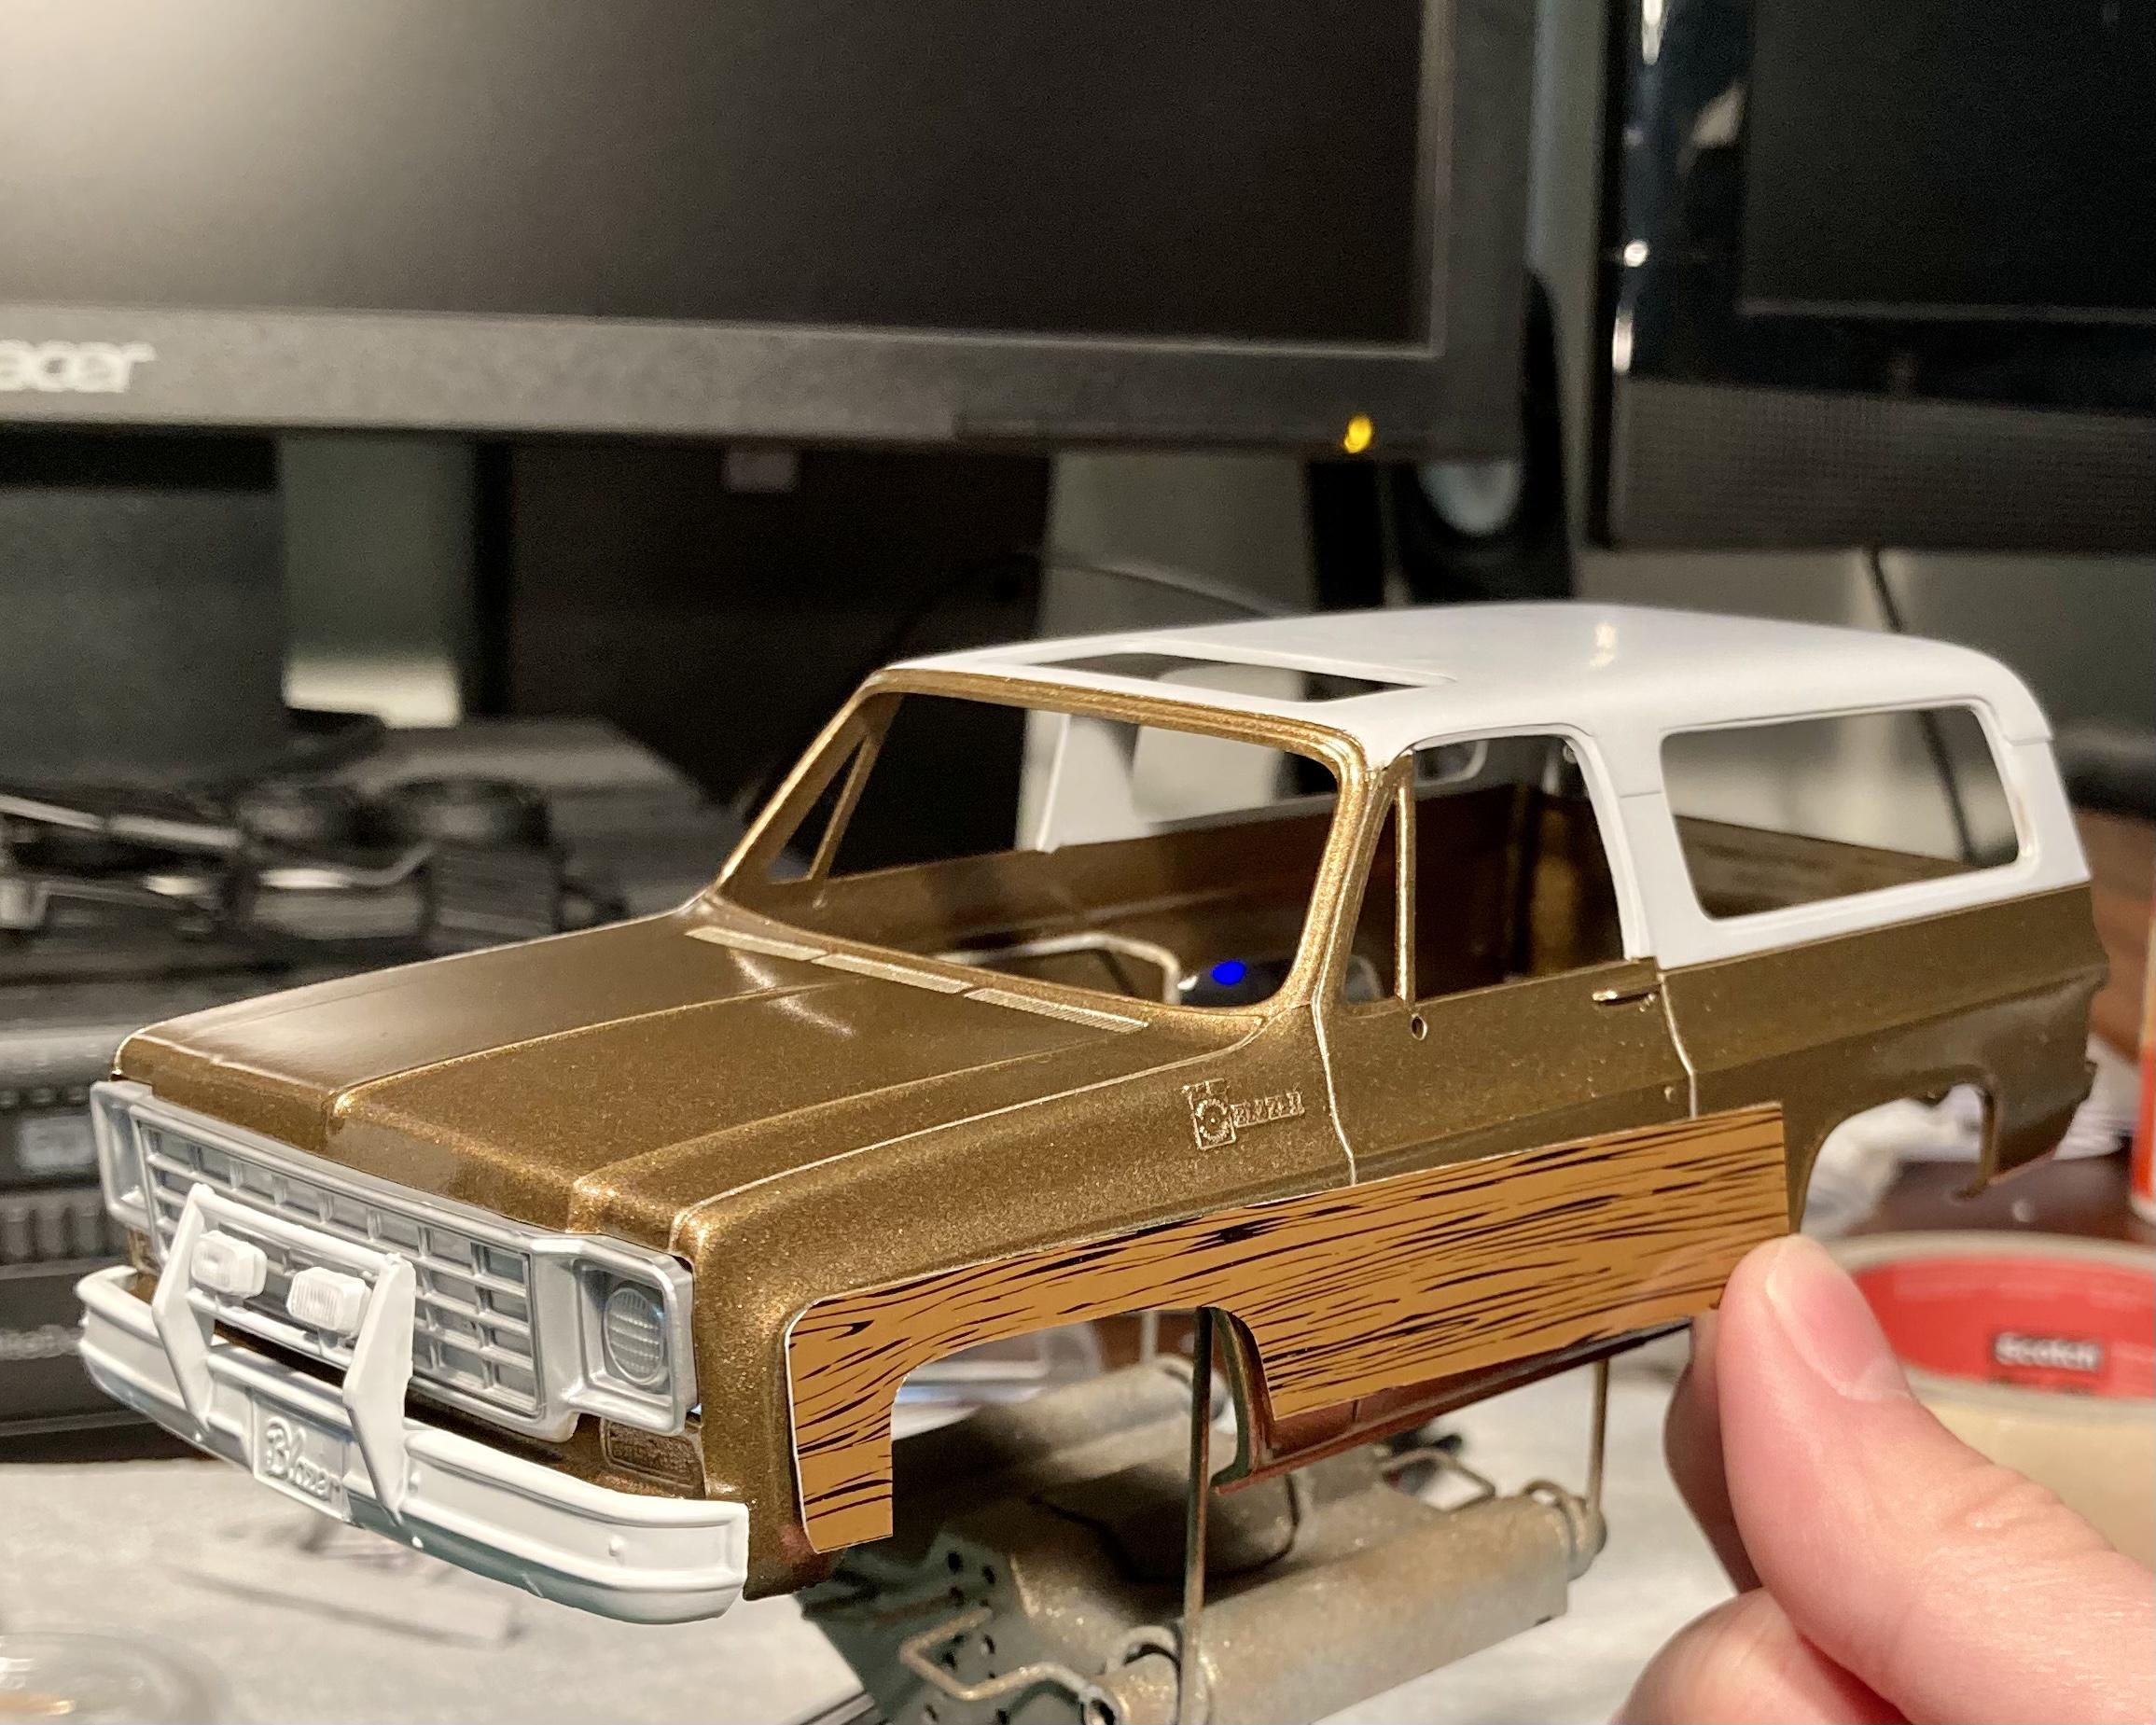
Decals arrived! I got the panels trimmed out. Will still need some fine tuning but I’m pretty happy with them. I was also able to get some color laid down! Base color came out pretty well. Once it cures for several days, I’ll tape the body off and get the roof primed and painted white. Here’s a taste of how it’s going to look!
-
Agreed! Round 2 is supposedly reissuing the ‘78 Bronco Wild Hoss kit, which will definitely be a hit thanks to the new 1:1 Bronco. Maybe after that one sells out they’ll reissue the square body Blazer. The recent issue 1st gen Blazer and Jimmy kits are already getting scarce and pricey on eBay!
-
Thanks for the info! That Testors Bronze caught my eye as a plausible factory ‘70s color so I picked it. I just assumed bronze = bronze ?
-
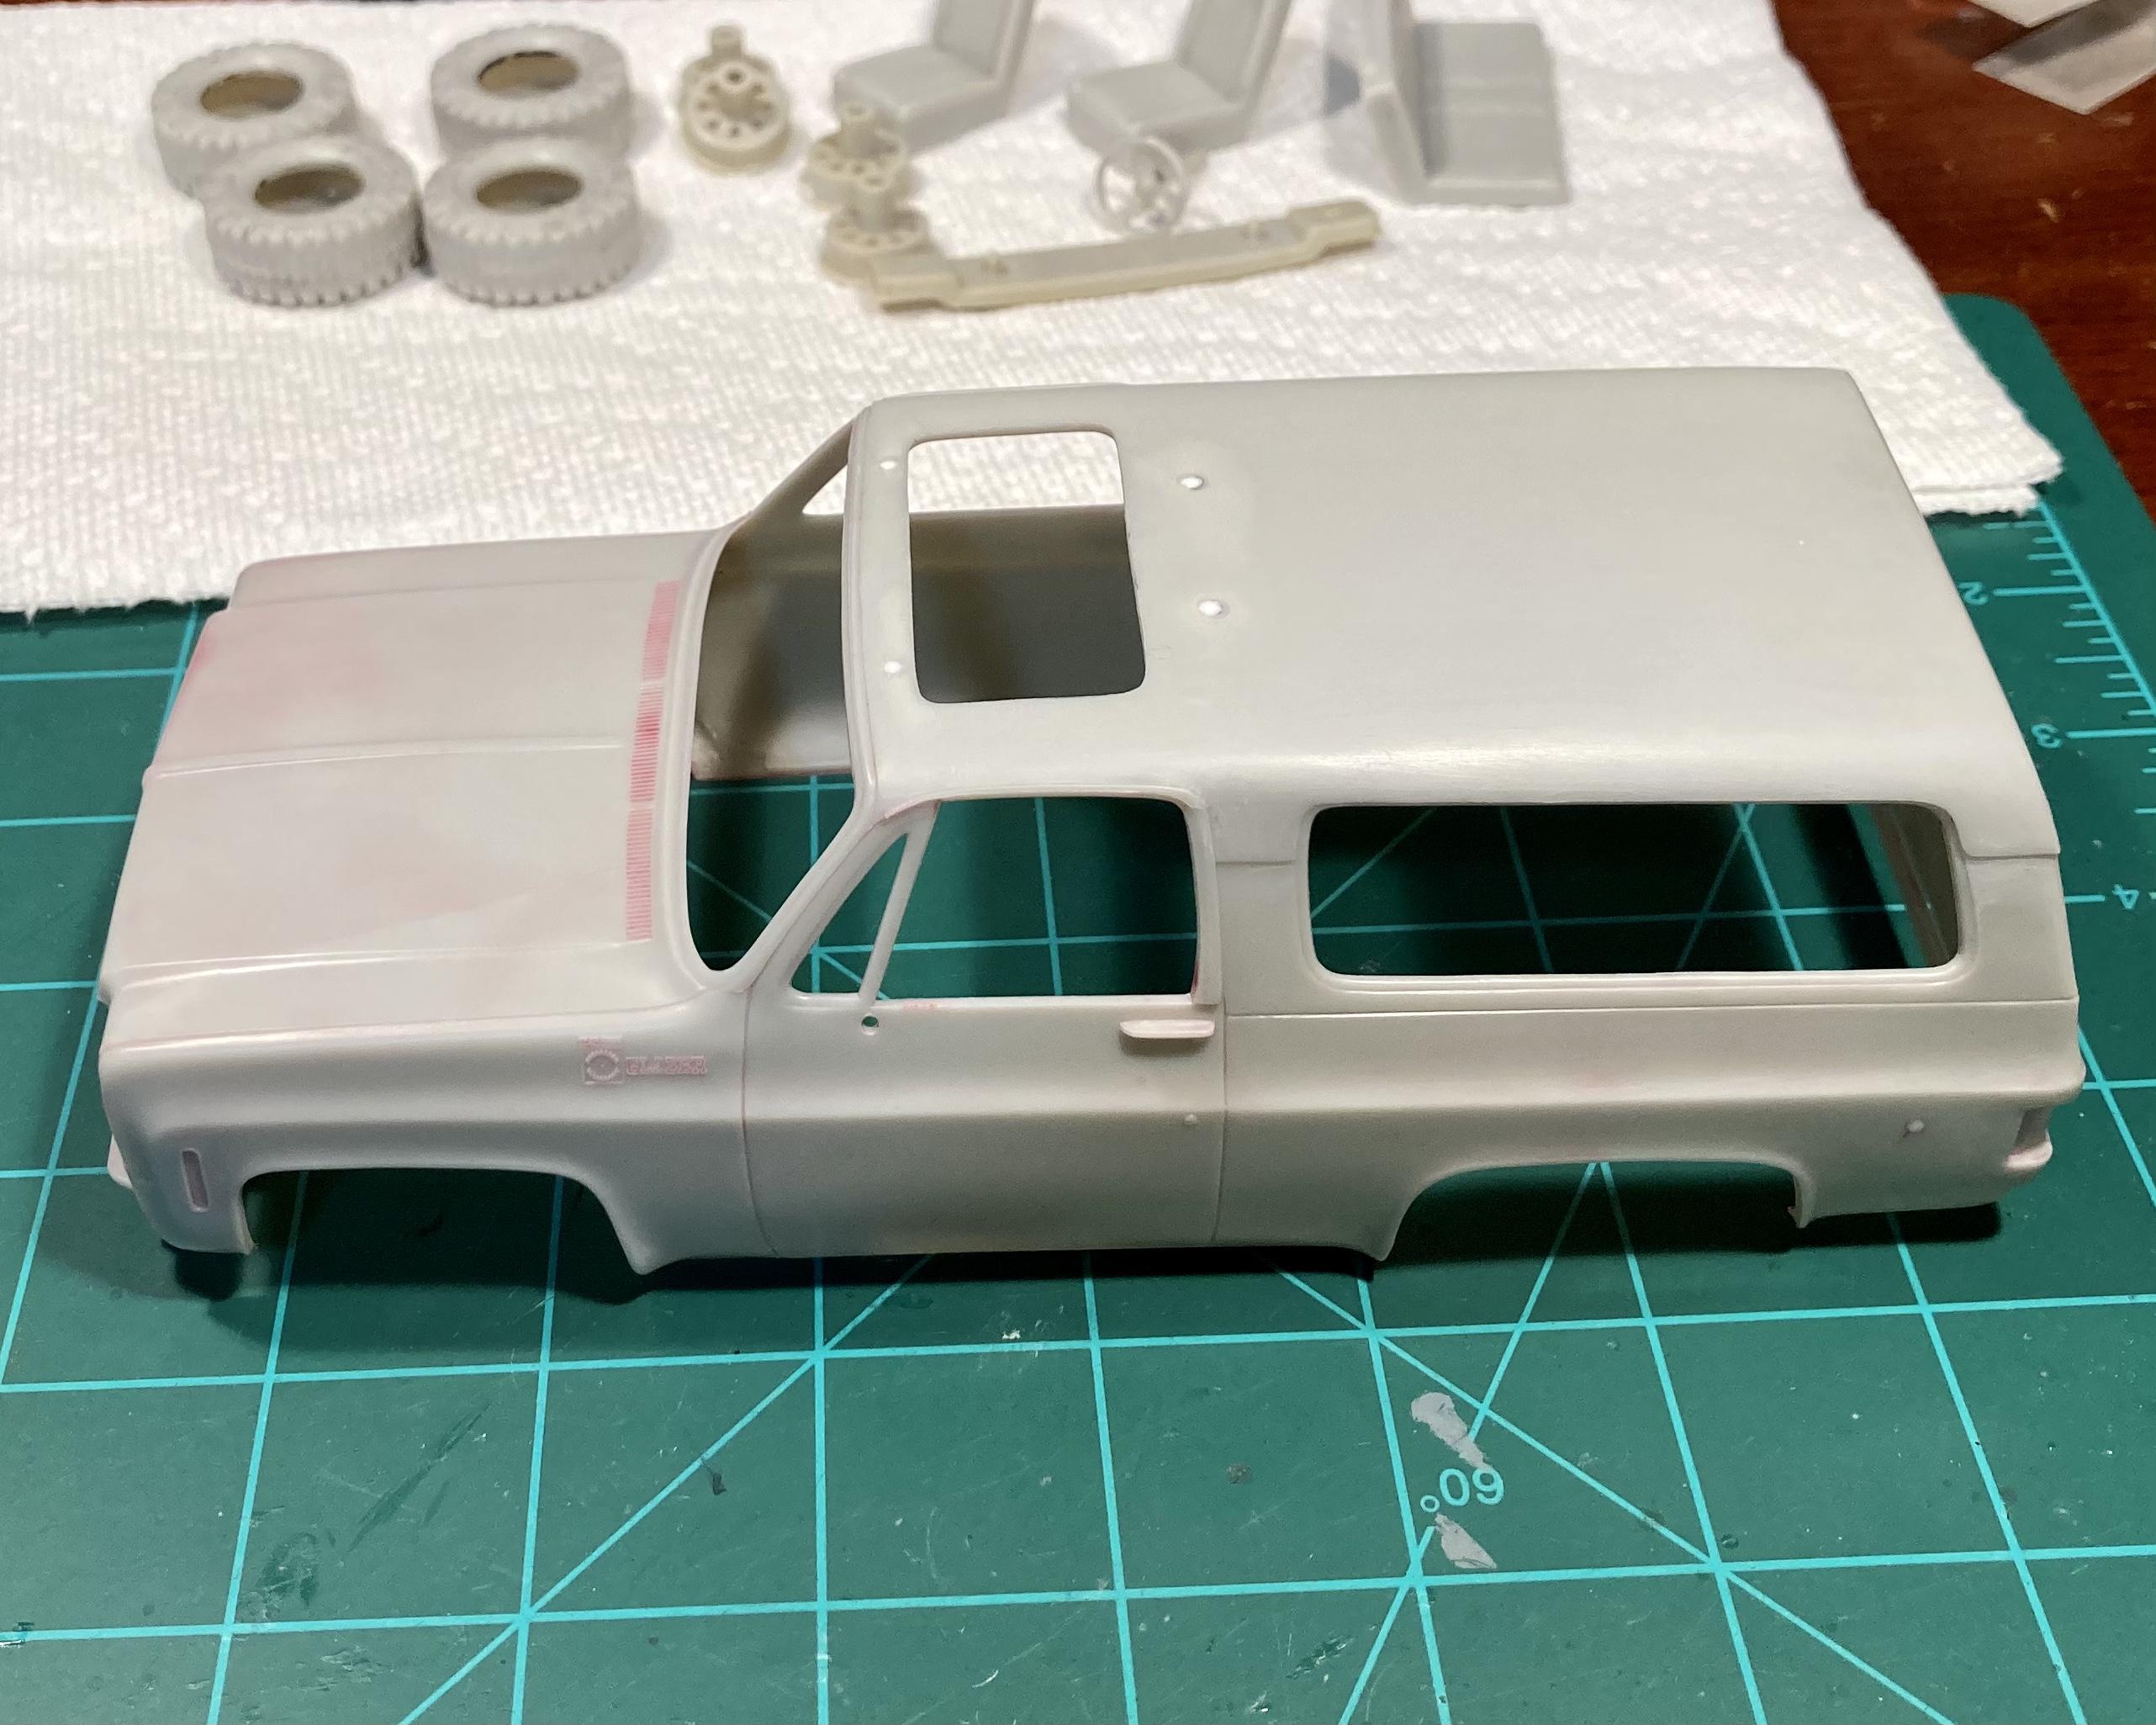
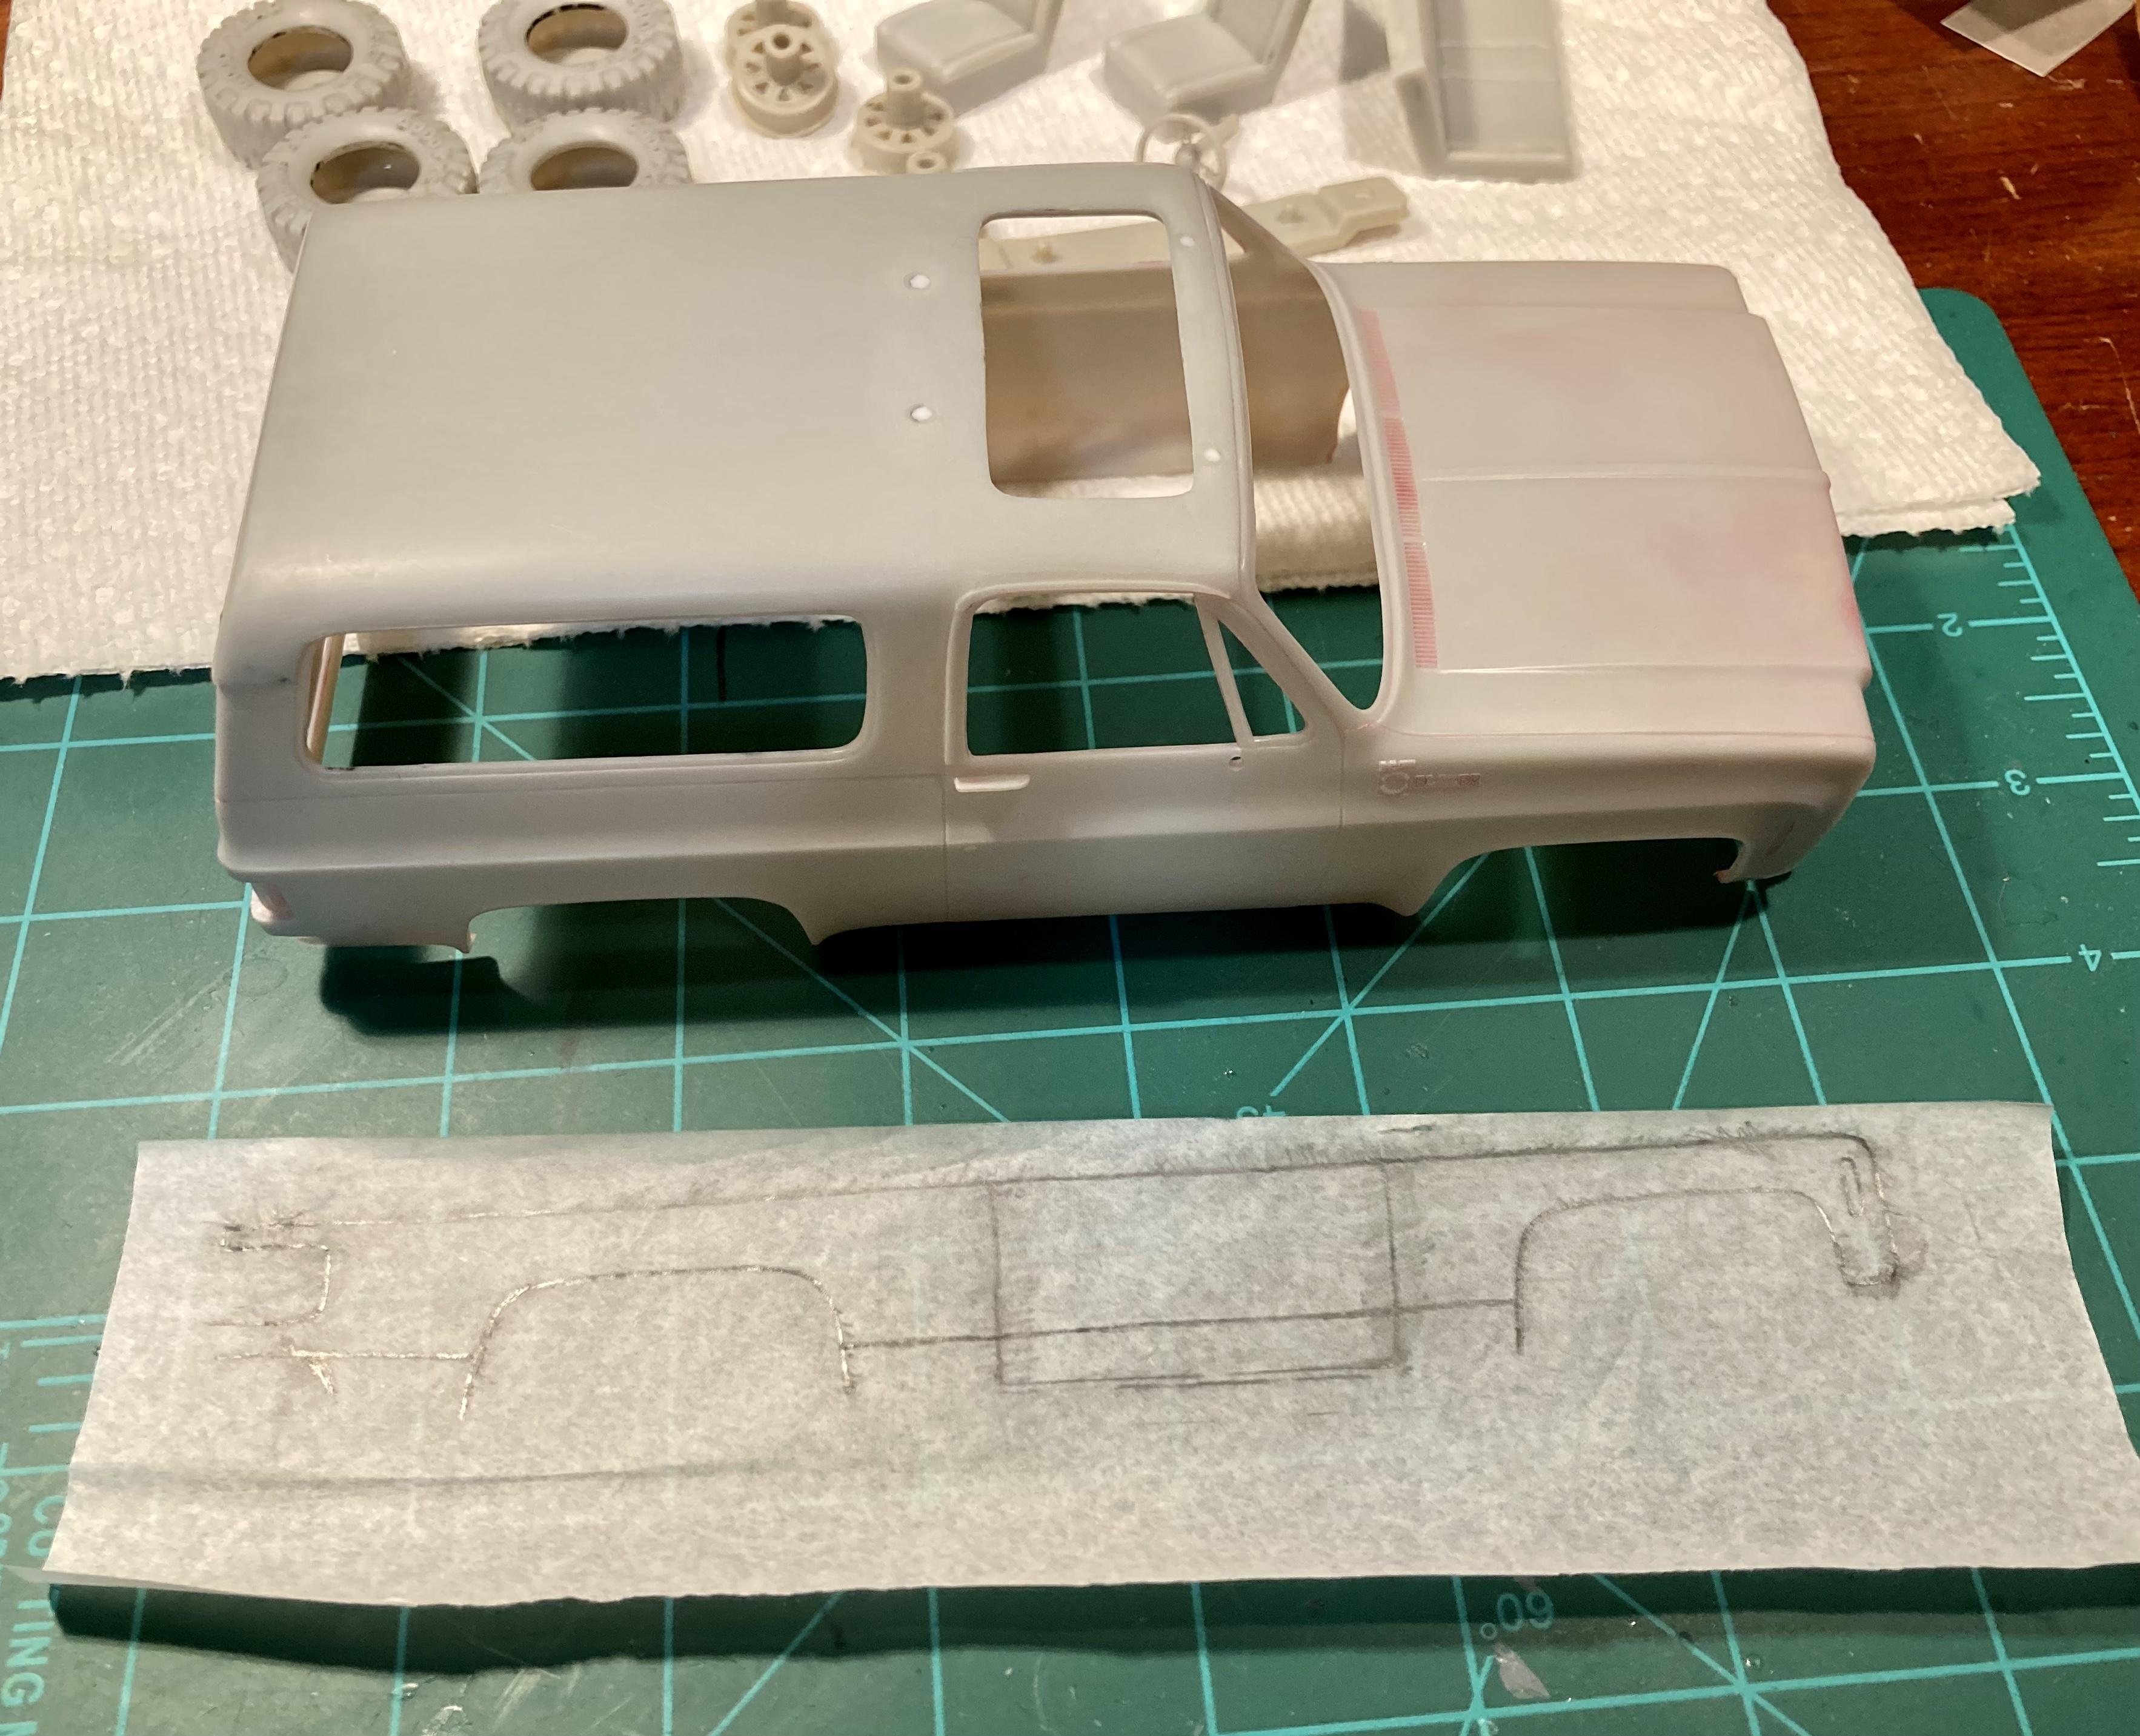
Quick update: I have the spotlight and antenna holes filled. I started off by whittling down some scrap sprue and cementing the pieces into the holes. Once it dried, I trimmed the nubs off, sanded, and then filled with some Mr. White Putty. I sanded all of that down and now have the body ready for some primer! I used some tracing paper and a pencil to make a template for the Gopher Racing wood grain decals. The decals haven’t been delivered yet so I’m not sure how they’re going to look in person. I’ll decide then if I’ll actually use the decals or try hand painting the wood panels. The tires and seats are now permanently glued together and the rest of the parts are prepped for primer. Hopefully I’ll find the time this weekend to get some color laid down.
-
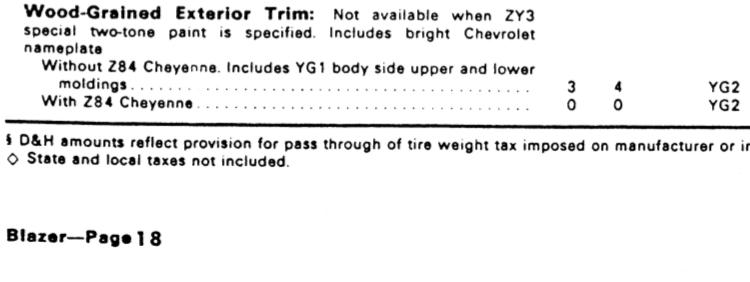
Upon a second read through, I found the wood grain option! I must have missed it. Looks like it was available without the Cheyenne package, so my initial plan of a Custom Deluxe with the wood grain is a factory possible combination! Definitely moving forward with that scheme.
-
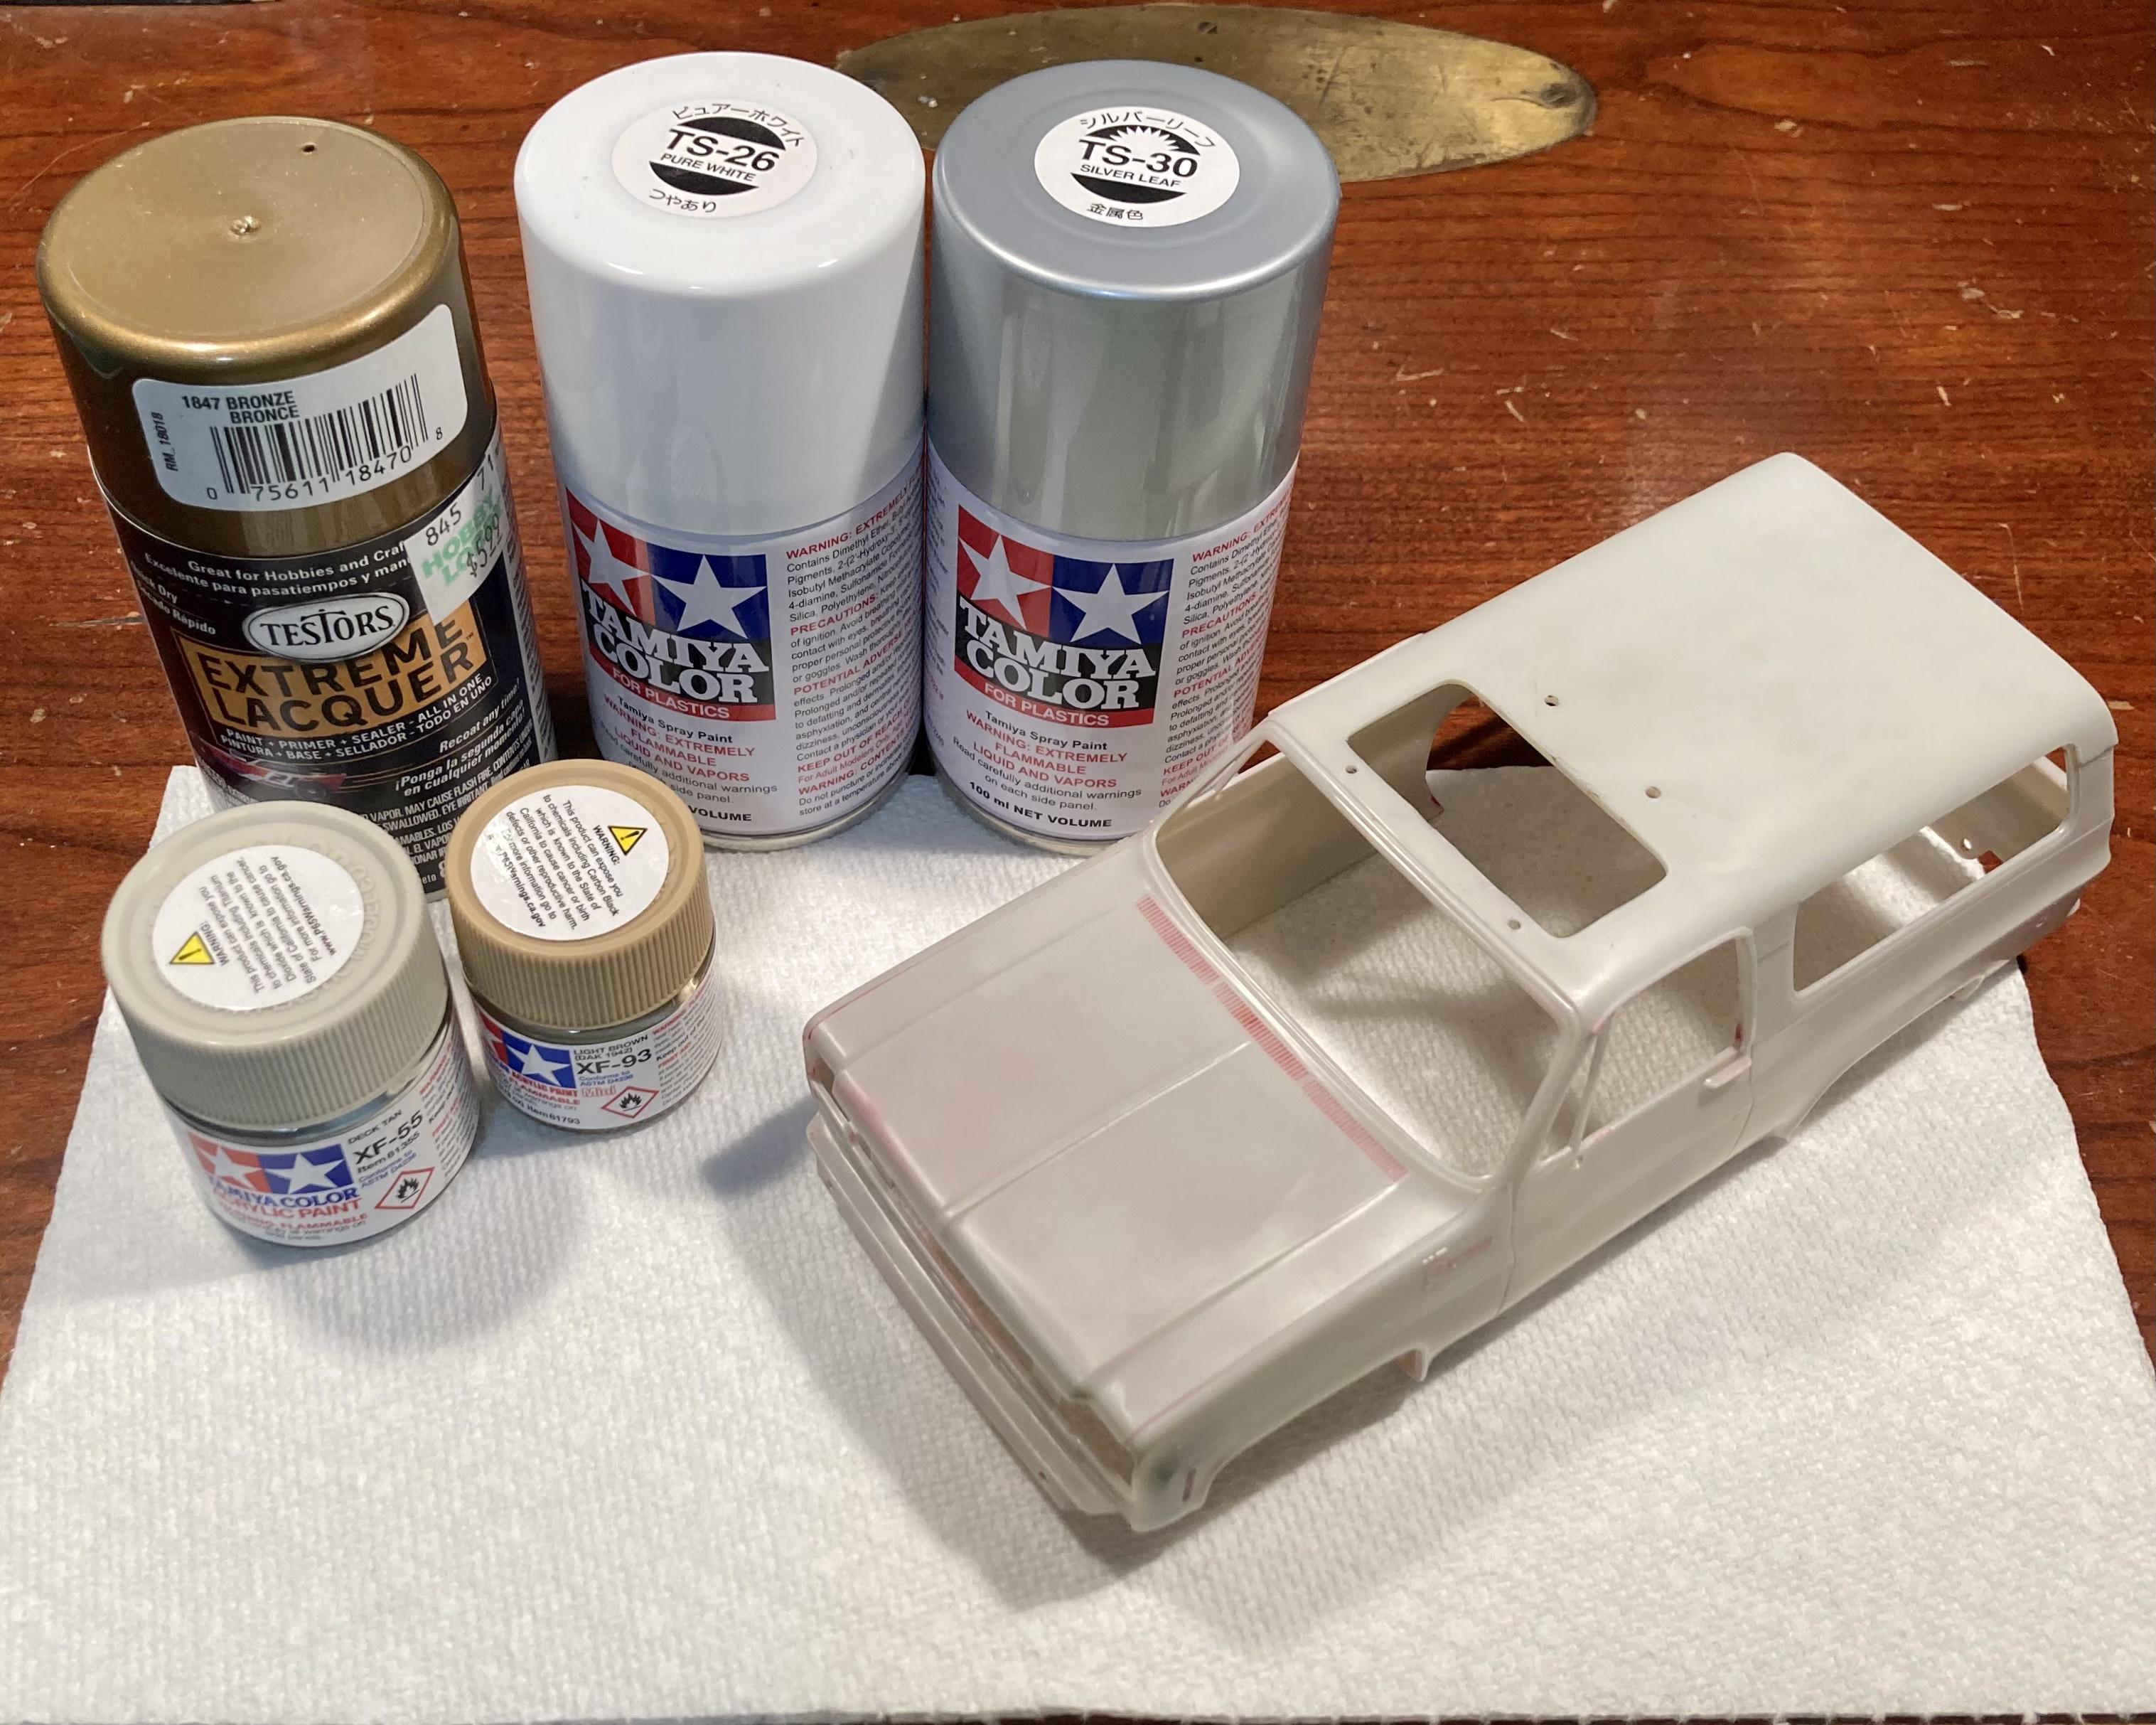
While researching factory interior and exterior color schemes, I came across the following site with a PDF of the original model configurator for the ‘75 Blazer: https://www.gmheritagecenter.com/docs/gm-heritage-archive/vehicle-information-kits/Blazer/1975-Chevrolet-Blazer_RV_Full-Size.pdf This model kit appears to depict a base model Custom Deluxe trim. My plan is paint my truck as a Custom deluxe with white bumpers and wheels, and the optional white top and two tone body. This option sheet doesn’t mention the wood grain body sides package, or if it was available as an option for the CD trim, but I think I will add it anyway. I’ve settled on my color scheme. Body will be Testors Bronze to depict the “Grecian Bronze” color. Top, bumpers, wheels will be TS-26 Pure White. Grille, mirrors and tailgate accent panel will be TS-30 Silver Leaf. Interior will be XF-93 Light Brown to depict the “Saddle” color. XF-55 Deck Tan will be used for the plaid seat centers, along with Scale Motorsports black/clear Plaid decals. I’ve ordered Gopher Racing wood grain decals for the body sides, but I may try hand painting those panels.
-
I finally have the paint stripped off! It took several days of soaking in Super Clean and three scrubbing sessions to get the parts clean, or at least as clean as my patience allows. Some light sanding and primer should cover everything that’s left. My next steps are to fill the antenna and spot light holes since I won’t be reusing them (too toylike IMO). I’ll also have to putty several sprue attachment points.
-
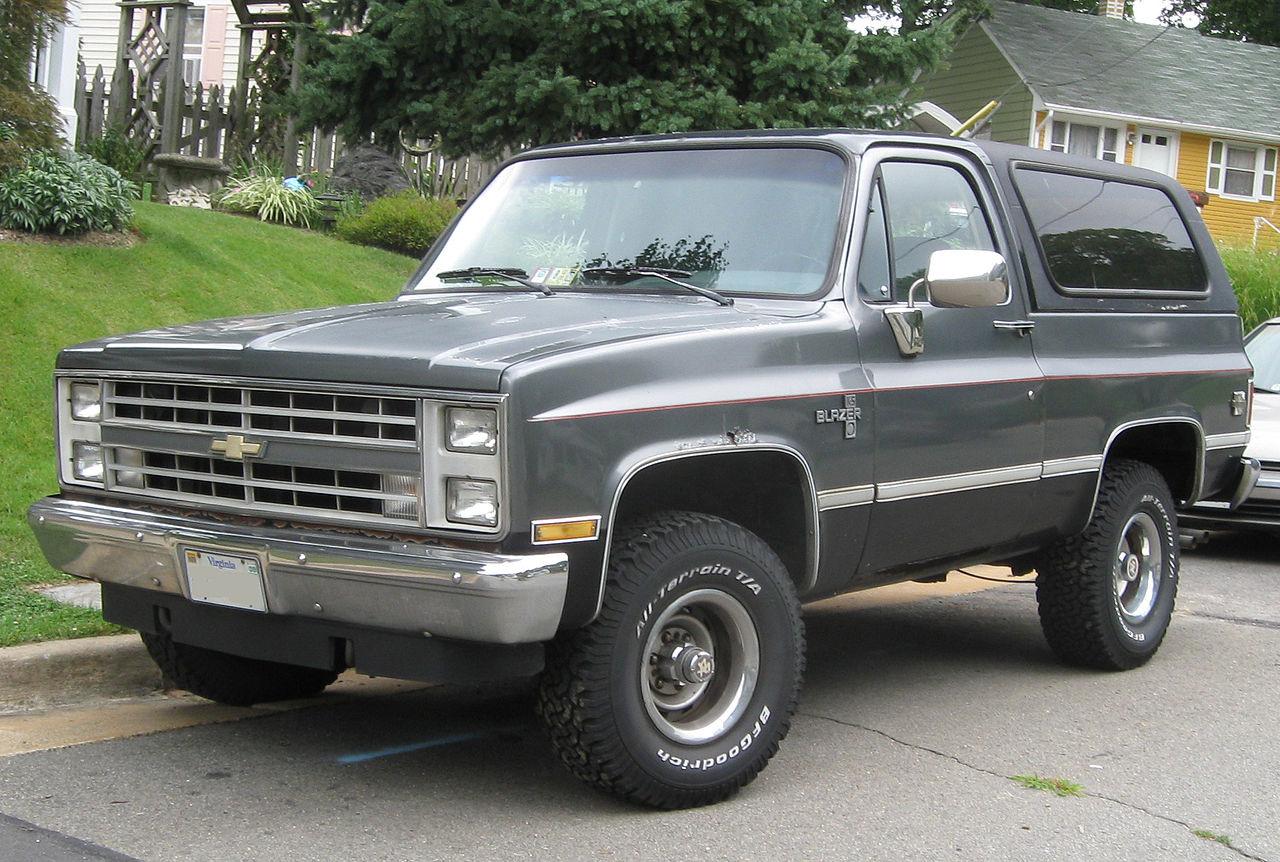
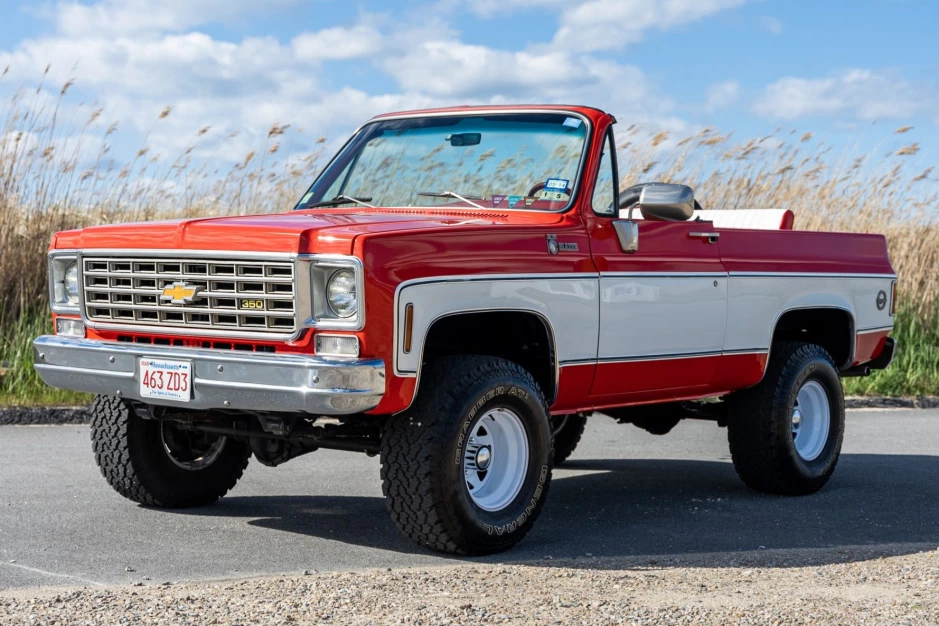
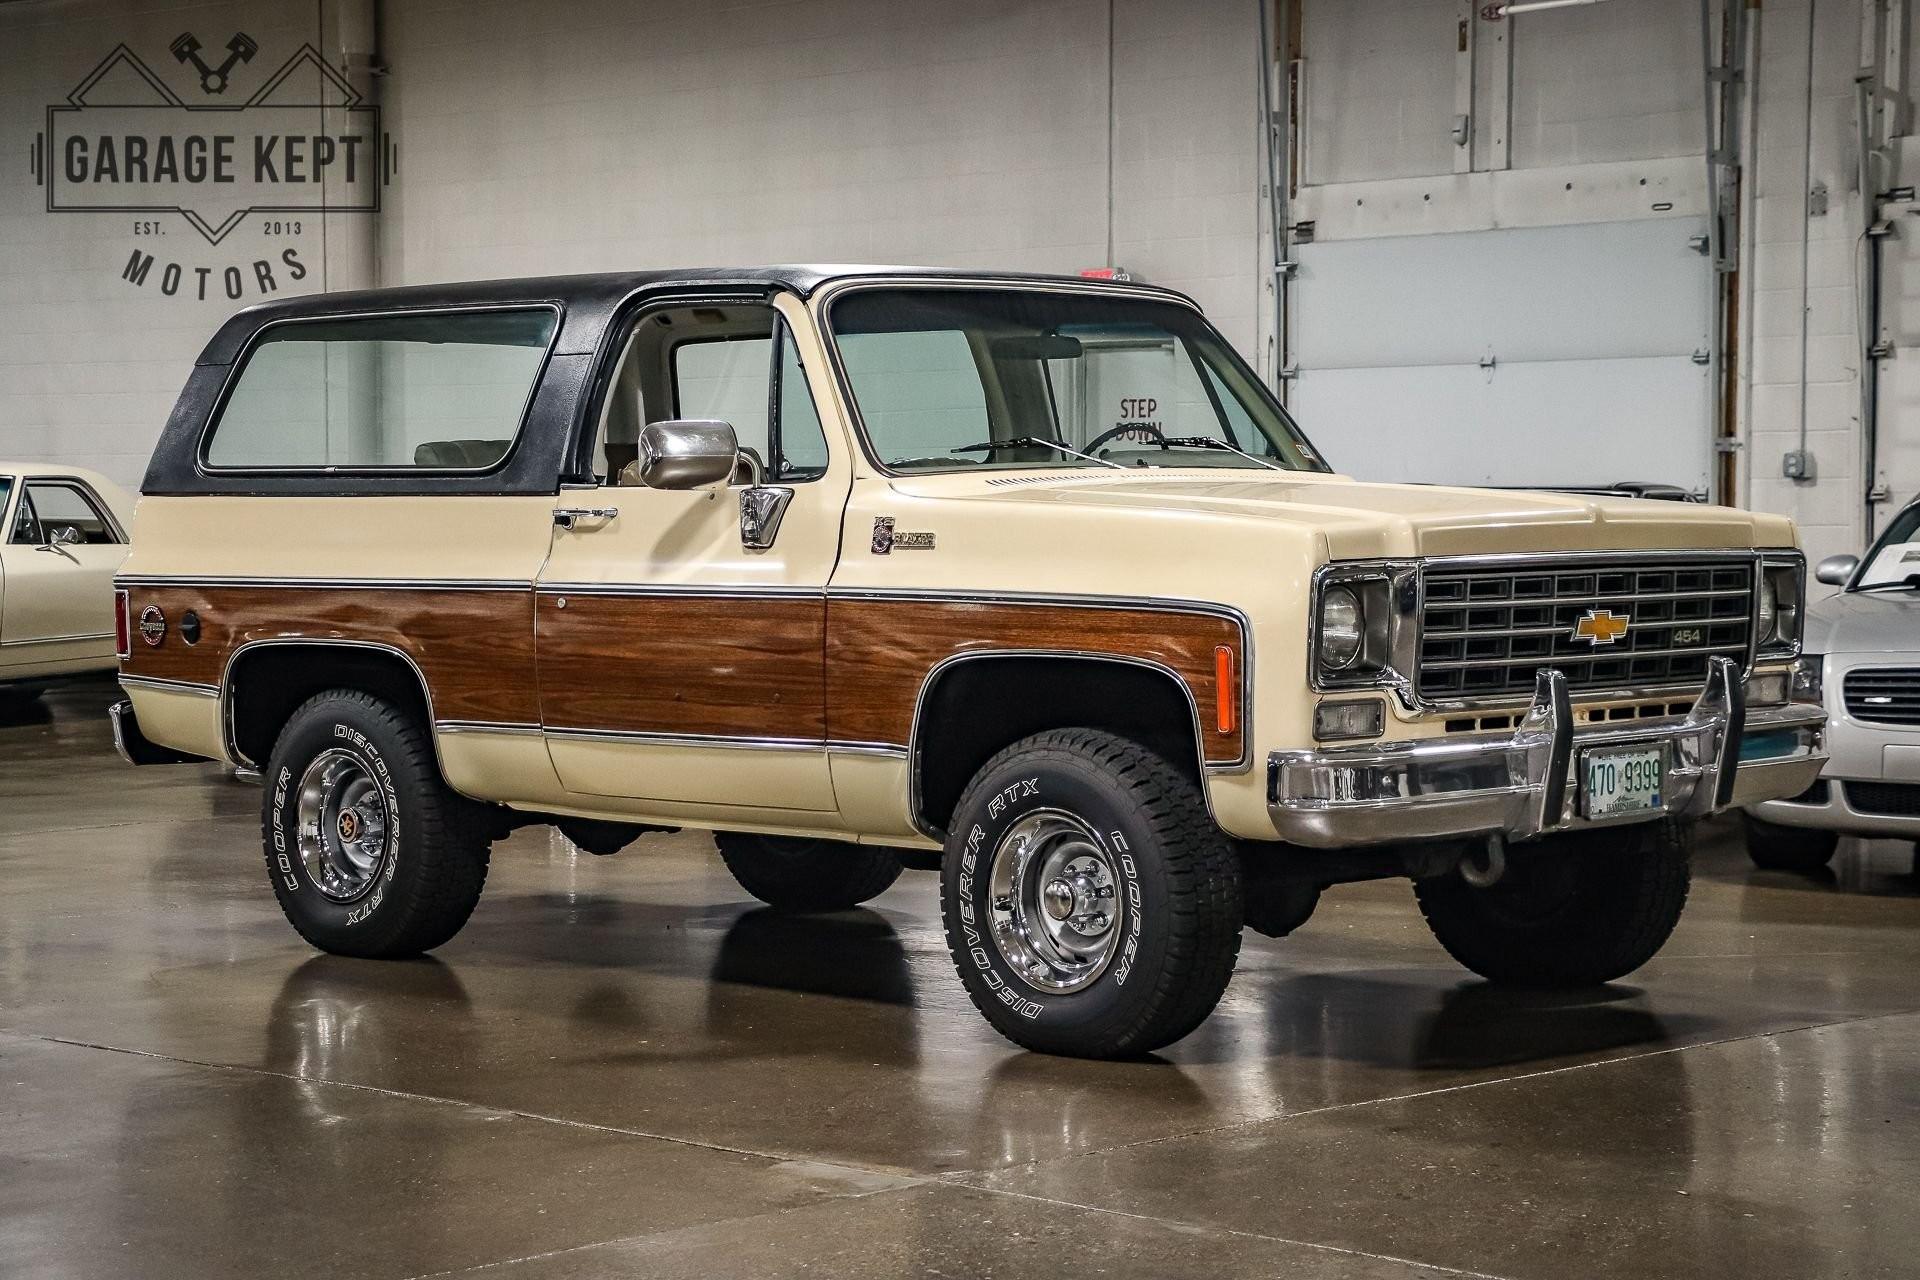
As far as color scheme, I haven’t decided what I want to do yet. Back in high school, my family’s ‘86 K5 was my daily driver so my first thought is a color scheme tribute to that truck. It looked almost exactly like this 1:1 (swiped photo from Wikipedia):However, I’ve already built a few silver and gray models, so I kind of want to do something more colorful, like this 1:1 that sold on BaT recently:I love the white and bright-color two tone schemes earlier Blazers came in so I might do that. Probably not red though, maybe orange or light blue. I’ve also built several red models to date, I want more variety in my display case. Speaking of variety: I love this Woody Cheyenne trim Blazer 1:1 I found online. It has to be a rare option (if it was even factory) and certainly unique. Any thoughts or suggestions for color schemes let me know!
-
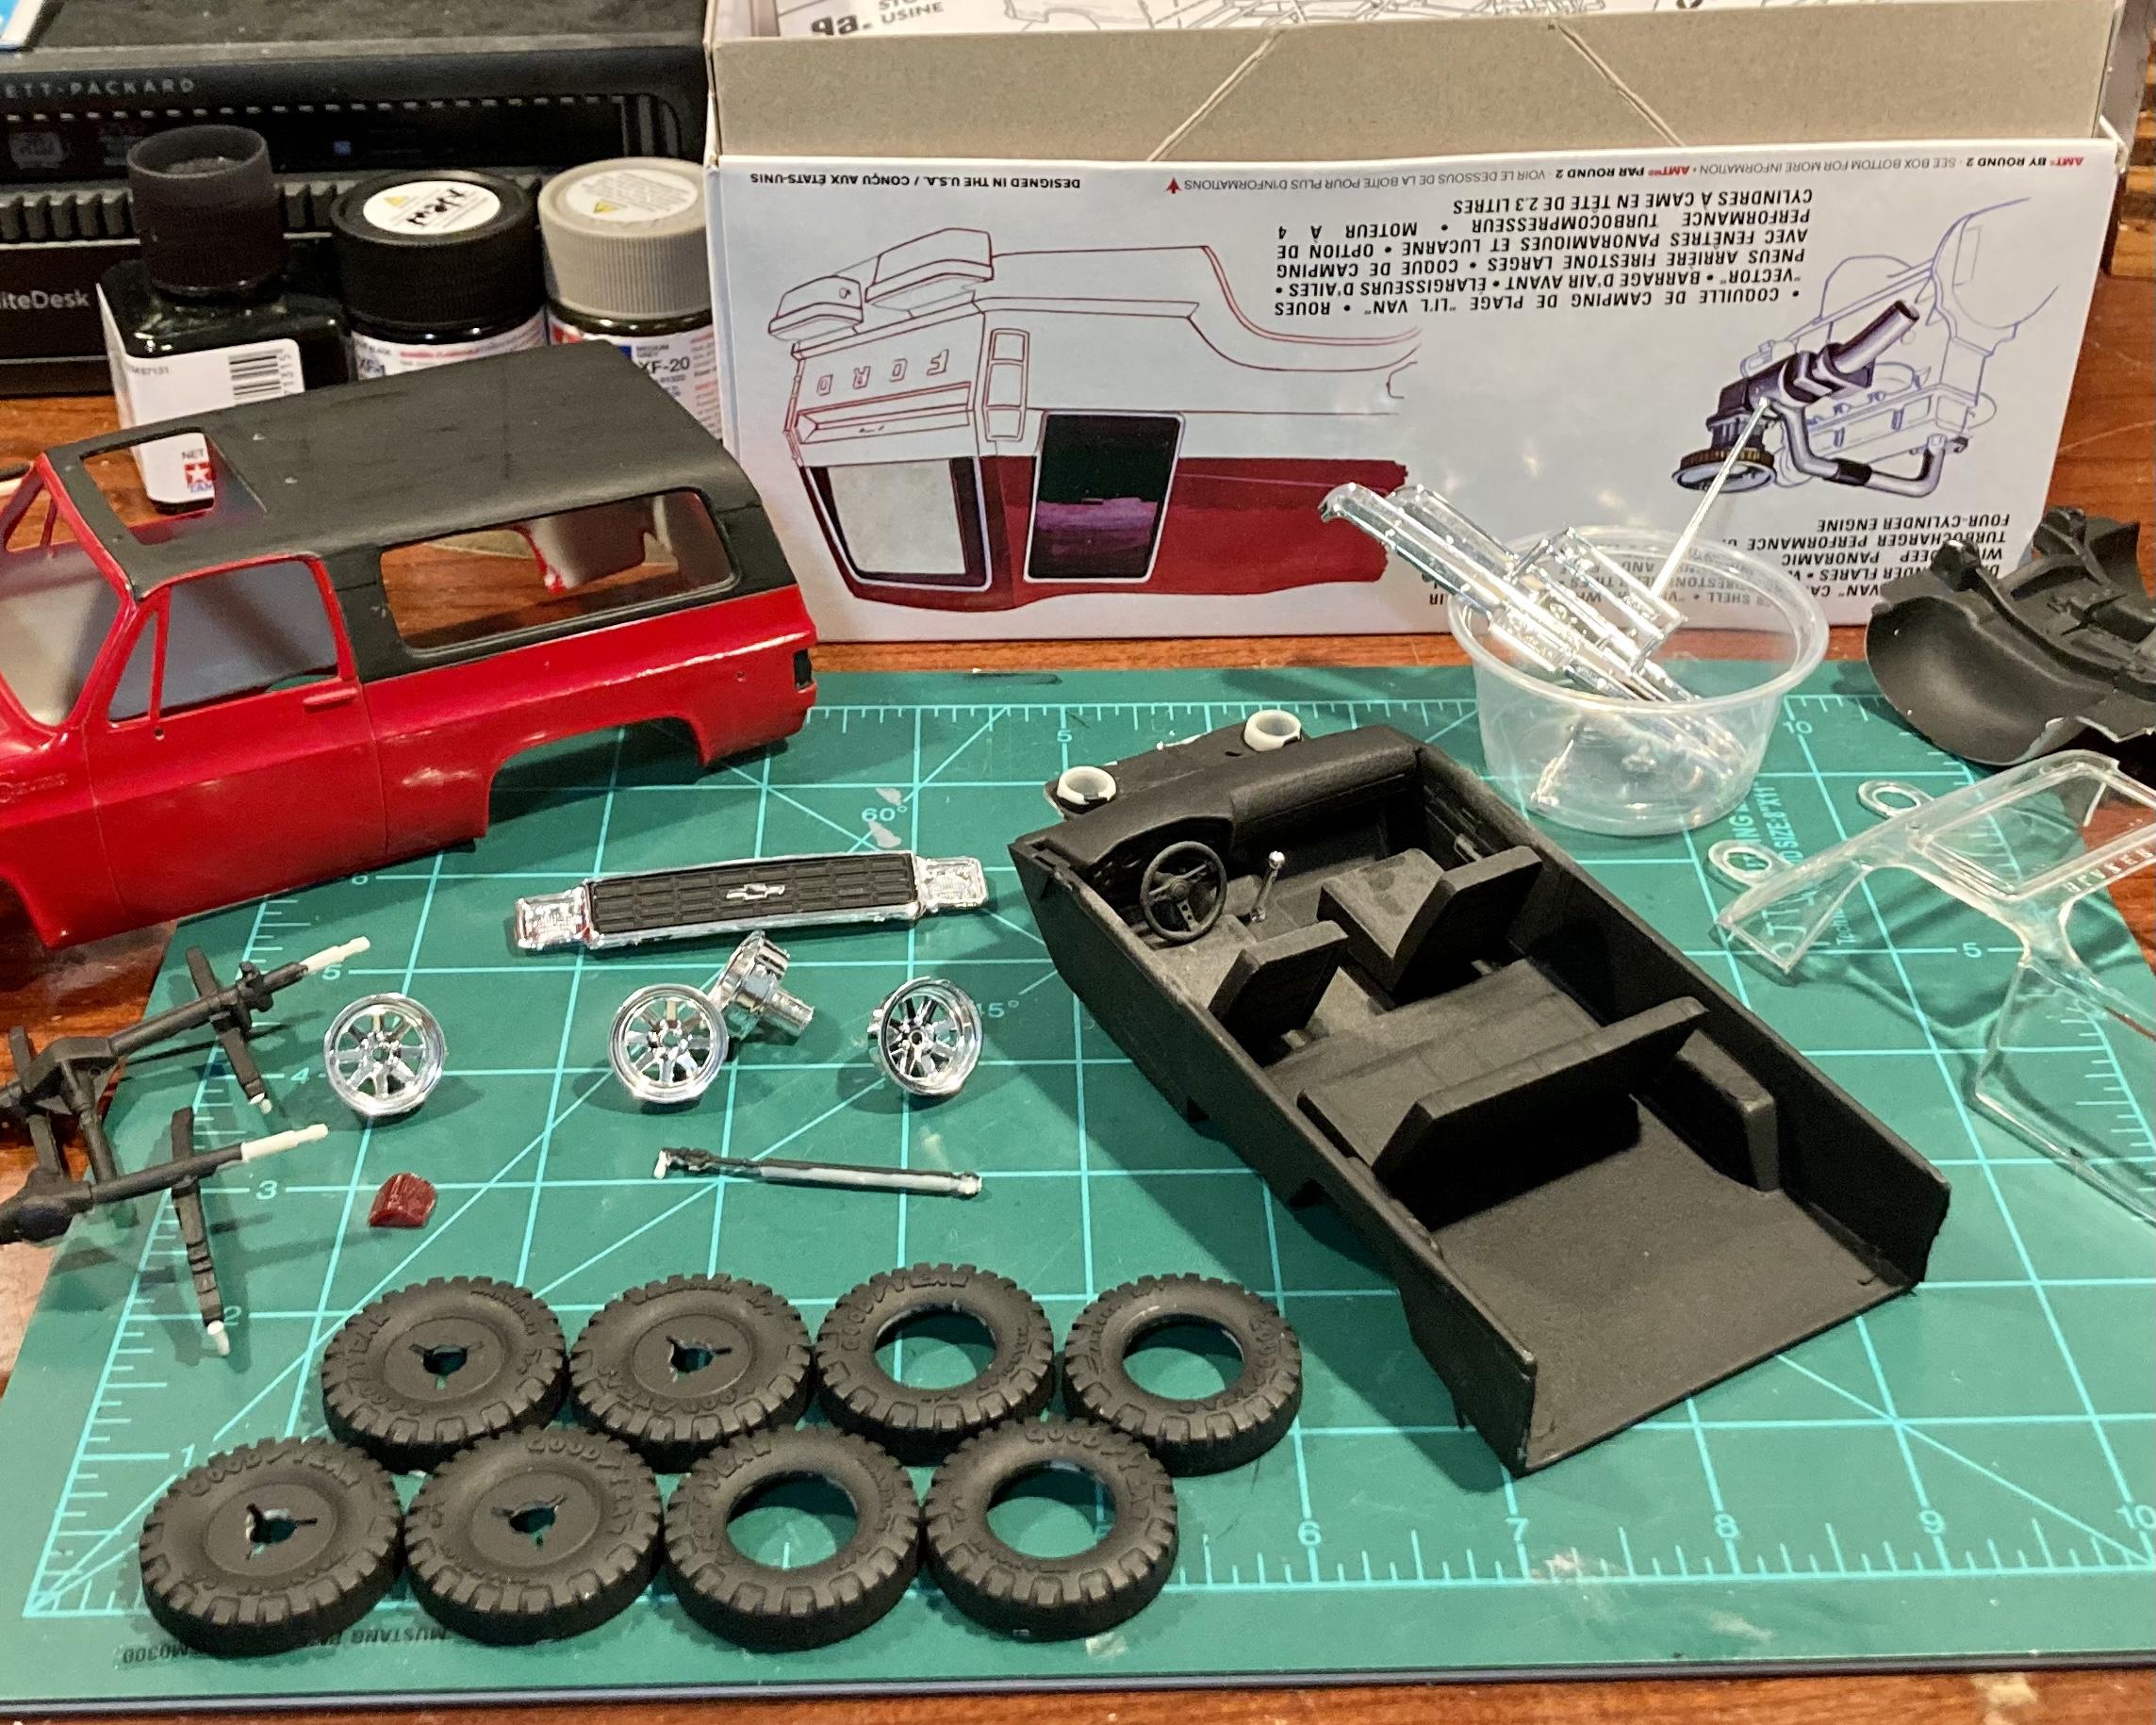
This is my first restoration or rebuild project I’ve done, so I thought I might as well make it my first WIP documented build too! A little background: I was an avid model car builder back in my tween-teen years (early to mid/late ‘00s) but I gave it up once I hit college and started my career. About a year ago now I picked modeling back up as a pandemic hobby and I’ve been fully hooked! This AMT snap kit was one of the last kits I built as a kid. It must have been the 2007 re-issue because I only bought kits off the shelf from Walmart and HL back then, before I had a credit card to destroy on eBay. ? Today, I have a growing collection of classic 70s-90s SUV kits, so I decided to rebuild this one to go with them. Since it’s a snap kit, it’s a great candidate for rebuilding, plus these kits are kind of rare and expensive now.Back then, I was exclusively brush painting my builds with Testors enamels. I never used primer, I always used model cement and CA to glue painted, clear and chrome parts (with expected terrible results) and just did basic hand painted details. I’ve definitely come a long way today thanks to YouTube tutorials and model sites like this one! The body paint on my original build was surprisingly smooth and glossy for brush painting, but it definitely looks sloppy compared to my current adult builds. I apparently hastily “twisted” all of these parts from the sprue trees instead of using a knife so I’ll have to clean them up and probably putty the worst spots. So far, I have disassembled everything and the parts are soaking in Super Clean. I broke a few mounting pegs from the suspension and the driveshaft broke from the differential, nothing some model cement can’t fix. Unfortunately, the passenger side taillight lens is missing so I’ll have to come up with a fix for it. Thanks for reading, and I’ll try to keep updates coming regularly!
-
Ok I am jealous of your shop! All of that natural light is awesome. My basement workspace feels like a black hole no matter how many lights I set up down there ?
-
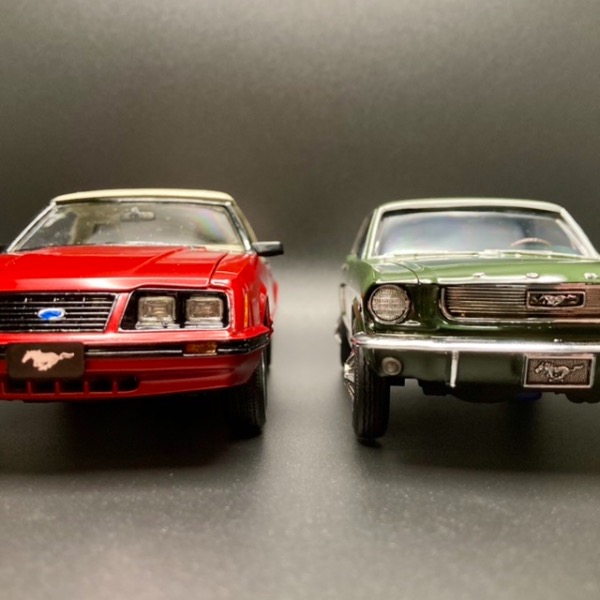
Tony, what do you use for a lighting source for your photos? Both the Mustang and your photography looks great!
-
Oh wow that’s a major improvement. Have you just discovered the new Pledge floor gloss??? Definitely going to have to get me some of that ceramic coating.
- 40 replies
-
- 1
-

-
- challenger
- revell
- (and 1 more)
-
Haha she is in the parts box not assembled. Figurines not really my thing, but if I ever do a diorama I’ll add her to it.
-
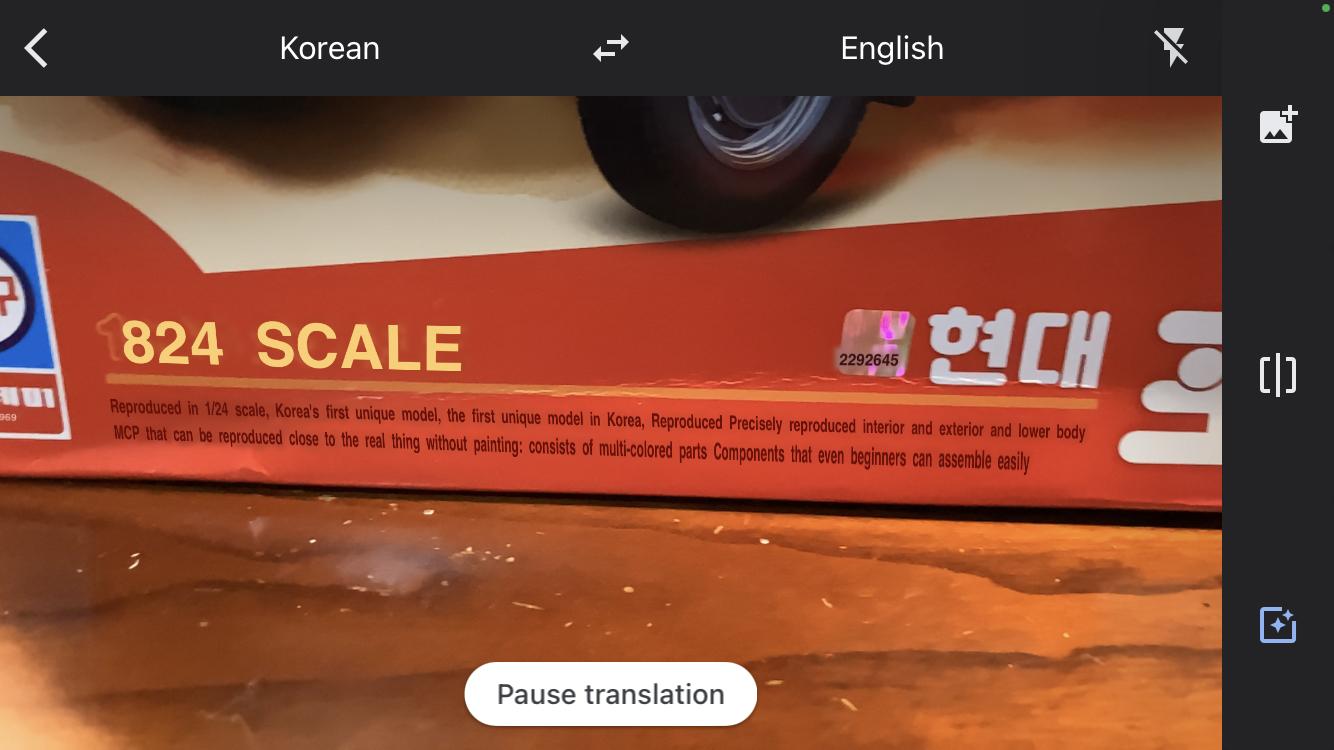
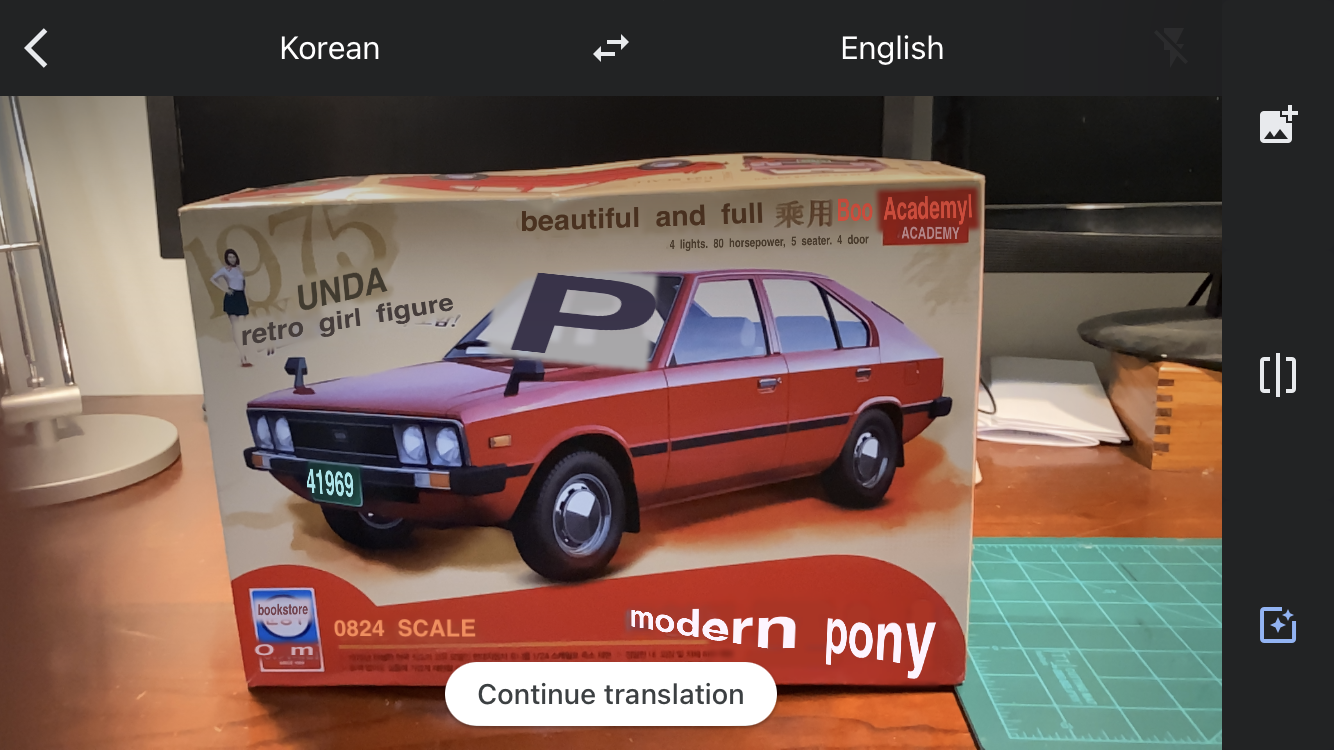
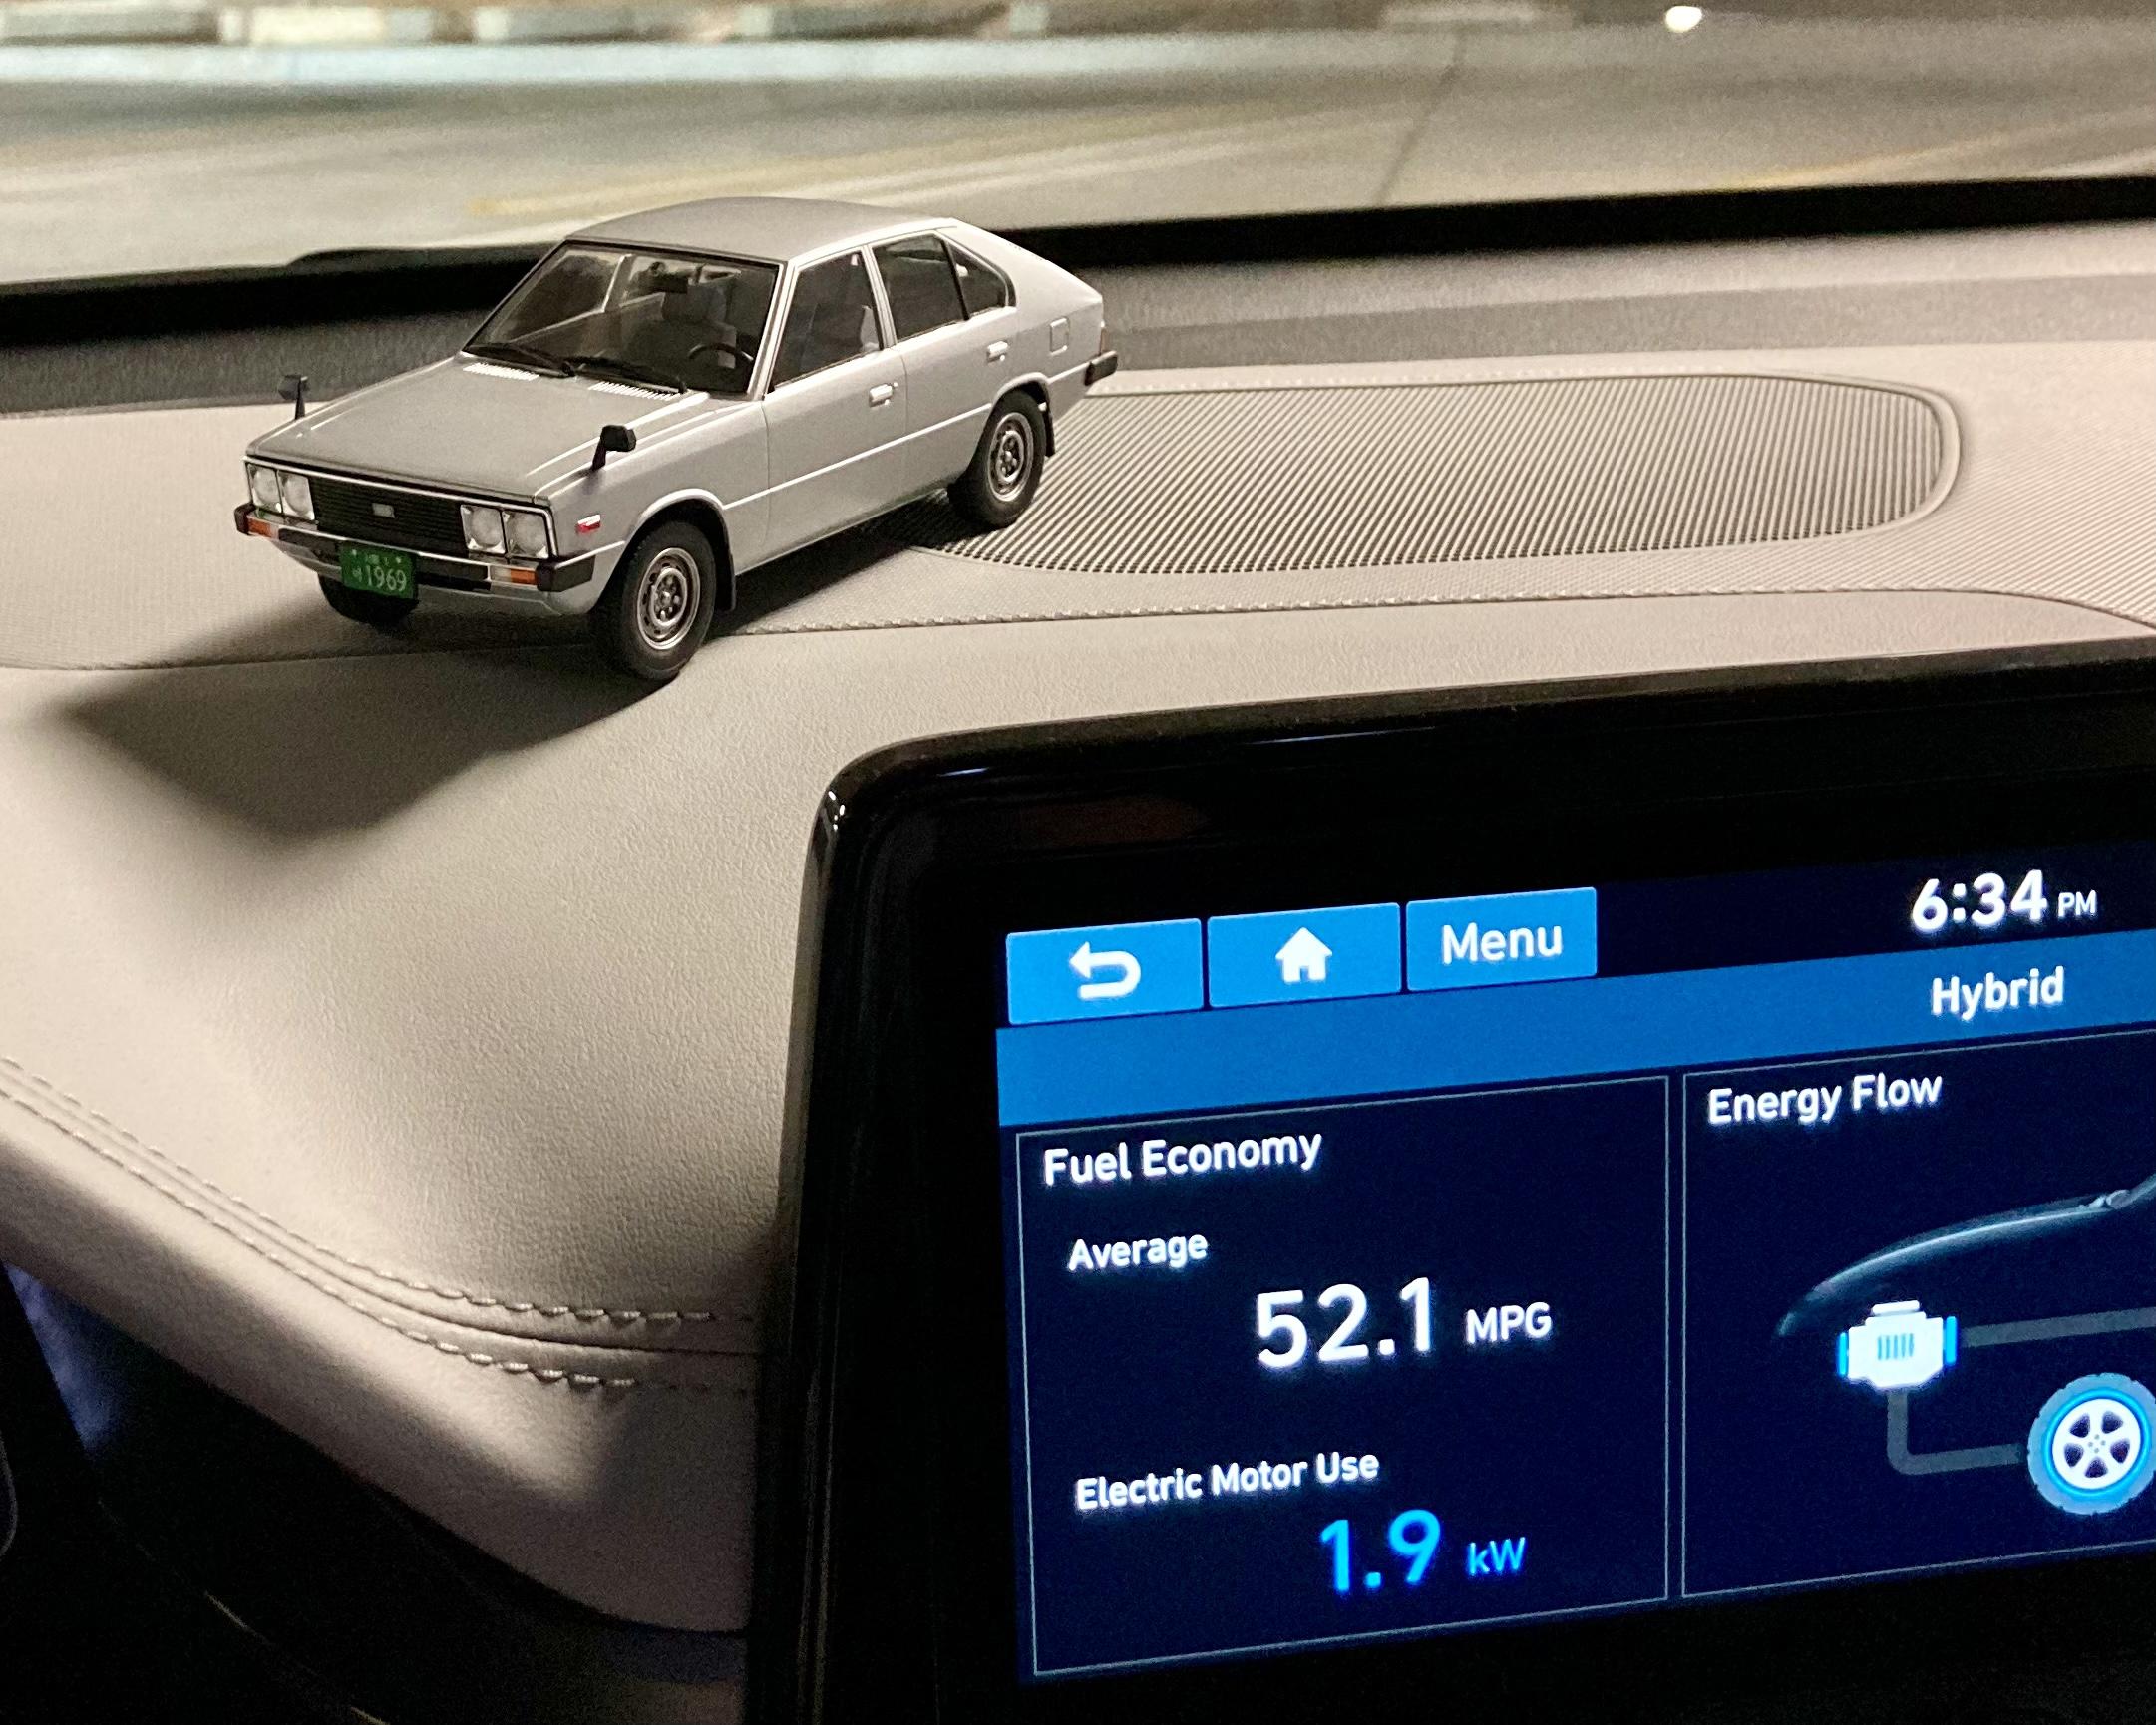
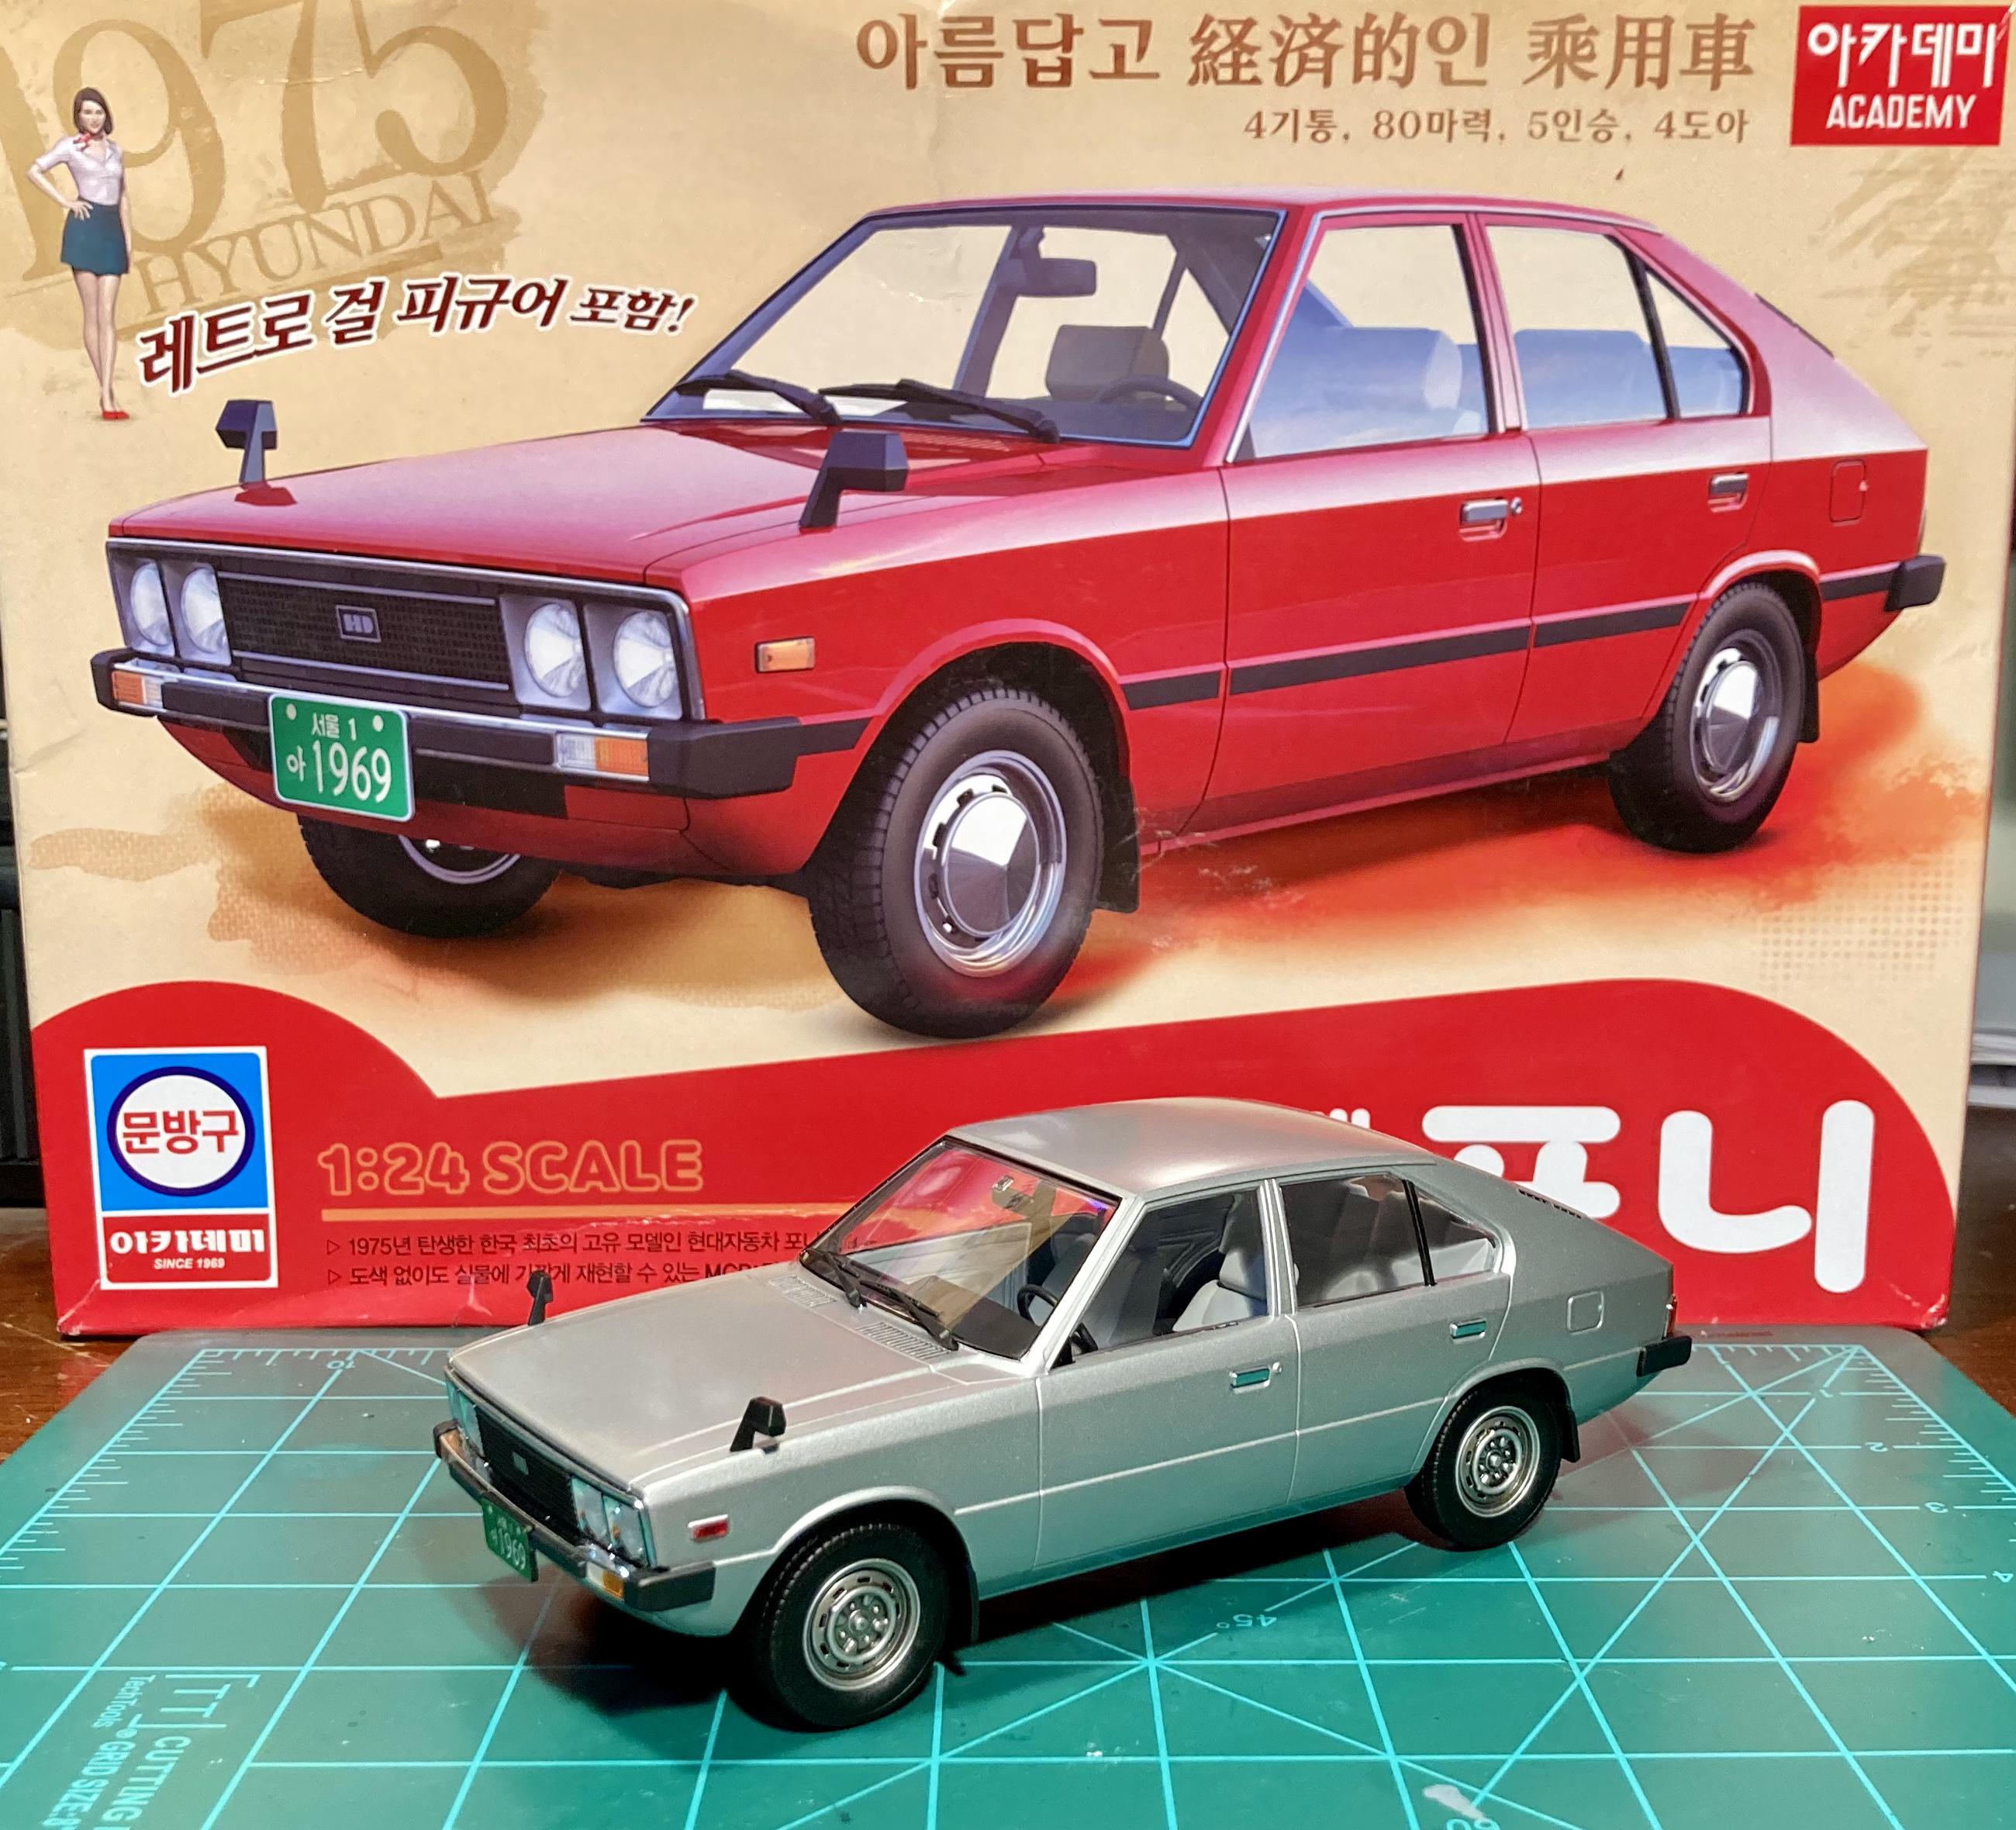
Before I chucked the box, I ran it through Google Translate. Pretty cool technology!
-
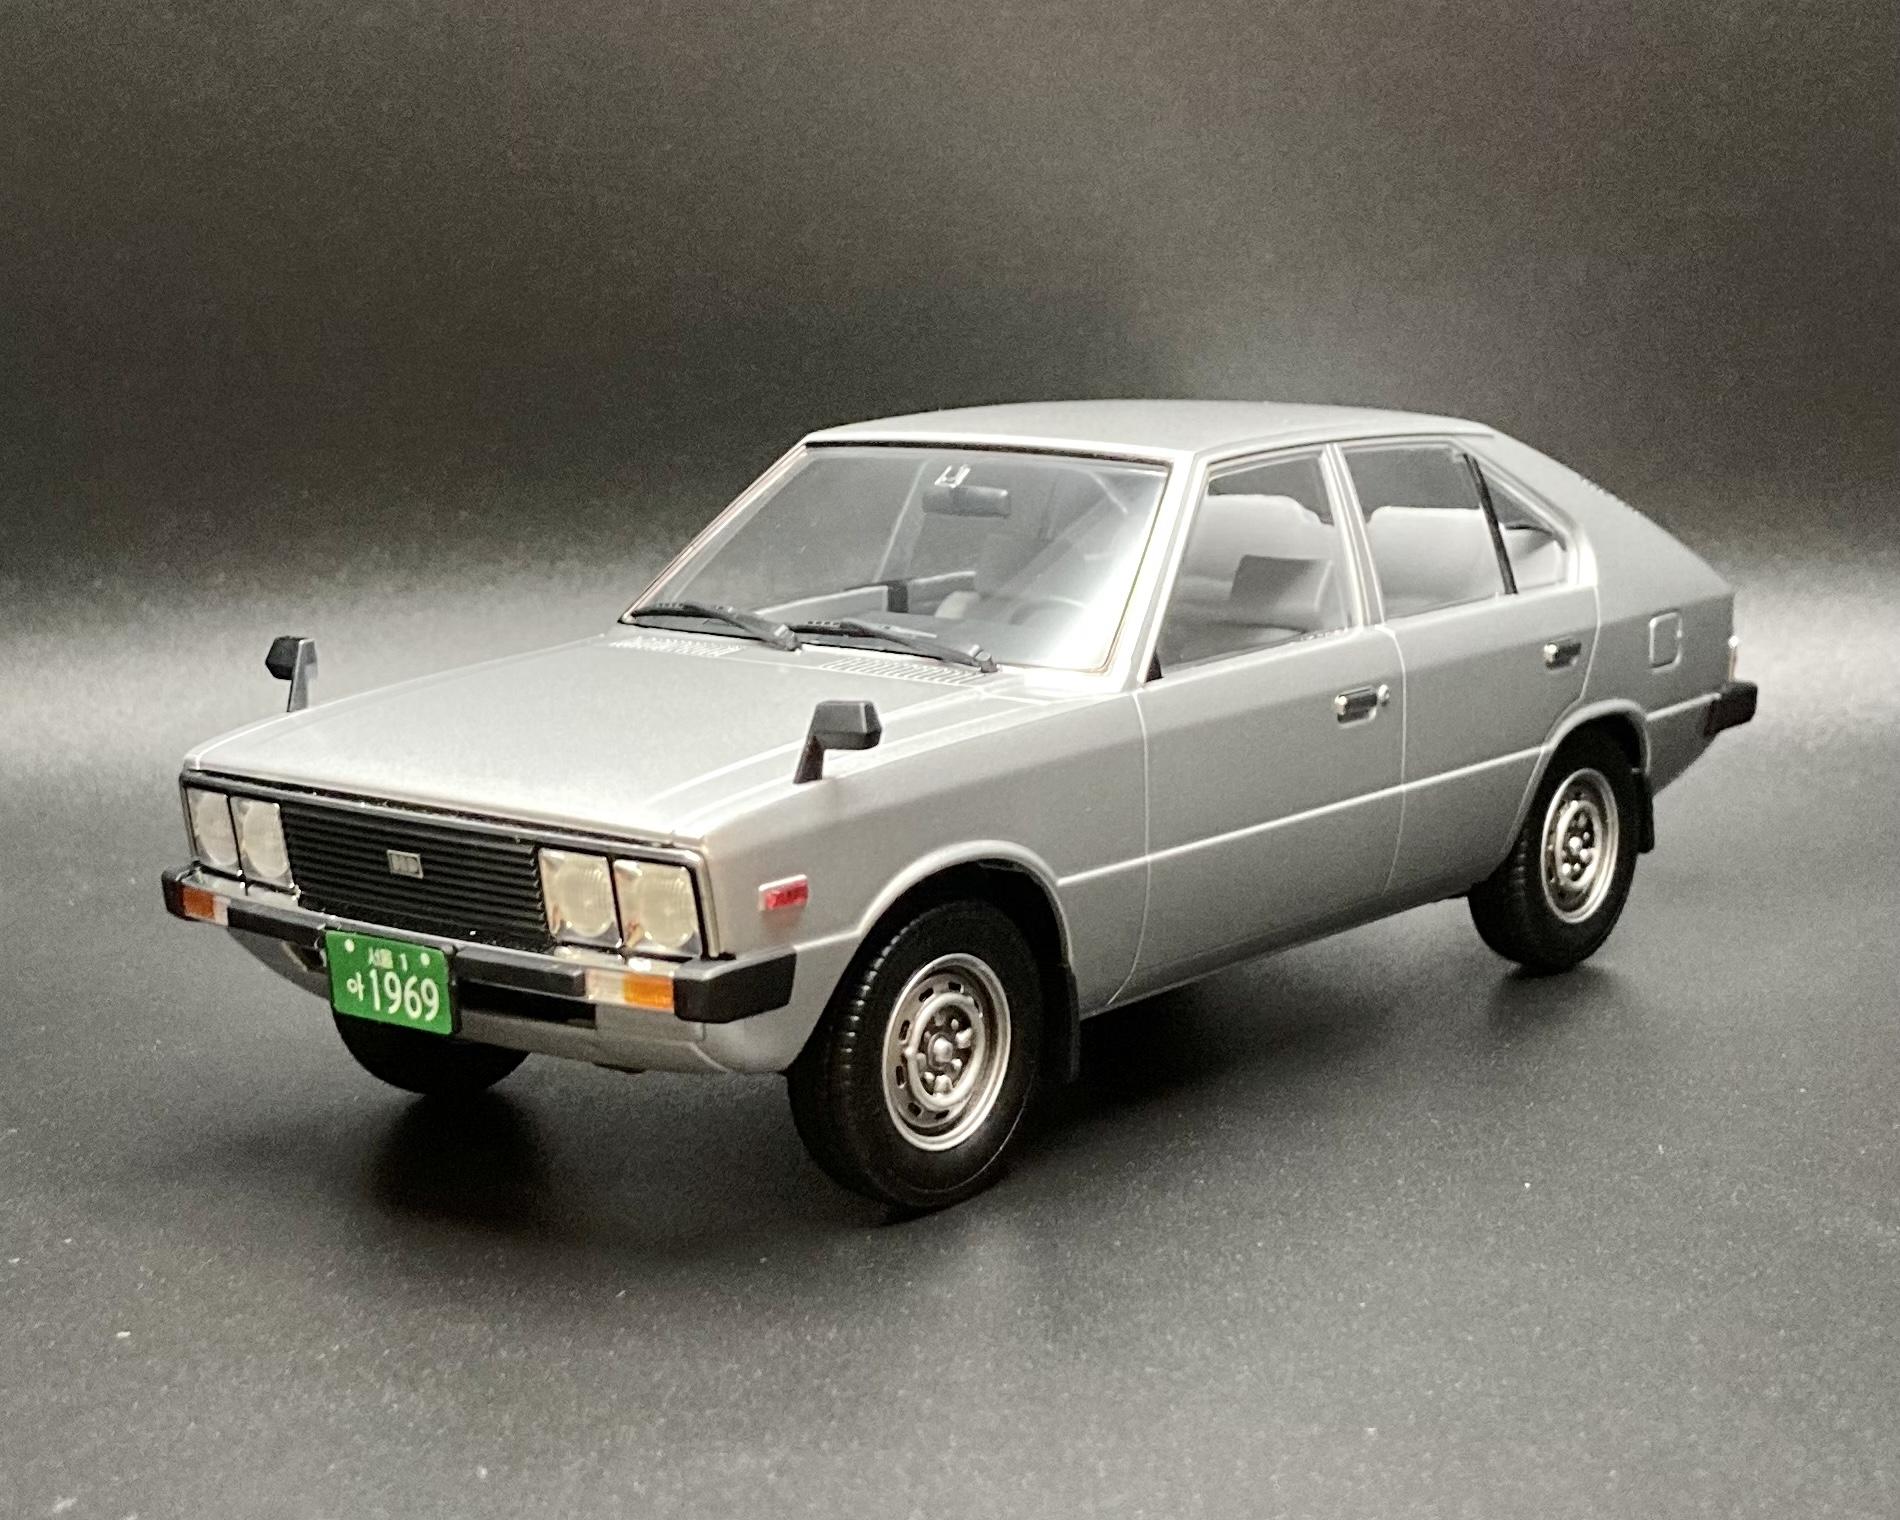
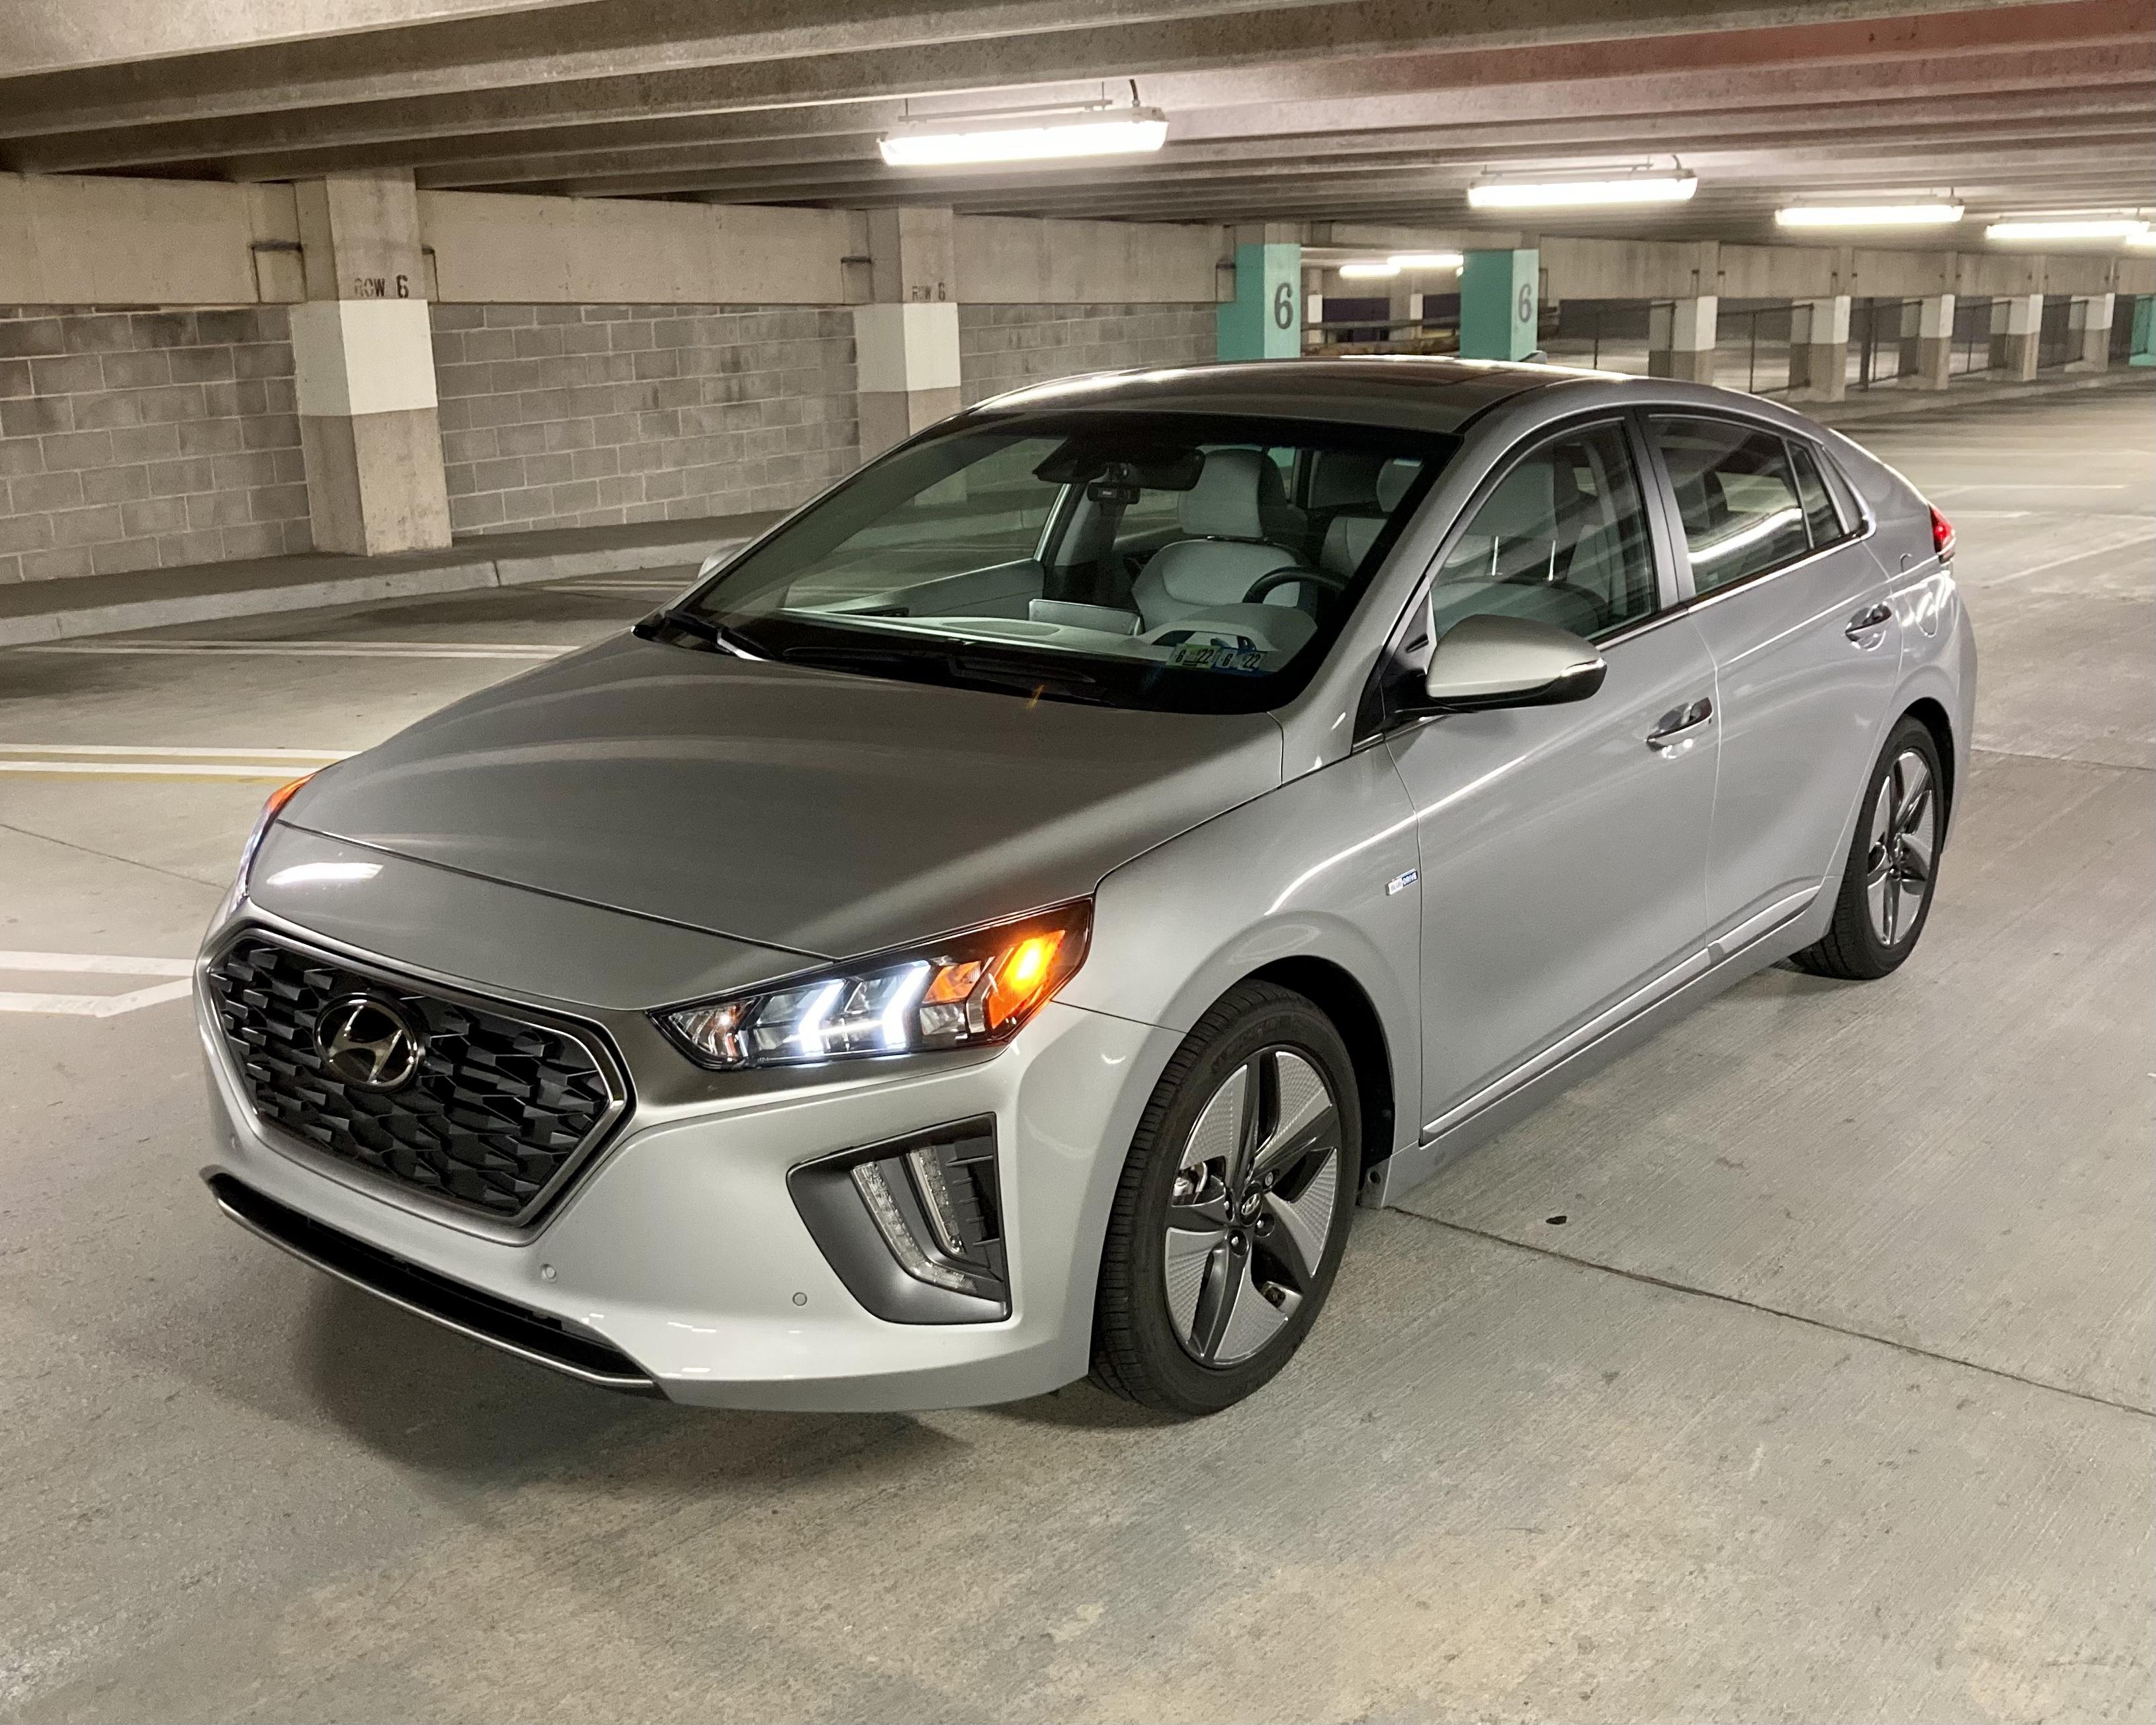
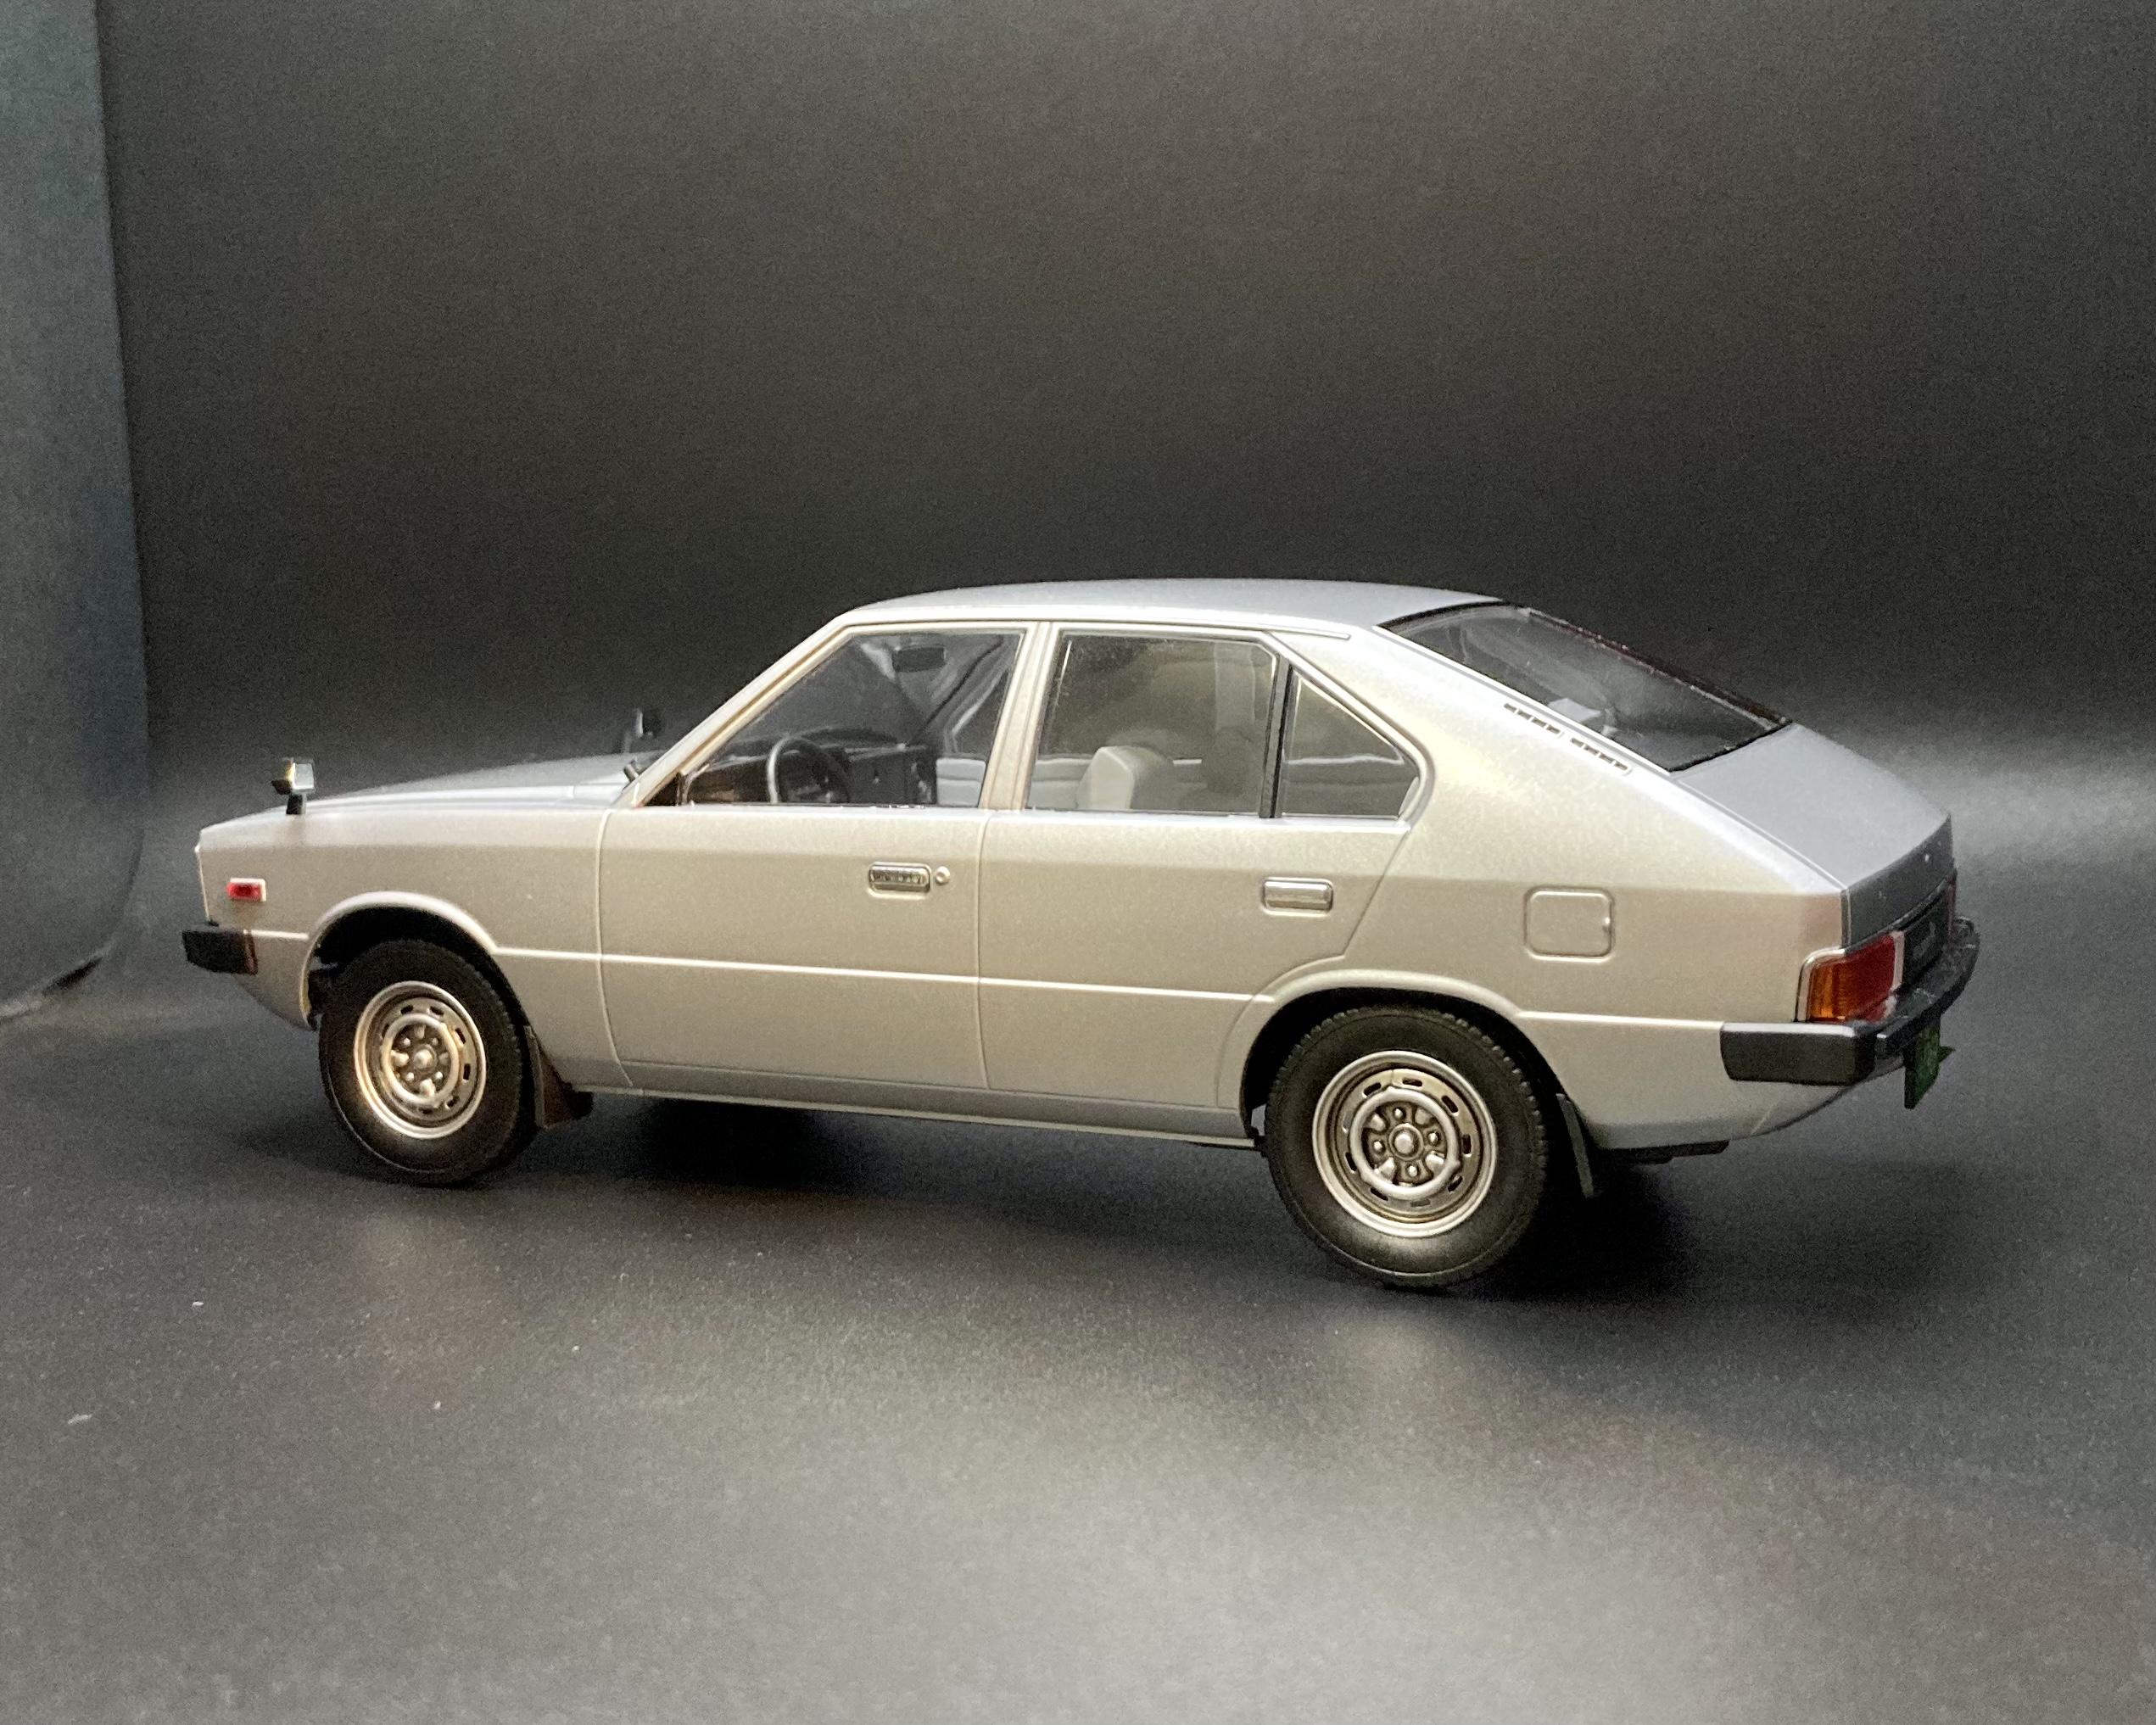
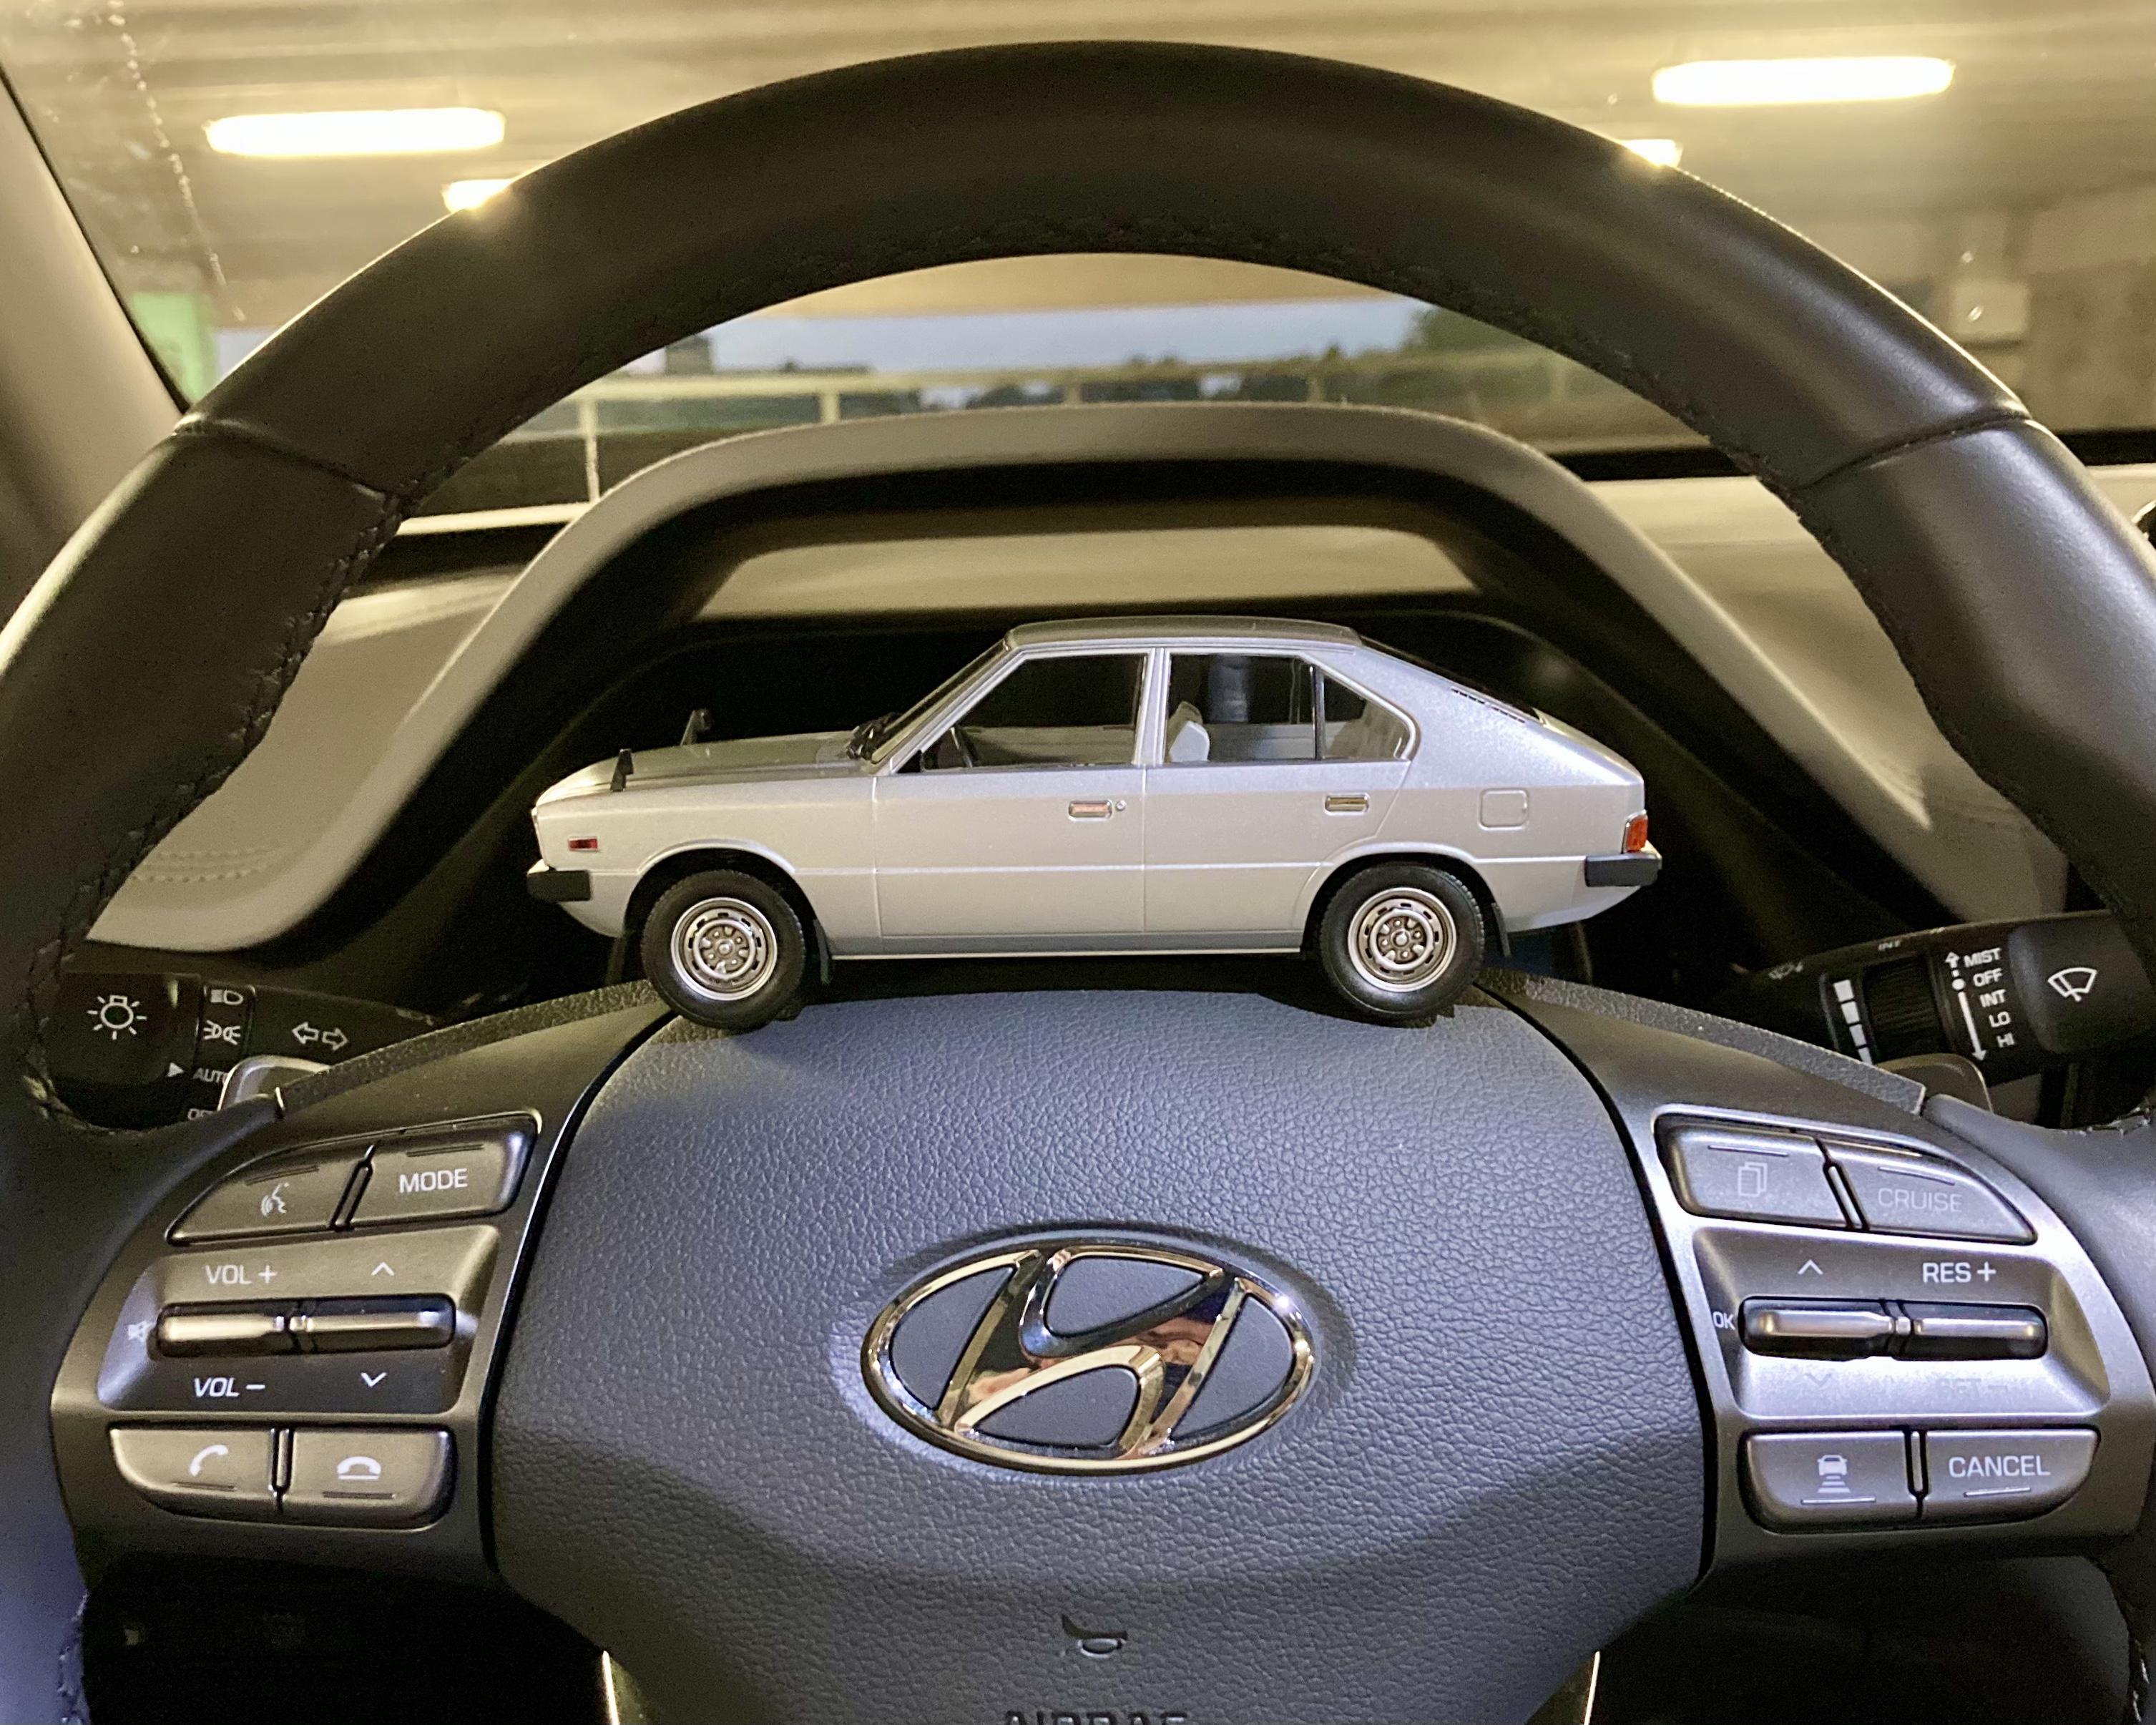
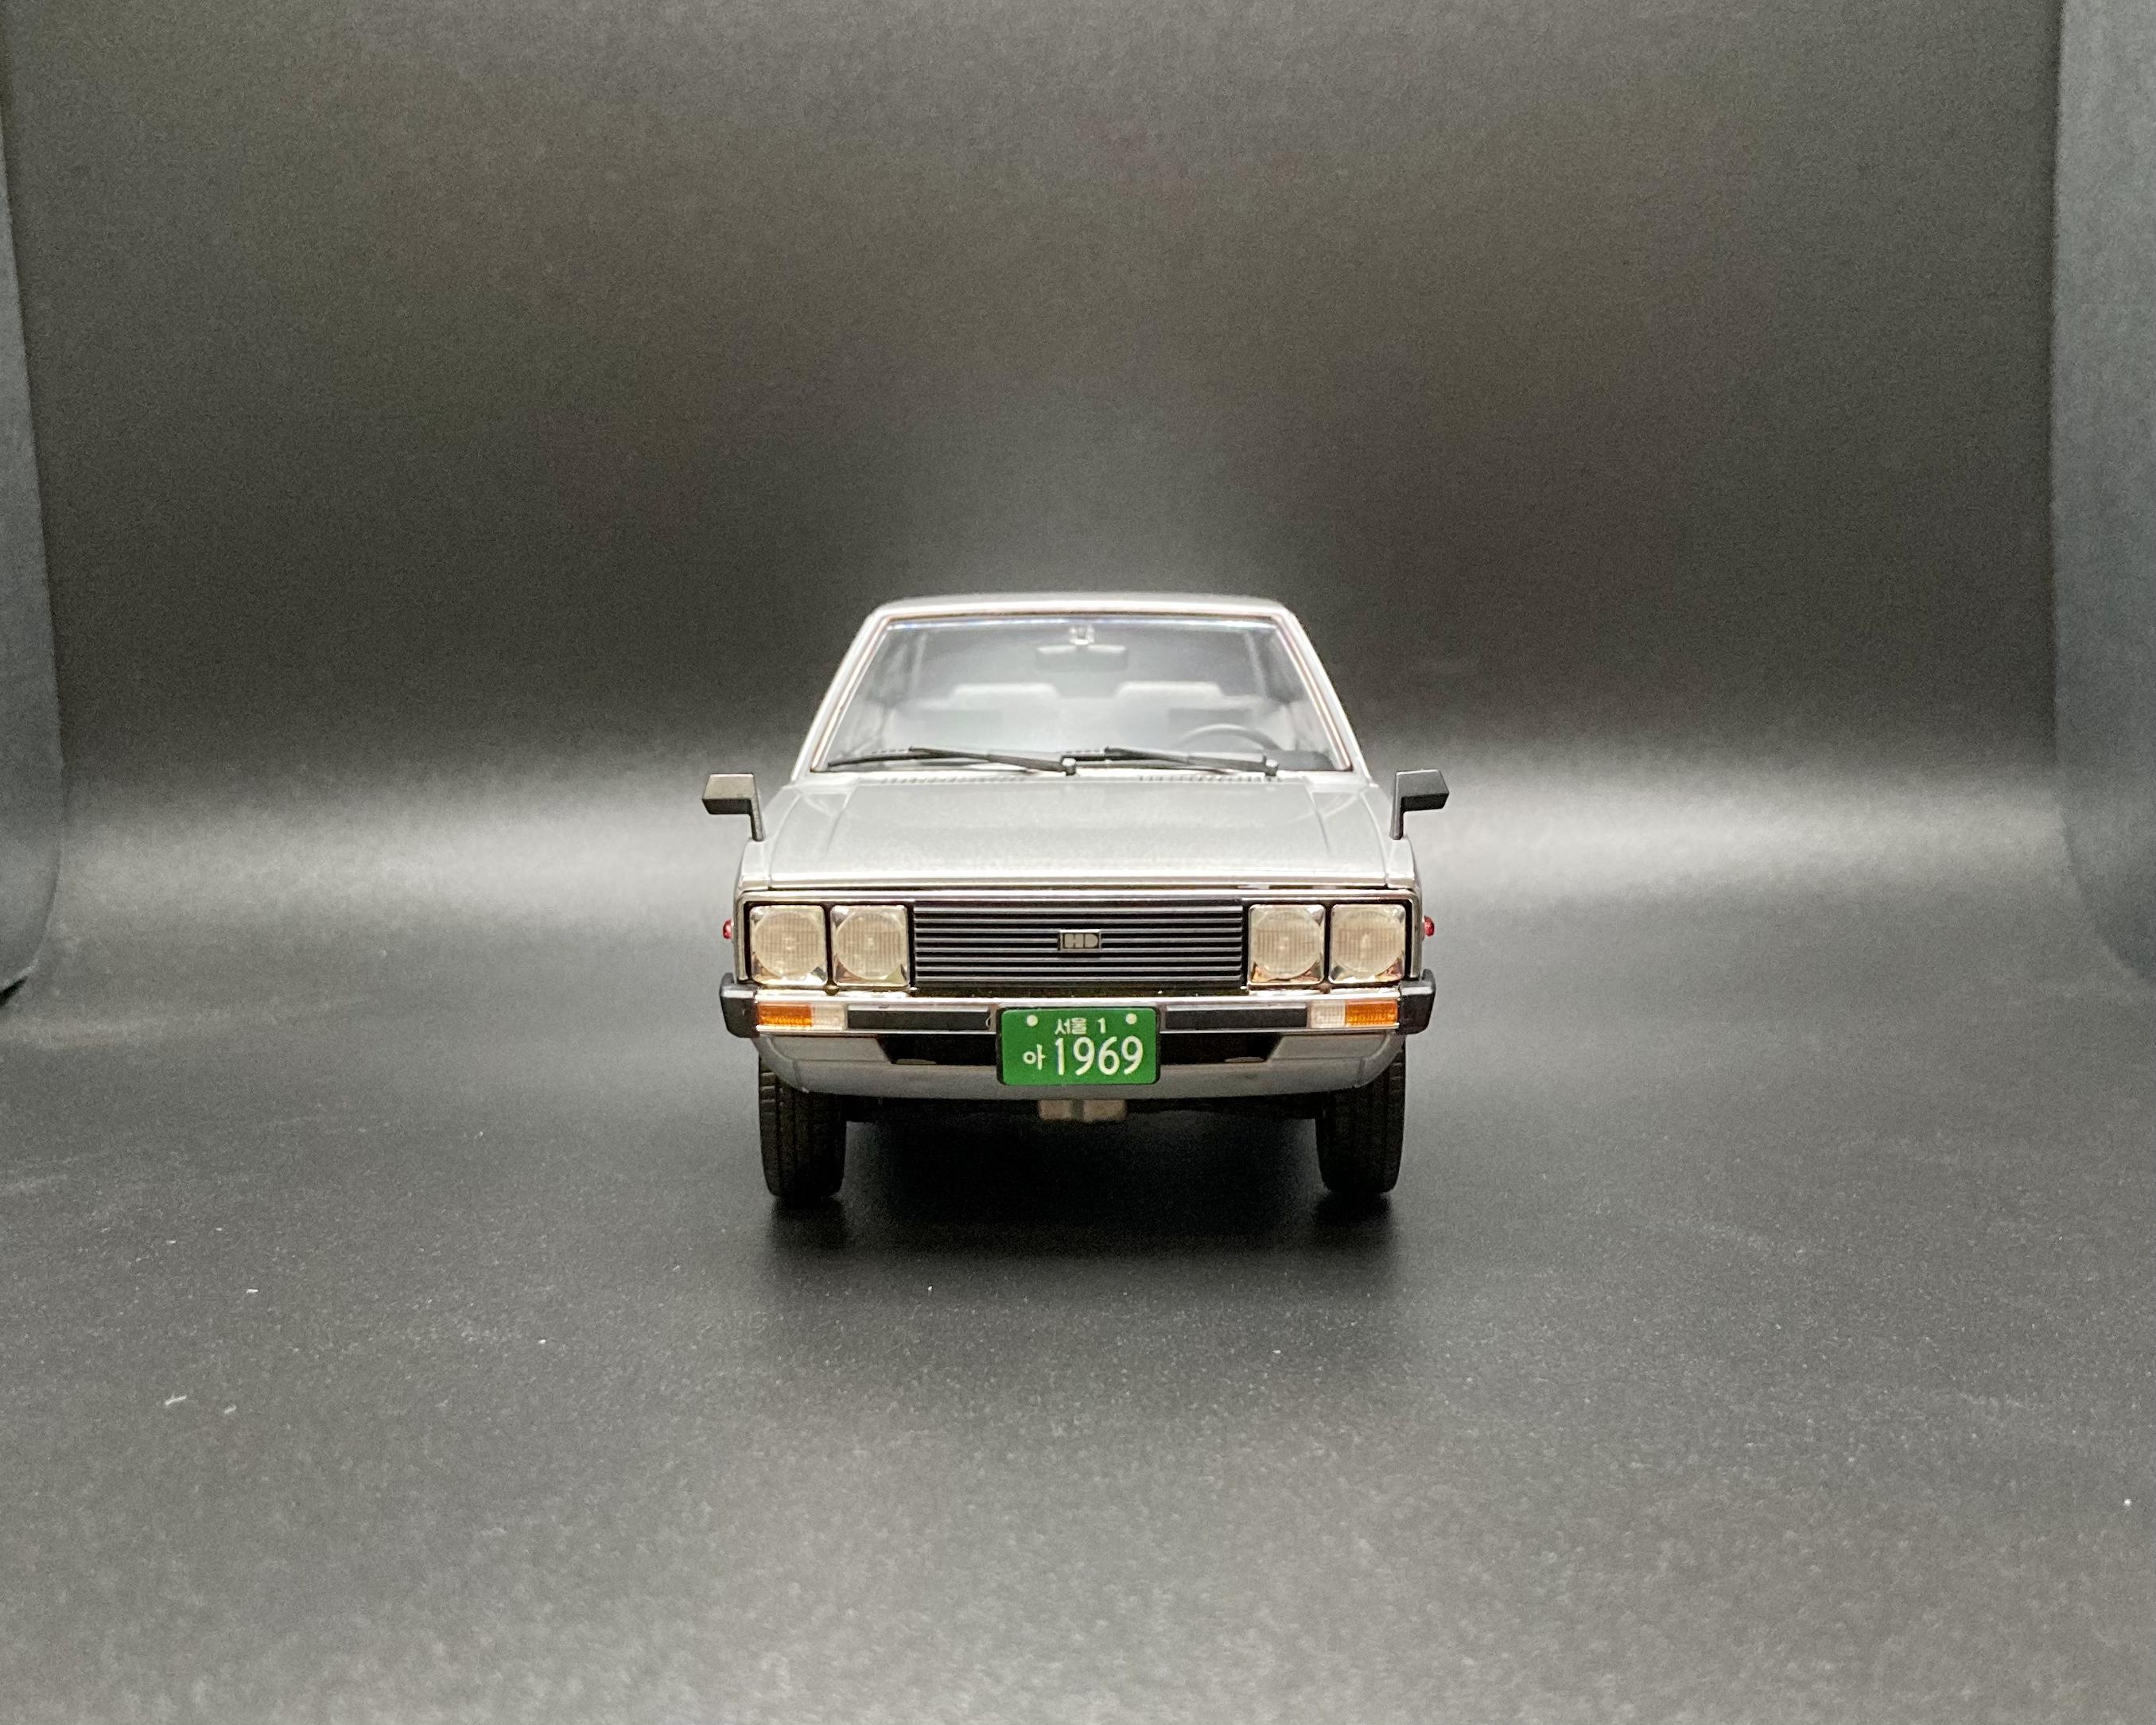
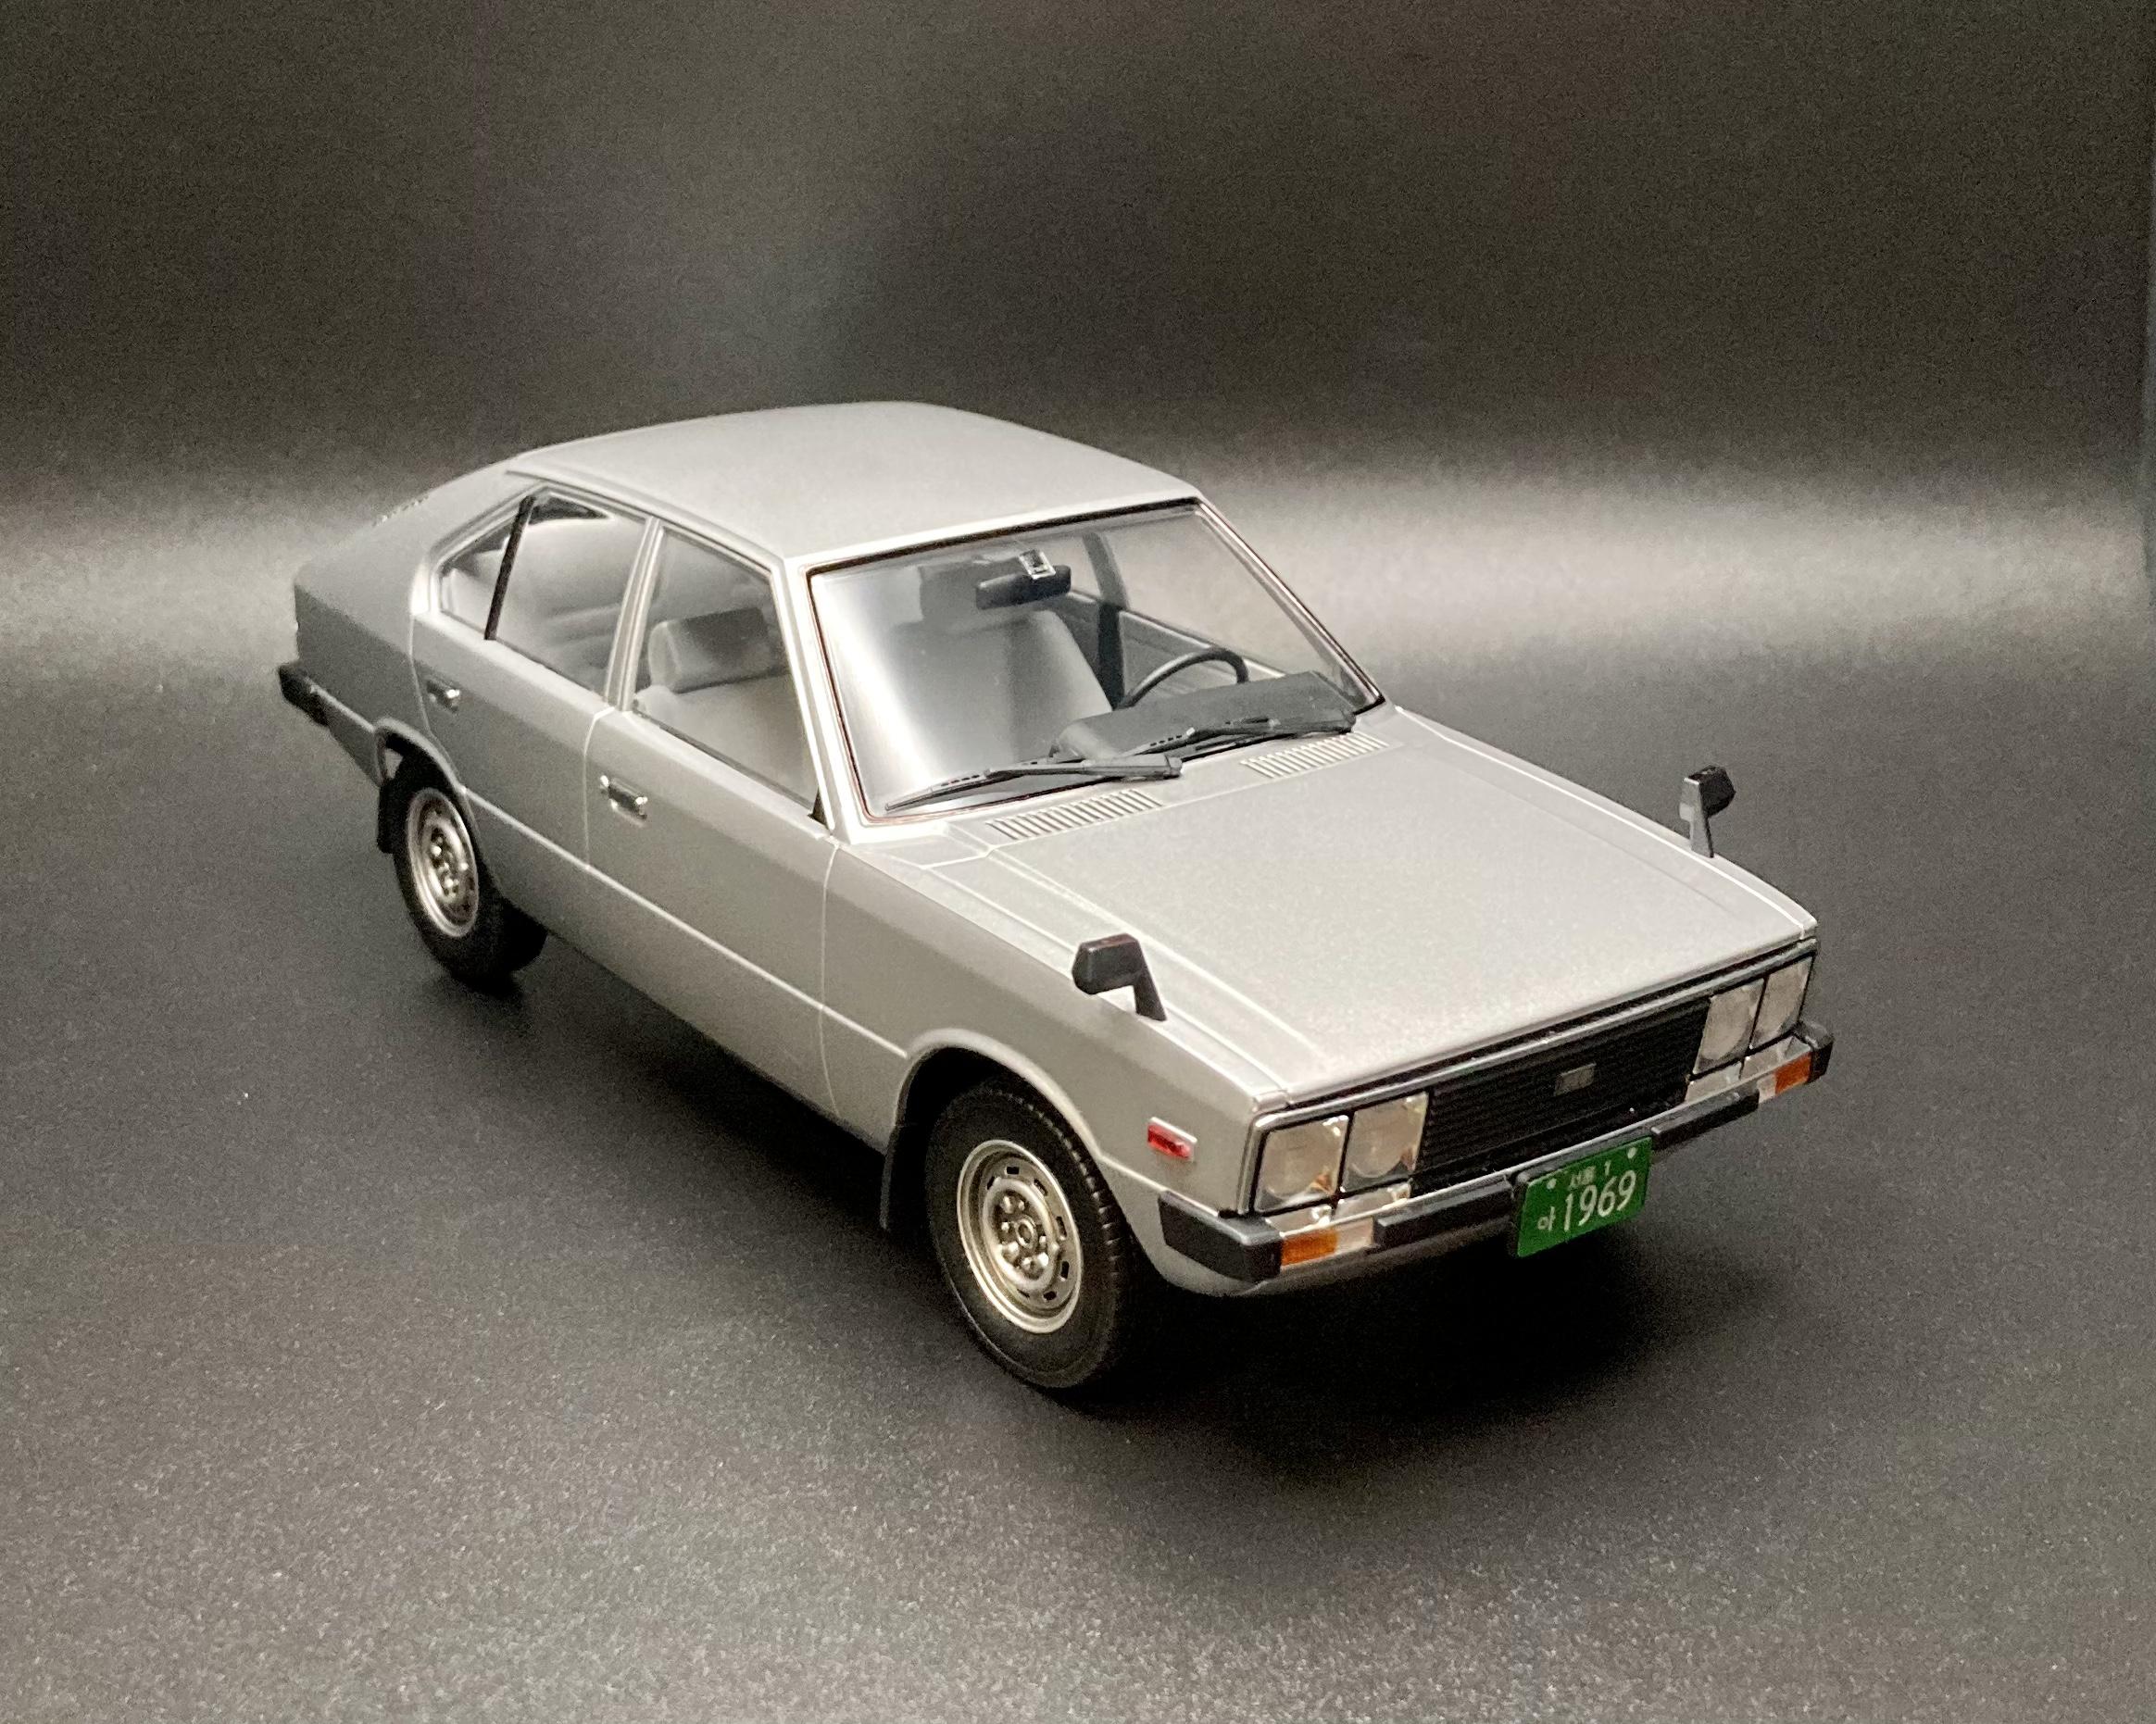
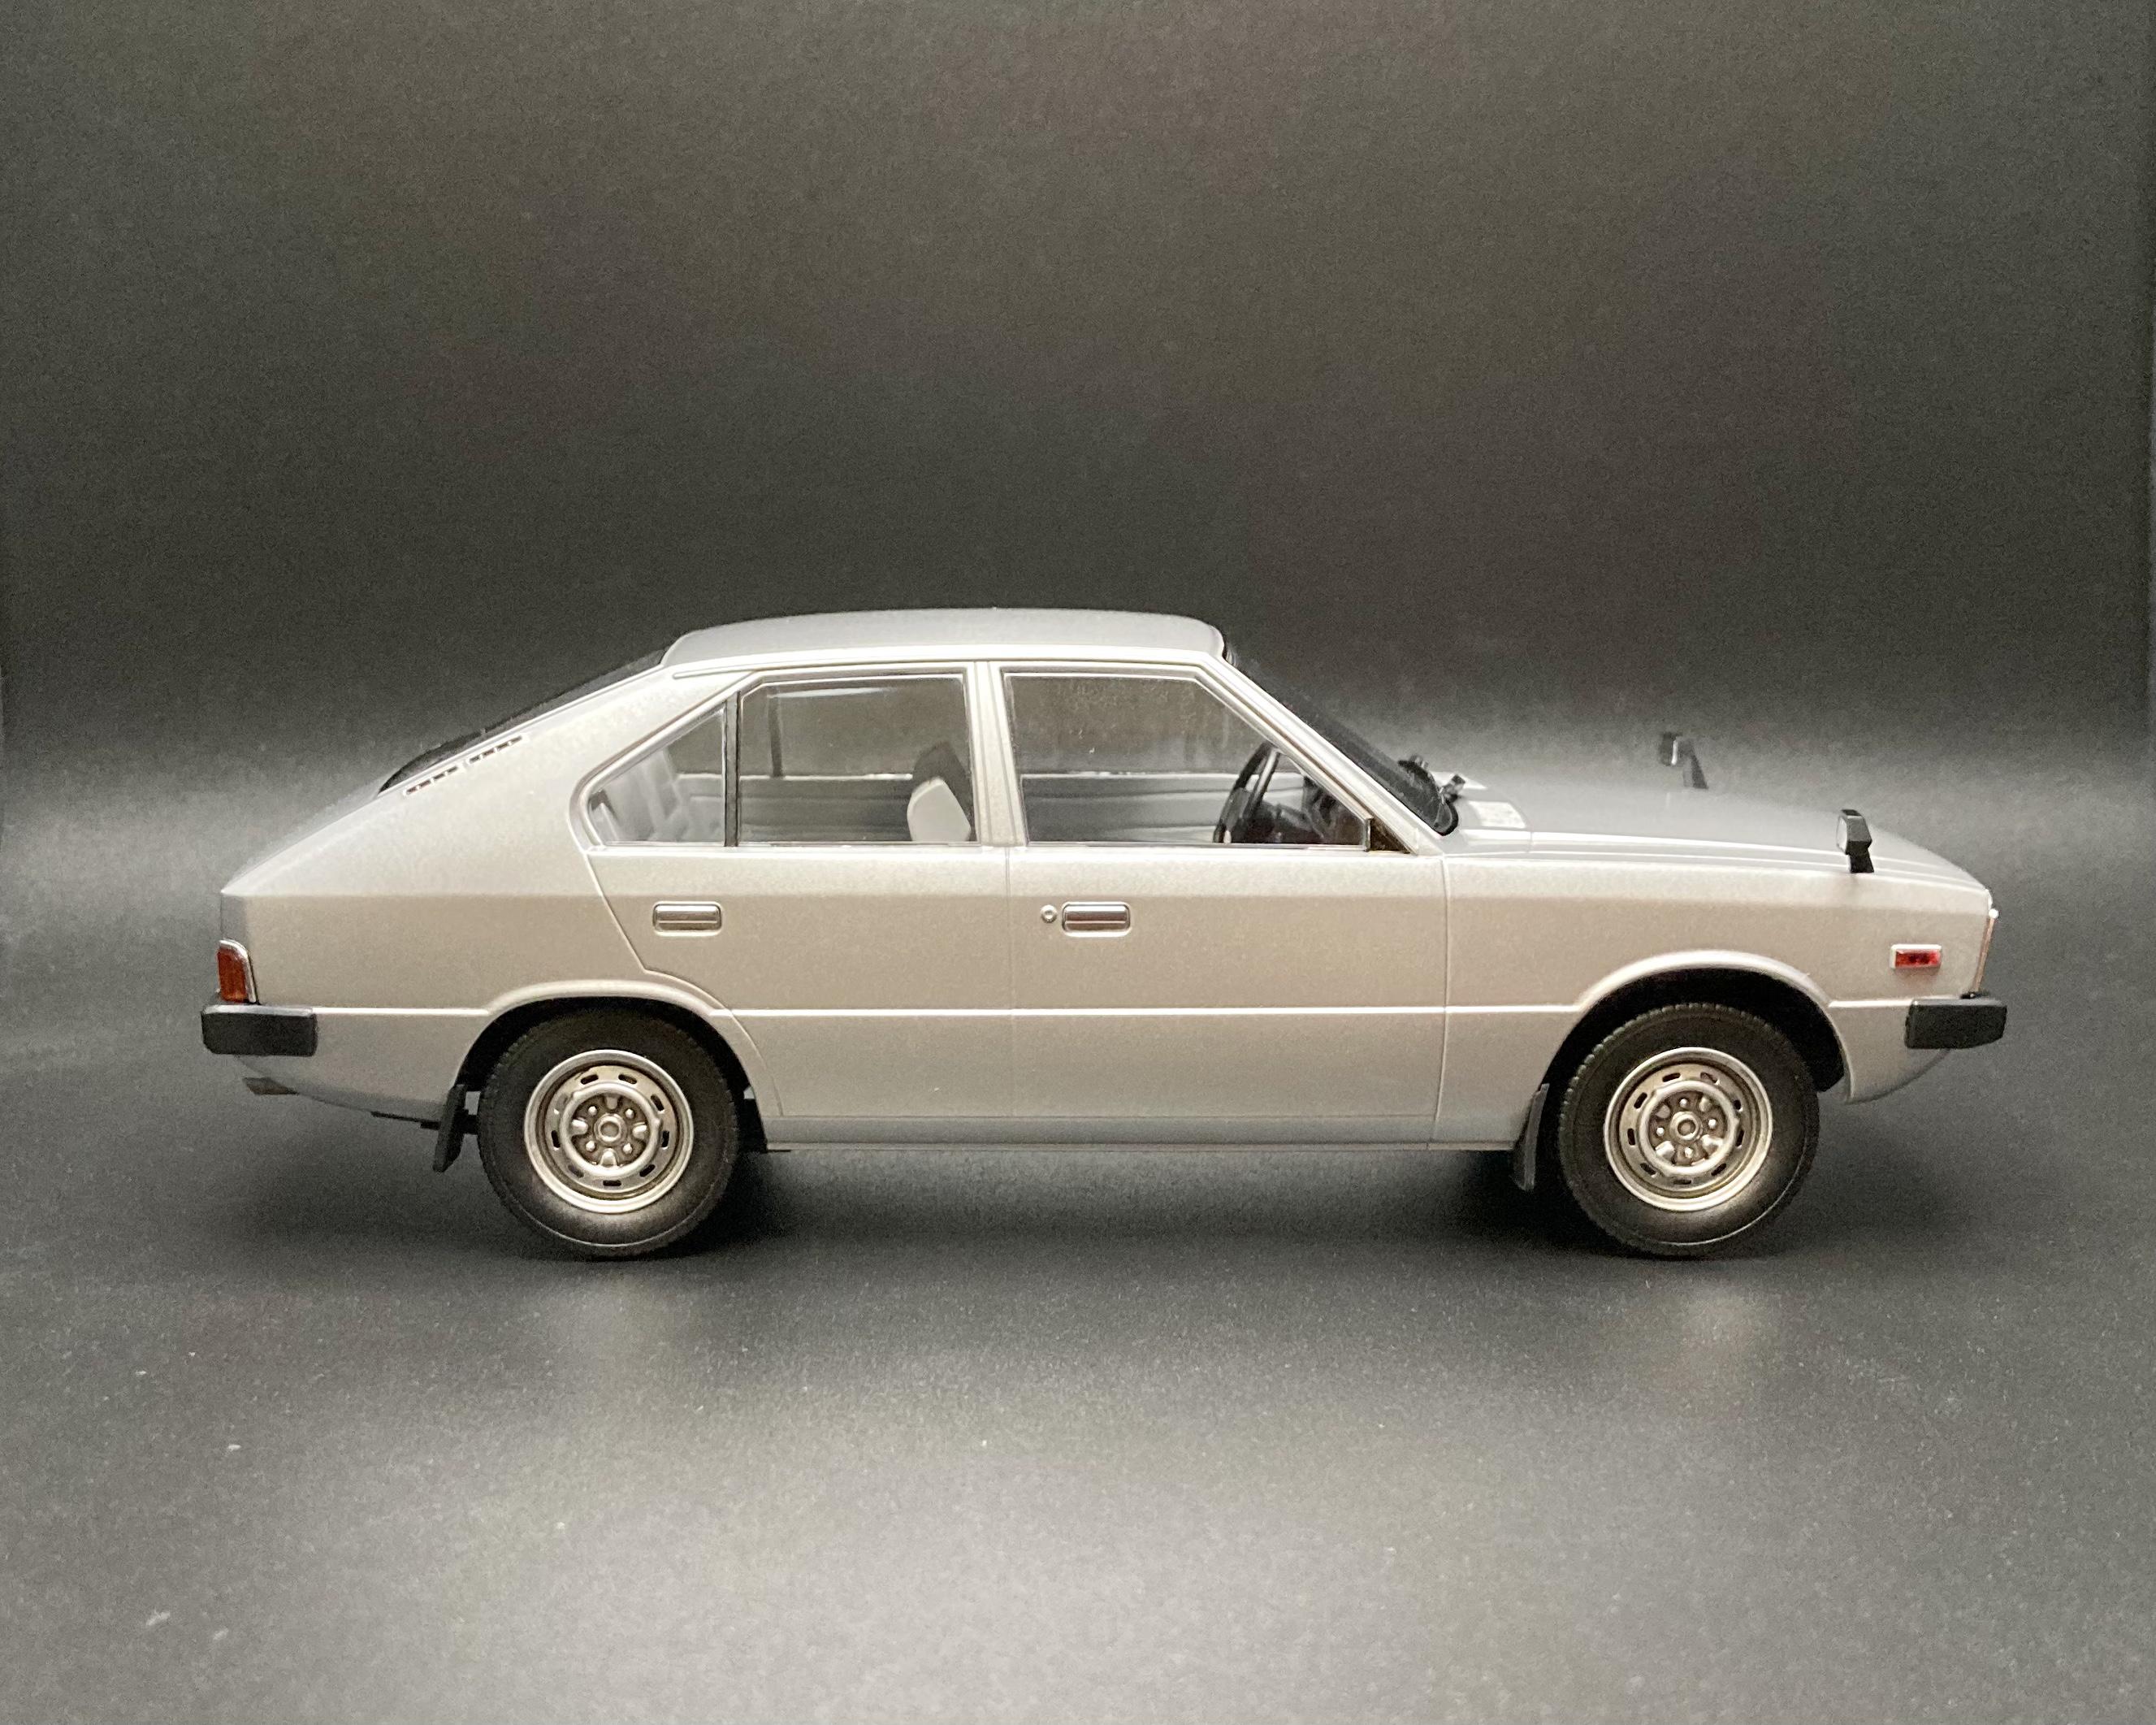
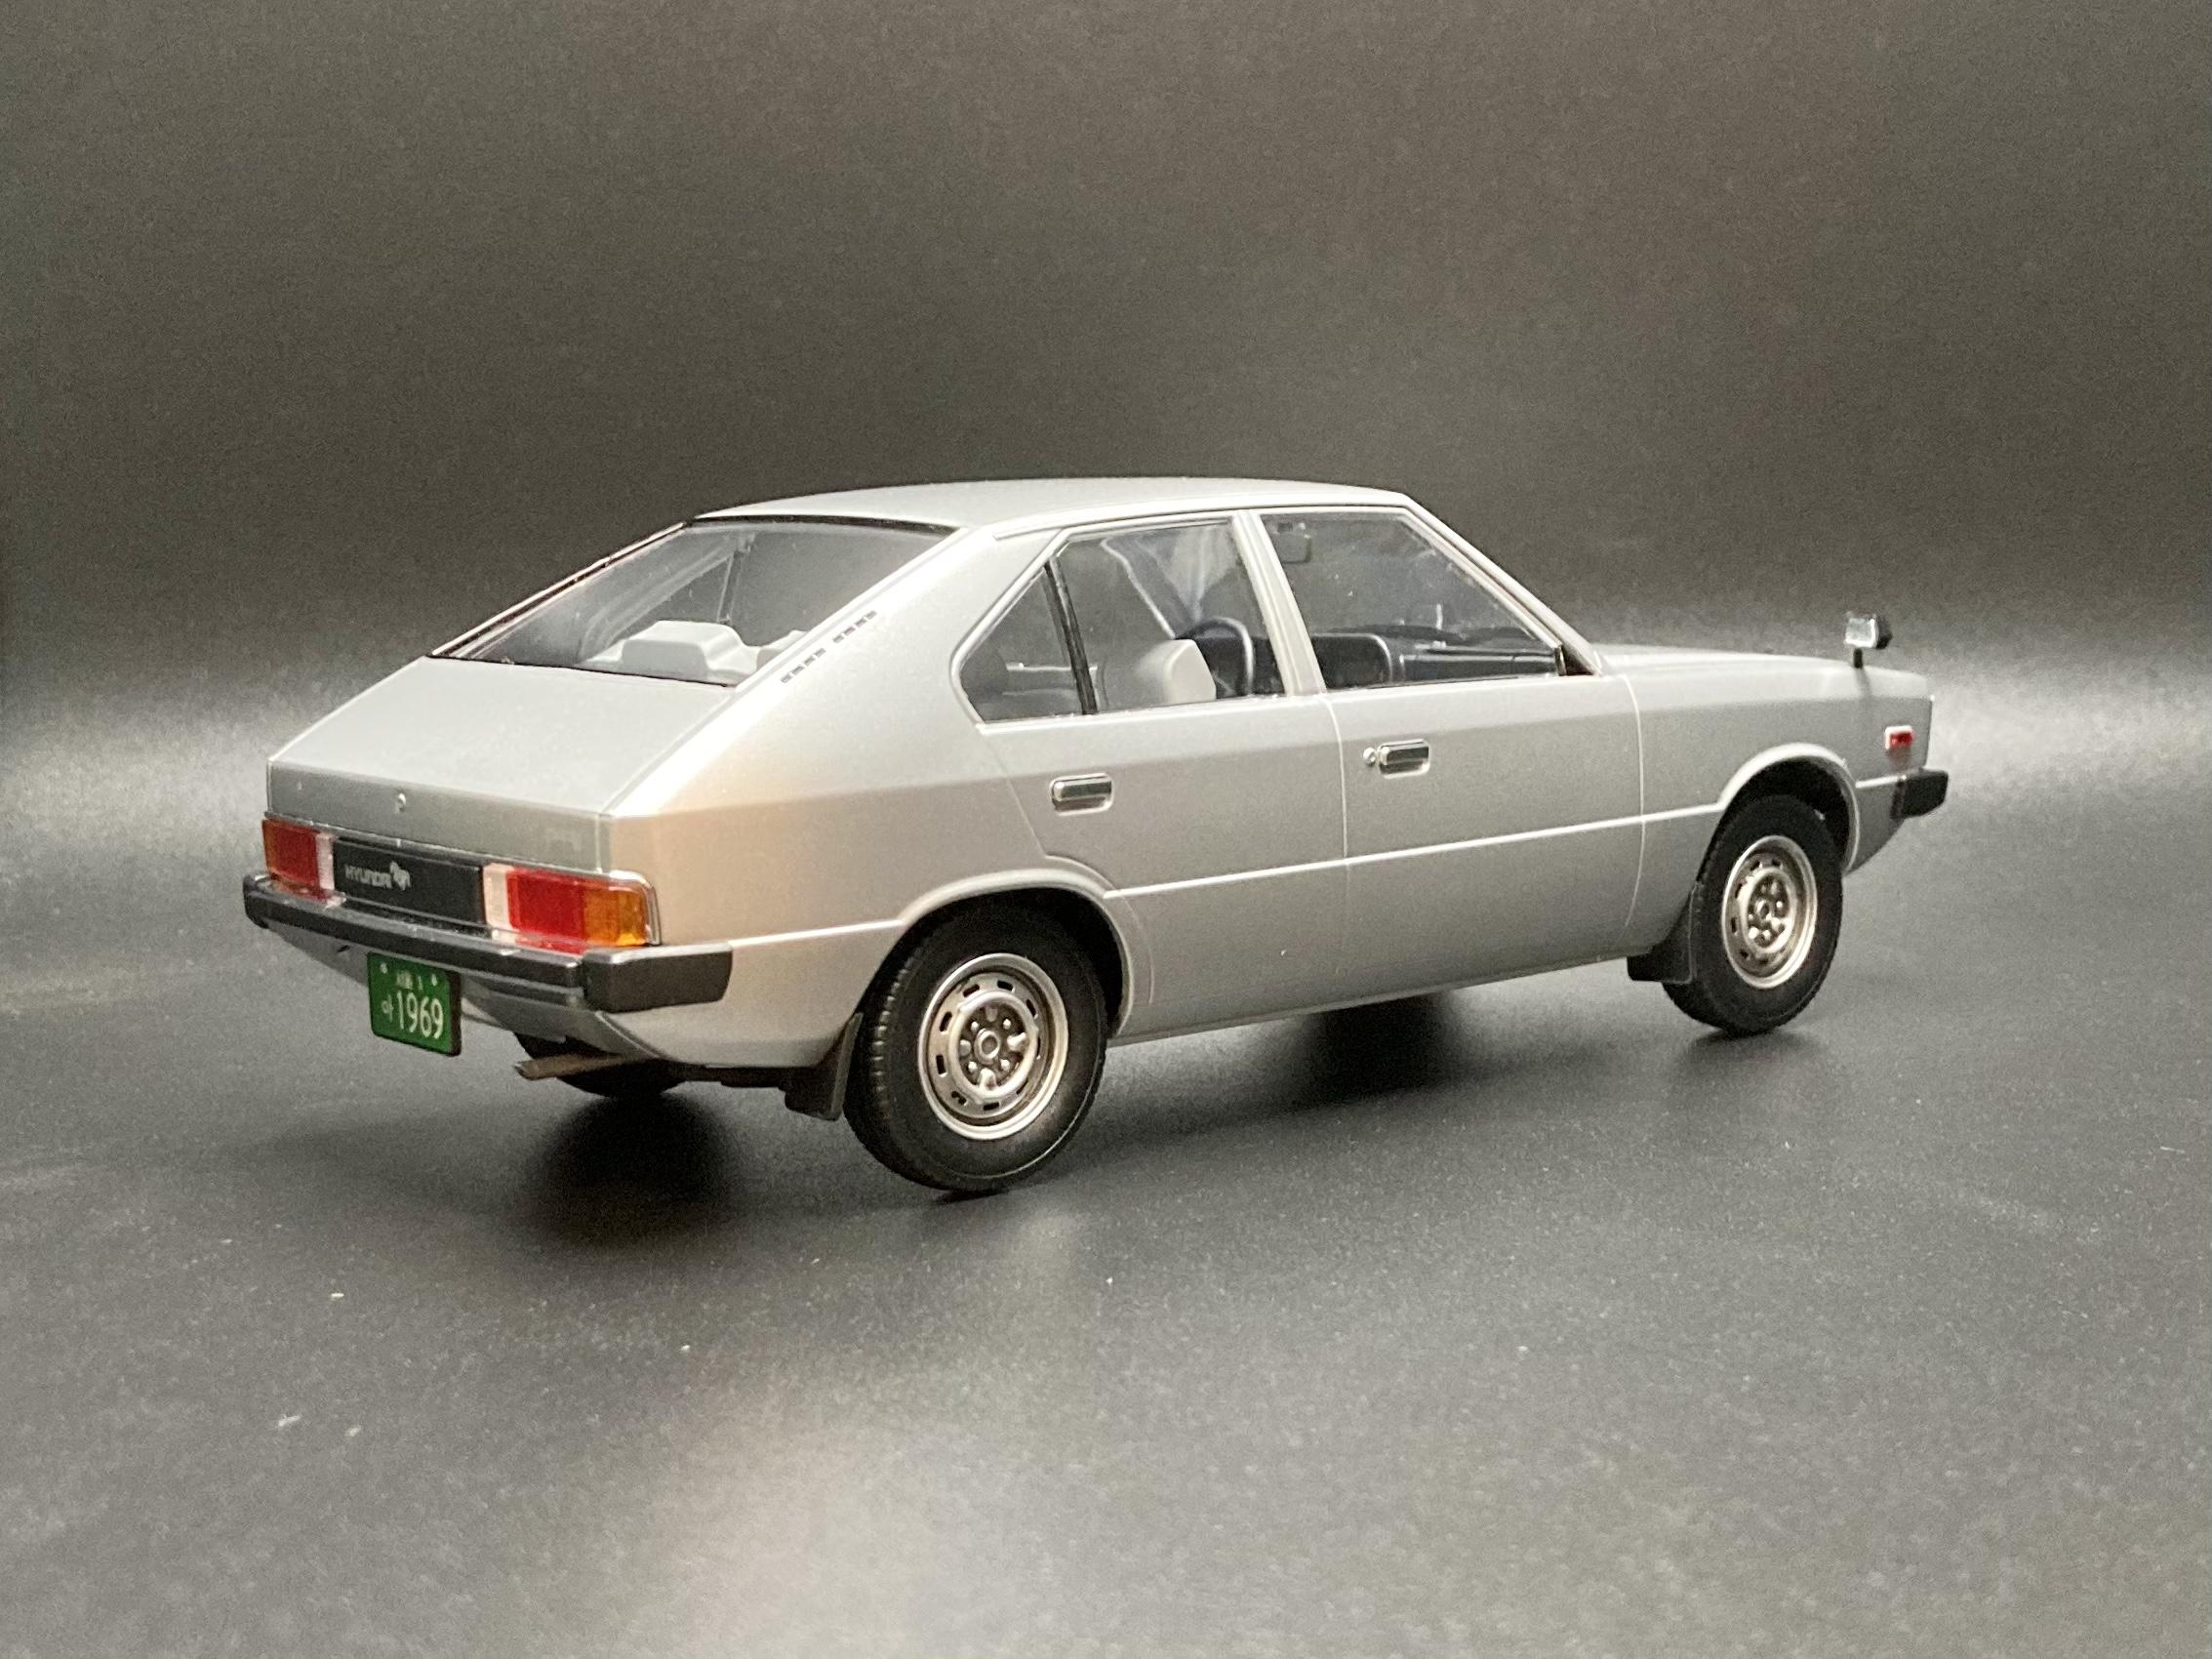
Here’s my build of Academy’s 1975 Hyundai Pony. My daily driver is a 2020 Hyundai Ioniq Hybrid, so when I discovered this kit I absolutely had to paint it to match my 1:1 car! The kit is designed to assemble without any painting so I left everything but the body and seats/door cards in bare plastic. I did zero prep work to the body, just a coat of Tamiya Fine gray primer and two coats of TS-13 Gloss Aluminum. Seats and door cards are just Tamiya Fine Gray primer. This was a super fun quick build, everything fit perfectly with zero flash or fiddling. Hyundai sure has come a long way in the past 45+ years!
-
Beautiful build! I just finished the same kit literally yesterday! You definitely took yours further than I did with the details, but I agree it was a fun easy build. I’ll post mine once I get some good pictures.
-
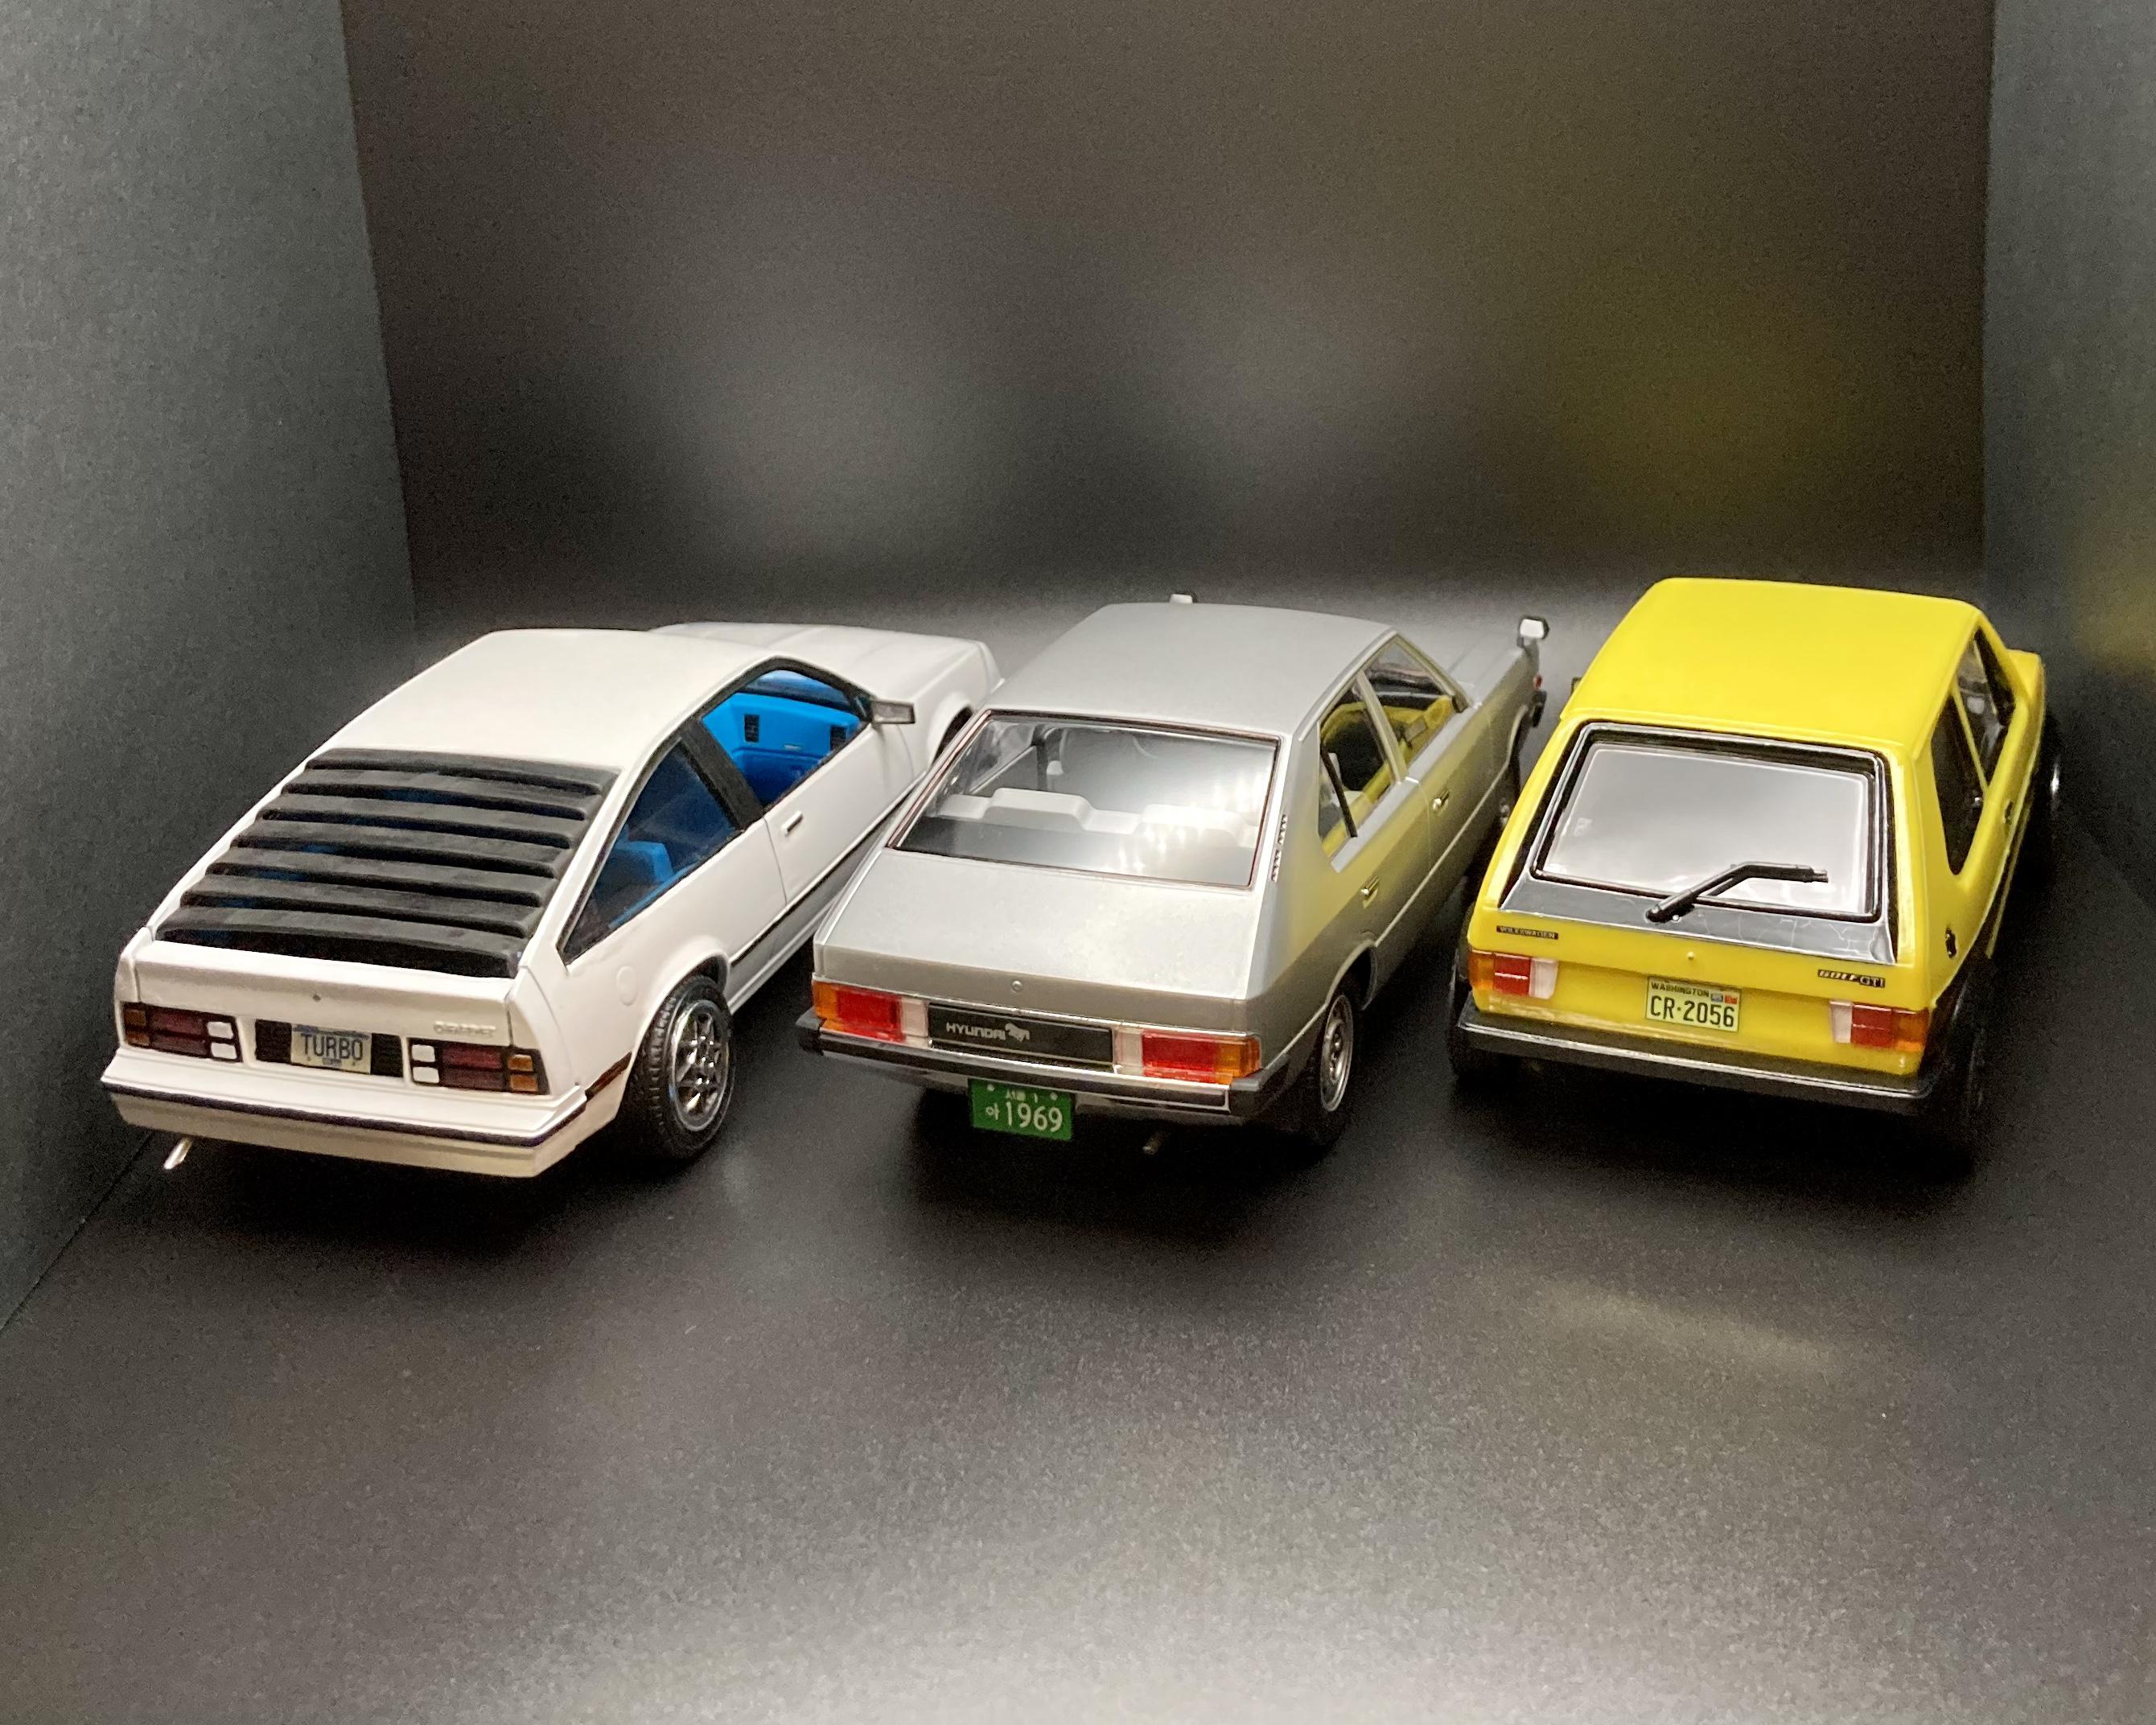
Thanks! I have most of the kits I need already, just need the time to build them. I’m only missing the current generation (not sure if I want the Tamiya GT4 race version or that too-simple Revell snap kit) and a couple facelift years if I decide to get that granular.