Leica007
-
Posts
391 -
Joined
-
Last visited
Content Type
Profiles
Forums
Events
Gallery
Everything posted by Leica007
-
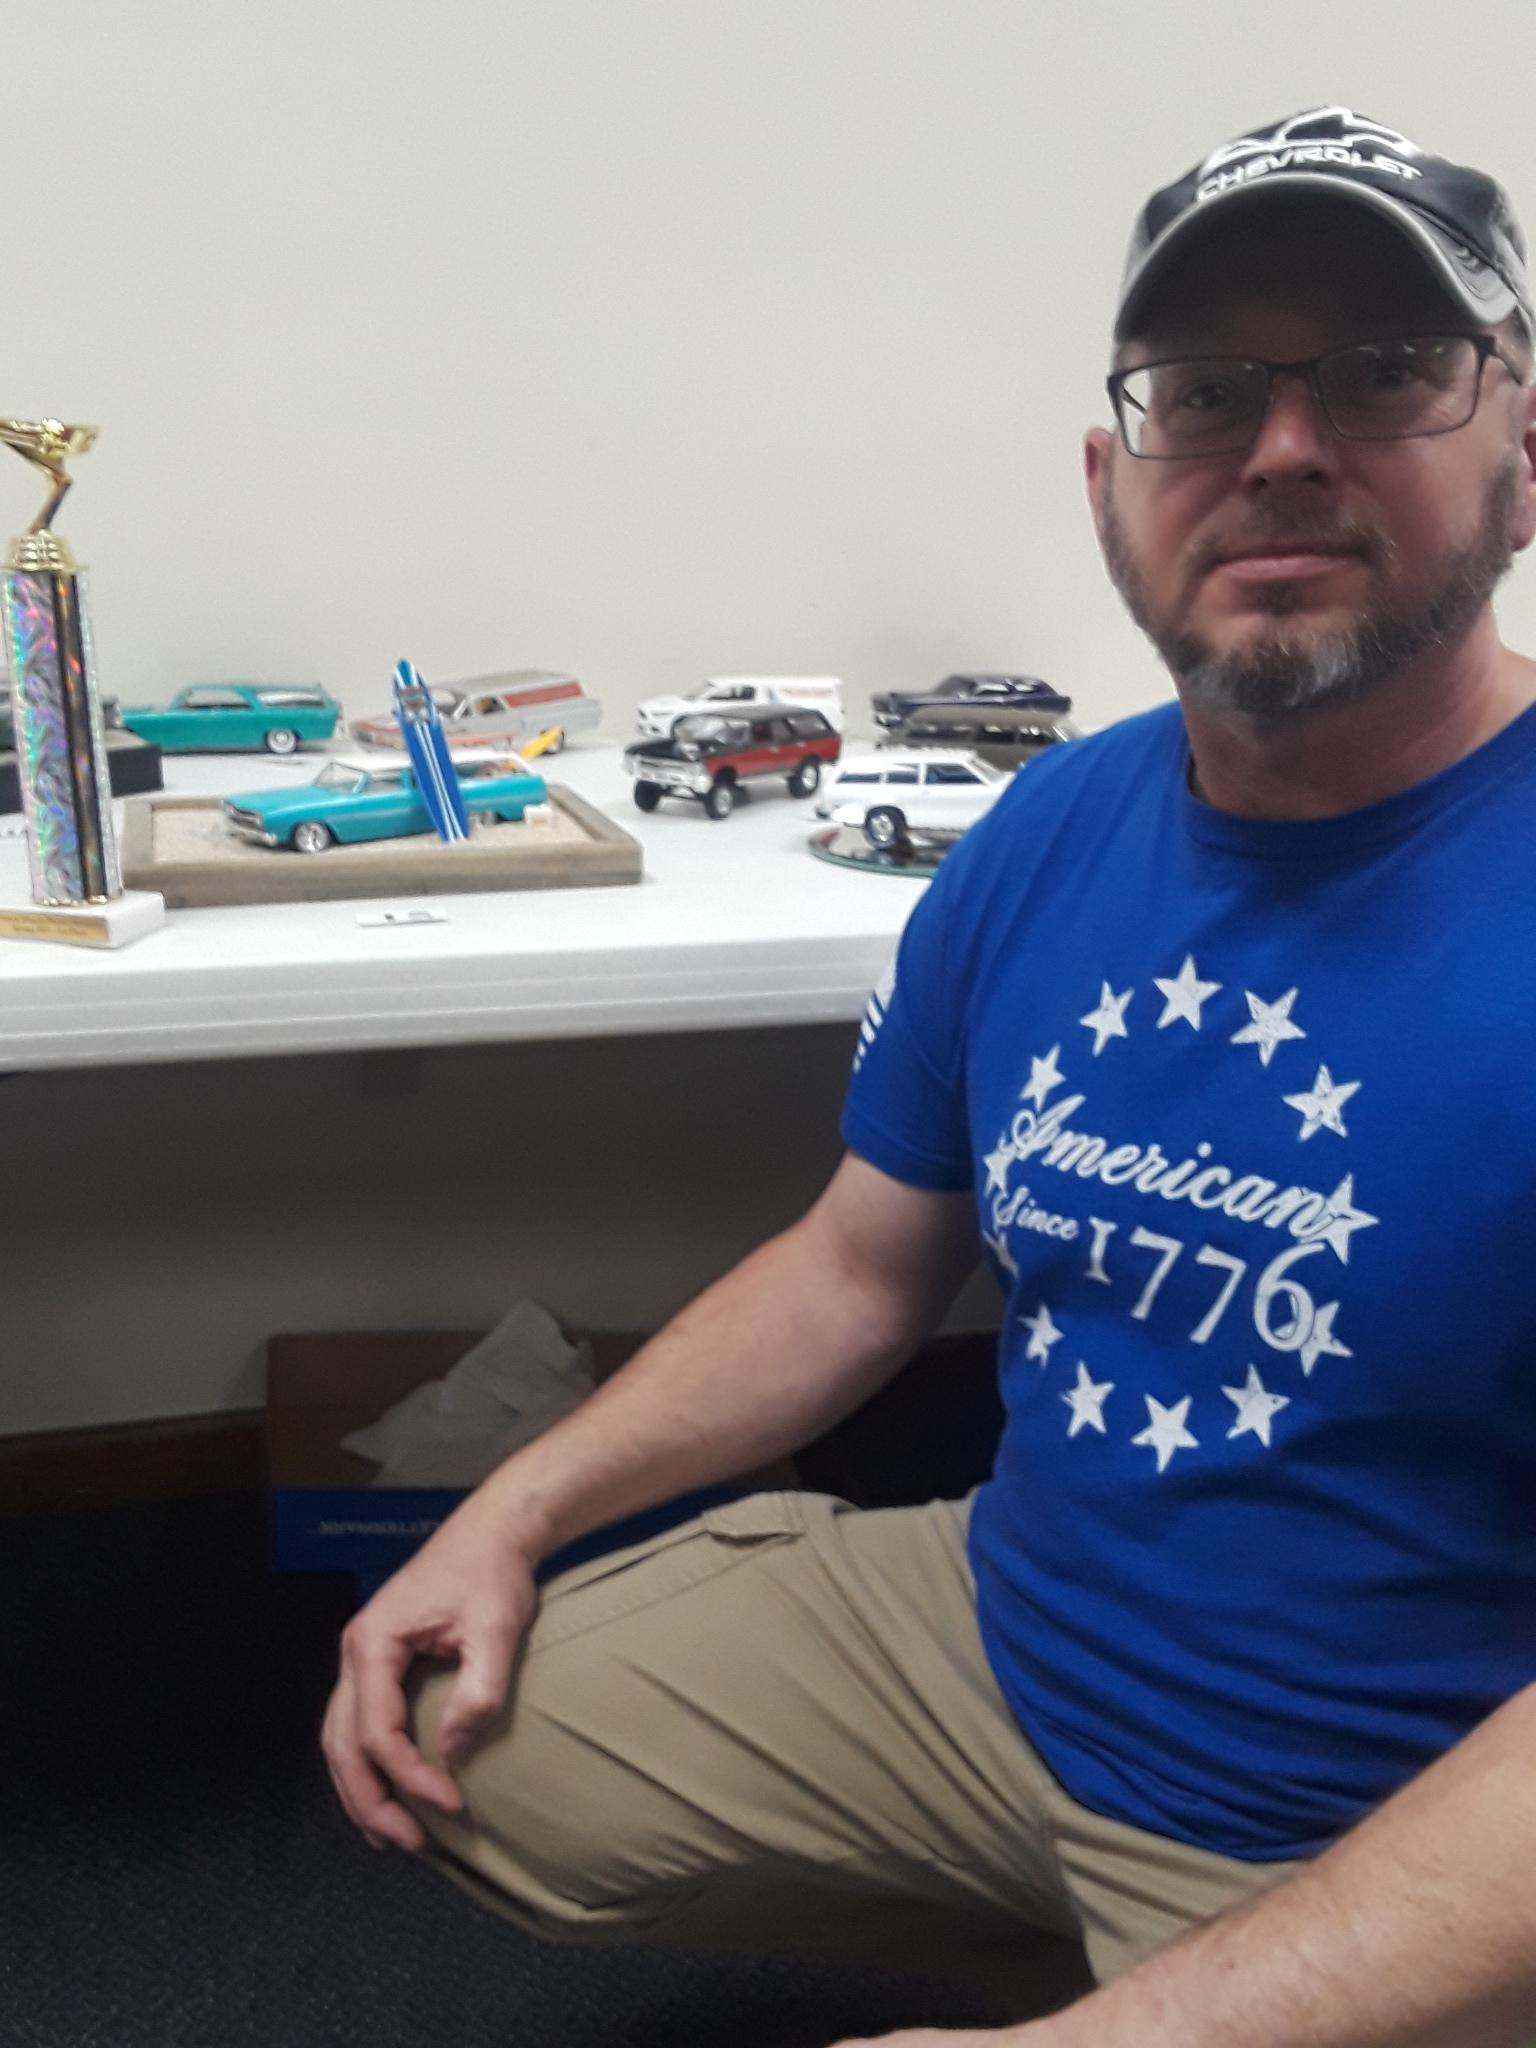
Spring Model Car Contest - March 16, 2025
Leica007 replied to Leica007's topic in Contests and Shows
Thanks for looking and commenting. This was my first model car show and I enjoyed it, Hope to do better in the fall show and post better photos, -
If you can use a 57 AMT bumper, let me know. It looks similar.
-
Mark, glad you found some, hope to see you at the meeting this week.
-
Spring Model Car Contest - March 16, 2025
Leica007 replied to Leica007's topic in Contests and Shows
Here are photos of the winning models. I hope to do better at taking the pictures of the fall contest. The model kits were given to some of the spectators/members to promote interest in the fall show. Third place was Gary Cartwright with his Hudson SW Second place was Jack Brejc with a Plymouth SW First place was awarded to Mike Wilson for his Chevelle surfer wagon Congratulations to the winners.
-
Spring Model Car Contest - March 16, 2025
Leica007 replied to Leica007's topic in Contests and Shows
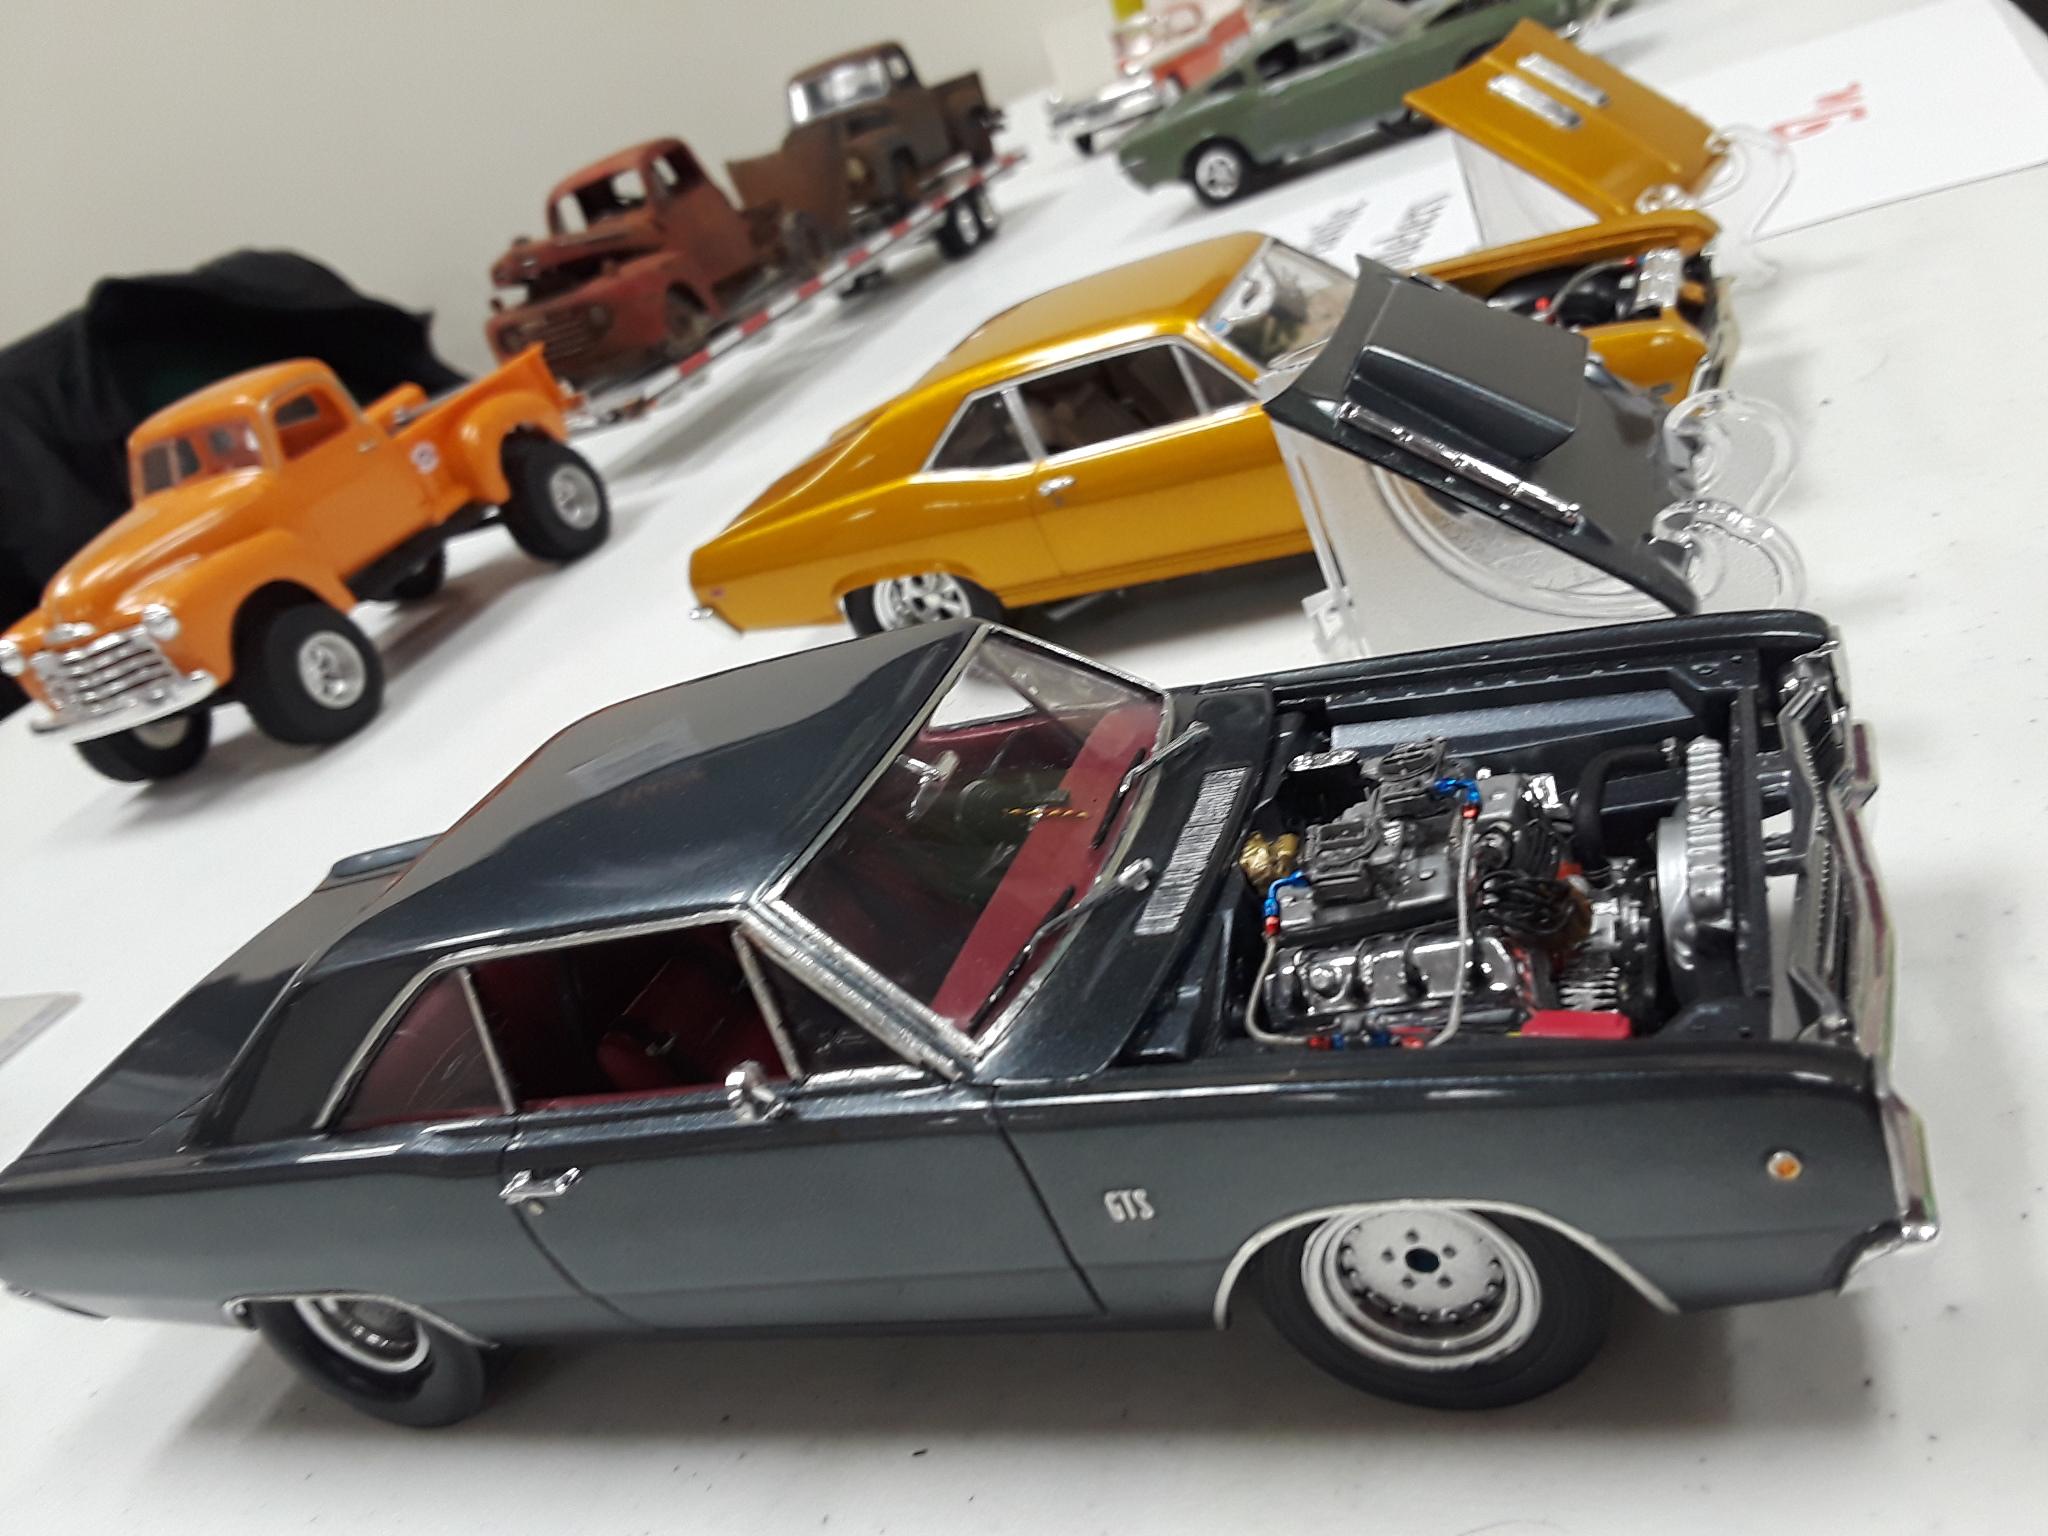
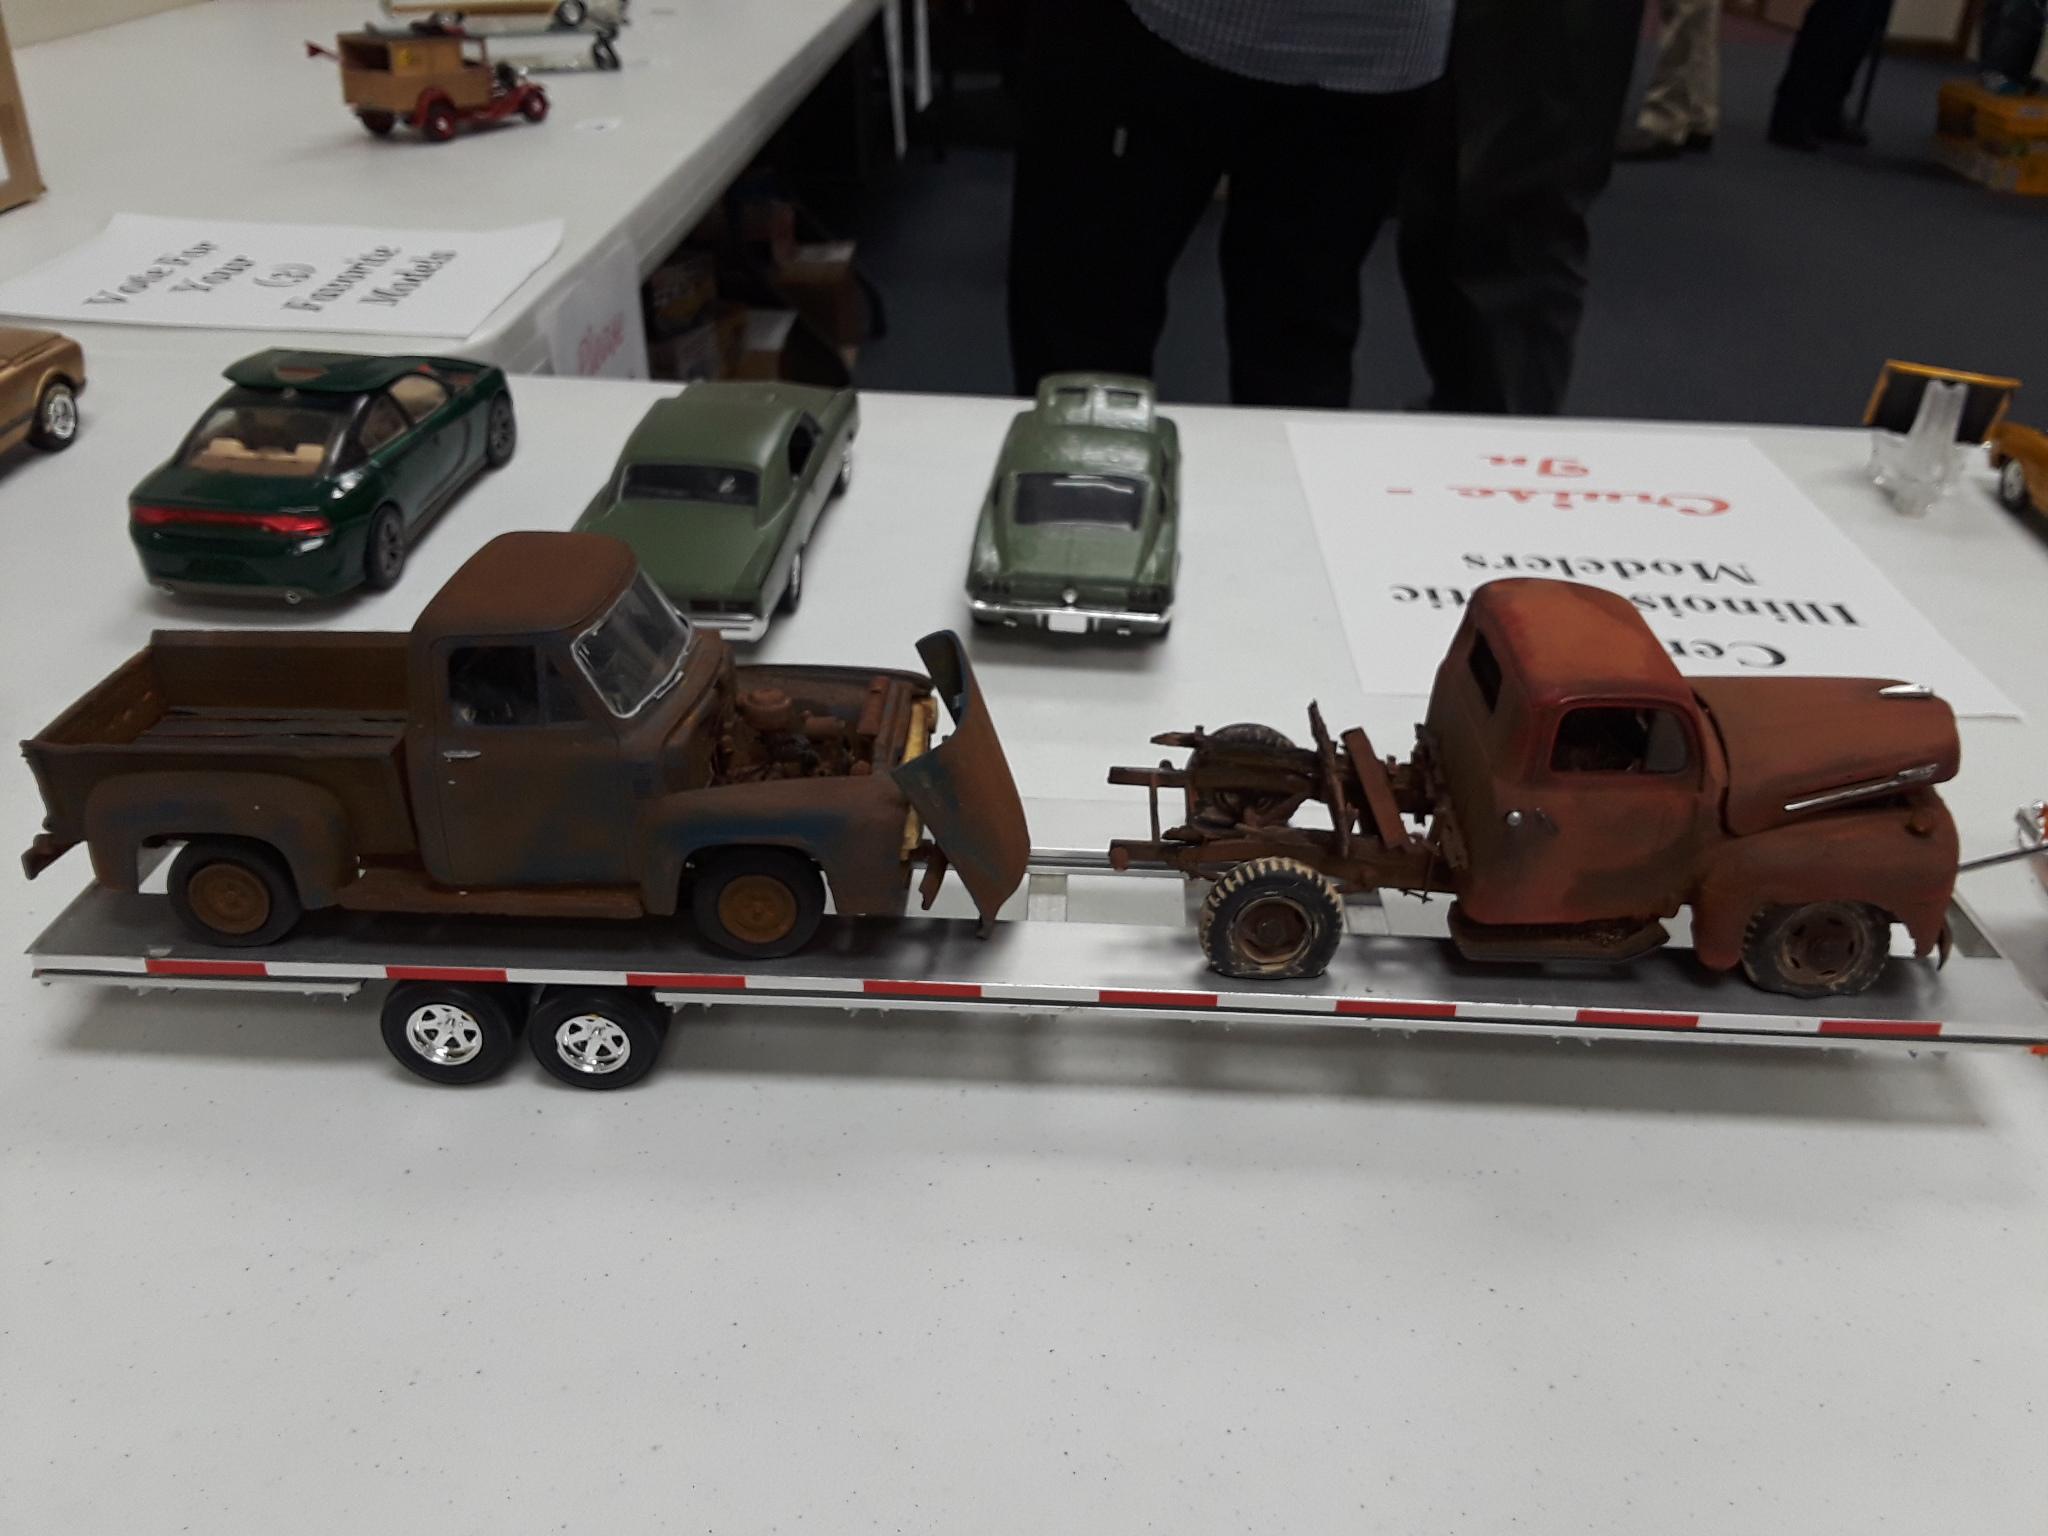
Here are the models entered in the contest, I'll show the winning models in the 3rd series/comment Next comment/photos are the winner of the contest
-
Spring Model Car Contest - March 16, 2025
Leica007 replied to Leica007's topic in Contests and Shows
Very sorry about not getting the photos posted sooner. We had 32 entries for the contest and several non-competing models on the Cruise-in display table. I'm going to submit three sets/comments so I don't run in to problems about size of the post. The first pics are the cruise-in table; Next series is of the show entries
-
Will these work for you. They're from the AMT 49 Merc kit. PM me if they will work. Lei
-
Spring Model Car Contest - March 16, 2025
Leica007 replied to Leica007's topic in Contests and Shows
Shows tomorrow, plan to post photos by mid week. -
Wanted: 57 ford fairlane hood grill glass and rear bumper
Leica007 replied to Rescued customs's topic in Wanted!
I've got a grille and rear bumper, both unused and in great shape. PM me with your address if you want them. -
Don't know how I missed your post earlier, awesome execution and detailing of a favorite subject of mine. Both the exterior and interior are great. How did you accomplish the lighting and did you black wash the side pipe shields (they look very realistic)? Really like all the extra details inside, the effect rings true of the good old days. Thanks for sharing, hope the auction was a success for your friend.
-
De-laminating windshield ideas needed
Leica007 replied to johnyrotten's topic in Model Building Questions and Answers
Just a thought, what about testor dulcote. -
Looks good and great photography. I'm building one now and have a question; how did you put in the interior tub? Did you attach it to the body first then wrestle the chassis into place, or did you attach it to the chassis and put the whole thing into the body? I'm pulling out a lot of what hair's left, because of the alignment of the tub and the super tight fit of the frame. I'd appreciate any hints/advice.
-
Some final body work before painting was adding strips on top of the bed area to cover the interior tub and give me space to add railing on the side of the bed. Painted with Dodge Silver duplicolor. Couple of photos of the paint job with mock-up with interior tube and wheels/frame. Here' s shot of the red diamonds on the side using airbrushed Apple Barrel craft paint, same color as the interior. The endless black pin stripe is a decal from another van kit. Next post will include my first attempt a doing a figure model and more of the detailing done. Appreciate your looking and comments welcome.
-
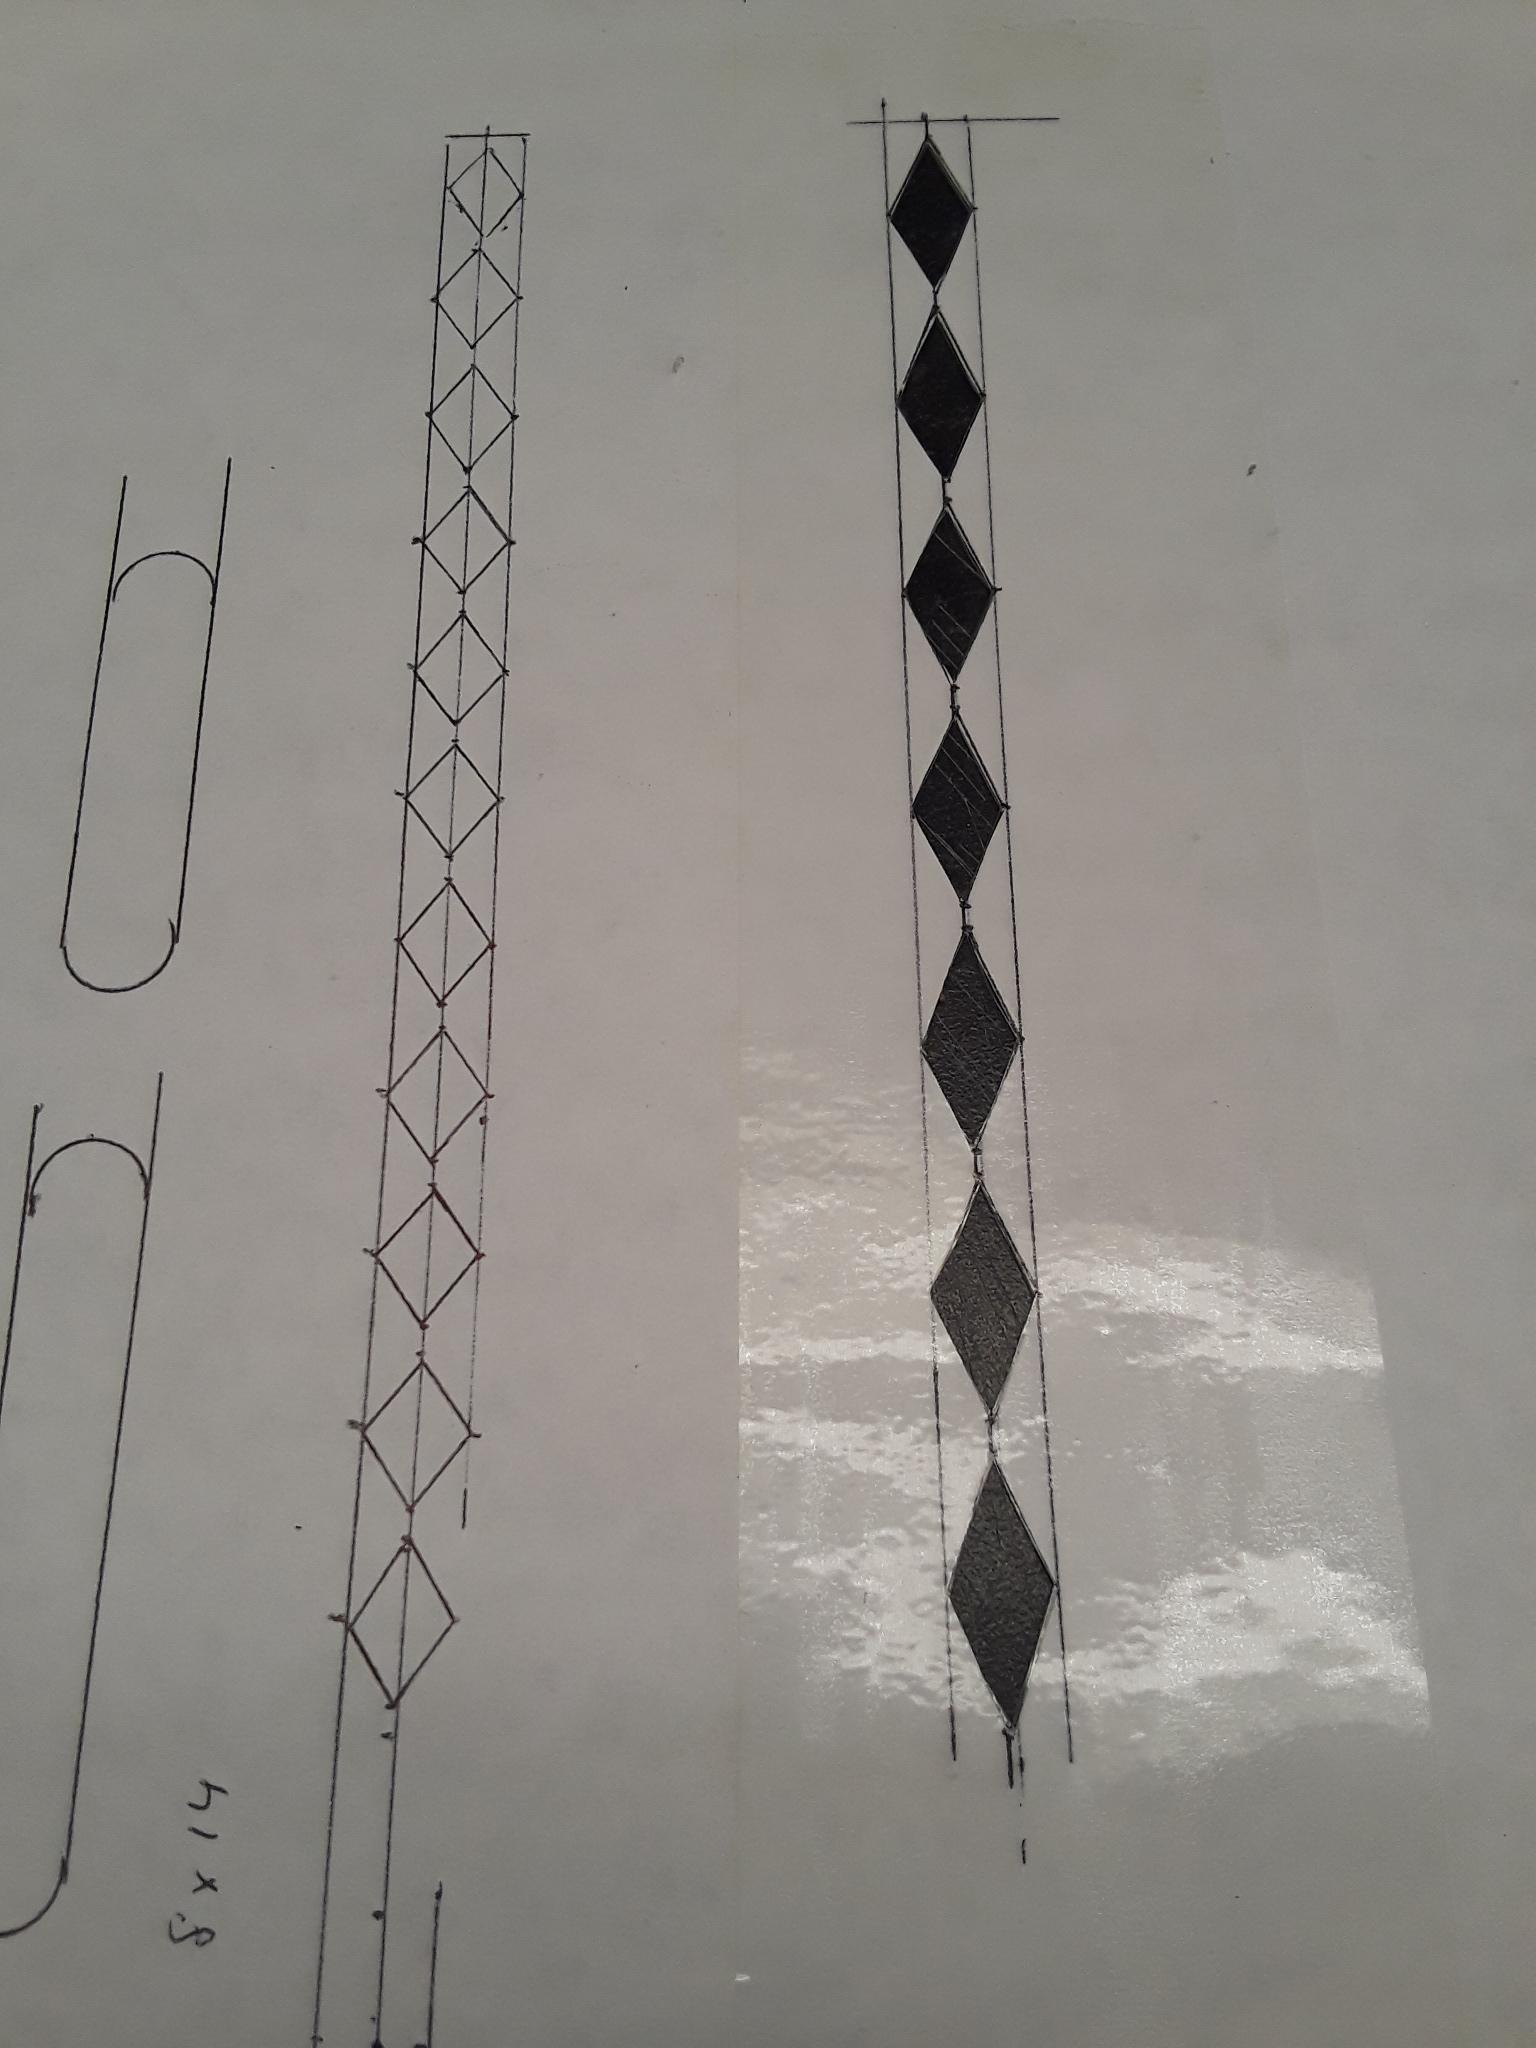
I used the rear panel from the Gold Rush an kit to close the rear of the cab and cut the center posts from the upper rear doors to create a single rear window. I saved a clear plastic cookie tray that had a diamond pleated pattern and used that to create the rear window. I used red marker to highlight the frame between the diamond pattern. Made a diamond pattern stencil for the side of the van using paper and packing tape (on both sides of the paper). I used stripped wire tubing to make sunroof gasket and bent wire to create the sunroof opening rods, bent into a Y shape.
-
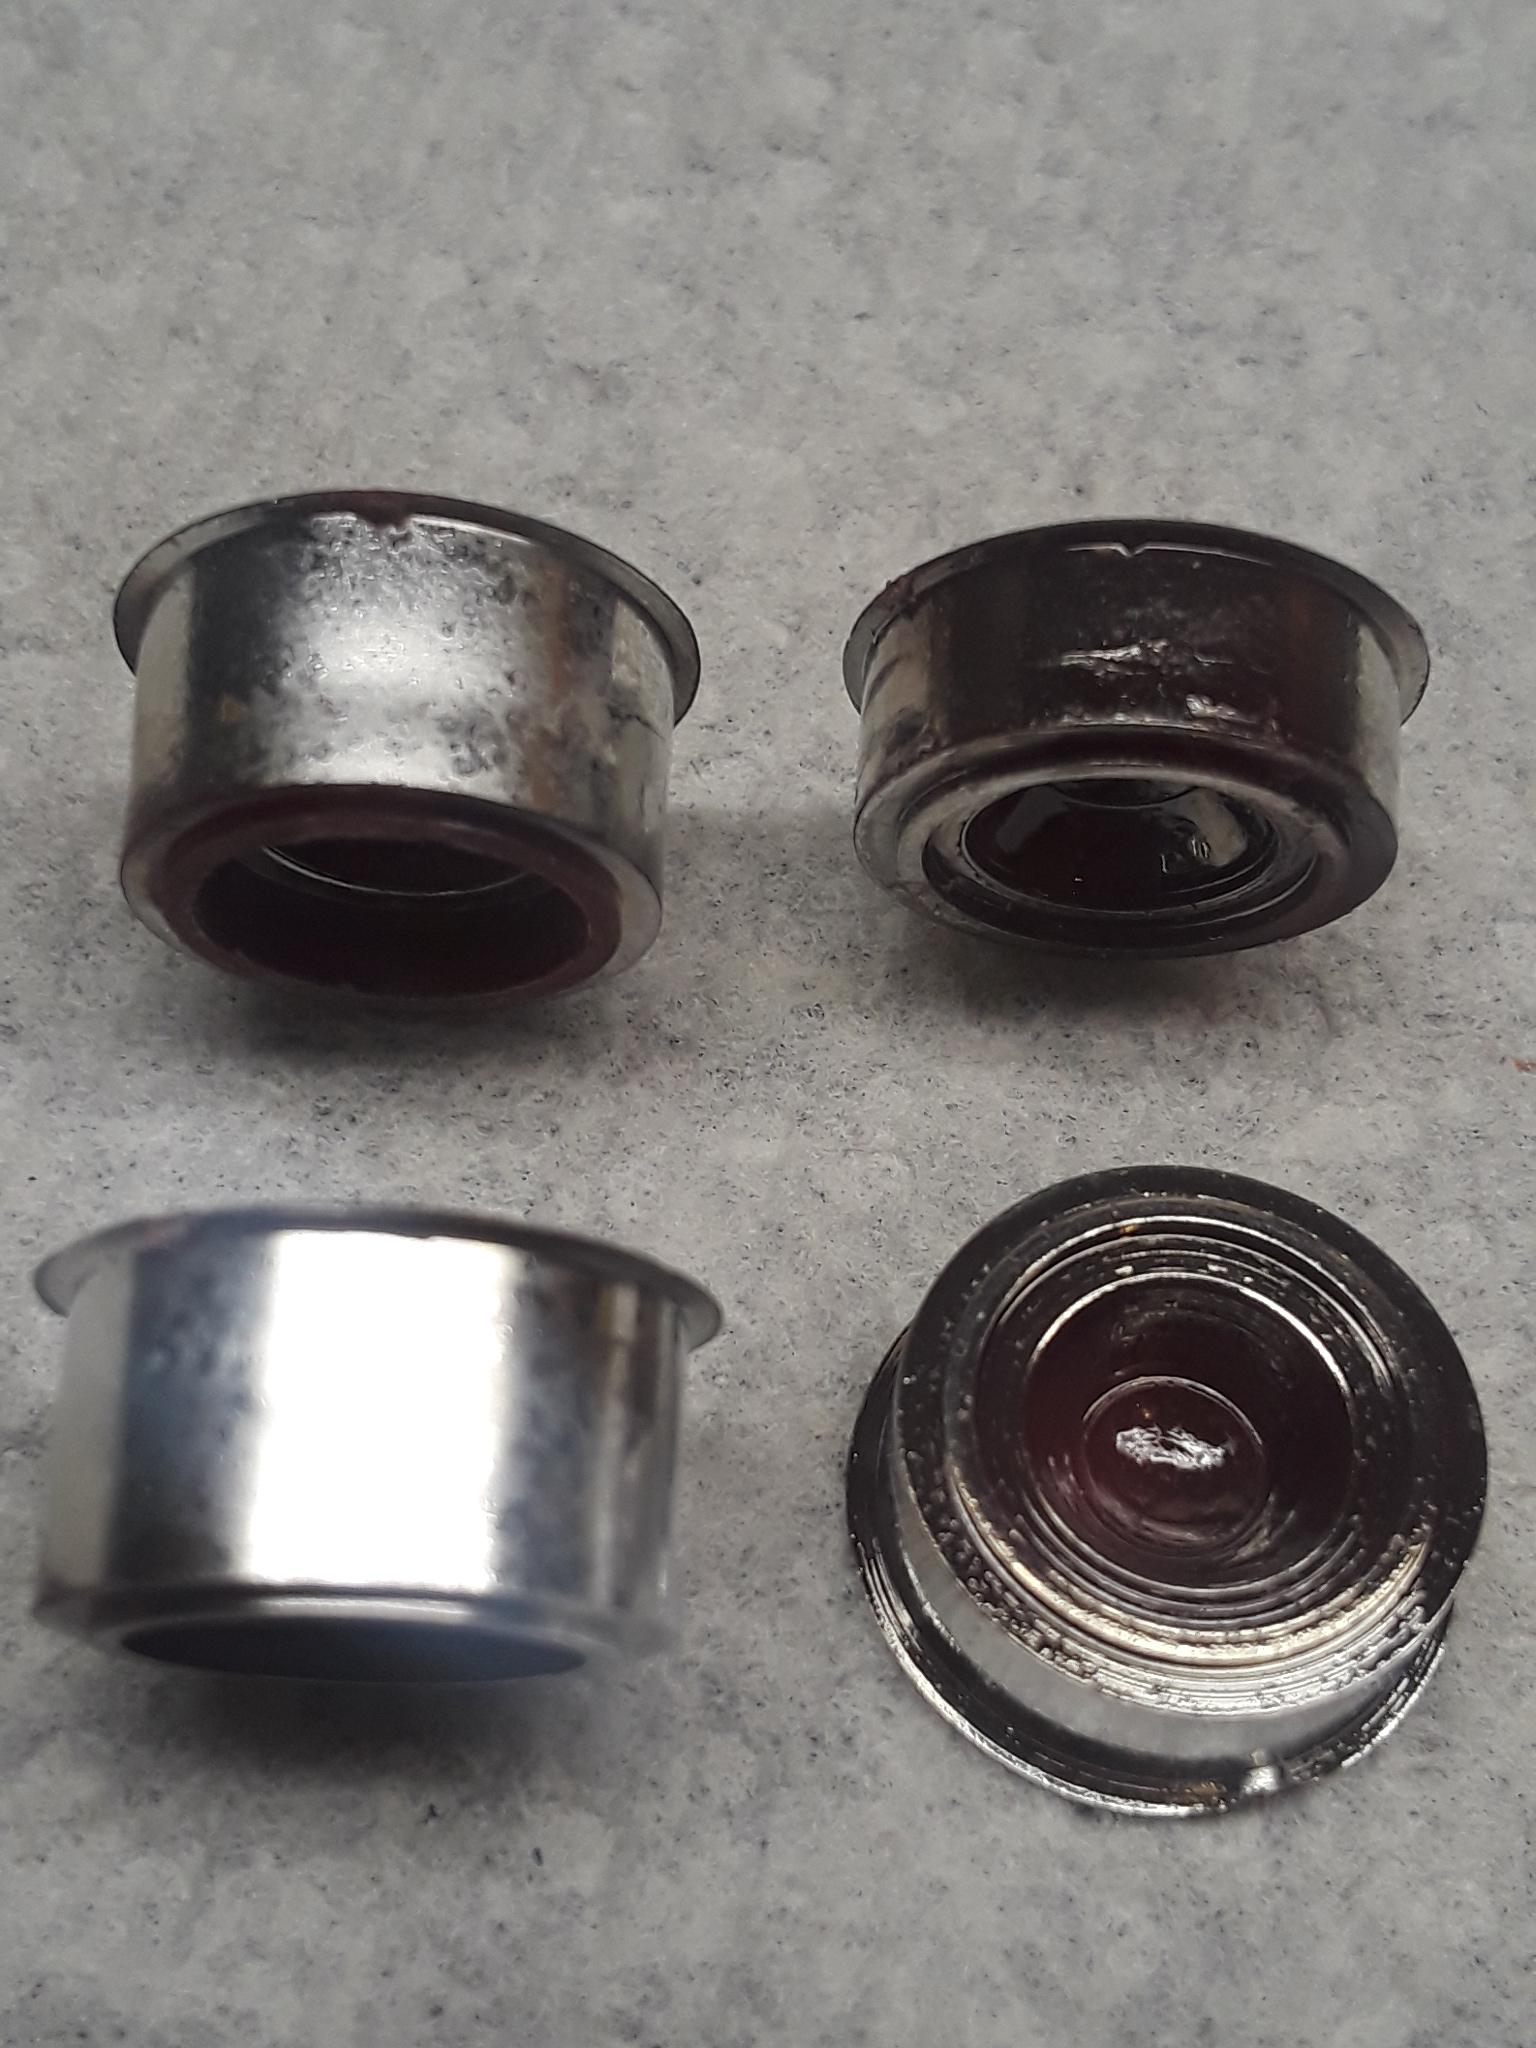
After opening the hood I needed to make inner fenders for the front. I made a cardboard template of the inner panel, then used evergreen to cut the panel and the top. Used square tube to make a brace/anchor to attach to the frame. Here's the pieces and finished part and assembly.
-
The Central Illinois Plastic Modelers club is hosting model car contest and non competition show Sunday, March 16, 2025 in Peoria, IL. The contest is for Station Wagons with 1st, 2nd, and 3rd place trophies. Non-competitive show is open to other vehicles. The club sponsors two shows a year, in March and September with different themes. Currently there is no entry fee. See the flyer for more details and for more info, contact names on the flyer. Hope to see you there.
-
Really admire the creativity and execution of your truck. Congratulations on the recognition of your talents.
-
1960 F-100 built Plowboy Style
Leica007 replied to thatz4u's topic in Model Trucks: Pickups, Vans, SUVs, Light Commercial
I like the the look, especially the unusual subdued flames. Well done as a tribute. Hope you had a good Vet's Day, from another one. -
Thank you all for looking and taking the time to comment. I wonder how many others on here read the books. Thanks for sharing your memories of them.
-
Like that color over some excellent body work, the finish is great, very smooth. I think the wheel/tire combo looks good.
-
Glad you're doing well. Nice job on the pair, really well done on the weathering in the engine and chassis.
-
The work you did, especially the front end, is really impressive. Great job.
-
Excellent clean build, love your detailing in the engine bay.
-
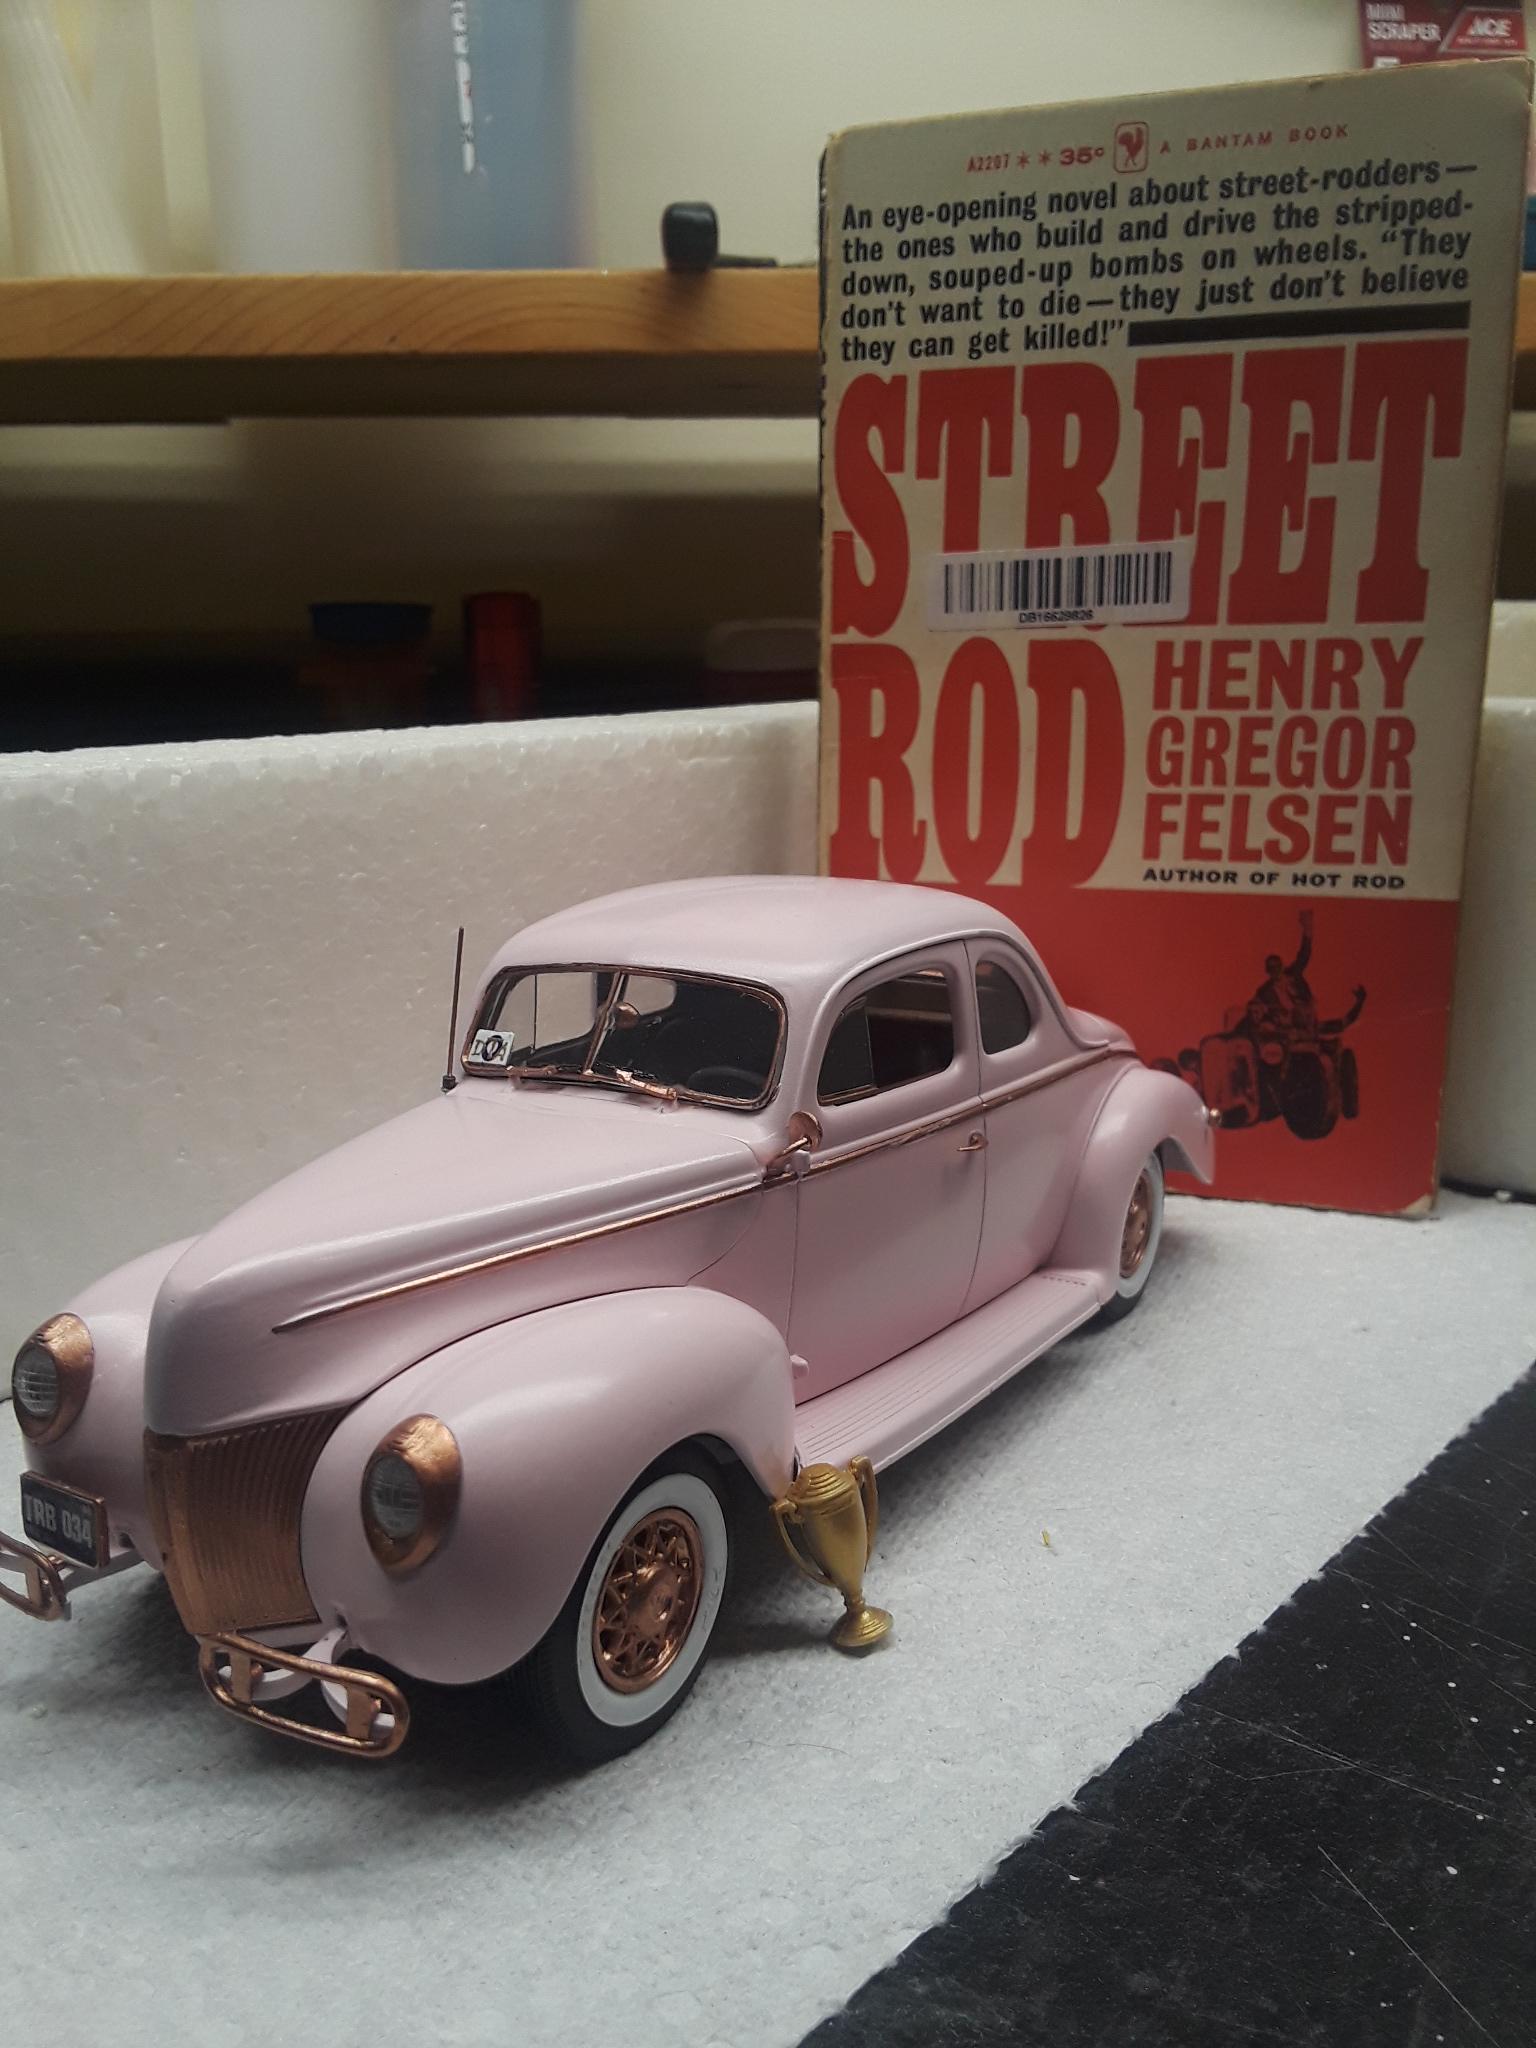
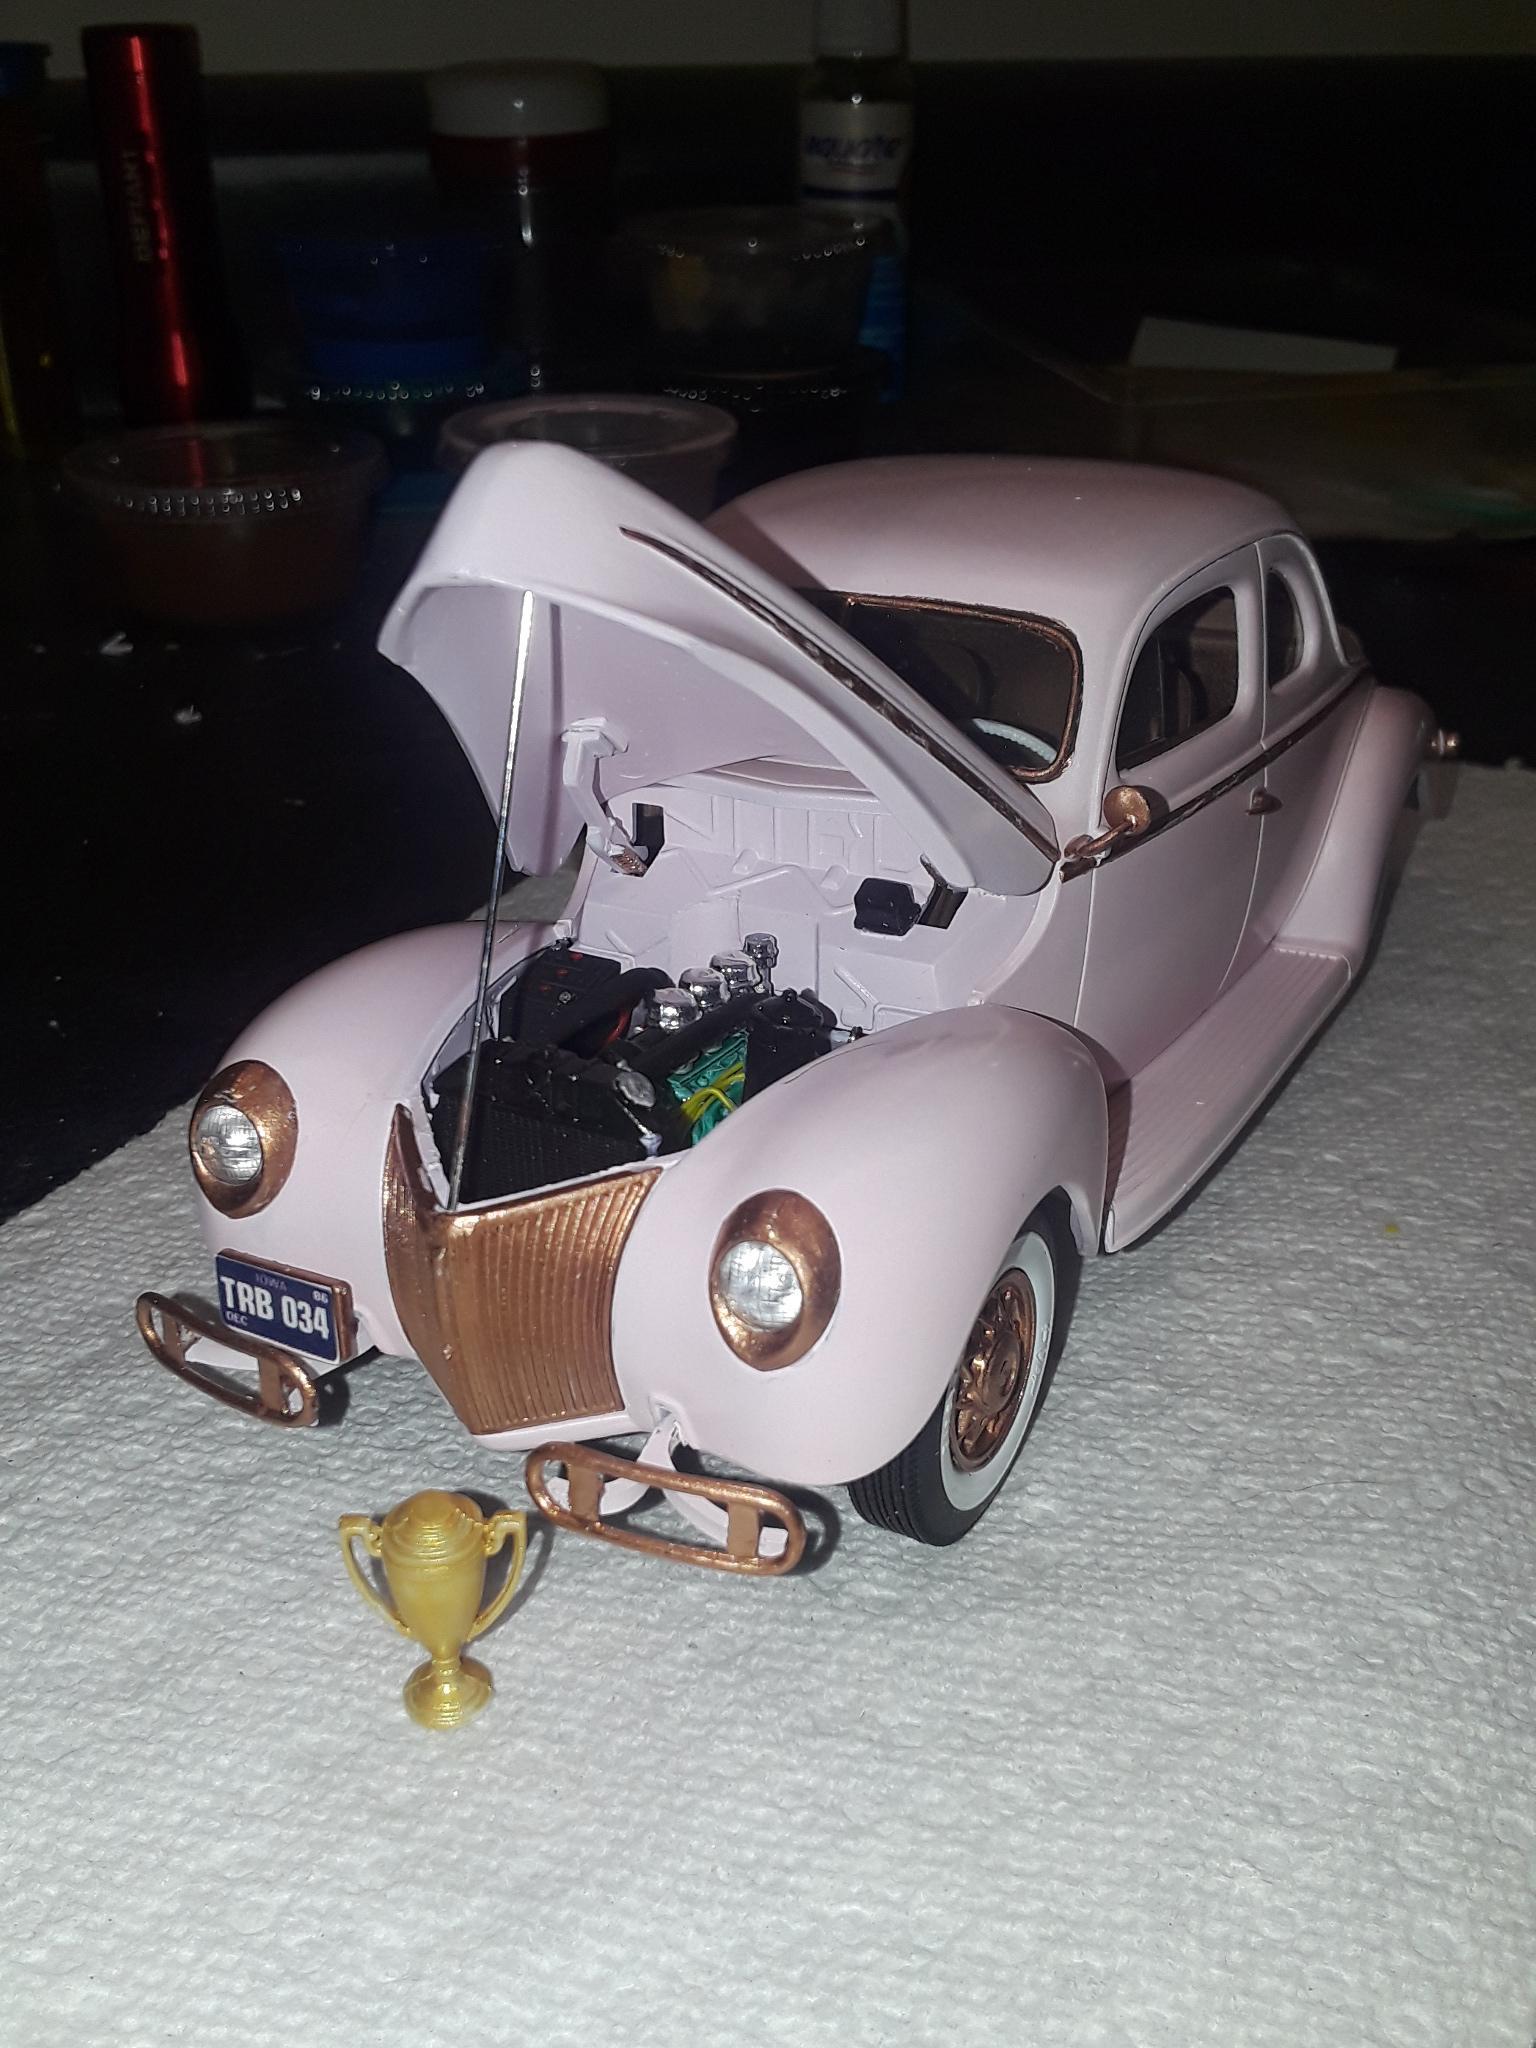
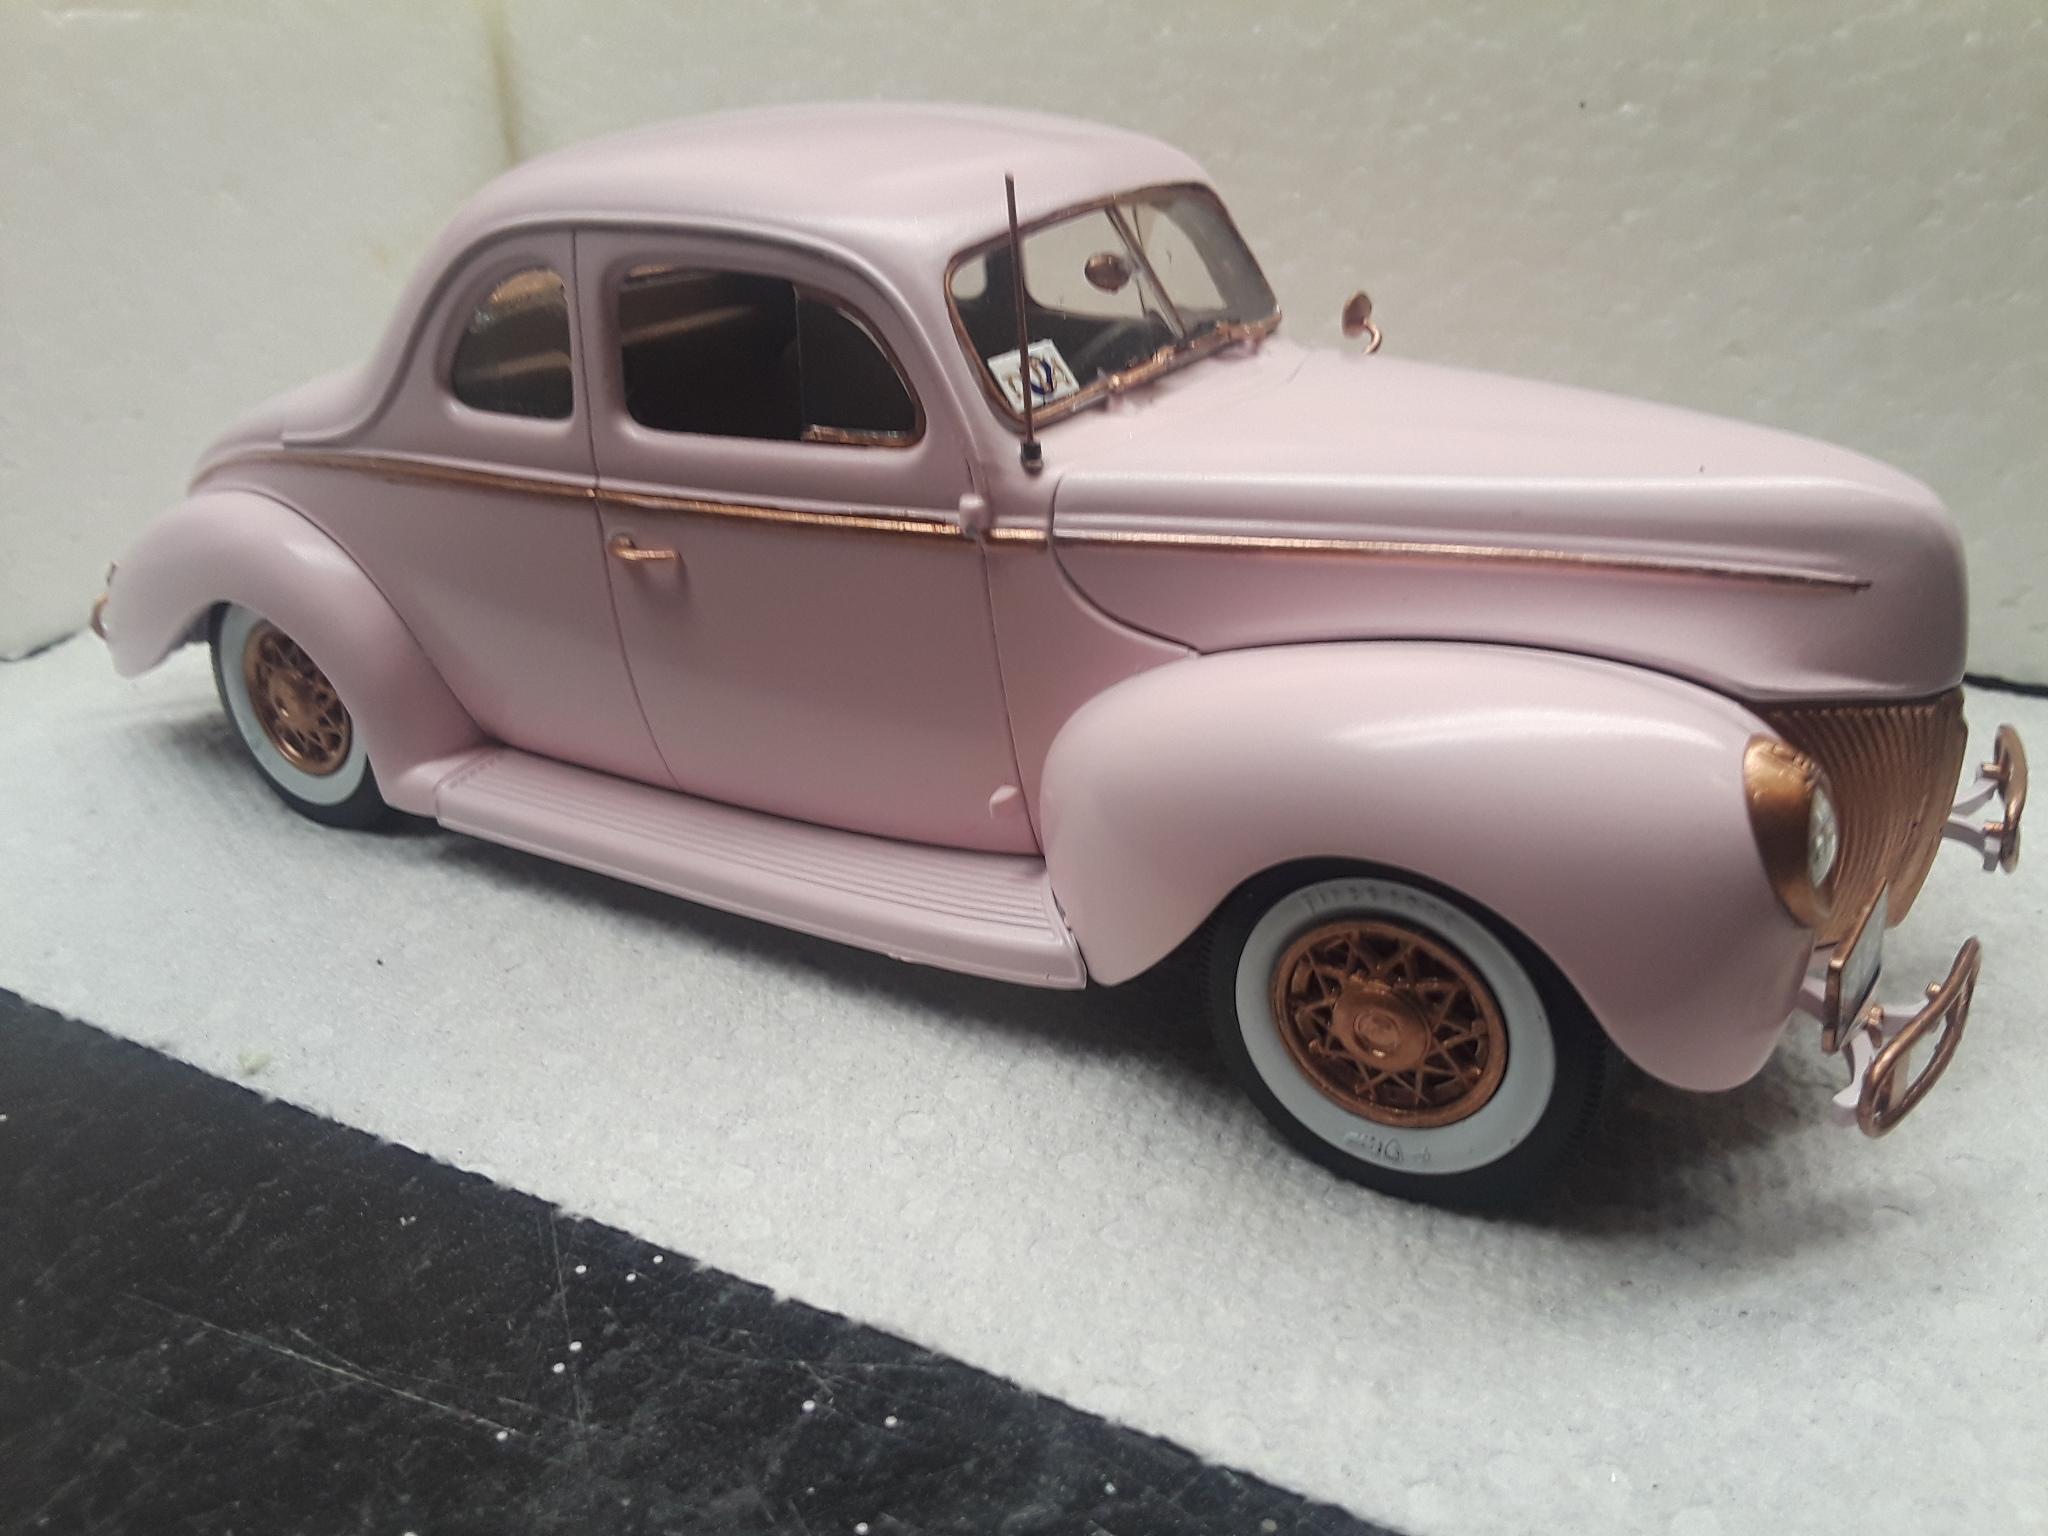
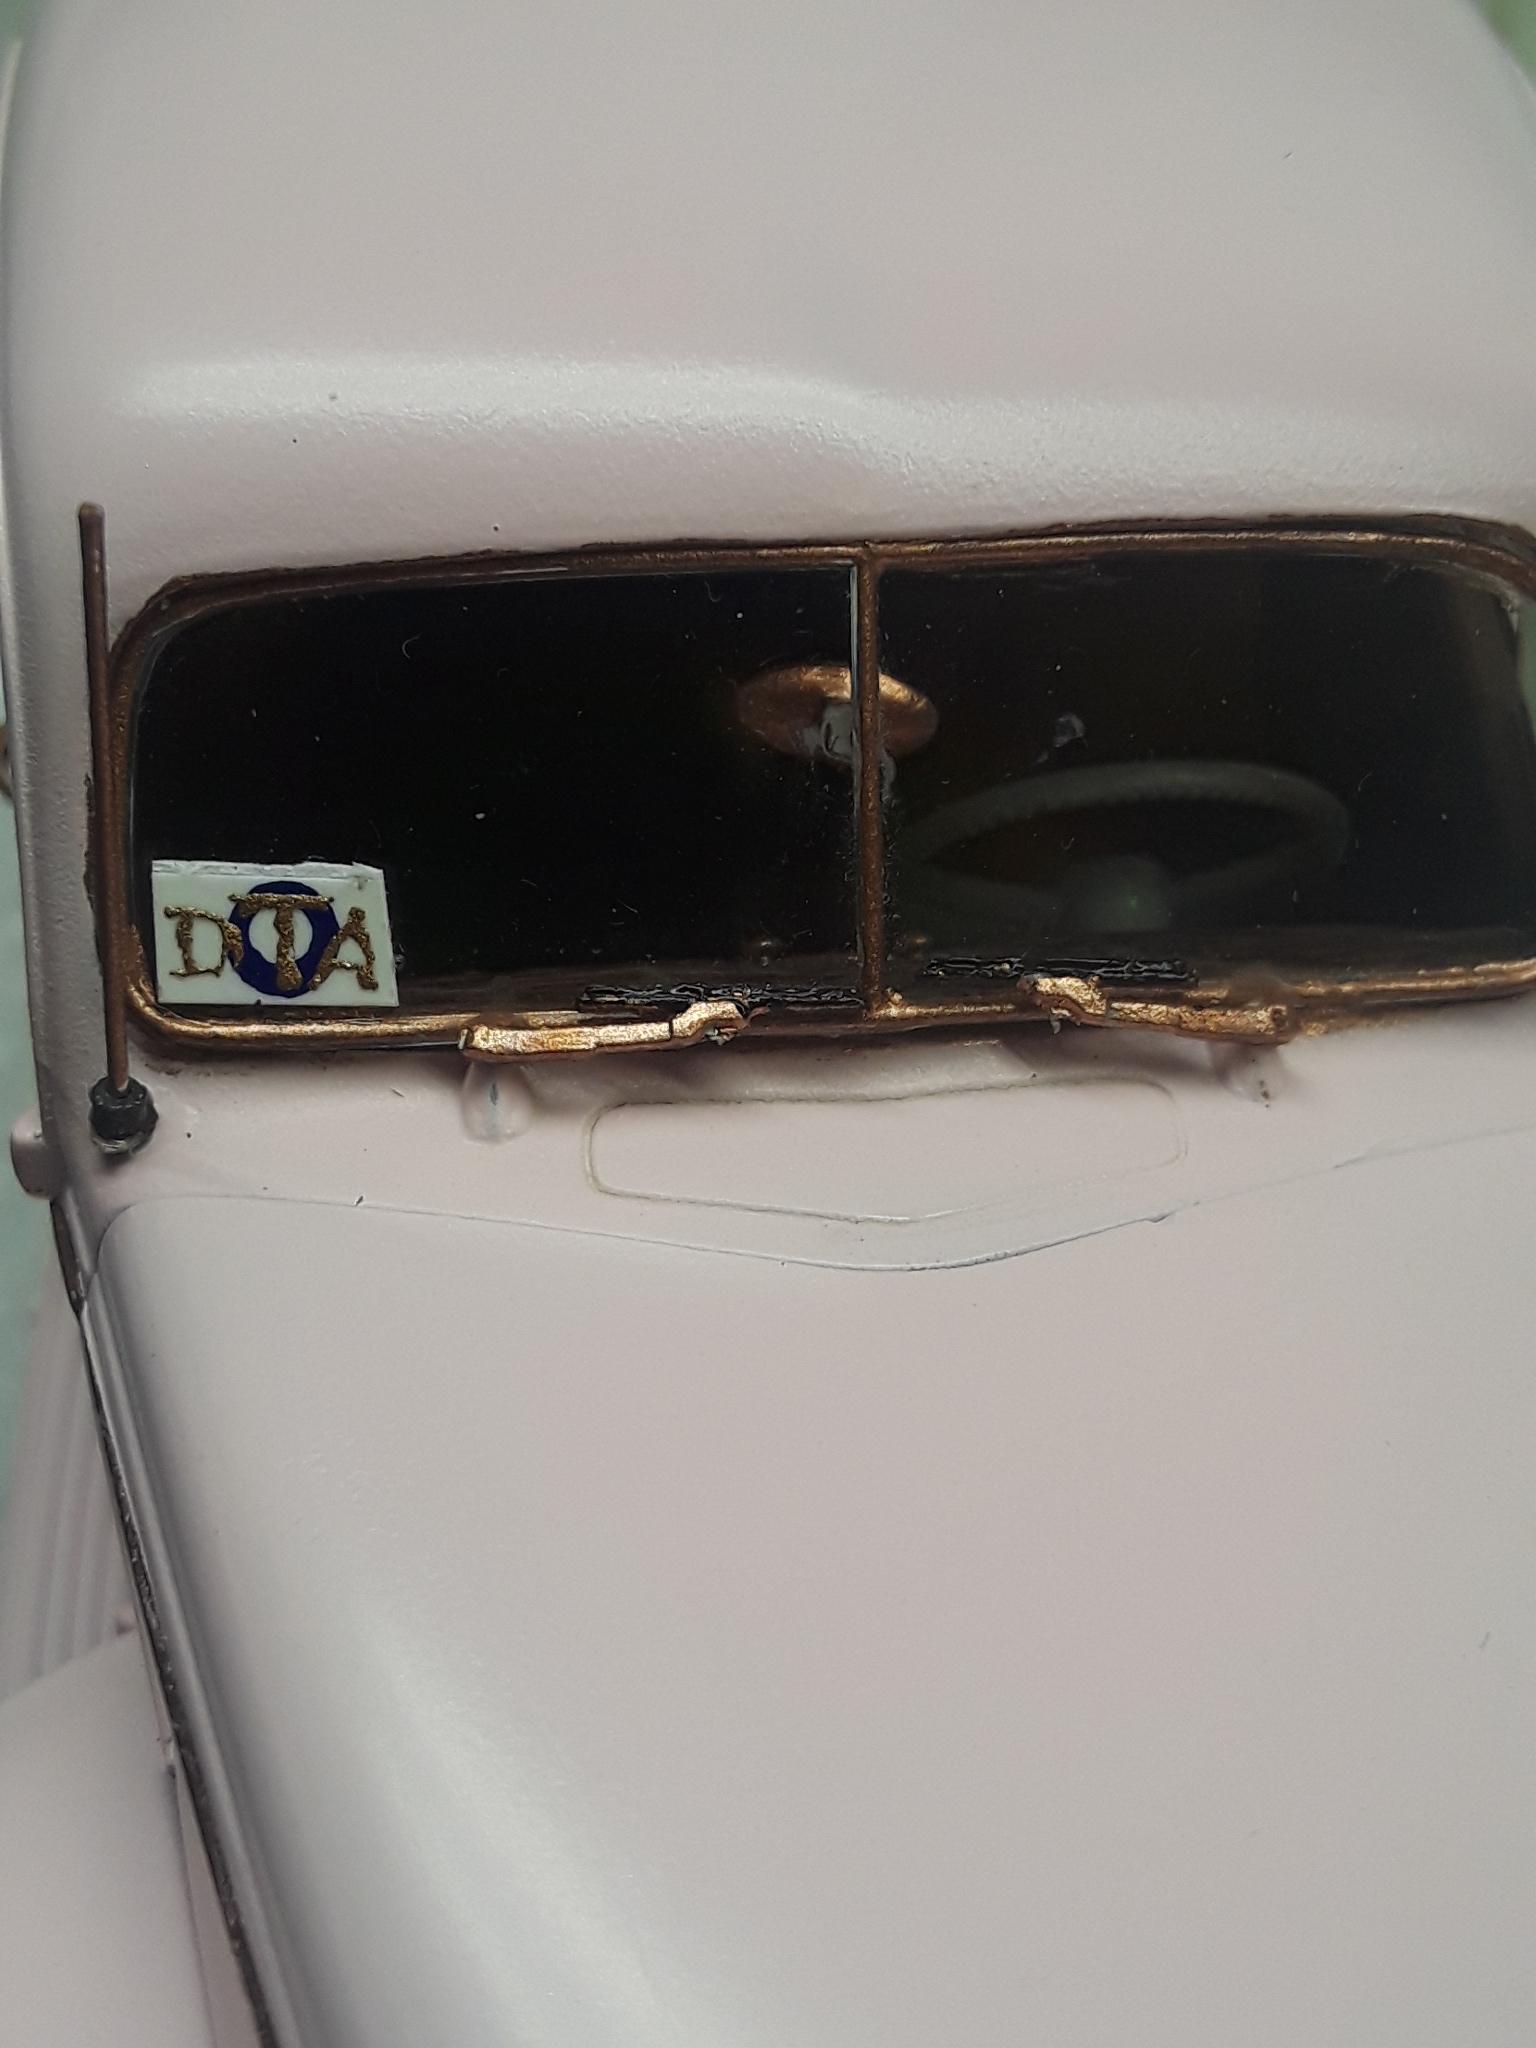
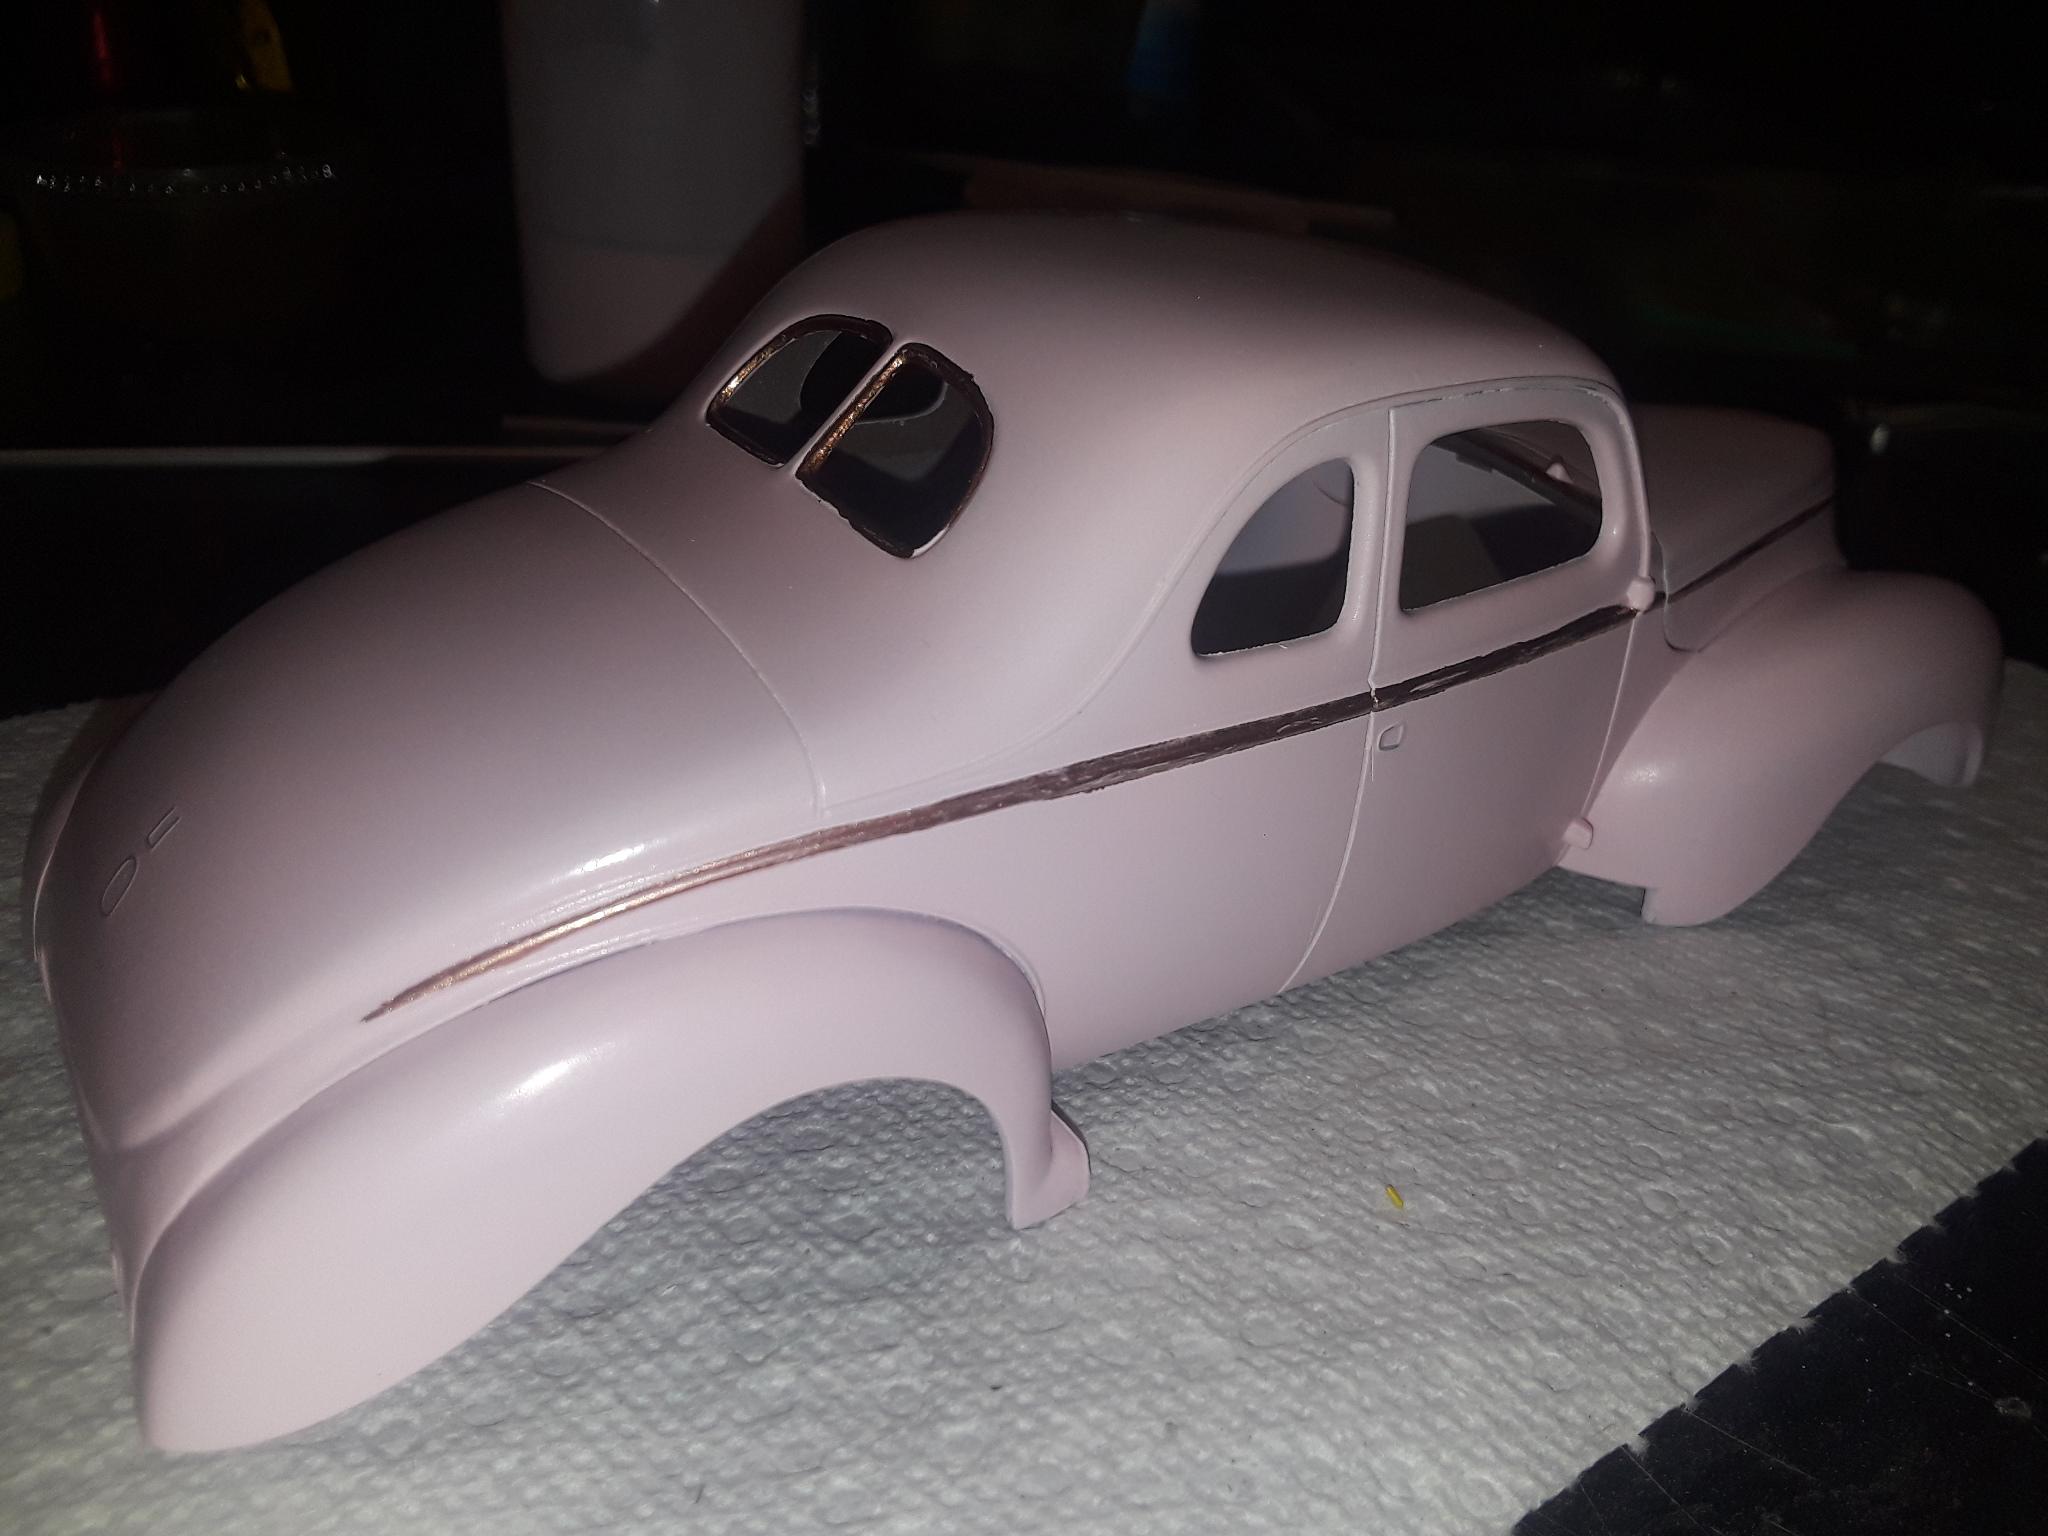
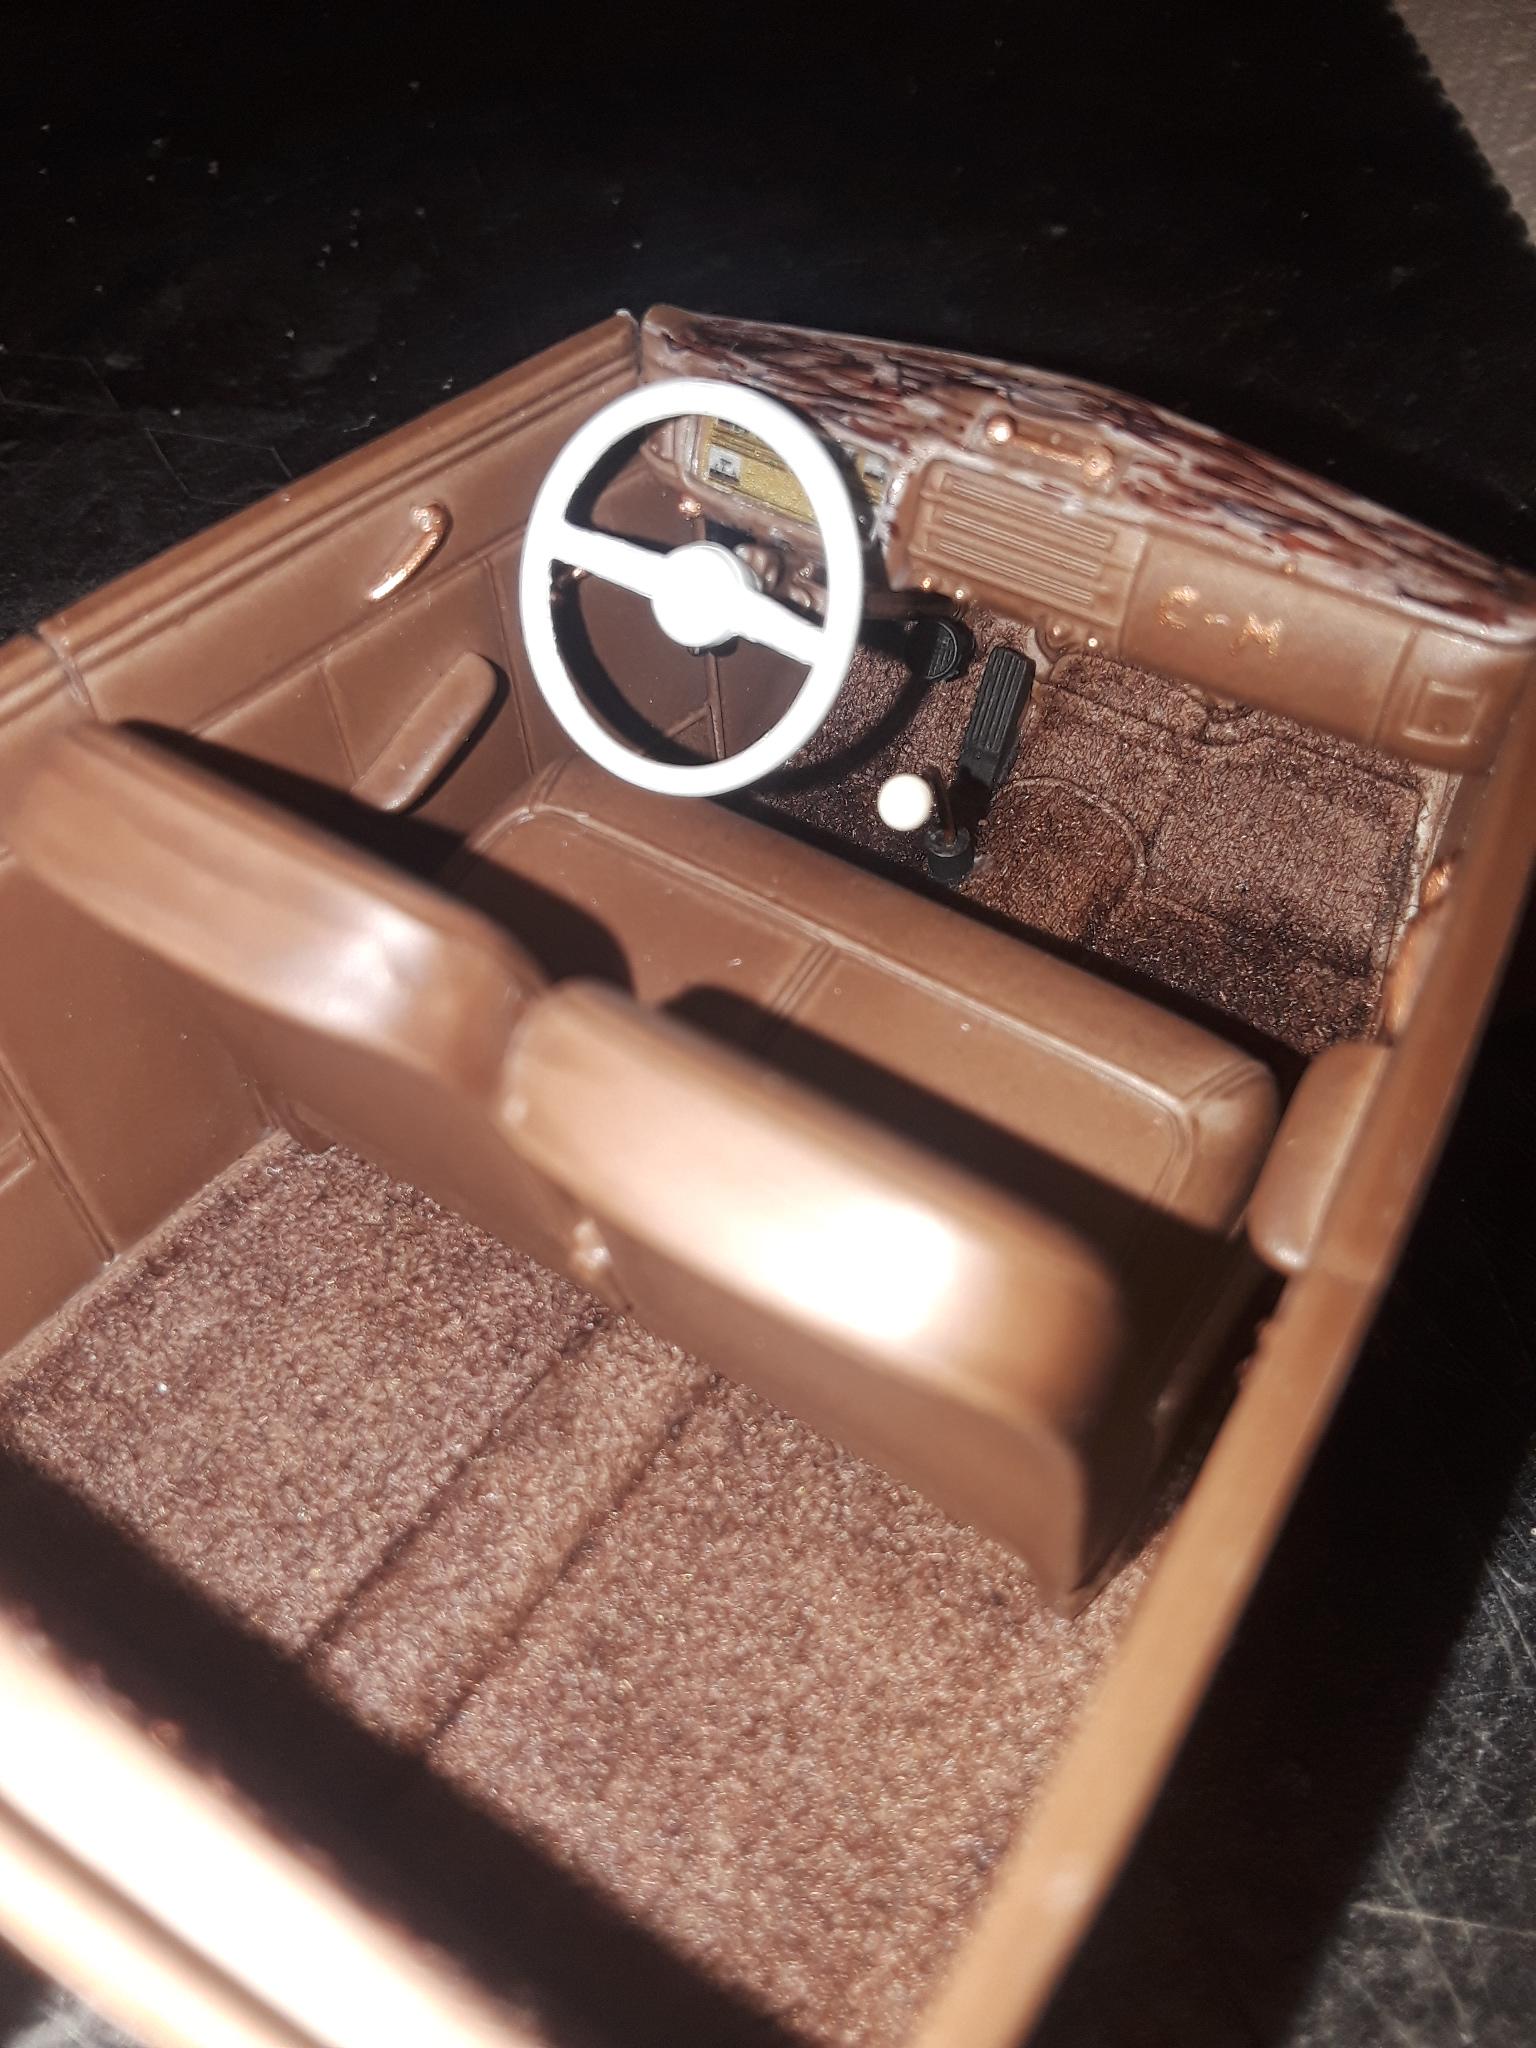
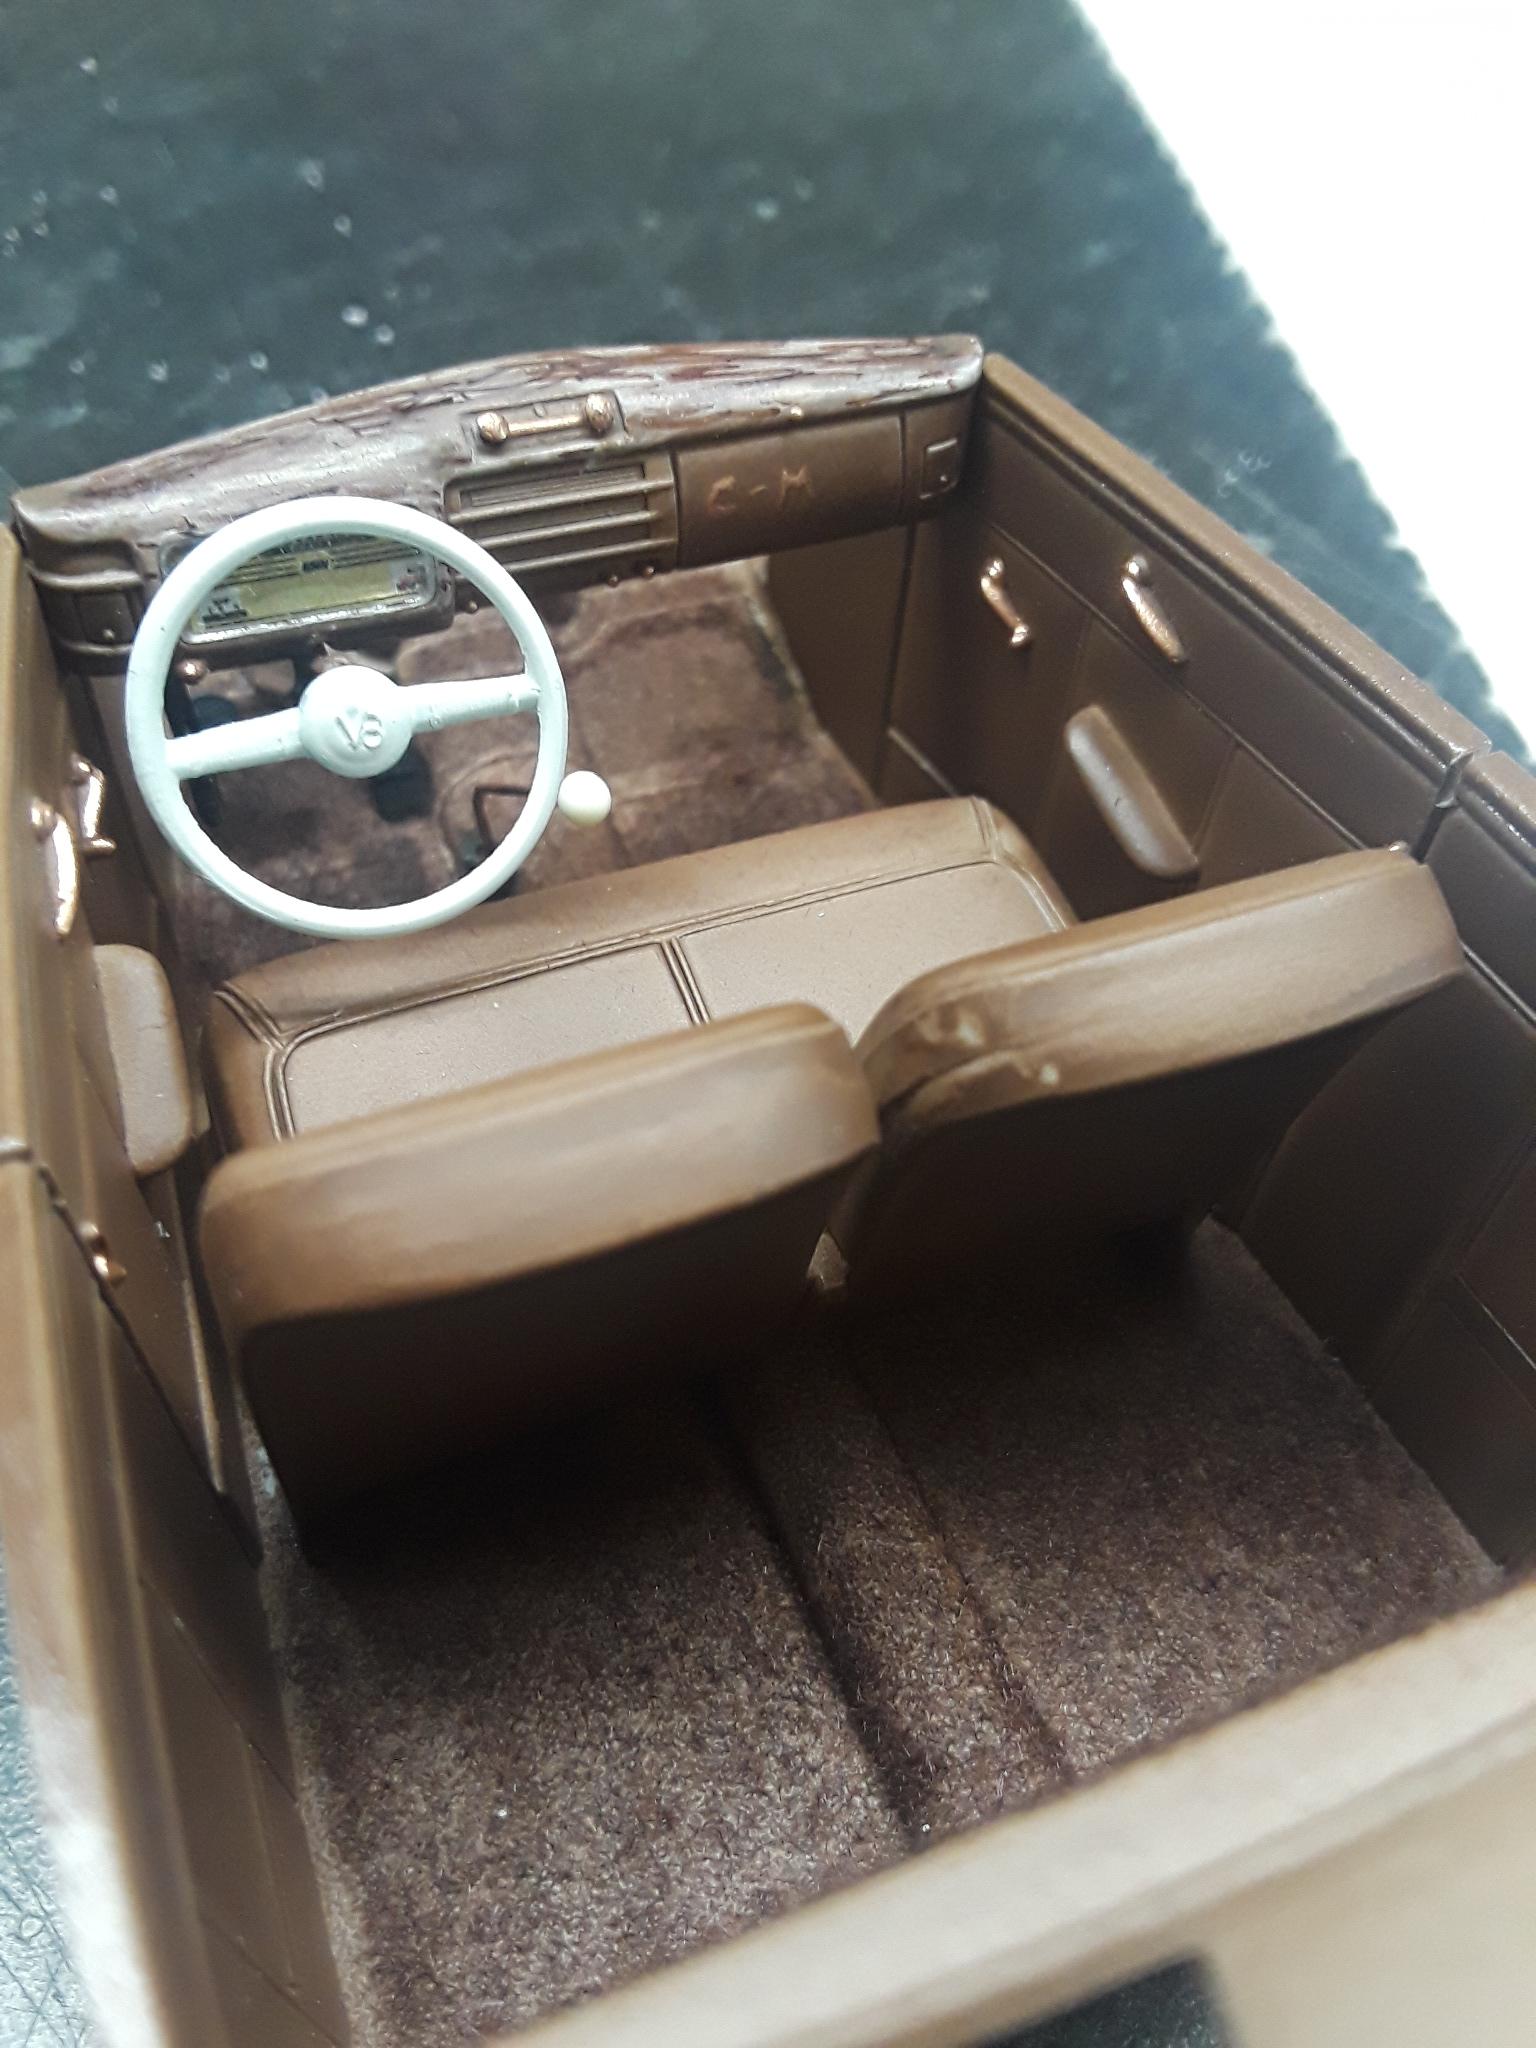
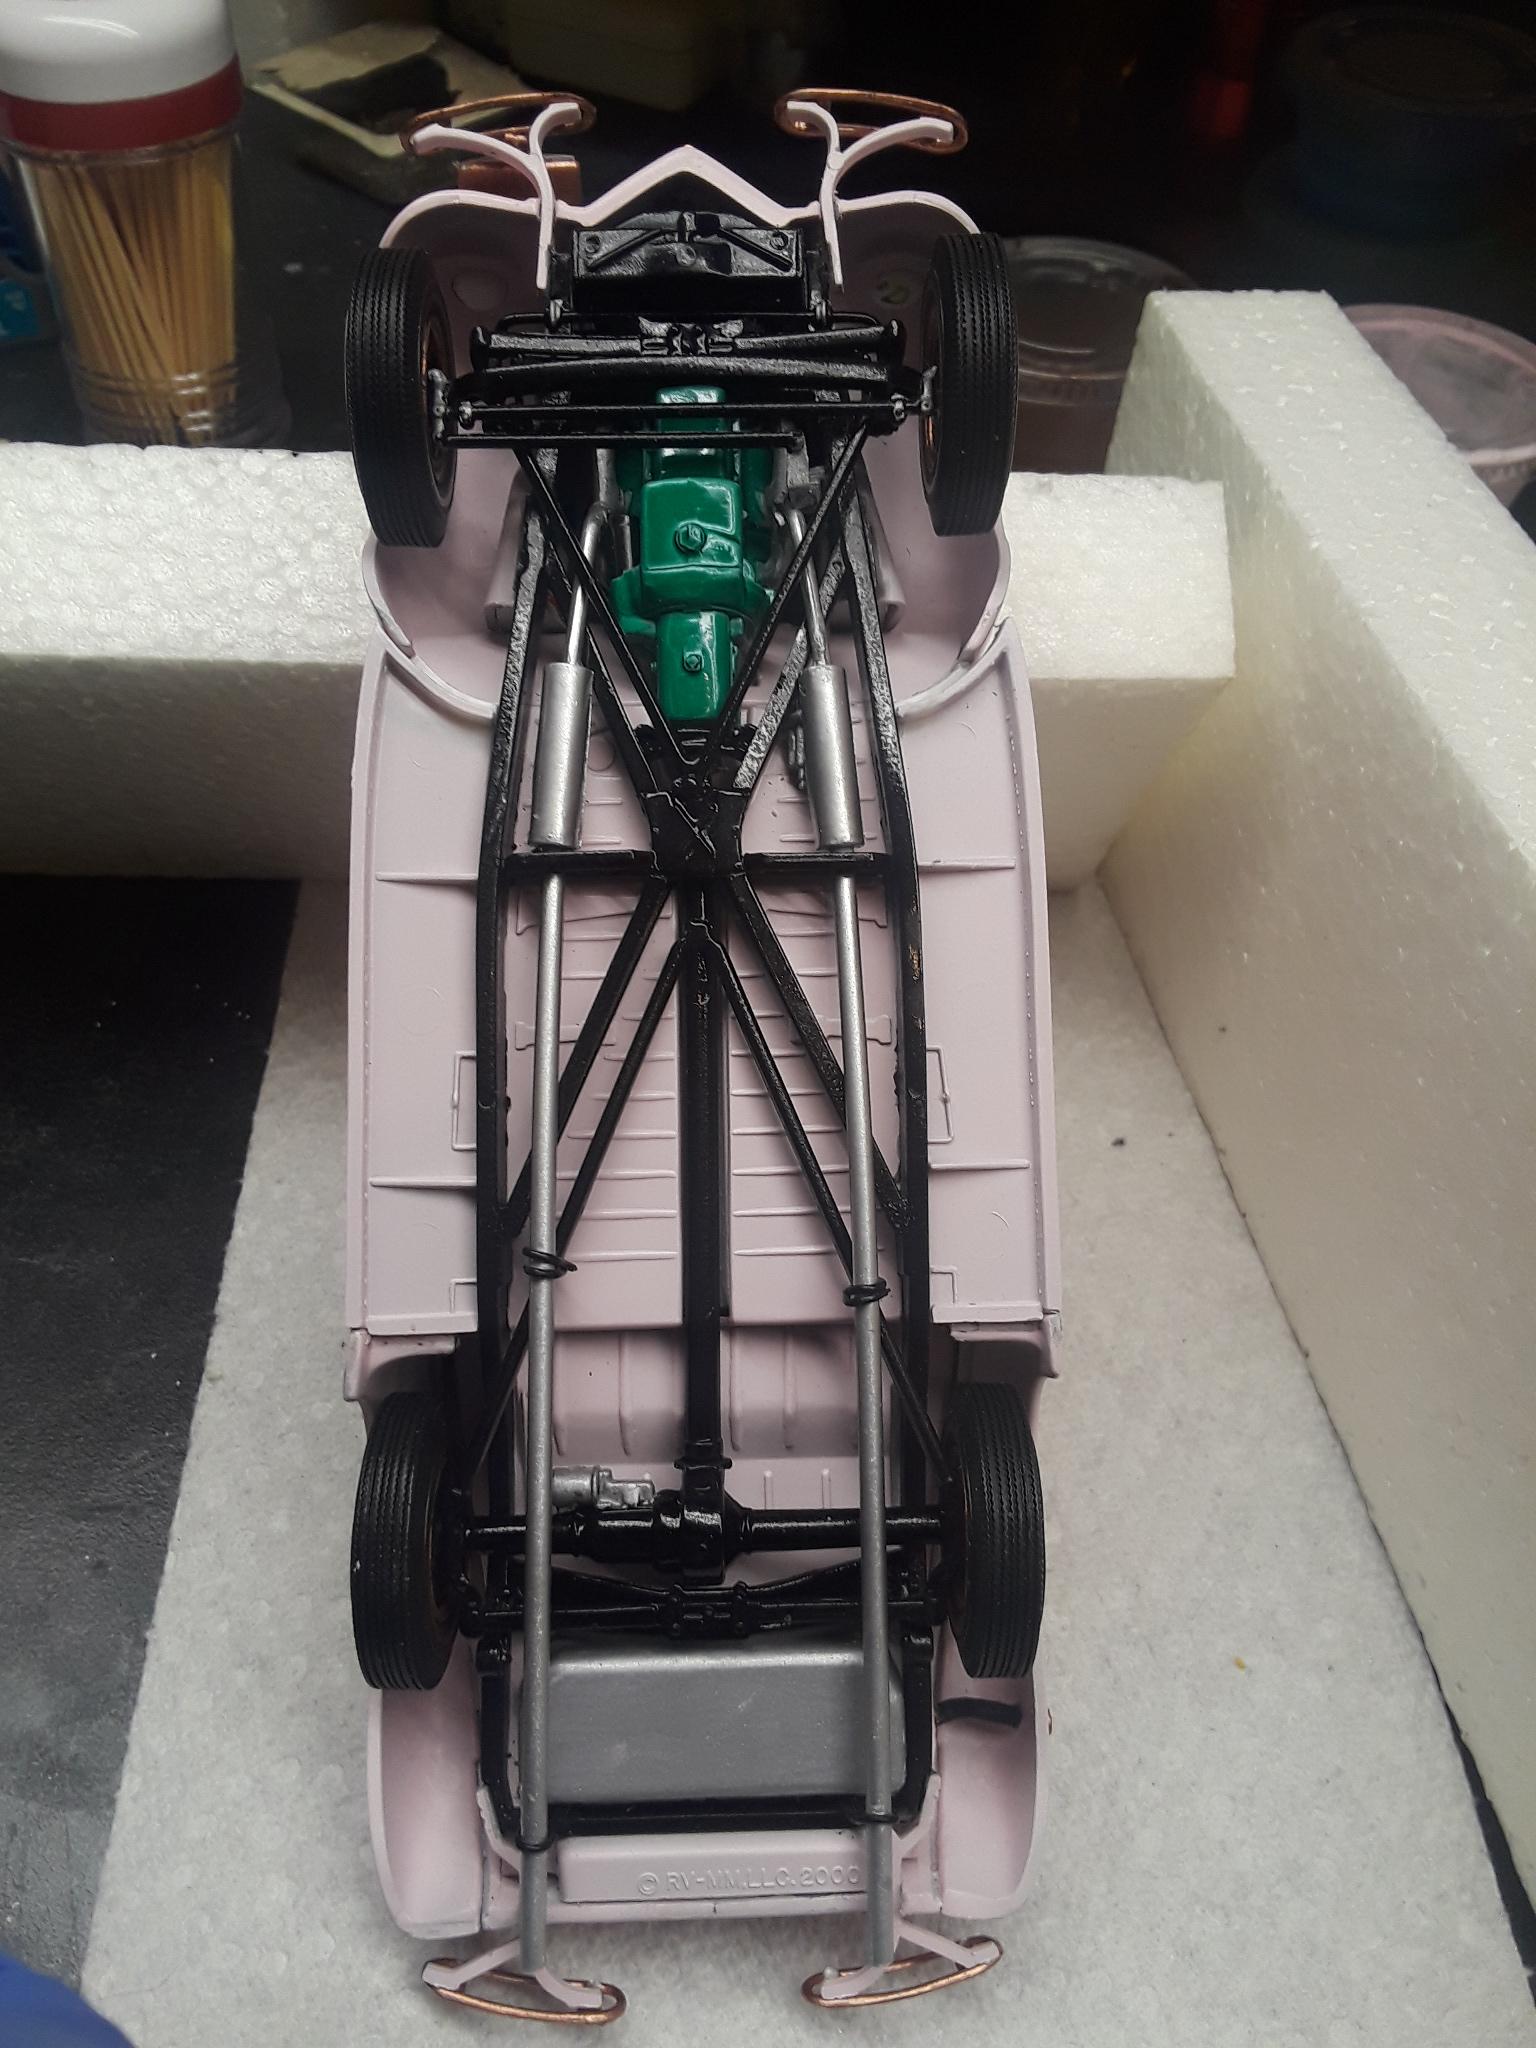
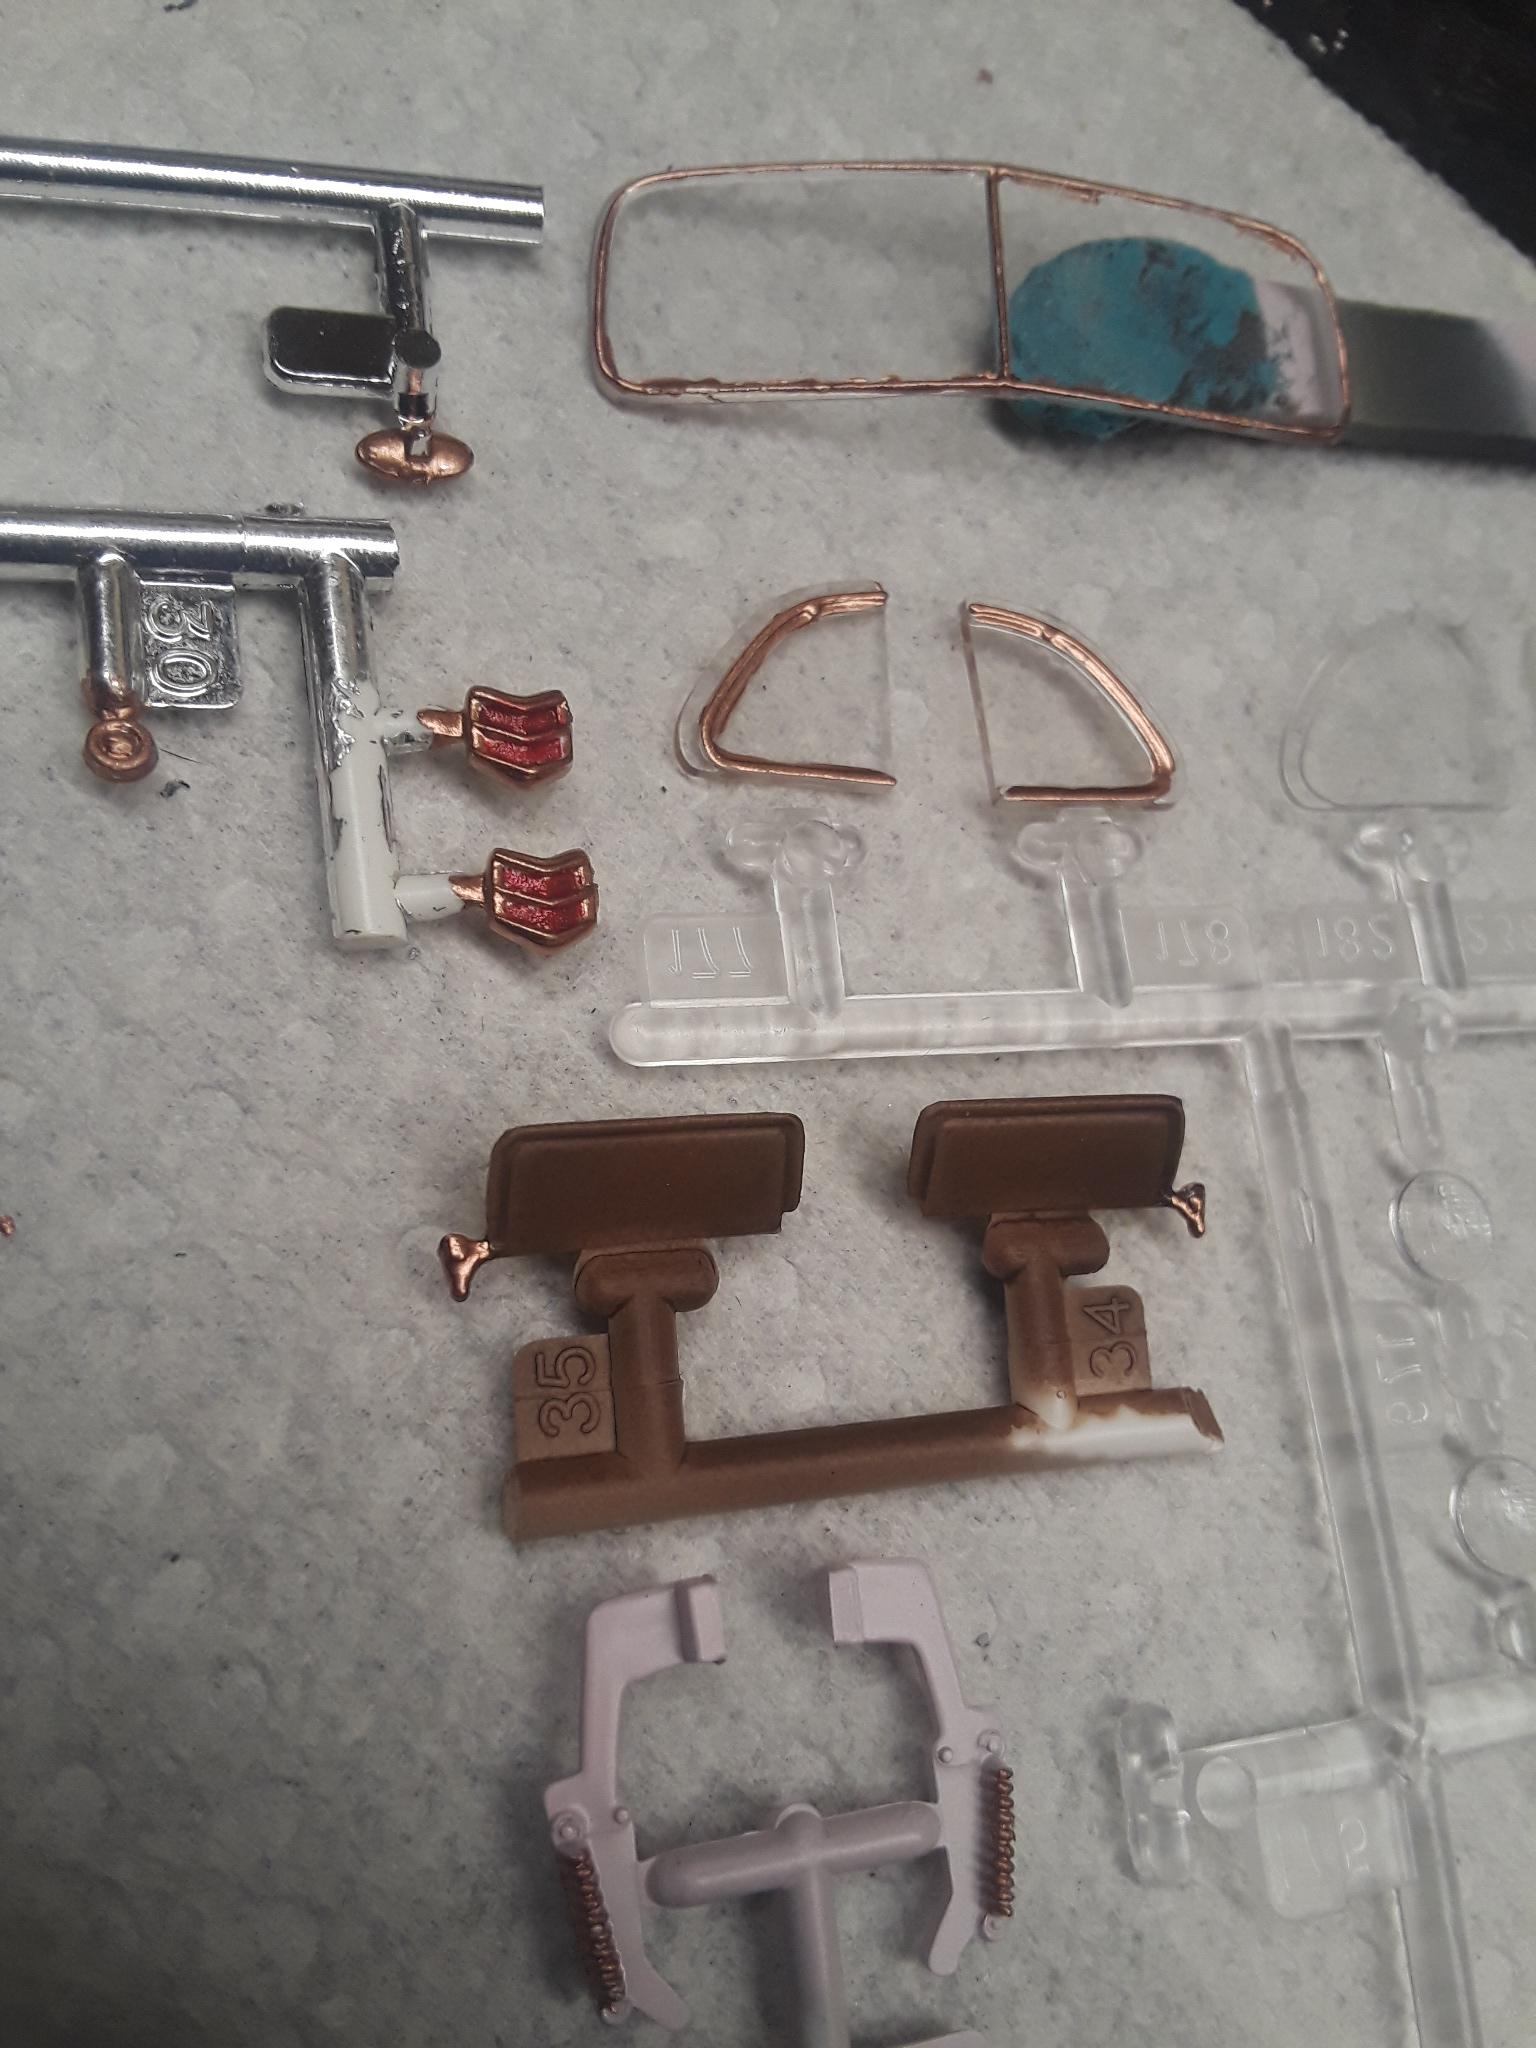
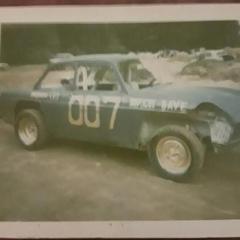
I first read Street Rod back in the summer of 1962. Found it on our county bookmobile, I was already into model cars, my first was a 59 Ford Galaxie kit. I was almost fifteen and was a lot like Rick. The car in the book has stayed in my memory for years, so I built one but I didn't feel it was that good, especially after being on this forum. So a few months ago, after seeing the nice 40 coupes on here and the recommendations for the Revelle kit, I thought I'd give it another try. So thanks to you all for the knowledge and inspiration. I really tried to follow the description that HGF gave in the book, down to the C-M (Conner-Madison) inscription on the dash, the DTA sticker in the windshield, and the gold trophy he won. Since he mentioned "nerfing" I did replace the stock bumpers with nerf bars from an AMT kit. I used the wire wheels from the 53 Ford conv kit. I tried wood graining the dash, but didn't do so well. Brown flocking for the carpet, craft acrylic paint for interior/exterior (airbrushed), Testor sm bottle copper paint (hand brushed). Hand made exhaust from plastic tubing and mufflers from my parts bin. Even though not mentioned in the book I figured for a show car he used white walls. The paint was sanded and polished, no clearcoat. I tried to streamline the look by opening the fenders a little bit. It took about 5 weeks to complete. I was in HL today and met another modeler from a nearby town and we started talking about what we build. He is just starting back into cars and asked me what I build. I mentioned I just finished a 40 Ford coupe street rod from a book, and he said Henry Gregor Felsen. Anyway, thanks for looking and hope this brings back a good memory. The one above is with flash to bring out color, the below is w/o flash
-
What is the best to open
Leica007 replied to slusher's topic in Model Building Questions and Answers
Once I get the outline marked, I rely on my dremel with a cutting or engraving tip.