Zippi
-
Posts
14,184 -
Joined
-
Last visited
Content Type
Profiles
Forums
Events
Gallery
Everything posted by Zippi
-
Im building a 53 Chevy so Im wanting to by the .stl files for a Fulton Sun Visor and the extra chrome package. I can't seem to find anything.
-
Thanks James.
-
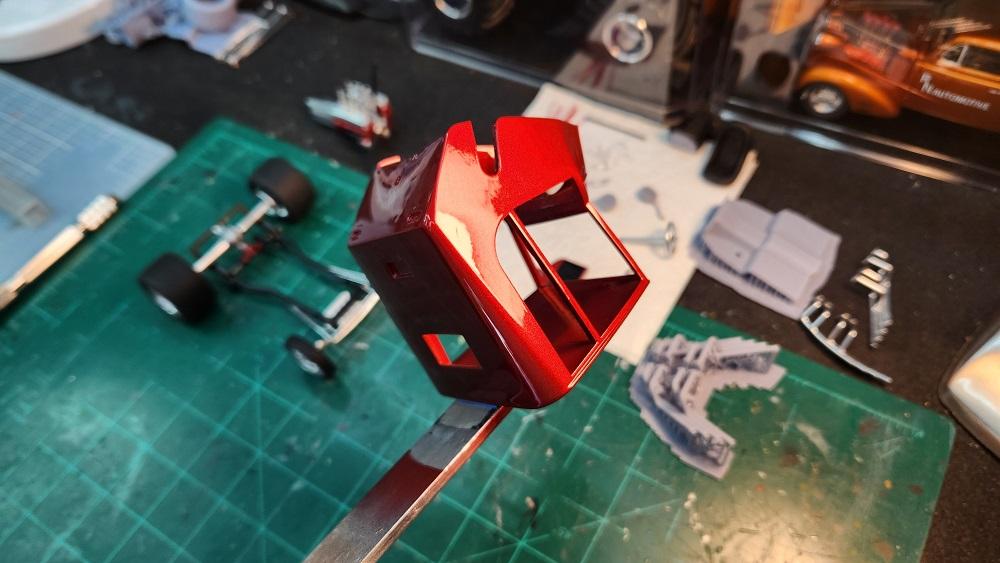
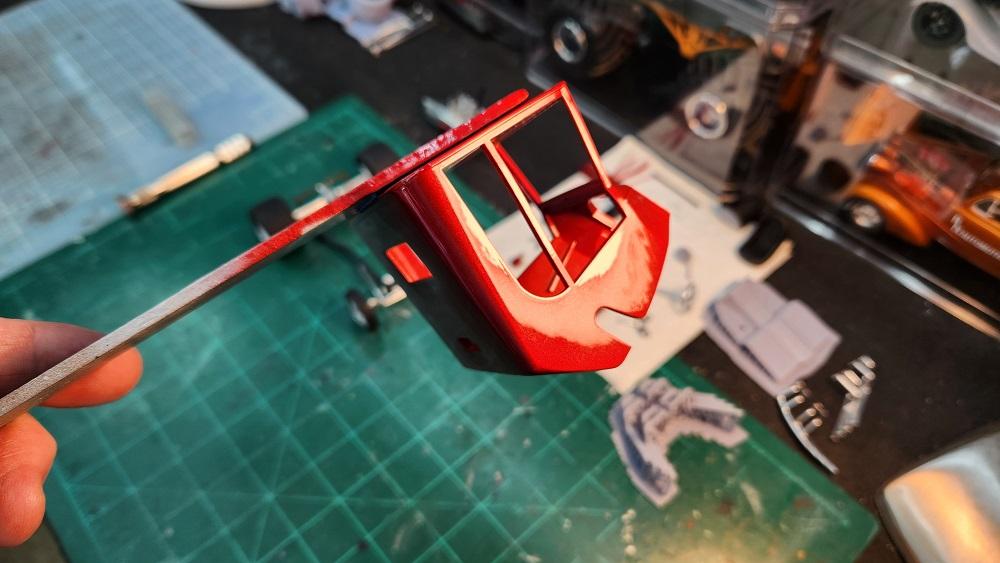
Just got the 2k clear shot on the Uncertain T body. I'm happy with the outcome. I'll let this set for a few day then mask it off and shoot the top Matt Black.

-
That's a looker right there Walter. Gotta love the ole 40 Willy's.
-
Thanks Bill. Haha...yeah, I think it would be a hand full.
-

Do you also have 1:1 project cars?
Zippi replied to ctruss53's topic in General Automotive Talk (Trucks and Cars)
That is a good looking project. The body looks to be in really nice shape. -
I think that livery is going to look pretty kewl Mark.
-
That turned out pretty kewl looking Eran. Nice job on the weathering.
-
Great looking little build Keith. I'm liking that Hudson 308 cu. in. engine.
-
Ya just don't see a lot of 56 Chevy's built. This will be a nice build.
-
Thanks man. Heck yeah, fire that 3D printer up dude. Thanks. Yup, I like how it looks.
-
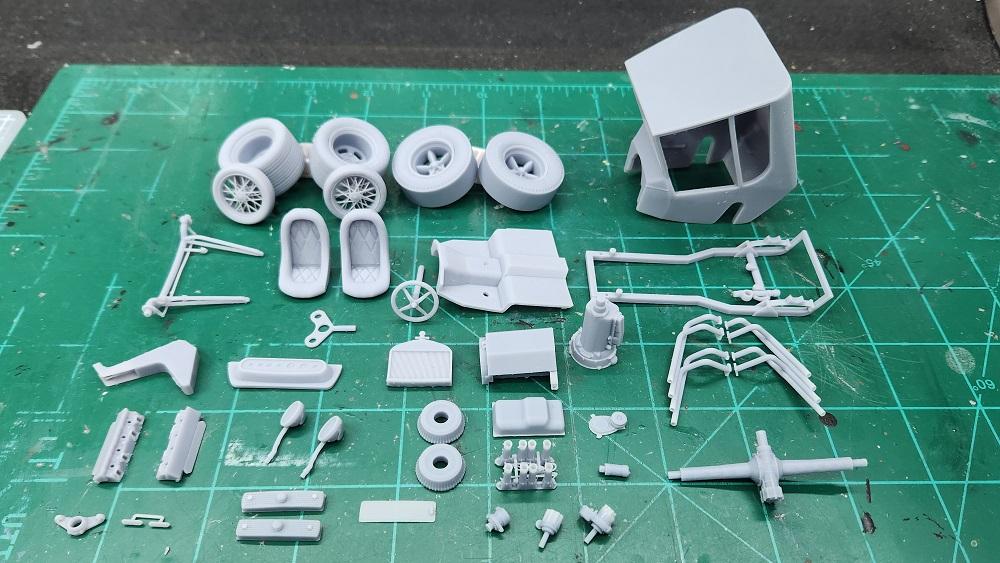
I believe this was the 1/25 scale that I first printed out.
-
That 32 Ford is looking pretty sharp there James.
-
Much obliged David.
-
Thanks. I have not built the 1/25 scale but I can take pics of the resin parts. Is that what your asking?
-
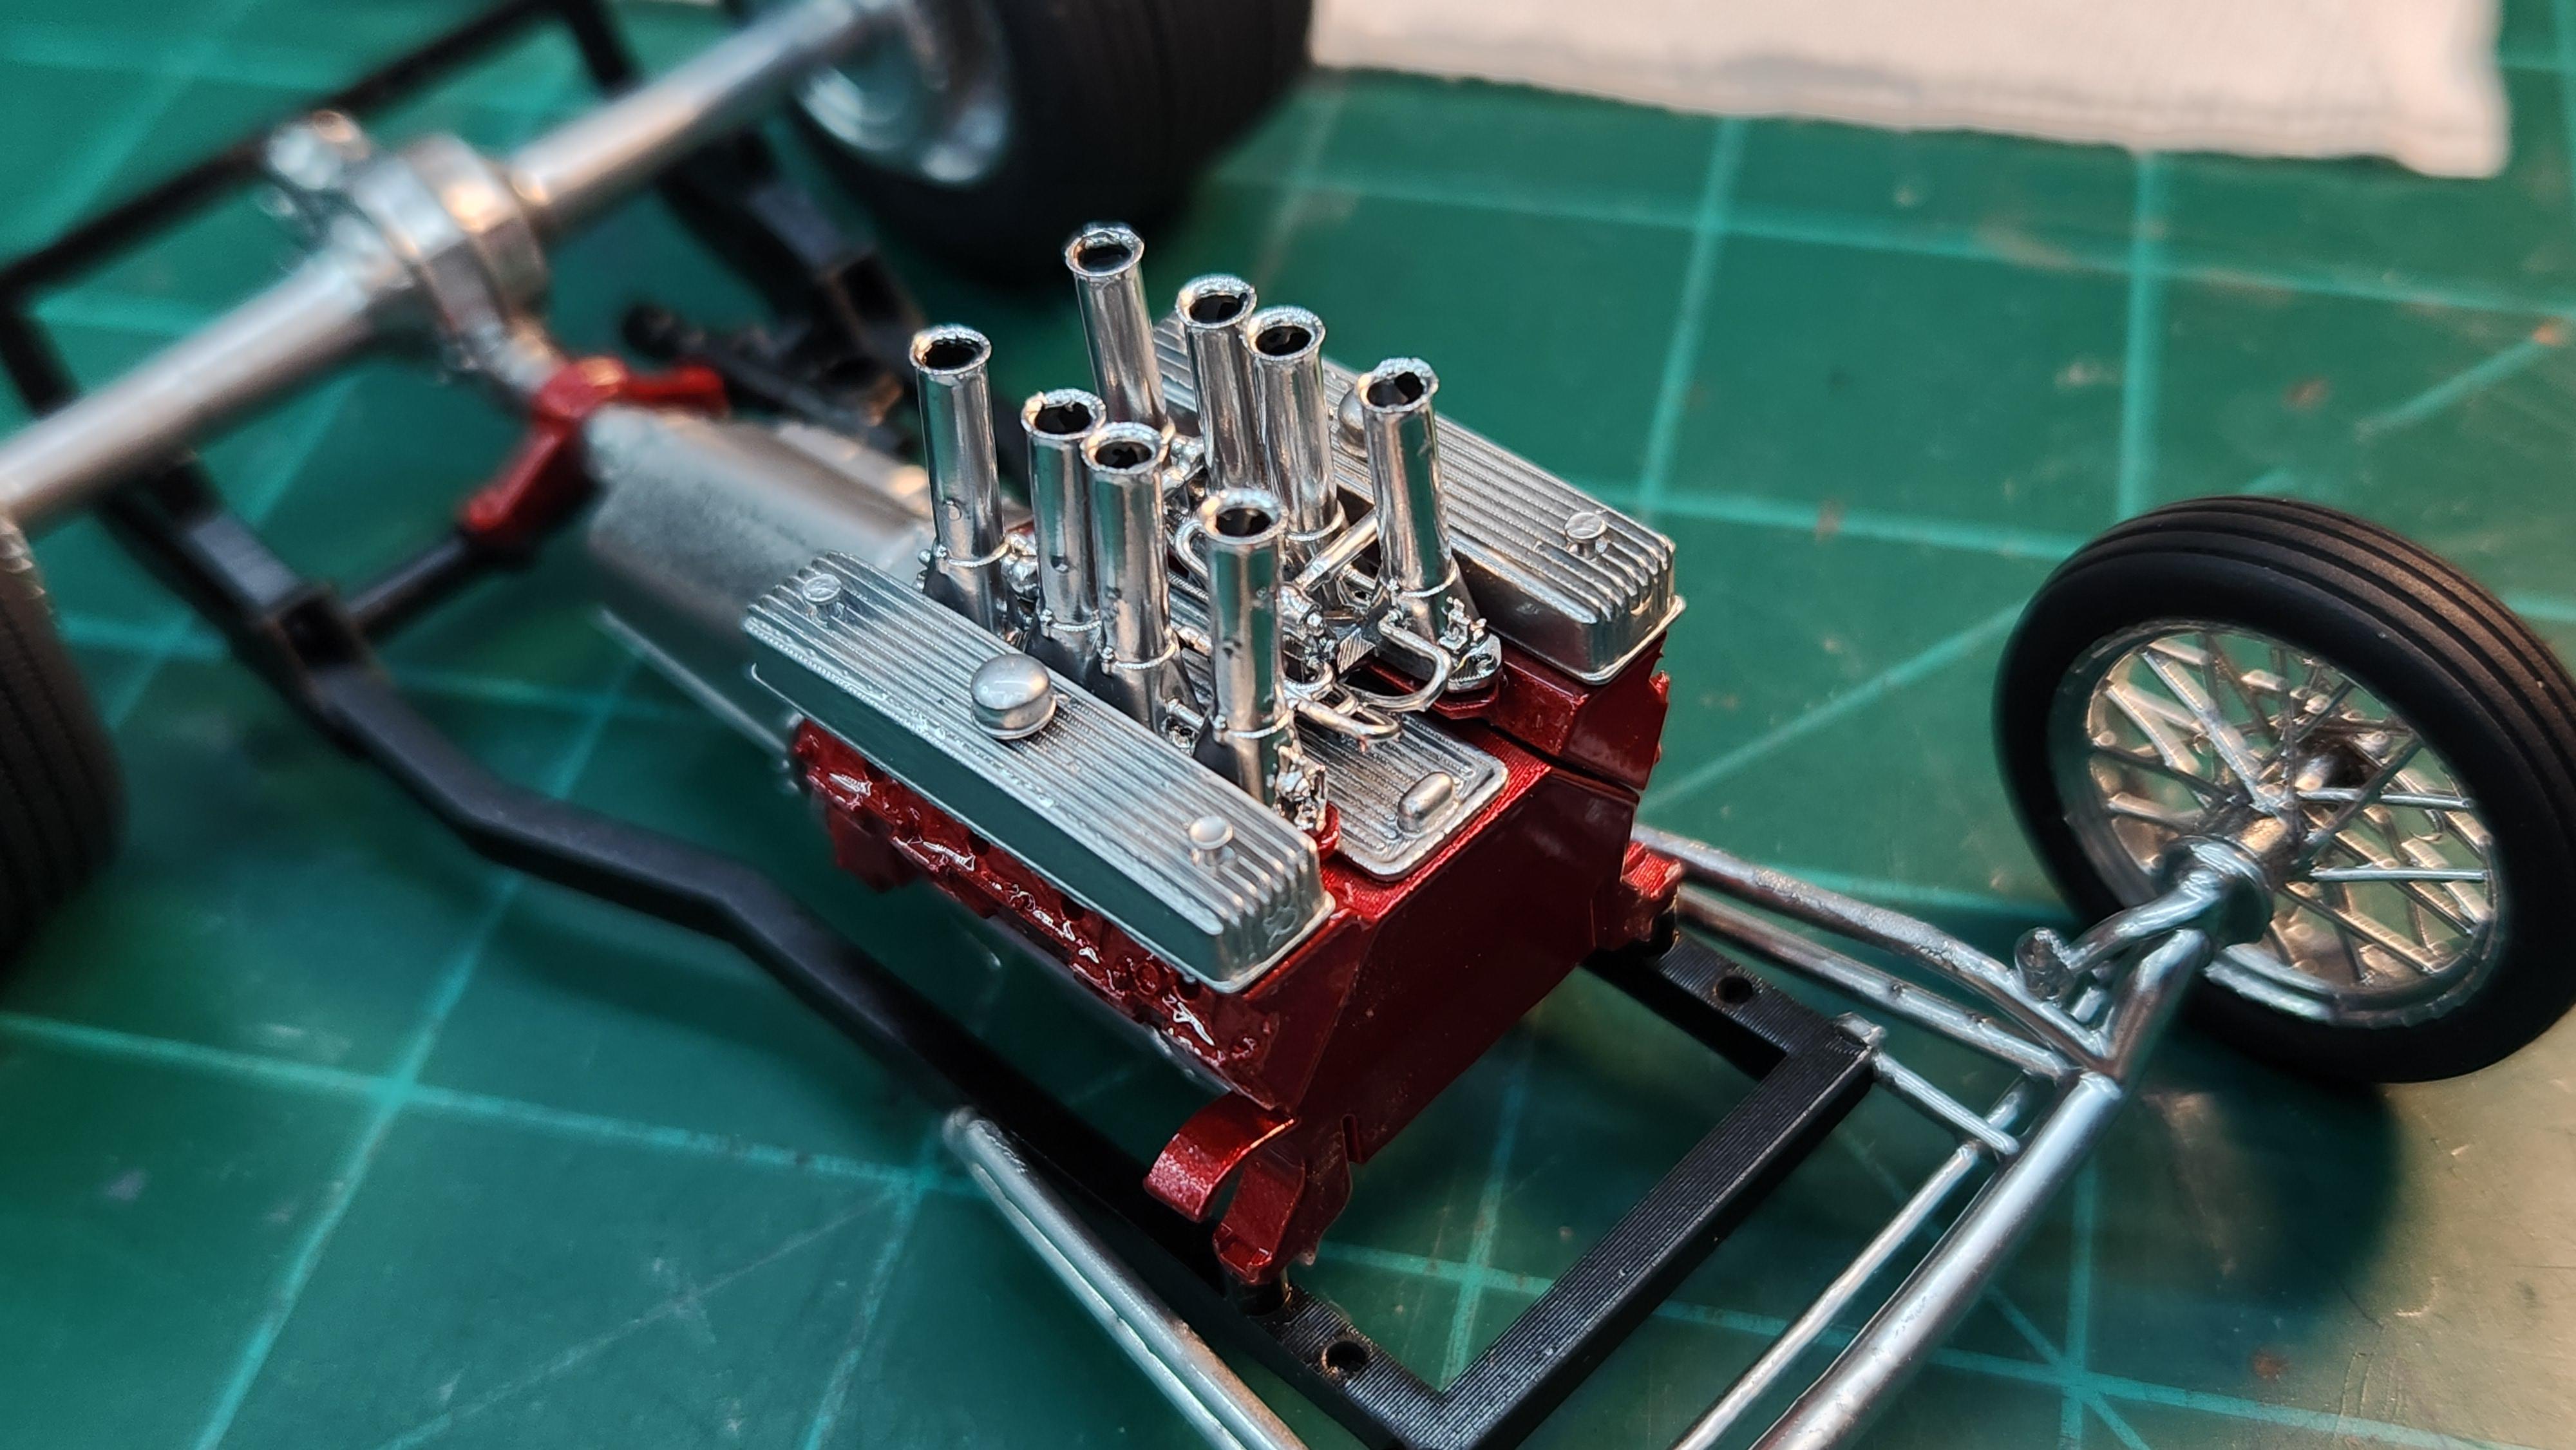
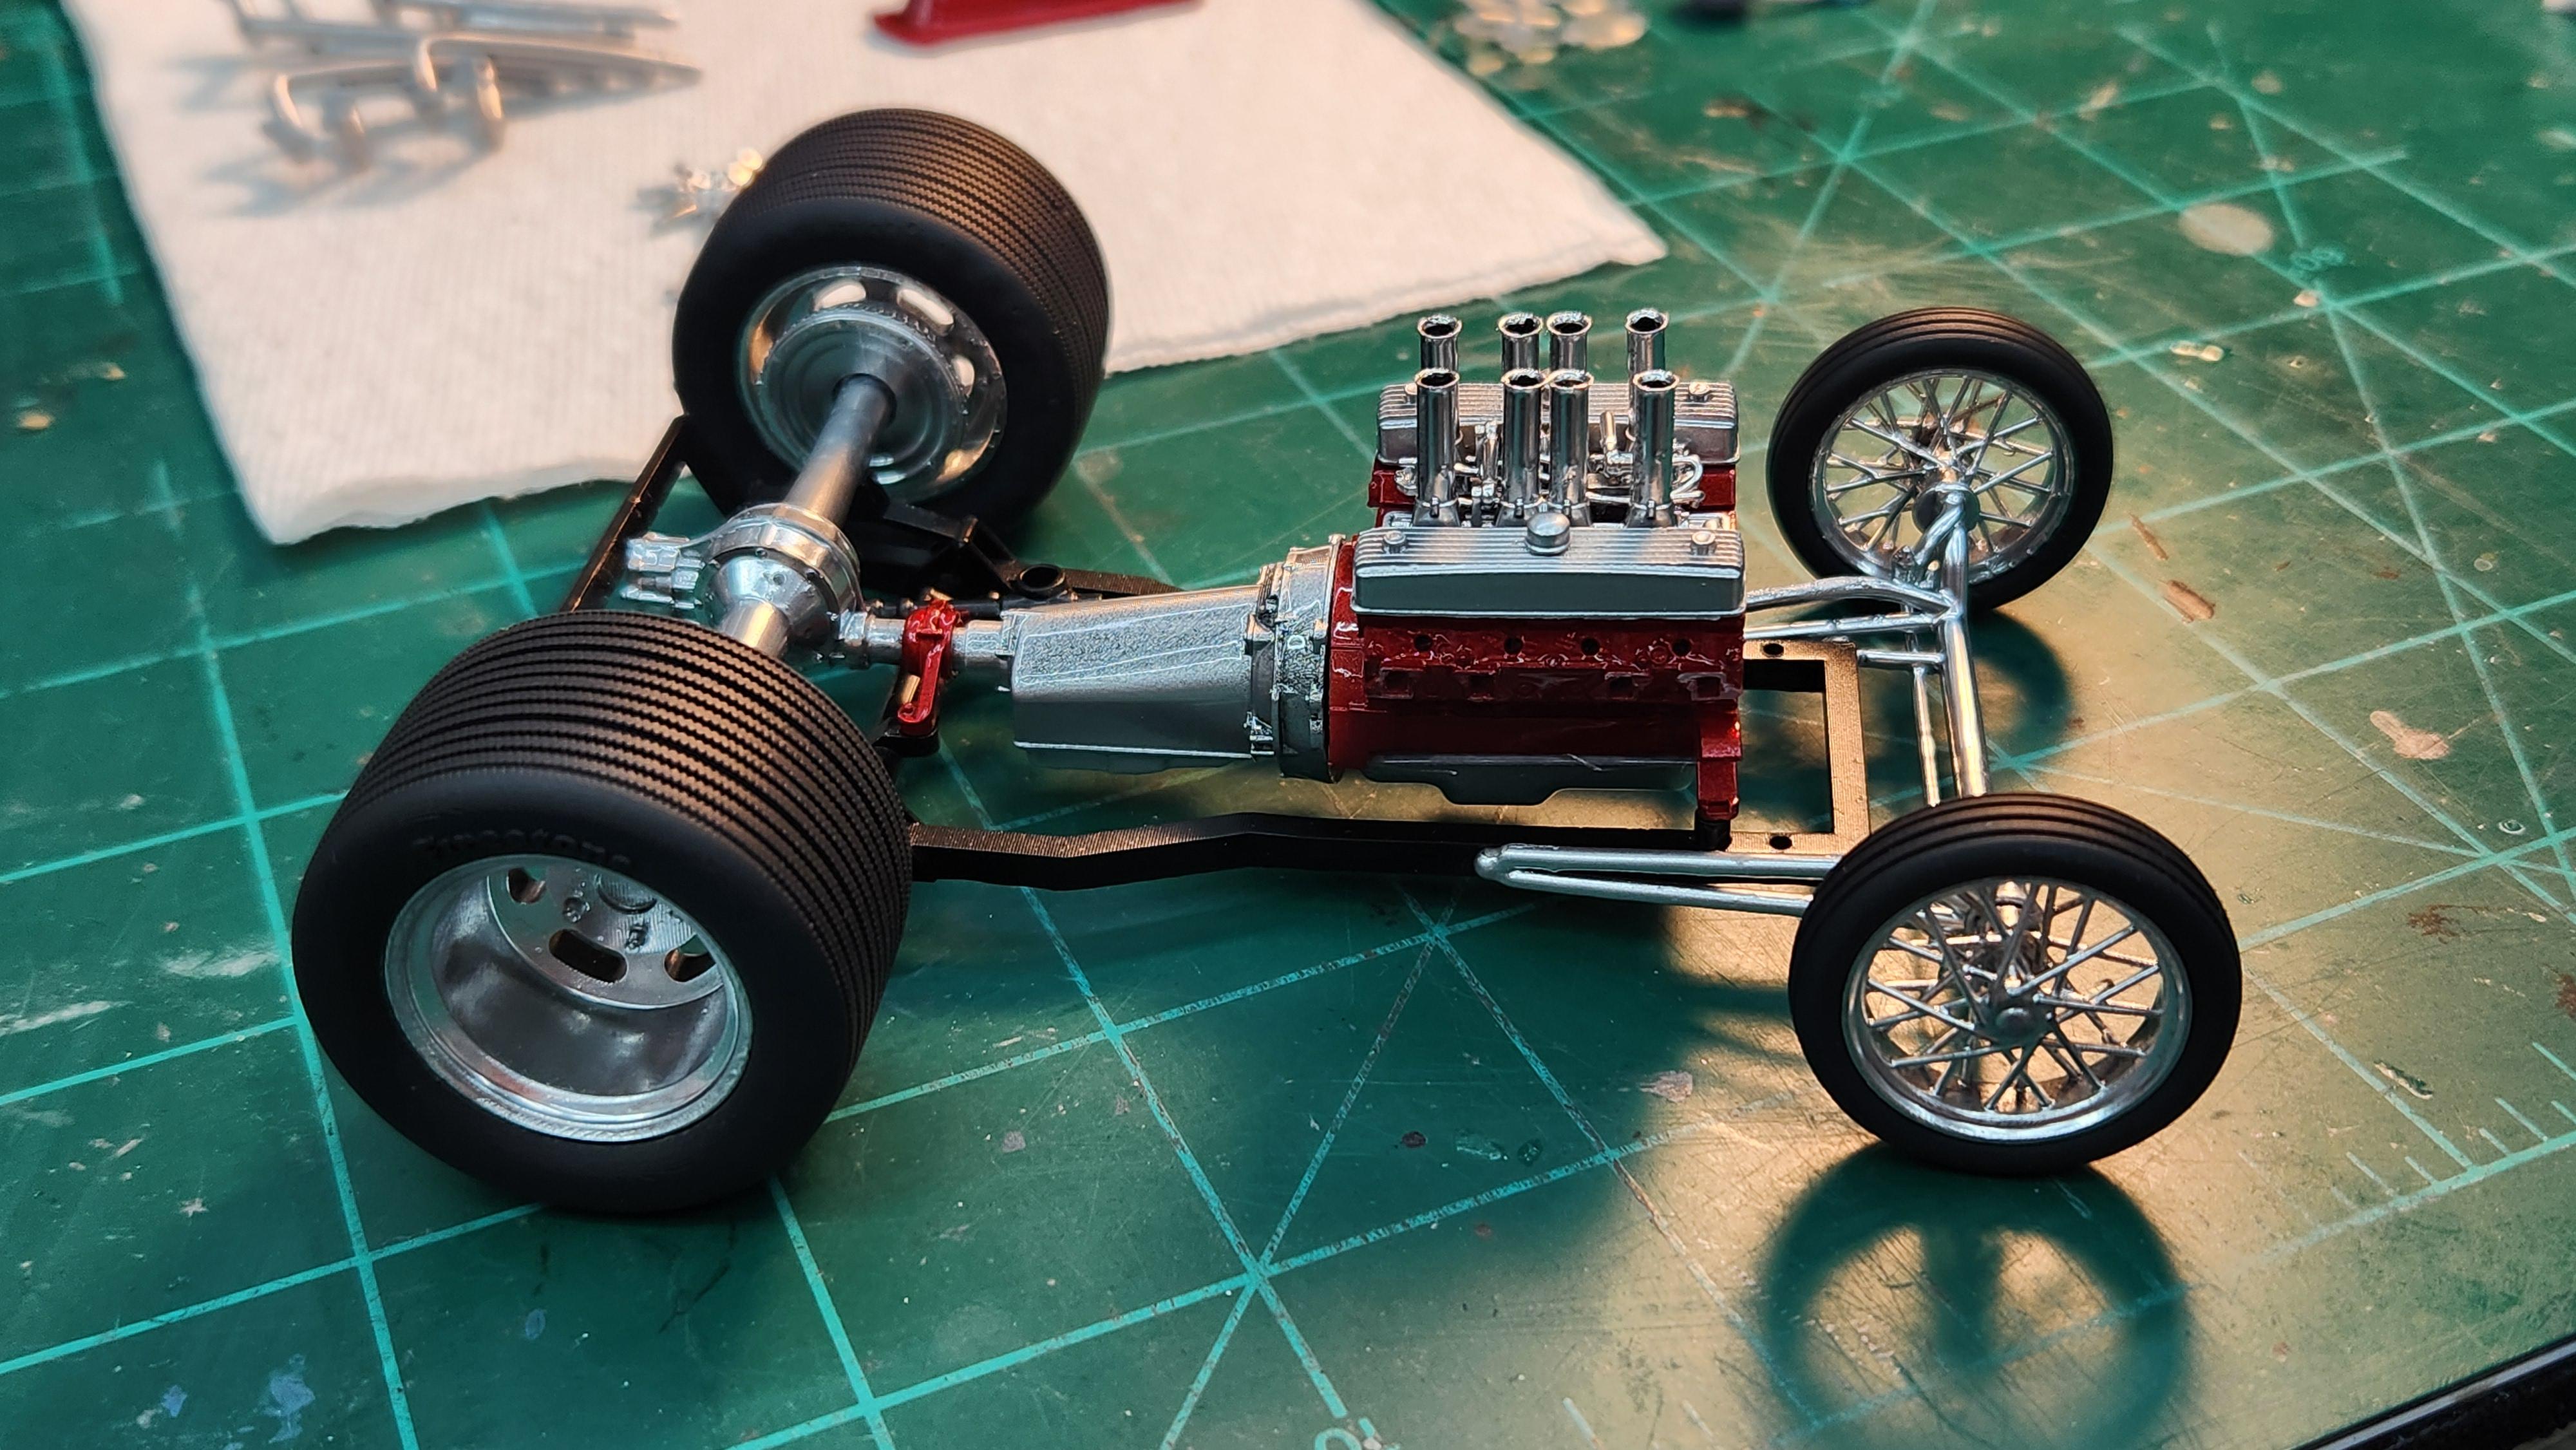
I got some of the Nailhead assembled and I now have a rolling chassis.
-
Great looking re-build there Nathan.
-
AMT '64 belvedere/Revell '69 coronet on the bench
Zippi replied to eldo60's topic in WIP: Model Cars
That Pearl Light Blue and White really look good together. -
Making a Return to the Hobby From Upstate New York
Zippi replied to Stephen0625's topic in Welcome! Introduce Yourself
Welcome back to the hobby Stephen and to the MCM forum. Good choices,can't beat a good drag car. -
partsbox build Model T Doodlebug
Zippi replied to Andria H's topic in Model Trucks: Pickups, Vans, SUVs, Light Commercial
That is so kewl looking Andria. -
1937 GMC COE Handyman's Truck
Zippi replied to Andria H's topic in Model Trucks: Pickups, Vans, SUVs, Light Commercial
Good looking COE Andria. -
Yeah, I'm liking this one. Very nice build Heath.
-
Looking good dude. That's got the makings of a good looking Hot Rod.
-
Always liked this body style. The ride height looks nice. Looking good so far Bruce. I'll be checking in on this build.
-
Love the color of this Great looking little Hot Rod. Nice build.