Zippi
-
Posts
14,184 -
Joined
-
Last visited
Content Type
Profiles
Forums
Events
Gallery
Everything posted by Zippi
-
Steven your work and skills are outstanding. After following this thread and looking at your finished models I just wonder why I even bother.
-
The color looks great. It should really come to life once you clear it.
-
Thanks for the comments fellows and the info on the bmf is greatly appreciated Tom.
-

Sanford & Son Truck
Zippi replied to Nosferatu's topic in Model Trucks: Pickups, Vans, SUVs, Light Commercial
Haha....I use to watch the show all the time. Nice looking build and it looks like what the "Dummy" was driving in the show. -
Did a little work on the front grille. I decided not to put the clear lenses in as I like the look as it is. Did some black wash in the grille. Looks like there is nothing on the right side but it must be the lighting.

-
Haha....is spiffy the same as snazzy ☺
-
Thanks fellows.
-
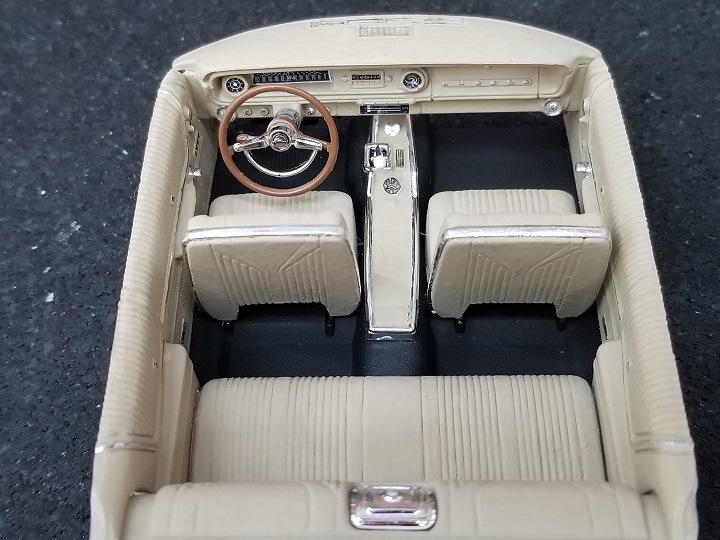
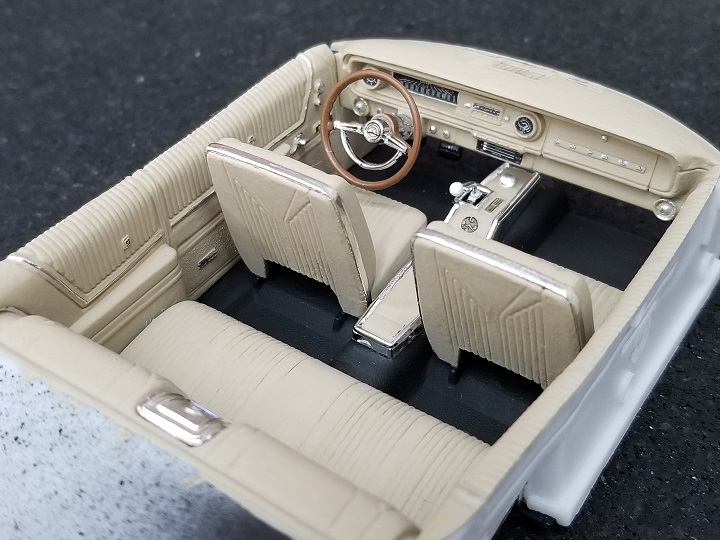
Raining this morning so no spray painting. I did get the interior completed for now. May do a little more touch up. Not sure if i like the color on the console.
-
*1960 Chevy Fleetside Pickup*
Zippi replied to Zippi's topic in WIP: Model Trucks: Pickups, Vans, SUVs, Light Commercial
Thanks fellows. I'll have to dig into my spare parts and see just what wheels & tires I have and what will look good. -
65 Chevy Stepside
Zippi replied to bluestringer's topic in WIP: Model Trucks: Pickups, Vans, SUVs, Light Commercial
Yup....been there and done that. Have anymore pics? I just posted my 60 Chevy Pickup build in WIP. -
Starting another kit while I'm still working on my 65 Impala. I love the trucks so on this one I wanted to try the Tamiya lacquer paint. I painted the body with Tamiya TS-10 French Blue, top with TS-26 Pure White, and cleared it with Tamiya TS-13 Clear. This is still early on so not sure where I'm headed with this one. I have an extra 56 Ford Foose truck kit I could rob some parts or I could just go box stock. To early to know for sure. Just thought I'd throw this out there.
-
Worked a little on the detailing for the firewall and dash. My Molotow Chrome pen crapped out on me so I had to stop. Wasn't planning on a trip to the hobby shop today.
-
My foil went on ok but it has that "wrinkled Hershey’s Kisses foil wrap look" like John said. I'll finish out the rest of the sheet but may go another route down the road. Just don't know yet.
-
Sweet looking little Model A.
-
55 Chevy Bel Air Hardtop: WIP (Photos Restored)
Zippi replied to David G.'s topic in WIP: Model Cars
That color combo makes a statement. Looks kewl. -
David, this was my 1st time using bmf. While practicing I learnt quick that it only took the weight of my X-Acto knife (new blade) to cut through the bmf. I also learnt very quickly that I need to wait til the afternoon when all the caffeine is out of my system. I was shaking from the caffeine and I thought is was my nerves ☺
-
Thanks David. Maybe once you get the black paint on again try some white masking tape as a guide so you can see it better against the black.
-
Looks good Tom. You going to leave that patina look or lay down some paint?
-
That color looks great man.
-
Thanks fellows. Yeah....I did a couple test before I did my seats. The only thing it really wanted to stick to was an unpainted surface. it stuck pretty good to the acrylic though.
-
Engine and wheels are looking good.
-
Last Build of 2020! Chevy Fleetside
Zippi replied to dougwintz's topic in Model Trucks: Pickups, Vans, SUVs, Light Commercial
Great build. I like the white and green. I'll be working on mine shortly. -
AMT '60 Chevy pick up
Zippi replied to Paul Hettick's topic in Model Trucks: Pickups, Vans, SUVs, Light Commercial
Nice clean build. I have this kit and just painted the body in Tamiya lacquer this morning. -
61 Ranchero
Zippi replied to BIGTRUCK's topic in Model Trucks: Pickups, Vans, SUVs, Light Commercial
That's one tough looking Ranchero. -
65 Chevy Stepside
Zippi replied to bluestringer's topic in WIP: Model Trucks: Pickups, Vans, SUVs, Light Commercial
nice engine. Those colors should go together pretty well.