bluestringer
-
Posts
2,276 -
Joined
-
Last visited
Content Type
Profiles
Forums
Events
Gallery
Everything posted by bluestringer
-
Looks great. Nice work.
-
Looking good. I'll be following.
-
Thanks Bob. Thank you. Thank you. Thanks.
-
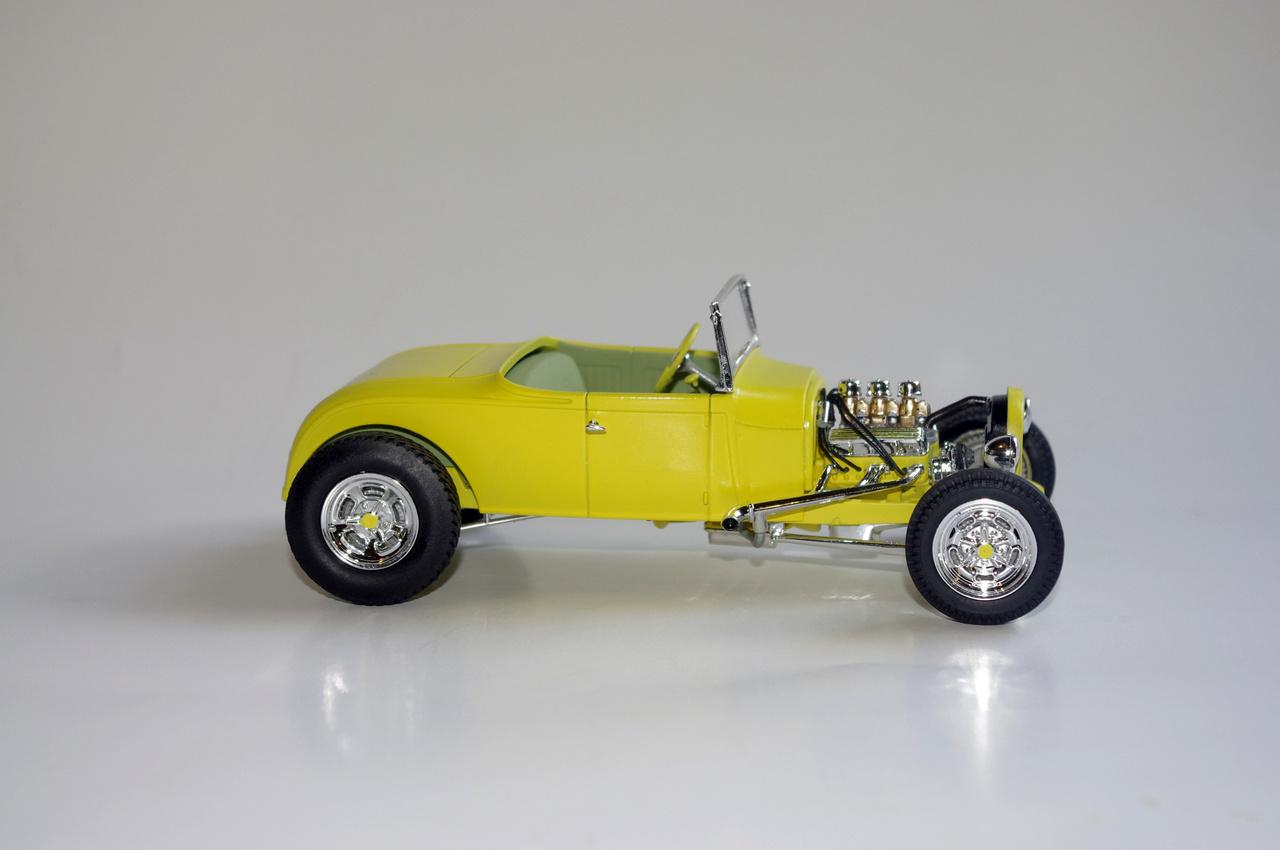
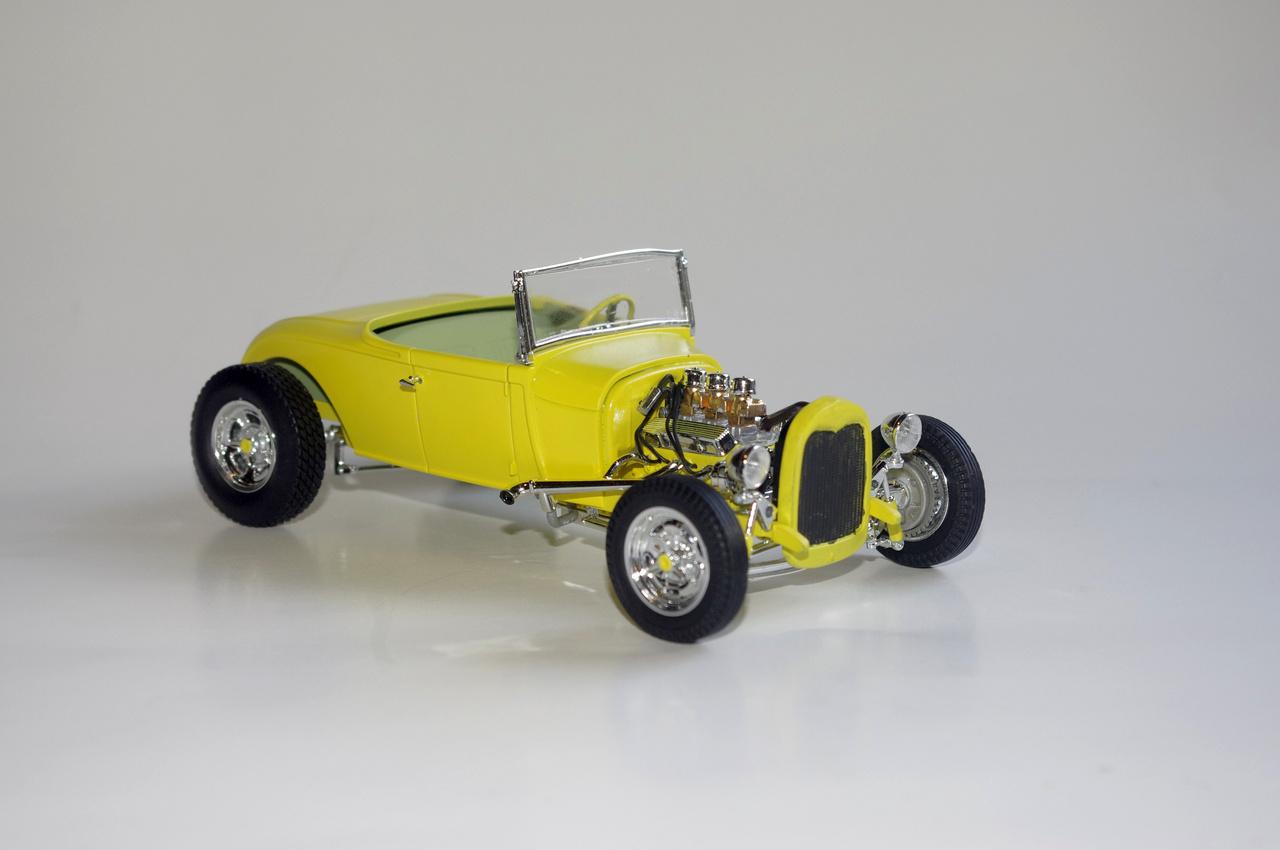
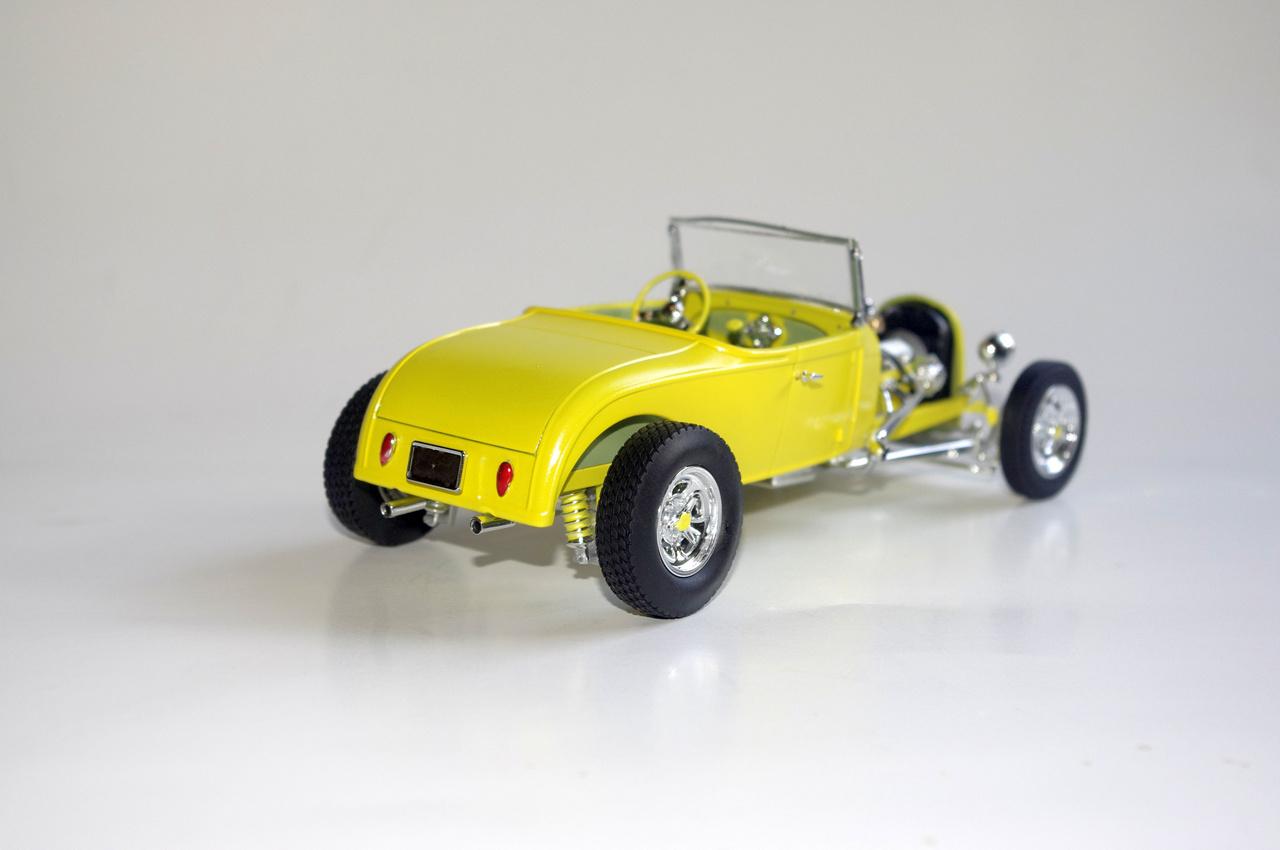
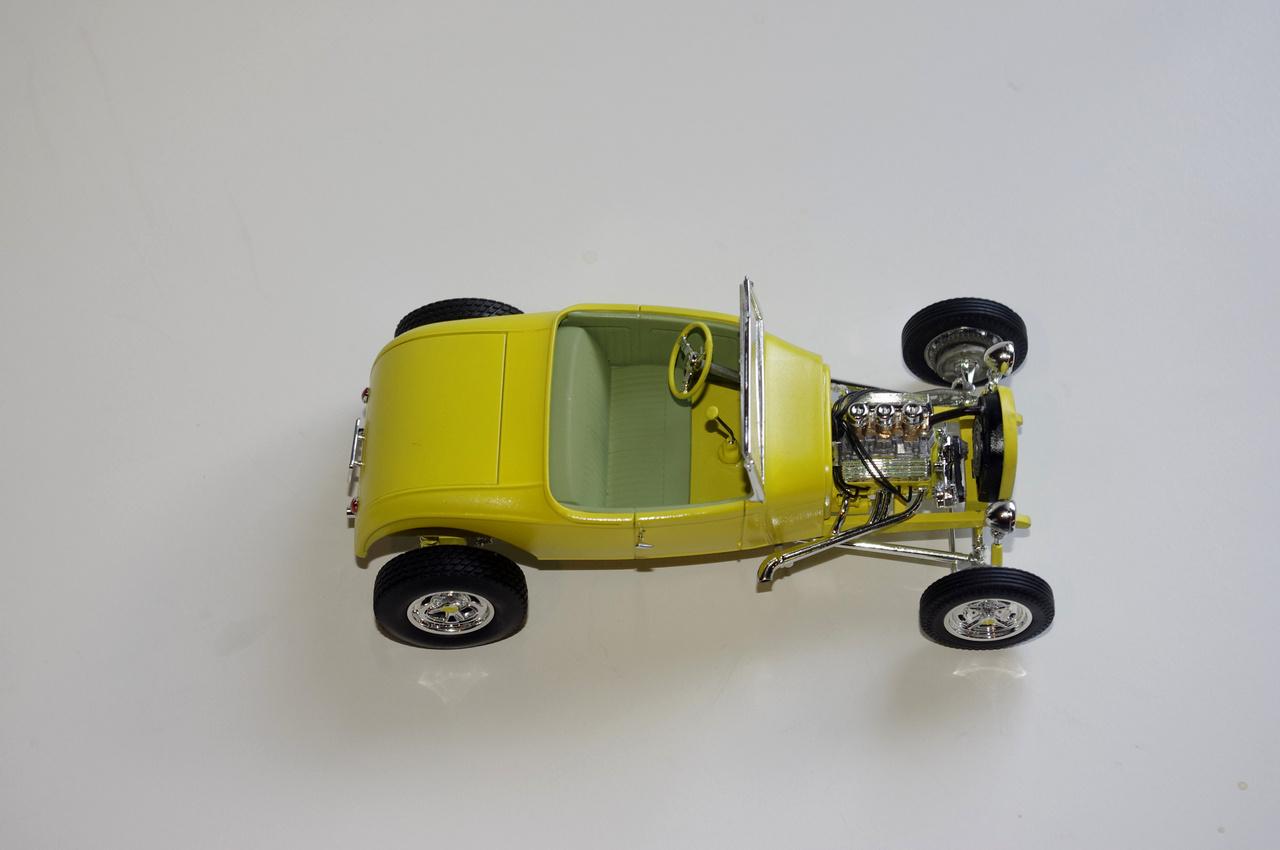
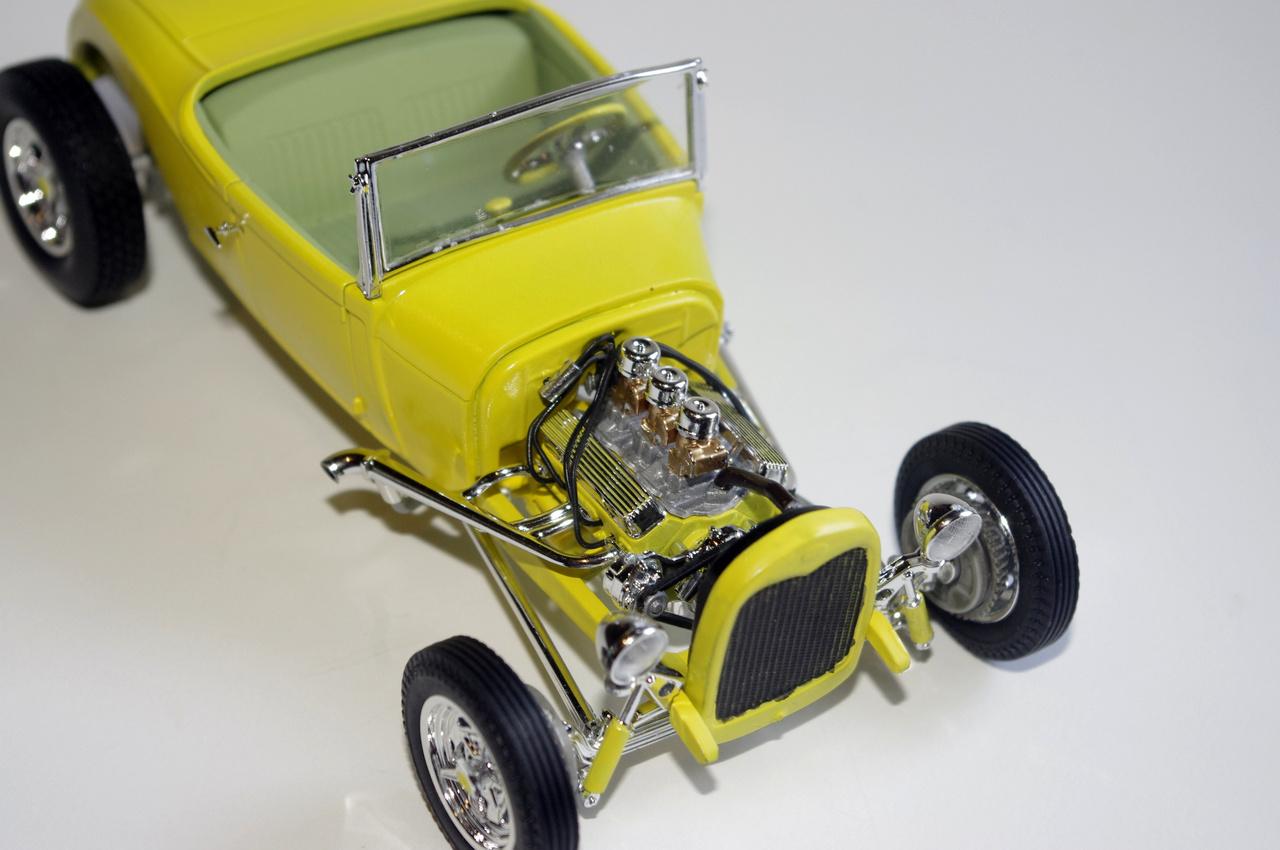
Had some warpage in the windshield that I couldn't get out. Color is Createx Opaque Yellow with Revive-It floor polish for the clear. Interior is Ceramcoat Wedgewood Green. Fun kit. All comments welcome and thanks for looking.

-
Calling it done. Photos under glass.
-
When I got mine I was drilling holes in sprue tree pieces left and right. It was fun.
-
Just a few more bits and I'm calling it done.
-

Extra Parts, Boxes, Instructions, Etc.
bluestringer replied to bluestringer's topic in Model Building Questions and Answers
I live in South Georgia and it can get really hot here. Right now the heat index is 98. My shed has no AC and it's where most all my kits are, as well as some built models. I have not seen any problem so far, but I plan on getting a small window AC unit for the Summer as this is where my work area is and trying to build in that hot environment is not fun. -
Thanks Carl. I think it will.
-
'65 Nova Pro Street Update 11/14/22 Completed Chassis Photo Pg. 5
bluestringer replied to Plowboy's topic in WIP: Model Cars
Looks great. Love the color. The stance looks fine to me. -
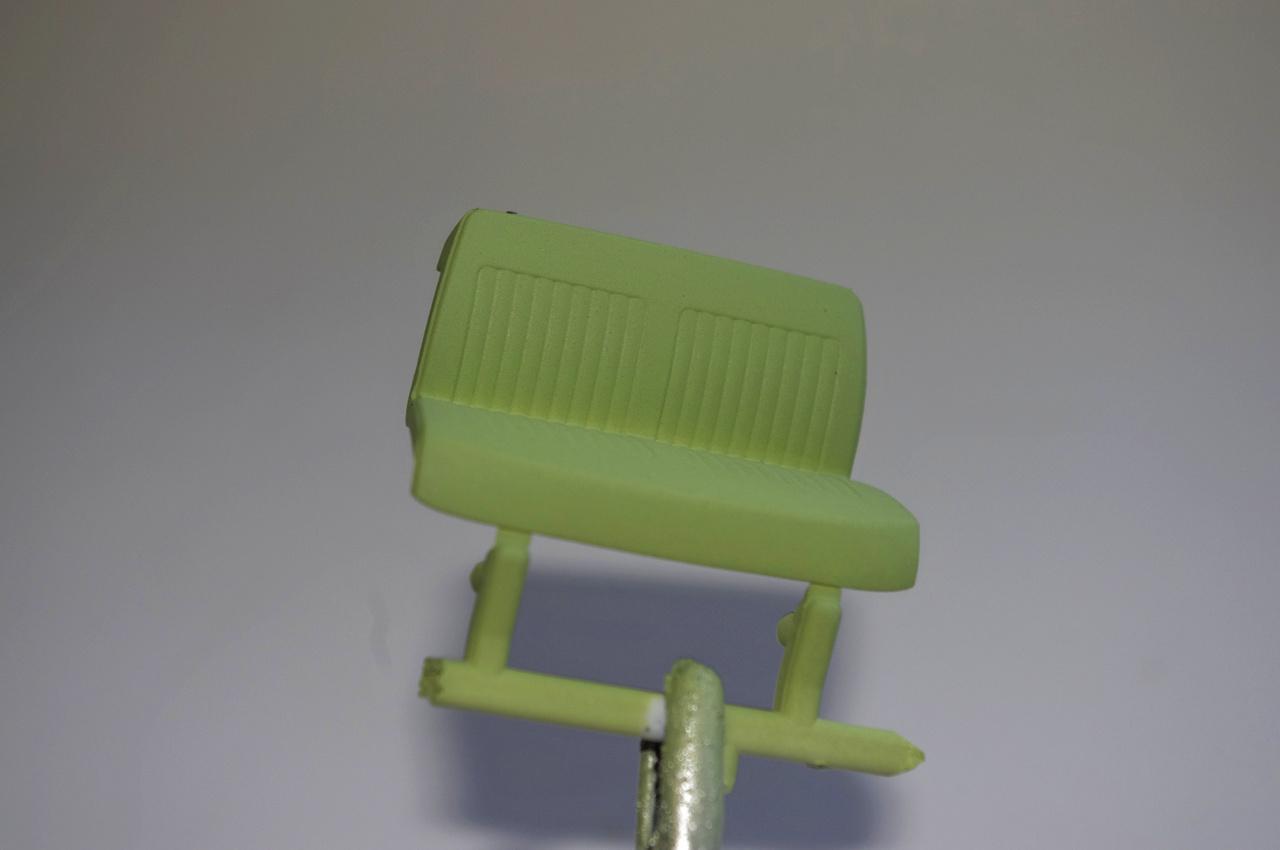
Interior will be Ceramcoat Wedgewood Green...............
-
Extra Parts, Boxes, Instructions, Etc.
bluestringer replied to bluestringer's topic in Model Building Questions and Answers
Thanks guys. All good suggestions. I think I will keep instructions, maybe send to Casey or keep for future reference as was mentioned. There are a few box tops/art that I will keep for the wall. The rest of the boxes will be recycled or trashed/burned. I will surely keep all leftover parts for future use and to help someone out if they need a part that I can help with. -
Grumpy Jenkins 4 speed shifting, cigar smoking cool.
-
Looks really good Bob.
-
Thanks Carl.
-
Thanks Bob. Thank you. Appreciate the comment.
-
Extra Parts, Boxes, Instructions, Etc.
bluestringer replied to bluestringer's topic in Model Building Questions and Answers
It's not that I've built a whole lot of kits in a year, I just don't have a lot of space. I've been in the hobby off and on since I was 12, I'm 70 now. The last time I got out of the hobby was about 20 years ago. When I retired 11 years ago we moved from the city to the country and I sold or gave away all my stash and built kits when we made the move. I got back in the hobby a year ago and since I'm retired I've had more time to build kits. Most of my stuff is in my shed, I've built shelves for my builds, but the shed is small and it's also my music room, woodworking shed, and my ammo reloading center, so it's stuffed. I also keep some of builds in the house, and need to build some more shelves in it. Probably be buying another small shed in the future. I don't really care about the empty boxes, so I will probably just trash them. May keep instructions to share, and will certainly keep spare parts. -
So I've been back in the hobby for about a year now and I've accumulated lots of extra parts, empty kit boxes and instructions. And I have a little stash of kits waiting to be built. Now I'm running out of space. I know it's good to keep extra parts, so I've been clipping stuff off trees and storing them in a kit box or plastic container. What do you do with the empty kit boxes and instructions, keep them, throw them away, burn them? I've got a couple of models that didn't turn out like I planned so I just put them back in the box to either fix later or for parts.
-
Well after about 3 beers I said the heck with it and went on with the build. As you can see the engine mounts didn't line up but everything back of the trans was fine. I'll have to deal with the front when the time comes, may have to shorten the rad hoses.
-
Yes, I found that I can just hold it my hand and drill heads for spark wires easily. Doesn't take much pressure because they are so sharp.
-
Tamiya extra thin cement
bluestringer replied to slusher's topic in Model Building Questions and Answers
I just started using it and found out the stem is adjustable. You can pull it out a little further to let it reach further into the bottle. I like it, and I also started using their regular cement for larger parts, works well. -
I'll be watching. Don't have this kit yet, but plan on getting it. Also interesting in the Tamiya acrylic paint. Been thinking of trying it. That sky blue looks nice.
-
I hear ya. I wonder if anyone else has had this problem when building the B version in the kit.
-
That's what I'm going to do. I'm going to install it as is. I think the only problem I'll have at the front will be the rad hoses being too long, I can just snip them off. If I install the engine with the front mounts in correct position I'll have to do some work to the crossmember and shorten the driveshaft.
-
In those pictures in the instructions the 70 frame and the 77 frame look the same, and if I use that frame it all works. But the 77 frame is different, and later in the instructions it shows a different one.