Casey
-
Posts
15,091 -
Joined
-
Last visited
Content Type
Profiles
Forums
Events
Gallery
Everything posted by Casey
-
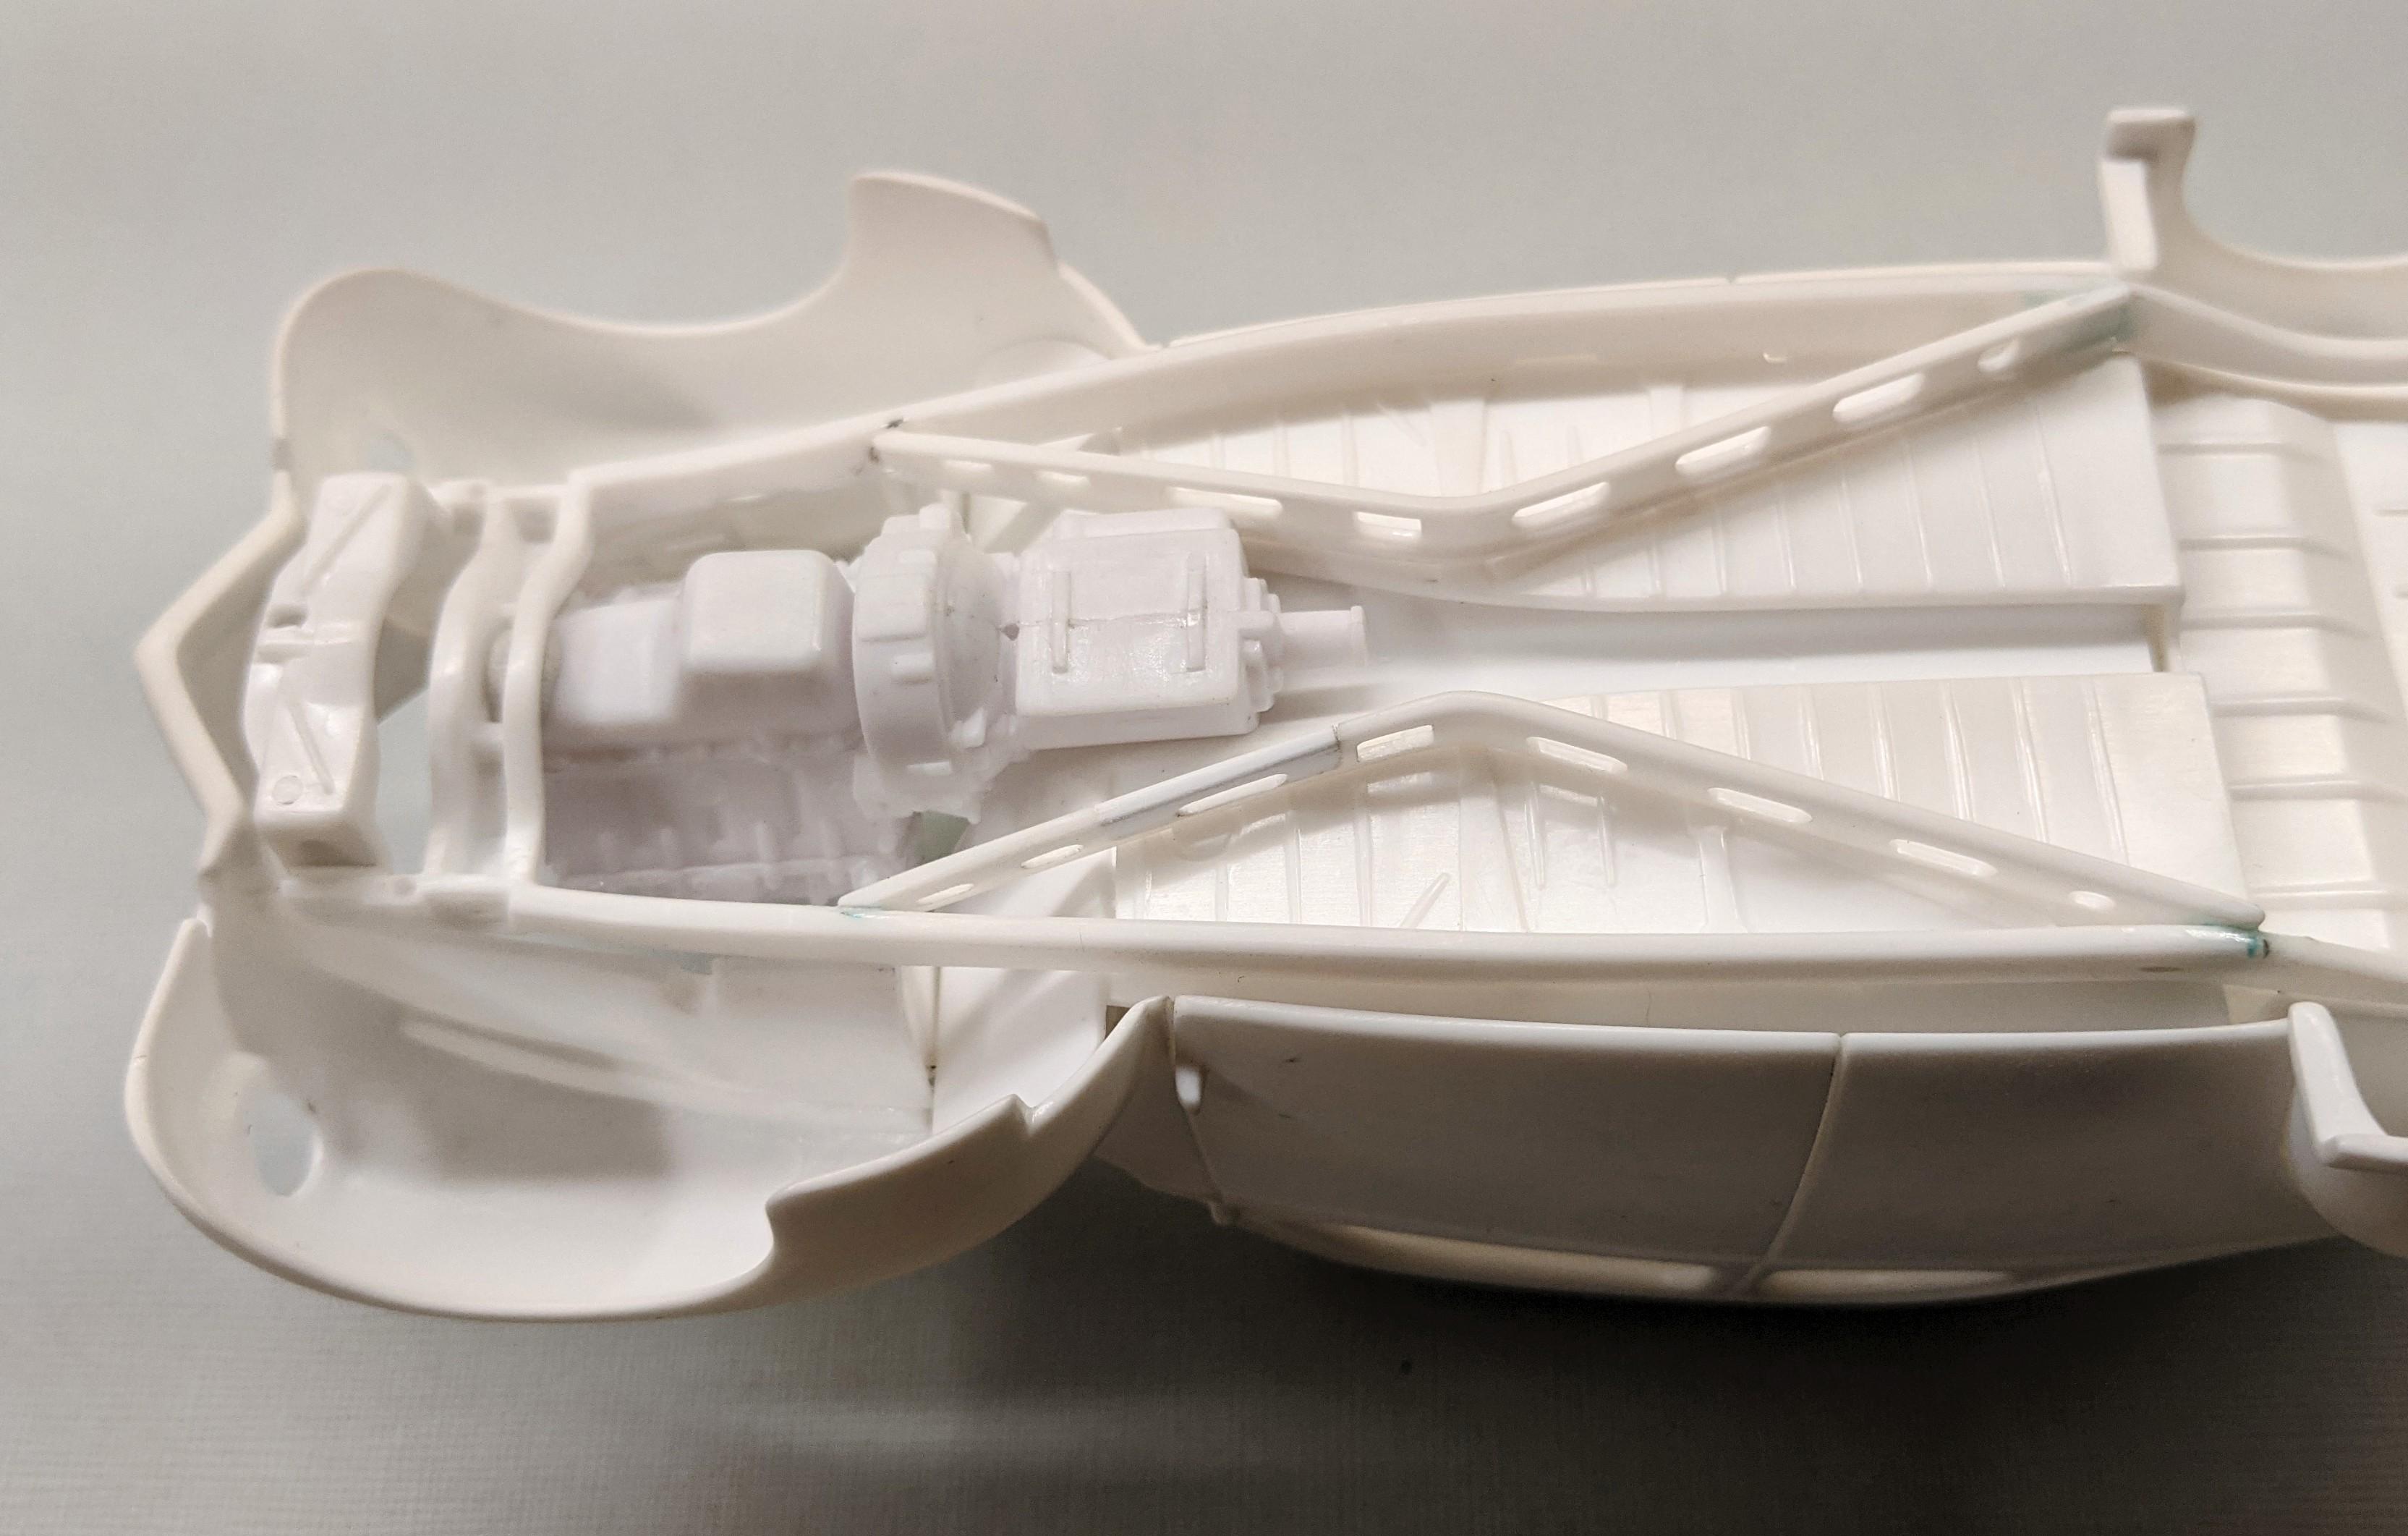
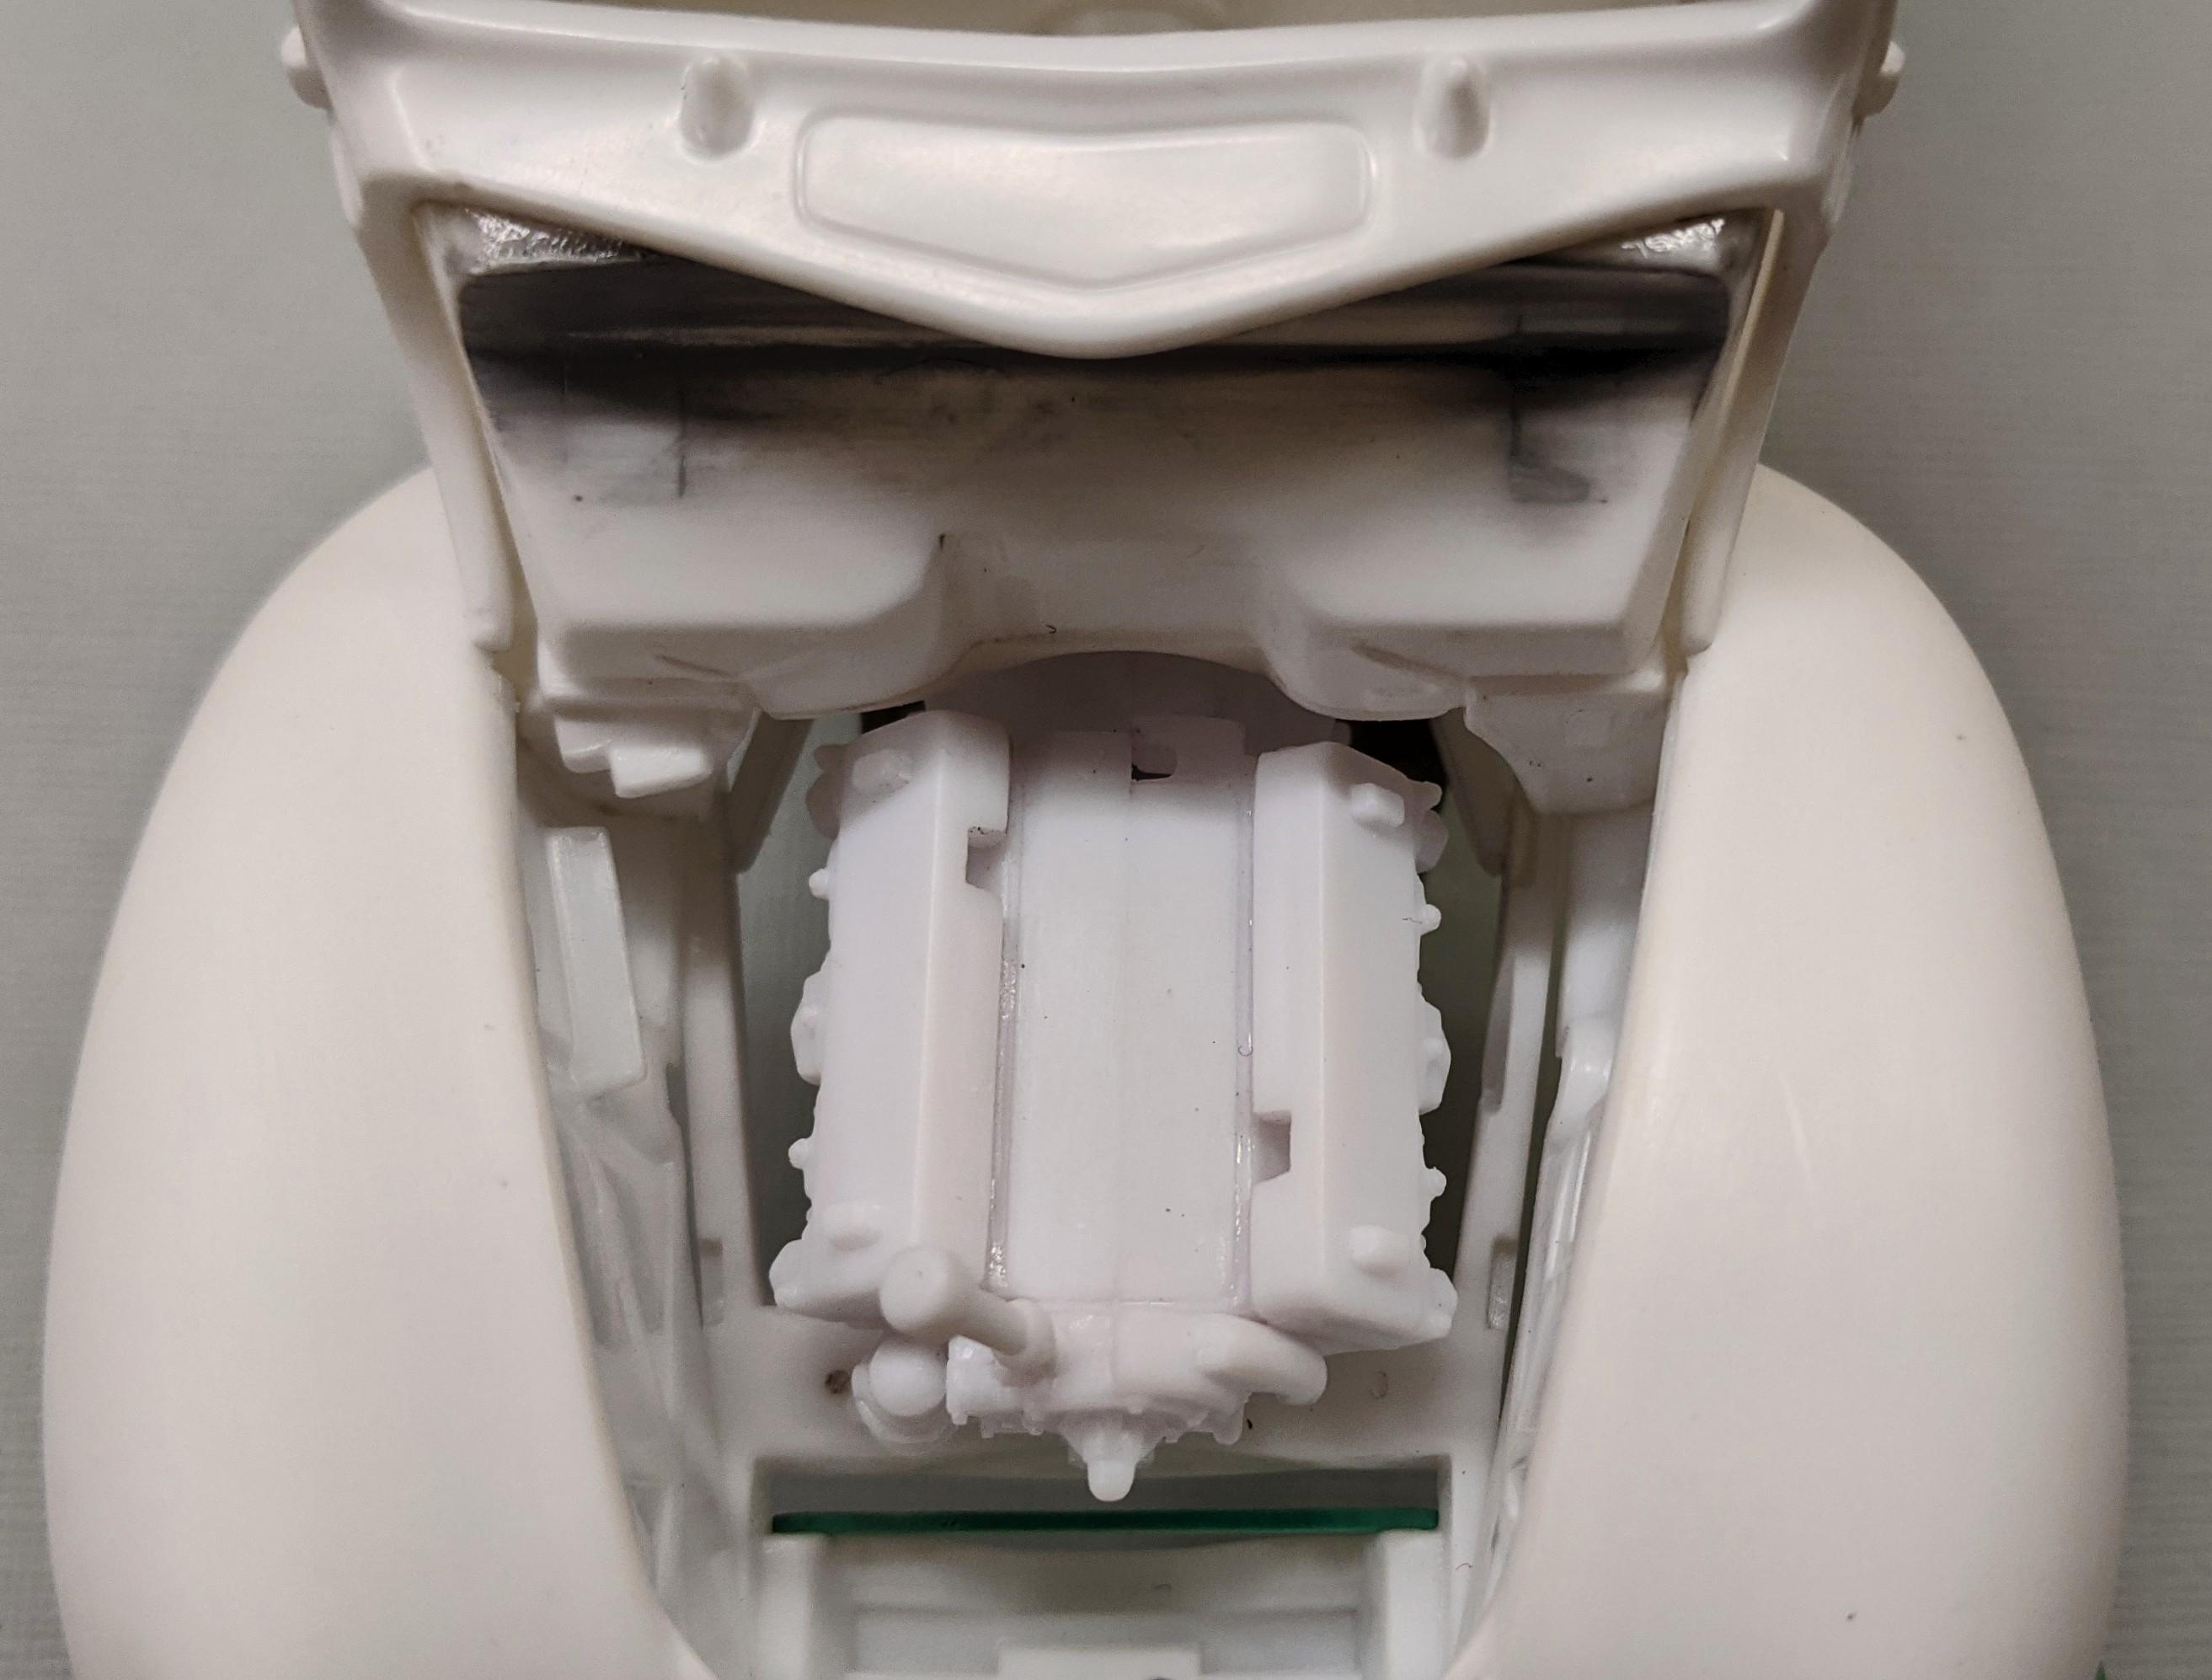
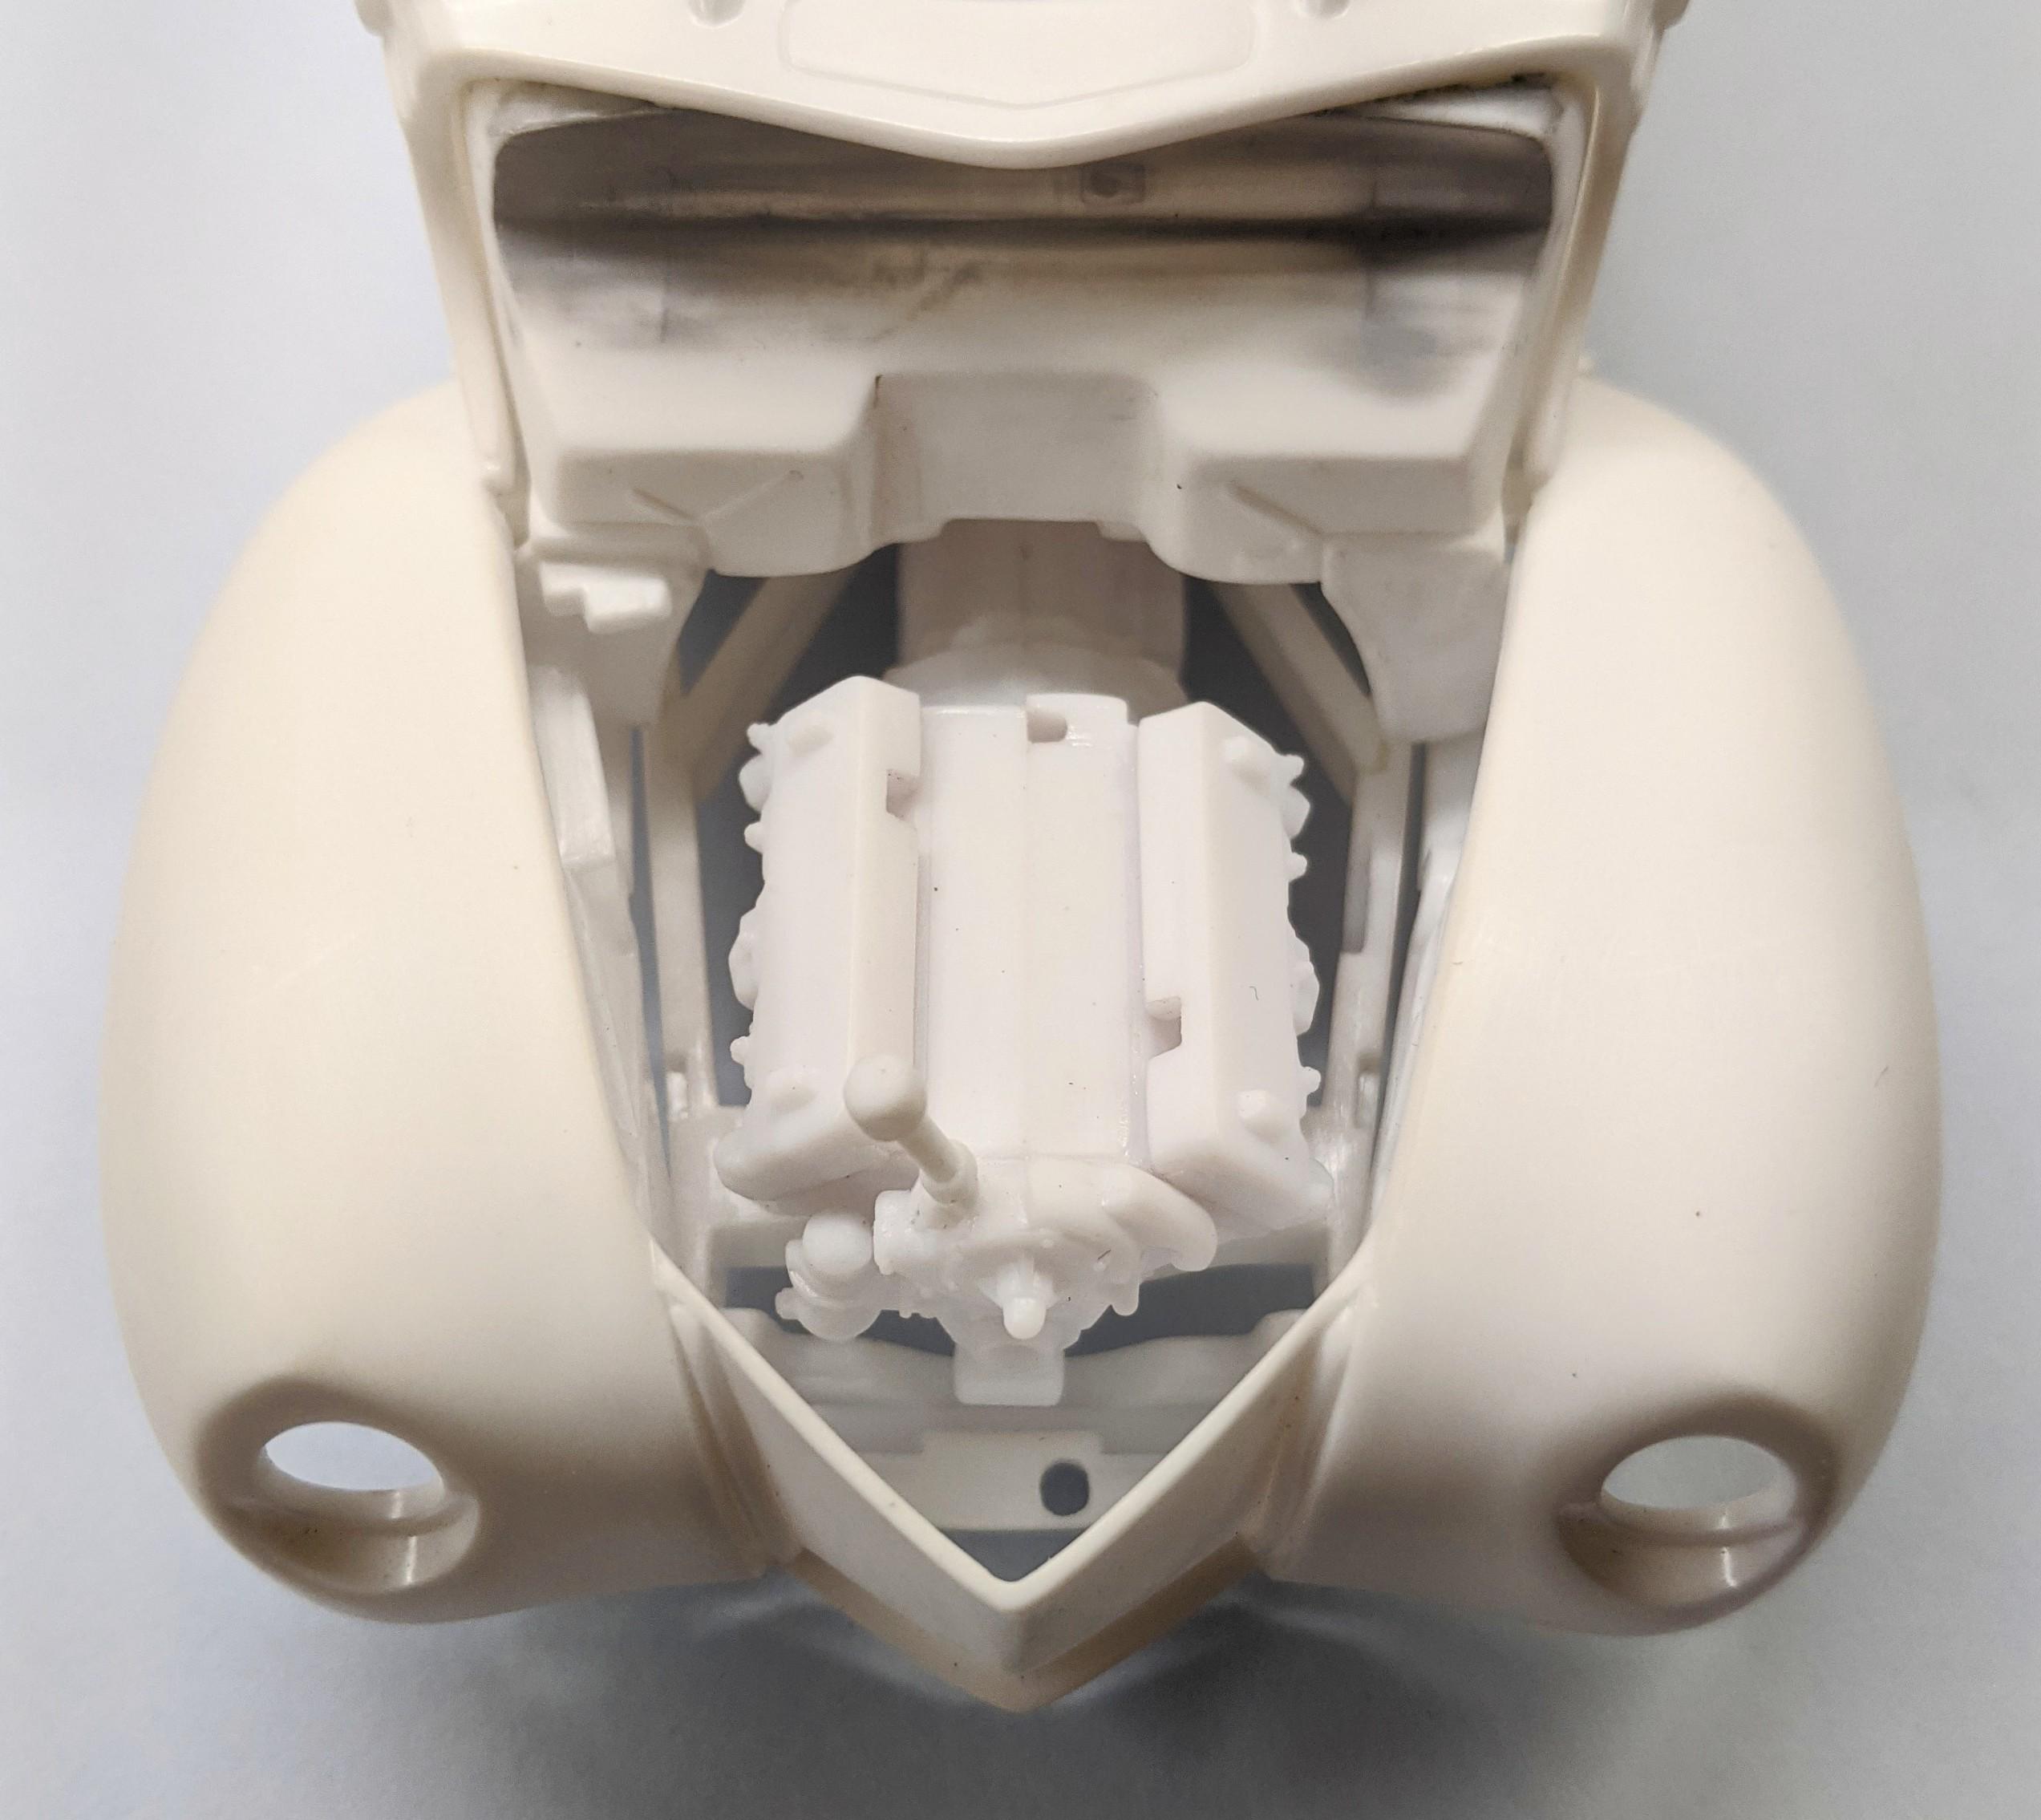
It wasn't as fragile as I thought it might be, and I managed to not break it while working on it, so that's always a good thing. I rejoined the right cross member to the frame, matching the left piece, so the next step is to add the braces back between the frame rails and cross members. The '40's braces didn't survive removal, so pieces of the '40 cross members will be used instead. I removed some material on the trans tunnel, firewall, and floor pan, so clearance around the trans is much better. There's still a bit to remove on the right side, but not much. You can see I set the engine and trans in place for test fitting, and despite having to remove the entire front engine mount and part of the fuel pump, as well as some material from the front frame cross member, it fits quite well: Tomorrow I'll get to work on a new front and rear engine/trans mounts and install the frame braces, too. Minor progress, but still progress.

-
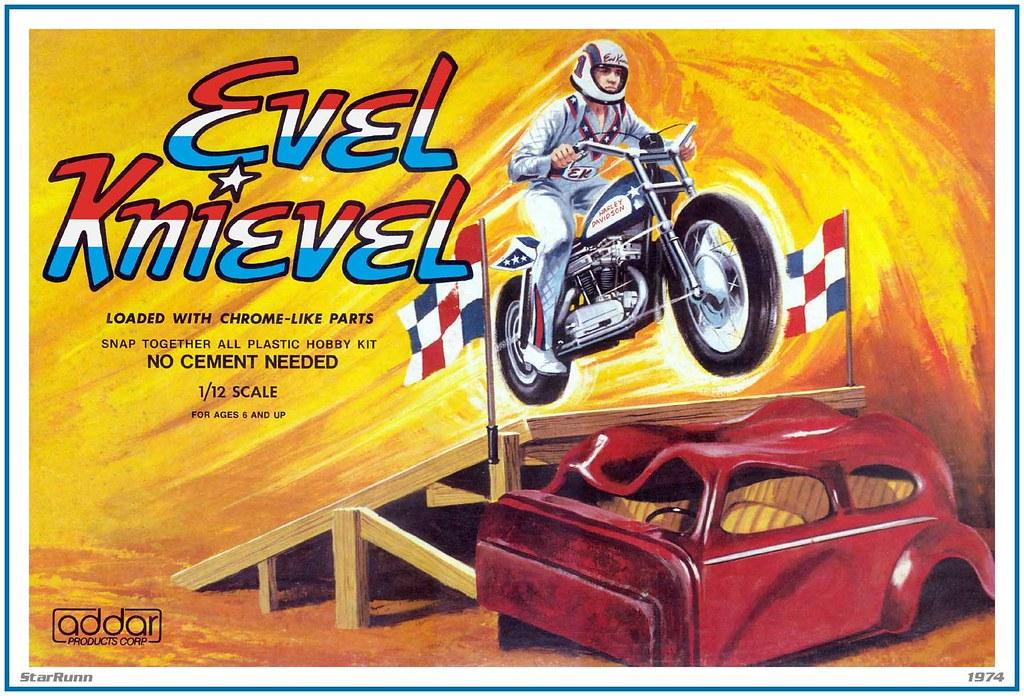
 I'm sure they also have an old Pyro or Lindberg H-D kit they could also reissue to make the licensing hit a bit lighter on their wallet. Heck, they might even have the Addar Evel Knievel motorcycle mold, too. ?
-
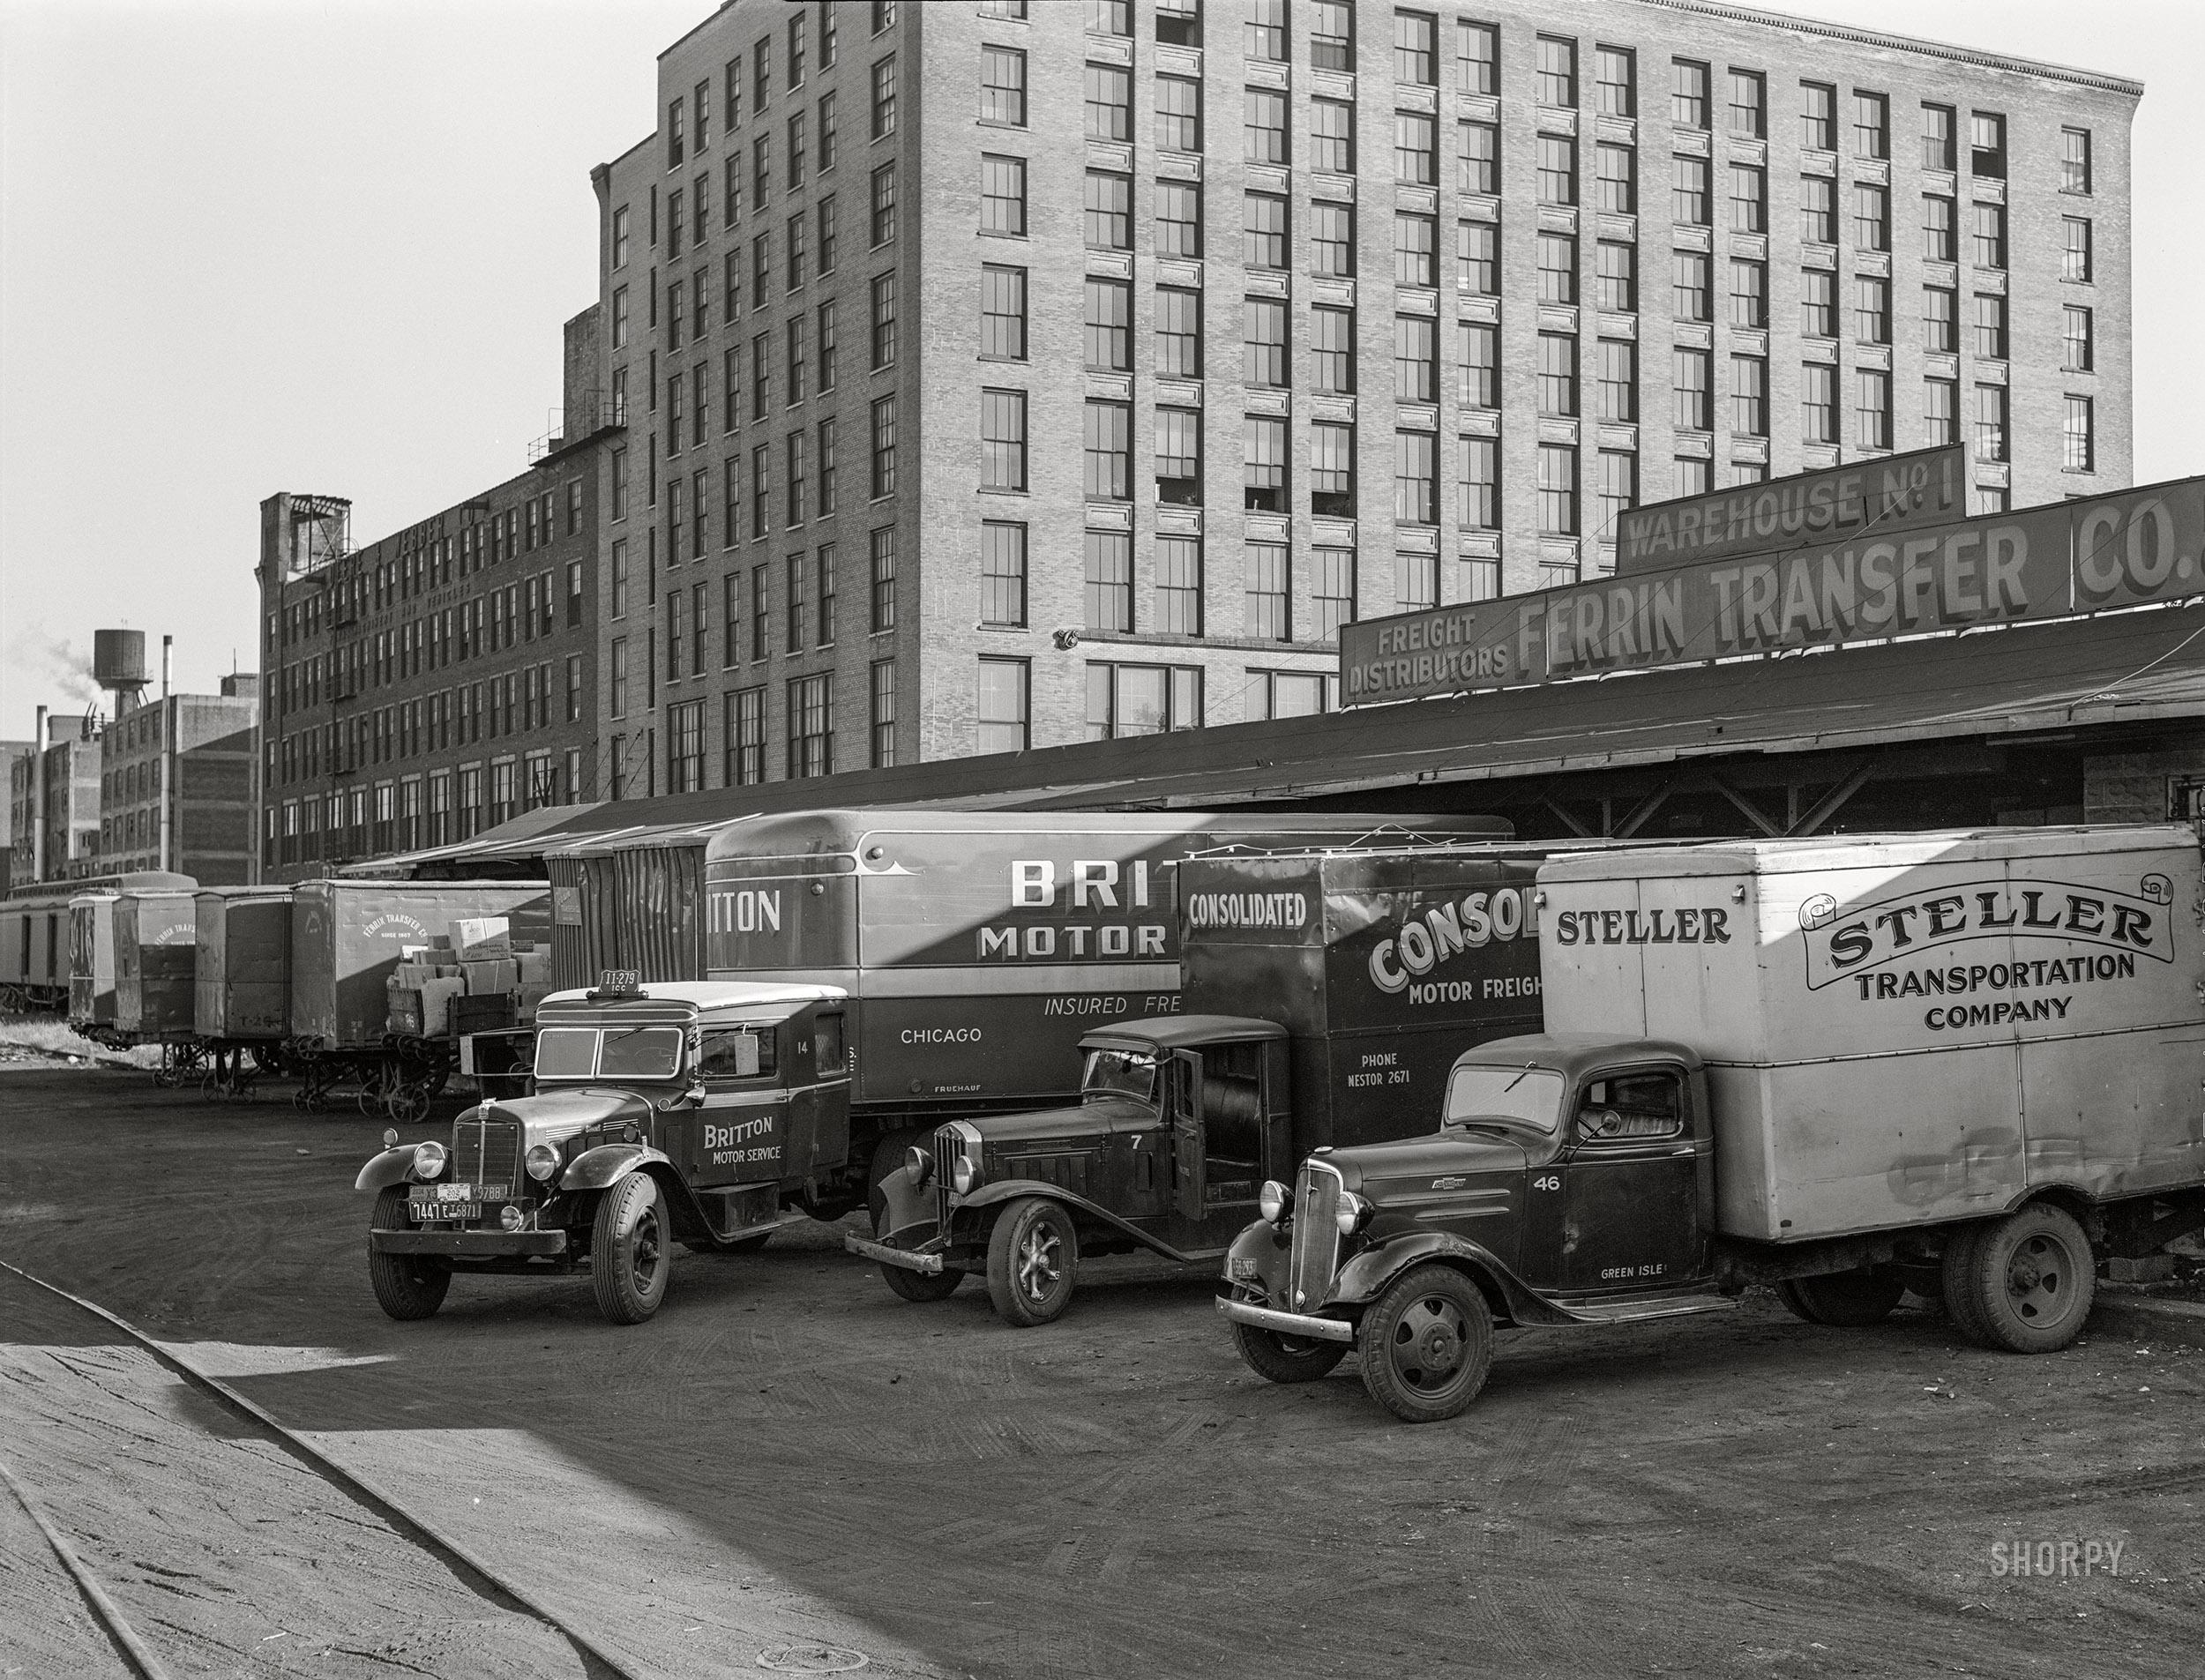
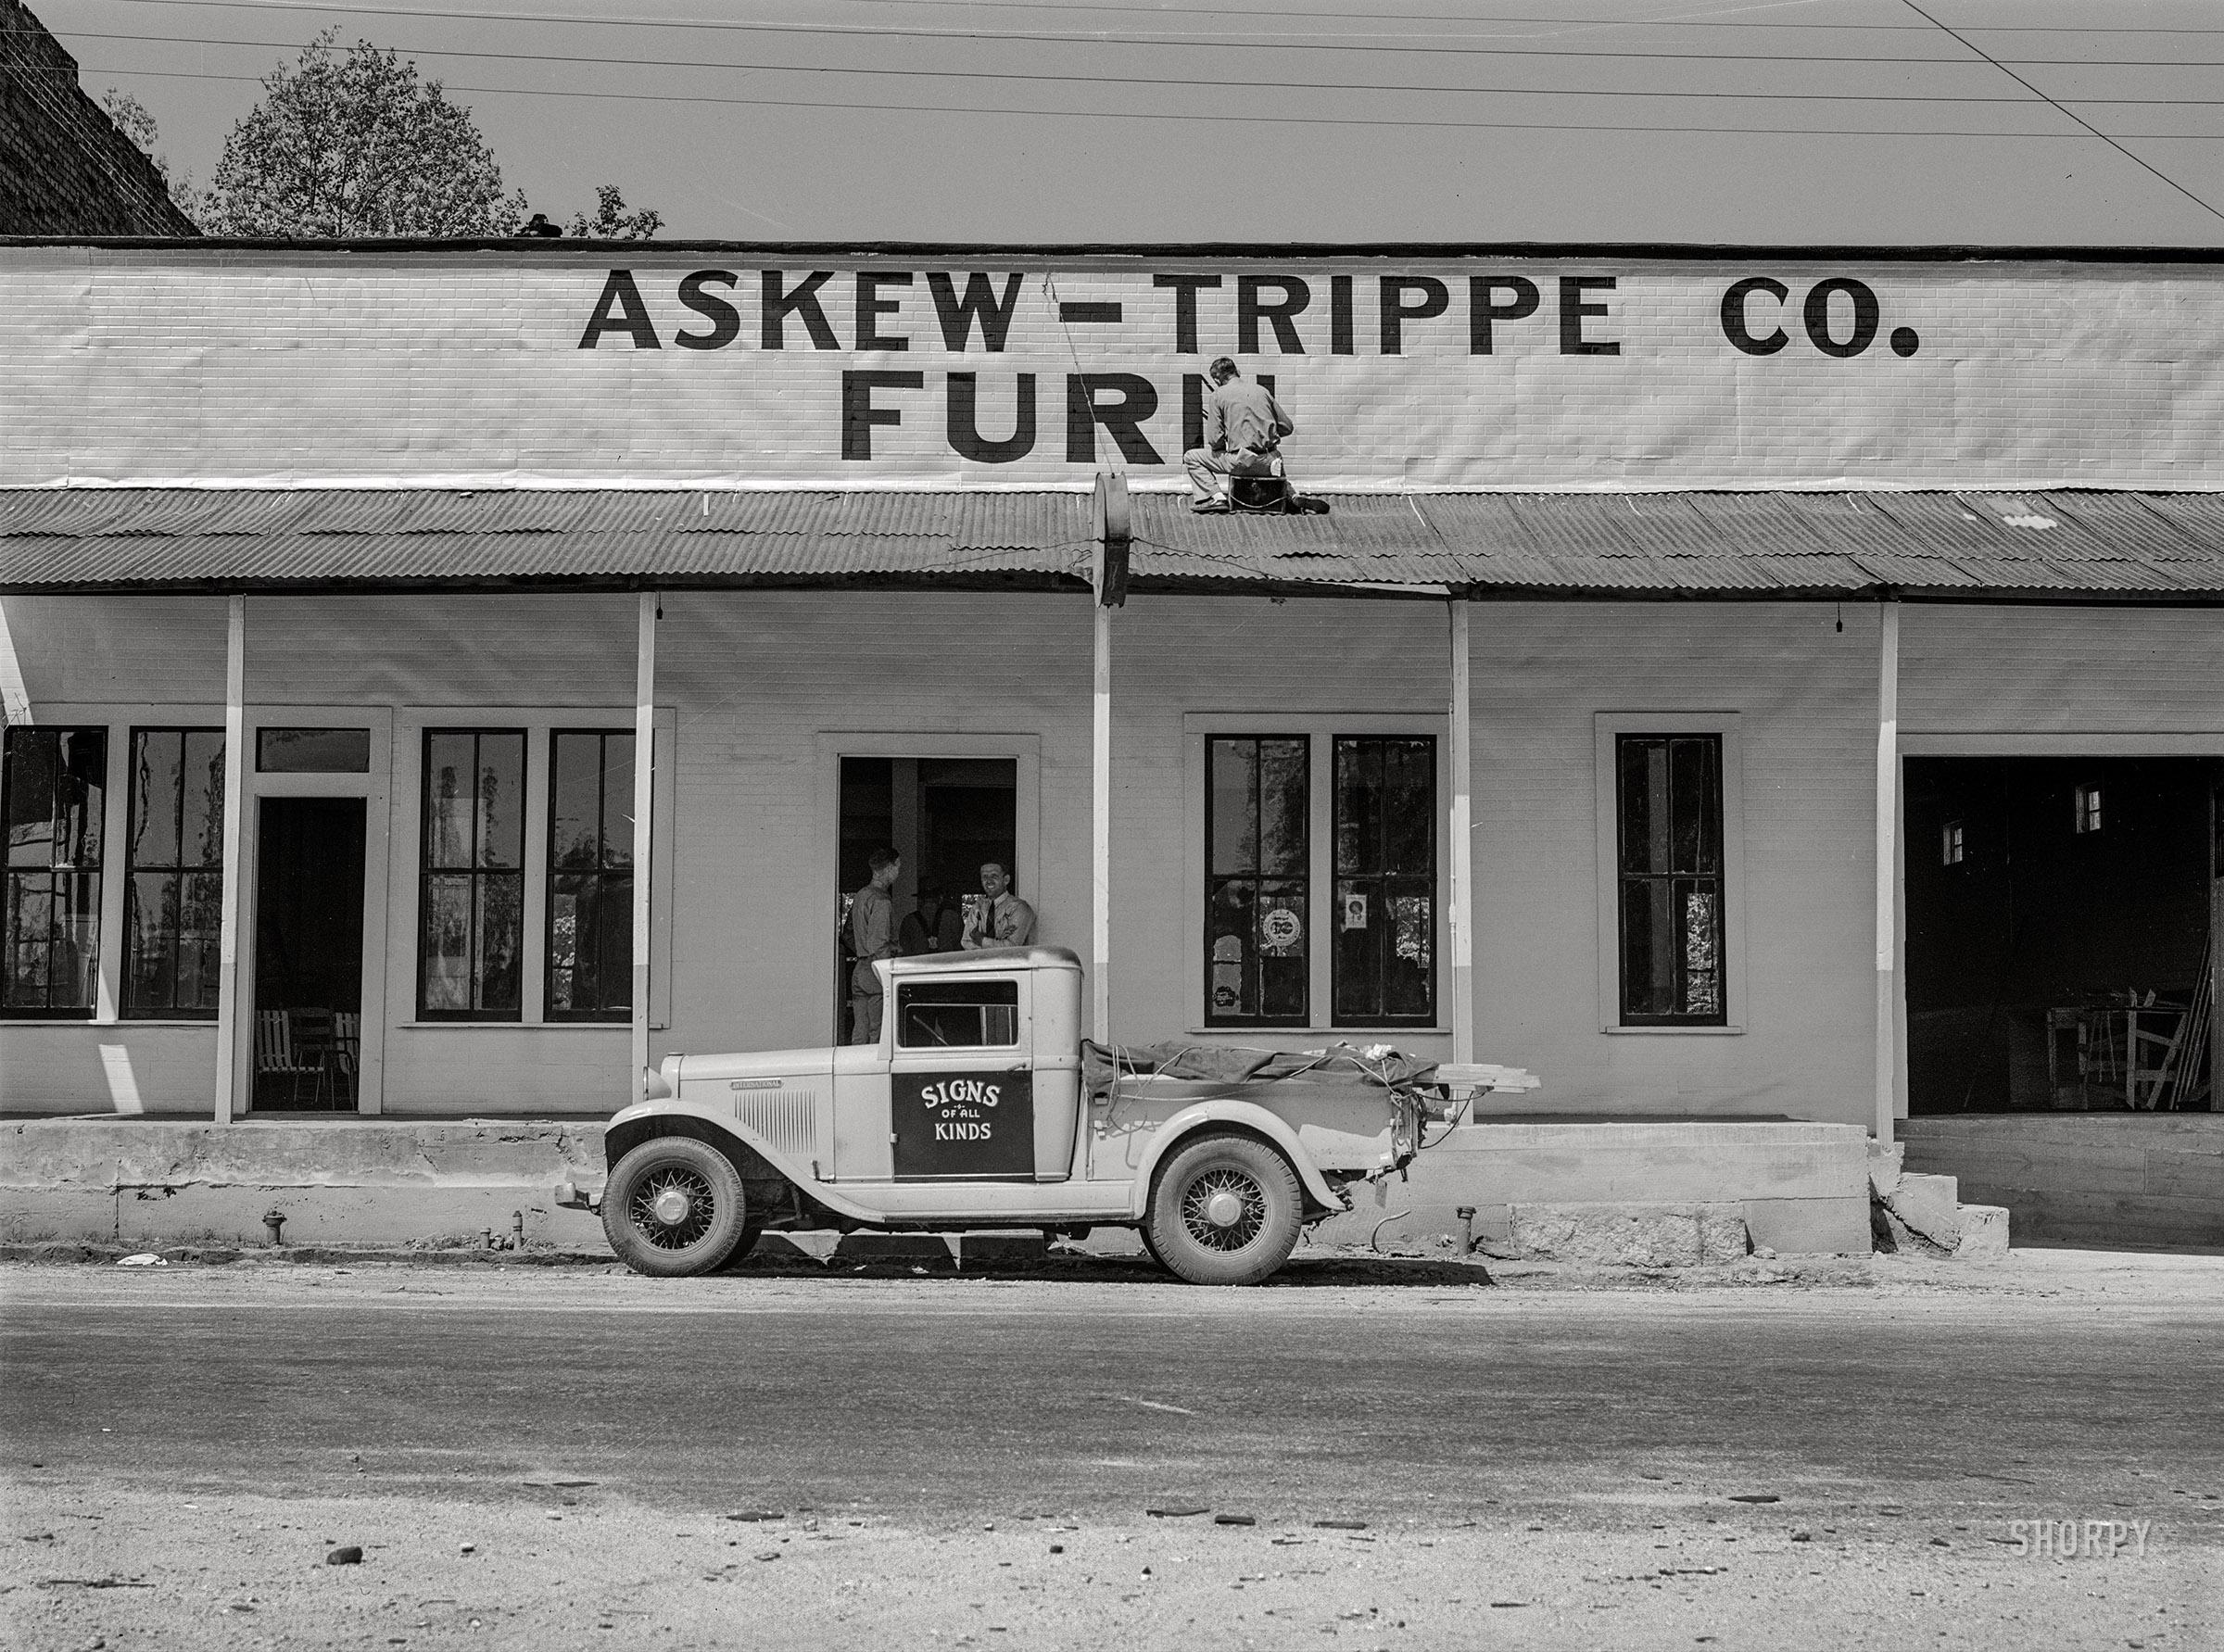
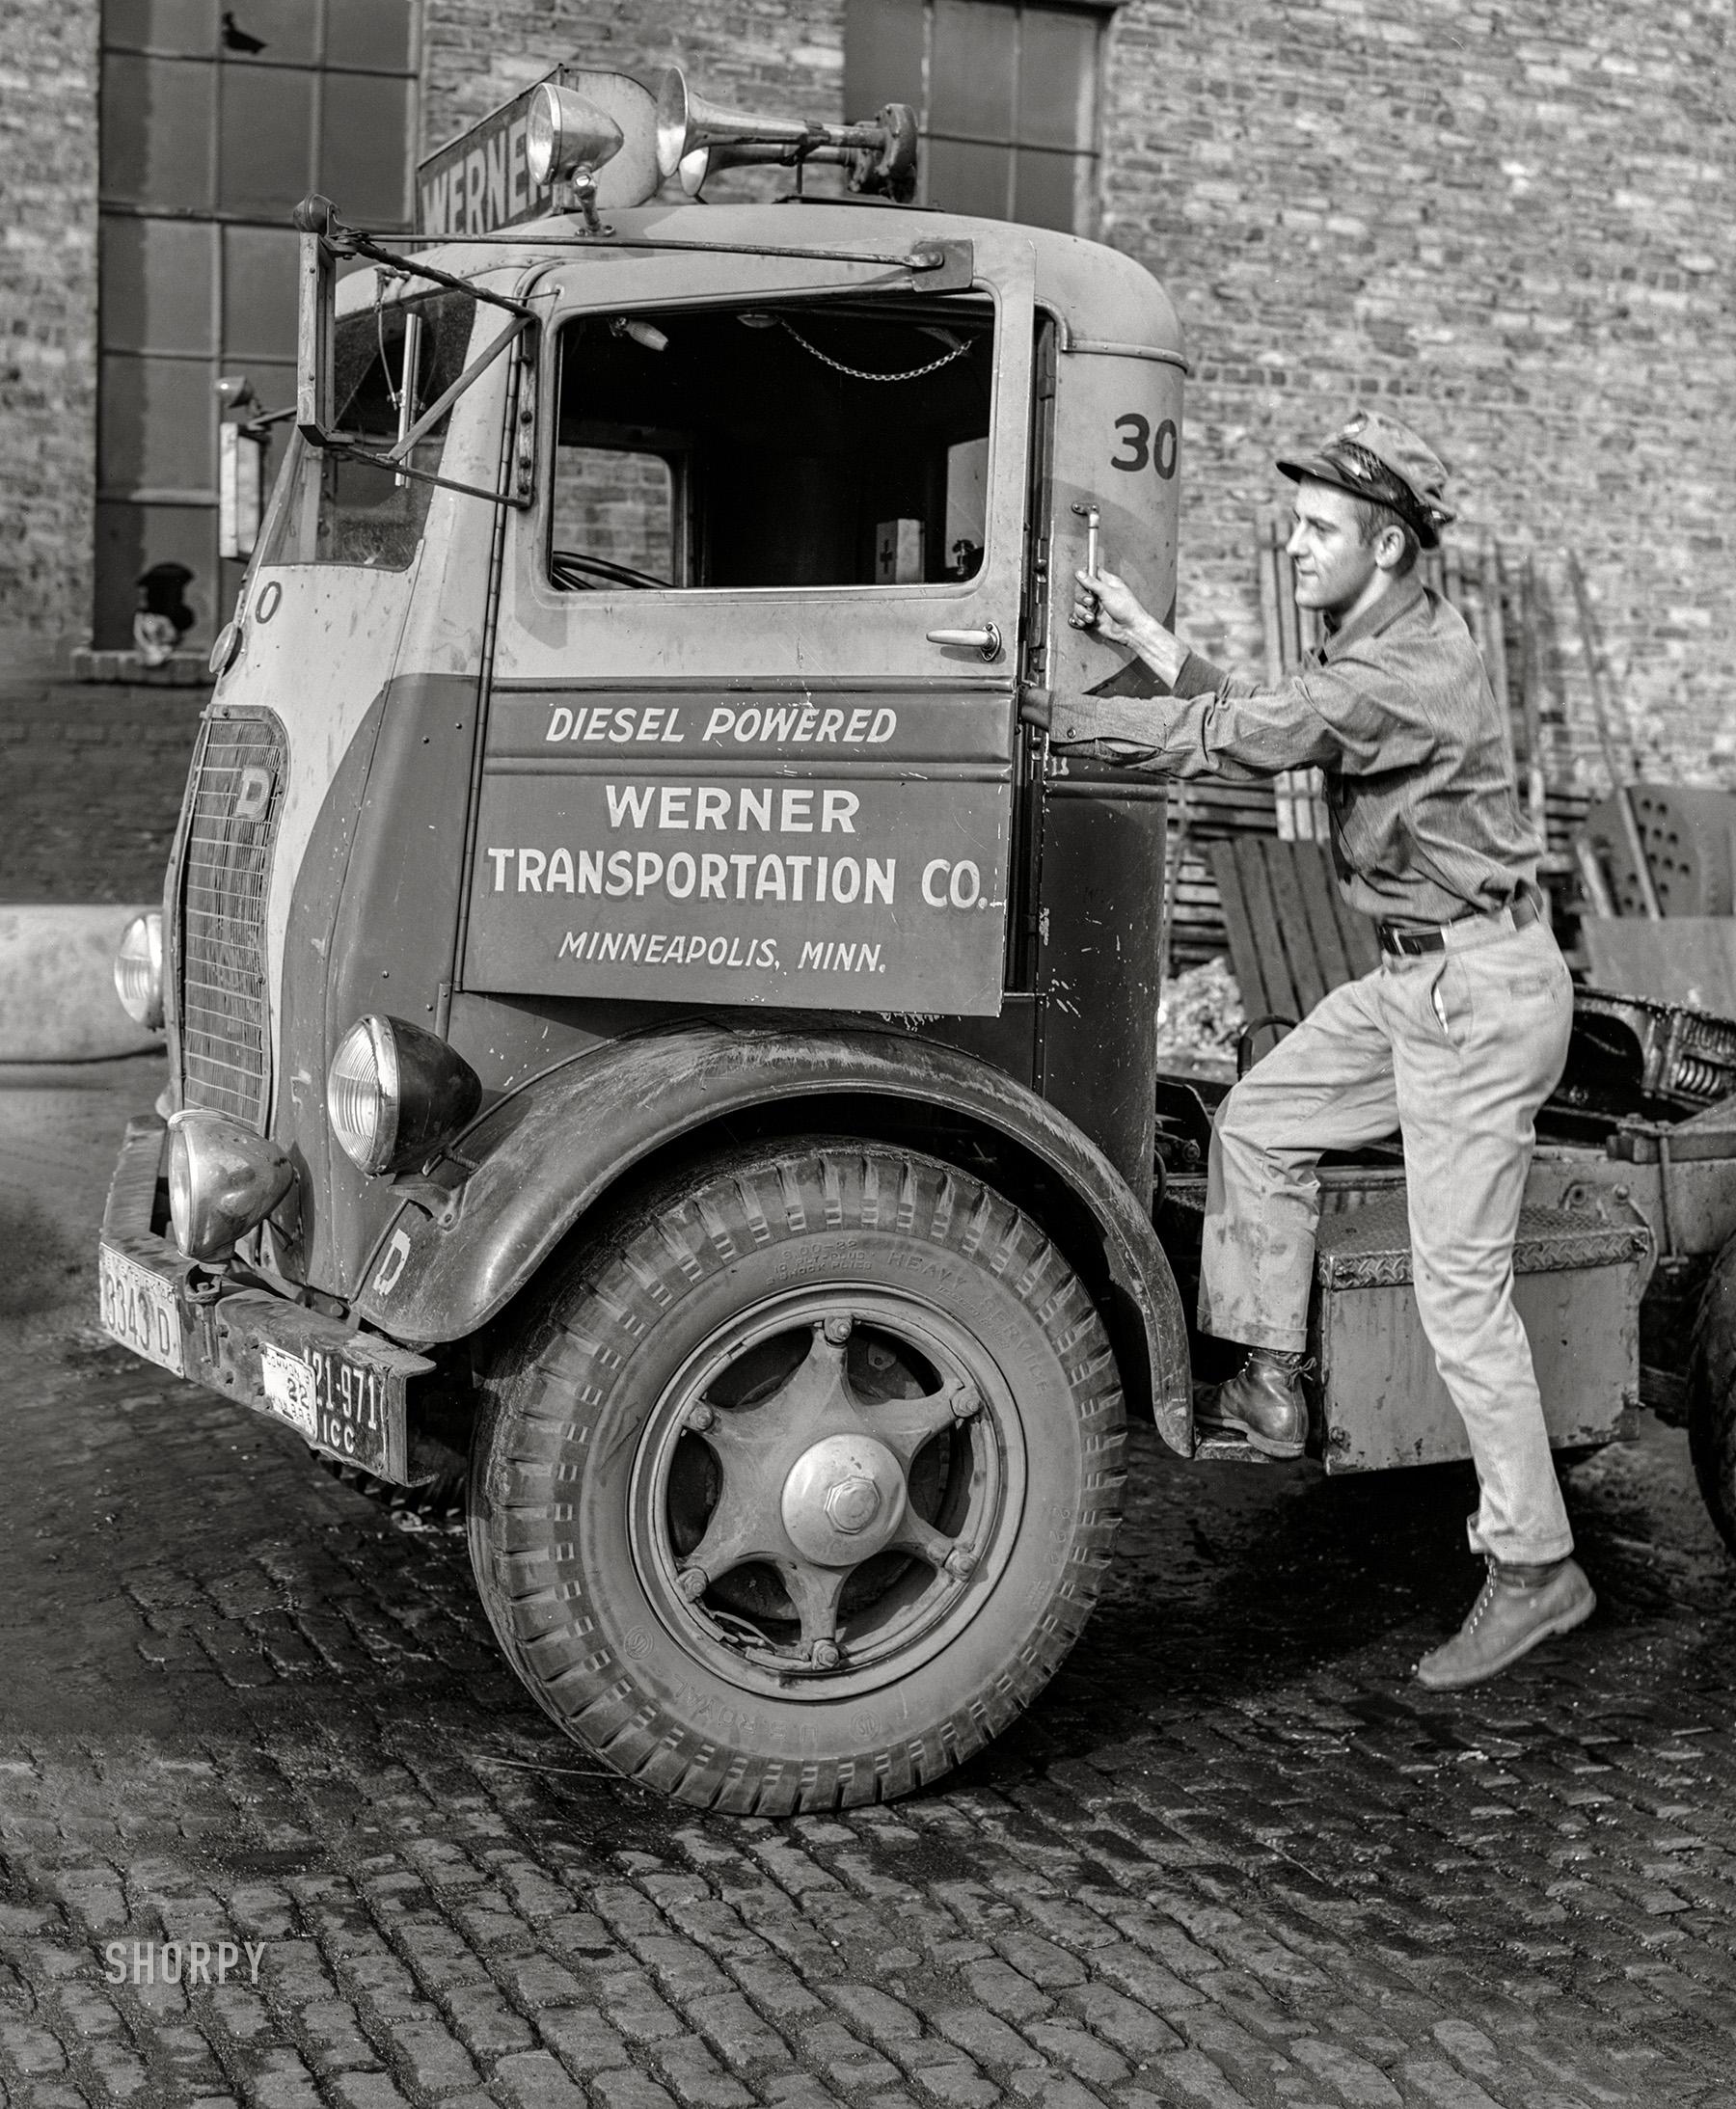
Truck pics
Casey replied to Jon Cole's topic in 1:1 Reference Photos: Auto Shows, Personal vehicles (Cars and Trucks)
-
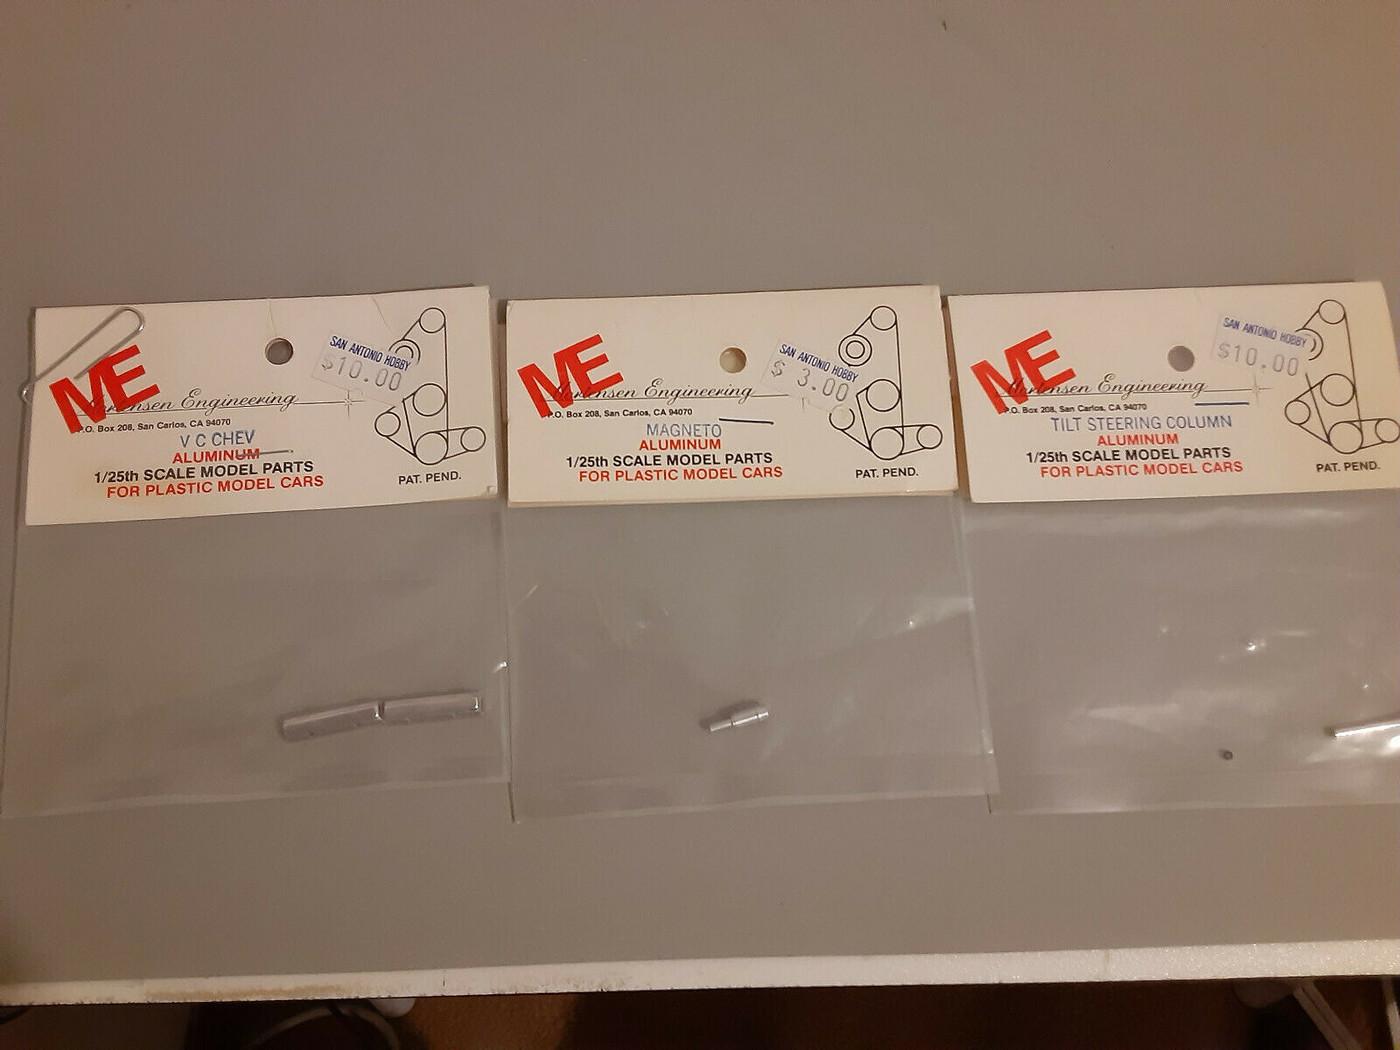
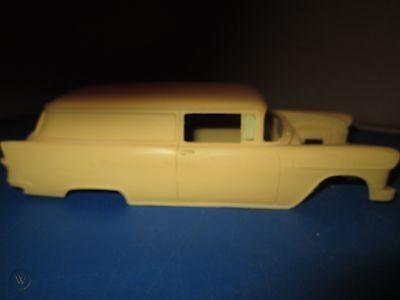
Out Of Production Resin & Aftermarket Products
Casey replied to Casey's topic in Car Aftermarket / Resin / 3D Printed
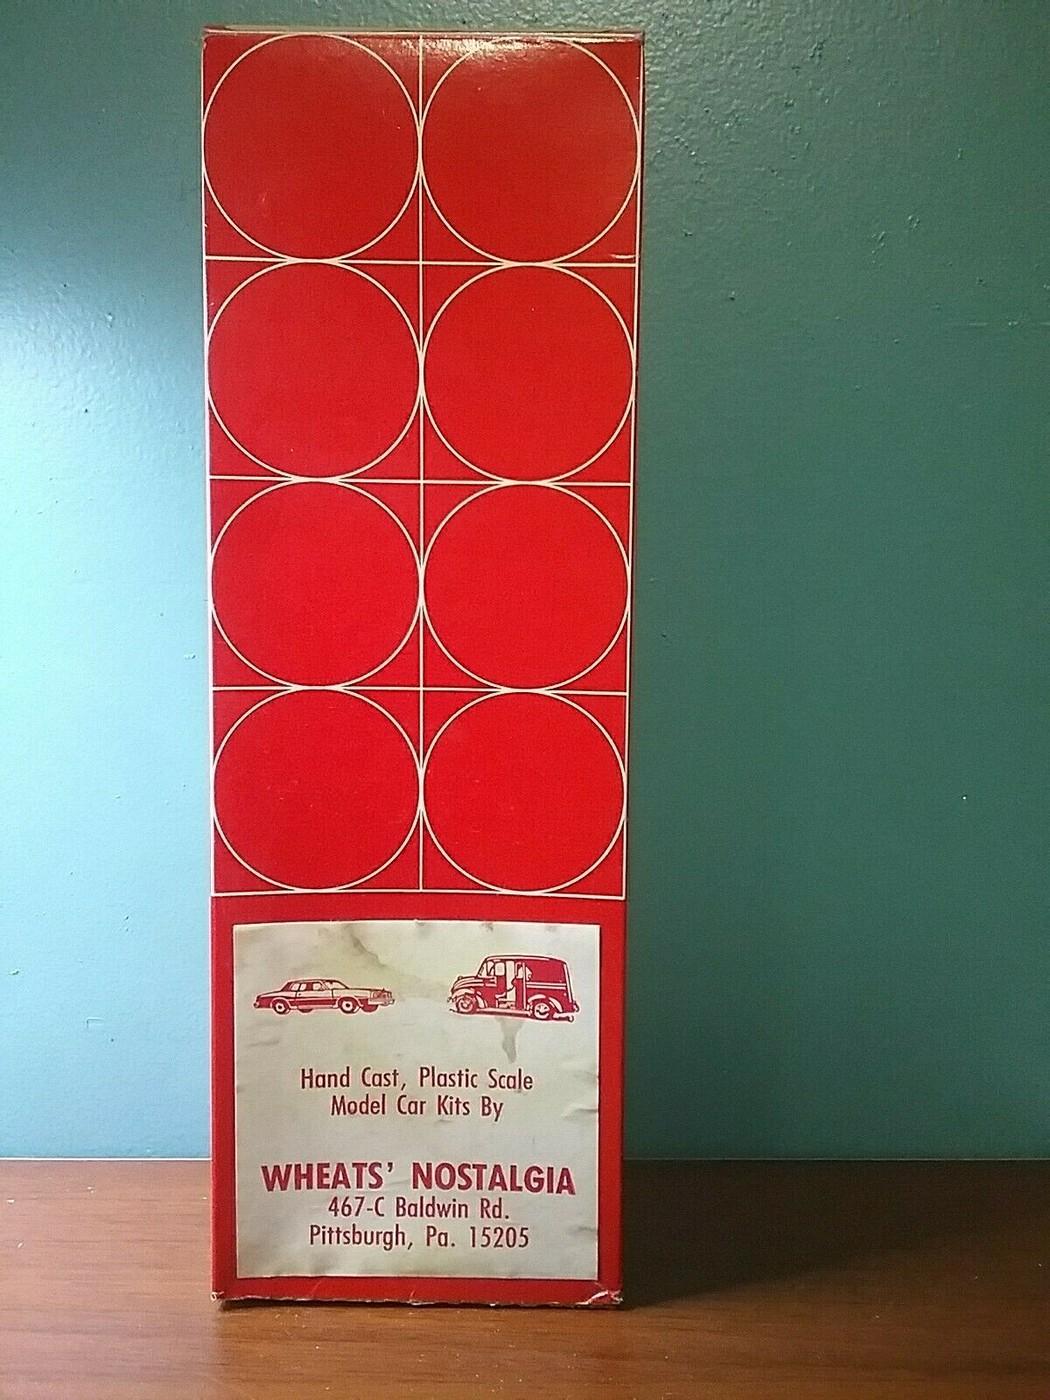
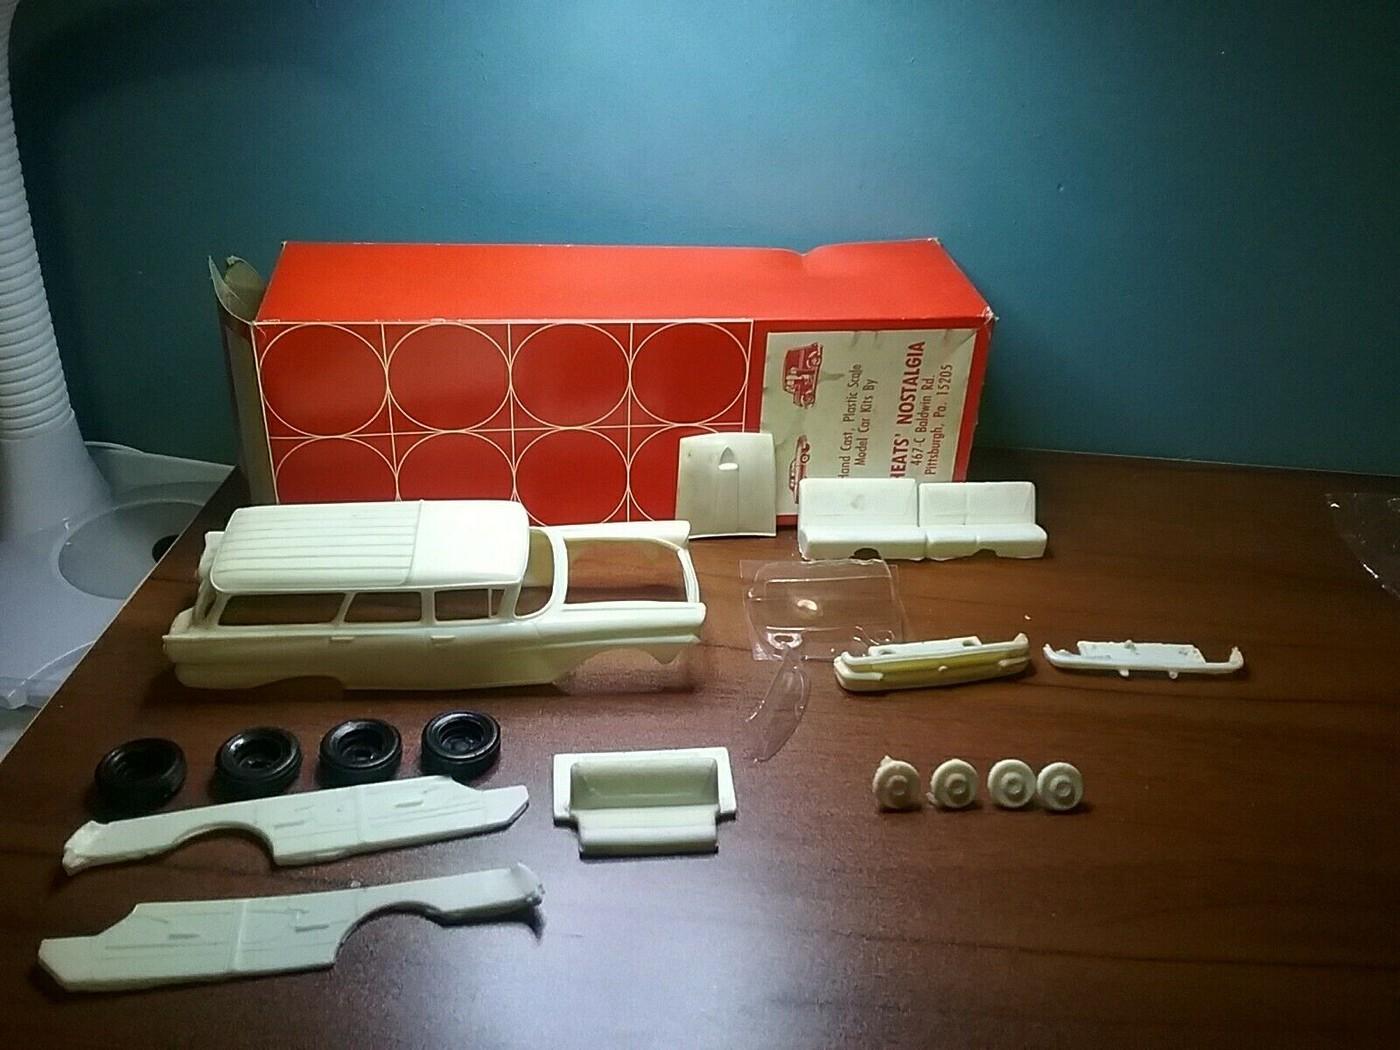
A few pics I've collected the last few months of defunct aftermarket products: Mortensen Engineering aluminum parts. Can someone provide a few details about this company?: All American Models '55 Chevy Sedan Delivery: All American Models '56 Chevy Panel Truck: All American Models '89(?) Pontiac Grand Prix Sedan: Wheats' Nostalgia...'58(?) Ford _________ Wagon?:
-
Ford F-3.5 COE
Casey replied to Casey's topic in WIP: Model Trucks: Pickups, Vans, SUVs, Light Commercial
I definitely plan to do just that. I measured the O.D. of the tires (1.425') this afternoon to determine the new wheel arch diameter, so I just need to find something the correct O.D, then get to sanding. I finished making the second wheel hoop today, a match for the previously completed one. Unfortunately, I forgot to machine the wheel lip detail on the outer lip while the piece was still in the lathe, so the detail is a tiny bit eccentric, but I can live with it. Its as good and excuse as any to invest in a four-jaw chuck, something which is long overdue on my part. I did some minor clean up on wheel number two's brake cooling slots, removed both the outer and inner lips, then sanded the wheel face smooth. A test fit inside the new hoop showed everything looked good, so both wheel centers were permanently joined to their hoops: I pulled out the frame tried out a few cross members I had from various kits, and wasn't satisfied with any of them, so I'll make some out of styrene strips/shapes. The cross members (as well as most of the other parts) from the Italeri Opel Blitz are quite different from what would be used on American trucks, so those aren't of much use either. I will probably create new hoops for the four rear wheels, too, as it's not difficult, I already have plenty of aluminum tubing in the correct diameter, and I like the extra strength/solidity it provides. The wheels from Scenes Unlimited are excellent as they come, so you won't need to do anything but use them-- this is solely a personal choice on my part. I can't say enough good things about the wheel and tires, honestly. I'm so glad Danny created these and offers them, as they are sorely needed. Here's the starting point for the rear wheels:
-
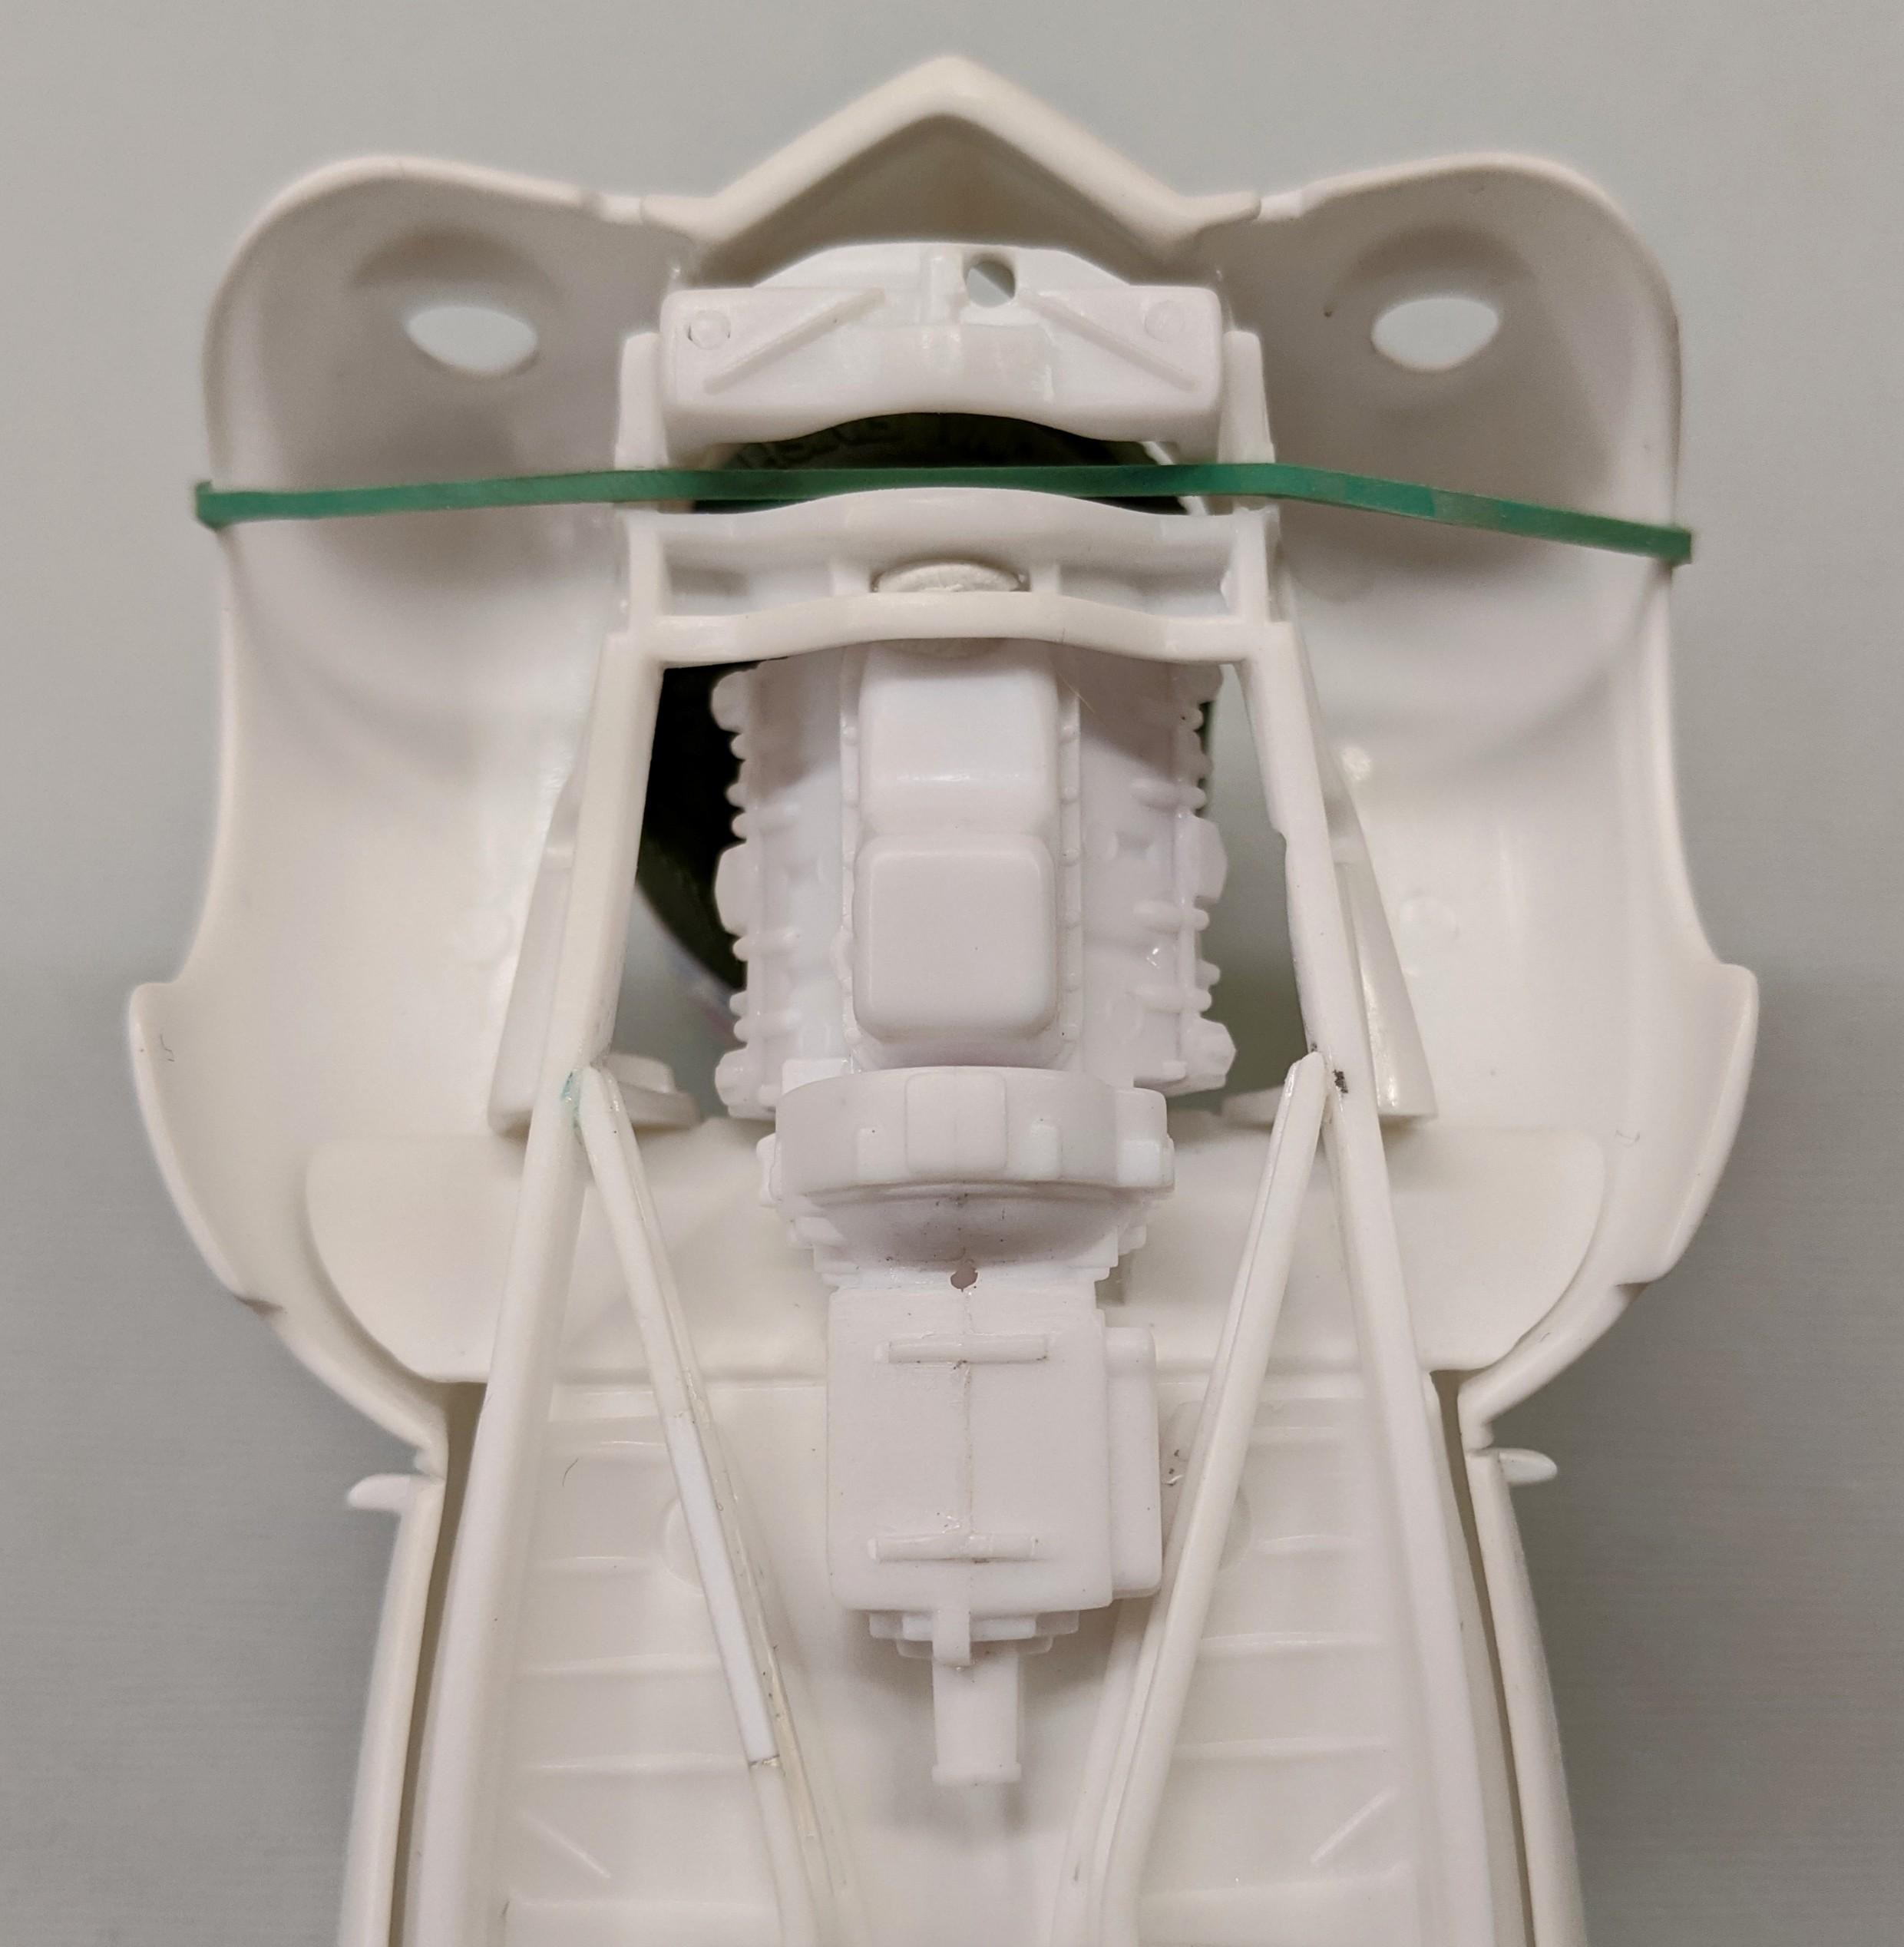
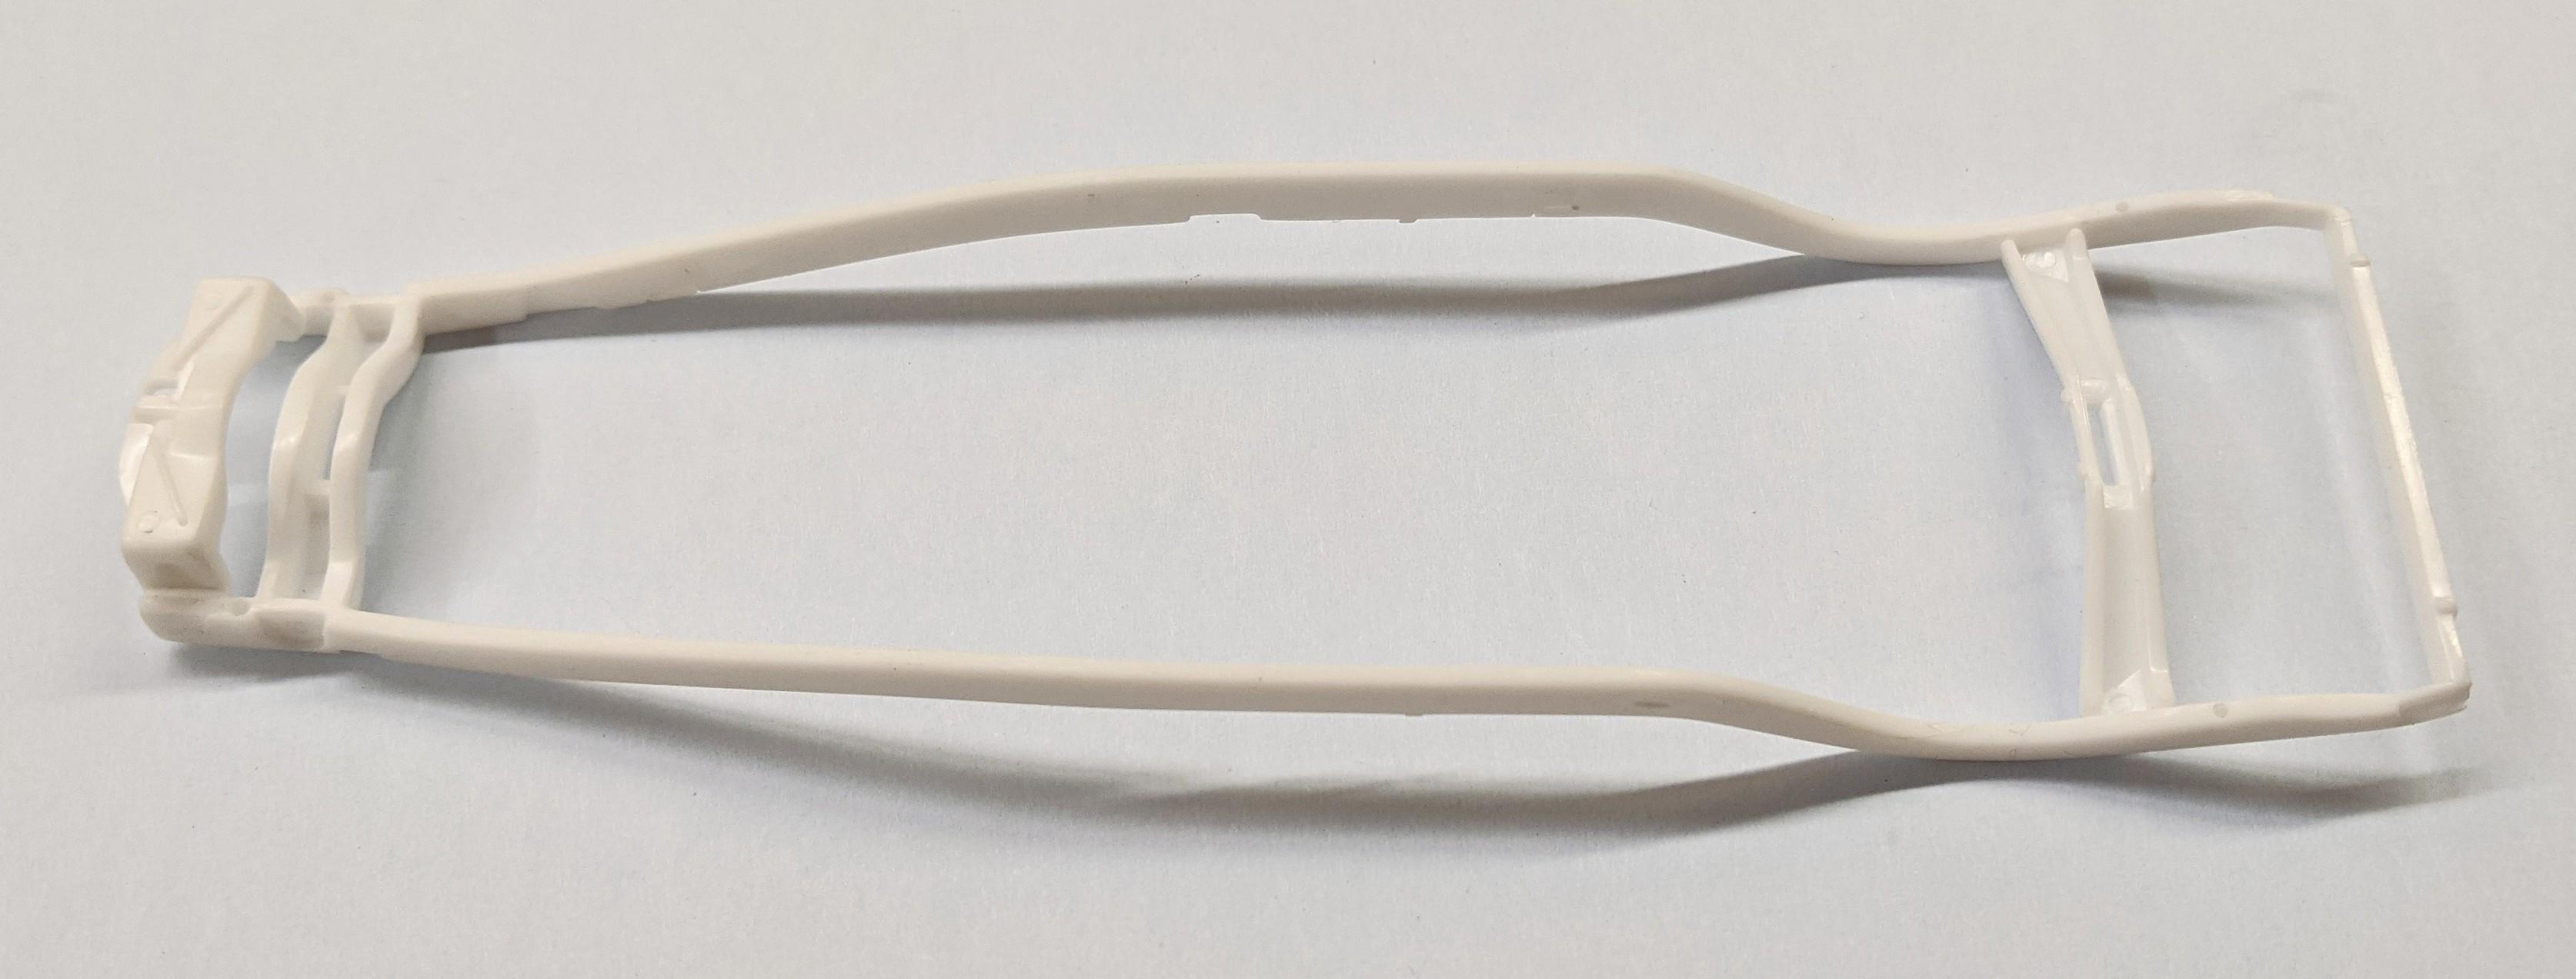
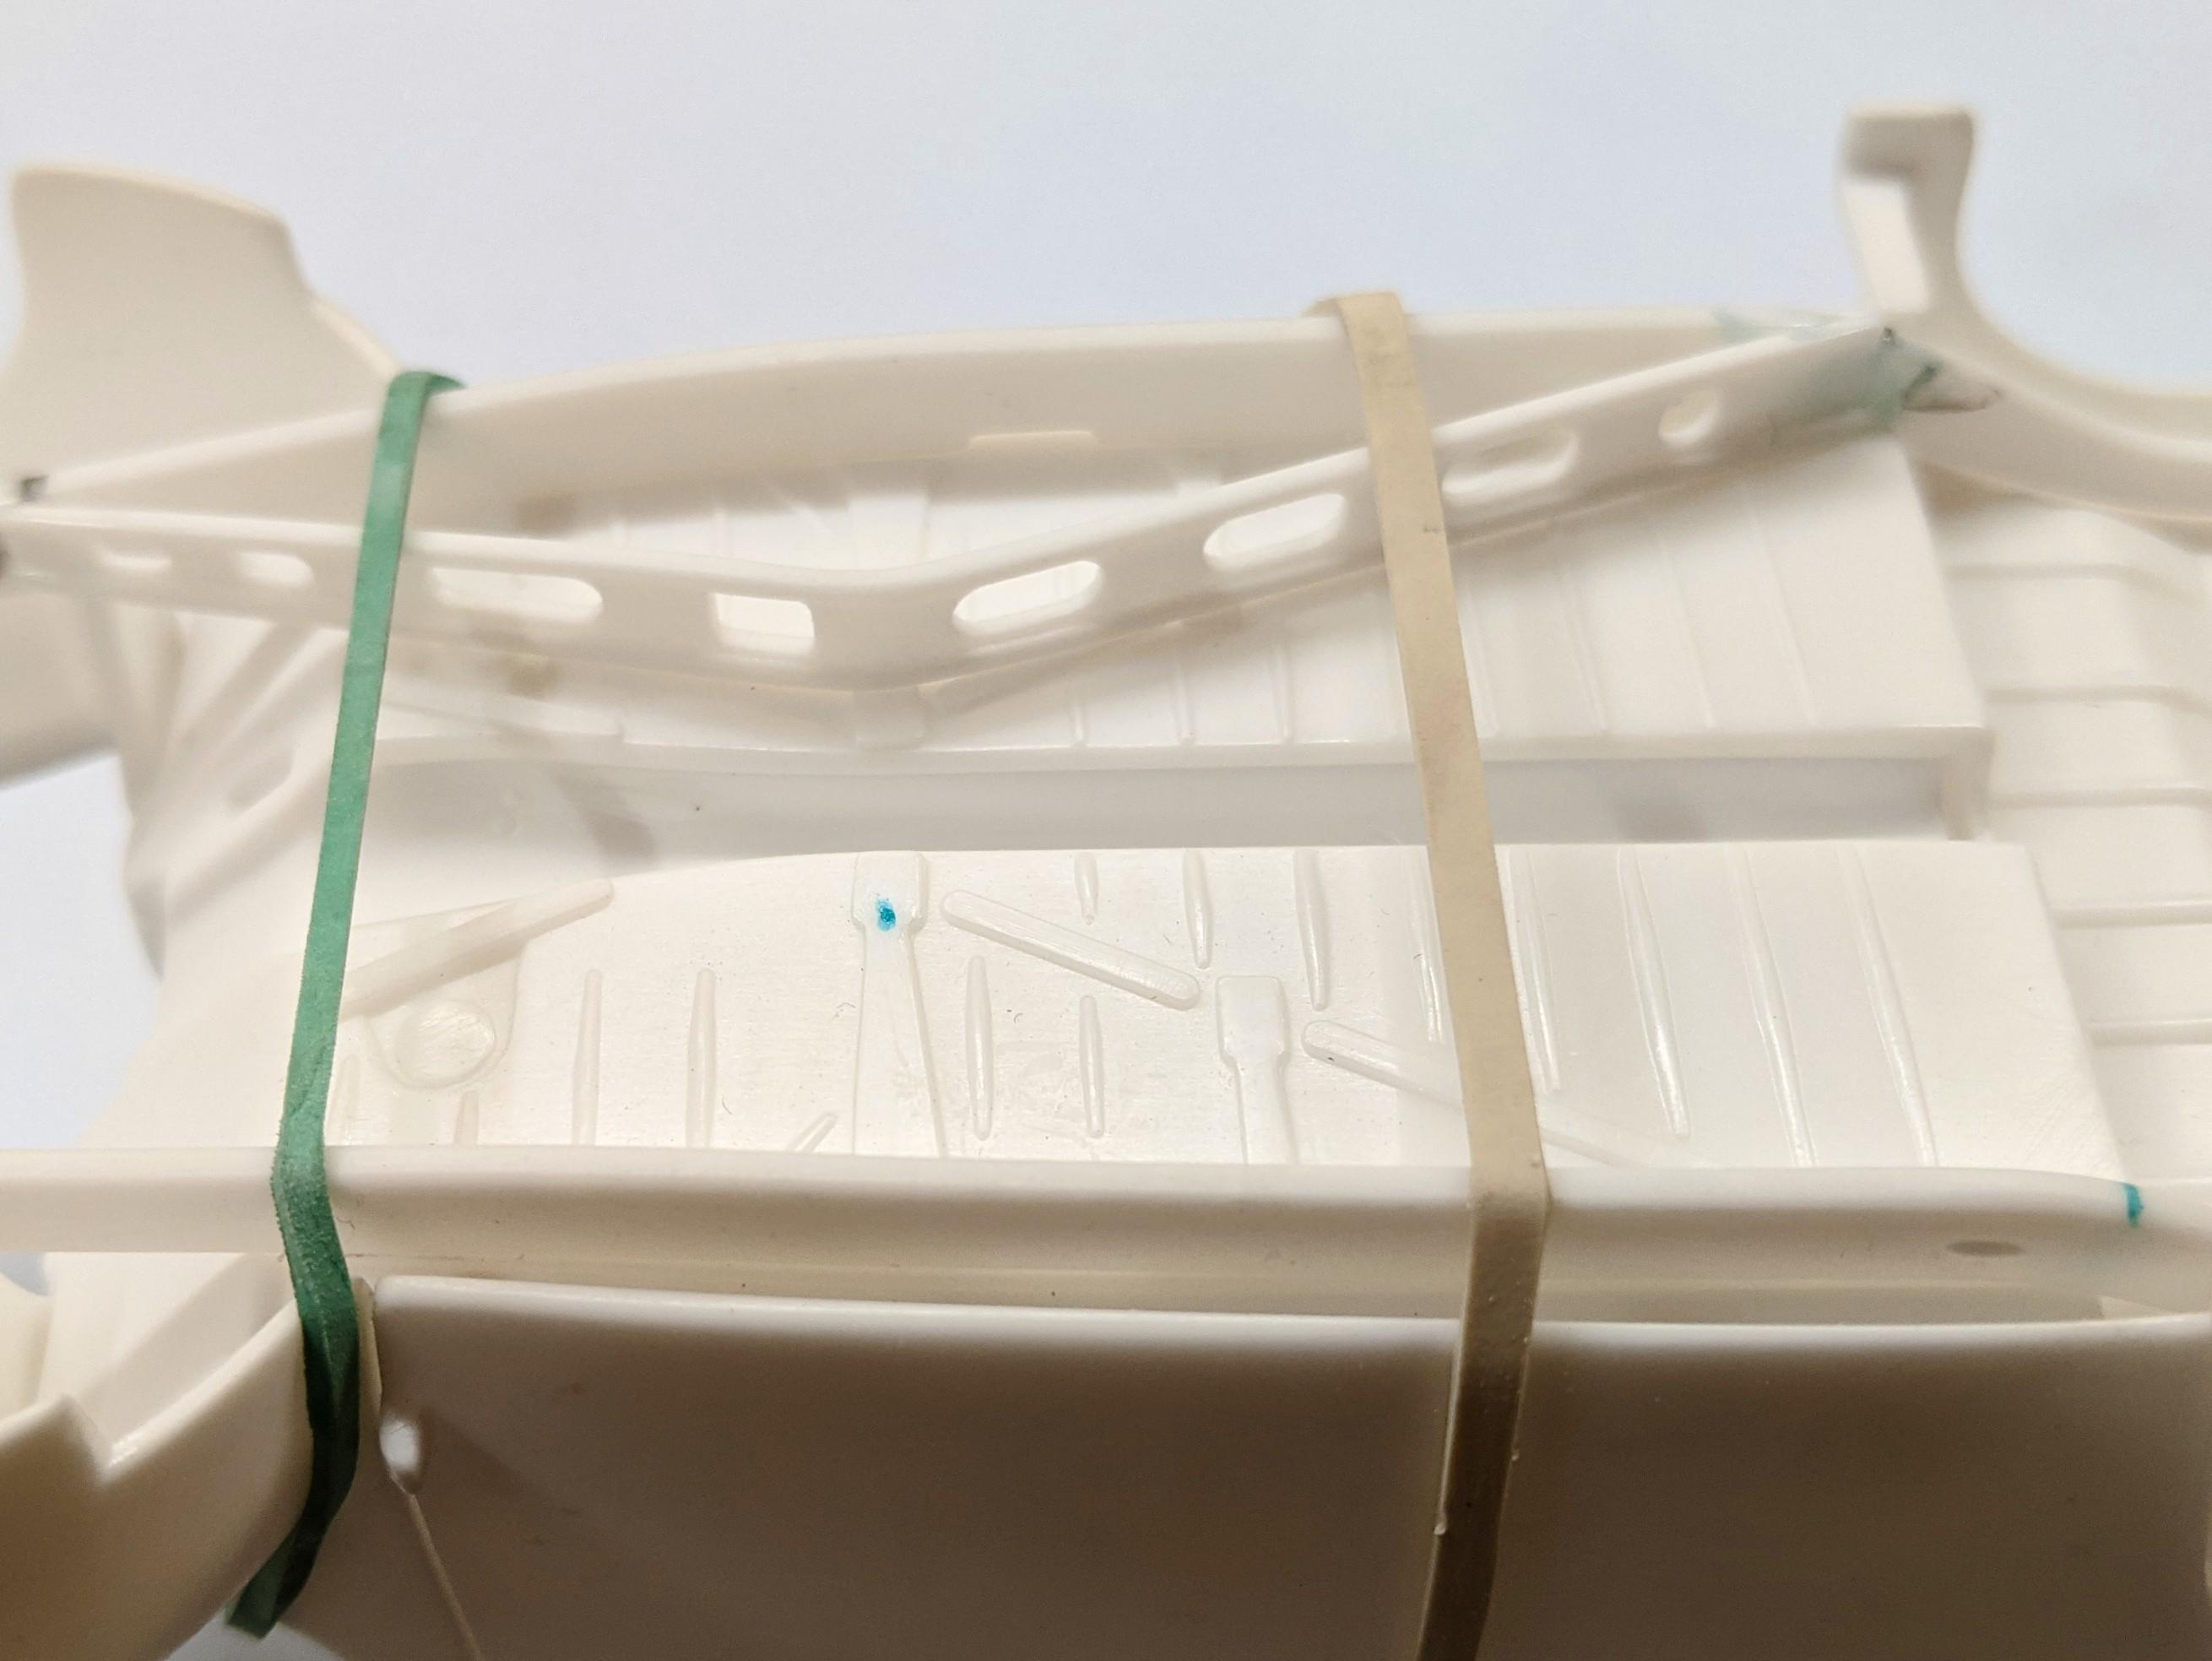
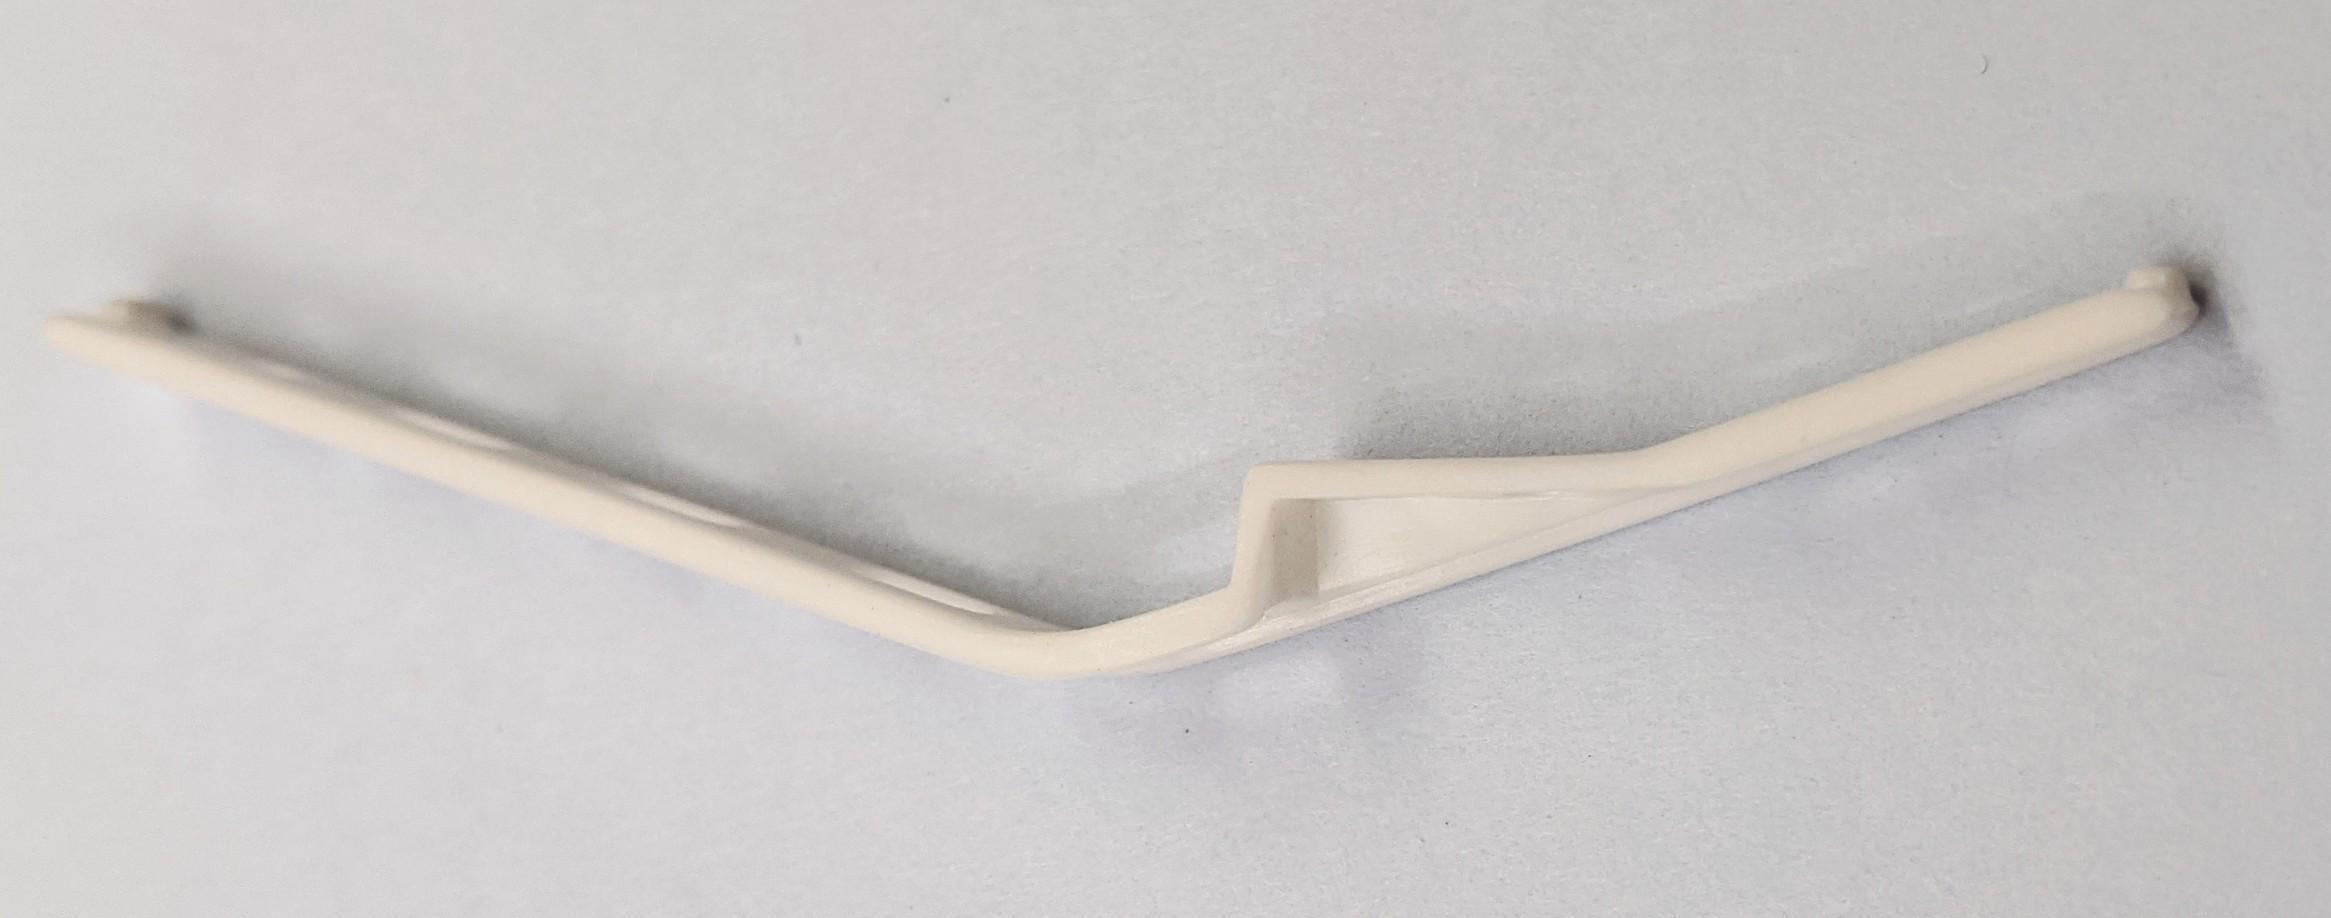
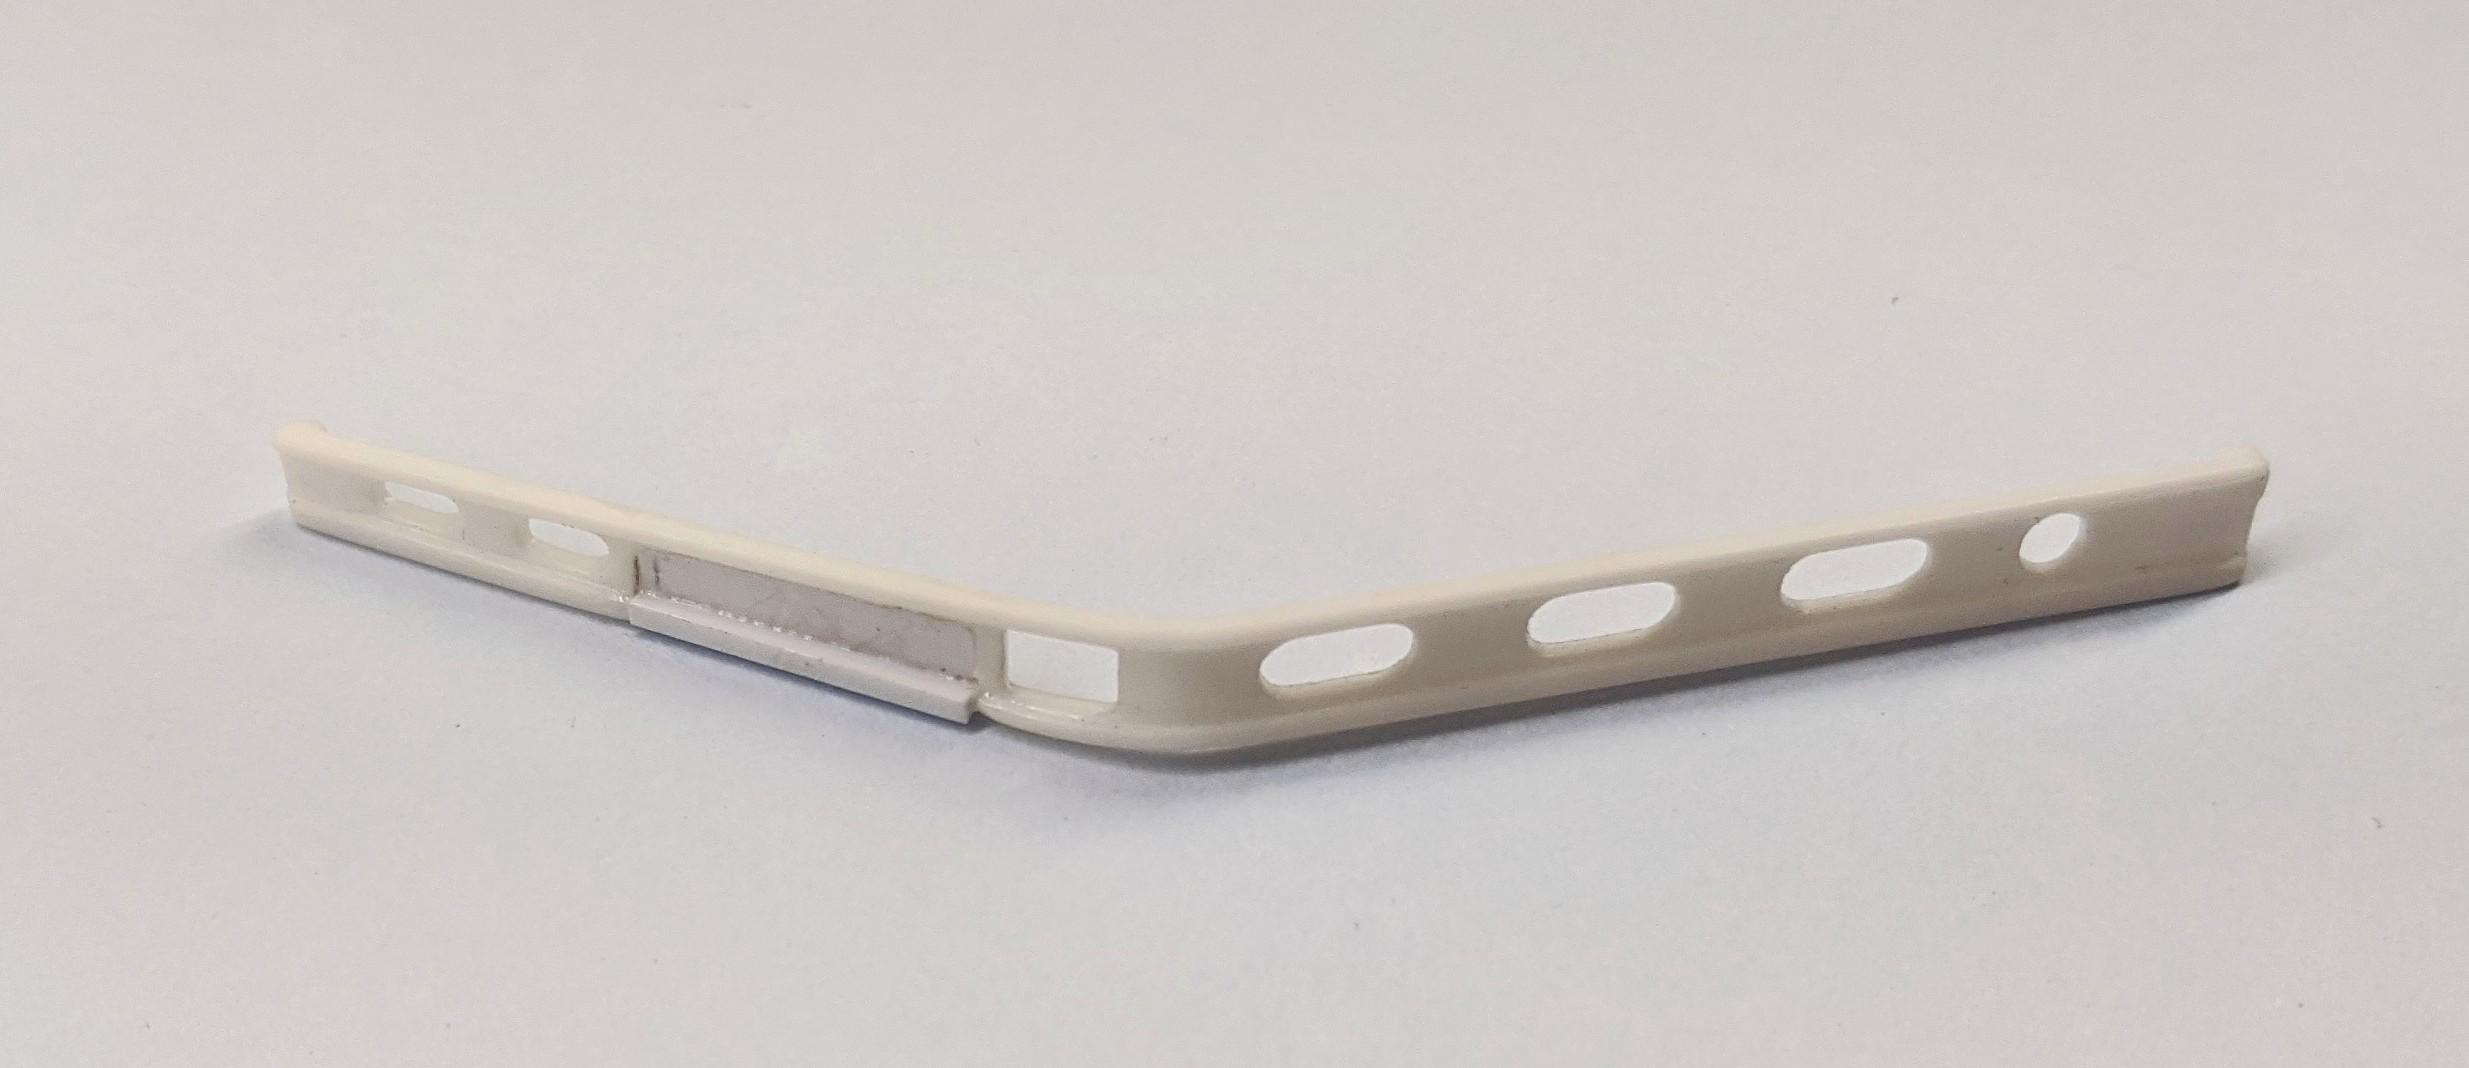
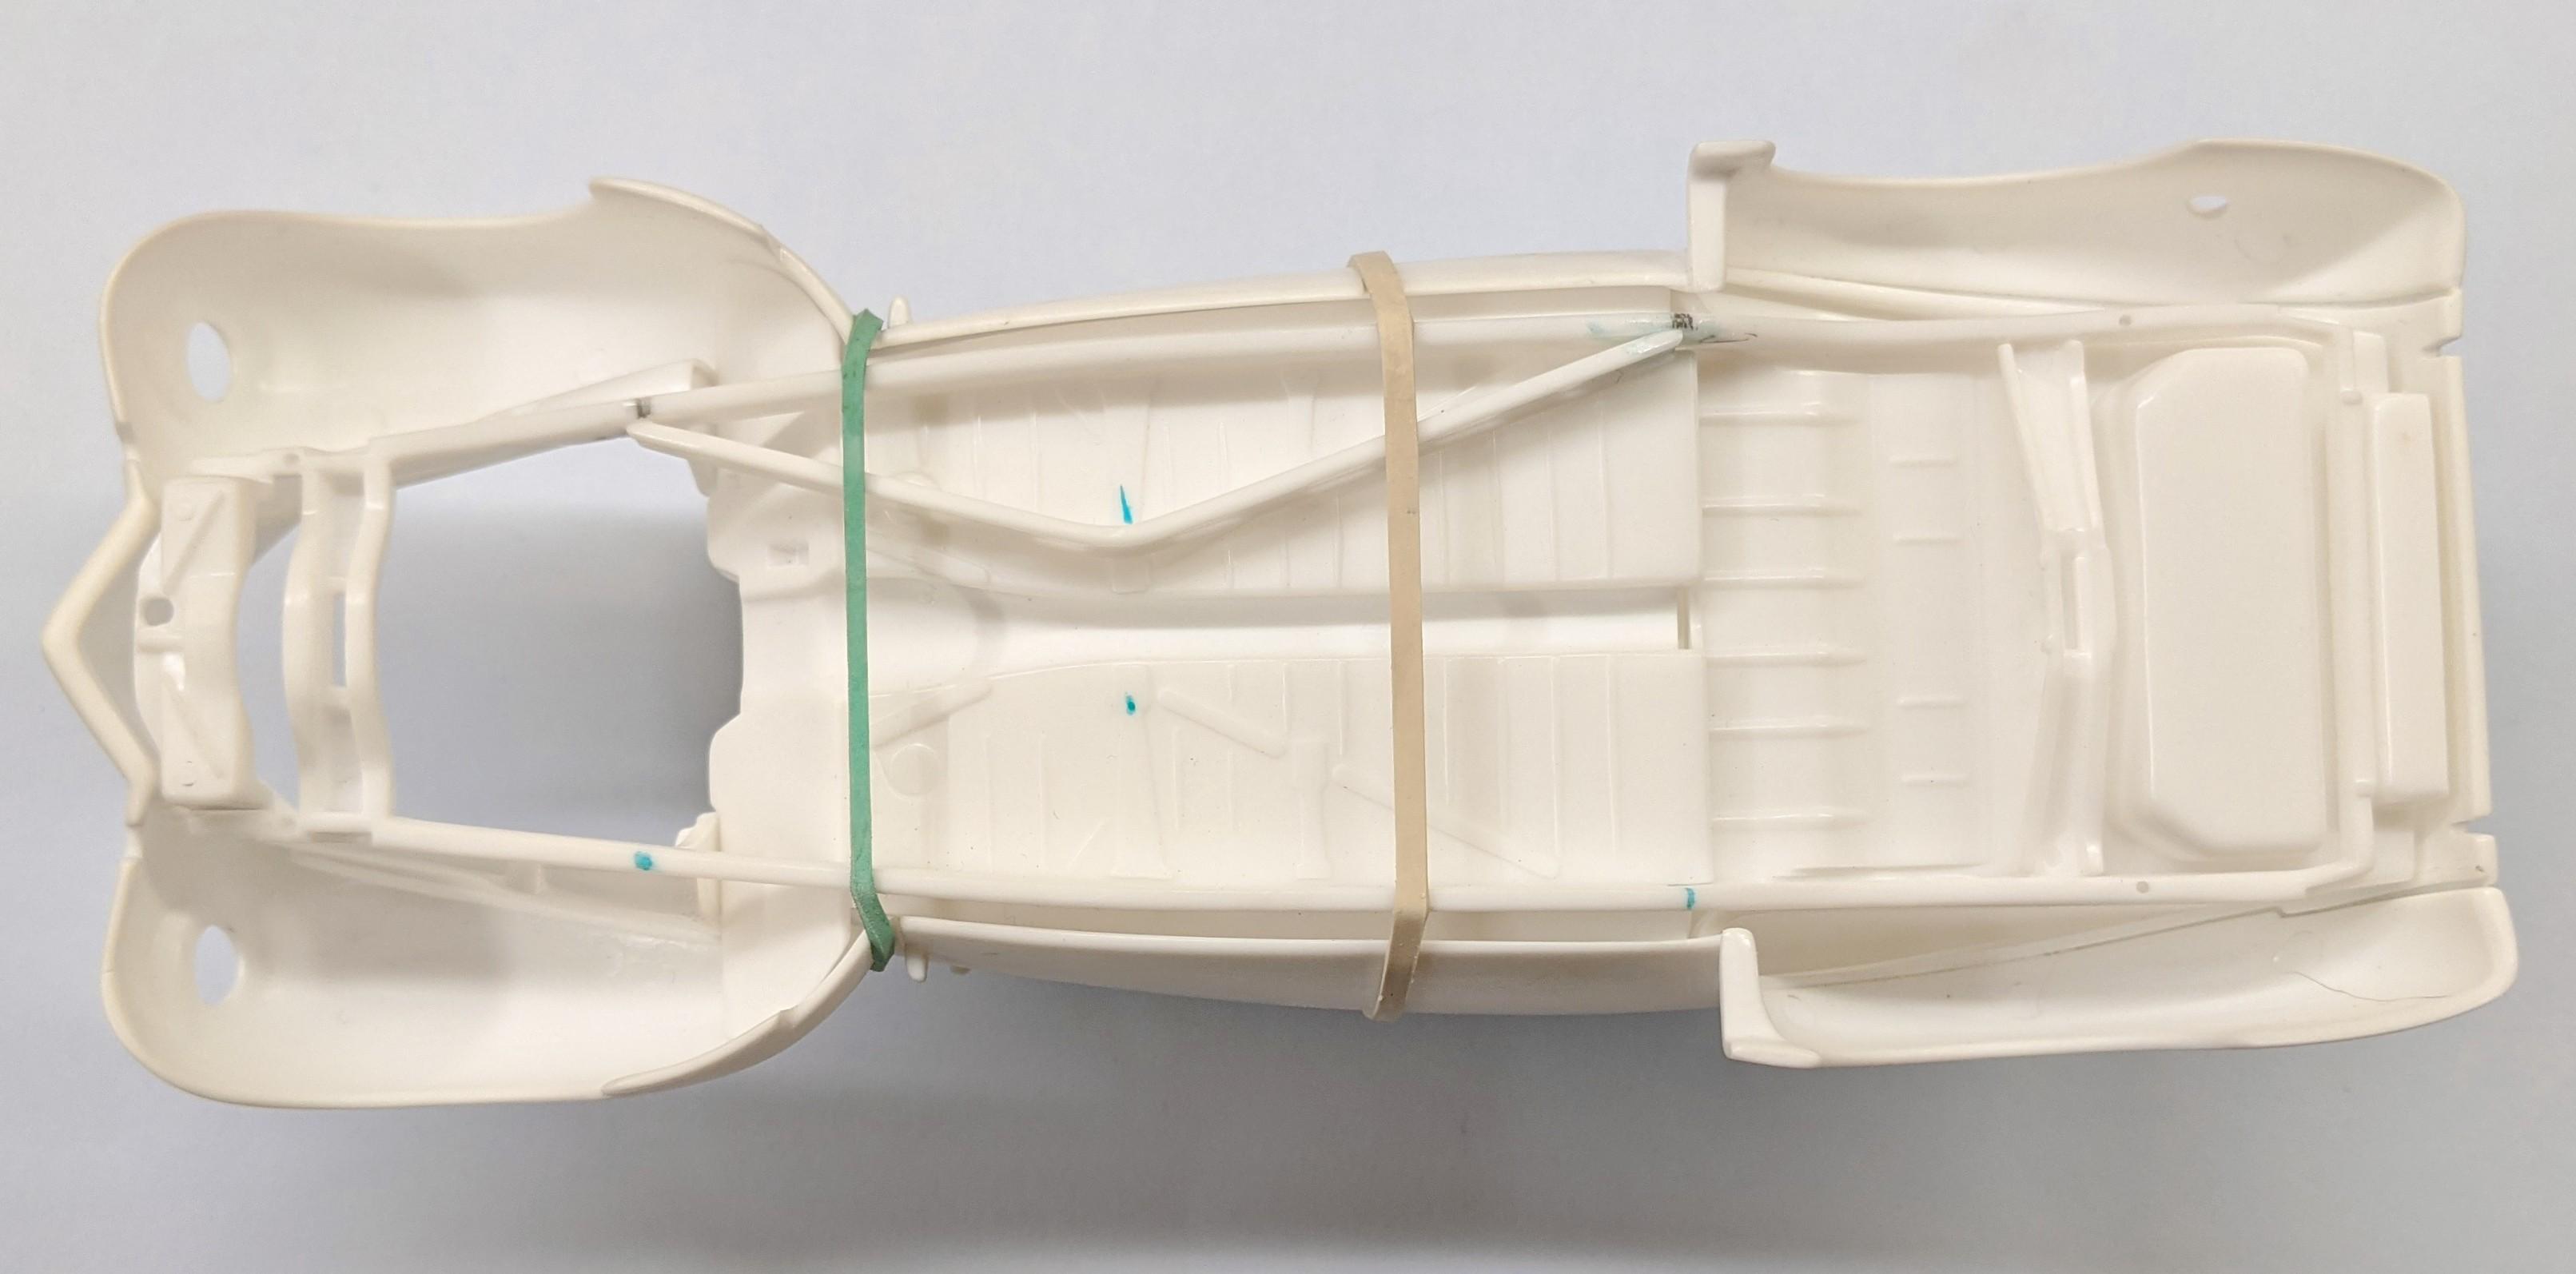
It was time to address the clearance issue regarding the Hydramatic's side cover, so I removed both frame cross members and cleaned up the frame rails after doing so, to provide a clean, smooth starting point for the next step: I purchased a 1/24 Revell '37 Ford Coupe kit (yes, after being inspired by a George Klass Remember 'site image) which never progressed, so I decided to use the frame cross members from the '37 on the '40. While not quite identical on both kits, the cross members from the '37 have a less acute angle, so more space is available where they meet at the cross of the "X", which should provide adequate trans clearance. The right cross member from the '37 already has a clearance bump out, like so: Great if you are using a TH-700R4, but not for a Hydramatic, which needs extra space on the opposite side. So, the existing clearance area was removed and the cross member patched and straightened, and once everything fully cures, I will add the elongated holes to match the opposite side cross member, and blend everything to match the existing flanges: The '37 cross members are tad bit longer and the rear ends will stand a bit proud of the '40's frame rails, but I will address the latter issue later. With everything set in place and aligned, I went ahead and attached the left cross member to the frame rail, and held it in place with rubber bands while the cement cured: Cross member patched and ready for a bit of putty to finish it up:
-
https://www.ebay.com/sch/hotrodlew2/m.html?item=123900045941&hash=item1cd904aa75%3Ag%3AuYcAAOSwn8RddCSz&rt=nc&_trksid=p2047675.l2562
-
Your post was moved to General Discussion. This section is for news and discussion about the magazine.
-
What was the question? Bad!?? It's great news. Polytek has terrible customer service in my experience. They sent me resin which wouldn't cure properly, never returned my calls nor answered my e-mails, and never replied when a PayPal dispute was opened by me. Seriously, I'm not sure I've ever had a poorer customer service experience in my life. I would recommend avoiding Polytek (you know they bought out Alumilite a few years ago, saw you mention it elsewhere)/Alumilite, period. Smooth-On is a far better company to deal with, and their products are excellent in my experience. Easy to locate, too, with multiple distrubutors.
-
Oof. That should never make it out into the public eye. Poor quality items like this should never be accepted as "good enough" or "I can fix it". No, whoever made it should finish the master properly, then cast copies of it.
-
Was a '60-'66 Chevy long bed pickup kit ever made?
Casey replied to Kromolly's topic in Model Building Questions and Answers
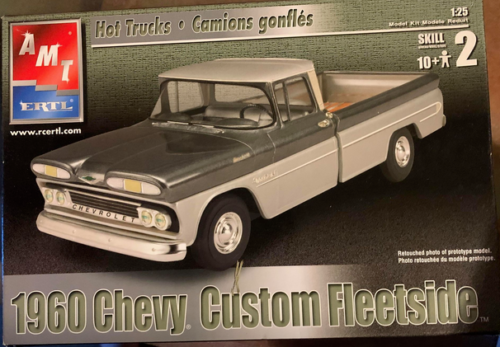
That was a mistake by Ertl, repeated by RC2, who used the same box art model as Ertl. An original longbed with the side trim was used, when the model inside was the new-in-the-'90s shortbox, as Roger mentioned:
-
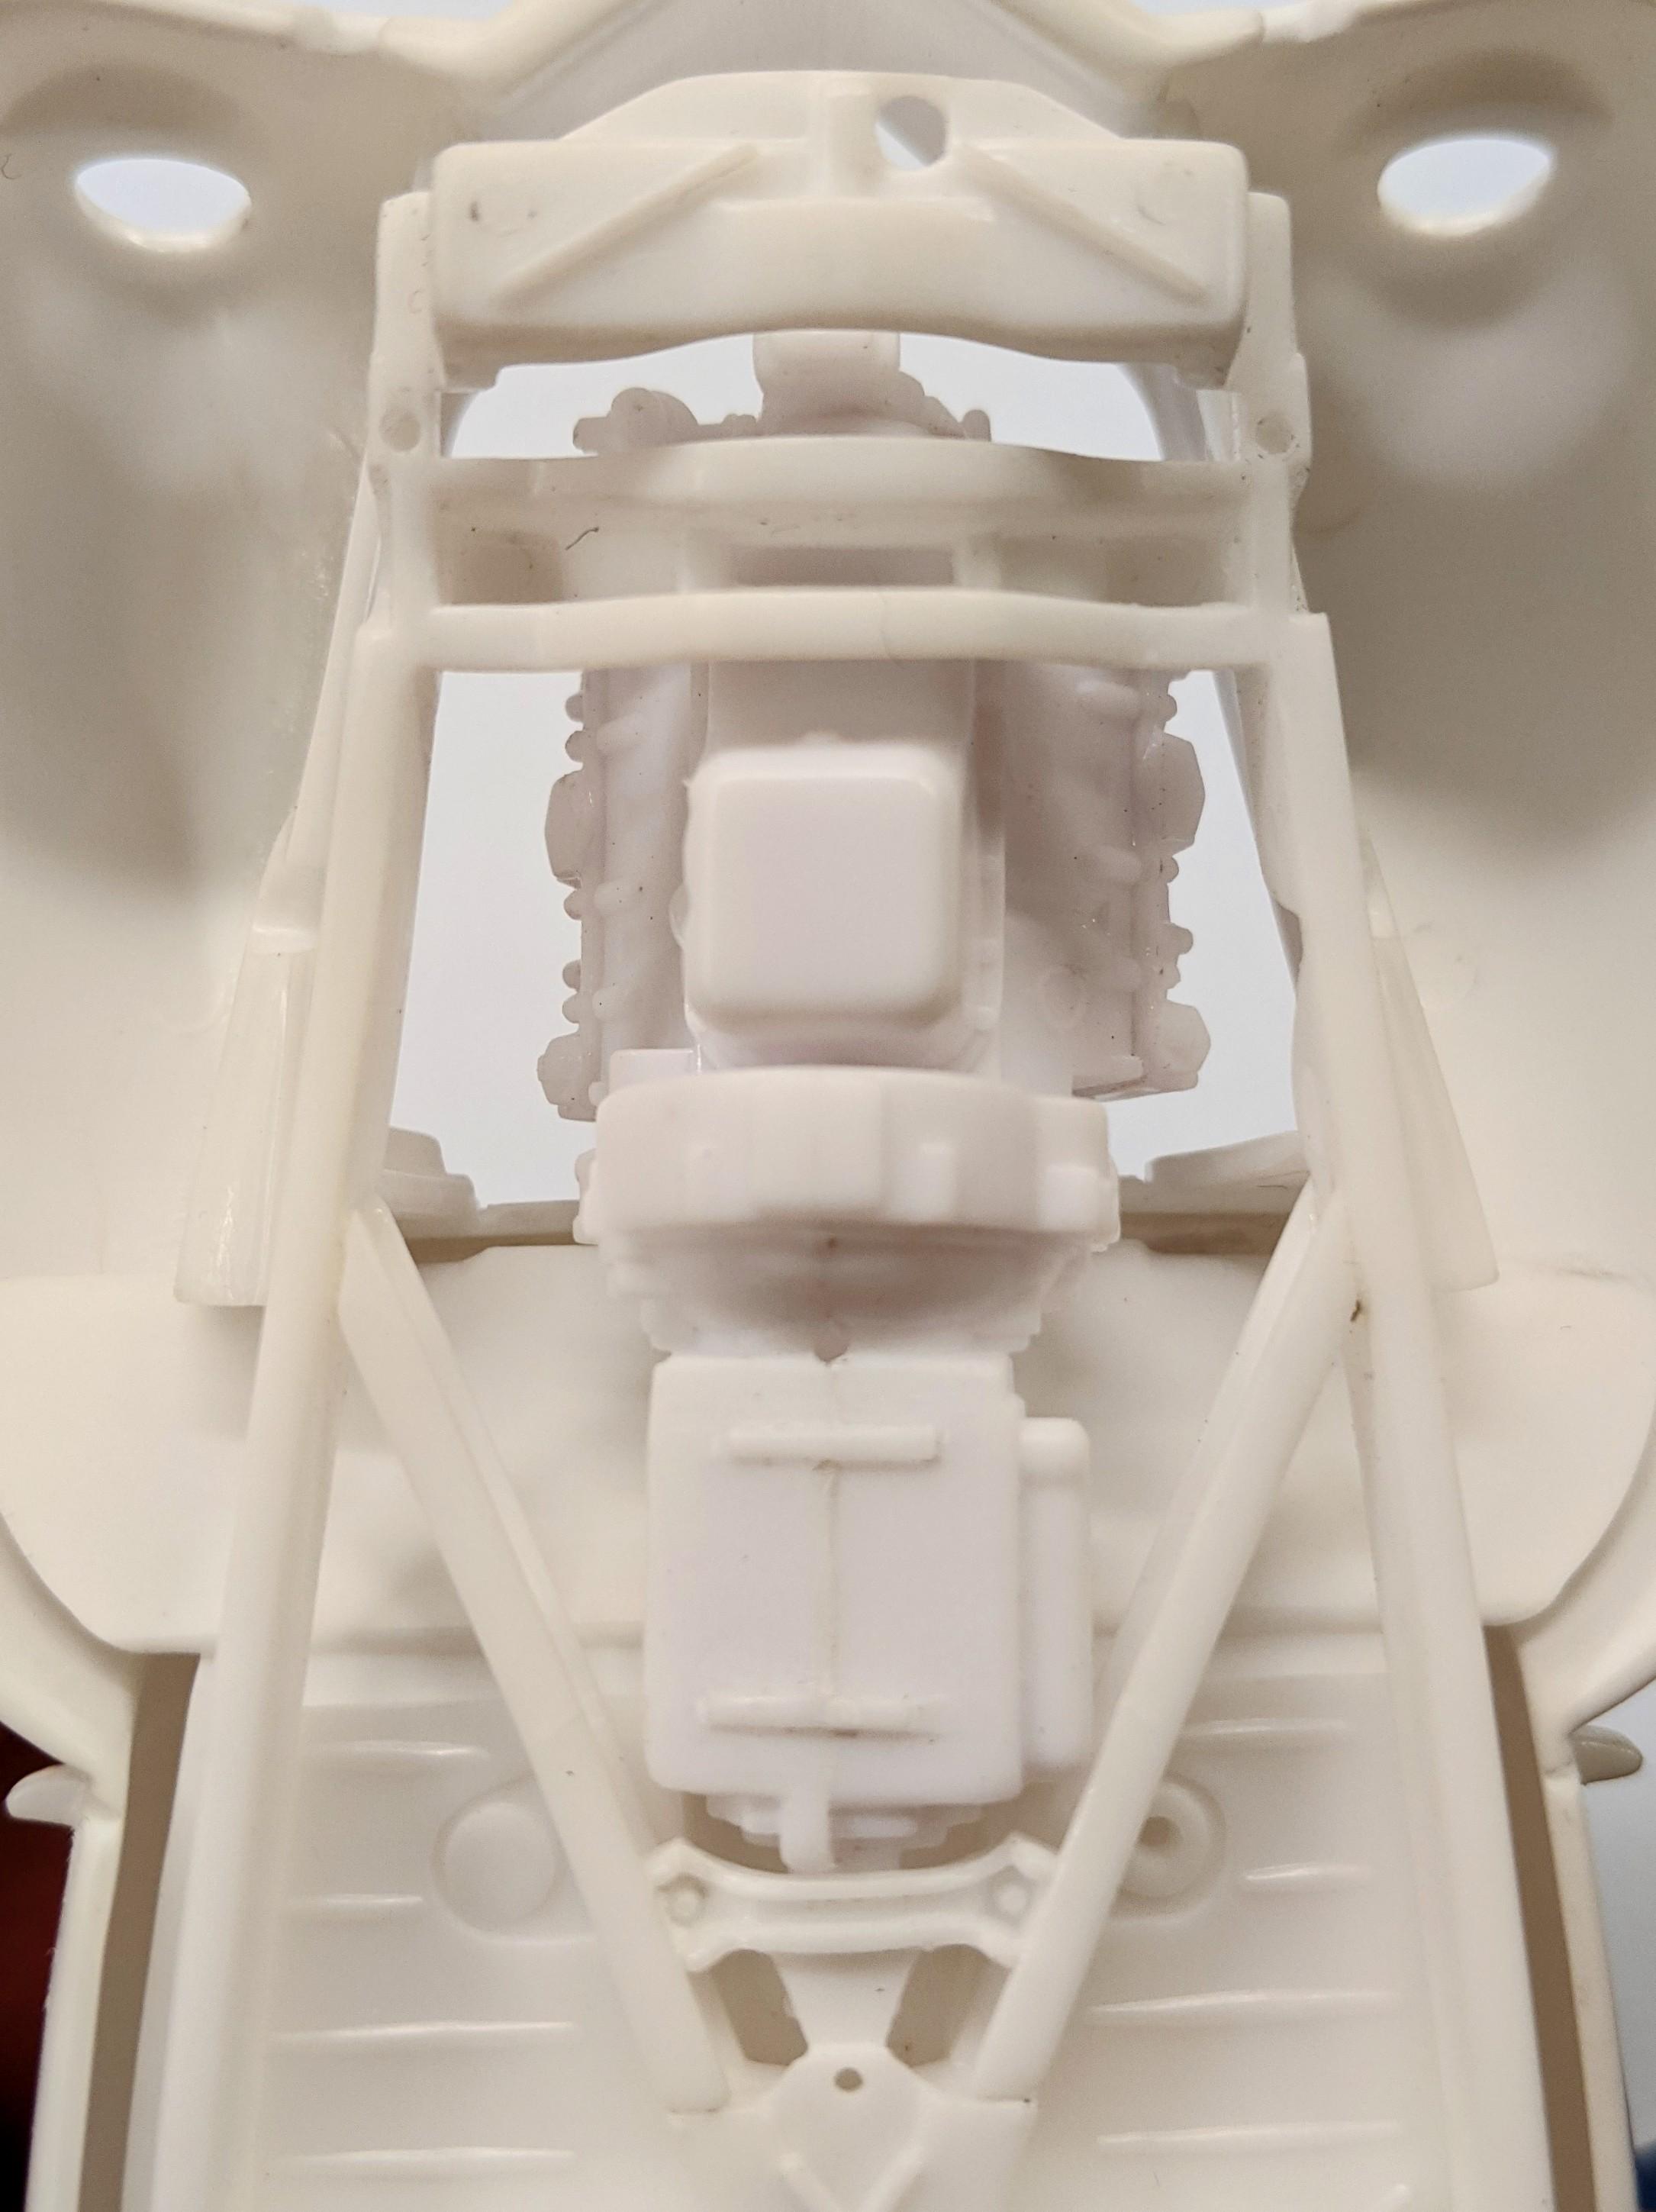
There's so much inspiration there, but it's easy to get too many ideas, and start too many projects...AMHIK. ?♀️ I had been putting off reshaping the AMT Buick V8 block, despite having made some decent progress. The area around the distributor boss and the integral bellhousing were not things I was looking forward to working on, so that was a major reason this project sat idle for months. I think with the stock suspension back in play, too, the B&M Hydrostick trans behind the Buick V8 would've been a bit excessive, so I decided to make a change. I had been looking for the early Olds V8 engine from the Revell '50 Coupe kit for at least a year, and finally acquired one, so after looking it over, decided to use it on this project. Now that I have the engine in my hands, I understand why nobody was willing trade one away--- it's gorgeous. Really an excellent, well-proportioned and detailed little V8, with some seriously tiny parts. I'll try to show a few of those details as the engine progresses, but there's not much to show as of yet, just basic prep and assembly of the engine block/trans halves, cylinder heads, water pump, and oil pan. That was enough to do a test fit, and things are looking very positive as far as fit inside the '40 Ford's engine compartment is concerned: The Olds engine has a centered front mount which you can see above, so that may actually make things even easier up front. The Ford's frame cross members and trans mount will need some reworking as can be seen in the below image, so hopefully I won't need to do any excessive clearancing of the trans tunnel: The Hydramatic's side pan is tight up against the left frame crossmember, and will only get worse as the engine and trans slide back a bit, so I will need to get that figured out. A new trans crossmember will be added, too, but it looks like there's plenty of space to run the exhaust down and through the frame, so I should be good there. The firewall hinge holes have been filled, so after I add the raised half-round rib detail which was lost to sanding, I can get the firewall reinstalled.
-
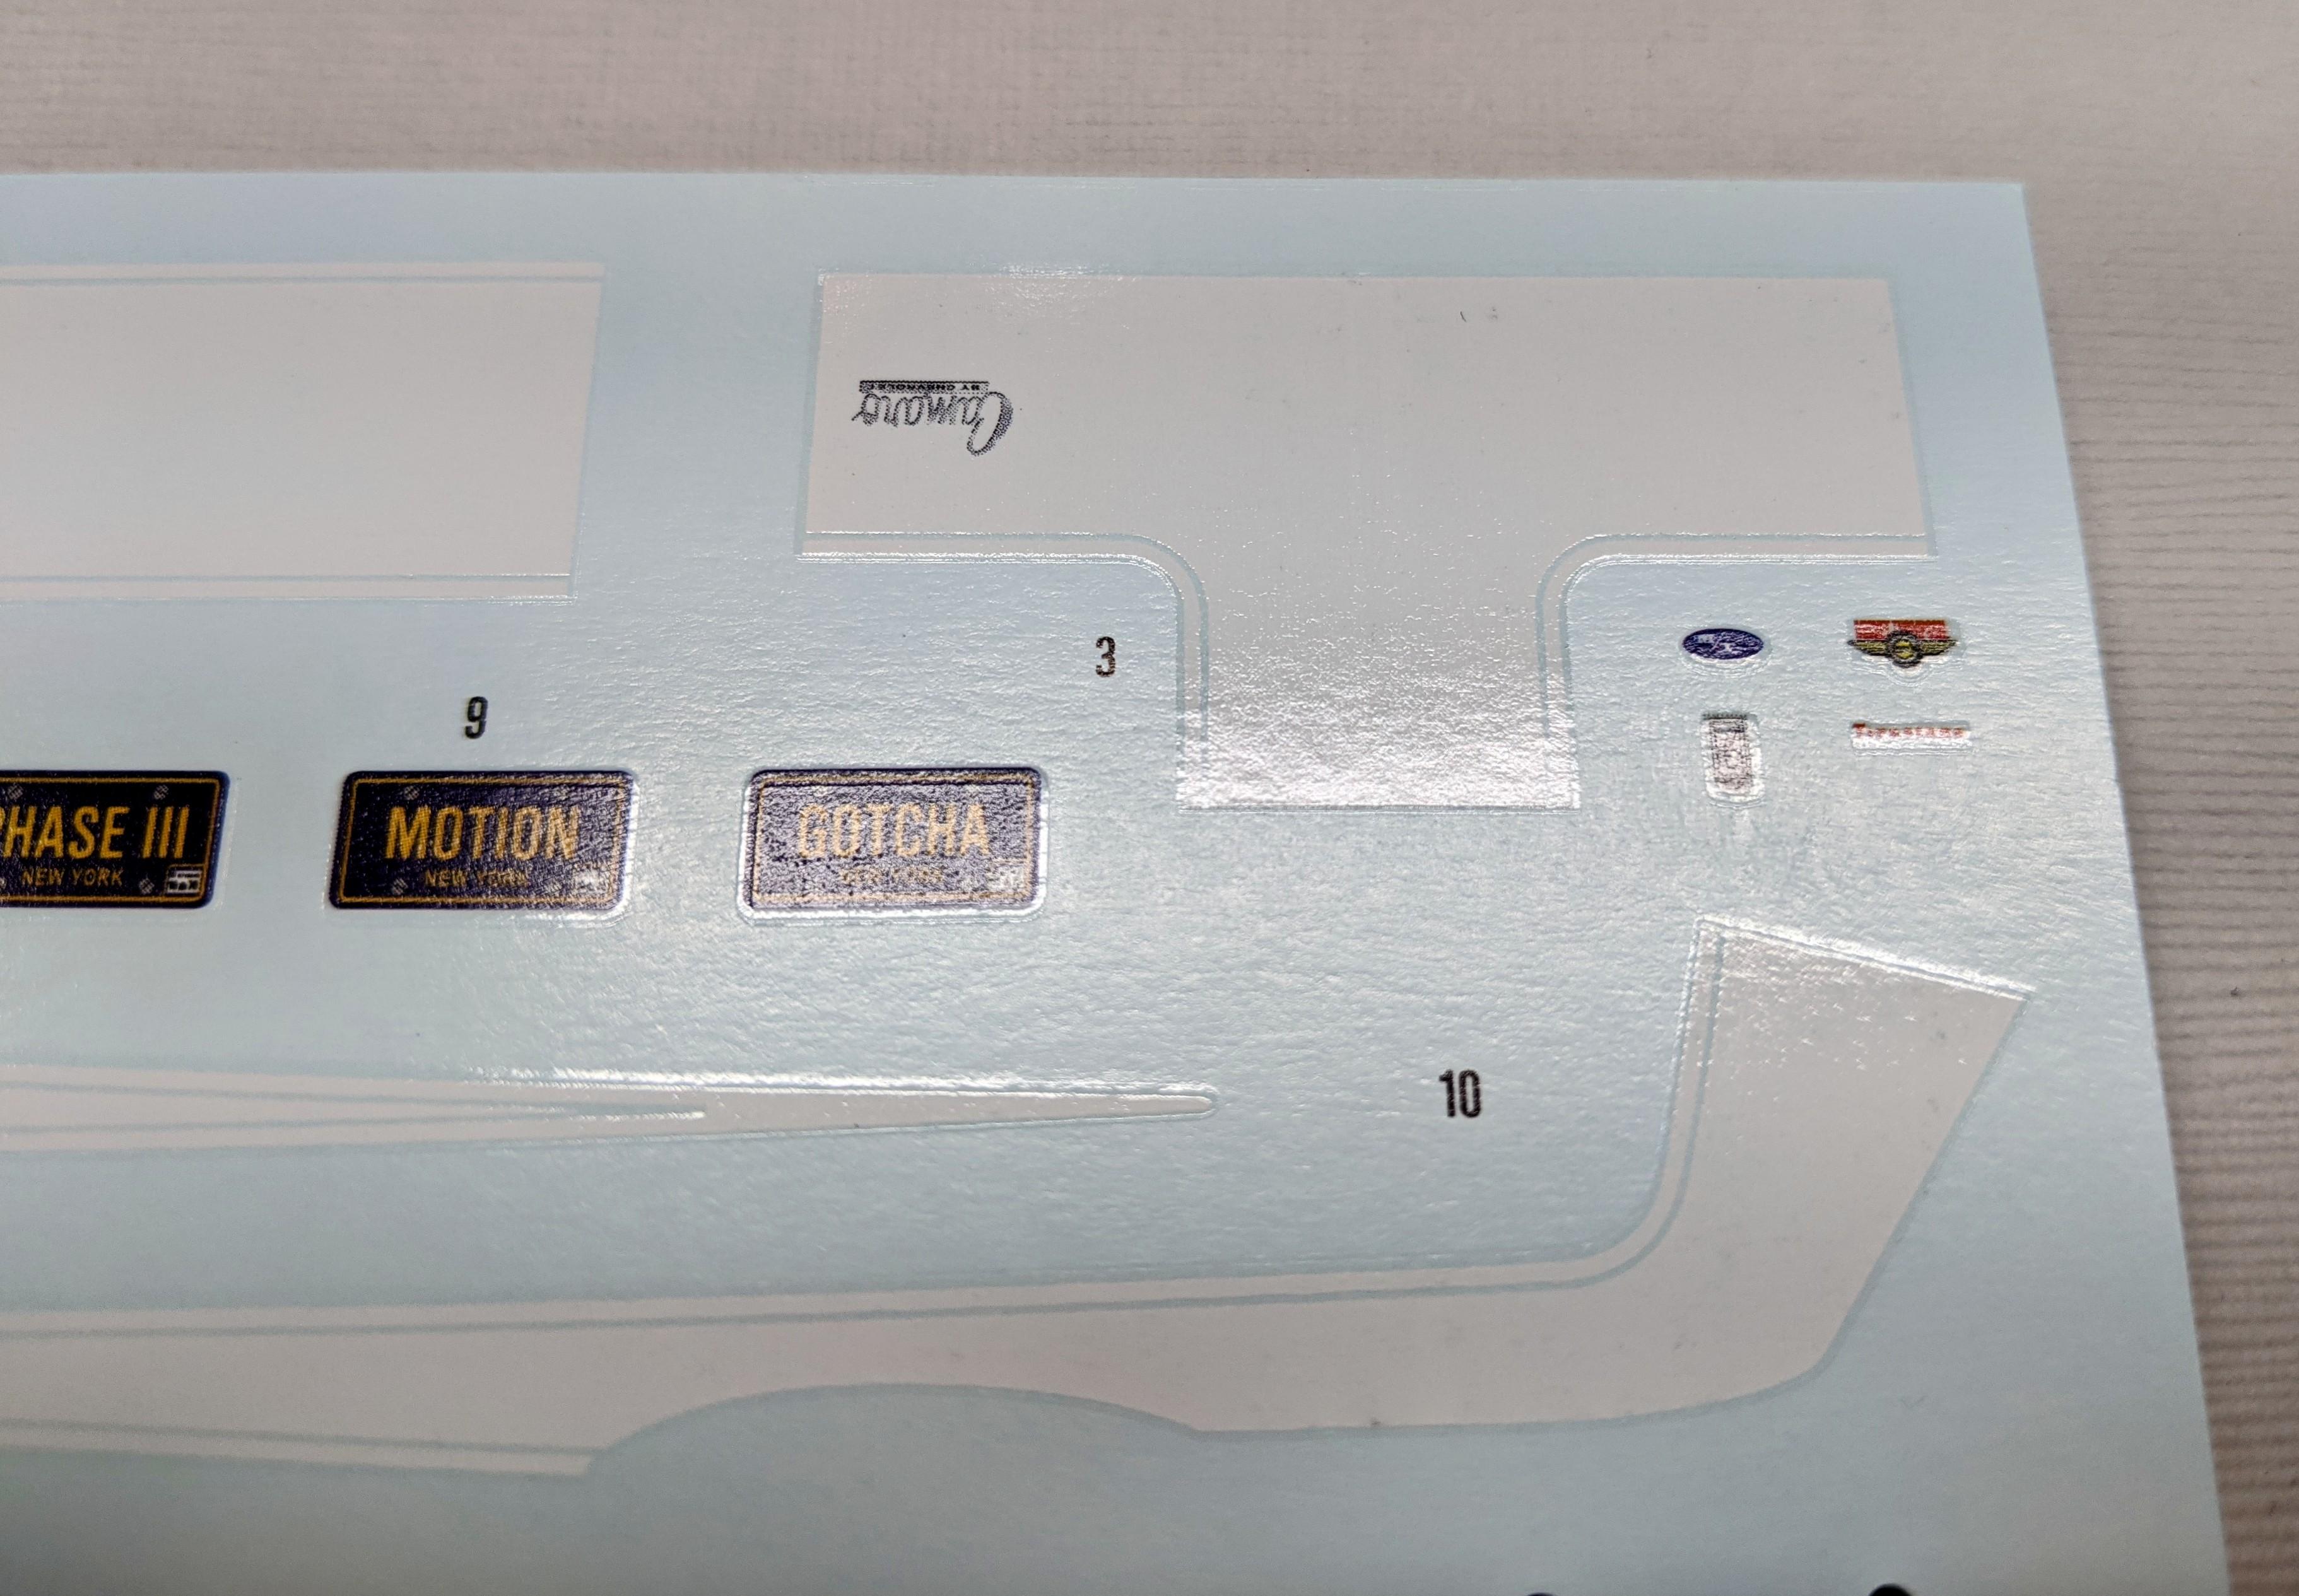
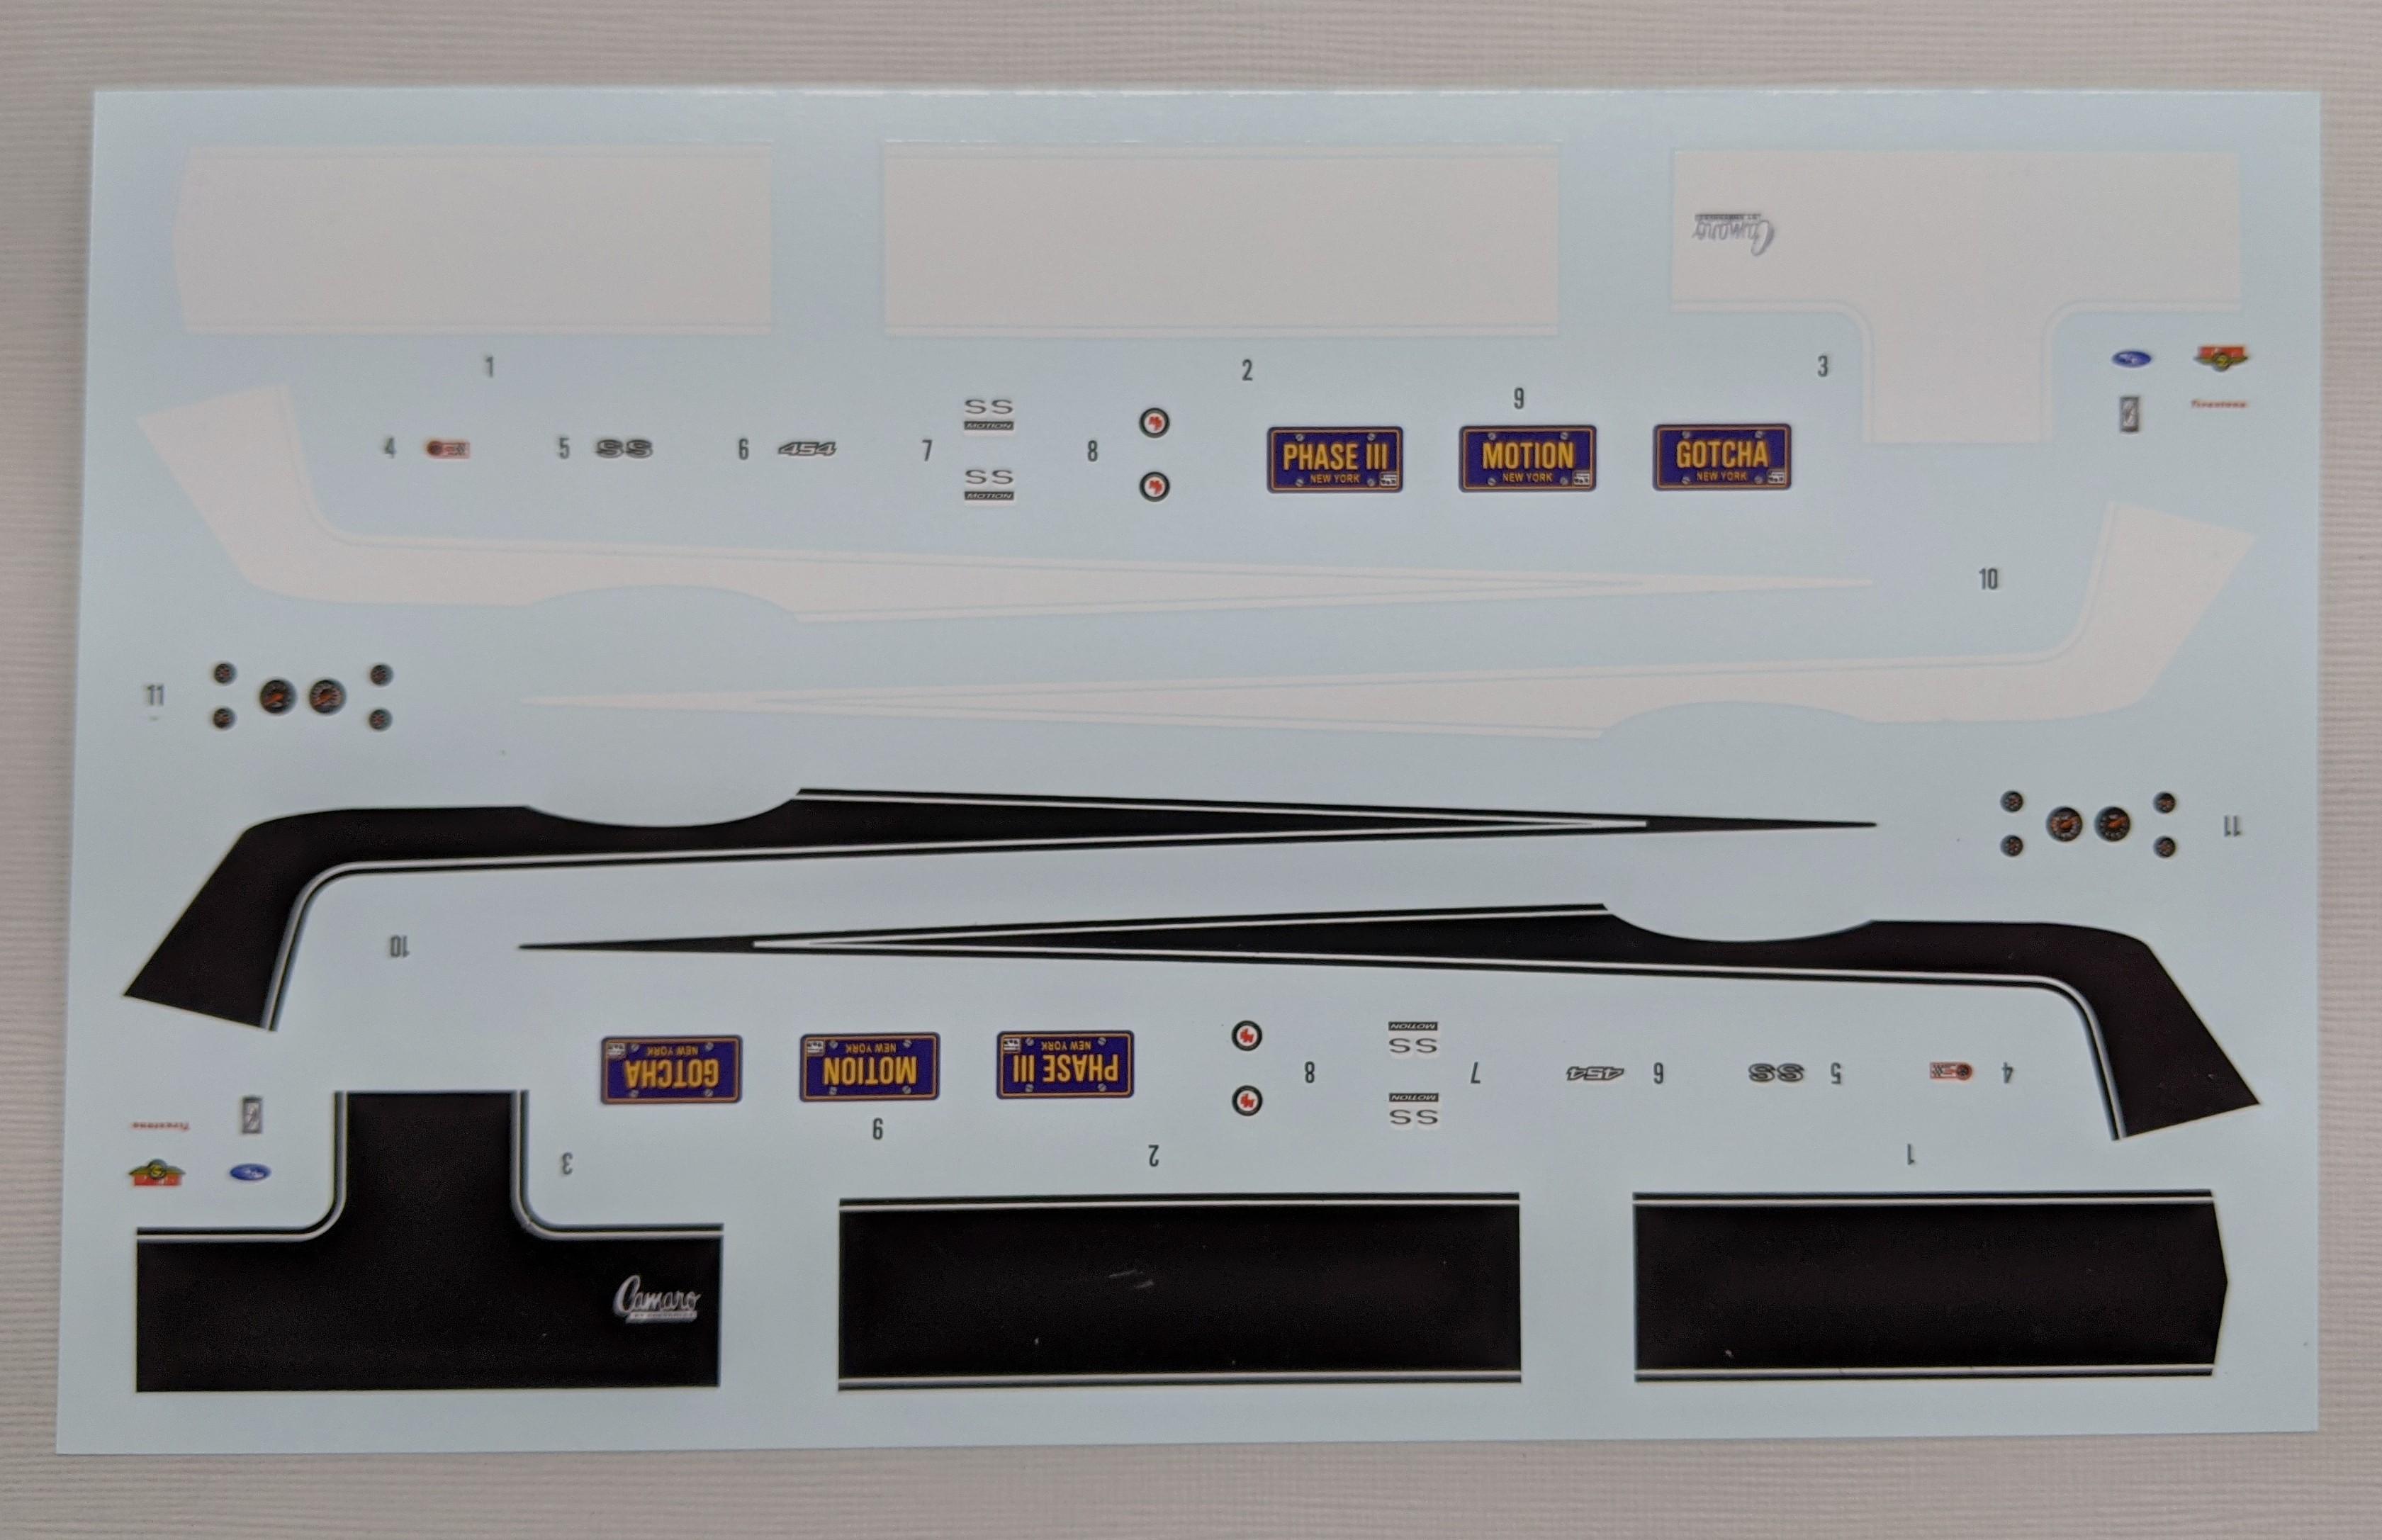
Later (current) versions include both white a black graphics. PM me your address, please, if you'd like the pictured decal sheet:
-
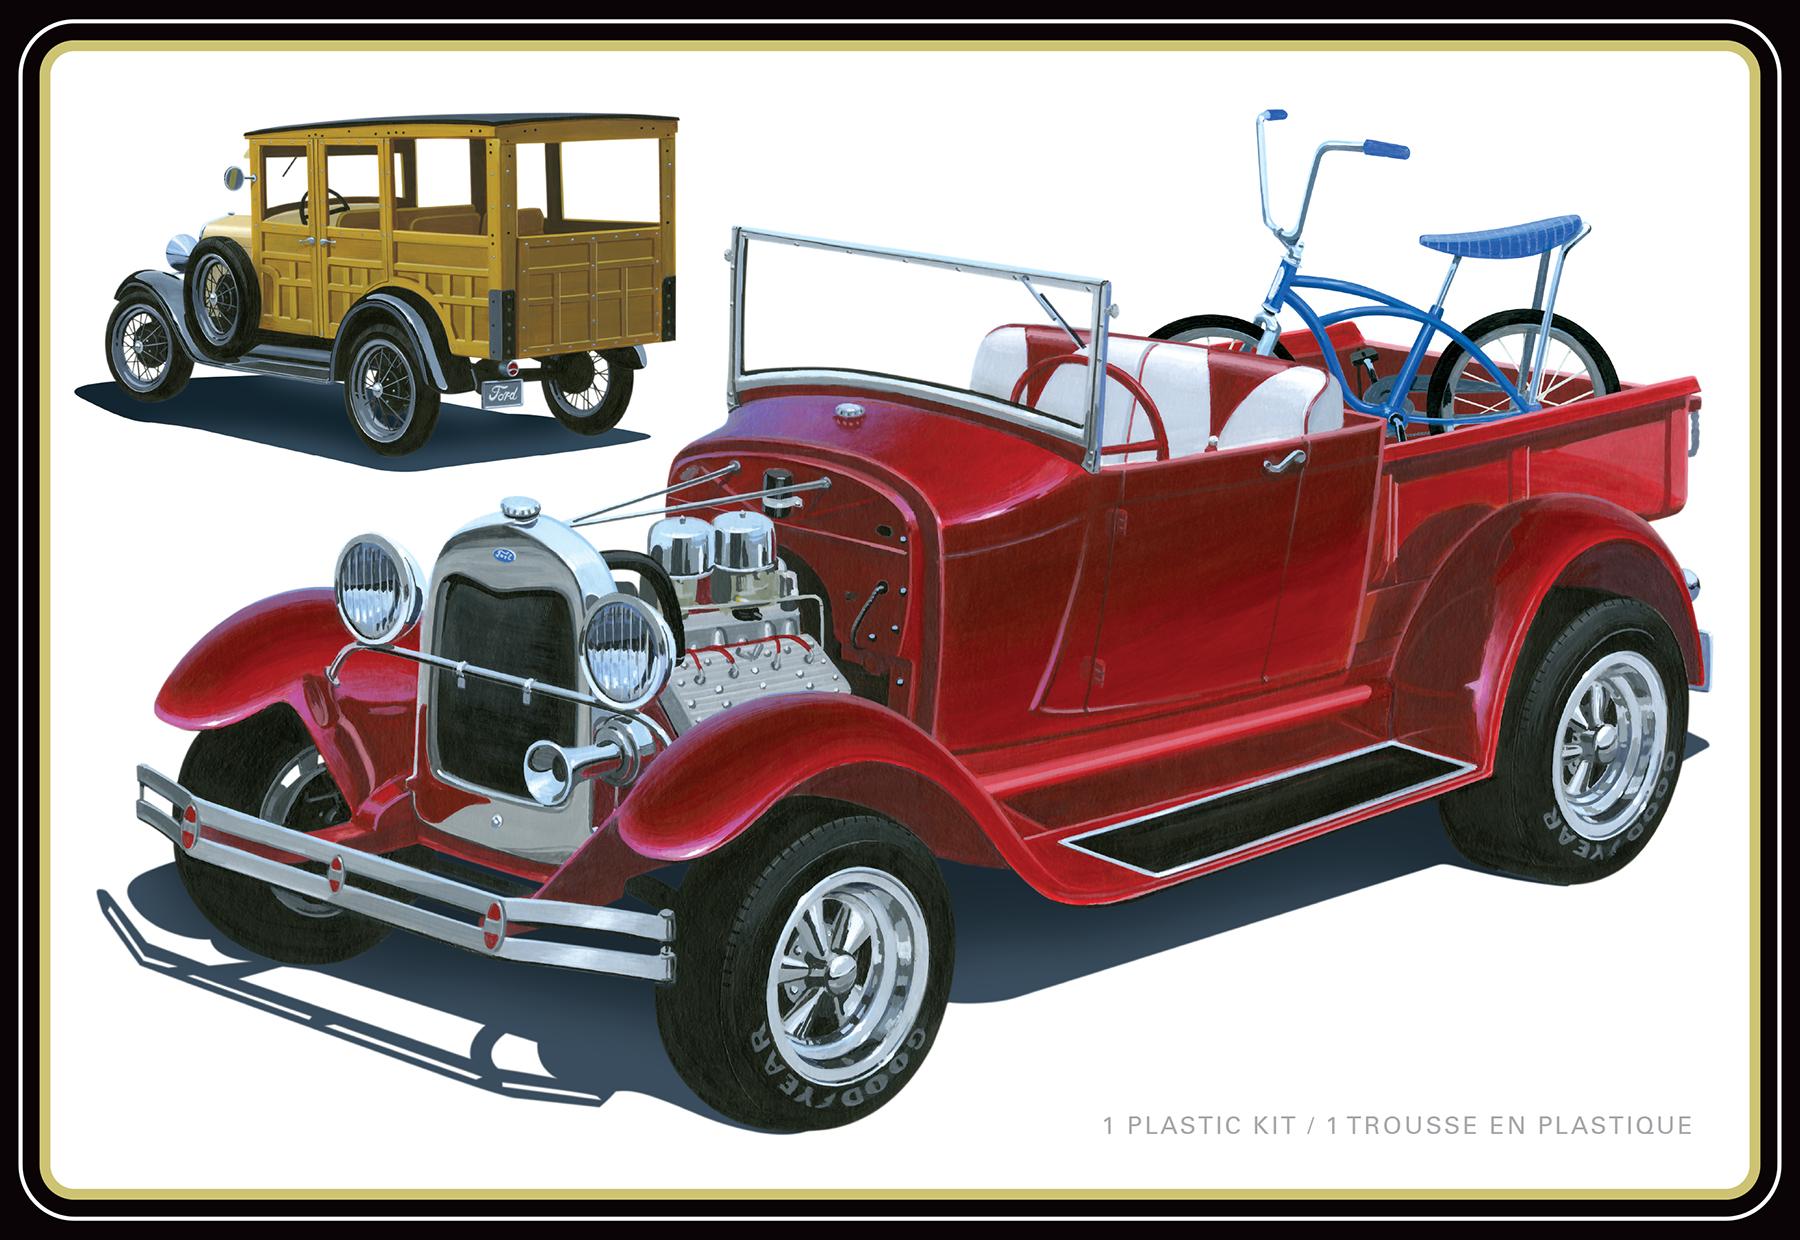
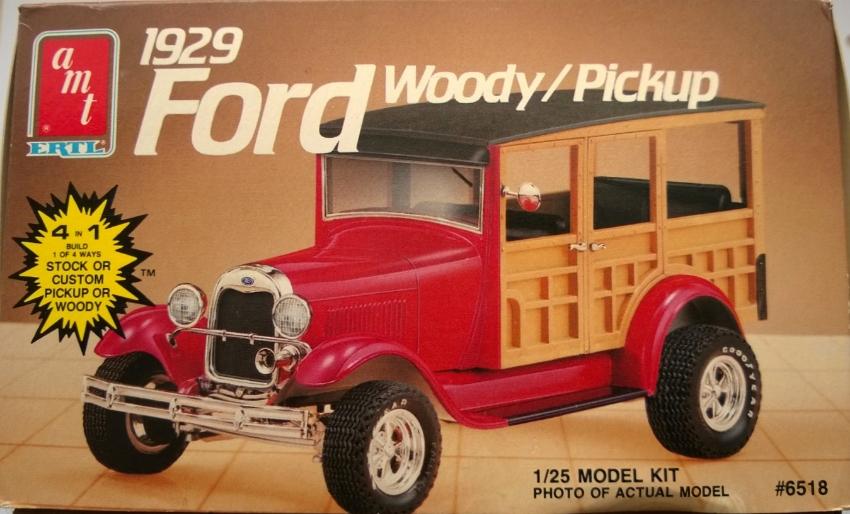
Coming soon, the 1/25 AMT (originally MPC) 1929 Ford Woody/Pickup kit, which can built built as either. It appears to be mostly the same as the previous RC2 era reissue, without the Goodyear Rally GT tires, though, fortunatley: Content pics of the '80s AMT/Ertl reissue here: https://modelkitreviews.proboards.com/thread/99/amt-1929-ford-woody-pickup
- 27 replies
-
- 1
-

-
- amt 1269
- 1929 woody
- (and 2 more)
-
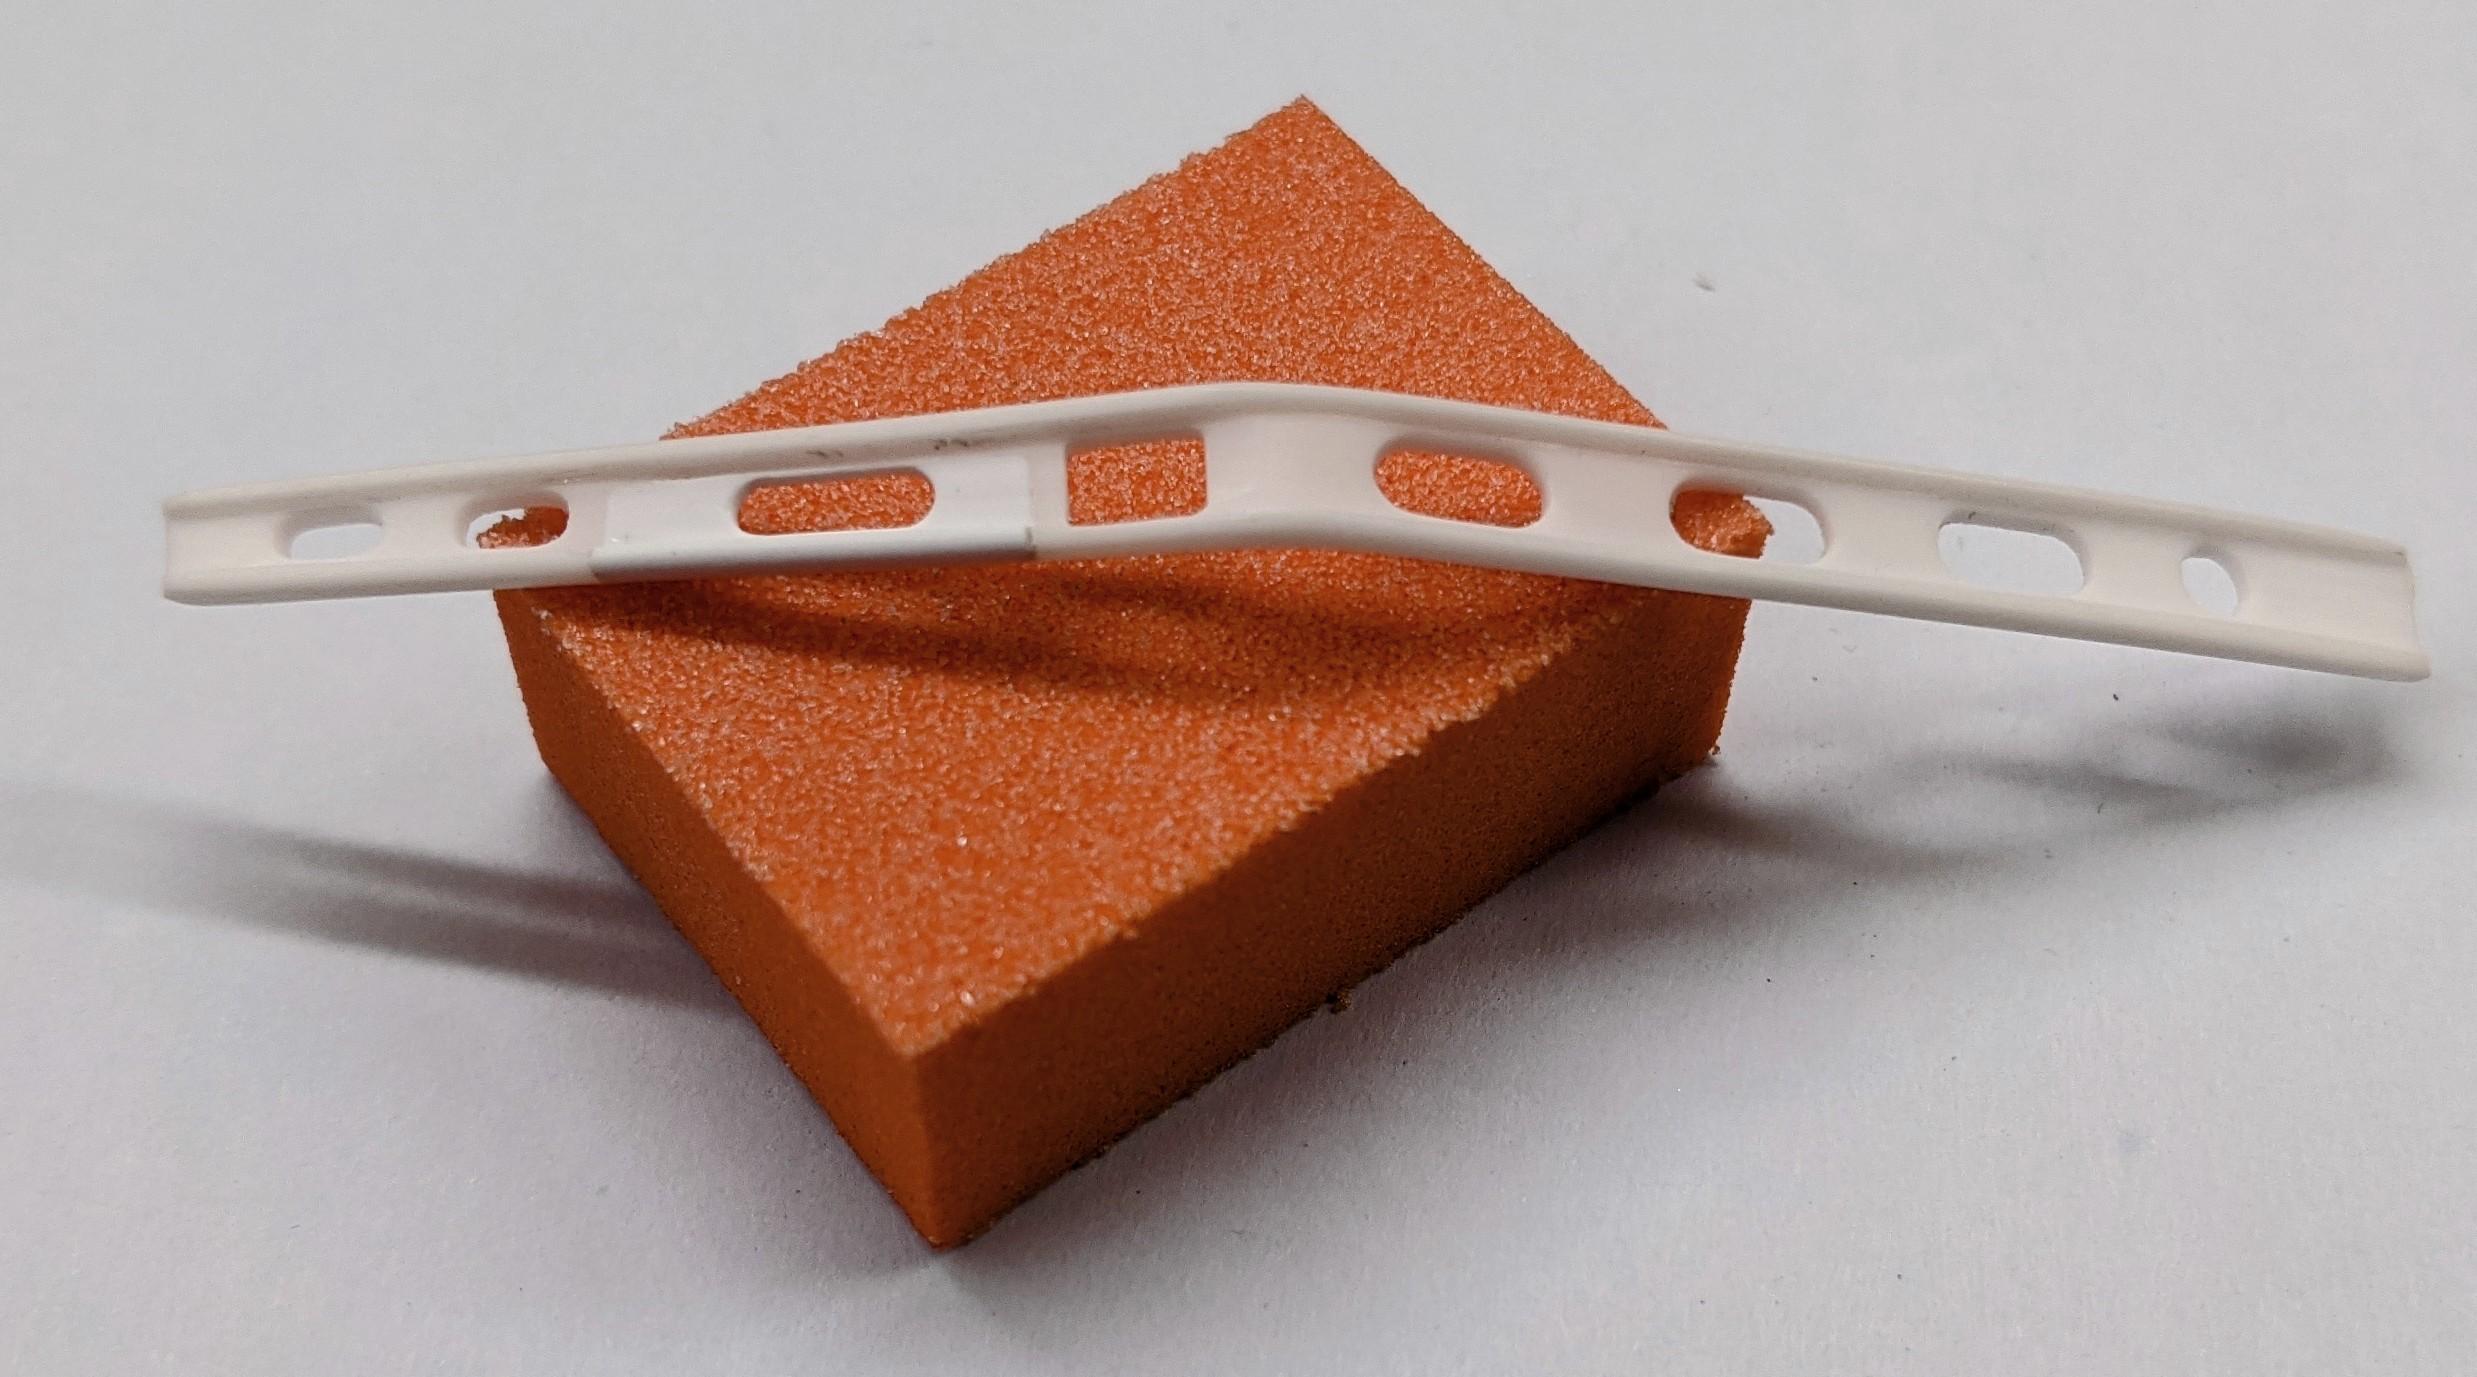
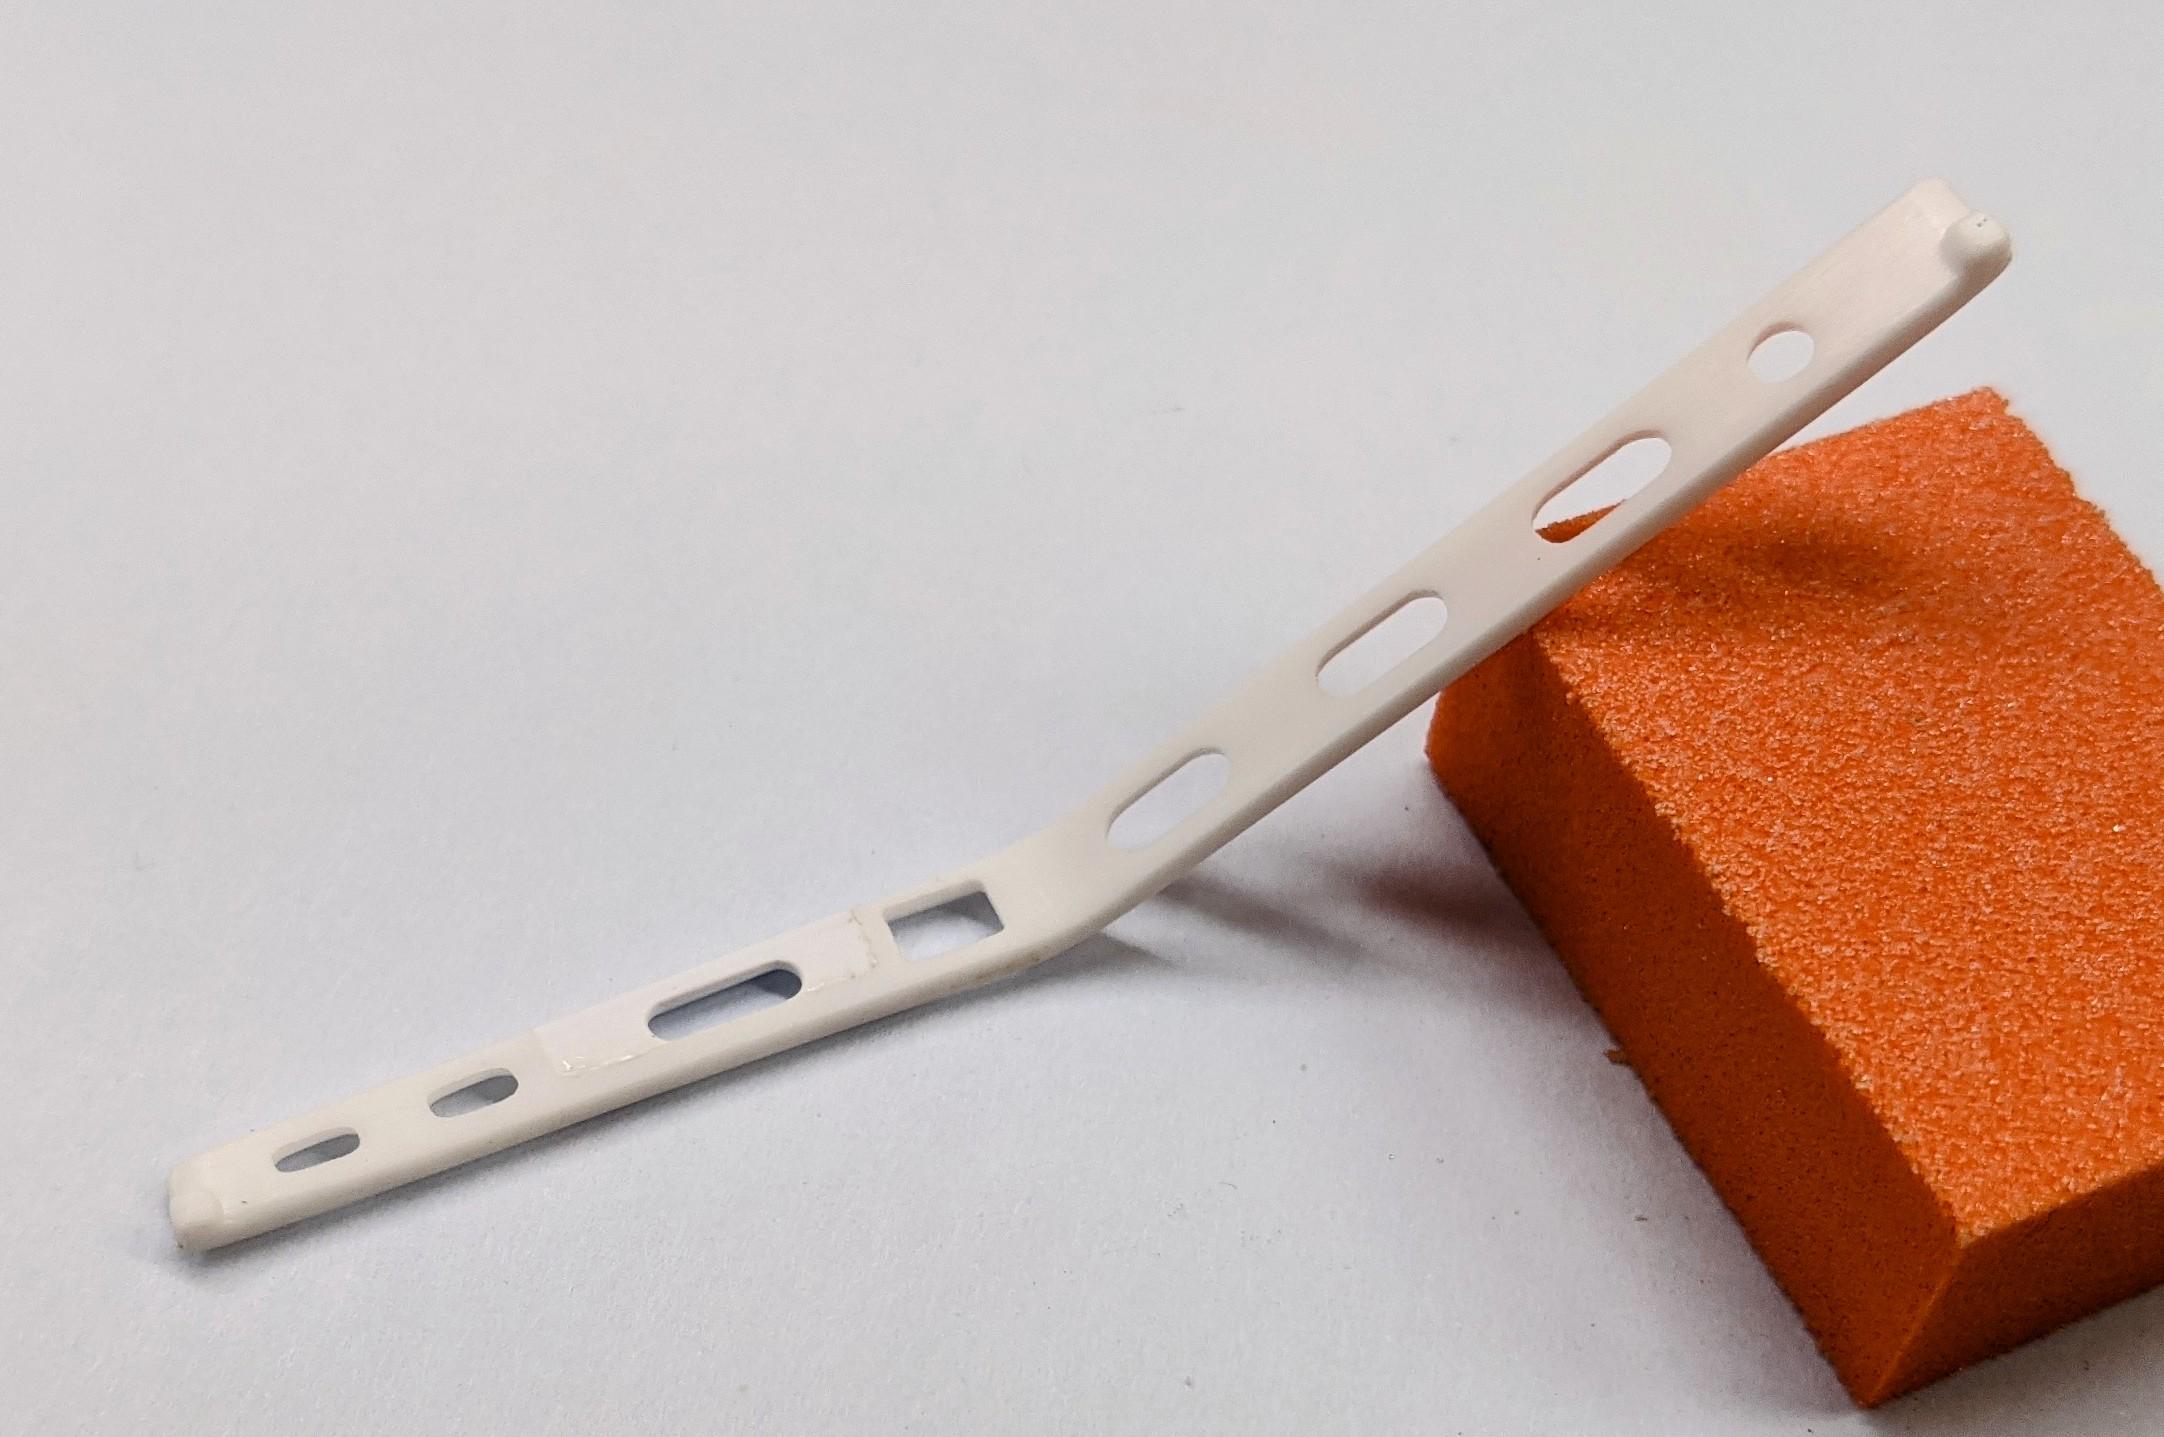
Not sure exactly which type of back-half frame you are constructing, but keep in mind the limits of bending either rectangular tube or solid styrene rod. You'll need to plan it out well, and have some means to anchor/pivot each bend, and you'll need to hold it in place until the styrene sets again. Something like this Alston frame might be beyond the limits of what you can do with tubing or rod:
-
Obscure Kits You Never Knew Were Made...Until Now
Casey replied to Casey's topic in General Automotive Talk (Trucks and Cars)
Not sure, but there's more info in this topic: -
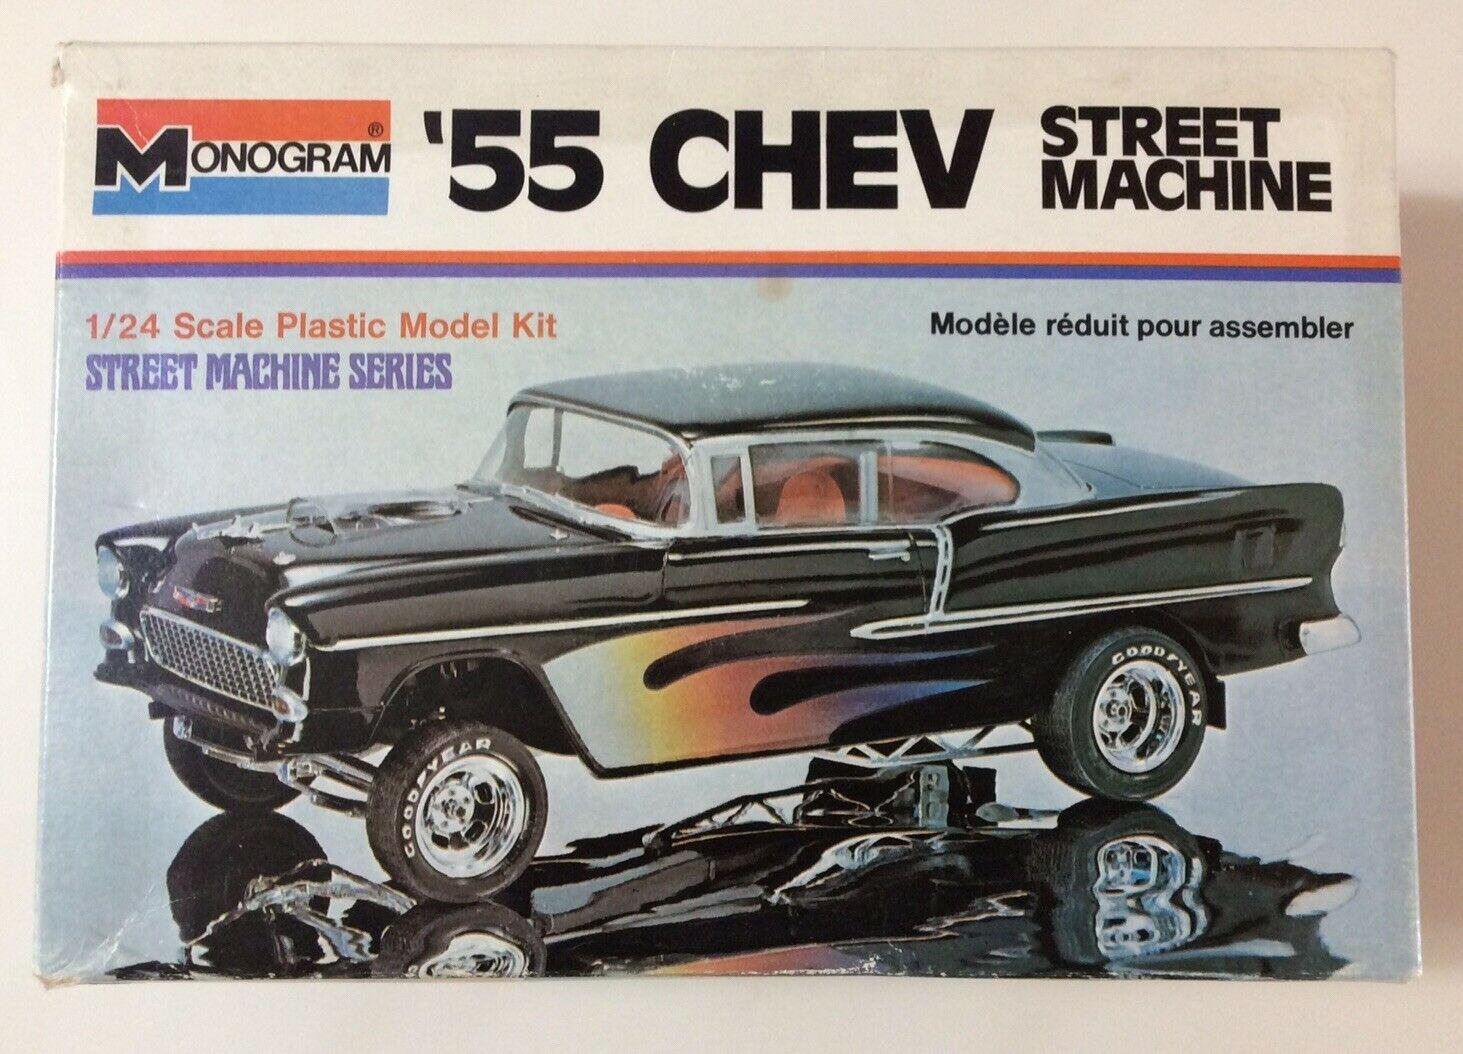
I have yet to find one, good used wheel from that kit which wasn't glue damaged, but you're right in that those wheels are the best 1/24 5-slot wheels of the lot (and of all, IMHO), and they are distinct from the other 1/24 Monogram 5-sot wheels which fit the Goodyear GT Radials. I think the '55 Chev Street Machine and Blue Bandito are the only two kits which sill include the 5-slots being discussed, though. They disappeared ling ago from the '36 and '34 Ford kits. The funny thing is, they're actually 16" wheels in 1/24 scale, which I always chalked up to the "make it 10% larger" design idea that Roger Harney(?) was credited as saying. By default, that means the tires they fit are also 16", though I don't ever recall reading many complaints about that.
-
I wouldn't expect it any earlier than late June, but realistically, August seems more likely.
-
-
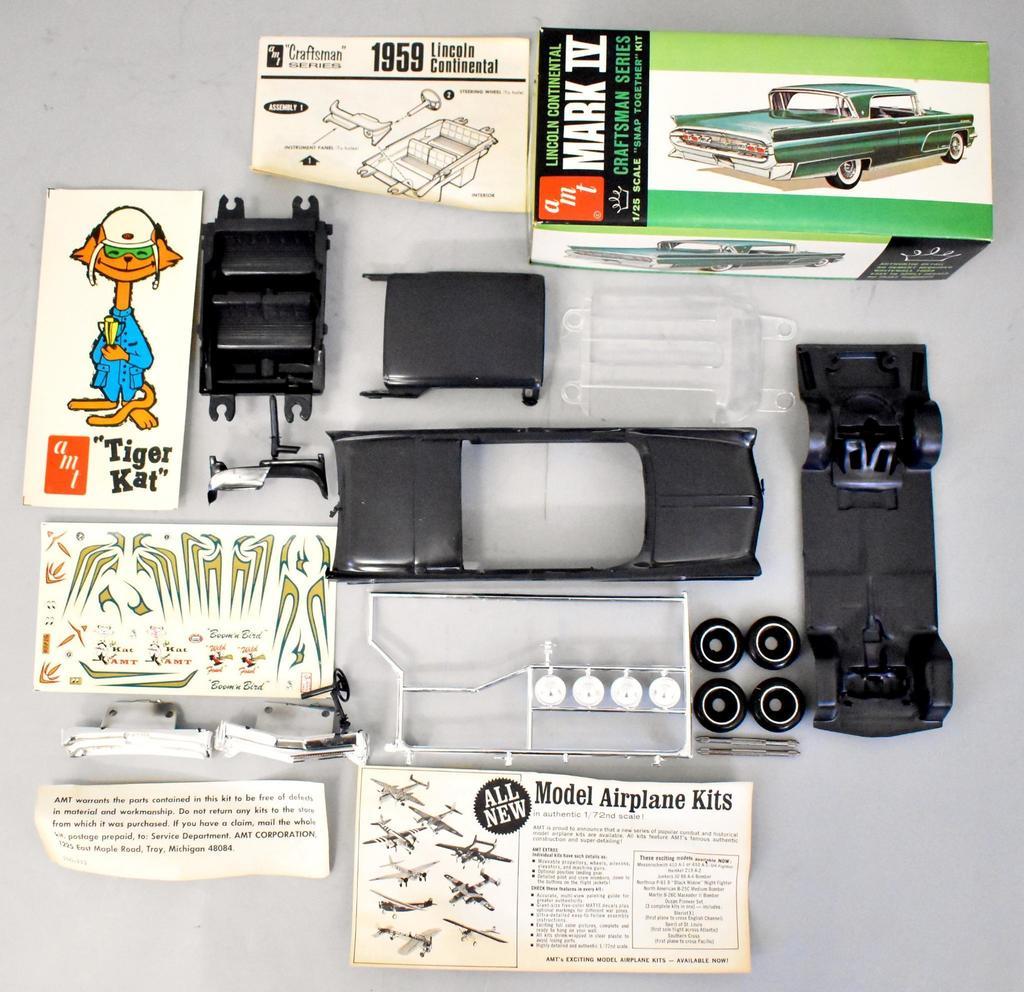
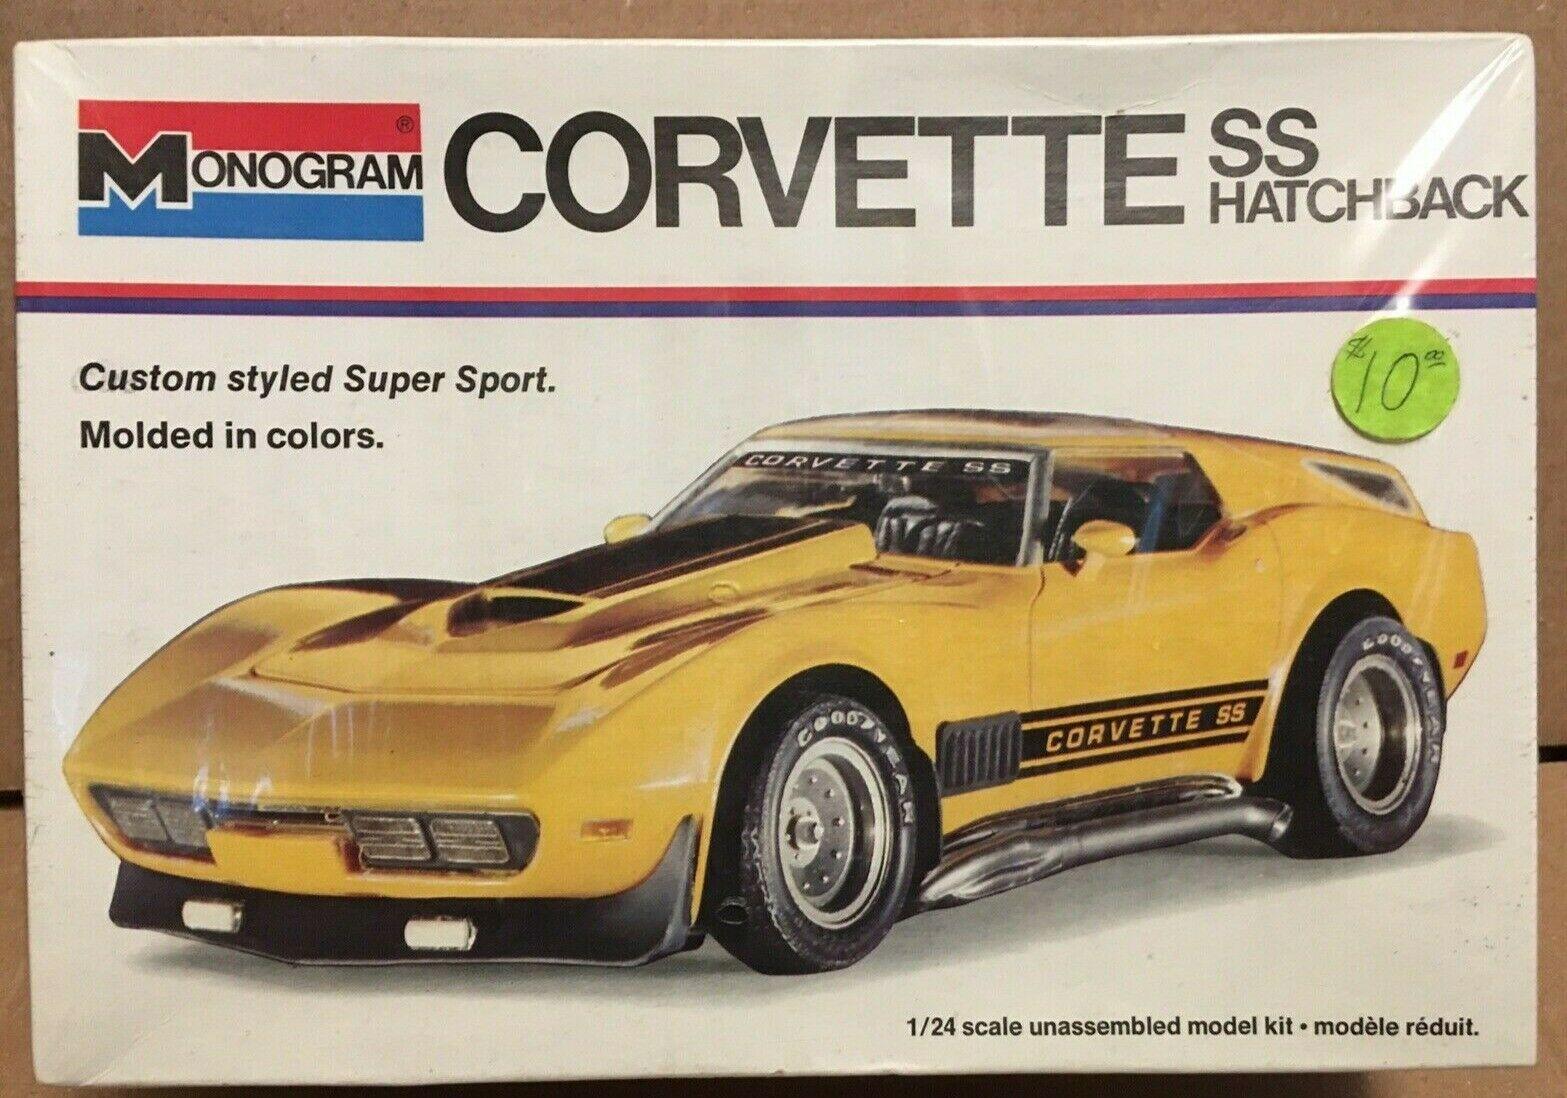
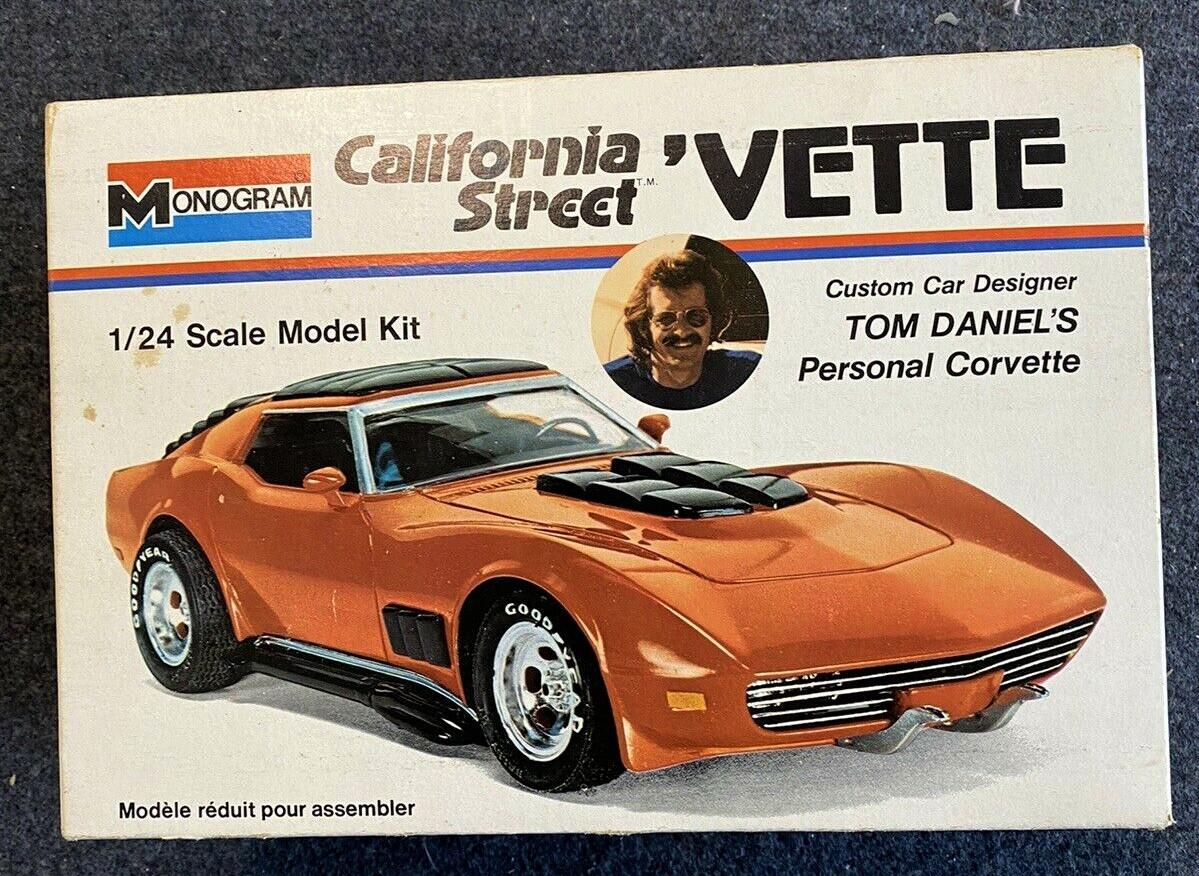
Did the five-slot wheels originally included in the 1/24 Monogram Tom Daniel's Street Vette make their way over to the 1/24 Monogram '55 Chev Street Machine kit? I don't have either set in hand to compare up close, but they sure appear to be very similar, both fitting inside the big 'n' little Goodyear Rally GTs tires which have been in the Monogram lineup for ages. As best I can tell, the California Street 'Vette was last issued in 1973: The Monogram '55 Chev Street Machine, a companion to the Badman 55 Chevy kit, was first issued in 1975: The 1/24 Monogram Corvette SS Hatchback, which, to my knowledge, is what became of the California Street Vette after a few changes were made, namely the addition of E-T X-style wheels, and elimination of the 5-slots. This kit was first issued in 1976:
-
There are gas class vehicles (according to NHRA, or whichever sanctioning body, rules) and there are "gassers", the latter of which have the look, but don't necessarily follow the rule book. Good place to start if you wish to build one of the former: Here are a few existing topics to peruse:
-
That was going to be my next question-- Is the body in the AMT Double '40 Willys Coupe/'32 Sedan the same as included in the AMT '32 Ford Tudor Sedan stand-alone kit? I think the answer is Yes, and the body shell wasn't altered between the two releases, but not really sure.
-
Truck pics
Casey replied to Jon Cole's topic in 1:1 Reference Photos: Auto Shows, Personal vehicles (Cars and Trucks)
And the one-off cow catcher on the front. ??
-
amt 1202 1/25 AMT 1963 Chevy II Nova Station Wagon - Craftsman Plus
Casey replied to Casey's topic in Car Kit News & Reviews
Possibly, but now we'll never have a straight reissue of the original version to compare...but I think you are correct, Luc. ? At any rate, it seemed clear this kit had a great number of folks here on the forum interested, so I think the sales volume reflects that. I do wonder what effect the later, forthcoming fuller-detail version will have in terms of sales (either compared to this first, curbside kit, or sales numbers totaled for both), but I guess we'll see once that one arrives. I think most active members here are aware there's another version coming, but I doubt the general public does. I'm just glad to see this kit was a success.