-
Posts
1,048 -
Joined
-
Last visited
Content Type
Profiles
Forums
Events
Gallery
Everything posted by Duddly01
-
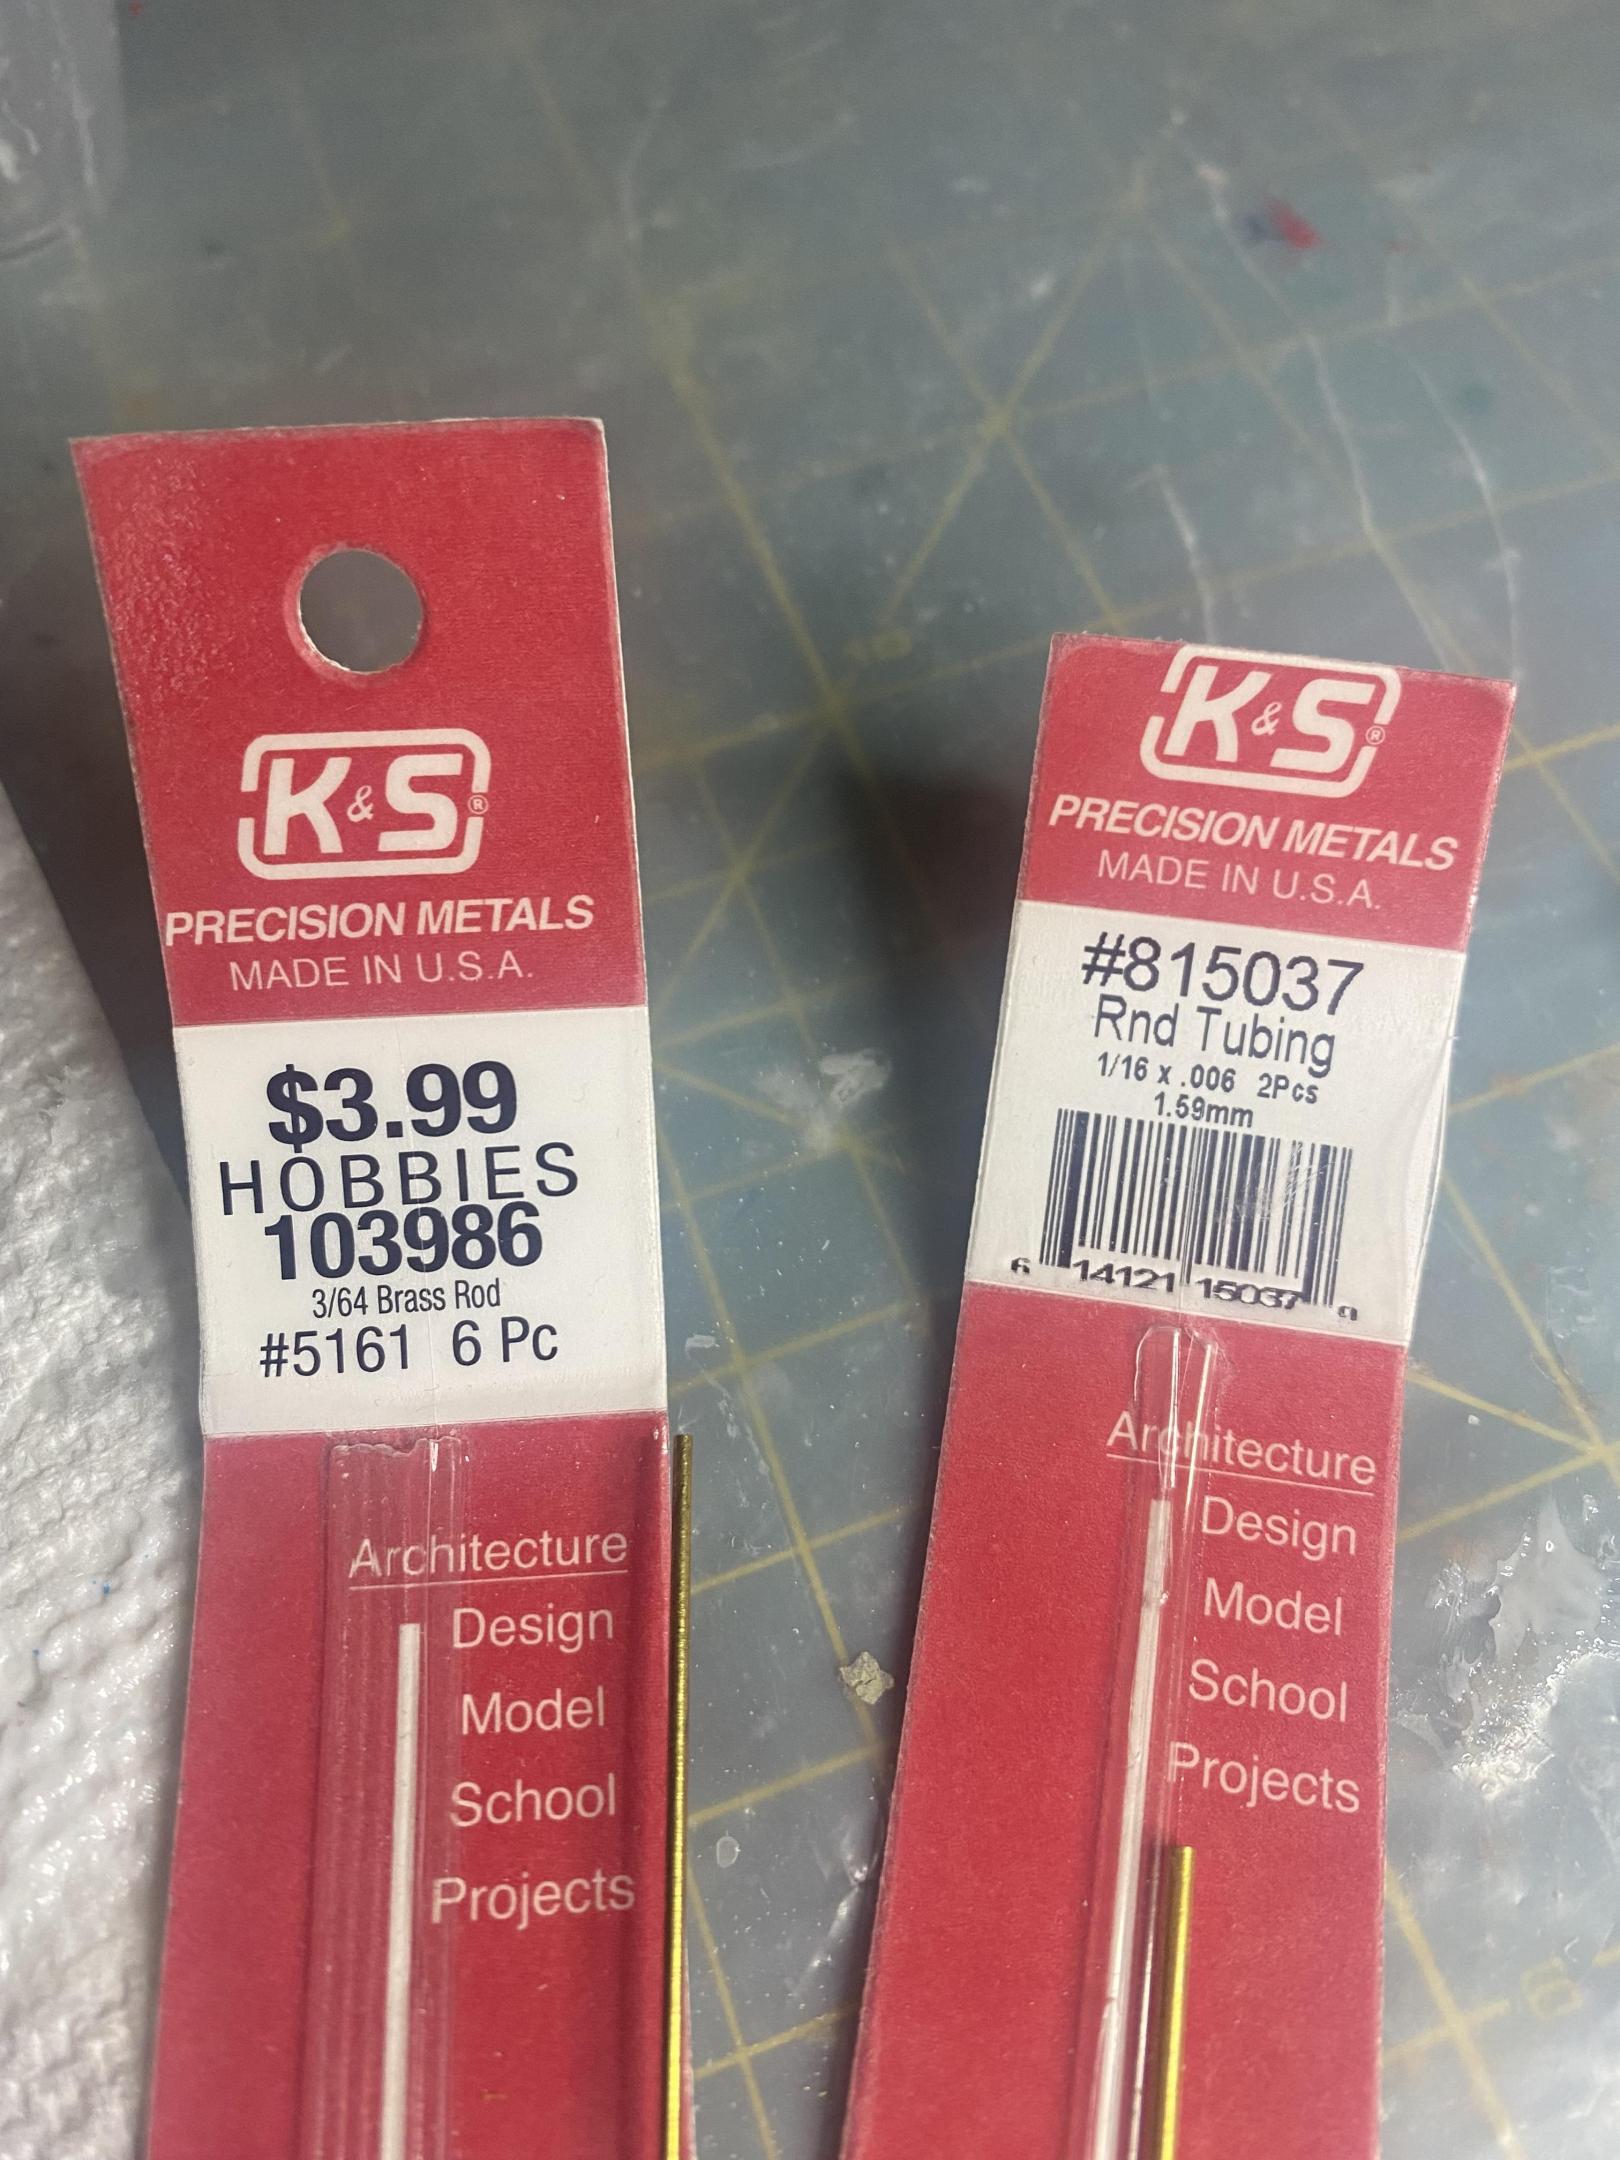
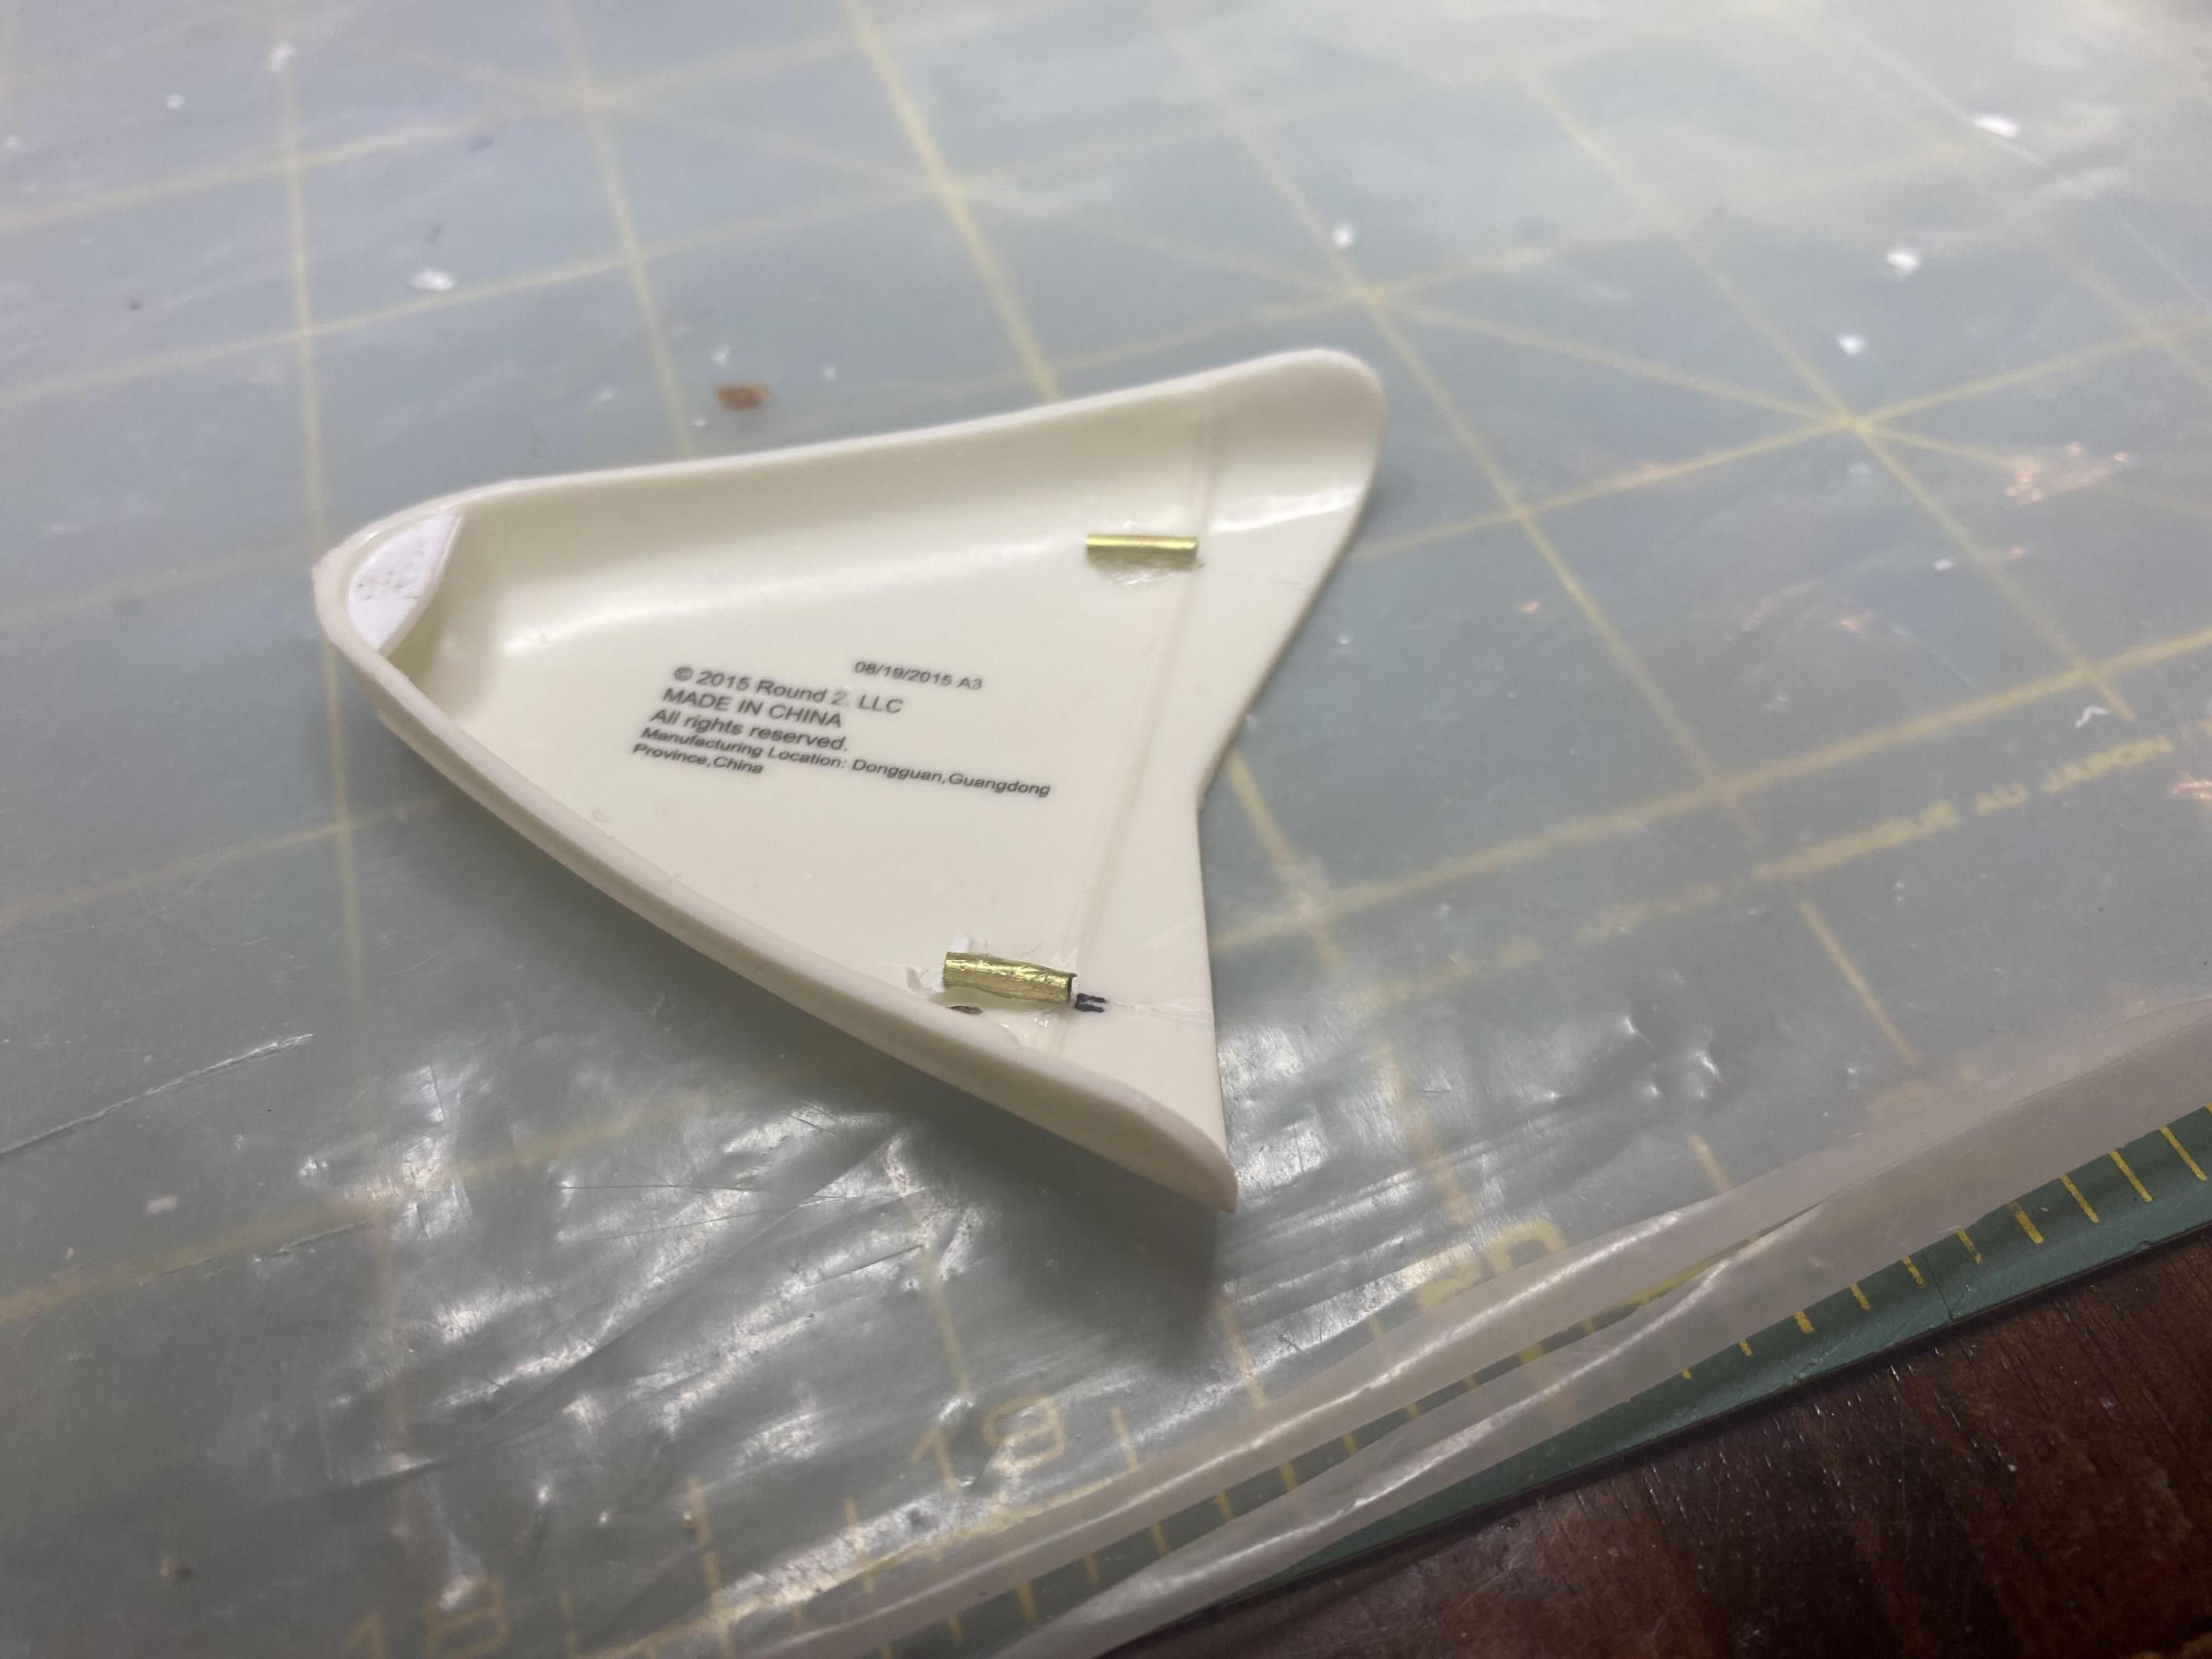
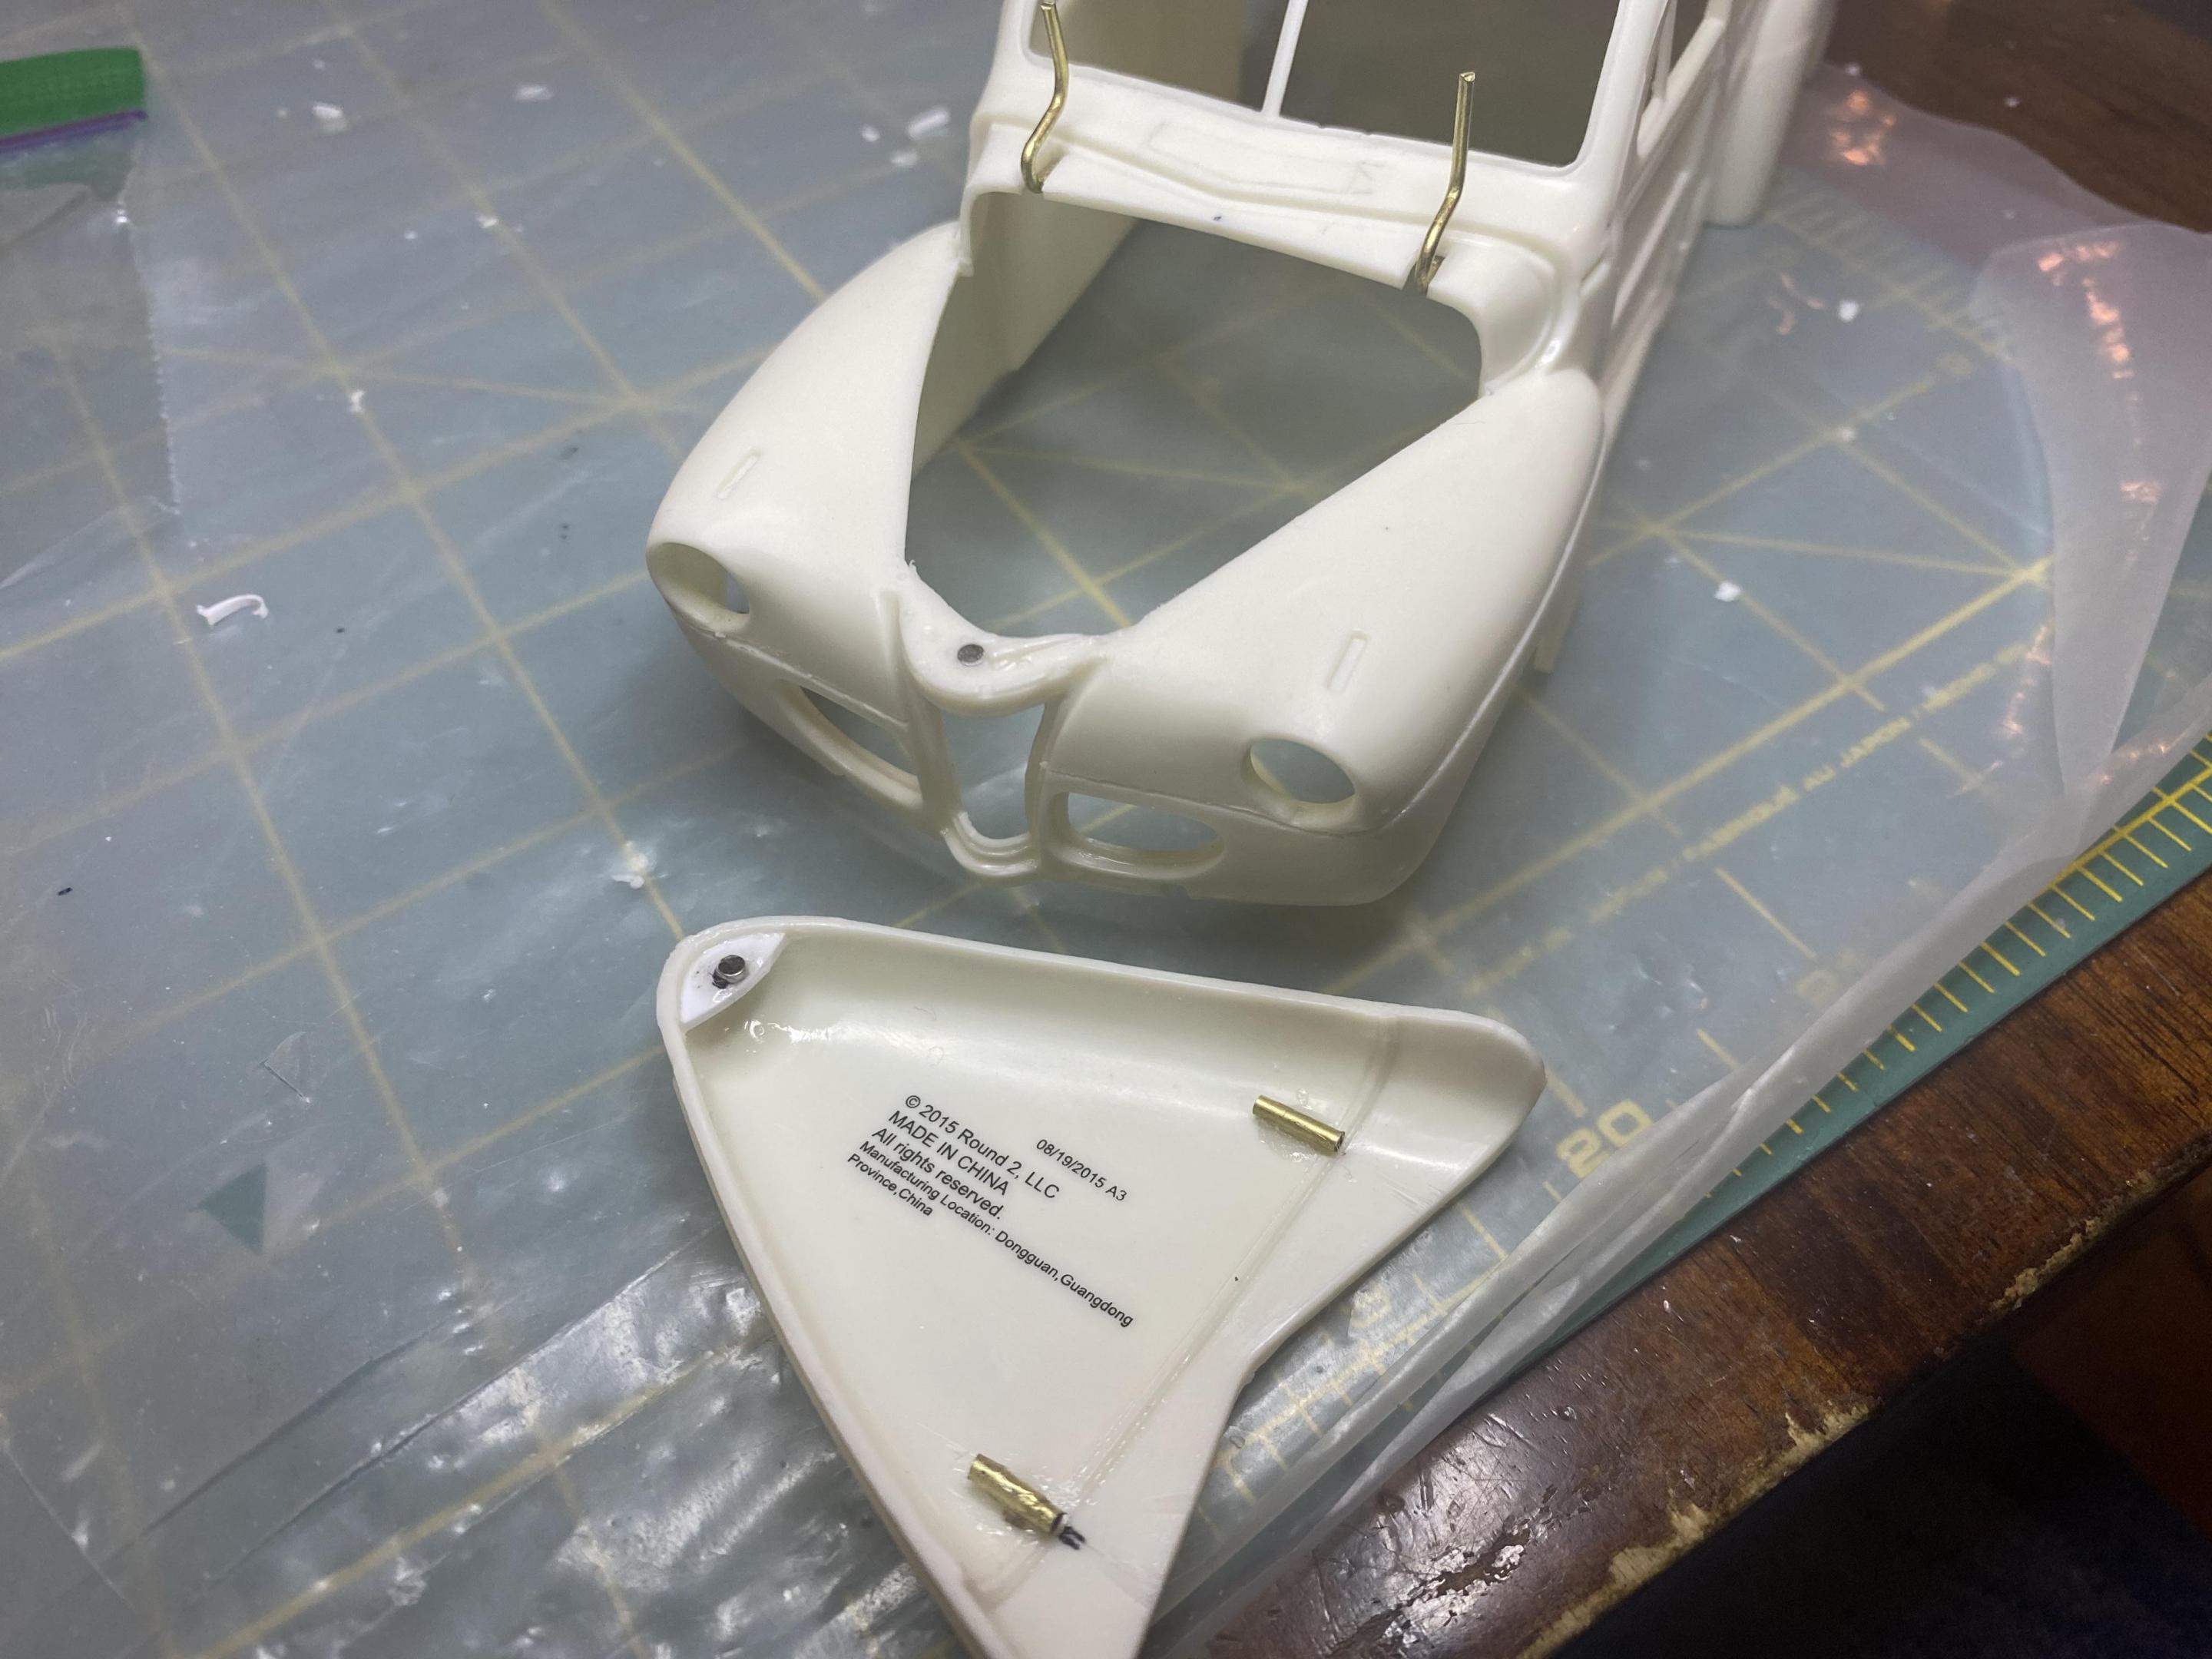
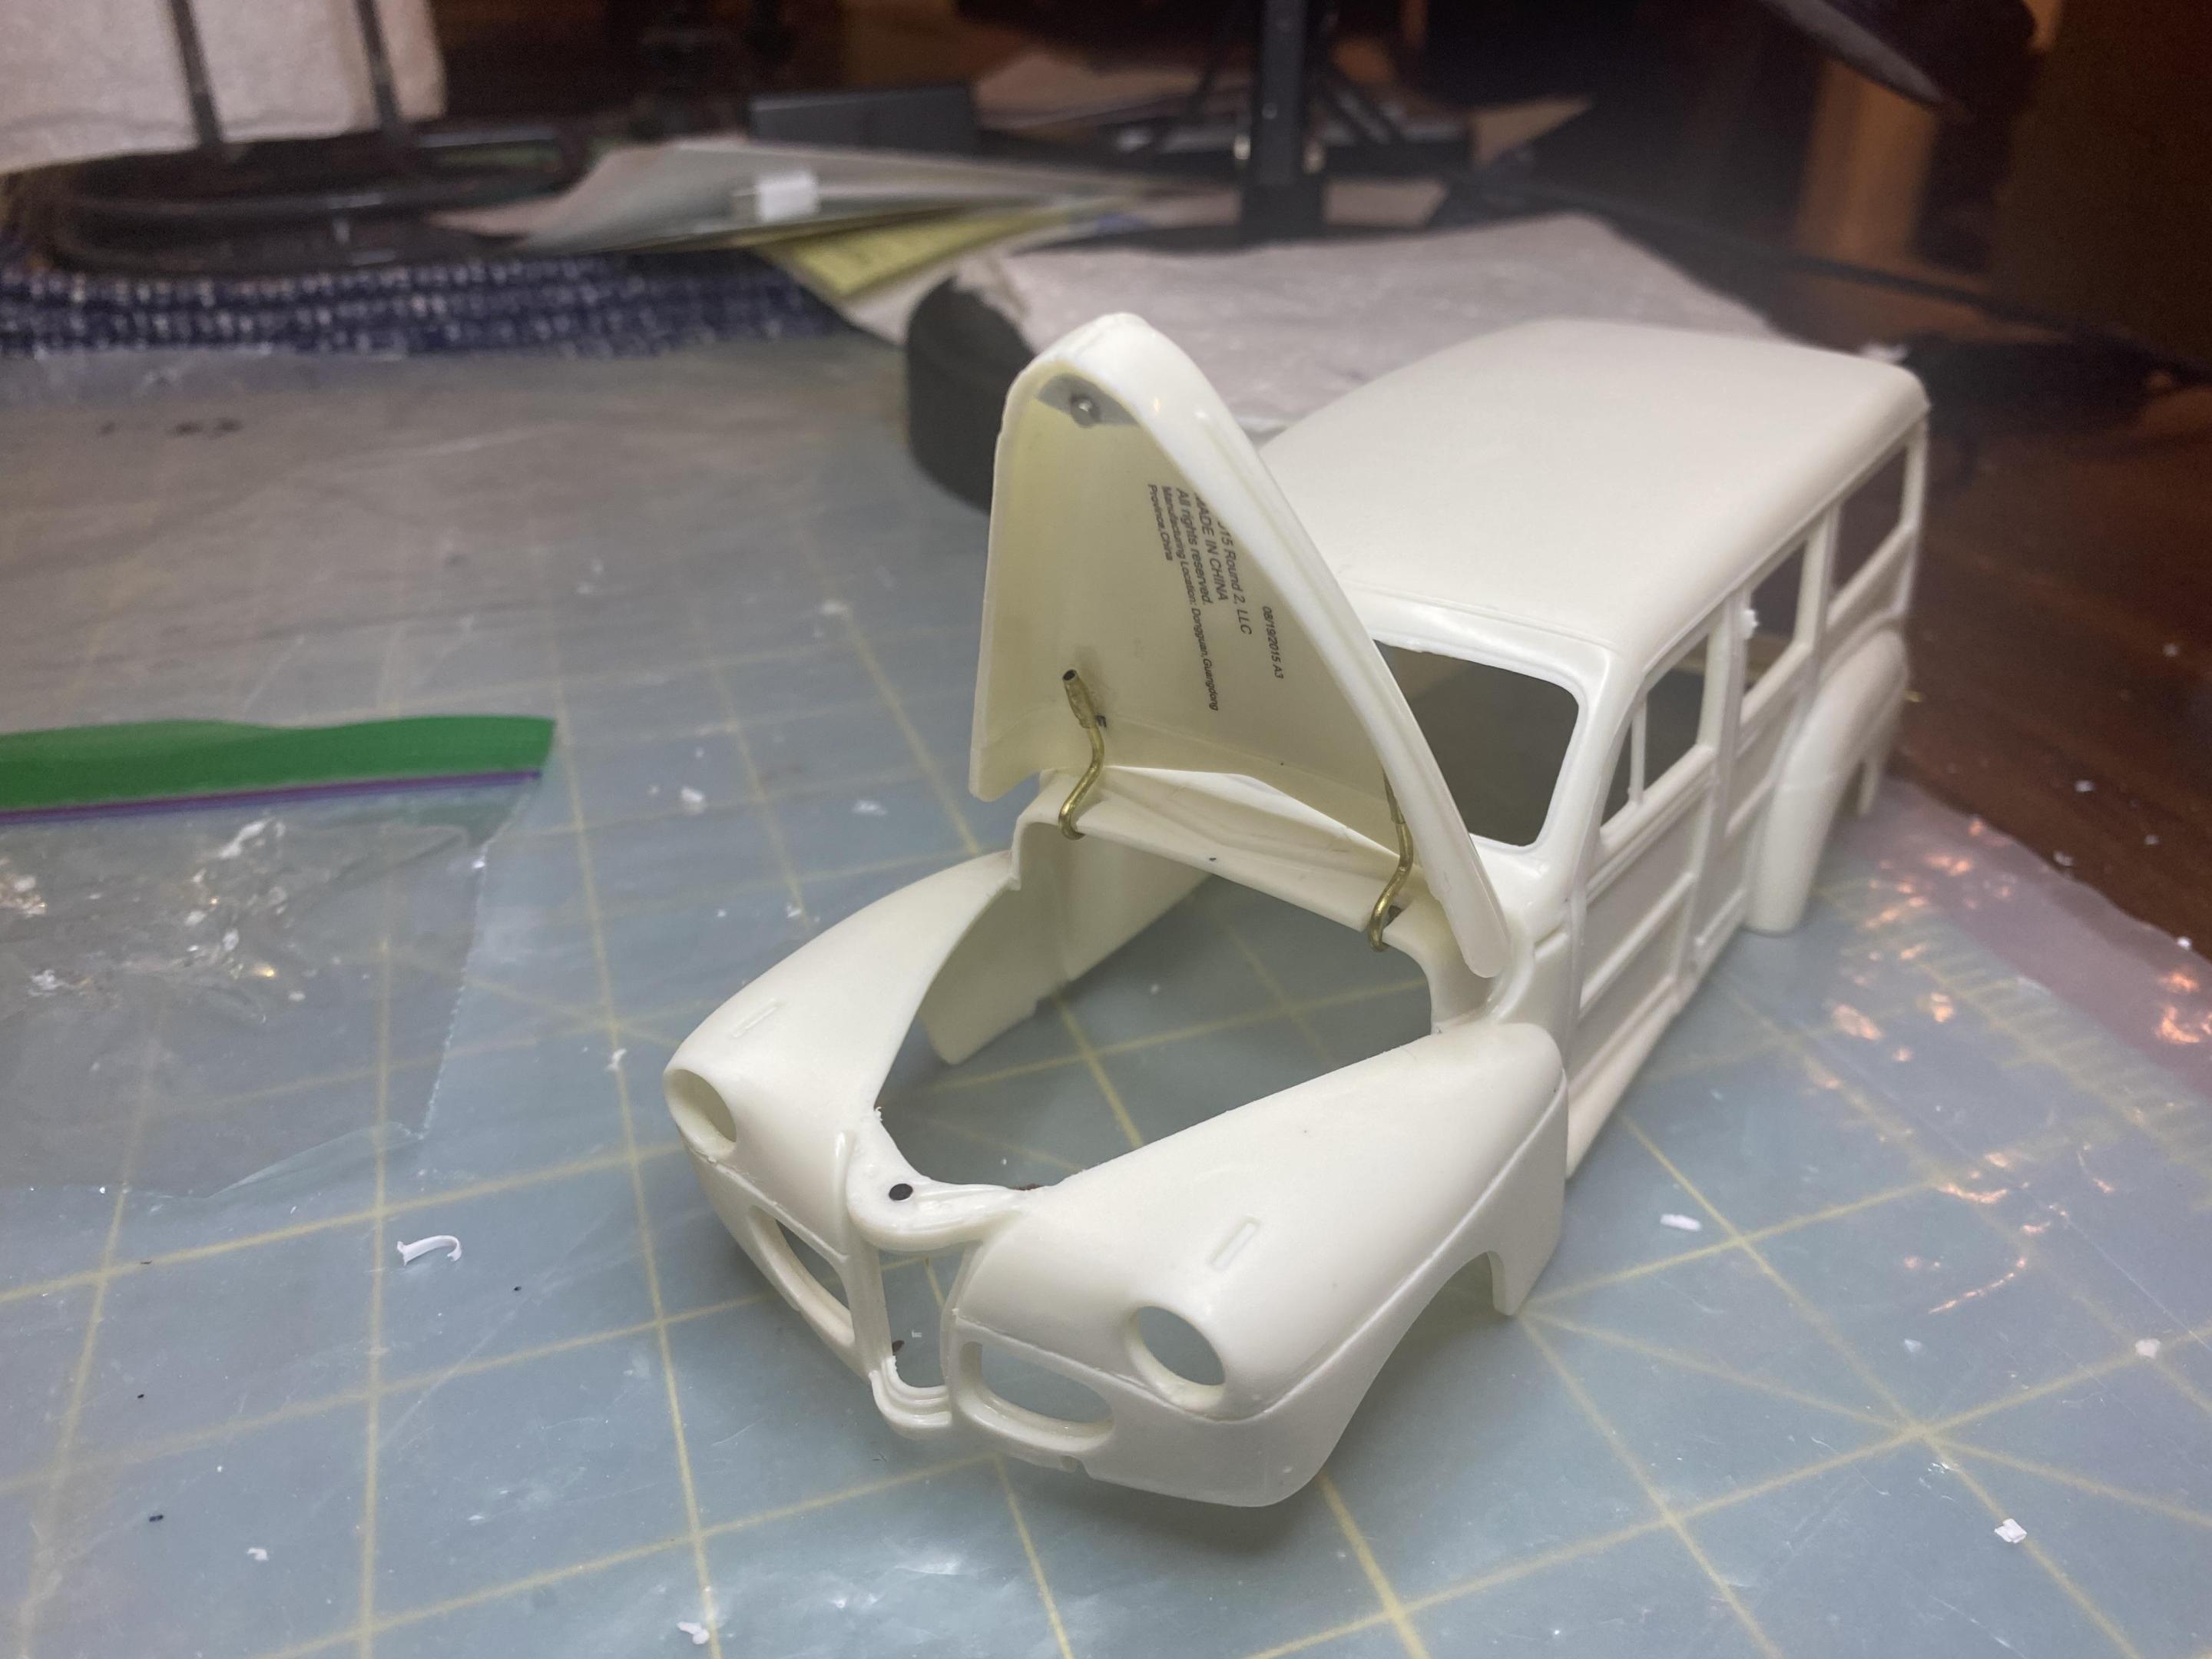
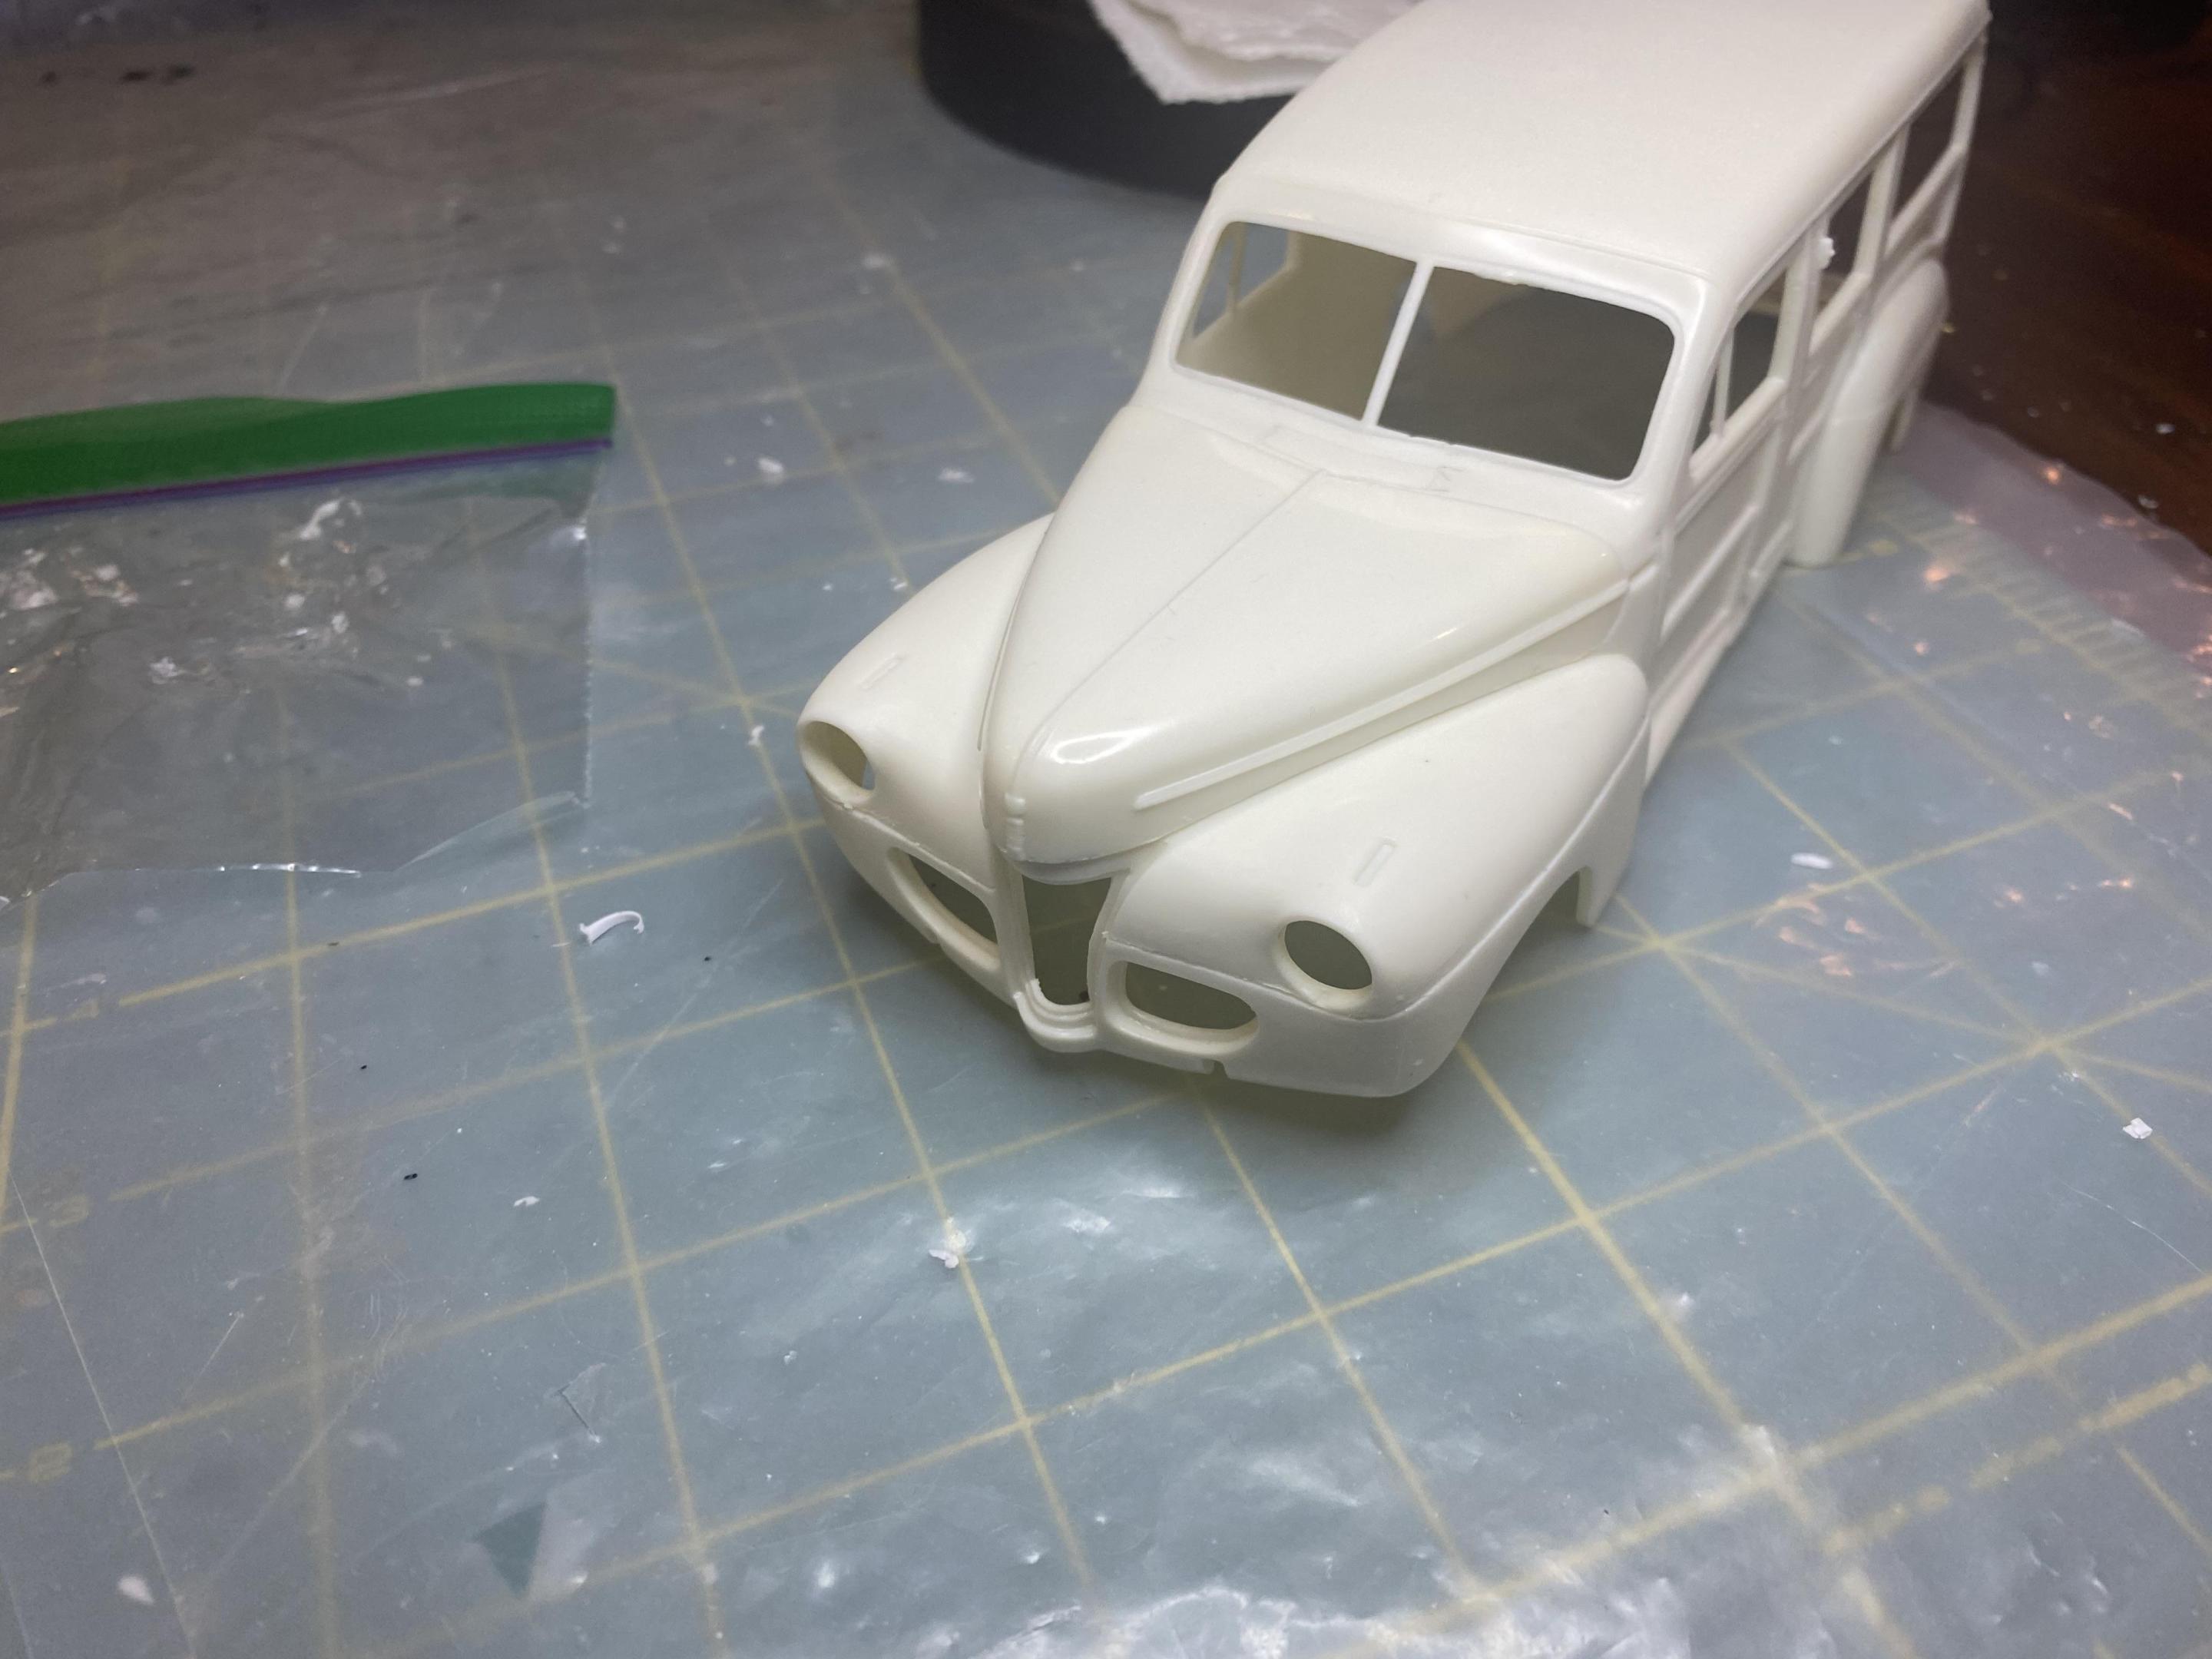
This is what I use. I really like to be able to pose the hood and doors when I make them open. I also have small pieces of tube on the hood so I have the option to take them off. I also use tiny magnets to hold them closed.
-
Thank you!
-
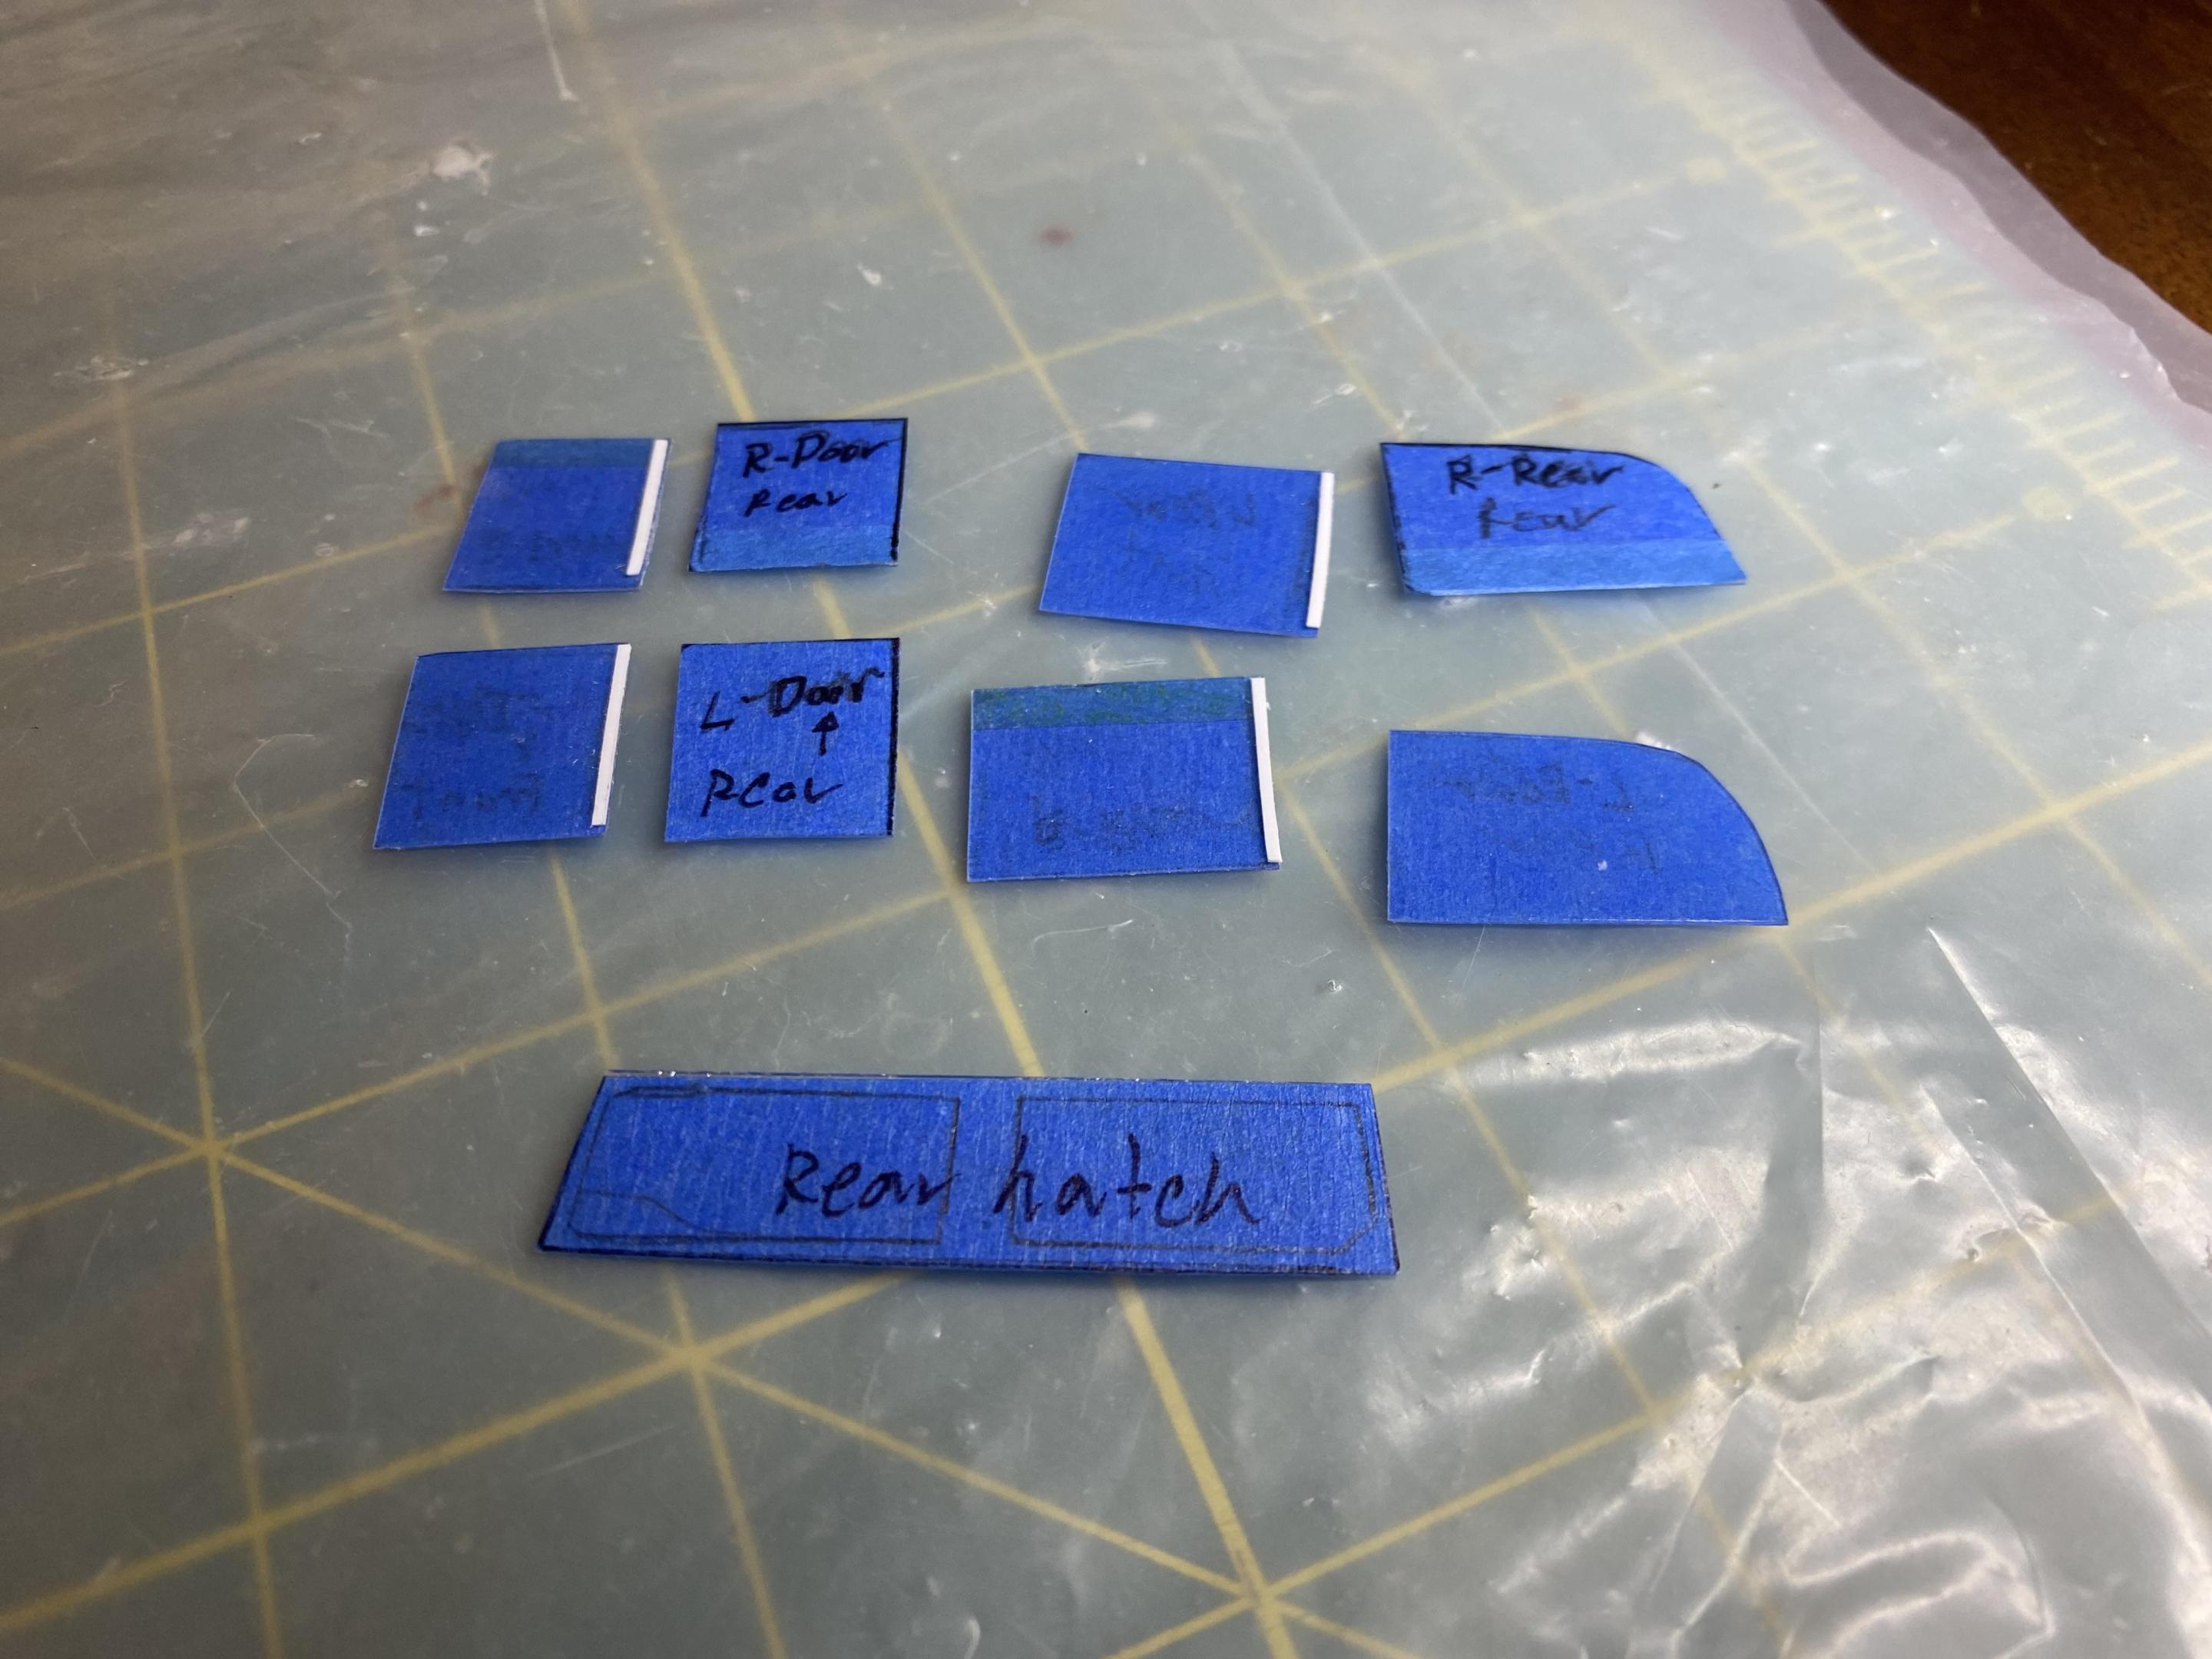
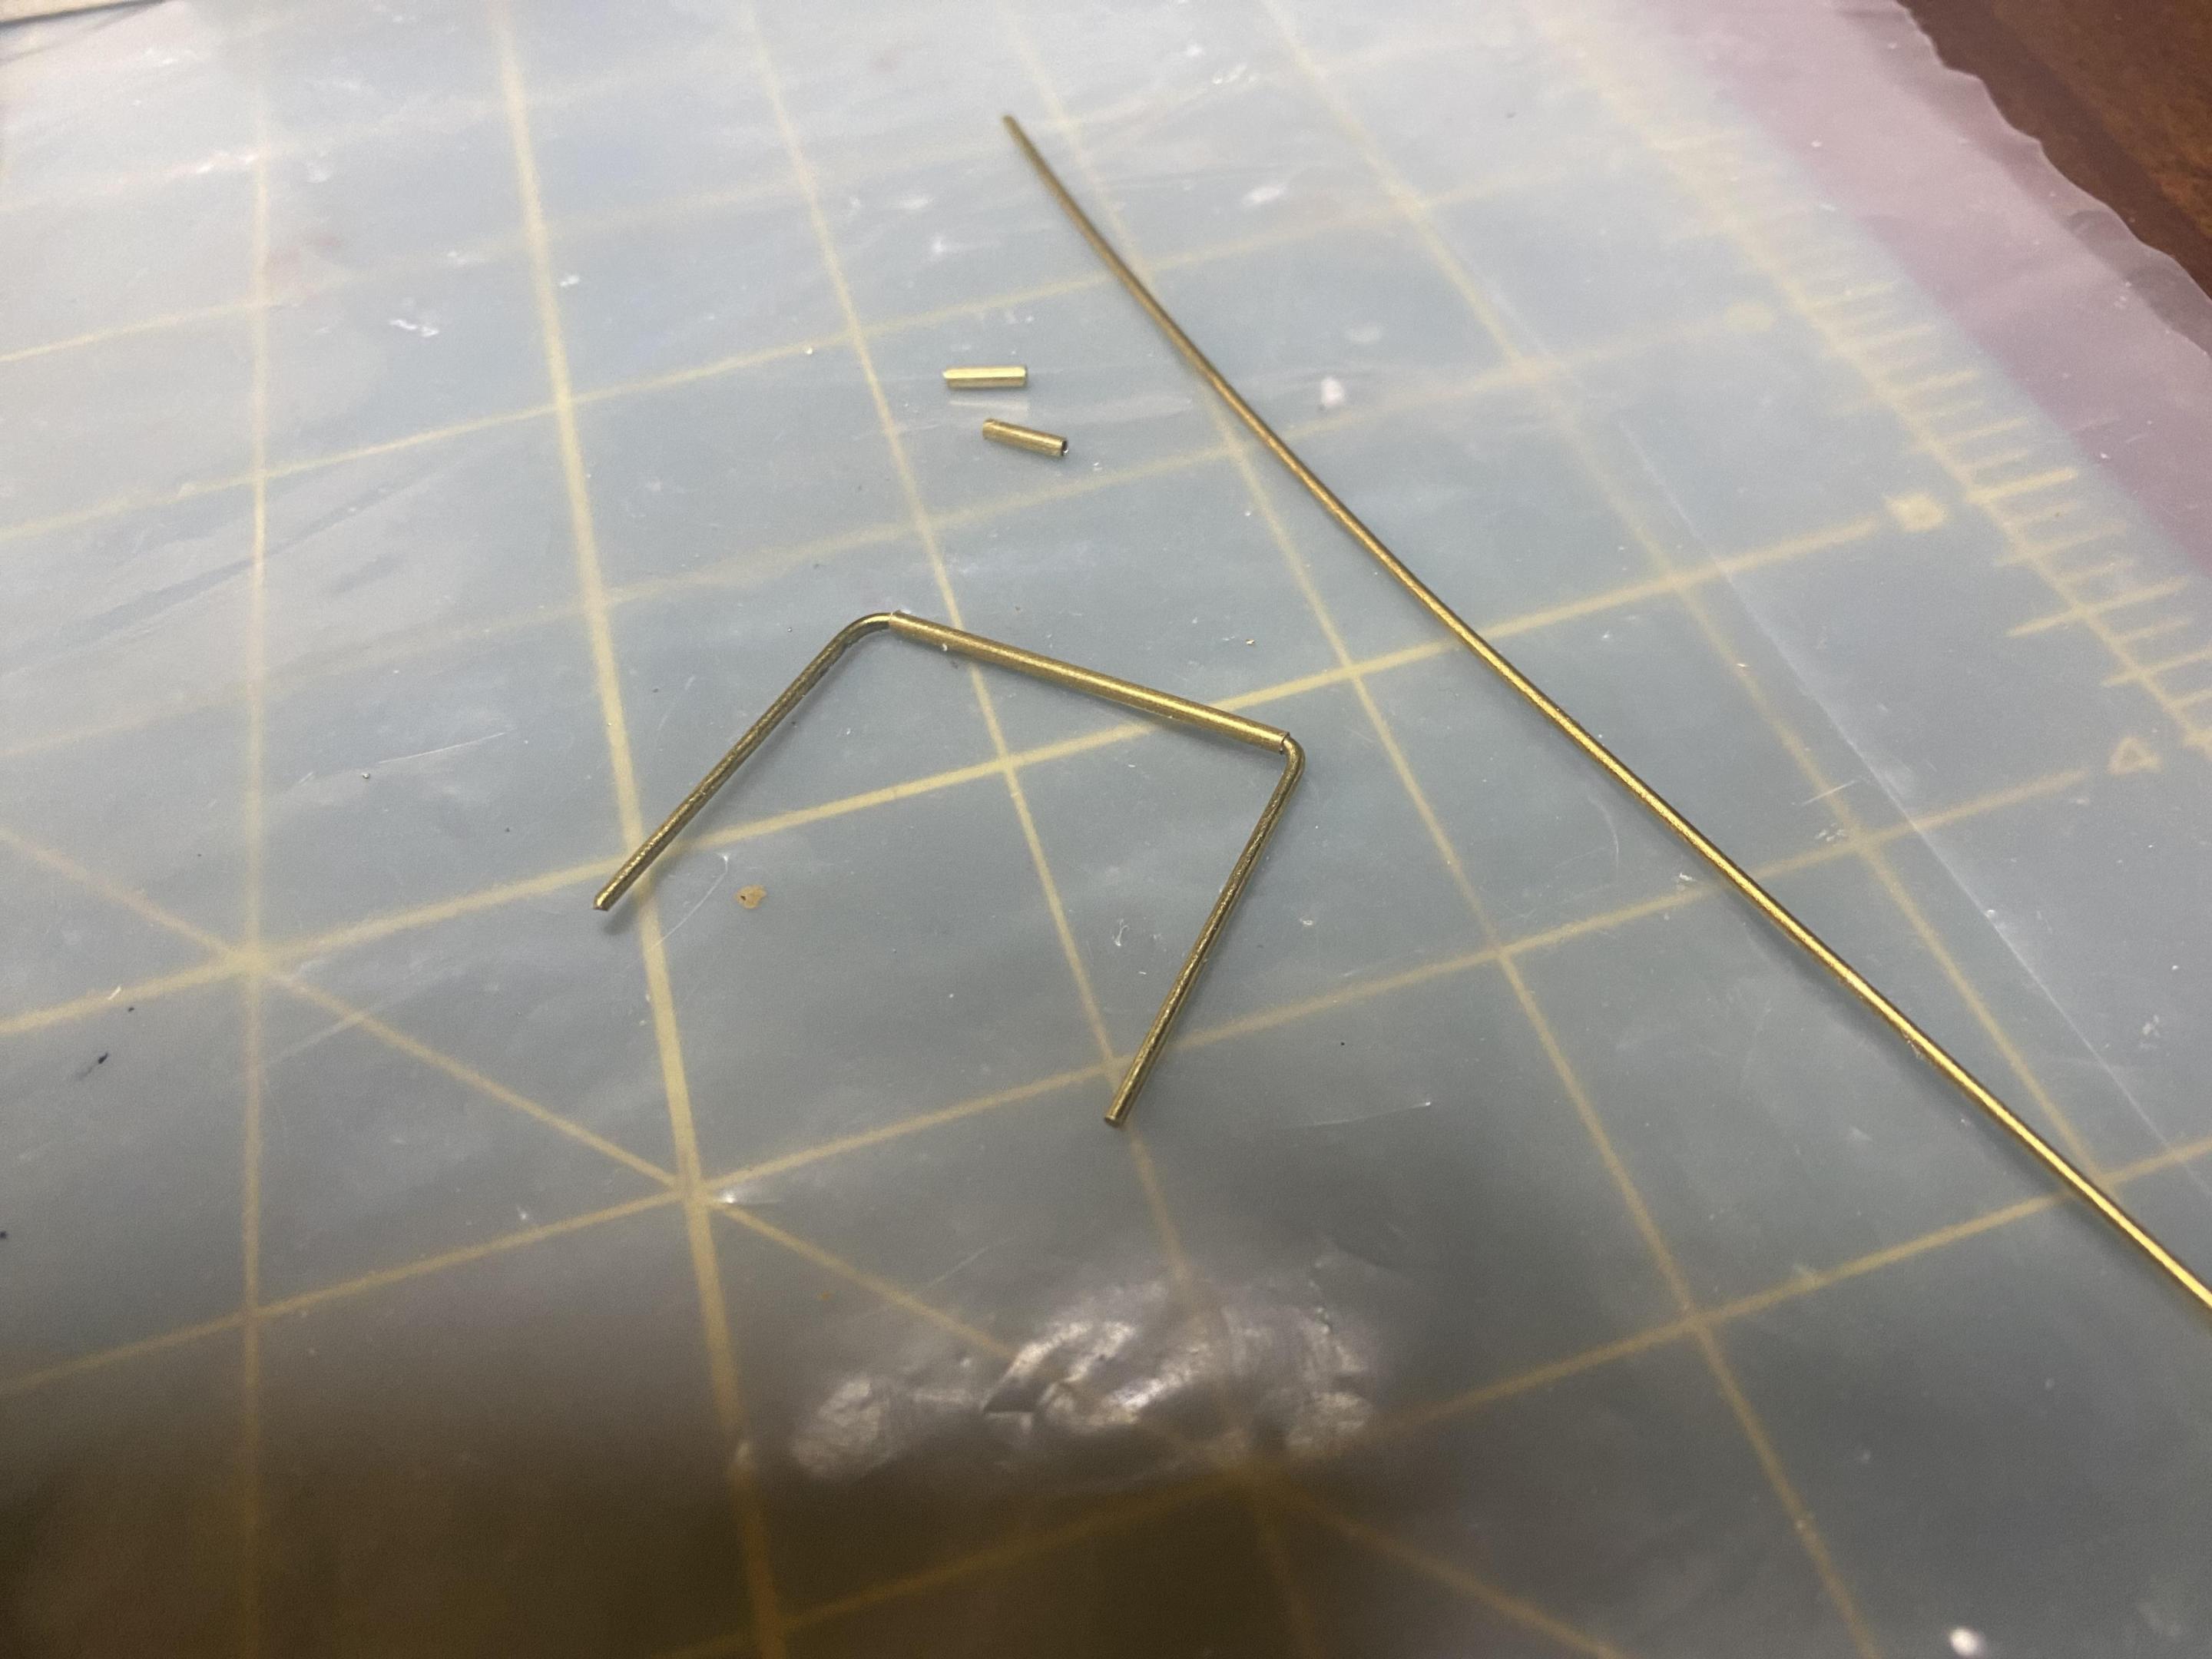
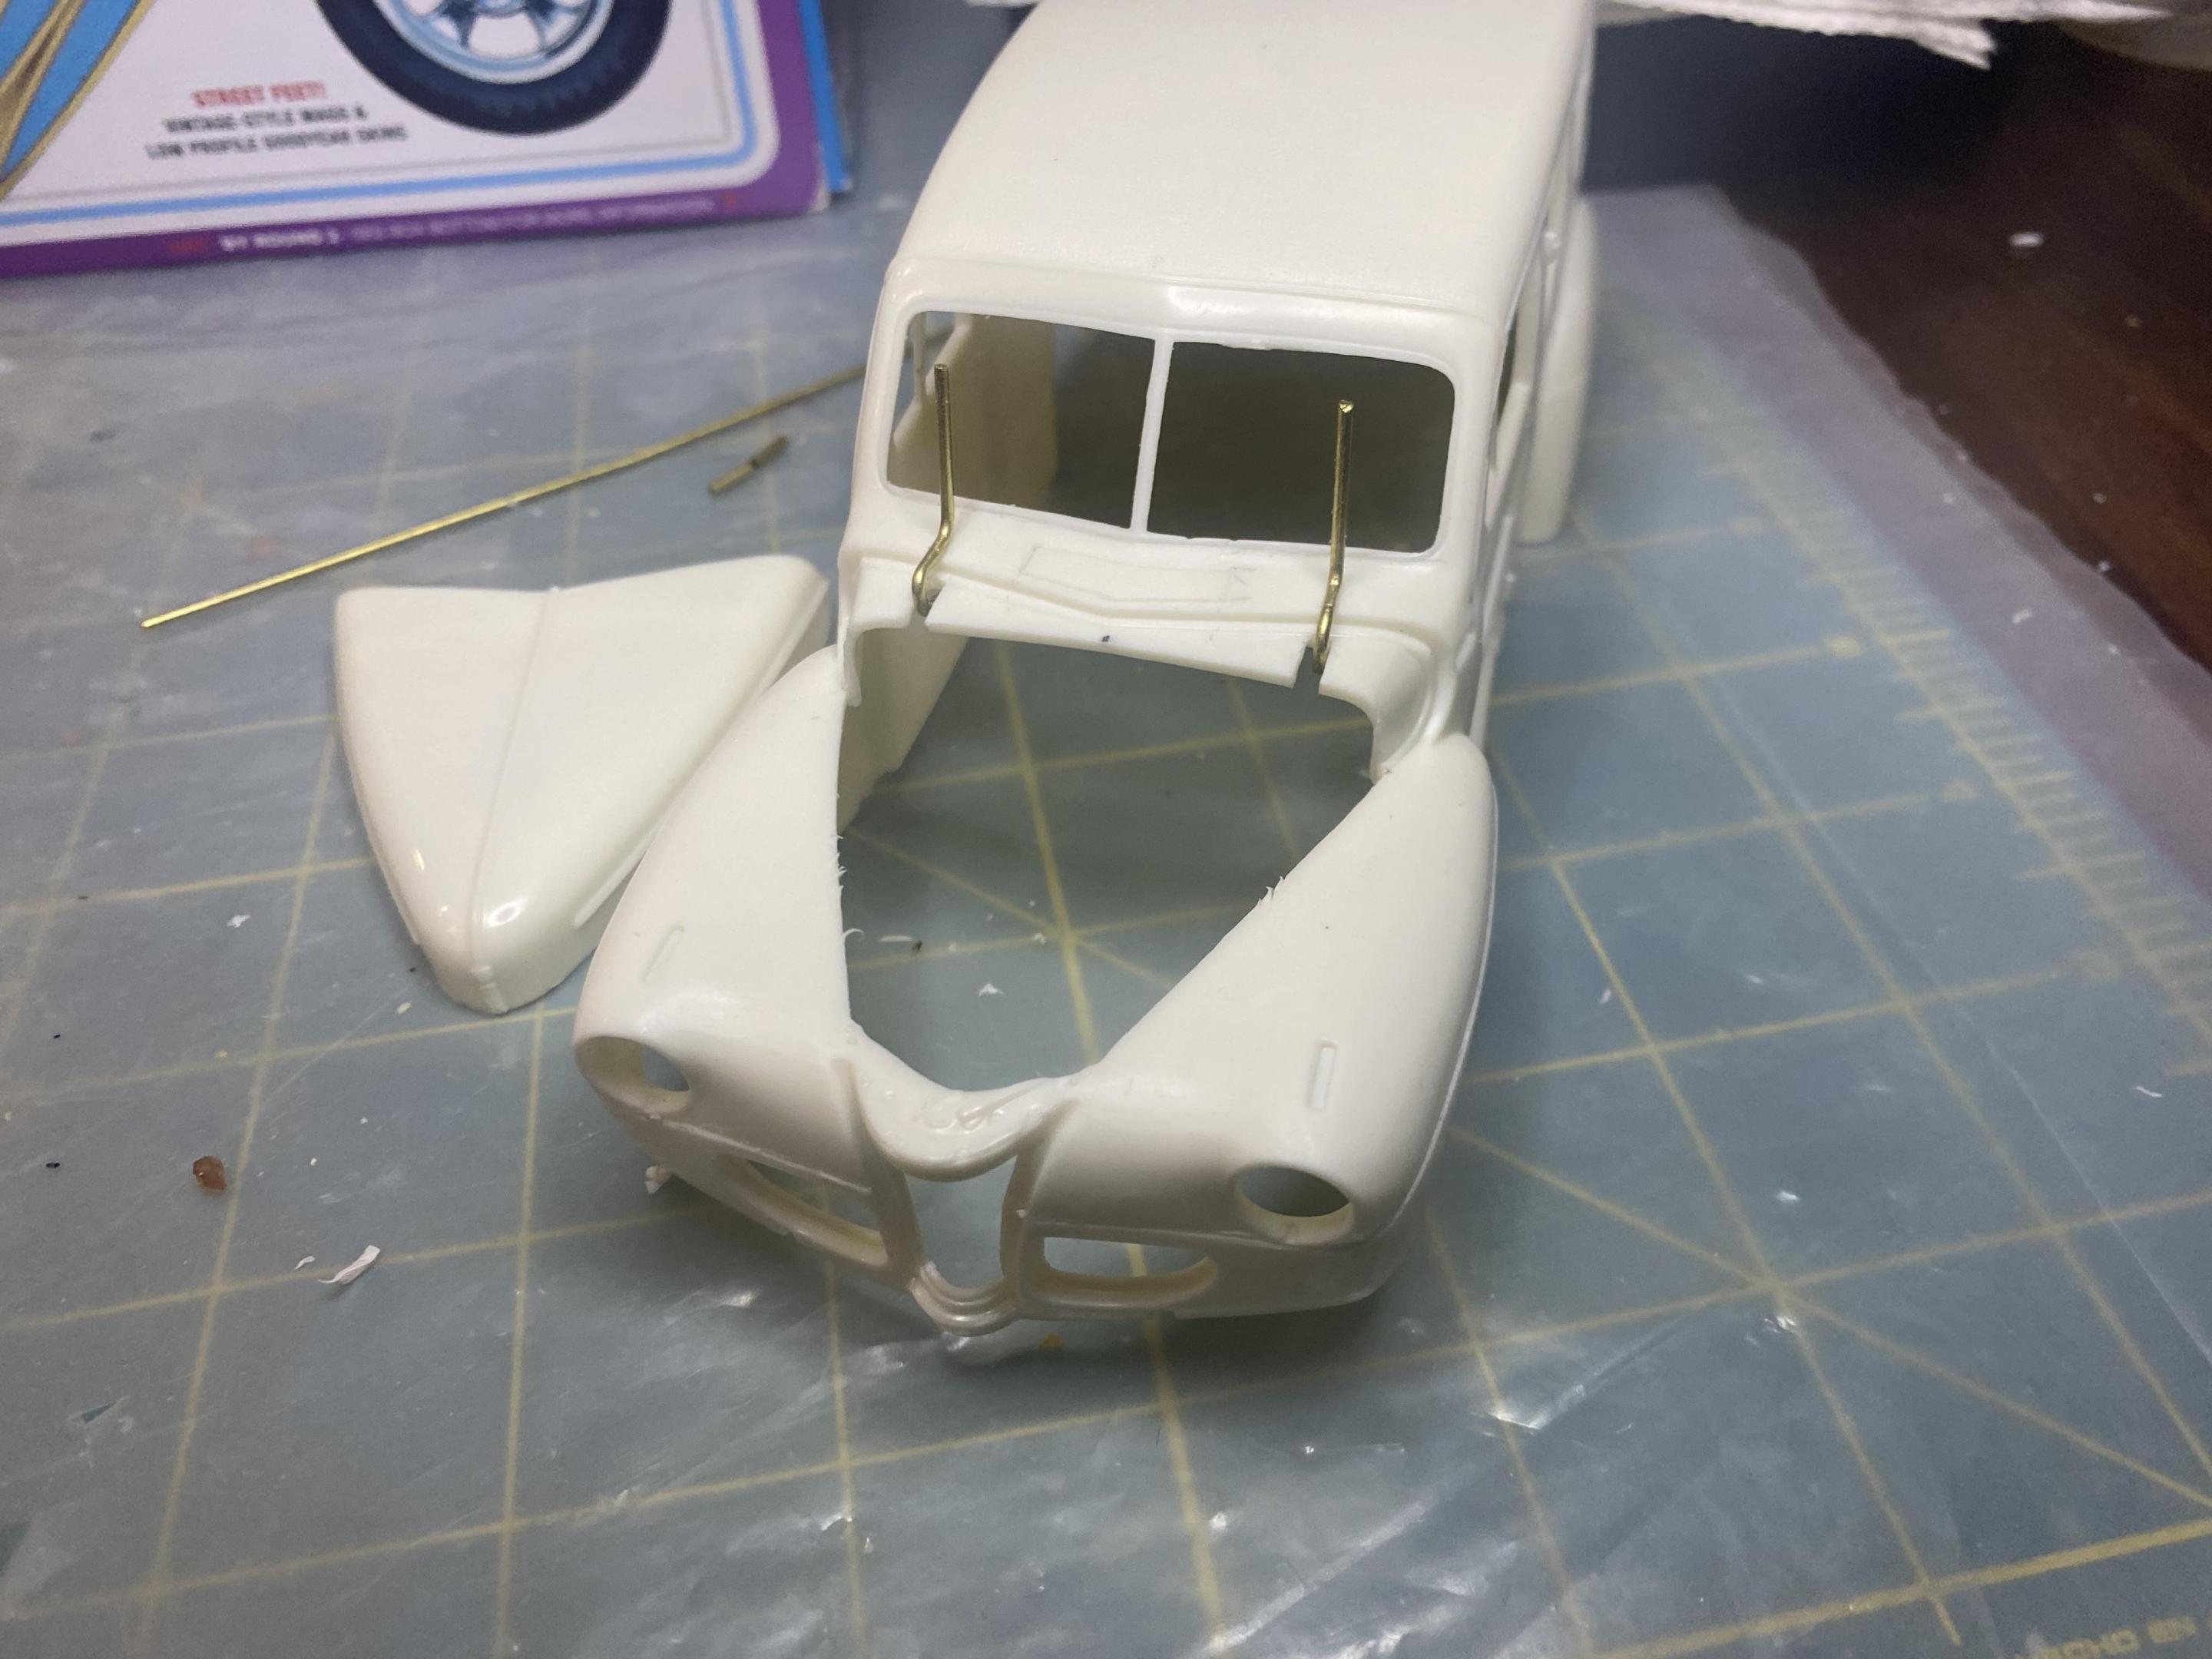
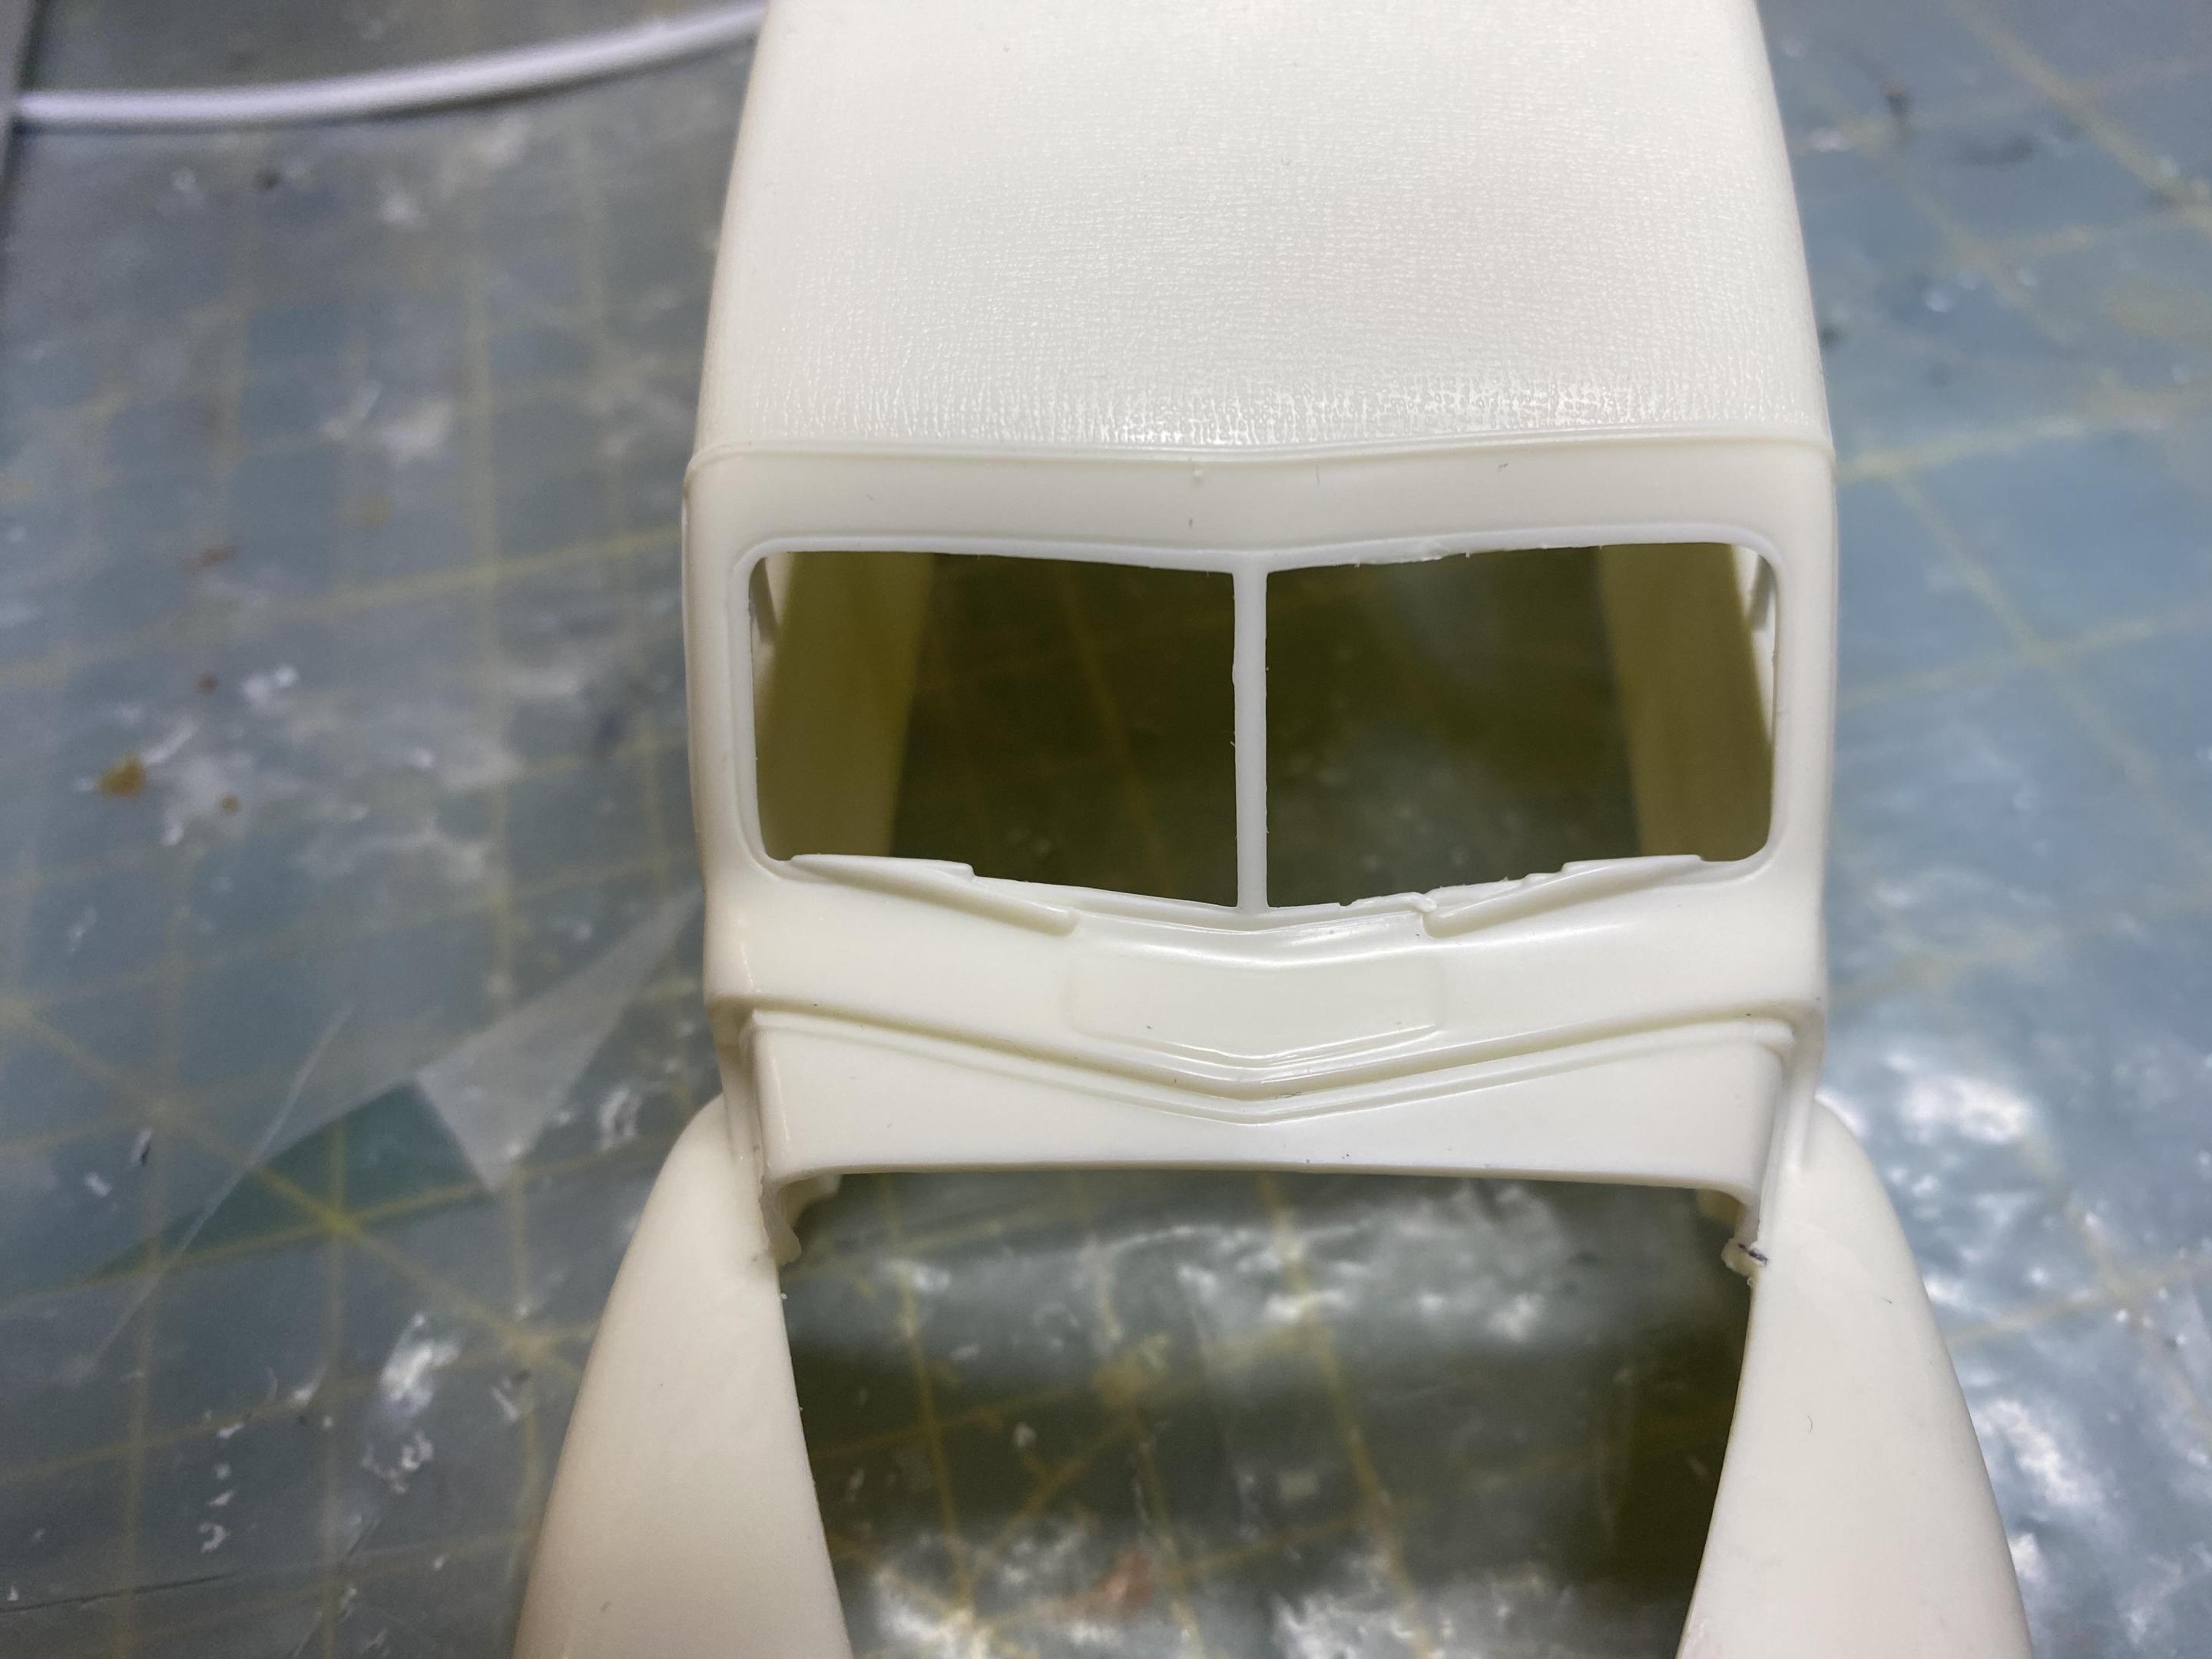
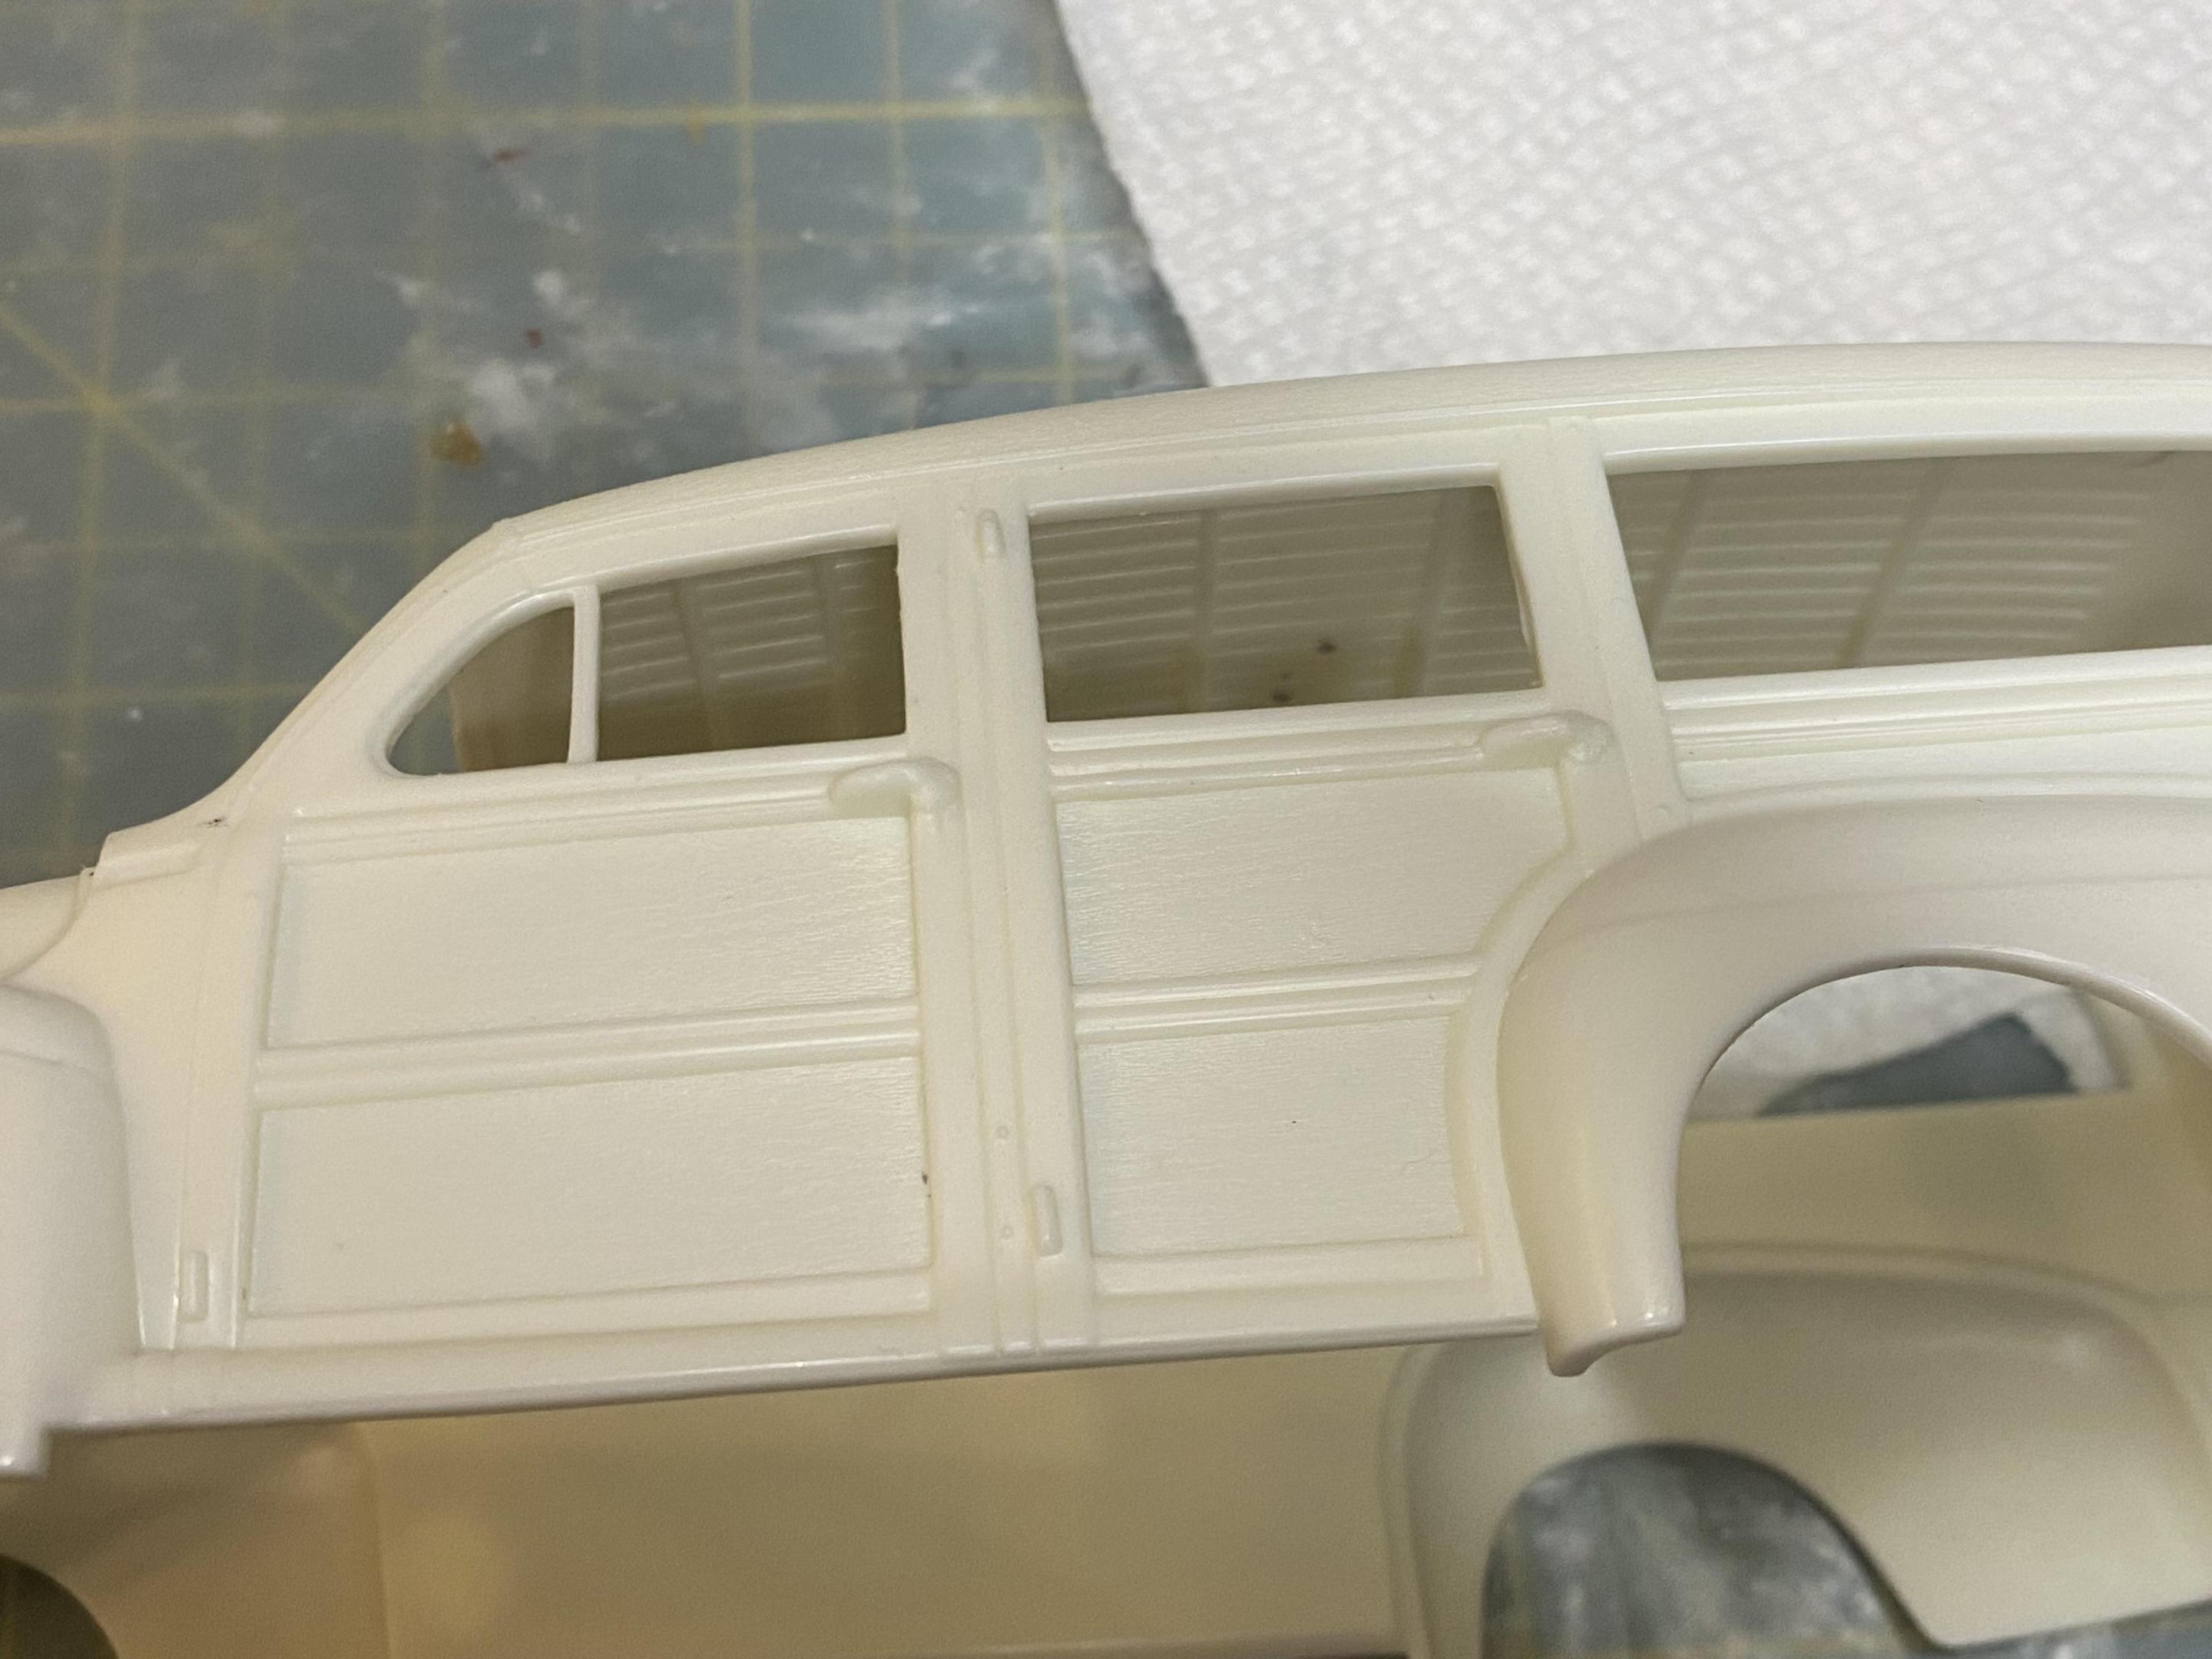
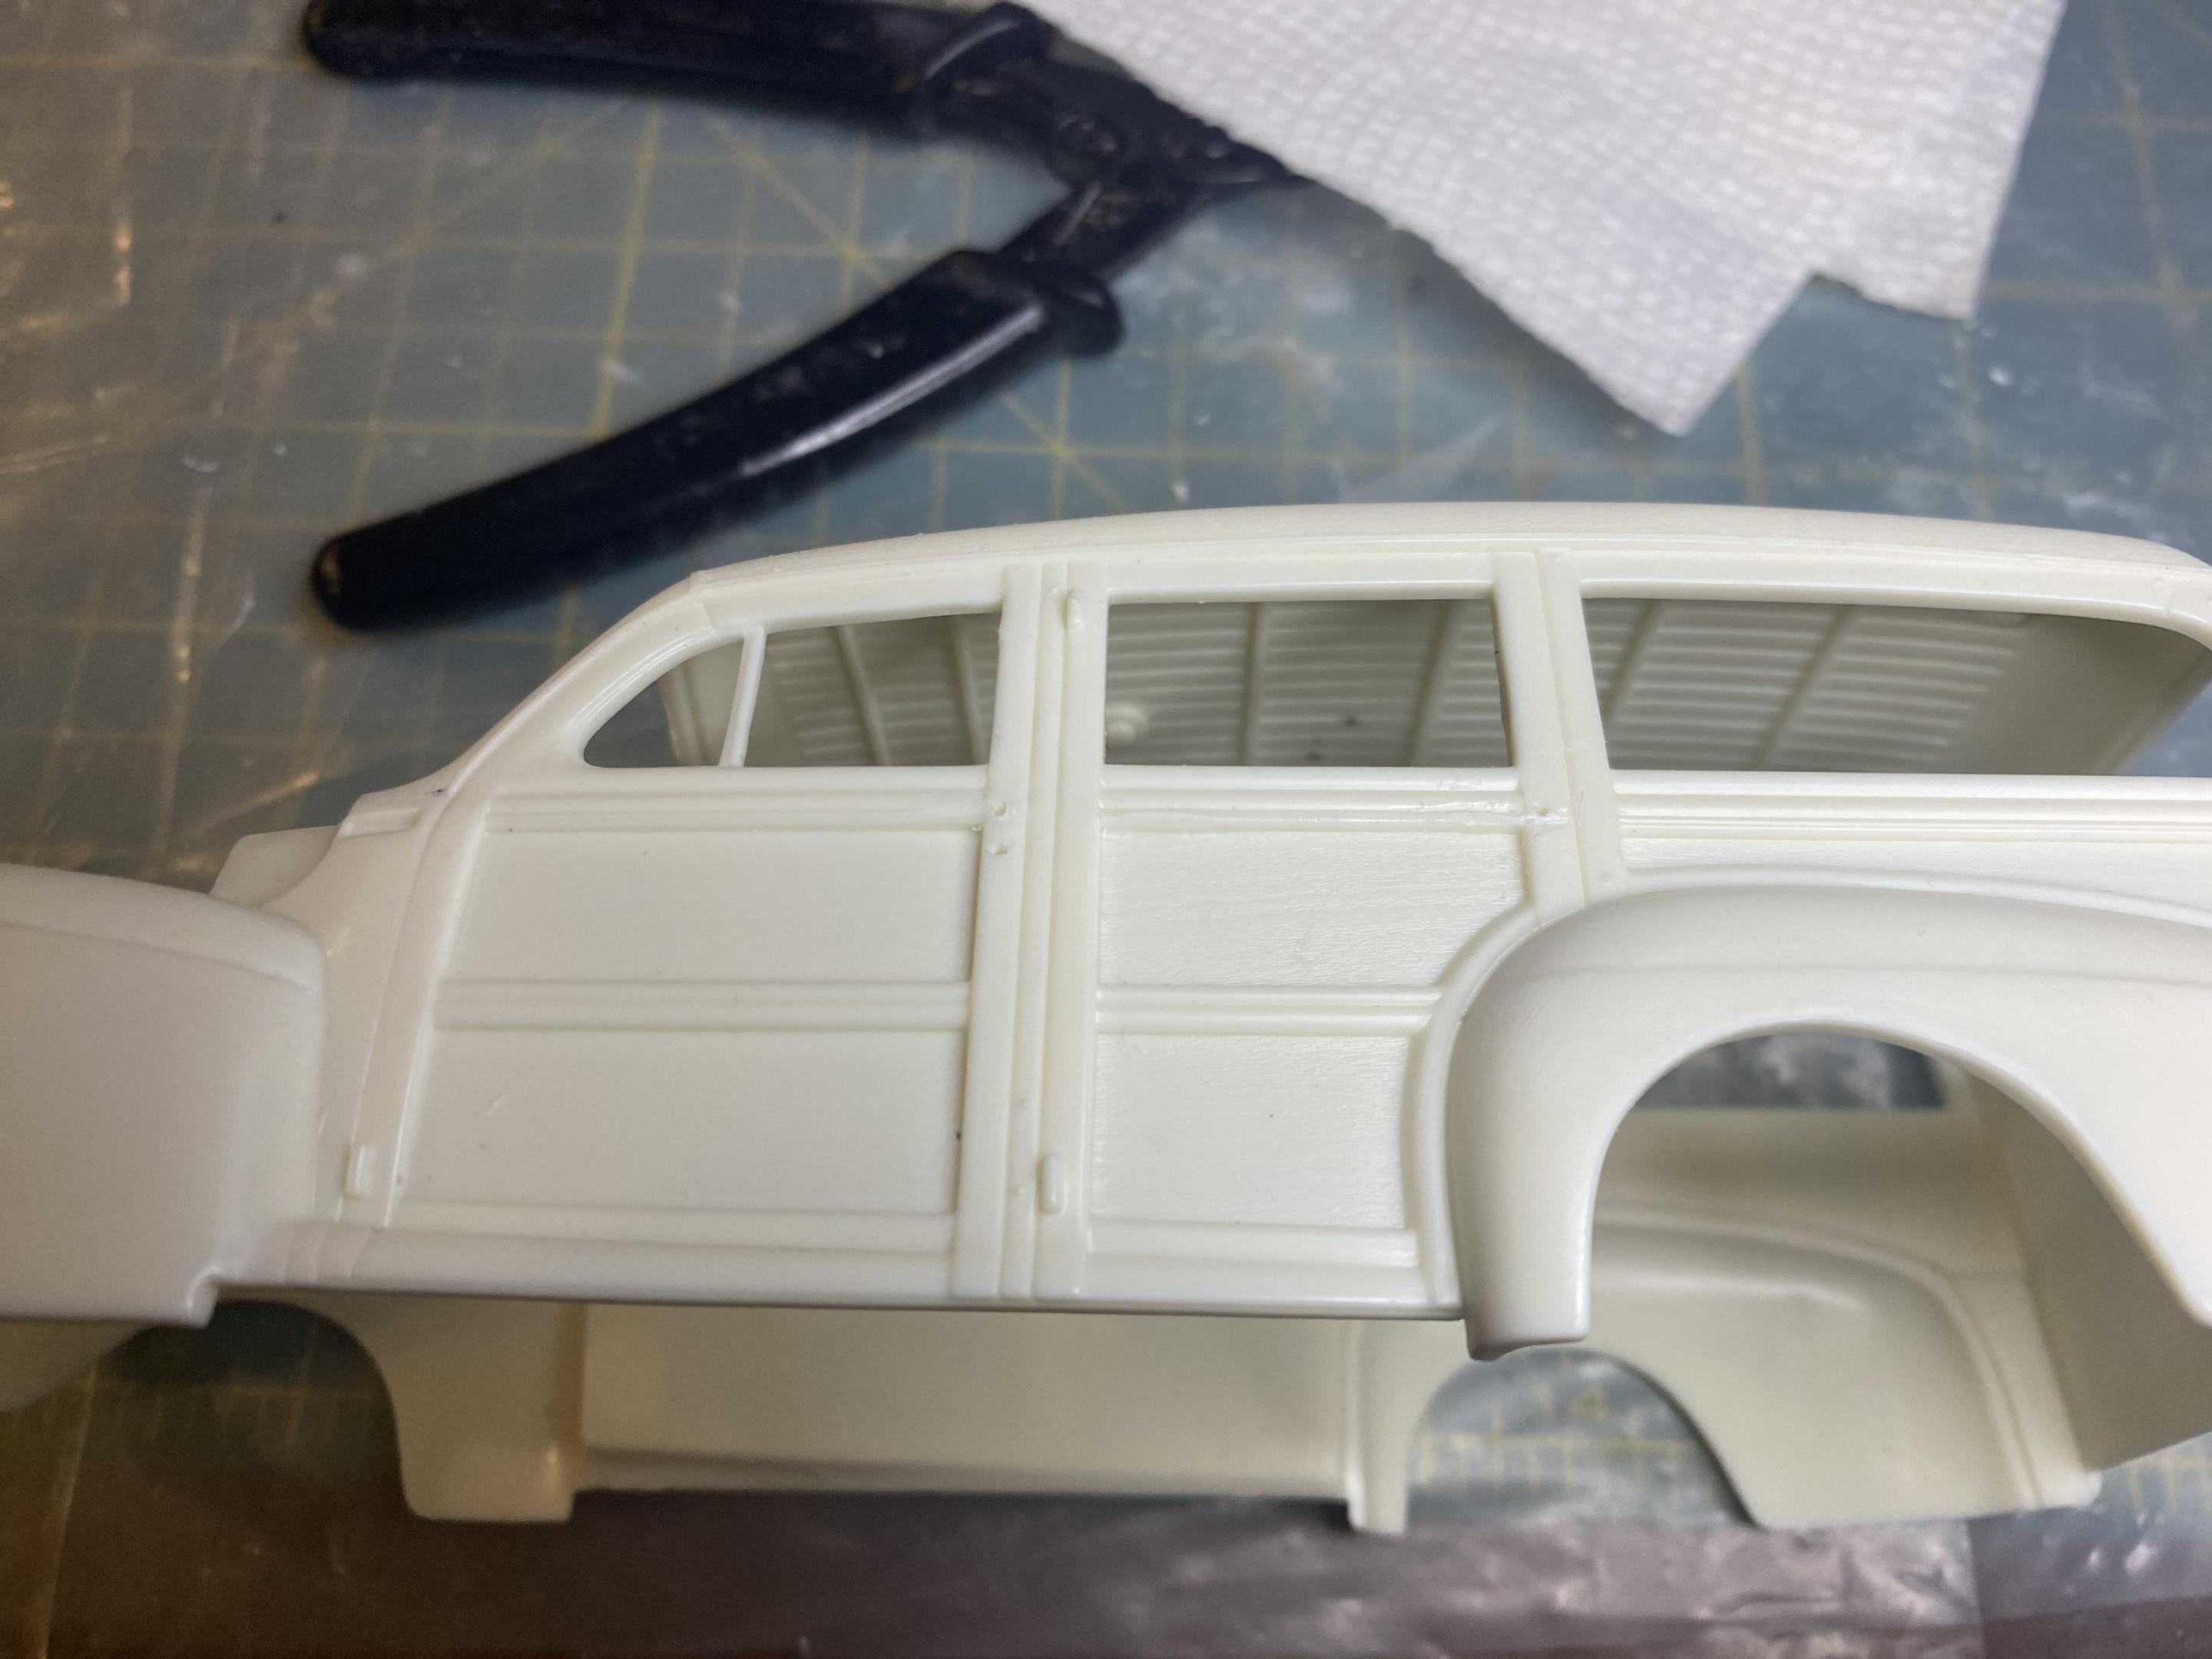
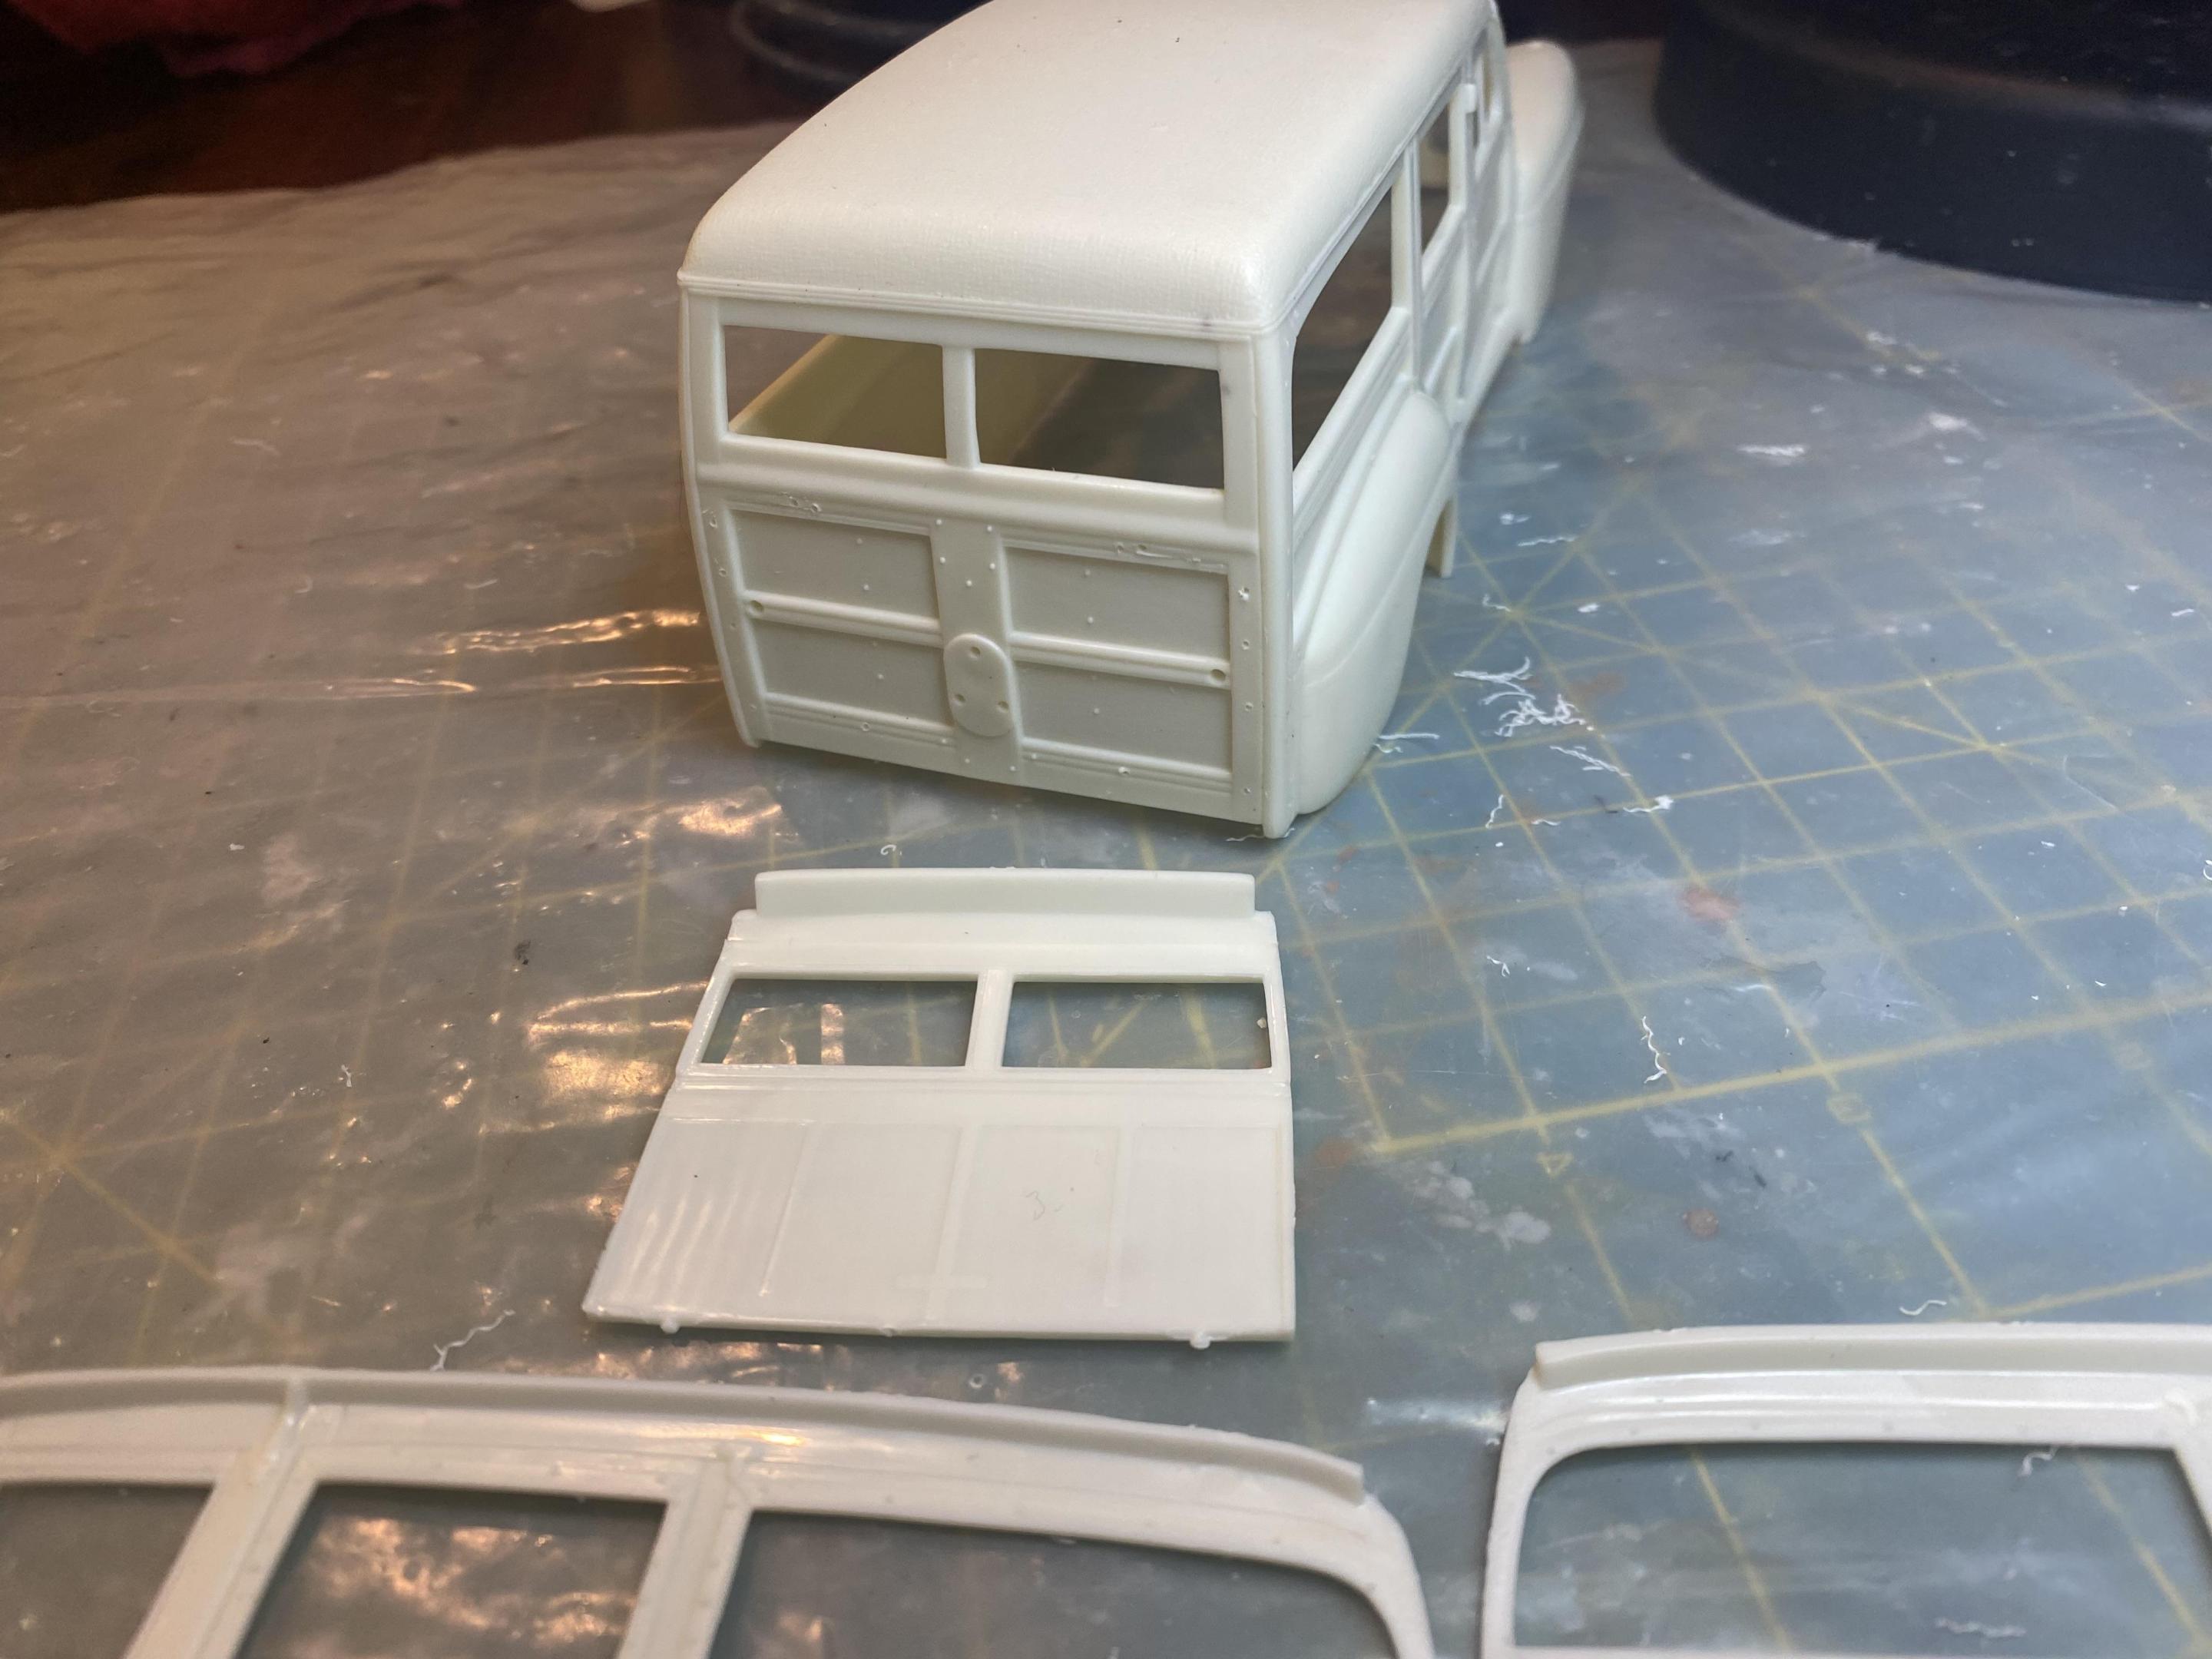
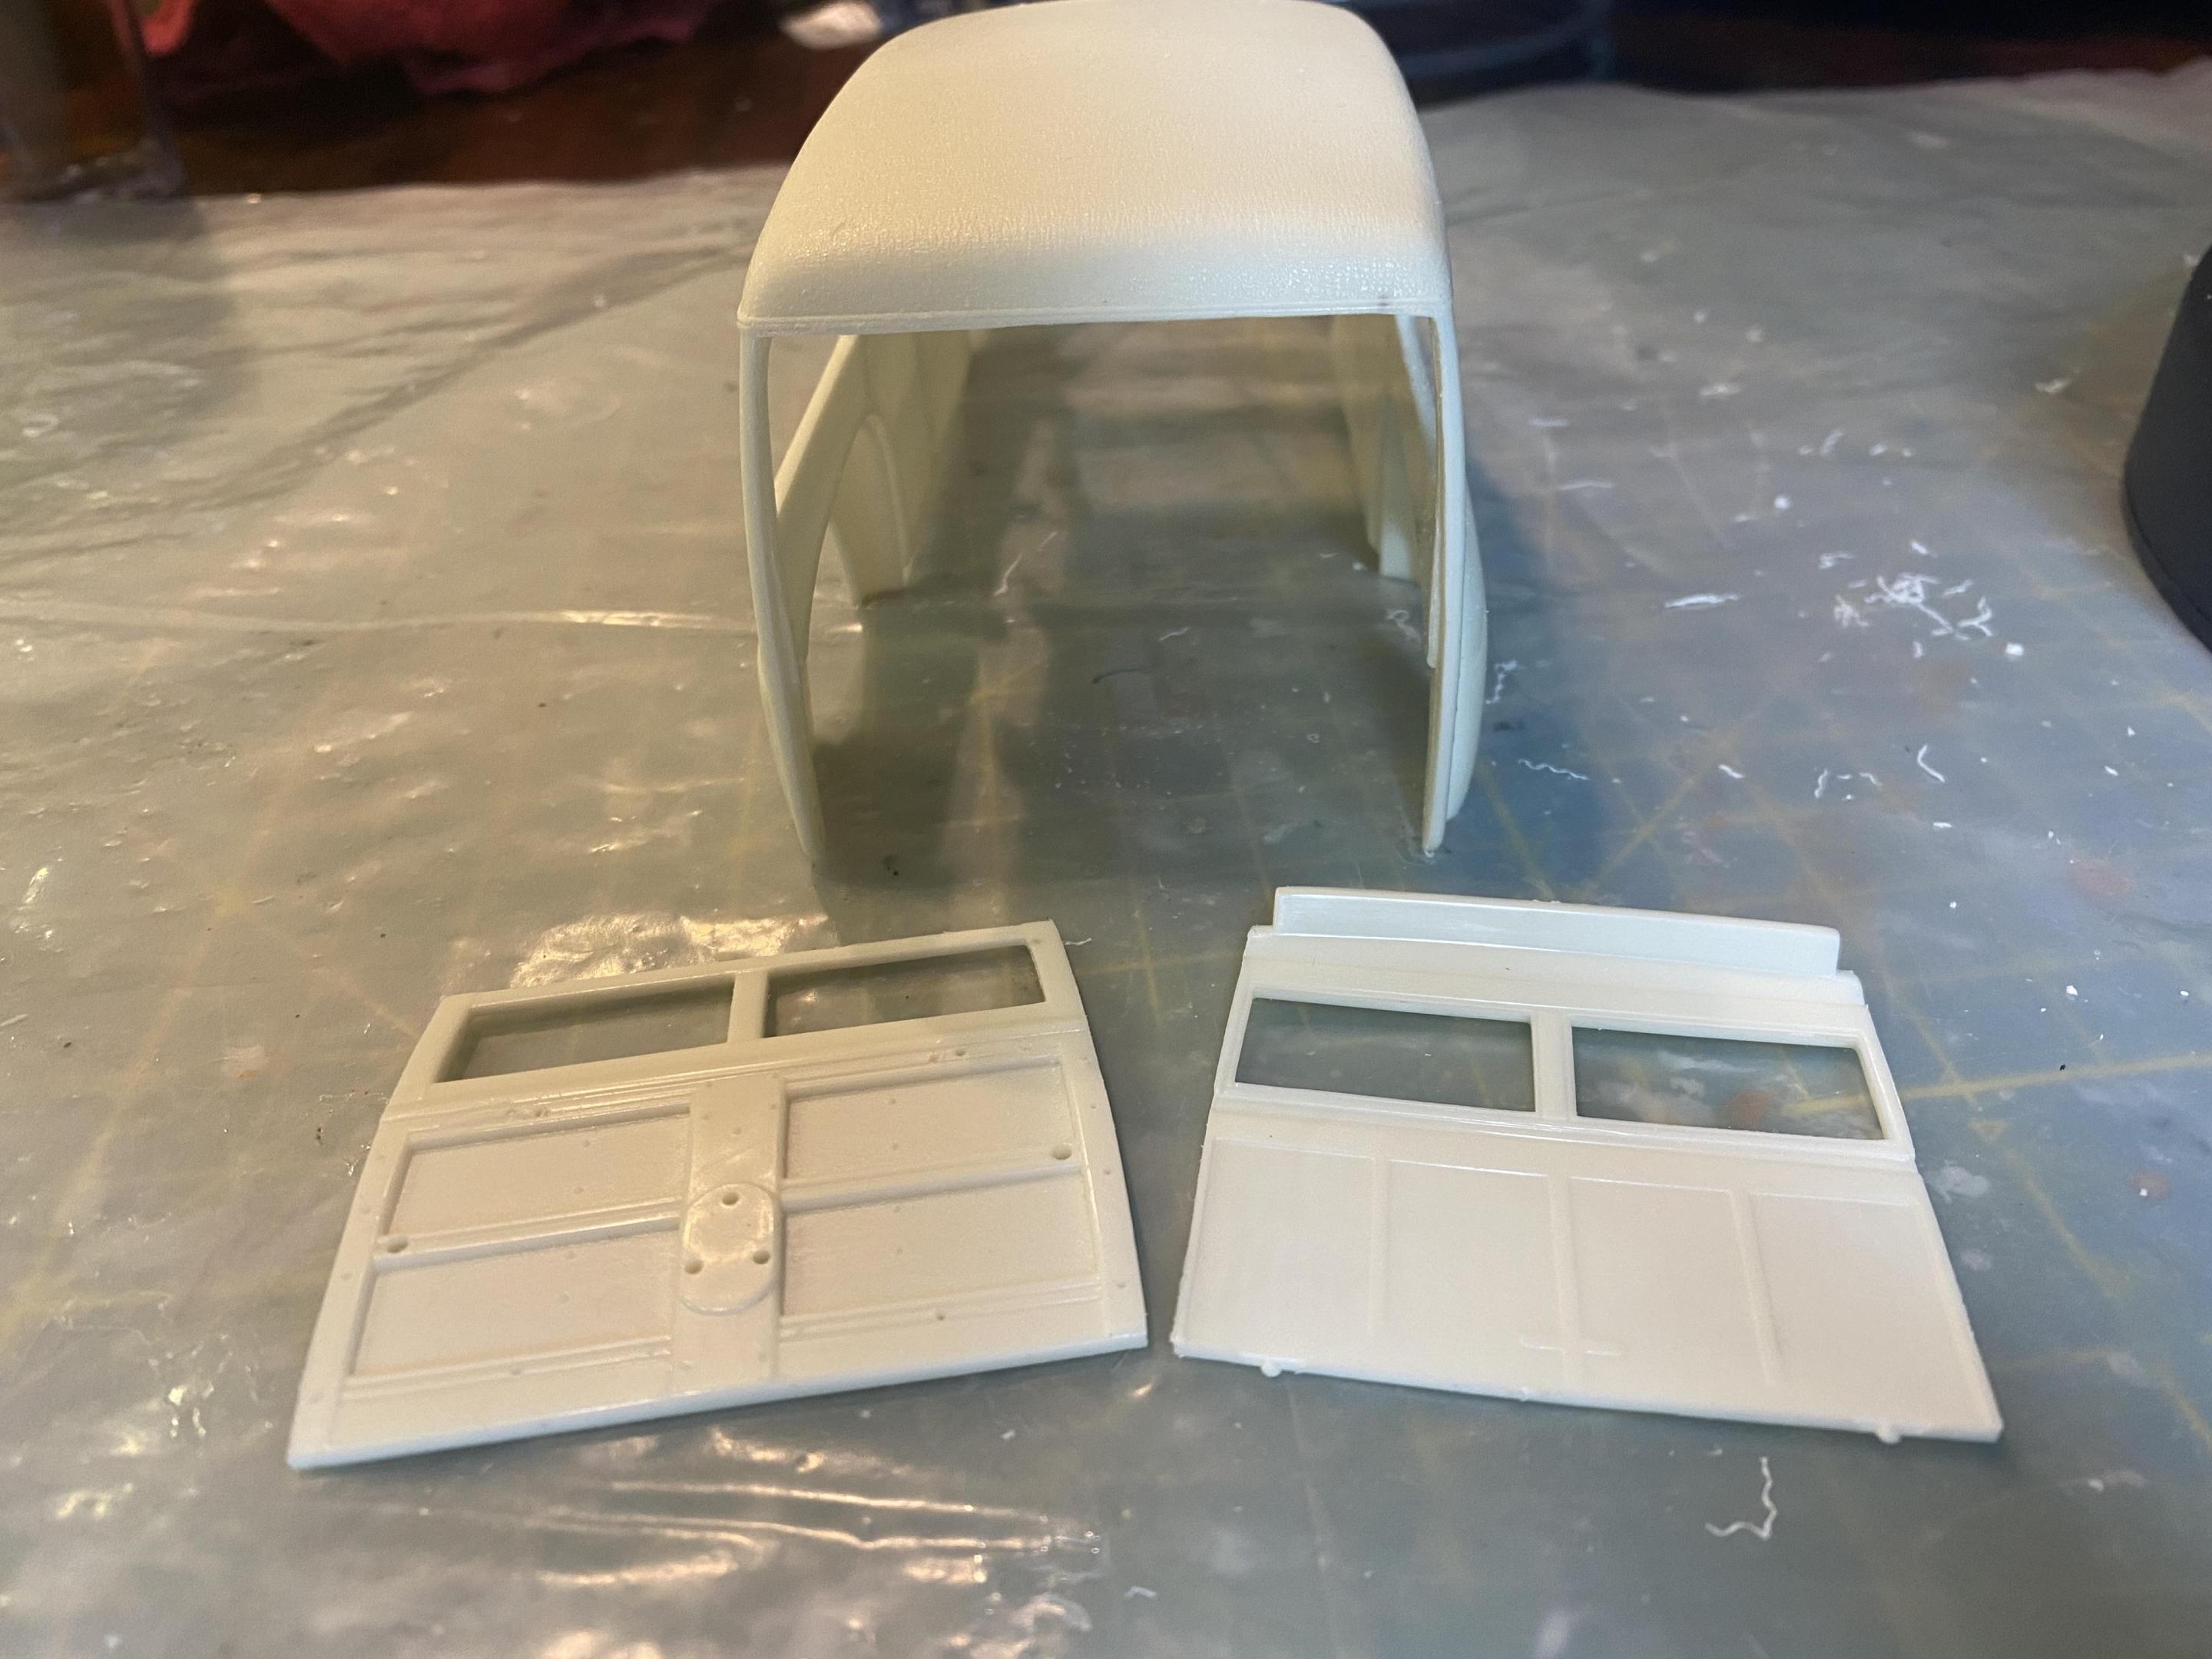
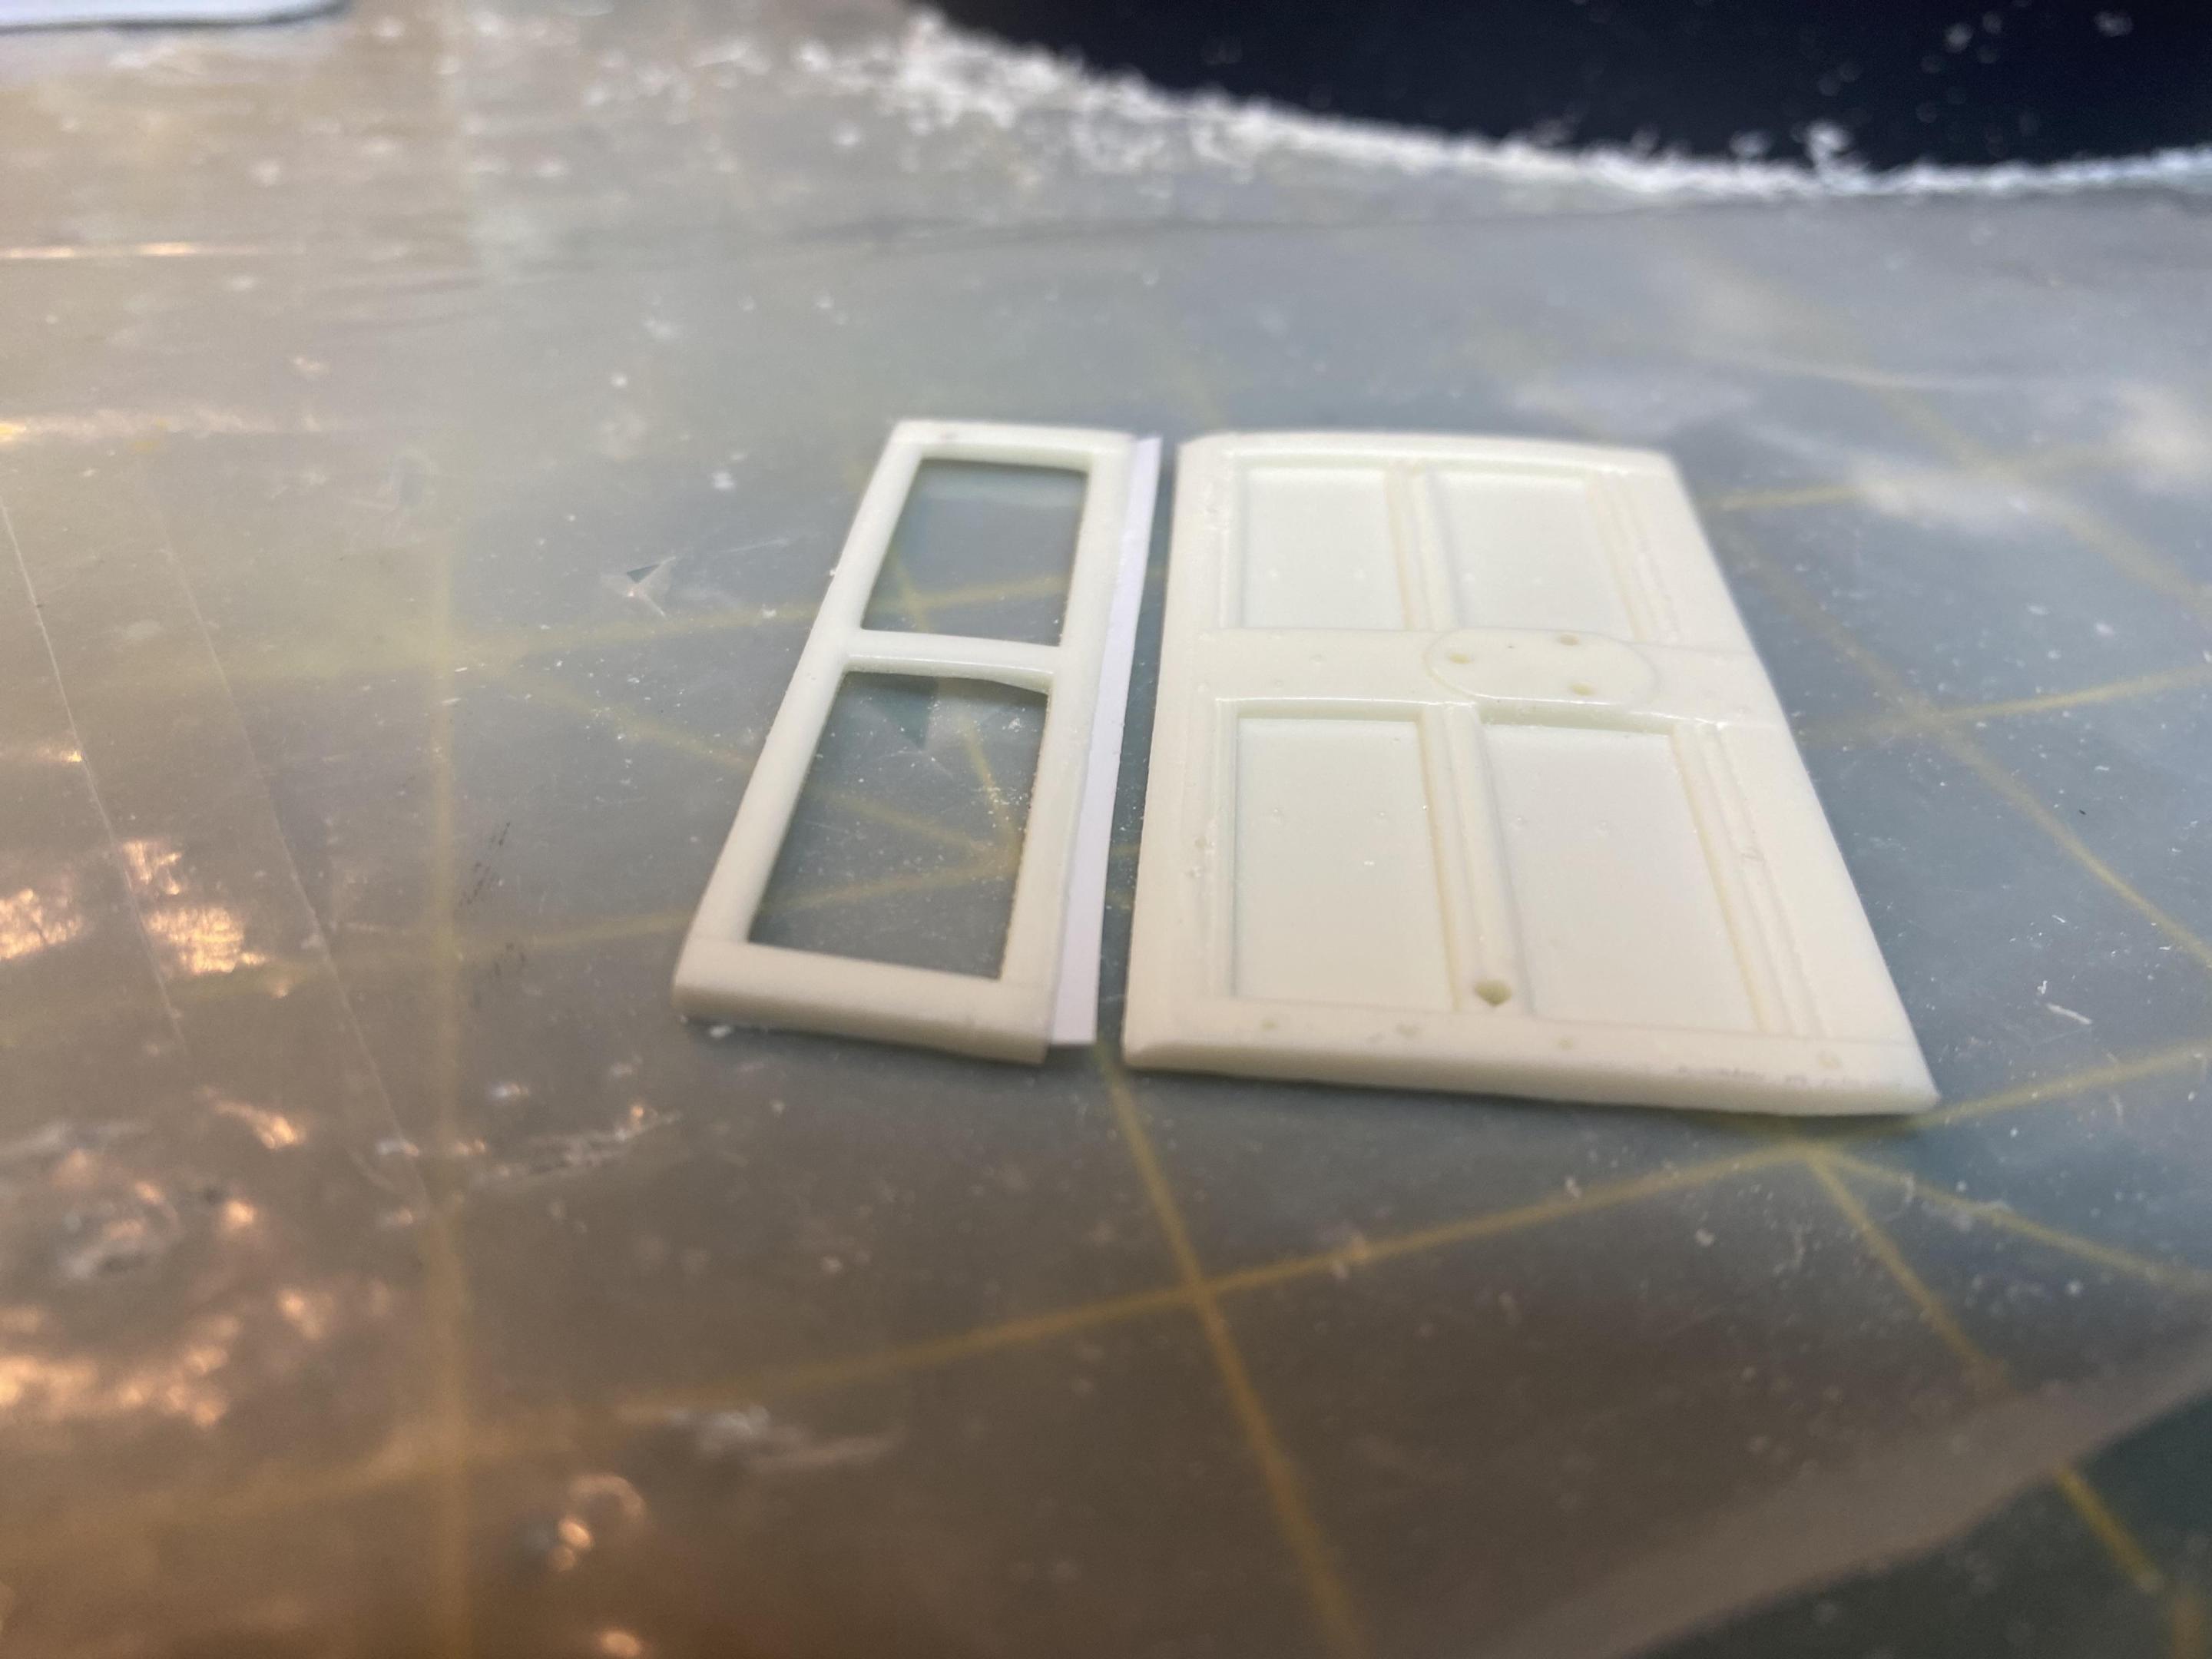
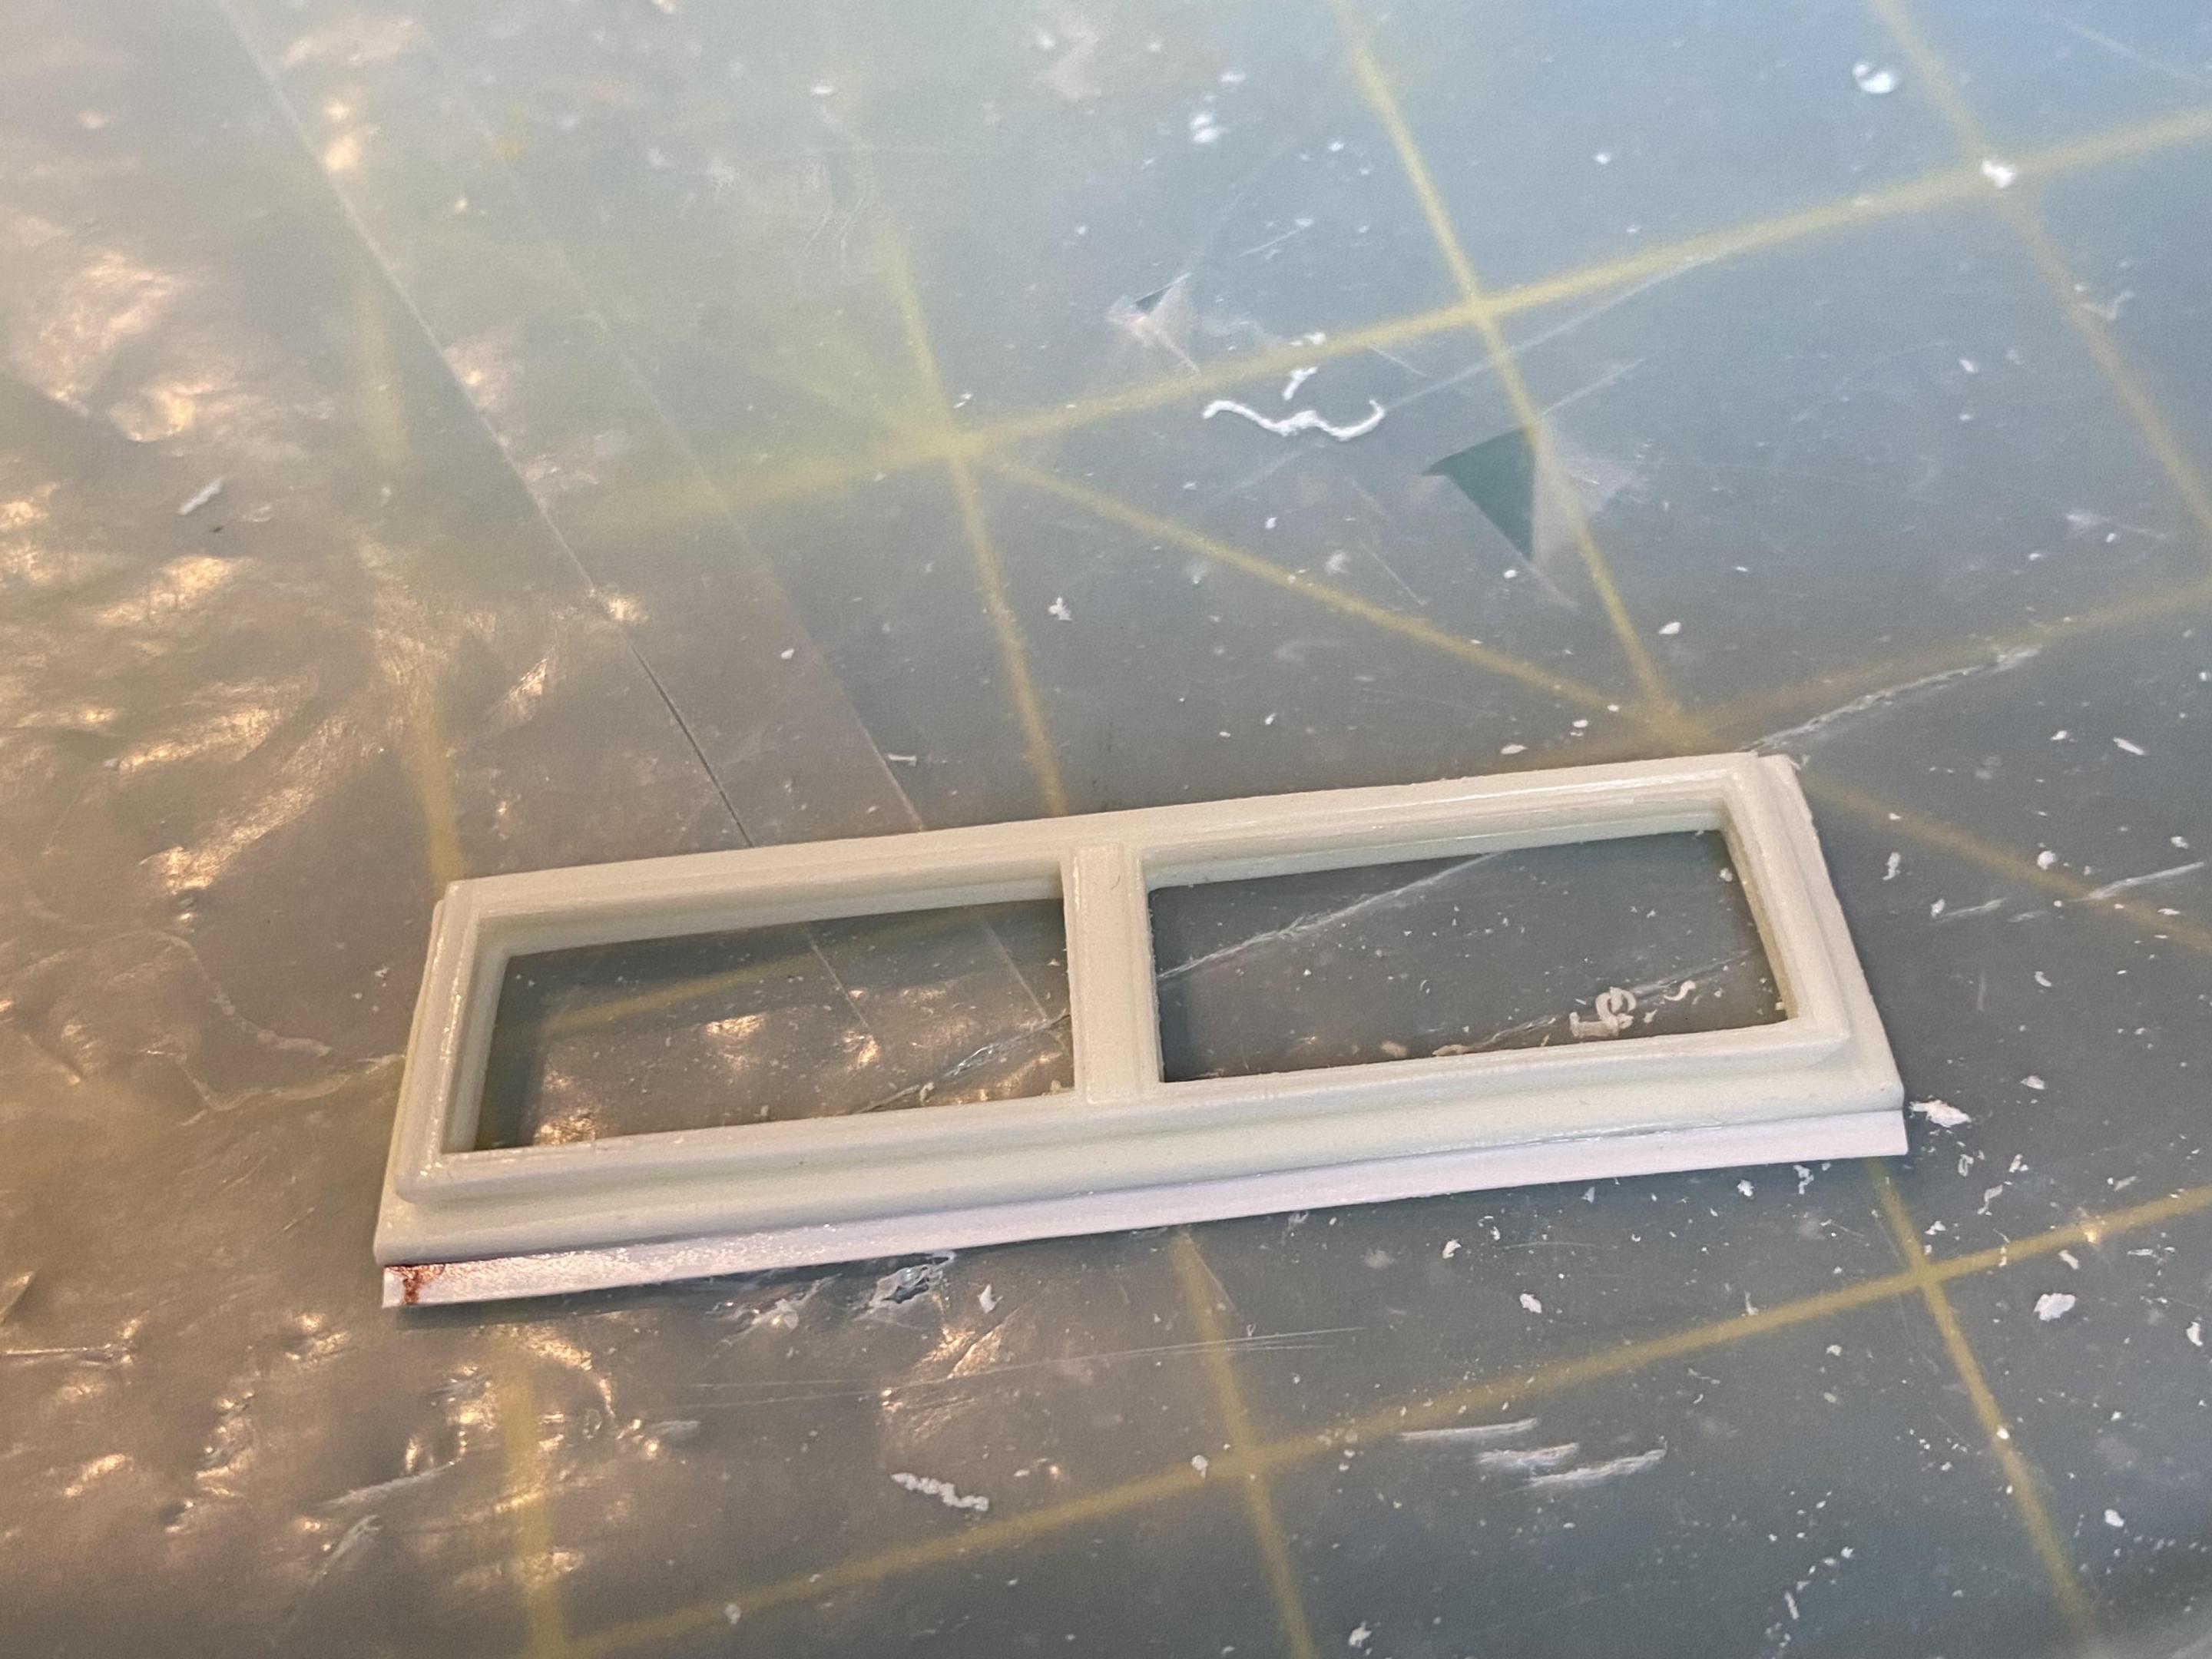
I got just a little bit more done. The template to cut out the side windows had it where you cut out solid glass for the rear doors and rear area. That is not how they are supposed to be. I made them in halves like they should be and added trim for the felt wipers. I also cut out the rear hatch so they would look the same. i also created the hood hinge and a bracket in the hood for magnets to hold the hood closed.
-
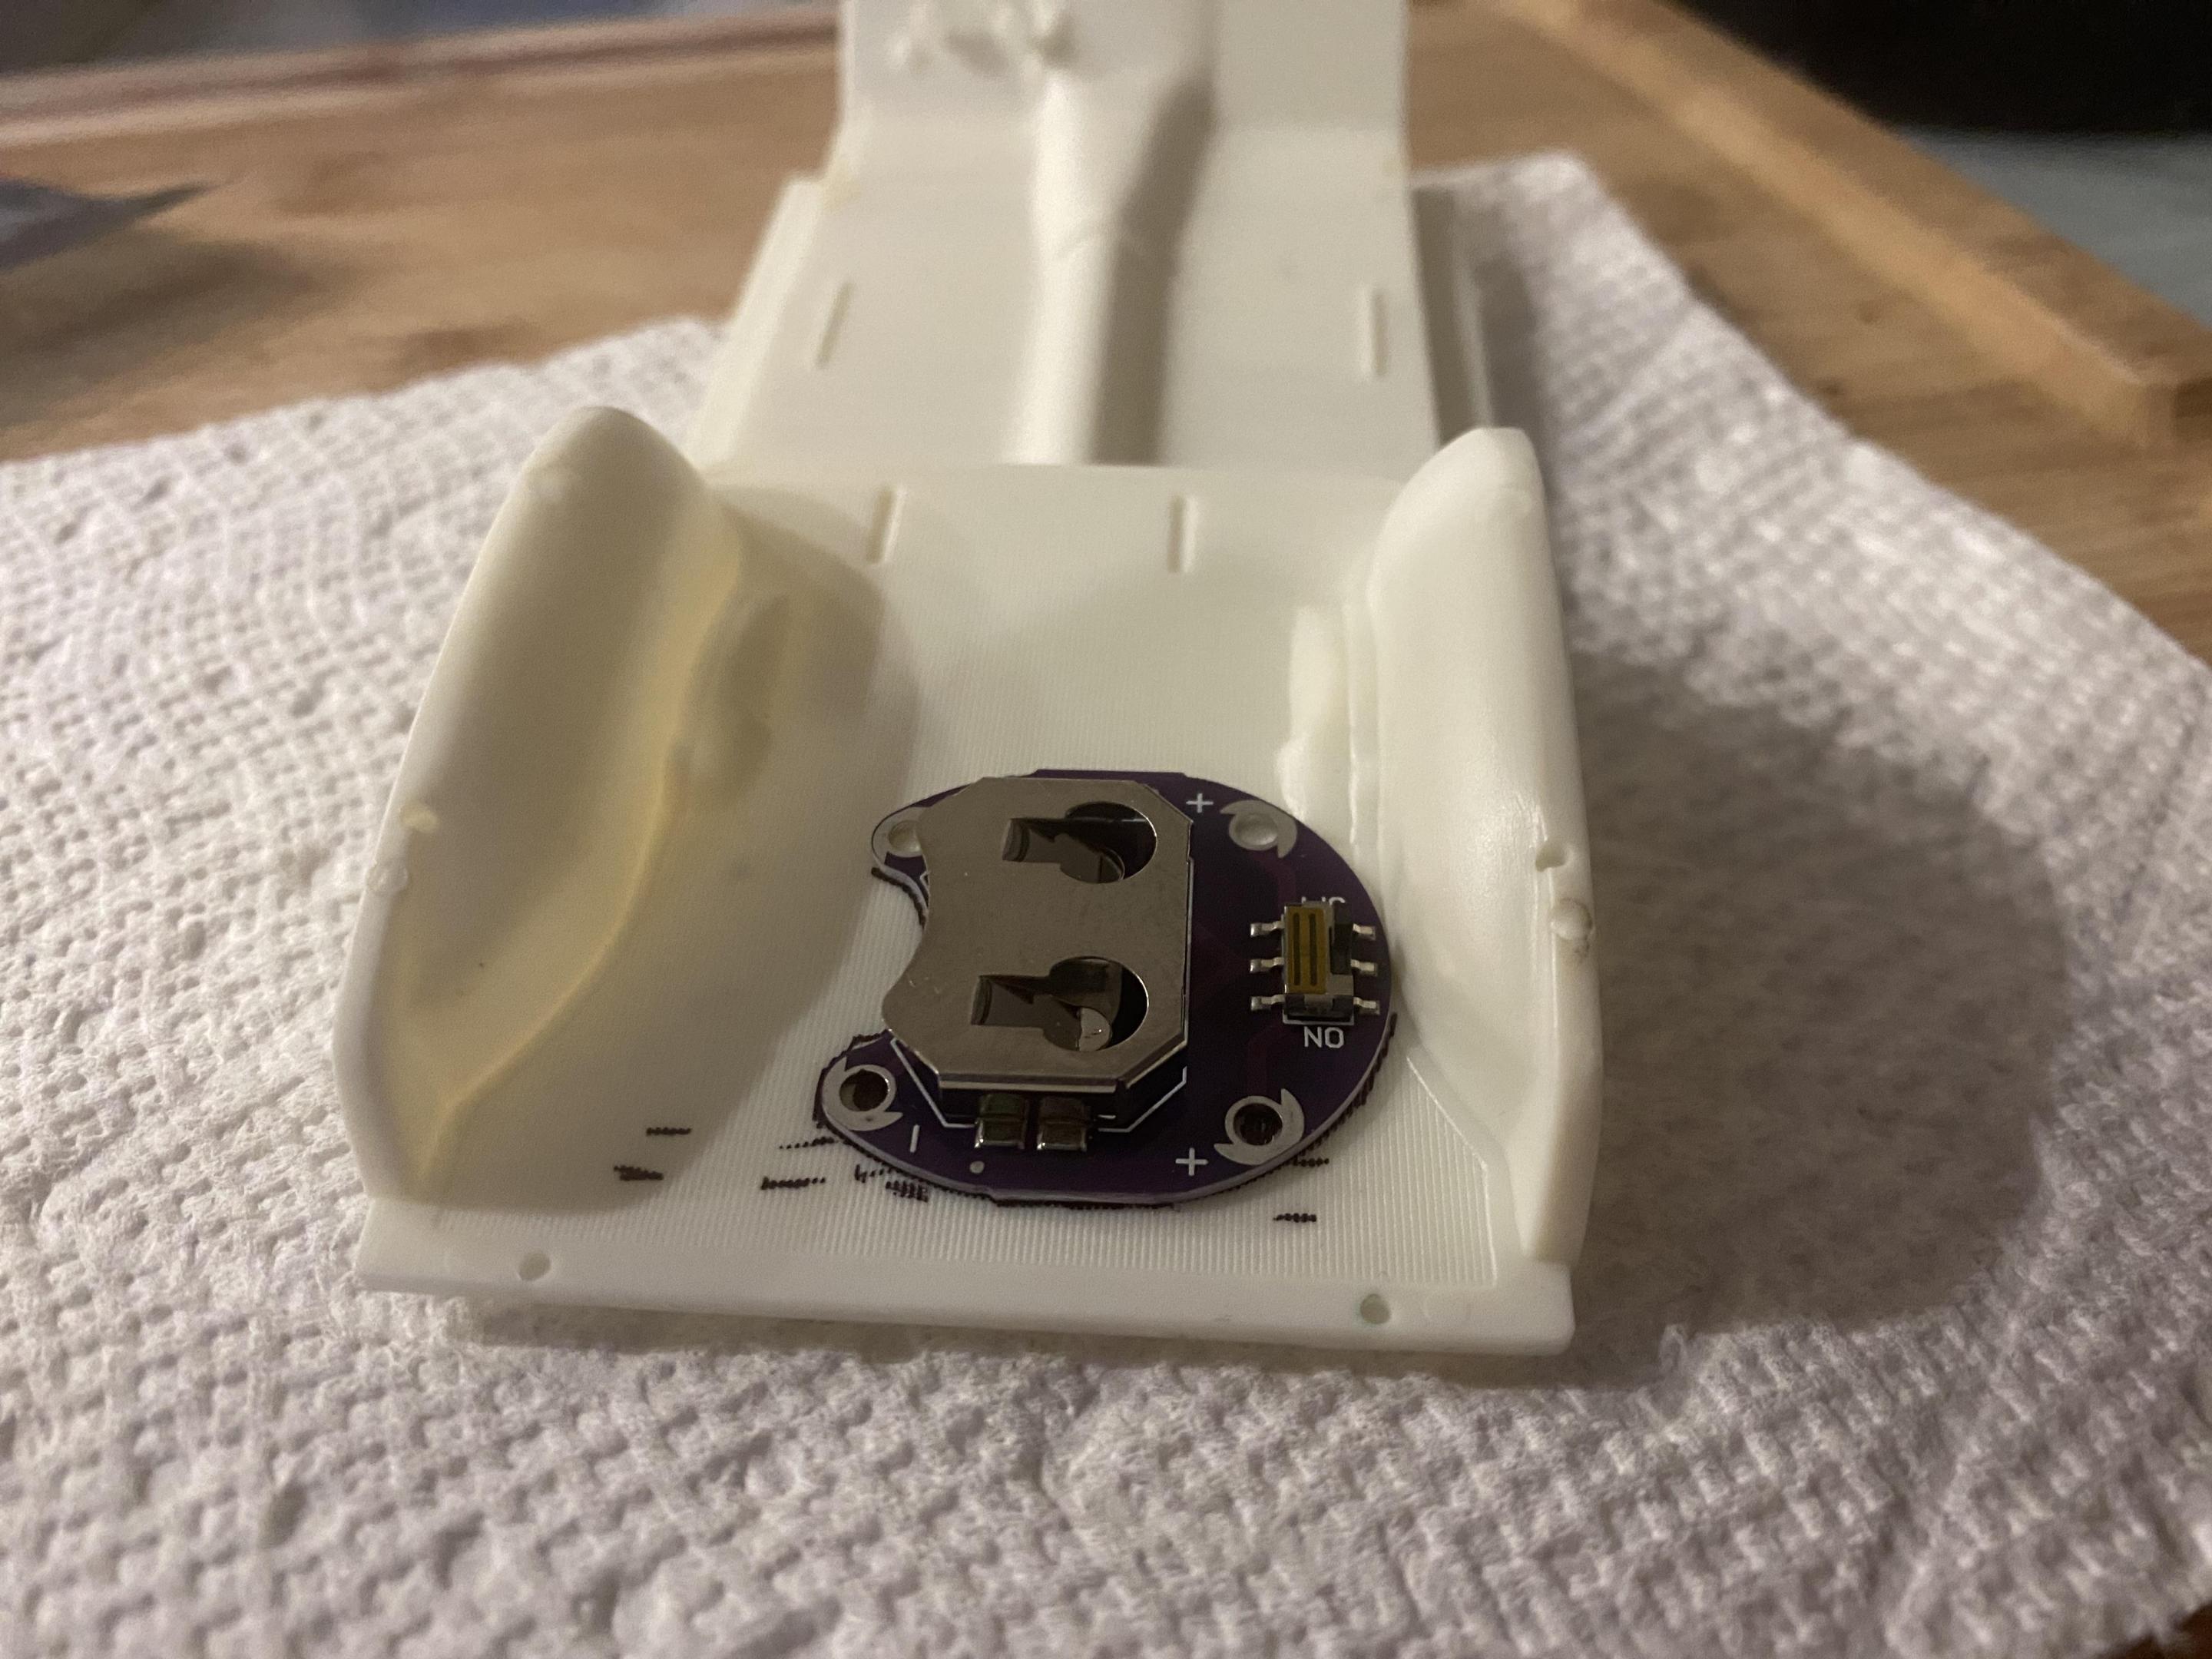
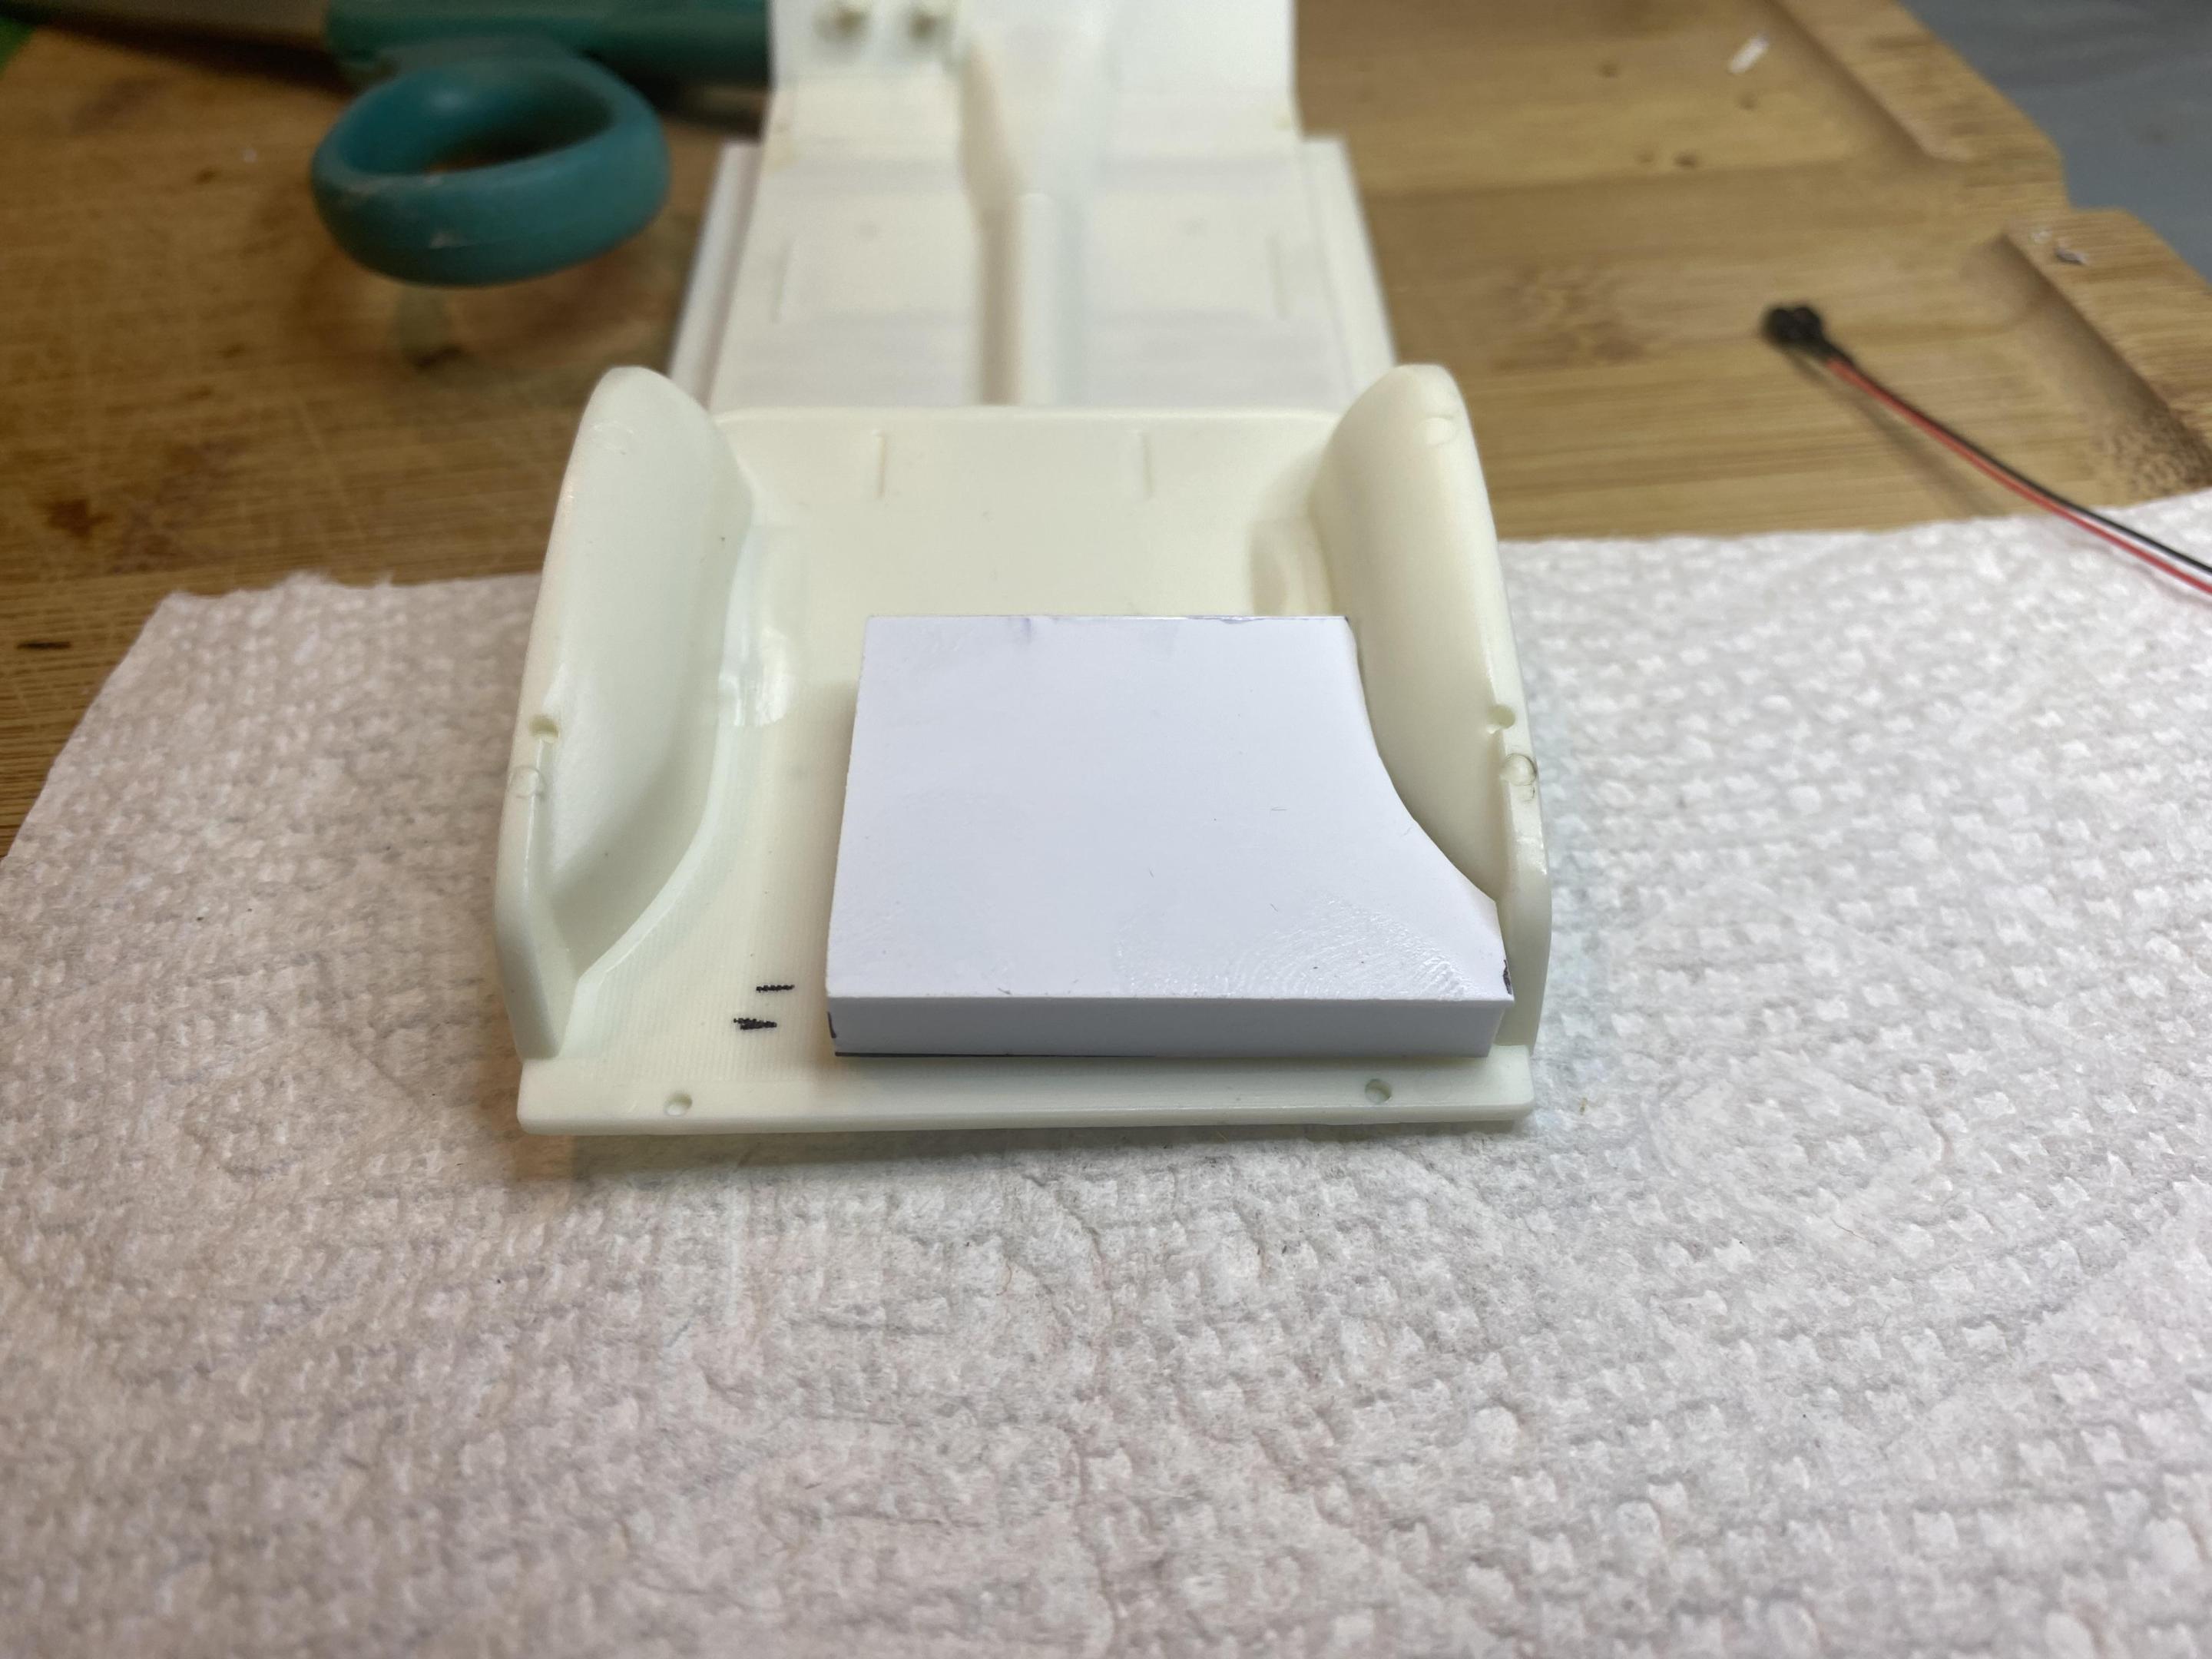
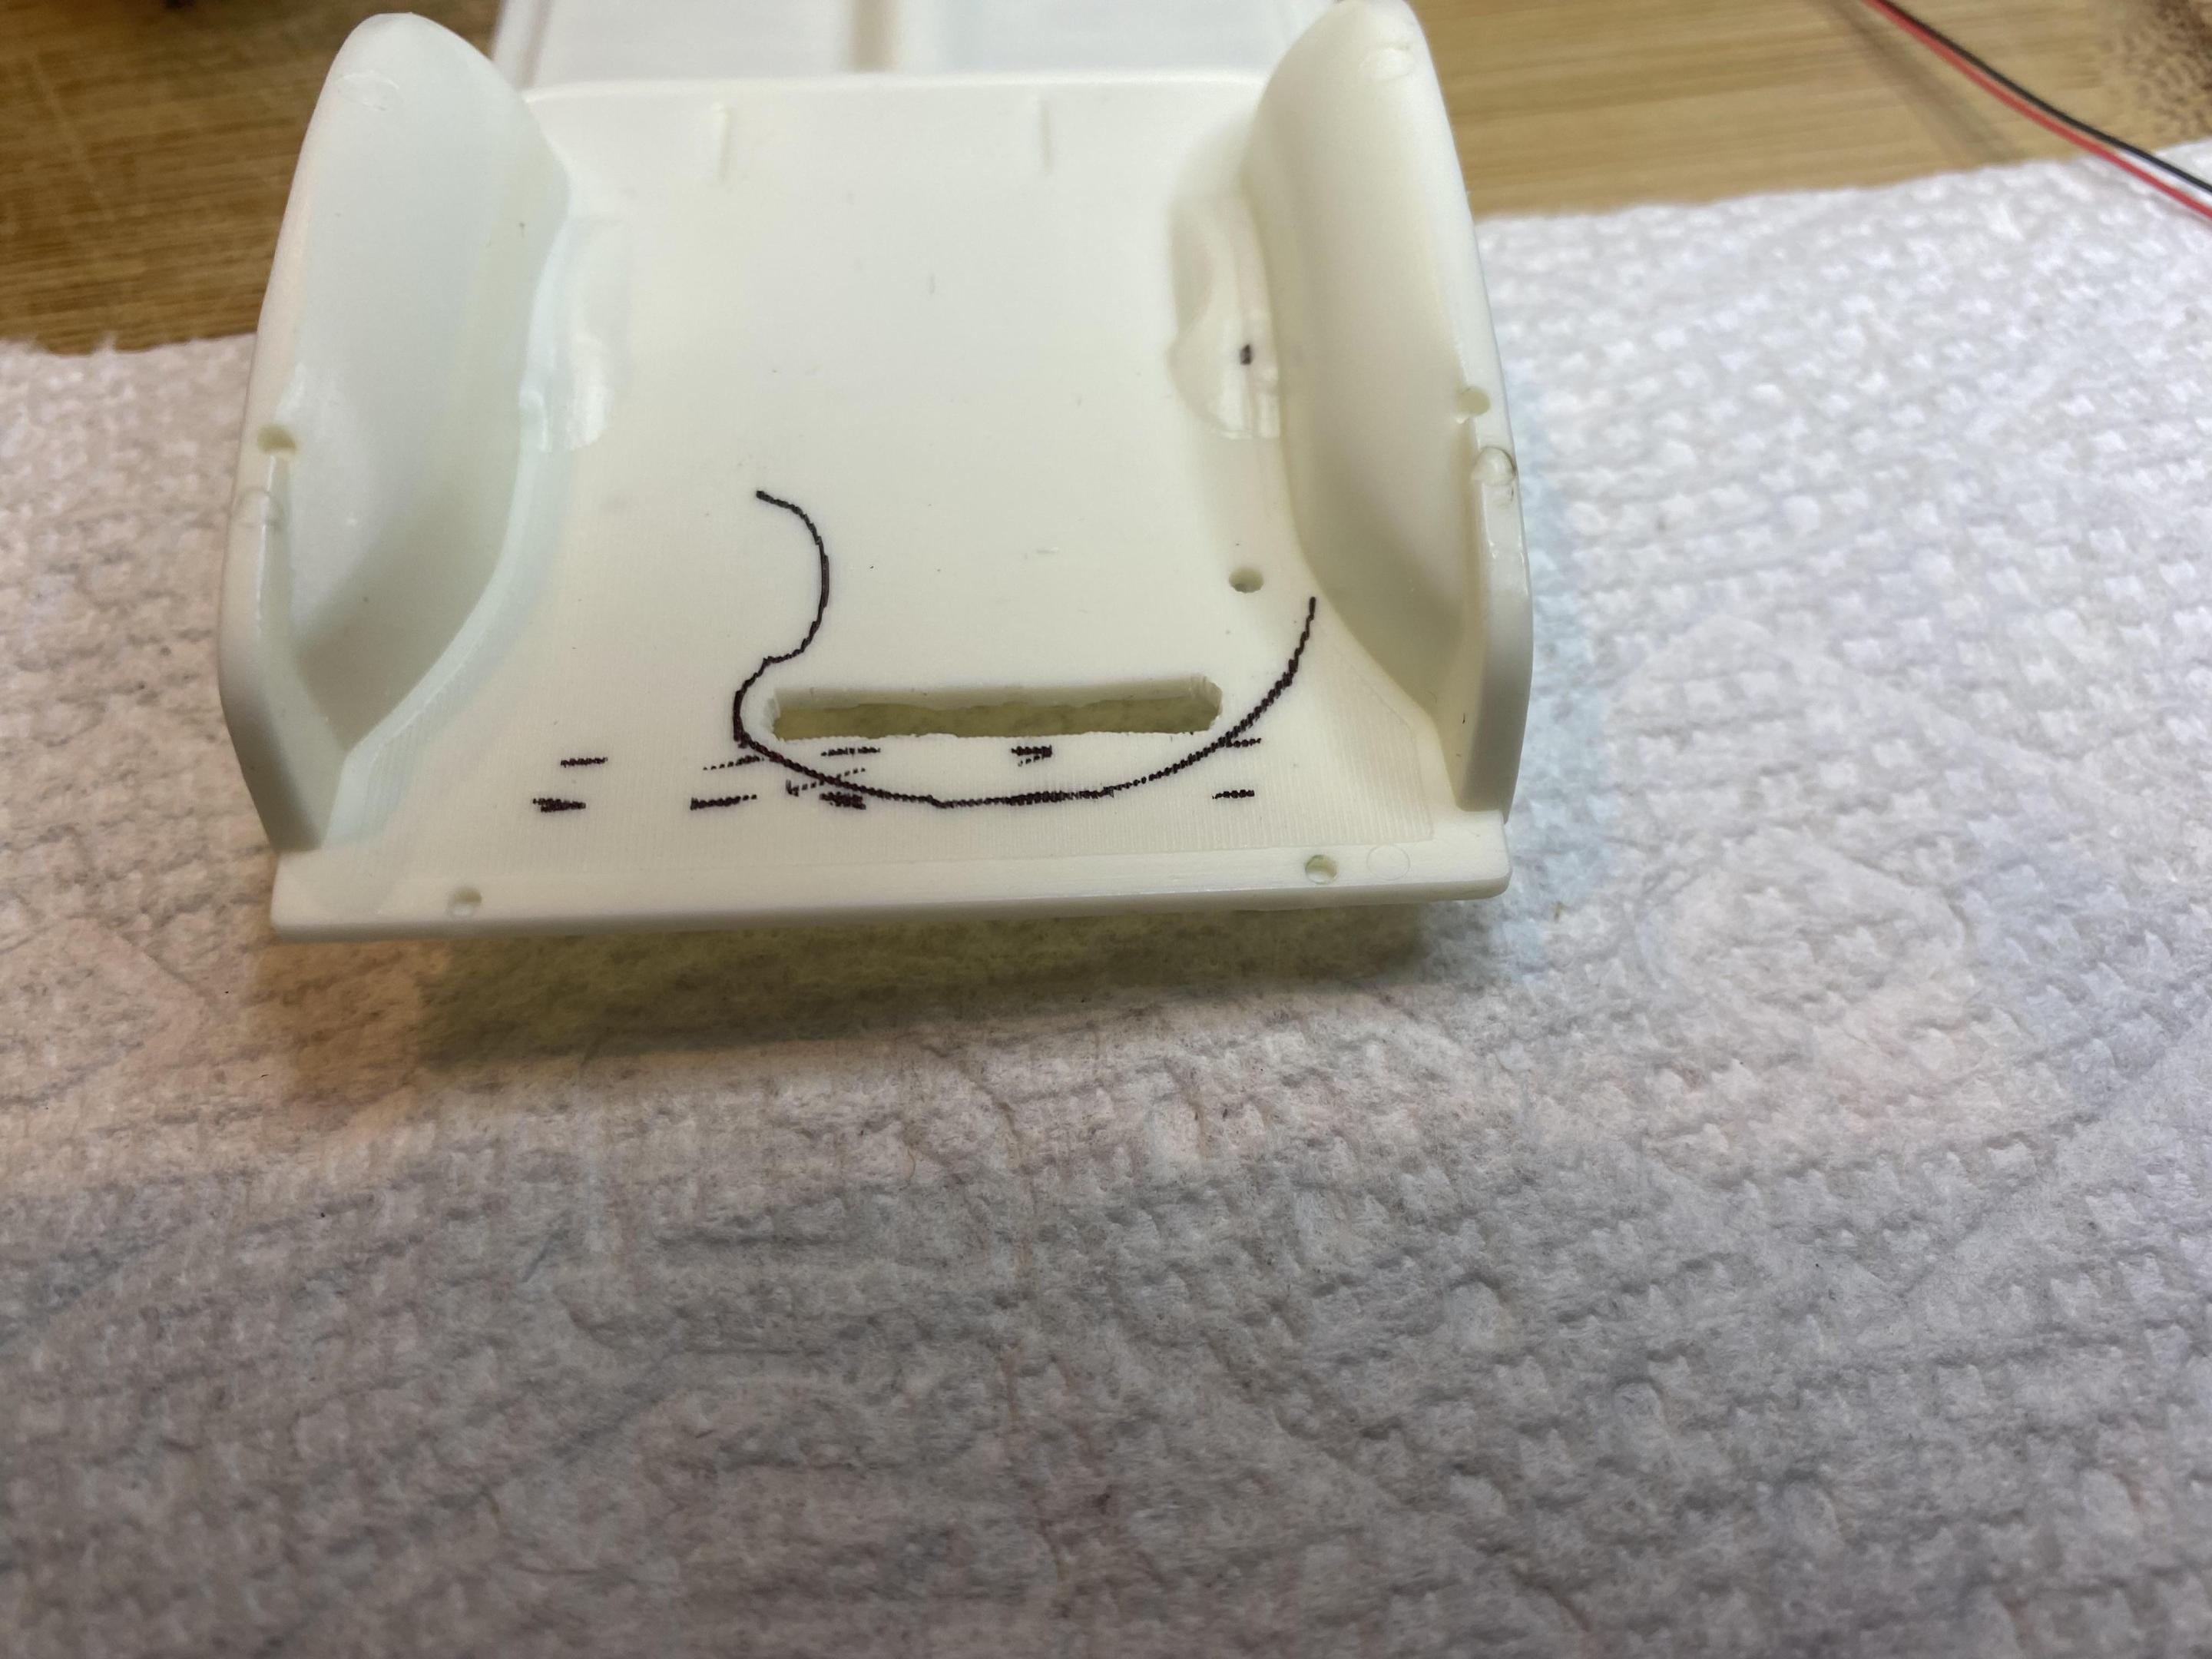
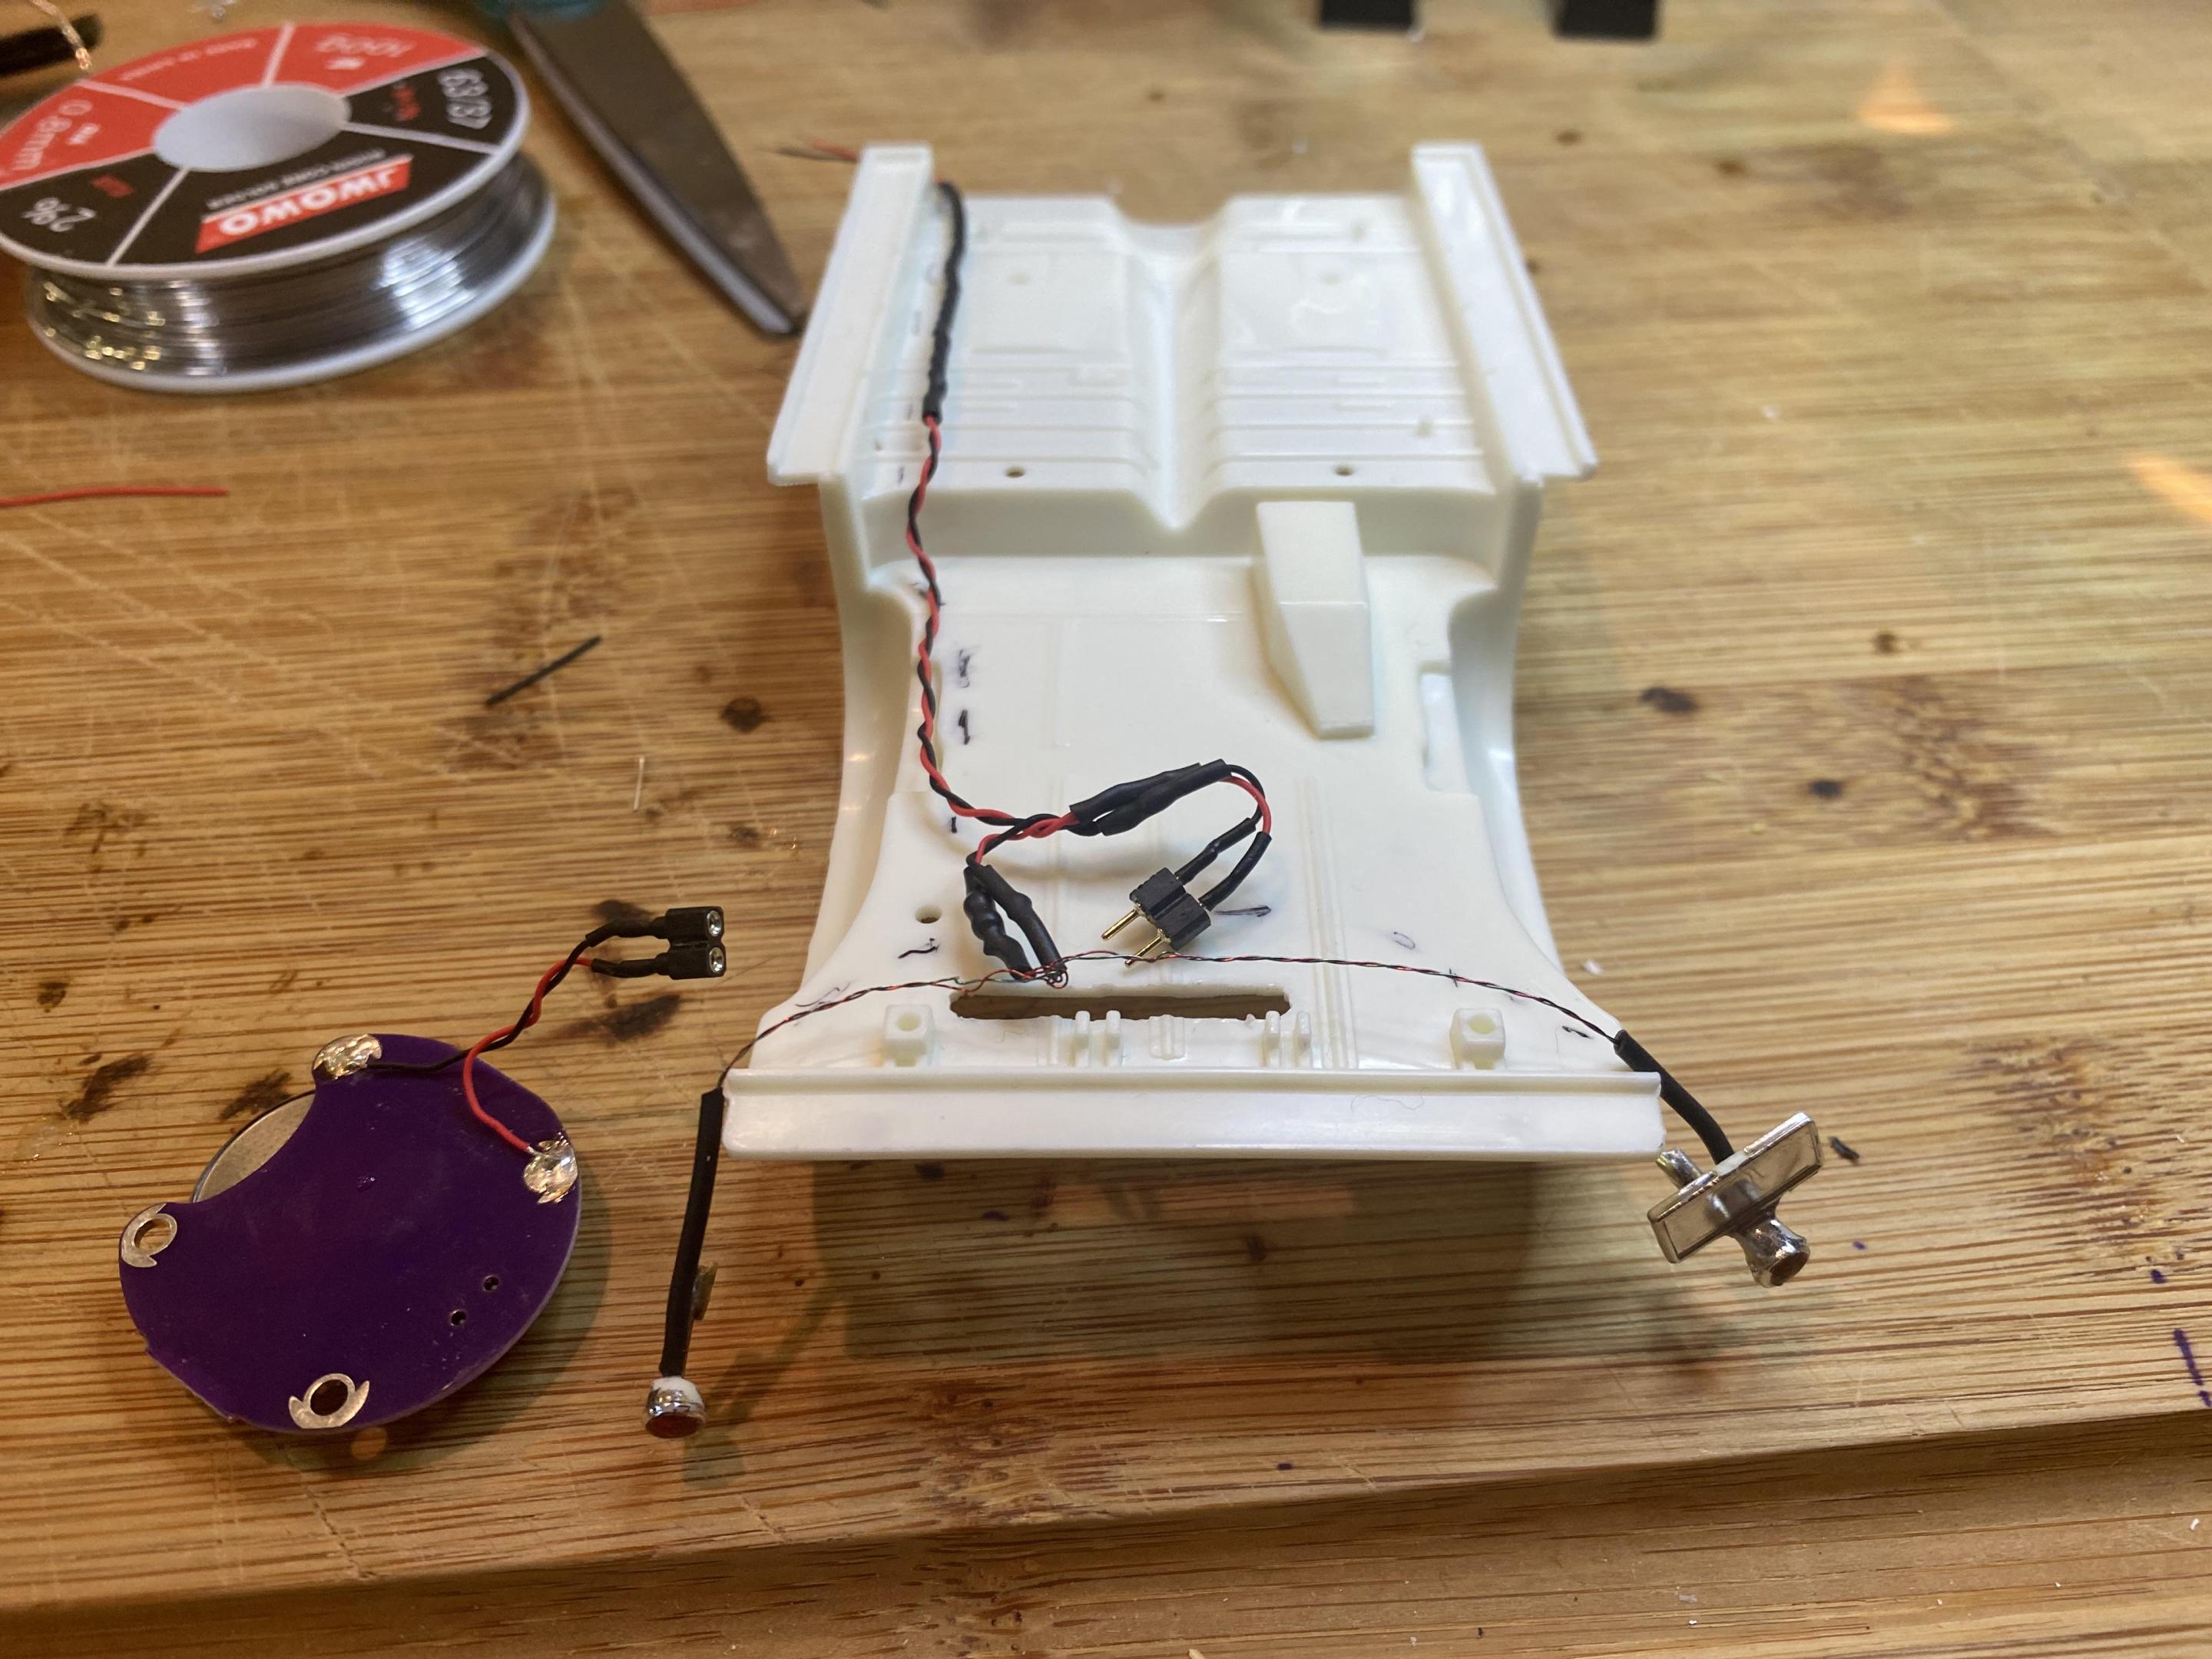
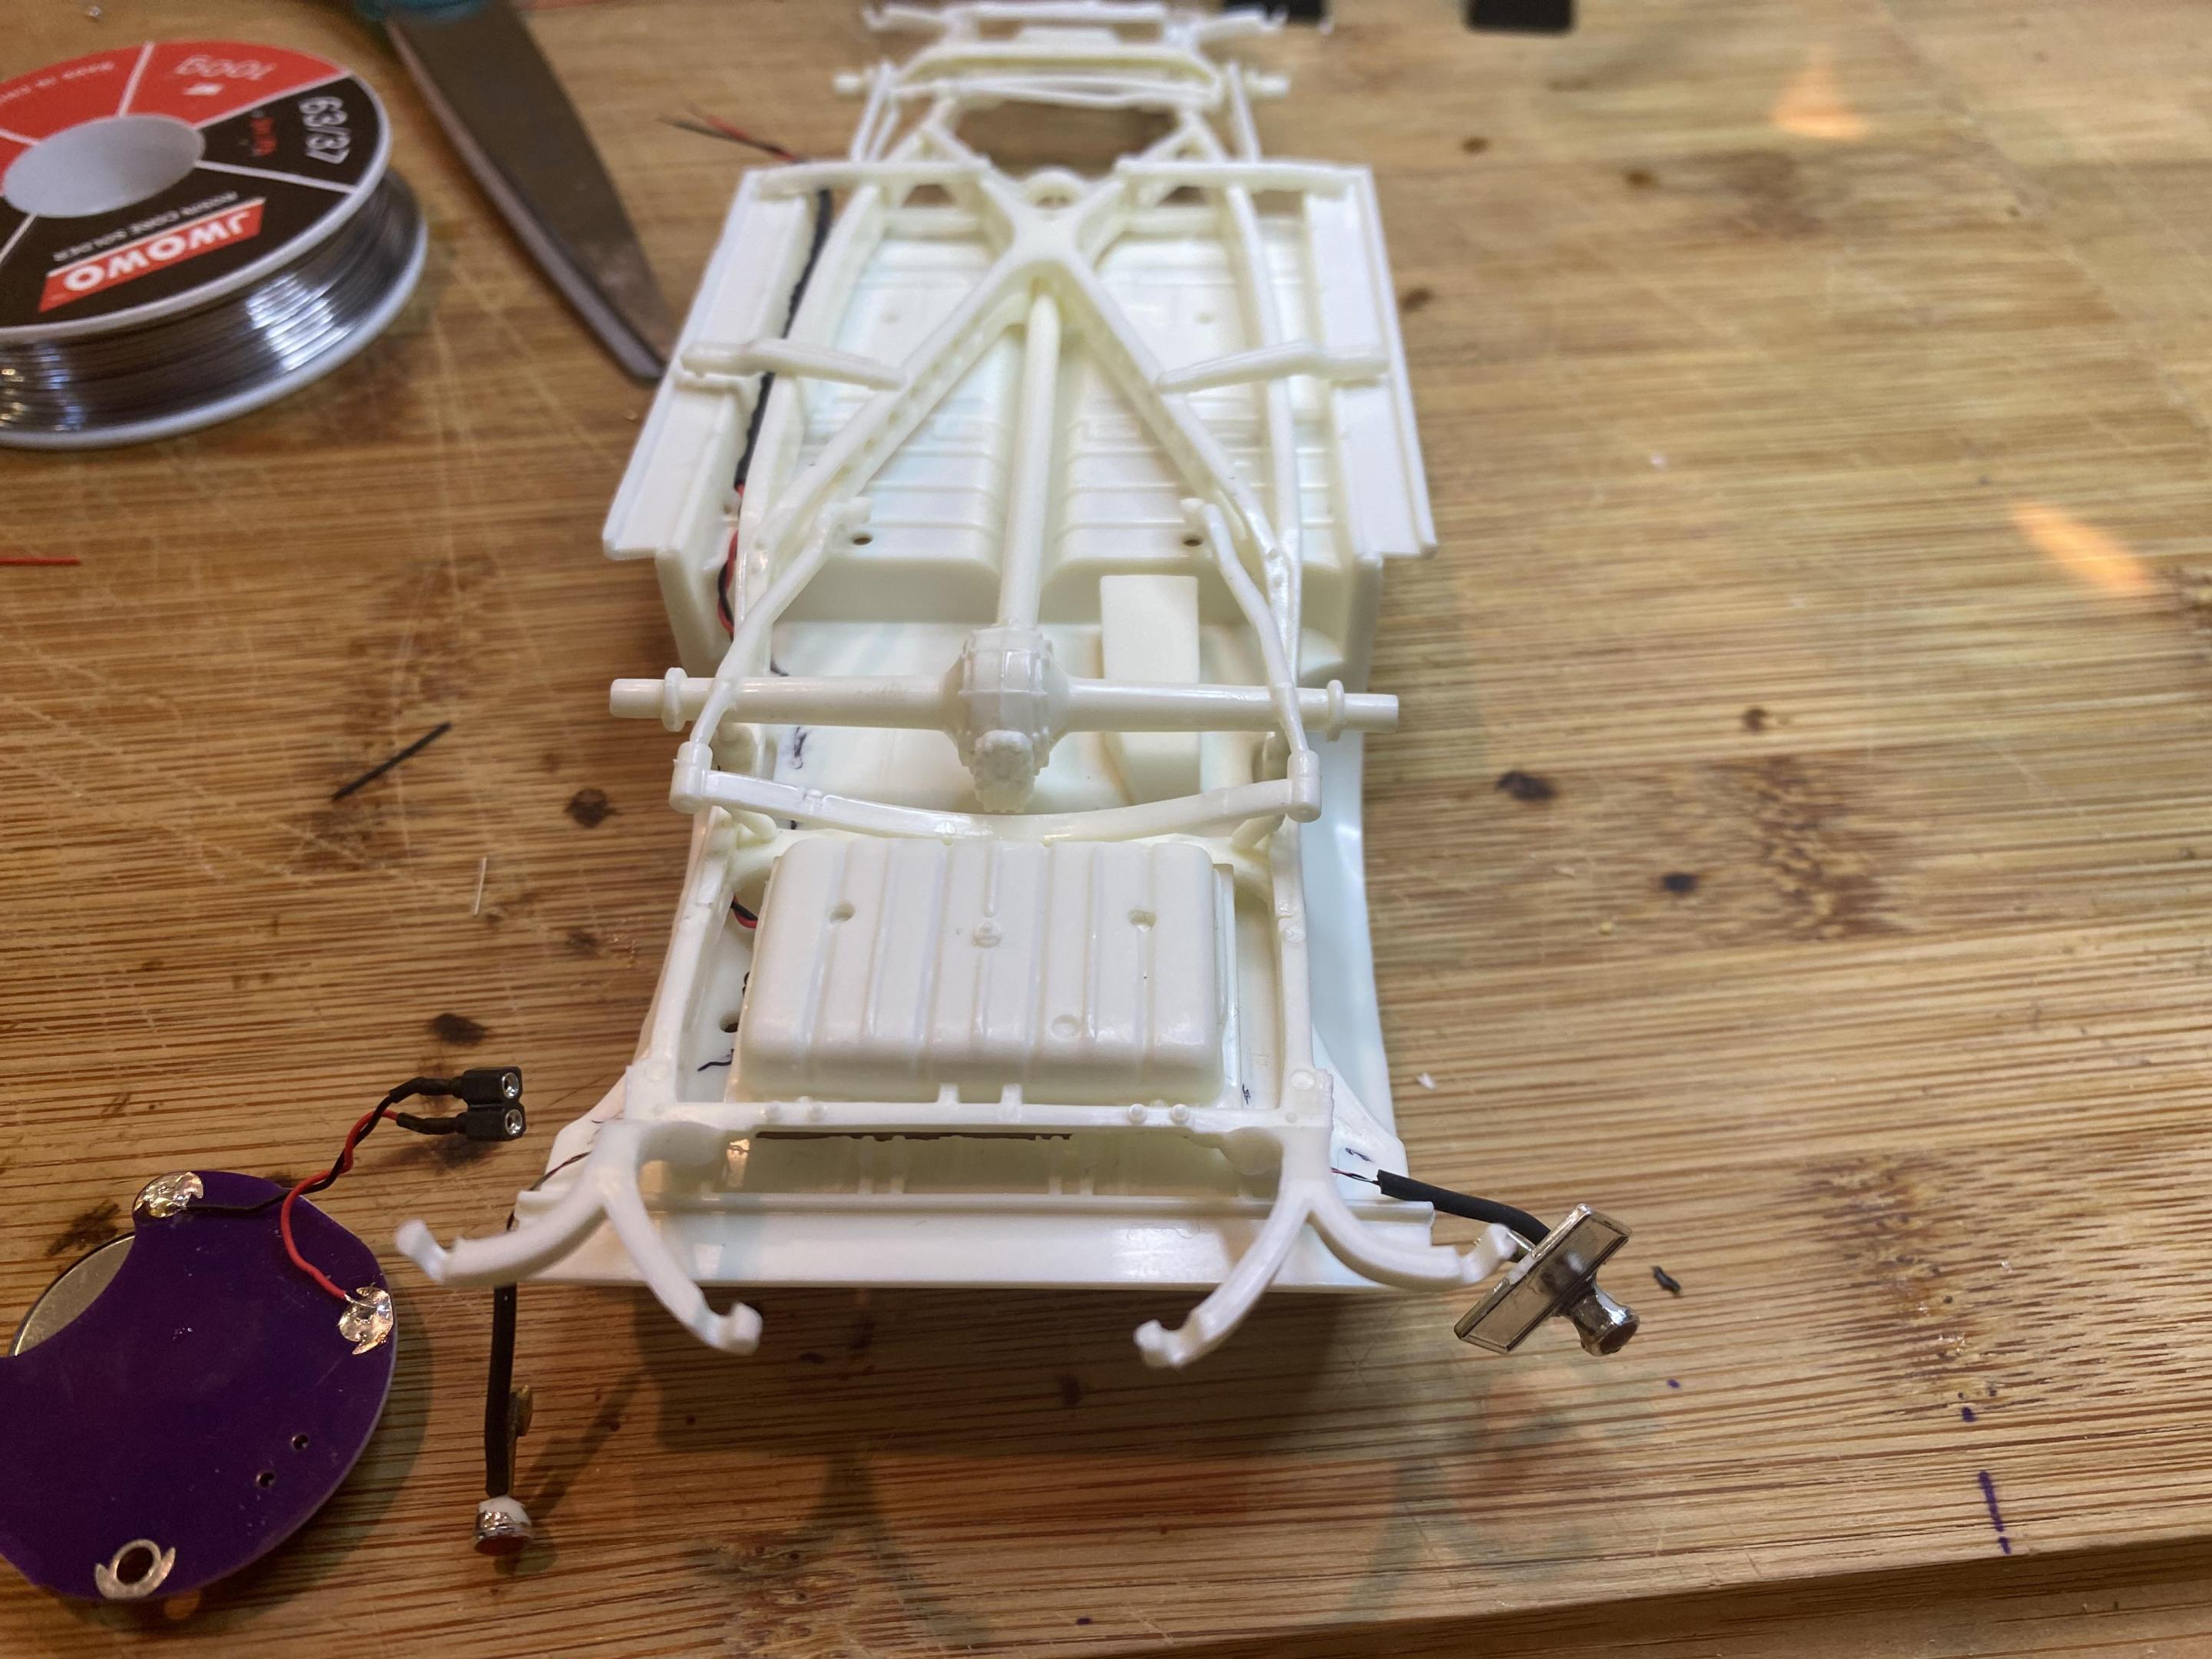
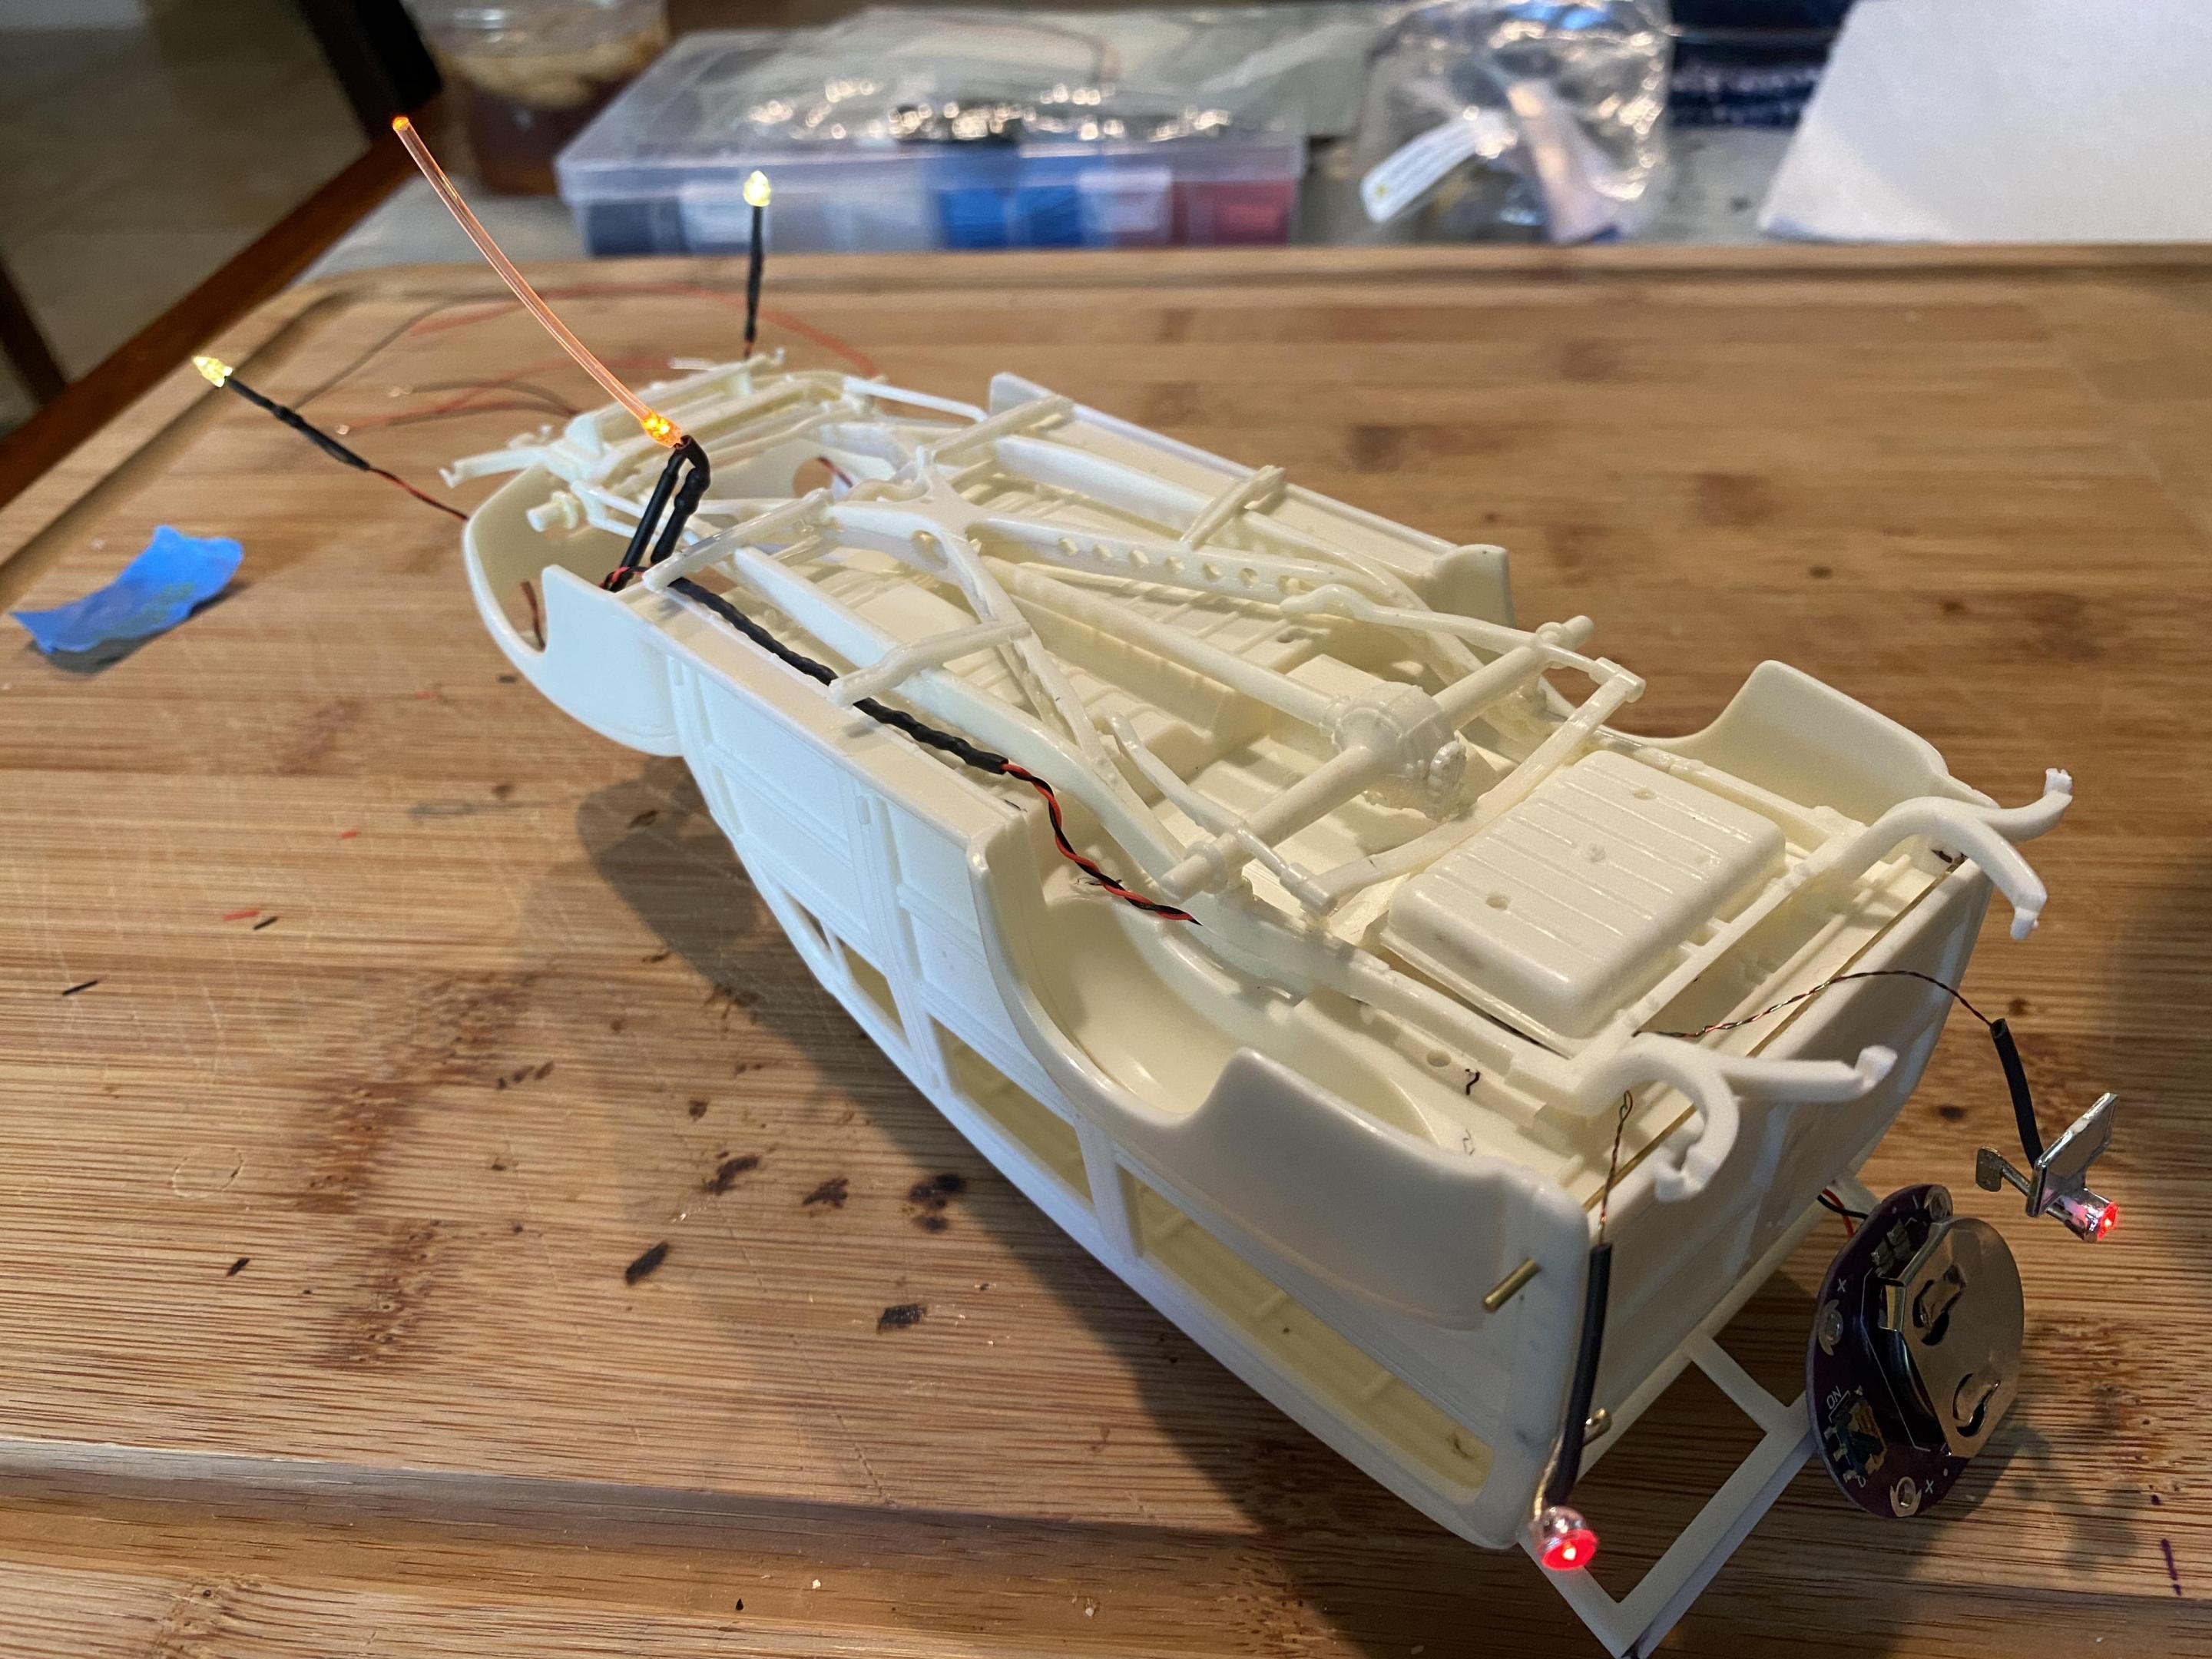
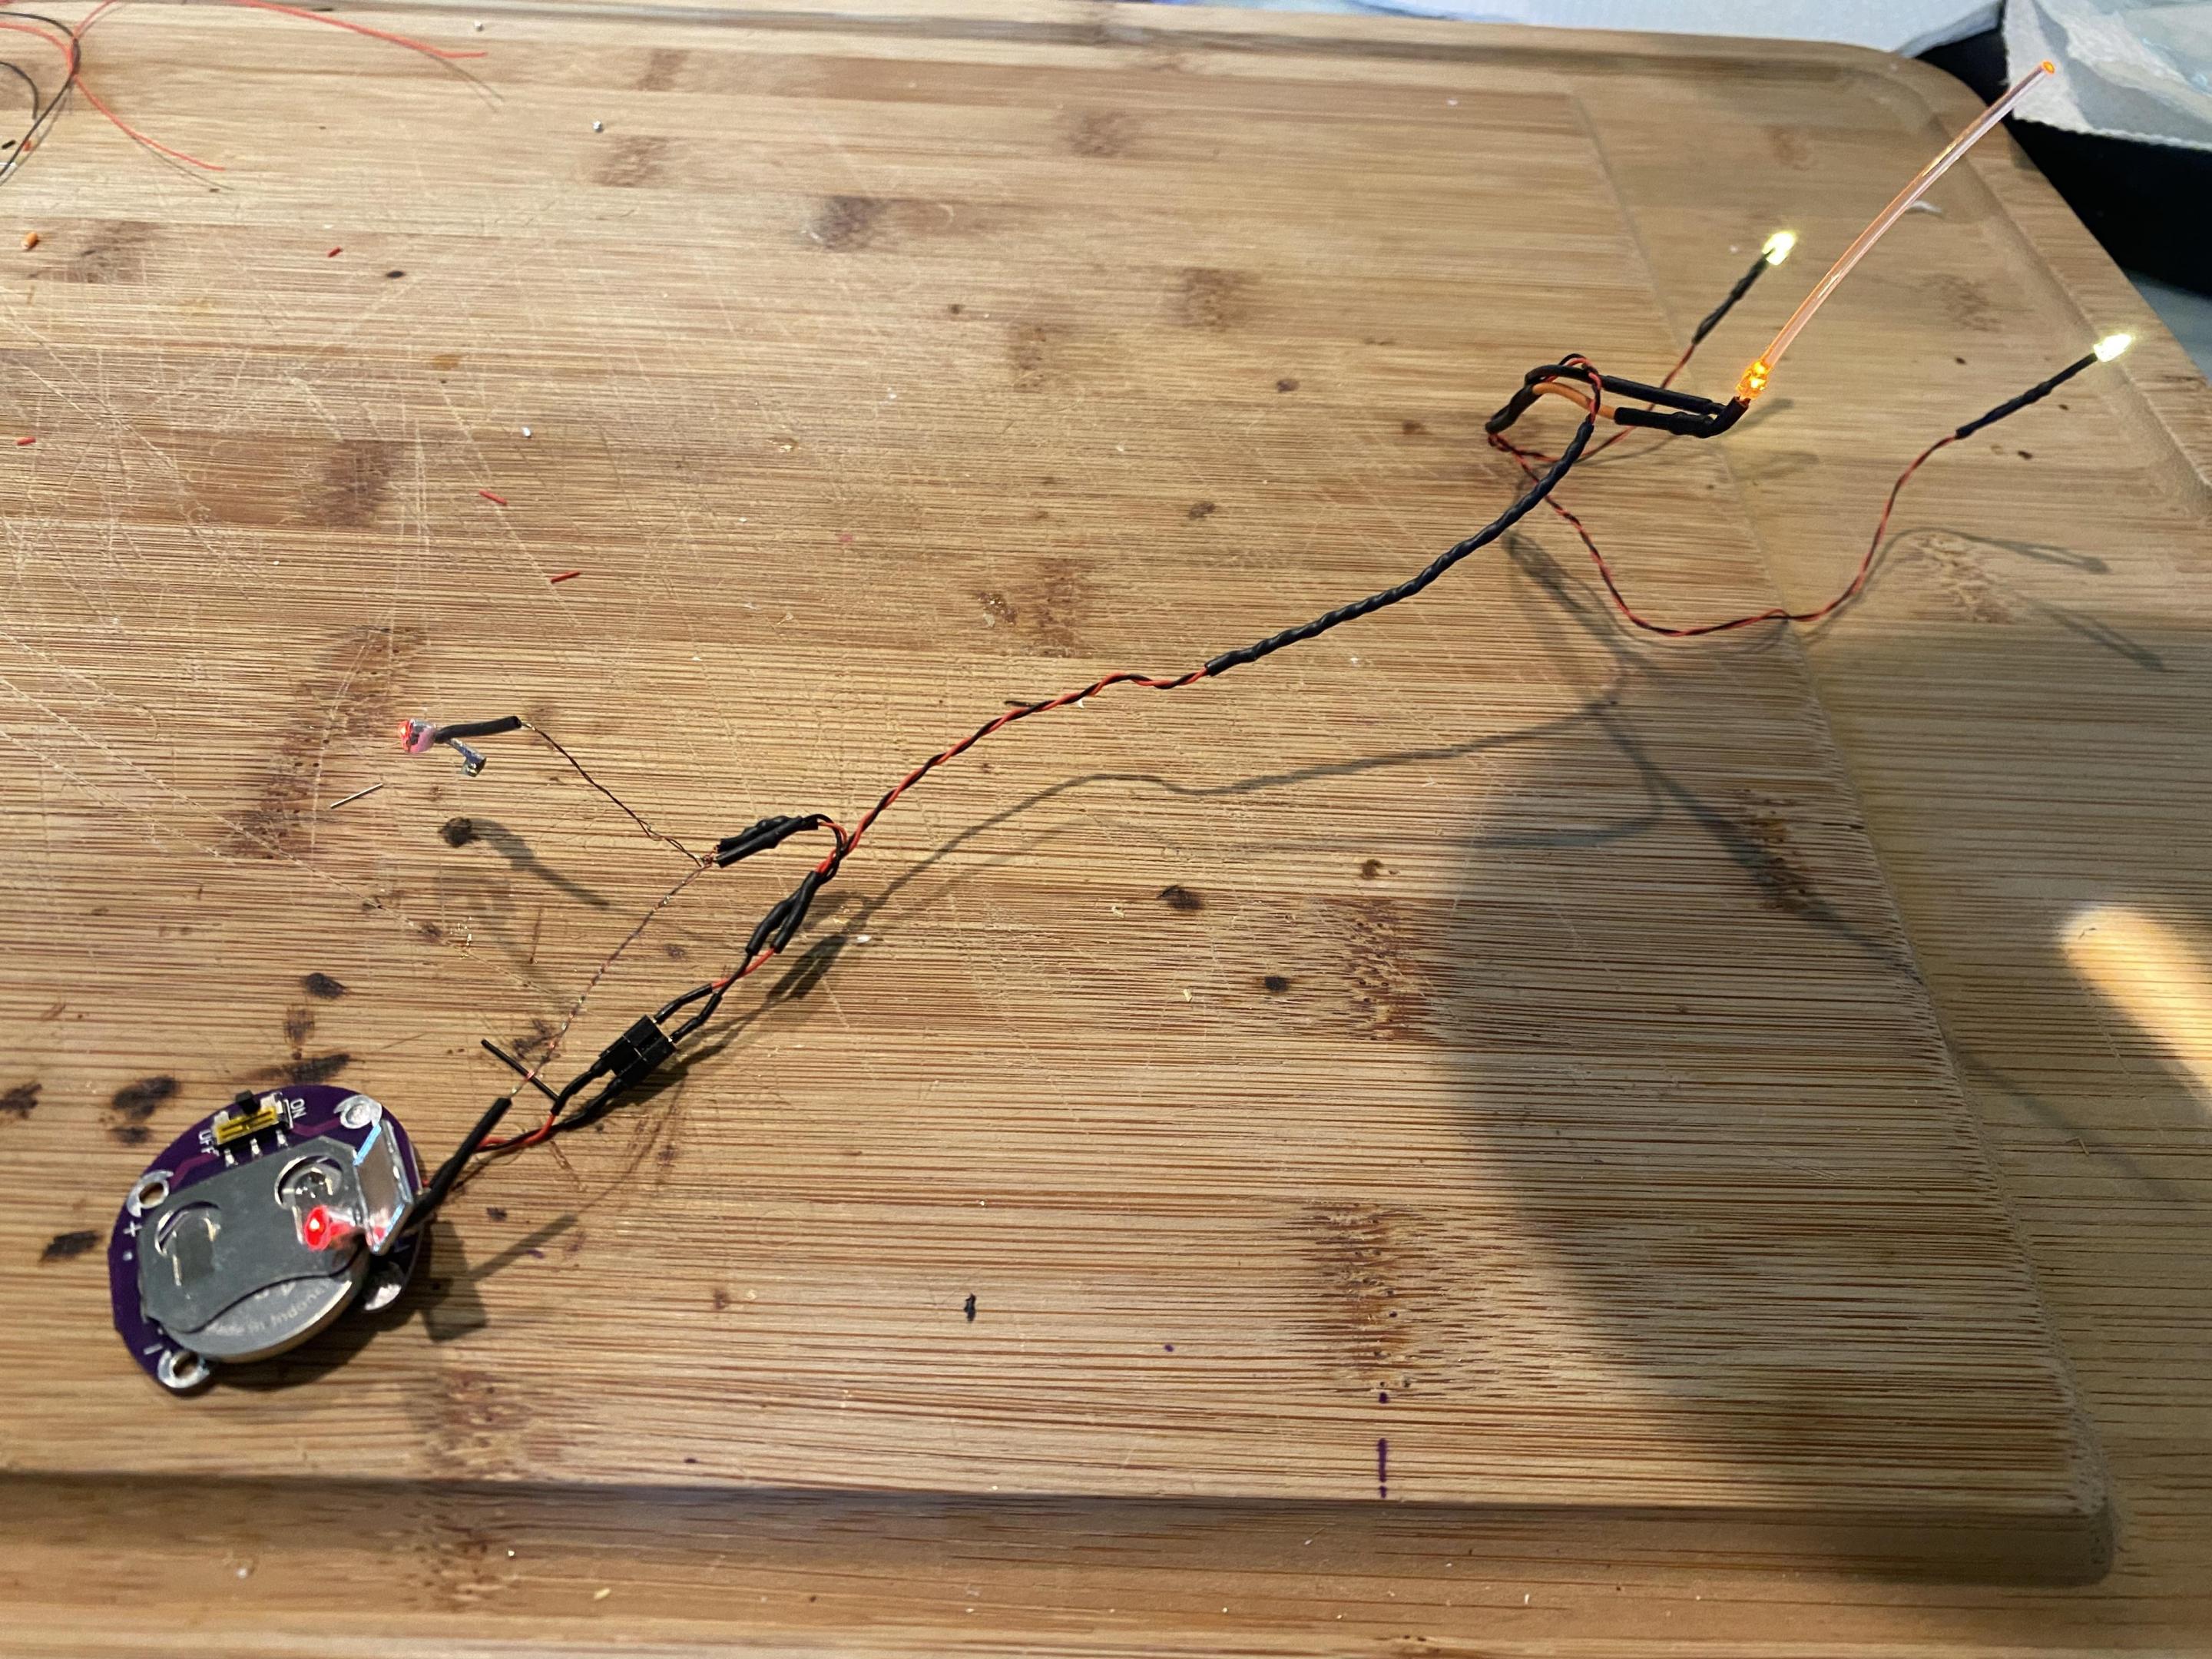
Today I created the LED wiring harness and a cover for the battery. I am using a lily pad style battery holder with a switch built on the circuit board. I will eventually try to camouflage the cover with items like a picnic basket, ice chest and beach towels.
-
Very nicely done!
- 29 replies
-
- 1
-

-
- 350 4spd
- convertible
-
(and 1 more)
Tagged with:
-
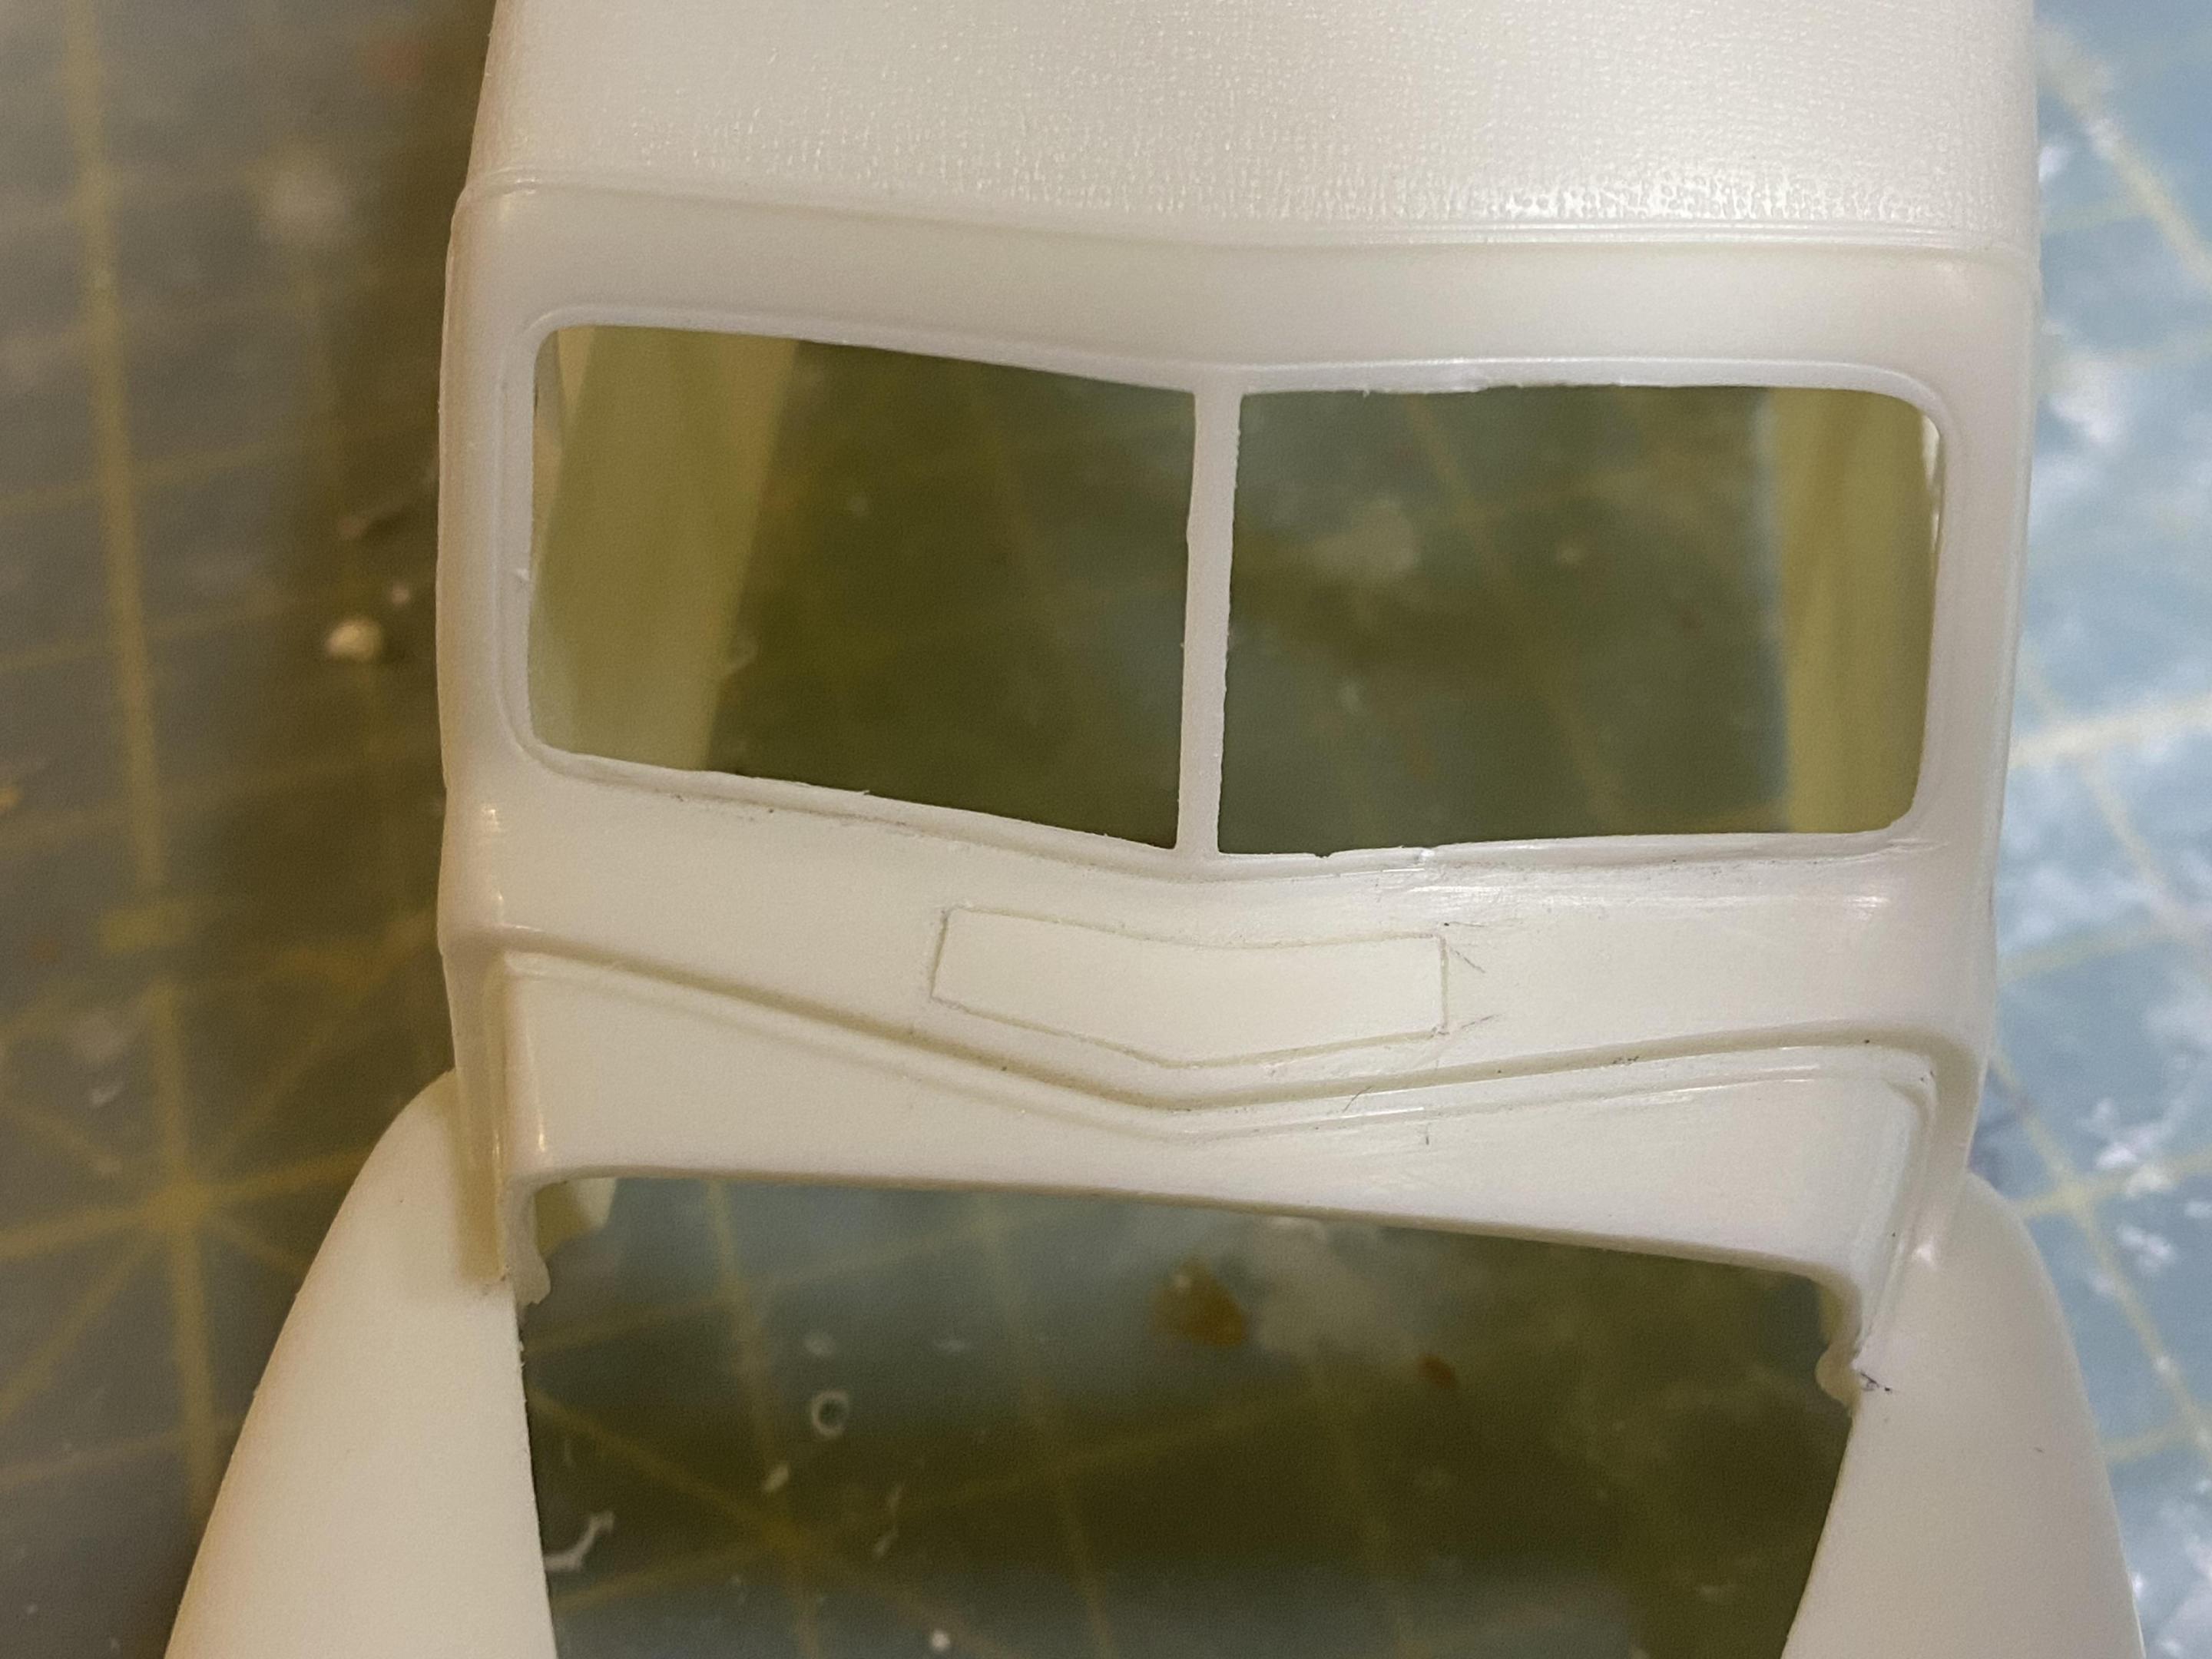
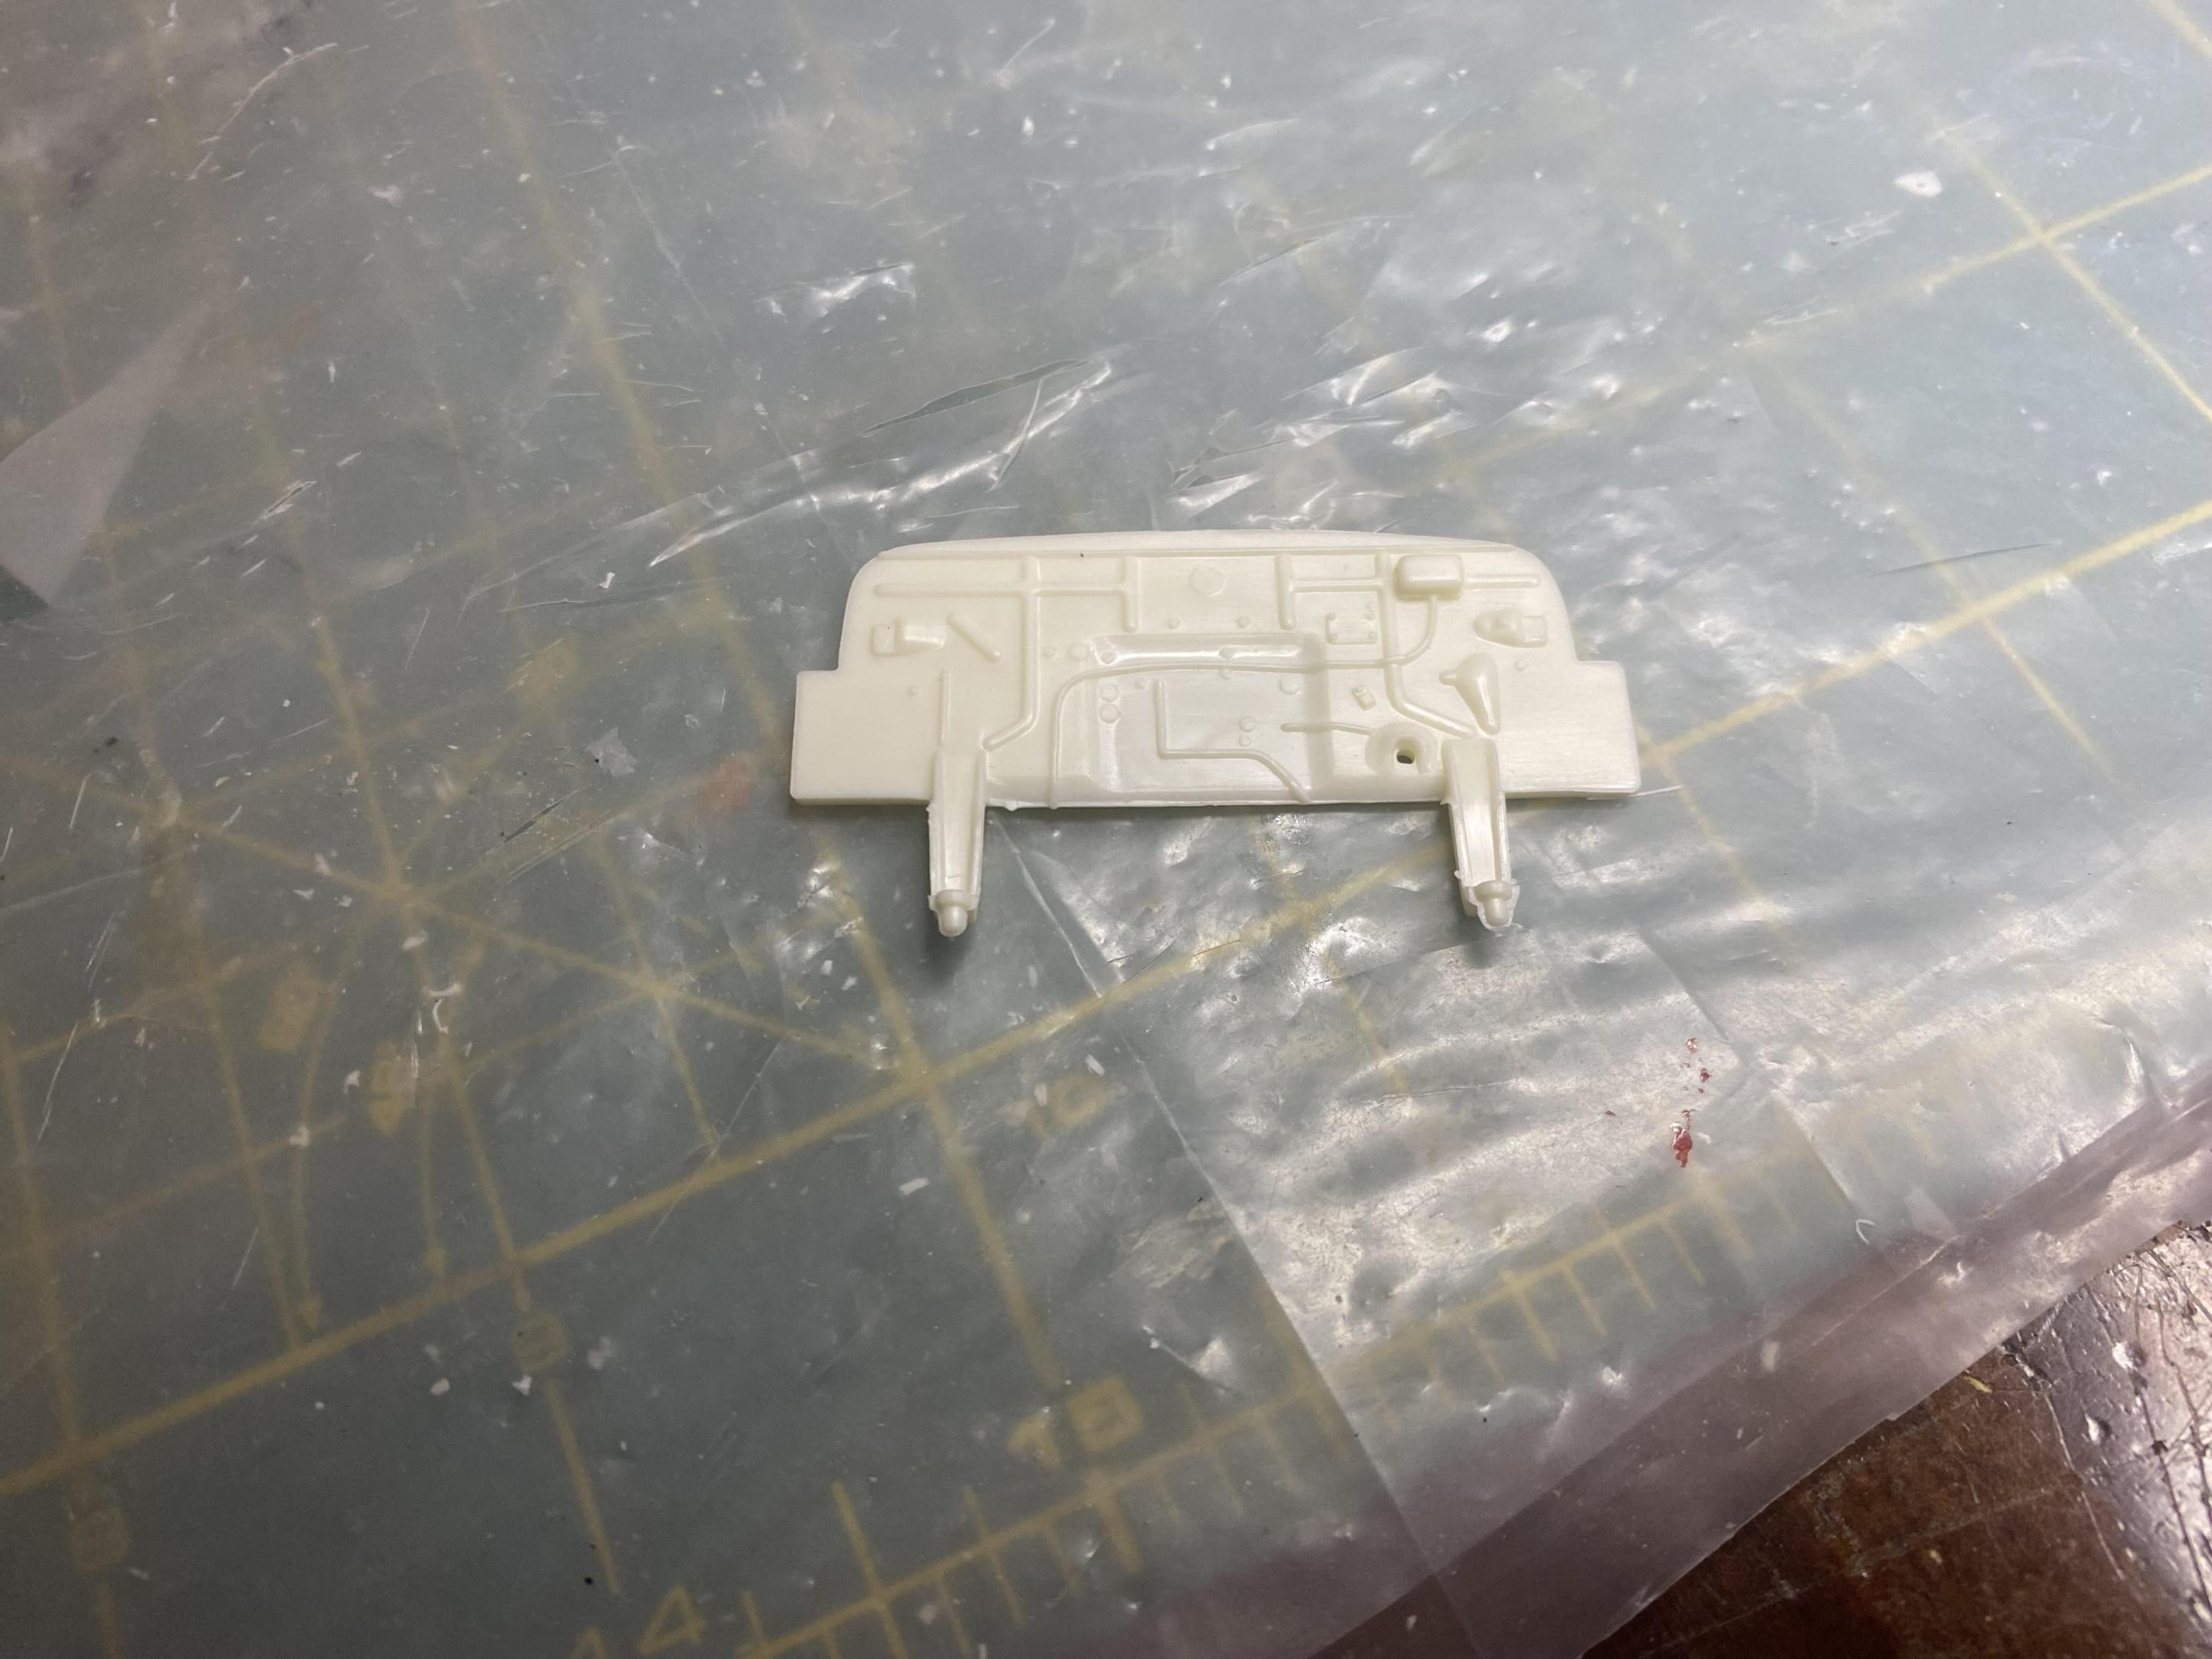
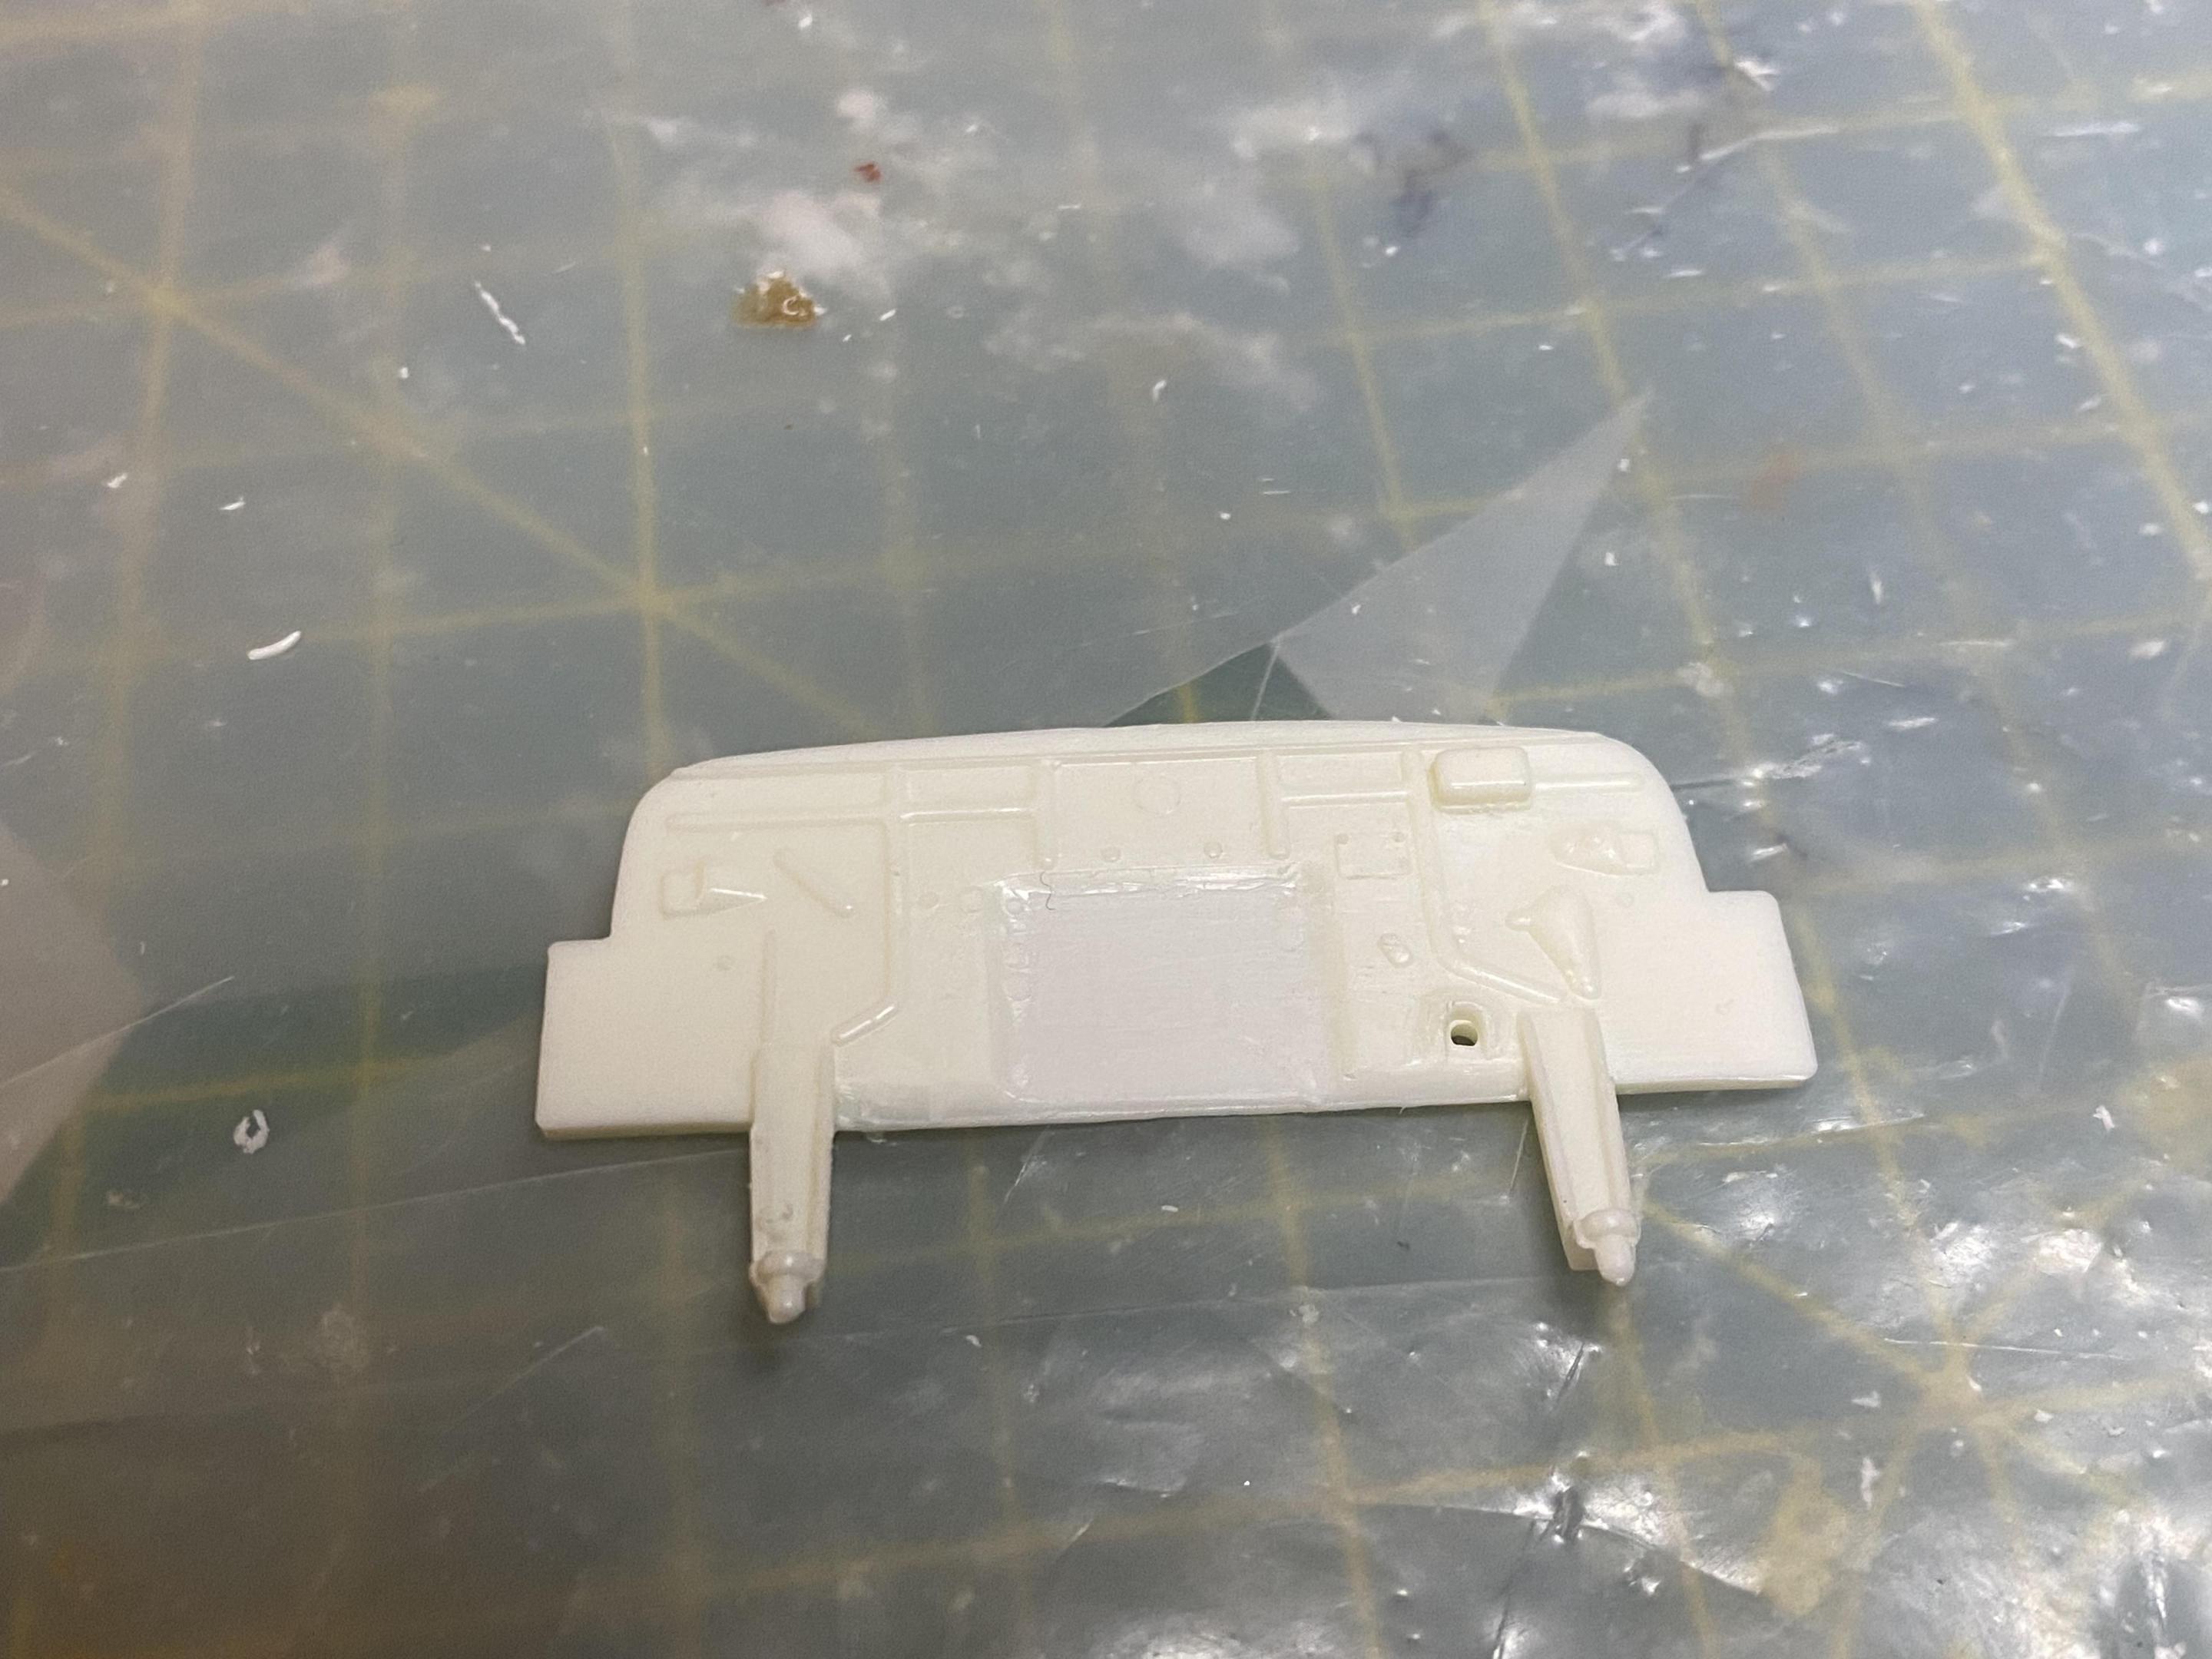
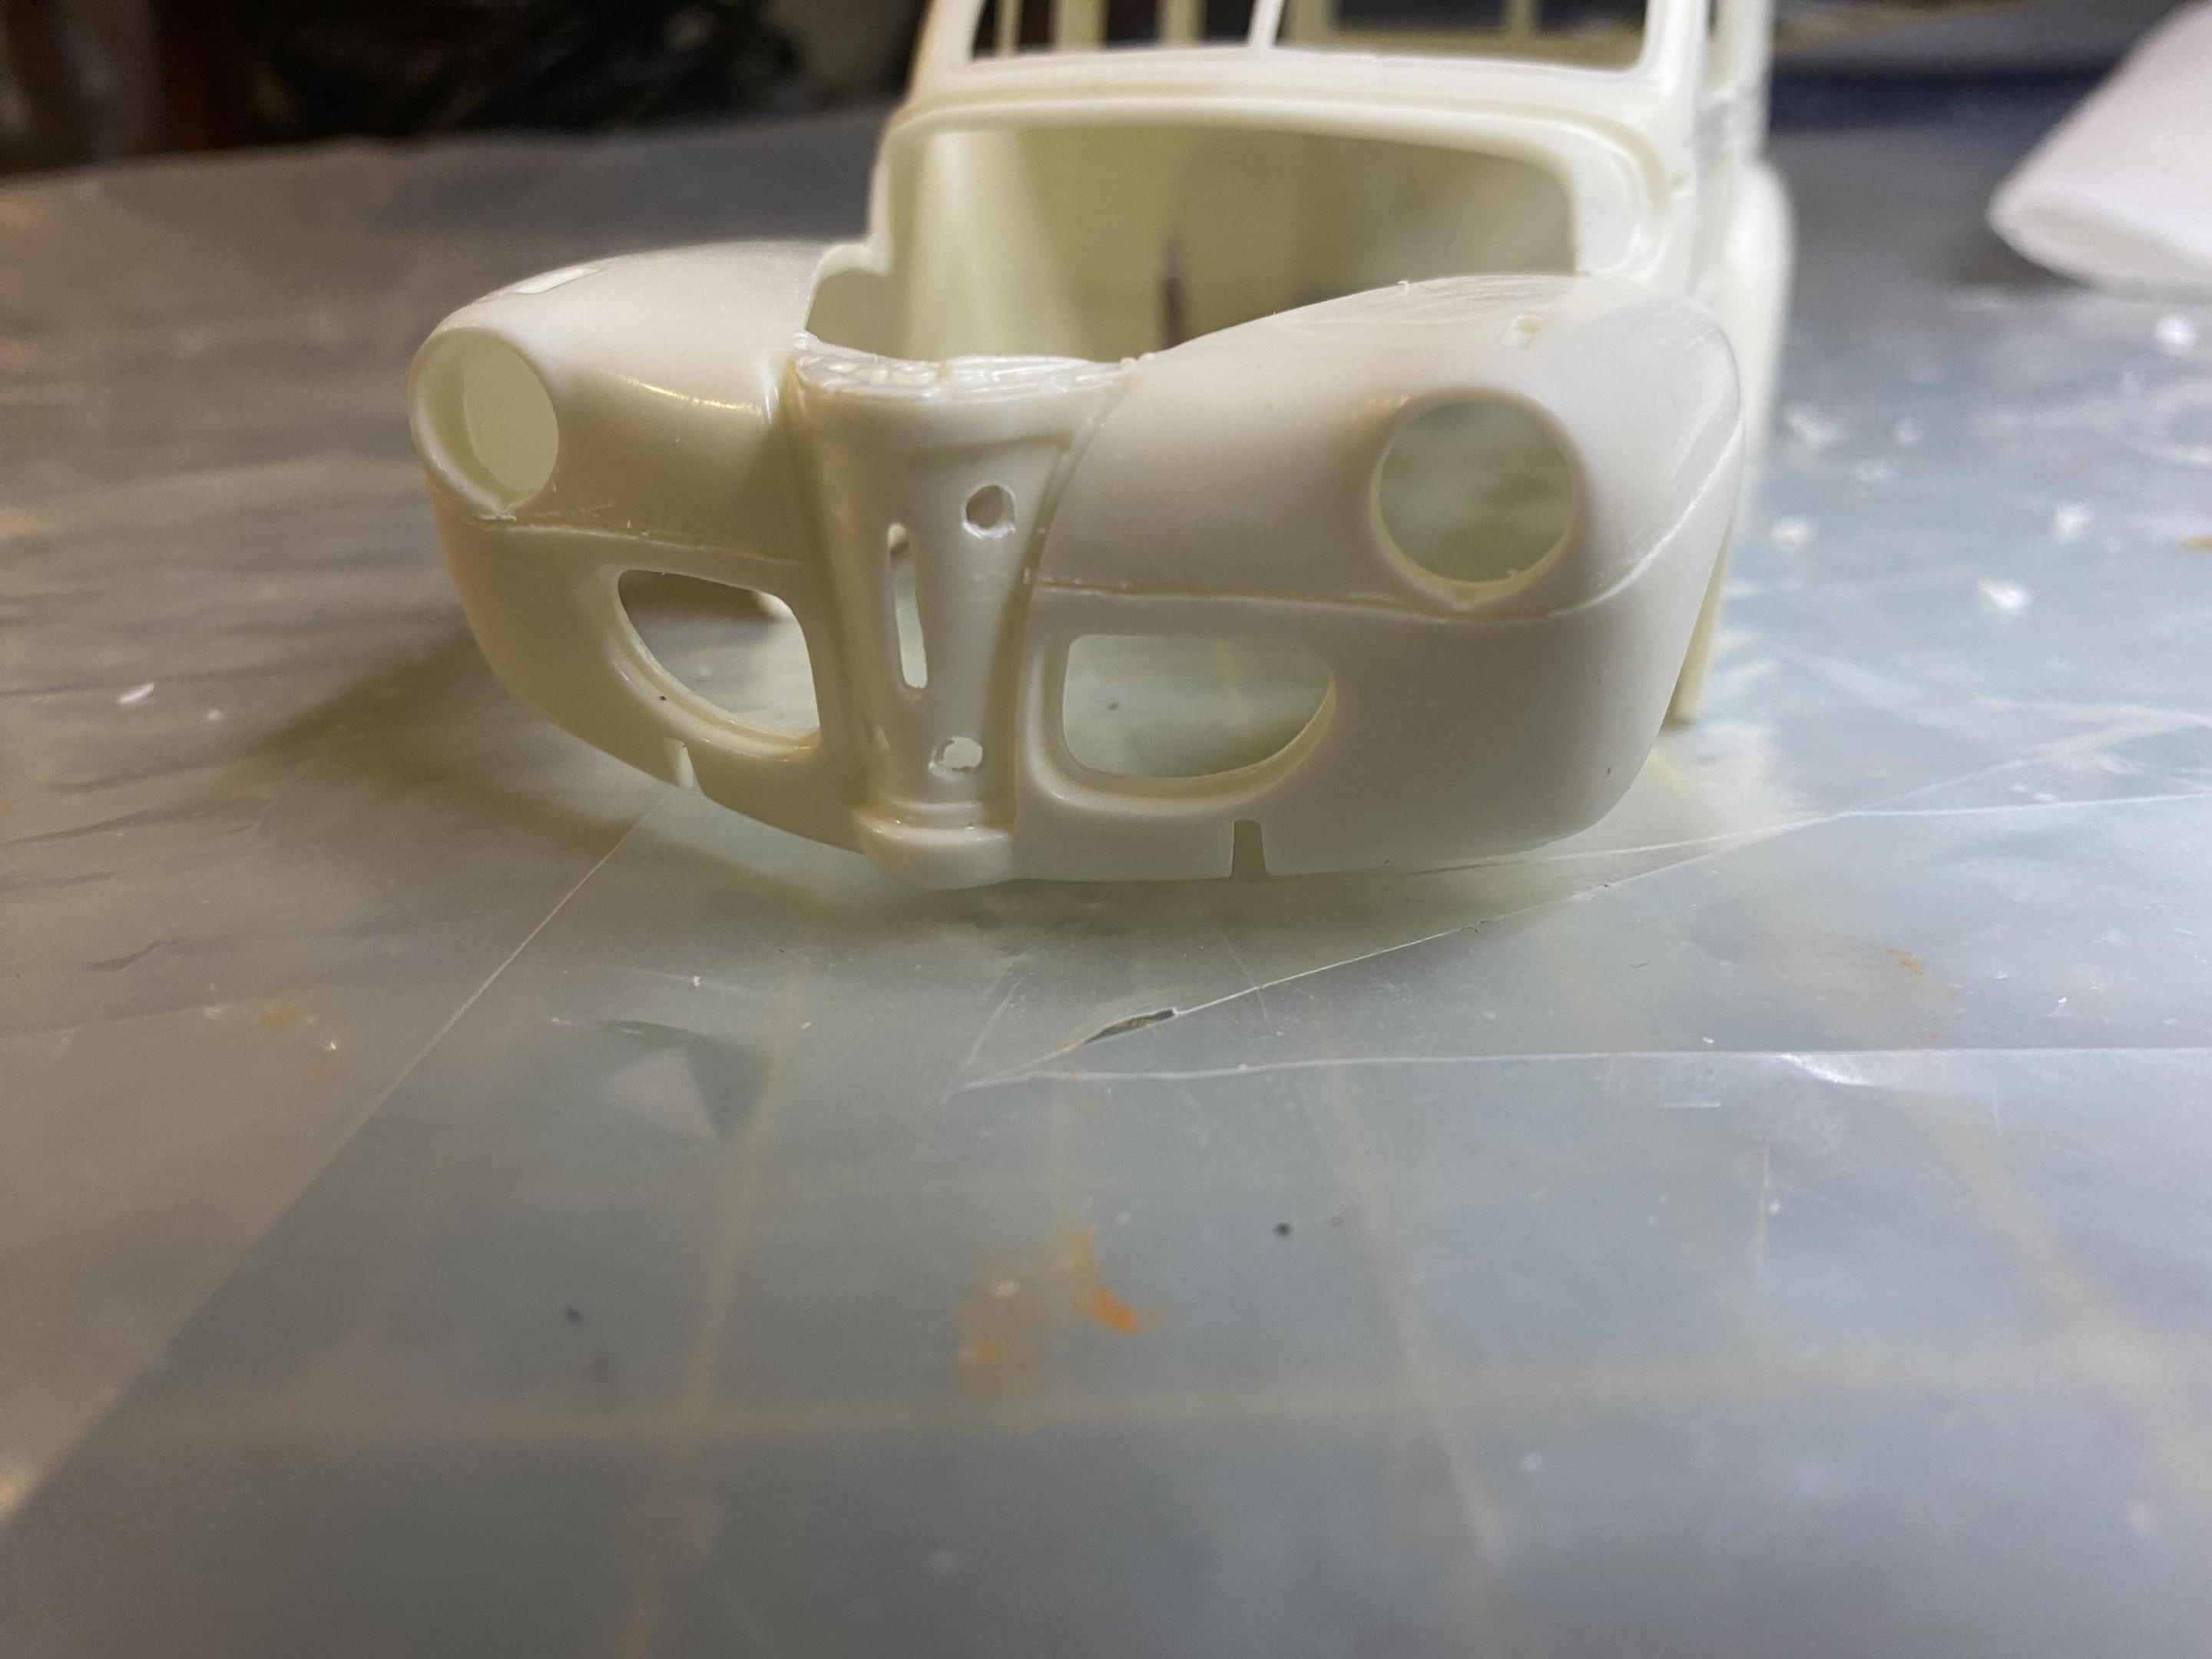
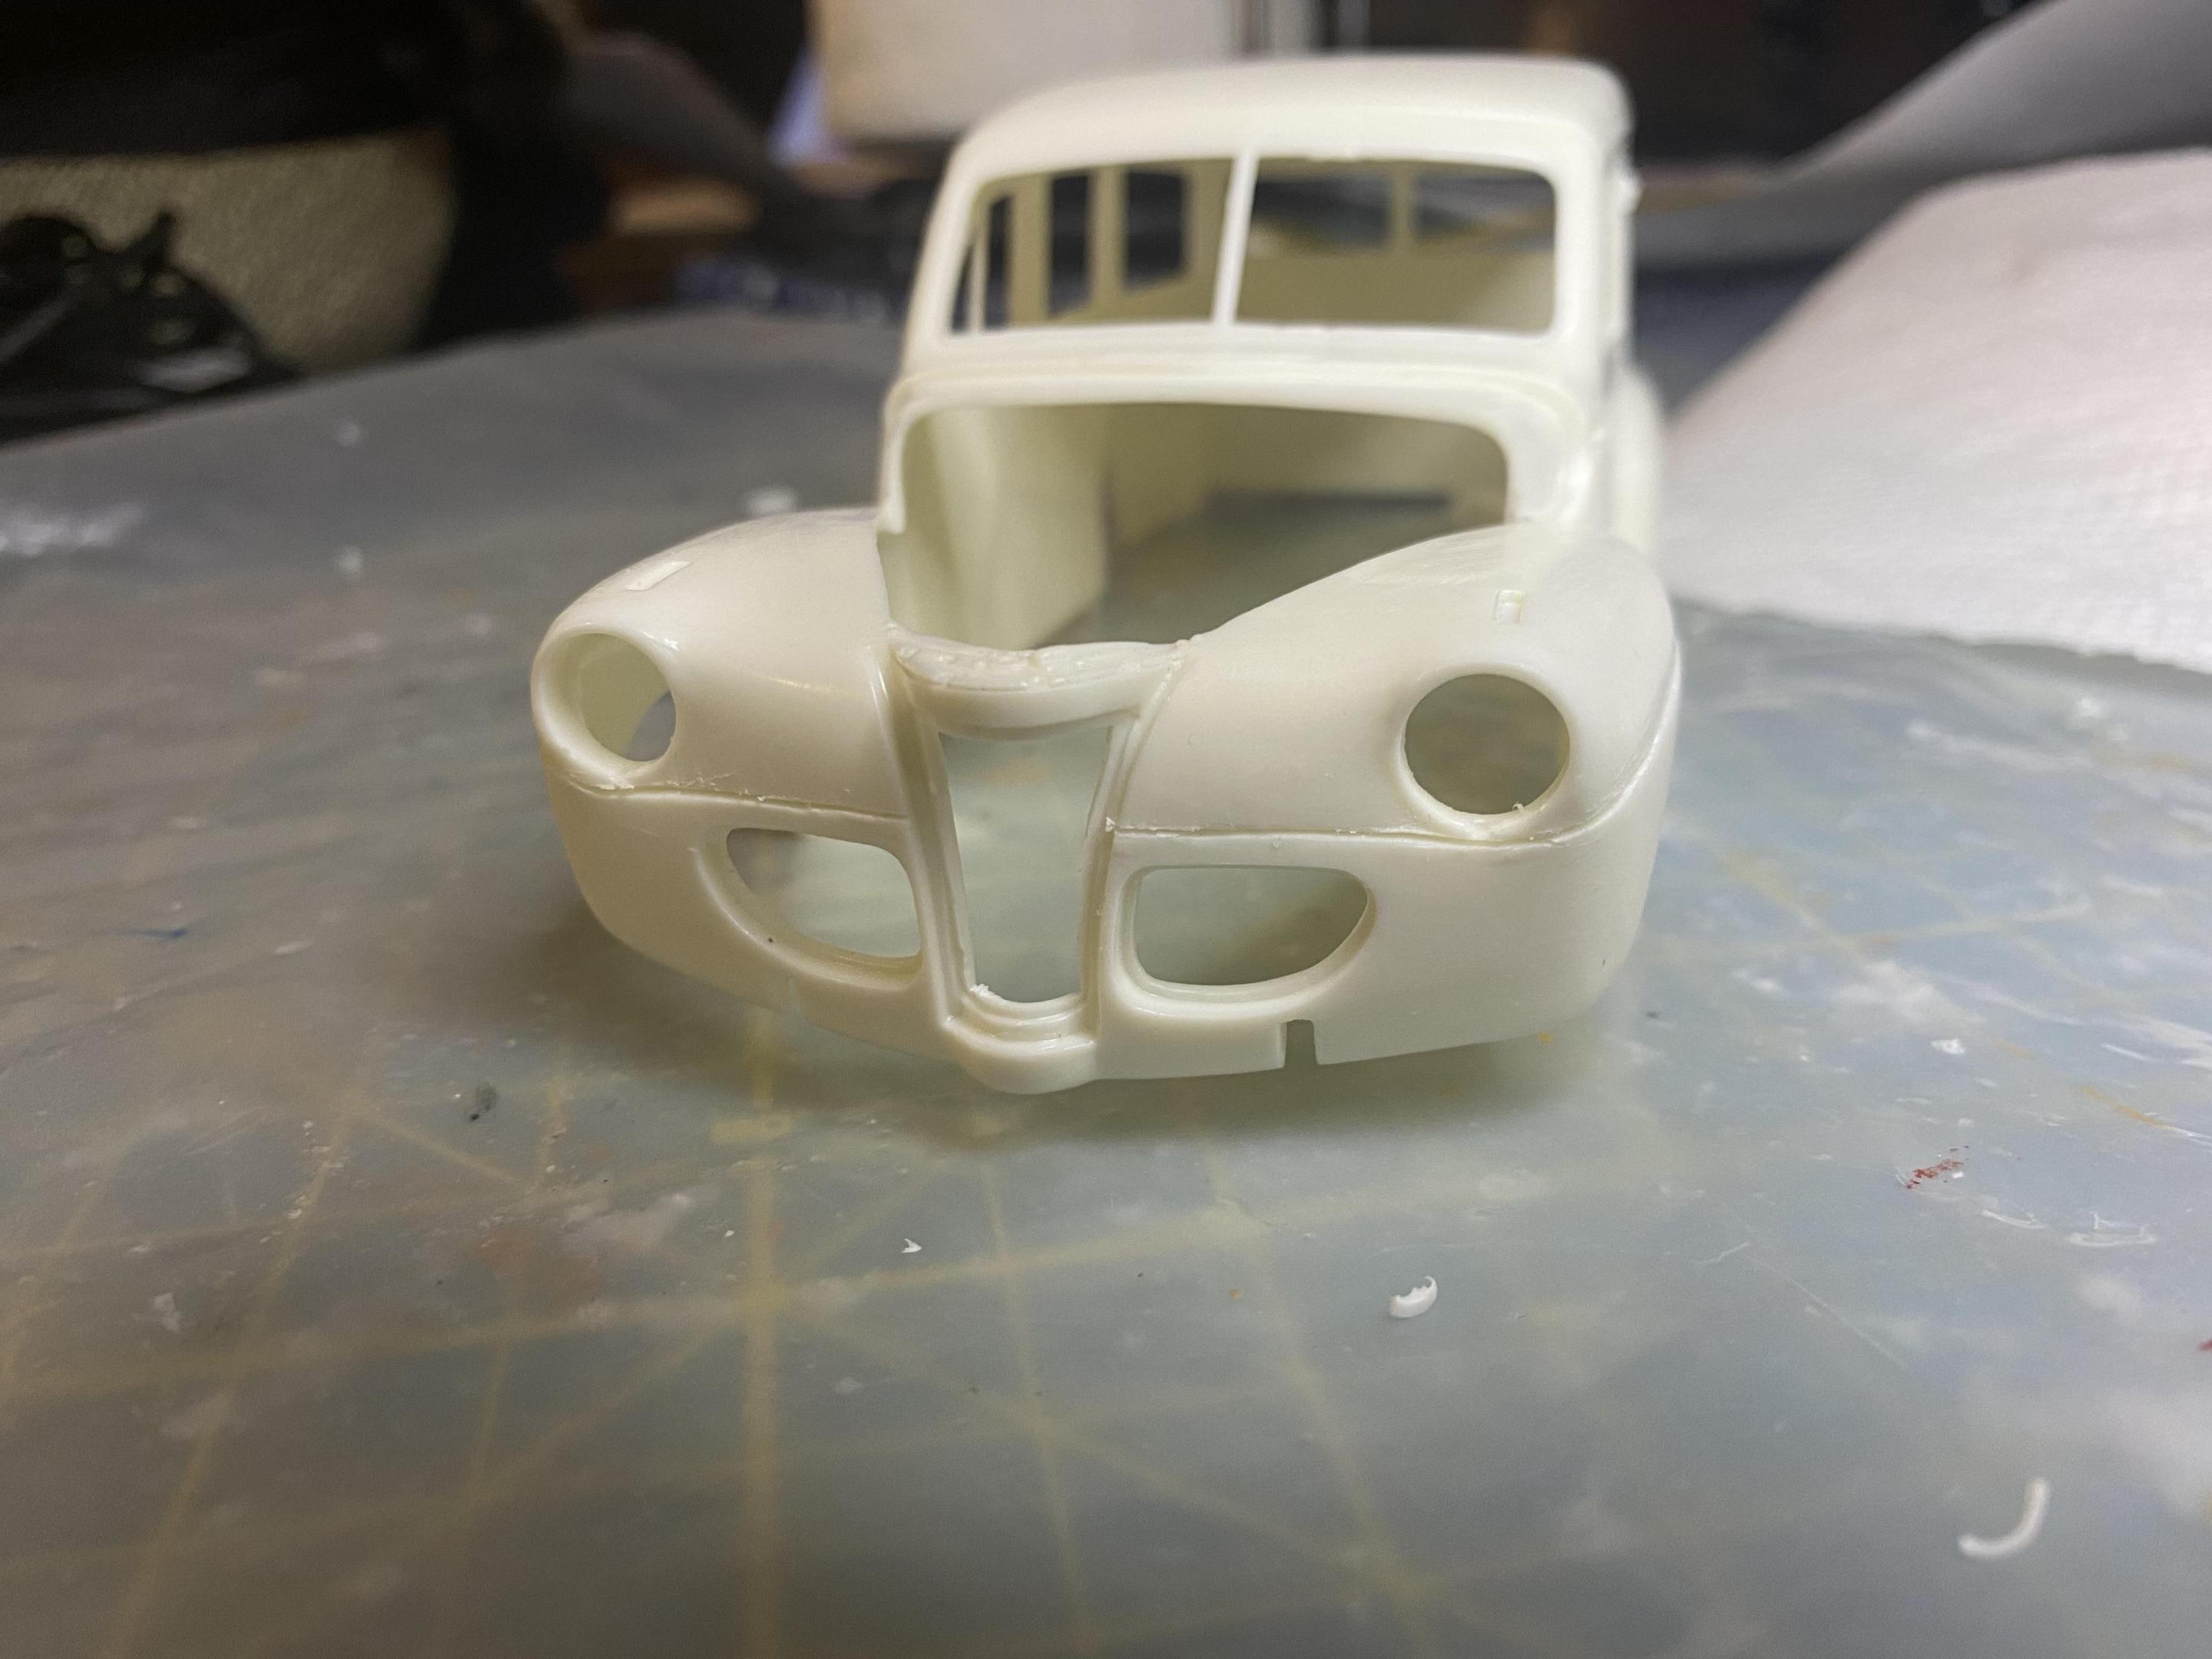
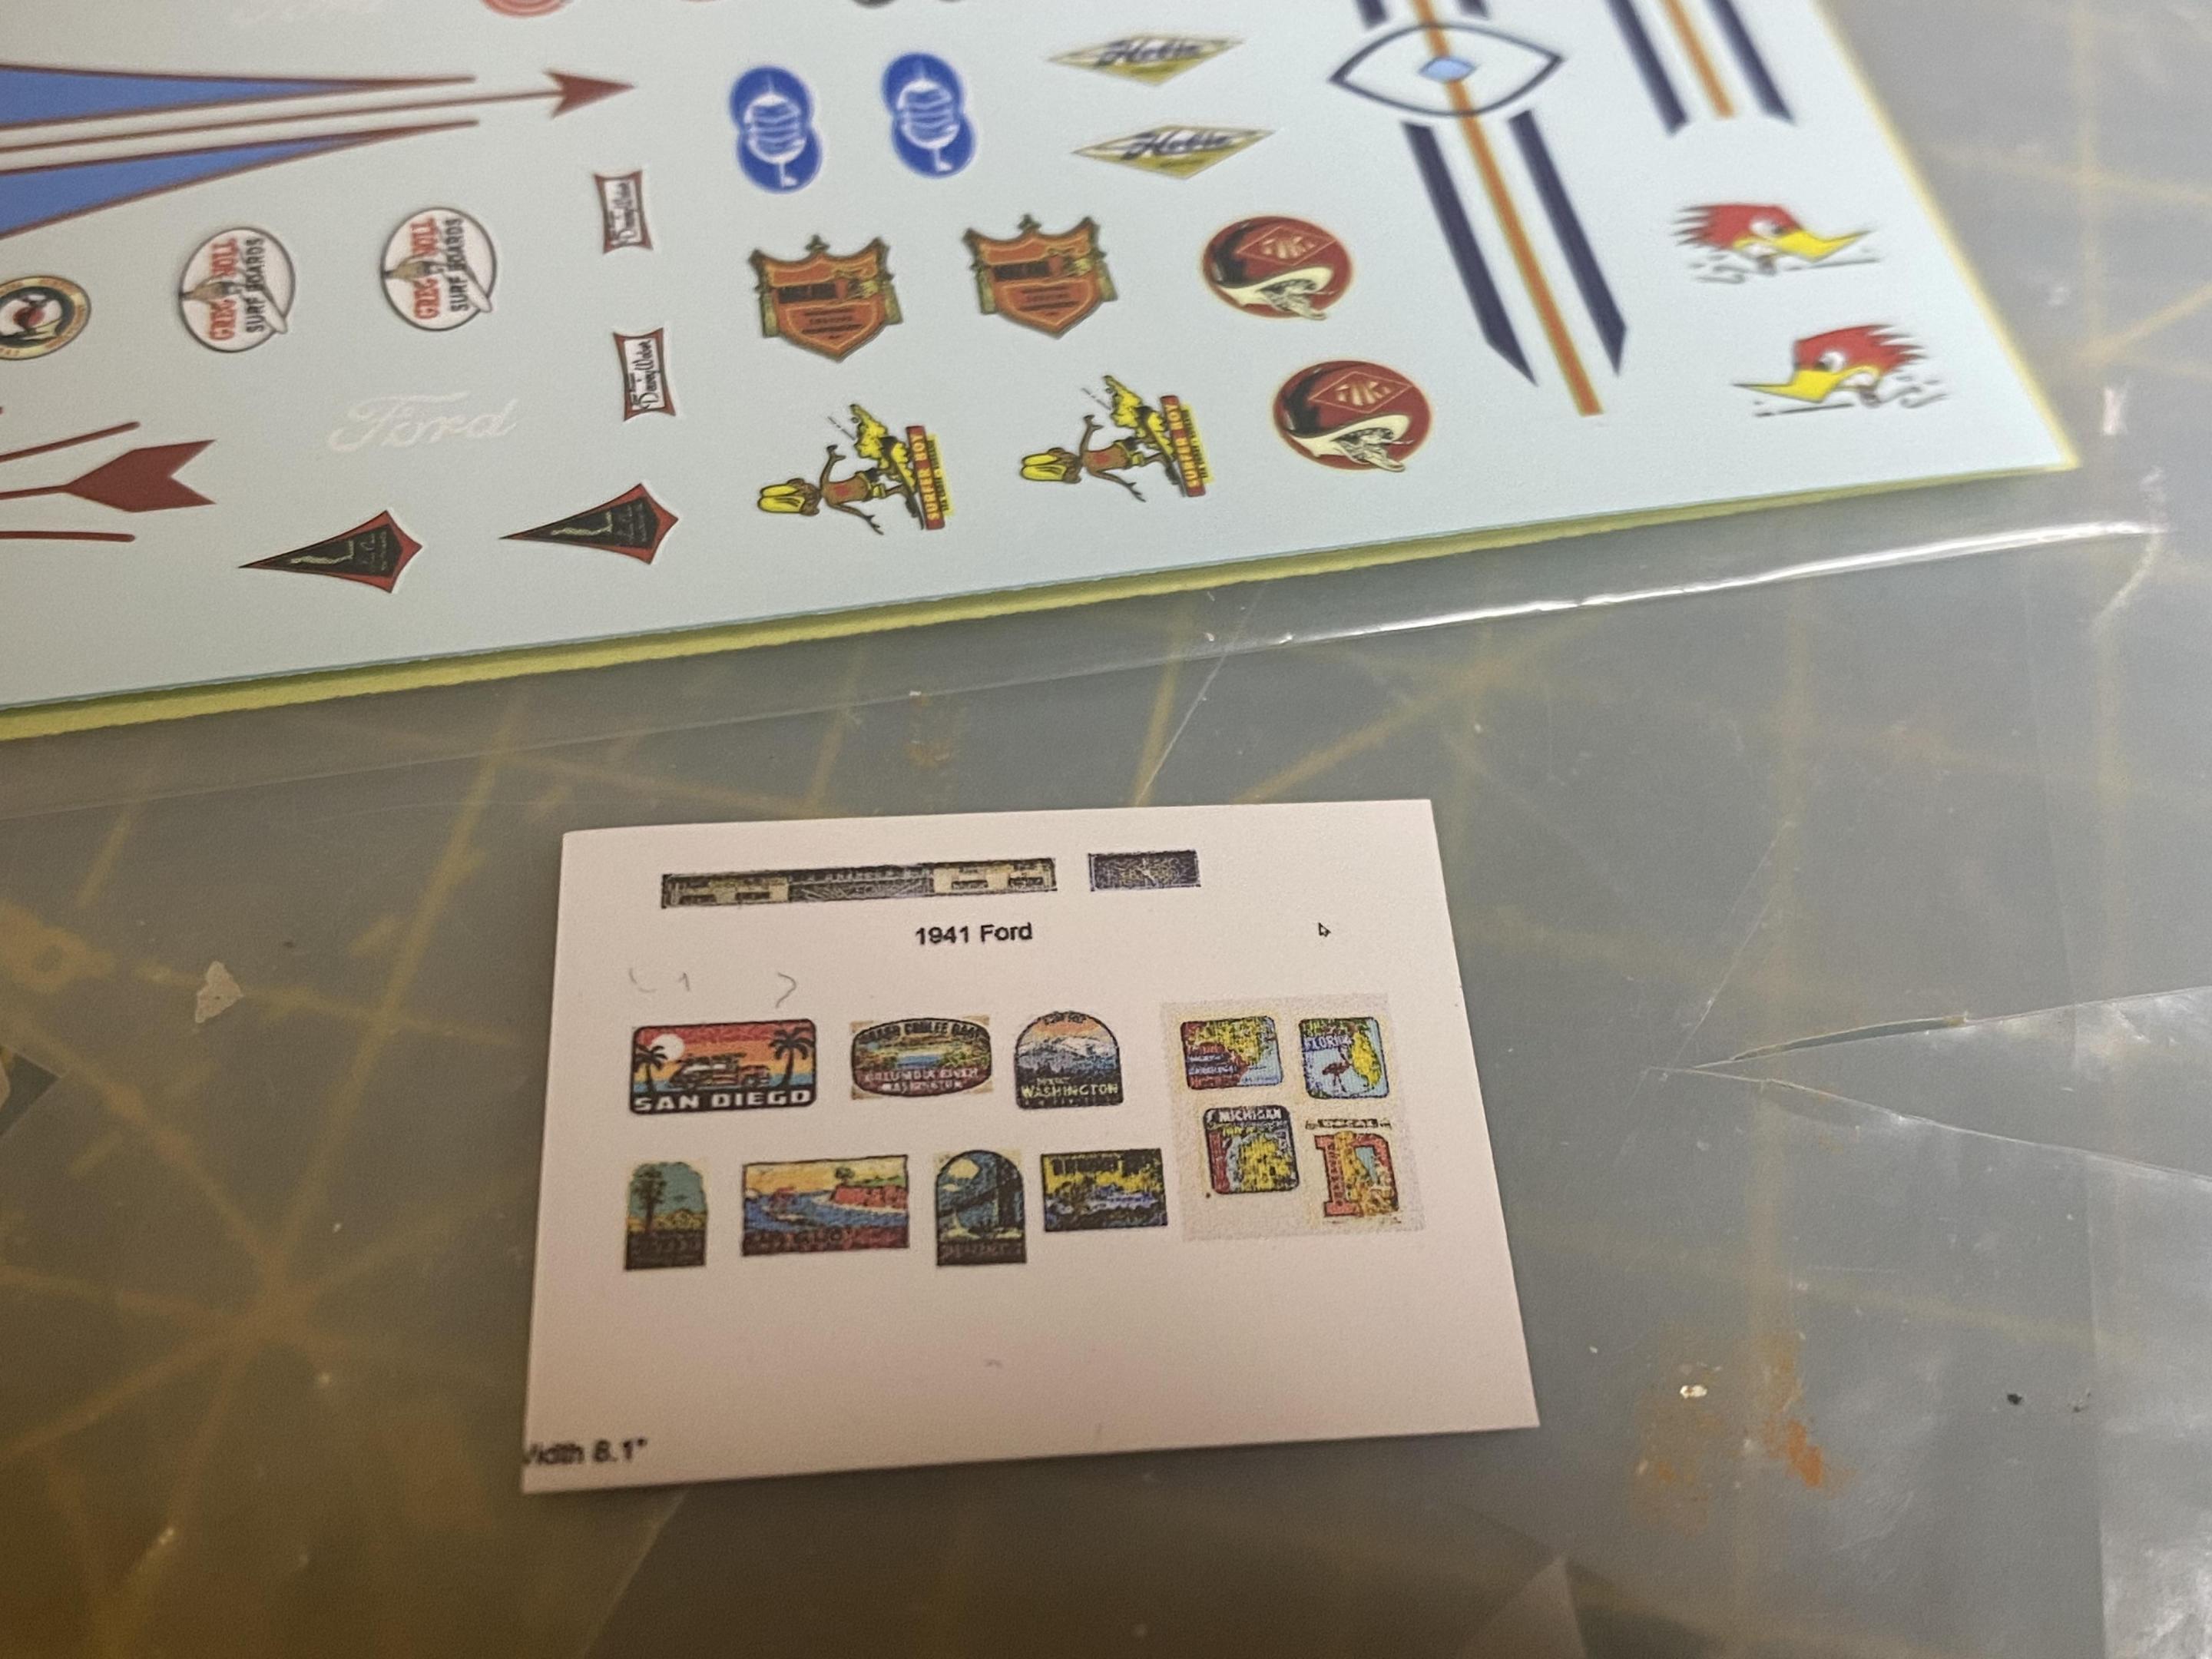
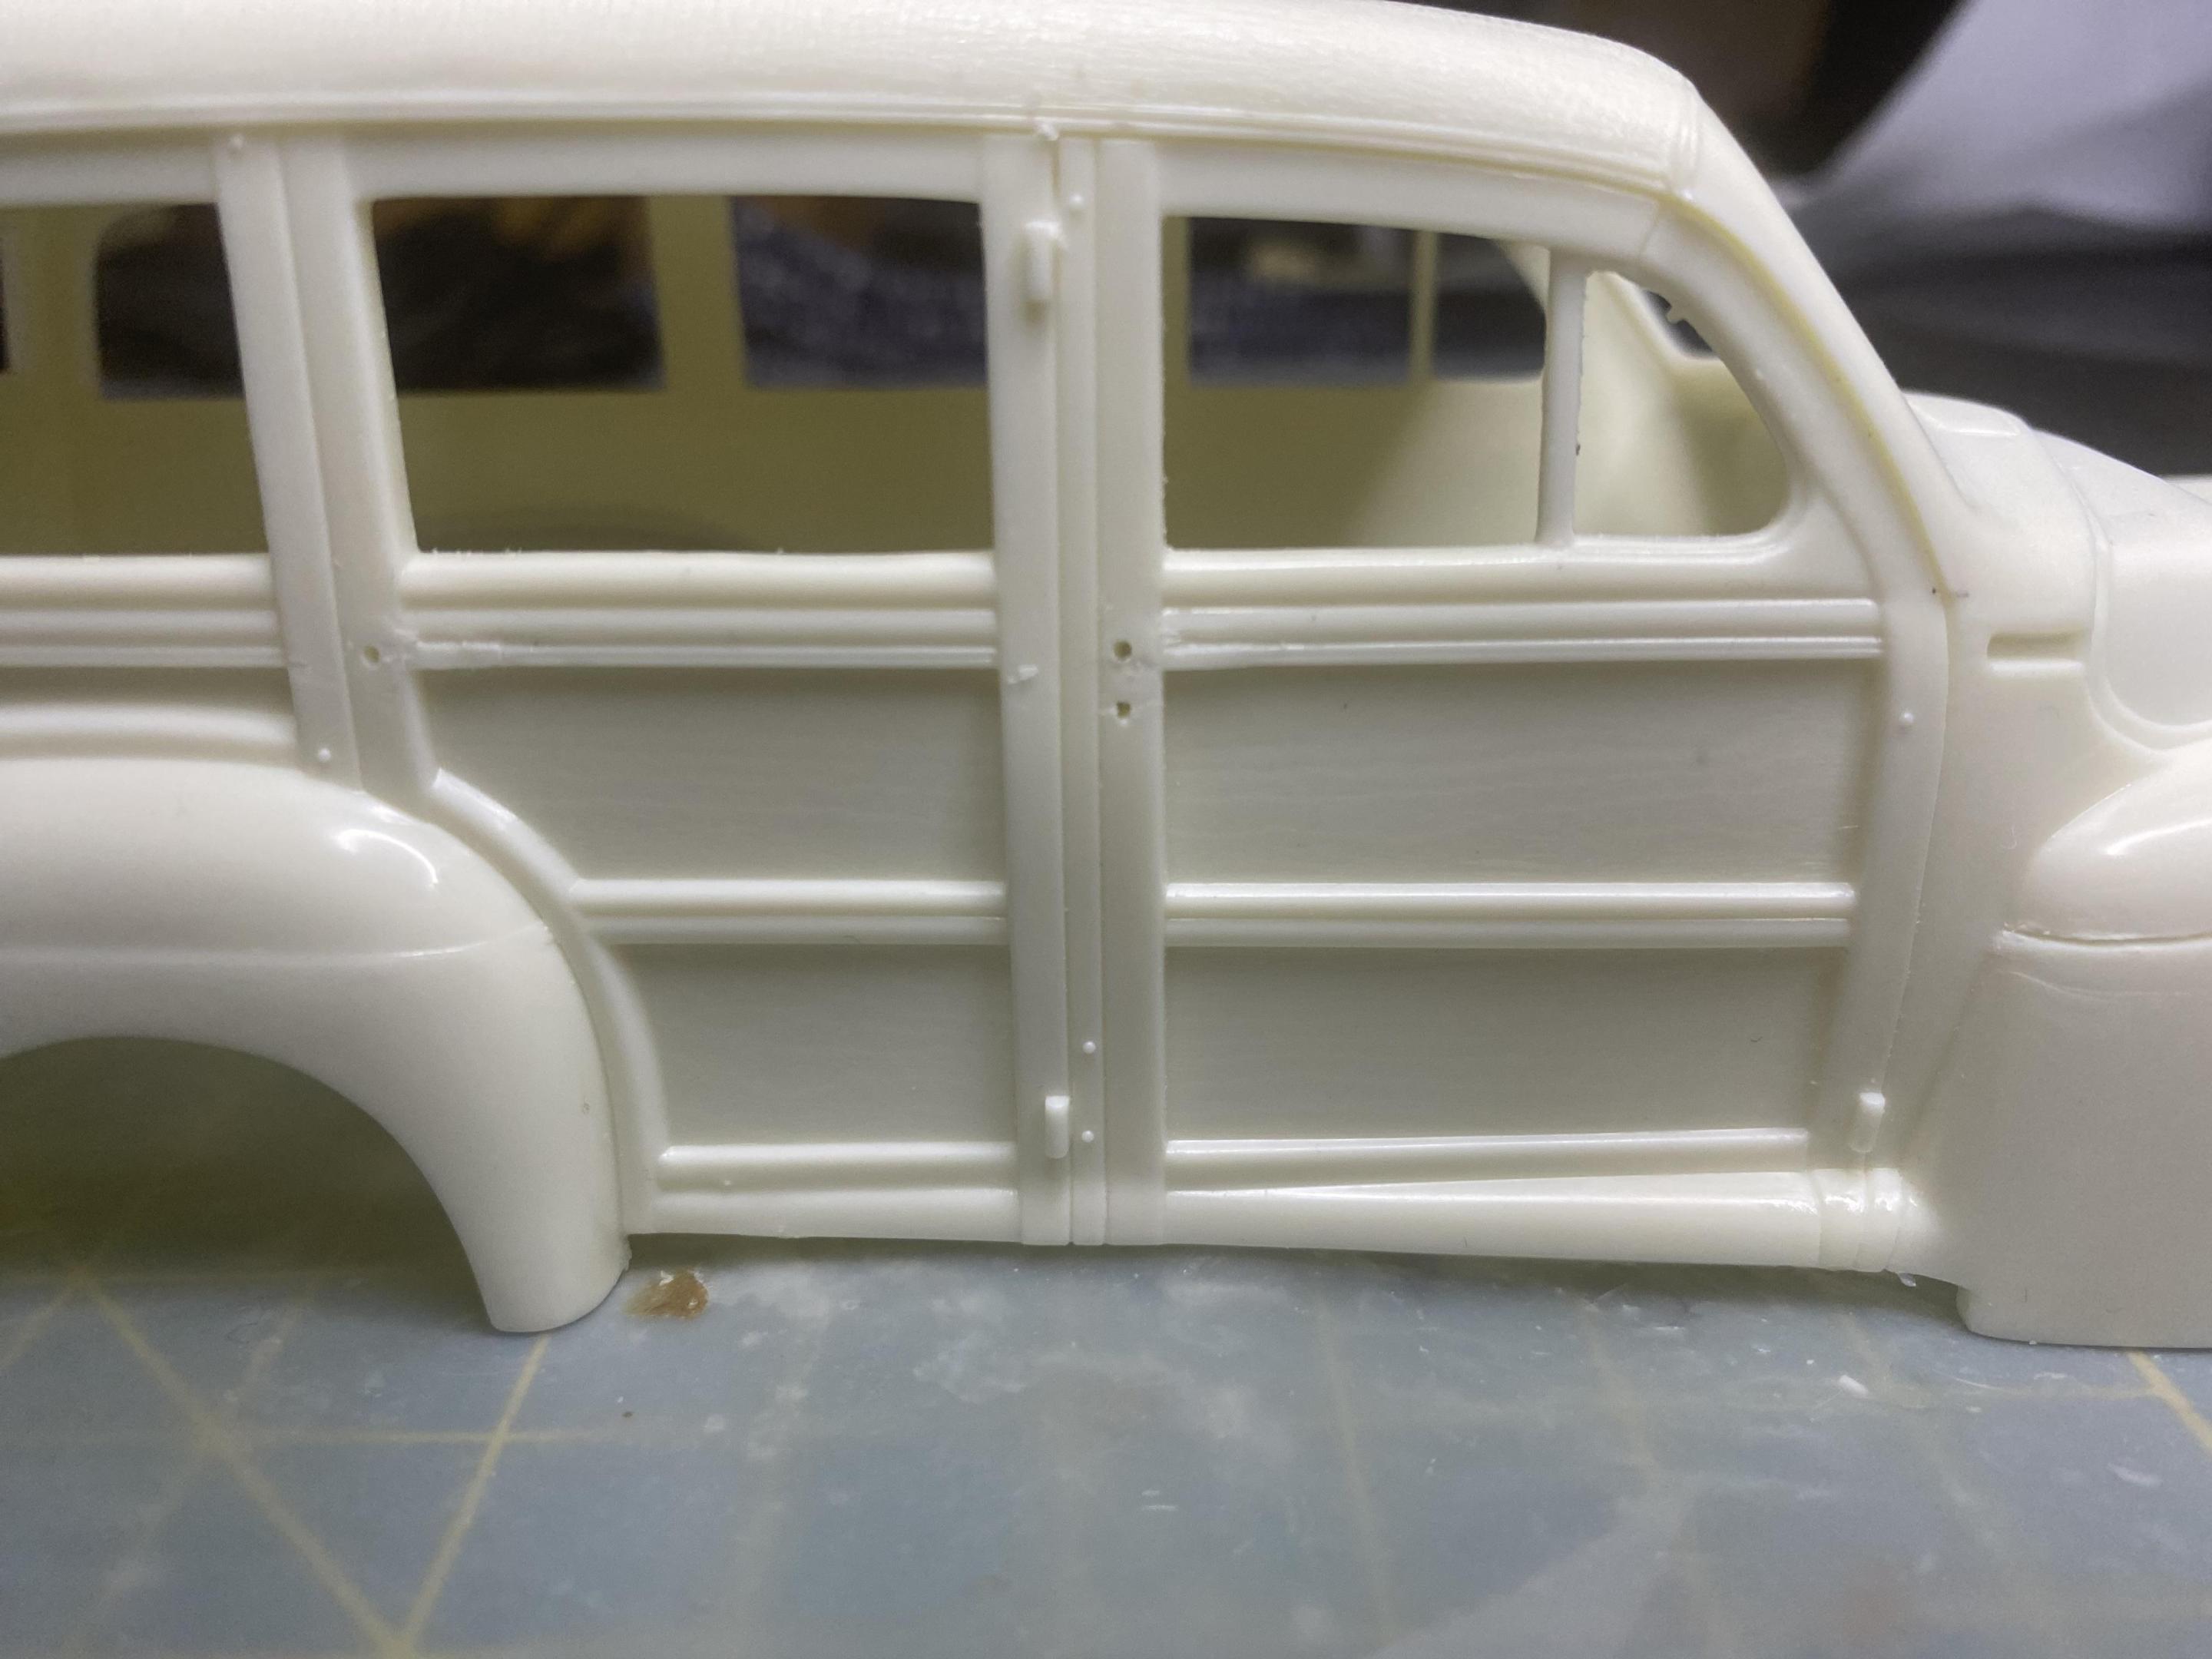
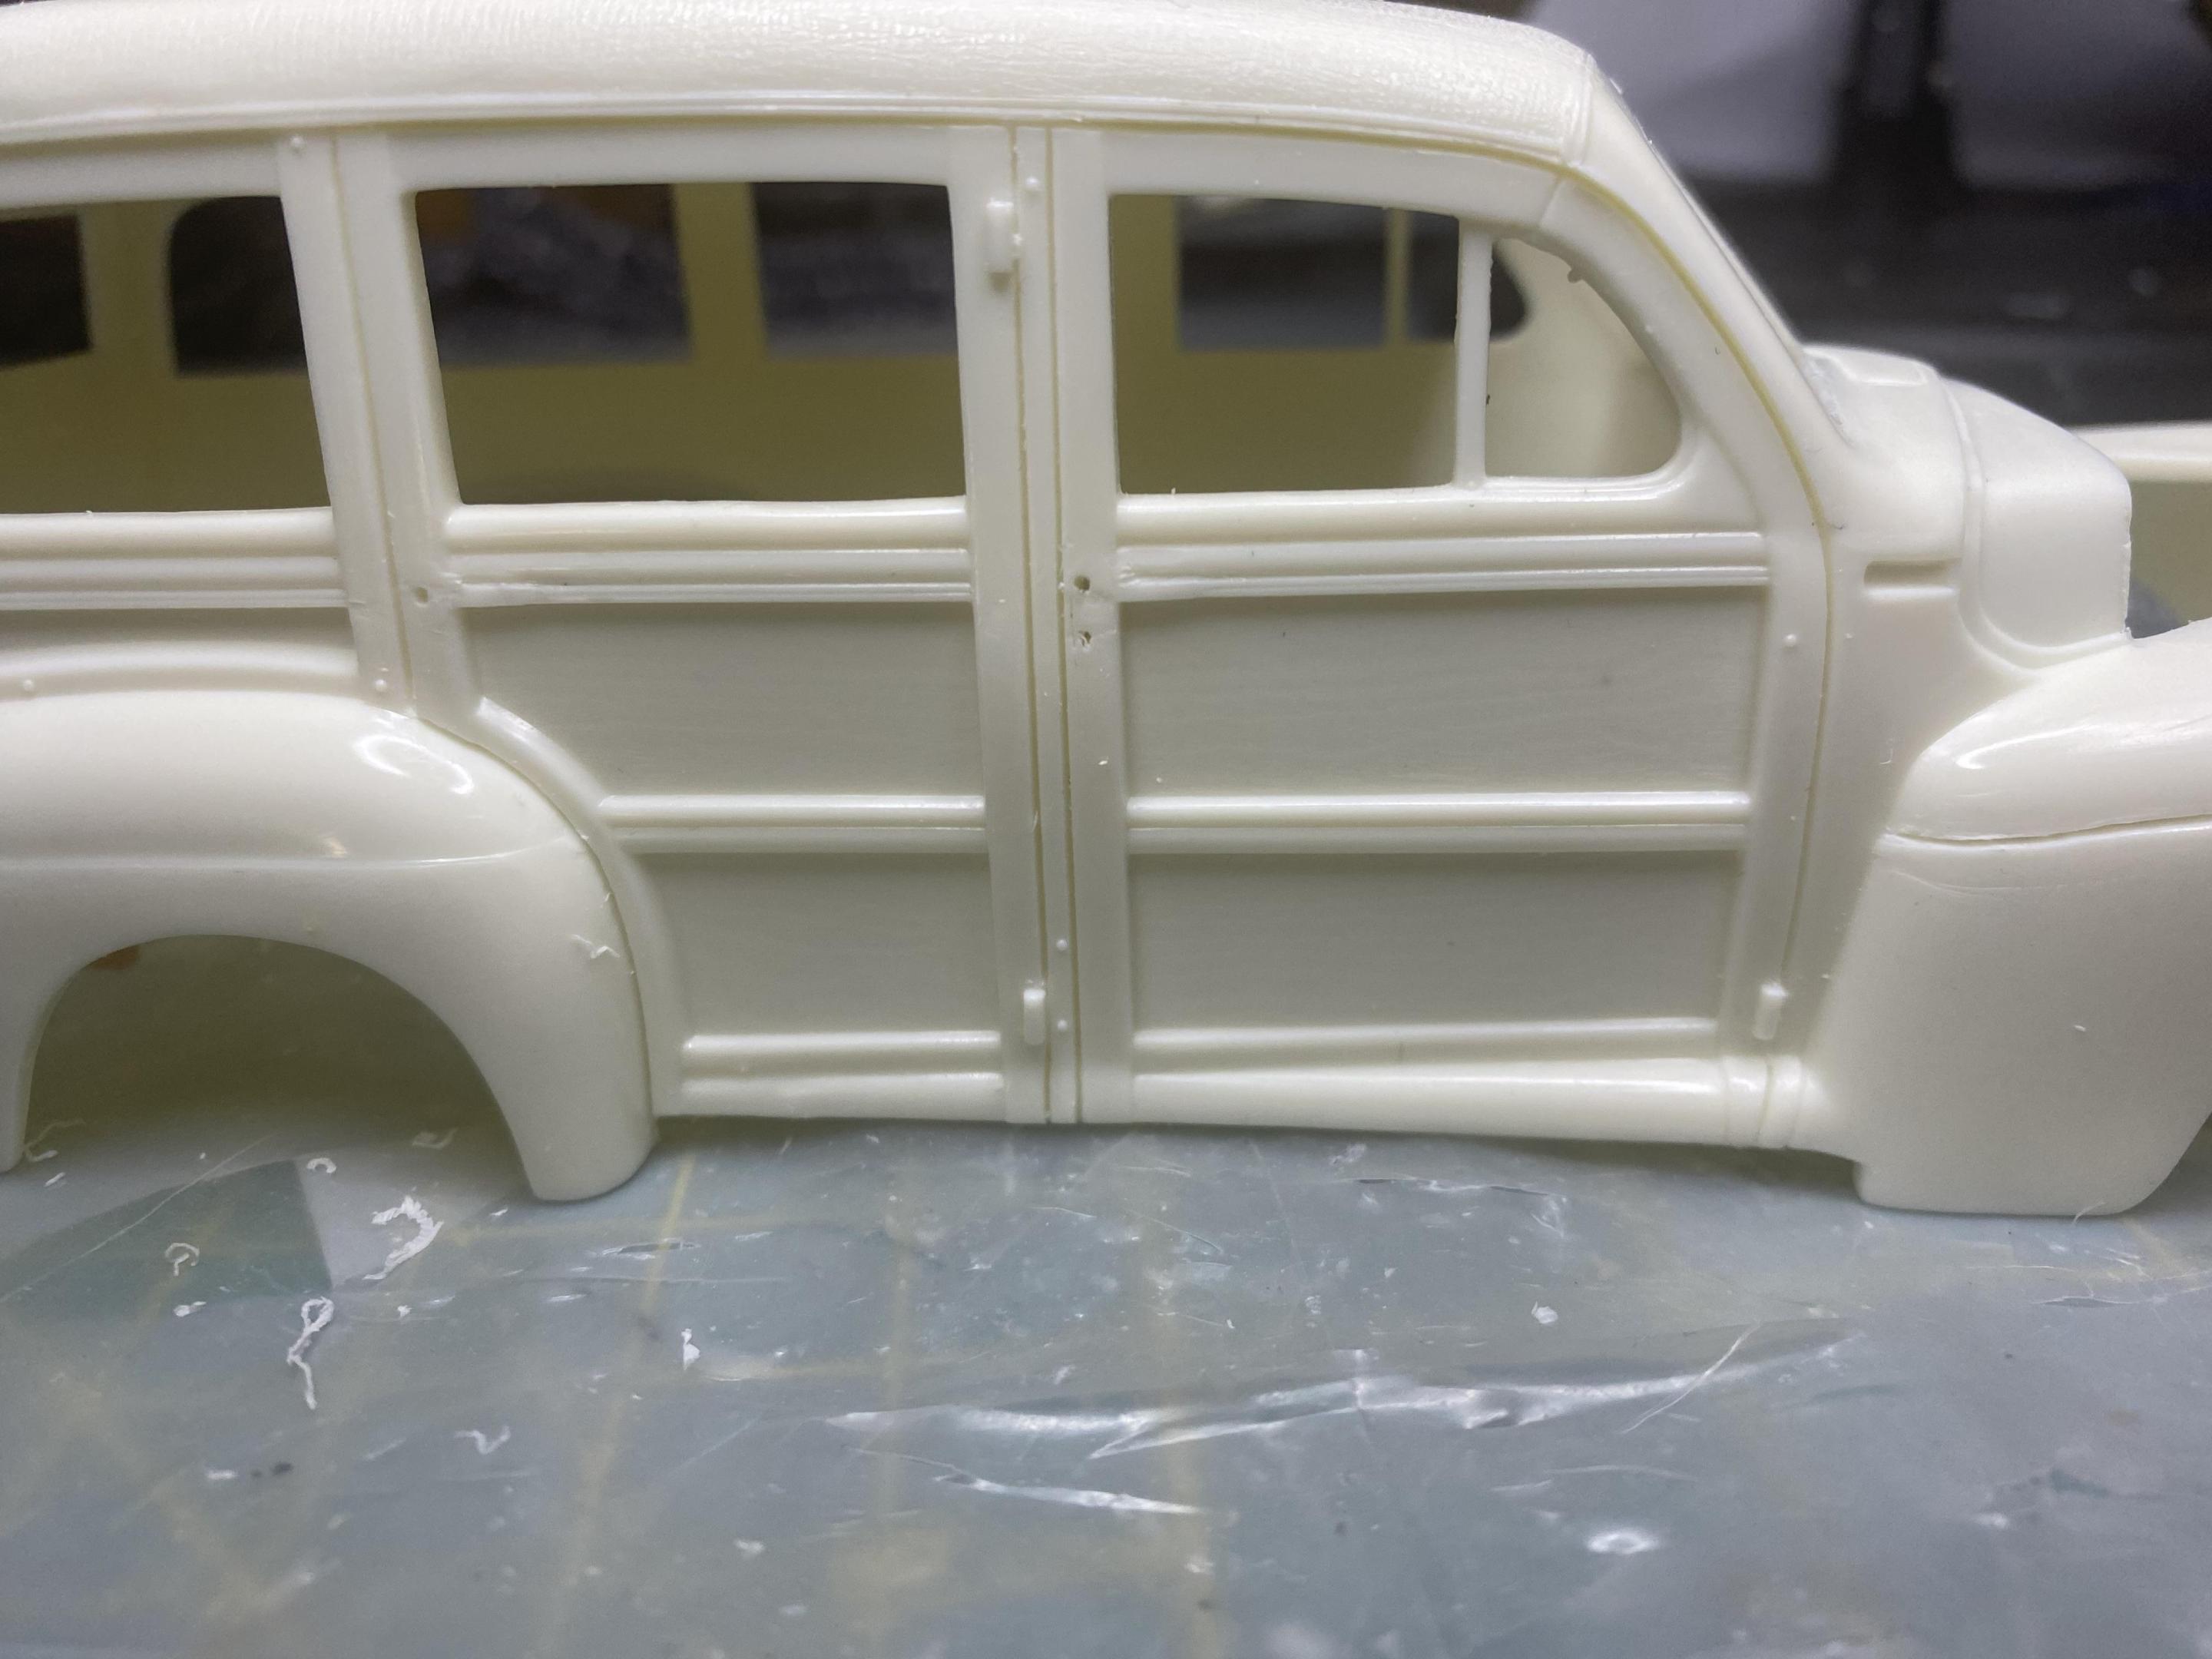
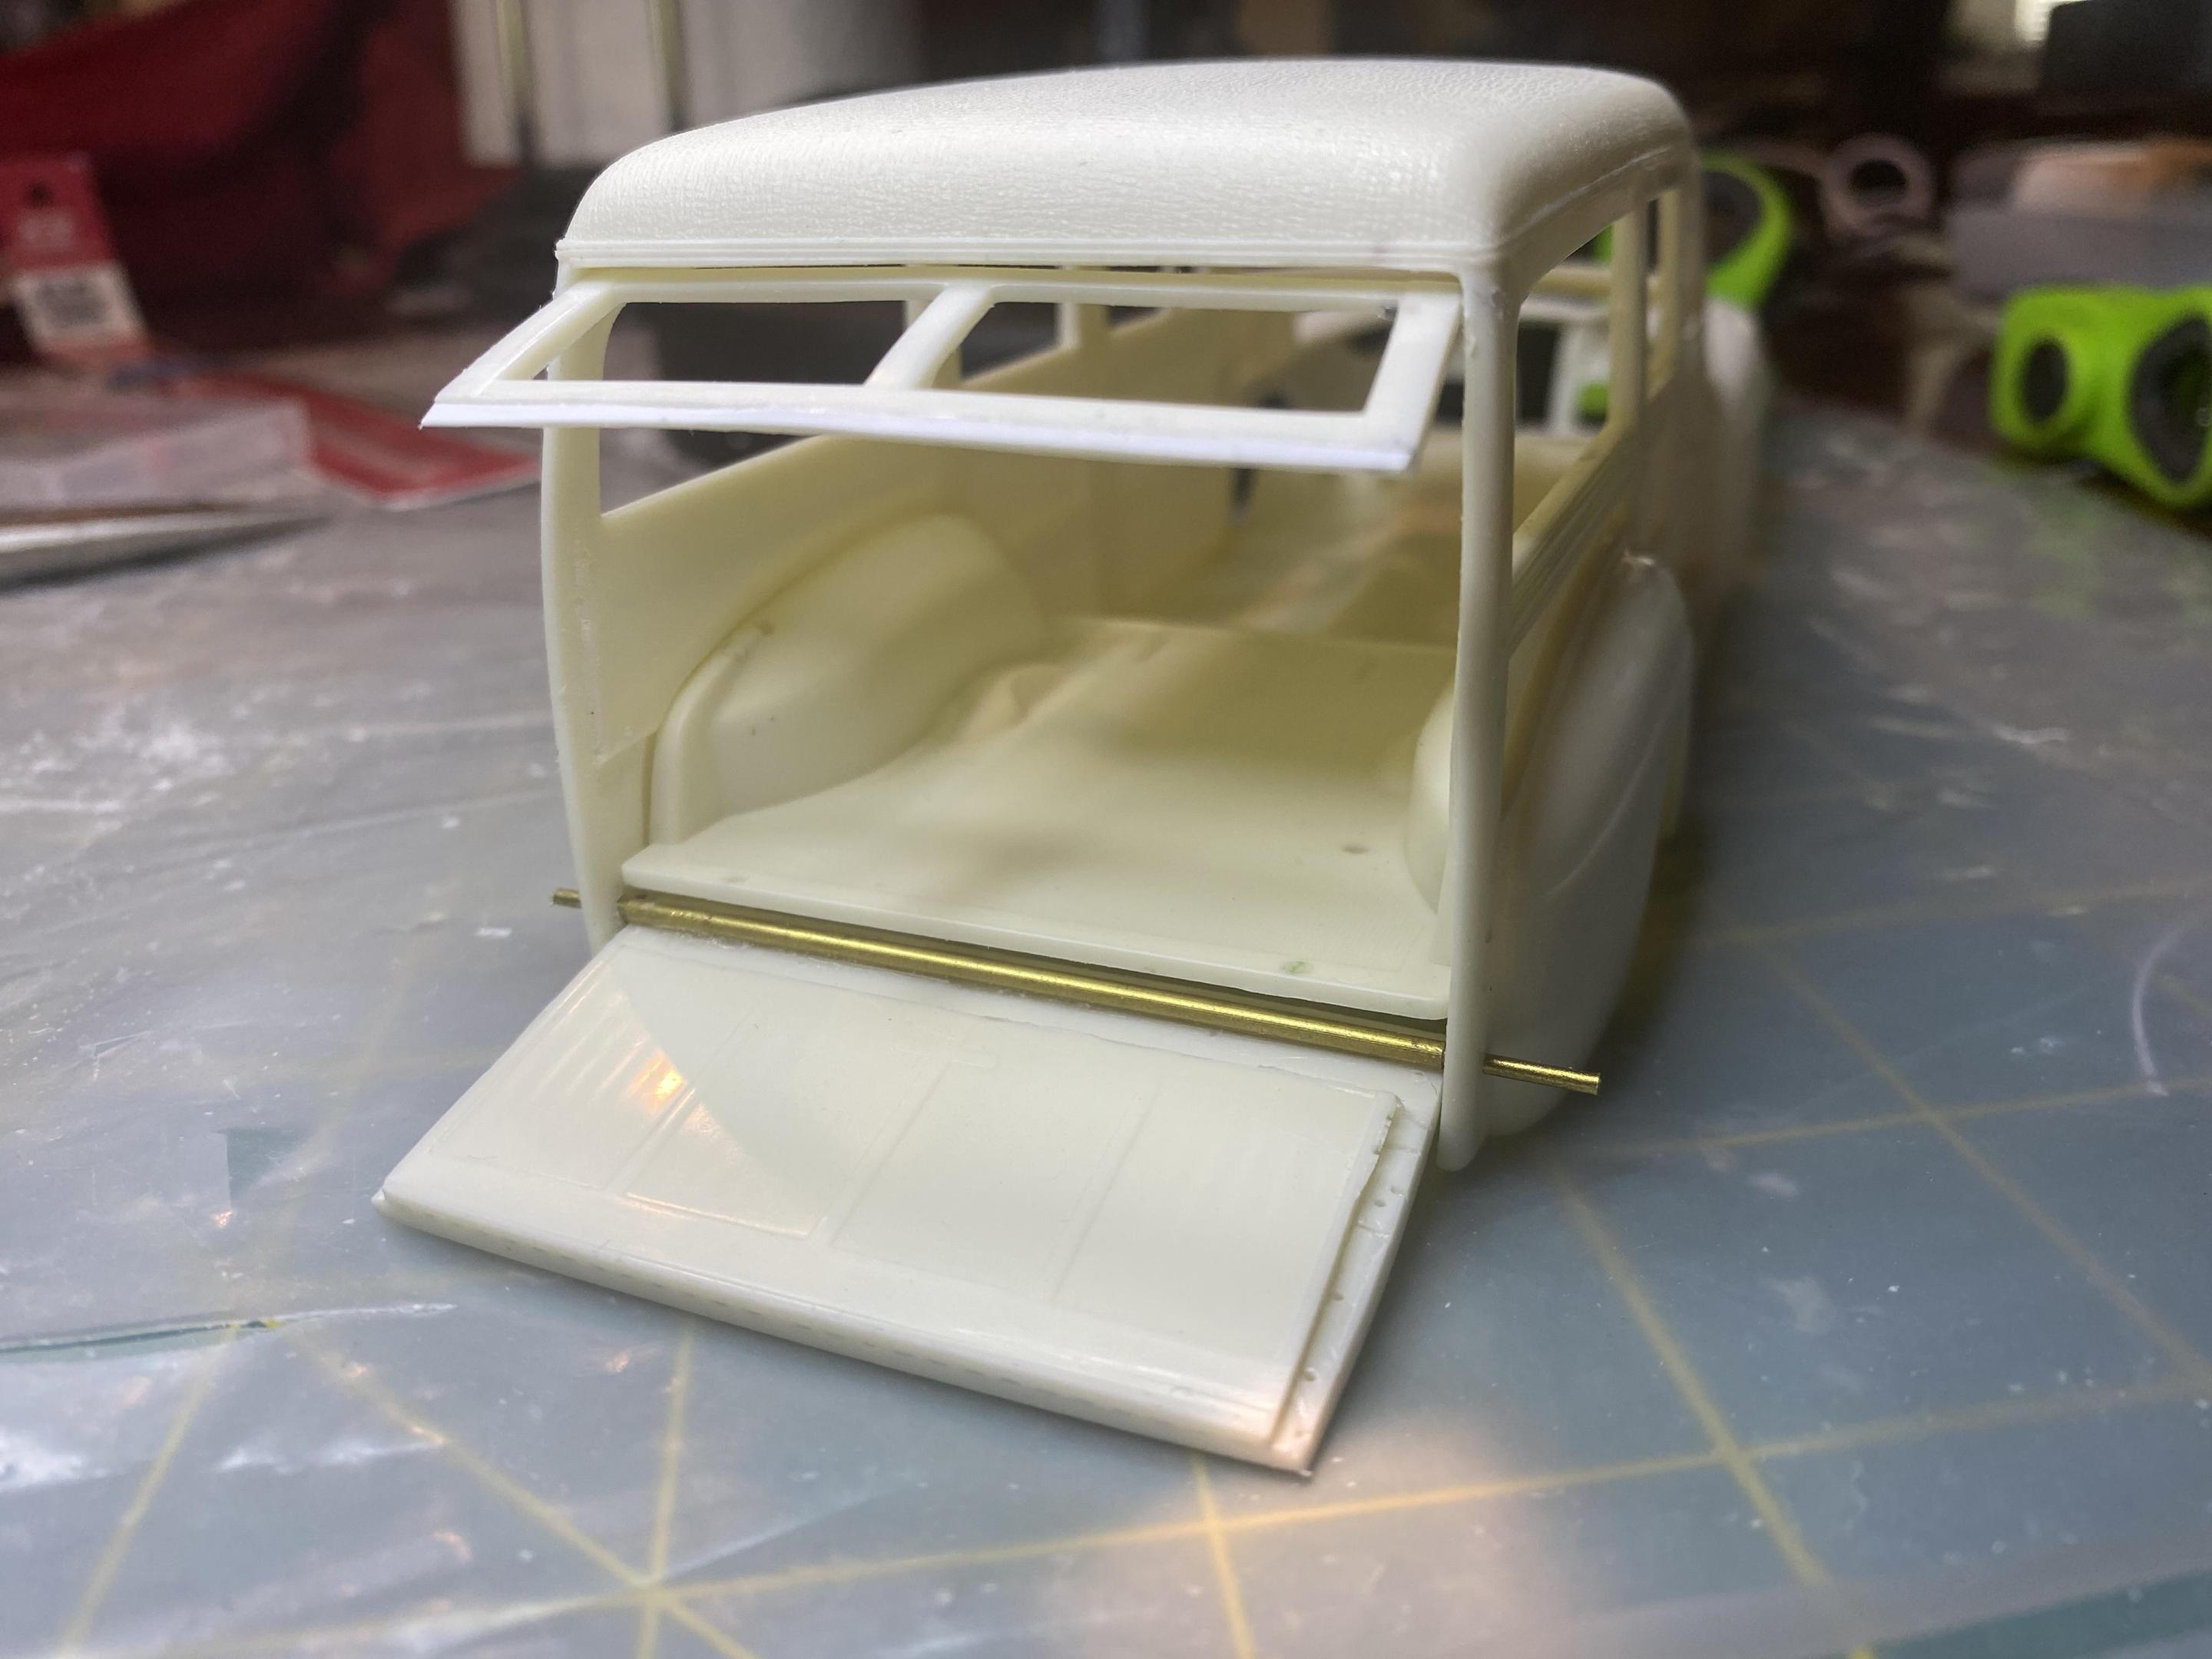
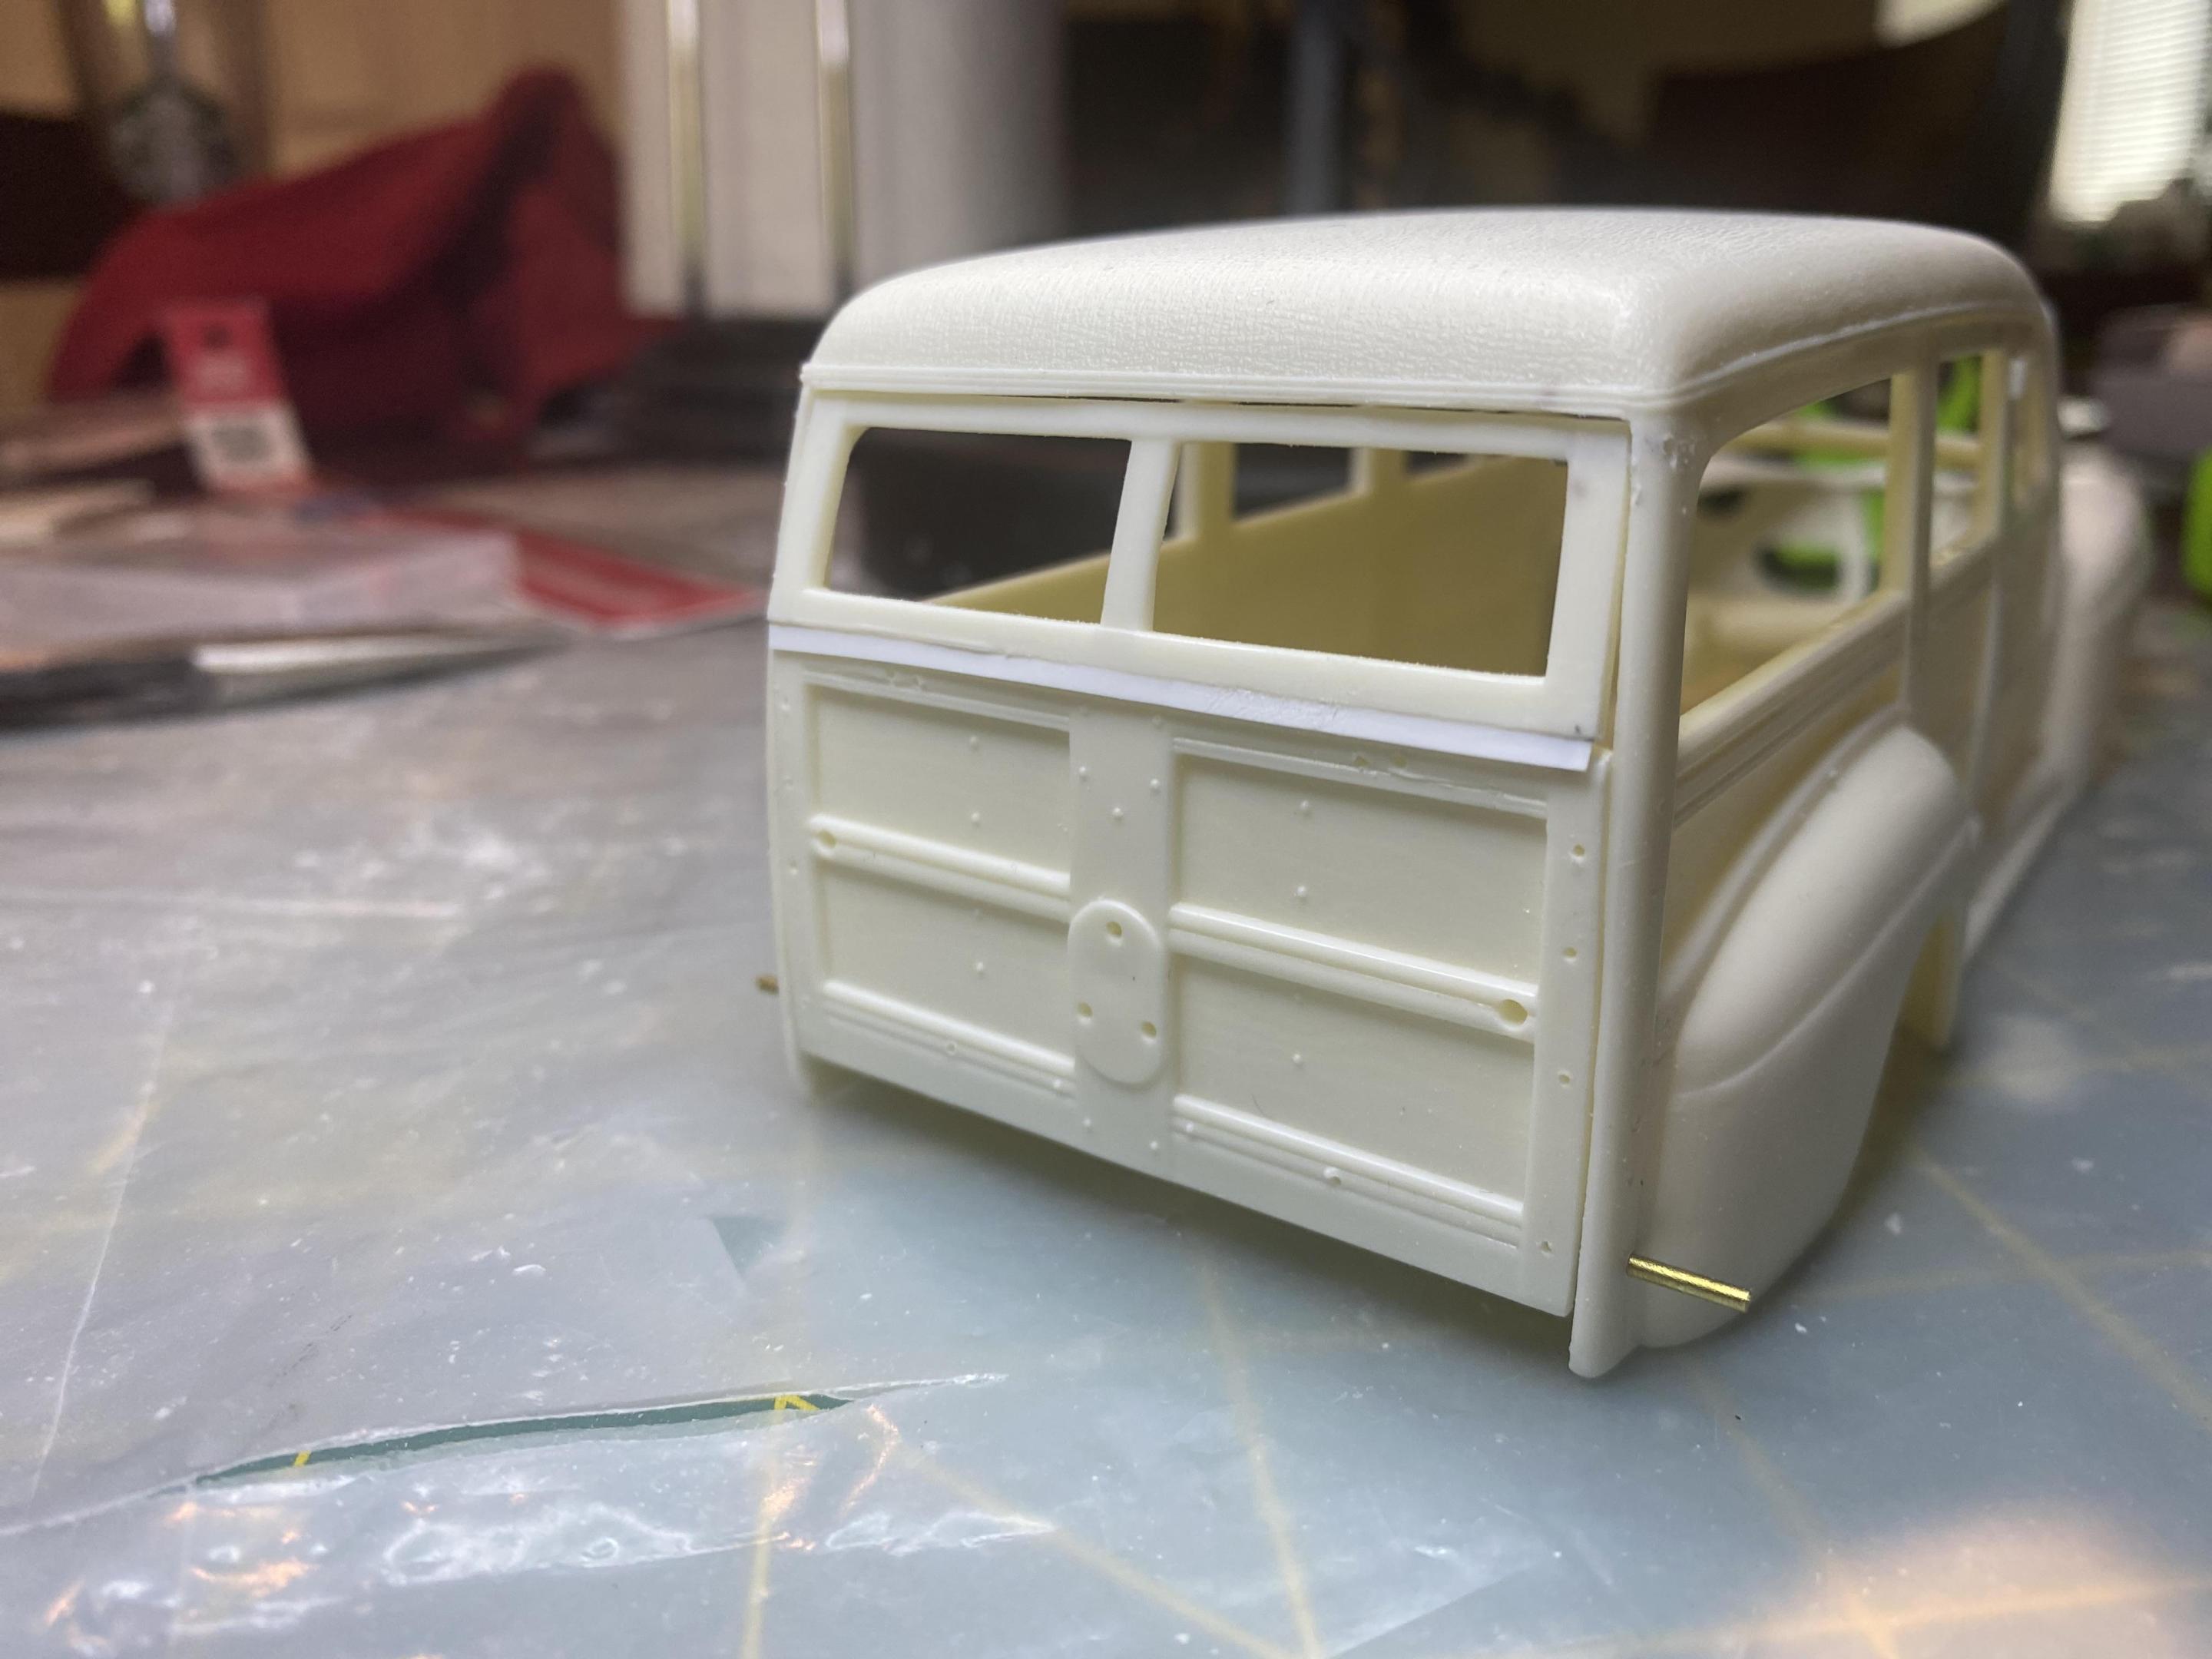
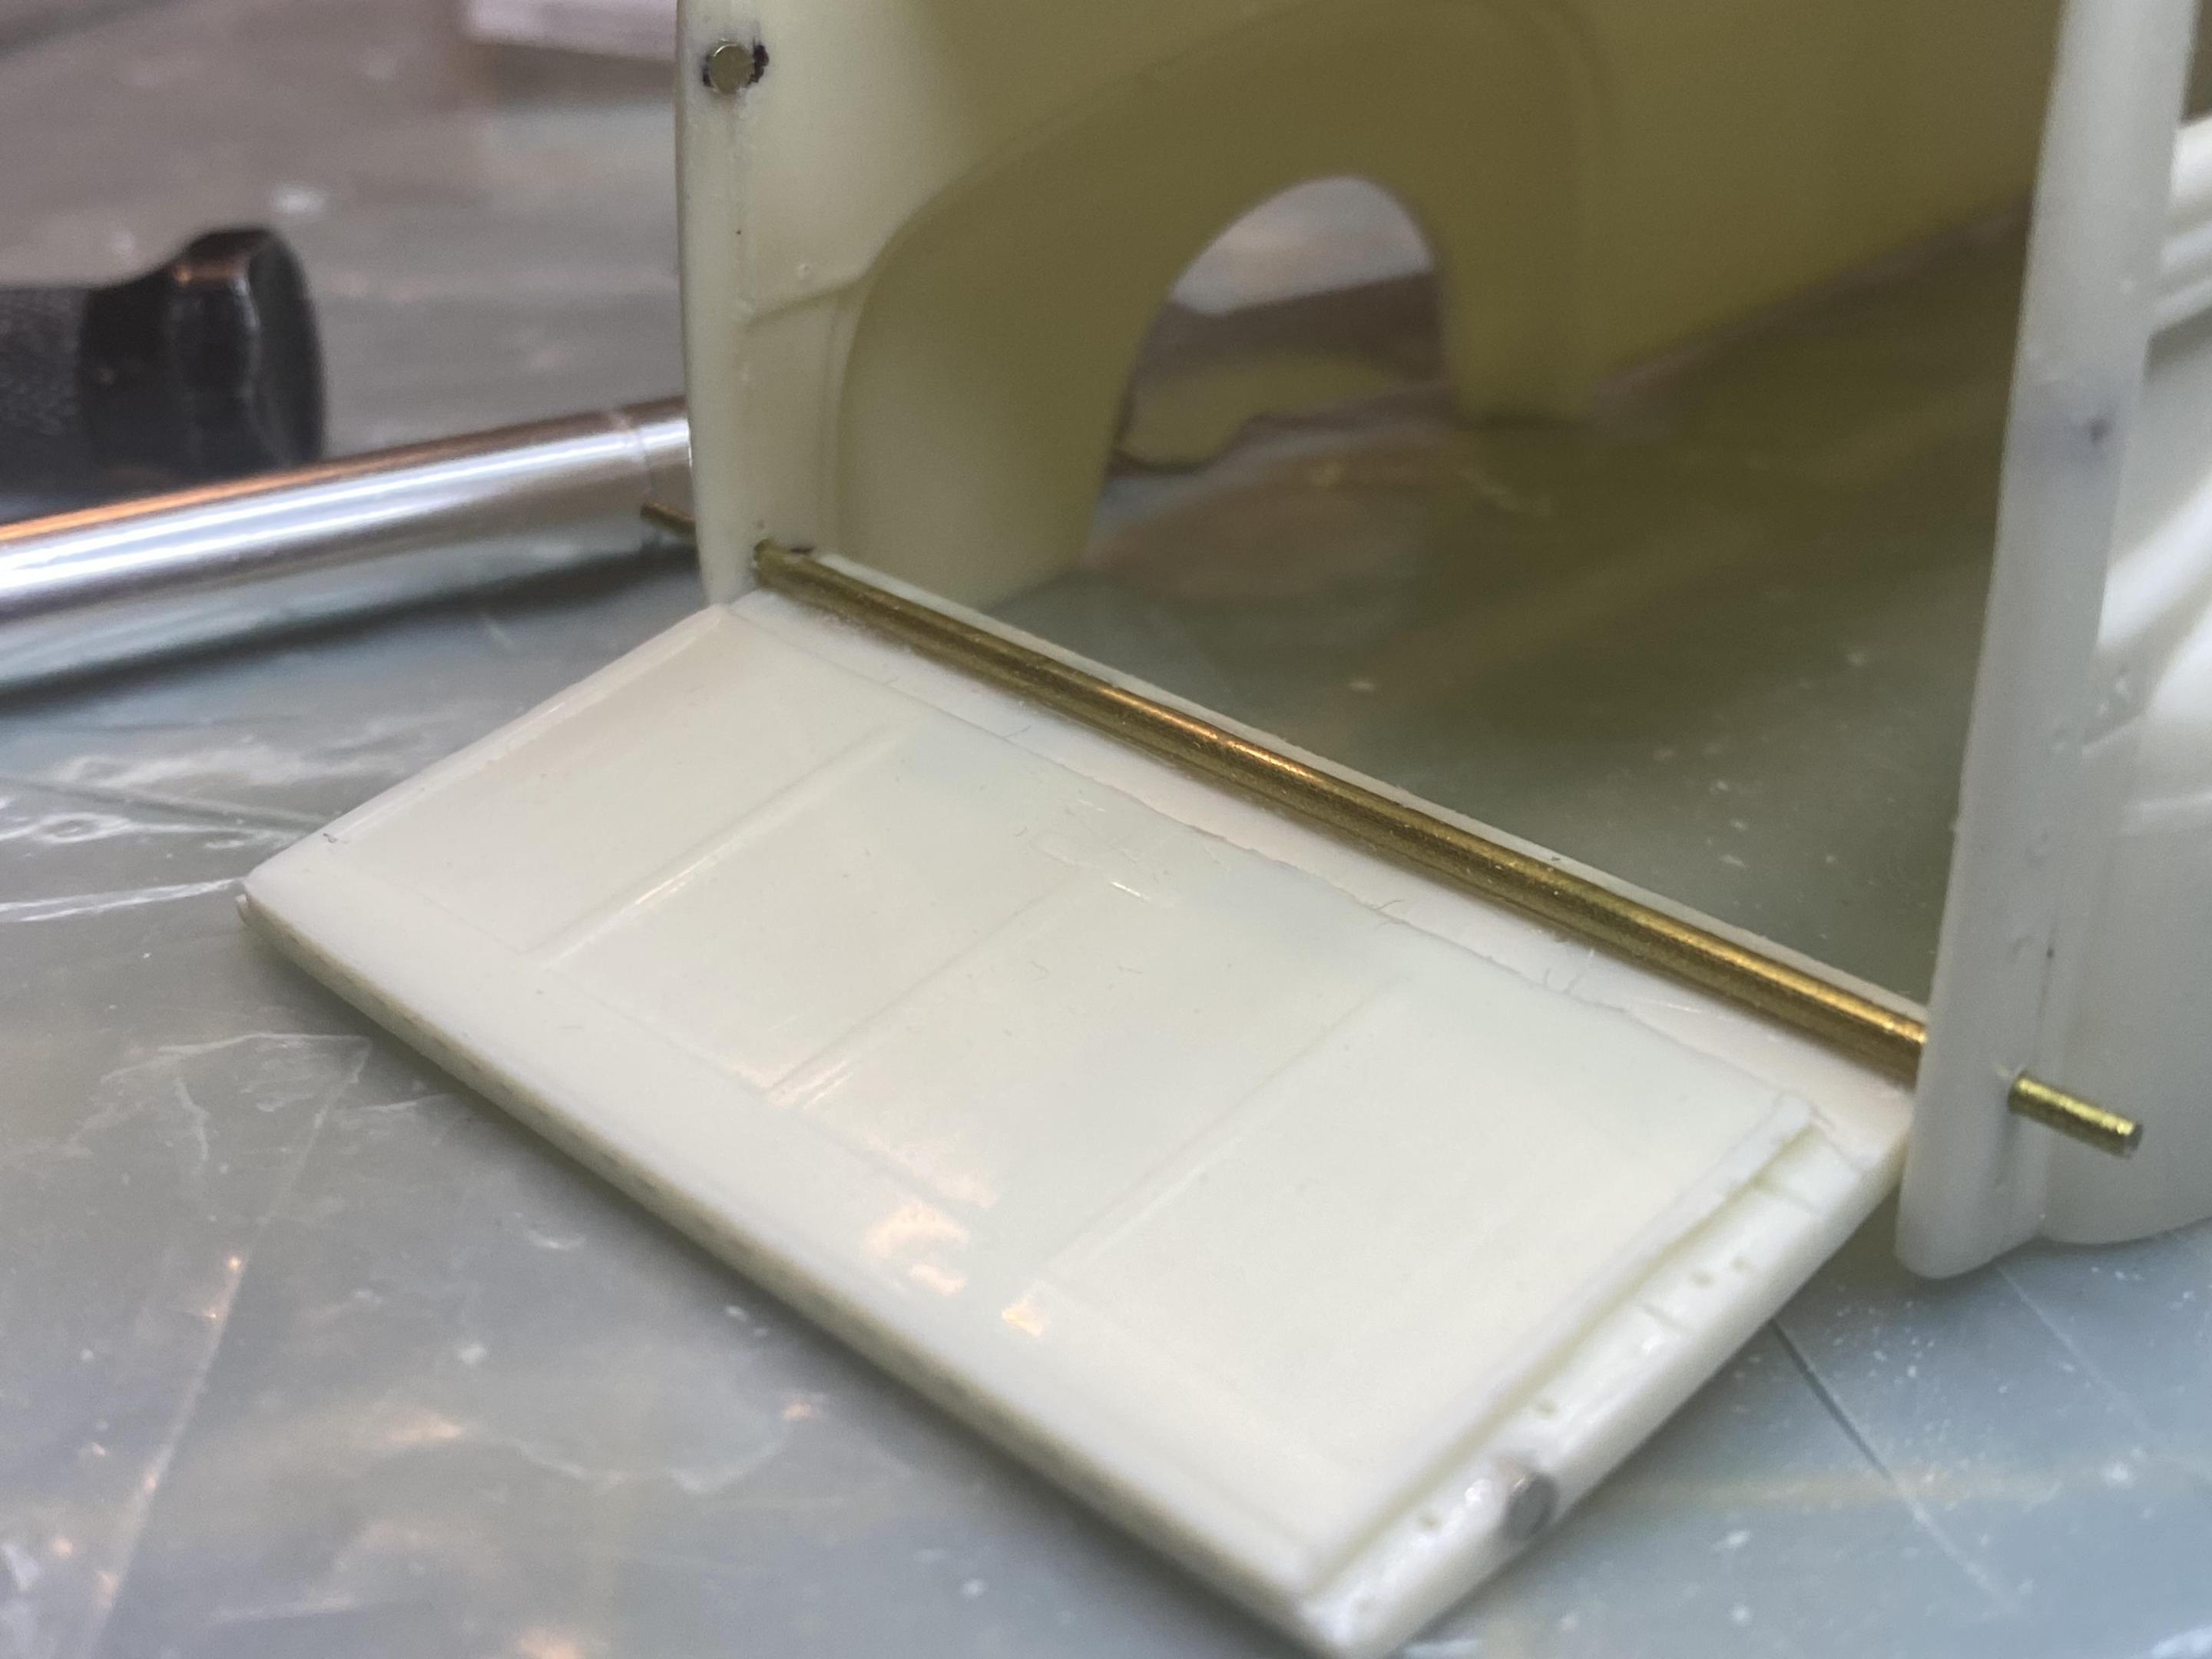
I have gotten a little more work done mostly on the body. i removed the molded wiper and door handles and etched the vent deeper. I removed the molded in firewall wiring that will get actual wiring during detailing. I created the gauge decals and a few additional surfer decals for the rear windows. I cut open the grill in prep for being able to see through for depth later. I also etched the door jambs and drilled the wood bolts that will get some top studio rivets to imitate the carriage bolt heads later. I removed the back doors and created the rubber flap to overlap from styrene sheet. I then created the hinges and used magnets to get the lower door to stay closed.
-
Oh, so you aren't going for a Gasser? jk Seems a lot of kits are front high out of the box these days. Never seen a chassis warp like that before though. May be simpler to remove the suspension and do a drop there now that it's painted all nice.
-
I did talk to my doctor; surgery was mentioned but I don't think it is going to come to that. I am no longer getting the pains from moving my thumb after several weeks, just some numbness and sore if I use for any time. I think I am getting better. Thanks though.
-
Thank You. Have to take it slow but glad to be making a little progress. Thank you. It’s still a bit numb but not killing me moving it anymore. Just need to take it slow. Not sure why, I did have to lower the front suspension a lot, removing some attachment pegs.
-
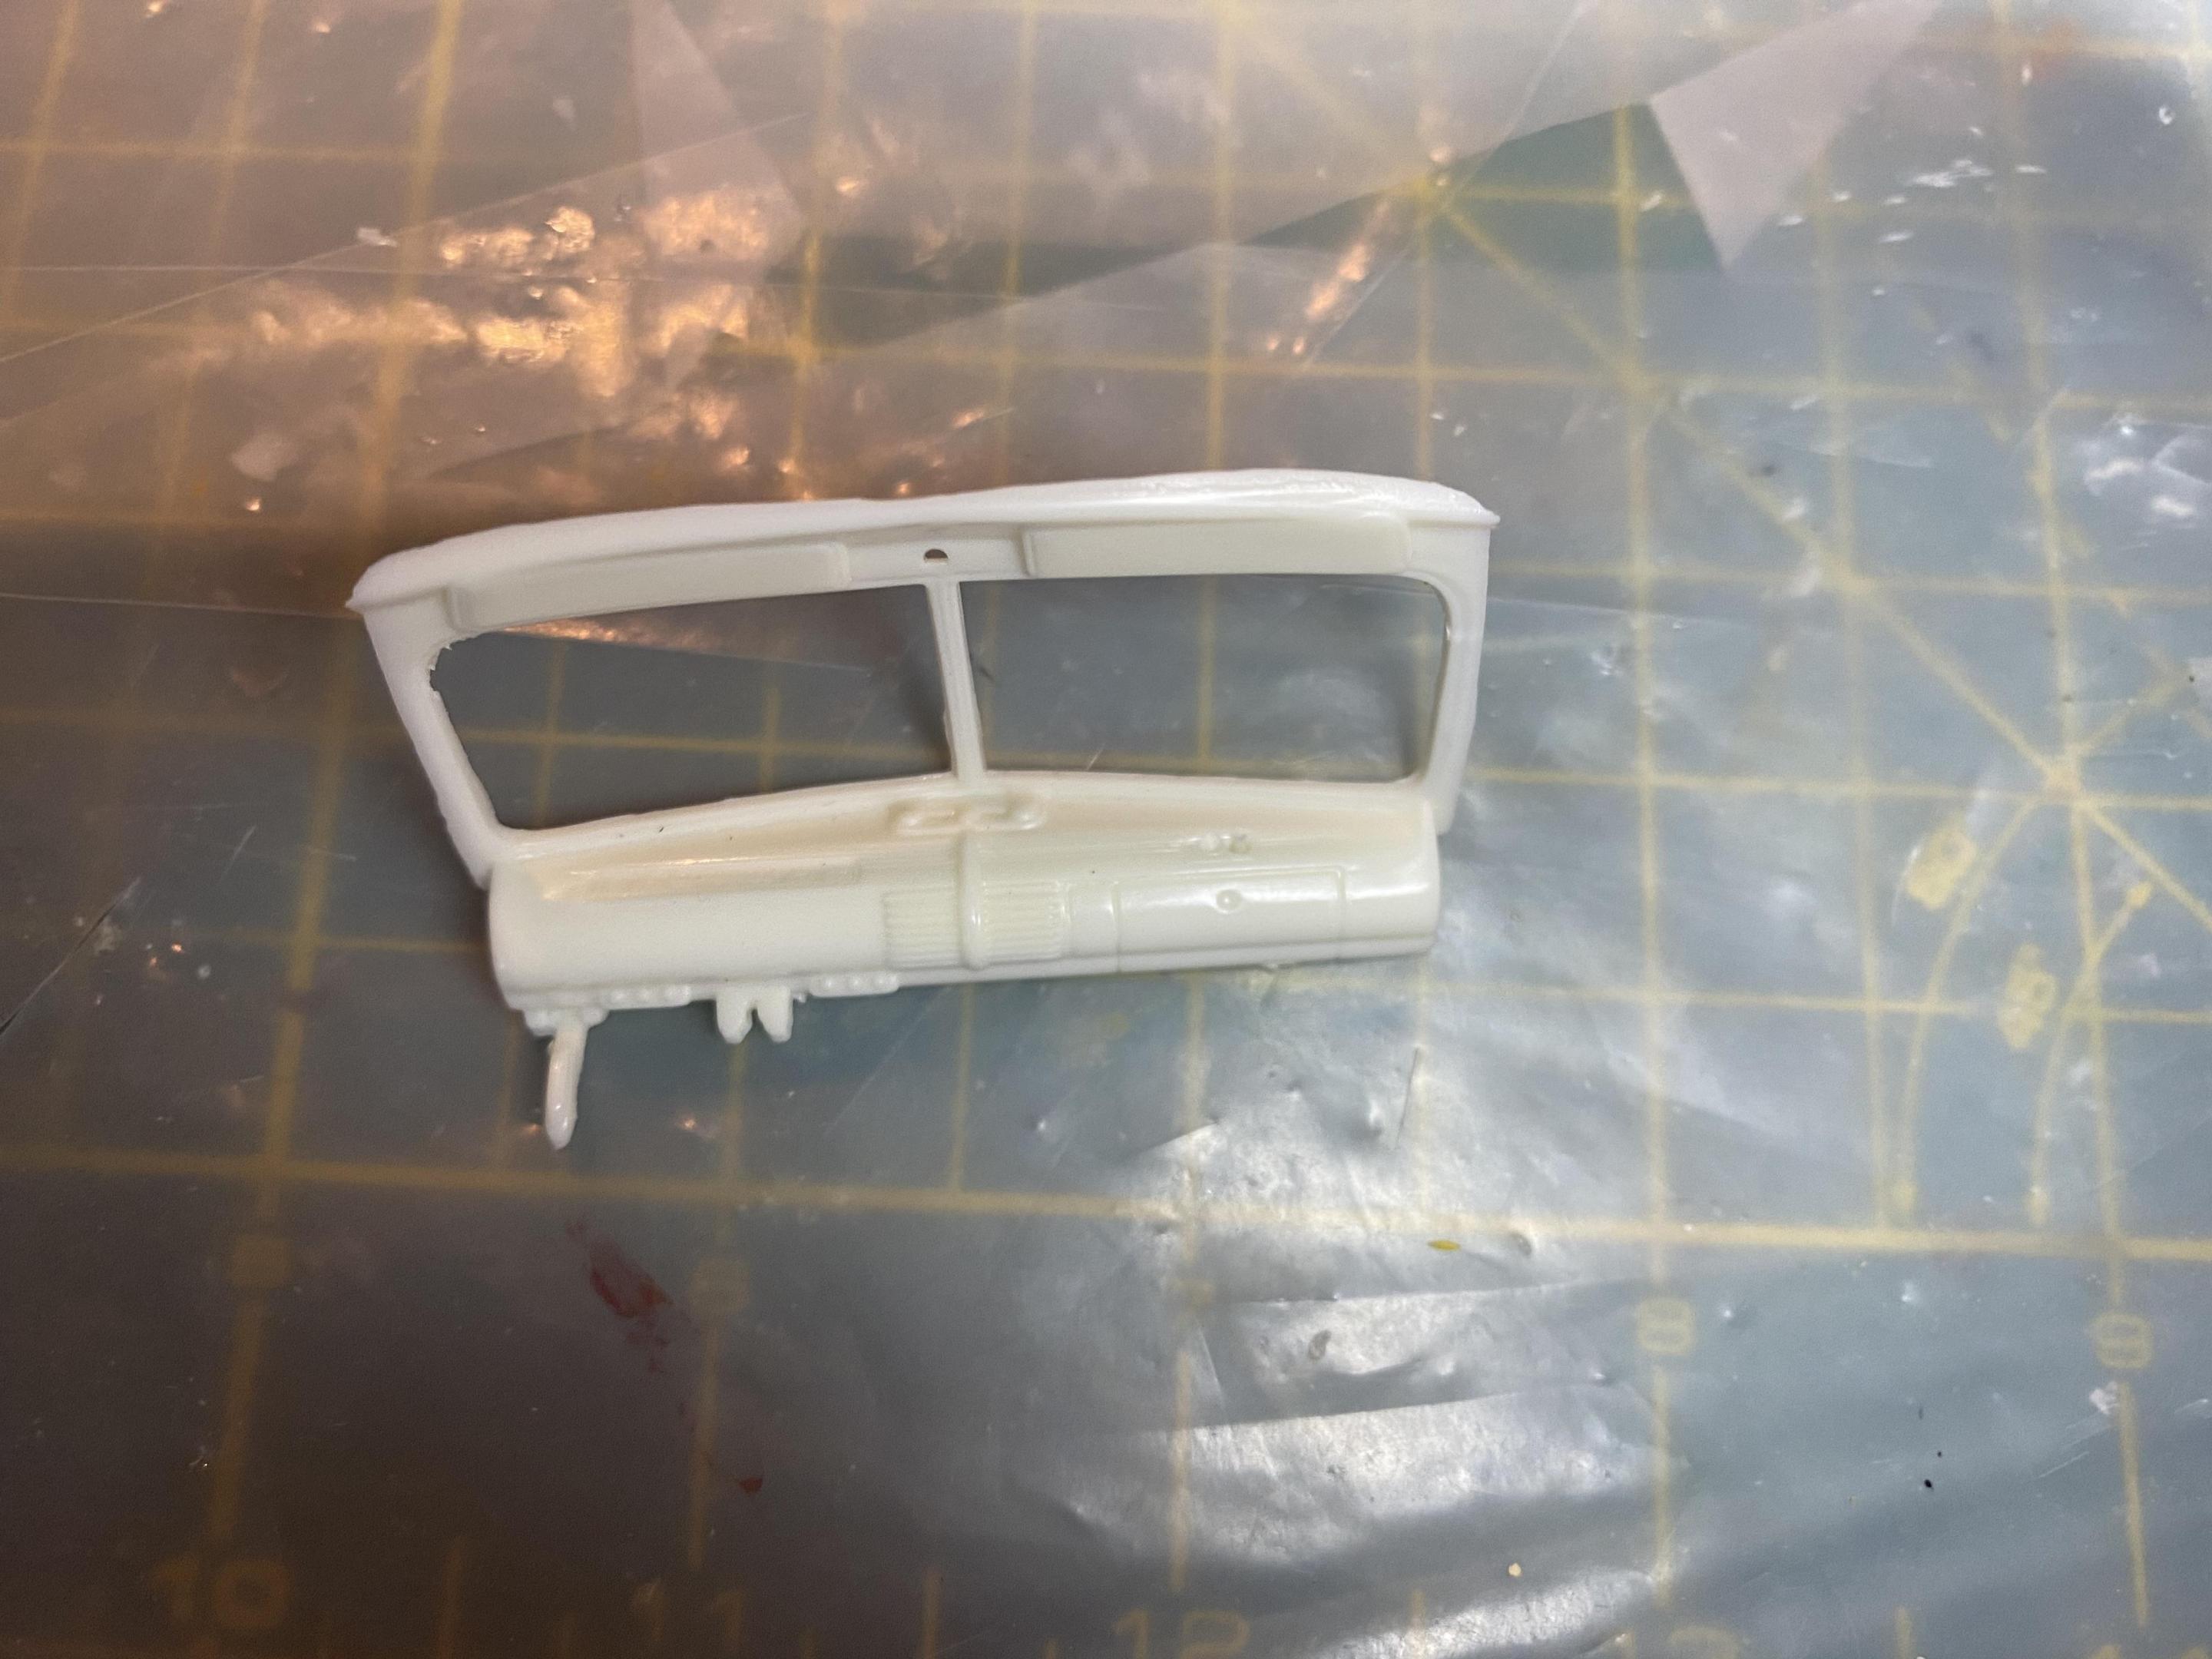
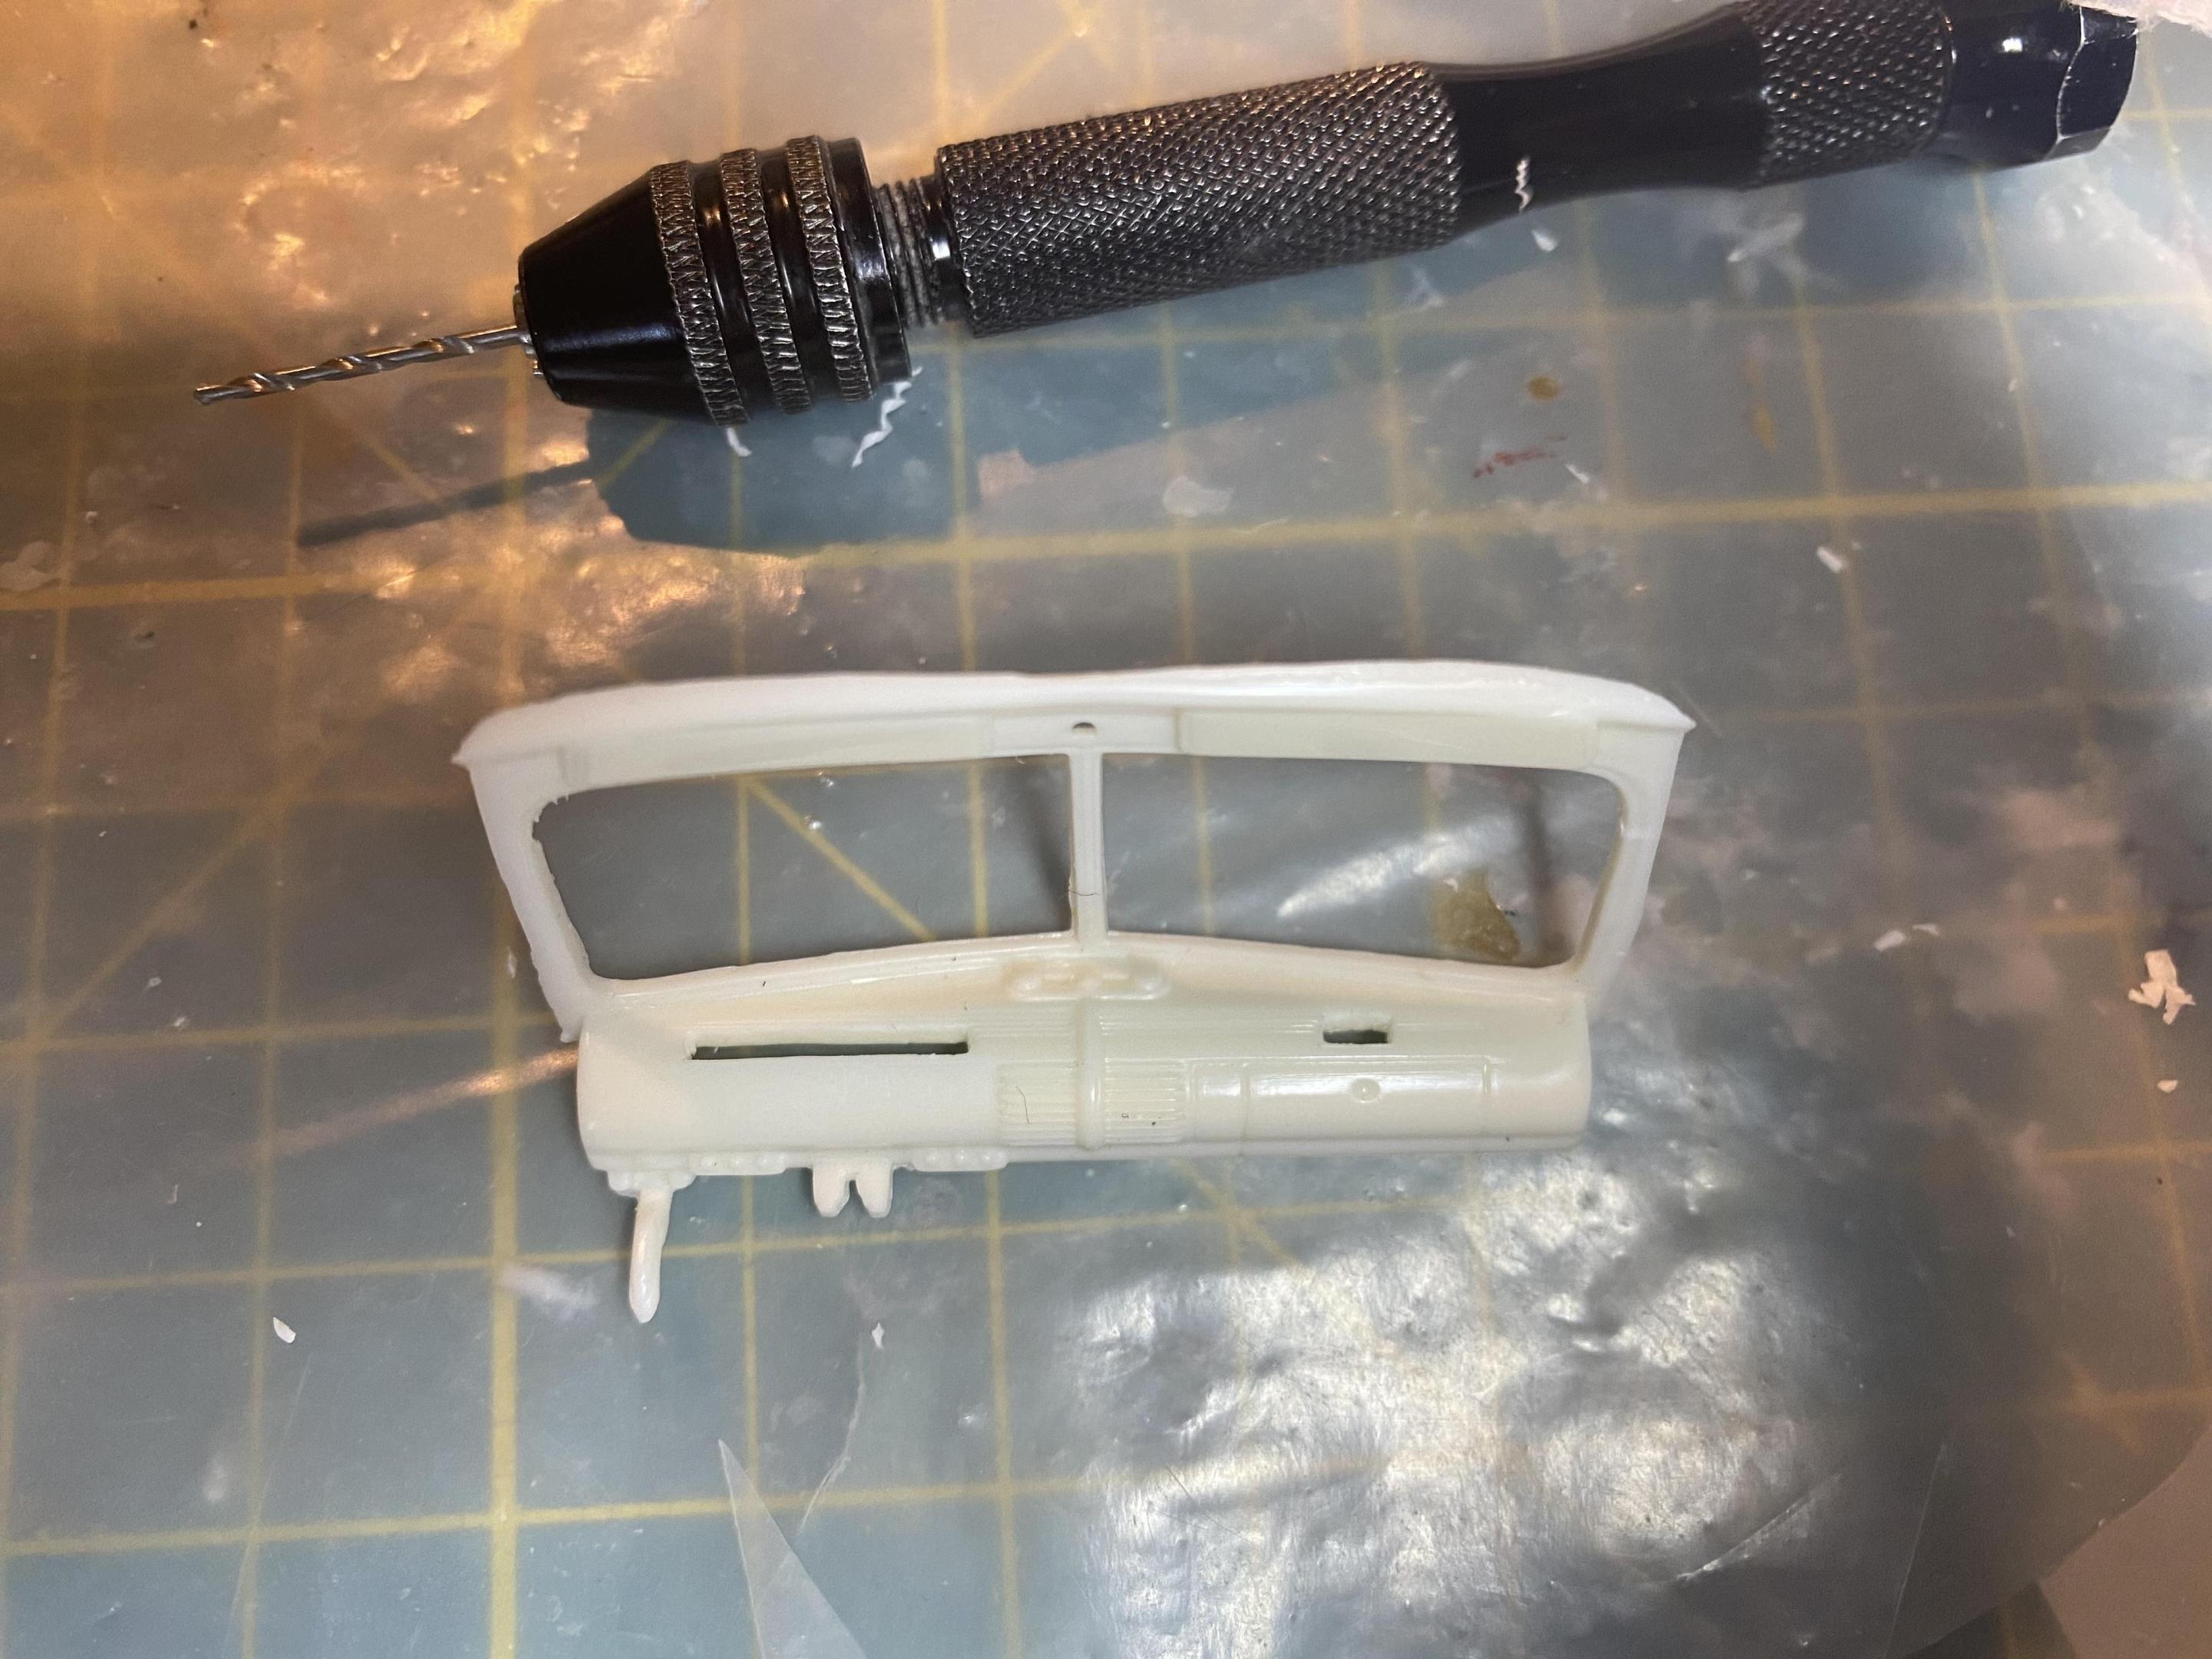
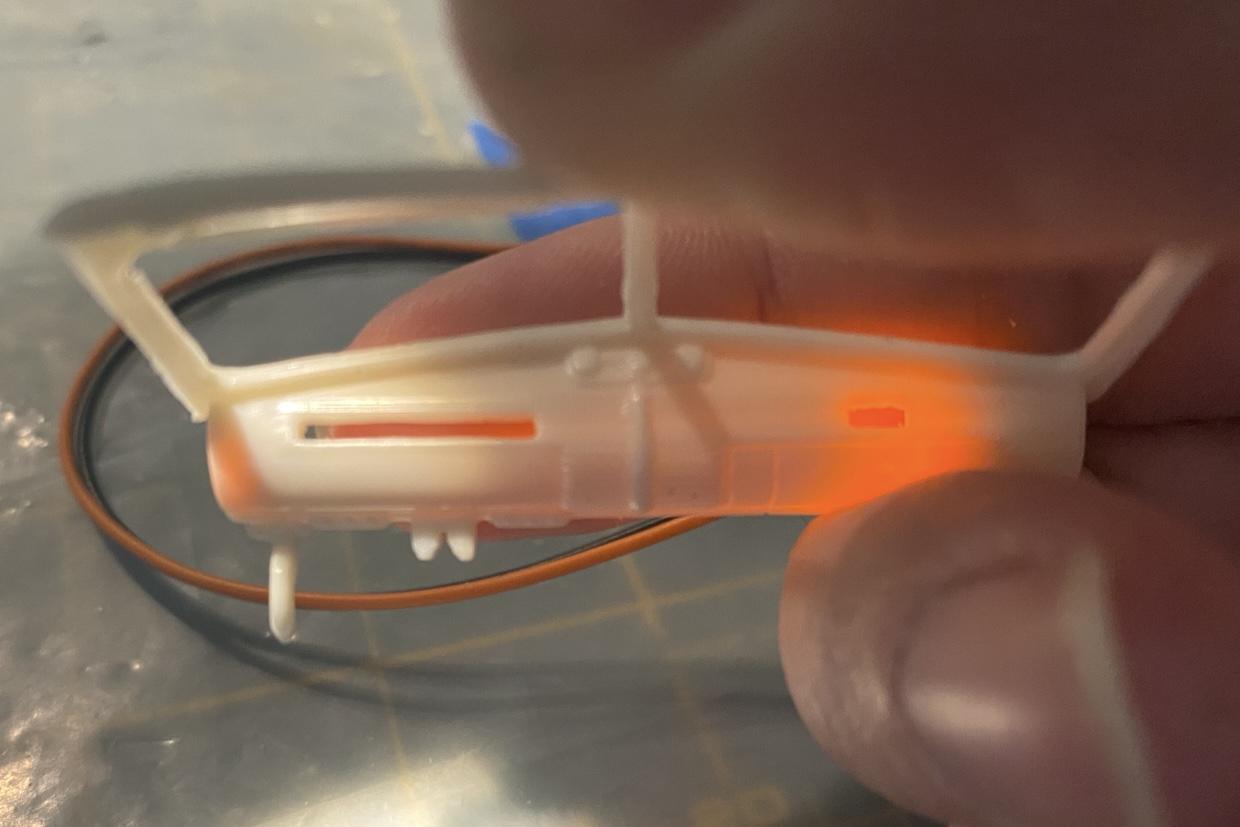
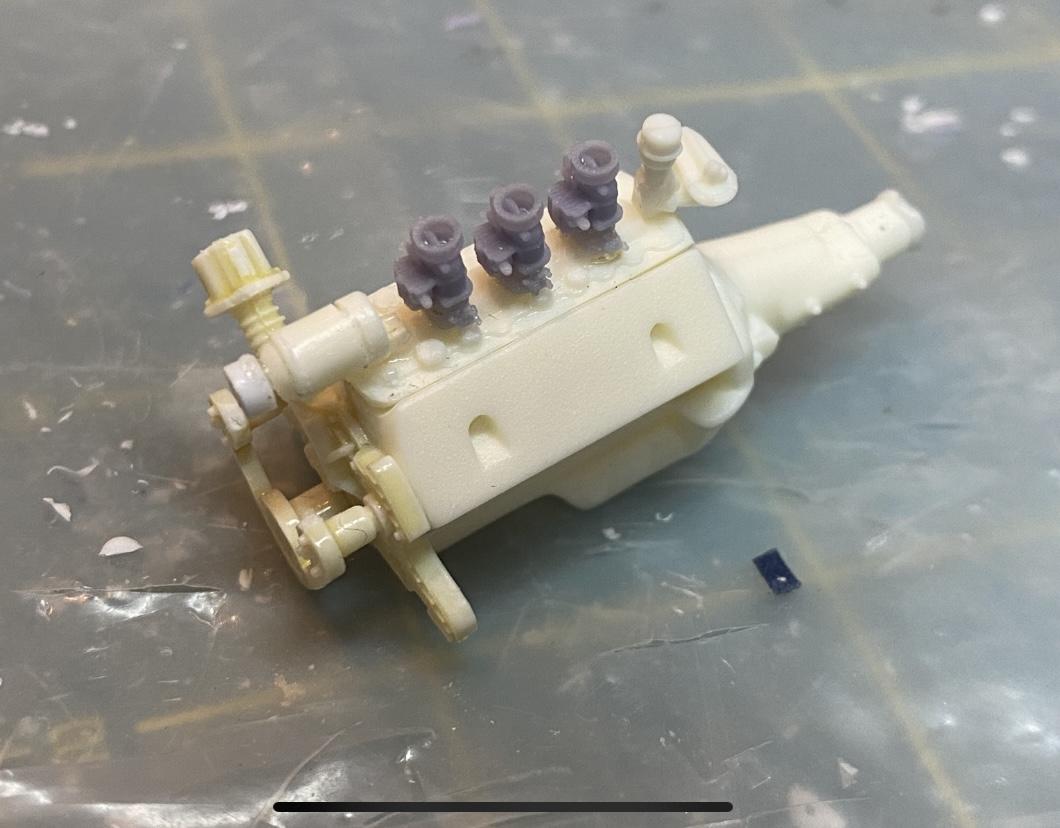
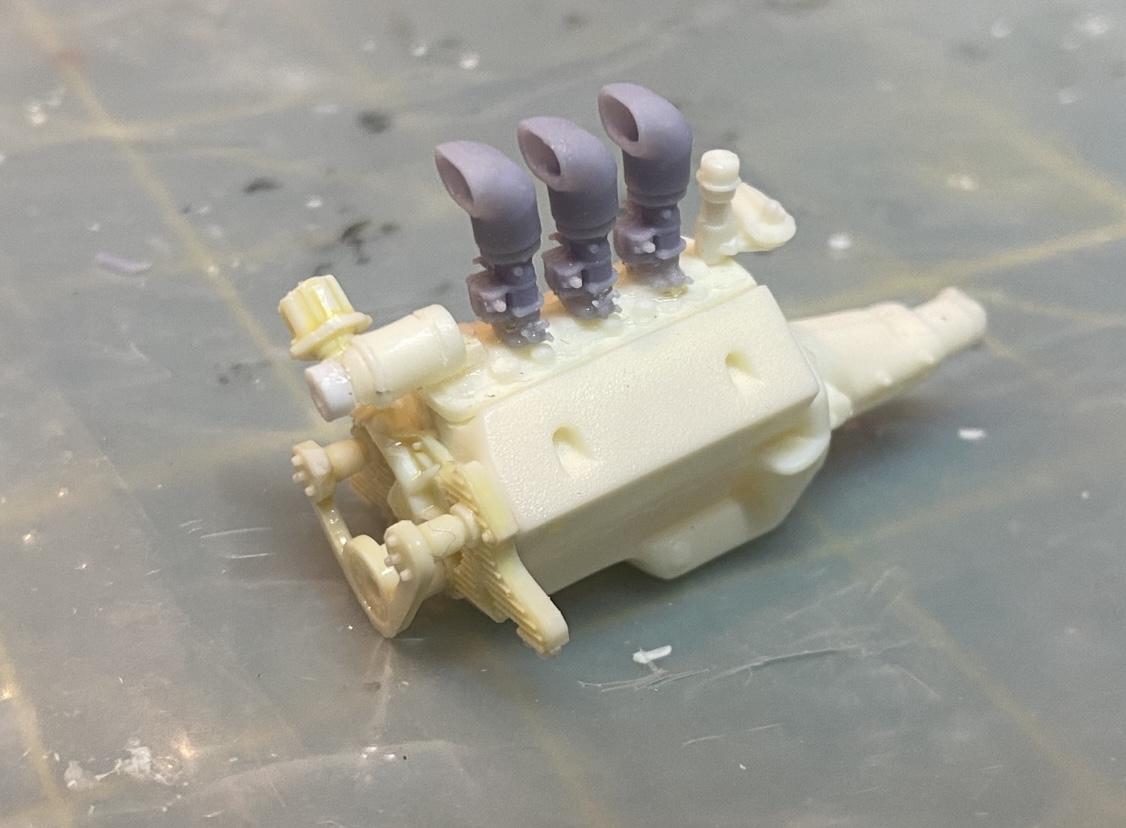
Just a tiny bit more today. Made a simple mold for the door handles before I remove them. I didn’t see 3d ones available that looked right. I cut out the clock and gauges for LEDs, created side glow fiber LED. Will be backed by foil so will glow better in the end. I do not like the fuel injection intake so I got a 3 set of strombergs from Iceman.
-
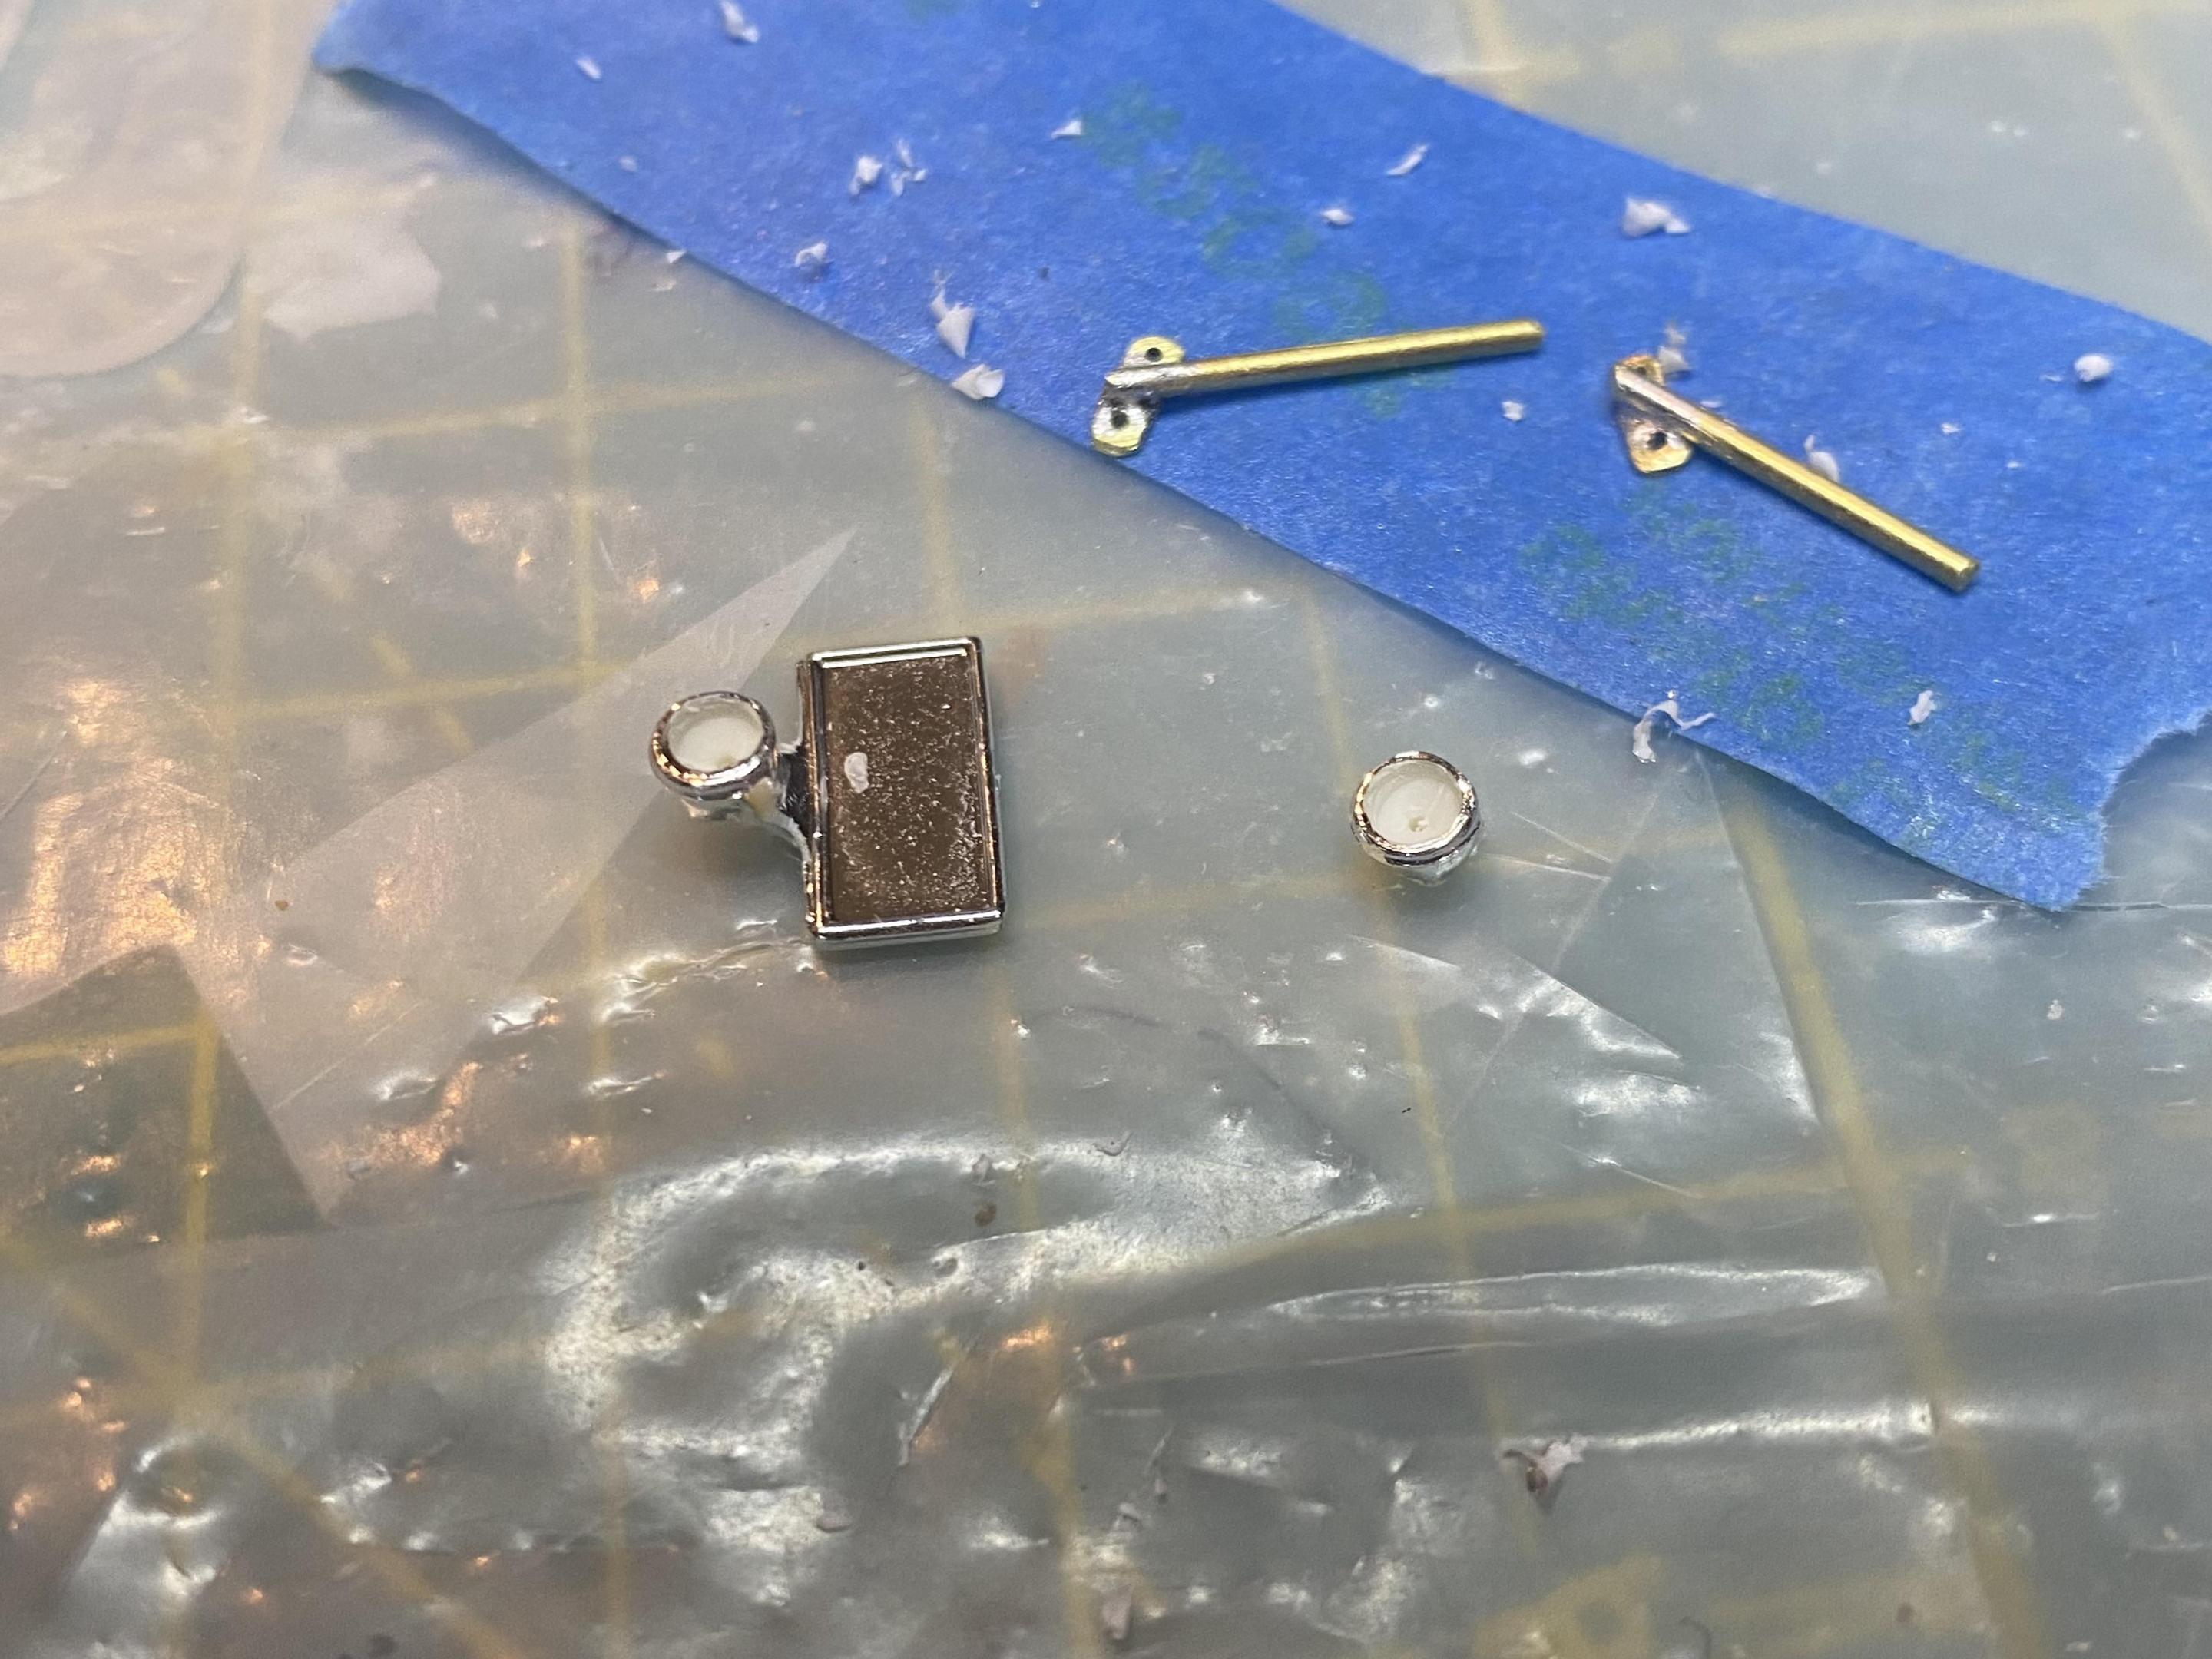
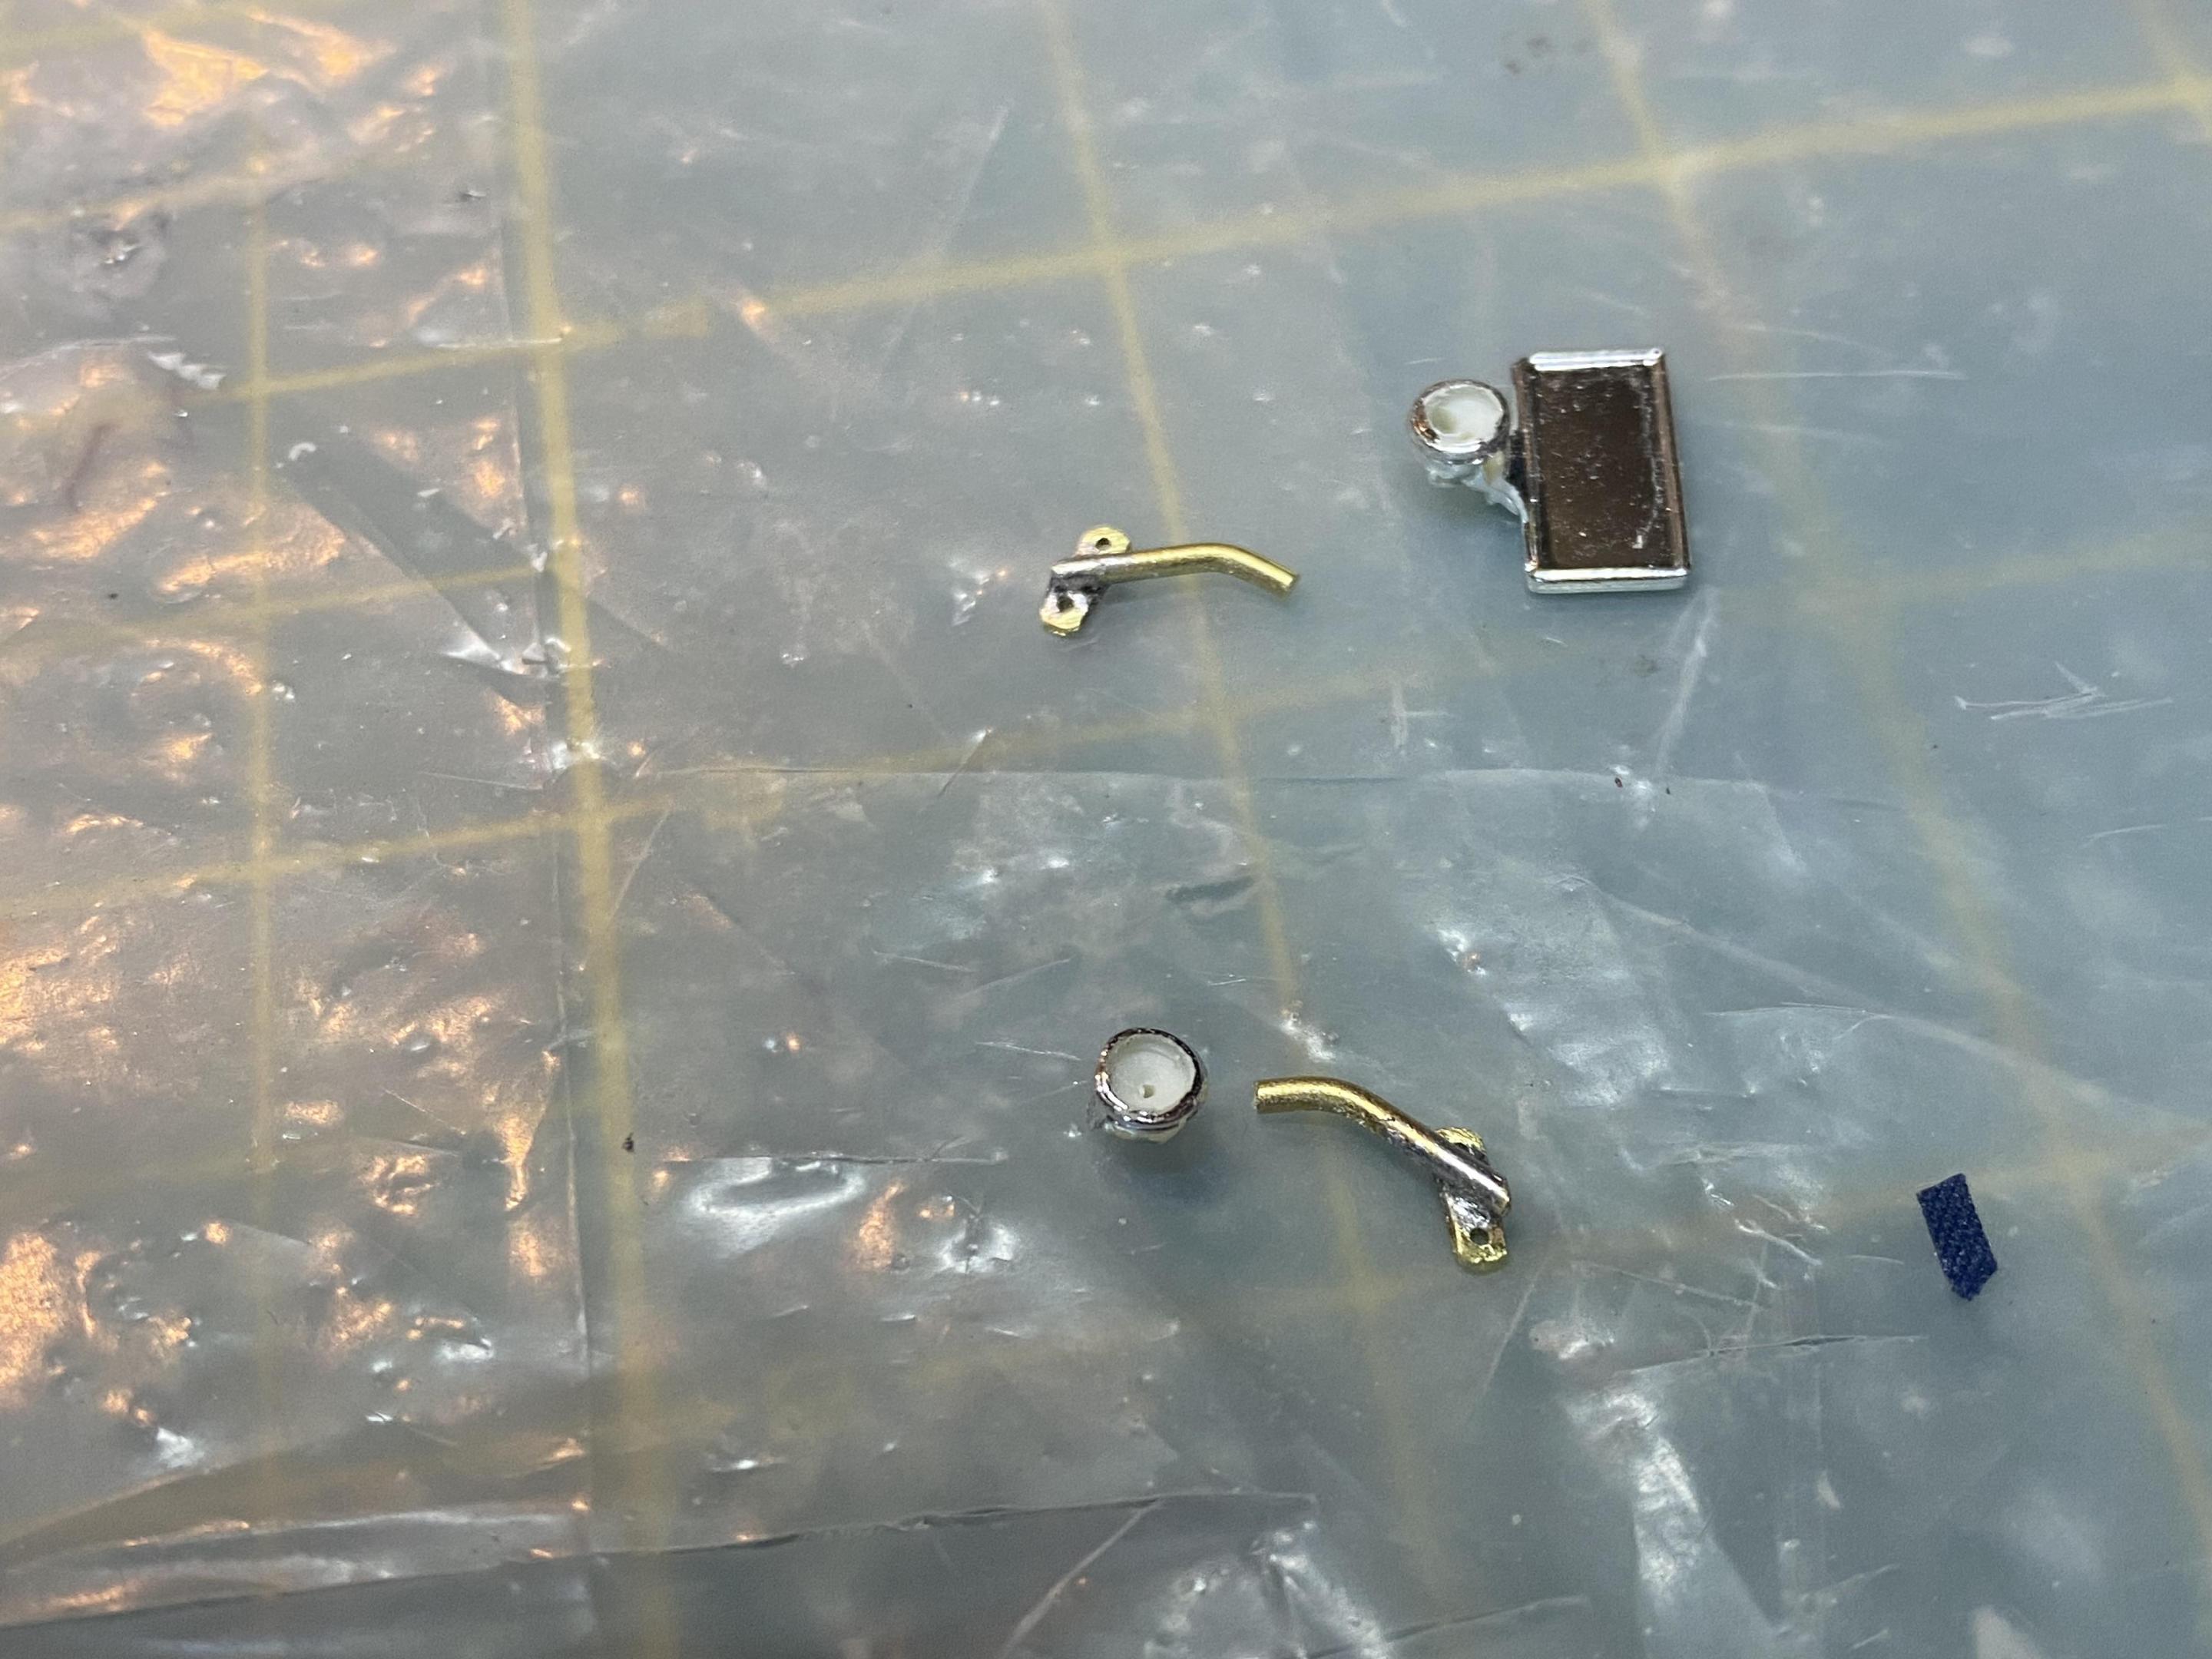
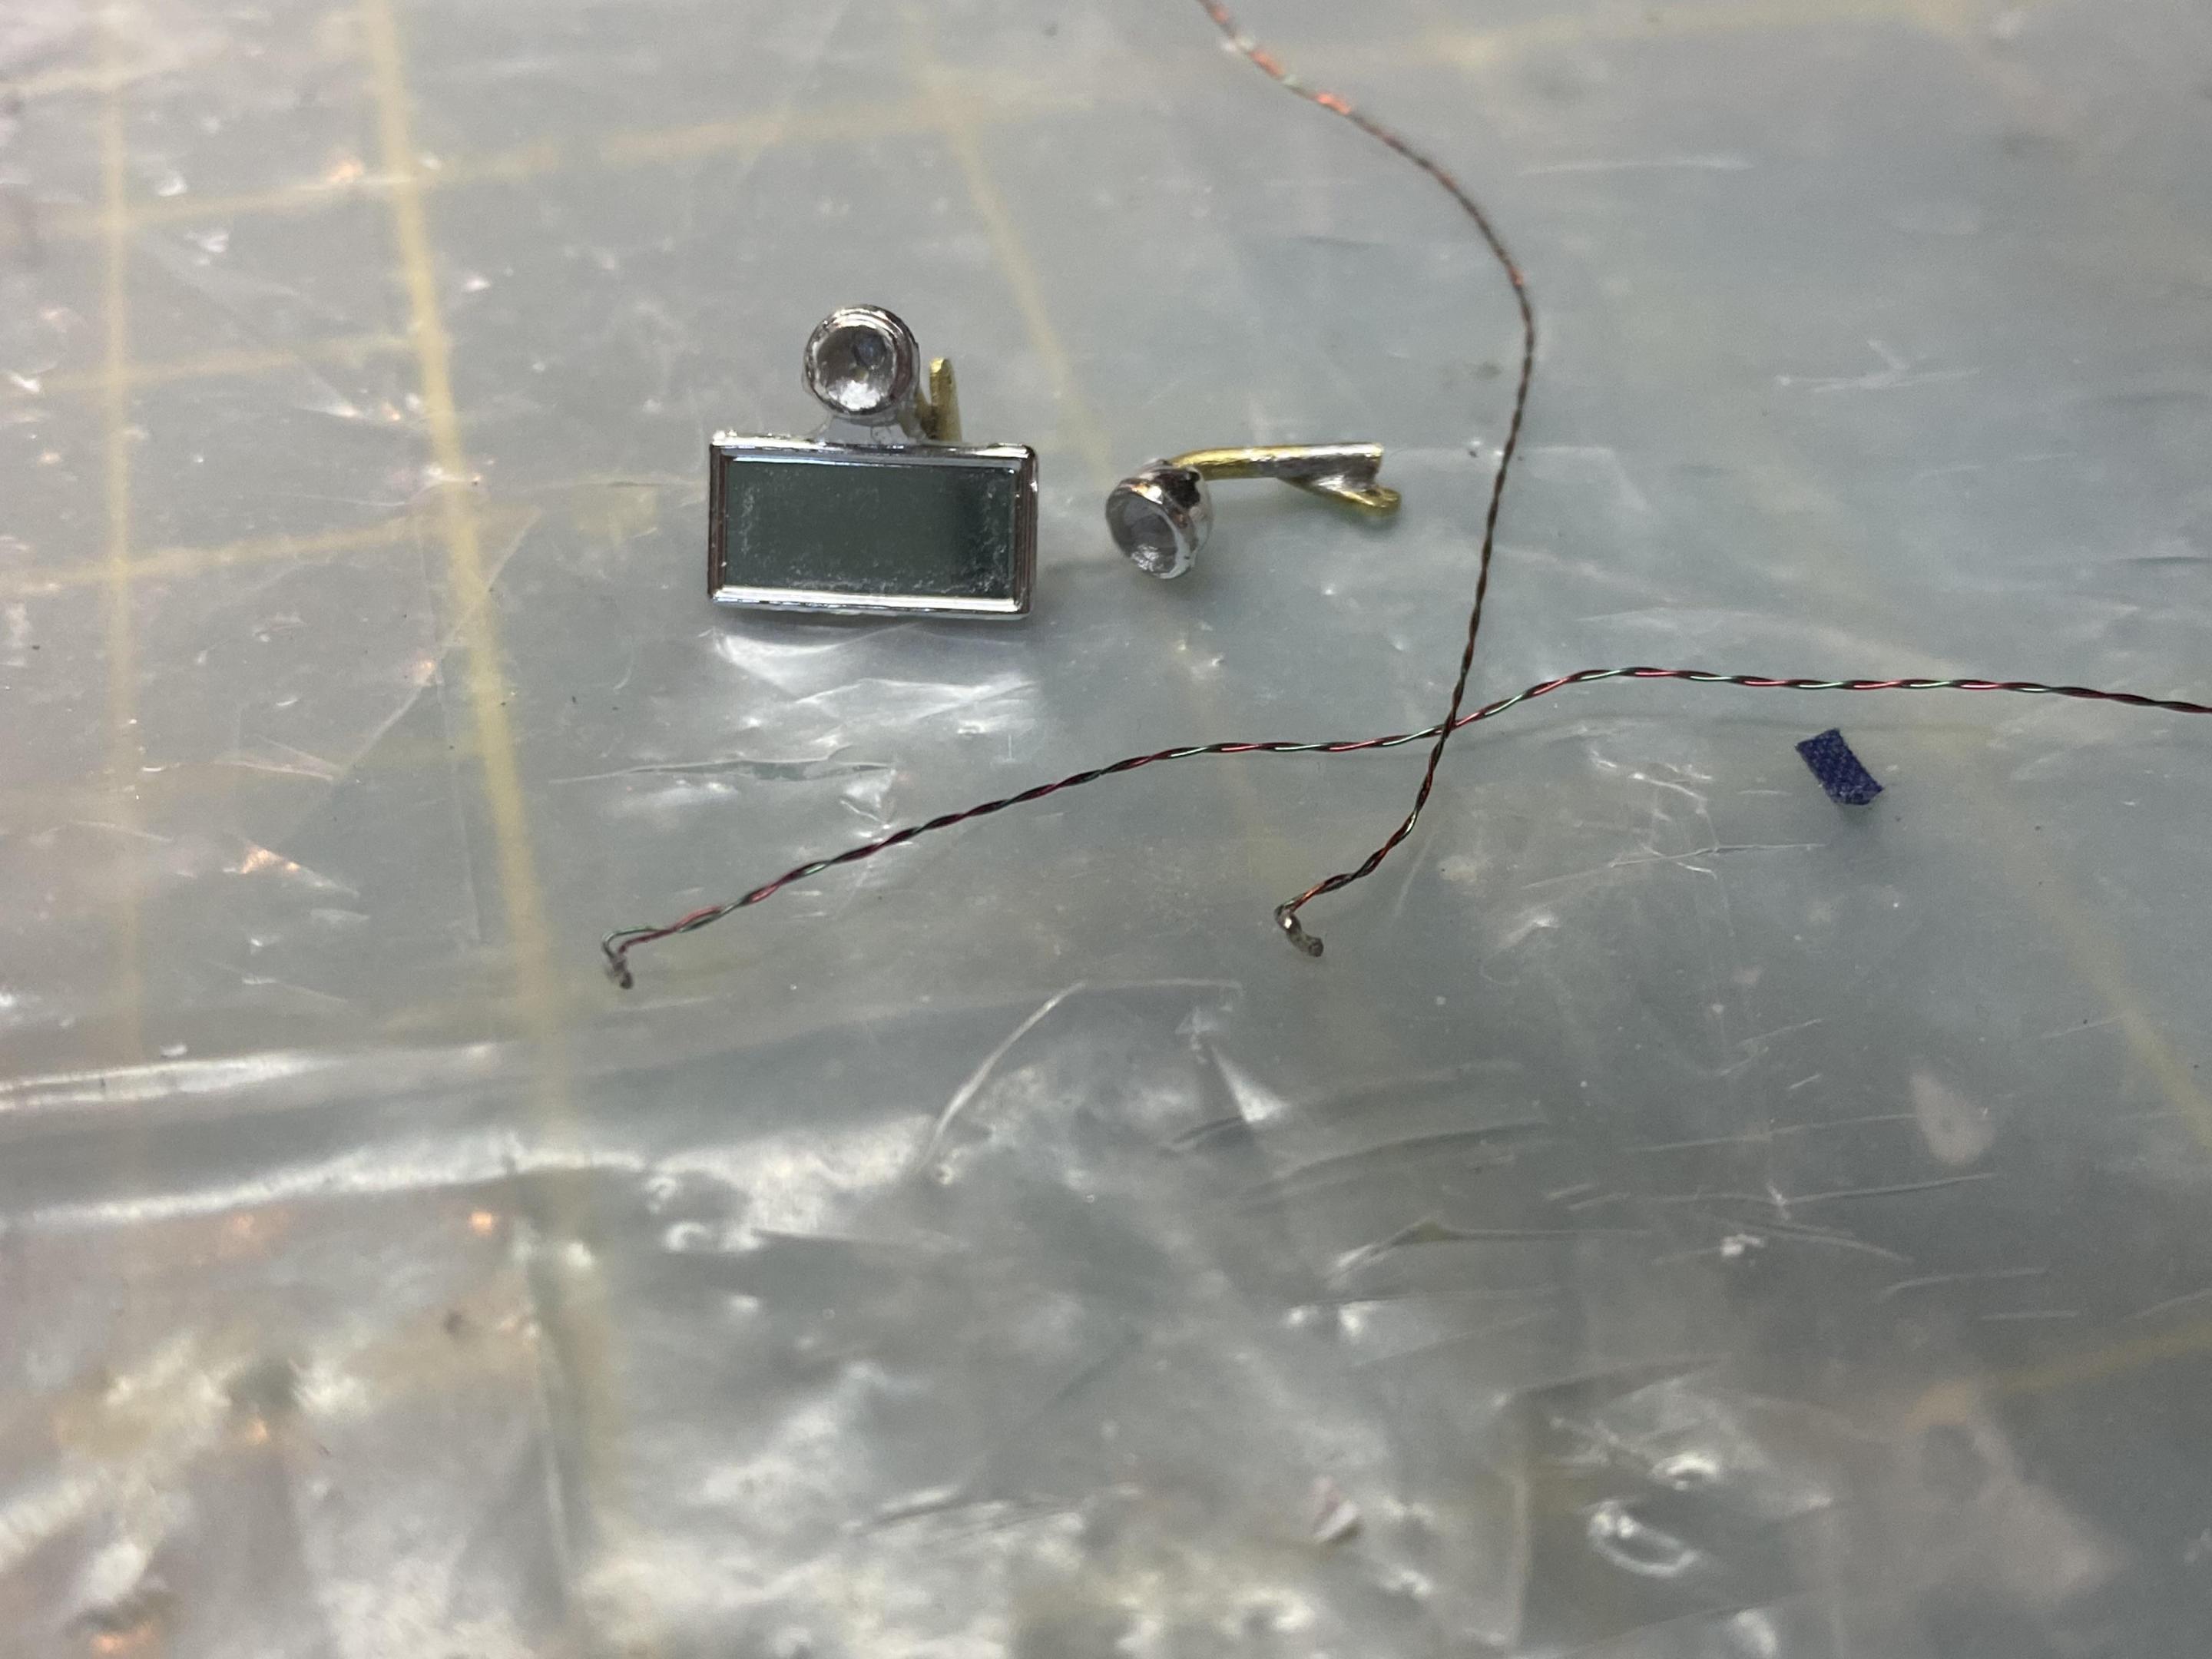
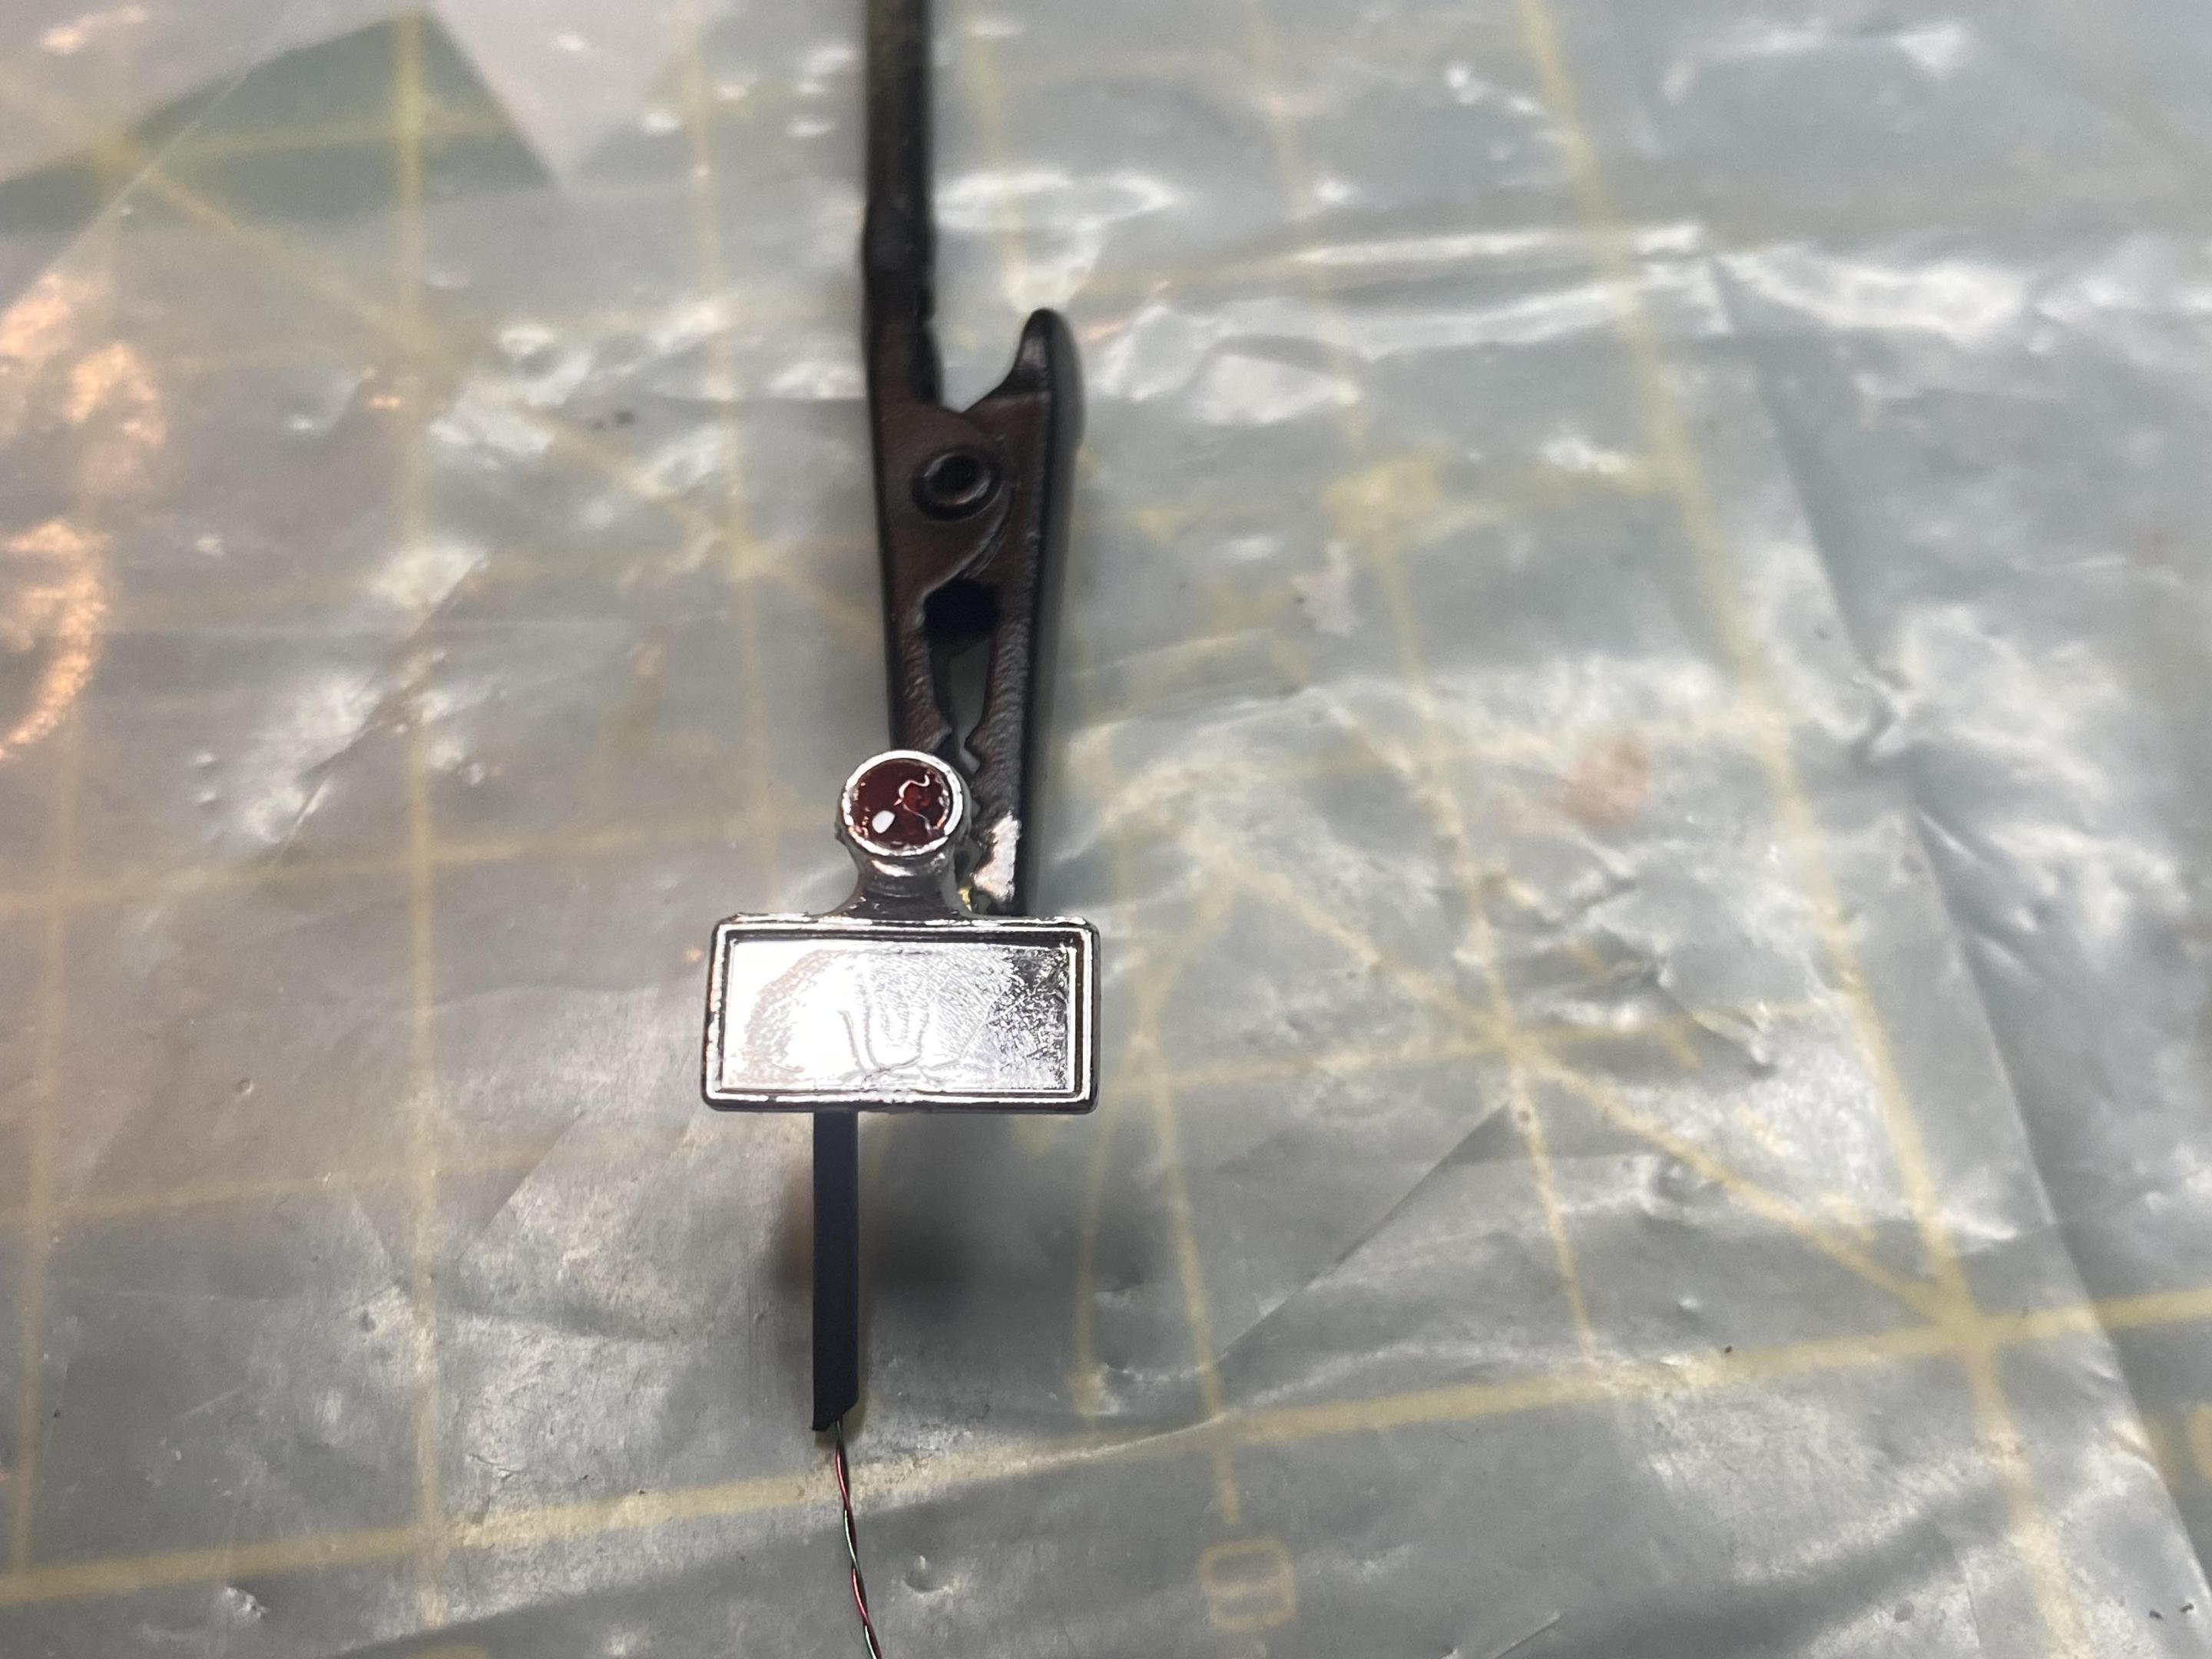
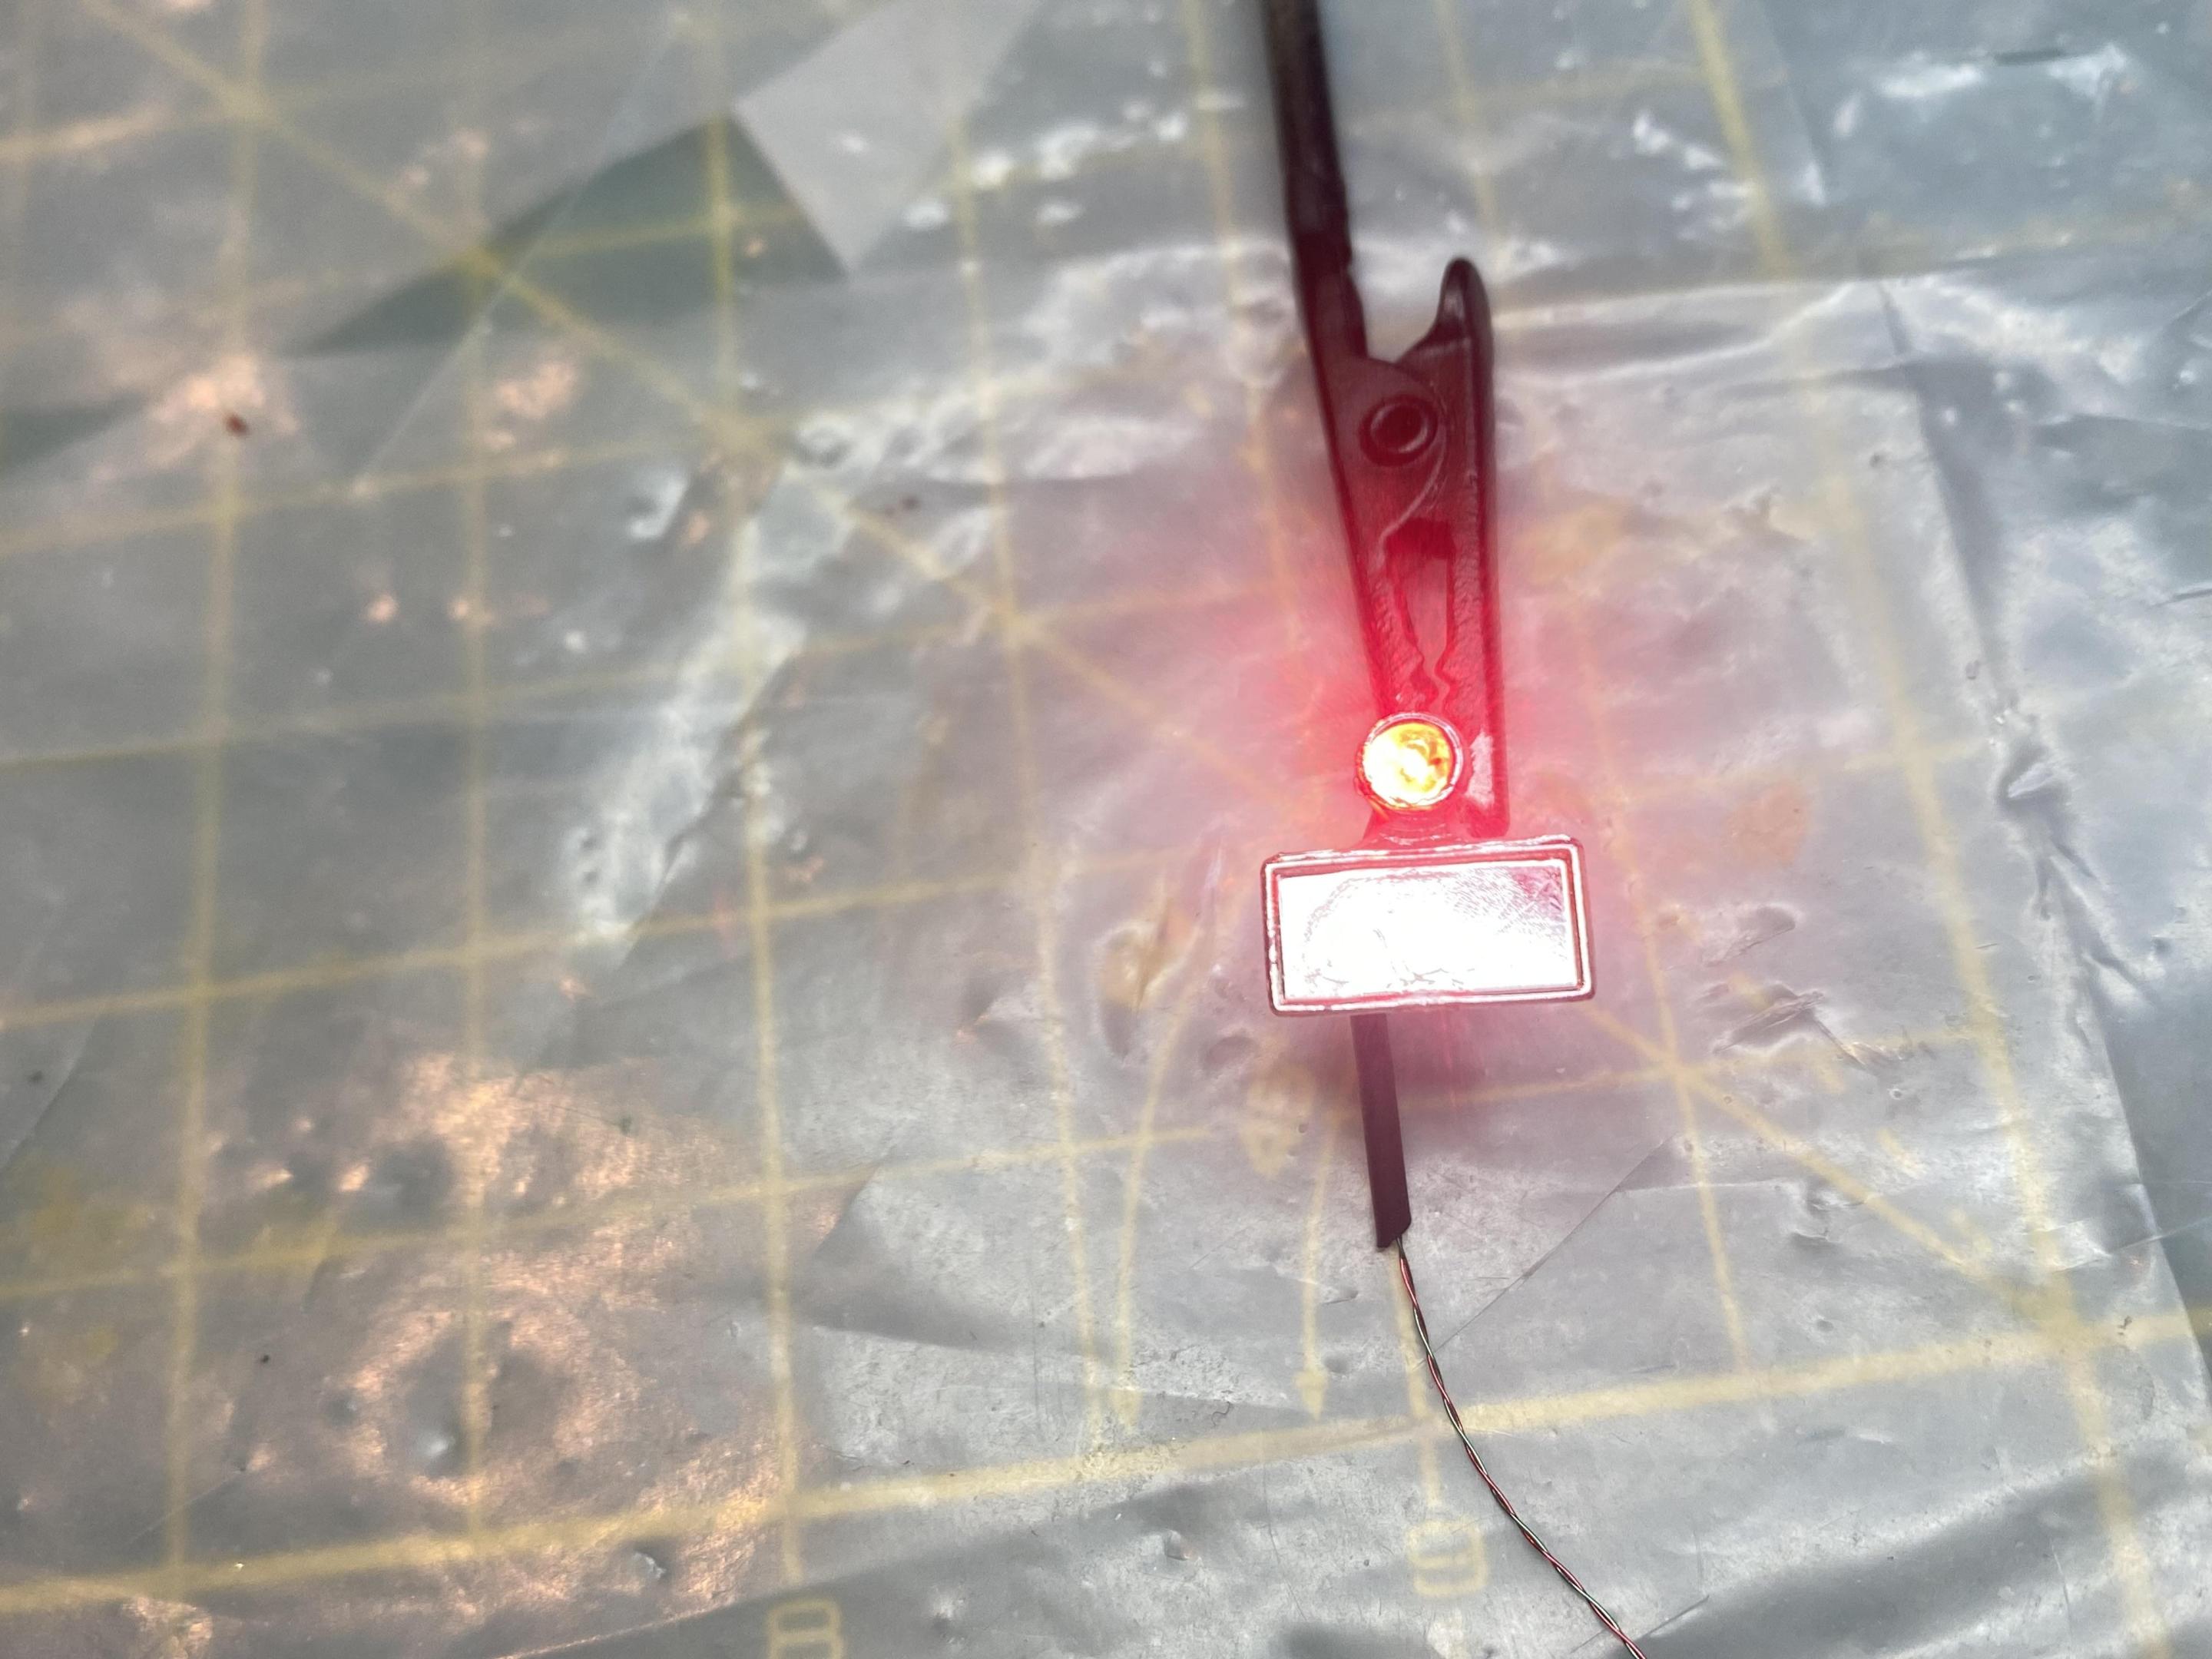
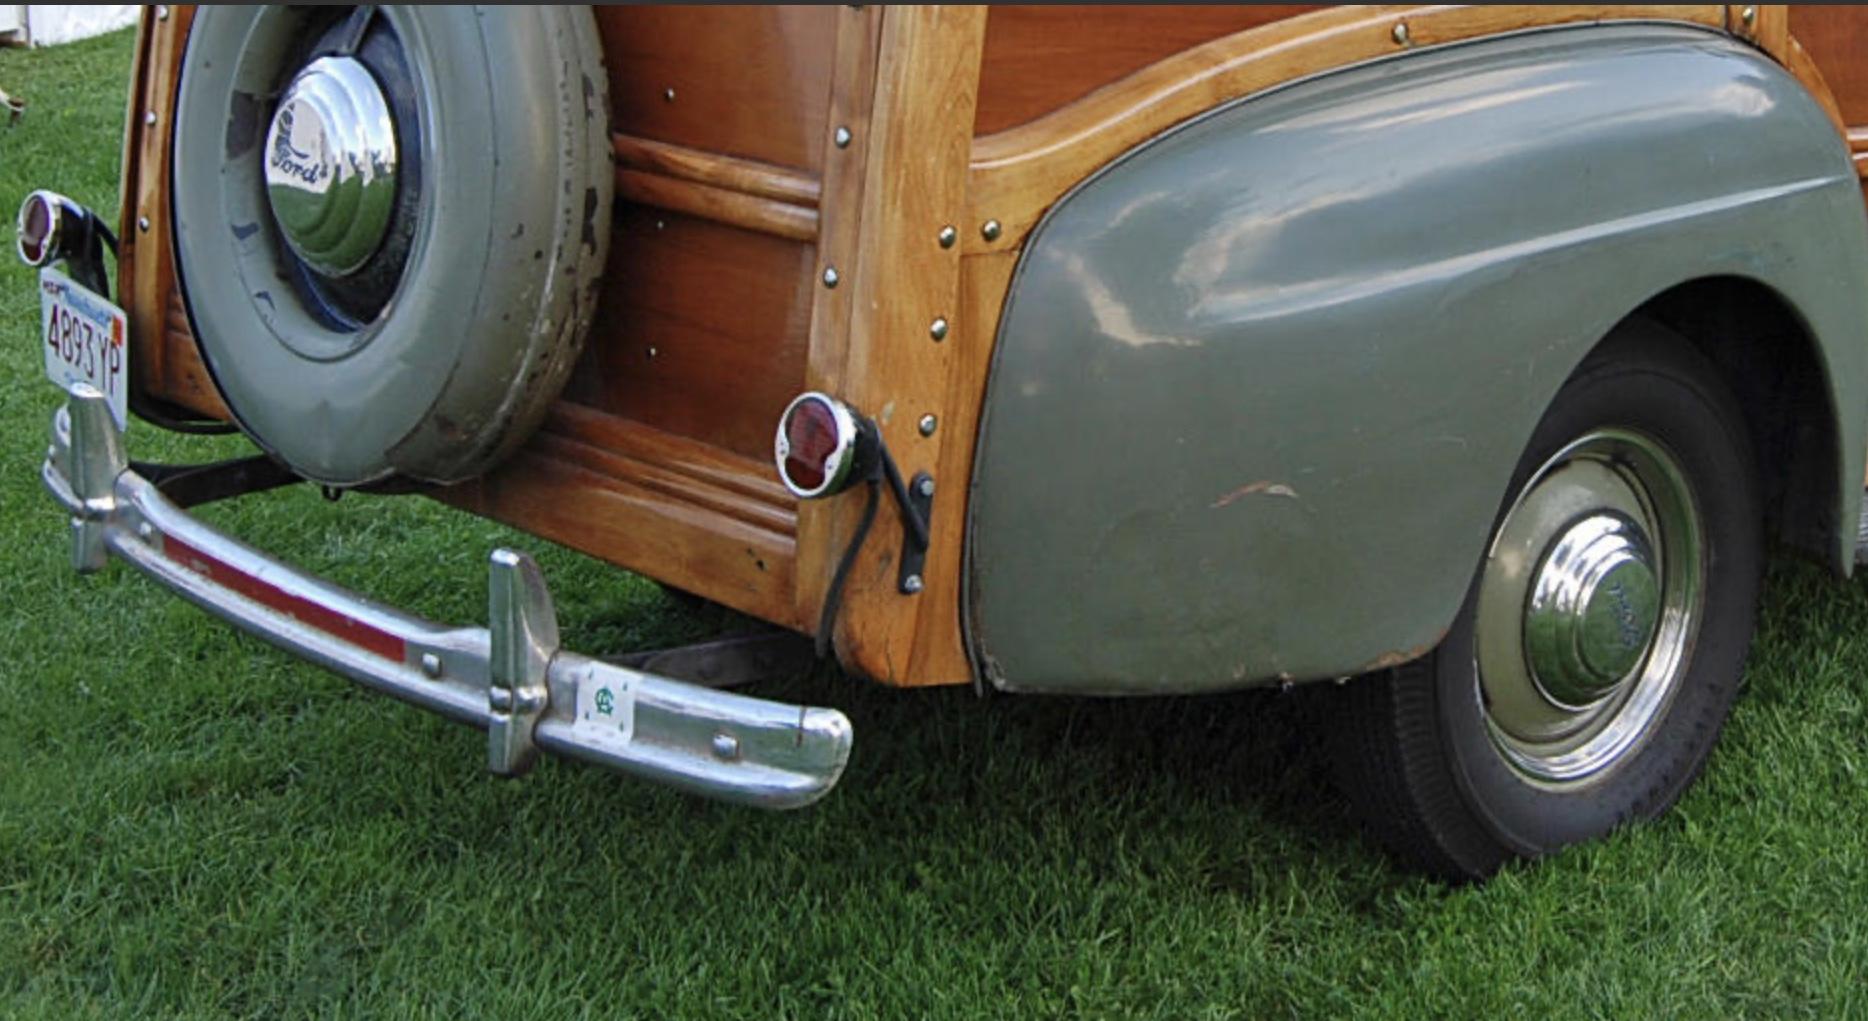
My thumb is starting to get better but still have to take it easy. I did get the taillights created. I smashed some brass rod and drilled for the mounting and soldered rod to It. I drilled out the kit taillights for pico LEDs and wiring. I also drilled for the brackets. Then installed the pico LEDs and added clear UV resin lenses and painted Tamiya clear red. Added the wire covering and tested. this is the look I am going for.
-
Very nice start!
-
Sadly, this build has come to a temporary halt. I pulled the tendon in my left thumb, and I just happen to be left-handed, so it is making everything difficult at the moment. I am hoping to get back to this build in the not-too-distant future.
-
Bummer, I was looking forward to seeing this one. Hopefully you will get back to it in the not so distant future.
-
Amazing Build! I Love the early falcons. Wish the kits were more available.
-
Sprit of Speed 9 - NHRA Museum November 10, 2024
Duddly01 replied to sfhess's topic in Contests and Shows
Ah, Thanks. See you there! -

Sprit of Speed 9 - NHRA Museum November 10, 2024
Duddly01 replied to sfhess's topic in Contests and Shows
I am planning on participating this year myself. Is there a place online to register? -
Interesting. I haven't had it any worst on rereleases before. They must have used it a lot in a short time. Nothing hard to cleanup so not a biggy.
-
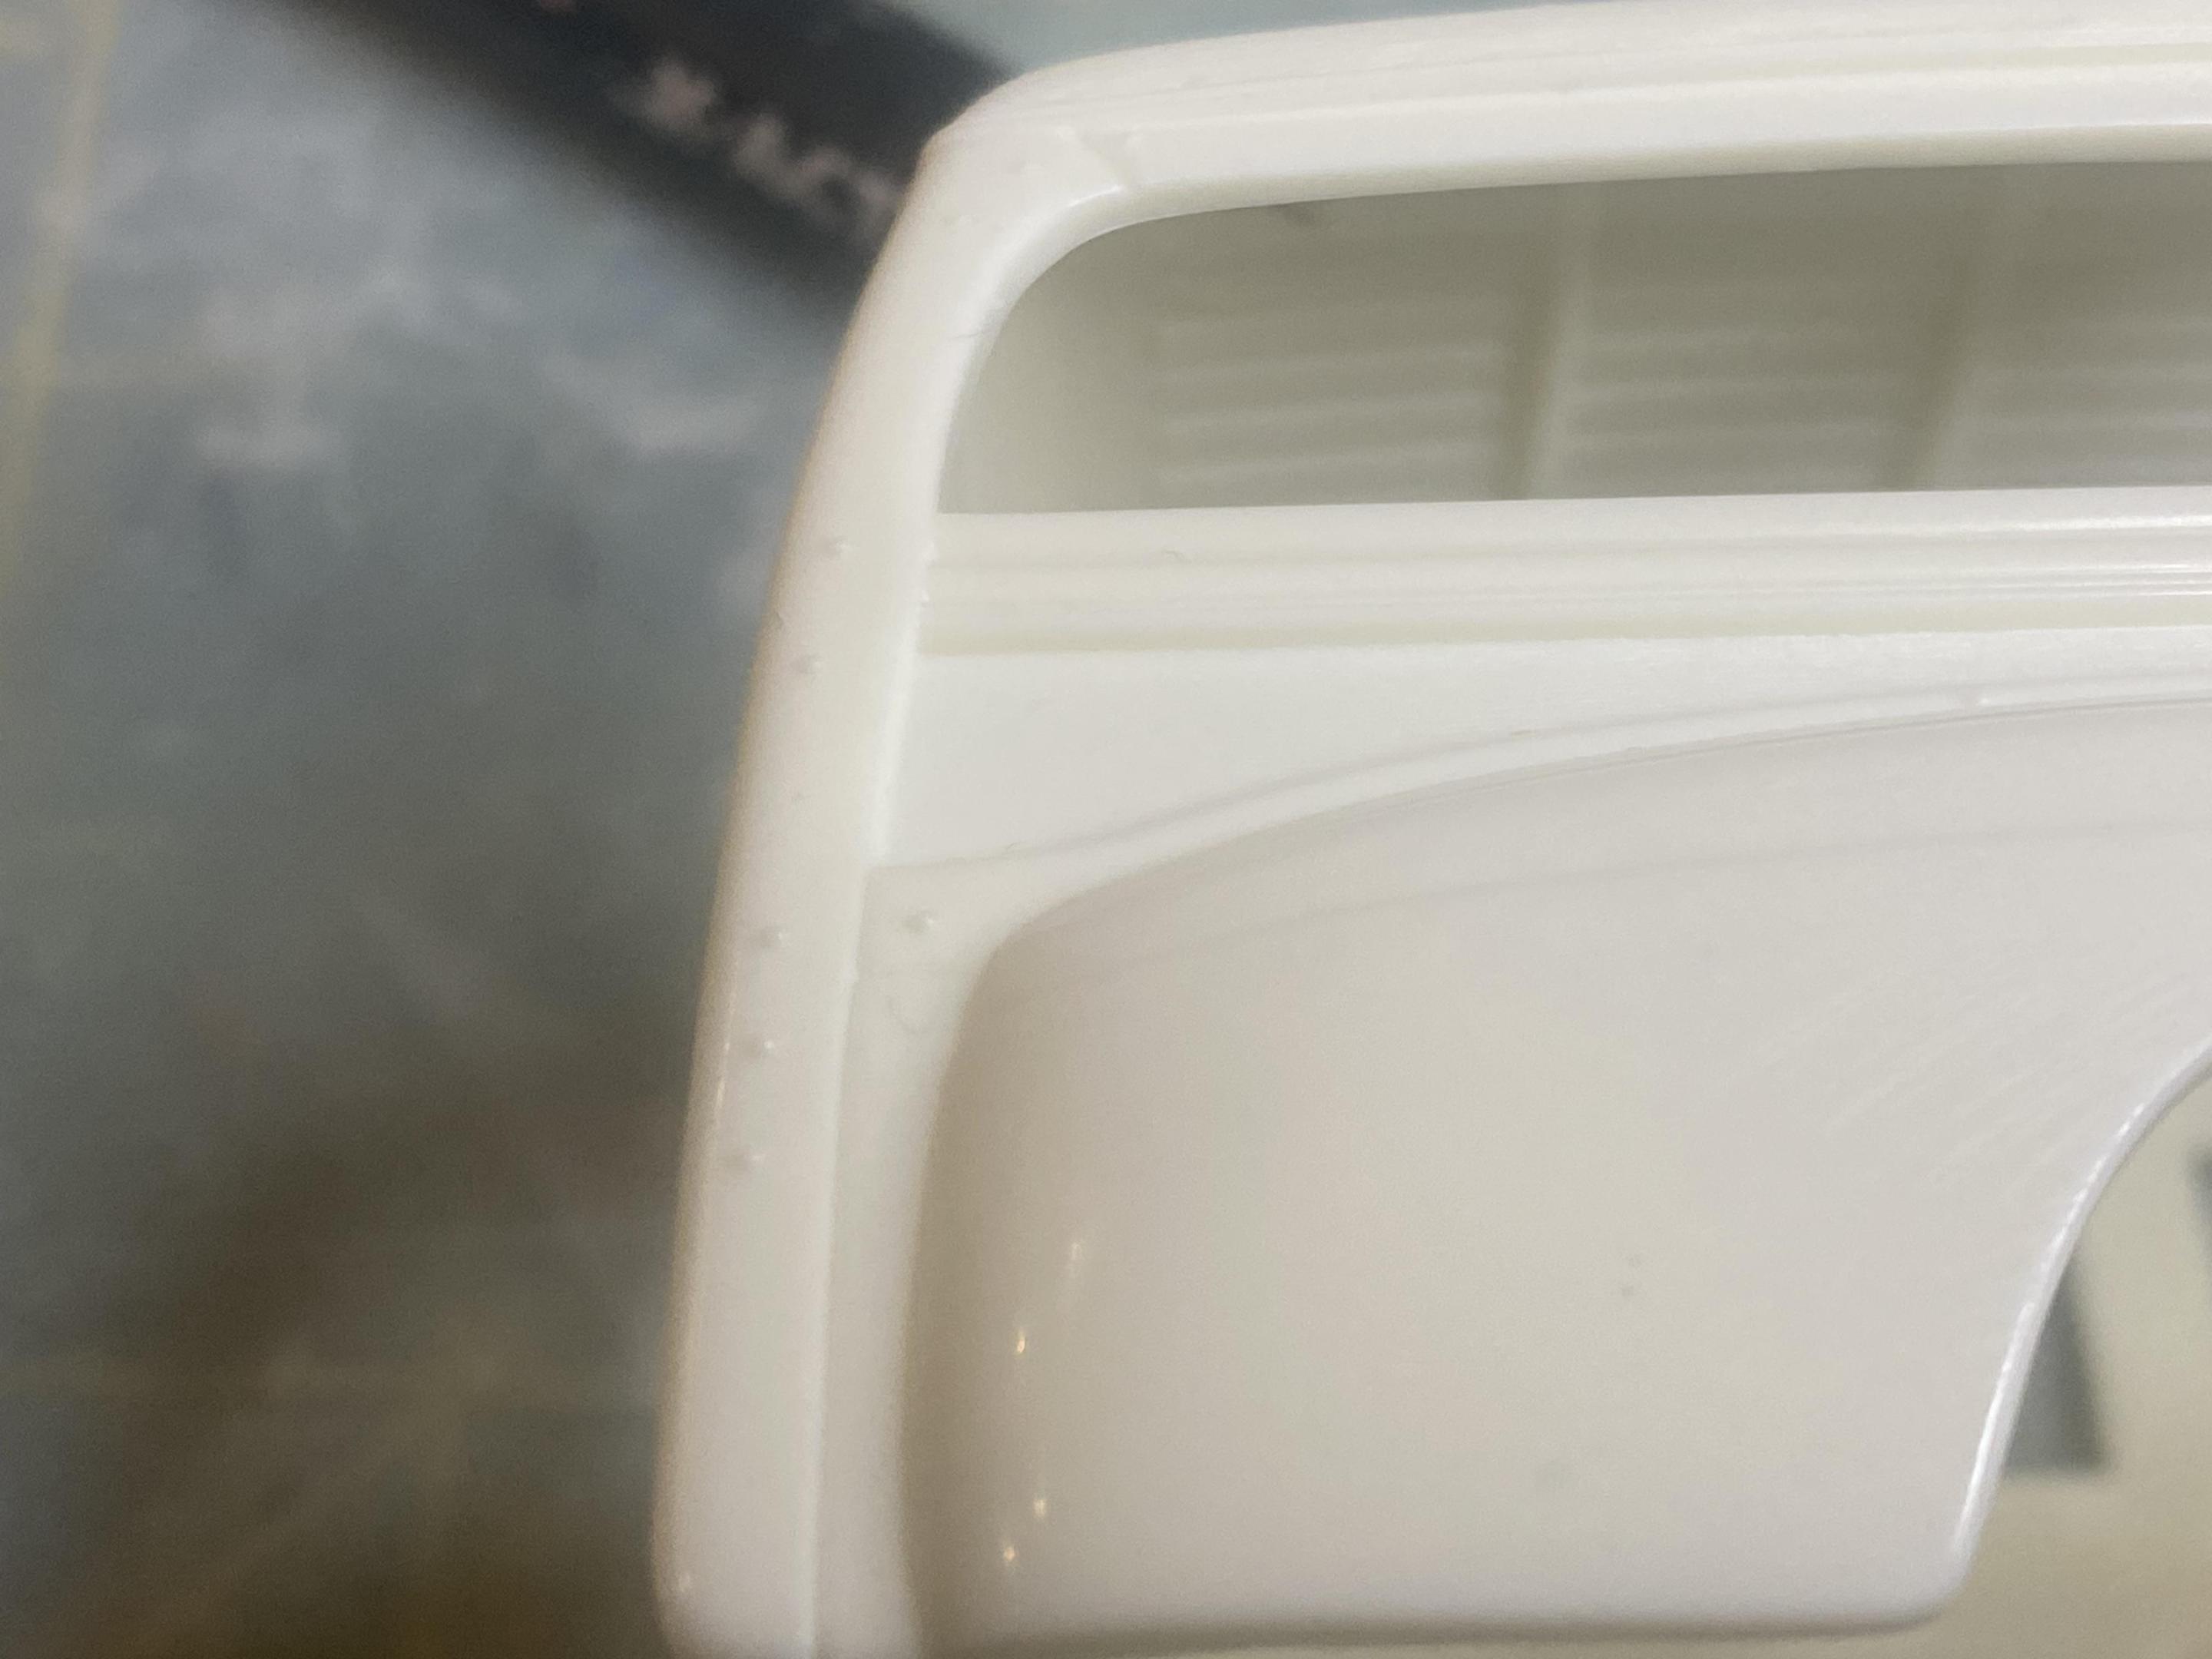
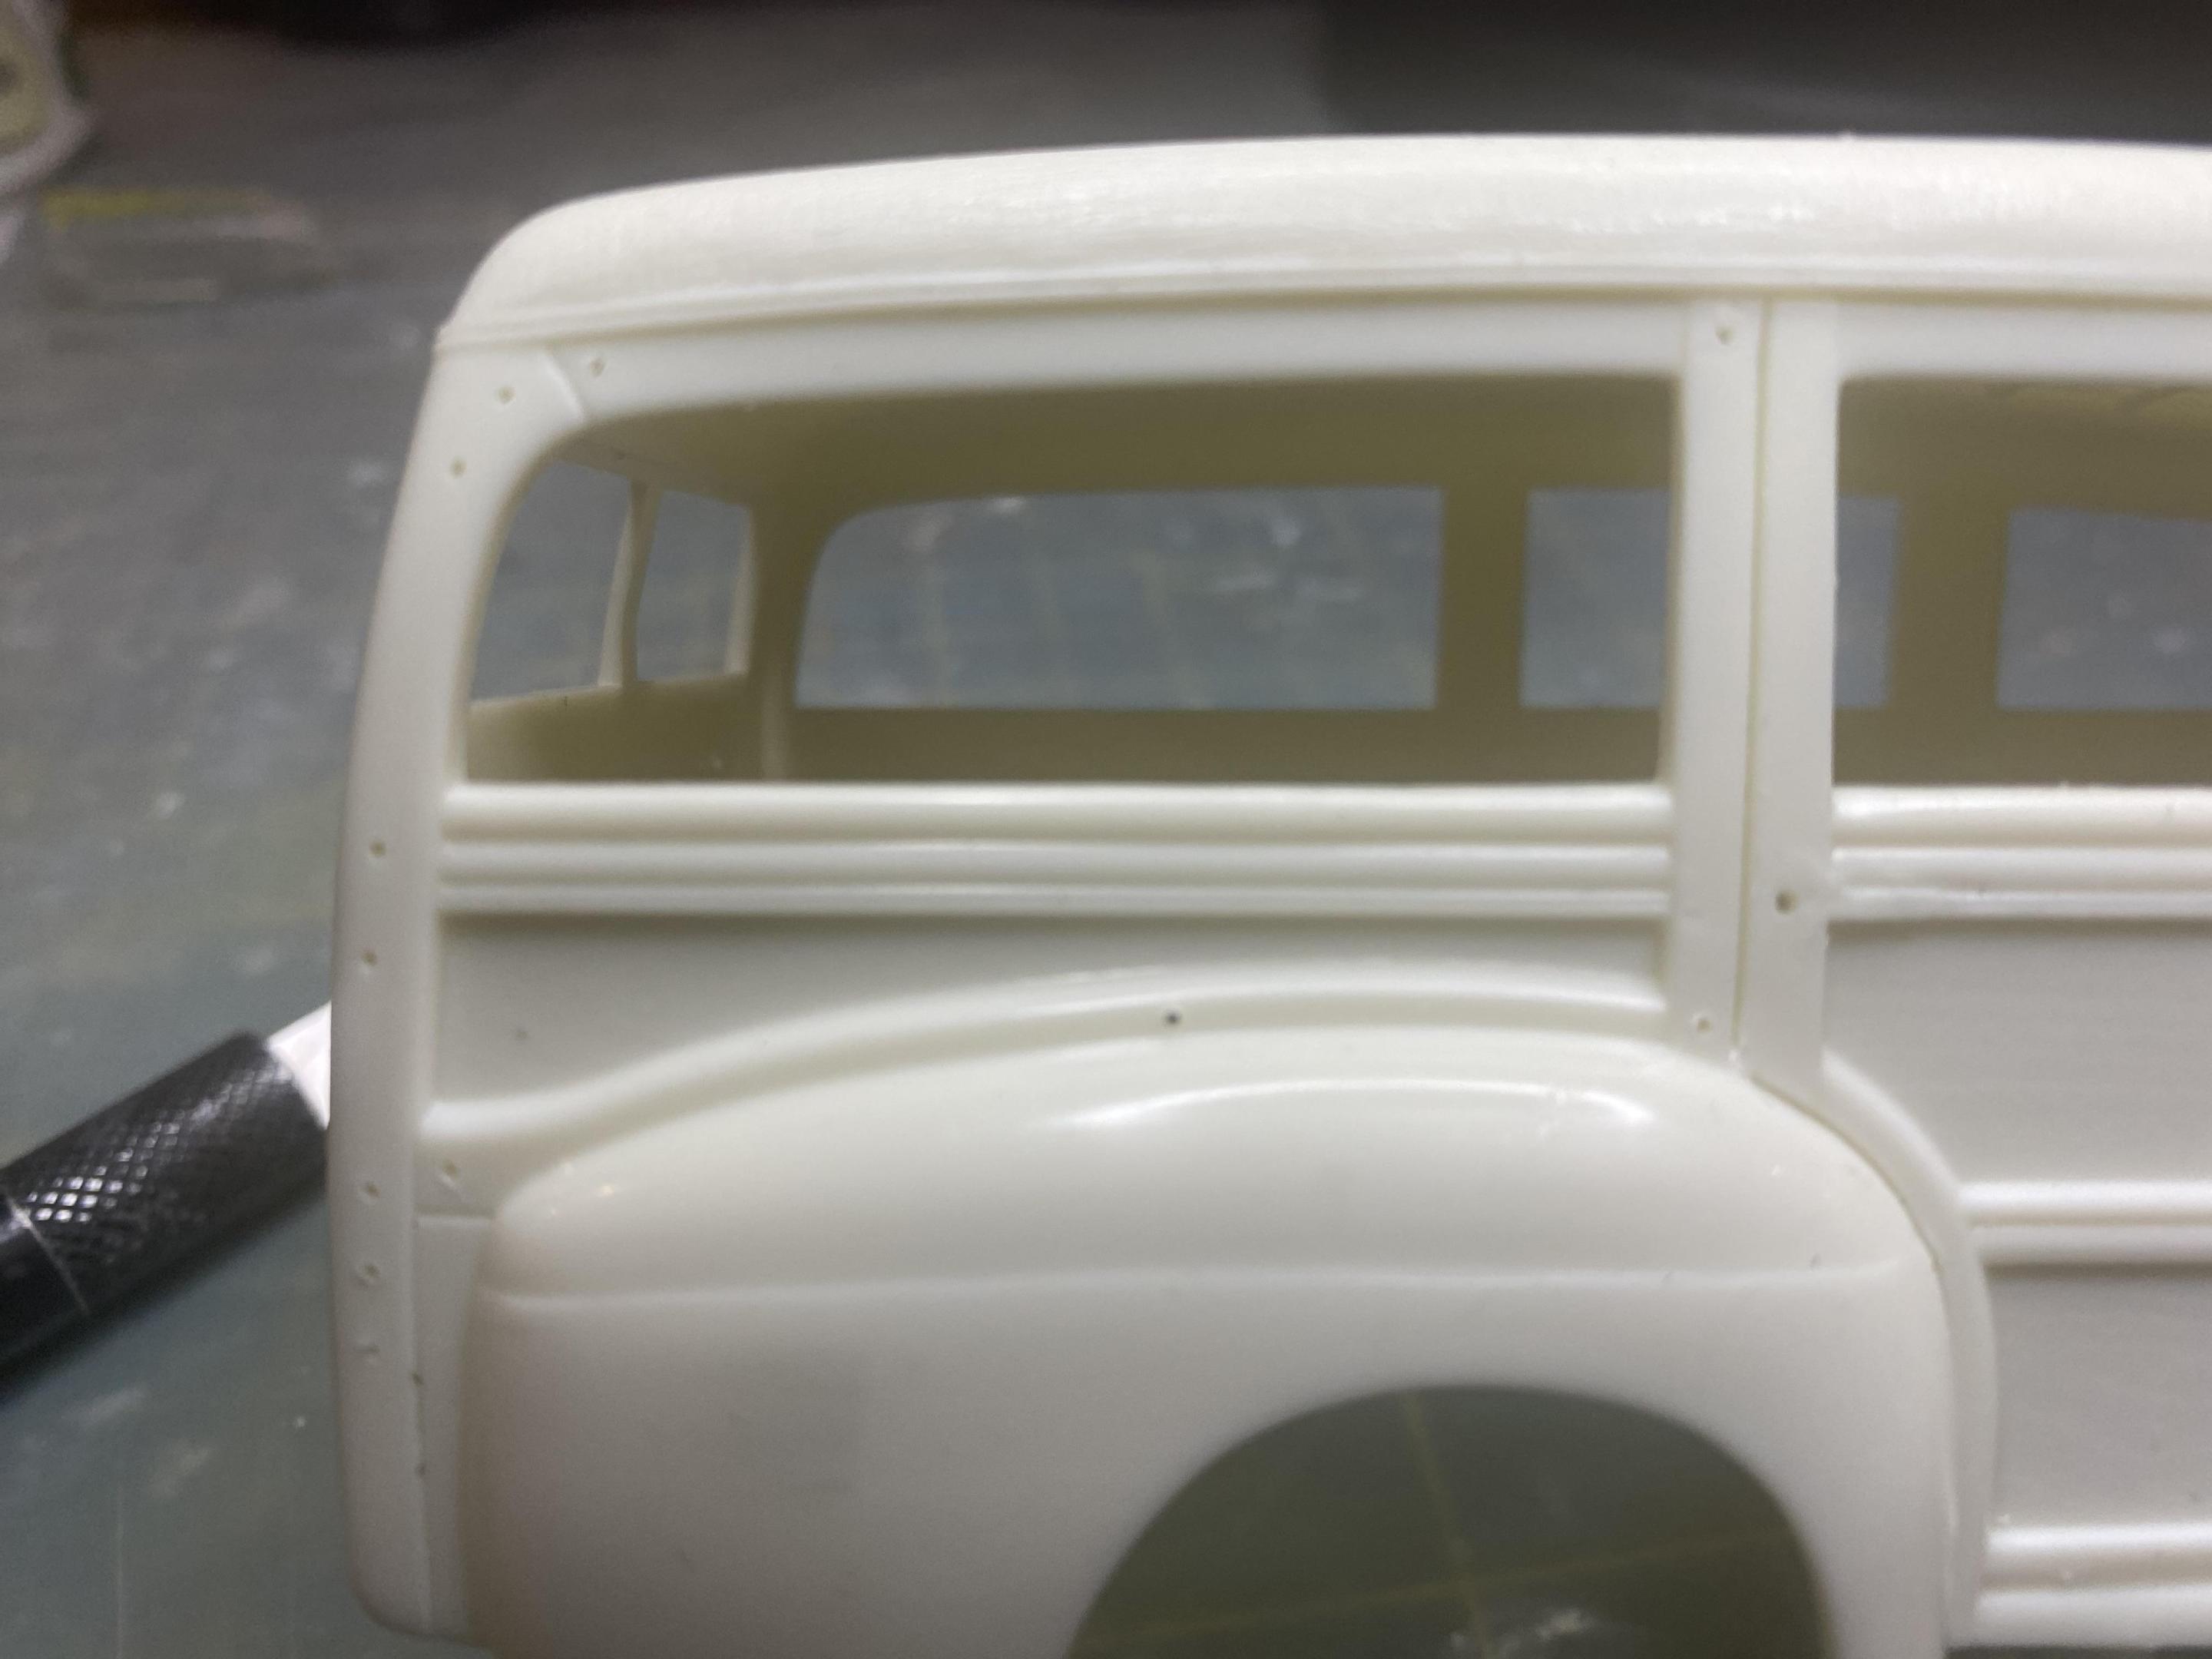
Thanks. I have the Revell 48 Ford woody kit but I haven’t built it yet to compare myself. So far this kit seems pretty decent. You can tell the mold was getting old by this time, there is a lot of fairly thick flash on every sprue tree.
-
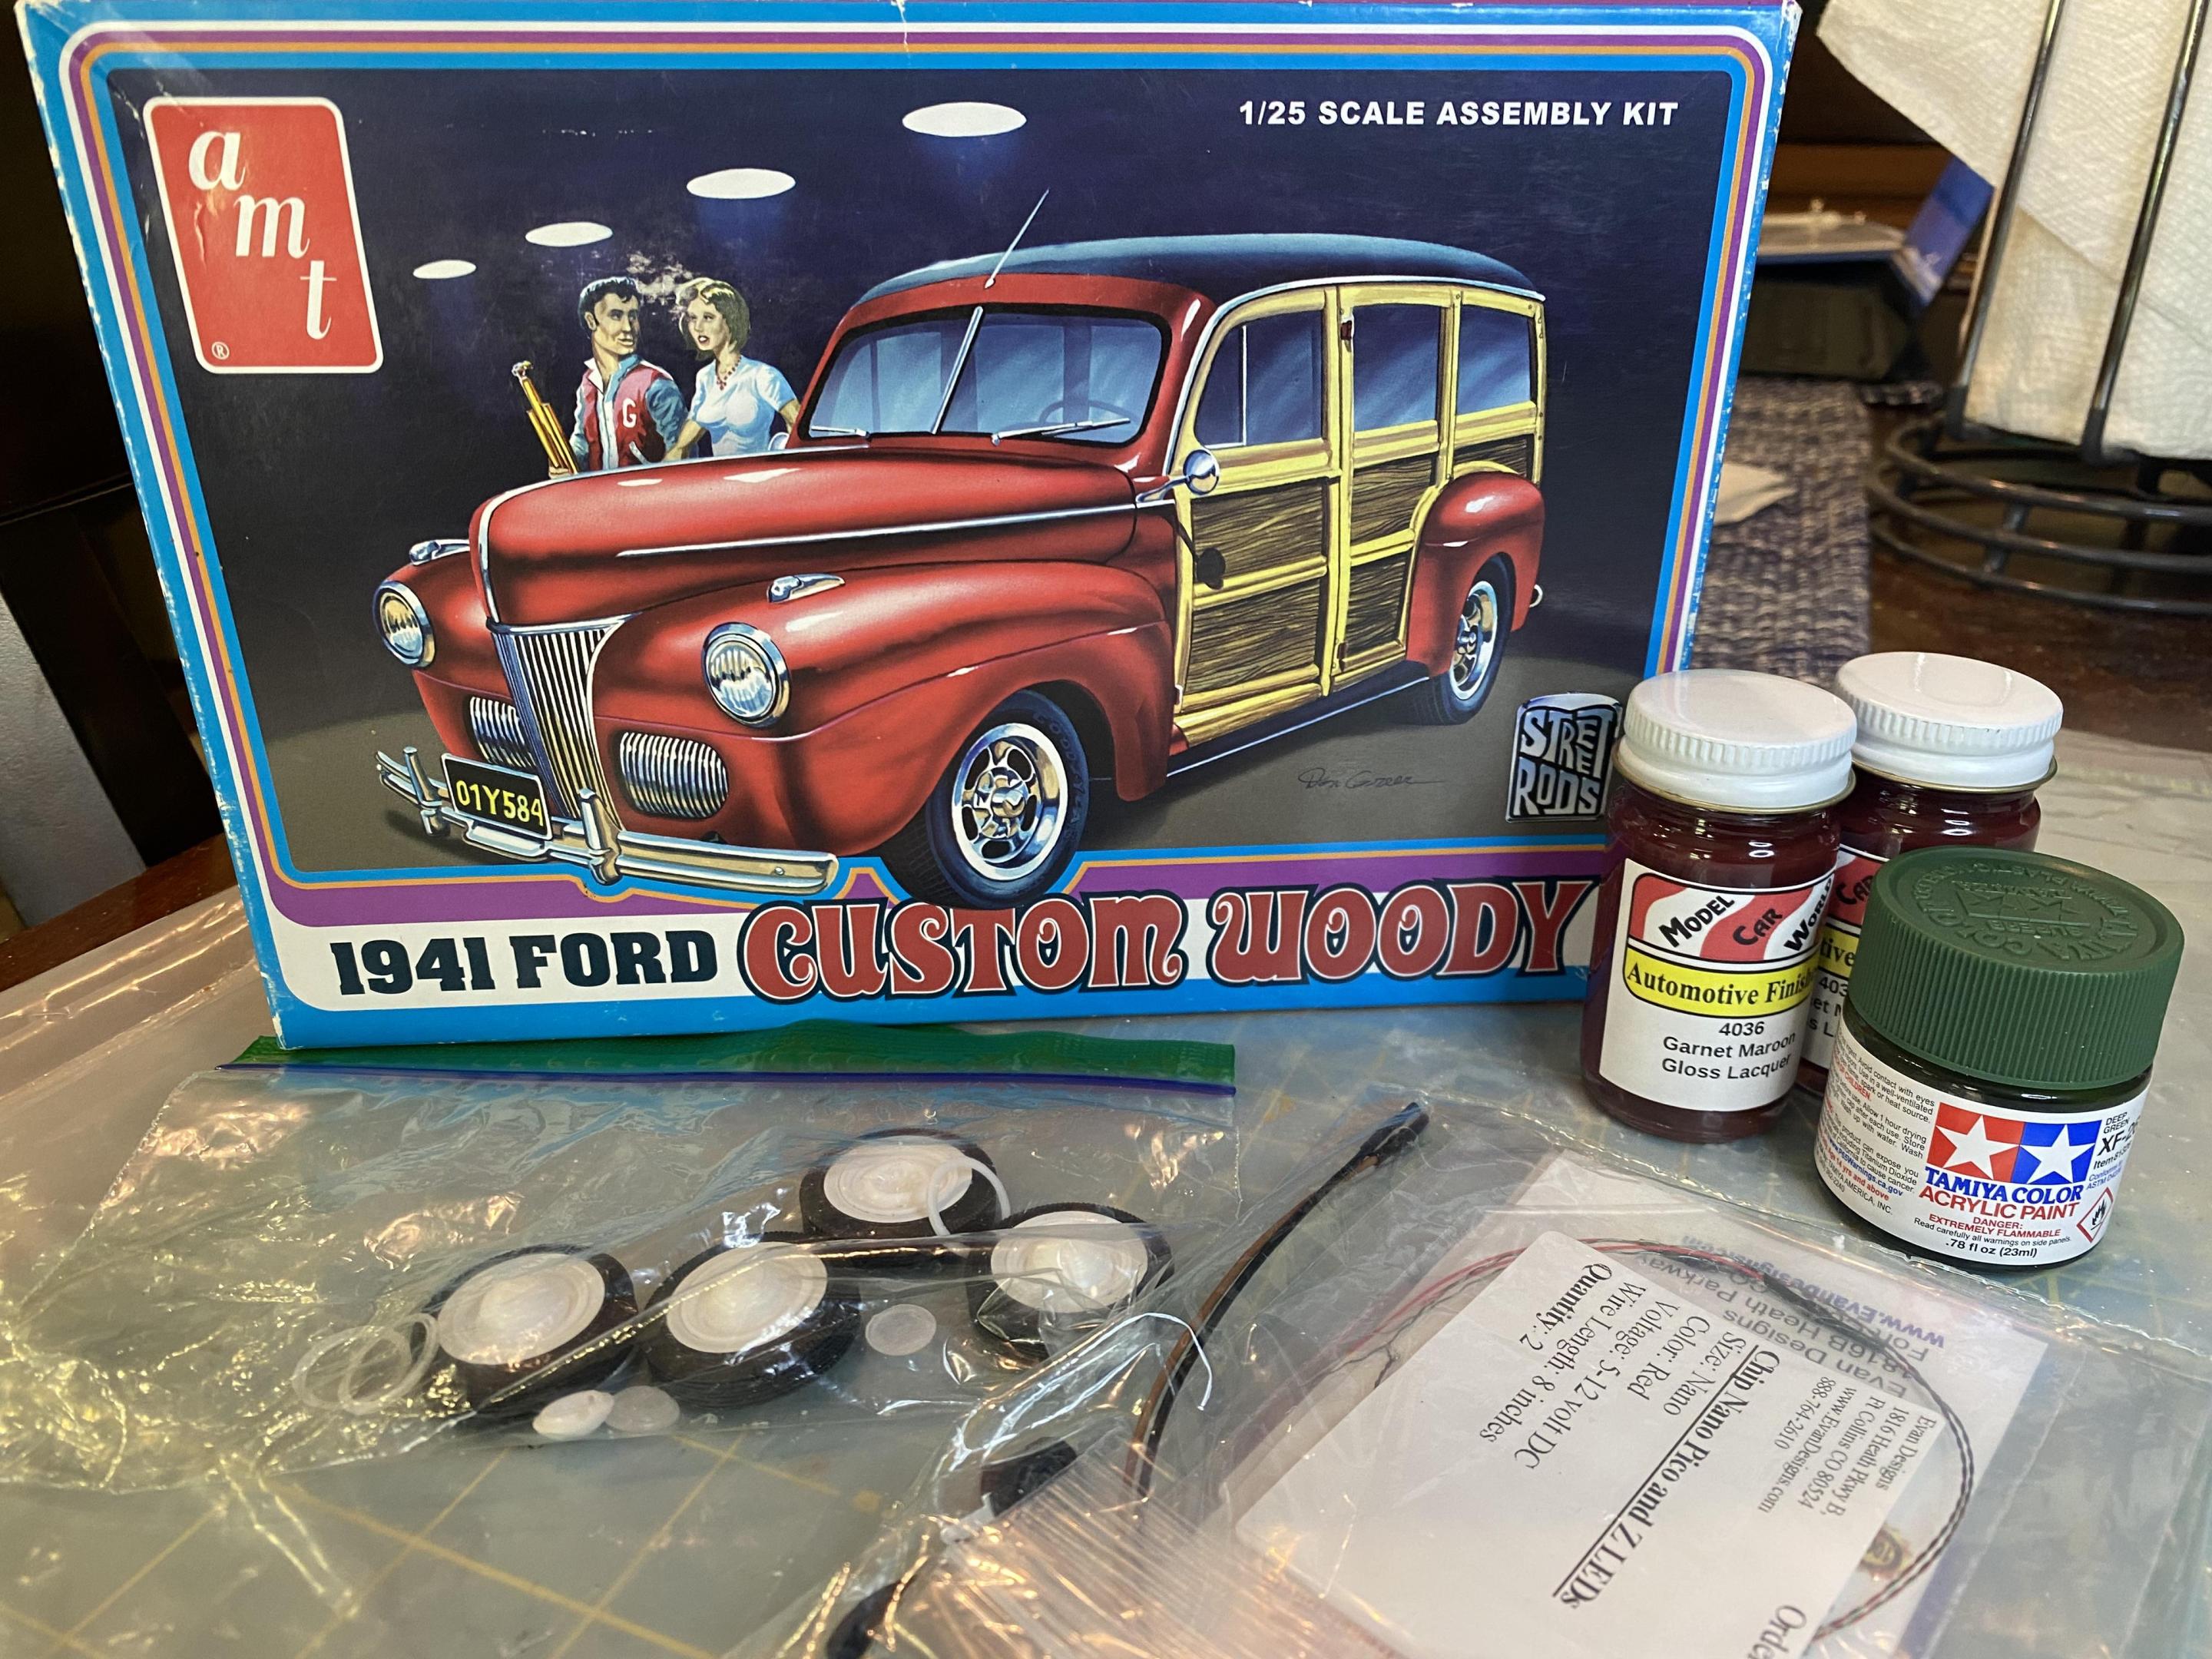
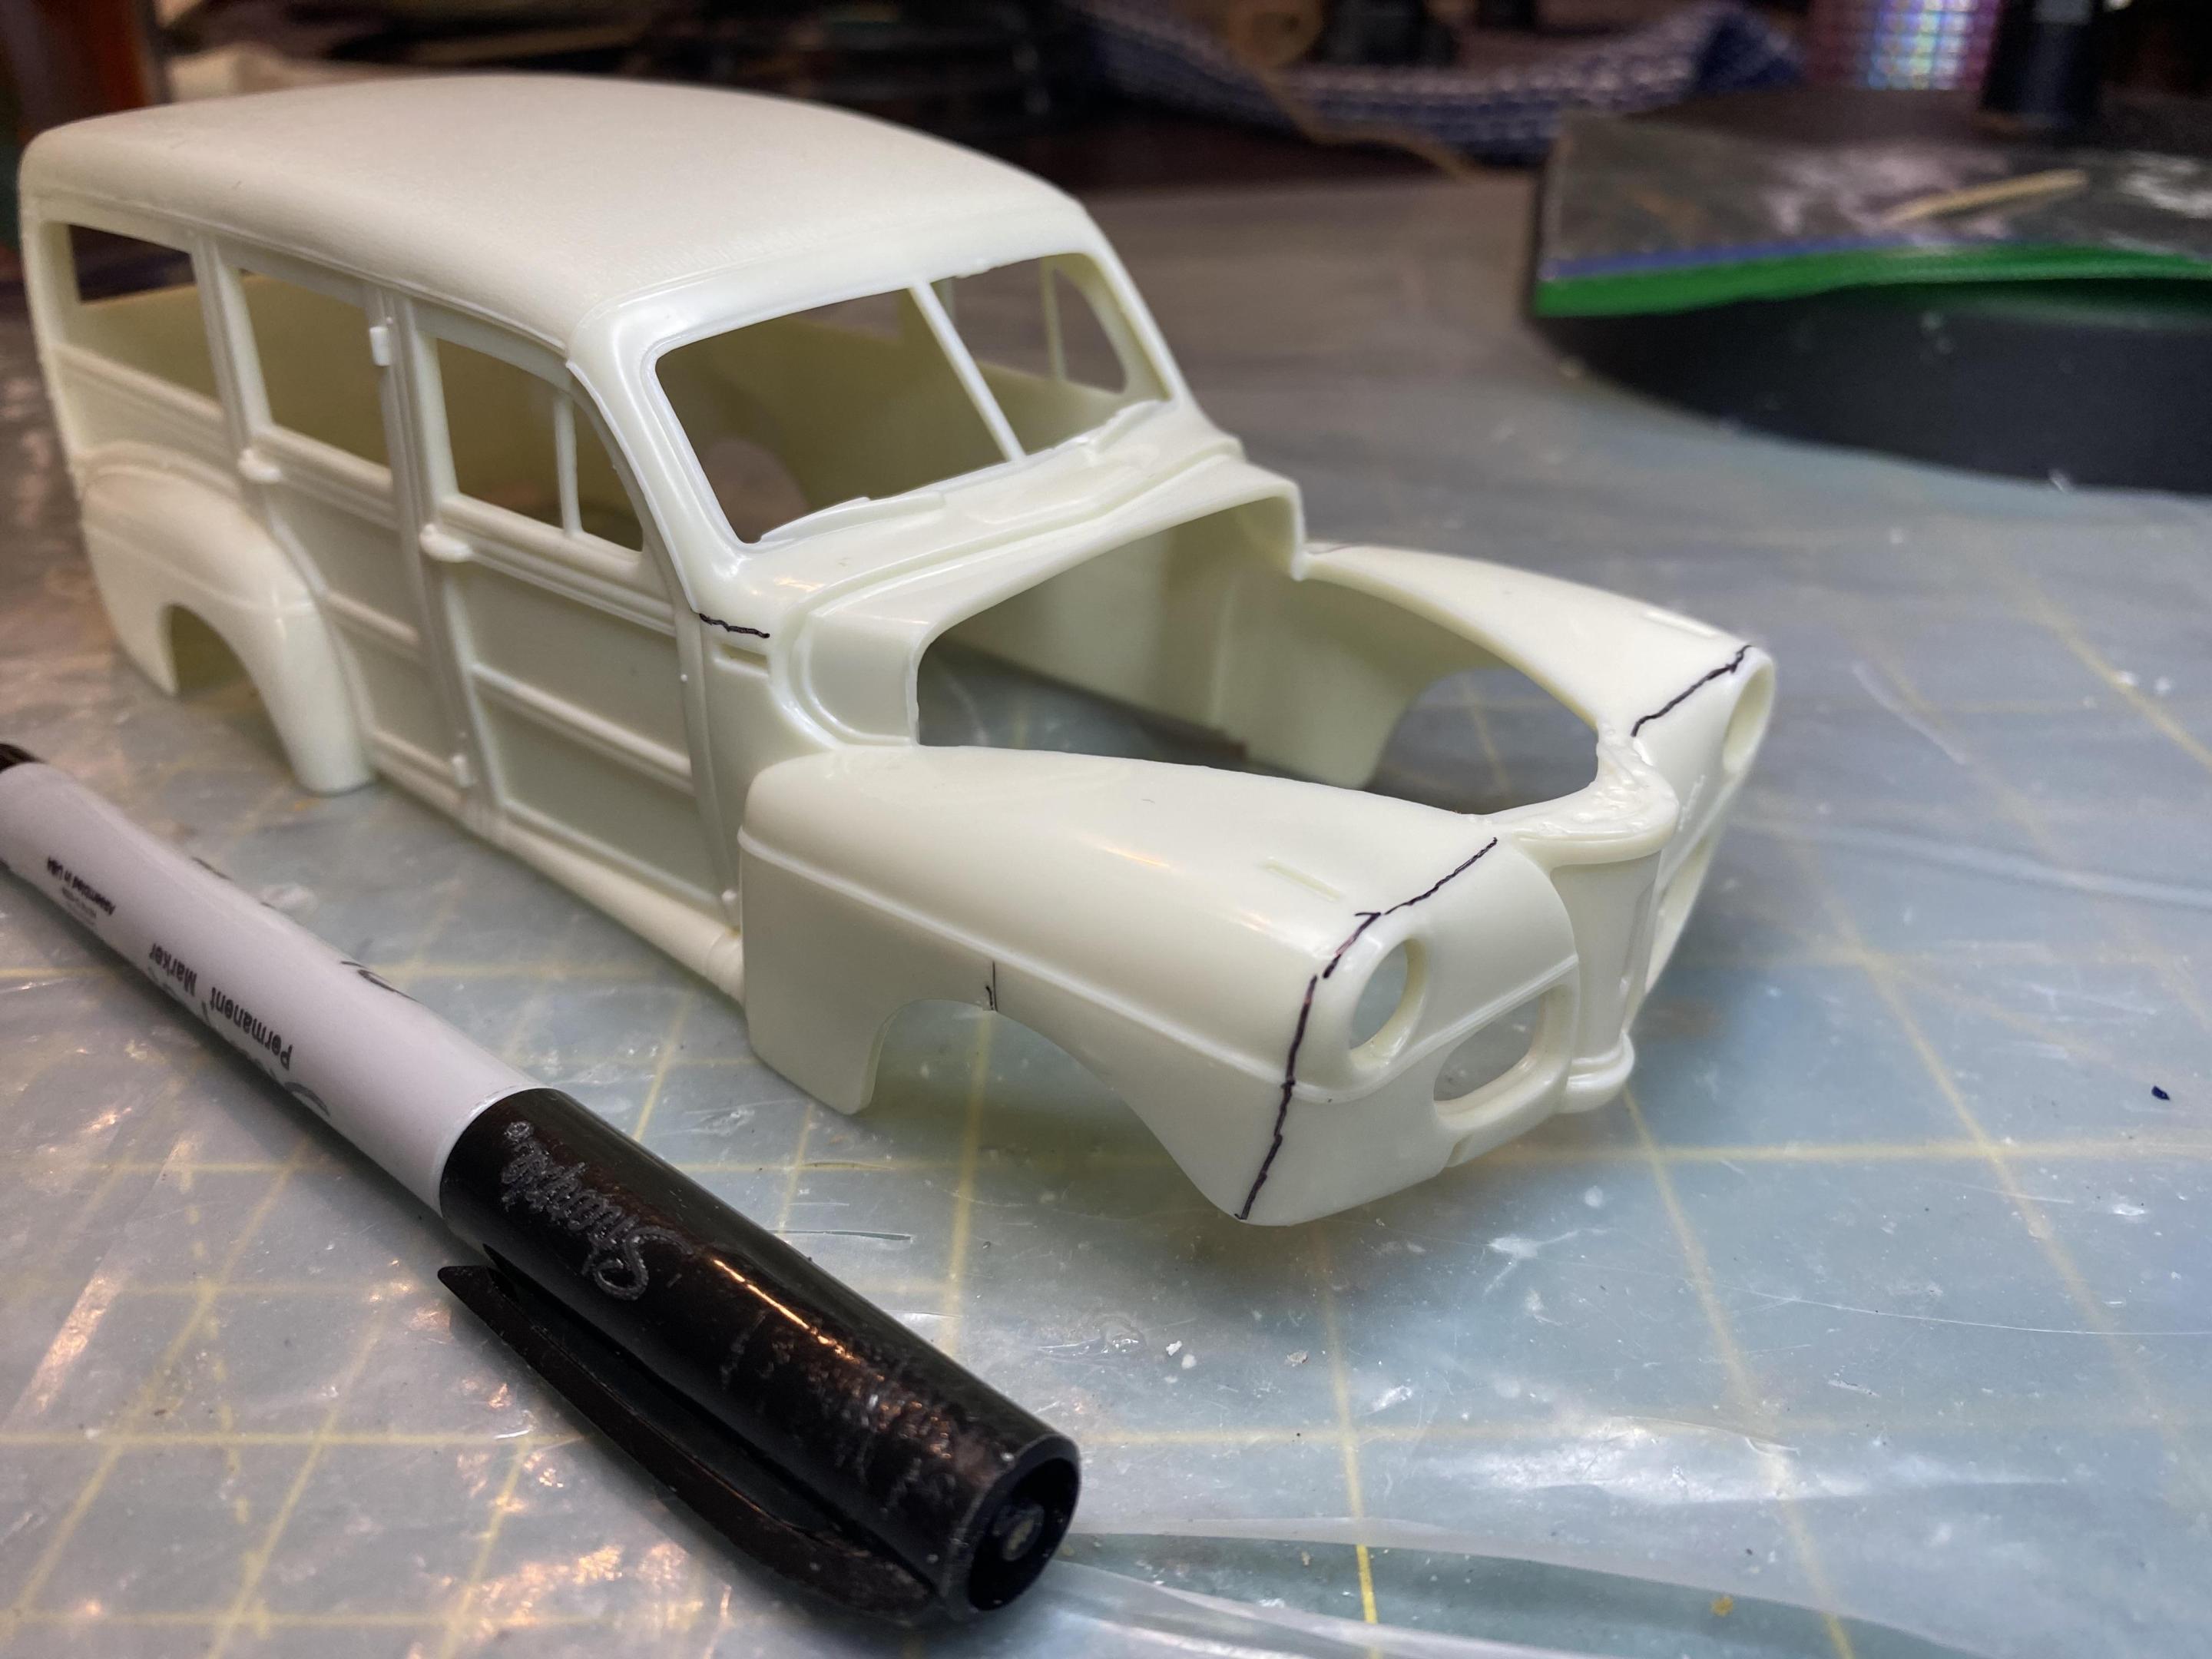
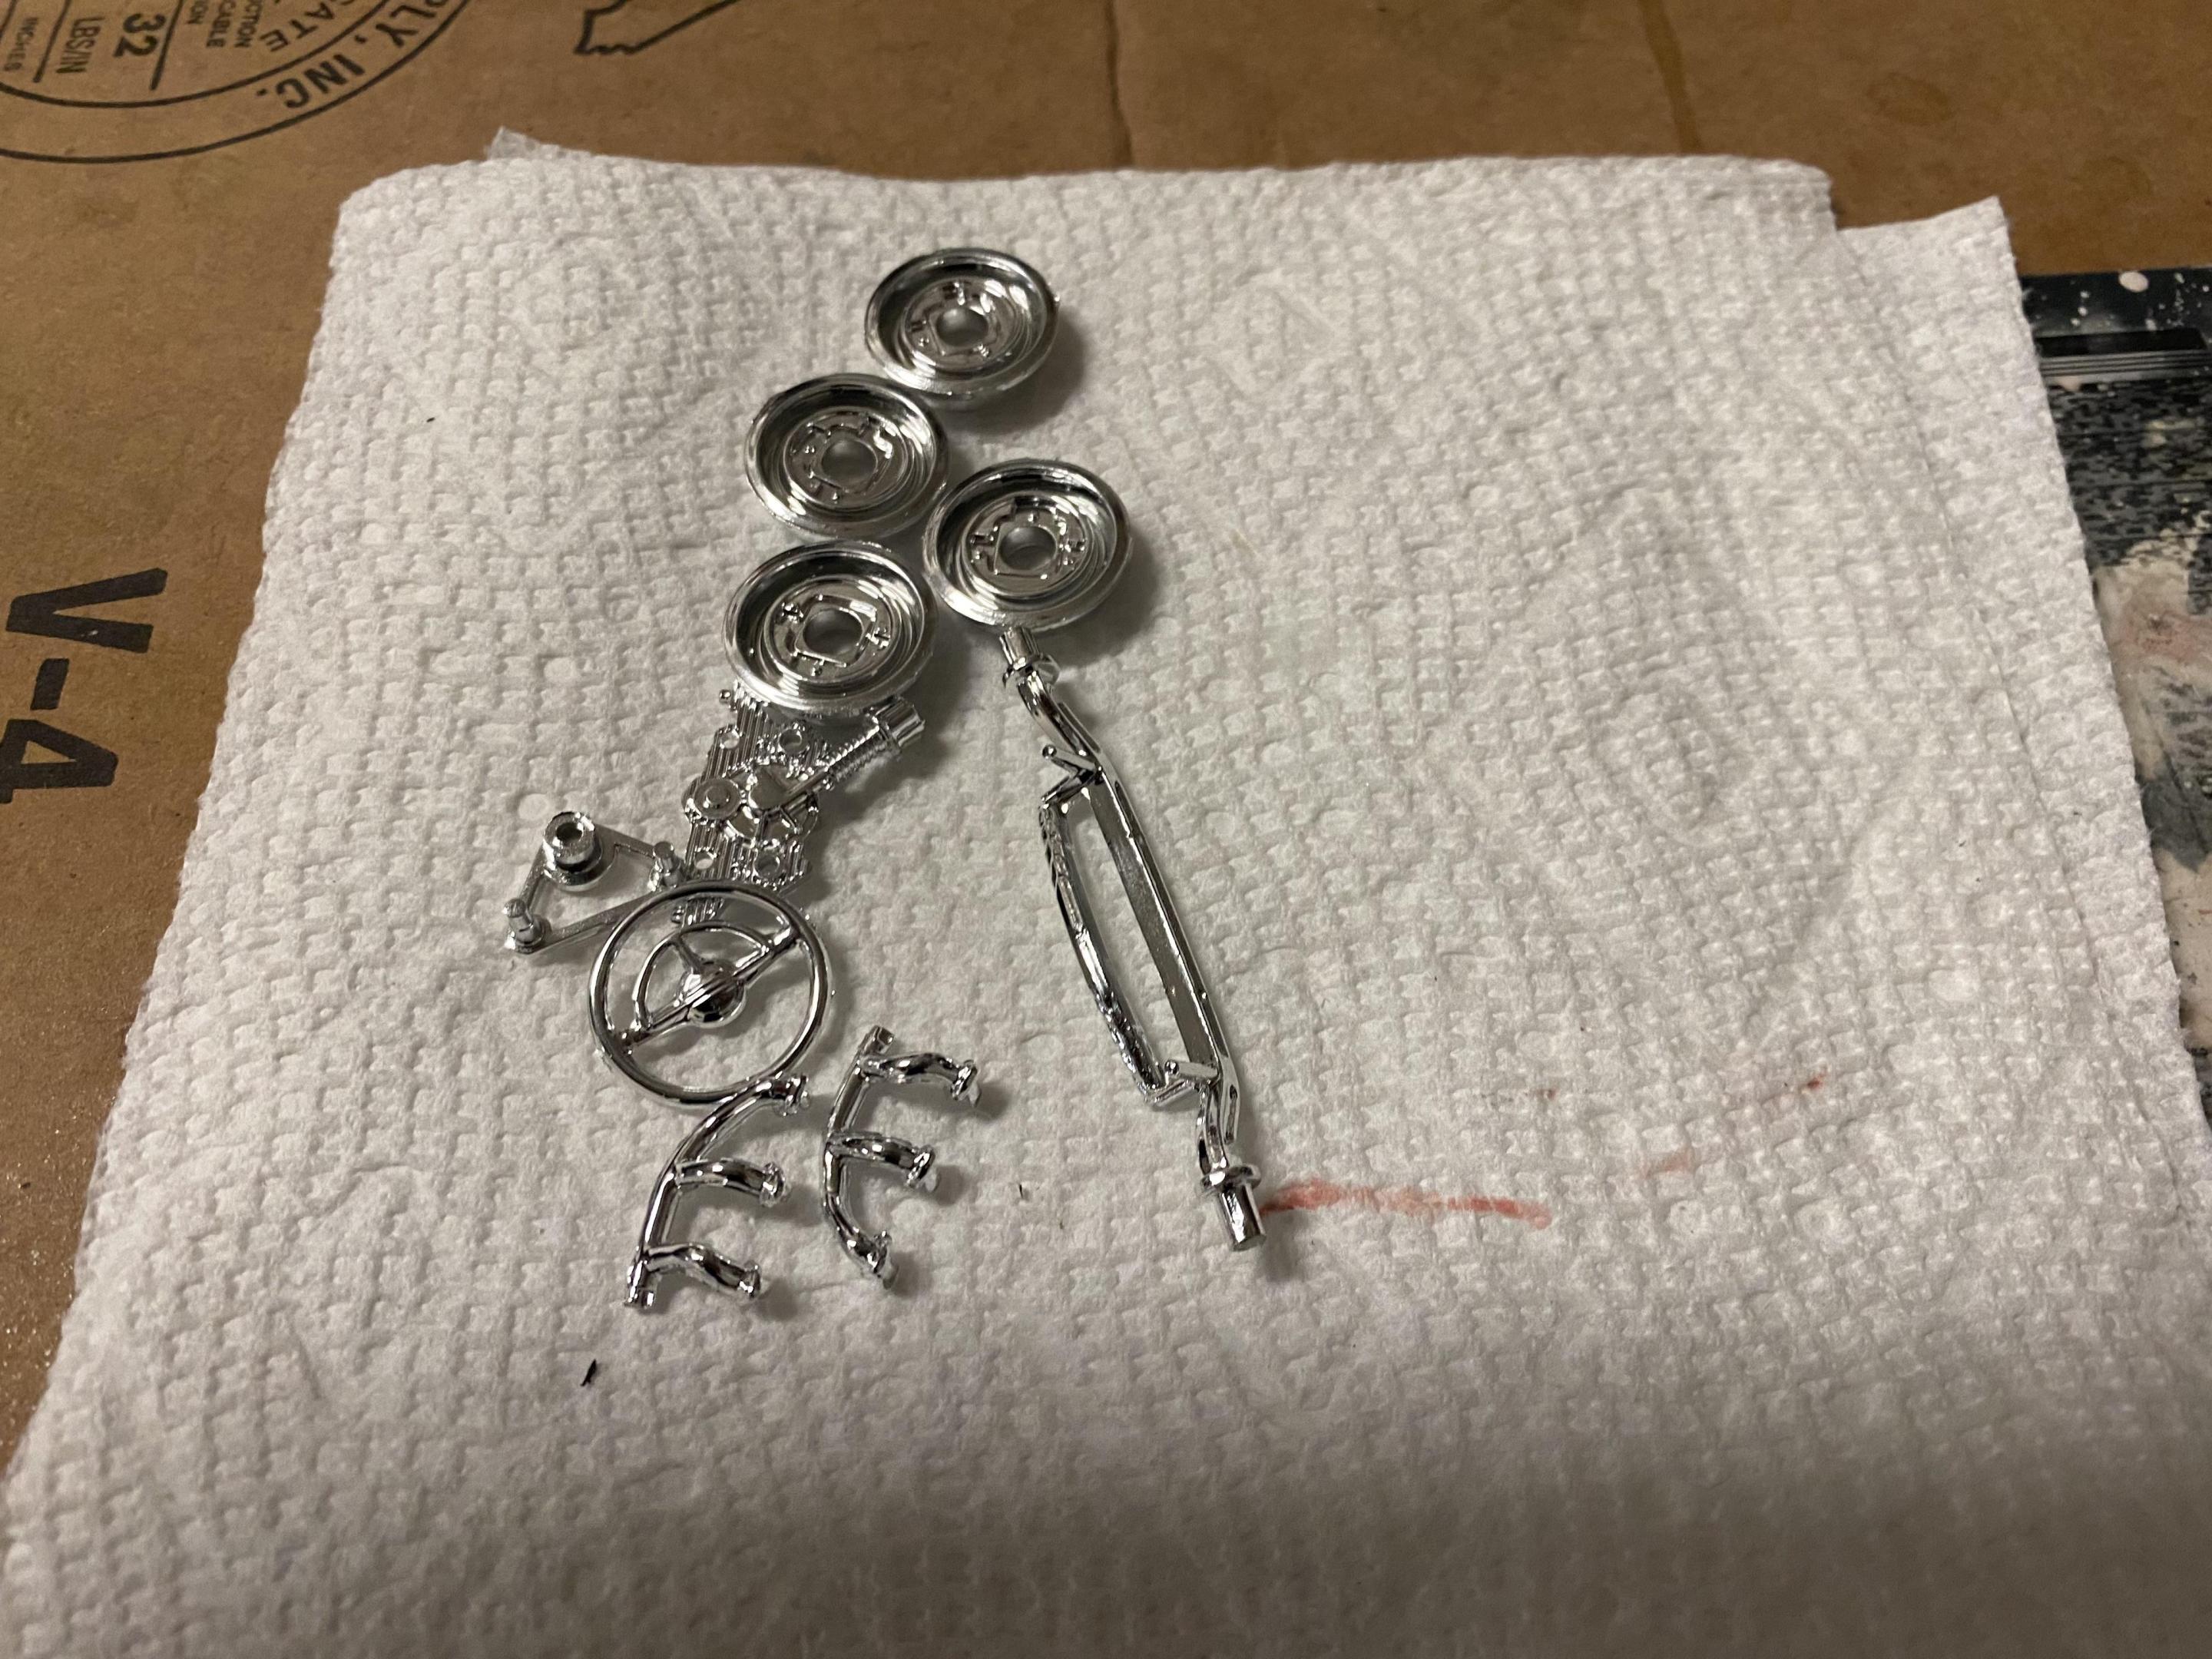
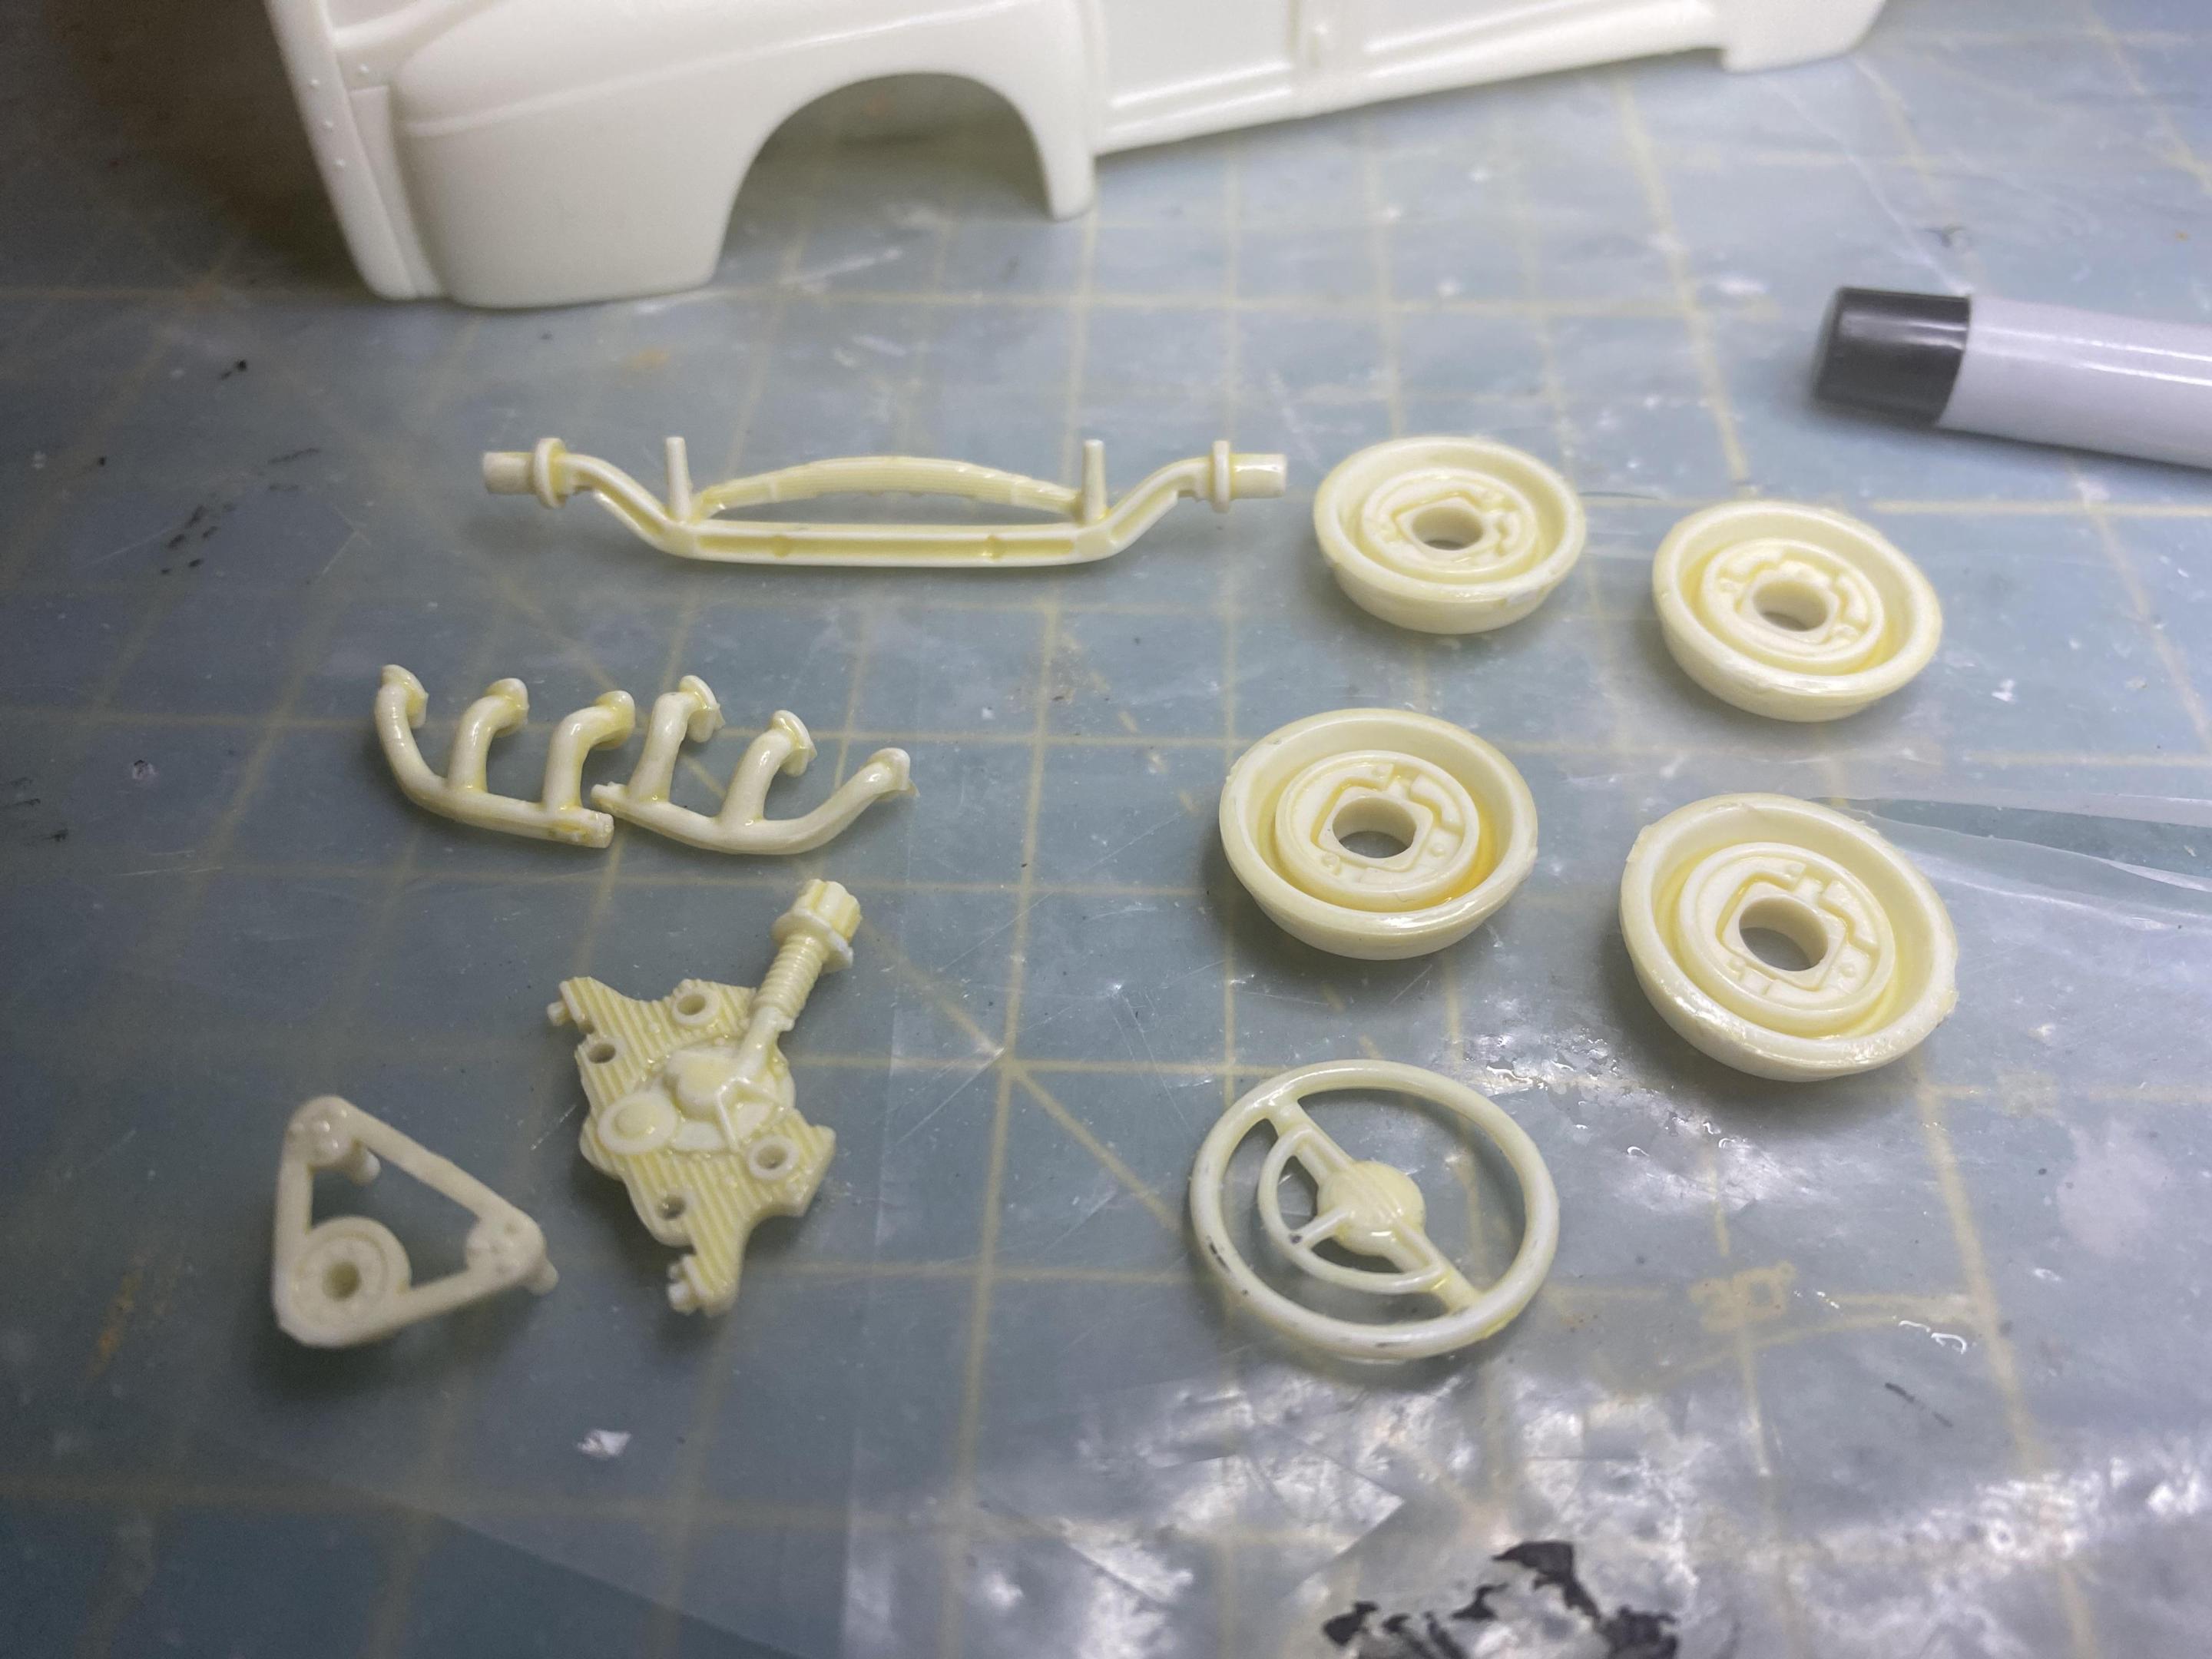
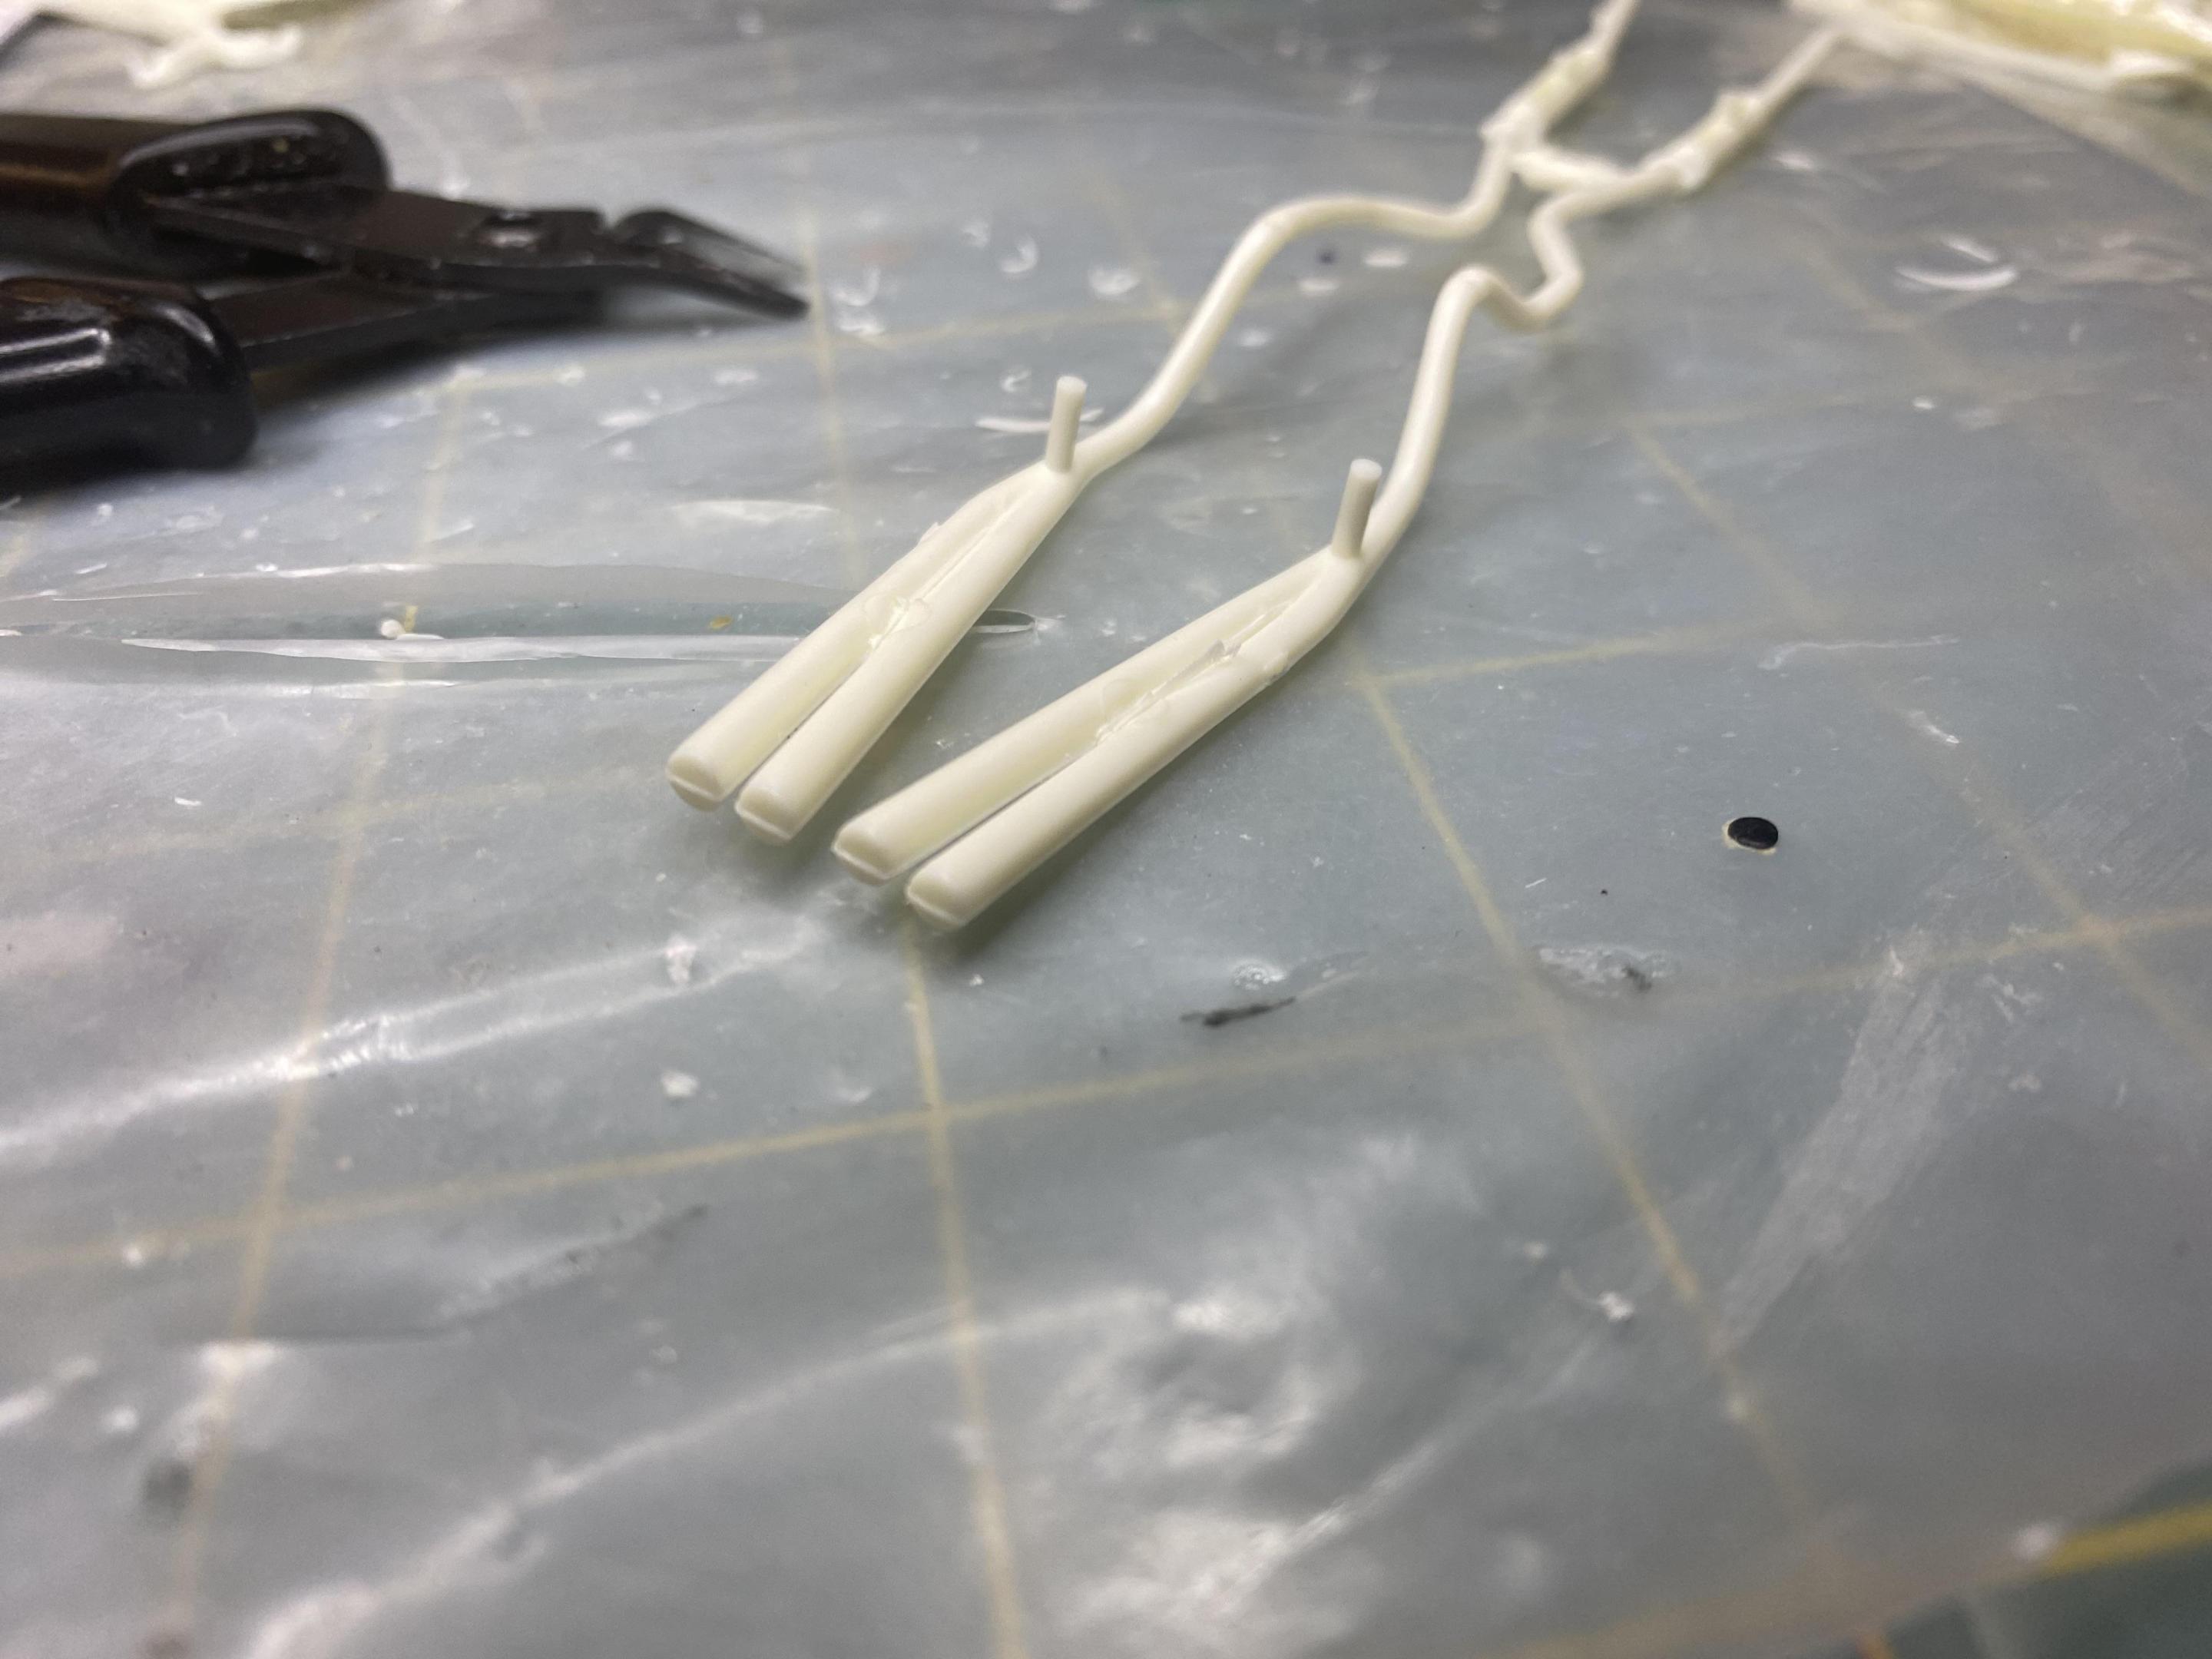
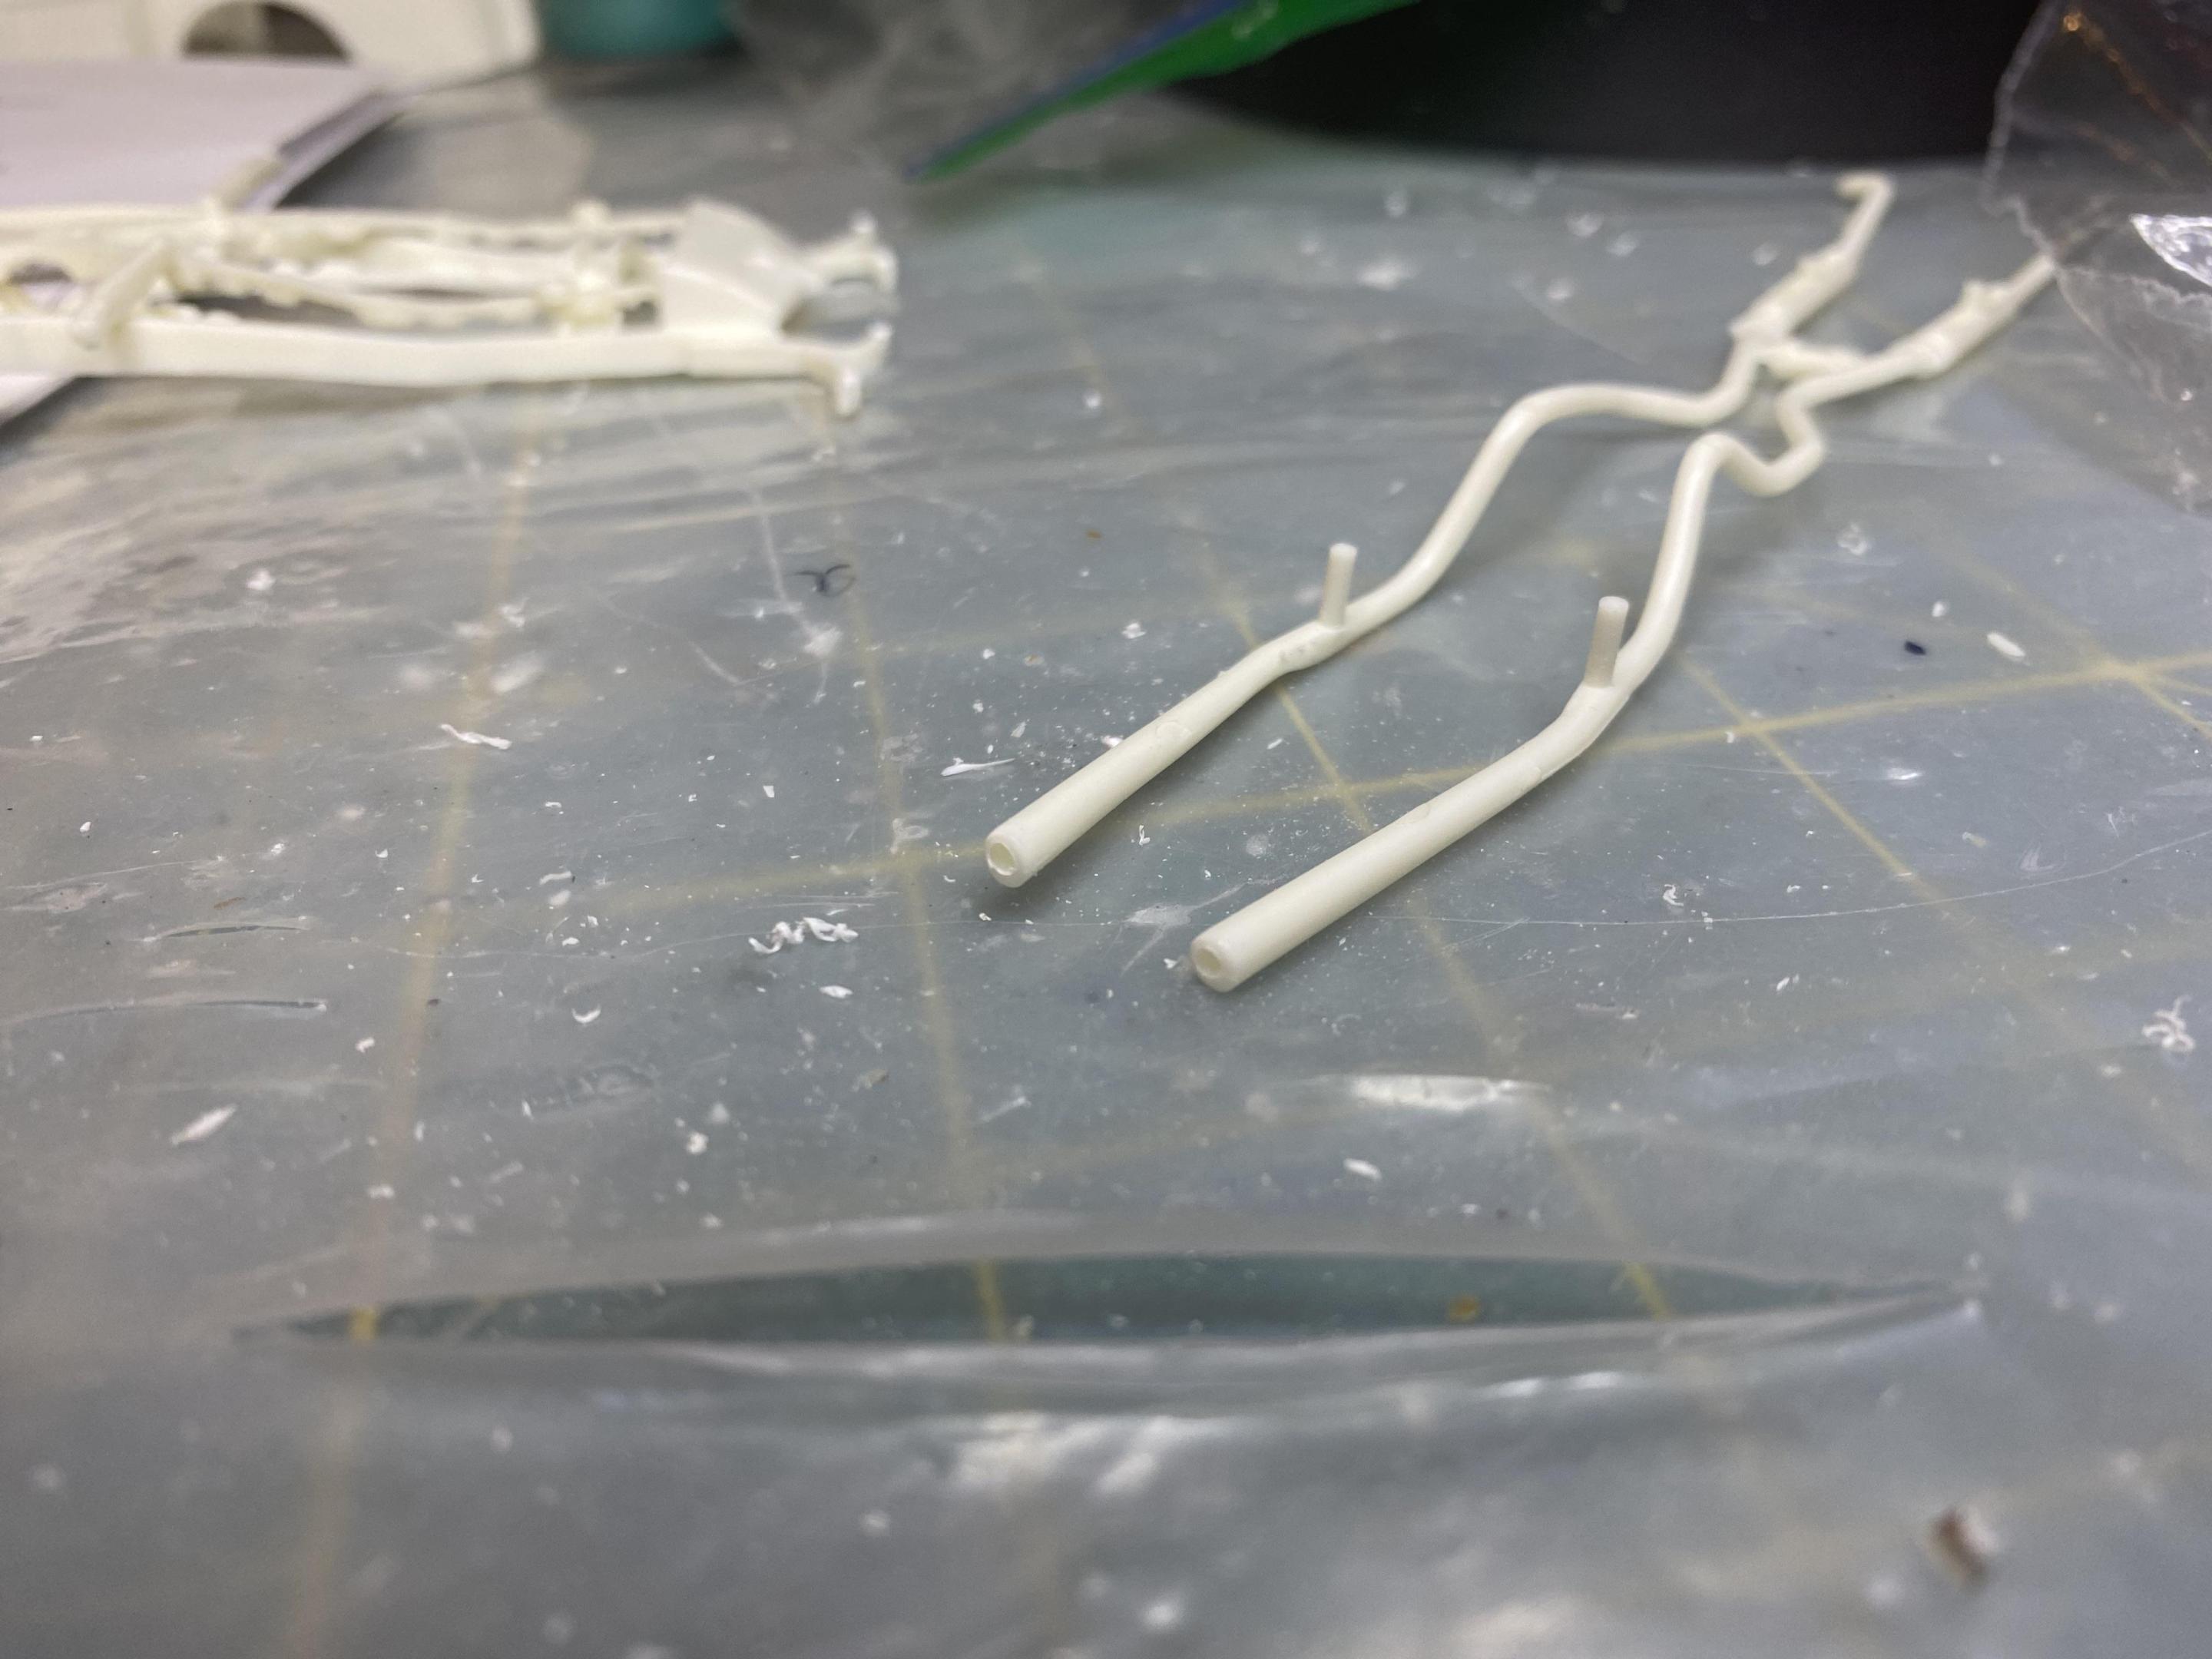
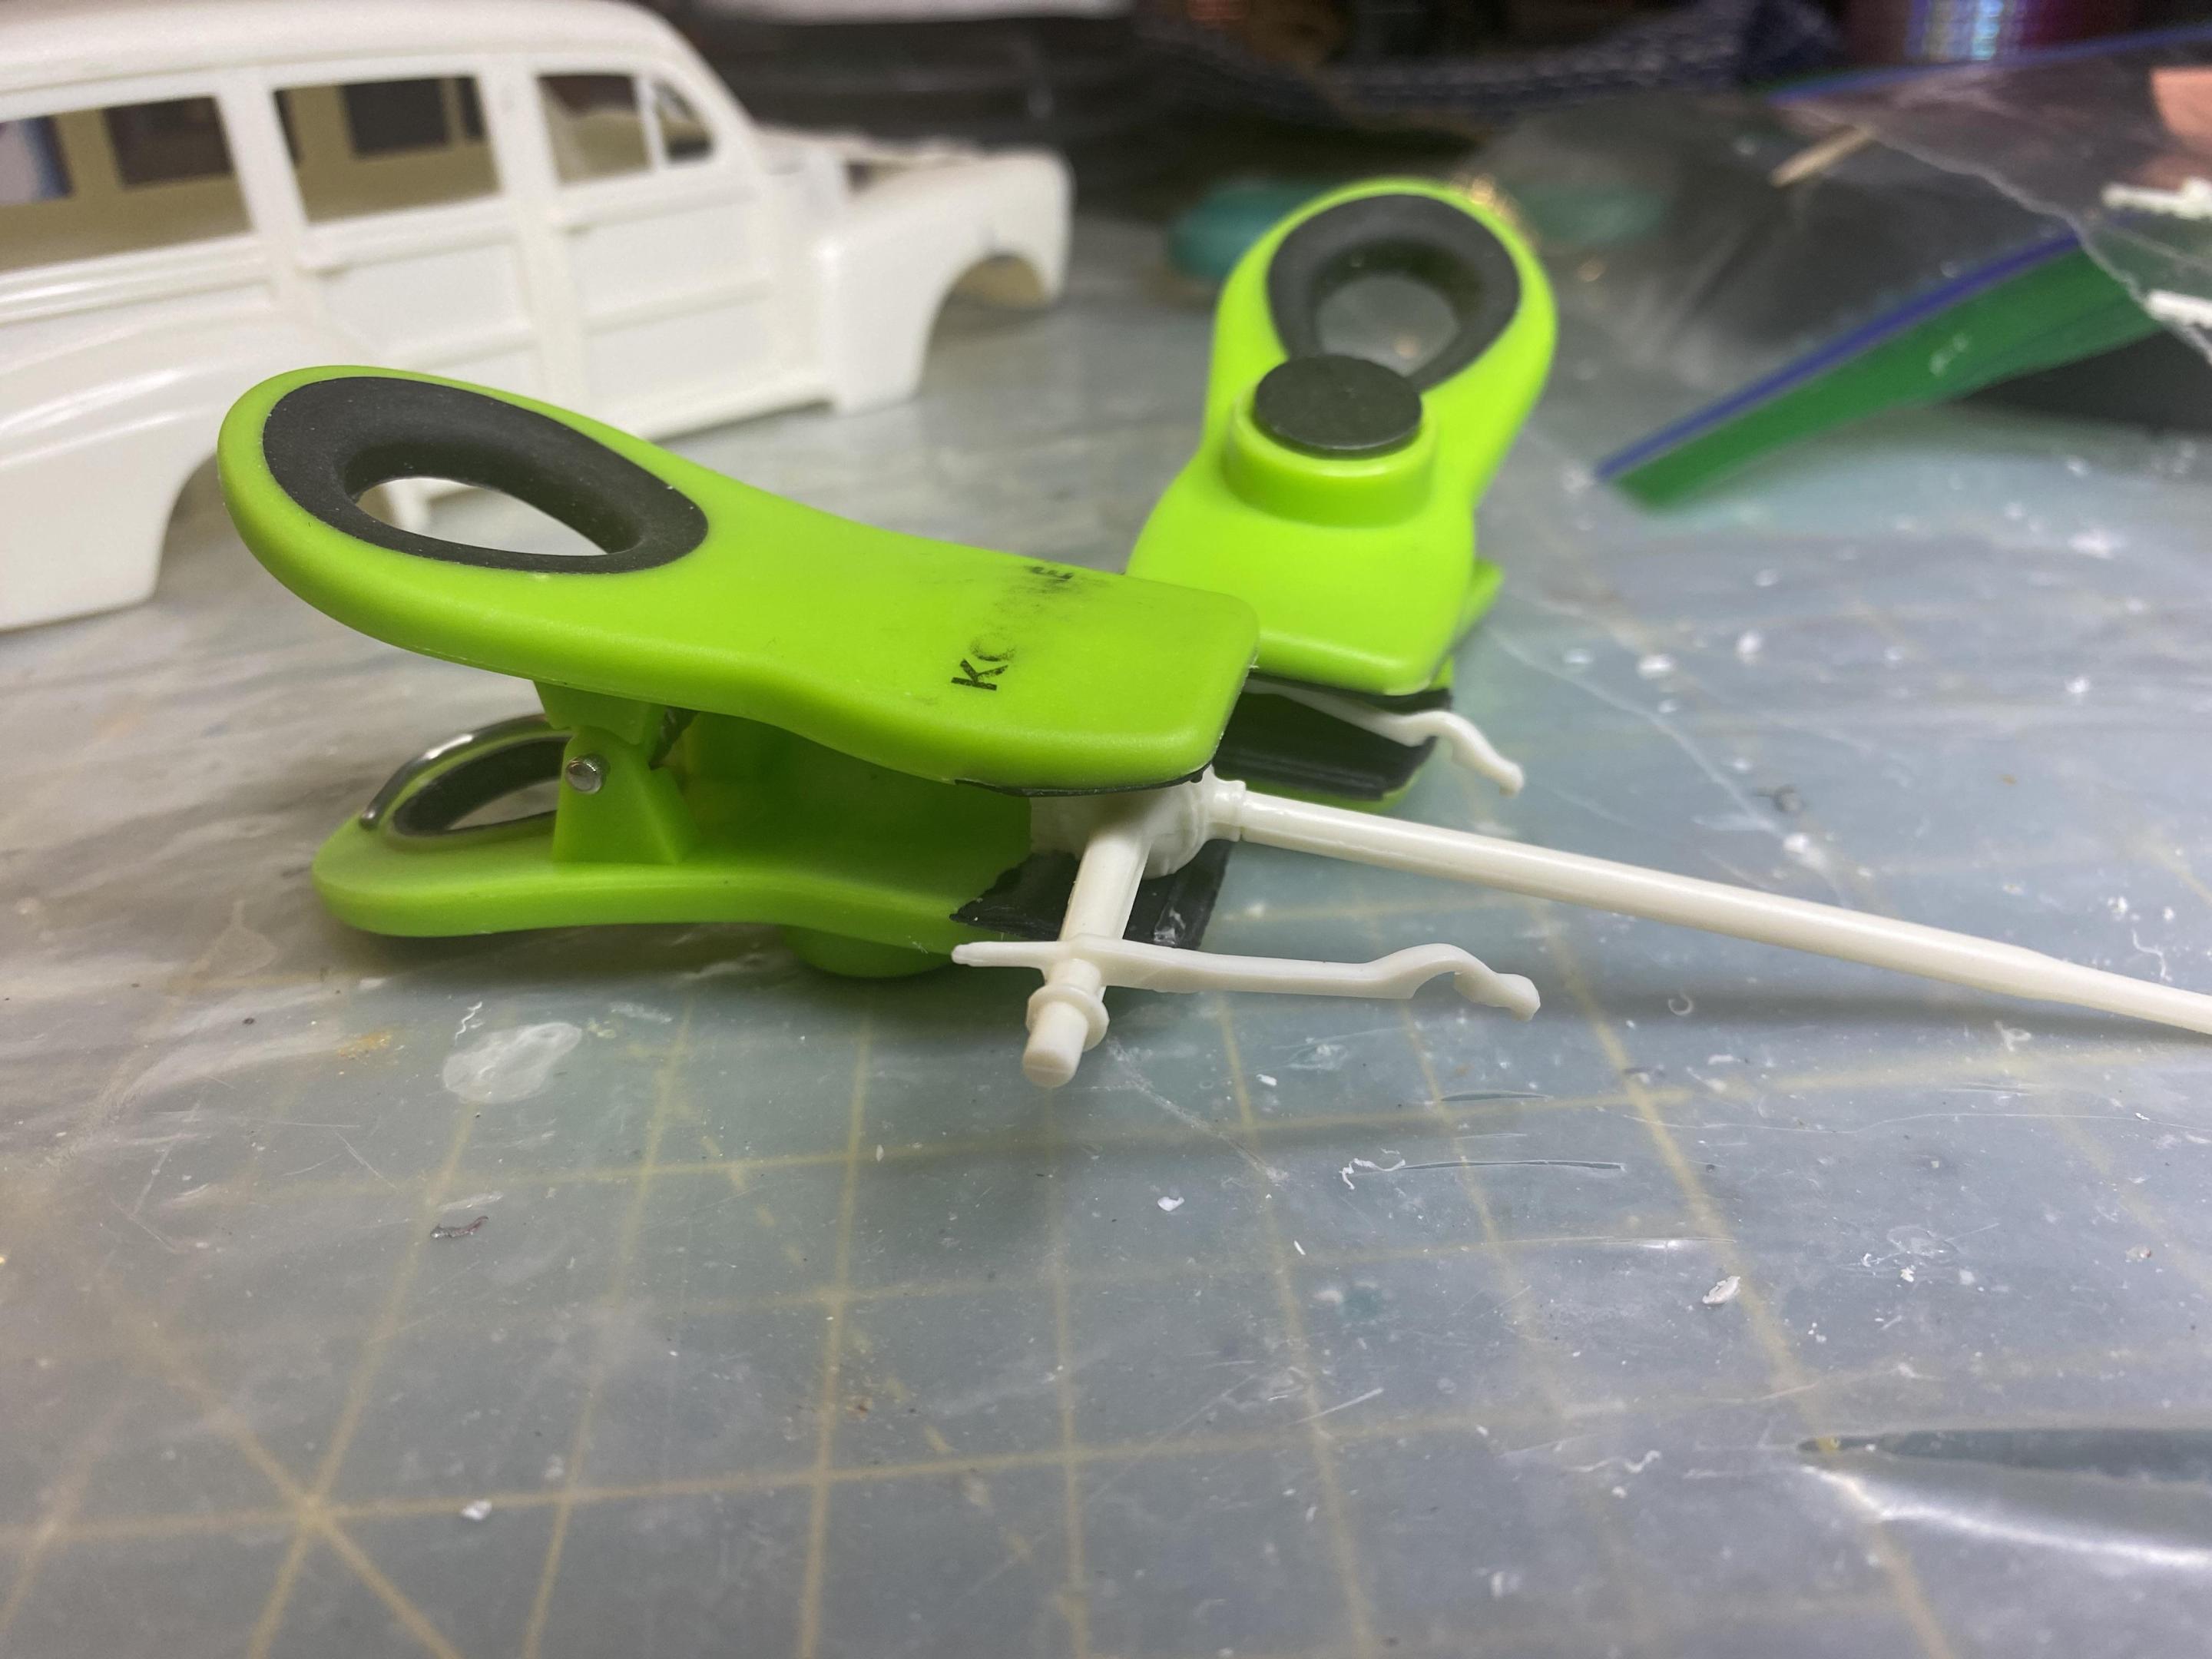
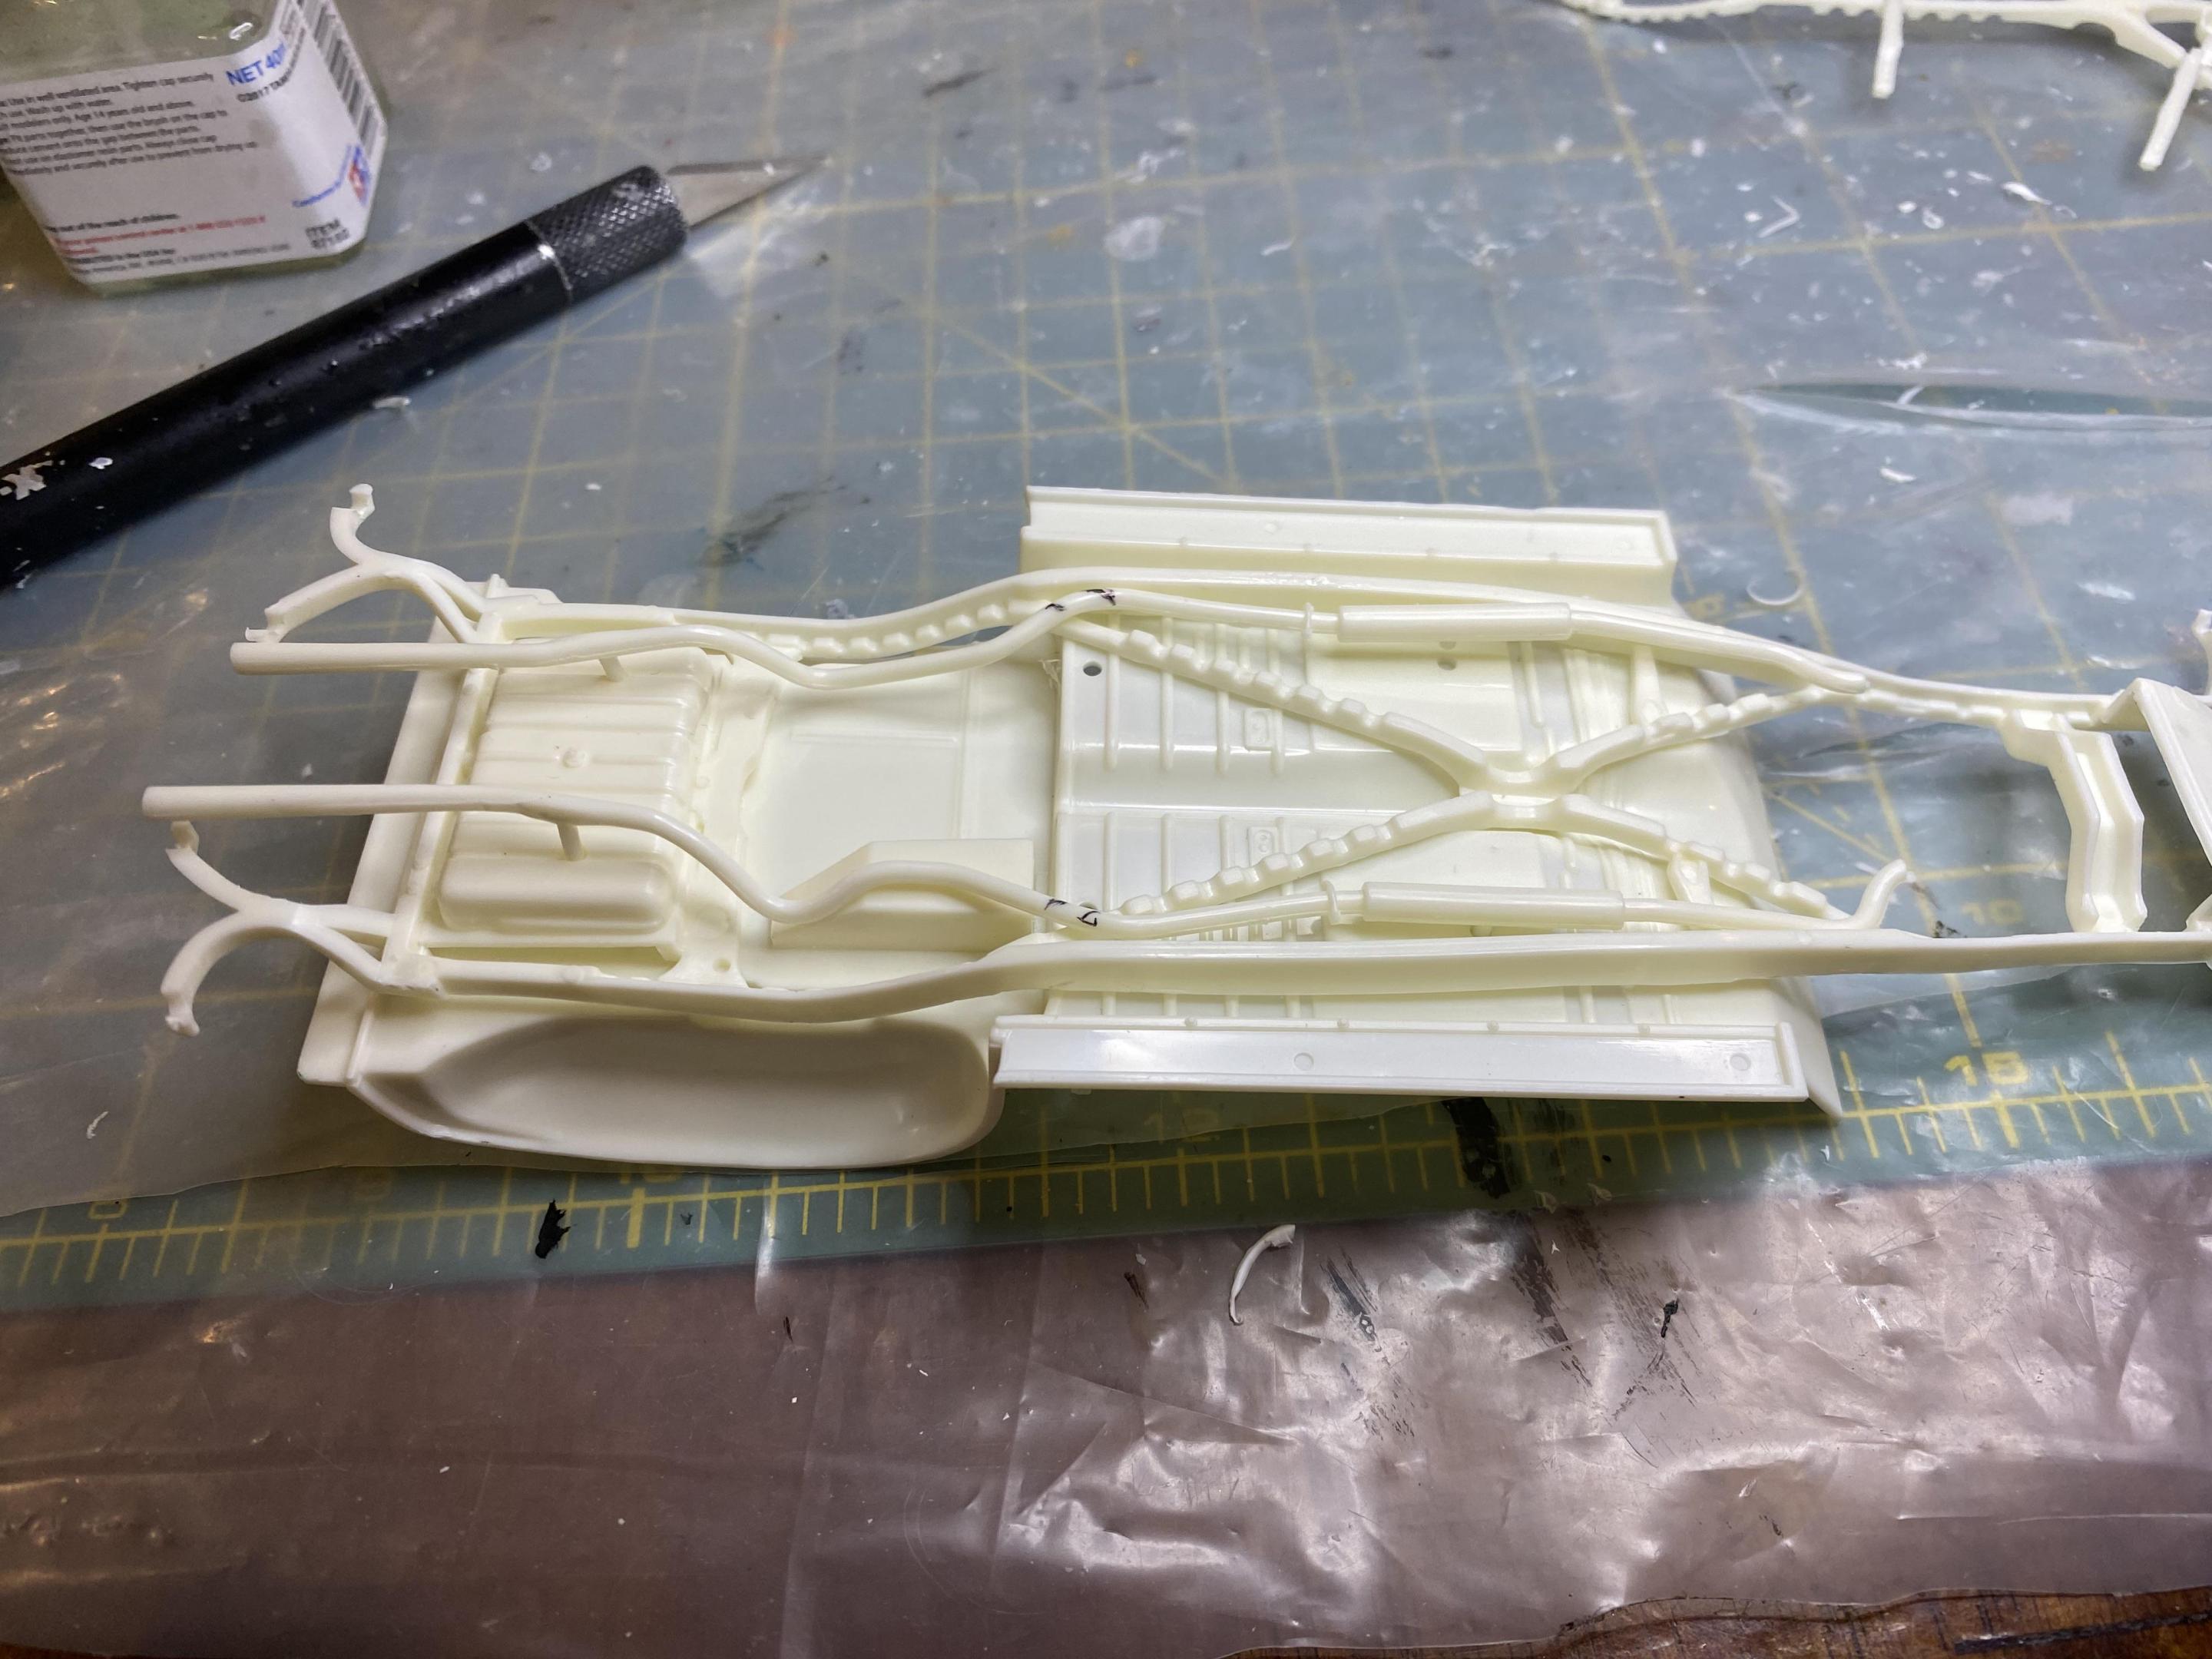
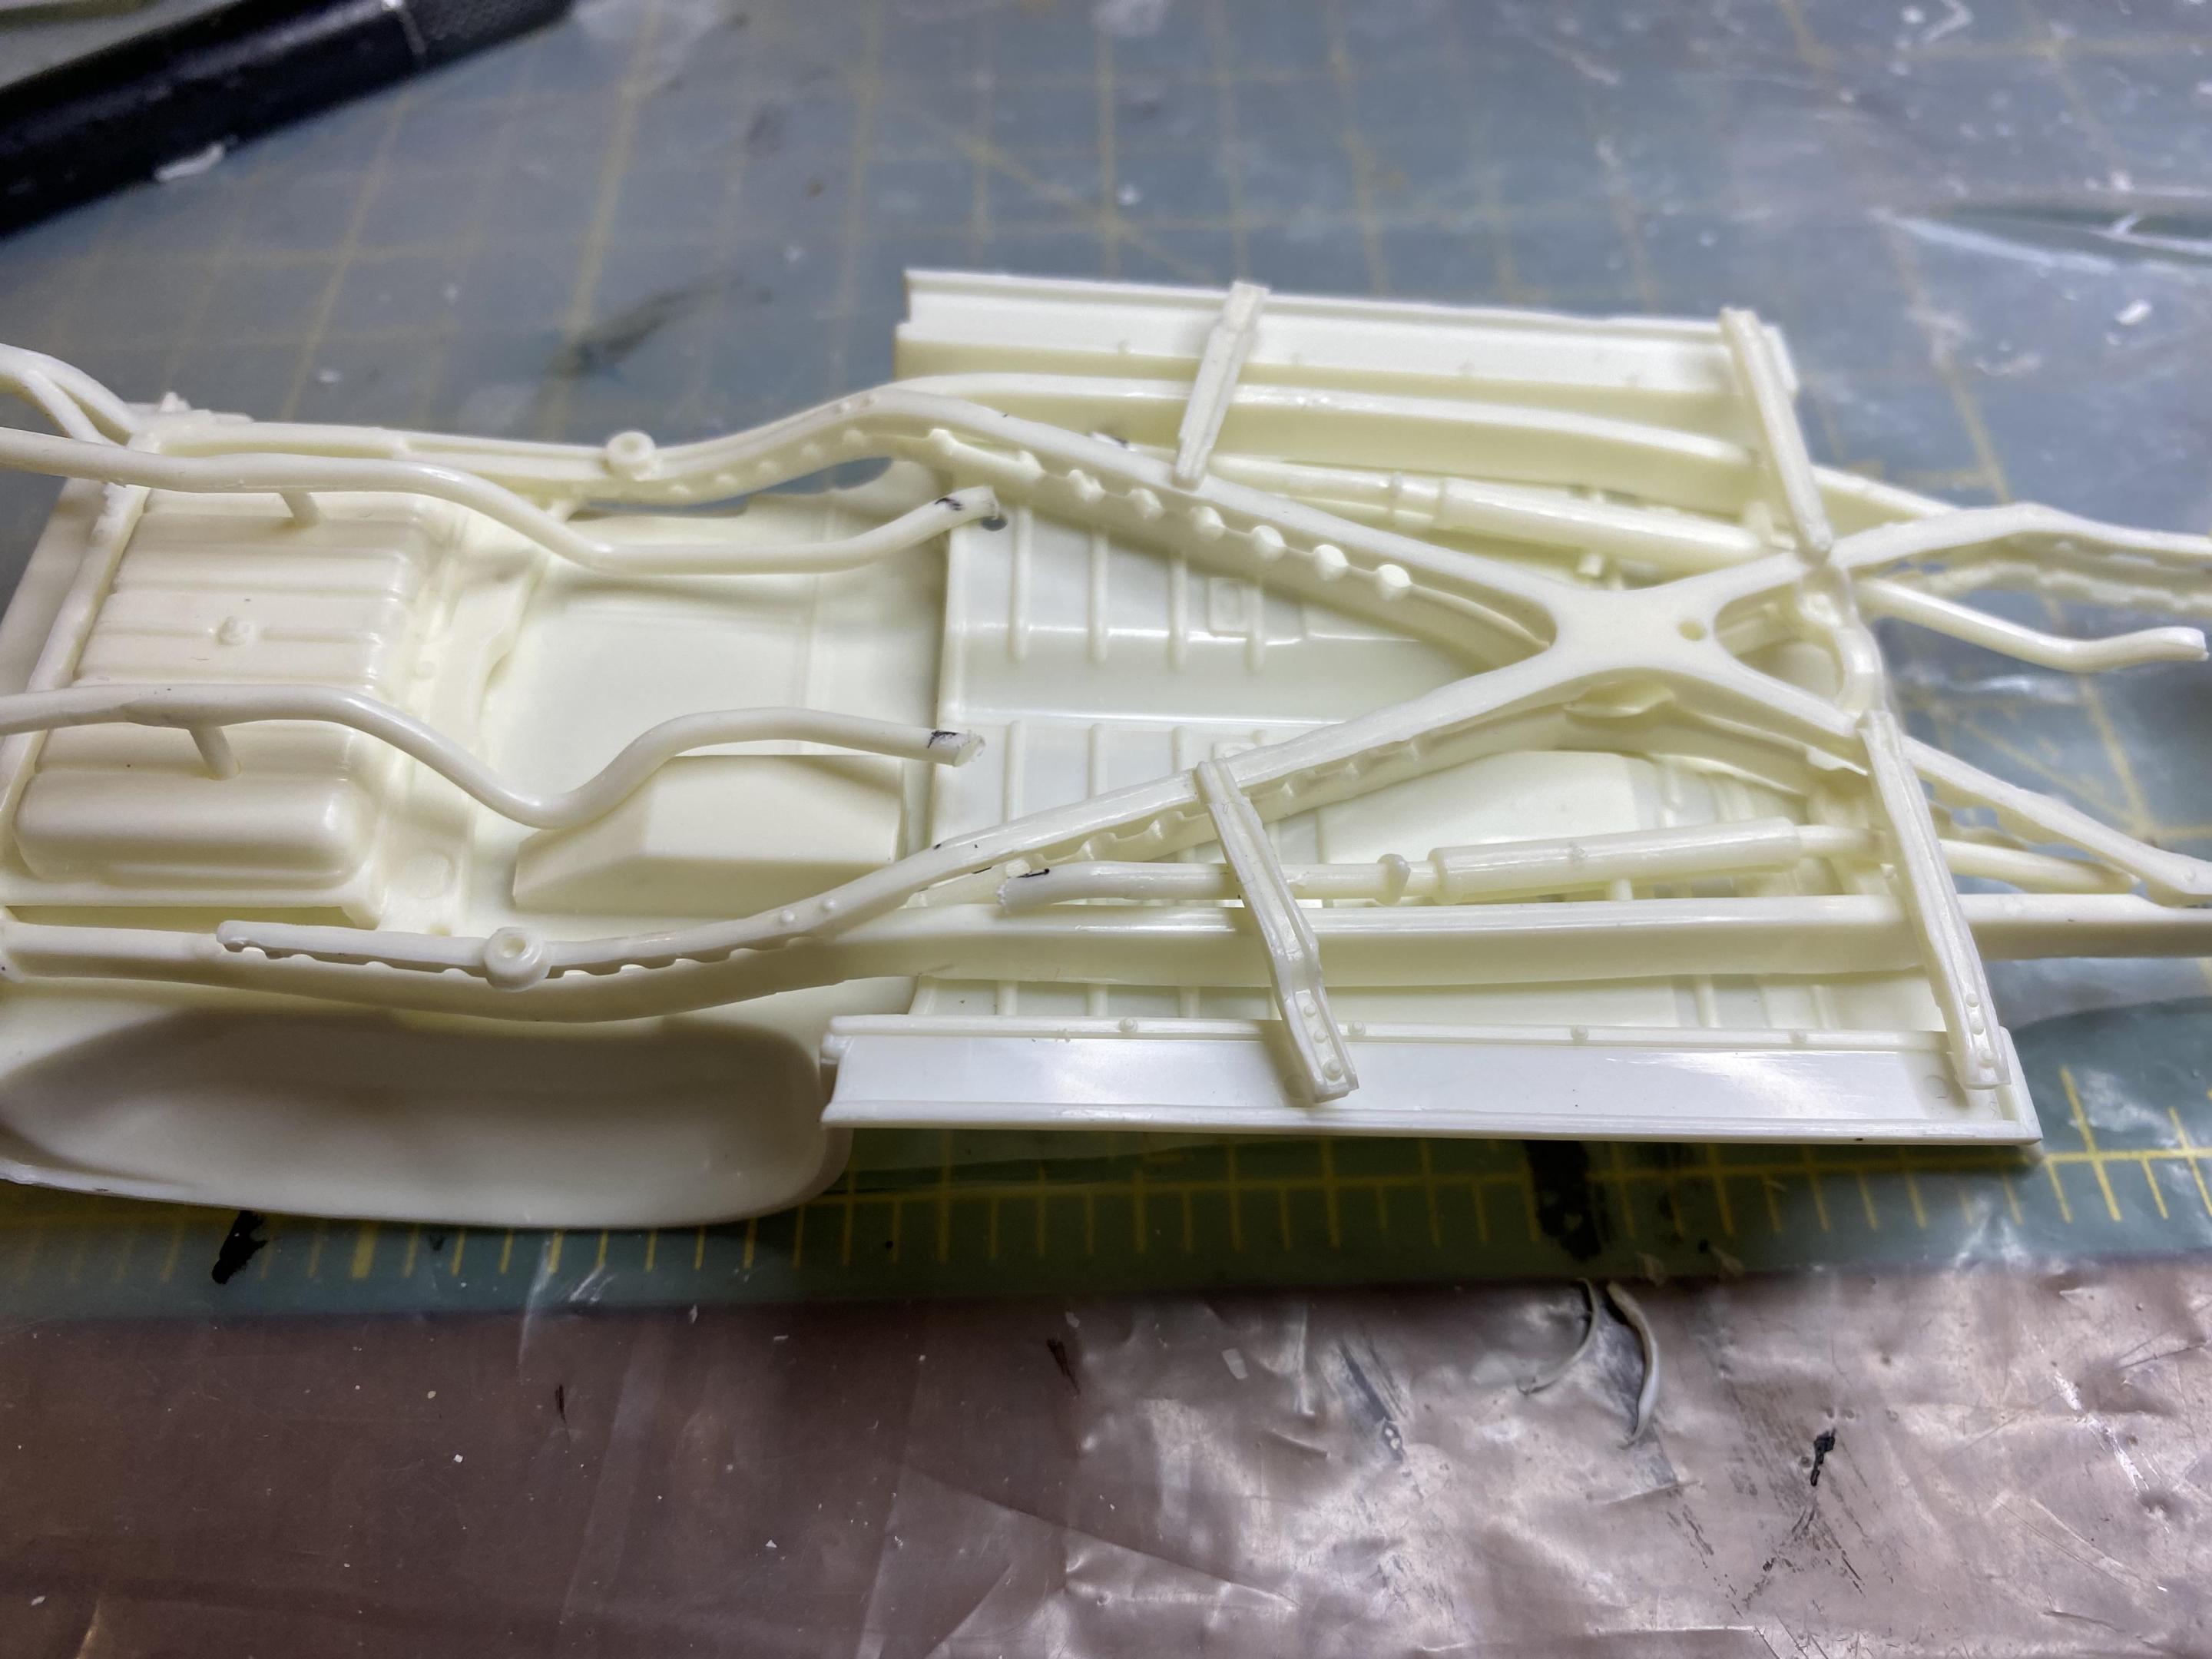
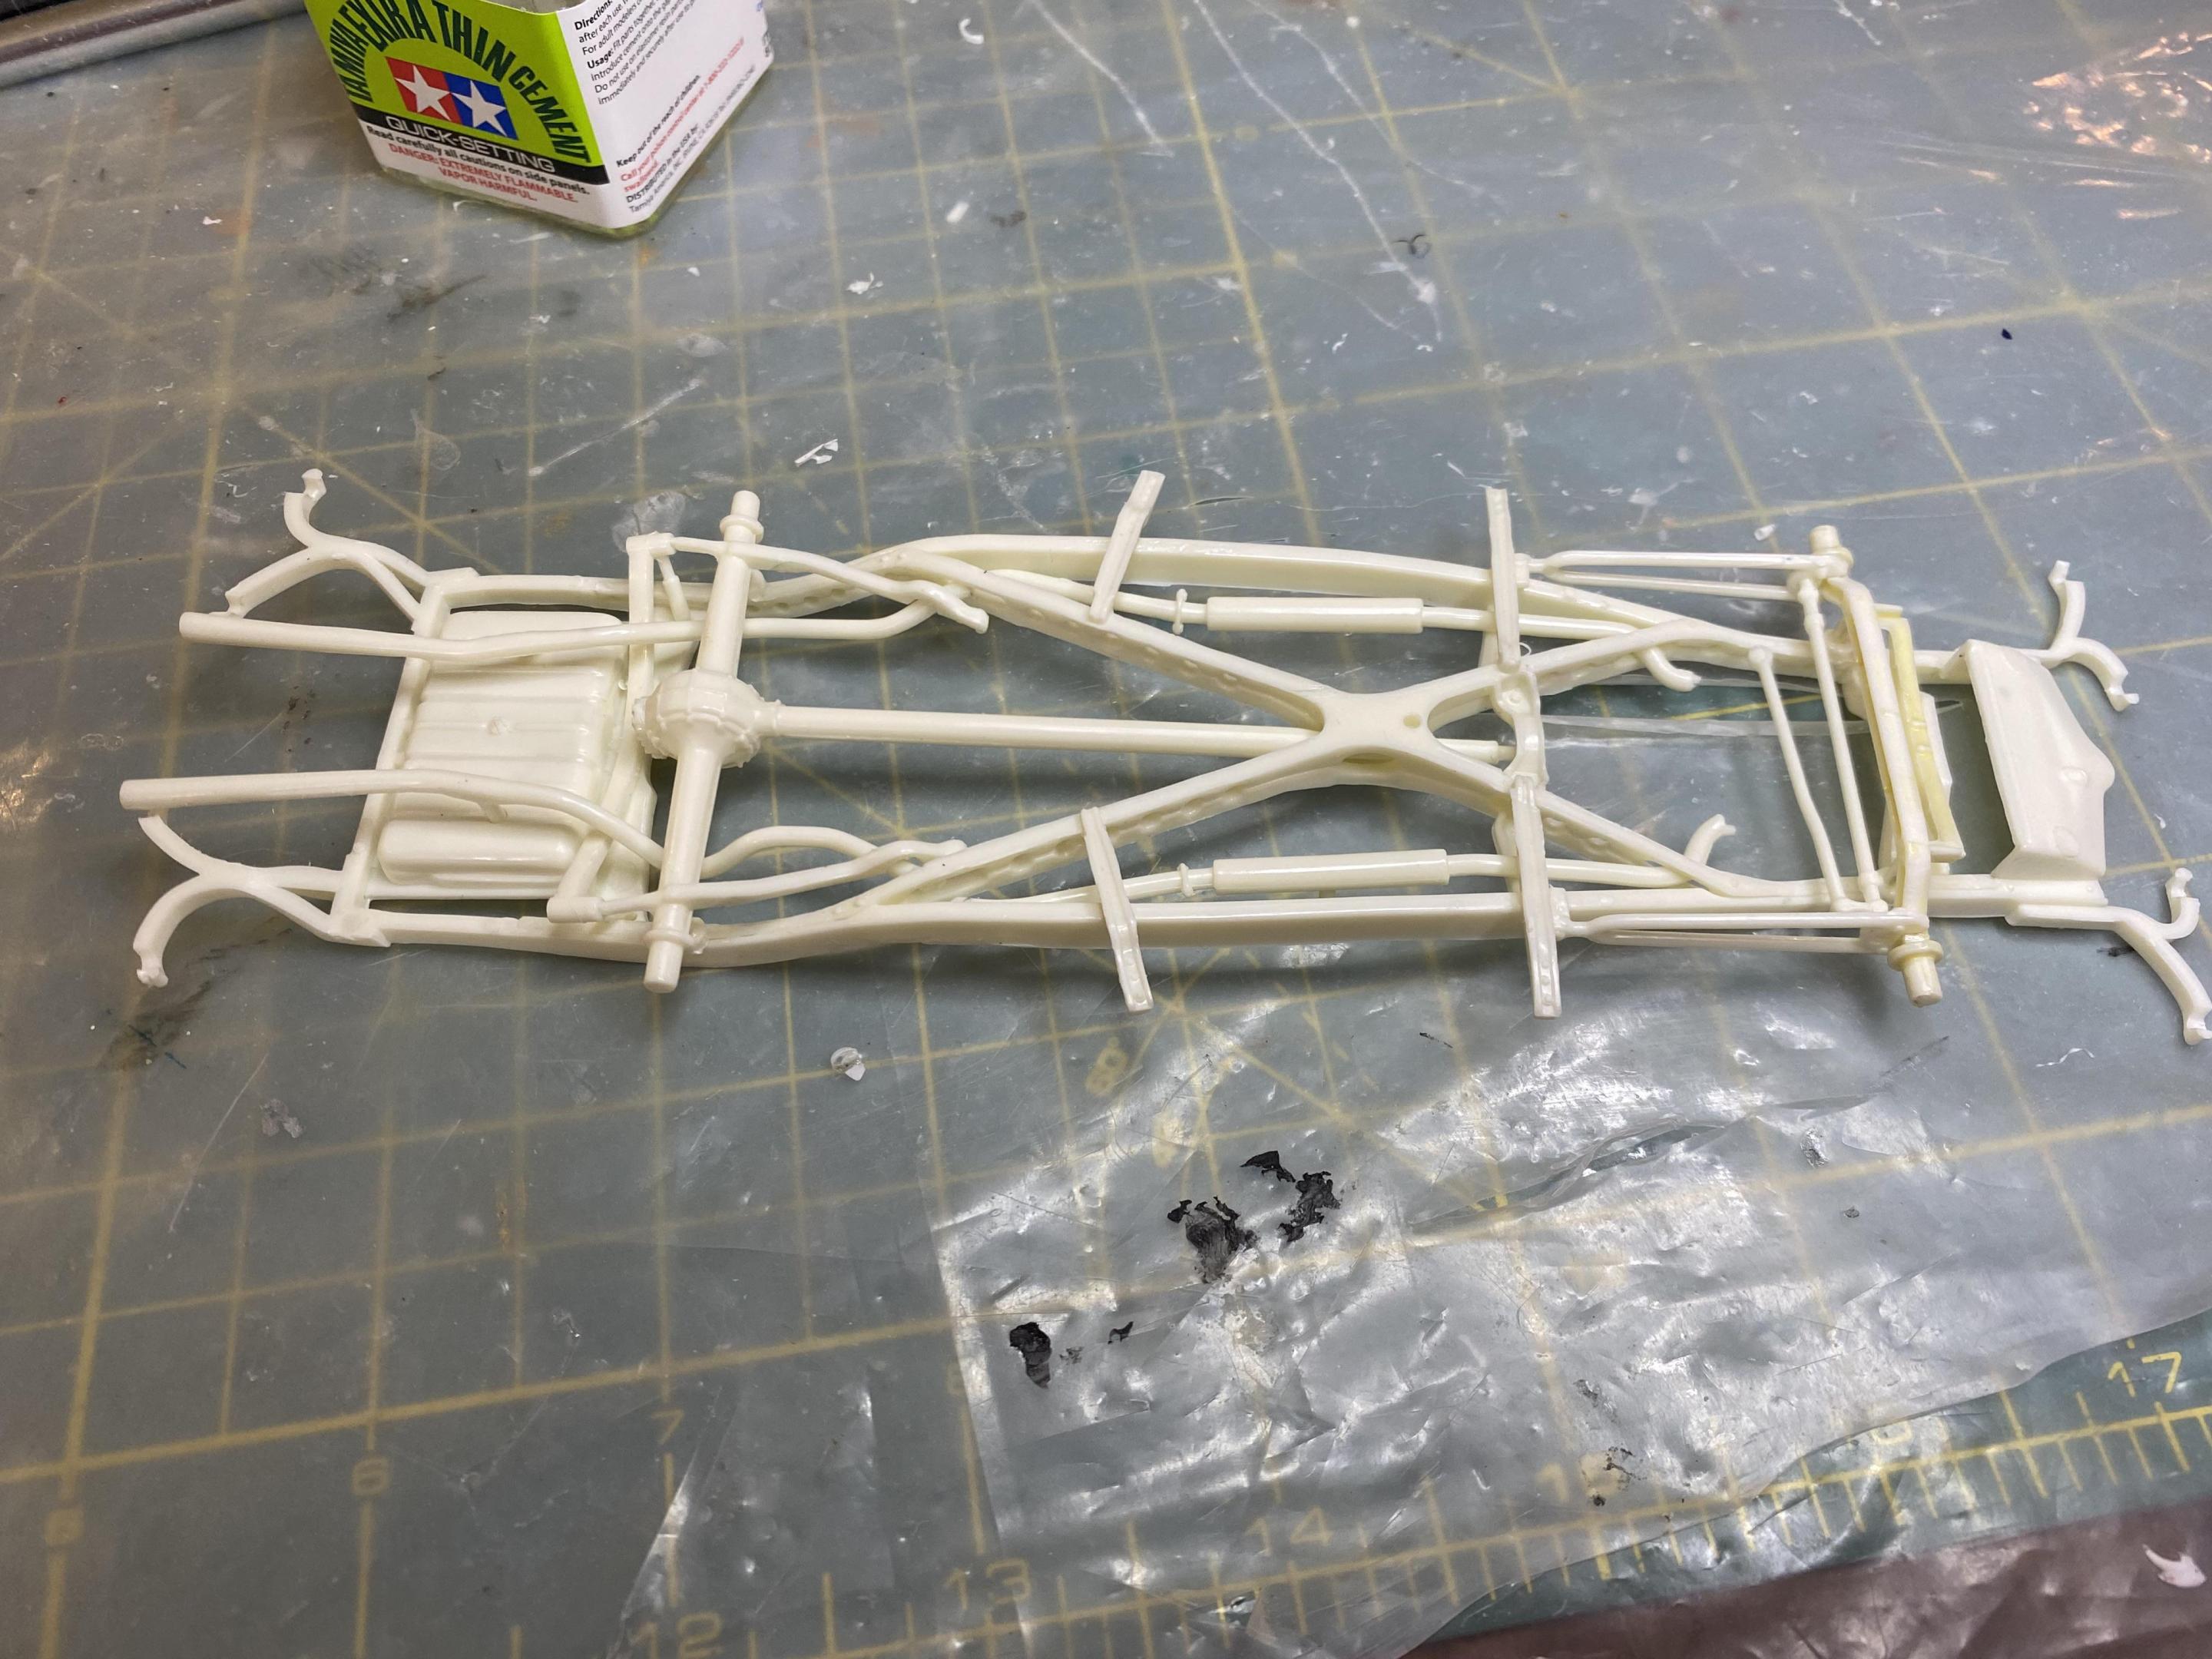
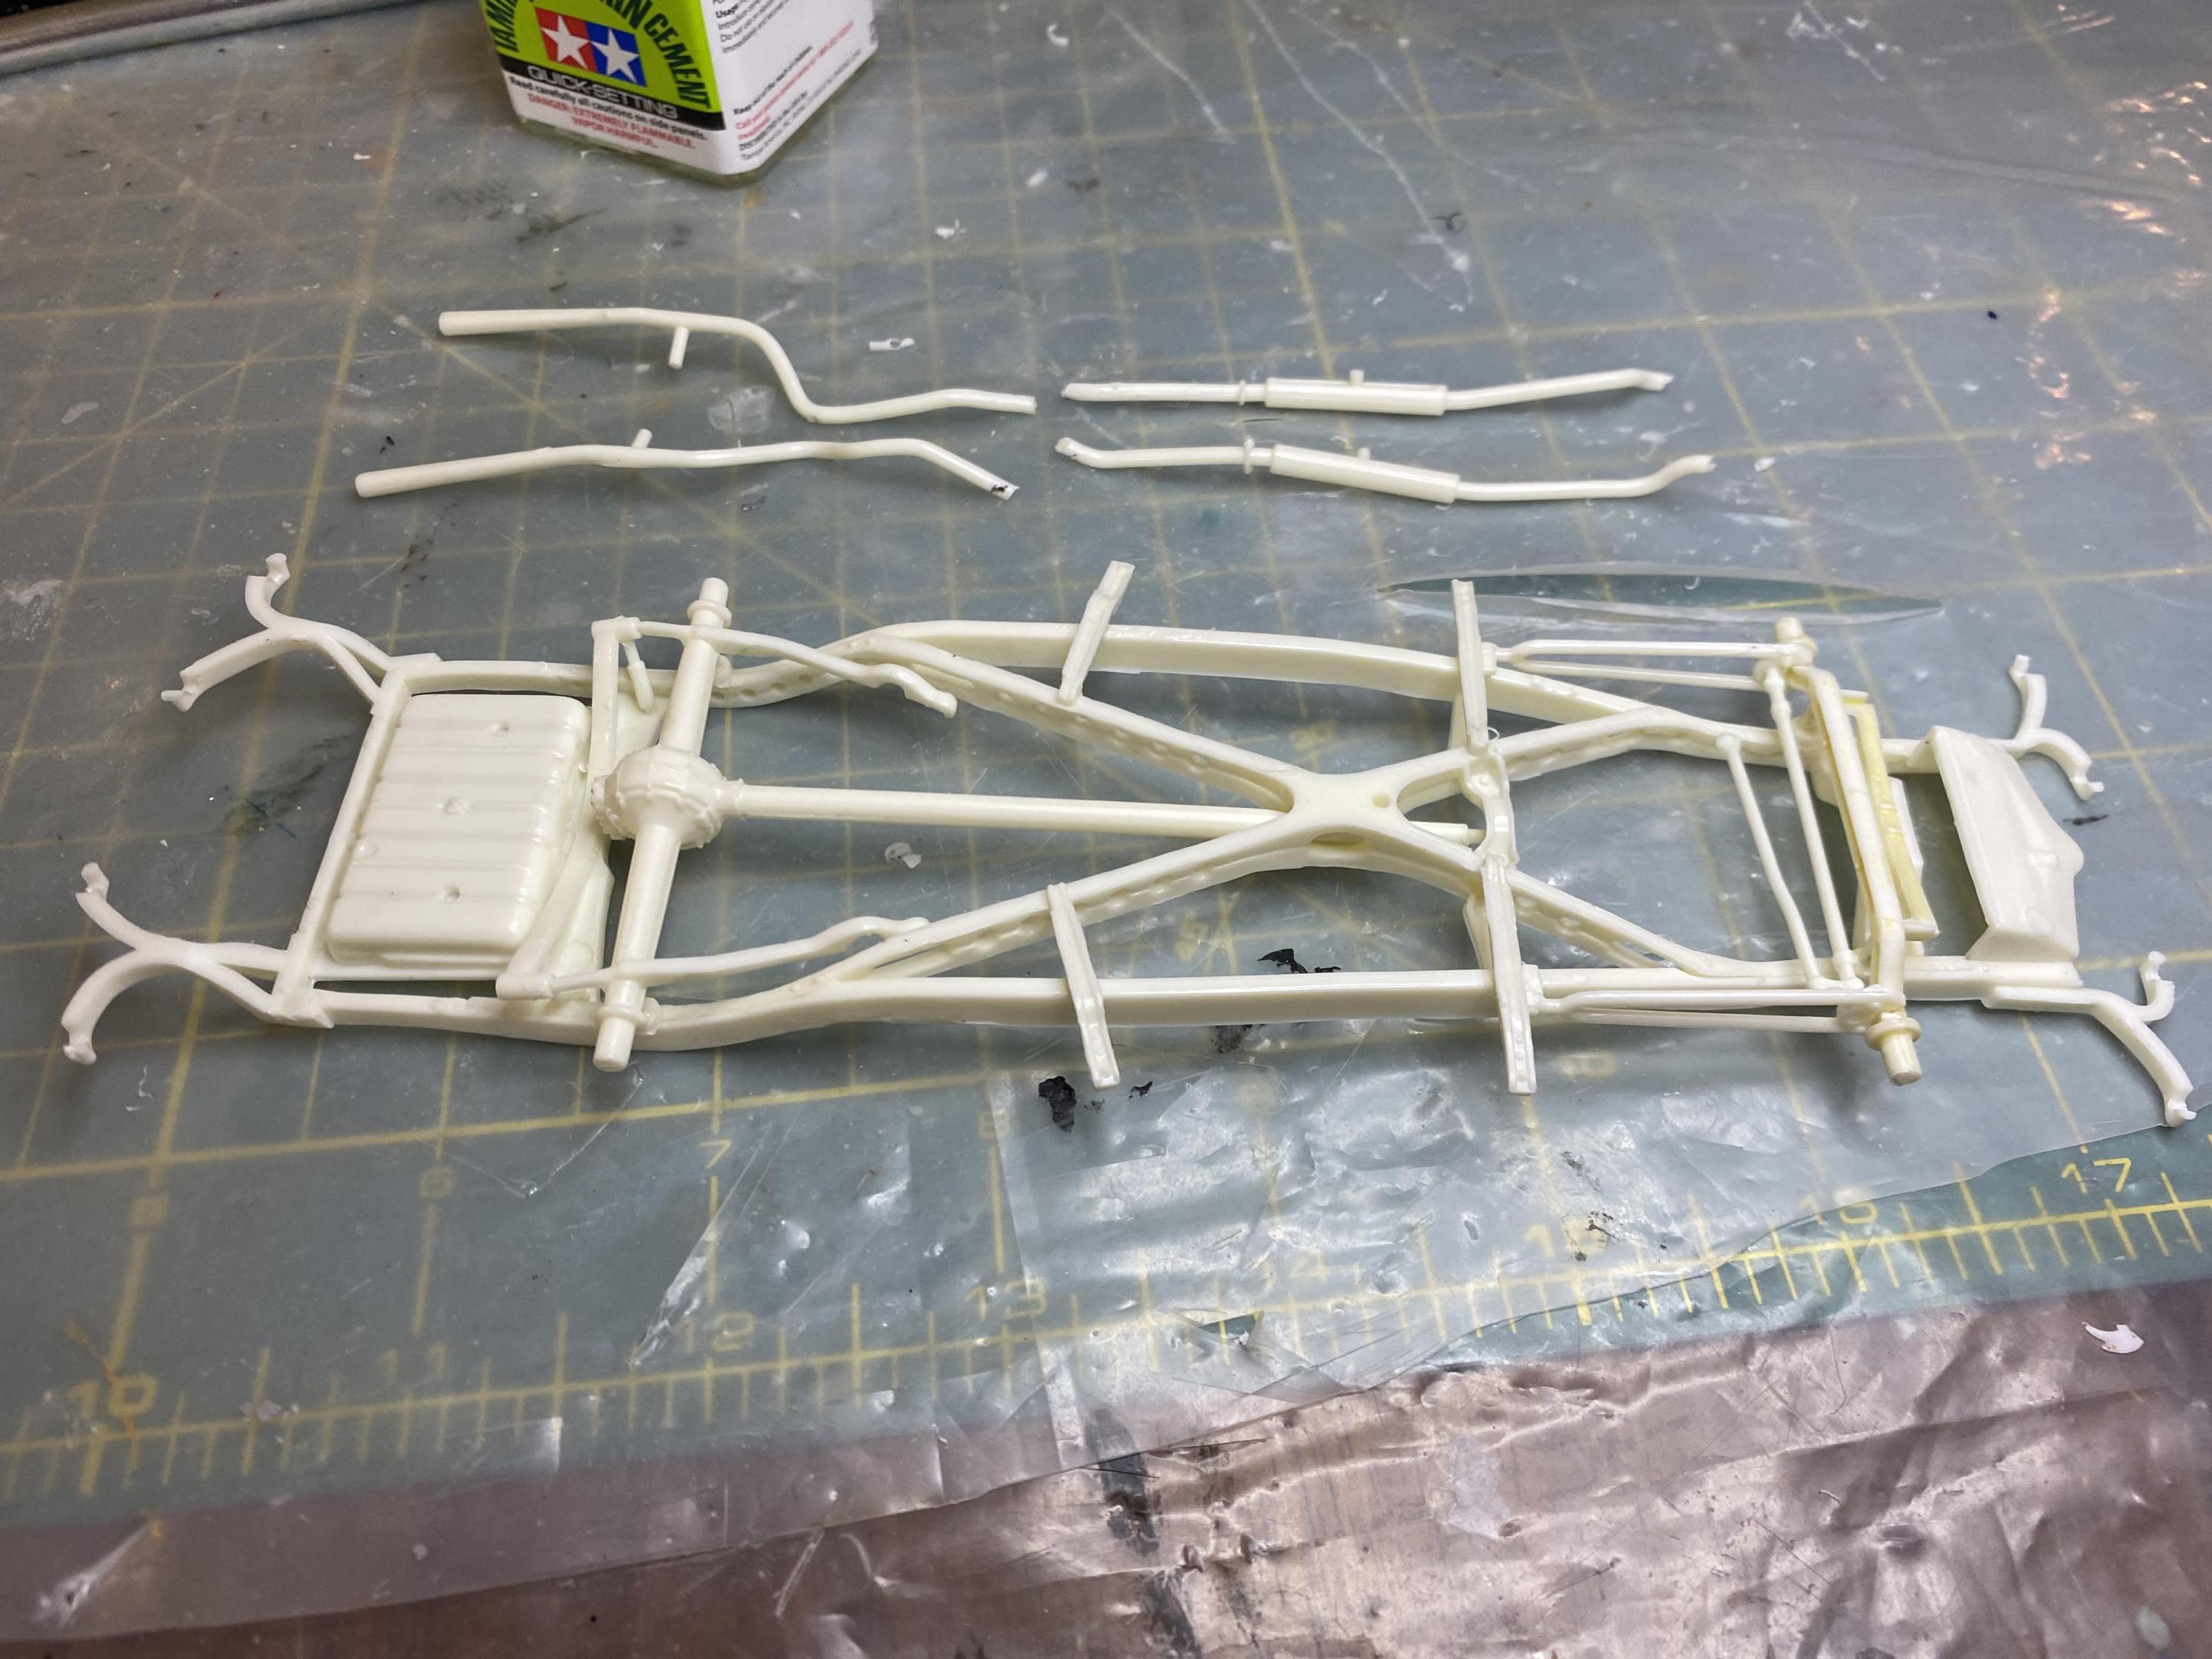
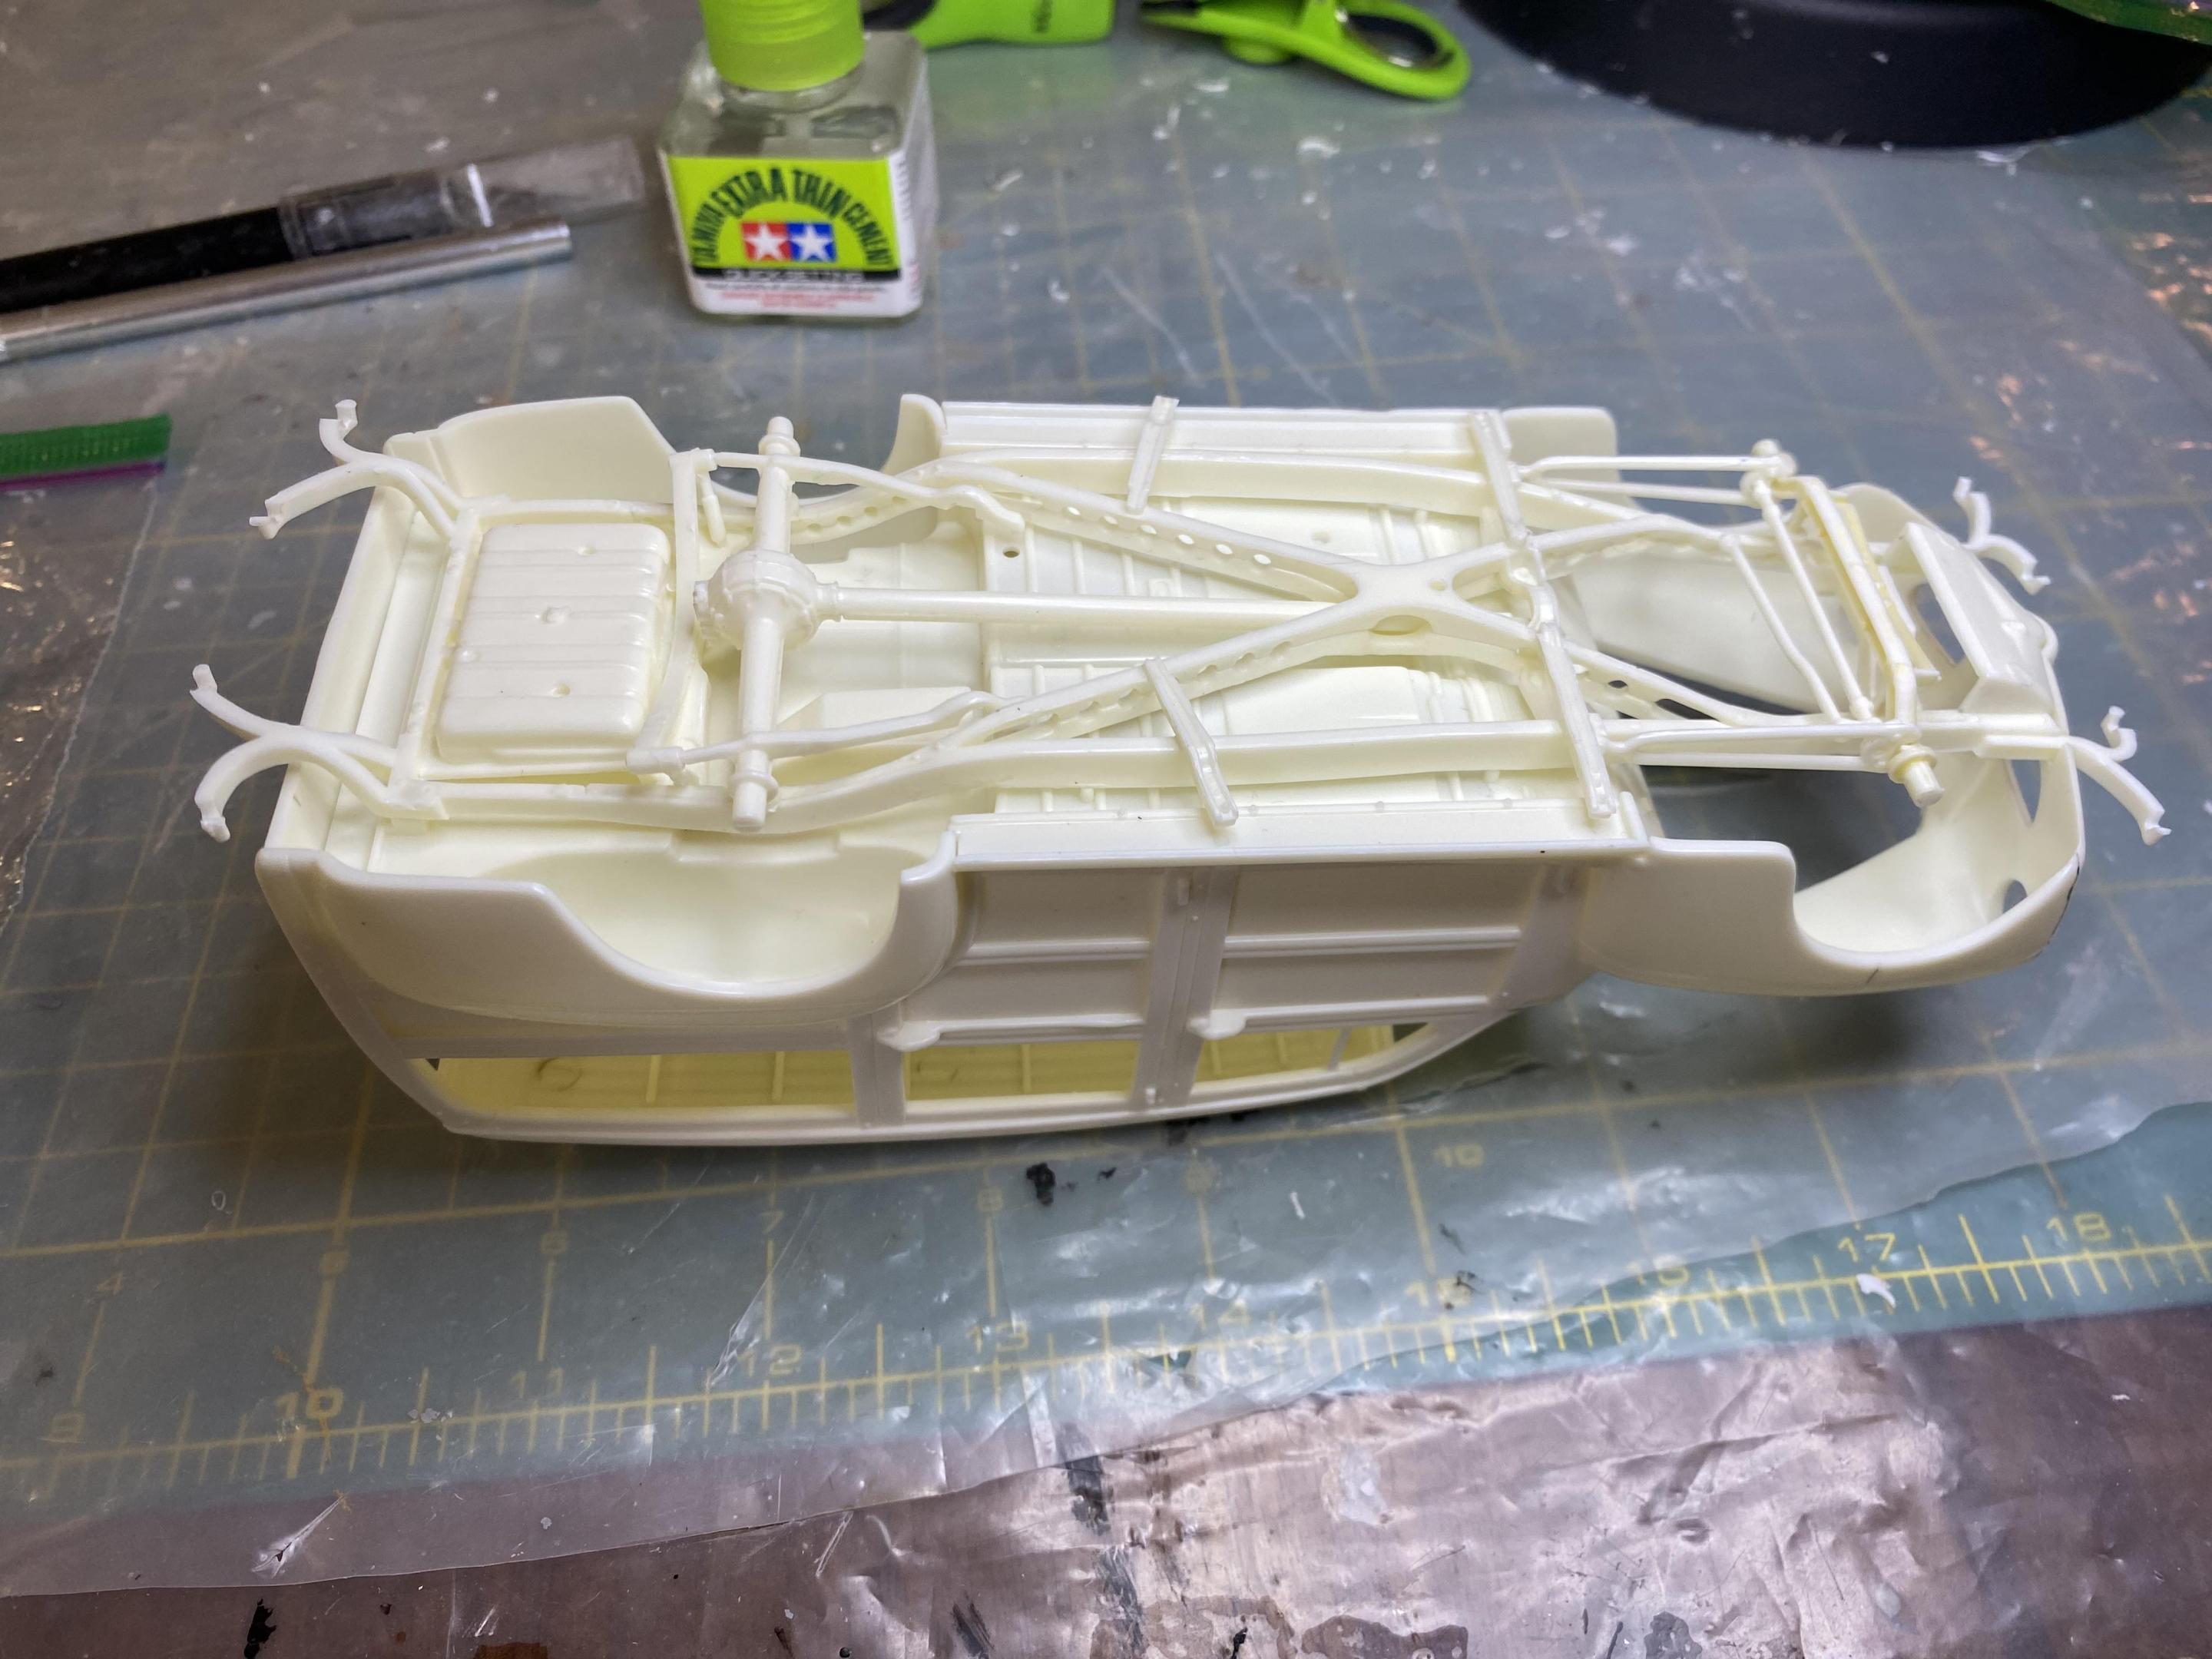
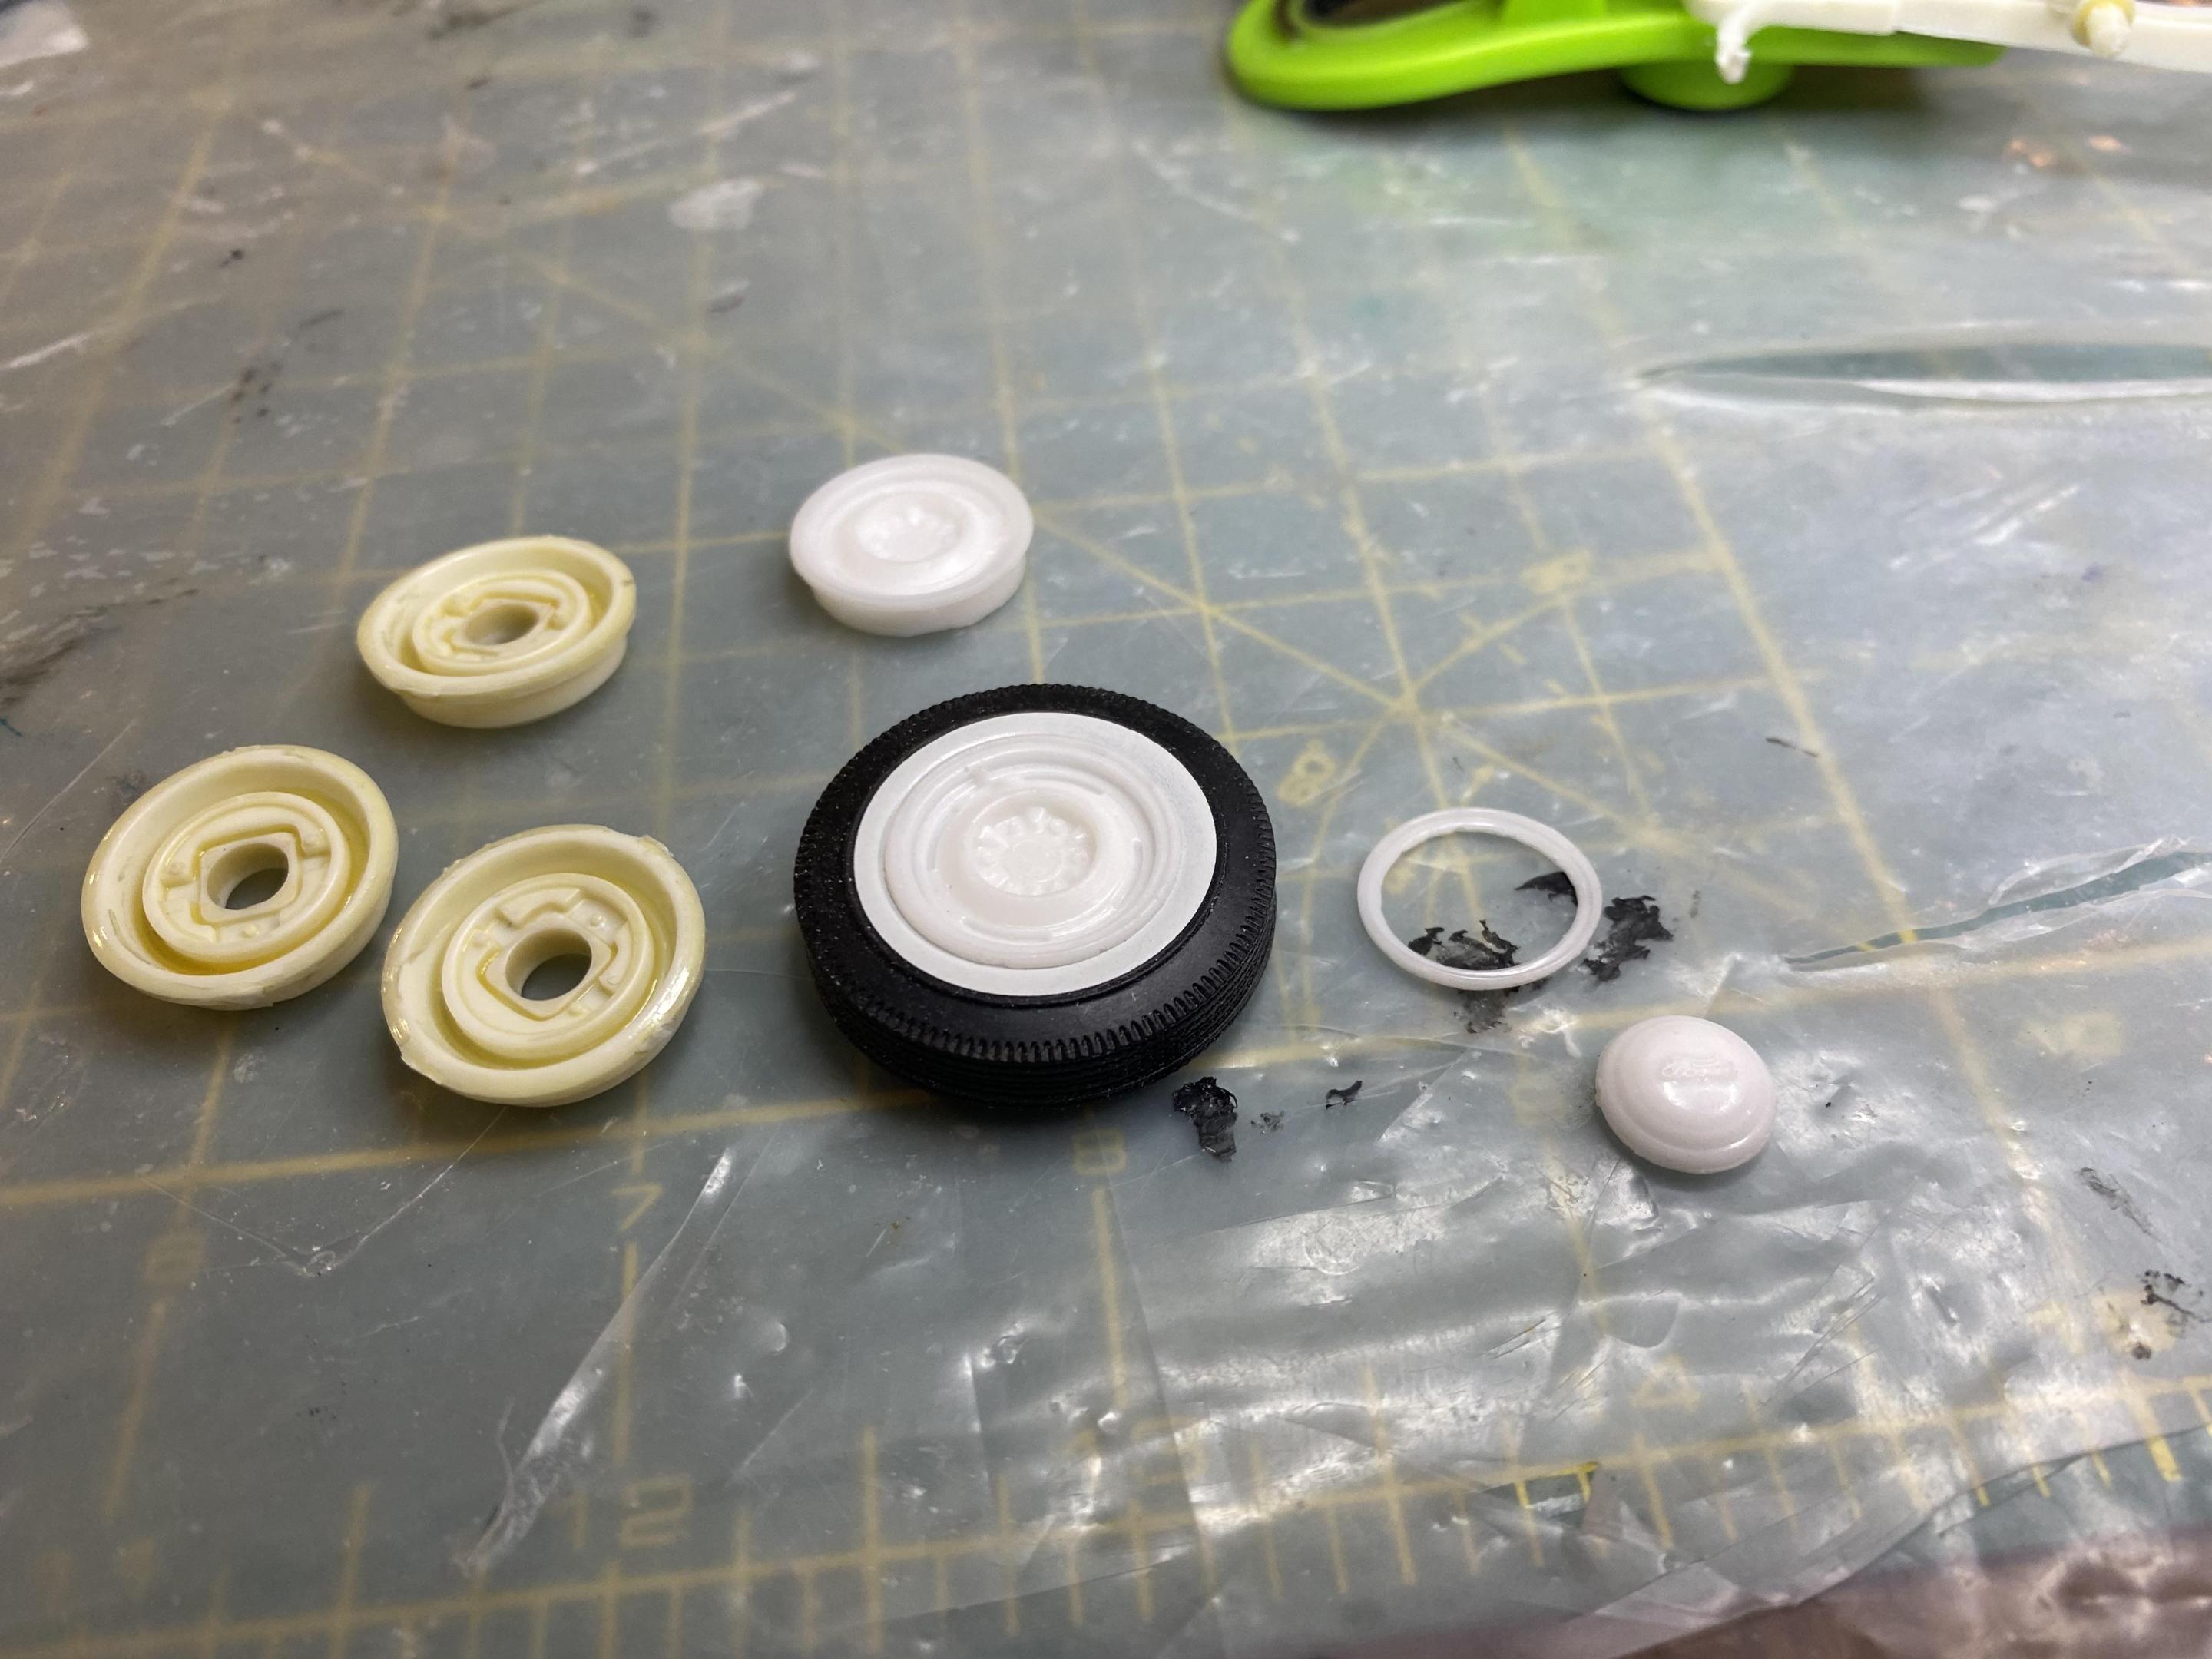
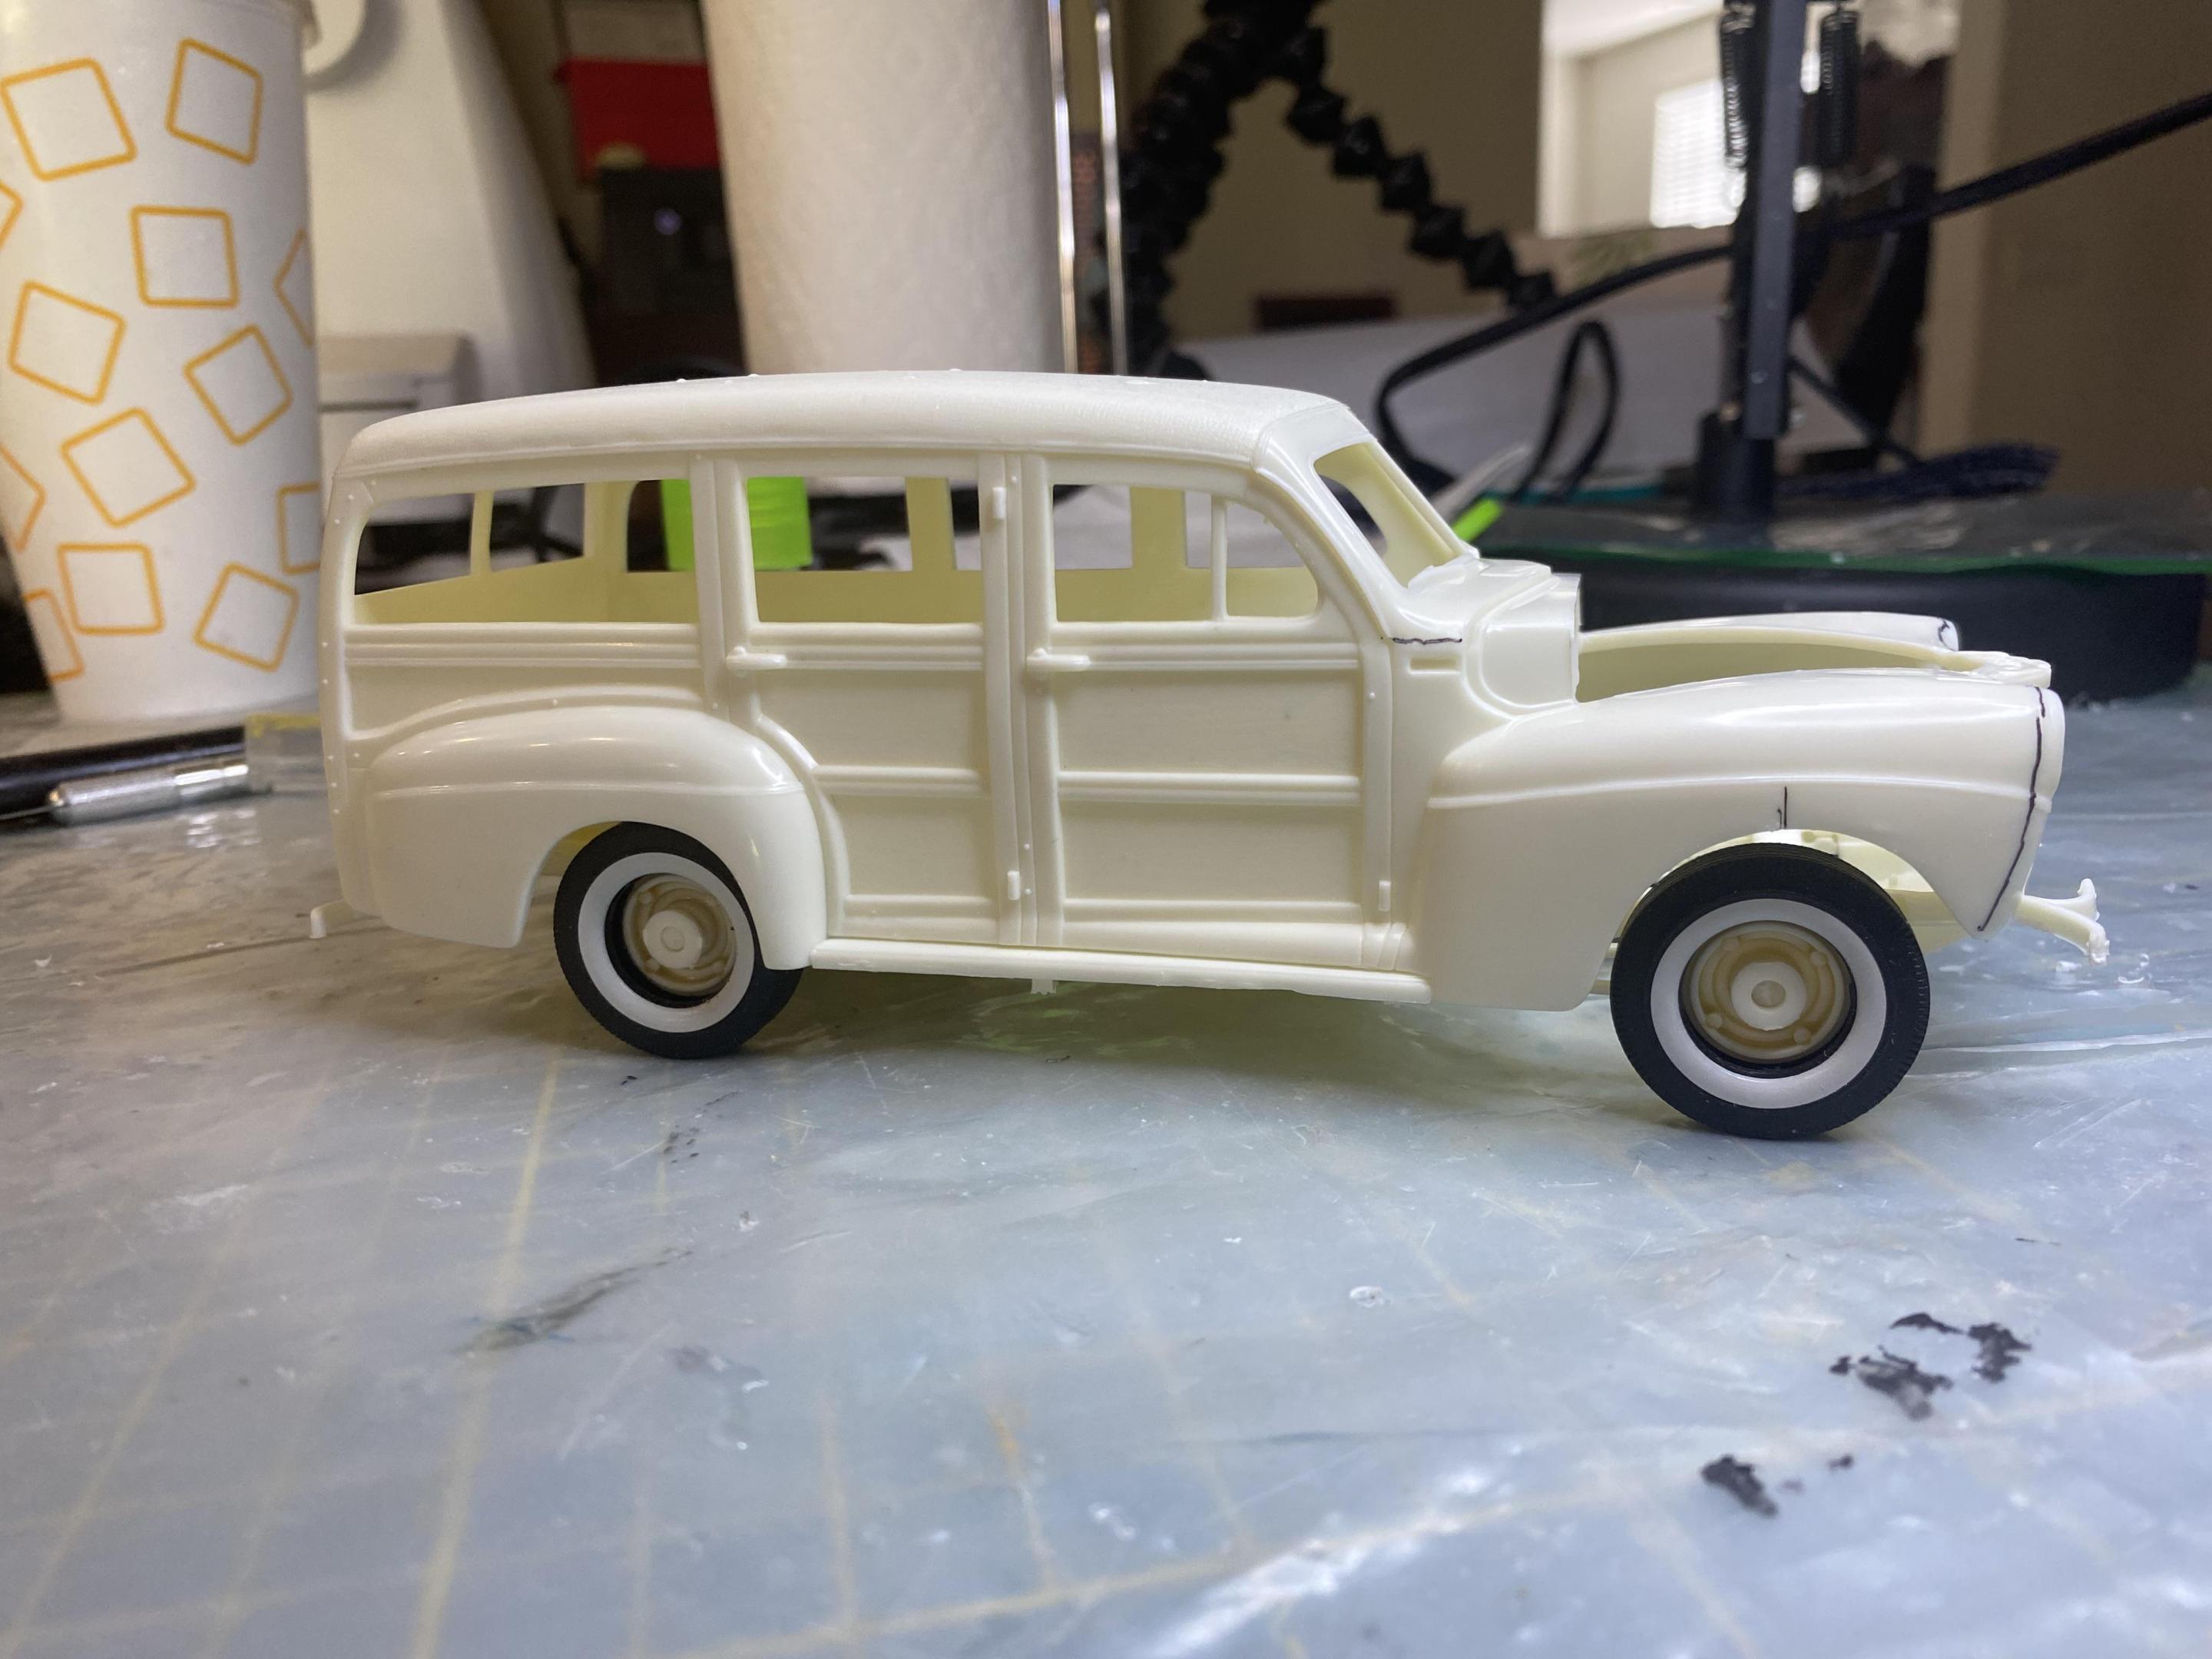
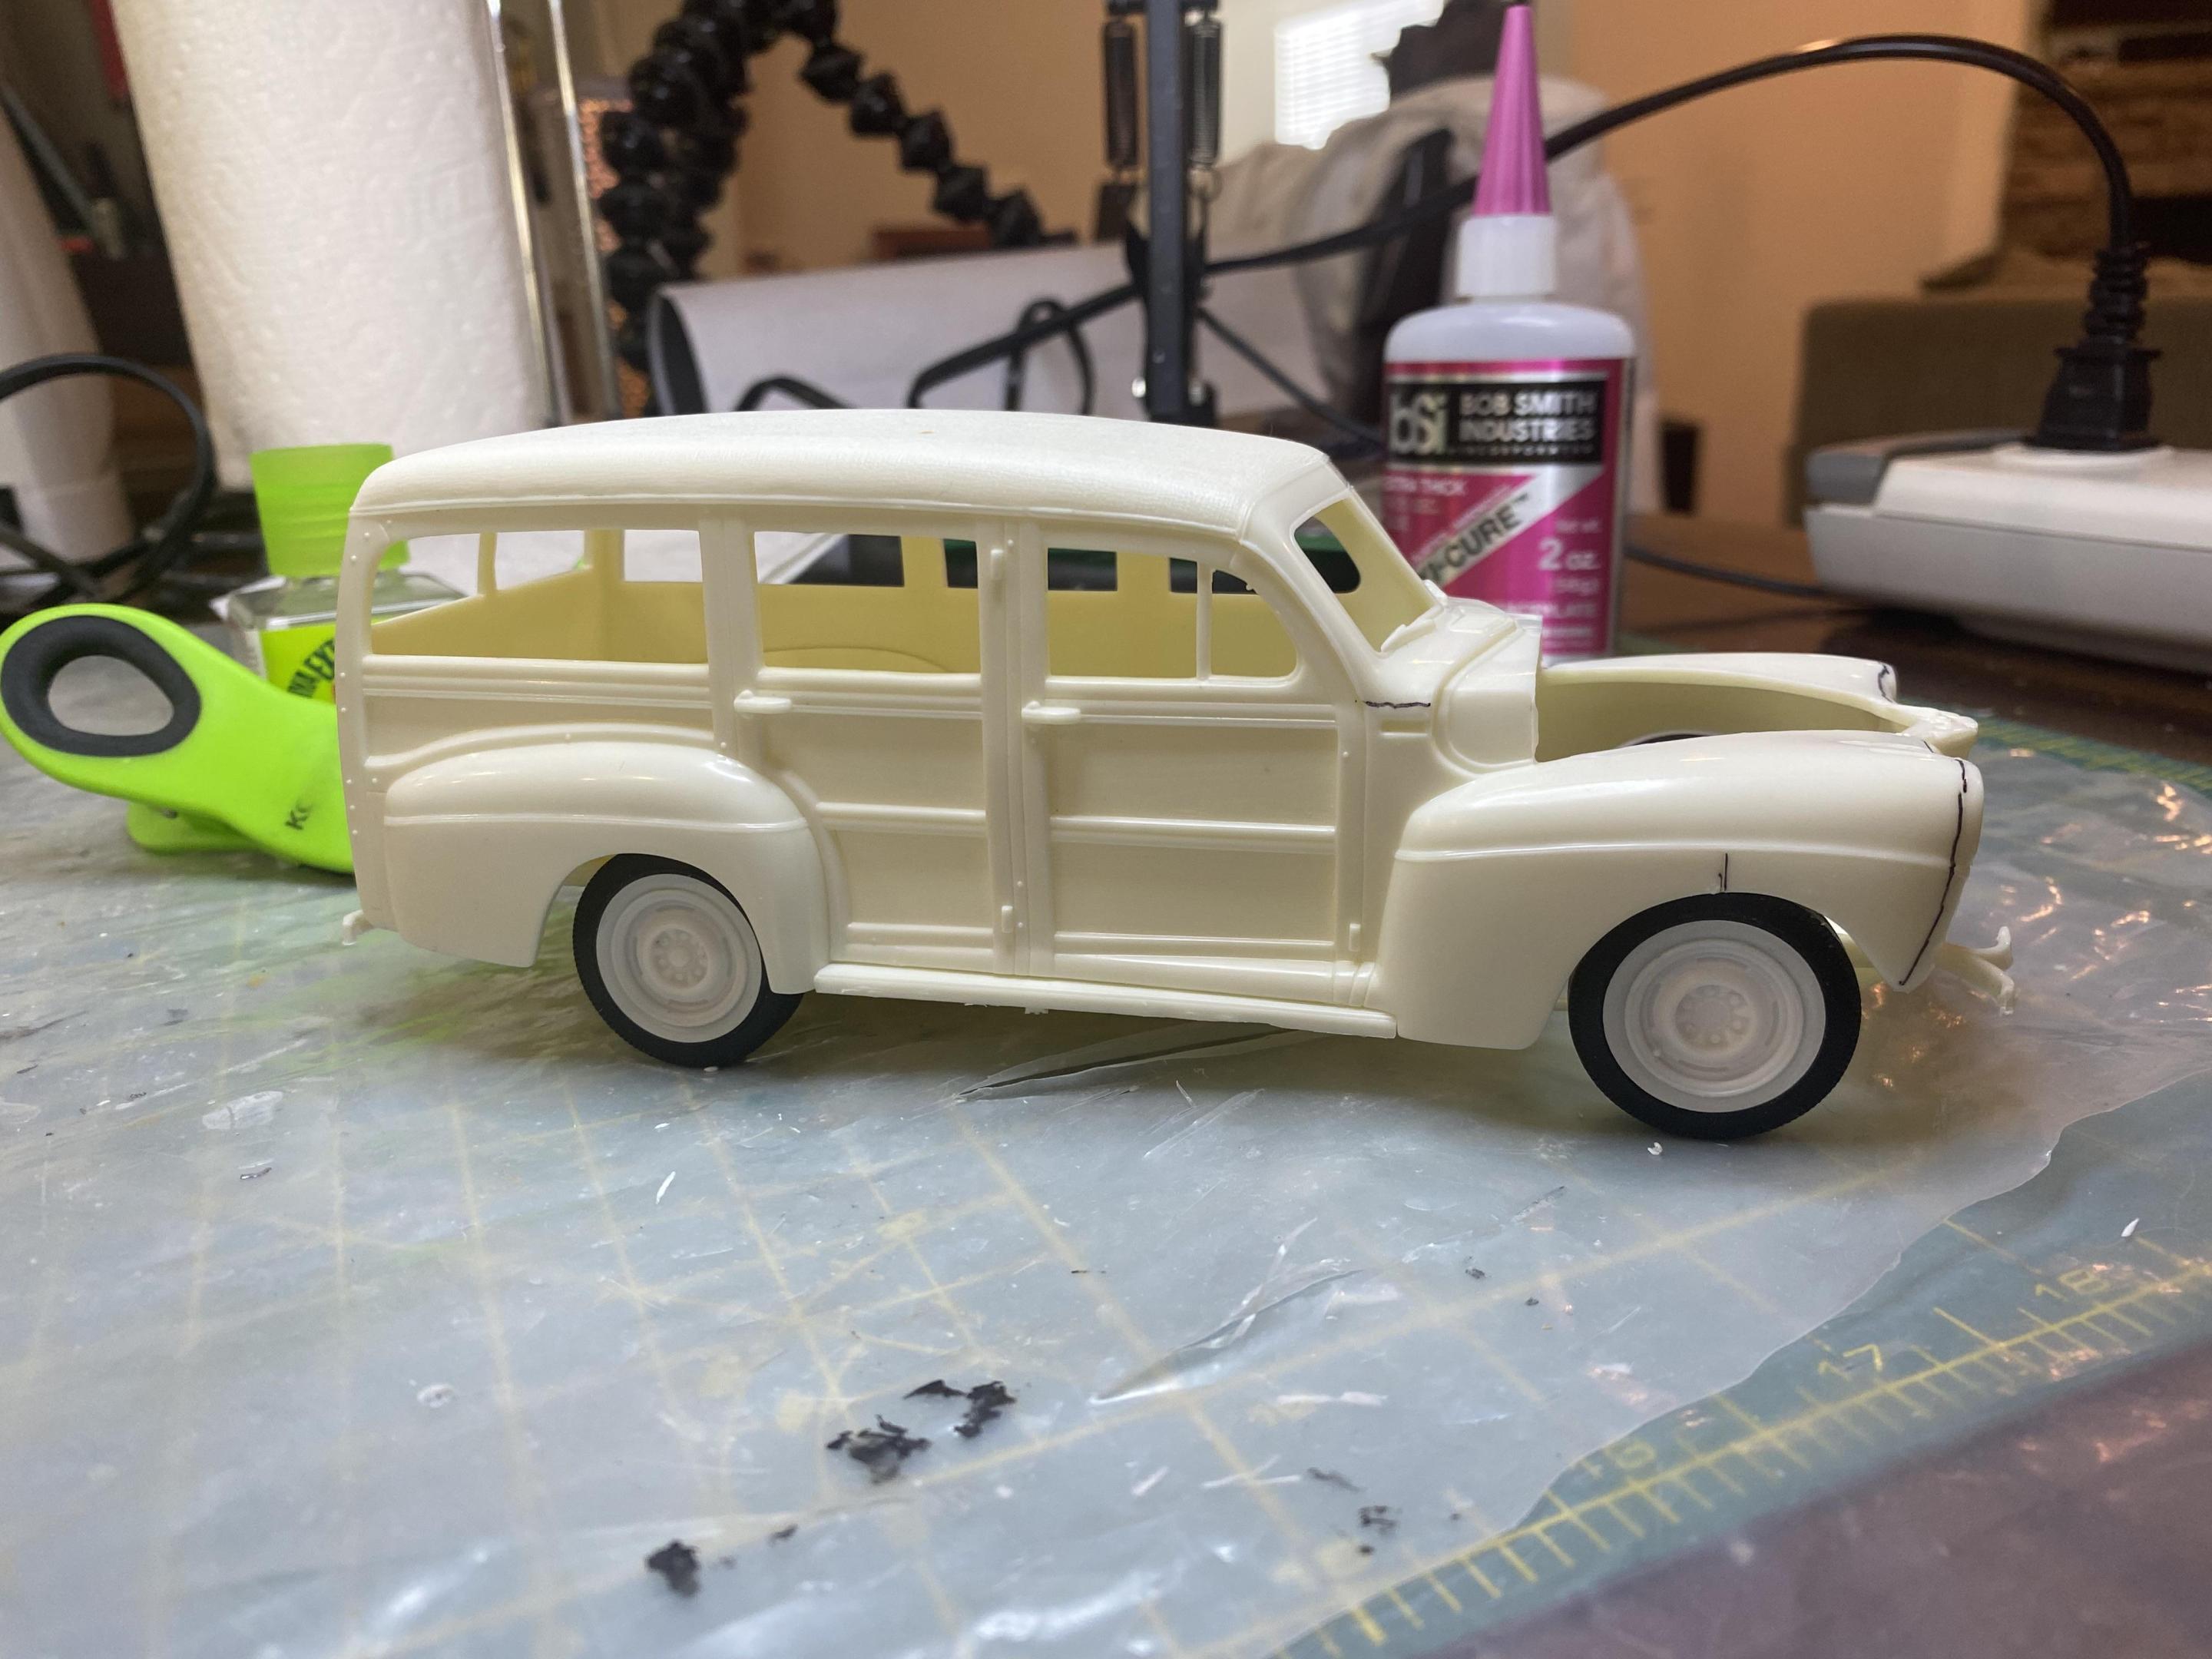
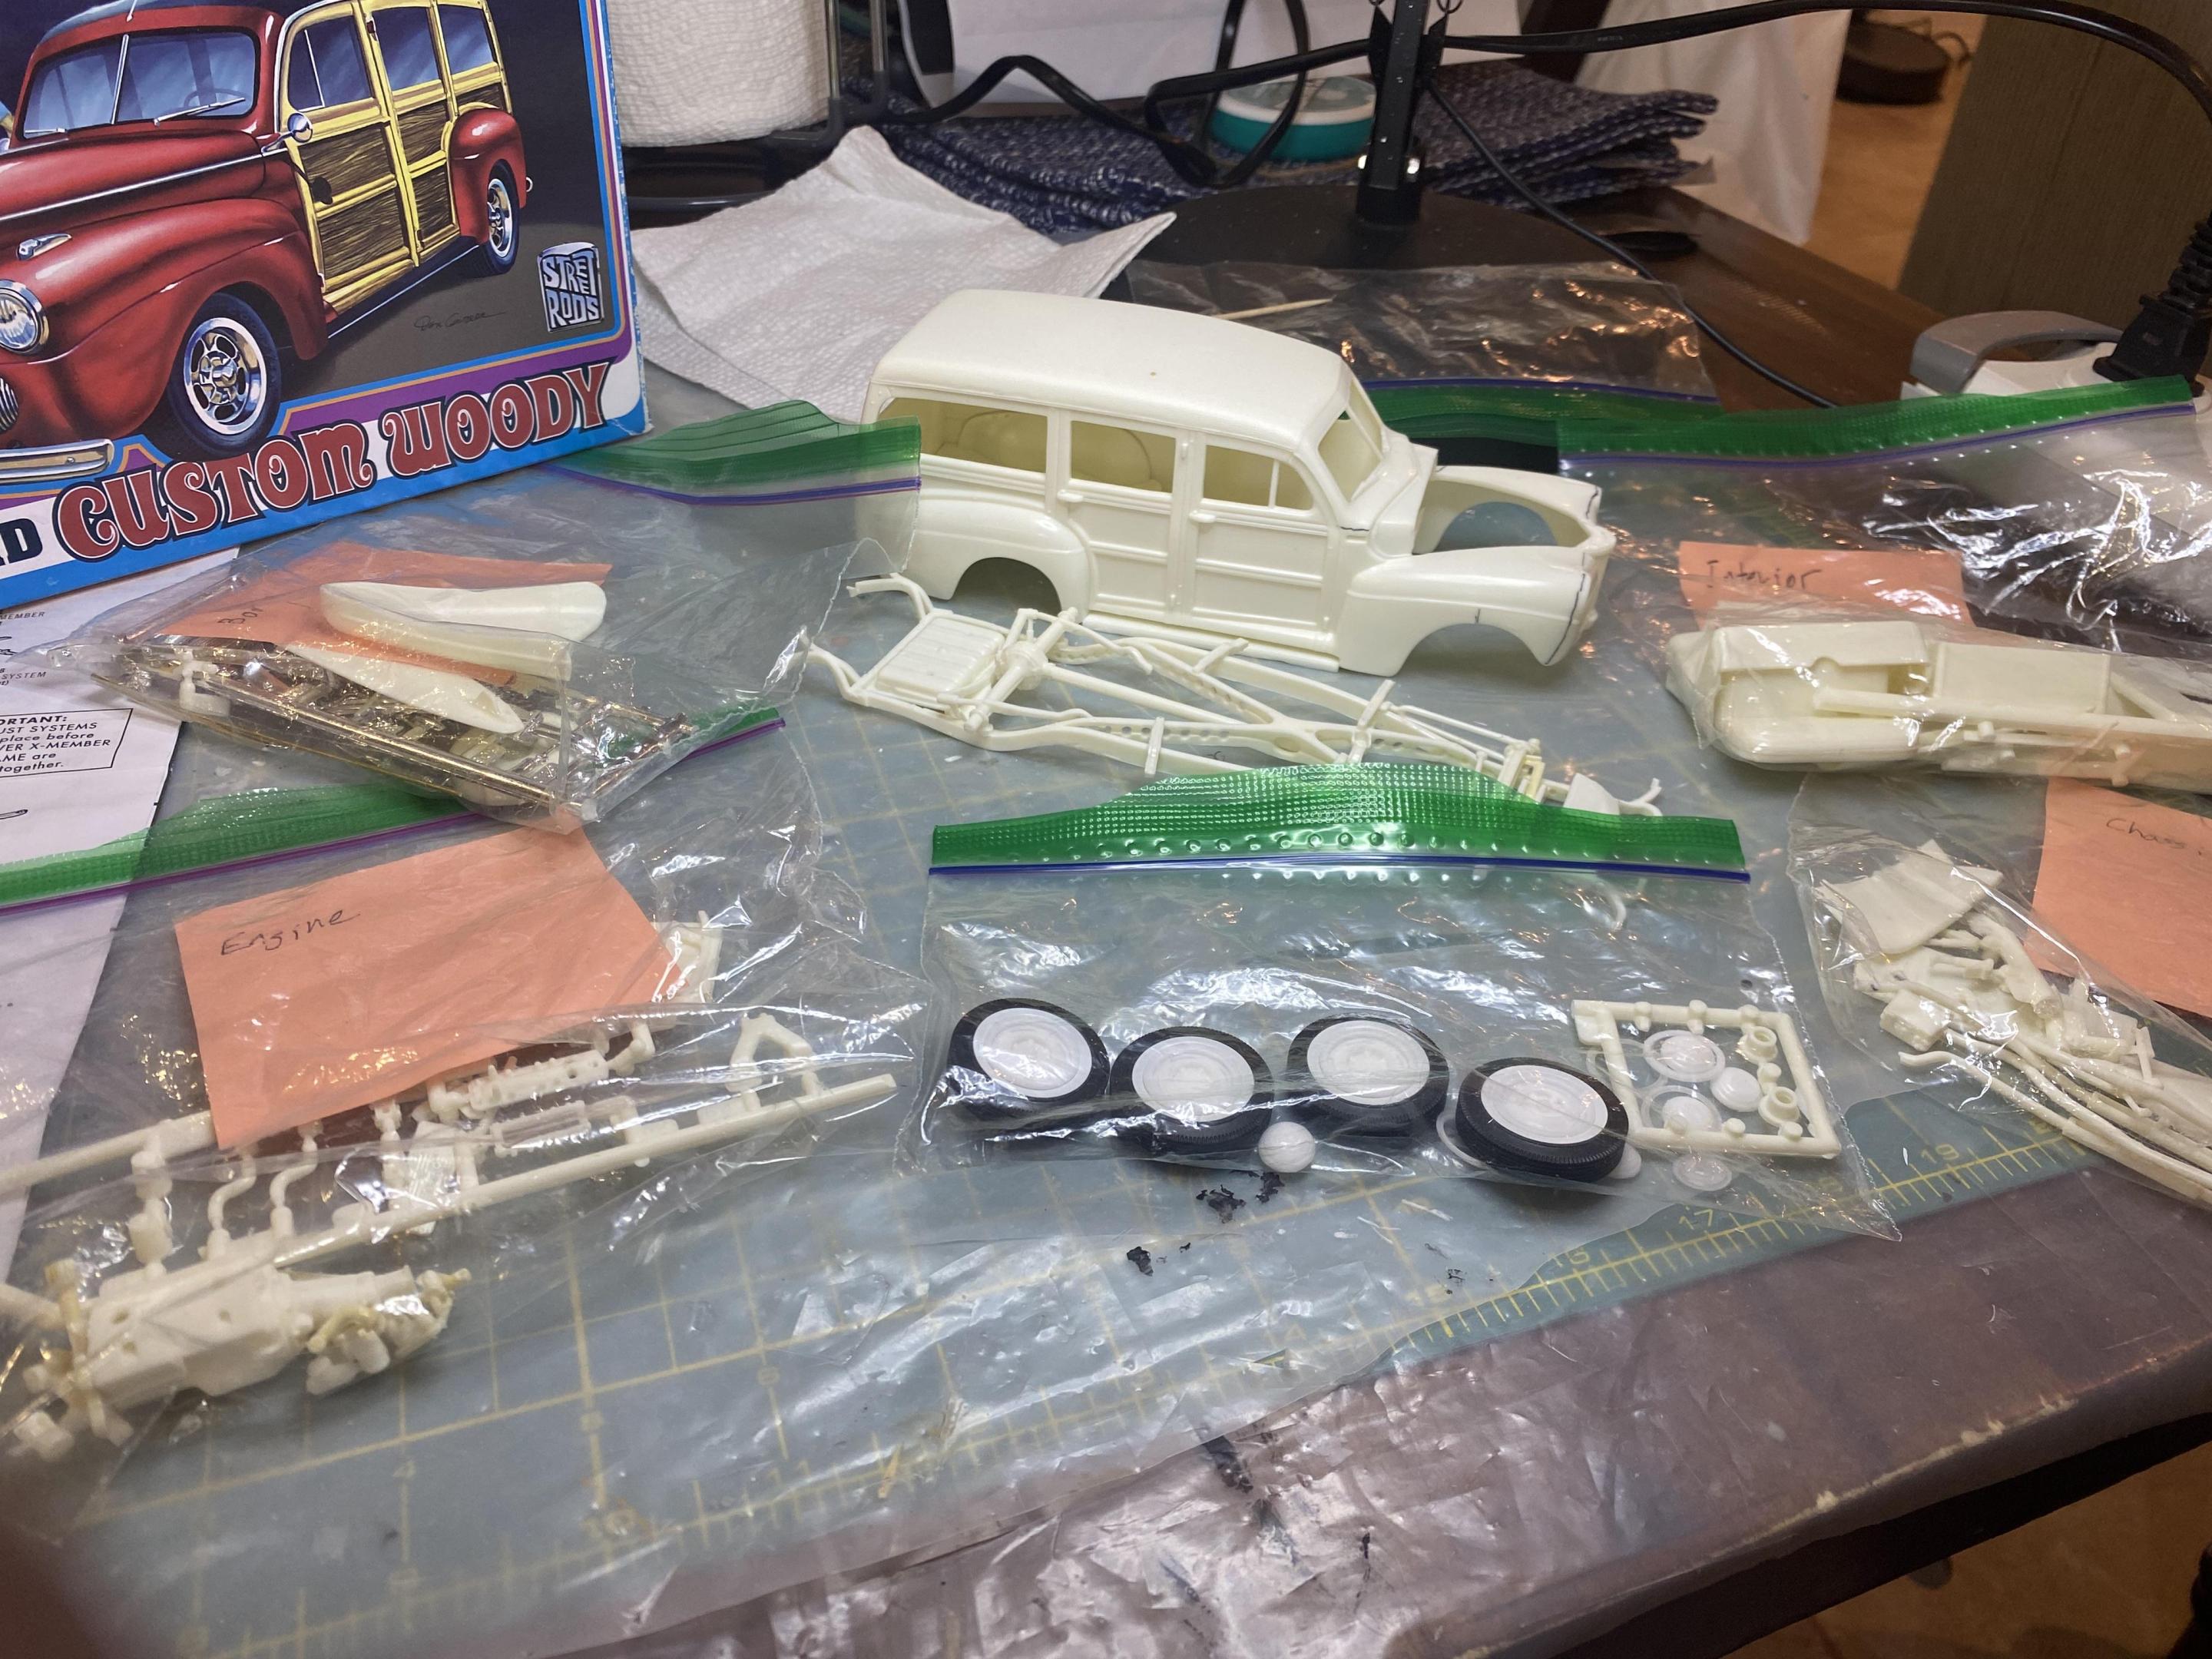
I picked up this kit at a show some time ago. I prefer factory original but I am going to step out of my comfort zone a bit. I am going to go with more period correct Southern California surfer wagon. I am going with a soldier return home from WWII and customizing a woody wagon much like many soldier built hot rods after returning home. Something set in the late 40s early 50s. Lowered stance, surfer stickers, period updated Flathead with dual strombergs, etc. I couldn’t stand the look of the fuel injected Flathead so going to be likely making some modifications with 3d printed carbs and parts, or a completely new printed engine. stripped chrome parts, why… just why. I didn’t like the quad ends for the dual exhaust som cut down to one and drilled ends. assembled the frame and suspension. I cut the exhaust where it fits into the frame to make it easier to install later so I could assemble the frame that would have been a paint assemble one painted. I cast some steelies and trim rings from the 1950 Chevy pickup and hub caps from the spare. Pad printed wide whites to round off the period look. OMG the stance out of the box is terrible! Corrected with a bit of a “California Rake” look to give it the period correct stance. assembled components and bagged per section. This kit had so much flash and heavy spruce connections.
-
Thank You! The work on the hideaway headlight are the reason I had to redo the bumper, but I think it was all worth it in the end.
-
Thank You! My family wouldn’t let me do a build without LEDs any more. the engine bay was basically non-existent, something I couldn’t live with. Thank you! I should have done it before I installed it in the first place.
-
Thank you!
-
Thank You!

