-
Posts
1,048 -
Joined
-
Last visited
Content Type
Profiles
Forums
Events
Gallery
Everything posted by Duddly01
-
1955 Ford F-100 Street Rod
Duddly01 replied to Zippi's topic in WIP: Model Trucks: Pickups, Vans, SUVs, Light Commercial
Black with red will look great! -

1950 Chevy 3100 Pickup WIP
Duddly01 replied to Duddly01's topic in WIP: Model Trucks: Pickups, Vans, SUVs, Light Commercial
What do you use to store your truck models? I have a couple Carney Plastics 24 car display cases, but this truck won’t fit. ? Interesting I never ran into this before. This is my first truck model, promo or diecast. -

1950 Chevy 3100 Pickup WIP
Duddly01 replied to Duddly01's topic in WIP: Model Trucks: Pickups, Vans, SUVs, Light Commercial
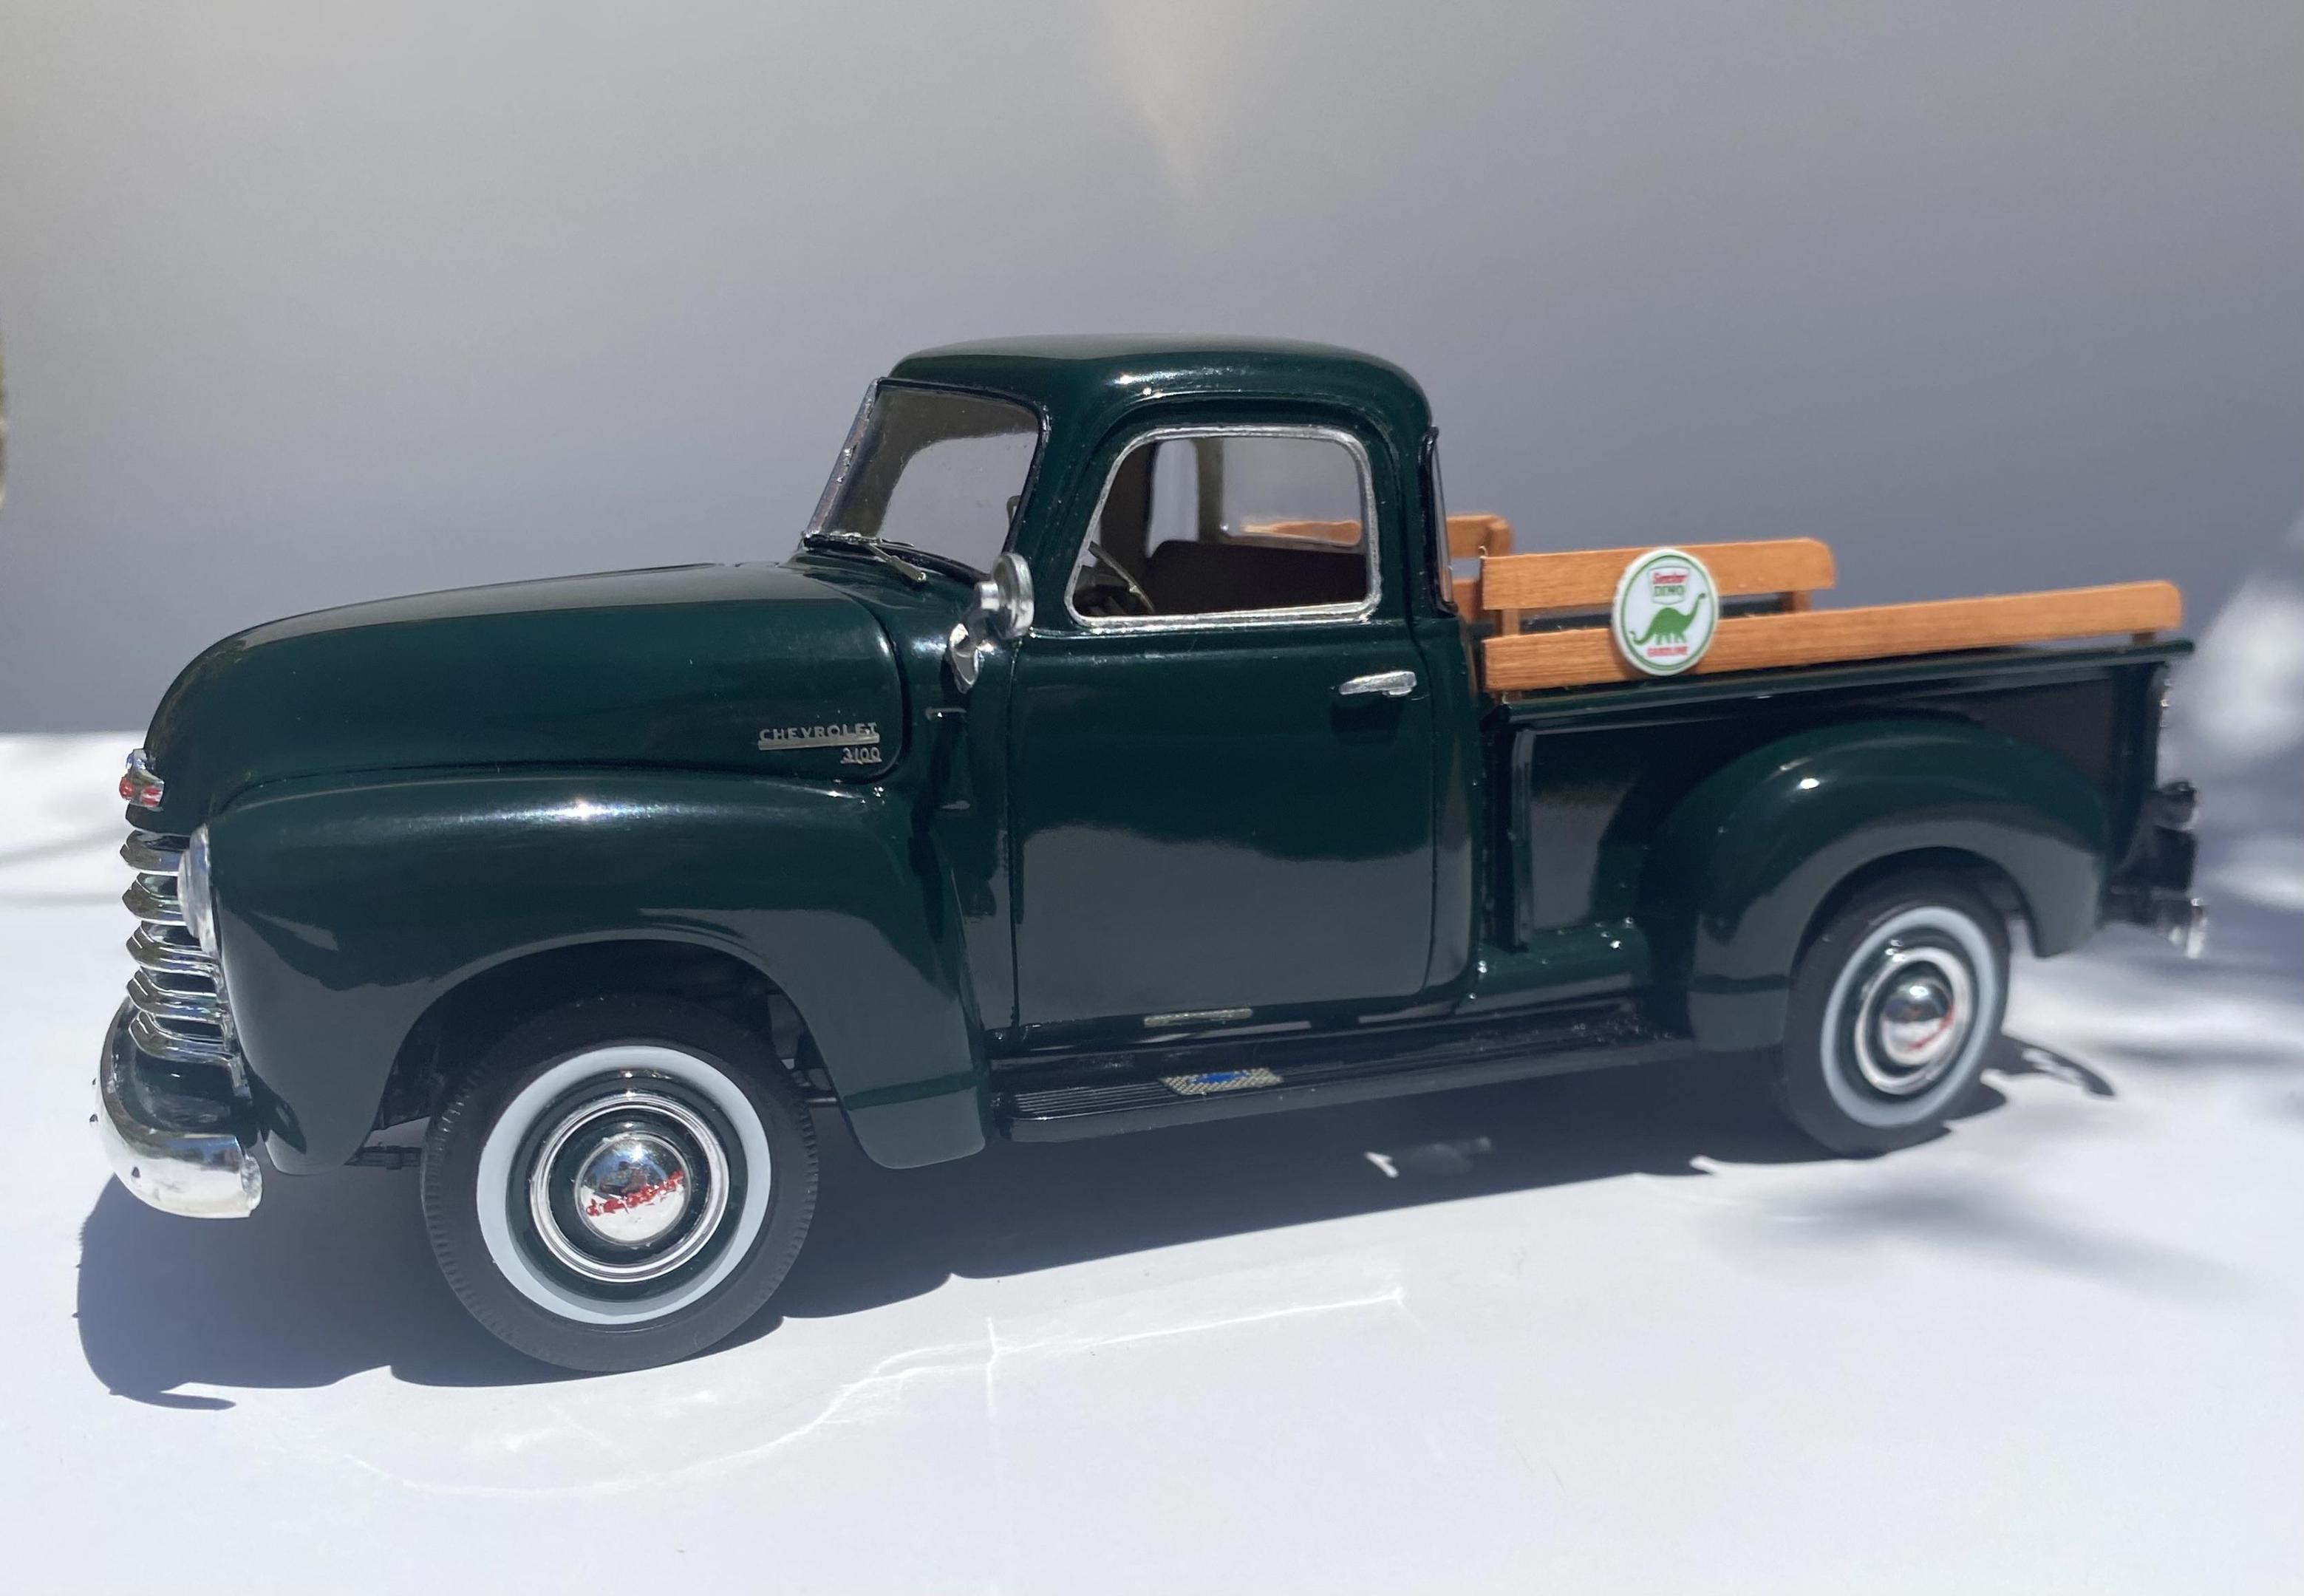
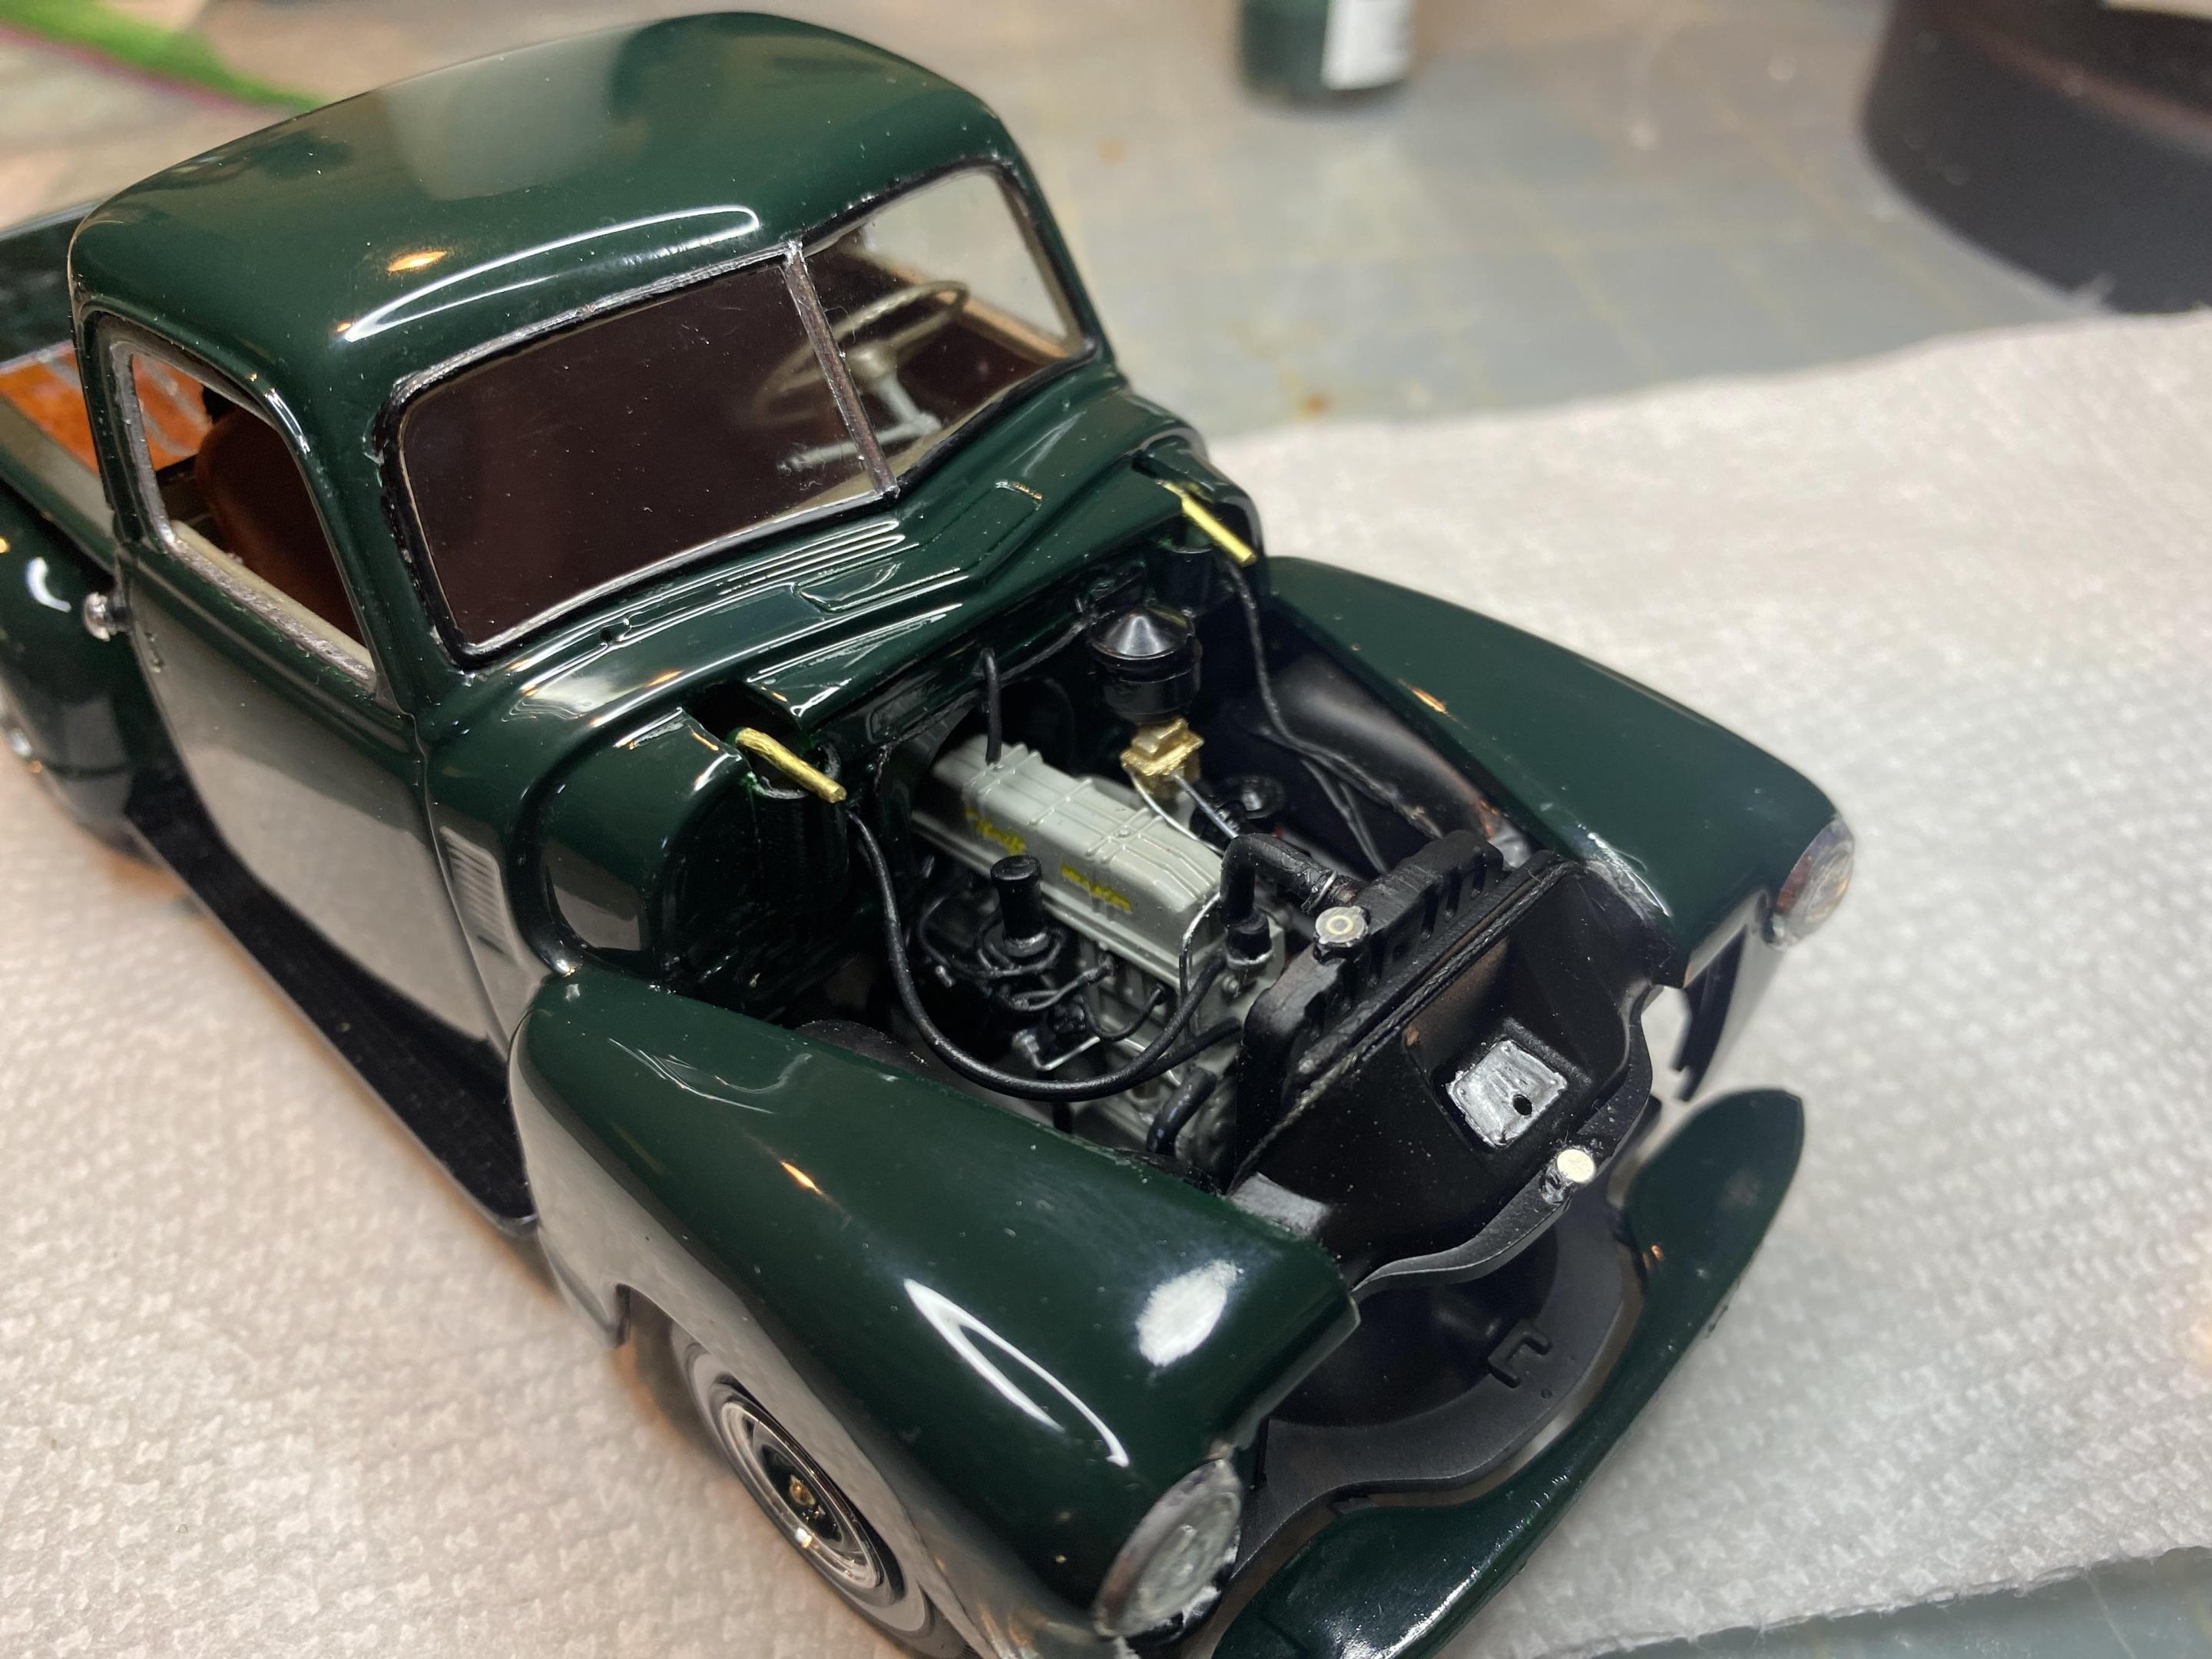
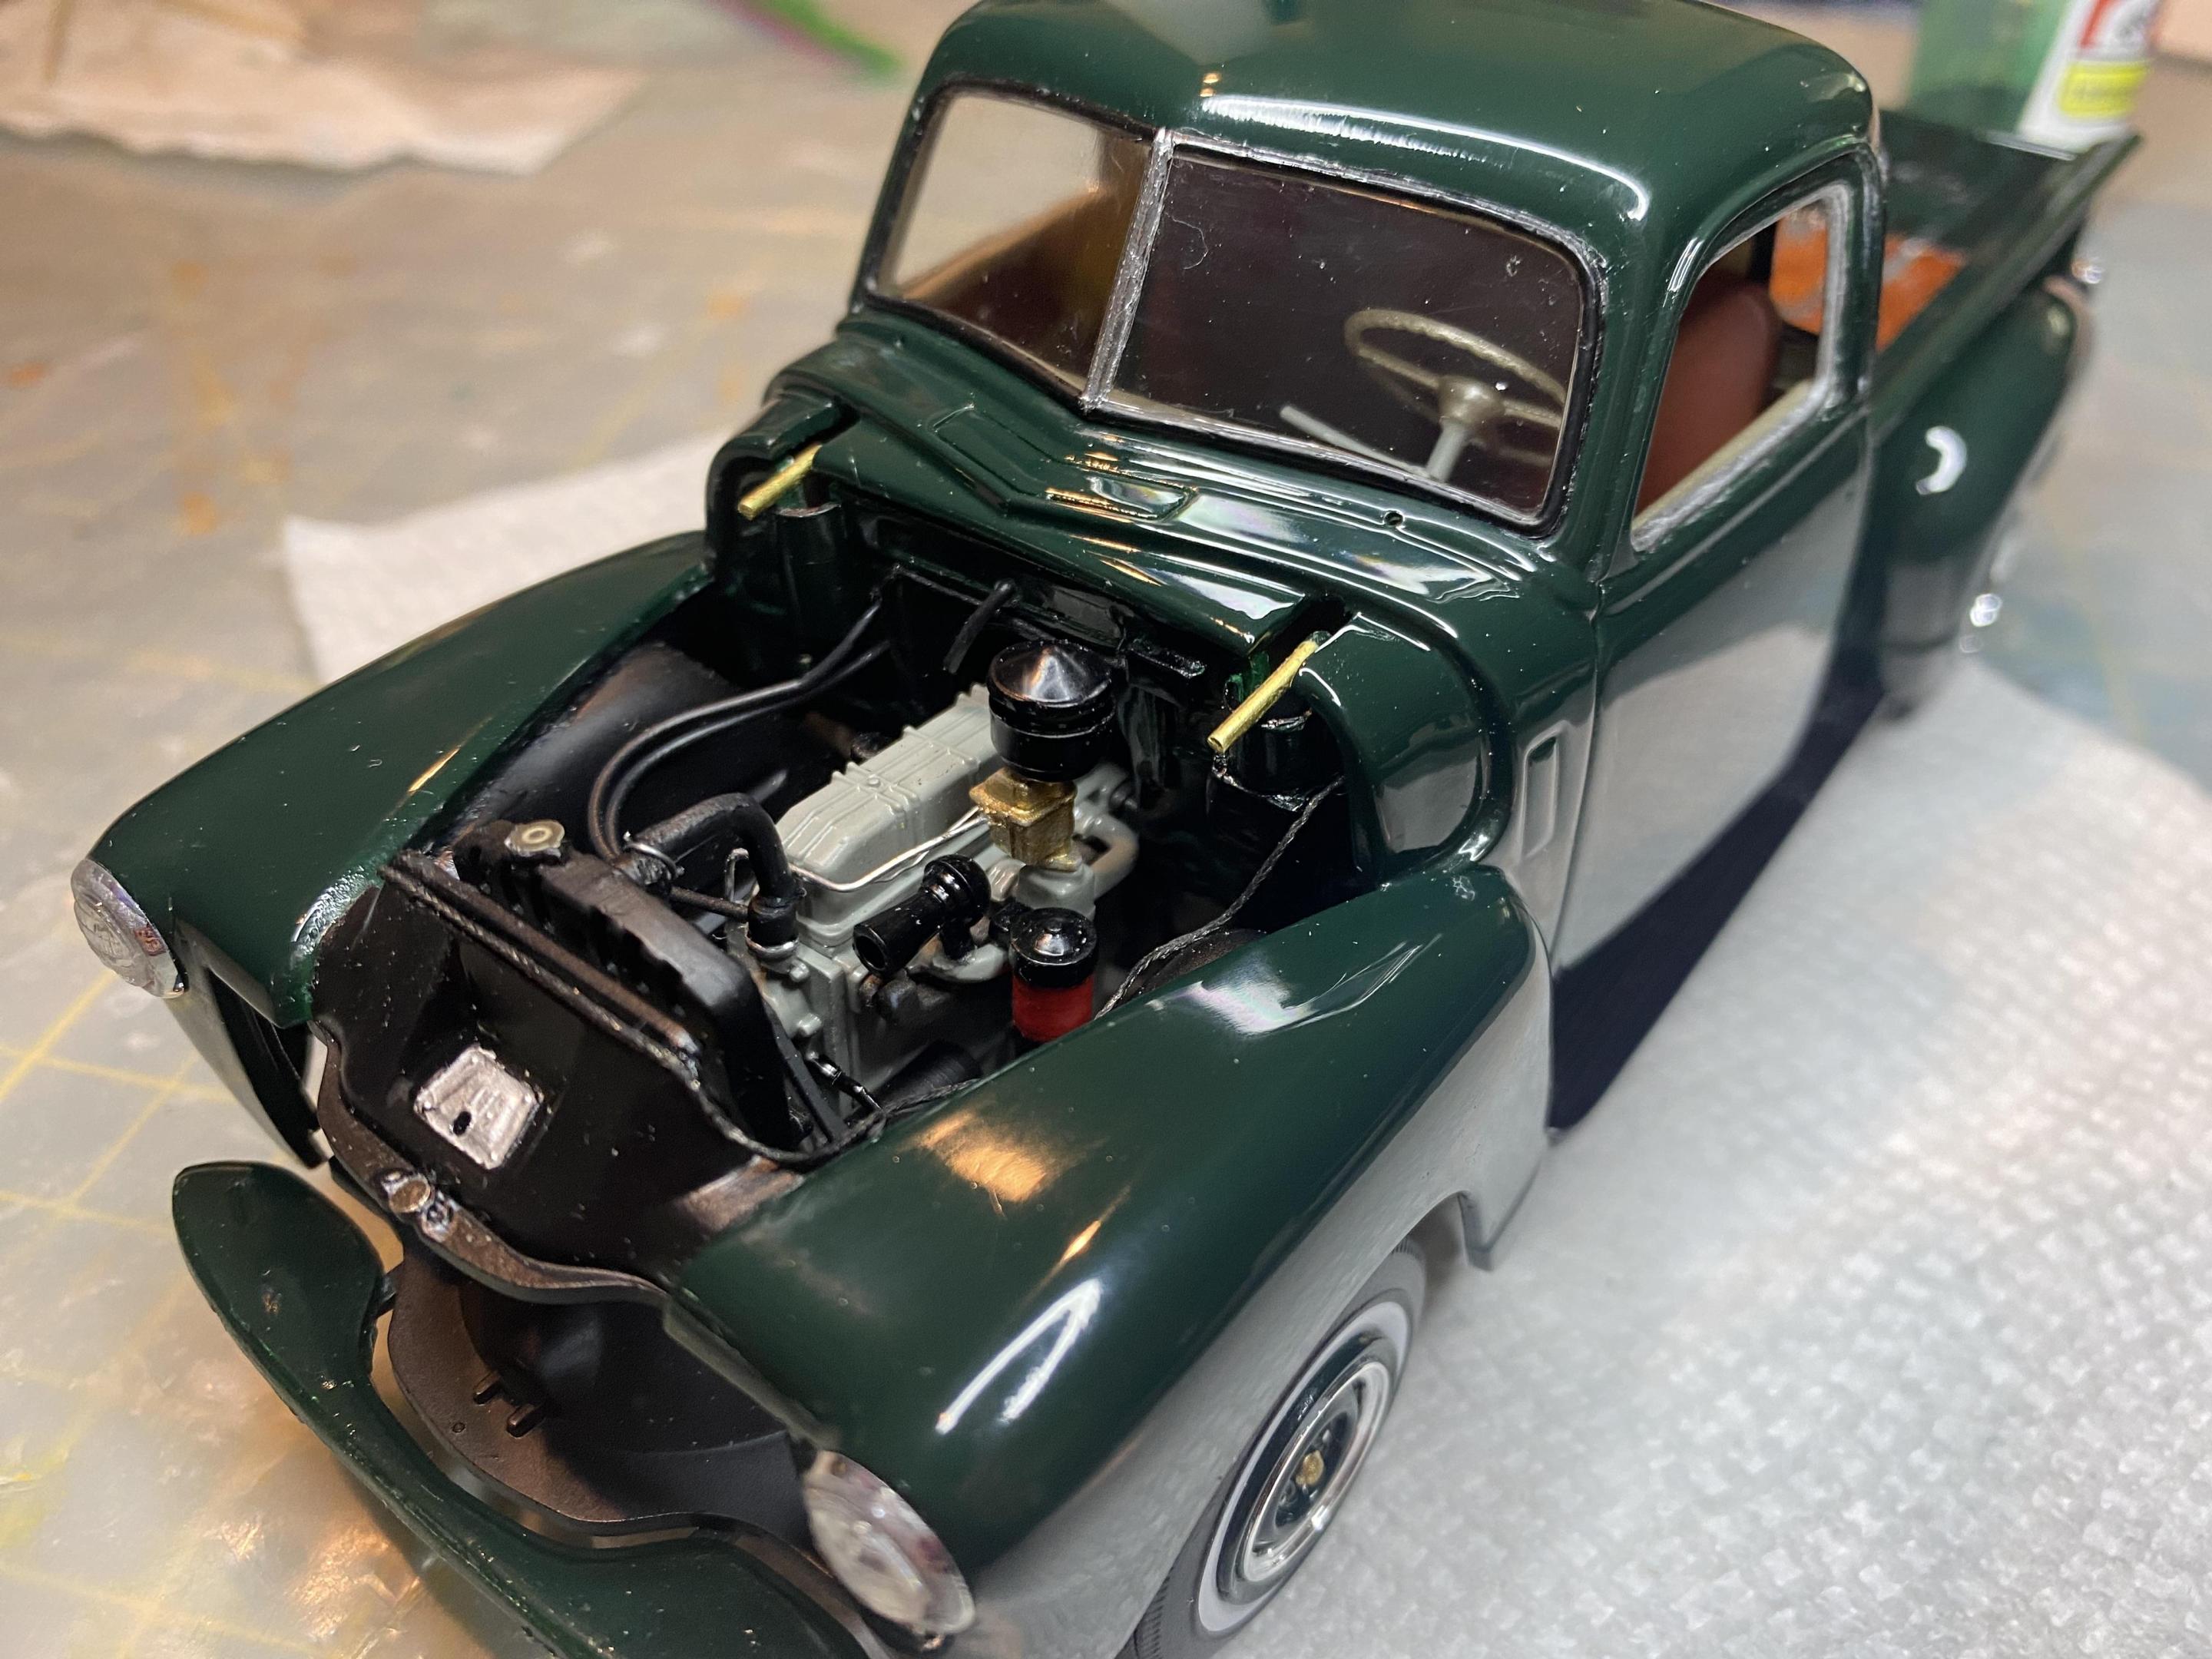
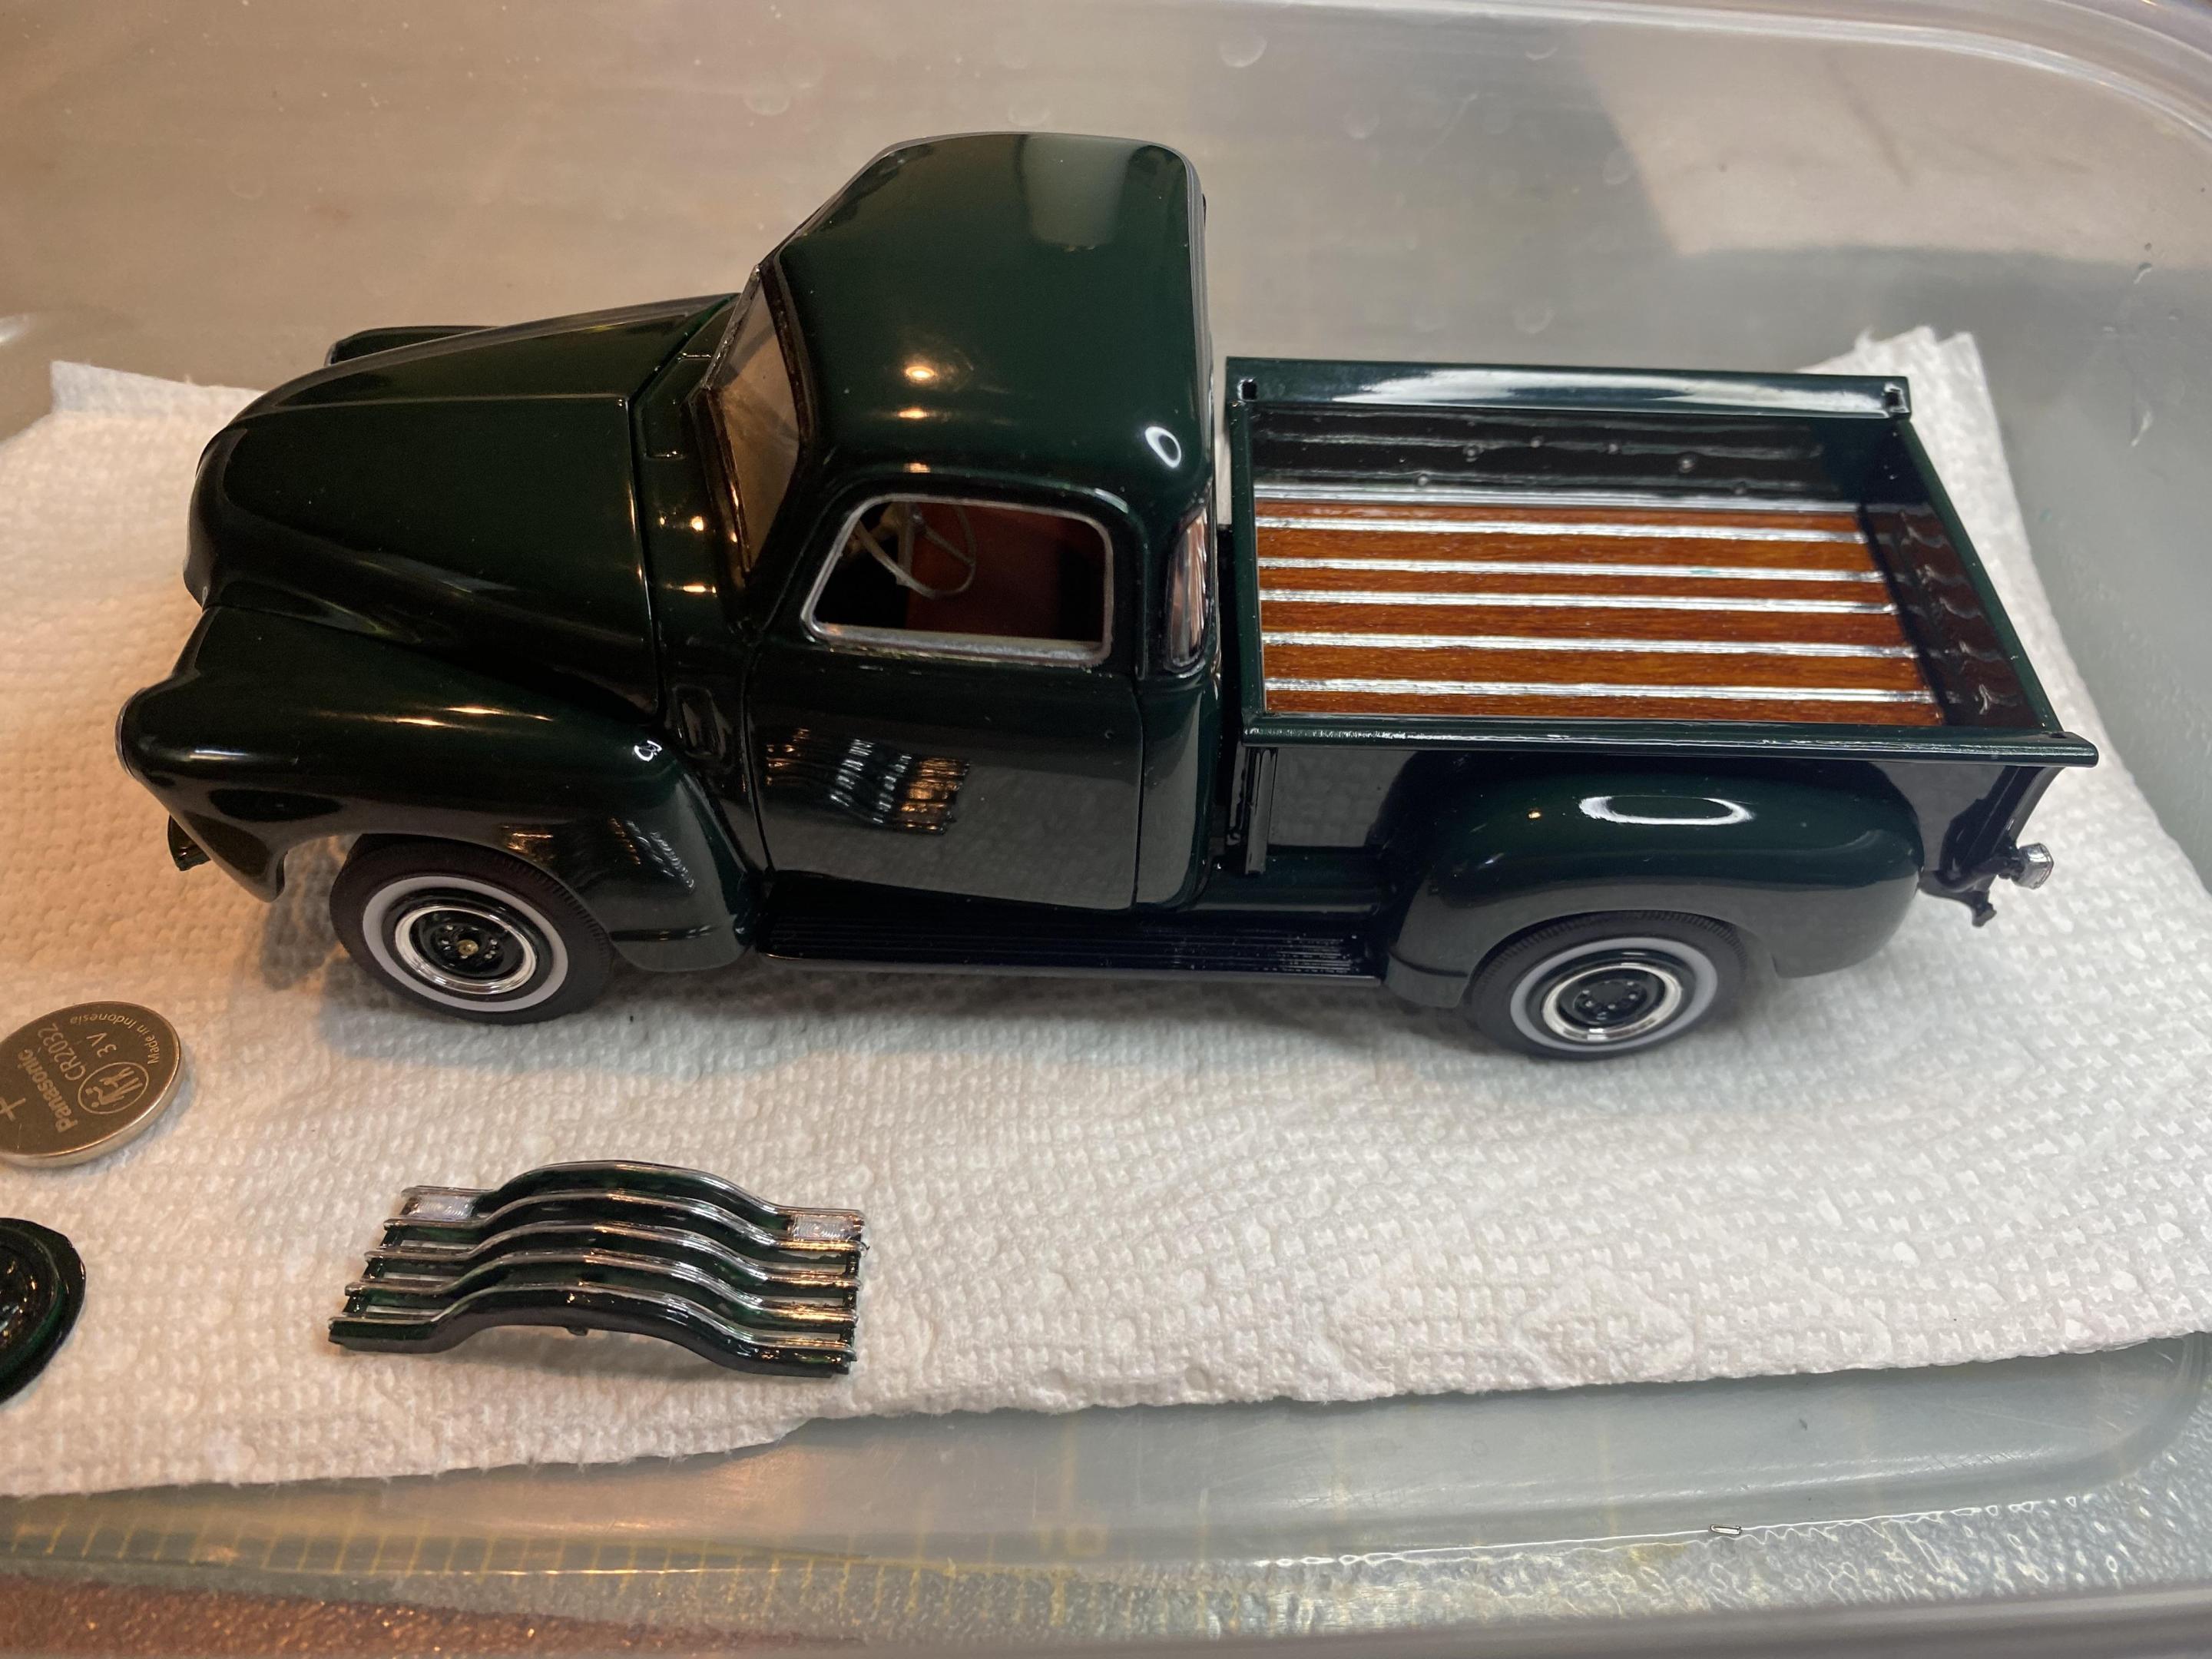
I started taking underglass pictures and found a bunch of issues to fix. One being the hood emblem on the passenger side full of polish or something. This is when I alway see things to fix. This is what it looks like in the sun btw. -

1950 Chevy 3100 Pickup WIP
Duddly01 replied to Duddly01's topic in WIP: Model Trucks: Pickups, Vans, SUVs, Light Commercial
Thank you! Yes, yes I did. -

1950 Chevy 3100 Pickup WIP
Duddly01 replied to Duddly01's topic in WIP: Model Trucks: Pickups, Vans, SUVs, Light Commercial
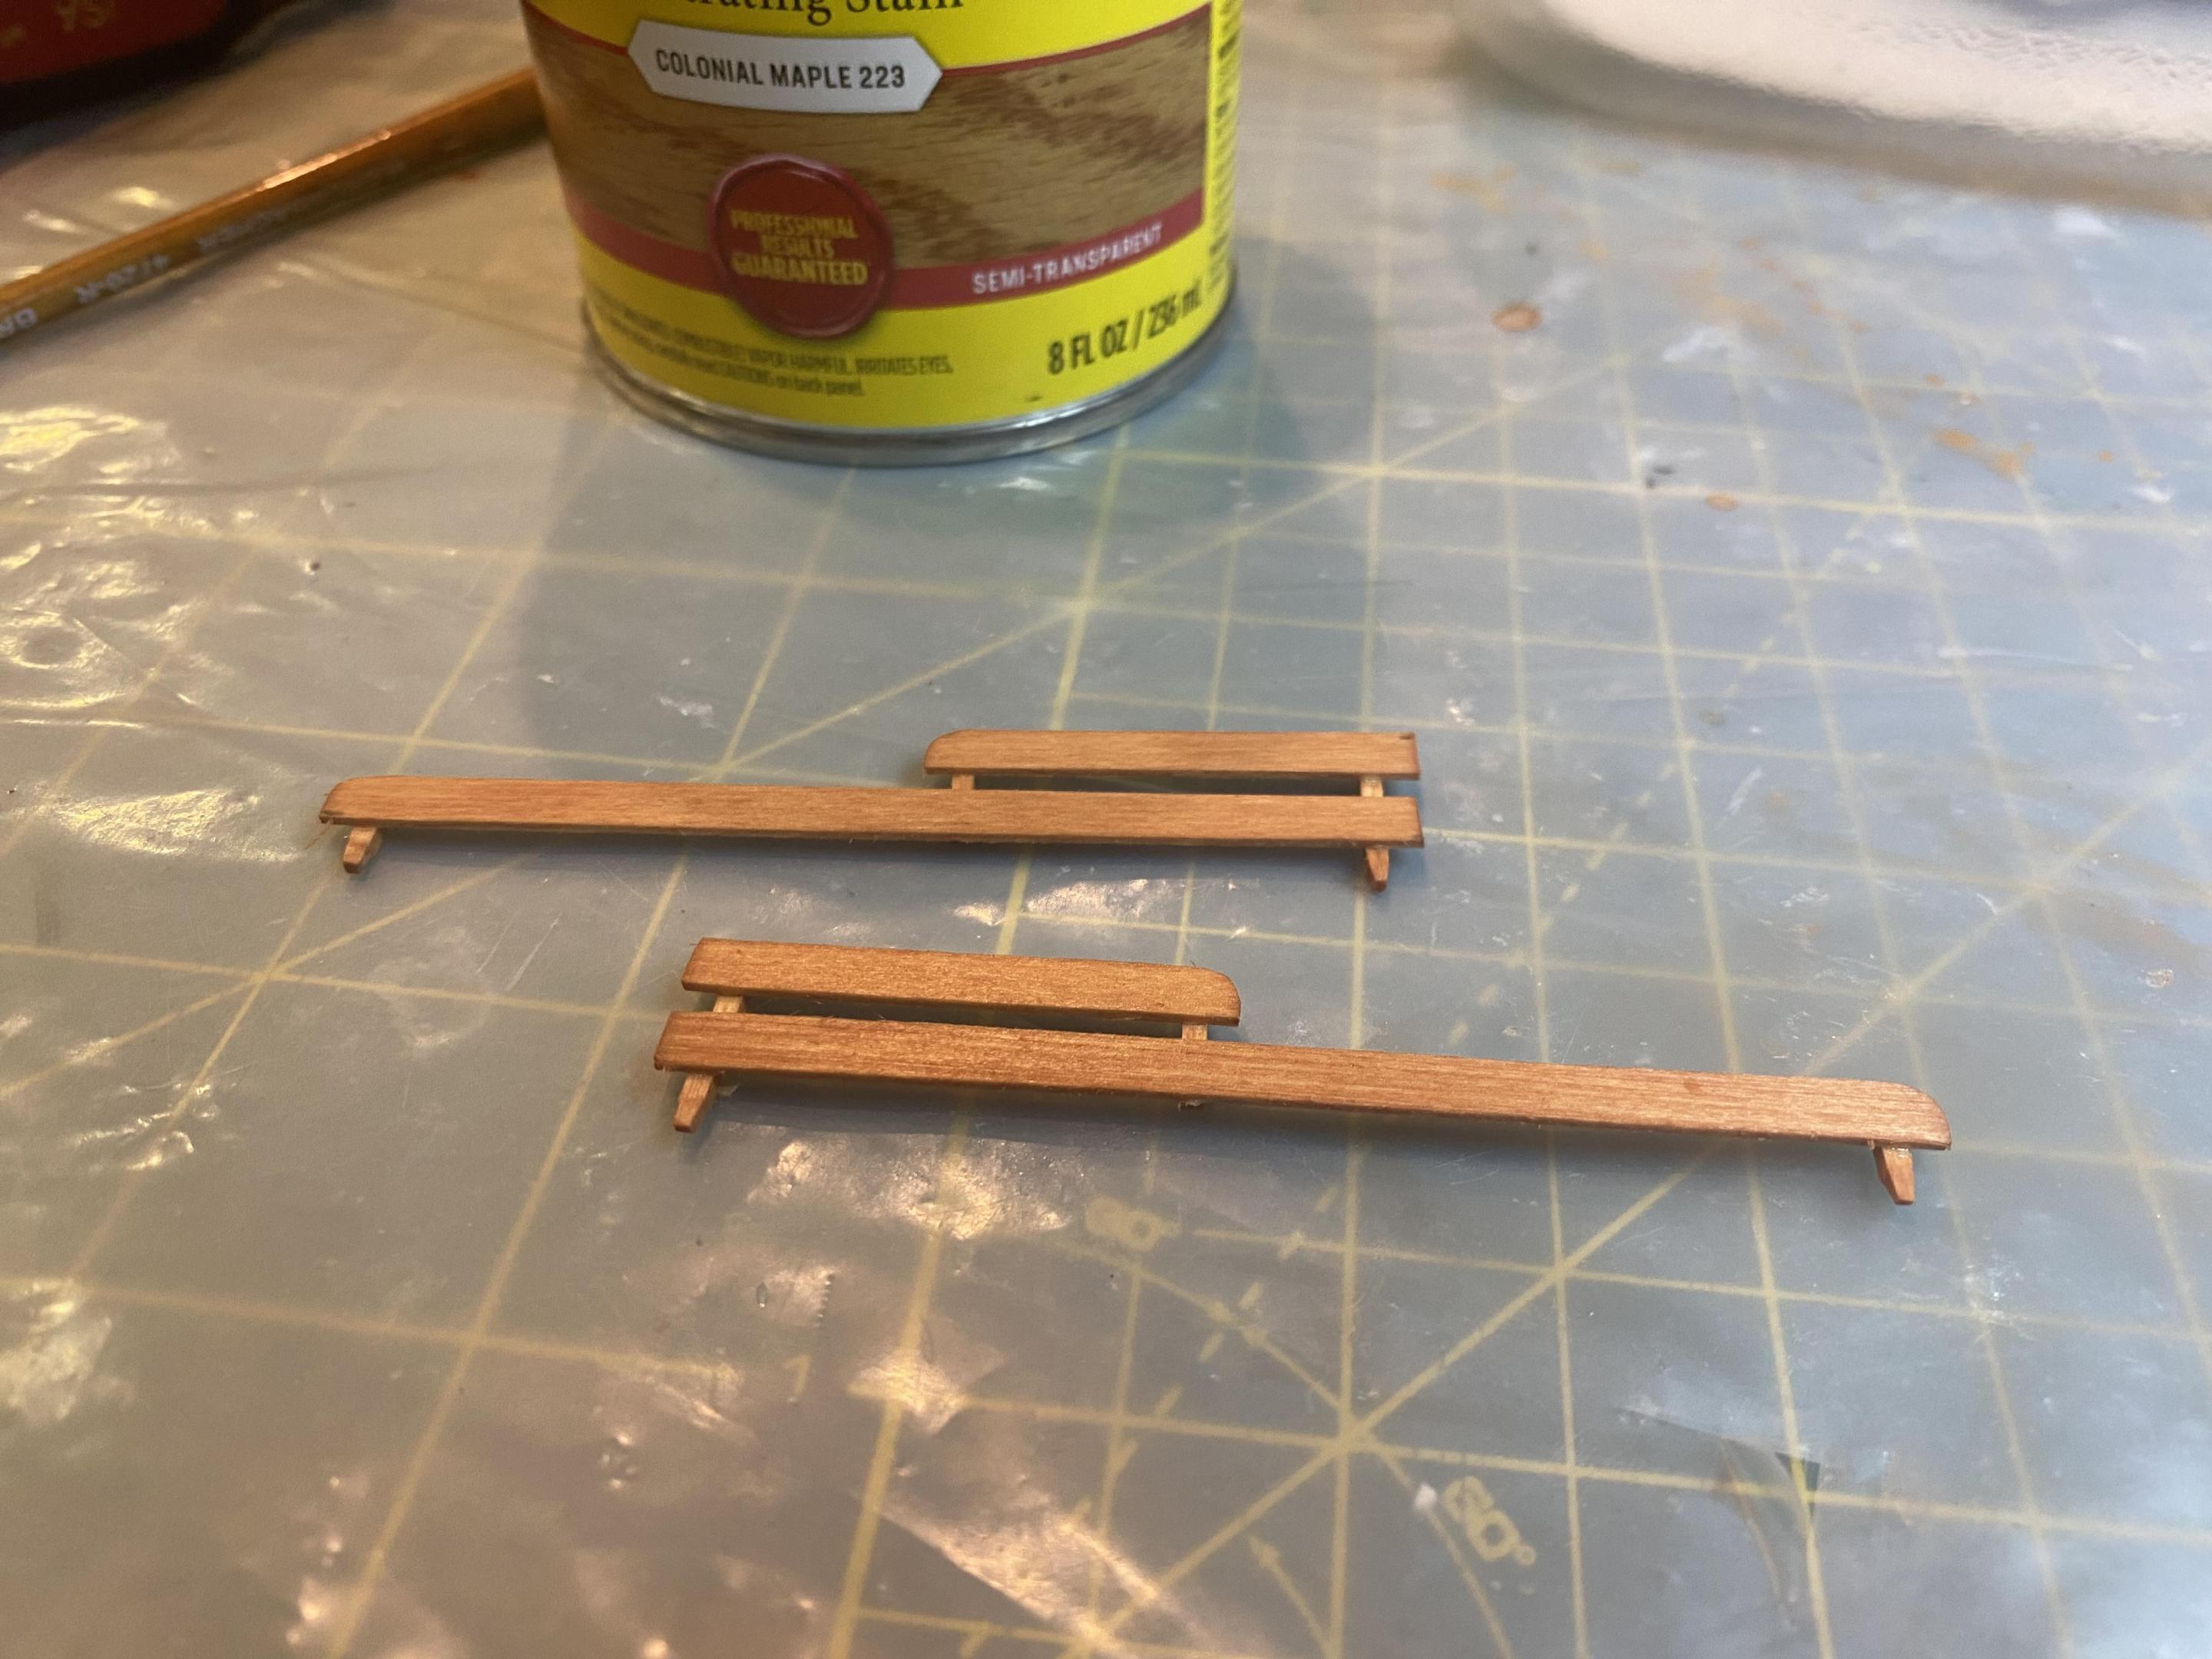
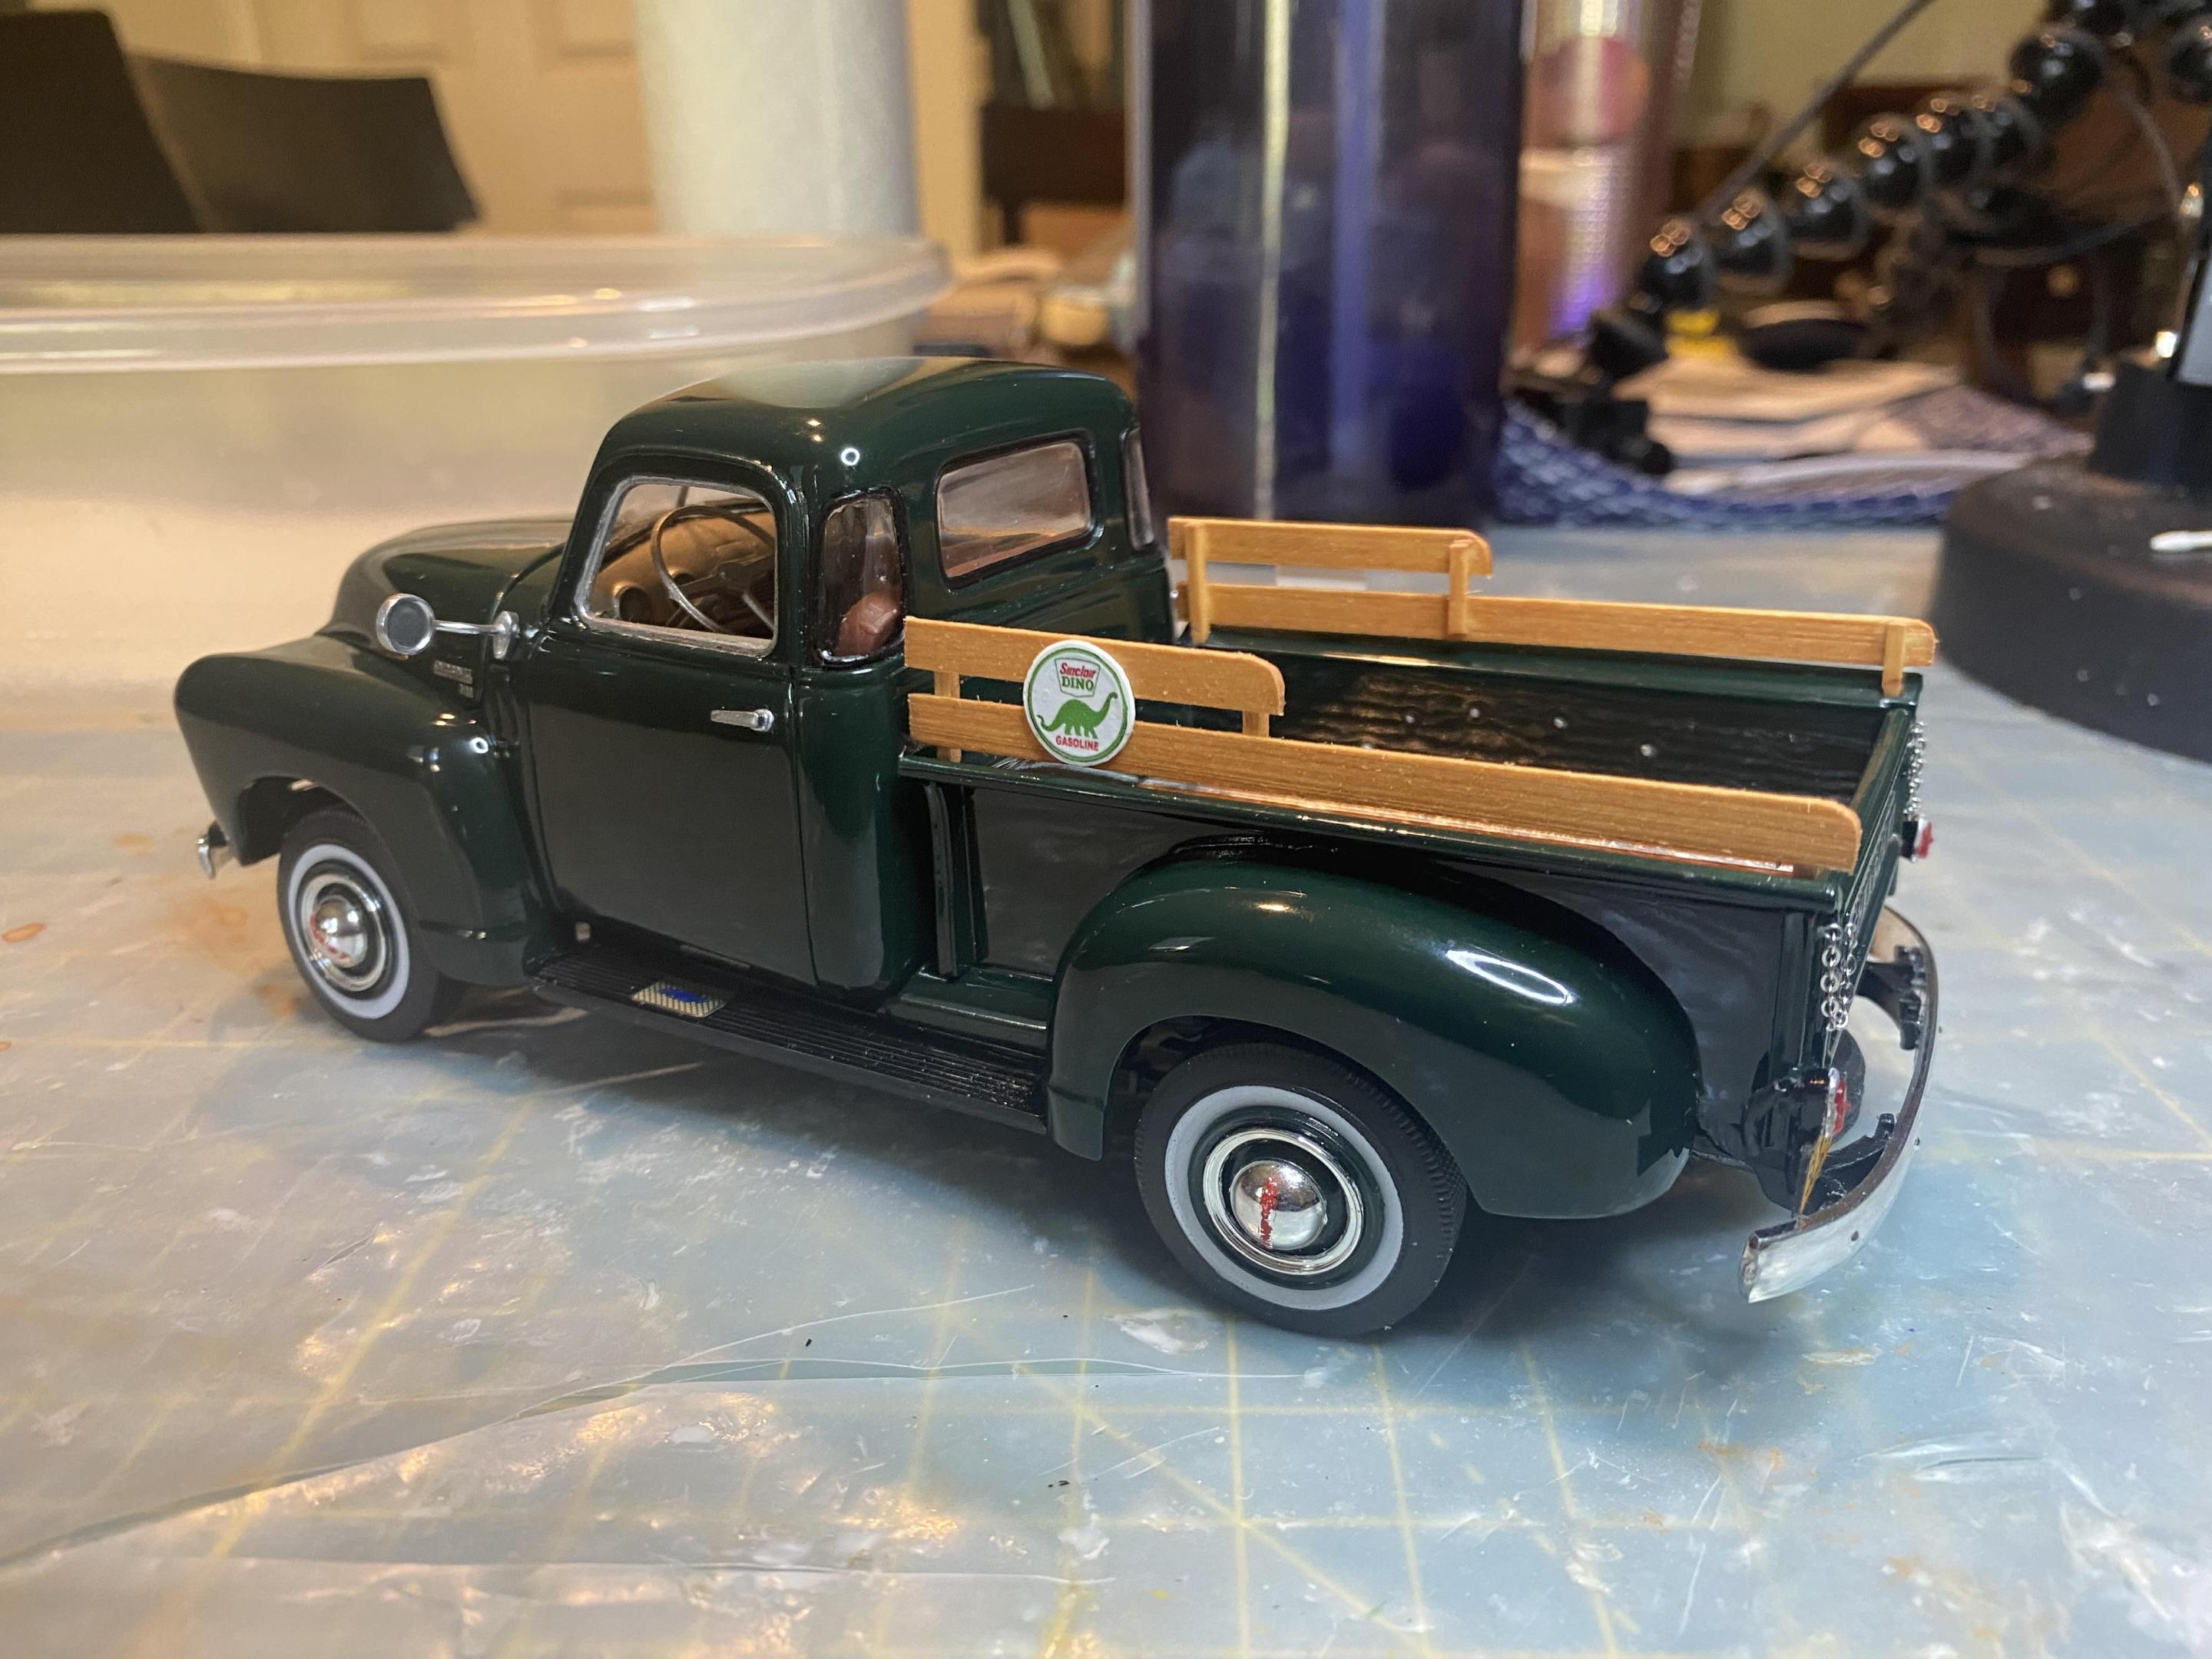
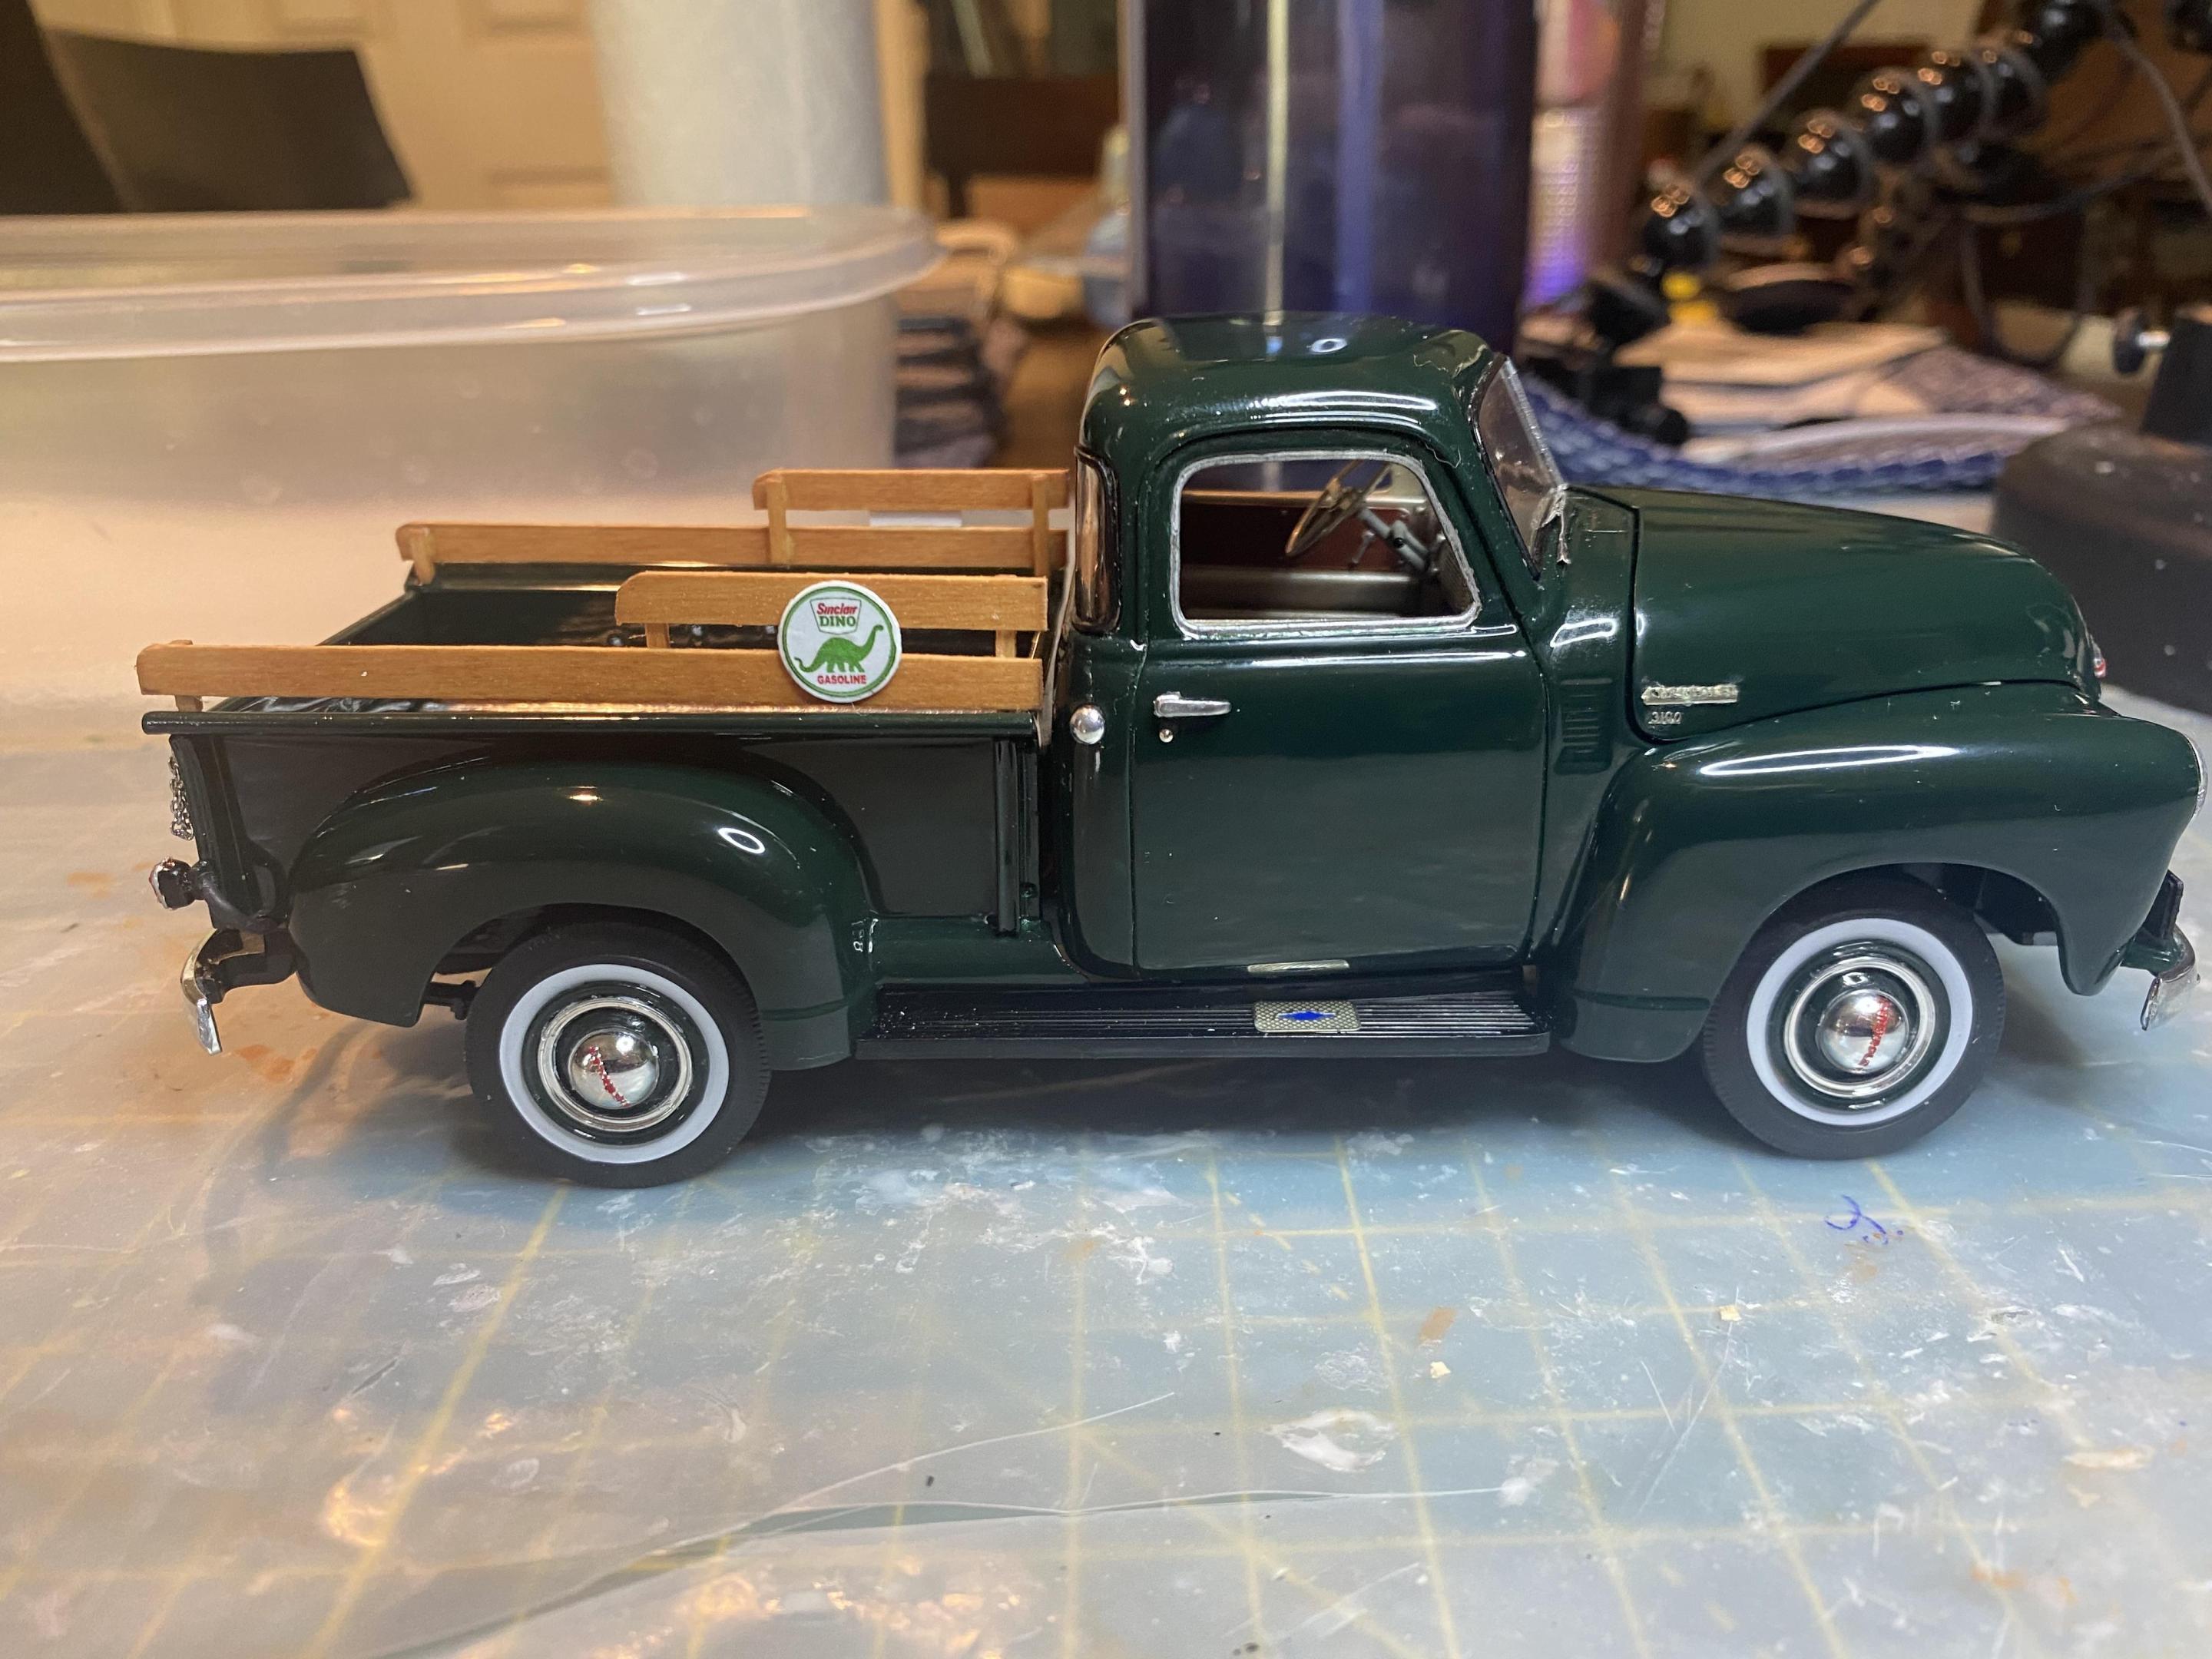
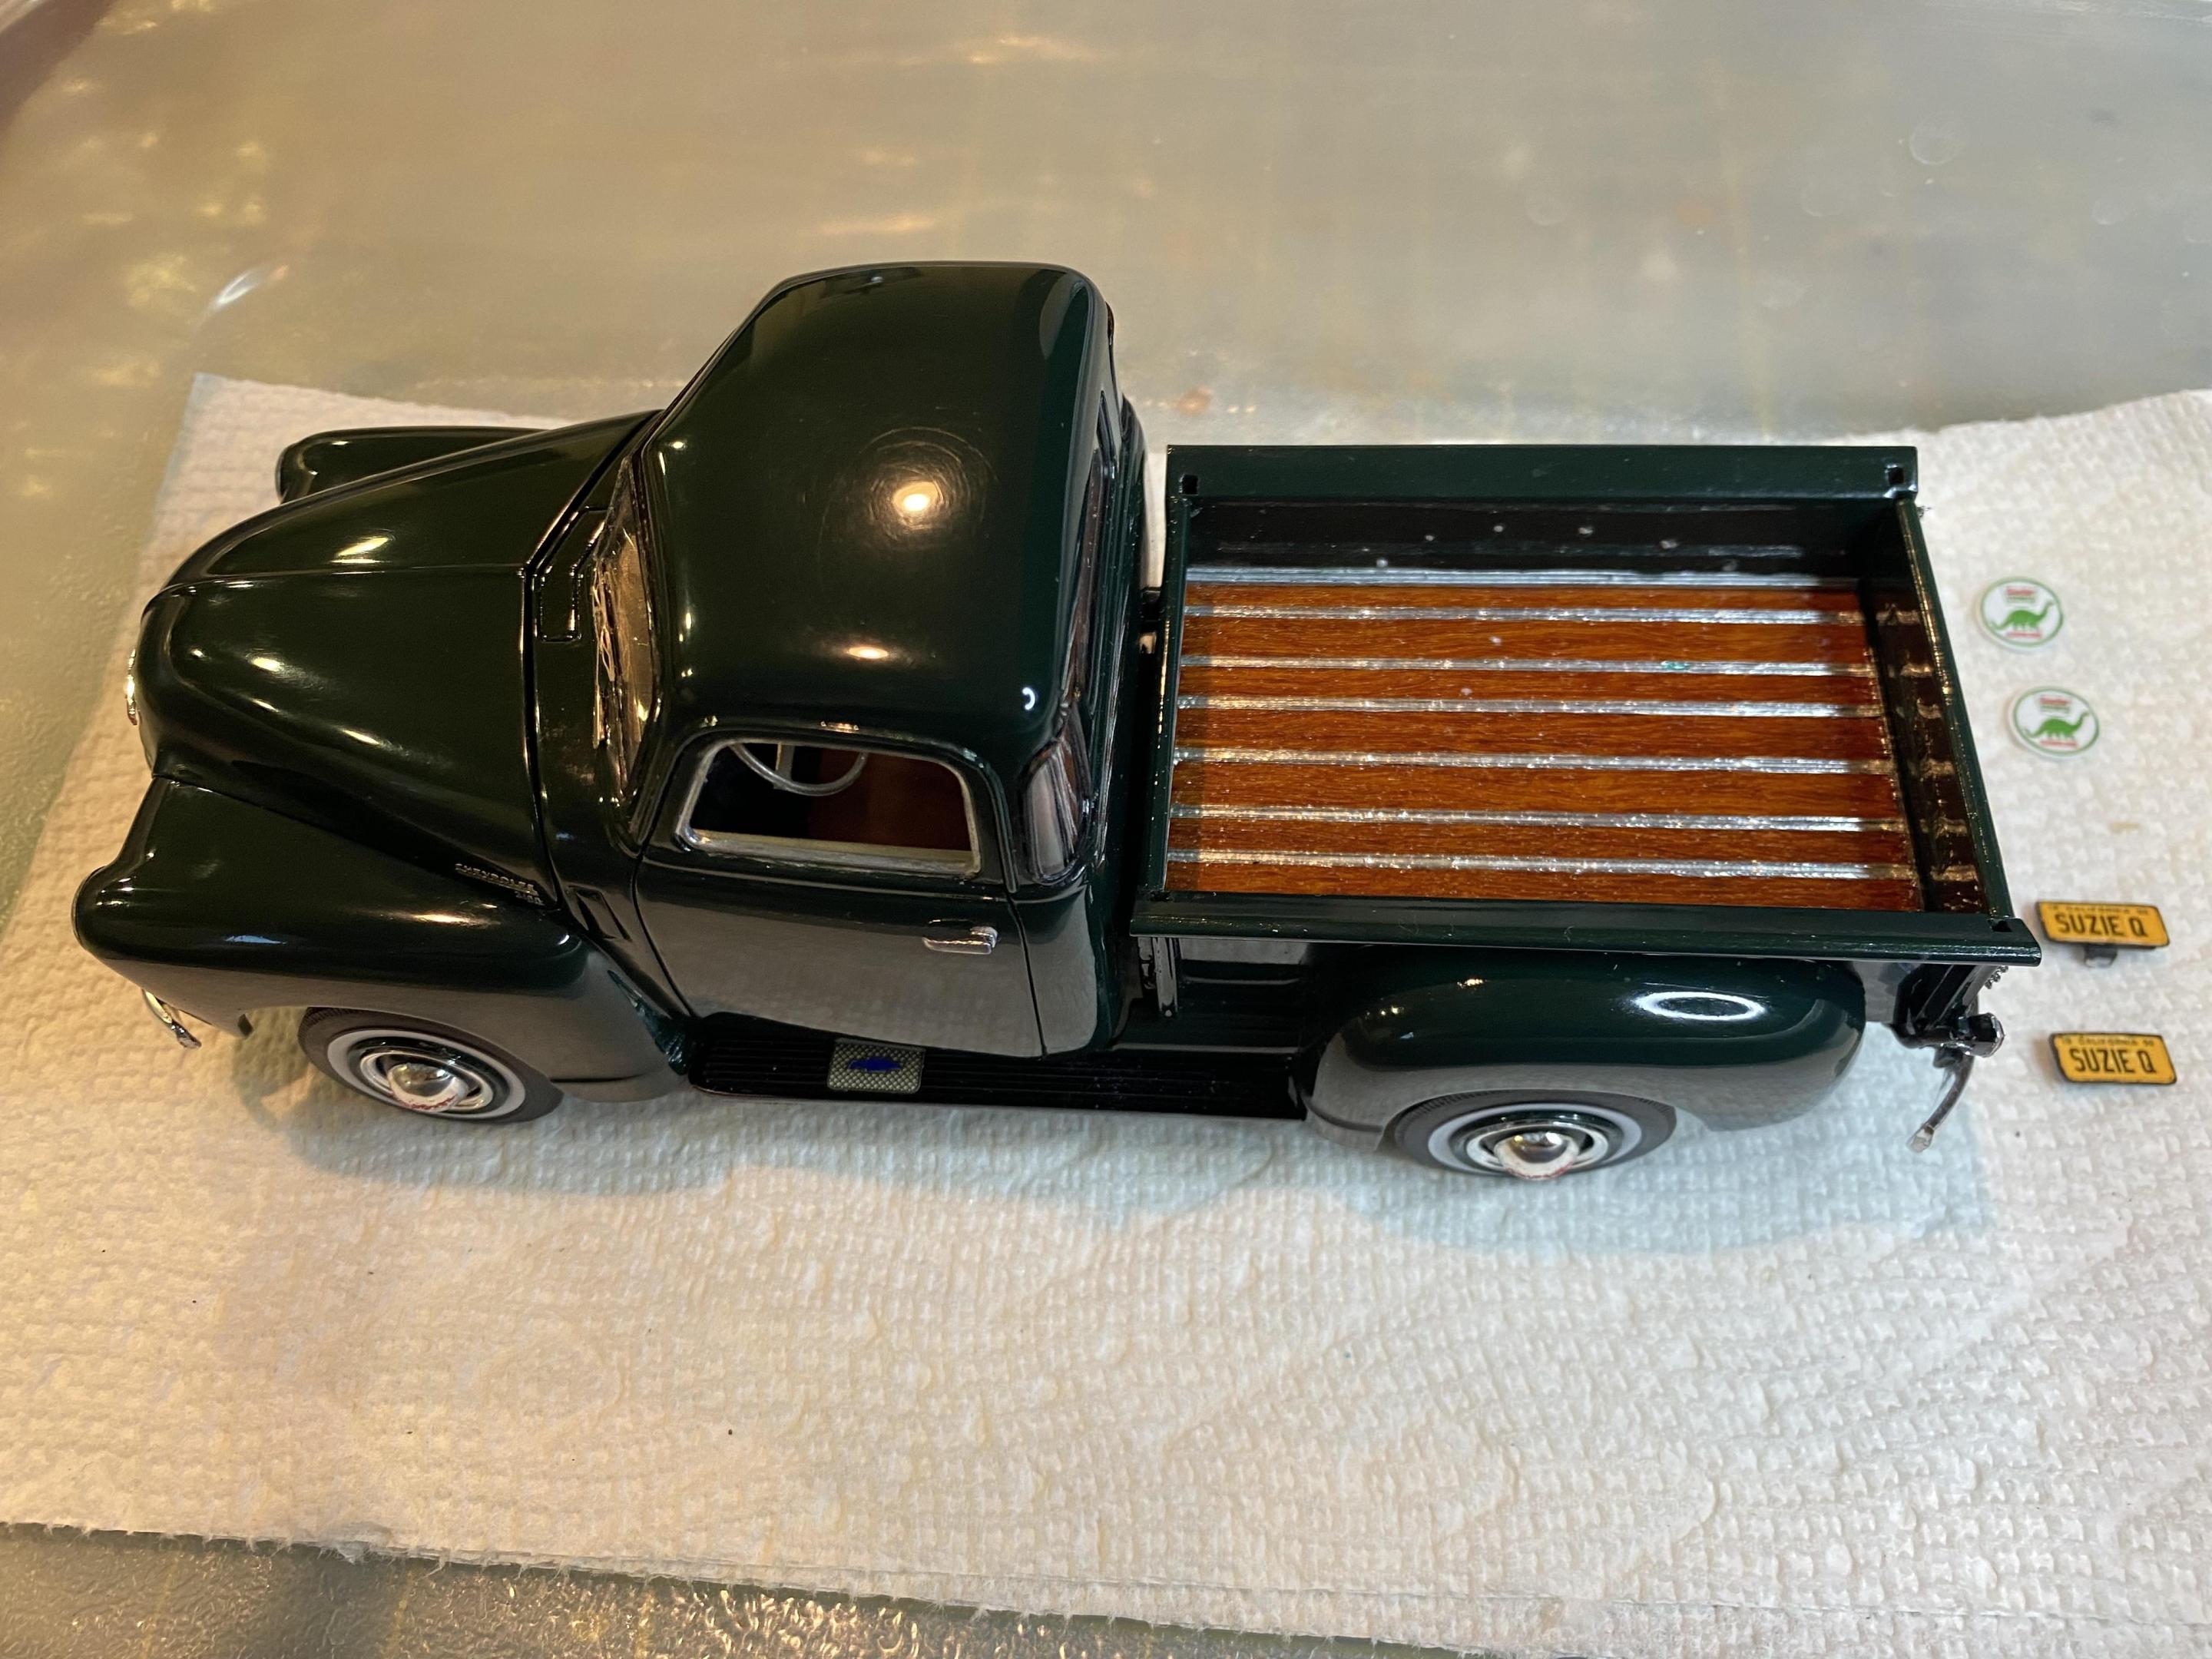
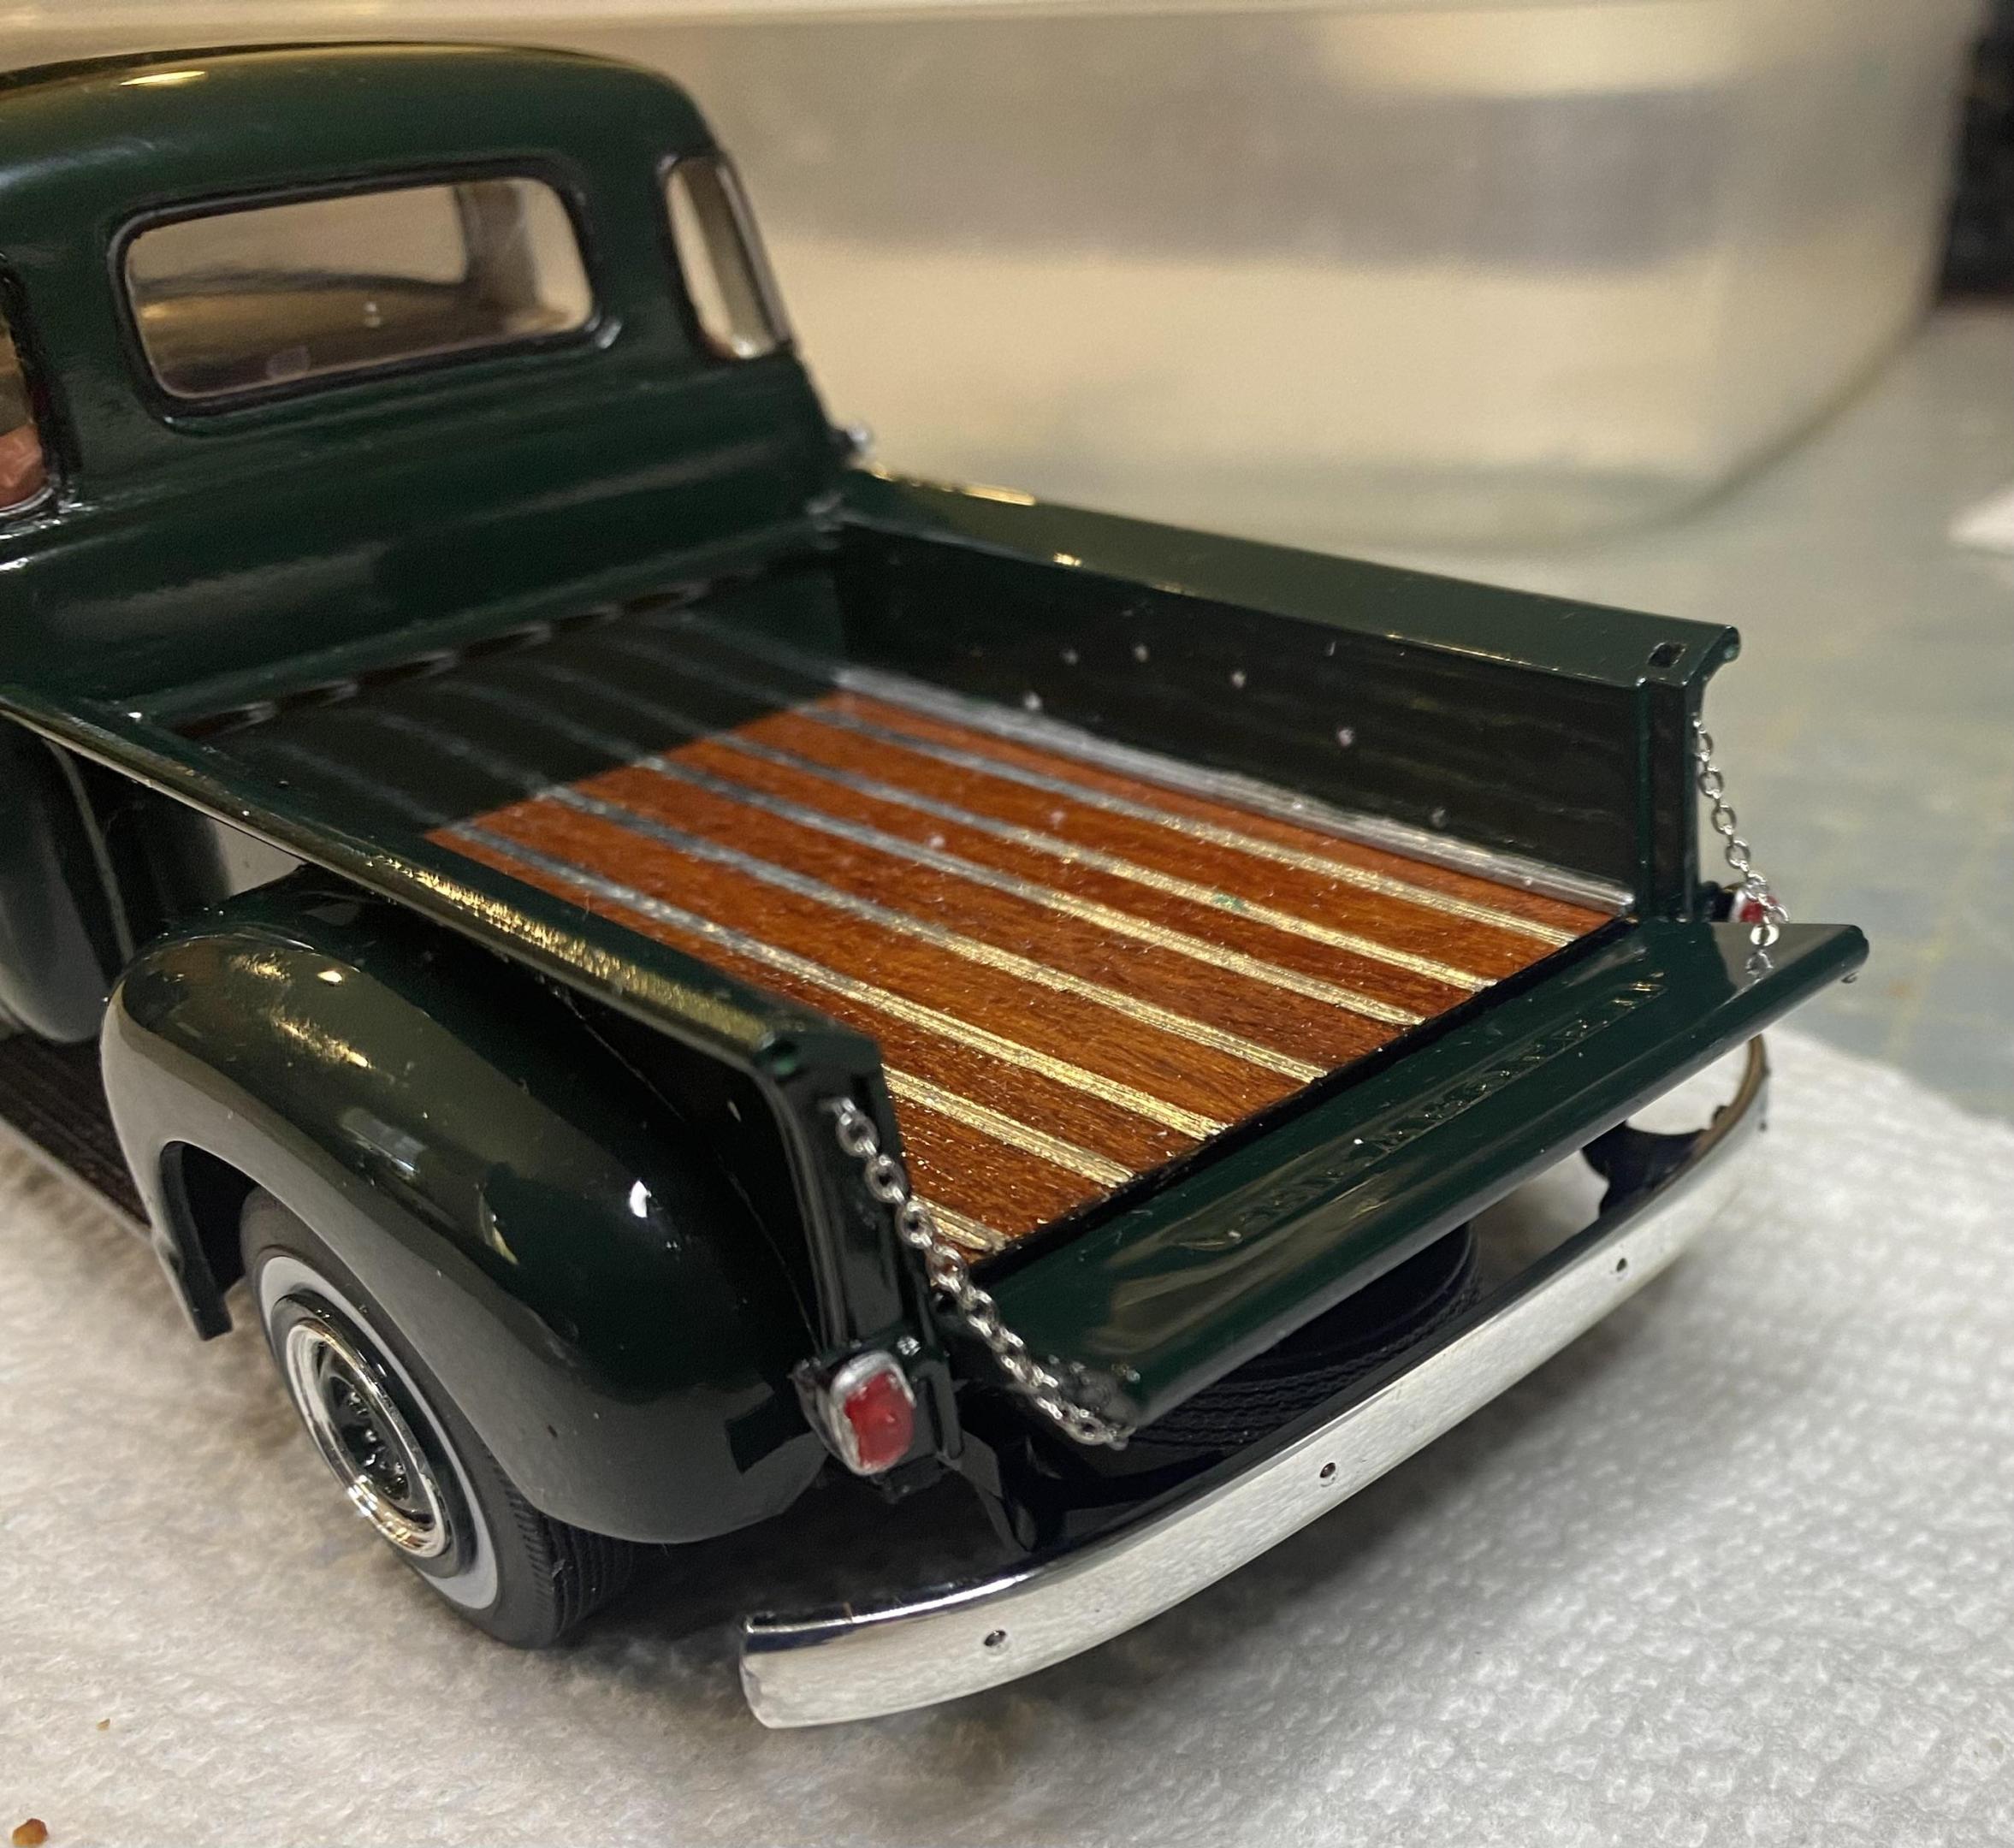
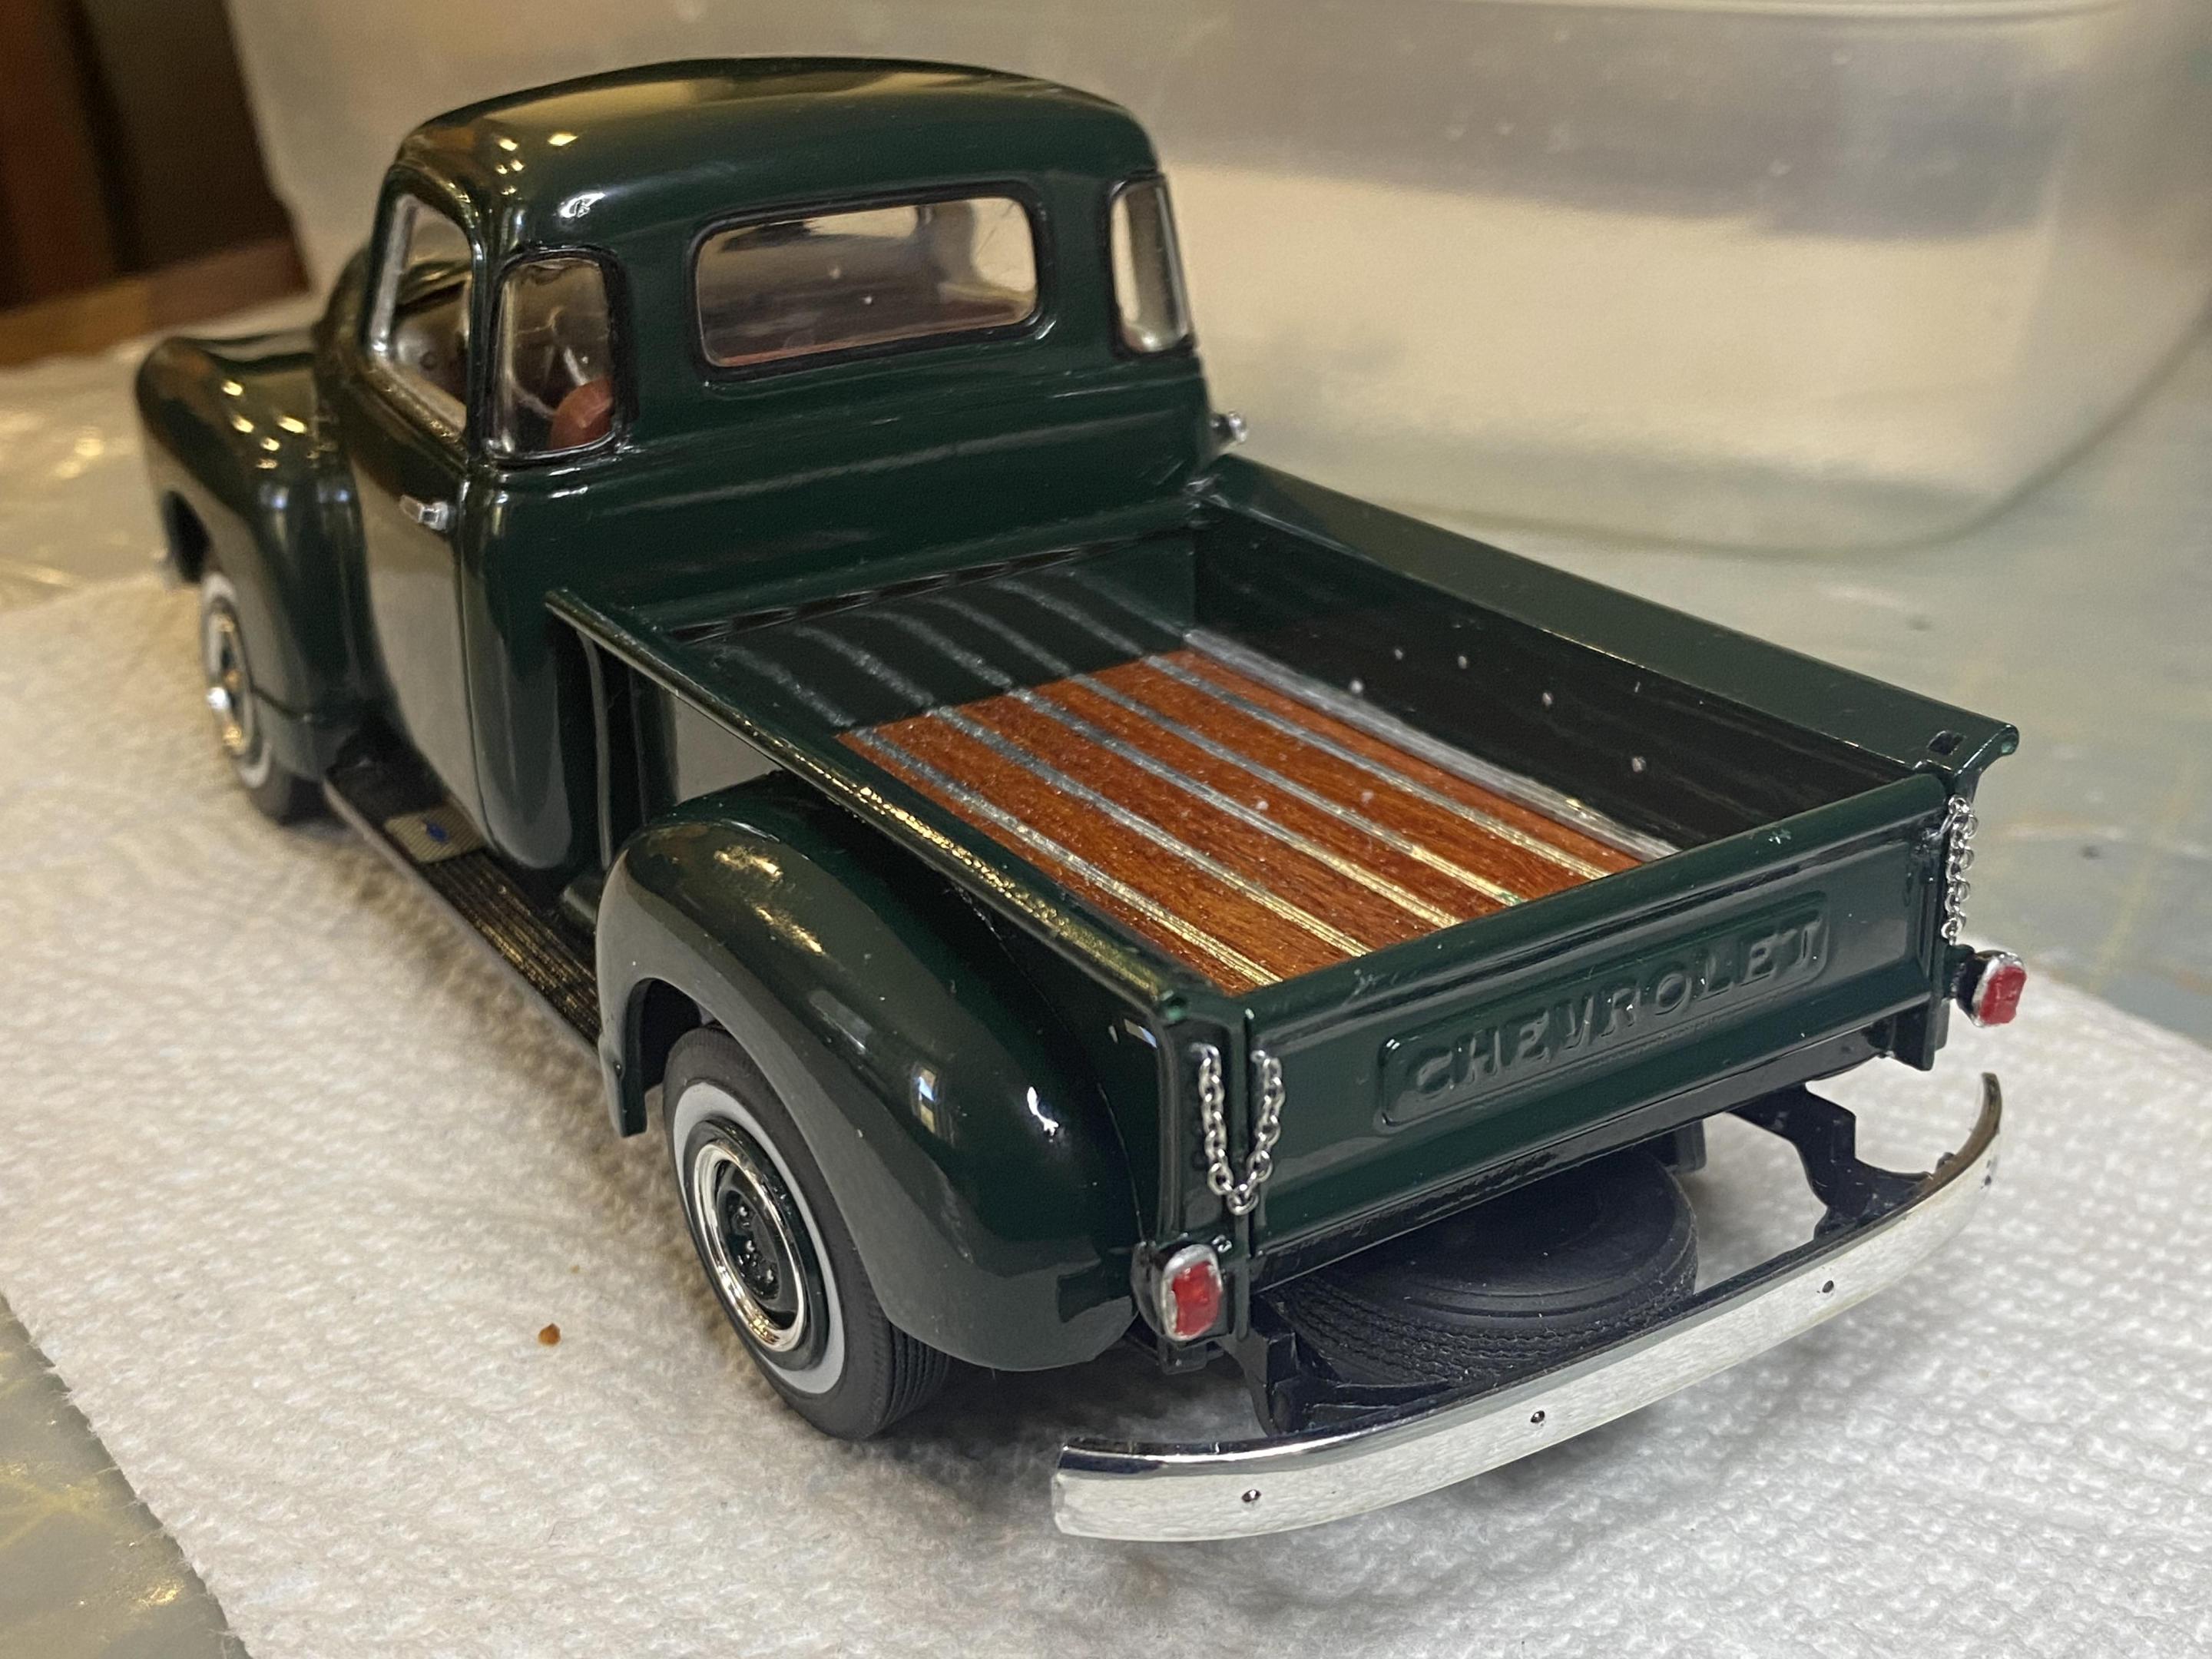
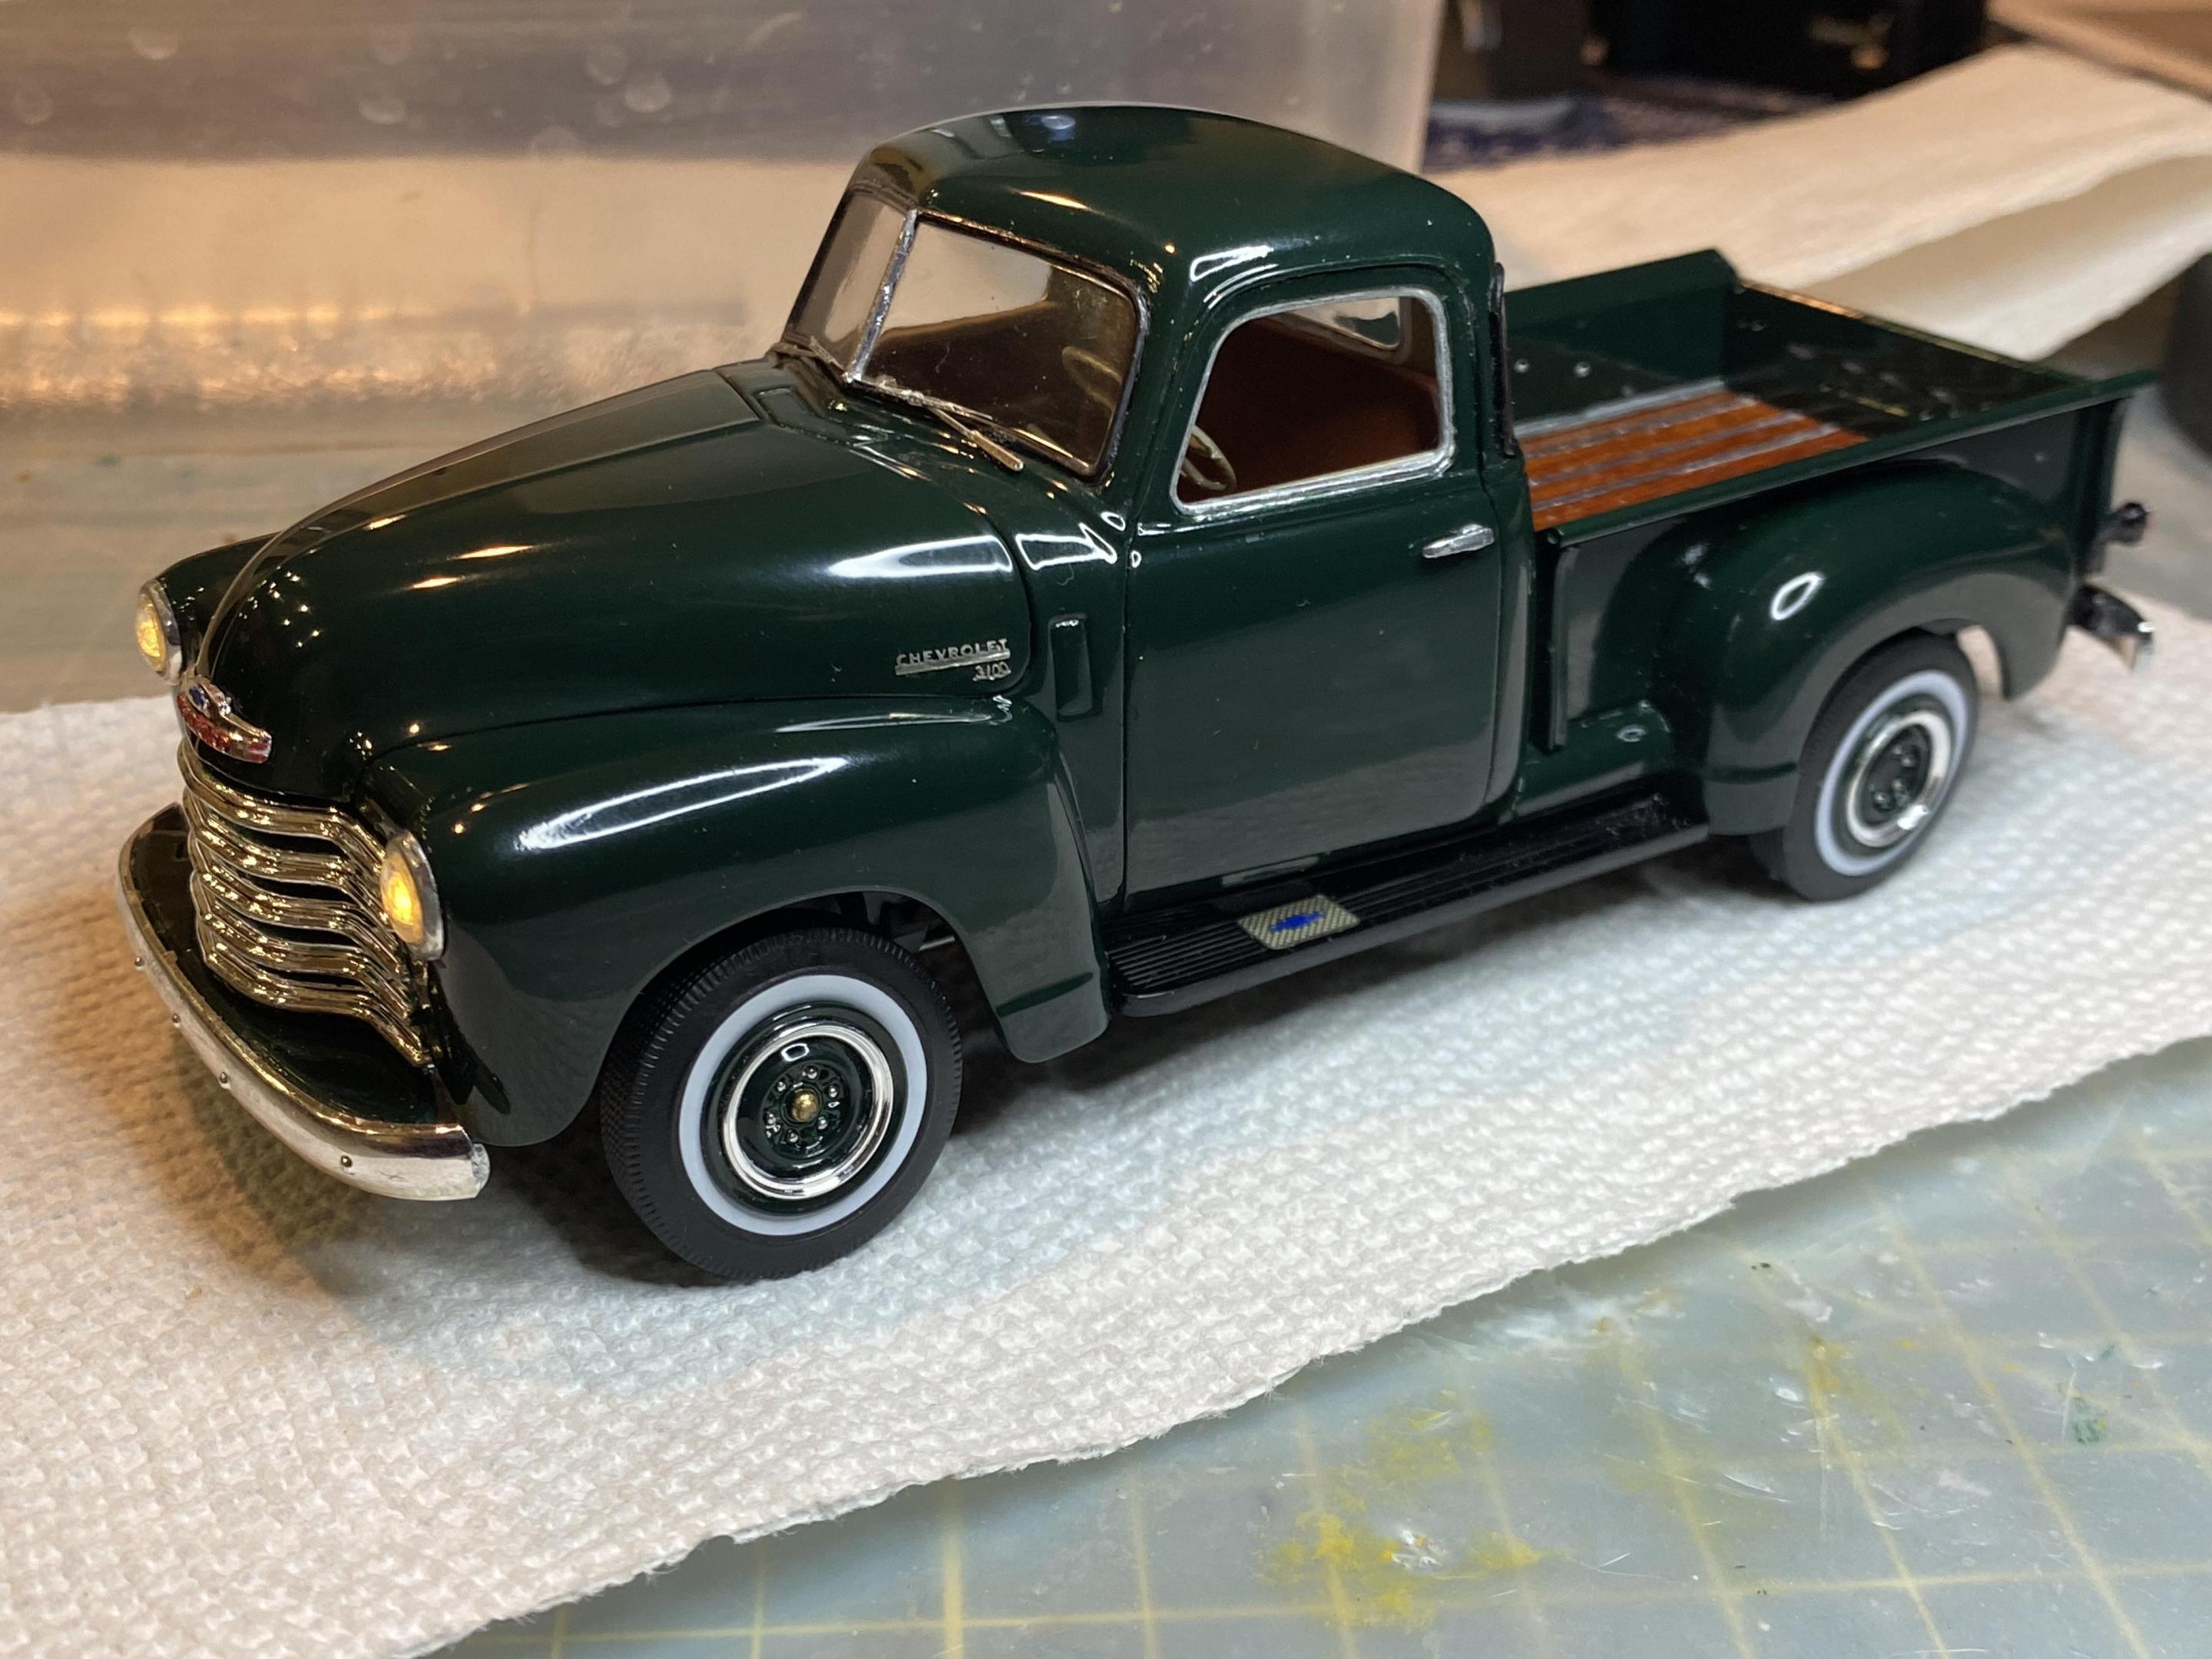
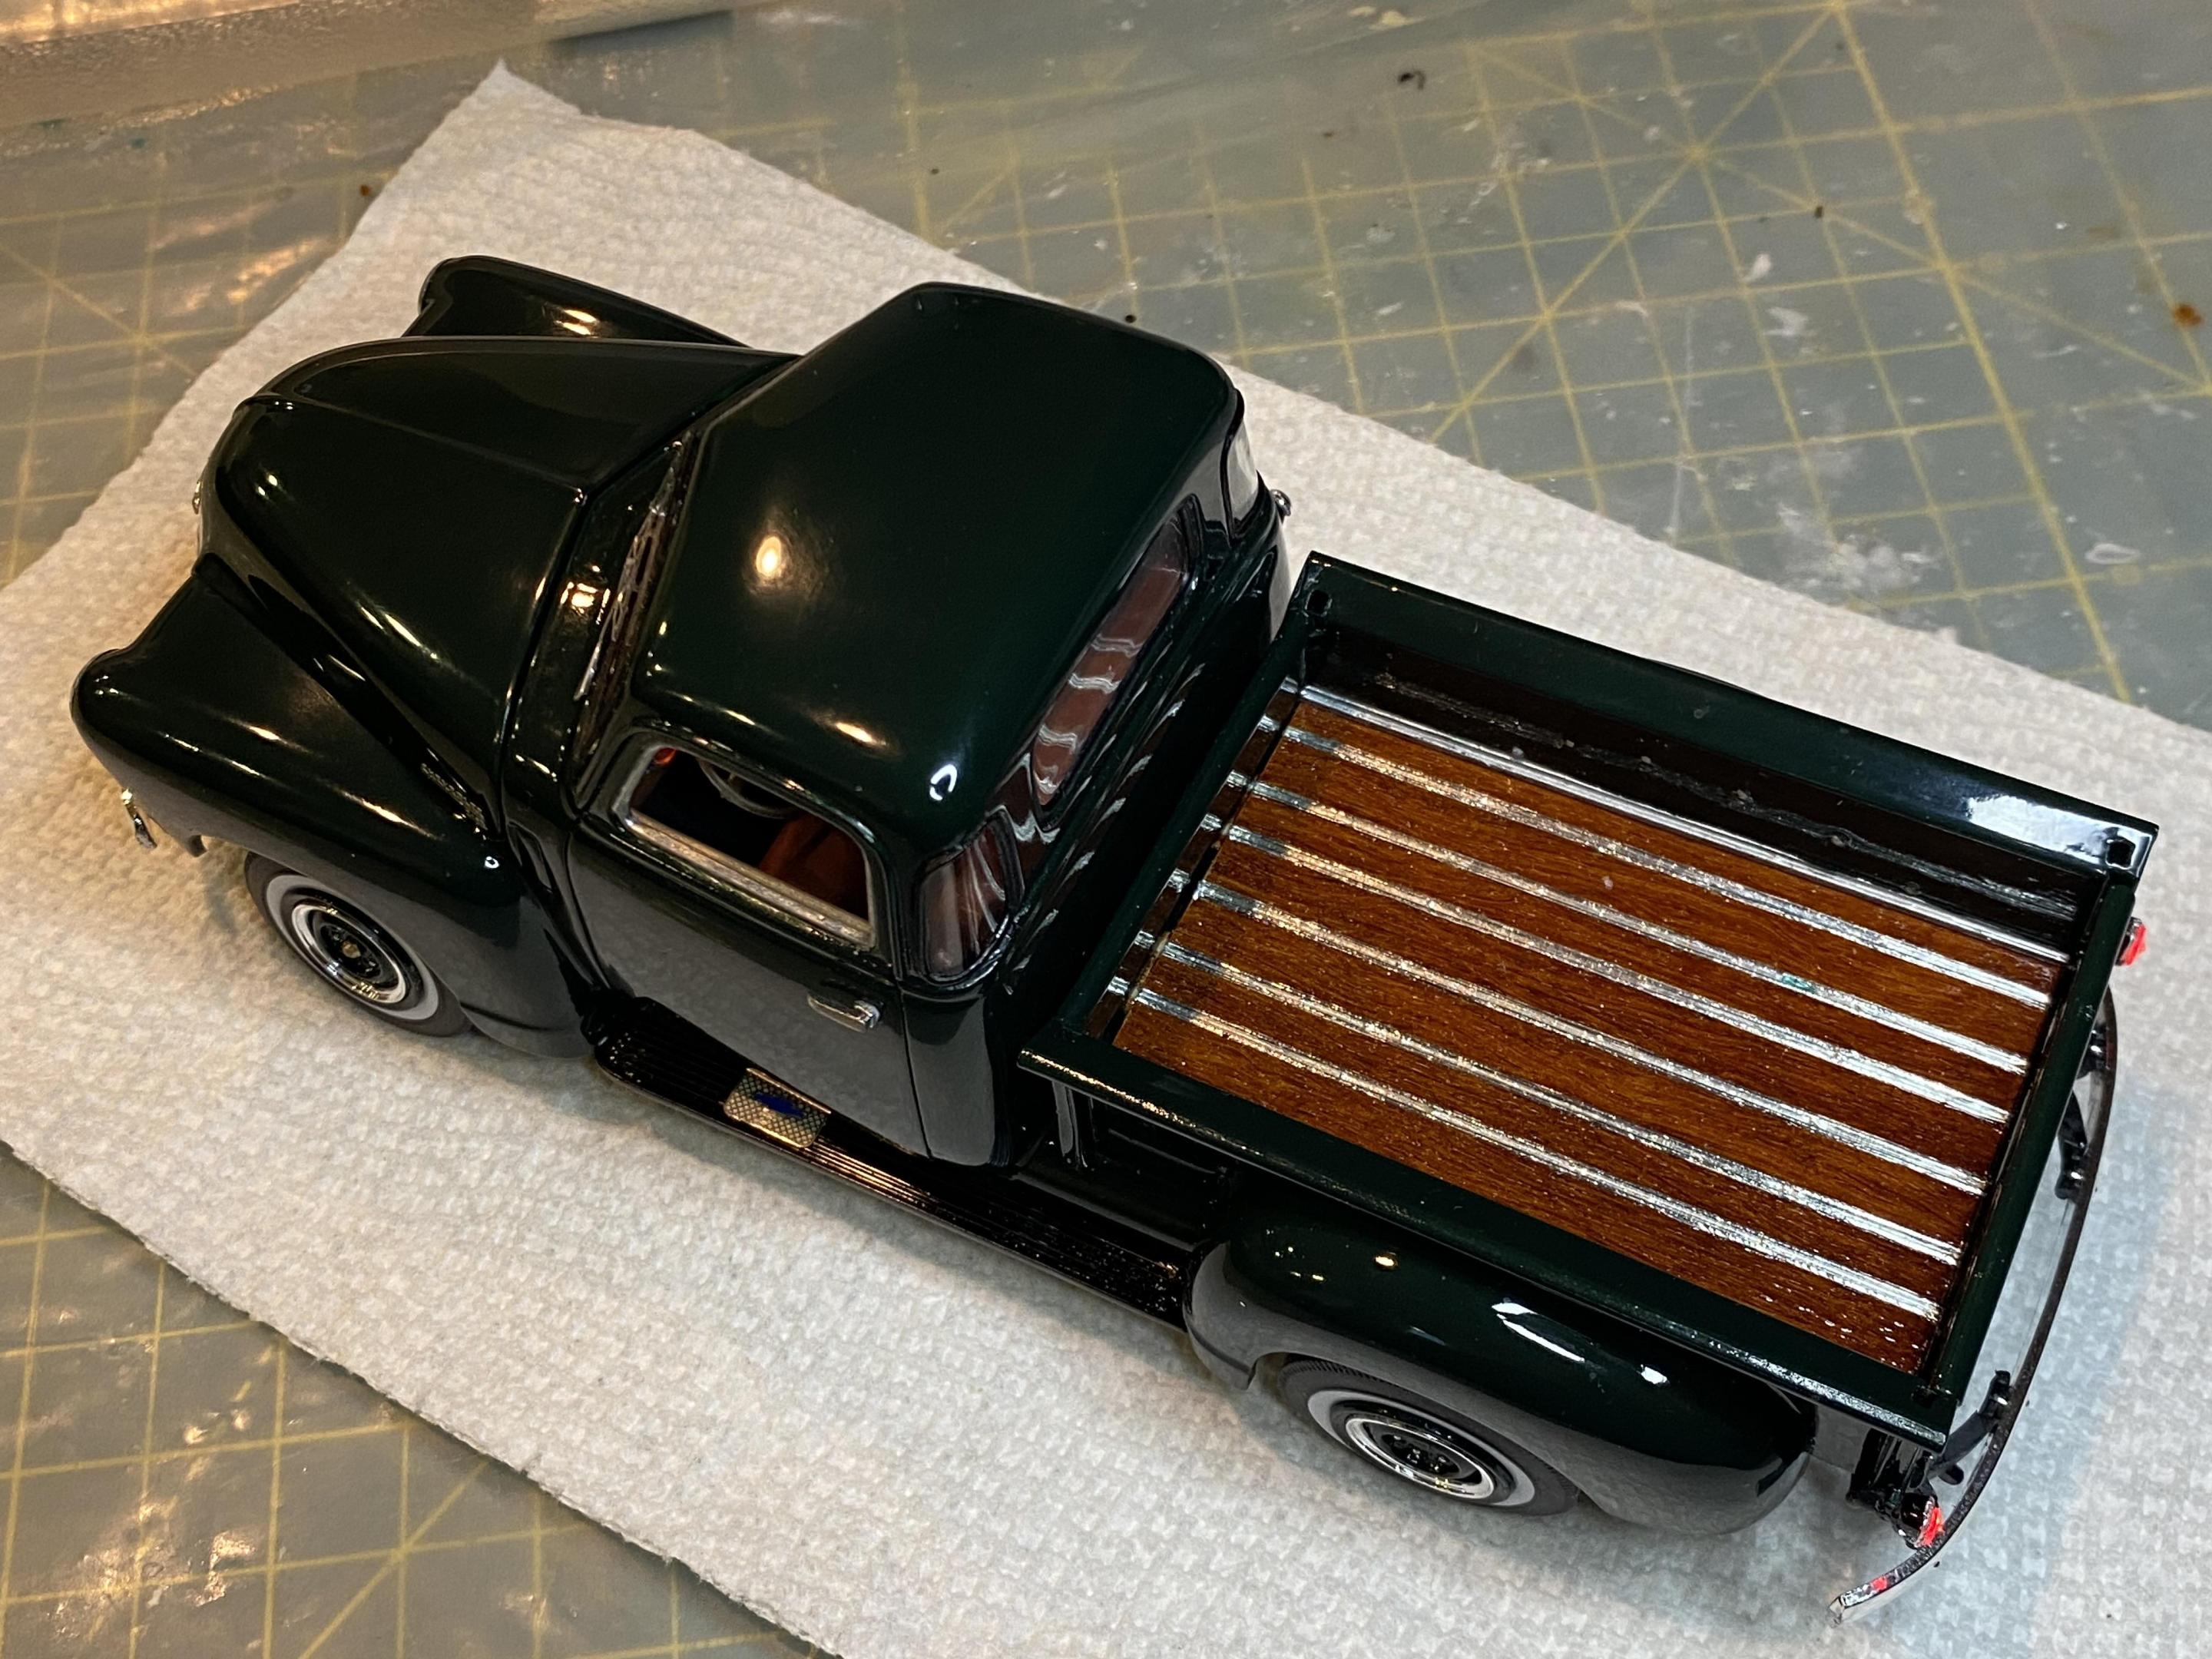
I got the bed slats stained and cleared. Just need to final polish and then I will take some pictures for under glass. -

1955 Ford F-100 Street Rod
Duddly01 replied to Zippi's topic in WIP: Model Trucks: Pickups, Vans, SUVs, Light Commercial
Be careful when you let your wife pick and choose for your next scale model build...they get really picky. -

1950 Chevy 3100 Pickup WIP
Duddly01 replied to Duddly01's topic in WIP: Model Trucks: Pickups, Vans, SUVs, Light Commercial
Thanks, it is getting close. Need to start ordering the paint and supplies for the next build. Hint: -

1950 Chevy 3100 Pickup WIP
Duddly01 replied to Duddly01's topic in WIP: Model Trucks: Pickups, Vans, SUVs, Light Commercial
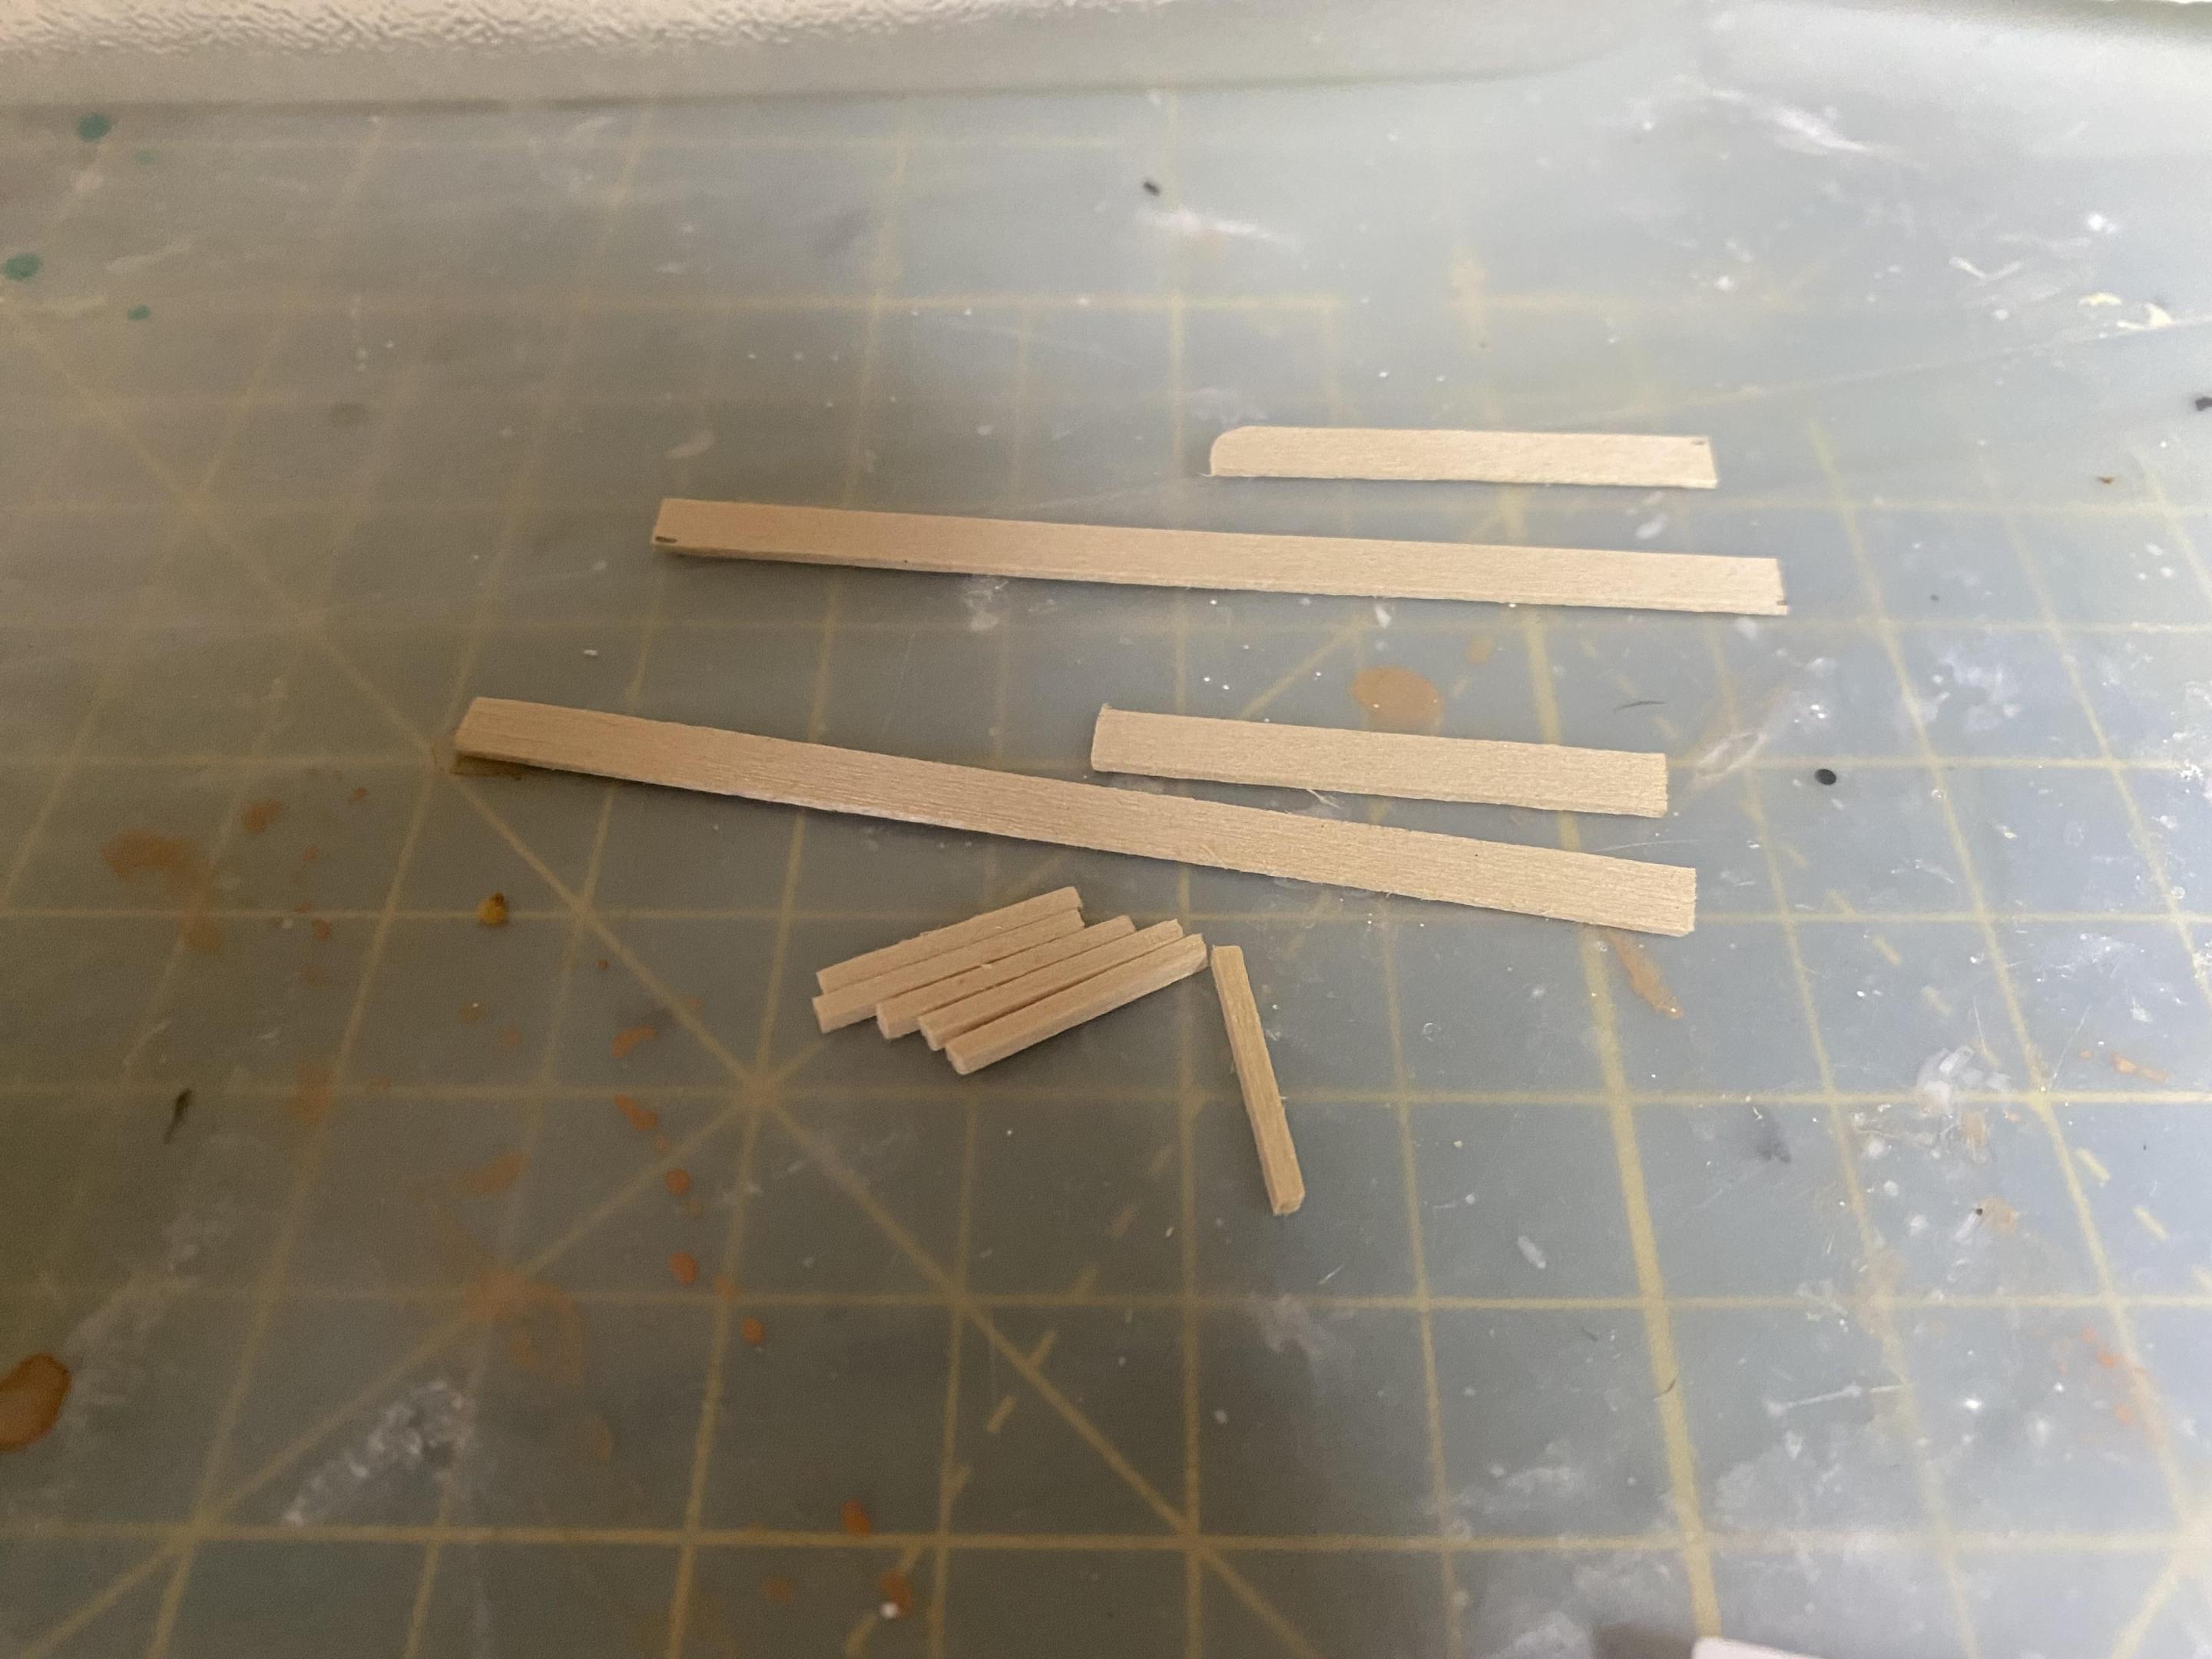
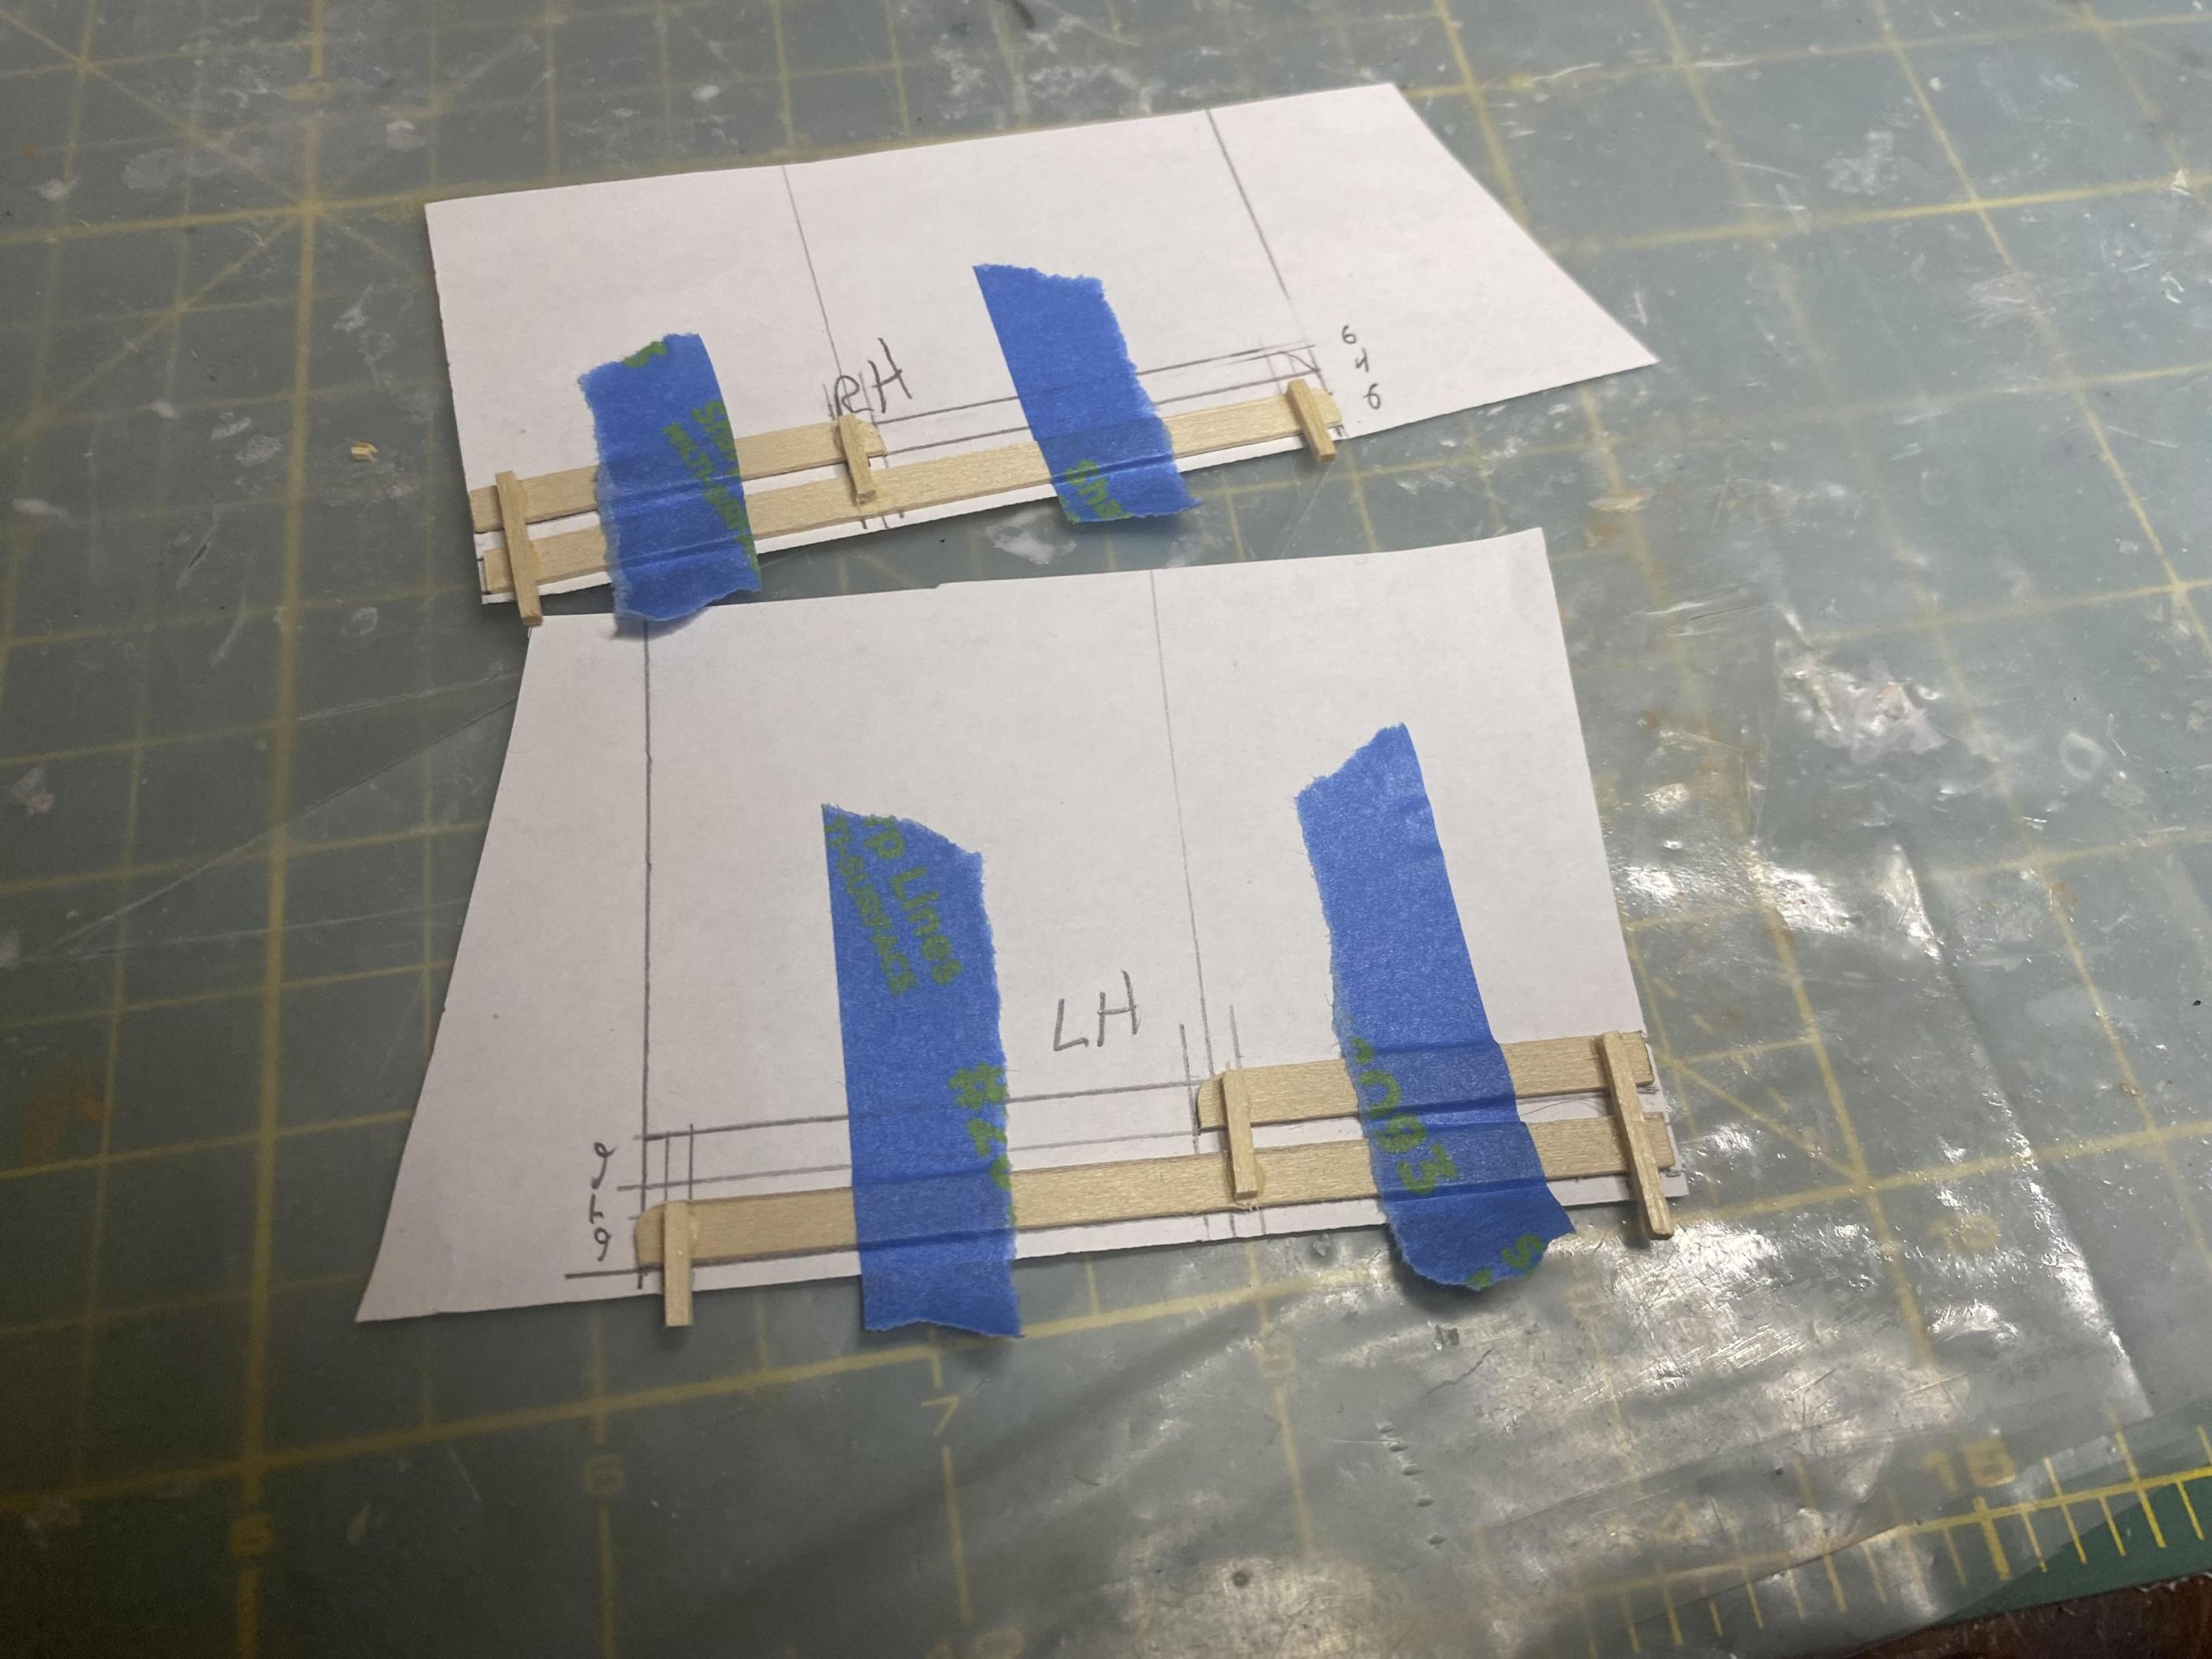
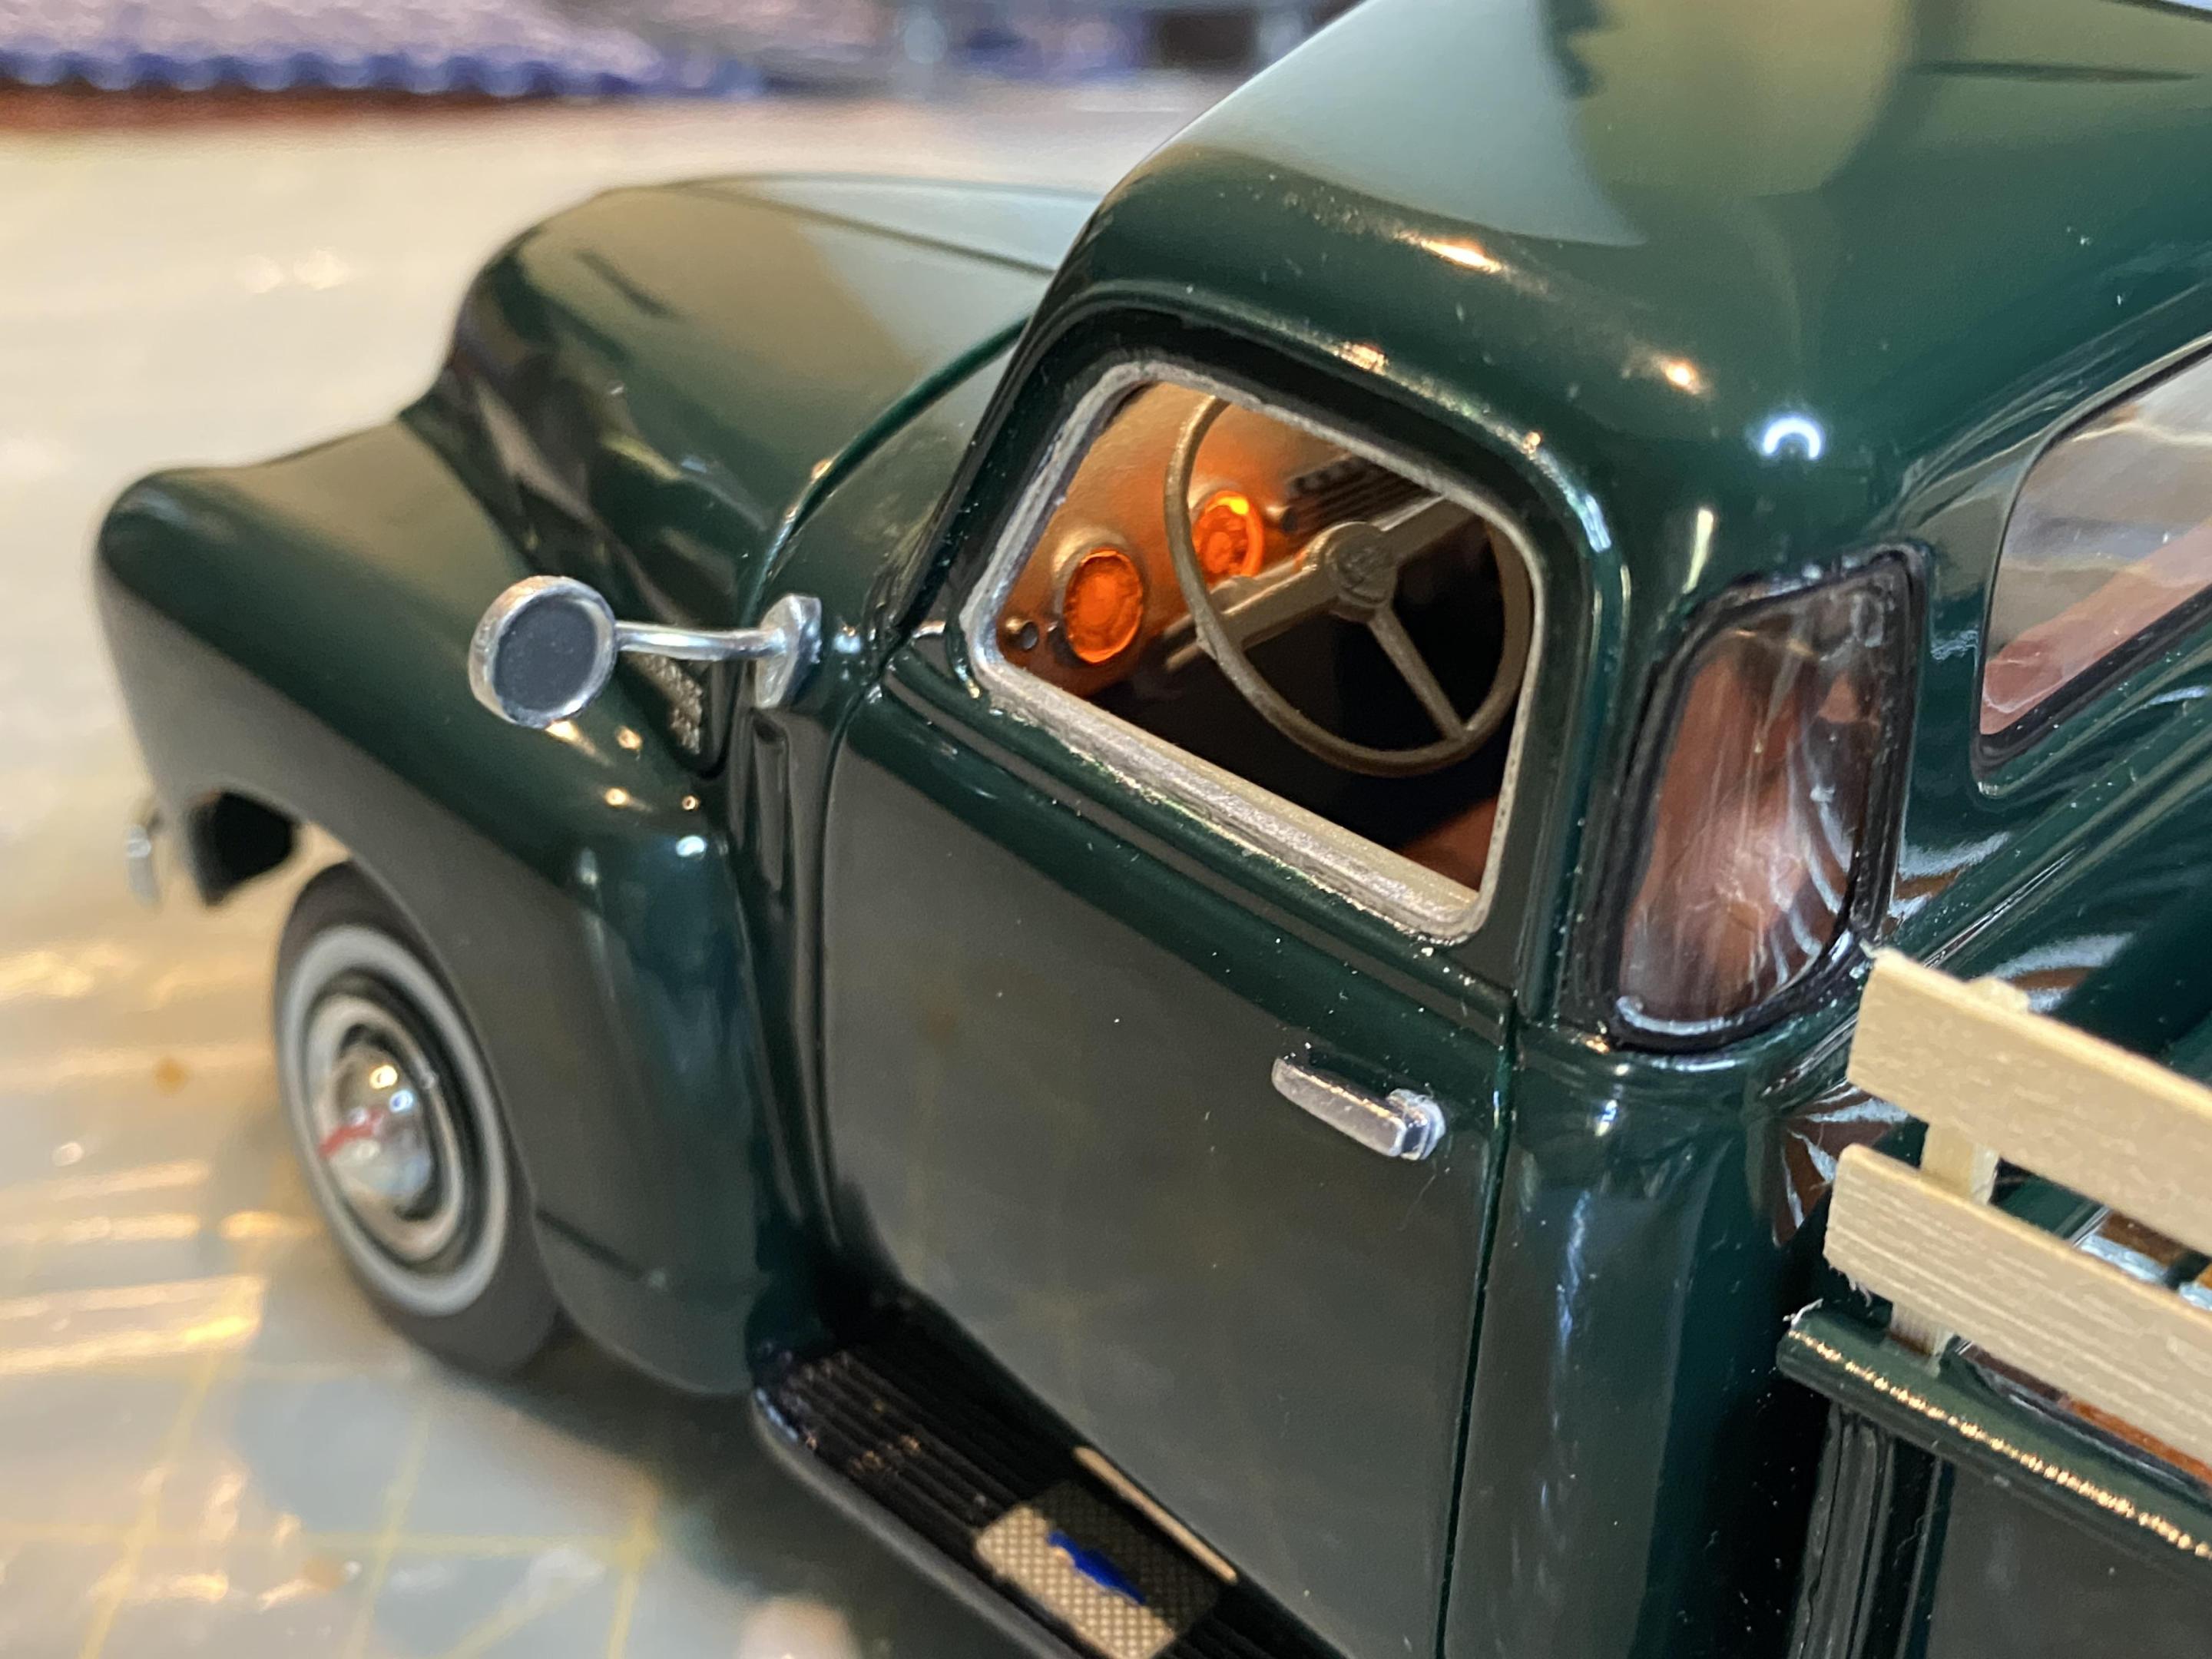
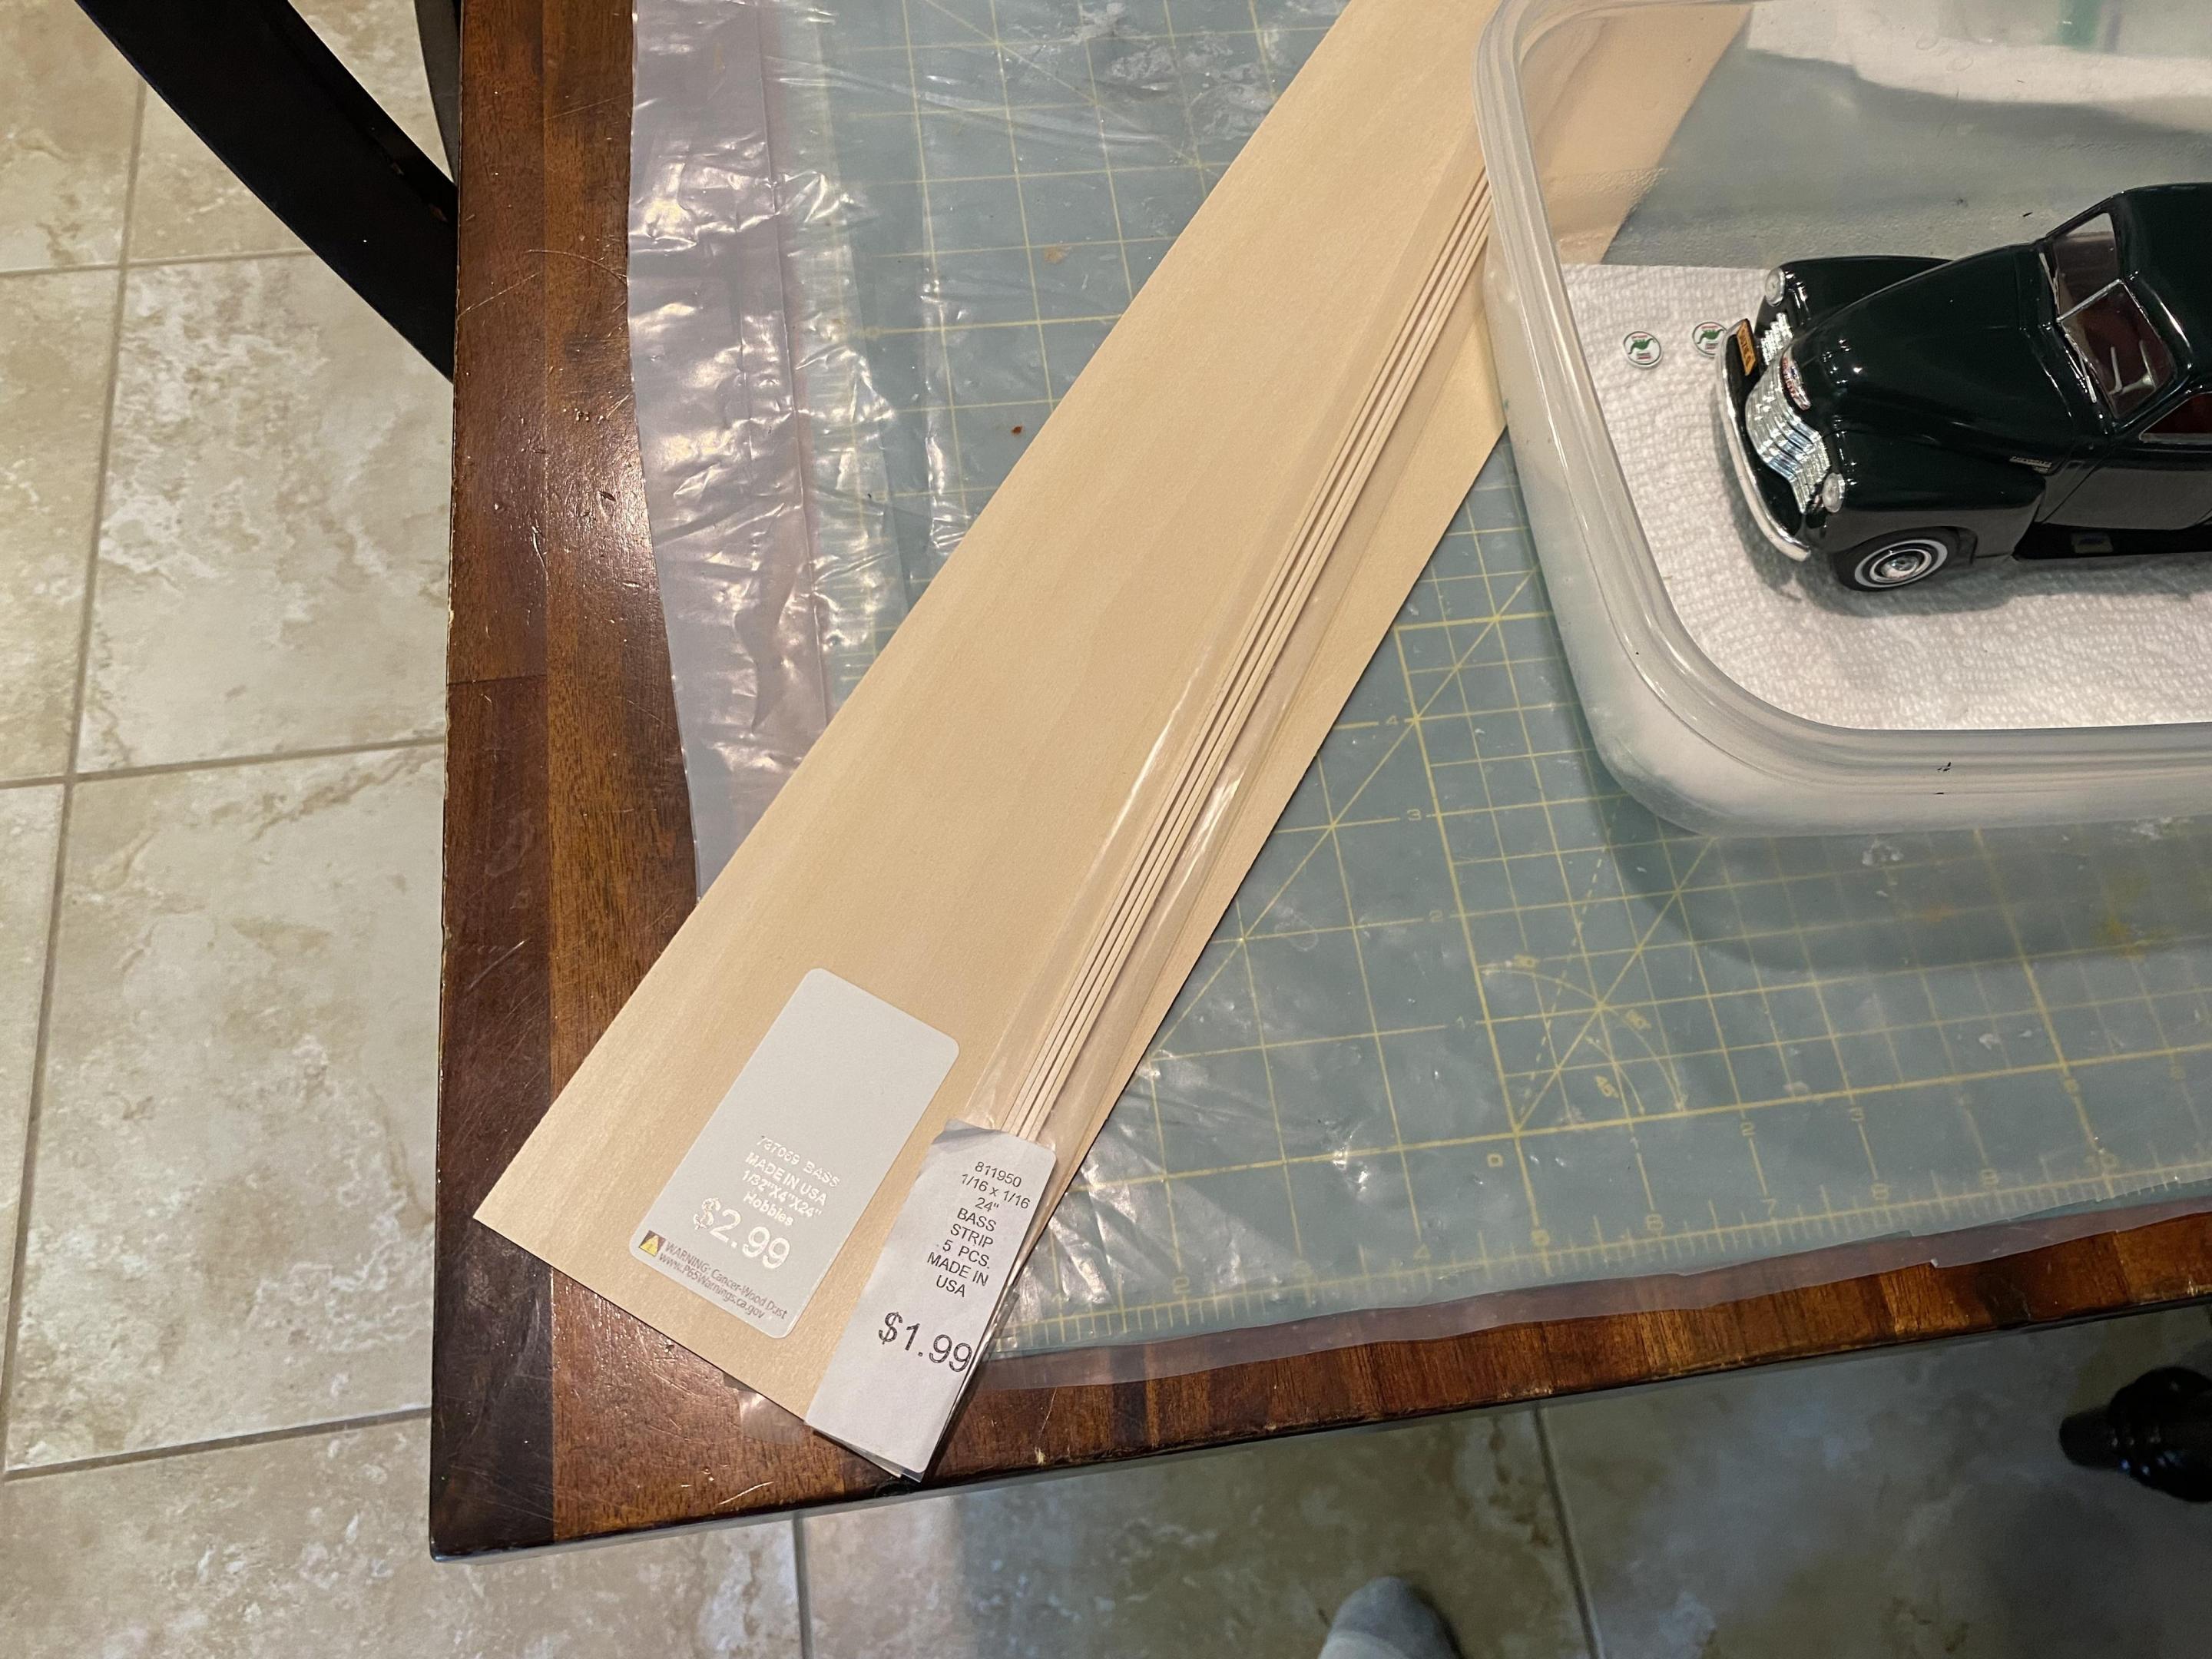
Started creating the bass wood bed slats and added the side mirror. My wife is going to pick out a stain at Lowe’s she might like for the slats. -

1950 Chevy 3100 Pickup WIP
Duddly01 replied to Duddly01's topic in WIP: Model Trucks: Pickups, Vans, SUVs, Light Commercial
Wow, was just looking on my Computer screen. I am usually on an iPad. The dust and finger prints really show up blown up this big. ? -

1950 Chevy 3100 Pickup WIP
Duddly01 replied to Duddly01's topic in WIP: Model Trucks: Pickups, Vans, SUVs, Light Commercial
Thanks Zippi. btw, I get the Molotow refills from Amazon. I have seen them as low as $25 for a 30ml bottle. A lot more than you can get out of several pens. Just food for thought. -

1950 Chevy 3100 Pickup WIP
Duddly01 replied to Duddly01's topic in WIP: Model Trucks: Pickups, Vans, SUVs, Light Commercial
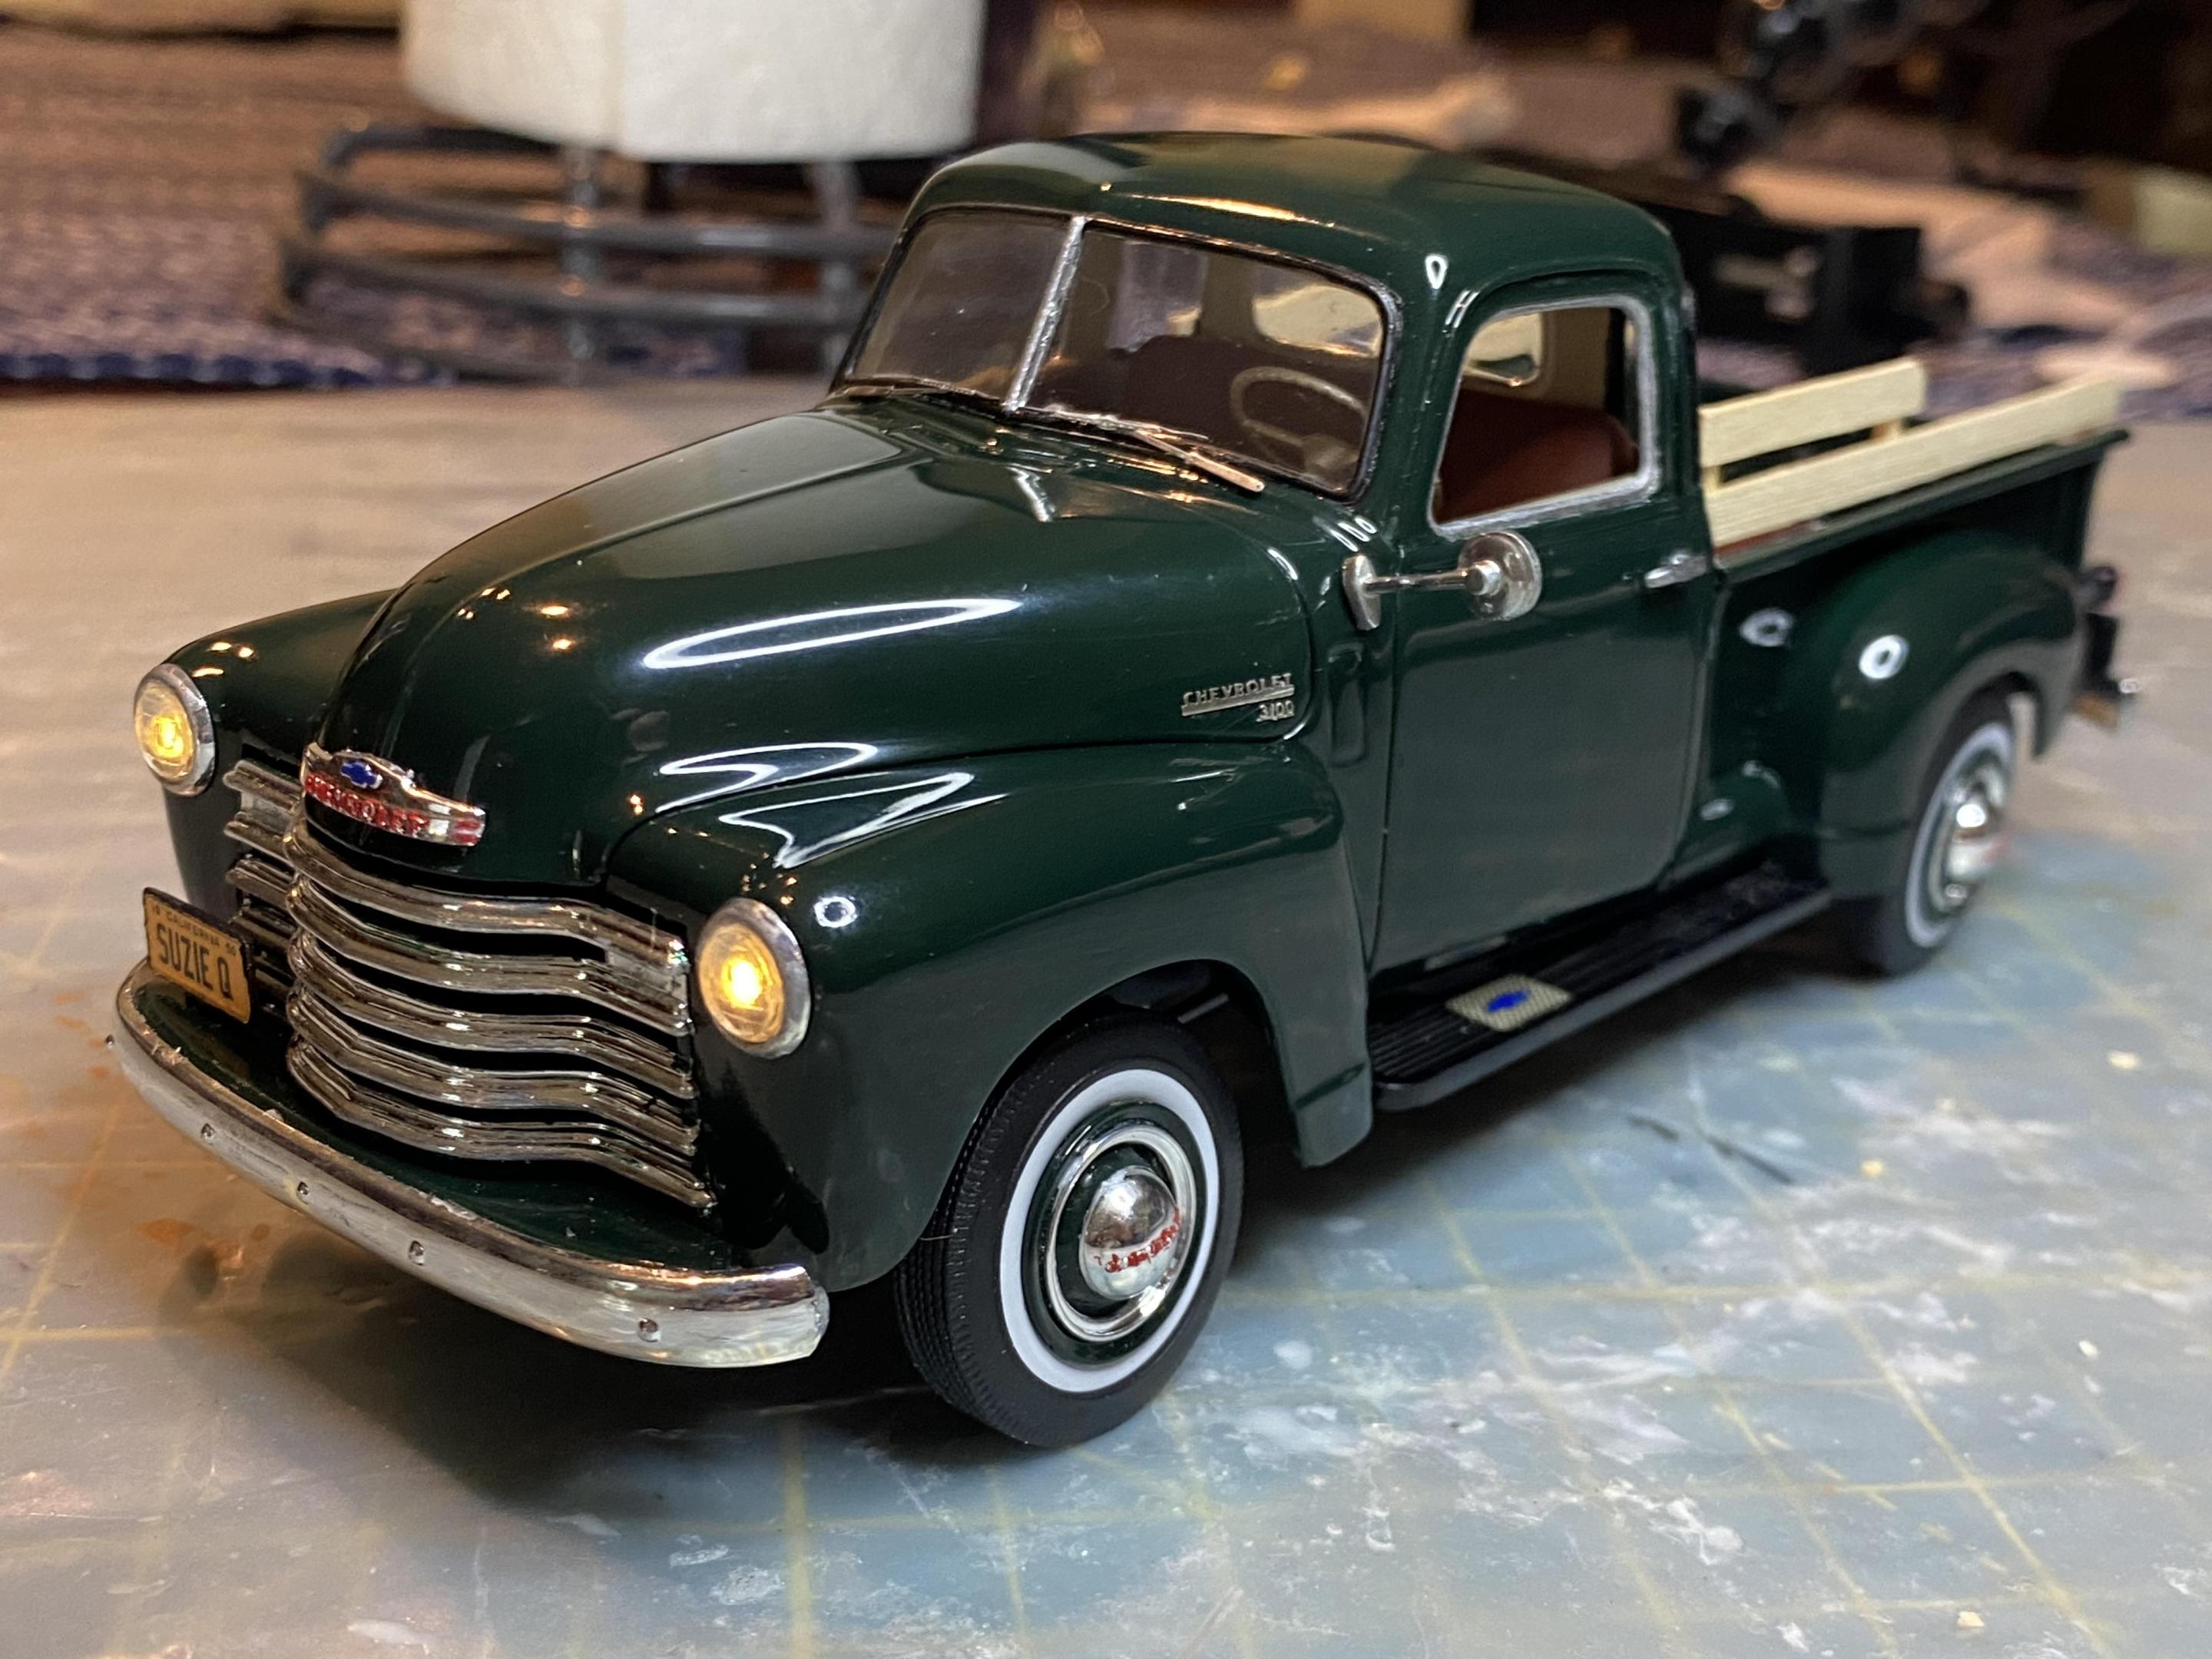
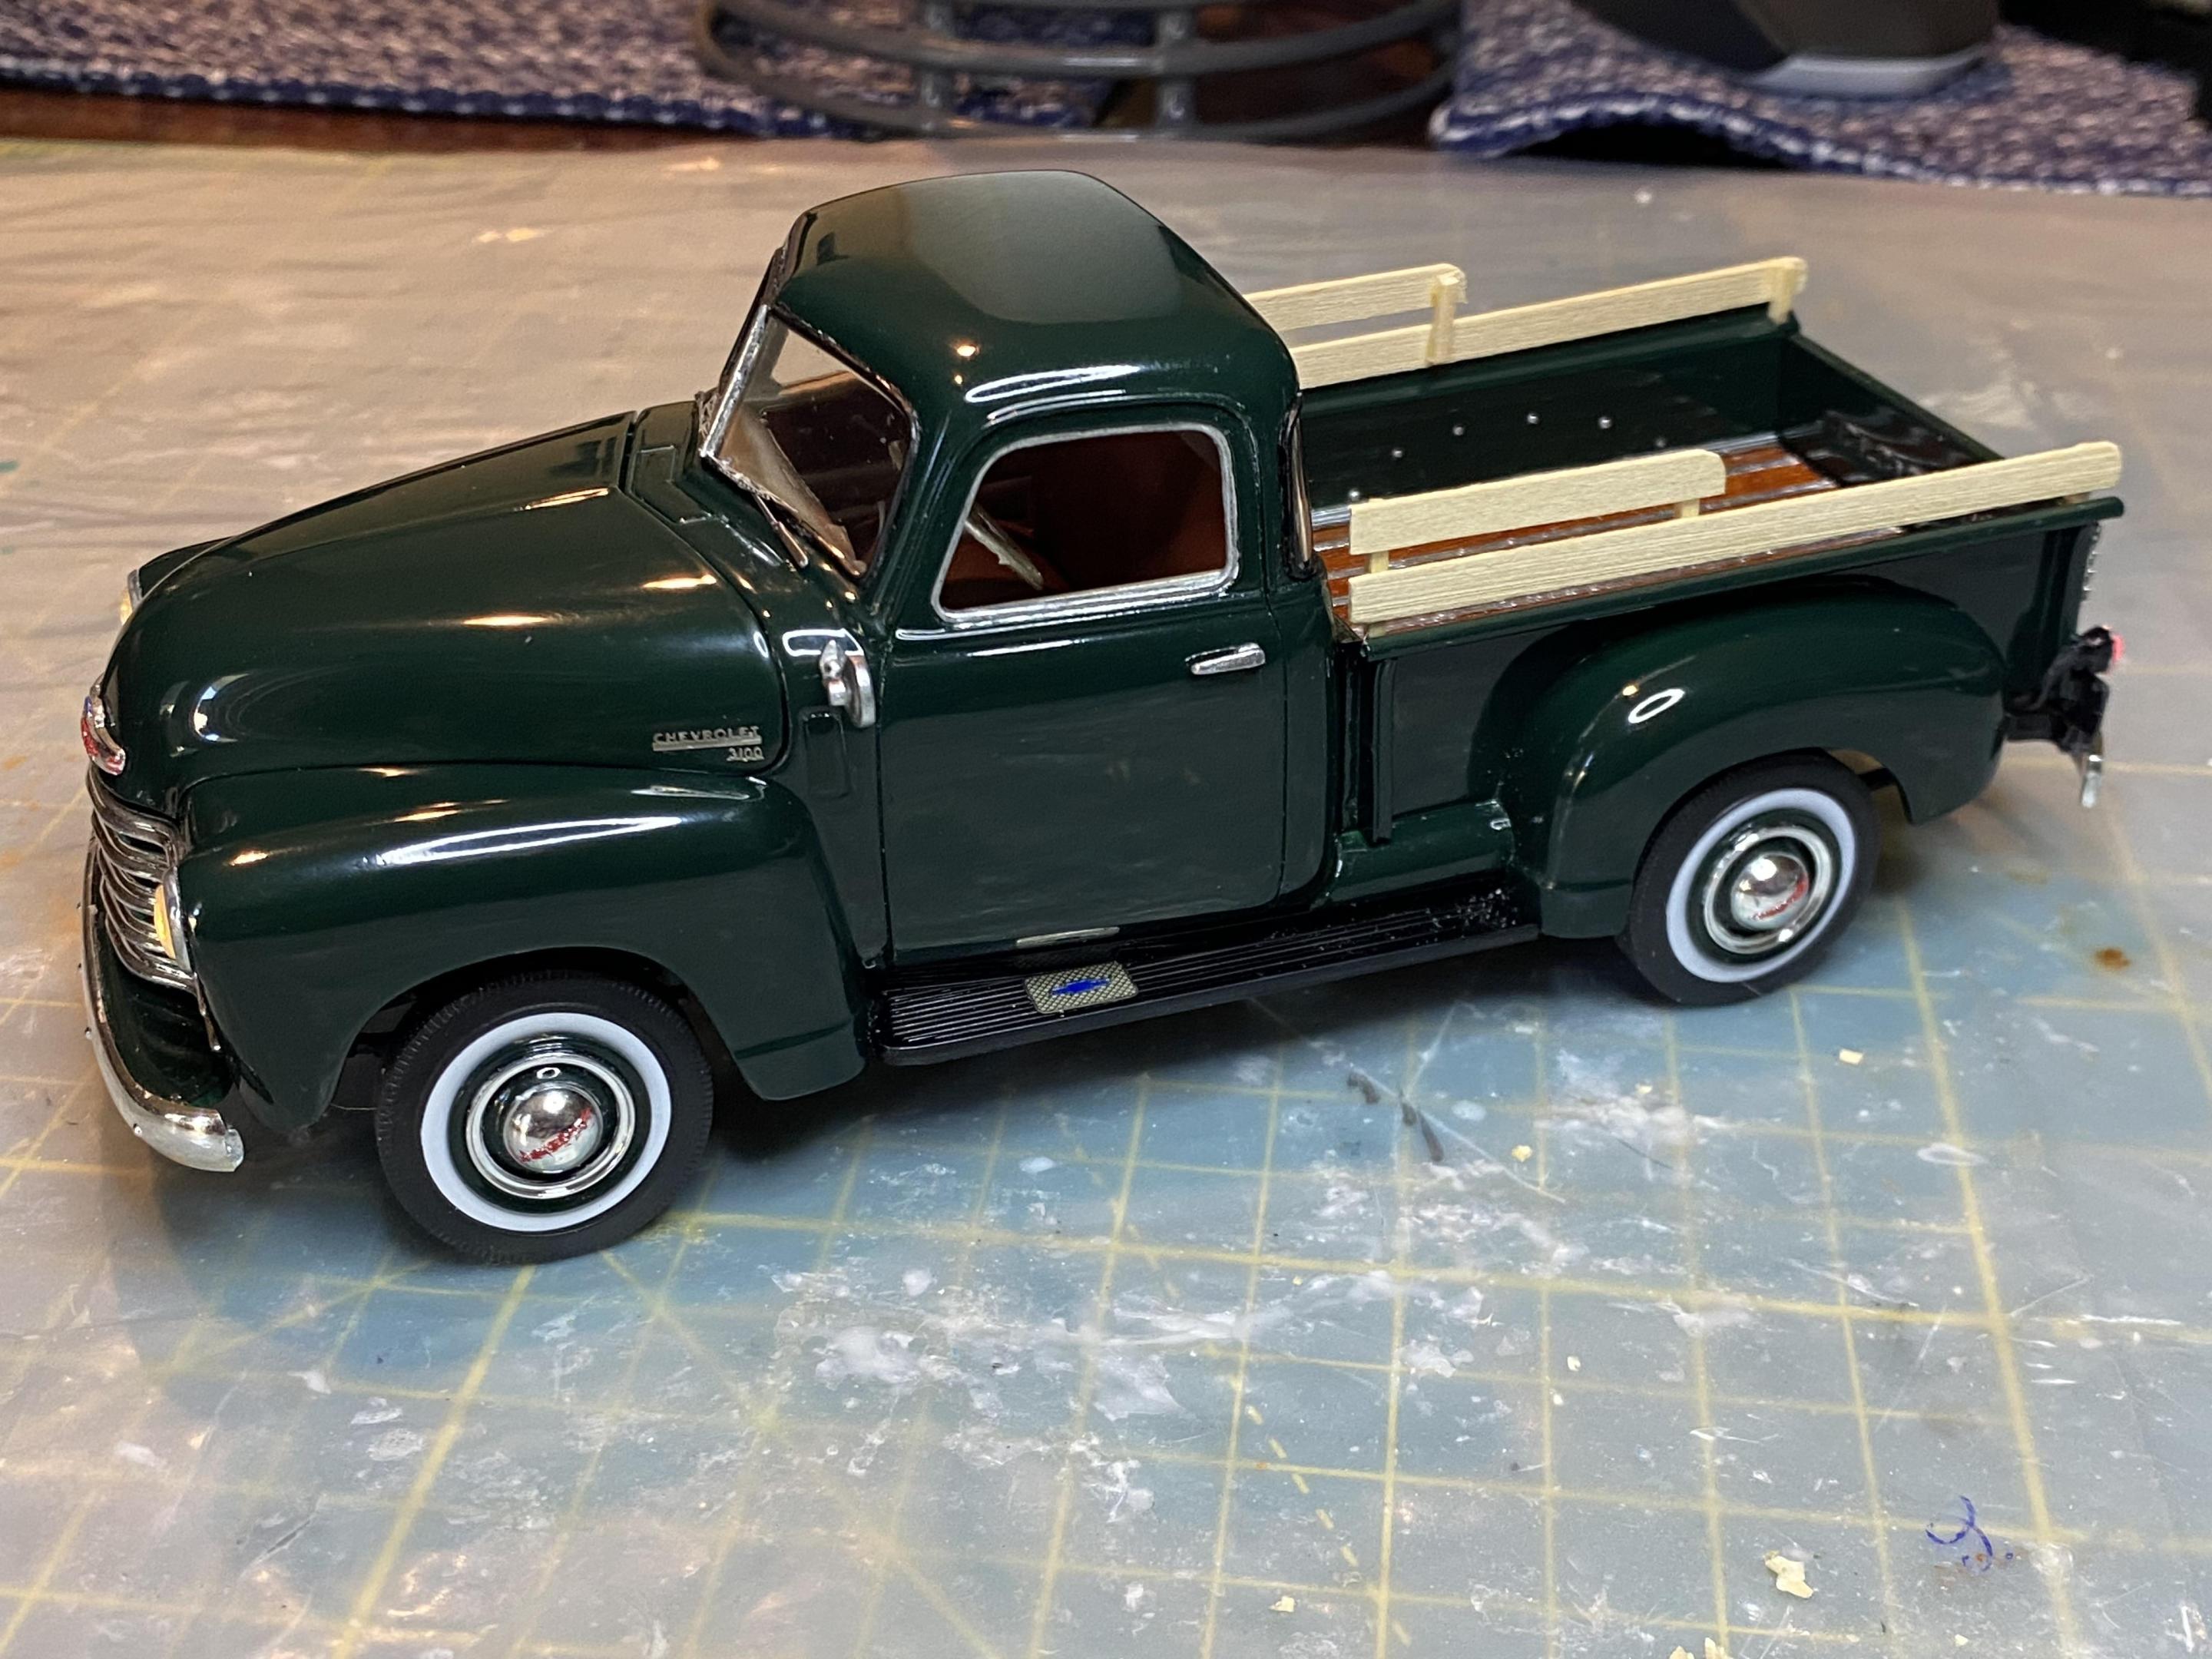
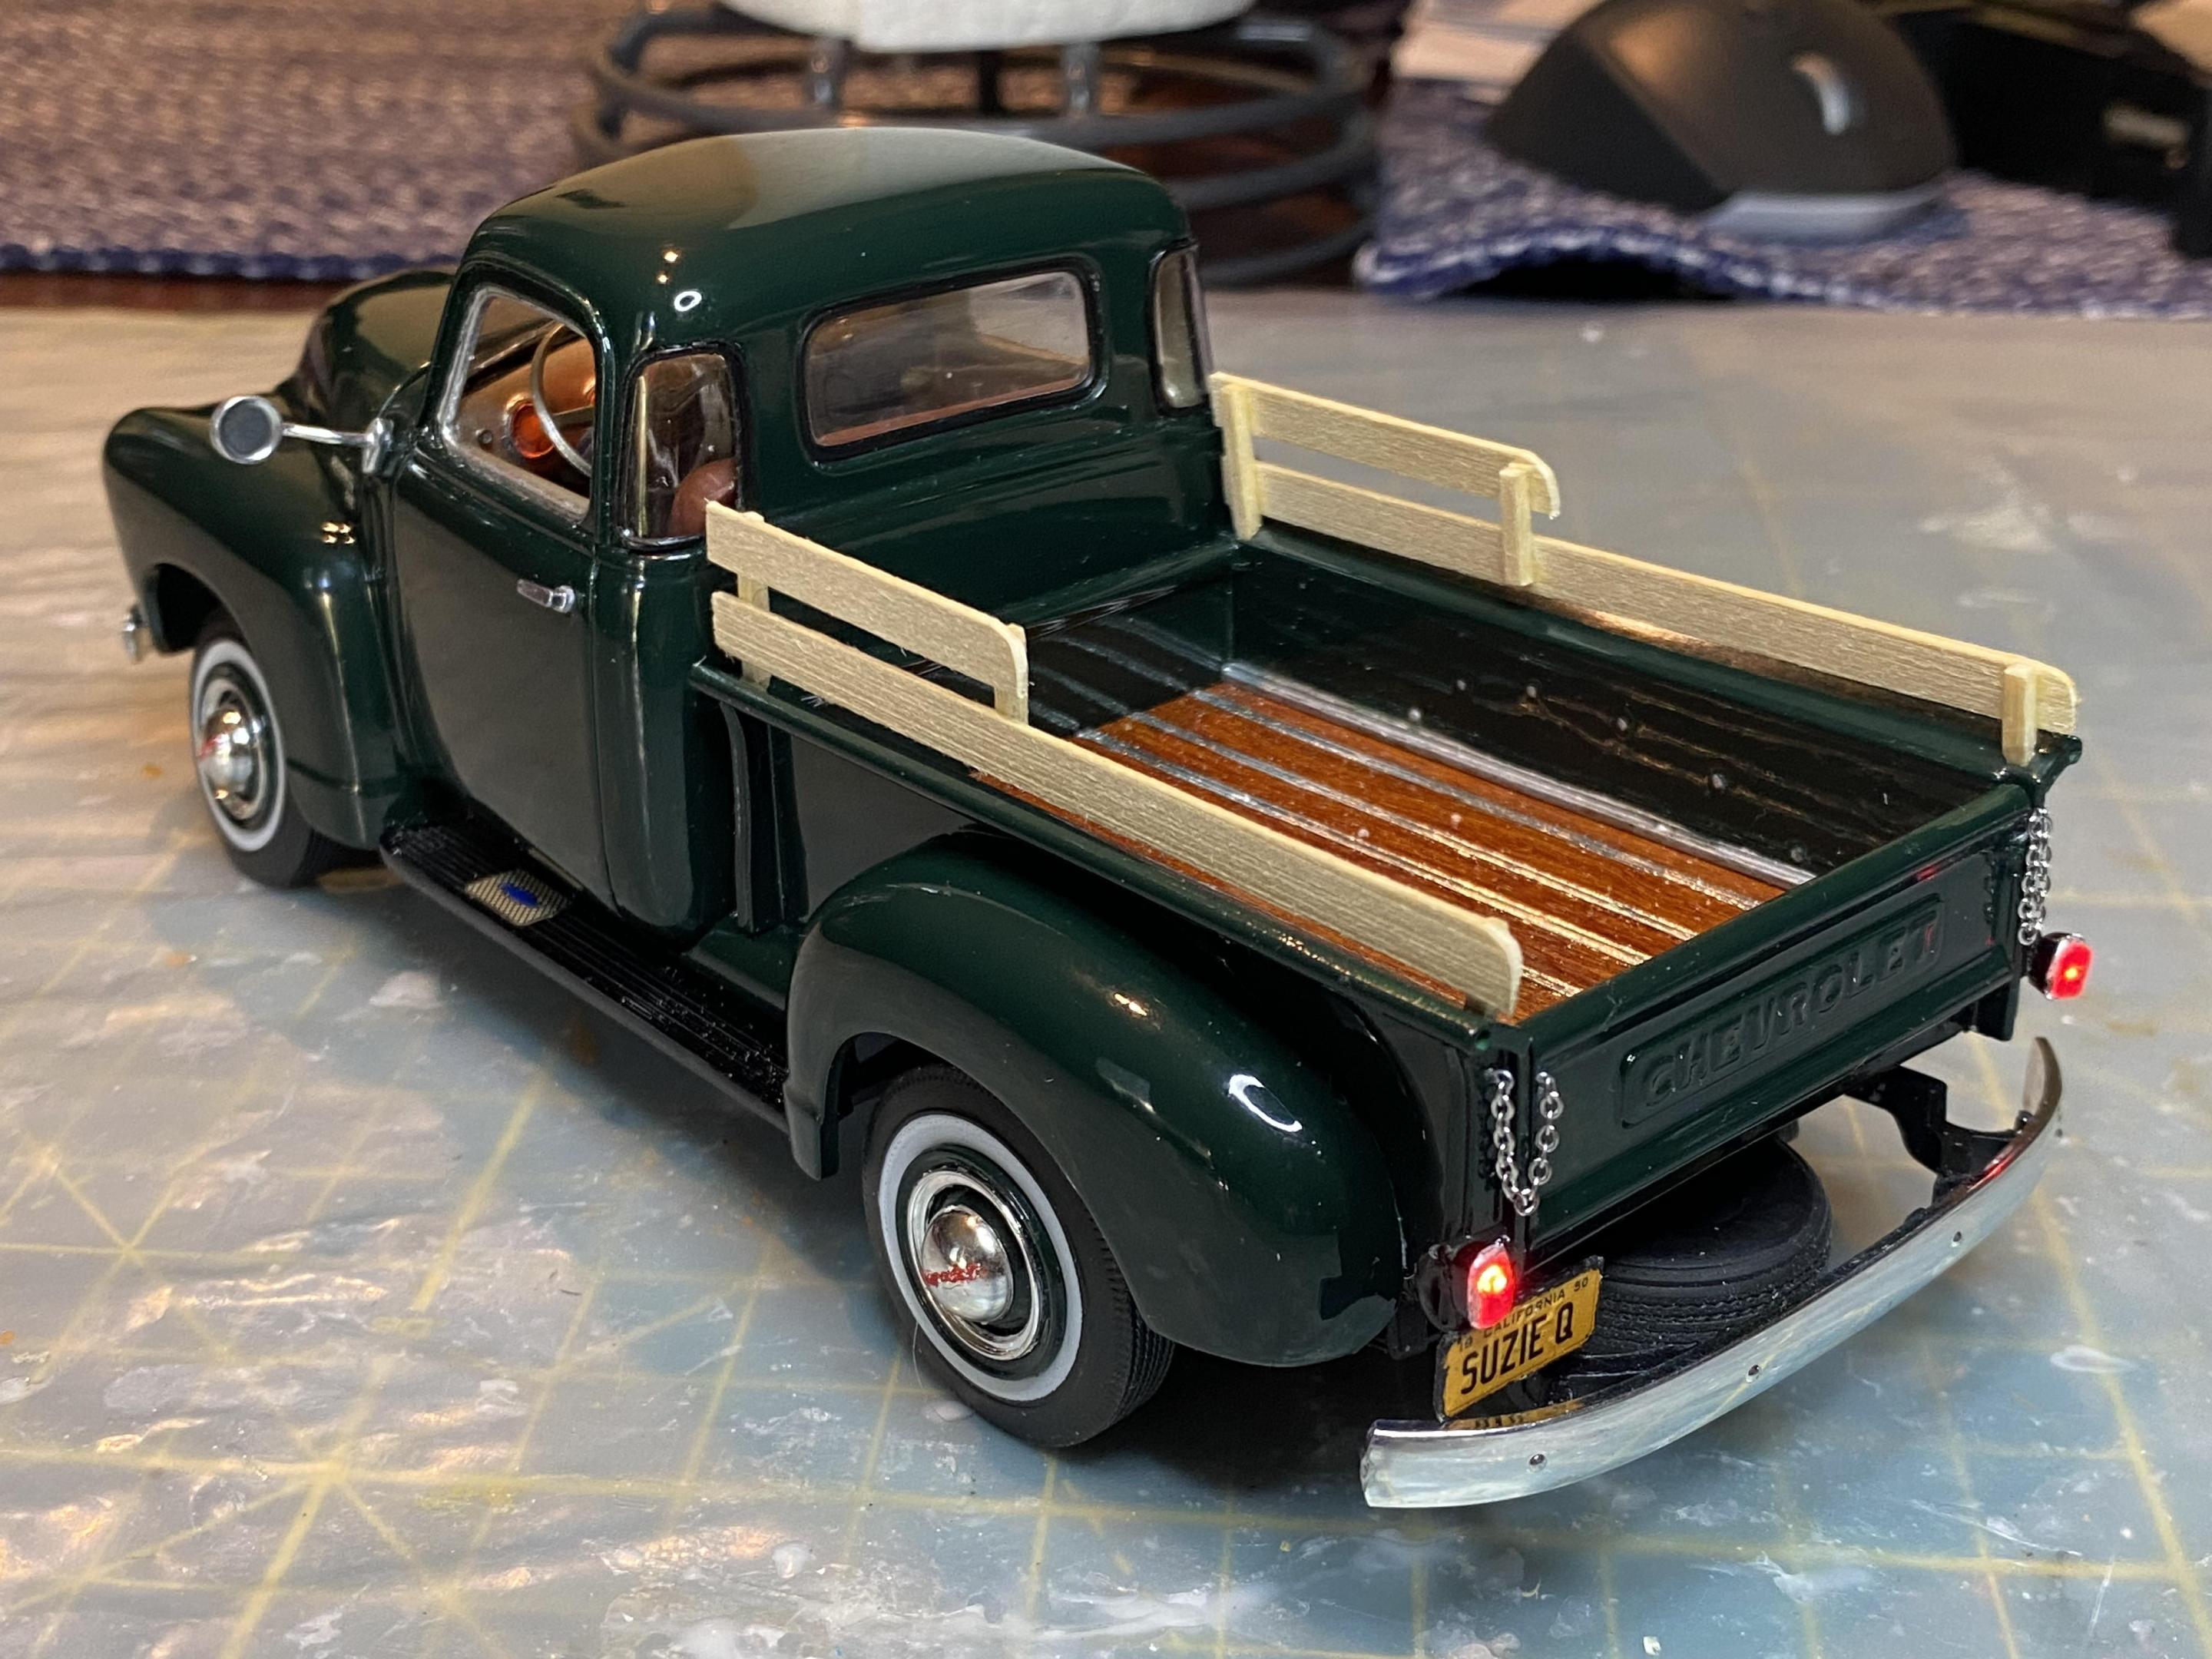
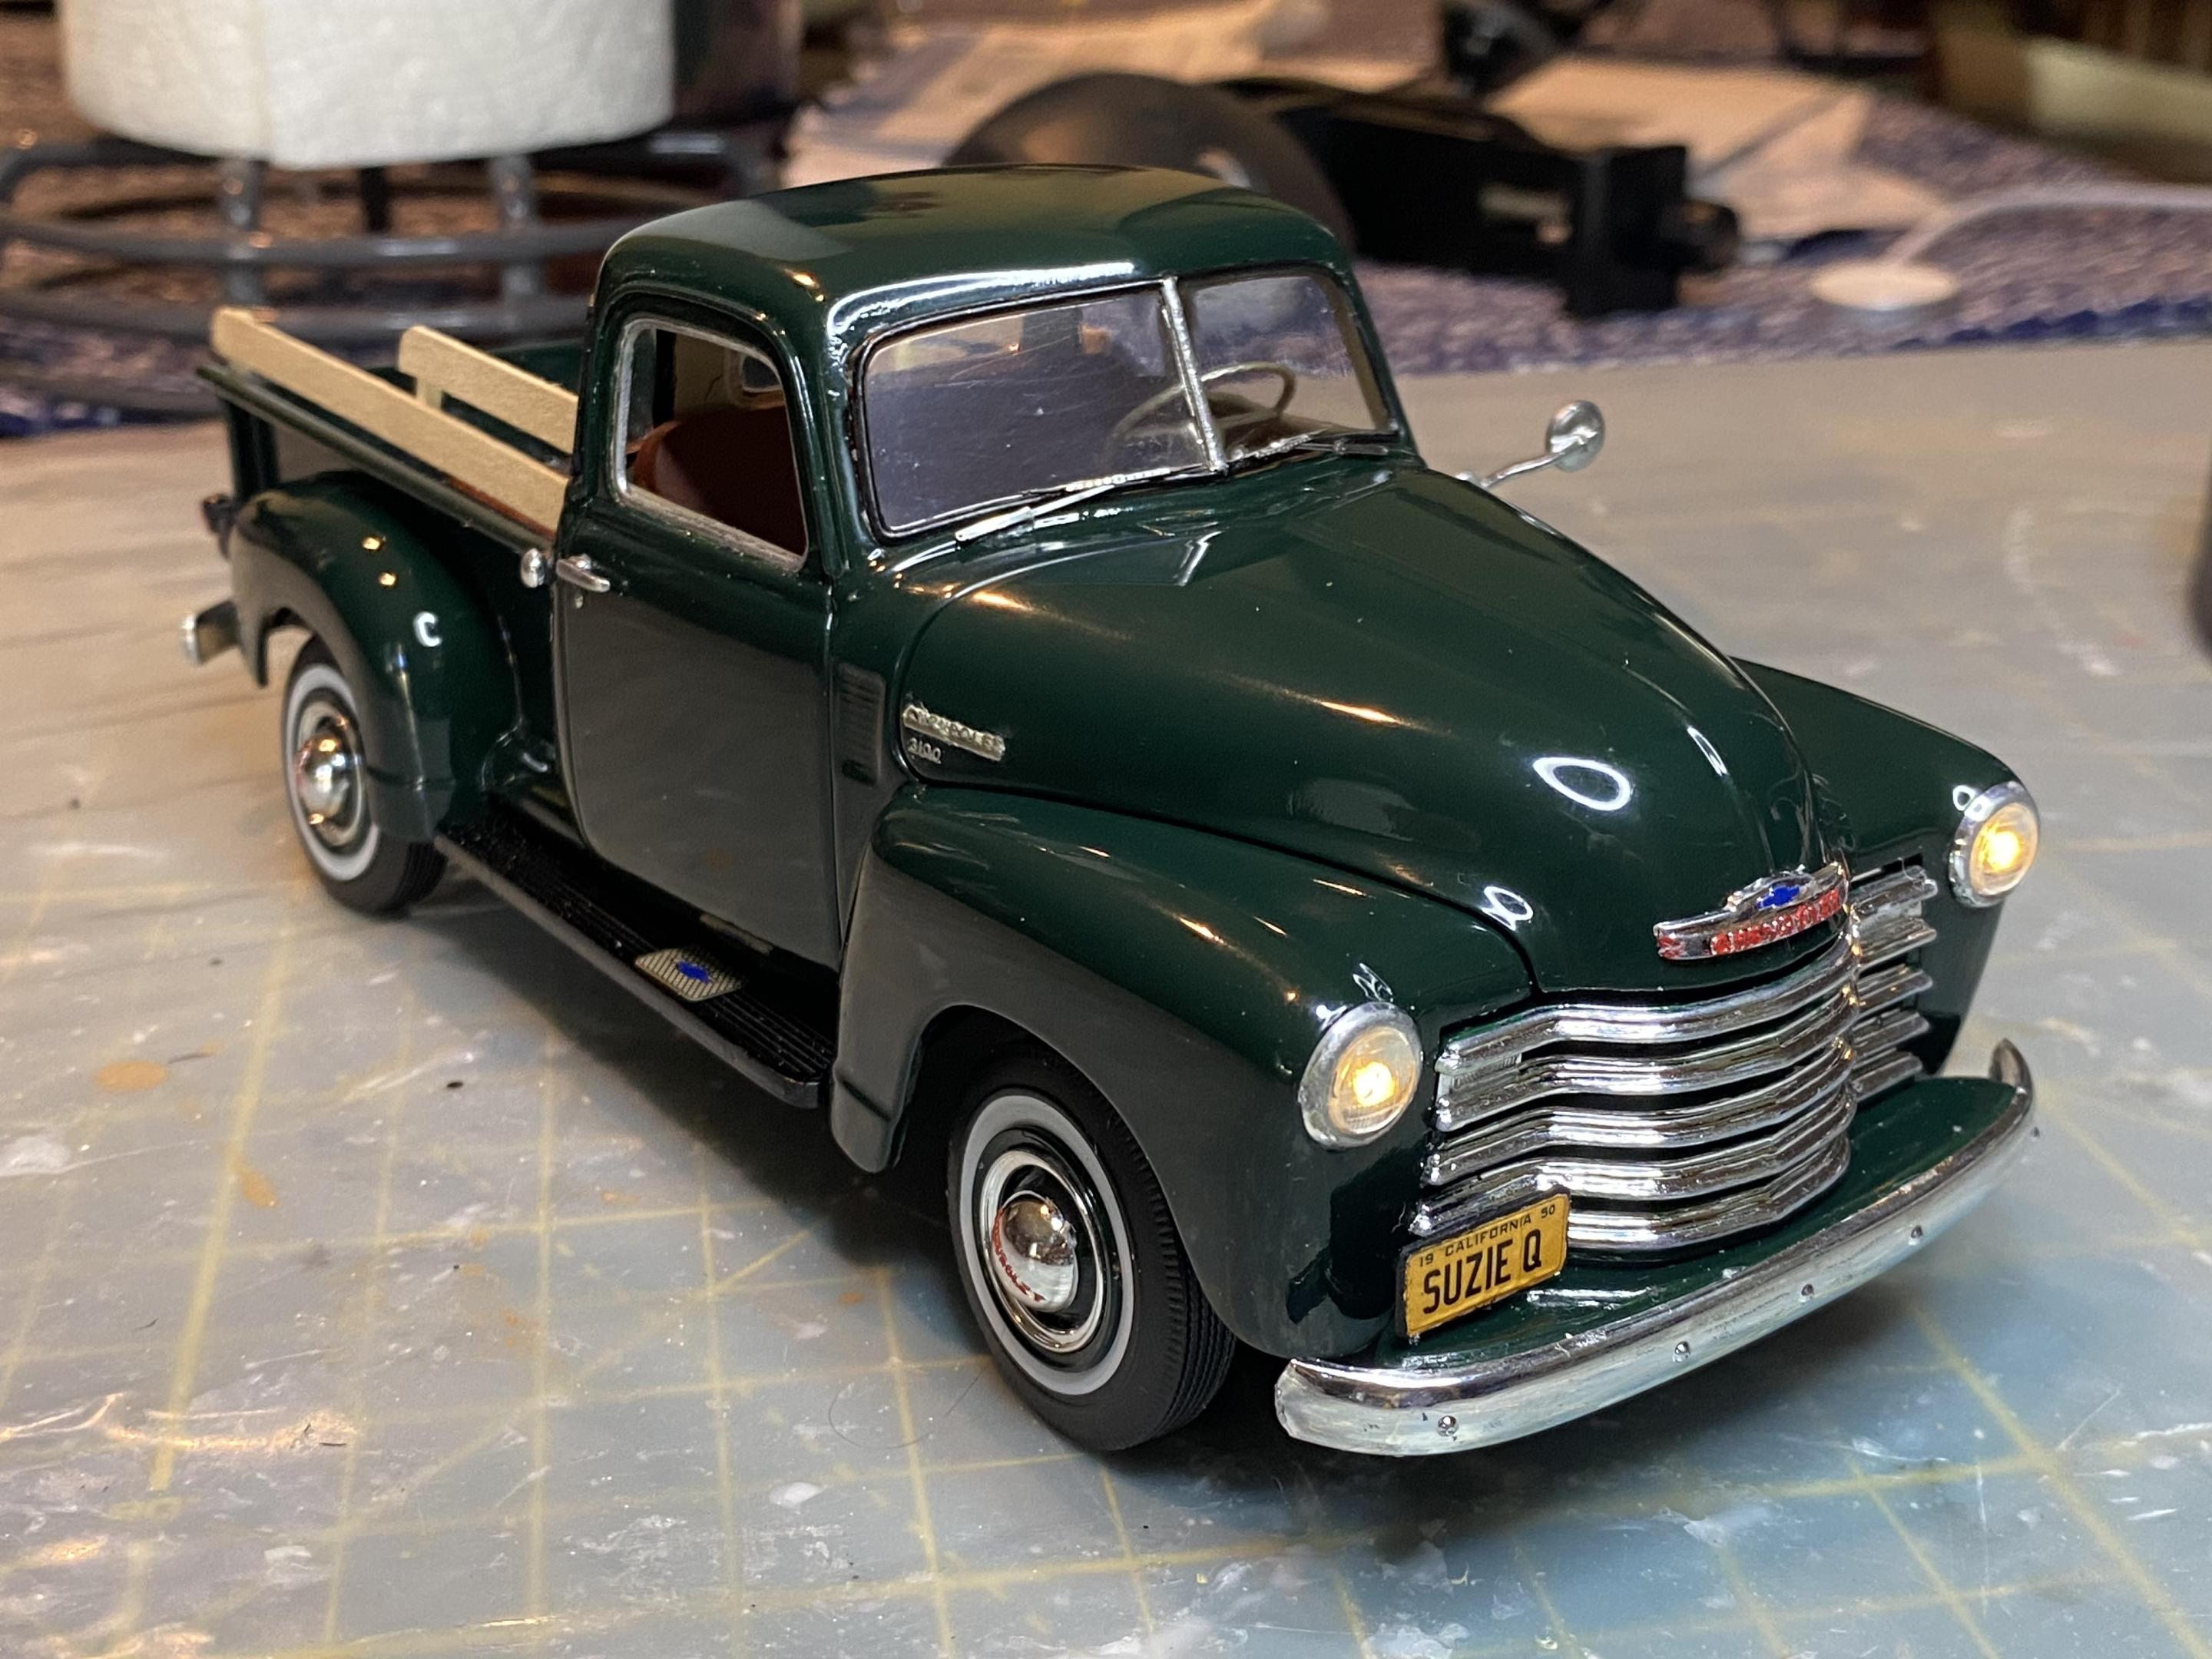
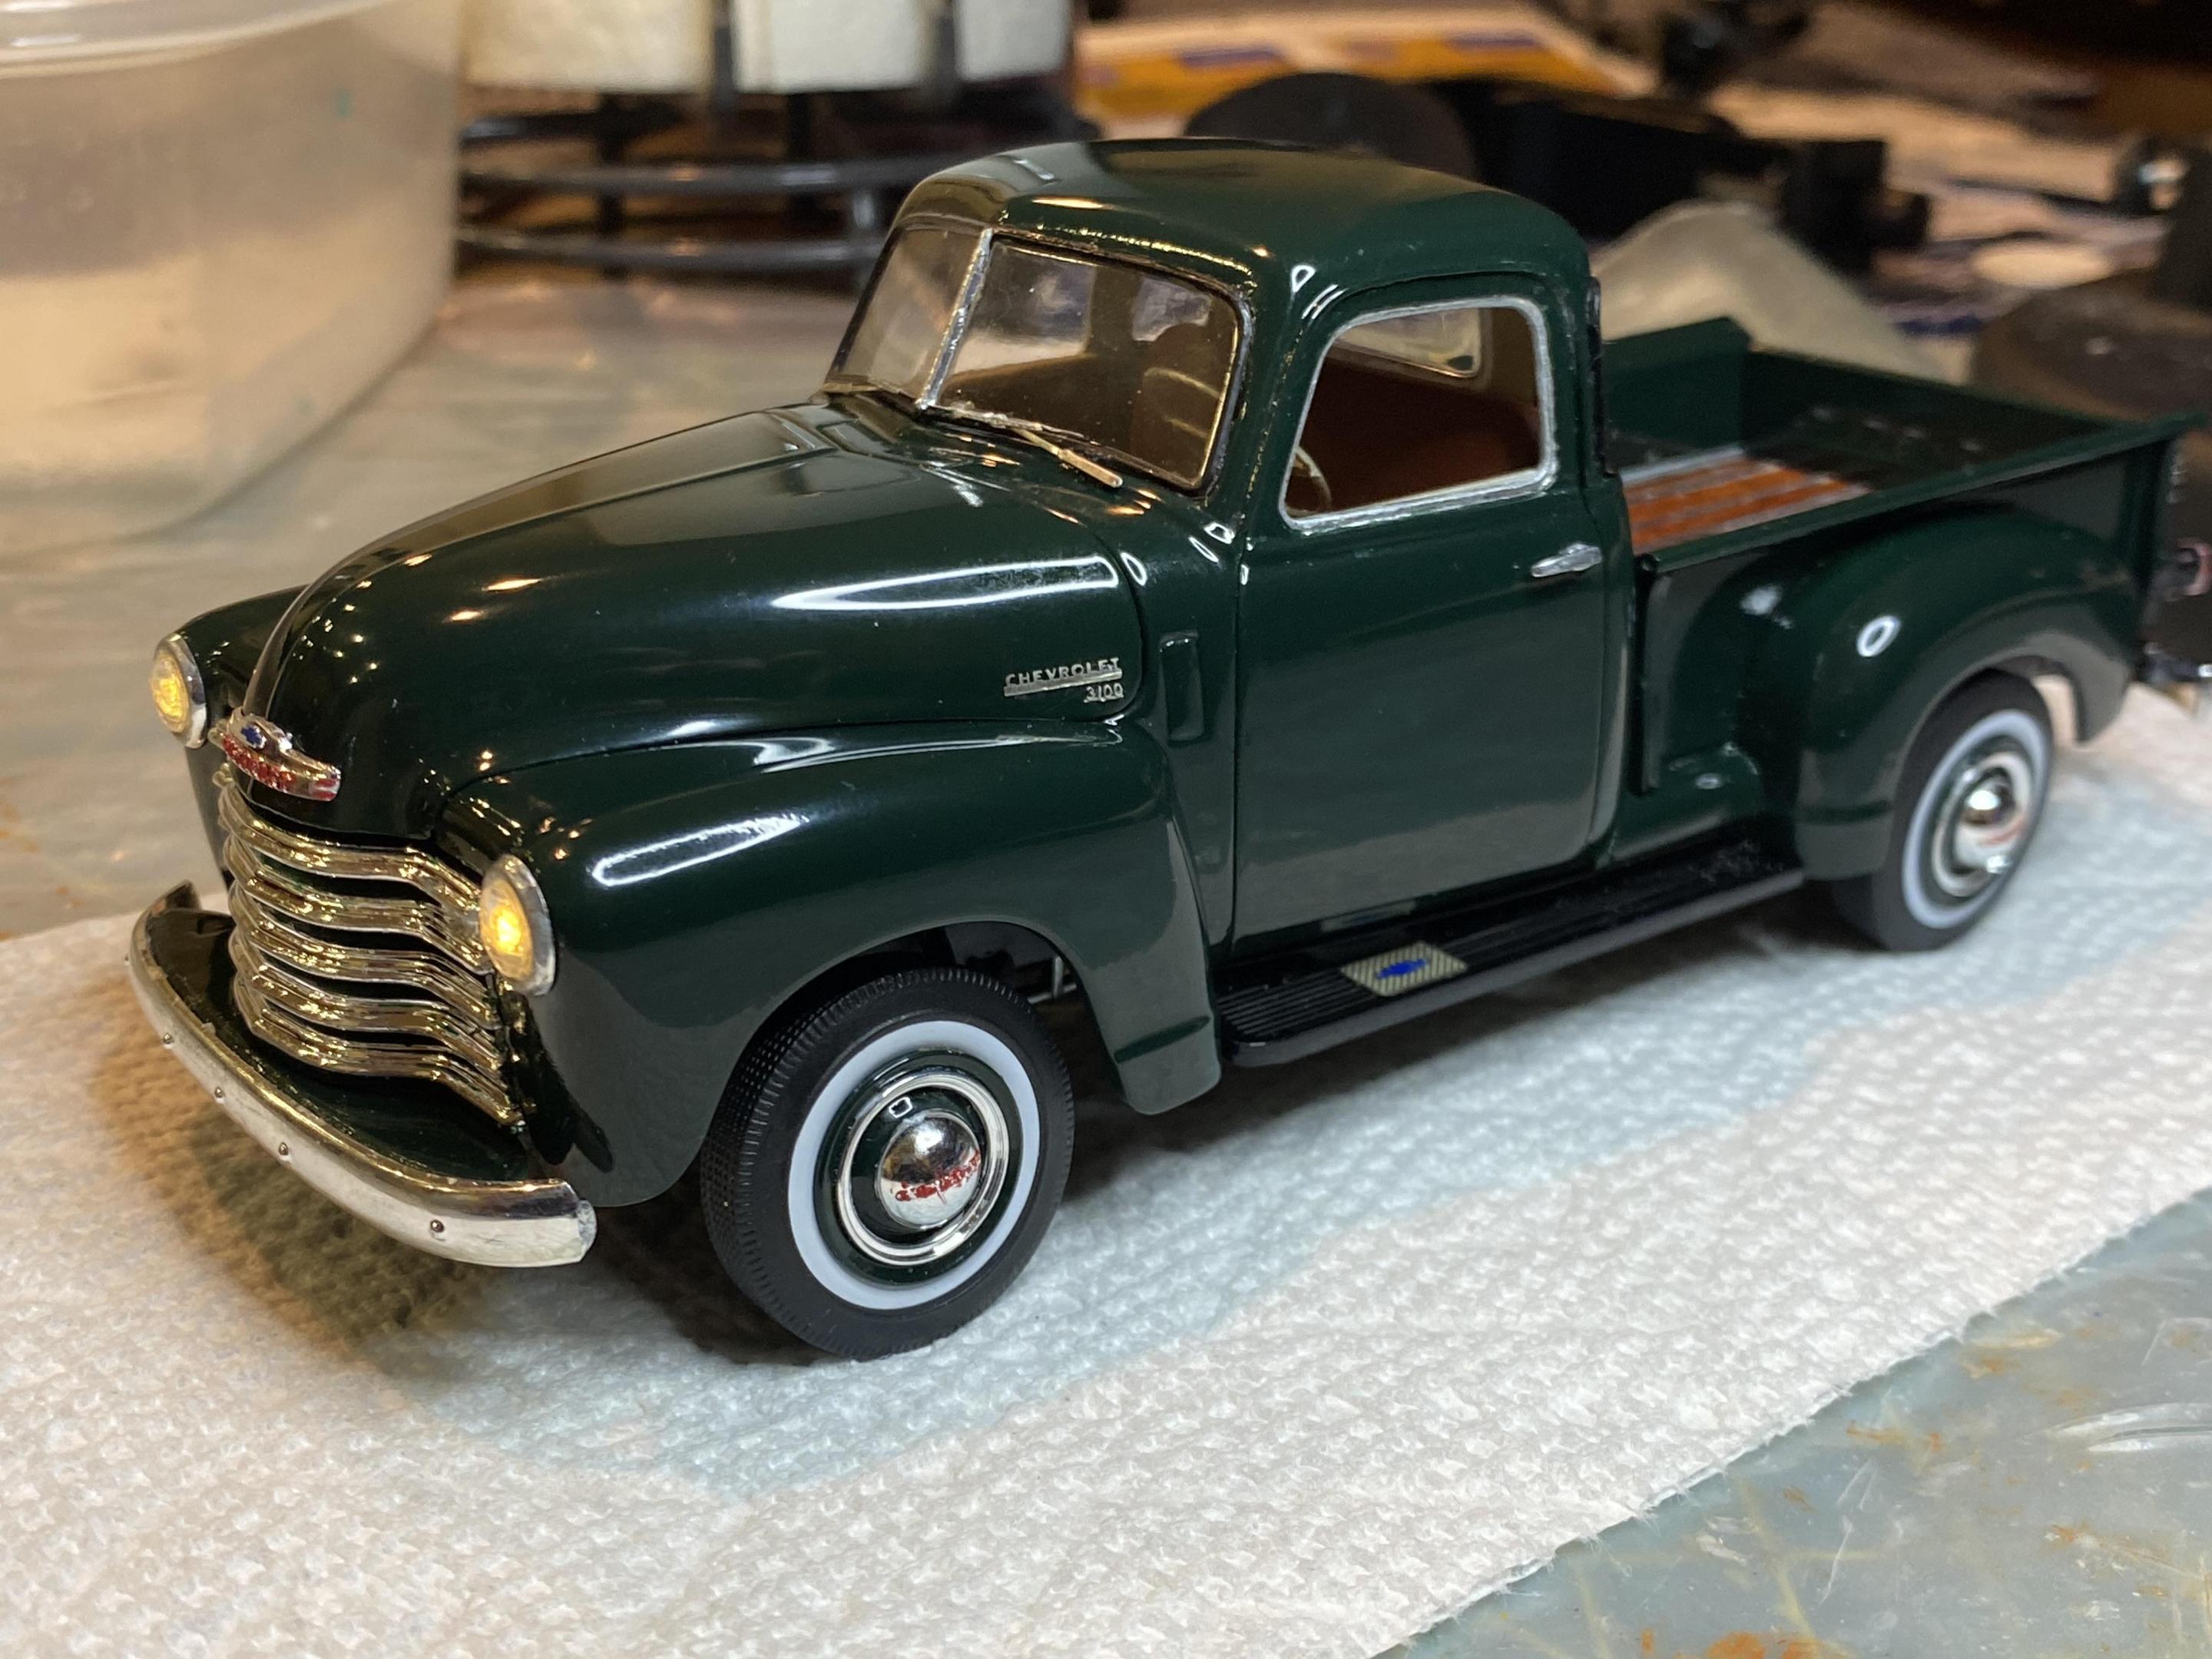
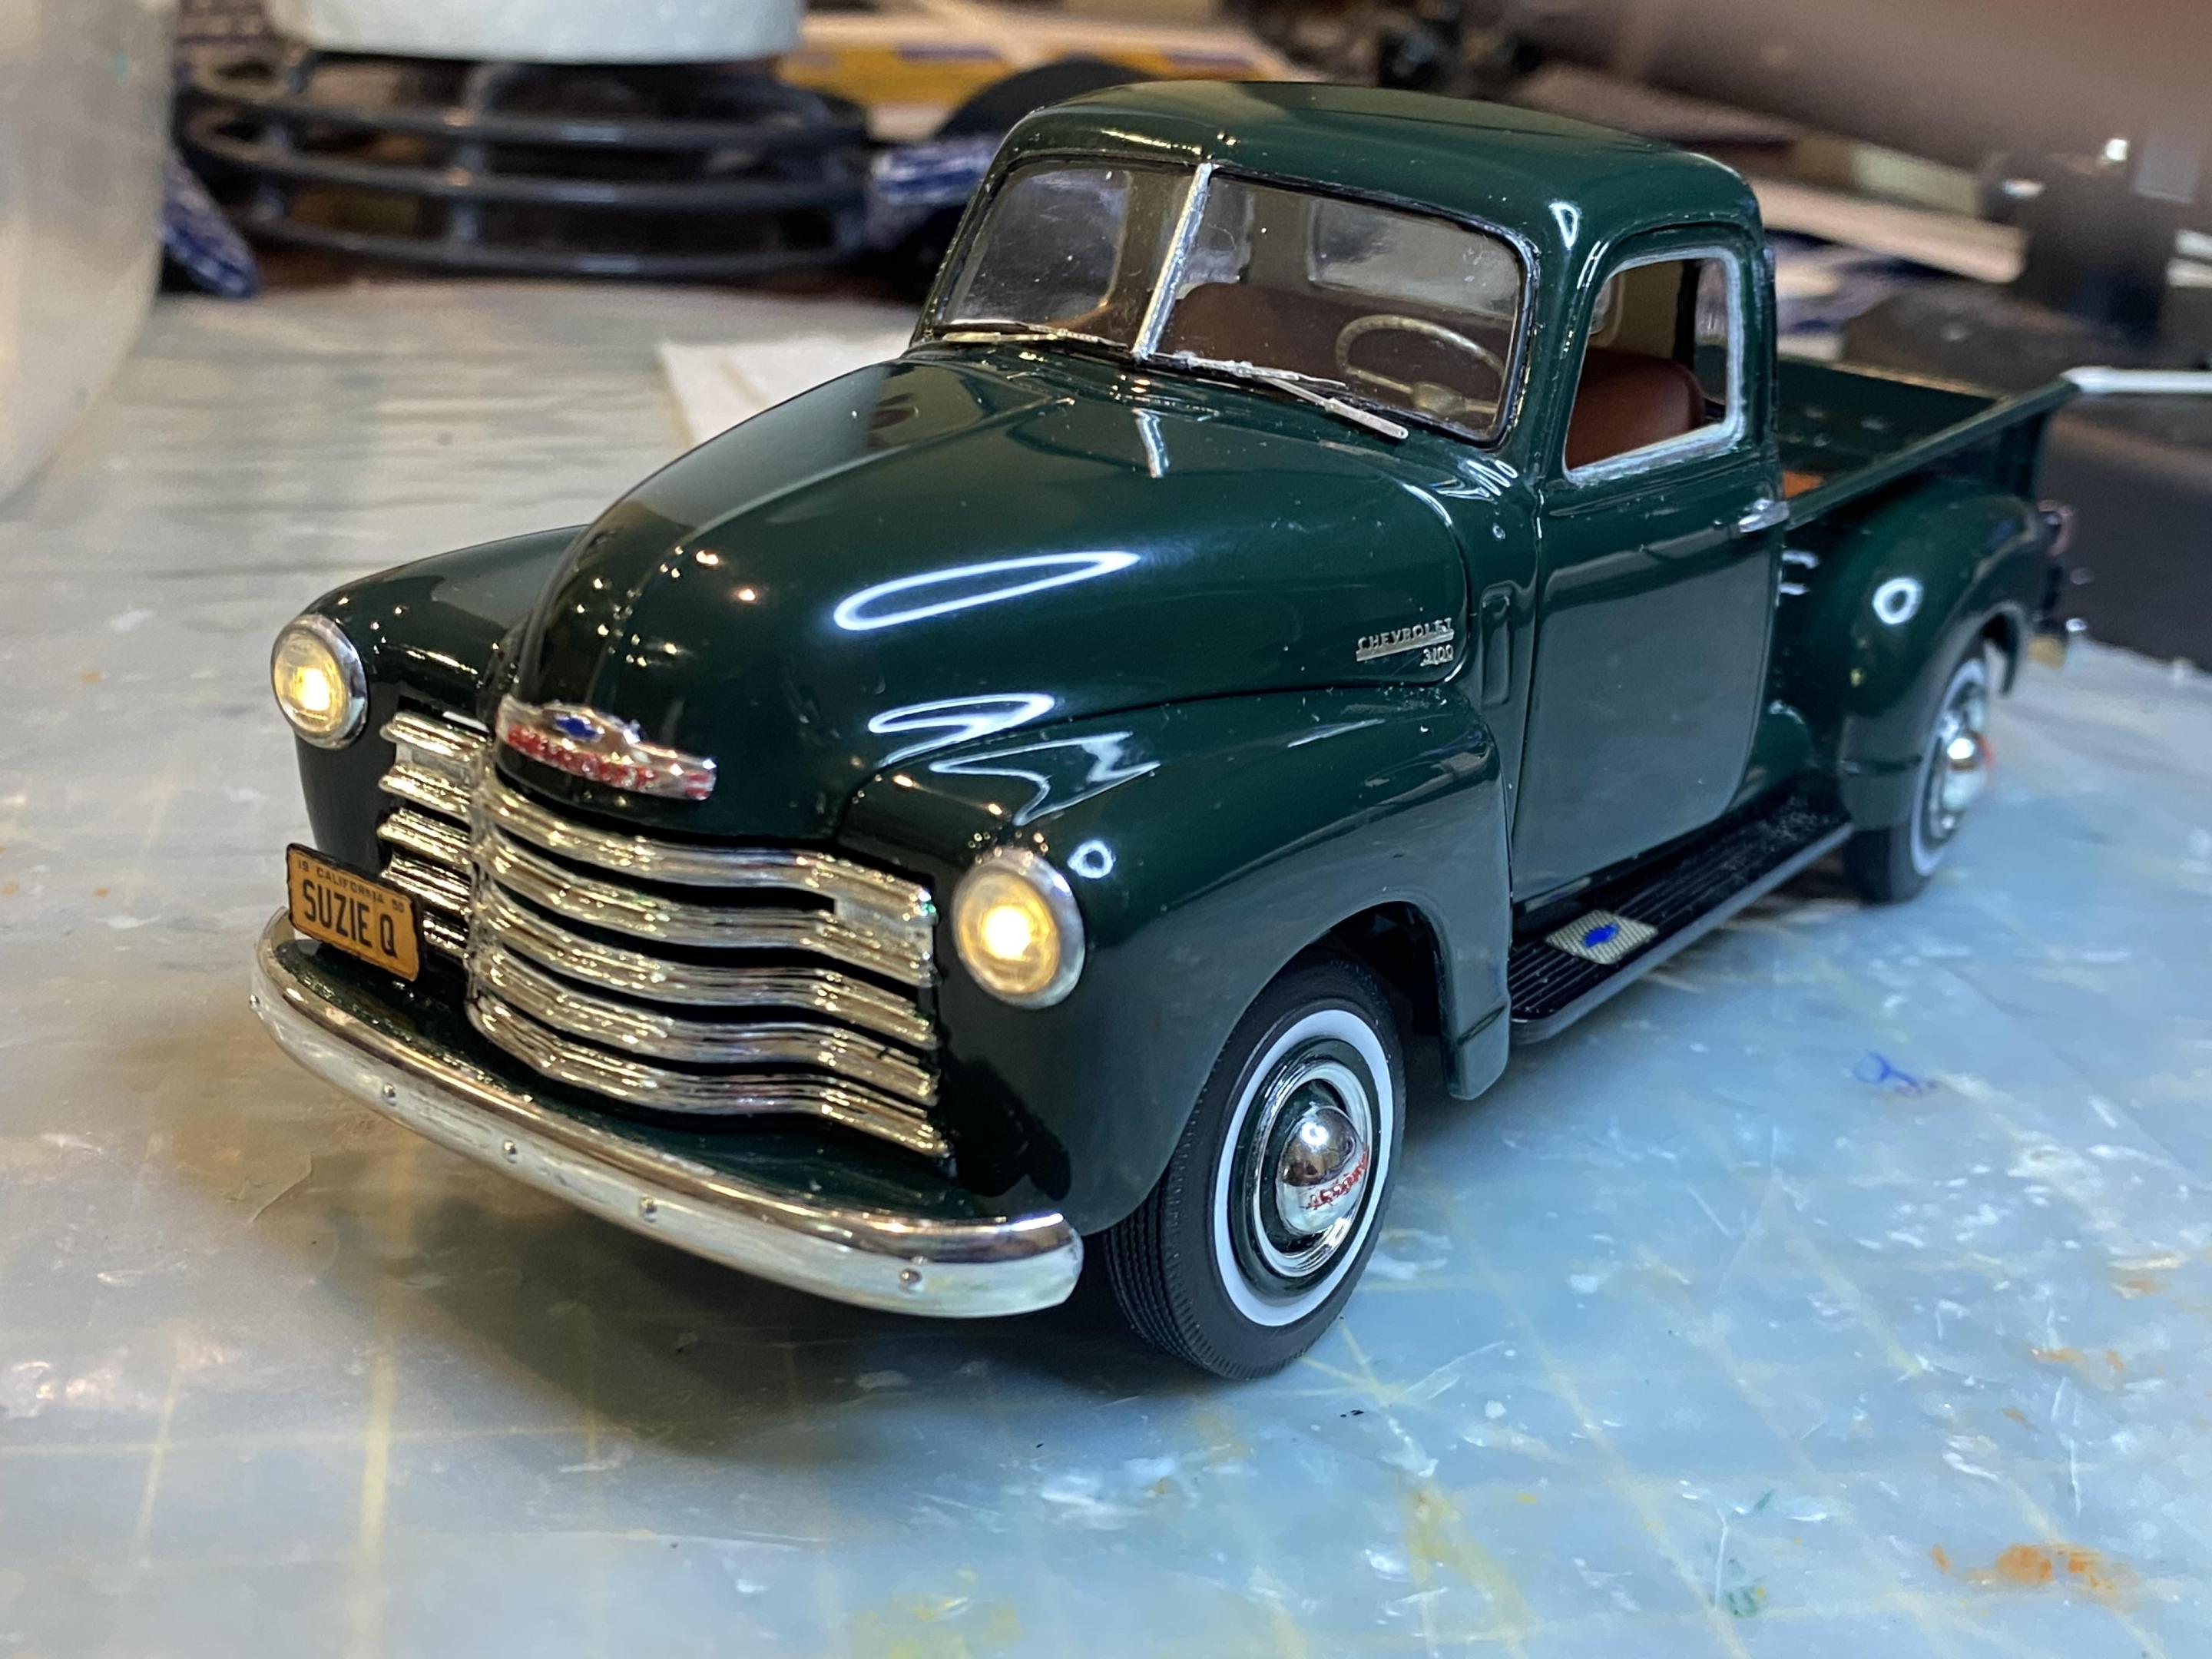
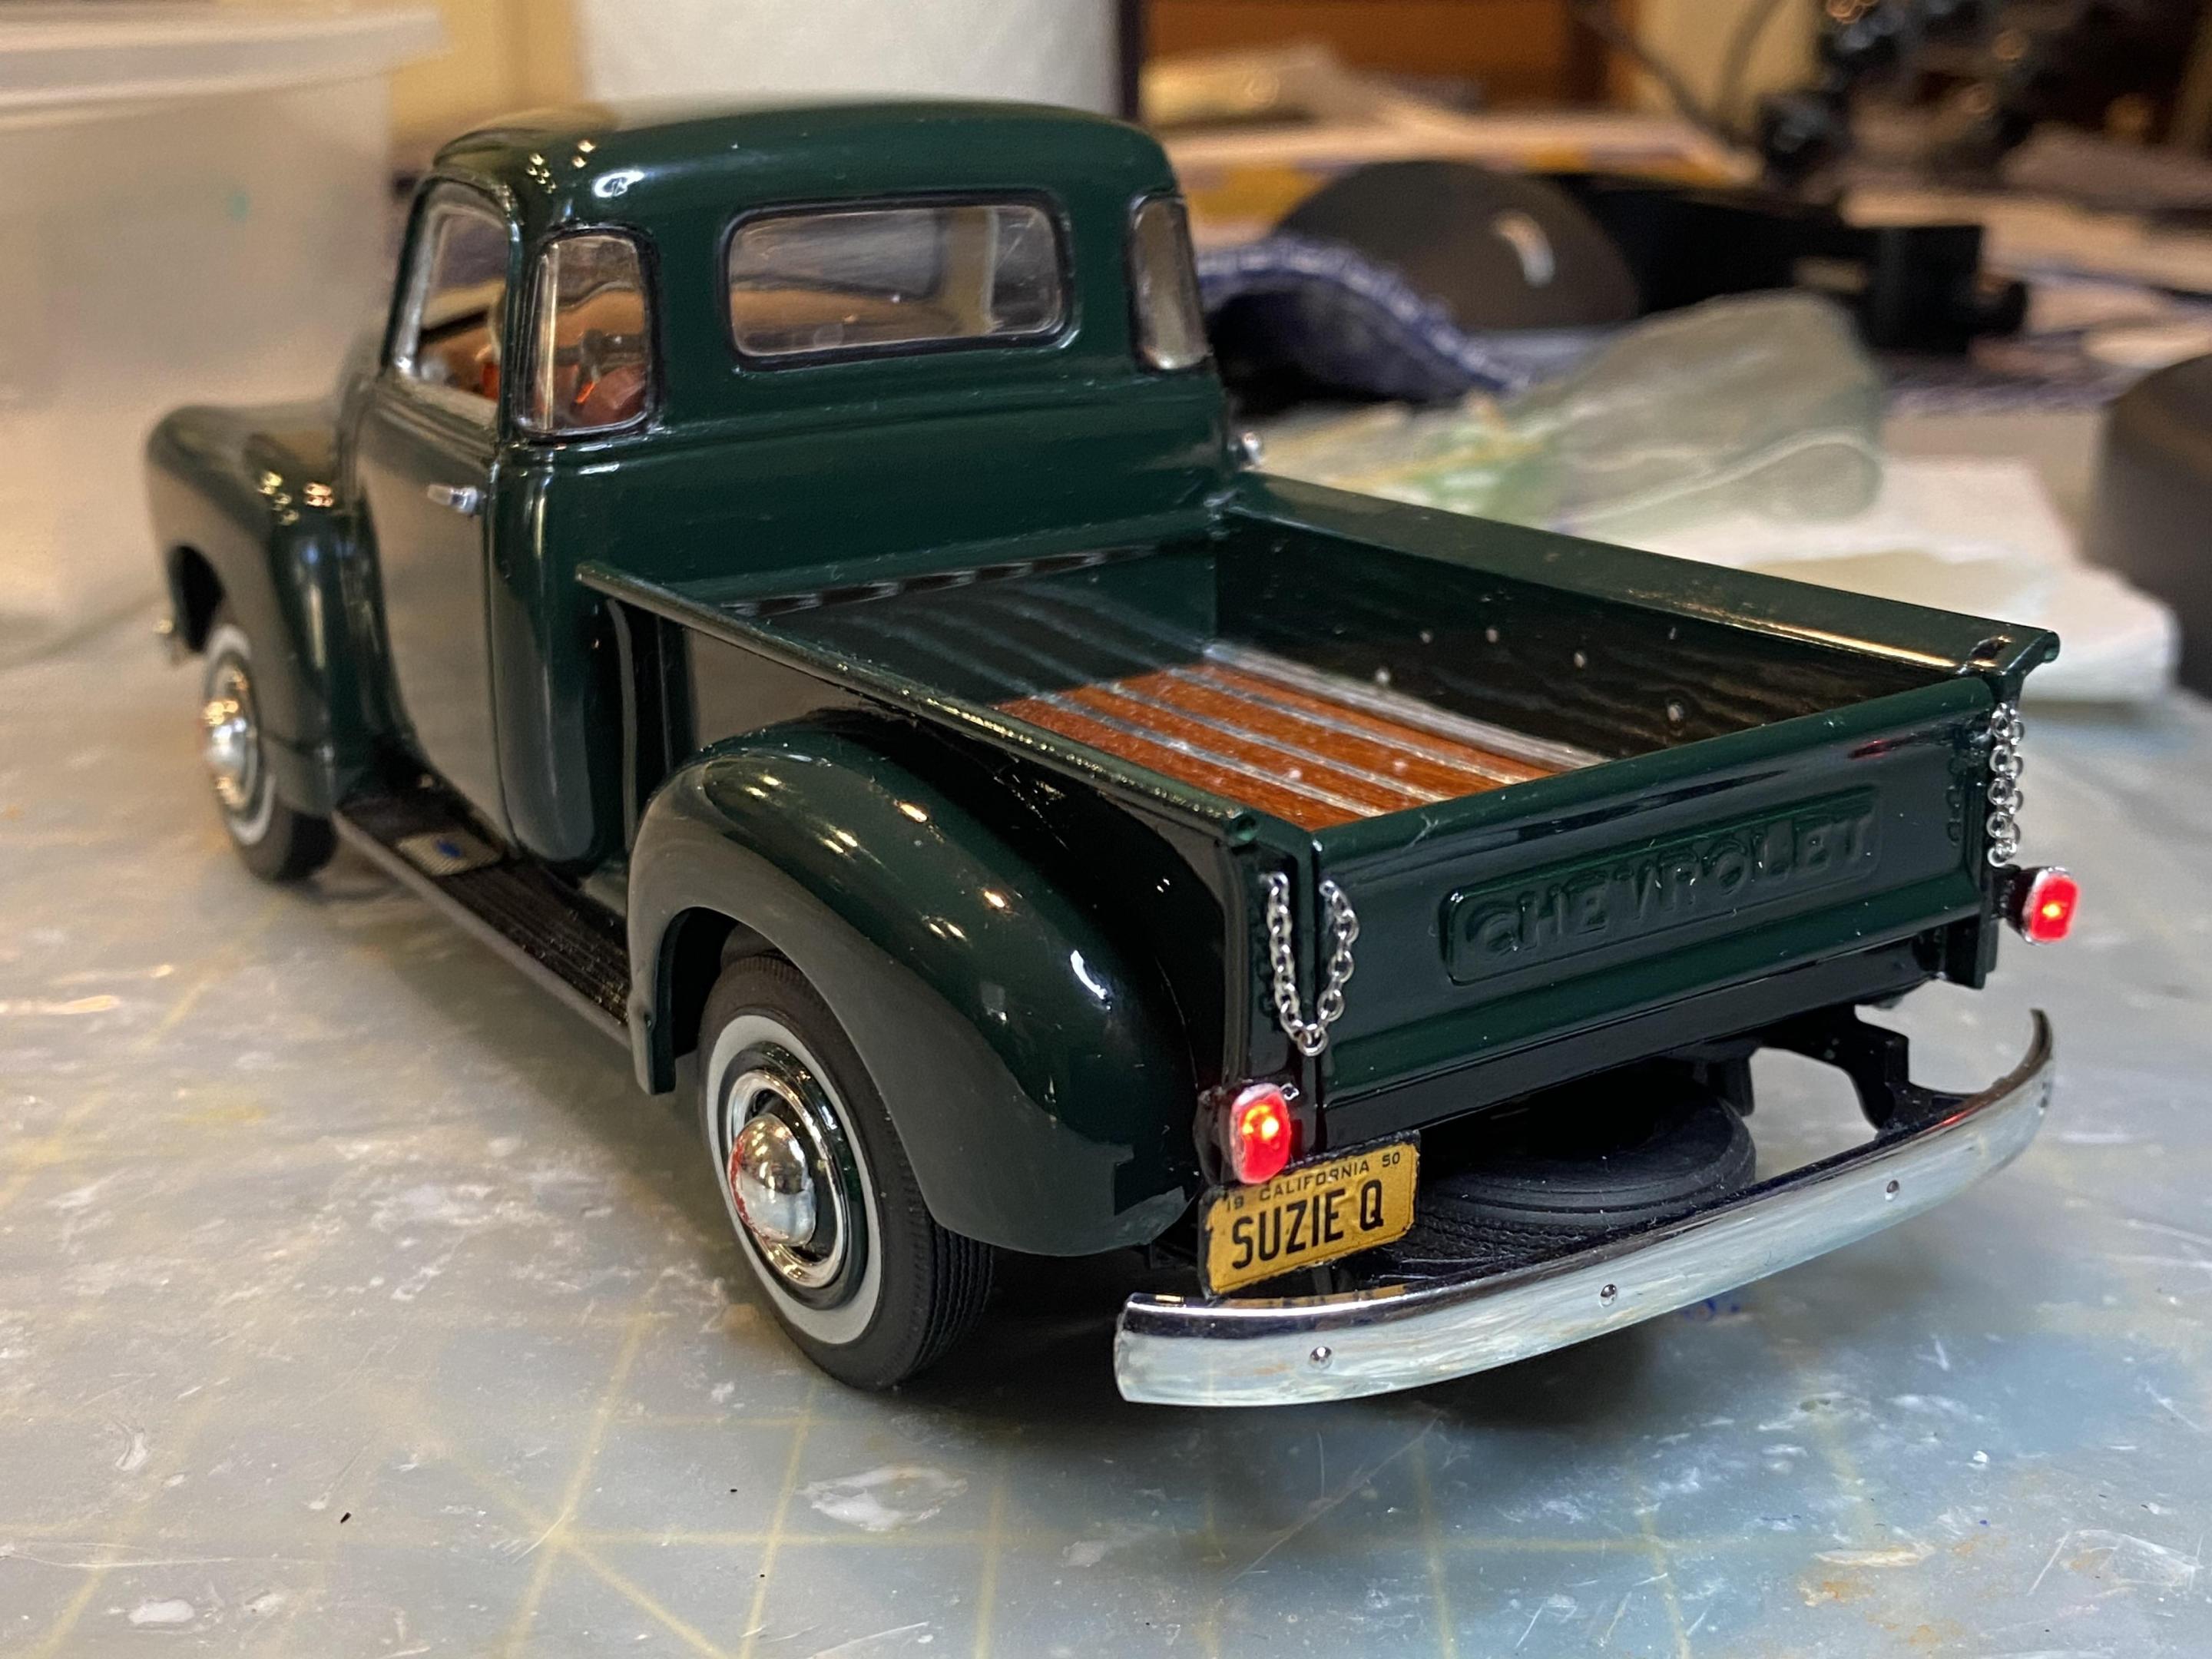
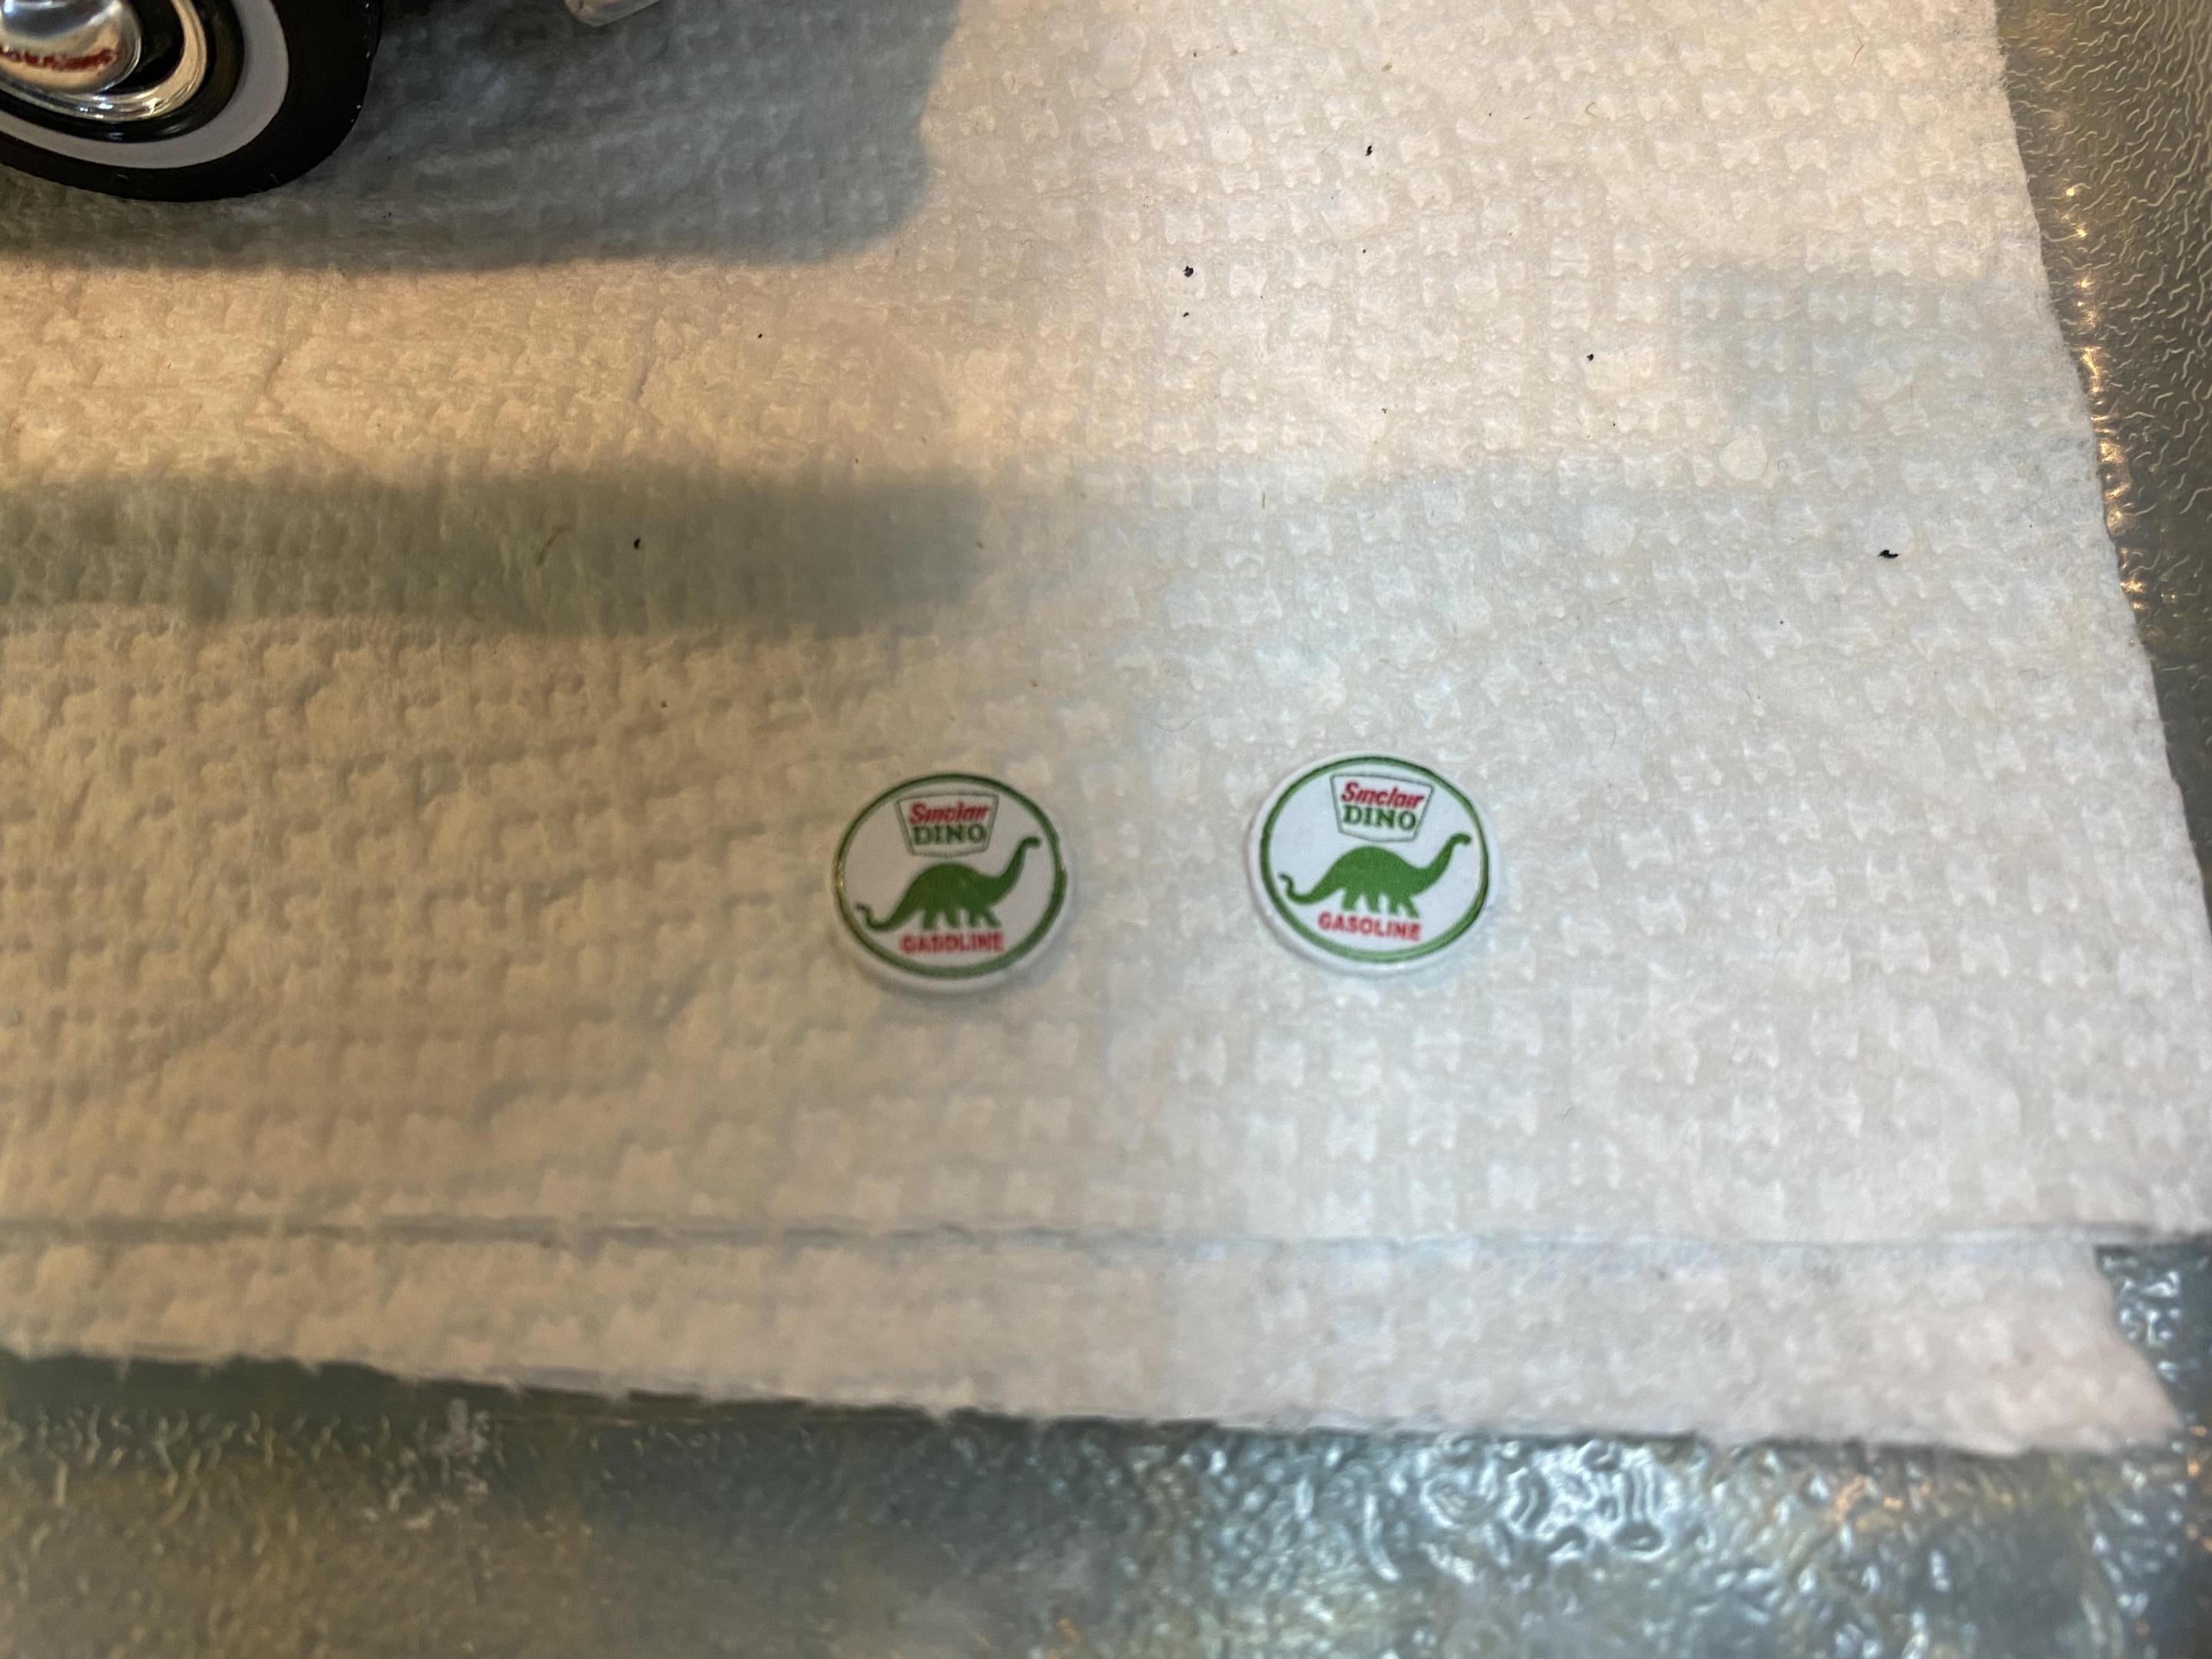
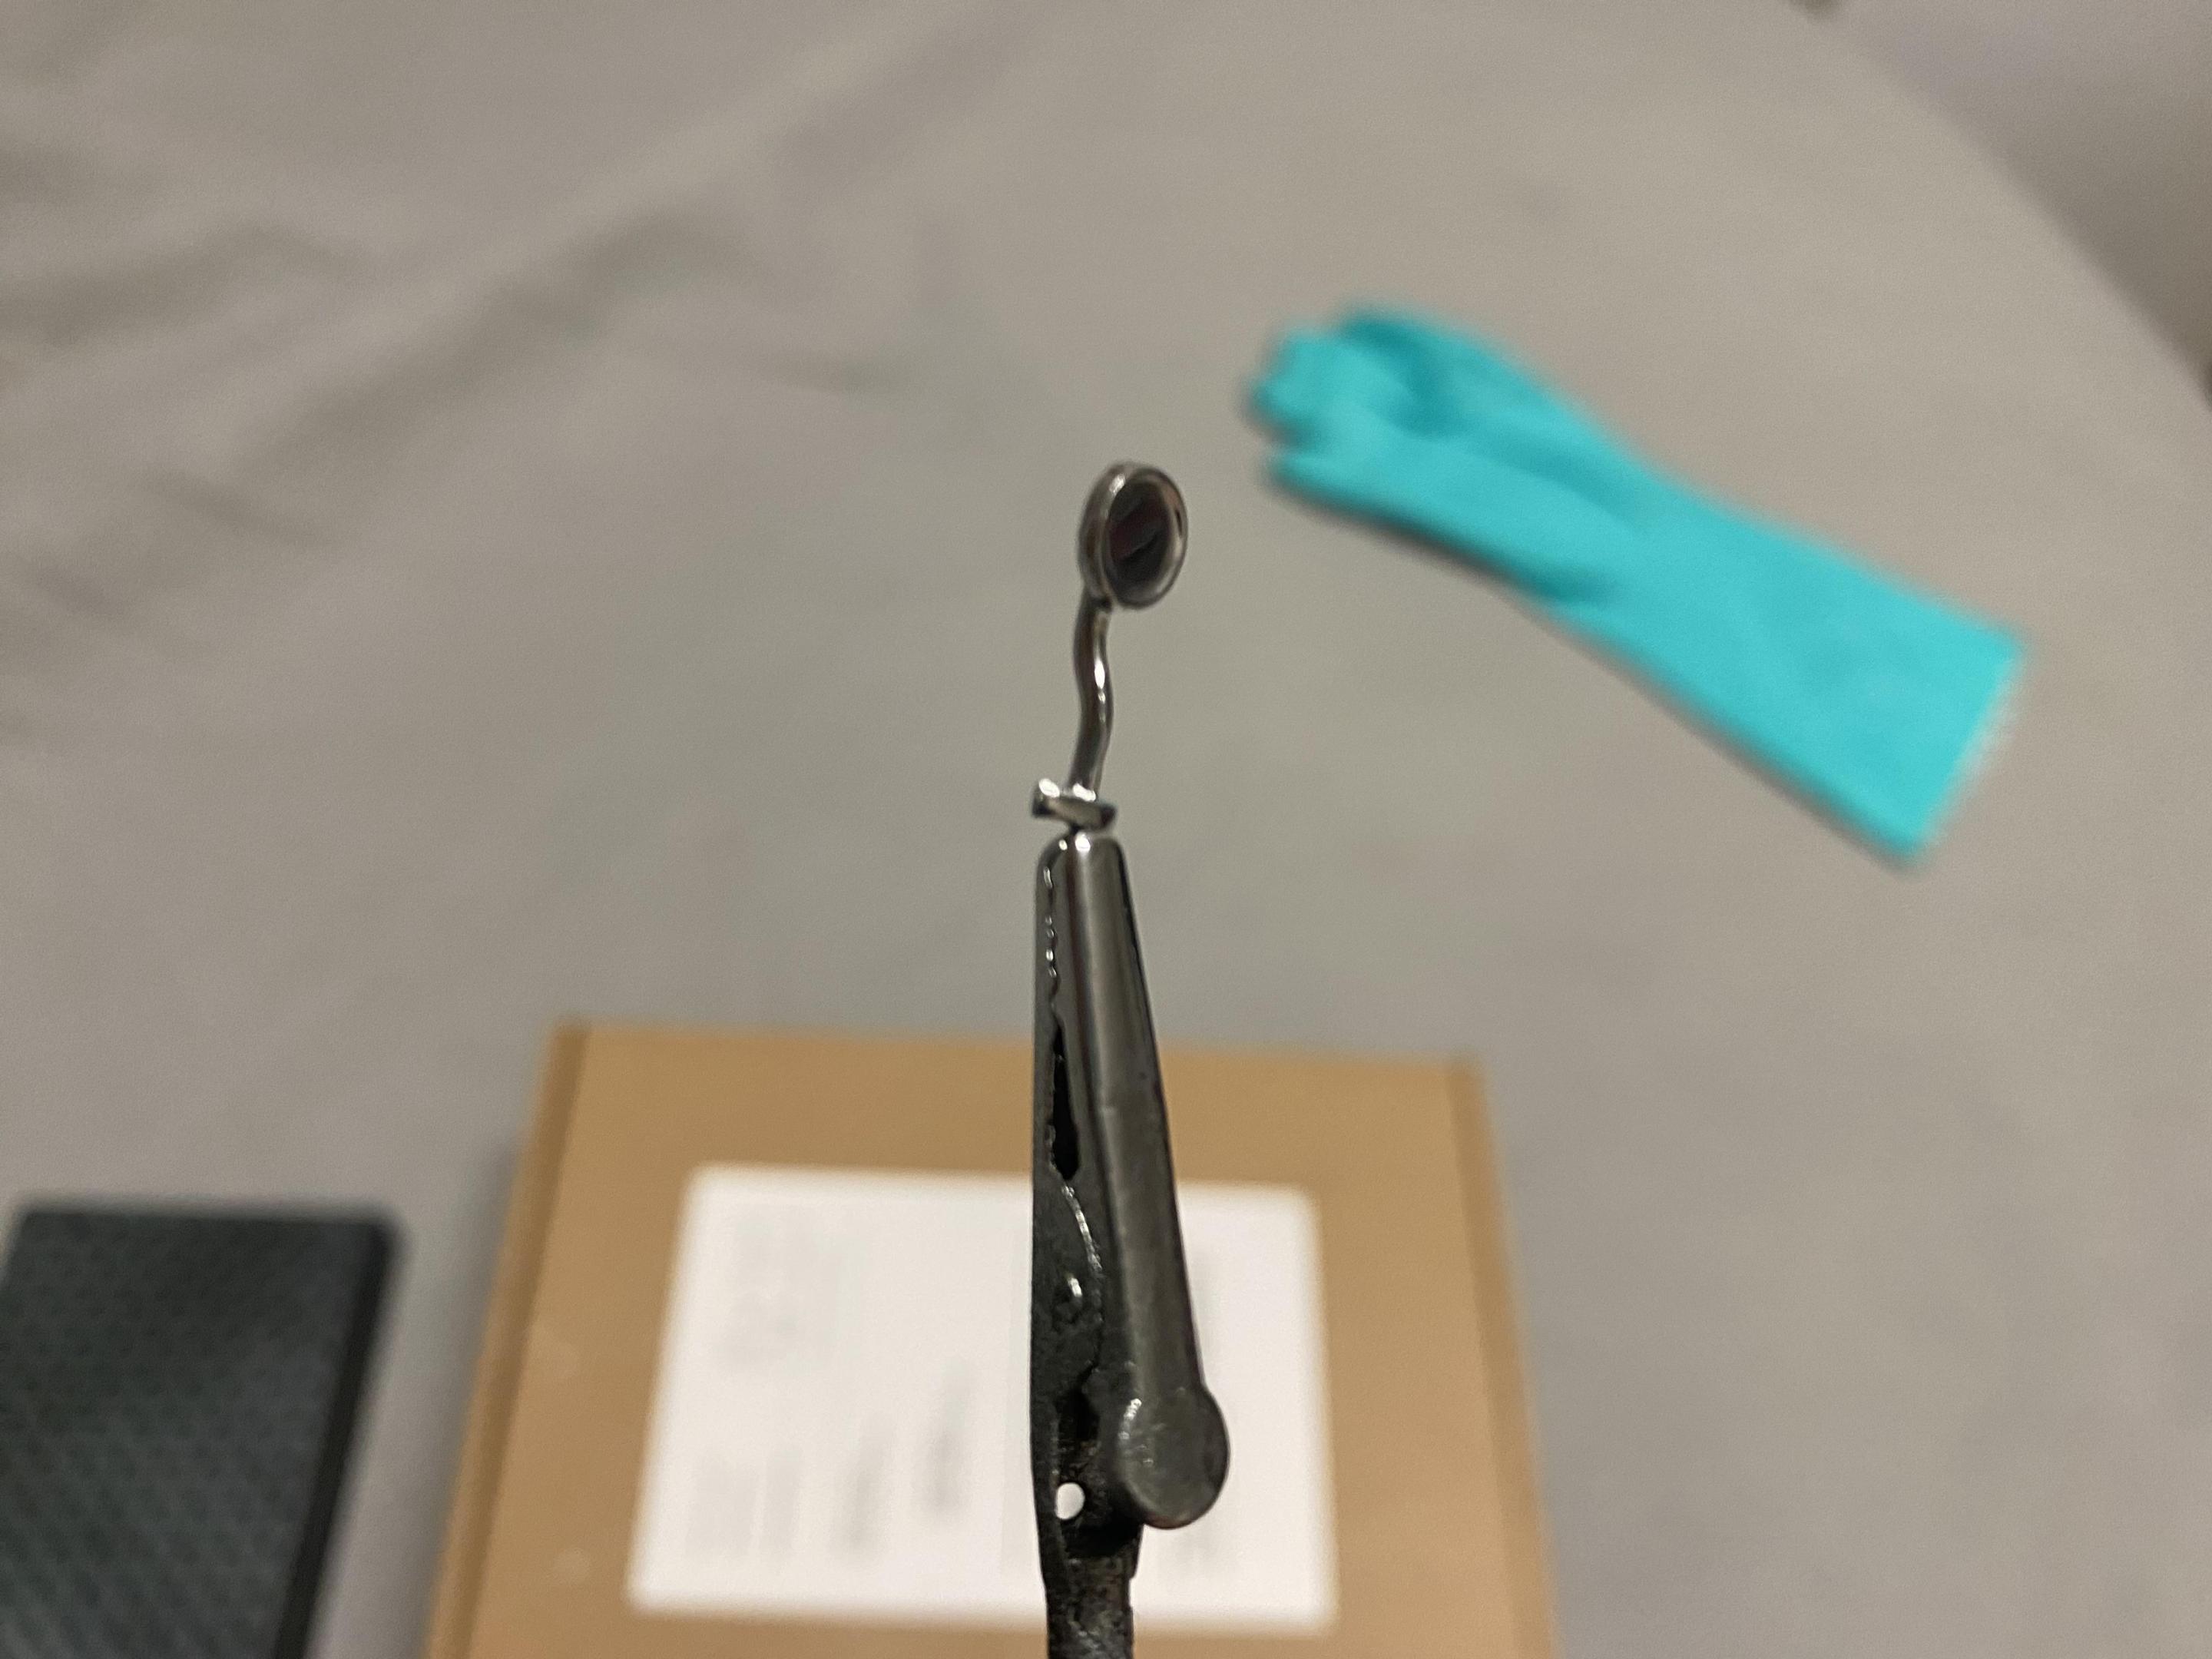
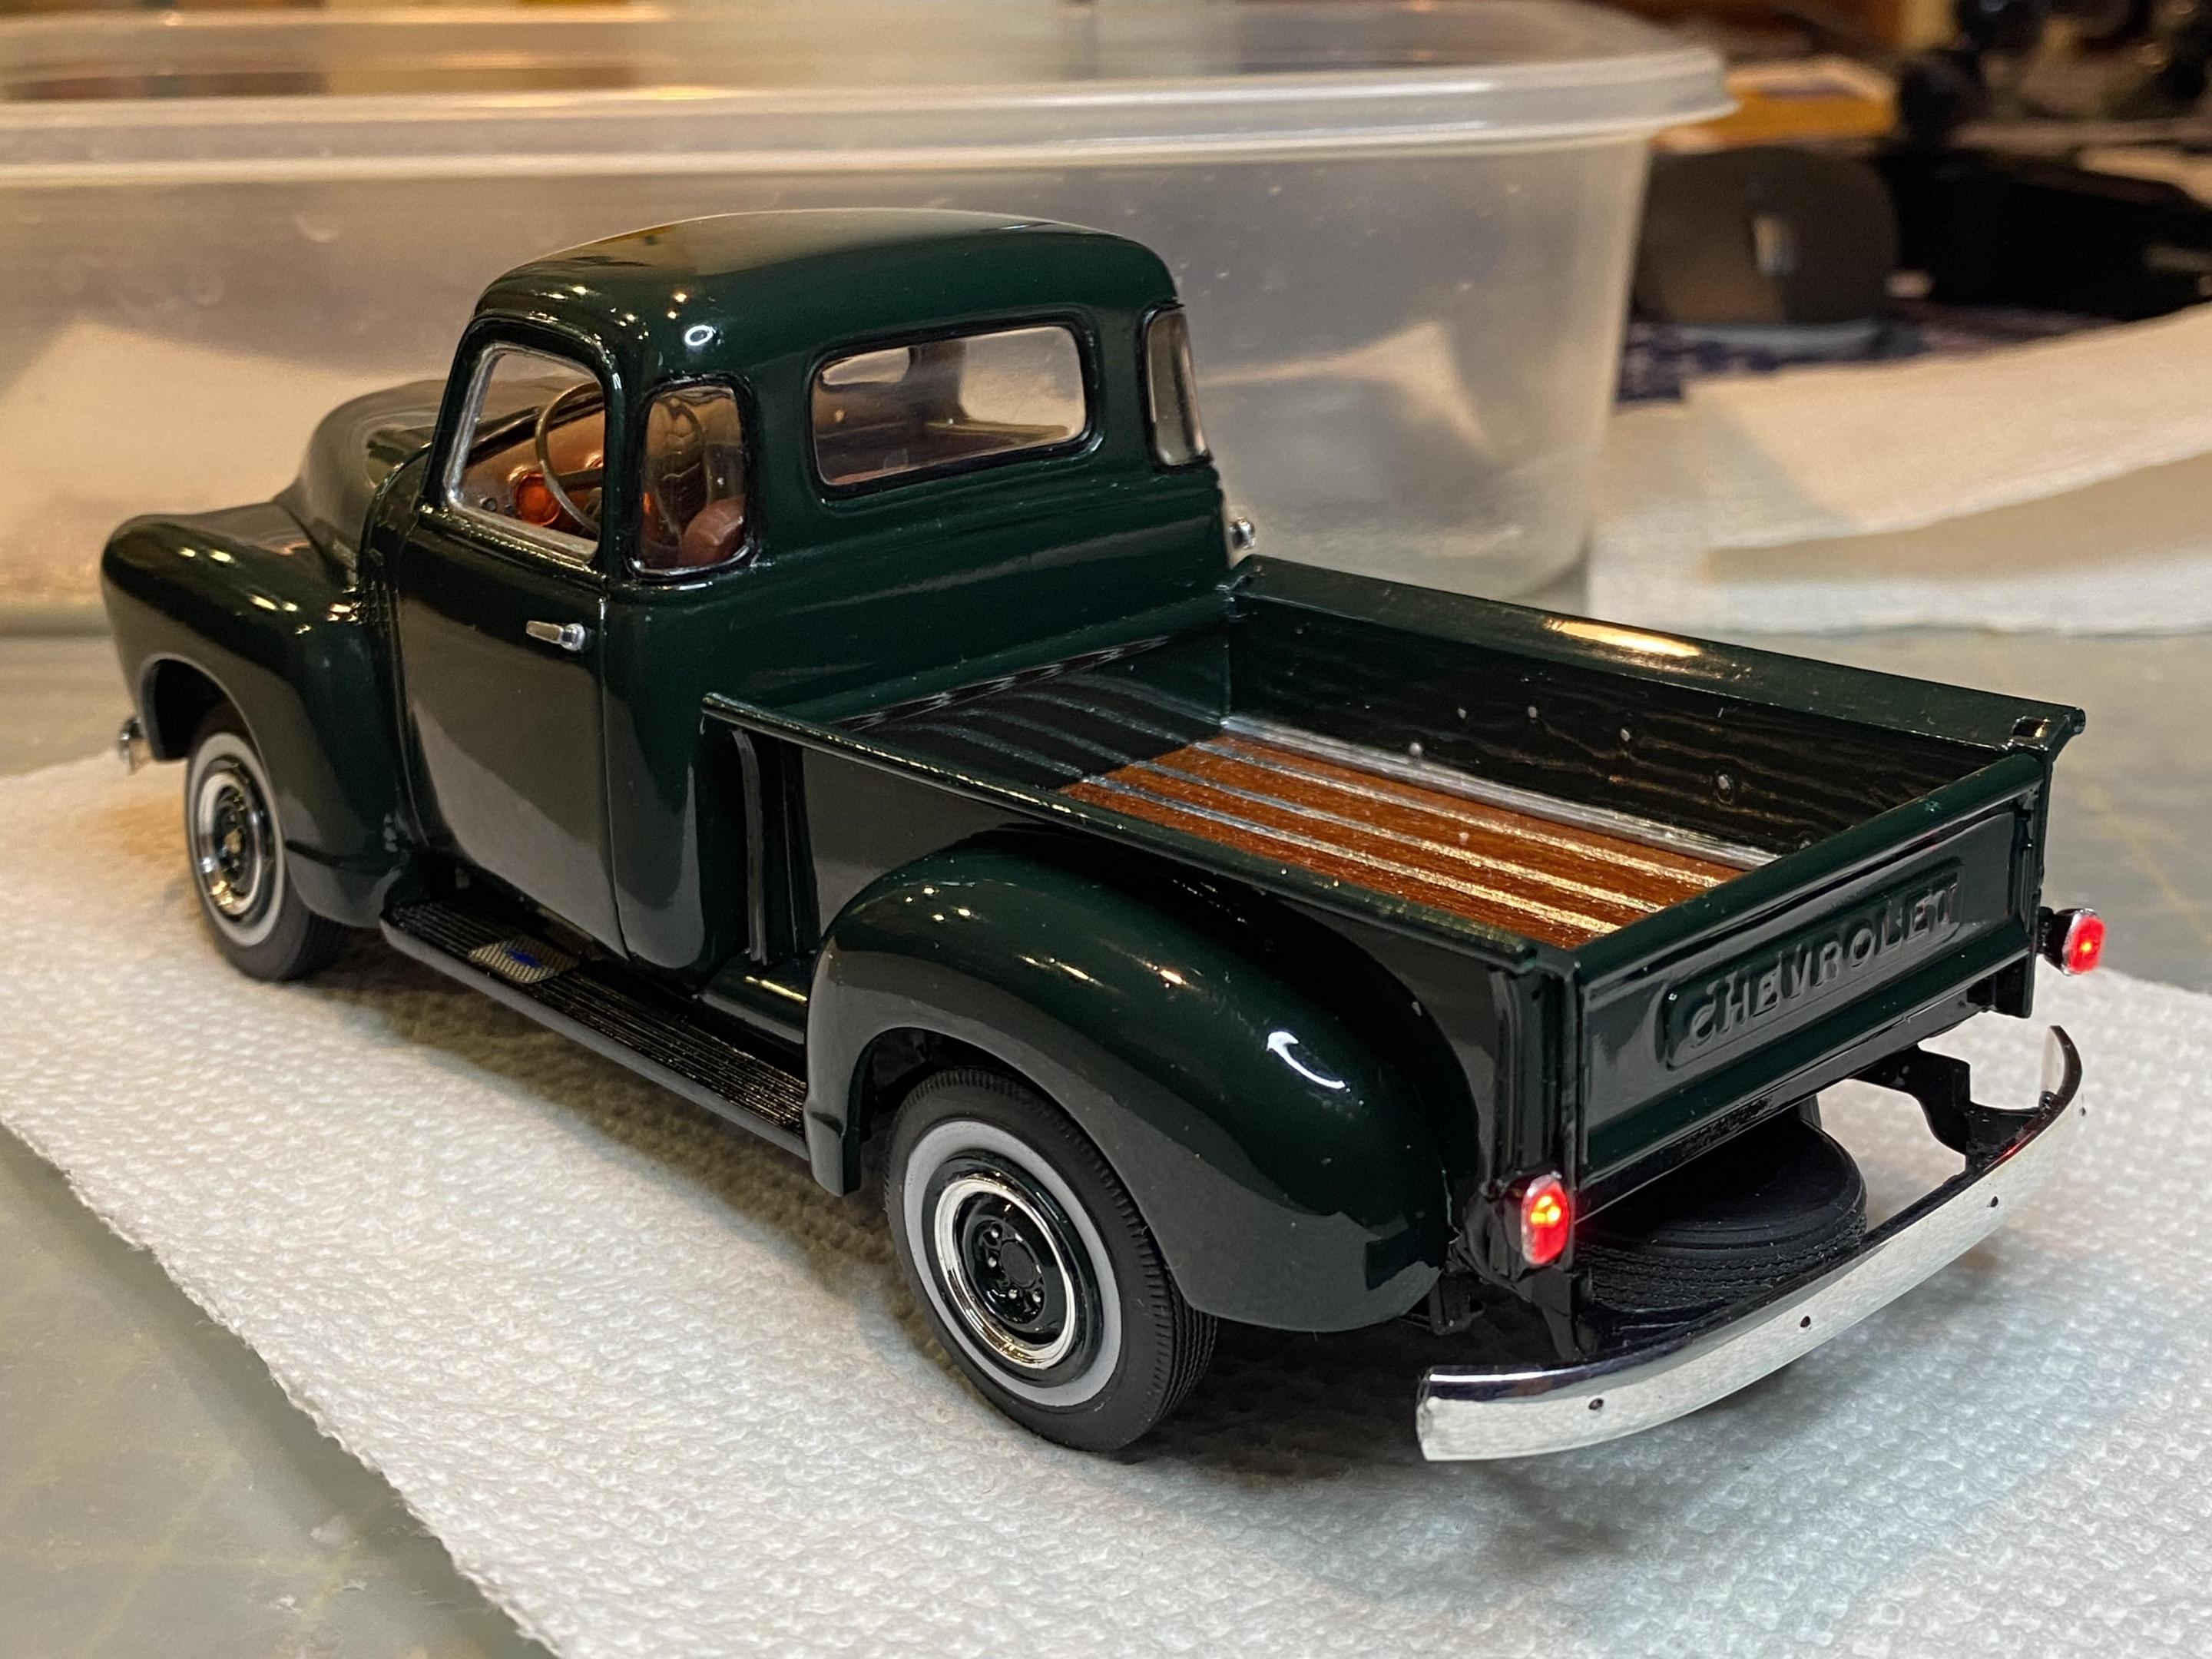
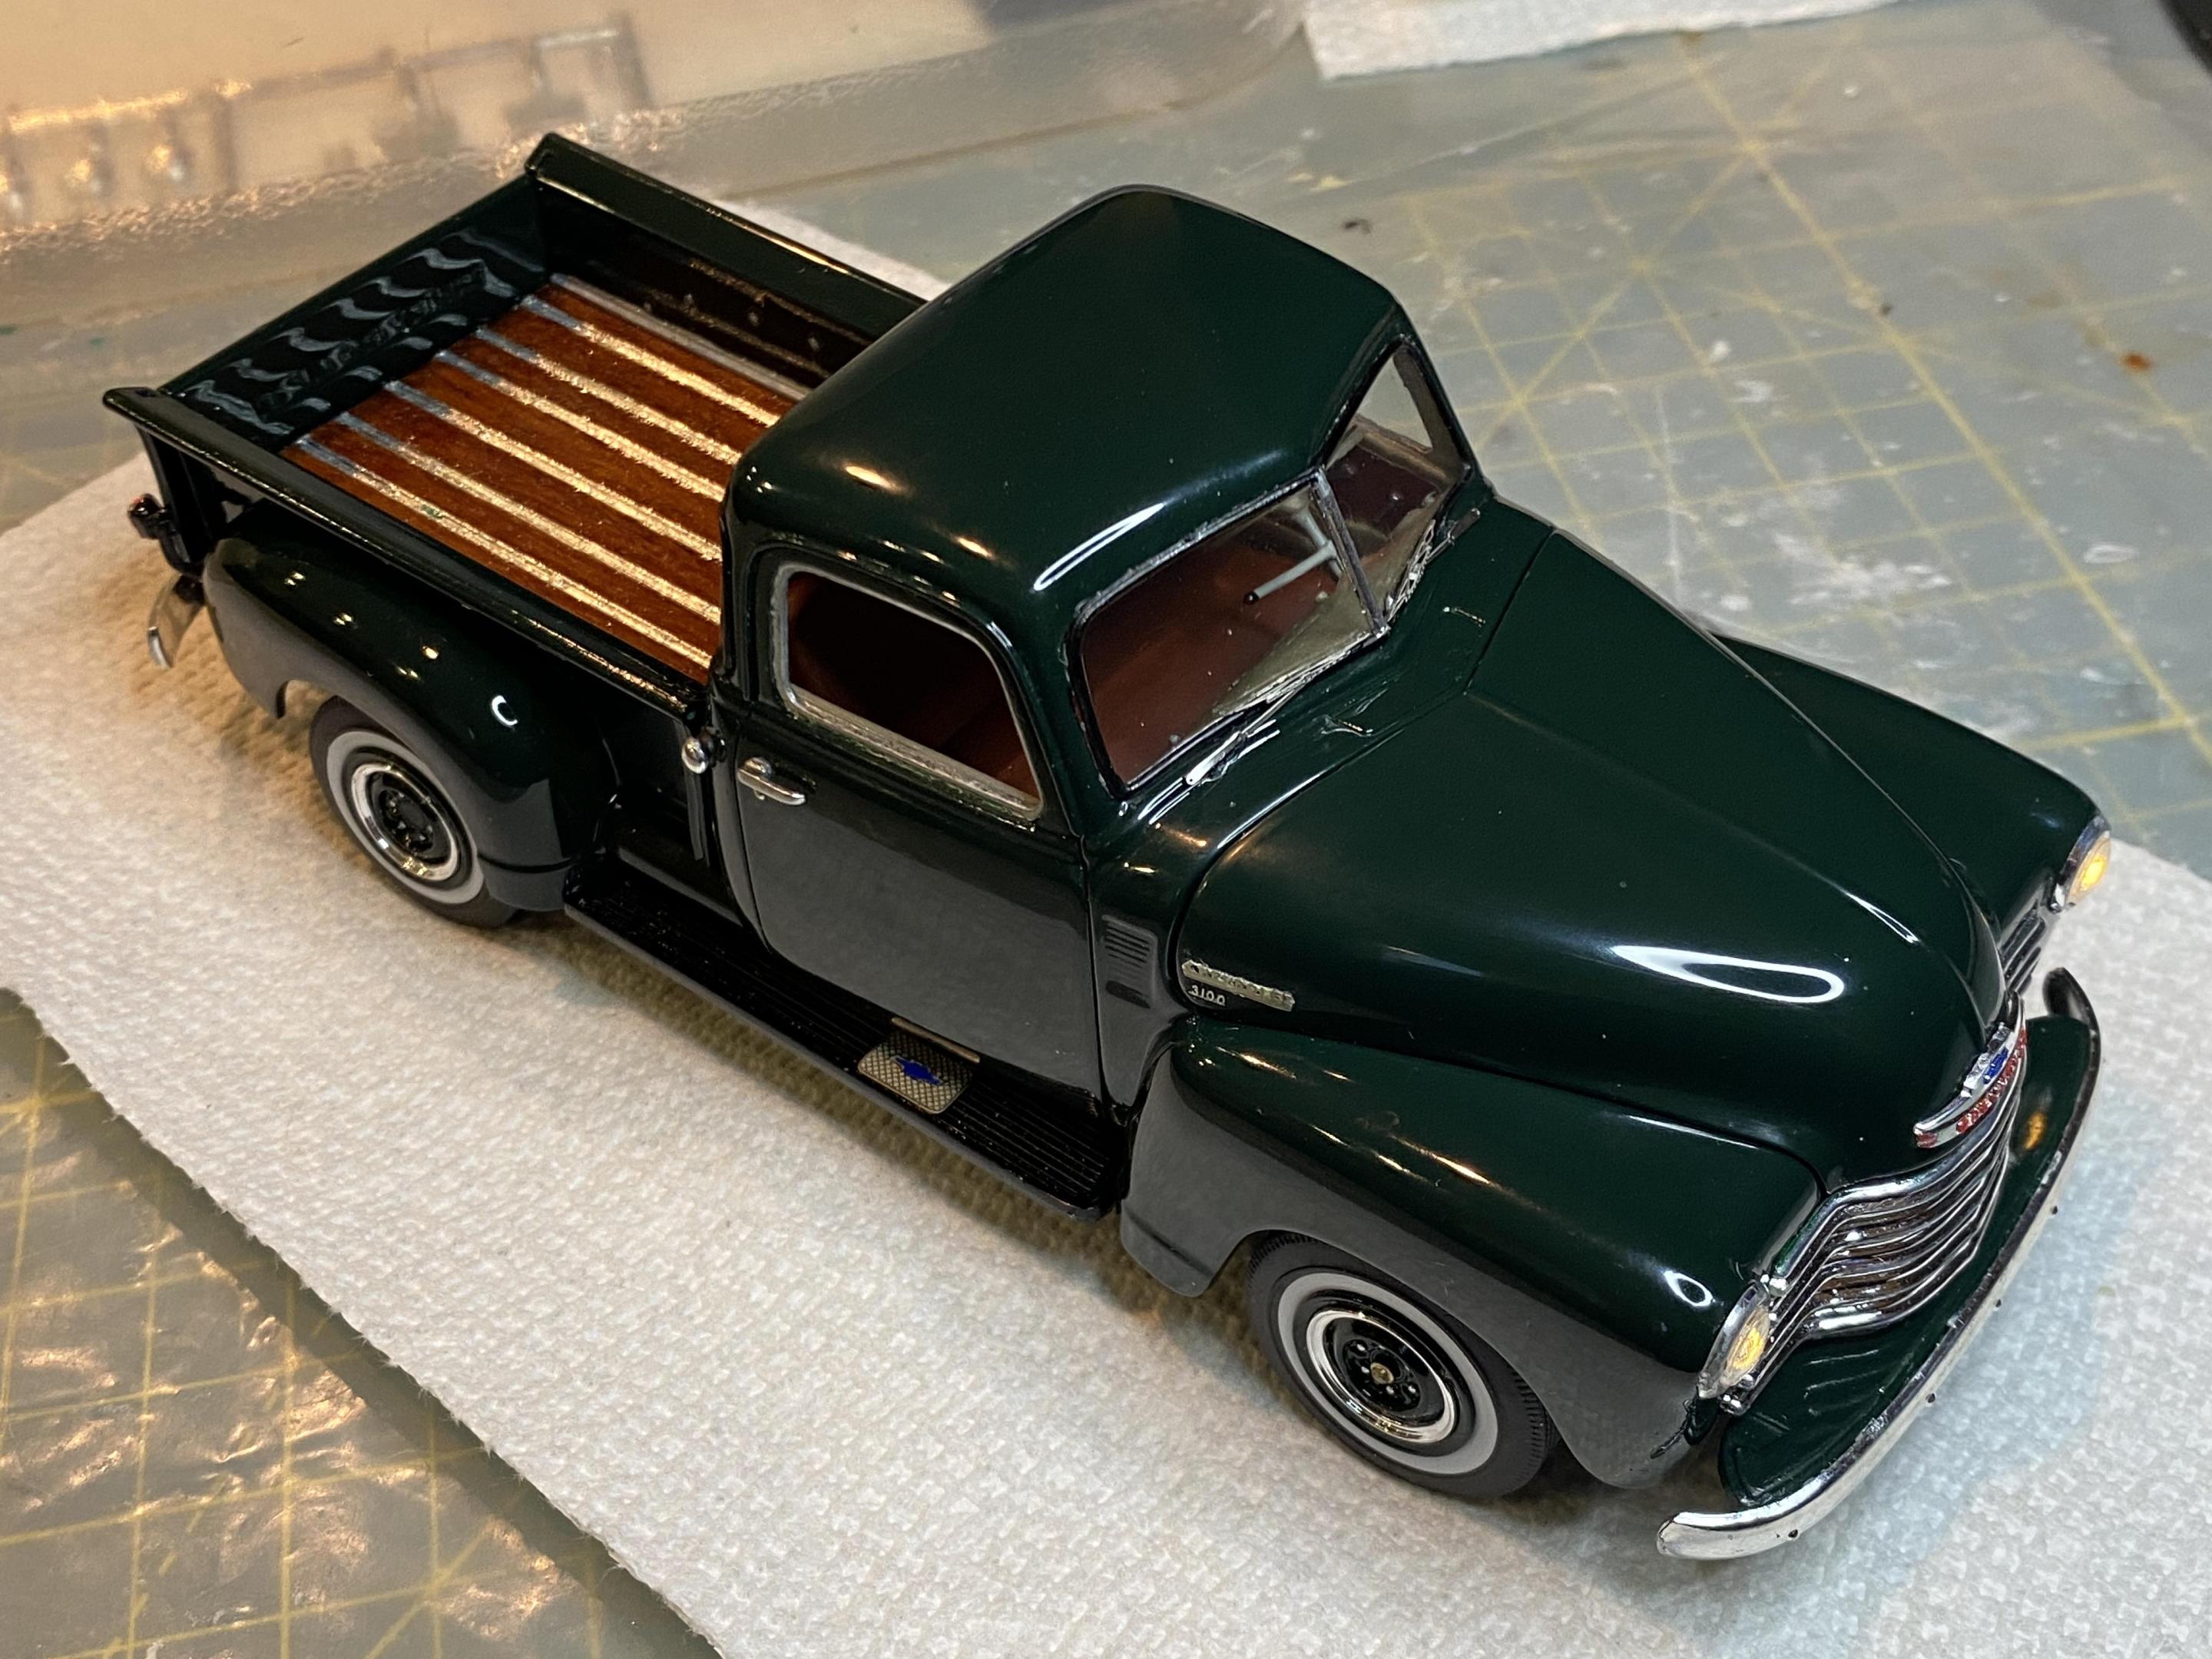
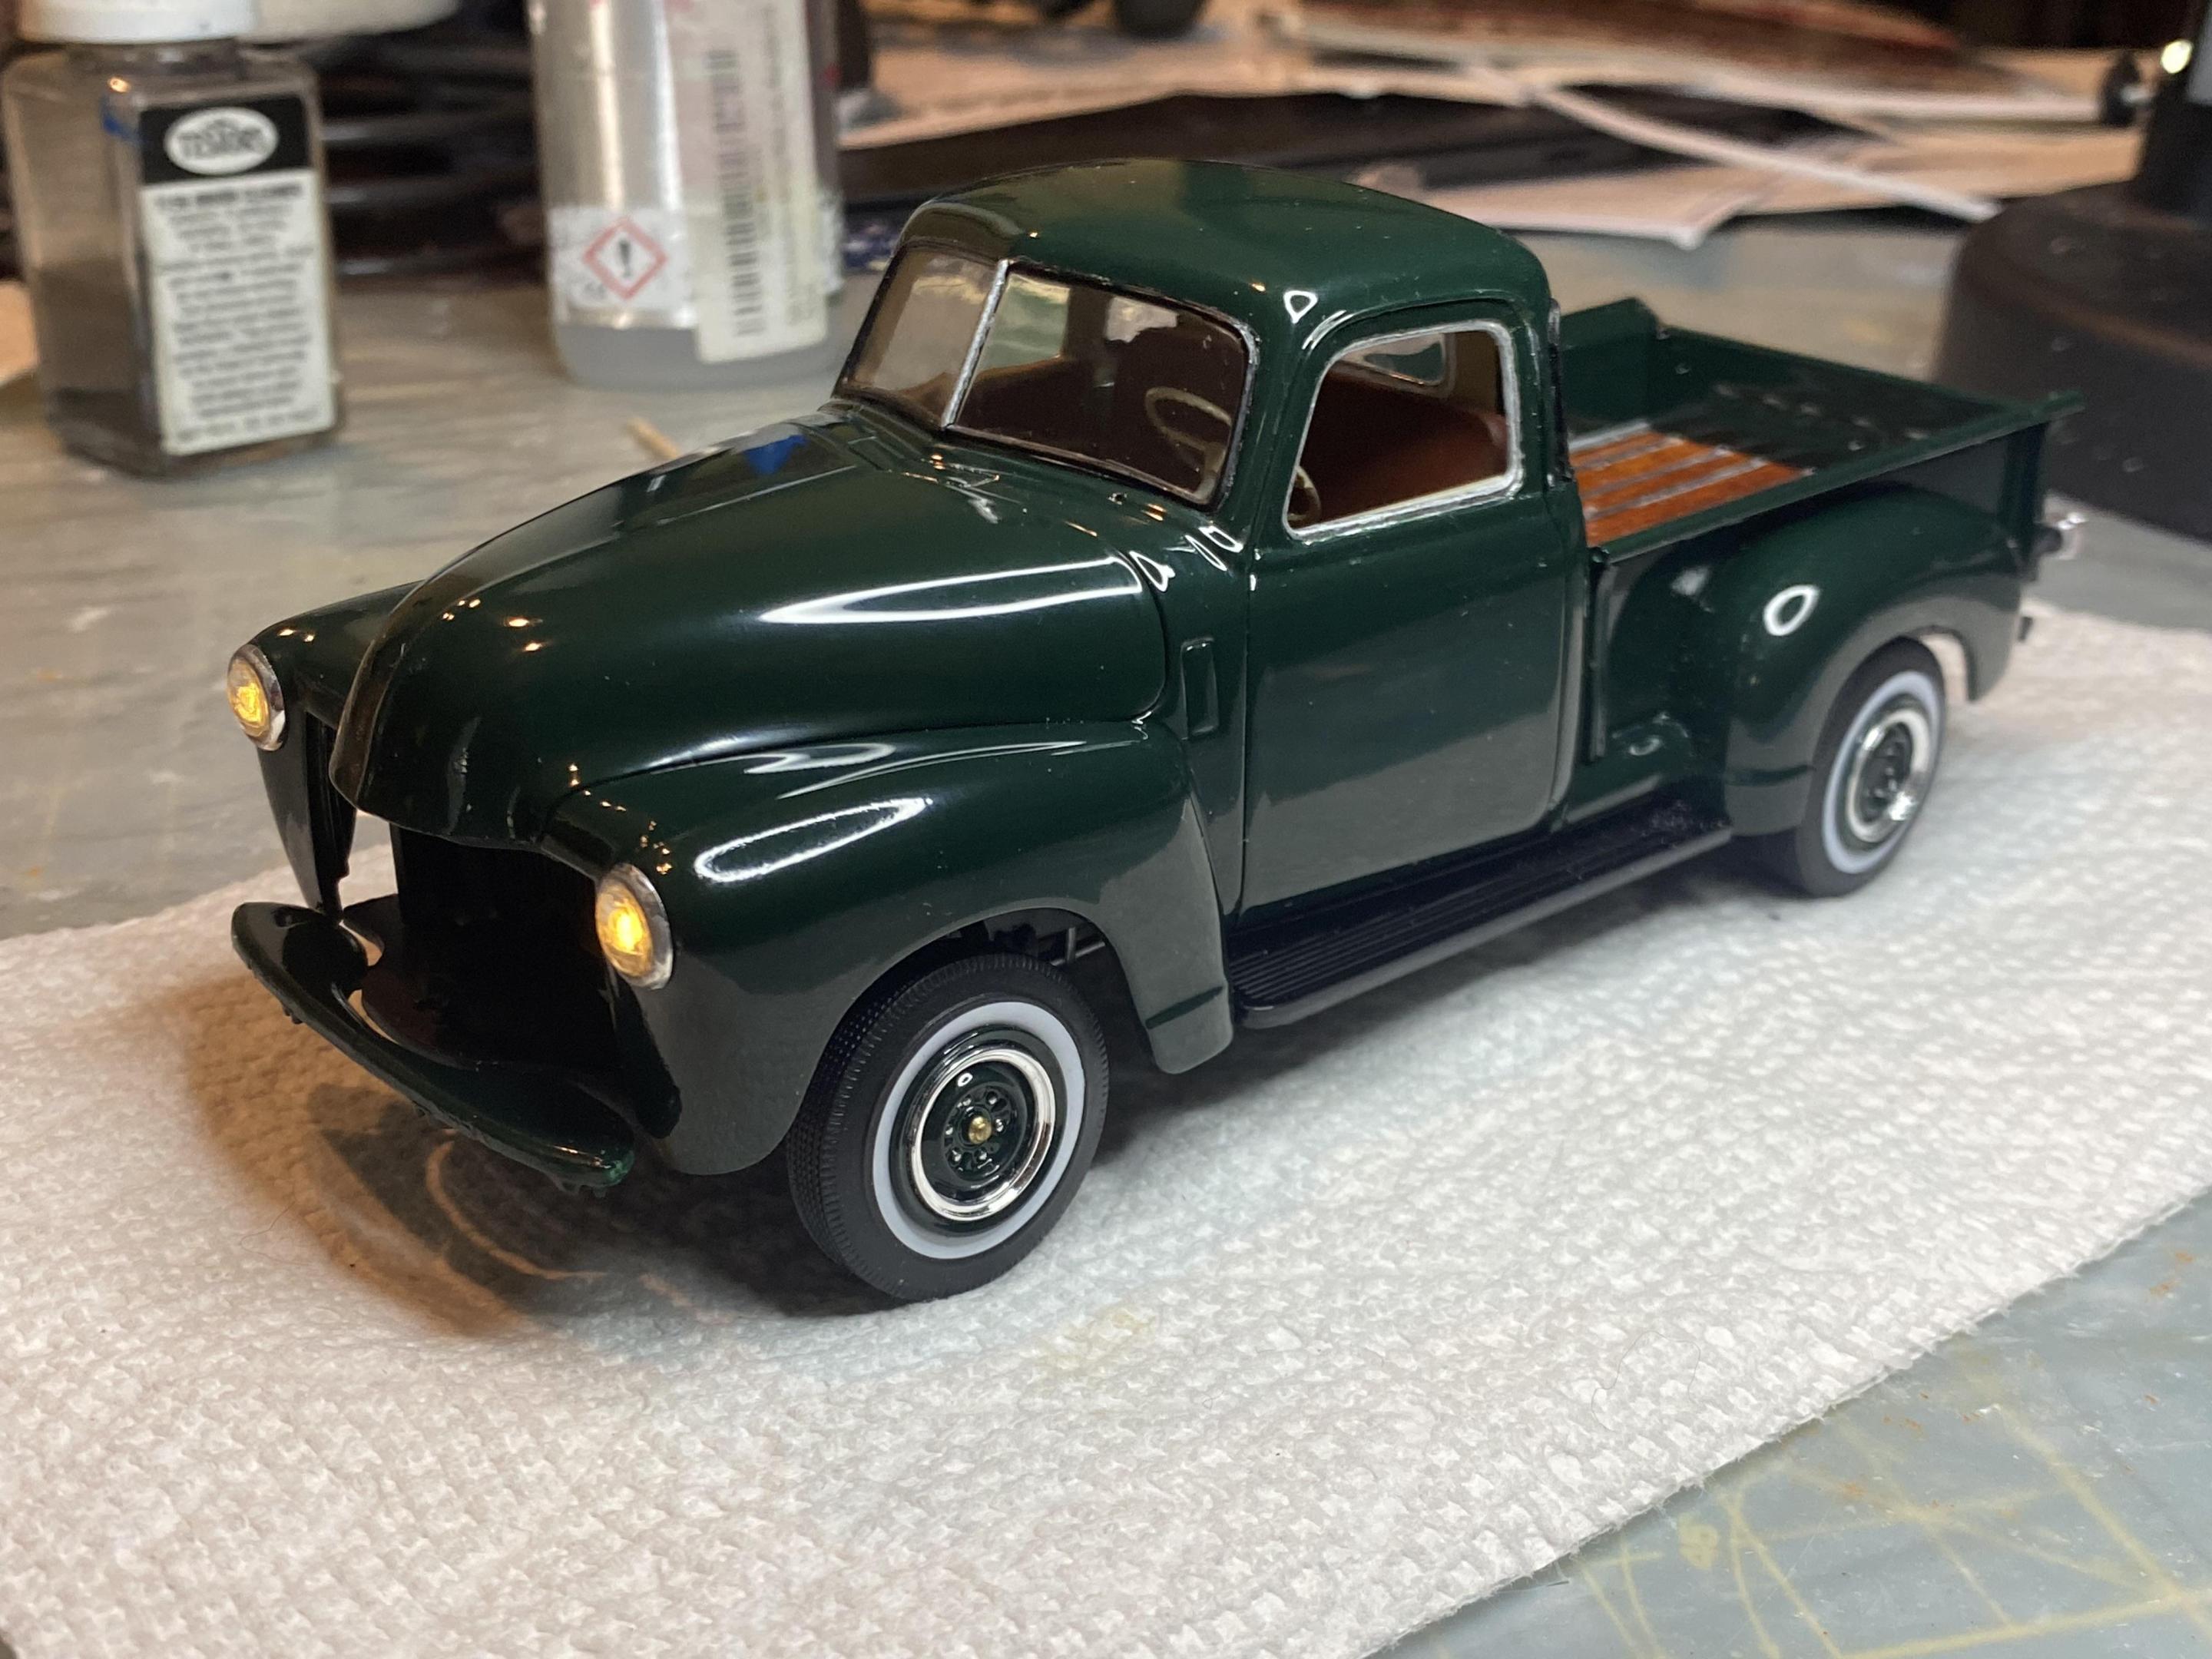
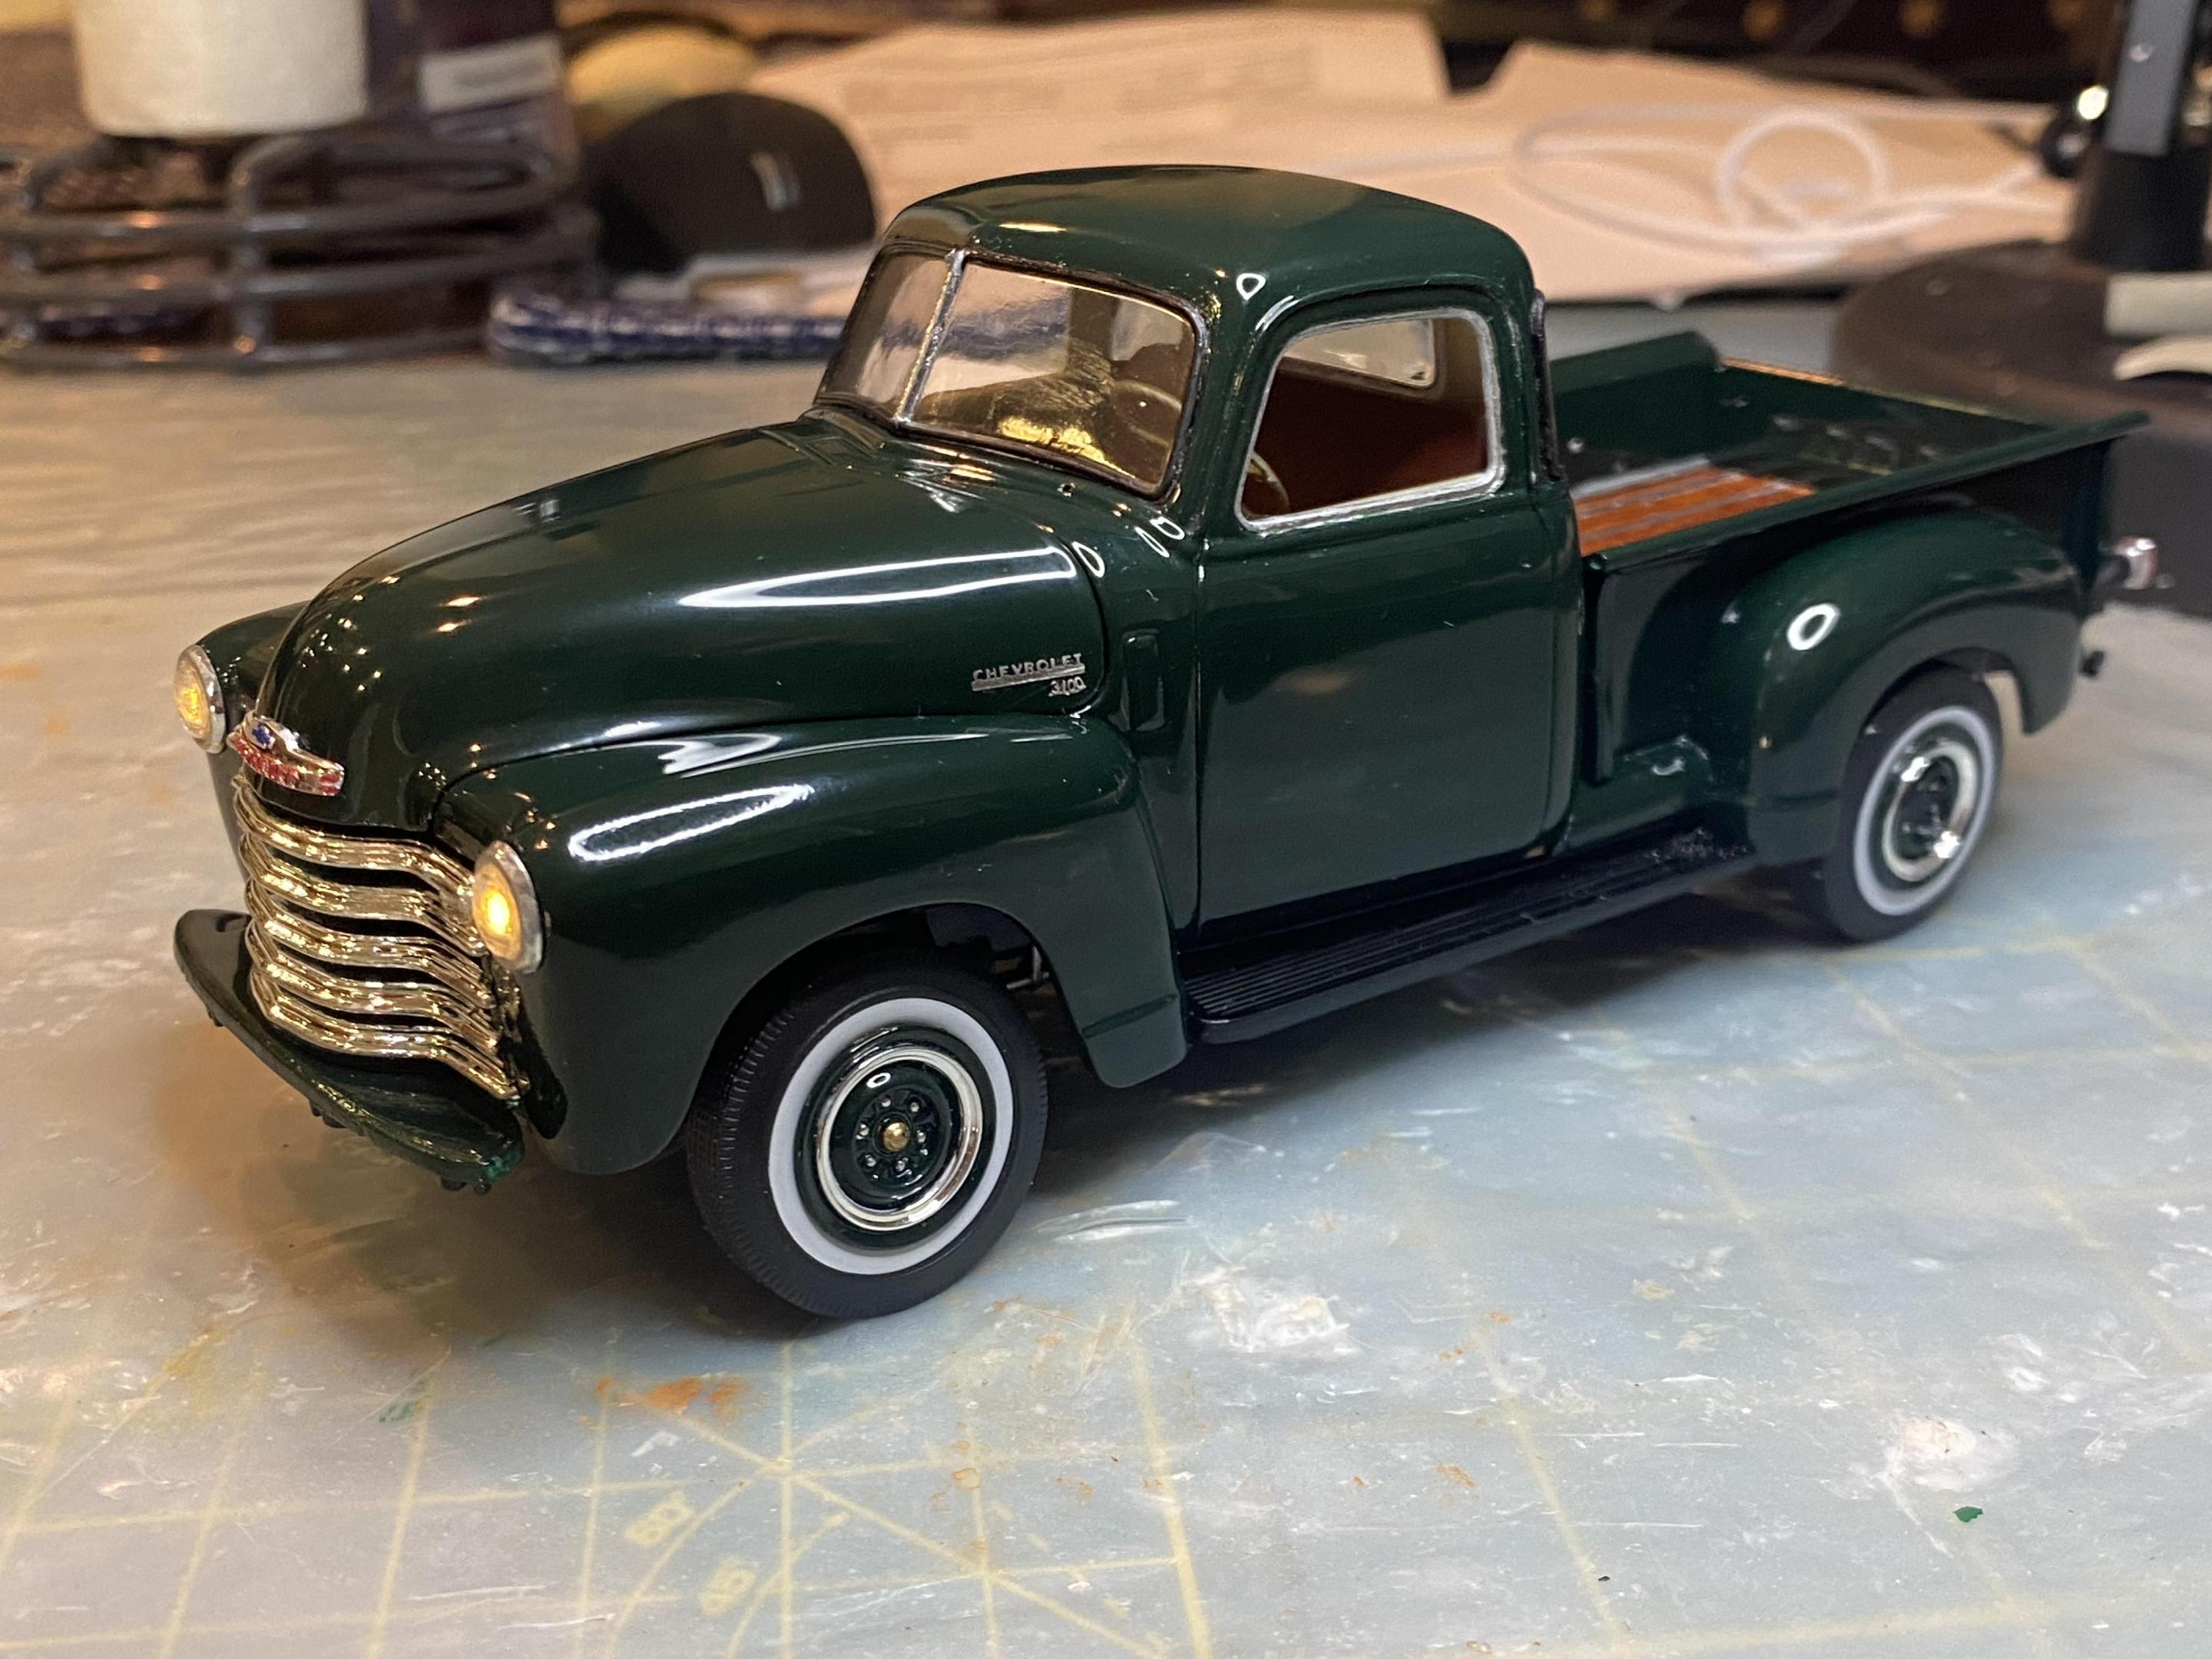
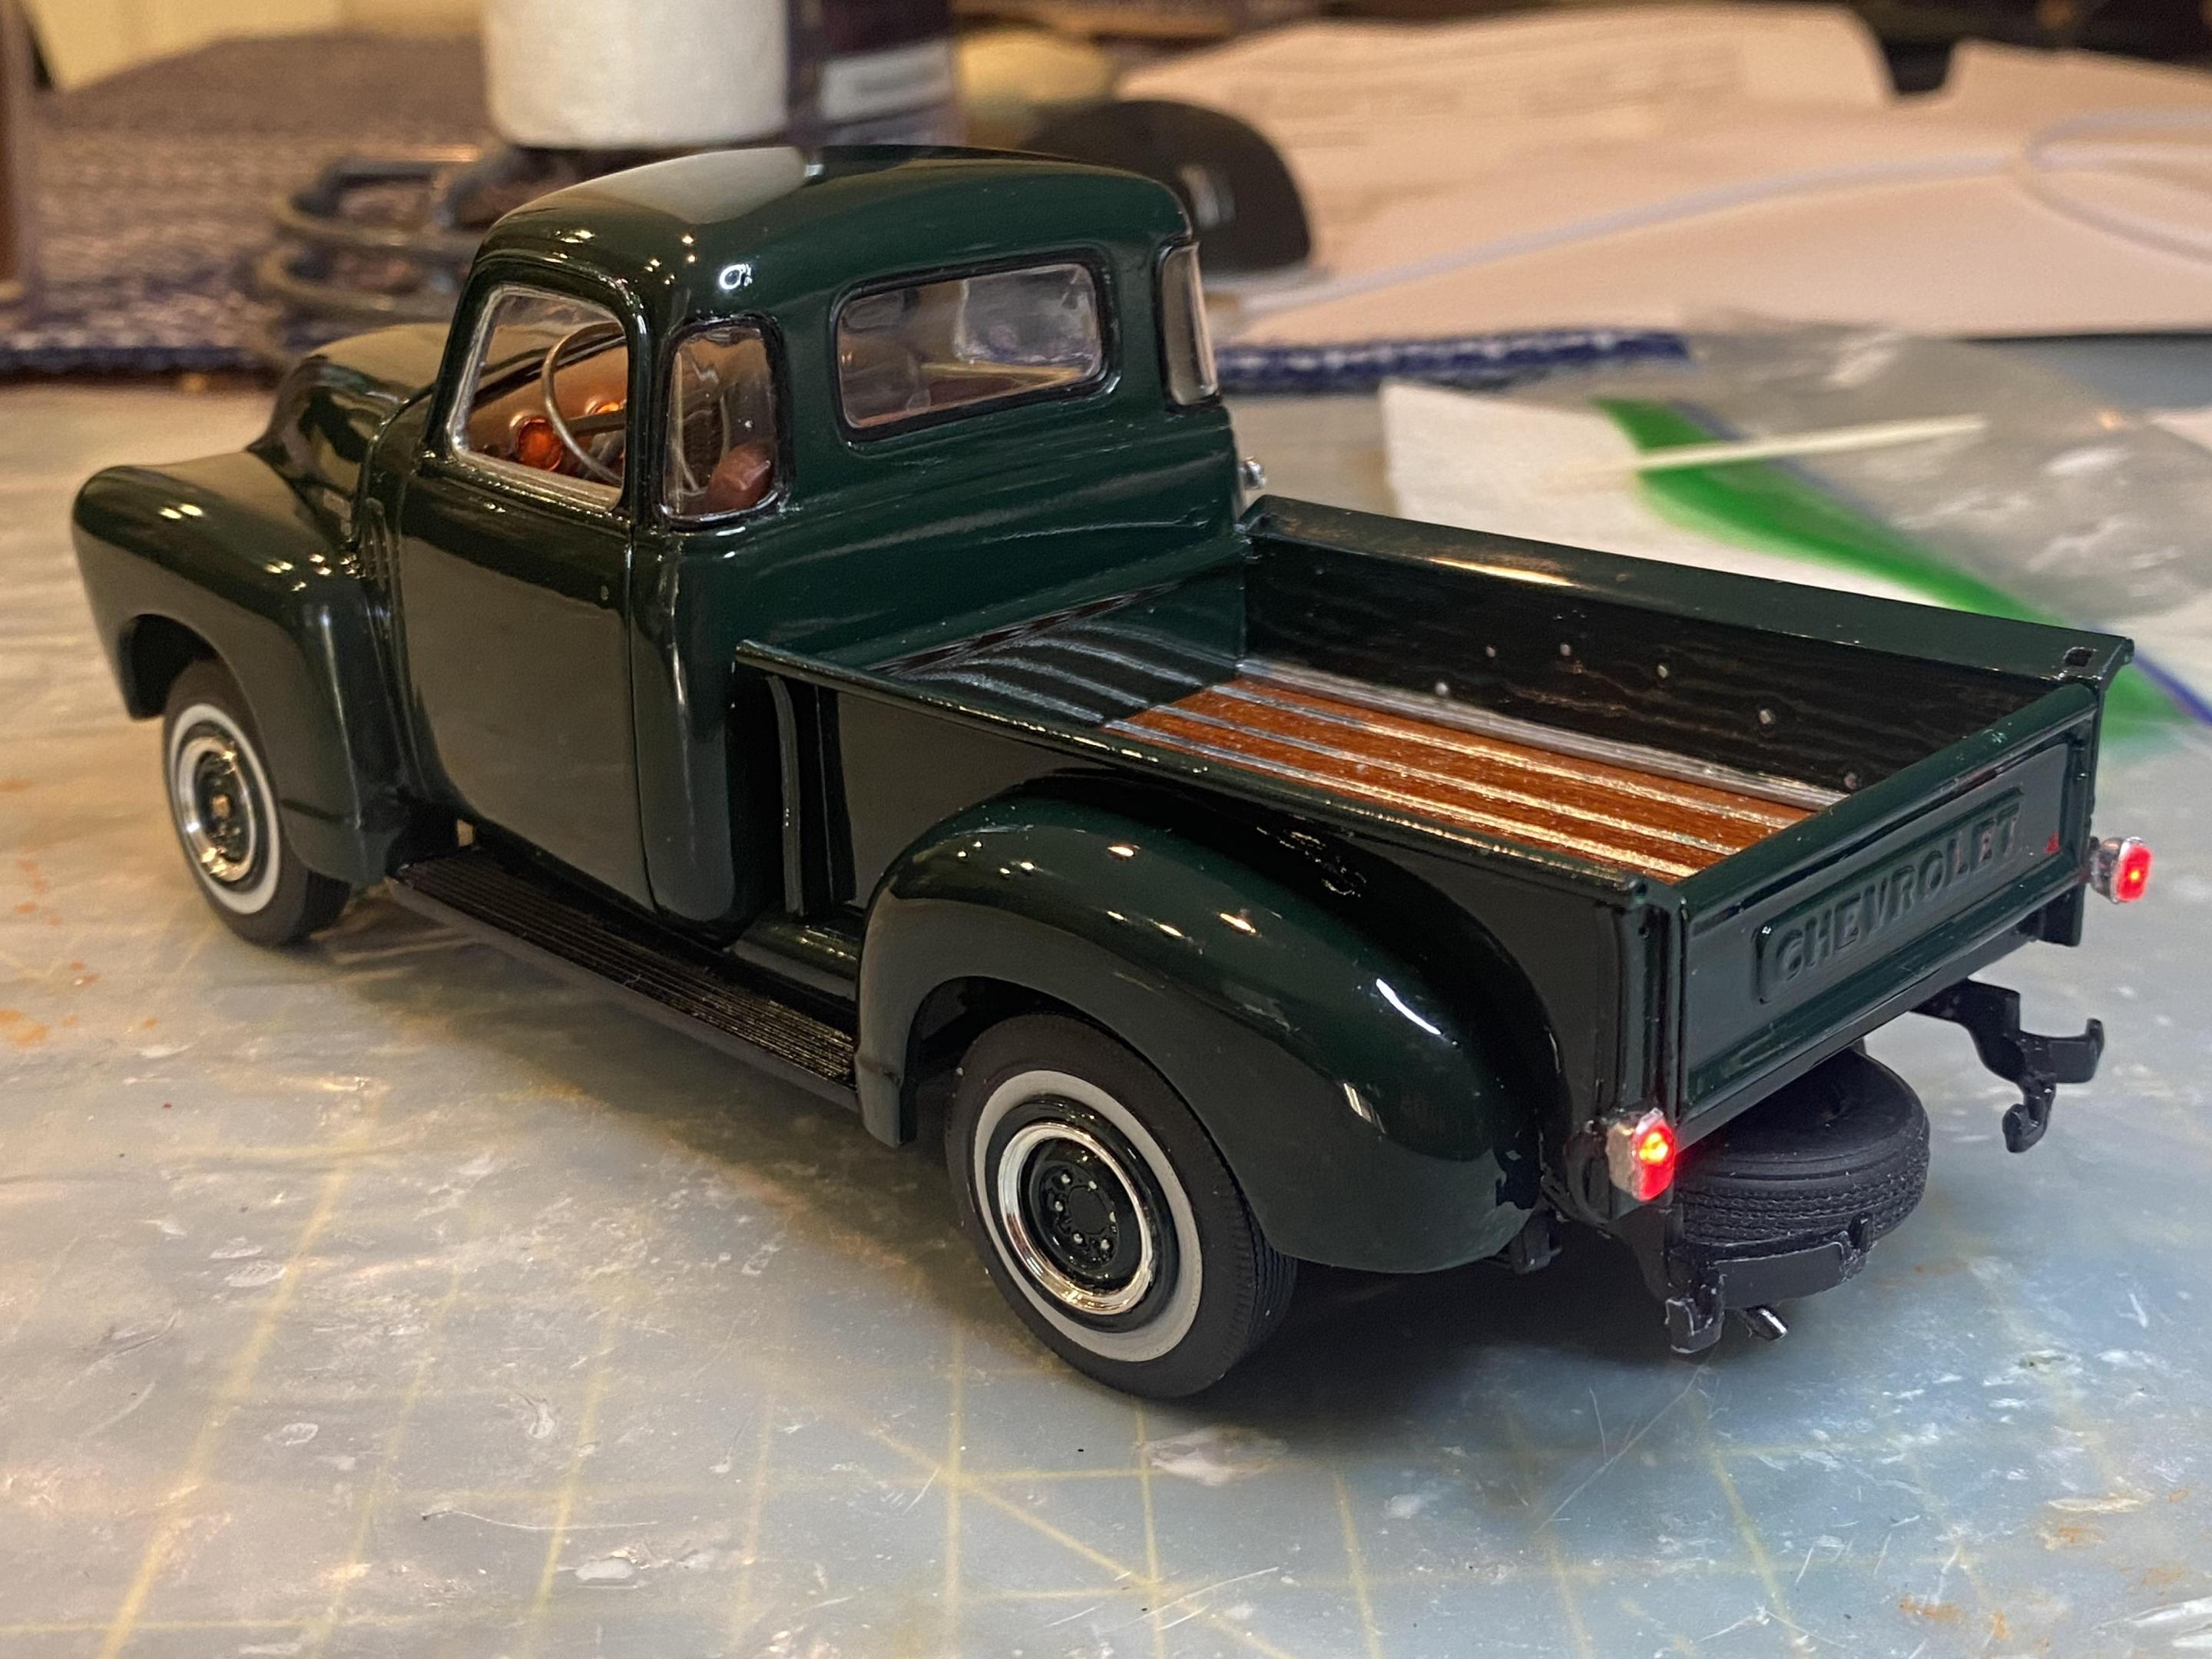
I am getting really close on this build. Added the hubcaps and license plates. The truck is now named Suzie Q. My wife goes by Suzie and this was the build she most wanted done and to her specifications. I didn’t like the mold lines and sprue issues with the rear view mirror so I stripped, smoothed the bar, pinned and rechromed. my son has a Sinclair vintage gas pump globe in his room as a light so the signs for the bed slats are of that image. I have some bass wood to make the bed side slats. just a few more things and final polish and coating. It has gotten covered in finger prints and dust during the process. -

1955 Ford F-100 Street Rod
Duddly01 replied to Zippi's topic in WIP: Model Trucks: Pickups, Vans, SUVs, Light Commercial
Looks great! I use Molotow through an airbrush a lot. I get the refills, a lot more liquid and easier to pour into the cup. -

1950 Chevy 3100 Pickup WIP
Duddly01 replied to Duddly01's topic in WIP: Model Trucks: Pickups, Vans, SUVs, Light Commercial
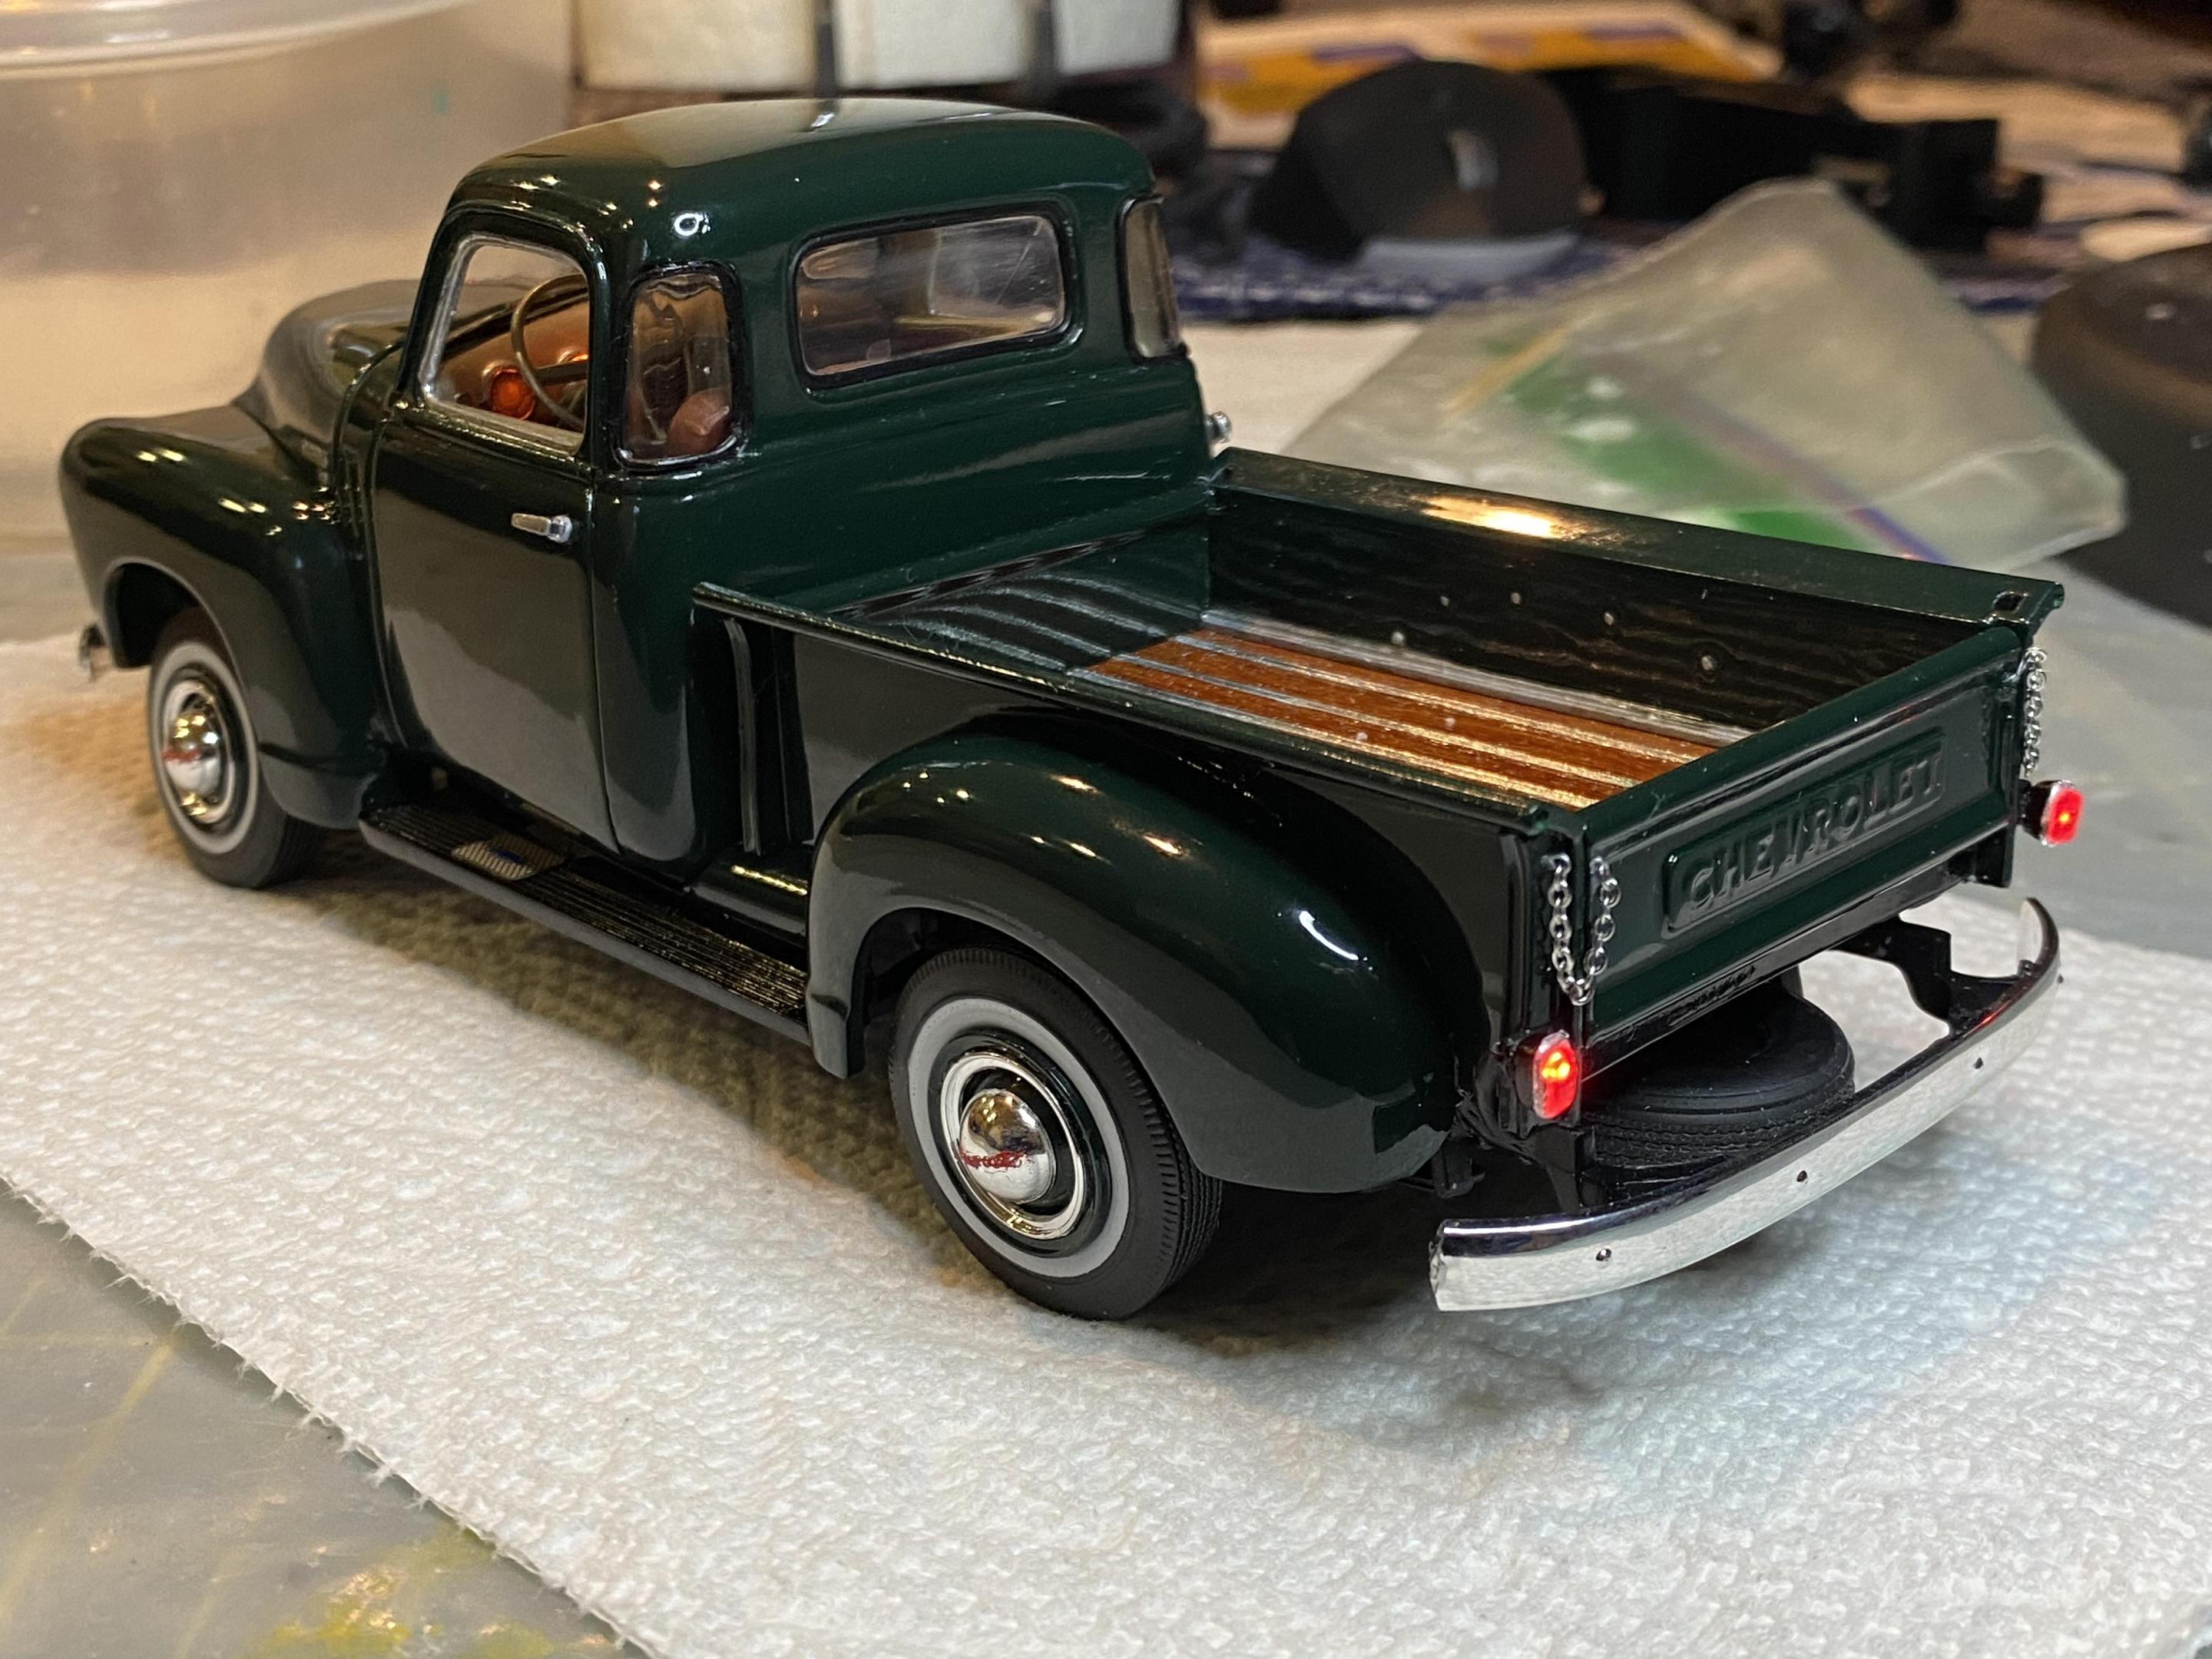
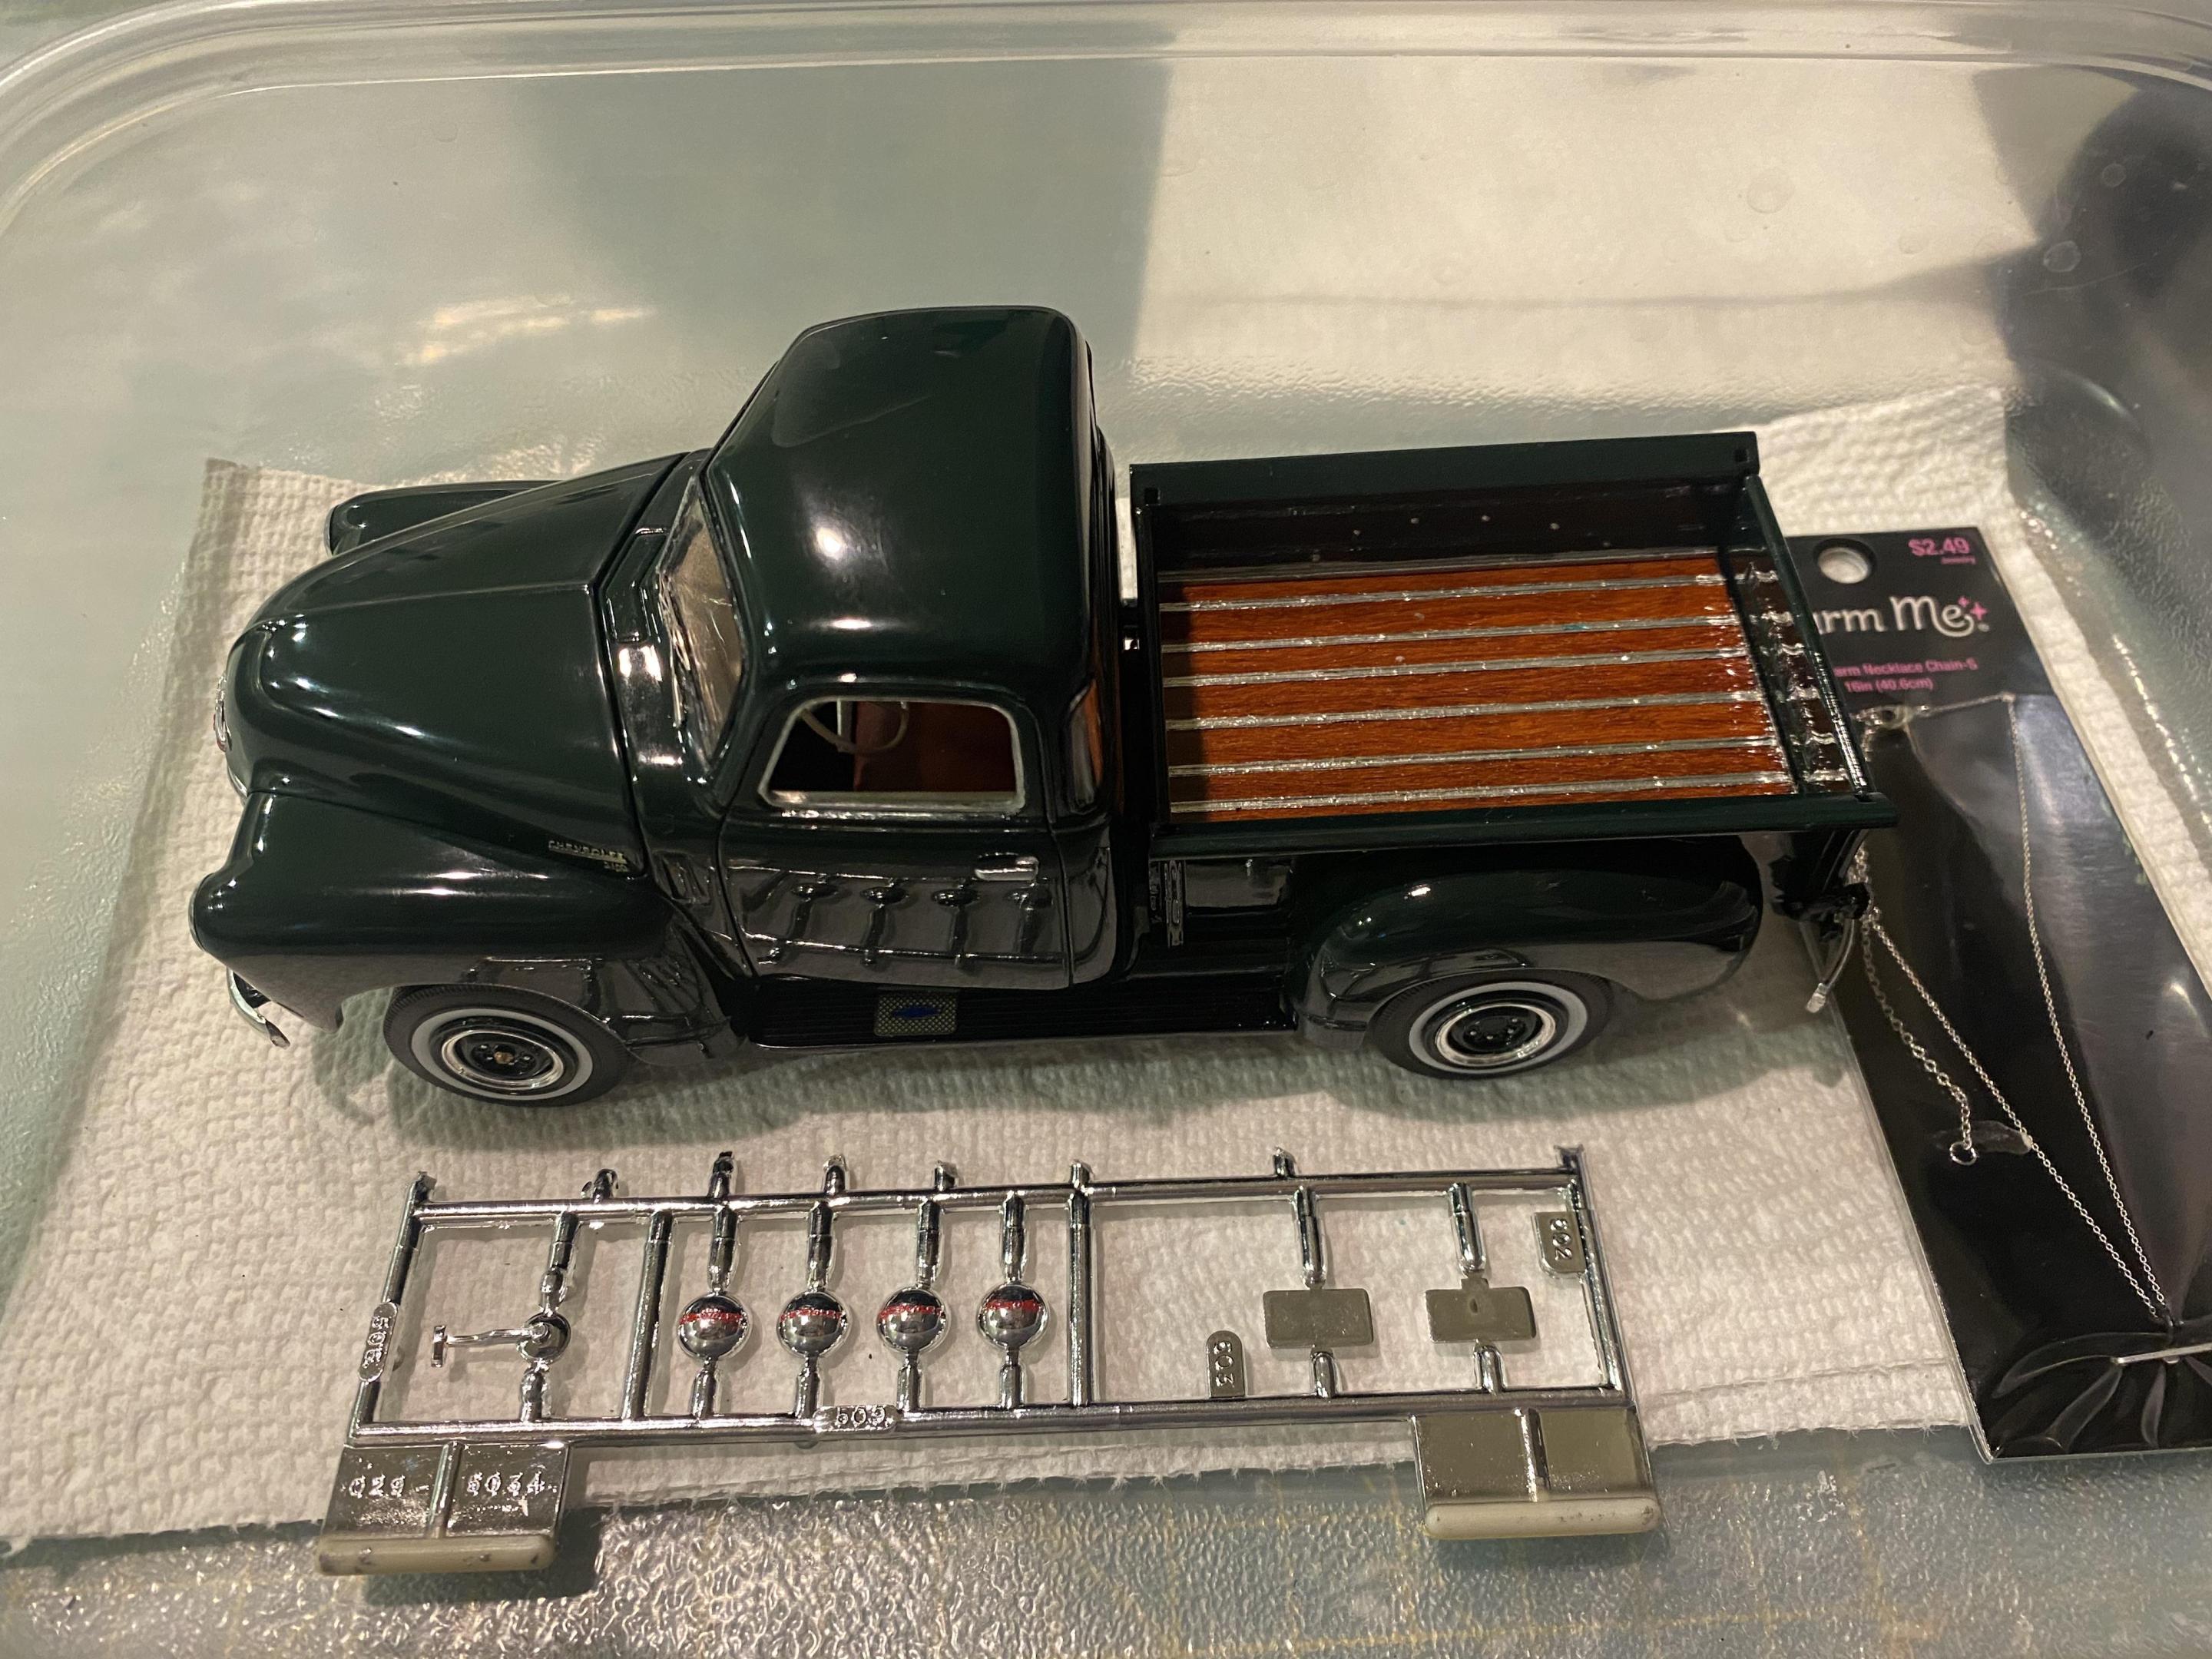
I went ahead and created the tailgate chains this morning. I think the charm bracelet chain works pretty well. -

1950 Chevy 3100 Pickup WIP
Duddly01 replied to Duddly01's topic in WIP: Model Trucks: Pickups, Vans, SUVs, Light Commercial
Thank You! Thank You! Thank You! -

1950 Chevy 3100 Pickup WIP
Duddly01 replied to Duddly01's topic in WIP: Model Trucks: Pickups, Vans, SUVs, Light Commercial
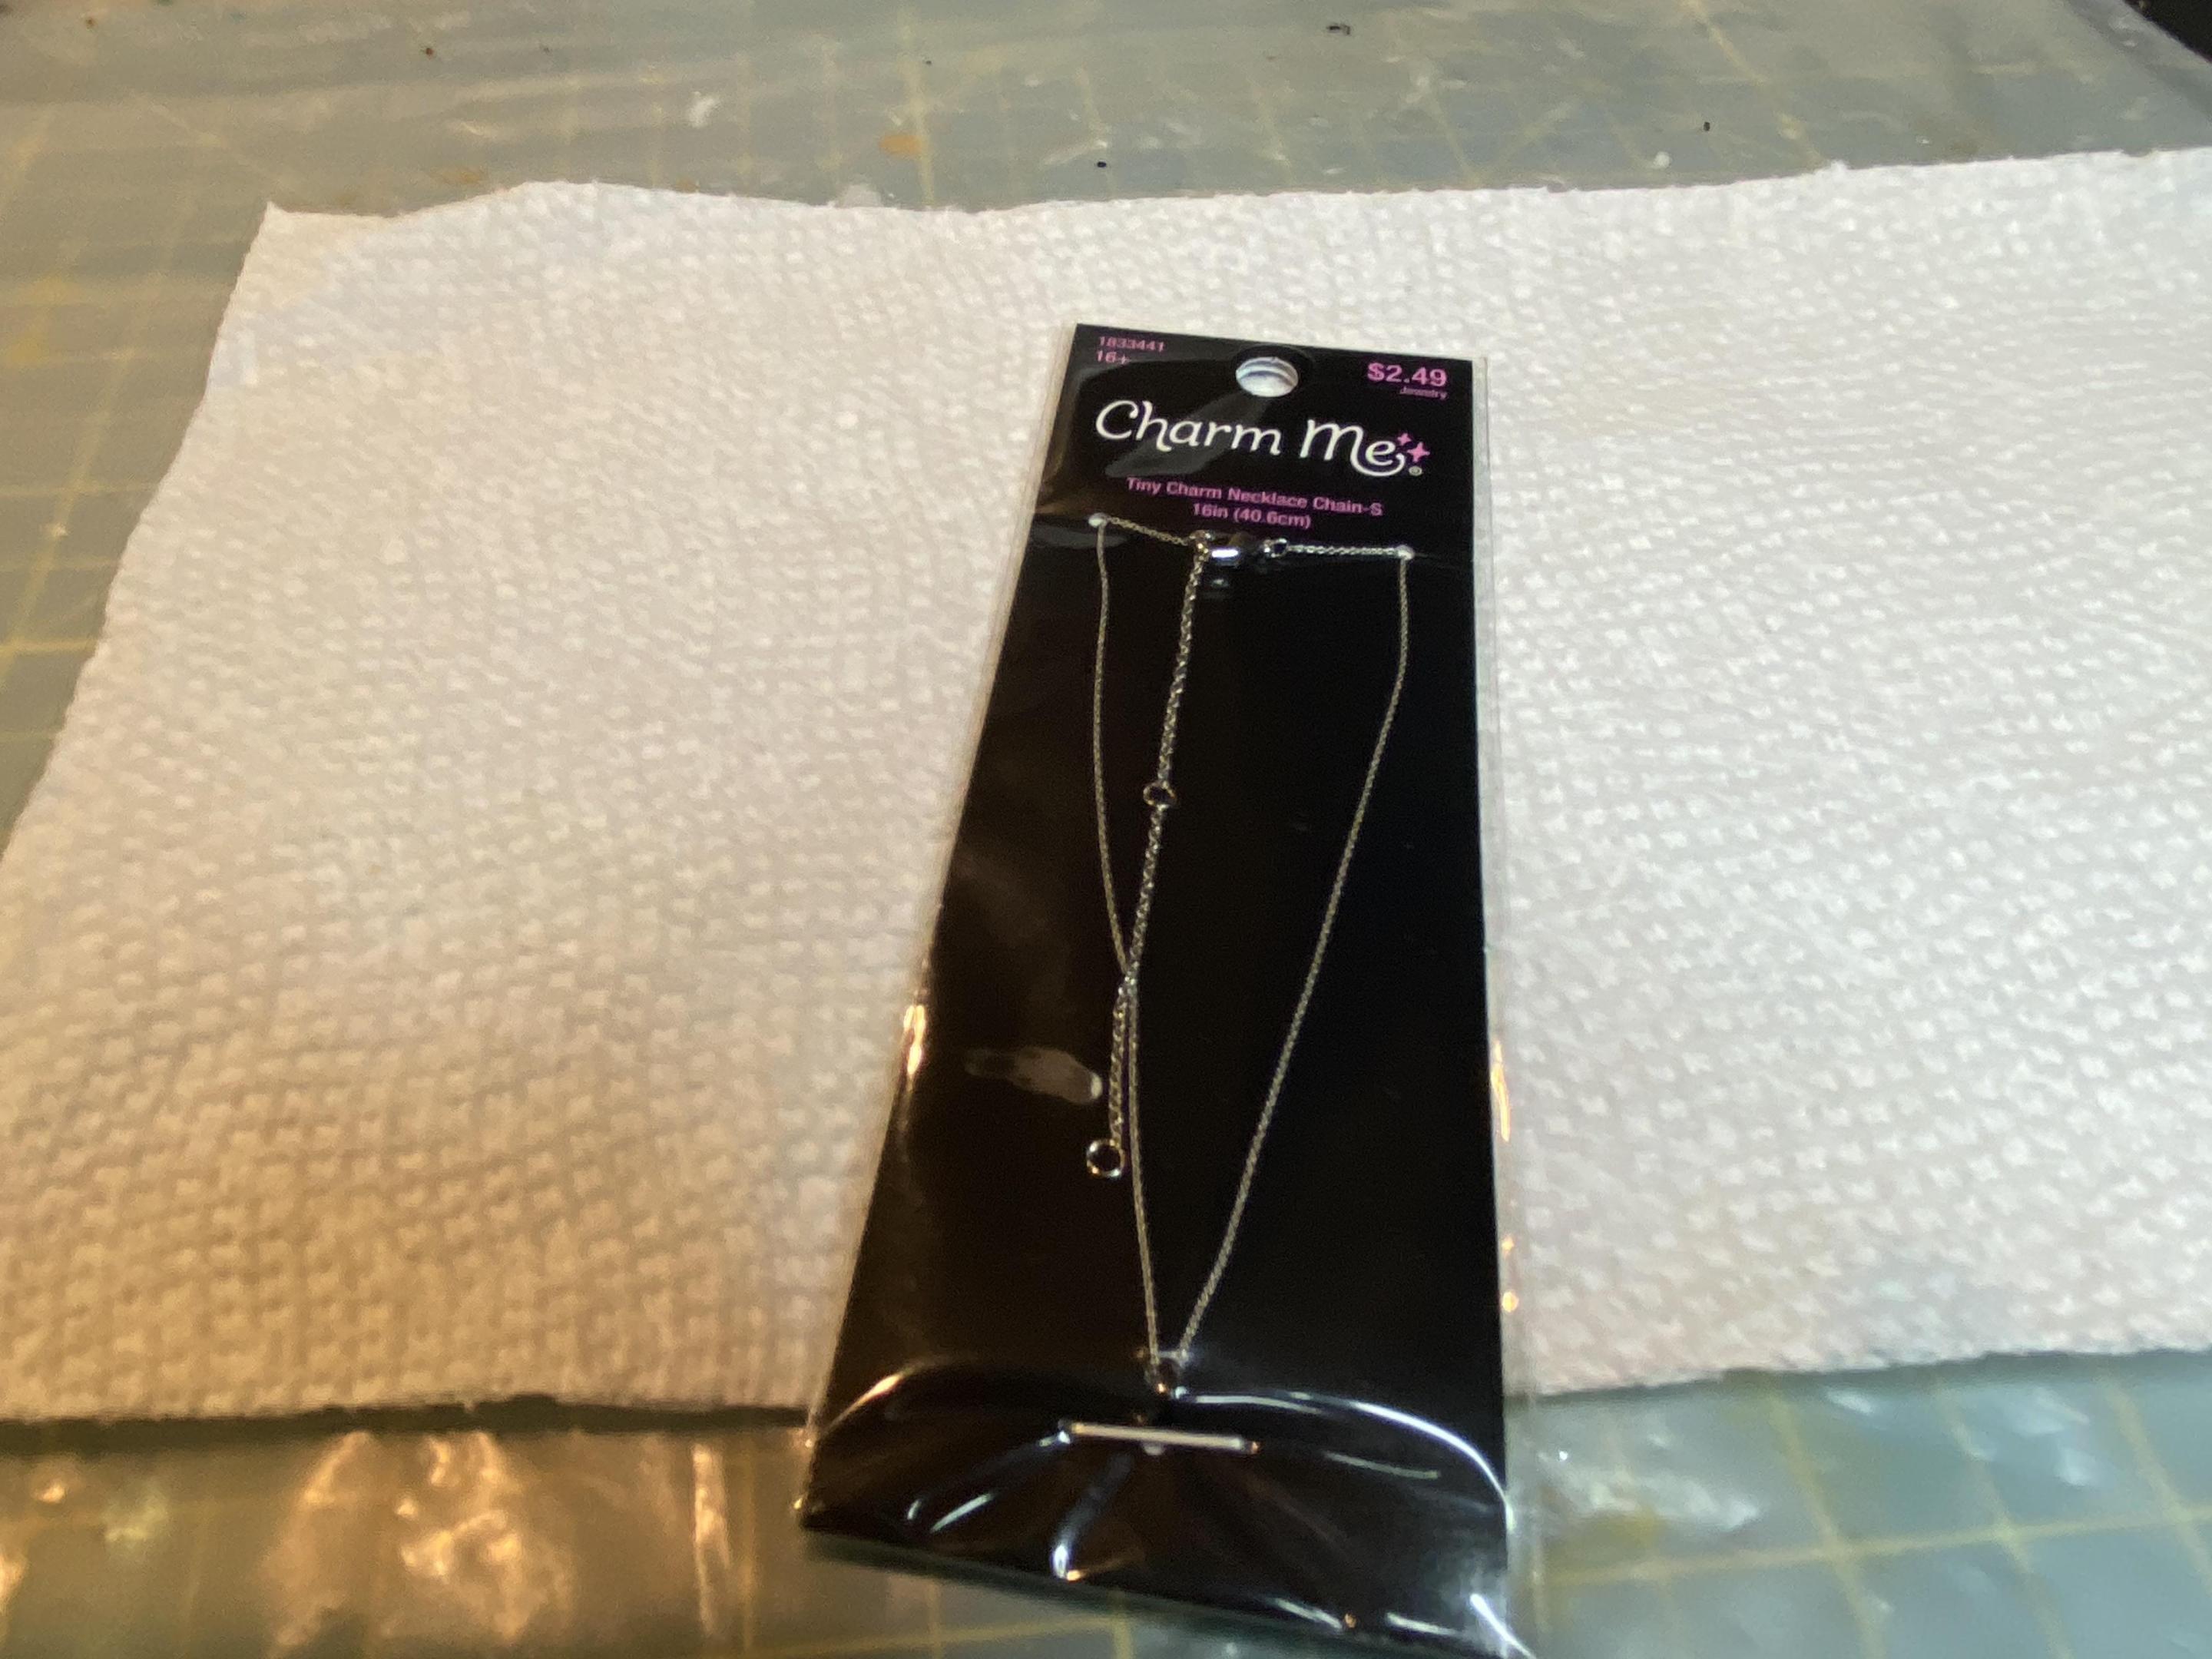
A little more detailing today. Added the bumpers, step plate photo-etch, photo-etch wipers and door handles. I picked a charm bracelet chain from hobby lobby to make the tailgate chain. -

1950 Chevy 3100 Pickup WIP
Duddly01 replied to Duddly01's topic in WIP: Model Trucks: Pickups, Vans, SUVs, Light Commercial
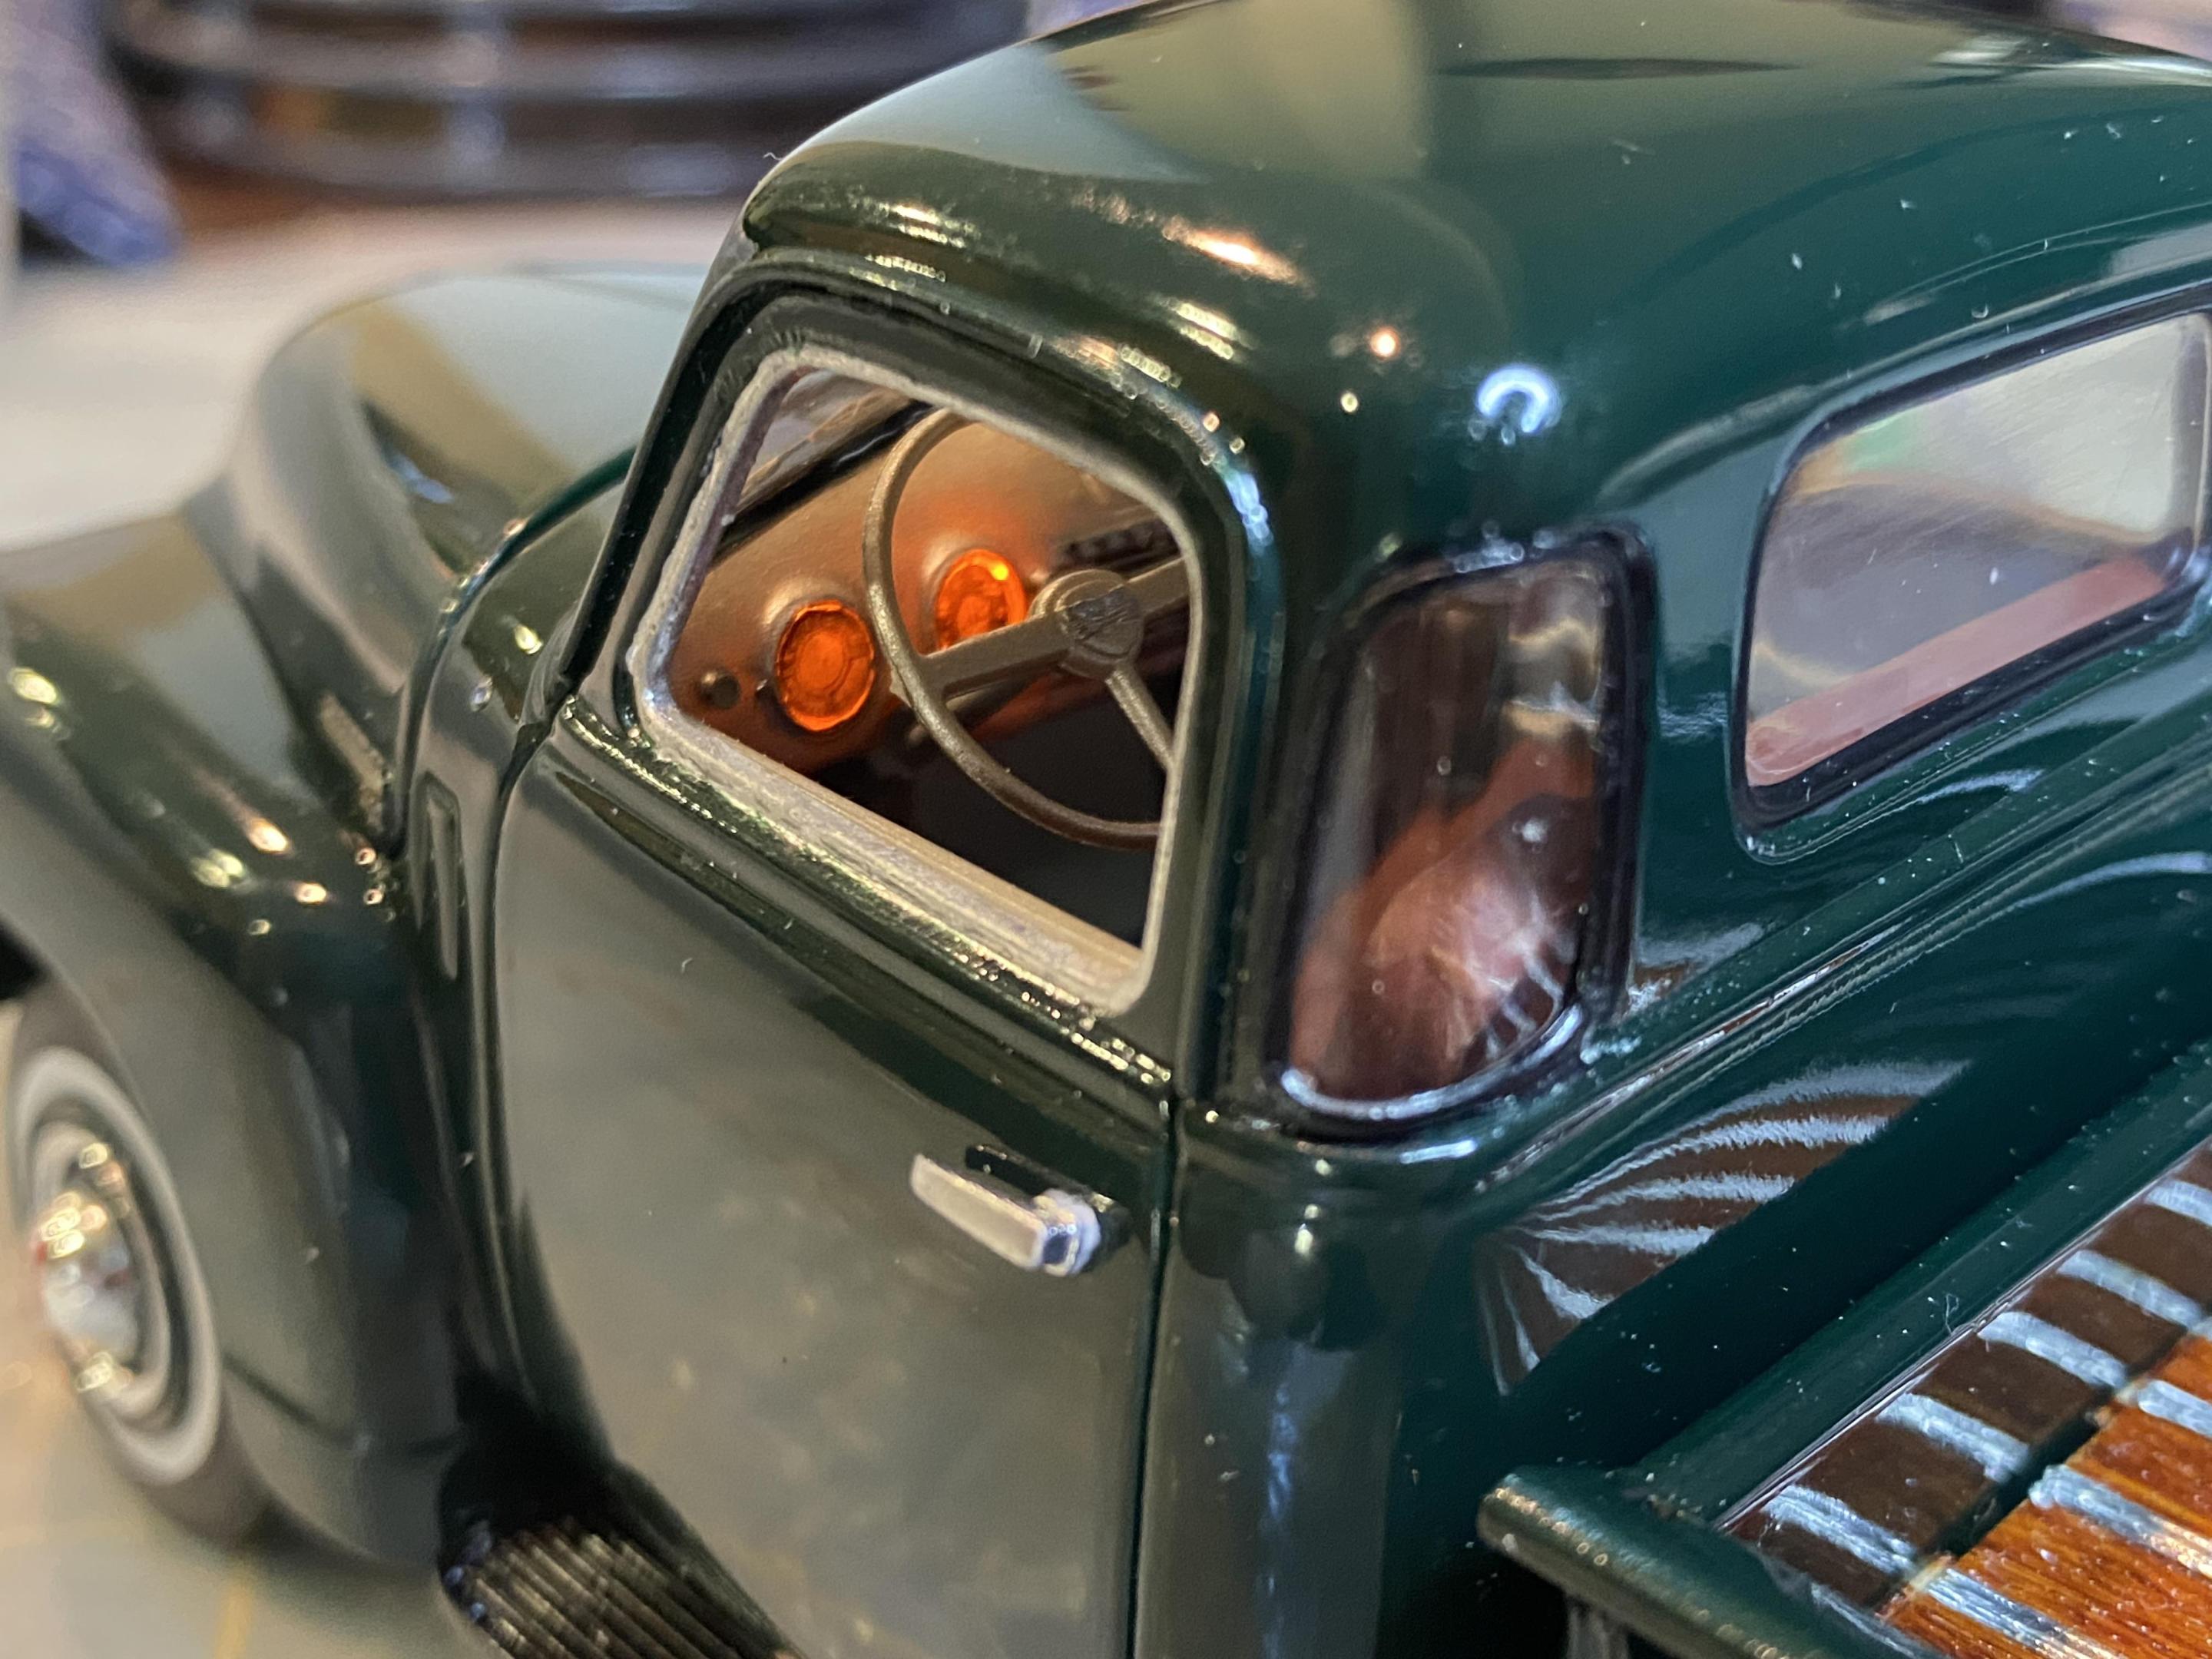
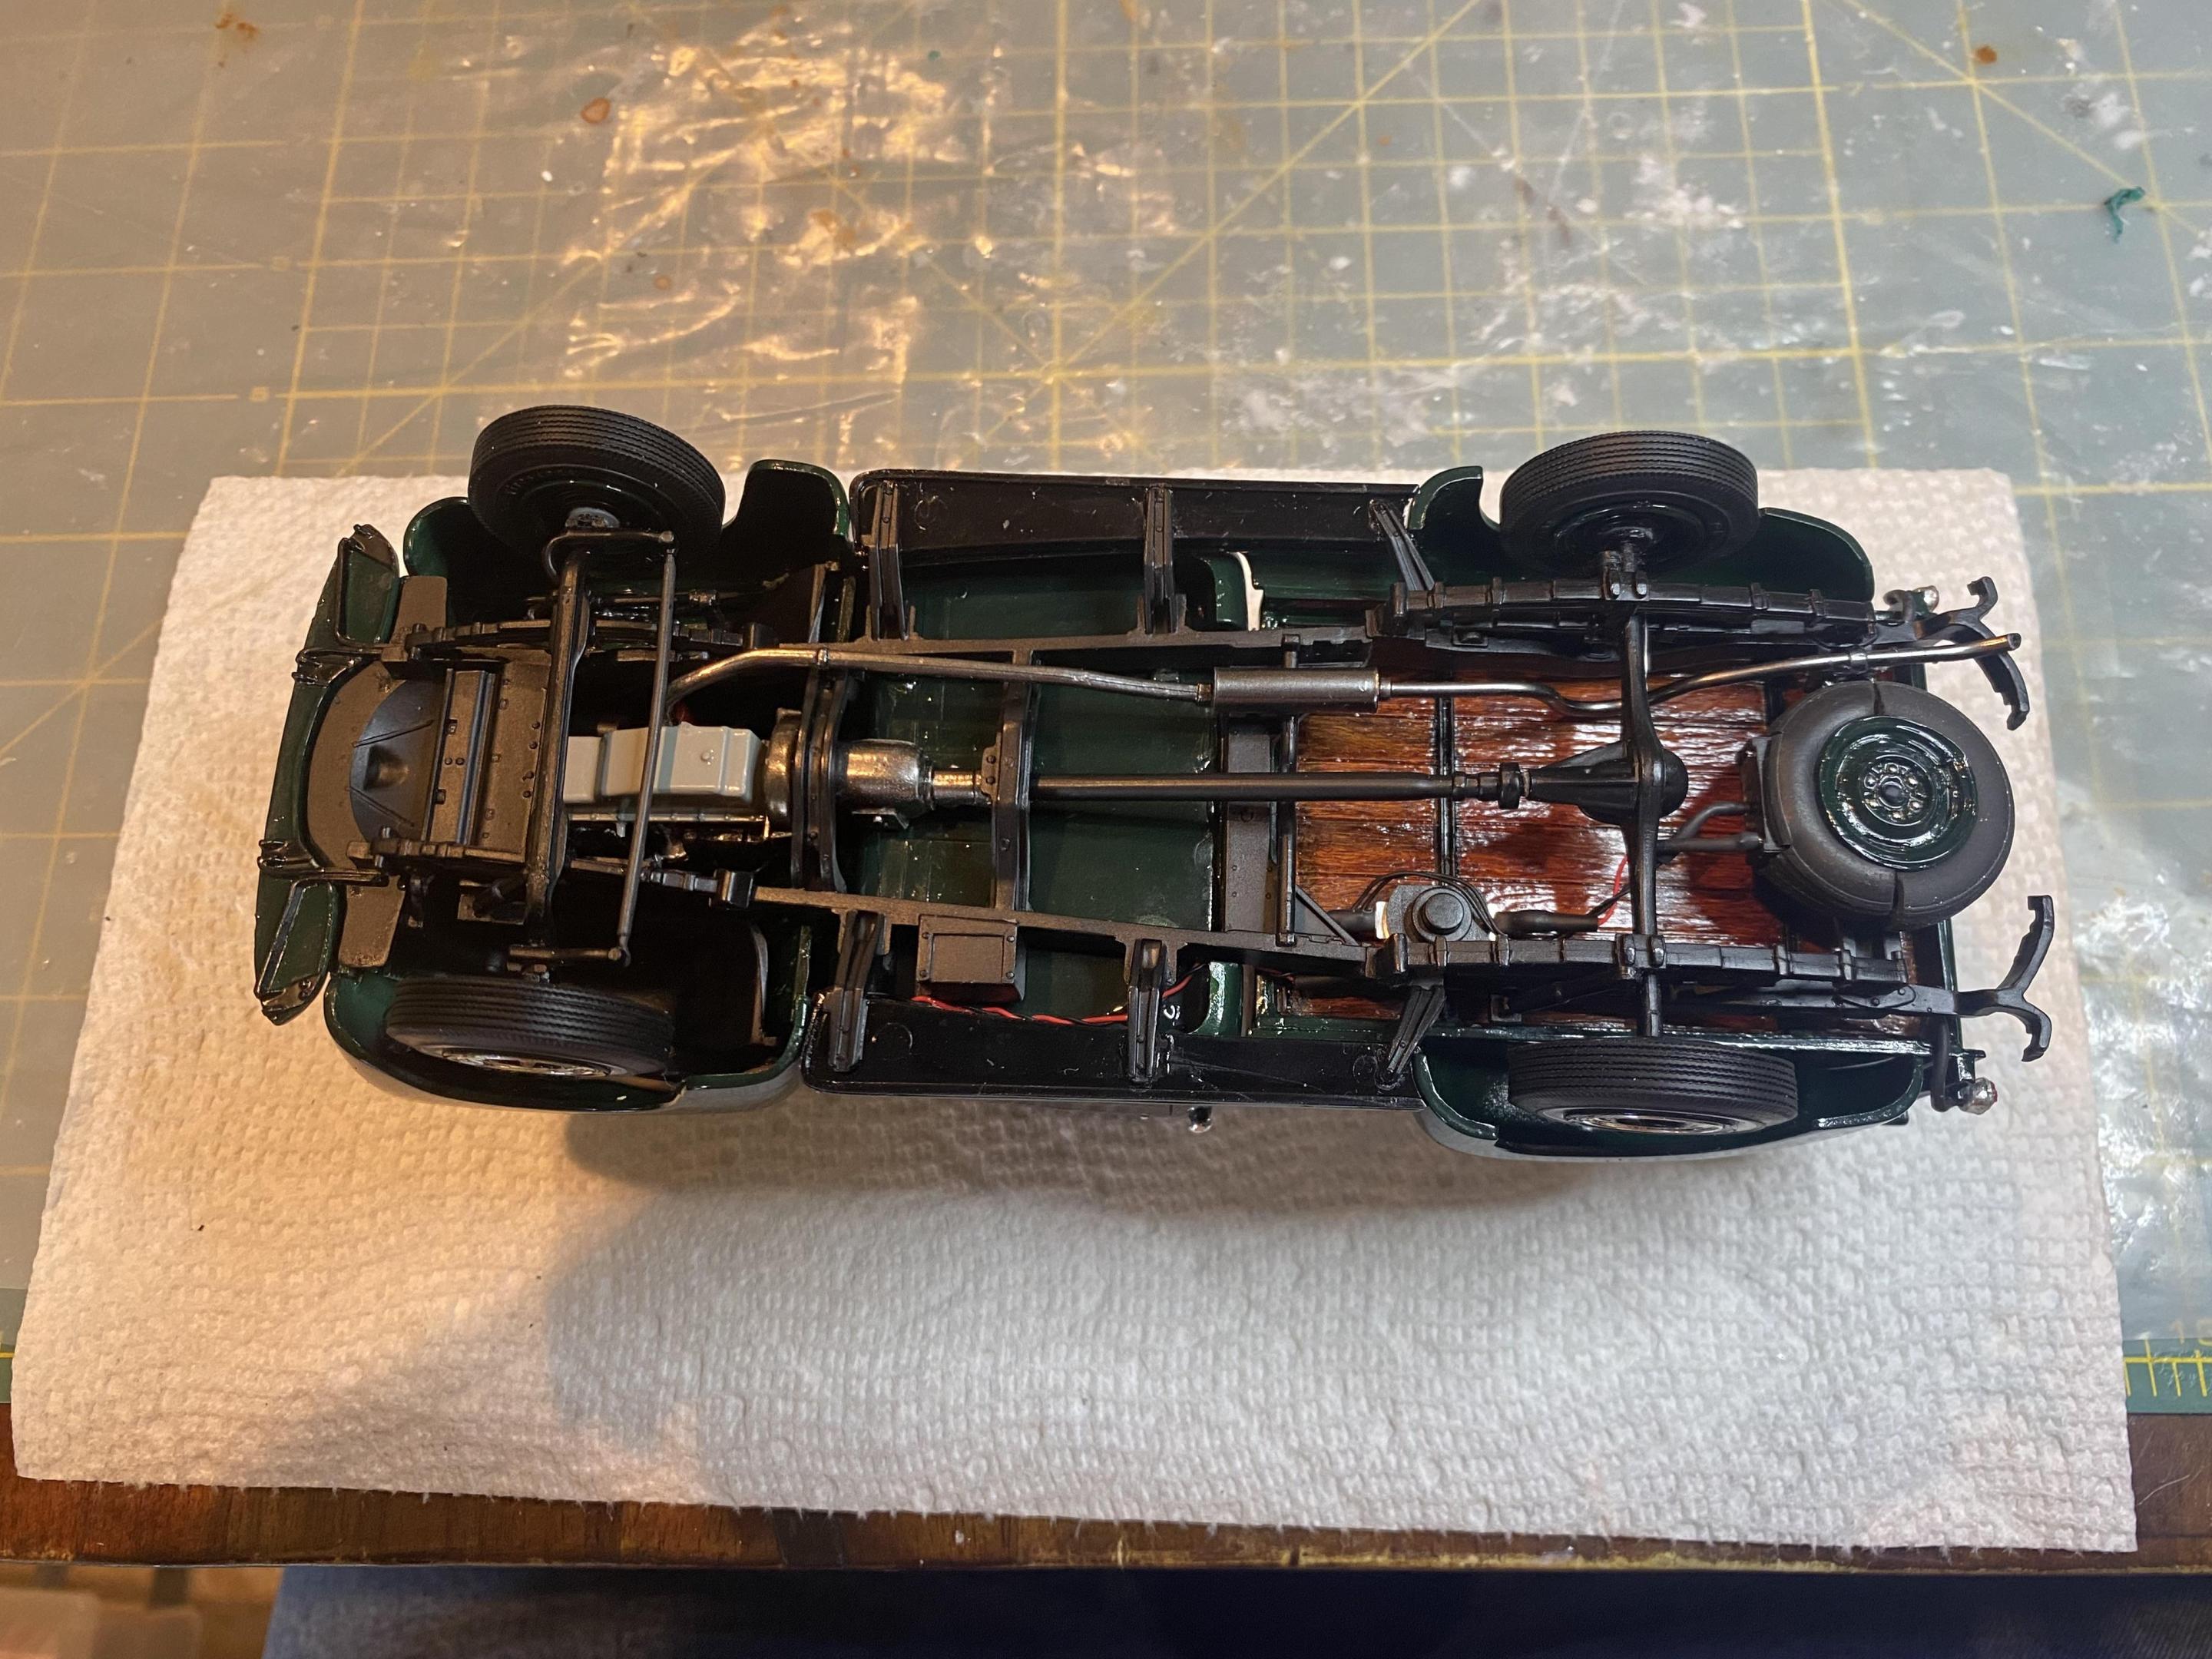
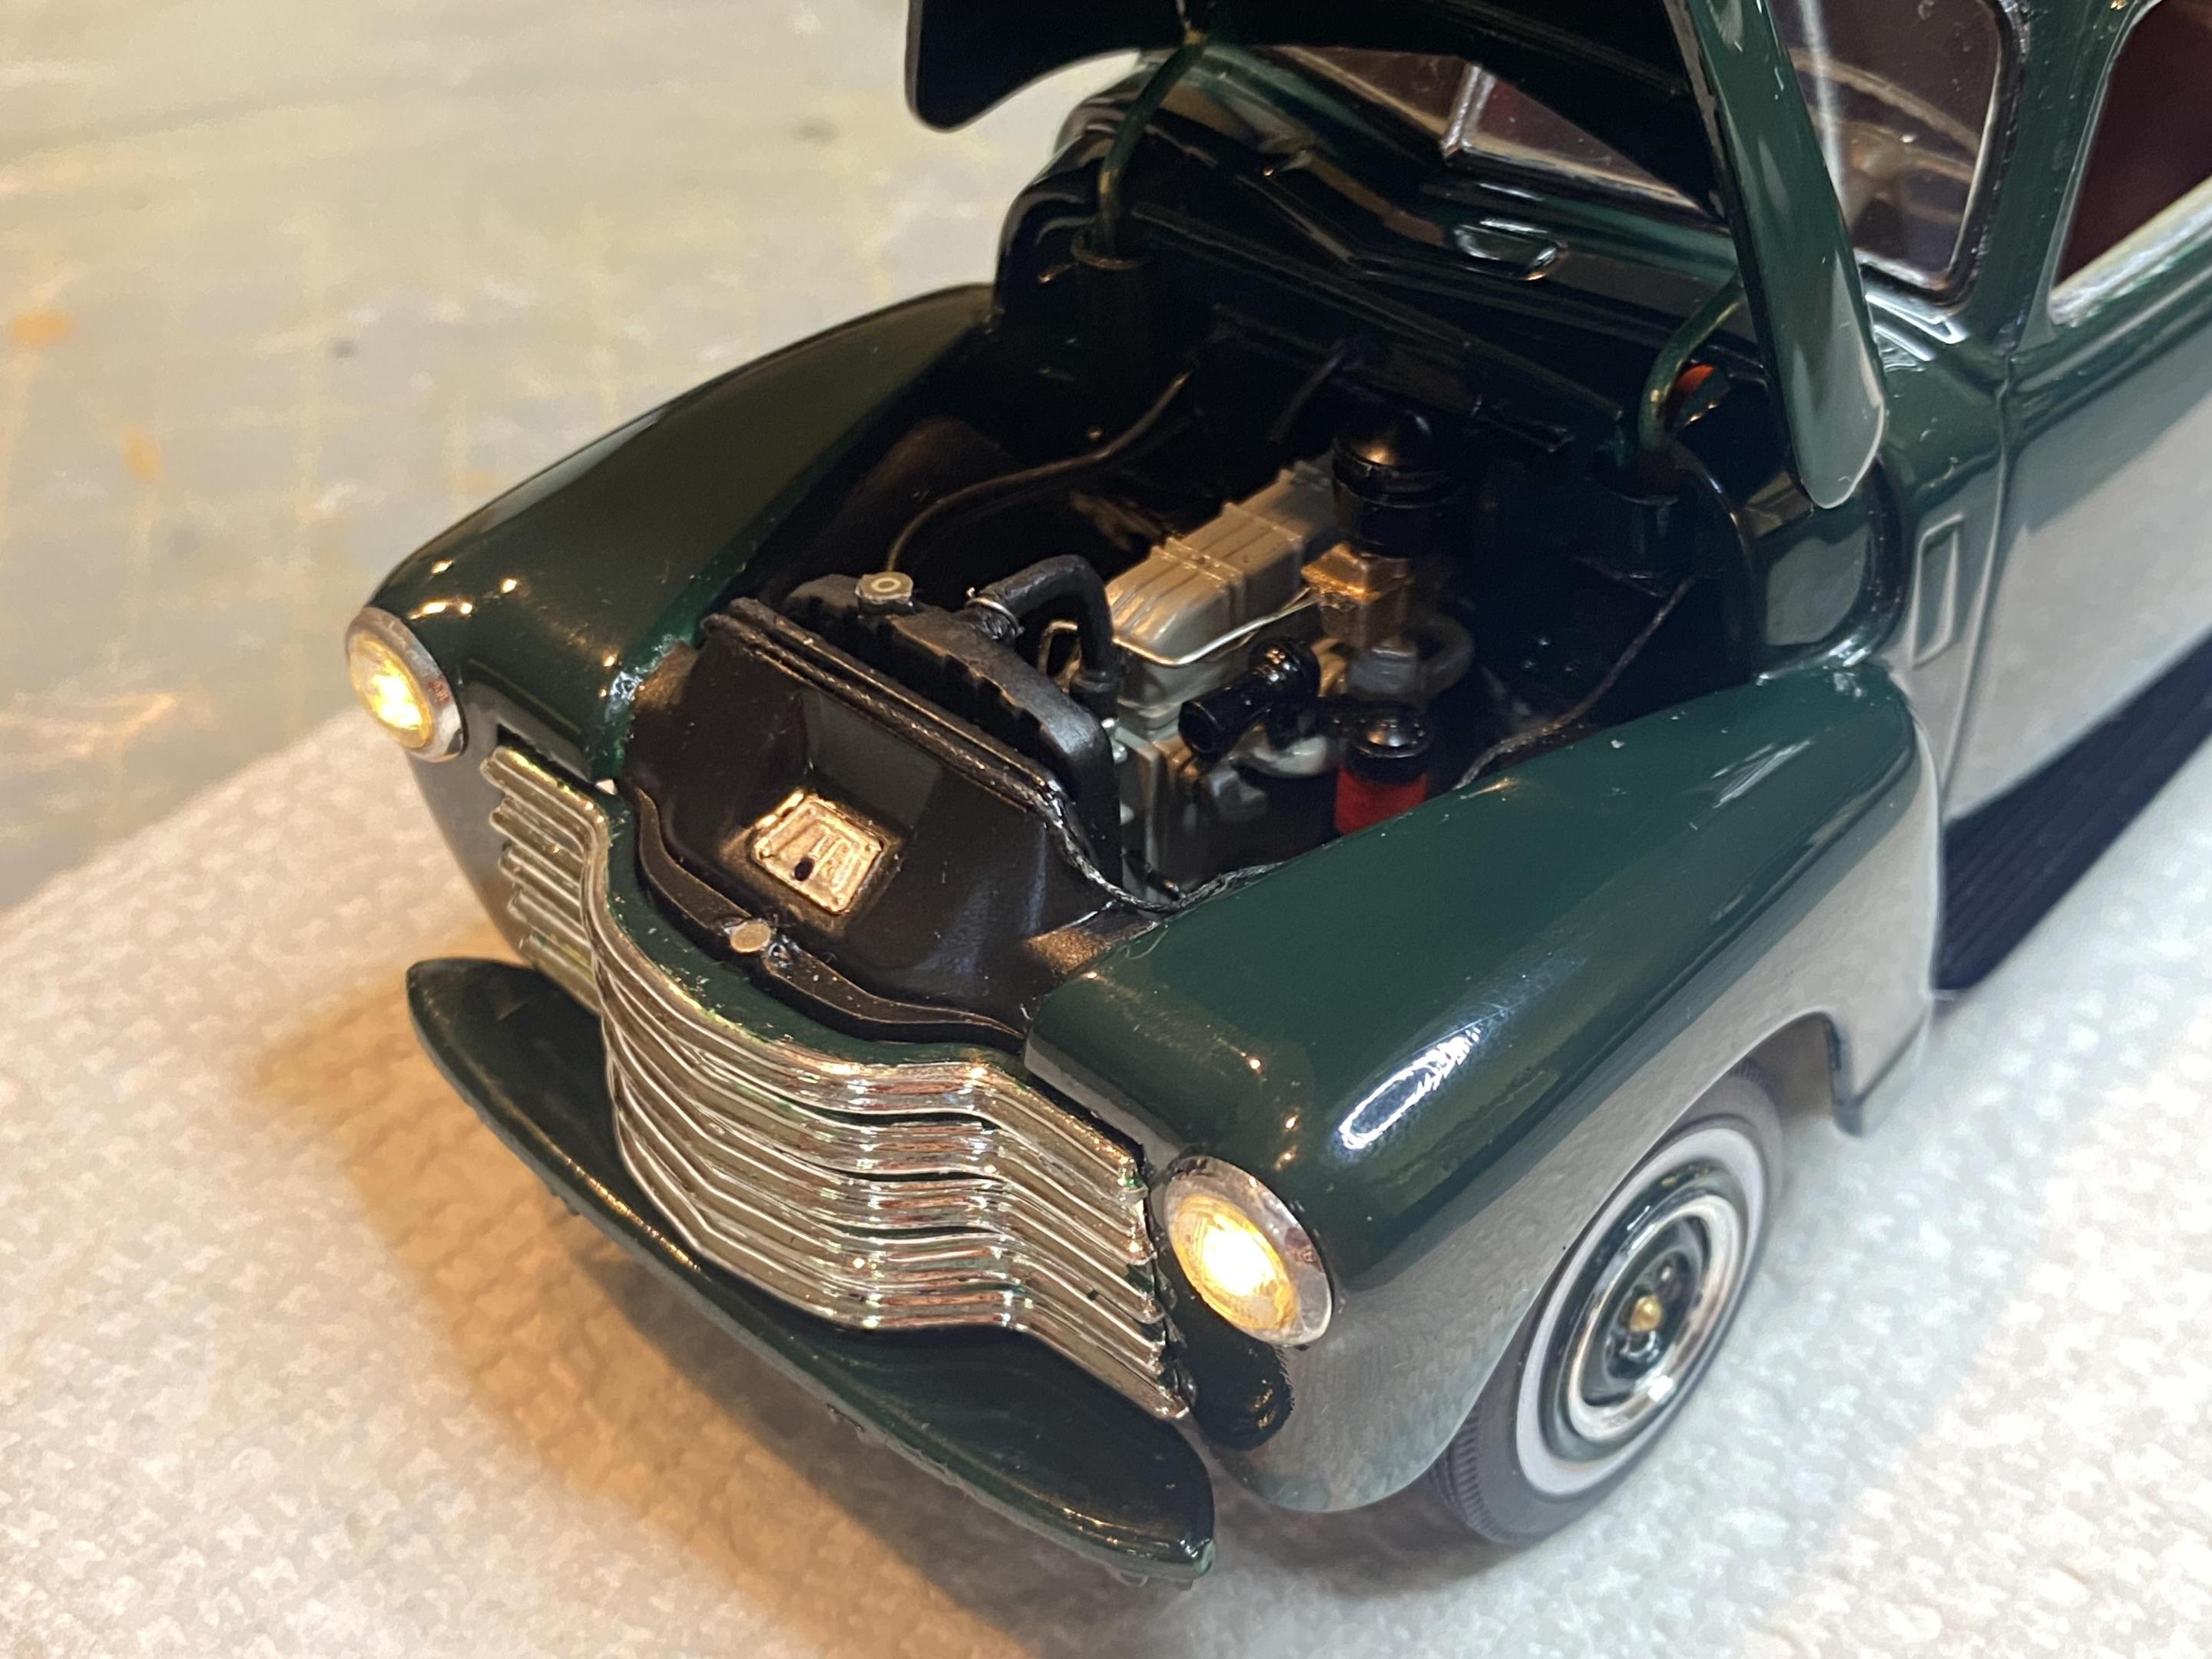
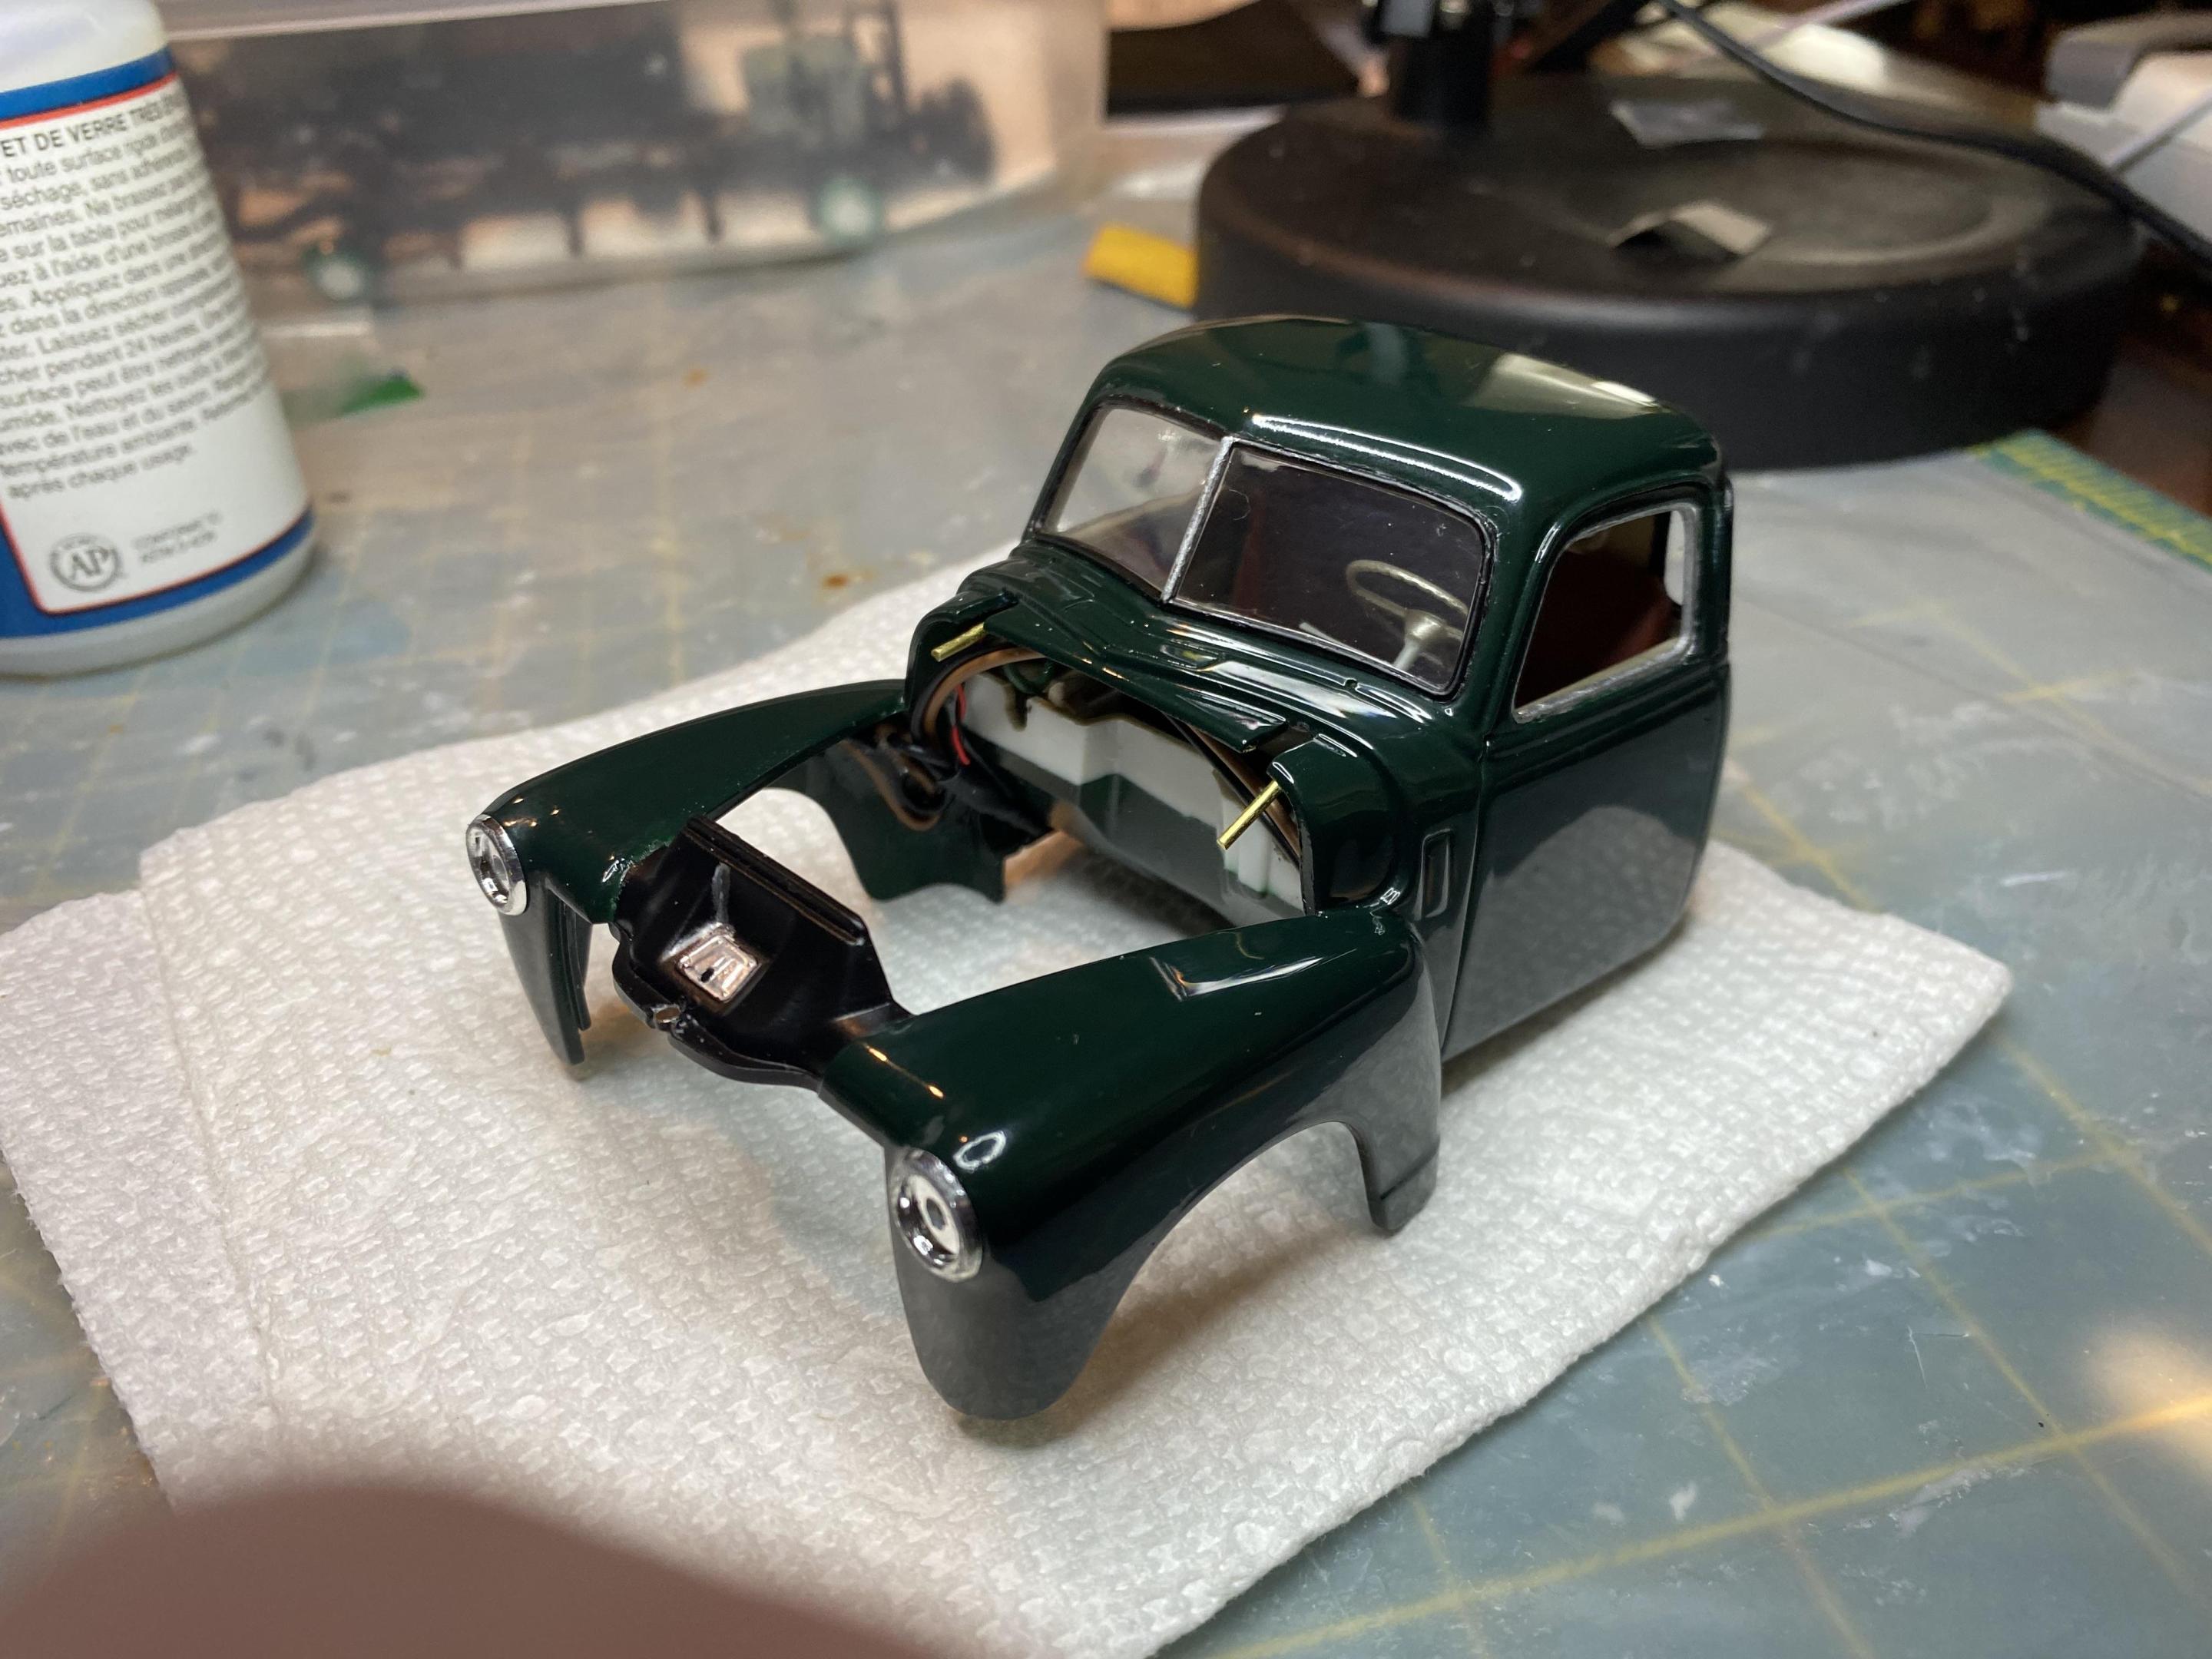
I will think about a more thorough how to when I work on my next car. It is going to be a 1969 Cougar Eliminator, so hidden headlights again. I get a lot from Evan's Design and from Amazon. The LED lights do seem brighter from Evan's then the amazon versions, but you can get a bunch for cheap. Evan's has a car kit that includes taillights and headlights that I have used that works nicely in many cases. Classic (Pre-68) cars really only require 2 taillights, 2 headlights and 1 gauge light so a single 2032-coin battery. Newer cars need more for the side markers. I have tried fiber optics to varied success. You need a battery holder, switch some wire and lights, shrink tubing and solder. The 2 battery holder I use from Amazon also comes with the switch built in. -

1955 Ford F-100 Street Rod
Duddly01 replied to Zippi's topic in WIP: Model Trucks: Pickups, Vans, SUVs, Light Commercial
Nicely coming along! I love the wheel and tire choice. Never would have thought about Cobra wheels on a Ford F100. -

1950 Chevy 3100 Pickup WIP
Duddly01 replied to Duddly01's topic in WIP: Model Trucks: Pickups, Vans, SUVs, Light Commercial
Thank You! It's never too late to try it. -

1950 Chevy 3100 Pickup WIP
Duddly01 replied to Duddly01's topic in WIP: Model Trucks: Pickups, Vans, SUVs, Light Commercial
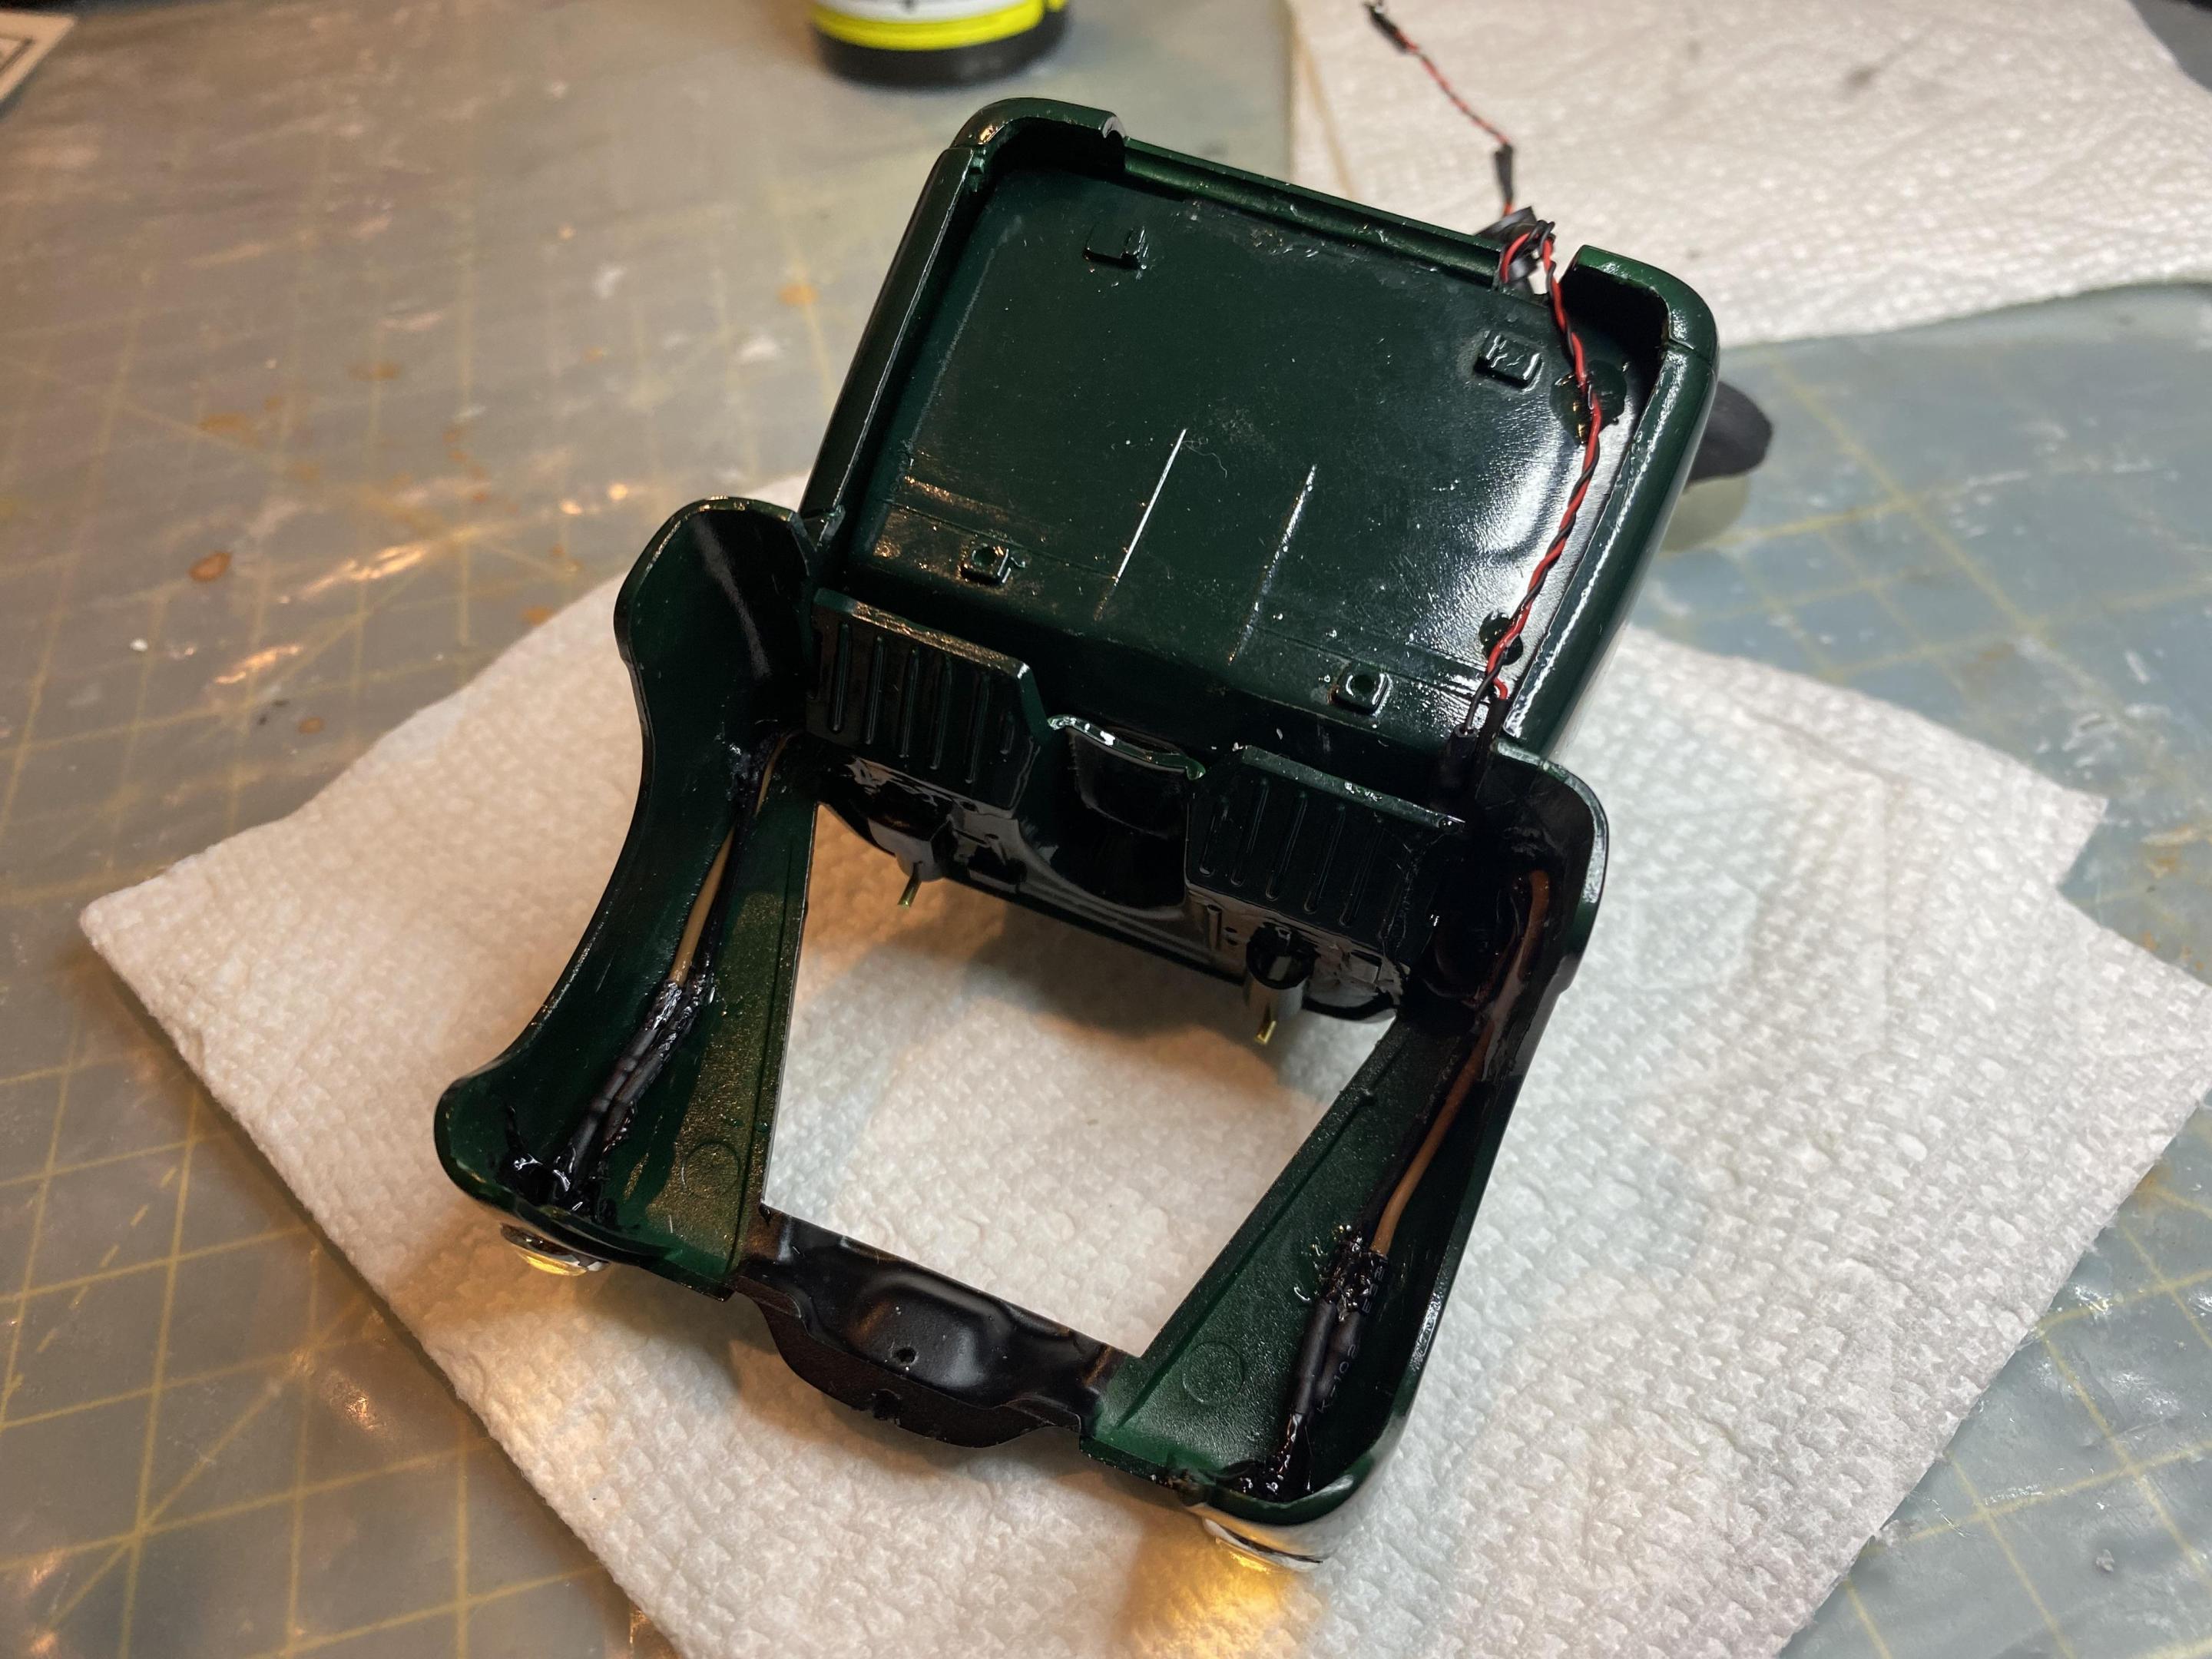
Thank you! It’s actually quite easy to make the wiring harness. The hardest part is finding where to hide the battery. Cars with flip open headlights like corvettes are a pain too. -

1950 Chevy 3100 Pickup WIP
Duddly01 replied to Duddly01's topic in WIP: Model Trucks: Pickups, Vans, SUVs, Light Commercial
Thank you! Thank You! -

1950 Chevy 3100 Pickup WIP
Duddly01 replied to Duddly01's topic in WIP: Model Trucks: Pickups, Vans, SUVs, Light Commercial
-

1950 Chevy 3100 Pickup WIP
Duddly01 replied to Duddly01's topic in WIP: Model Trucks: Pickups, Vans, SUVs, Light Commercial
Thank you! -

1950 Chevy 3100 Pickup WIP
Duddly01 replied to Duddly01's topic in WIP: Model Trucks: Pickups, Vans, SUVs, Light Commercial
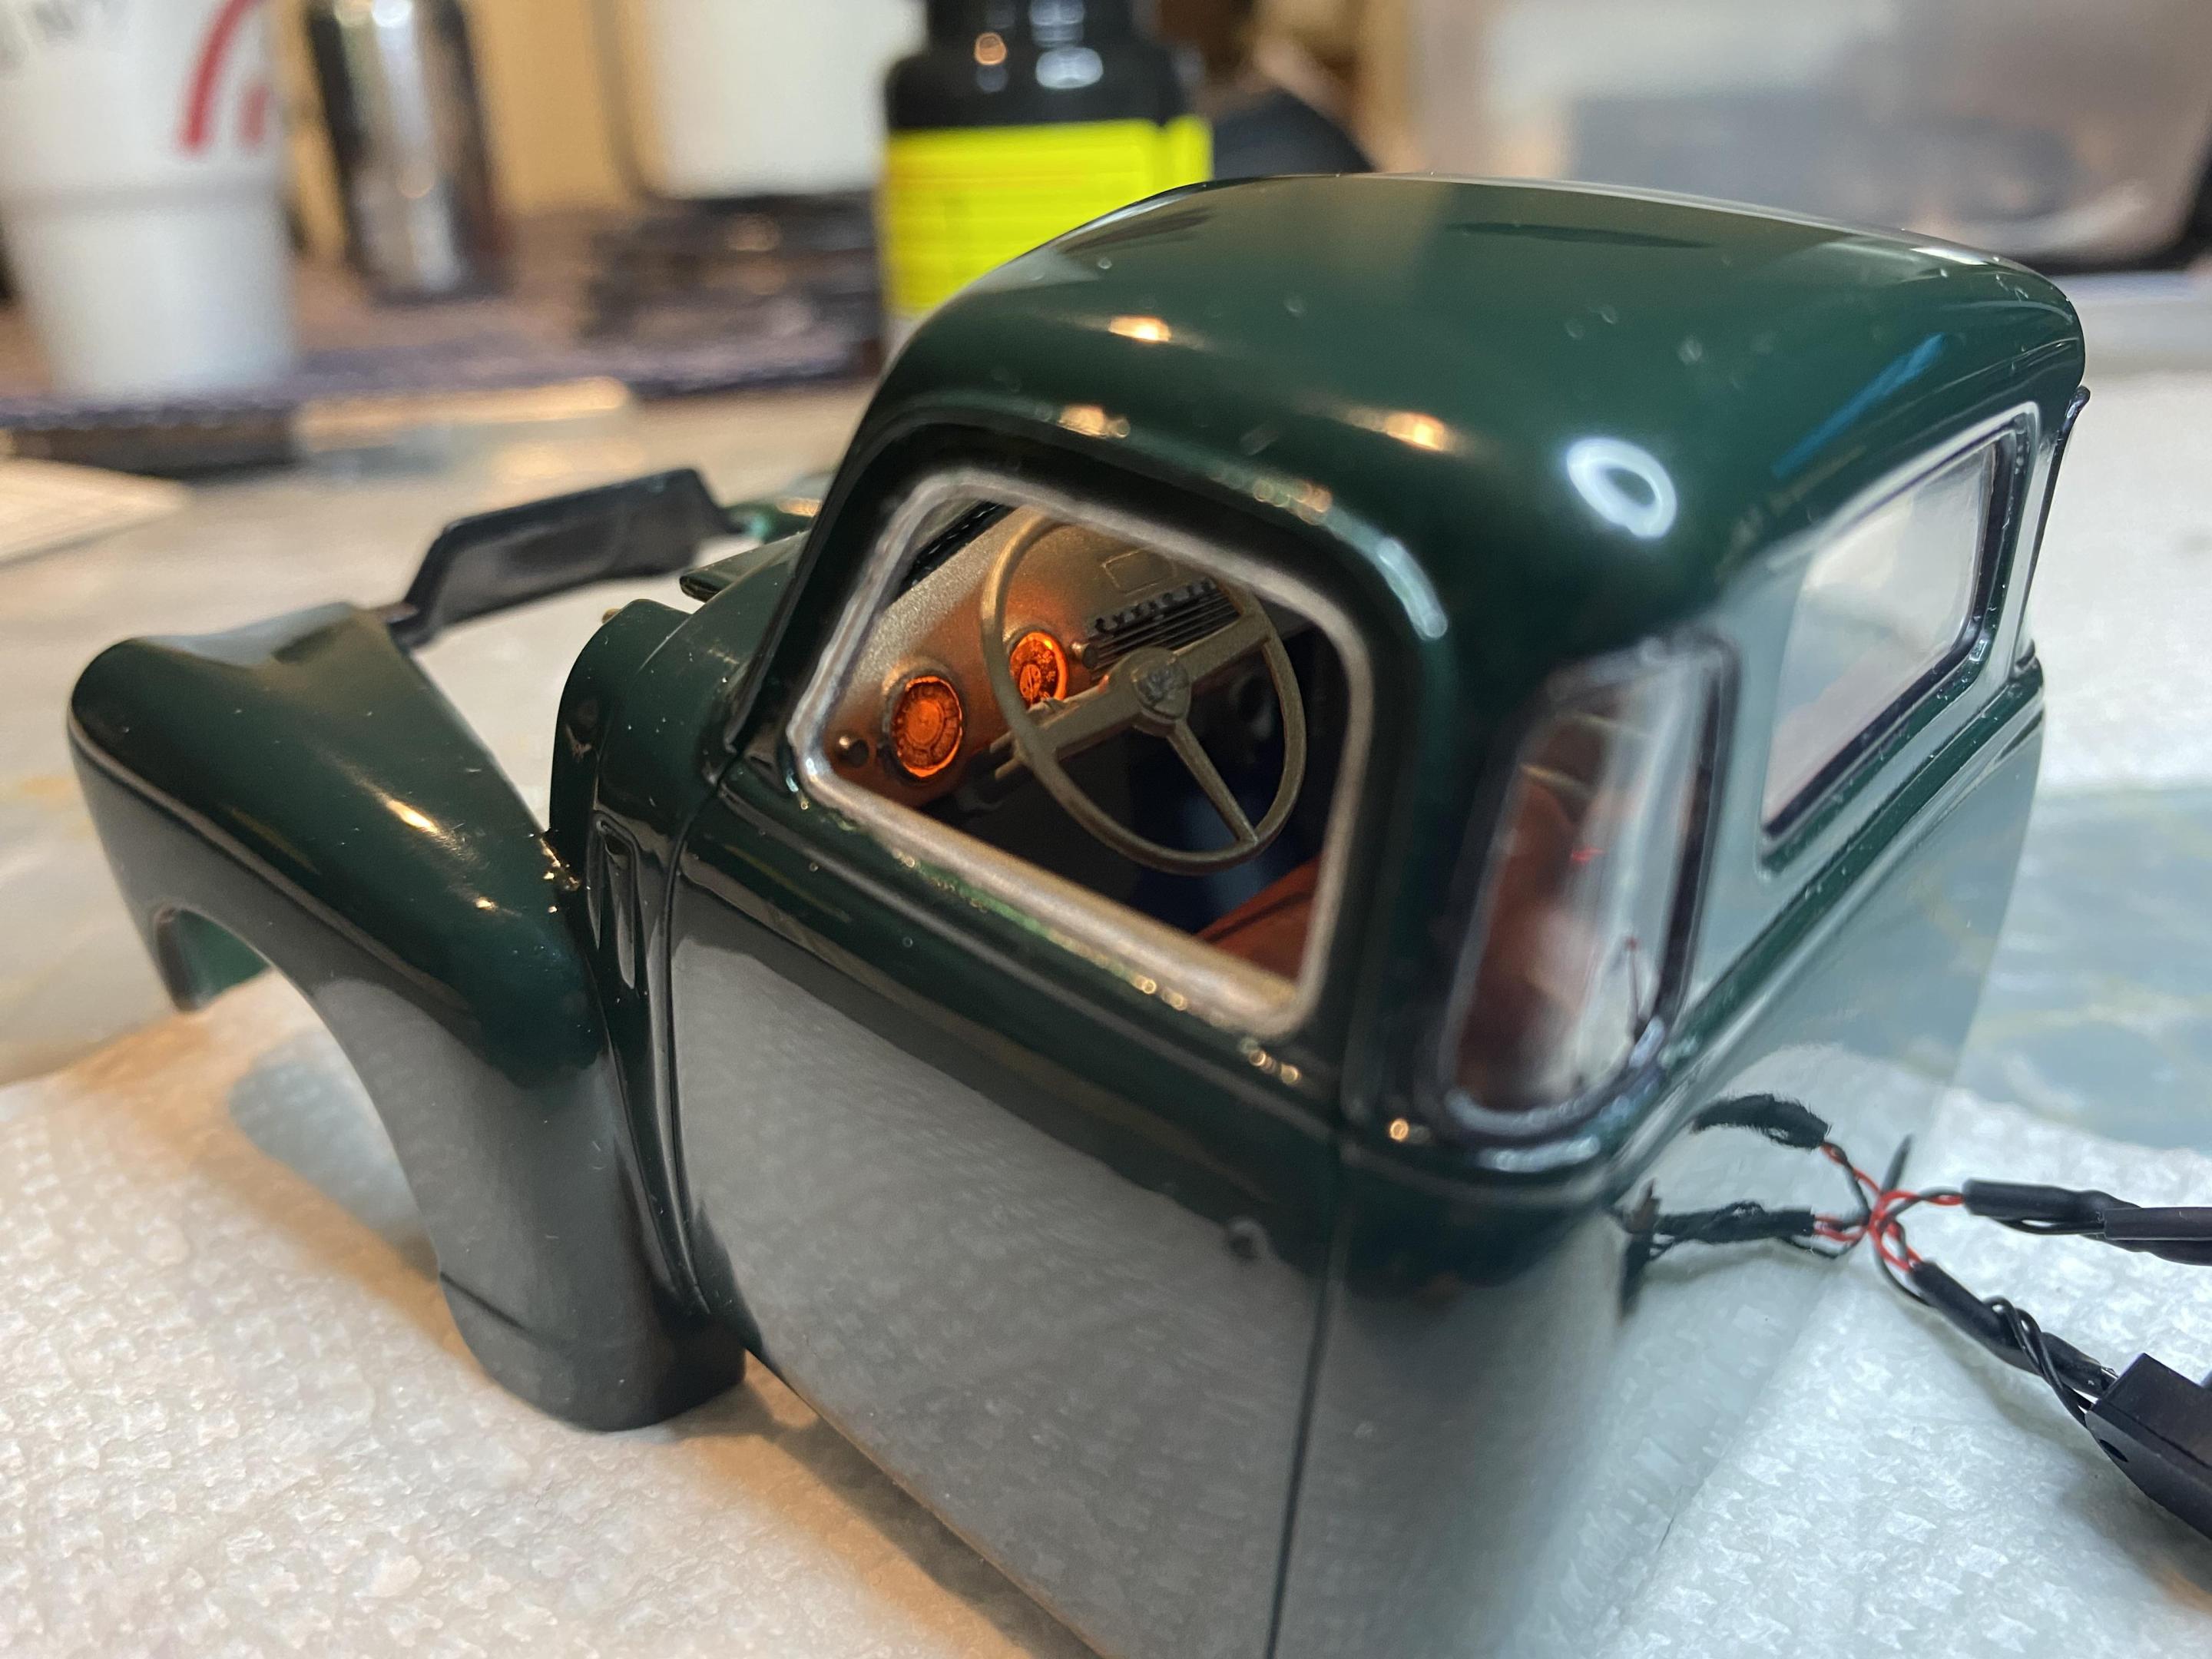
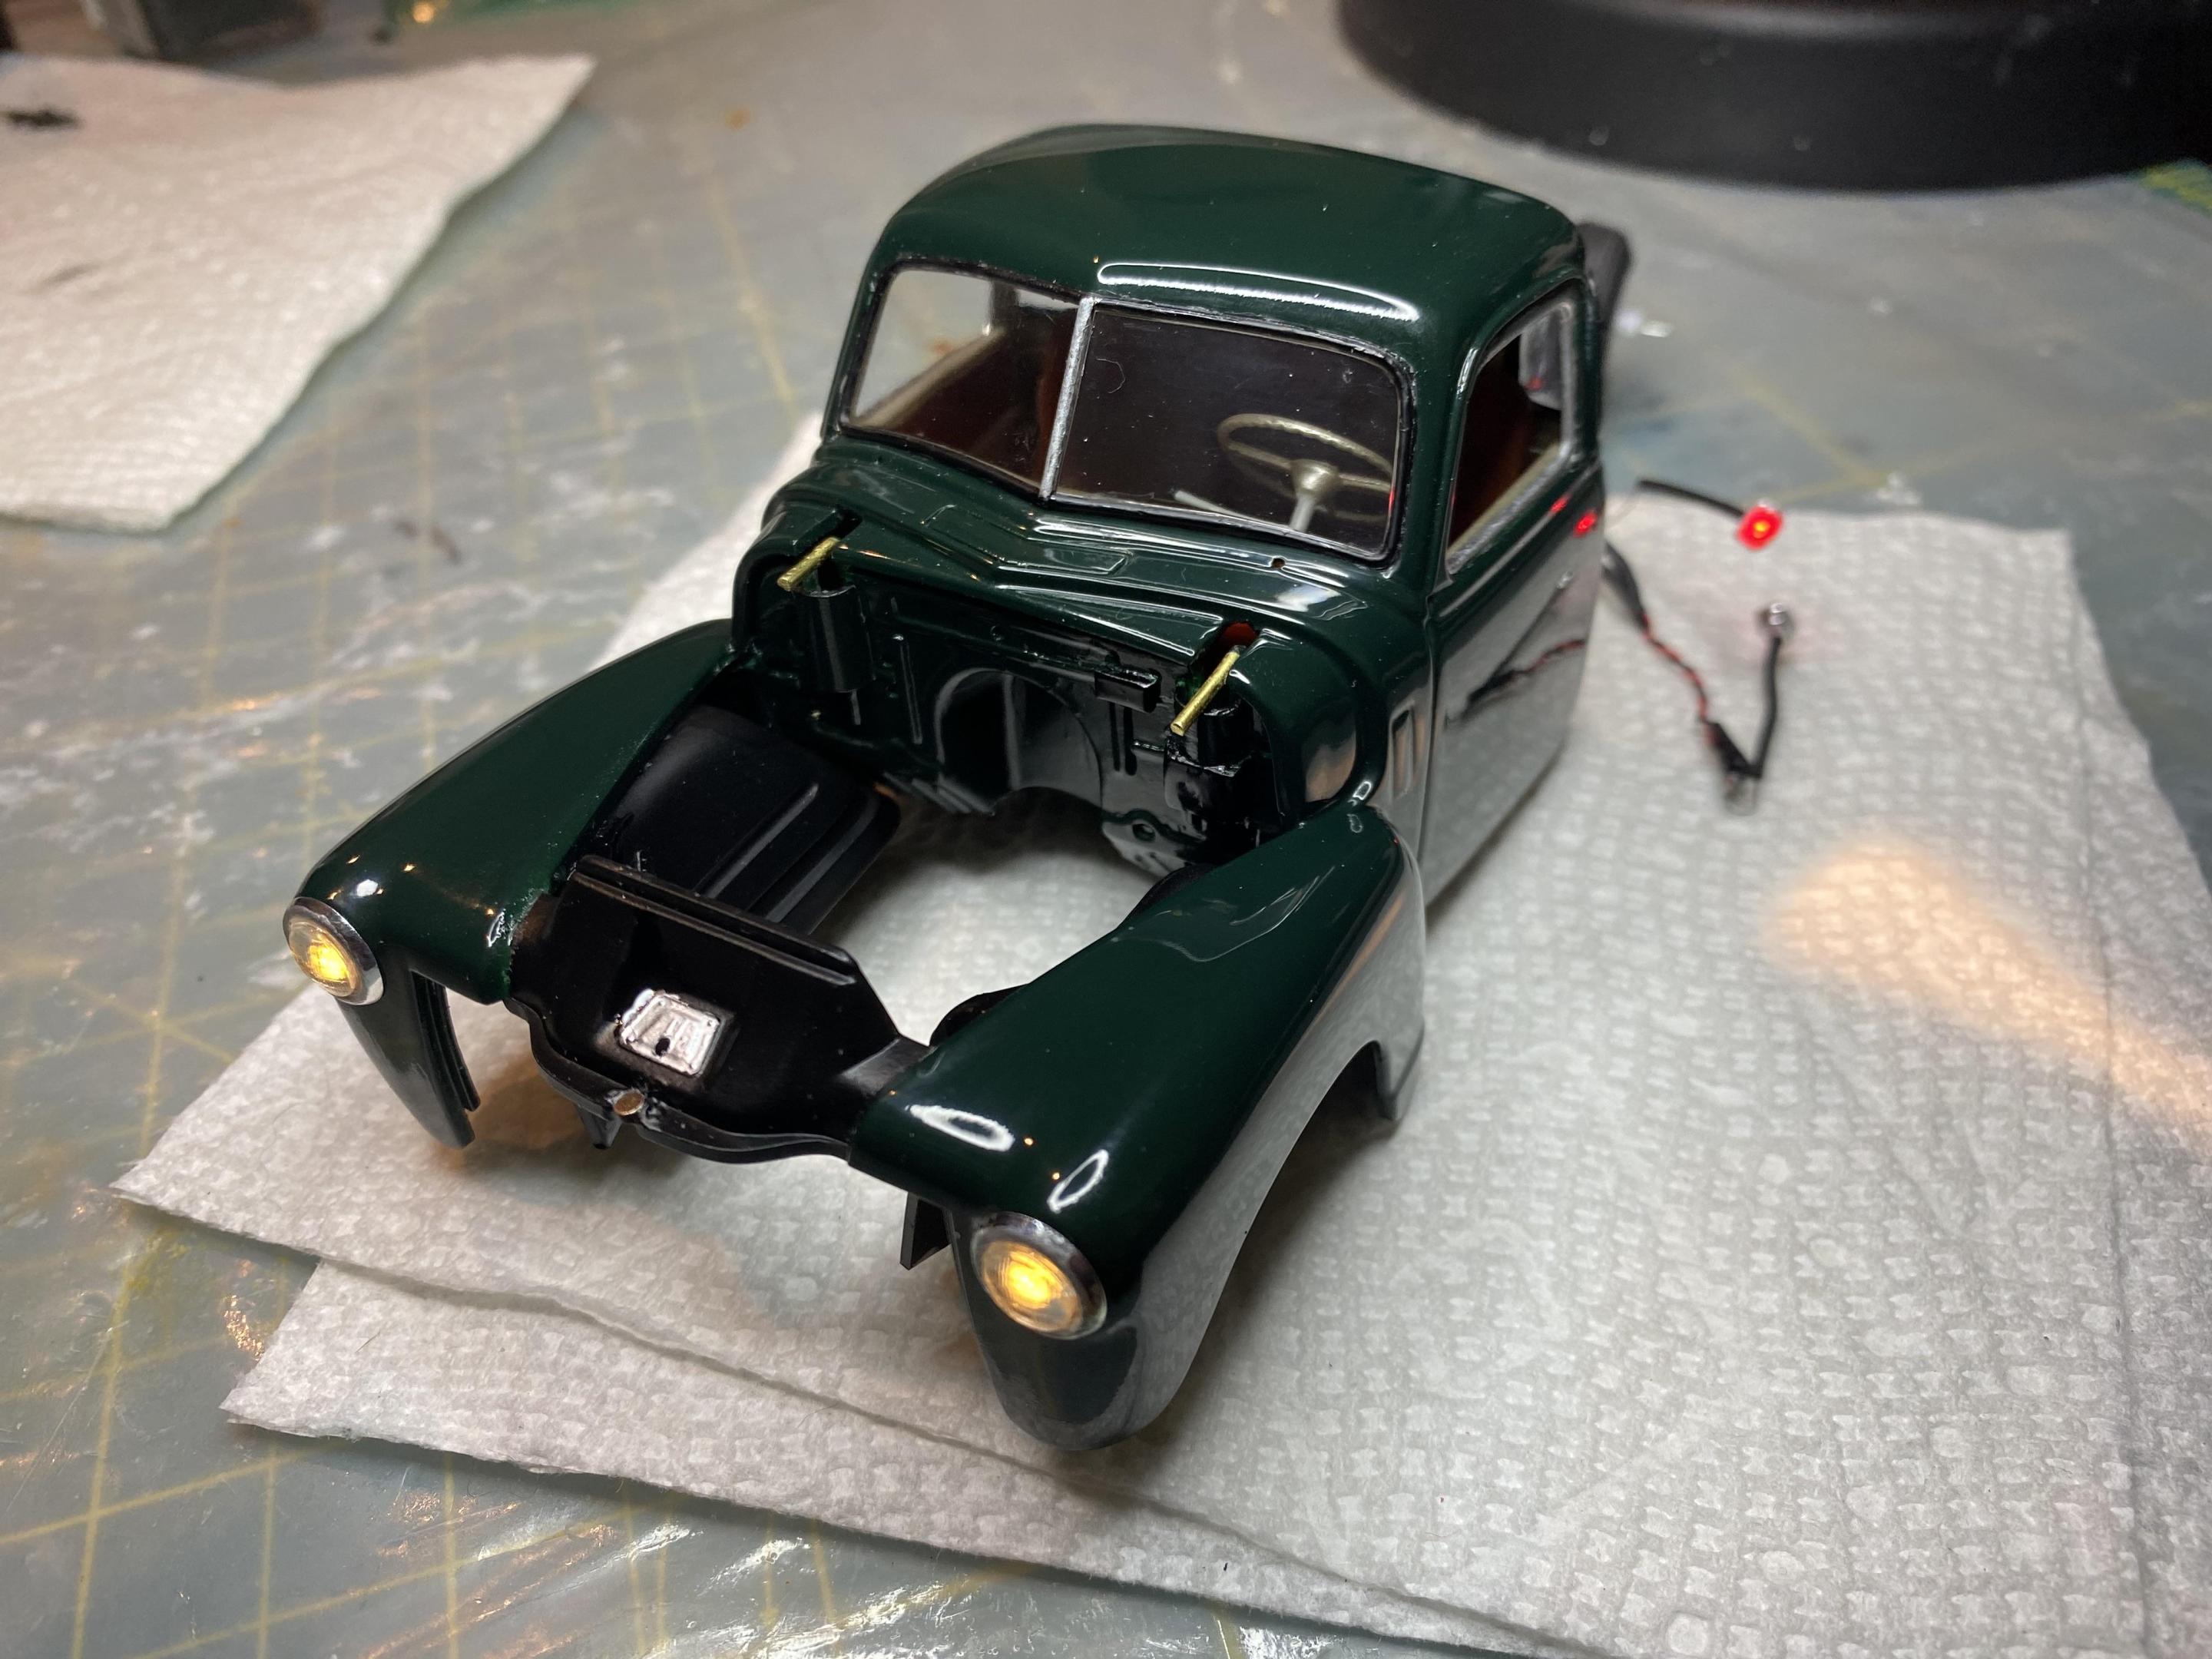
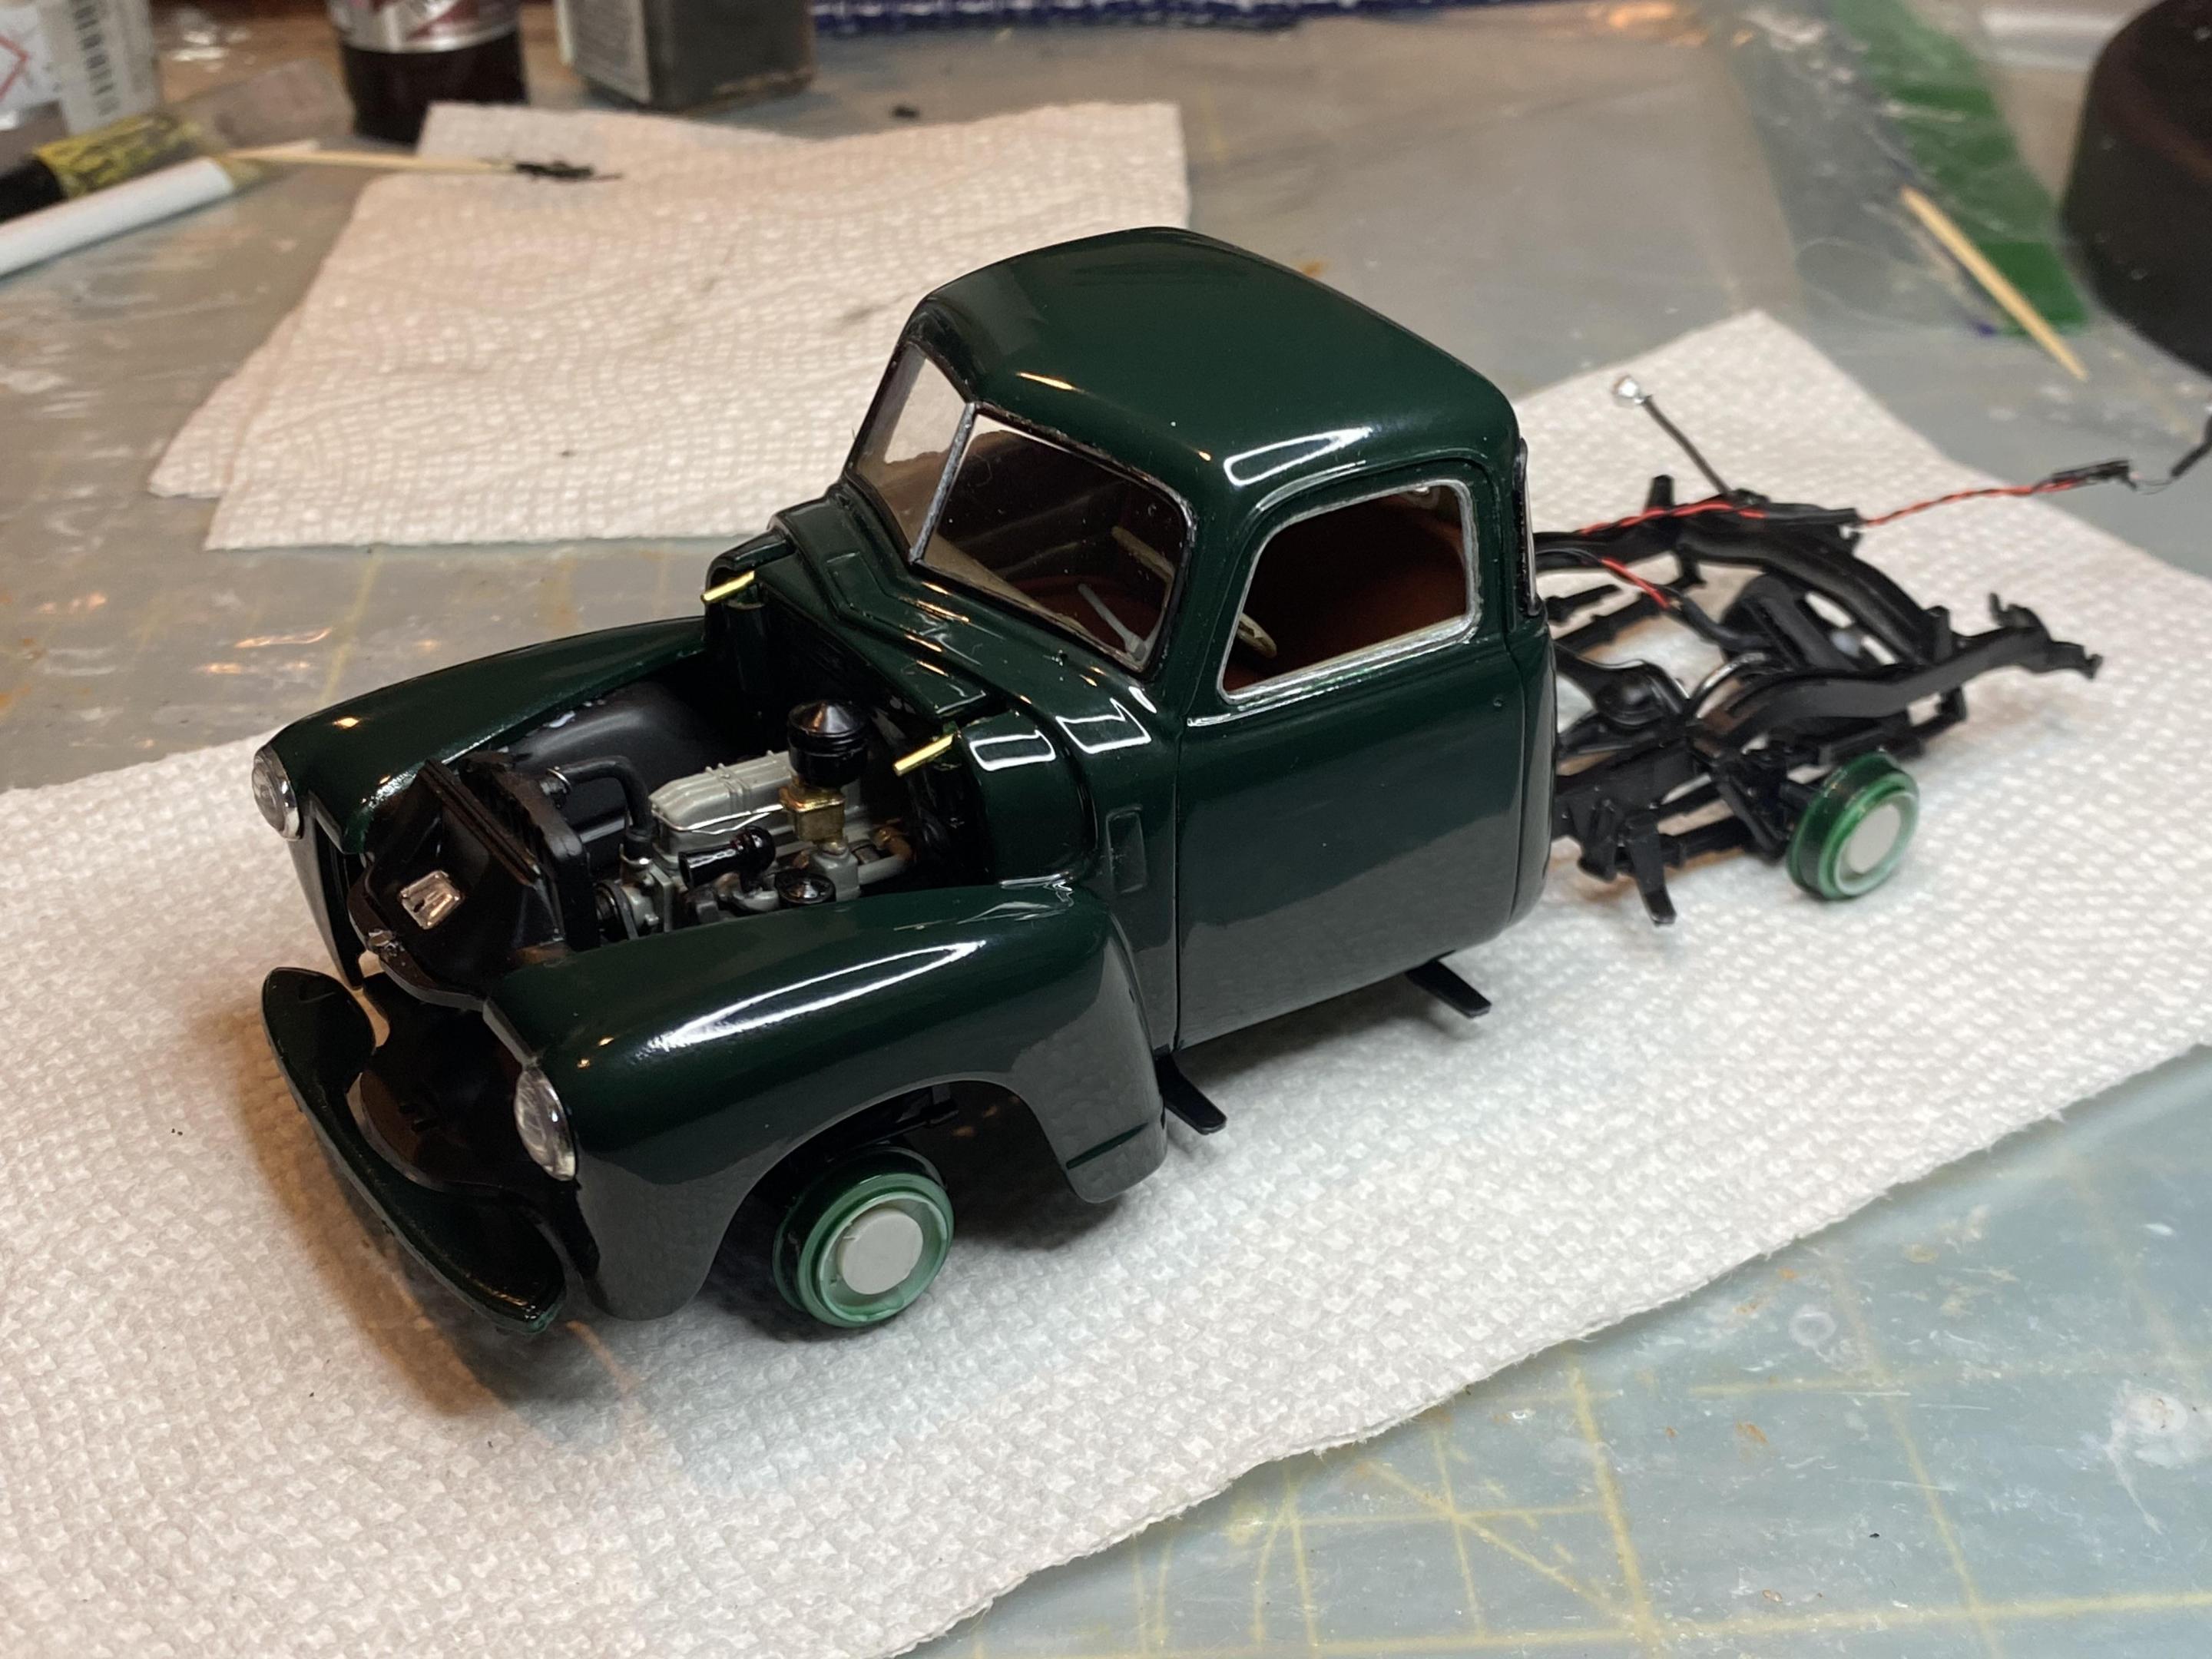
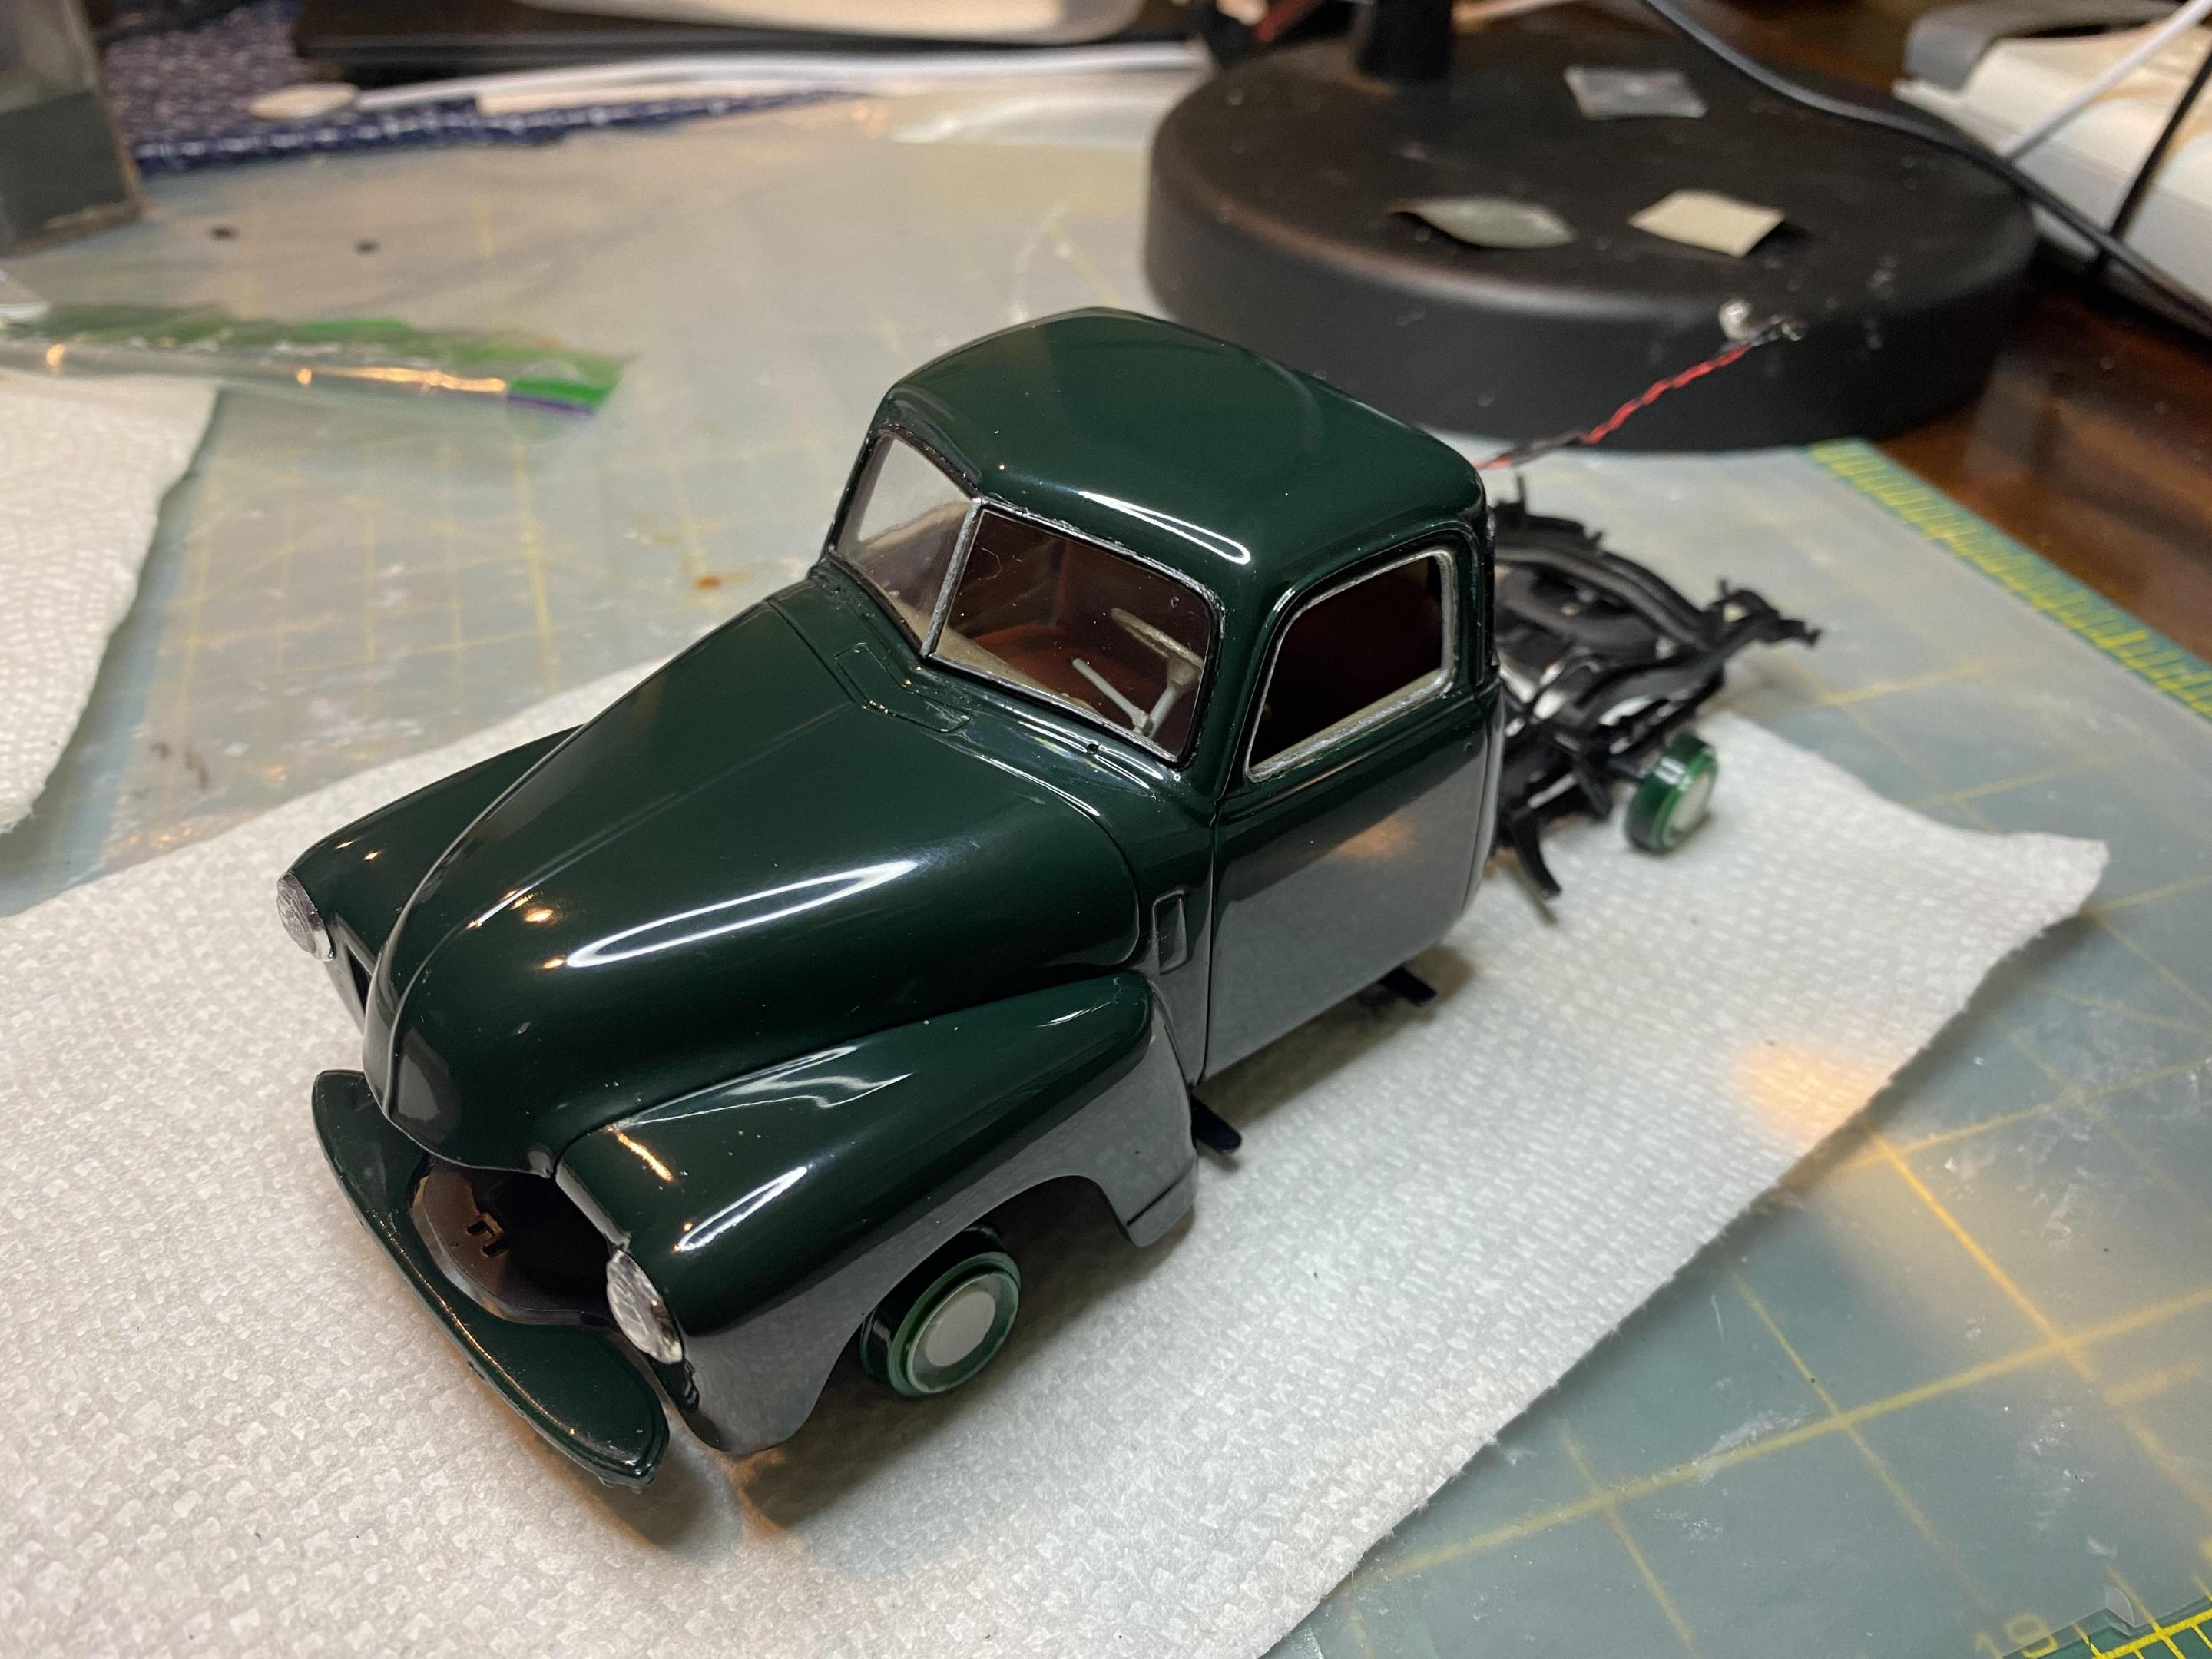
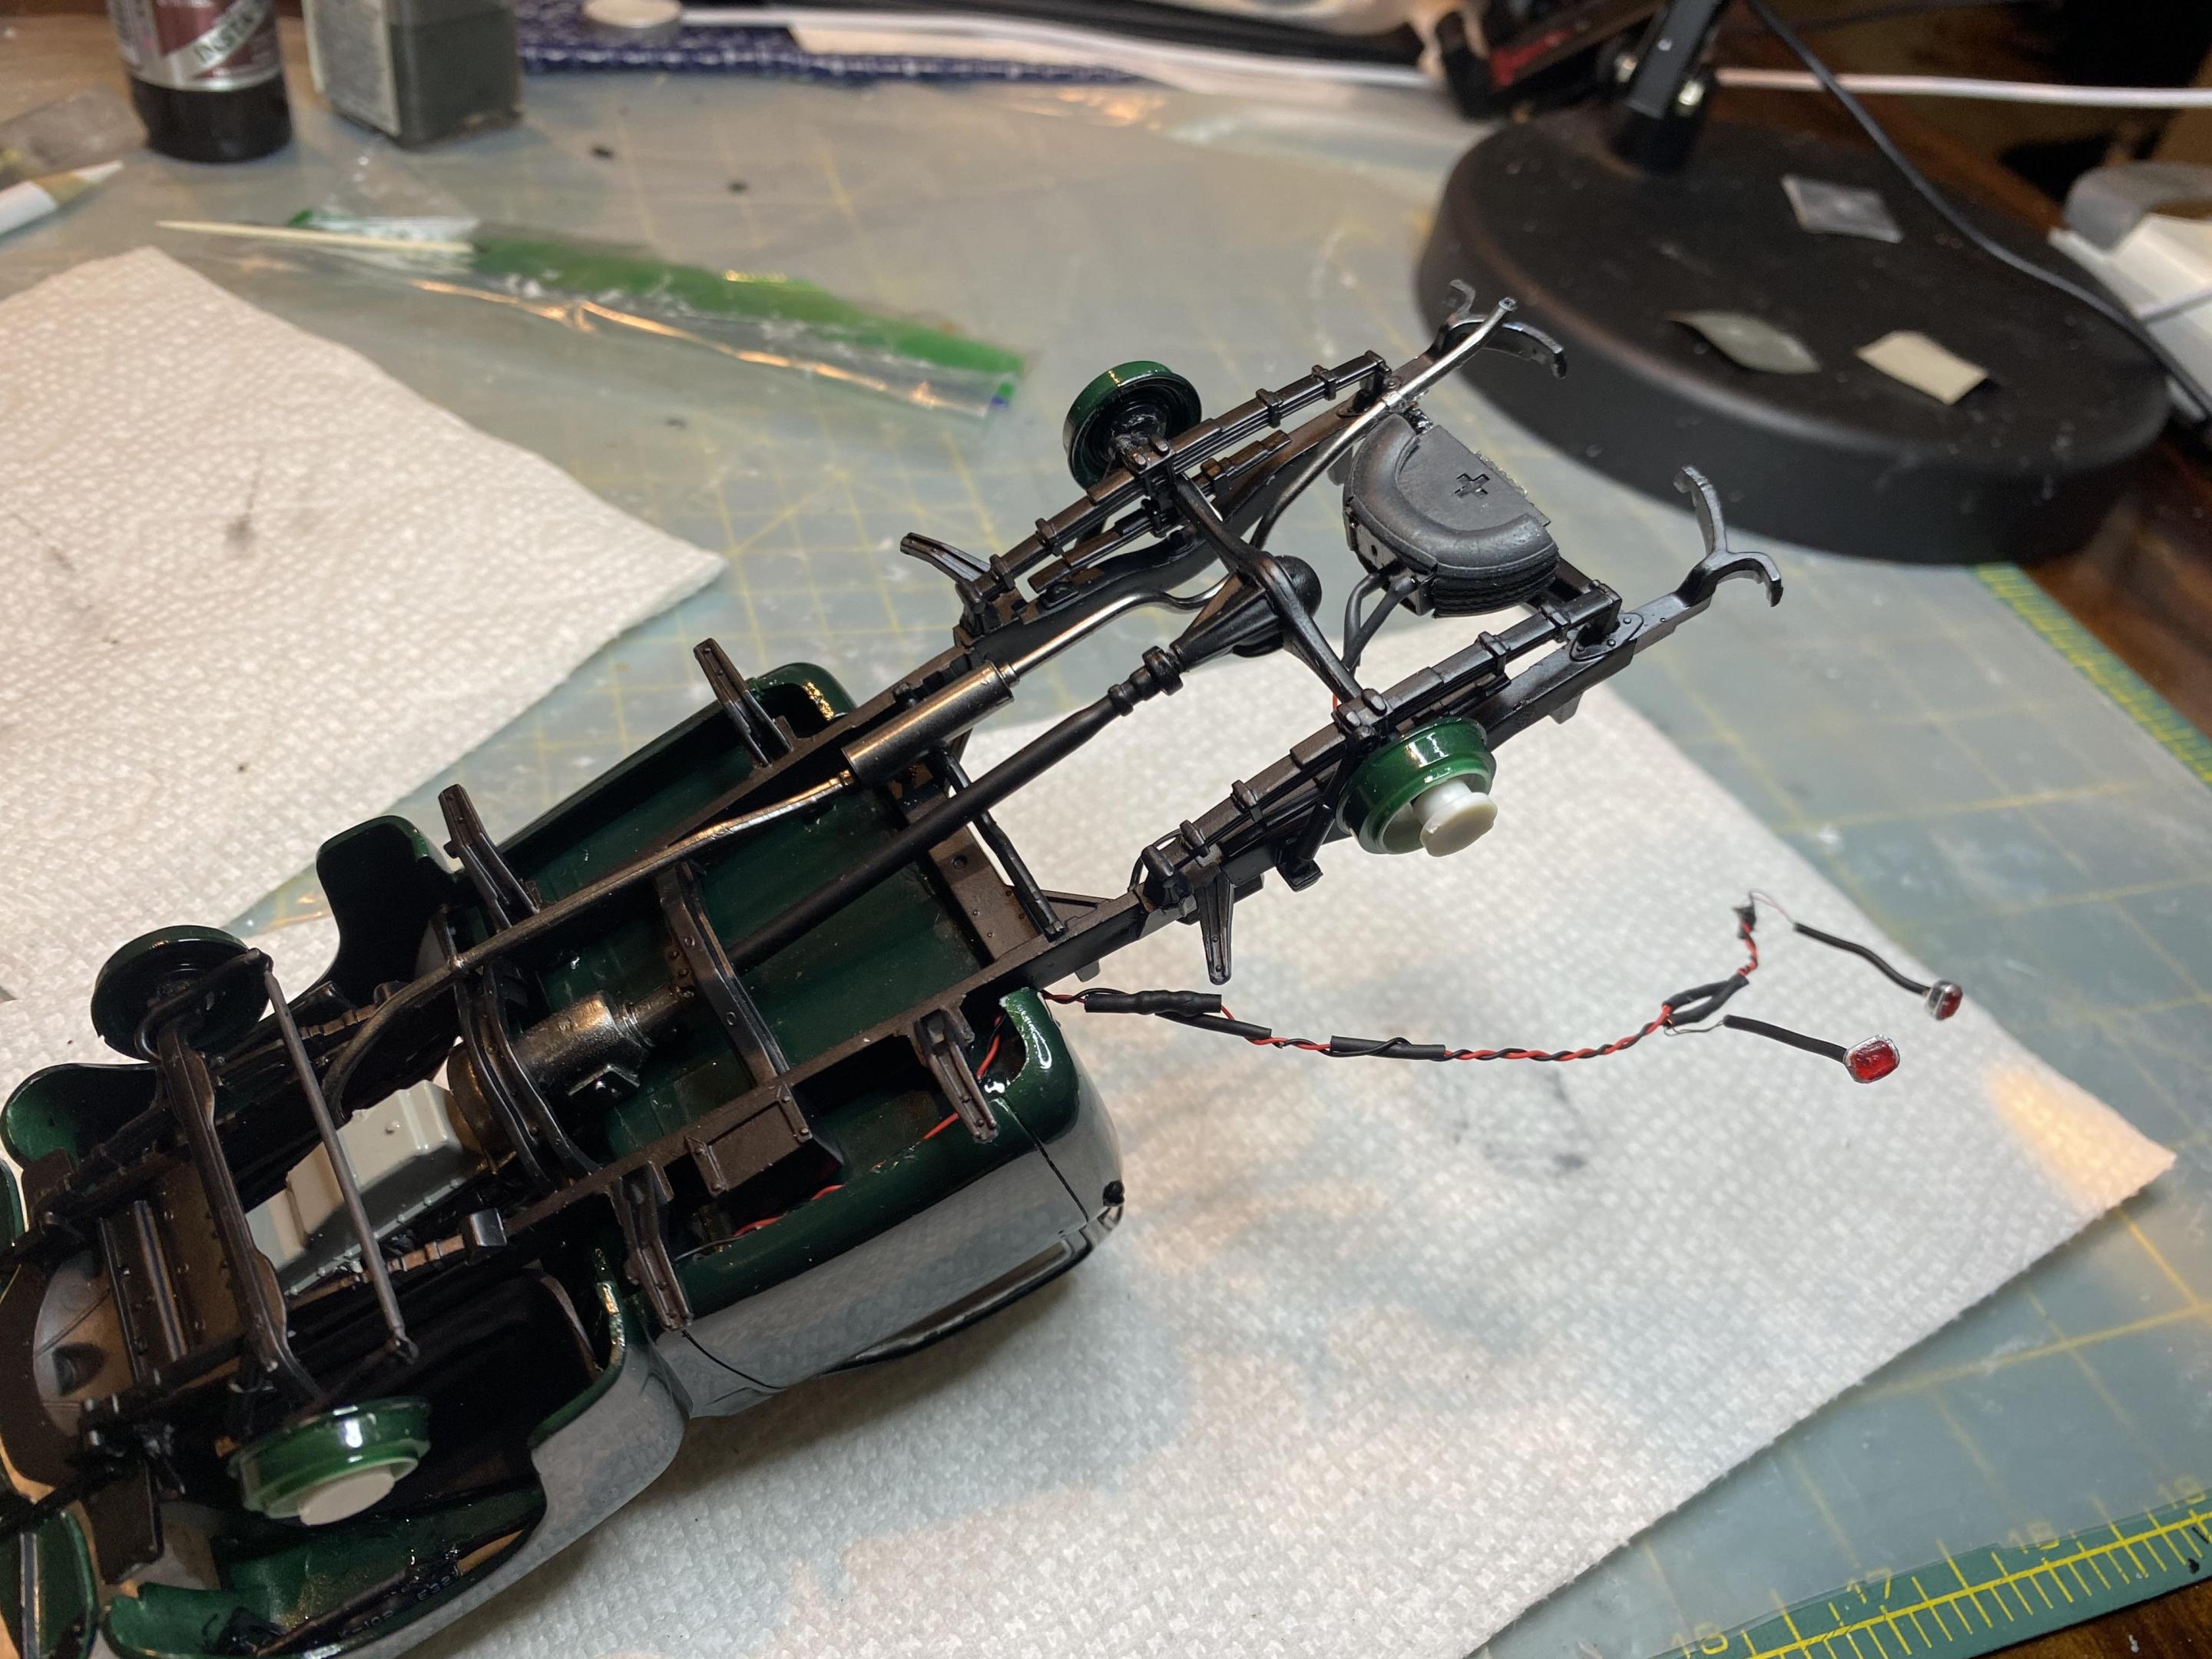
I did get some assembly work done today. I was worried about the interior after attaching the lower panels to smooth and paint so the cab wouldn’t have a seam, but it actually went in pretty well. Started installing the LED wiring, glass and attached the cab to the frame. -

1950 Chevy 3100 Pickup WIP
Duddly01 replied to Duddly01's topic in WIP: Model Trucks: Pickups, Vans, SUVs, Light Commercial
Thank you! Thanks, probably another week or so I think left.

